Blog by Steve Laug
Several months ago, I received a box of pipes to be refurbished from a friend in northern British Columbia named Steve. The box contained some nice Danish briars, some meerschaum pipes and a ceramic as well that needed attention. I went through them and made suggestions for him. Together we did a bit of prioritizing. I have cleaned, restored and sent quite a few back to him already. In the box there were several that I took out of the equation because I was not sure of the point in cleaning them up – one was a black pyrolytic “The Pipe” billiard with a very rough stem and another was this little meerschaum sultan.
My original plan had been to send this pipe and The Pipe back to him untouched but the other evening I had been working on an old C.P.F. with some major issues and I wanted to work on something that was a bit more mindless. Sometimes a change of view is as good as a rest. I just was not ready to shut down the shop for the night so I thought through what I had in the repair and renovation queue and opened the box that Steve’s remaining pipes were in. I looked through them and decided to work on the Sultan.
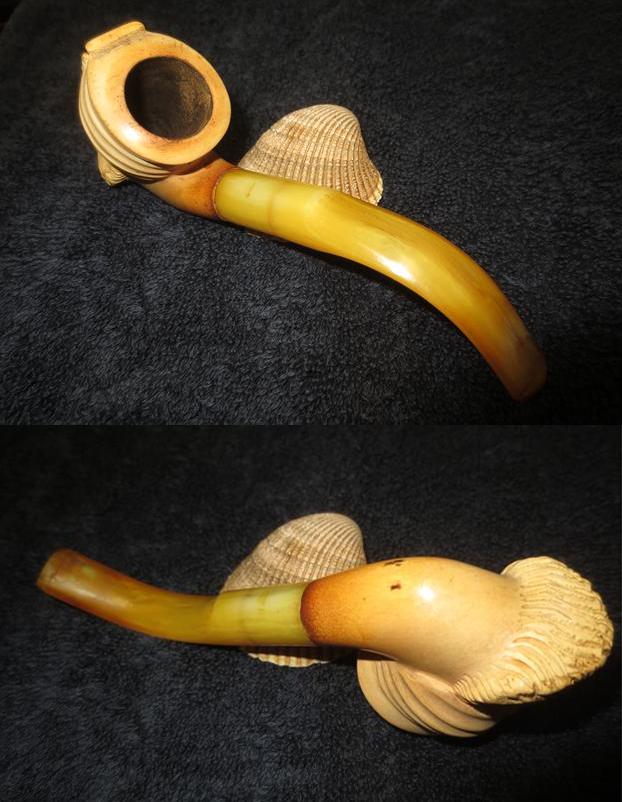
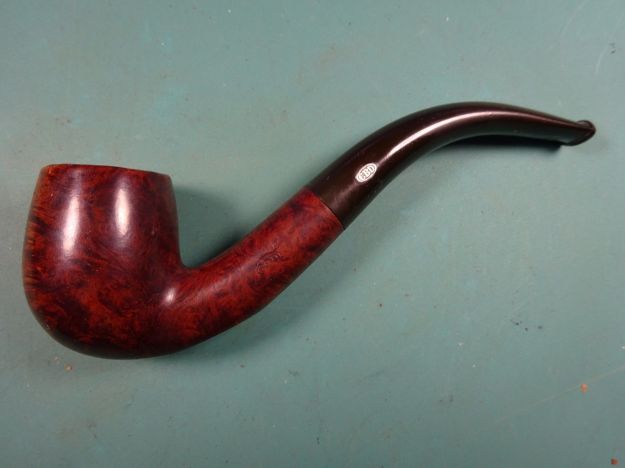
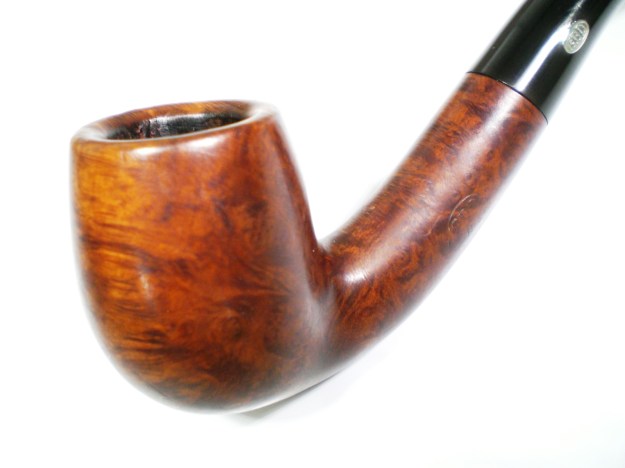
The Sultan looked rough to me as it had definitely seen better days. The meerschaum was a dirty grey colour with darkening in all of the grooves and around the cheeks and eye sockets. There was a heavy cake in the bowl and the rim had a heavy lava overflow that was thick on the surface. The stem had tooth marks and what looked to me like marks left behind by a pair of pliers when someone was adjusting the fit against the shank. Somewhere along the way someone had put a paper washer on the metal threaded tenon and wrapped thread around the tenon so that the stem lined up with the shank a bit better. One thing that could be said in the pipe’s favour was that the shank was beginning to show some colour. I took some photos of the pipe when it arrived and have included them below.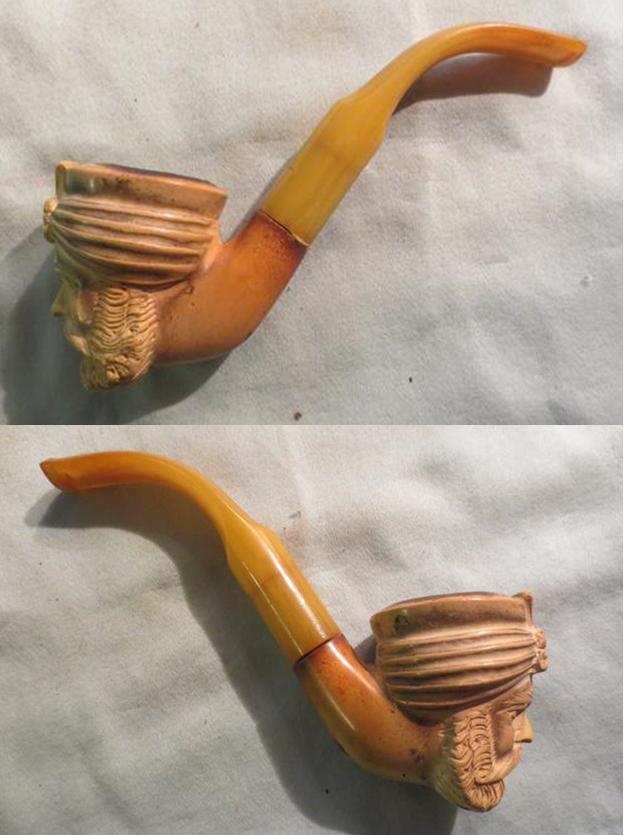
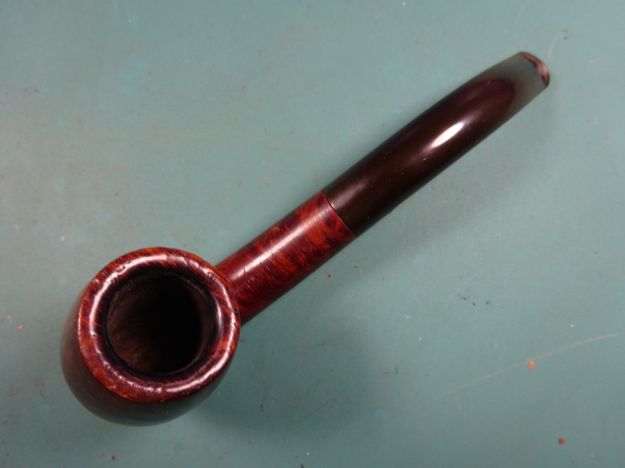
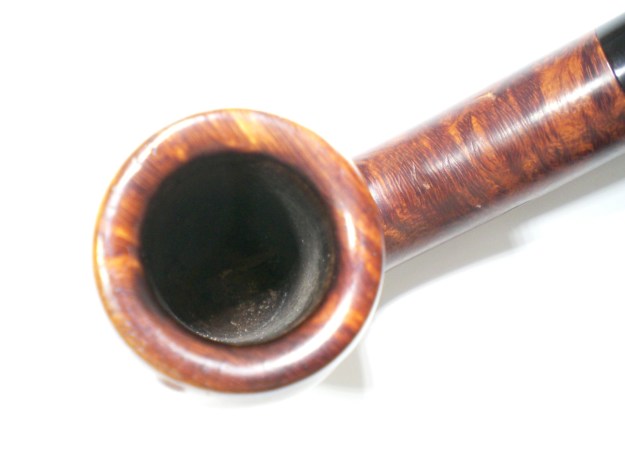
 The close up photo below shows the rim top and the thick cake in the bowl. The inner edge of the rim looked pretty rough but I would be better able to tell its condition once I had reamed the bowl.
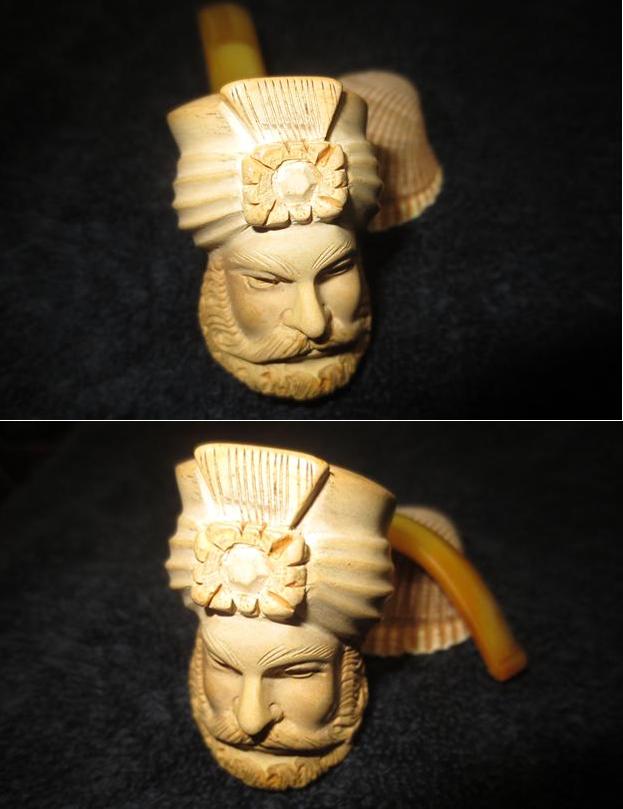
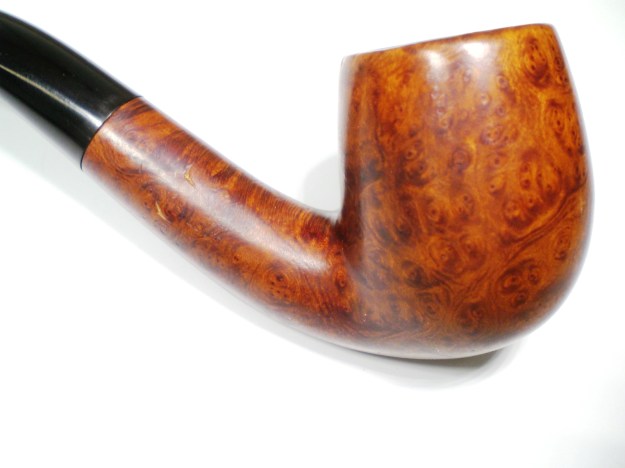
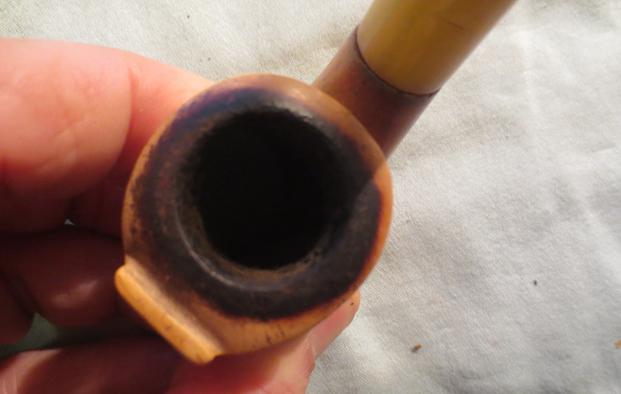 I put it on the work table and took a few more photos in better light to see if I could show the condition of the pipe before I started my work. These pictures more adequately show the dirt on the meerschaum in all of the grooves of the turban and the face.
 The next photo looking down the bowl from the top shows the crumbling cake in the bowl and the thick tar on the rim top. The second photo shows the dirt in the grooves in the carved beard.
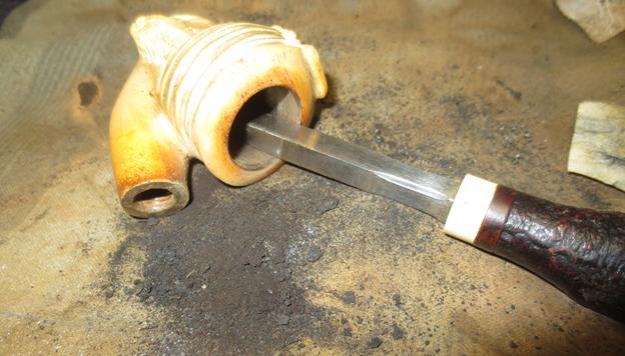
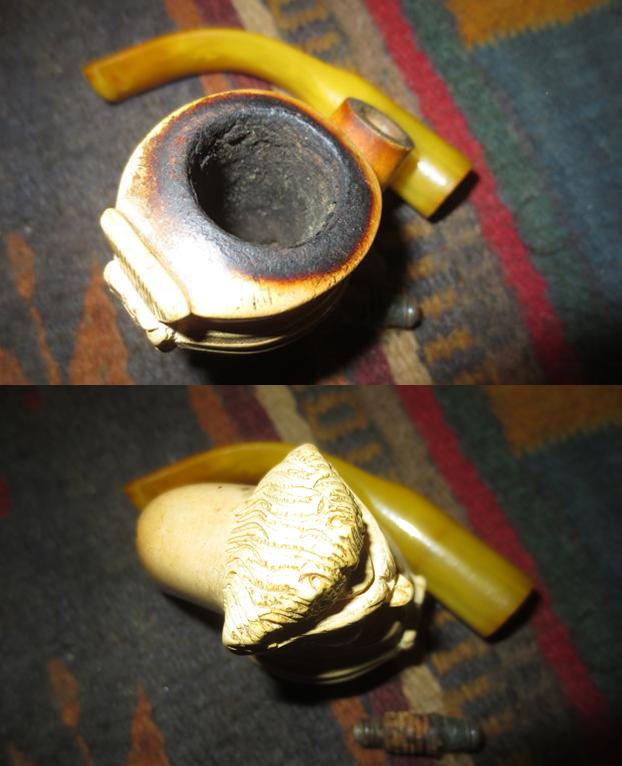 I reamed the bowl with a PipNet reamer to take the cake out of the bowl completely. A pipe man should never let a cake build up in the bowl like this one had. I cleaned up the reaming in the bowl with a Savinelli Fitsall Pipe Knife and took every remaining bit of cake out of the bowl.
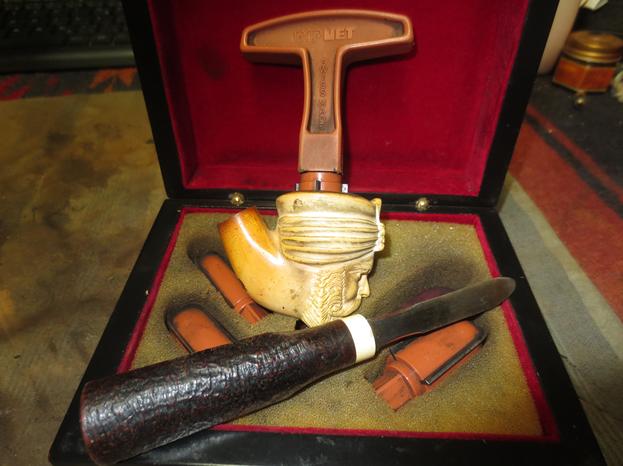
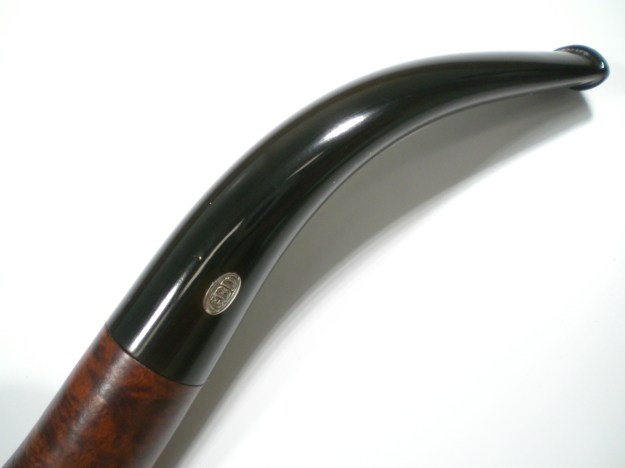
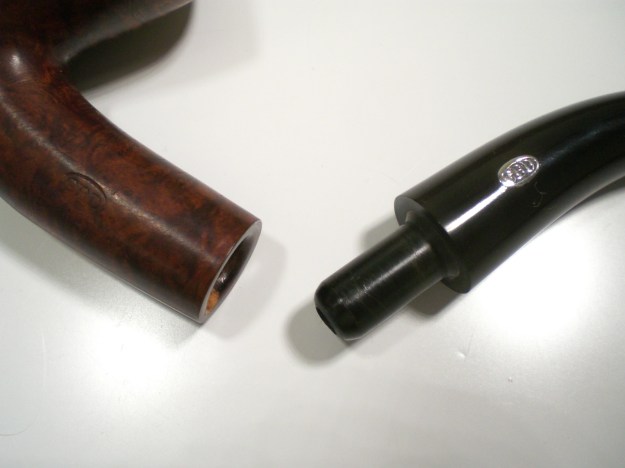
 I unscrewed the metal tenon from the stem and used a pair of pliers to unscrew it from the mortise of the pipe. The metal tenon had been turned through a cork and the cork screwed into the mortise of the meer. It provided a tight connection but when the stem was in place the metal tenon turned in the cork. I had a new replacement tenon in my box of tenons. I used the Dremel to reduce the threads on the portion of the tenon that screwed into the stem. The other part of the tenon had the proper threads for the mortise. I aligned the tenon in the mortise and twisted and pressed the stem onto the other end. I did a bit of fine tuning to adjust the alignment but it worked very well. I filled in the tooth marks and the marks on the saddle portion with some amber super glue. I lightly sanded it to blend it into the rest of the stem material.
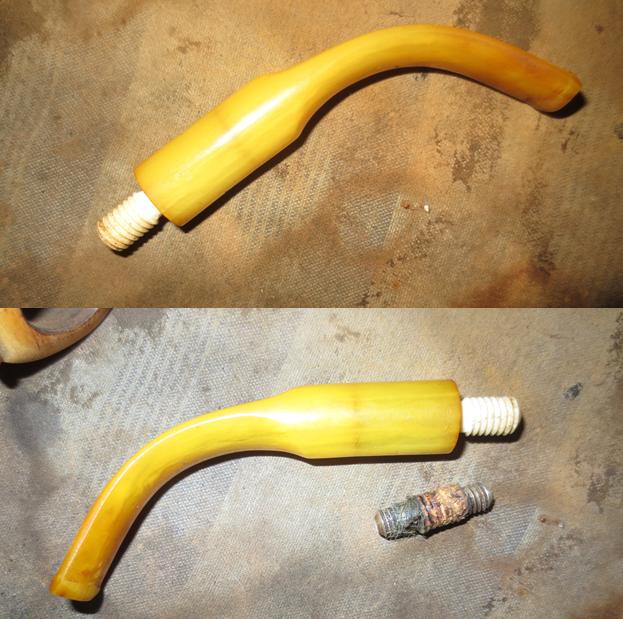 With the stem finished, the new tenon in place I turned my attention to the meerschaum bowl and giving the sultan a facial. I scrubbed it with a tooth brush and Murphy’s Oil Soap. I scrubbed it under gently running water and rinsed off all of the grime and darkening from the grooves, around the eyes and in the beard and turban.
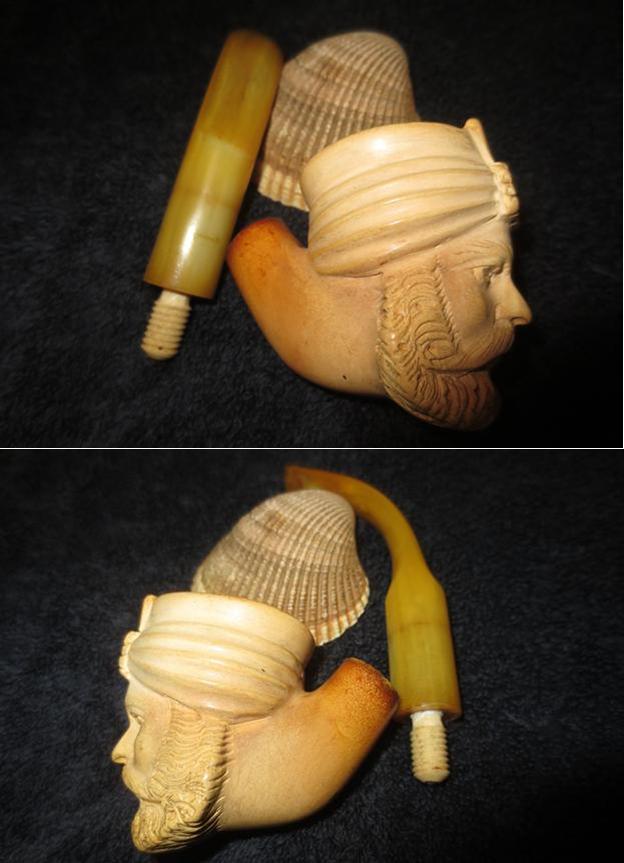
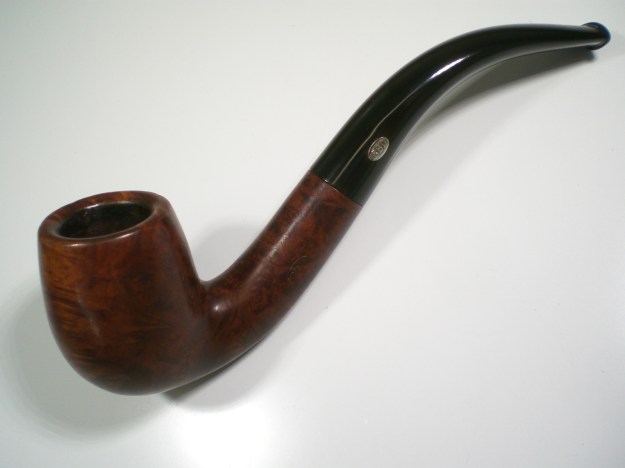
 I dried off the bowl and put the stem in place in the shank. I buffed the pipe with Blue Diamond on the buffing wheel to give the stem a shine and polish the minute scratches that were in the meerschaum. I took photos of the pipe when I finished buffing it.
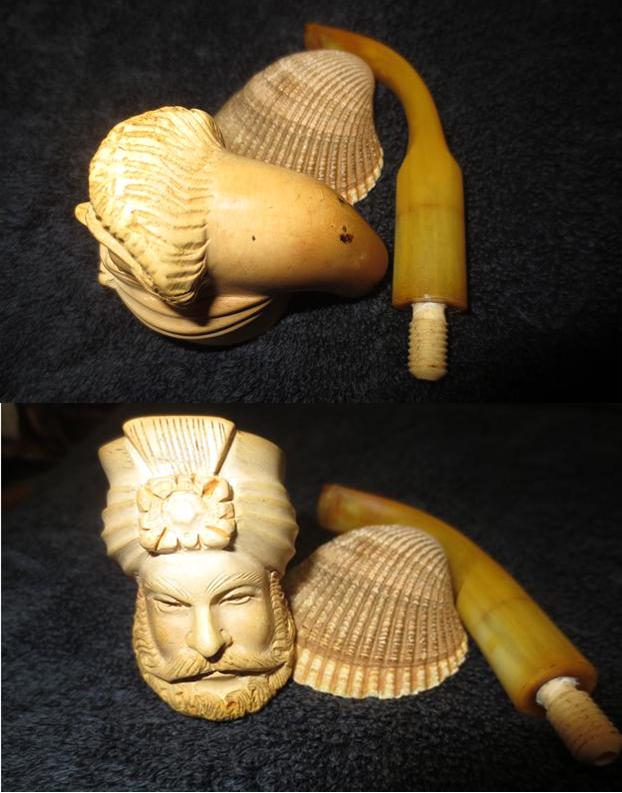
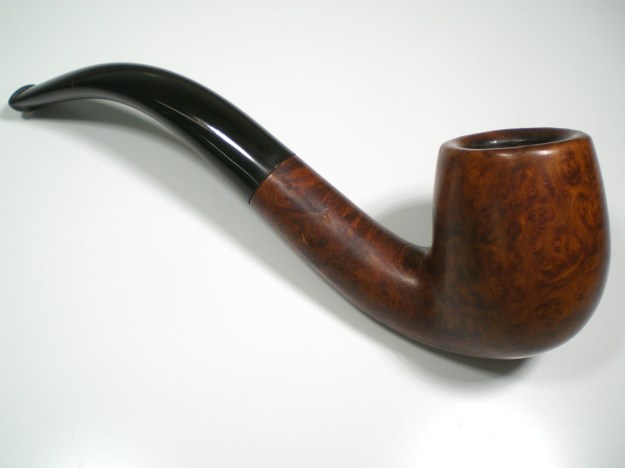
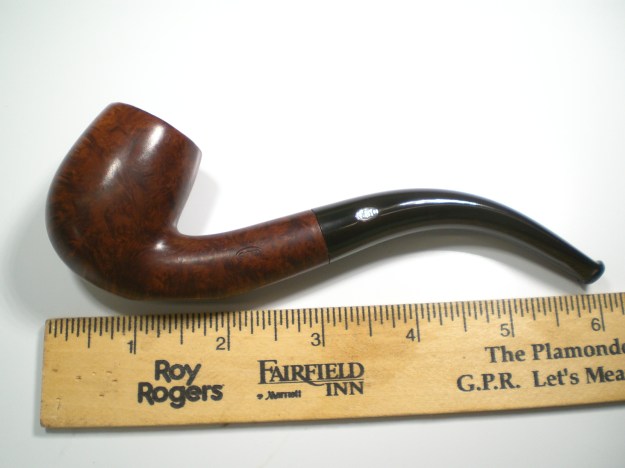
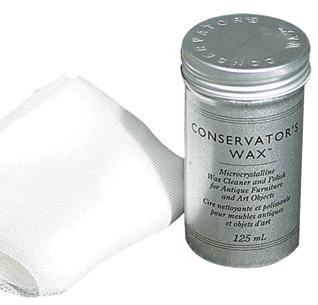
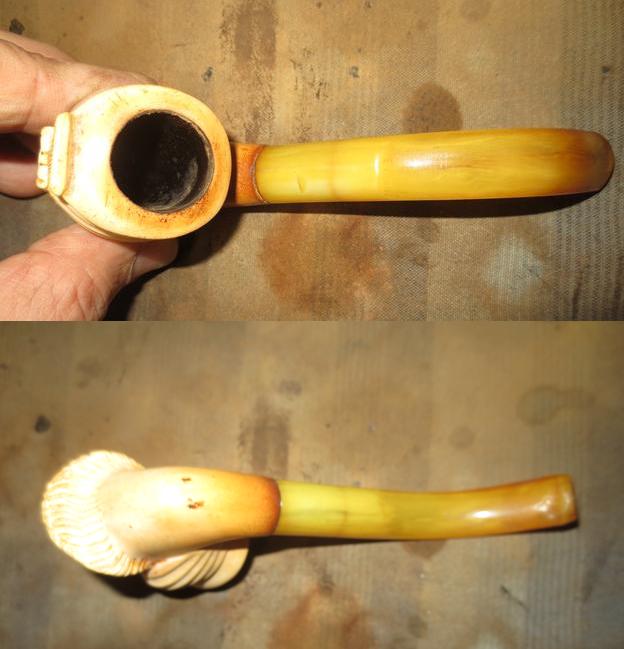 You can see from the above photos that I was able to remove the grime from the meer and leave behind the patina. It had potential to be a beautiful pipe once it had darkened even more. I waxed it with a product that is made of White Beeswax called Clapham’s Beeswax Polish. It is soft so it is easily applied to the meerschaum. I warmed the meerschaum so that it would absorb the wax. I buffed the pipe and stem with a clean buffing pad and hand buffed it with a microfiber cloth. The finished pipe is shown in the photos below. It turned out to be a nice looking pipe. I think Steve is going to enjoy this one. Looking forward to hearing back from him. Thanks for looking.