Blog by Steve Laug
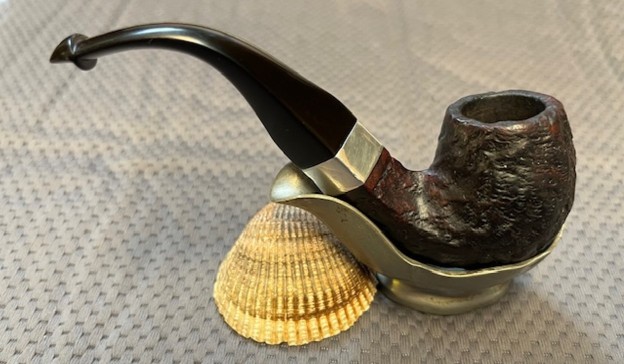
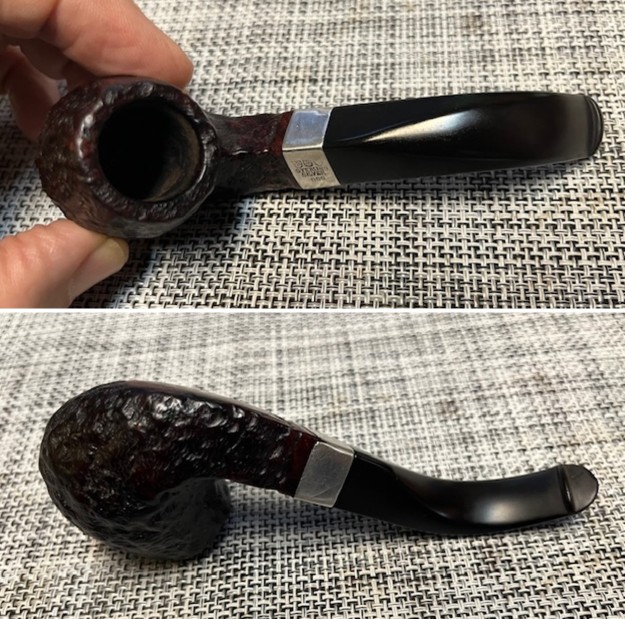
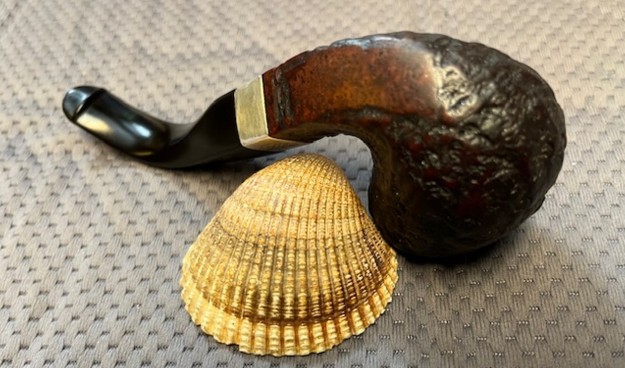
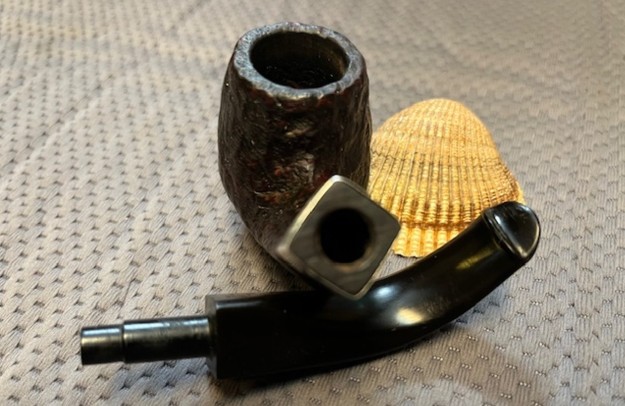
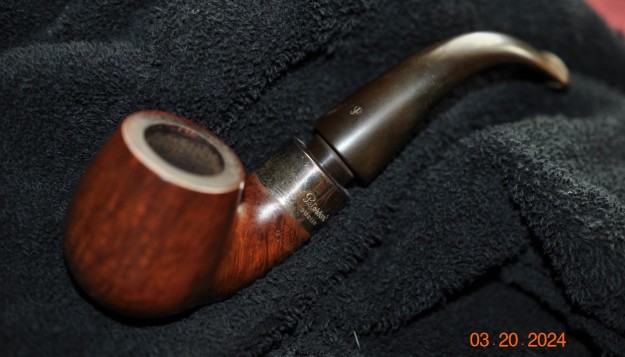
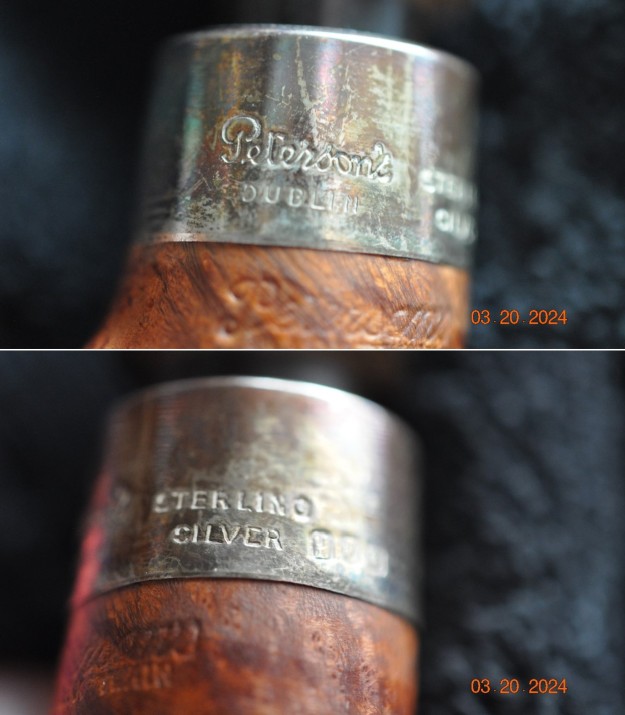
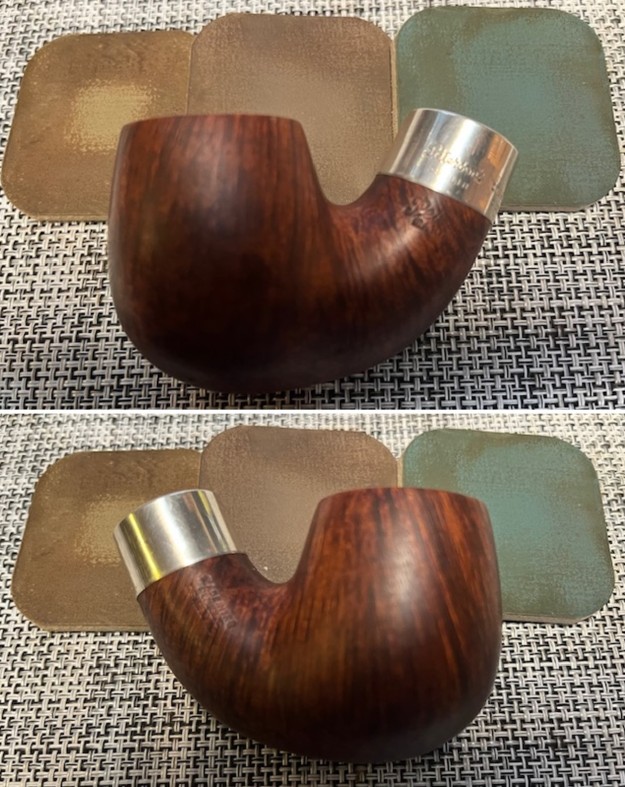
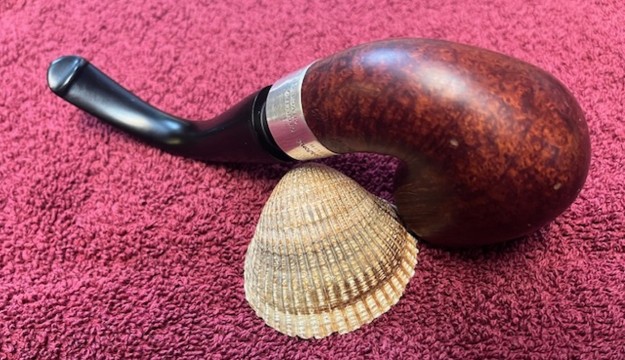
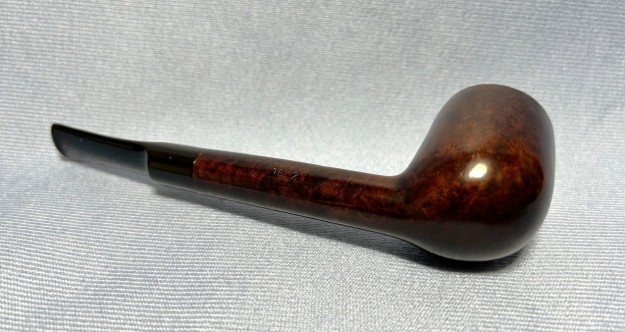
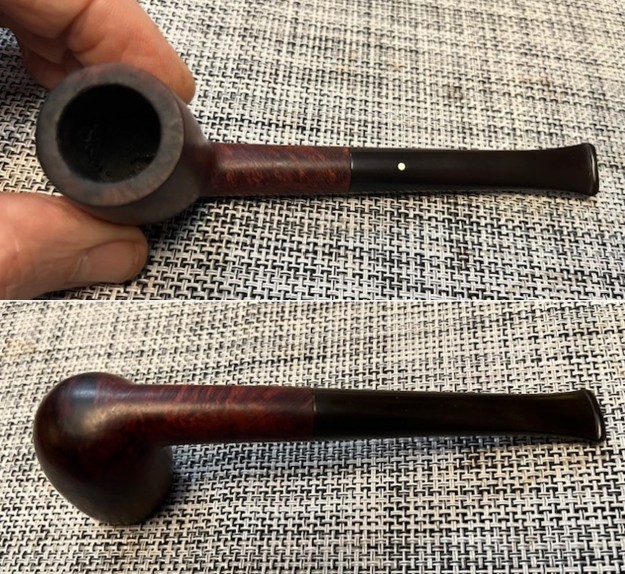
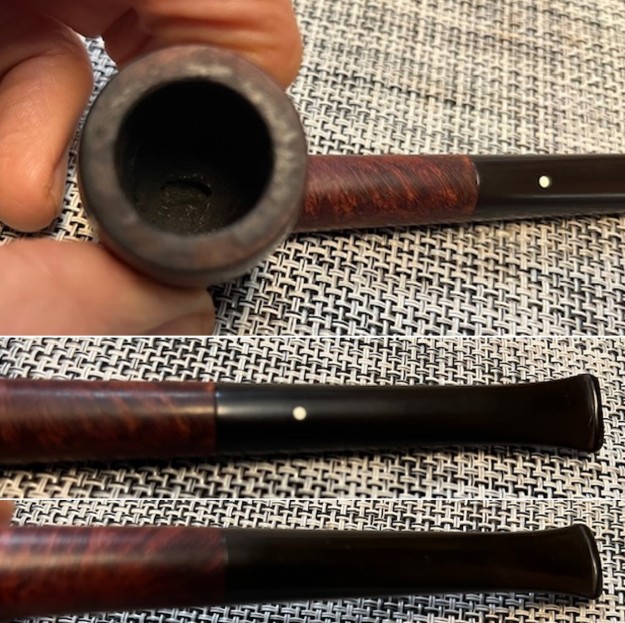
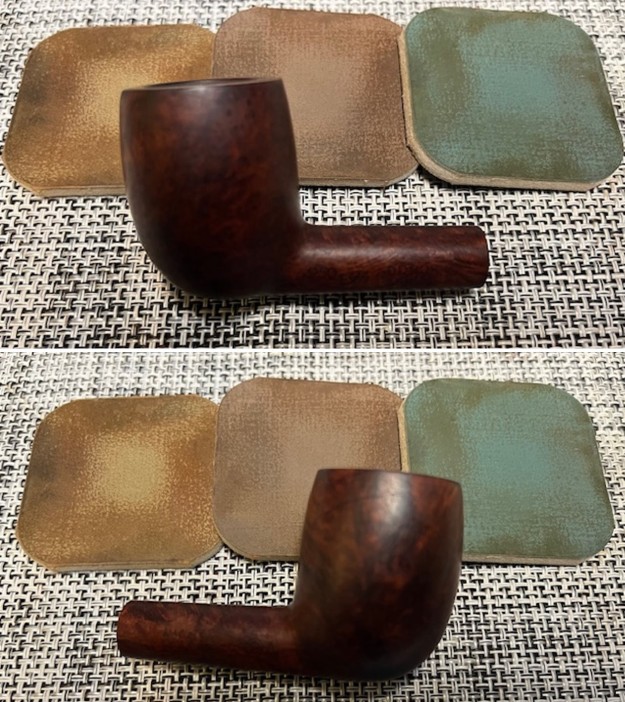
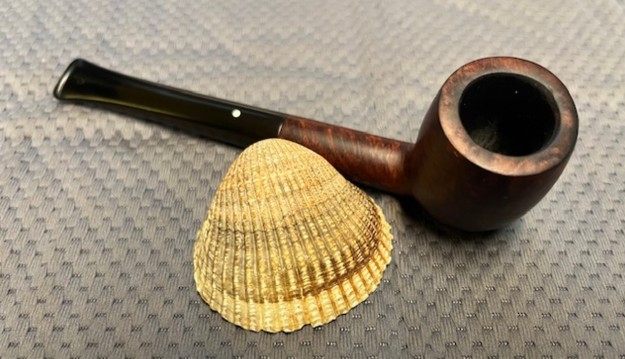
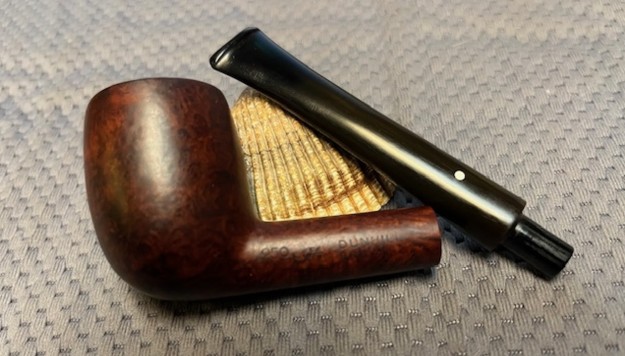
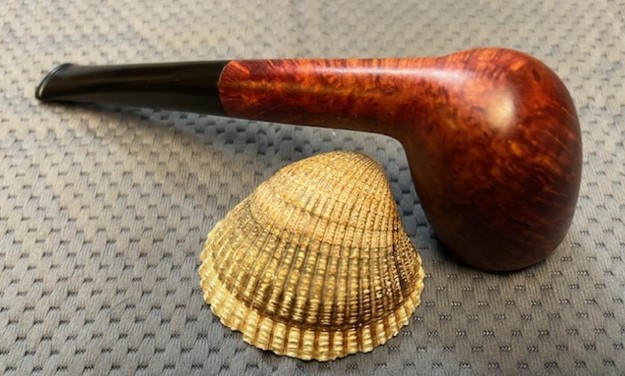
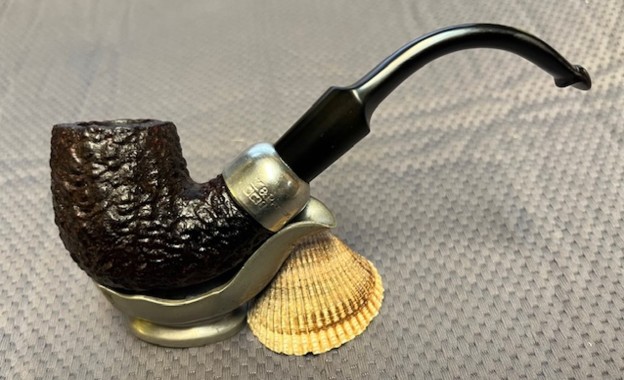
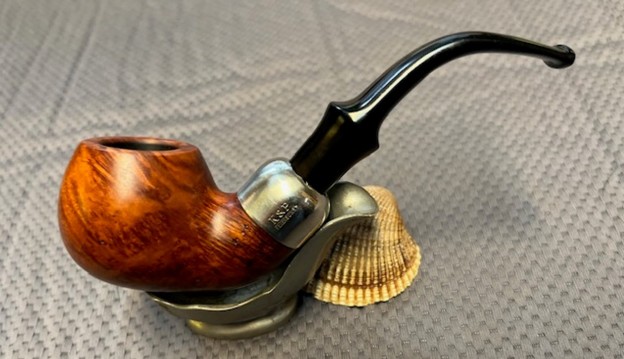
The next pipe on the work table is a lovely Peterson’s style briar pipe. We purchased it from a seller in Spring Branch, Texas, USA on 02/29/2024. It is a classic Peterson’s diamond shank, bent billiard shaped bowl. It has a worn rusticated finish with a rich brown stained bowl that really highlights the remnants of the blast. The bowl is dirty with grime in the finish. There is a light cake in the bowl and a lava overflow on the rim top and edges filling in the blast finish. The stamping on the pipe is on the underside of the shank and is illegible. It looks like it could read Peterson’s and something below that is not clear and the shape number cannot be read. The Sterling Silver band on the shank is oxidized and stamped. It reads K&P [over] Sterling [over] Silver. Underneath that are three hallmarks – a seated Hibernia with her arm on a harp, a crowned harp and a date stamp with an italic “P”. The stem has no stamping or logo on the diamond sides. It is oxidized, calcified and has very light tooth chatter and marks on both sides ahead of the P-lip button. It was obviously someone’s favourite and must have always been in his hand or mouth. Jeff took photos of the pipe before he started his cleanup.
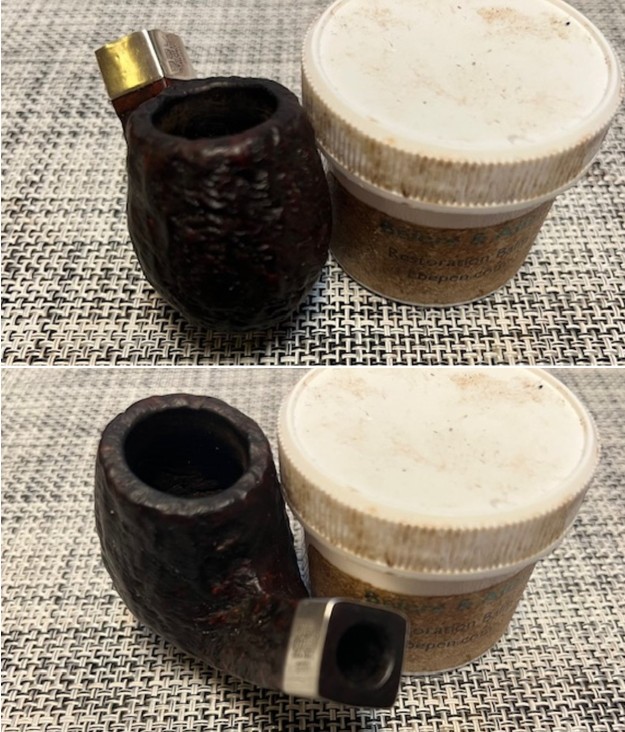
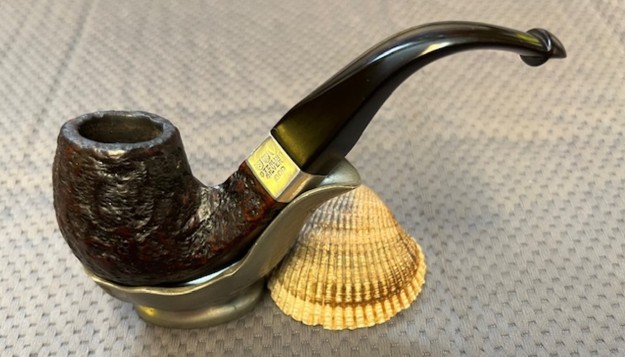
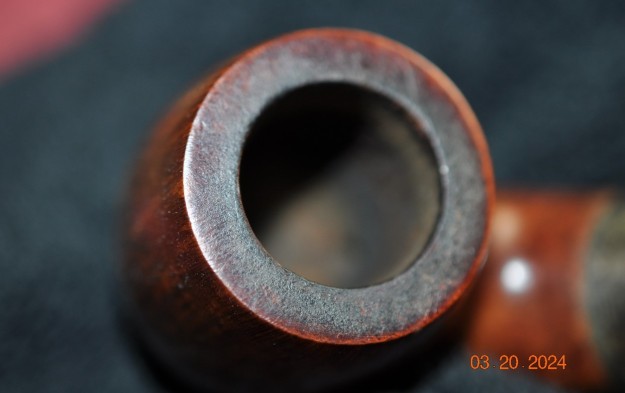
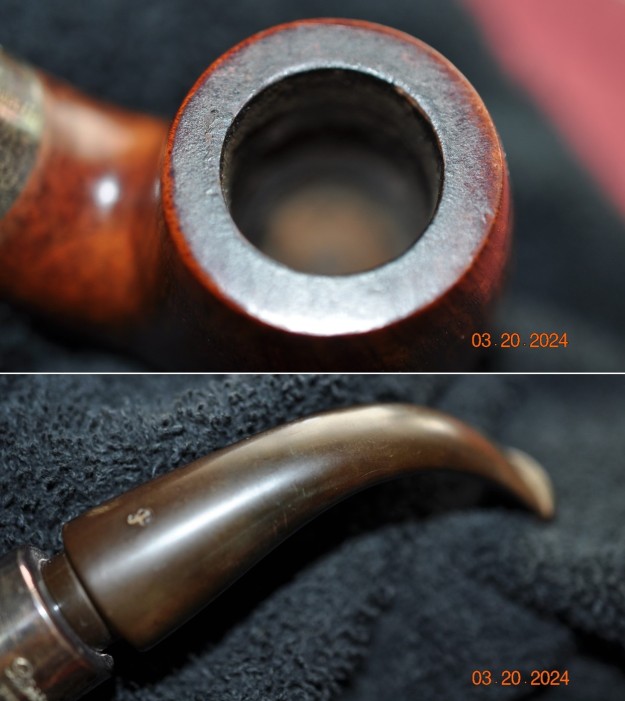
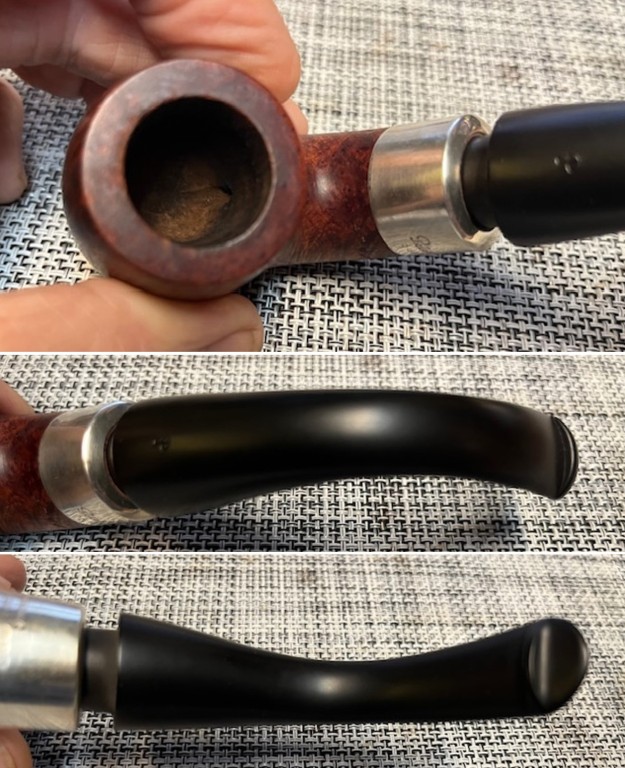
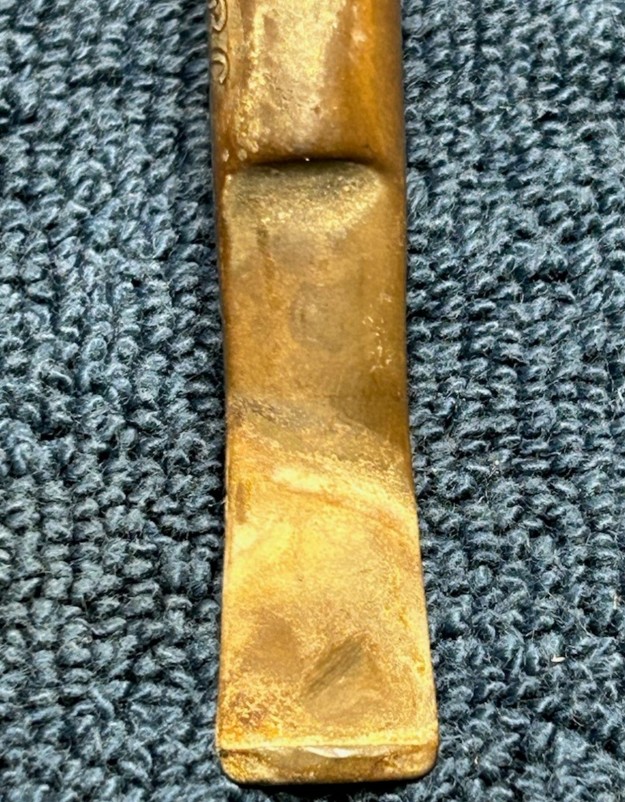
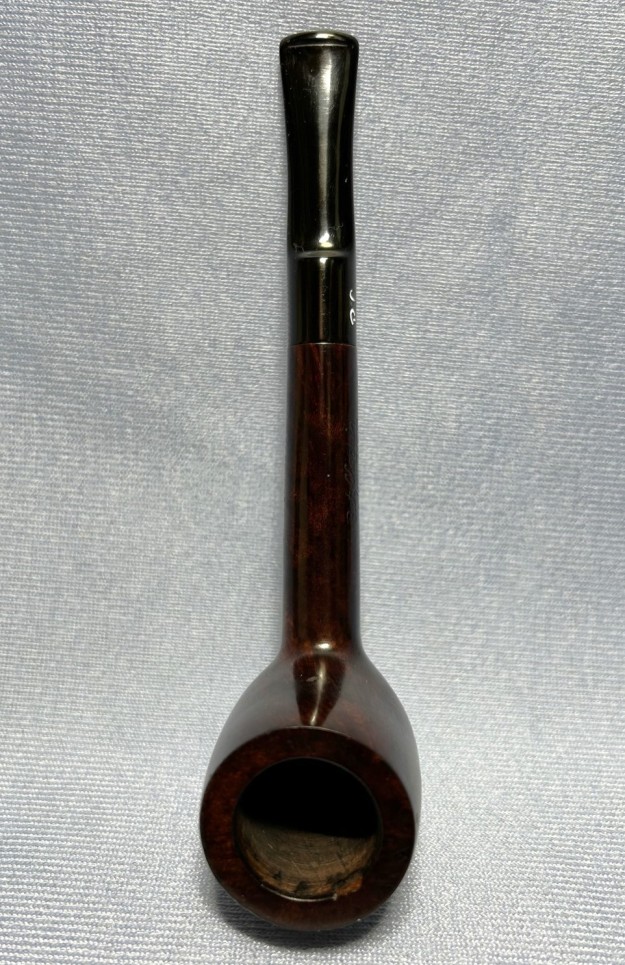
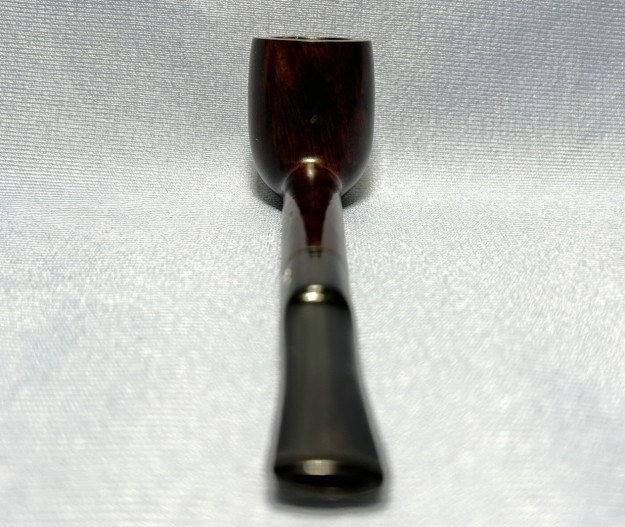
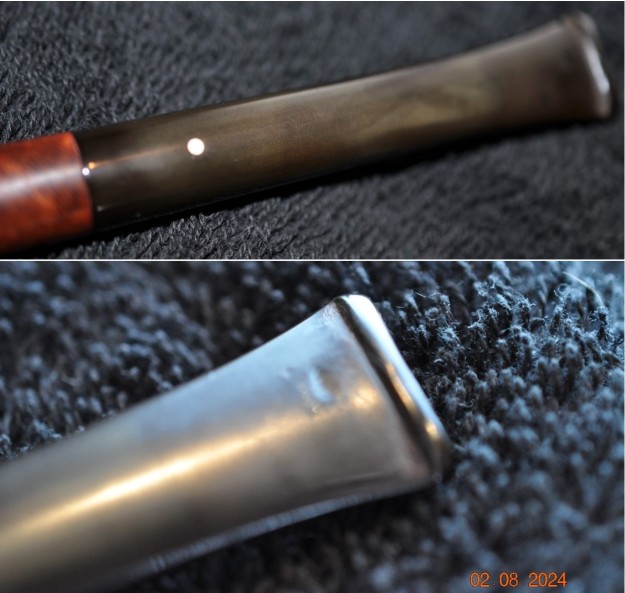
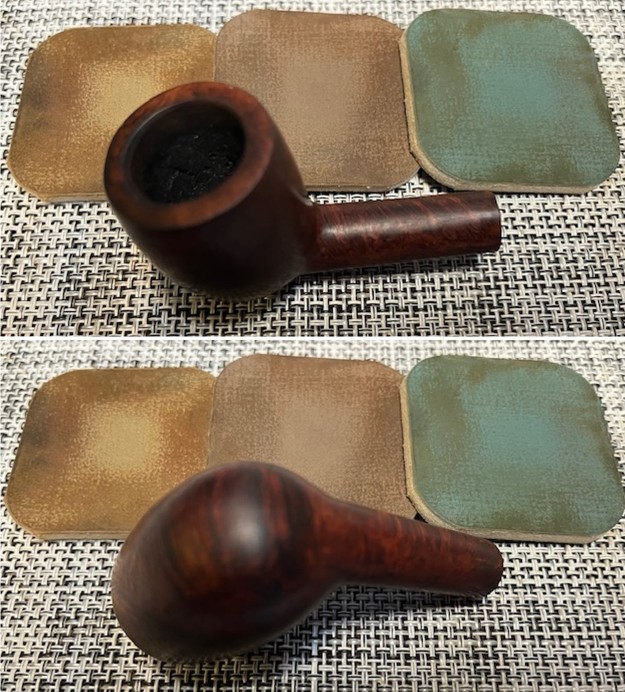
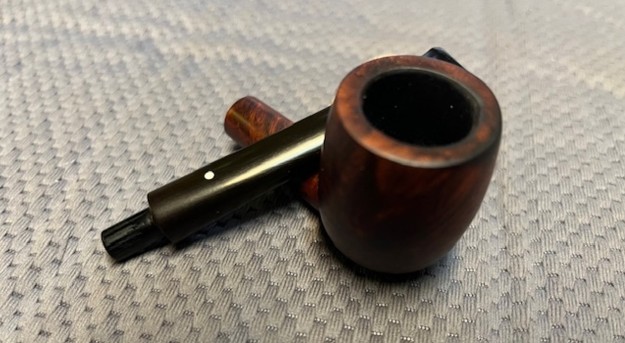
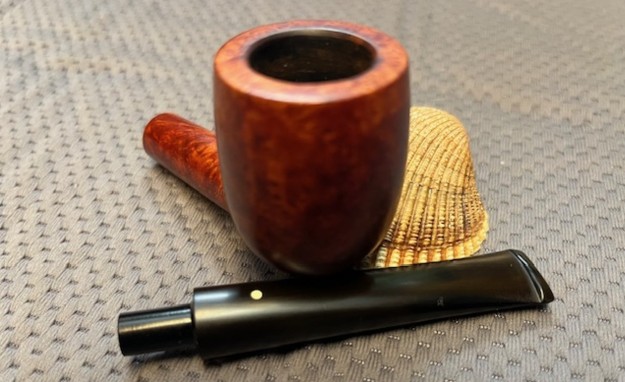
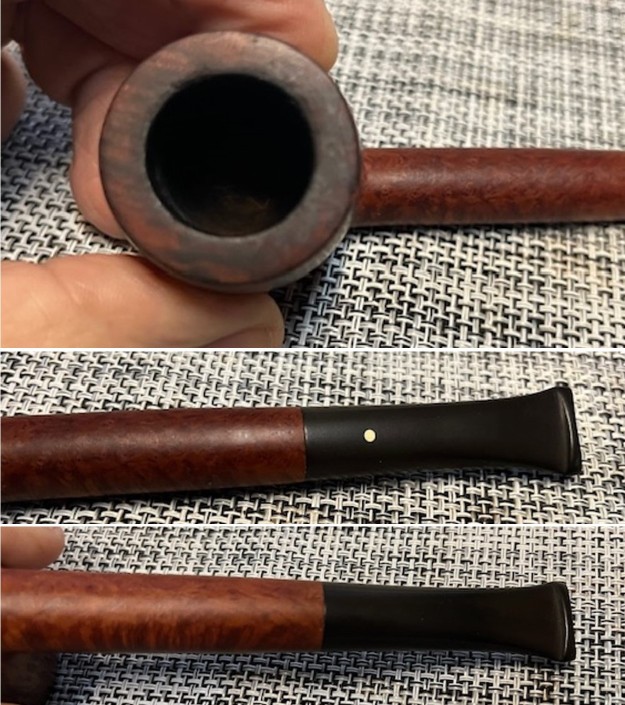
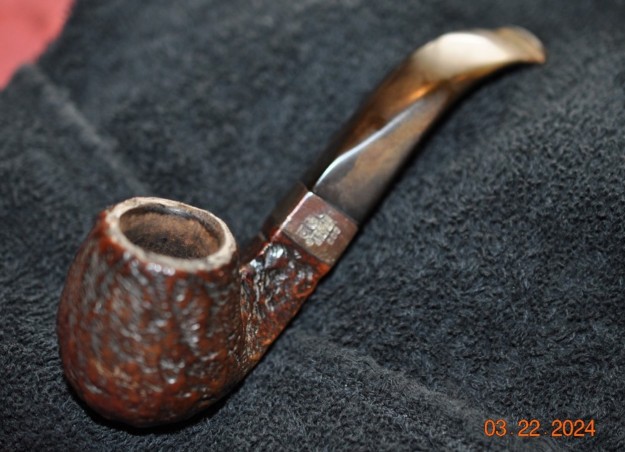 Jeff took photos of the bowl and stem to show the condition of the pipe. The rim top was very dirty with lava in the blast on the surface. The edges were hard to see their condition under the lava coat. The bowl had been reamed recently so there was just minimal cake on the walls in the lower portion. Only clean up would tell the full story. Jeff took photos of the top and underside of the p-lip stem showing the light tooth chattering, calcification and oxidation on the stem surface.

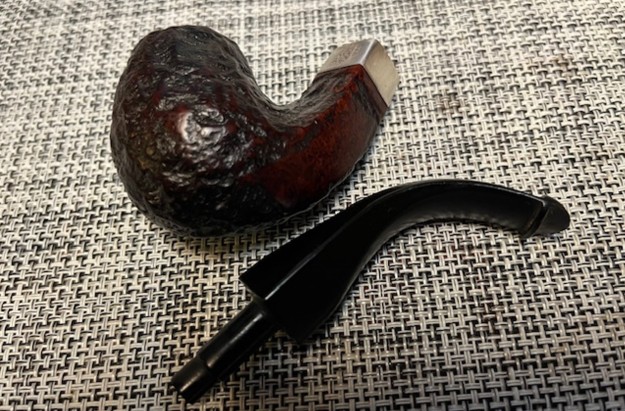
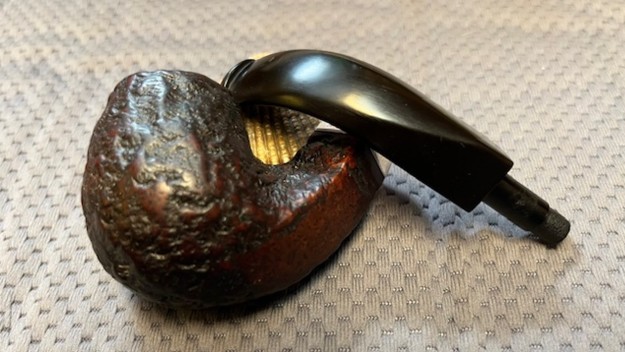
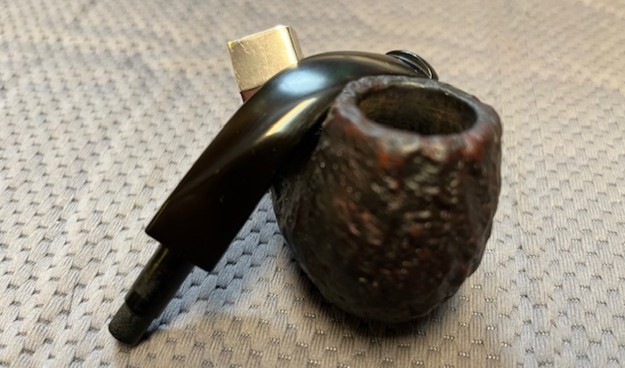
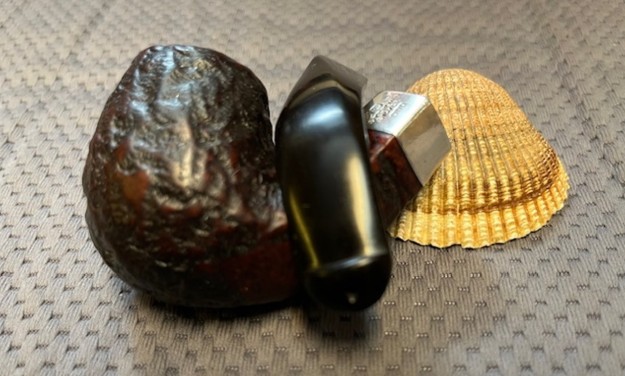
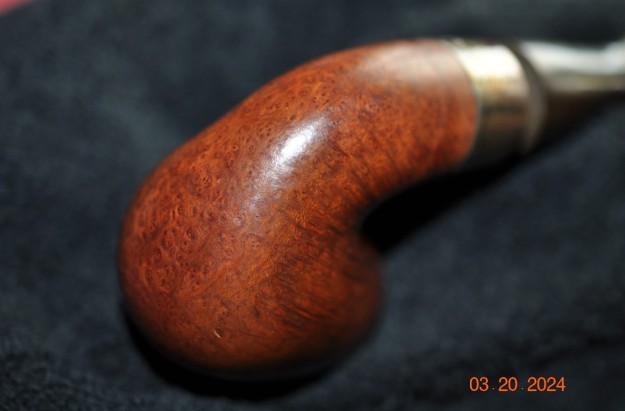
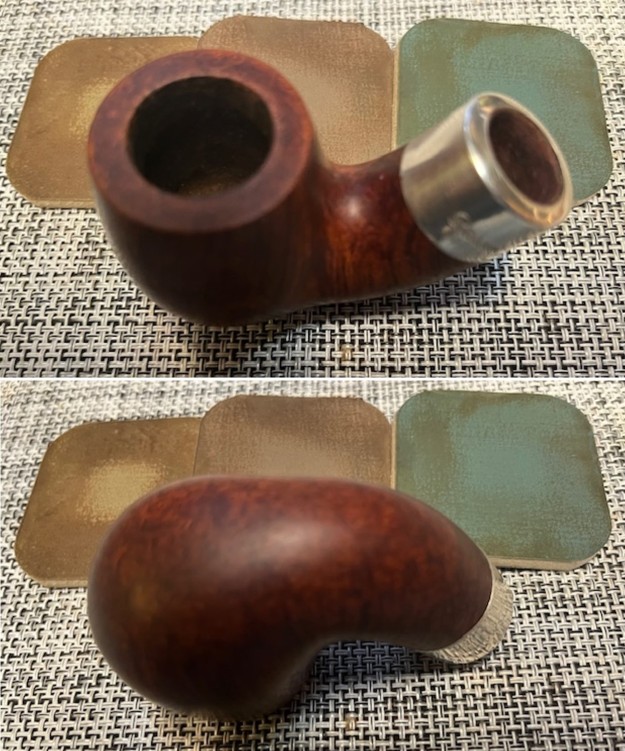
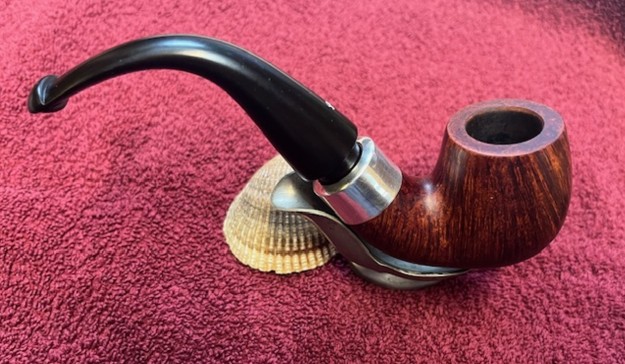
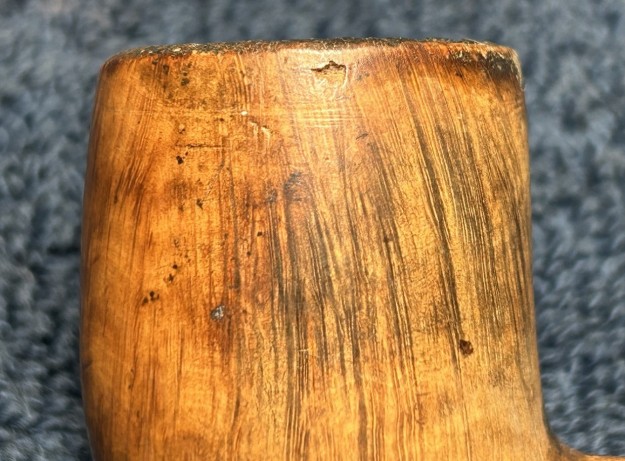
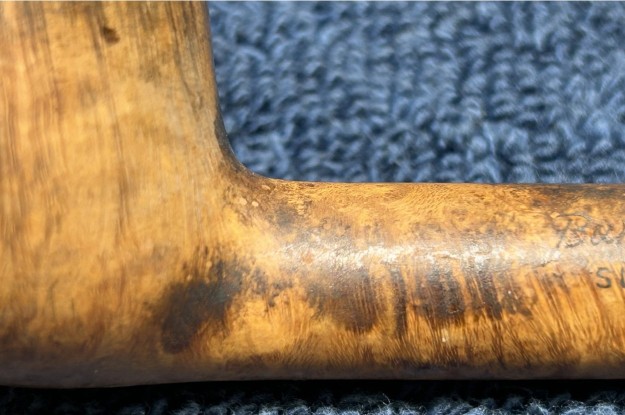
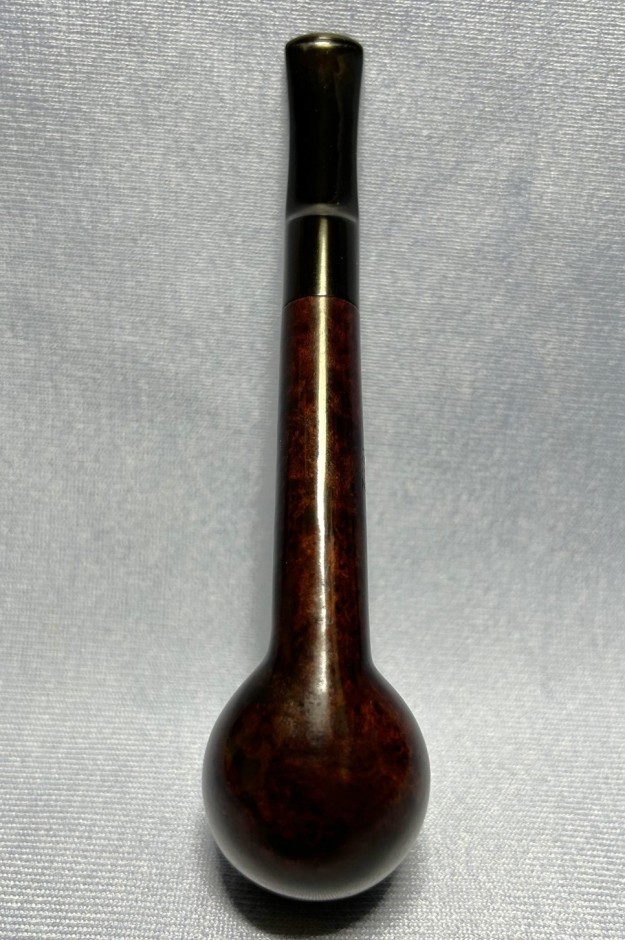
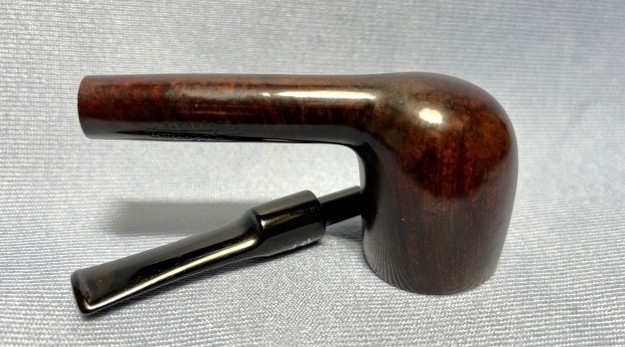
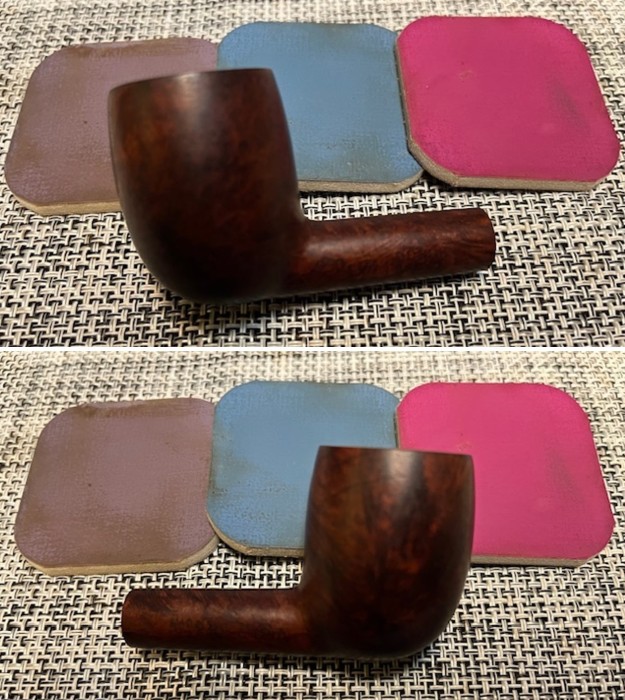
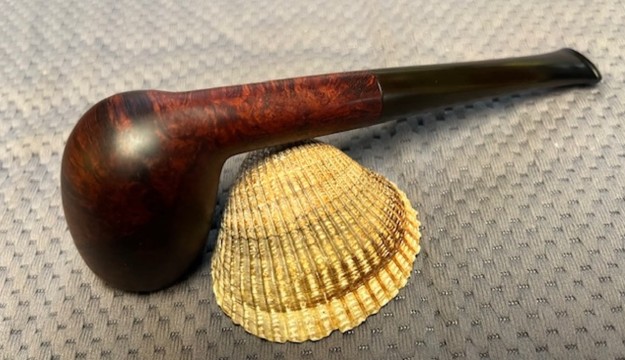
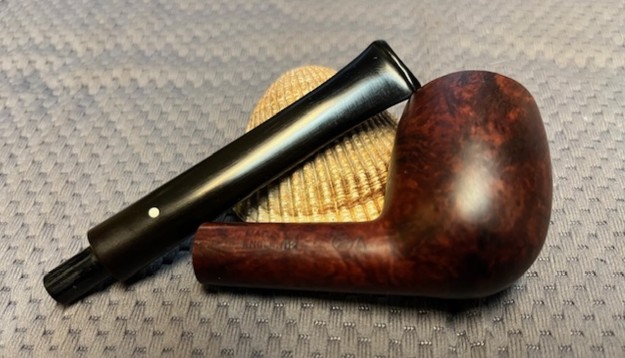
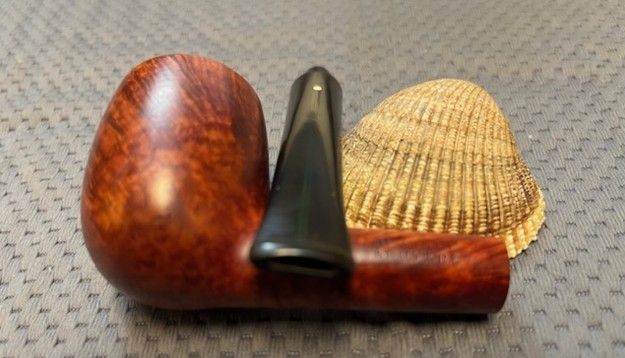
 Jeff took photos of the sides and heel of the bowl to show the condition of the finish. You can see the grime in the sandblast and the generally worn finish around the sides of the bowl and shank. Even under the wear, dirt and debris of the years it looked very good.
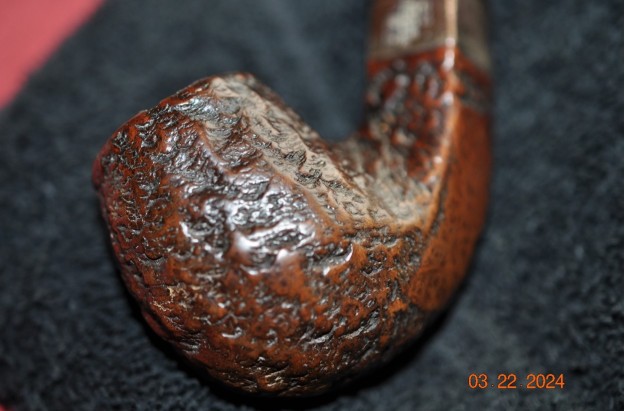
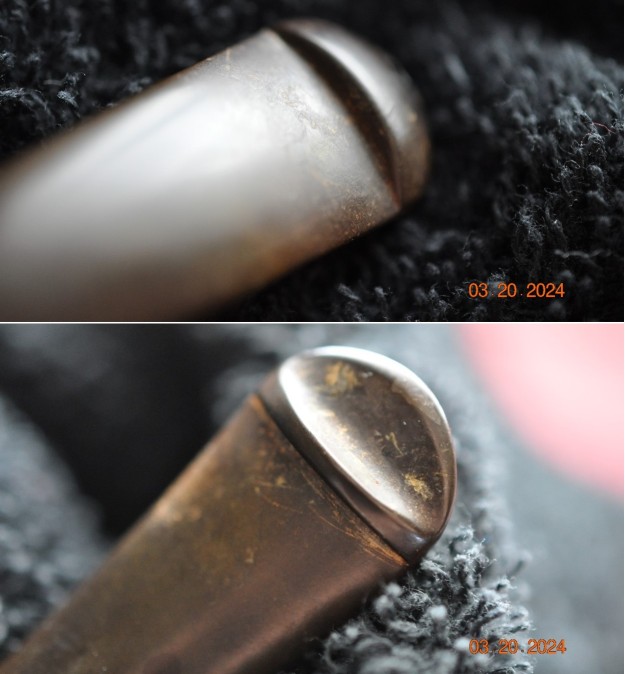
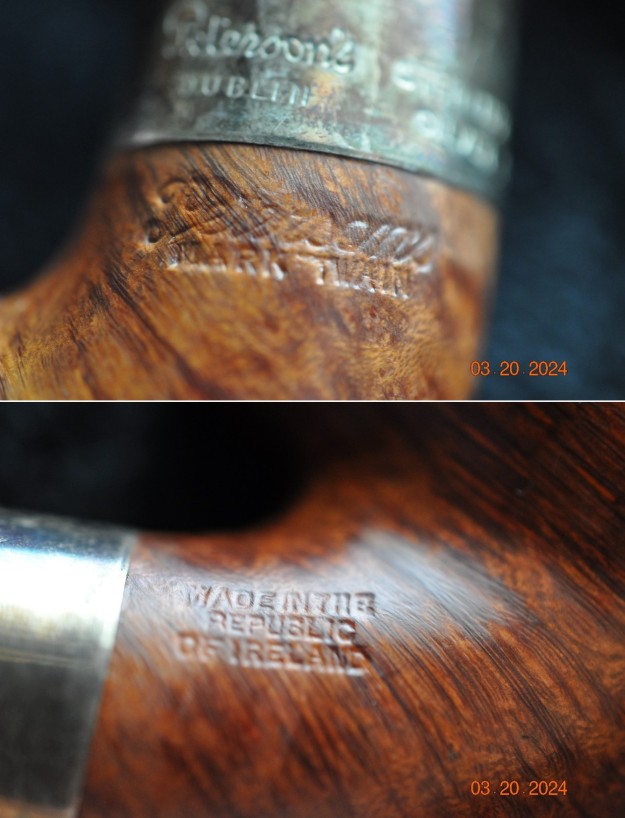
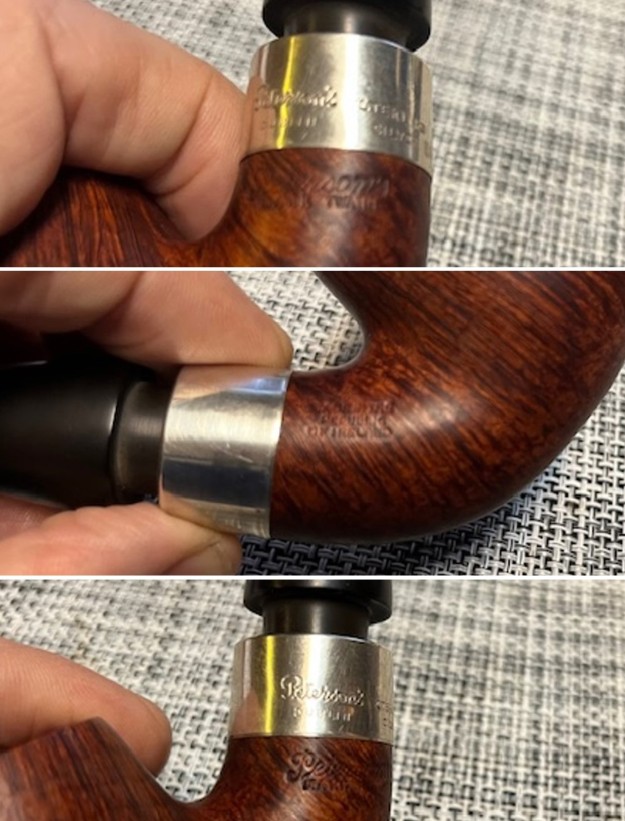
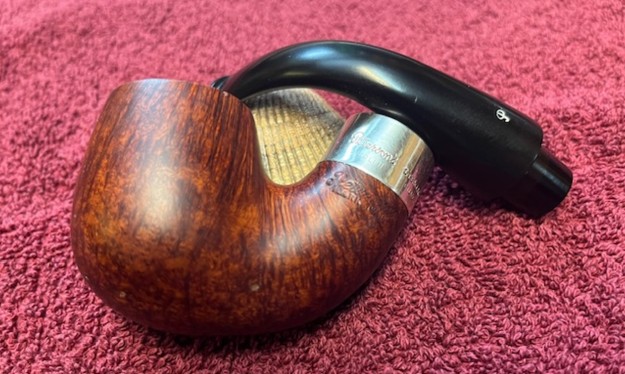
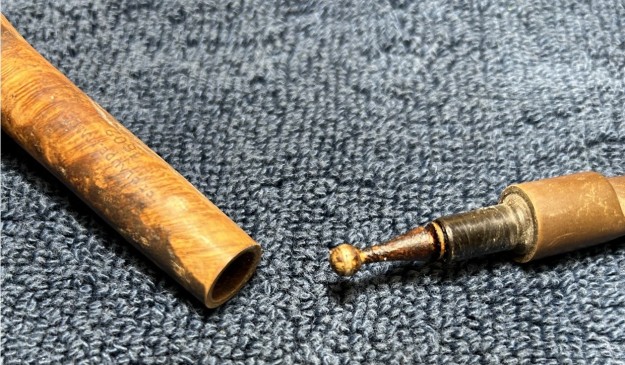
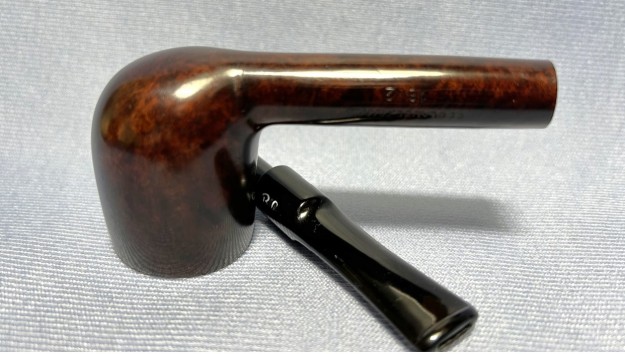
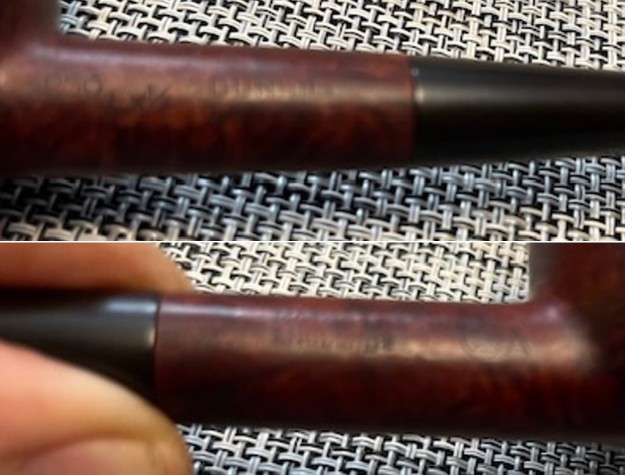
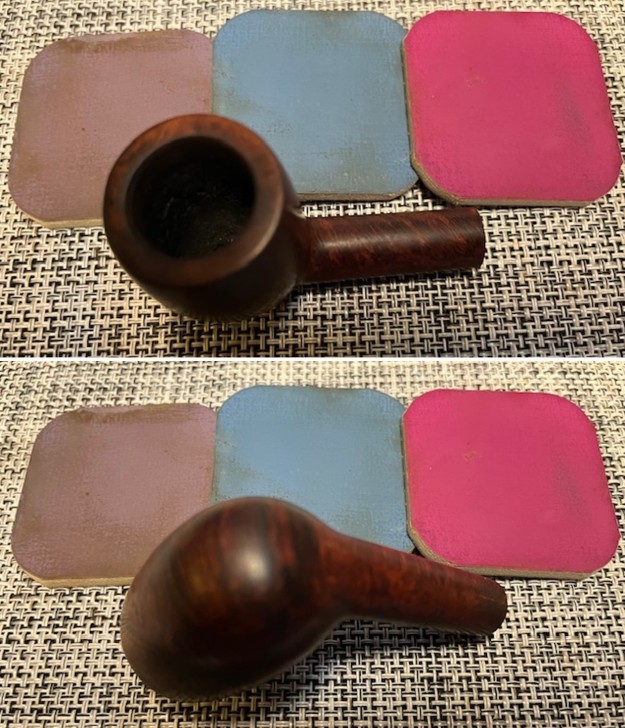
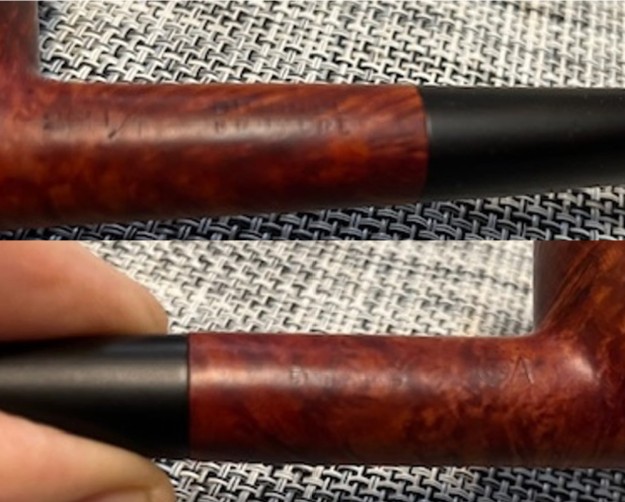
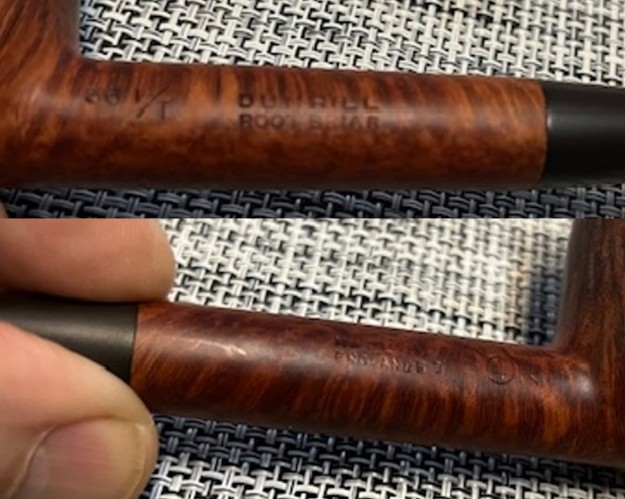
 Jeff took a photo of the stamping on the left underside of the diamond shank. The stamping was unreadable as can be seen in the photo. There are also some deep scratches in the smooth area of the stamp. The Sterling Silver Band is stamped as noted above and is very readable under the oxidation.
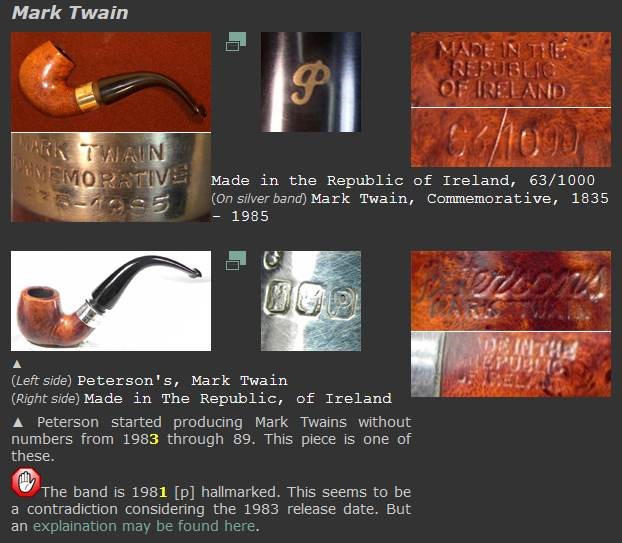
 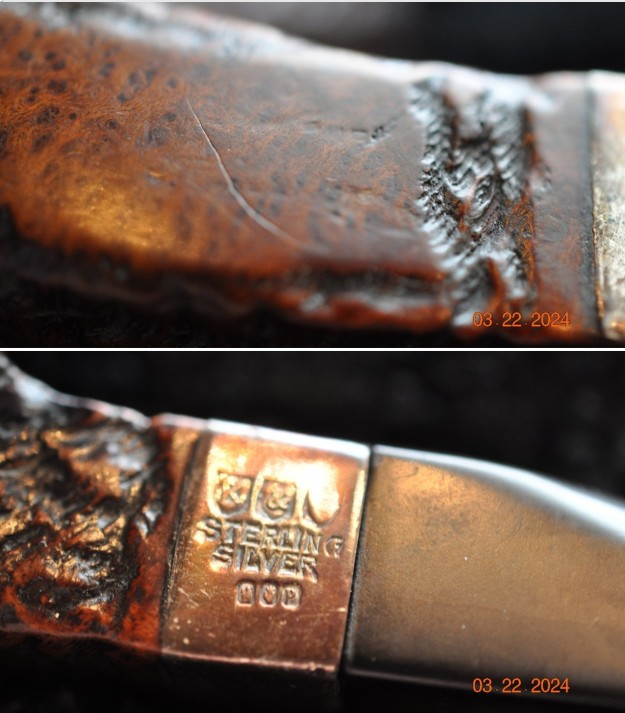 As is my habit before I start working on a particular pipe I want to know more about the pipe and the line. This one is a mystery because of the loss of the stamping. I do know that it is probably a Donegal Rocky as the rustication and the silver band fit that line of pipes. I turned to Pipephil (http://pipephil.eu/logos/en/logo-peterson-ser.html) to see if I could learn anything about it from the photos that are included. There was nothing even close. However, I followed a link on the silver hallmarks connected to the Mark Twain pipe I just completed. That was the most promising information I have found so far. I have included a screen capture of the pertinent section below.
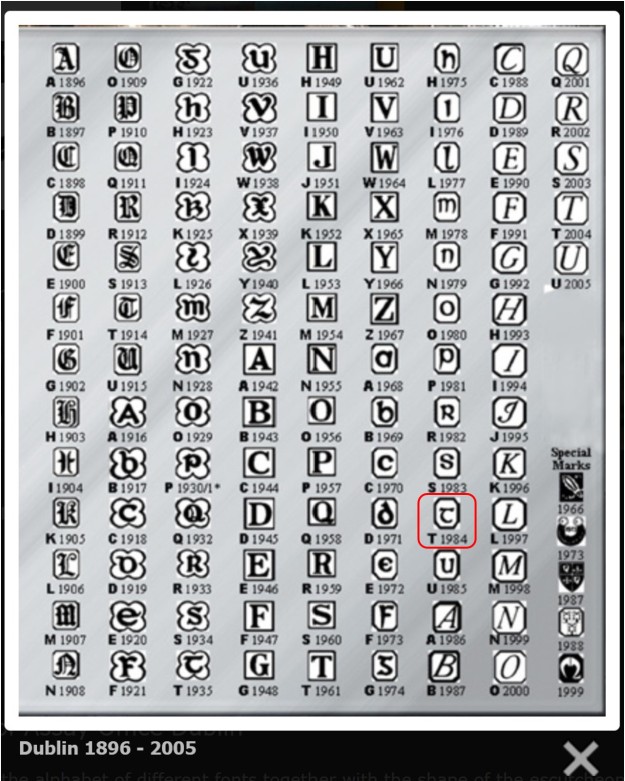
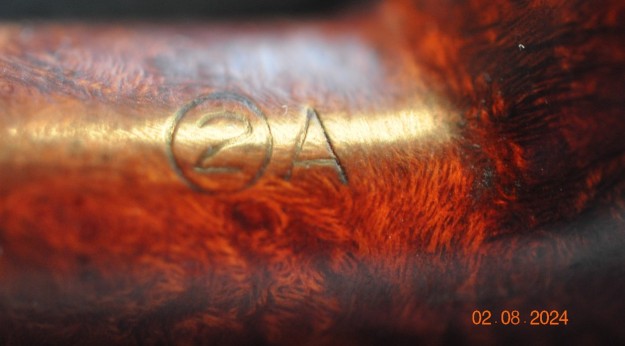
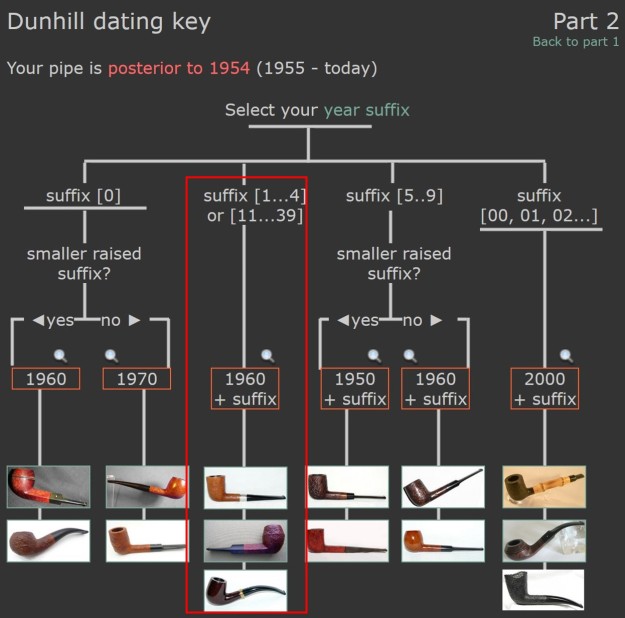
I wanted to understand the date mark and dig further. The band on the pipe I am working on has the three hallmarks noted in the photo above. They are as follows. The first is Hibernia seated, arm on a harp (for the country of manufacture – Ireland). Next to that is a Crowned Harp designating the sterling quality. Finally, it is followed by the date stamp which in this case is Celtic style, italic upper-case P. I have included information on the hallmarks below: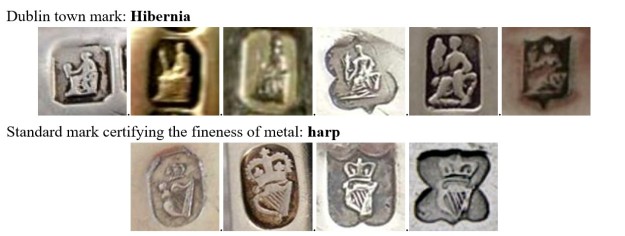 Date letters of Assay Office Dublin
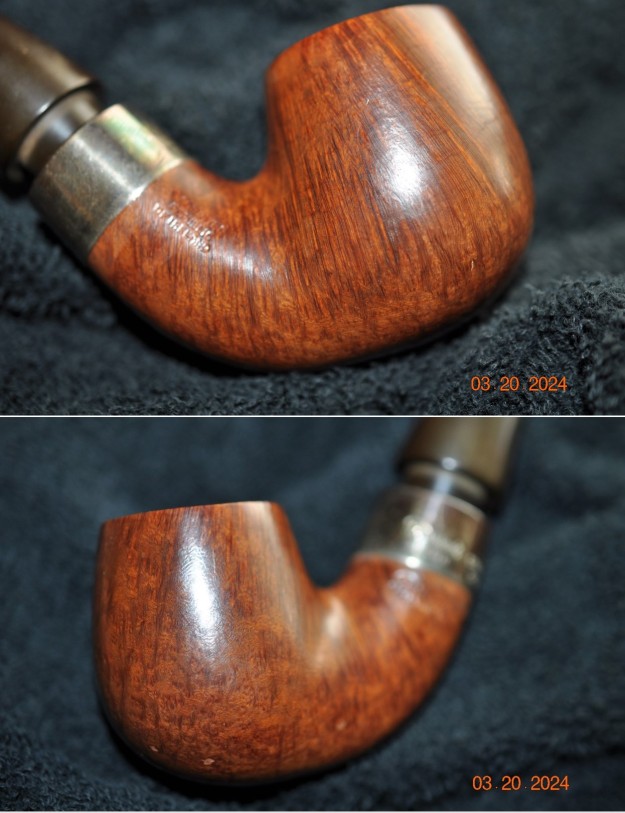
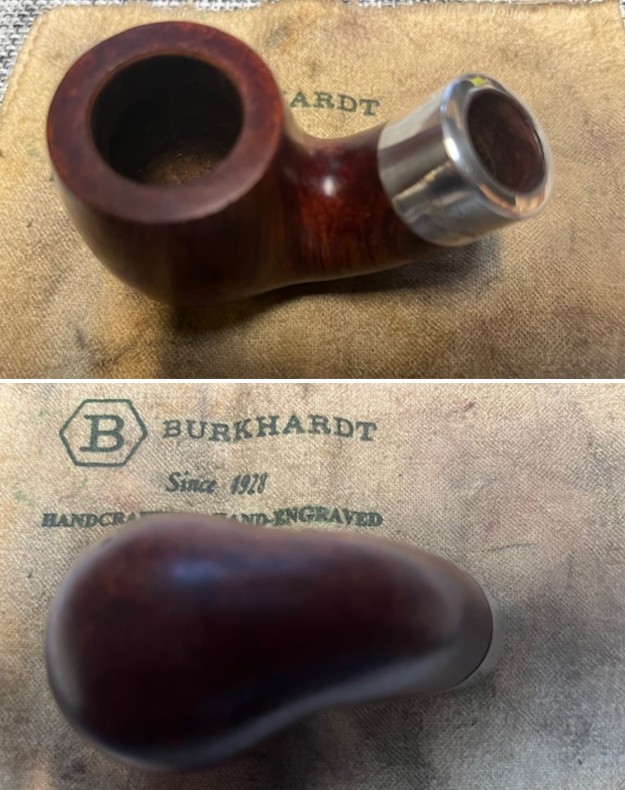
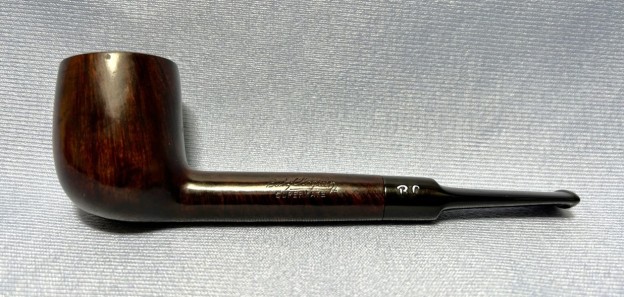
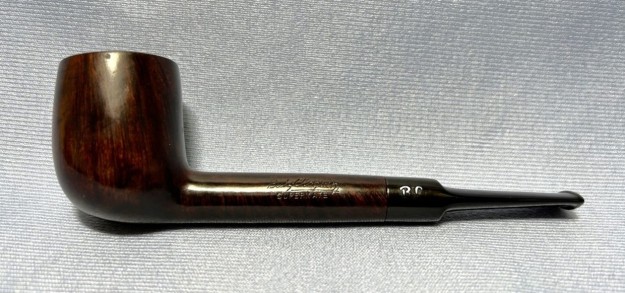
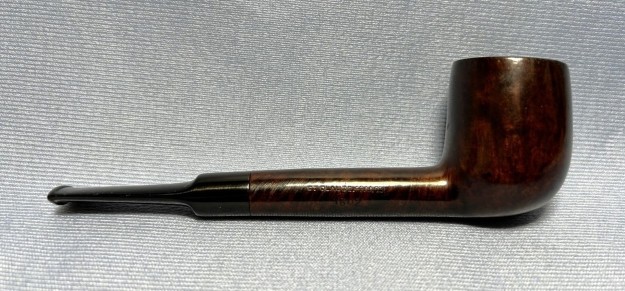
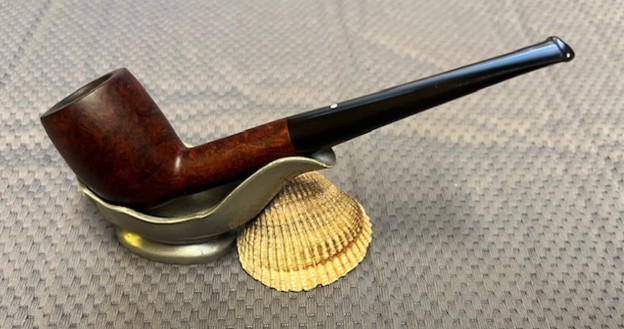
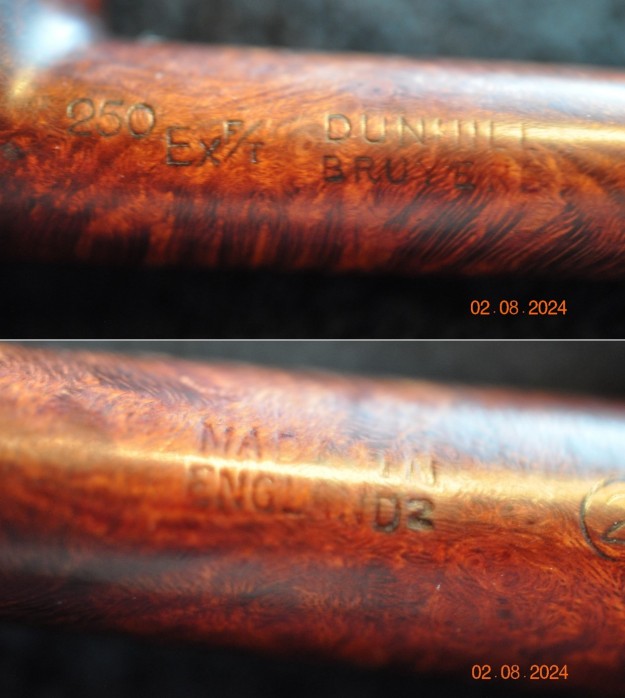
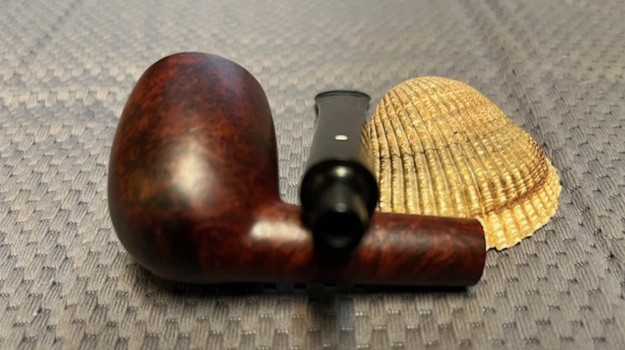
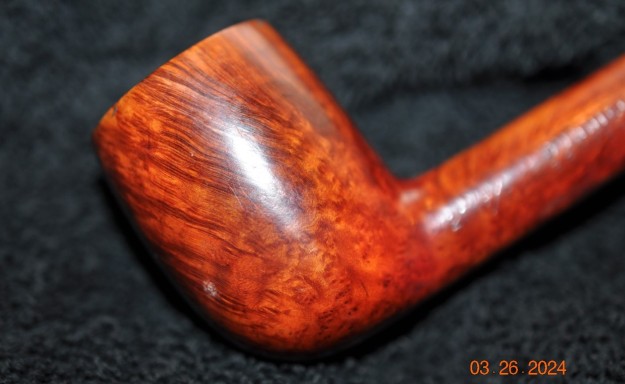
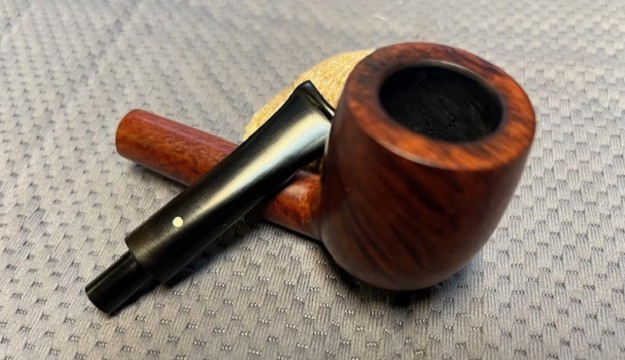
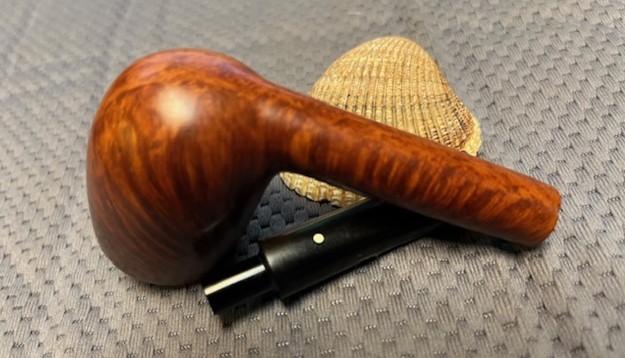
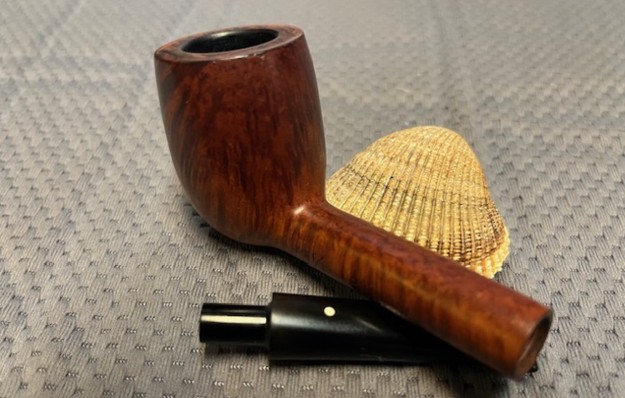
Twenty letters of the alphabet of different fonts together with the shape of the escutcheon identify the year in which the piece was verified by the assay office. I have drawn a rectangle around the matching letter P in the chart below which dates the pipe as a 1980.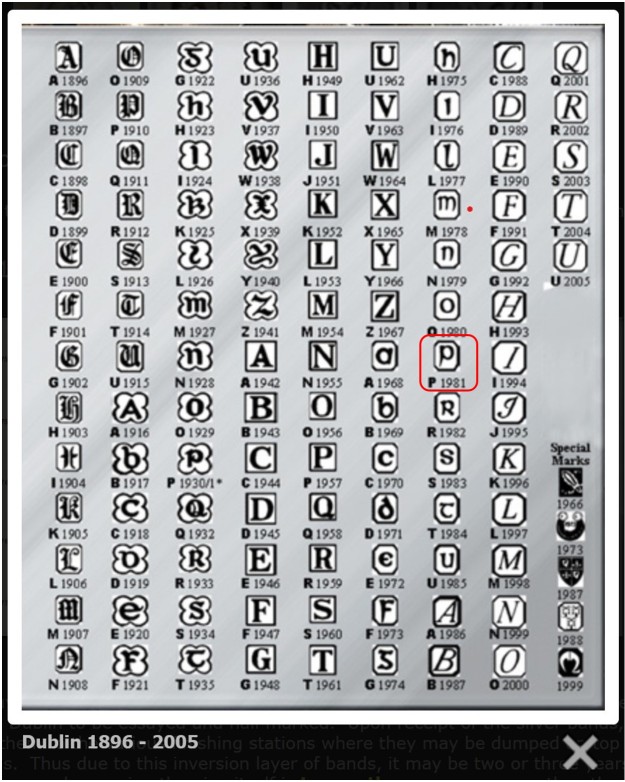 Now I knew that the pipe was a Republic Era Rusticated pipe that was made in 1980. I could not find a shape like the one I had here on the table. I did find a pipe with a similar style rustication and band that was on my rebornpipes site. It is simply stamped Peterson’s Dublin. There is a similarity to the worn on that I am working on now. The pattern is similar on this one. Here is the link: (https://rebornpipes.com/2022/04/14/restoring-an-interesting-long-shank-rusticated-petersons-of-dublin-canadian/). I have included some photos of the pipe rustication and the stamping on the heel and the Sterling Silver shank band to show the possibility of similar stamping on my mystery pipe.
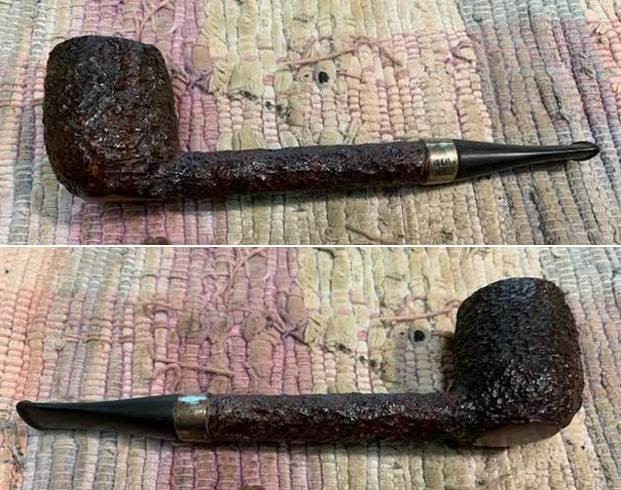
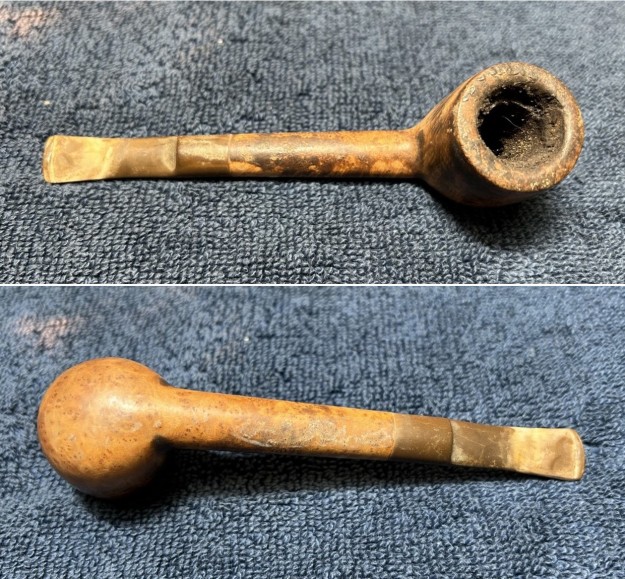
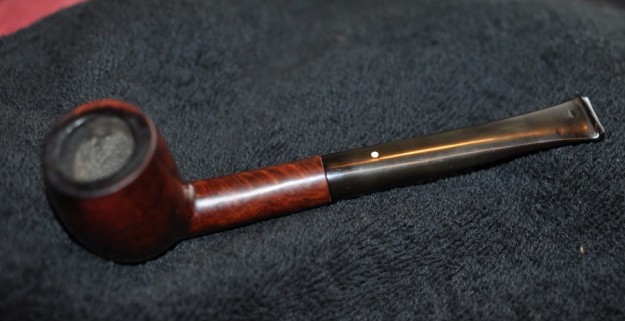
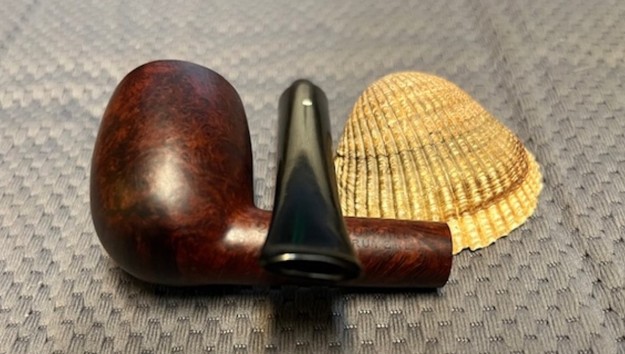
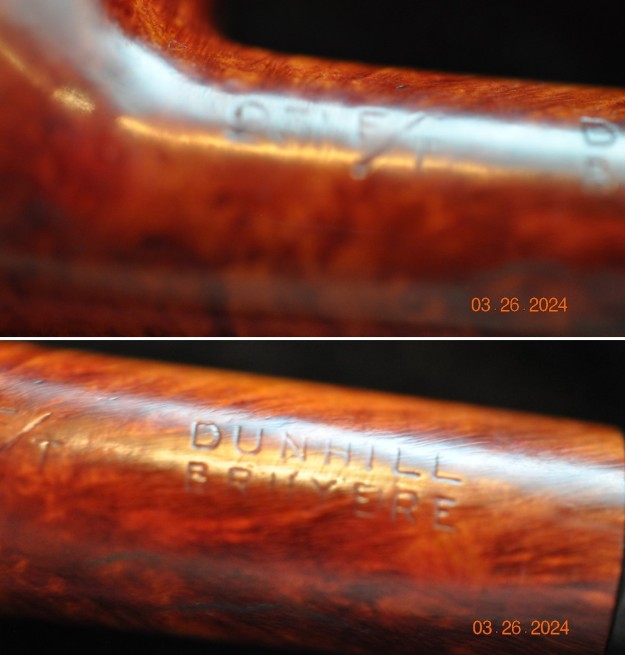
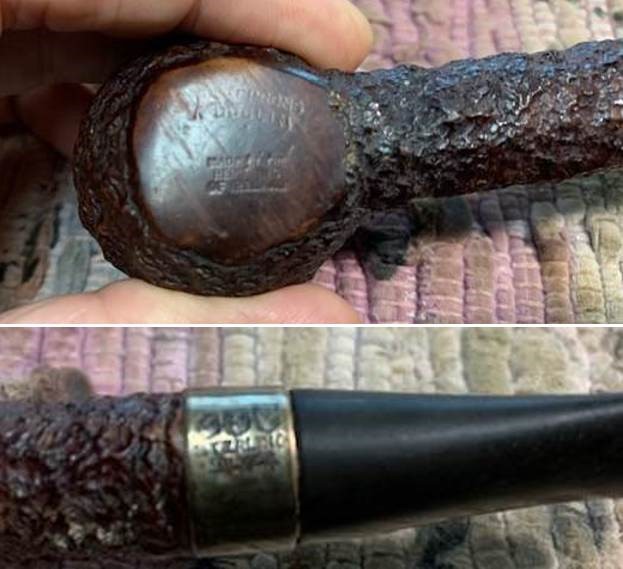 I am also including a portion of that blog where I dug out the stamping on the pipe and the band. I quote from that blog below as there are some very pertinent clues to the possible stamping that is missing on this pipe.
I turned to the Peterson’s Pipe by Mark Irwin and Gary Malmberg to ferret out information on the stamping of this pipe to try to pin down a date. Under the section, Dublin on Page 298 I found information on the stamping on this pipe. I quote:
Dublin (1906-2003) Although DUBLIN appears under PETERSON’S on many pipes over the decades, it has served mostly as part of the brand name. The word first appeared on pipes hallmarked 1906-11, stamped PETERSON’S over PATENT over DUBLIN. The simpler PETERSON’S over DUBLIN appeared on pipes hallmarked 1912 after the expiration of the patent… Specimens of the former will bear either an Irish COM or LONDON MADE over ENGLAND COM and almost certainly date from 1945-62. It was first mentioned in print as part of a model name in the ’68 price list, as K&P Dublin…
I looked also at the information on page 304 about the K&P stamping on the silver band. I quote below.
K&P Another set of three marks, each in a shield-shaped frame are frequently mistaken as hallmarks and are seen on sterling bands. See Maker’s Mark…
On page 305
K&P on Mount …A second style of maker’s mark, K&P in three shields, was registered on June 26,1908 and has been in continuous use since.
On page 307
Maker’s Mark … Collectors frequently mistake this row of three shields for hallmarks, especially on pipes made between 1938-68 when Peterson sterling mounts had no proper hallmarks. Collectors tend to label these faux hallmarks. The three shields are not hallmarks at all but their presence on the mount does confirm the mounting is sterling.
Now at least I had a time frame for the pipe. It had the three maker’s marks in three separate shields (K&P). The sterling silver band on my pipe had three Silver Hallmarks so I knew that it was made after 1938-1968 when no such marks were used. The K&P stamp on the silver and the Dublin stamp on the shank of the above Canadian match what I am surmising must have been stamped on this pipe. I am guessing of course but think that the pipe may well have been stamped Peterson’s [arched over] Dublin followed by Made in the Republic of Ireland stamp (in three lines). That and the silver hallmark date of 1980 place the pipe as a Republic Era Pipe which dated it from 1950-1989. Armed with that history and having a sense of the possible brand it was now time to do a bit of spiffing with the pipe itself.
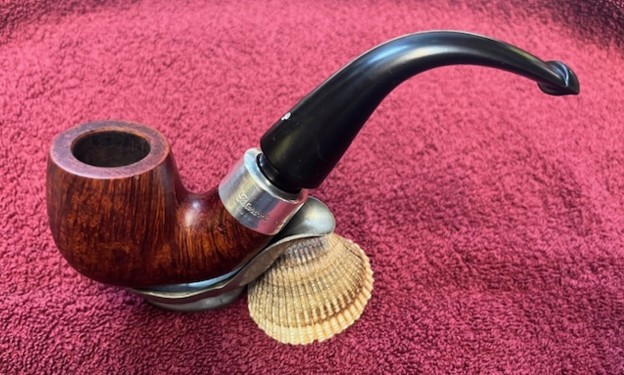
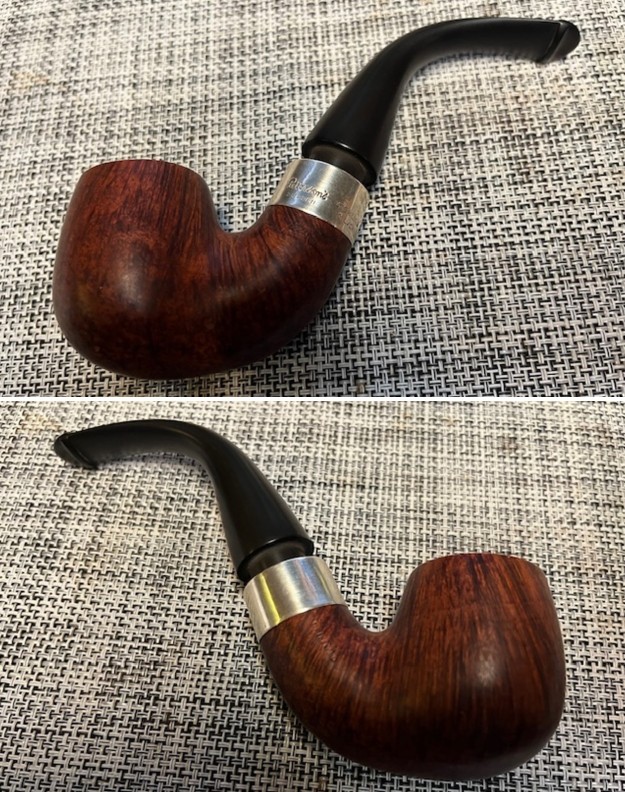
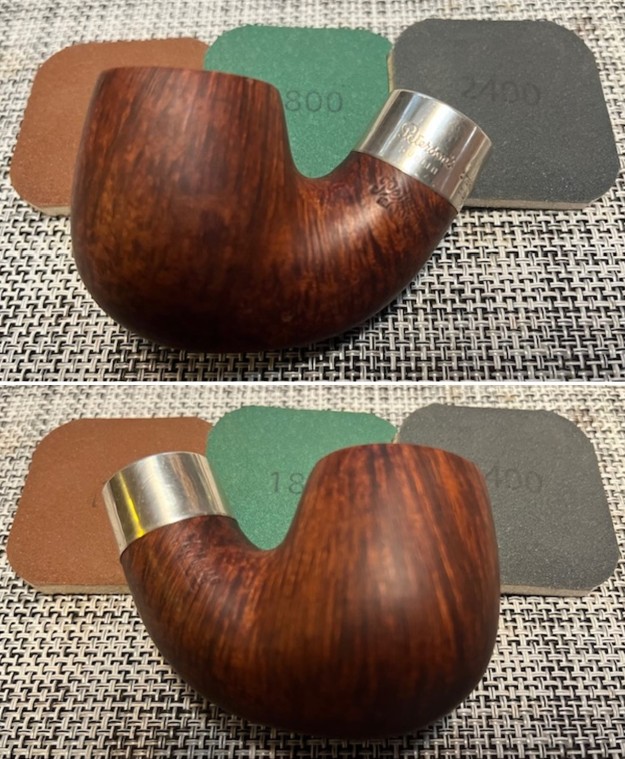
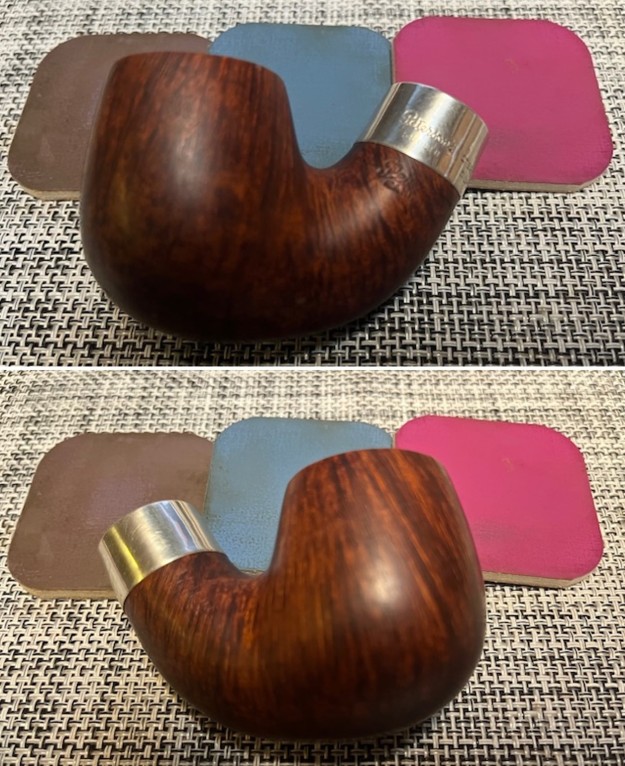
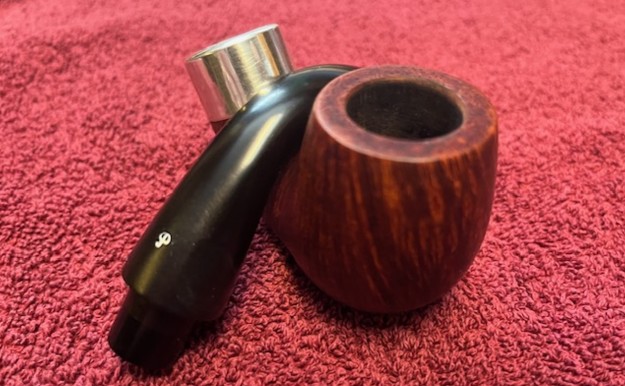
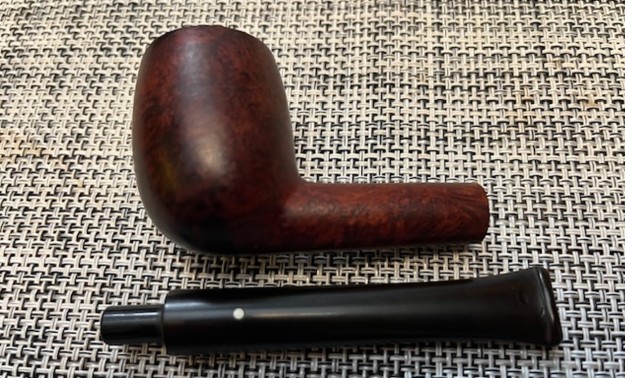
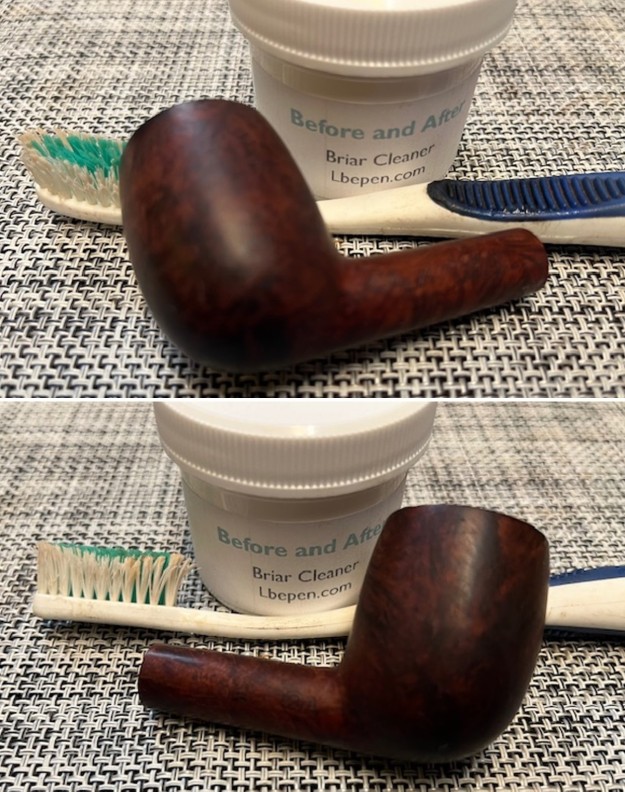
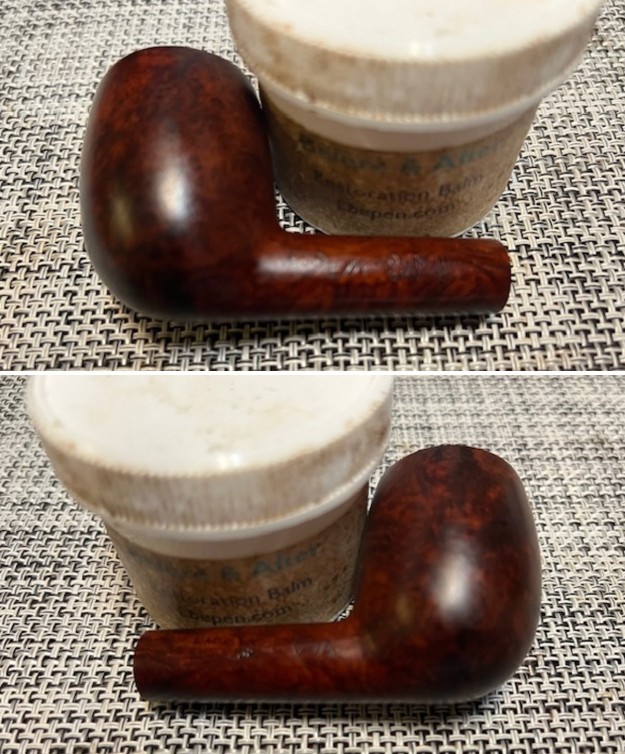
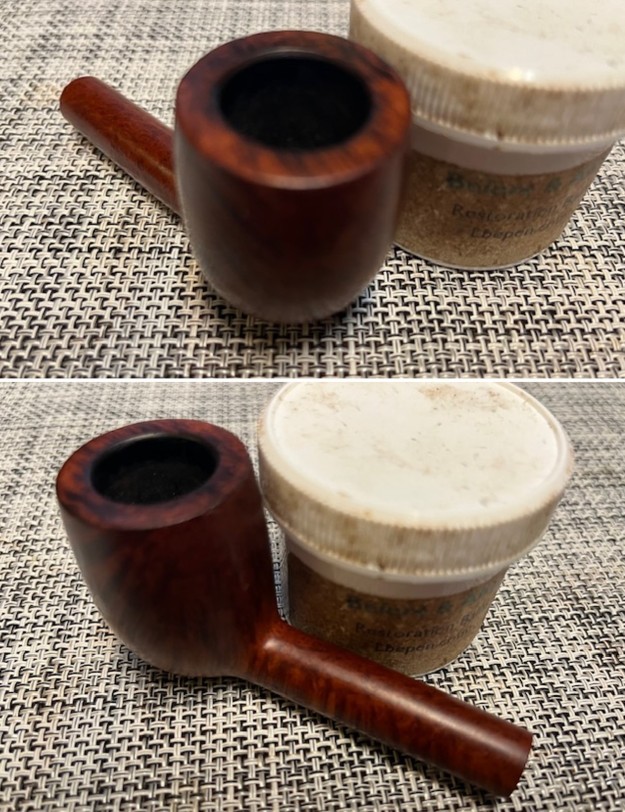
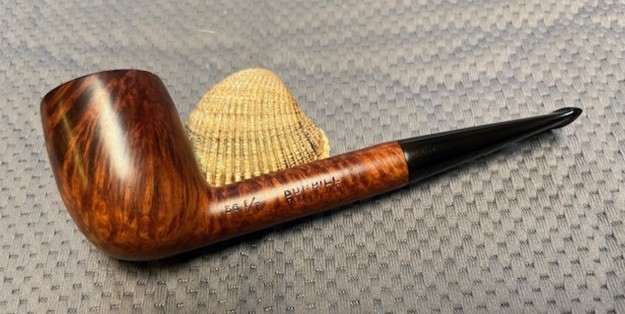
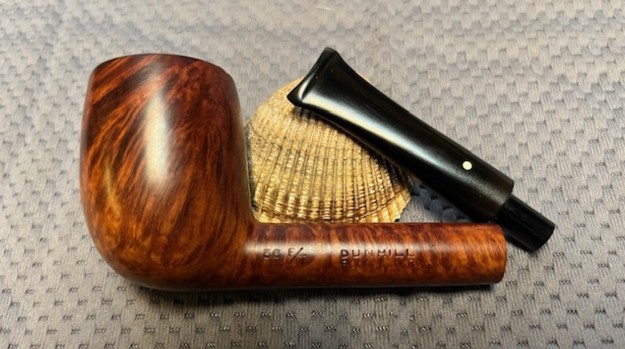
Now it was time to work on the pipe. Jeff had done a great job cleaning up the pipe as usual. He reamed the pipe with a PipNet reamer and cut back the cake back to the bare briar. He cleaned up the walls with a Savinelli Fitsall Pipe Knife. He scrubbed the interior of the bowl and shank with pipe cleaners, cotton swabs, shank brushes and alcohol to remove the tars and oils. He scrubbed the exterior of the pipe with Murphy’s Oil Soap and a tooth brush to remove the grime from the finish. He worked on the rim top lava and darkening with the soap and tooth brush. It looked much better. The silver ferrule looked better and the tarnish was reduced. He soaked the stem in Briarville’s Pipe Stem Deoxidizer and rinsed it off with warm water. When I brought it to the work table I wanted to see if I could resurrect the stamping so I rubbed in a coat of Before & After Restoration Balm. I forgot to take pictures before but trust me it was a very clean pipe all the way around. Here are some photos after sitting with the Balm and being hand buffed with a cloth. It is a beautiful pipe.
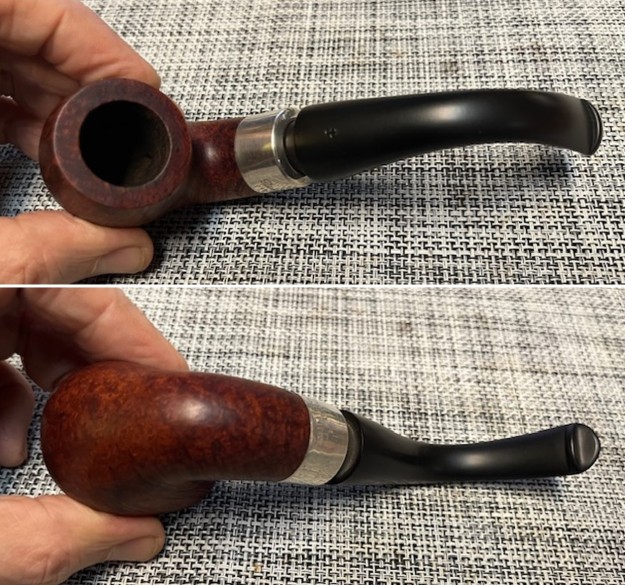
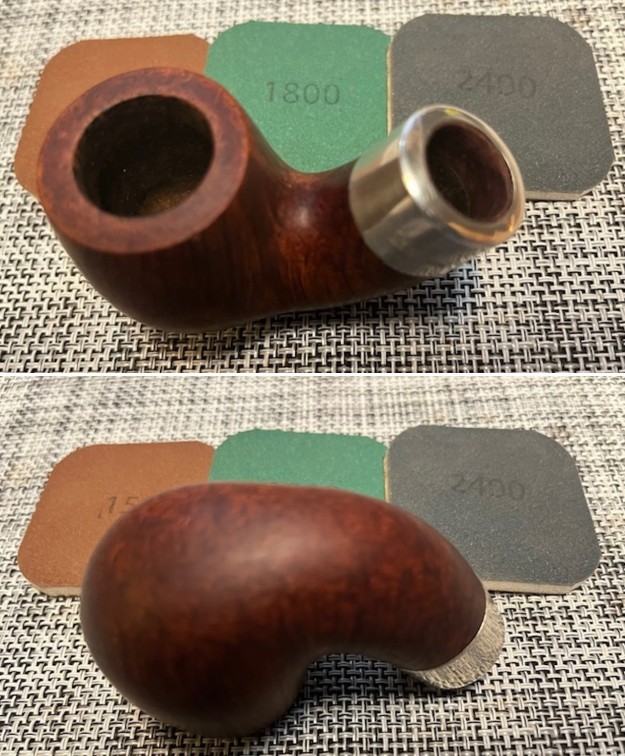
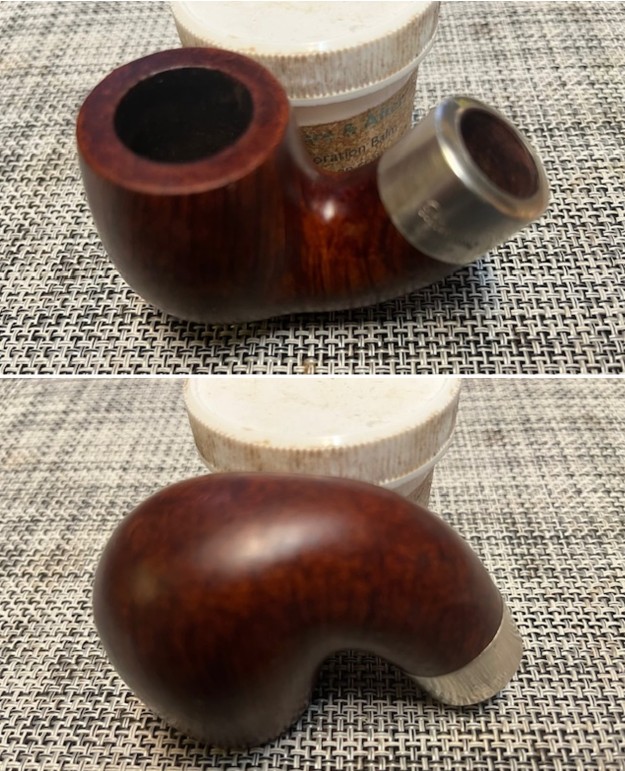
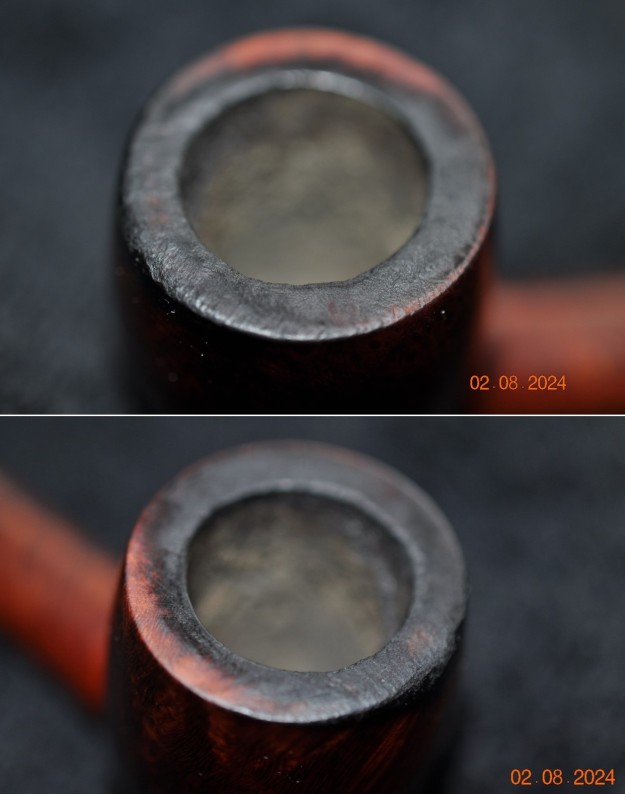
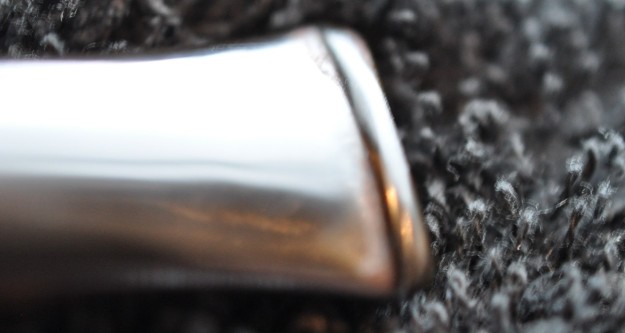
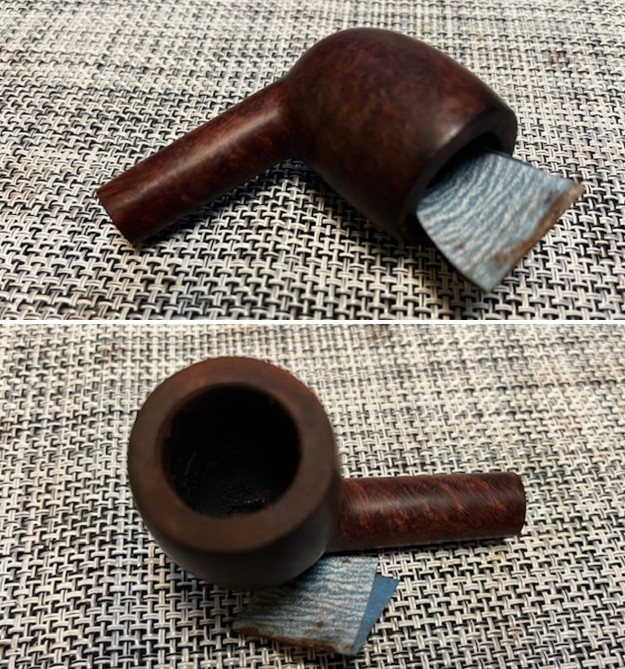
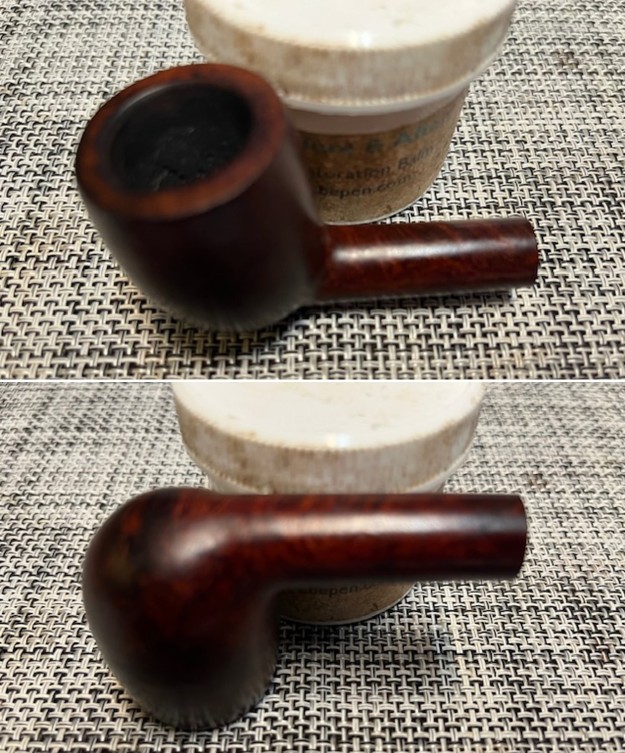
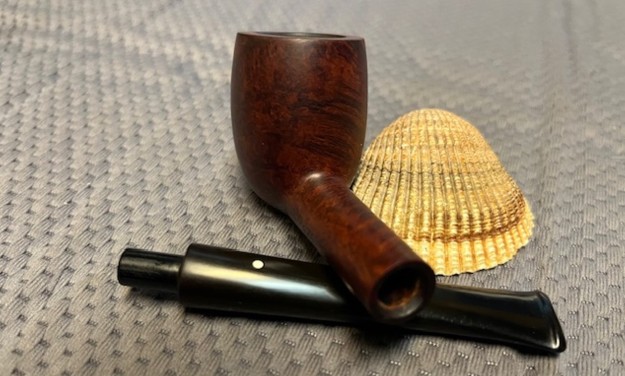
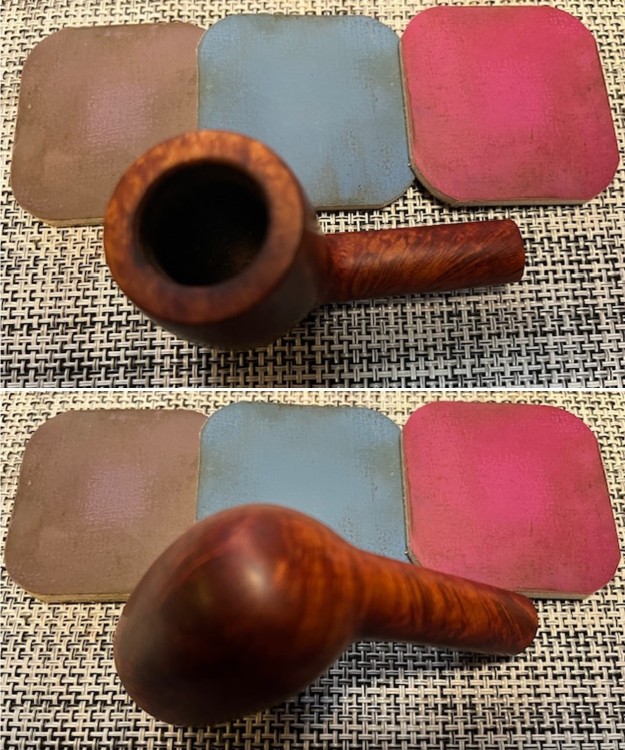
 I took some close up photos of the rim top and also of the stem surface. I wanted to show how well it had cleaned up. The rim top and edges looked very good. It should polish up really well. I also took photos of the stem to show the condition. The tooth marks and chatter are present but hard to see in the photos which is good. It means that none of them are too deep. The stem was clear of oxidation.
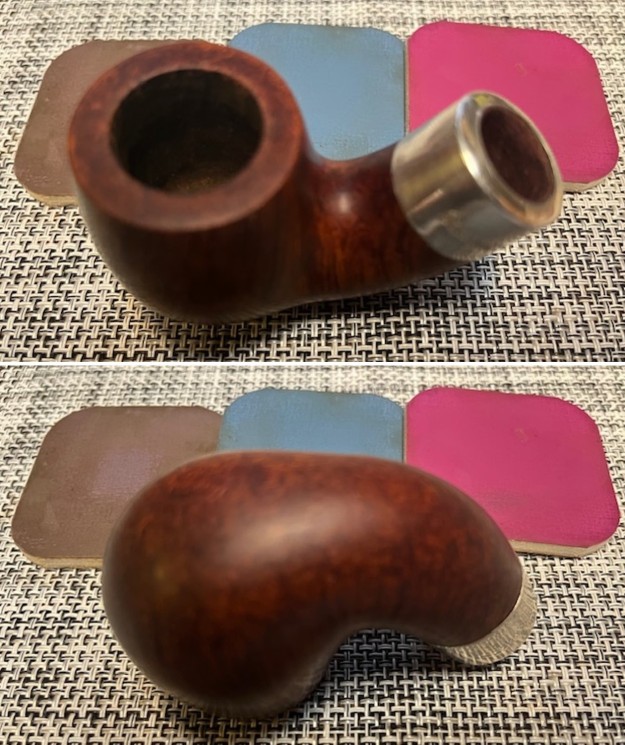
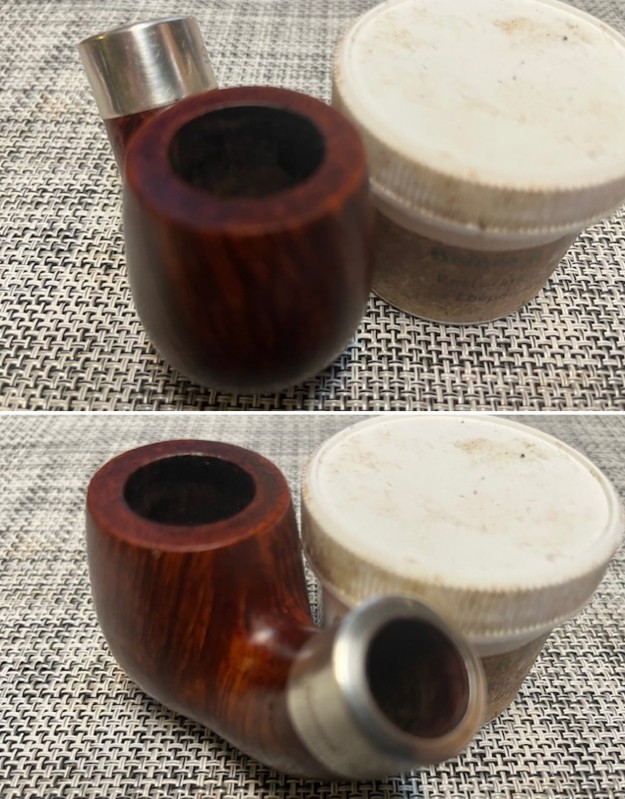
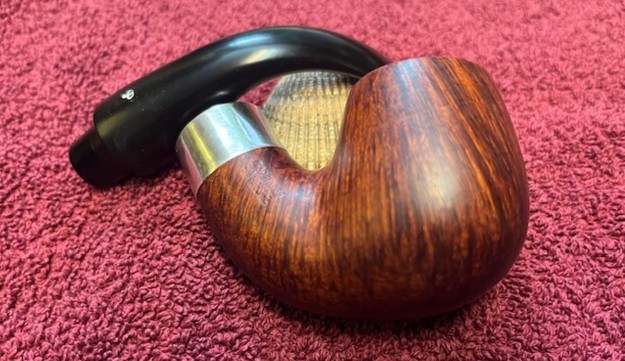
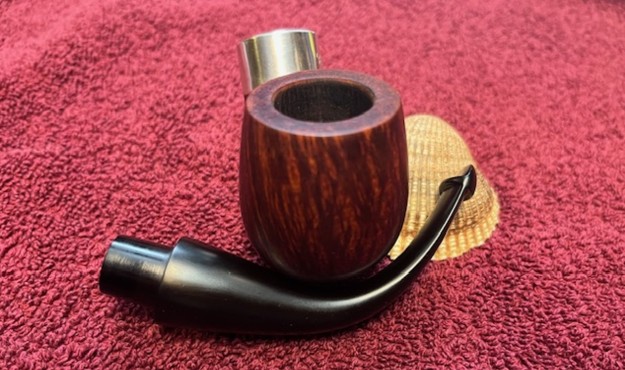
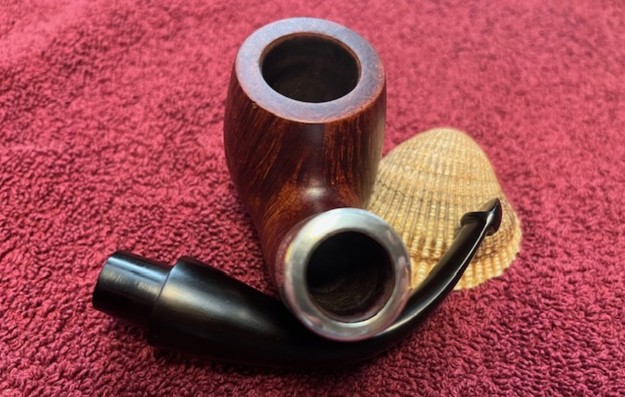
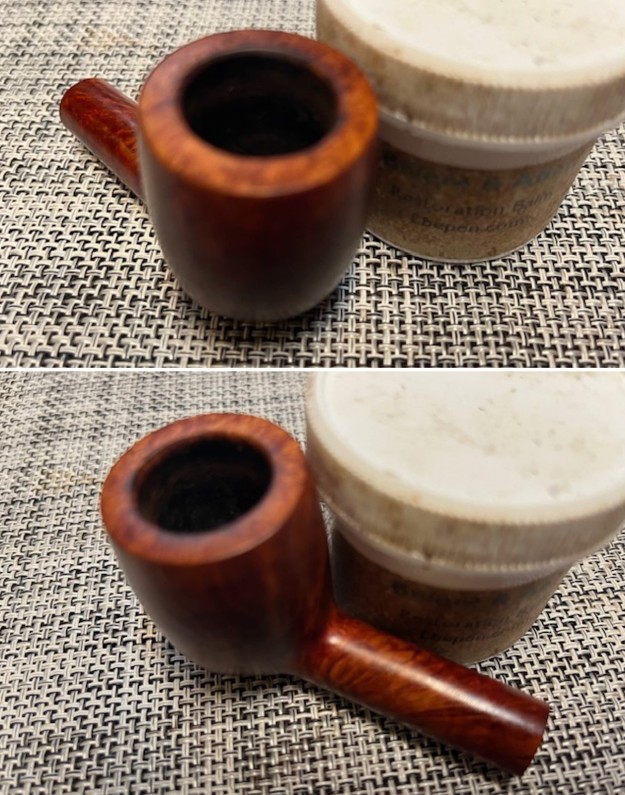
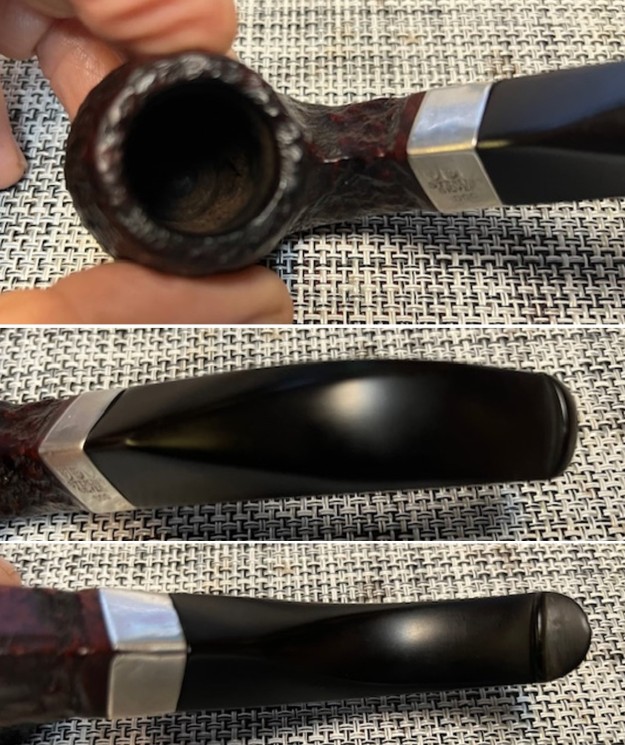 I took photos of the stamping on the sides of the shank. You can see that the stamping is virtually invisible and not readable. I removed the stem and took a photo of the pipe to have a look at the parts and overall look. The new stem looked really good with the bowl.
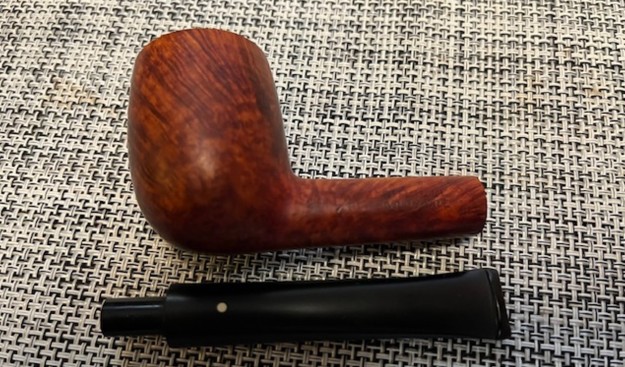
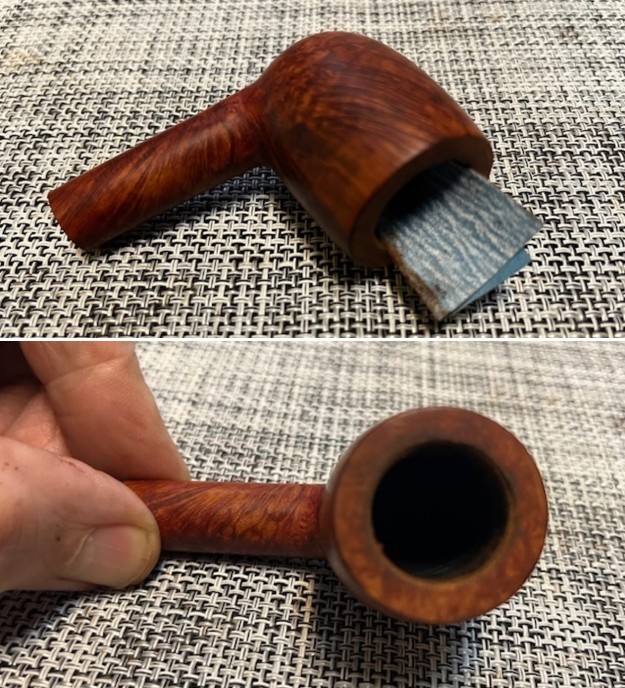
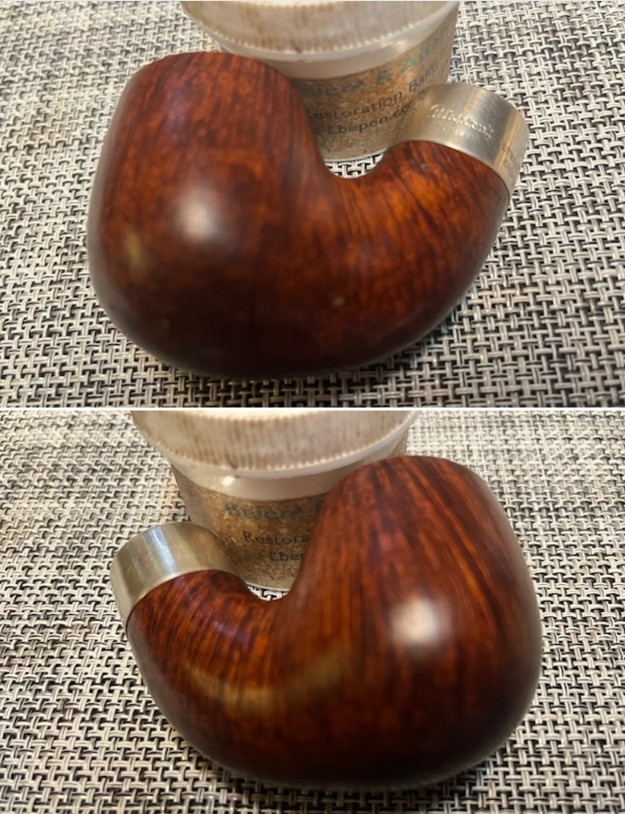
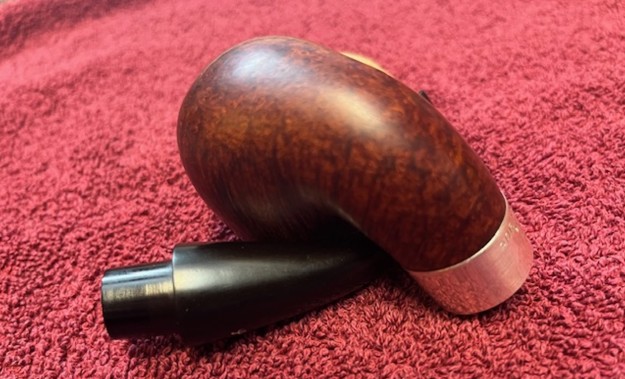
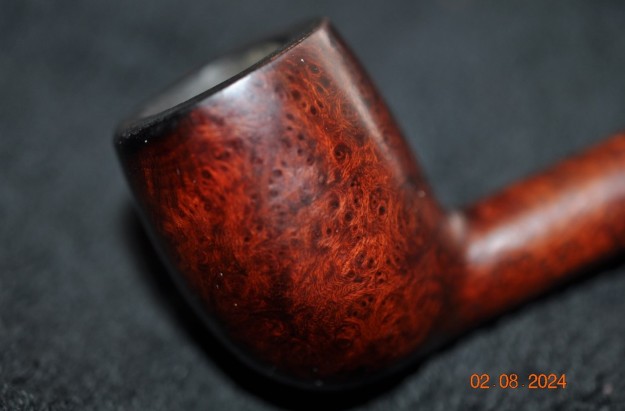
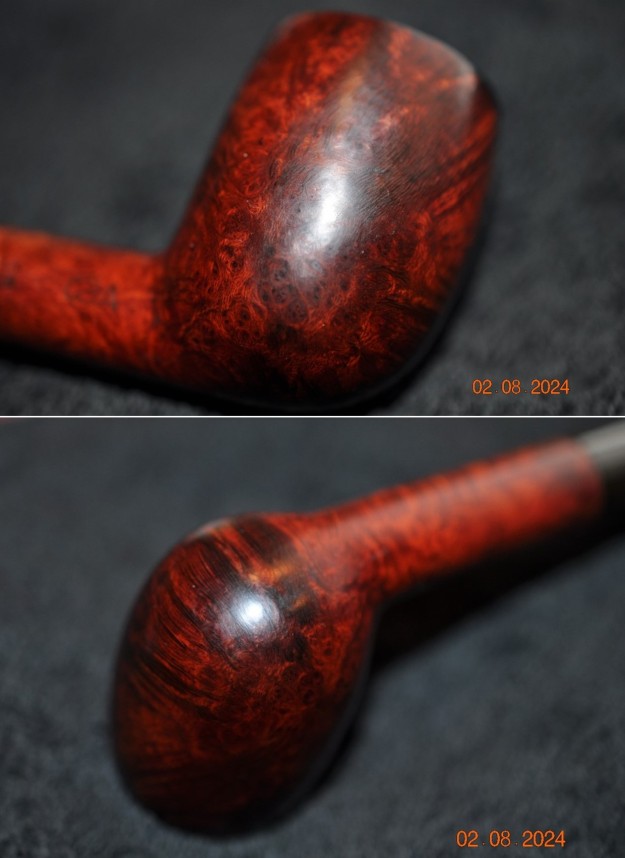
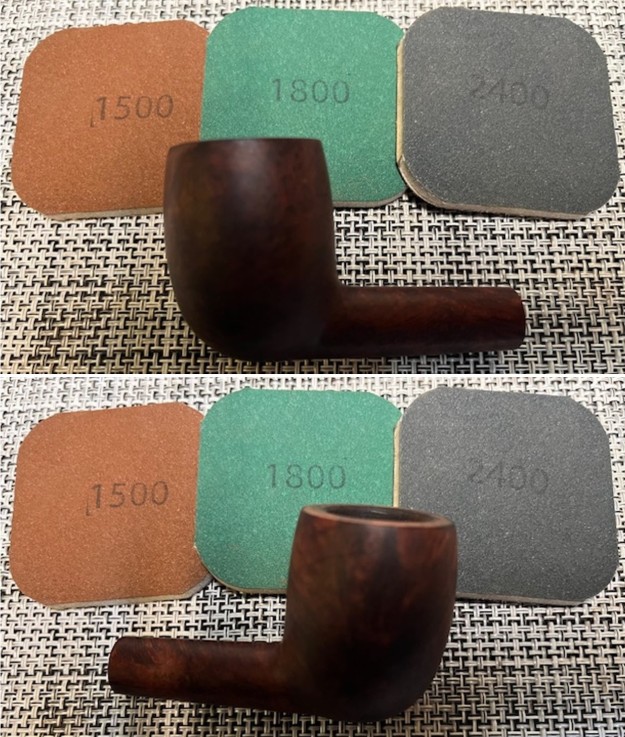
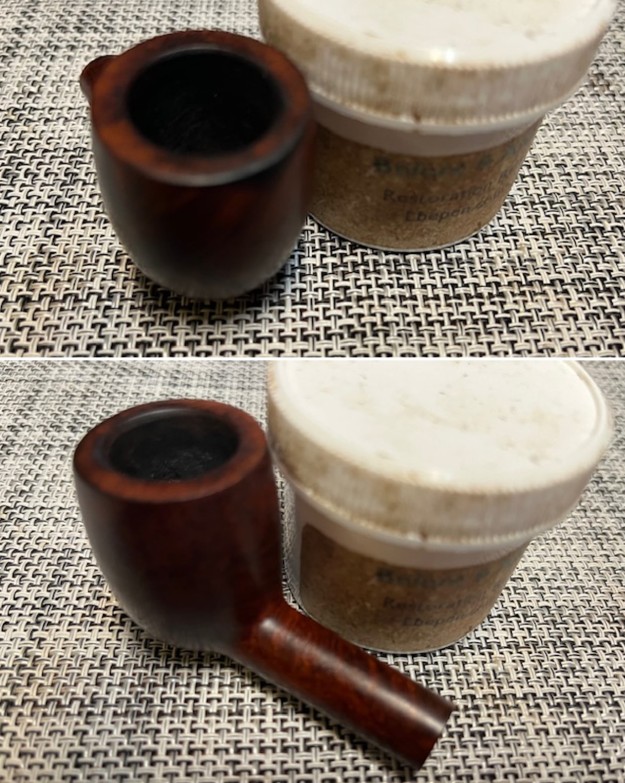
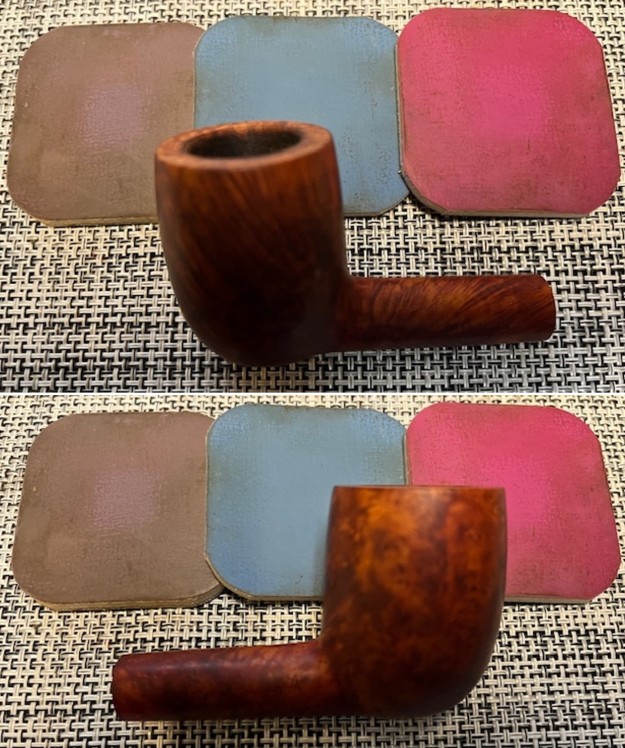
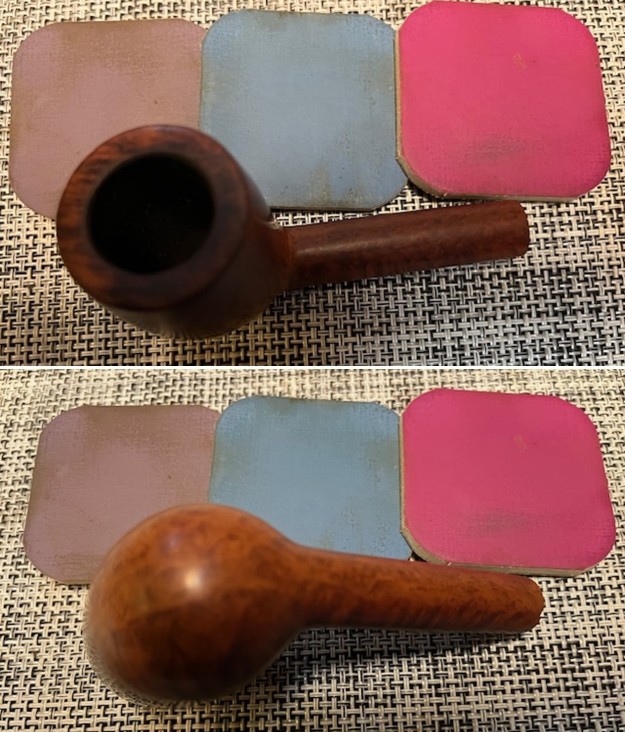
 As you read above I had jumped the gun and rubbed some Before & After Restoration Balm into the surface of the briar with my fingertips to clean, enliven and protect the briar. I let the balm sit for 15 minutes and then buffed with a cotton cloth to raise the shine. The photos show the bowl at this point in the restoration process. My hope was that the balm might raise some of the stamp to be readable. Sadly, it did not do so and the mystery remains.
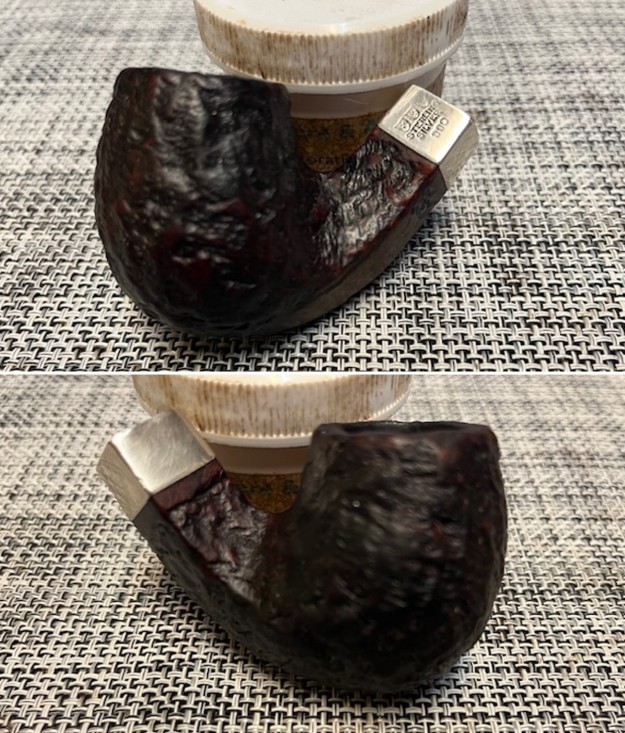

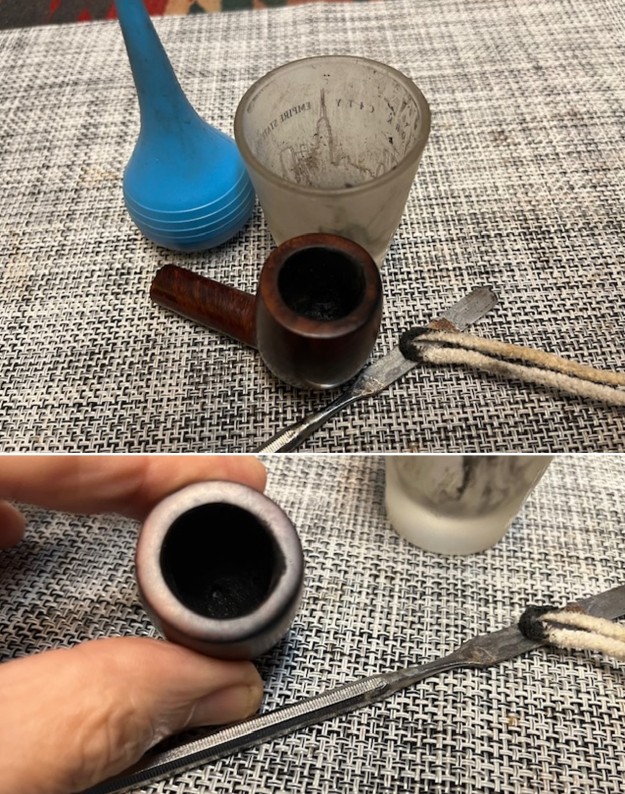
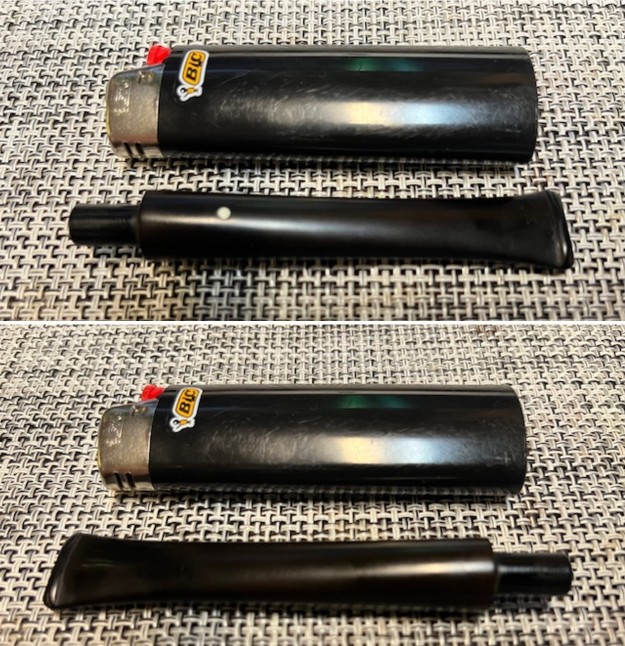
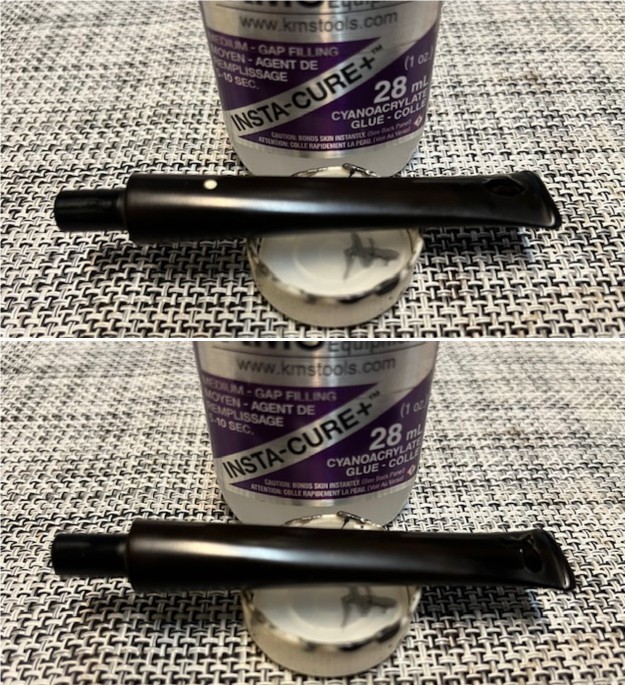
 I used a knife, a wet cloth and my gas stove top to try to steam out the deep scratches on the smooth panel on the shank. It works quite well and the knife allows me to specifically put the blade on the scratch. The scratch is still present but not as deep.
 I polished the silver ferrule with a jeweller’s cloth to remove the tarnish and further protect the silver from the intrusion of more tarnish.
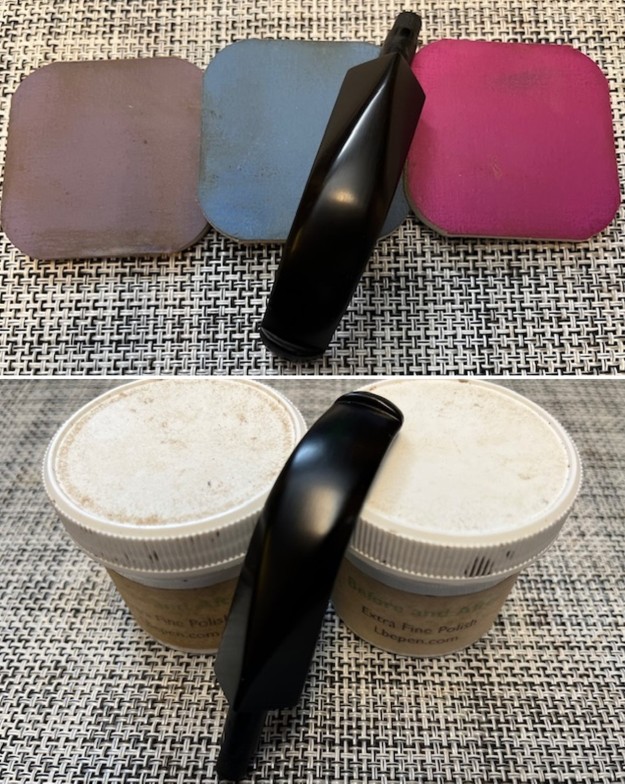
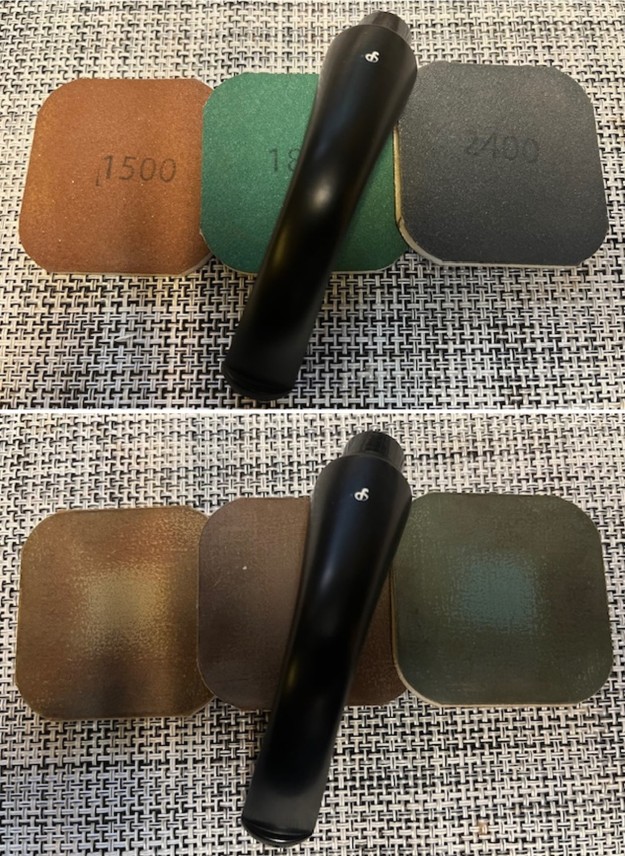
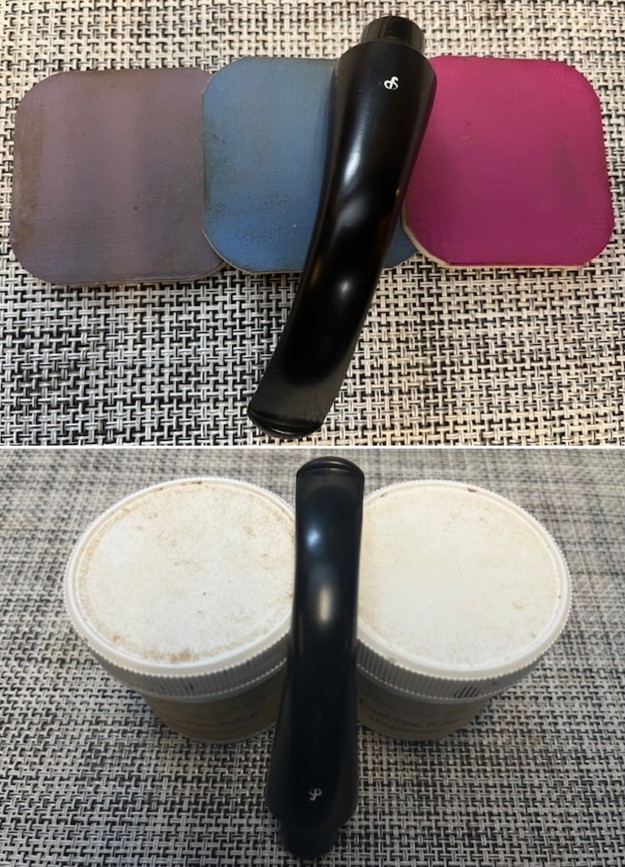
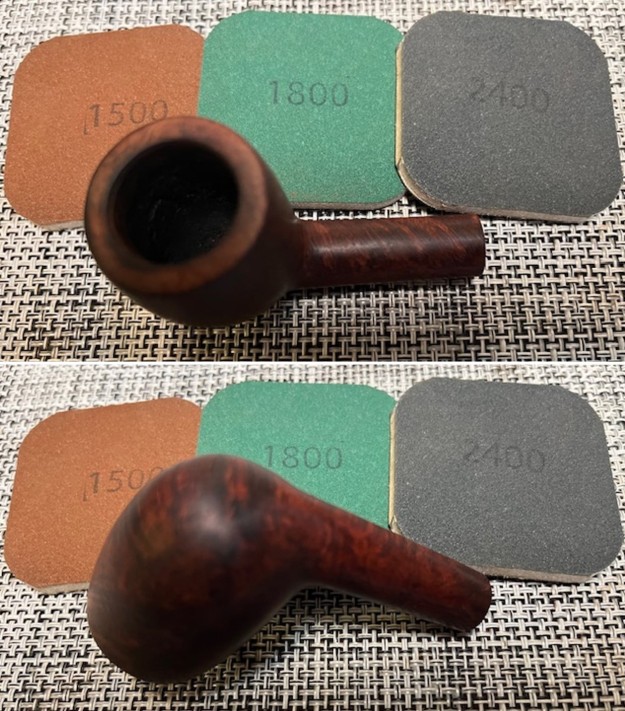
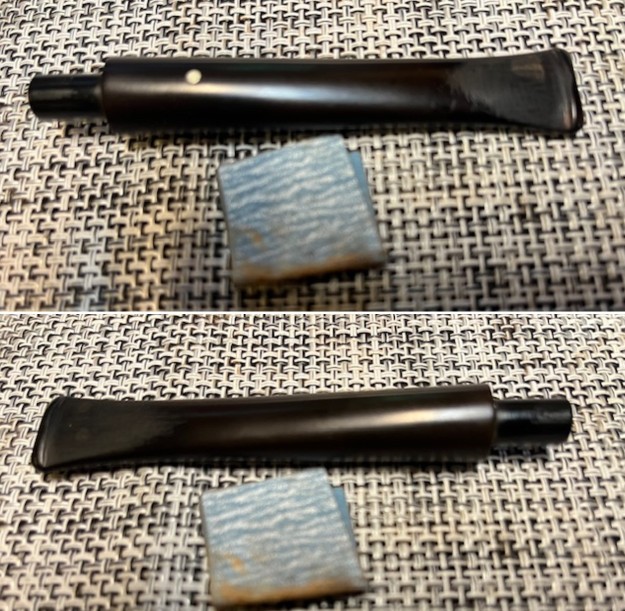
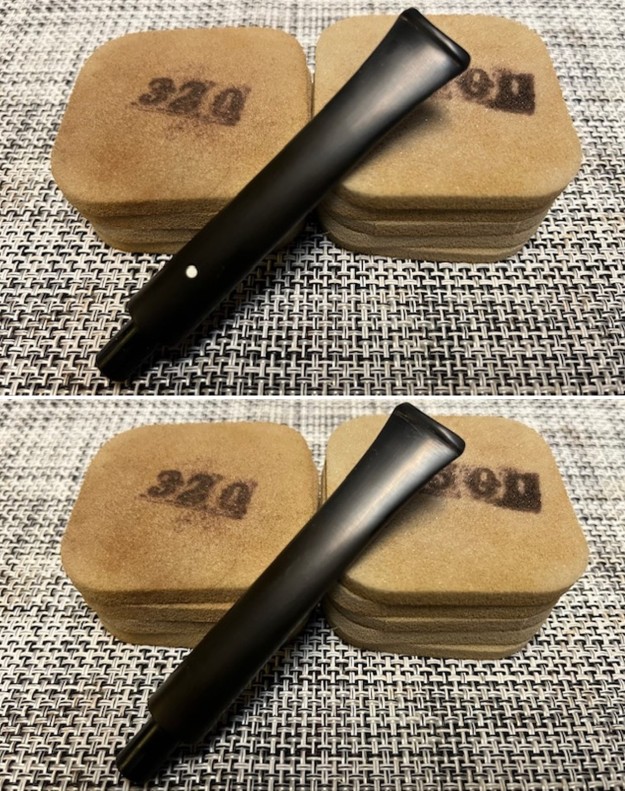
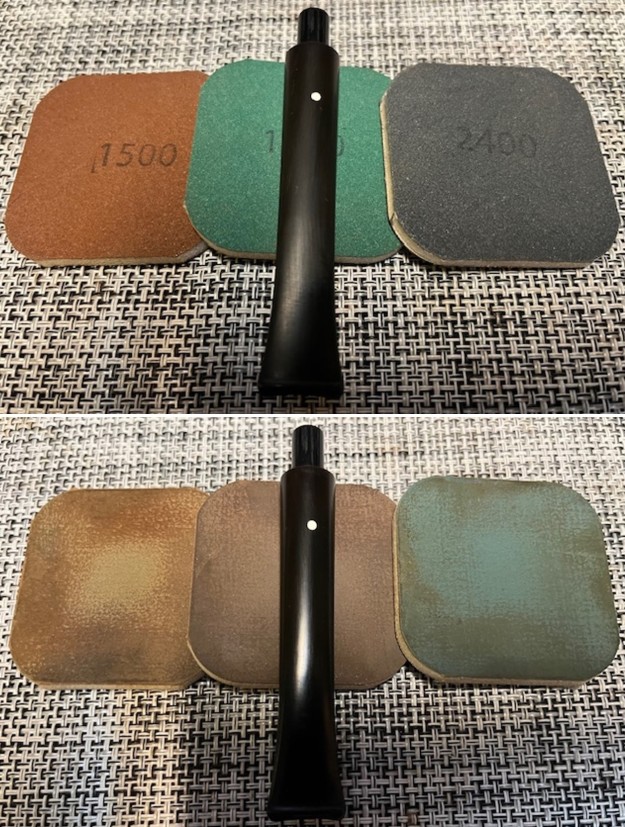
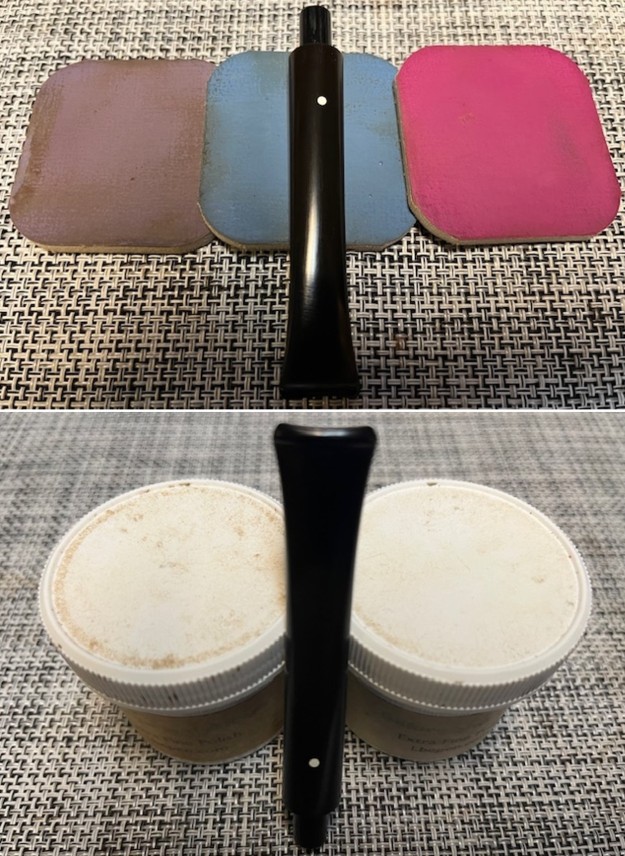
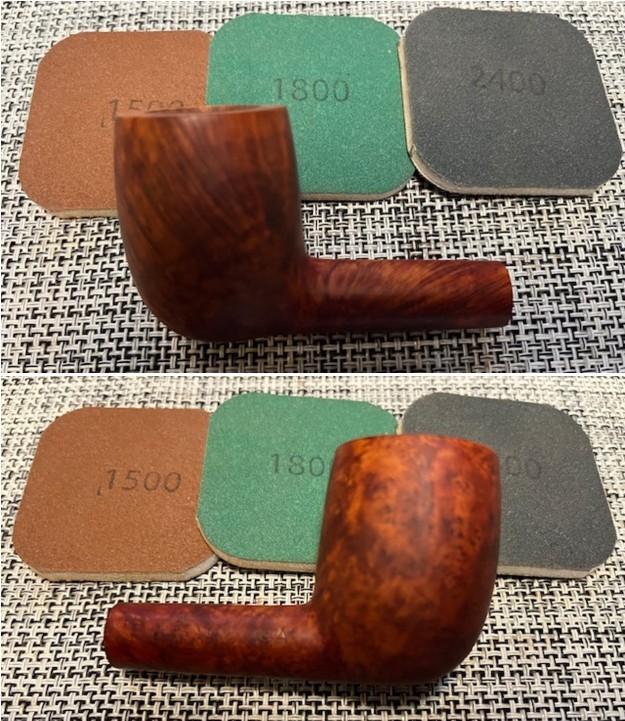
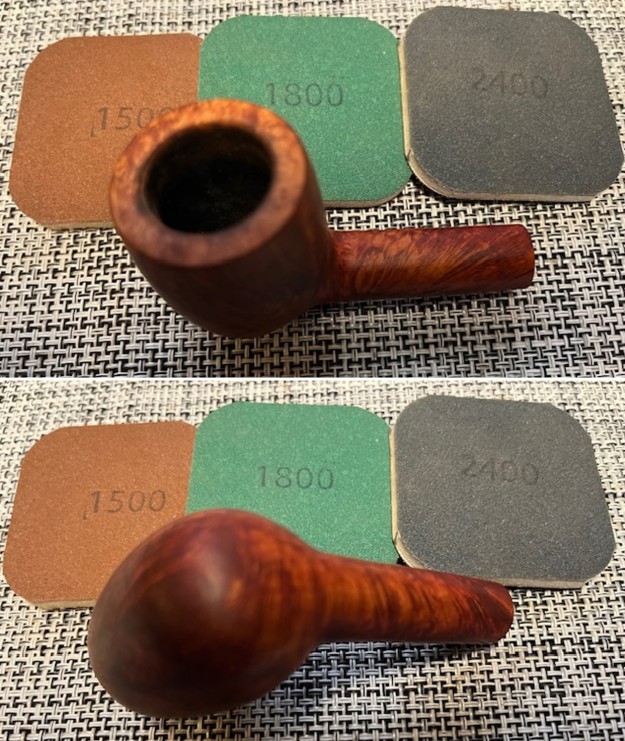
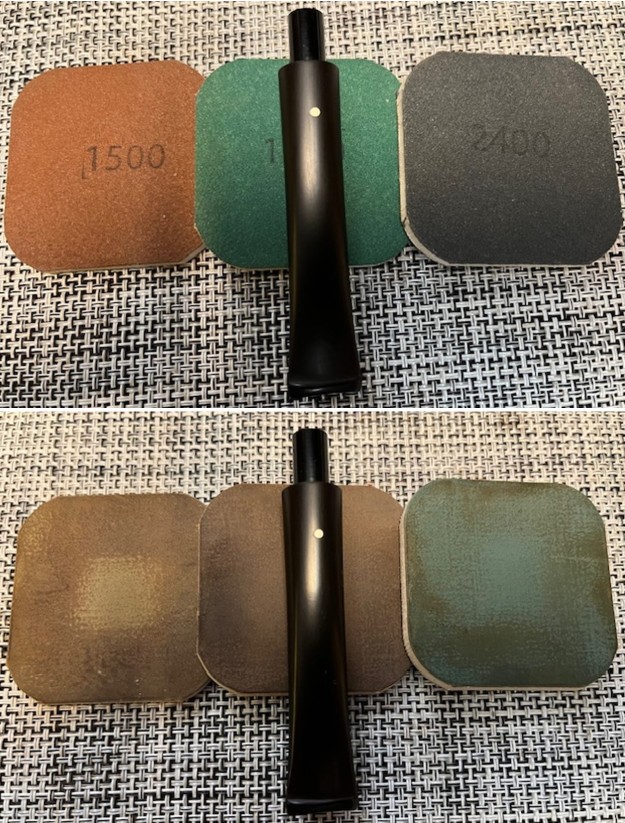
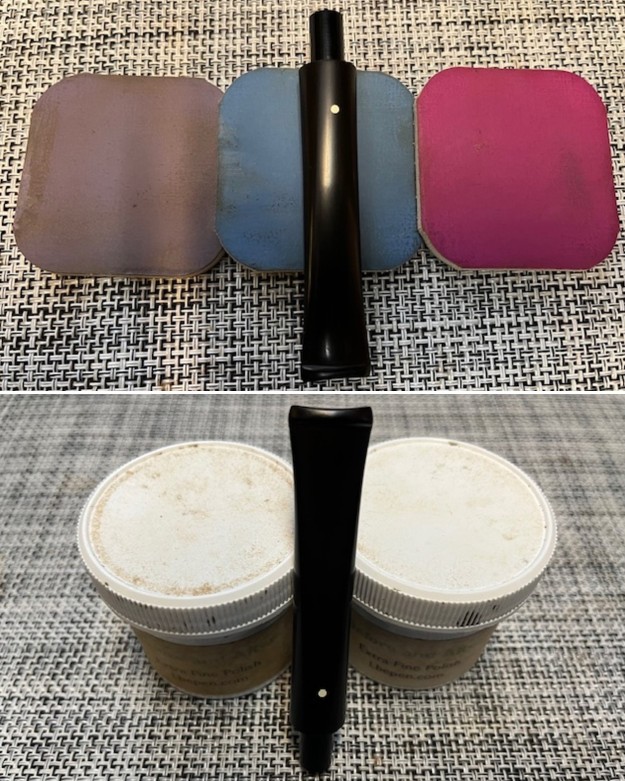
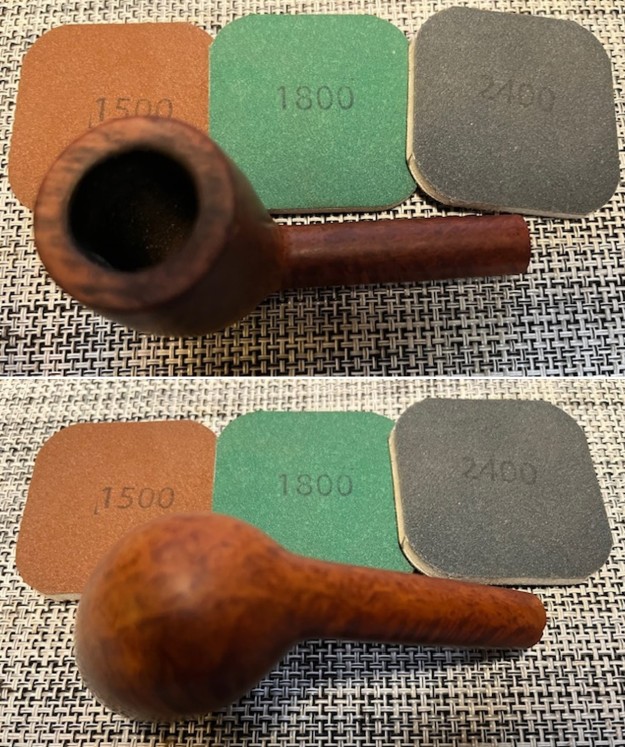
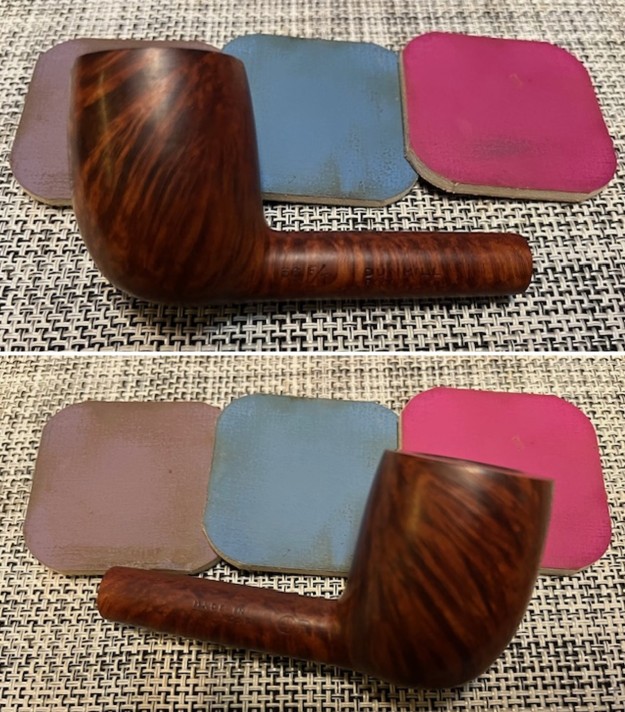
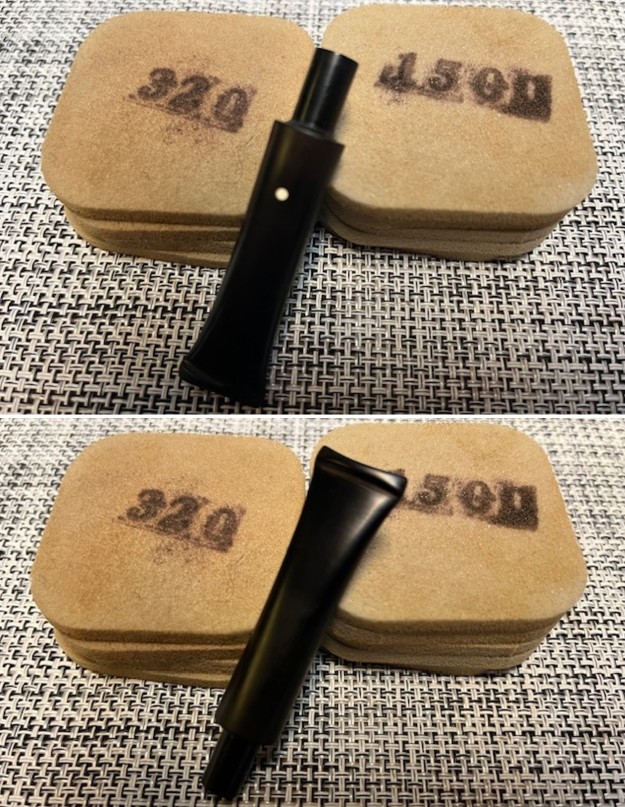
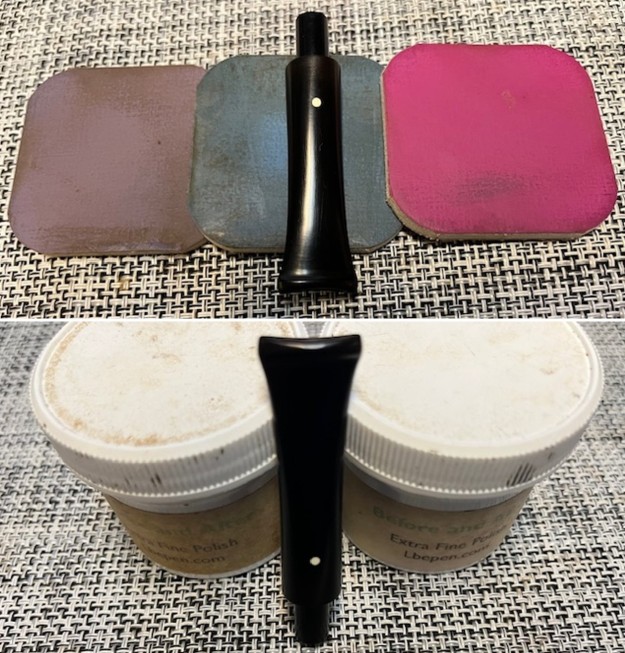
 I polished the stem with micromesh sanding pads – wet sanding with 1500-12000 grit sanding pads. I wiped it down after each sanding pad with Obsidian Oil. I polished it with Before & After Pipe Stem Polish – both Fine and Extra Fine.
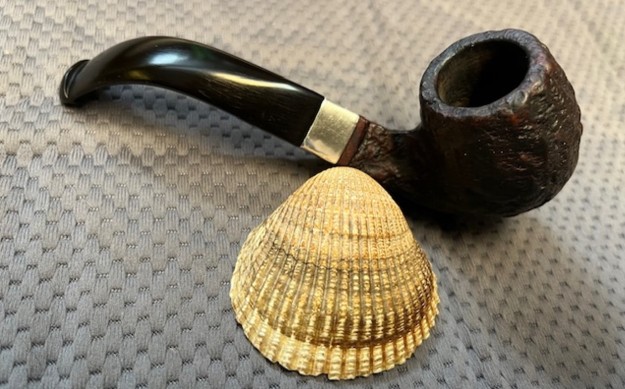
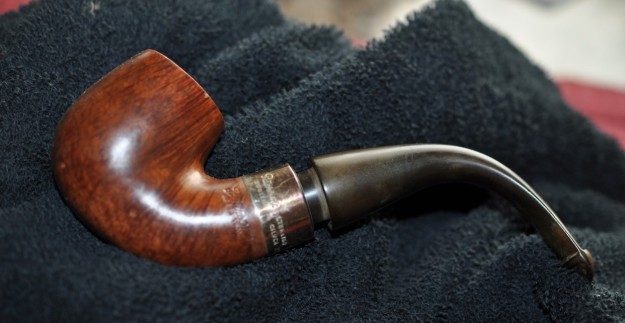
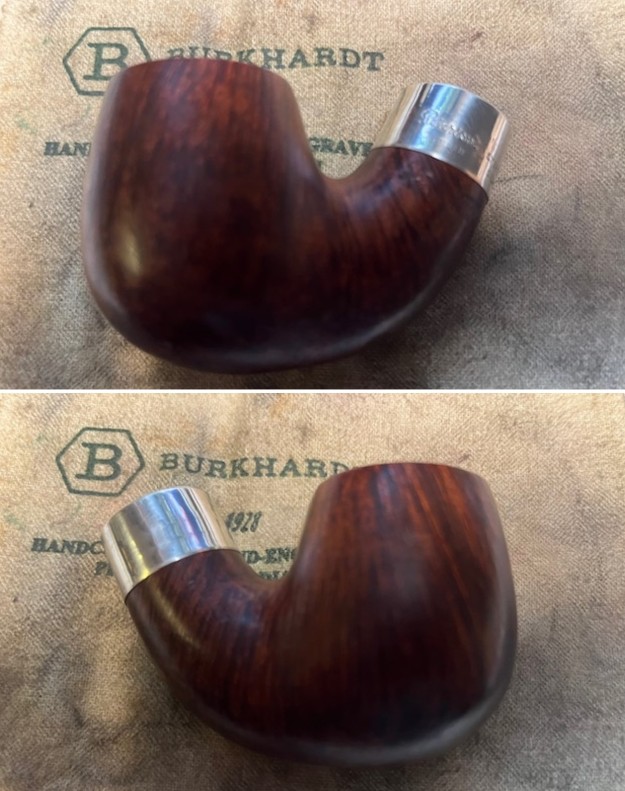
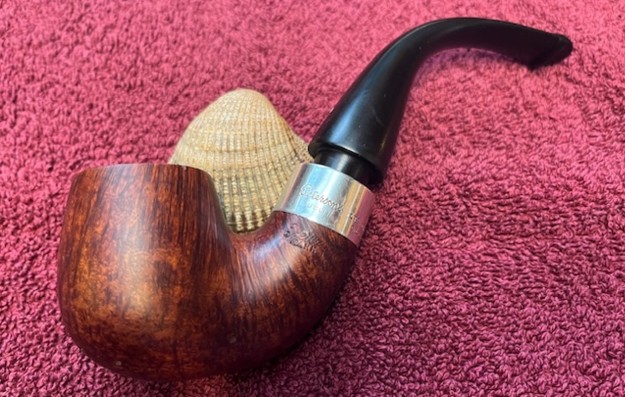
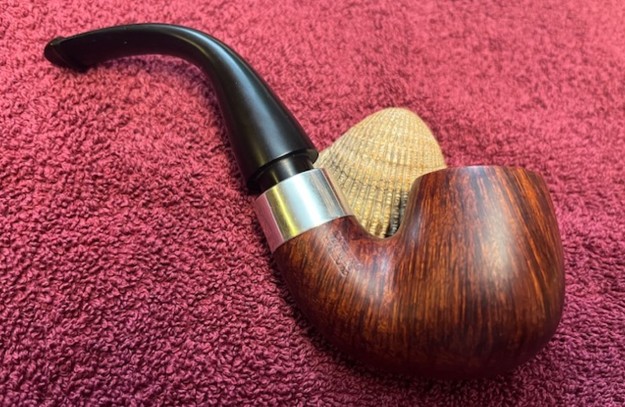
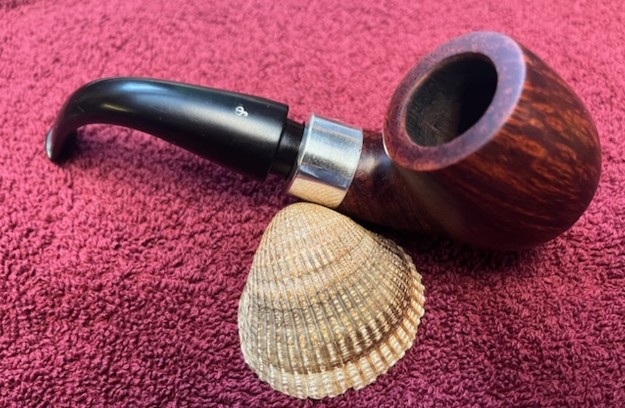
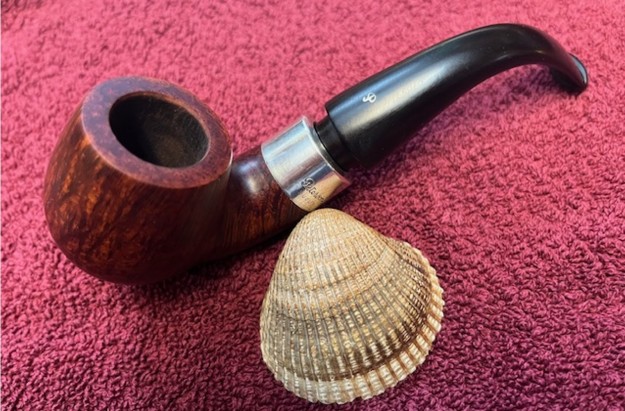
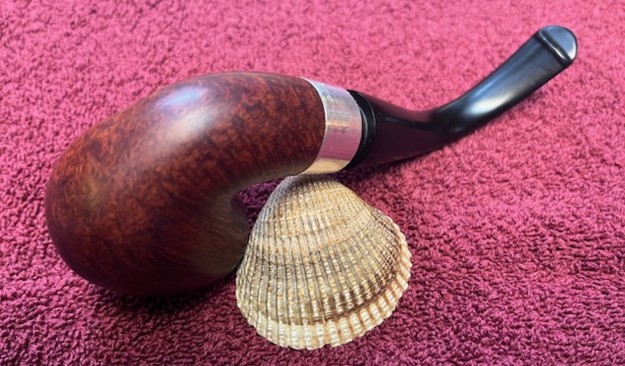
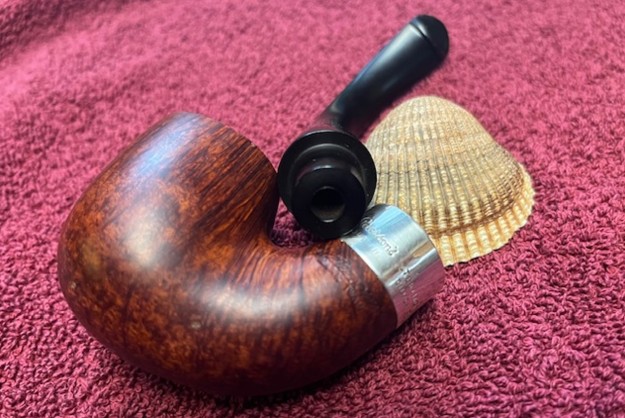
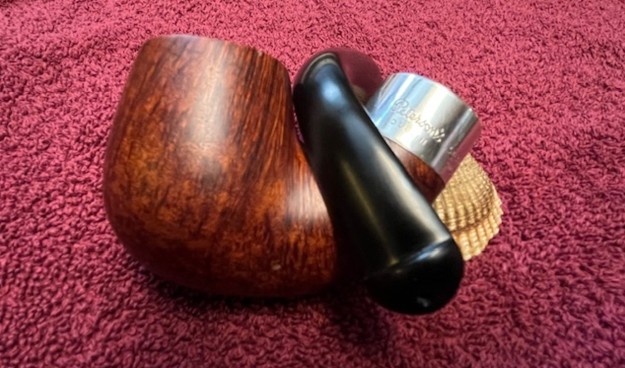
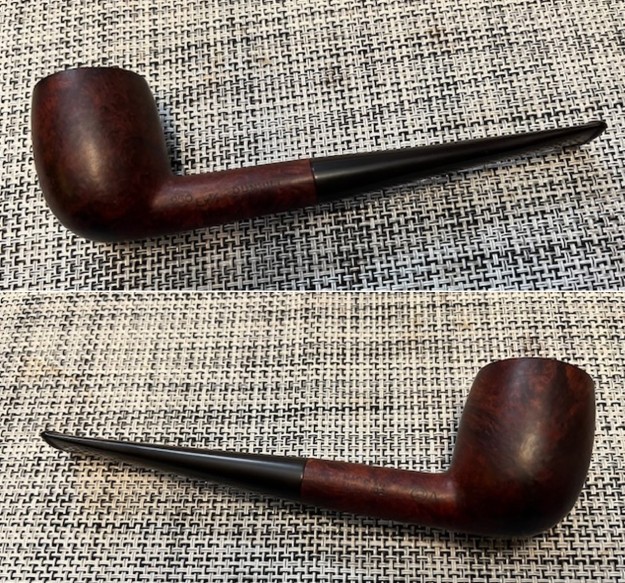
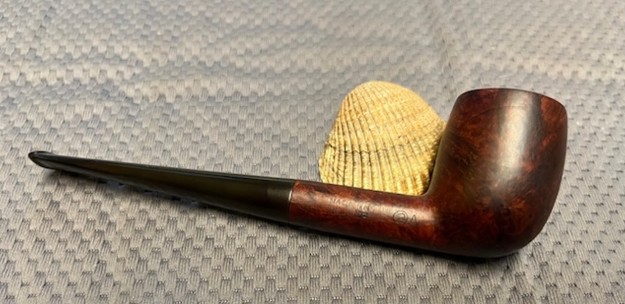
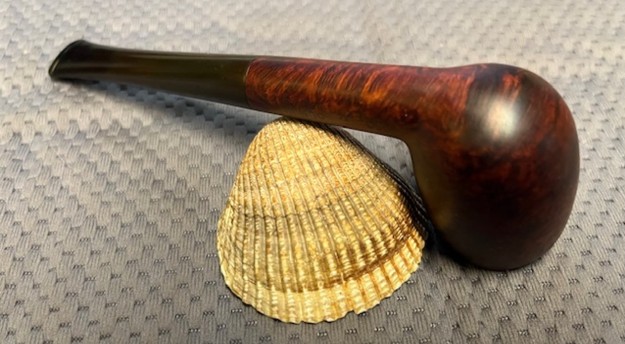
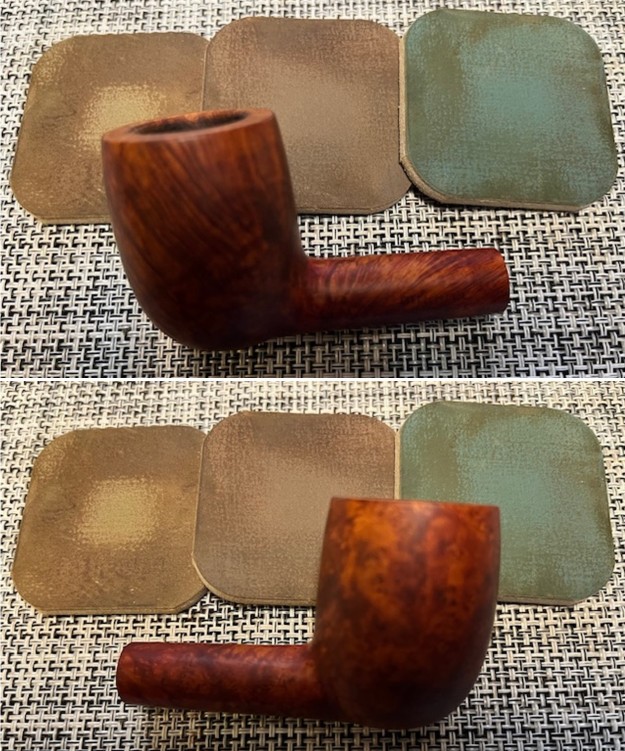
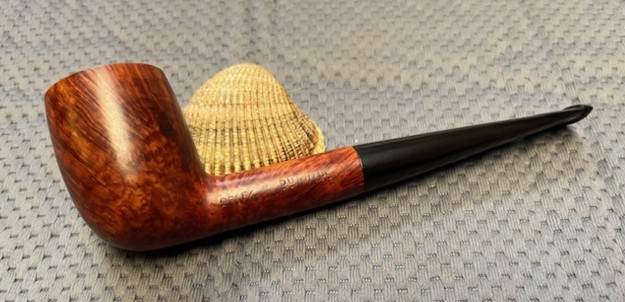
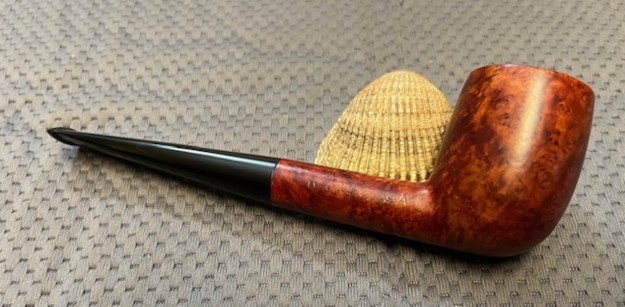
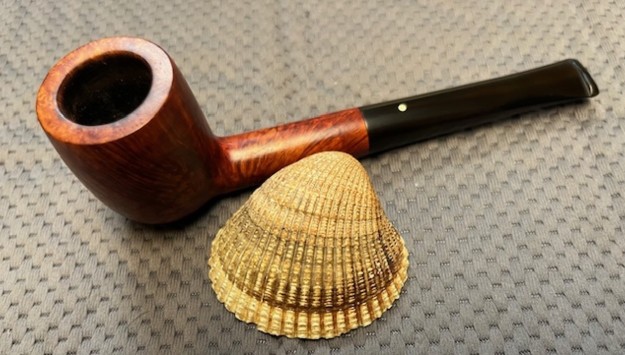
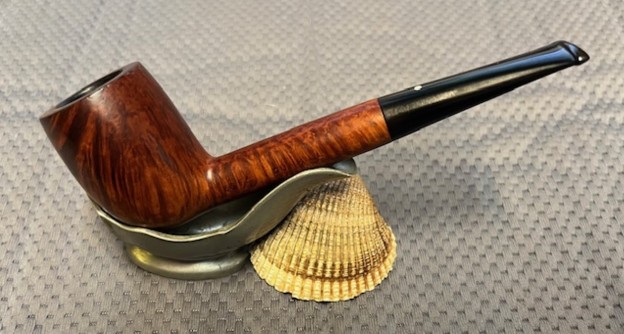
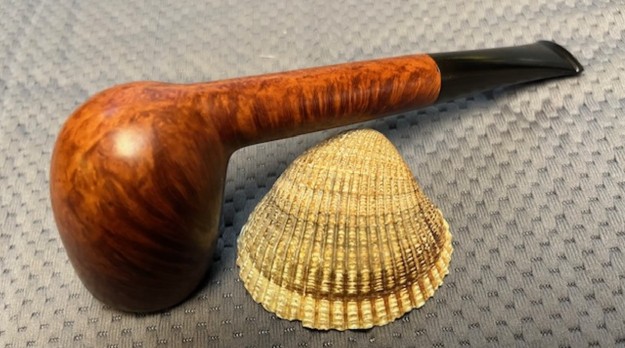
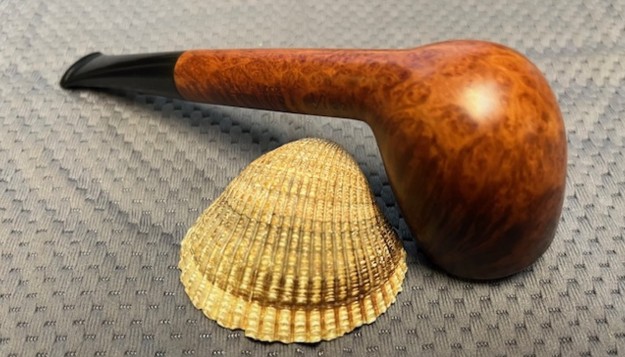
 I am excited to finish this Republic Era 1980 Peterson’s Rusticated Diamond Shank Bent Billiard. I put the pipe back together and buffed it lightly with Blue Diamond on the buffing wheel. I gave the bowl multiple coats of Conservator’s Wax and the stem multiple coats of carnauba wax. I buffed the pipe with a clean buffing pad to raise the shine and hand buffed it with microfiber cloth to deepen the shine. It is fun to see what the polished bowl looks like with the polished black acrylic stem with the silver band. It really was a beautiful pipe. The grain shining through the rich red stain on this Peterson’s Rusticated Bent Billiard is nice looking and the pipe feels great in my hand. It is light and well balanced. Have a look at it with the photos below. The dimensions are Length: 5 inches, Height: 1 ¾ inches, Outside diameter of the bowl: 1 inch, Chamber diameter: ¾ of an inch. The weight of the pipe is 1.66 ounces/47 grams. It is a beautiful pipe and one that will be on the rebornpipes store in the Irish Pipe Makers Section soon. If you are interested in adding it to your collection let me know. Thanks for walking through the cleanup with me as I worked over this pipe. Thanks to each of you who are reading this blog. Remember we are not pipe owners; we are pipemen and women who hold our pipes in trust until they pass on into the trust of those who follow us.
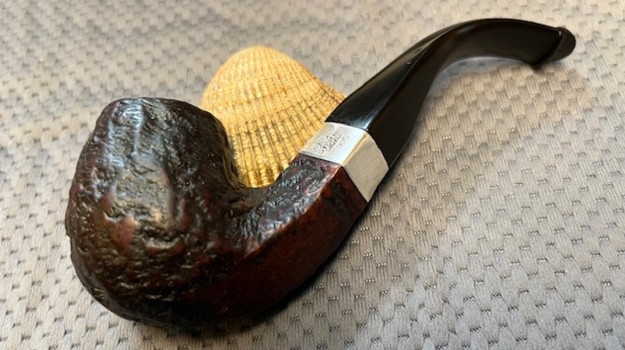


