
Blog by Steve Laug
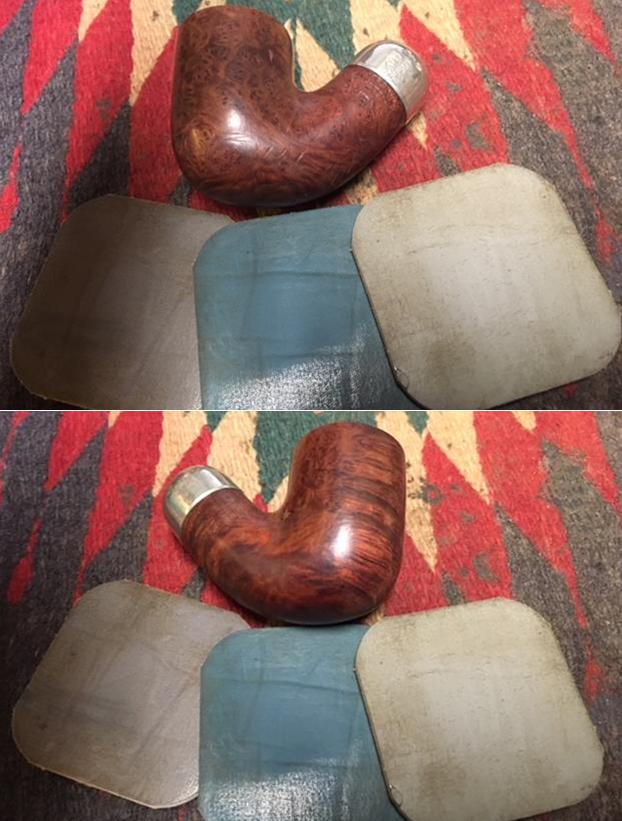
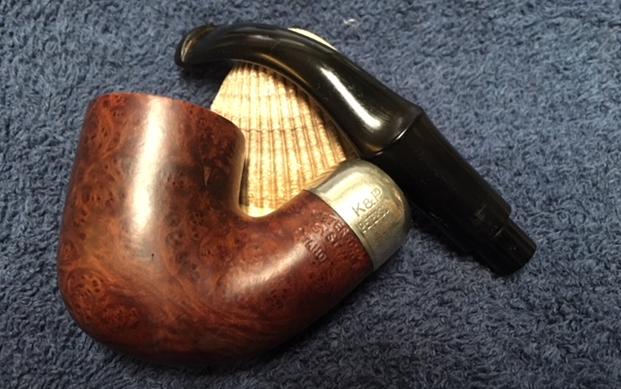
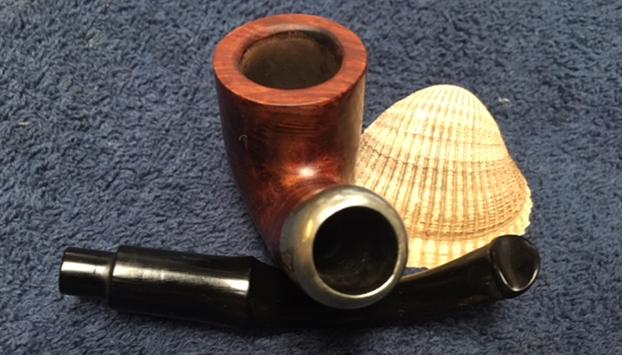
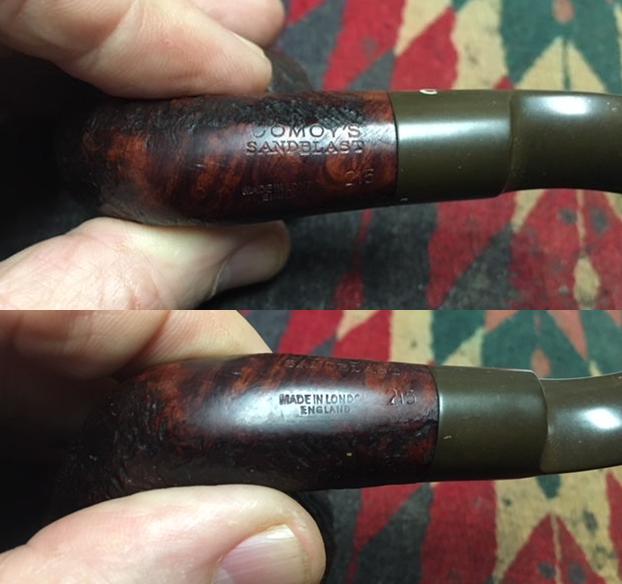
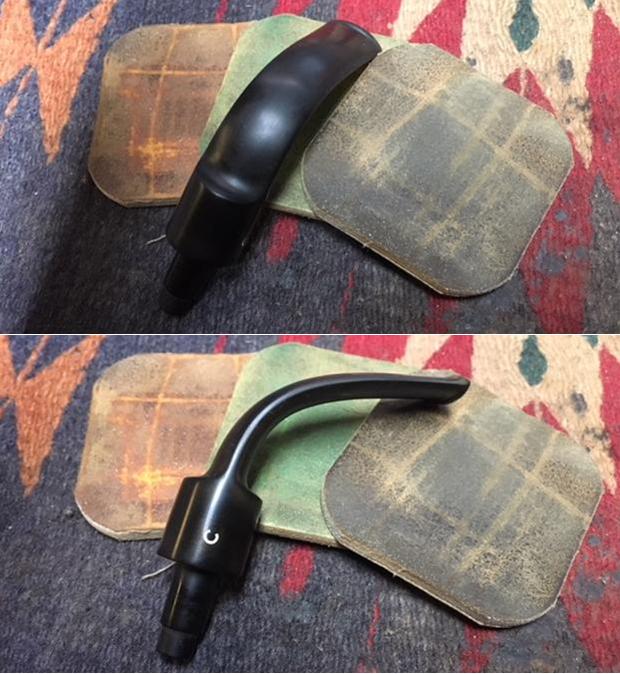
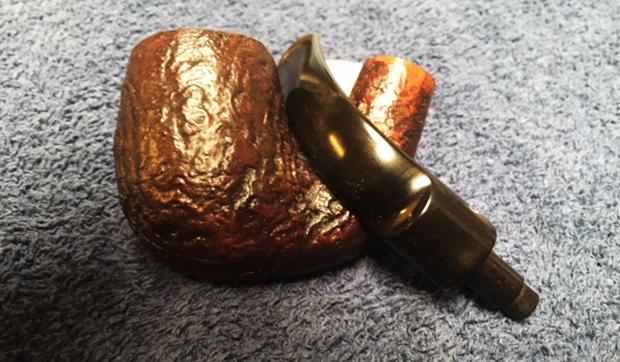
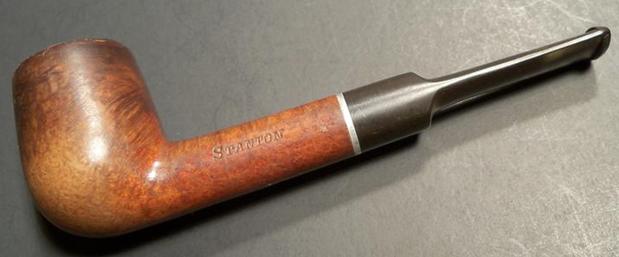
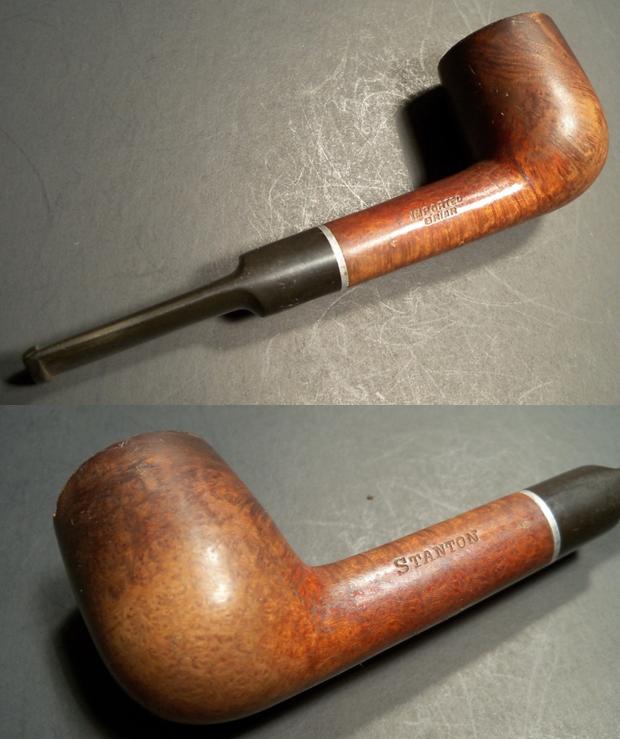
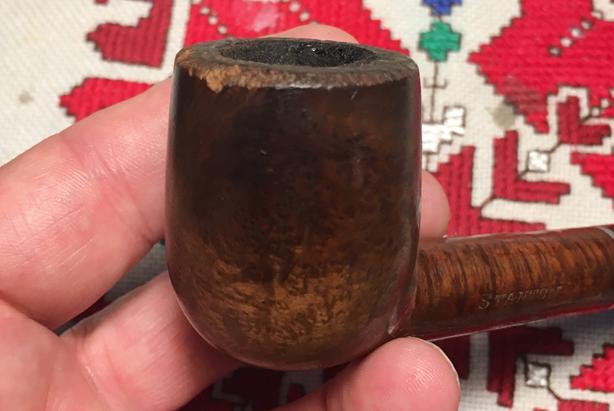
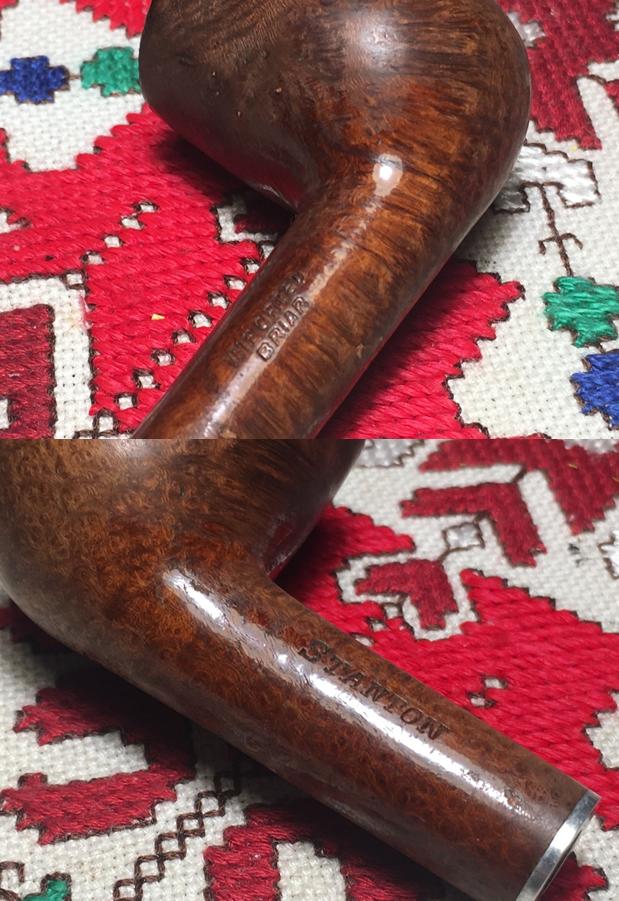
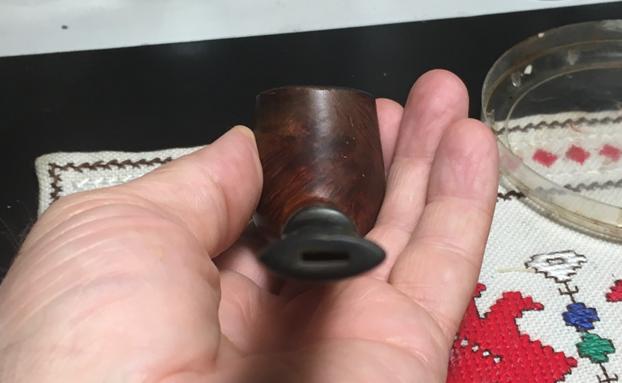
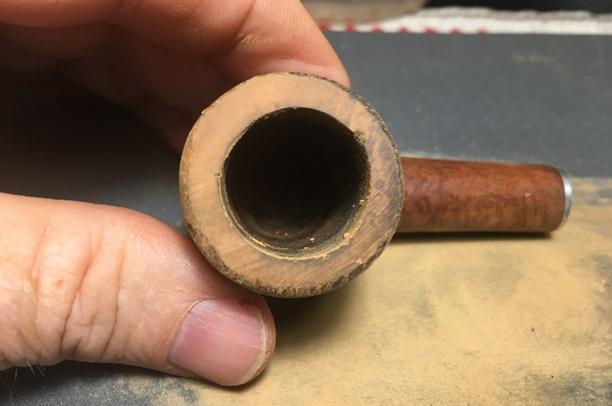
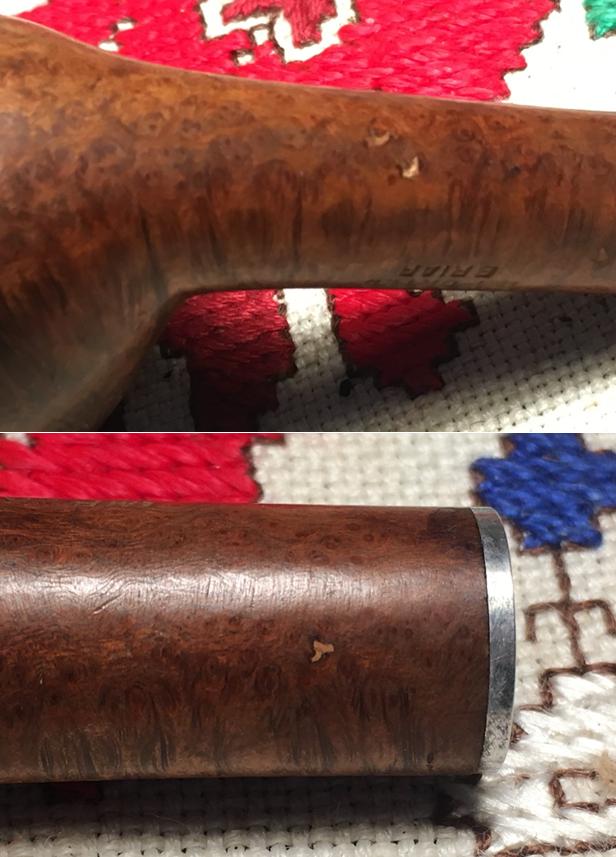
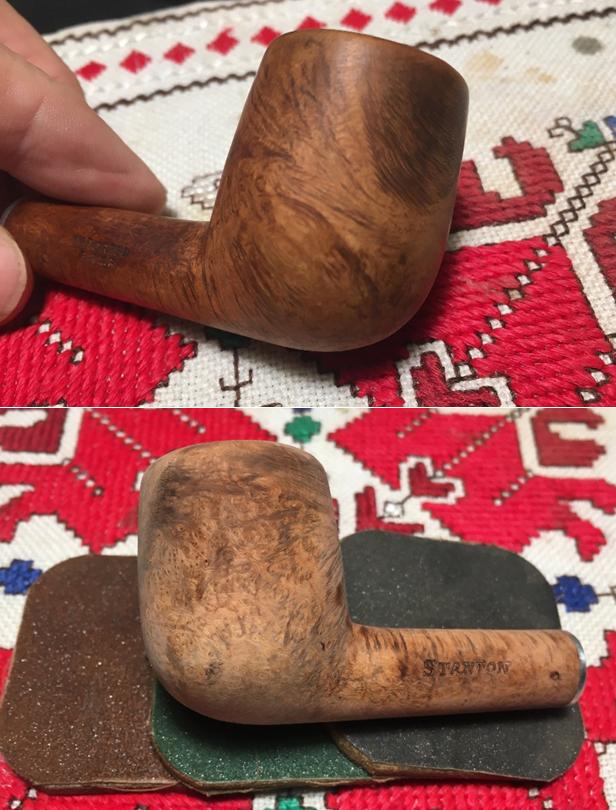
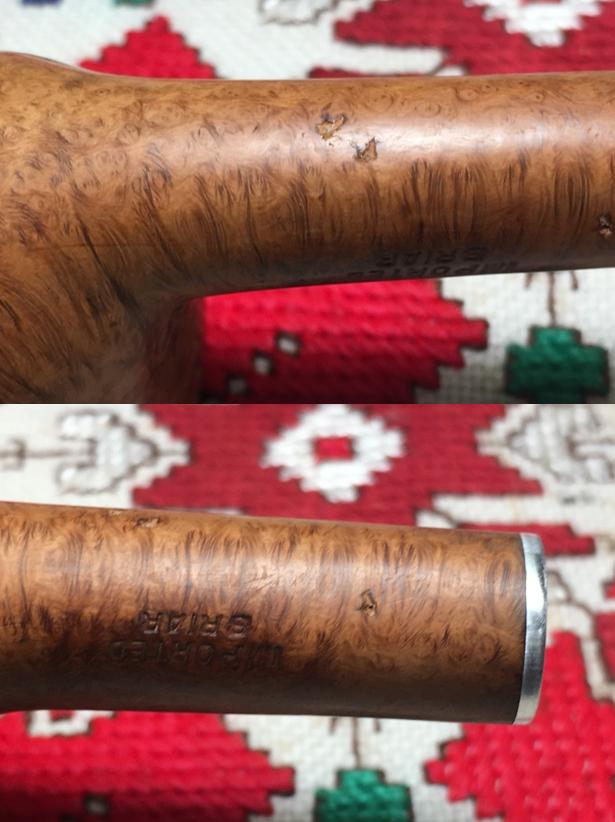
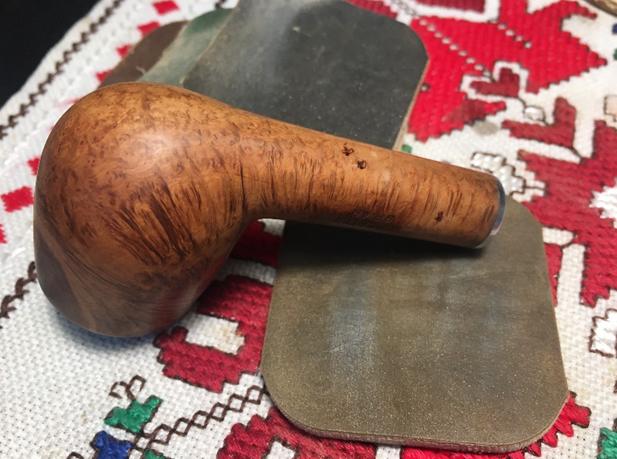
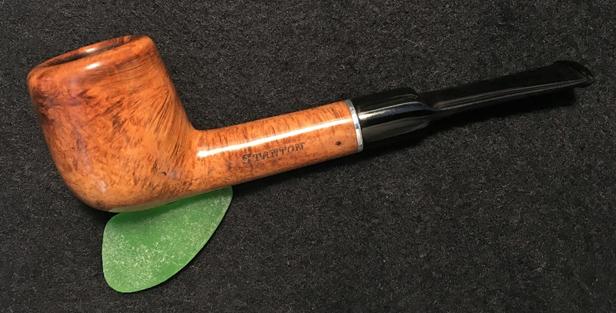
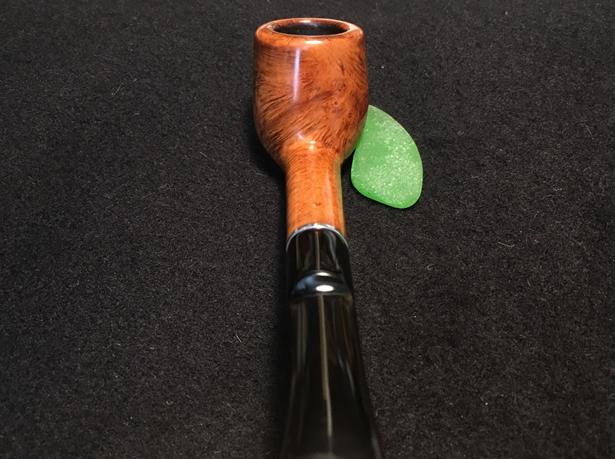
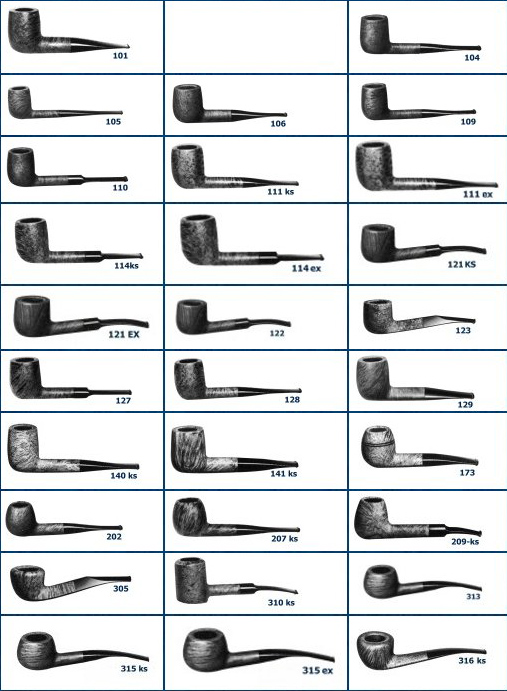
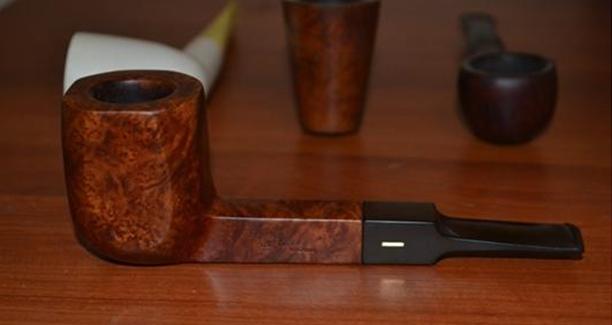
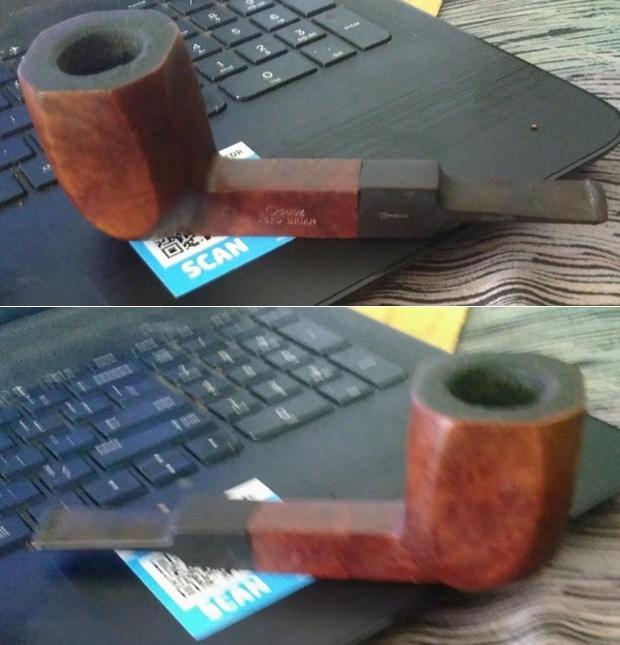
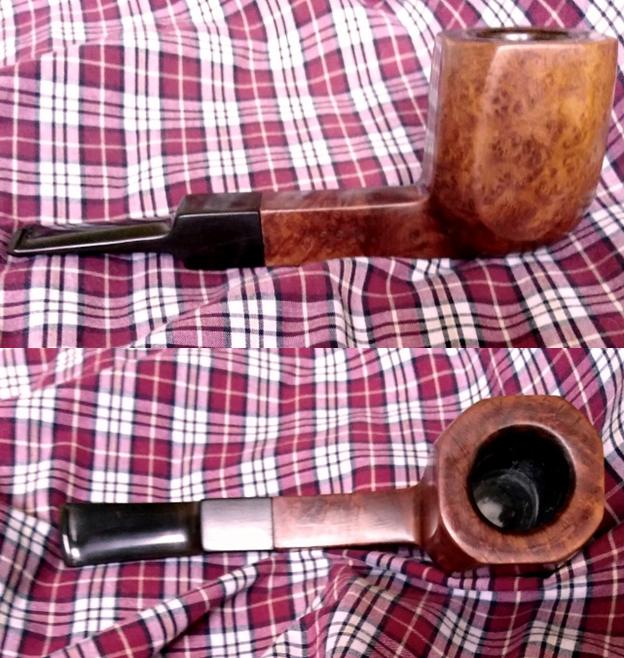
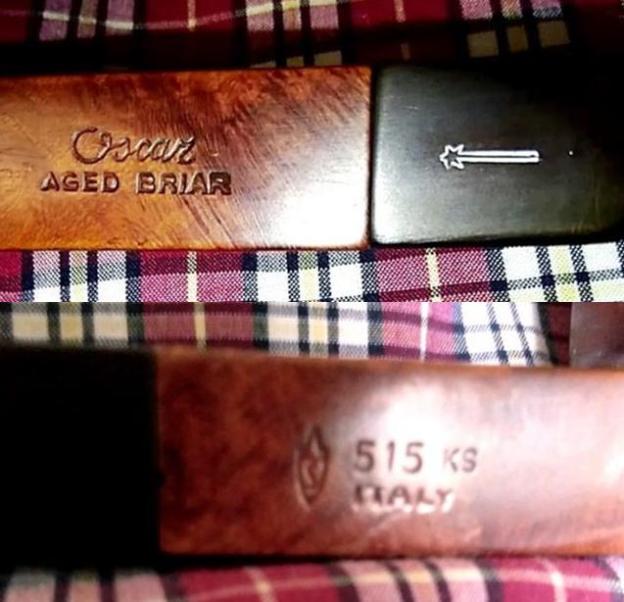
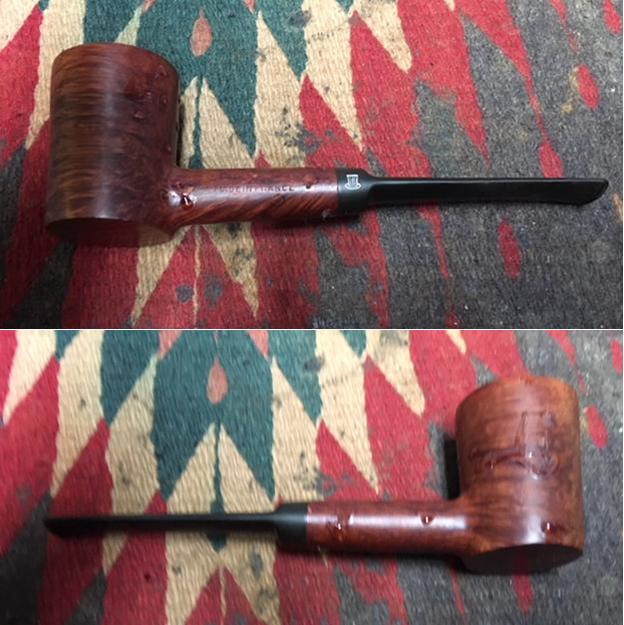
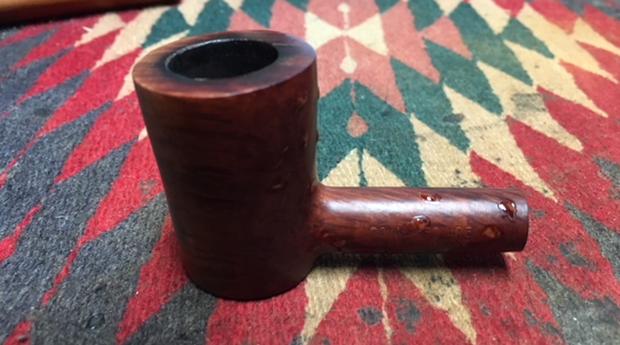
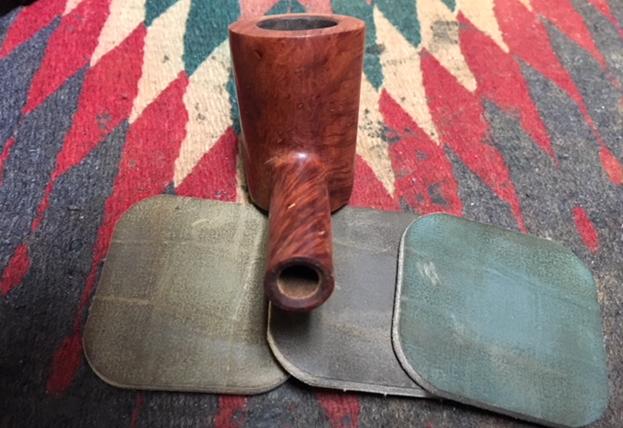
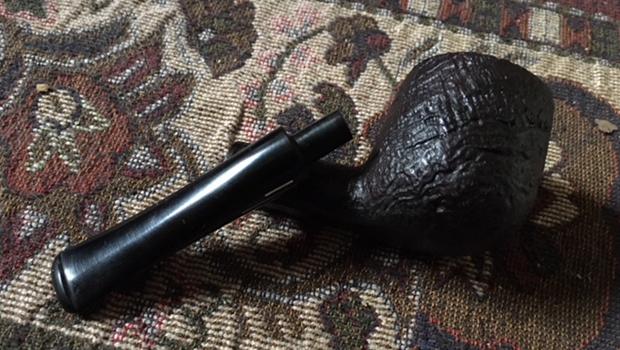
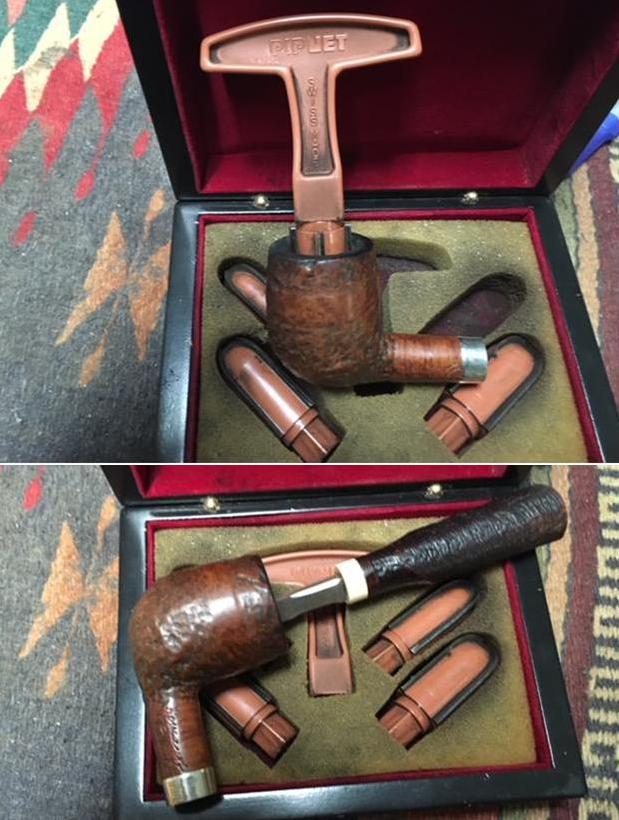
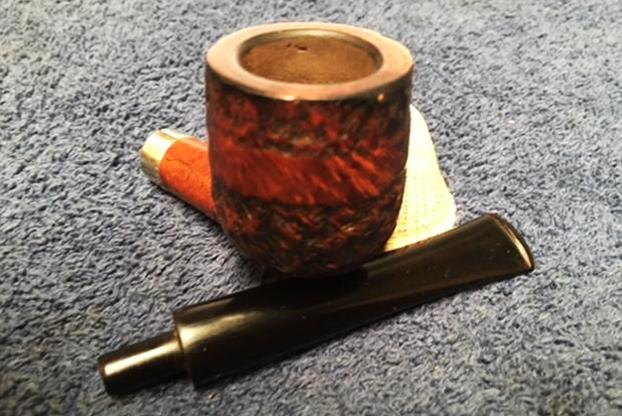
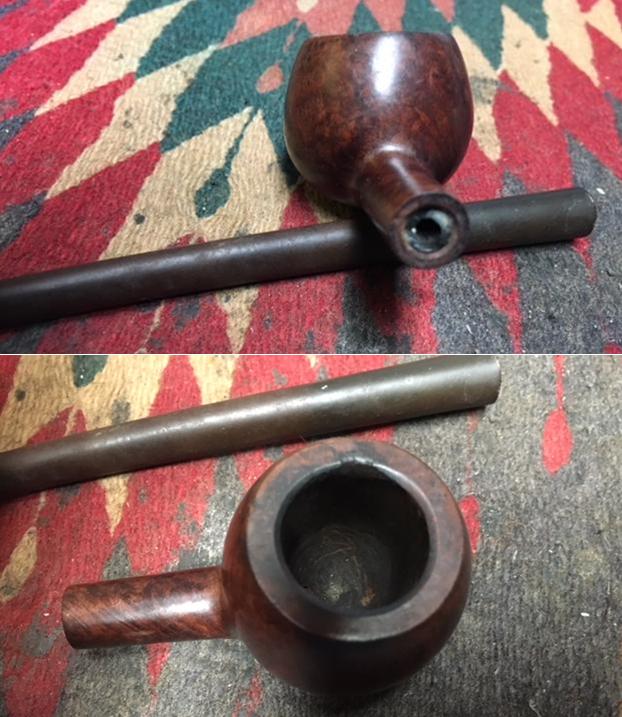
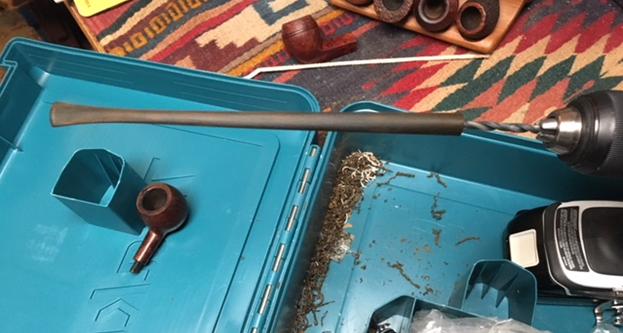
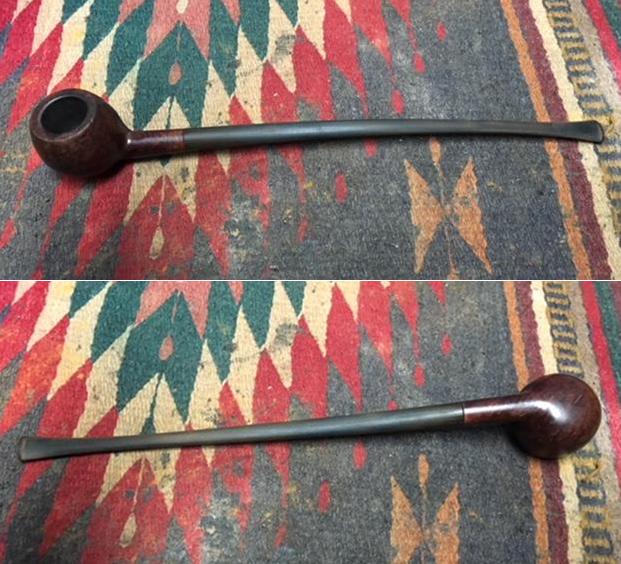
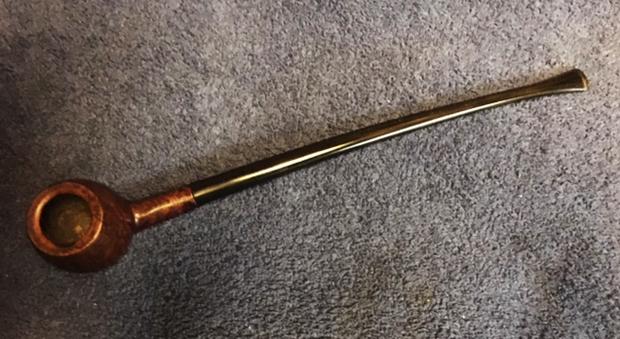
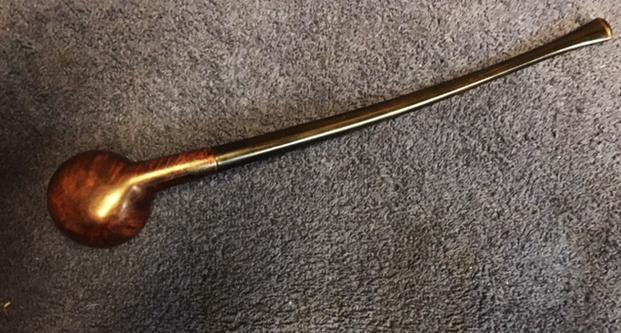
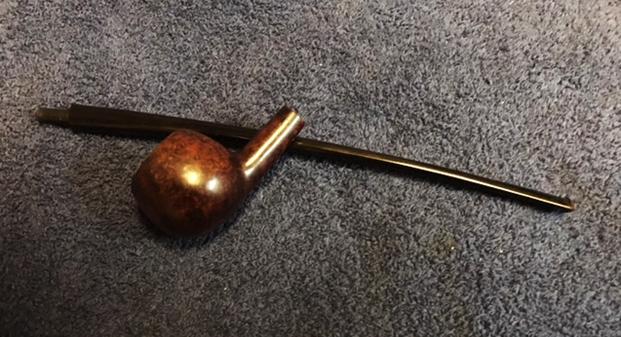
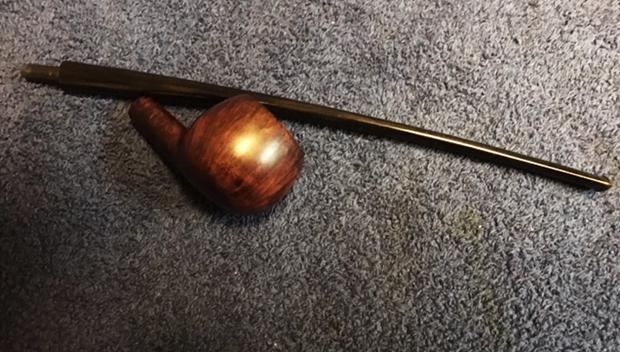
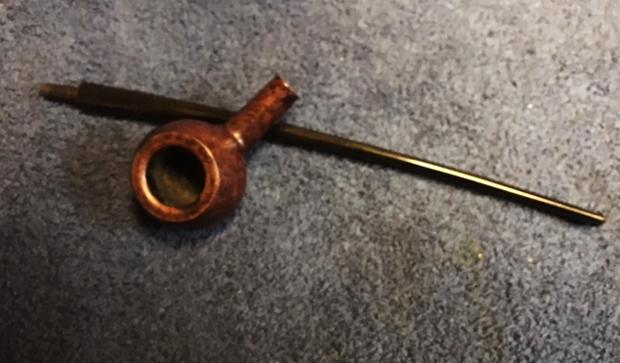
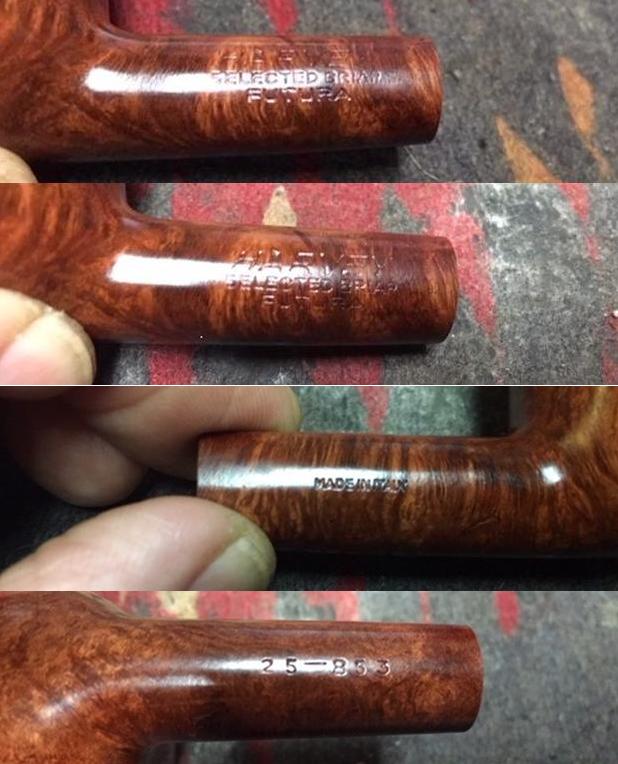
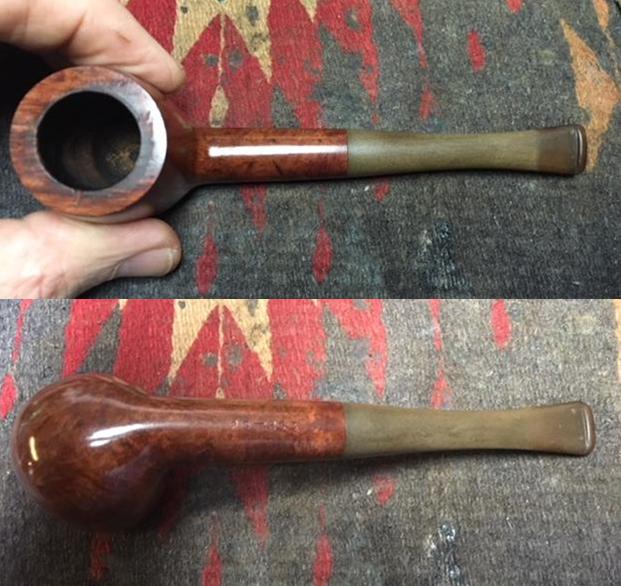
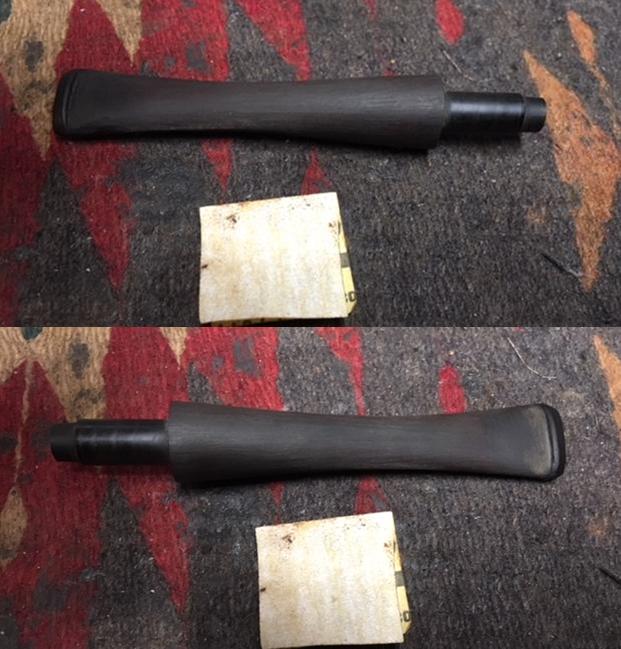
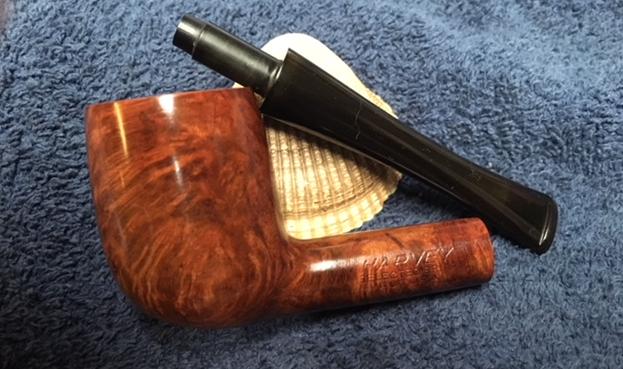
I have been corresponding with Paresh for some time now and have repaired and restored two of his pipes and sent him others as well. We carry on conversation via WhatsApp on the internet and discuss the various pipes he is purchasing as well as ones that he has inherited from his grandfather. This Peterson 313 System pipe came to me direct from the eBay seller in England. It took so long to get here (almost 2 months) that we both had pretty well given up on it. It arrived in a crushed package that I had to pick up at the post office. I was worried that the pipe inside had been damaged as well. This was one of those times that the seller had done a very thorough wrapping of the pipe in bubble wrap so it was unscathed by the crushing of the box. The pipe was stamped Peterson’s arched over System over Standard on the left side of the shank and Made in the Republic of Ireland on the right of the shank with the shape number 313 under that. The nickel ferrule was stamped K&P over Peterson.
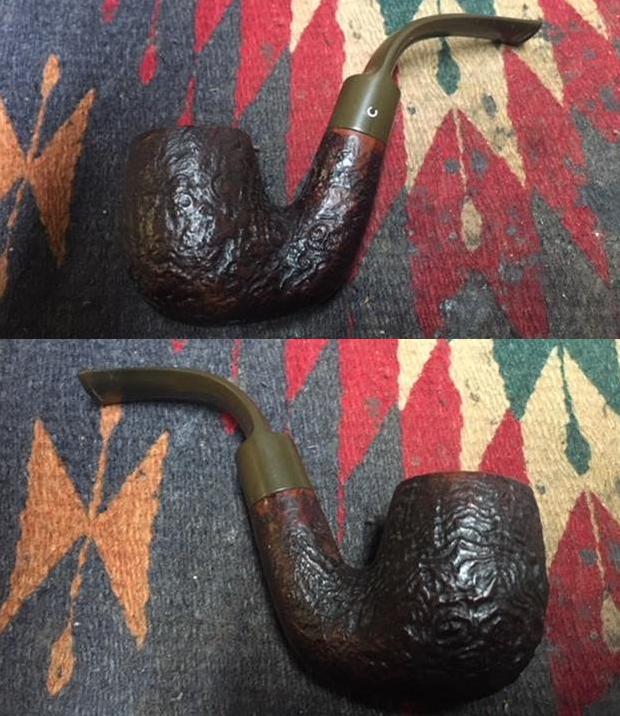
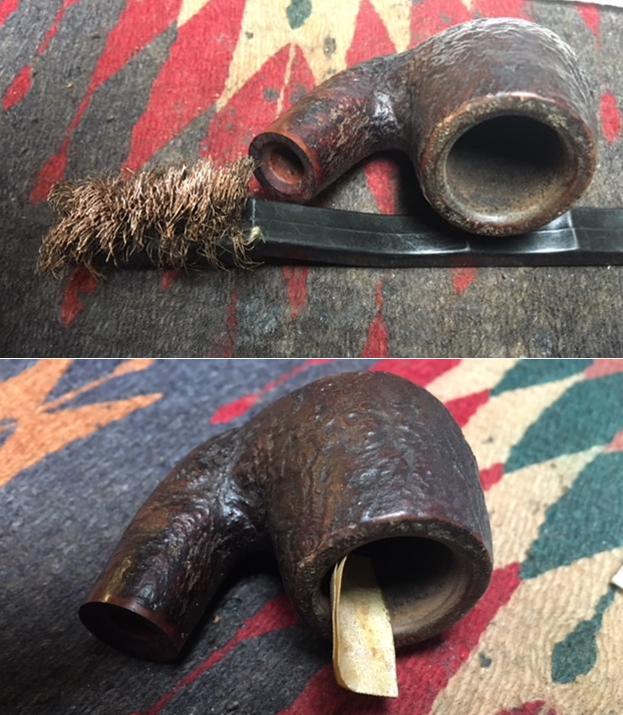
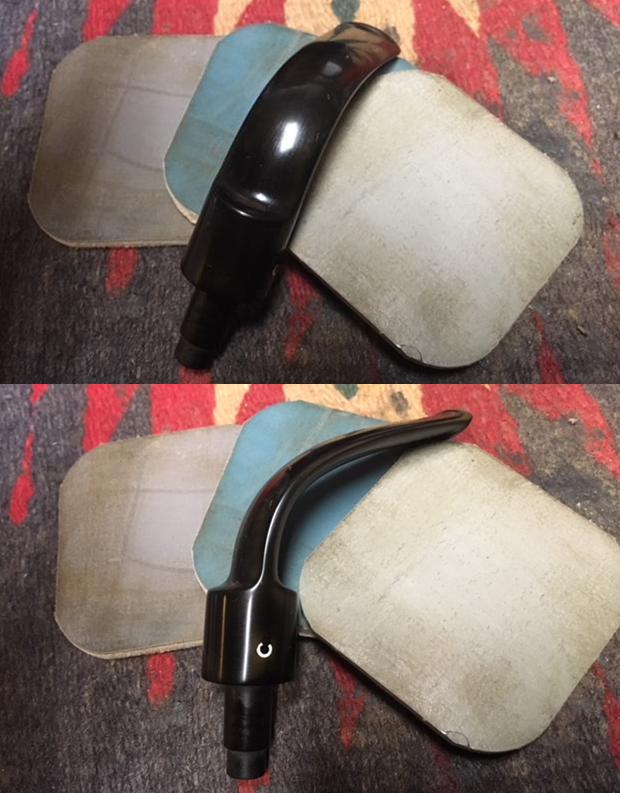
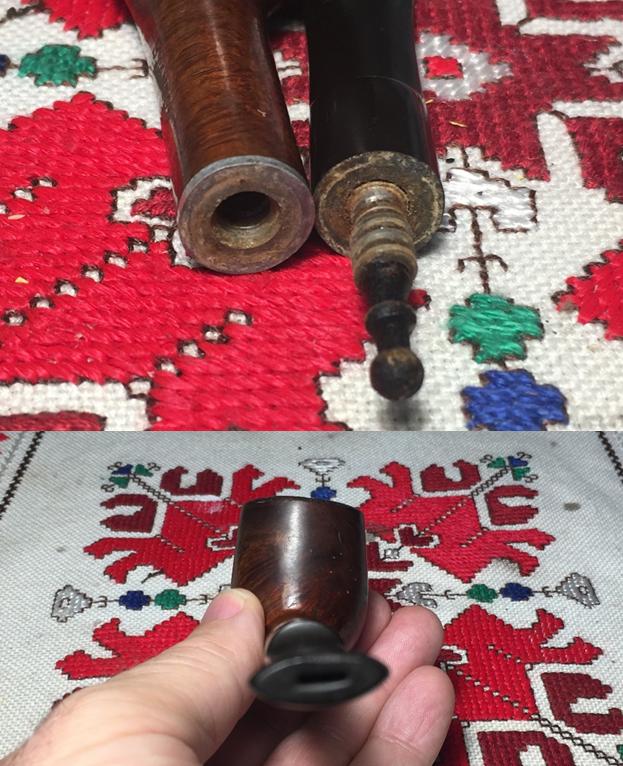
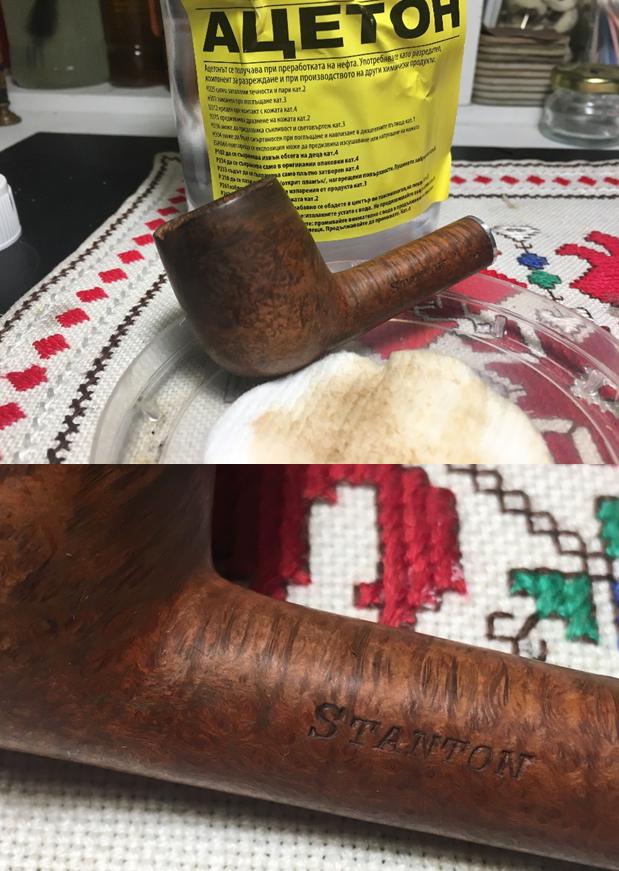
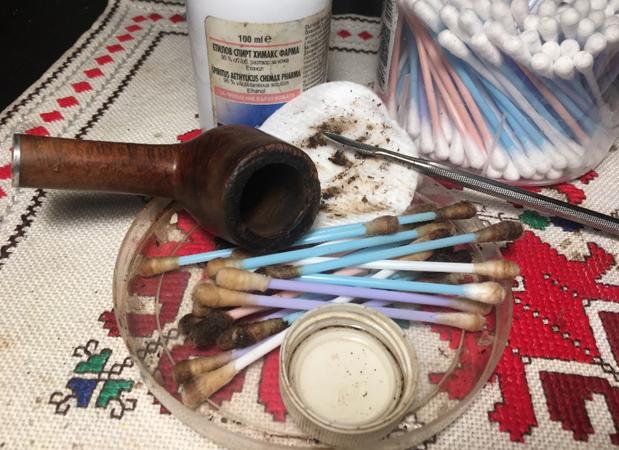
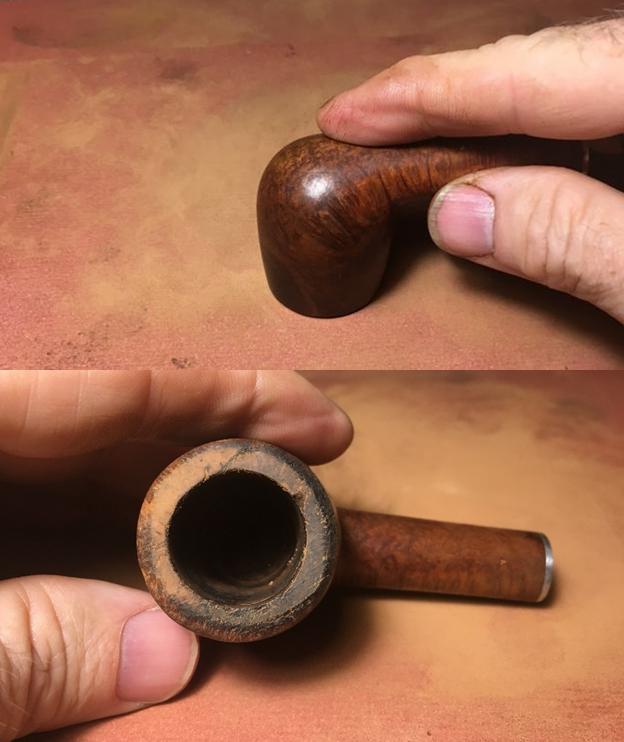
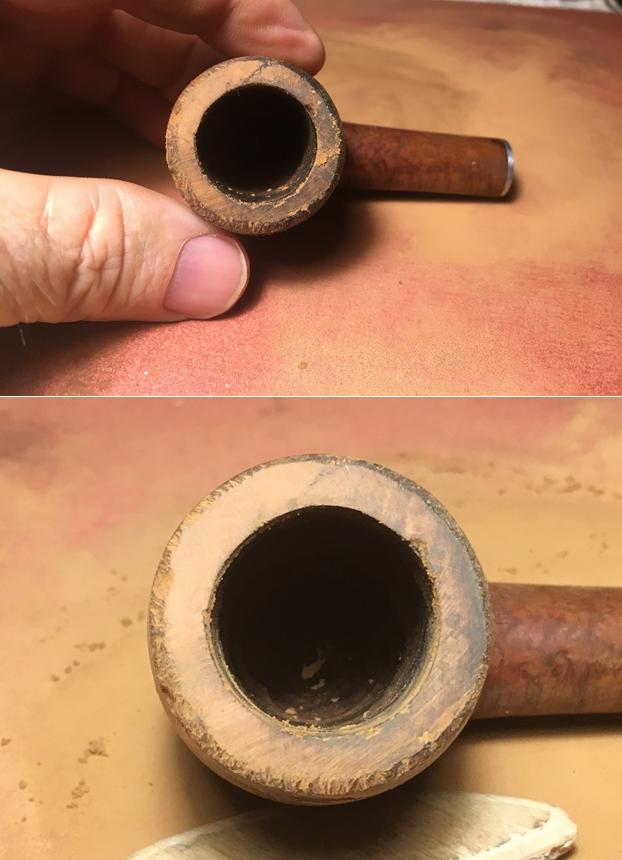
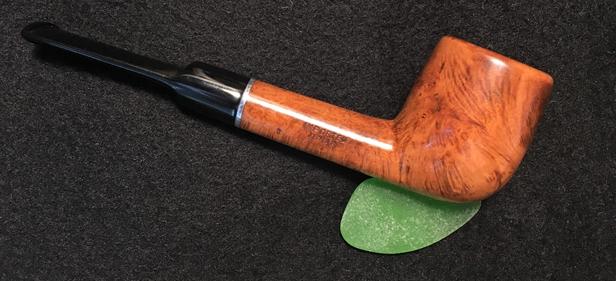
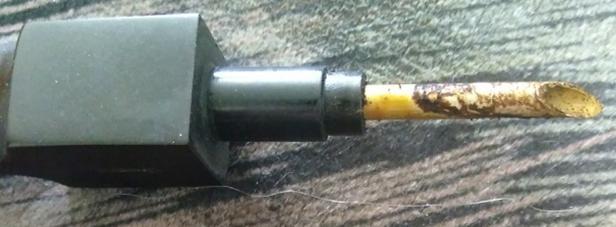
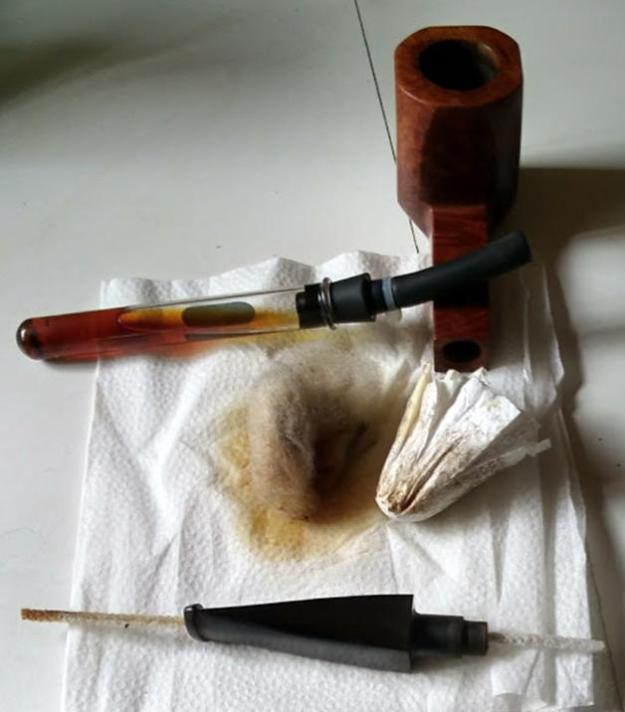
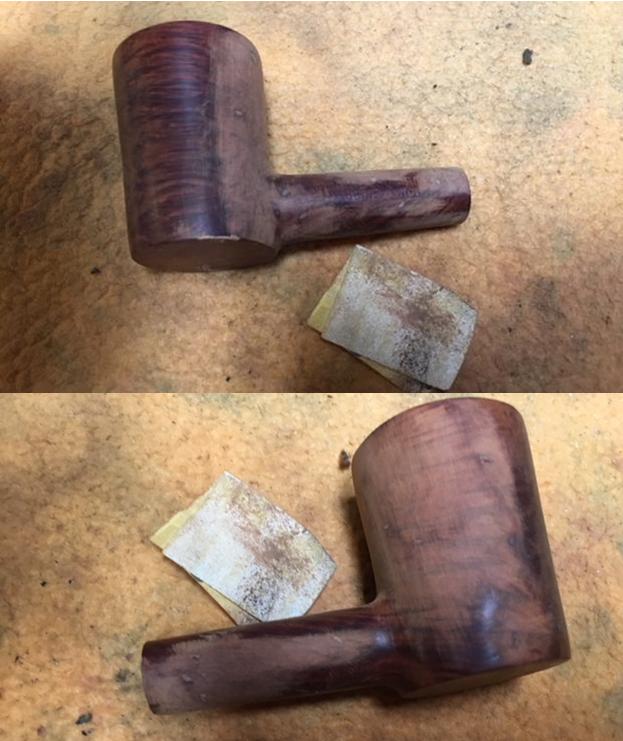
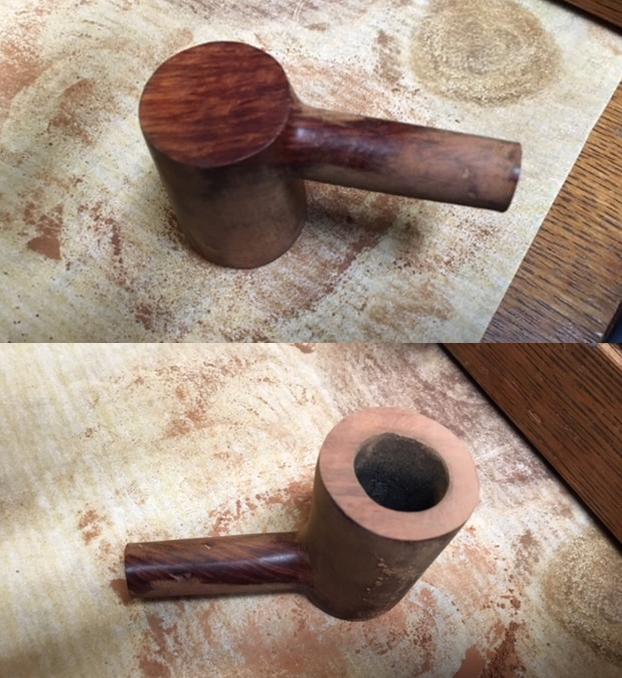
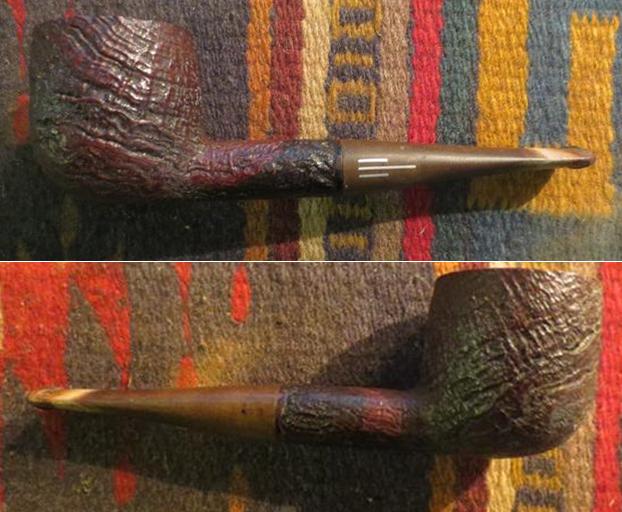
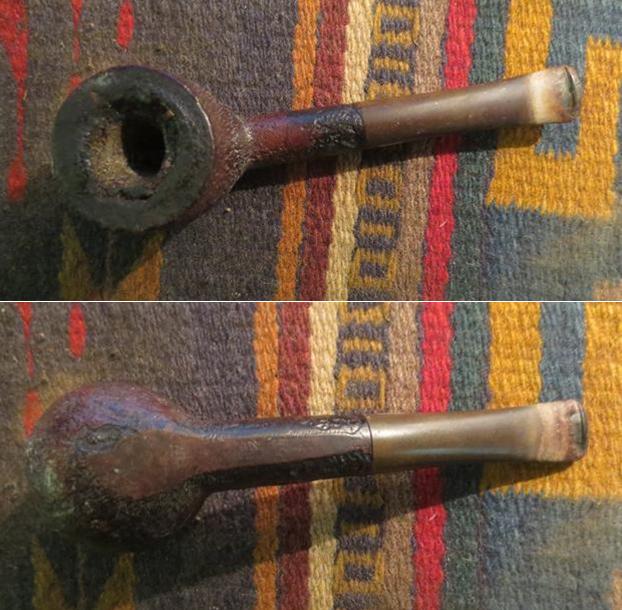
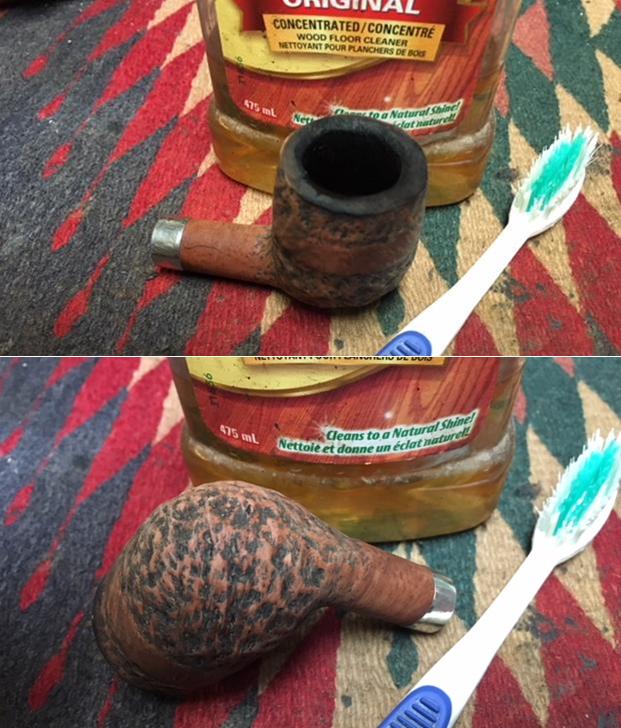
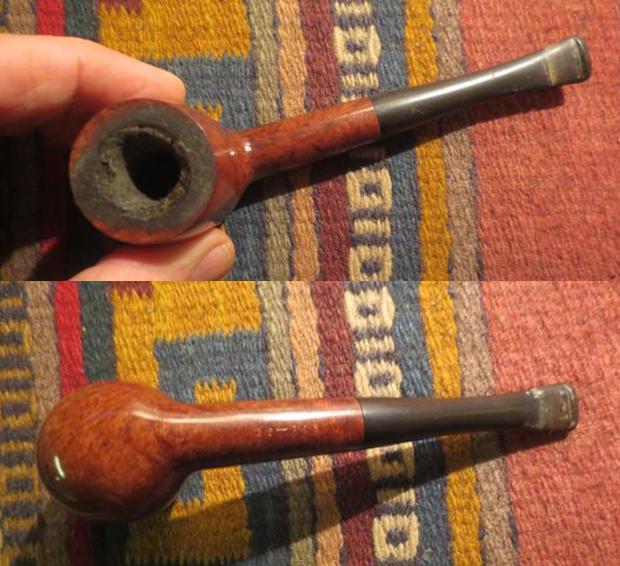
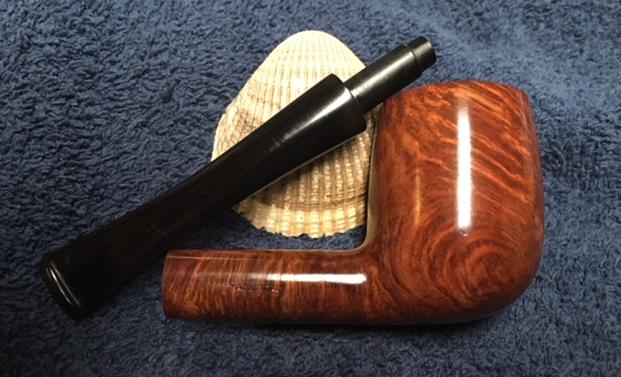
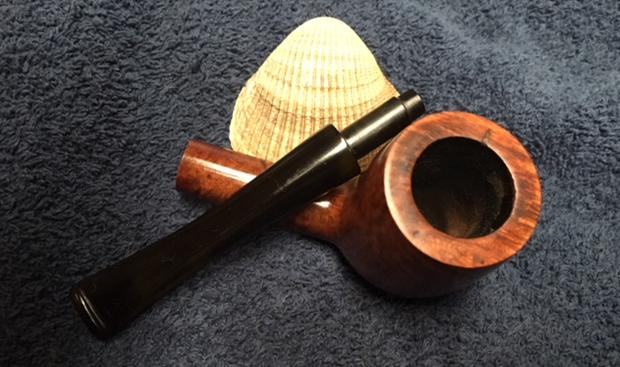
The finish on the pipe was very dirty with a lot of dents on the bottom side of the bowl and shank. There was a long deep dent on the front of the bowl. The bowl had a very thick, hard cake that had overflowed onto the rim top. The bowl was out of round and the inner bevel was burned and damaged. It looked as if some had tried to ream the bowl with a knife sometime in its life. There were two fills – one on the back left and one on the back right. In the angle of where the shank and bowl connected there was a heavy oily grime build up. The inside of the shank and sump were filled with tars and oils. The nickel ferrule was in great condition with light scratching but no real oxidation. The stem was a mess. The top side of the stem had deep tooth grooves extending forward from the p-lip button about 1 inch. On the underside there were also tooth marks. Both sides had a lot of serious chatter and some calcification build up. The stem was oxidized and very dirty. I took some photos of the pipe before I started working on it.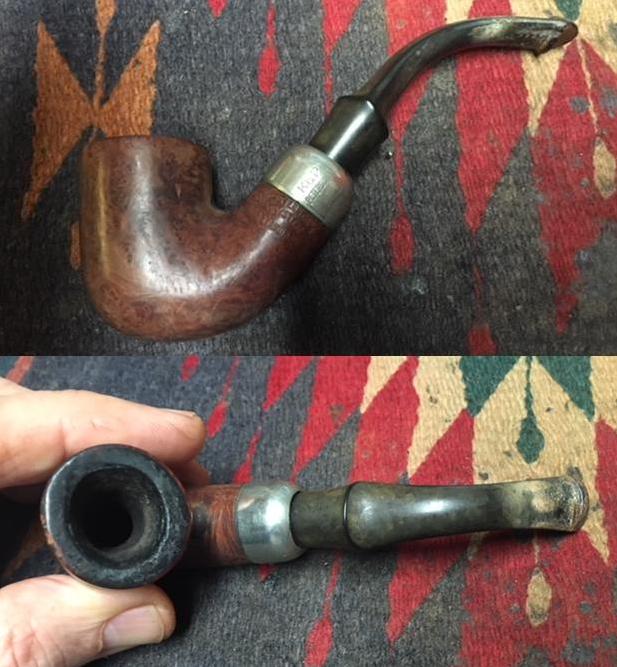
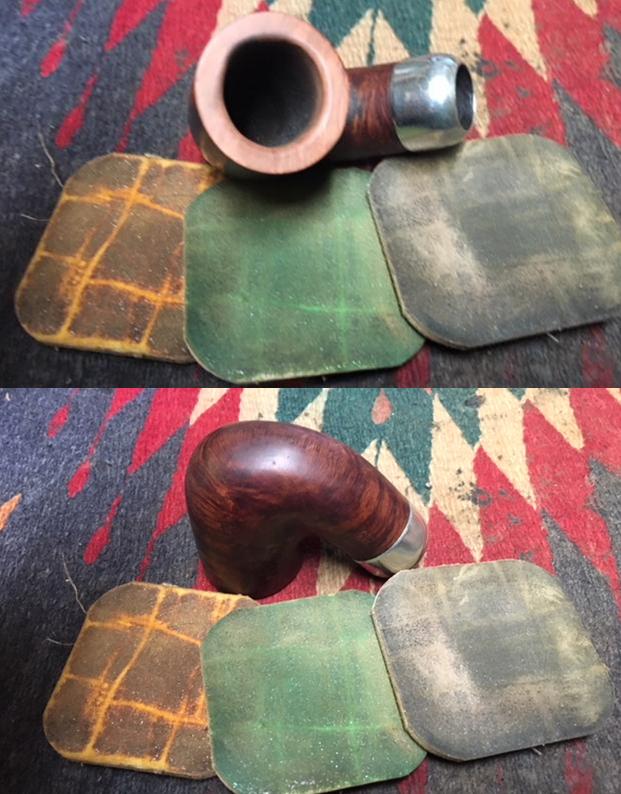
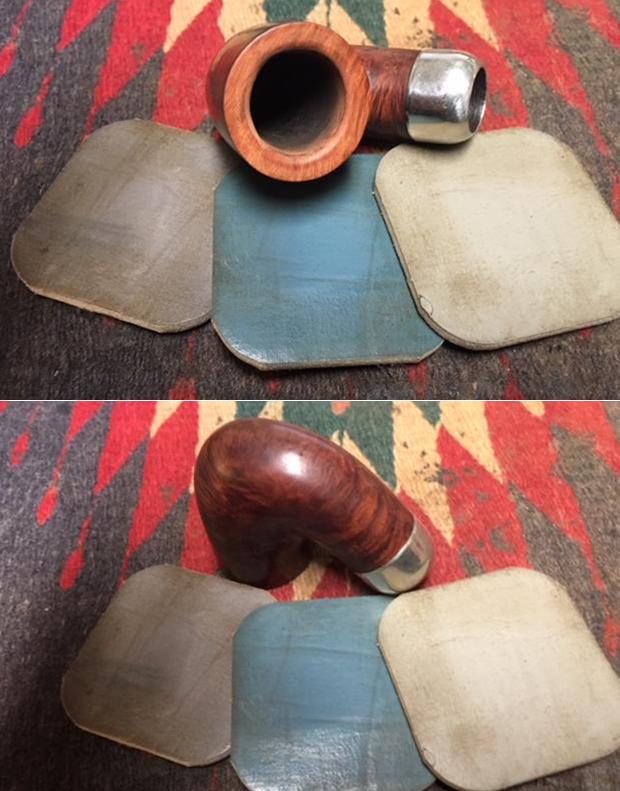
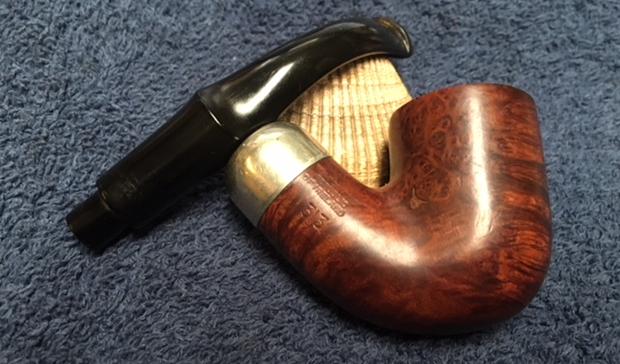
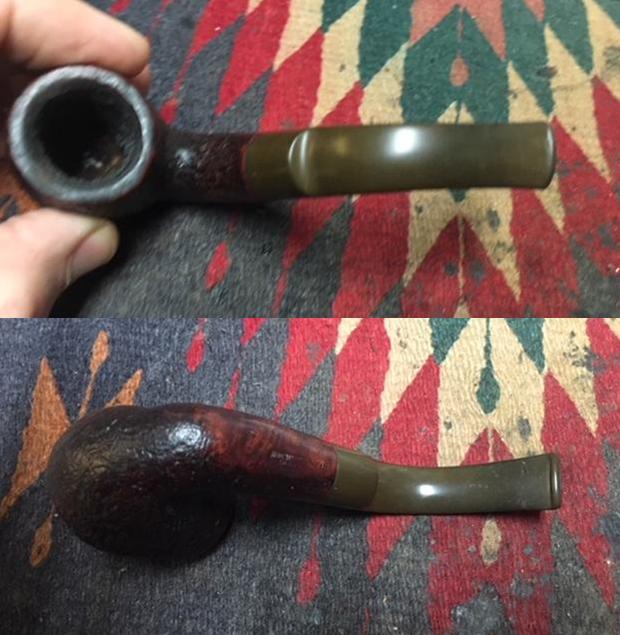
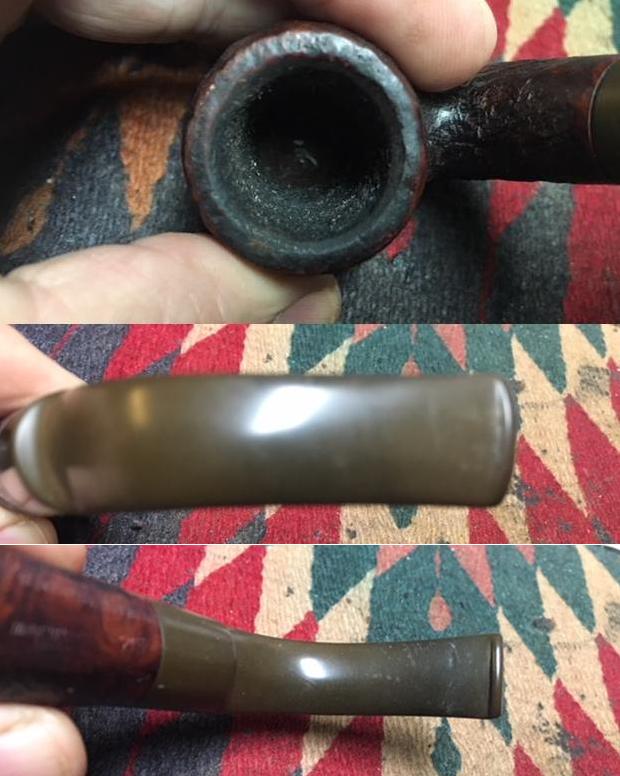
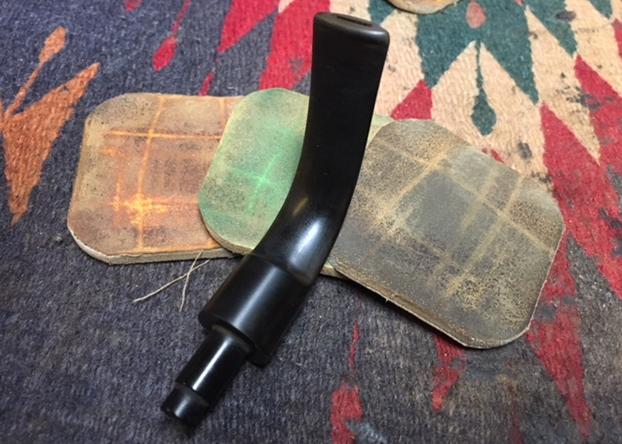
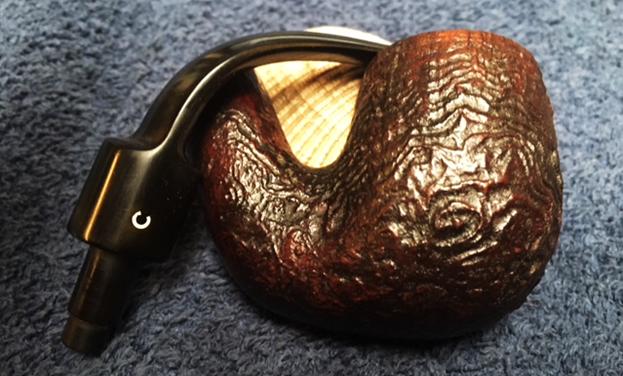
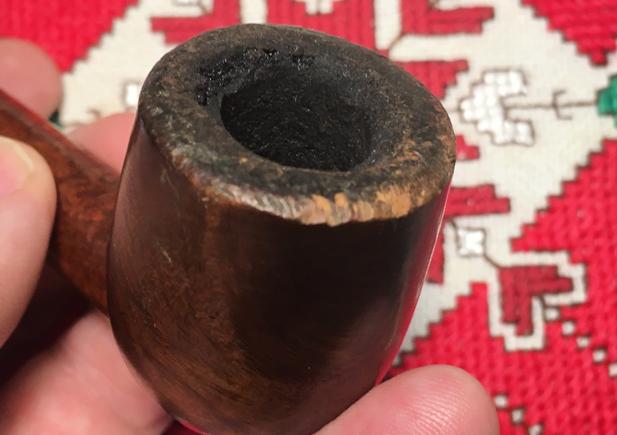
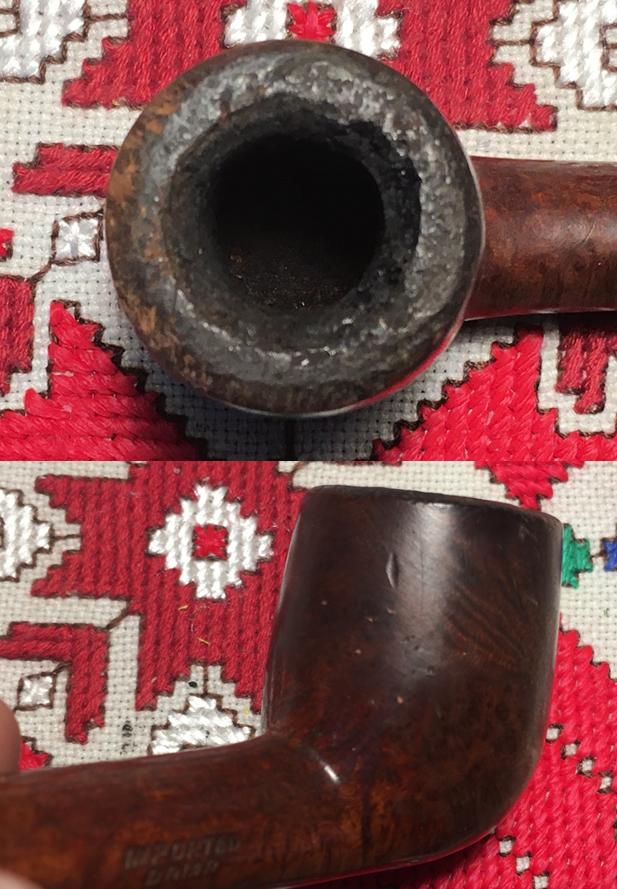
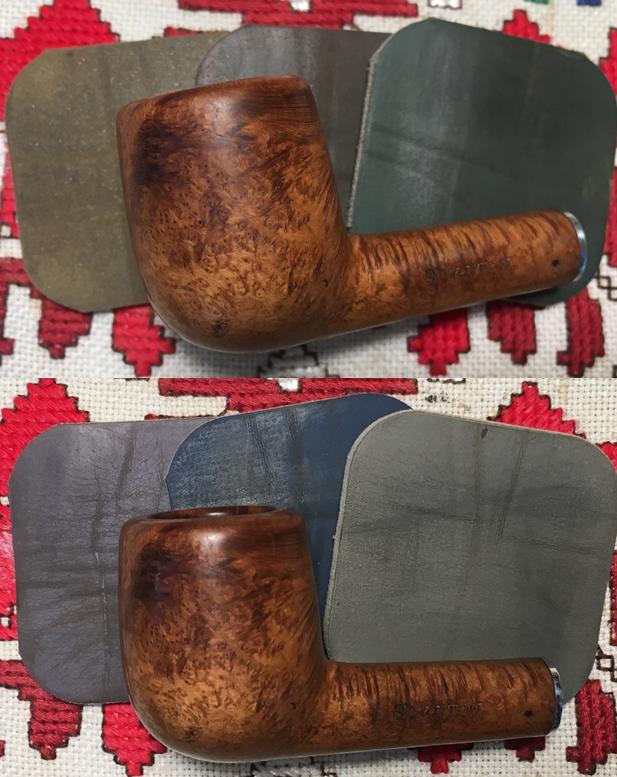
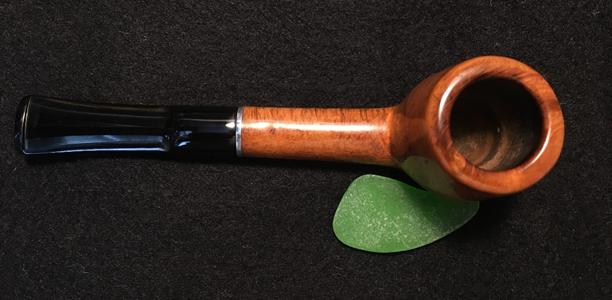
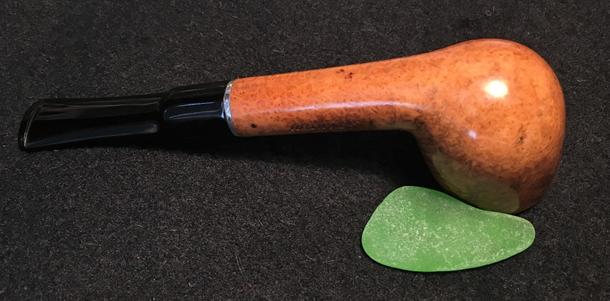
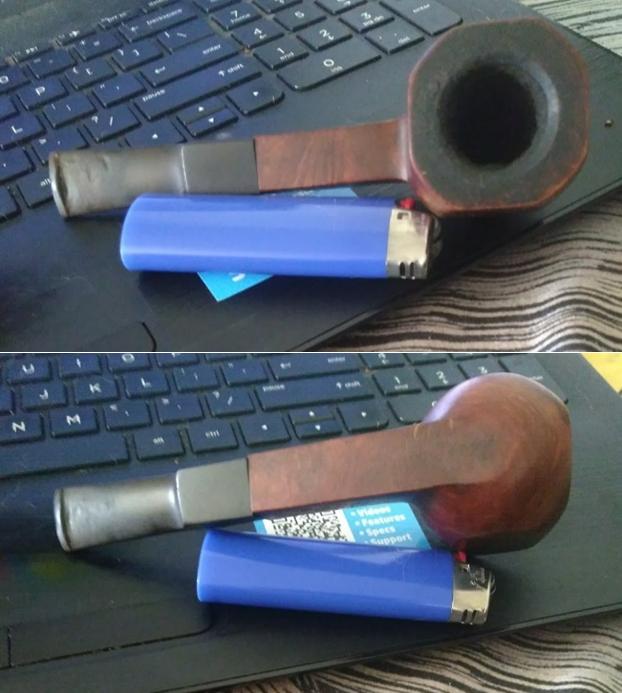
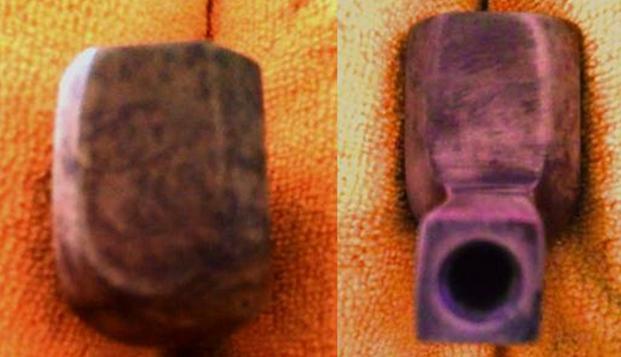
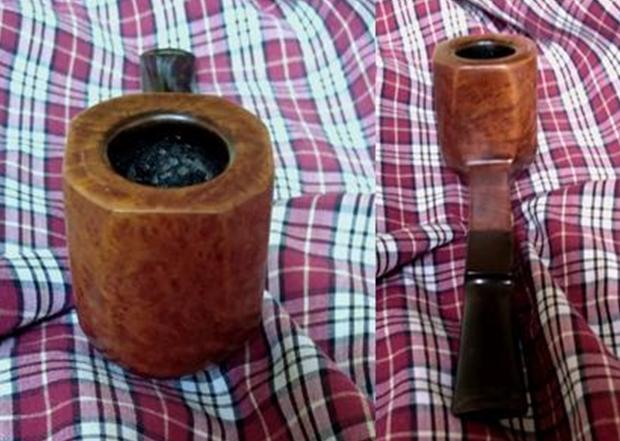
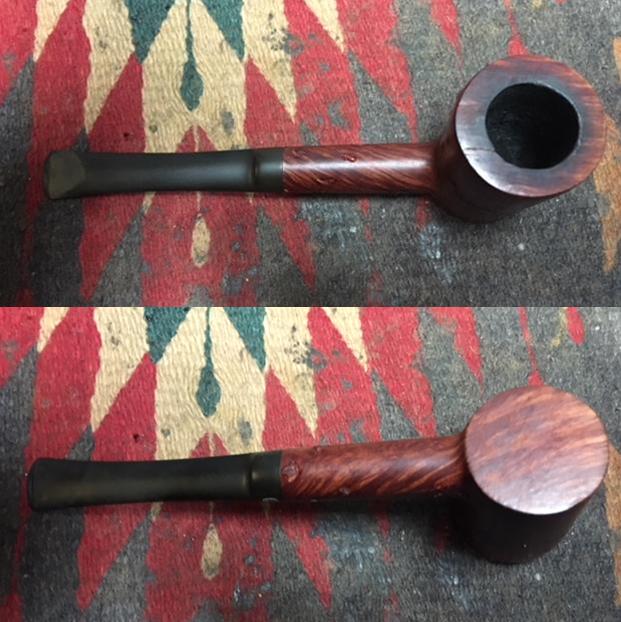
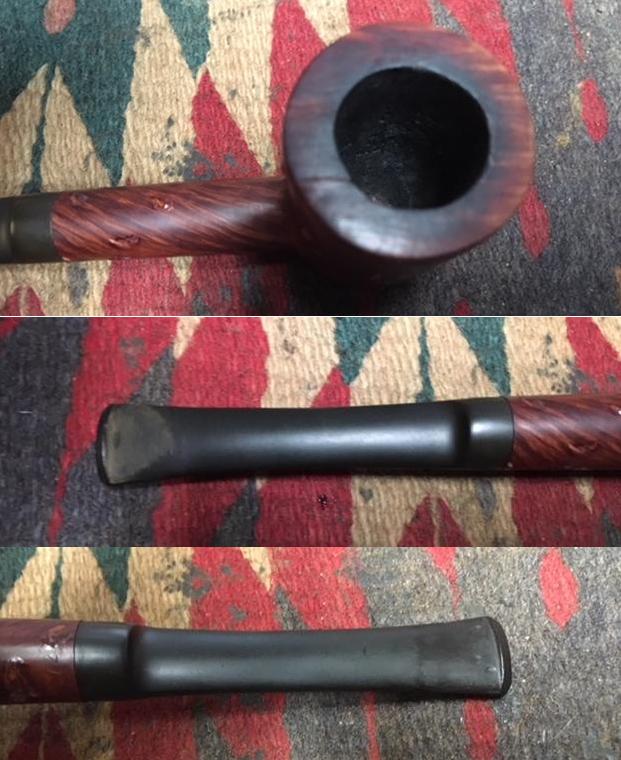
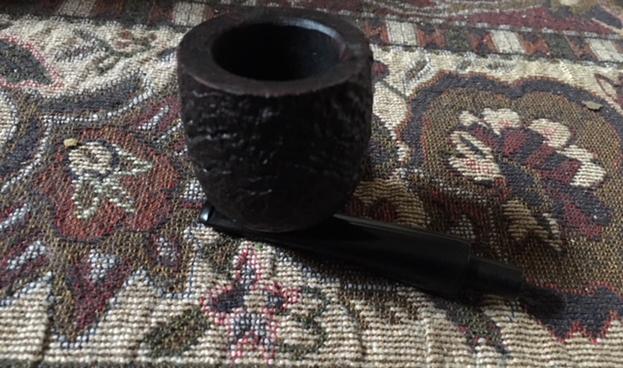
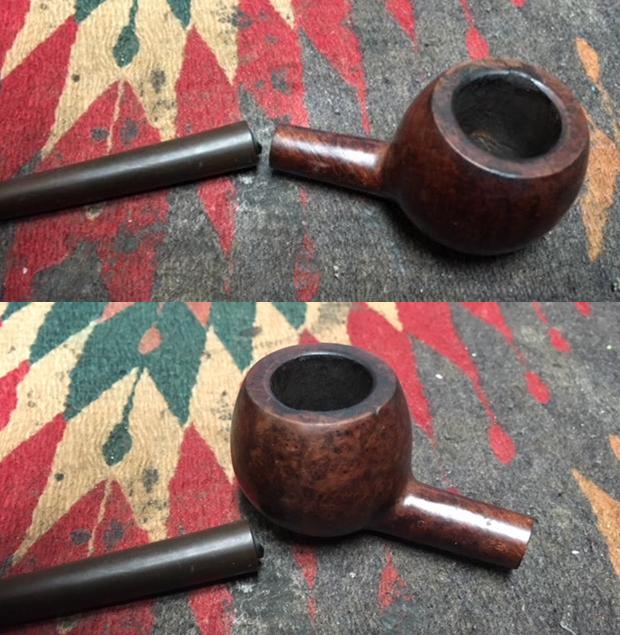
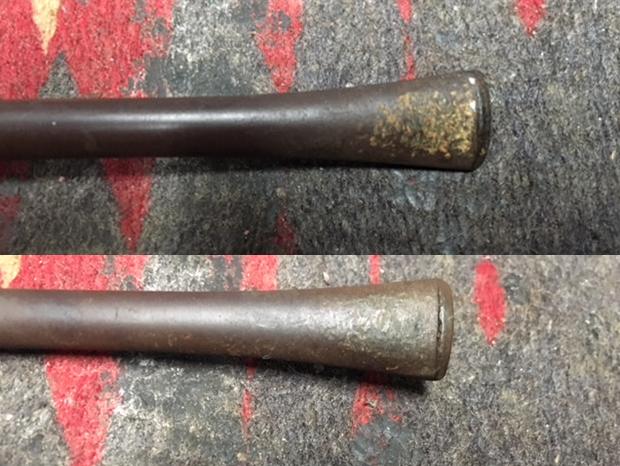
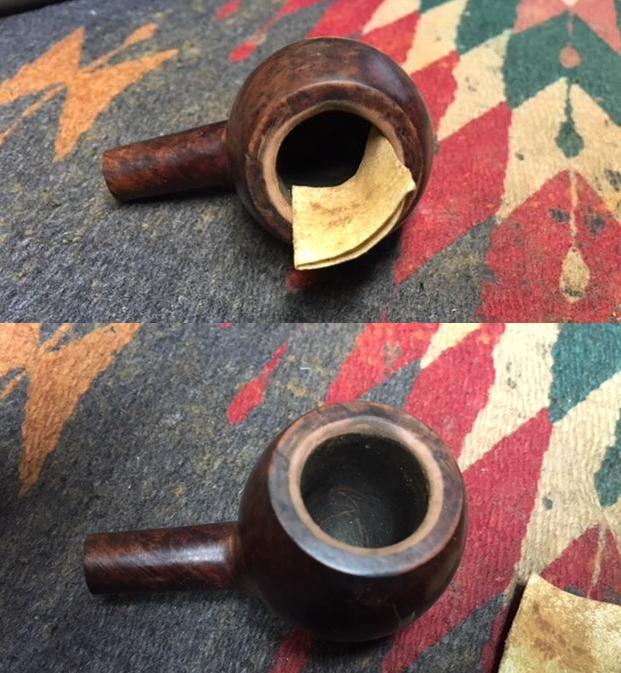
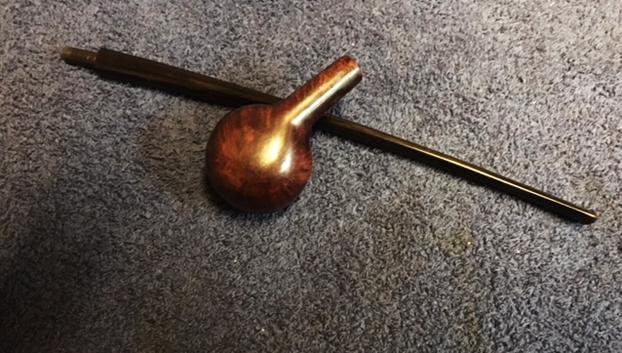
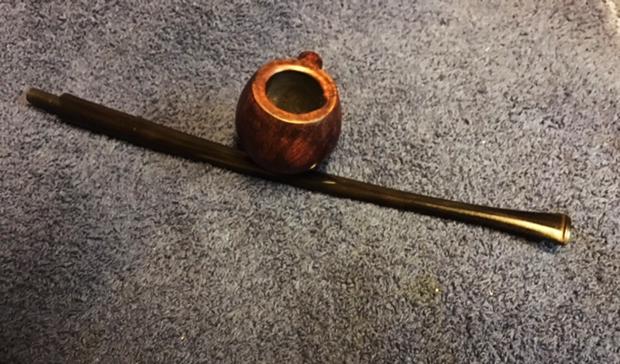
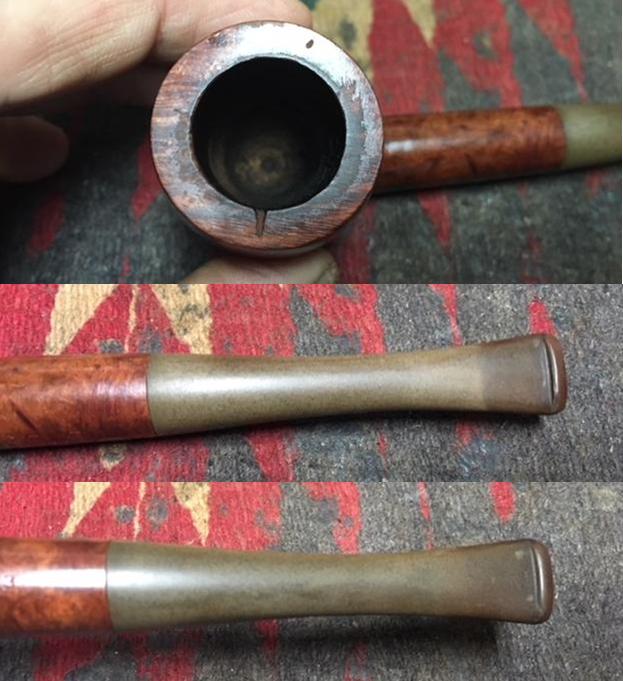
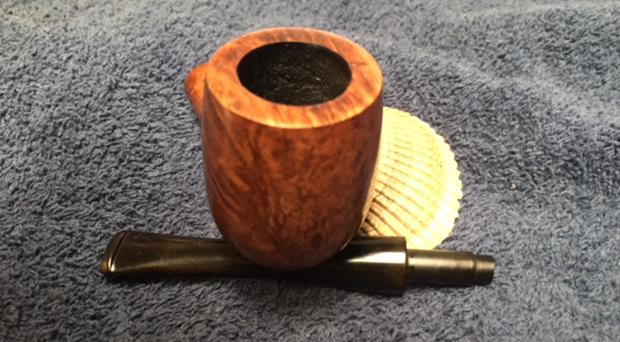
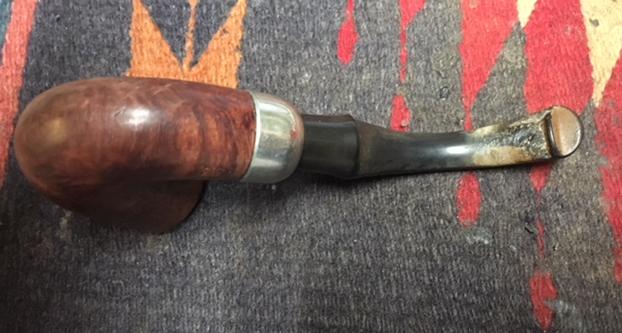 I took close up photos of the rim top and the stem to show the condition it was in when it arrived in Vancouver. You can see the heavy lava buildup on the rim top. You can also see the damage on the inner edge, particularly heavy on the right front side. The cake was quite thick and very hard leaving barely enough room for my little finger to fit in the bowl. You can see the condition of the stem and the tooth marks in the oxidation on both sides. The tooth marks and chatter on both sides are deep and worn looking.
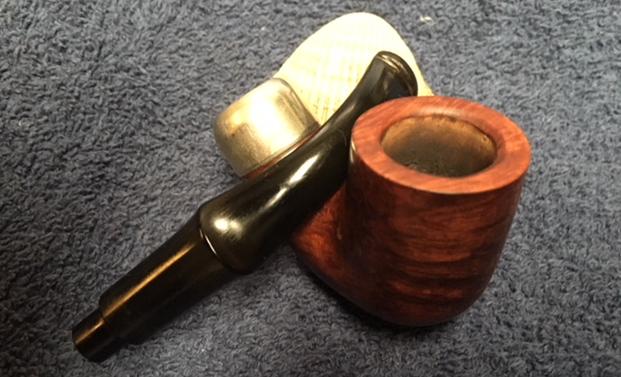
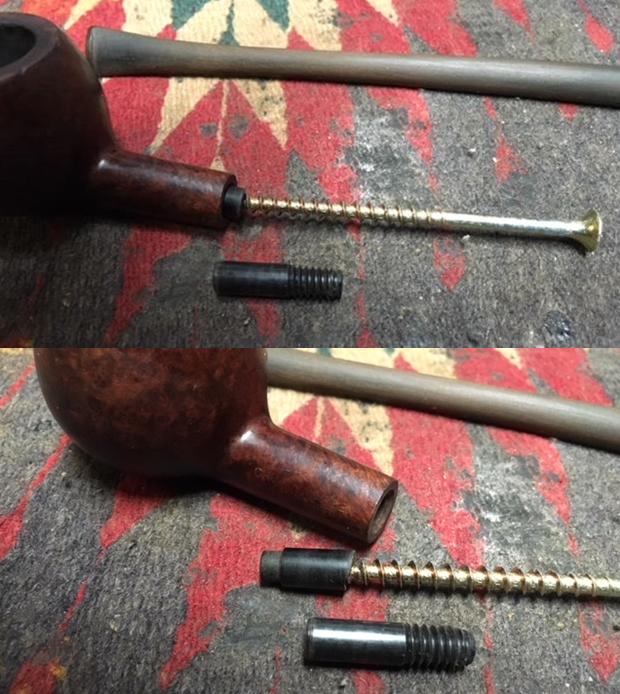
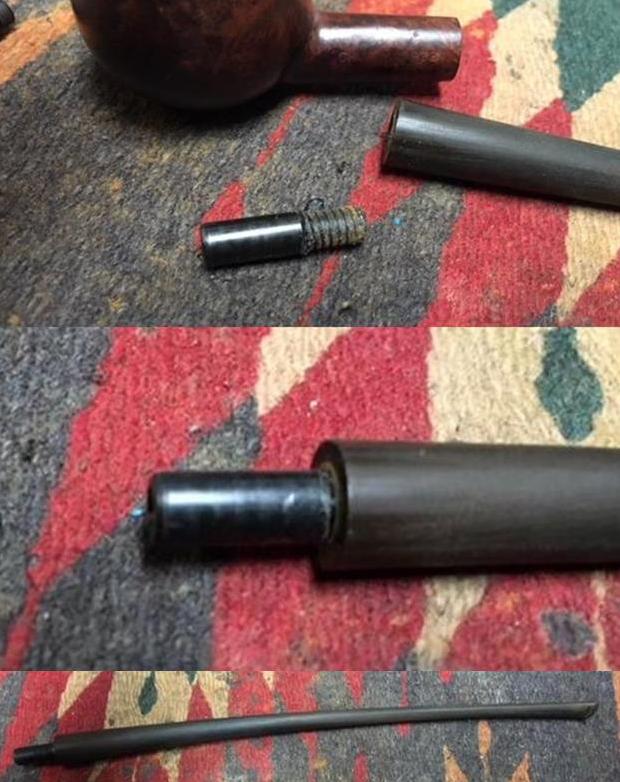
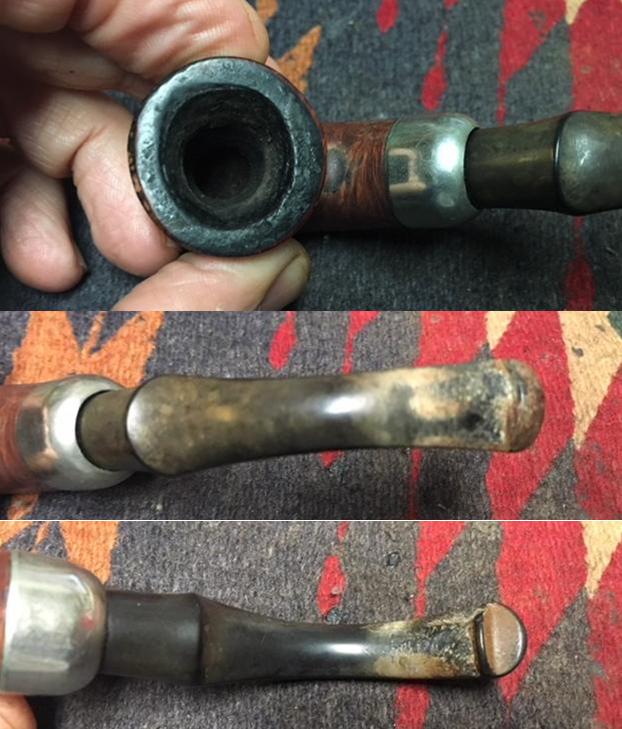 The stem was stuck in the shank and would not move. I tried to twist it and turn it but nothing moved. I put the pipe in the freezer for half an hour let it do its magic. At the end of the half hour I was able to easily remove the stem from the shank.
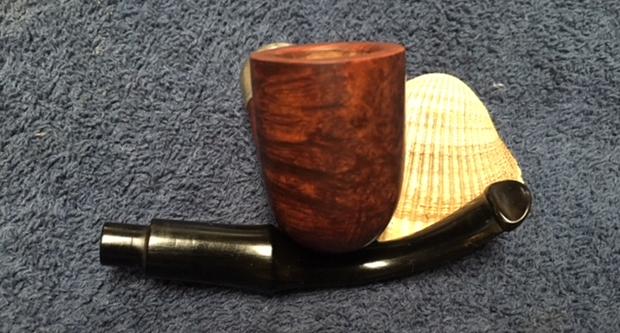
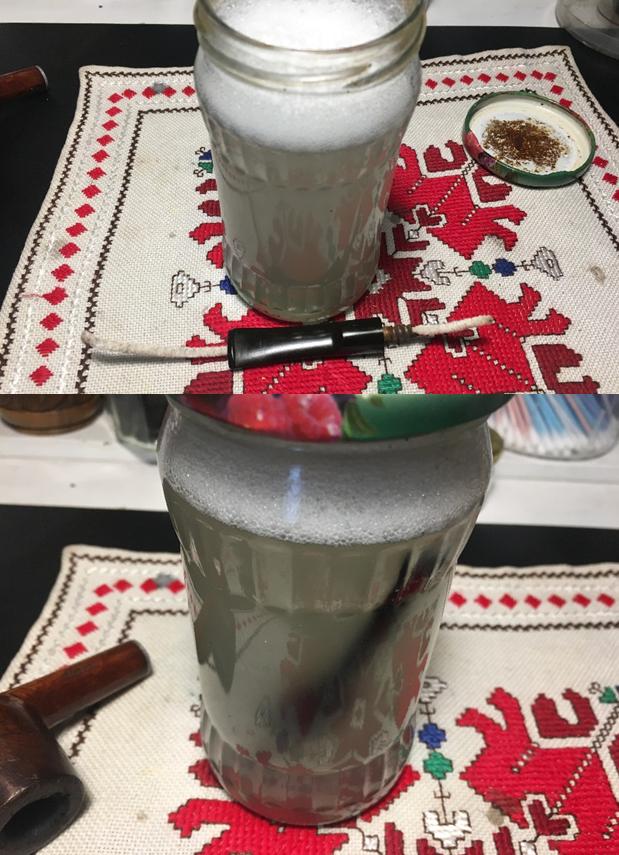
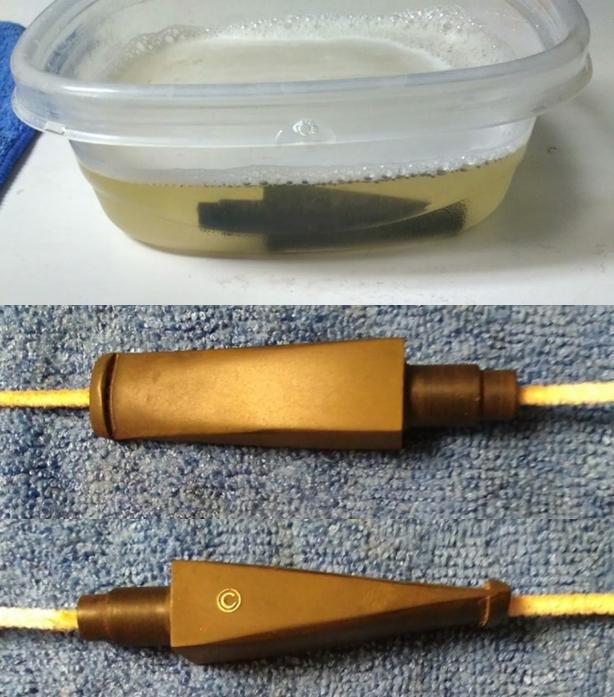
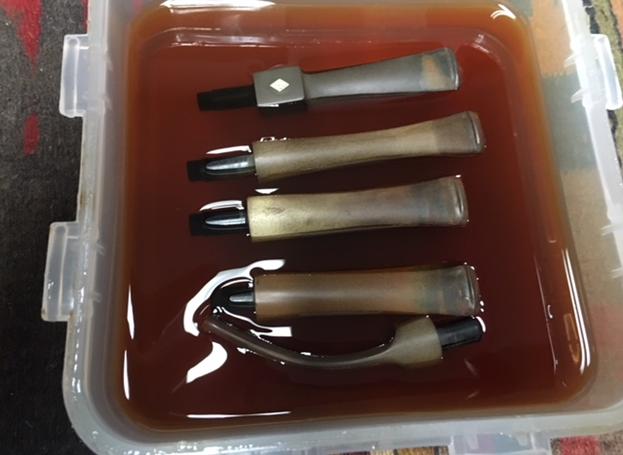
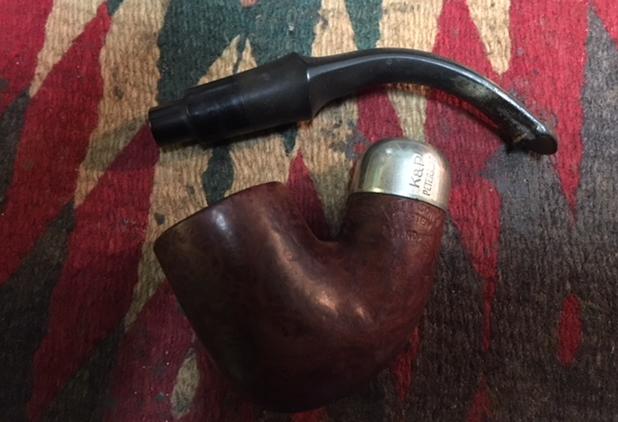 I decided to soak the stem in a bath of Before & After Pipe Stem Deoxidizer so I dropped it in the airtight container and set it aside overnight to let it do its work.
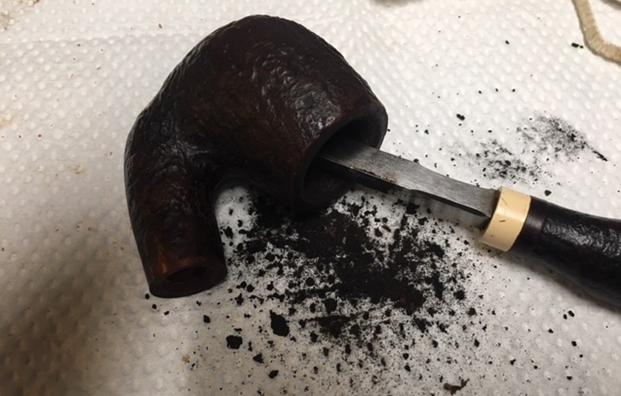
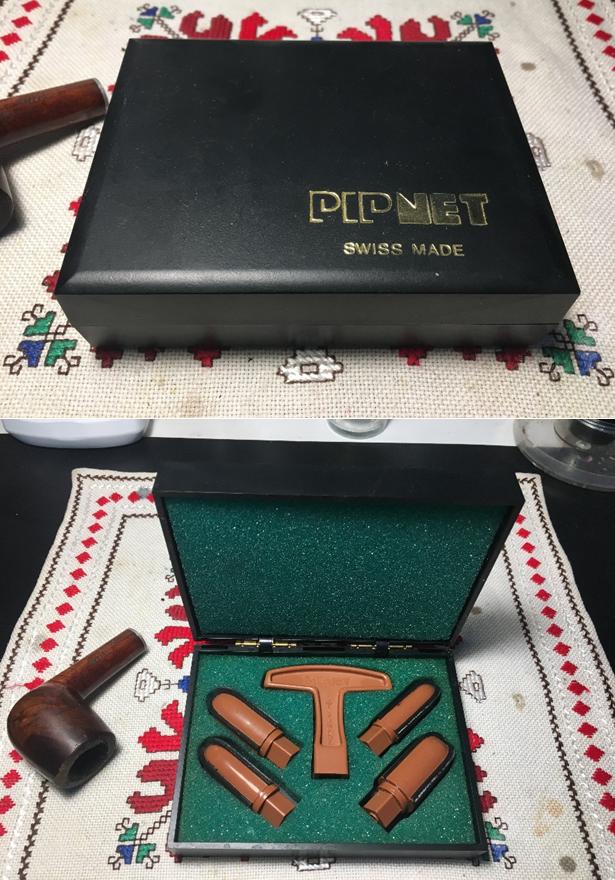
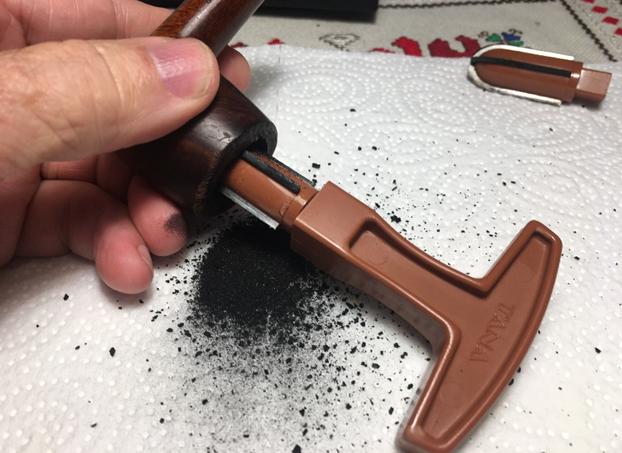
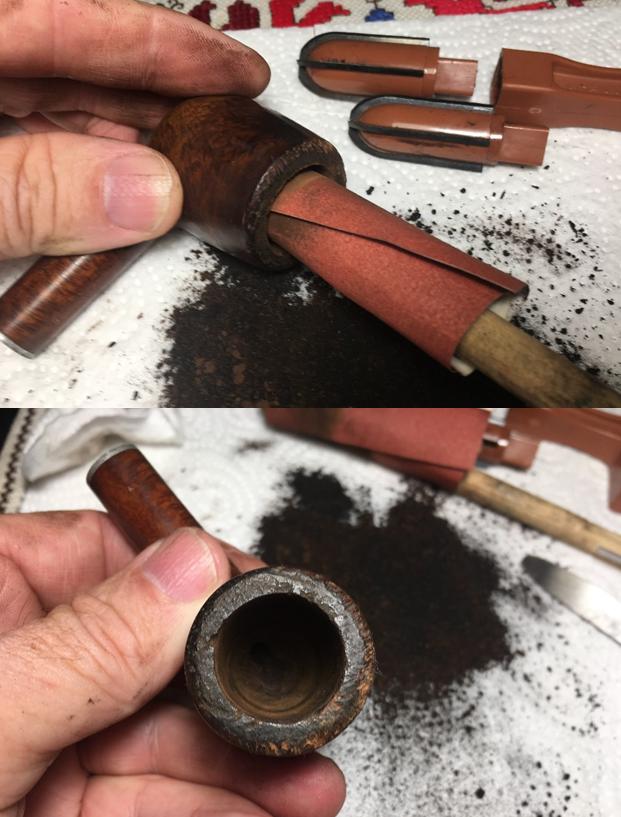
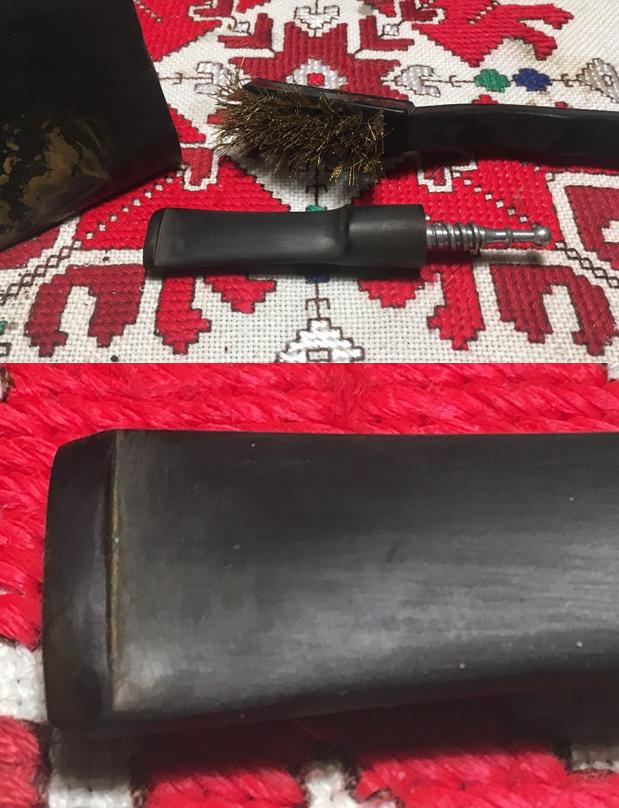
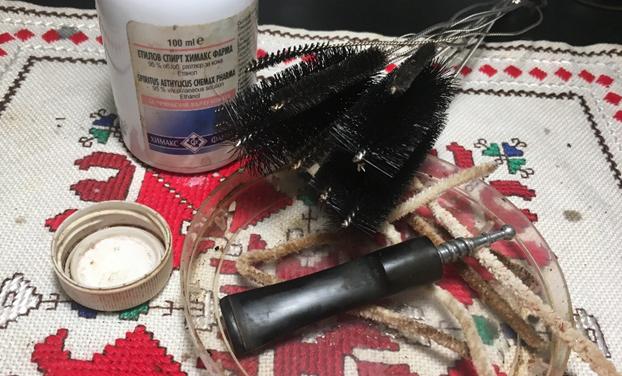
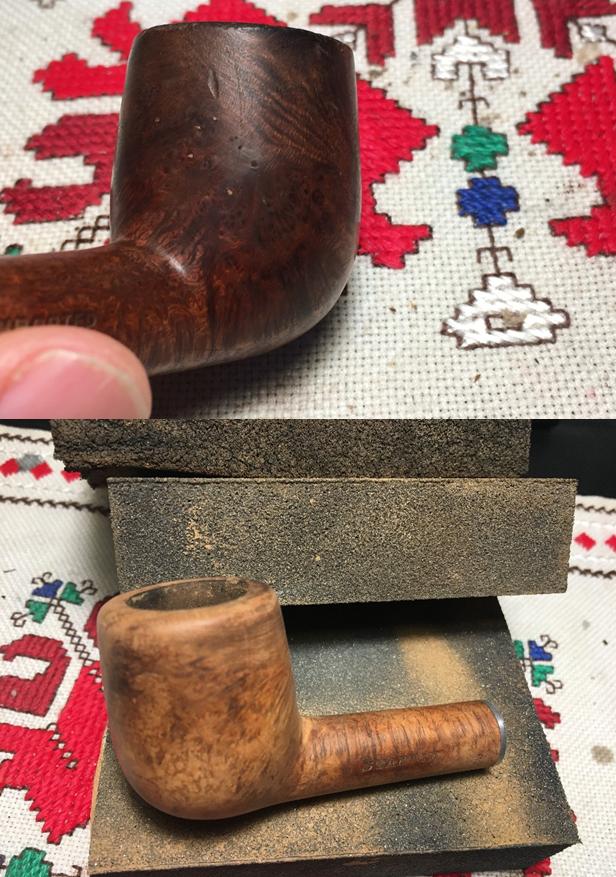
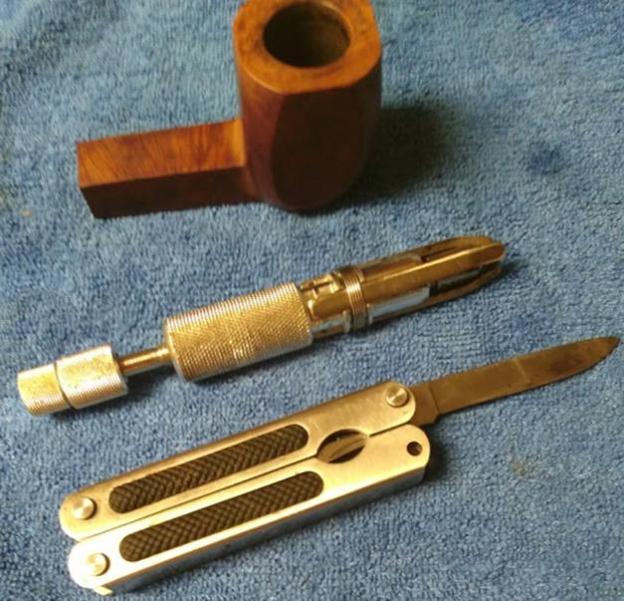
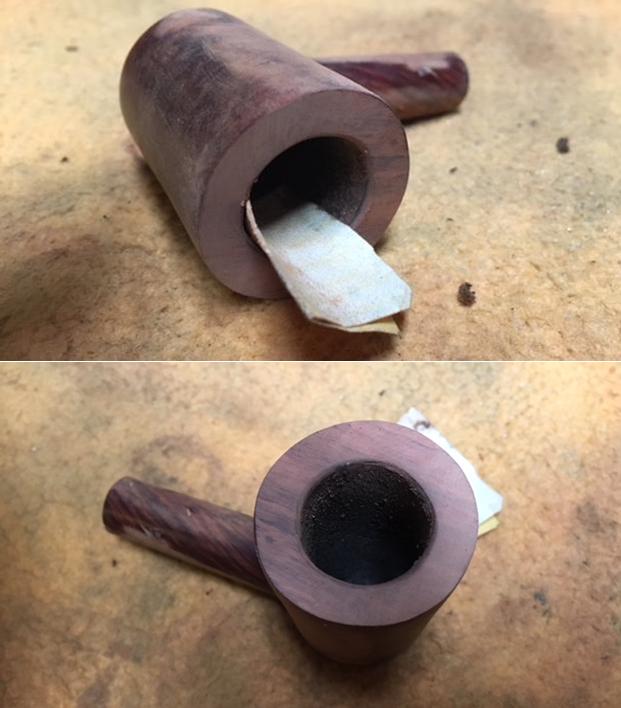
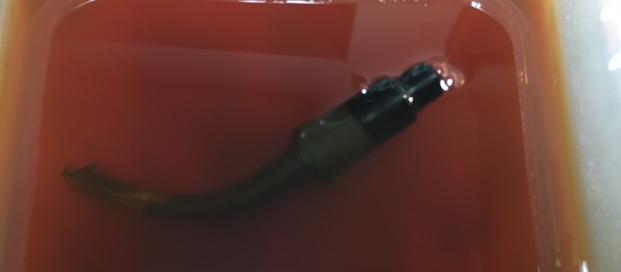 I turned my attention to the bowl. I started by reaming the hard cake back with a PipNet pipe reamer. I started with the smallest cutting head and worked my way up to the second head. I took the cake all the way back to bare briar. I cleaned up the remnants in the bowl with a Savinelli Fitsall Pipe Knife. The knife allowed me to get all the way to the bottom of the bowl and remove the cake that still remained around the airway.
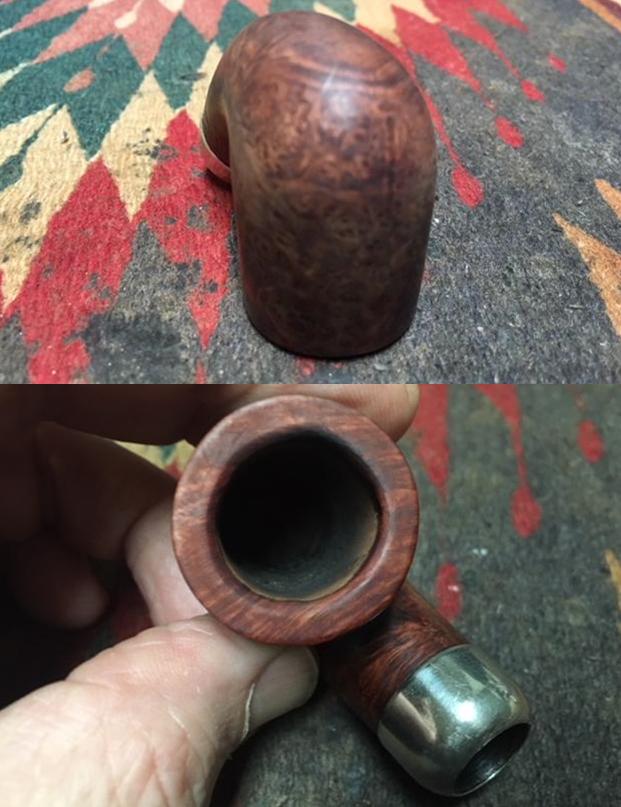
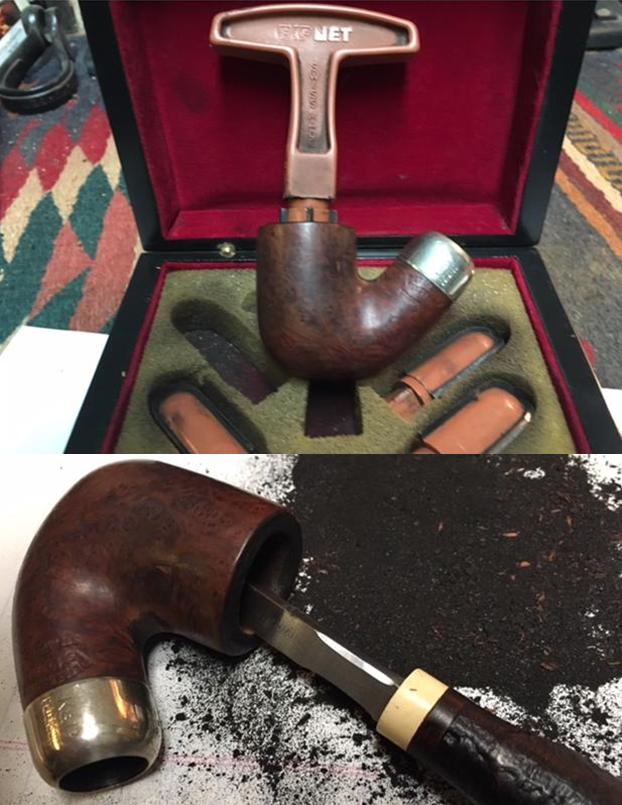 I topped the bowl on a topping board with 220 grit sandpaper. I worked on it until I had removed the damage on the top of the rim and was able to minimize the damage to the inner and outer edges of the bowl.
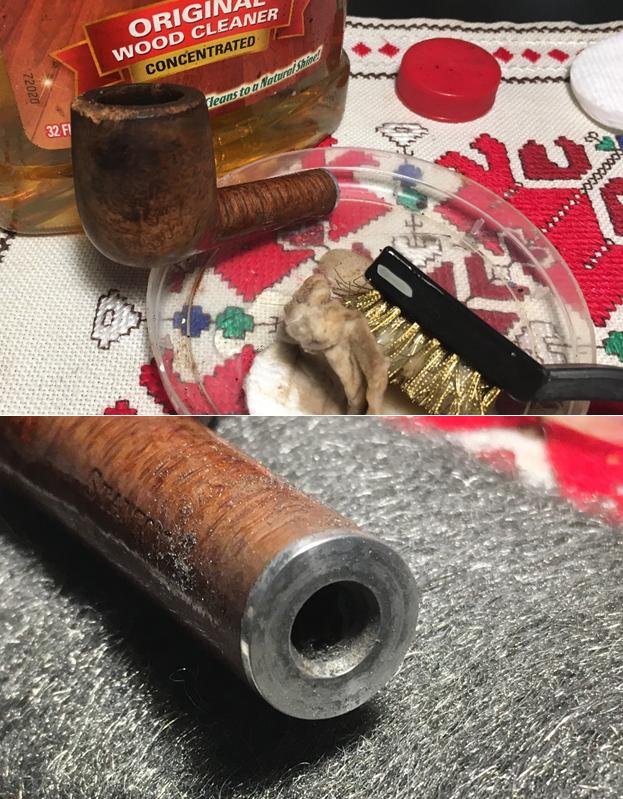
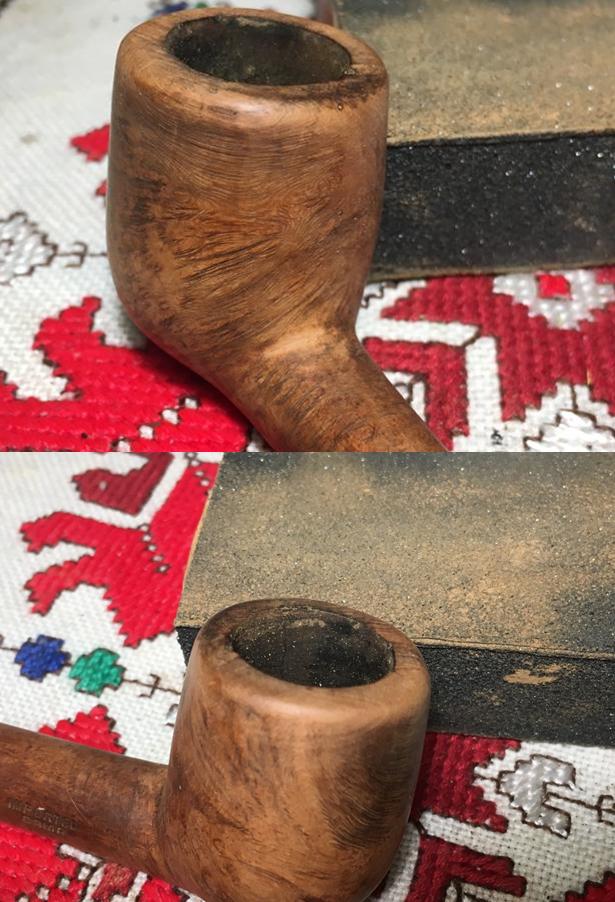
 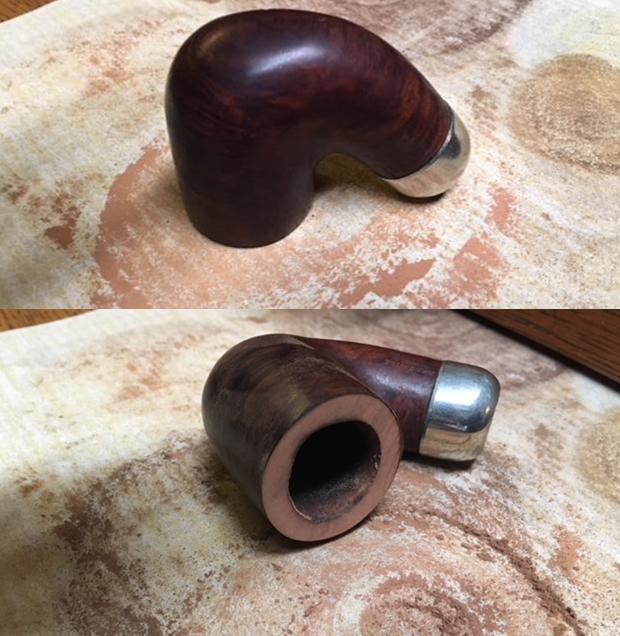 I used a folded piece of sandpaper to rework the inner edge of the bowl and give it a slight bevel to hide the burn marks and the damage from the knife reaming. With a little work I was able to remove the damage on the inner edge of the bowl. I also ran the folded sandpaper around the outer edge to smooth out the nicks and marks.
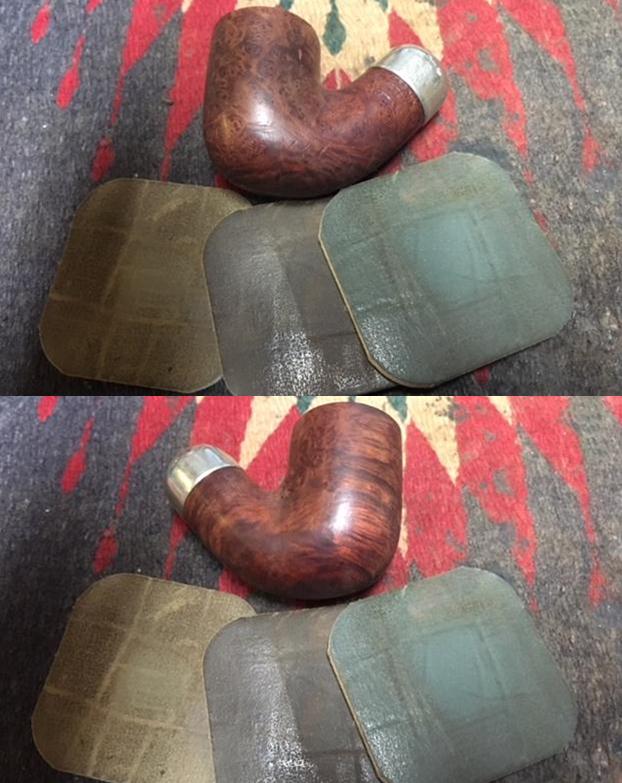
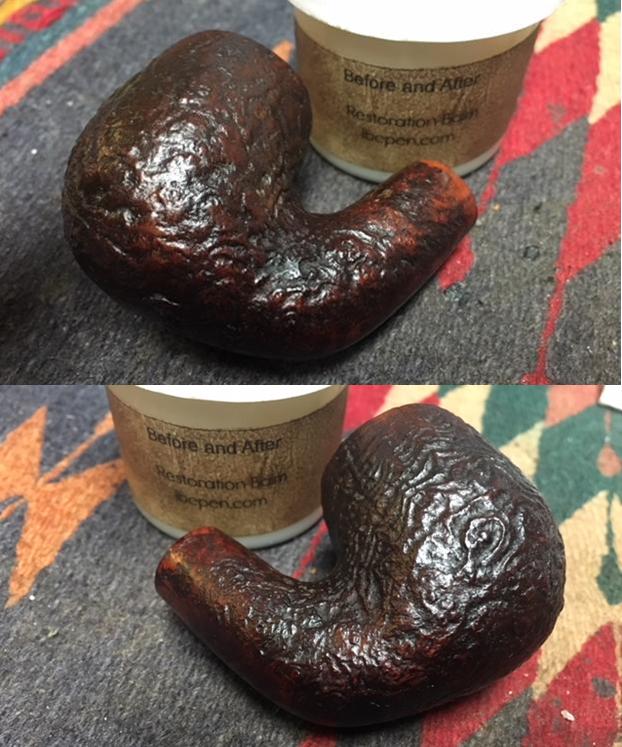
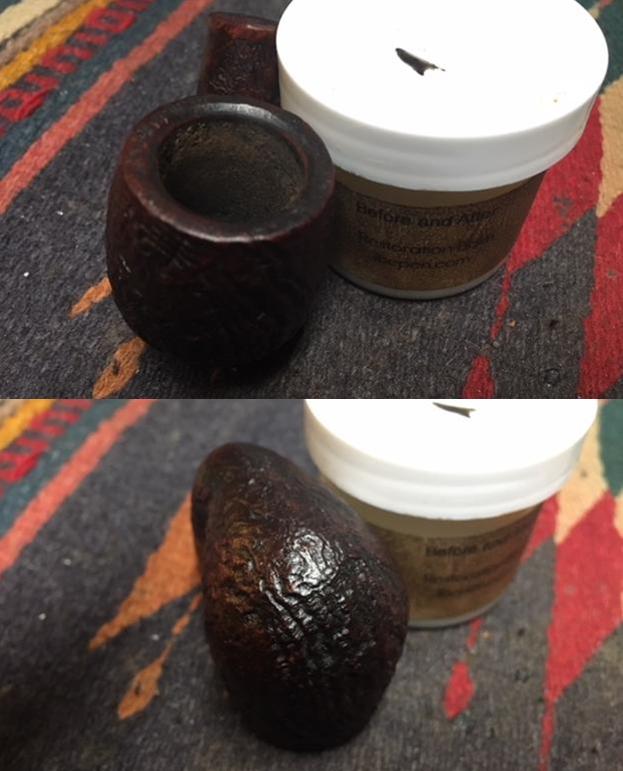
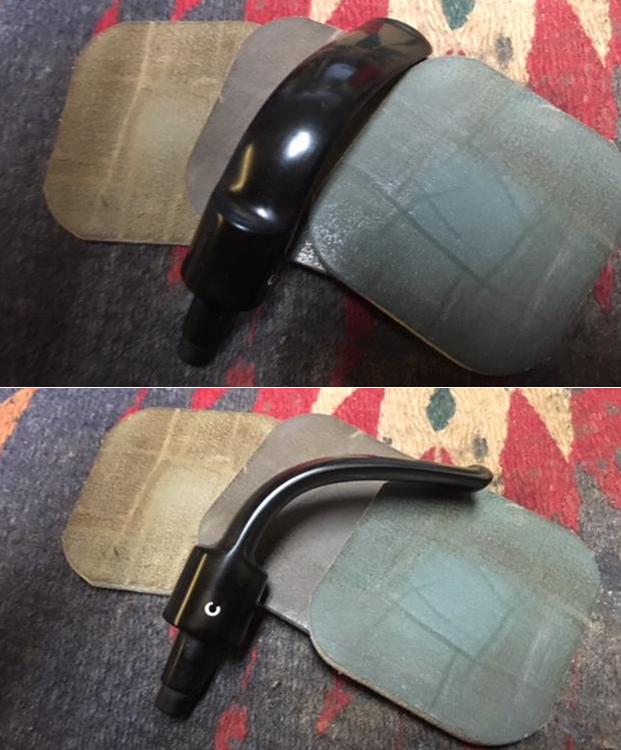
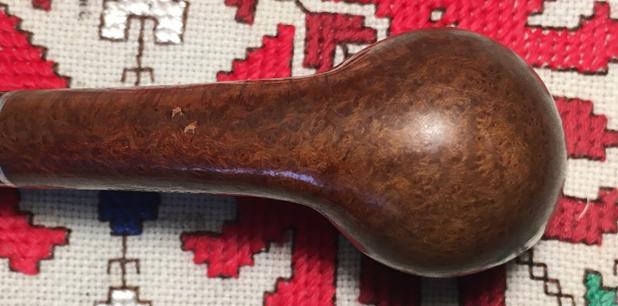
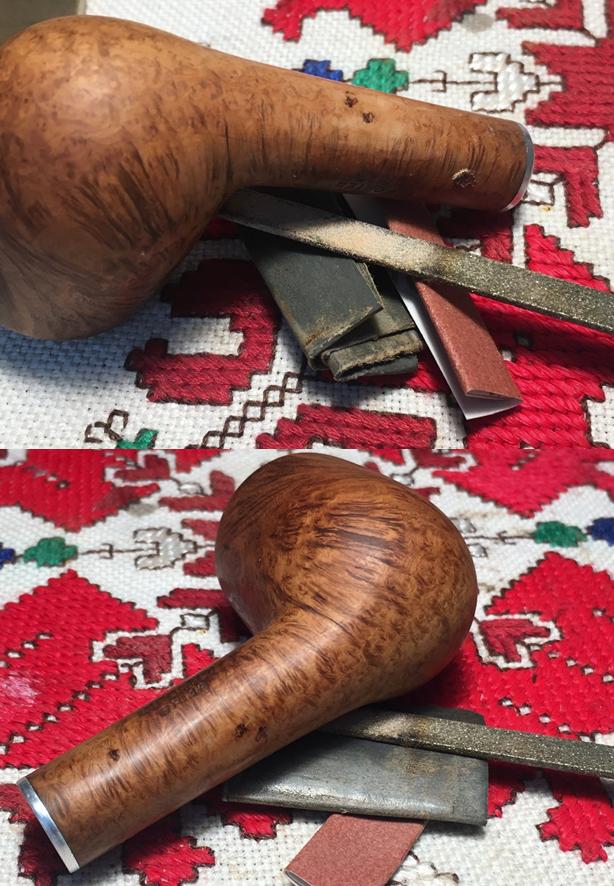
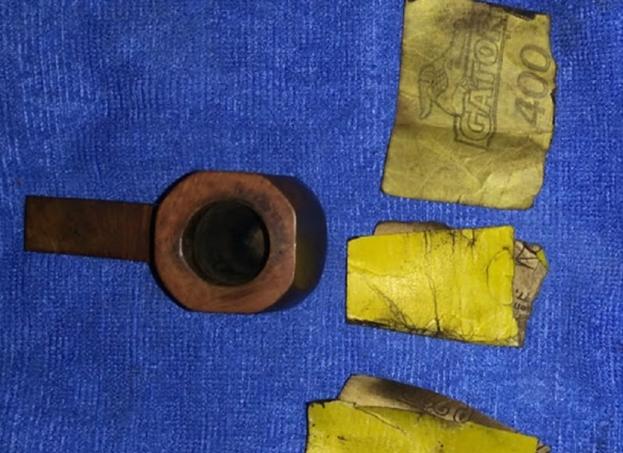
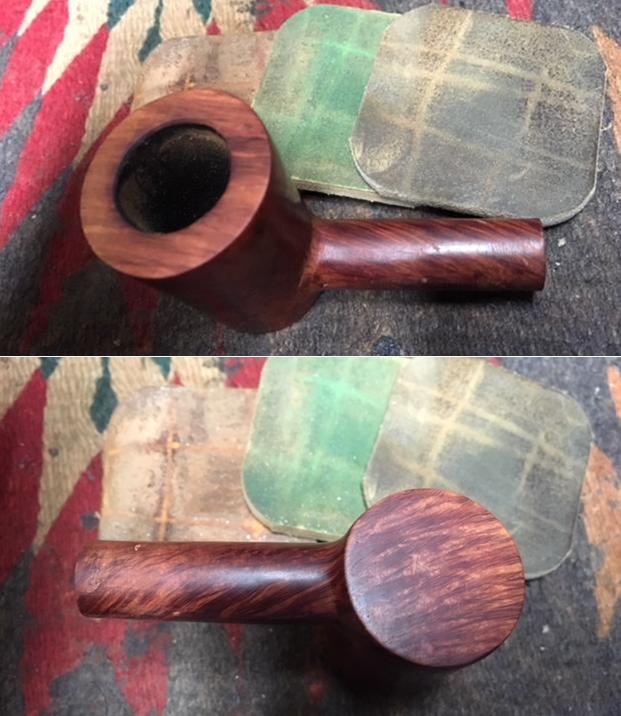
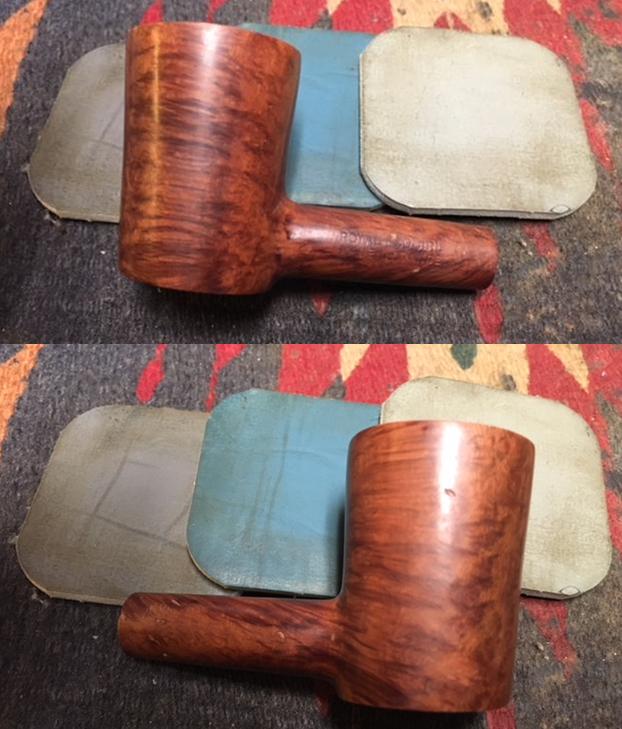
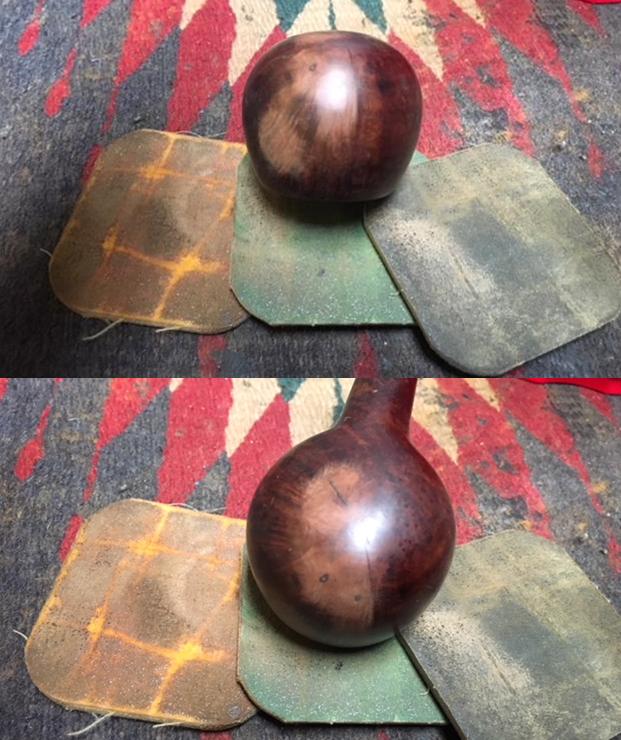
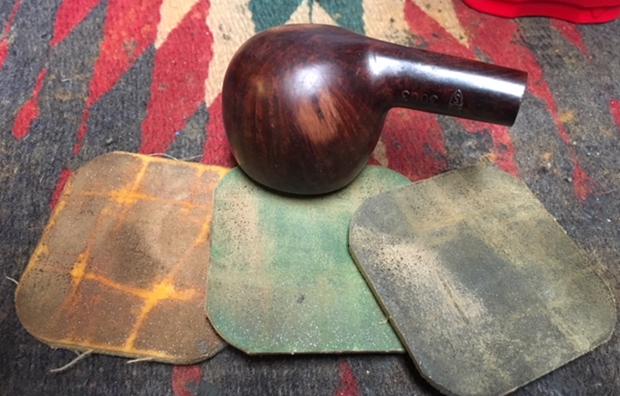
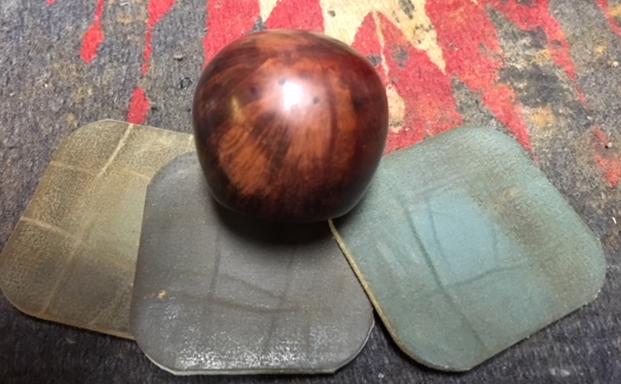
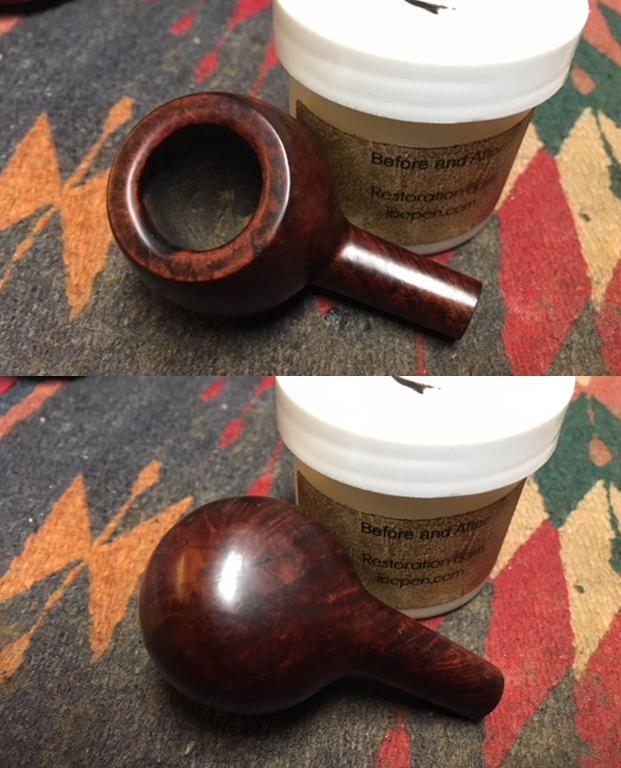
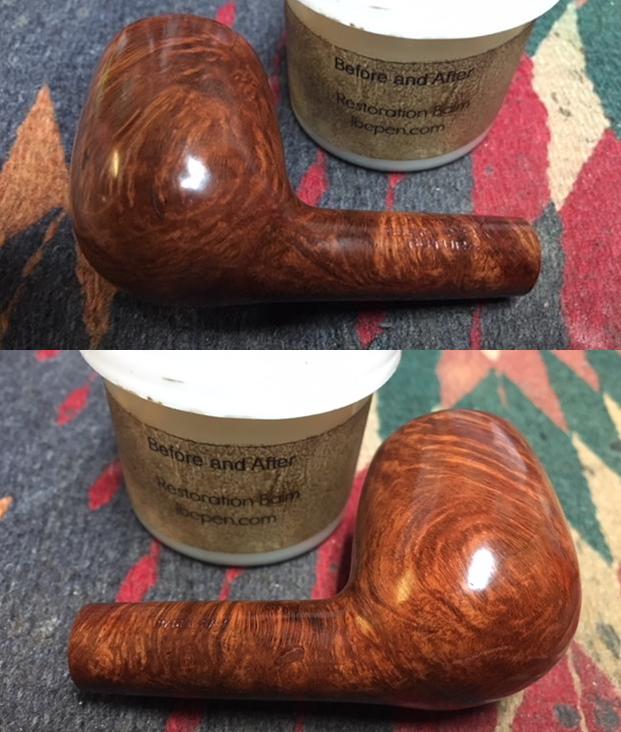
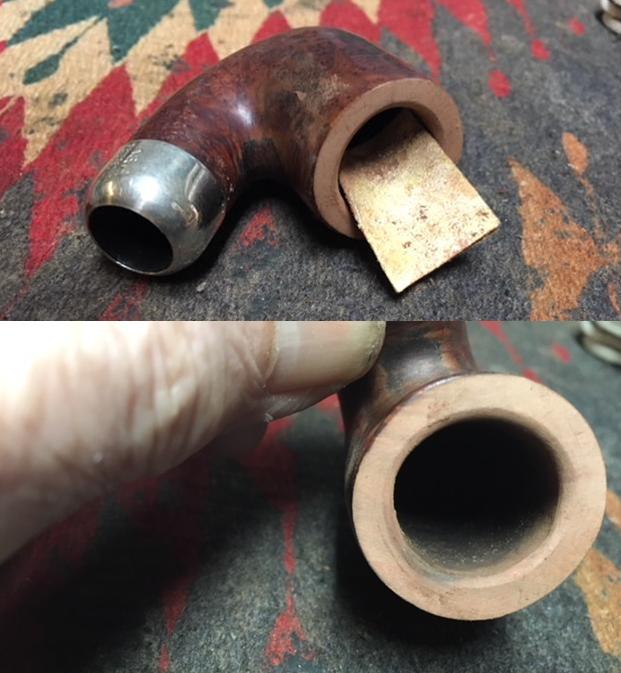 The briar on the bowl had some dents around the sides, front and back of the bowl. The underside of the shank was also dented. Before I dealt with the dents in the surface I decided to polish the briar and raise a shine. I wet sanded it with 1500-2400 grit micromesh sanding pads and dry sanded it with 3200-12000 grit pads. I wiped it down after each pad with a damp cloth to remove any sanding dust. The grain in the briar really began to stand out. There was some really nice birdseye on the sides of the bowl and cross grain on the front and back sides.
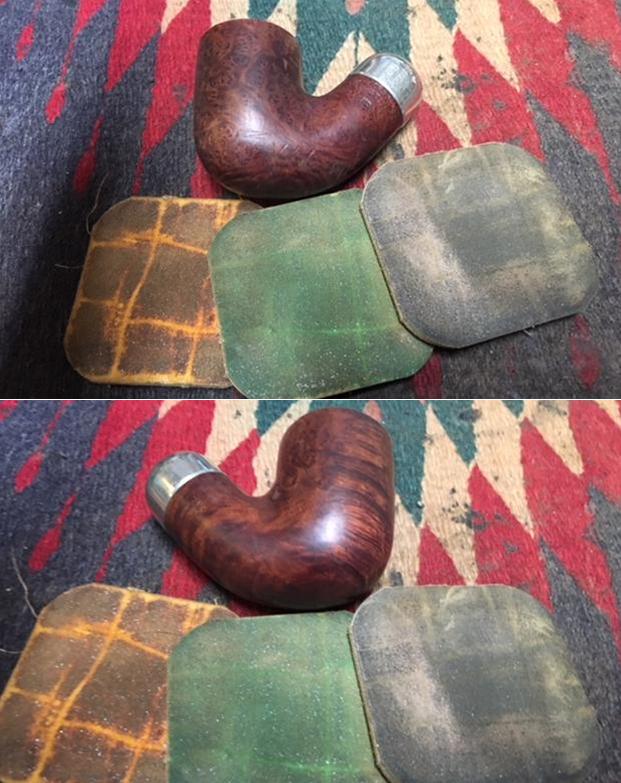
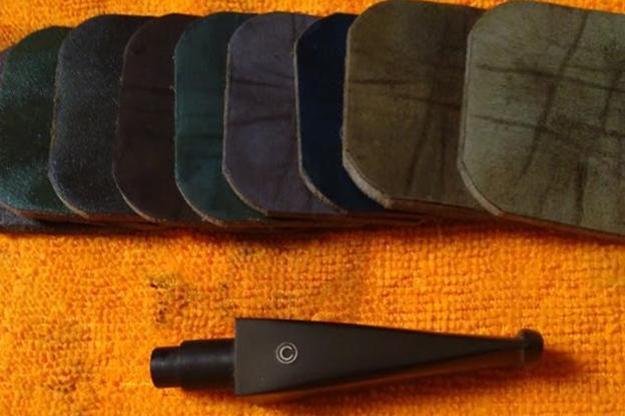
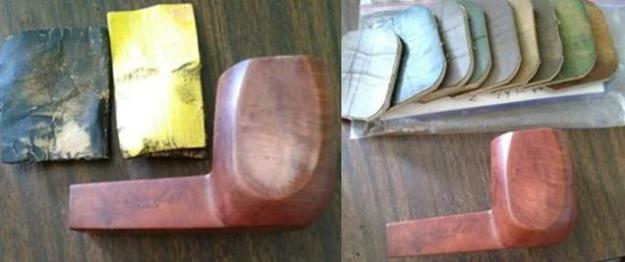
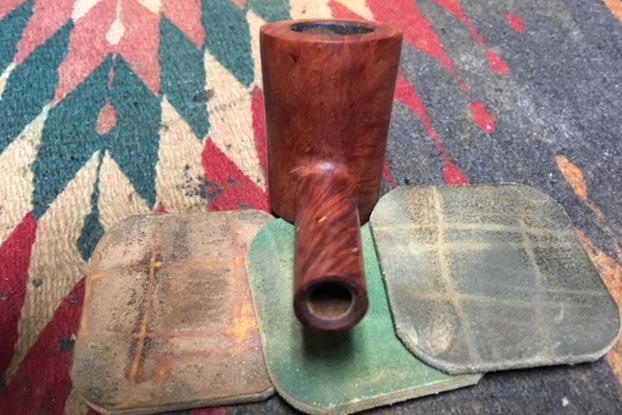
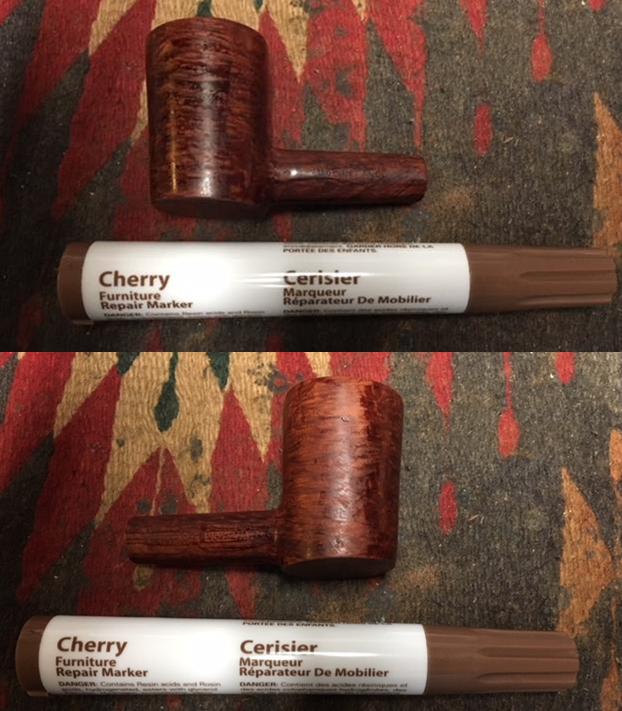
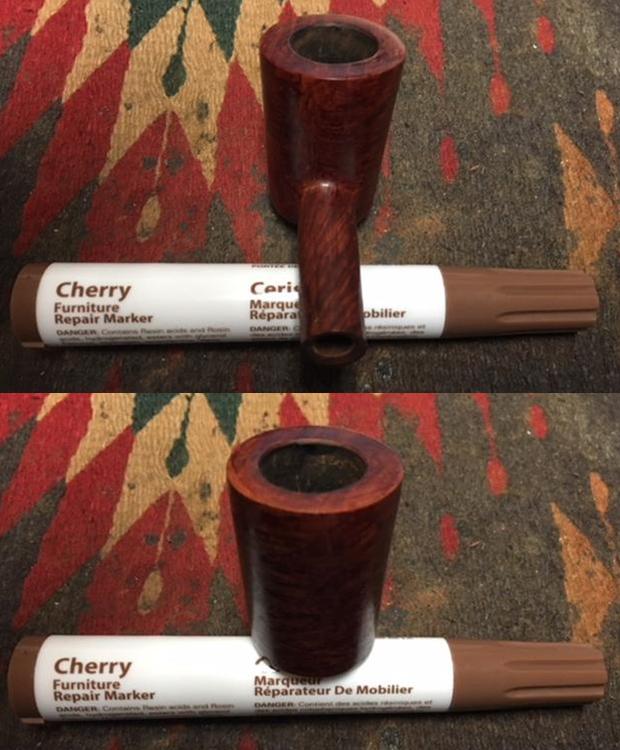
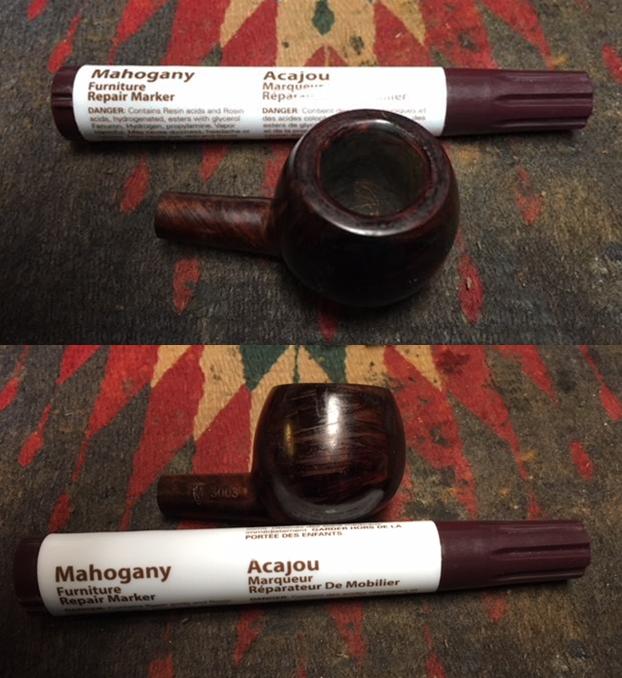
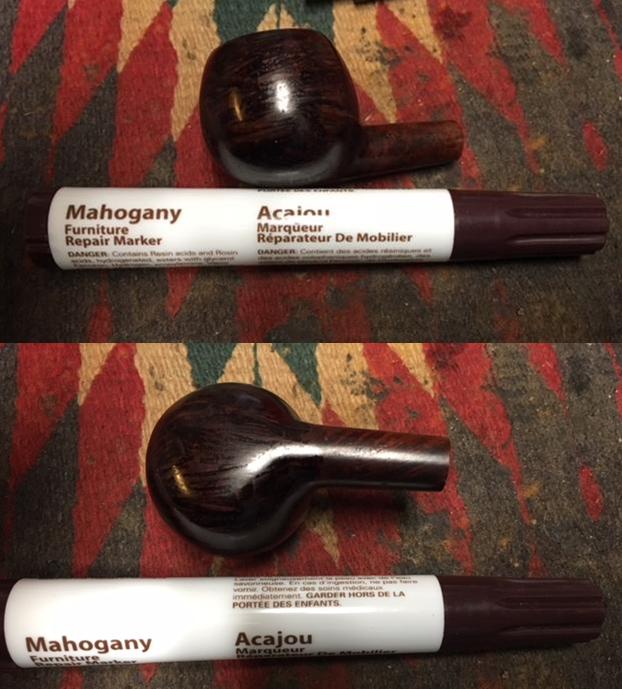
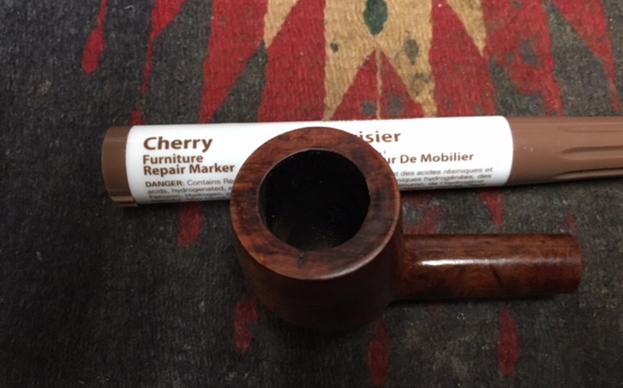
 I used a cherry stain pen to restain the rim top to match the colour of the rest of the bowl. I have found that this particular cherry stain perfectly matches the colour of the Peterson’s System Standard pipe.
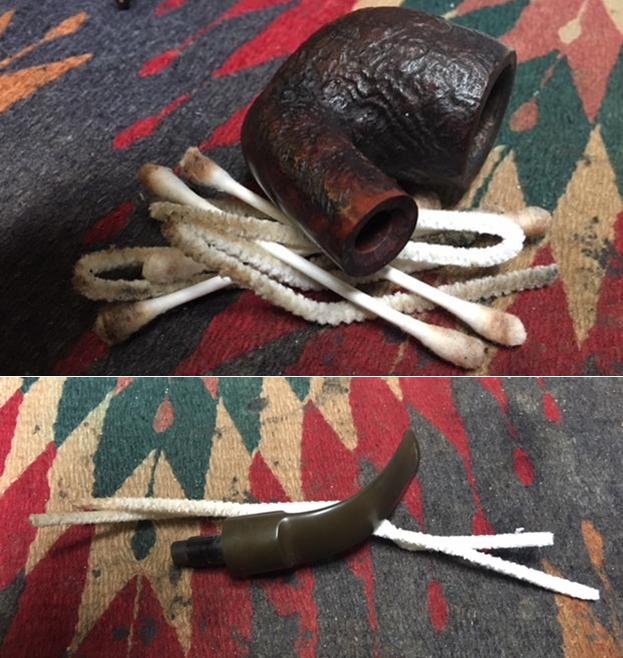
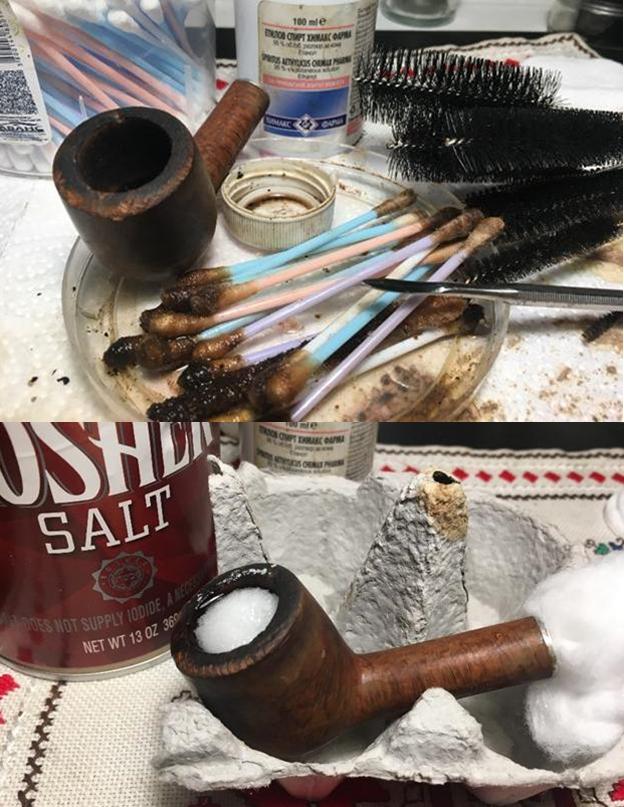
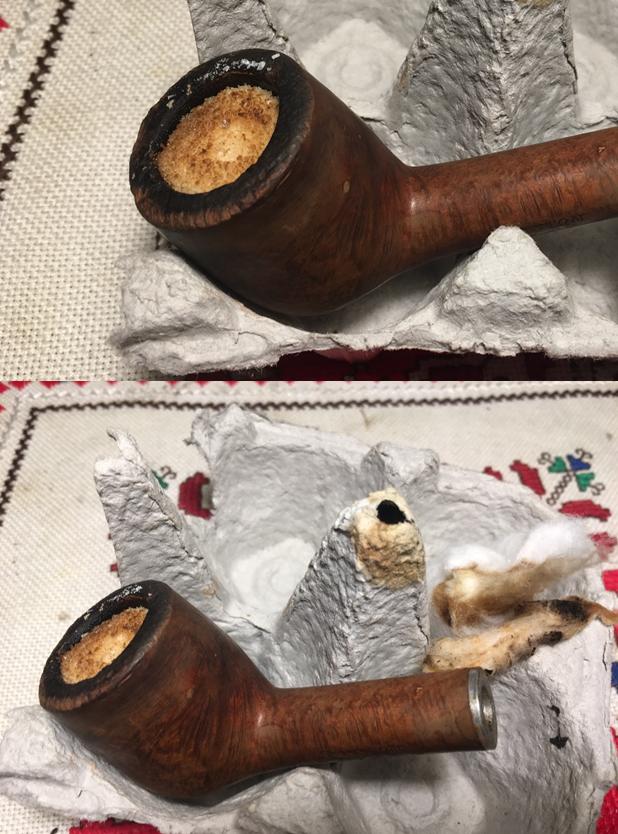
 I cleaned out the inside of the shank, the sump and the airway into the bowl with pipe cleaners, cotton swabs and alcohol. It took a few of each but after while the cleaners and cotton swabs came out clean and the pipe smelled fresh.
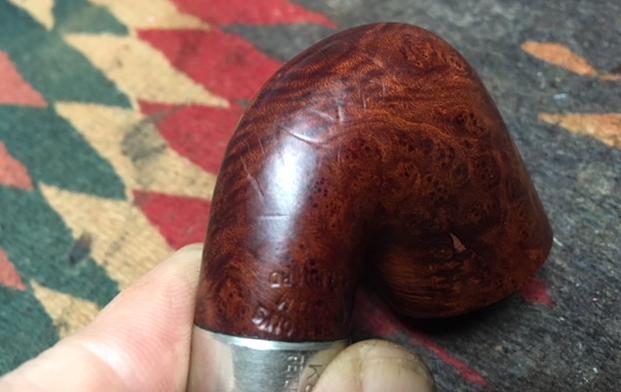
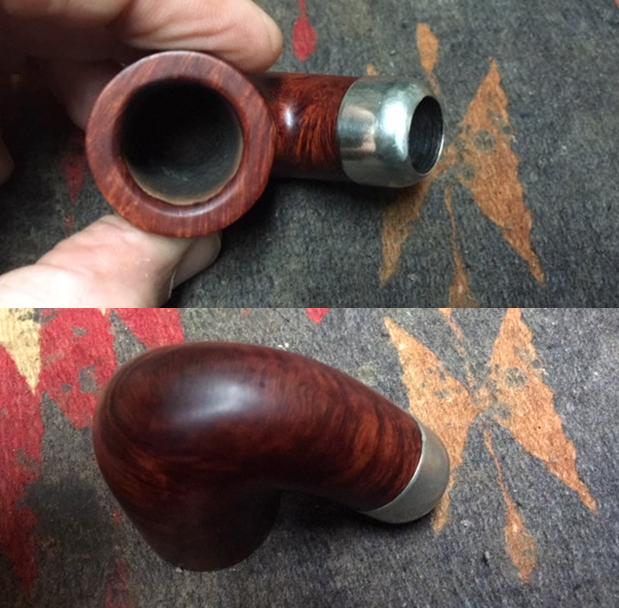
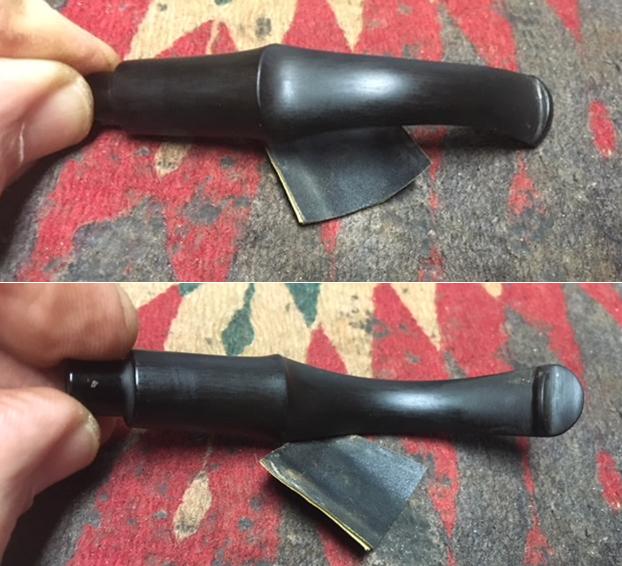
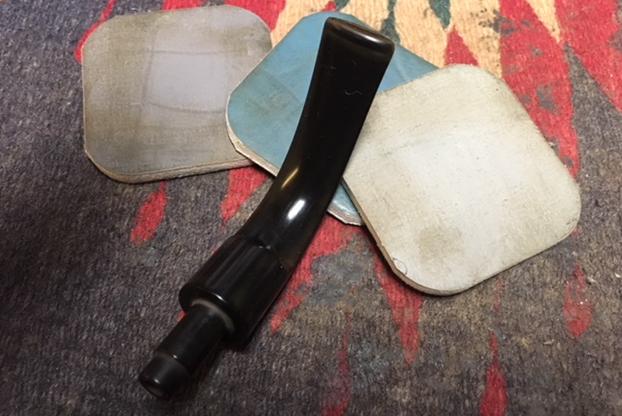
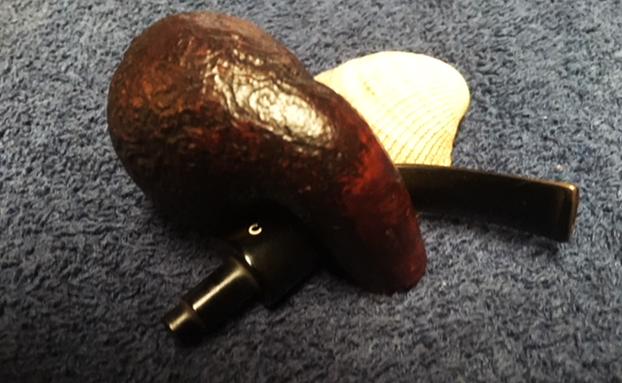
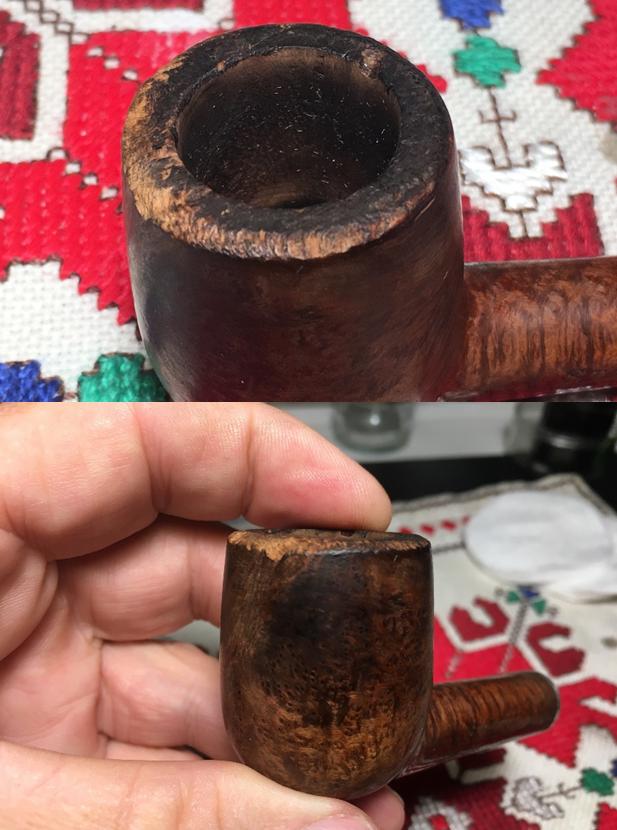
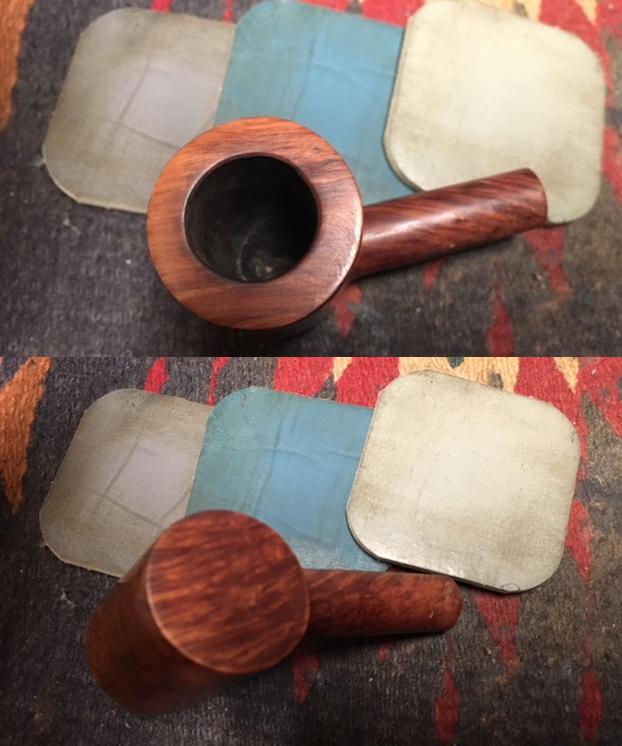
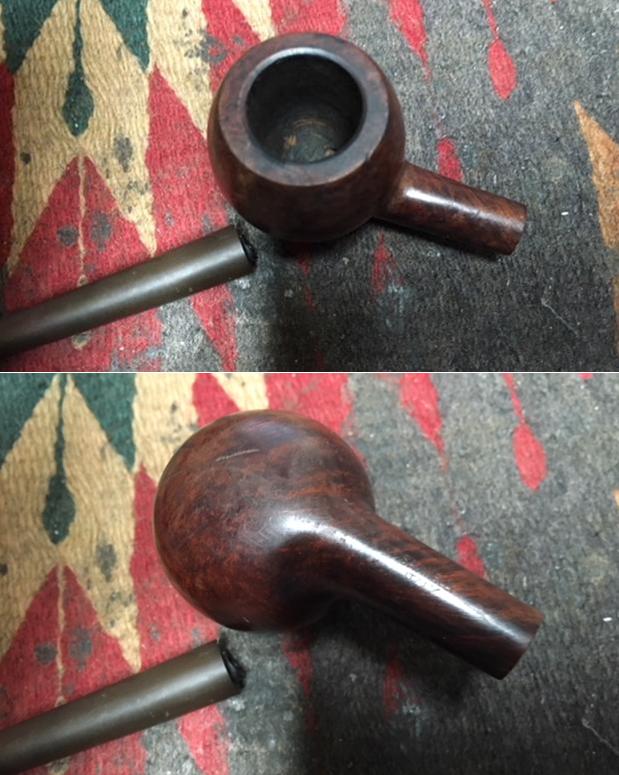
 With the internals clean and the externals clean I decided to address all of the dents in the briar on the bottom and front of the bowl. I took photos of the dents to give an idea of the sheer number of them all around the shank, bowl bottom and up the front. They were all quite rounded dents rather than cuts so I figured that I could steam most of them out.
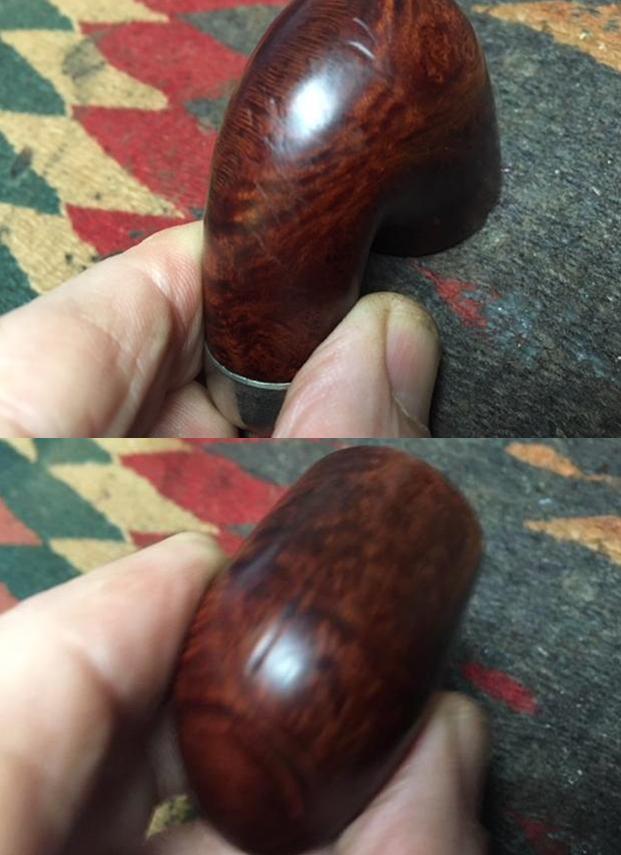
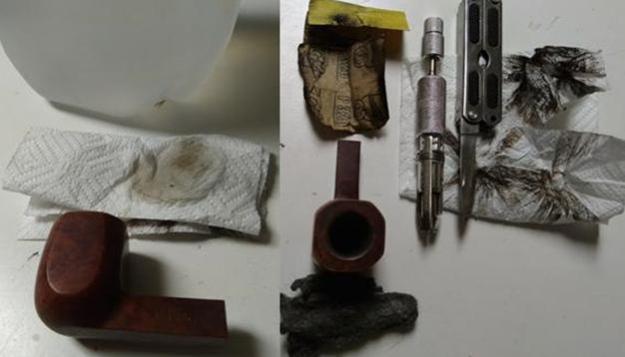
 I use a wet cloth (not dripping but enough to make steam when heated) and a hot butter knife to steam the dents. I heated the knife over a flame on my gas stove, put the wet cloth over the dents and touched the surface of the briar with the hot knife. The heated blade on the wet cloth created steam and began to lift the dents. I repeated the process until the majority of the dents had been lifted. I took photos of the pipe, knife and wet cloth.
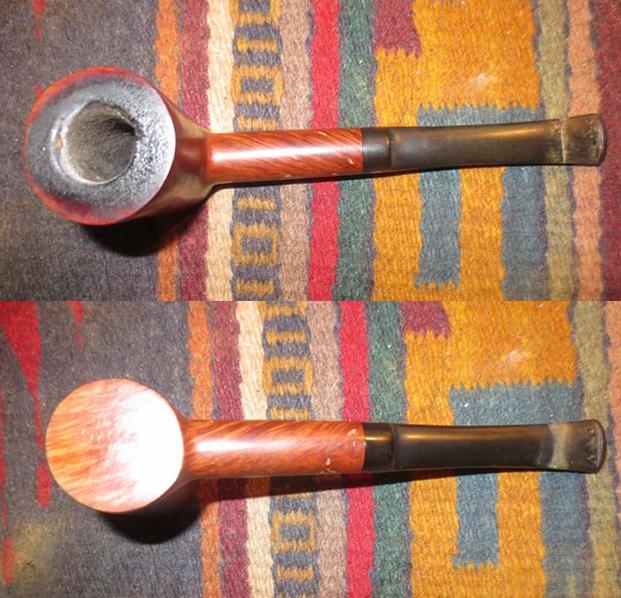
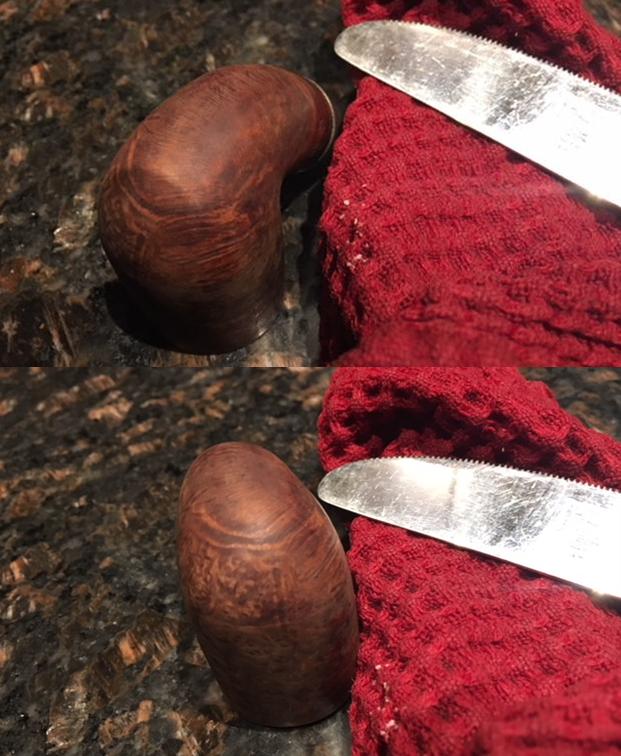 I dried off the bowl and took photos of the briar to show how well the steam had lifted the dents in the wood.
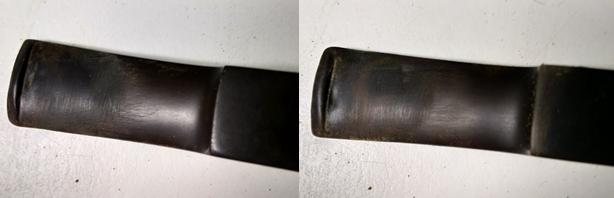
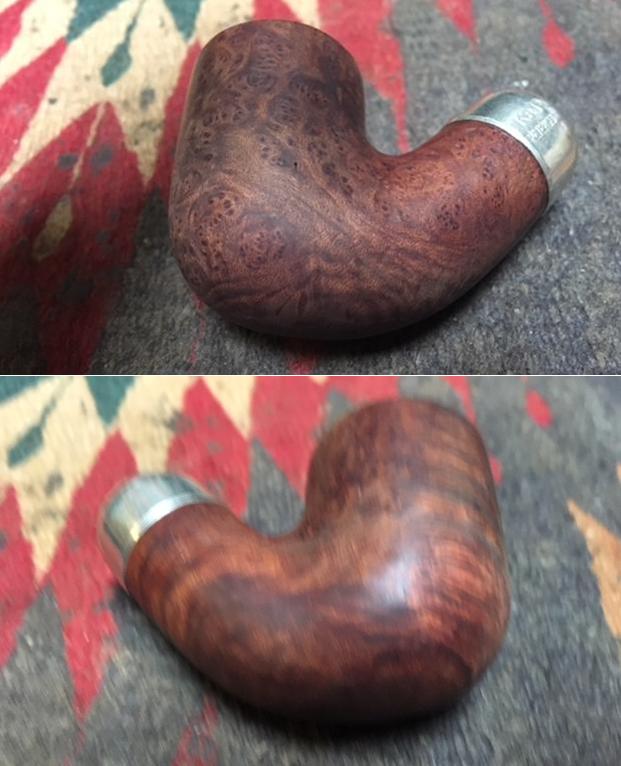
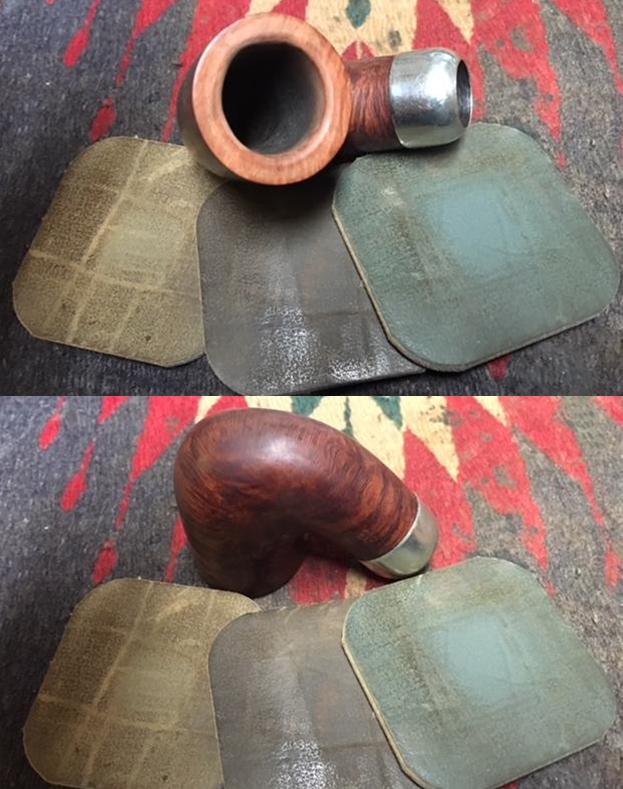
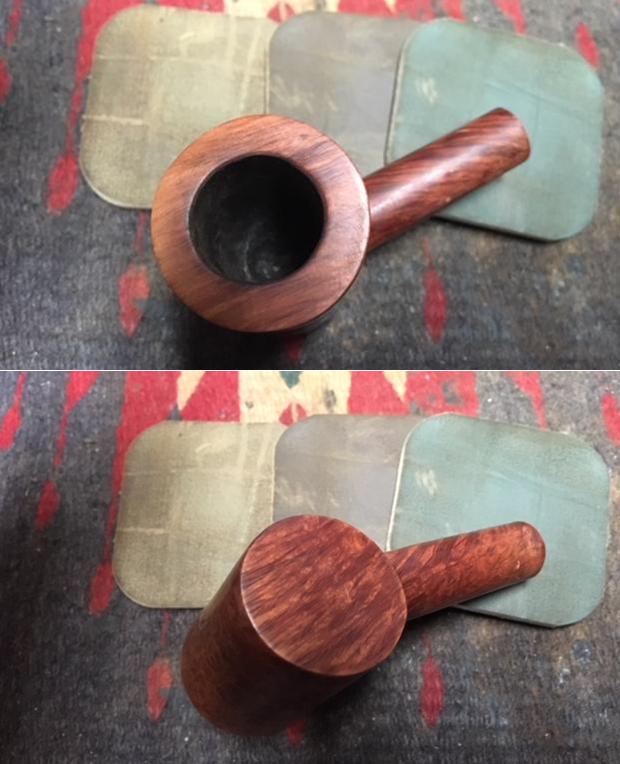
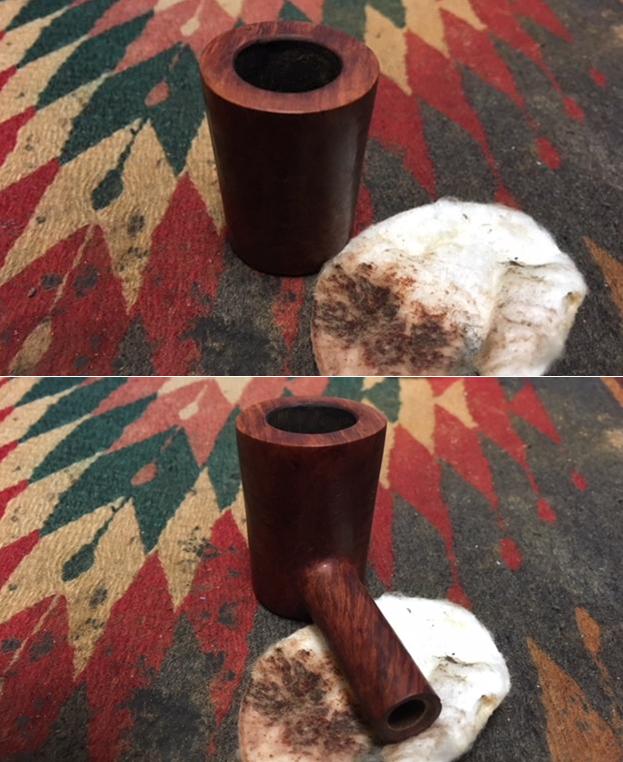
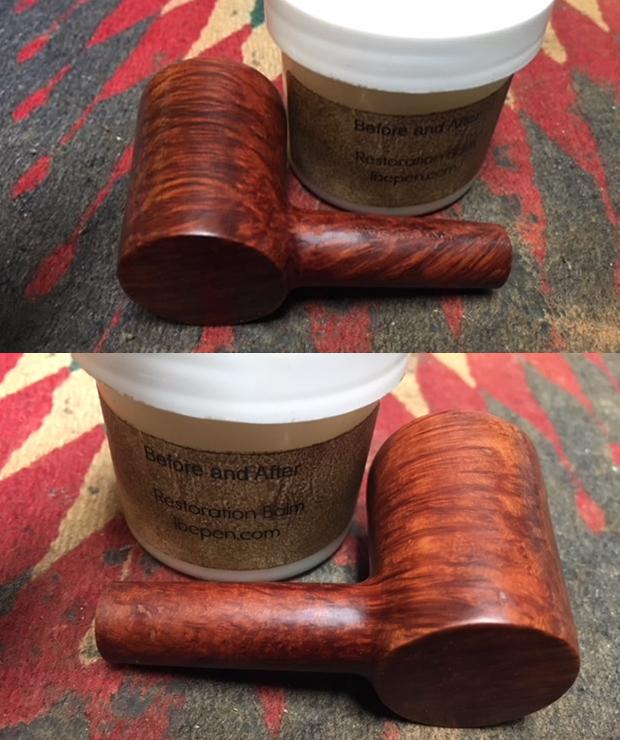
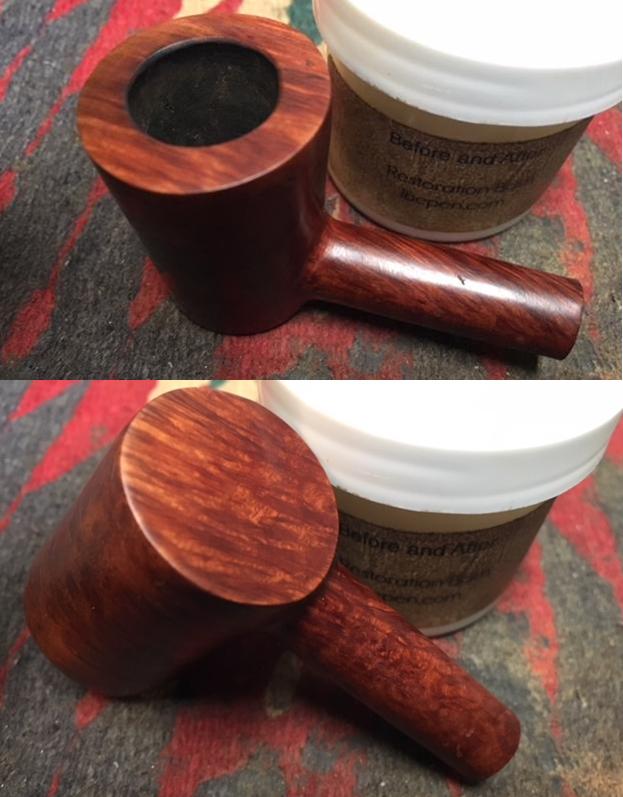
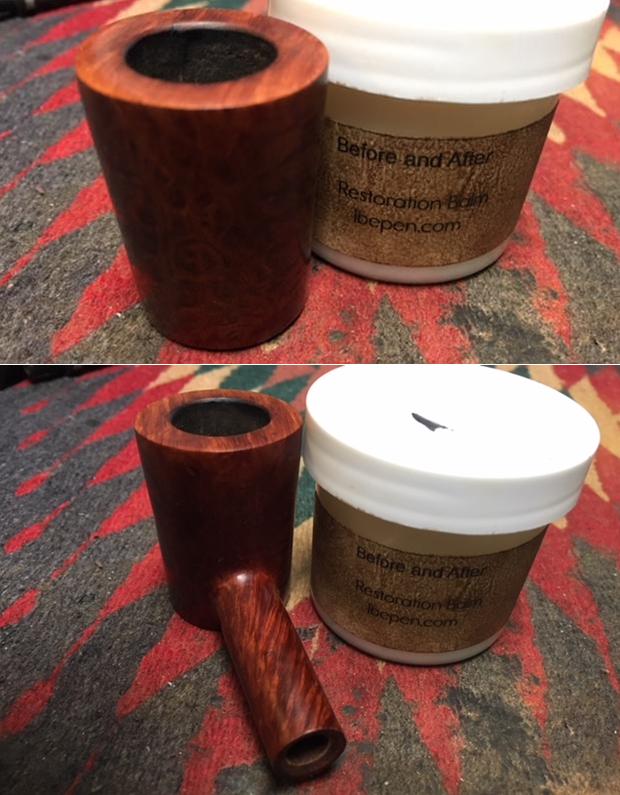
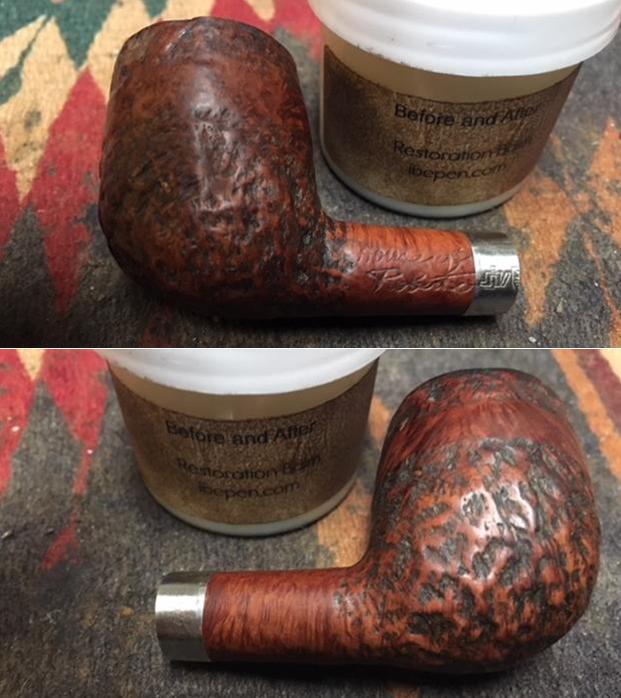
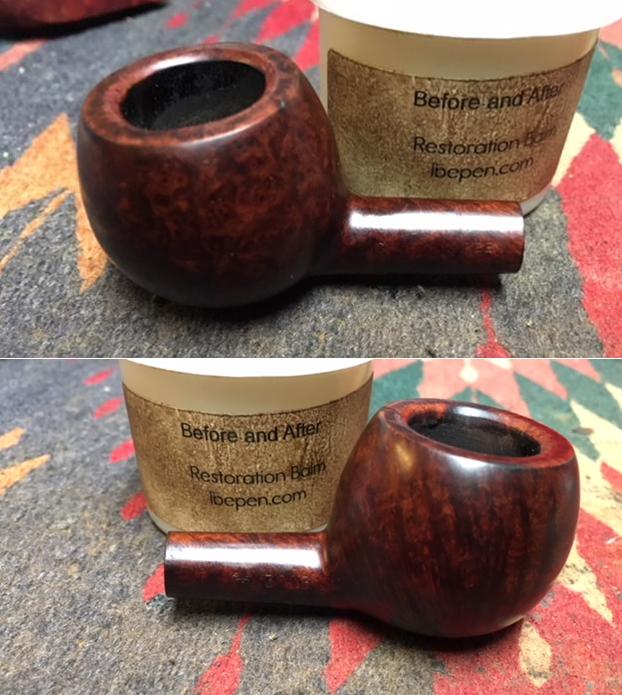
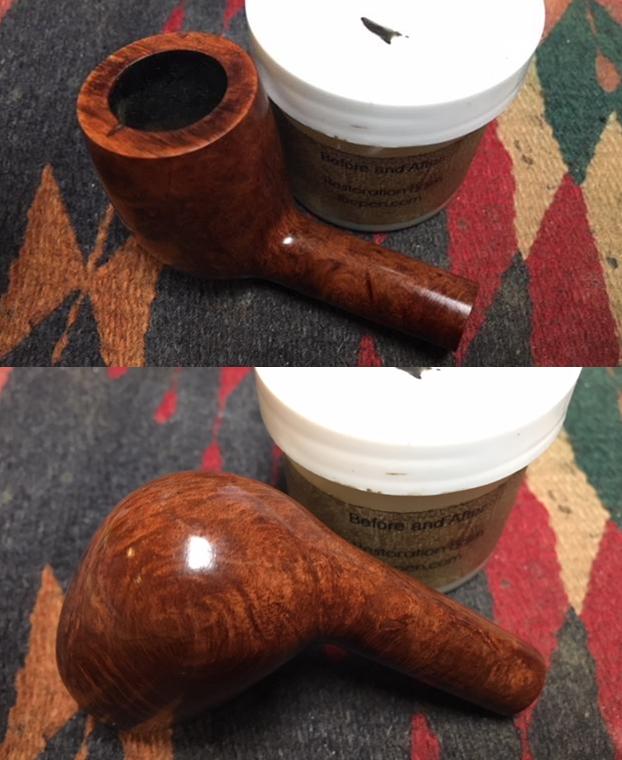
 I rubbed some Before & After Restoration Balm into the briar to lift out the dust in the grain, enliven and protect the clean and steamed bowl. I let it sit for a little while then buffed it off with a soft cloth. I like the way the grain stands out now. Some of the dents are still visible on the bottom left side of the shank but they are far better than they were.
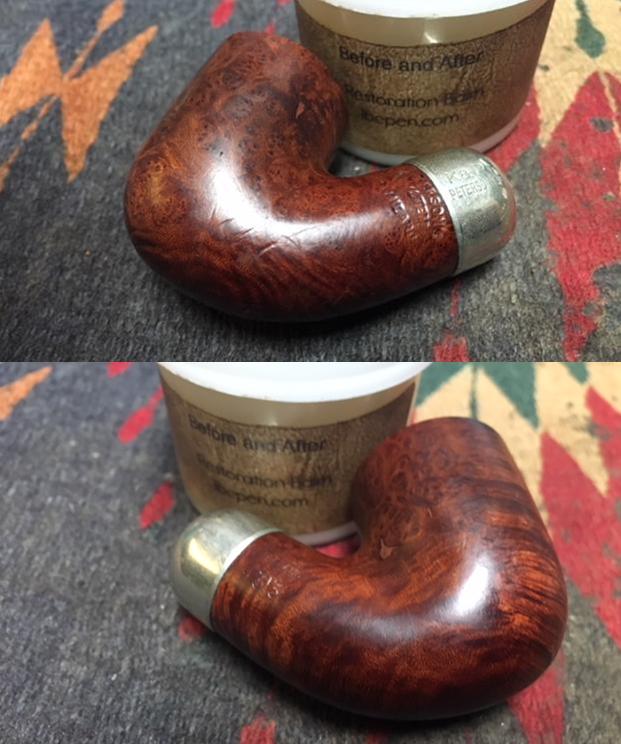
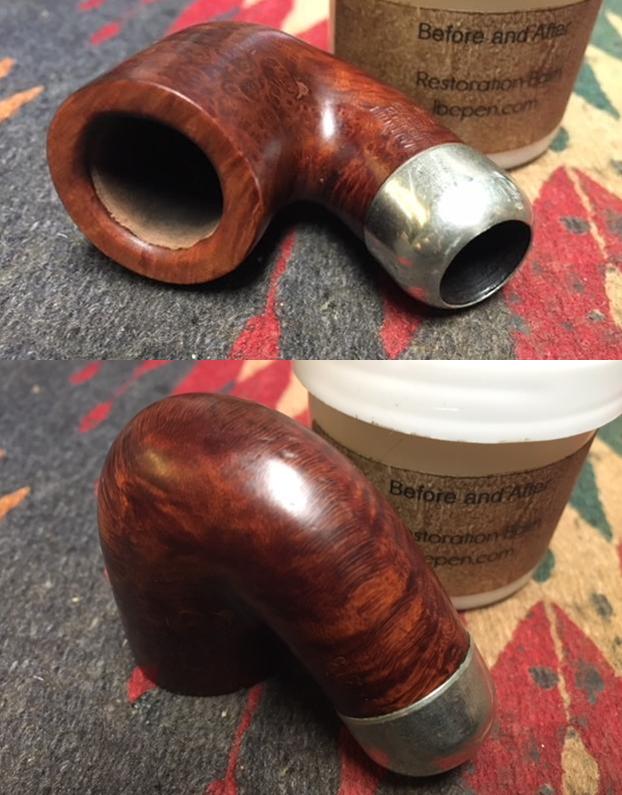
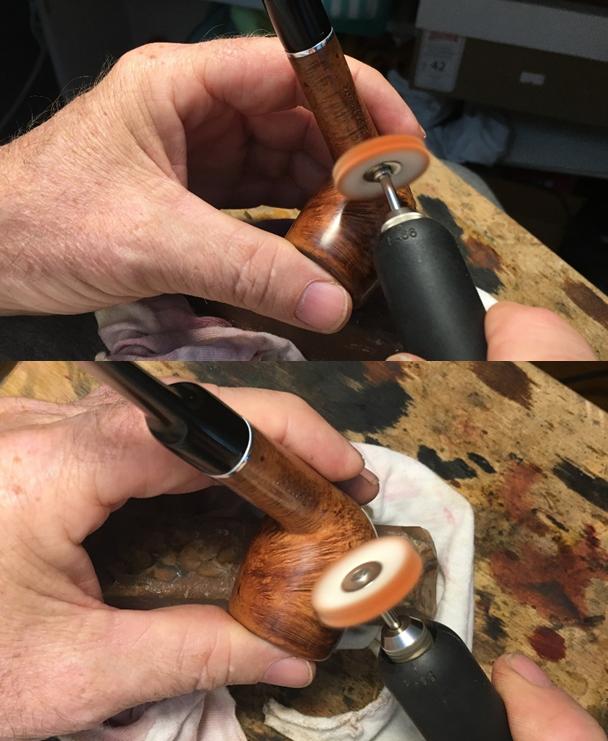
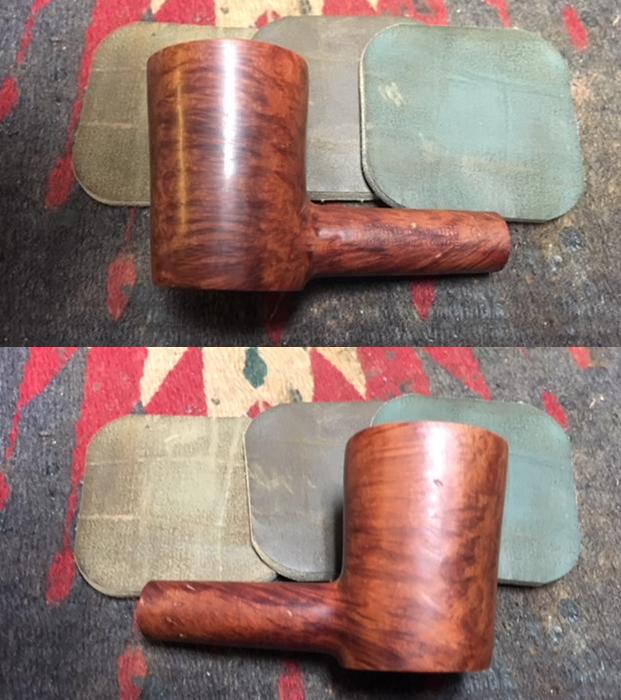
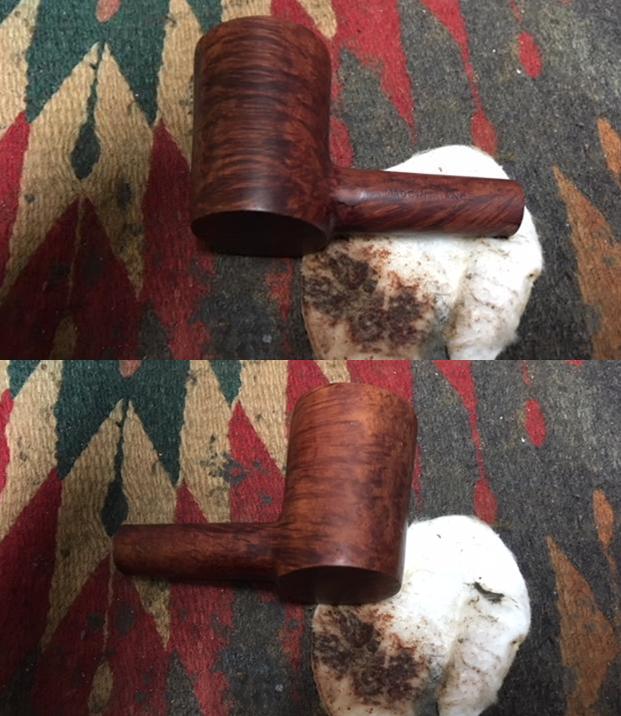
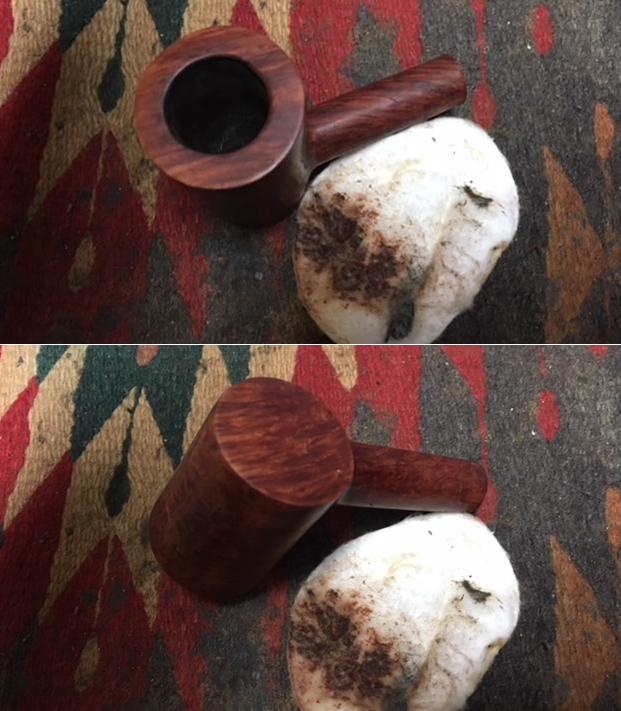
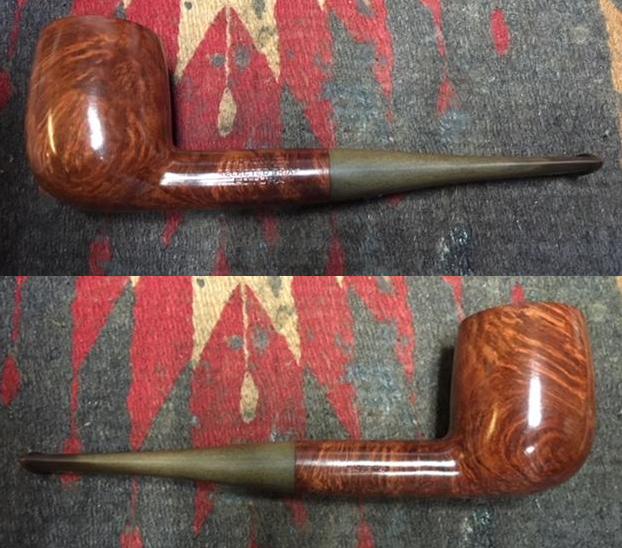
 I took the bowl to my buffer and buffed it with Blue Diamond to polish it and raise a shine. I was careful around the stamping so as not to damage it or reduce its readability. The bowl looks really good at this point. All that remains for the bowl is to wax it and buff it. I set it aside and began my work on the stem.
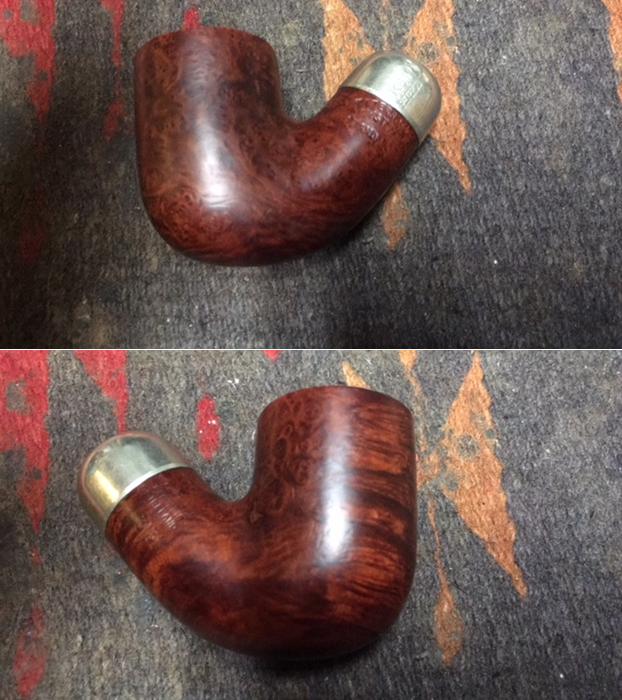
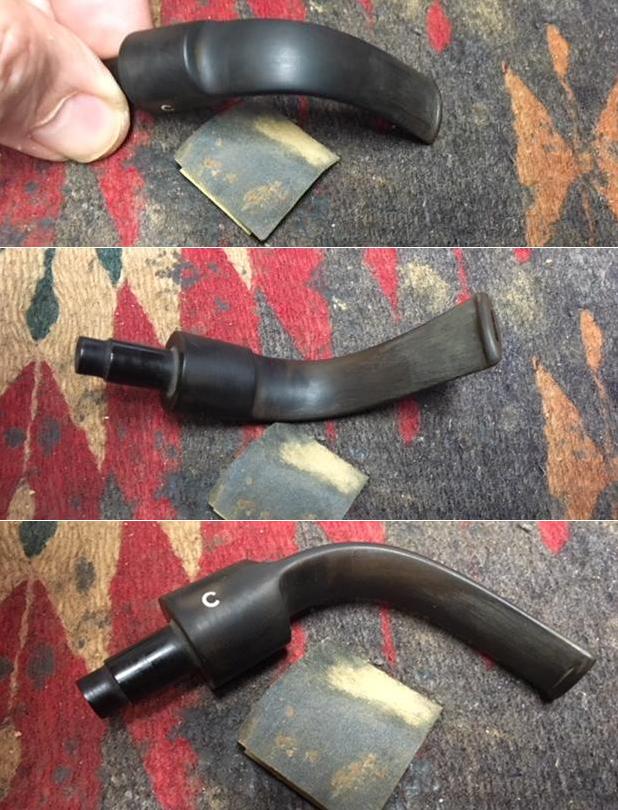
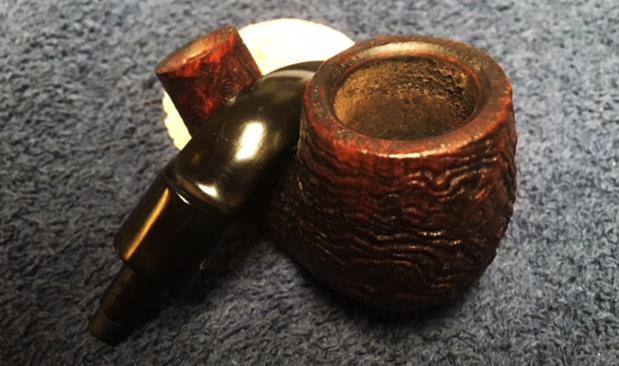
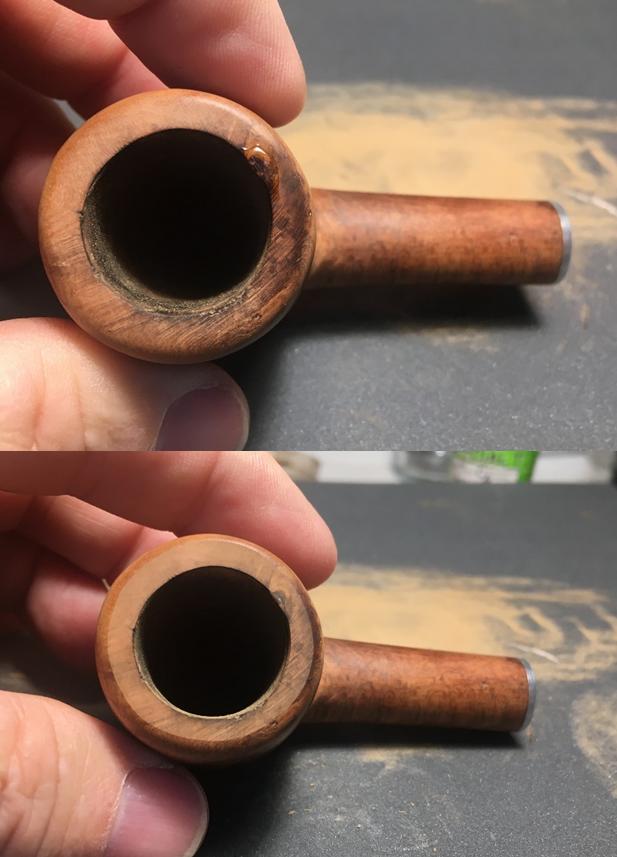
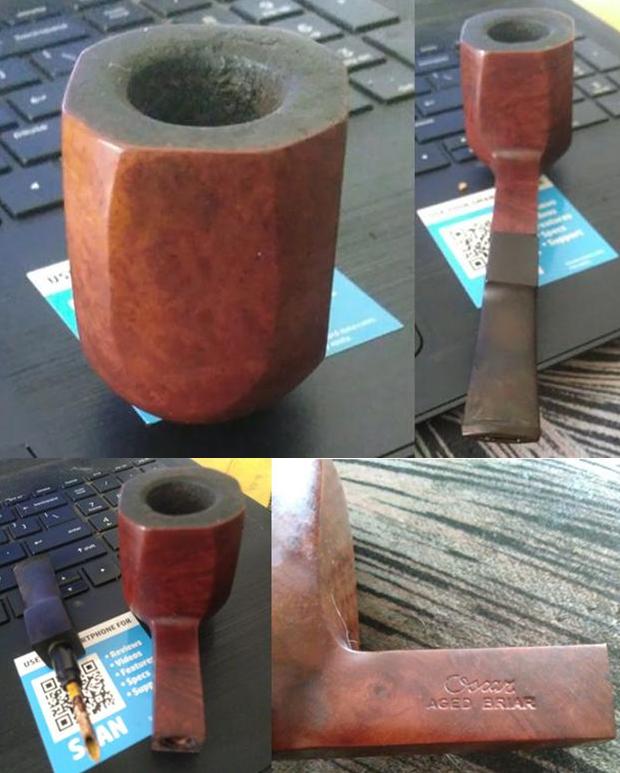
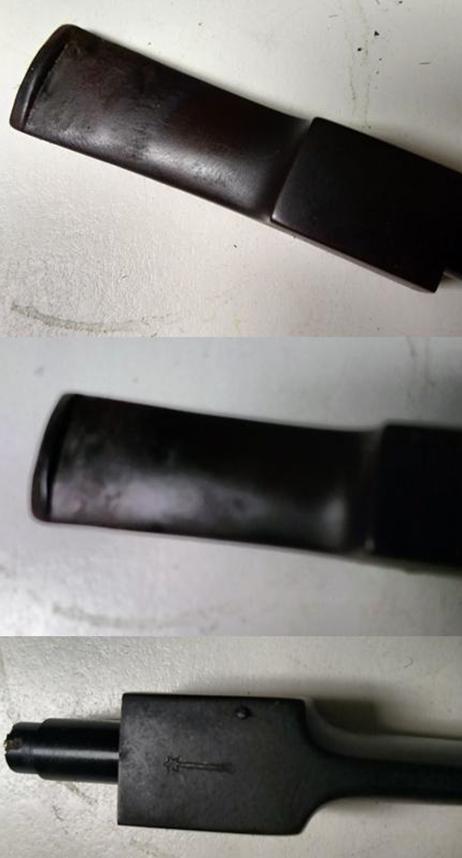
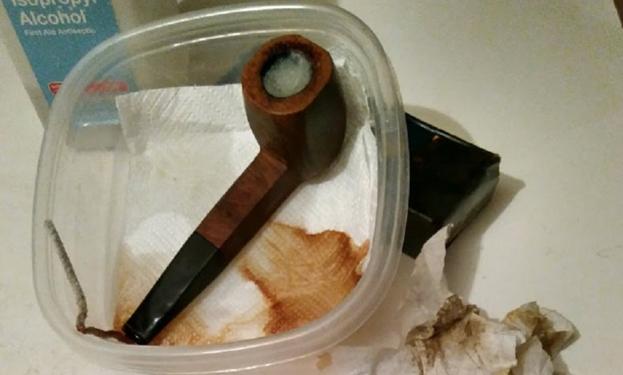
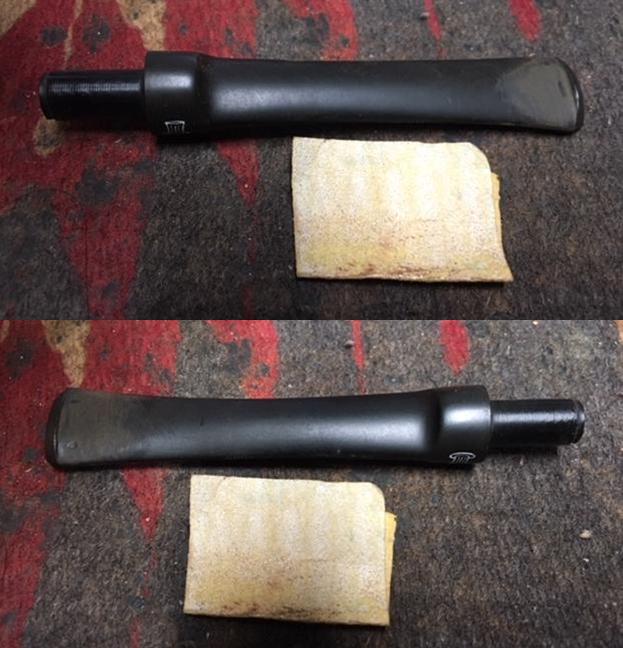
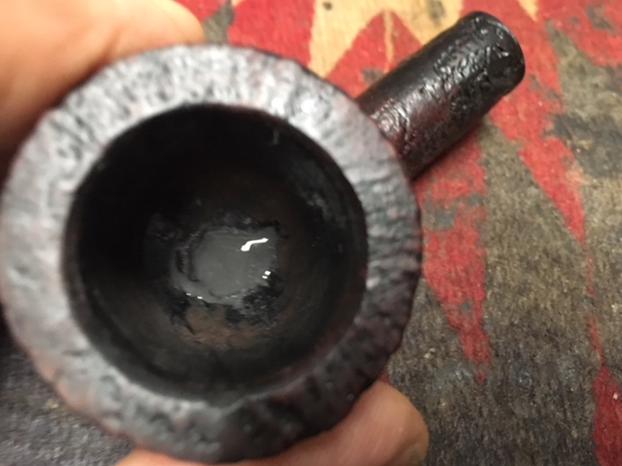
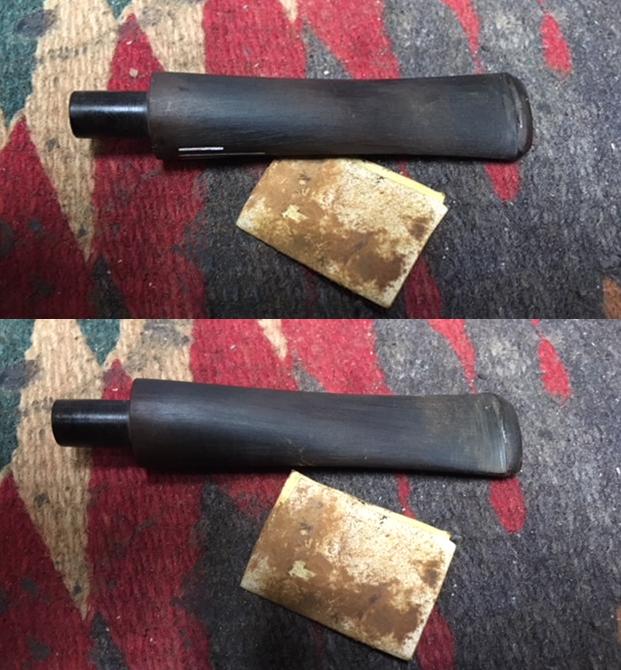
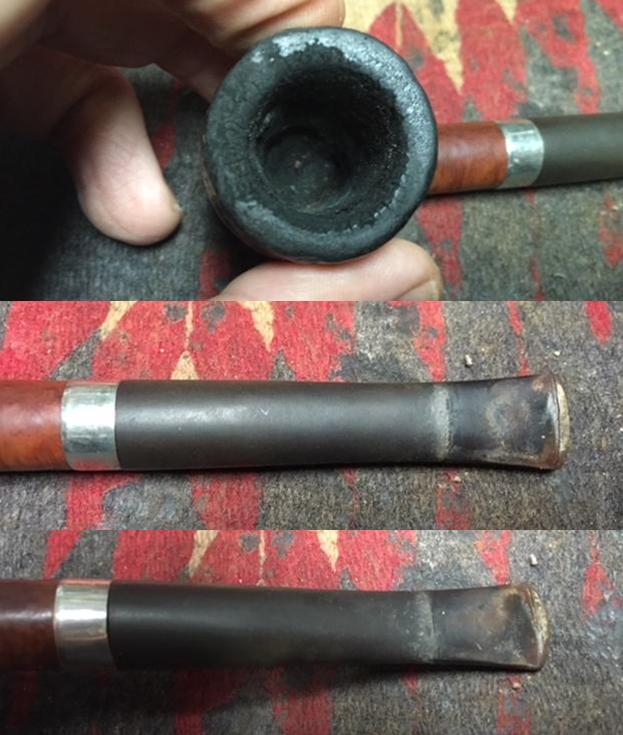
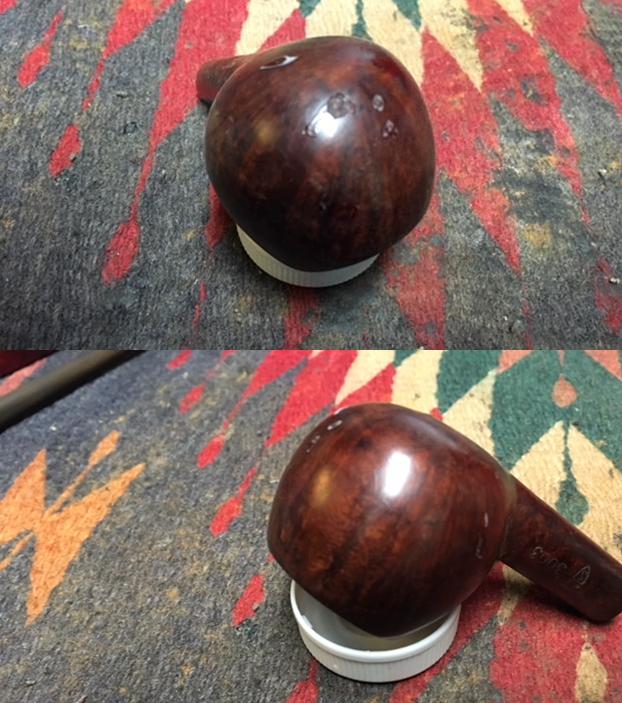
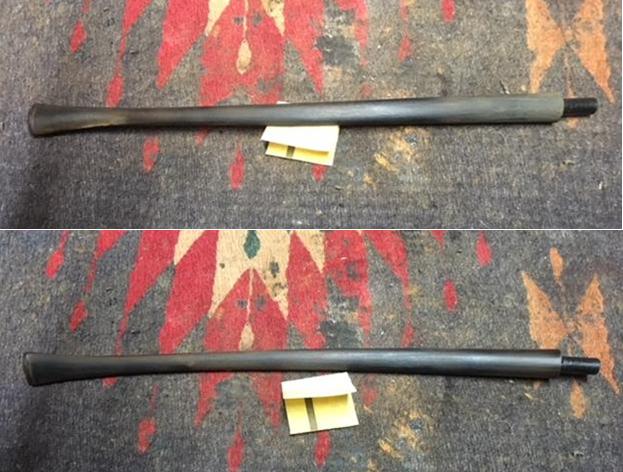
 I took the stem out of the Before & After Stem Deoxidizer bath and rinsed it under warm water. I blew air through the stem to remove the deoxidizer from the inside of the airway. I dried it off with a paper towel to remove the residual oxidation that was on the surface. I took photos of the stem at this point in the process. You can see some of the calcification on the stem around the button and the tooth marks on both sides. The tooth marks on the underside are by far the deepest.
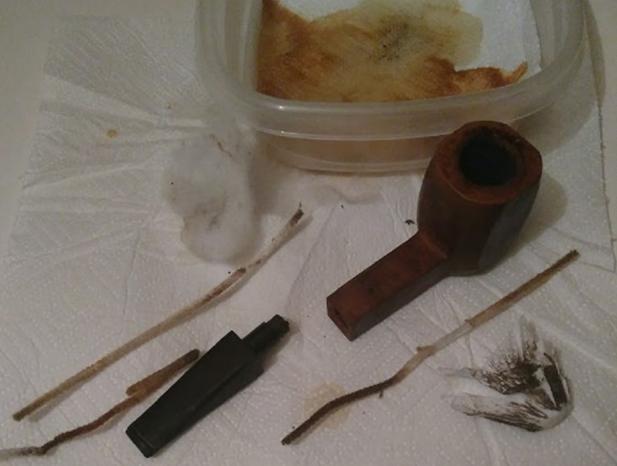
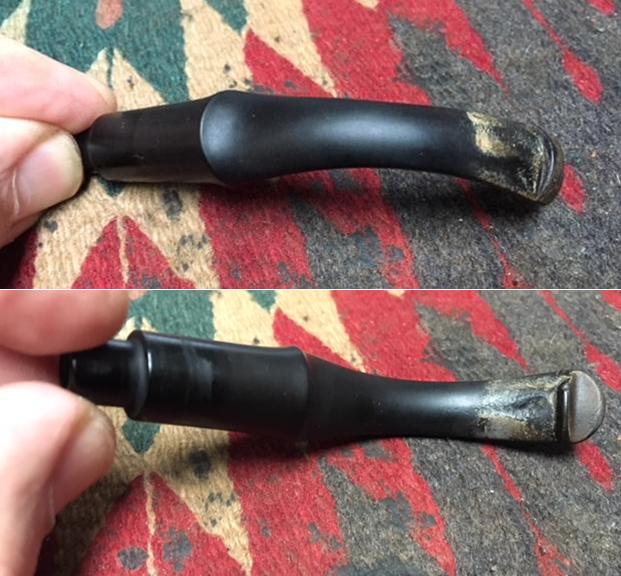 I cleaned the inside of the stem with pipe cleaners, cotton swabs and alcohol to remove the residual deoxidizer in the airway.
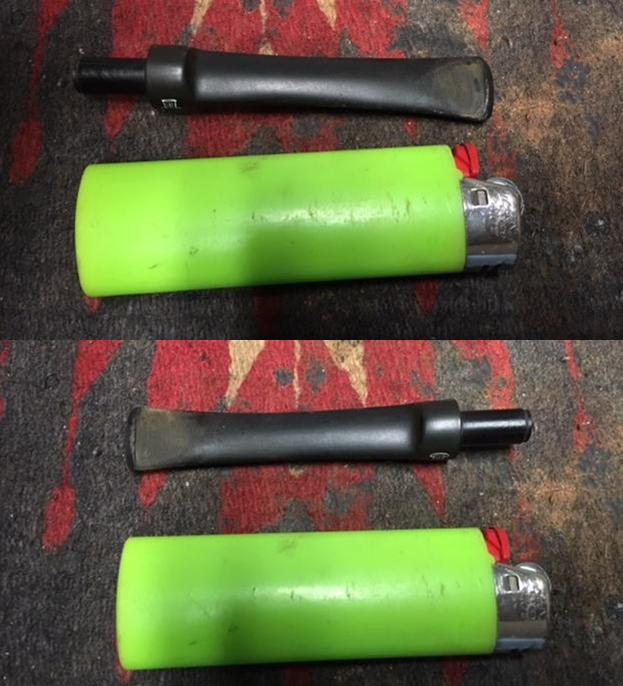
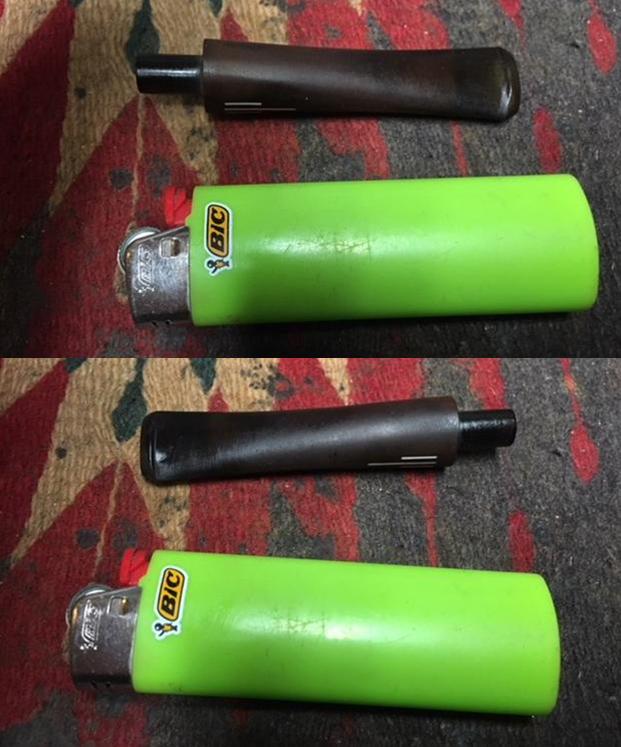
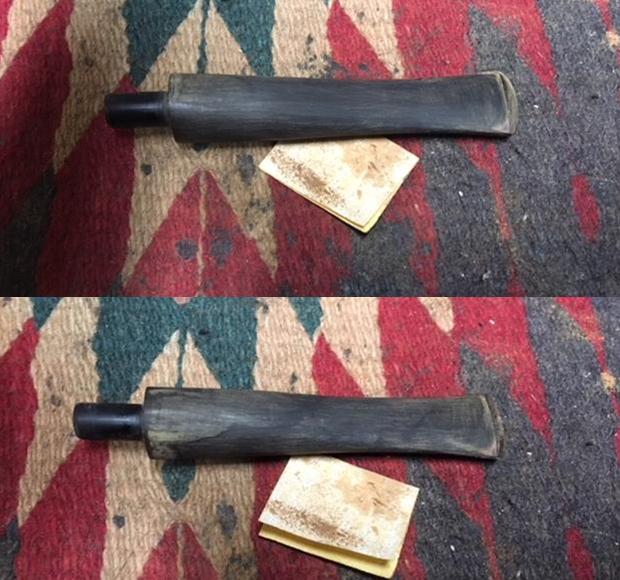
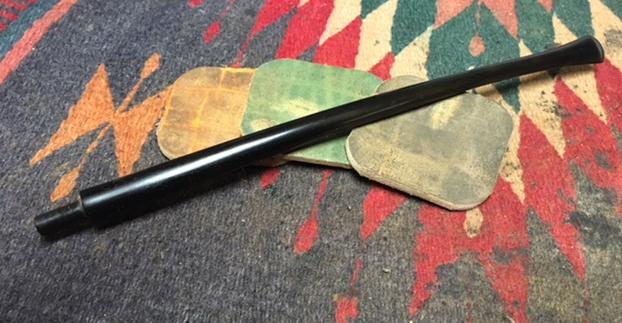
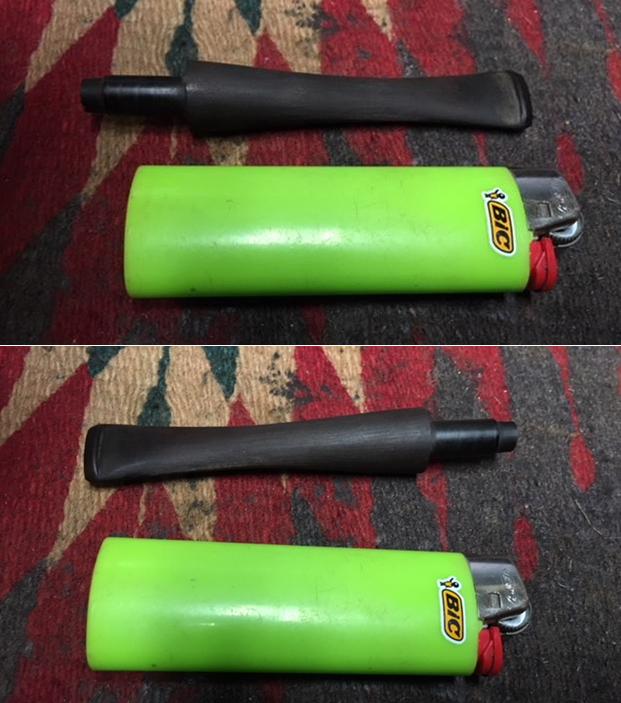
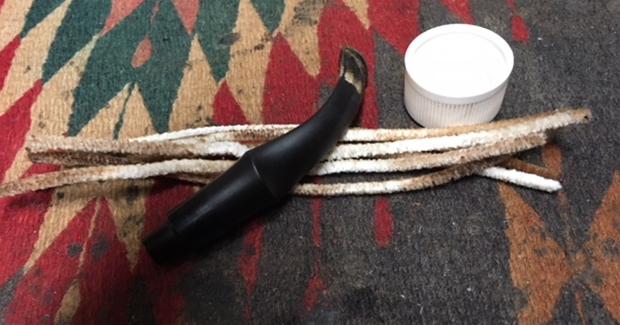 I painted the surface of the stem with the flame of a Bic lighter to left as much of the tooth denting as possible. Once I had repeated that and the stem would no longer rise I sanded it with 220 grit sandpaper to smooth out the damage. I finished by sanding it with 400 grit wet/dry sandpaper to remove more of the scratches in the vulcanite.
 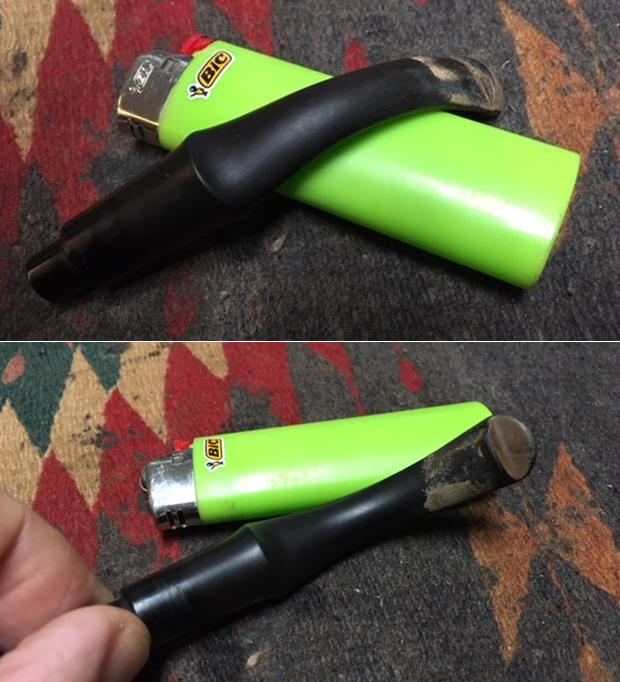 I sanded the entire stem with 220 grit sandpaper to remove the calcification and remaining oxidation. I used a needle files to sharpen and reshape the sharp edge of the p-lip button on the top side and the shelf on the underside. I need to clean up those areas before I could repair the deep tooth marks.
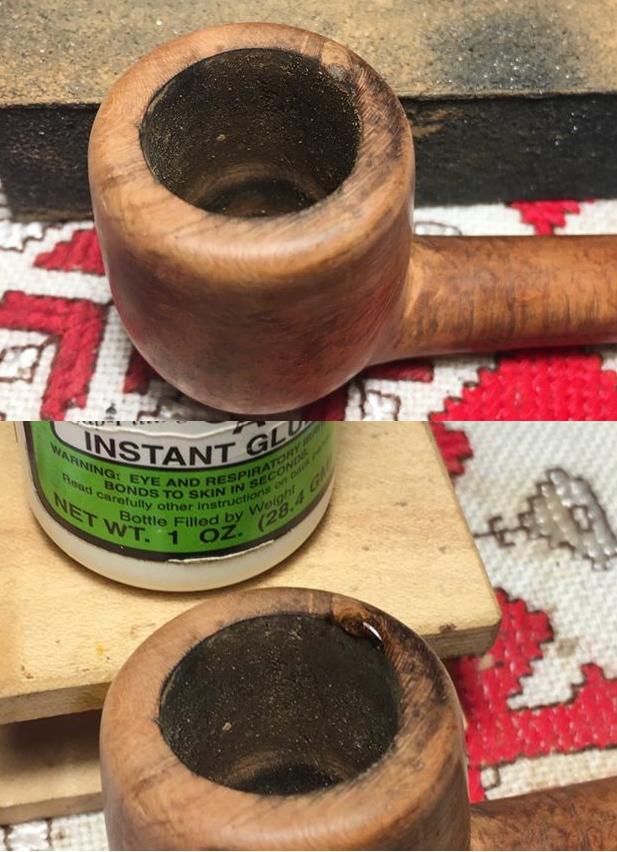
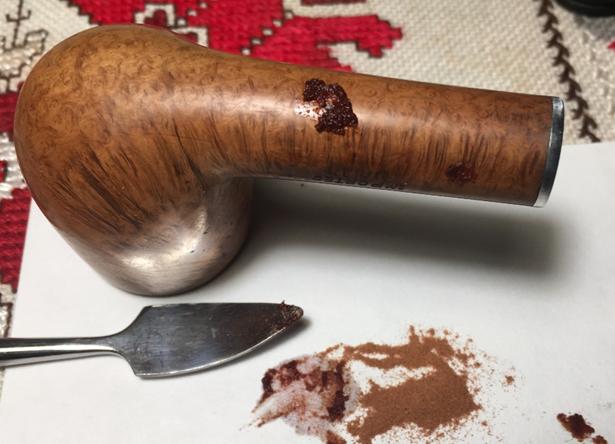
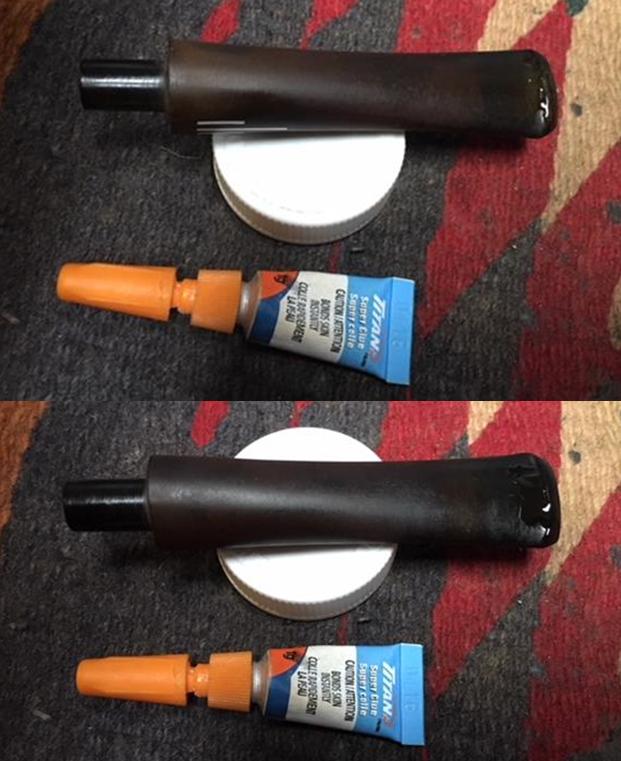
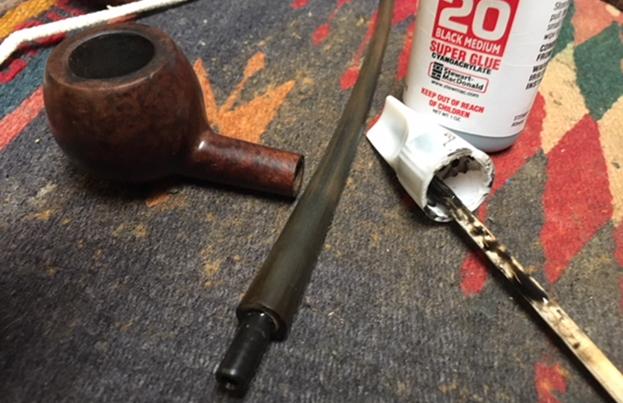
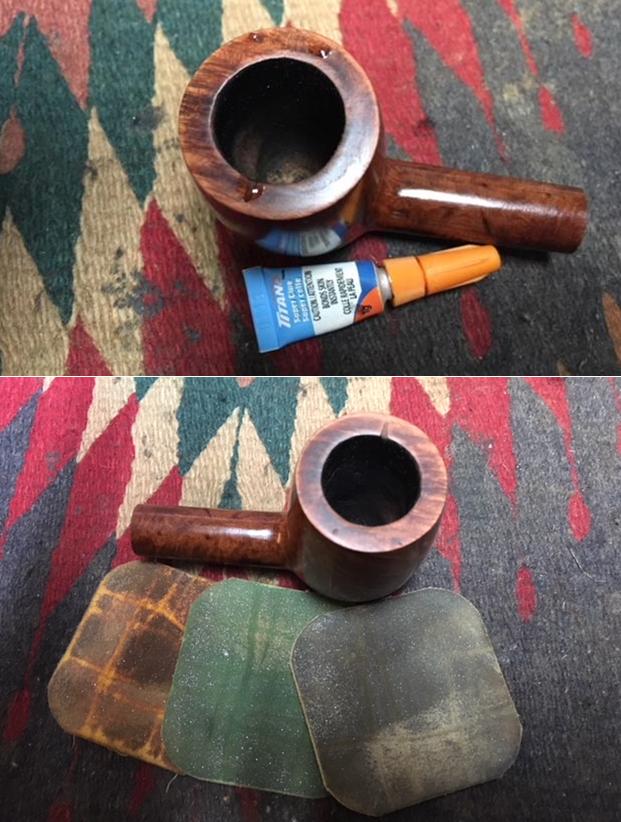
 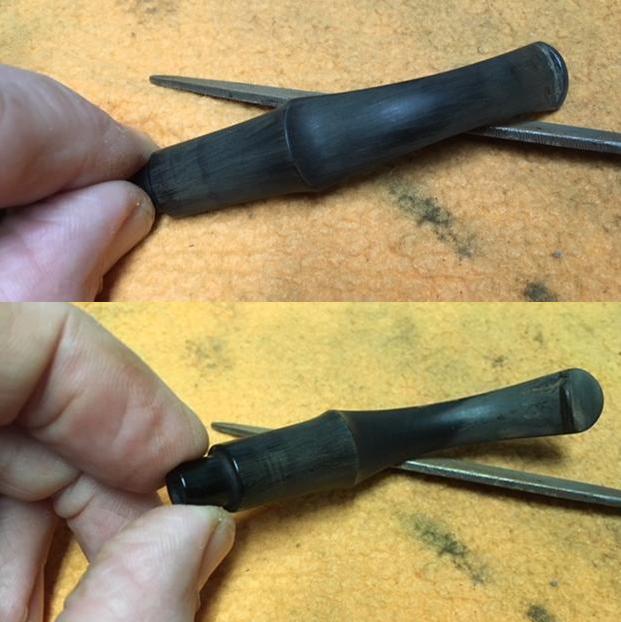 I cleaned out the deeper tooth marks with alcohol and cotton swabs to remove the debris and dust from the divots. I dried them off with a cotton pads. I filled in the tooth dents with black super glue. I spread the glue and smoothed it out with a dental spatula. I set it aside to let the glue cure.
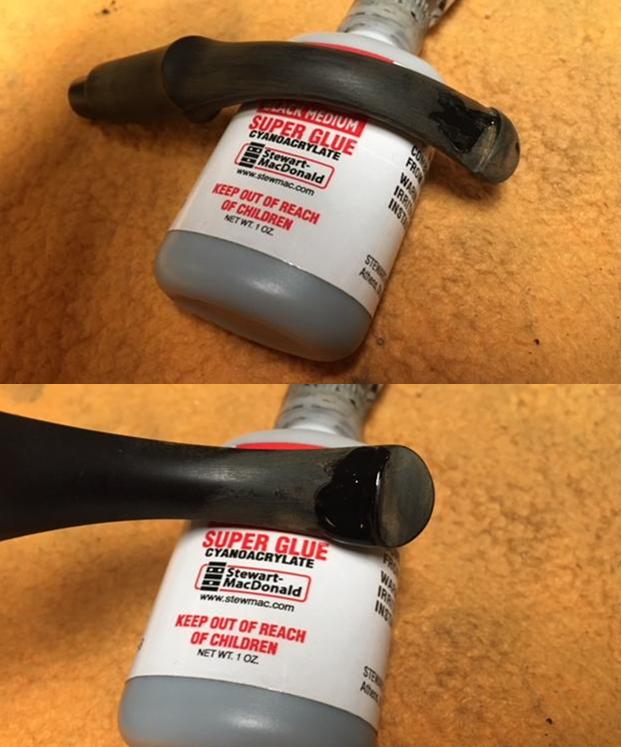 I sanded the repairs smooth with 220 grit sandpaper and with 400 grit wet/dry sandpaper. I blended them into the surface or the stem and reshaped the button and shelf.
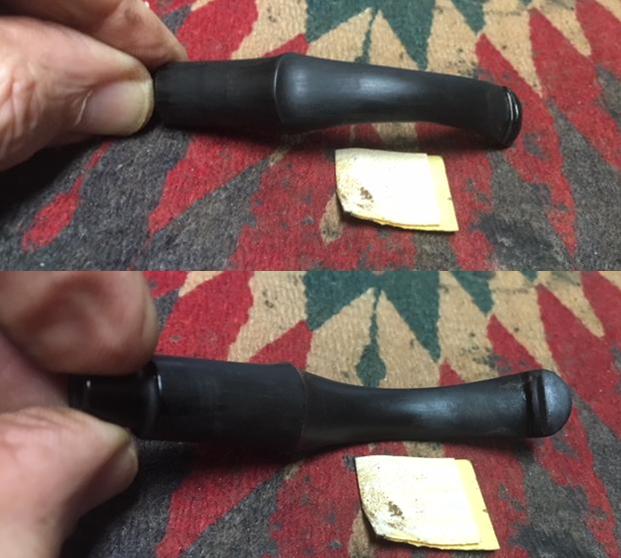
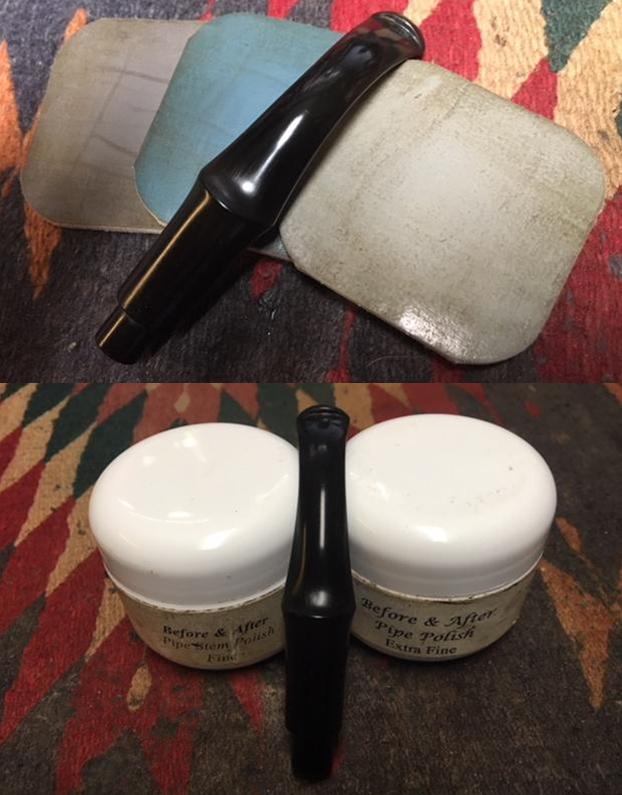
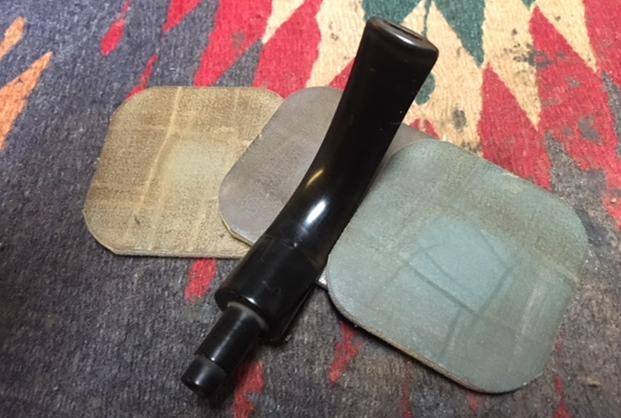
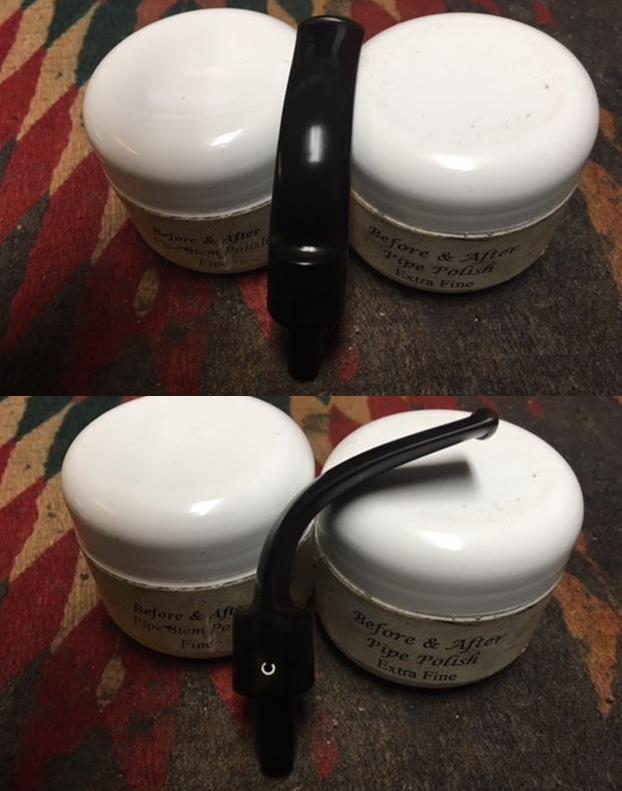
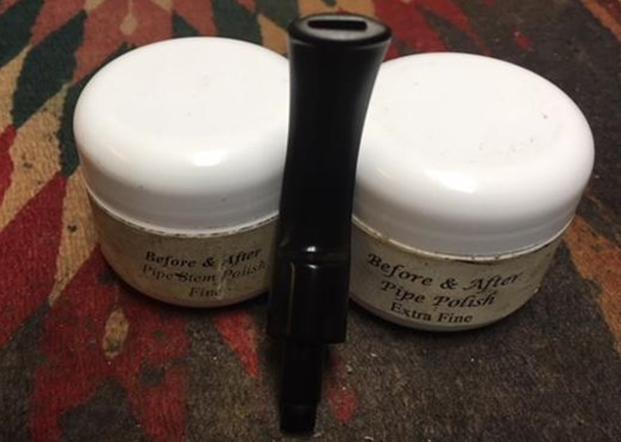
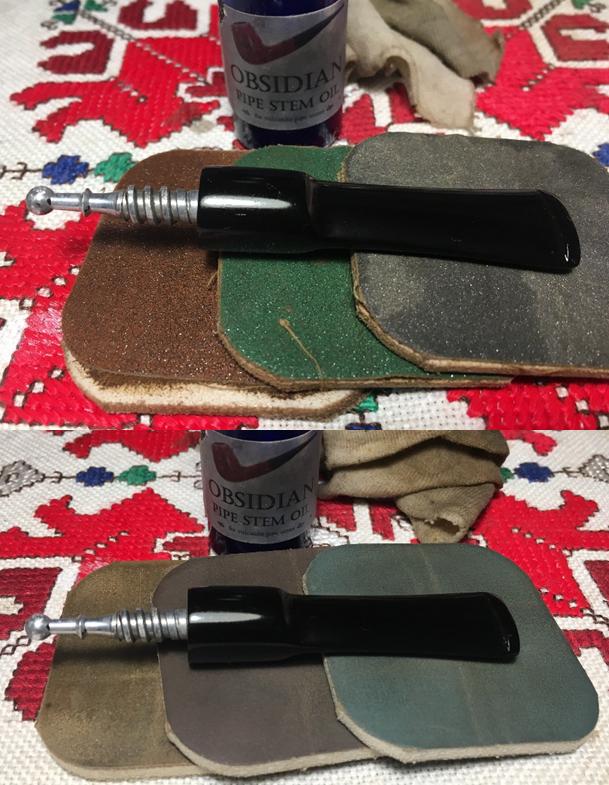
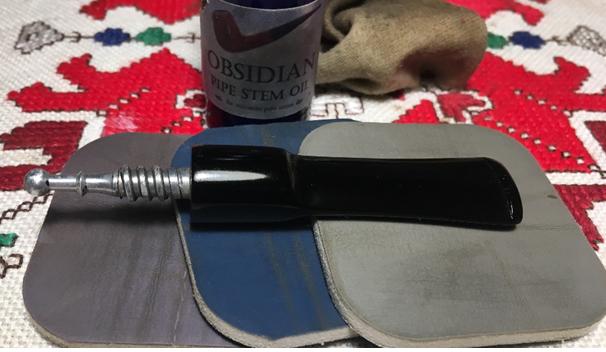
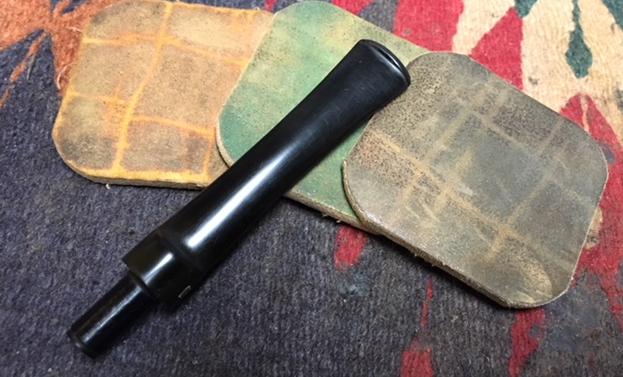
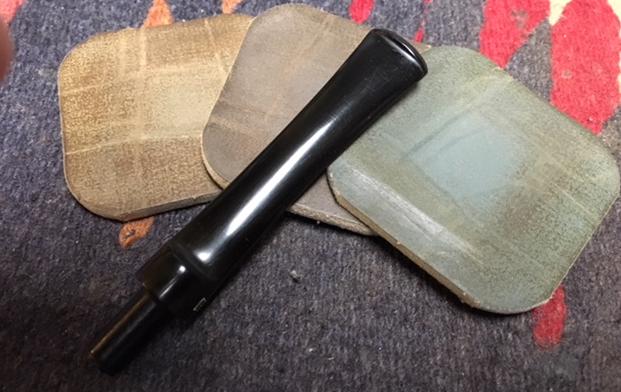
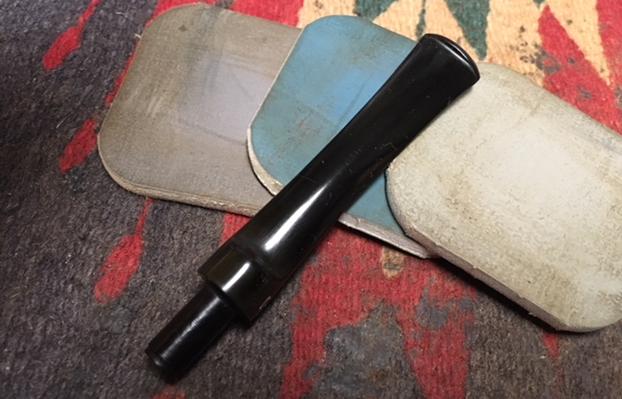
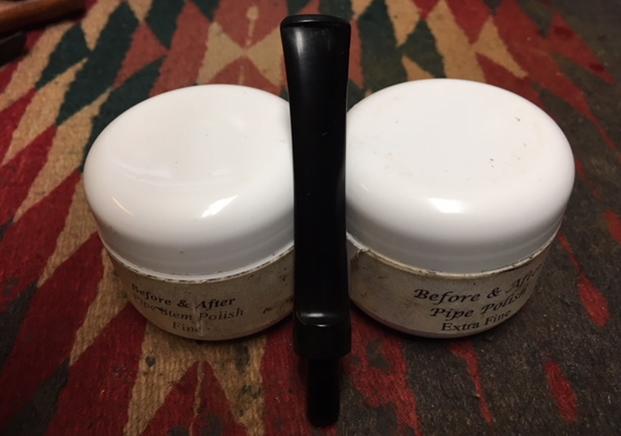
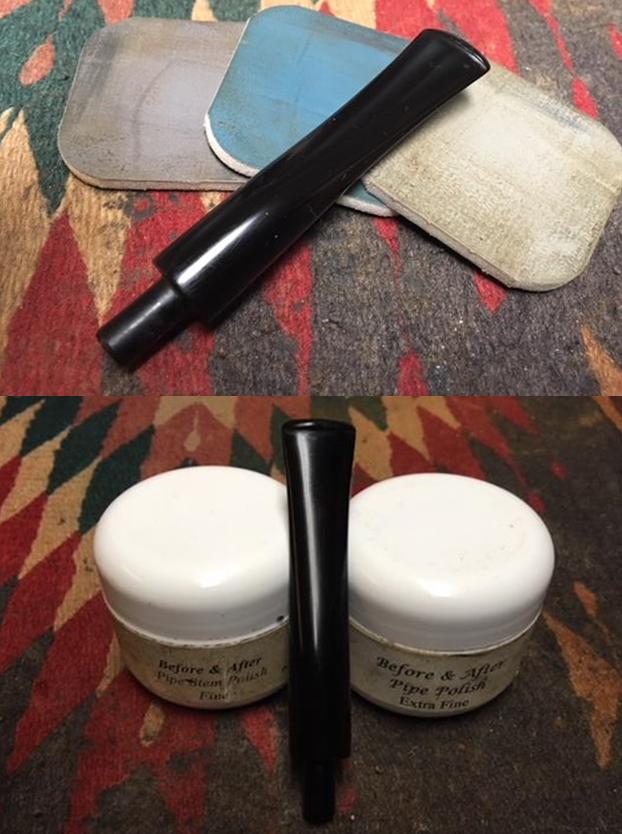
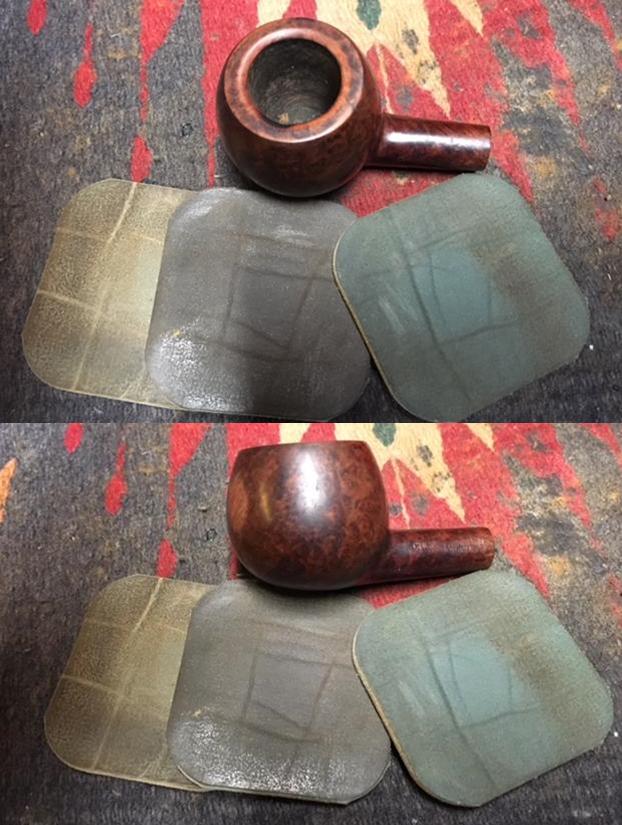
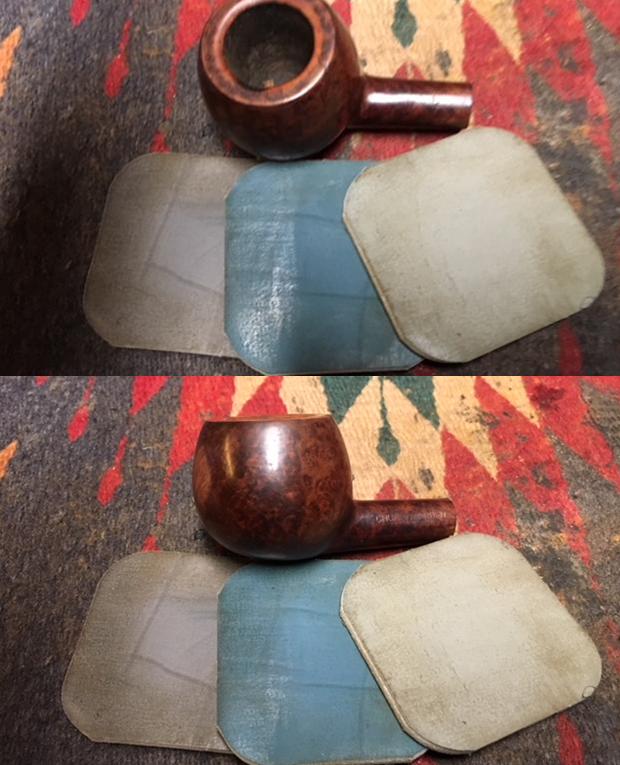
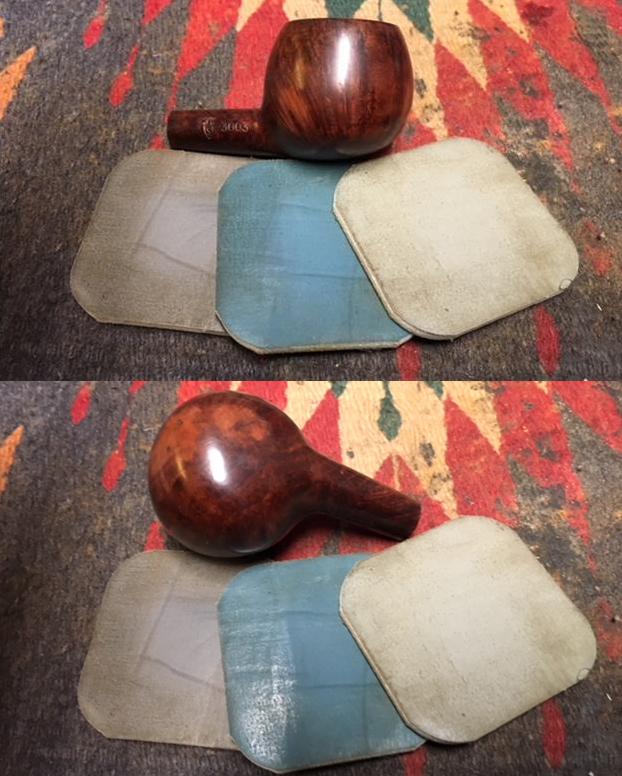
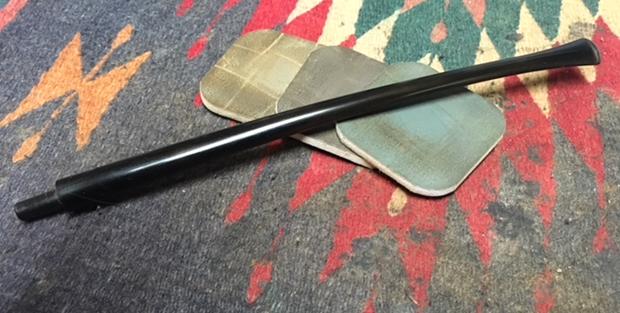
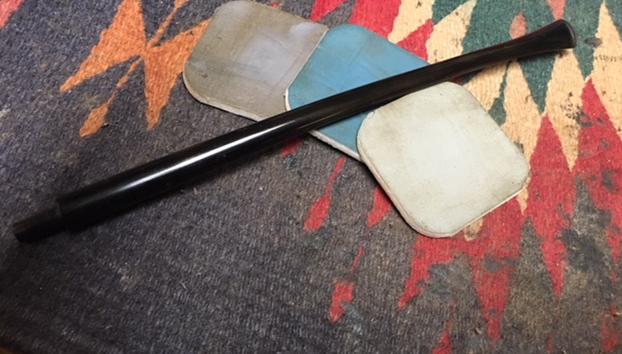
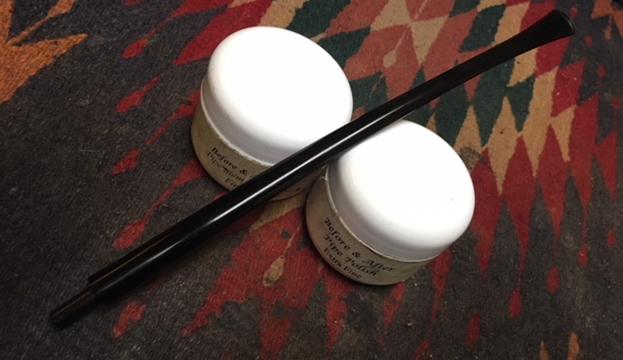
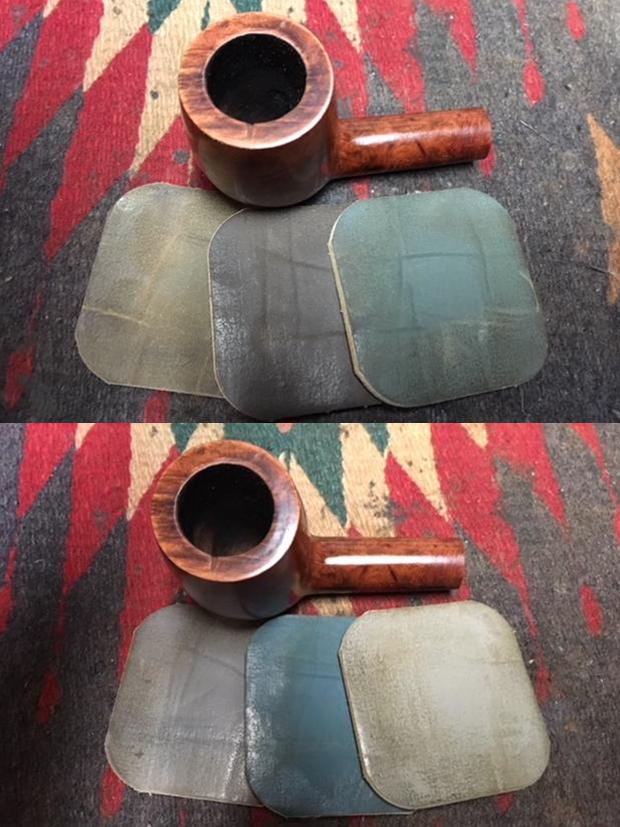
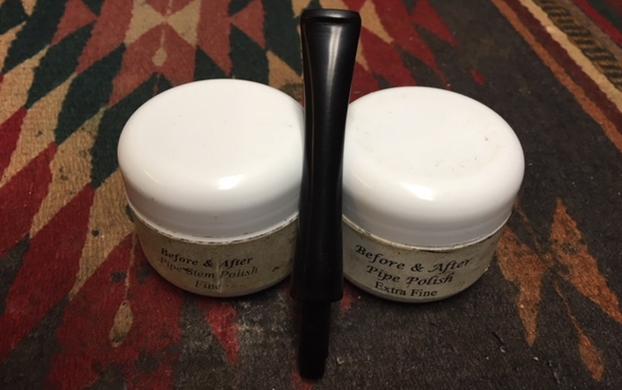
 I polished the stem with micromesh sanding pads. I wet sanded it with 1500-2400 grit pads and dry sanded with 3200-12000 grit pads. I wiped the stem down after each pad with a damp cloth. I finished polishing the stem with Before & After Pipe Polish – both Fine and Extra Fine. I rubbed it into the stem and polished it with a cotton pad. I gave it a final coat of Obsidian Oil and set it aside to dry.
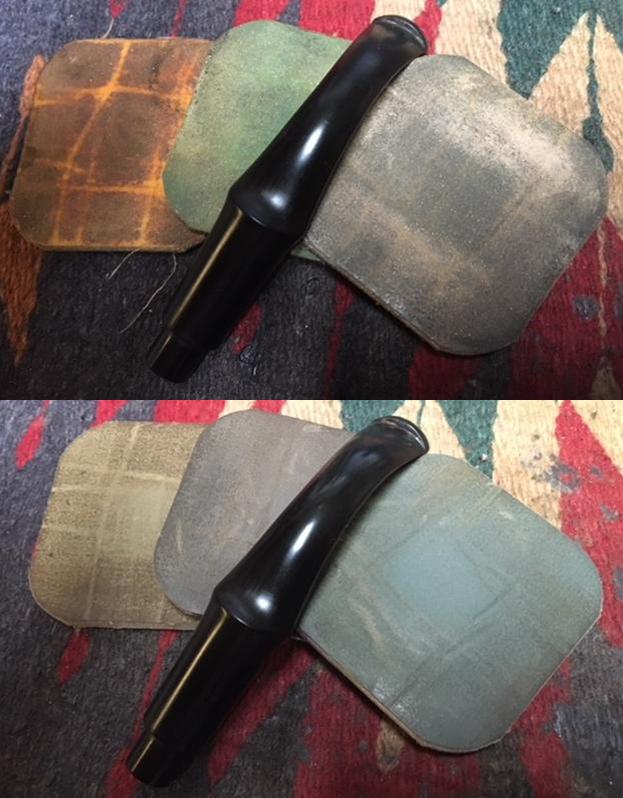
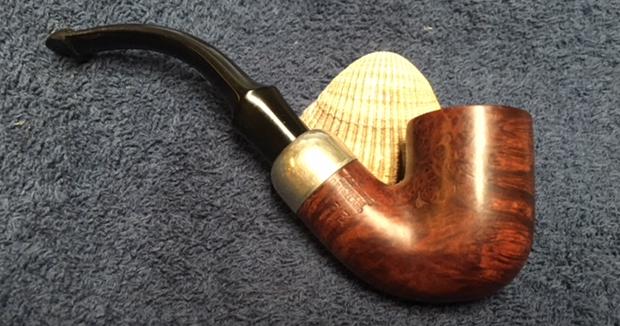
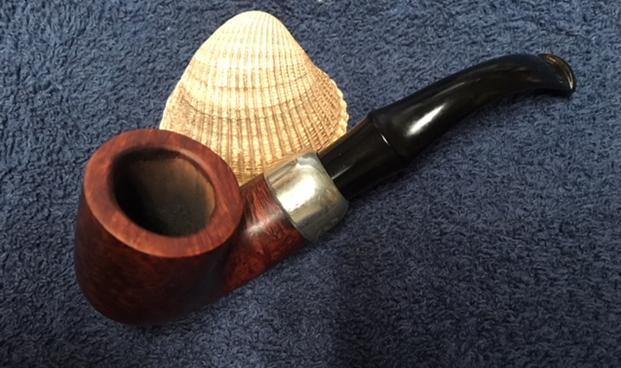
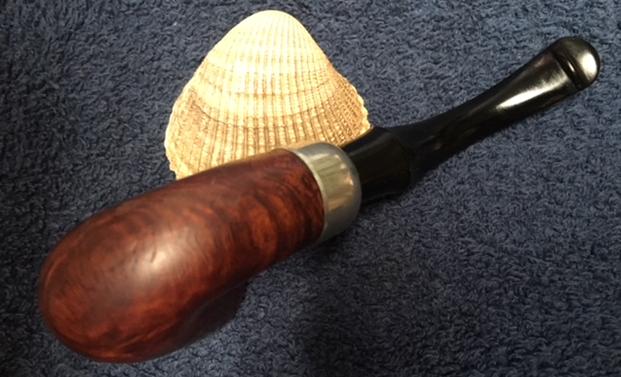
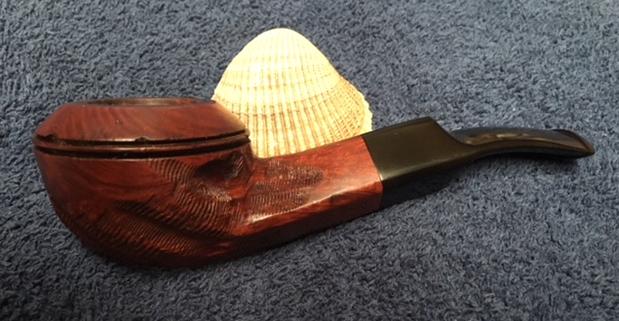
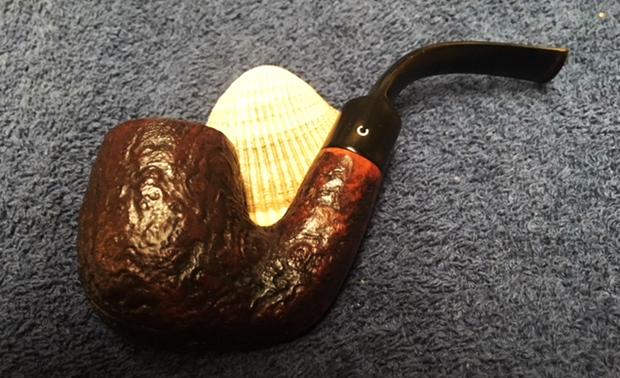
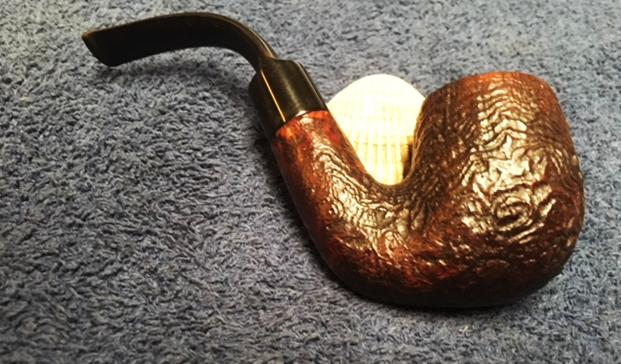
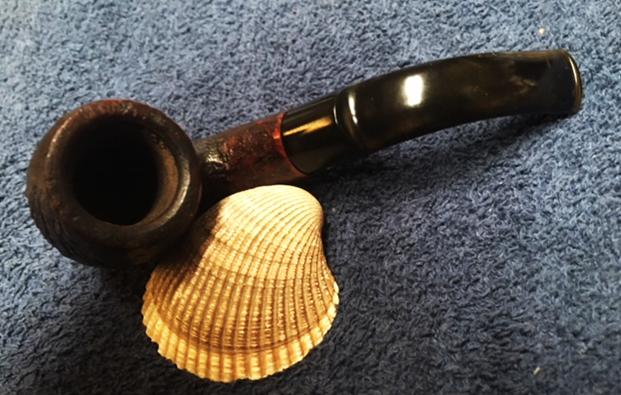
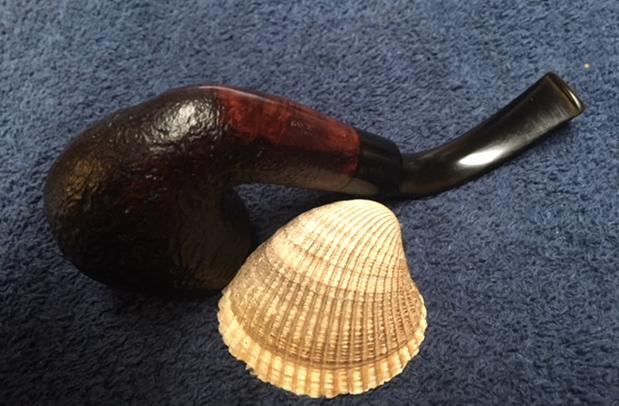
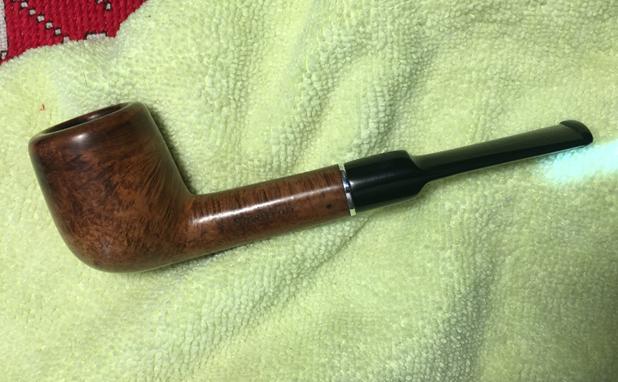
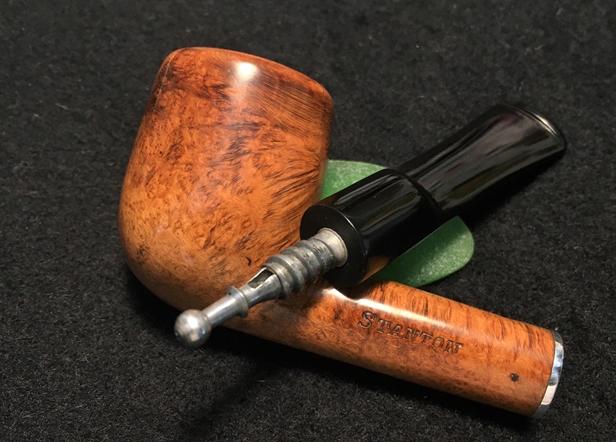
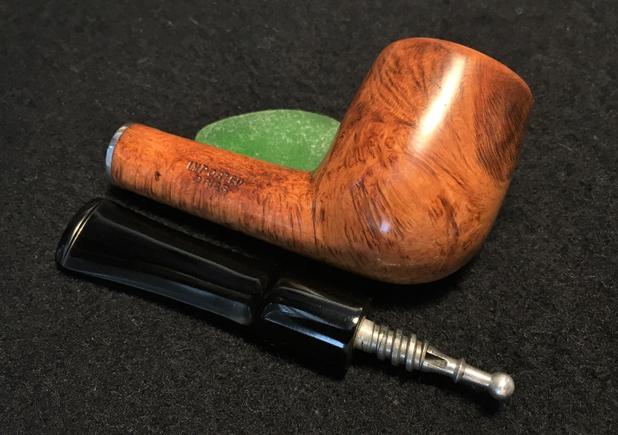
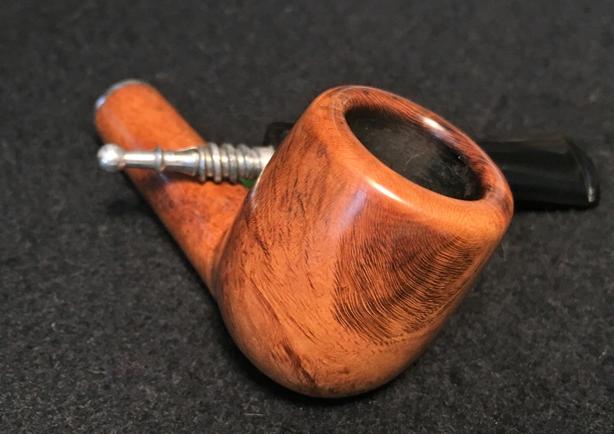
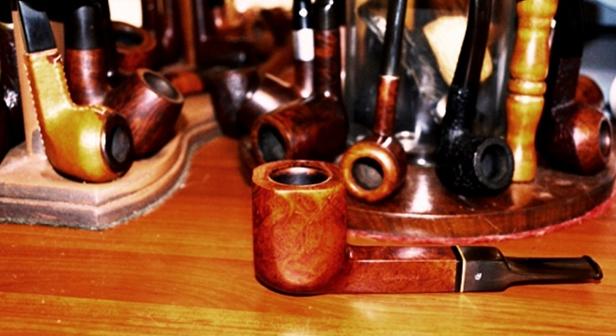
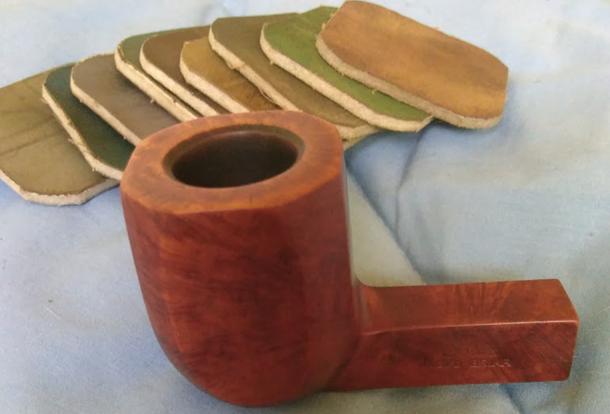
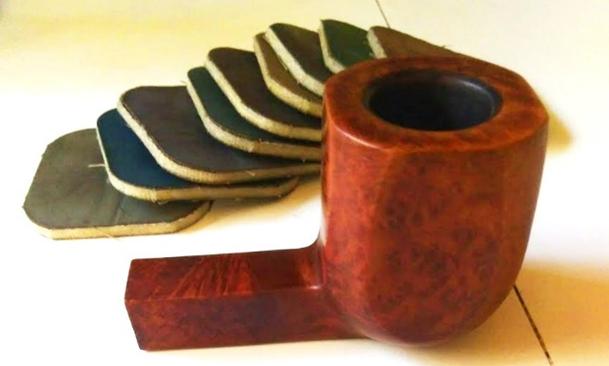
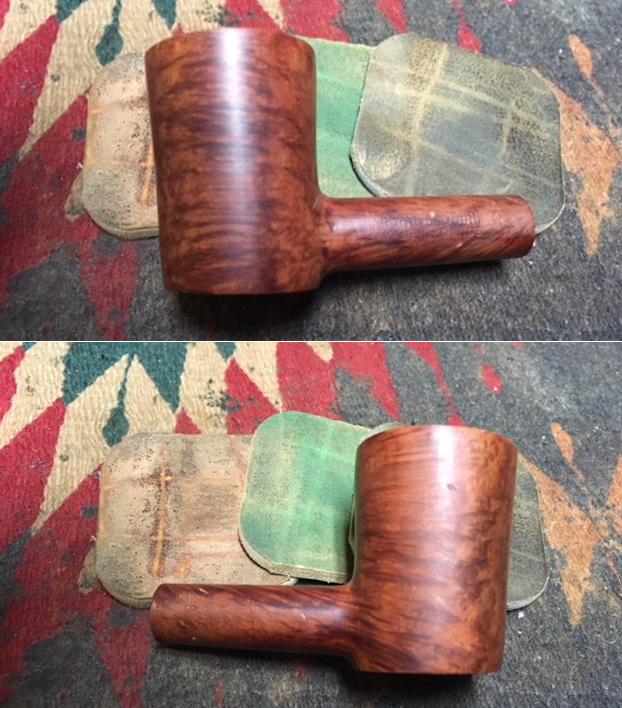
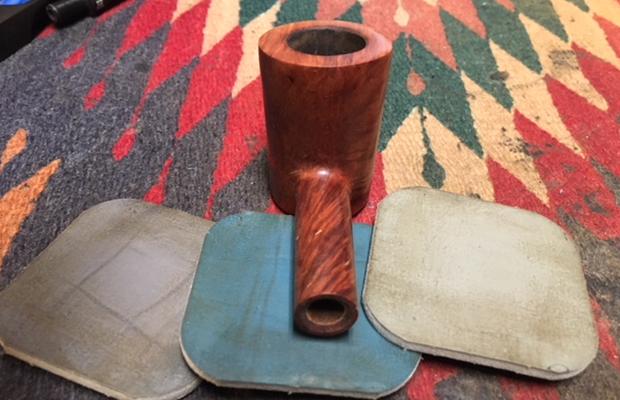
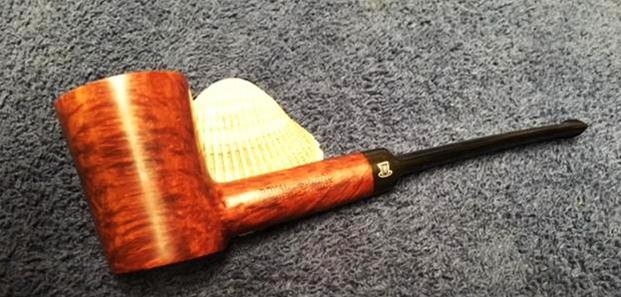
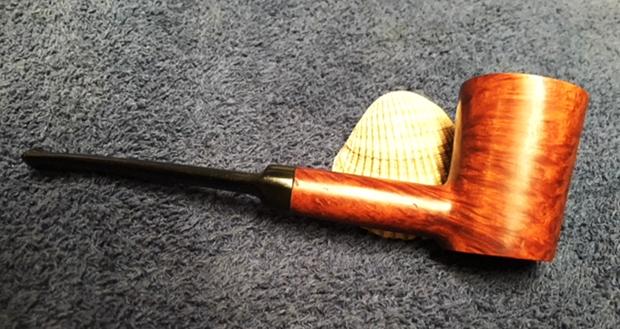
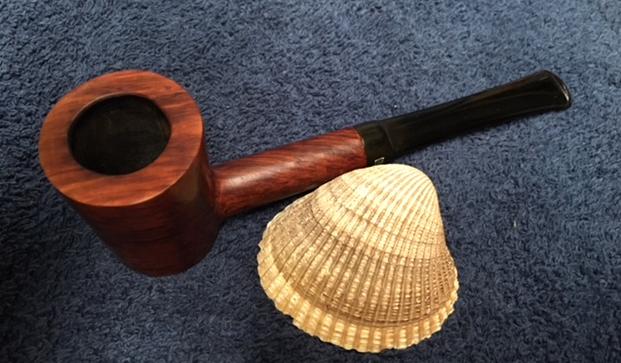
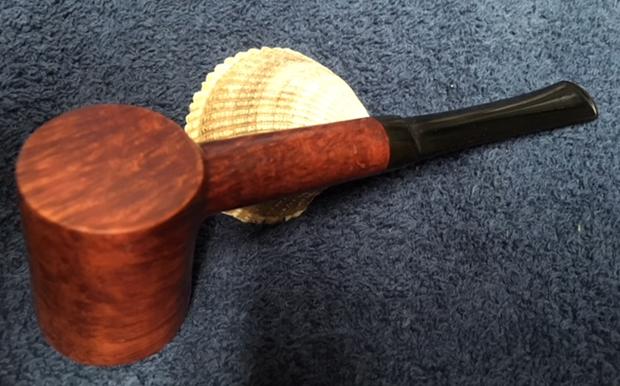
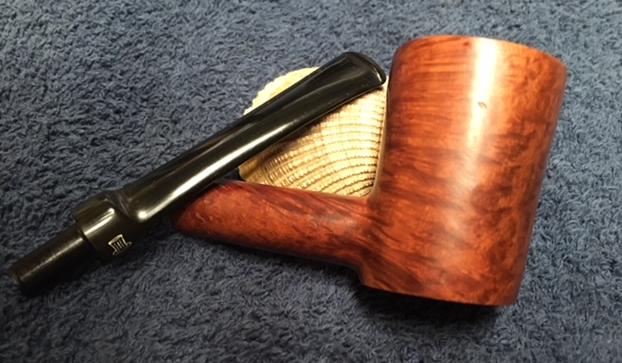
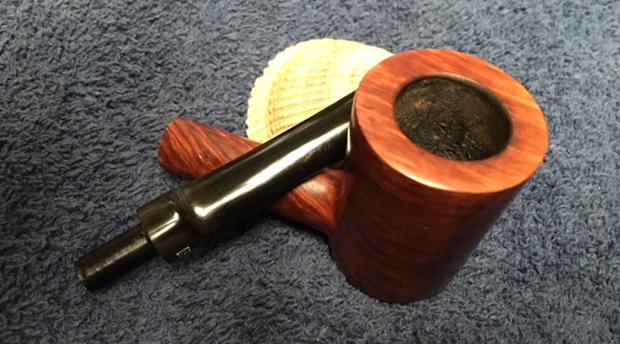
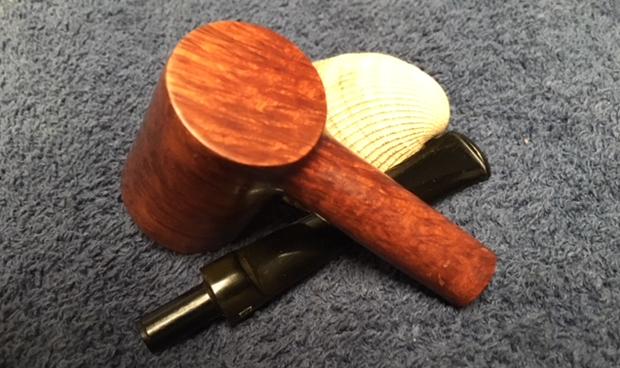
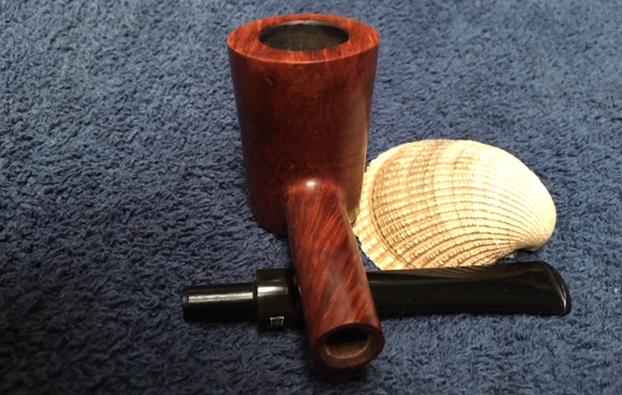
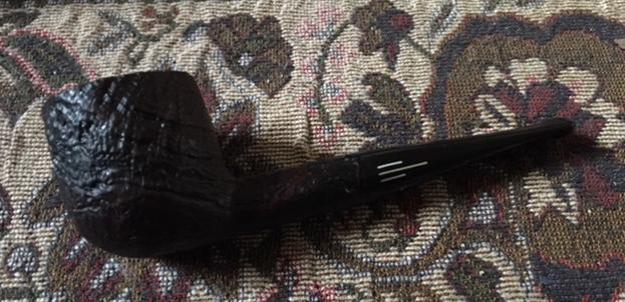
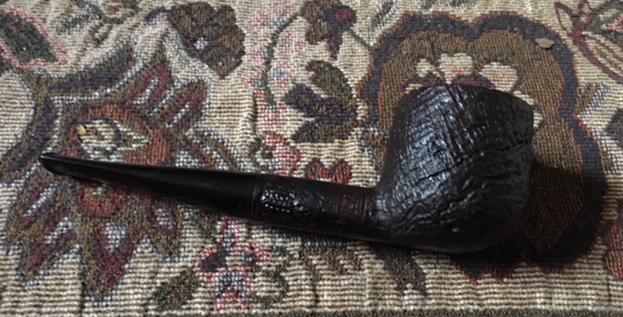
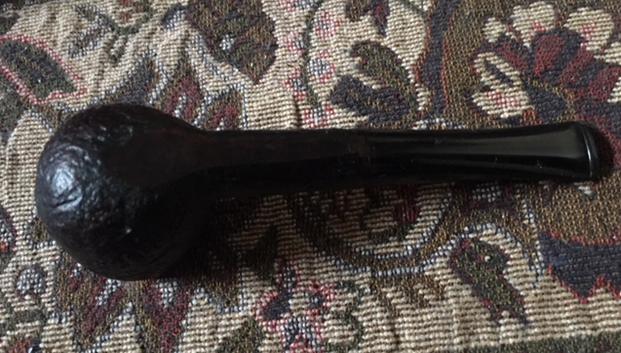
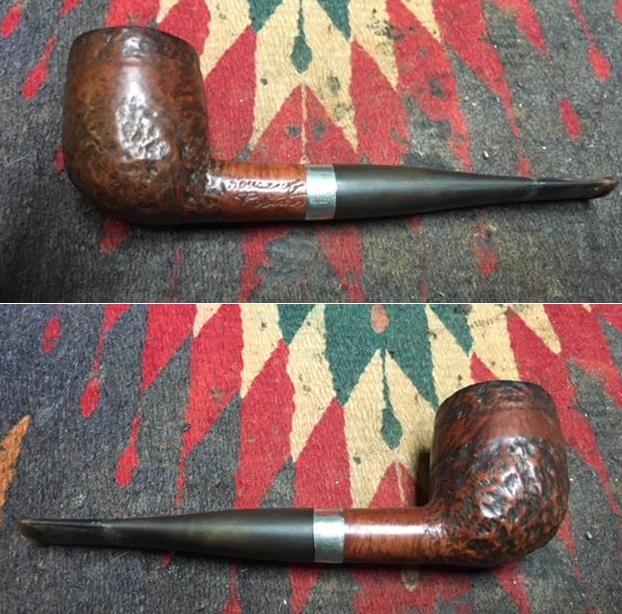
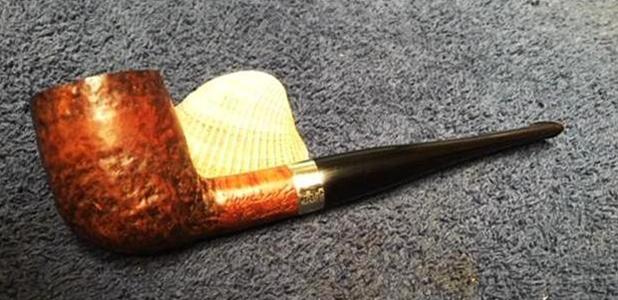
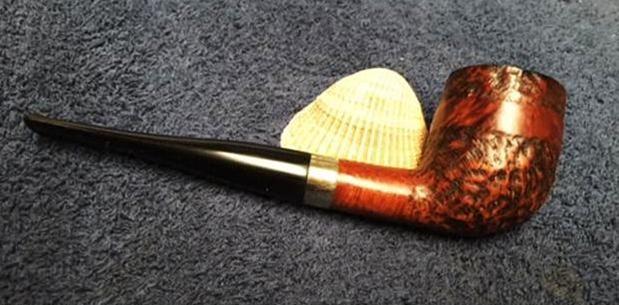
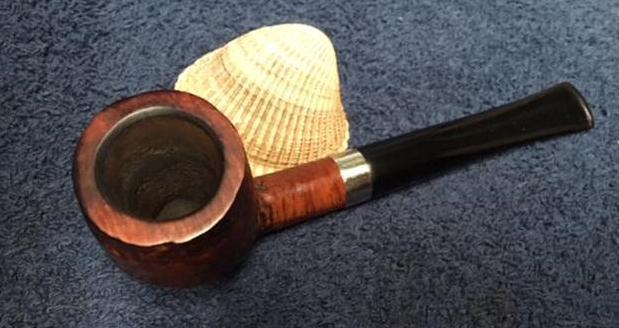
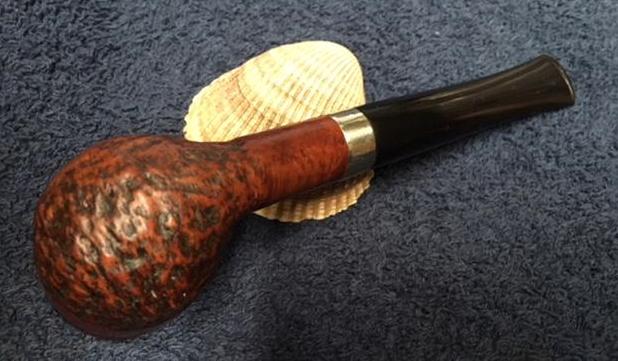
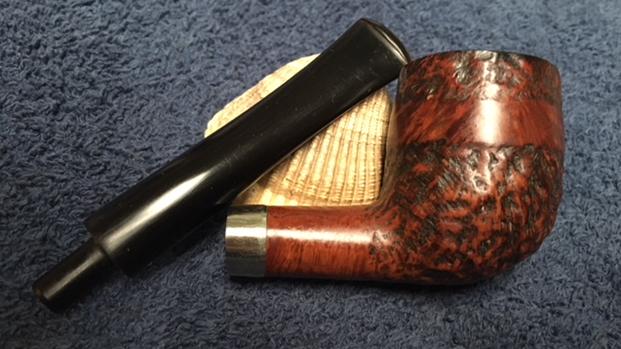
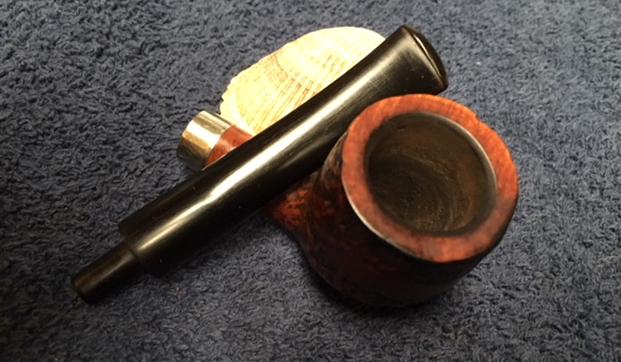
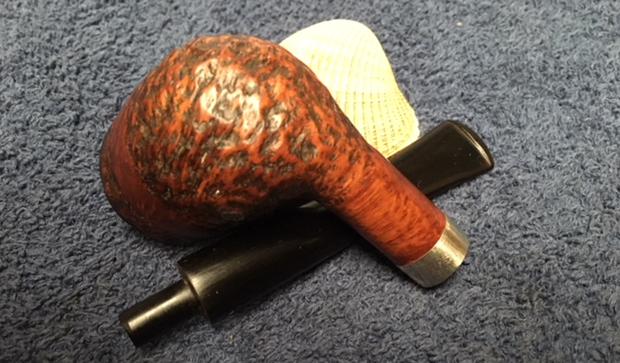
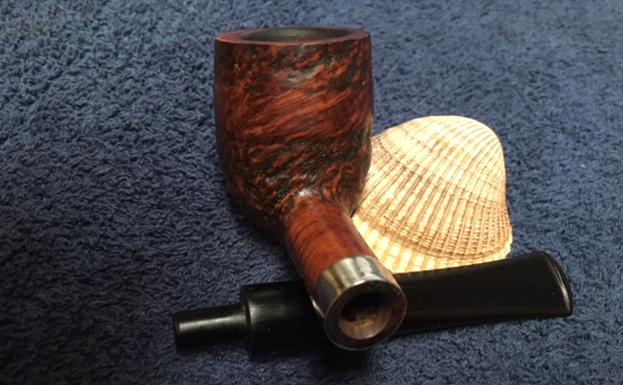
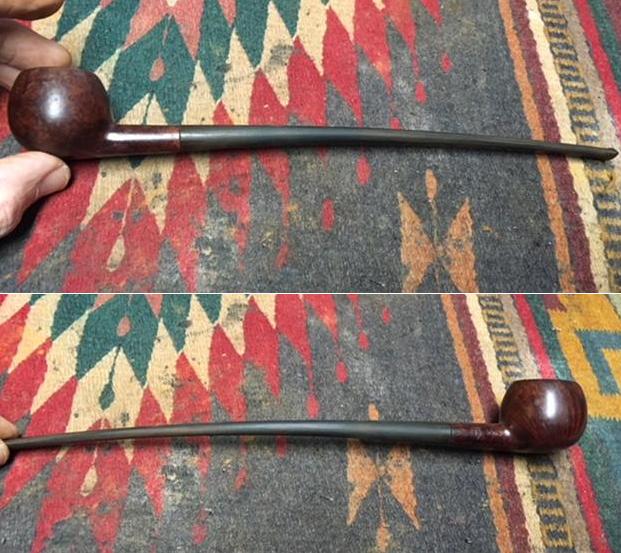
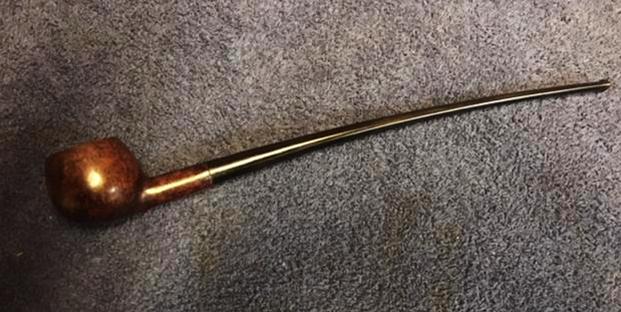
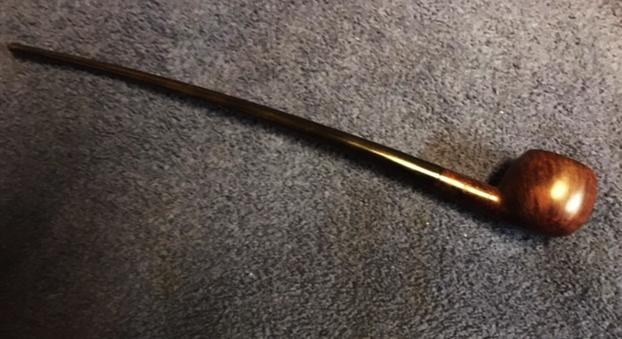
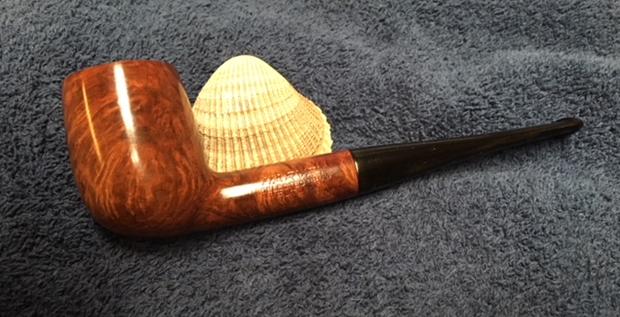
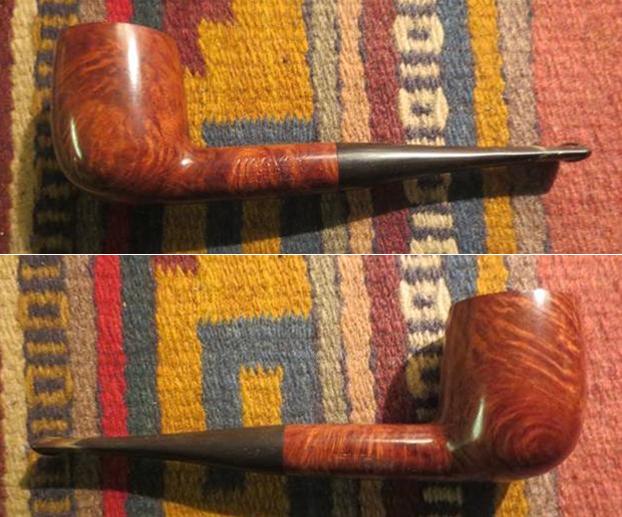
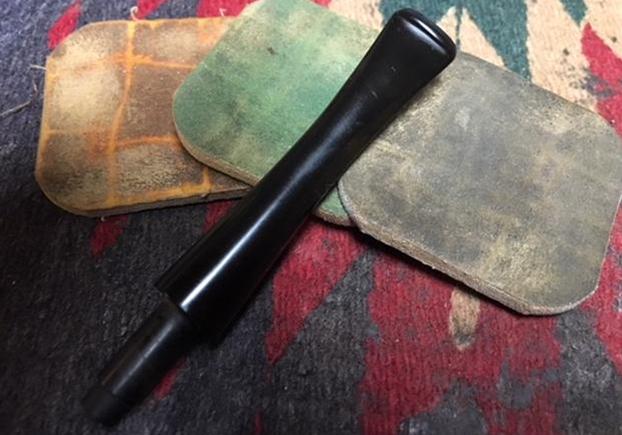
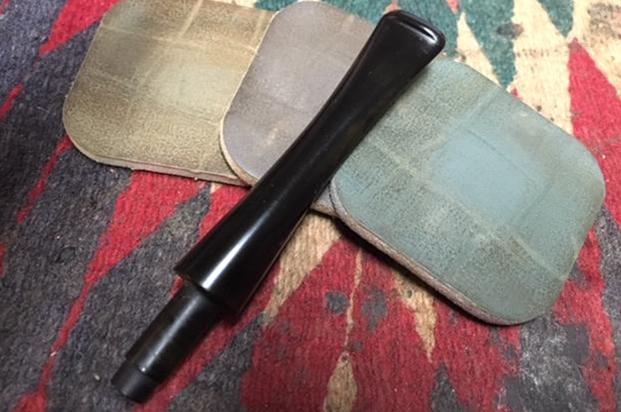
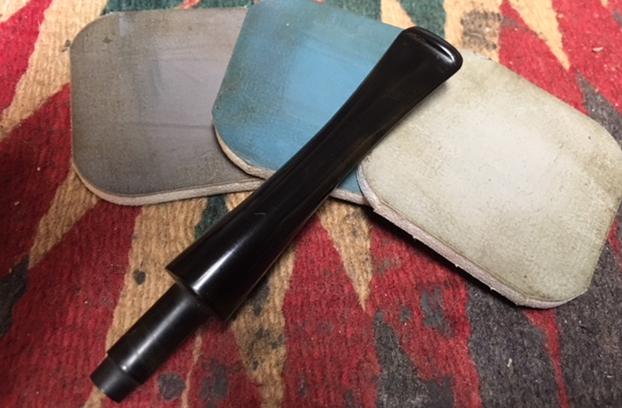
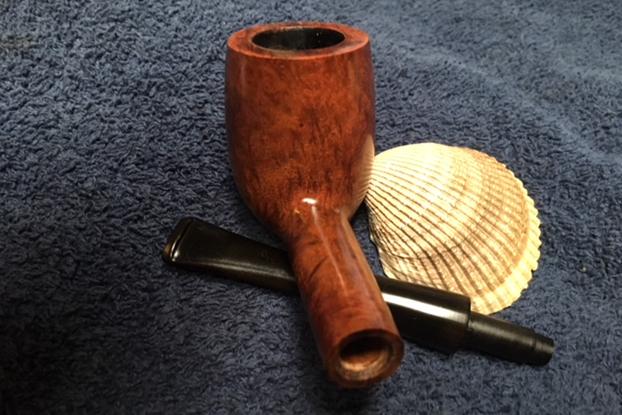
 With the stem reshaped and polished I put it back on the pipe and buffed the bowl and stem with Blue Diamond. I used a light touch on the stem to polish out any remaining scratches. I gave the bowl and the stem several coats of carnauba wax and buffed the pipe with a clean buffing pad to raise the shine. I hand buffed it with a microfiber cloth to deepen the shine. The pipe polished up pretty nicely. The finished pipe is shown in the photos below. This is the fifth pipe I have worked over for Paresh. Once I finish the other two pipes that he has in the queue I will pack them up and send them to India. I look forward to hearing what he thinks one he has them in hand. Thanks for walking through the restoration with me as this one provided a few different challenges to the restoration craft. Cheers.
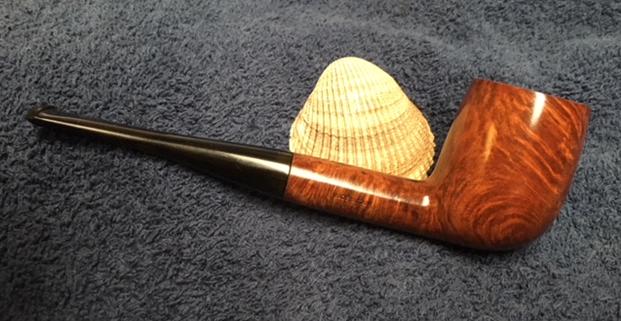
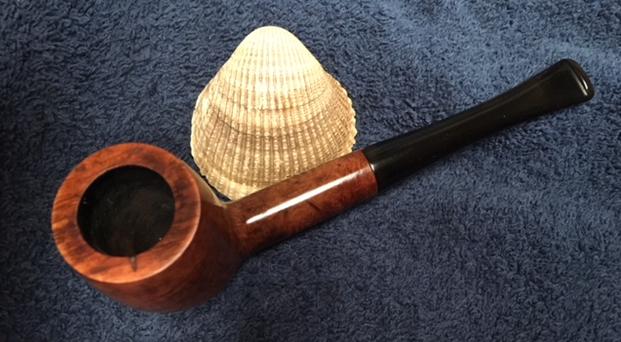
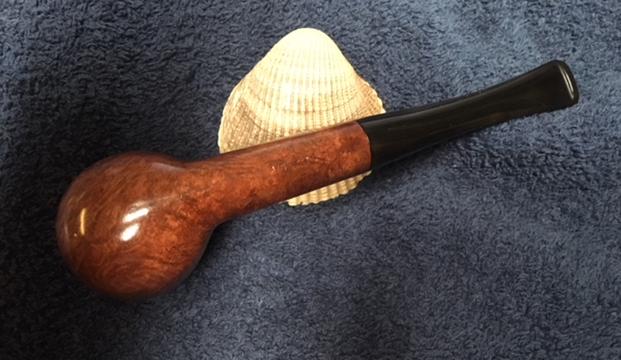
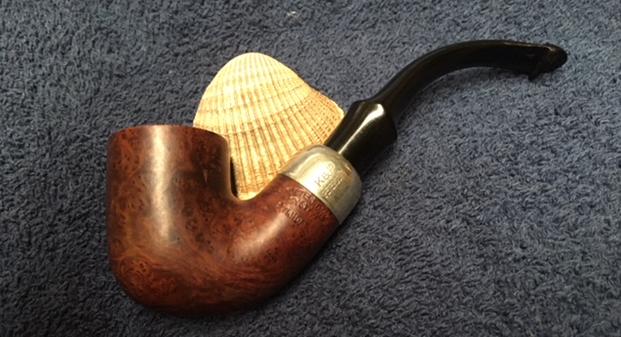


