Blog by Steve Laug
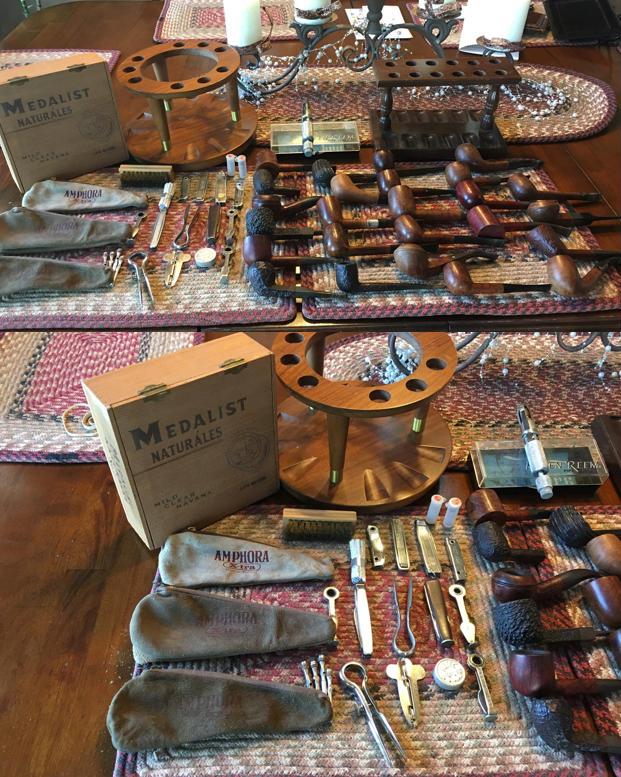
Late in the summer of 2017 I received an email on rebornpipes blog from Barry in Portland, Oregon. He wanted to know if I would be interested in purchasing his father’s pipes. He wrote that his Dad was a gracious, dignified and dedicated father, businessman and community leader for many years in Fresno, California where he was raised. He acquired his pipes when he gave up smoking cigarettes in the 1960s. There wasn’t an ounce of pretense in the man and he smoked his pipes for pleasure and as a pass-time while reading, enjoying company or watching sports on TV. Barry and I corresponded back and forth and concluded our deal. I became the proud owner of his Dad’s pipes. The inventory of the pipes he would be sending included some real beauties – Comoy’s, Parkers, Dunhills and some no name brands. They were beautiful and I could not wait to see them. I had him send them to Jeff where he would clean them up before I received them. Jeff took some photos of the lot as he opened the box. Each pipe was individually wrapped with bubble wrap and taped to protect them. There were 25 bubble wrapped packages and a lot of pipe accessories included – pipe racks, reamers, scrapers and Comoy’s filters and washers. There were pipe pouches and a wooden cigar box that held all of the accessories and reamers. There was a boxed KleenReem pipe reamer that was virtually unused. Jeff unwrapped the pipes and took pictures of the estate showing both the pipes and the accessories. Barry had labeled each pipe with a sticky note. It was an amazing addition to my pipe and tool collection.


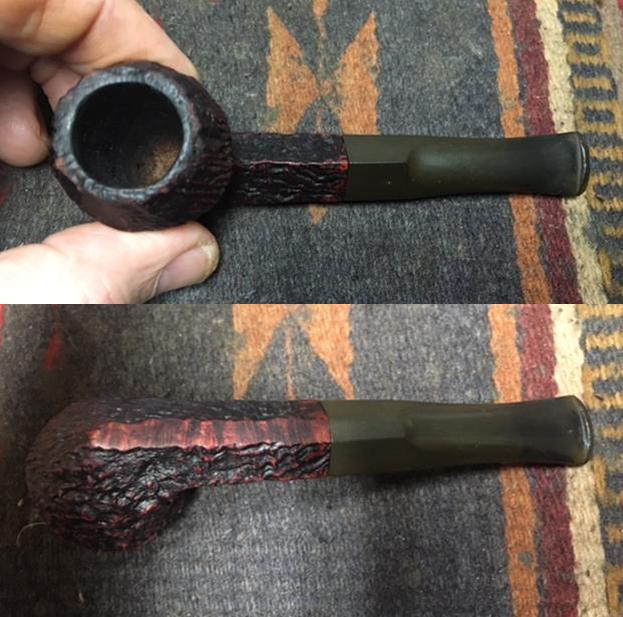
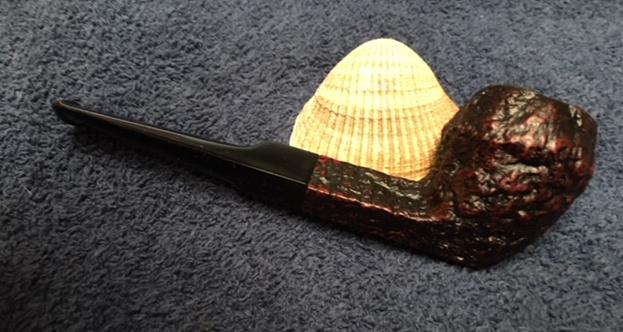
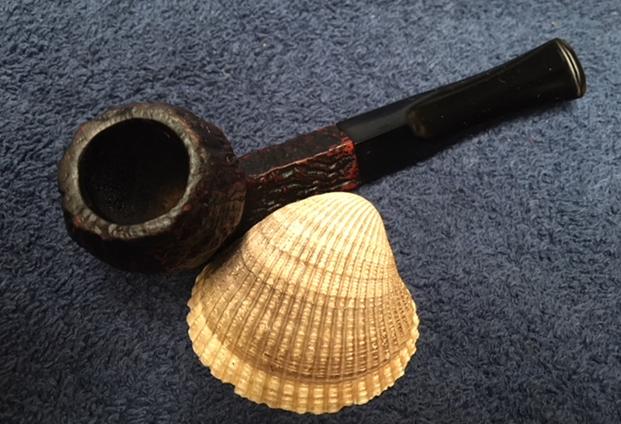
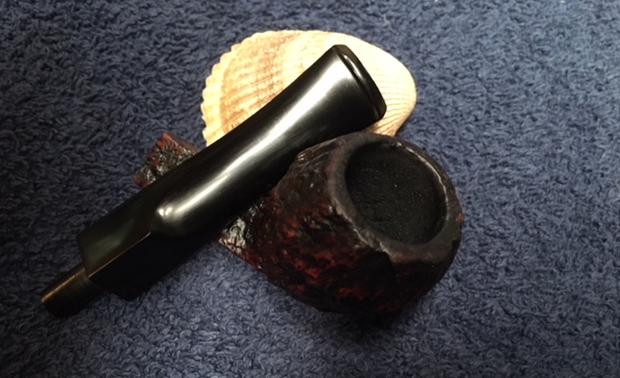
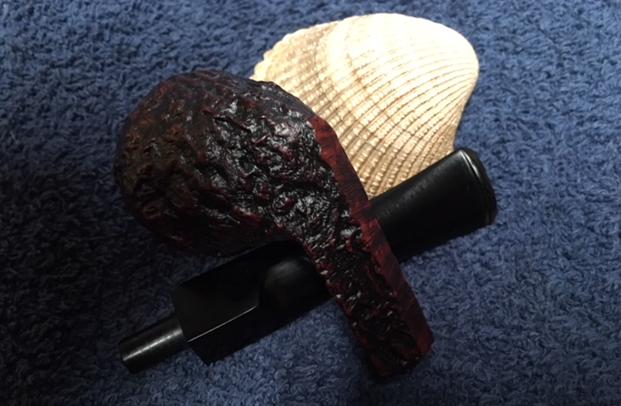
 The first pipe I chose to work on from the collection was a small Dunhill Shell Patent Straight Bulldog. It was missing the original stem but the sandblast on the bowl and shank was deep and tactile. The shape was a classic straight Bulldog that was elegant and graceful. The bottom of the shank had been flattened making it a sitter. The sandblast was dirty and filled with the detritus of years of use followed by sitting. The bowl was thickly caked and had an overflow of lava on the rim top. Even through the grime and grit you can see that this was a beautiful pipe. The replacement stem told me that the pipe had been a favourite and that the original stem had been either gnawed or broken and replaced. The new stem had some use and was both oxidized and had tooth chatter and marks on both sides of the stem at the button. The surface edges of the button also had tooth marks that were present. There as some calcification around the button as well that made me think that perhaps the stem had once sported a softee bit. Jeff took photos of the pipe before he cleaned it up. The photos tell the story better than my words can.
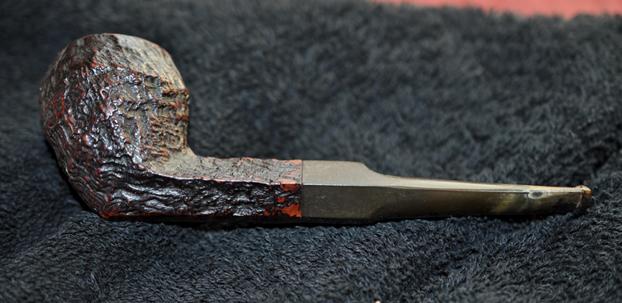

 He took some close up photos of the bowl and rim top to show the cake and their condition.
 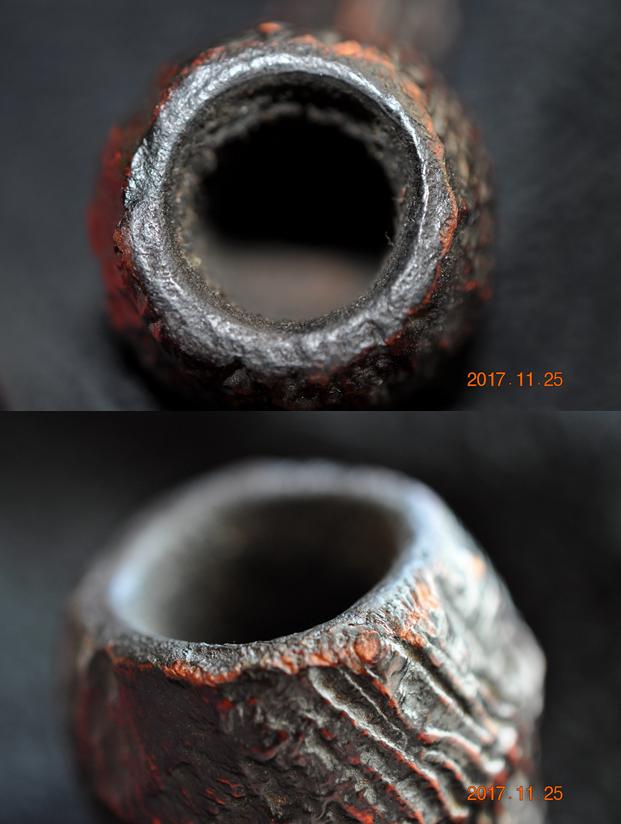 He also photographed the stamping on the underside of the shank to show what it read and the condition of the stamping. The first one shows the words Dunhill Shell and next to that Made in England. Under that it reads Patent No. 41757419. I would need to look that up to date the pipe but the patent number told me that it was made prior to 1954 which was the last year the patent number was stamped on the shank. The second photo shows the shape number of the pipe and the size – 48/4. The shape number 48 designates a straight shank Bulldog with a diamond shank. The /4 is the group size of the pipe which to my mind is strange as the pipe is small. (https://rebornpipes.com/2012/11/01/dunhill-pipe-shapes-collated-by-eric-w-boehm/)
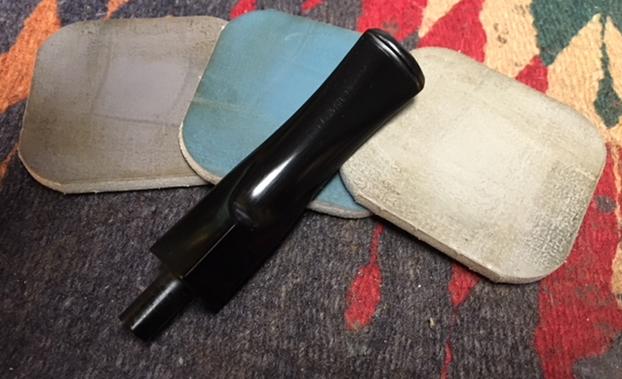
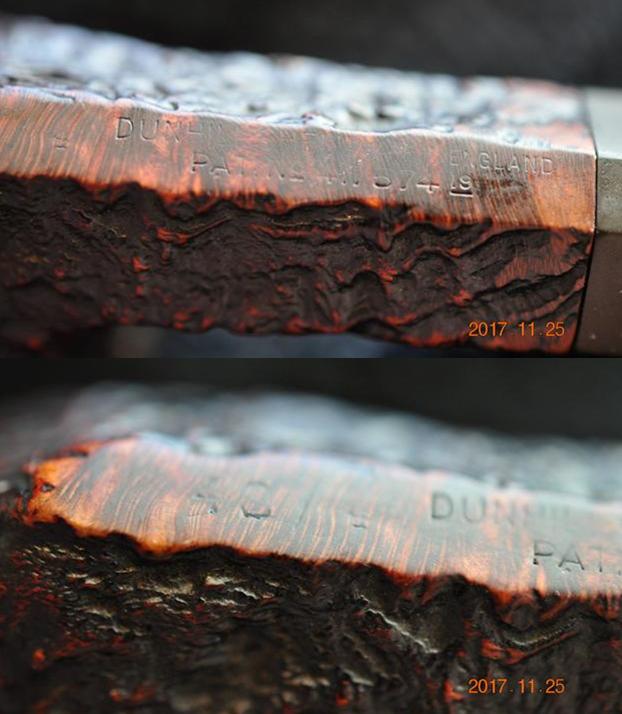 The replacement stem was oxidized as mentioned above and had tooth chatter and marks. Jeff took photos of both sides of the stem to capture their condition before he cleaned the pipe.
 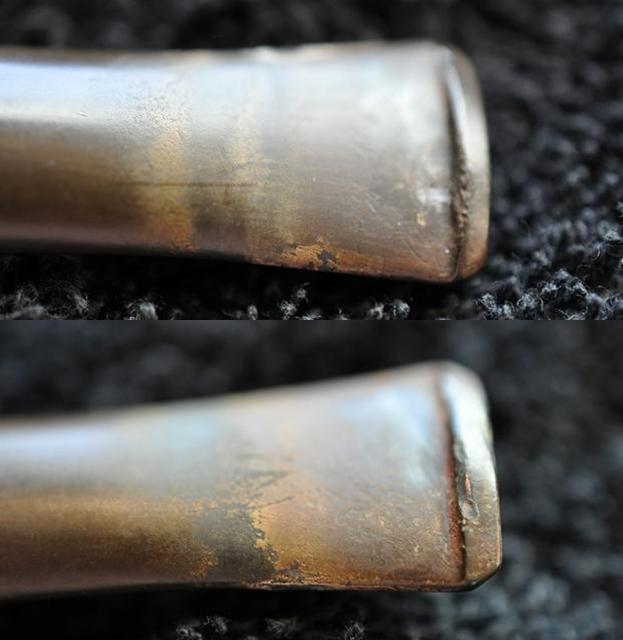 Jeff did his usual stellar clean up job on the pipe leaving it pristine and without damage to the finish. He reamed the bowl with a PipNet pipe reamer and cleaned up the remnants with the Savinelli Fitsall Pipe Knife. He scrubbed out the mortise and the airway in the shank and the stem with alcohol, cotton swabs and pipe cleaners. He scrubbed the exterior of the bowl, rim and shank with a tooth brush and Murphy’s Oil Soap to remove the dust in the sandblast on the bowl and shank. He rinsed it under running water. He dried it off with a soft cloth. Once the dust and debris were removed the finish looked very good. I took photos of the pipe to show its condition before I started my work on it.
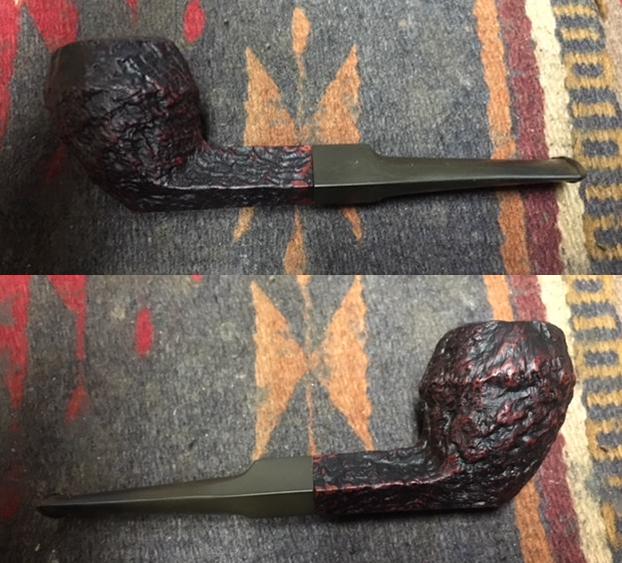
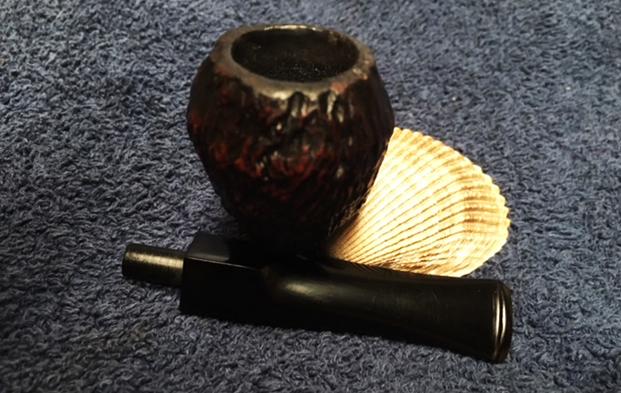
 I took some close up photos of the bowl and rim top as well as both sides of the stem to show their condition. The bowl was very clean and the rim top looked good. He had been able to remove the lava from the finish. The inner edge was in excellent condition and the roughness of the outer edge in the early pictures above actually blended into the sandblast finish of the bowl. The stem is lightly oxidized as can be seen in the photos and has small tooth marks near the button on both sides.
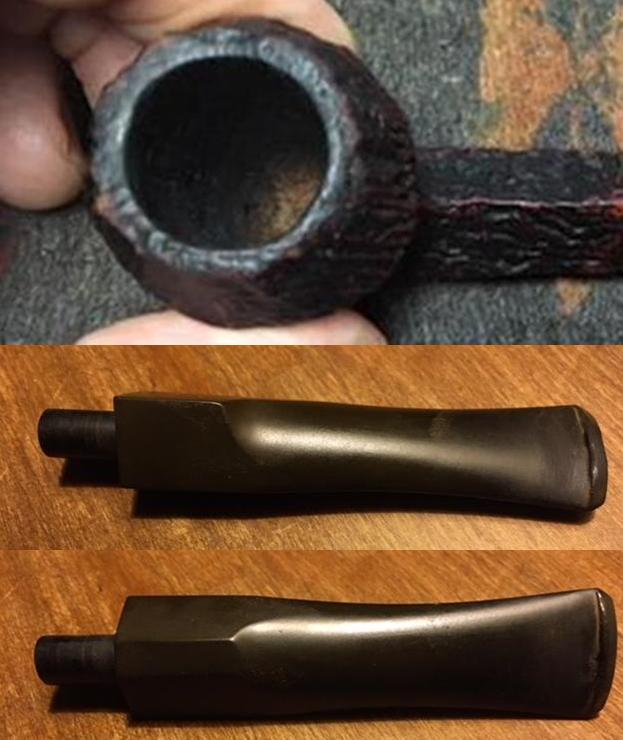 Before I did and restoration work on the bowl or stem I decided to pin down the date a bit more. I knew that it was pre-1954 but I wanted to narrow that down more. One of the beauties of Dunhill pipes is that the stamping can give you a precise date of manufacture. In this case I wanted to work on the stamping Dunhill Shell Made in England over Patent No. 41757419. I looked up the brand on the Pipephil website as he has very helpful photos and information in dating and interpreting the stamping on Dunhill pipes. On one of the supplemental pages associated with Dunhill pipes he has a page on the Patent era pipes. I find that this page is particularly helpful when I am trying to properly identify a pipe. Here is the link to the page: http://www.pipephil.eu/logos/en/dunhill/patent2.html#shell417574.
I looked under the section on Patent Shell pipes as that is what I had in hand. I found a photo of a pipe from 1937 that was stamped in the same manner as the one that I was working on. I took a screen capture of the photo and the information. The shape number 60/3 is in the same style and location as the 48/4 on my Dunhill. The Patent Number is identical to the number on my Dunhill. The suffix though in the same location and stamped in the same manner is different from mine. This one is the suffix 17 while mine is the suffix 19. The helpful part in the photo is the formula for determining the date from the suffix shown in the photo. In essence you add the date of the first patent 1920 to the suffix number and you arrive at the date. In my case Patent No. 417574(without “…/34) + suffix 19 = 1920+19 makes this a 1939 pipe. The next photo includes both the screen capture and the underside of the shank of the Bulldog I am working on.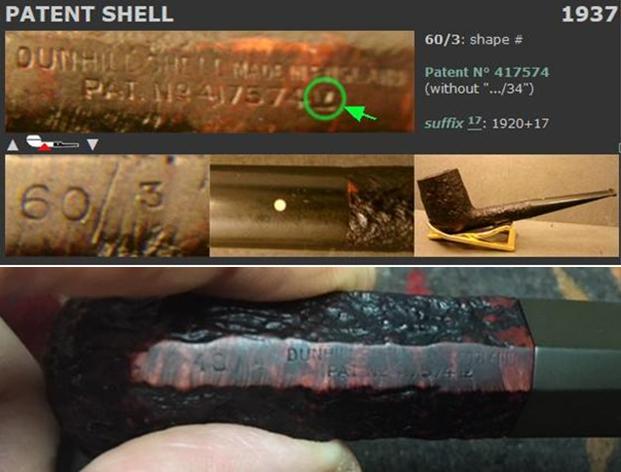 I started with the stem on this one. I sanded out the tooth chatter and the tooth marks next to the button on both sides with 220 grit sandpaper.
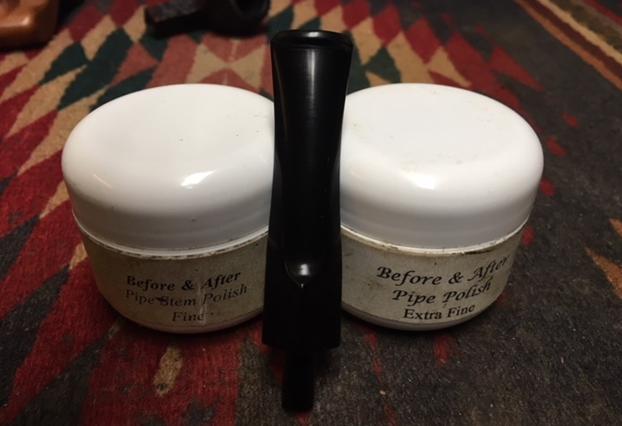
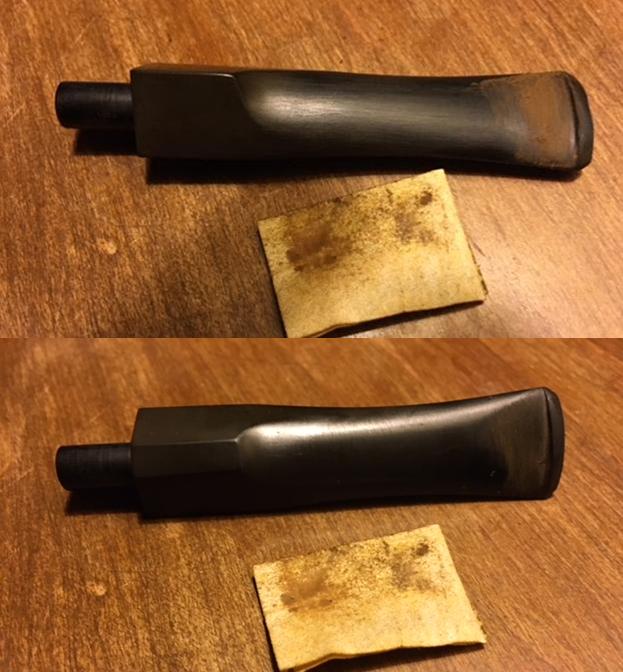 I polished stem with micromesh sanding pads – wet sanding with 1500-2400 grit pads and dry sanding with 3200-12000 grit pads. I wiped the stem down with Obsidian Oil after each pad. I polished it with Before & After Pipe Stem Polish, both Fine and Extra Fine. I gave it a final coat of Obsidian Oil and set it aside to dry.

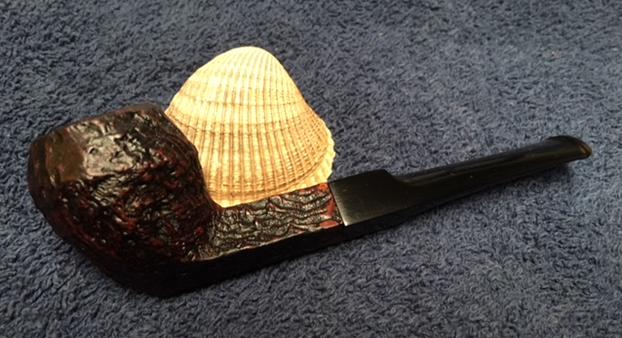
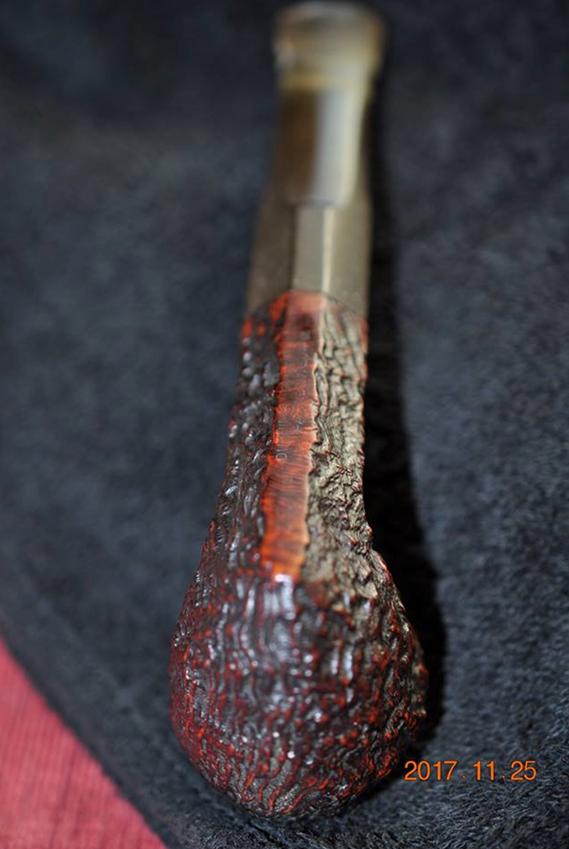
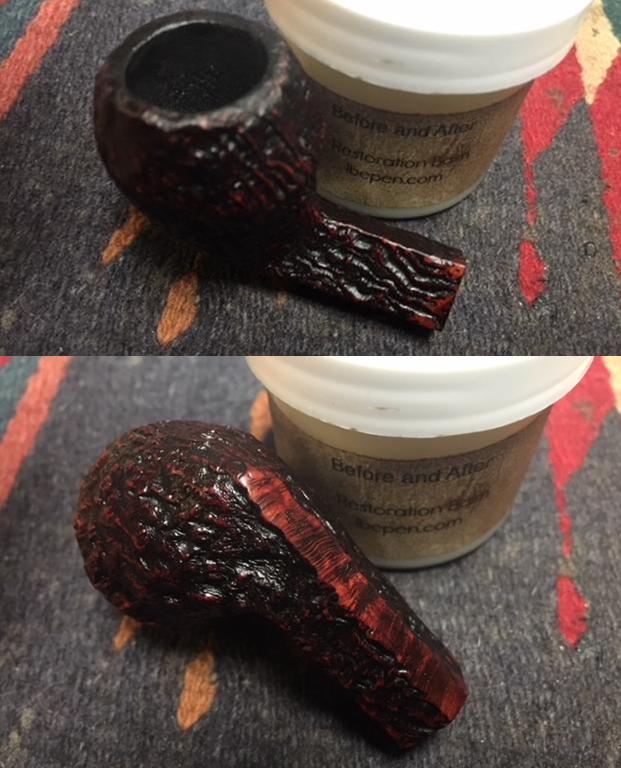
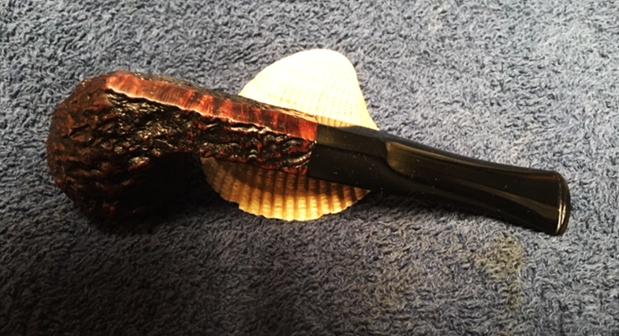
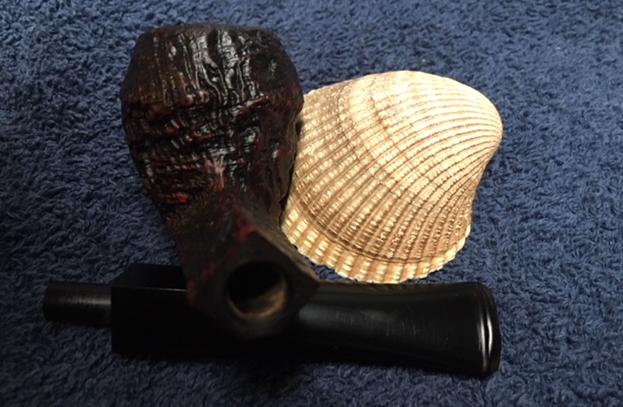
 I worked Before & After Restoration Balm deep into the nooks and crannies of the sandblast finish to clean, enliven and protect the briar. I hand rubbed it with my fingers and worked it into the finish with a horsehair shoe brush. I wiped it off with a soft cloth. I buffed the bowl with a cotton cloth to polish it. It really began to have a deep shine in the briar. I took some photos of the bowl at this point to mark the progress in the restoration. The deep grooves in the sandblast and the rugged look gave the pipe a very gnarly feel in the hand. The mix of black and dark brown stain worked well with the sandblast finish.
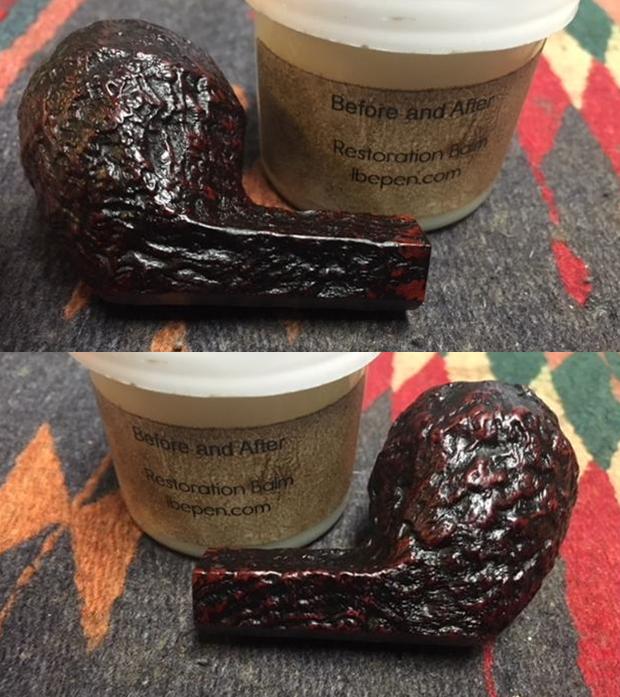
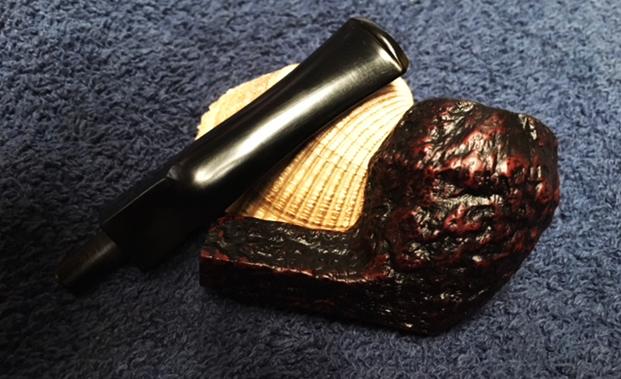
 I put the stem back on the bowl and worked the pipe over on the buffing wheel using Blue Diamond to polish the stem. I buffed the bowl with a light touch so as not to get any of the buffing compounds in nooks and crannies of the sandblast. I buffed the stem to raise the gloss on the vulcanite. I gave the bowl multiple coats of Conservator’s Wax and gave the stem multiple coats of carnauba wax. I buffed the entire pipe with a clean buffing pad to raise the shine. I hand buffed it with a microfiber cloth to deepen the shine. The finished pipe is shown in the photos below. The black and brown stains on the sandblast Dunhill Shell works well with the rich black of the polished vulcanite stem. This little Patent Shell is a beautiful and interesting looking pipe. The dimensions of the pipe are: Length: 5 inches, Height: 1 5/8 inches, Outside Diameter: 1 1/8 inches, Diameter of the chamber: 5/8 inches. This 1939 Dunhill is one that I am going to put in my own rack while I look for an original stem. Thanks for walking through the restoration with me.


Steve, you chose the right one to start this journey. I am pleased that these pipes arrived in your hands.
Barry
LikeLike
Lovely Steve! Finding a white dot stem to fit to that one would be a great outcome. Those 1930 blasts sure were something.
LikeLike