Blog by Robert M. Boughton
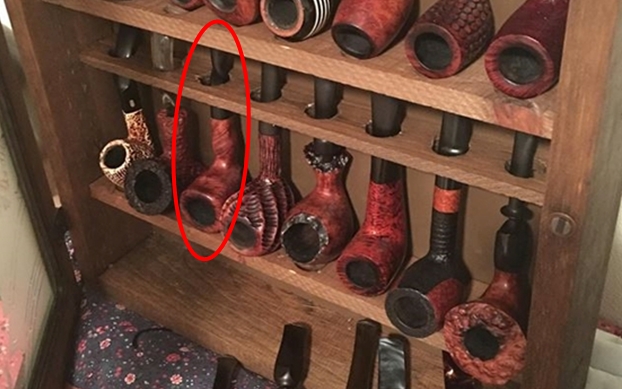
https://www.roadrunnerpipes2k.com/
https://www.facebook.com/roadrunnerpipes/
Copyright © Reborn Pipes and the author except as noted
To him that will, ways are not wanting.
— George Herbert, in Jacula Prudentusm or Outlandish Proverbs, Sentences, &c. (posthumous, 1651).
RECAP
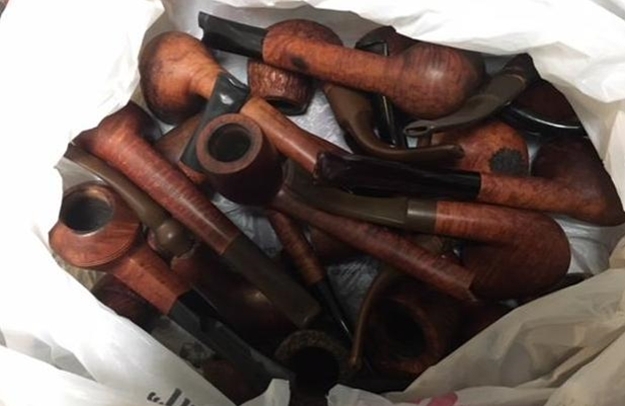
Part 1 hypothesized that the discontinuation, illegality and dwindling or total unavailability of vital materials, used in antique and other very old pipes, will lead to a serious crisis in restoring these heirlooms and otherwise prized implements of contemplation to their original conditions. My main theme was the need for those of us in the business – having considerable, moderate or little experience under our belts – to learn how to overcome these difficulties that will become more acute all too soon. In hindsight, I should have emphasized better the need for those who now have the know-how to use their own perhaps self-discovered and unique (read proprietary) heroic measures to cooperate in sharing them with the rest of us.
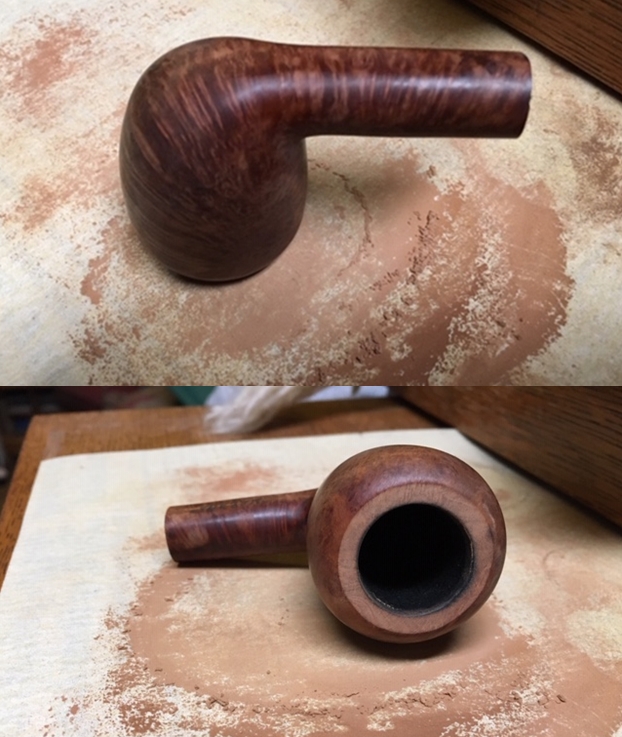
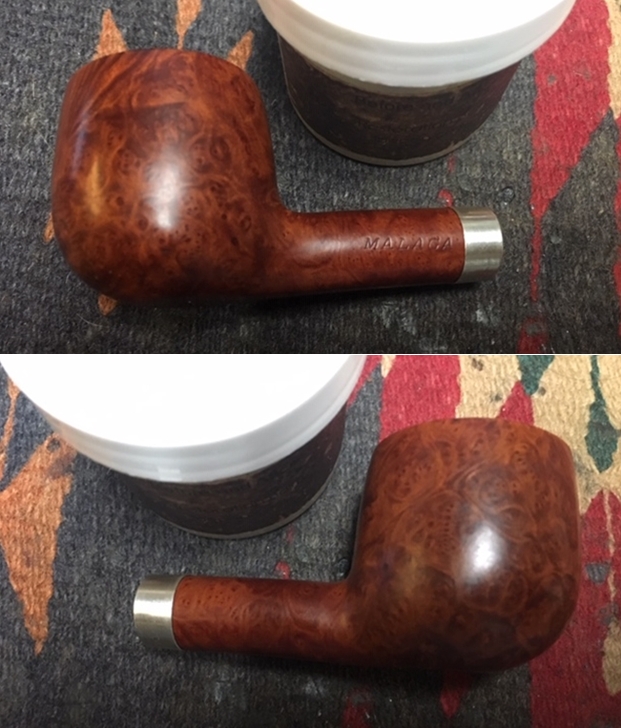
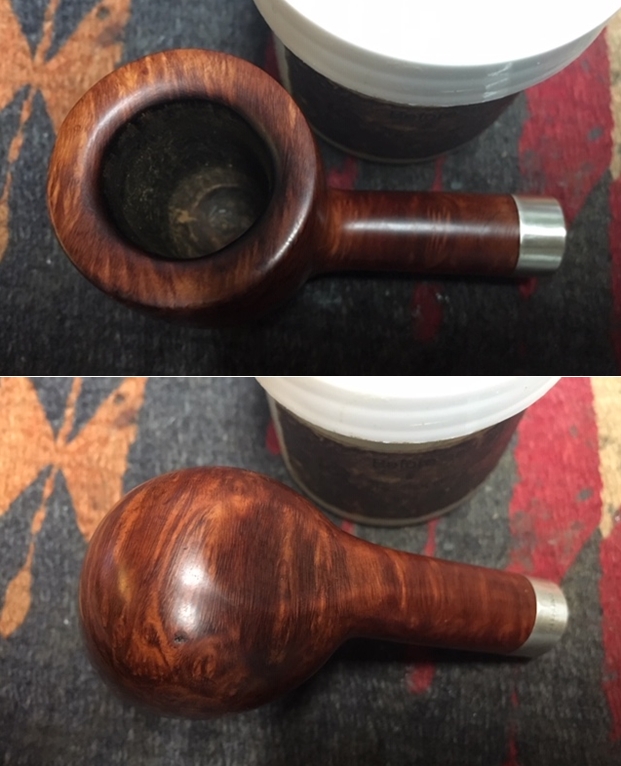
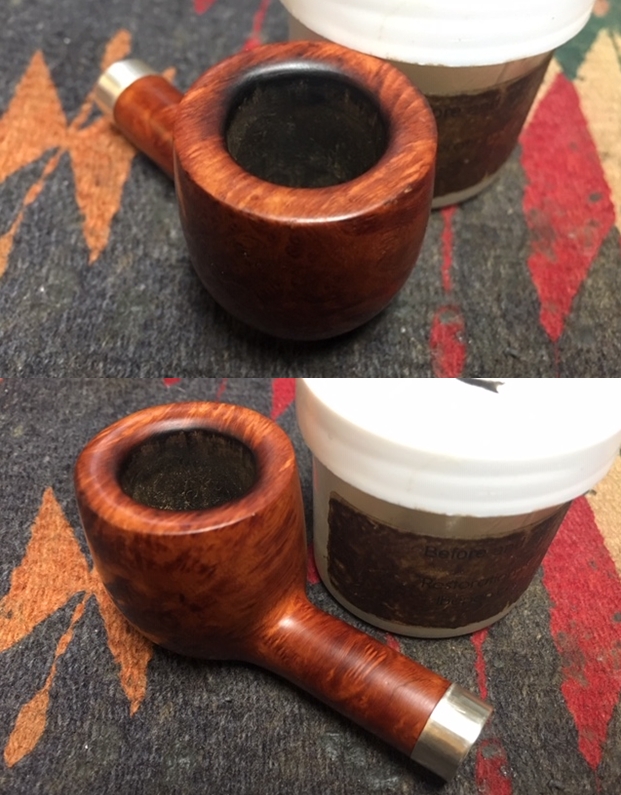
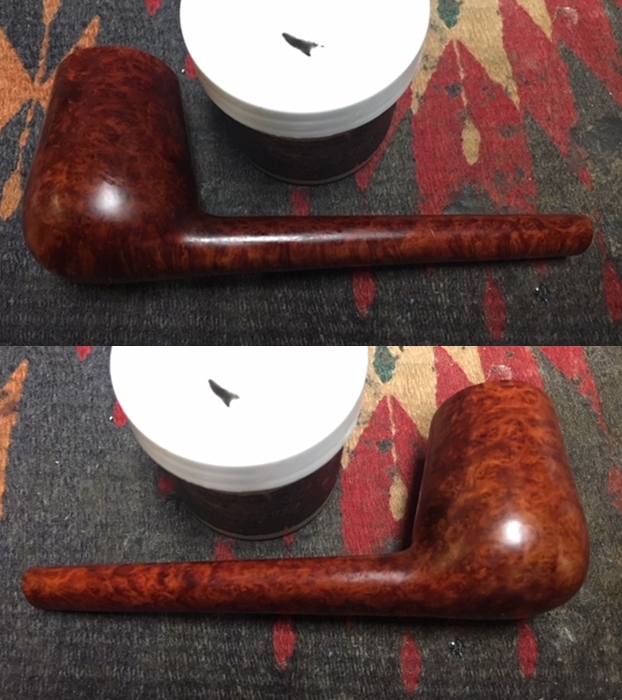
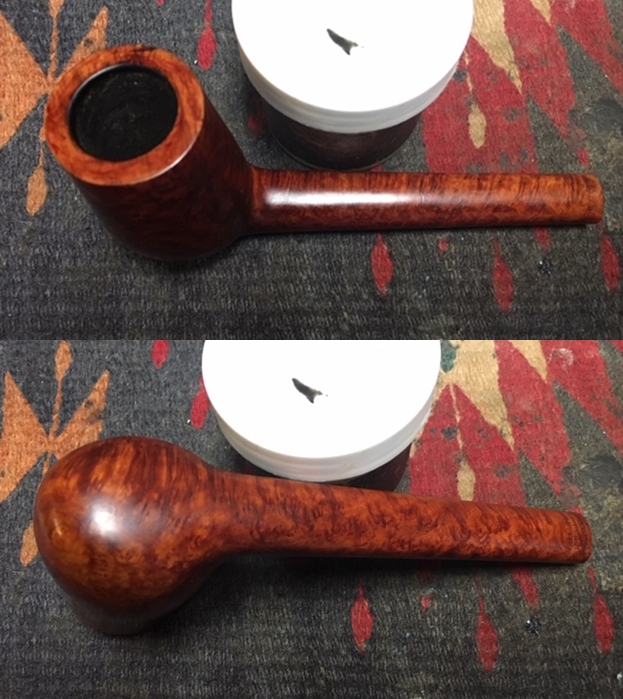
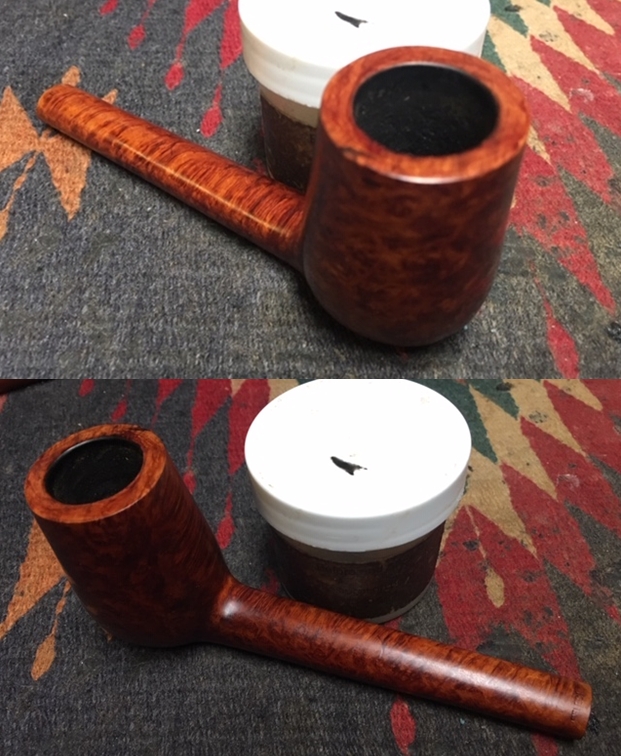
Part 2 described the first of three such repairs I have completed, its example being a Colossus Pipe Factory (CPF) Best Make turned lion’s head meerschaum with a gold band and genuine cherry red amber stem that needed reconnecting with a new bone screw tenon. Five years after I began searching for the one part, I was compelled to send the otherwise restored CPF to a specialized repair service that may have been the only place capable at the time to affect the rehabilitation – for lack of a proper bone tenon or anyone to whom I could turn for instruction on how to repair damage to the inner shank. Now I know the necessary work was relatively minor.
Part 3, taking the form of a fable, told of the misadventures of the Restorer during his two-year quest to cleanse of all evils a Kaufman Brothers & Bondy Blueline Bakelite dated by its owner to 1911 and entrusted to the Restorer’s care for a simple cleaning and restoring. The ensuing calamities must be read to be believed.
INTRODUCTION
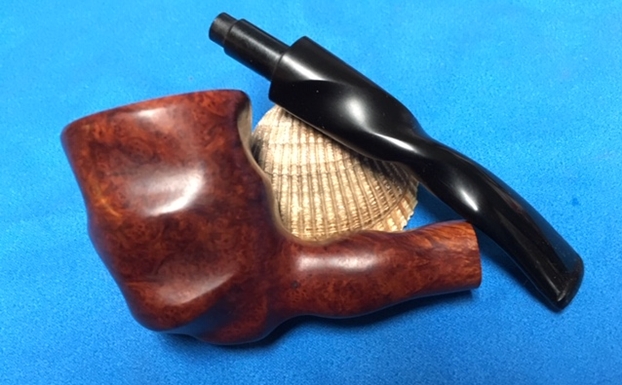
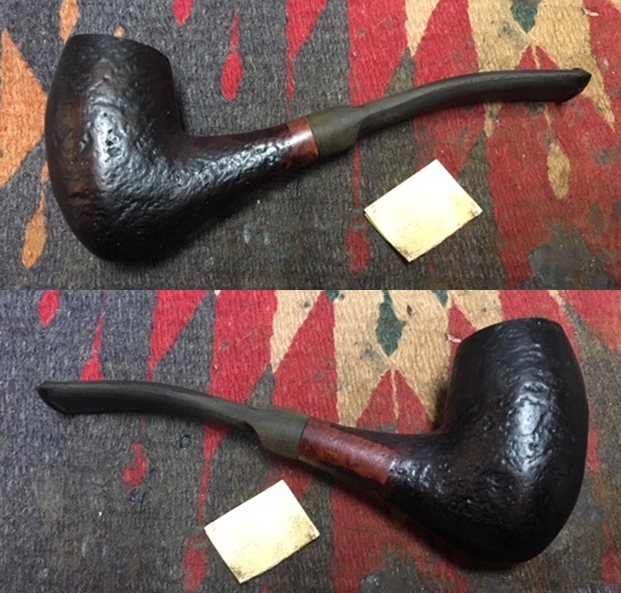
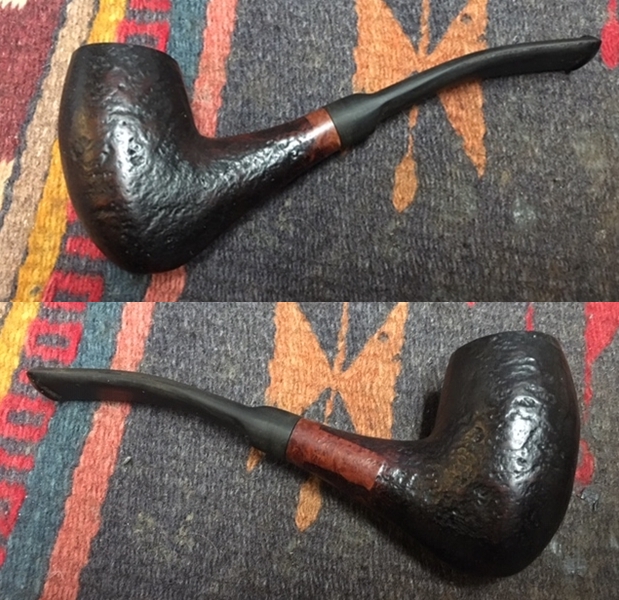
I became involved with this small old meerschaum smooth bent billiard by the most unusual circumstances of any restoration I’ve made so far. My pipe club meetings take place the third Thursday of every month in a back room of the local Moose Club Lodge, where the Ladies of the Moose are gracious enough to cook a special dinner for us at a low price that just covers their expenses, not counting the tips we’re more than happy to contribute.
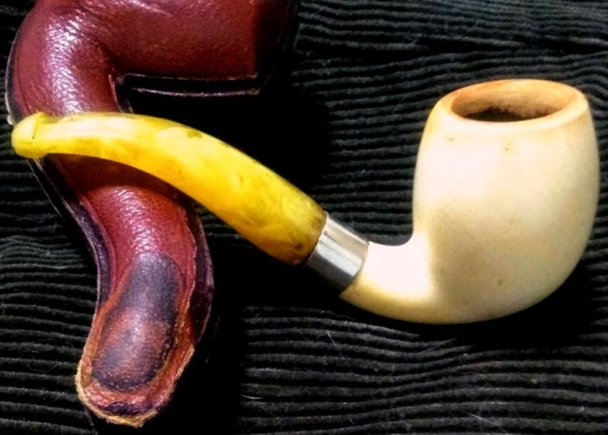
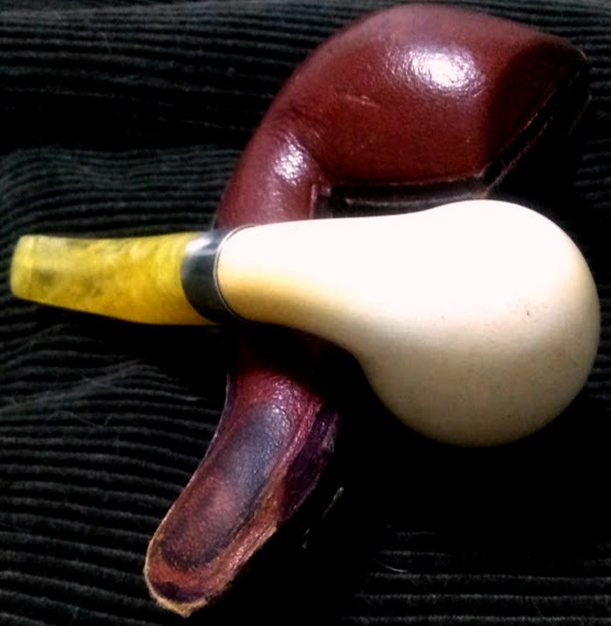
Before dinner was served at the December meeting, one of the ladies, Sherry, happened to buy two of my pipes. One was the best I had, a beautiful Ben Wade by Preben Holm Danish freehand, and the other a vintage Dr. Grabow easy bent natural billiard. Sherry didn’t know much about pipes but liked those two, which I let her have at the 15% club discount minus the usual $8.00 shipping fee. She mentioned finding at a yard sale a little pipe, in a leather case, she described as very dirty but white underneath with a broken stem. She thought it might be antique. I told her it was probably meerschaum, explained what that meant, and encouraged her to bring it with her the night of the next meeting so we could all have a look and see what might be done.
Before dinner was served at the January meeting, Sherry handed me the little brown case. There’s something mysterious about such objects, teasing the beholder to approach and open them and reveal the secrets hidden within. Nothing we’ve been taught by fables, folklore and outright superstition entreating us not to meddle with common-looking doodads, unless we’re prepared to face the unknown but likely negative consequences, is powerful enough to stay our hands. “Aladdin and the Magic Lamp,” which was not added until 1704 to the original Arabic tales from the 8th-14th centuries, comes to mind. The tale of the powers of the Magic Lamp, during more than three hundred years of oral and other popular re-telling, has been altered from its actual story in which all ends well to a warning to be careful what we wish lest we get what we ask for. But in this event, the contents pf the brown case appeared benign.


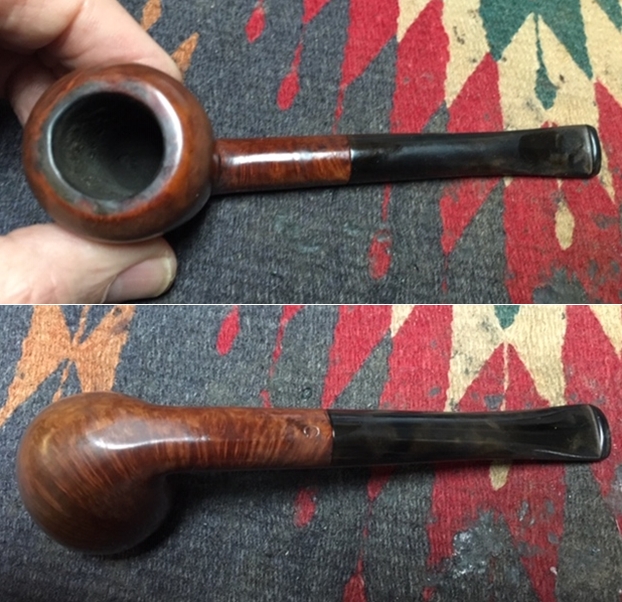
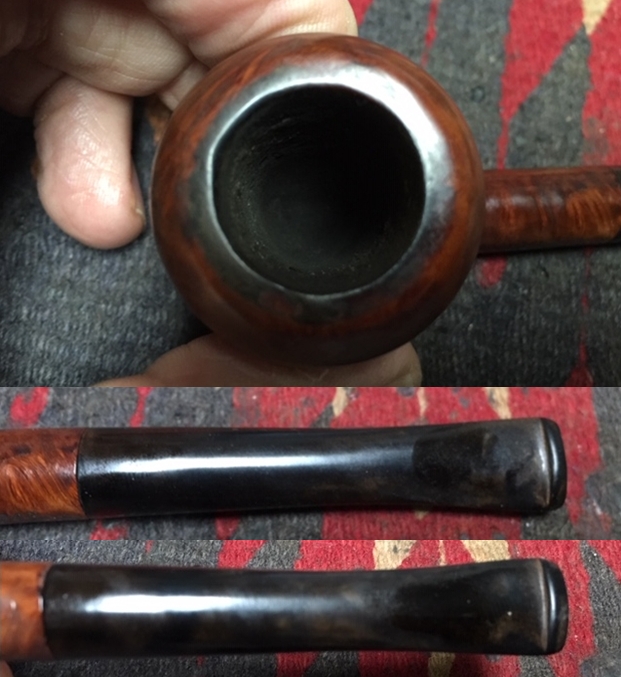
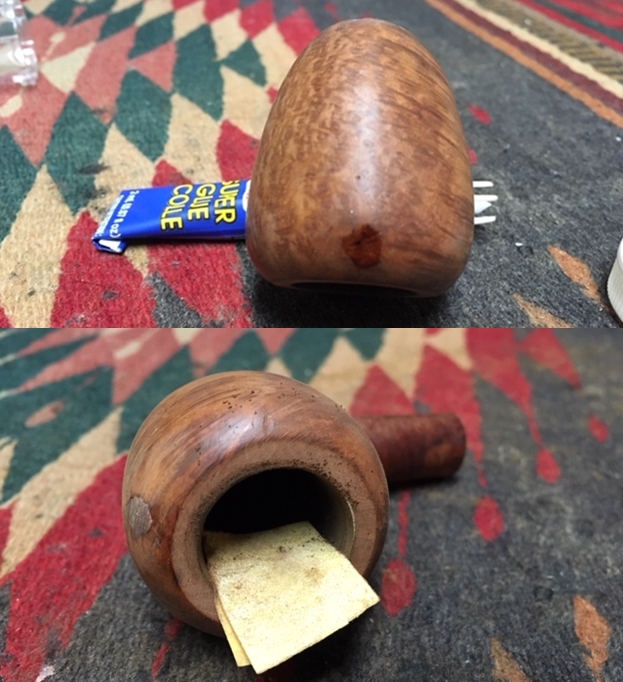
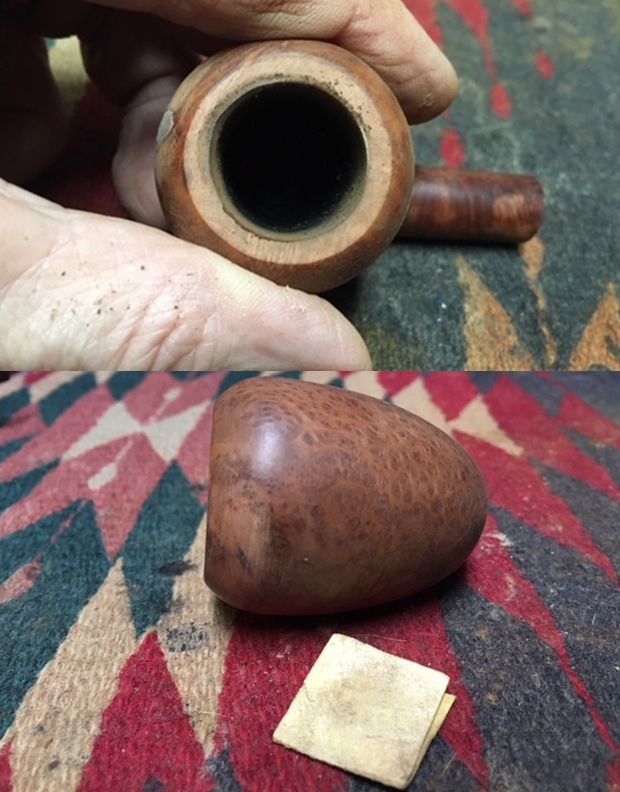
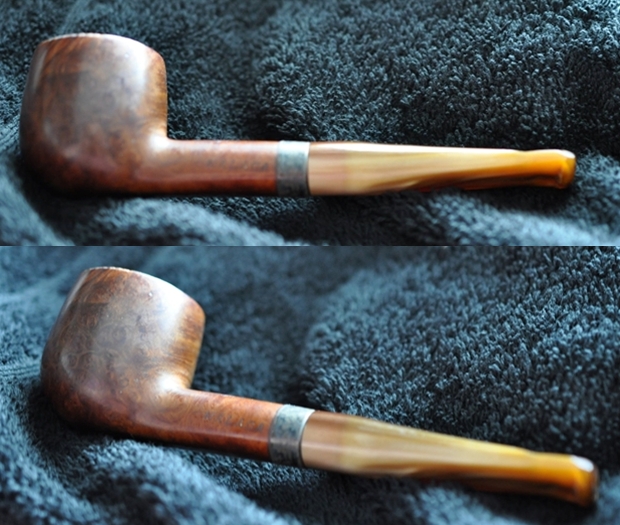
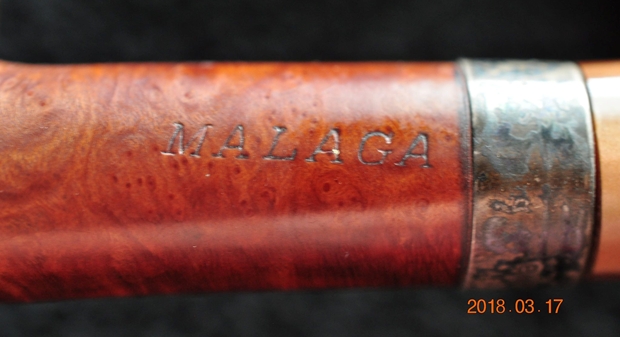
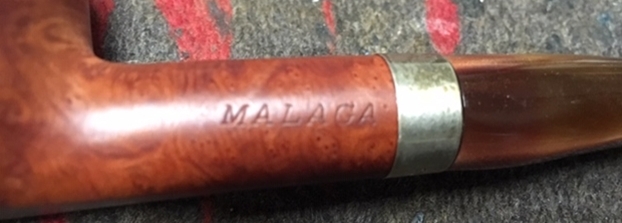
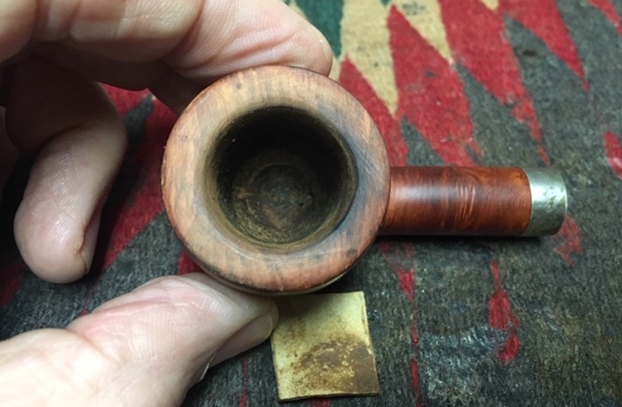
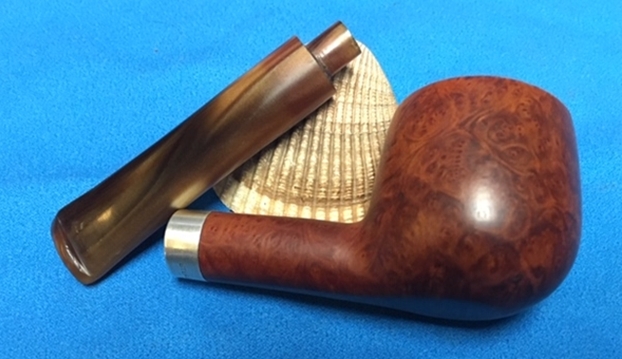
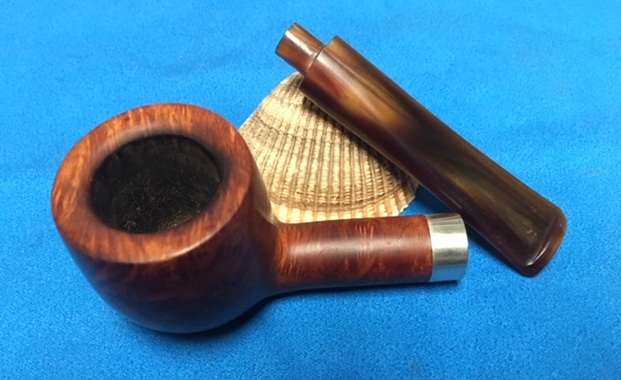
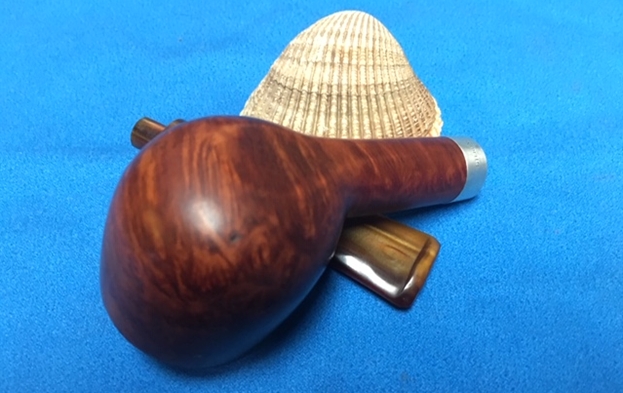
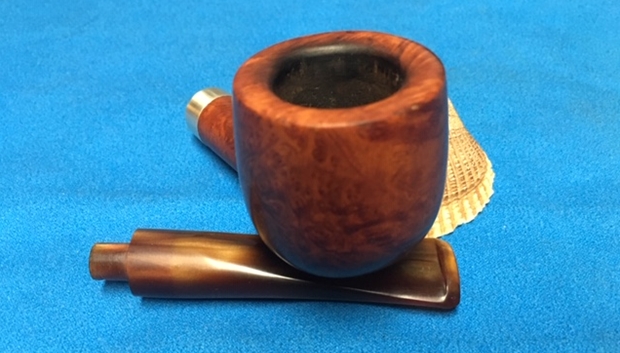
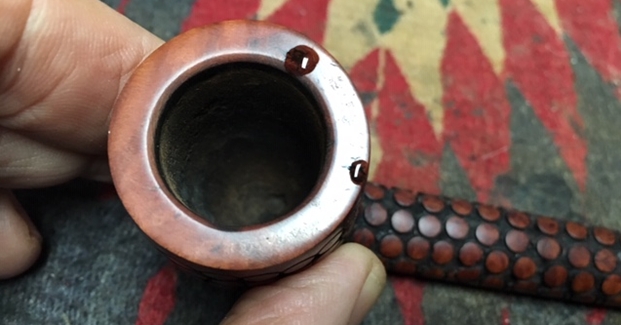
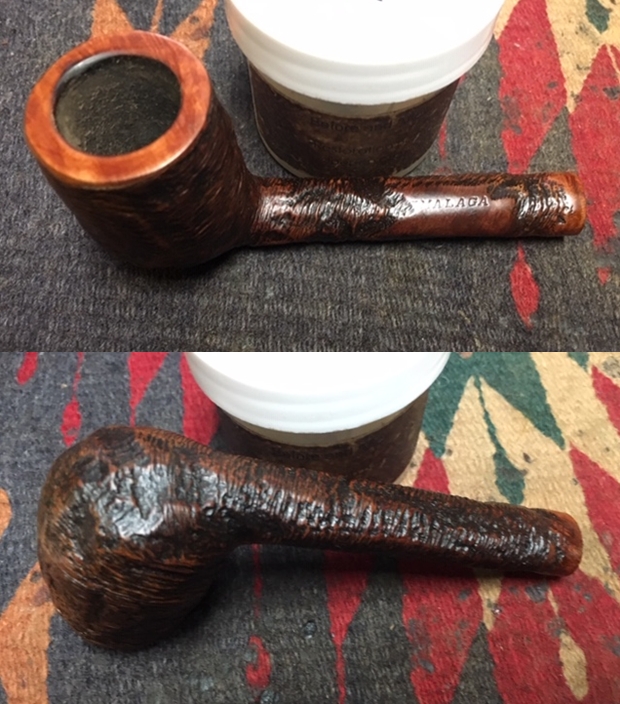
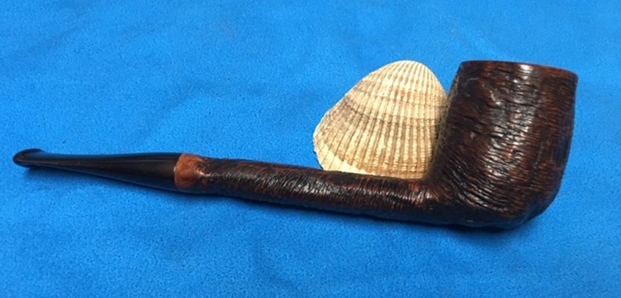
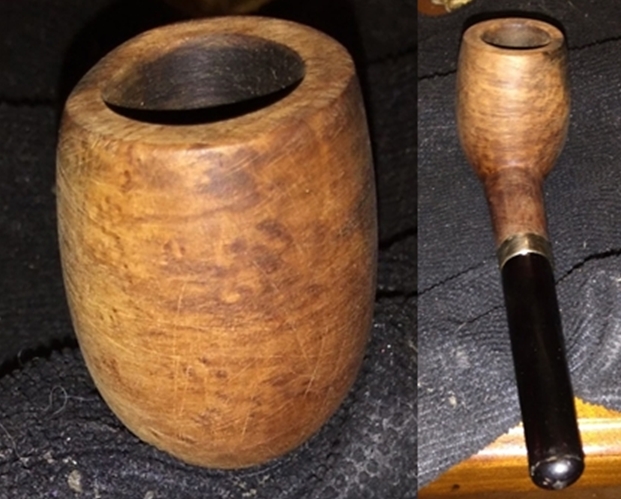
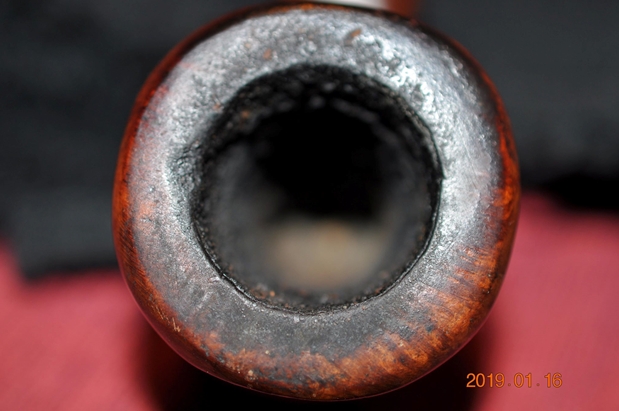
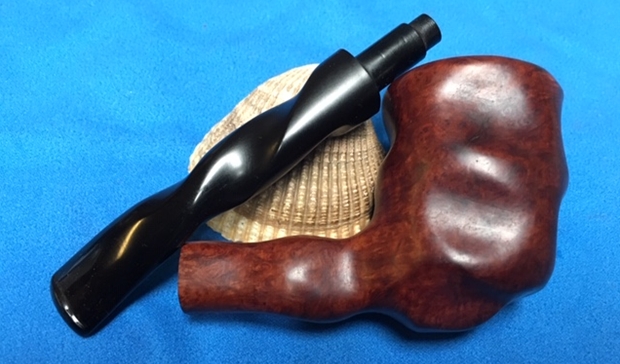
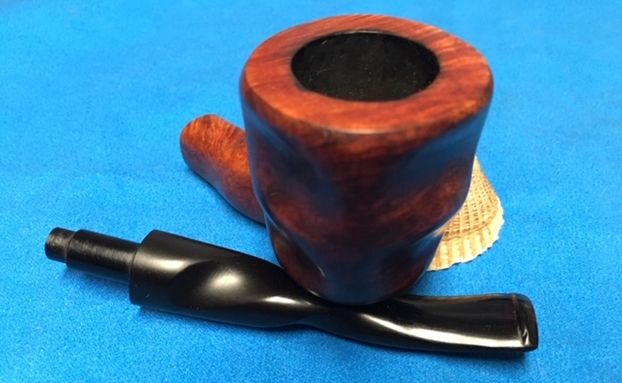
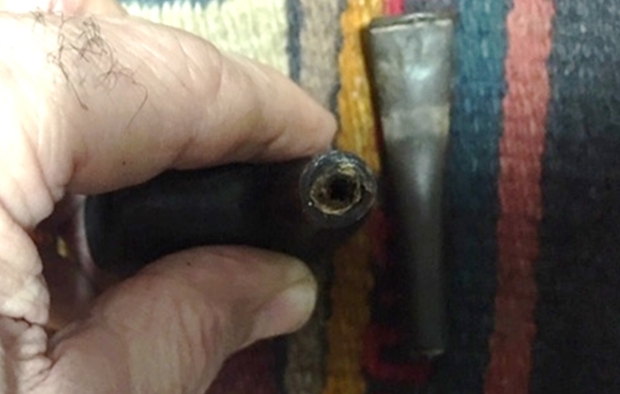
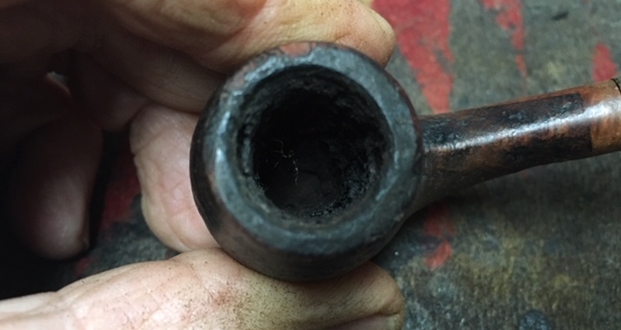
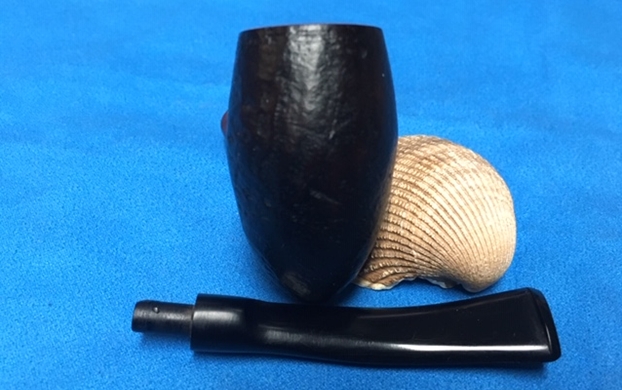
 The top felt lining of the open box identified the meerschaum billiard as a First Quality, but whether that was an old brand name or the importer I have not been able to determine. Sherry’s main concern, of course, was if her $8 yard sale find could be fixed so she could smoke it. Seeing the severe damage to the inner shank, my hopes were not high. I observed the stem that was with the meerschaum was too short and also smaller in diameter than the shank and suspected its use as a replacement of the original may have caused or worsened the harm.
  Still, with wishful thinking, I thought the gutted, ragged shank of the little pipe (only 5” long) might be mended with Plaster of Paris or some sort of putty. I was sitting next to Don Gillmore, the artisan pipe maker whose business is called DW Pipes, and he nixed those ideas. Any new stem and tenon, Don said, would not support the billiard’s weight with the sort of shank repair I proposed. We passed it around the table, and that was the general opinion. For such a small pipe, it was rather heavy, and at least part of me had to go along with everyone else’s verdict.
Sherry also wondered how old the First Quality pipe was. The group conclusion was that it dated to between the turn of the 20th century and the 1930s. Everyone agreed the stem was Bakelite, but in a later experiment that ended with shocking results I proved that was erroneous. More about that later.
And so I had to tell Sherry, choosing my words with special care, that her pipe was very old but there was nothing we could do to attach a new stem. Still I thought there might be some way to accomplish the feat. I kept that to myself, however, instead offering to clean up the pipe and make it look nice, at least, at no charge. I could see the well-masked disappointment on her face and had to bite my tongue to hold back my seemingly irrational hope so as not to risk another let-down. For the meantime, Sherry let me take the pipe for cleaning.
George Herbert’s proverb, later reiterated as “Where there’s a will, there’s a way,” is the prefect prelude to this blog. Everyone else present at the January meeting of my local pipe club reached the same conclusion, that the restoration was impossible given the severe damage and known methods of repair I proposed that were intended for small jobs of meerschaum patchwork, I even consulted our host, Steve, in a short exchange of emails in which I suggested more and more creative (meaning desperate) approaches I should have accepted the wholly sensible belief that the smooth little billiard was past fixing when I received Steve’s emphatic consensus that any such approach would not support the inherent torque between the stem and shank. In fact, for a moment I did give up hope
I’m afraid my mind was already ensnared by what my dad always called a steel trap, however, and I had to find a means of escape even if it required sending the pipe to miracle workers such as the folks at Norwoods Pipe Repair, who had bailed me out several times already. I was growing tired of such surrender, but with that end in mind, I sent Norwood the younger photos clarifying the damage and text adding every possible material of the main parts to be used, in the preferred order. As always with that fine business, I had a positive response the same night. Assured the job could be done, I prepared a realistic estimate of the amount Sherry would pay, with parts, labor, shipping there and back and the 11% tax included, and forwarded the good news to Sherry.
But you see, another aspect of Herbert’s collection I like is the comparison of the modern sense of the word outlandish in the book’s subtitle being “freakishly or grotesquely strange or odd” compared to the now archaic meaning, from the Old English utlendisc, as foreign or not native. I also appreciate the translation of the main title, from Latin, referring to careful darts.
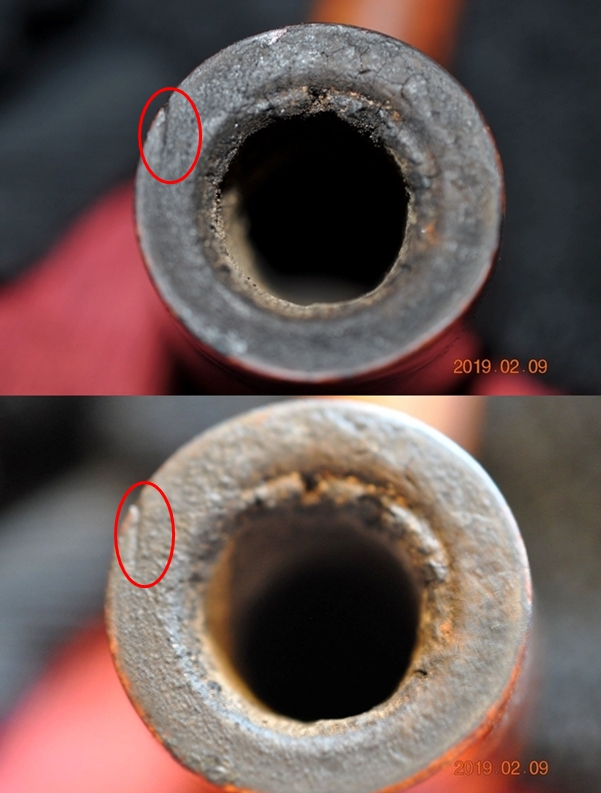
Remembering the antique CPF turned lion’s head meerschaum pipe I sent to Norwoods to have the original amber stem reattached with a new bone screw tenon, I took a closer look at the shank as it appeared before and after the wonderful work that was accomplished. An outlandish notion in both senses of the word began to form in my mind. Notwithstanding my good faith communication with Norwoods, I knew I could accomplish the task myself. Because of the way the CPF’s previous shank threading was filled with some permanent solution, sinking the new bone tenon within it, all I needed was a practicable guess as to the solidifying substances used.
Thinking it might present somewhat of a difficulty to Don, I drove to his house and showed him the CPF. After examining the shank for a few seconds, Don suggested epoxy mixed with powdered wood. He half-filled a plastic 35mm film tube with the latter – more than I’d need for far more meerschaum repairs than I could make in quite a while – and said the epoxy was up to me. Of more importance to me was his change of opinion regarding my ability to accomplish the task.
I cut in half my previous estimate of Sherry’s cost to fix her meerschaum pipe and sent her a new email asking if I could proceed with the work, guaranteeing the price. It was the only time I’ve bid on a job, and my goal being less to make money than to demonstrate how this kind of meerschaum repair could be performed by almost any restorer (not to downplay my experience more than is appropriate), I decided to undercut the competition with assertive style. Her reply was that if I was confident I could do the work, get on with it.
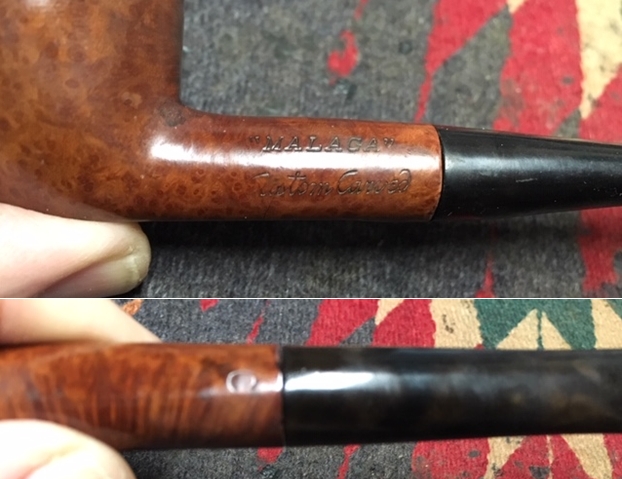
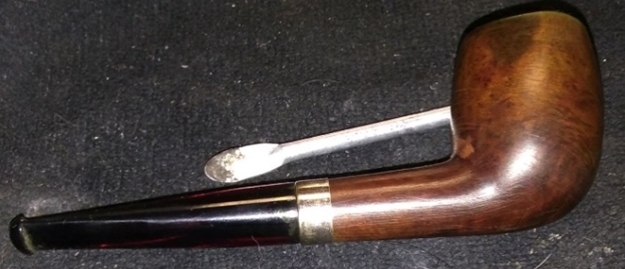
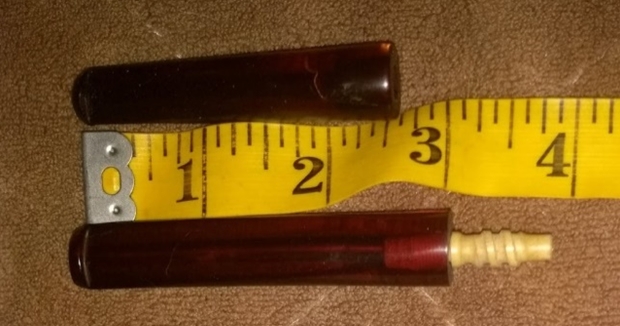
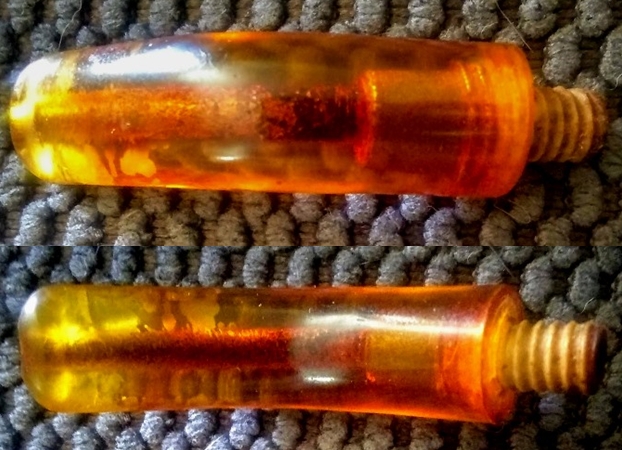
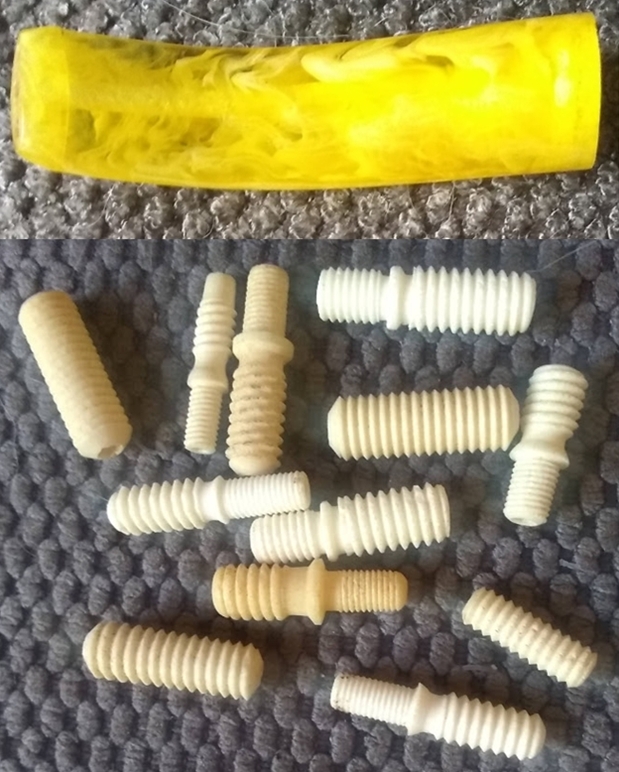
With the pipe already cleaned by then, I had reluctantly concluded an amber bit was not viable at the time because of general unavailability of any color without sending the pipe to someone else to do the work. I only had to acquire a Bakelite stem of an appropriate length and color (as close as possible to the orange of the poor replacement shown above, based on Sherry’s wish) and a selection of bone tenons and Teflon push-pull sets from which to choose when I decided the type I would use.
JH Lowe turned out to be the single supply store I found with all of the above but sold the push-pull sets in 12-packs. I would only need one, and thinking I’d save on my expenses, I ordered a three-pack from Royal Meerschaum.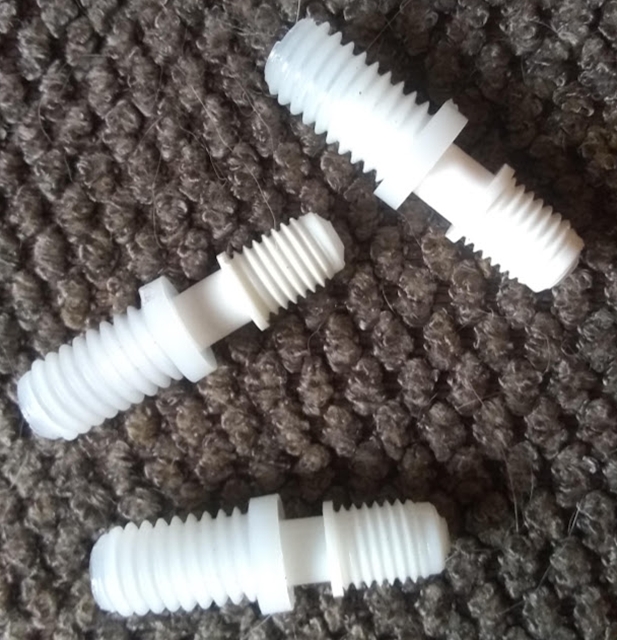 Also, the JH Lowe bit page did not mention available colors, and the closest length was 3”, the standard. For the pipe to fit its case as it had when first made, the bit needed to be 2½”. On a tip from a friend, I called Tim West of JH Lowe and asked if he had any orange or even yellow Bakelite bits of the right length that were pre-bent. Every source I had found, online and friends, stressed that Bakelite could not be bent.
CORRECTION TO PART 1: In the first blog of this series, I noted that hand-crafted old pipes, including the stems, were made to the exact and often eccentric specifications of the maker, and therefore one of the problems “for purposes of restoring old stems made of Bakelite…[is that] any necessary replacement can be reworked in only one way: fitting an over-sized stem of an otherwise suitable candidate to a shank by serious sanding or other such methods. Any other alteration, such as bending or threading, is strictly impossible.” When Tim repeated that Bakelite bits were pre-fashioned for individual pipes, I told him I was aware of that obstacle and it was, indeed, the cause of my greatest difficulty – finding one already bent. Without a bent Bakelite stem, I added, I could not complete the project at hand. With a little reluctance, Tim then insisted that although it is “tricky at low temperatures, Bakelite can be bent.” He assured me he has succeeded in bending Bakelite “a little but not much.”
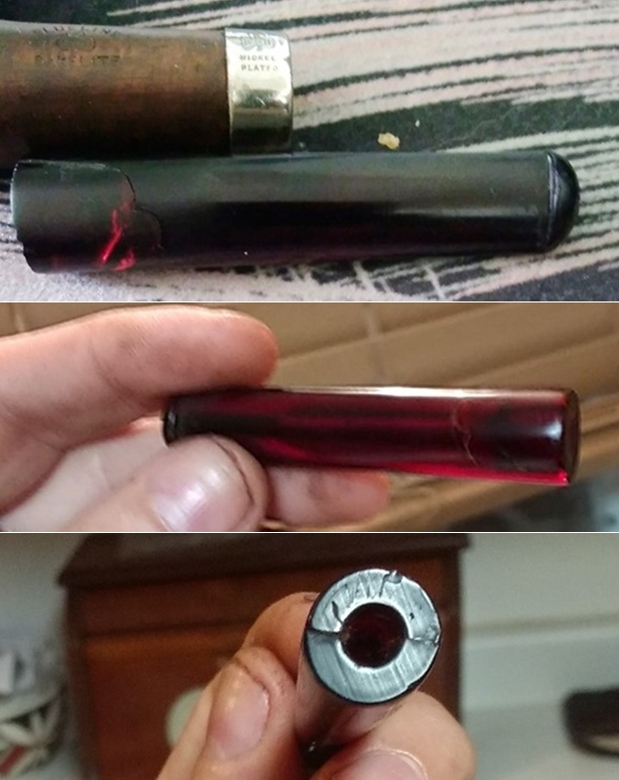
Just to be on the safe side, I ordered a 3” straight bit that was dark reddish brown, a 2½” “orange or yellow” bit Tim was sure he had in a back room, whether or not it was bent, and a 12-pack of assorted bone tenons. Both bits were pre-drilled for the “push” side of the set. Given Tim’s qualification of the bending process being chancy at low temperatures, I reasoned, if need be I would crank the oven up a little at a time and see if the world’s first synthetic plastic became more malleable. But Tim came through with all of it, including a 2½” easy bent yellow bit, leaving my experiment for a later date – but not too far in the future, perhaps even as a follow-up to these four blogs.
 By the way, Tim is experiencing technical difficulties with his website navigation menu. As a workaround solution, he has made sure that browser searches for JH Lowe pull up direct links to each of his pages. He apologized for the temporary inconvenience.
RESTORATION
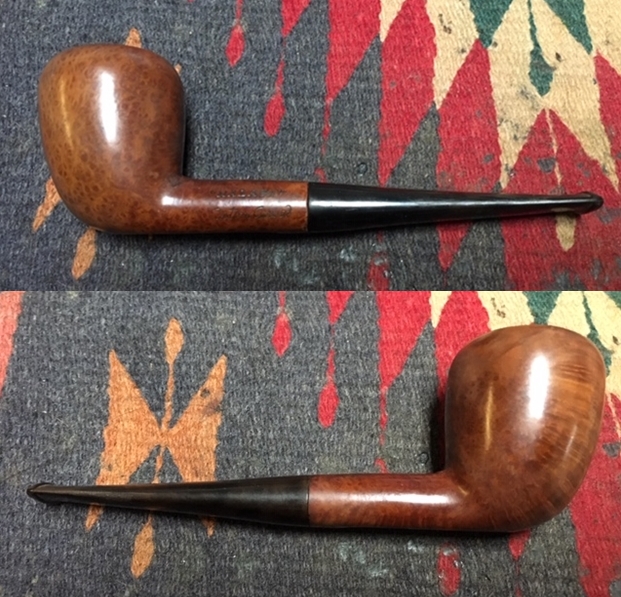
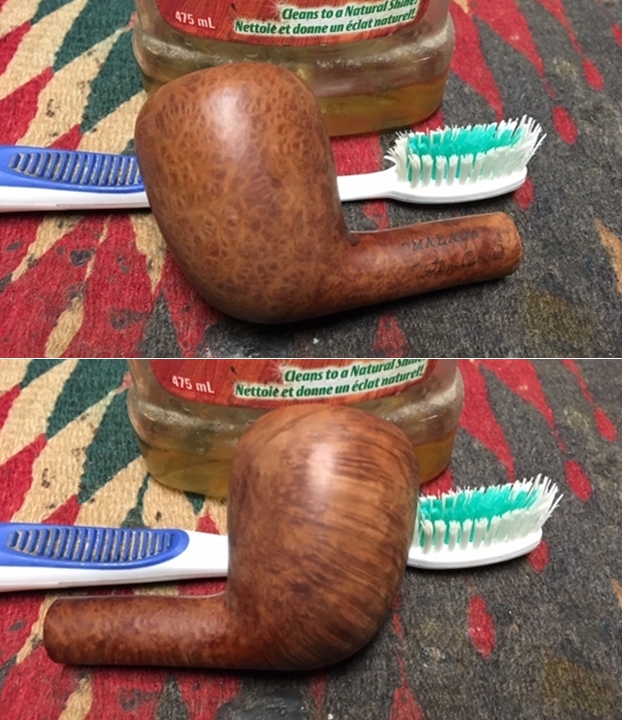
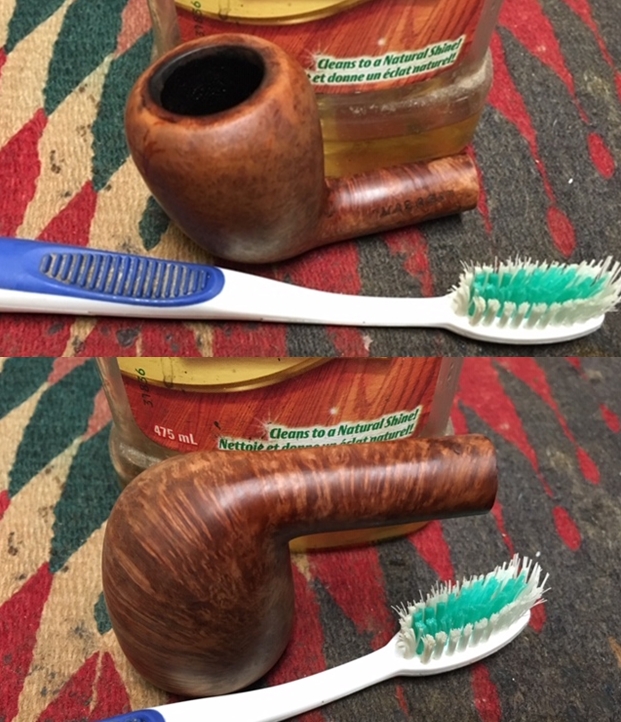
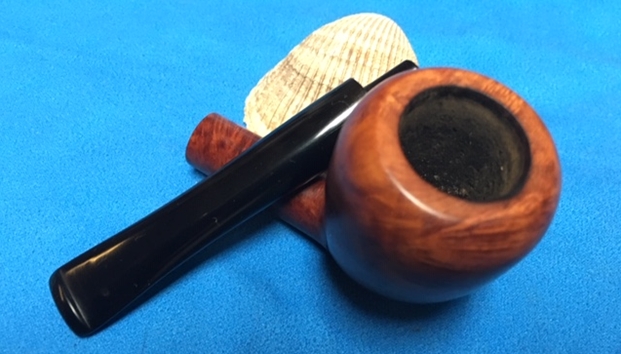
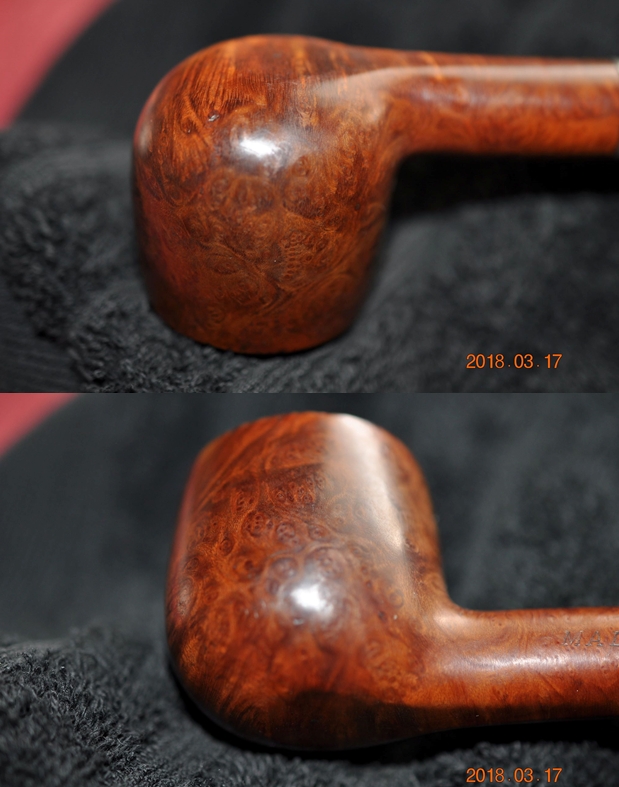
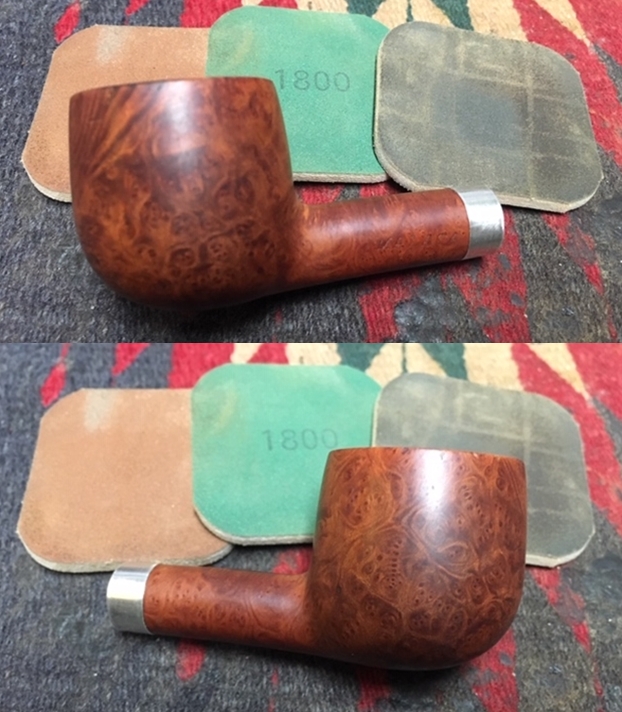
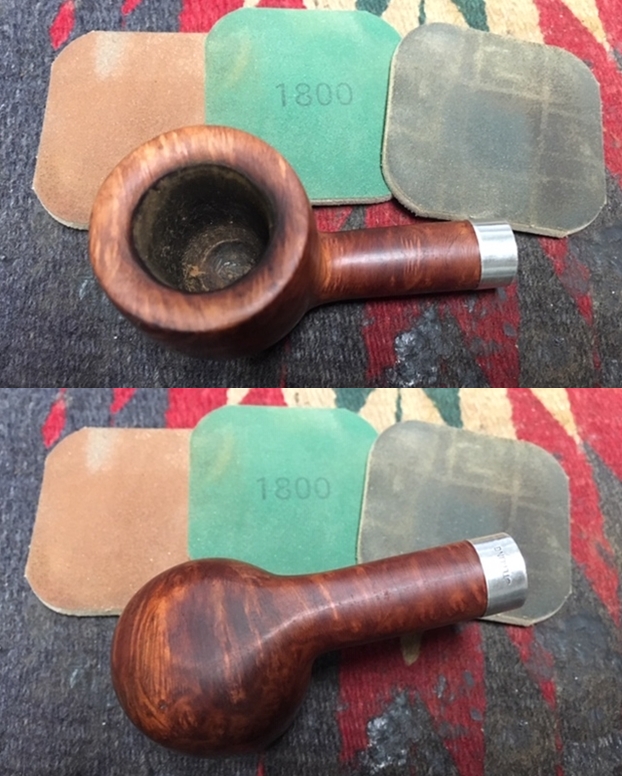
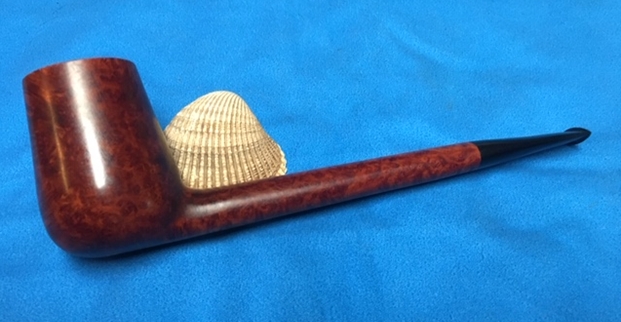
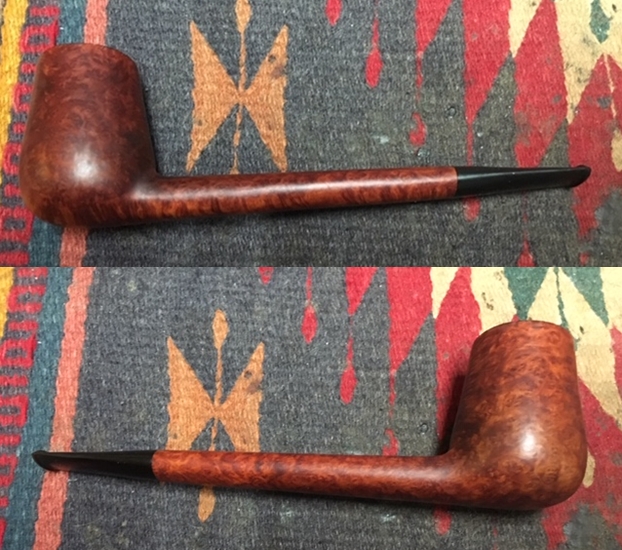
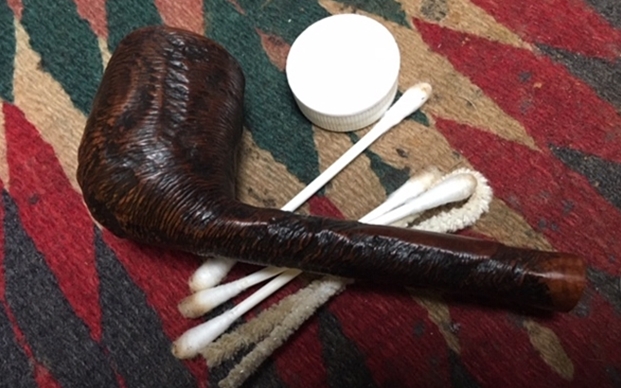
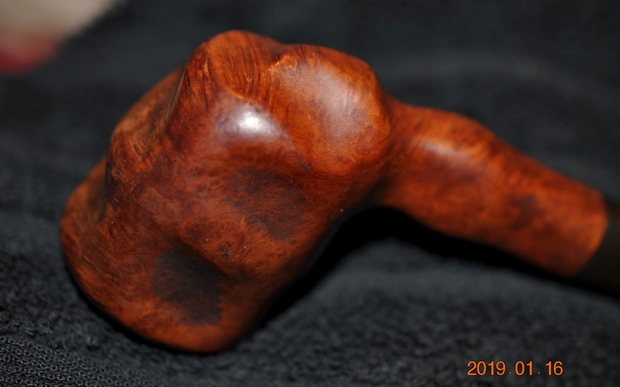
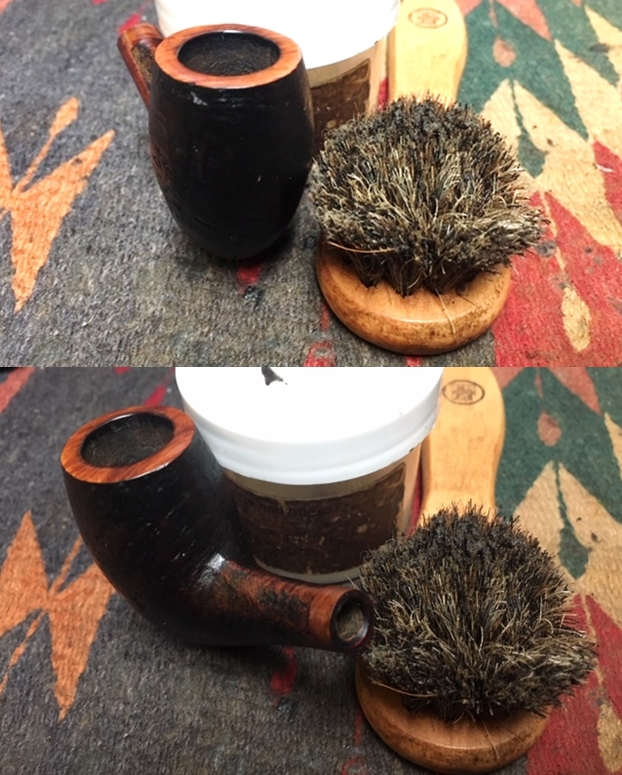
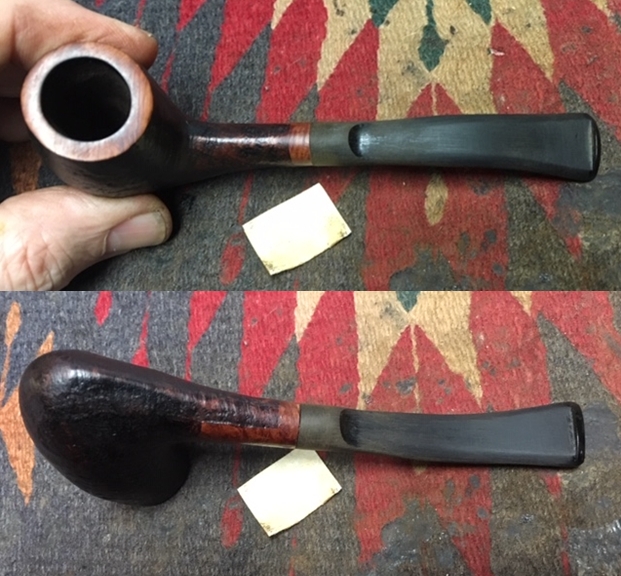
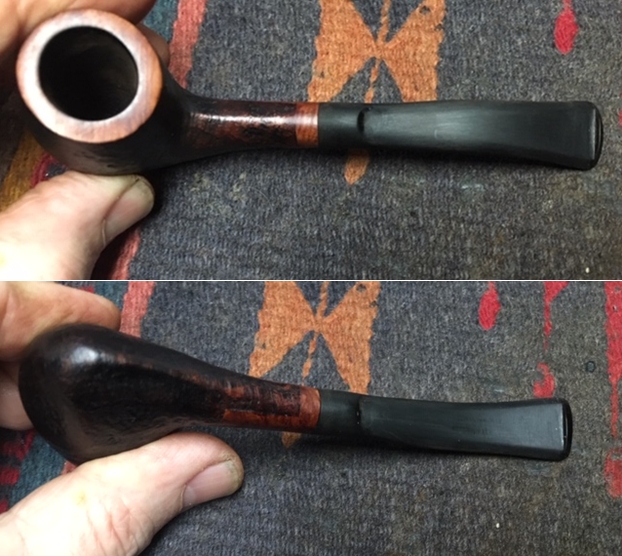
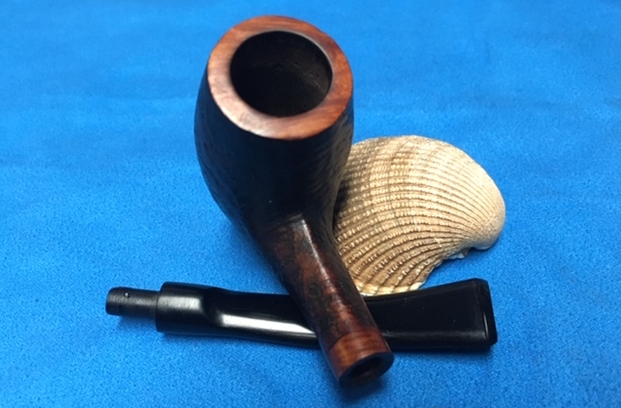
The basic cleaning of Sherry’s pipe was finished the morning of January 18, the day after she left it with me for that reason. I started with a simple wipe down using a small part of a paper towel and purified water and was amazed by the difference.
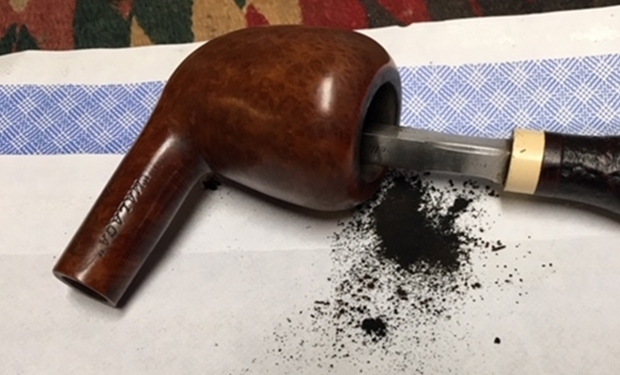
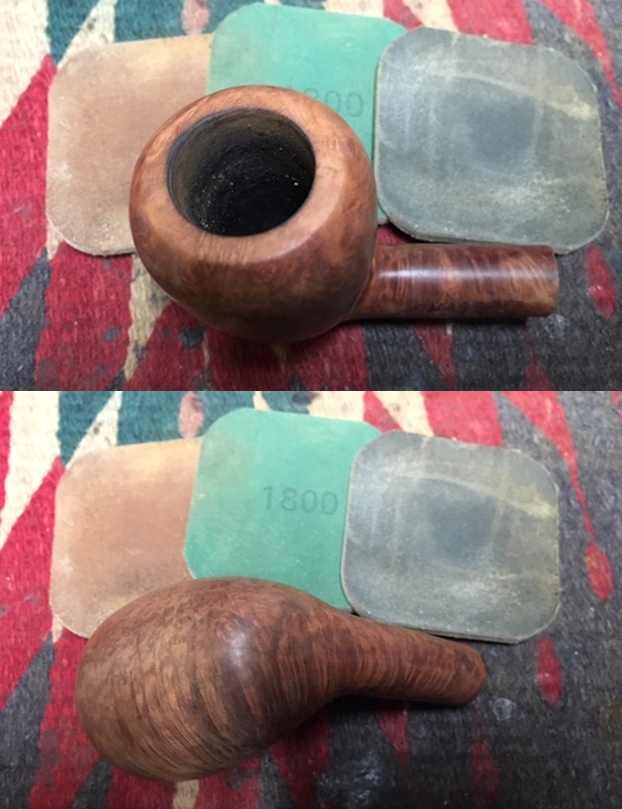
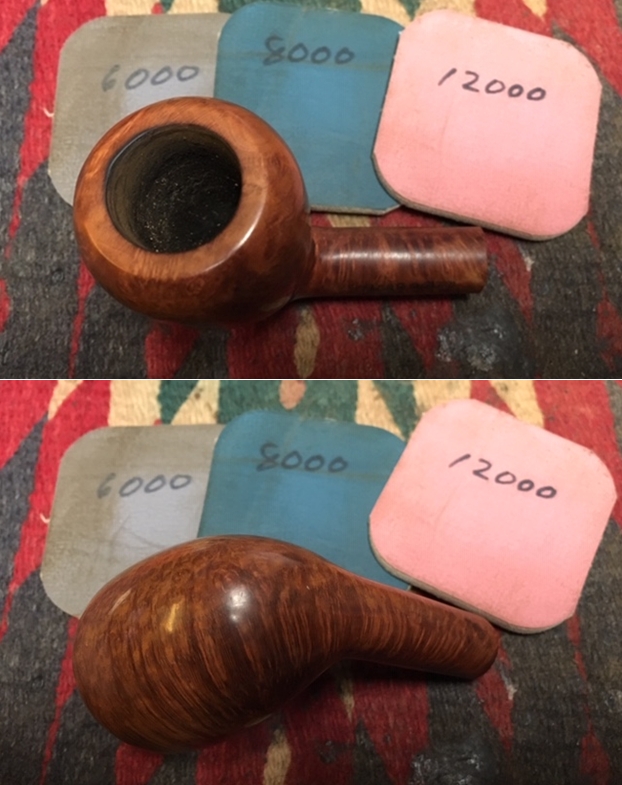
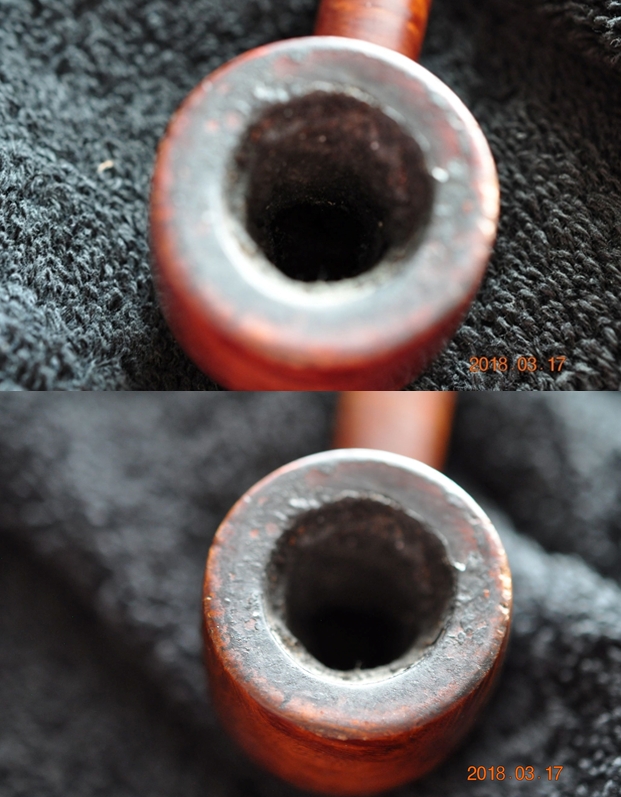
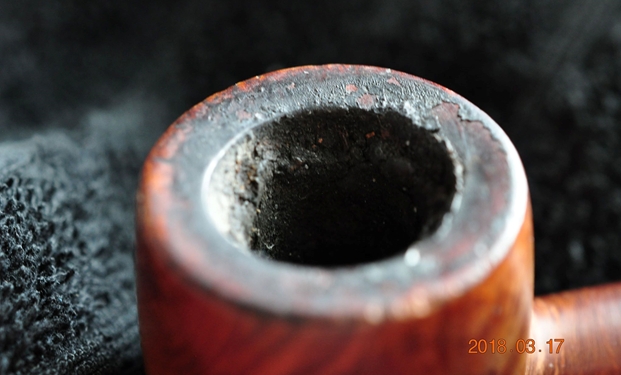
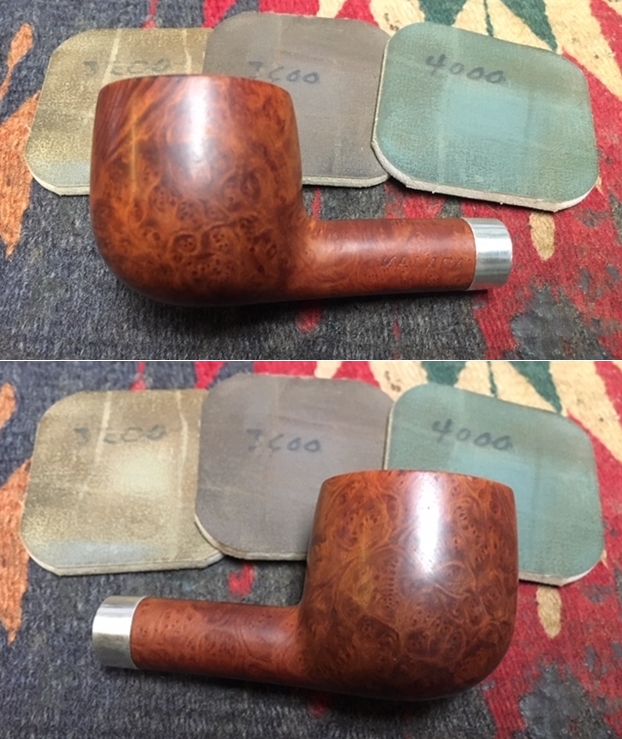
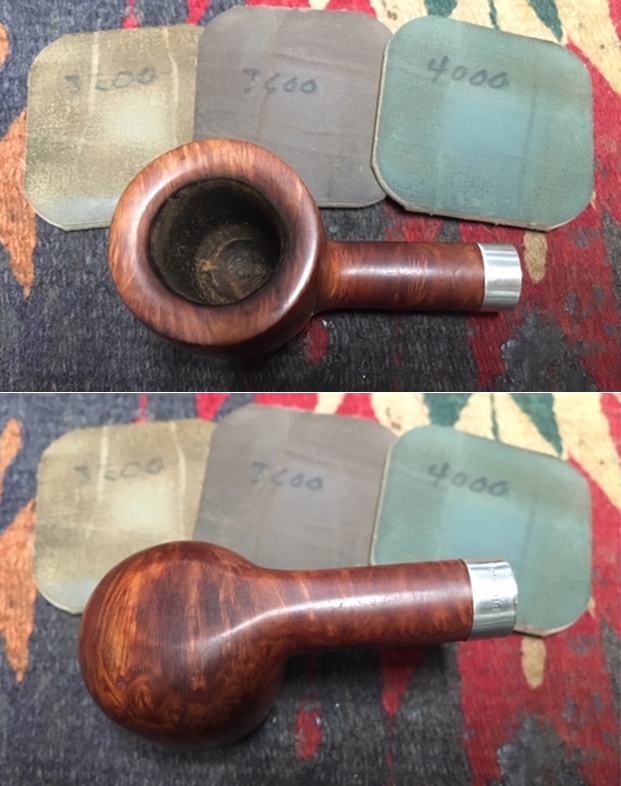
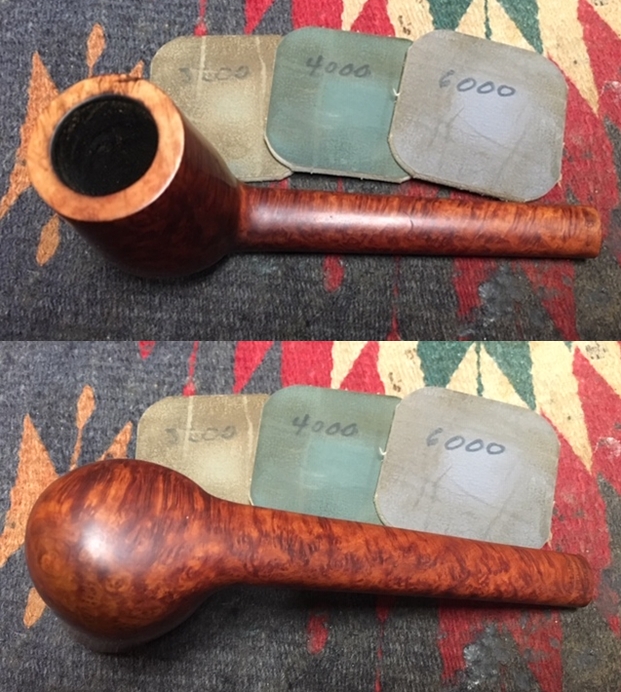
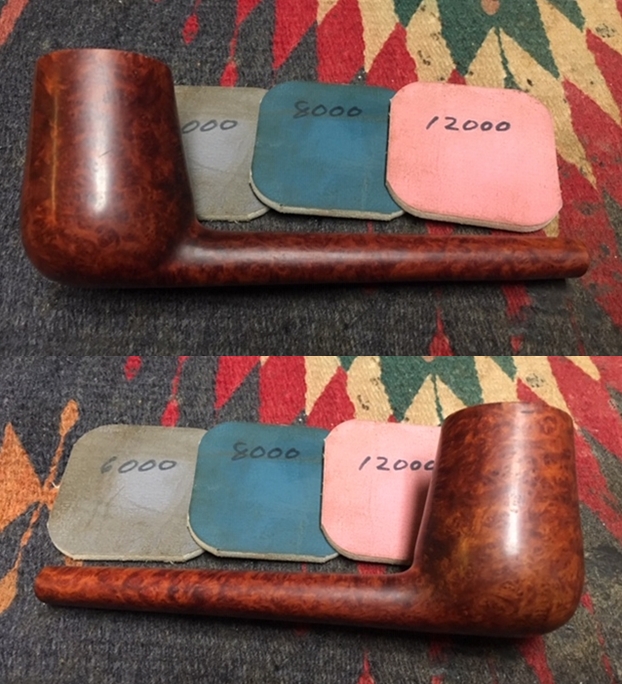
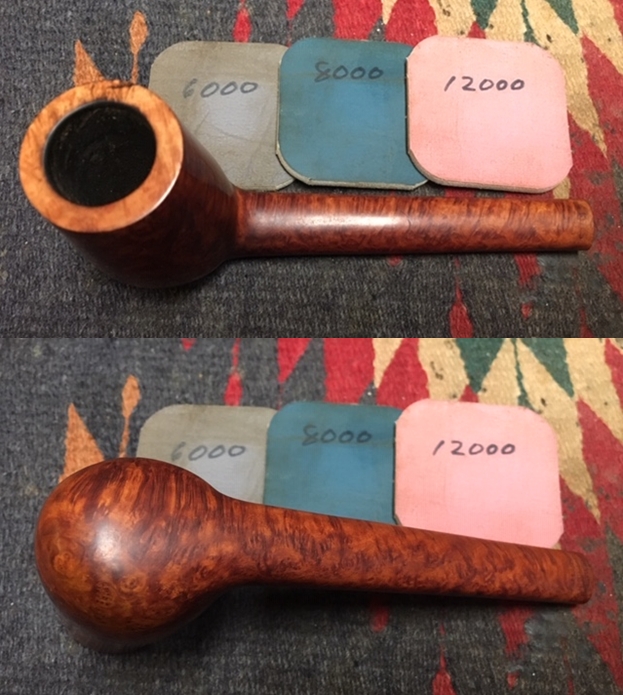
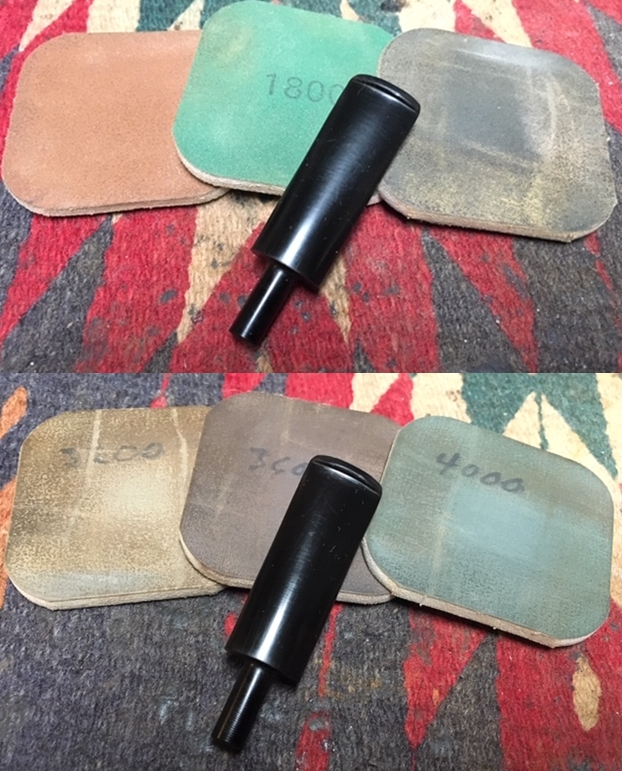
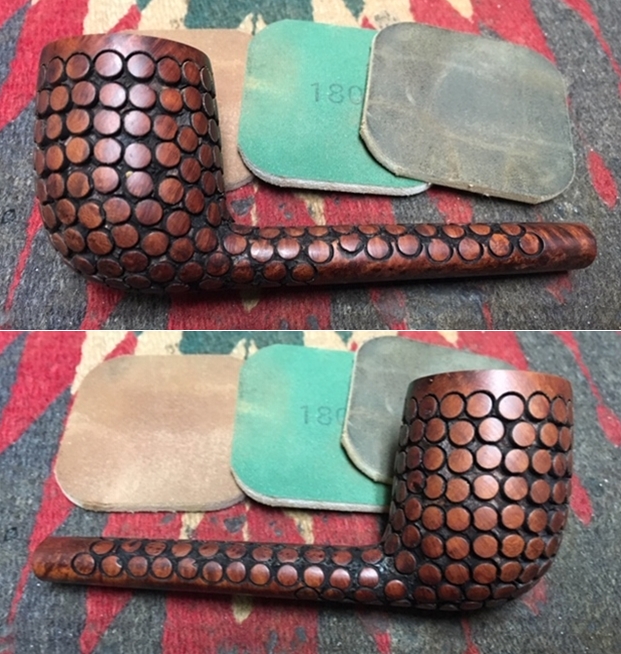
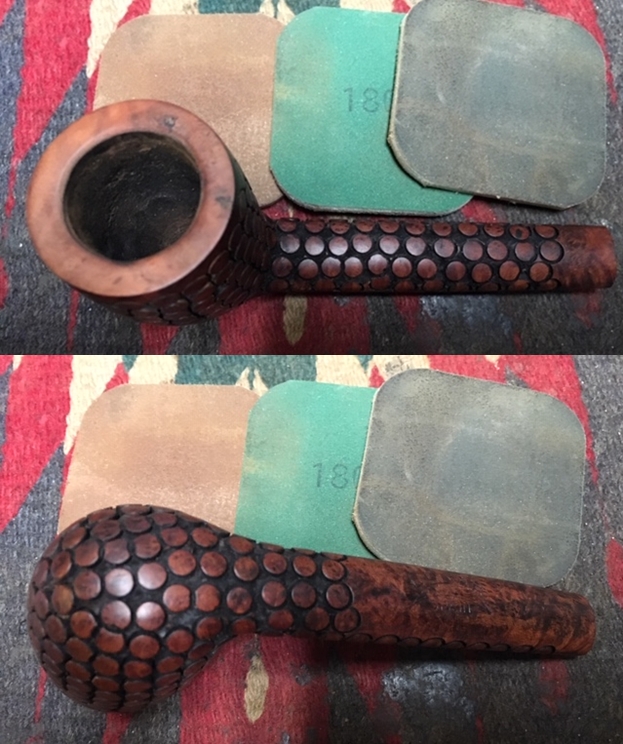
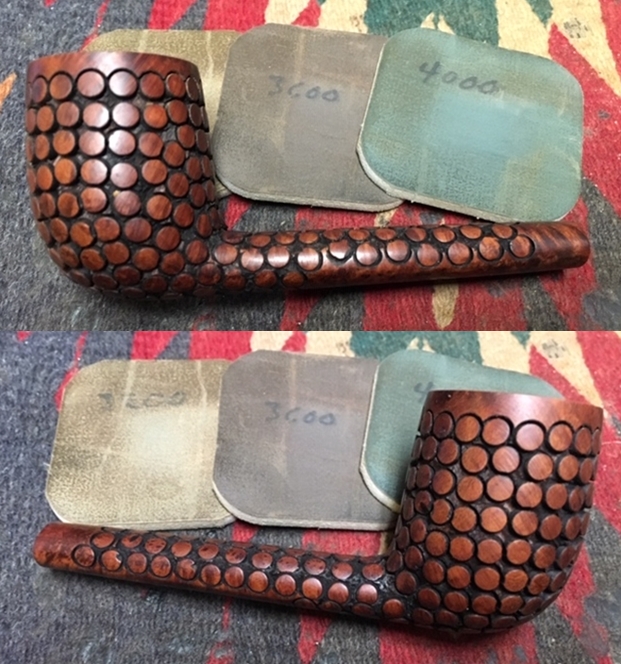
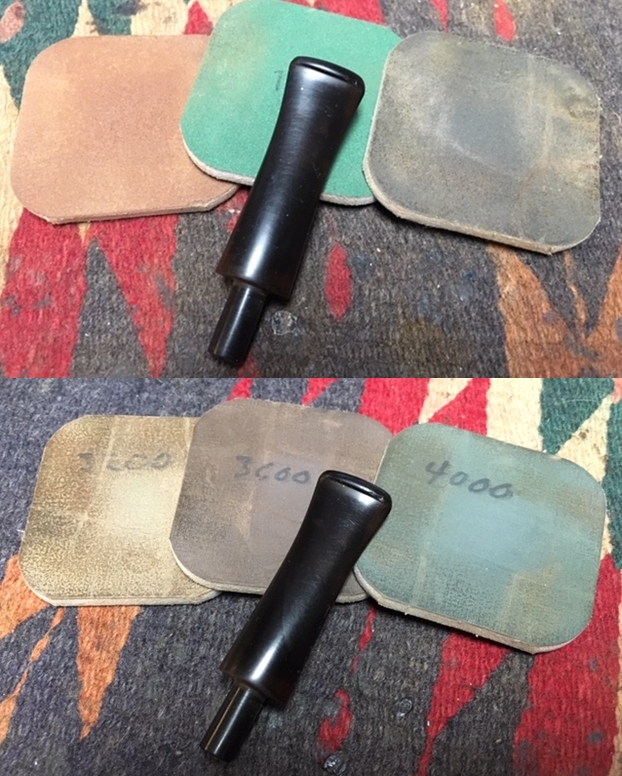
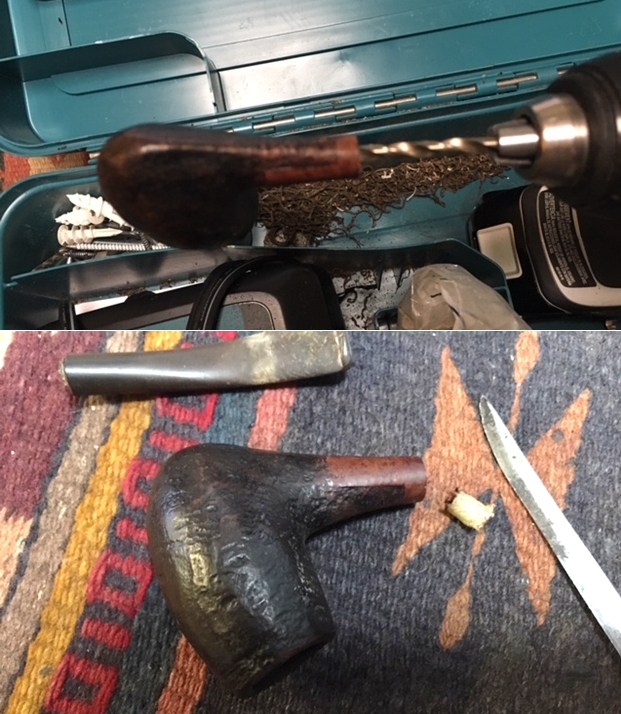
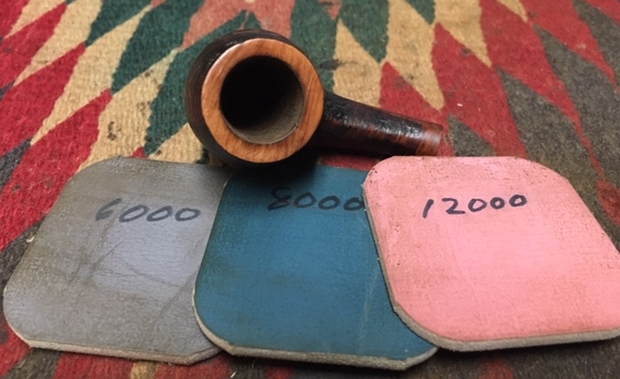
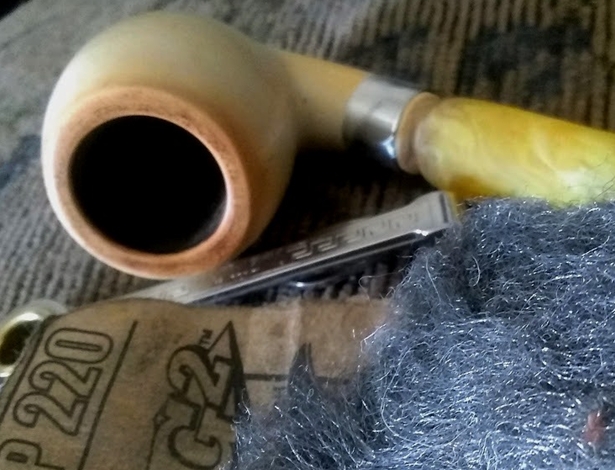
 Meerschaum rims tend to be easier to rid of char than wooden ones, and this was no exception, despite the awful looking burns, using super fine “0000” steel wool. Exercising great care, I used a reamer to begin clearing the crusty chamber of built up cake, followed by 150-, 320-, 600- and 1000-grit papers. I also applied the three finest-grit papers to the shank opening to make it smooth.
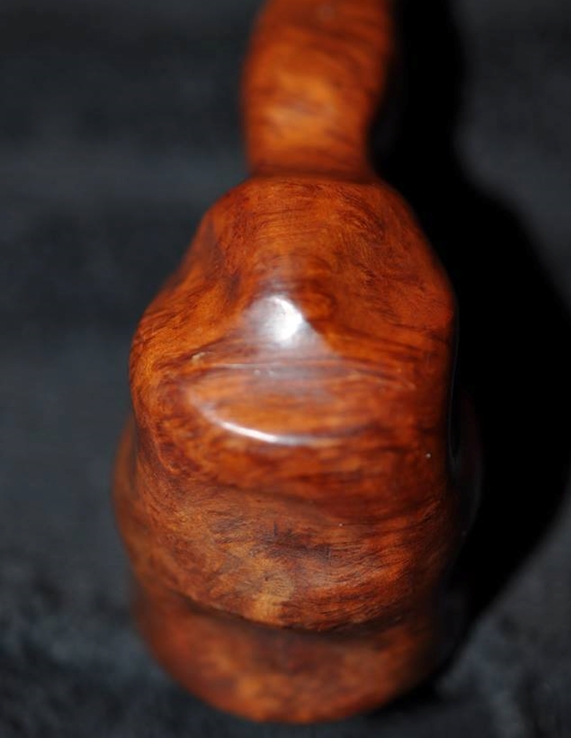
 I finished cleaning the outer stummel with a soft tooth brush dipped in purified water.
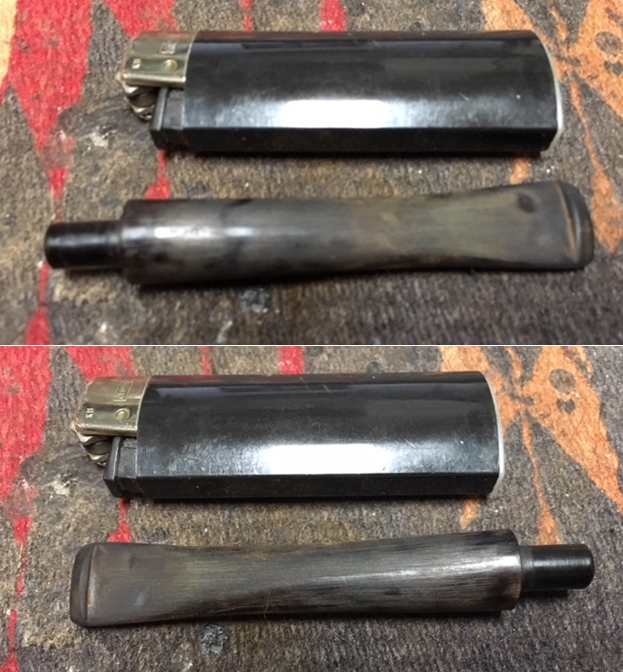
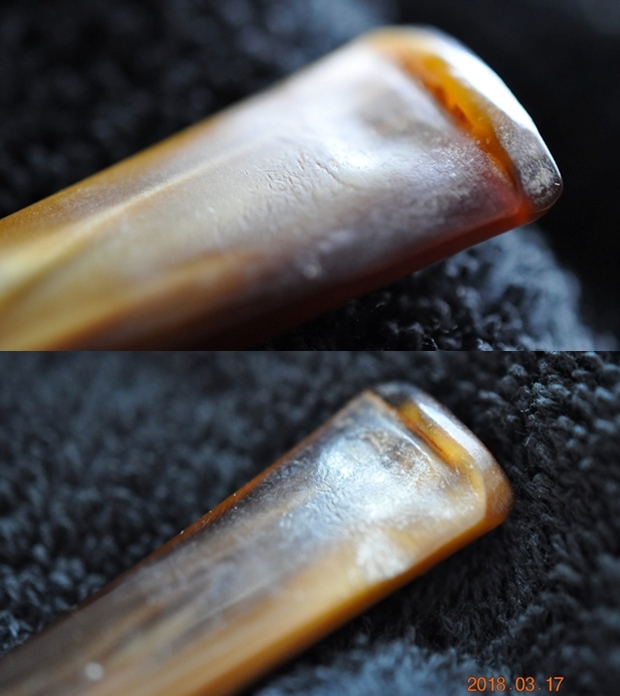
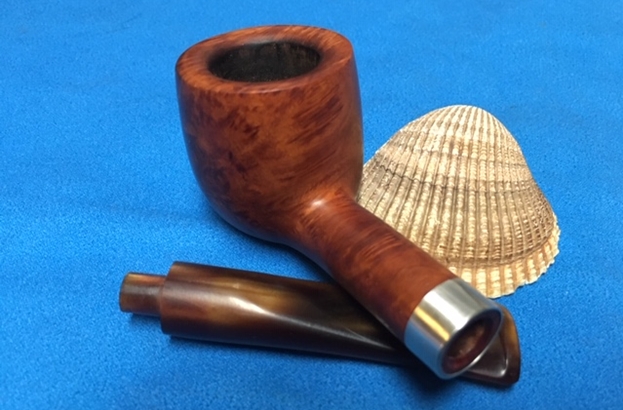
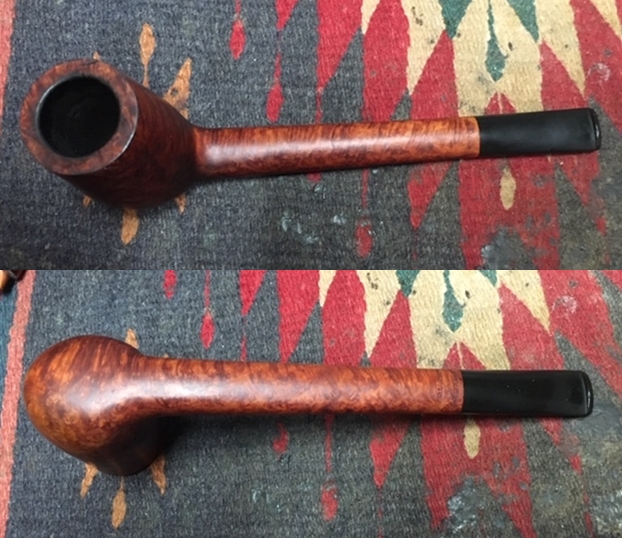
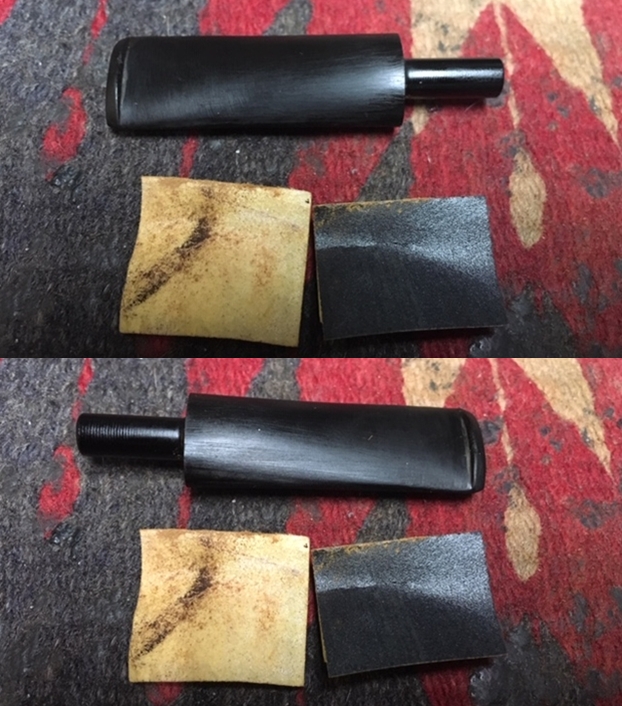
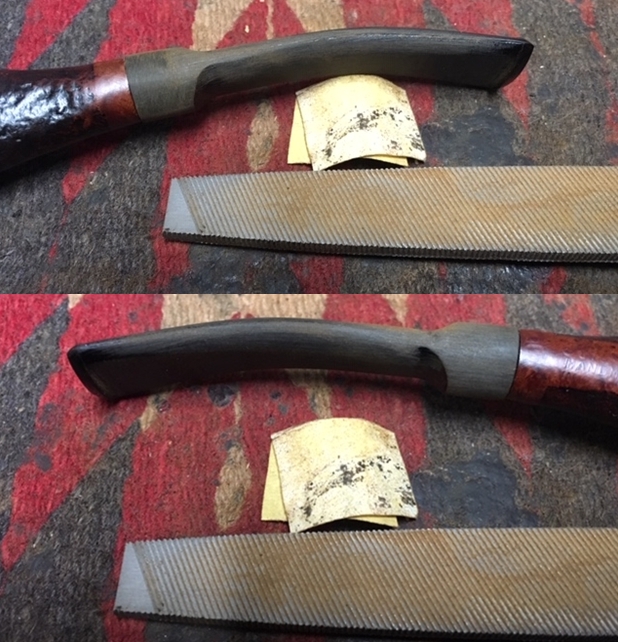
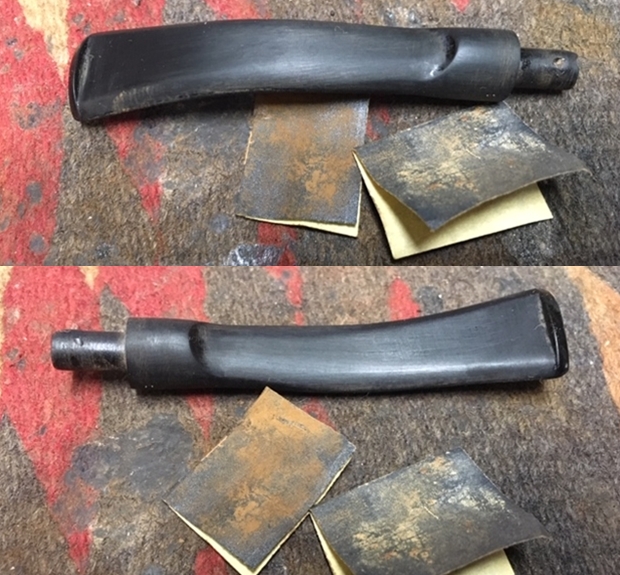
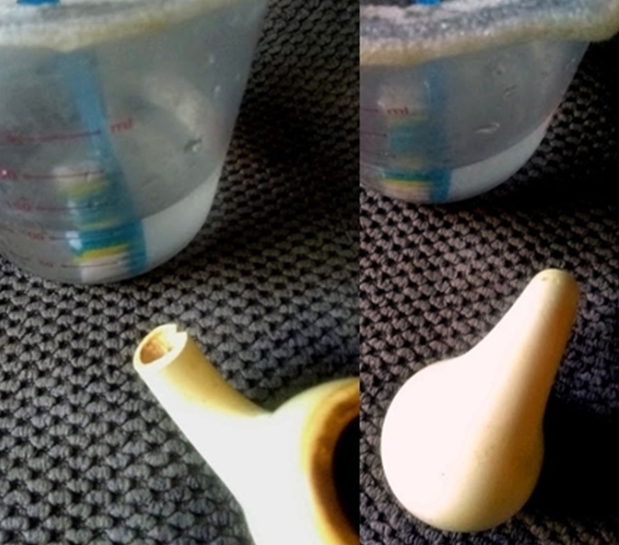 Now, here’s where I had to start making the big decisions, the first of which was to use a modern push-pull set instead of a bone screw tenon for which the pipe was made. I wanted to use the bone tenon, but that was my ego trying to get the better of me. The most important factors were the integrity of the bit to shank connection and the pipe’s ultimate lasting use to its owner. The next two photos show how the push-pull set is designed to be installed and the perfect fit of the push half in the bit.
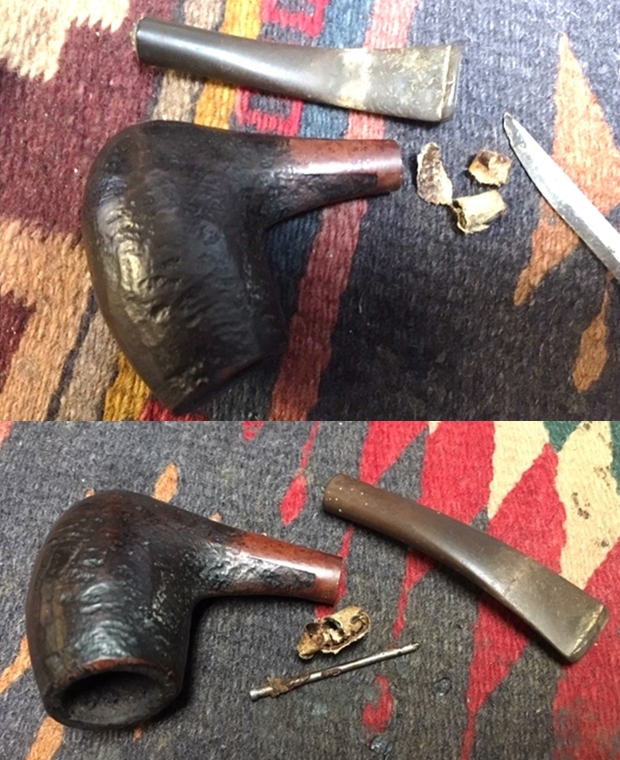
 The reality of the situation, however, was that the correct insertion, or receiving, side of the Teflon set was the same diameter as the shank. In other words, there was no way whatsoever that the right way would work. Again, I wanted to go with a bone tenon that would have been good for my own use, but that would have meant more work and less strength for the pipe in terms of the higher risk of the actual owner breaking the fragile bone.
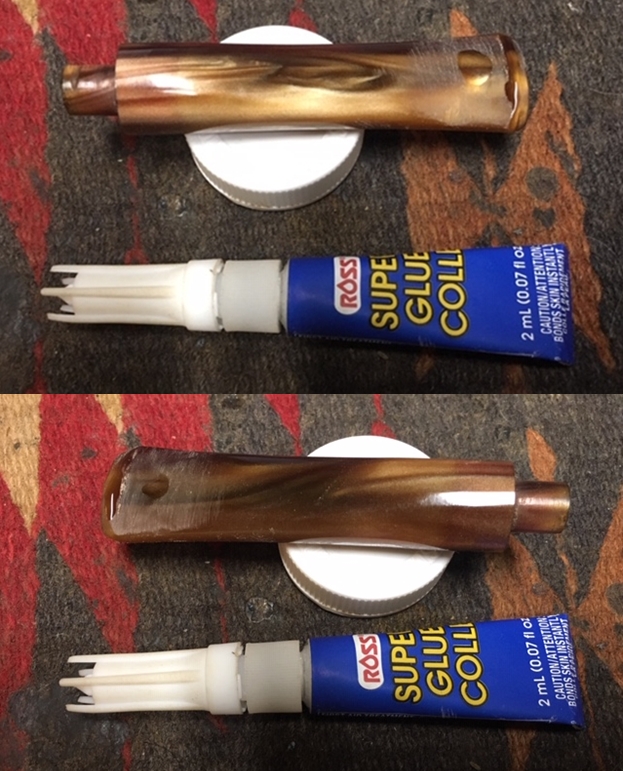
Since the latter was all that mattered, I used the easiest and safest improvisation of reversing the order of the push-pull set. Even this required widening the mortise, and the only tools available to me for the procedure – one each slotted and Phillips head screw driver and a small but sharp pen knife – could best be described as inadvisable. I proceeded with a mix of confidence and willingness to pay the price of a similar, name brand and definitely antique replacement complete with its own case that I took the precaution of making sure was available to Buy Now on eBay.
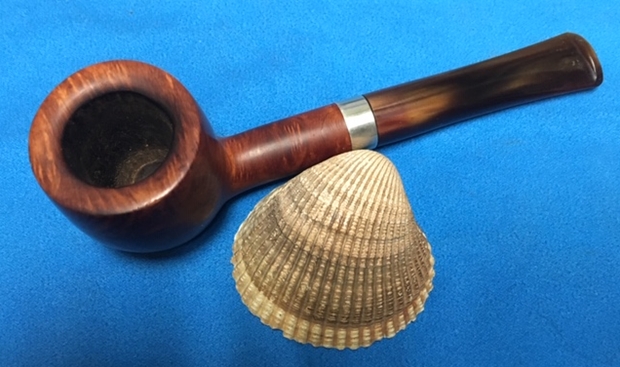
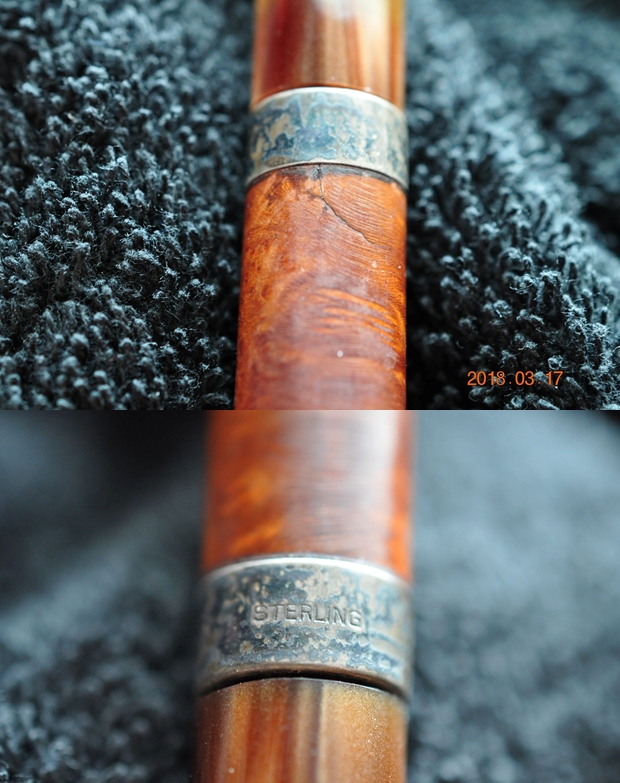
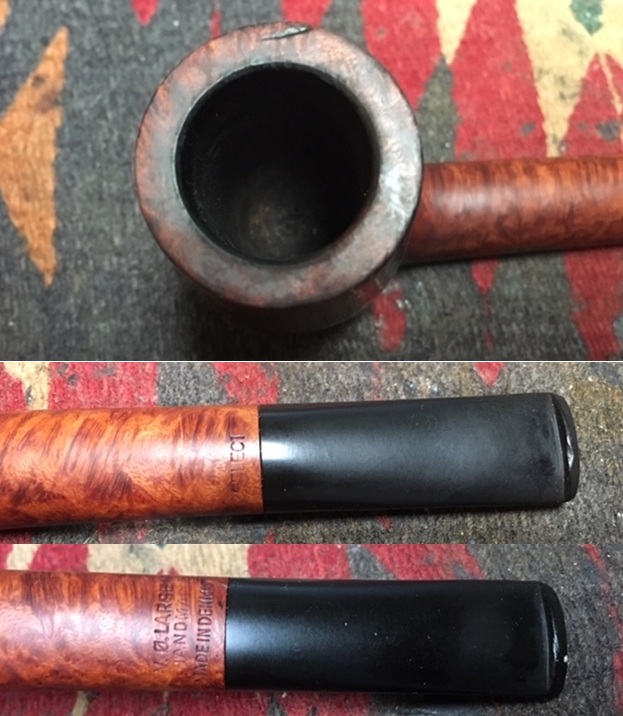
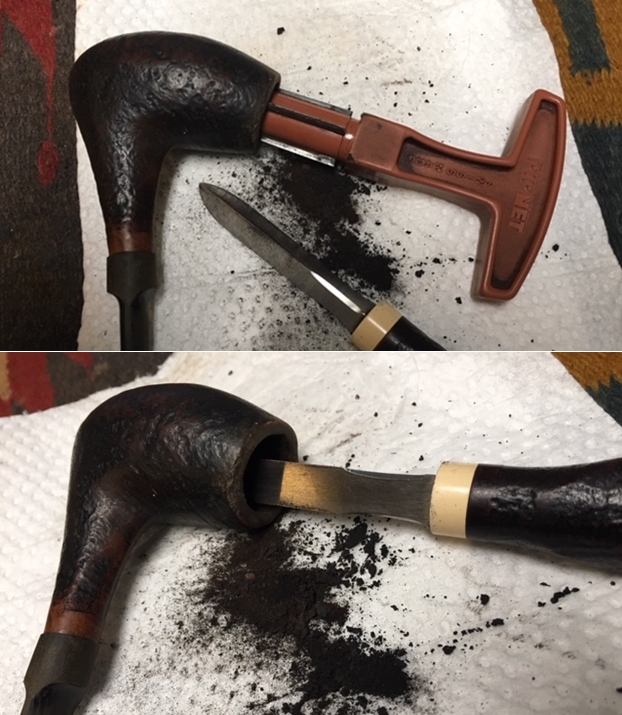
Starting with the pen knife, I whittled away the roughest area of the mortise, then inserted the slotted screwdriver with minimal force and very slowly turned the head until there was no resistance. That left the mortise round and the thickness of the meerschaum even but a tad too small for the short end of the push side to fit snugly. The Phillips head was wide enough to slide into the mortise with the same minimal force as before, and a couple of slow turns made the hole perfect. The one good aspect of using the Phillips head was that it roughened the inner wall as the instructions for the upcoming epoxy and powdered wood application suggested. I had to pay Don one more visit to have the bit opening widened to accommodate the push-pull part usually inserted in the shank. With his big power drill press that could be set to stop at the exact depth required, the task took Don only a few minutes. I also picked up a band I wanted to put on the pipe, not for repairing a crack but for cosmetic and further support purposes. Although I wanted to use a sterling band, the only type Don had on hand that fit was a 12½mm nickel one.
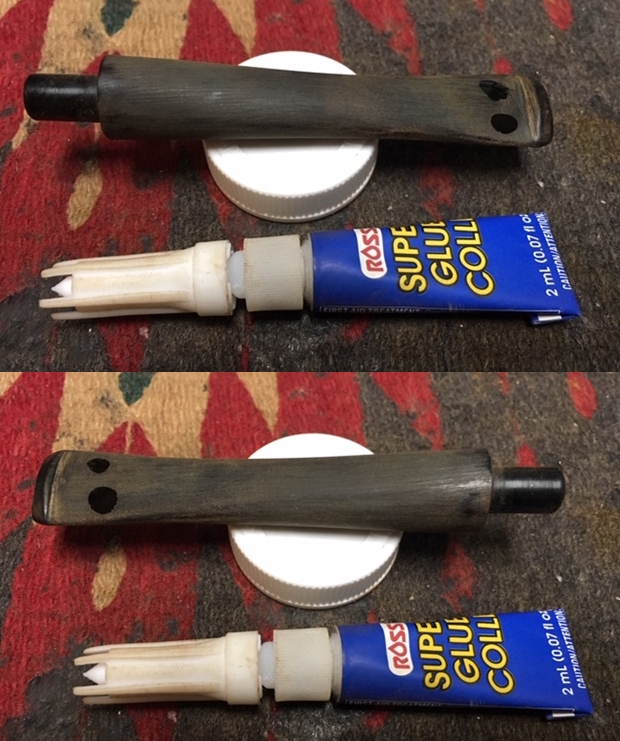
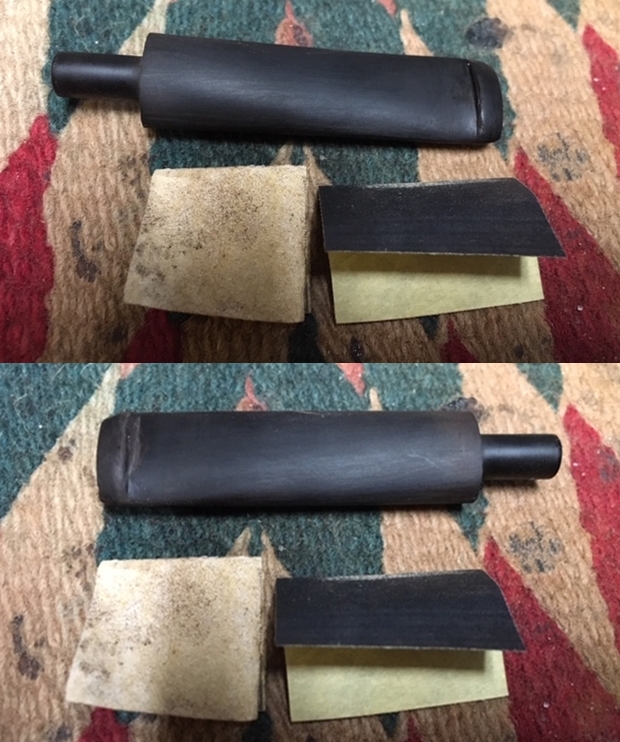
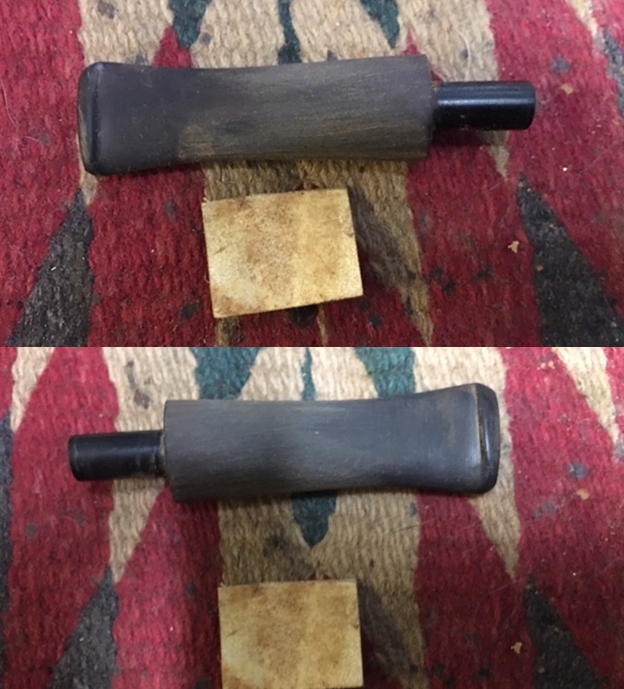
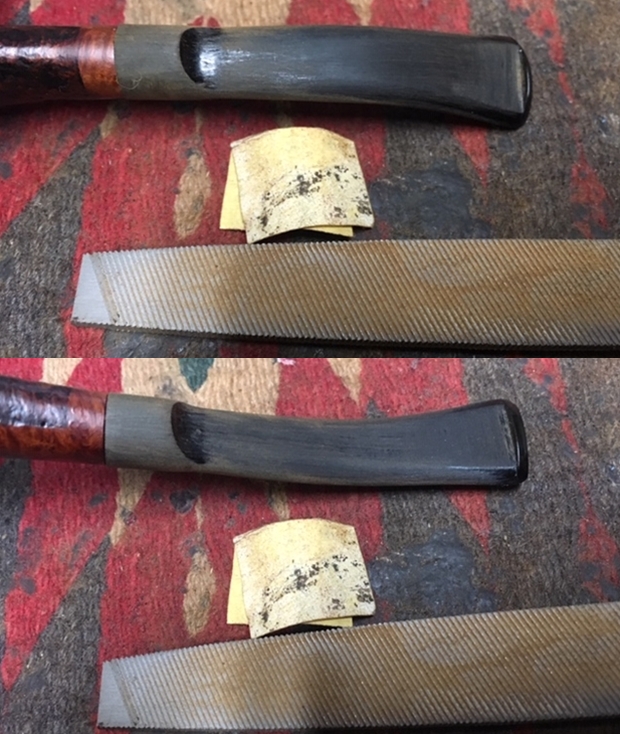
 Back at my own modest home workshop that night, using a file, I scuffed the parts of each push-pull half to be inserted in the bit and shank, as shown below with the shank side. Then I ran a pipe cleaner through the mortise and draught hole of the stummel and another through the bit’s airway to prevent excess epoxy and shaved wood mix from seeping and setting inside either. Sliding the Teflon parts over each cleaner so they were just above the connection points, I mixed a small amount of epoxy and powdered wood and applied the mix to the upper halves of the scuffed areas one at a time and pushed each into place when it was ready, knowing the adhesive concoction would spread out over the whole connectors. The initial bonding took 60 seconds, during which time I moved both cleaners back and forth a fraction to assure they didn’t stick.
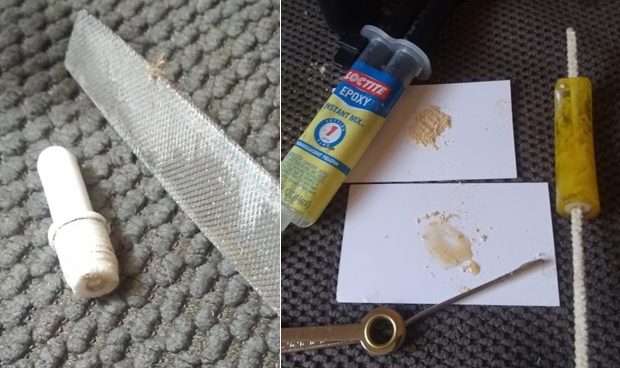
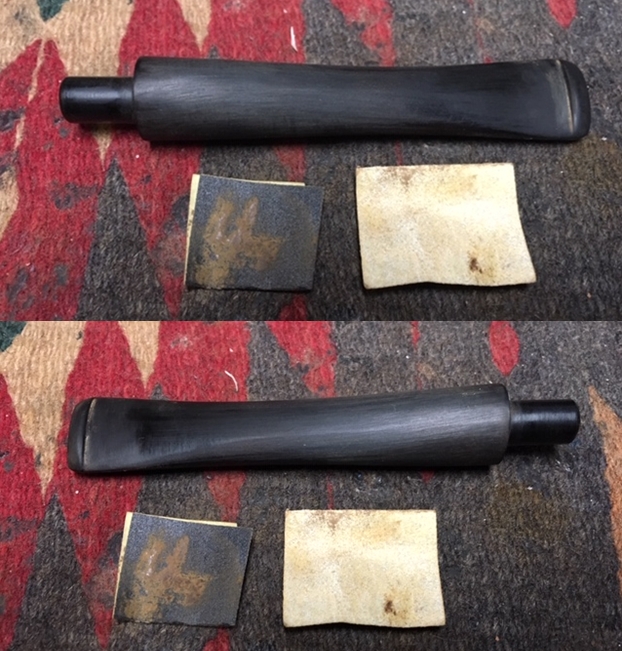
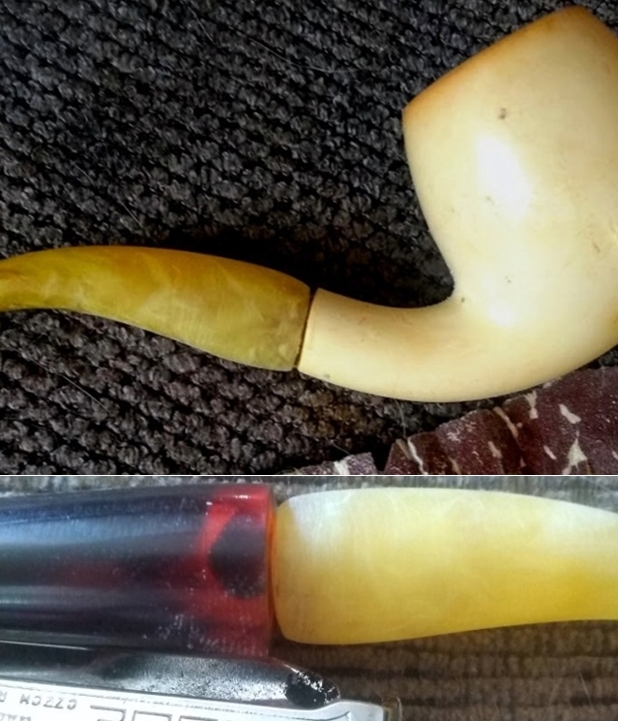
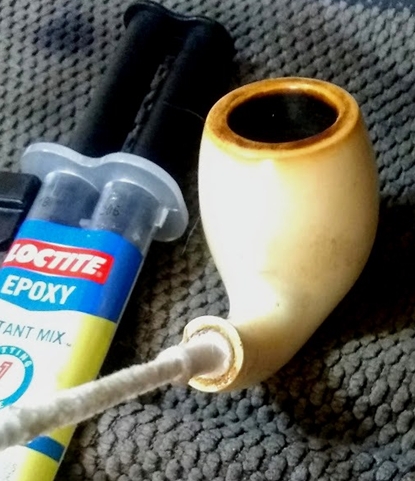 Nine minutes later, the epoxy mix fully set, I removed the two cleaners that came out with no resistance. The hardened, even fill of the adhesive solution is clear in the last photo. I gave the push tenon inside the shank a good tug to test the bonding, and it didn’t budge. Poking the re-cleaned thin metal shank clearer of my three-piece tool into the opening of the stem’s push-pull half, I angled it to grip the inner side and tugged, again without any movement of the part.
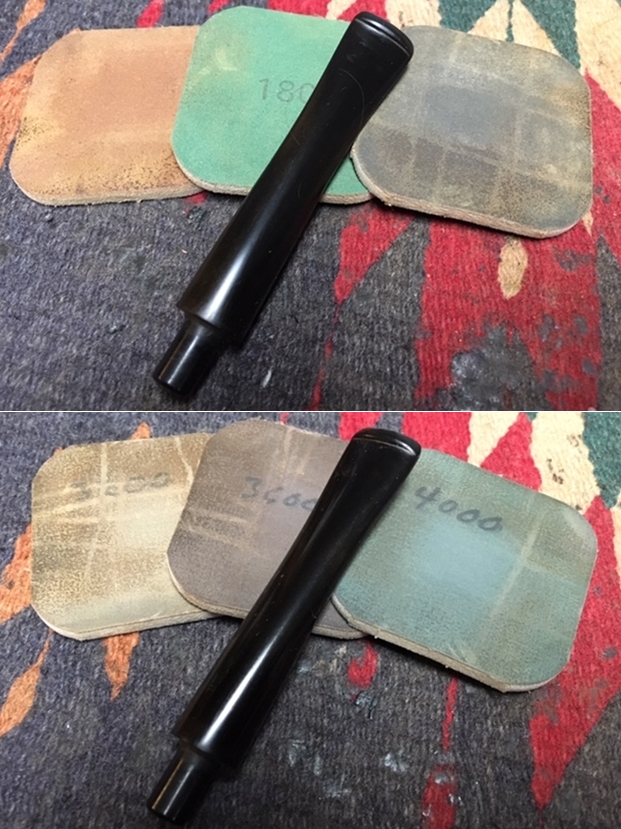
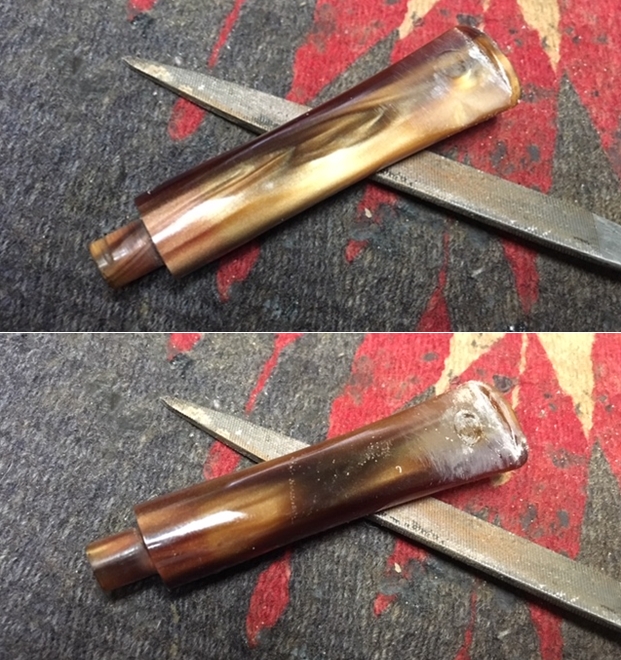
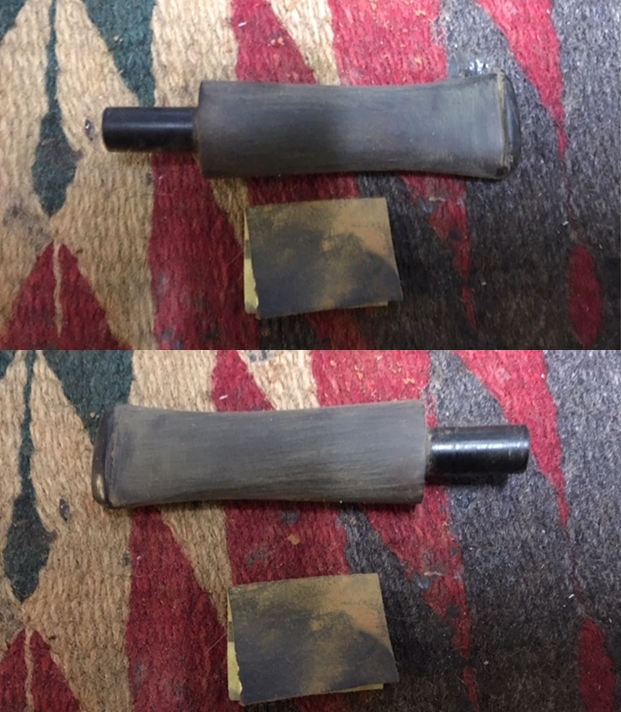
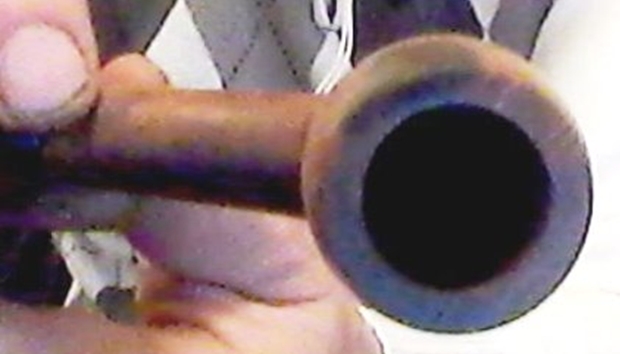
The longest, most difficult labor of the entire restoration still awaited me: matching the 15½mm bit opening to the 12½mm shank. Most people think of 3mm as a small measurement, but any pipe restorer knows it’s a massive discrepancy.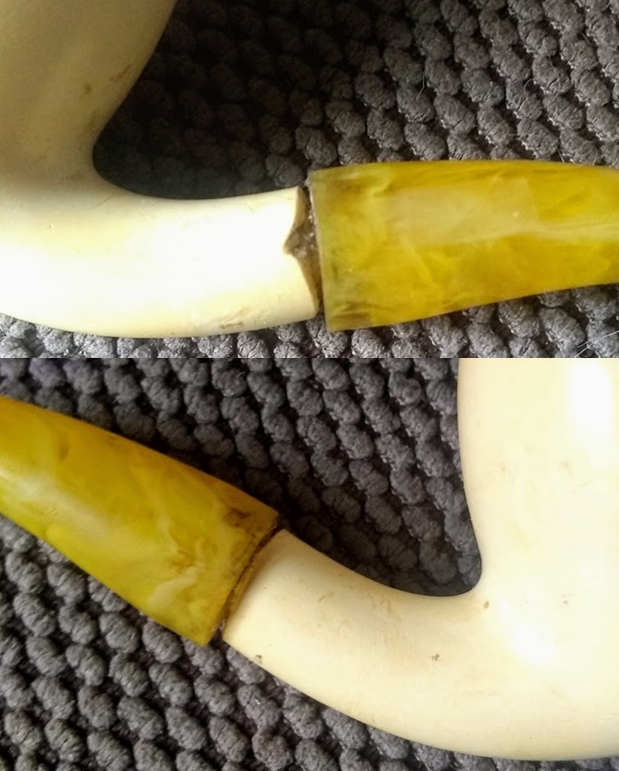
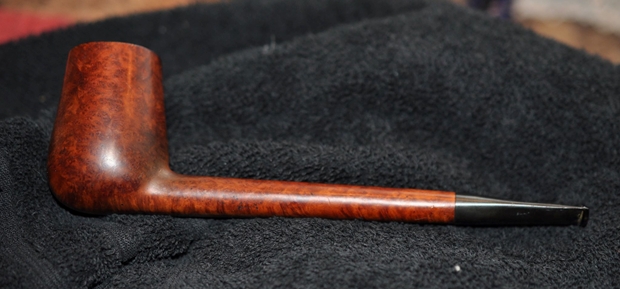
 All of this adjustment required 150-grit paper and hours – over a period of days – of patience not to eliminate a fraction of a millimeter too much of the Bakelite after so much effort. Here it is close to the end of the first stage, before sanding down the left shank to get rid of the chip and make the two halves of the pipe flush.
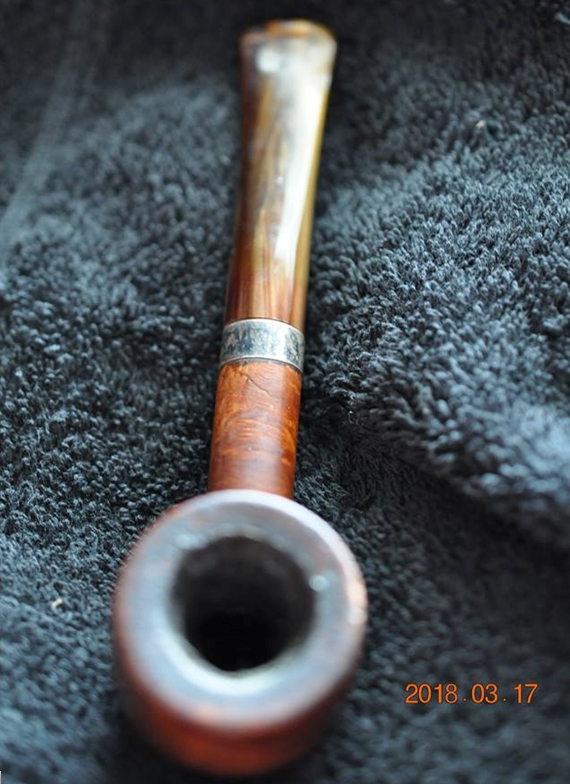
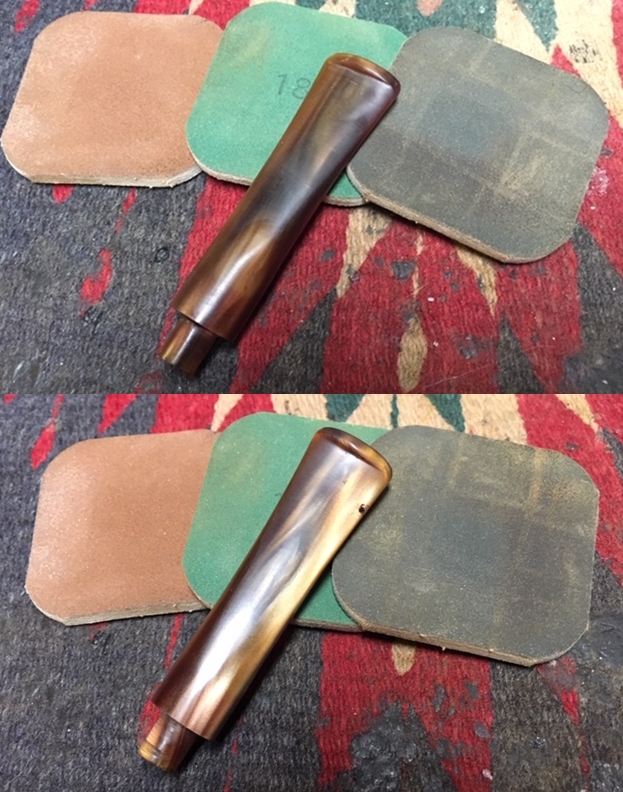
 Also still remaining was much of the tapered bulge, especially on the top, but I slowly worked it down before adding the band with a few tiny dabs of Super Glue. Adding the band showed the sides of the shank that still needed to be evened out, which I did with 220-grit paper and super fine steel wool.
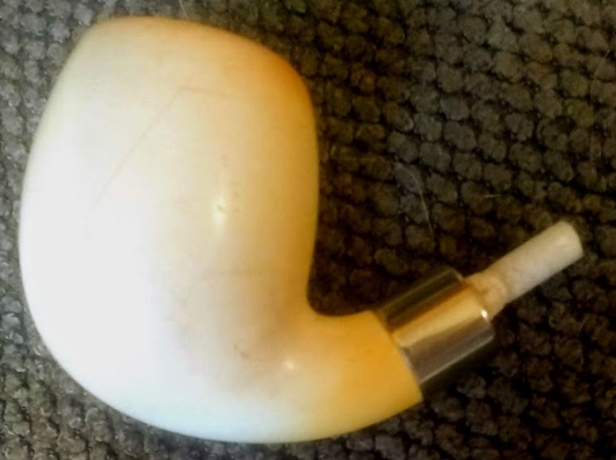
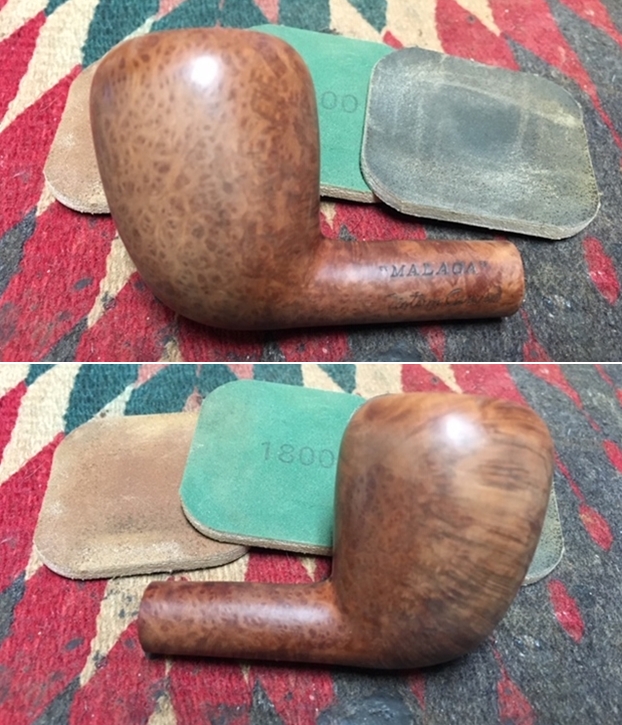
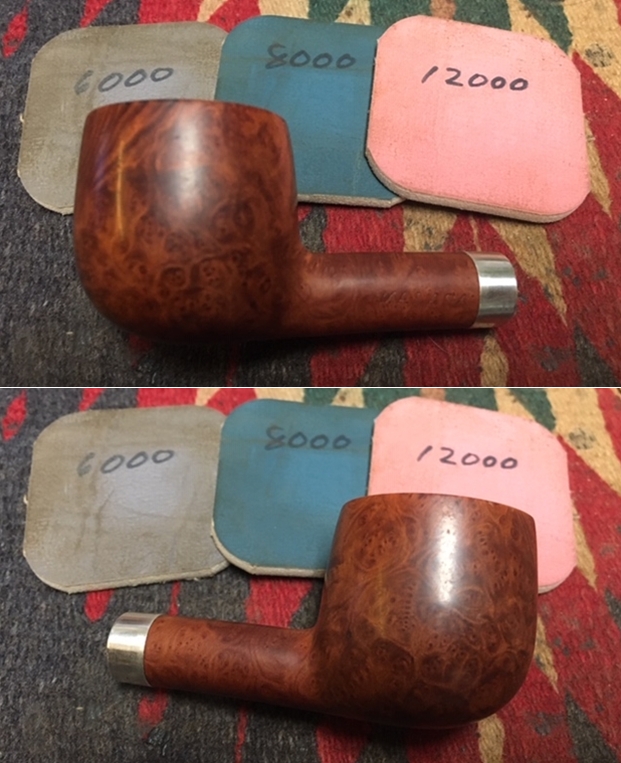
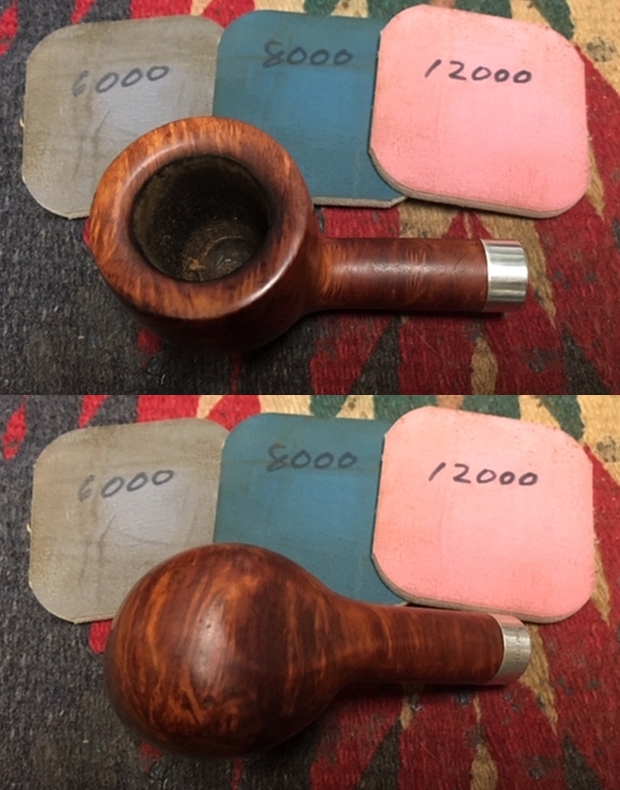
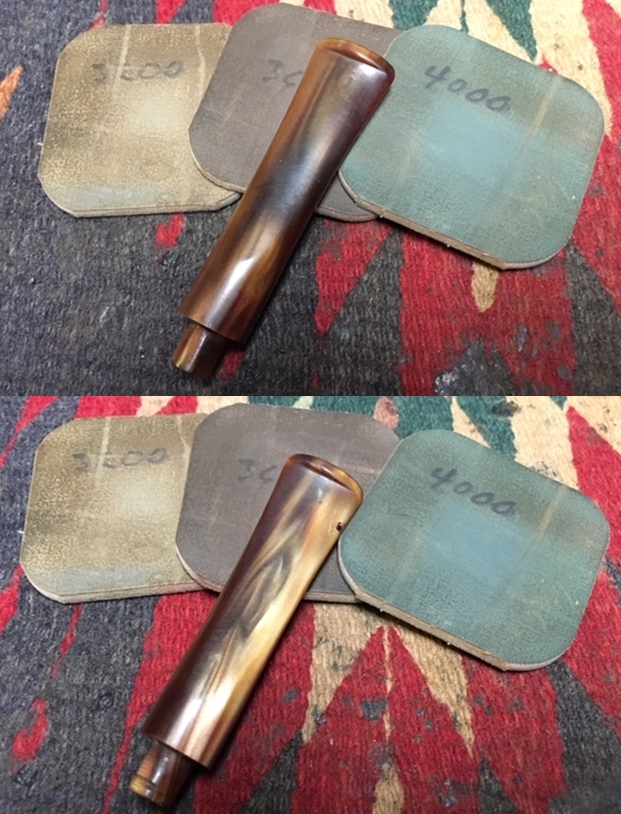
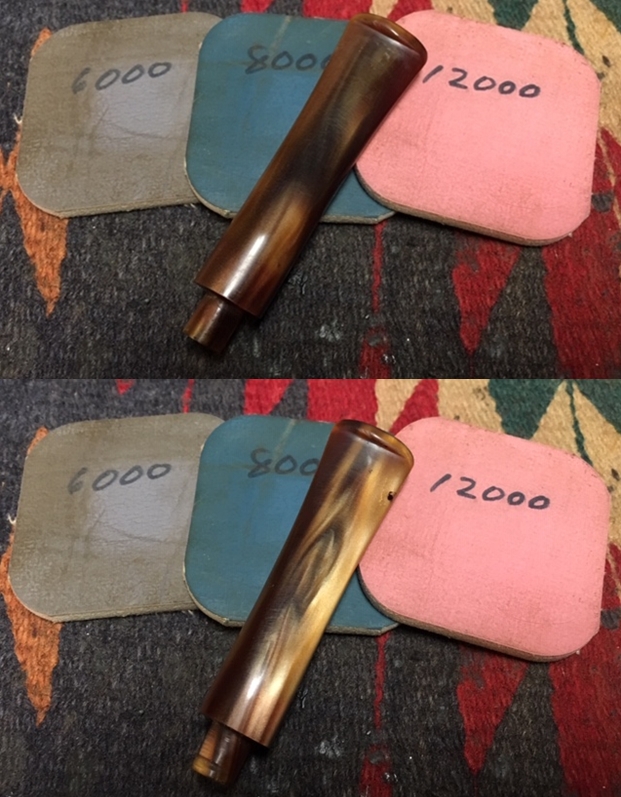
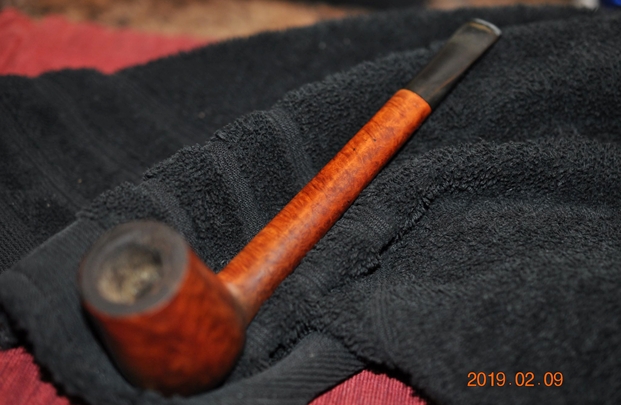
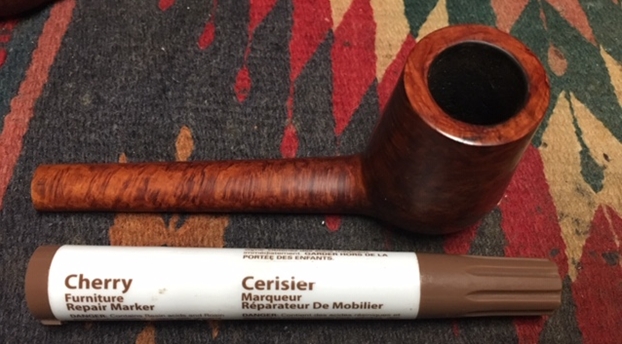
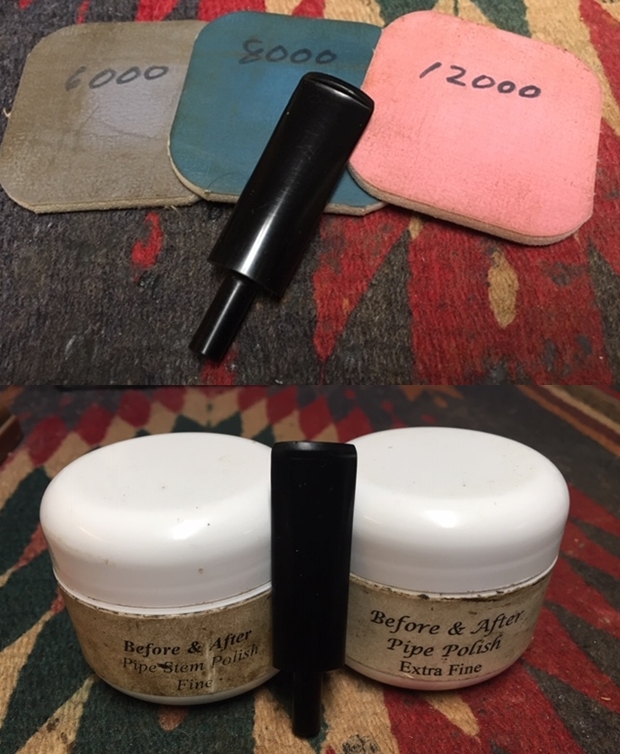
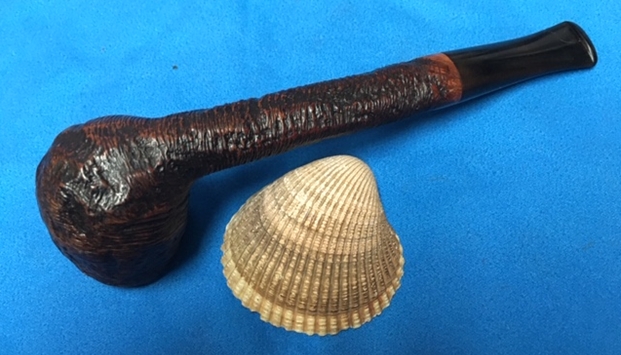
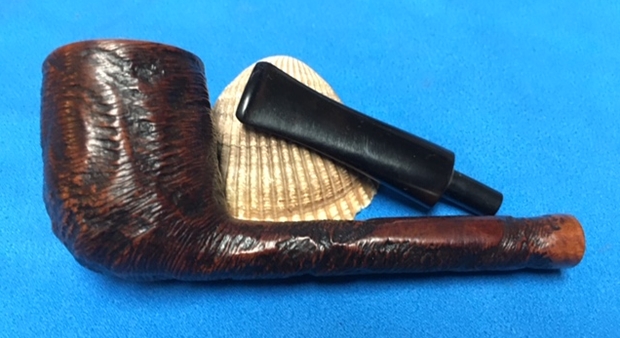
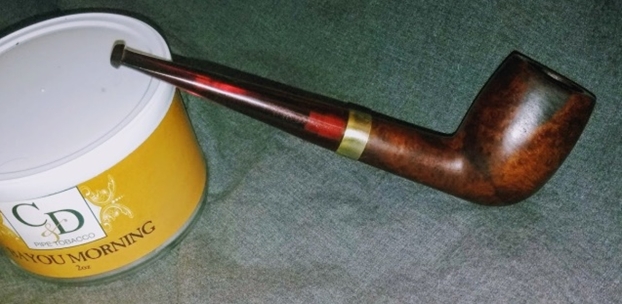
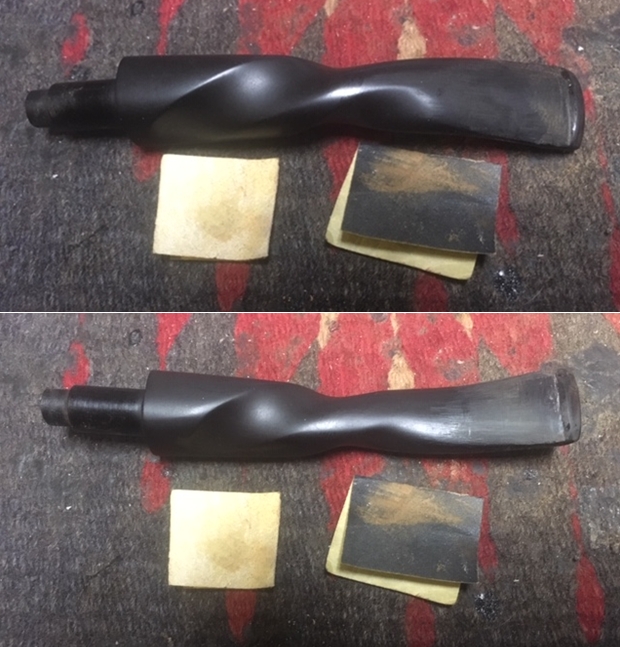
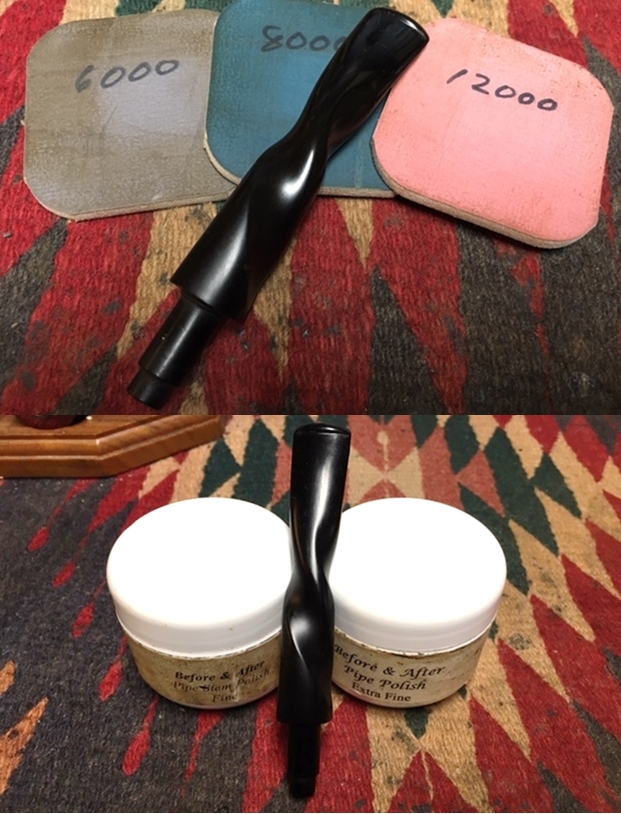
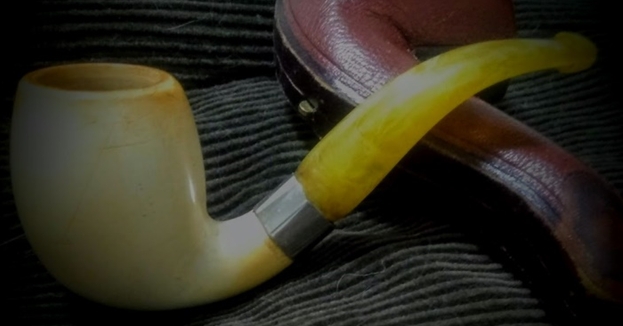
 After that, there was still one problem I had to address. The mouthpiece was so wide that the leather case would not snap shut. That meant an assault on both sides of the mouthpiece with 150-grit paper. Fortunately, Bakelite, like acrylic, is more forgiving than Vulcanite/Ebonite as far as scratches go, and it was nice and smooth after a full course of micro mesh. I also buffed the bit with carnauba on my electric wheel.
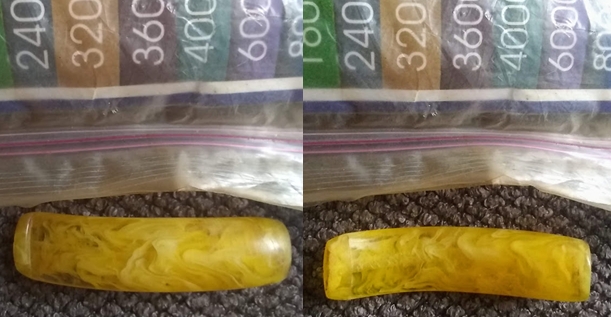


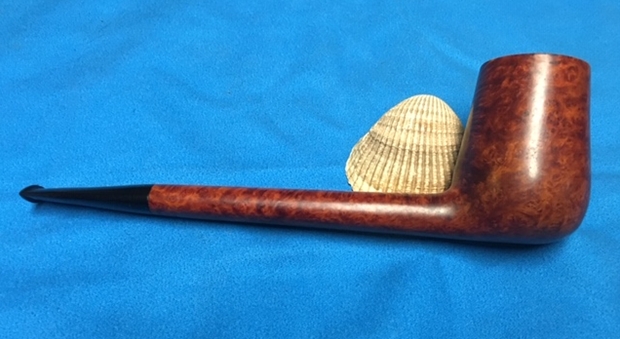
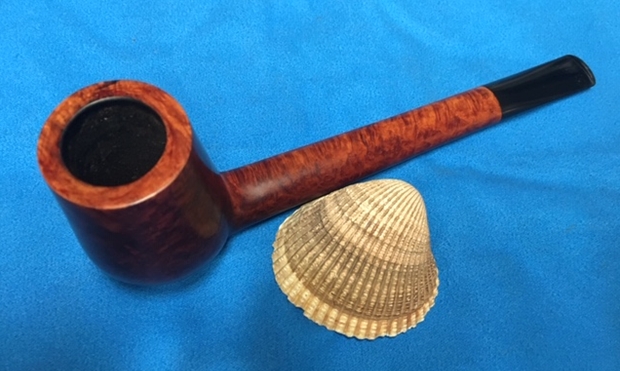
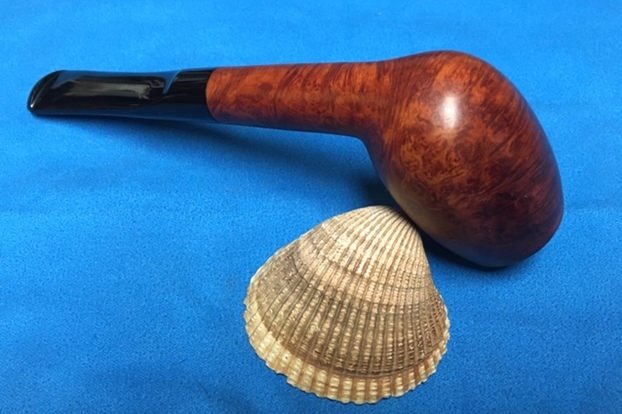
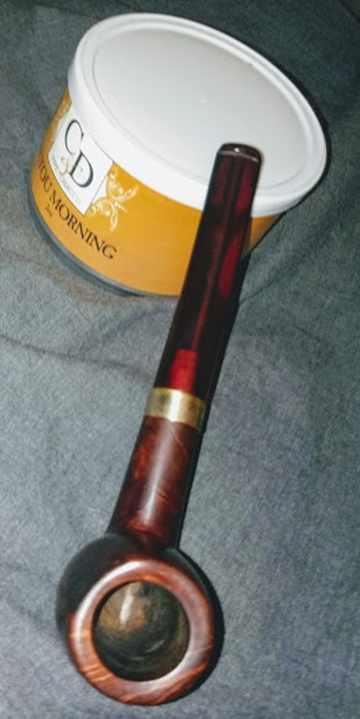
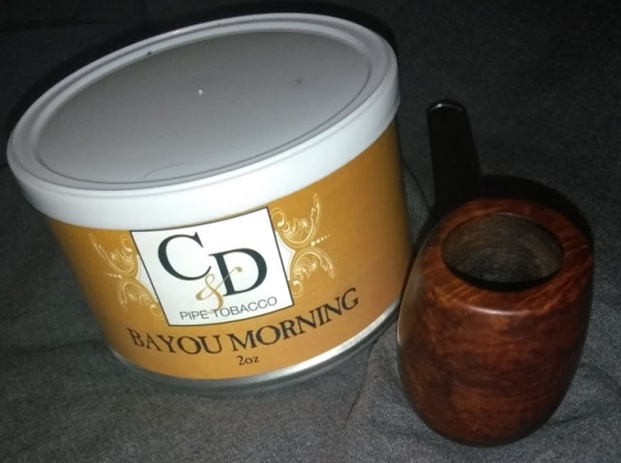
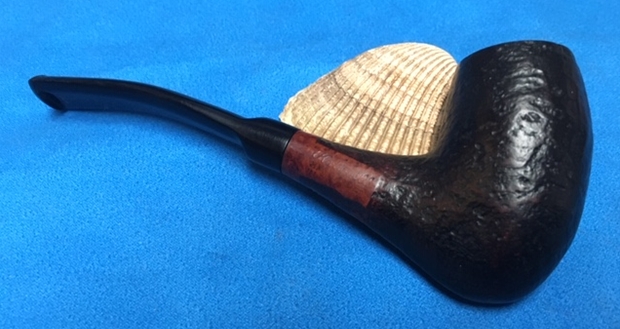
 Case closed, so to say.
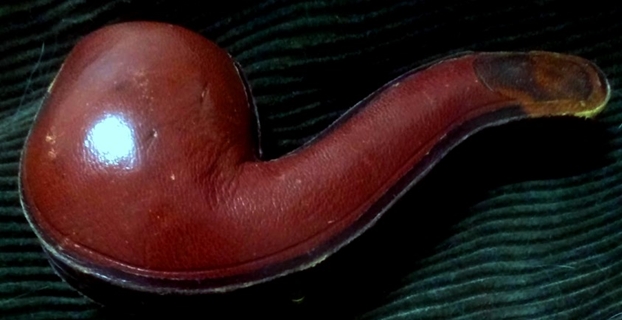 CONCLUSION
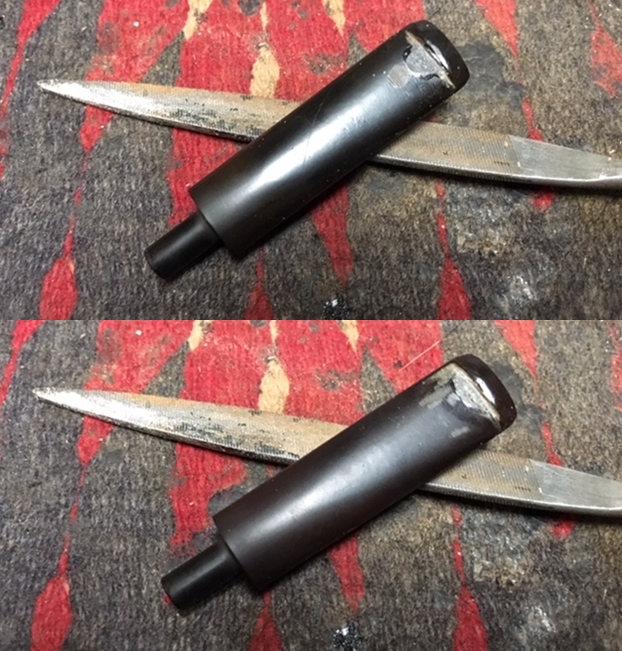
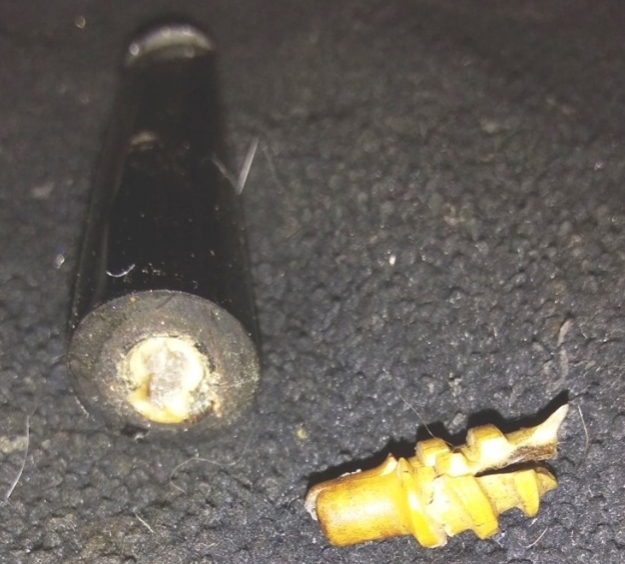
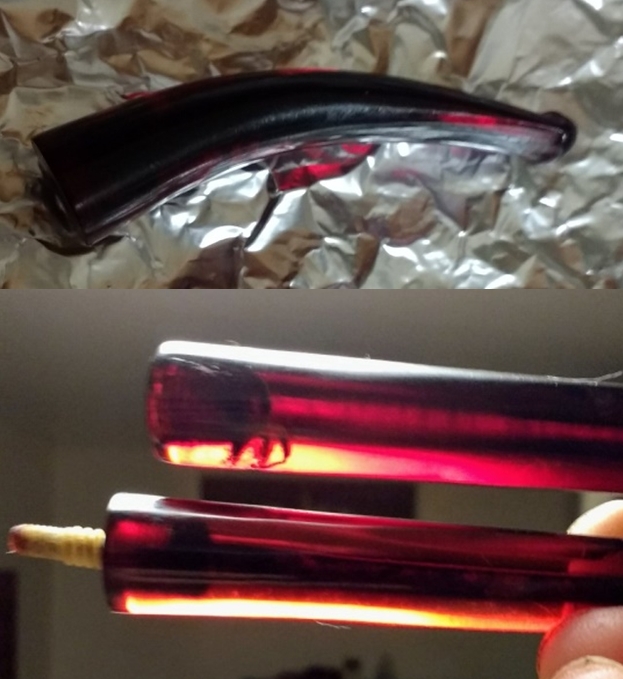
Not forgetting the mishap with the short, undersized bit that was used by a previous restorer, I determined it was not Bakelite. After speaking with Tim at JH Lowe and before I received the needed parts that included a stem of the correct length and already bent, I decided to prepare for the possibility of needing to bend it. And so I pre-heated the oven to 250° F and placed the old bit inside on a piece of aluminum foil. Not even 10 minutes later, in the living room, my eyes were watering, and I noticed smoke and a noxious odor. Rushing to the oven and opening the door, I beheld what can only be described as vampire remains after exposure to sunlight. Really, nothing was left but a small outline of black soot. Even the tenon that we all believed to be bone had vanished. Recovering from the shocking sight, I realized the bit had been the cheapest variety of plastic.
To be sure, Norwoods, with its two generations of experience, would have returned a pipe finished with a perfectly shaped bit, not to mention one made of orange amber and connected with a bone screw tenon in keeping with the ideal of completing such restorations with all of the original materials. As far as my substitution of a Teflon push-pull tenon set goes, I stand by my decision that was based on the owner’s need for enduring enjoyment of her First Quality meerschaum pipe. Concerning the slight bulge that remains in the bit, I’ll just say I did the best I could in the time allowed, by hand using paper without even the benefit of an electric sanding wheel.
Still, I will follow up with Sherry and offer to give the bit the finishing touches it could use. But this restoration was a success in that I learned how to repair a mangled meerschaum shank on my own and now share the experience so that other restorers will have the same ability. That, after all, was the highest goal of this series.
SOURCES
https://academic.oup.com/res/article-abstract/os-XI/42/139/1538585?redirectedFrom=PDF
https://academic.oup.com/res/article/os-XI/42/139/1538585
https://rebornpipes.com/2018/12/16/the-decline-of-restoring-old-pipes-part-1-4/
https://rebornpipes.com/2019/02/05/the-decline-of-restoring-old-pipes-part-2-4-an-antique-cpf-meerschaum-five-years-finishing/
https://rebornpipes.com/2019/02/21/the-decline-of-restoring-old-pipes-part-3-4-sir-daryl-and-the-golden-blueline-bakelite/
https://www.royalmeerschaumpipes.com/Regular-Stem-Push-Pull-Fittings-p/sft-3.htm
http://www.jhlowe.com/misc-items.htm
http://www.jhlowe.com/bits-bakelite.htm