Blog by Steve Laug
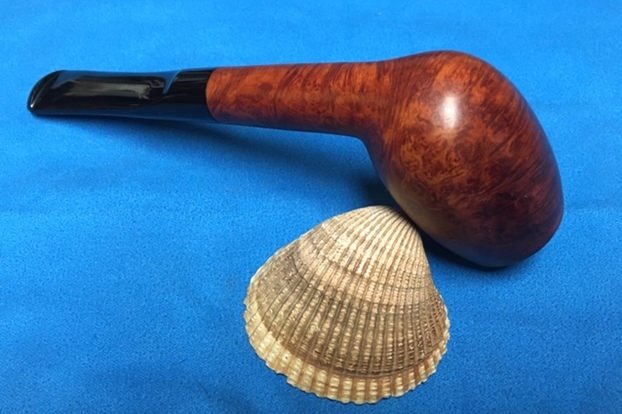
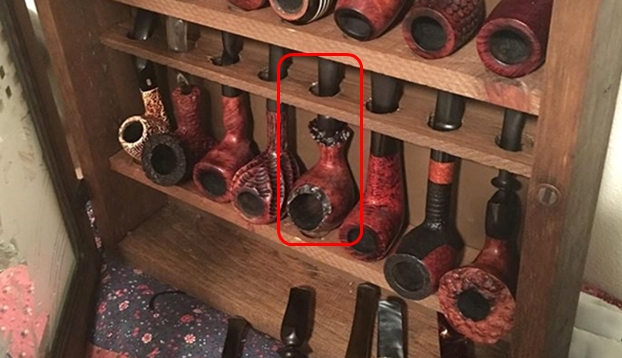
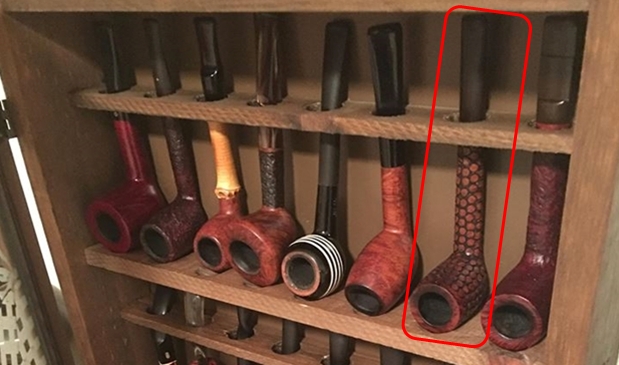
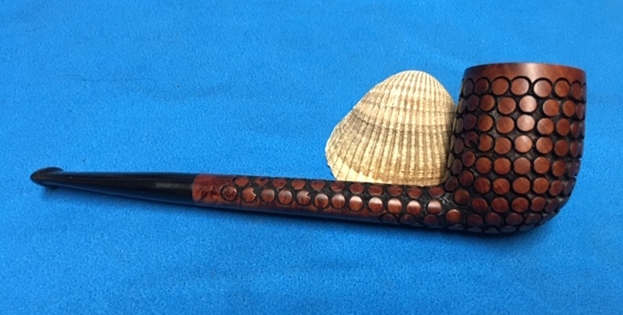
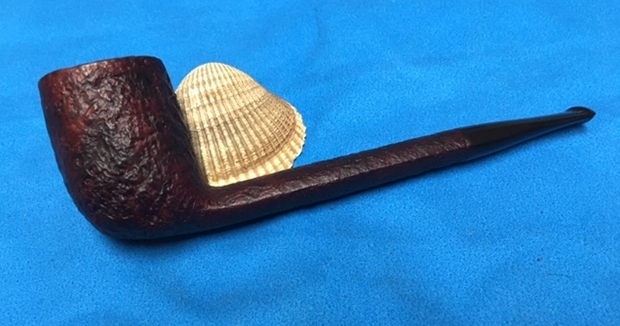
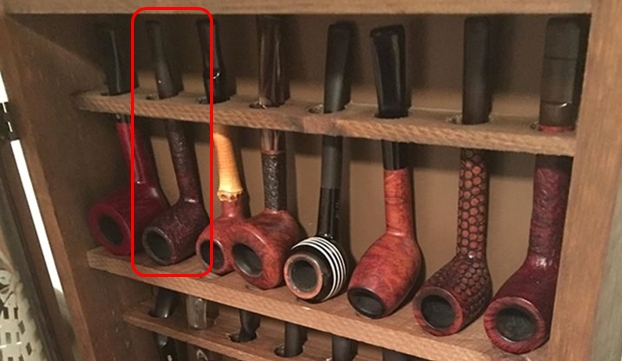
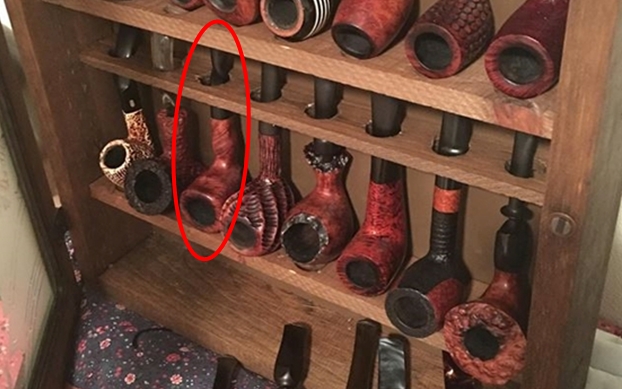
The next pipe in the queue is yet another interesting pipe from the Michigan lot – a well-made Charatan Cutty with plateau on the rim top and shank end. The entire pipe had some beautiful cross grain on the front and rear of the bowl and the top and underside of the shank. It had some great birdseye grain on both sides of the bowl and shank. The bowl has a forward cant to it that defines the cutty shape. The pipe has a natural briar finish that really makes the grain on the pipe pop. The carver did a great job utilizing the block of briar to maximize the grain. The pipe is stamped on the left side of the shank. It reads Charatan’s Make (over) London, England (over) SPECIAL. There is the circle cursive L identifying the pipe as a Lane era made Charatan. To the right of the stamping is the shape number 87X. The stem is an obvious replacement and is Lucite rather than the original vulcanite and has no marking or stamping on it. It is given a unique saddle shape that looks good with the Cutty pipe. This is another nice looking piece much like the rest of those in this 21 pipe Michigan pipe lot. The Charatan’s Make I am working on is shown on the top shelf of the rack pictured below. It is the third pipe from the right and I put a red box around it to make it easy to identify. Jeff took some photos of the pipe when he received them to show the general condition of the pipe before he started his cleanup work. Like the rest of the pipes from the Michigan collection this pipe was very dirty and well used. There was a thick cake in the bowl and lava overflowing onto the plateau rim top. It was hard to know if the edges of the bowl were damaged or not because of the cake and lava. The exterior of the briar was dirty with grease and oils from being held. The Lucite stem is dirty and had bite marks but still had a gloss to it. There were deep tooth marks on both sides of the stem at the button edge and some wear on the button edge itself. The photos below tell the story and give a glimpse of the beautiful canted Cutty shape.
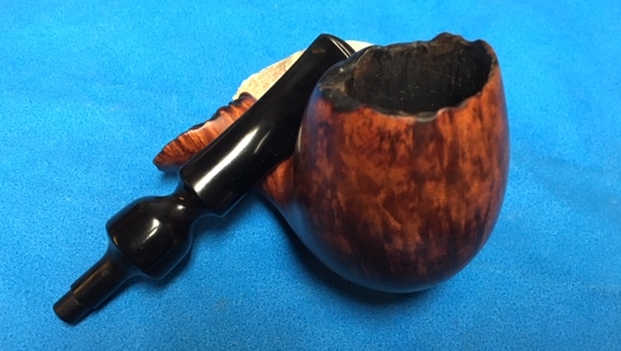
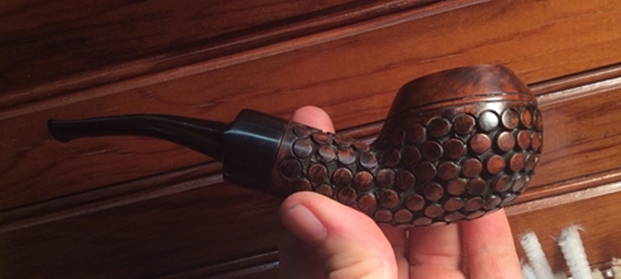
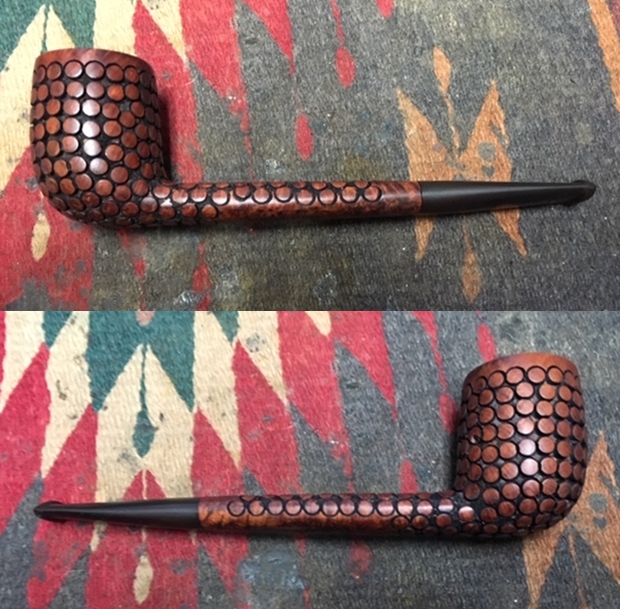
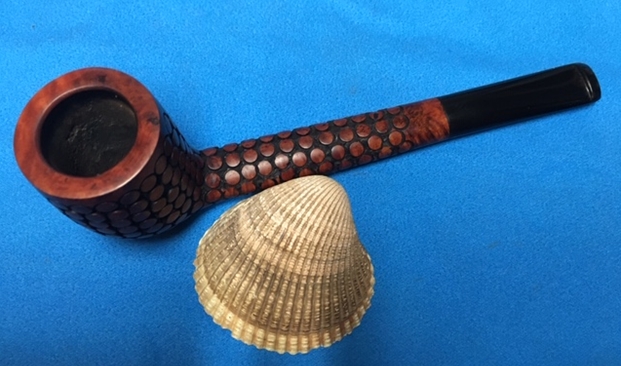
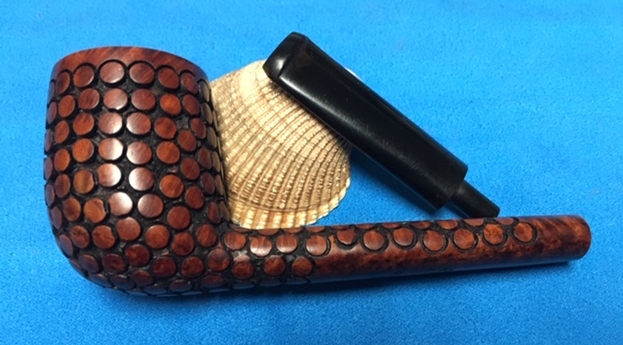
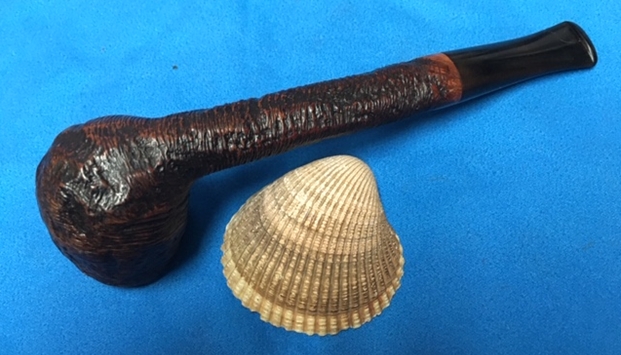
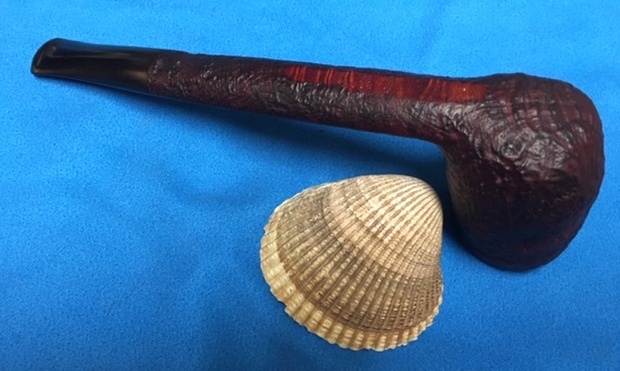
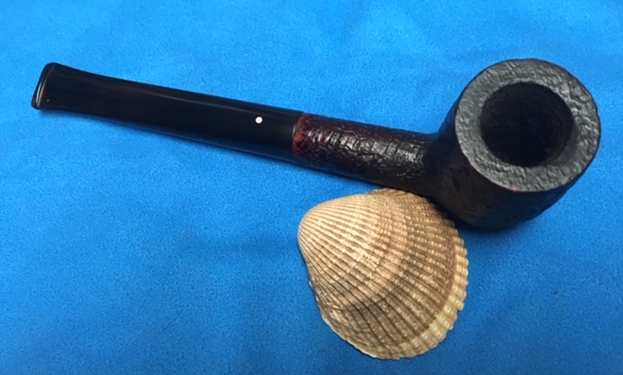
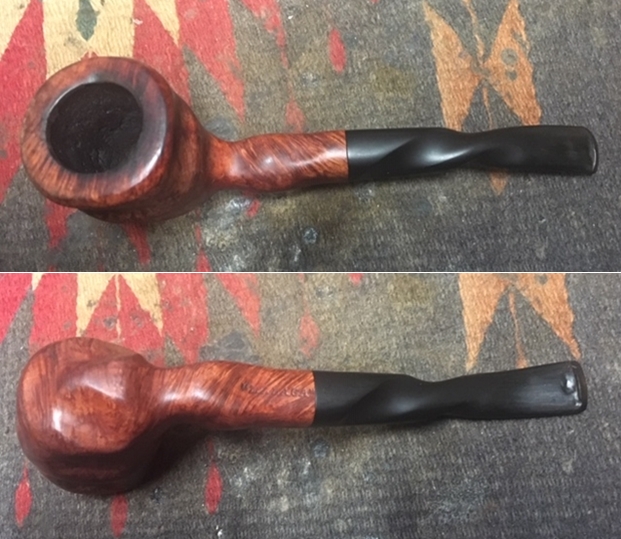
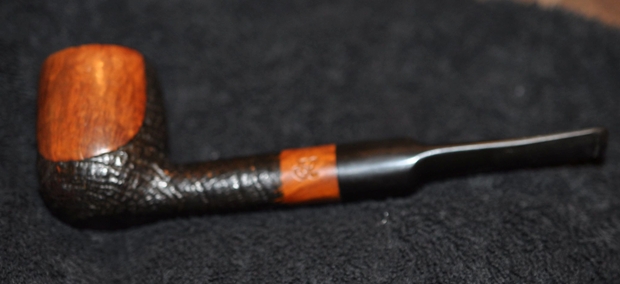
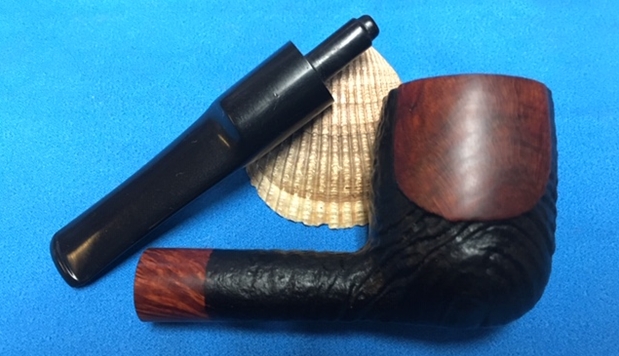
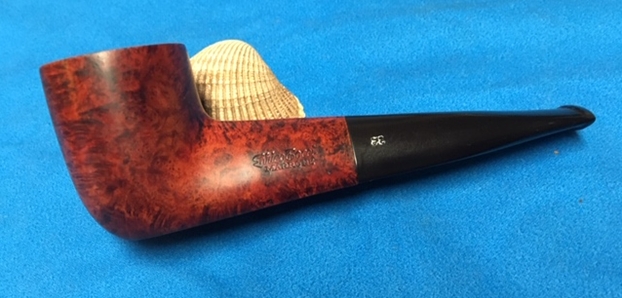
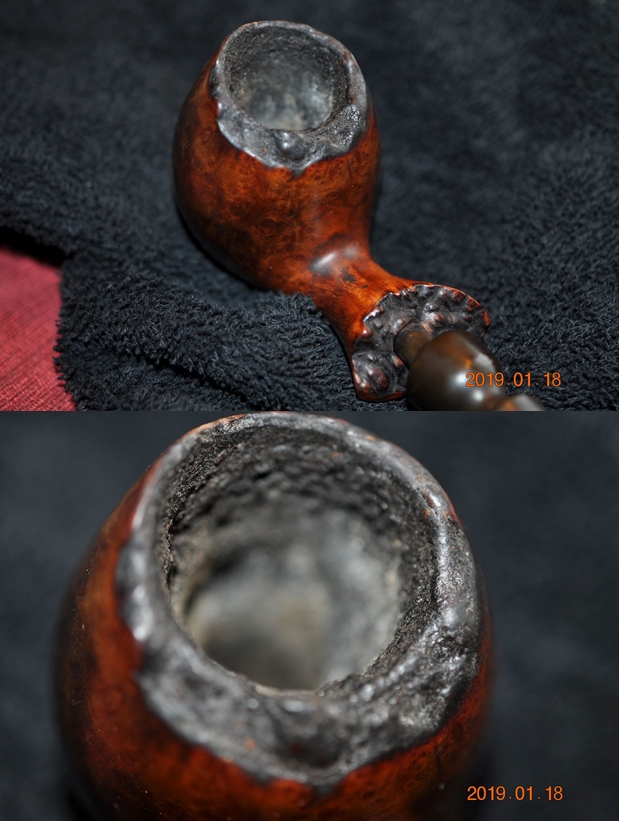
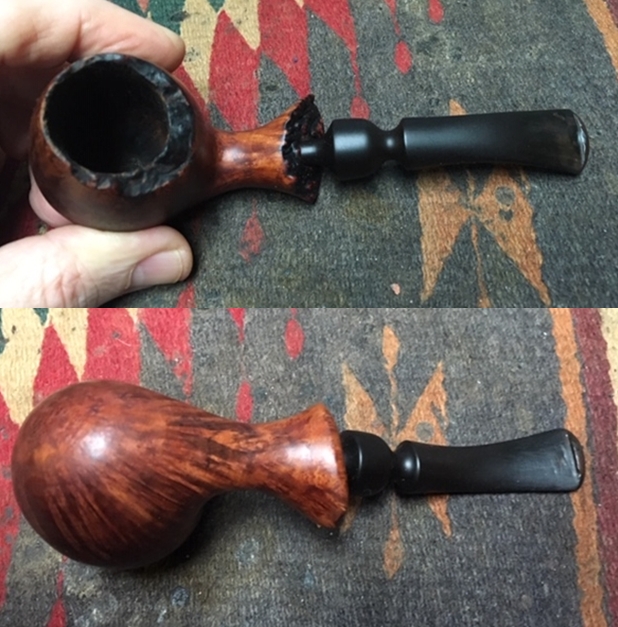
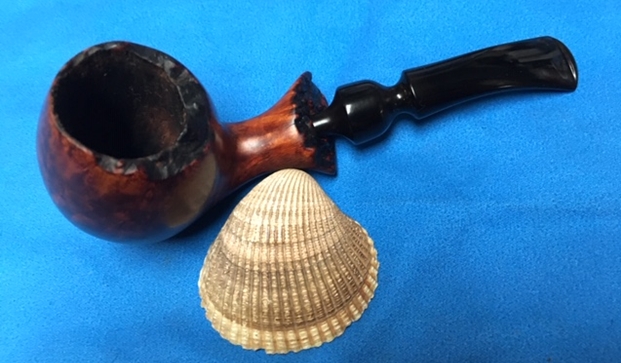
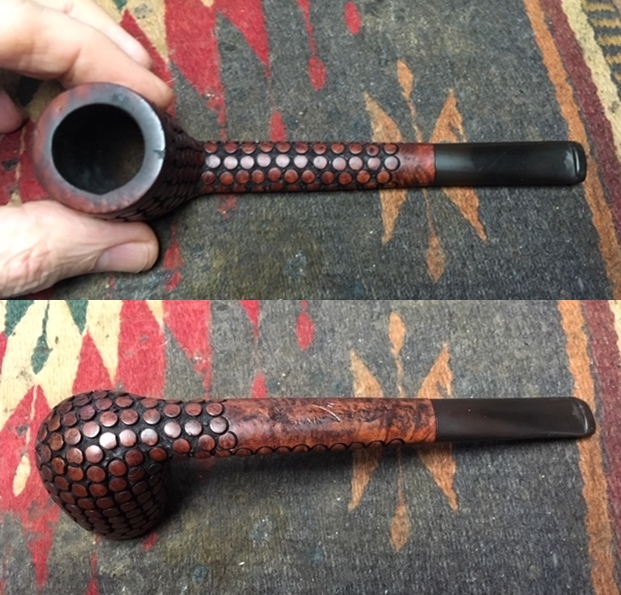
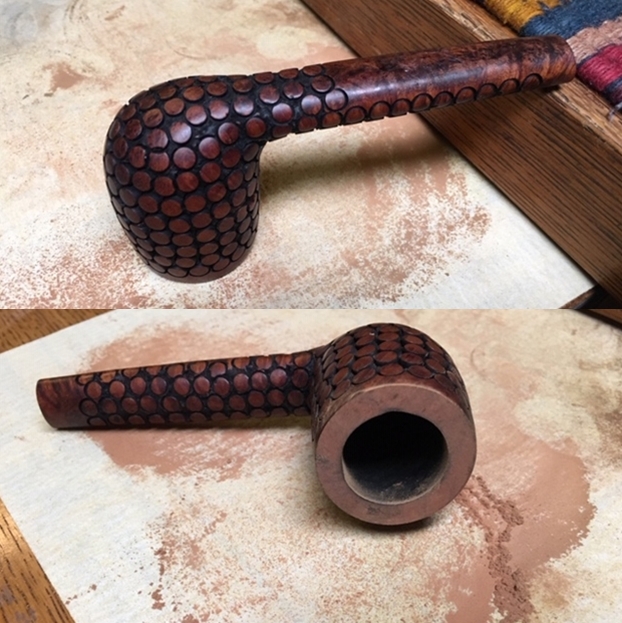
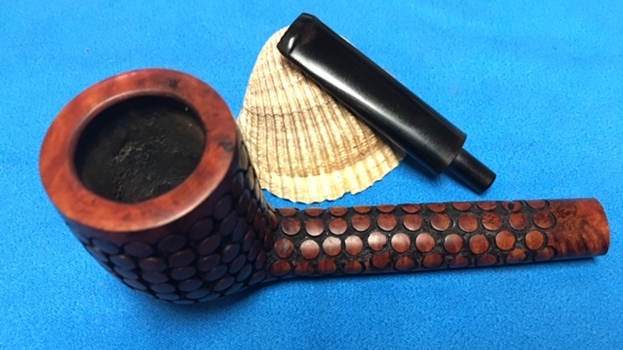
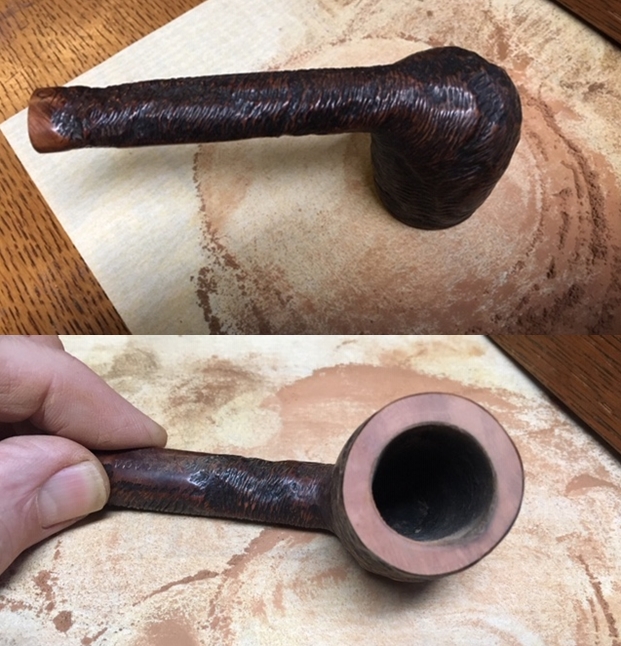
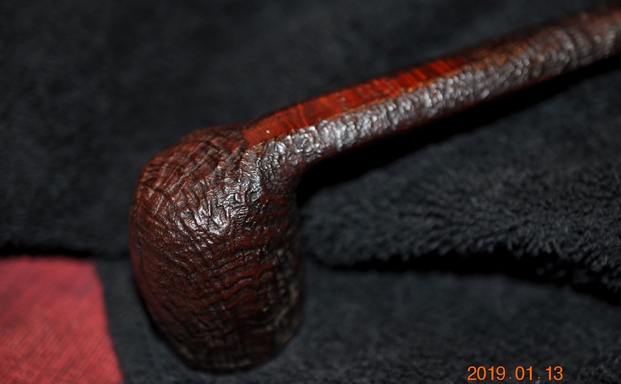
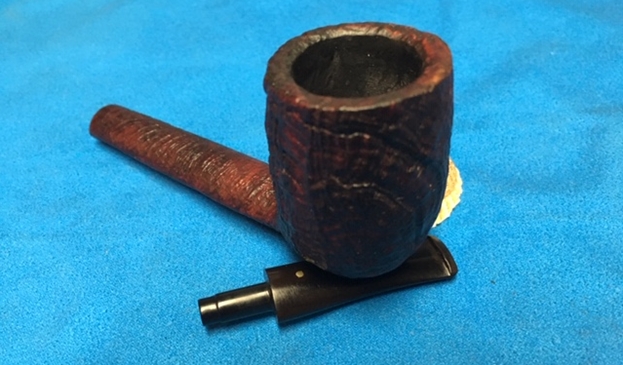
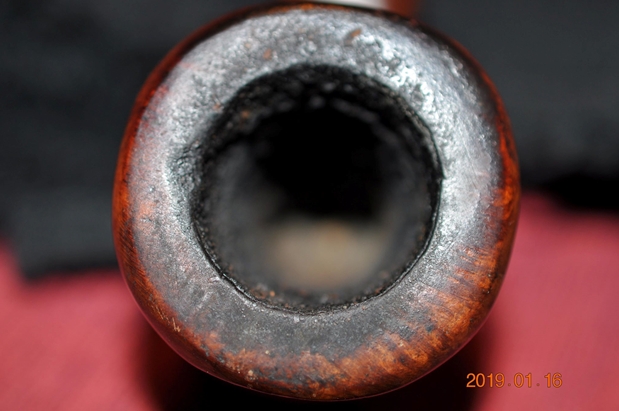
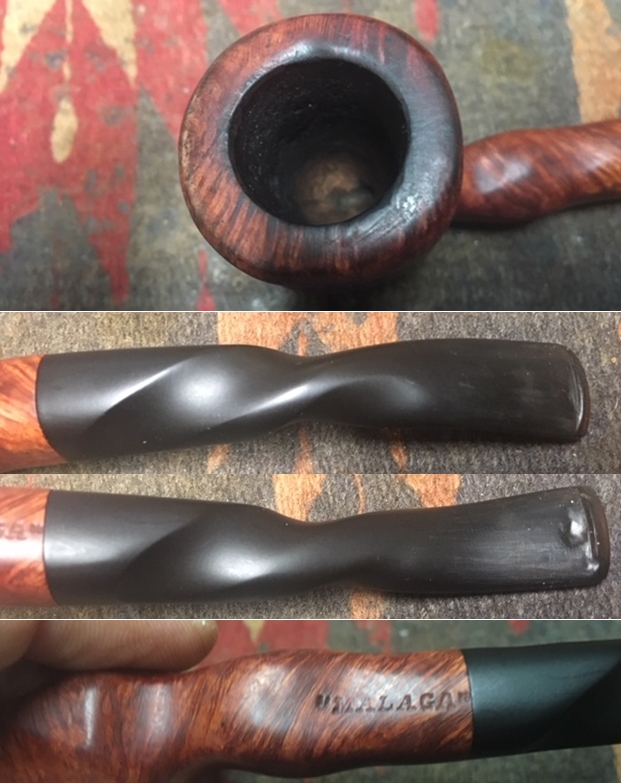
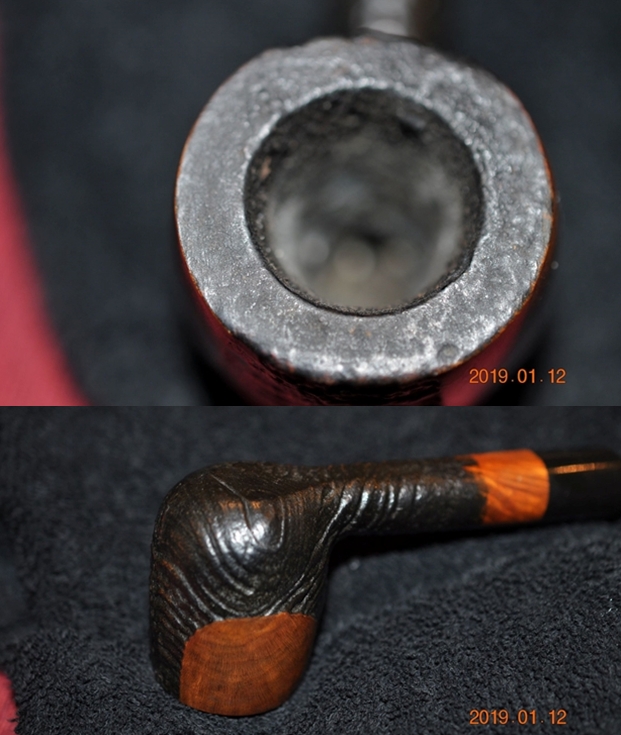
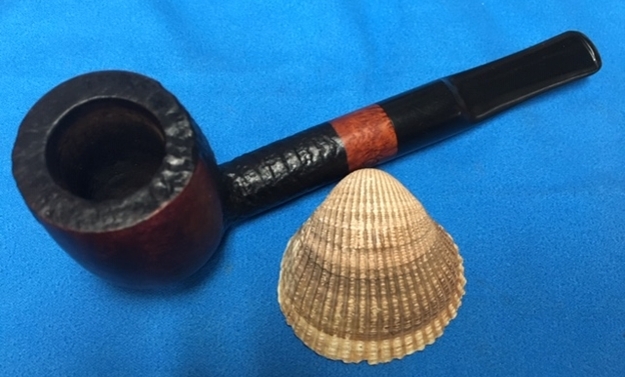
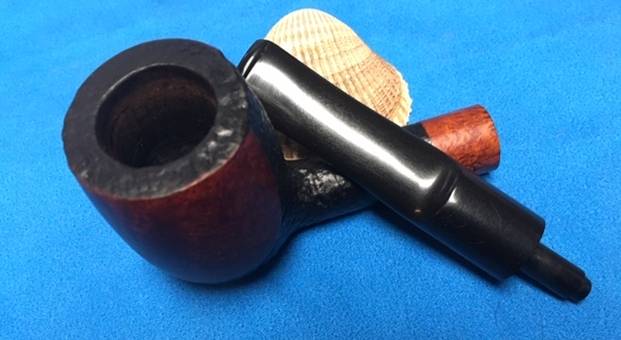
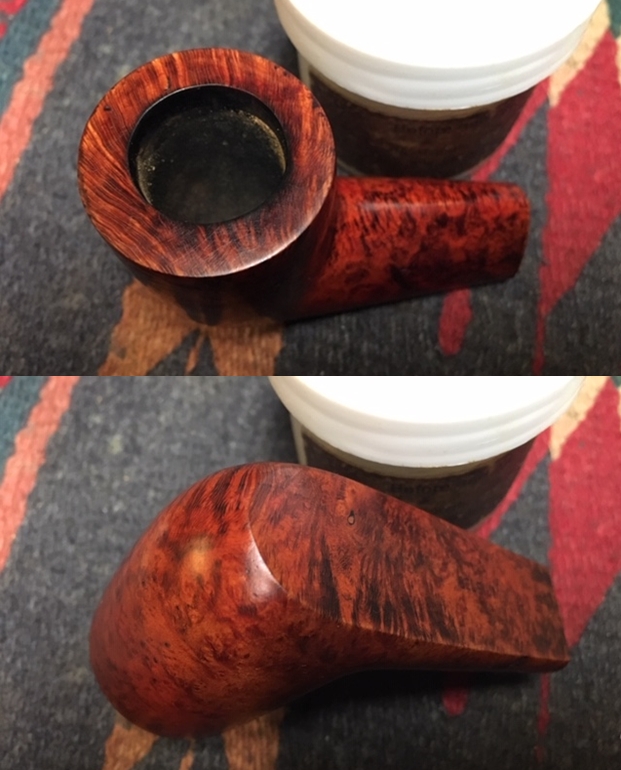
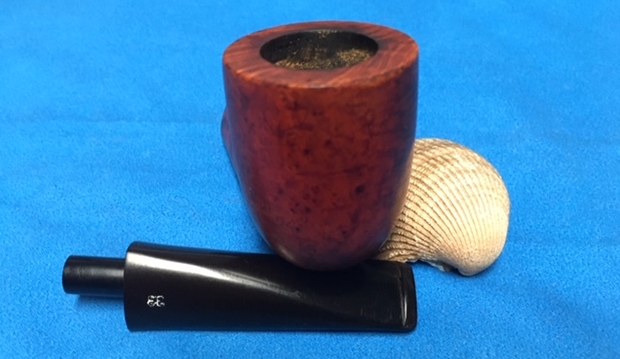
 Jeff took a photo of the bowl and rim to capture the condition of the pipe before he started his cleanup work. There was a thick coat of lava on the rim and the cake in the bowl. It shows the mess this pipe was in when we received it. The thick lava overflow on the rim top made it hard to know what the inner edges of the bowl looked like. The outer edges had some damage from knocking the bowl out against a hard surface. There is also a general accumulation of grease and grime ground into the finish on the rest of the bowl and shank.
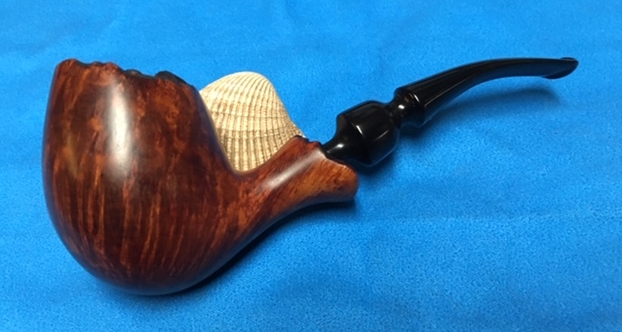
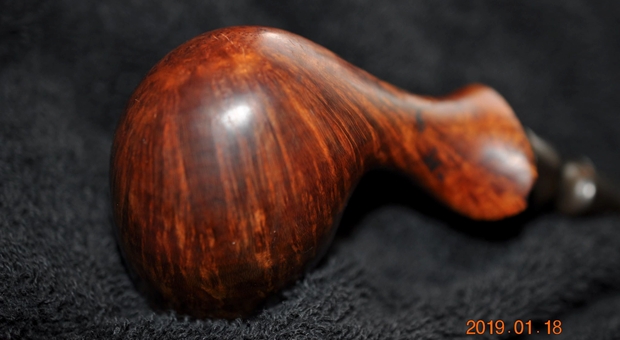
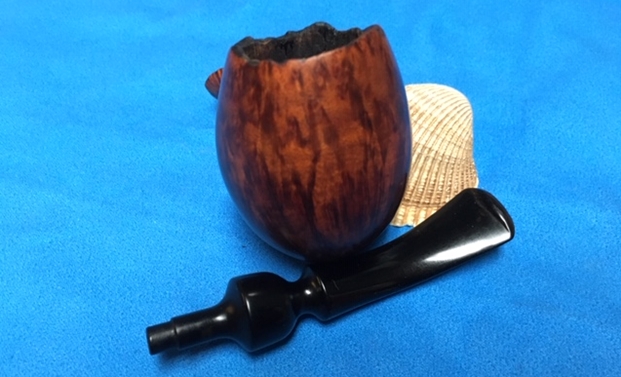
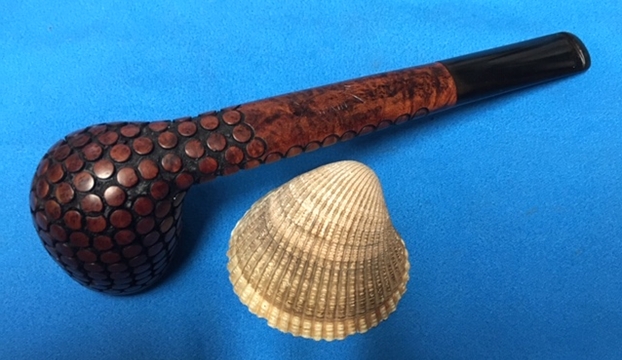
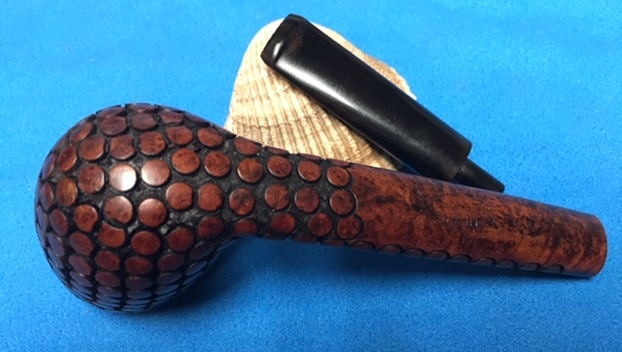
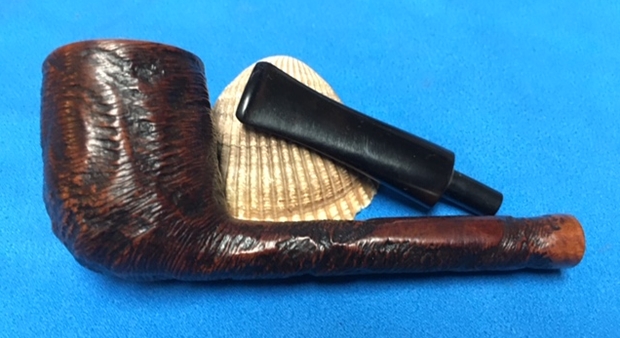
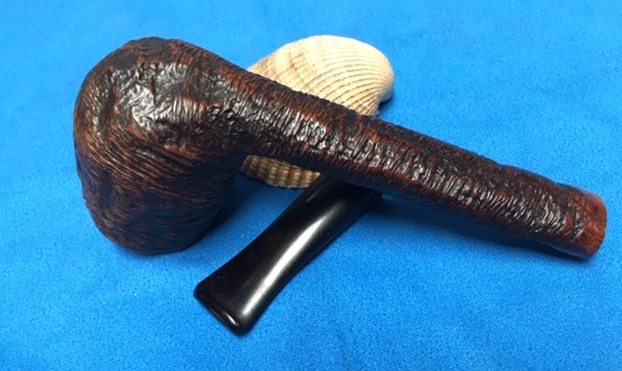
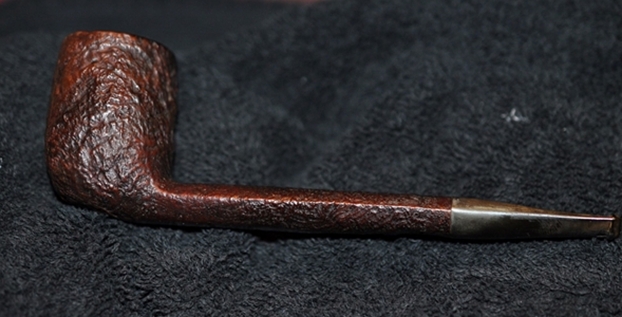
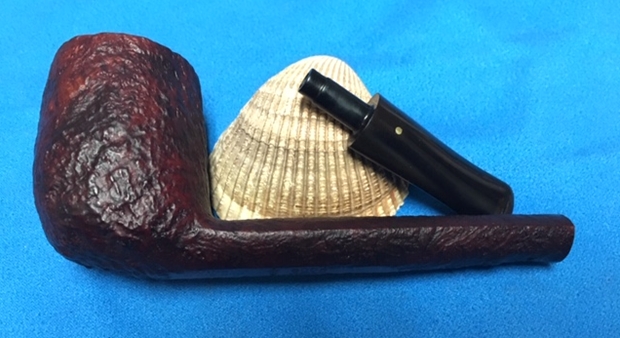
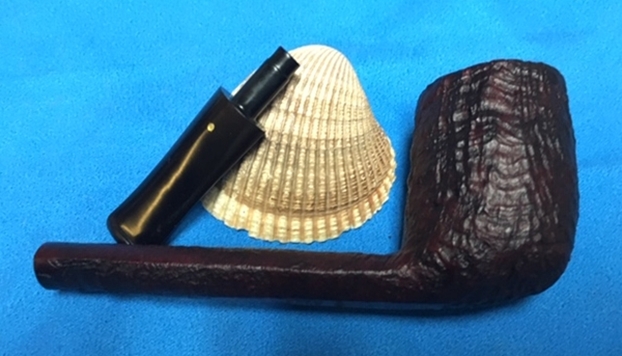
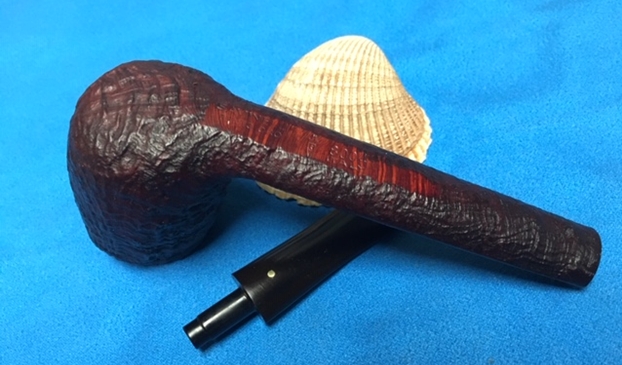
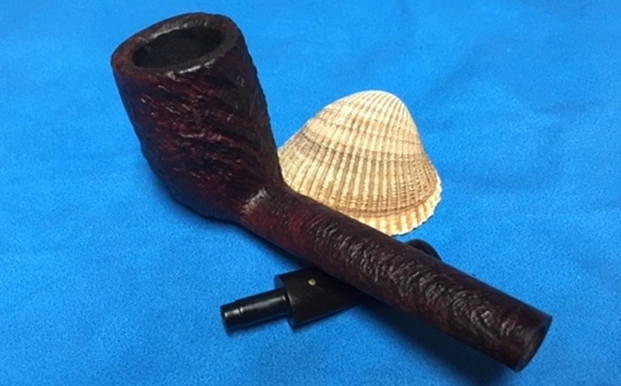
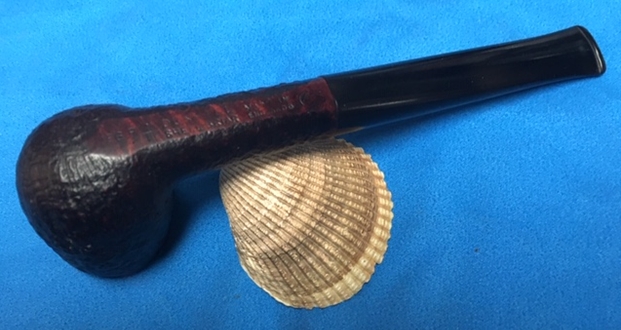
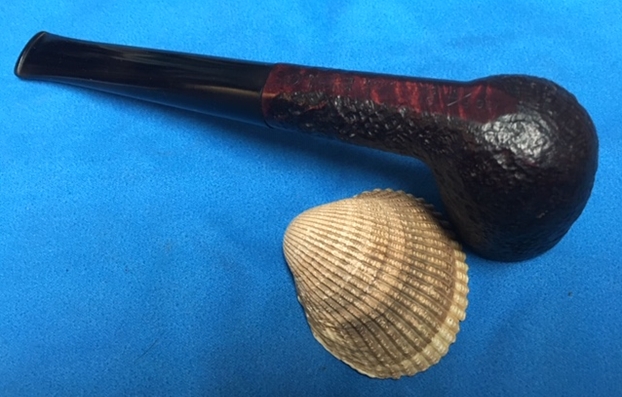
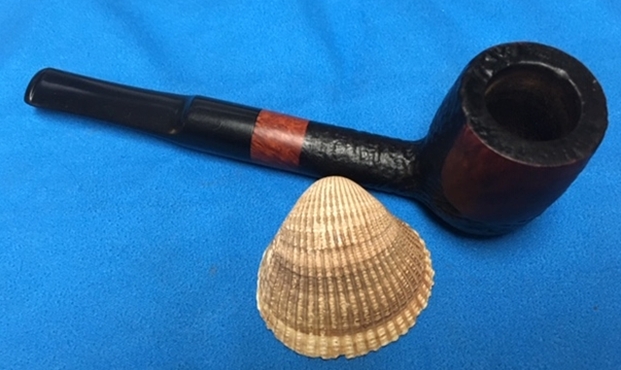
 He also took a photo of the right and underside of the bowl and shank to show the interesting grain around the bowl and shank. The finish is very dirty but the grain is visible in the photos.
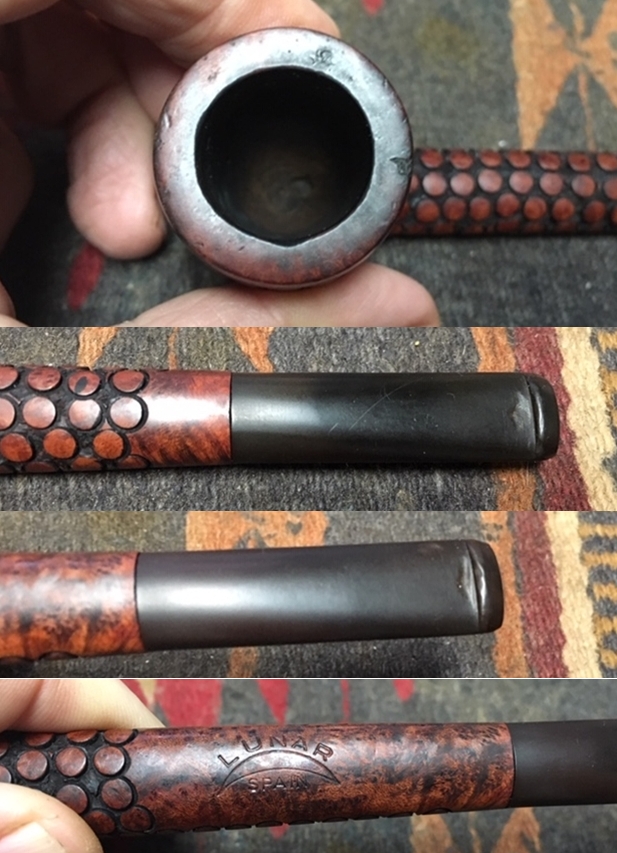
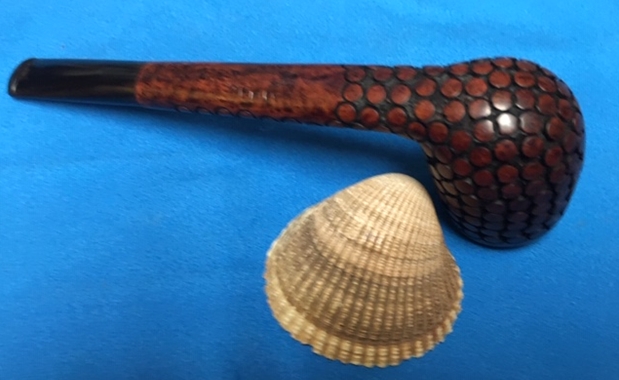
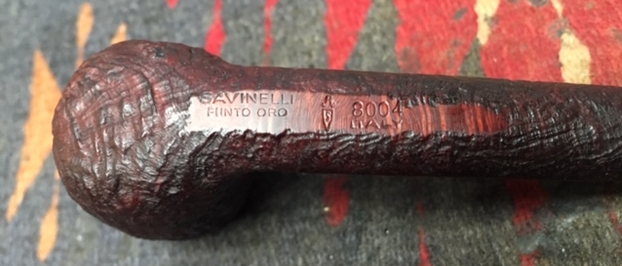
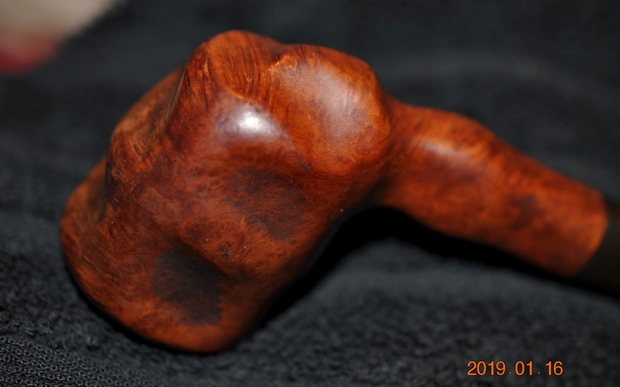
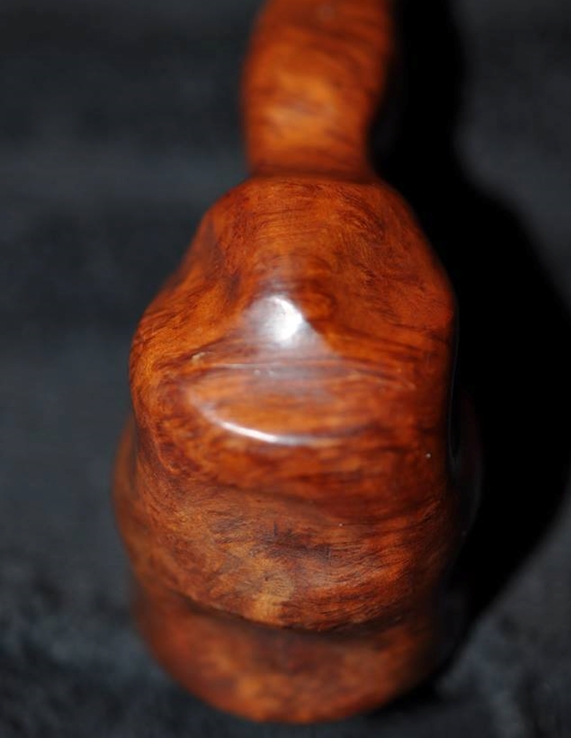
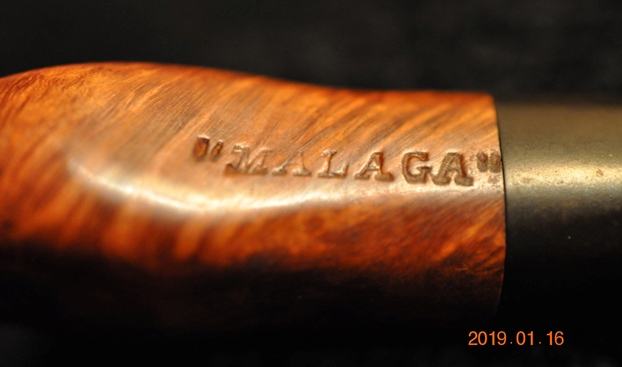
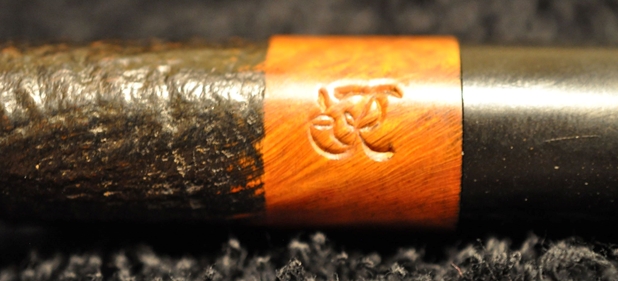
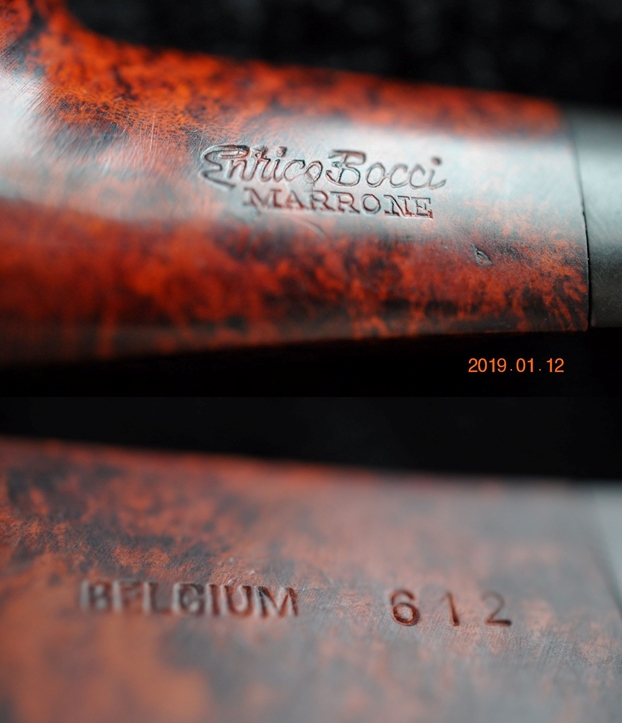
 Jeff took a photo of the stamping on the left side of the shank. It reads as noted above and is clear and legible.
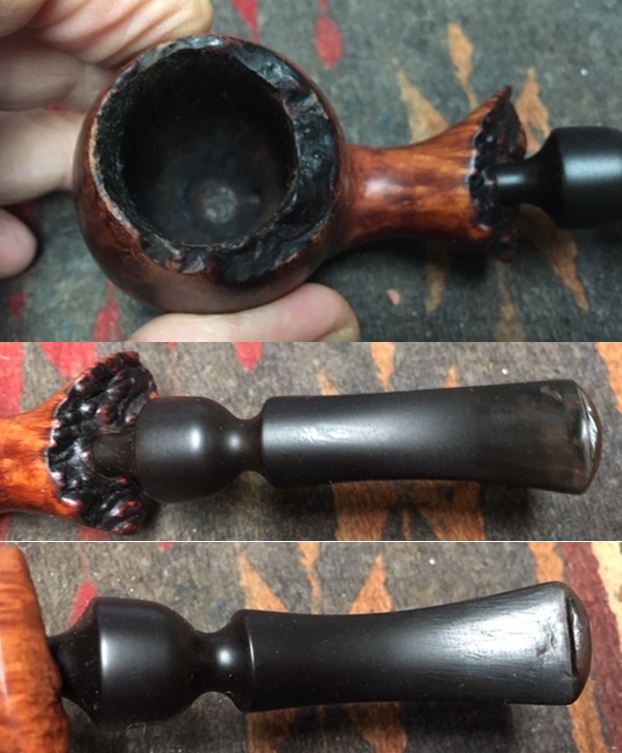
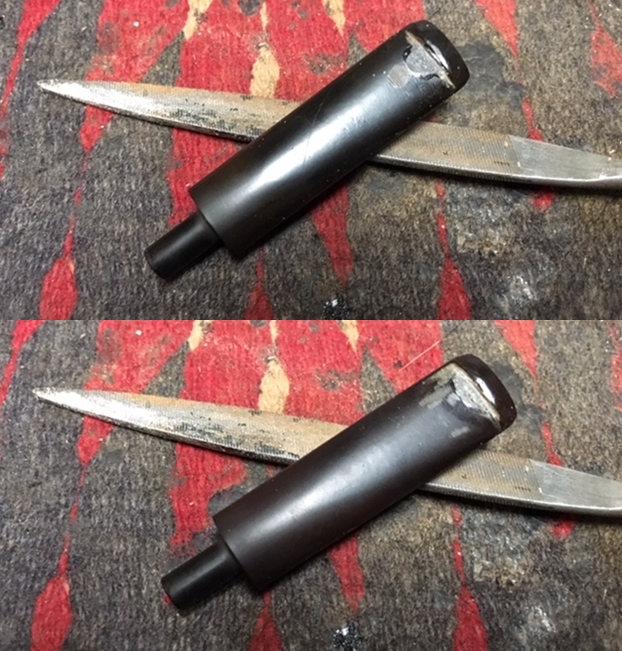
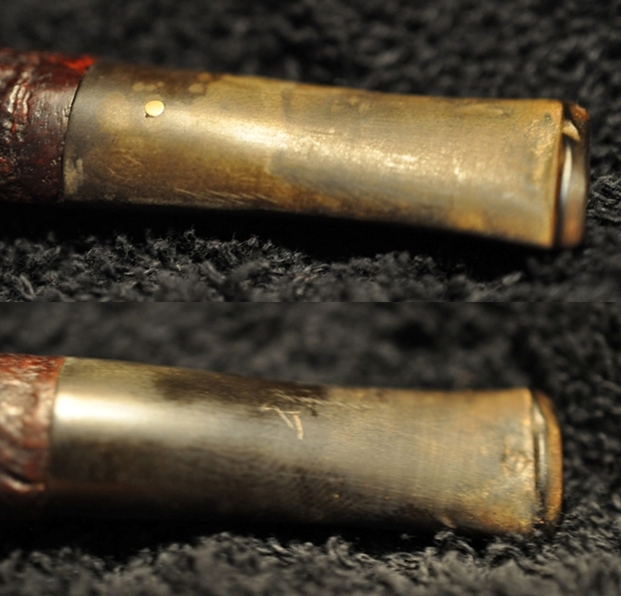
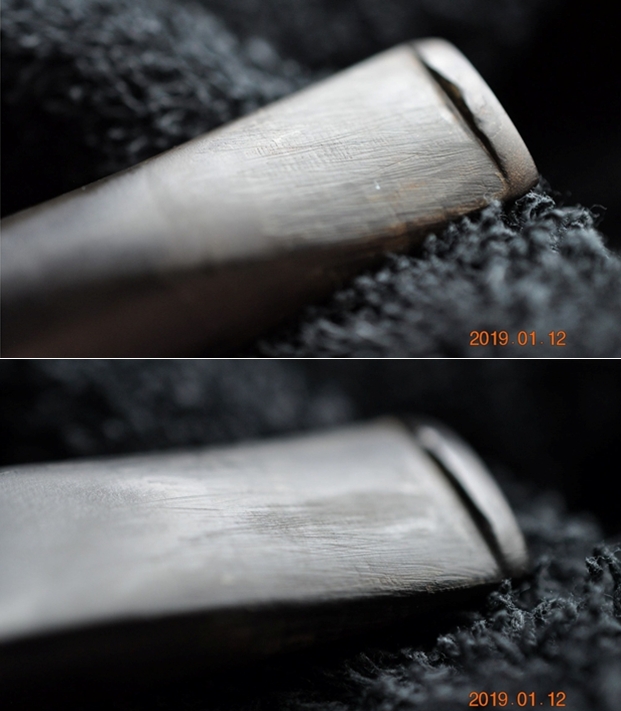
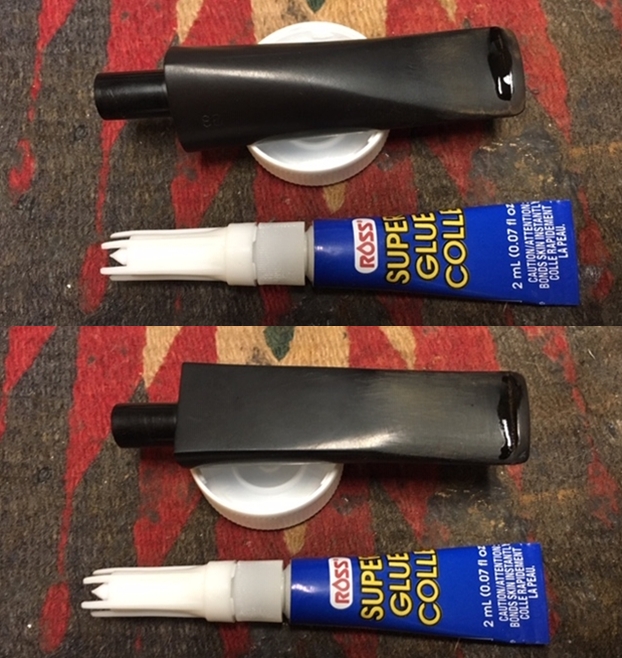
 The next two photos show the stem surface. They show the tooth marks and chatter on both sides near the button. There are also some marks on the sharp edge of the button. The stem is dirty and is covered in scratches.
 I wanted to know where the Special fit in the Charatan Hierarchy so I turned to Pipedia to get a grasp of the order of the various pipes that were made. Here is the link(https://pipedia.org/wiki/Charatan). I did a screen capture of the poster to the left showing that the SPECIAL is just below the strain grain and was noted for perfection in grain and had a natural finish.
I thus knew I was dealing with a higher grade Charatan’s Make pipe. It also has the circled L which was the Lane Trademark. Pipedia said that:
The Lane Trademark serif and circled L indicates the pipe is from the “Lane Era” (approx. 1955 to 1979 -1984?), however it appears that both the English factory or Lane themselves sometimes, or perhaps even often forget to stamp the L on a pipe. The Charatan factory was known for inconsistencies, especially in stampings. Therefore, although an L on the pipe definitely defines it as a Lane Era pipe, the lack of it could simply mean the pipe missed receiving the stamp from the factory. The lack of the trademark could also mean the pipe was destined for the European market.
From there I turned to do some reading in a link on Pipedia to a 1951 Charatan Catalogue. I wanted to be able to do some more reading on the “Natural Finish” noted above and also to see if I could identify the shape 87X that was stamped on the left side of the shank at the stem/shank junction. Here is the link (https://pipedia.org/images/3/37/CHARATAN_1951.pdf). I did a screen capture of pertinent parts of the catalogue. The first is the concept of their Natural Bruyere. The second gives a listing of the hierarchy of pipes. Note in that clipping that the SPECIAL pipes were Premier quality pipes, cut in “cross grain” or “bird’s eye” graining.
 In paging through the catalogue, I found what I was looking for in terms of shape designations. I had looked on various shape charts and had not found the shape 87 number. In this catalogue not only did I find the shape number but a drawing of the shape with the original’s stem. The pipe is what Charatan called the Lonsdale with the 87 being the larger Lonsdale shape.
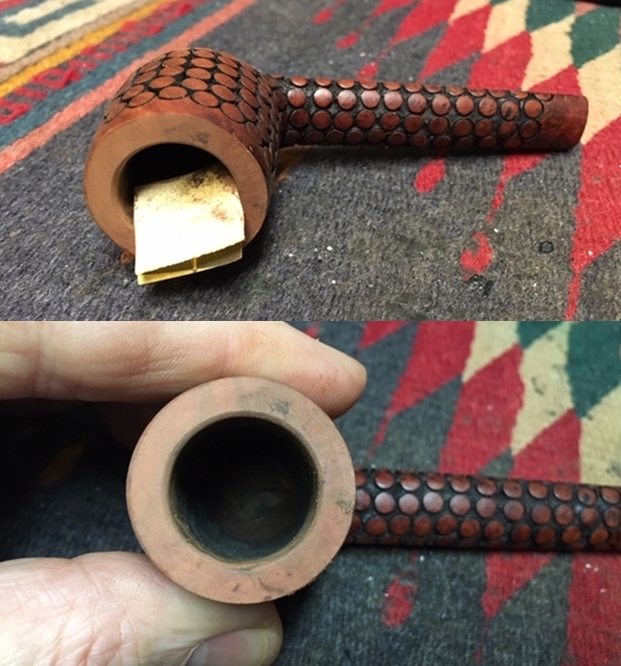
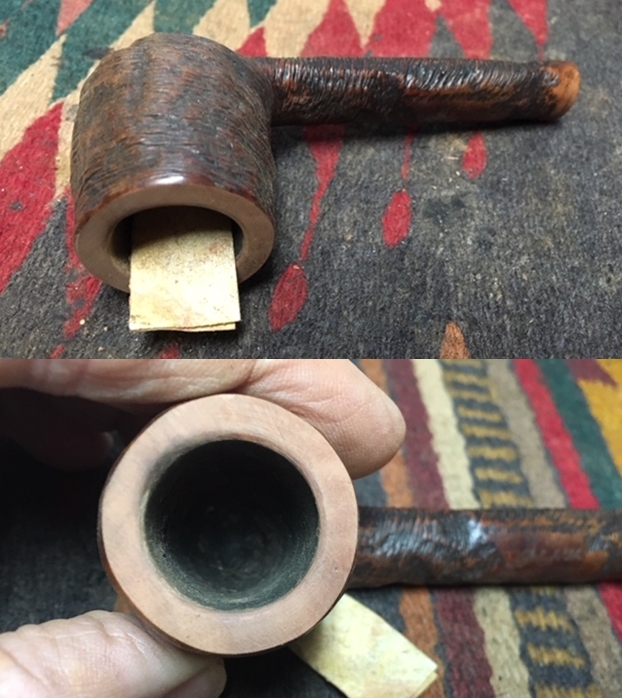
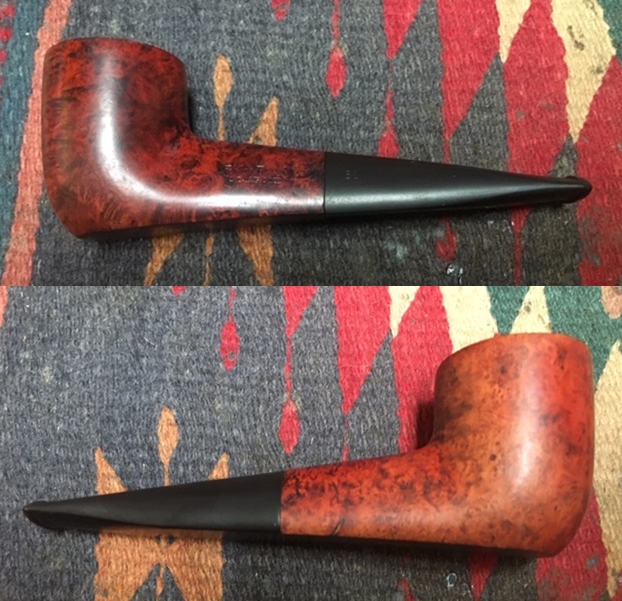
 Jeff reamed the bowl with a PipNet pipe reamer and followed up with a Savinelli Fitsall pipe knife to remove the cake. He scrubbed out the mortise and the airway in the shank and the stem with alcohol, cotton swabs and pipe cleaners. He scrubbed the exterior of the bowl, rim, shank and stem with a tooth brush and Murphy’s Oil Soap to remove the oils and tars on the rim and the grime on the finish of the bowl. He rinsed it under running water. He dried it off with a soft cloth. He was able to remove the lava build up on the rim top and you could see the overall condition of the bowl top and edges of the rim. He scrubbed the stem with soap to remove the grime on the surface. I took photos of the pipe to show its condition before I started work on it.
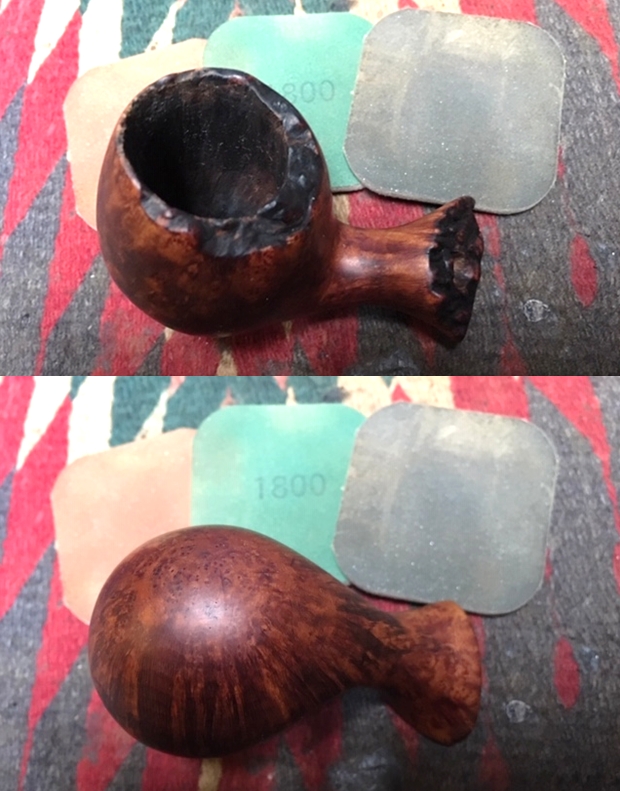
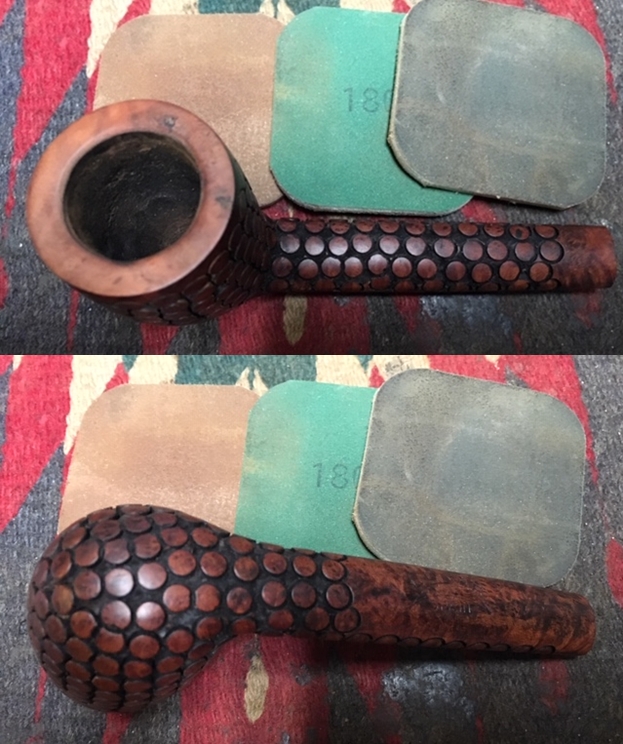
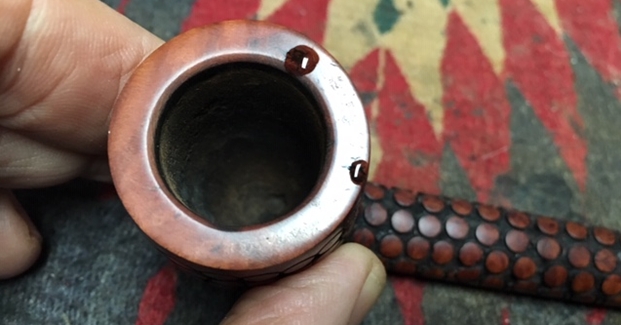
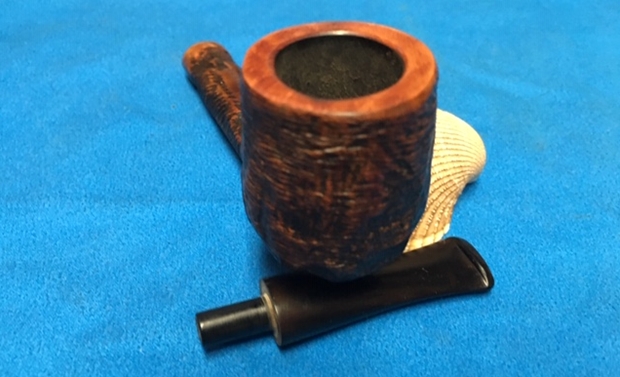
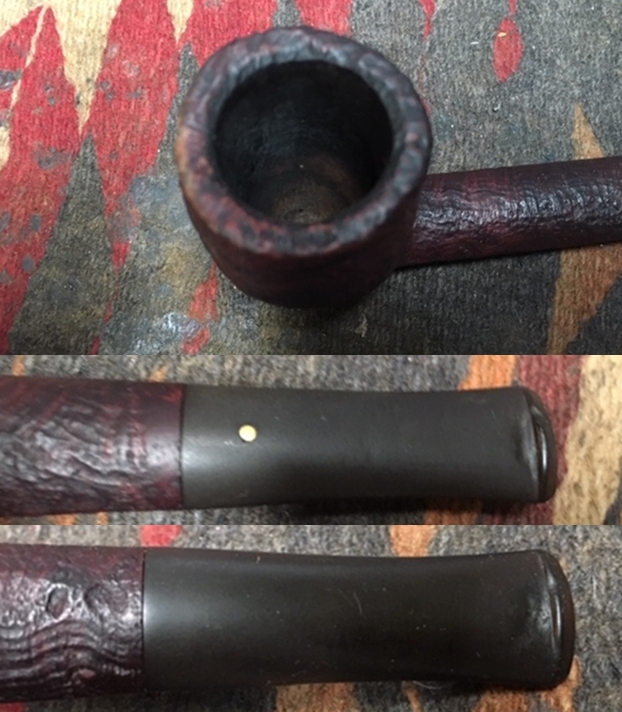
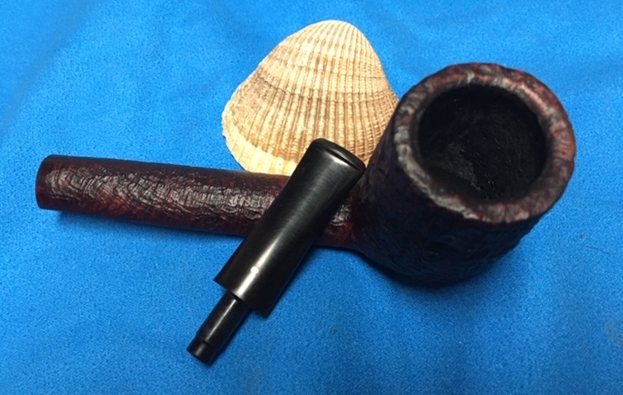
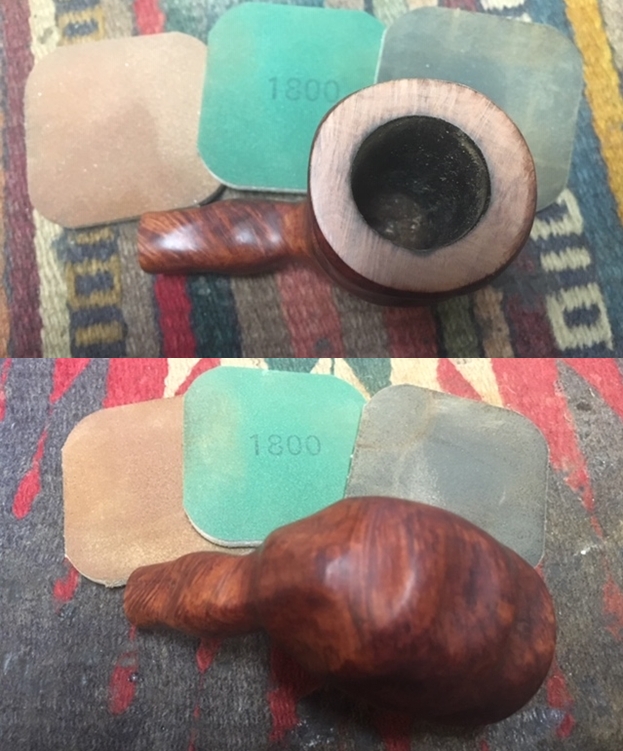
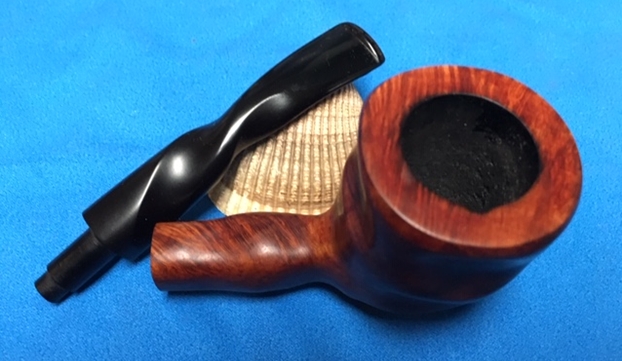
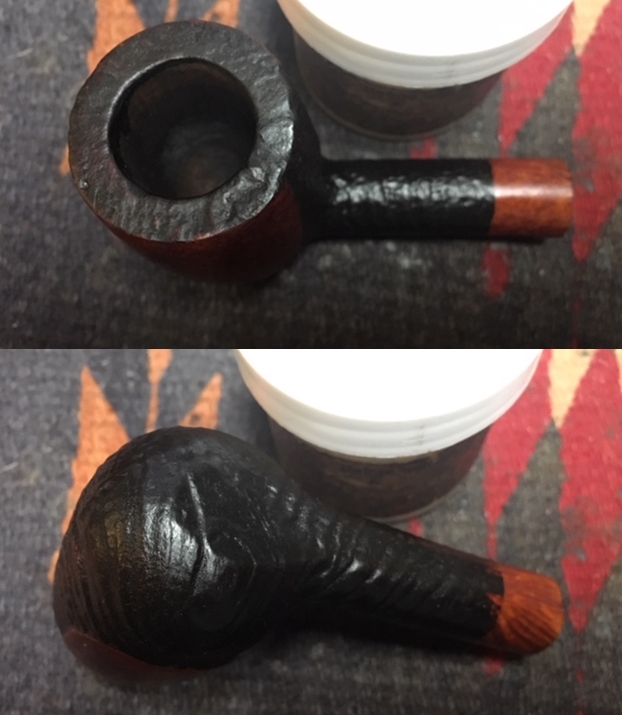
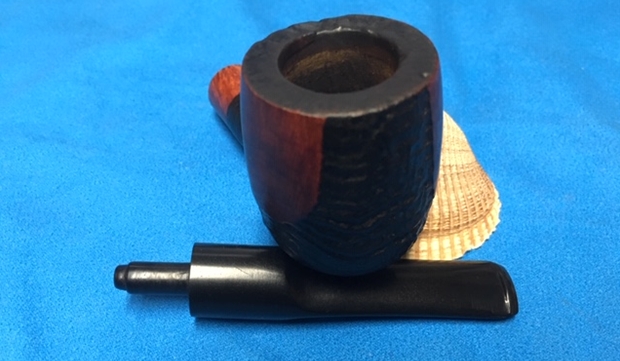
 I took a close up photo of the rim top to show the darkening on the top and the burn damage on the front and right inner edge. Jeff had done an amazing job cleaning off the lava buildup. The outer edge of the rim has some deep nicks on the front of the bowl. The bowl is slightly out of round on the right rear inner edge. The Lucite saddle stem photos show the tooth marks and the wear on the button surface on both sides.
 I decided to start my work on the pipe by addressing the darkening and damage to the rim top and edges. I topped the bowl on a topping board with 220 grit sandpaper to remove the damage and minimize the outer and inner edge damage. I was able to remove much of the damage. To address the burn on the front edge and the area on the right rear edge making the bowl out of round I used a folded piece of 220 grit sandpaper to give the rim edge a slight bevel. The bevel worked to hide the damage and bring the bowl back into round.
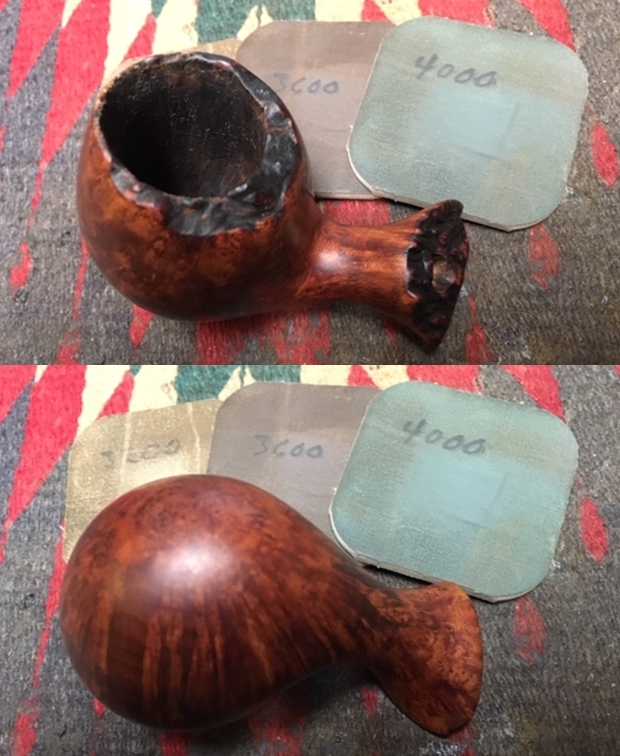
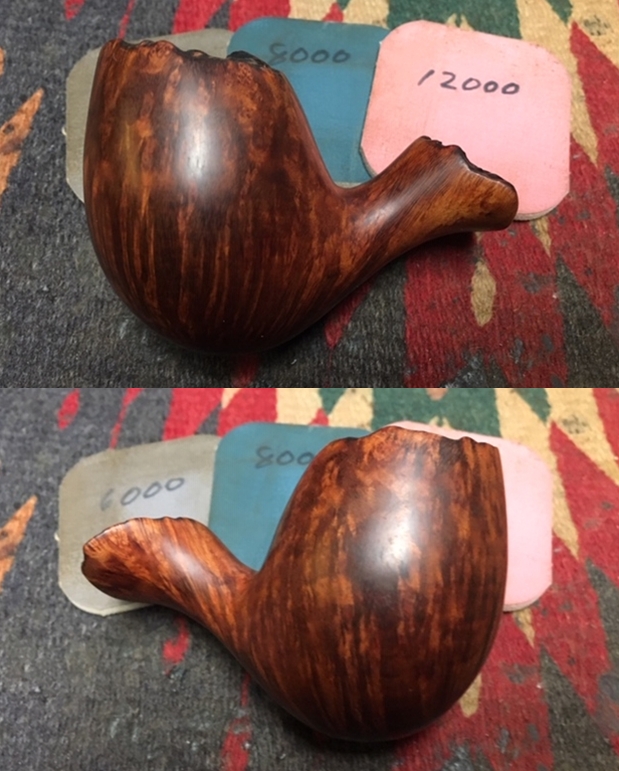
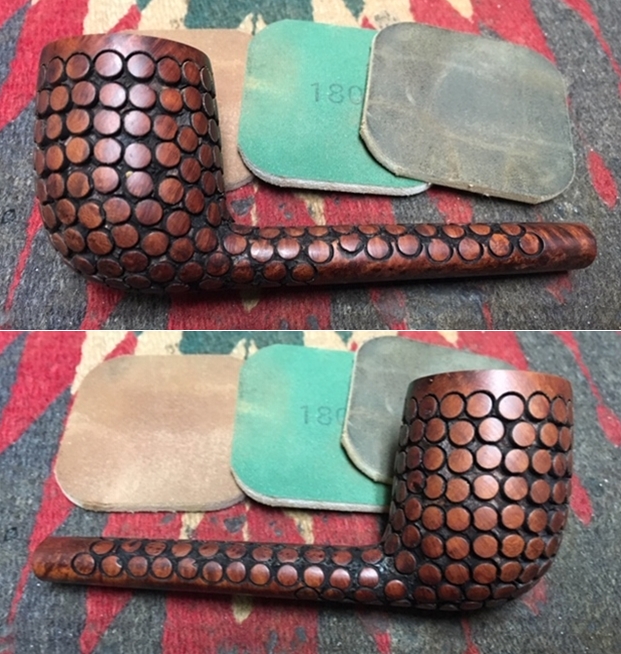
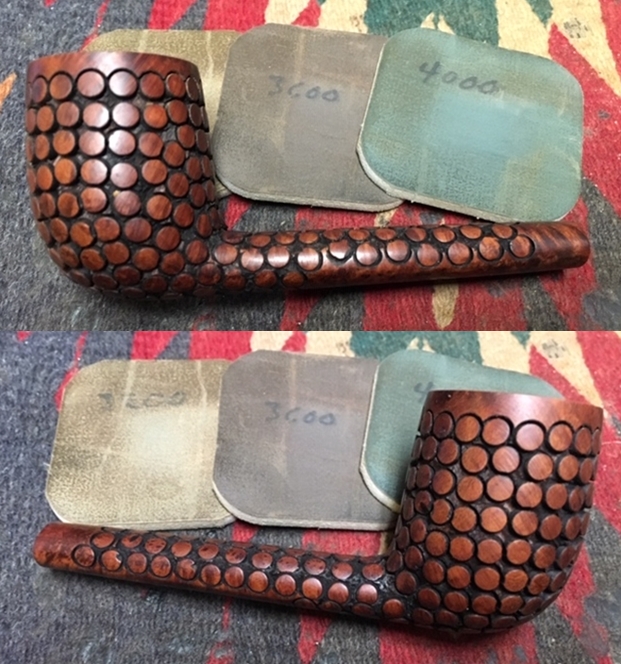
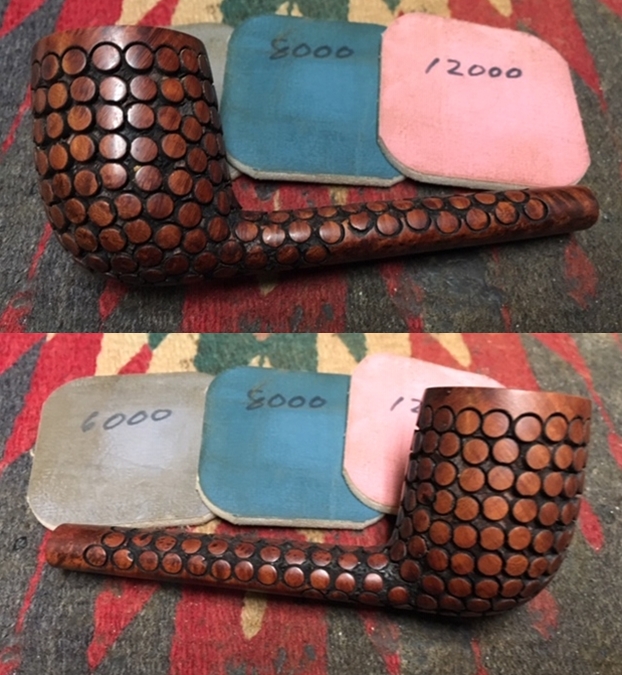
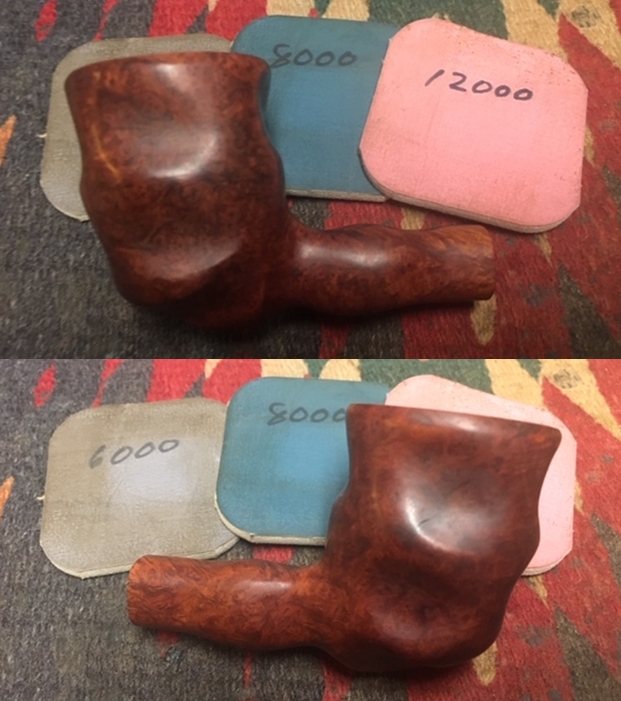
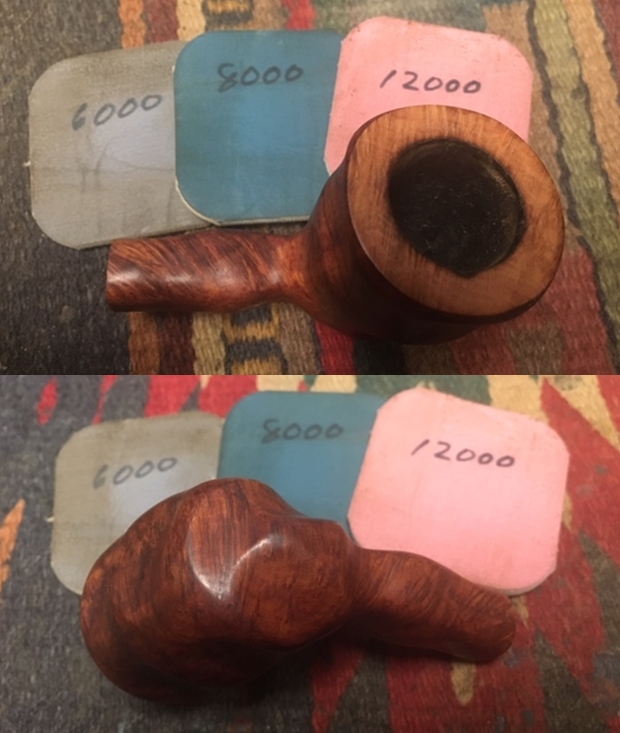
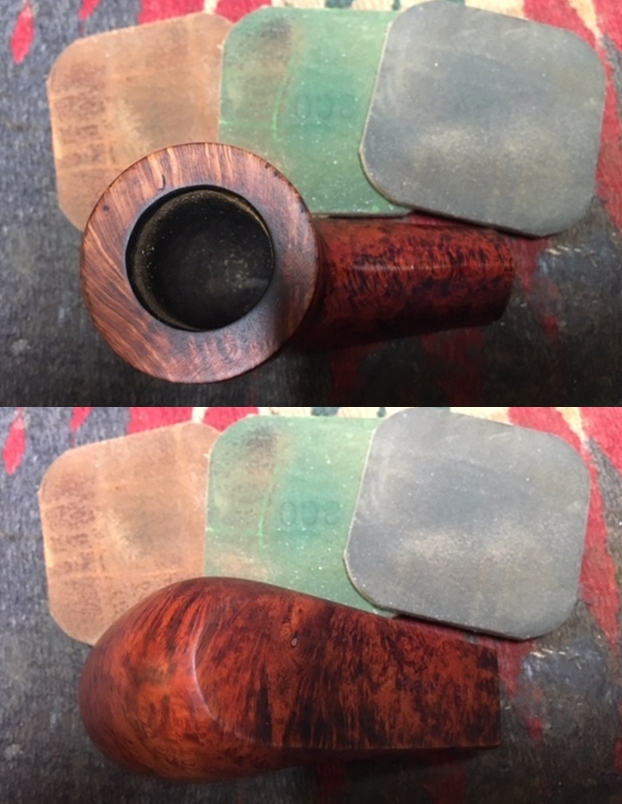
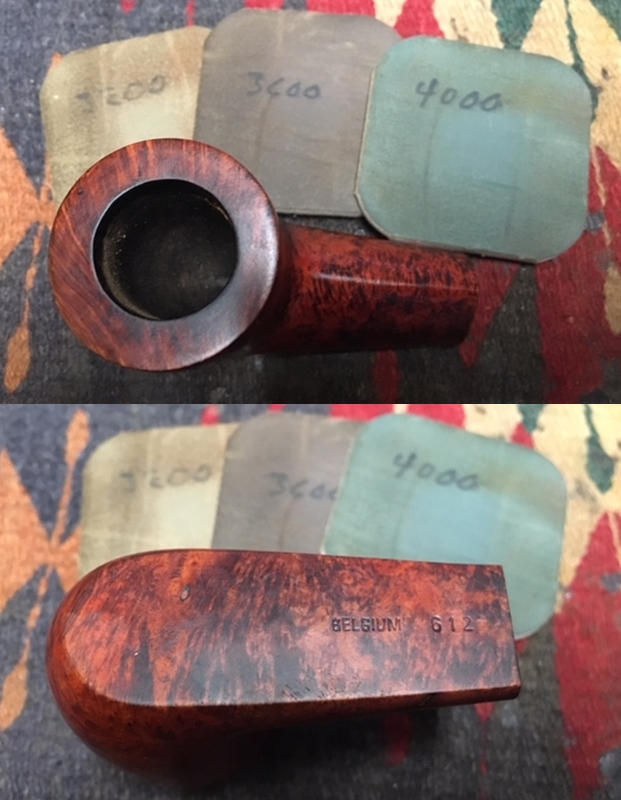
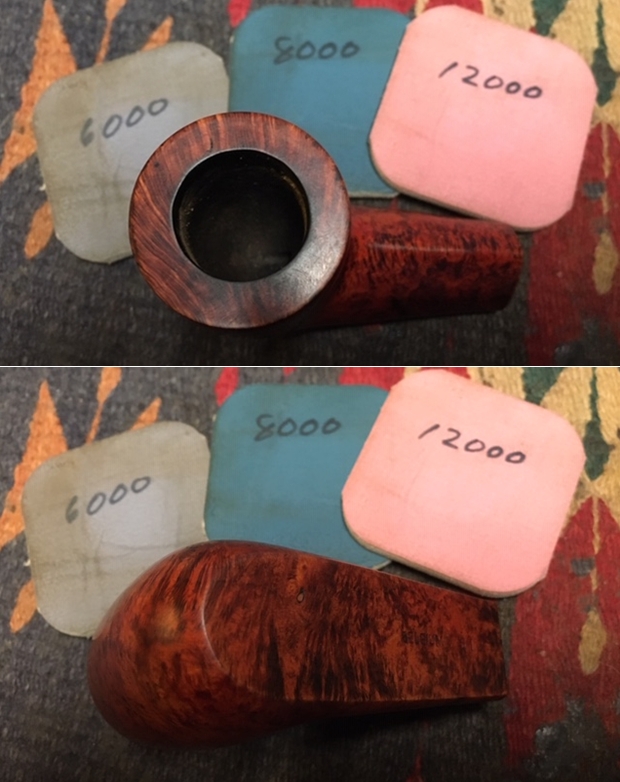
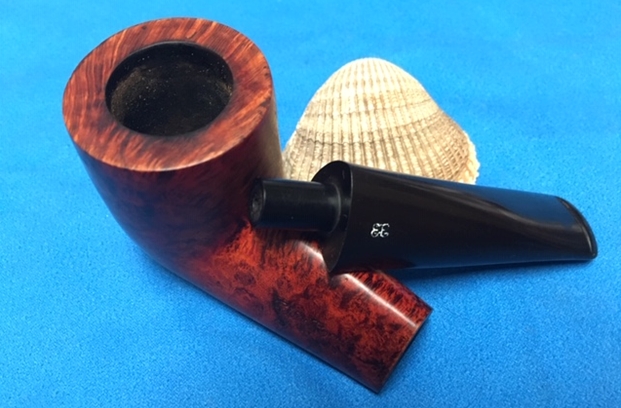
 I polished the bowl sides and rim top with micromesh sanding pads. I wet sanded with 1500-2400 grit pads and dry sanded with 3200-12000 grit pads. I wiped the bowl and rim down with a damp cloth after each pad. As I polished it the sanded rim top began to shine and blend in with the rest of the briar.


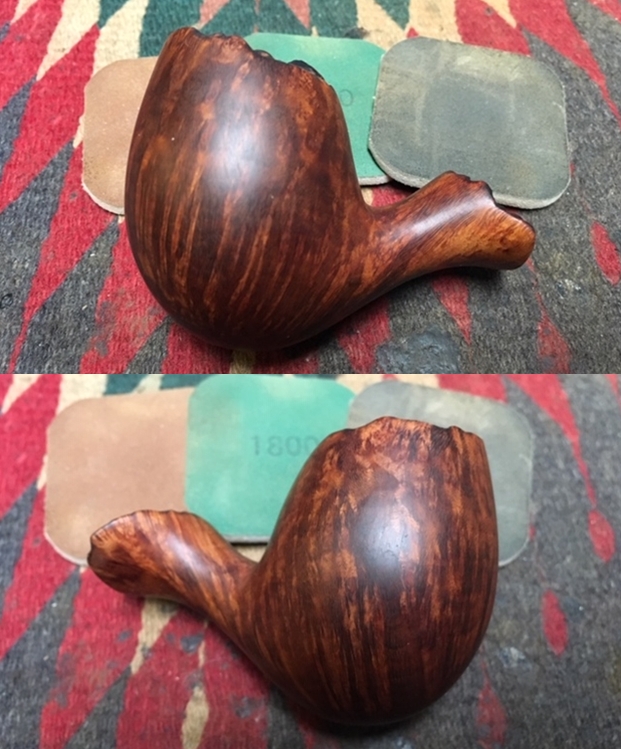
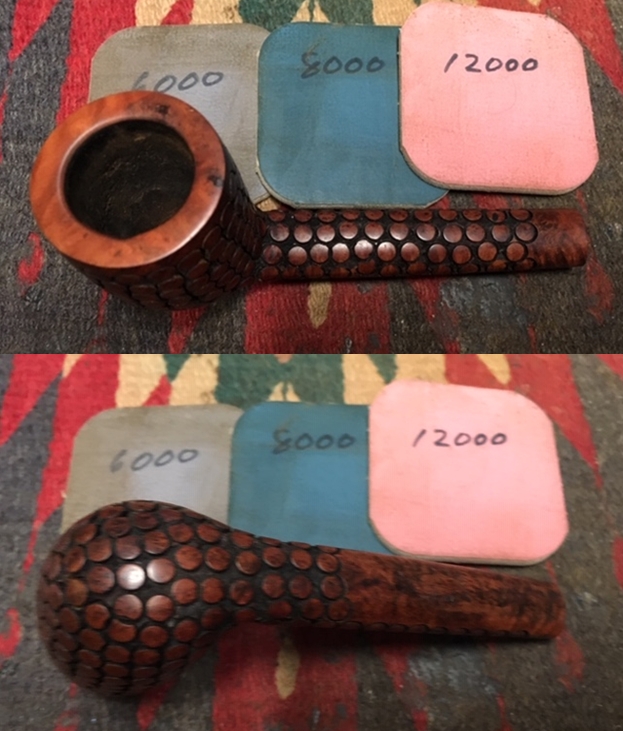
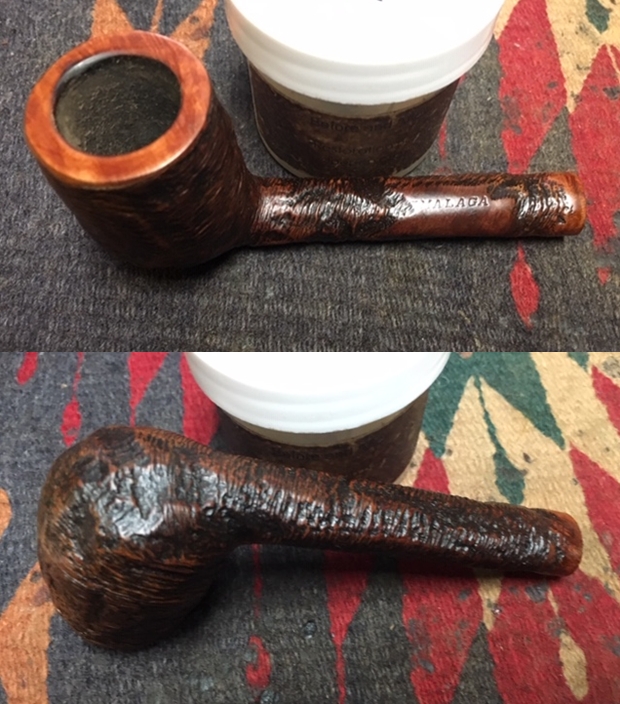
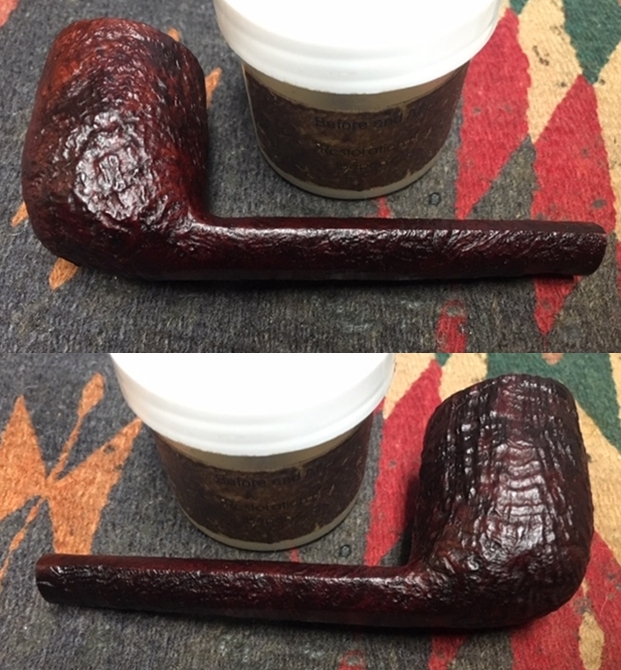
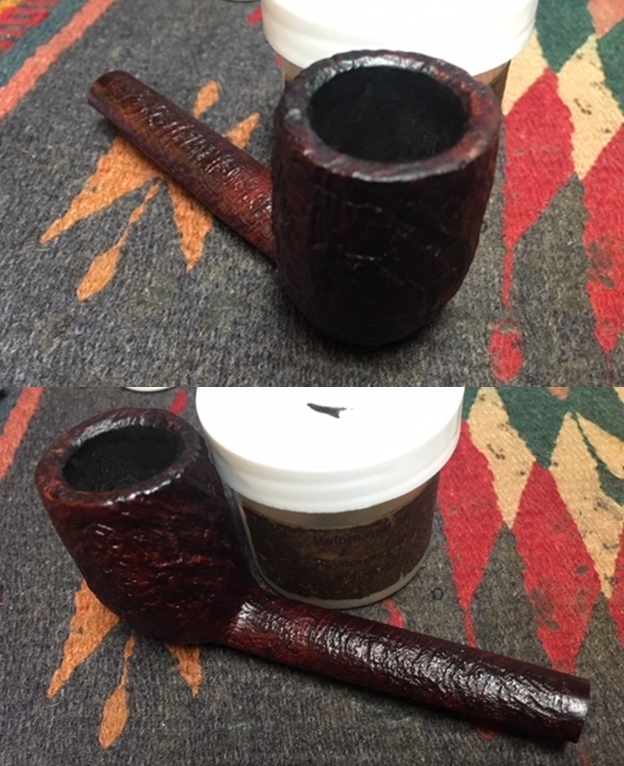
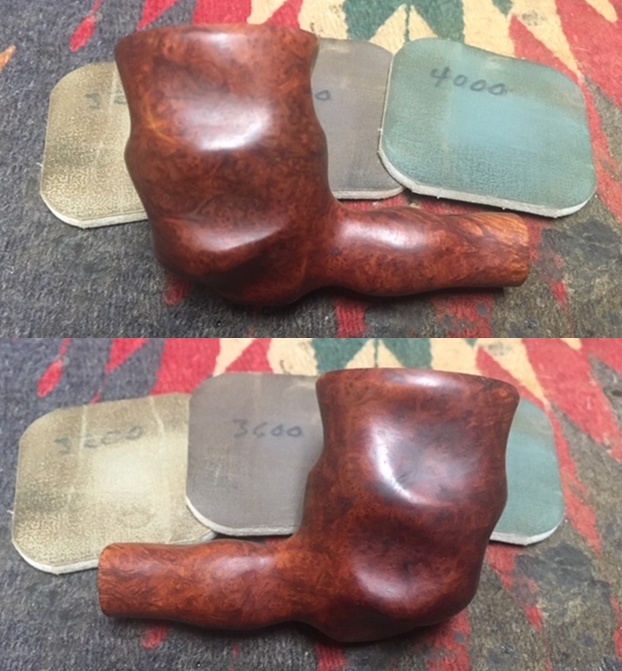
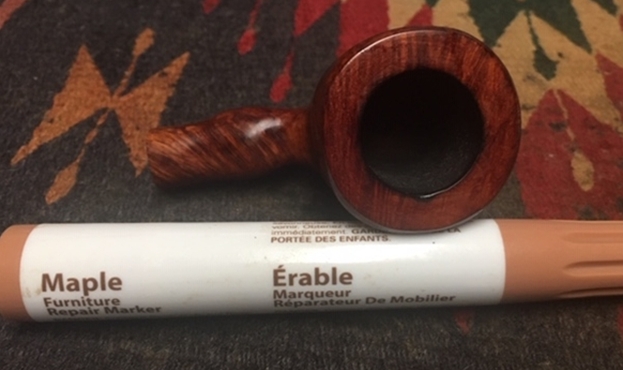
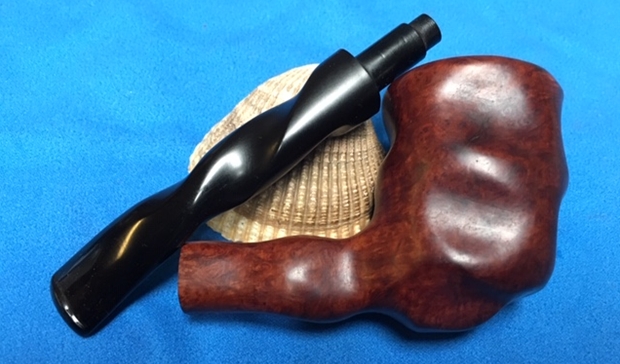
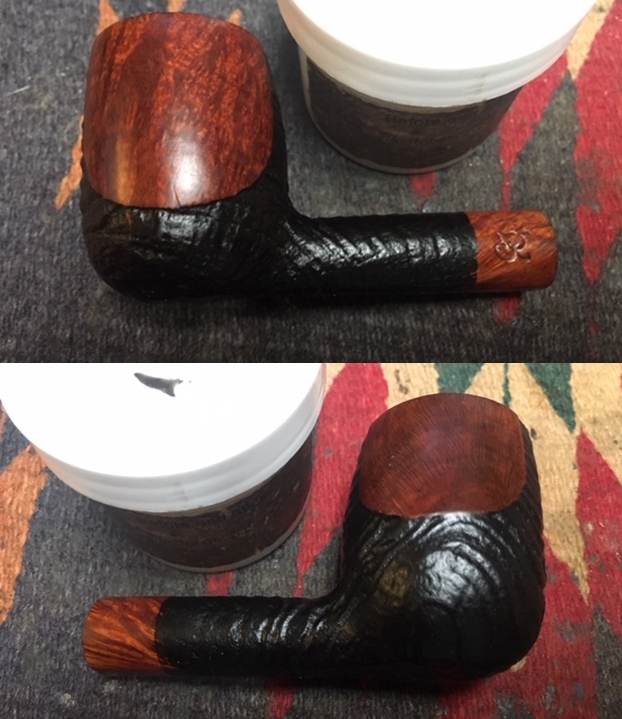
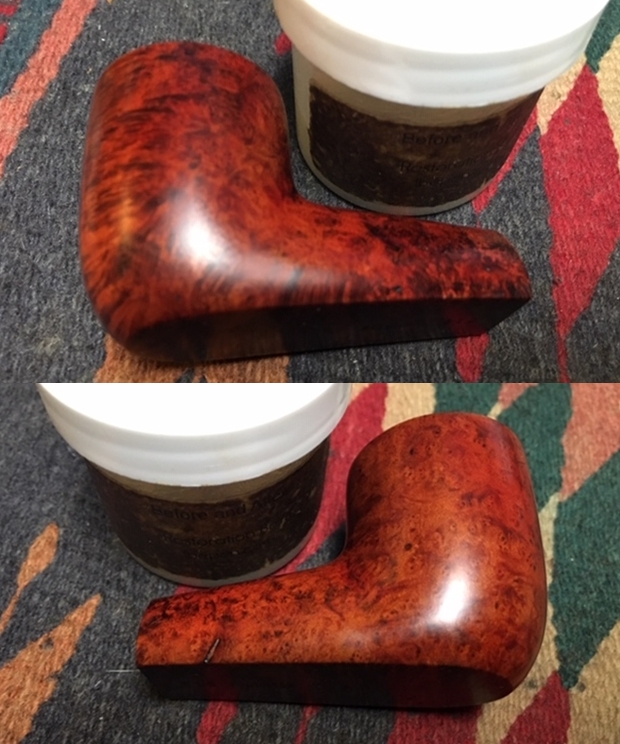
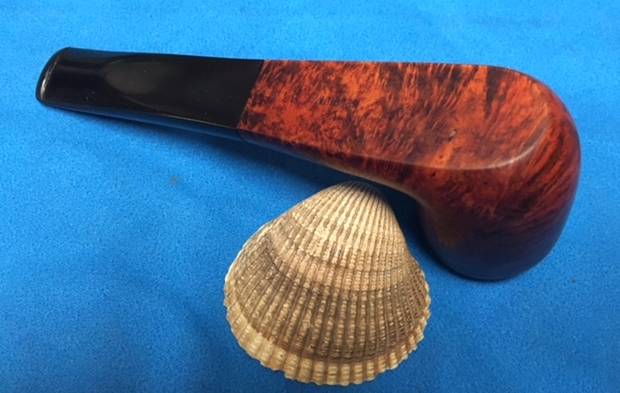
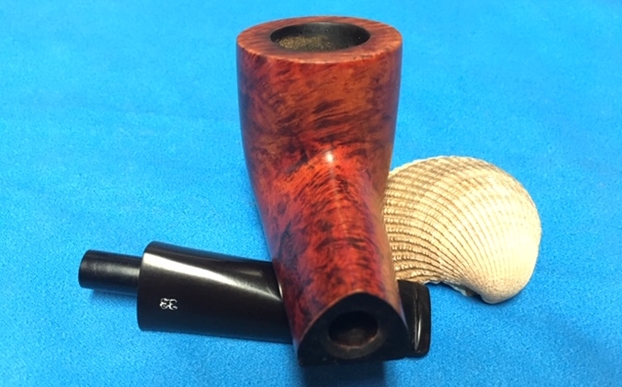
 I worked some Before & After Restoration Balm into the surface of the briar with my fingertips to clean, enliven and protect it. I let the balm sit for a little while and then buffed with a cotton cloth to raise the shine. The following photos show the bowl at this point in the restoration process. The bowl and the rim top look really good. The finish looks very good with the rich finish on the bowl and rim. I am very happy with the results.

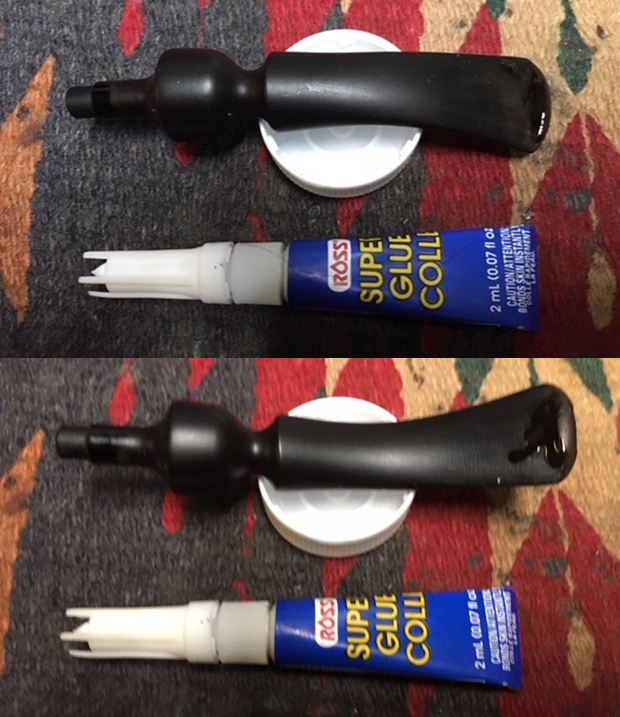
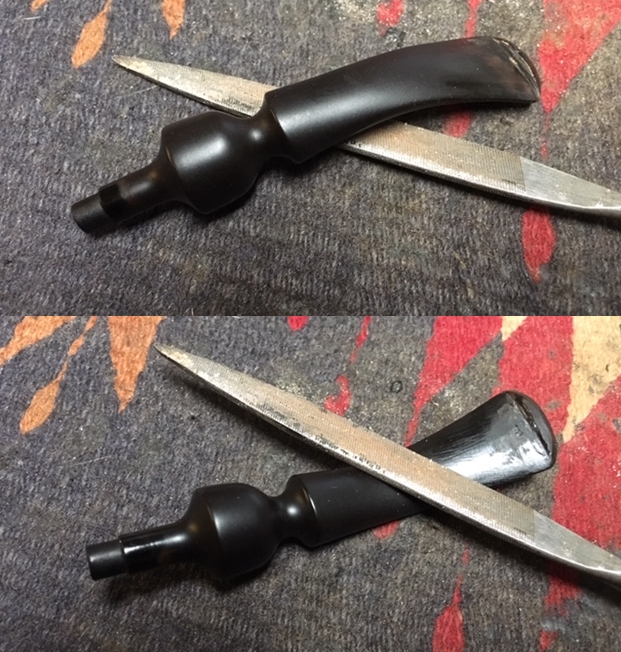
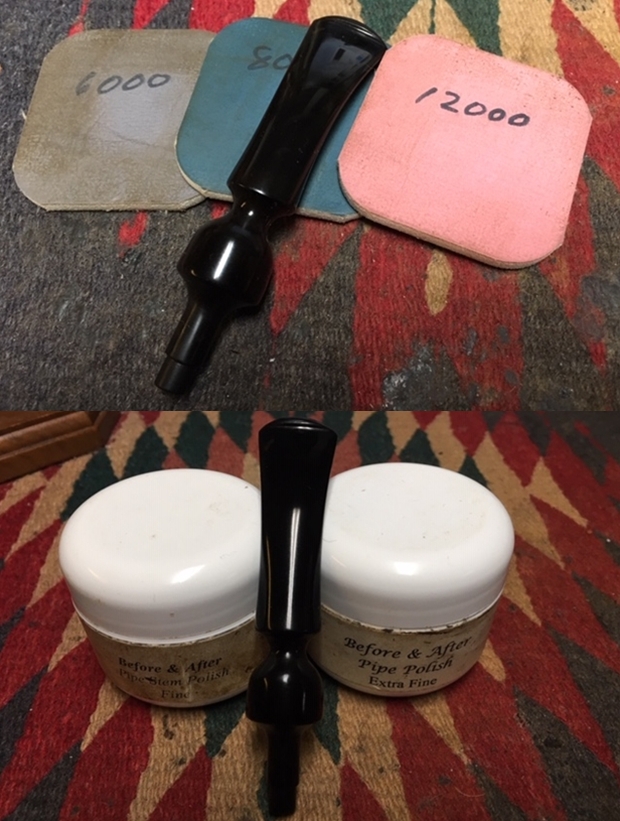
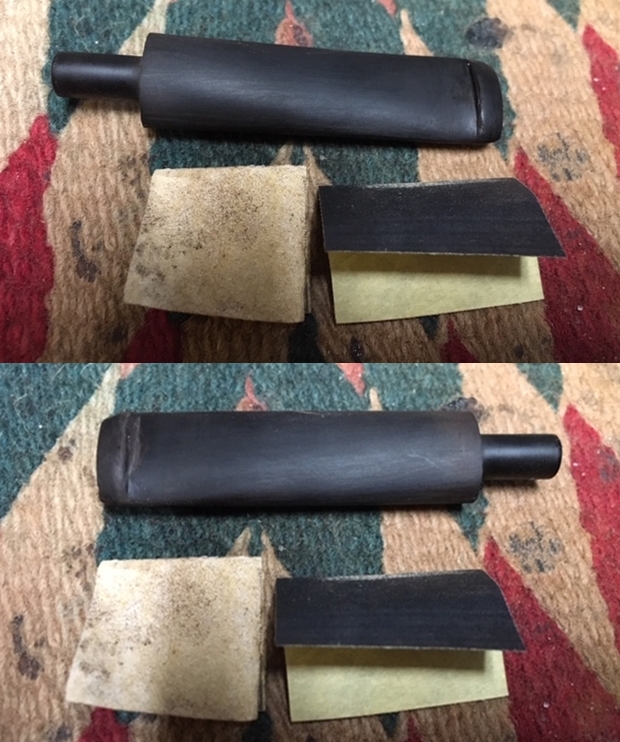
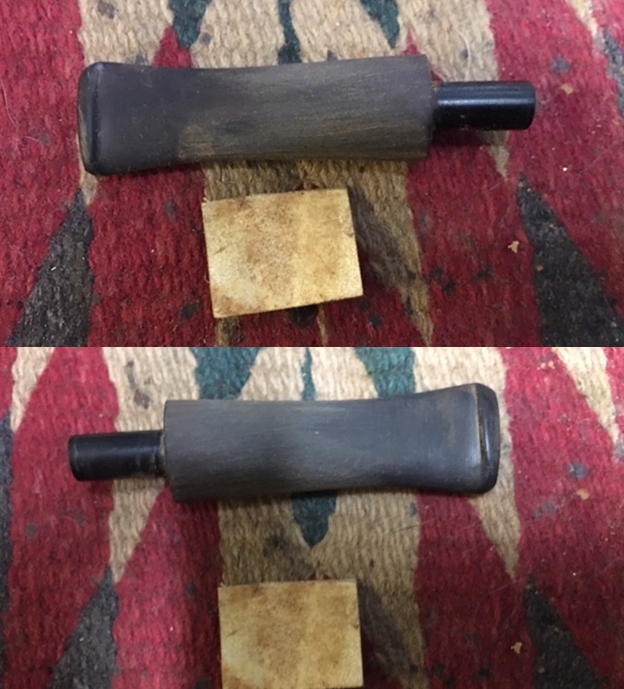
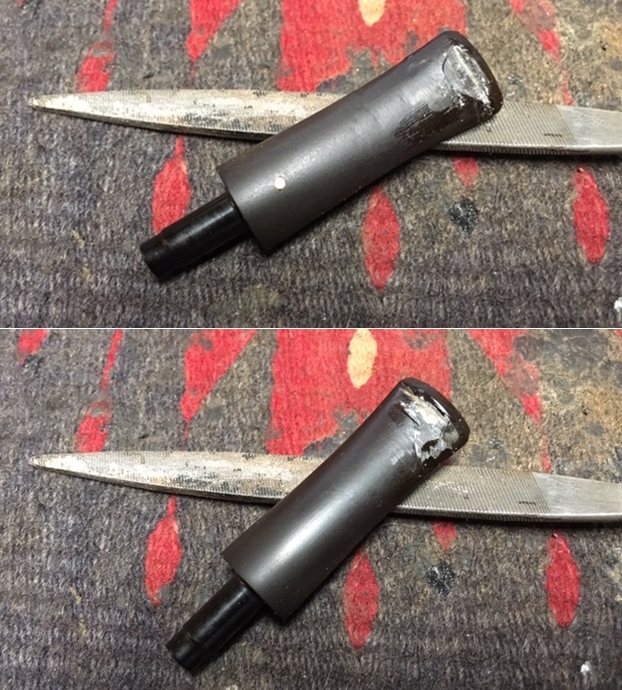
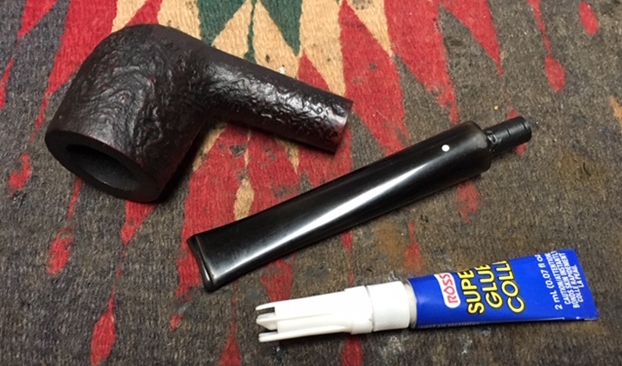
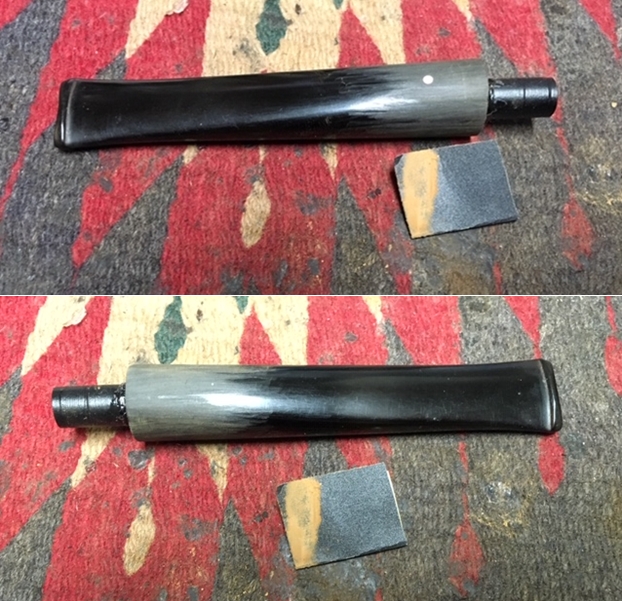
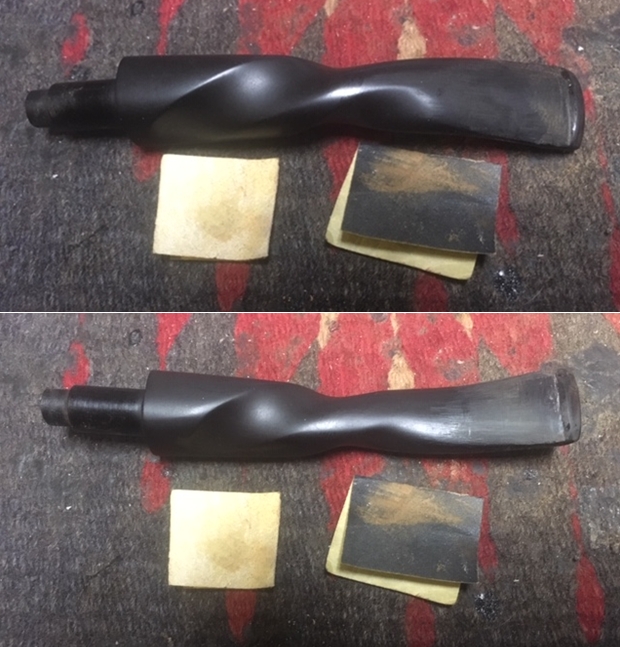
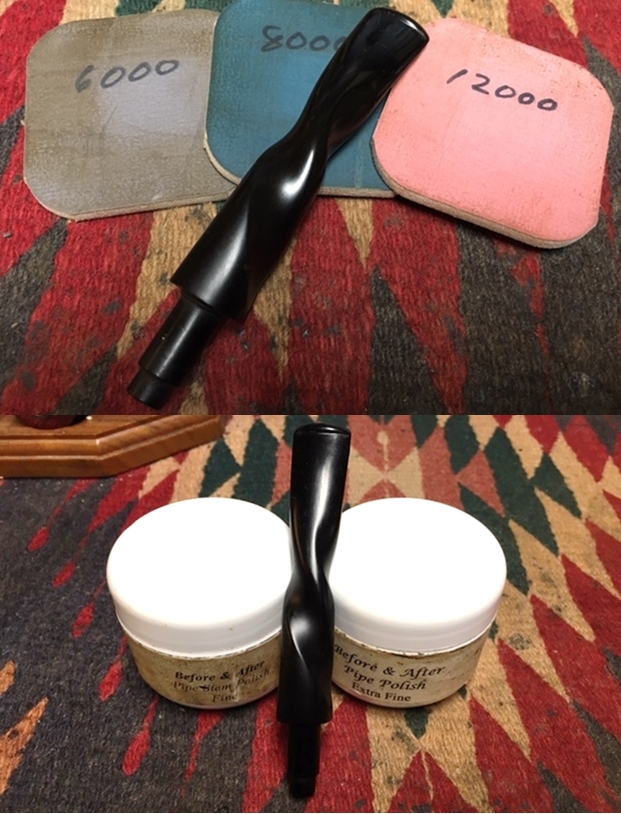
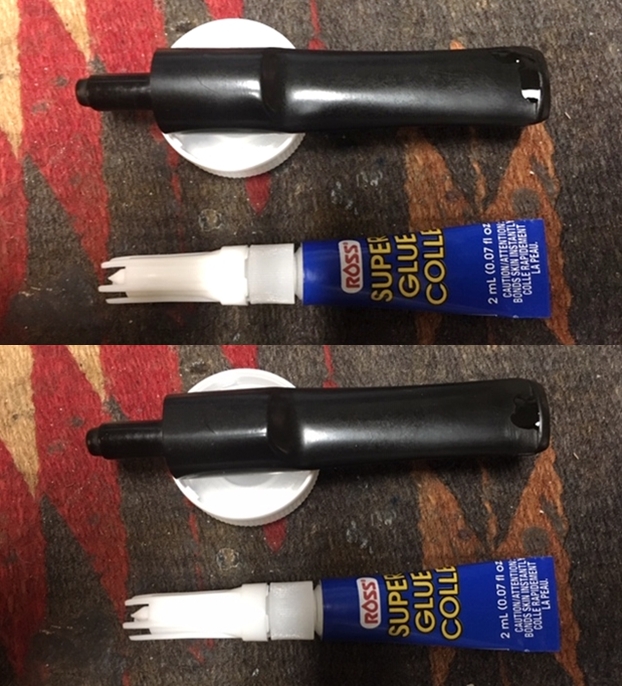
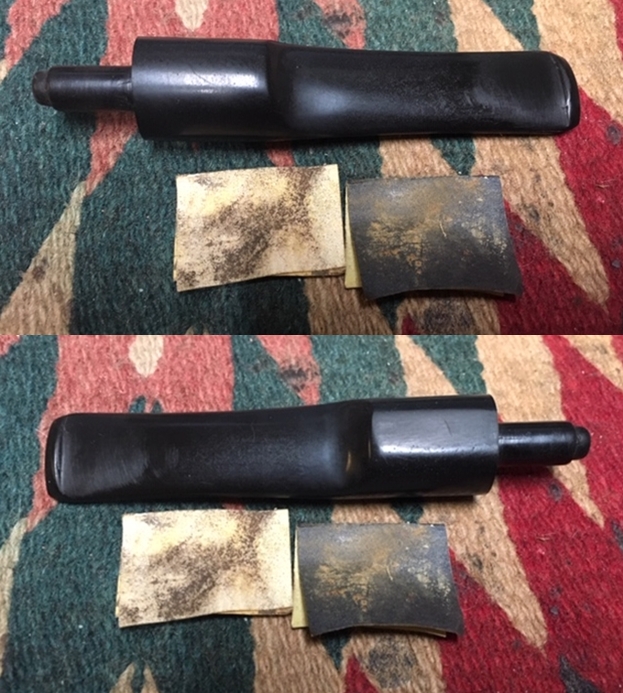
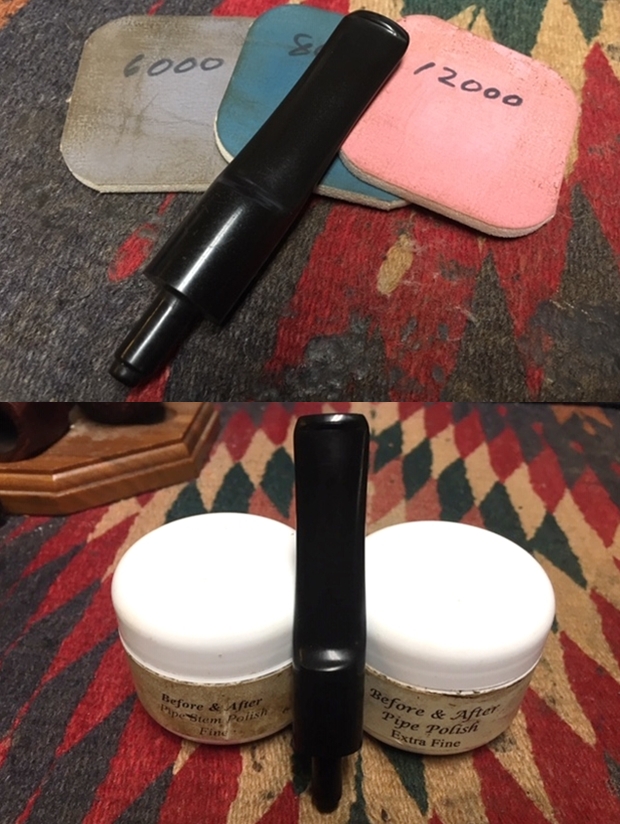
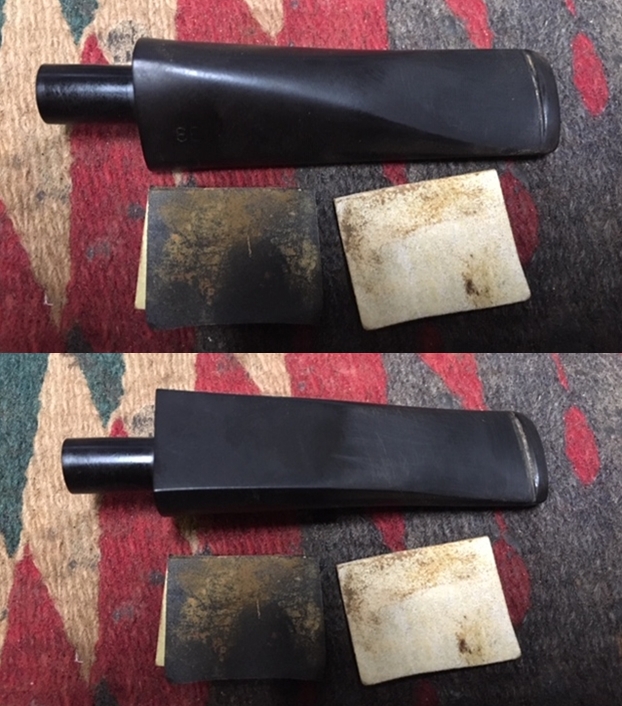
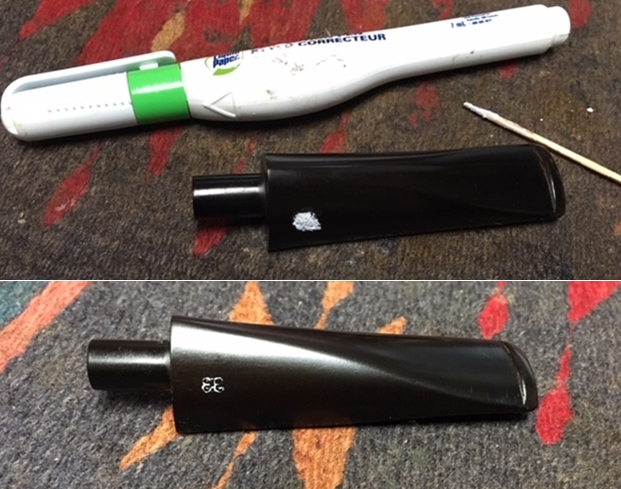
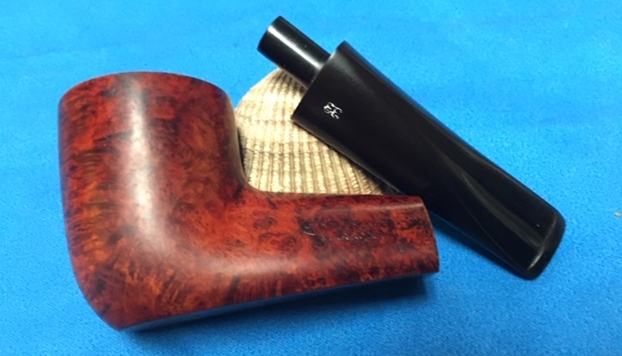
 I used a folded piece of 240 grit sandpaper to blend the repairs into the surface of the stem. Once the surface was smooth I sanded out the scratch marks and started the polishing of the stem with a folded piece of 400 grit sandpaper. I wiped the stem down with Obsidian Oil and took the following photos.
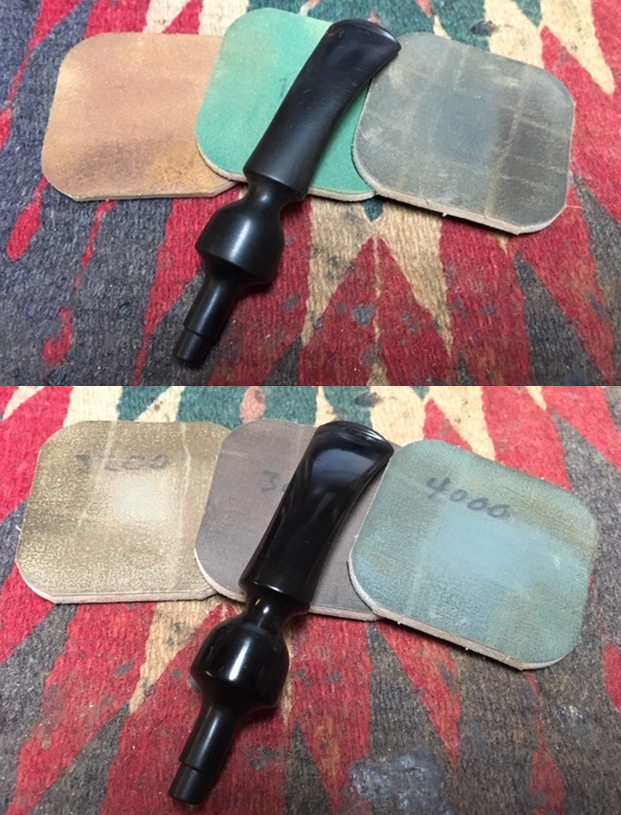
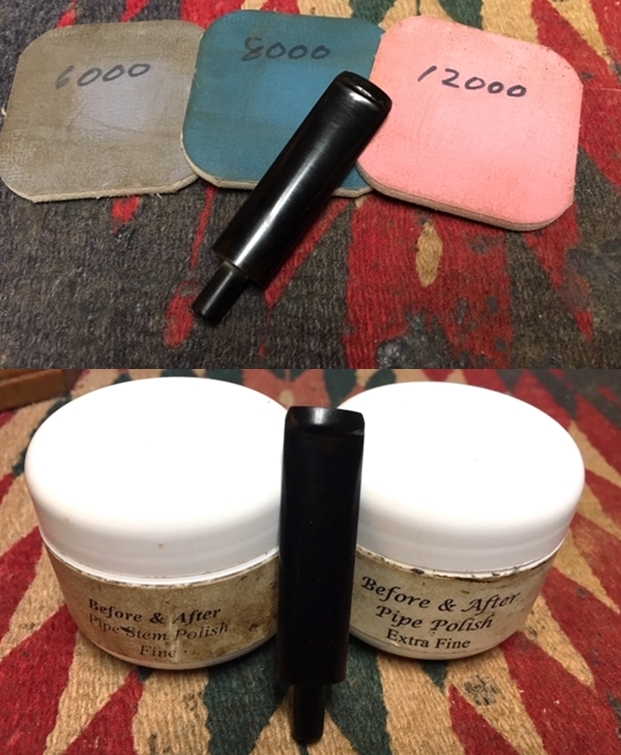
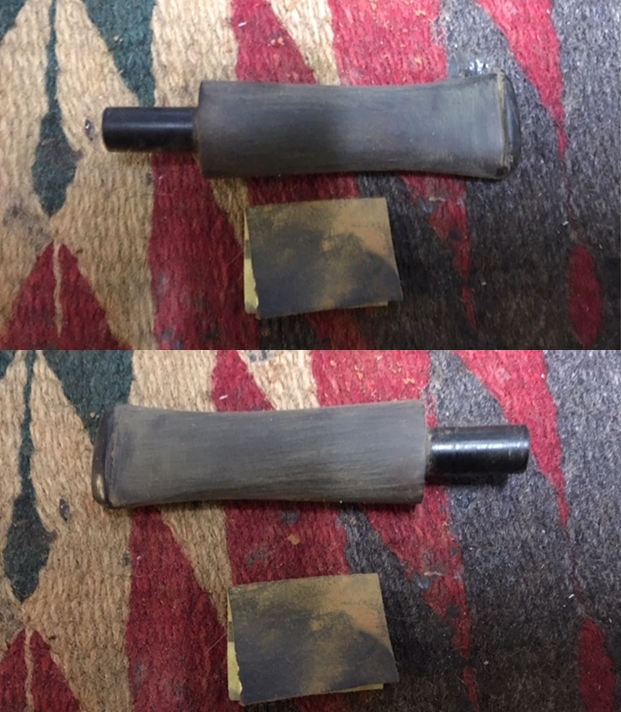
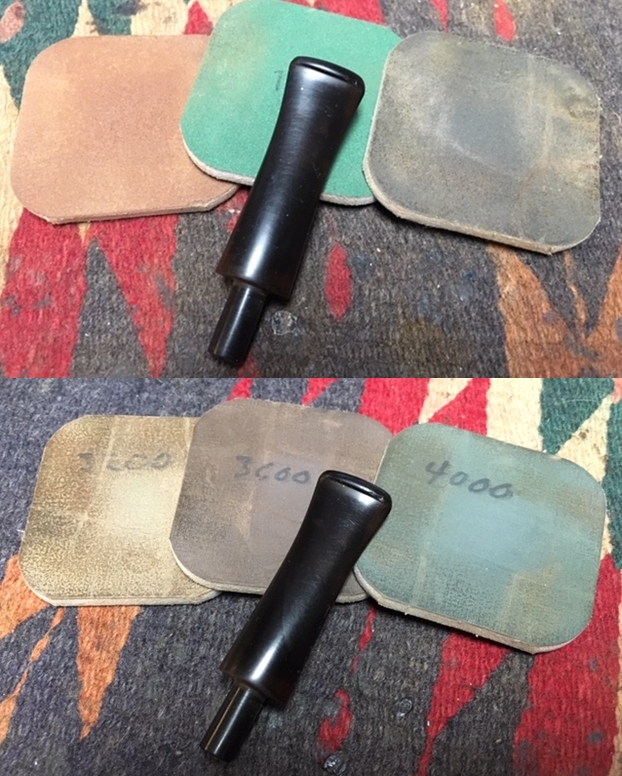
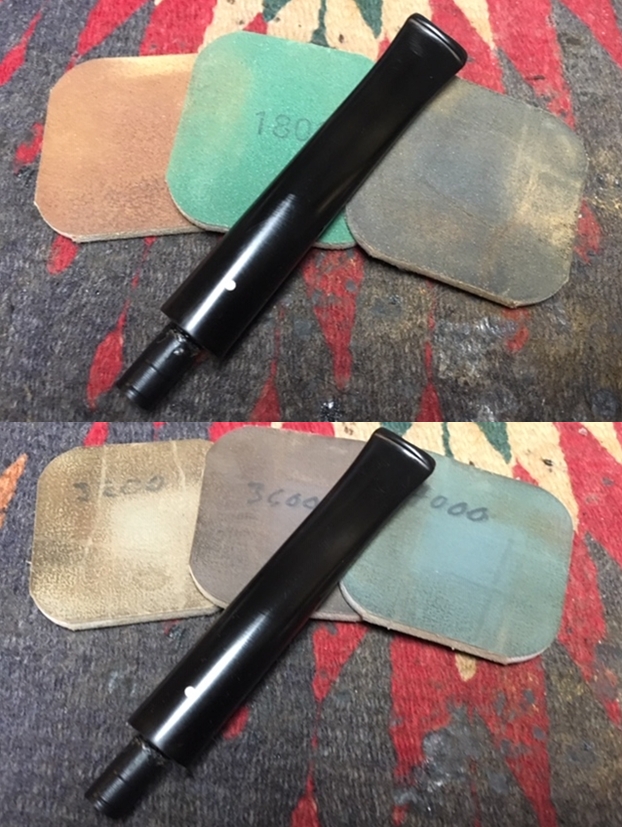
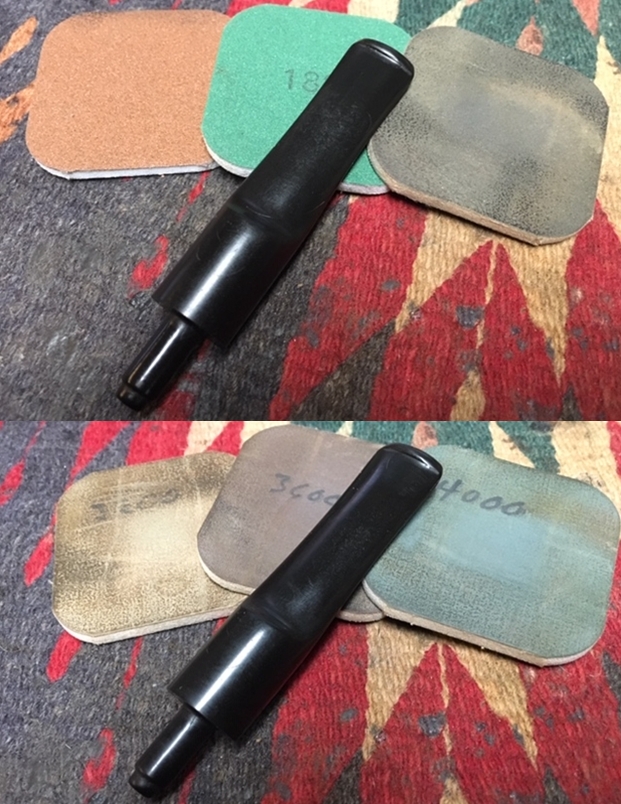
 I polished the stem with micromesh sanding pads – wet sanding it with 1500-2400 grit pads and dry sanding it with 3200-12000 grit pads. I wiped the stem down with a damp cloth after each pad. I wiped it down with a coat of Obsidian Oil and set it aside to dry.
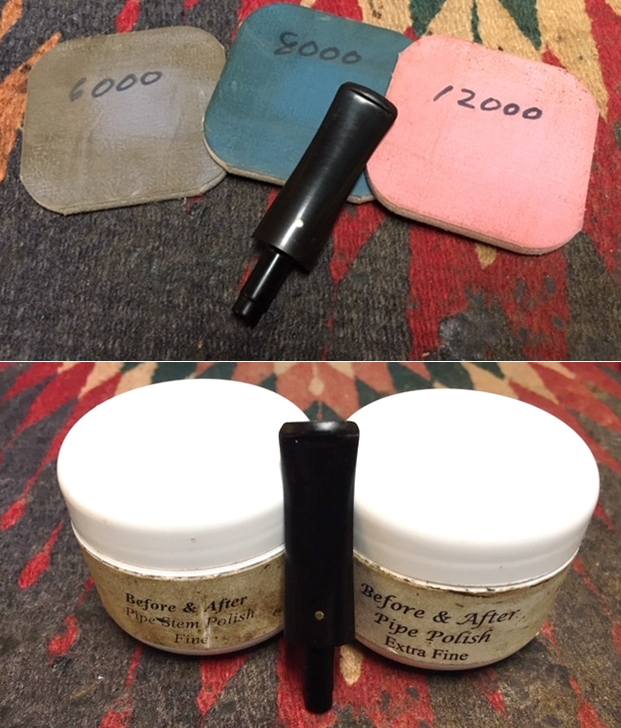
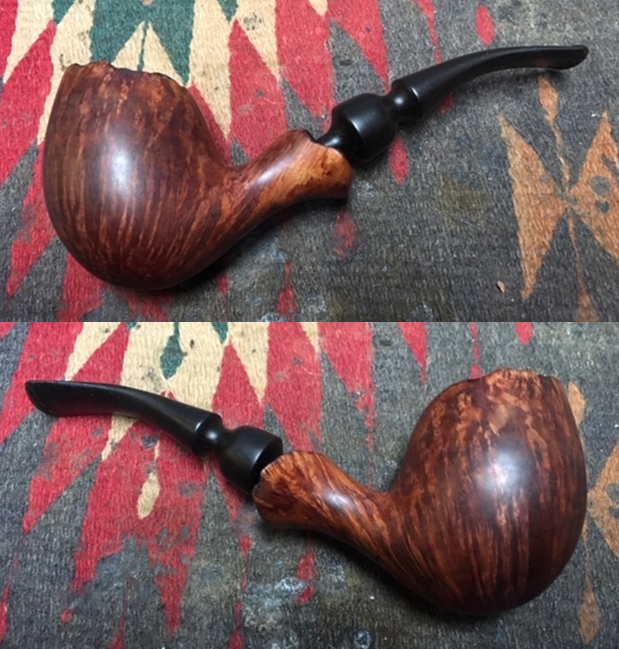
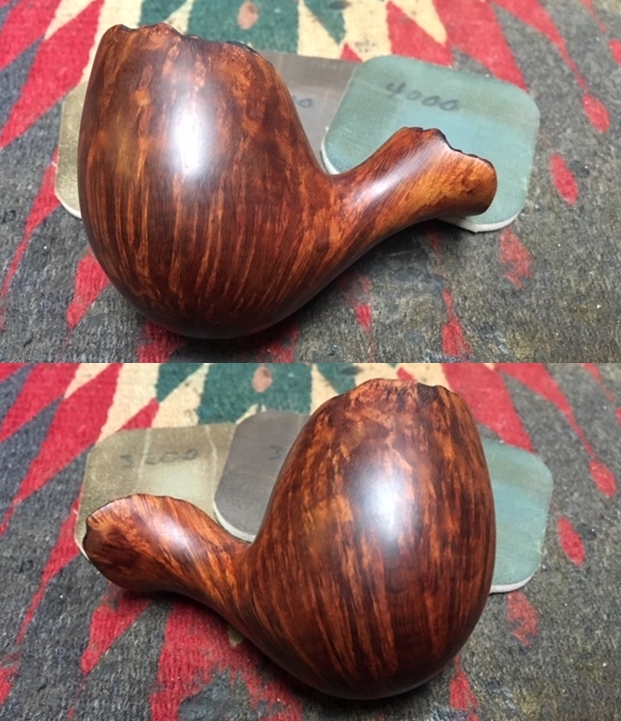
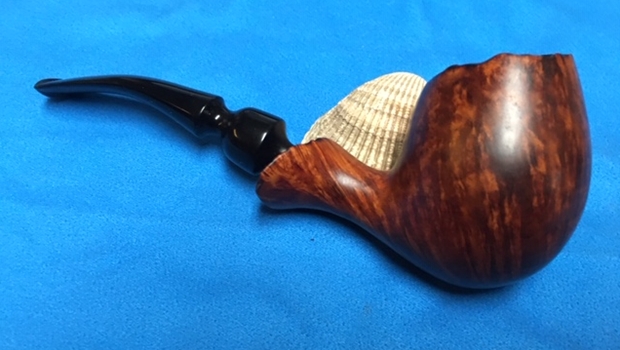
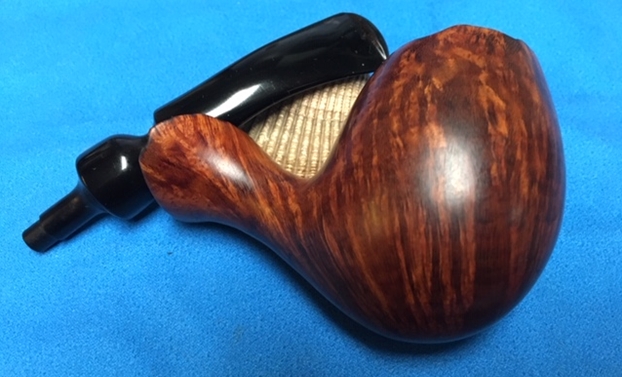
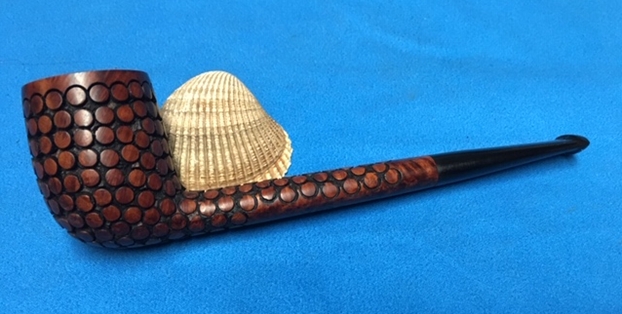
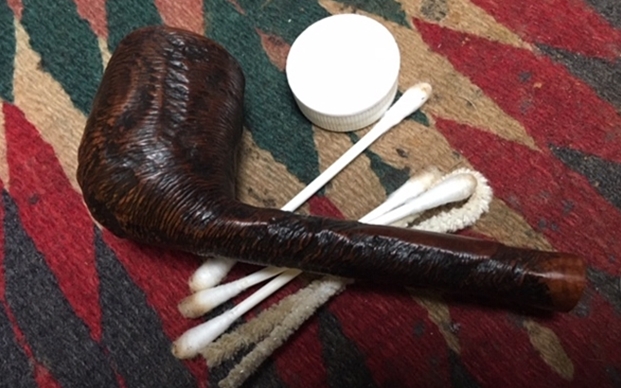
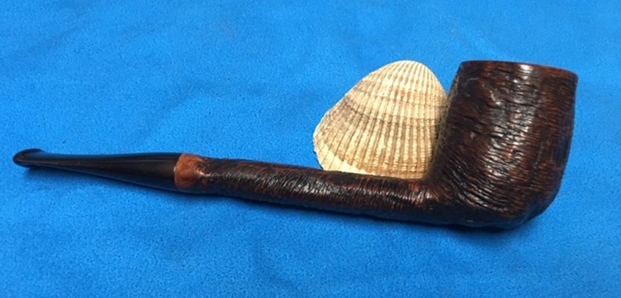
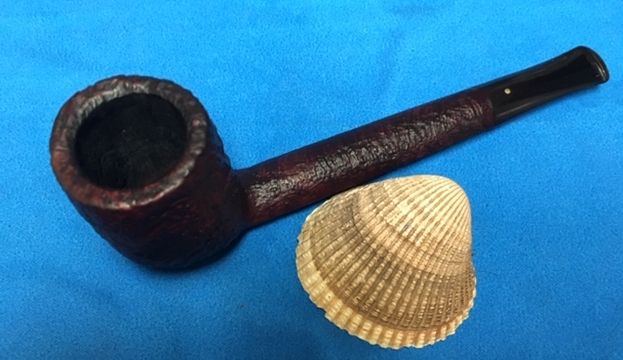
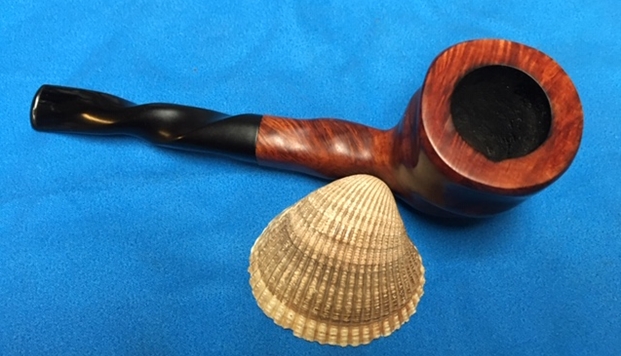
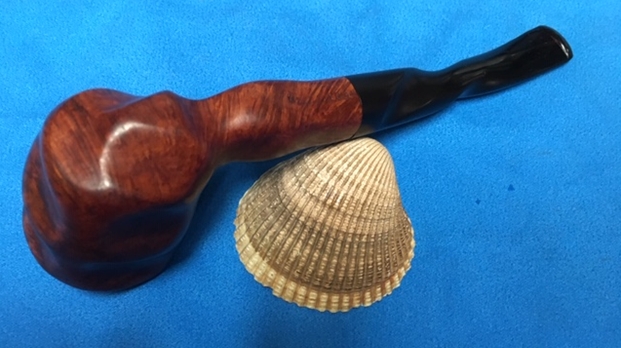
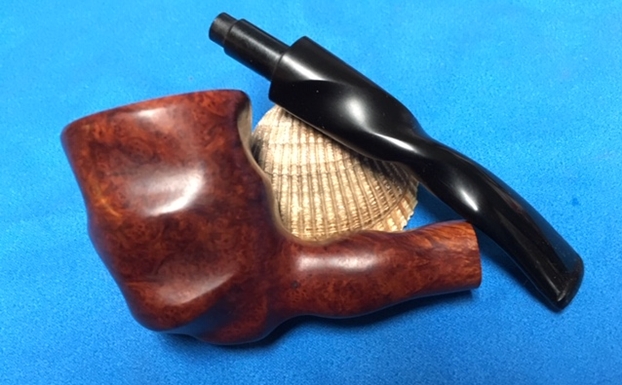
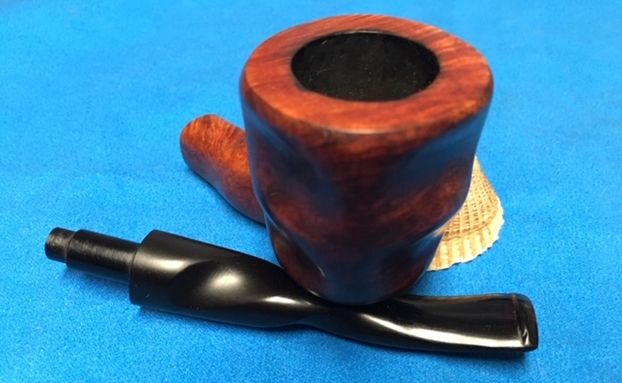
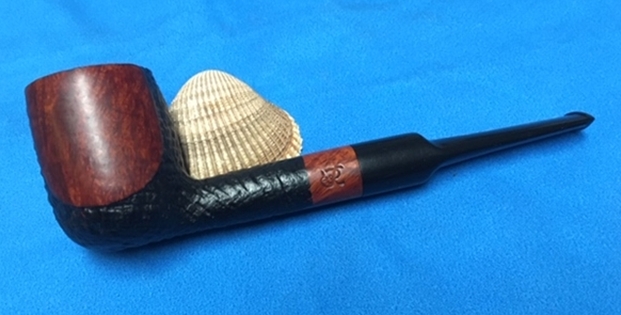
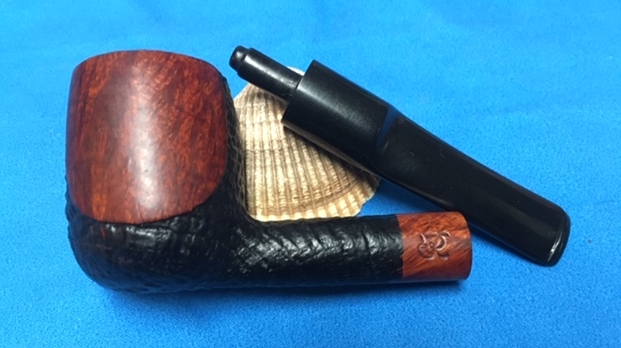
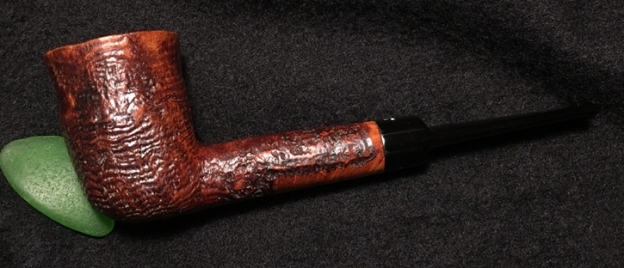
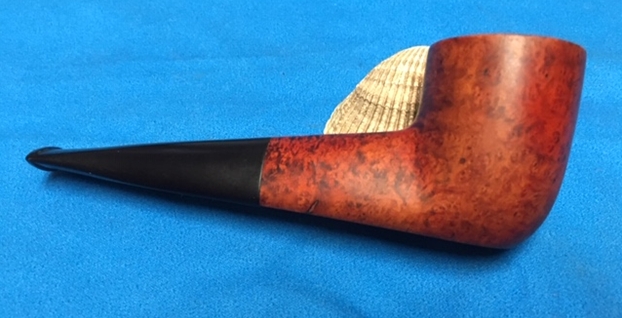
 I put the stem back on the bowl and polished them both with Blue Diamond polish on the buffing wheel. I gave the bowl and stem multiple coats of carnauba wax. I buffed the pipe with a clean buffing pad to raise the shine. I hand buffed it with a microfiber cloth to deepen the shine. The pipe polished up pretty nicely. The natural brown briar that had darkened over time came alive with the buffing. The replacement Lucite stem had an interesting asymmetrical saddle that looked very good with the stem. Have a look at it with the photos below. The dimensions are Length: 6 inches, Height: 2 inches, Outside diameter of the bowl: 1 1/4 inches, Chamber diameter: 3/4 of an inch. This beauty will soon be on the rebornpipes store. It would make a a beautiful addition to somebody’s pipe rack. Thanks for walking through the restoration of this uniquely carved Charatan from the Lane Era with me it was a pleasure to work on.