
Blog by Steve Laug
Just before Christmas I received an email from Trevor who caught my attention with the back story of a pipe that he wanted to know if he could buy a replacement stem or have me custom fit one for him. He sent me the following email about the pipe that was a bit of a family heirloom from his late grandfather.
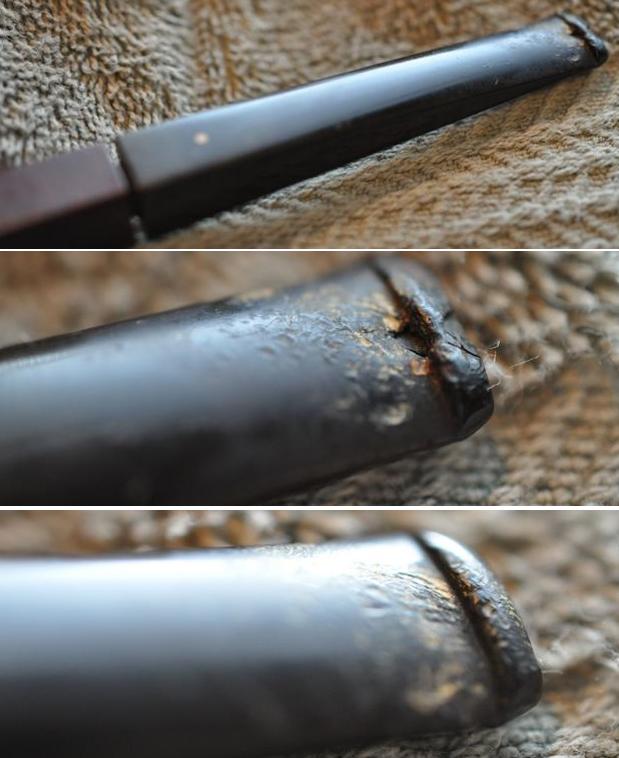
I inherited my grandfather’s pipe and the tip of the stem broke off. I don’t know much about tobacco pipe maintenance (so please be forgiving if this is stupid), but I can’t figure out where to buy a replacement stem online or if I have to send it to you to have a custom one made. The markings on the back say “Wenhall Langelinie // Freehand Made In Denmark”.
I have pictures that I can send you if that helps.
My grandfather passed about 8 years ago, so this is a very special heirloom for me as it carries many memories with it. Many thanks in advance.
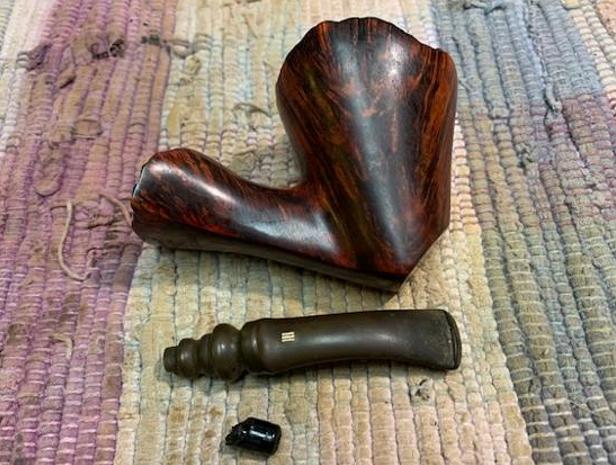
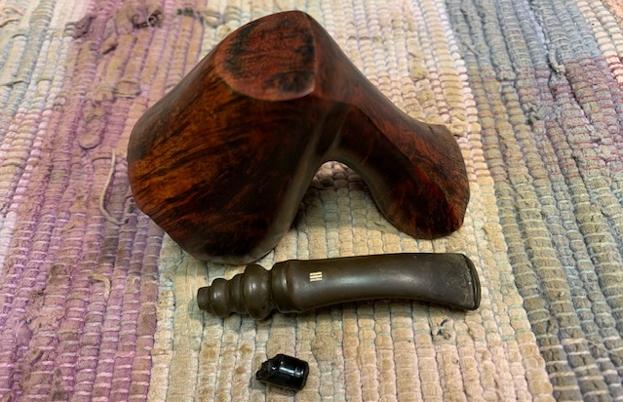
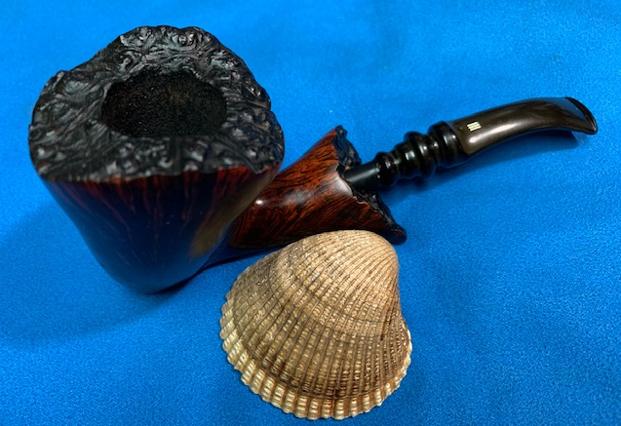
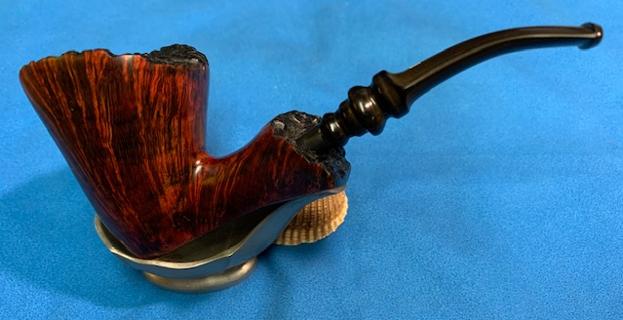
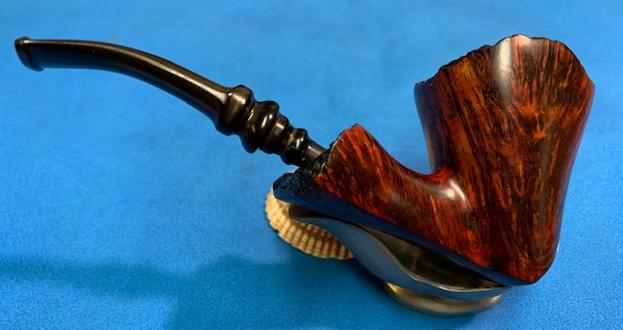
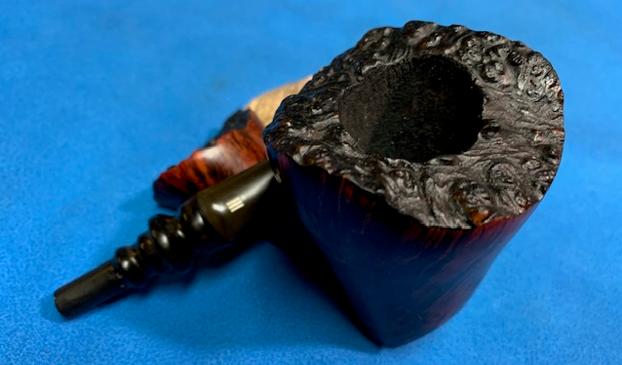
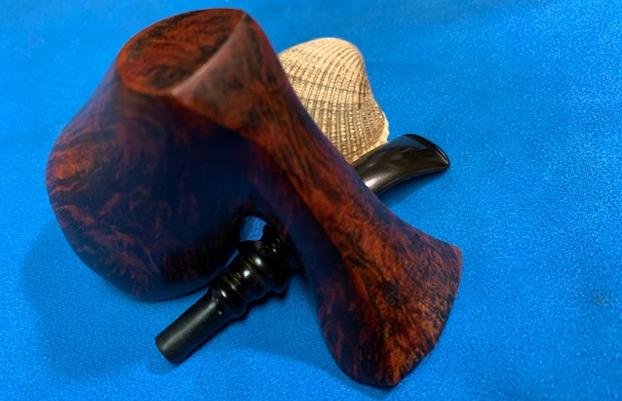
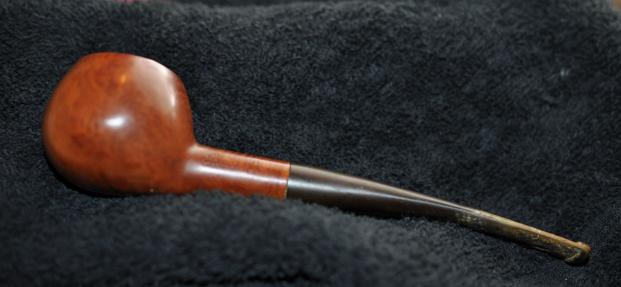
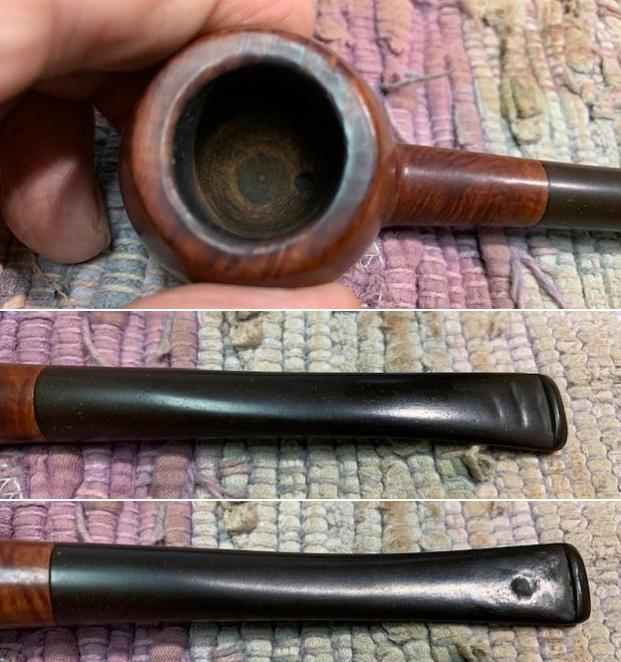
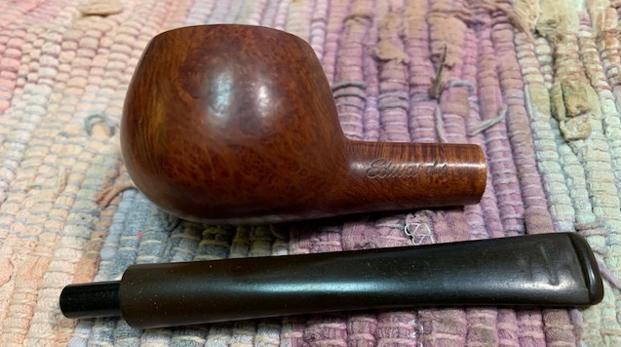
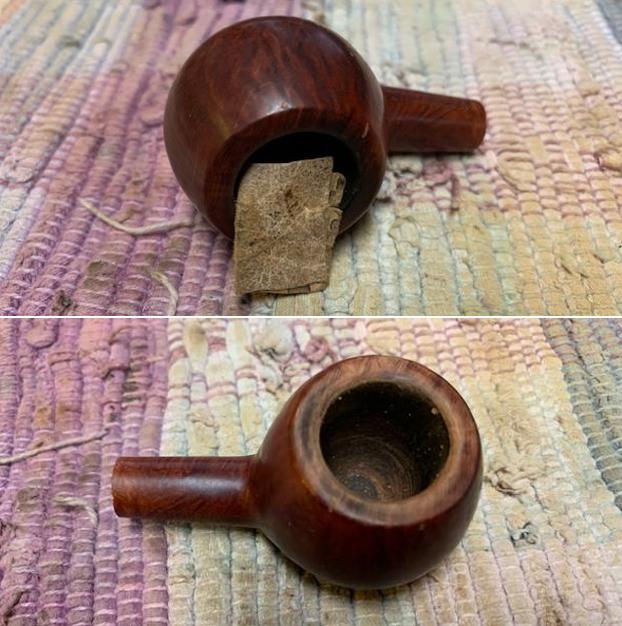
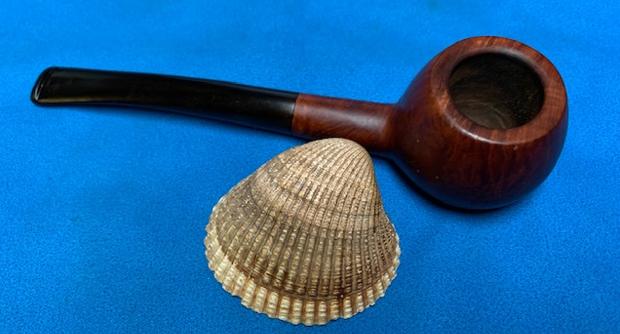
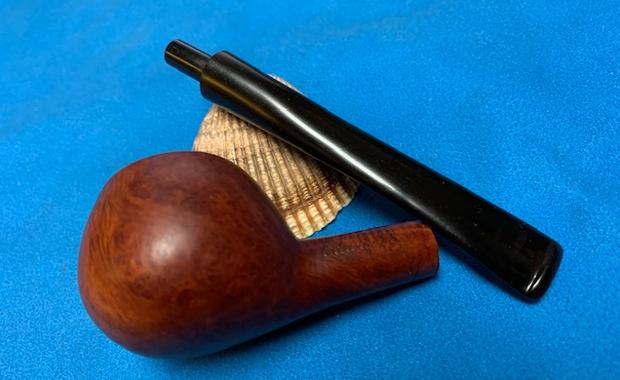
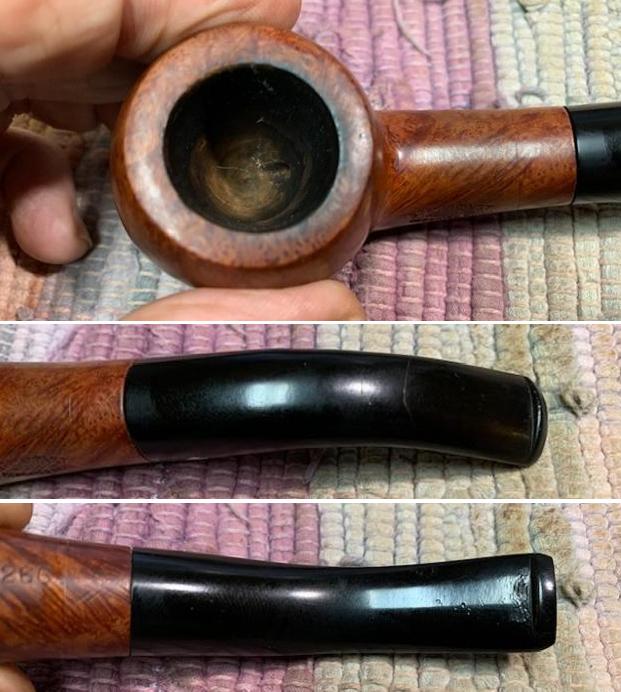
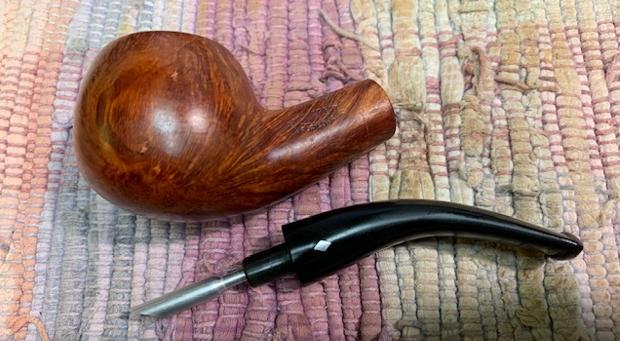
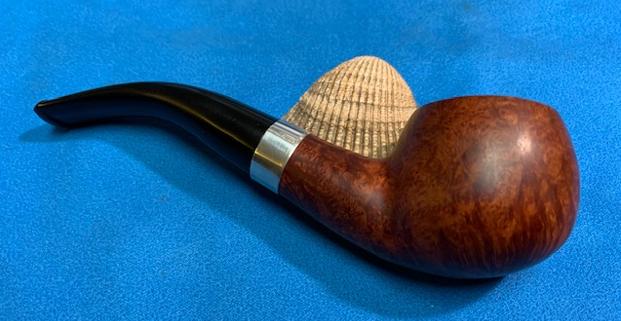
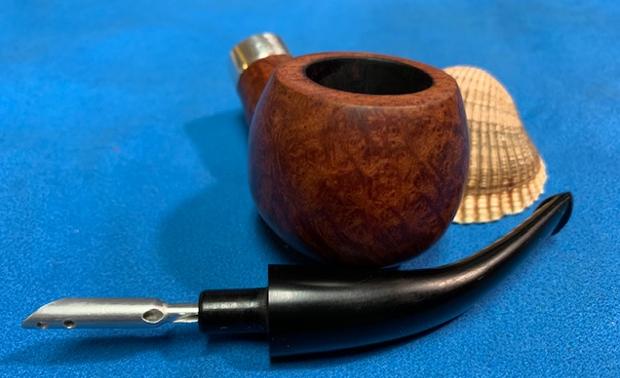
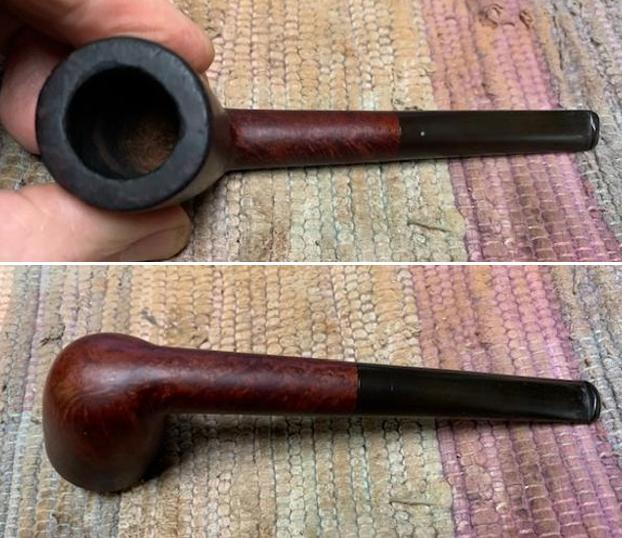
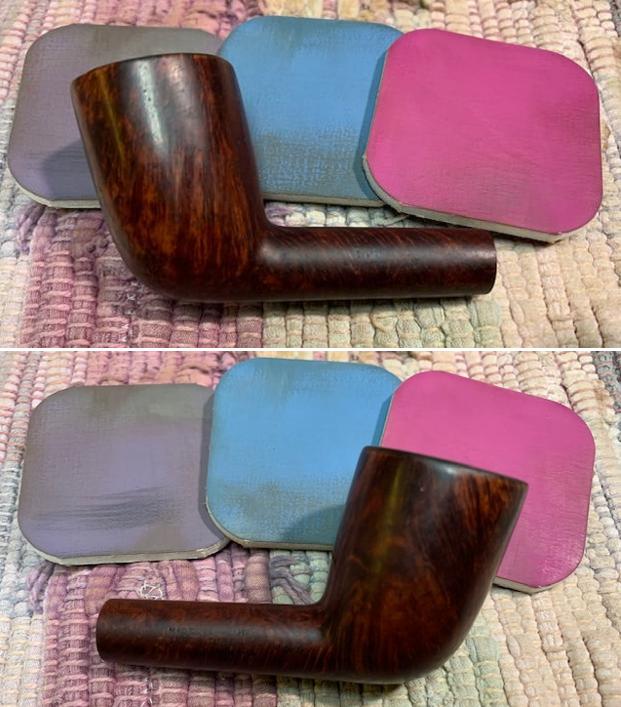
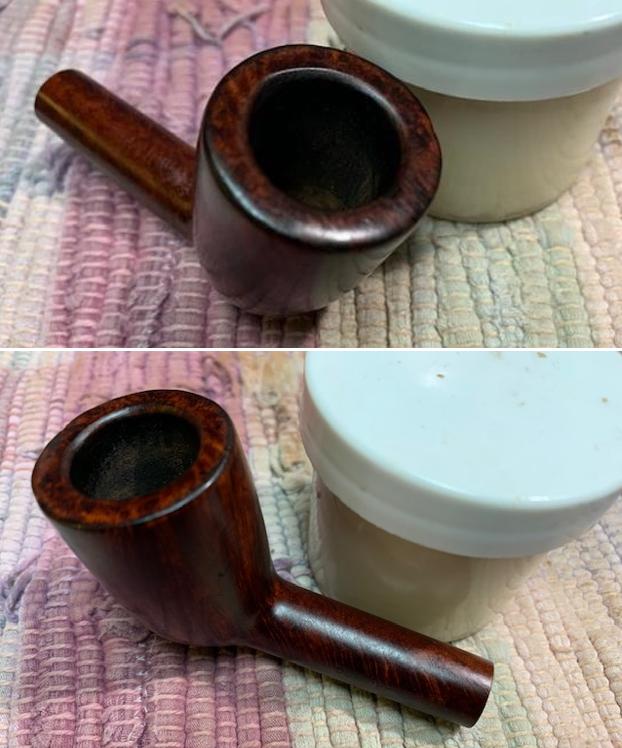
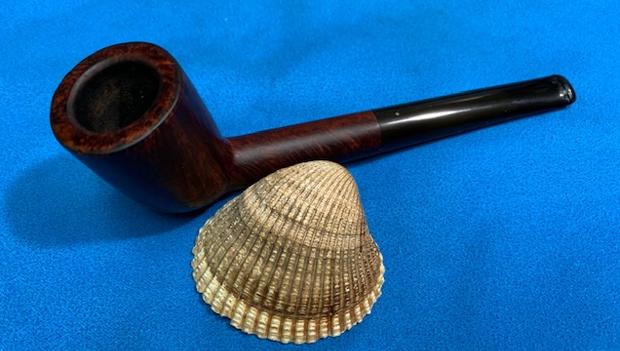
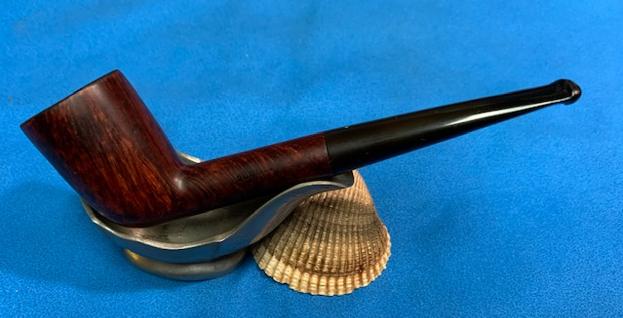
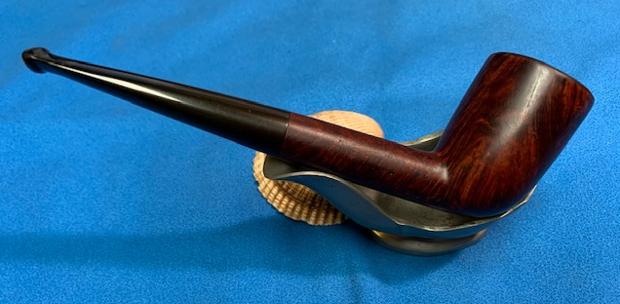
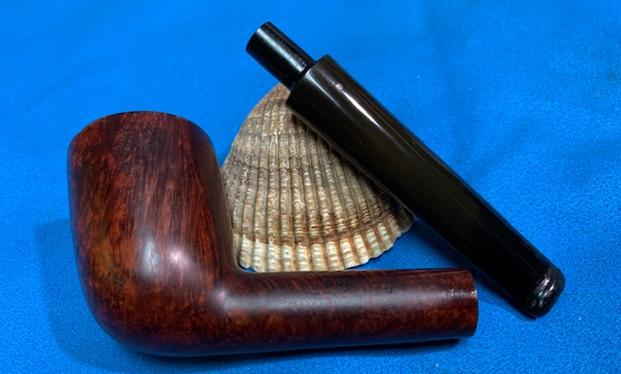
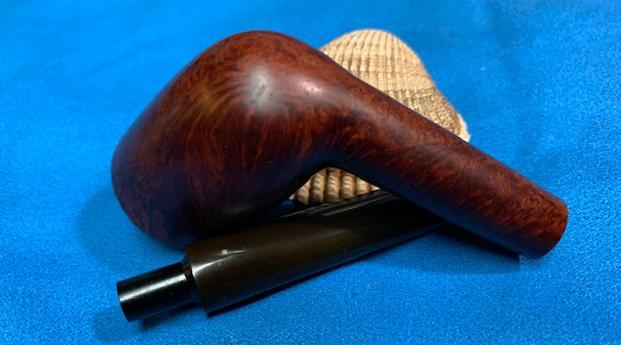
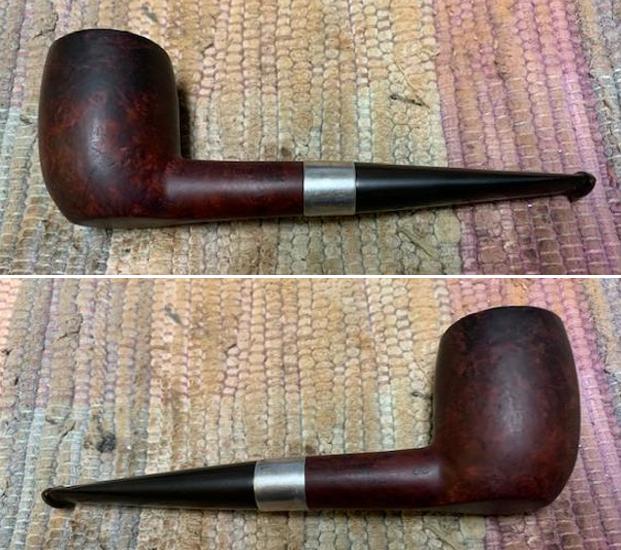
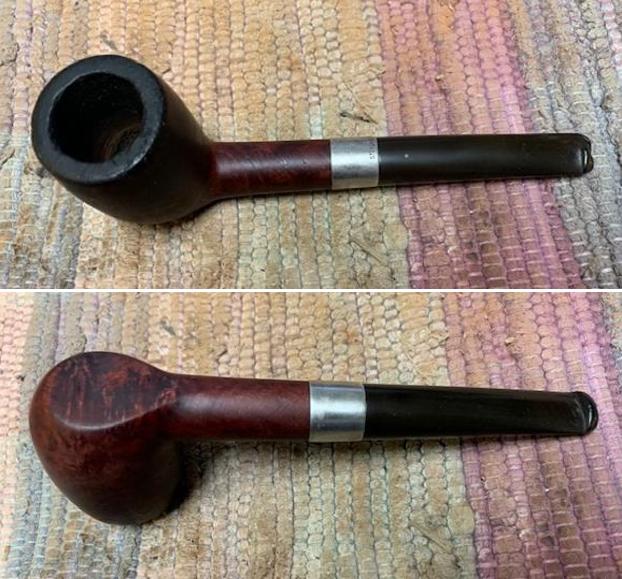
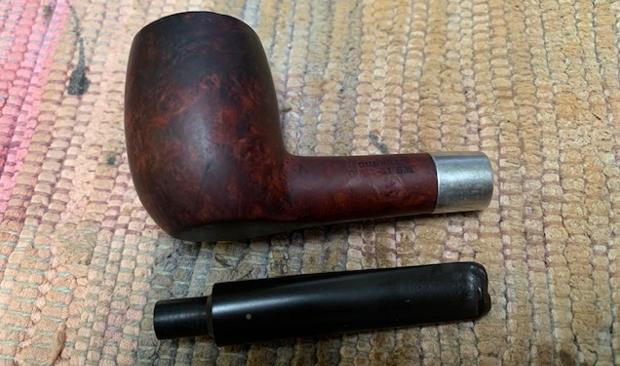
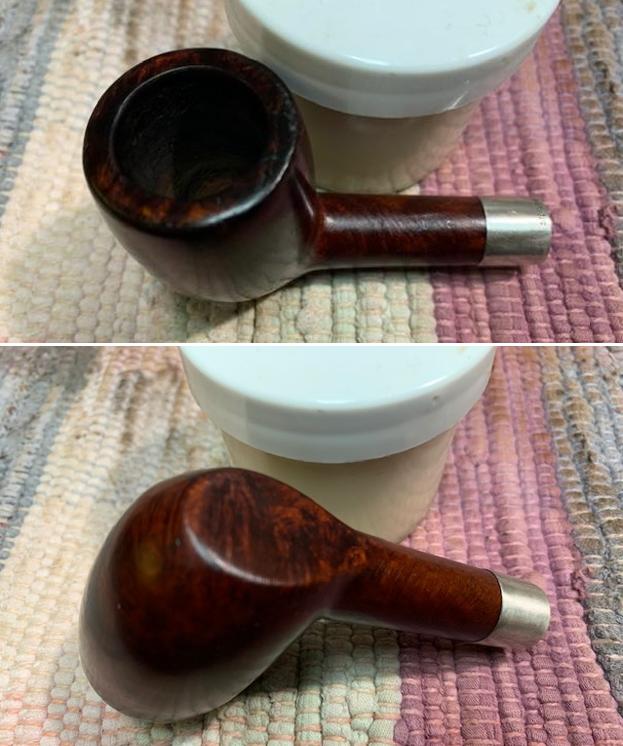
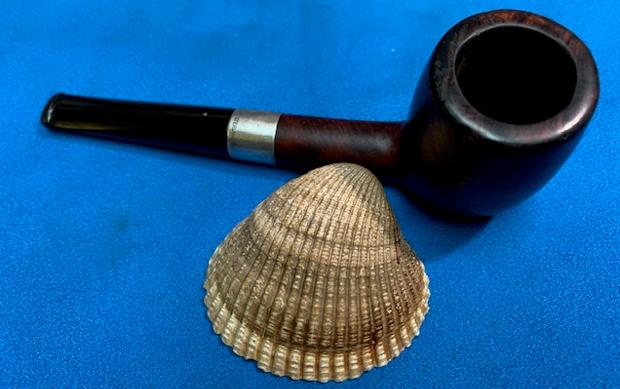
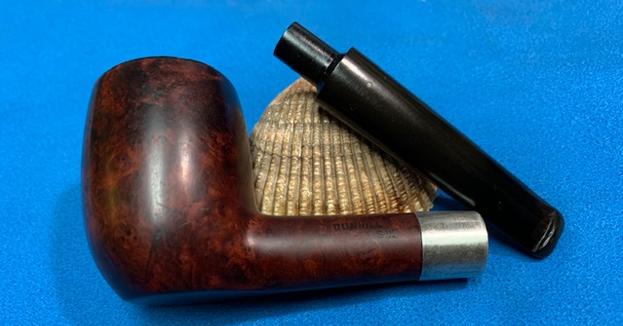
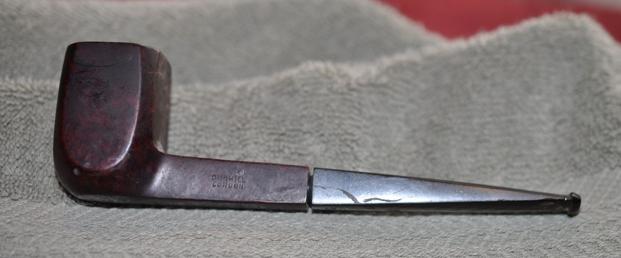
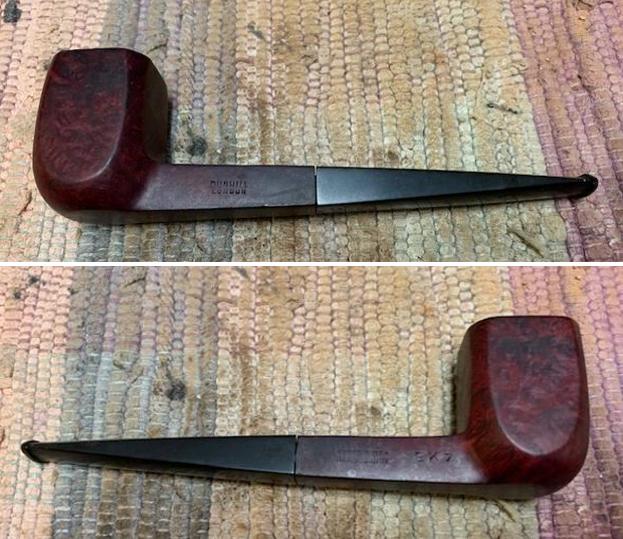
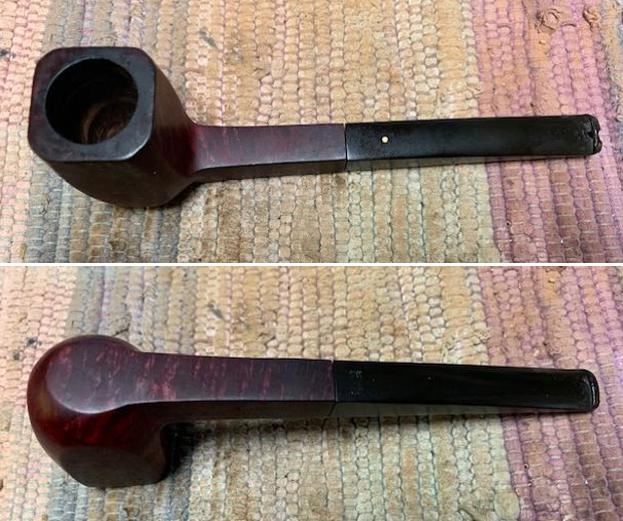
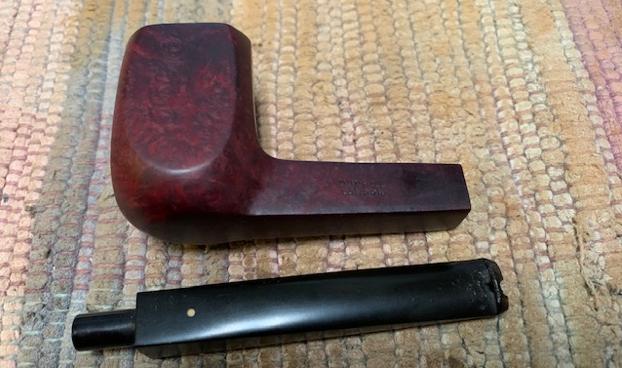
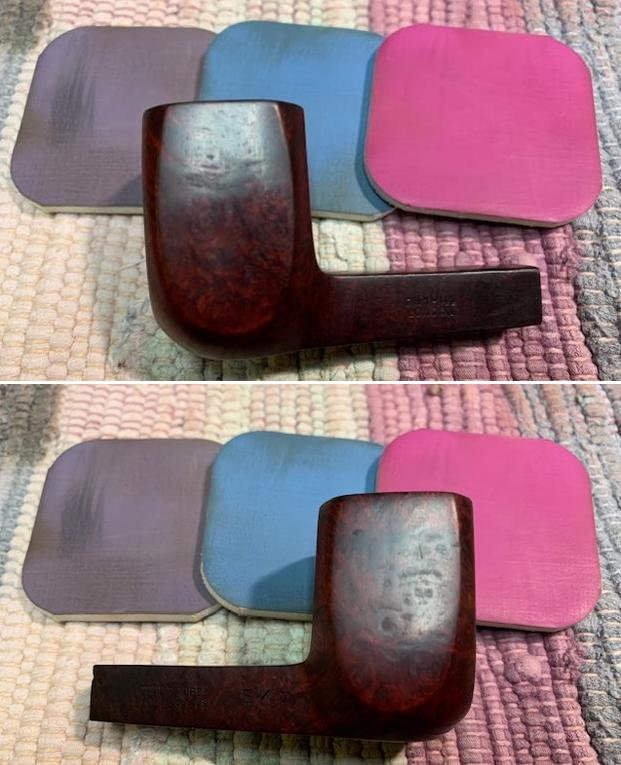
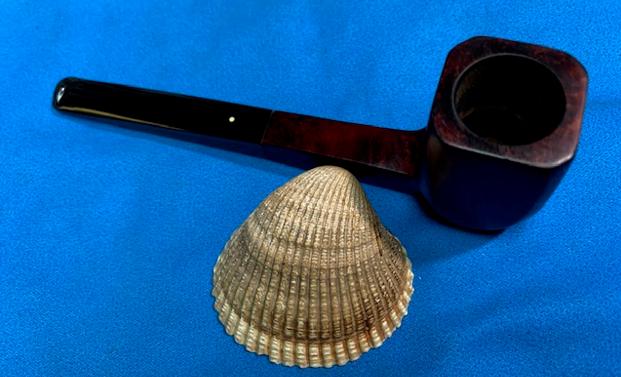
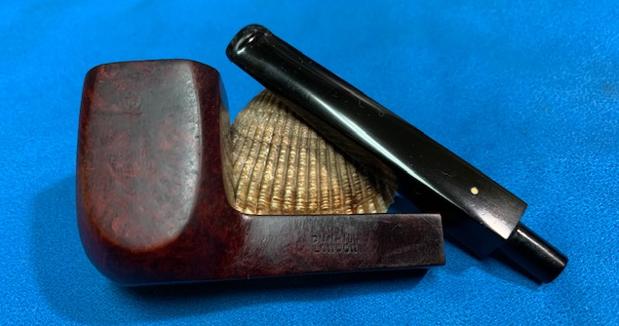
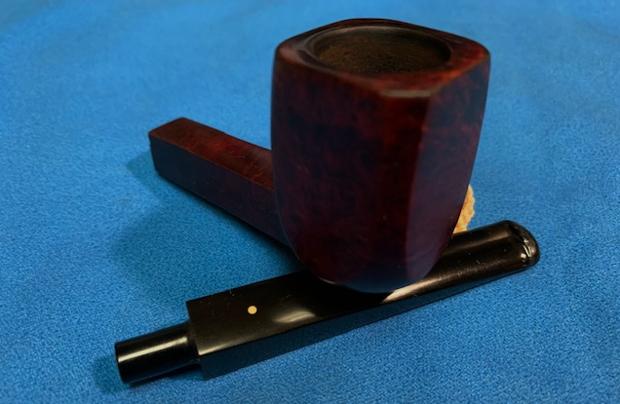
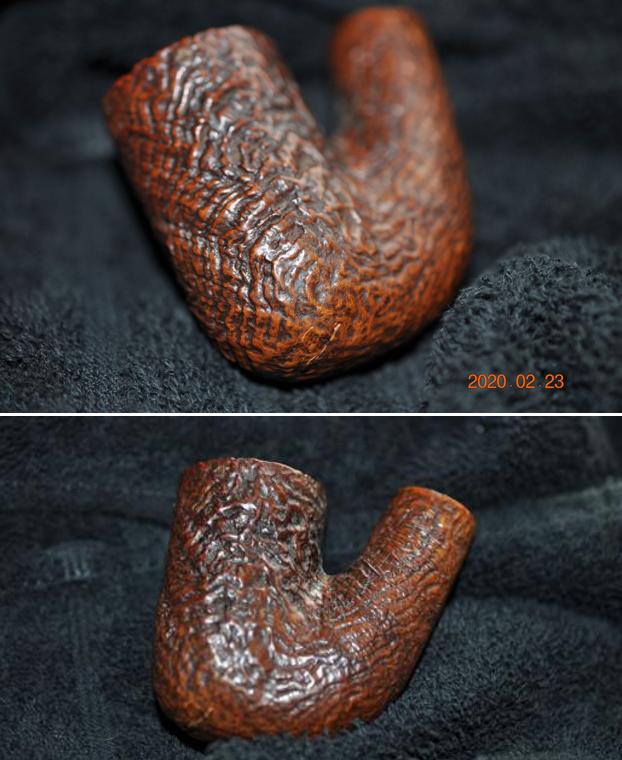
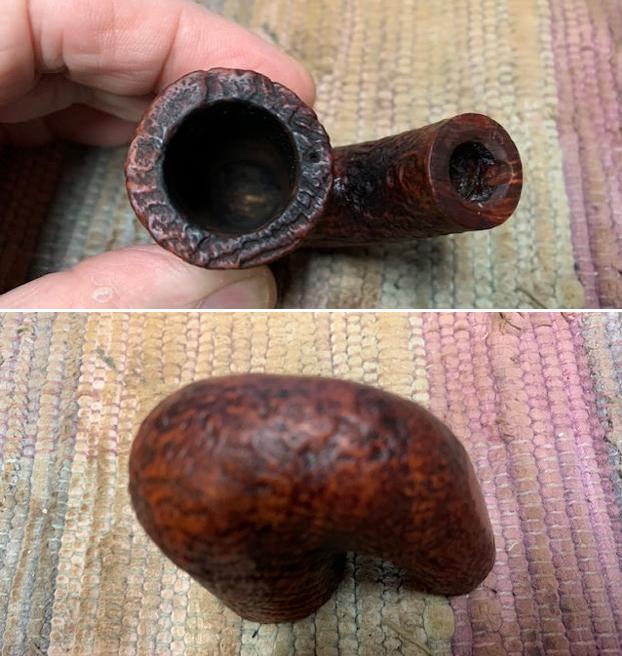
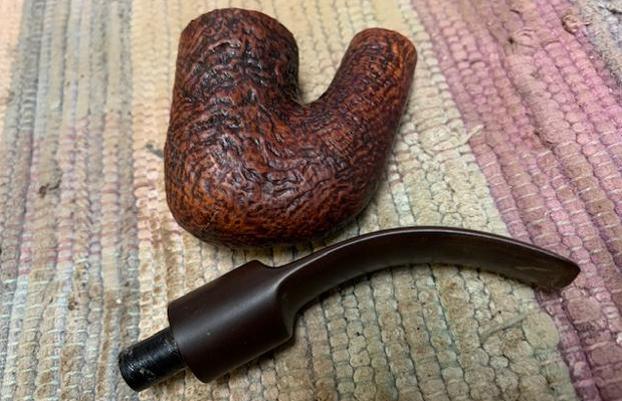
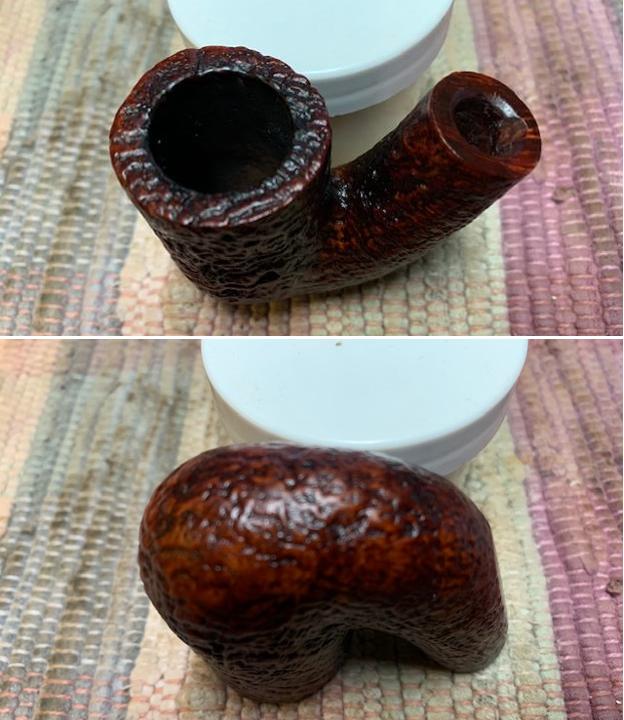
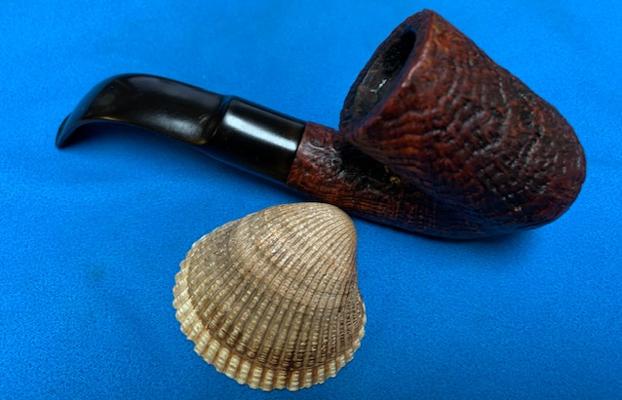
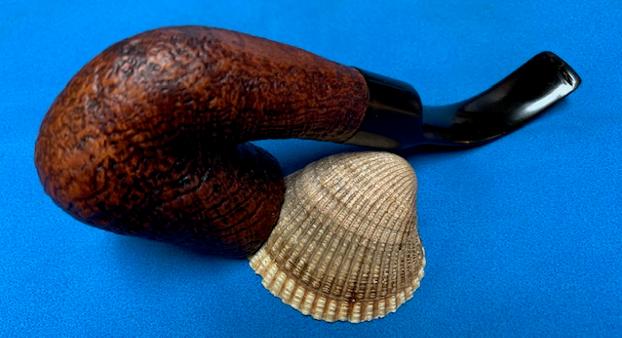
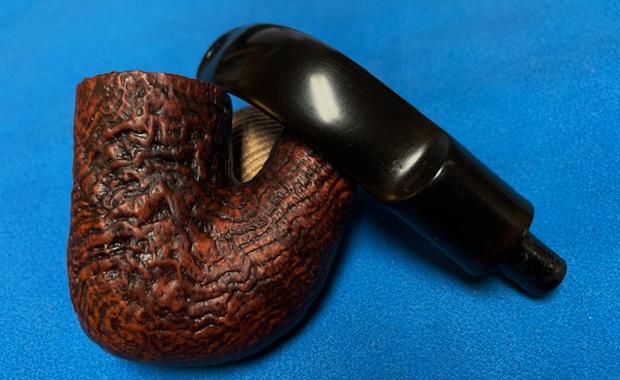
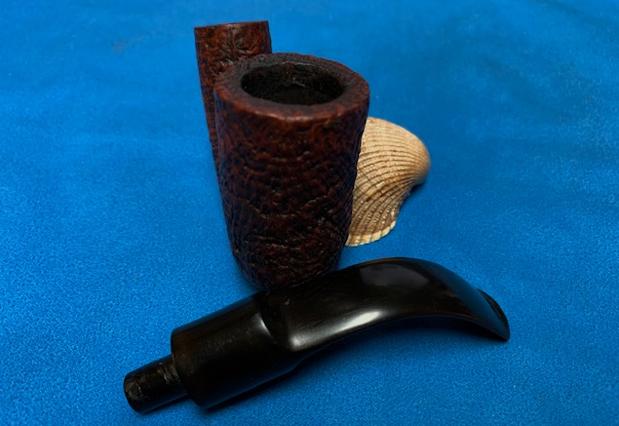
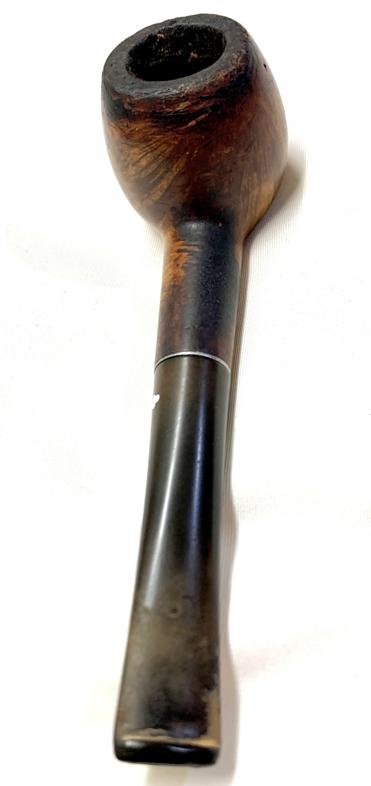
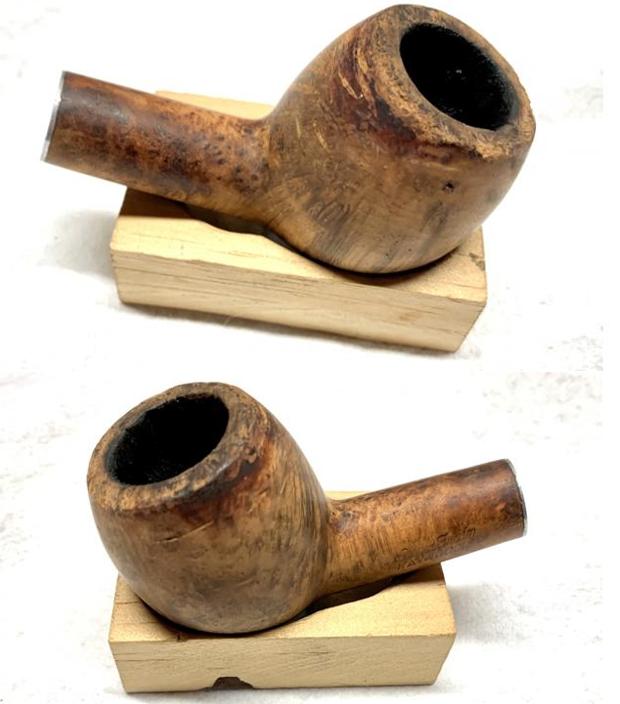
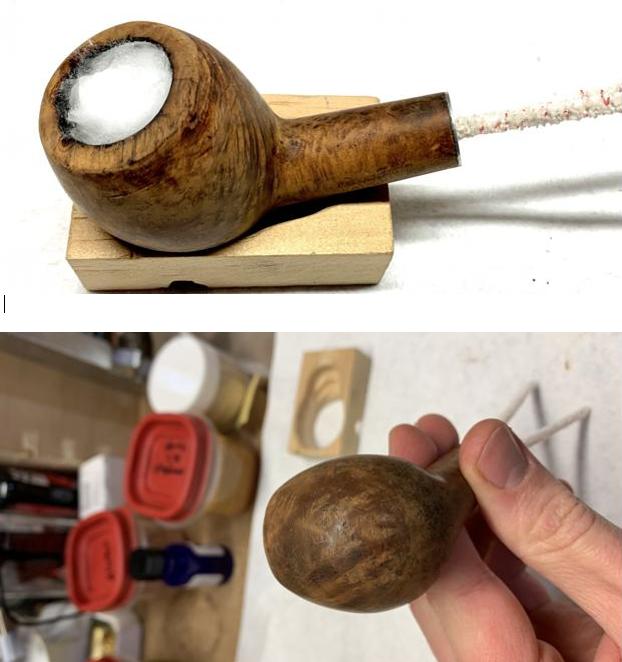
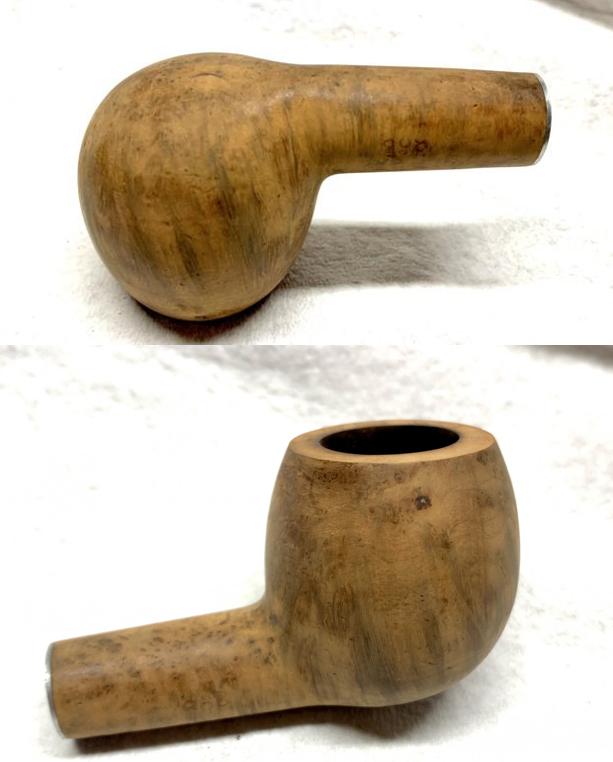
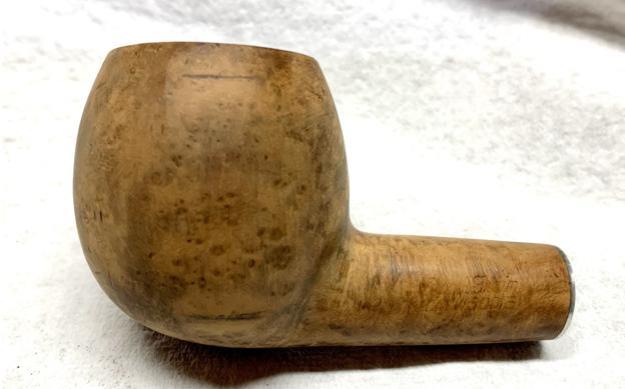
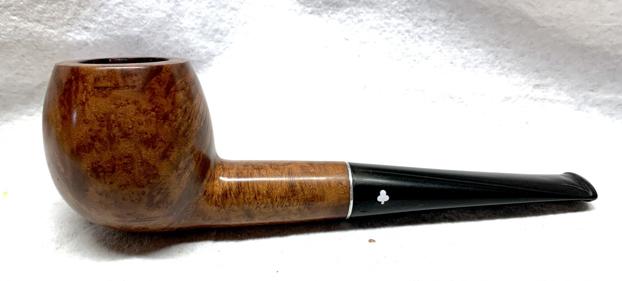
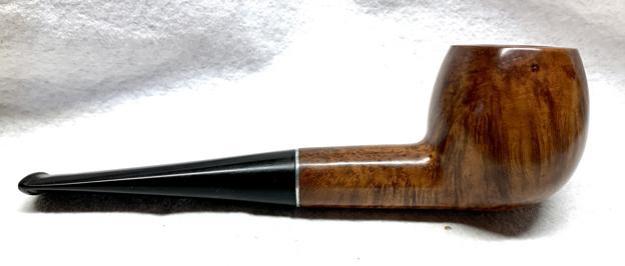
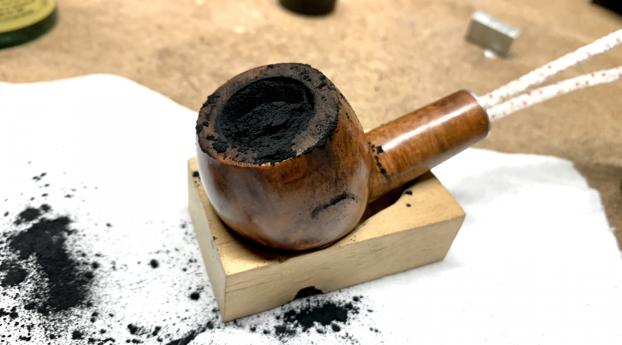
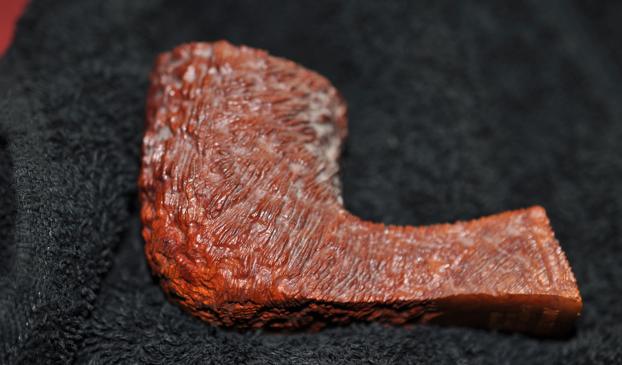
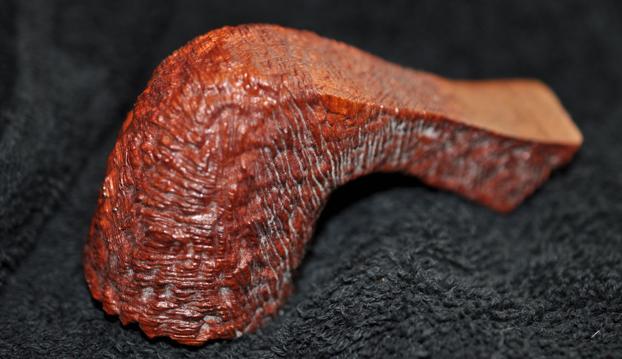
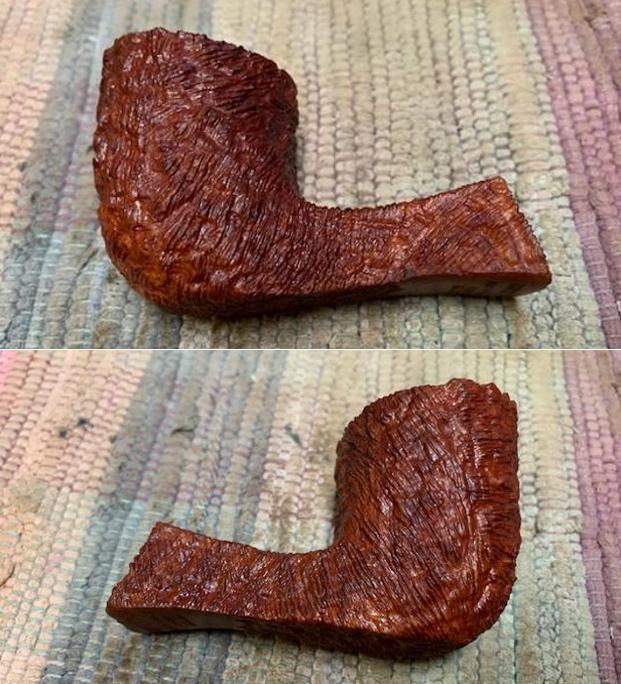
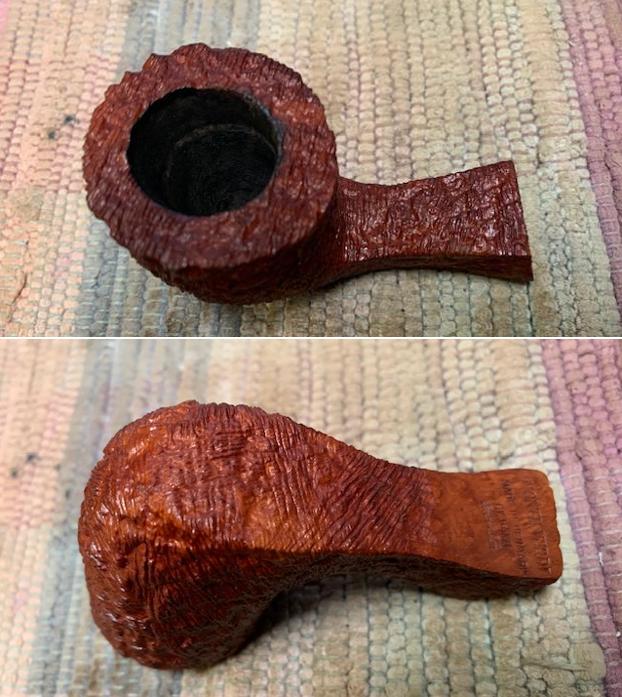
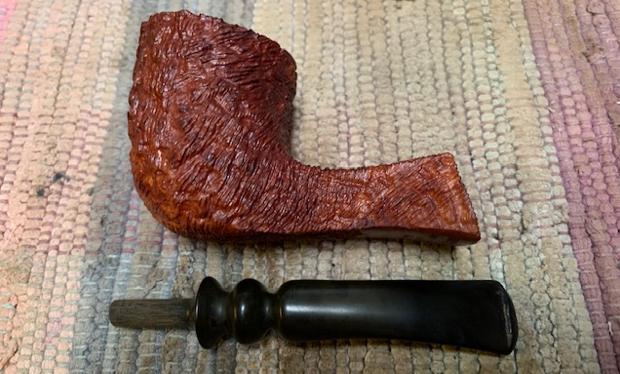
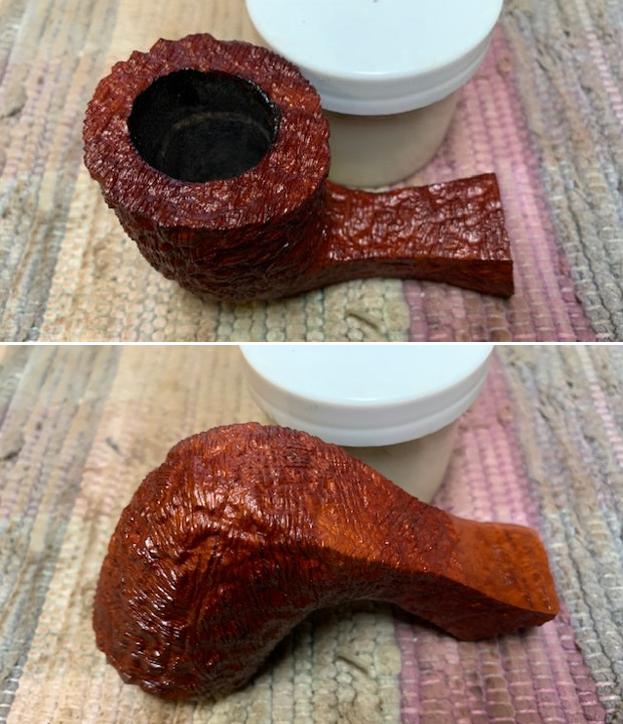
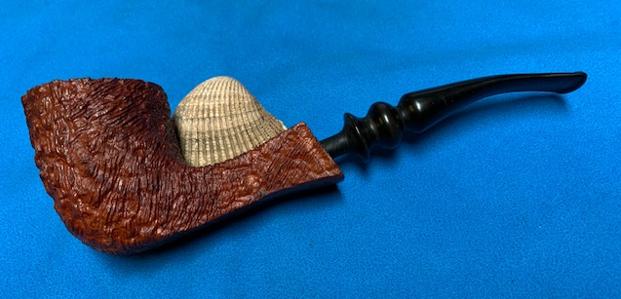
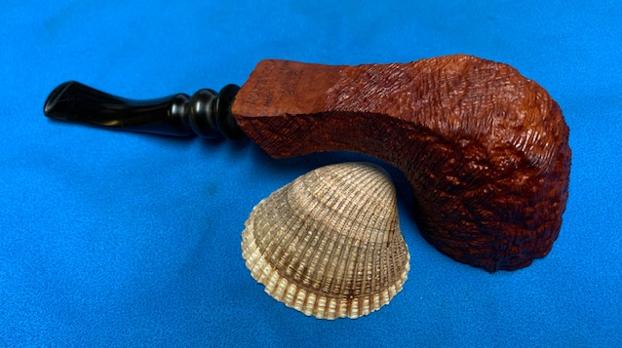
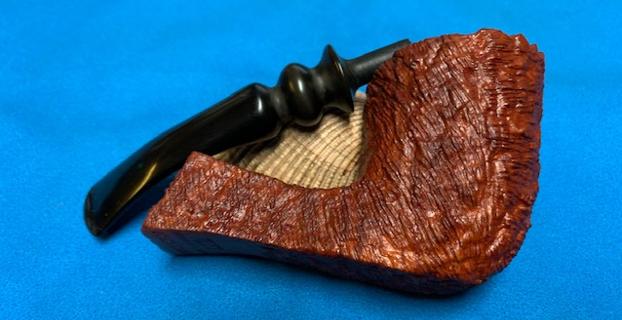
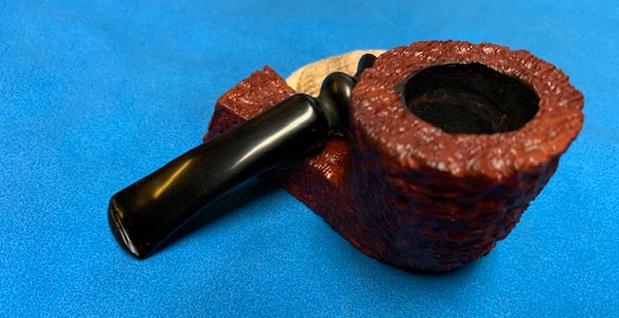
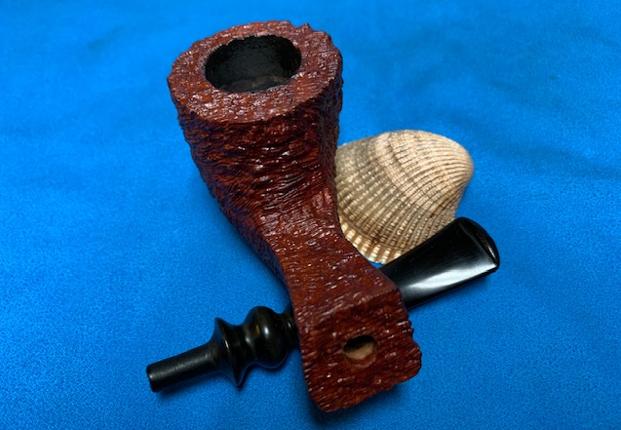
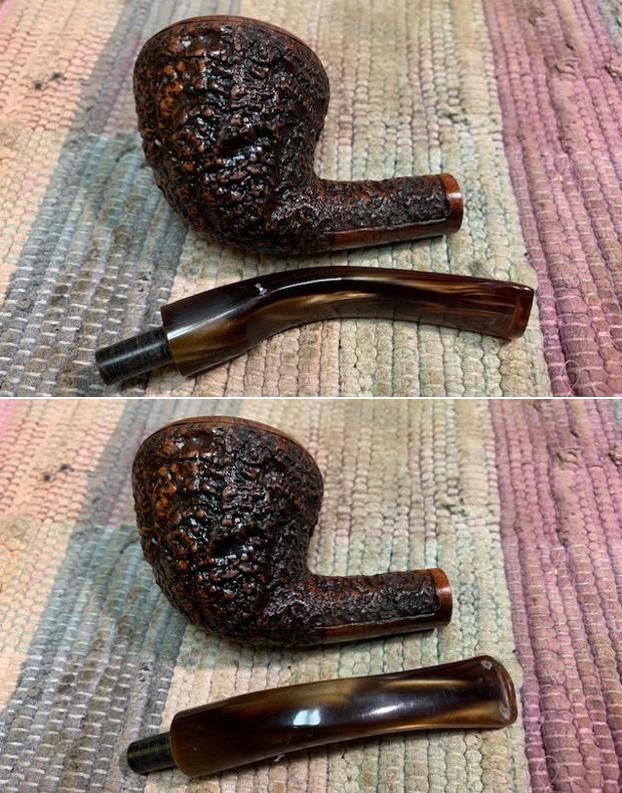
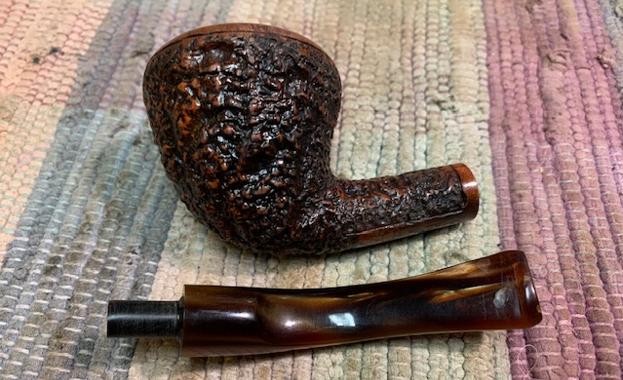
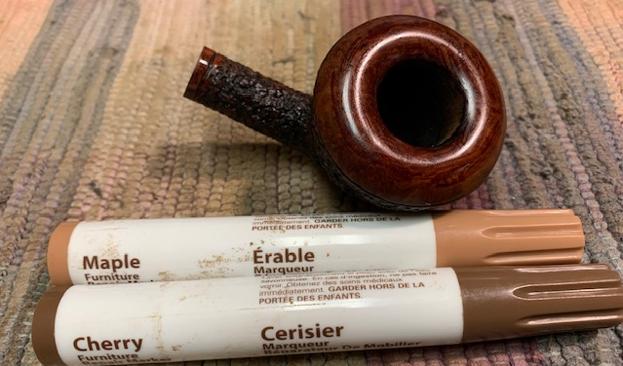
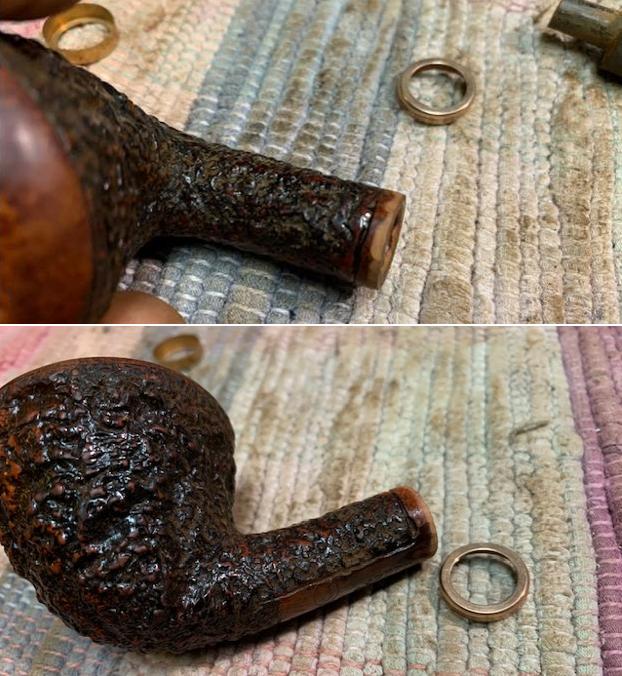
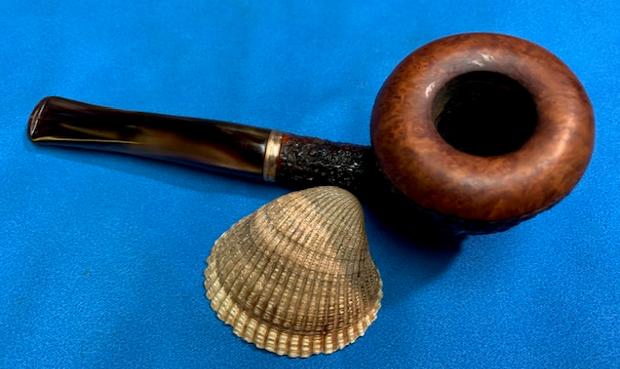
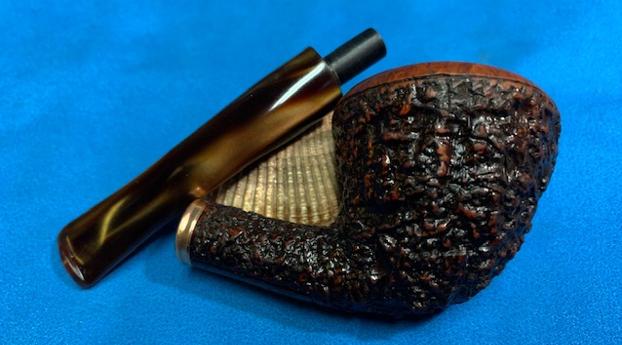
We exchanged emails and he sent photos of the pipe which I lost in a recent computer break down. The end of the story is that I had him send me the pipe and it arrived here in Canada this week. I opened the nicely packed box and took out the bowl, the stem and the broken tenon and took some photos of it. Everything about the pipe said Danish Freehand and from the shape and stain I was guessing that it was carved by Karl Erik Ottendahl of Karl Erik pipes.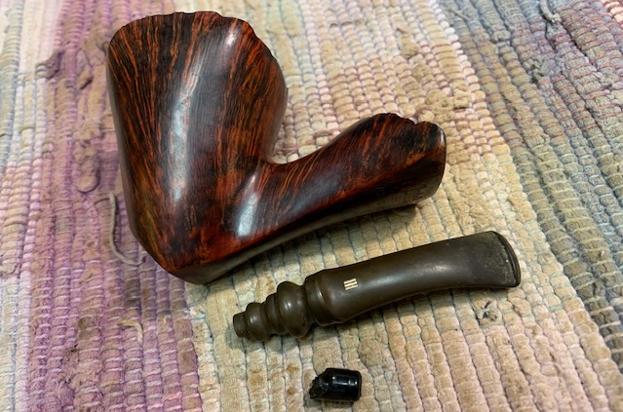
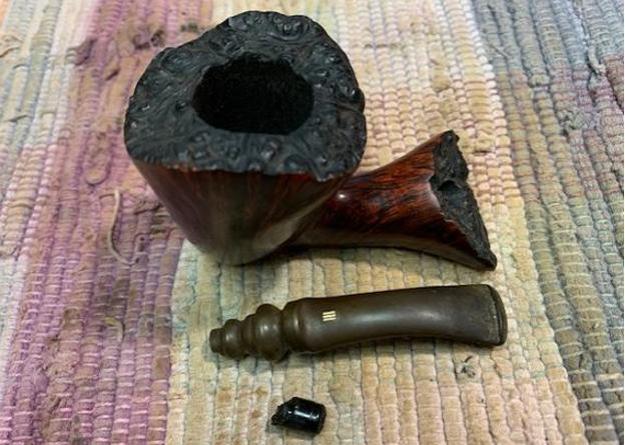
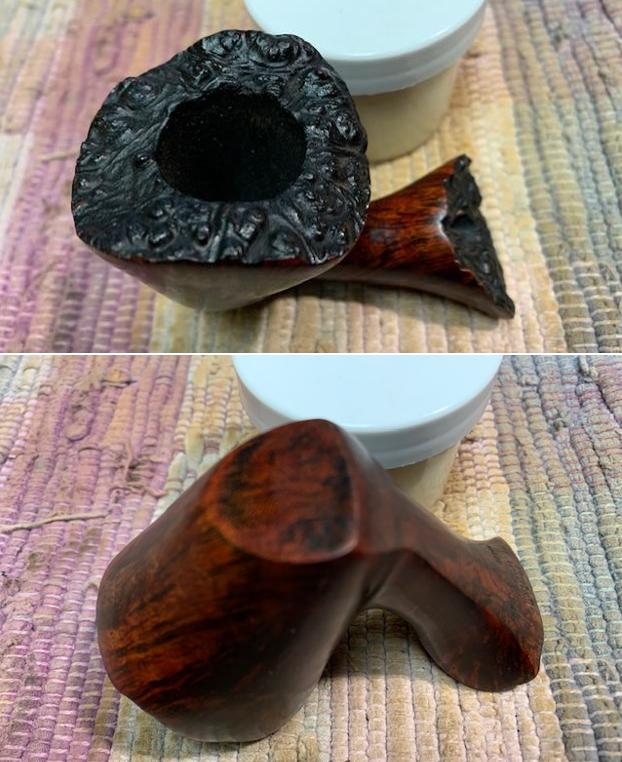
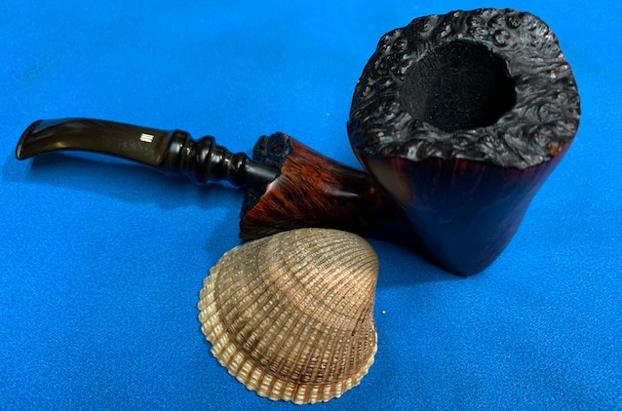
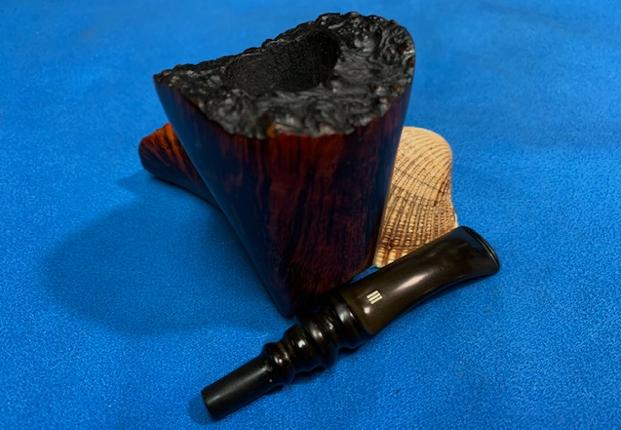
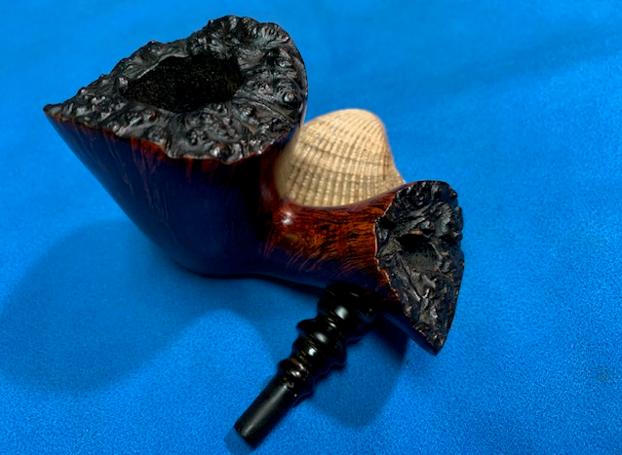
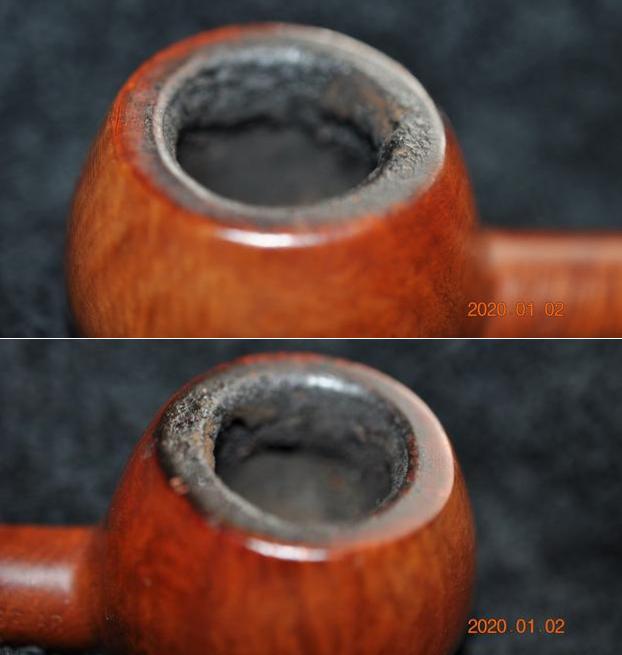
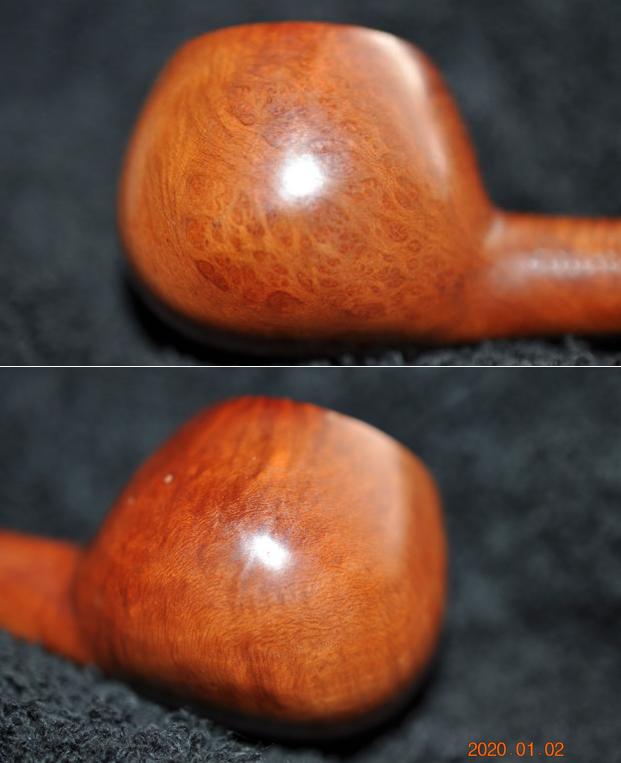
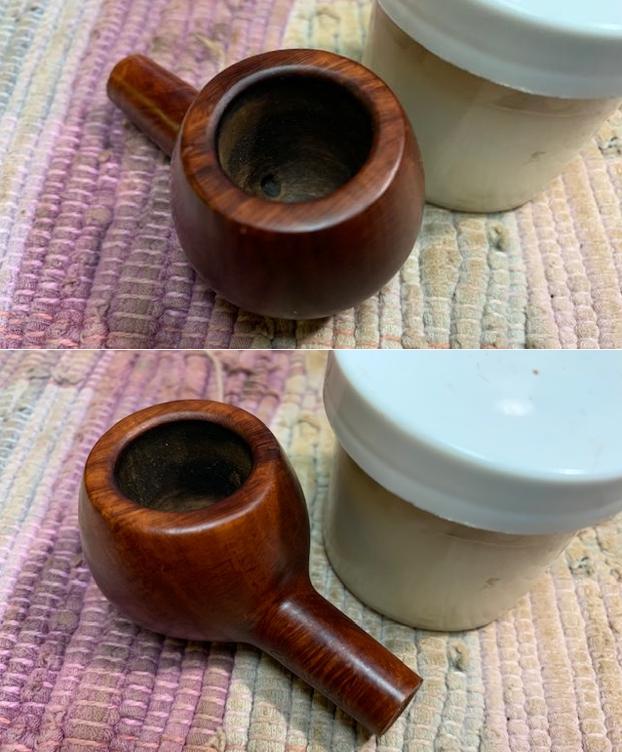
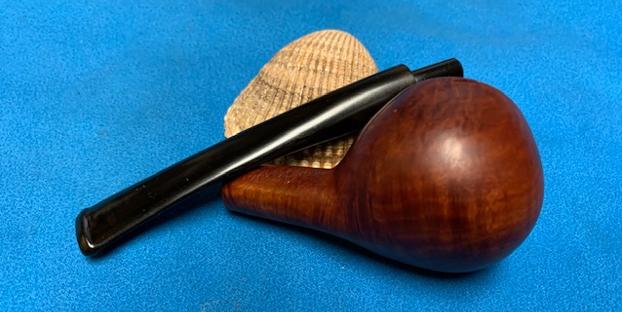
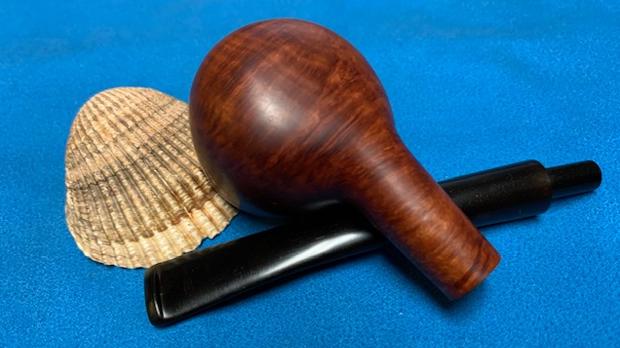
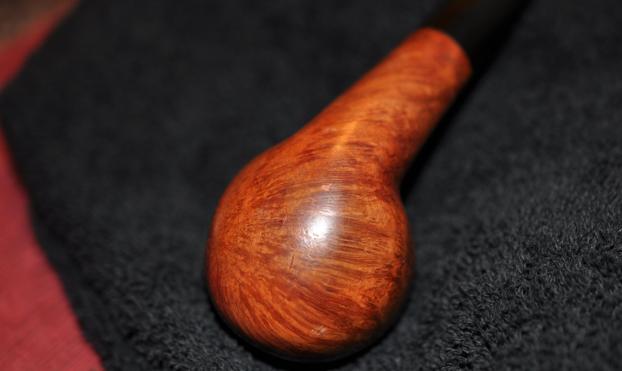
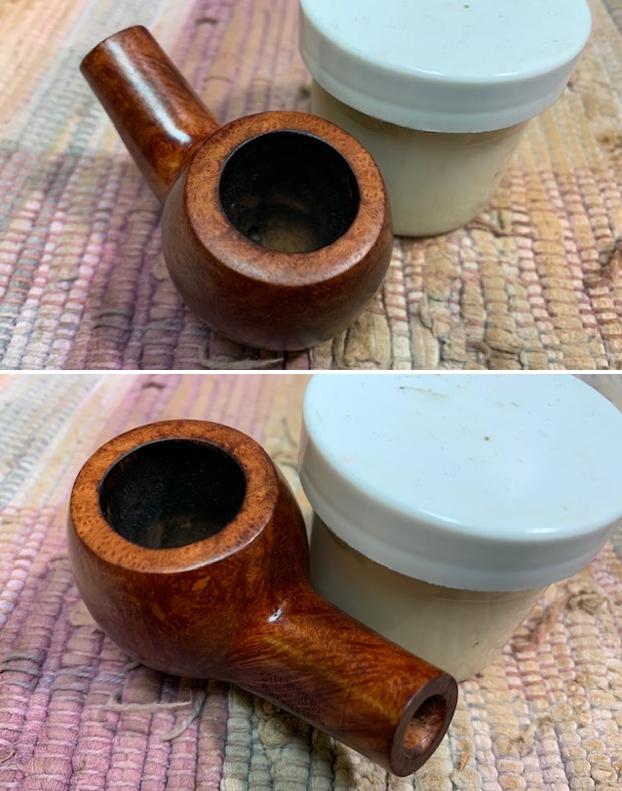
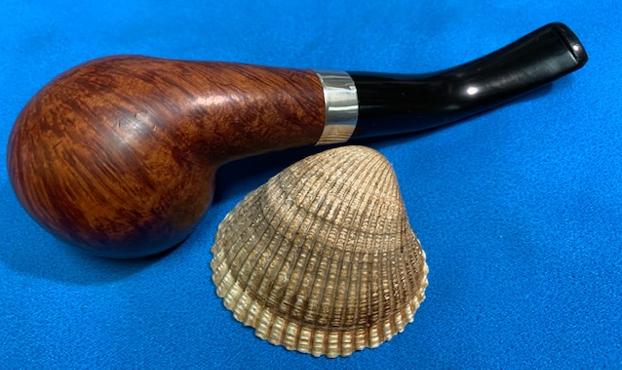
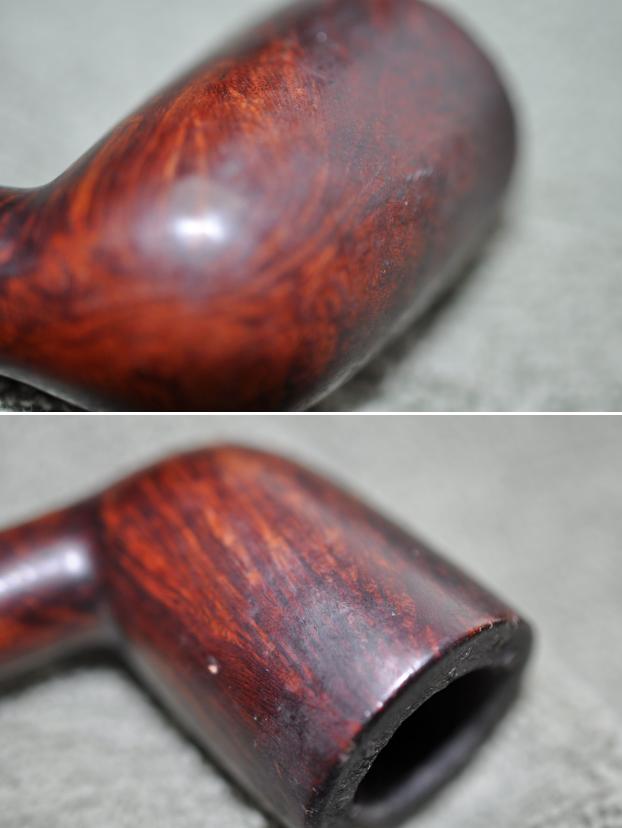
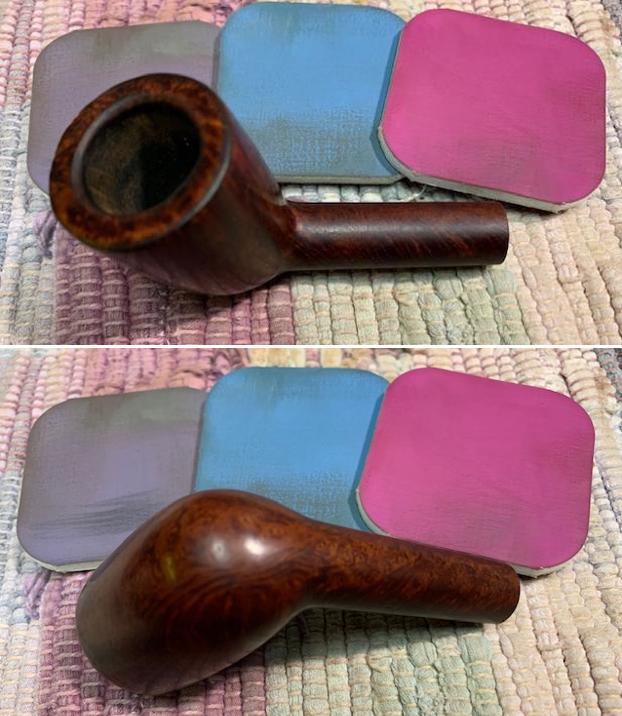
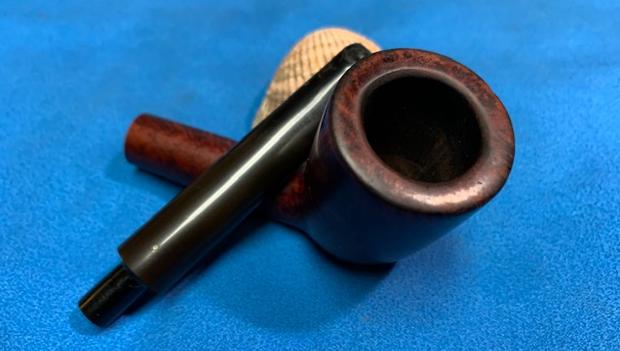
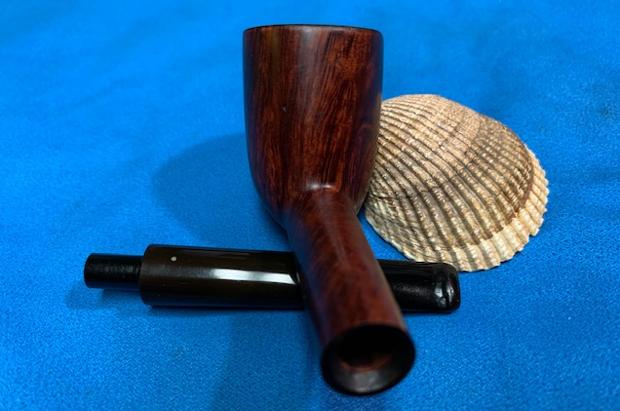
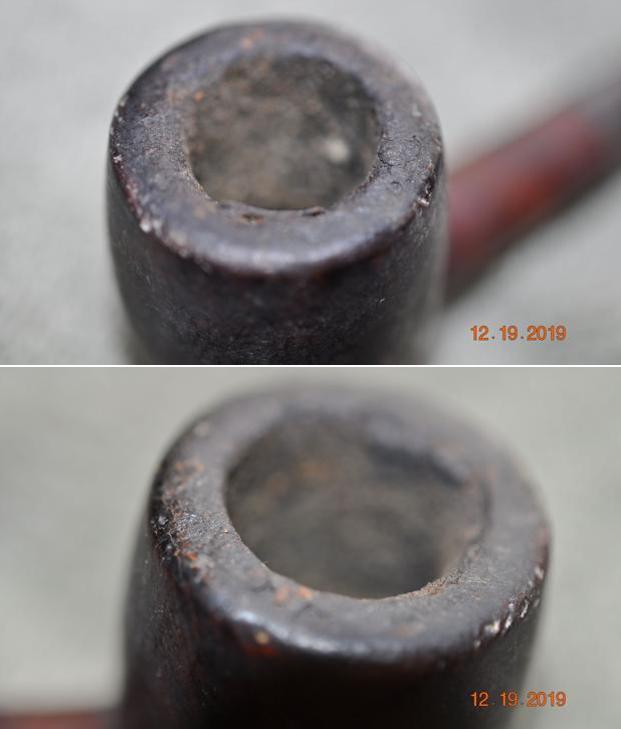
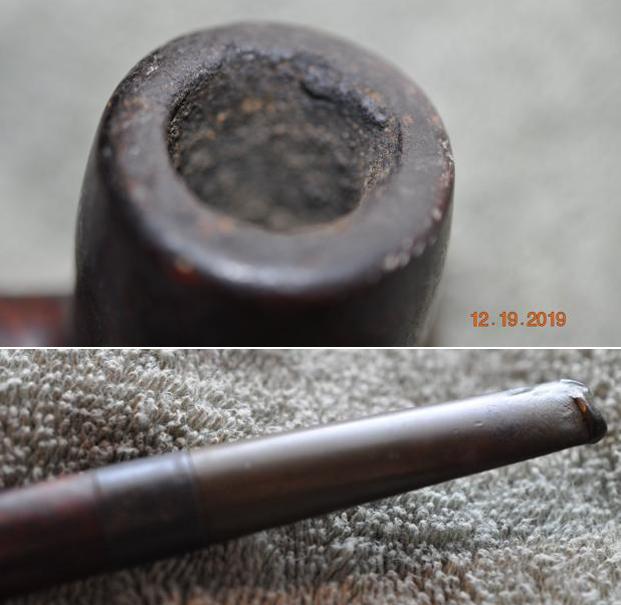
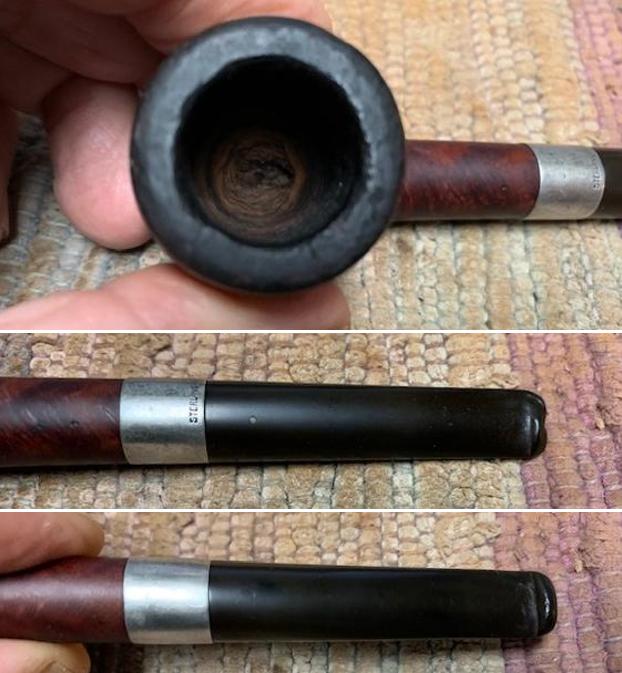
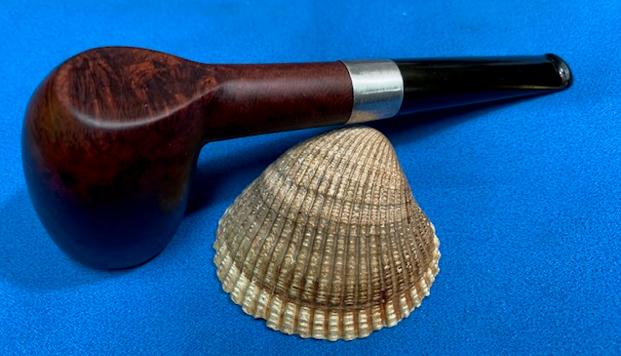
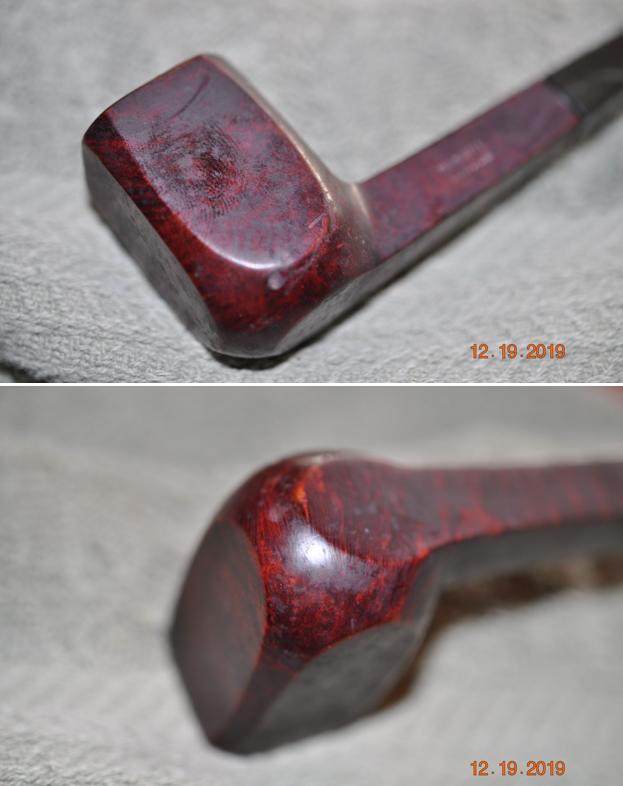
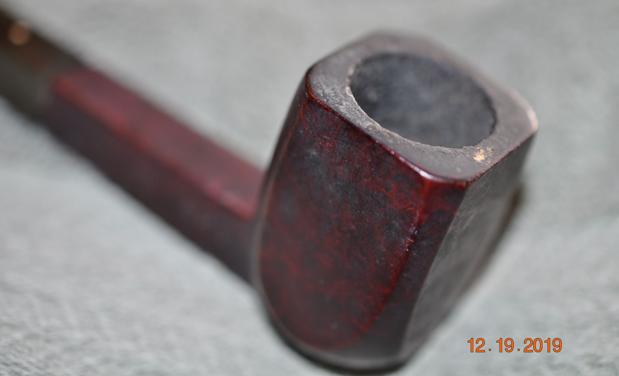
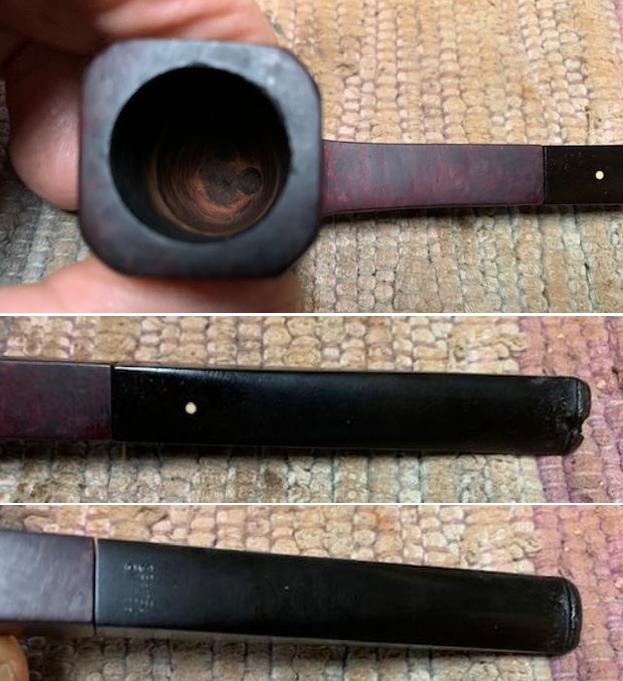
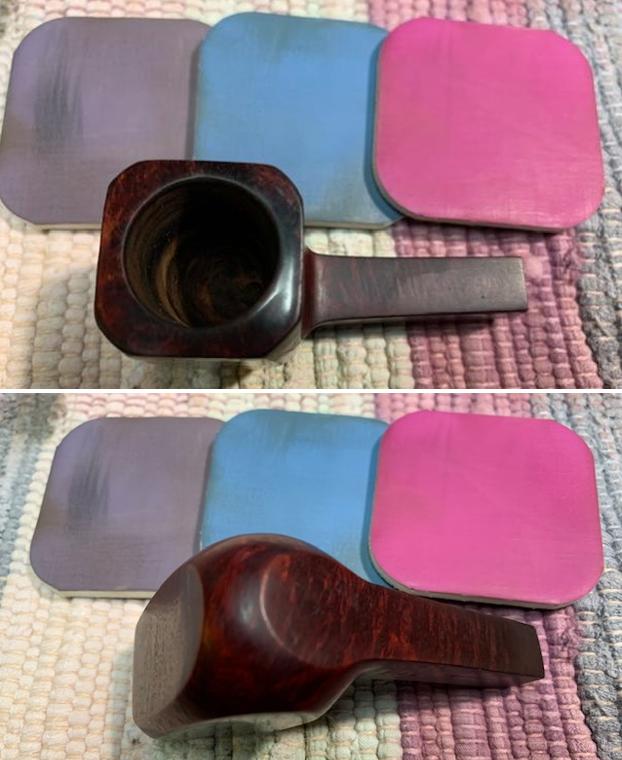
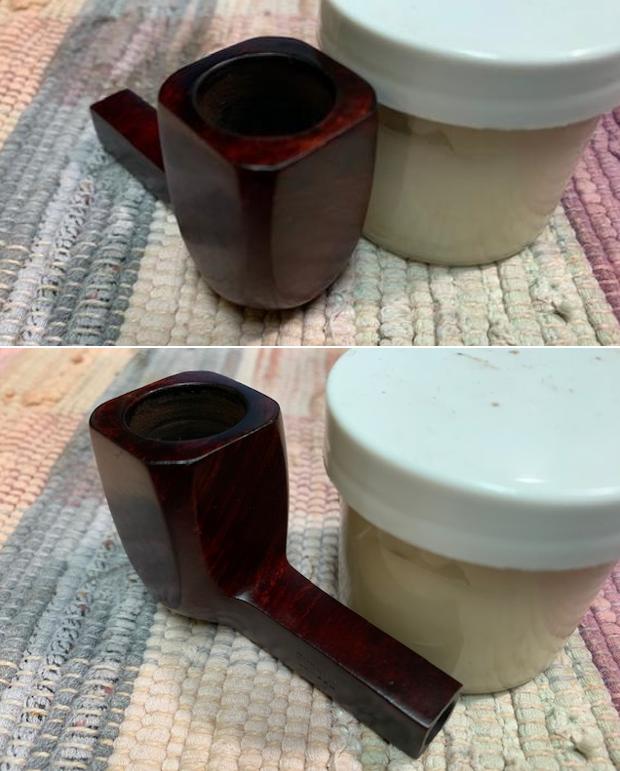
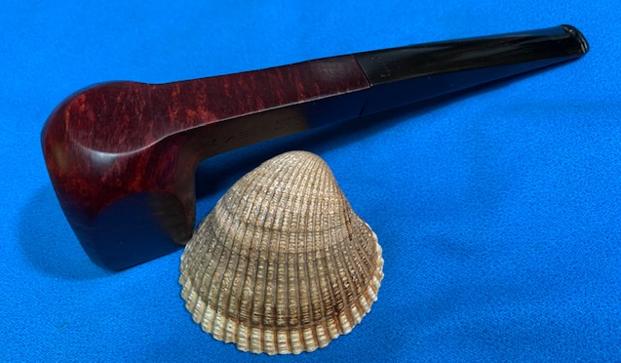
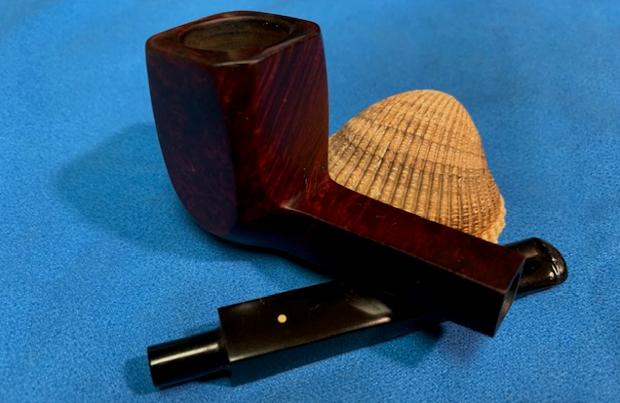
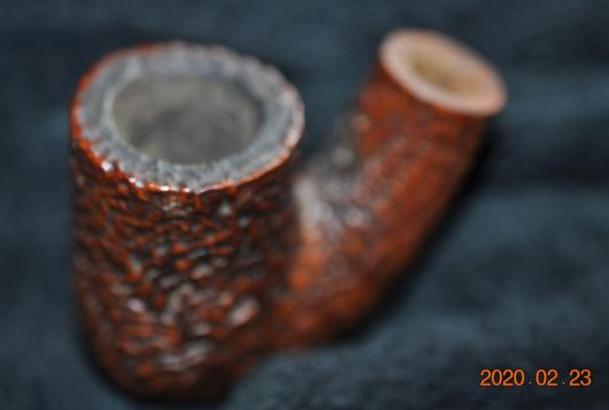
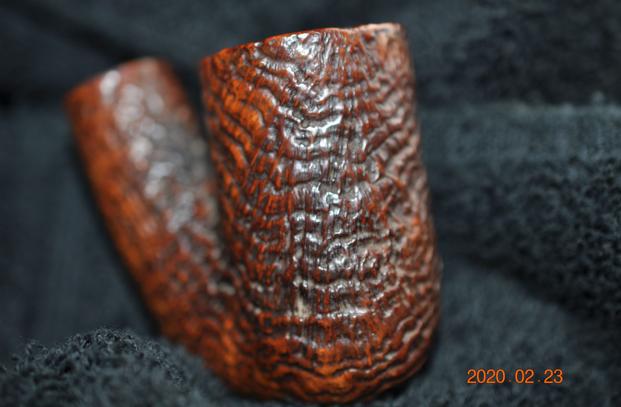
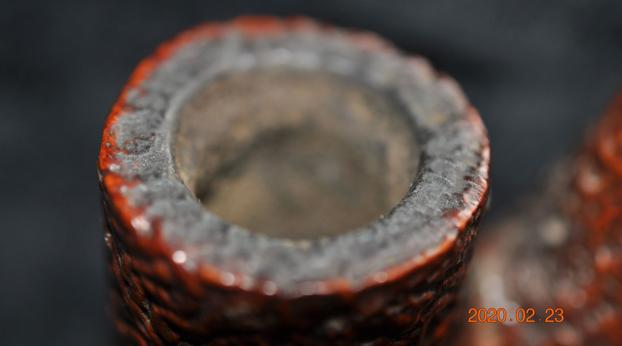
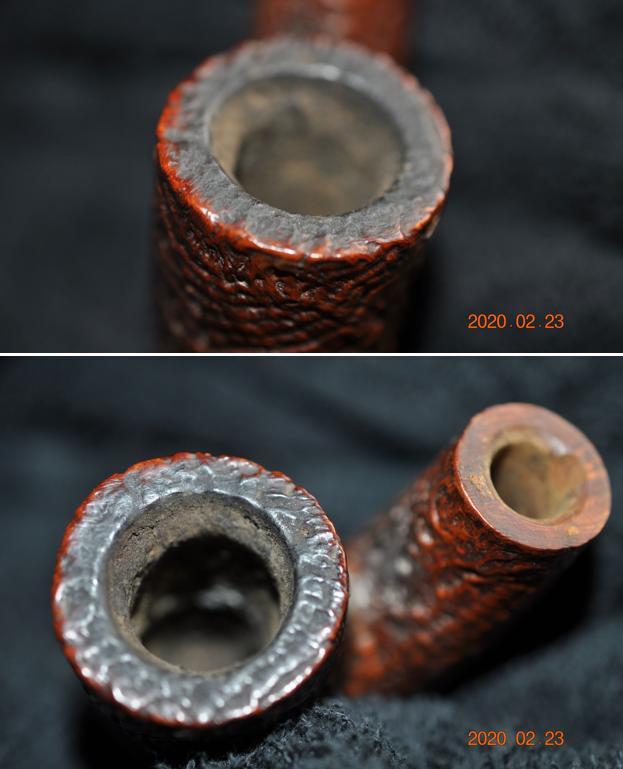
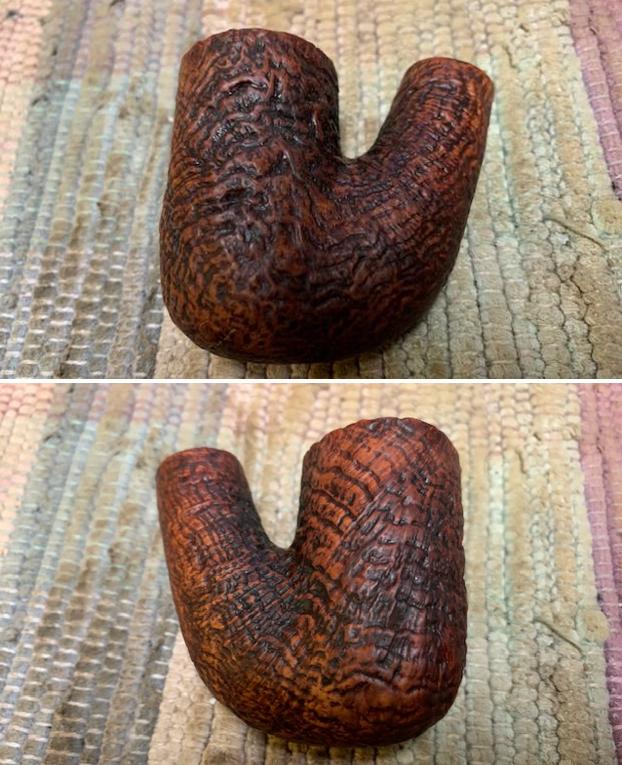
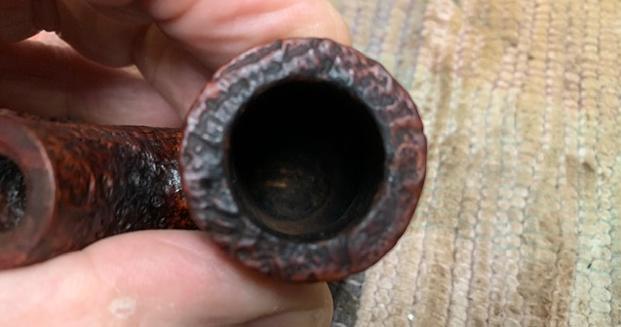
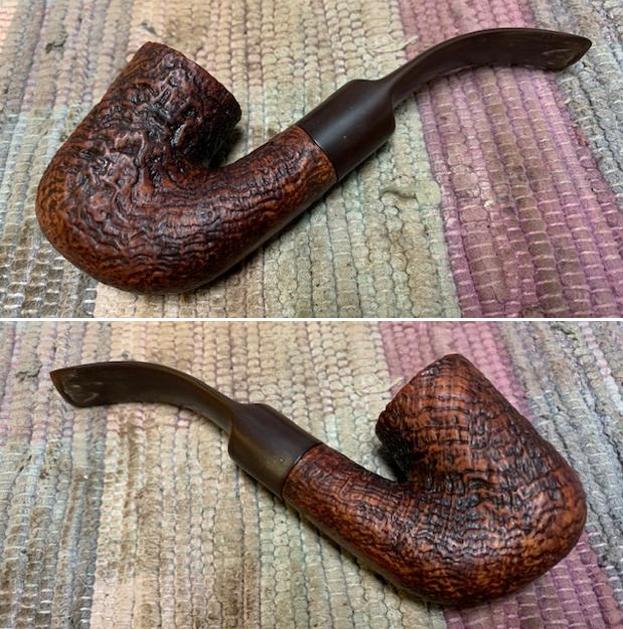
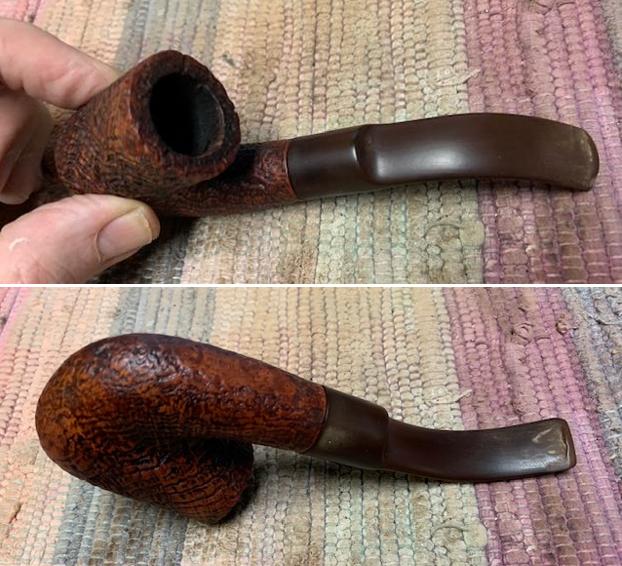
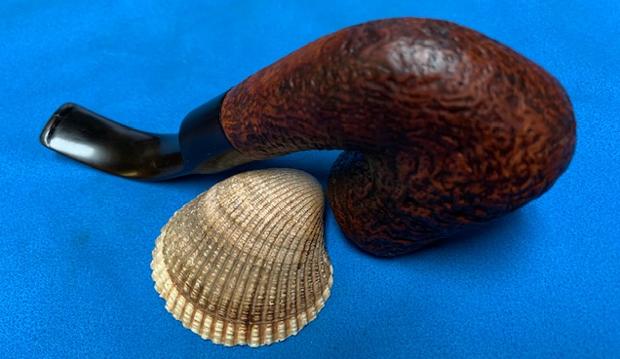
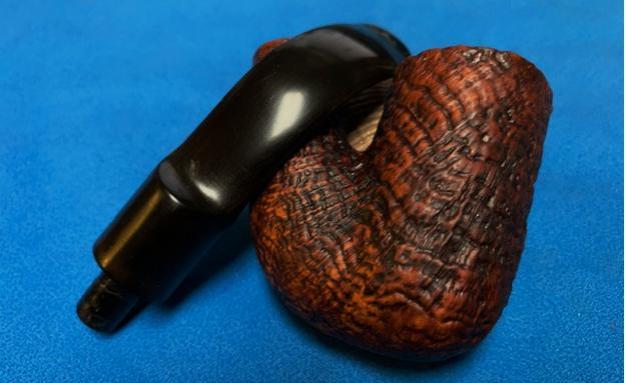
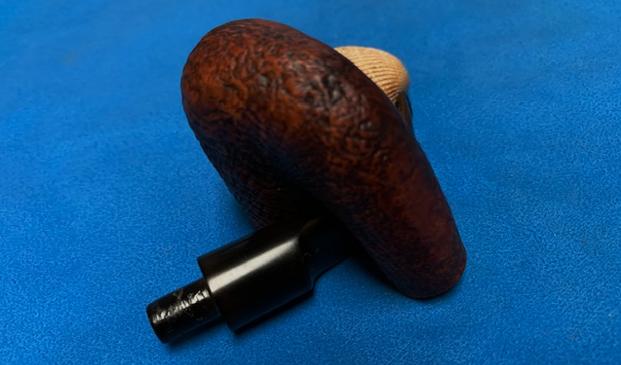
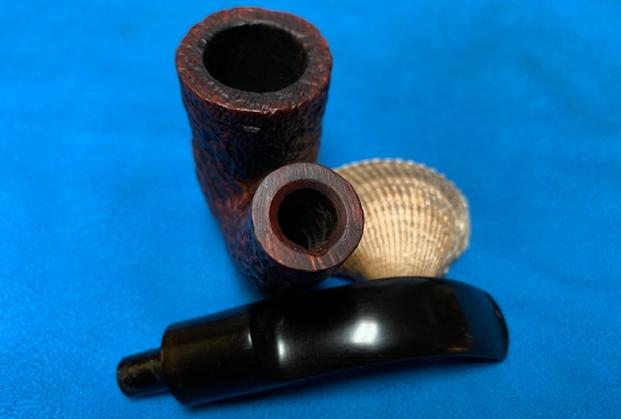
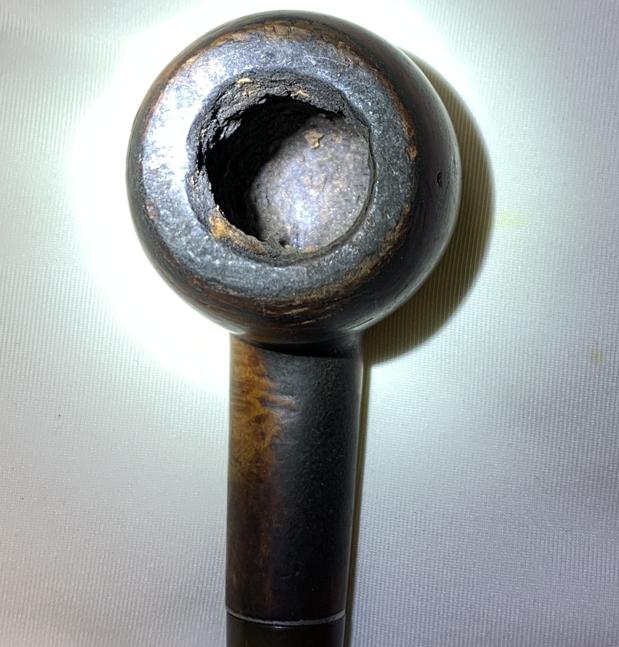
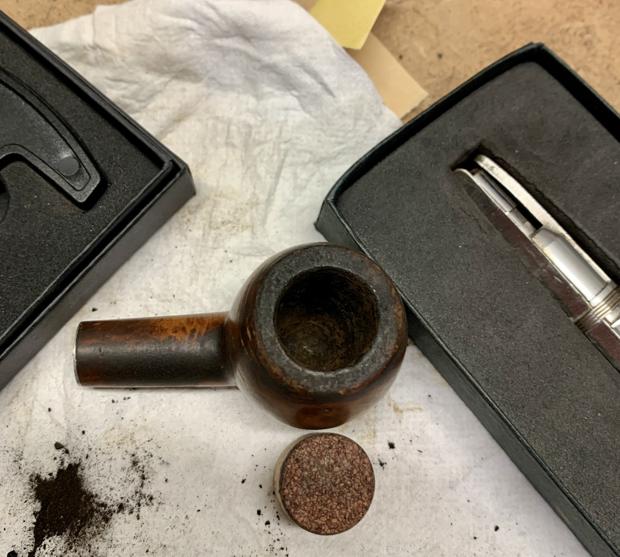
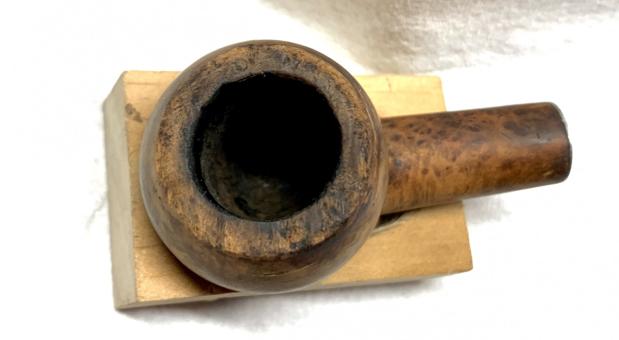
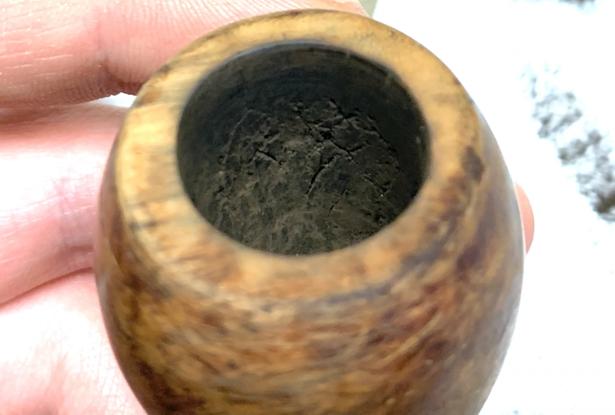
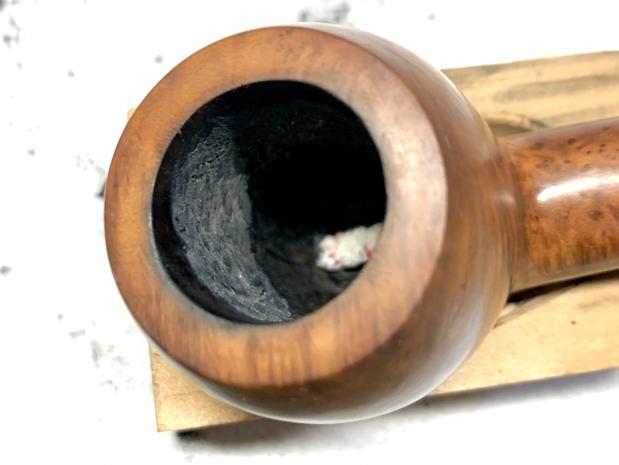
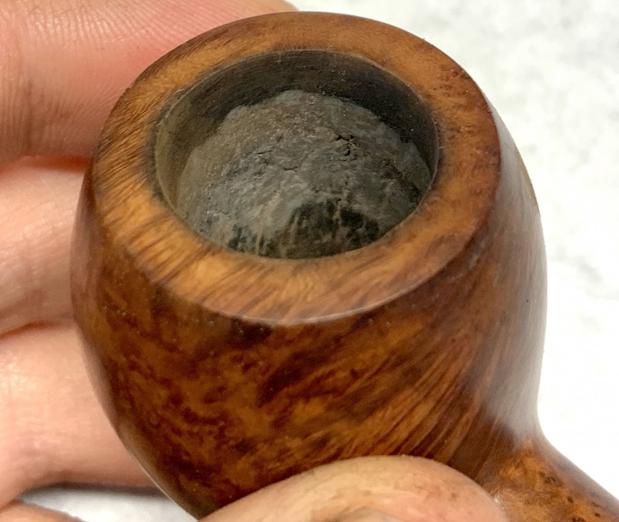
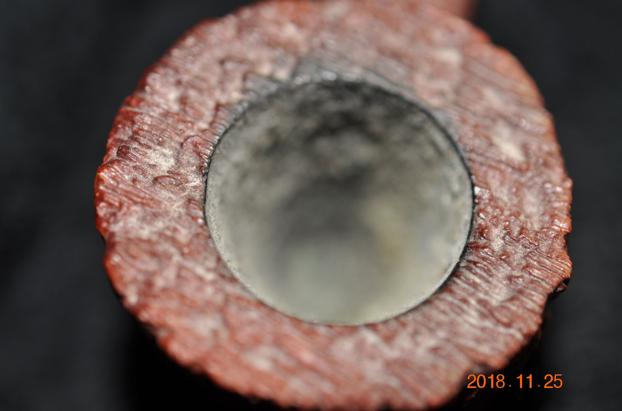
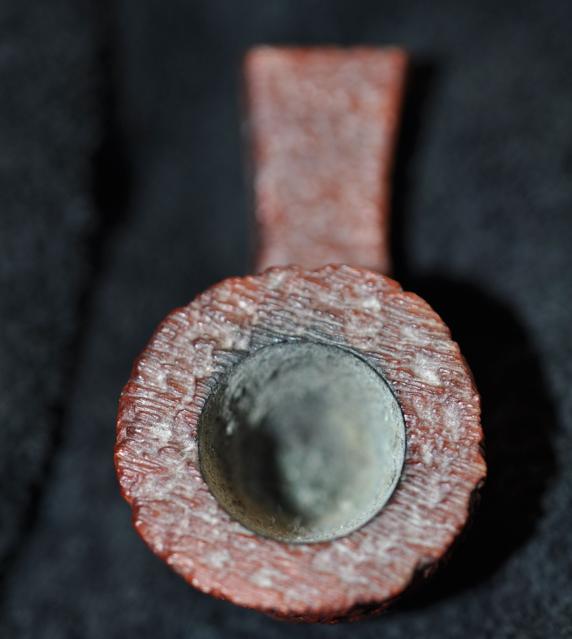
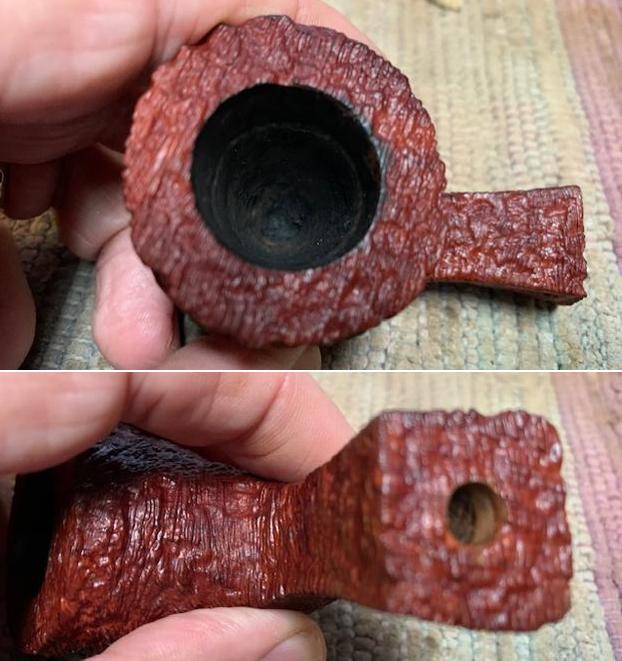
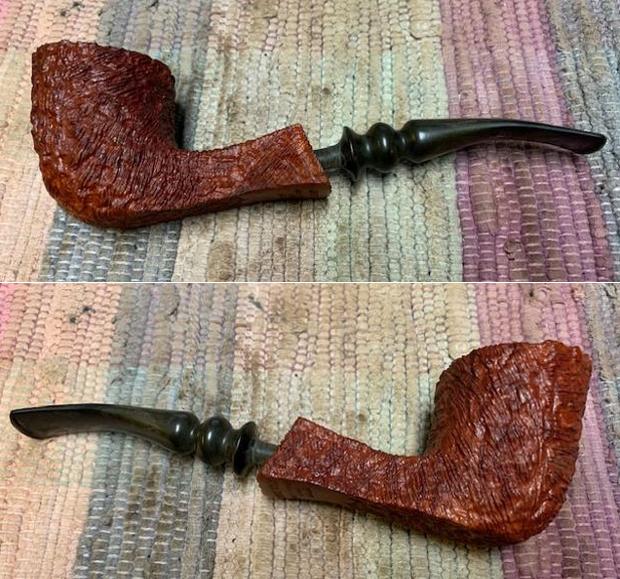
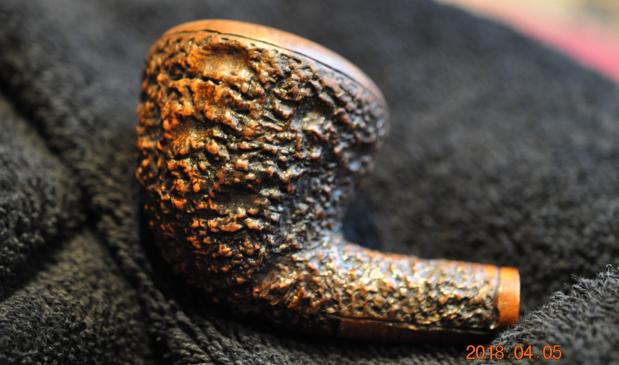
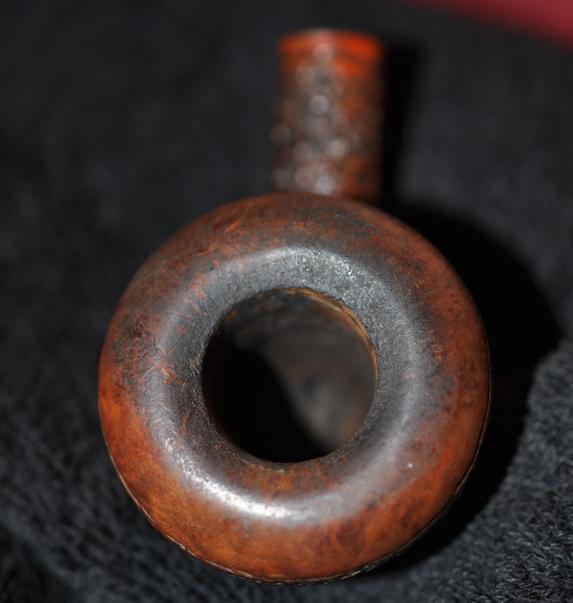
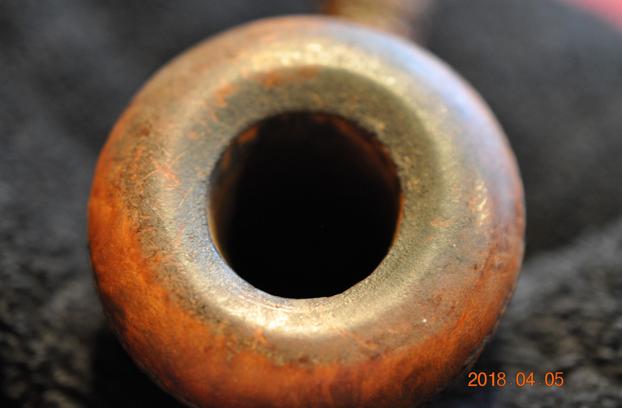
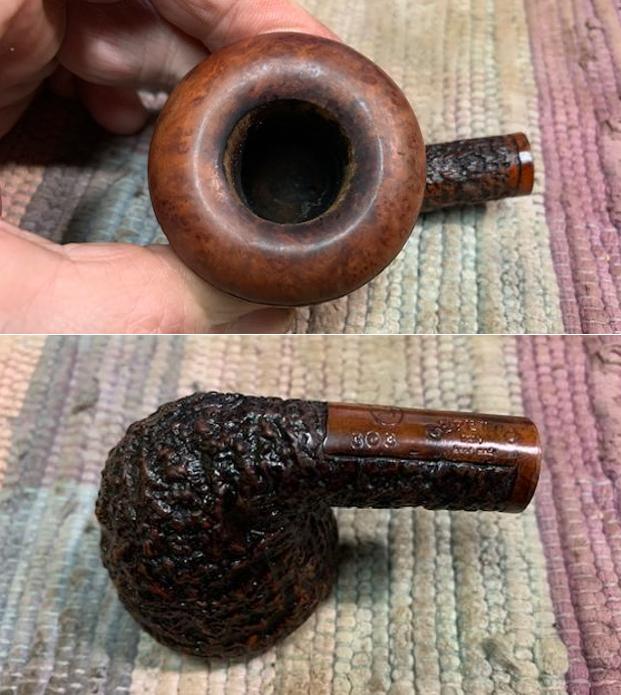
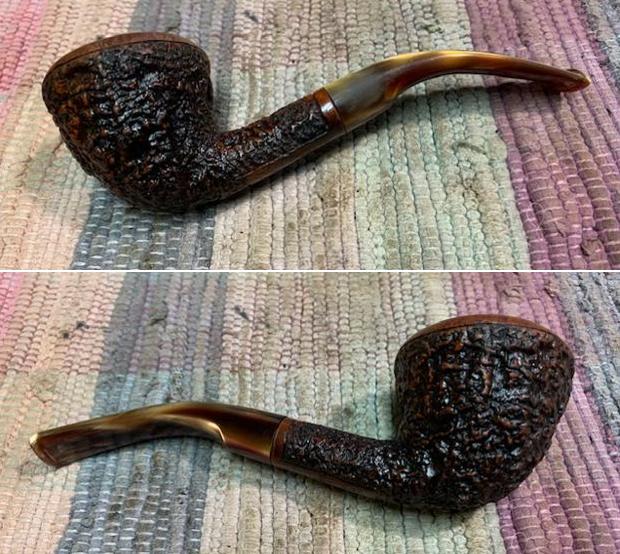
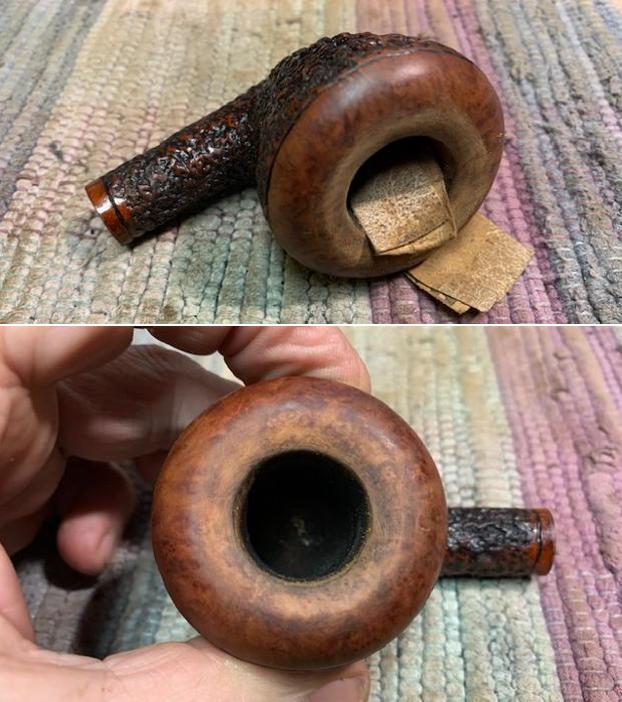
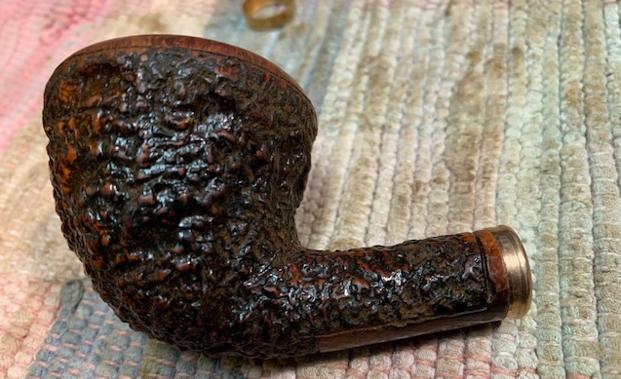
 I took photos of the plateau on the rim top and the shank end. It really is a beautiful looking pipe.
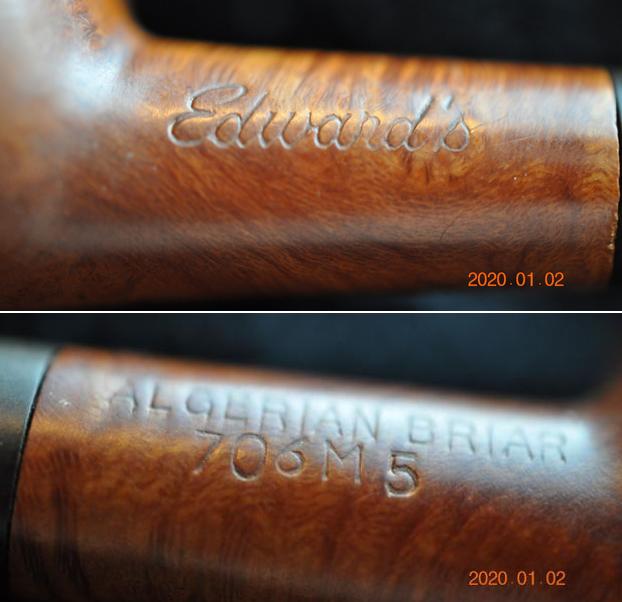
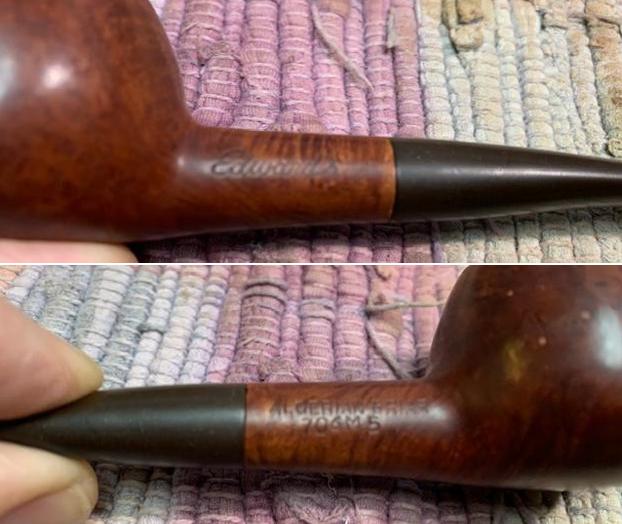
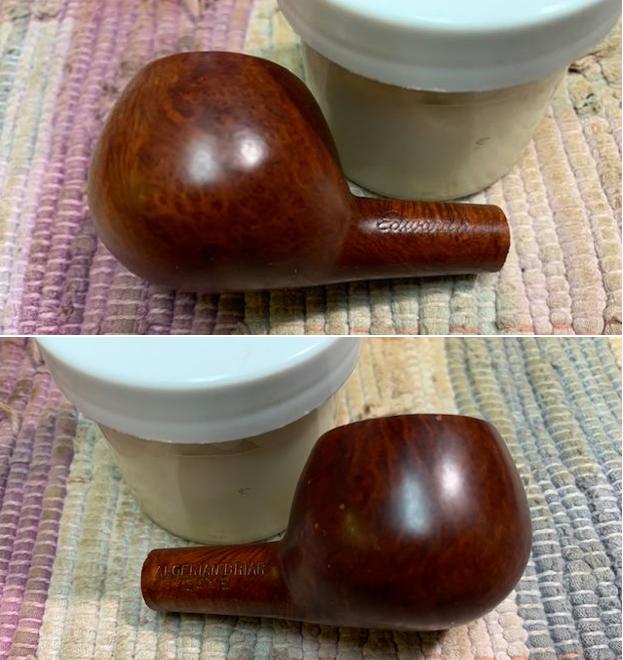
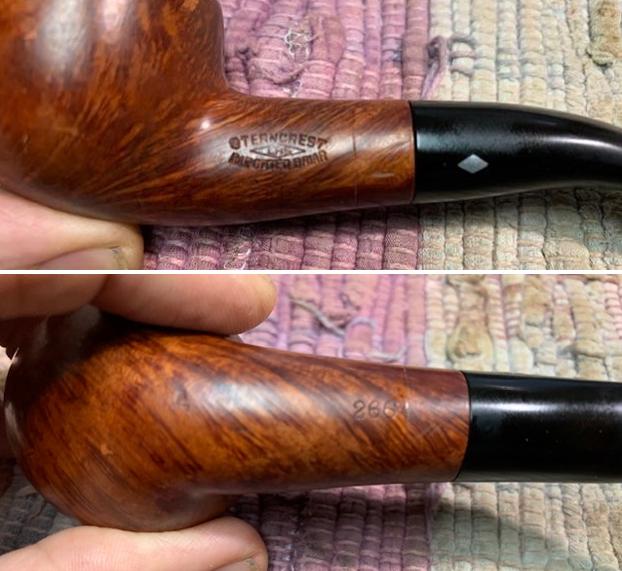
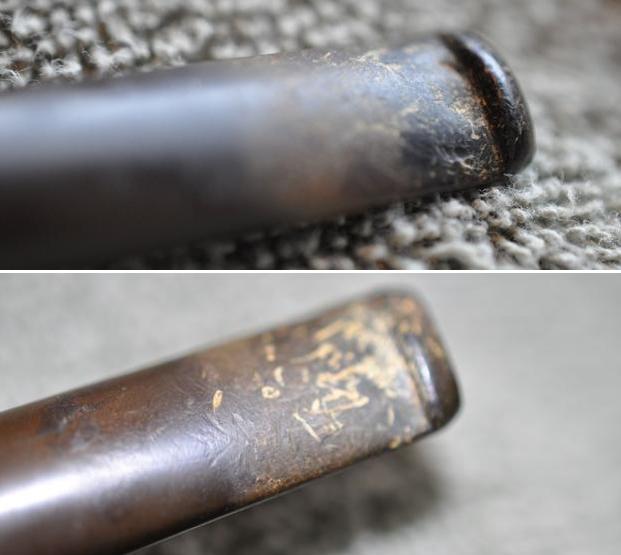
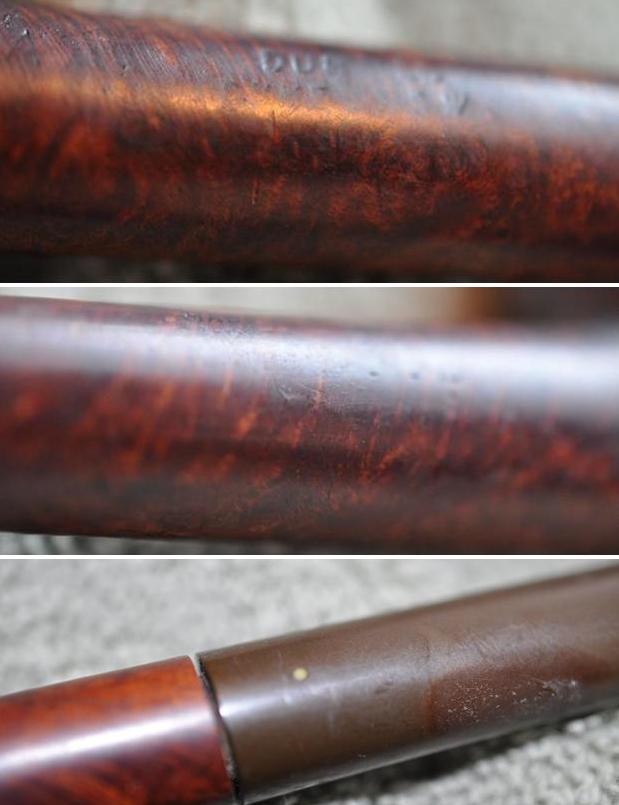
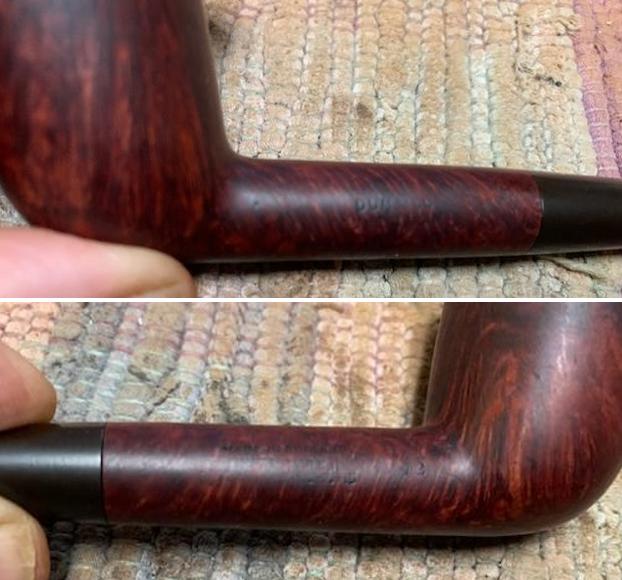
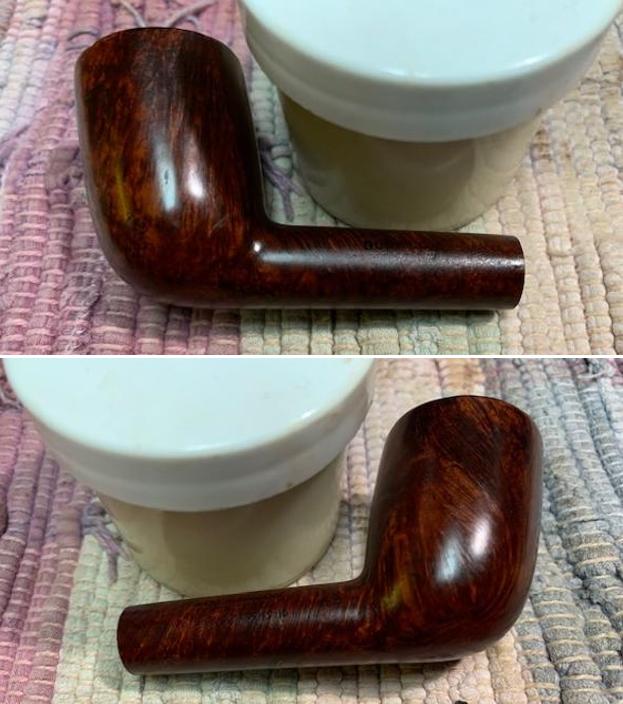
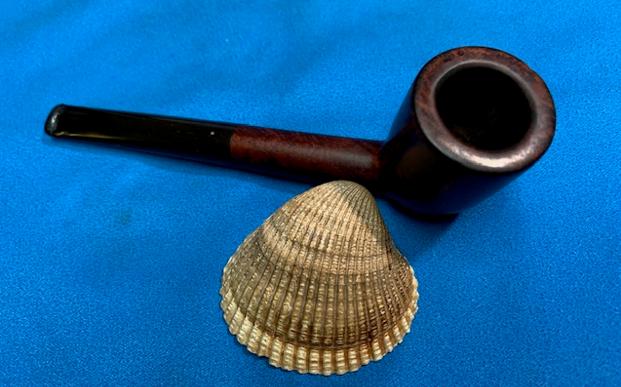
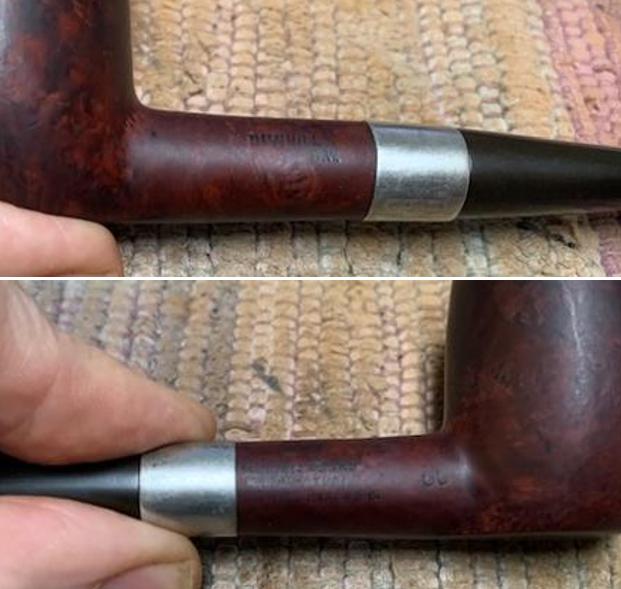
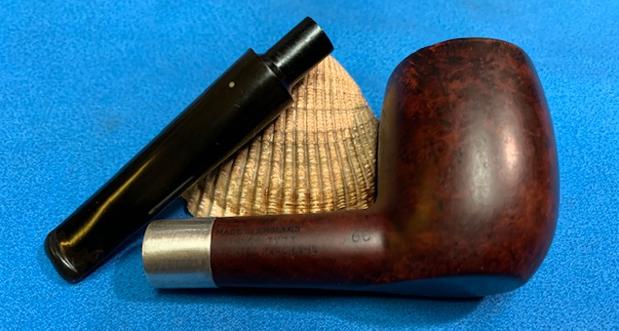
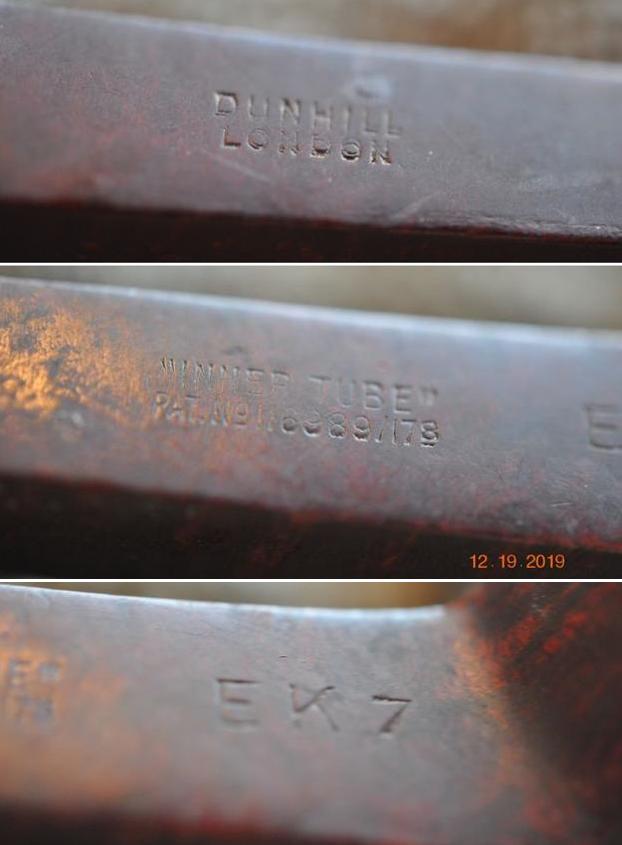
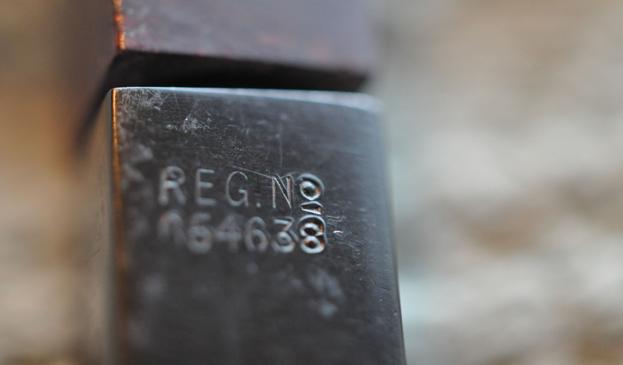
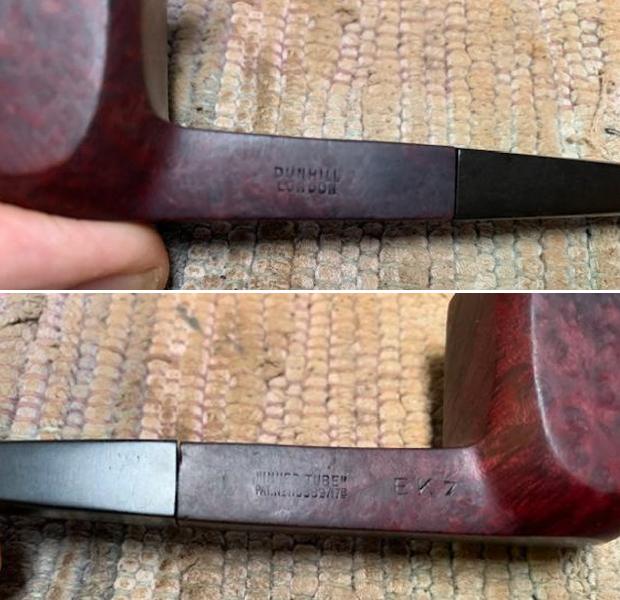
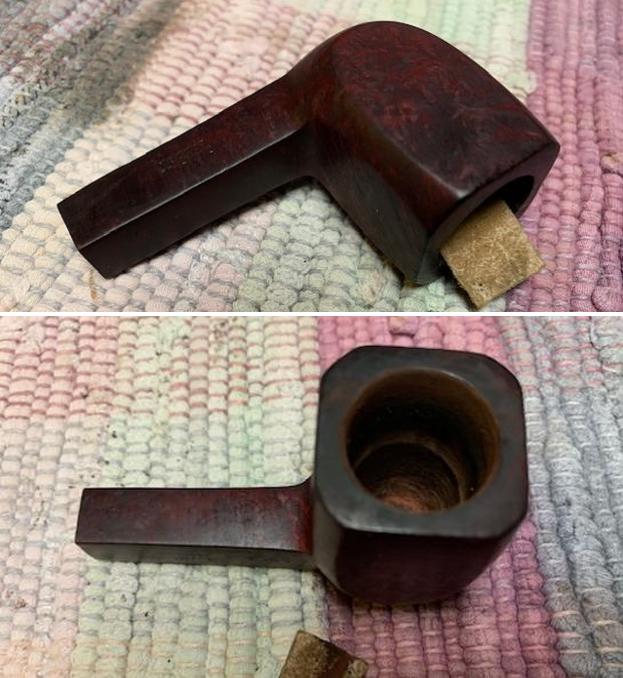
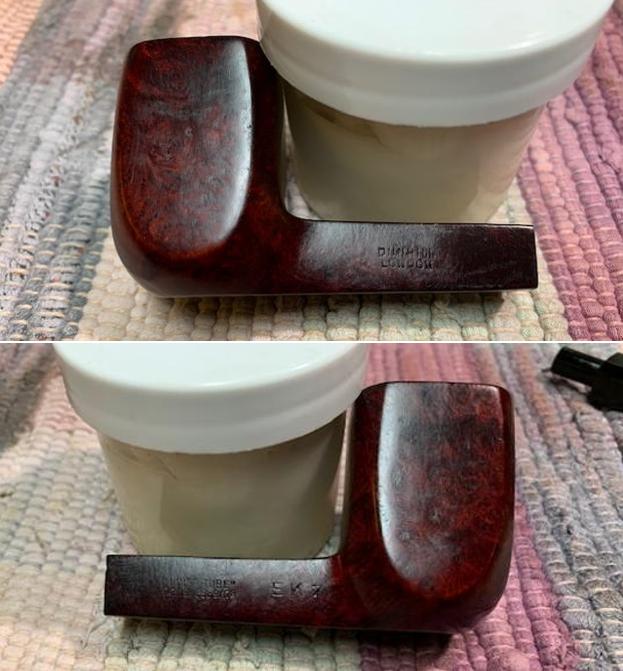
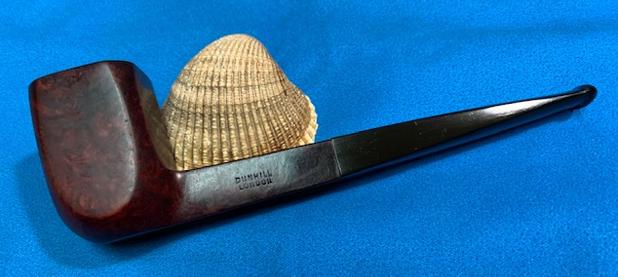
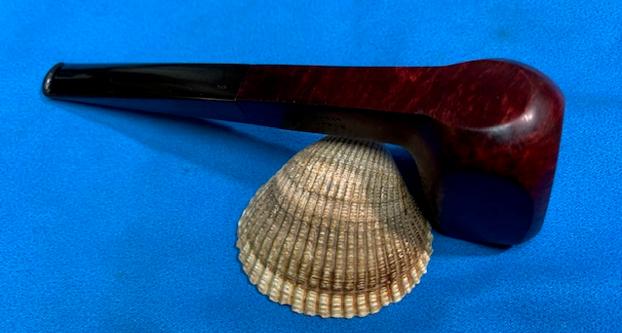
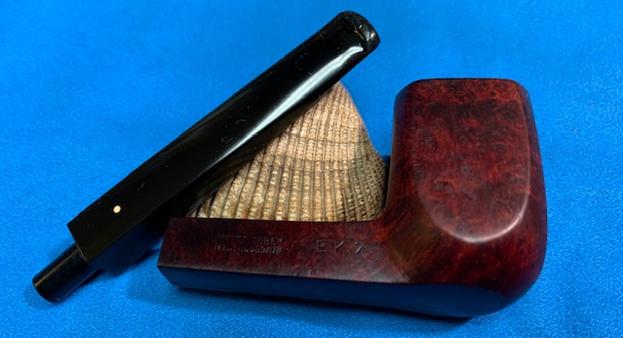
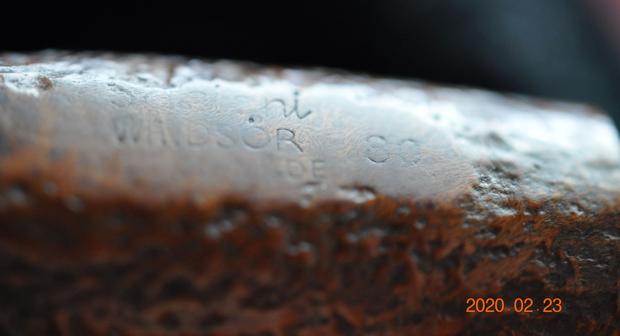
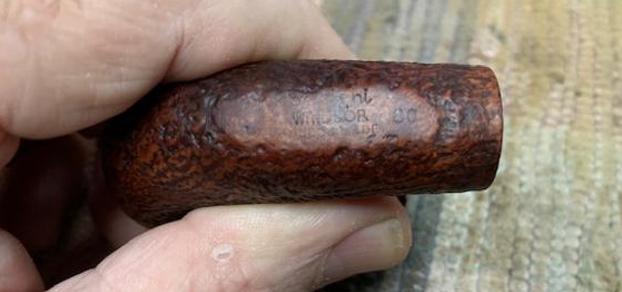
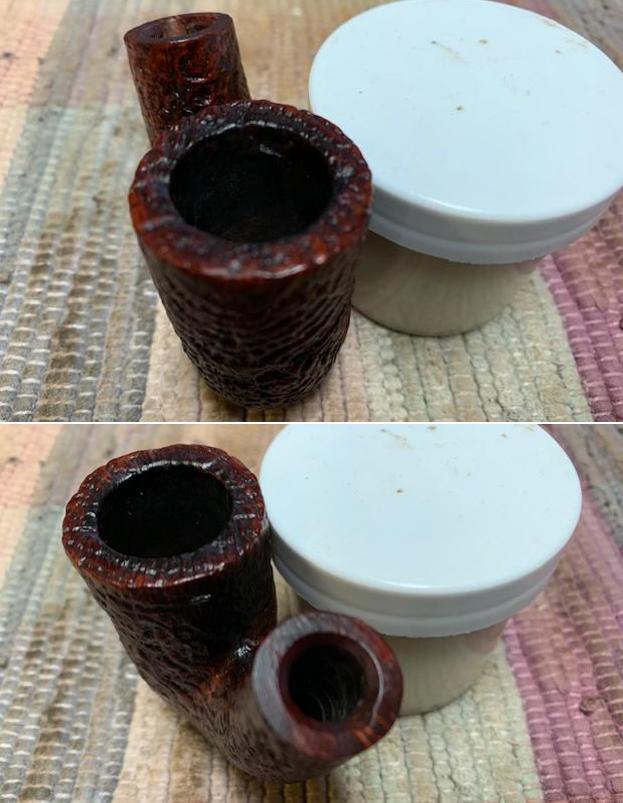
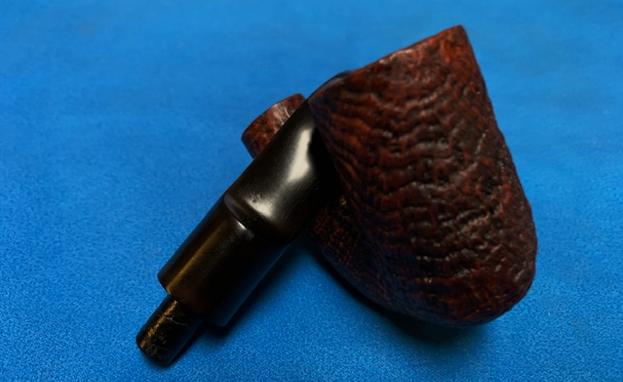
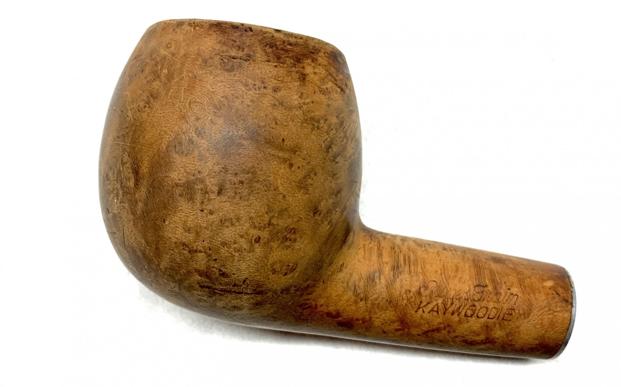
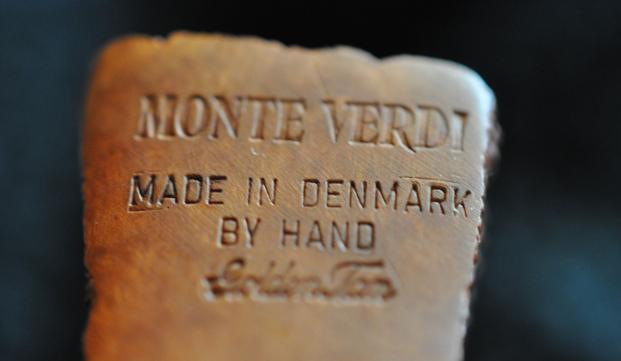
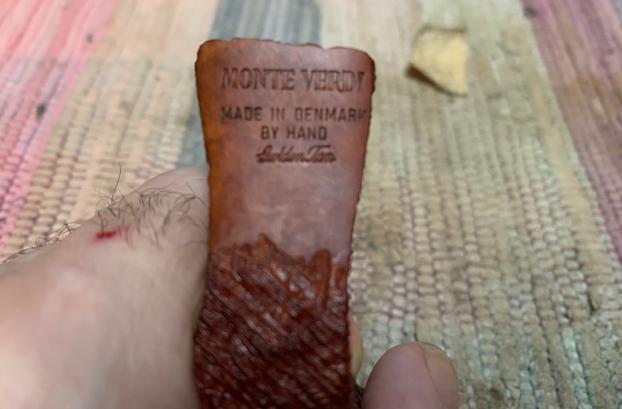
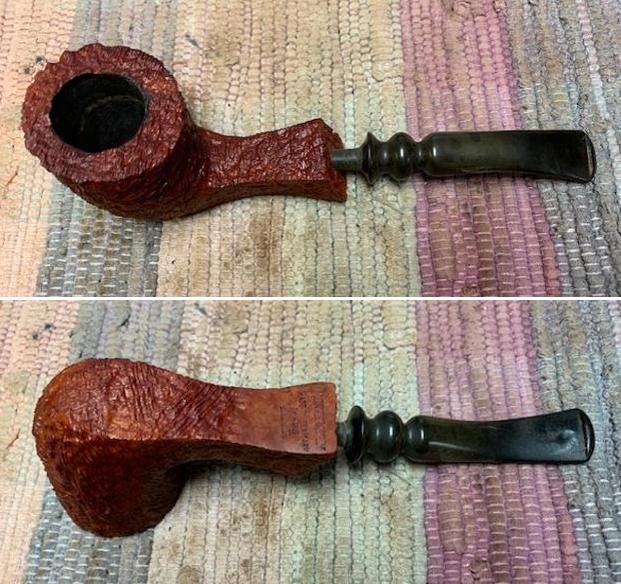
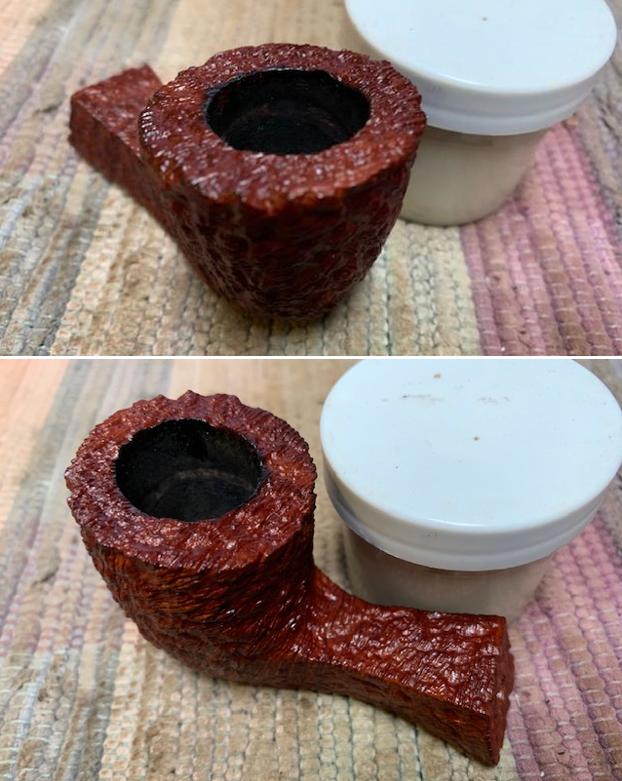
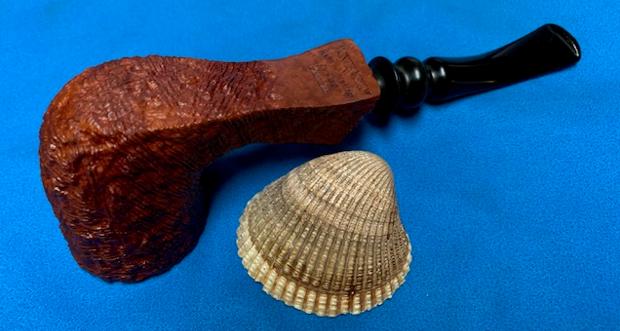
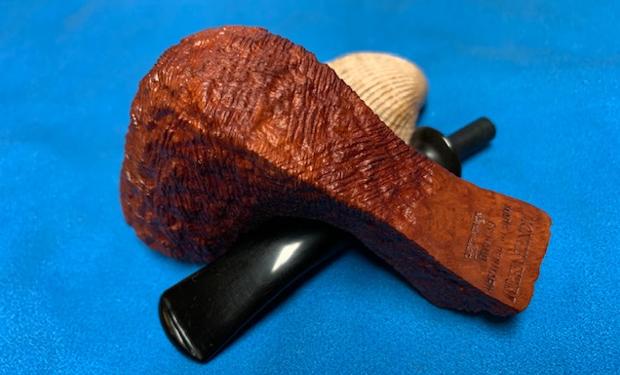
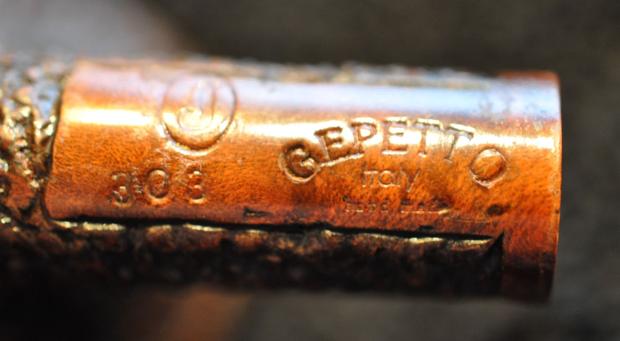
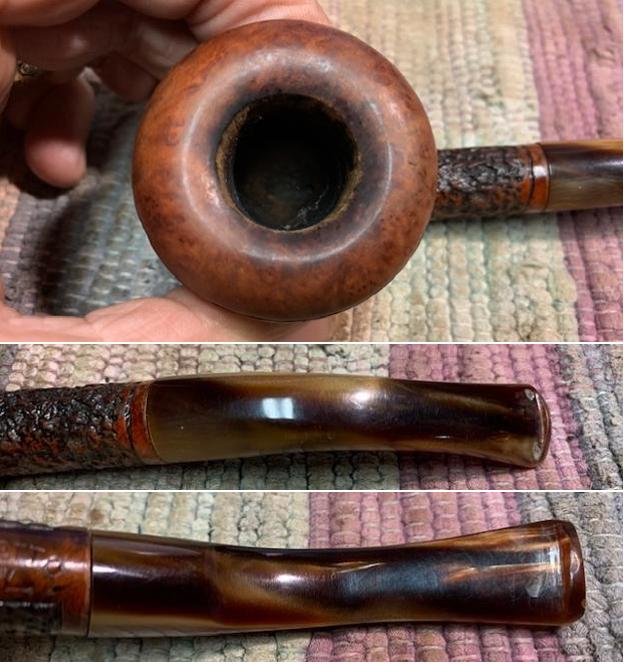
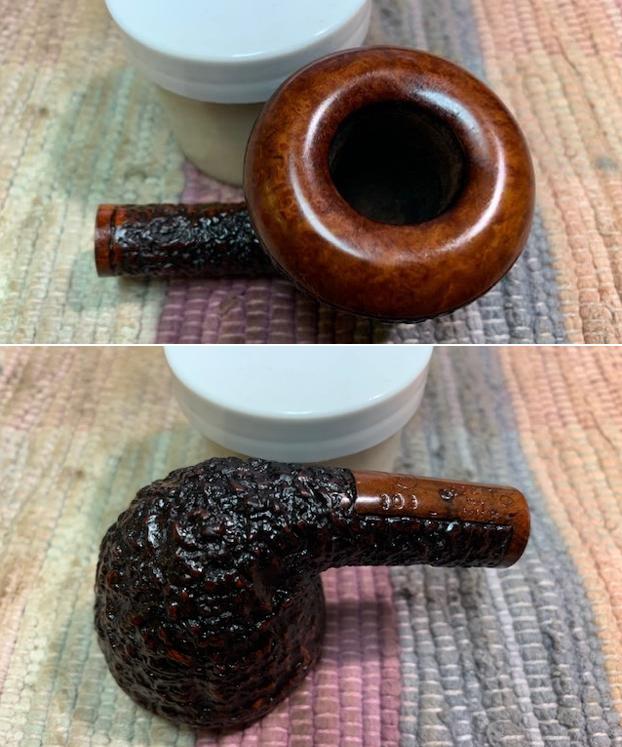
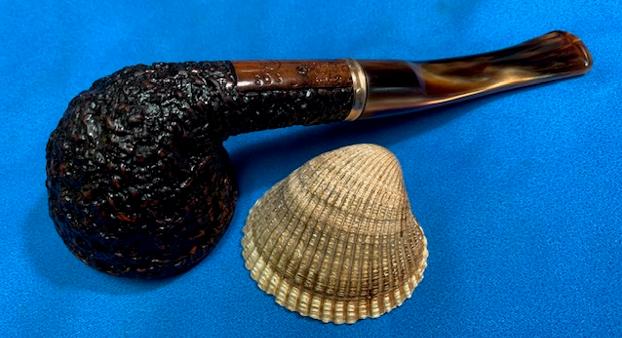
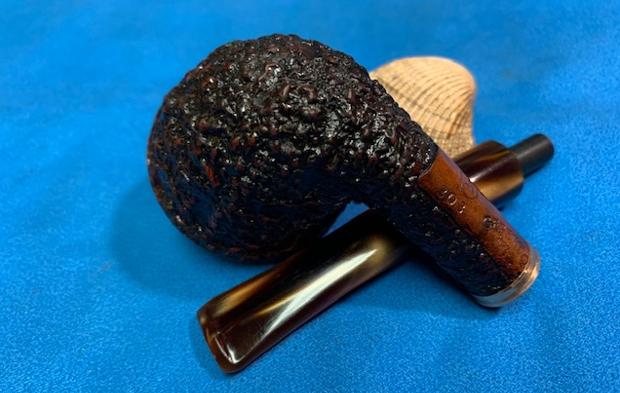
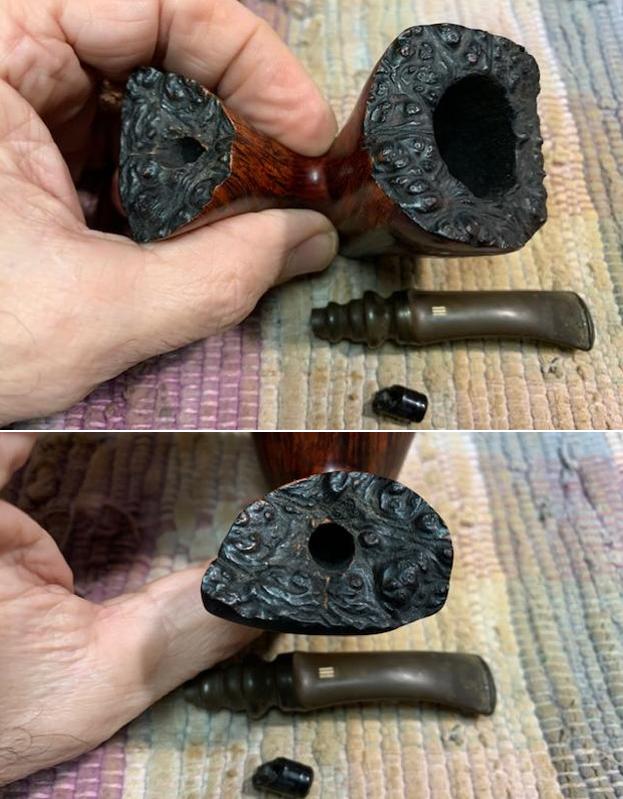 The stamping on the underside of the shank is clear in the picture below. It reads Wenhall [over] Langelinie [over] Freehand [over] Made In Denmark.
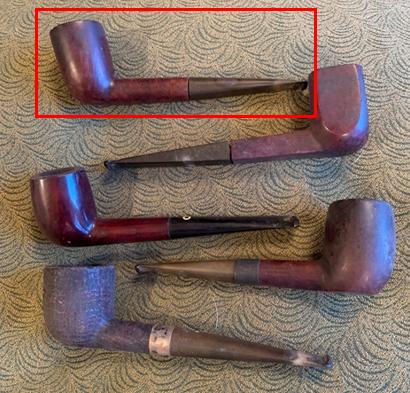
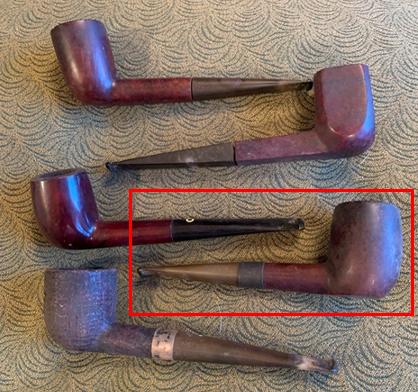
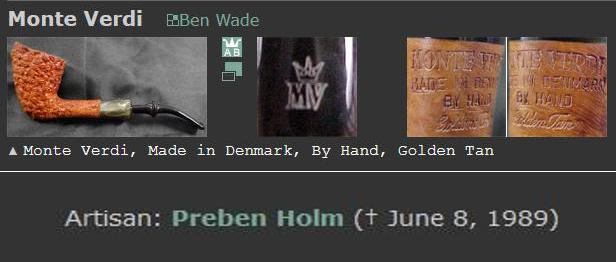
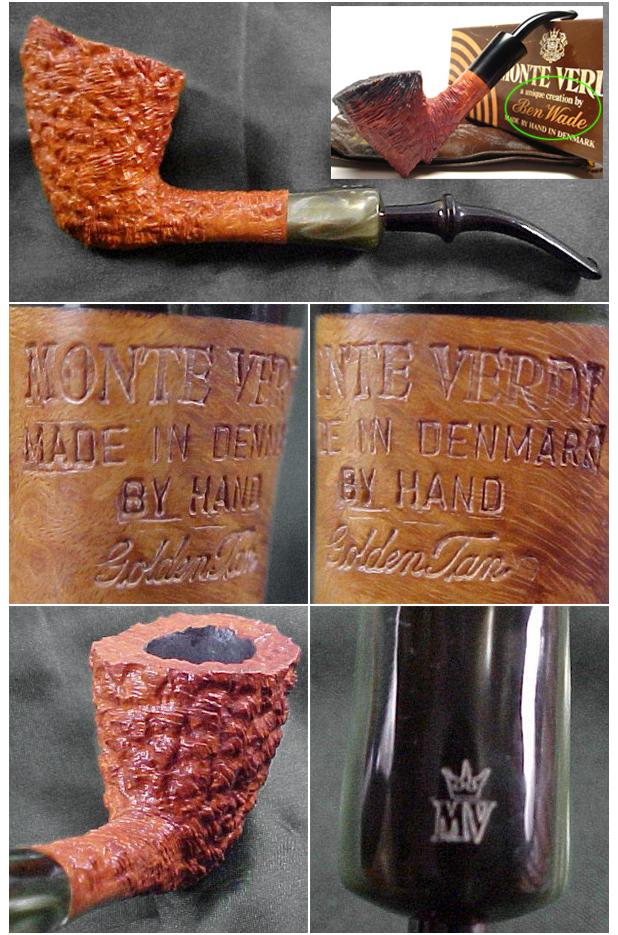
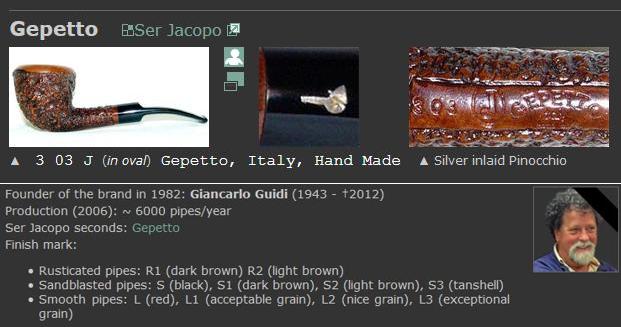
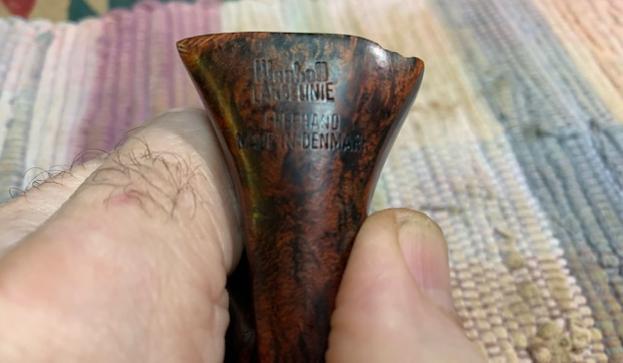 I turned to Pipedia to confirm my suspicions about the pipe being made by Karl Erik Ottendahl (https://pipedia.org/wiki/Wenhall). I quote the article below. Note the section highlighted in red at the end of the article about Karl Erik. Also interesting is the connection to Micahel Kabik and Glen Hedelson who we have seen before with other pipes (Sven-Lar Freehands).
Wenhall Pipes Ltd. was a distribution company out of New York City.
By the end of the 1970’s Wenhall approached Michael Kabik and Glen Hedelson, at that time operating from a farm house in Glen Rock, Maryland to create a line of freehands called Wenhall. The situation was favorable, because Kabik & Hedelson had ended their cooperation with Mel Baker of Tobak Ltd. to produce the famed Sven-Lar freehands shortly before.
Upon Wenhall’s offer the partners got a bank loan and set up a studio of 2000 square feet in a fairly new industrial park in Bel Air, Maryland and took on the name Vajra Briar Works. Wenhall initially wanted 500 pipes a week! But Kabik & Hedelson doubted that they could move that much product and told them they would produce 250 pipes per week. Happily, some of the old crew from Sven-Lar joined them at Vajra Briar Works, and thus they rather quickly met the production demands.
Furthermore during this time, Wenhall requested to create a line of pipes consisting of 12 different shapes. The line was called The Presidential and, while they repeated the same 12 shapes for this series, each one was freehand cut. Although they came up with interesting designs, mainly developed by Hedelson, especially Kabik was never really happy with the line or the concept, but, by this time, they had nine people on full-time payroll.
The stint with Wenhall lasted a couple of years, at which time they asked them to join Wenhall in a move to Miami, Florida. But by this time Kabik and Hedelson felt very uncomfortable with the owners of Wenhall and decided that they’d rather close the shop than make the move. Time proved that decision very wise, as Wenhall folded shortly after the move. All the same they had to close Vajra, but scaled down to the two of them and moved the operation to the farm house Glen was currently living in.
Presumptively for a shorter period only Wenhall had pipes made in Denmark by Karl Erik. (BTW K.E. Ottendahl ceased all sales to the USA in 1987.)
Wenhall also distributed pipes from Italy. By unconfirmed information Gigi and Cesare Barontini were mentioned as suppliers.
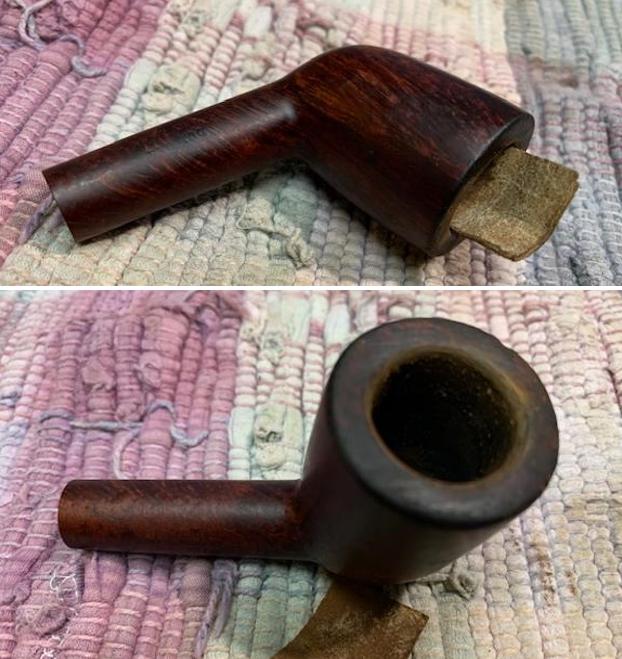
Now it was time to work on the pipe itself and replace the broken tenon with a new one and give the pipe a new life. In this case I will not do anything intrusive to remove tooth marks or even the potential tobacco smells as they are a part of the memory of Trevor’s Grandfather.
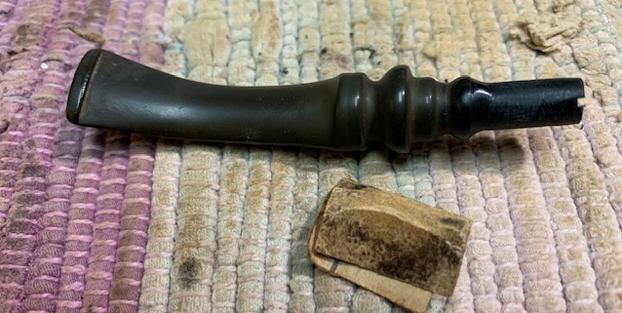
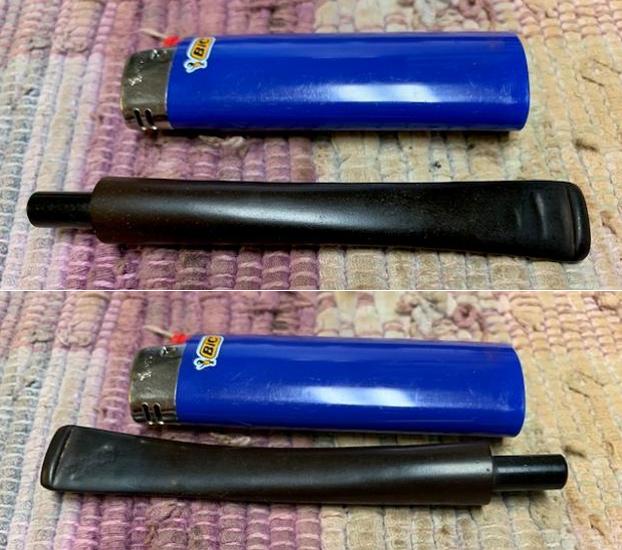
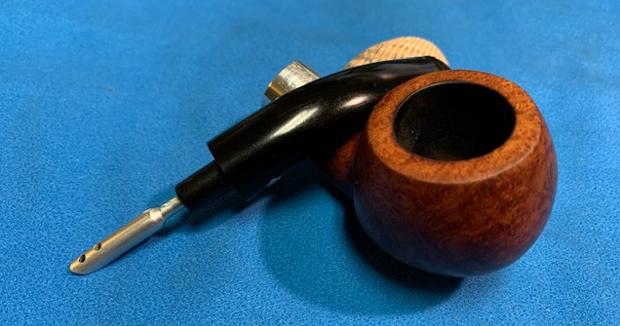
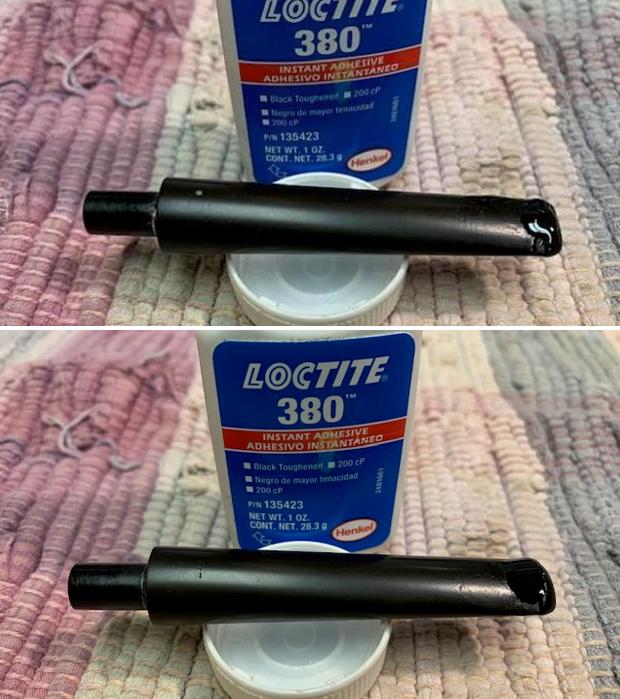
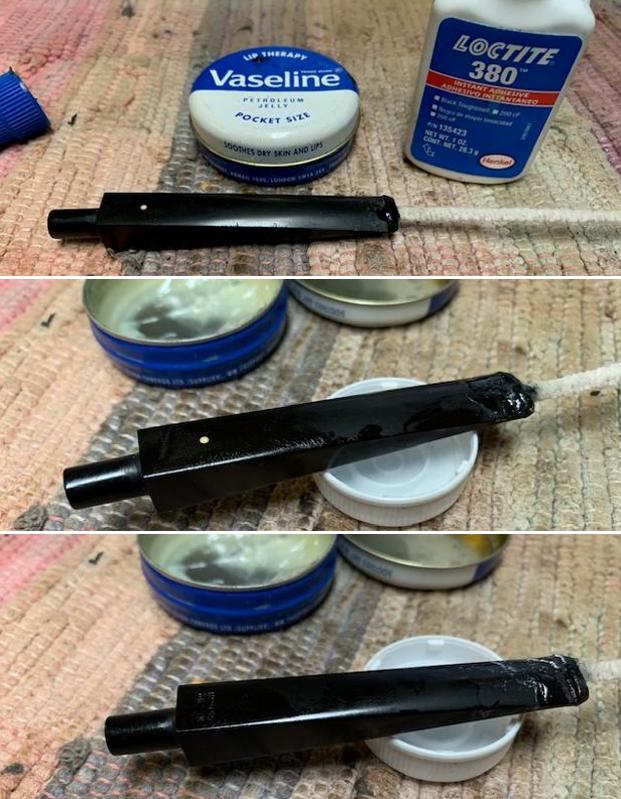
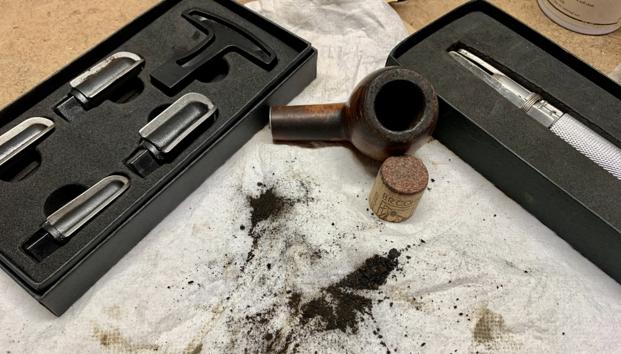
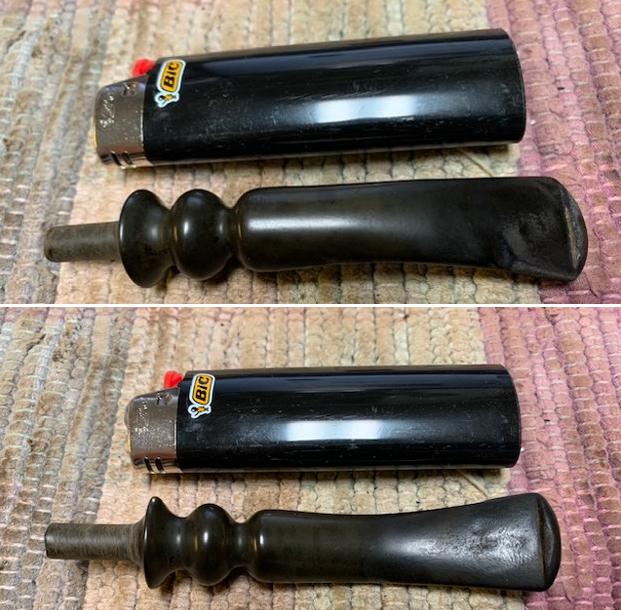
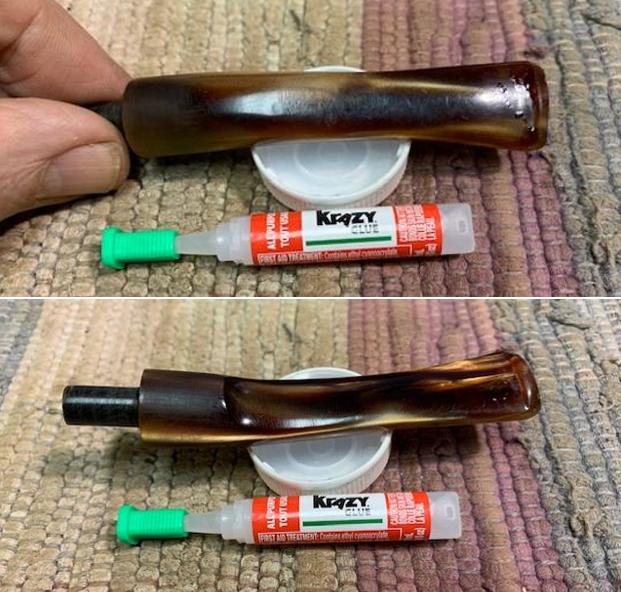
I started the work on the new tenon by flattening out the end of the stem which still had sharp fragments for the previous tenon. I used a Dremel and sanding drum to flatten out the end of the stem. I always do this to prepare for drilling out the stem to receive the end of the new tenon. The second photo below shows the replacement tenon that I have chosen for the stem. It is a threaded Delrin tenon and will need to be modified to get a proper fit. I will also need to reduce the diameter of the tenon for a snug fit in the shank. I drilled the end of the stem with my cordless drill. I started with a bit slightly larger than the current airway in the end of the stem. I worked my way up to one that would allow me to insert the threaded portion of the tenon in the stem. I would need to remove a lot of the threads on the tenon end leaving just grooves for the glue to bite.
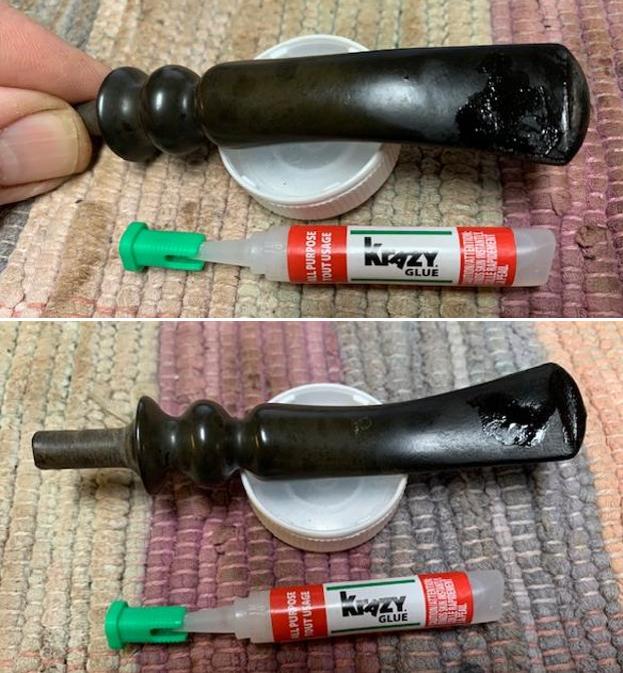
 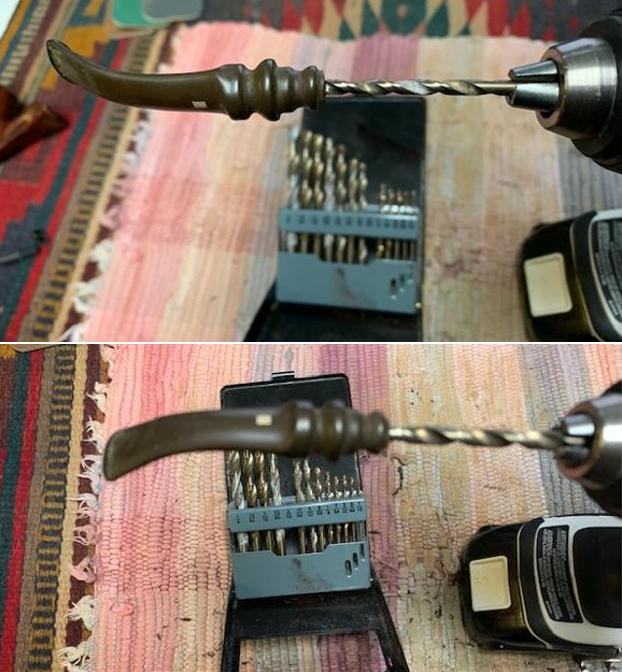 I used the Dremel and sanding drum to reduce the diameter of the portion of the tenon that fit in the mortise and for removing the diameter of the portion that would be inserted in the newly drilled stem. I checked it throughout the process of sanding to make sure it would fit in both places. Once the fit was right I coated the end of the tenon that would be inserted in the stem with a coat of the Locktite 390 CA glue and pressed it in place in the stem. I turned it to make the alignment with the mortise correct. I would need to do some adjustments to the tenon diameter once the glue cured. Once it was glued I set it aside to let the repair cure.
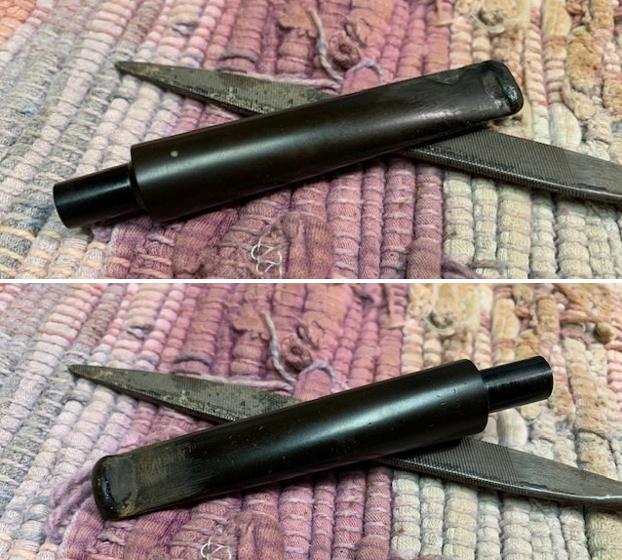
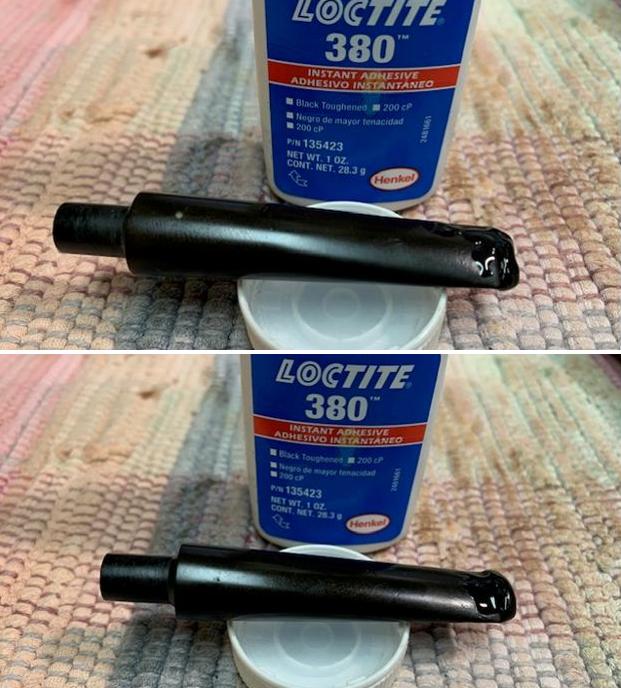
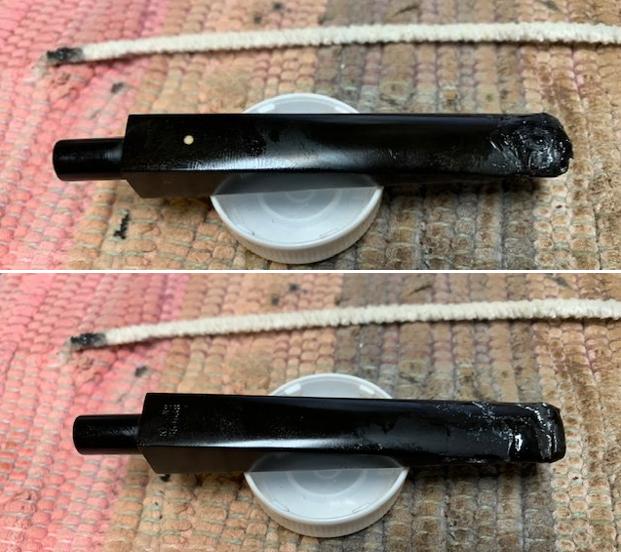
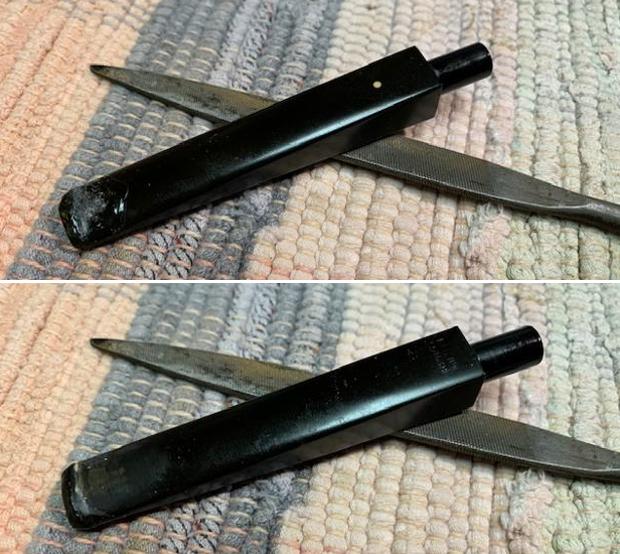
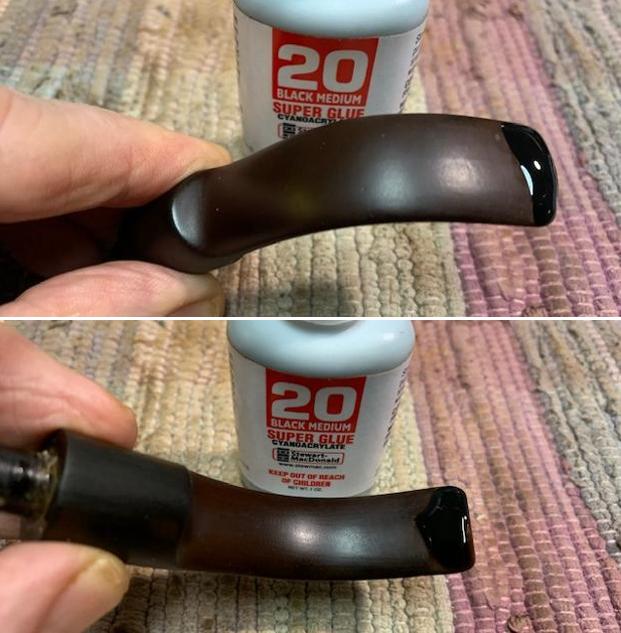
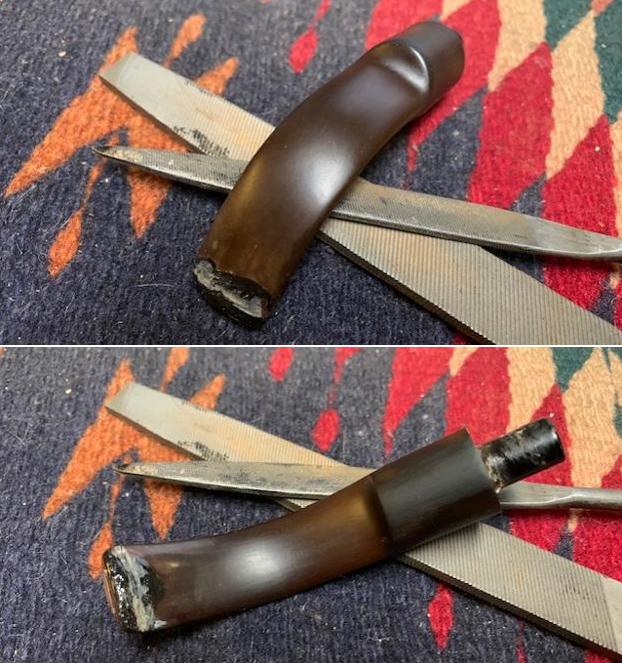
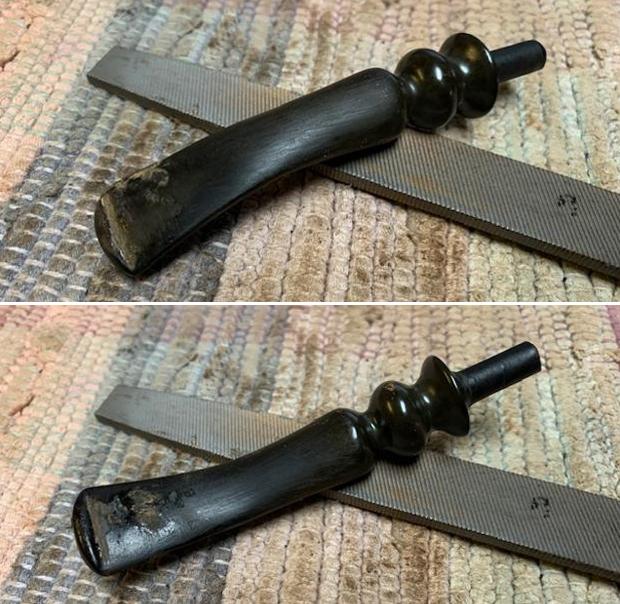
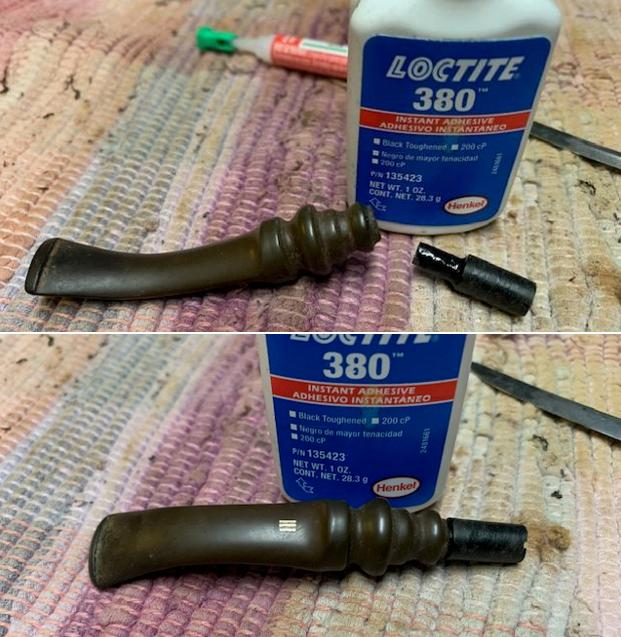 I smoothed out the slight ridge at the junction of the new tenon and the stem with sand paper and filled in the dip with black Locktite 380 rubberized CA glue. Once it cured I used an oval file and sandpaper to reshape that area and give the transition more flow.
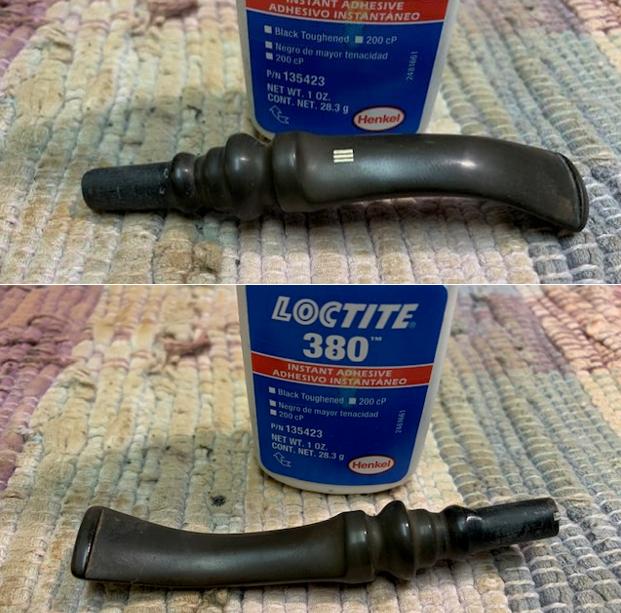
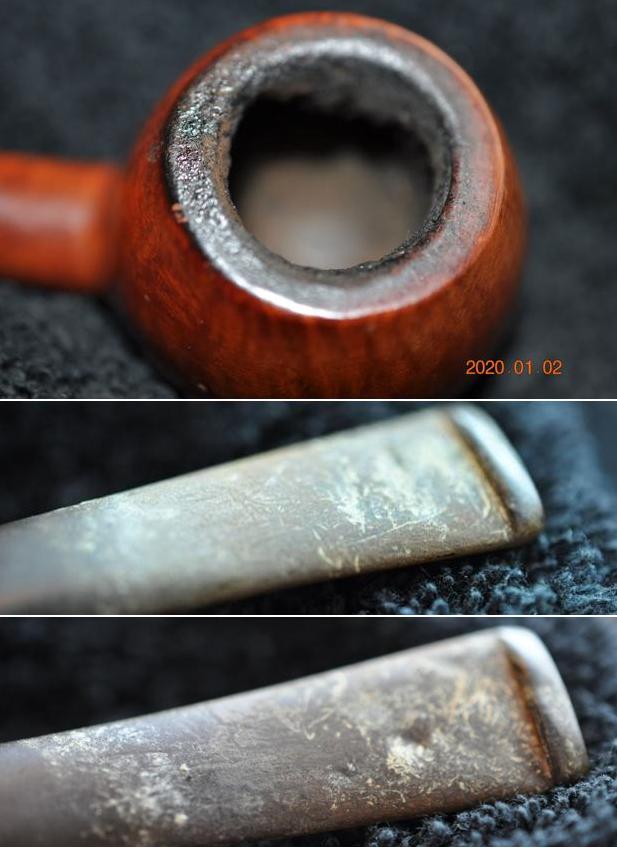
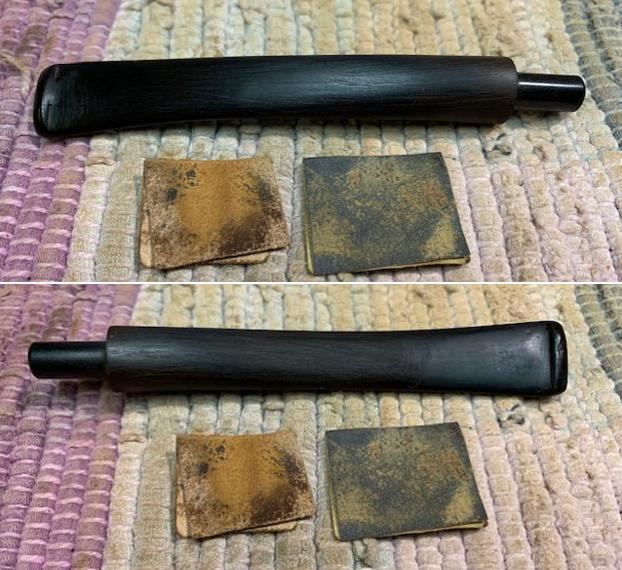
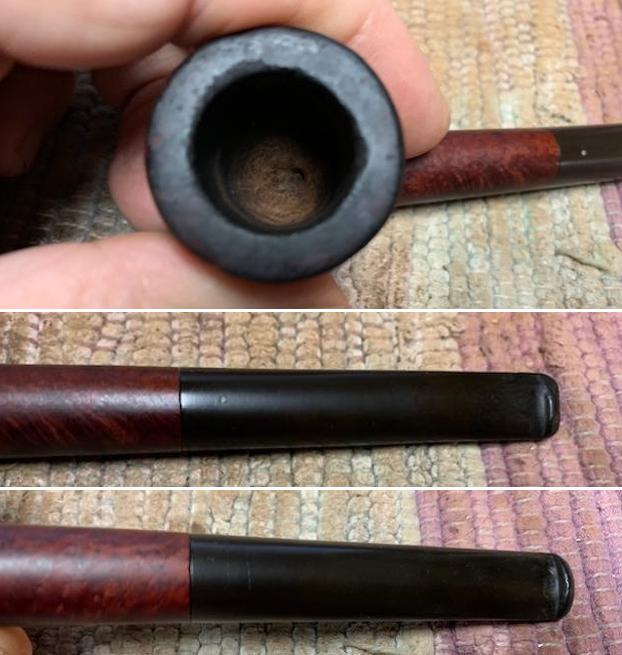
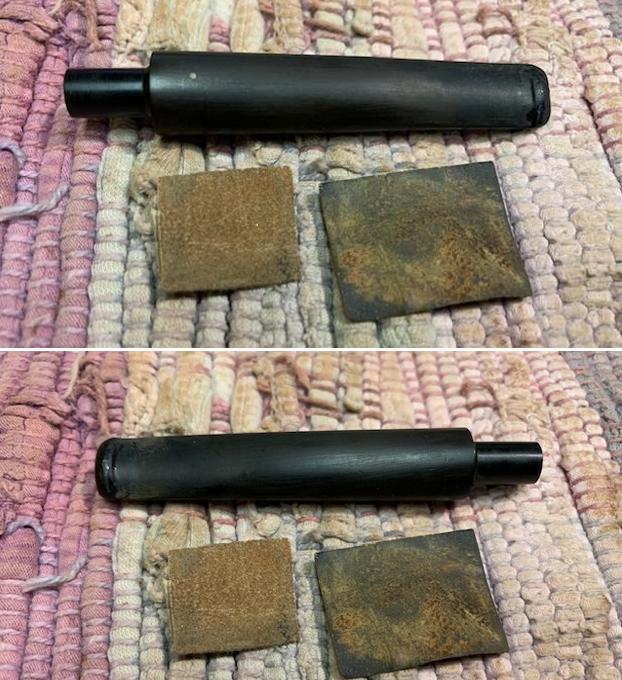
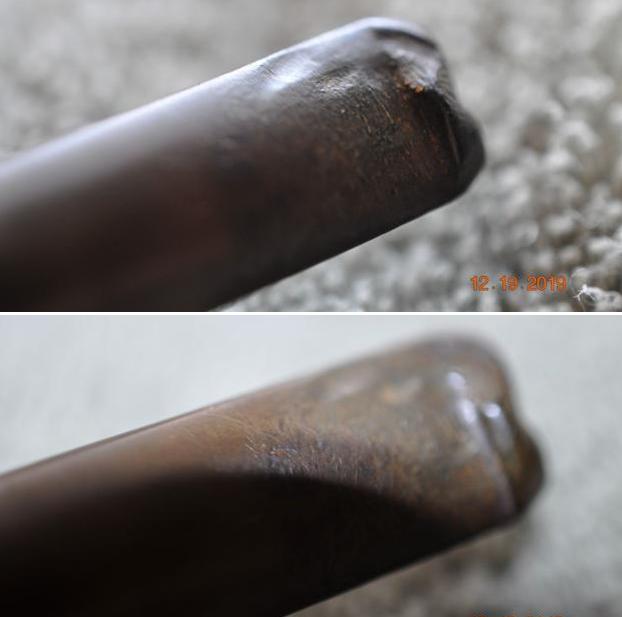
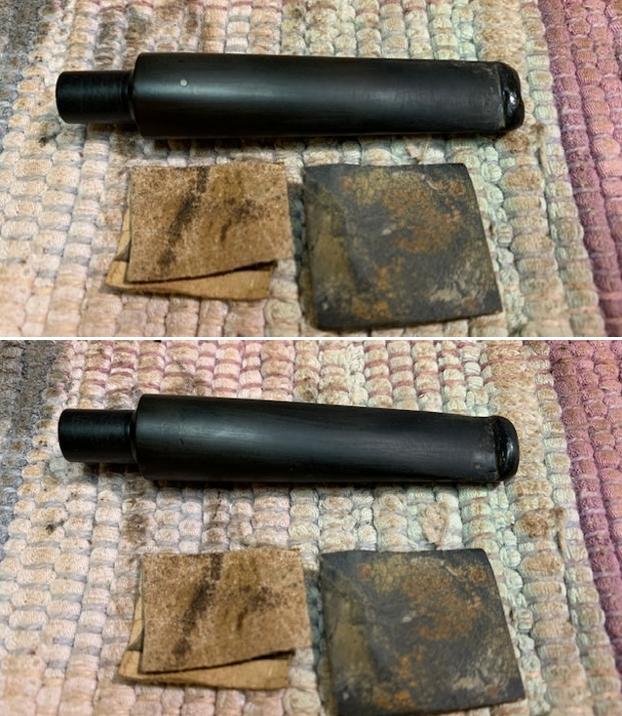
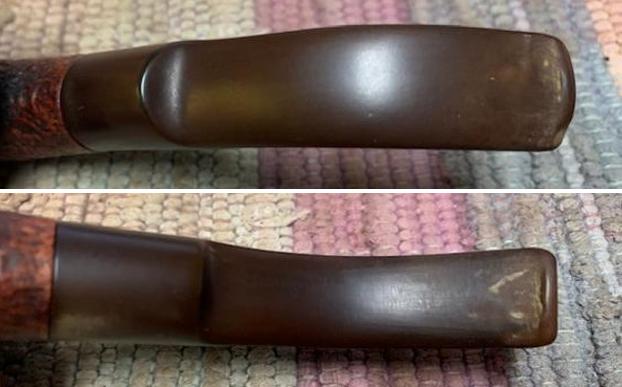
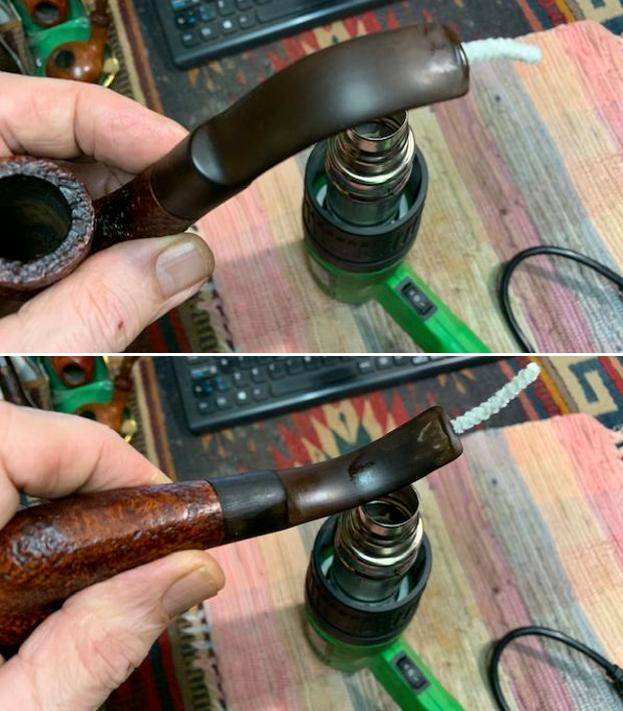
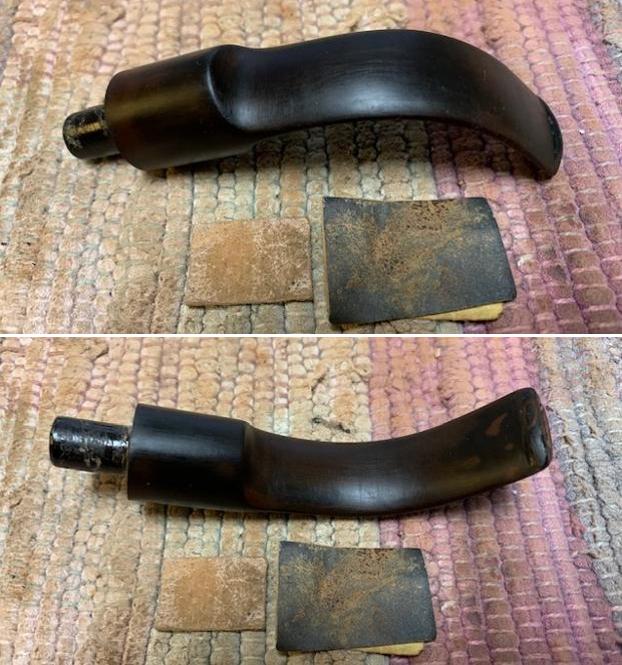
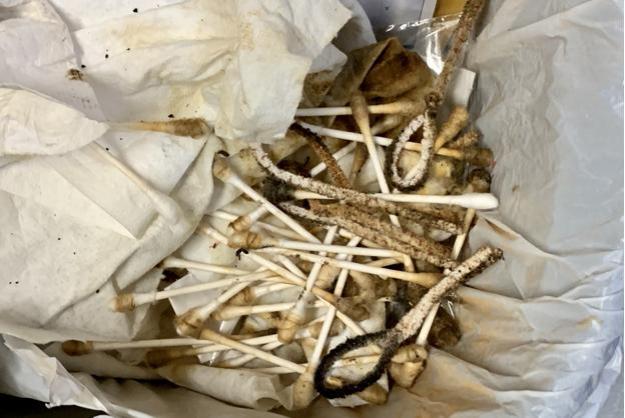
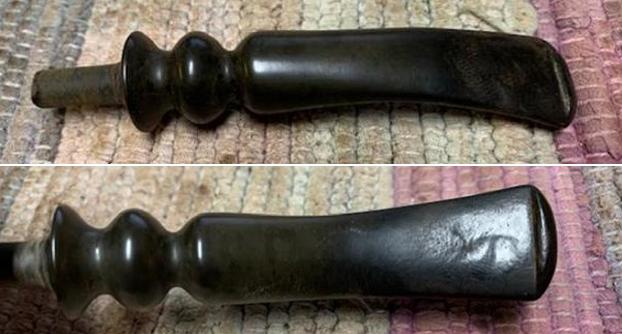
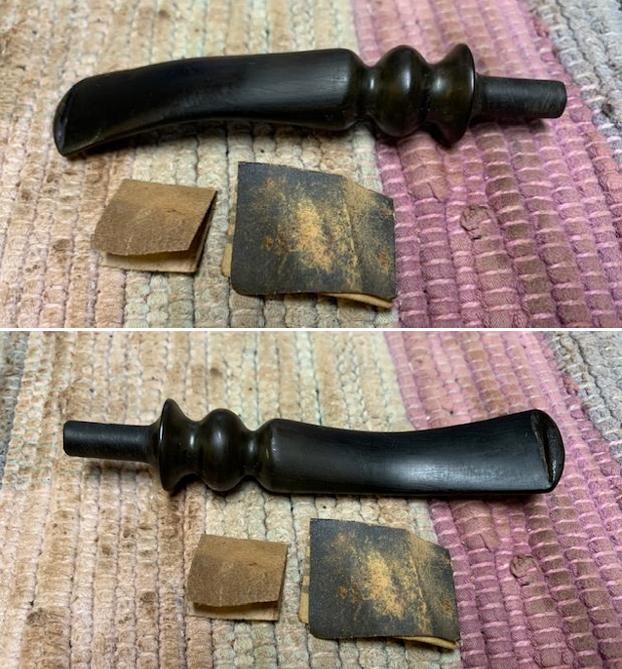
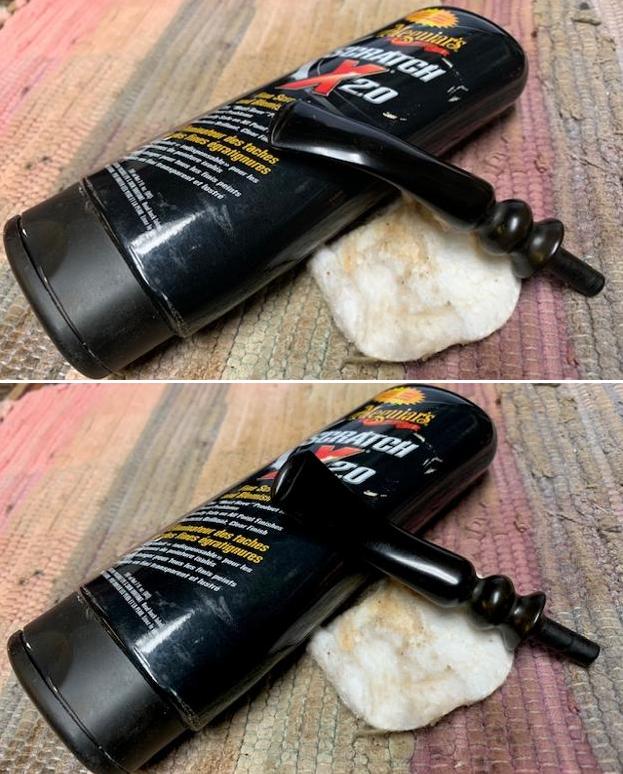
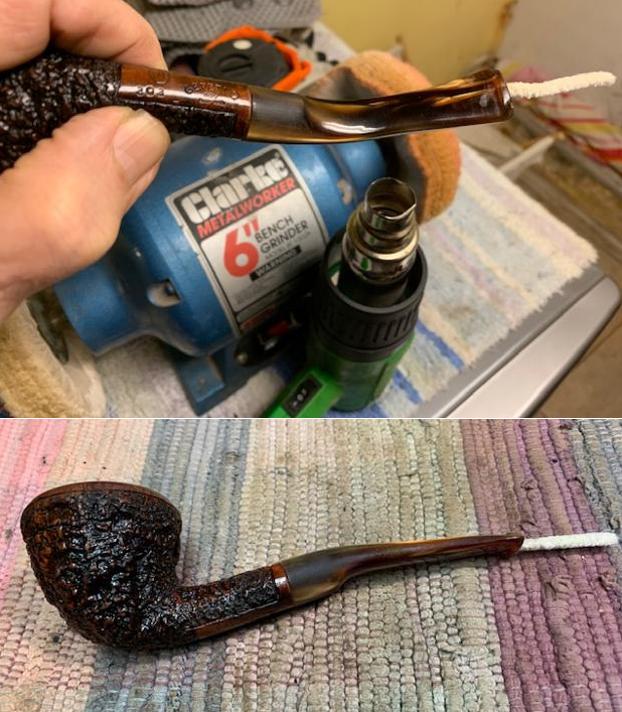
 I scrubbed the oxidation on the stem with Soft Scrub and cotton pads to remove the oxidation on the stem. It took a lot of elbow grease to remove it but it definitely looked better at this point.
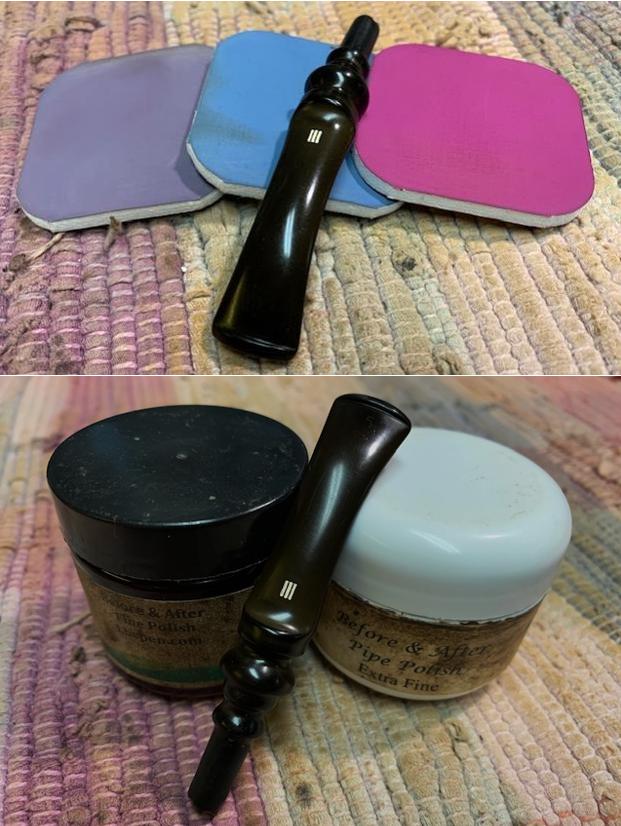
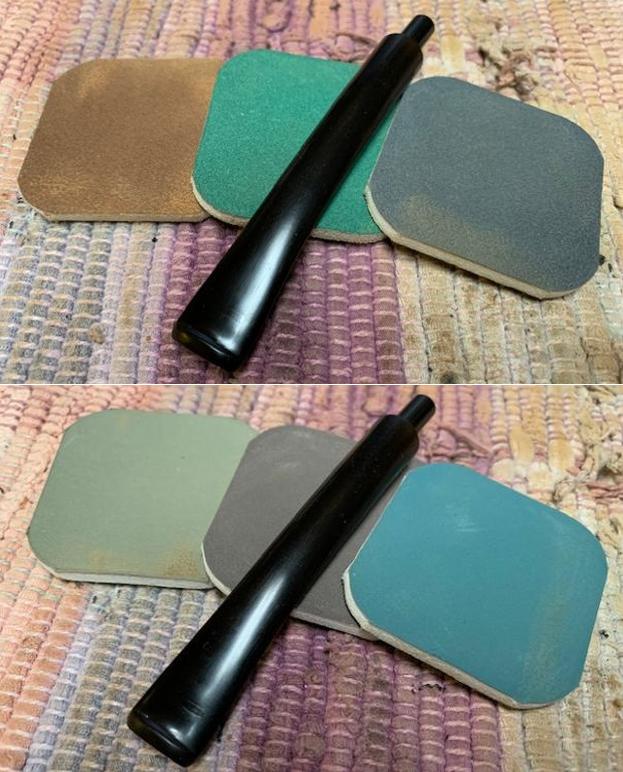
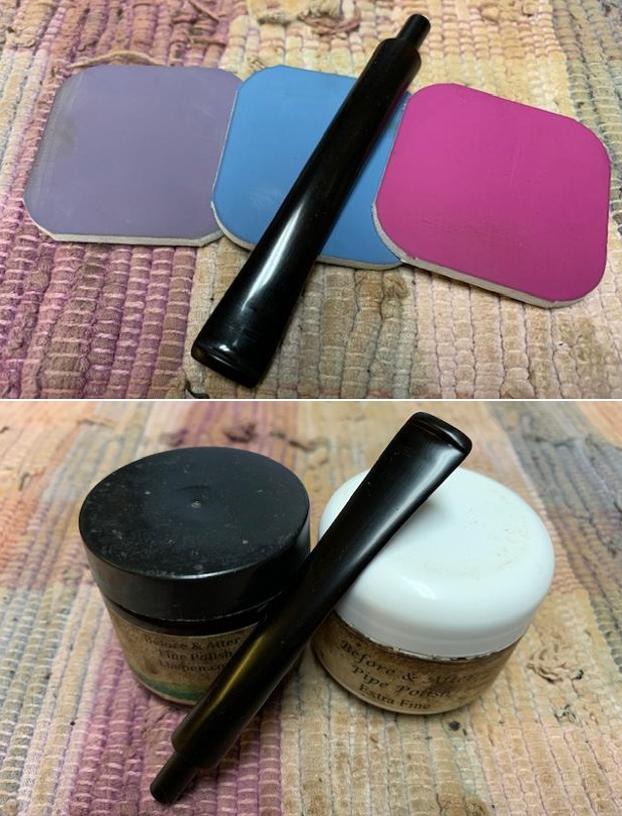
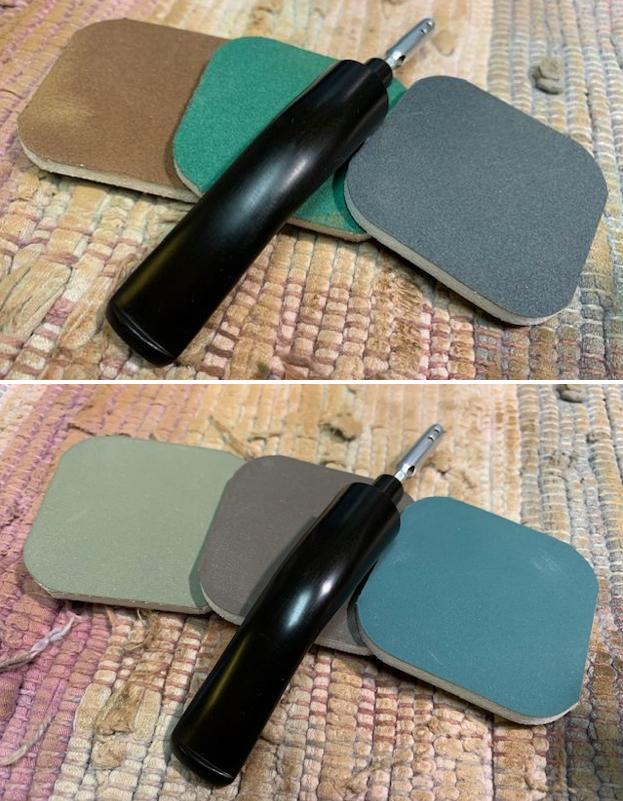
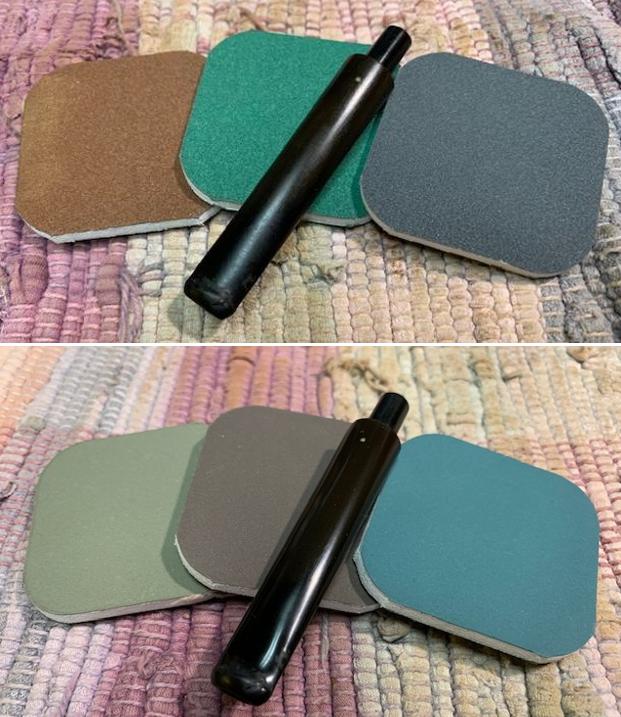
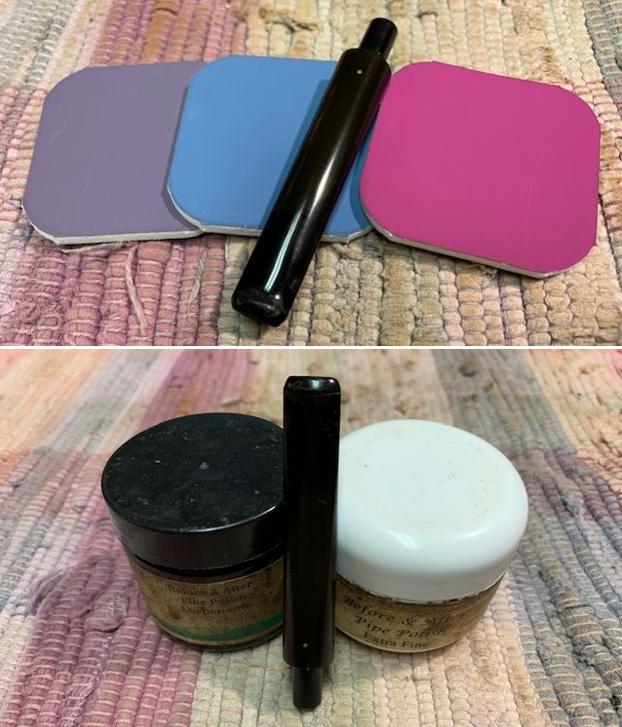
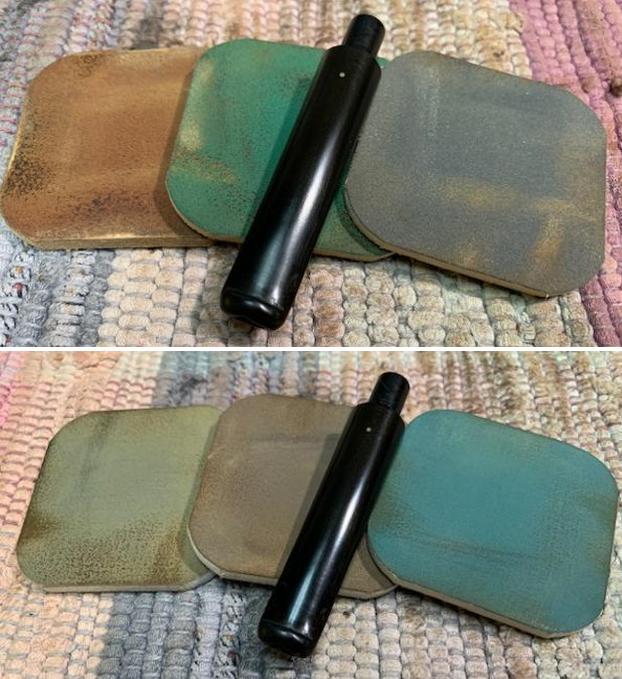
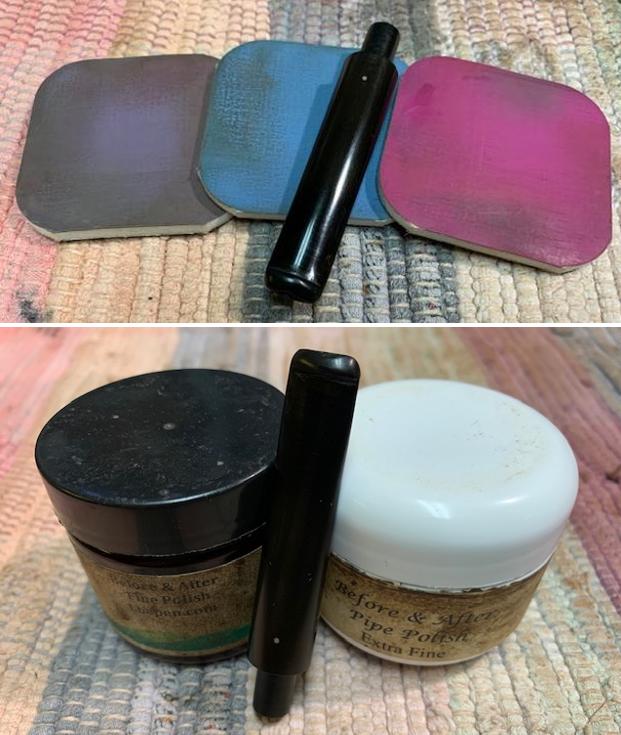
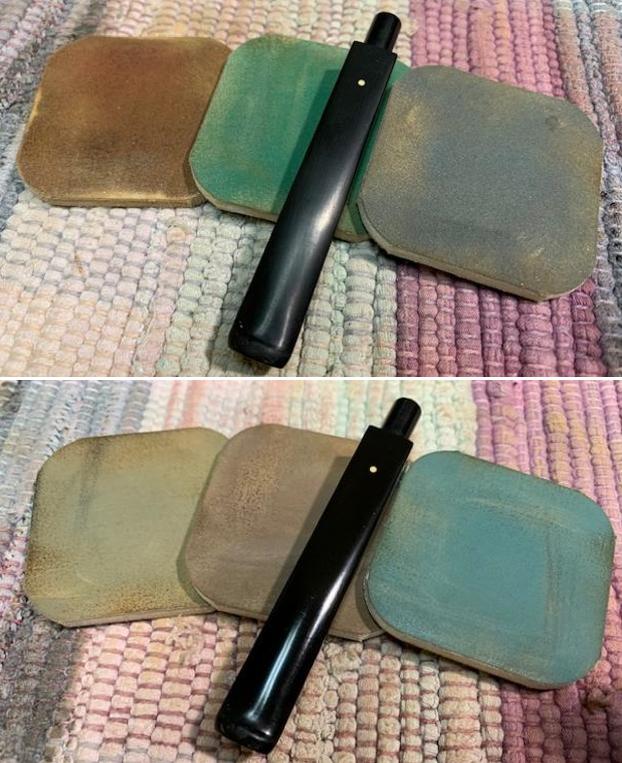
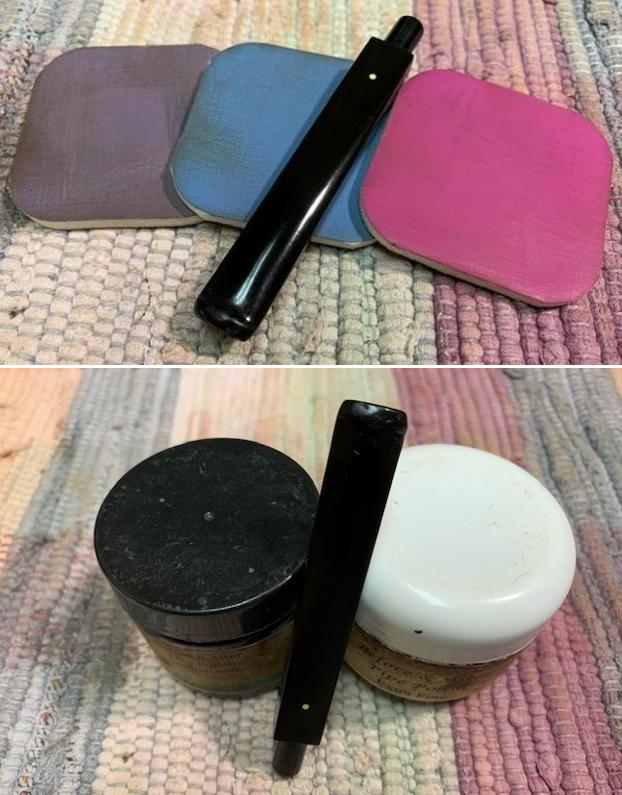
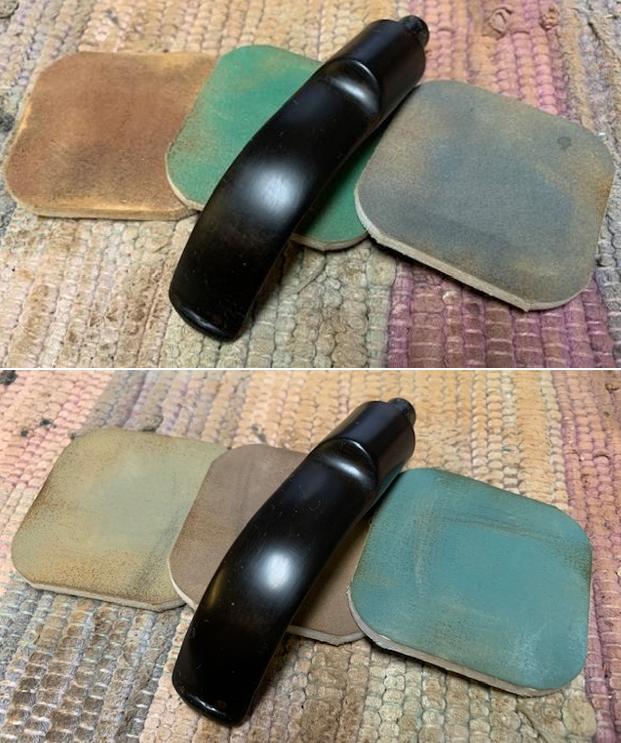
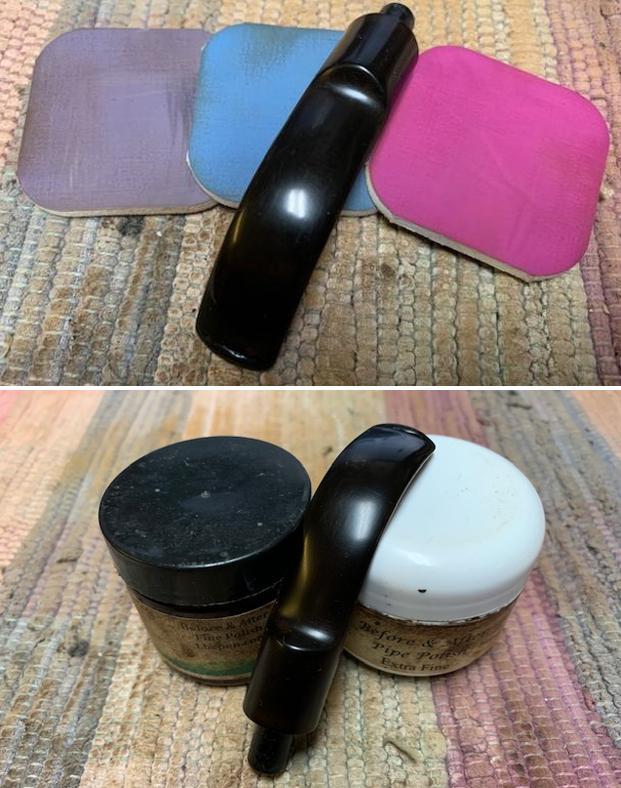
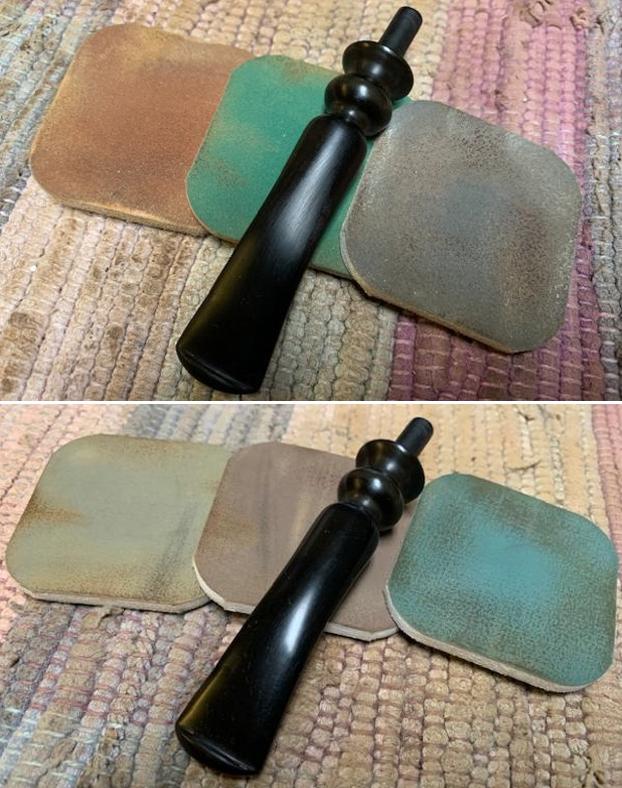
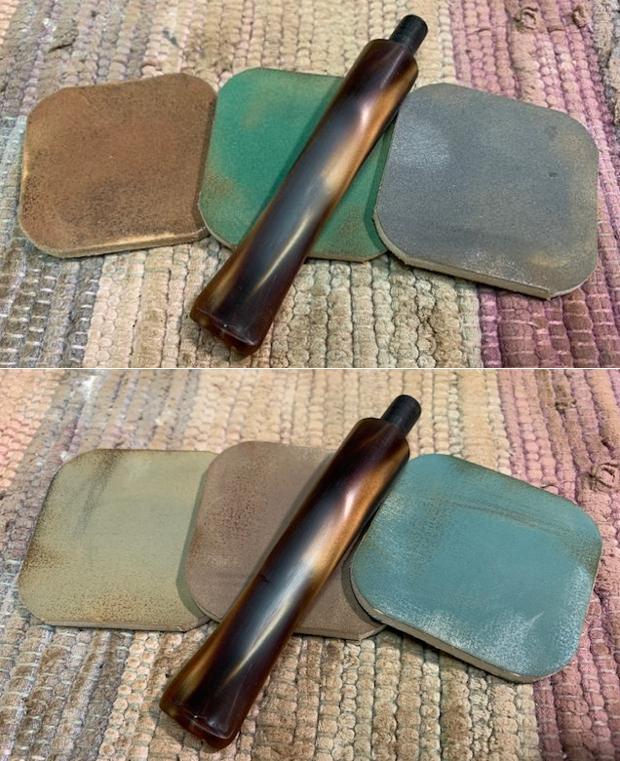
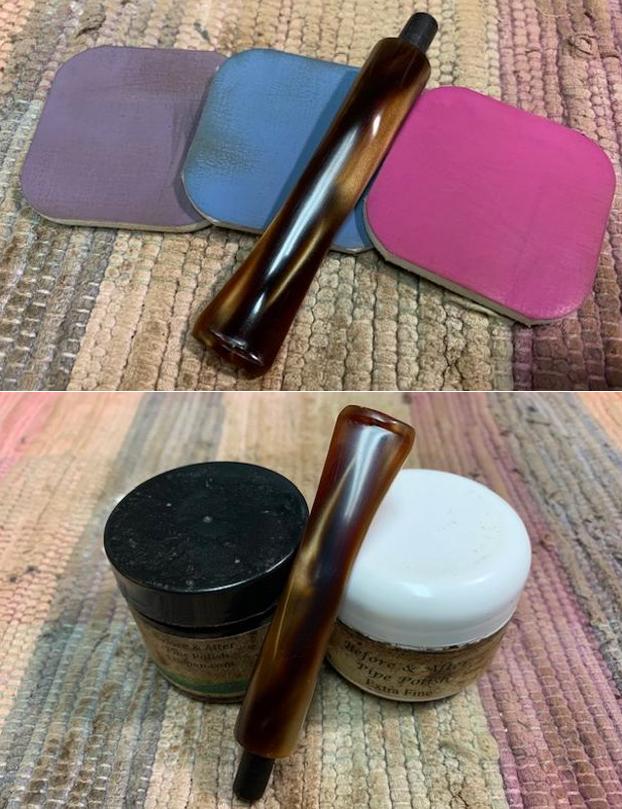
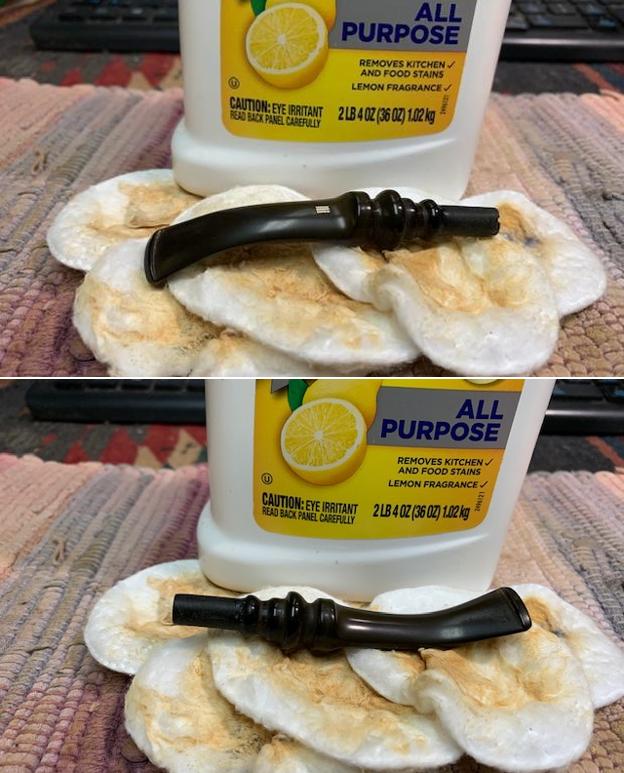 I polished the stem with micromesh sanding pads. I sanded with all 9 of the pads from 1500-12000 grit to further remove the oxidation and polish the vulcanite. I wiped the stem down after each sanding pad with Obsidian Oil to protect the surface. I finished polishing with Before & After Stem polish – both fine and extra fine. I gave the stem a final coat of Obsidian Oil and set it aside.
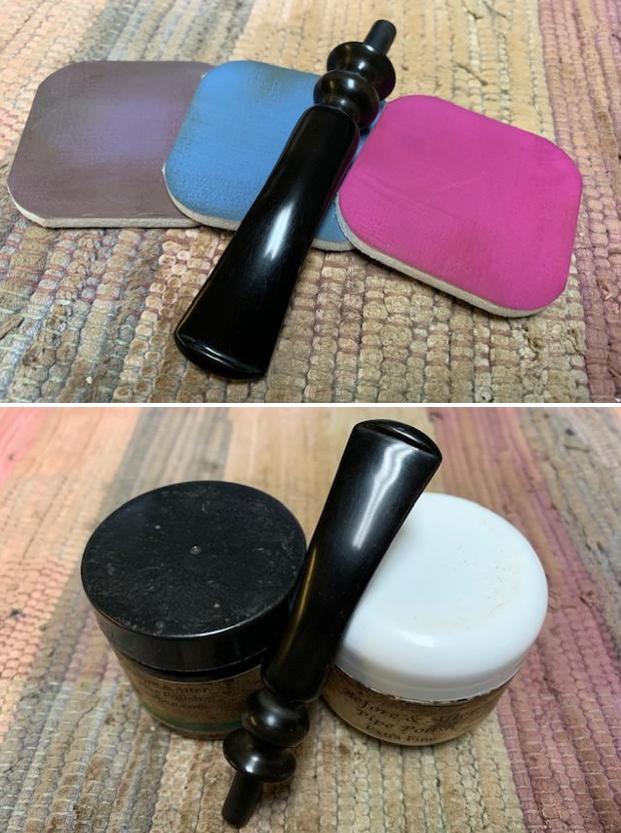
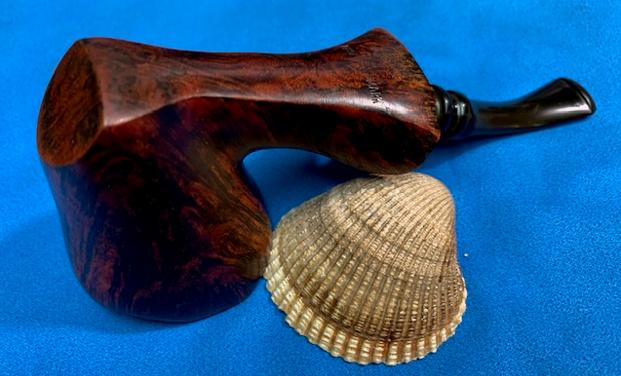
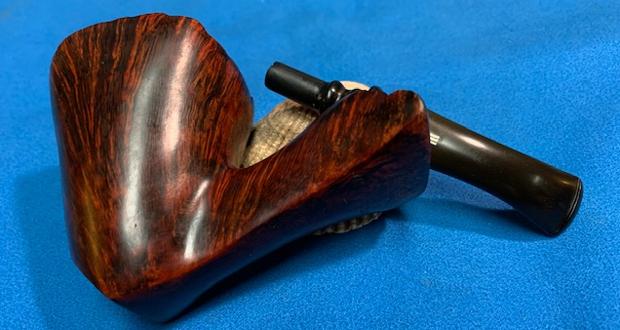
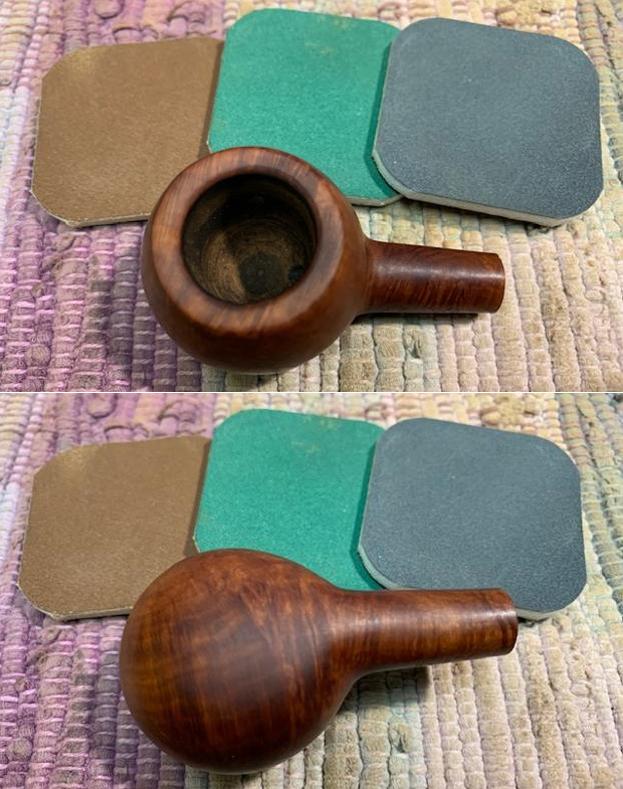
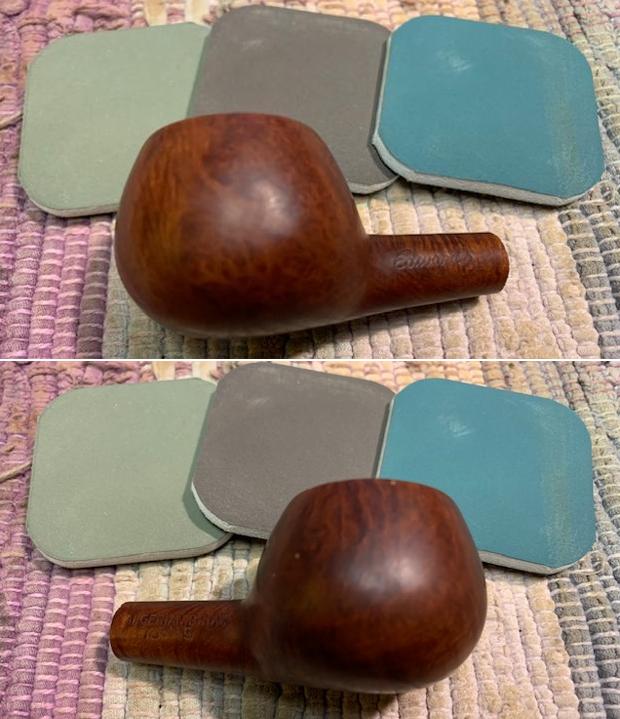
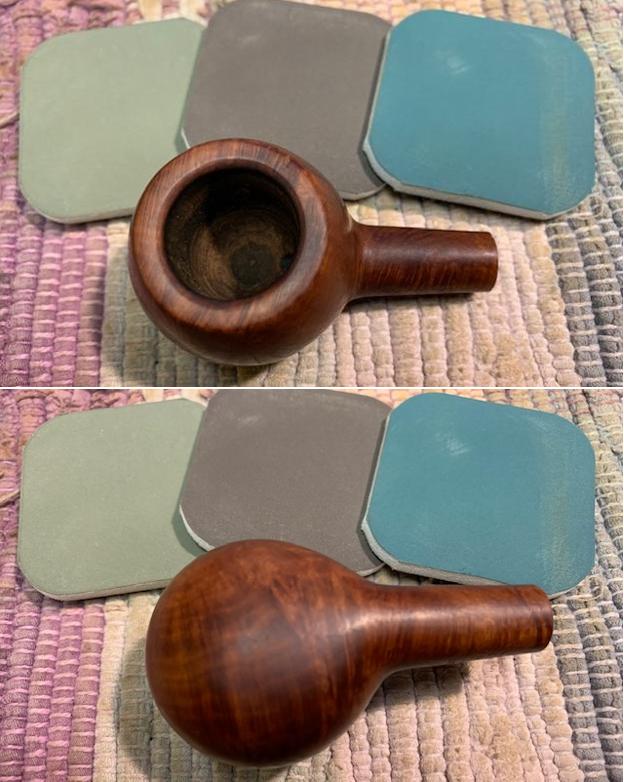
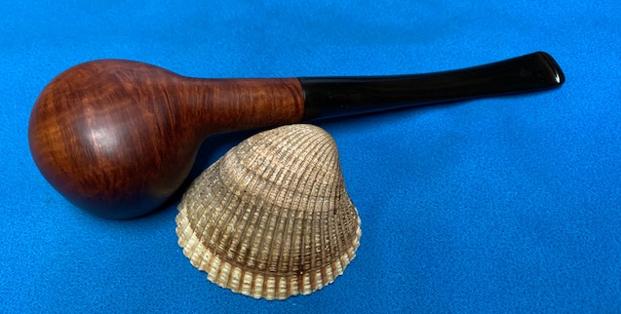
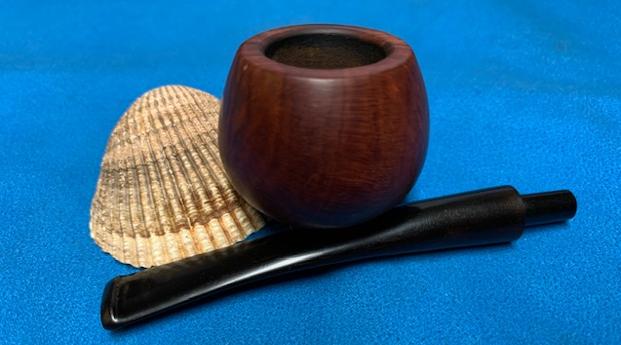
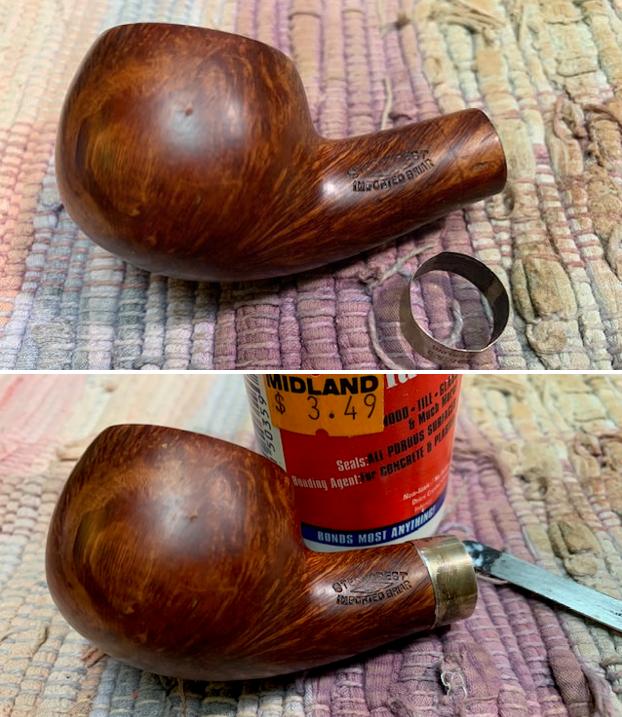
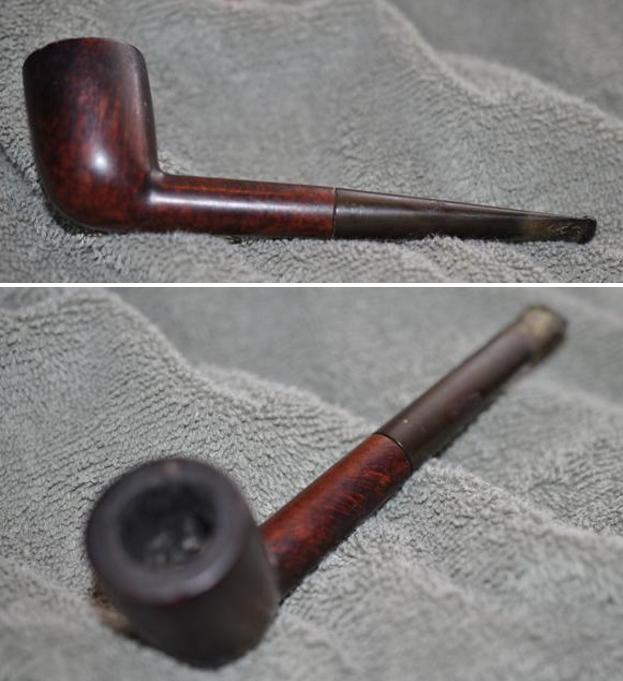
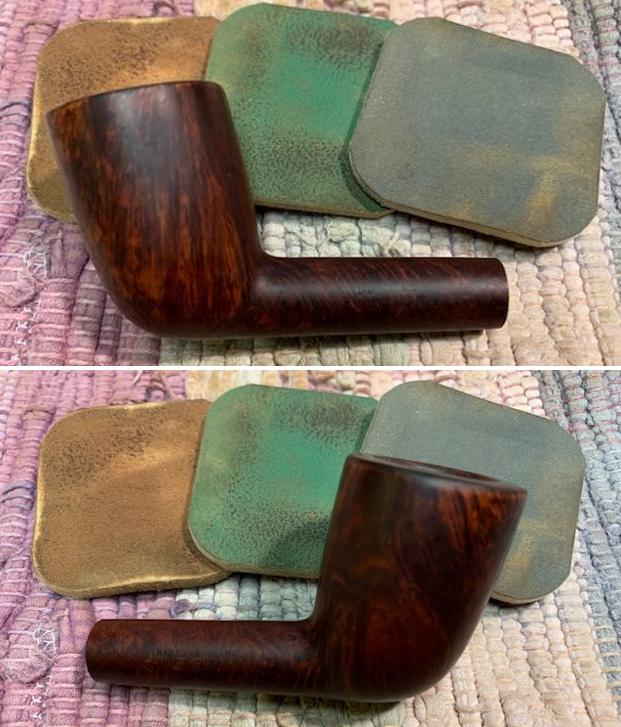
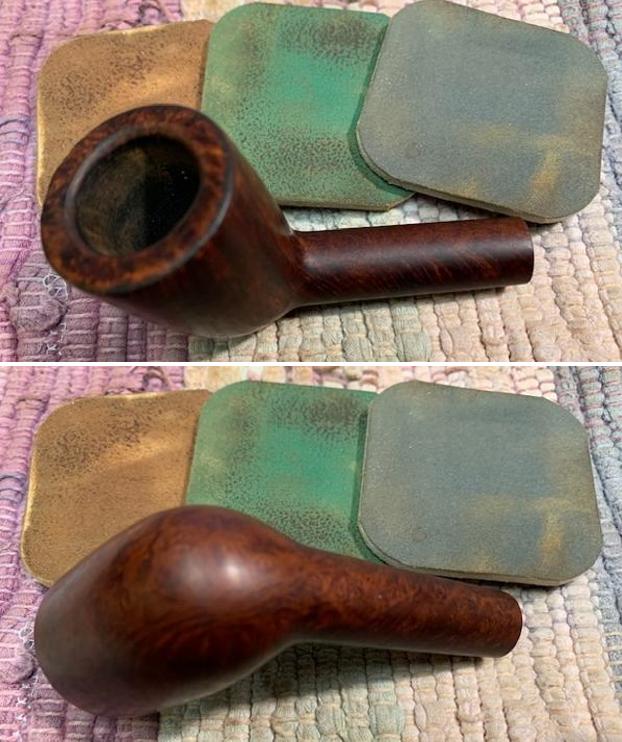
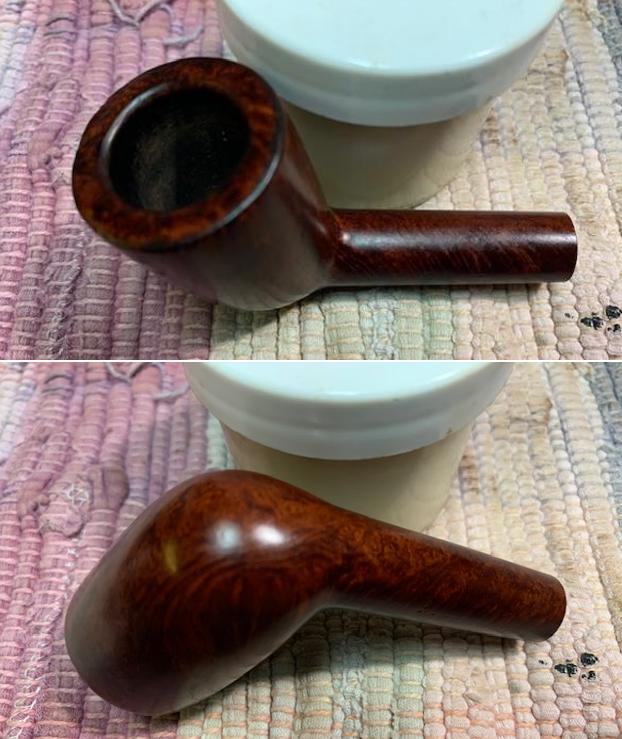
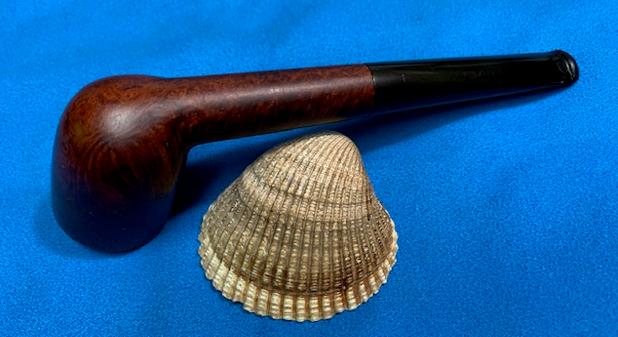
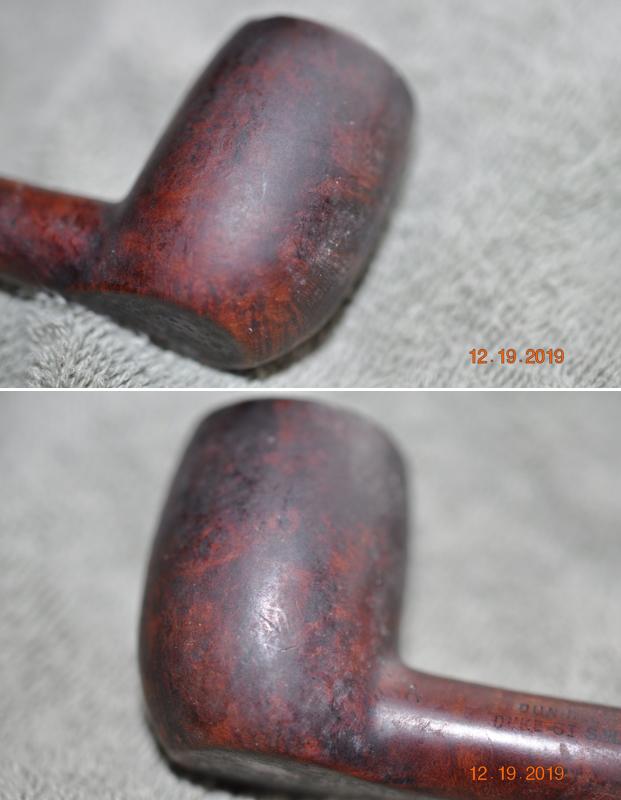
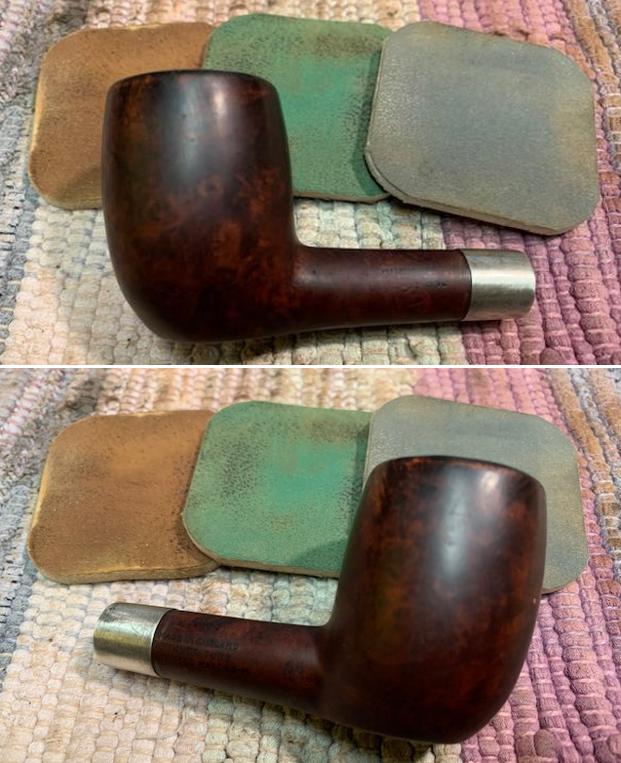
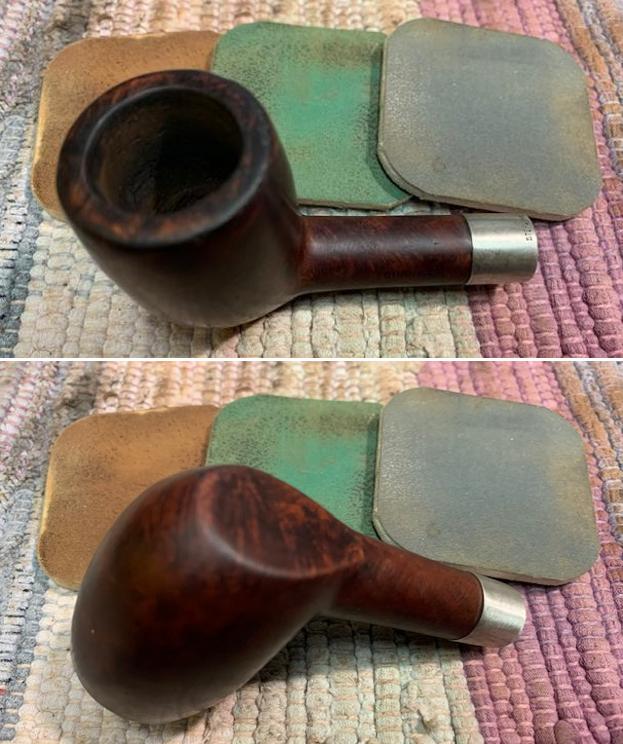
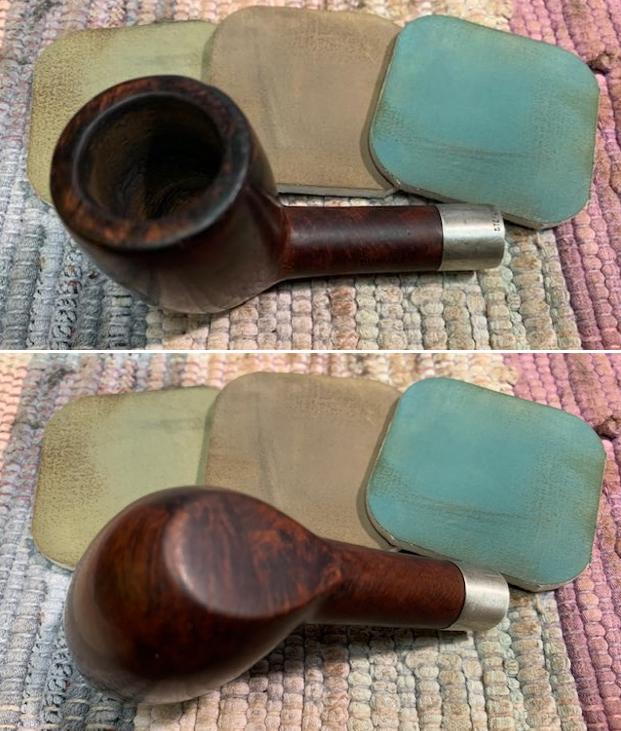
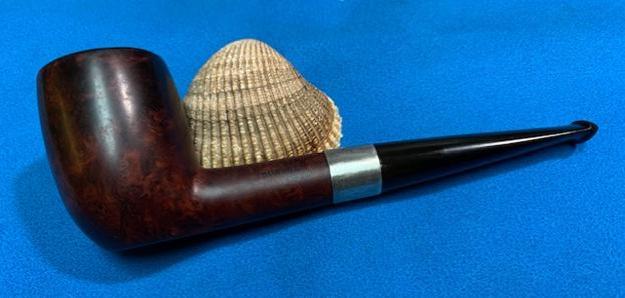
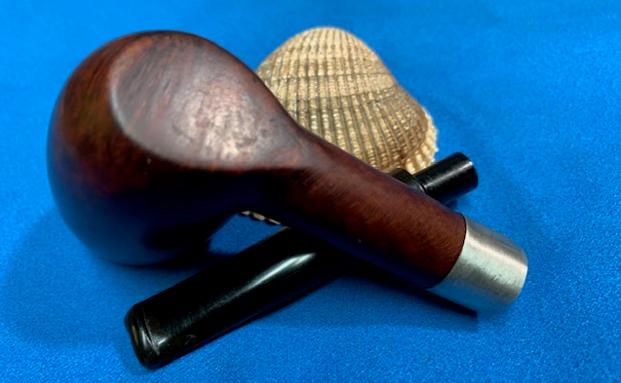
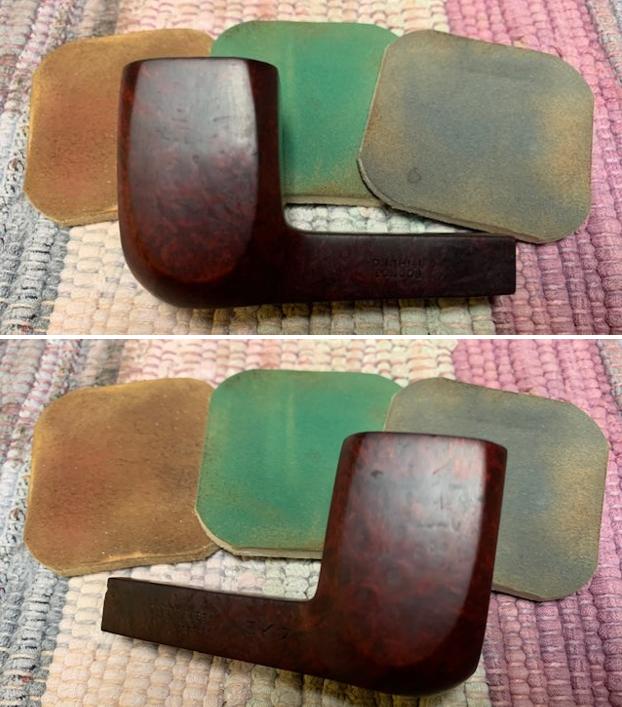
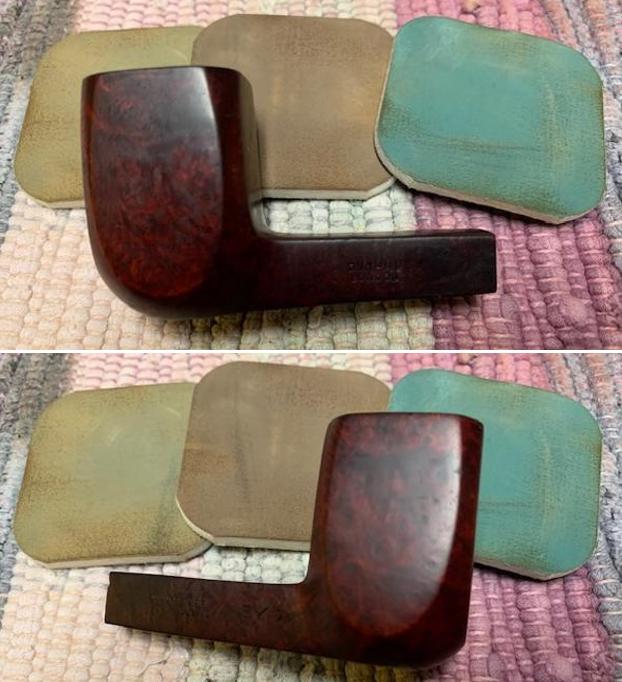
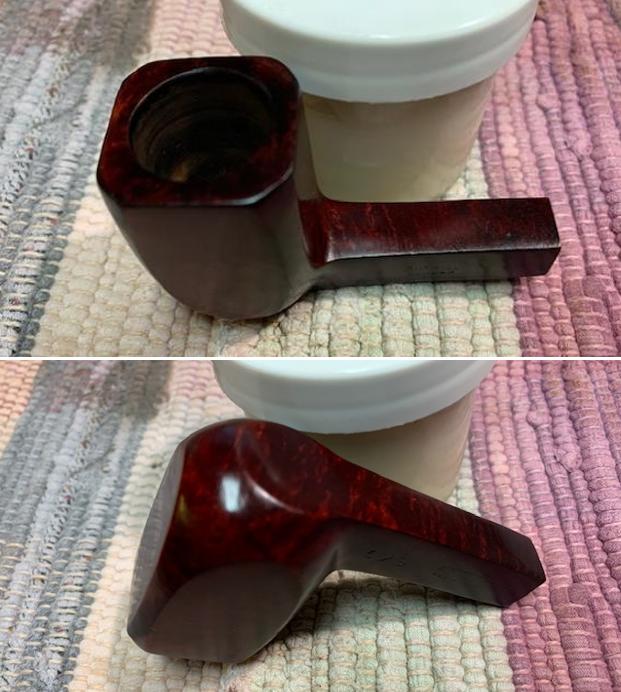
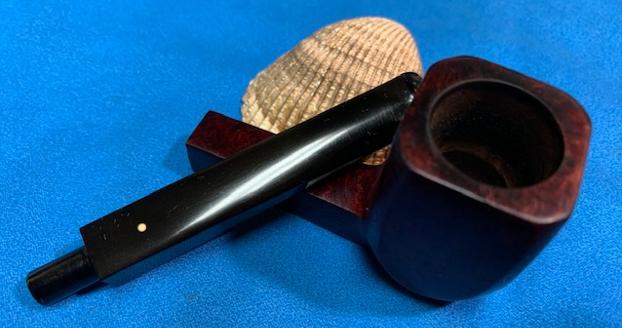
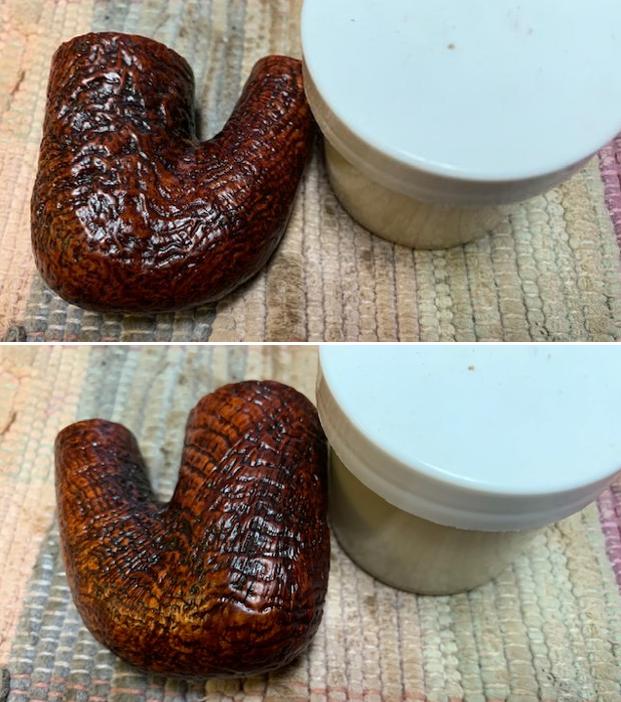
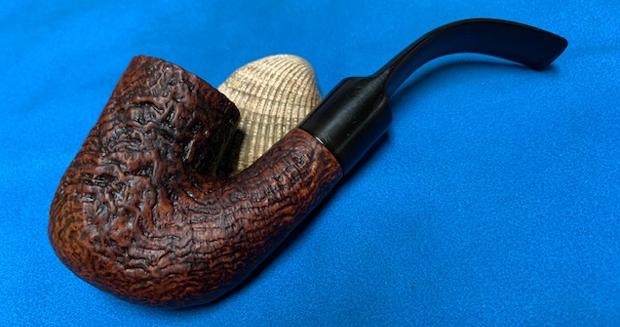
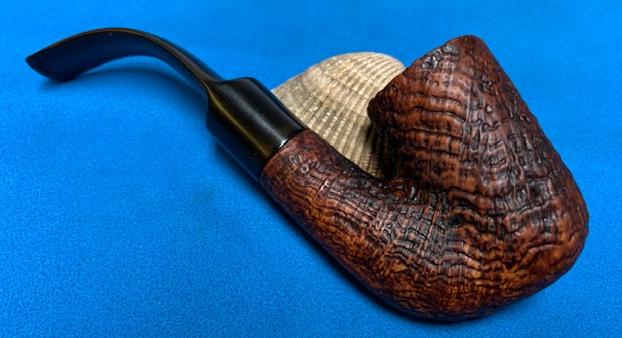
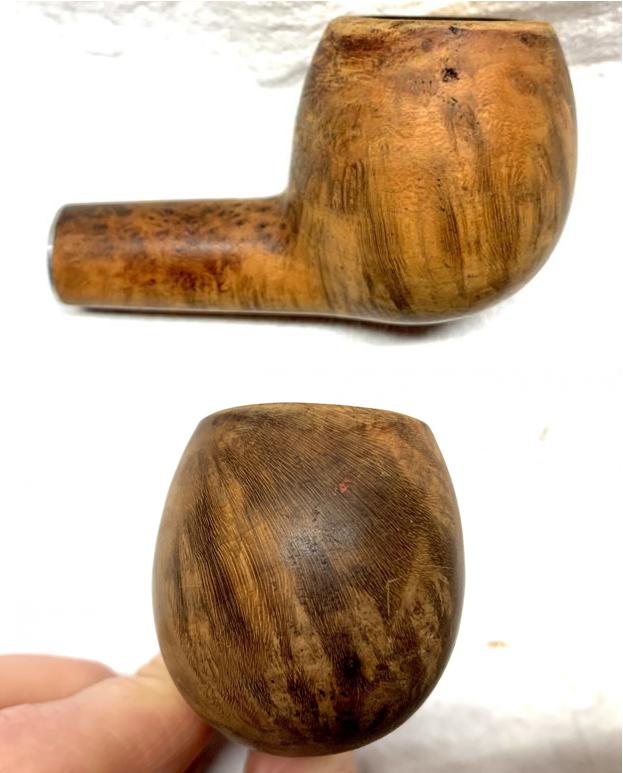
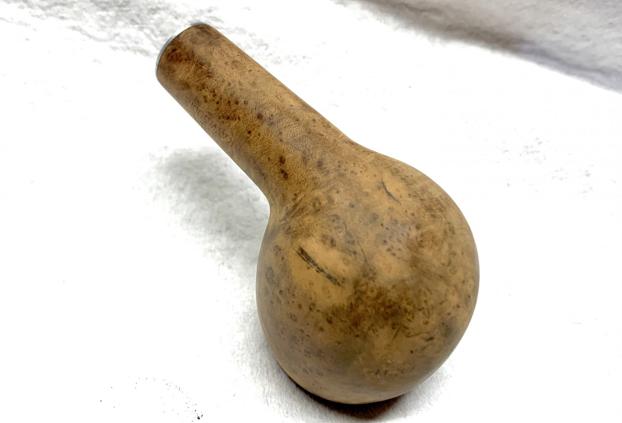
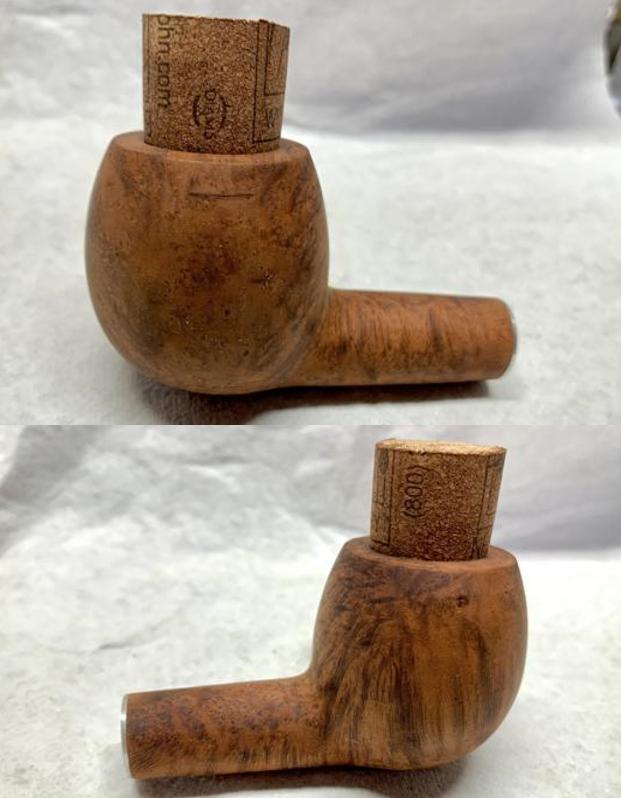
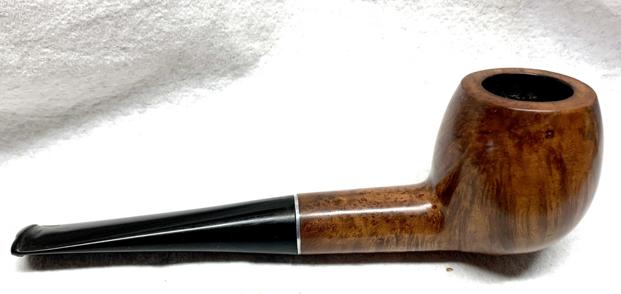
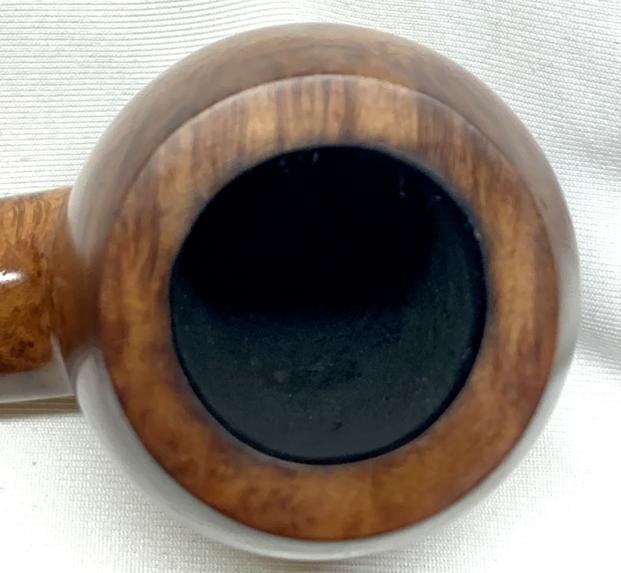
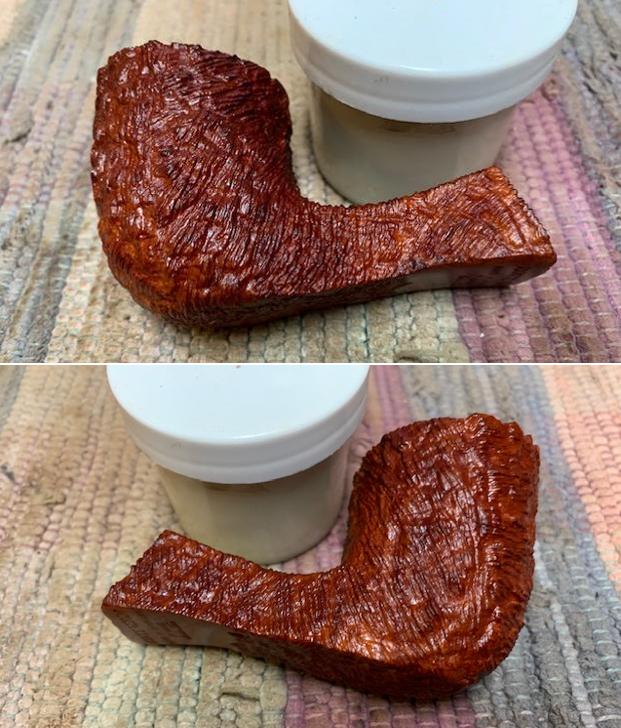
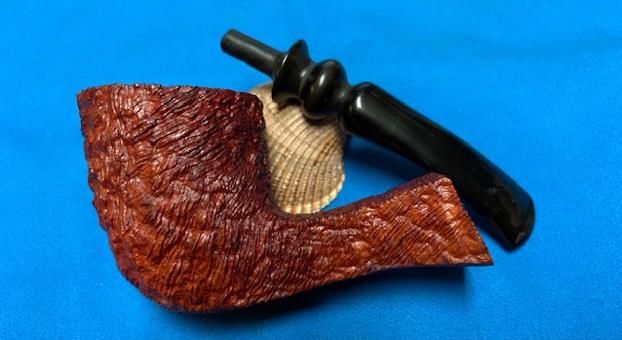
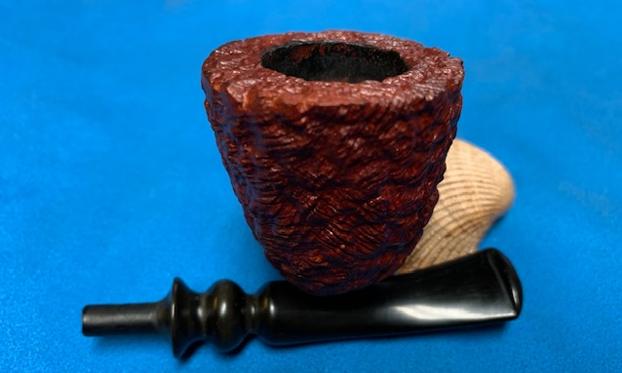
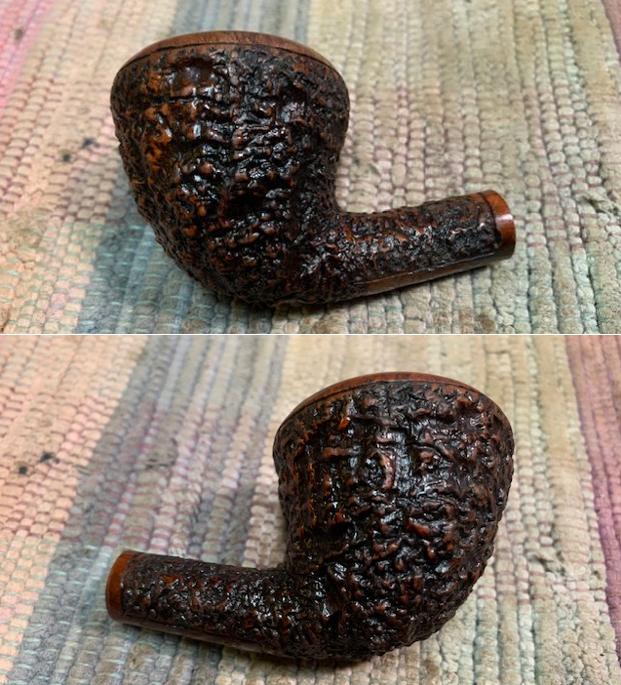
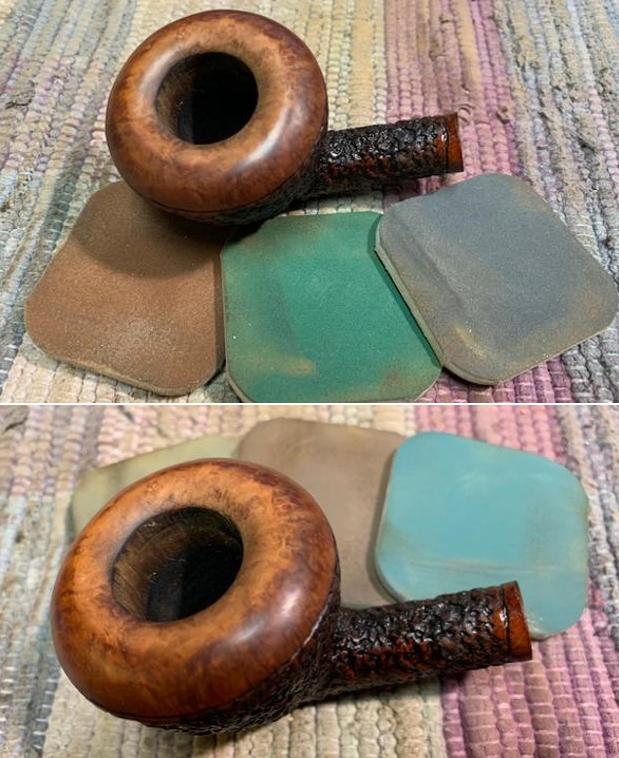
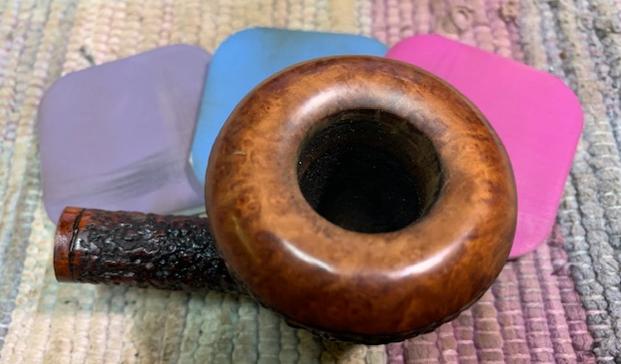
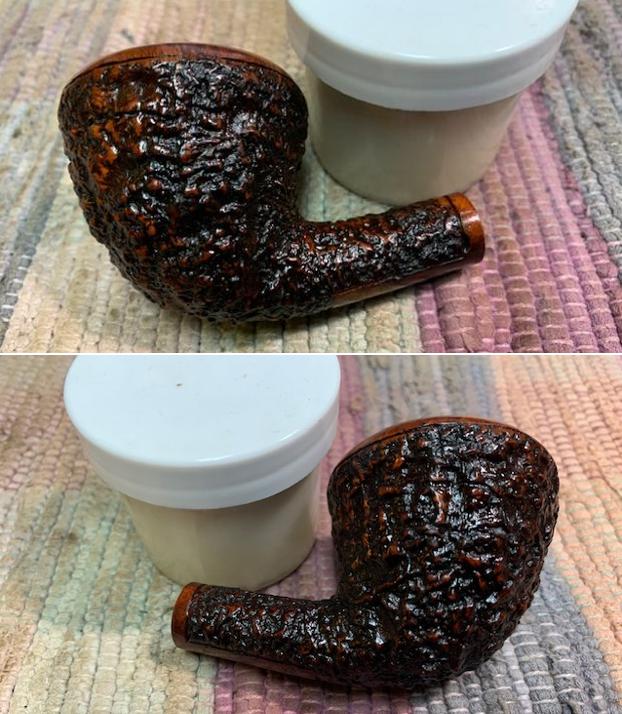
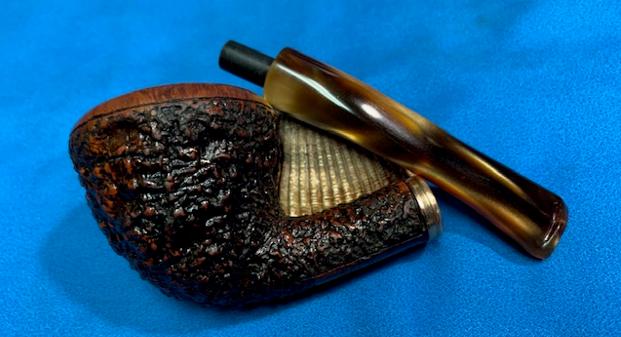
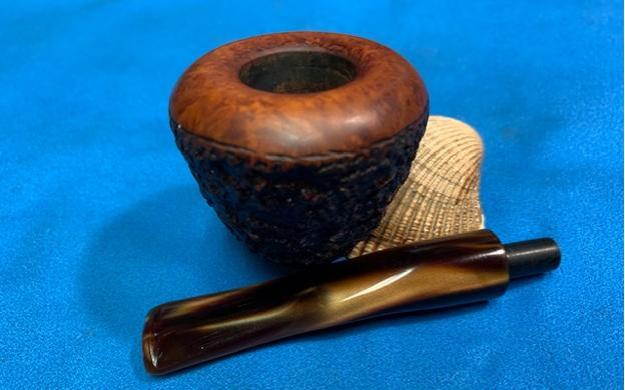
 I worked some Before & After Restoration Balm into the surface of the smooth briar with my fingertips and into the plateau with a horsehair shoe brush. The product works to clean, enliven and protect the briar. I let the balm sit for about twenty minutes and then buffed with a cotton cloth to raise the shine. The photos show the bowl at this point in the restoration process.
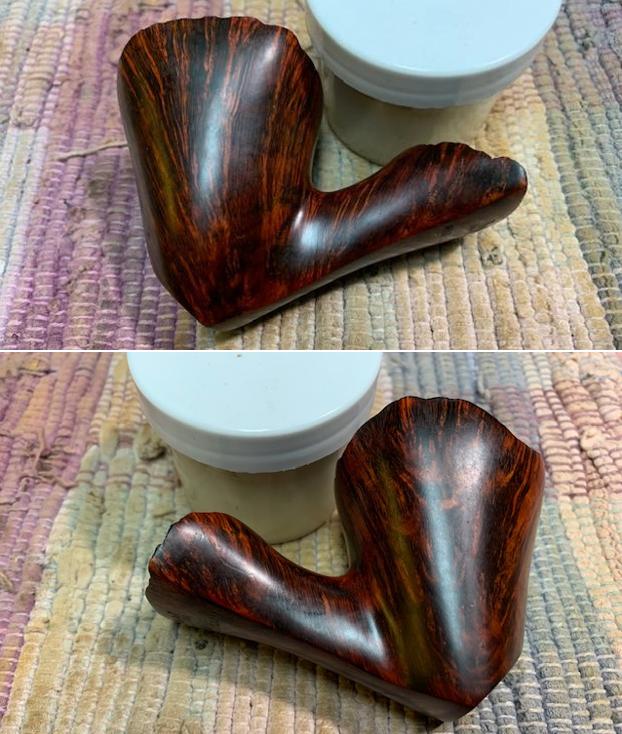
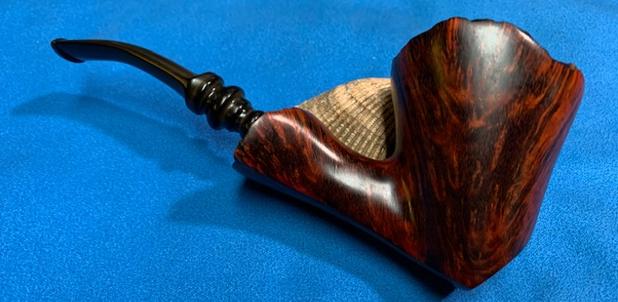
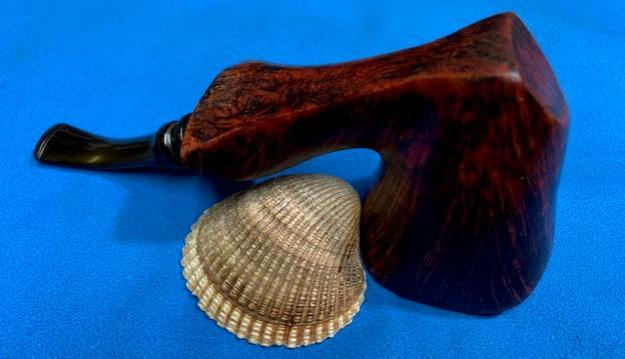
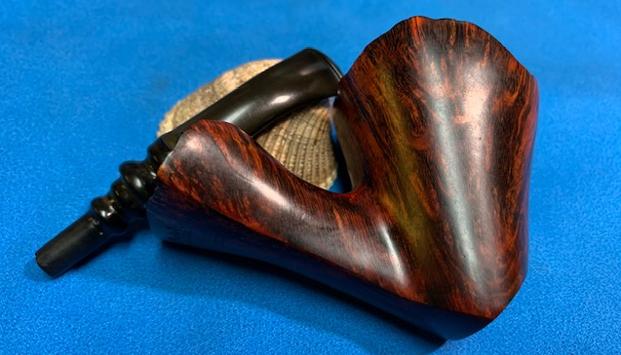
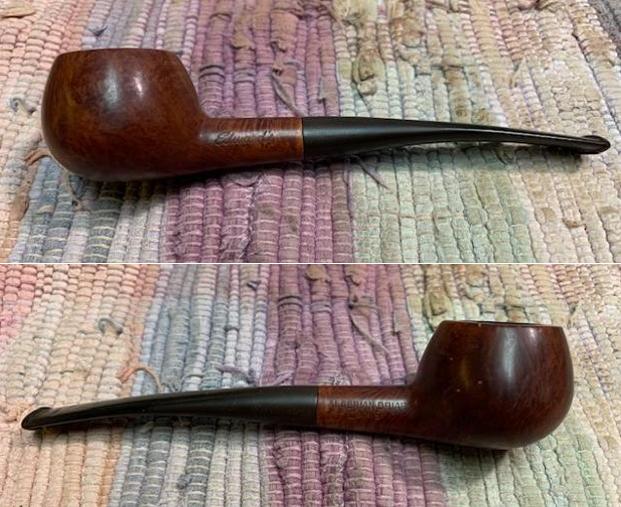
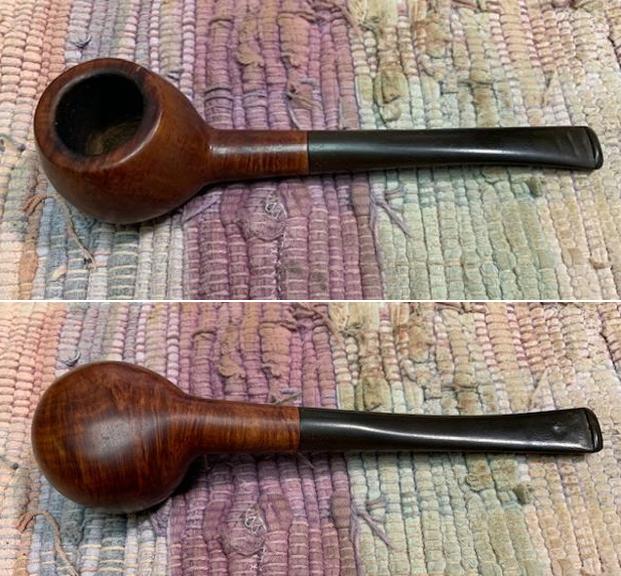
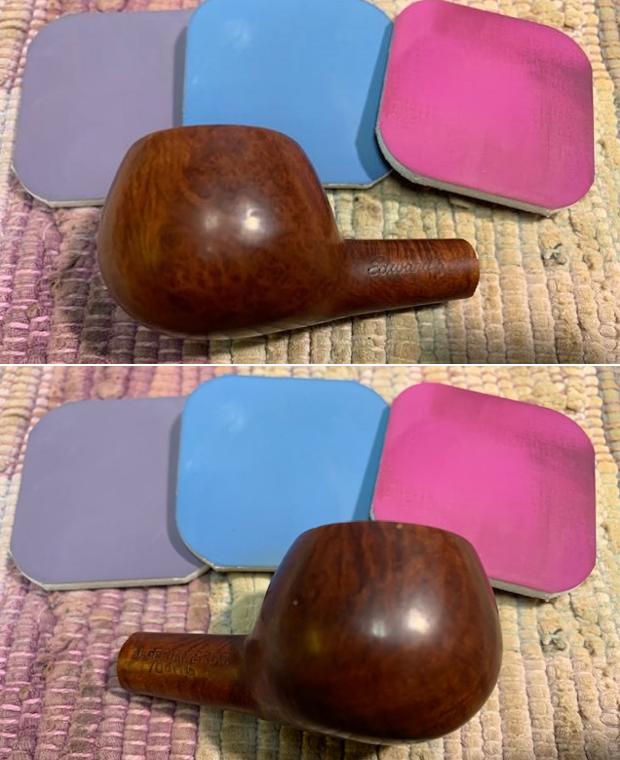
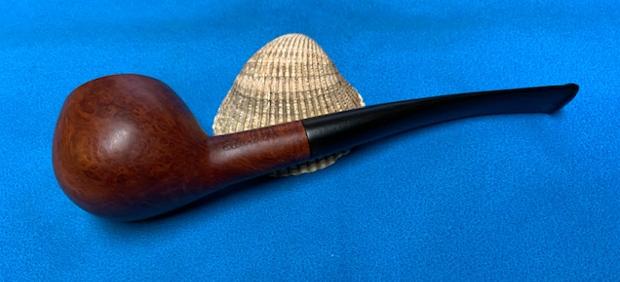
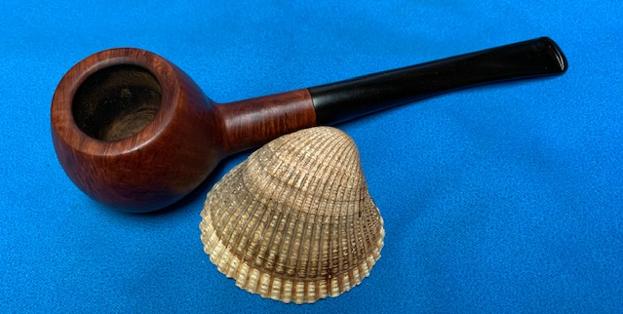
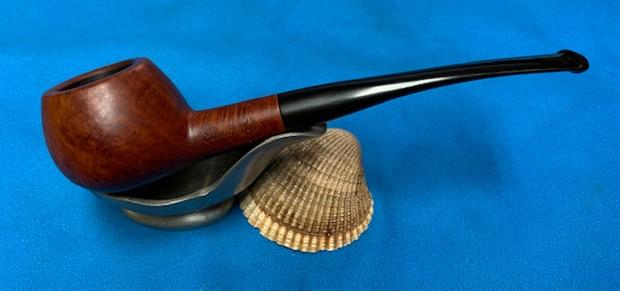
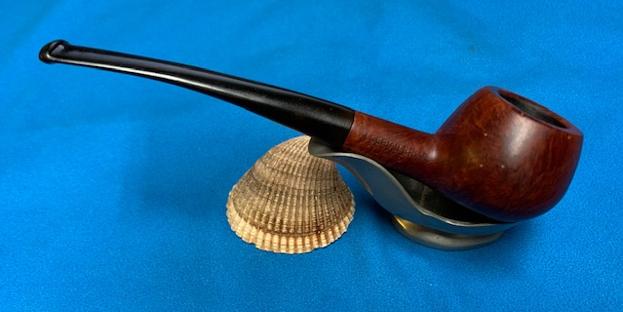
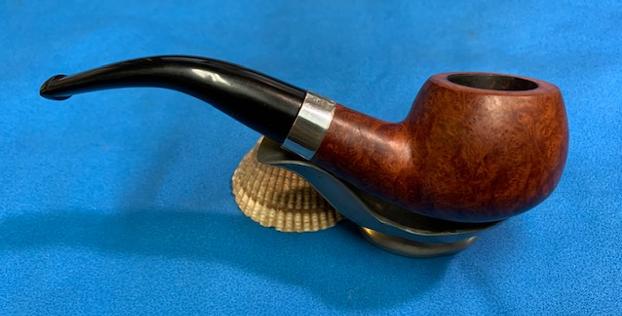
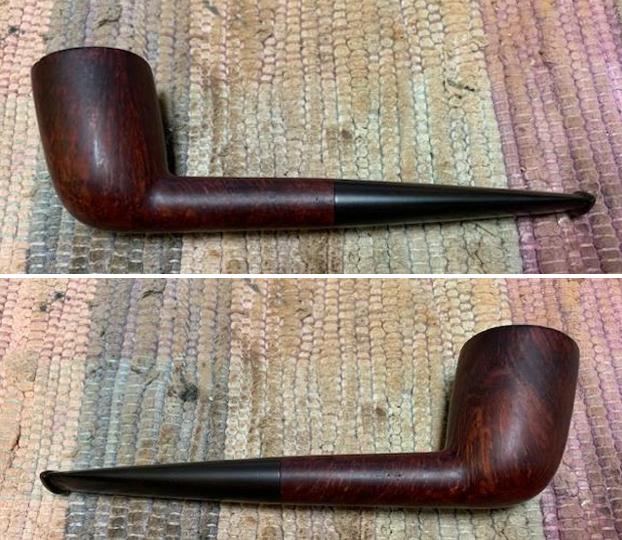
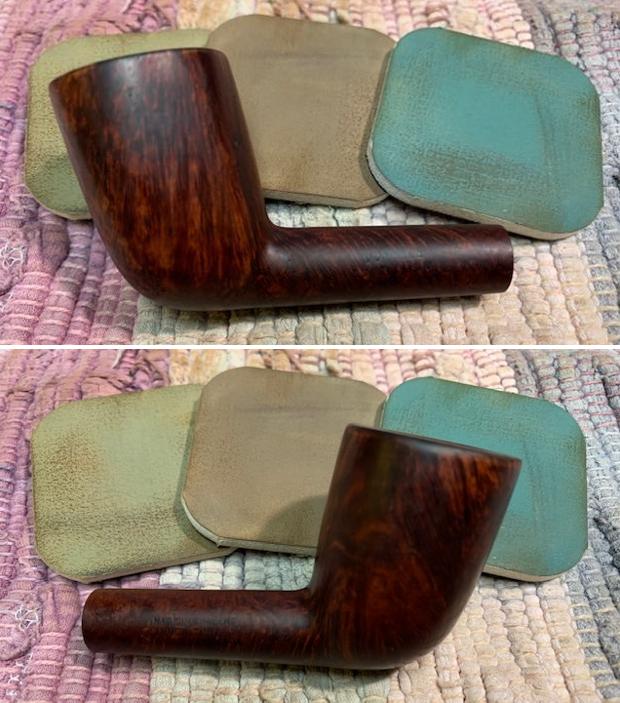
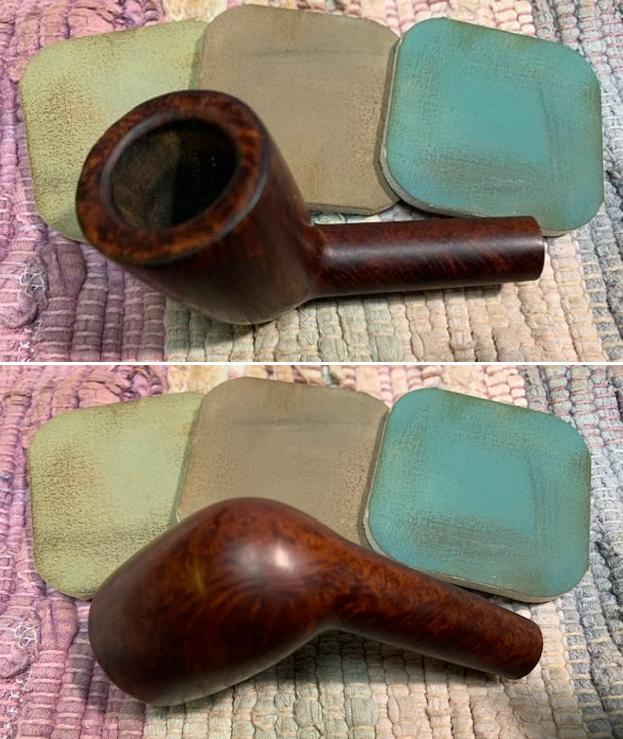
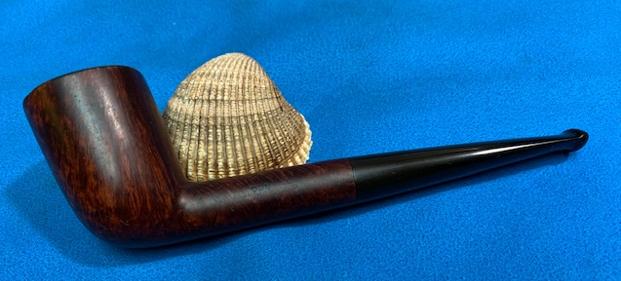
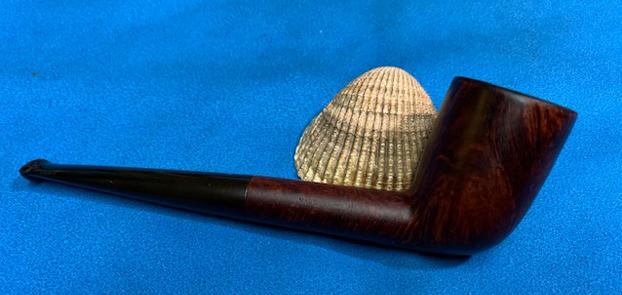
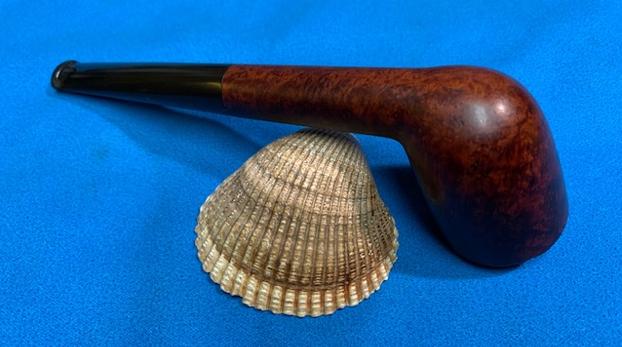
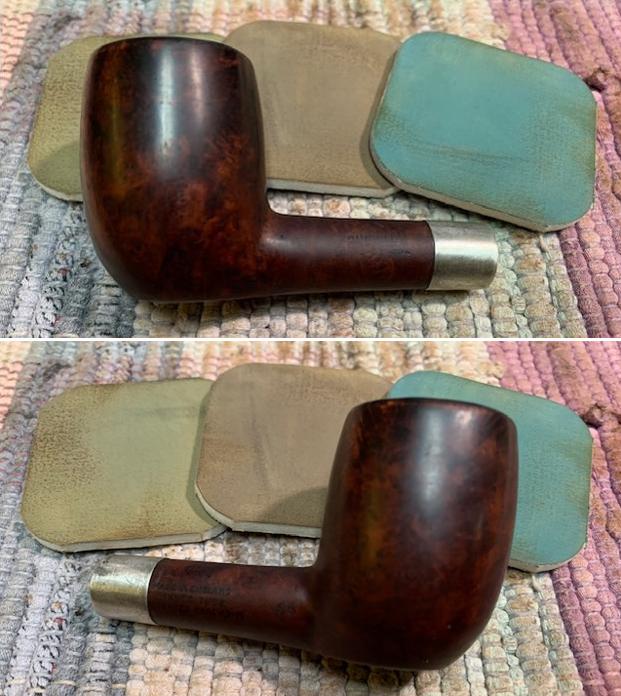
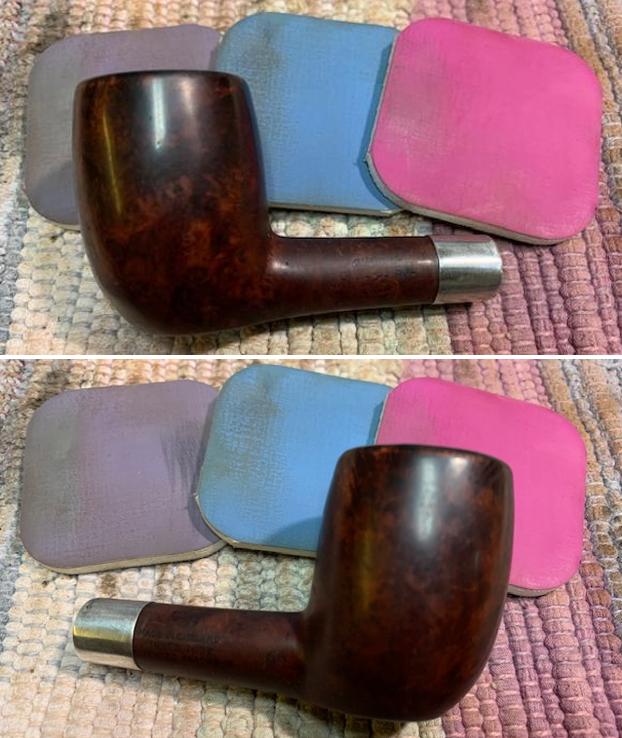
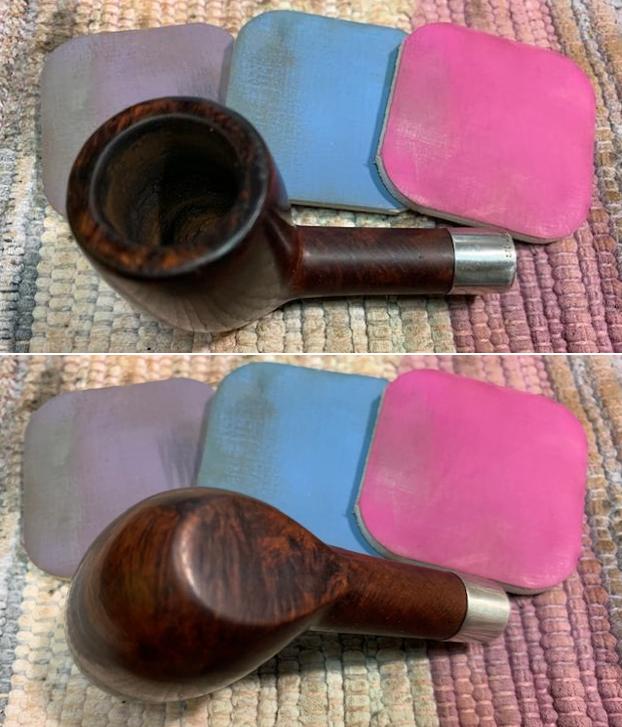
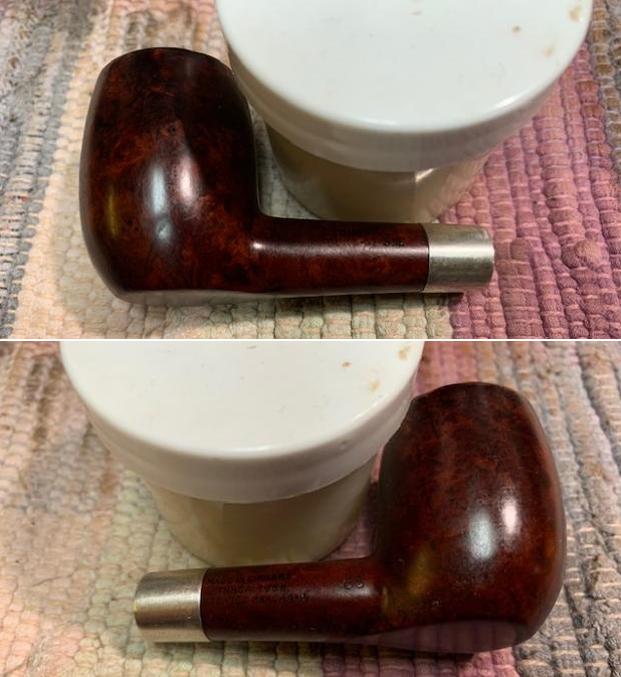
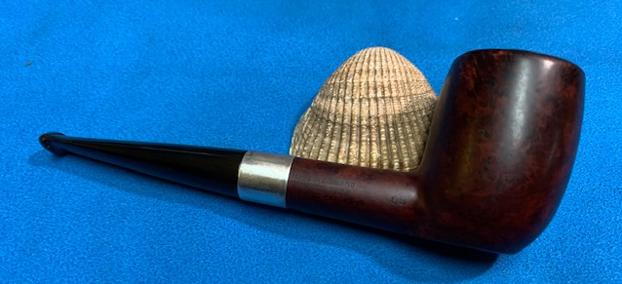
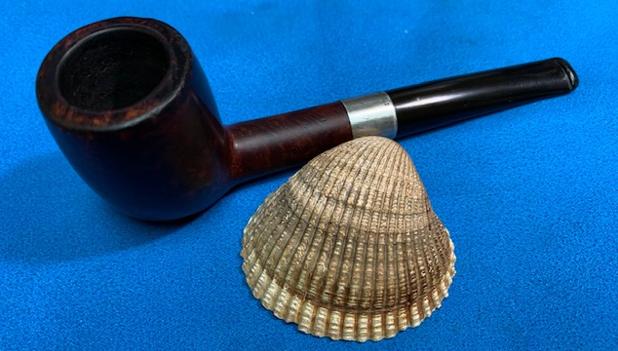
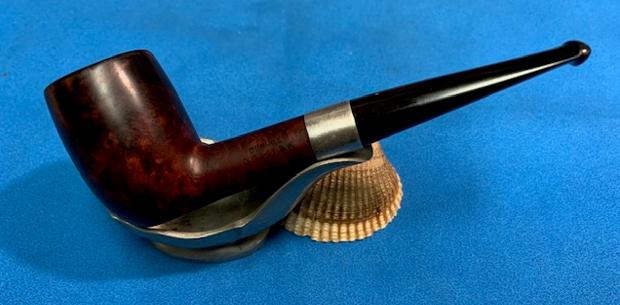
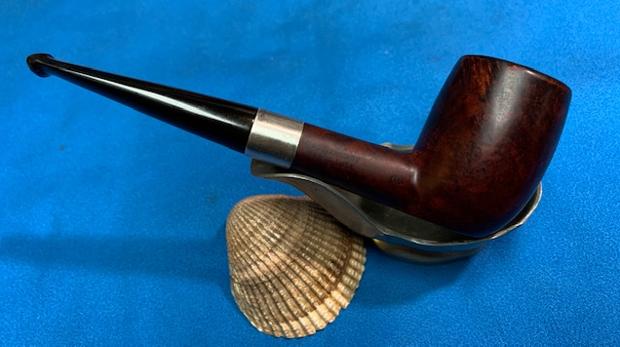
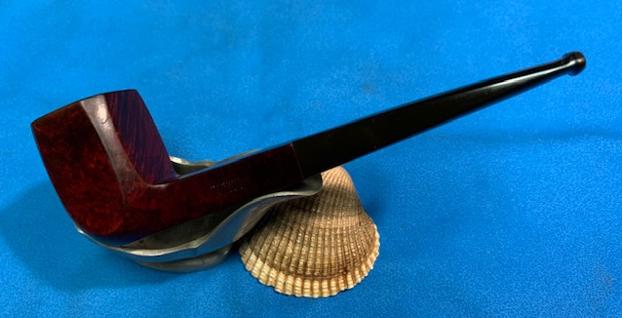
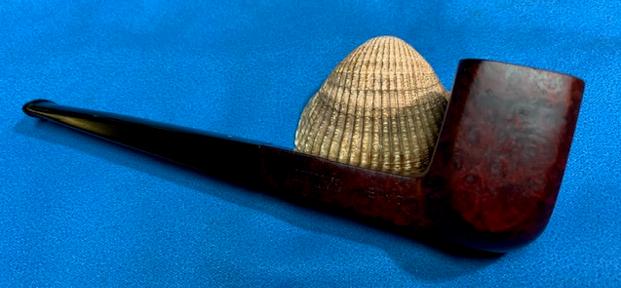
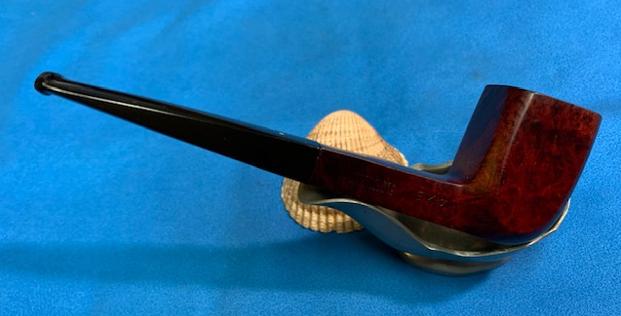
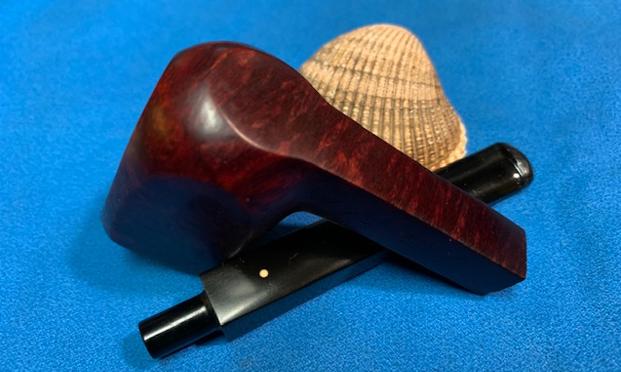
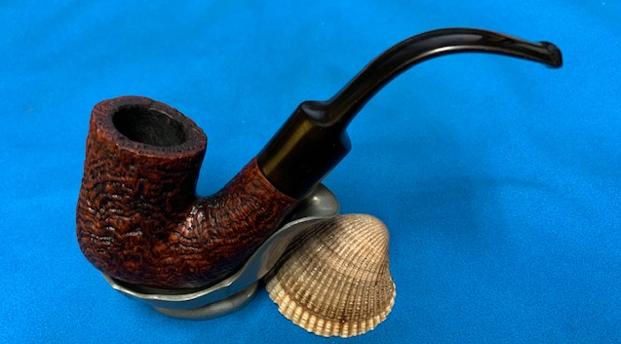
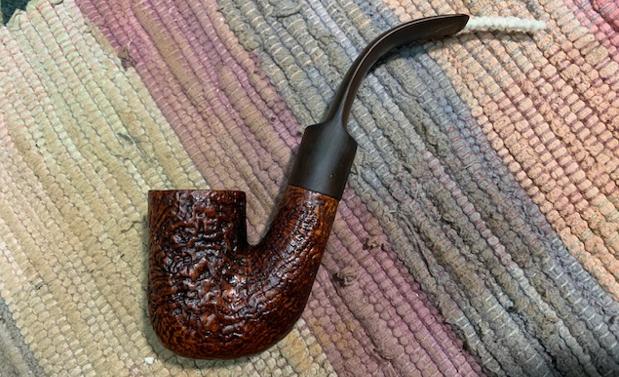
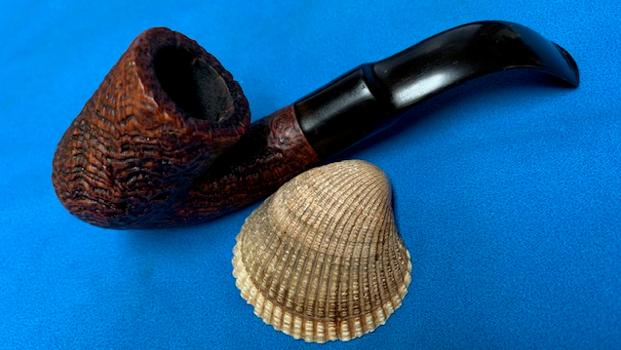
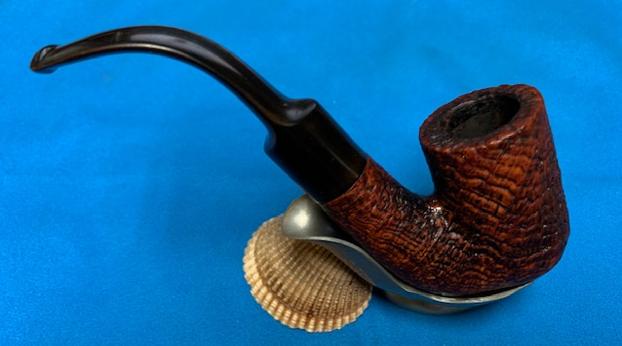
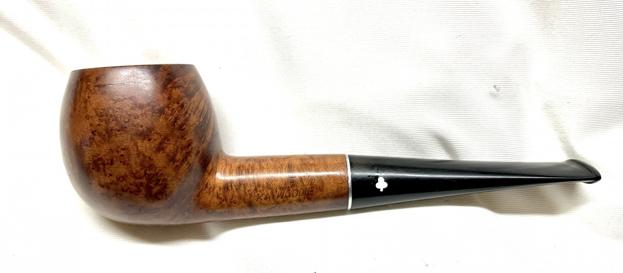
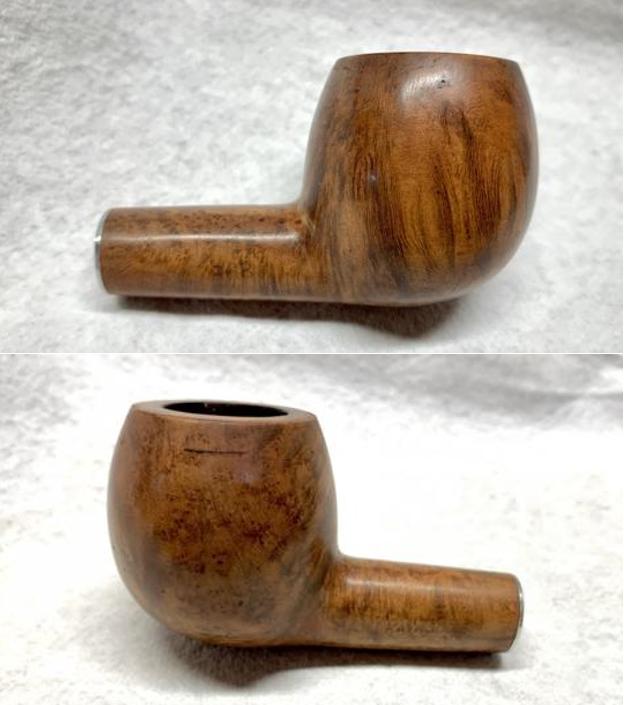
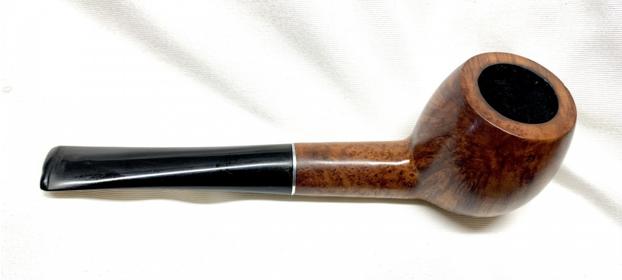
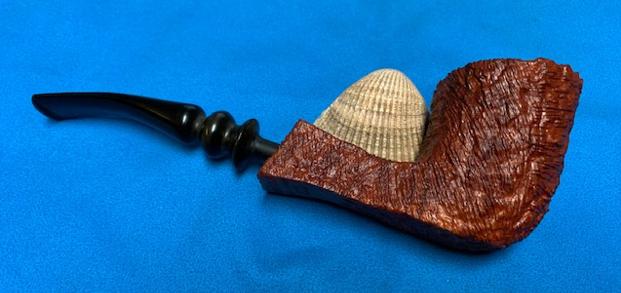
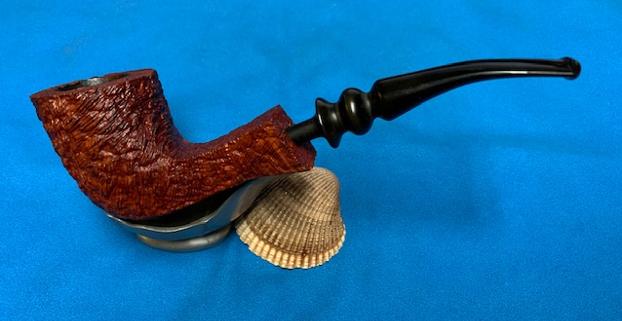
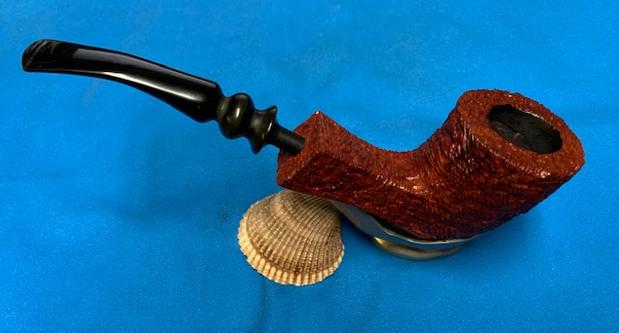
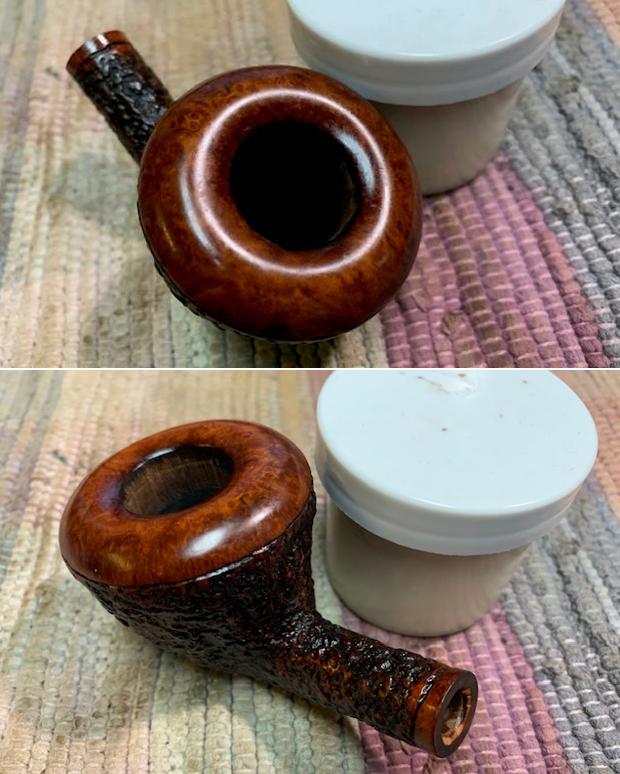
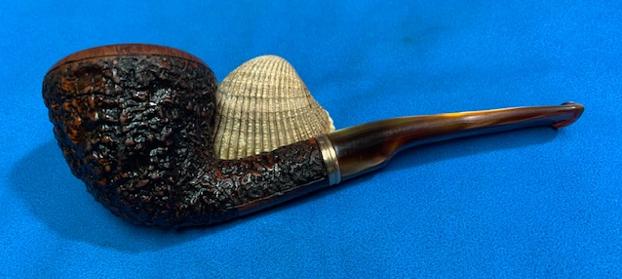
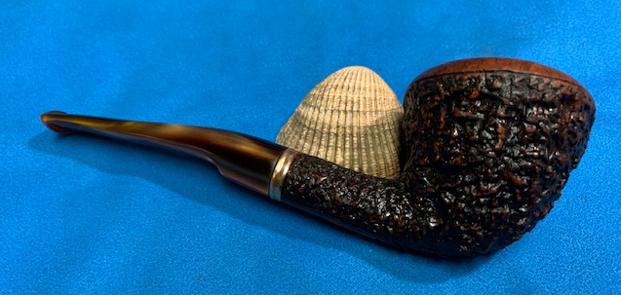
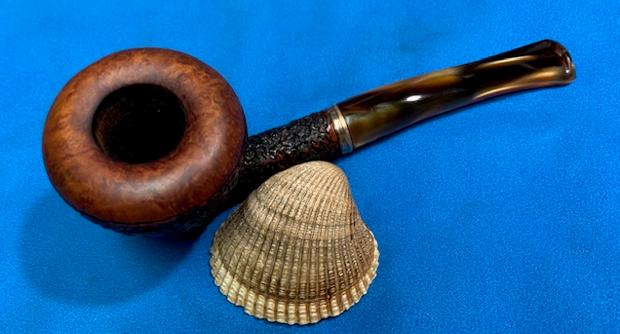
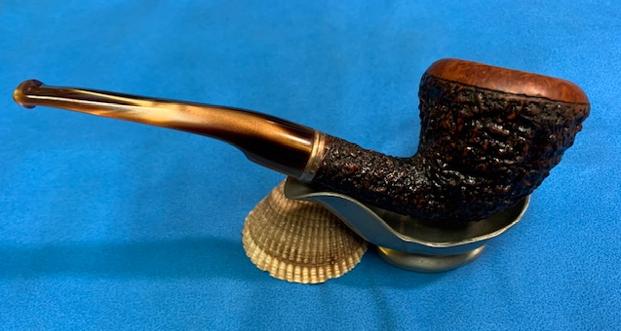
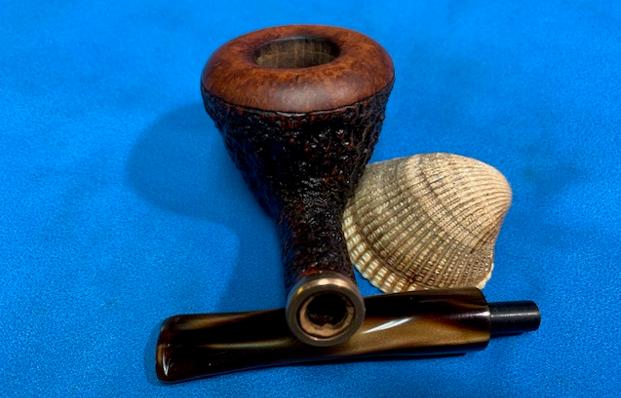
 This beautiful hand carved Karl Erik Wenhall Langelinie Danish Freehand was a fun pipe to work on and I really was looking forward to seeing it come back together again. With the new tenon on the stem and the stem refreshed and the briar treated with Restoration Balm. I put the stem back on the bowl and gave the pipe a quick and careful buff with Blue Diamond on the buffing wheel. I carefully avoided the stamping on the shank and stem during the process. I gave the bowl and the stem multiple coats of carnauba wax on the buffing wheel and followed that by buffing it with a clean buffing pad on the buffer. I hand buffed the pipe with a microfiber cloth to deepen the shine. The rich natural finish on the bowl looks really good with the polished black vulcanite stem. It is very well done. Give the finished pipe a look in the photos below. The dimensions of the pipe are Length: 6 inches, Height: 2 ¾ inches, Outside diameter of the bowl: 2 inches, Chamber diameter: 1 inch. The weight of the pipe is 64grams/2.26oz. Thanks for walking through the restoration with me as I worked over another beautiful pipe. I will be sending it back to Trevor by the end of the week. I look forward to hearing what he thinks when he has his grandfather’s pipe in hand. If you want to add it to your collection send me an email or a message! Thanks for your time.
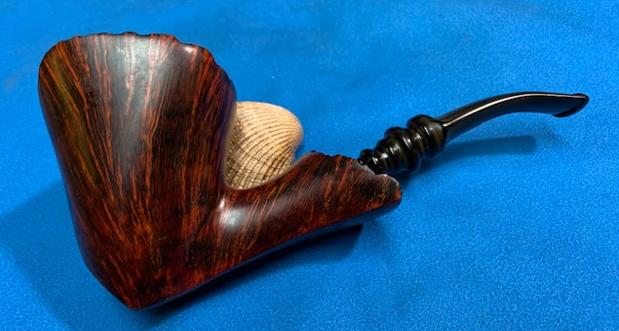


