Blog by Steve Laug
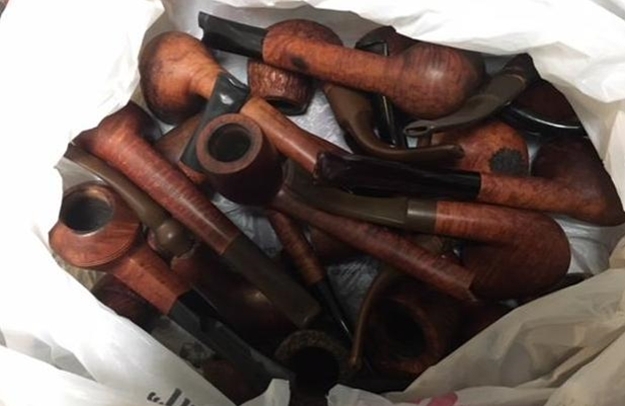
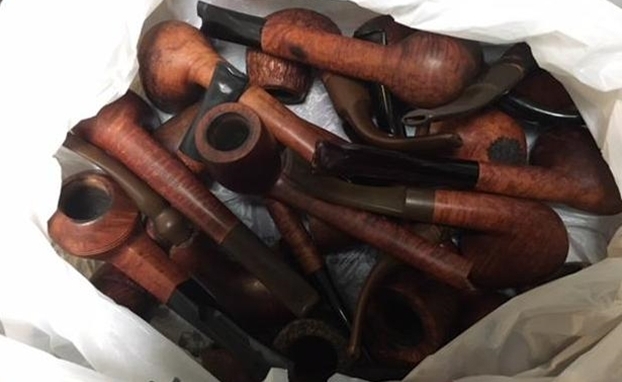
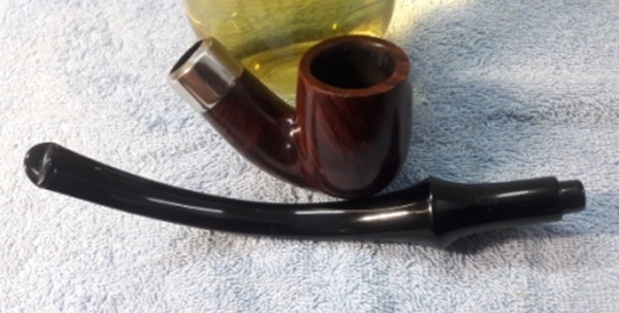
I am continuing to work on Bob Kerr’s collection of 9 Peterson’s System pipes that are ready to be restored. The next pipe on the table is a bit different from the other Standard System pipes that I have worked on from his estate. It is a pot shaped bowl with a different style stem. I have restored quite a few of his Petersons already so this is kind of subset of the Peterson Collection. You can read about those restorations in previous blogs. To be honest with you I have been dreading working on these 9 because when they arrived they were absolutely filthy and the reservoir in the shank was filled with tars and oils. It looked to me that they had never been cleaned. Jeff cleaned them for me and because of that I have been enjoying working on these Peterson’s particularly because Jeff has done such a thorough cleanup of them before I receive them. When I took it out of the box of the pipes that Jeff had cleaned up and sent back to me, I could see that it was stamped Peterson’s System Standard vertically on the left side of the shank next to the band. The right side of the shank was stamped Made in the Republic of Ireland over the shape number 301. The stamping is very faint but readable with a lens. It has some stunning grain around the bowl and shank that can be seen under the thick grime. There are also some deep nicks or flaws in the left and front sides of the bowl.
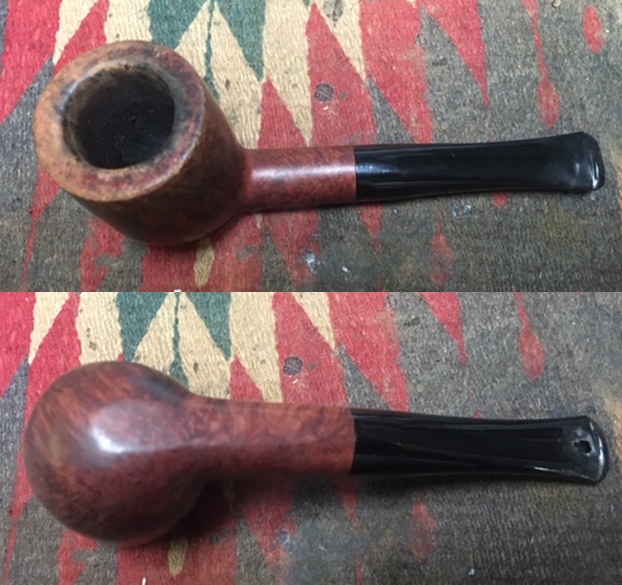
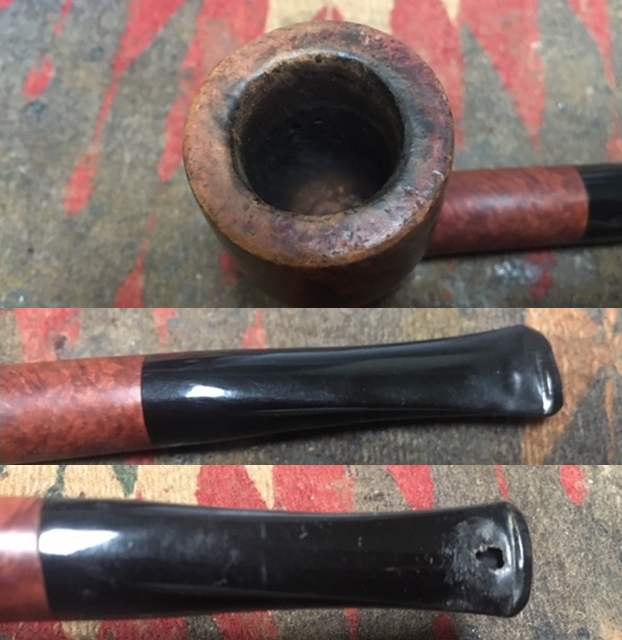
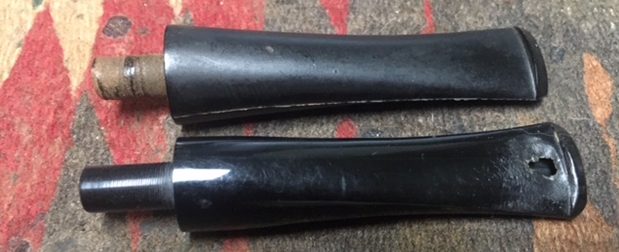
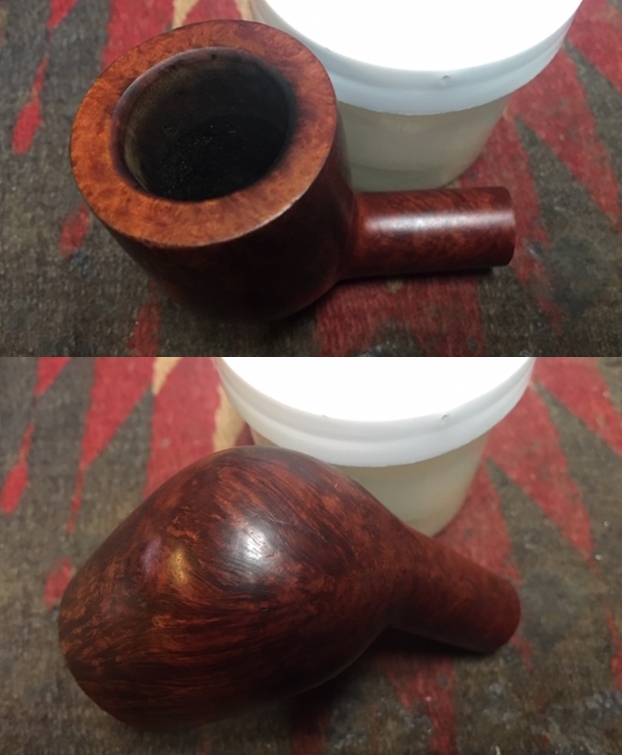
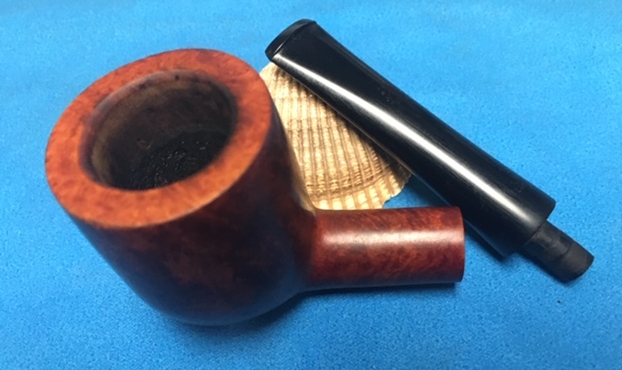
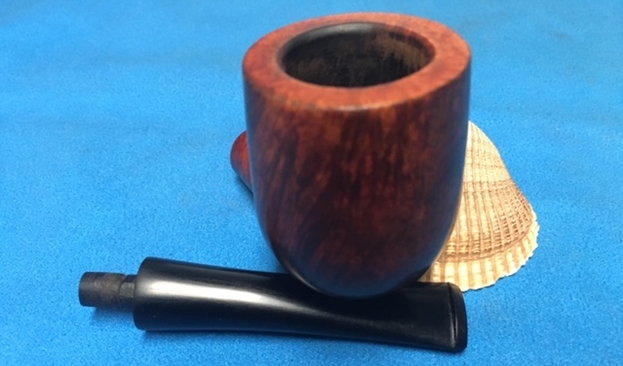
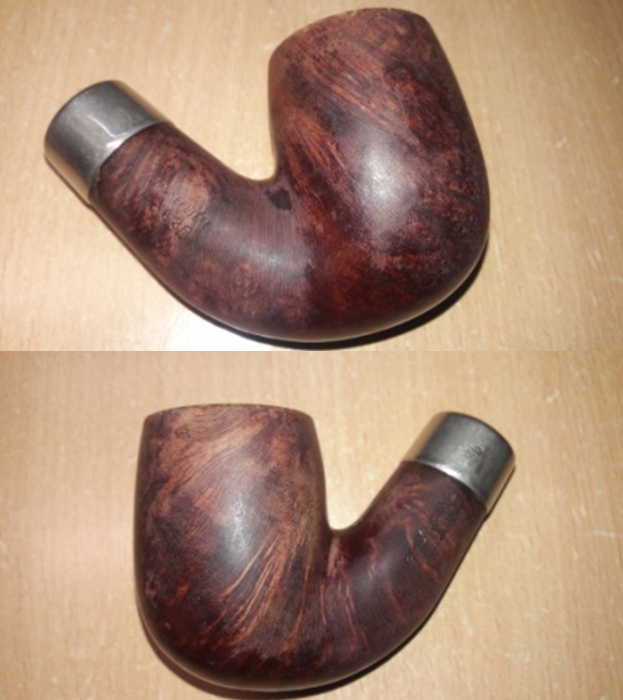
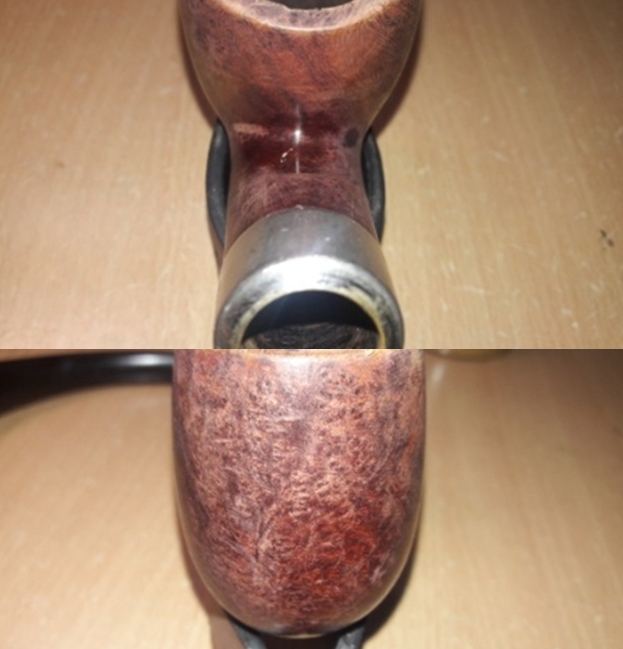
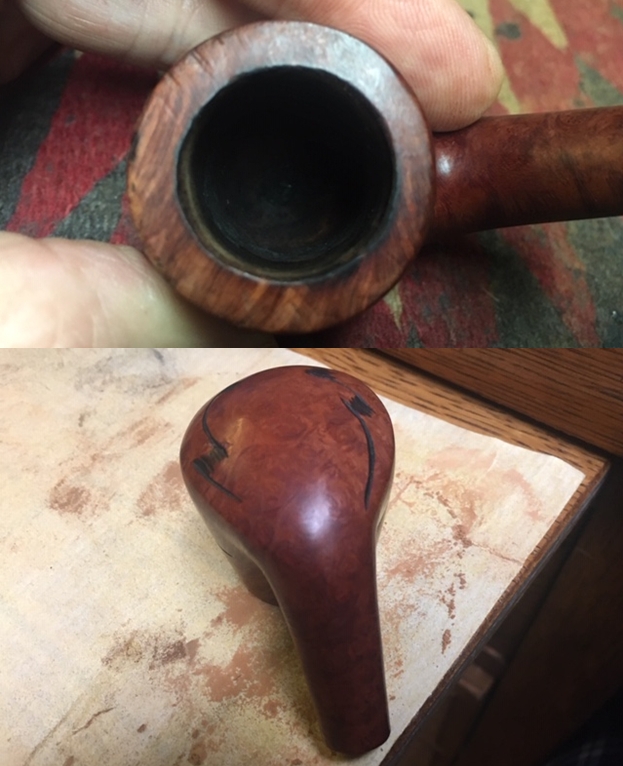
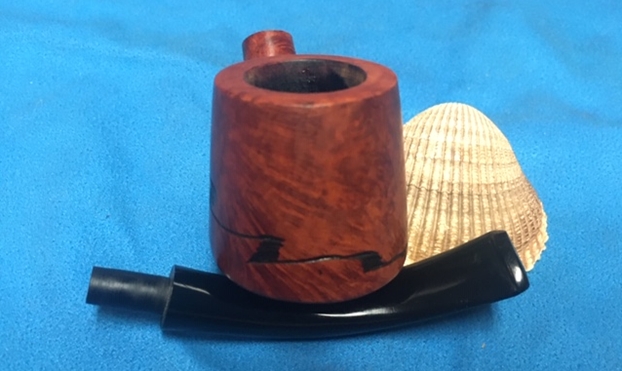
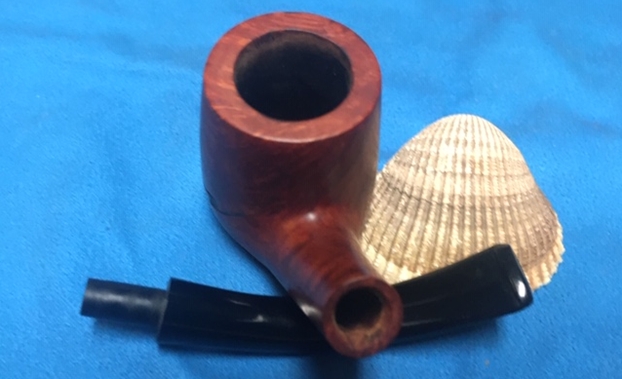
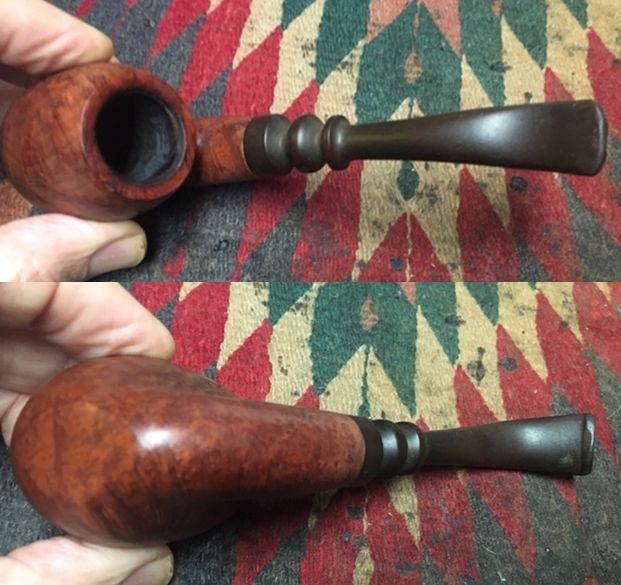
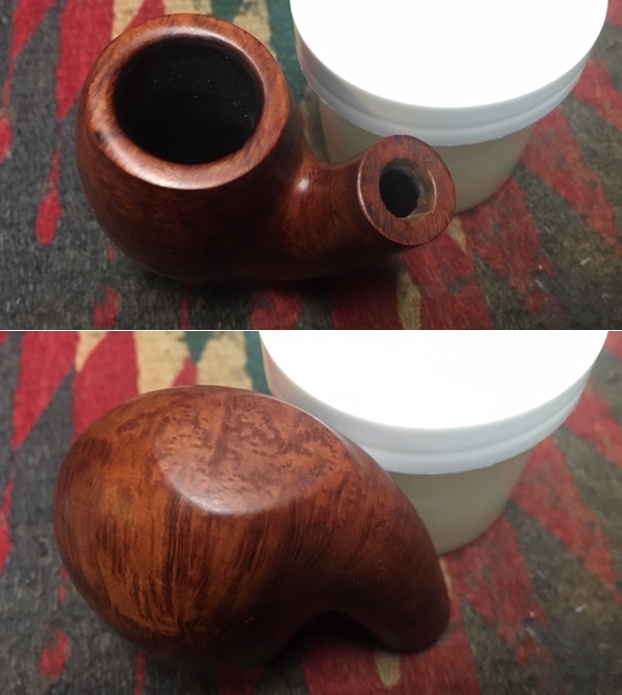
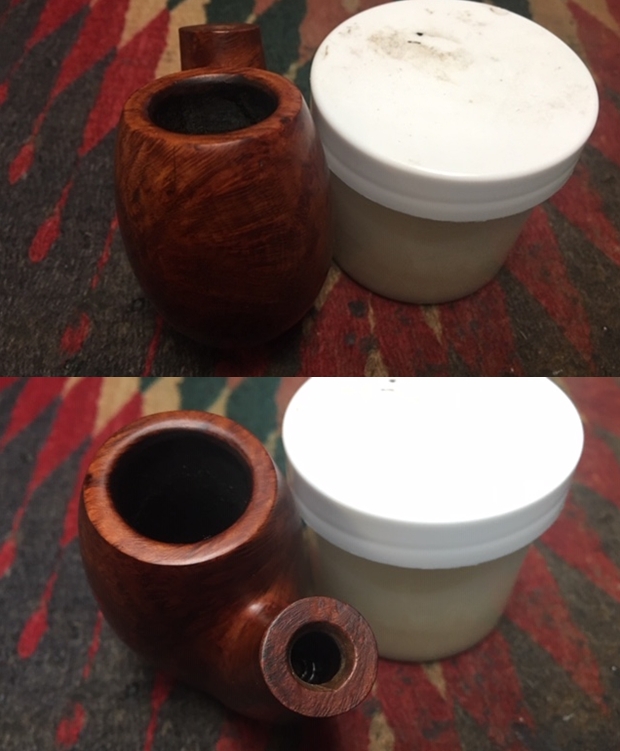
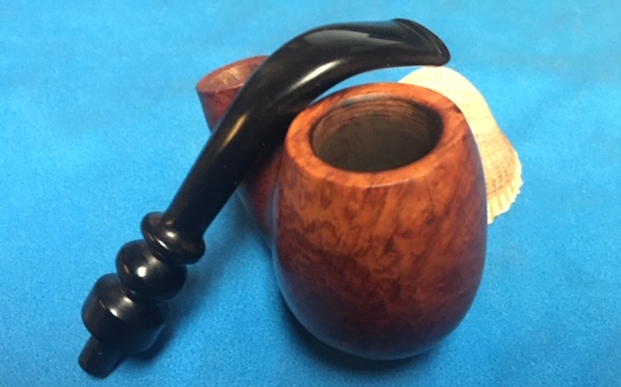
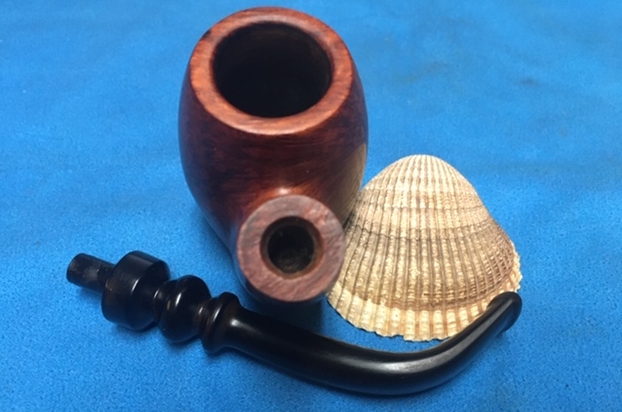
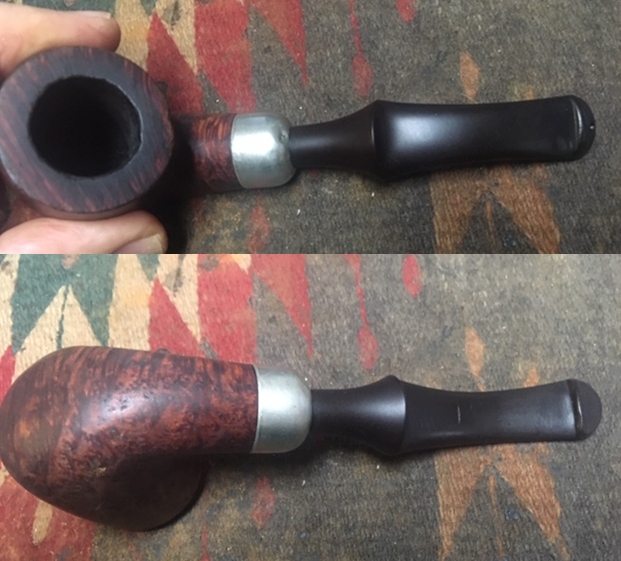
In many ways this was one of the dirtier System pipes if that is possible. There was a thick cake in the bowl with remnants of tobacco stuck on the walls. There was a lava overflow on the rim. The top and edges of the rim appear to have some damage all the way around the bowl. There was some damage on the back outer edge of the rim that looked as if it had been dropped. I think that there was a beautiful pipe underneath all of the buildup of years of use. There was some interesting grain poking through. The nickel ferrule on the shank end was oxidized and dented. The band was loose so it turned on the shank end. It is stamped K&P Petersons. The stem was oxidized and calcified toward the end with some tooth chatter. There were also some tooth marks on both sides of the stem ahead of the “P-lip”. There was also a deep mark mid stem on the underside. Jeff took photos of the pipe before he started his cleanup work on it. 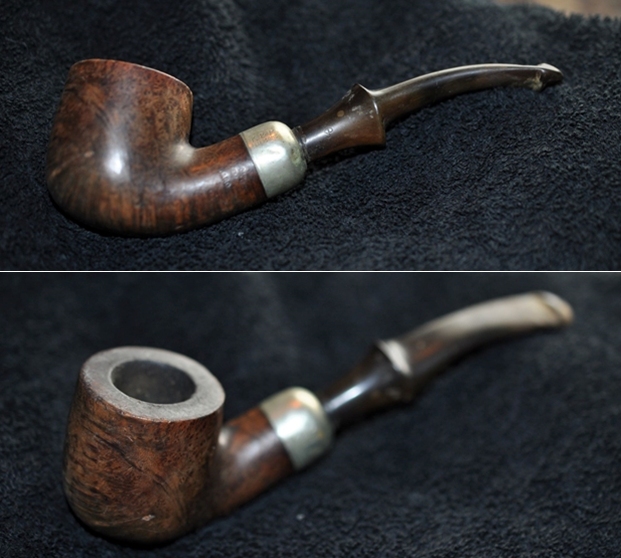 Jeff took photos of the bowl and rim top to show the thick, hard cake in the bowl and the lava build up on the top of the rim and the edges of the bowl. The rim top looked pretty good but it was hard to know for sure but it appeared that there was damage all around the inner edge. The outer edges of the rim appeared to have some serious damage on the back of the bowl. It is rough and could have been dropped or knocked out against a hard surface.
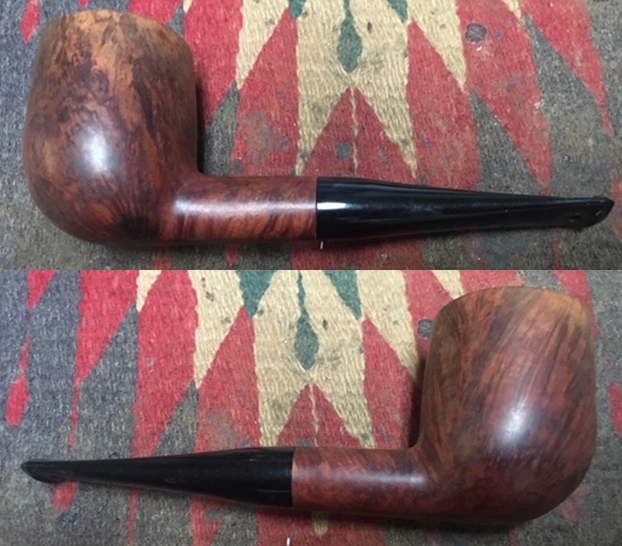
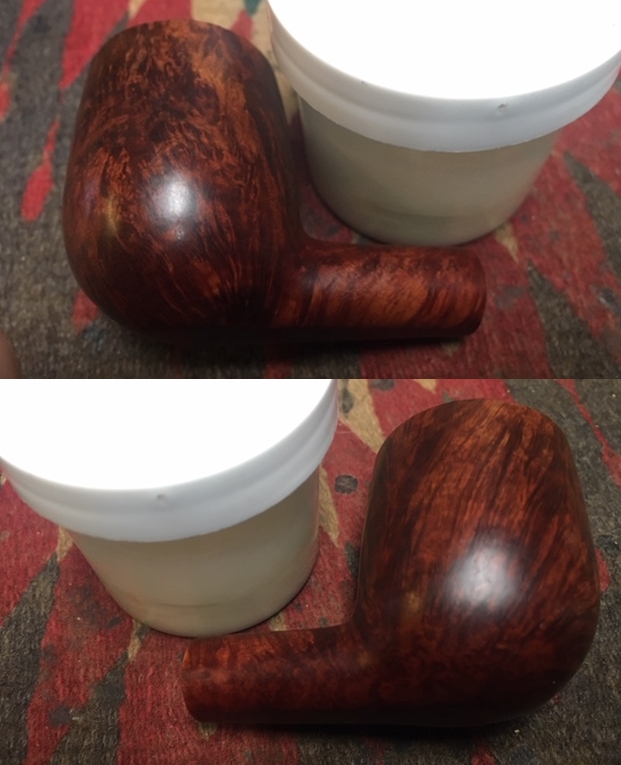
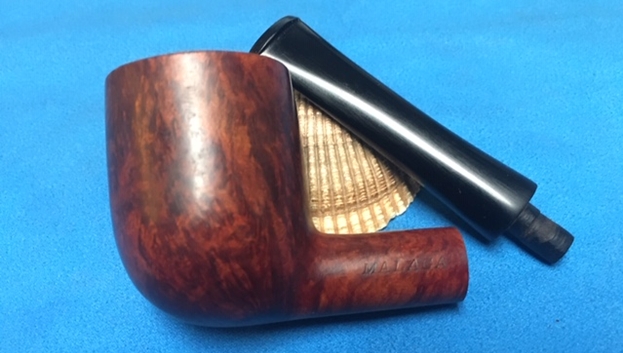
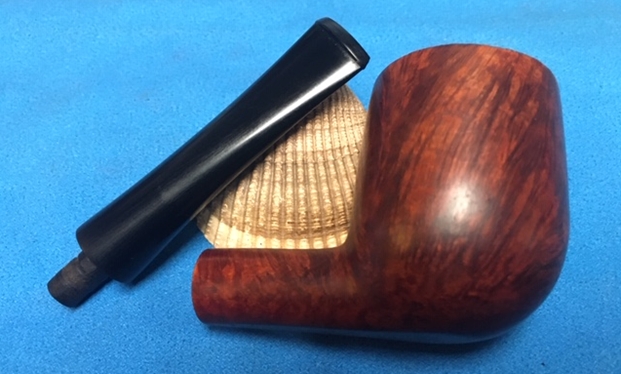
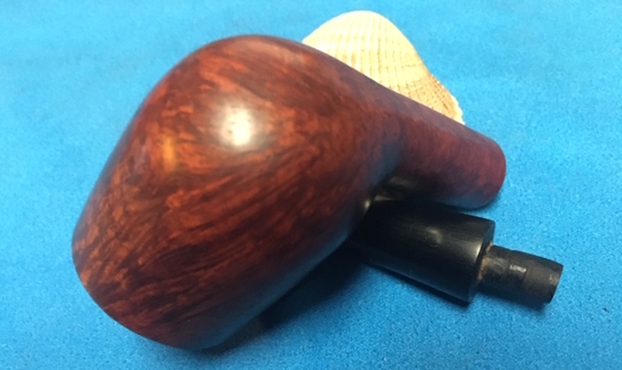
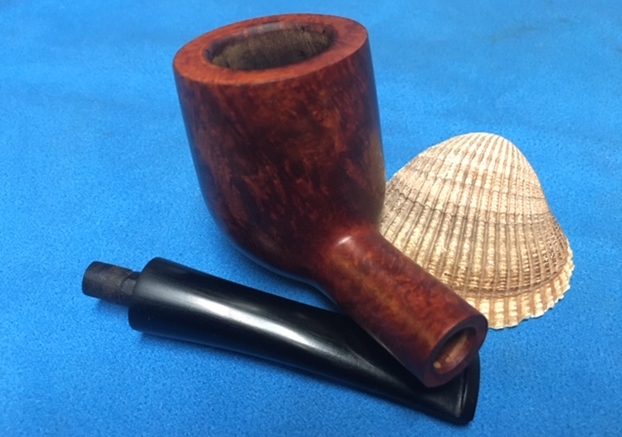
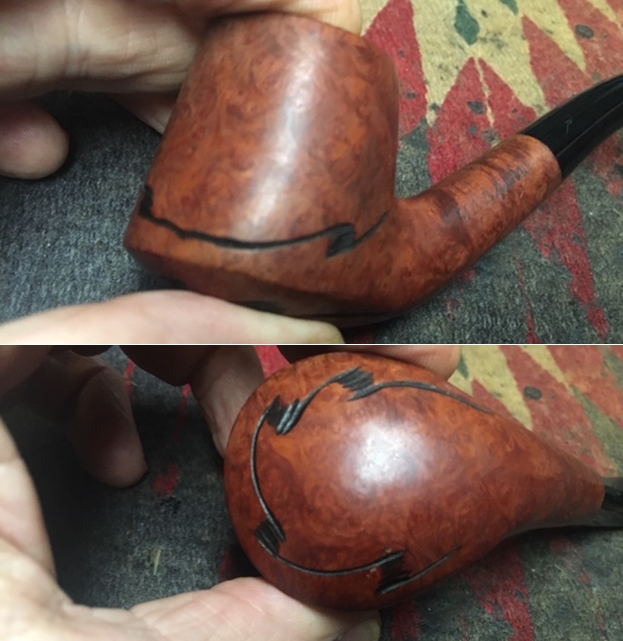
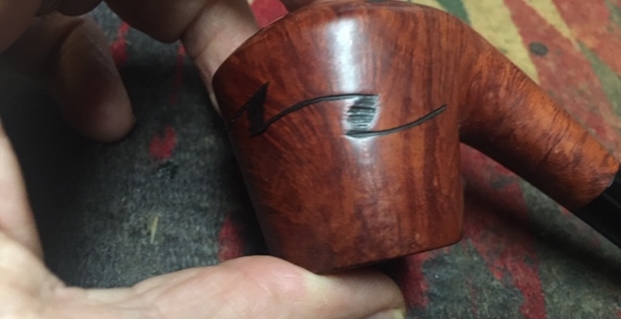
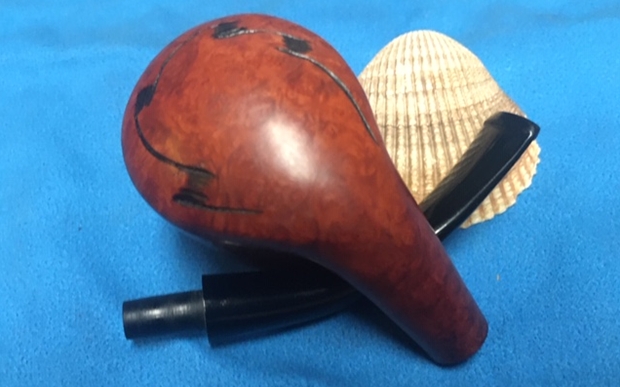
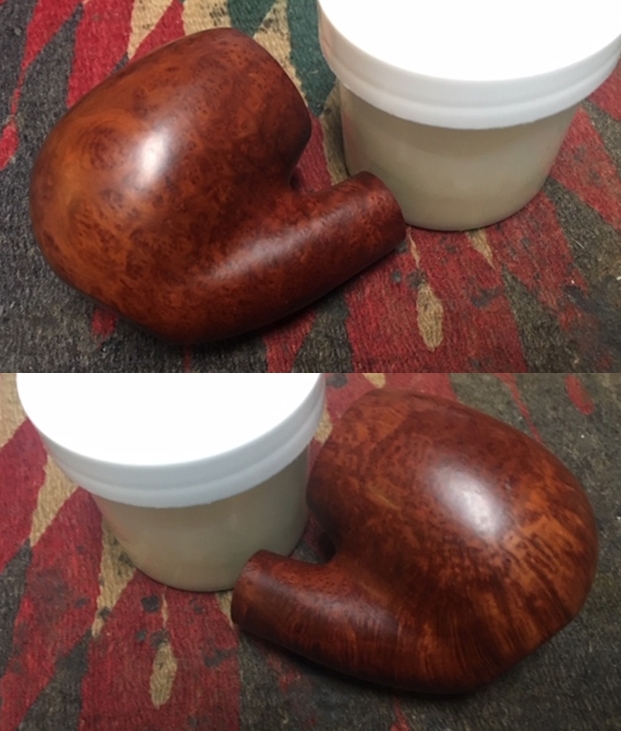
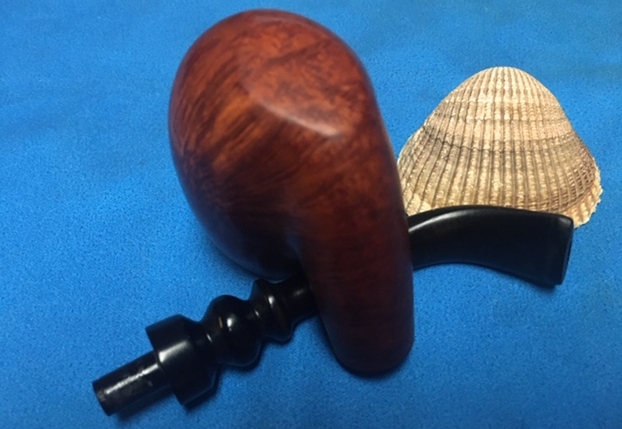
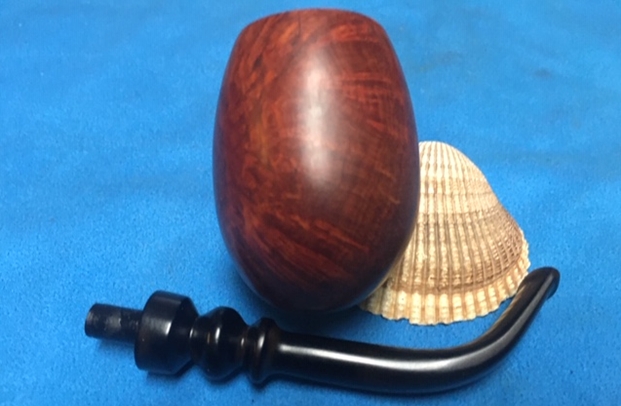
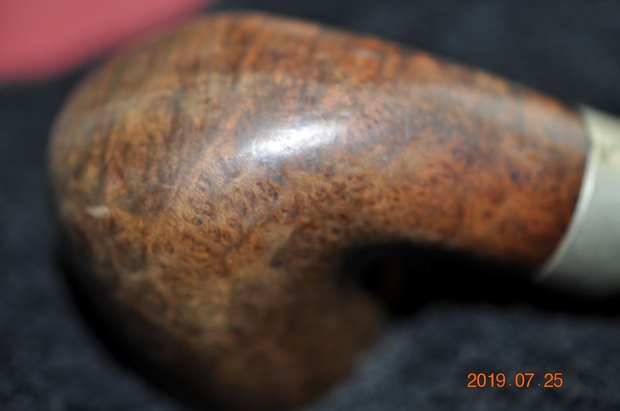
 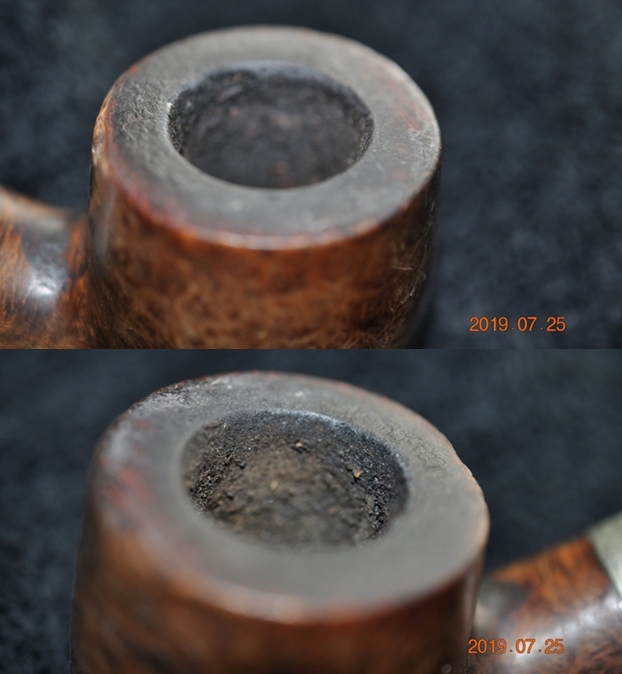 Jeff took photos of the sides and heel of the bowl to show the condition of the finish. You can see the nicks and pits in the briar around the bowl. It does have some interesting mixed grain on the sides of the bowl and shank. There is also some cross grain and birdseye for those who love grain. Even under the dirt and debris of the years it looked very good.
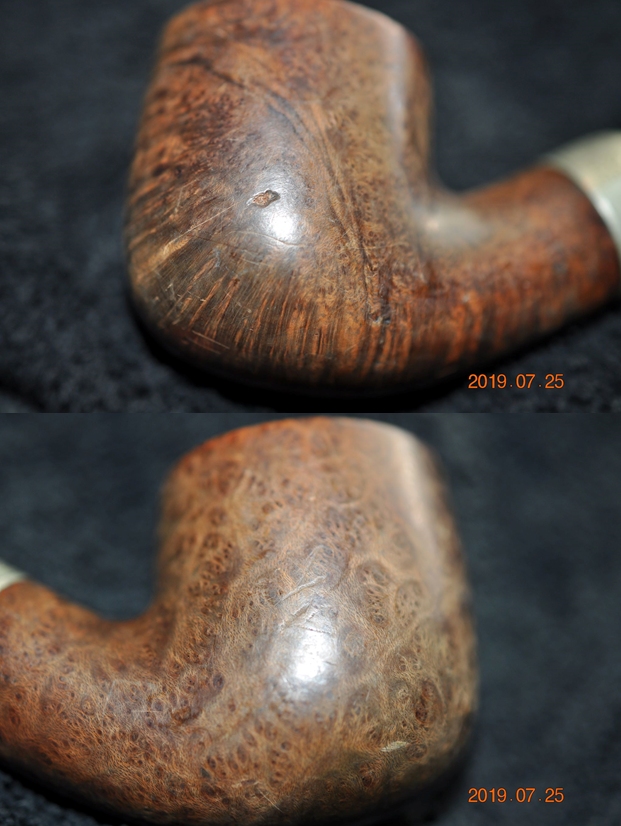
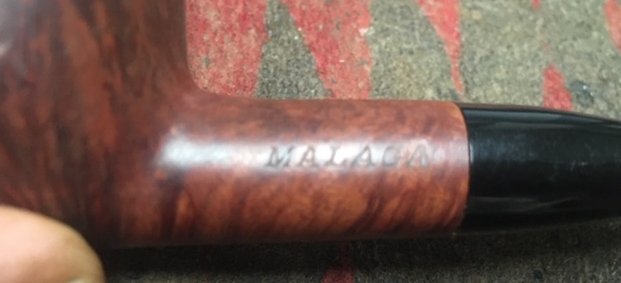
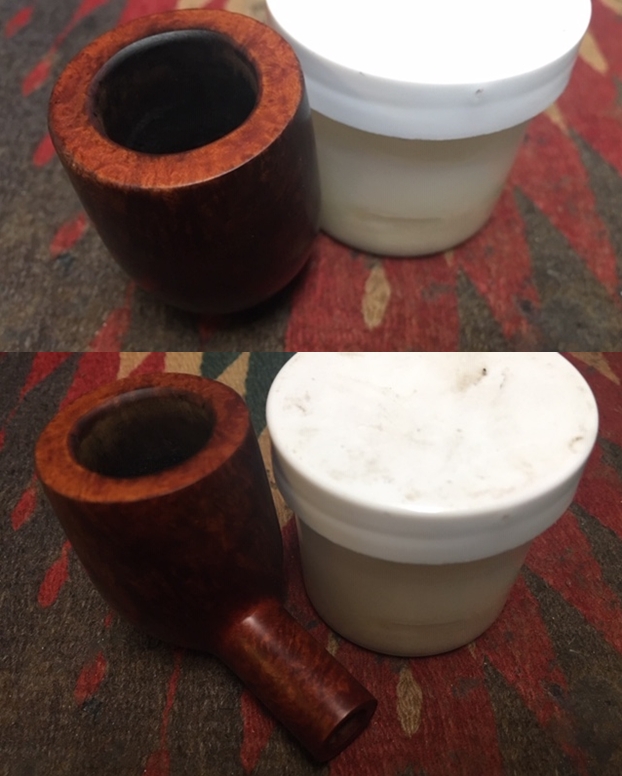
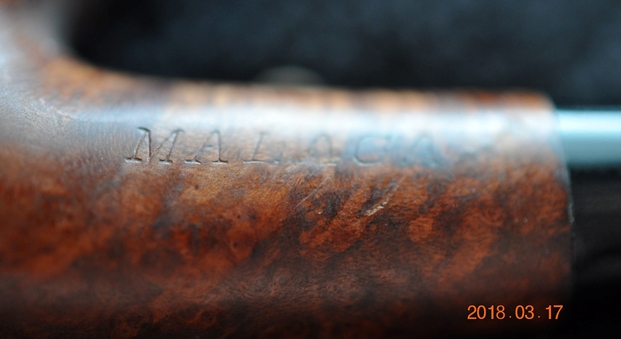
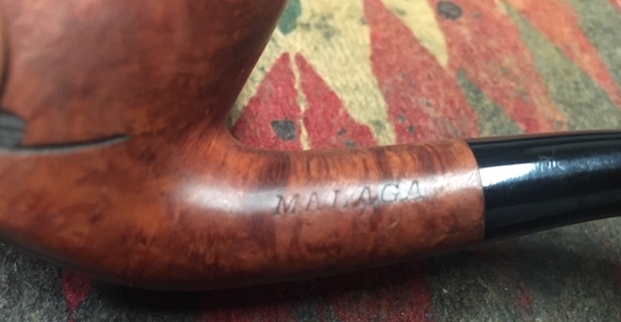
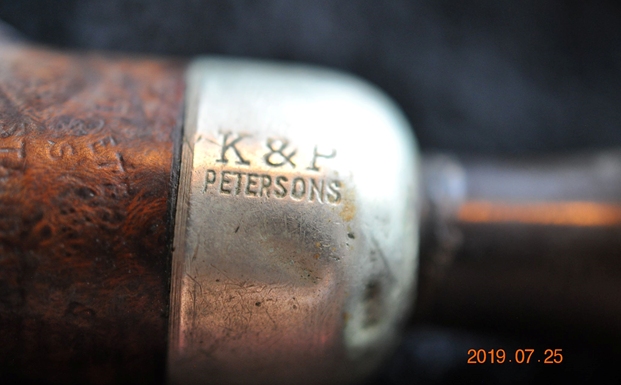
 Jeff took photos of the stamping on the sides of the bowl and shank. The vertical stamping on the left side was faint but readable as you can see from the photo. It read Peterson’s System Standard. The stamping on the right side of the shank is also faint but it read Made in the Republic of Ireland with the shape number 301 underneath. The nickel ferrule on the shank end is stamped on the top and left side K&P Petersons. The ferrule has some dents and nicks in it that will need to be addressed.
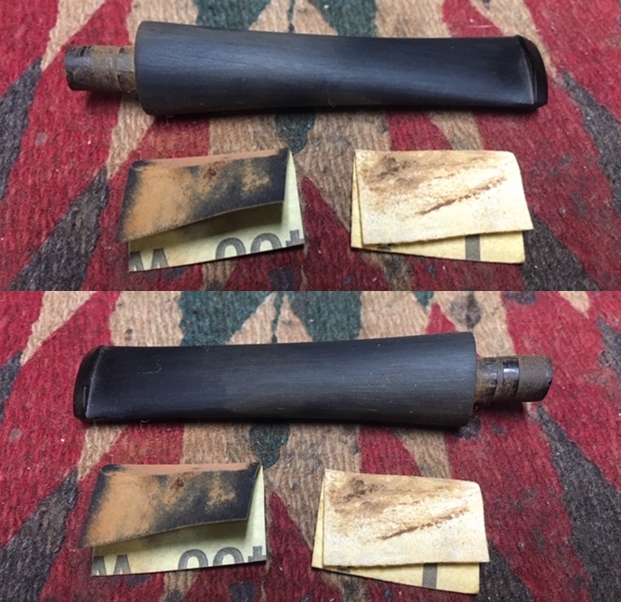
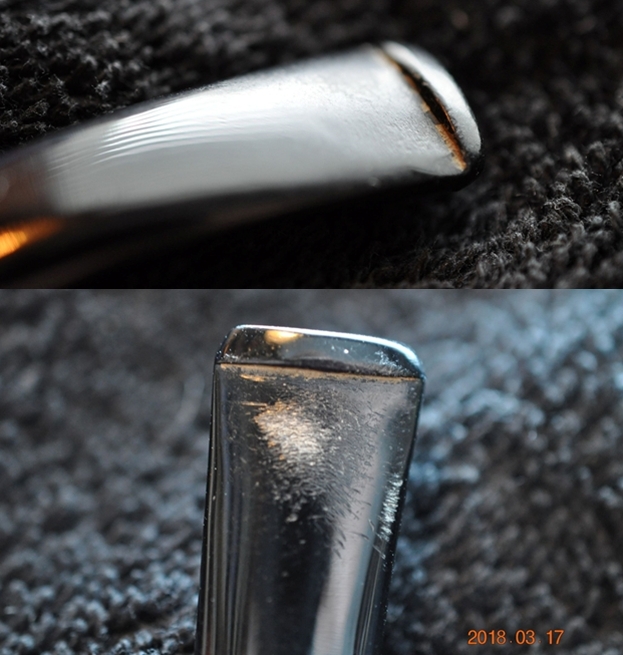
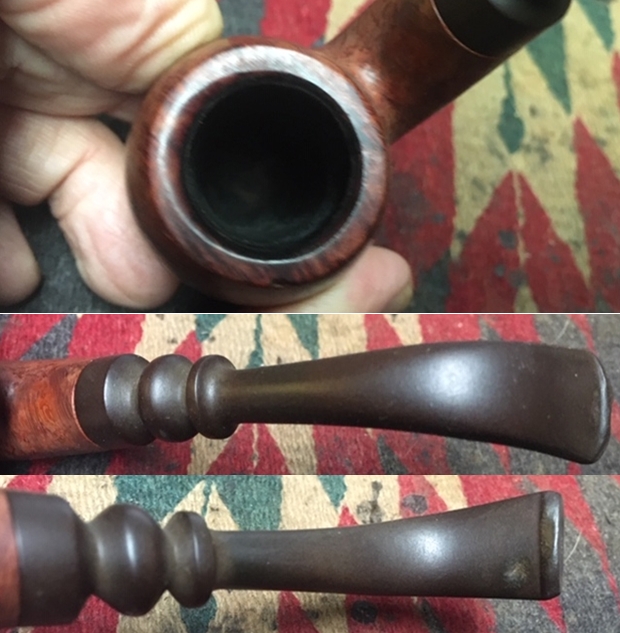
 Jeff took photos of the top and underside of the stem showing the tooth chatter, scratching and oxidation on the stem surface and wear on the edges of the button. You can see the scratch in the vulcanite mid stem in the second photo.
 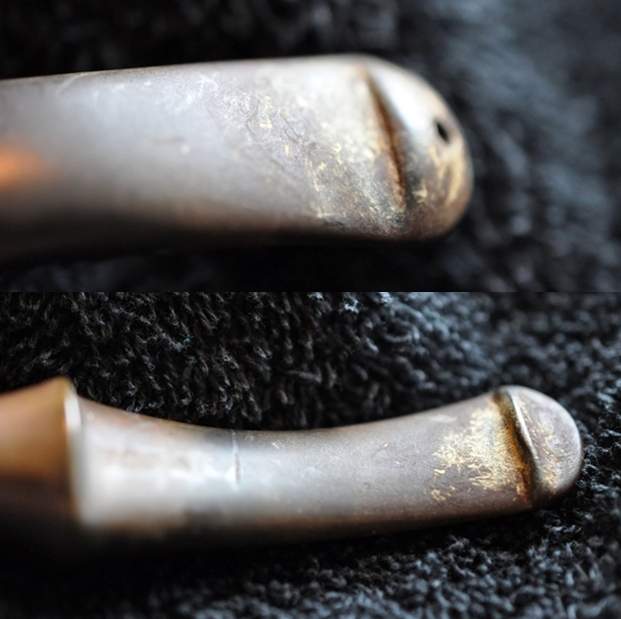 I am including the information from Pipedia’s article on Peterson pipes. It is a great read in terms of the history of the brand (https://pipedia.org/wiki/Peterson). I have included a bit of the pertinent history here.
1950 – 1989 The Republic Era – From 1950 to the present time, the stamp for this era is “Made in the Republic of Ireland” in a block format generally in three lines but two lines have been used with or without Republic being abbreviated.
During the 1950’s and 60’s the Kapp & Peterson company was still in the ownership of the Kapp family. However 1964 saw the retiral of the company Managing Director Frederick Henry(Harry) Kapp.
 Pipedia also included a section of information on the System pipes including a diagram of the sytems look (https://pipedia.org/wiki/Peterson#Republic_Era_Pipes). I quote a section of the article in part and include a link to another article on Pipedia on the System pipe.
The Peterson System pipes are the standard bearers of the Peterson pipe family, famous for the excellent smoking pleasure they provide. Often imitated but never equaled, the Peterson System smokes dry, cool and sweet, thanks to the scientific effectiveness of the original design. The heart of the System is the unique graduated bore in the mouthpiece. This makes the suction applied by the smoker 15 times weaker by the time it reaches the tobacco chamber. The result is that all the moisture flows into the reservoir and, thus cannot reach the smoker’s mouth. The Peterson Lip further enhances the effectiveness of the graduated bore by directing the flow of smoke upwards and away from the tongue. This achieves a uniquely even distribution of smoke and virtually eliminates any chance of tonguebite or bitterness. Furthermore, the shape is contoured so that the tongue rests comfortably in the depression under the opening. Each “PLip” mouthpiece is made from Vulcanite. For the Peterson System pipes to work properly, the stem/tenon has to have an extension, the tip of which will pass by the draft hole from the bowl and into the sump. Upon the smoker drawing in smoke, this extension then directs the smoke down and around the sump to dispense a lot of the moisture before the smoke enters the extension and stem. On the System Standards and other less expensive systems, this extension with be made of Vulcanite turned integrally with the stem. On the more expensive System pipes this extension will be made of metal which screws into the Vulcanite stem. This extension on the earlier pipes will be of brass and the newer pipes will be of aluminium. Most smokers not knowing this function of the metal extension, assumes that it is a condenser/stinger and will remove it as they do with the metal condensers of Kaywoodie, etc. Should you have a System pipe with this metal extension, do not remove it for it will make the System function properly and give you a dryer smoke (https://pipedia.org/wiki/A_closer_look_at_the_famous_Peterson_Standard_System_Pipe).
With that information in hand I knew what I was dealing with in terms of the stamping and the age of this pipe. I knew from the information that the pipe was made during the Republic Era between 1950 and 1989. Most of Bob’s pipes were purchased in the 60s so my guess is that this is also a 60’s era pipe. Now it was time to work on the pipe.
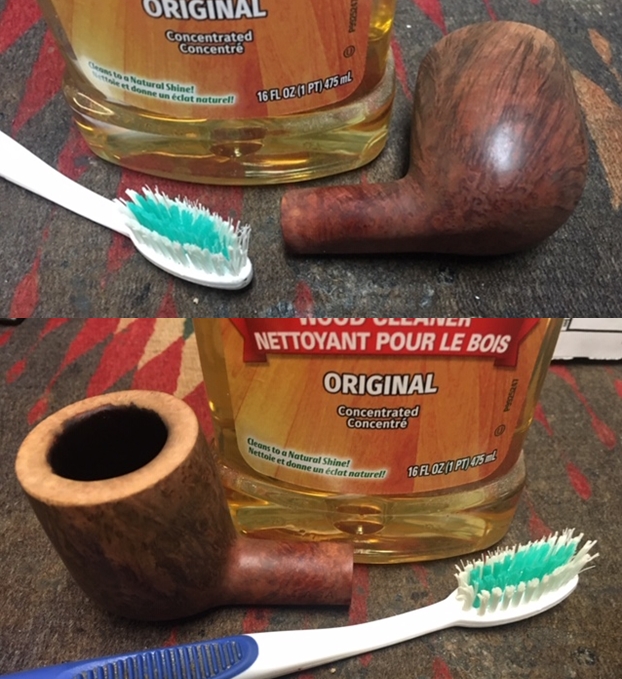
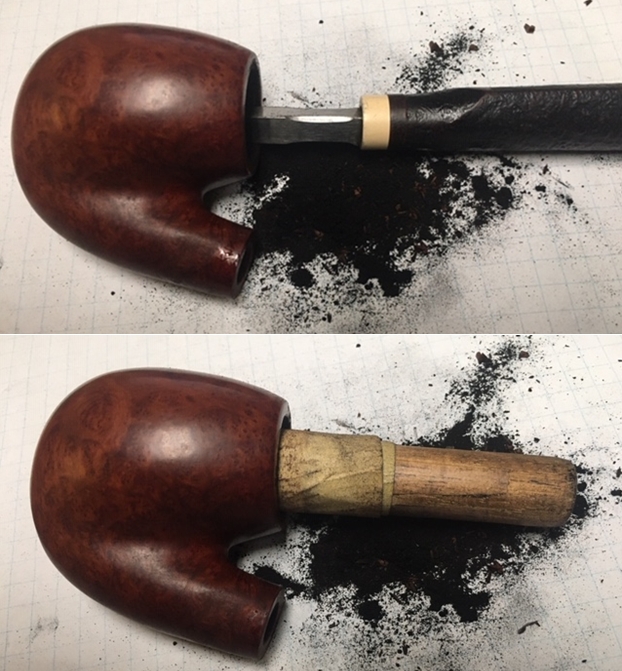
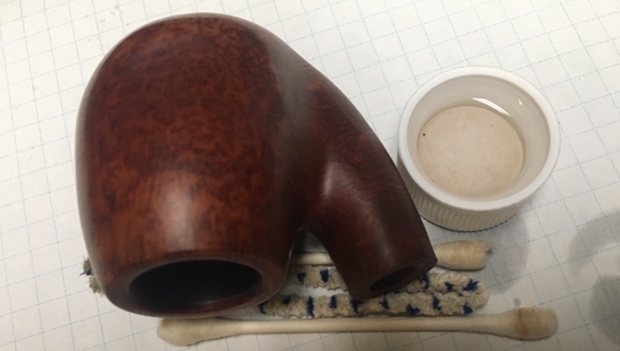
I am really happy to have Jeff’s help on cleaning these 9 Peterson’s System Standard pipes as they are a real pain to get clean. He cleaned this filthy pipe with his usual penchant for thoroughness that I really appreciate. This one was a real mess and I did not know what to expect when I unwrapped it from his box. He reamed it with a PipNet pipe reamer and cleaned up the reaming with a Savinelli Fitsall Pipe Knife. He scrubbed out the internals with alcohol, pipe cleaners and cotton swabs until the pipe was clean. He scrubbed the exterior of the bowl with Murphy’s Oil Soap and a tooth brush to remove the grime and grit on the briar and the lava on the rim top. The finish looks very good with great looking grain around the bowl and shank. Jeff soaked the stem in Before & After Deoxidizer to remove the oxidation on the rubber. When the pipe arrived here in Vancouver for the second stop of its restoration tour I was amazed it looked so good. Forgive the poor quality pics I took of the pipe at this point… not sure what happened.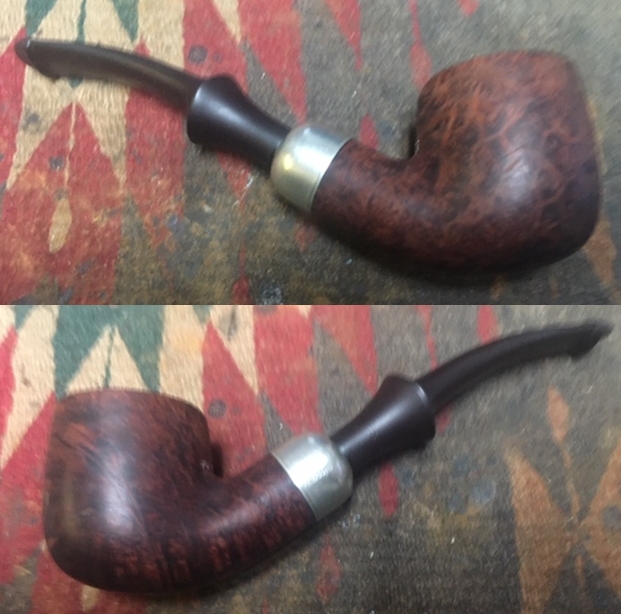
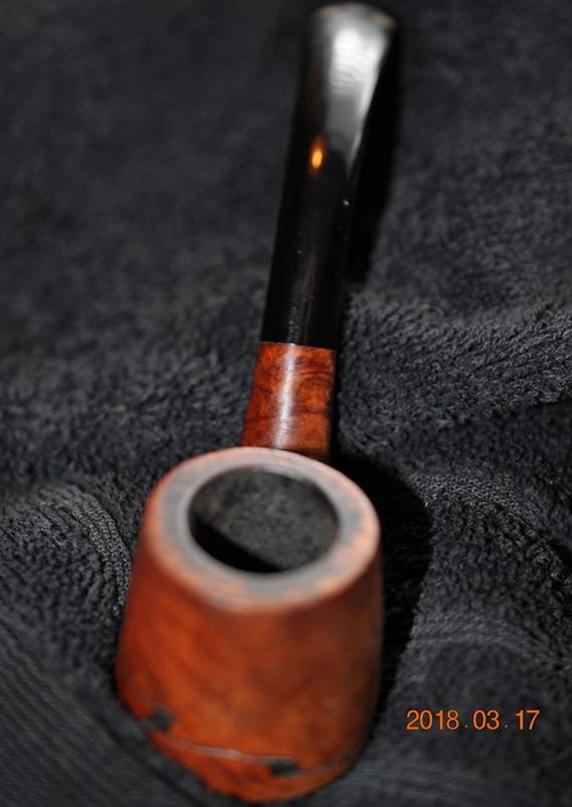
 I took some close up photos of the rim top and also of the stem surface. I wanted to show what an amazing job Jeff did in the cleanup of the rim top. The rim top was darkened with nicks and dents in the top. There were notches around the inner edge almost looked like a knife had been used on it. The back outer edge was worn and rough. I also took close up photos of the stem to show the tooth chatter on the stem surface. There was also the scratch on the underside. It was still lightly oxidized. The P stamp on the left was faint but visible. You can also see the dents around the nickel ferrule.
 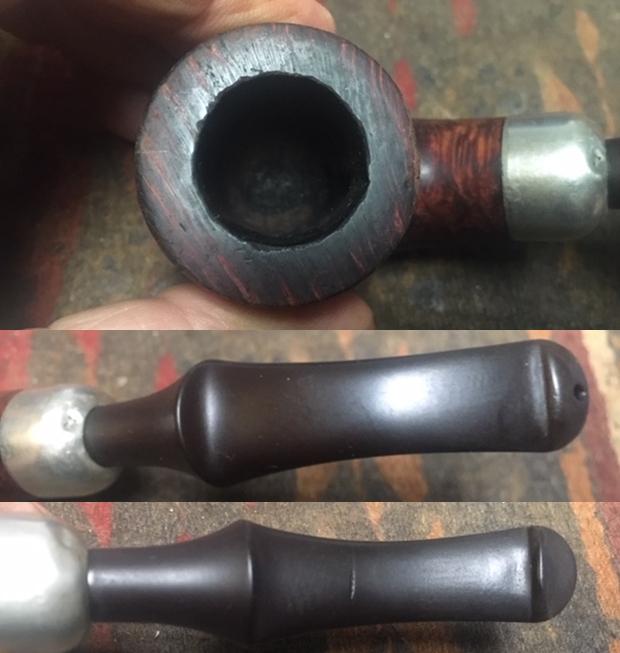 One of the things I appreciate about Jeff’s cleanup is that he works to protect and preserve the nomenclature on the shank of the pipes that he works on. The stamping on this one was very faint to start with so I was worried that it would disappear altogether with the cleanup. I took some photos to show the clarity of the stamping had neither worsened nor improved.
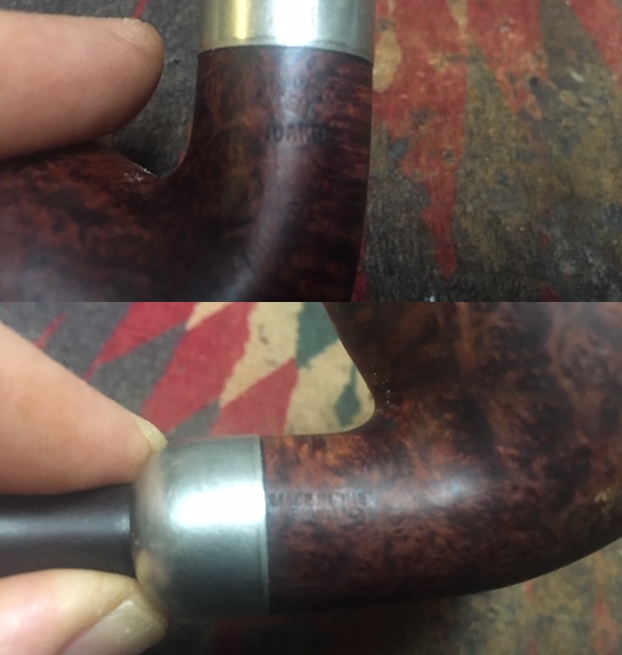
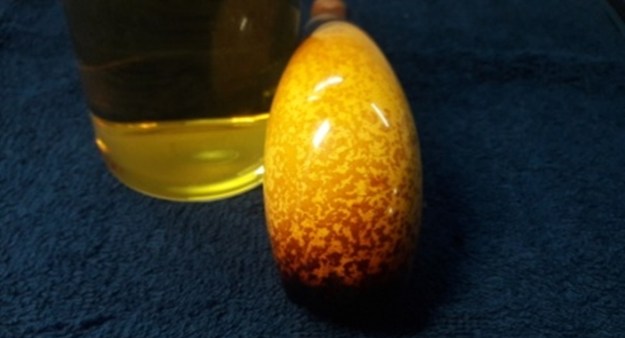
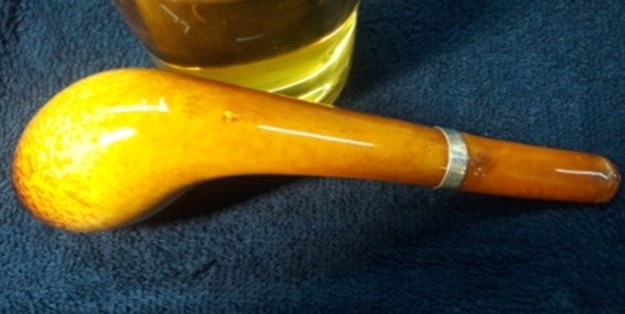
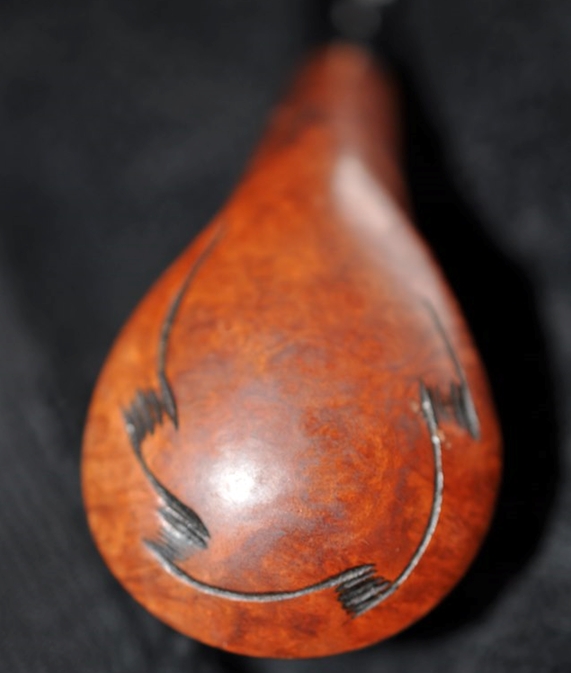
 Since this is another pipe Bob’s estate I am sure that some of you have read at least some of the other restoration work that has been done on the previous pipes. You have also read what I have included about Bob Kerr, the pipeman who held these pipes in trust before I came to work on them (see photo to the left). Also, if you have followed the blog for long you will already know that I like to include background information on the pipeman whose pipes I am restoring. For me, when I am working on an estate I really like to have a sense of the person who held the pipes in trust before I worked on them. It gives me another dimension of the restoration work. I asked Brian if he or his wife would like to write a brief biographical tribute to her father, Bob. His daughter worked on it and I received the following short write up on him and some pictures to go along with the words including one of Bob’s carvings. Once again I thank you Brian and tell your wife thank you as well.
I am delighted to pass on these beloved pipes of my father’s.  I hope each user gets many hours of contemplative pleasure as he did. I remember the aroma of tobacco in the rec room, as he put up his feet on his lazy boy. He’d be first at the paper then, no one could touch it before him. Maybe there would be a movie on with an actor smoking a pipe. He would have very definite opinions on whether the performer was a ‘real’ smoker or not, a distinction which I could never see but it would be very clear to him. He worked by day as a sales manager of a paper products company, a job he hated. What he longed for was the life of an artist, so on the weekends and sometimes mid-week evenings he would journey to his workshop and come out with wood sculptures, all of which he declared as crap but every one of them treasured by my sister and myself. Enjoy the pipes, and maybe a little of his creative spirit will enter you!
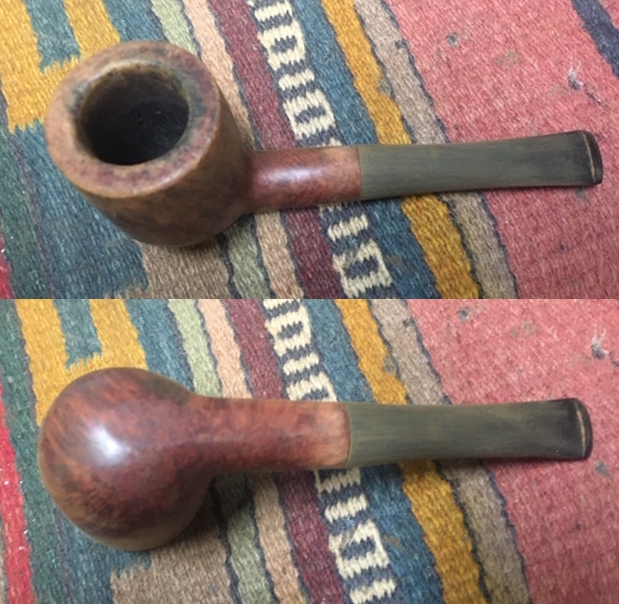
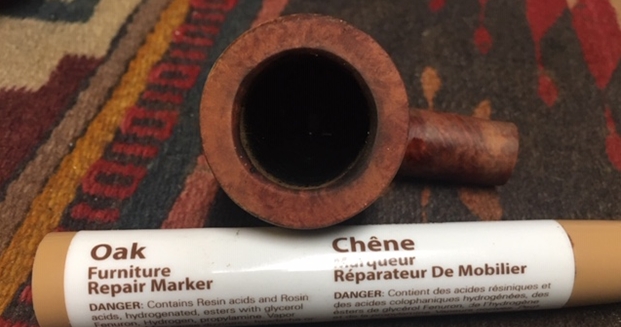
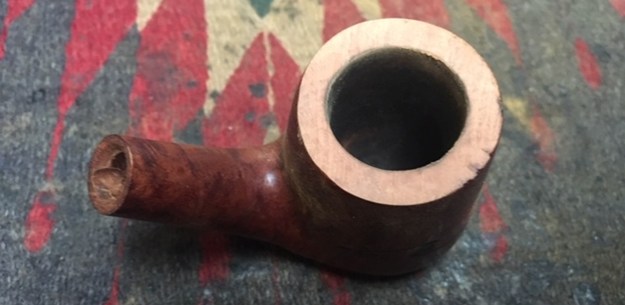
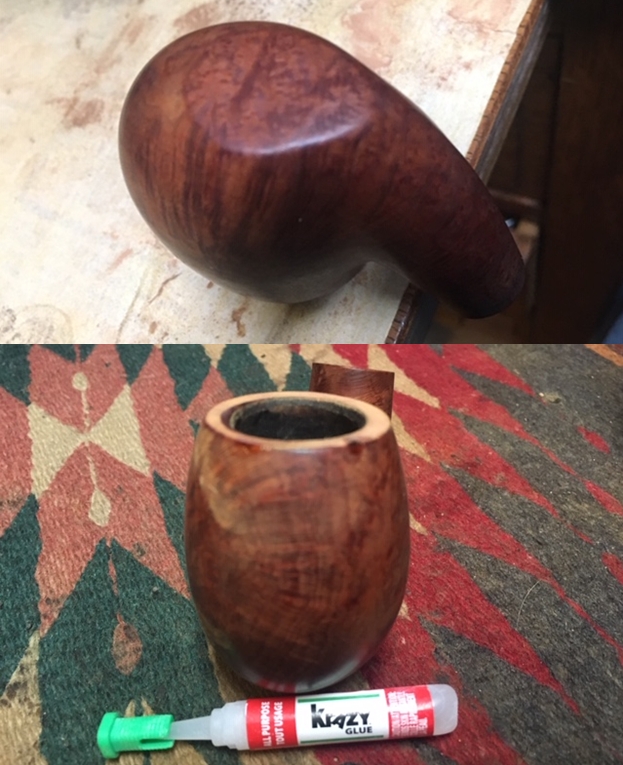
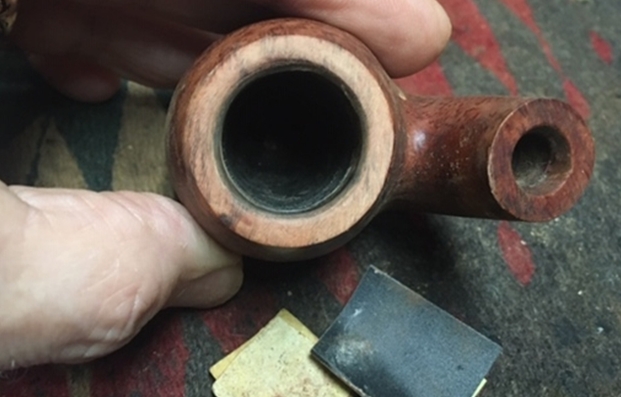
Now with all of the background on the line and the background on Bob Kerr it was time to get on with the restoration of this next mixed grain Peterson’s System Standard 301 Bent Pot. I am really coming to appreciate the hard cleanup work that Jeff did on these pipes. They were a real mess when I sent them to Jeff and I have to tell you it was great that I did not need to clean this pipe. I decided to start the process by dealing with the damage to the inner edge and top of the rim. The first photo below shows what the rim looked like when I started. I sanded it with 220 grit sandpaper and worked on the flat surface as well as the inner edge. I gave it a very light bevel so that it took care of the damage on the inner edge.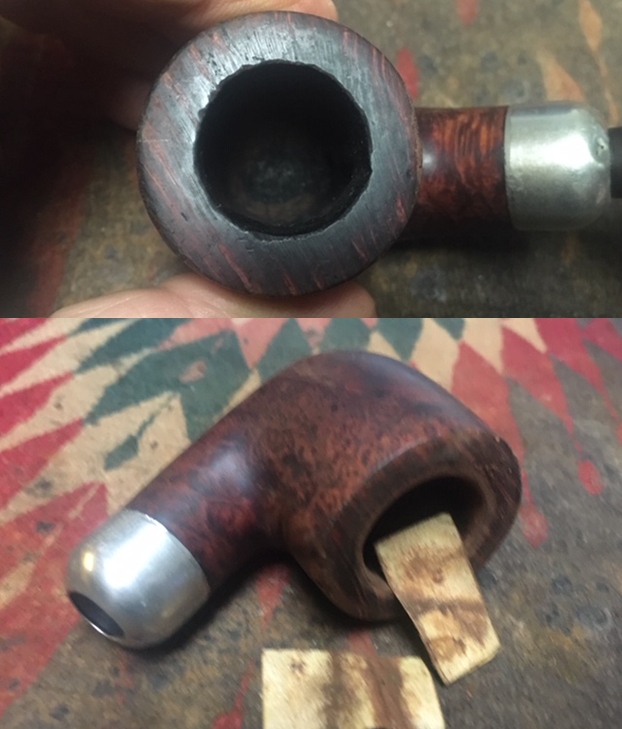 I filled in the damage on the back edge of the rim and the deep pits in briar on the front and left side with briar dust and clear Krazy Glue. Once the repair had cured I sanded the spots of the repair and topped the bowl with 220 grit sandpaper on a topping board. Unfortunately I did not document what the repairs looked like after sanding or topping but that will become clear in the photos that follow.
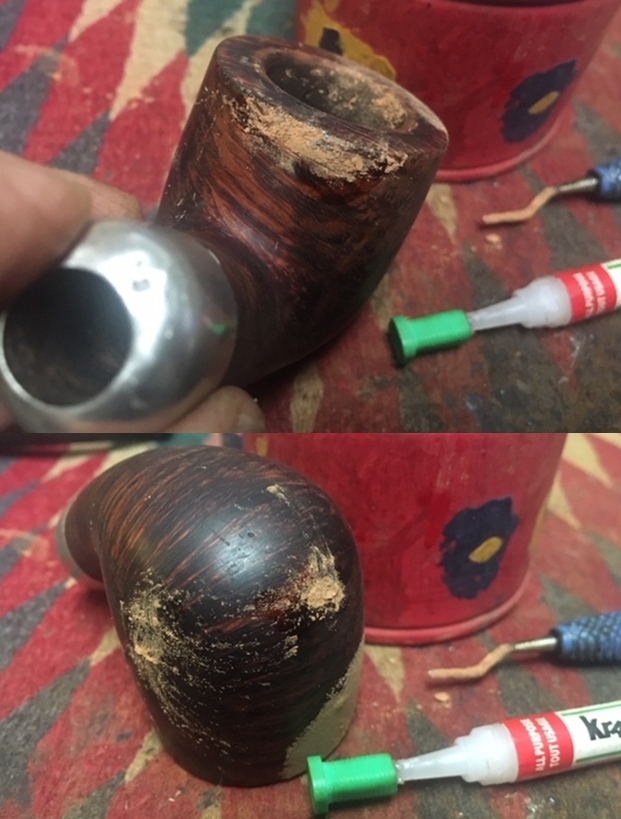
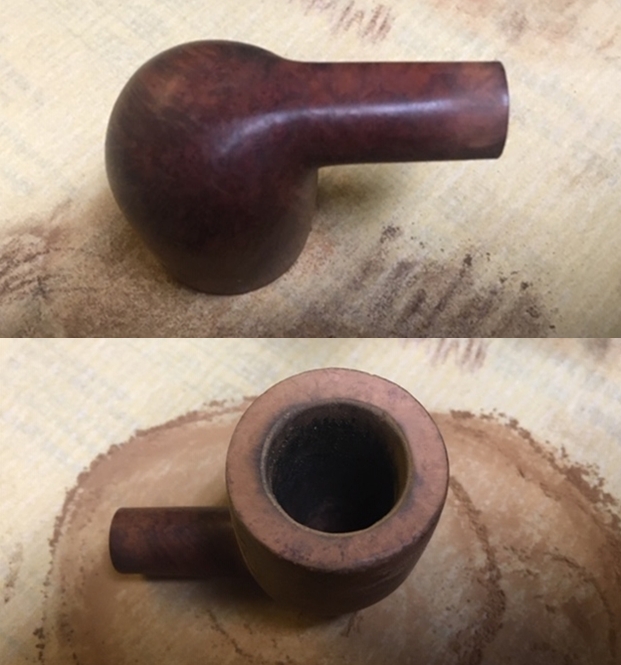
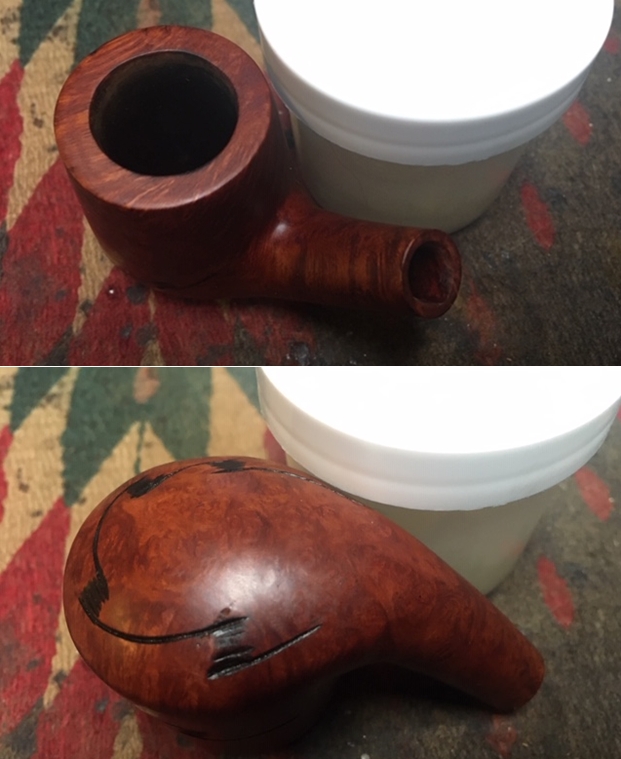
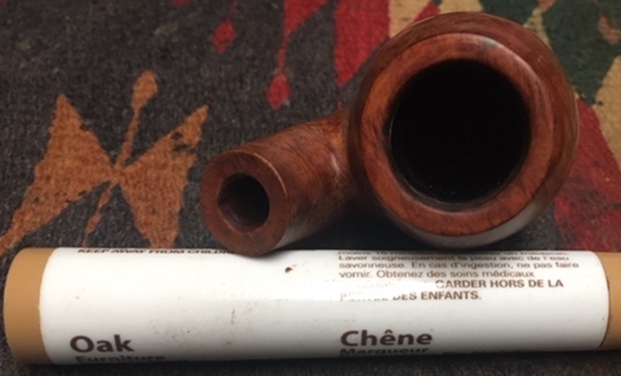
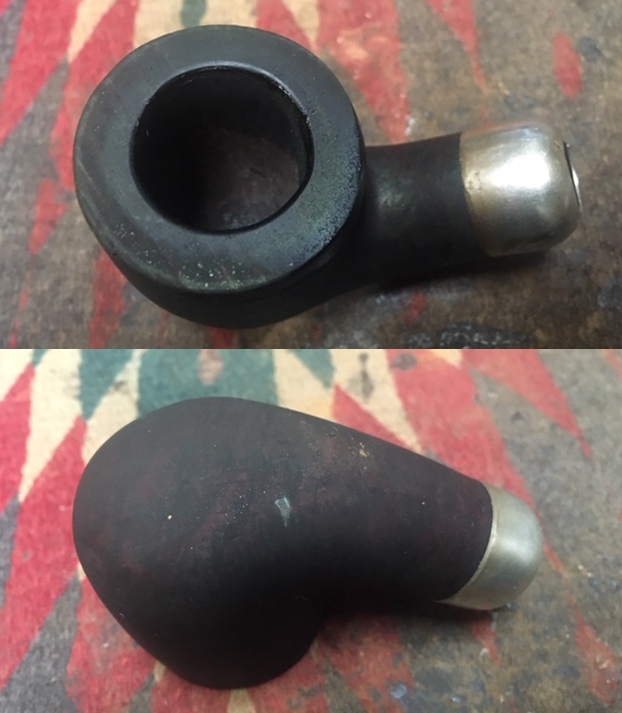
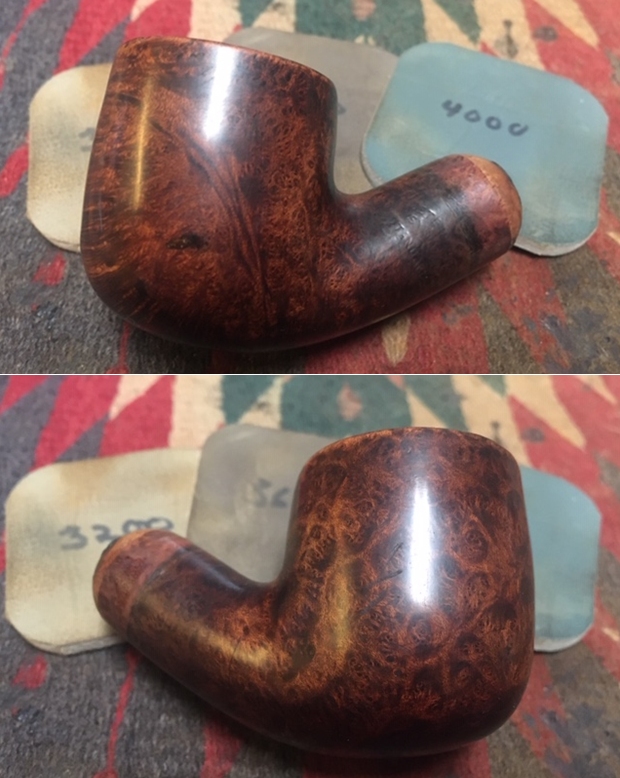
 I heated the briar with a flame of a lighter and stained it with Fiebing’s Dark Brown aniline stain. I applied it and flamed it to burn off the alcohol. I took photos of the bowl after staining. You can see the repaired areas as dark spots on the side and the top of the bowl. These will need to be sanded more but the pipe is looking pretty good at this point. I set the bowl aside to cure for the night, turned out the lights and headed to bed.
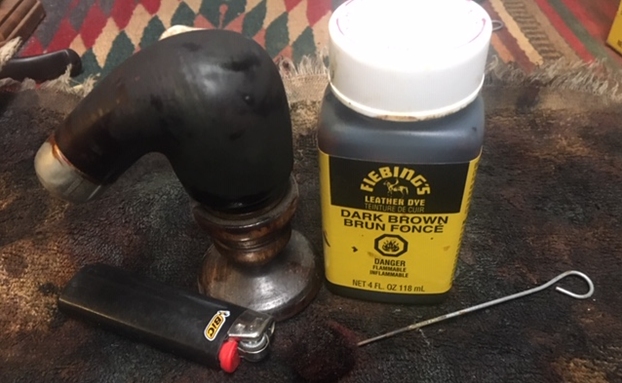

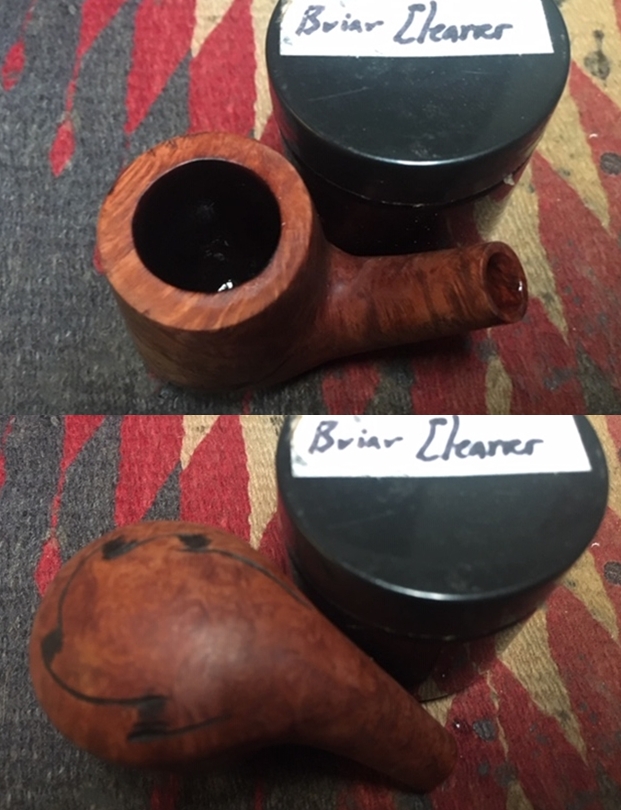
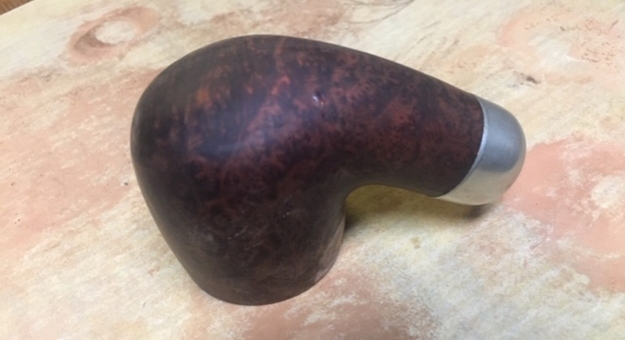
 In the morning I removed the nickel ferrule and buffed the bowl with red Tripoli on the buffing wheel to remove the “crust” on the stain. It was dark but otherwise it looked good. I wiped the bowl down with alcohol on cotton pads to make it more transparent. It is hard to see from the photos but the repairs actually looked good at this point.
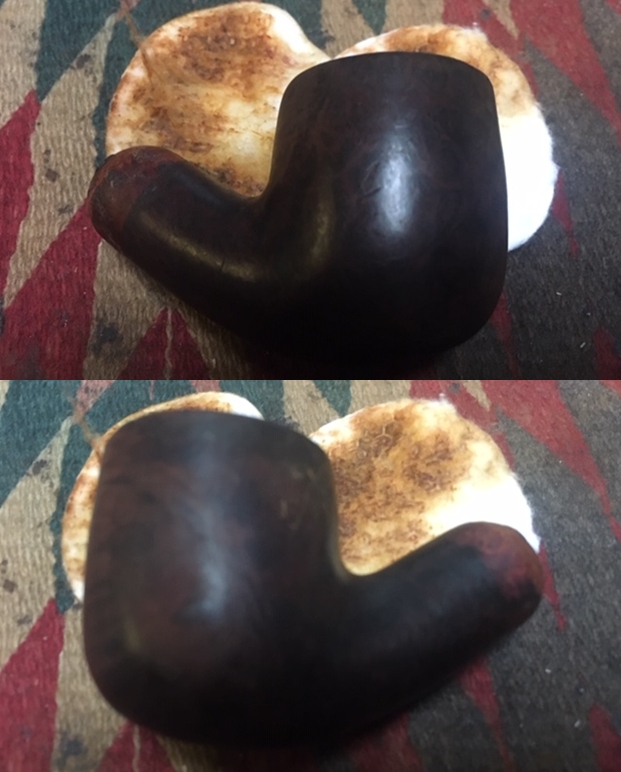
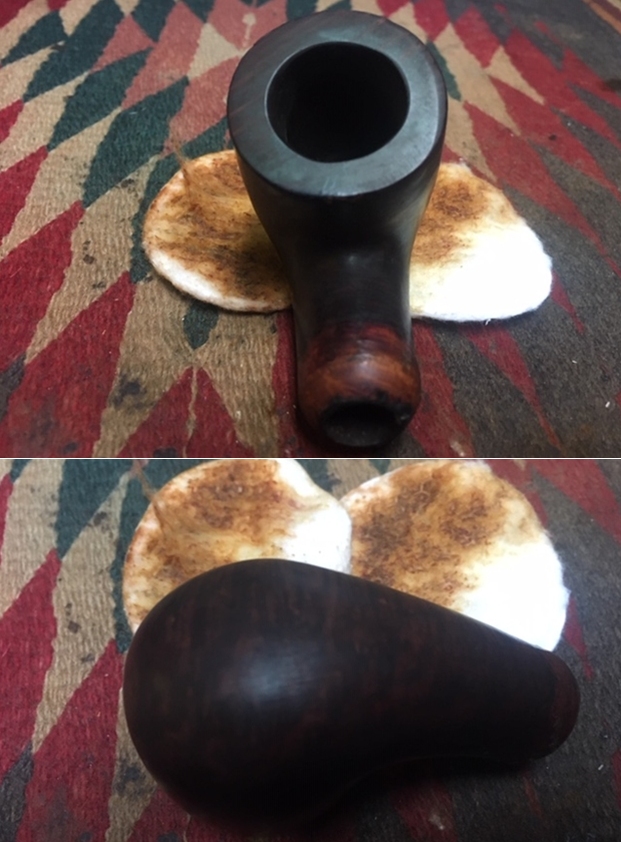
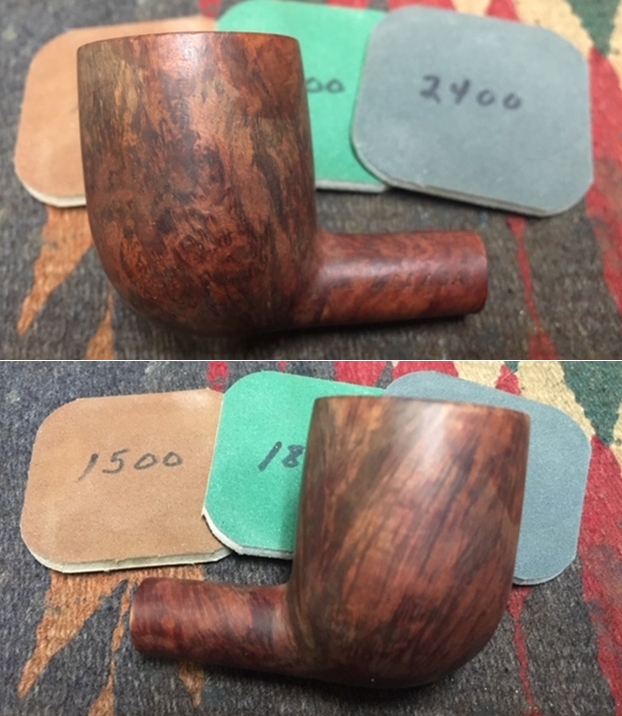
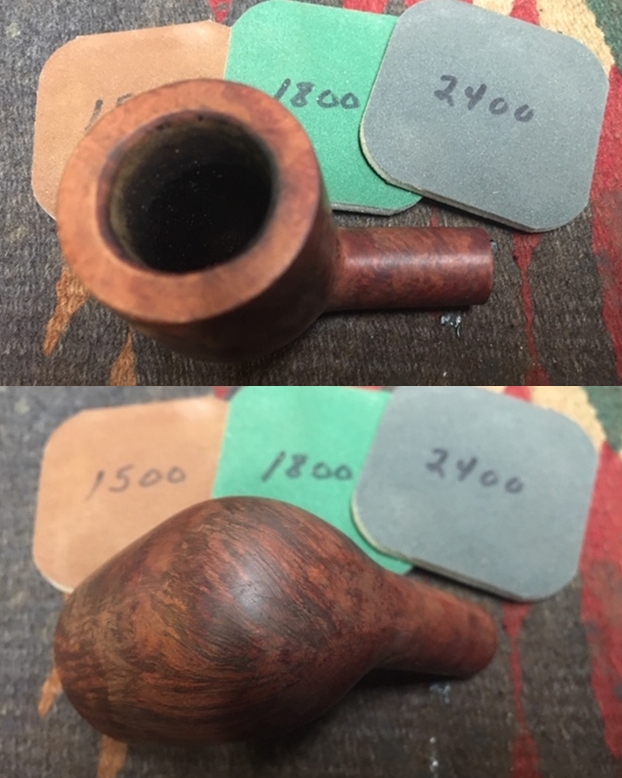
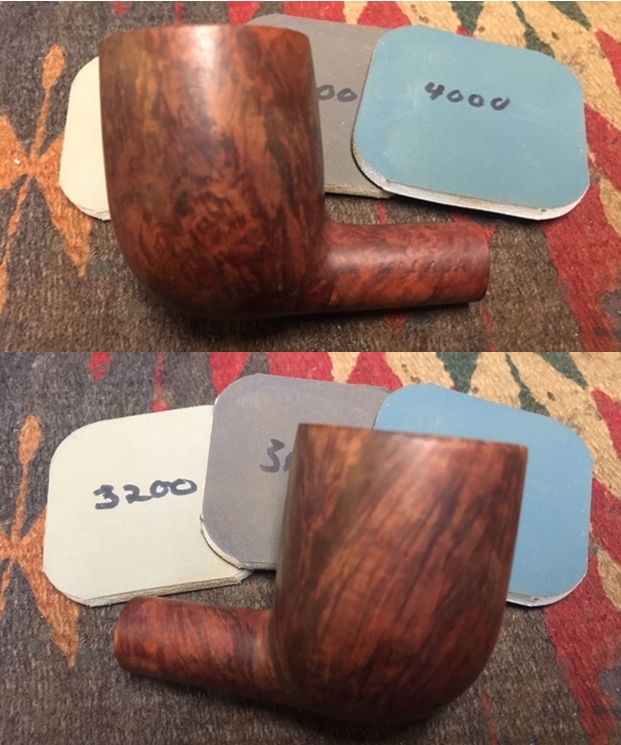
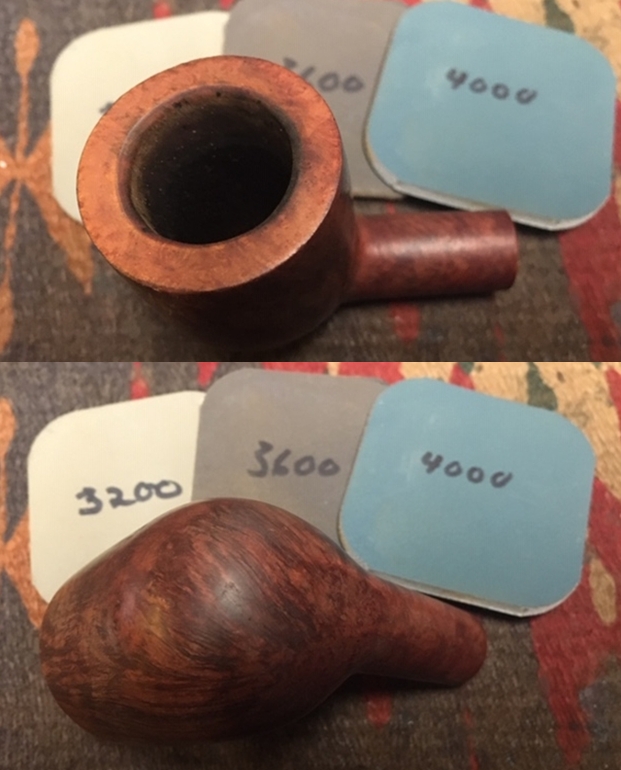
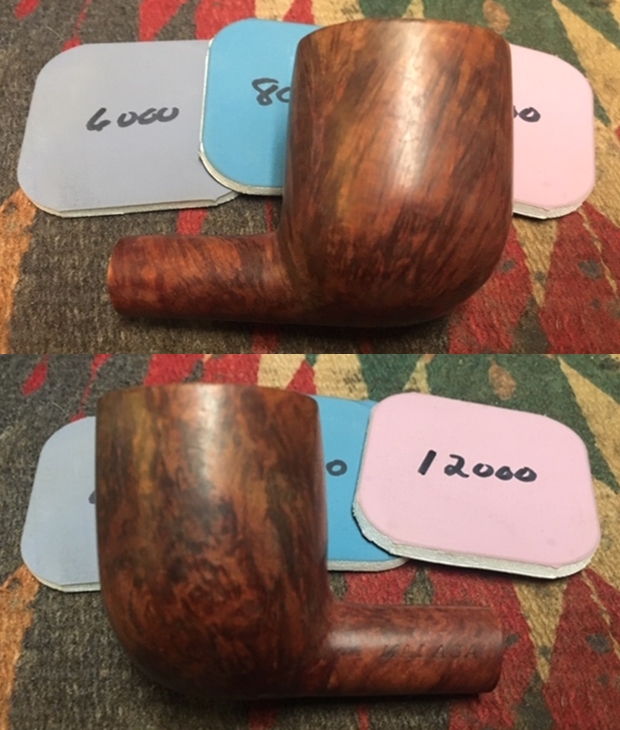
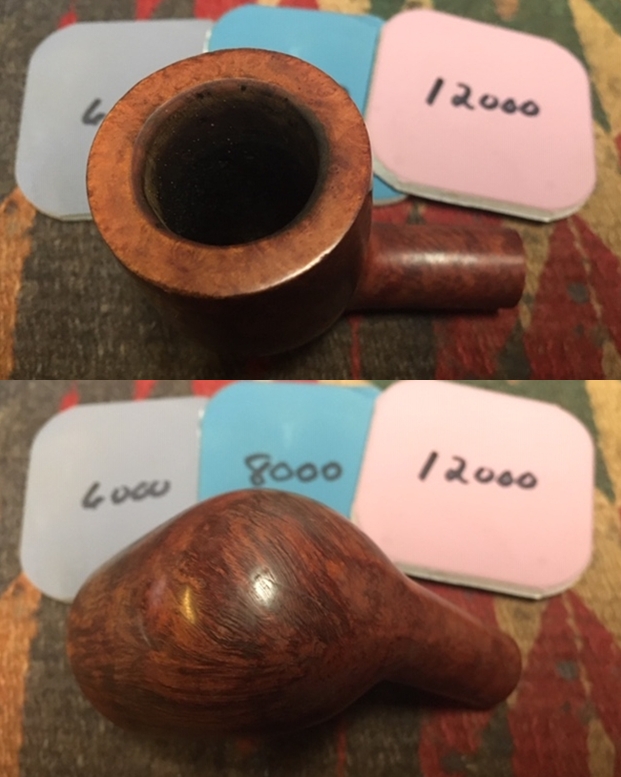
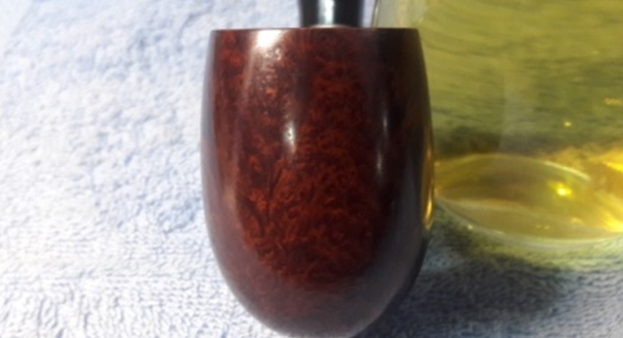
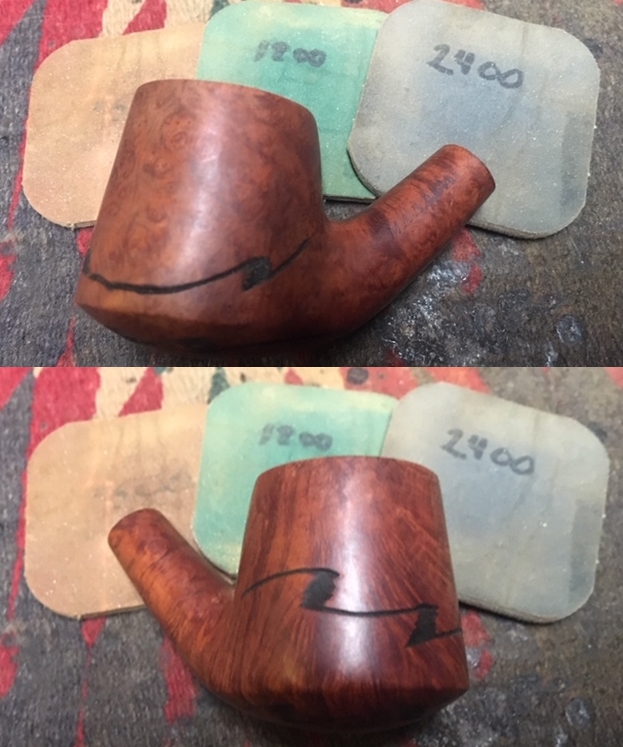
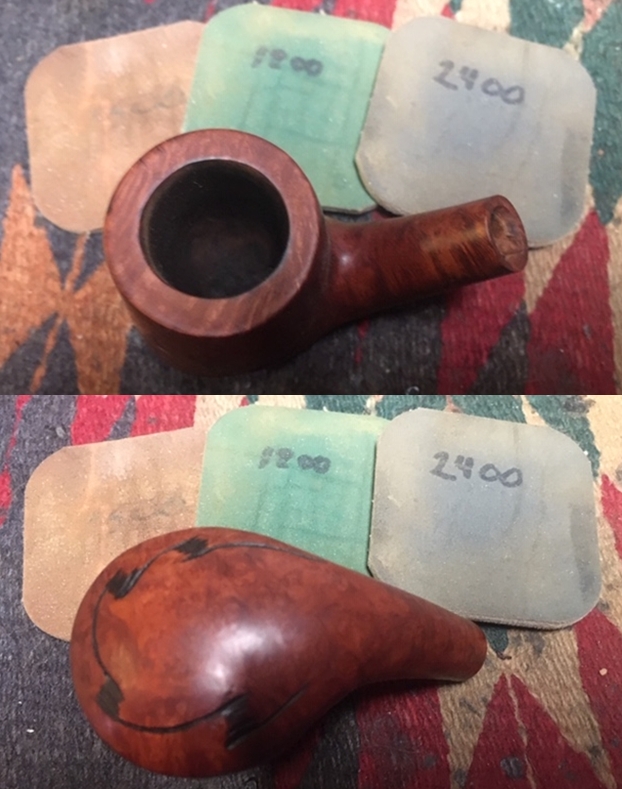
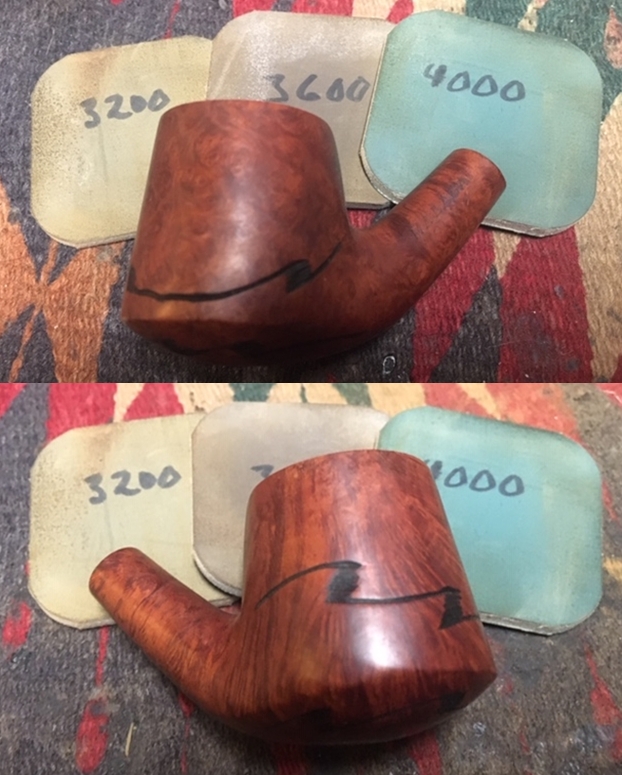
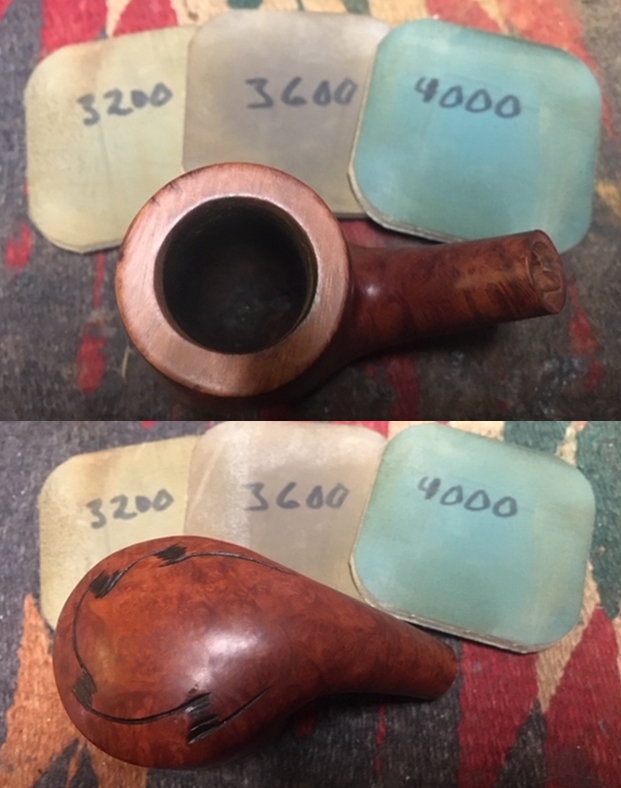
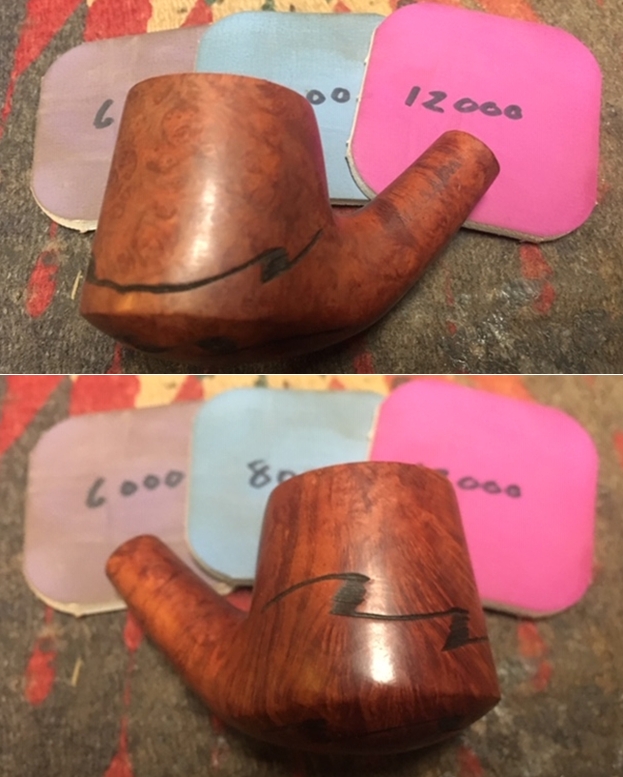
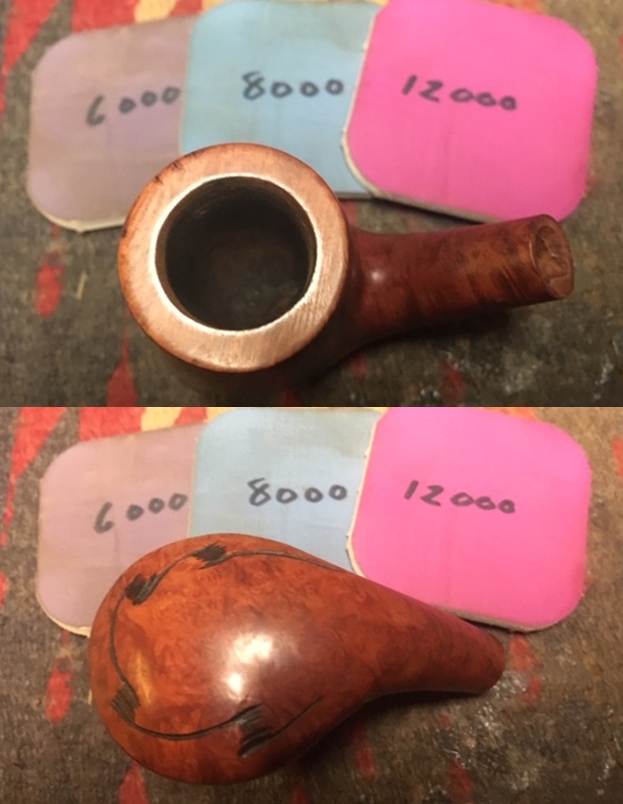
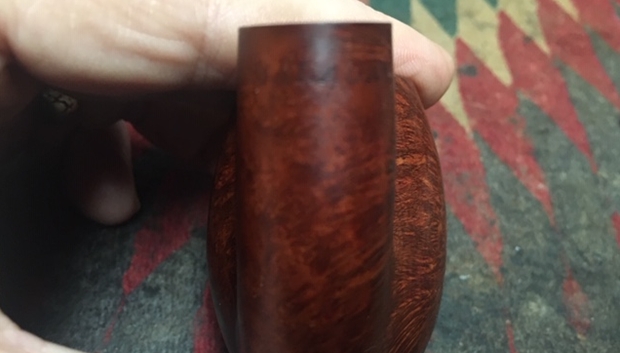
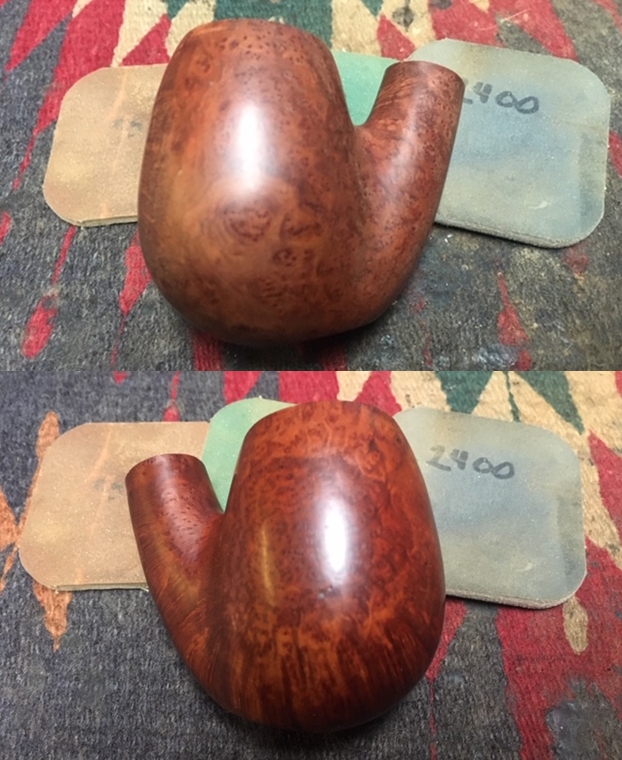
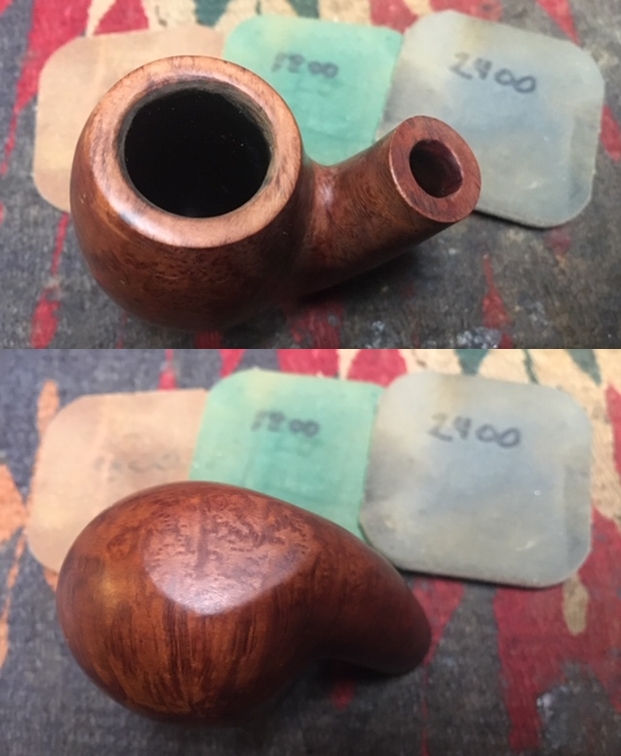
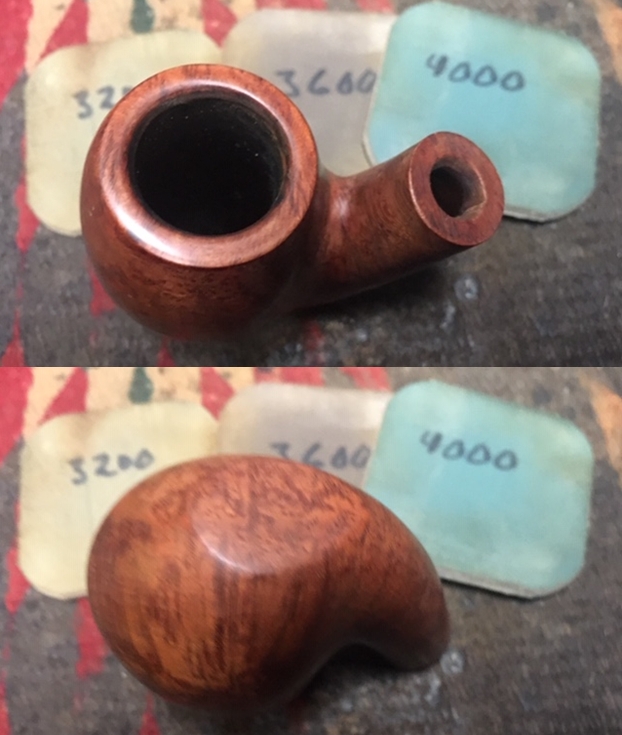
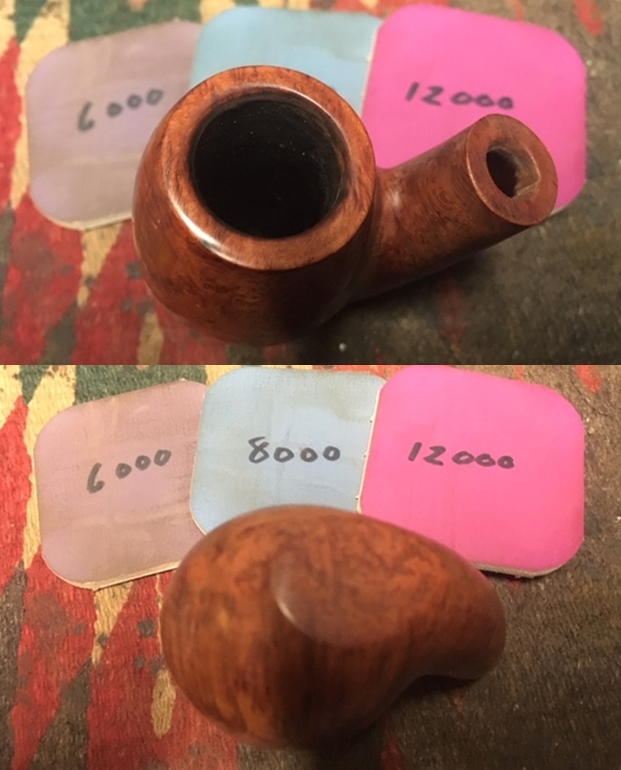
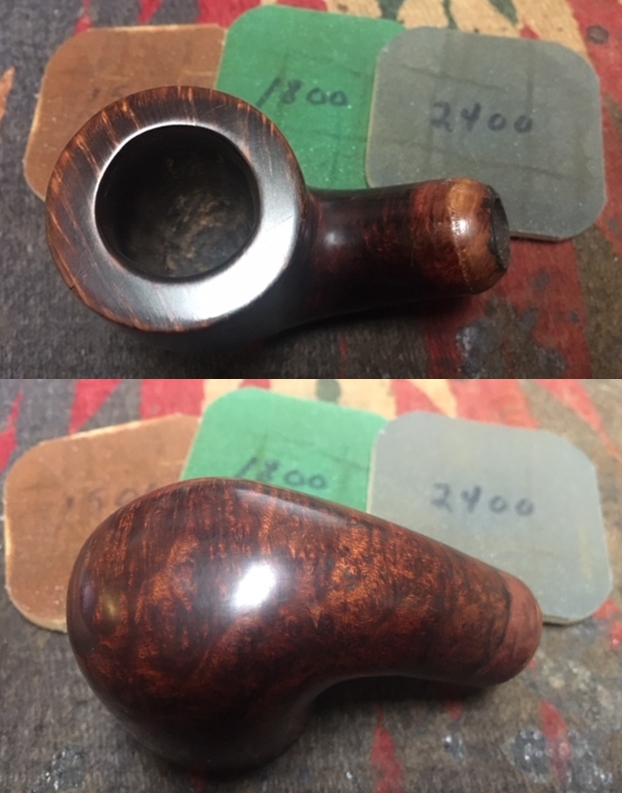
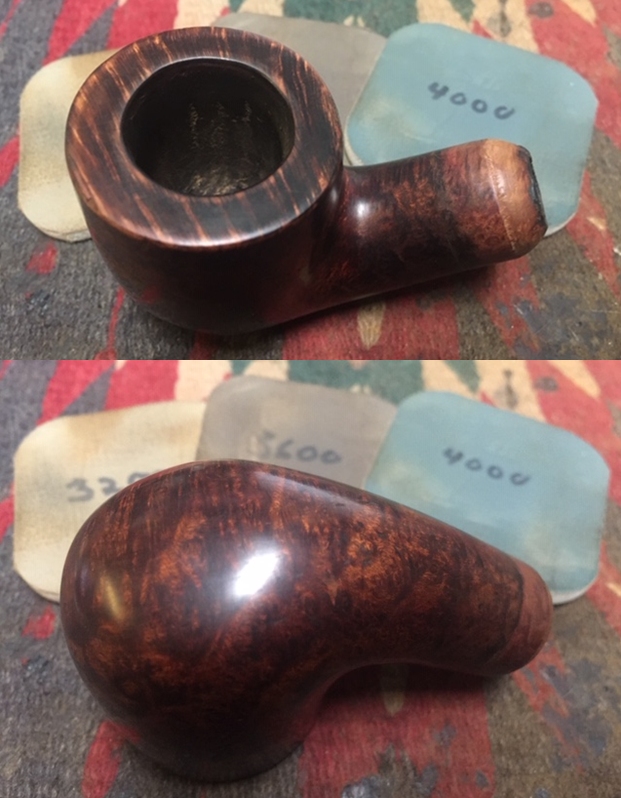
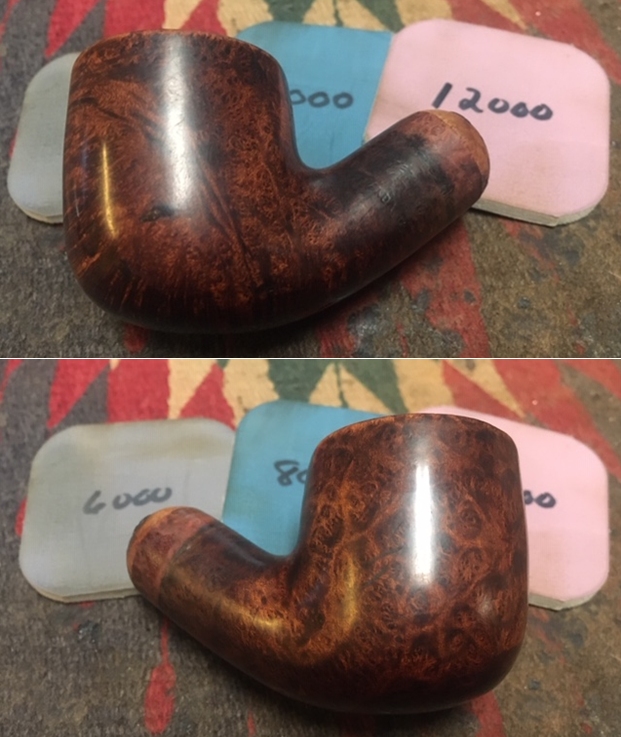
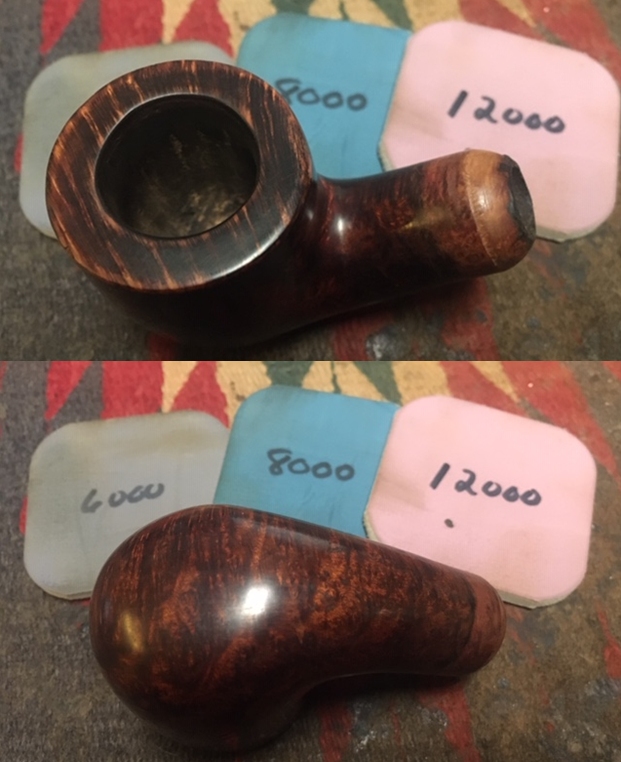
 To further make the stain transparent I polished the briar with micromesh sanding pads – wet sanding it with 1500-12000 grit pads and I wiped the bowl down after each sanding pad with a damp cloth. The bowl began to take on a finished shine. You can see the repaired area on the rim top and left side of the bowl but they look and feel better to the touch than before.
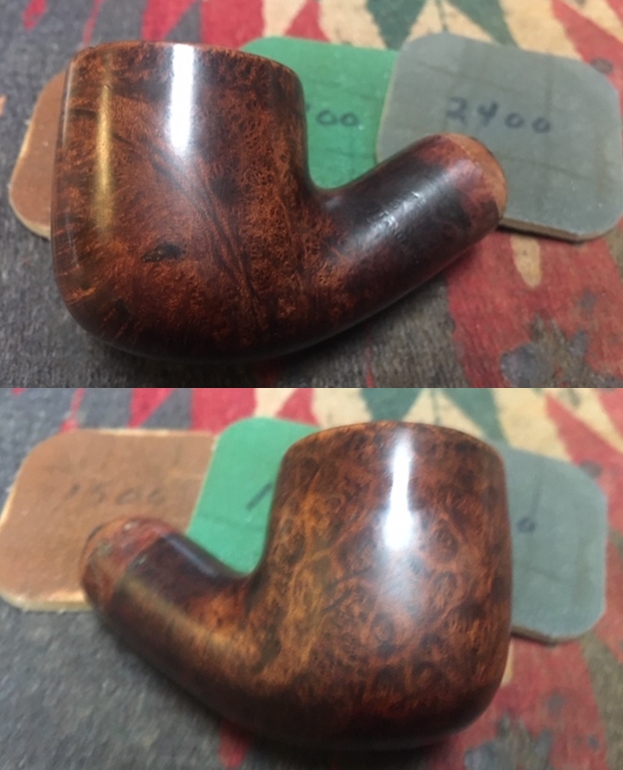
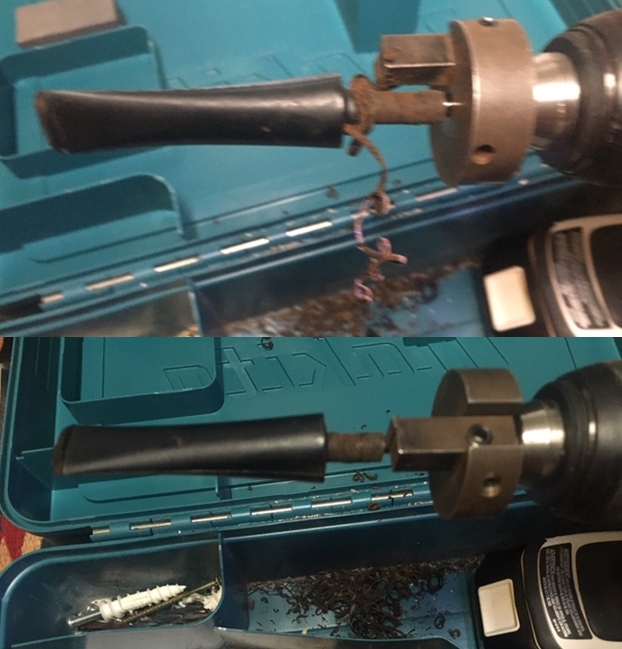
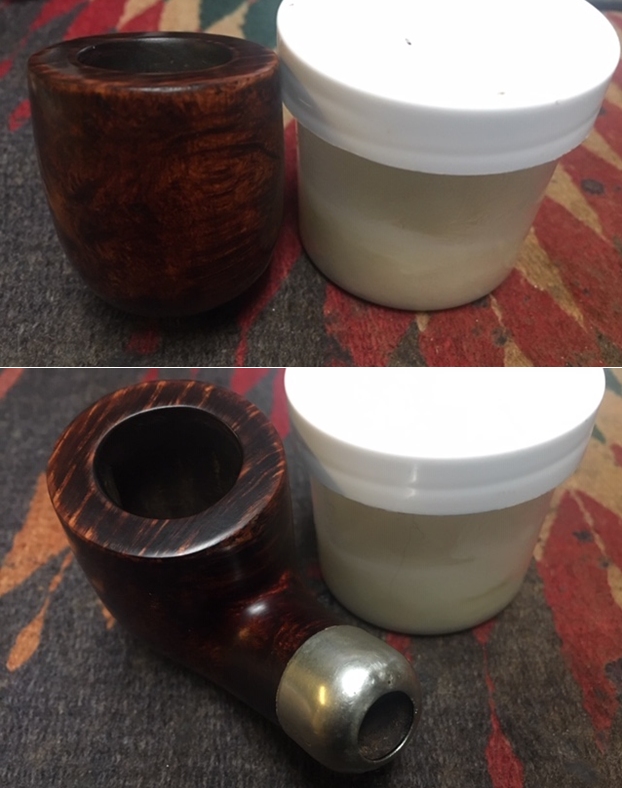
 I used the head of a Robertson style screwdriver to work on the dents in the ferrule. I usually use a piece of broom stick that has the rounded head on it but did not have one here at the moment. I place the head against the inside of the dent and tapped it with a small hammer to smooth it out. I was able to remove the majority of the dents around the ferrule. There are still small spots but it is significantly better than before.
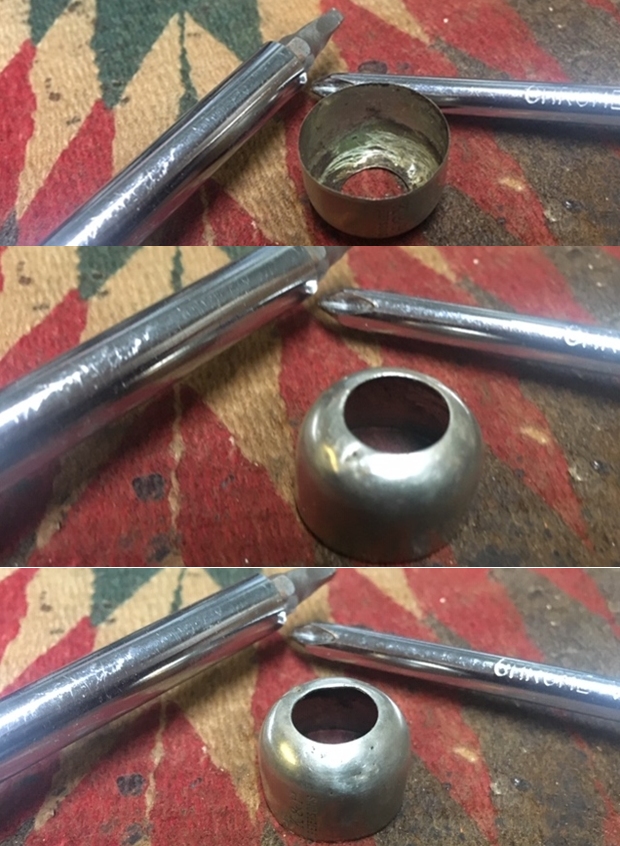 I spread some WellBond all purpose glue on the inside of the ferrule with a dental spatula and pressed it in place on the shank. I aligned the K&P Petersons stamp on the left side of the shank with the stamping.
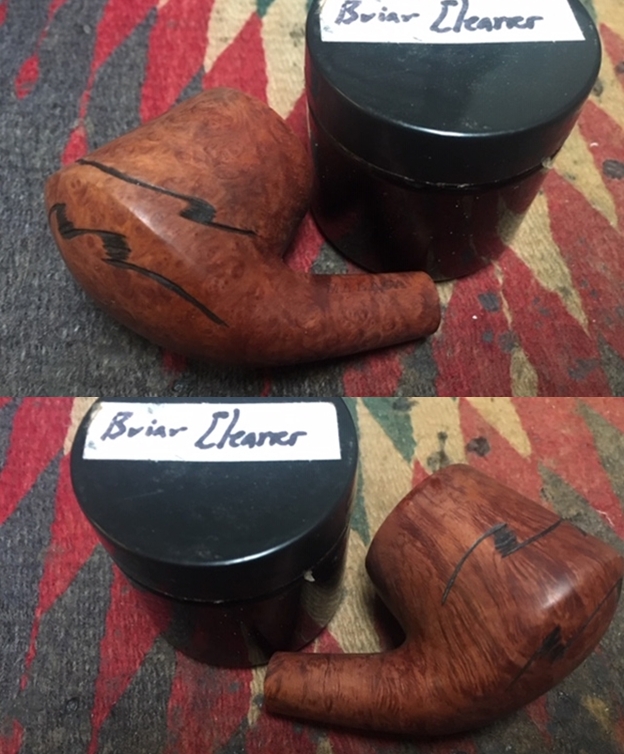
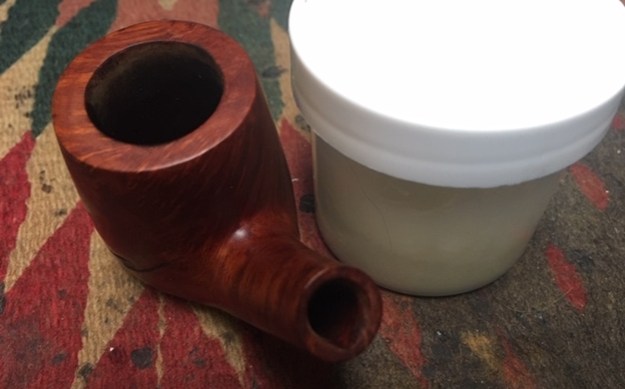
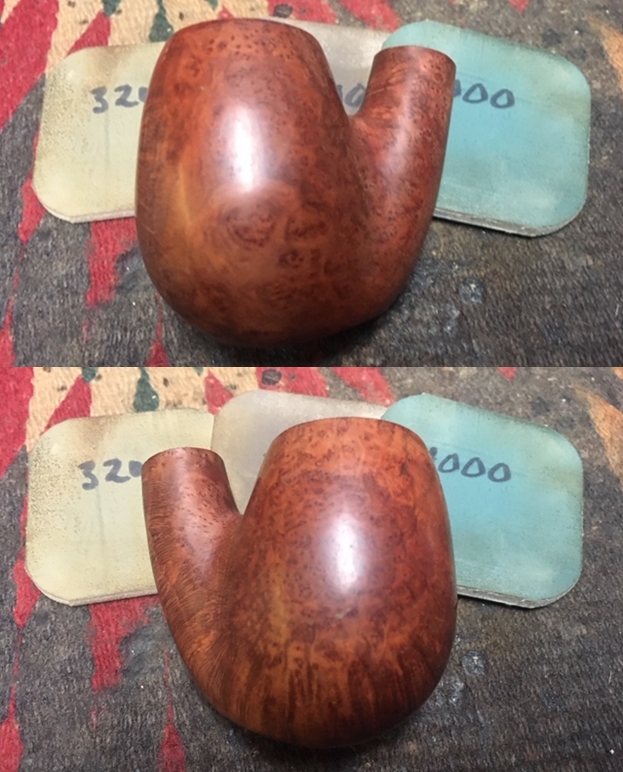
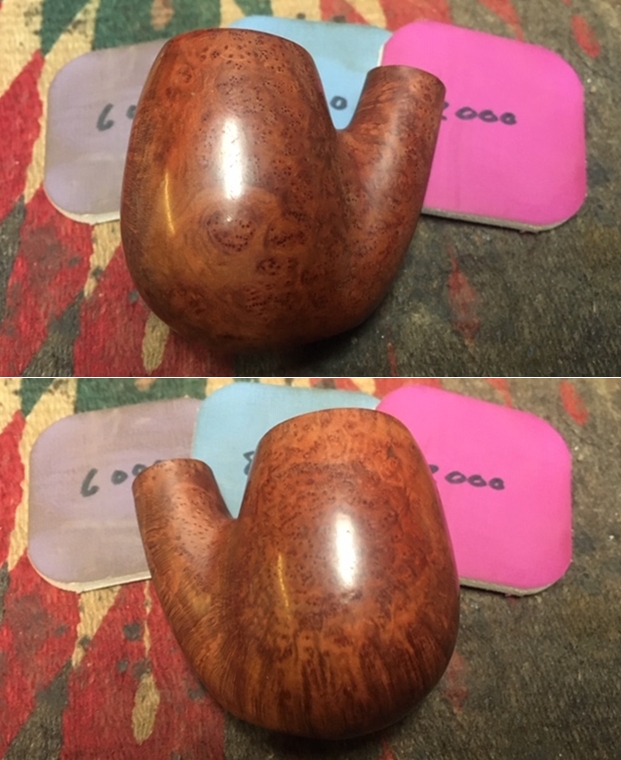
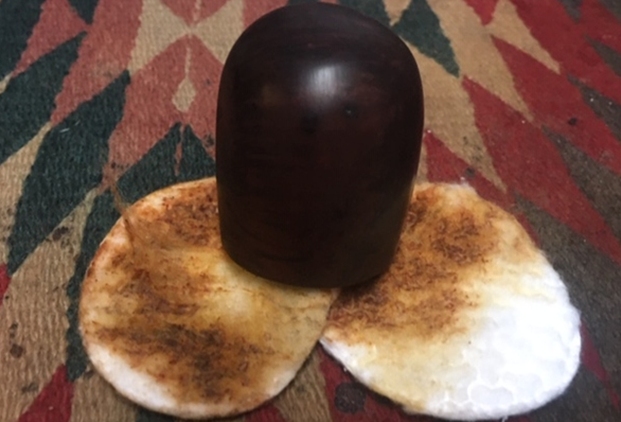
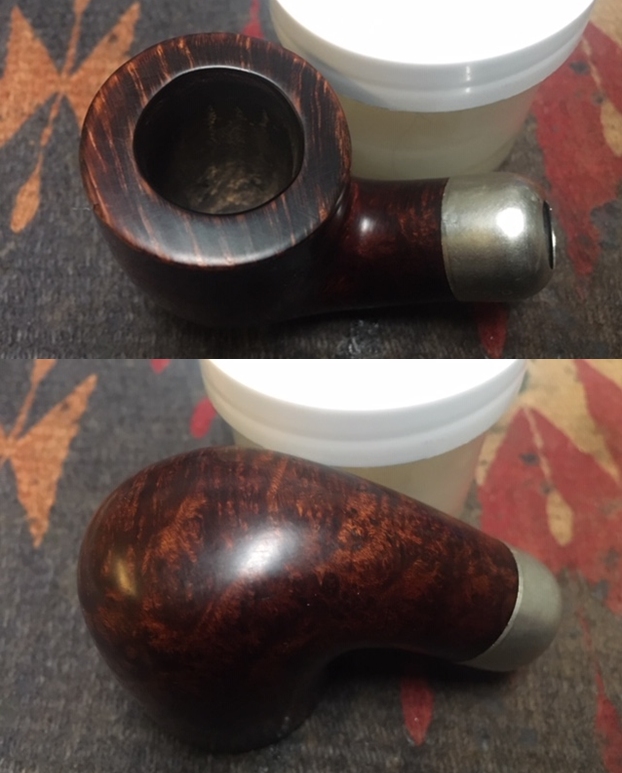
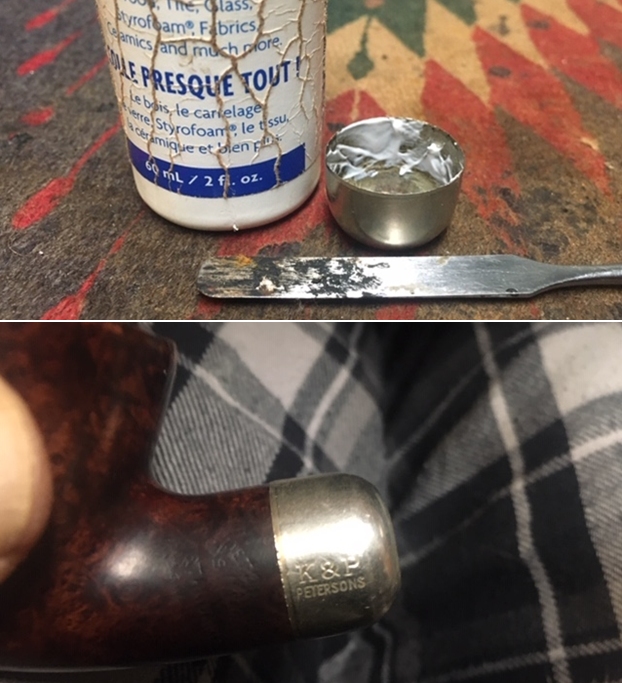 I rubbed the bowl and rim down with Before & After Restoration Balm. I worked it into the surface of the briar with my fingertips to clean, enliven and protect it. I let the balm sit for a little while and then buffed with a cotton cloth to raise the shine. I really like watching the Balm do its magic and bring the briar alive.
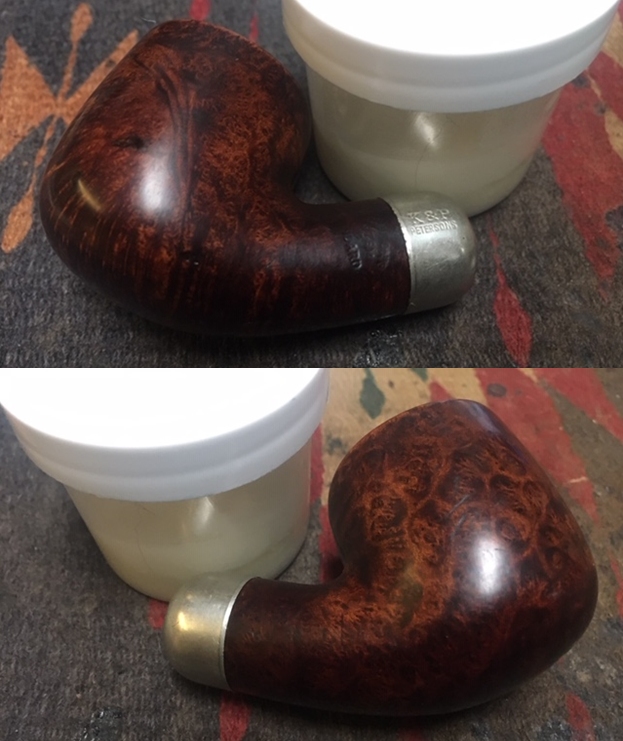
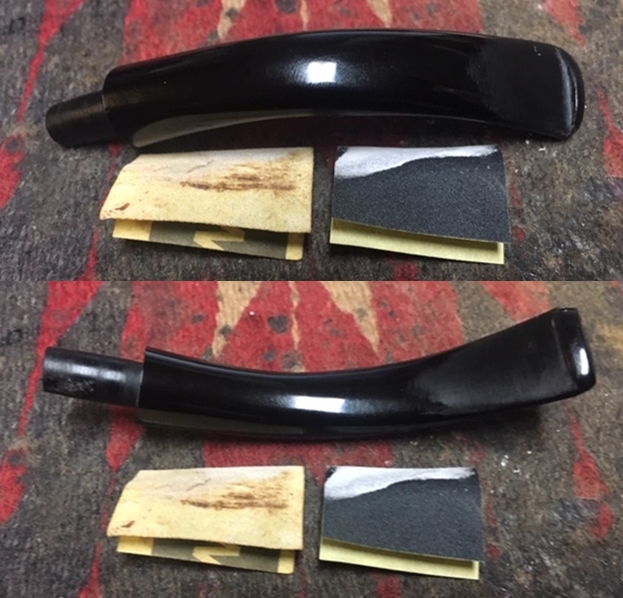
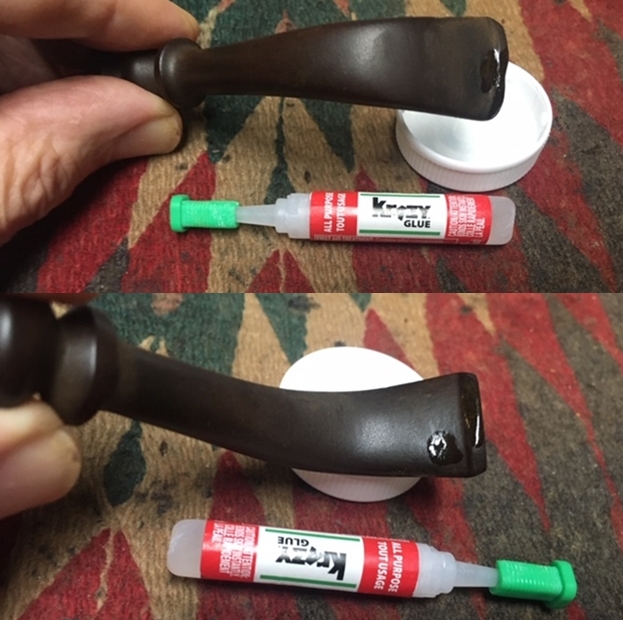
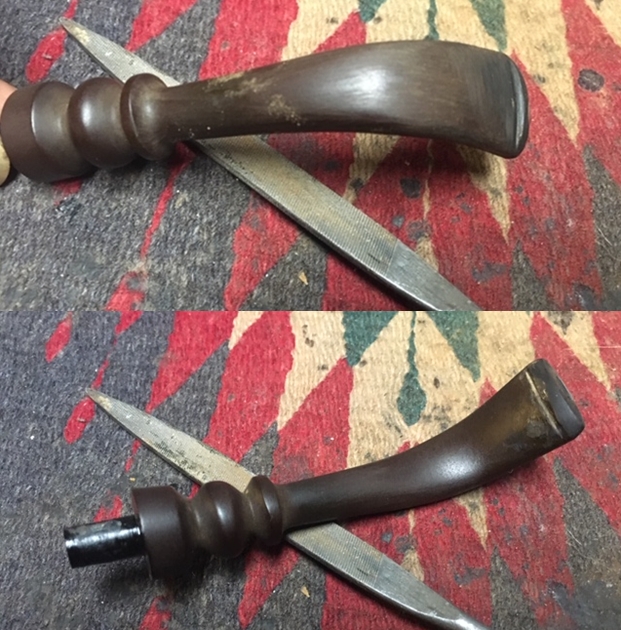
 I wiped off the scratch in the vulcanite with alcohol and filled it in with clear Krazy Glue. Once the glue cured I smoothed out the repair on the underside of the stem with 220 grit sandpaper. I polished it with 400 grit wet dry sandpaper.
  I rubbed the stem down with Denicare Mouthpiece Polish. I have a few tins of this laying around so I am trying to use them up. It does a pretty good job polishing the stem.
 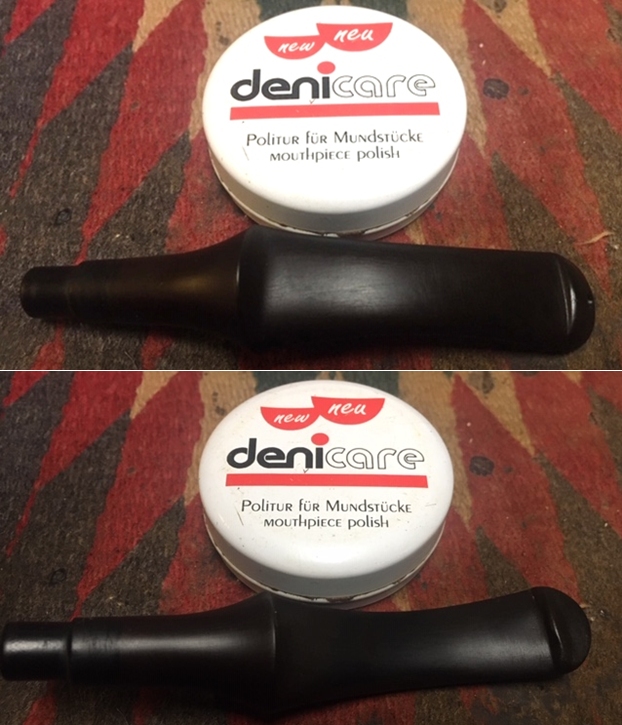 I used some Papermate Liquid Paper to touch up the stamping on the left side of the saddle stem. I pressed it into the stamped letter “P” and let it dry. I scraped it off with a tooth pick and took a photo of the re-whitened letter.
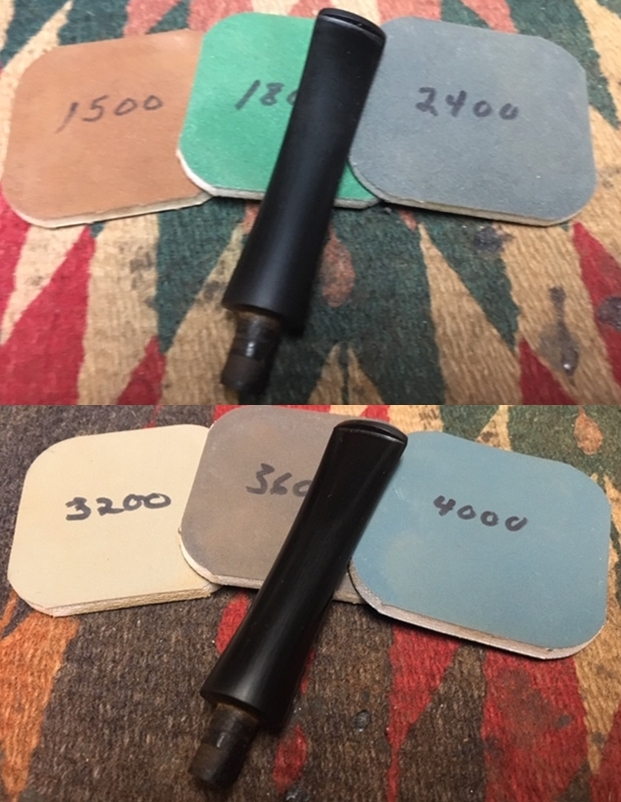
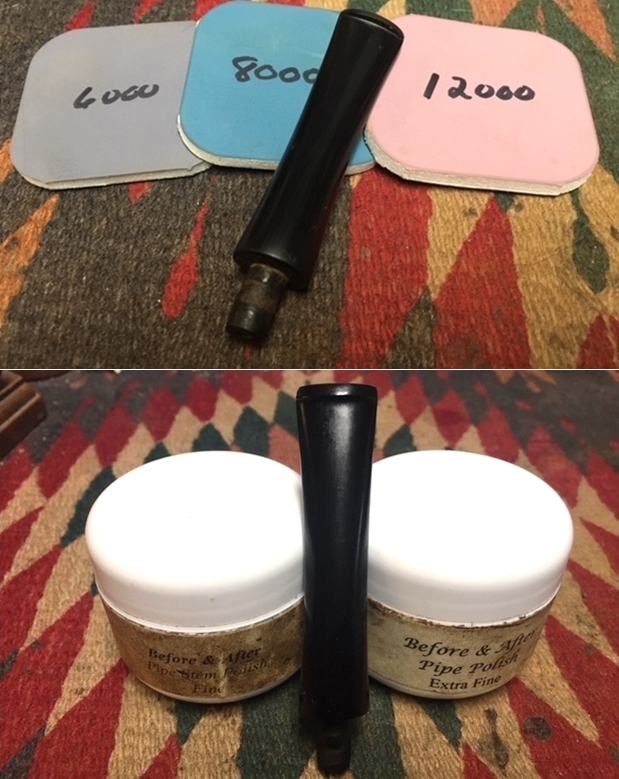
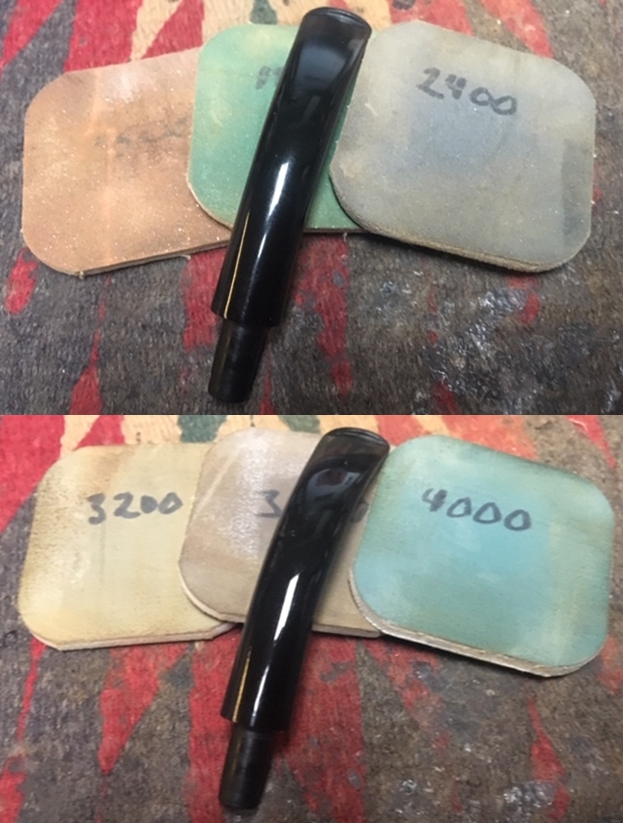
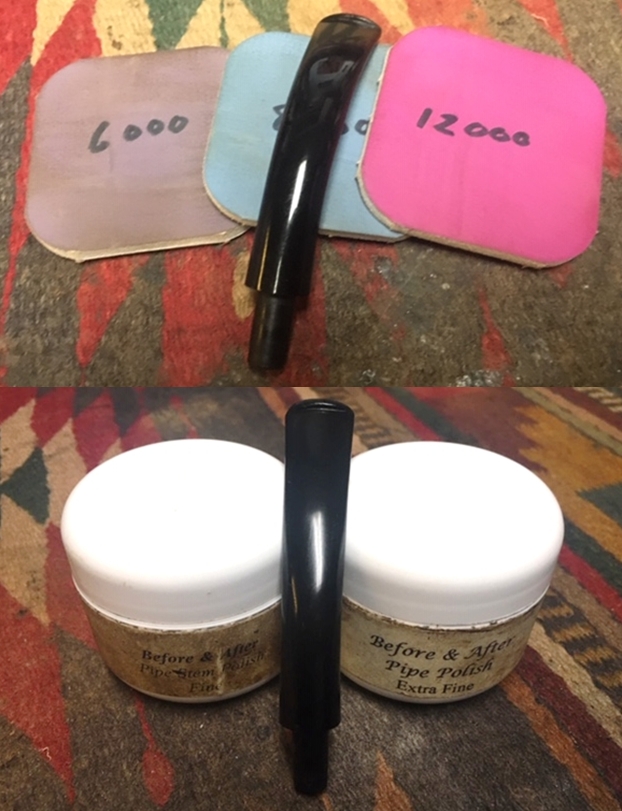
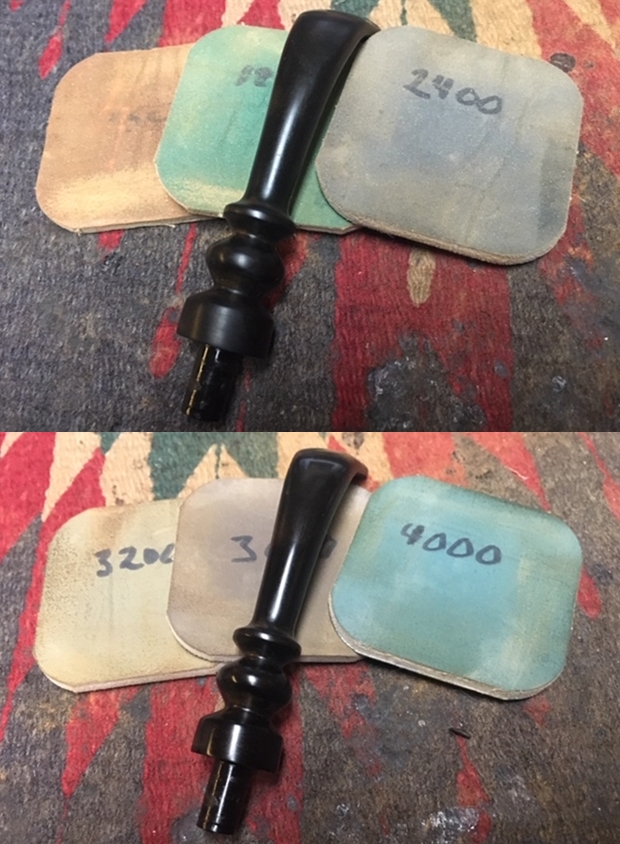
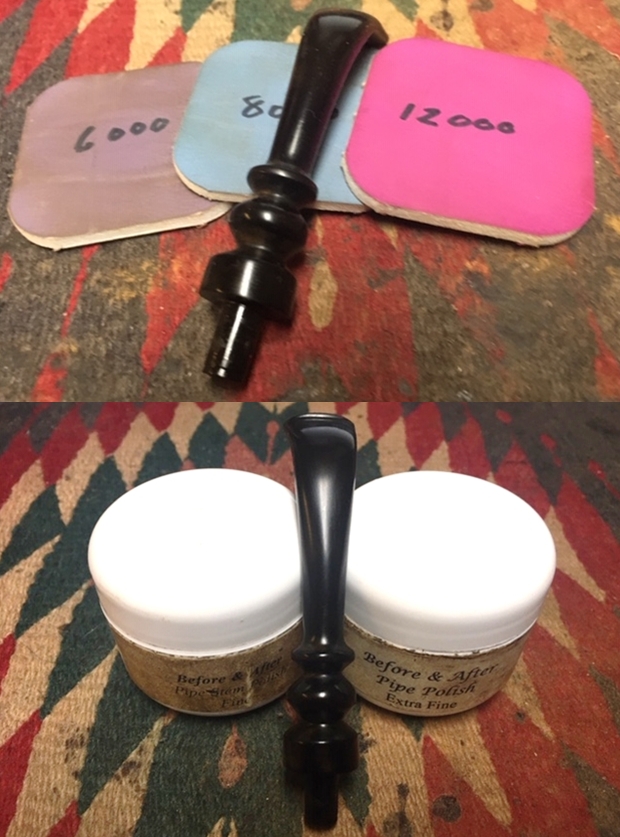
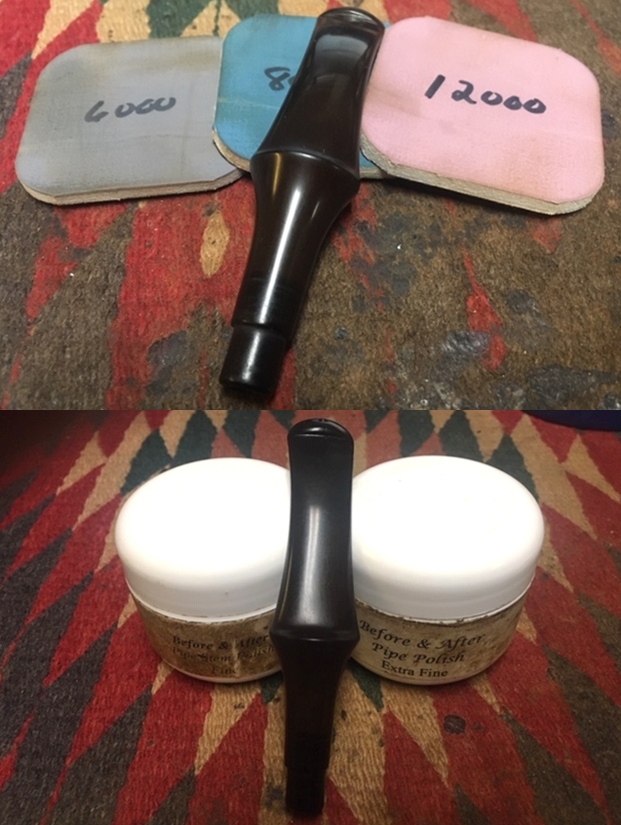
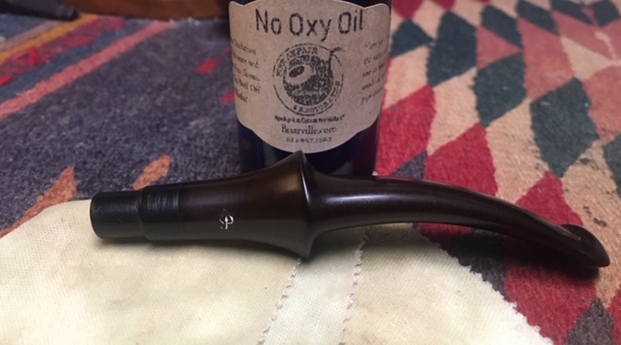
 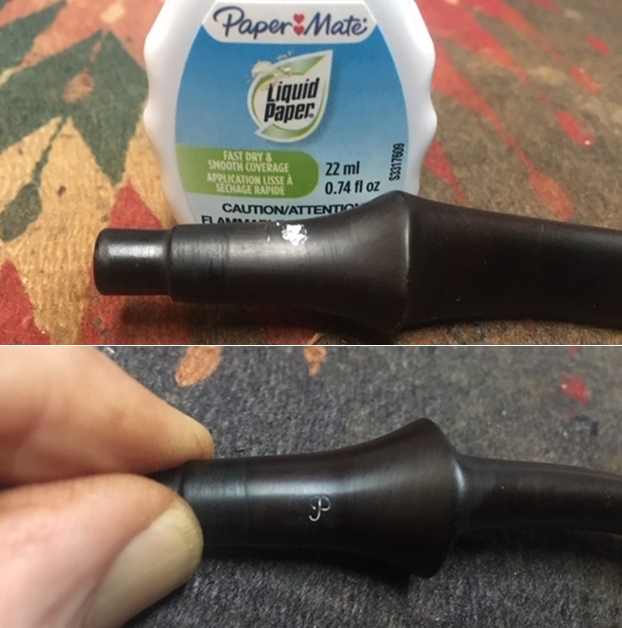 I polished the stem with micromesh sanding pads – wet sanding with 1500-12000 grit pads. I wiped the stem down after each sanding pad with Obsidian Oil. I polished it with Before & After Pipe Stem Polish – both Fine and Extra Fine. Once I had finished the polishing I gave it a coat of a new product I am experimenting with from Briarville Pipe Repair. It is called “No Oxy Oil” and it is made to protect the stem from oxidizing. I set it aside to dry.
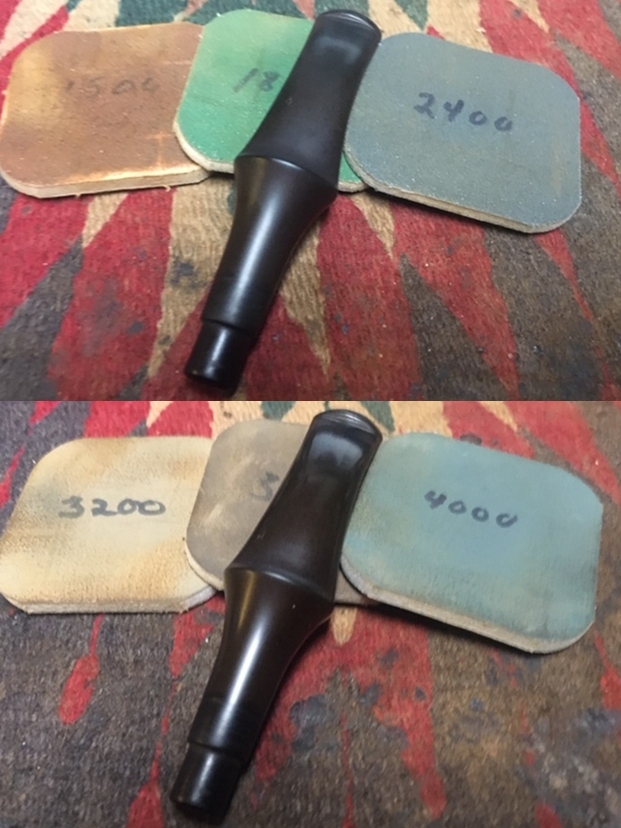
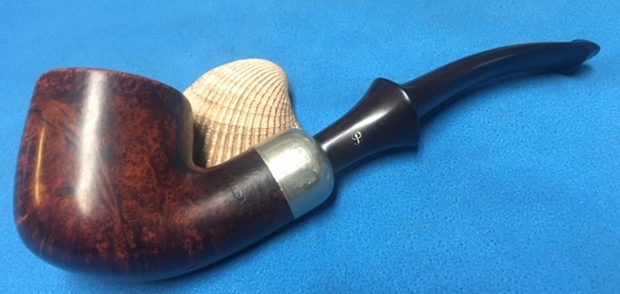
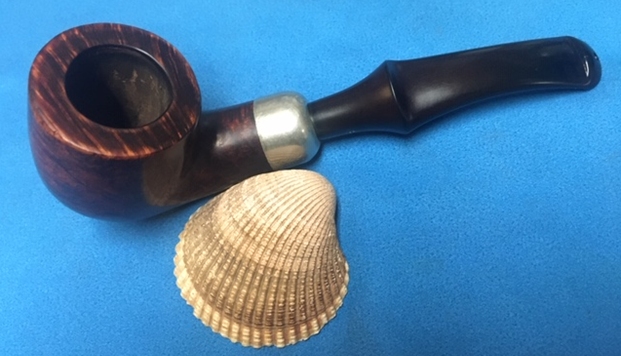
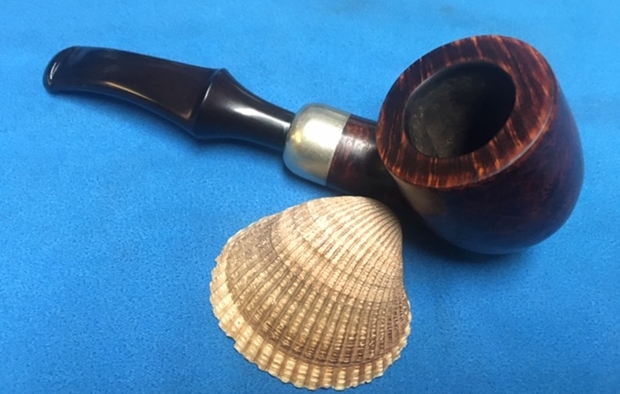
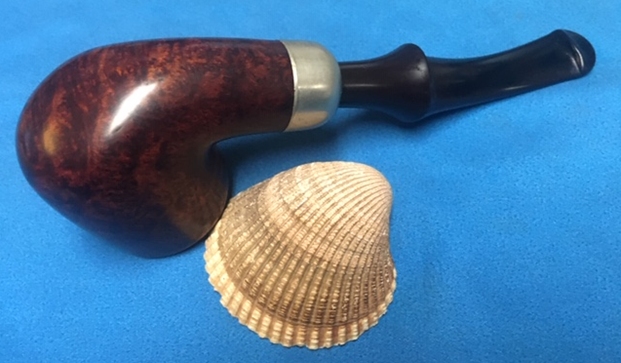
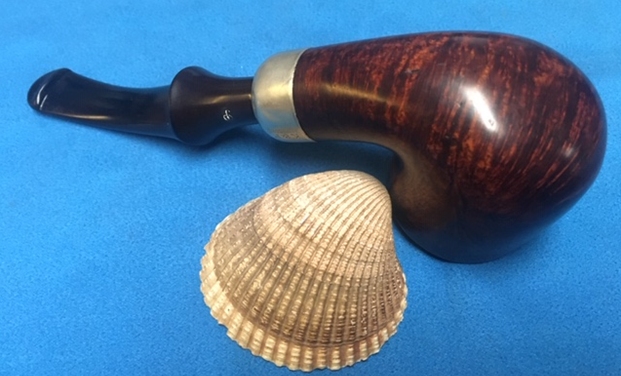
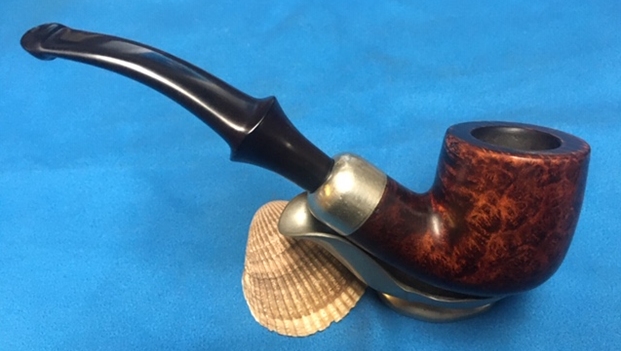
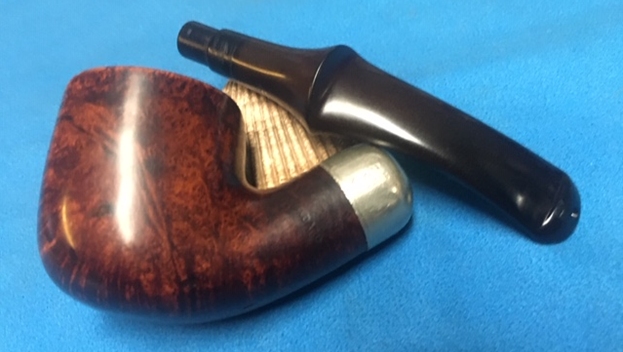
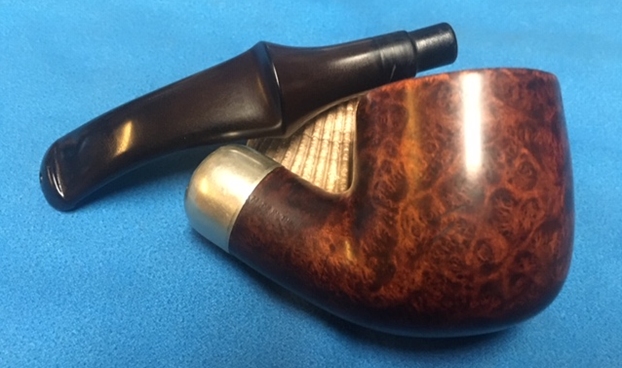
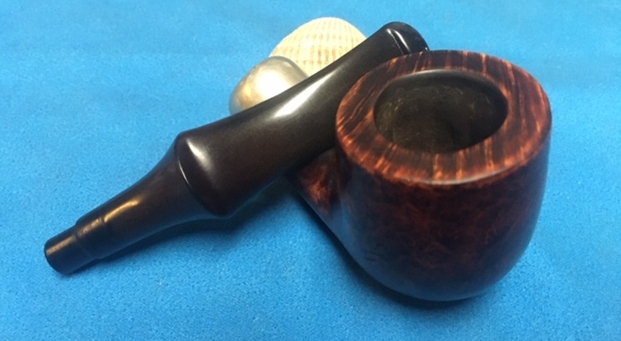
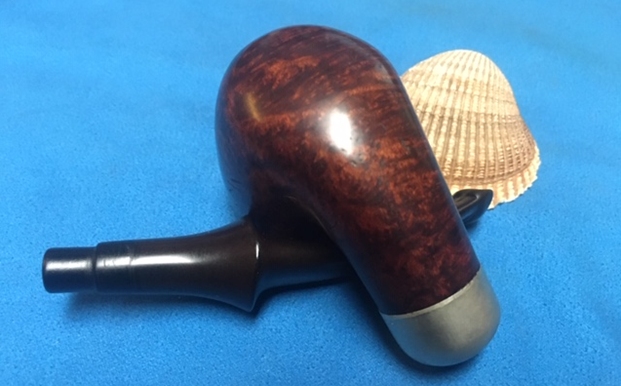
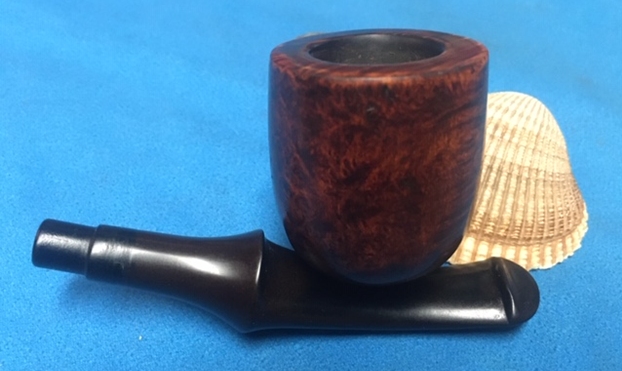
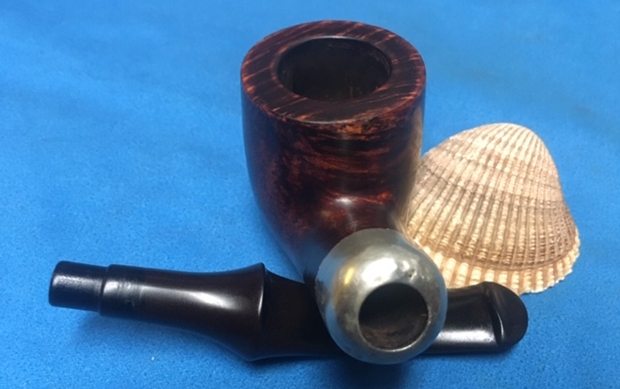
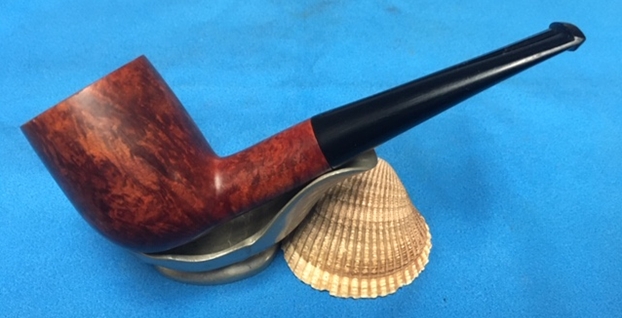
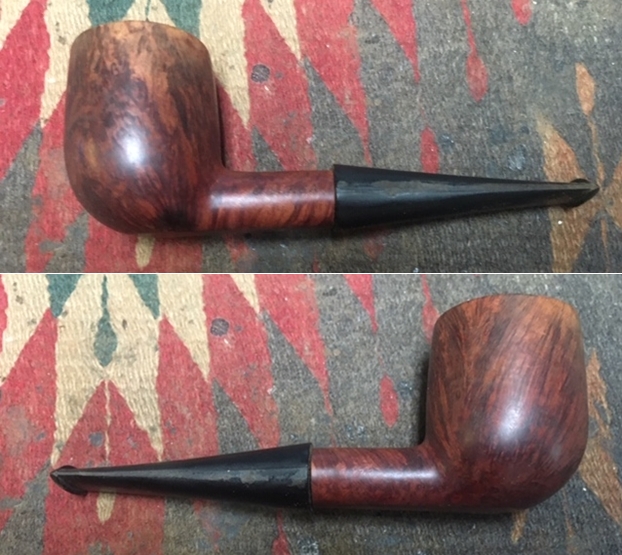
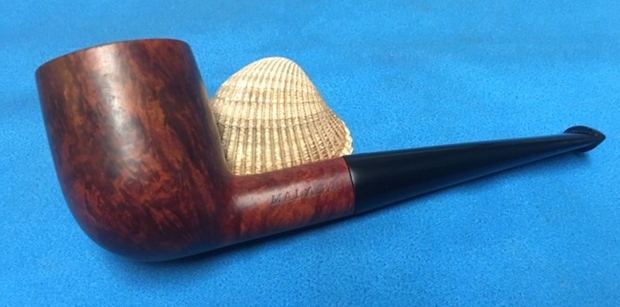
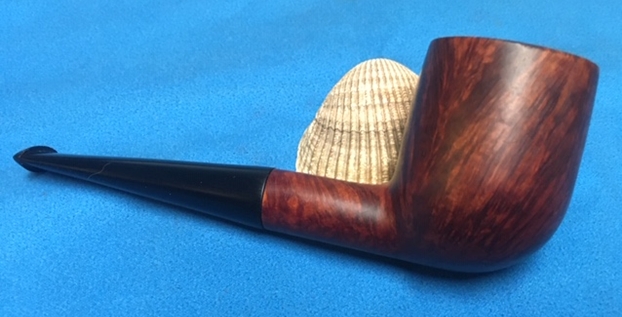
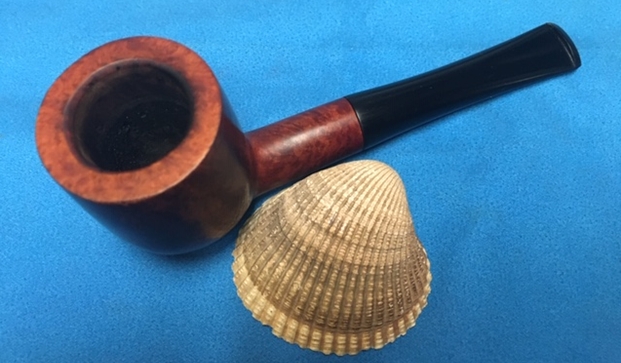
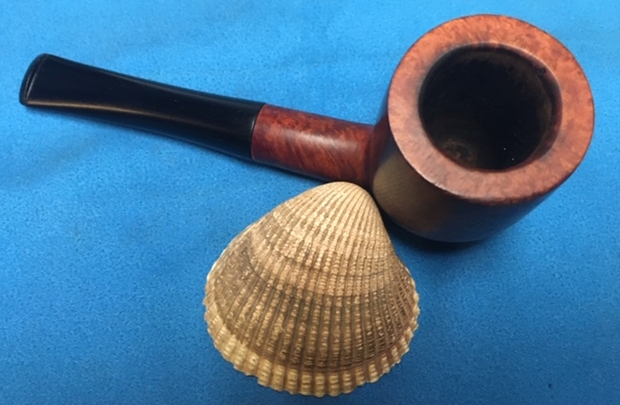
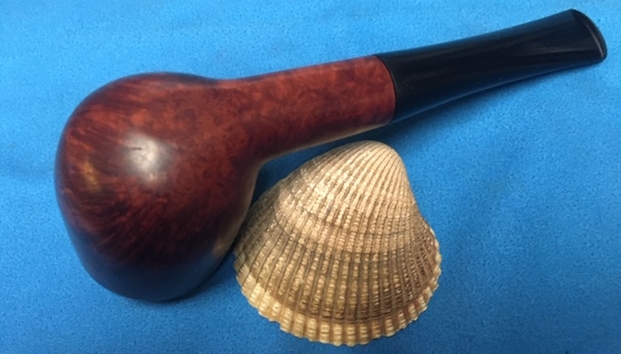
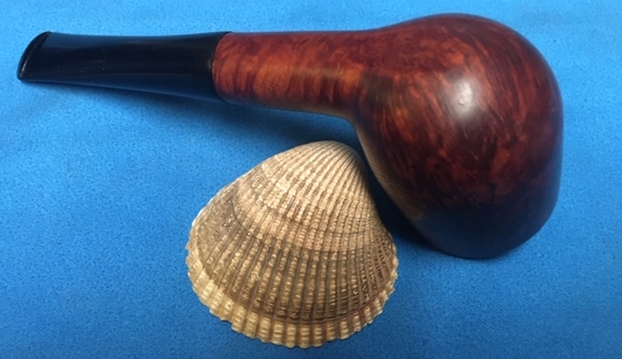
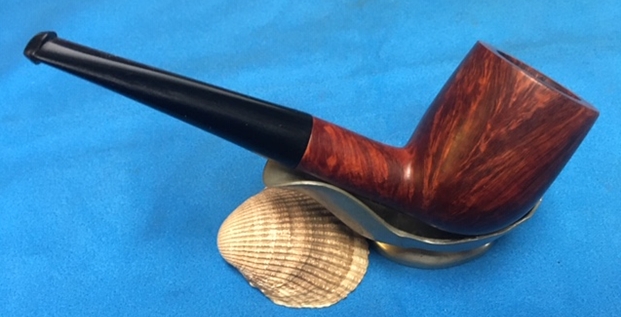
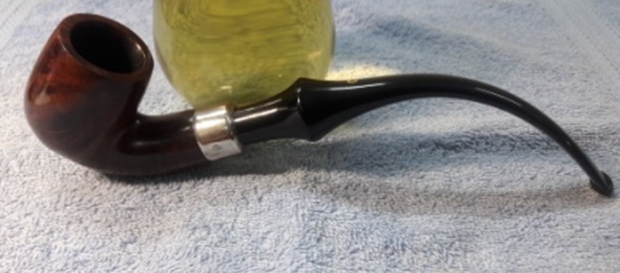
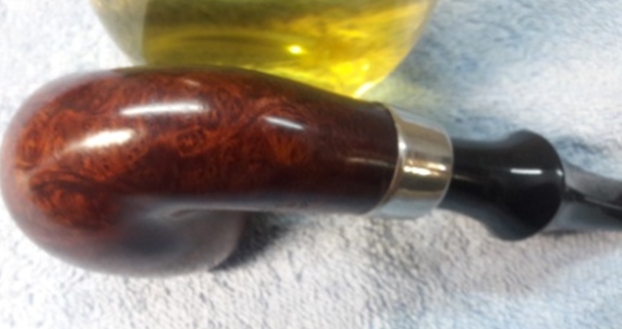
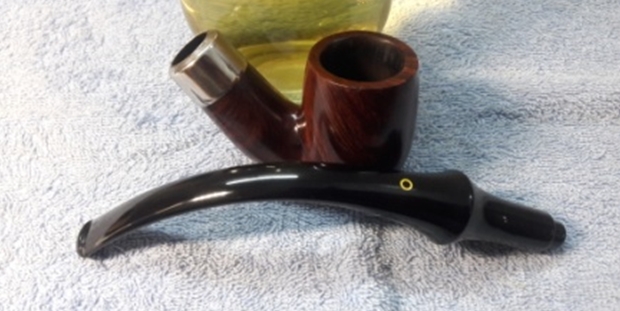
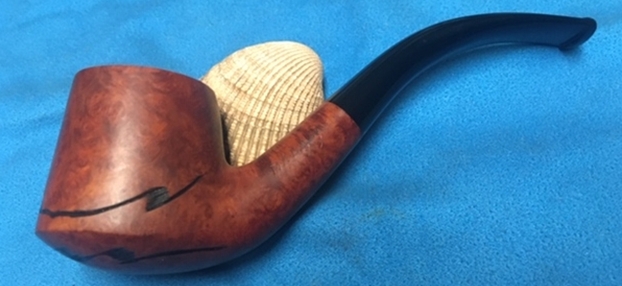
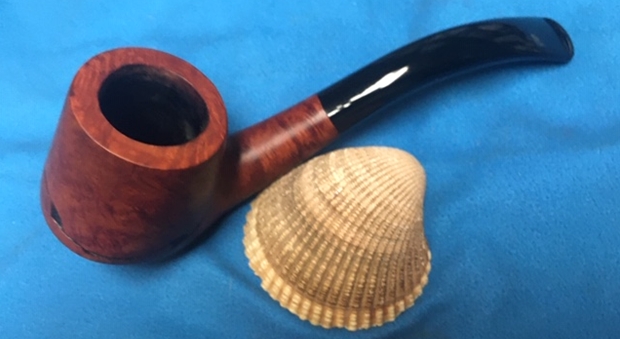
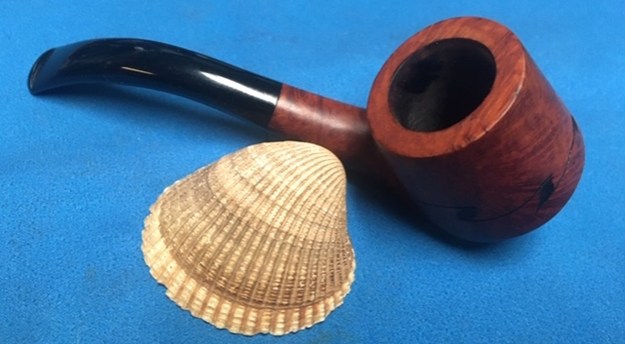
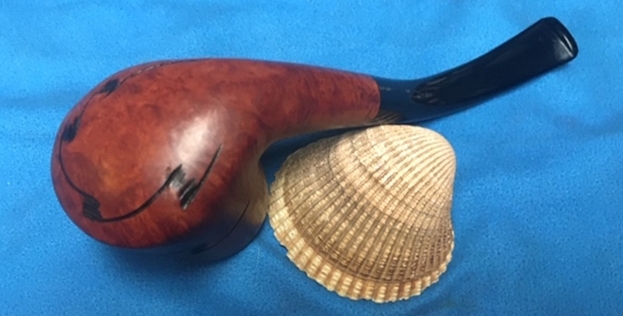
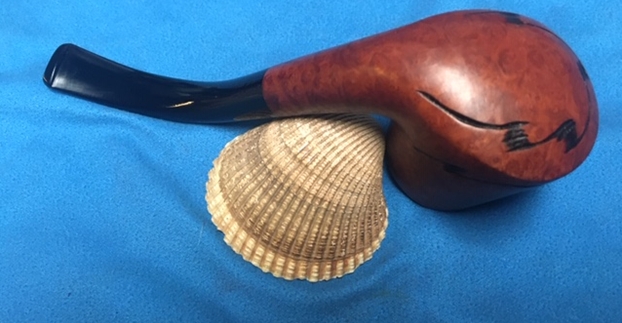
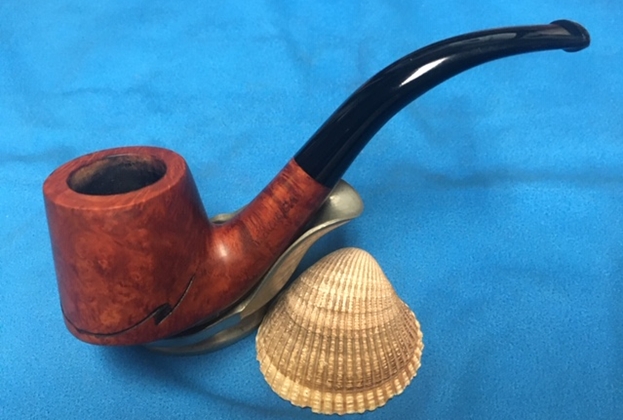
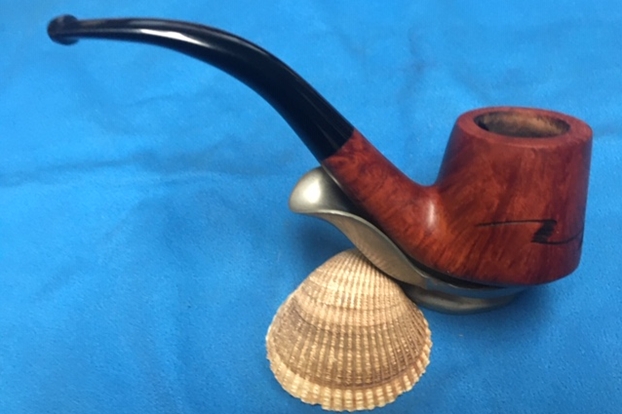
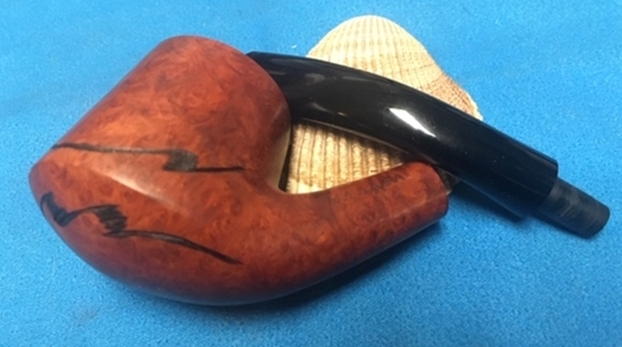
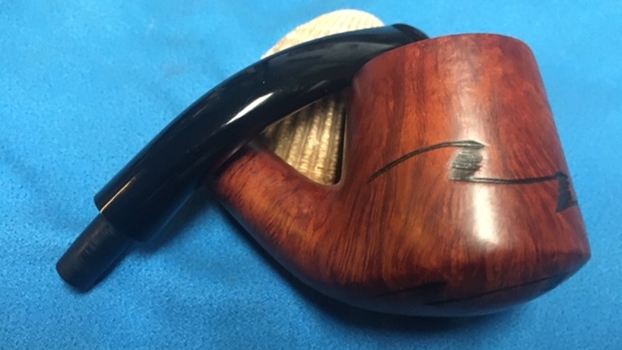
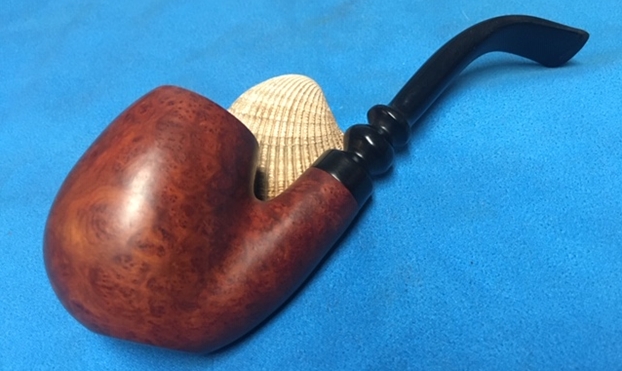
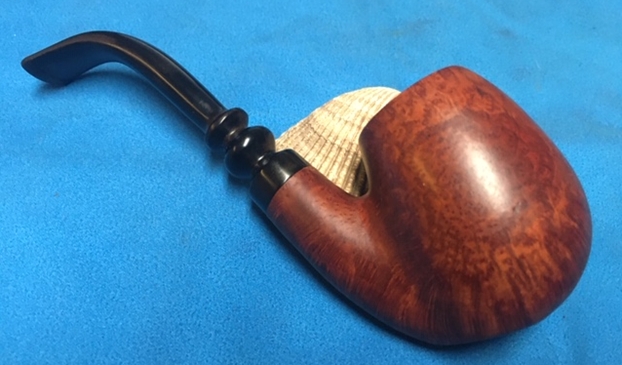
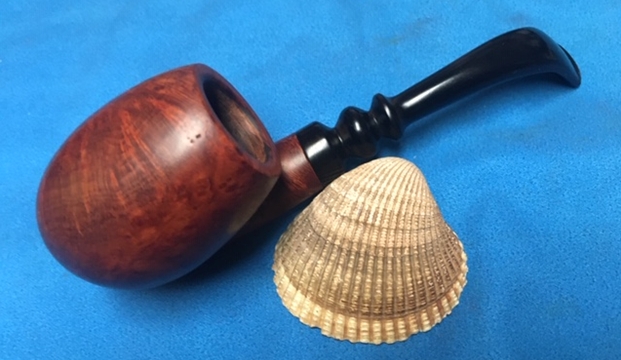
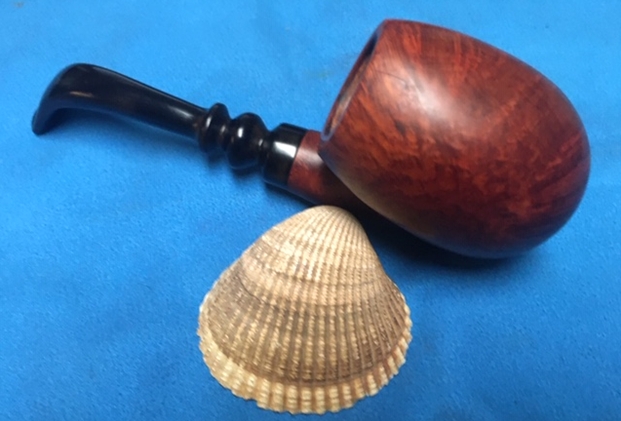
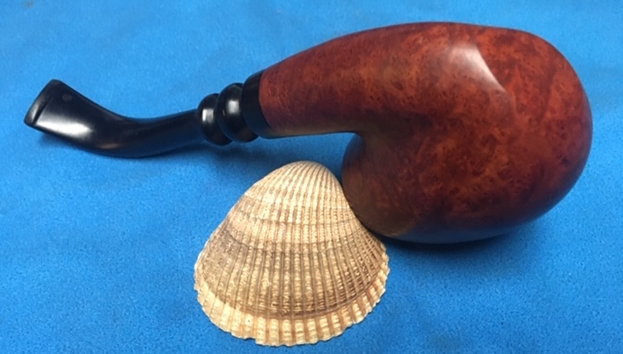
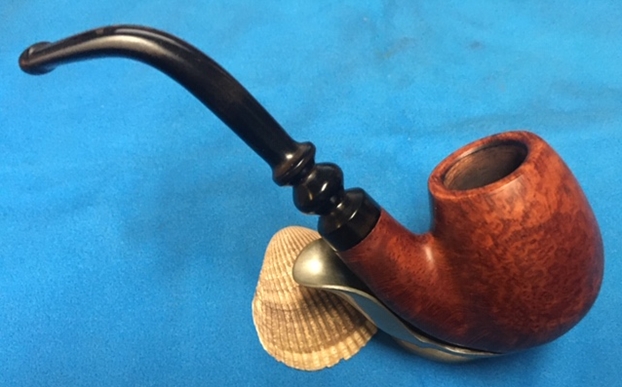
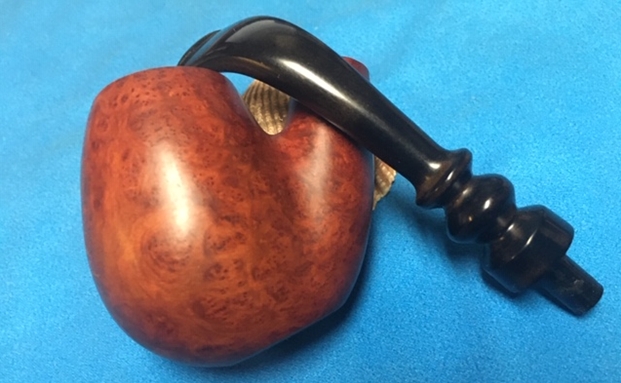
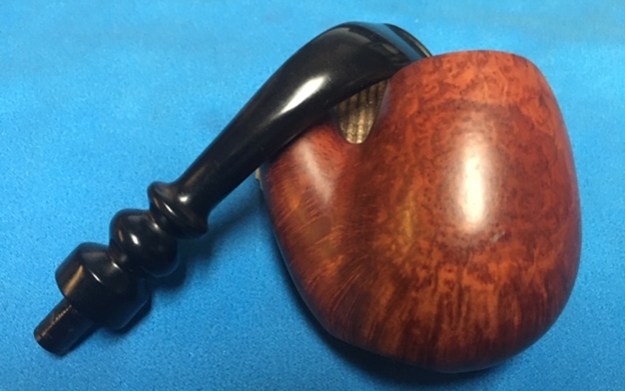
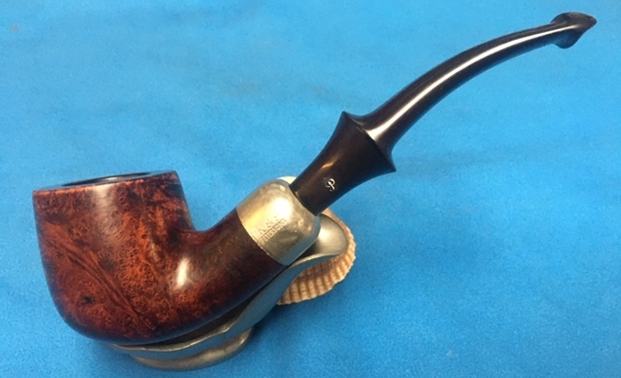
 Once again at this point in the restoration process I am excited to be on the homestretch. This is the only Peterson’s System Standard 301 Pot from Bob’s pipes so I look forward to the final look when it is put back together, polished and waxed. I put the bowl and stem back together. I polished the bowl and stem with Blue Diamond to polish out the scratches in the briar and the vulcanite. I gave the bowl and the stem multiple coats of carnauba wax. I buffed the pipe with a clean buffing pad to raise the shine. I hand buffed it with a microfiber cloth to deepen the shine. The pipe polished up pretty nicely. The grain is quite nice and really pops with the wax and polish. The shiny black vulcanite stem is a beautiful contrast to the browns of the bowl and thick shank. This was another fun pipe to work on thanks to Jeff’s cleanup work. The polished nickel Ferrule works as a contrast between the stem and the briar and binds it all together. It really is a quite stunning piece of briar whose shape follows the flow of the briar. The pipe is comfortable pipe to hold in the hand. The finished pipe is shown in the photos below. The dimensions of the pipe are Length: 6 inches, Height: 2 inches, Outside diameter of the bowl: 1 ½ inches, Chamber diameter: 7/8 of an inch. This beautiful pipe will be going on the rebornpipes store if you would like to add it to your collection and carry on Bob’s legacy. If not, I have a lot more of Bob’s estate to work on of various brands. Perhaps one of those will catch your attention. Thanks for reading this blog and my reflections on the pipe while I worked on it. This is an interesting estate to bring back to life.