Blog by Steve Laug
A good friend from New York, who I met over email and I have talked about all things pipes and tobaccos over the months. We have Skyped together and compared notes on our favourite pipes and tobaccos as well as the aging process in our lives. We have become pretty good friends sending tobaccos and pipes back and forth across the continent and chatting together regularly. A month or so ago he showed me one of his favourite old Tracy Mincer billiards. It was a beautiful pipe that only bore the Tracy Mincer stamp on the underside of the shank. He told me that he was cleaning it and removed the stem and heard that fearsome crack sound that pipemen have come to know as a shank cracking. Sure enough the shank cracked on his beautiful pipe. We spoke of options that were available for a repair. One of those was to insert a Delrin or stainless tube in the shank, reduce the tenon diameter and the repair would be complete. Another option would be to band the shank. He wanted me to have a go at the repair so he shipped it to me to work on. He did not want a band on the shank as he liked the original look of the pipe.
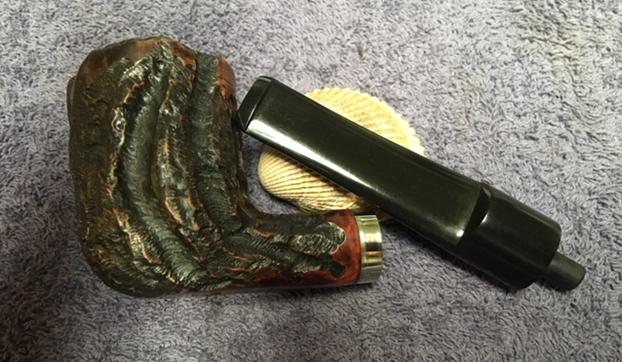
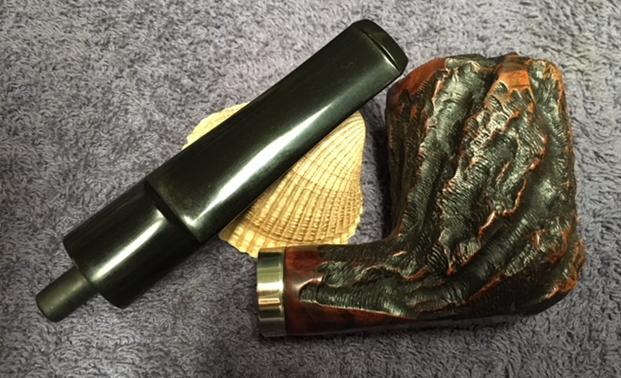
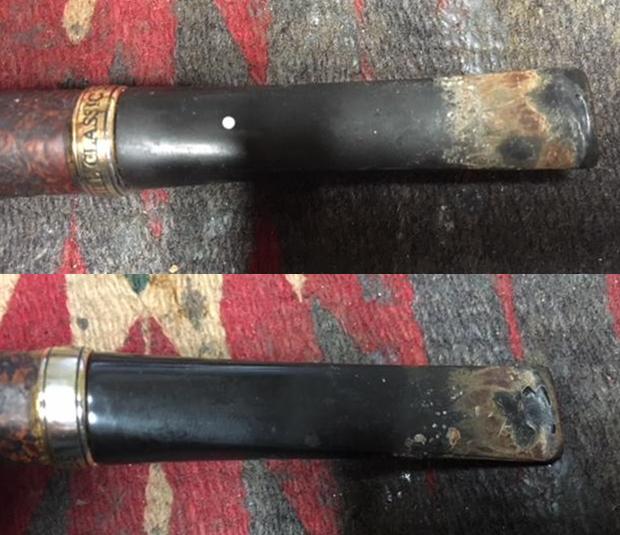
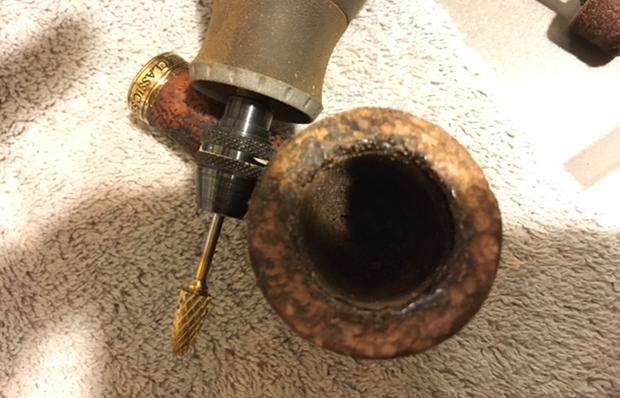
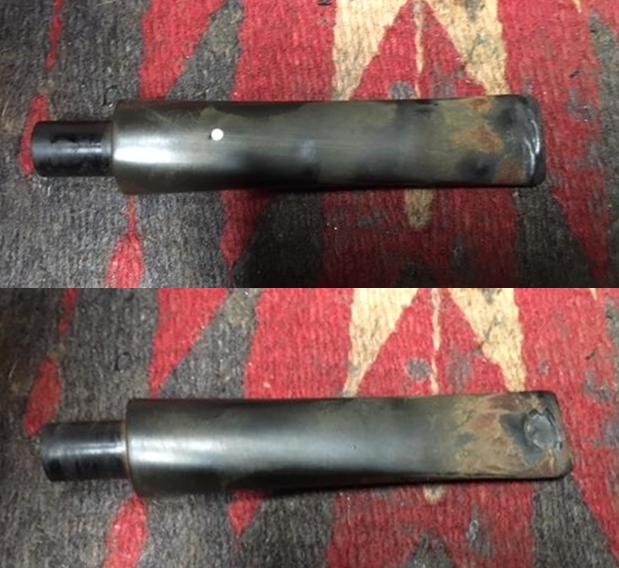
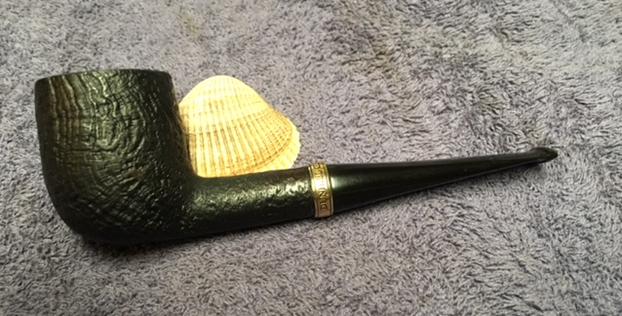
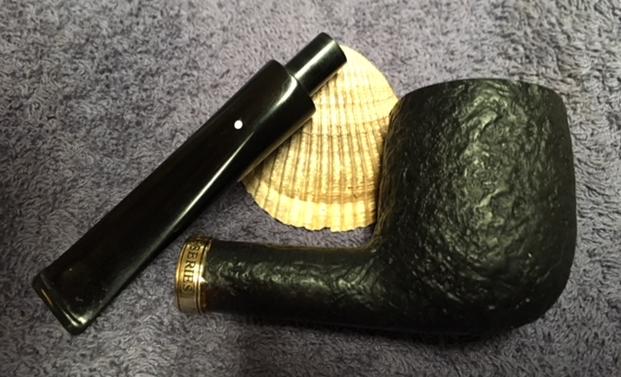
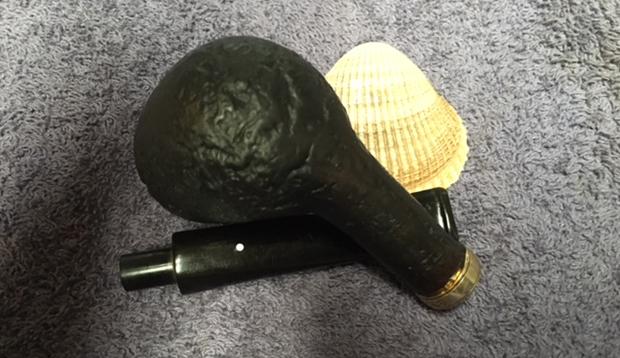
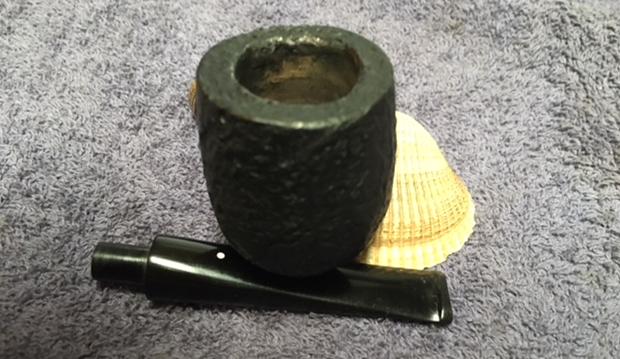
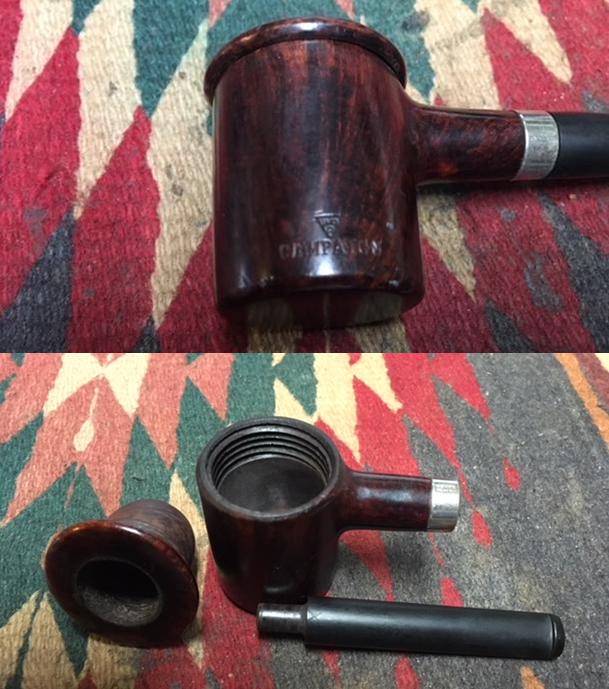
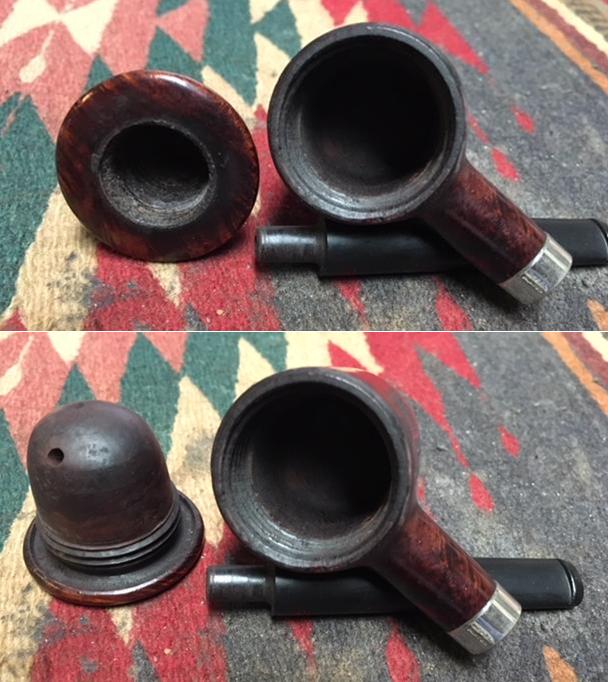
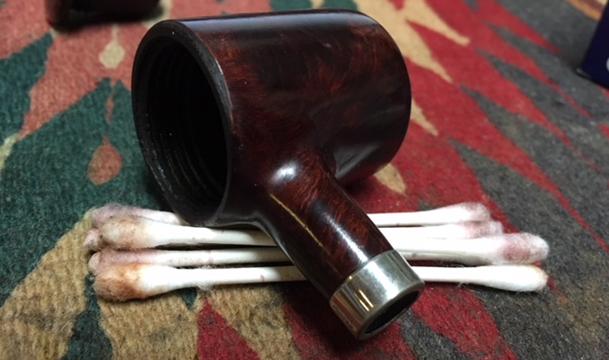
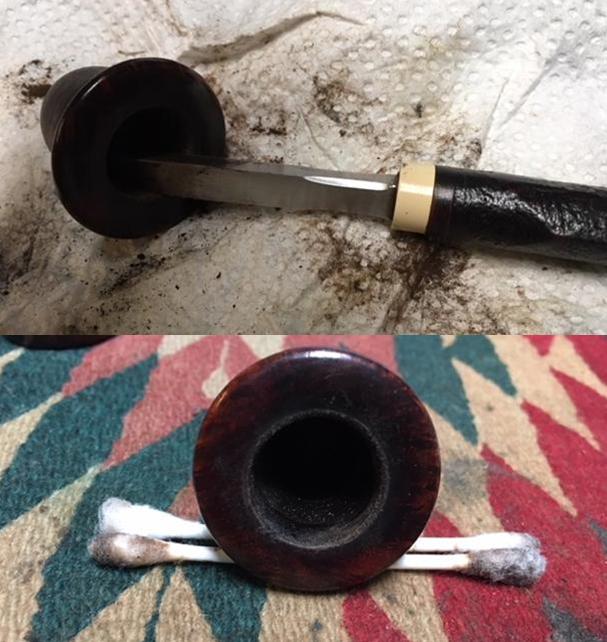
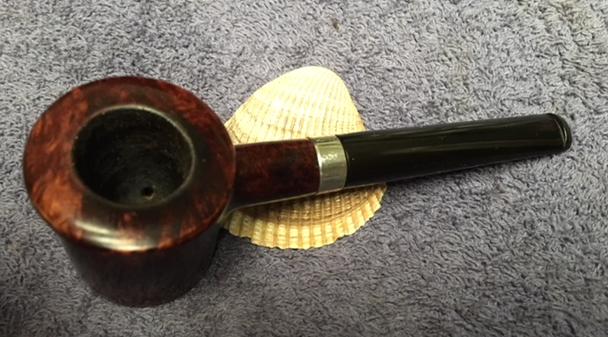
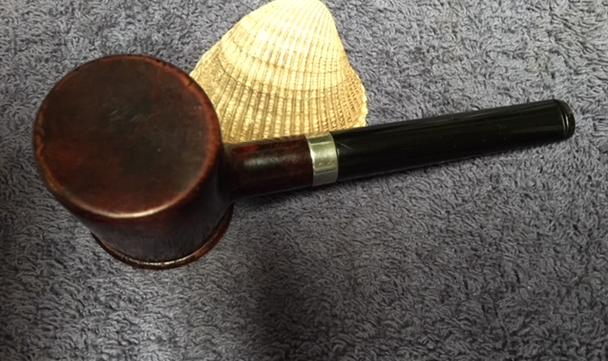
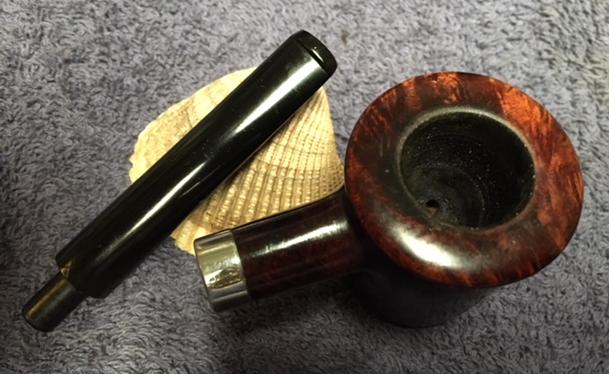
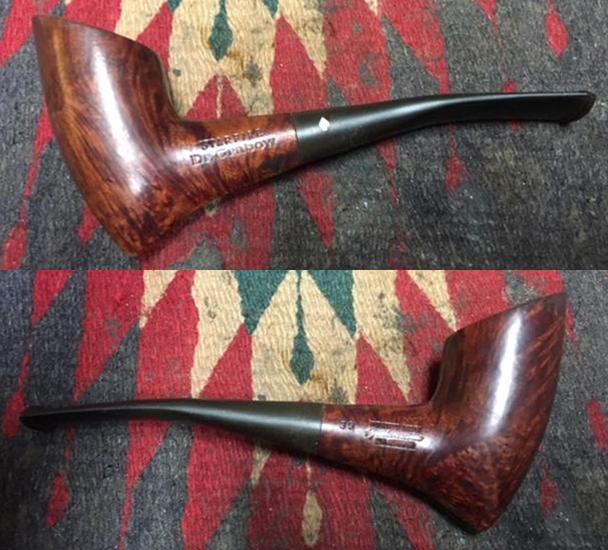
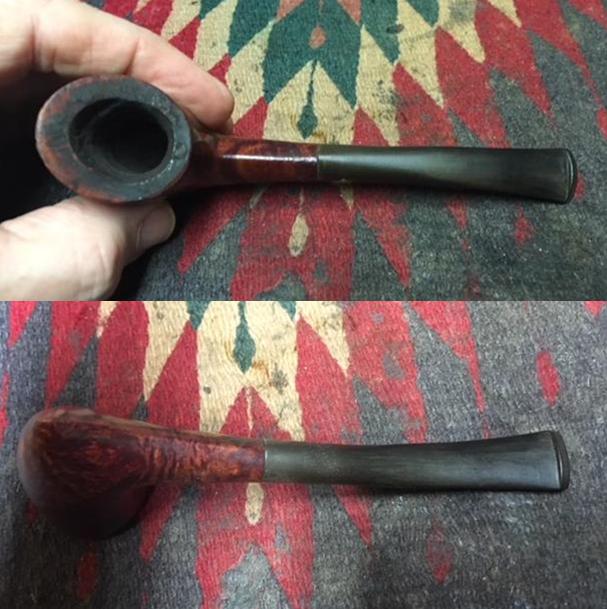
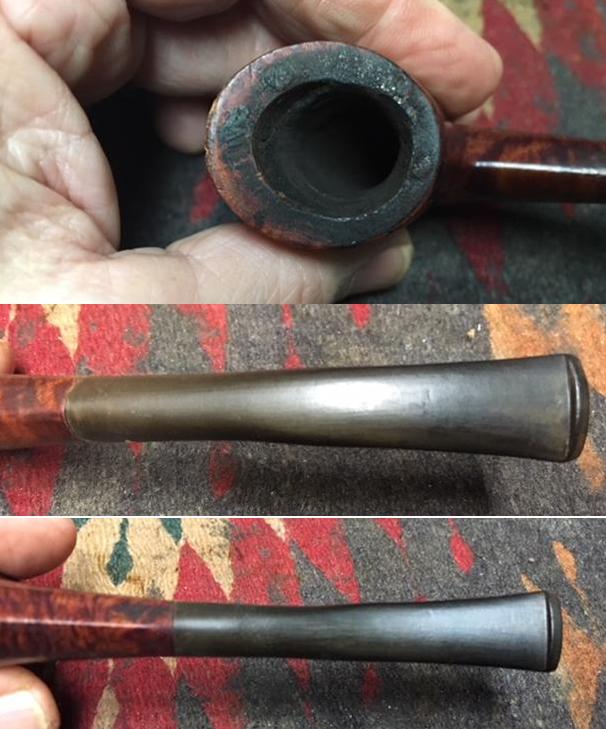
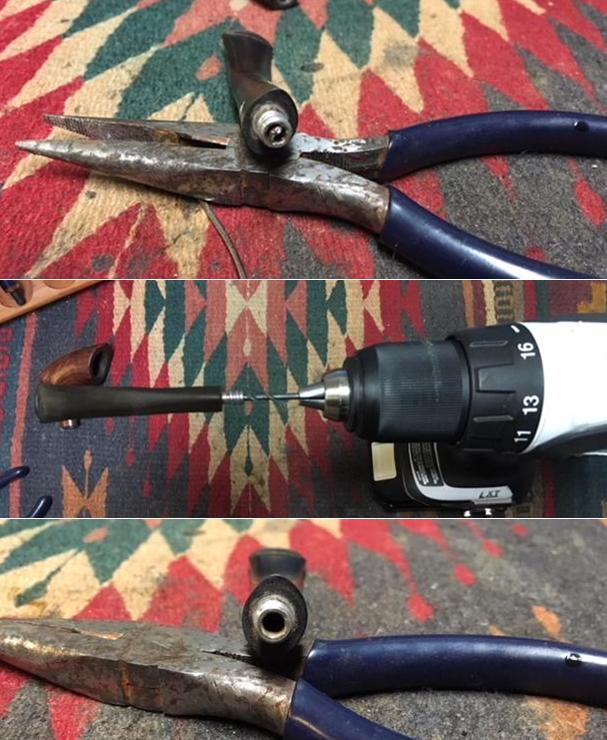
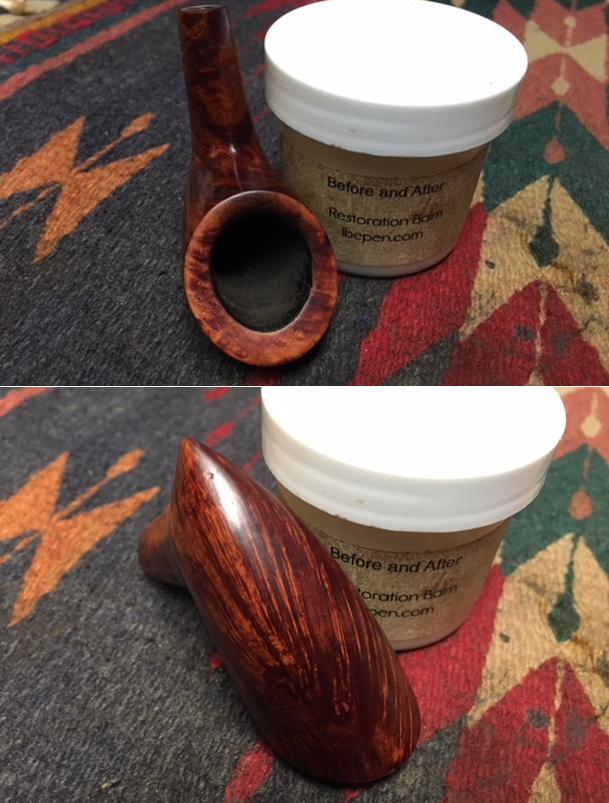
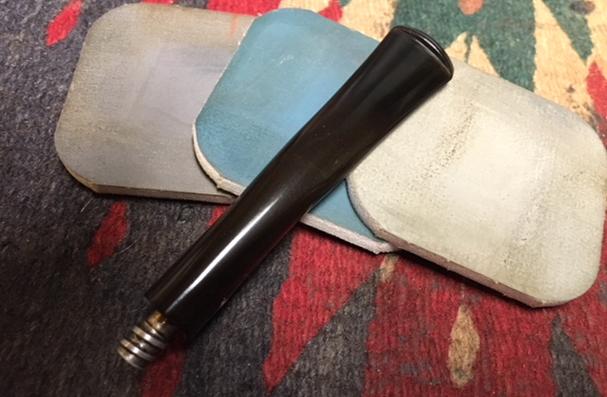
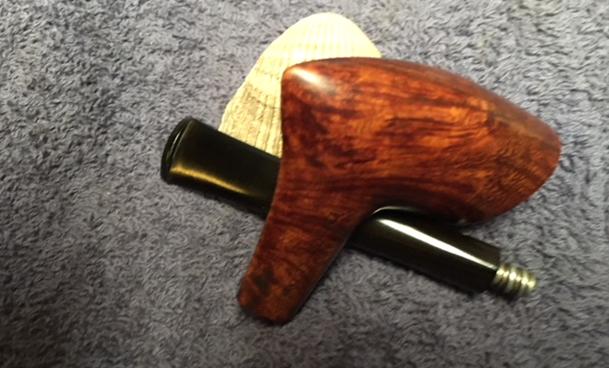
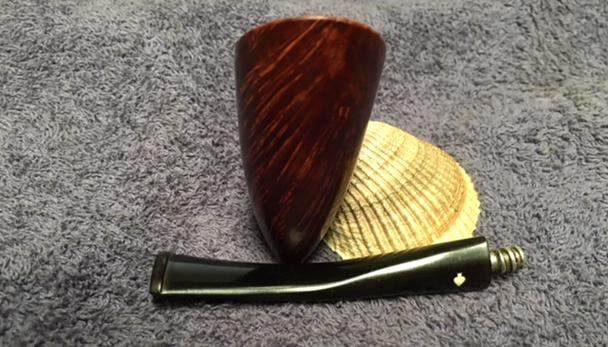
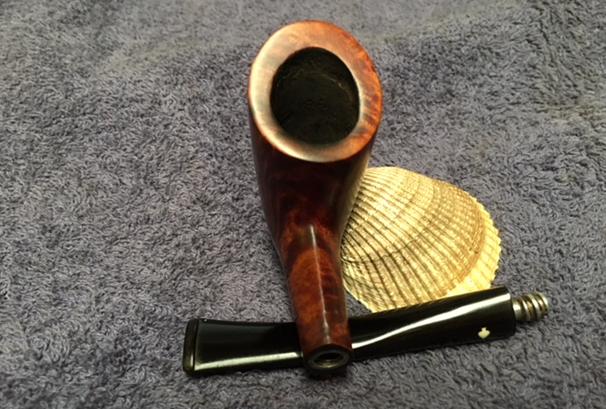
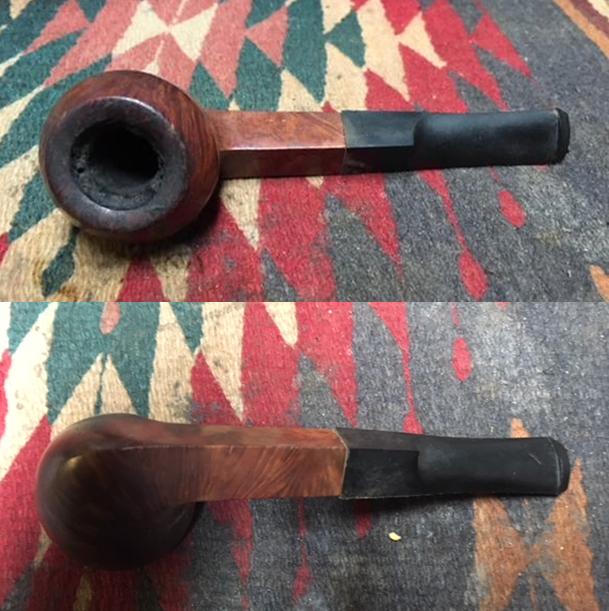
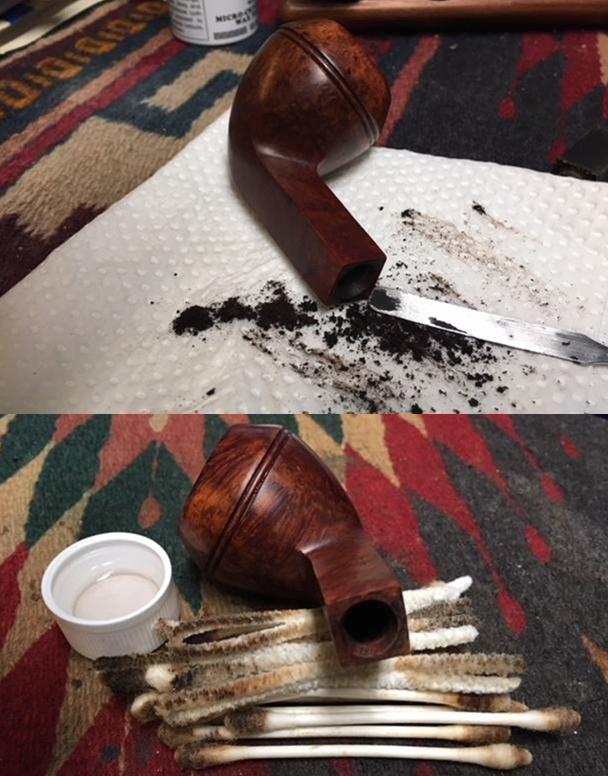
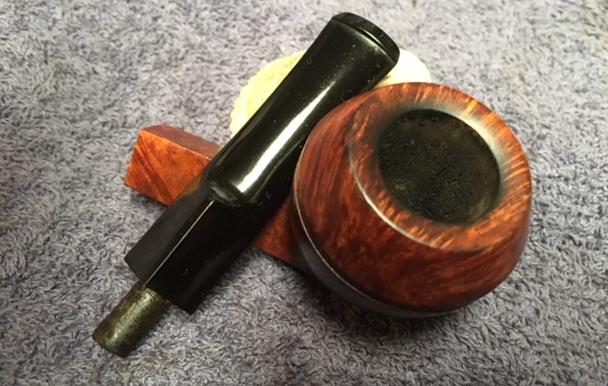
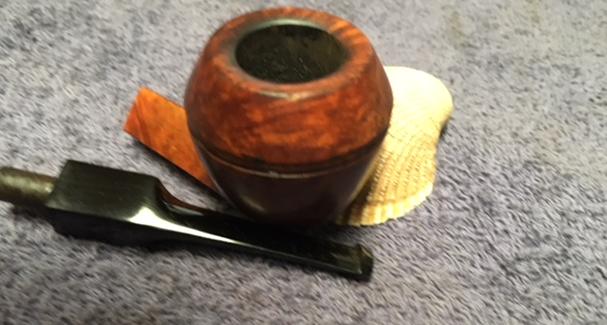
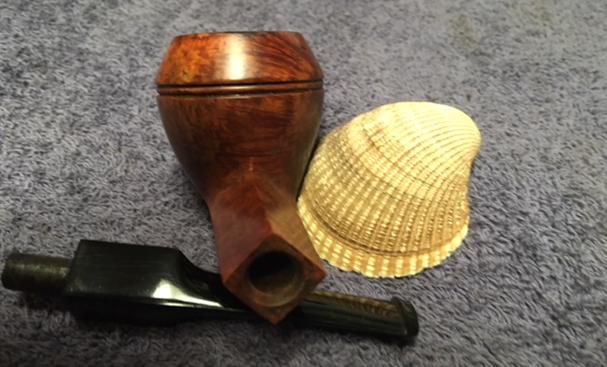
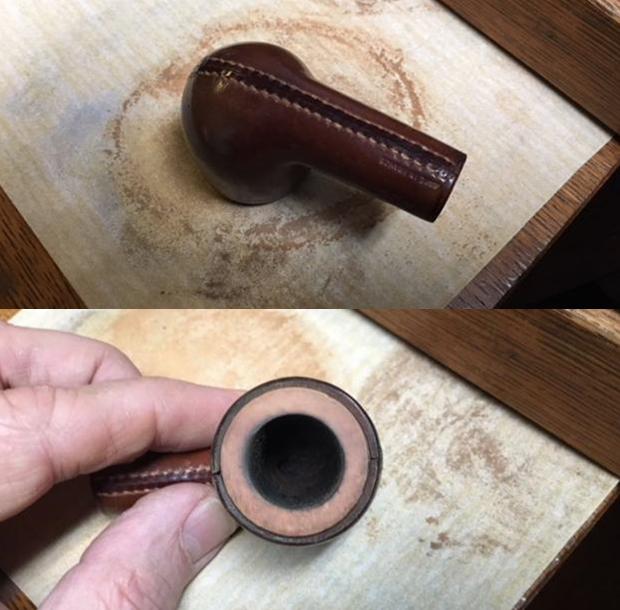
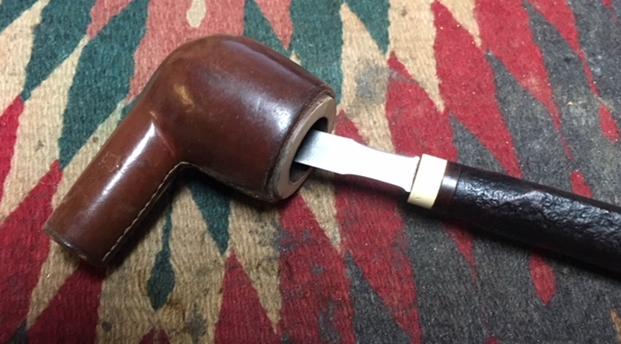
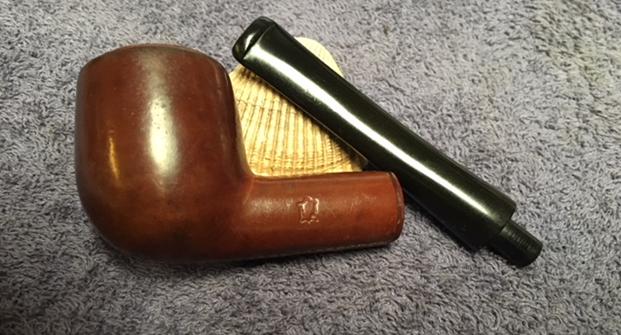
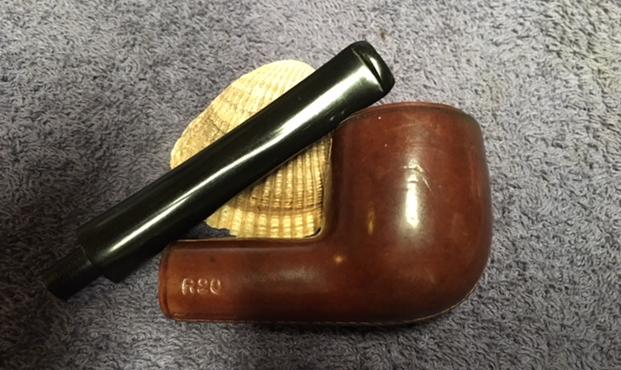
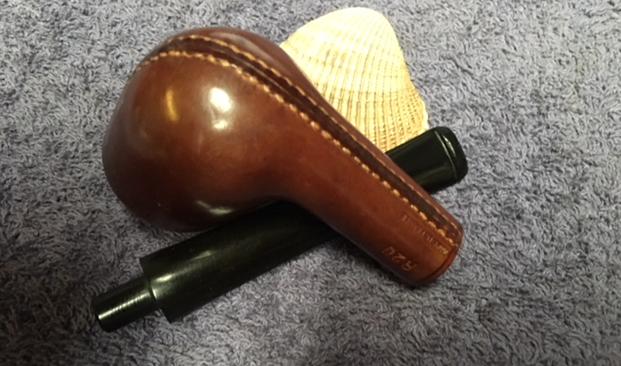
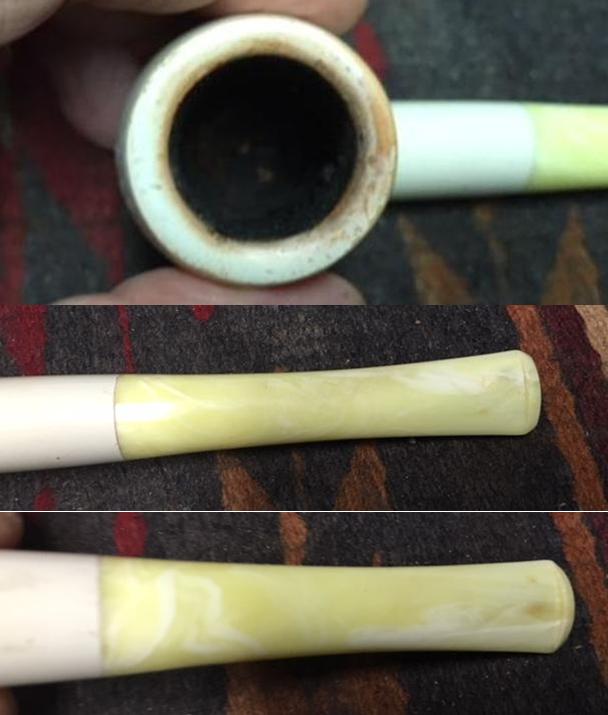
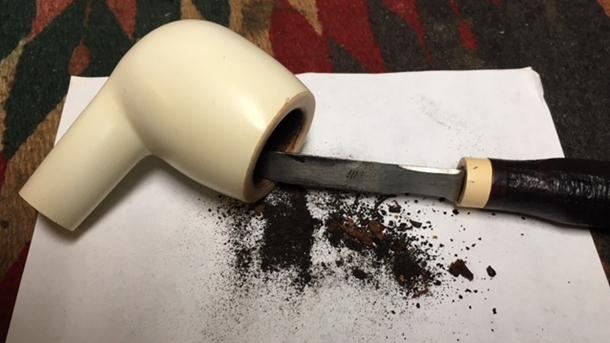
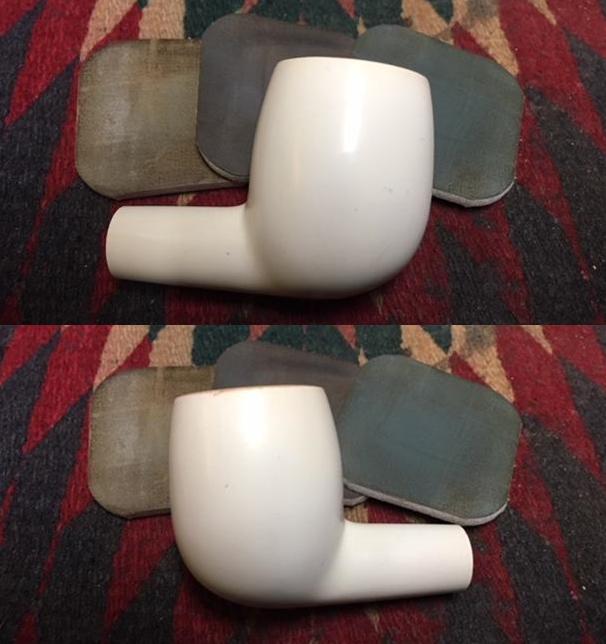
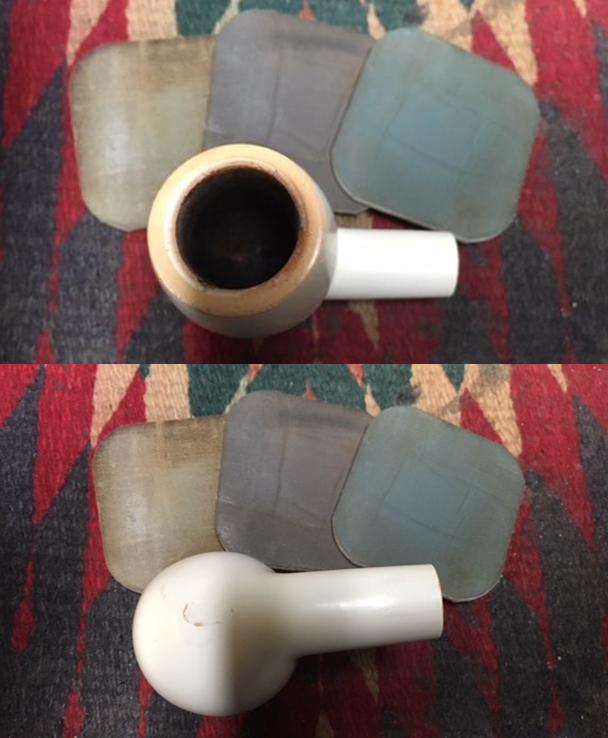
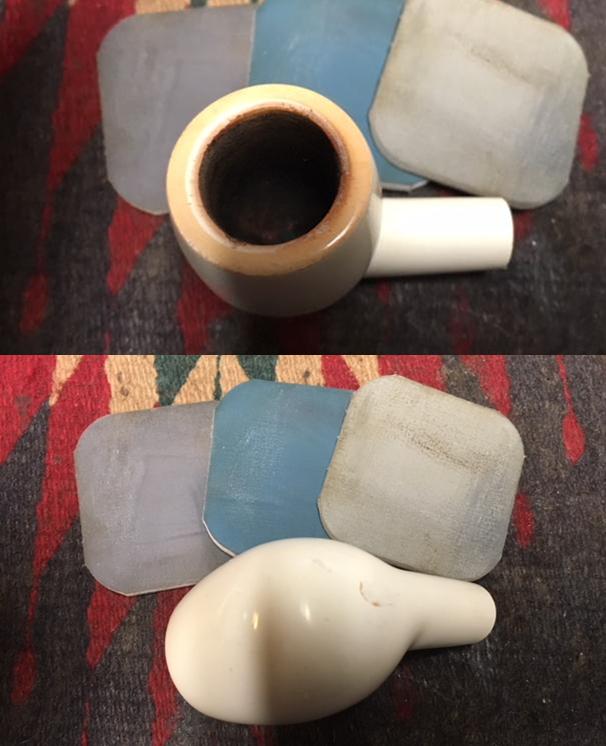
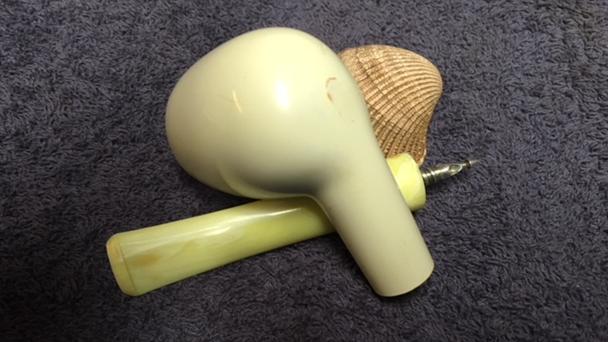
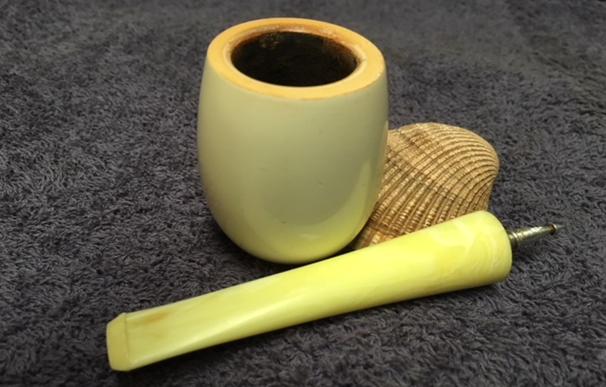
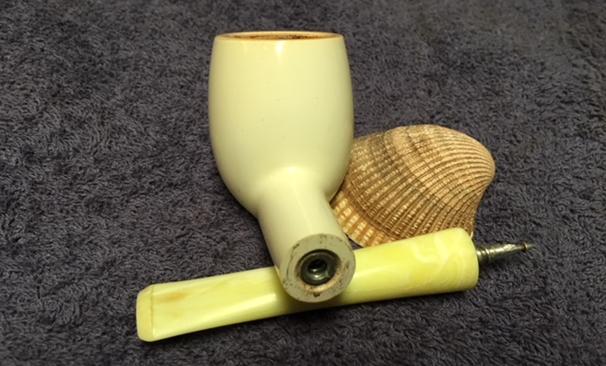
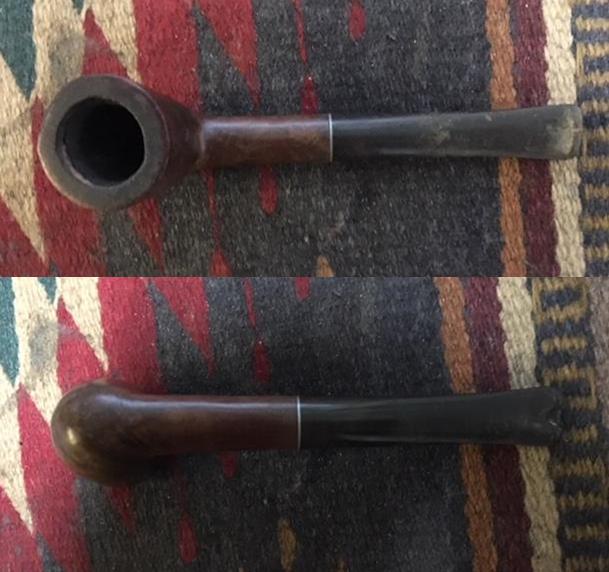
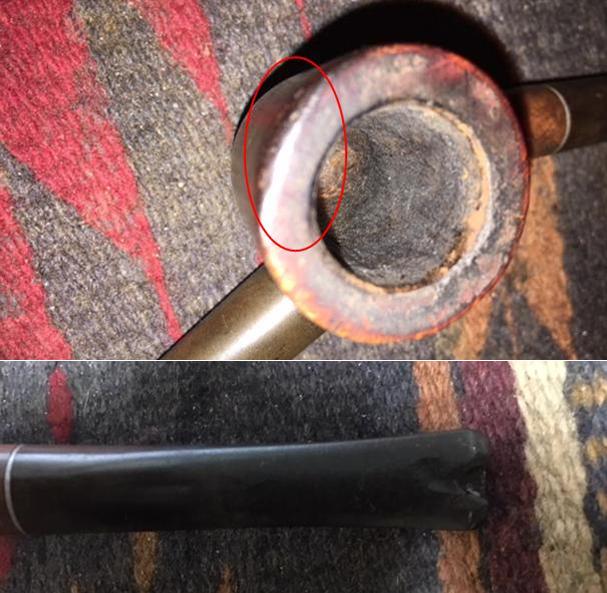
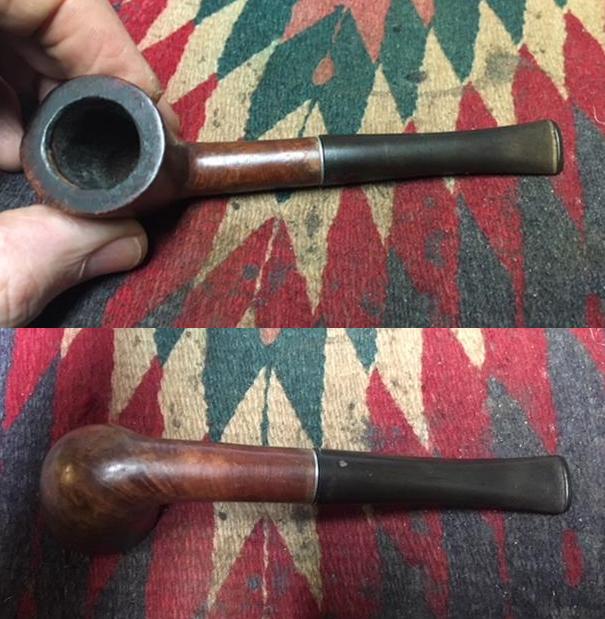
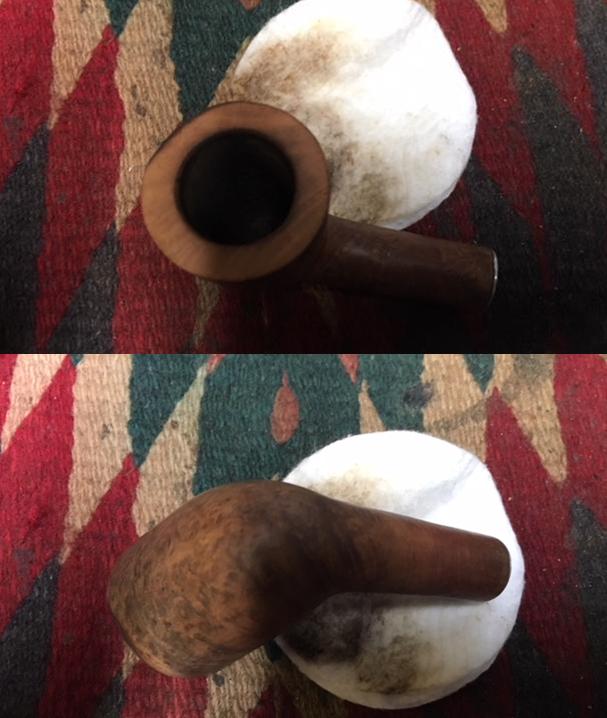
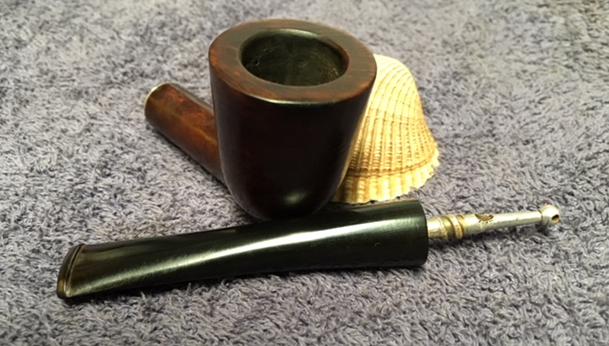
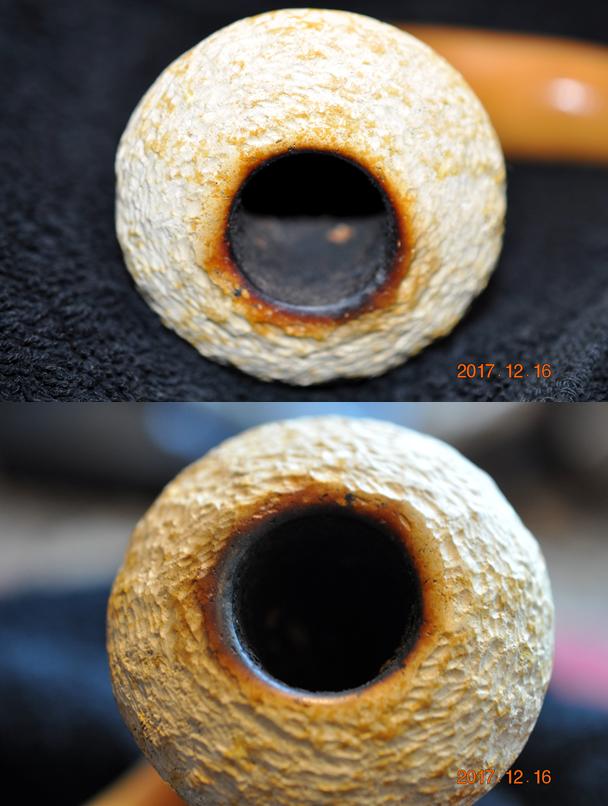
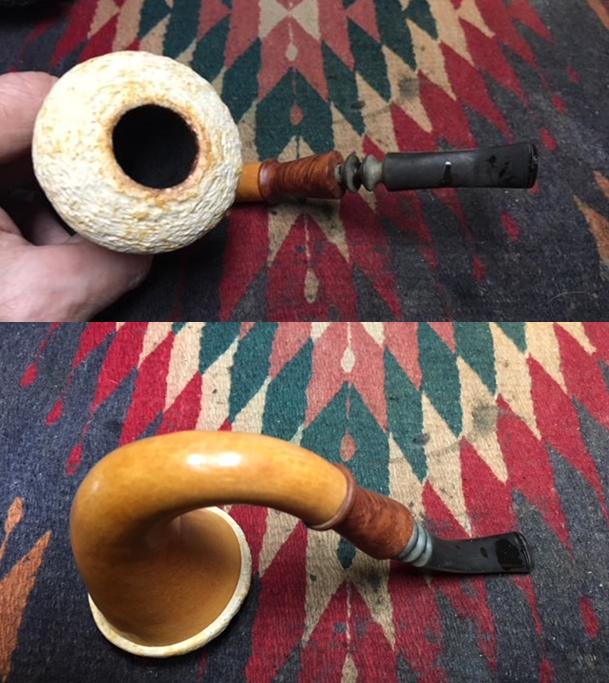
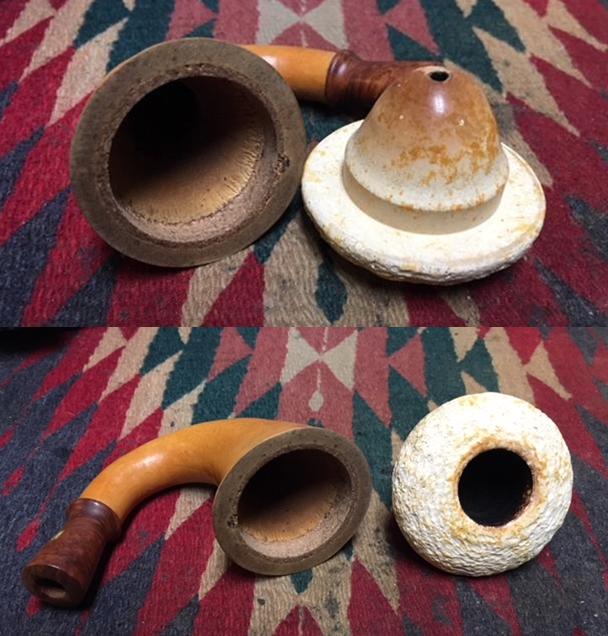
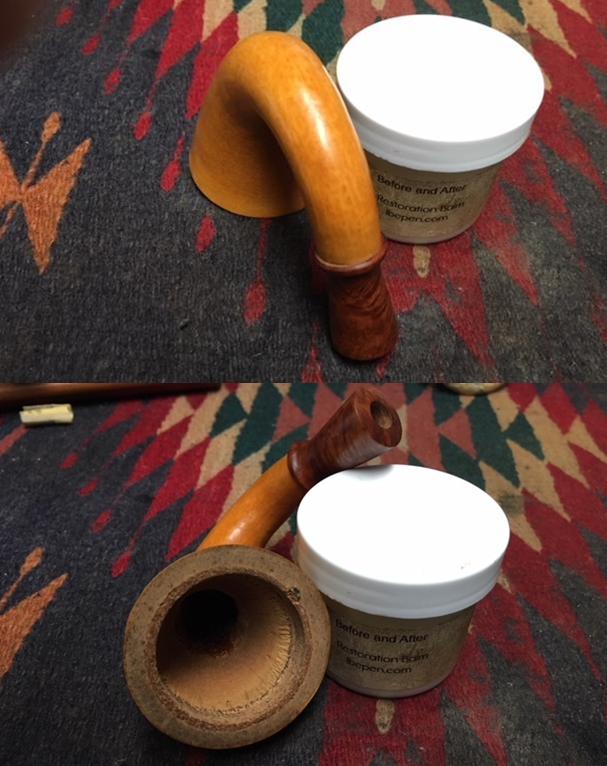
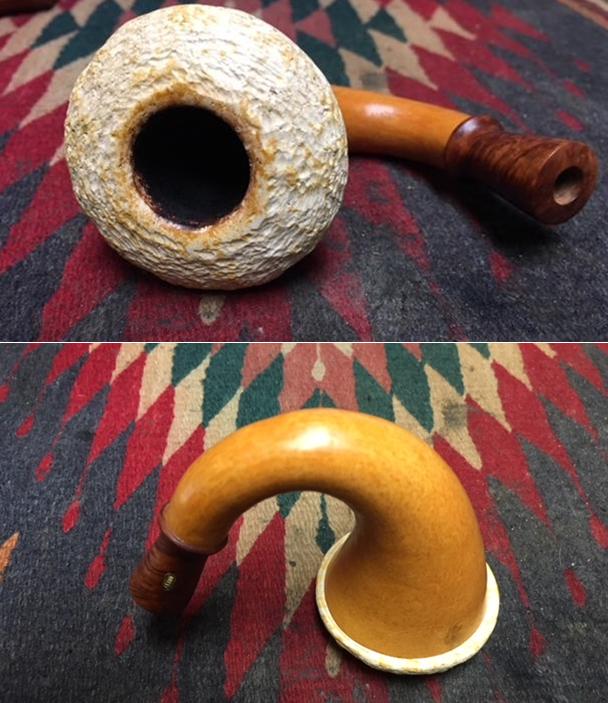
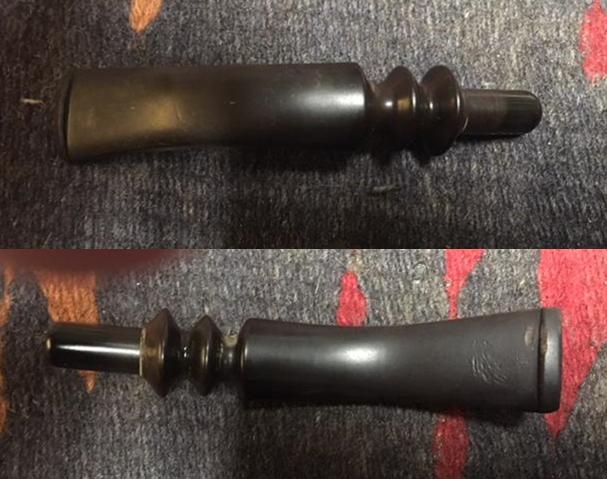
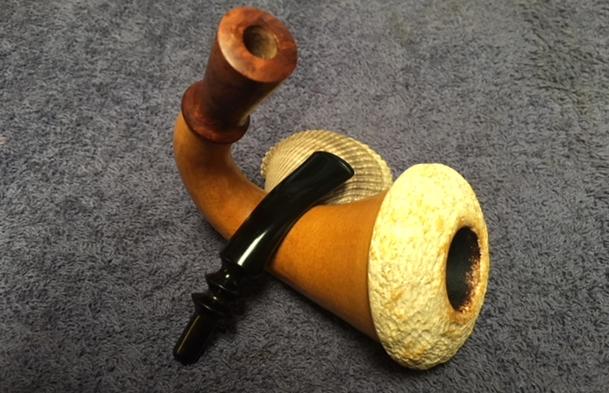
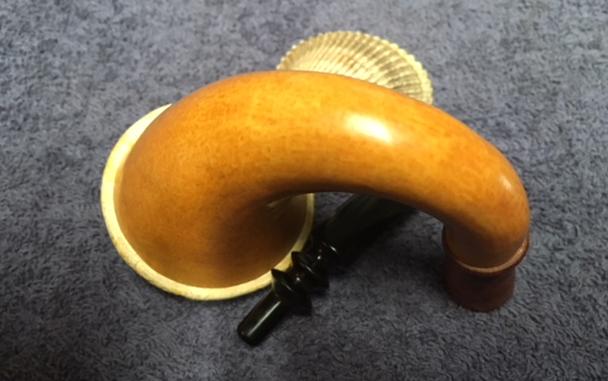
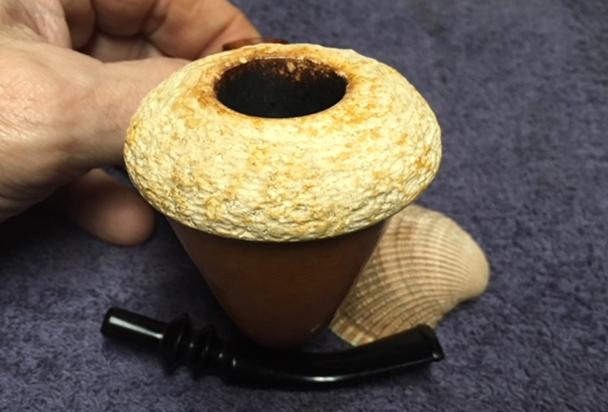
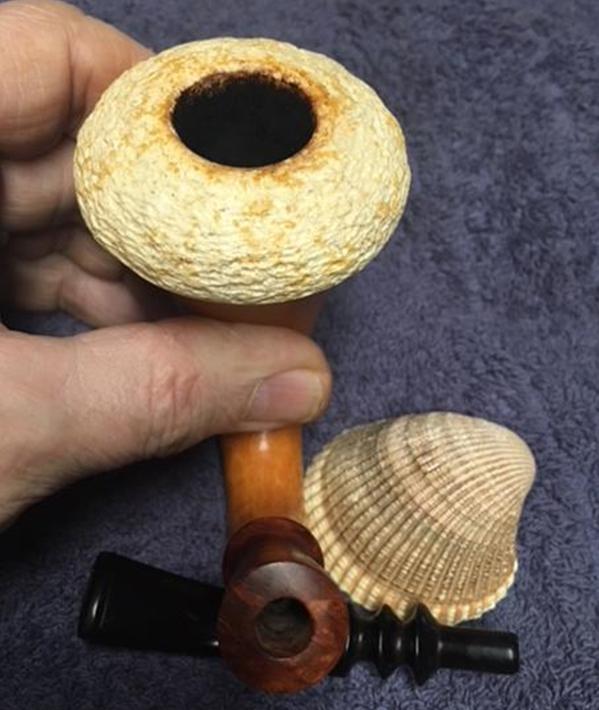
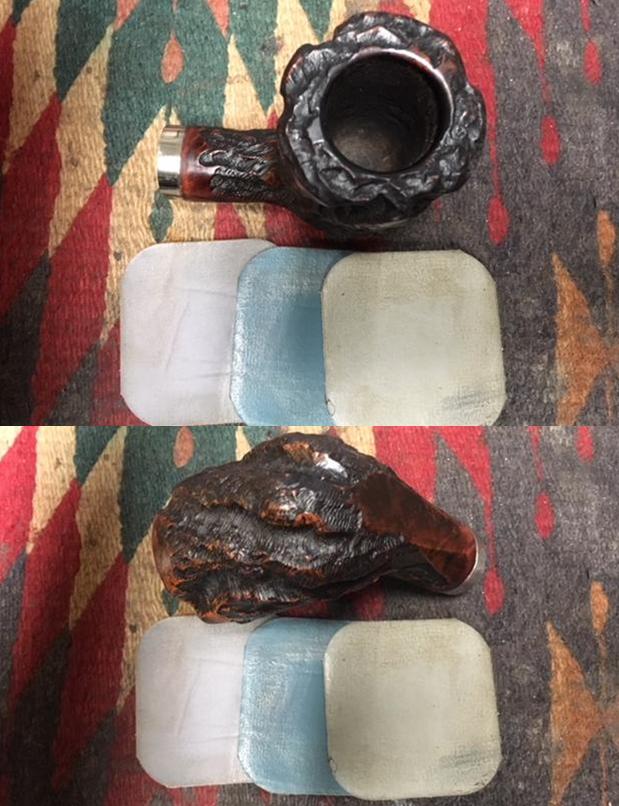
When the pipe arrived it was far larger than I imagined. It really was well rusticated and beautiful. The rim top, the rustication on the sides and shank as well as the smooth band around the shank/stem union really stood out against the rustication. The high quality vulcanite had some light tooth marks and a light oxidation in the surface. I removed the stem and measured the shank with a micrometer to see what I needed in terms of an insert tube. I opted for a stainless tube. I drilled it out and smoothed out the inside of the tube. It was ready to be inserted and set in the mortise. I set it aside and picked up the stem. That is when I realized that there was a problem. Airway in the tenon was drilled off centre to the top left. If that was not bad enough it was drilled at a bit of an angle. The combination of the off centre drilling and the angle of the airway meant that if I reduced the diameter of the tenon I would end up opening up the airway on the upper left side and essentially destroying the tenon. I thought about removing the tenon, drill the airway open and replacing it but that was problematic because of the angled drilling.
With the facts in hand I did a Skype call with New York and explained the issues and showed my friend the airway in the stem and tenon. I showed him the off centeredness and the angular drilling and told him that I would send the pipe back to him as he did not like metal bands. We spent some time talking about options – even leaving it as it was with the crack and just enjoying it while being careful. He said that he knew it was there and it would bother him. We went online and looked at some of the bands available – all of them were too large and covered too much of the shank. They just would not do on this particular pipe. At that point I had an idea – I could cut the band down so that it was a much thinner band and the profile would actually work well with the look of the pipe. We discussed the pros and cons of that solution and he gave the go ahead. I ordered a 20.5mm nickel band for the shank of his pipe. It was the largest band available and it was a close fit to the shank. It would need some work but it would look good I thought once it was completed.
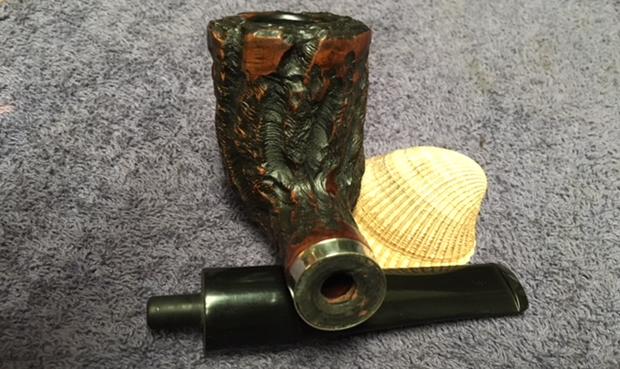
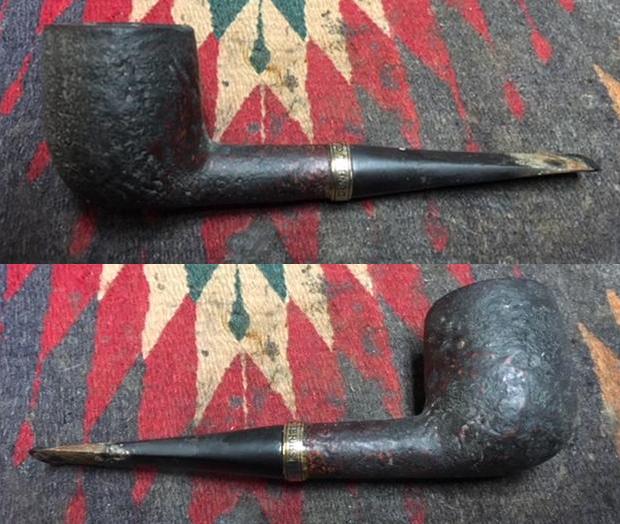
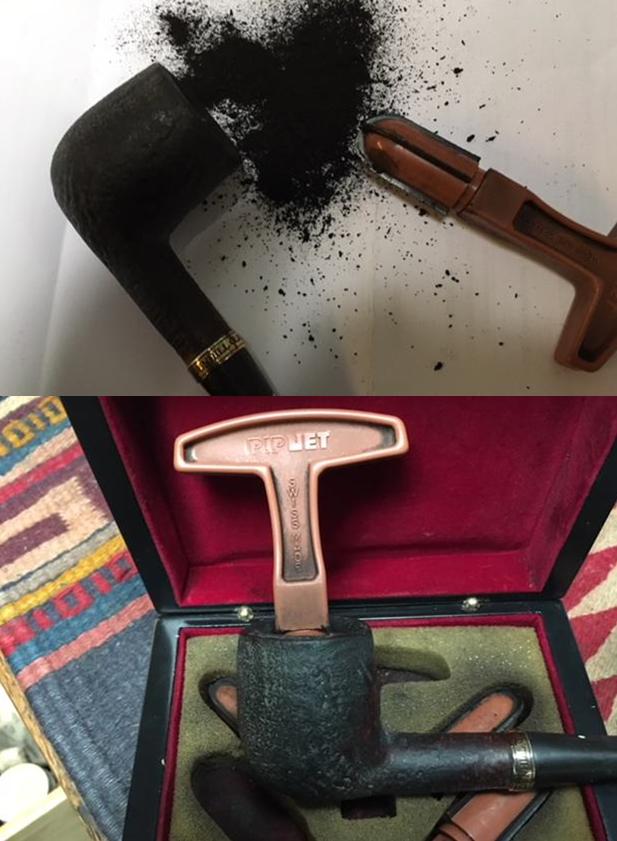
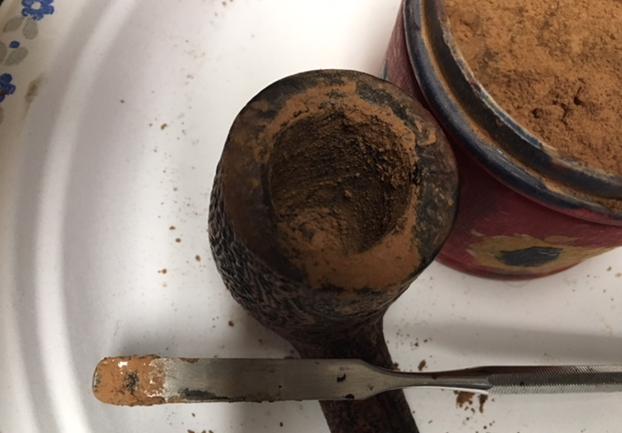
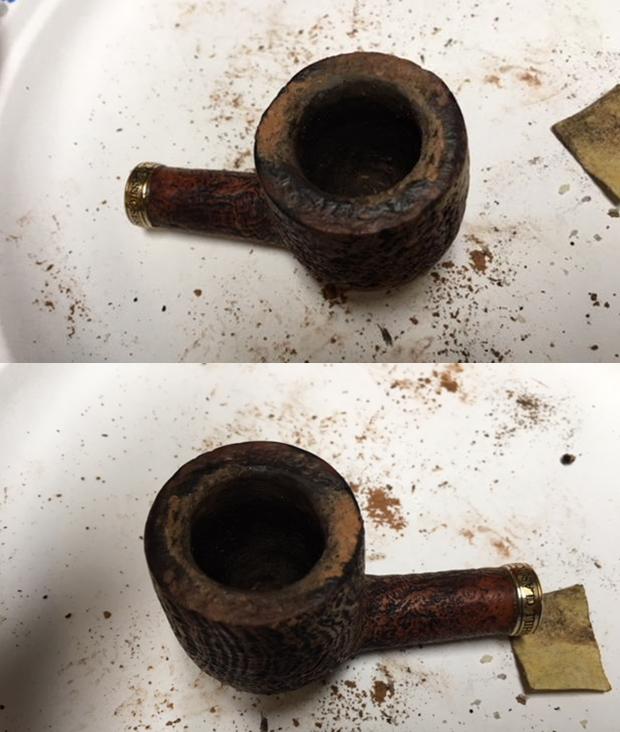
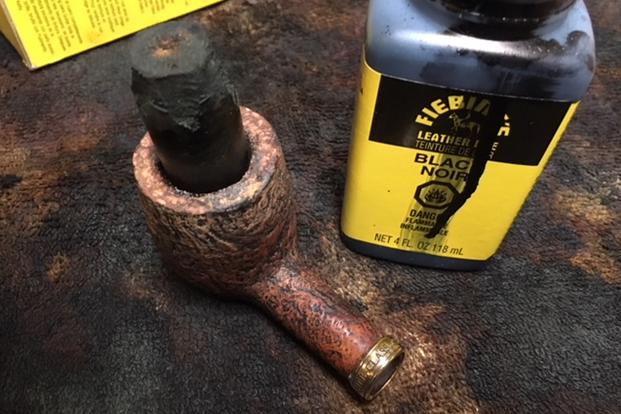
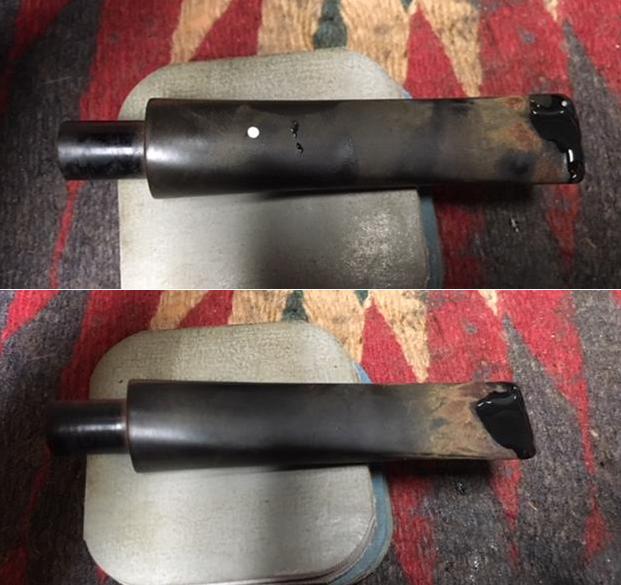
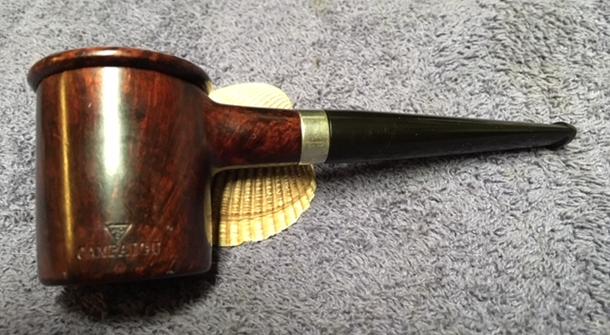
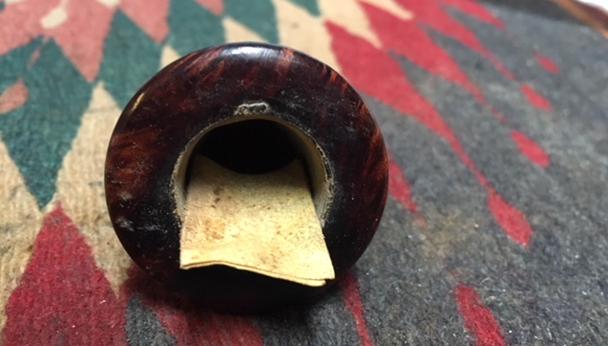
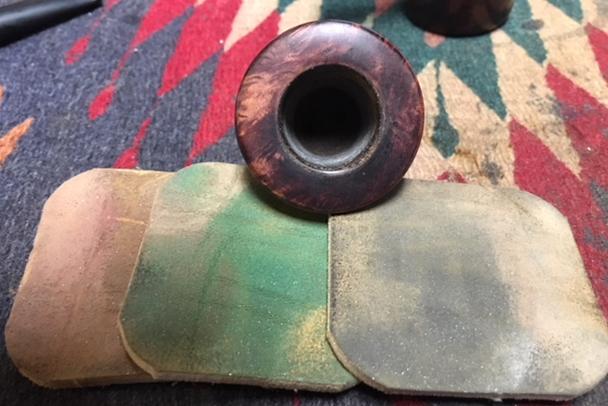
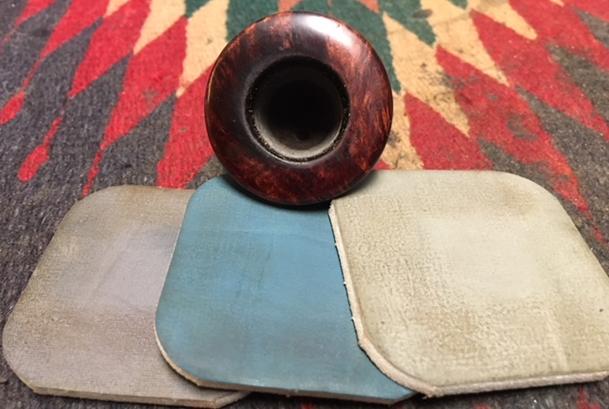
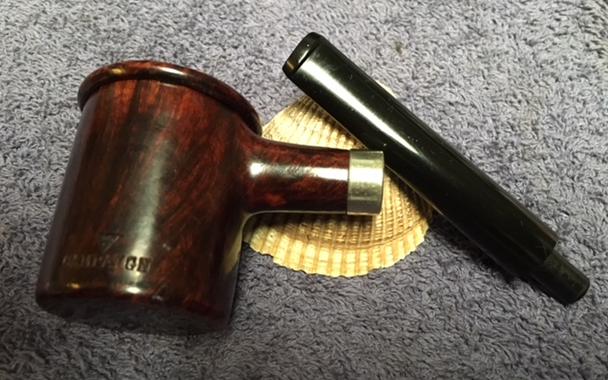
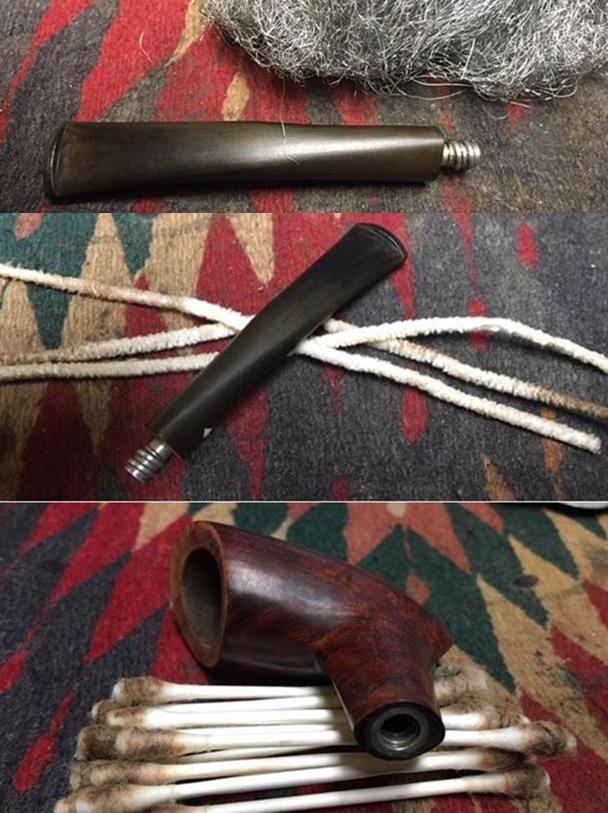
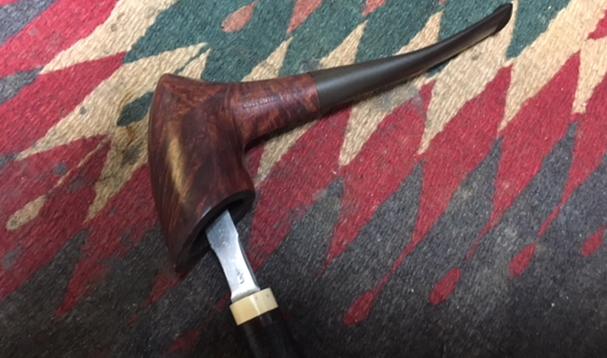
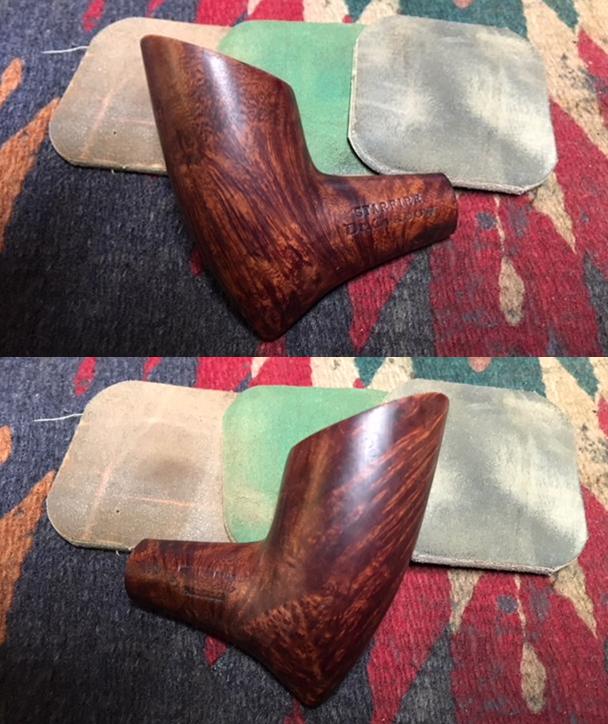
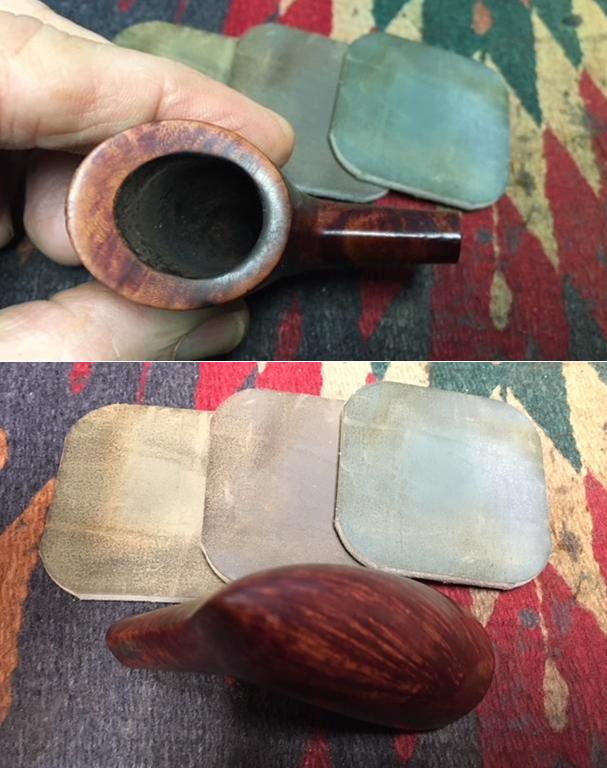
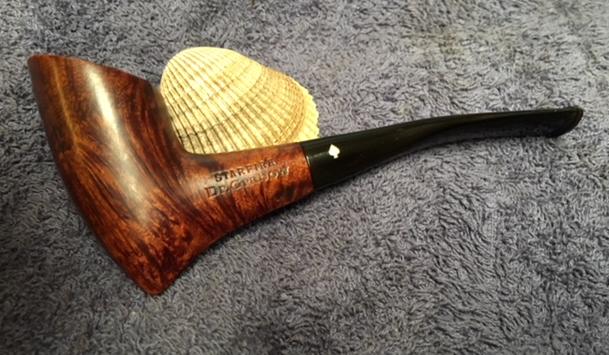
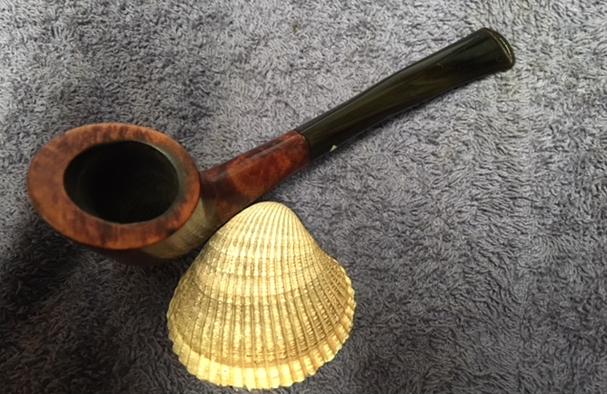
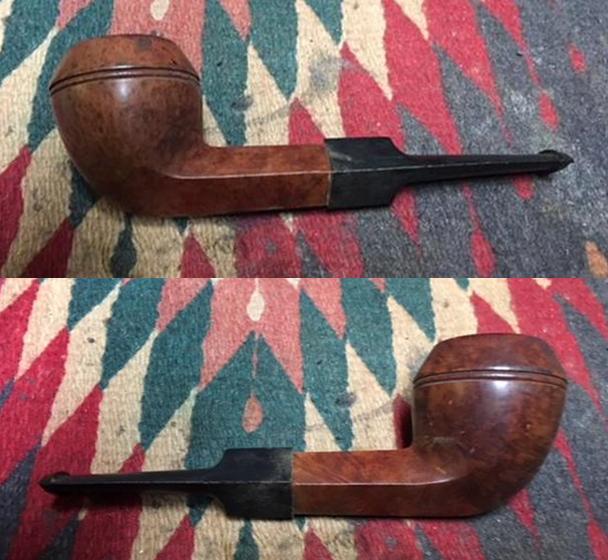
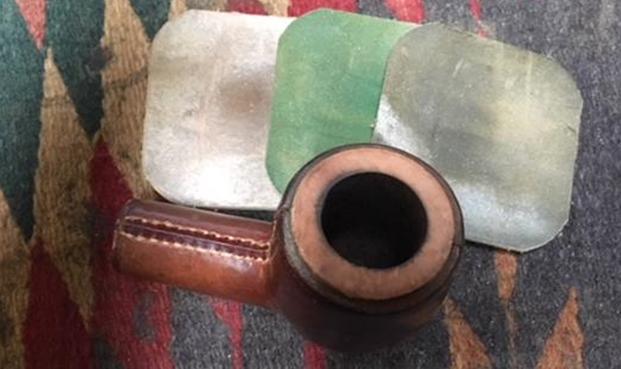
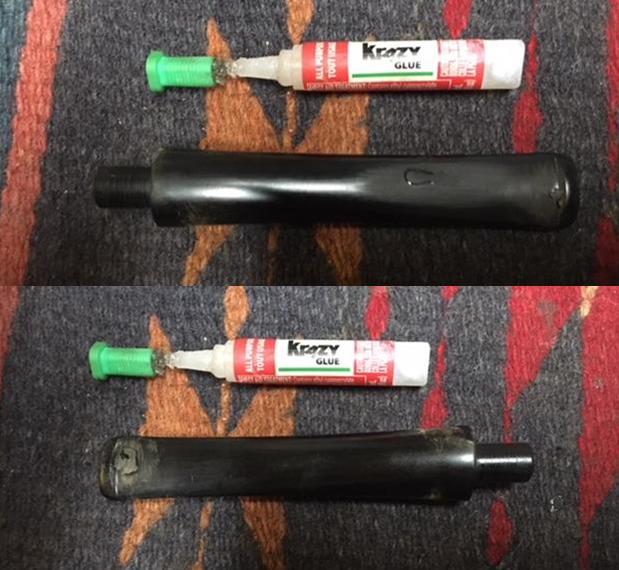
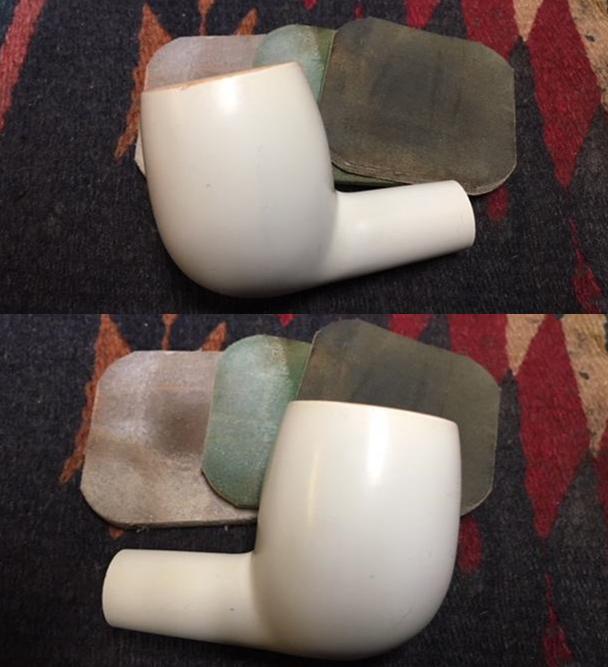
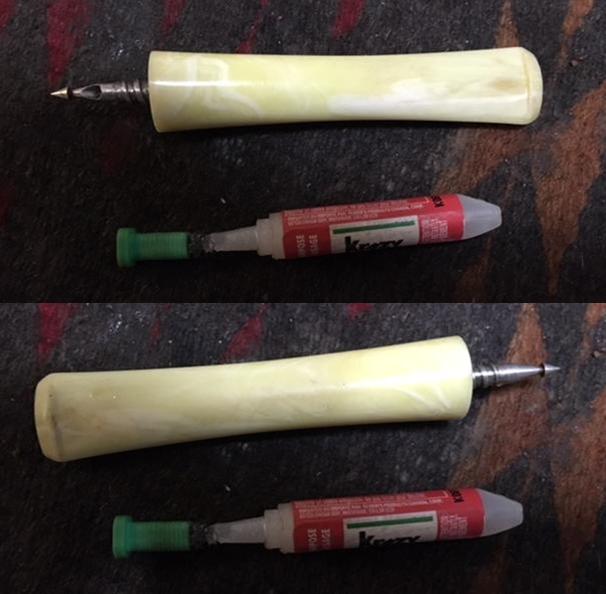
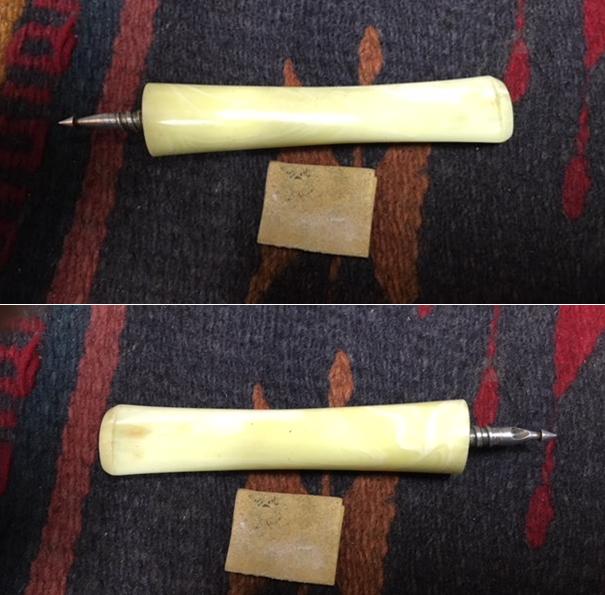
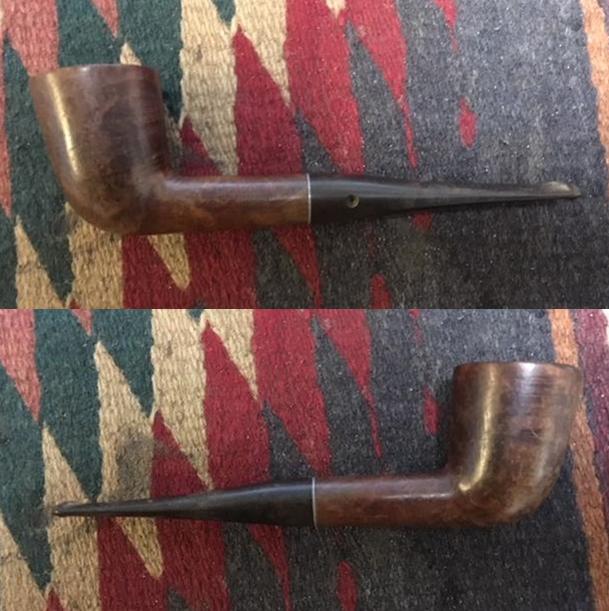
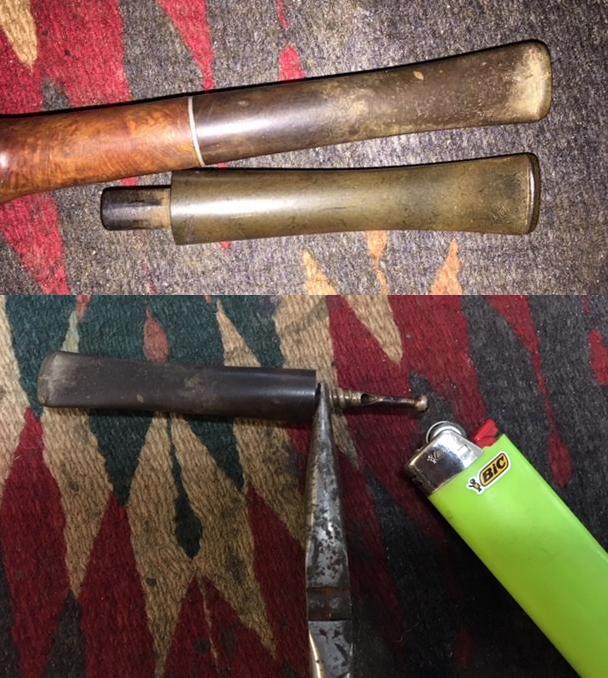
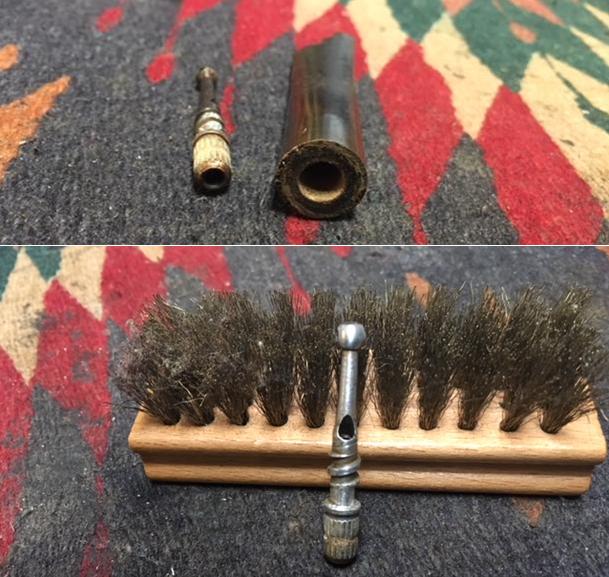
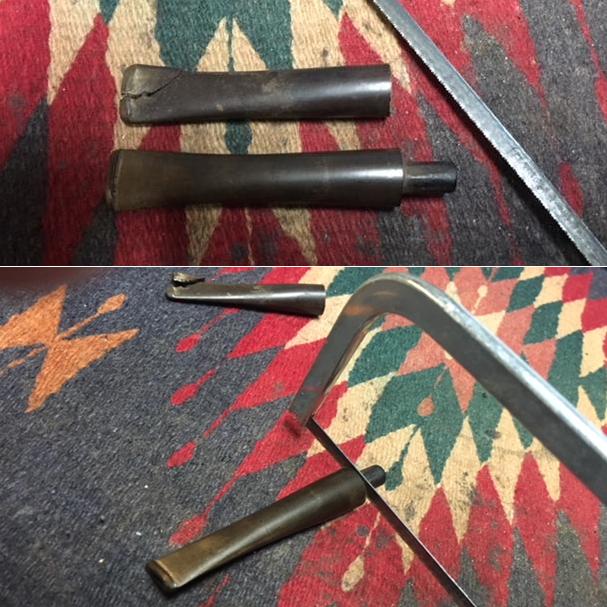
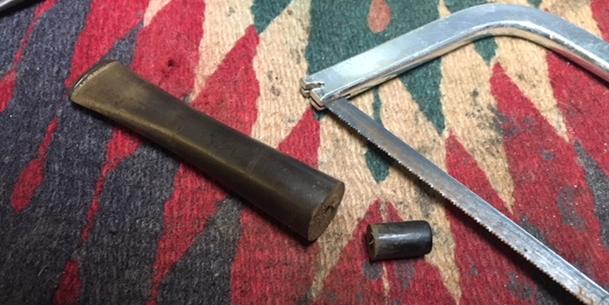
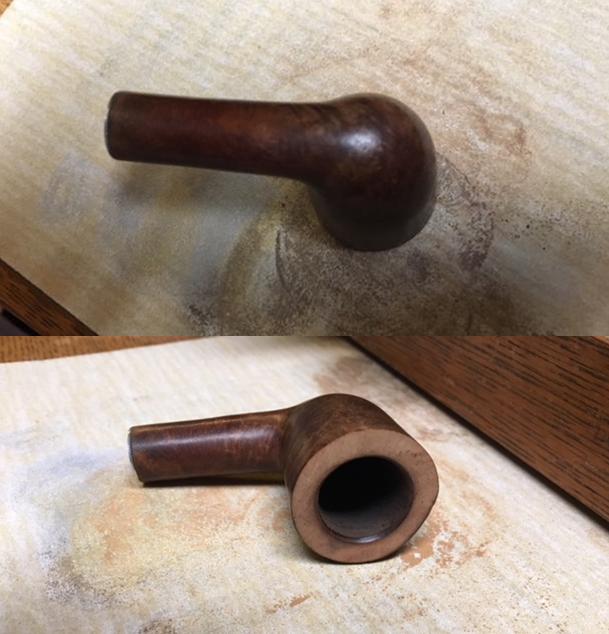
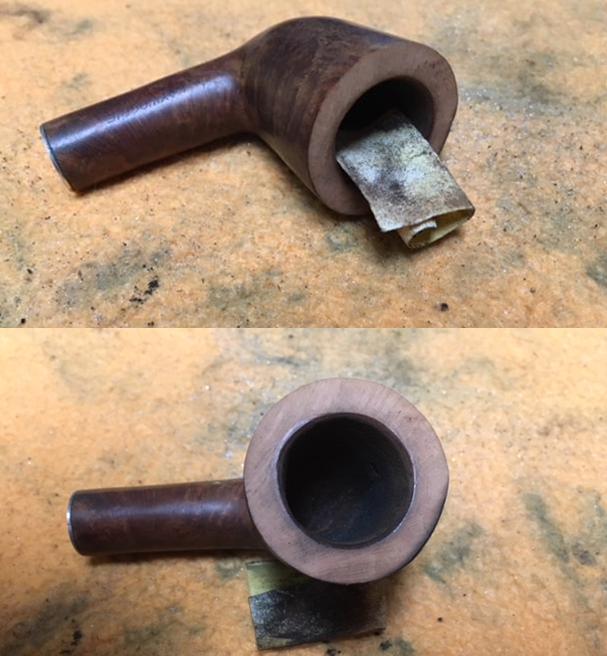
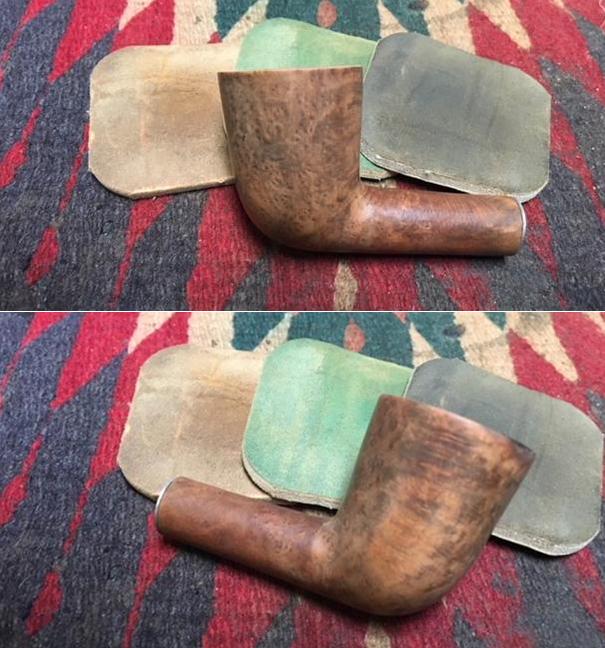
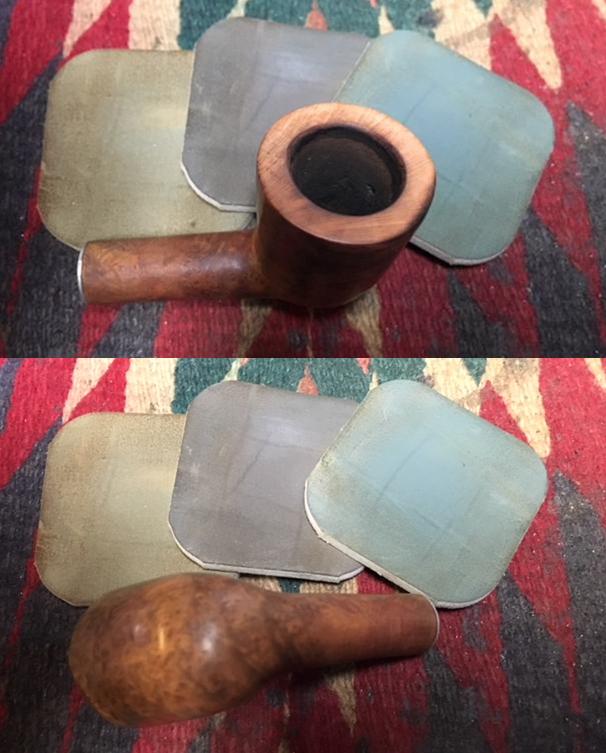
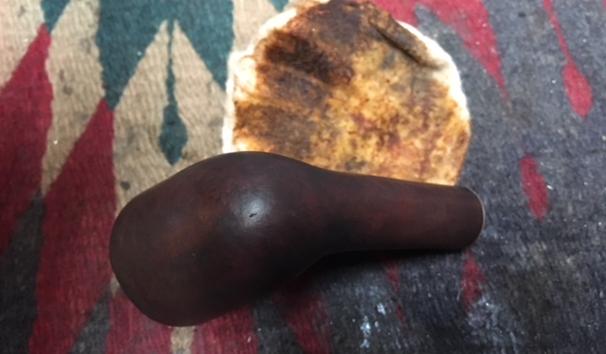
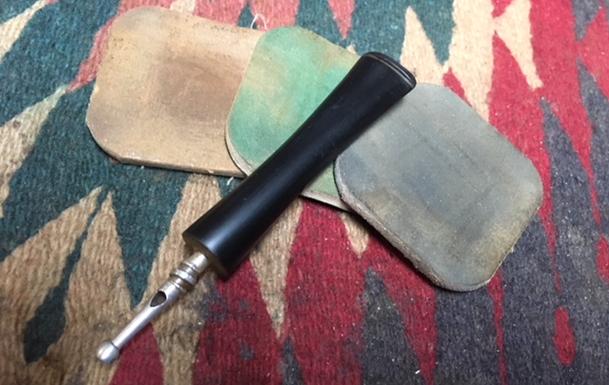
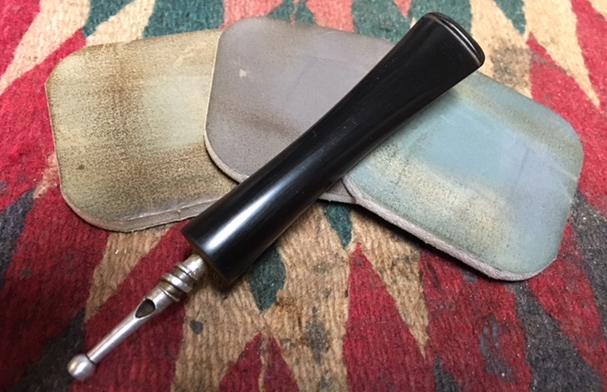
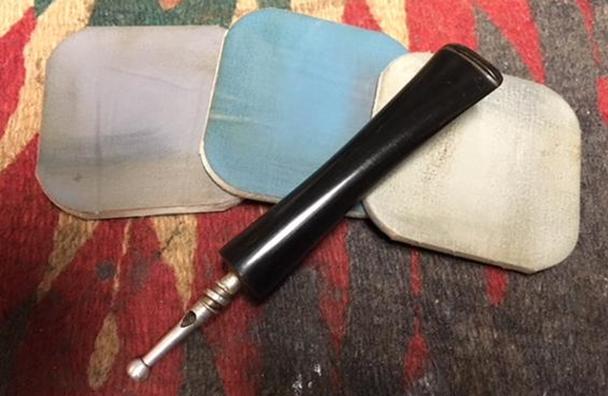
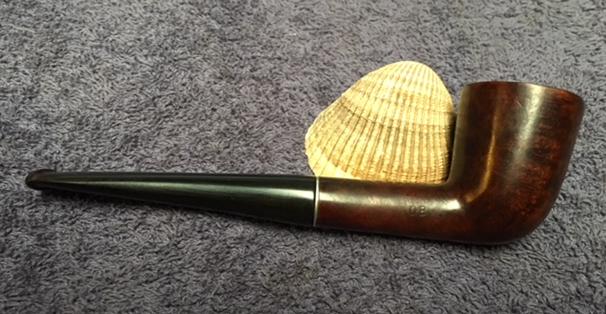
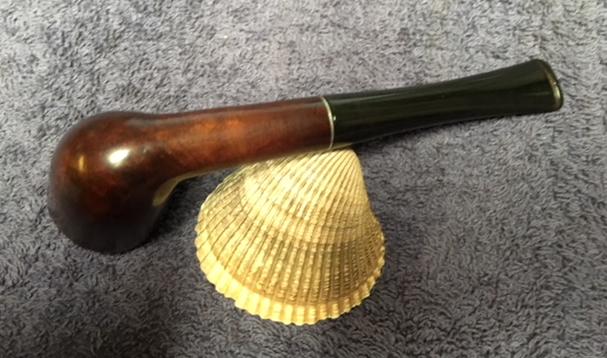
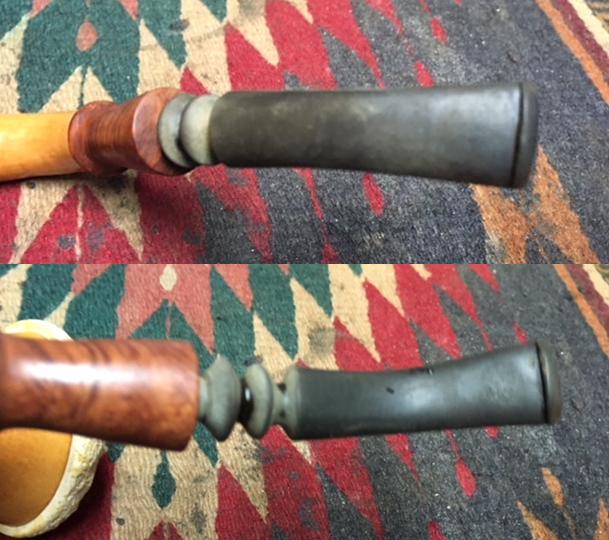
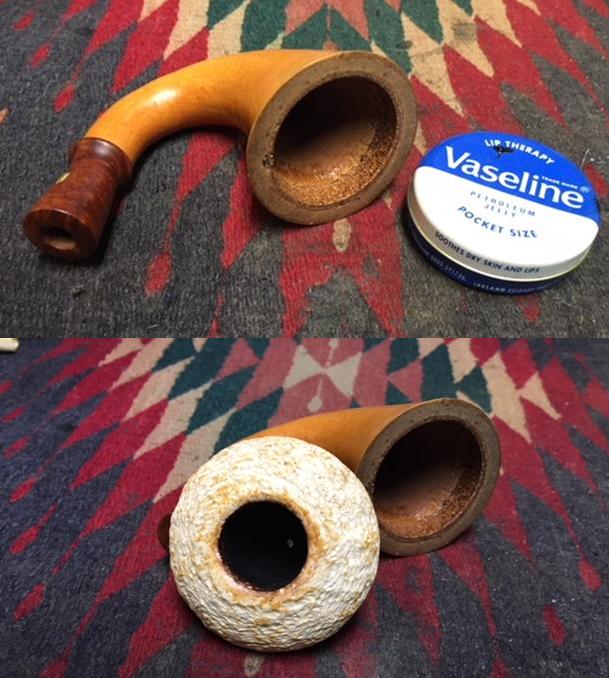
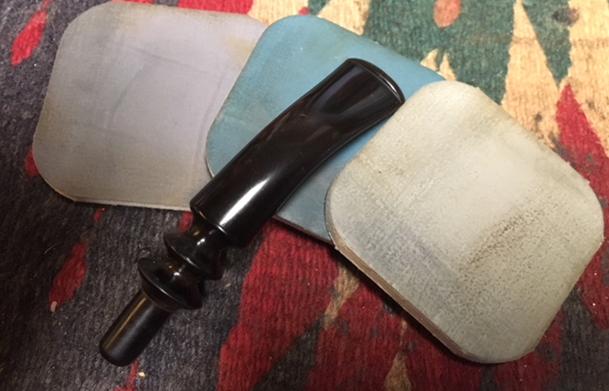
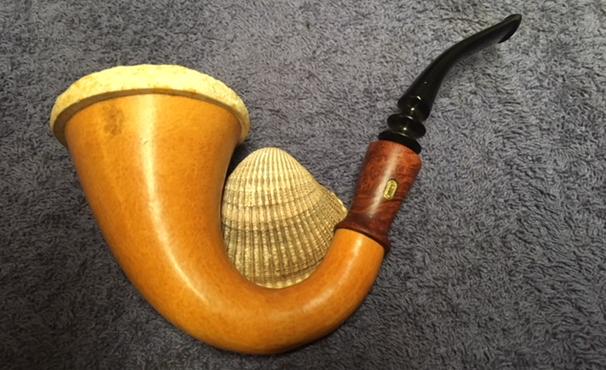
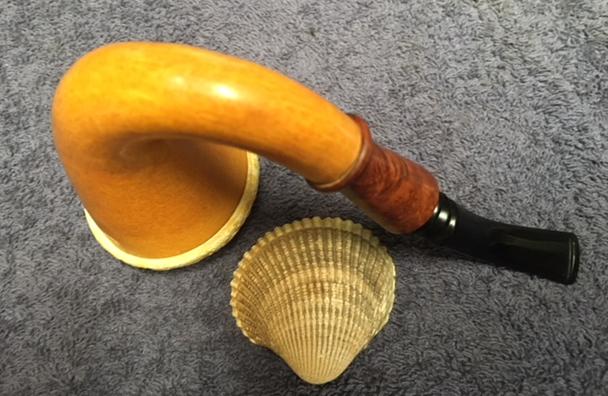
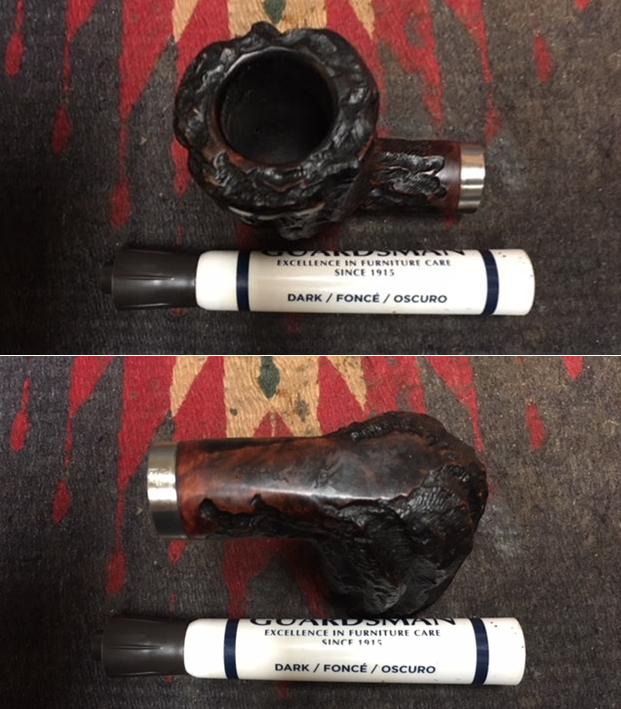
When the bands arrived I was so anxious to get started on the repair of the pipe that I forgot to take photos of the pipe. I sent a message to my friend and asked if he had any photos of the pipe before he sent it to me. He laughed and said he too forgot to follow his normal habit of taking a full set of photos before he mailed it. He did have one photo of the pipe that I could use. He sent it to me and I have included it below.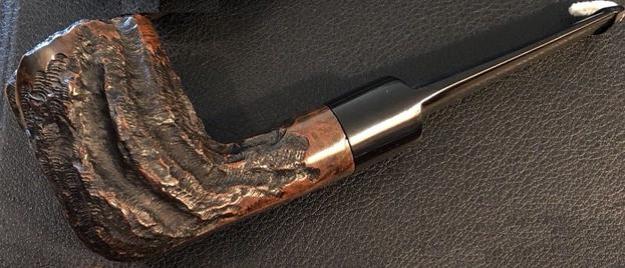 I cleaned up the end of the shank and used a Dremel and sanding drum and a small flat needle file to cut a channel in the shank end for the band to rest in once it was in place. The diameter of the band was slightly smaller than the shank so this was necessary. I sanded the area smooth with 220 grit sandpaper to fit the band in place. I pressed the band on the shank and used a Dremel and sanding drum to remove over half of the depth of the band. I wanted it to be significantly thinner and cover less of the briar. When I got close to the right depth I used a topping board and 220 grit sandpaper to take it down even more. With the band on the shank I wanted the edge of the band and the shank end to be flush so that the stem sat firmly in place as it had before. The next two photos show an original 20.5mm band with the one that I cut down. You can see from the photo how high on the shank the band would have gone. The new band was less than half the size of the original band.
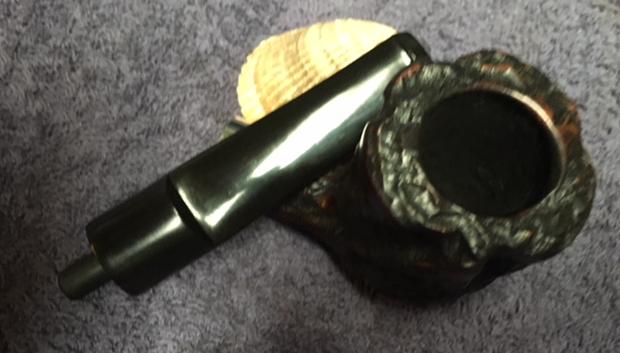
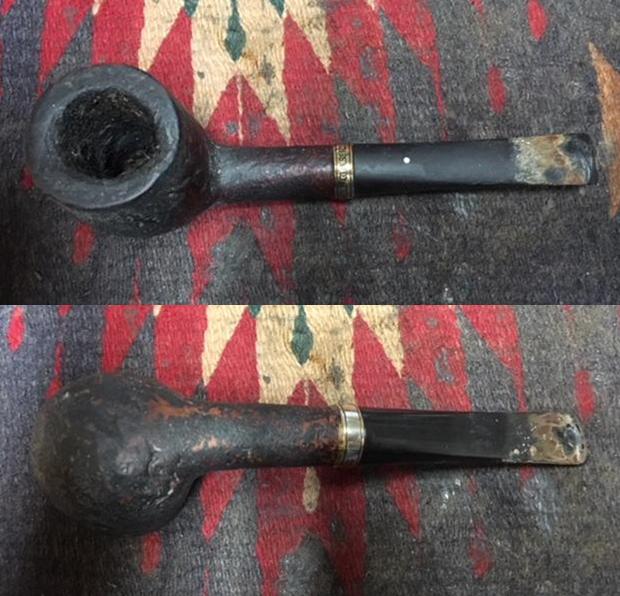
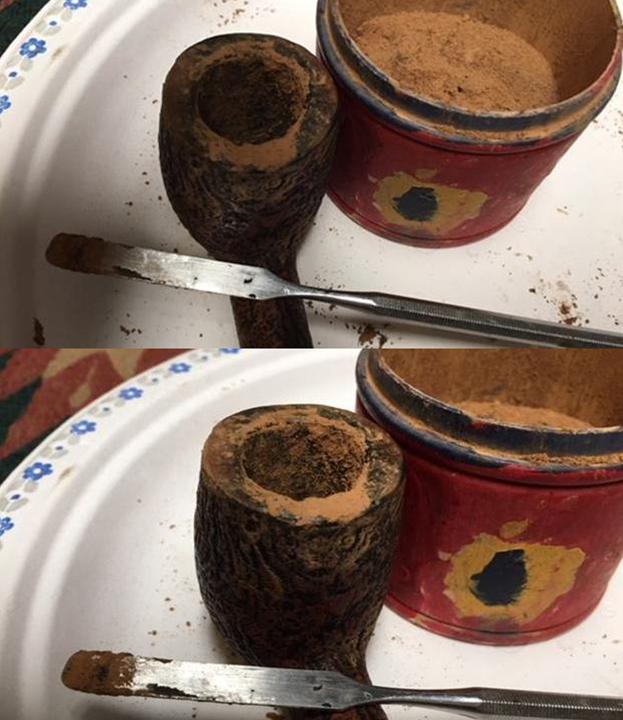
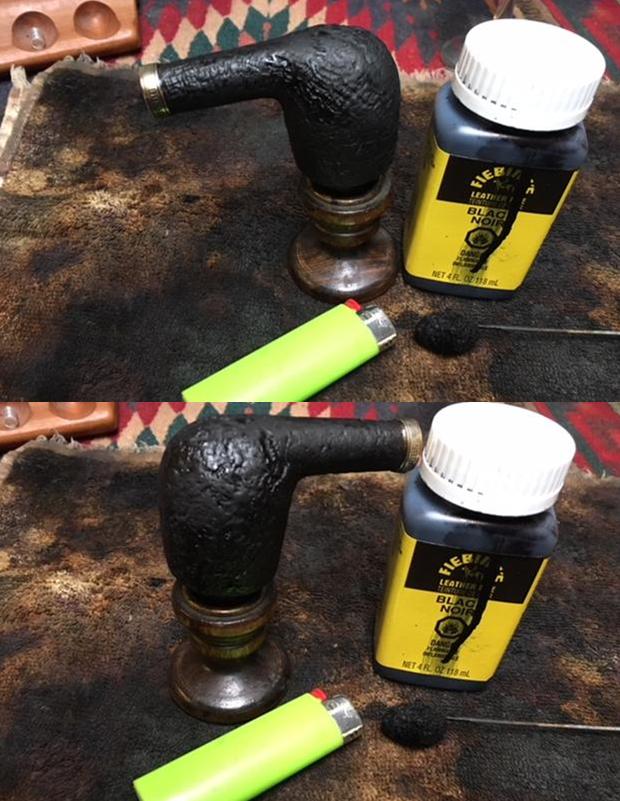
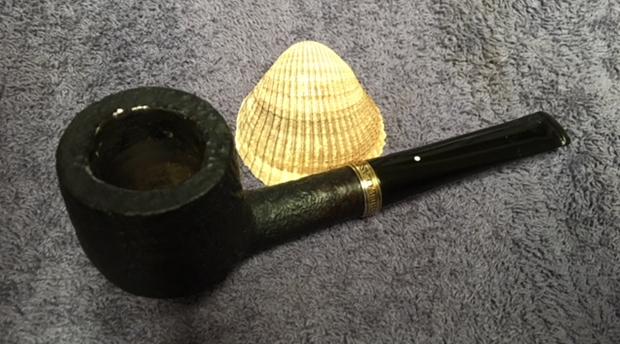
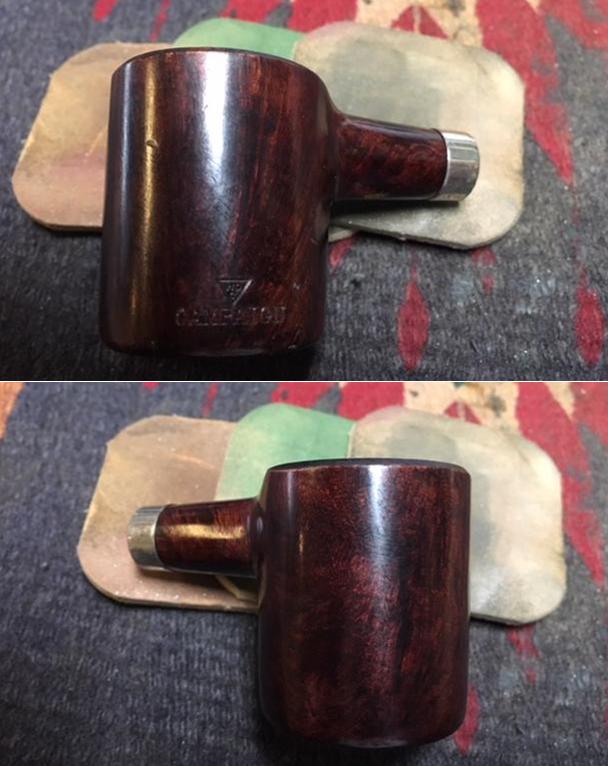
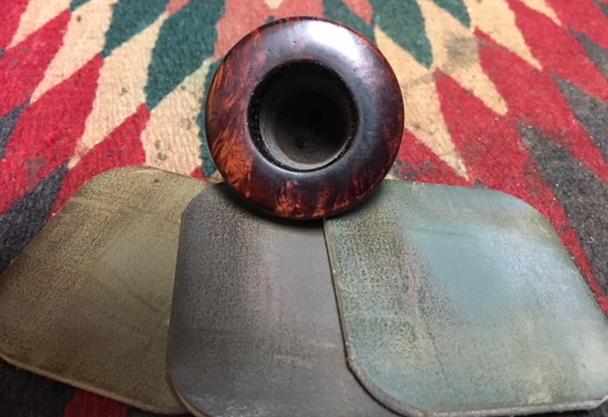
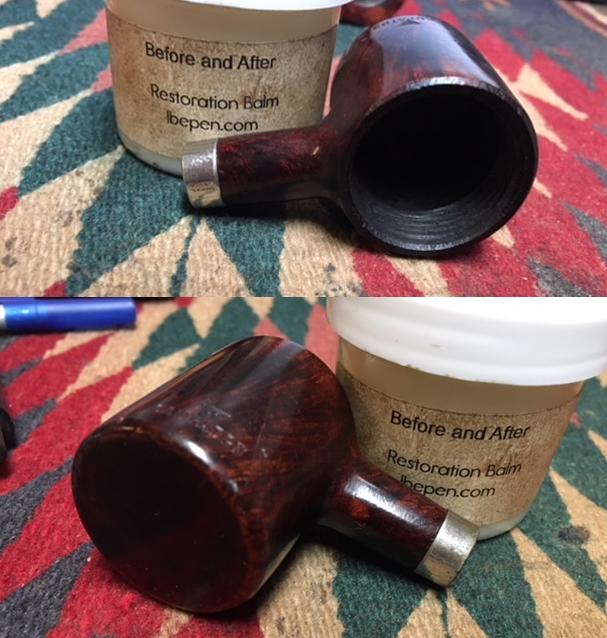
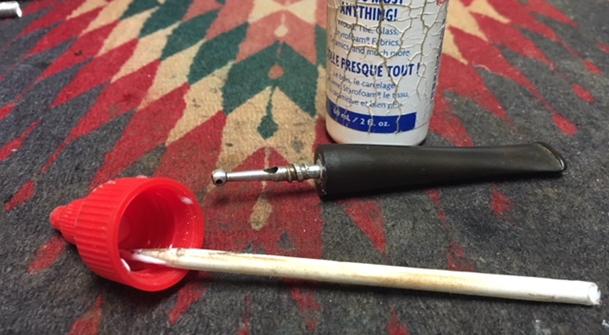
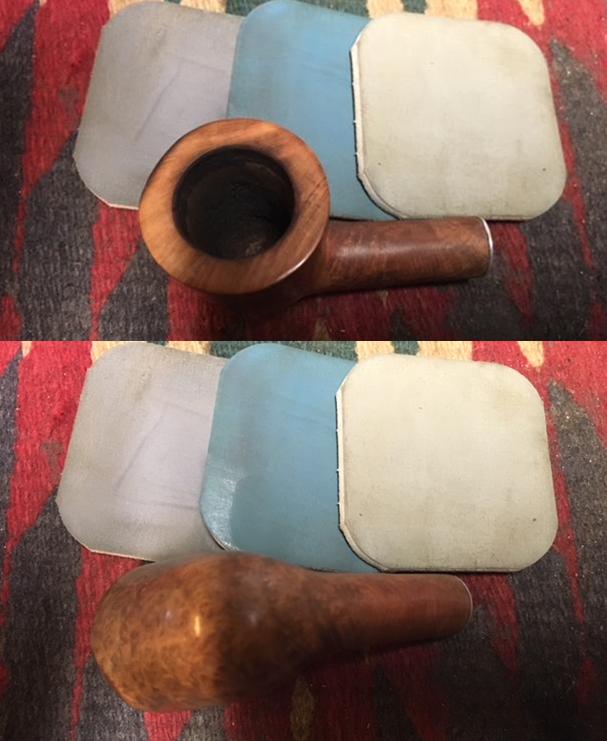
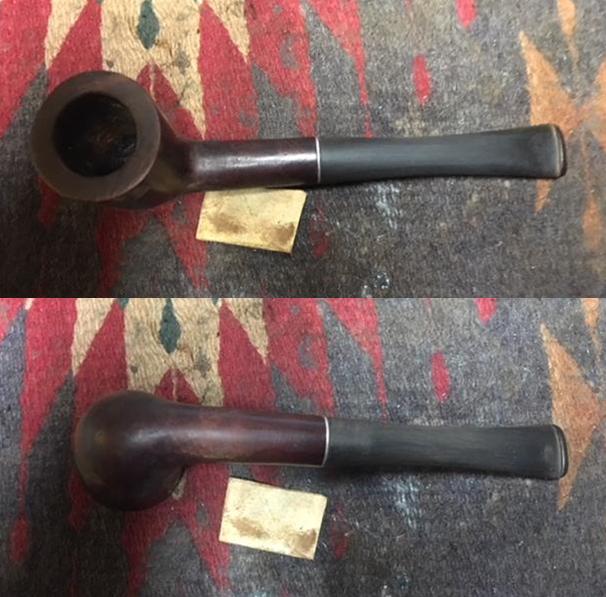
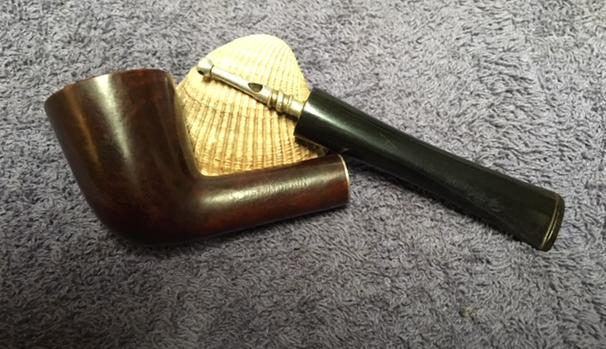
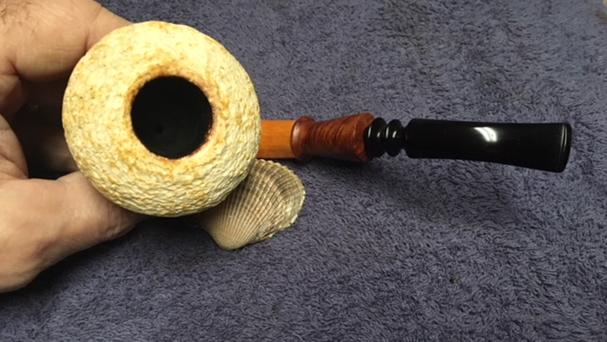
 Once the band was the right height I smoothed out the cut off edge to take away the sharpness of the metal. I rubbed some white all-purpose glue on the cracked area and on the freshly sanded area that the band would sit on and pressed the band onto the shank. I wiped off the excess glue that was squeezed out but the band with a damp cotton pad and took the following photos.
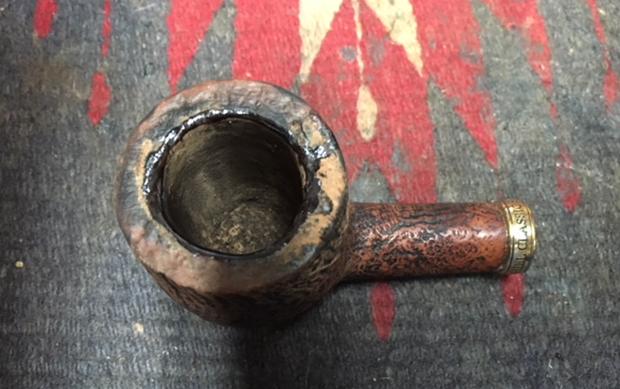
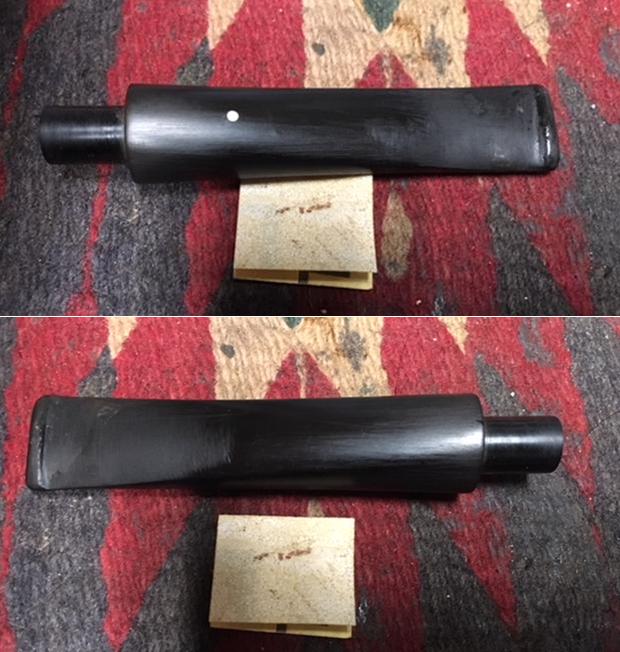
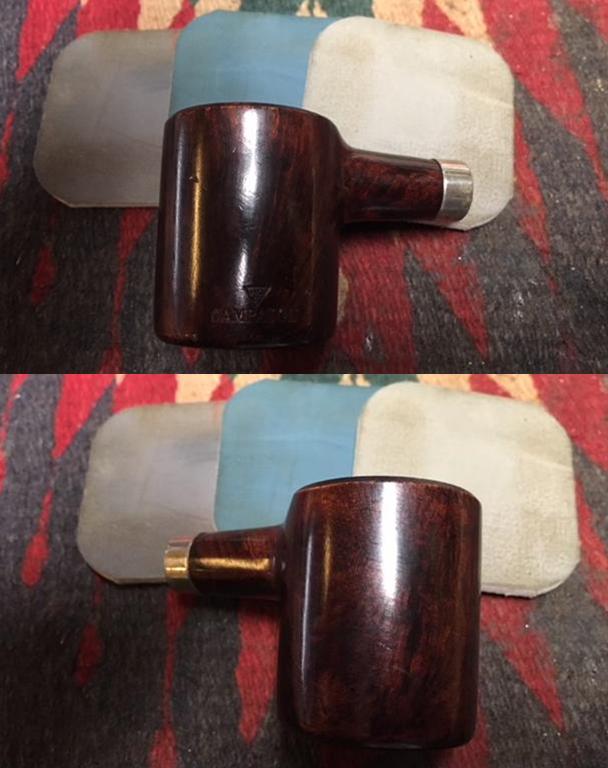
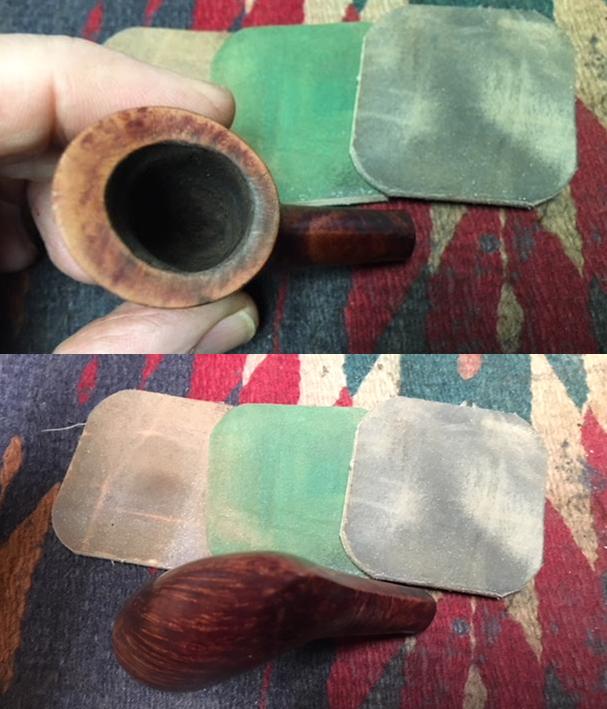
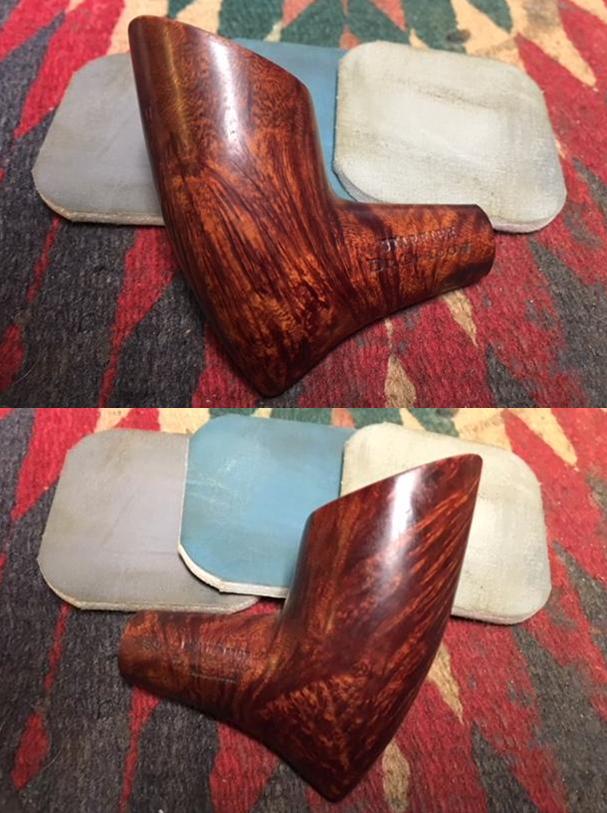
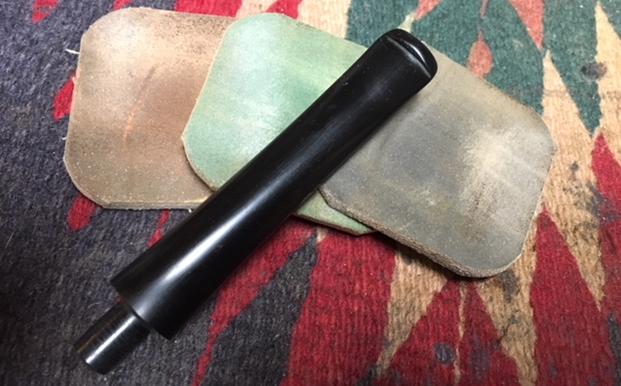
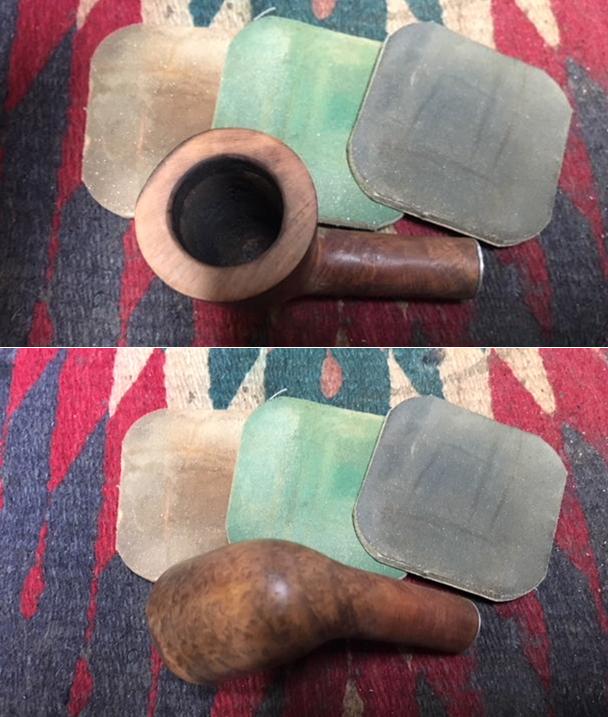
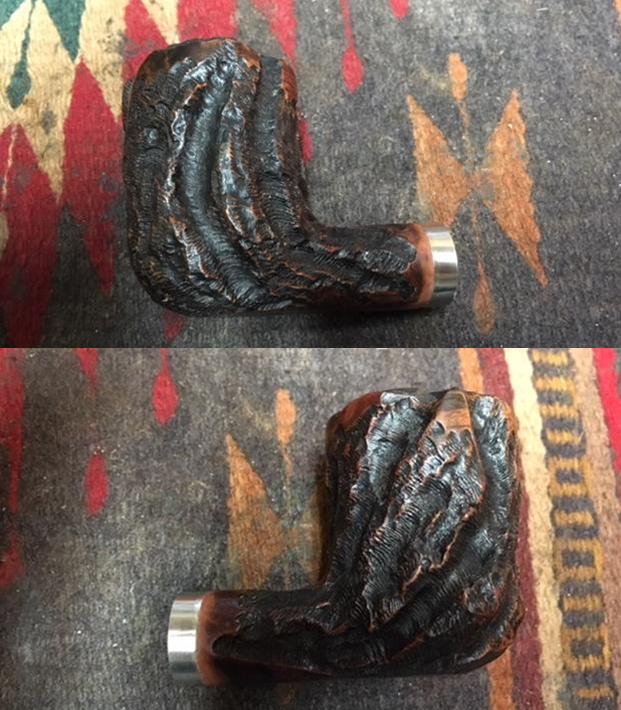
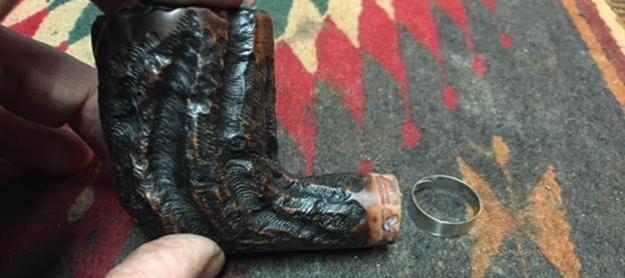
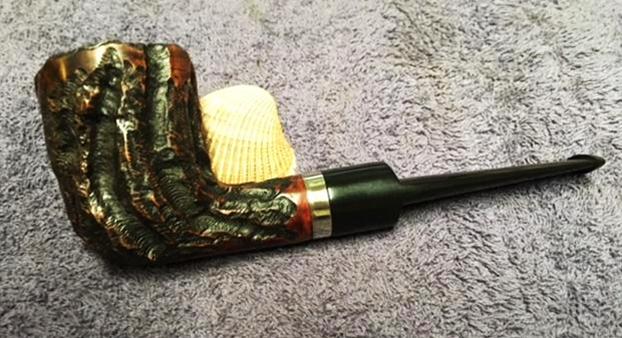
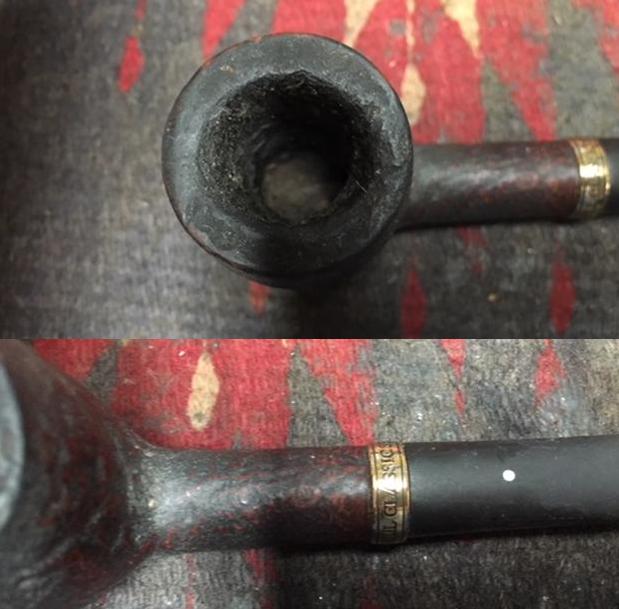
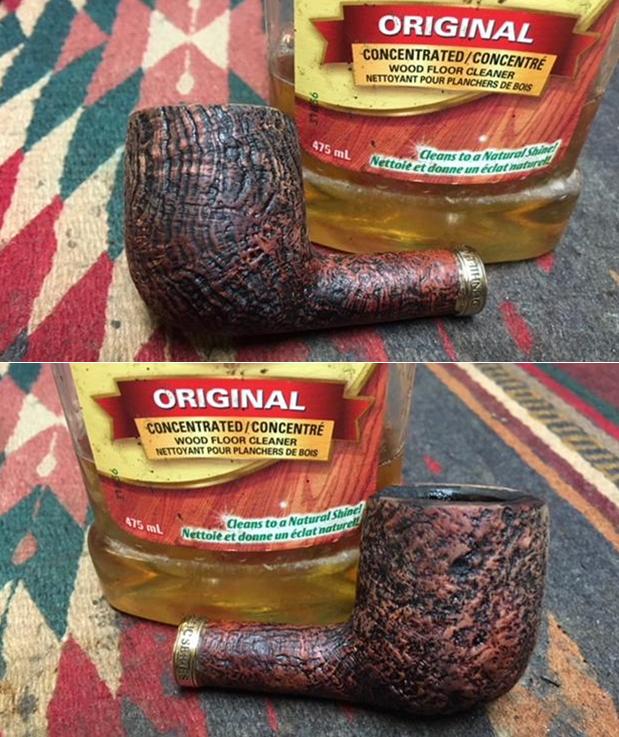
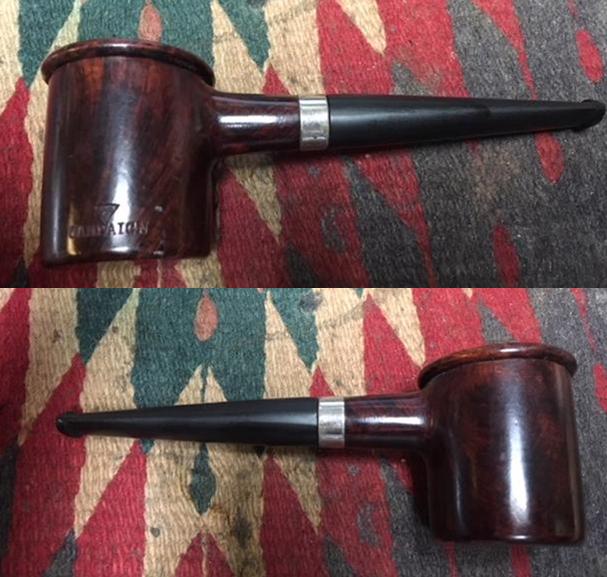
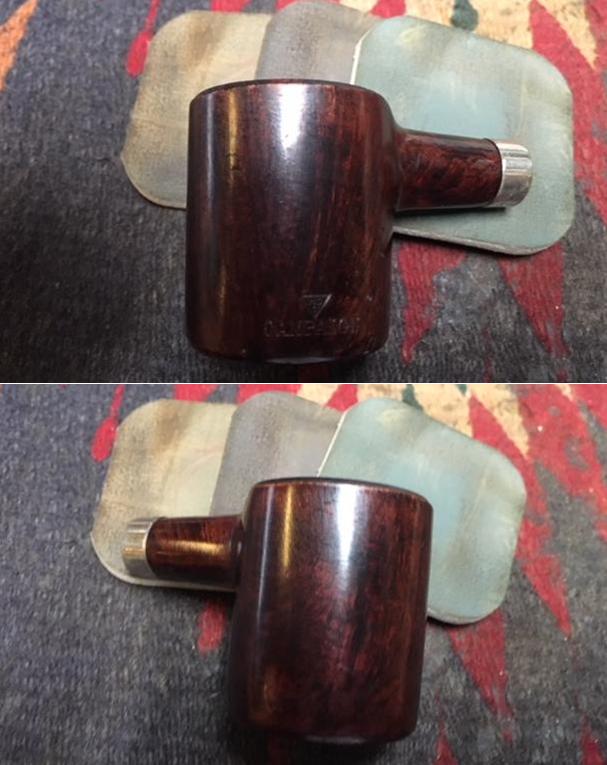
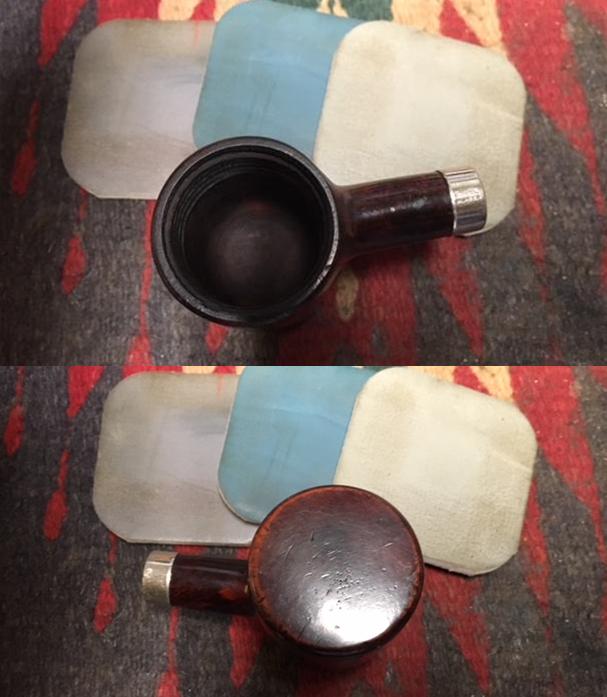
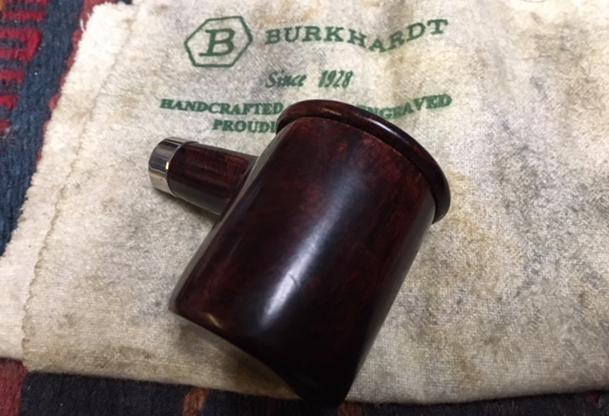
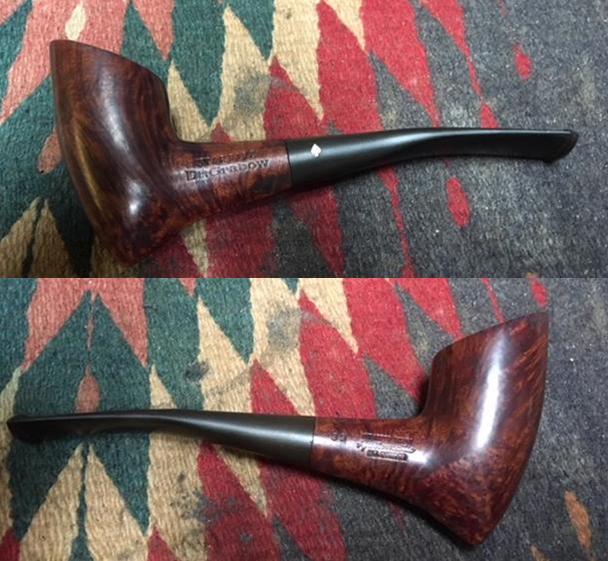
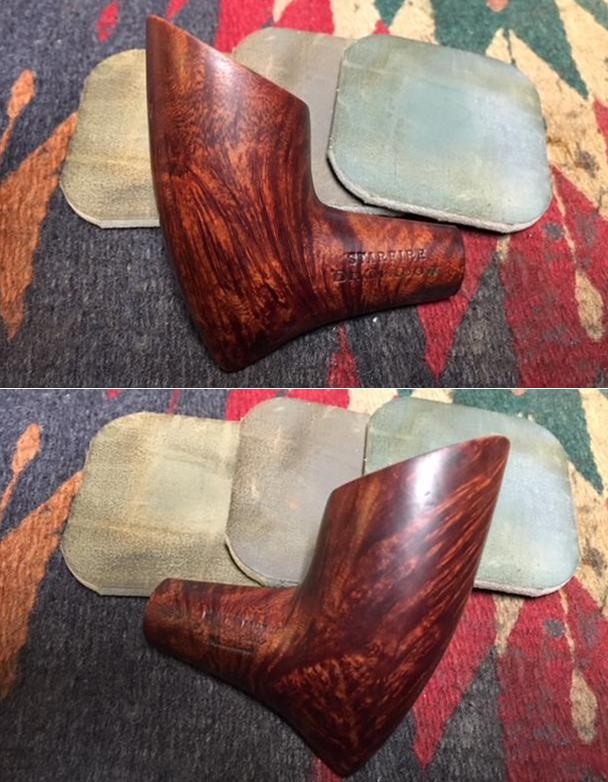
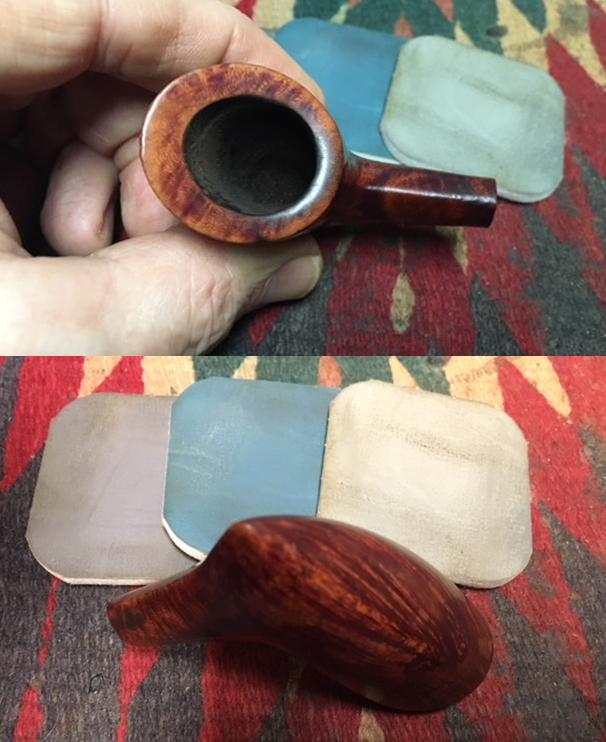
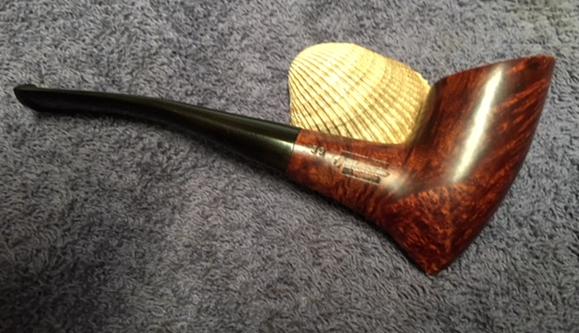
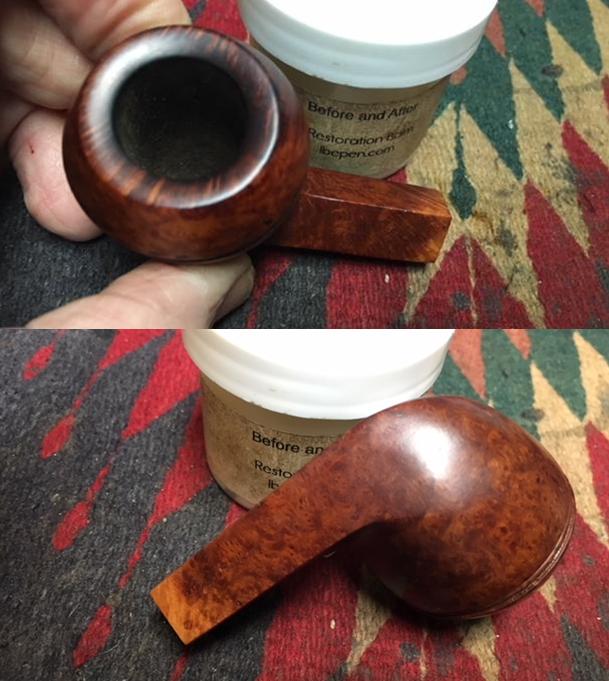
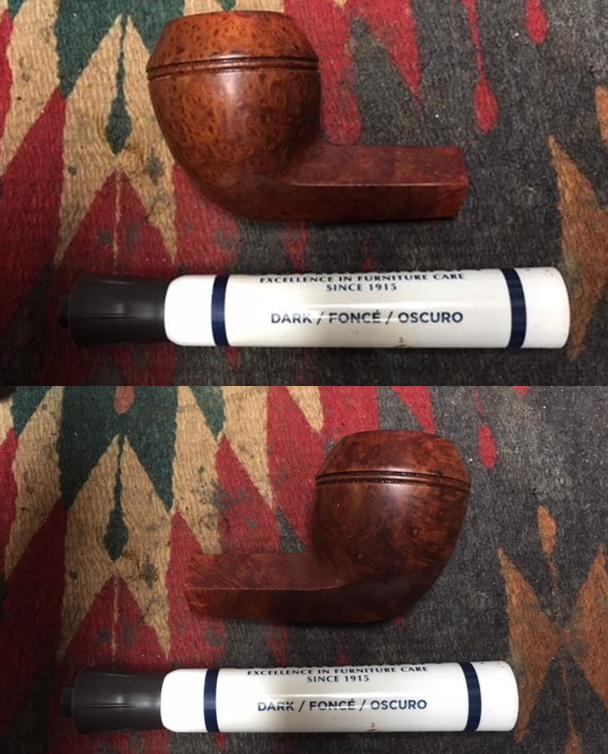
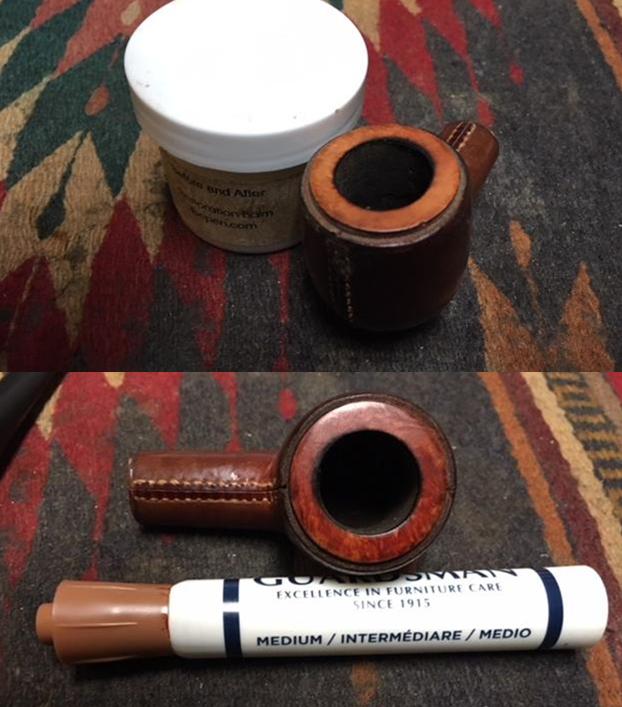
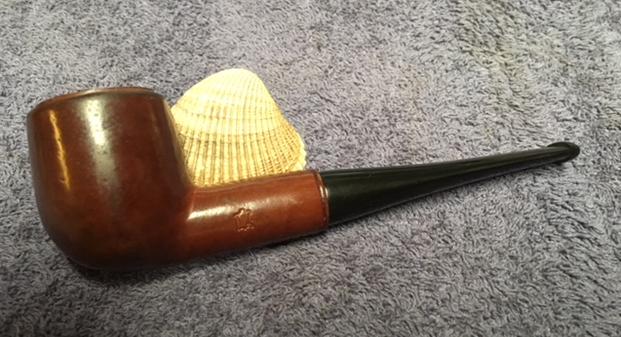
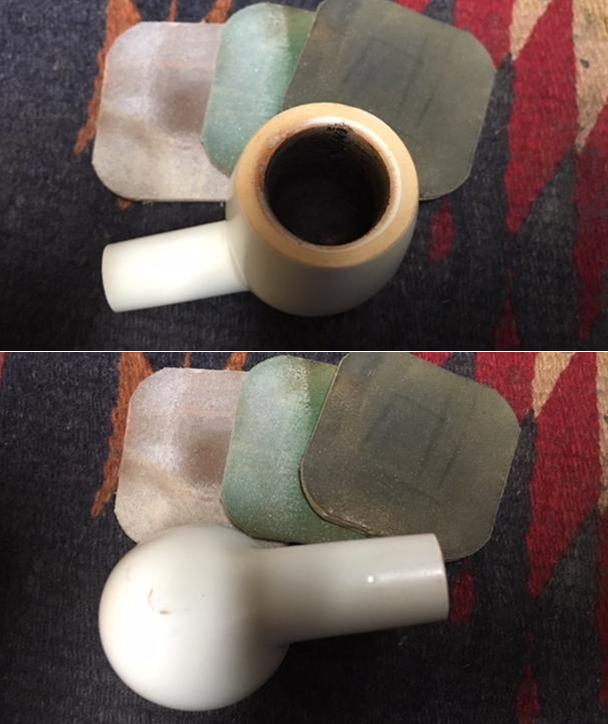
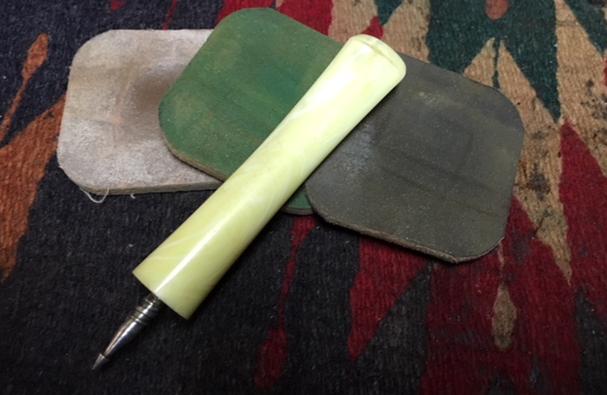
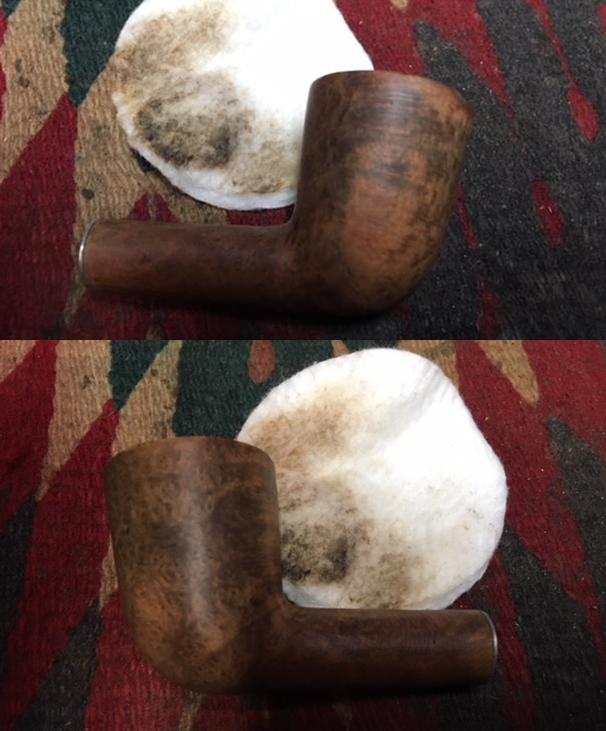
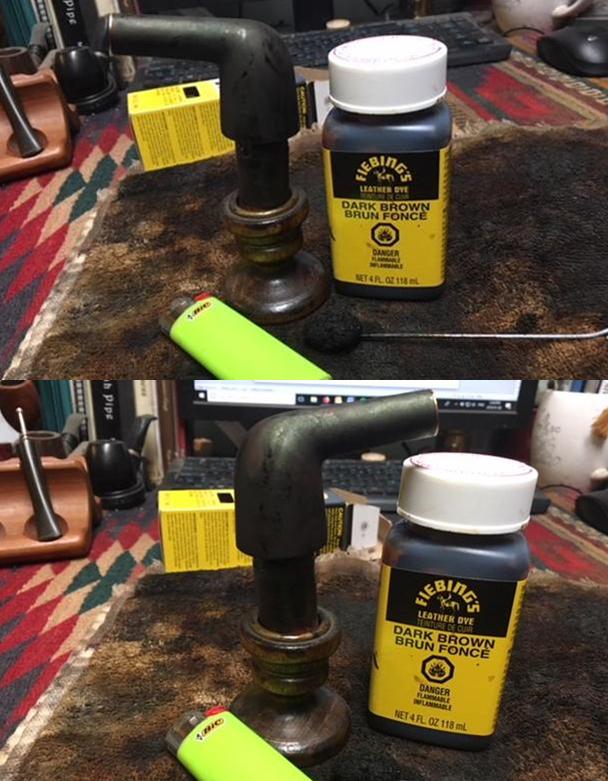
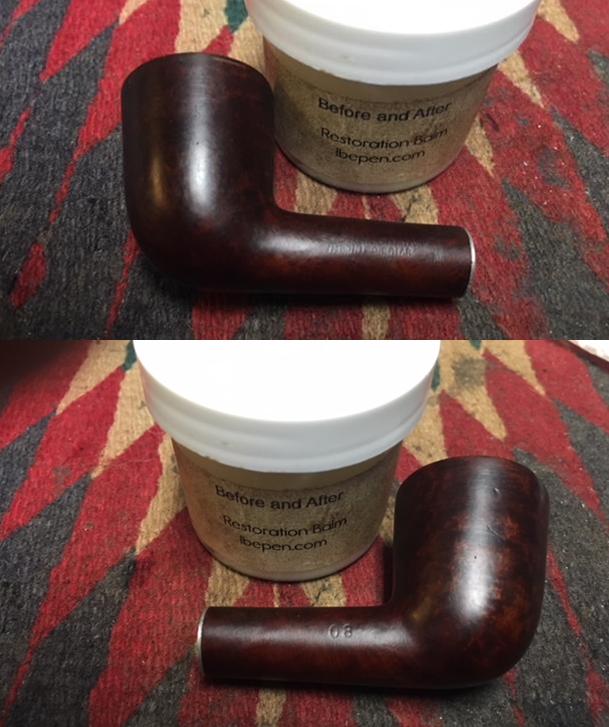
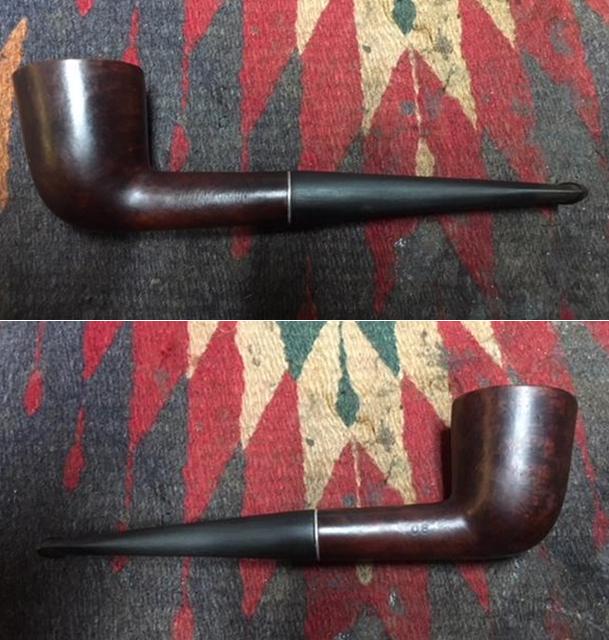
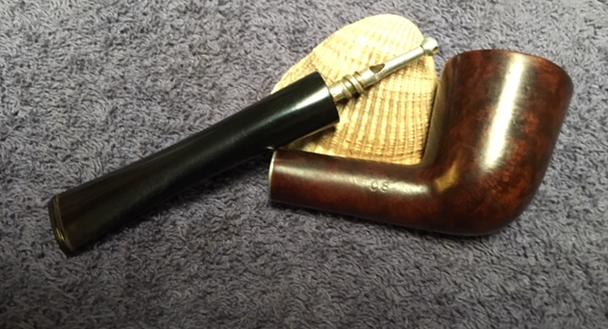
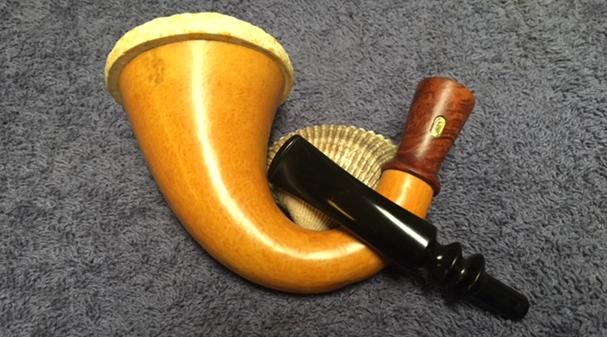
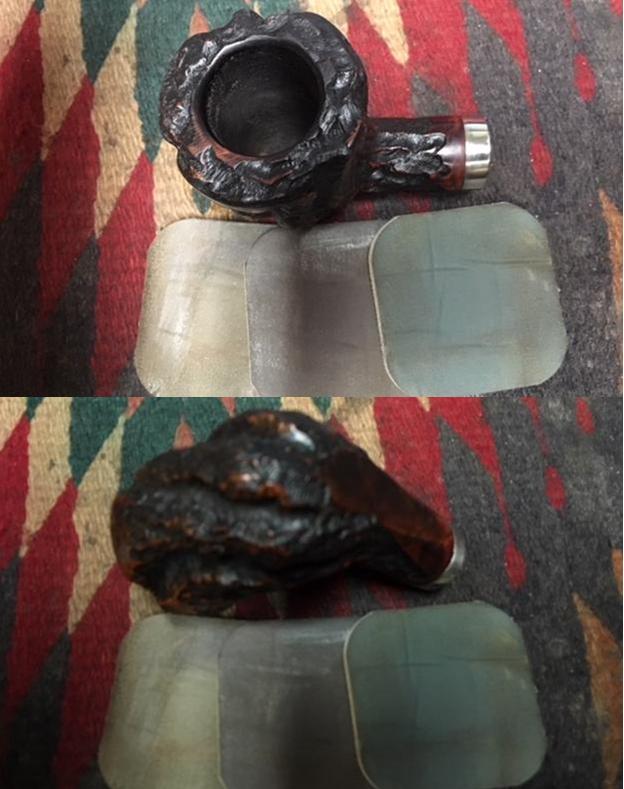
 I polished the area in front of the band where I has sanded it smooth using micromesh sanding pads – wet sanding with 1500-2400 grit pads and dry sanding with 3200-6000 grit pads. Once it was smooth I restained it by mixing a medium and a dark brown stain pen to match the colour of the rest of the pipe. The colour was good. I took photos of the pipe at this point before I buffed and polished it.
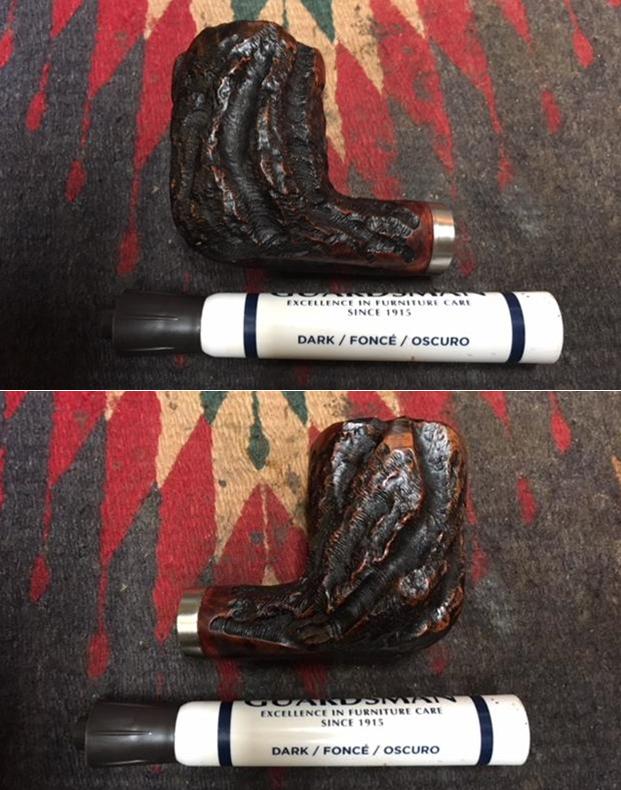
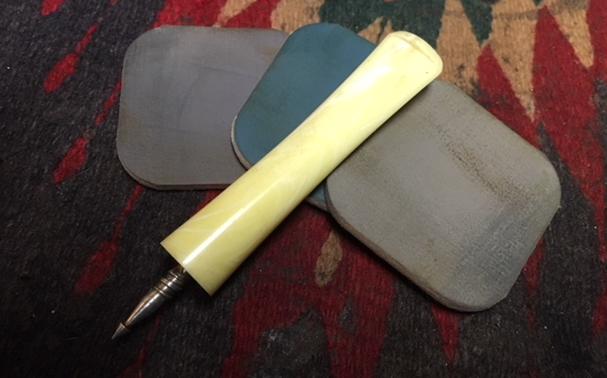
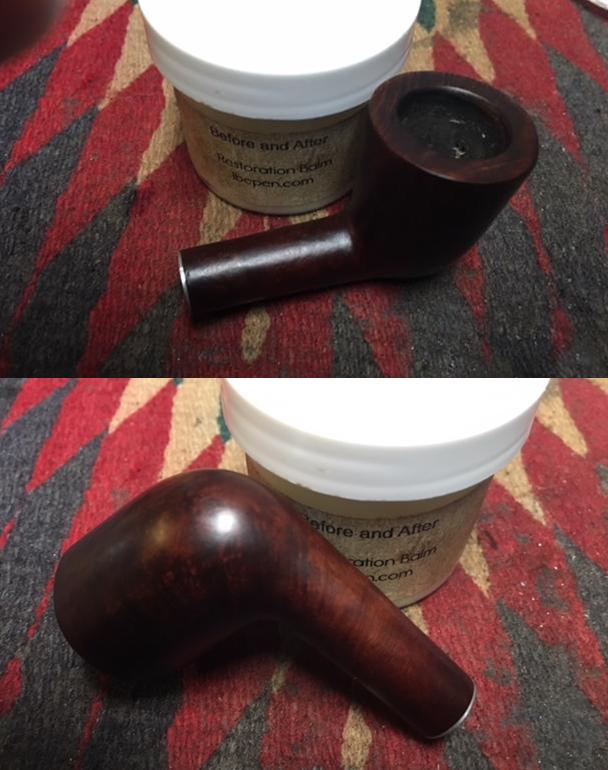
 I polished the nickel band and the restained shank with micromesh sanding pads. I dry sanded with 1500-12000 grit pads. I wiped it down with a damp cloth after each pad. I wiped it down after the final set of pads one more time. I buffed the bowl and shank with Blue Diamond on the buffing wheel to raise a shine and blend the stains together.
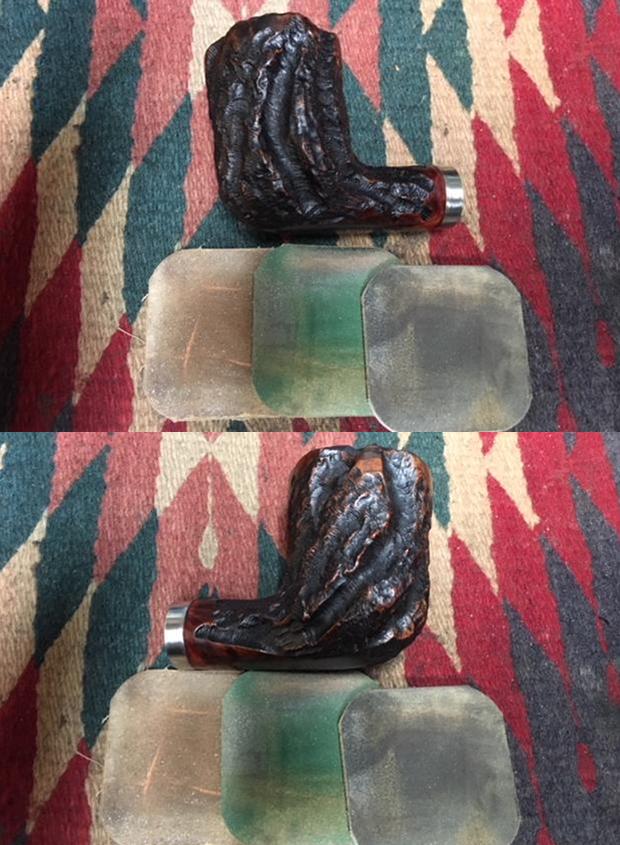


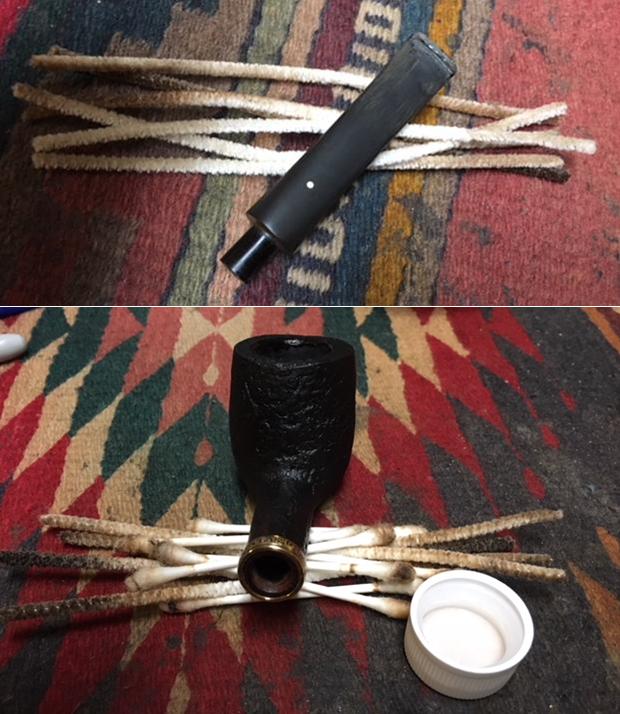
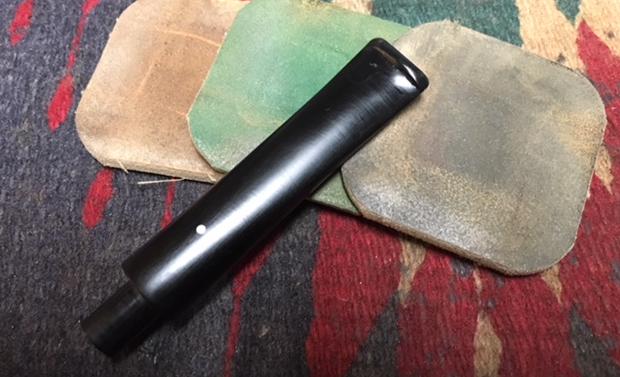
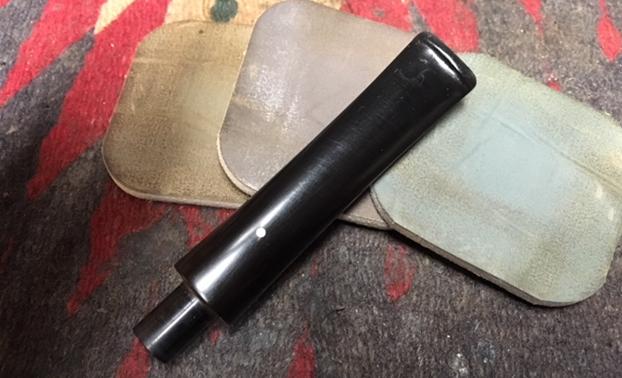
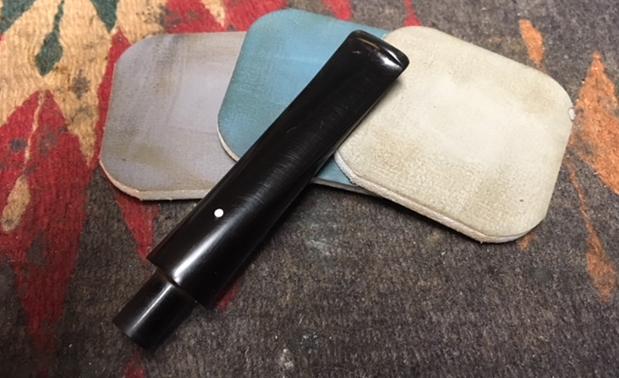
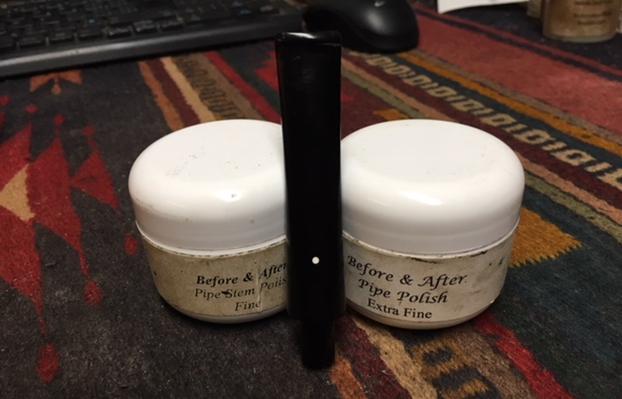
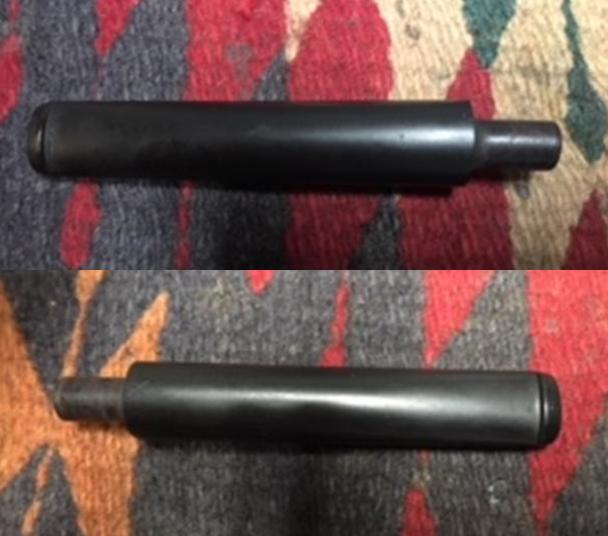
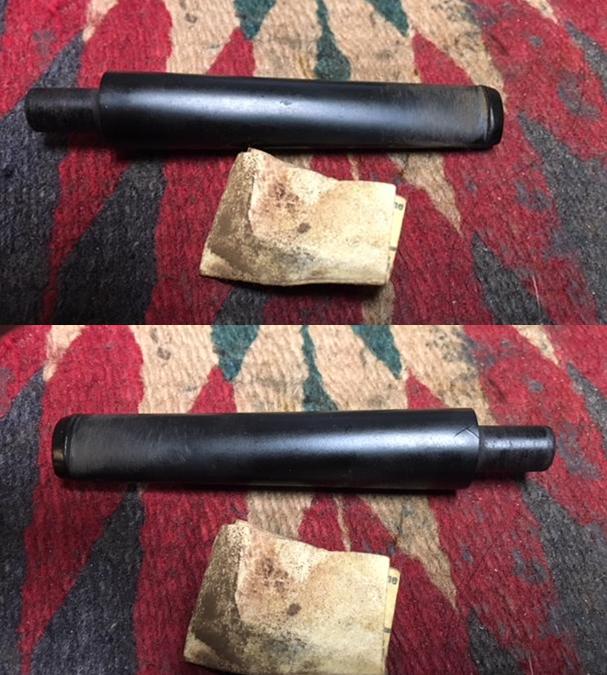
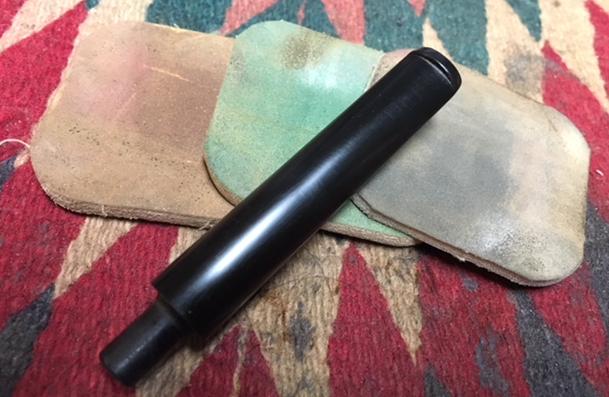
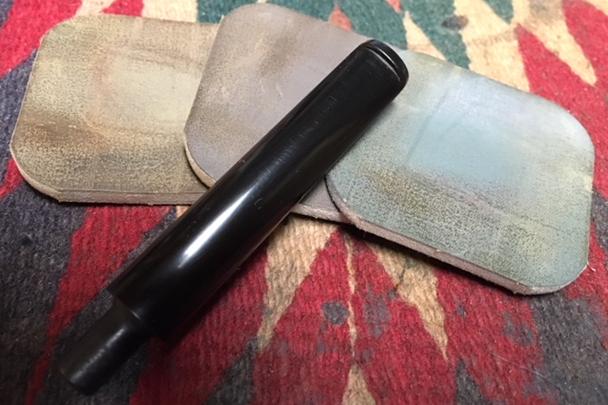
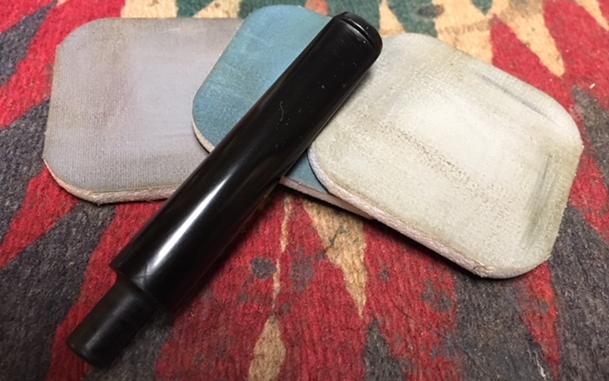
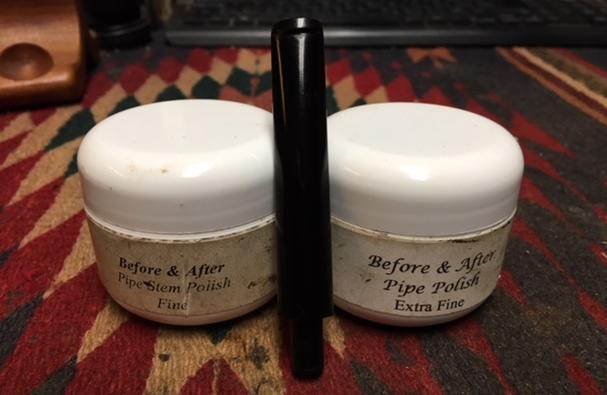
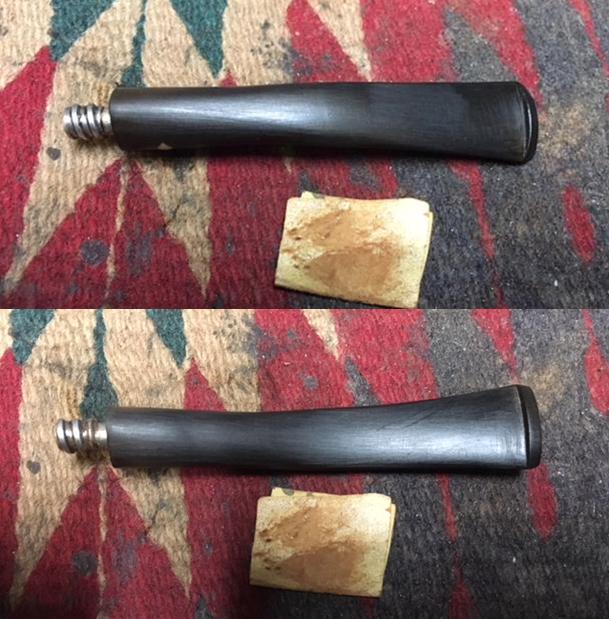
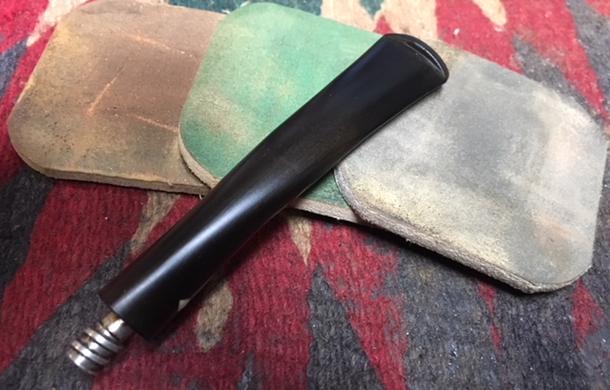
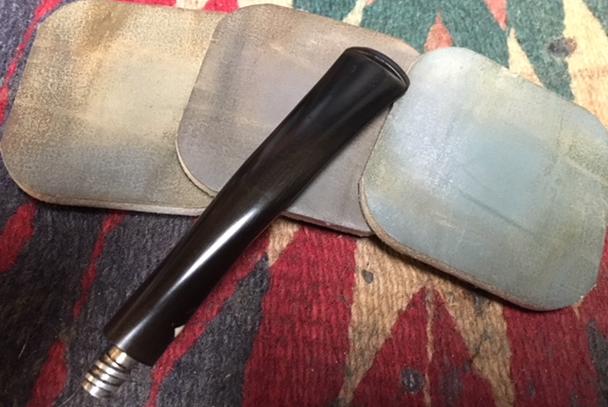
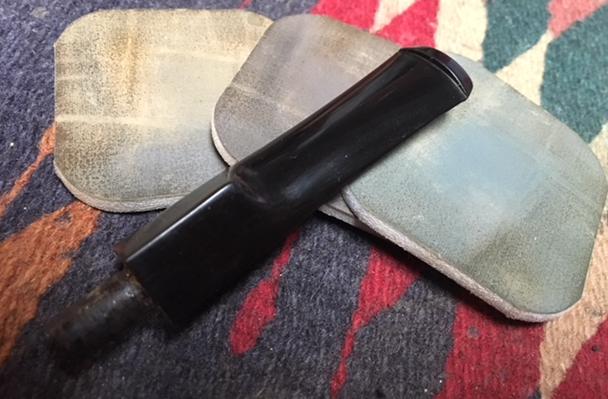
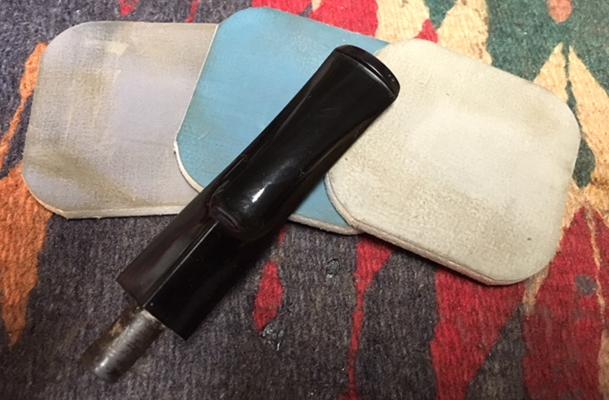
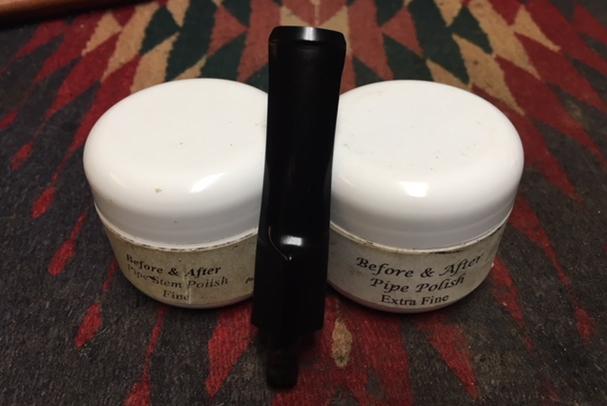
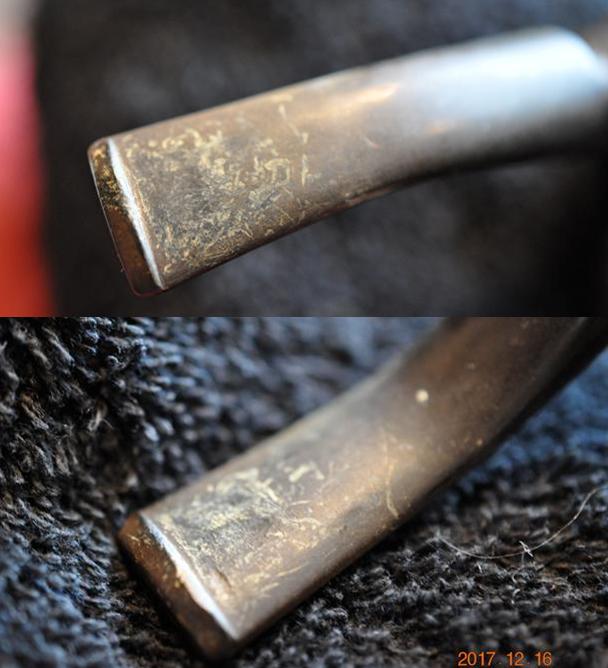
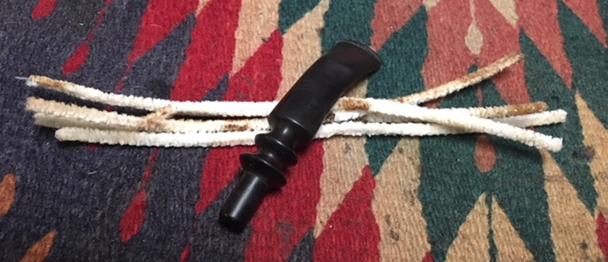
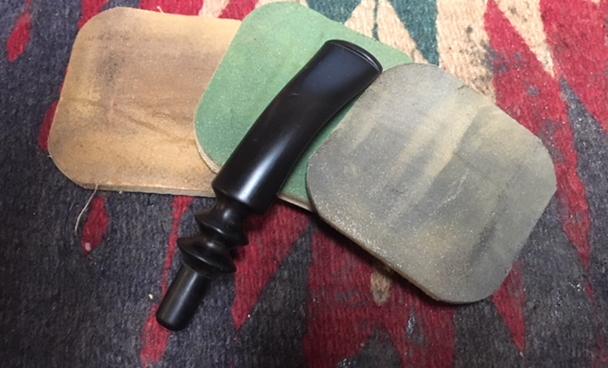
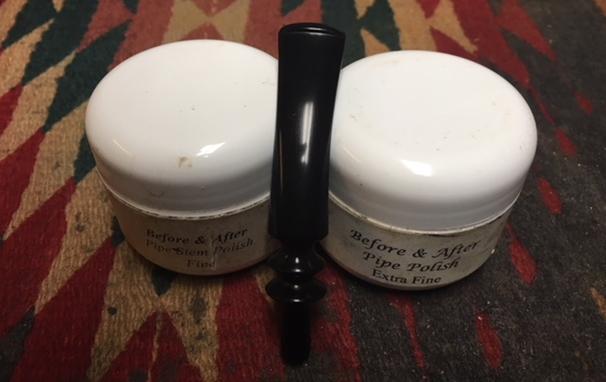
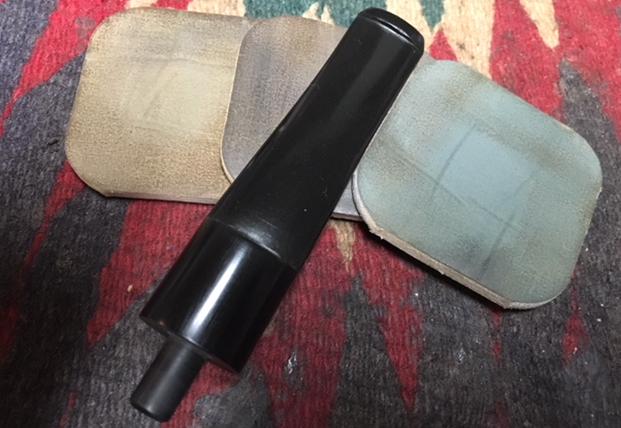
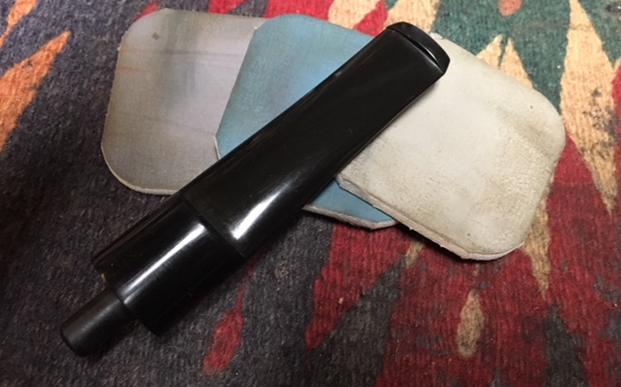
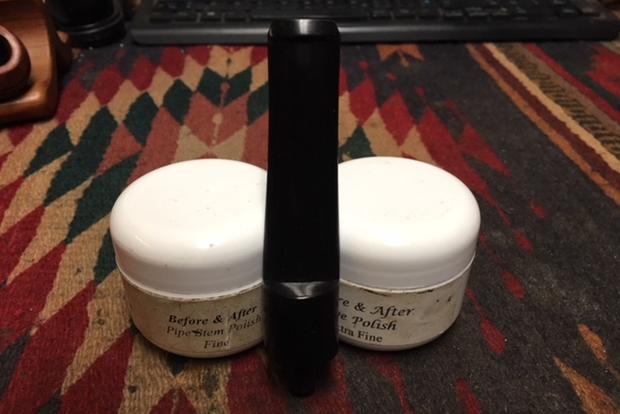
 There were some tooth marks and tooth chatter on both sides of the stem just ahead of the button. I sanded out the chatter in the vulcanite with 220 grit sandpaper. It did not take too much work to remove all of the marks. I polished the stem with micromesh sanding pads – wet sanding with 1500-2400 pads and dry sanding with 3200-12000 grit pads. I wiped the stem down after each sanding pad with Obsidian Oil. I polished it with Before & After Pipe Polish Fine and Extra Fine. I wiped it down a final time with the oil and put it aside to dry.
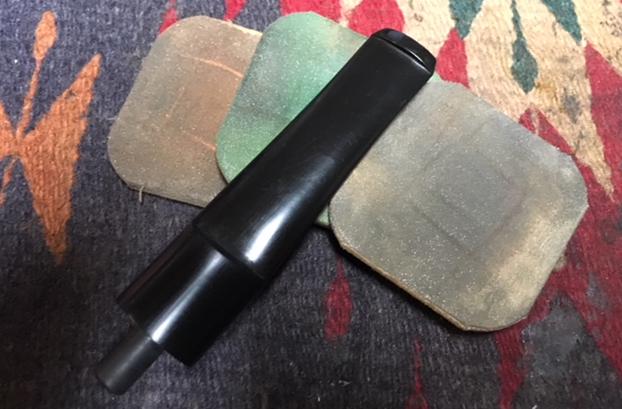
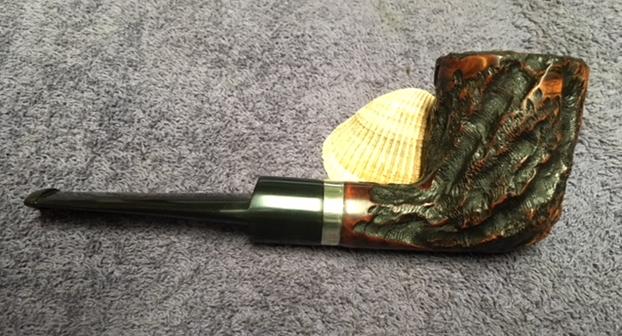
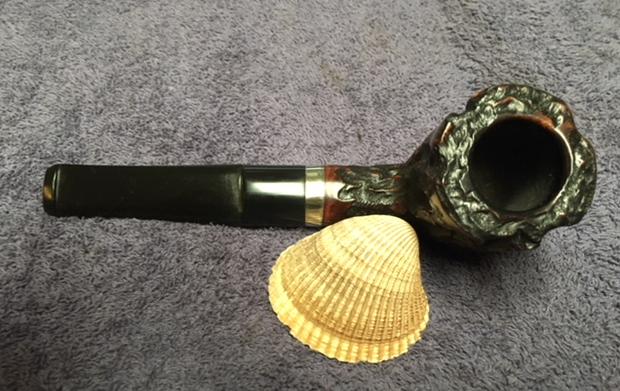
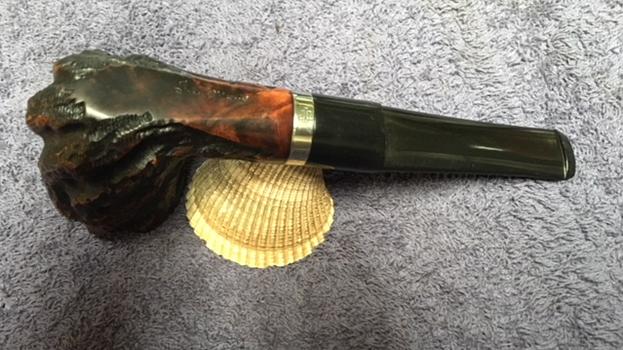
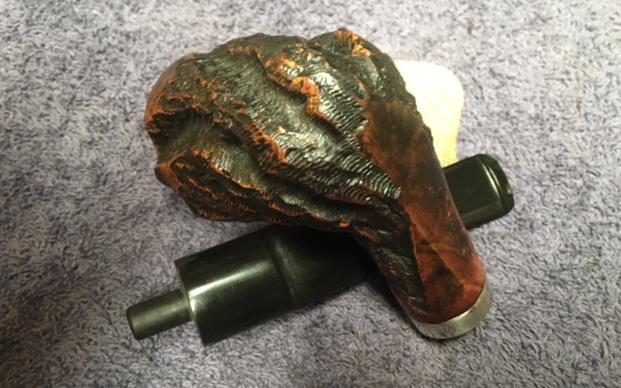
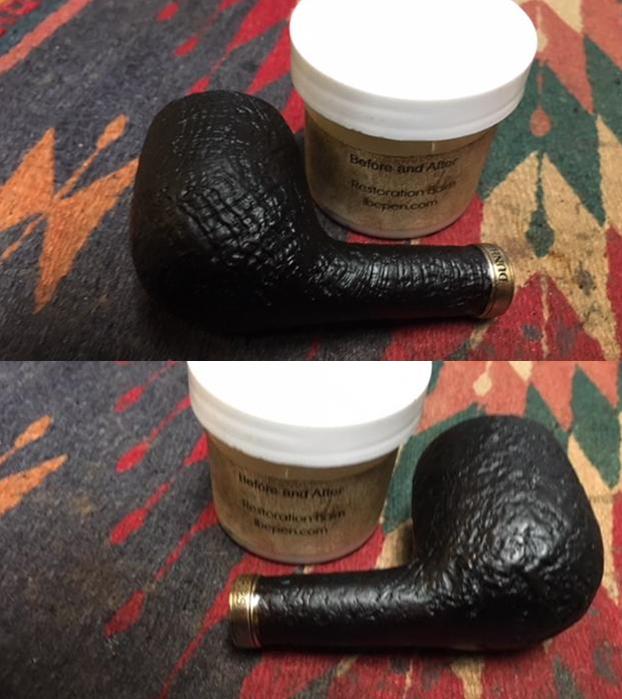
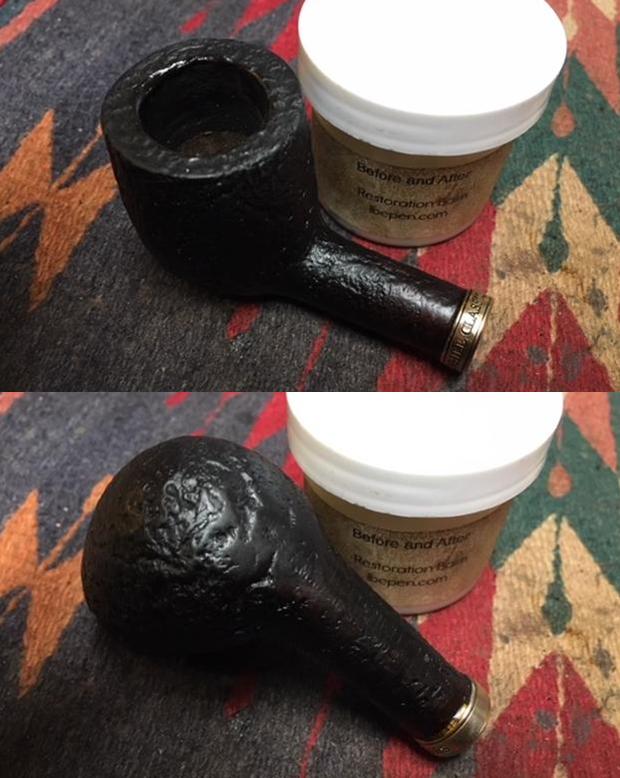
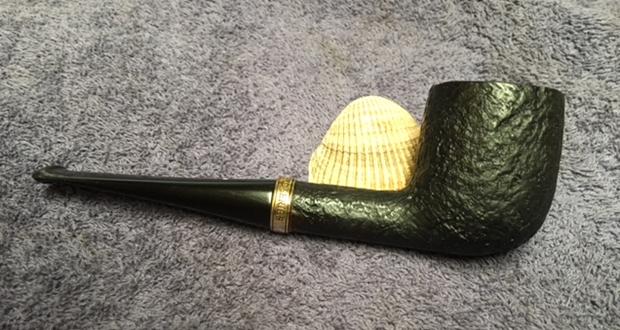
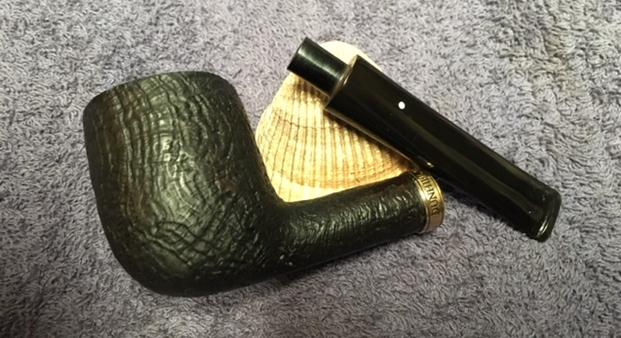
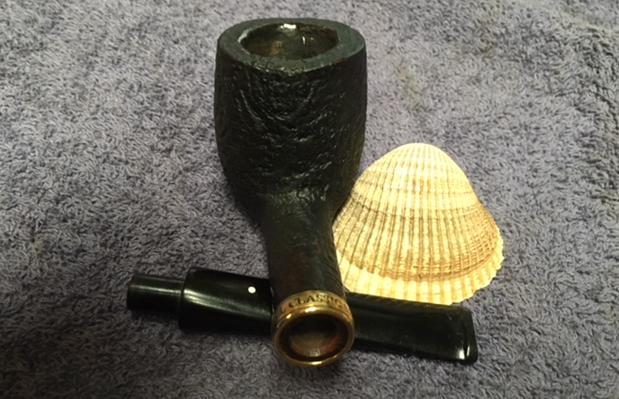
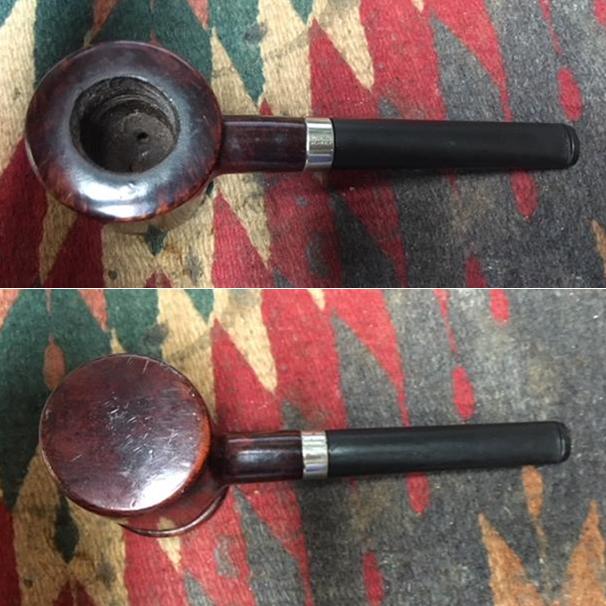
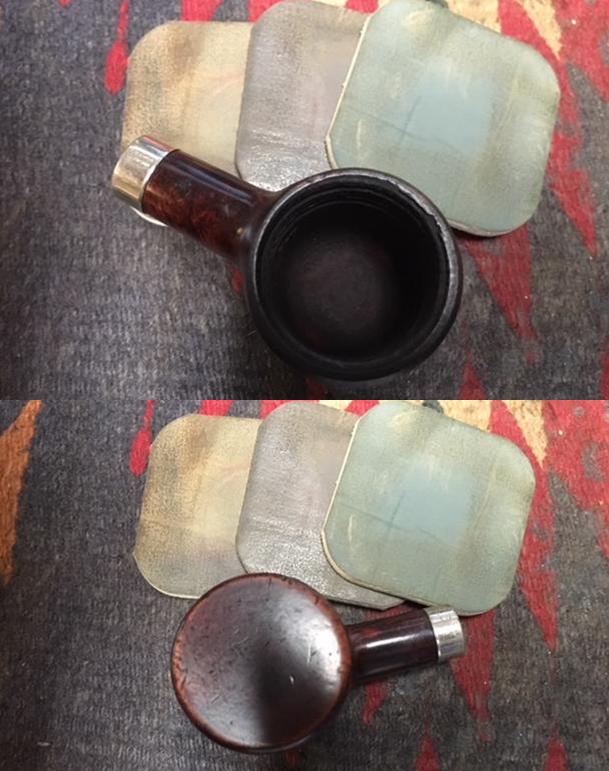
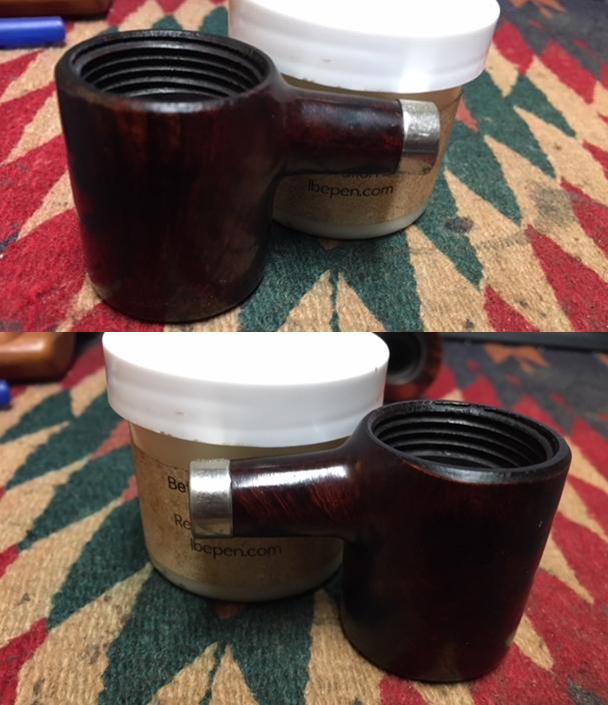
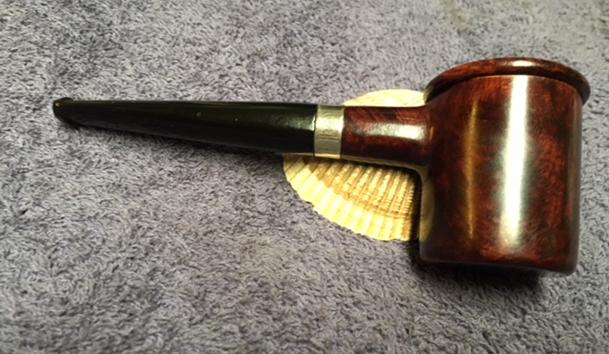
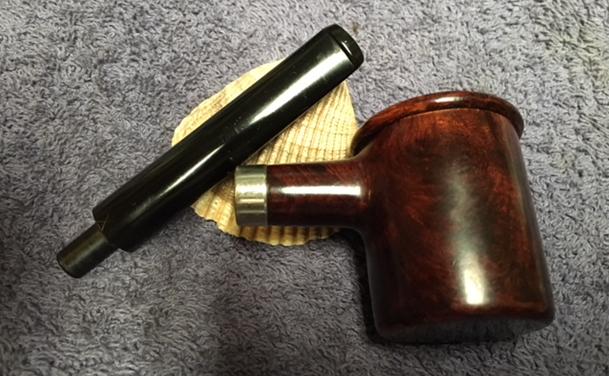
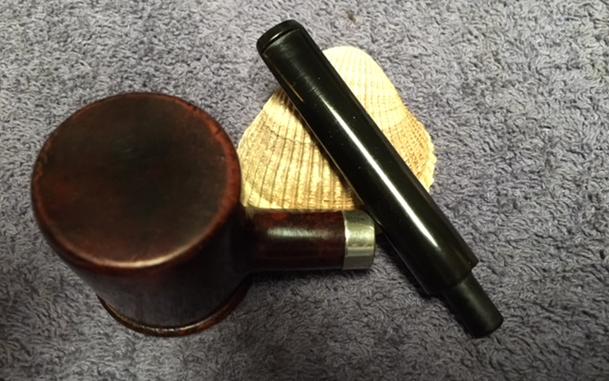
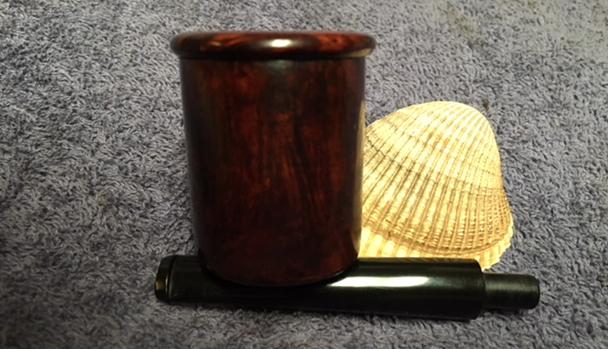
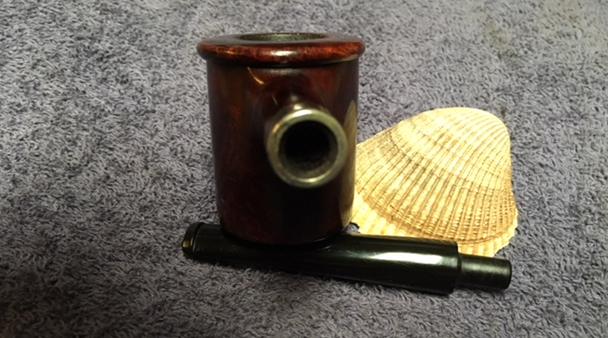
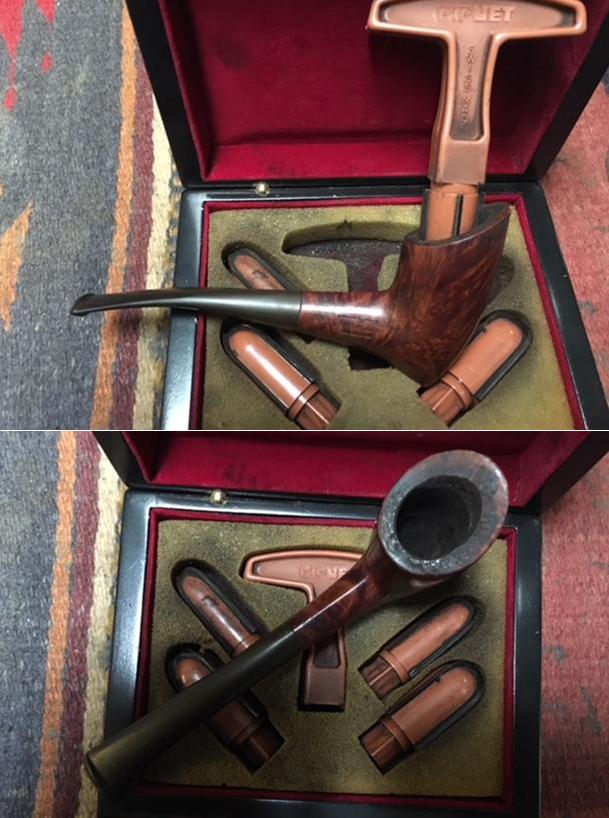
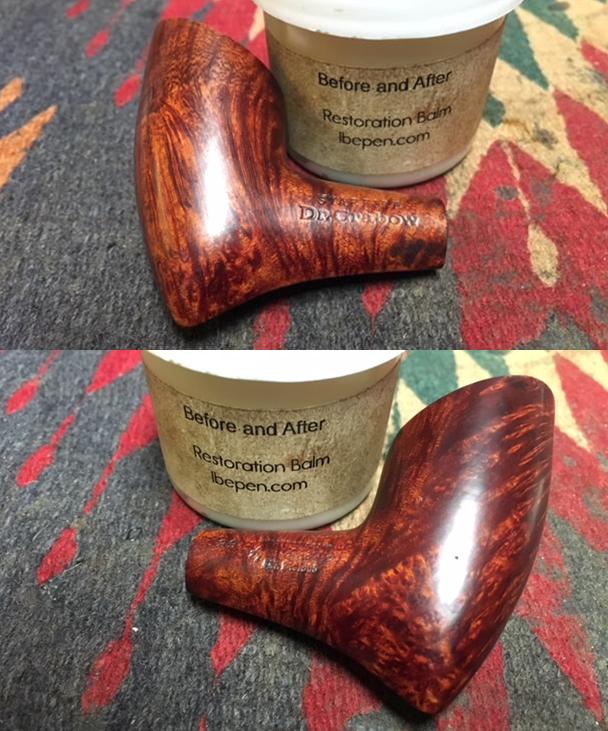
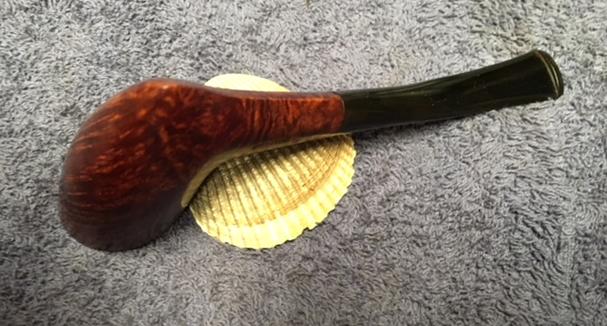
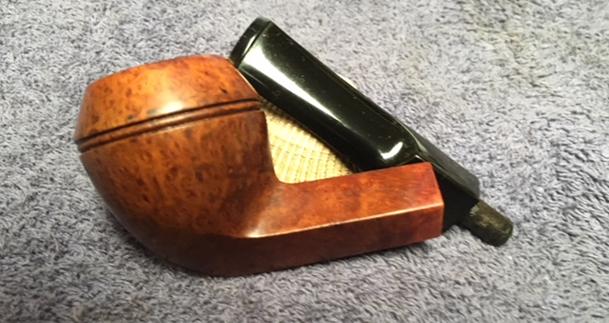
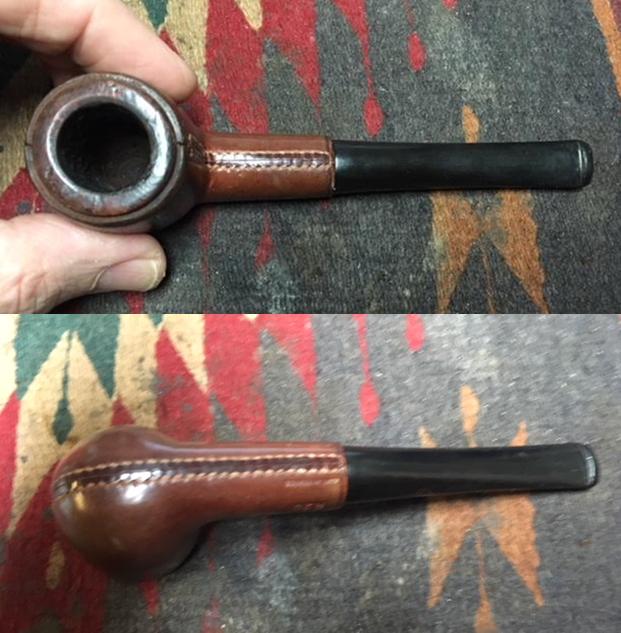
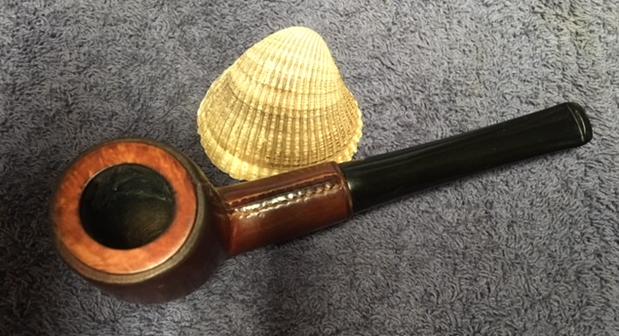
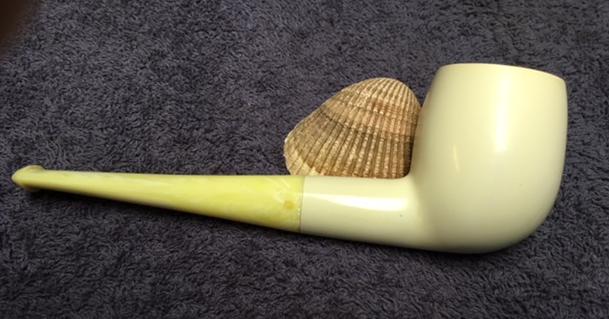
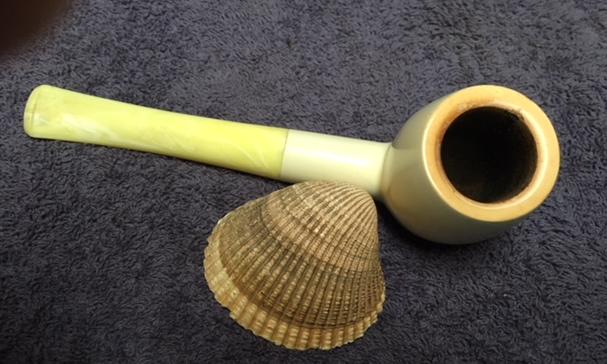
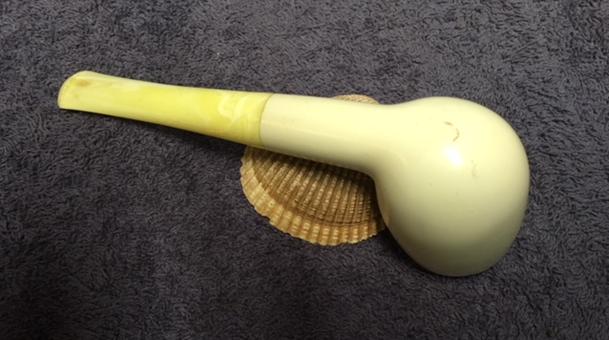
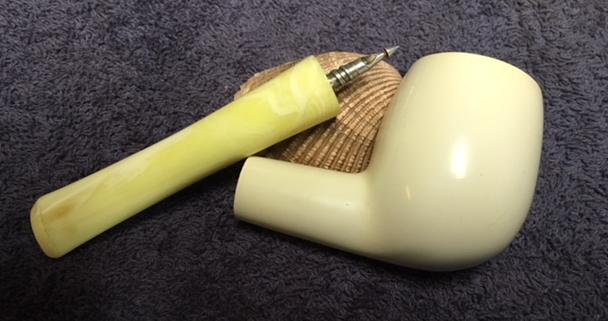
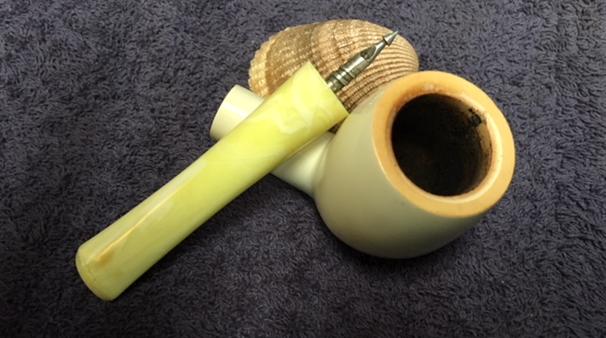
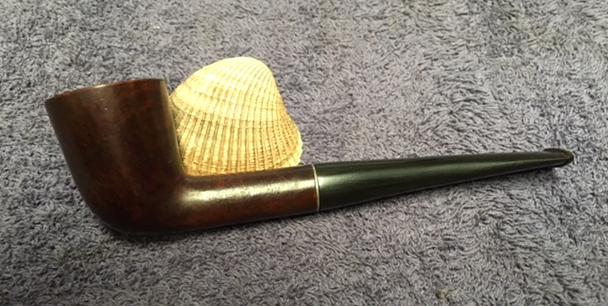
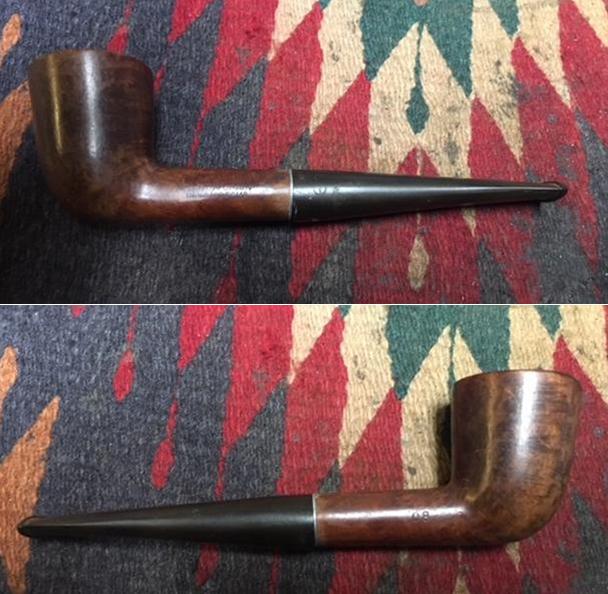
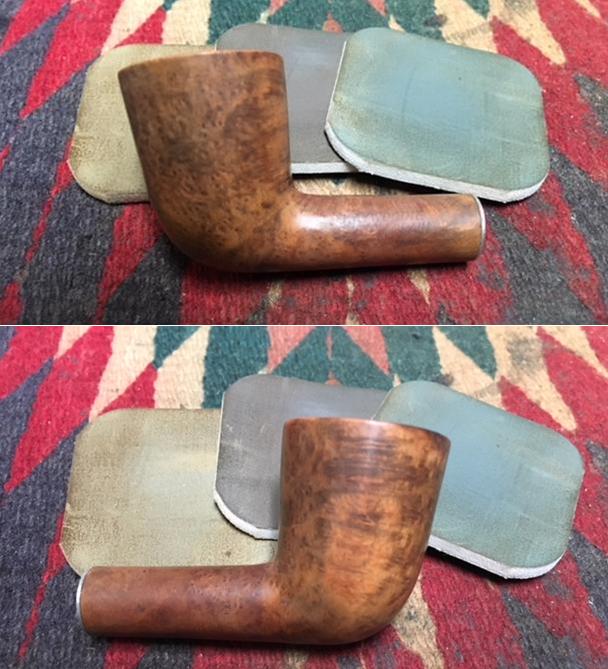
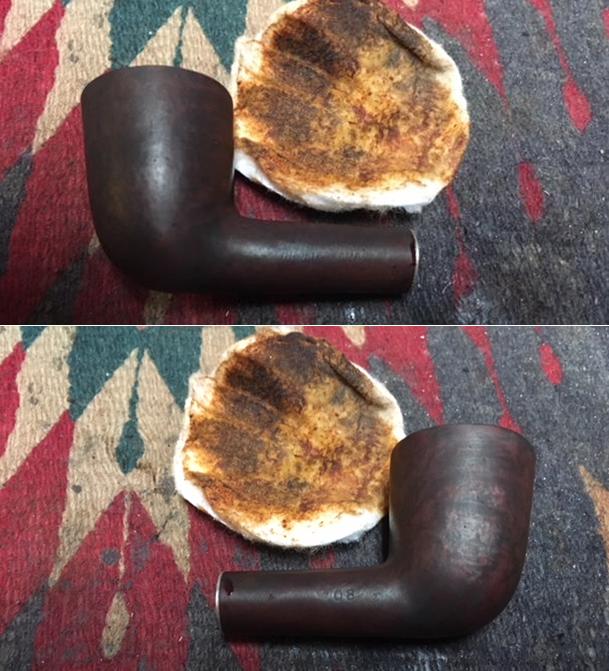
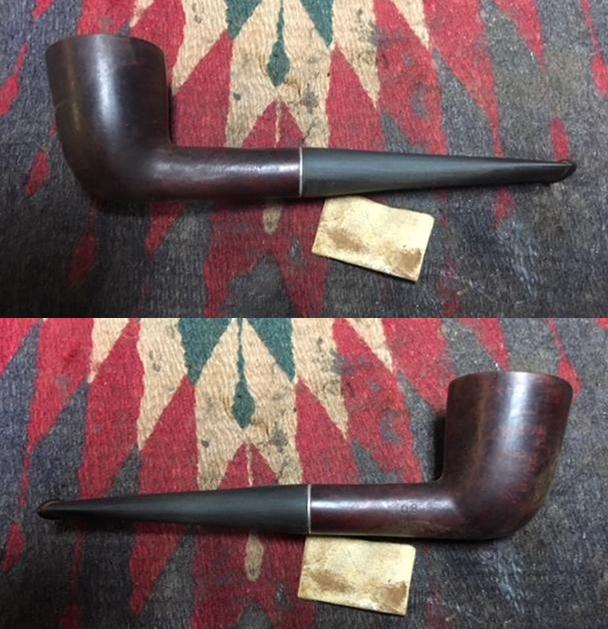
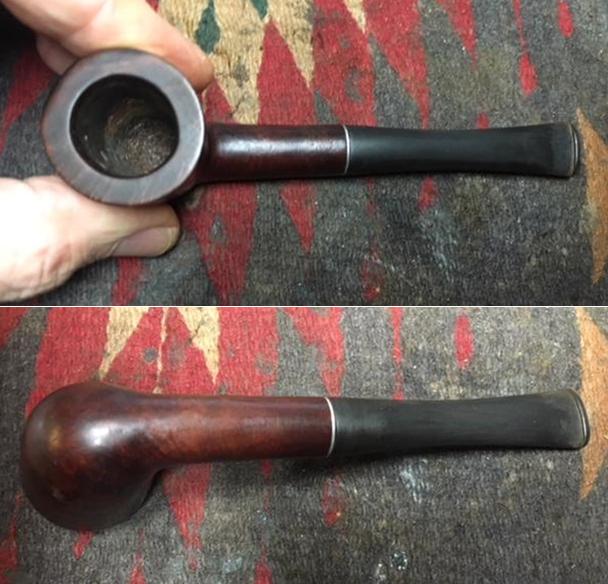
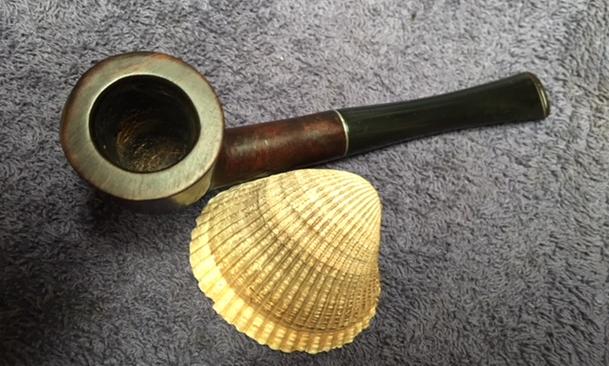
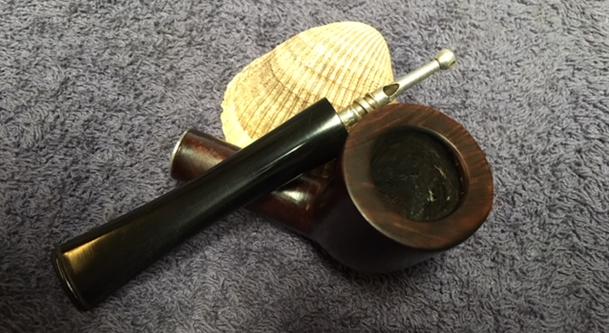
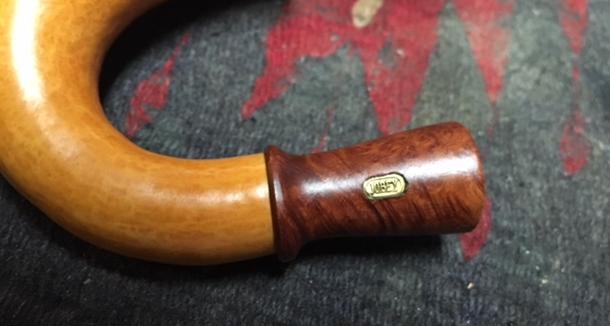
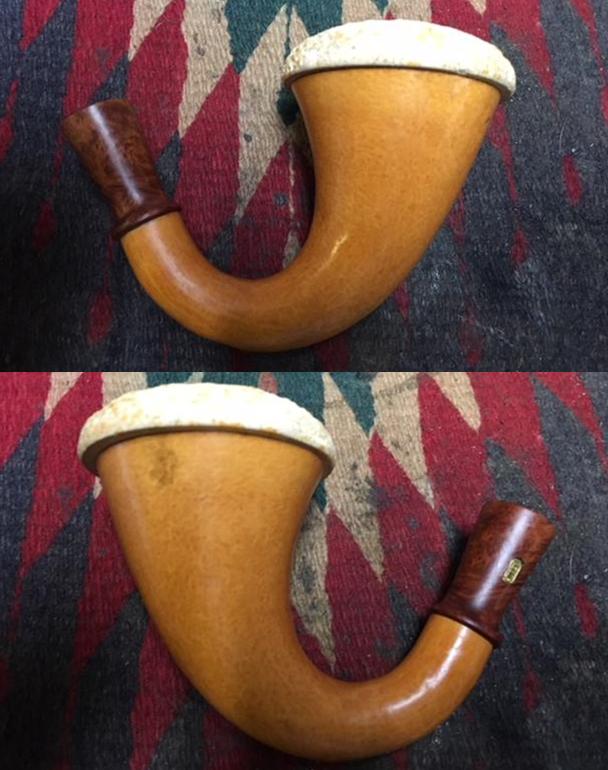
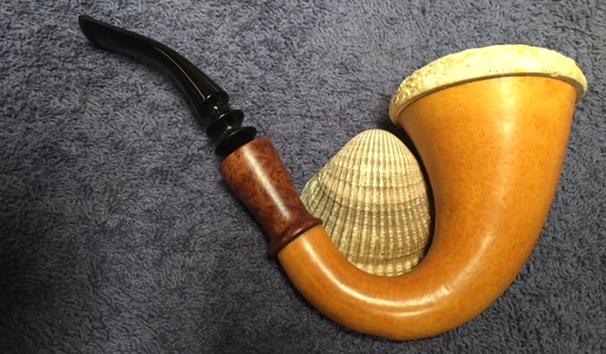
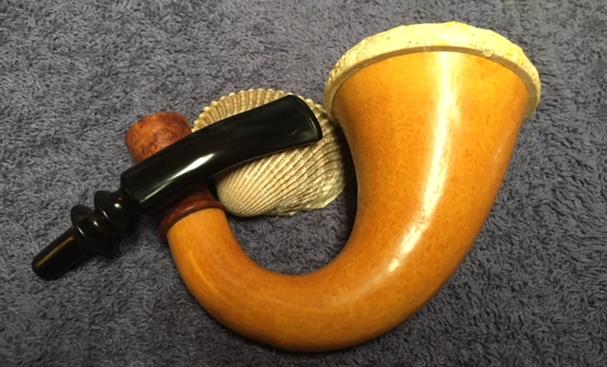
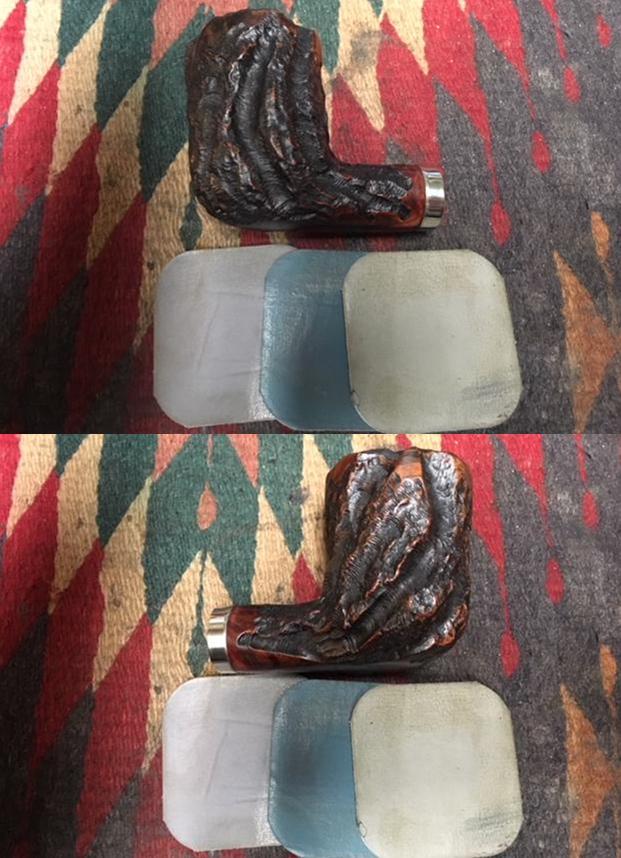
 With the stem polished I put it back on the pipe and lightly buffed the bowl with Blue Diamond being careful to not fill the grooves in the blast with the polishing compound. I used a regular touch on the stem to polish out any remaining scratches. The bowl had a good coat of wax when it arrived so I gave the stem several coats of carnauba wax and buffed the pipe with a clean buffing pad to raise the shine. I hand buffed it with a microfiber cloth to deepen the shine. The pipe polished up pretty nicely. The finished pipe is shown in the photos below. I will get it in the mail to my friend in New York on the weekend. I am looking forward to hearing what he thinks once he sees the finished pipe both on the blog and in hand. Thanks for walking through the banding process with me. This was a pipe that I really enjoyed working on. Cheers.
\\