Blog by Paresh Deshpande
I am in a rush to complete as many pipes as I can before Abha, my wife, sends me another batch of 30-40 pipes to restore!! Her pace of completing the initial cleaning of the pipes is very difficult for me to match by completing the remaining restorations aspects of these pipes.
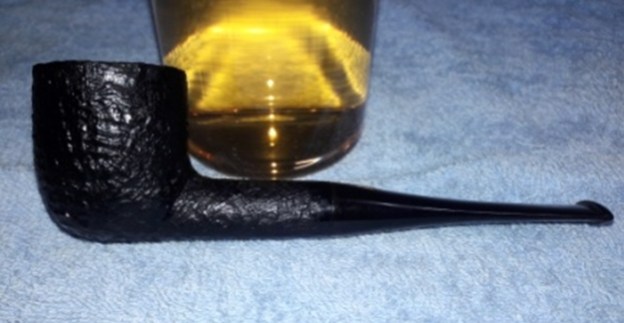
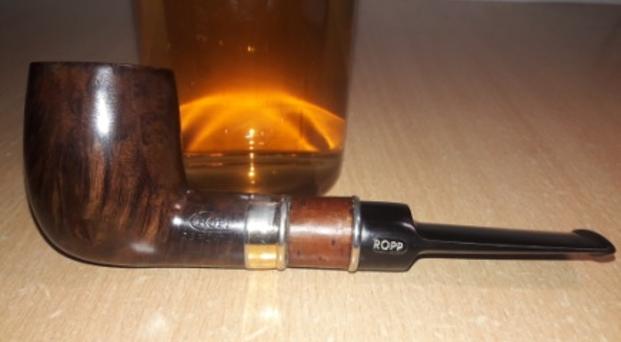
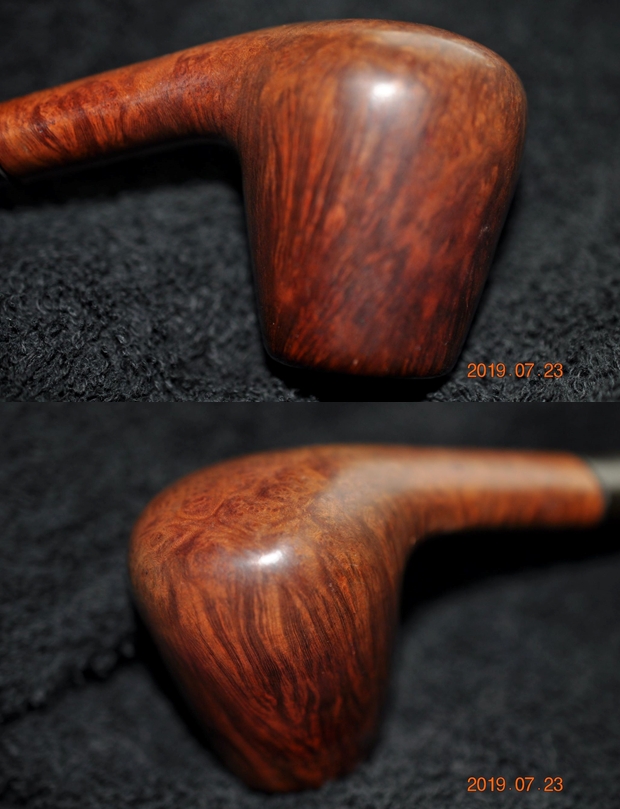
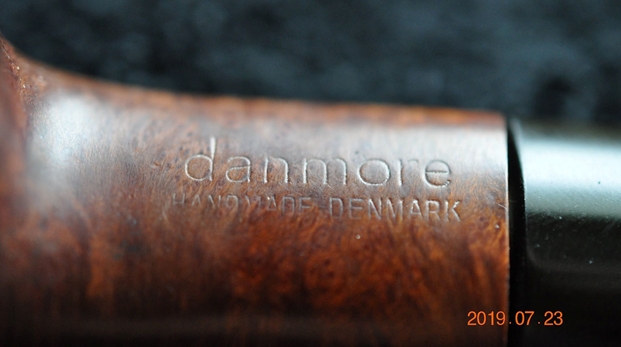
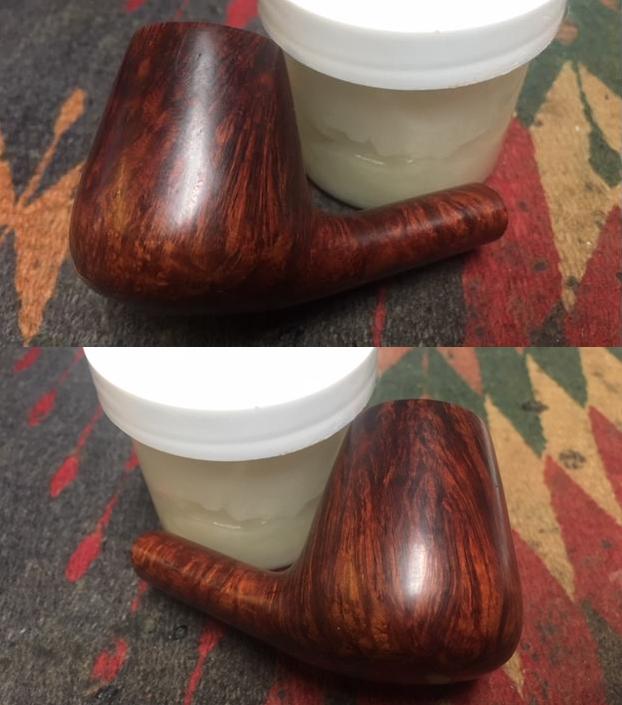
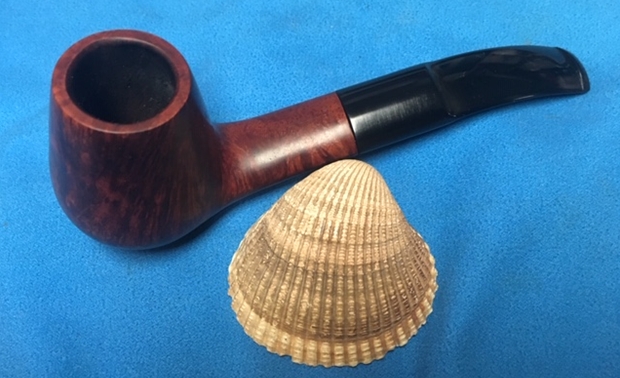
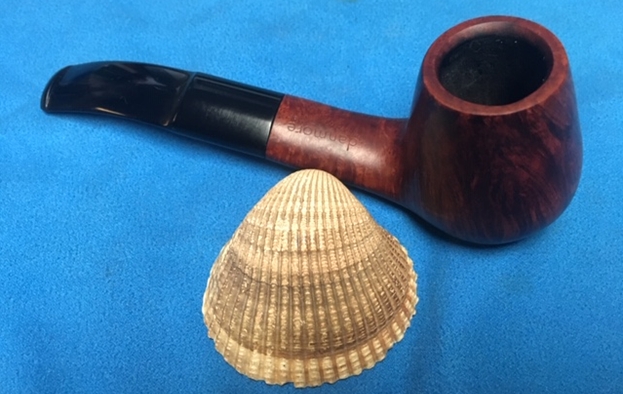
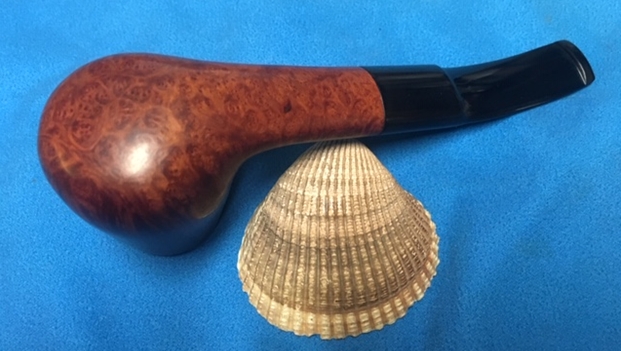
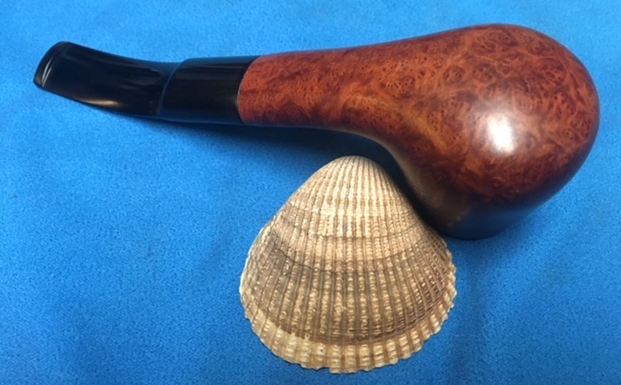
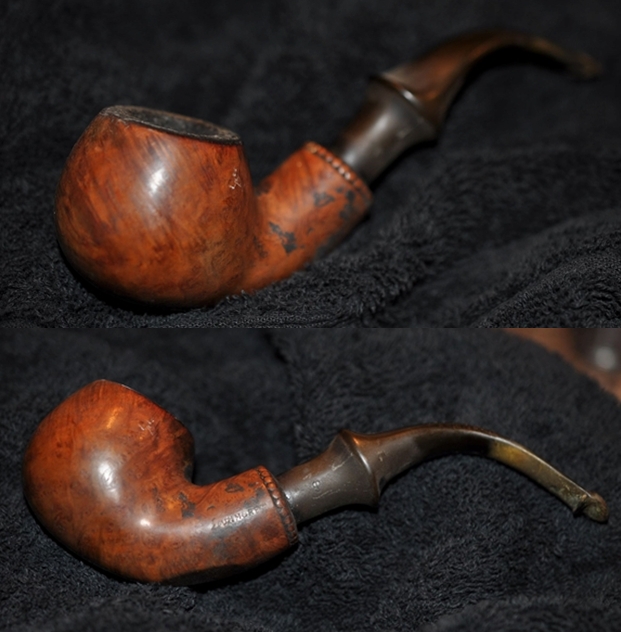
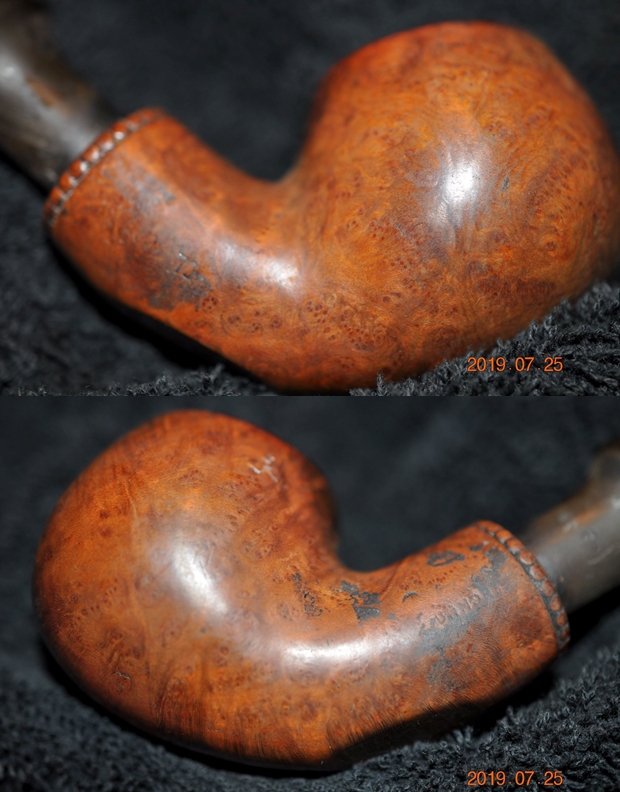
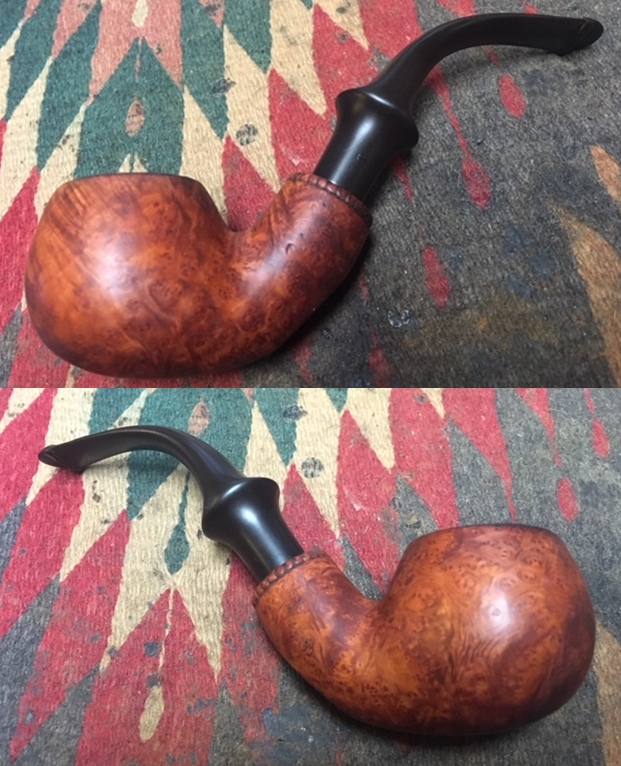
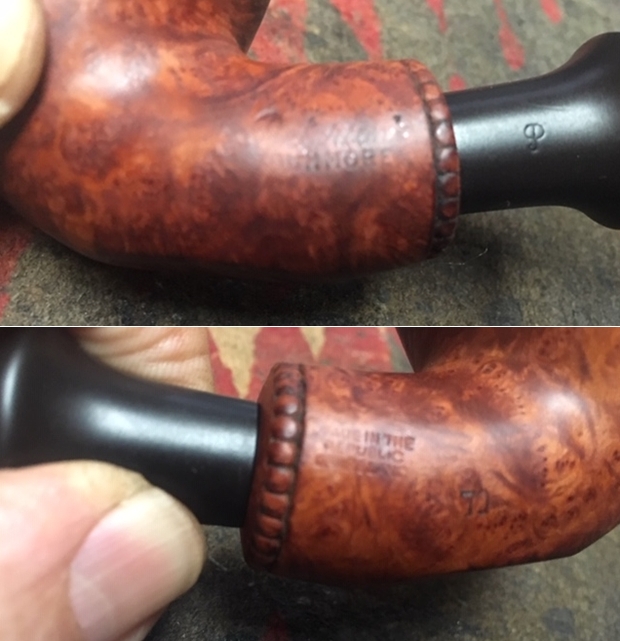
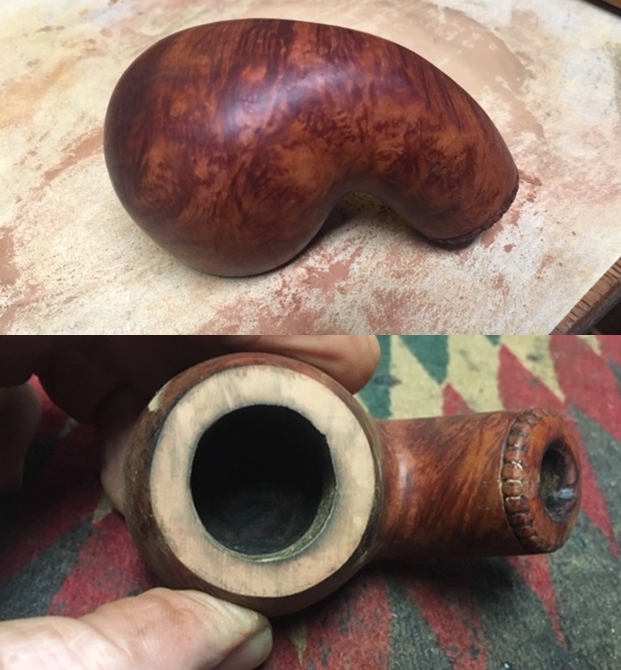
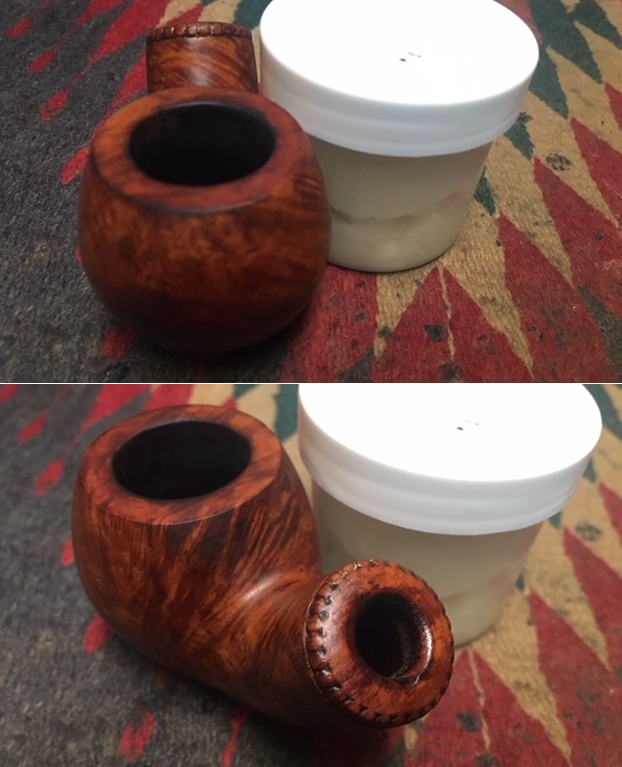
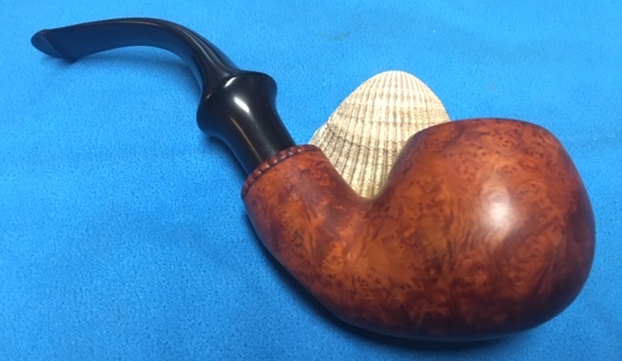
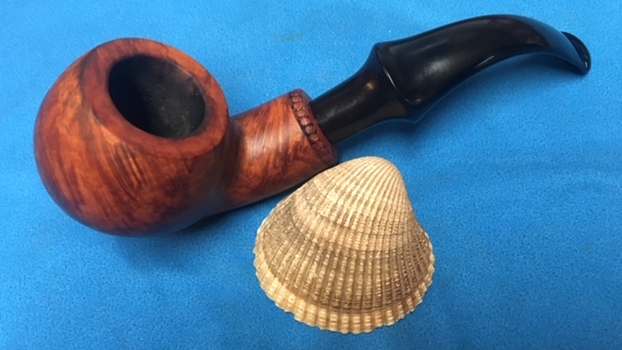
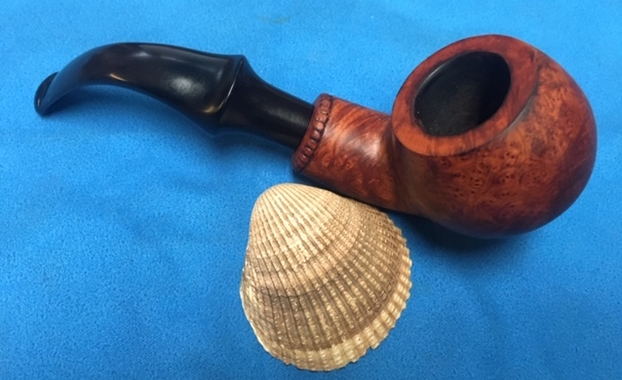
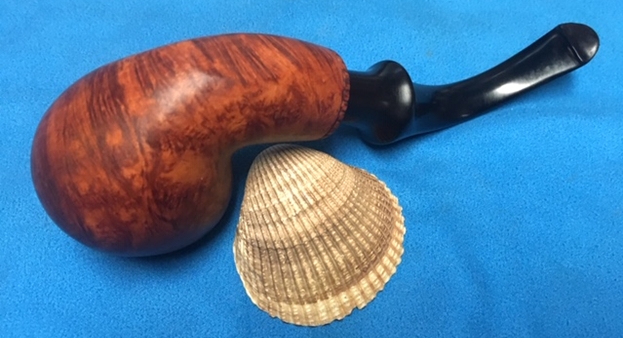
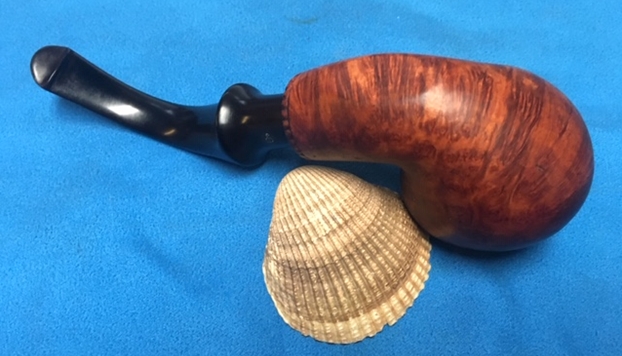
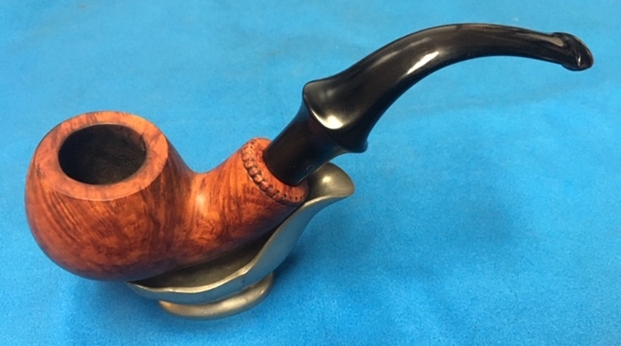
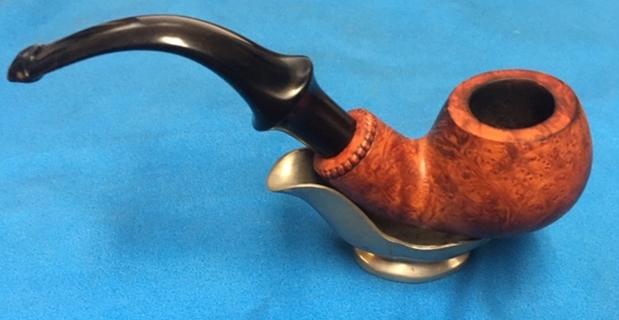
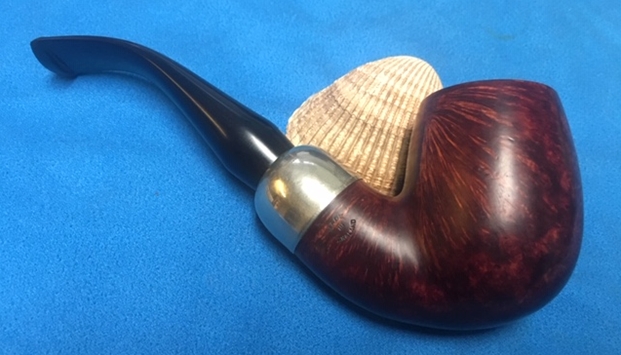
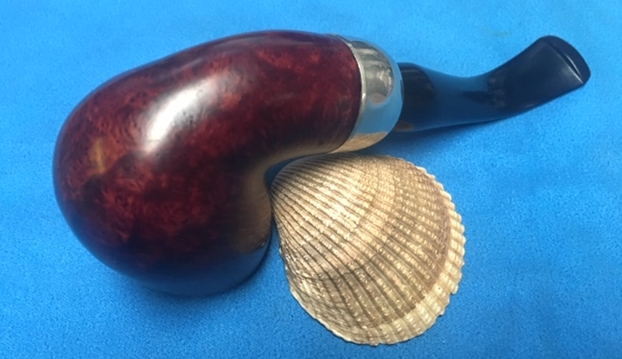
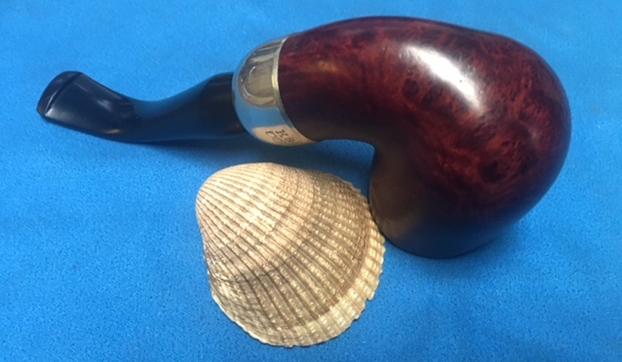
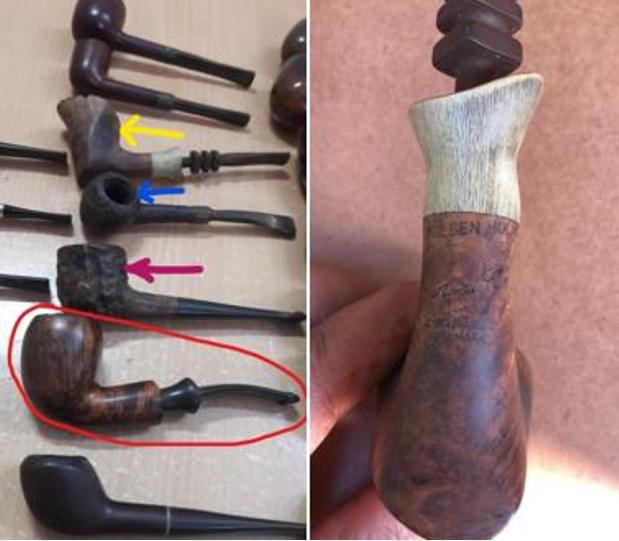
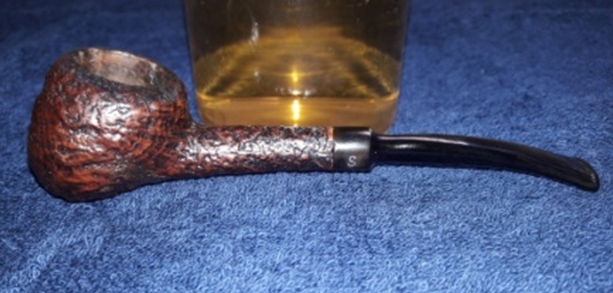
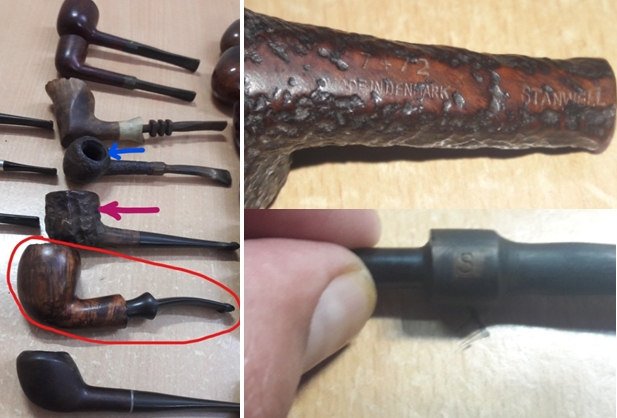
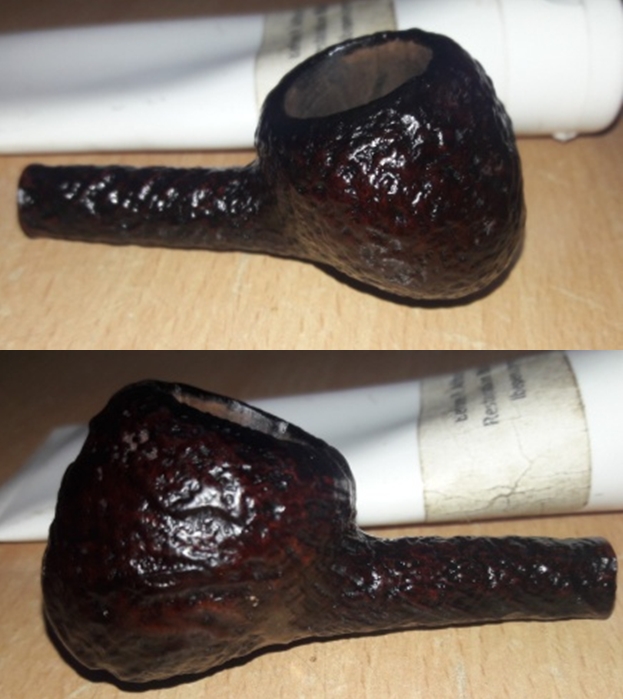
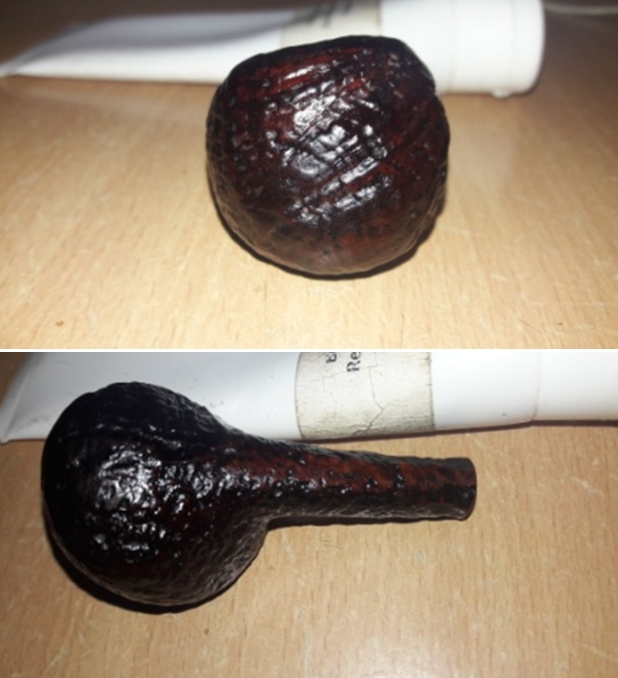
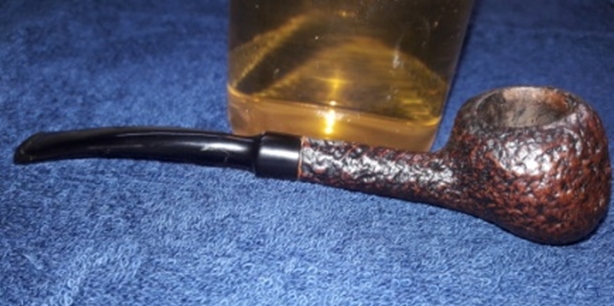
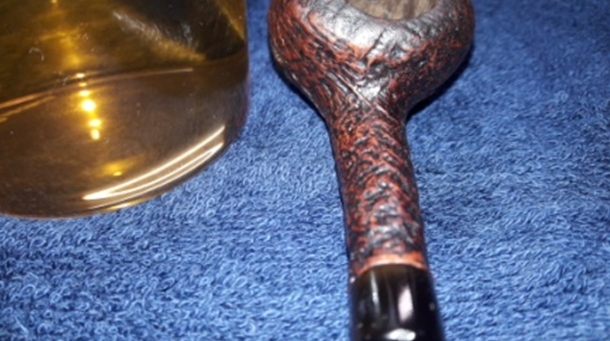
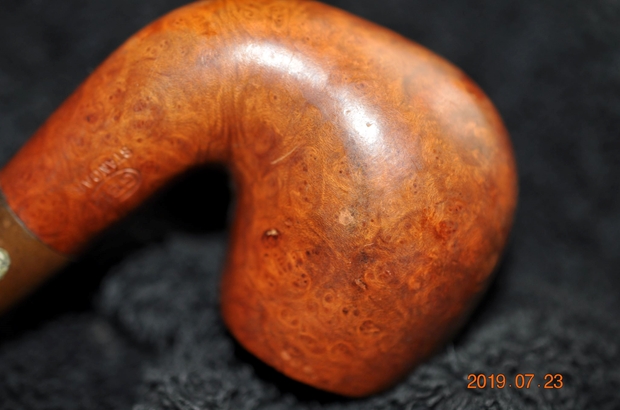
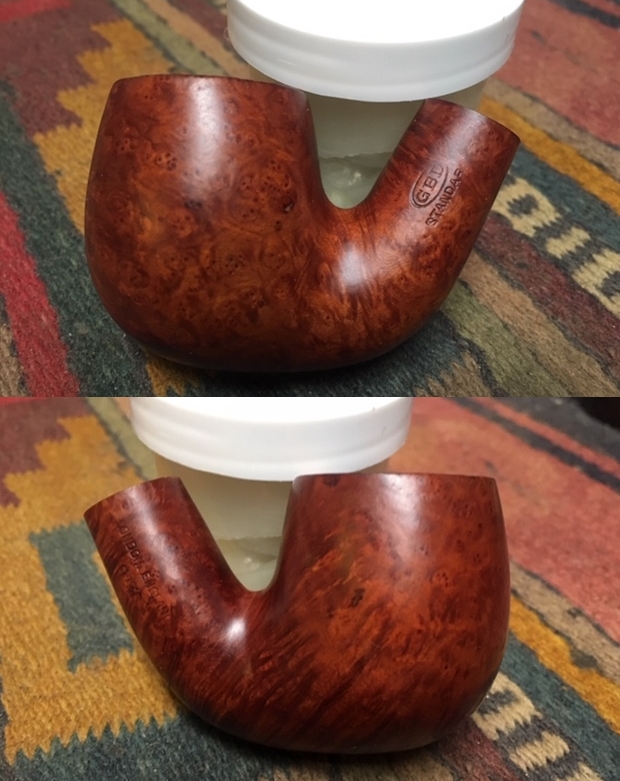
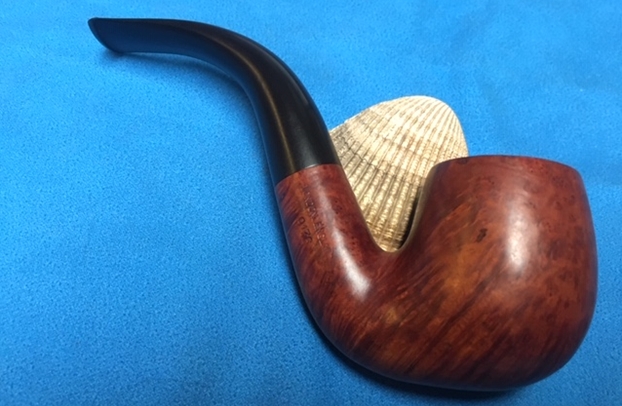
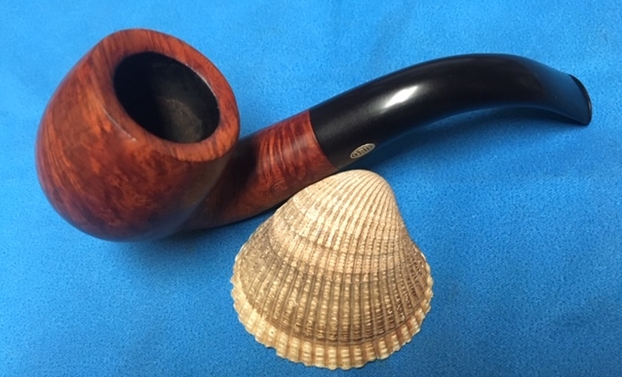
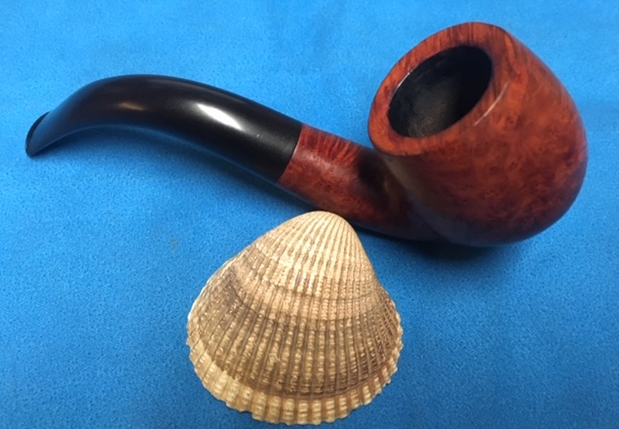
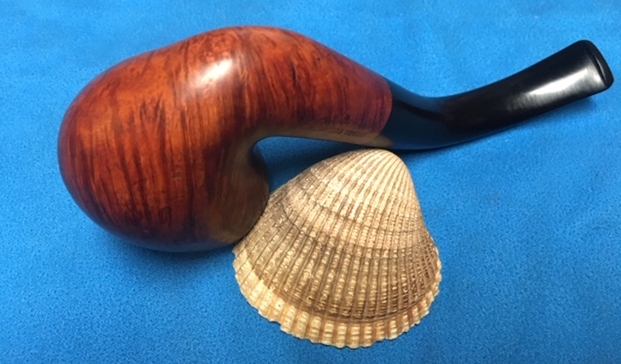
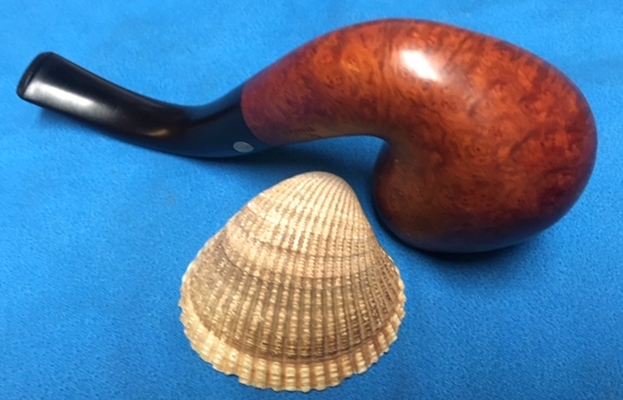
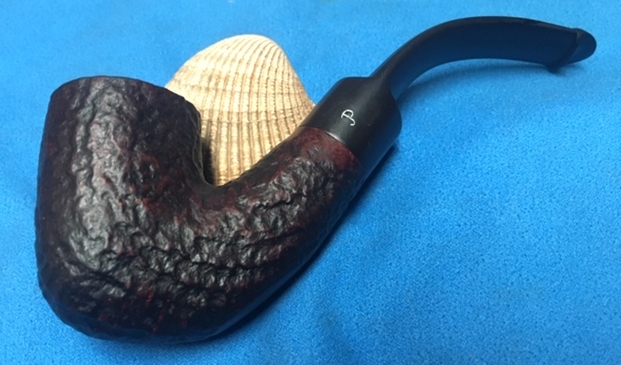
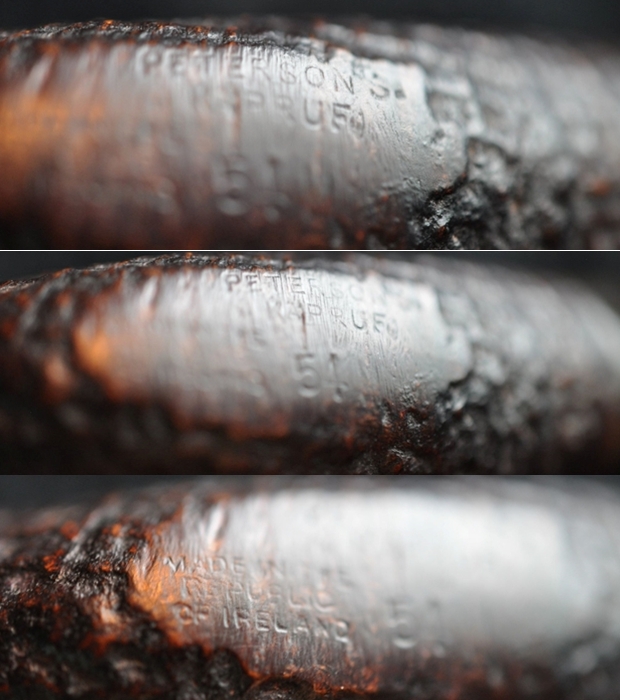
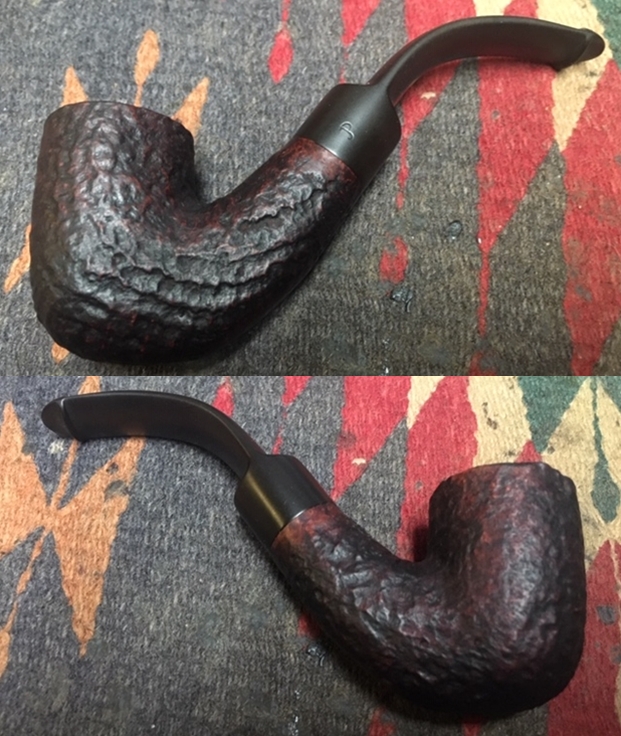
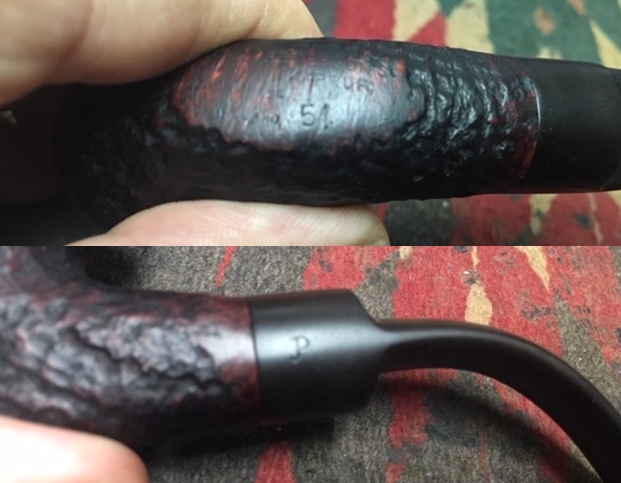
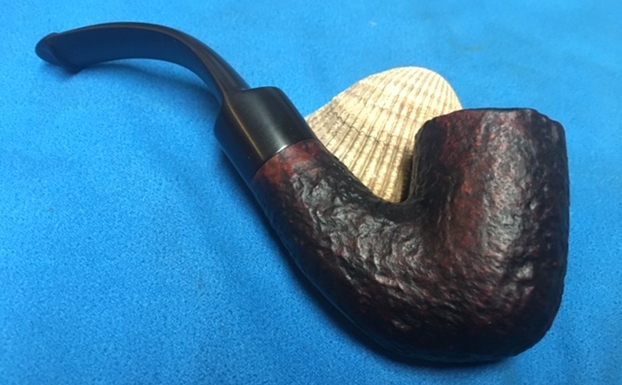
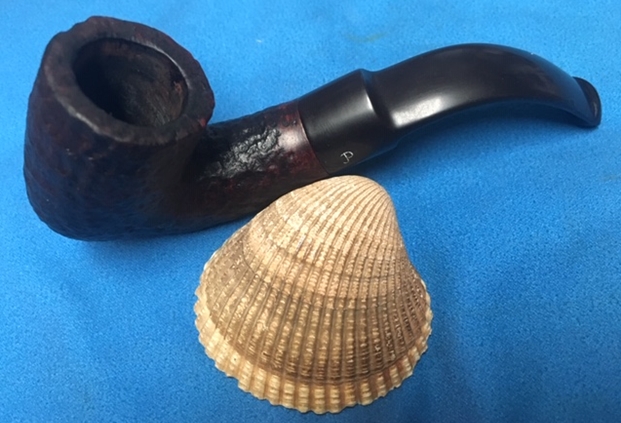
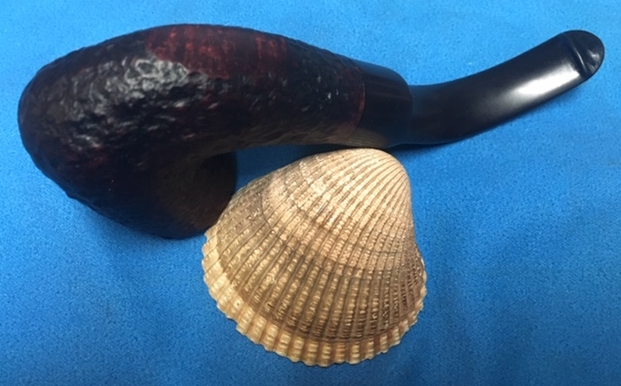
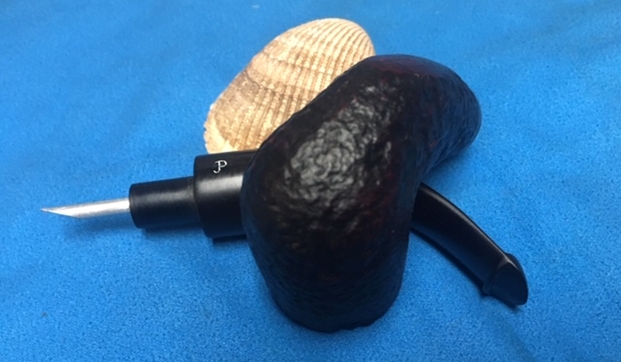
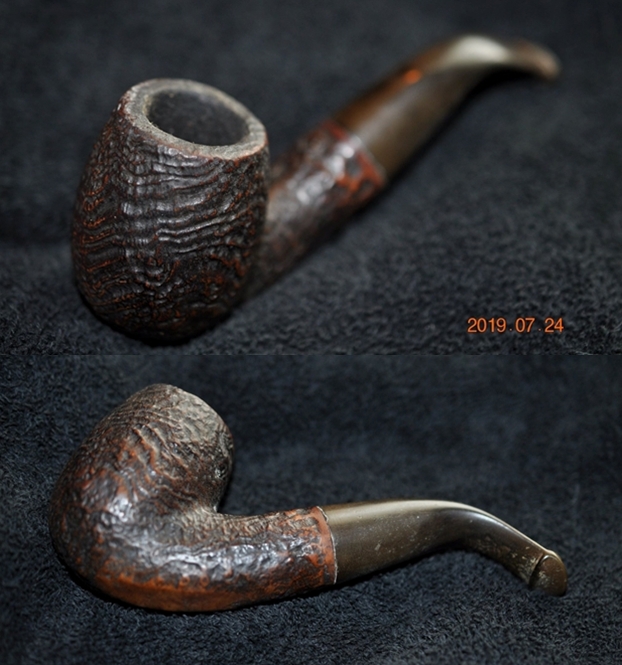
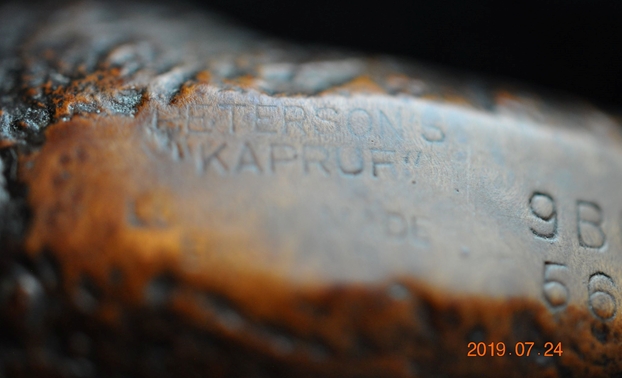
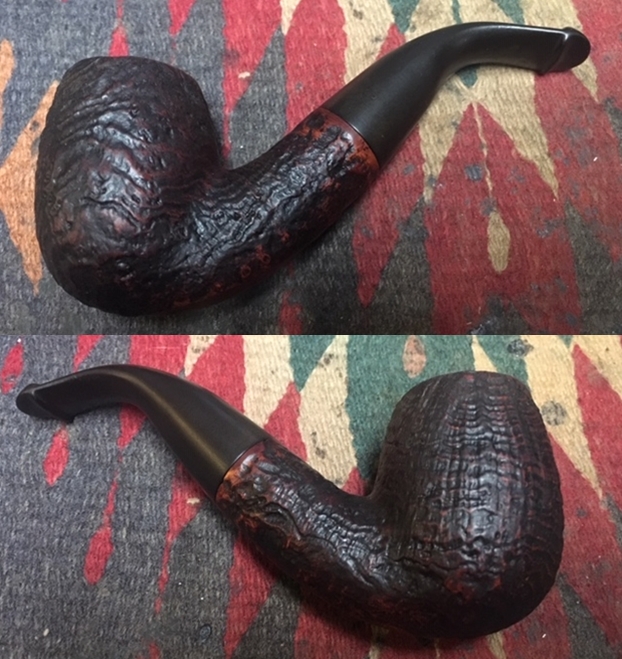
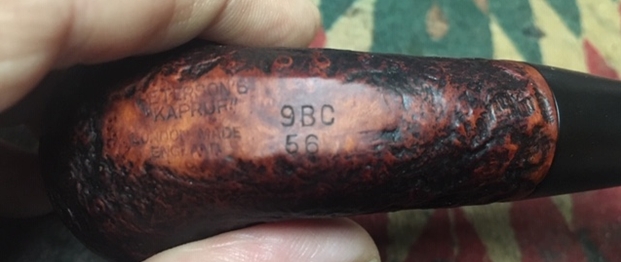
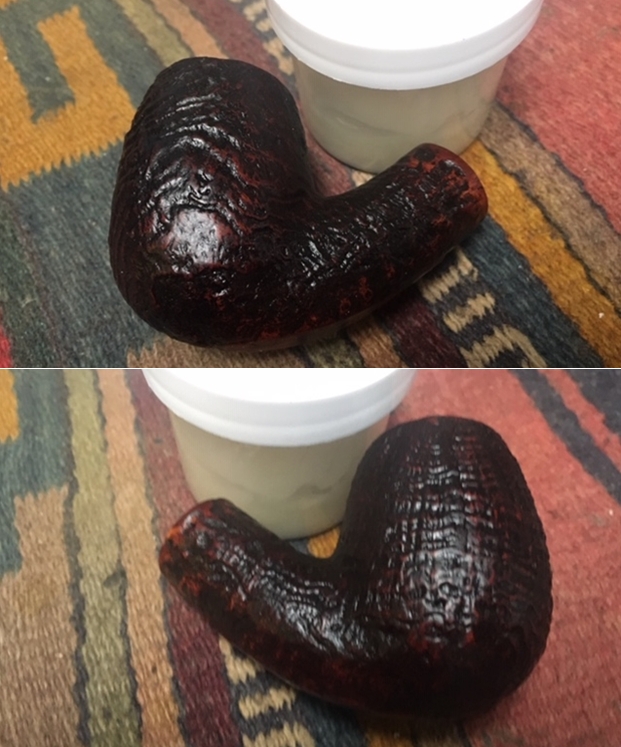
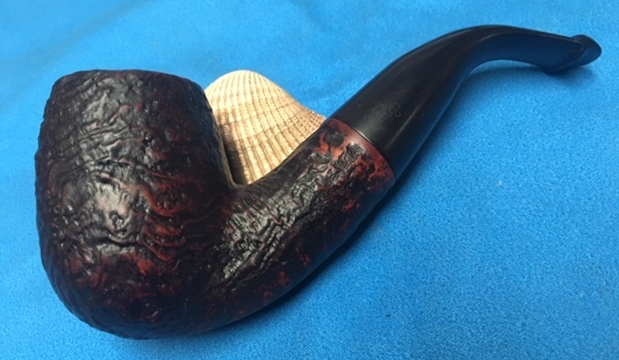
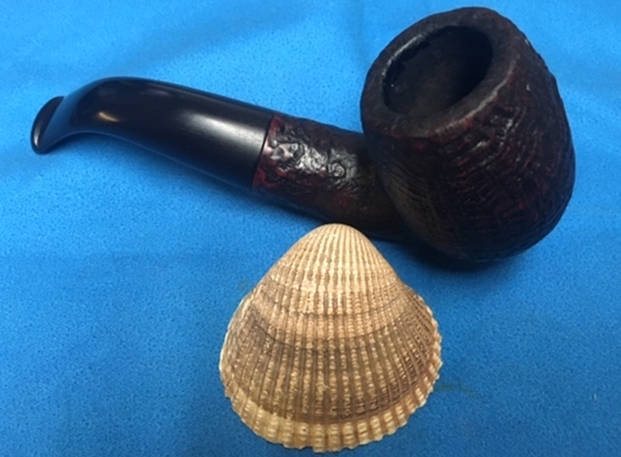
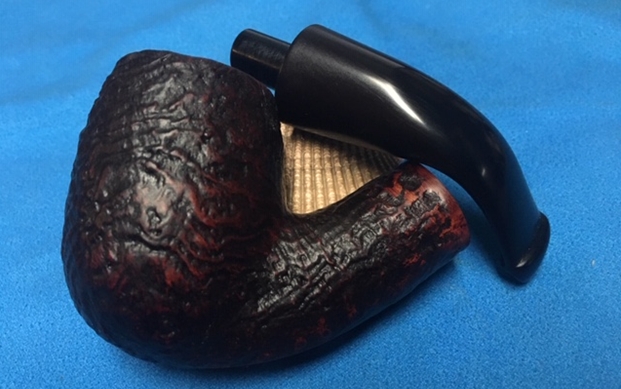
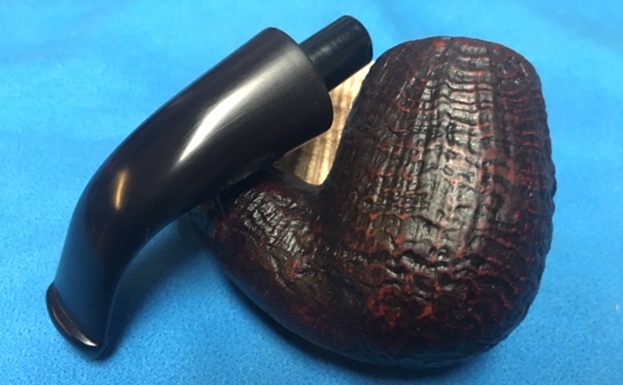
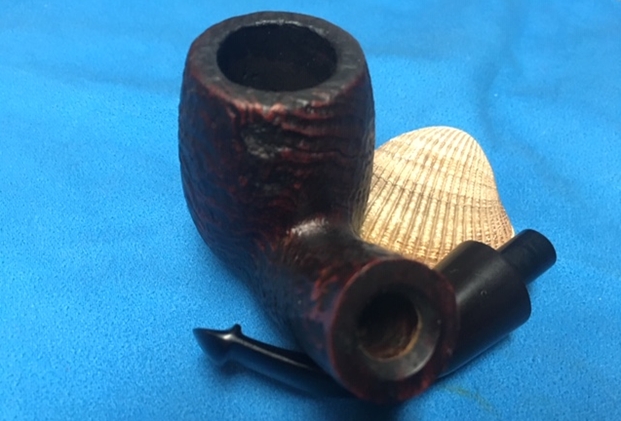
Well, the next pipe that I decided to work on is a straight pot (actually I feel it is cross between a Billiard and a Pot what with the bowl height of a Pot and the width of a Billiard!!), Jobey Filtersan pipe in a beautiful black stained sandblast finish. The beautiful sandblast patterns can be seen all around the stummel and rim top surface, save for smooth surfaces at the bottom of the shank which bears the stamping on this pipe and the second that forms a band at the shank end. The pipe is stamped “Jobey” in cursive hand over “FILTERSAN” in block letters. Adjacent to these stampings, is another set of stamps in line with the above and reads “FRANCE” over “690”. The stampings are all crisp and prominent. 
 I had previously worked on an interestingly shaped Jobey Original Bent Dublin Sitter; here is the link to write up (https://rebornpipes.com/2018/09/14/jobey-original-t1/), and had researched this brand then. To refresh my memory, I revisited the write up and also included some information from pipedia.org. Here are some interesting excerpts from pipedia.org…
Jobey
English – American – Danish – French… Sadly, solid information about Jobey is scant…
Probably established in England around 1920(?) the brand hiked into the USA later. In the course of time owner, distributor and manufacturer changed repeatedly. As far as is known the following companies have been involved with the brand:
- George Yale Pipes & Tobacco, New York (1942)
- Norwalk Pipe Co., New York (1949)
- Arlington Briar Pipes Corp., Brooklyn (when?)
- Hollco International, New York (1969).
- Weber Pipe Co., Jersey City, NJ (1970’s)
- The Tinder Box, (1970’s – 80’s).
Throughout decades Jobey pipes were mainly sold in the USA, Canada and England but remained almost unknown in continental Europe. The bulk of Jobeys was predominantly made according to classical patterns and mainly in the lower to middle price range. The predominant judgment of the pipe smokers reads: “A well made pipe for the price.” So there is hardly anything very special or exciting about Jobey pipes although a flyer from ca. 1970 assures:
“The briar root Jobey insists upon for its peer of pipes is left untouched to grow, harden and sweeten for 100 years. […] Jobey uses only the heart of this century old briar and only one out of 500 bowls turned measures up to the rigid Jobey specifications.” 99.80% of cull… that makes the layman marveling!
Yet then there are partially really exciting Freehands mainly in the seventies, that Jobey – Weber owned back then – bought from Danish pipe genius Karl Erik (Ottendahl). These pipes were offered as Jobey Dansk – ’70’s pure! (BTW waning sales caused Ottendahl to discontinue exports to the United States in 1987).
In the very same year – obviously only as a ghost brand – Jobey was transferred to Saint-Claude, France to be manufactured by Butz-Choquin.
There must have been an abandonment of the fabrication, because in 2002 the message was spread, the current proprietor of the brand F&K Cigar Co. from St. Louis, MO had recently re-introduced the Jobey very successfully again…
From the above information and correlating the stampings on this pipe, it is safe to conclude that this pipe is definitely post 1987 and made by Butz-Choquin when the brand was transferred to France. With rough idea of the origins of this pipe, I move ahead to the next step in the process of restoration that I follow.
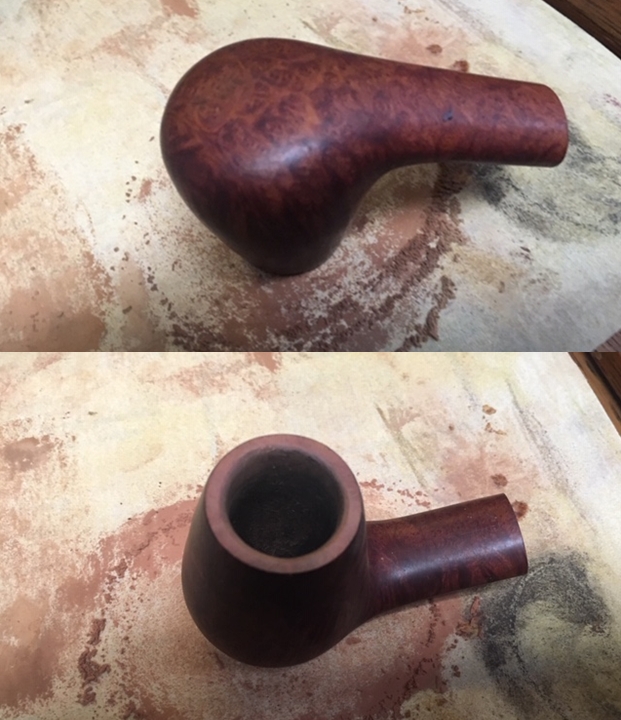
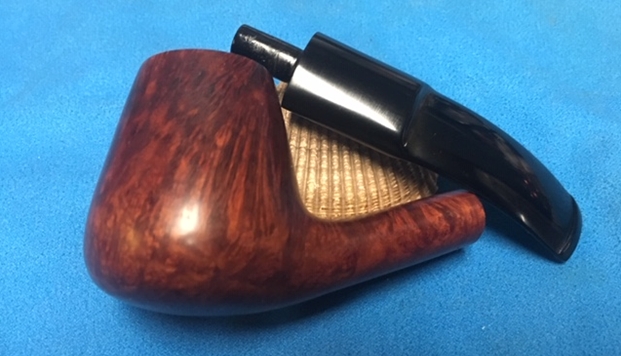
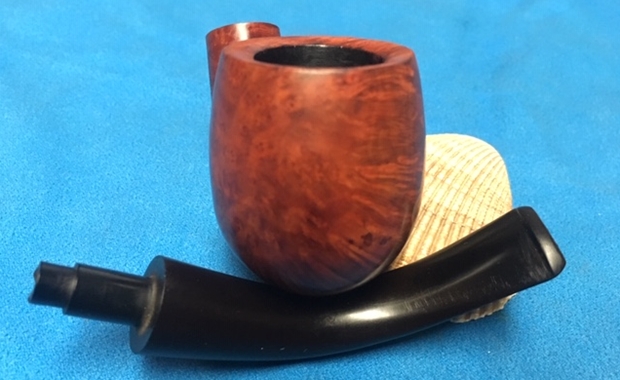
INITIAL VISUAL INSPECTION
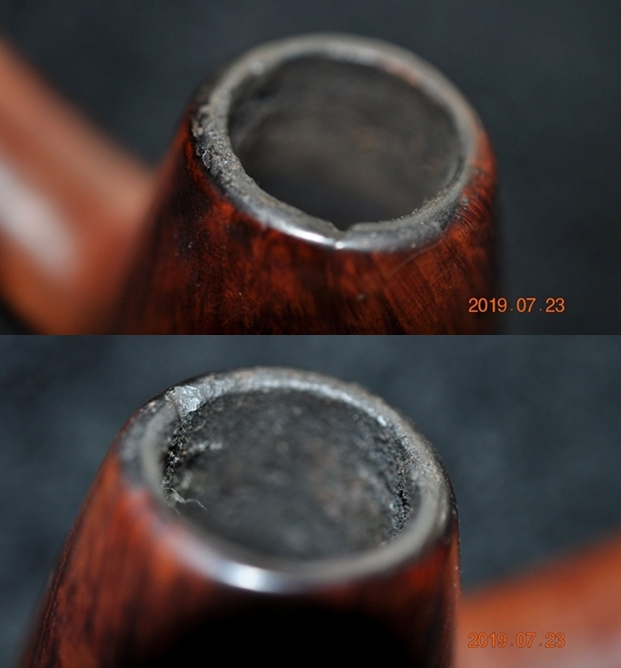
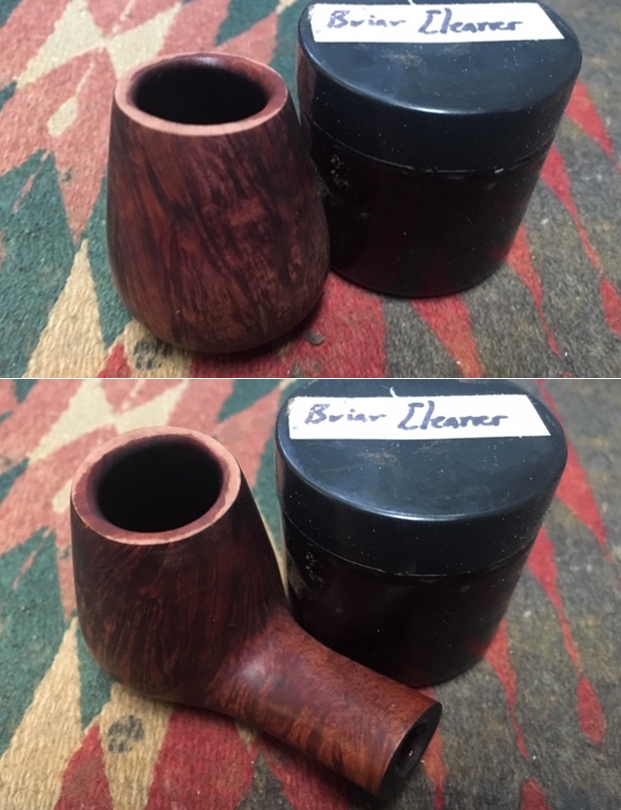
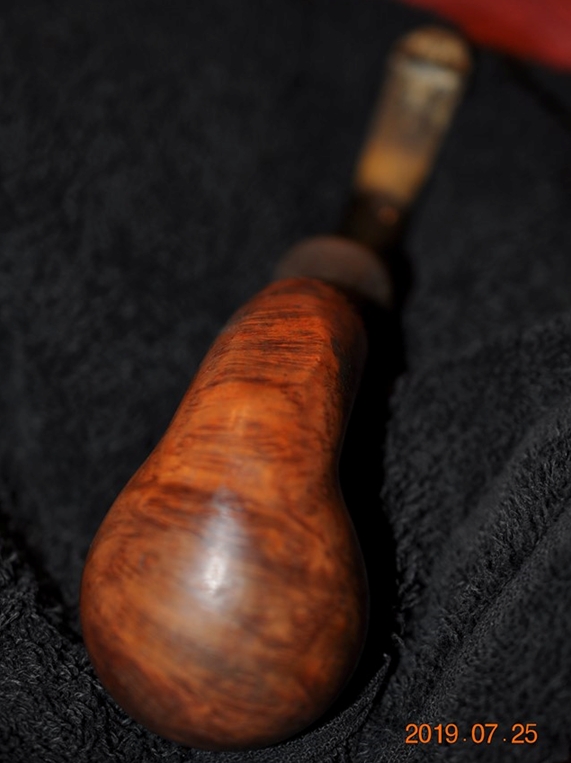
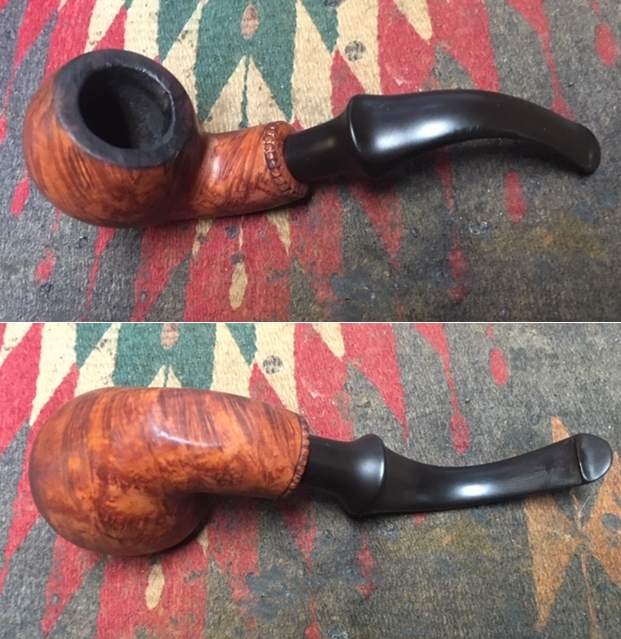
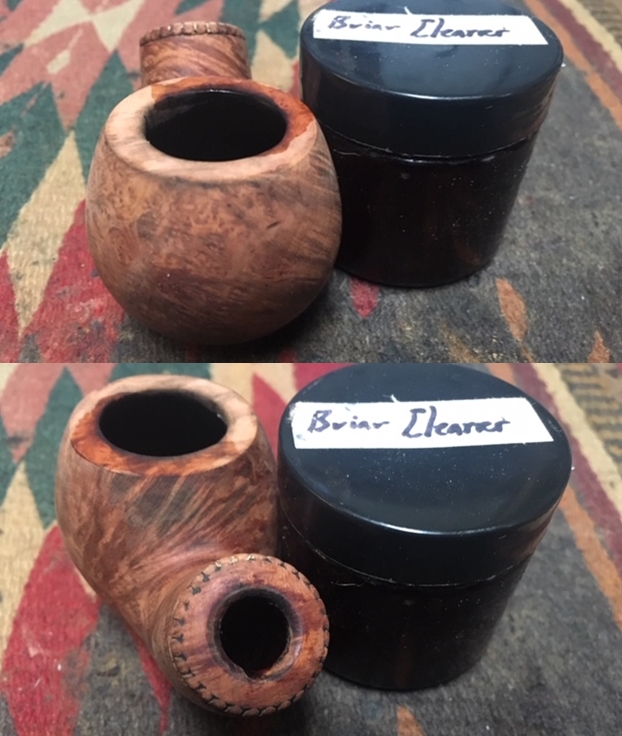
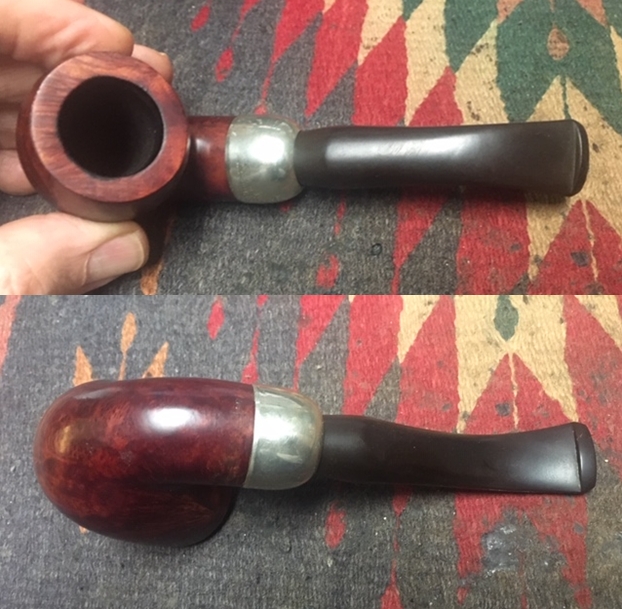
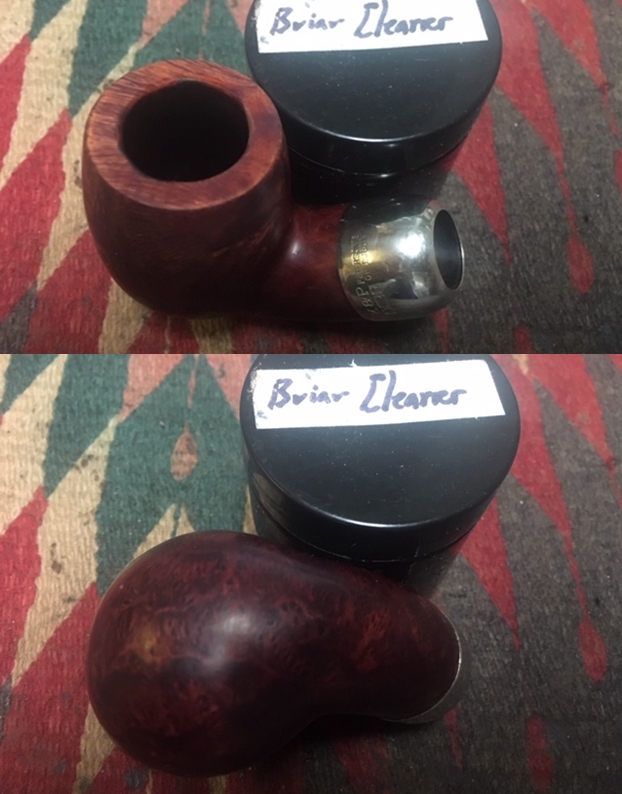
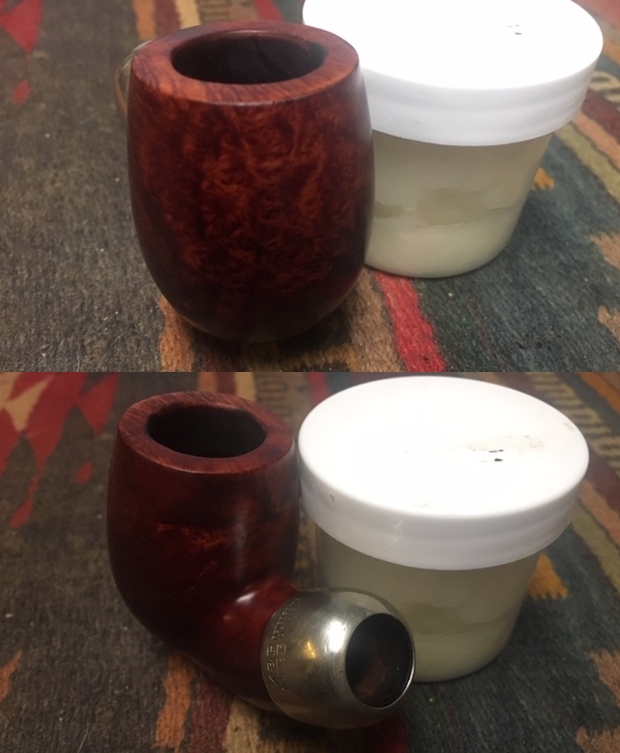
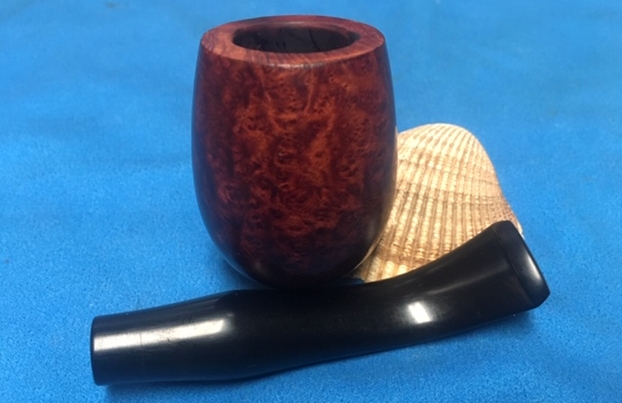
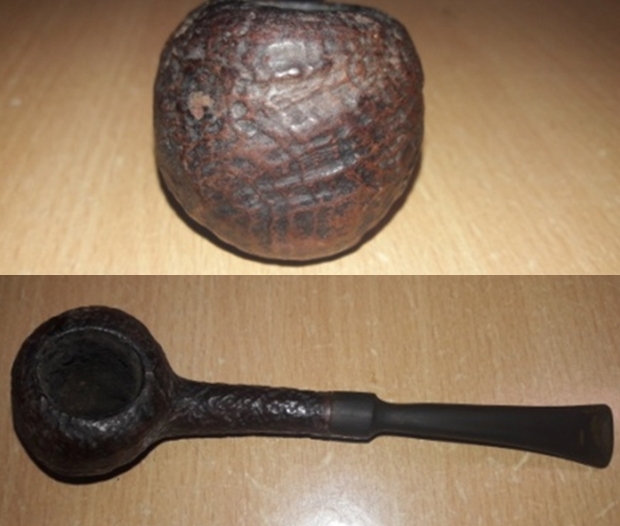
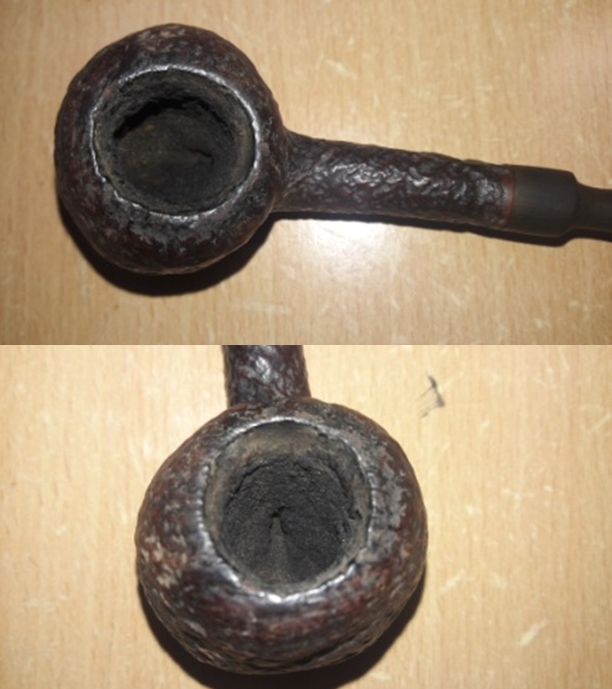
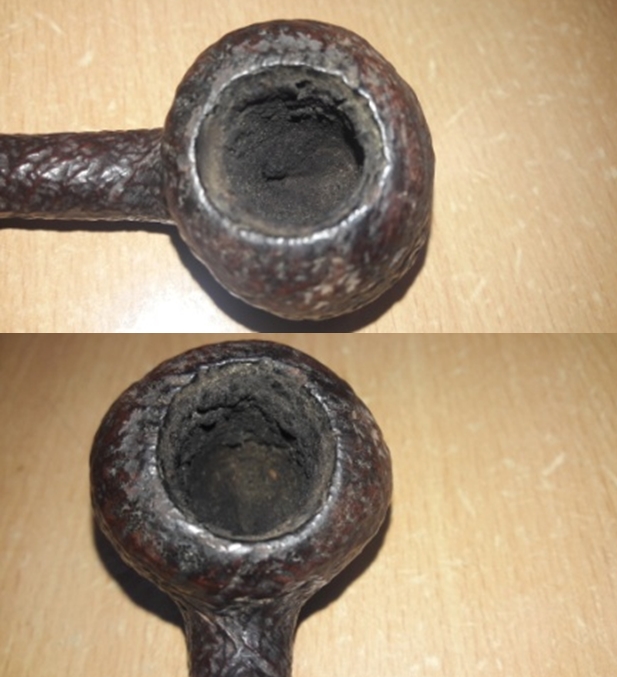
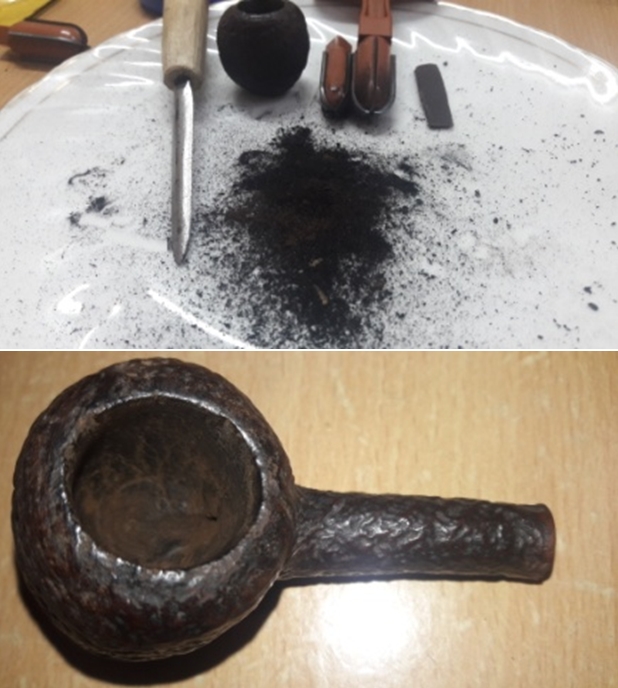
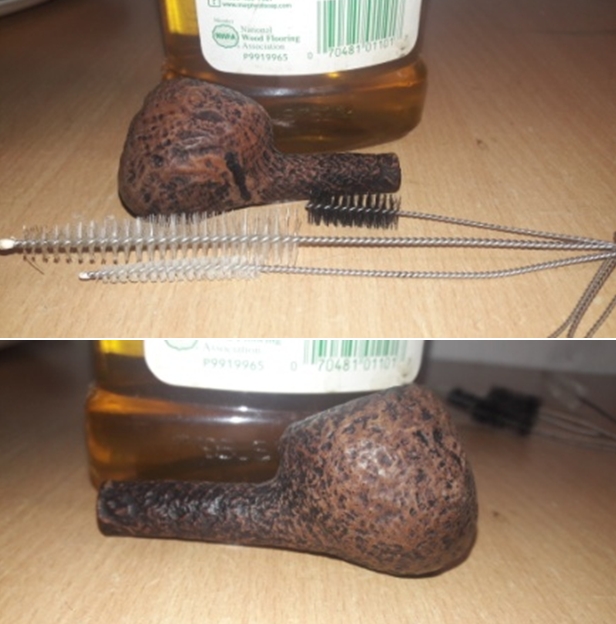
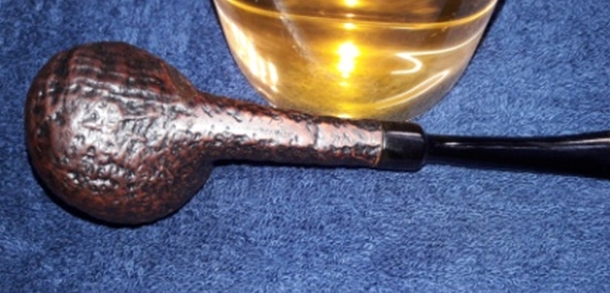
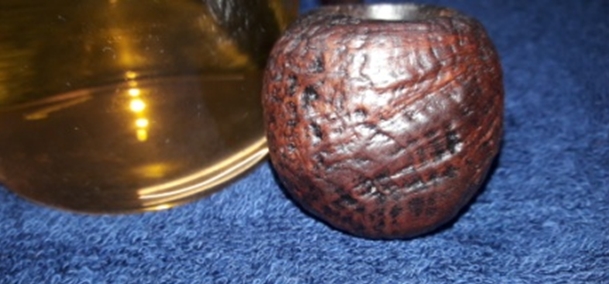
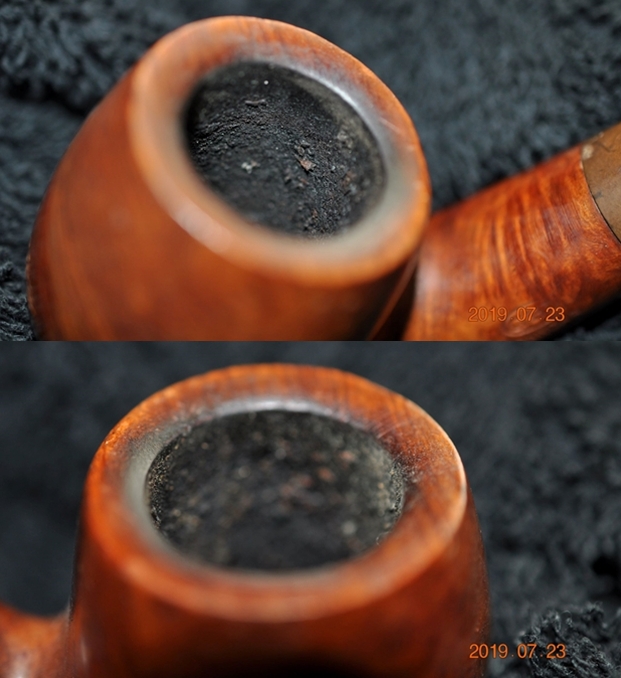
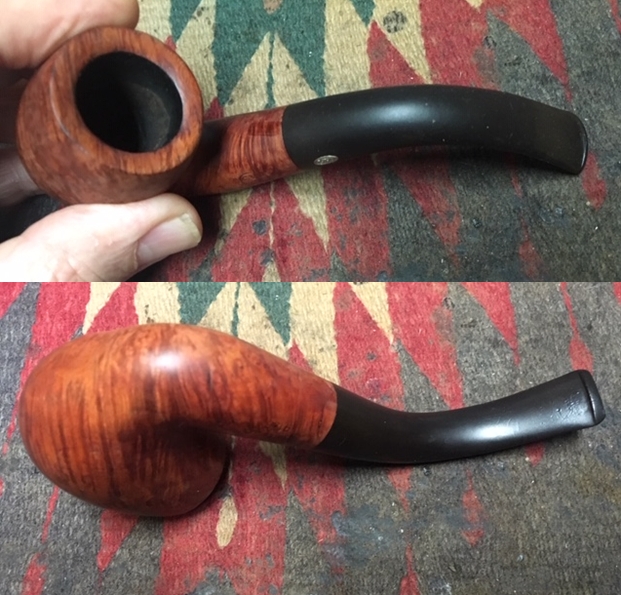
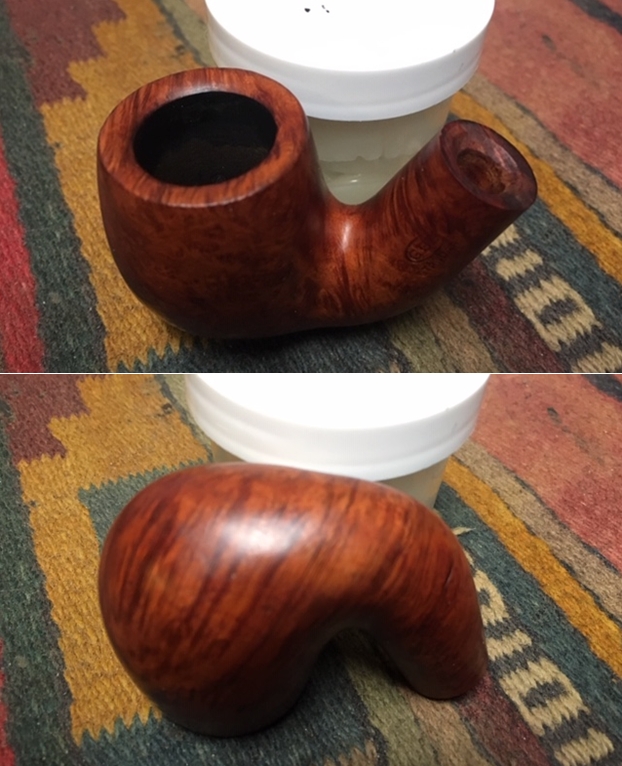
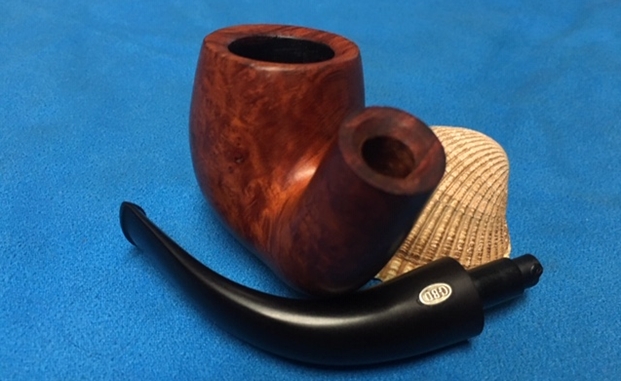
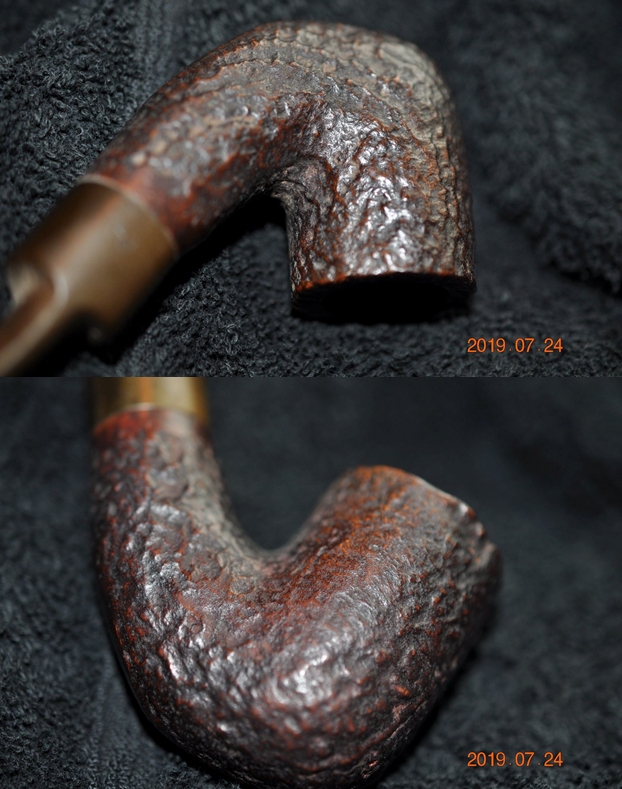
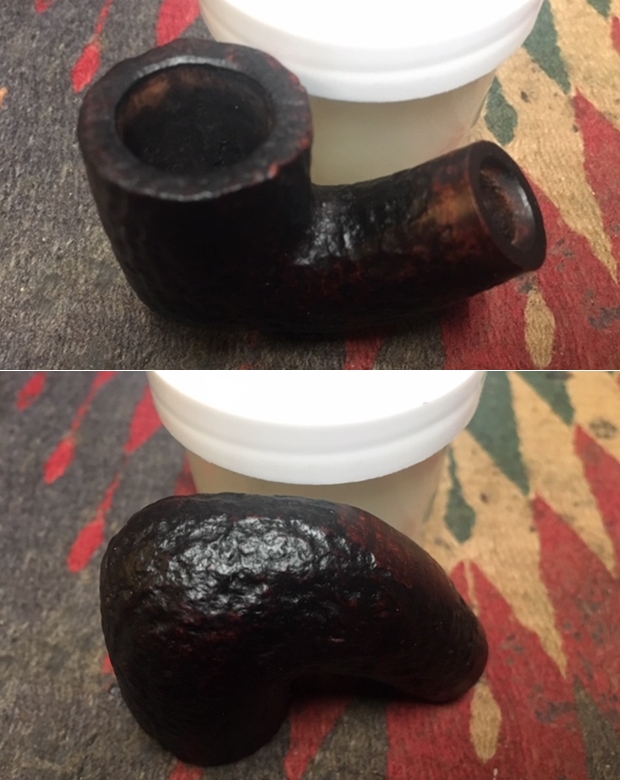
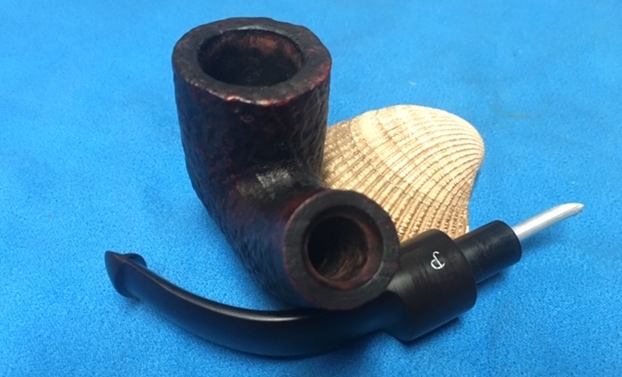
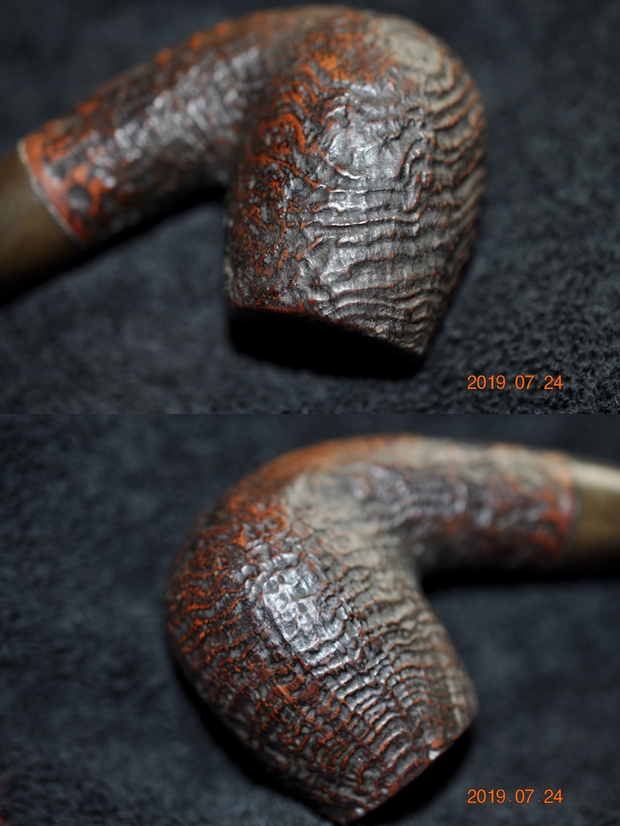
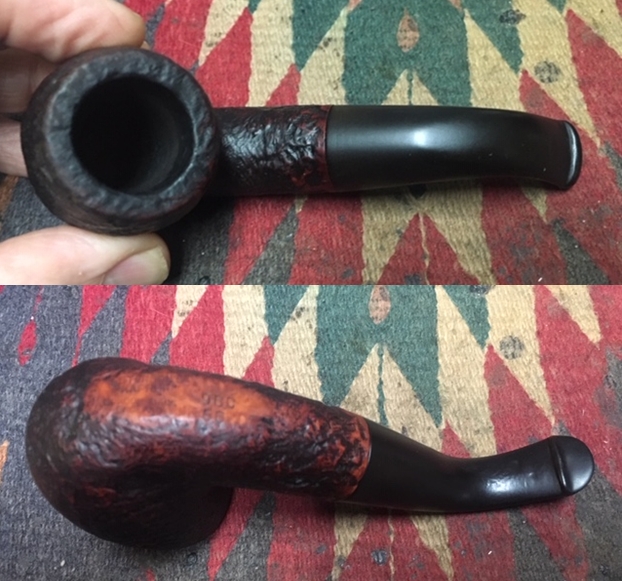
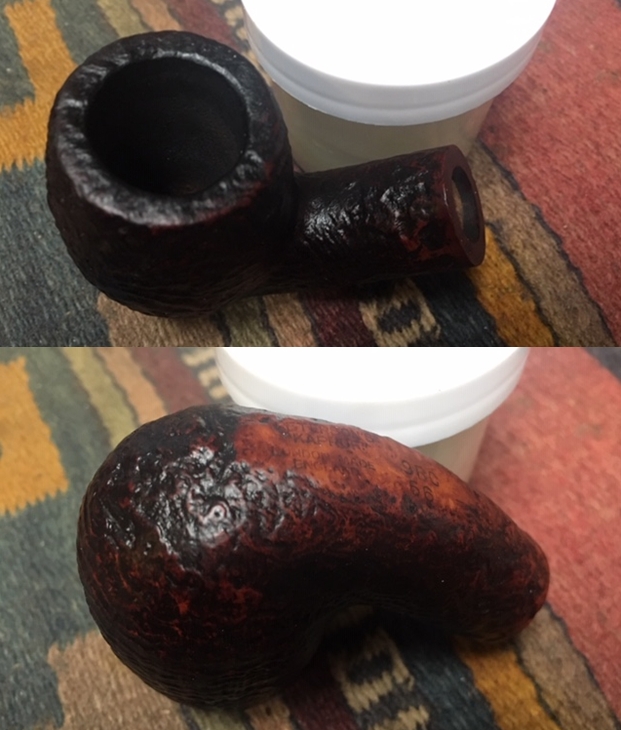
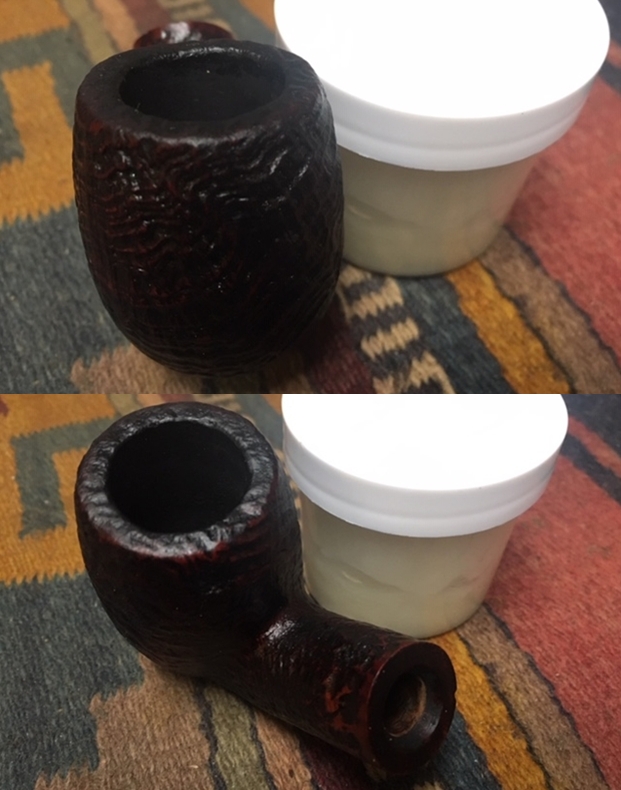
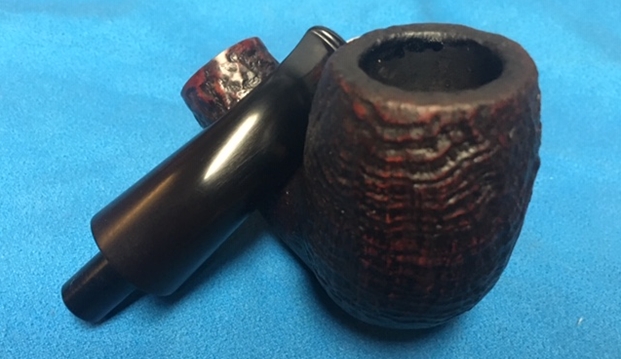
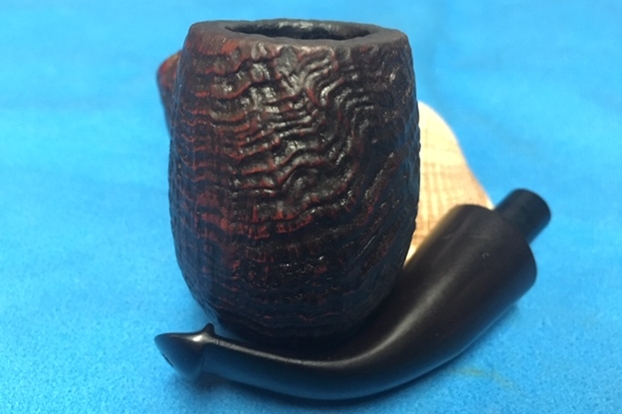
The pipe came to us in an excellent condition when compared to most of the pipes that I have worked on till date. It was maybe smoked a couple of times at best. The chamber is in pristine condition with a very thin layer of cake which is soft and crumbling. For Abha, my wife, this should be a breeze to clean. The sandblast rim top has a little dust and tar accumulation. The rim outer and inner edges are in excellent condition and without any damage.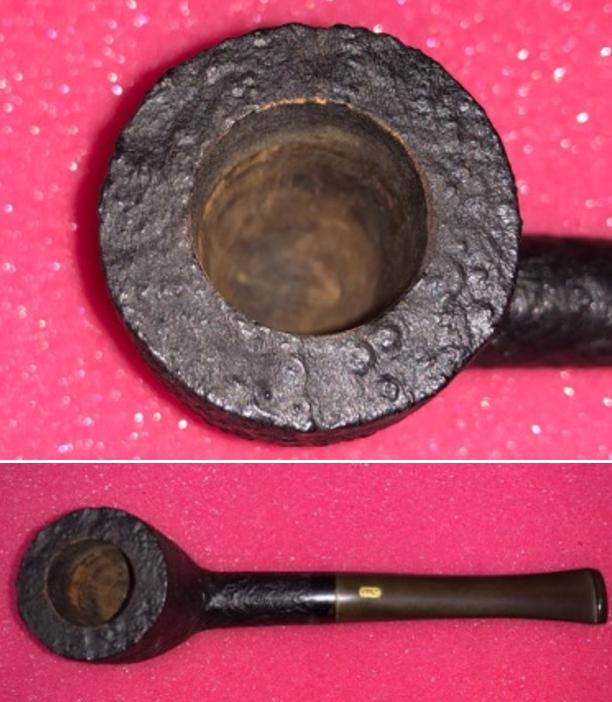 The sandblasted stummel surface has beautiful patterns with the cross grains and vertical grains forming a grid pattern. The stummel surface has dulled a bit and appears lifeless due to accumulation of dust and dirt within these sandblast patterns. A small quantity of accumulation of oils and grime is seen in the mortise and a thorough cleaning with pipe cleaners and alcohol should address this issue.

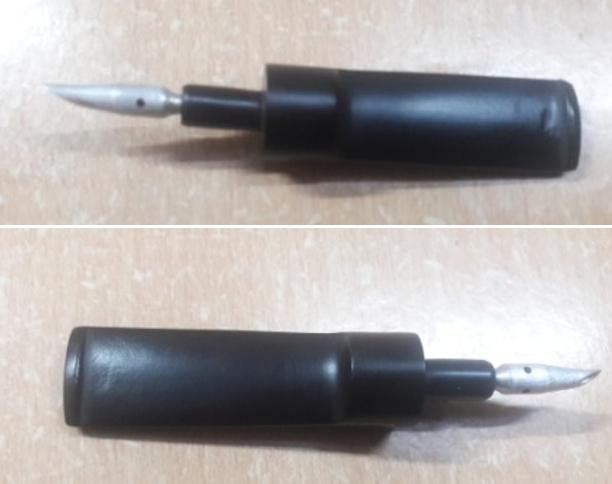
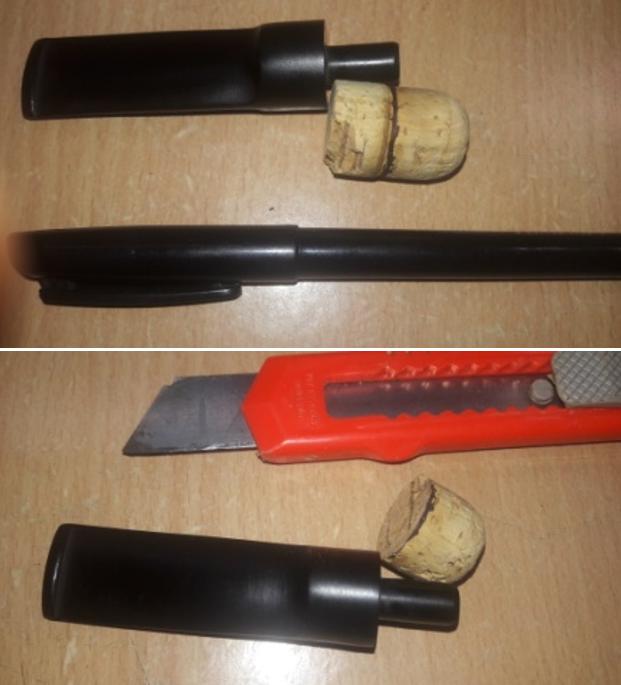
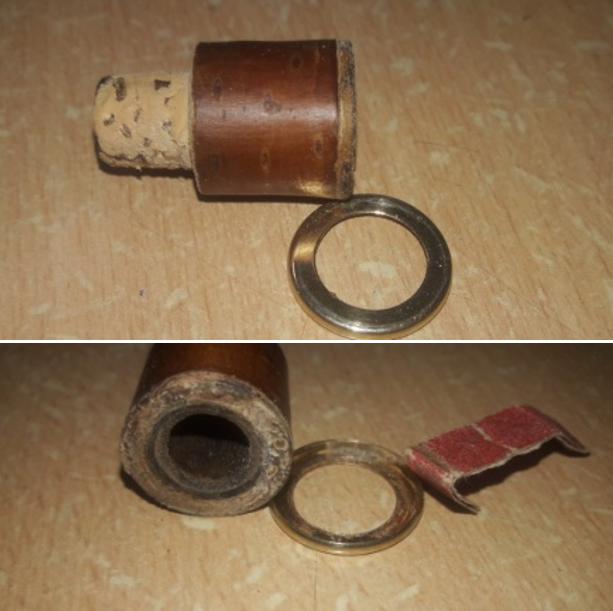
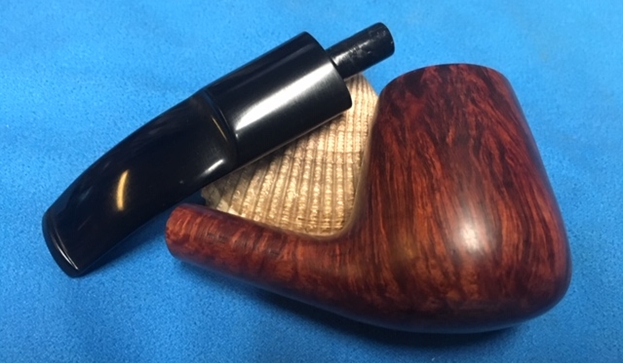
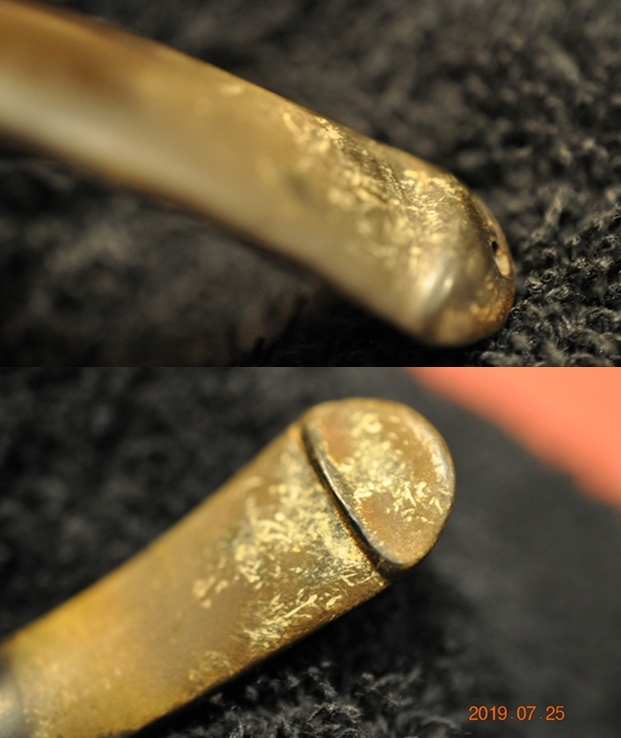
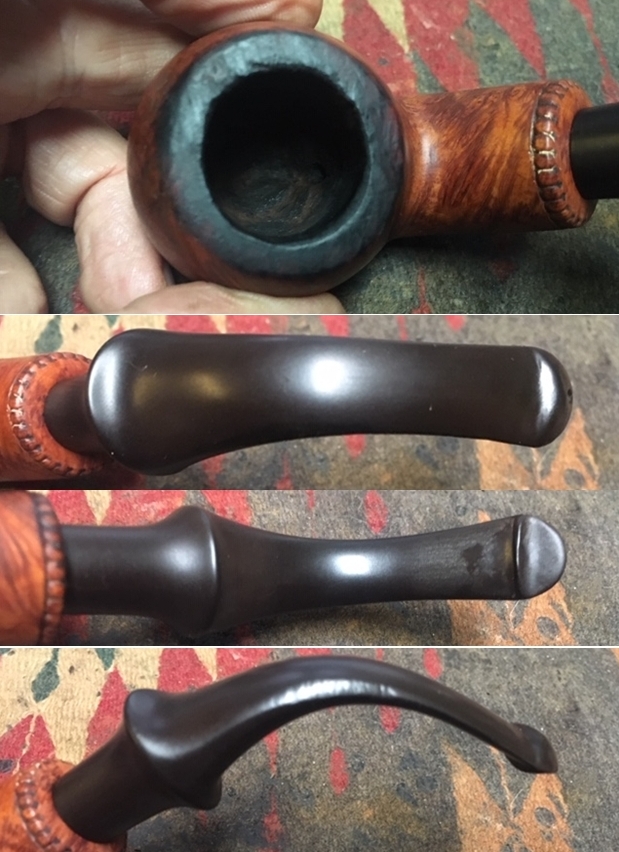
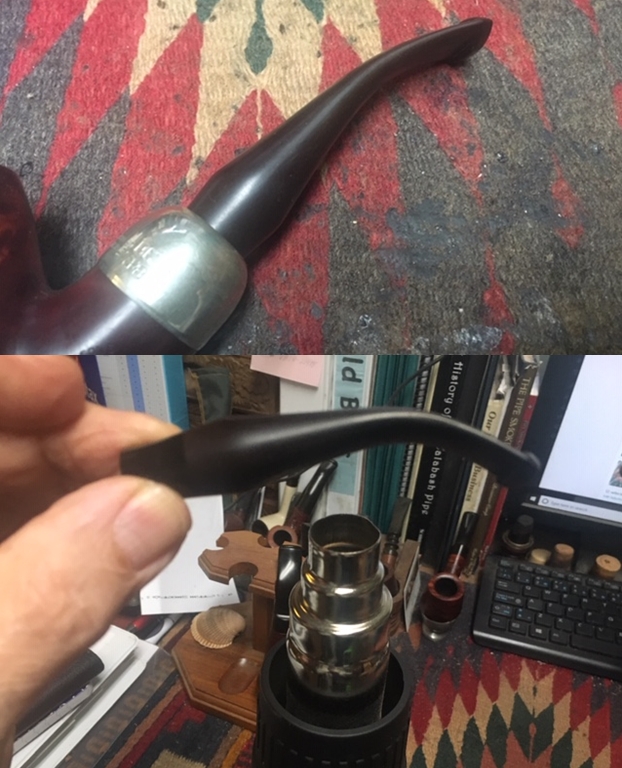
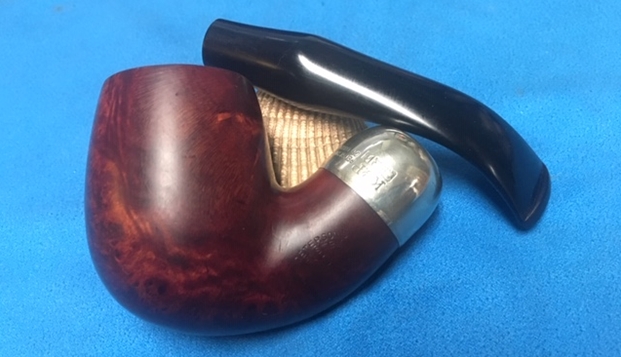
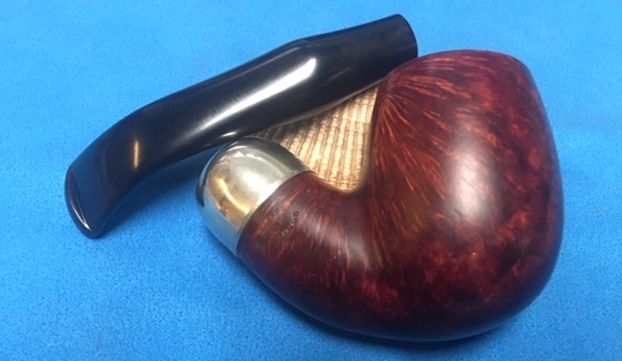
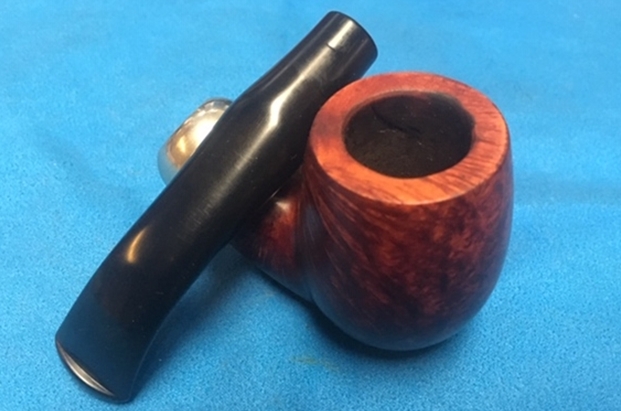
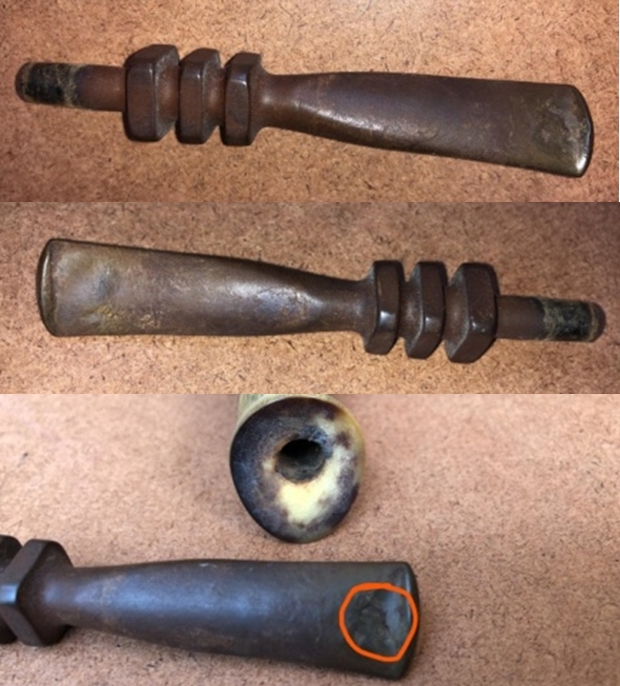
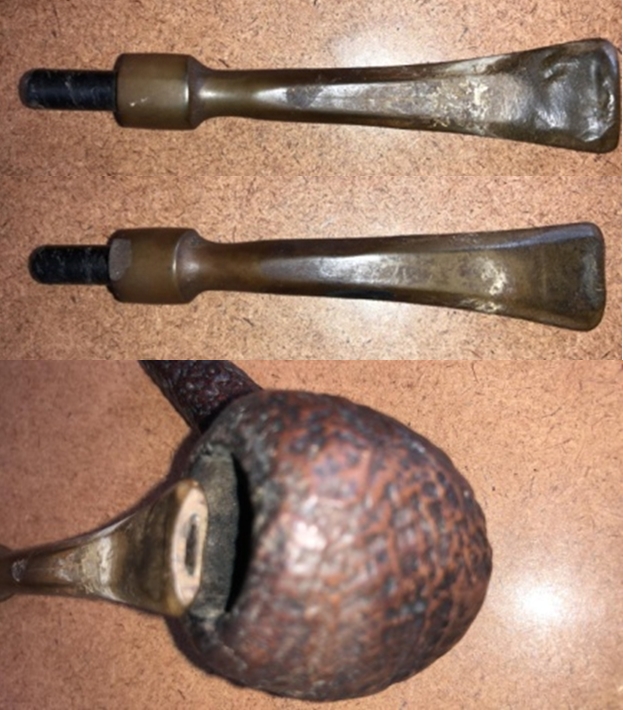
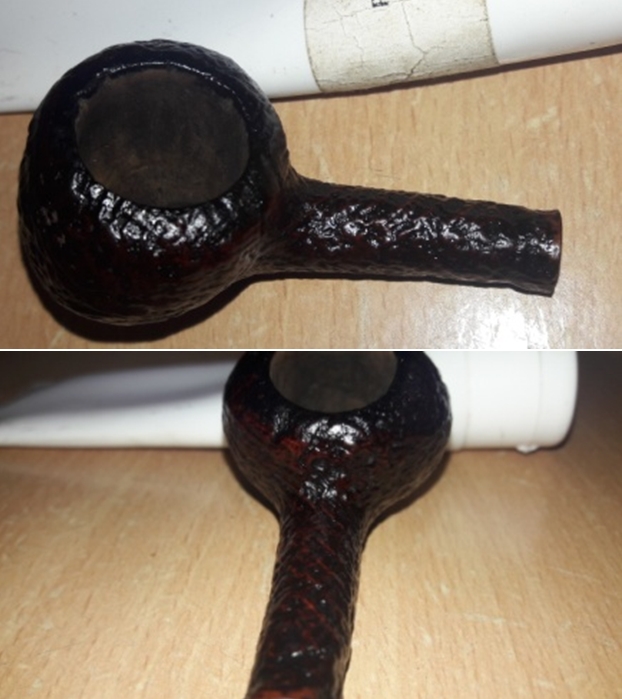
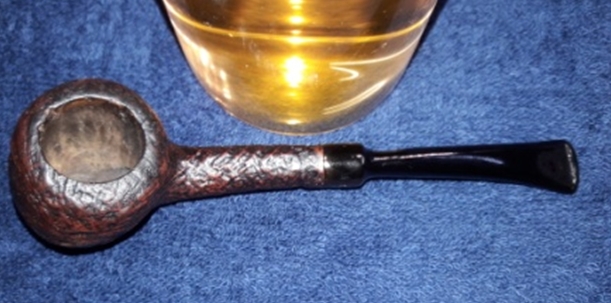
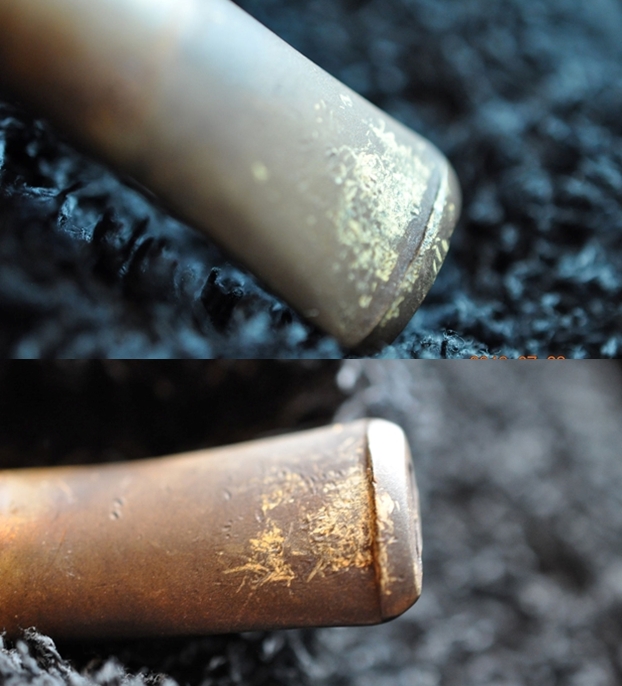
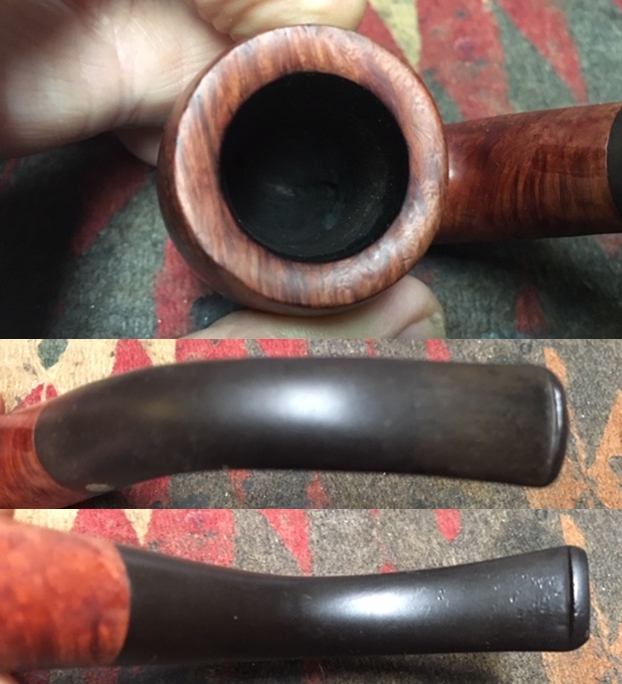
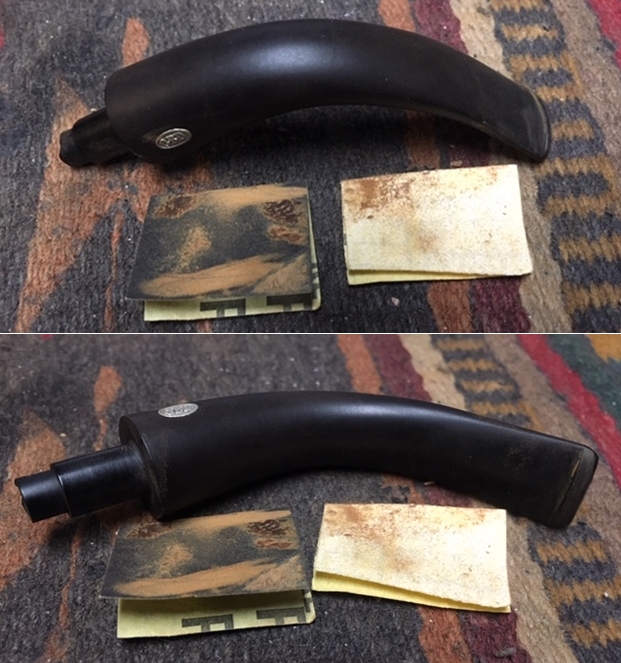
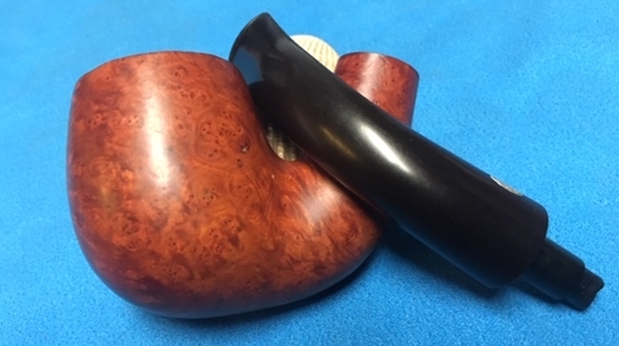
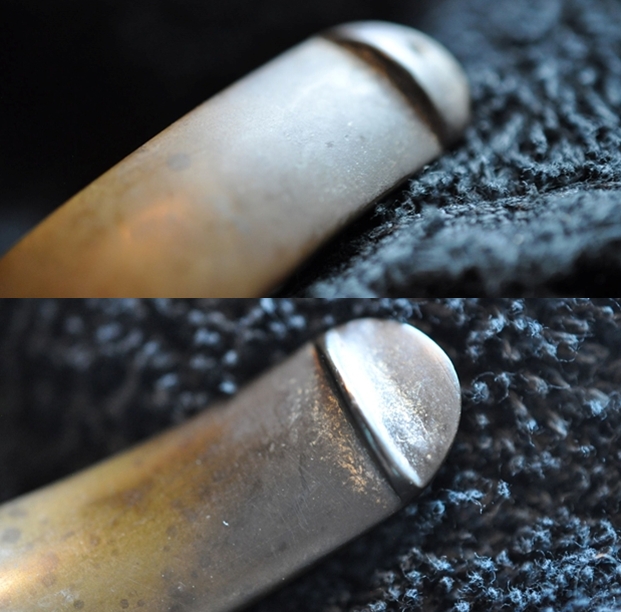
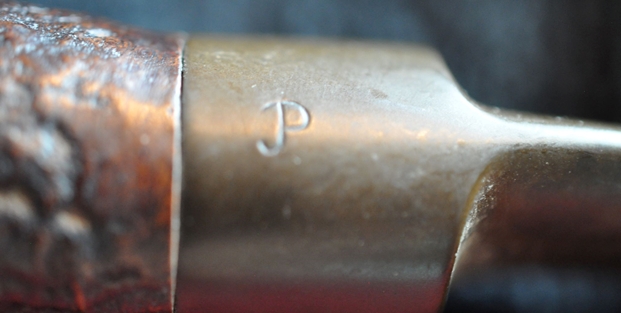
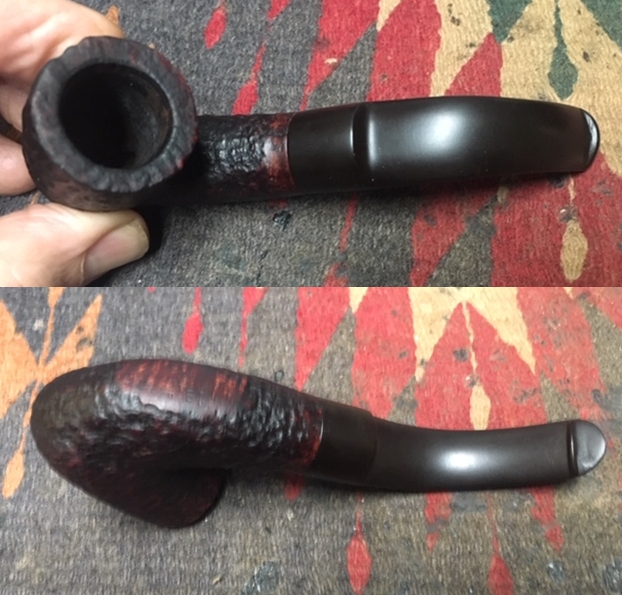
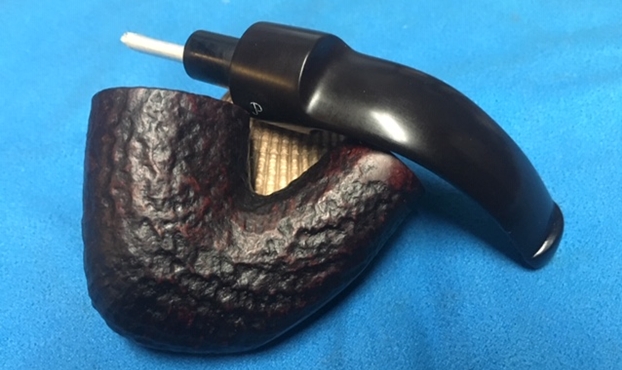
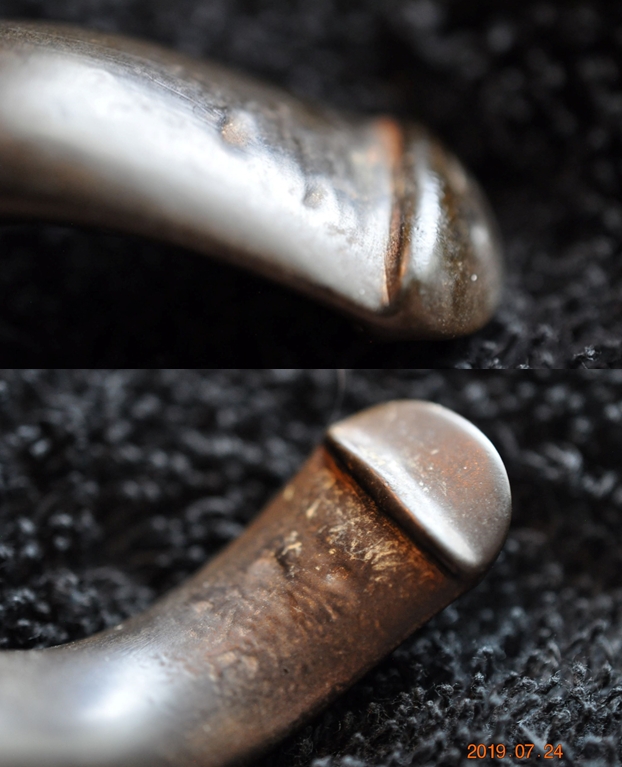
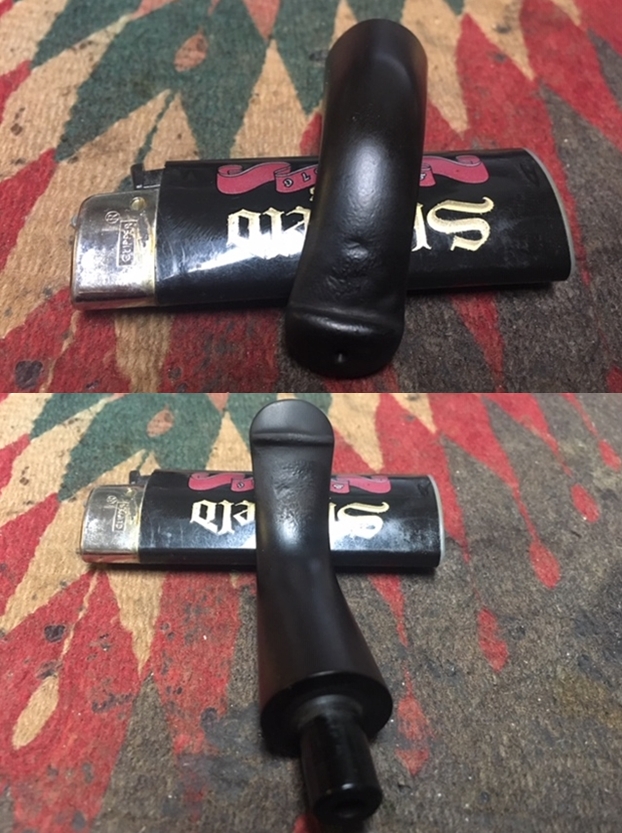
 The vulcanite stem is lightly oxidized and without any bite marks or tooth chatter on either surface. The tenon is made of plastic and houses a 6mm filter (came with a new filter!!). The insides of the slot and tenon have signs of accumulated gunk. The brass roundel with embossed logo of the pipe brand is intact, albeit oxidized. This should polish up nicely.
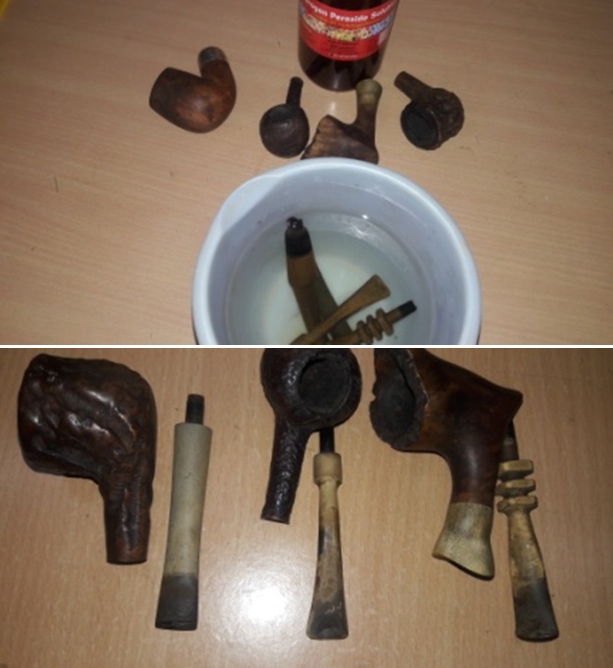
 INITIAL CLEANING BY ABHA…
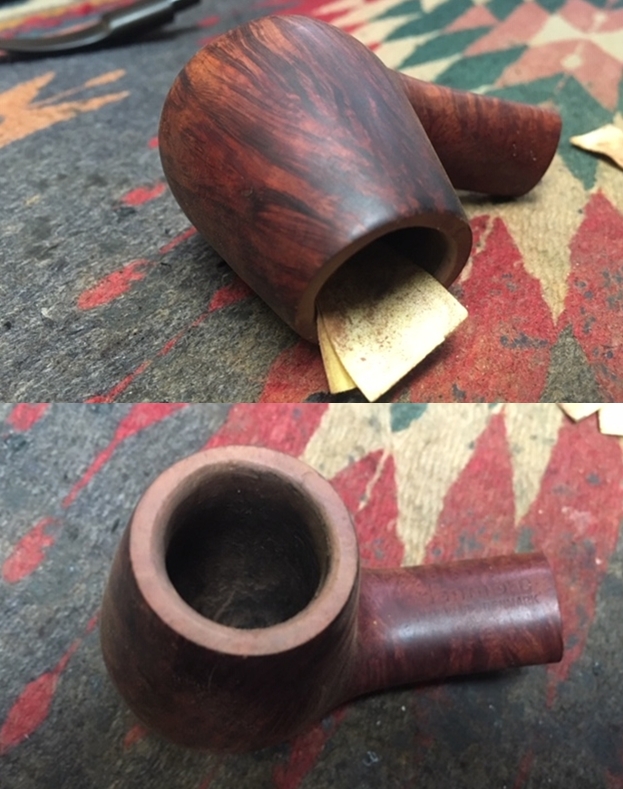
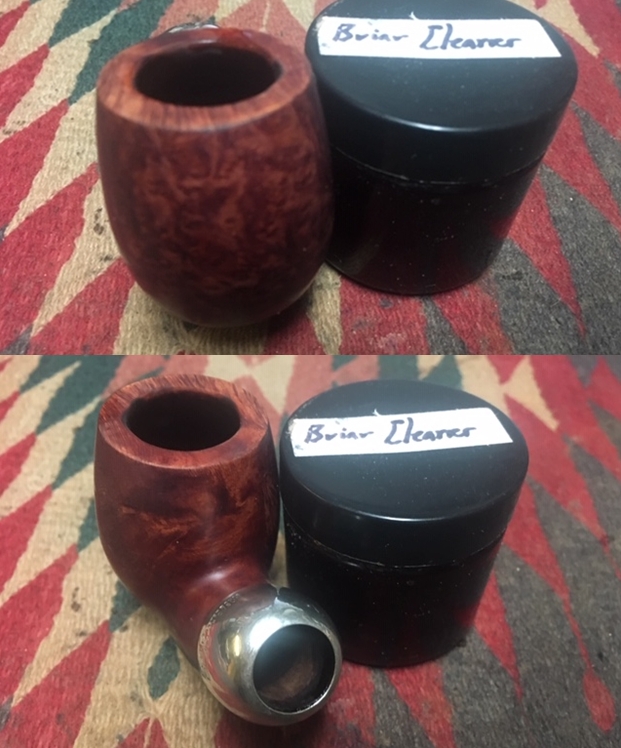
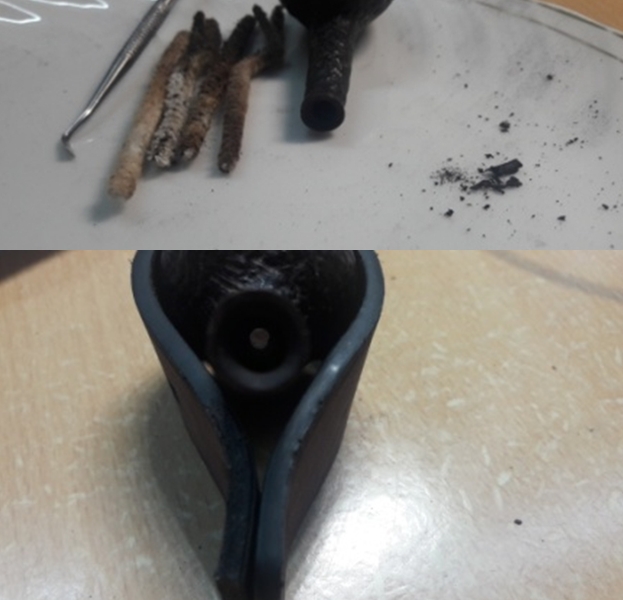
The initial cleaning on this pipe was done by Abha, my wife (she has cleaned up around 40-50 pipes and these have now reached me for further restoration). She reamed out the complete cake and further smoothed out the chamber walls with a folded piece of 220 grit sand paper. She further cleaned out the internals of the shank with pipe cleaners and alcohol and cotton buds. She followed the internal cleaning of the shank with external cleaning of the stummel using Murphy’s Oil soap and hard bristled tooth brush and dried it with paper napkins and cotton cloth.
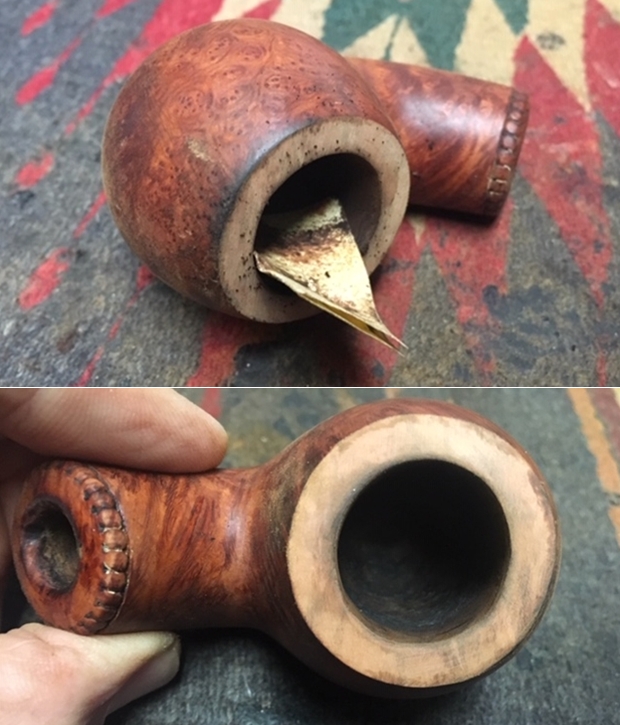
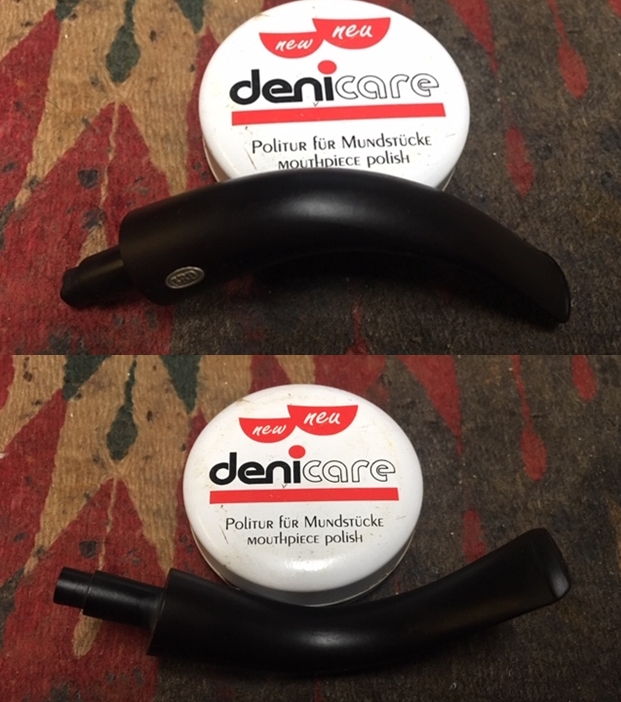
Next she cleaned out the internals of the stem air way and immersed it in “Before and After Deoxidizer” solution along with the stem of other pipes in line for restoration. Once the stem had soaked overnight, she cleaned the stem under running warm water and scrubbed the raised oxidation from the stem surface using Scotch Brite pad. She further removed the oxidation by scrubbing the stem with 0000 grade steel wool and applied a little olive oil to rehydrate the stem. She had removed the stinger from the tenon and cleaned it with cotton swabs, pipe cleaners and alcohol.
ONCE THE PIPE IS ON MY WORK TABLE……
Now that the cleaned up pipe is on my work table, I proceed to carry out my appreciation of the work that needs to be done on this pipe to restore it.
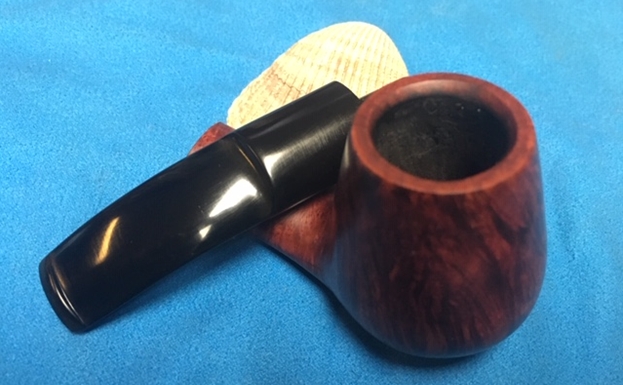
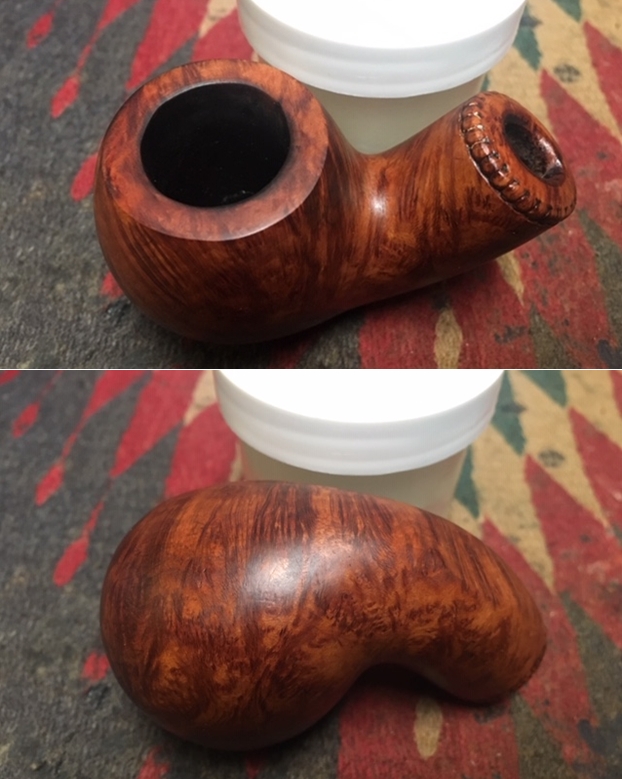
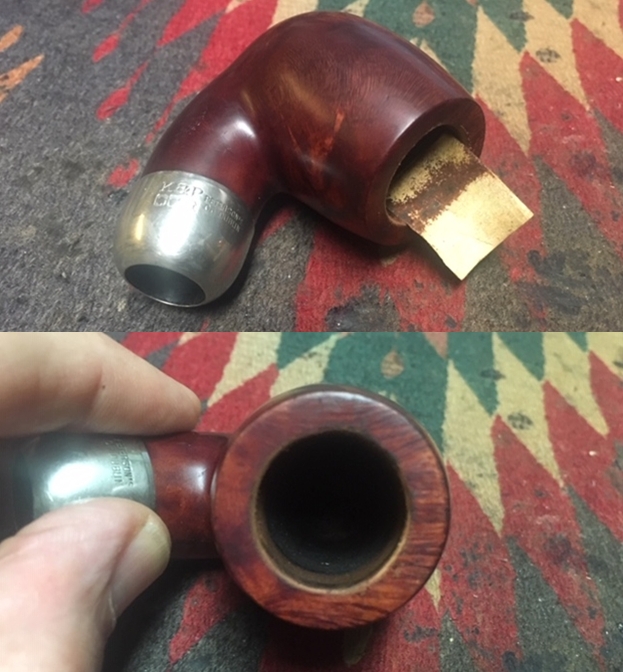
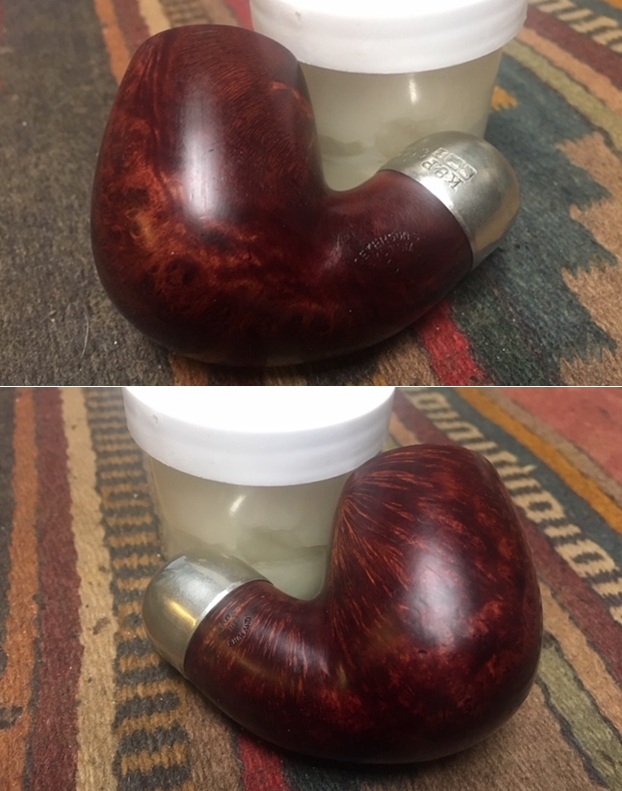
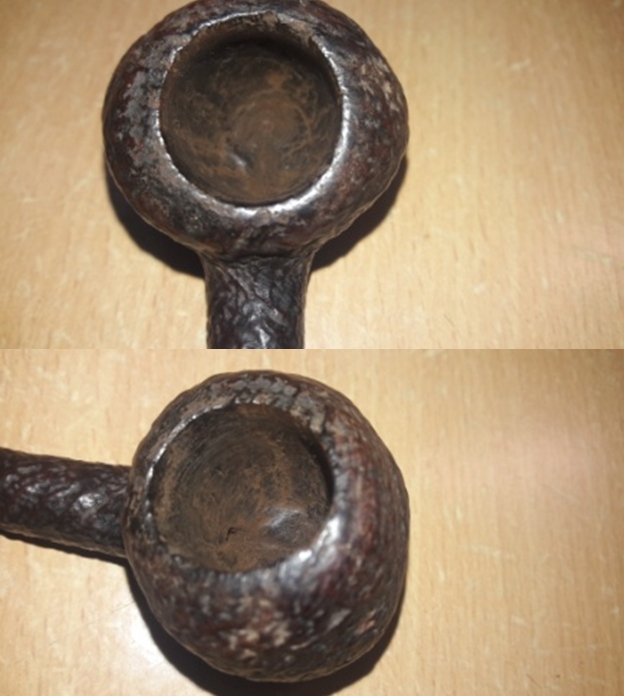
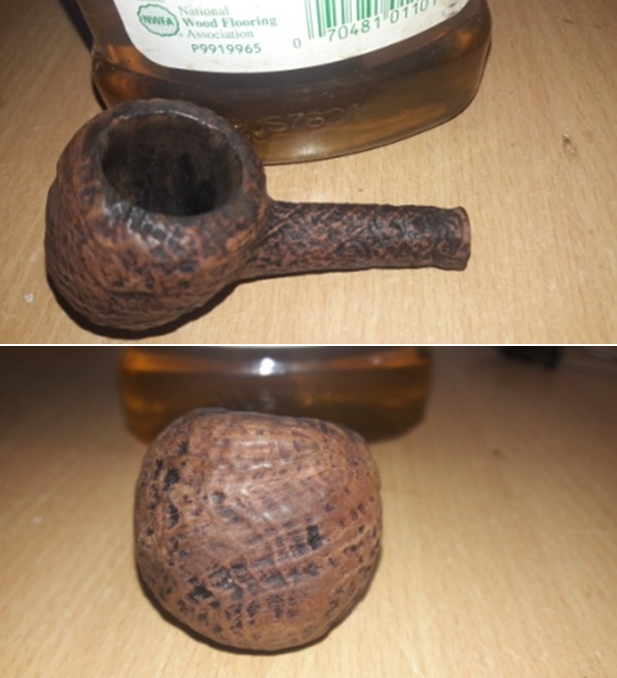
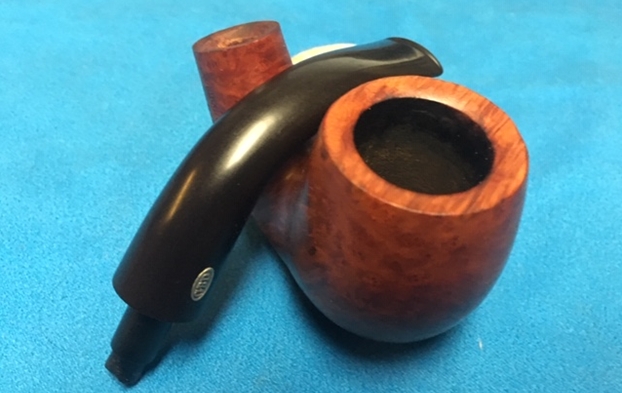
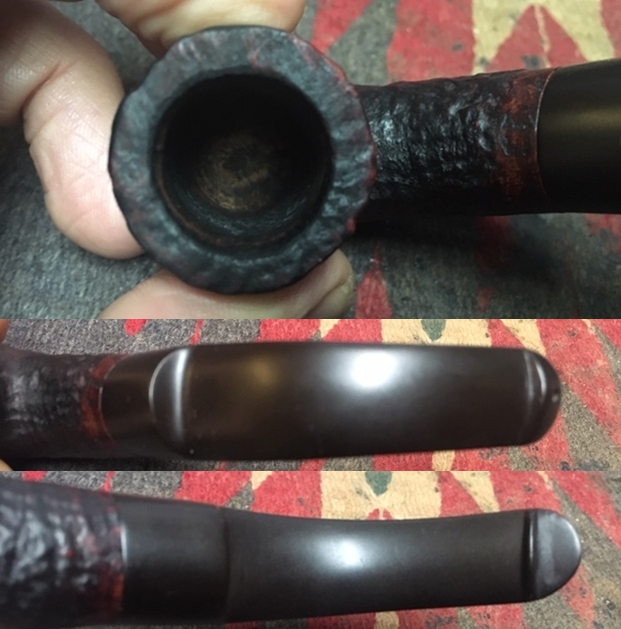
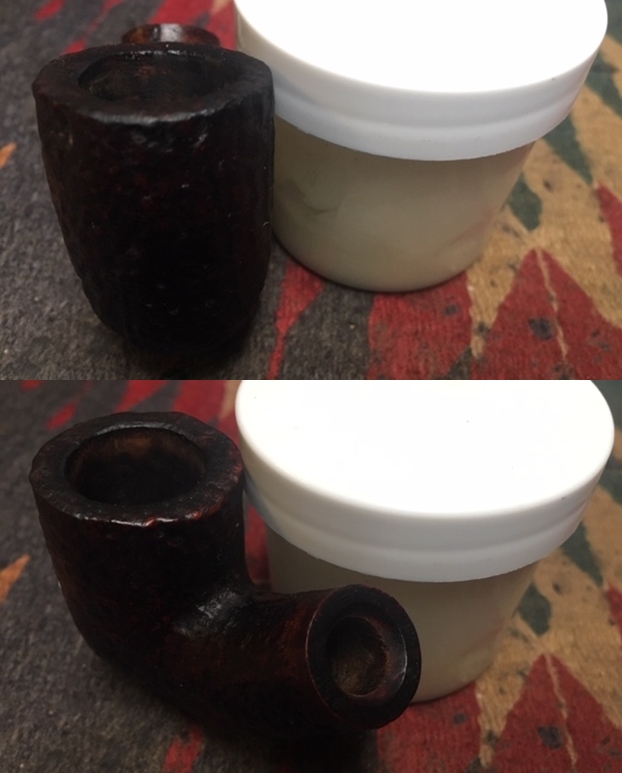
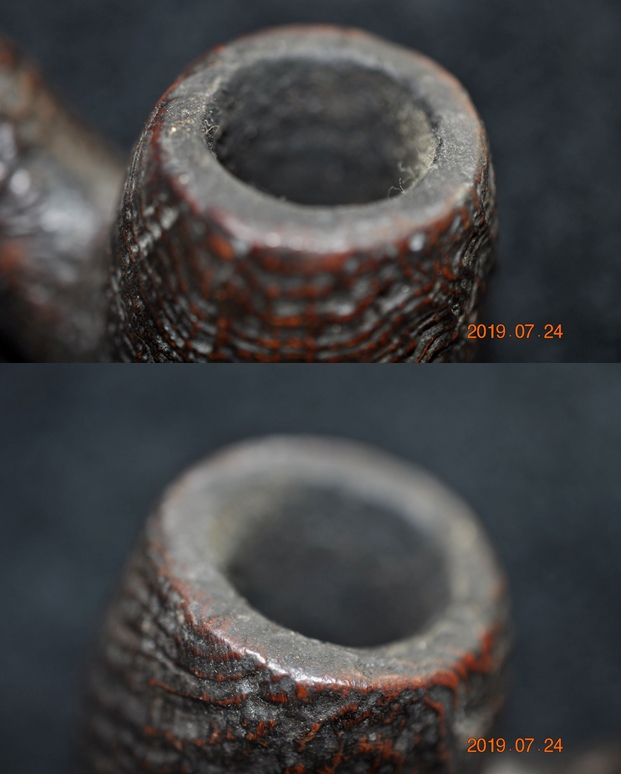
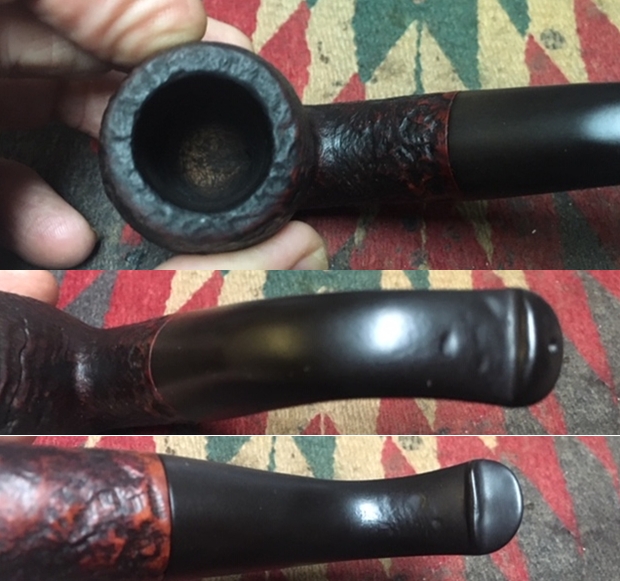
The chamber is odorless and the walls are solid without any signs of damage. The sandblast rim top surface is in decent condition with the inner and outer rim edge in excellent condition. I could still see remnants of the accumulated dirt and grime in the sandblasts of the rim top surface (hope Abha does not read this post!!). I shall remove this crud with a soft brass wired brush. The mortise and shank internals are nice and clean.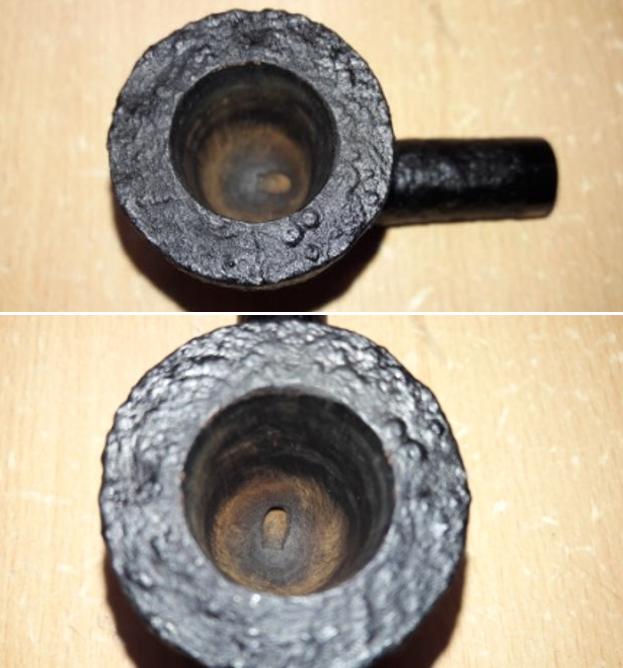

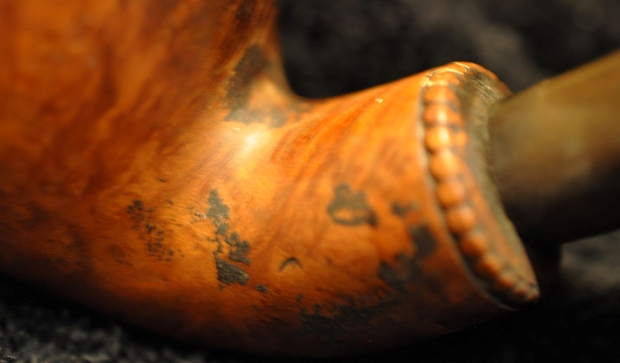
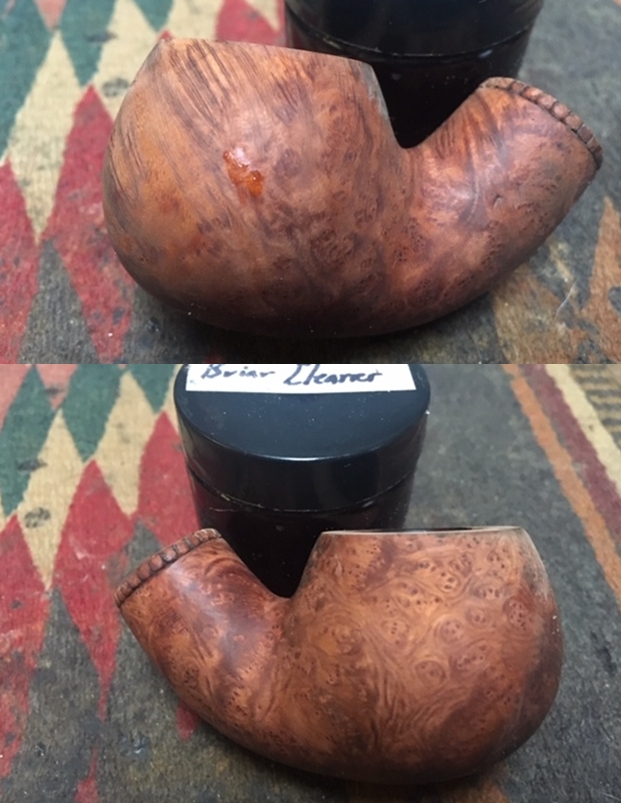
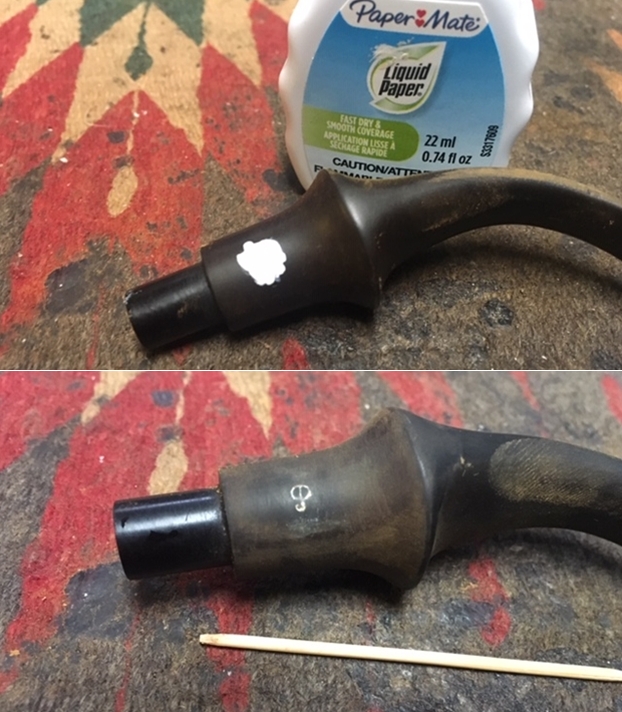
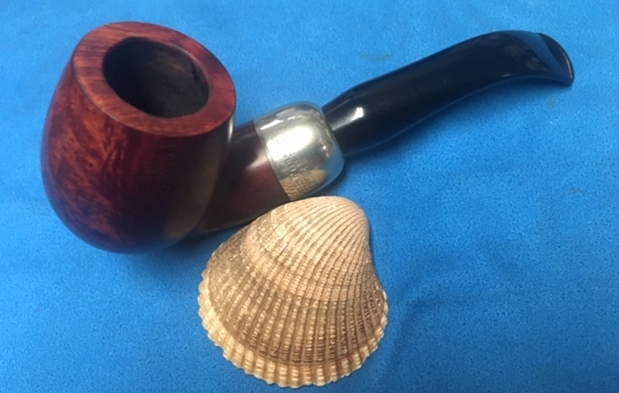
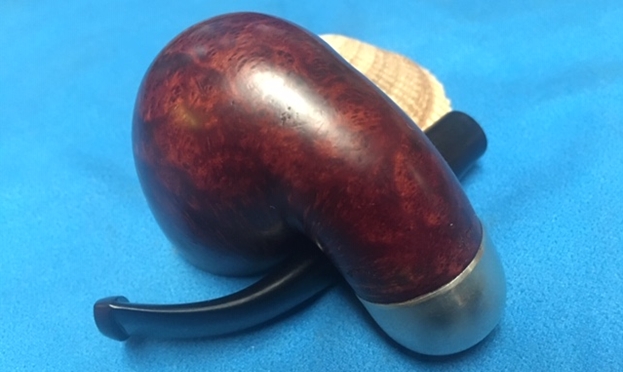
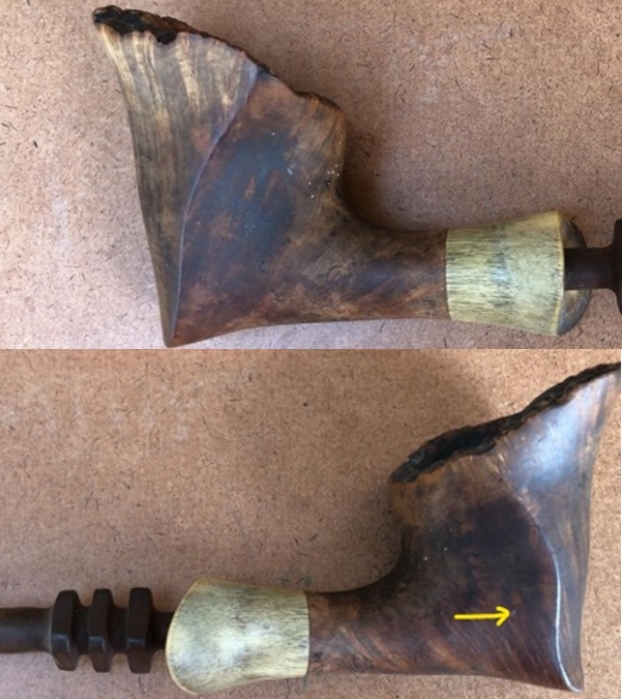
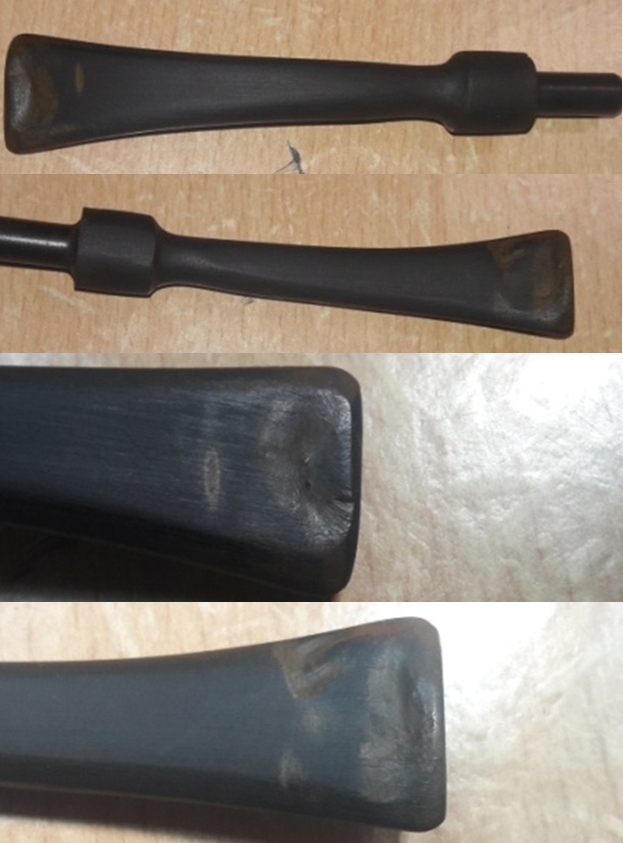
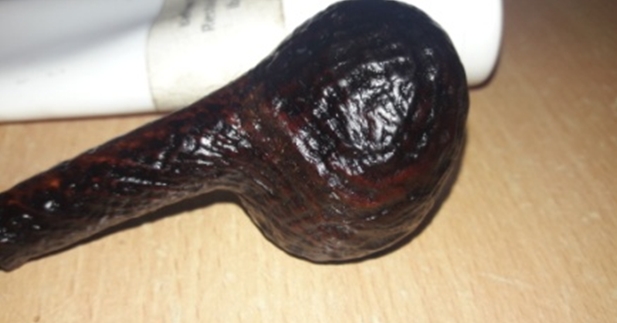
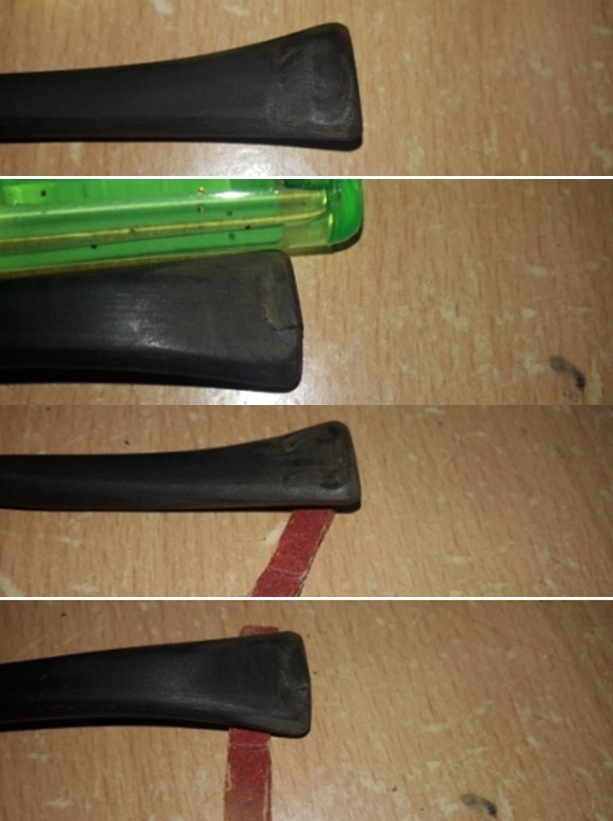
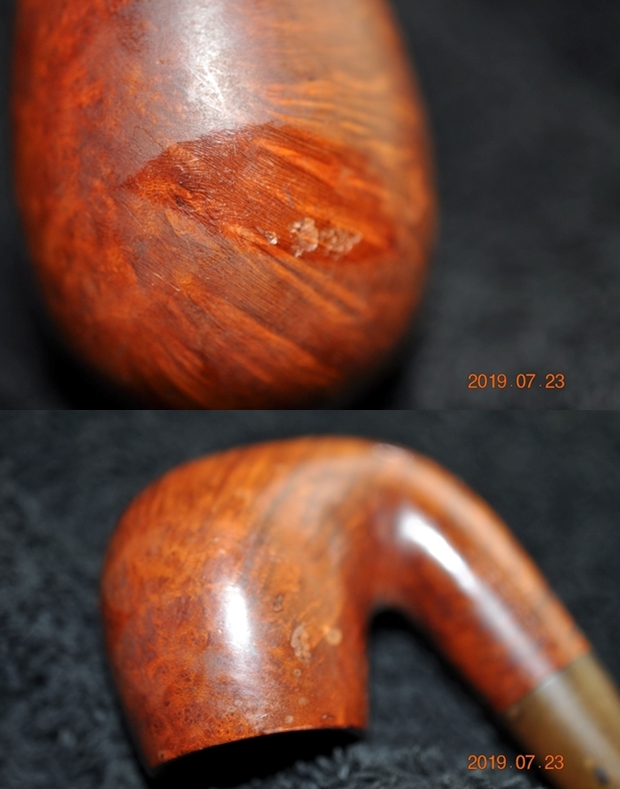
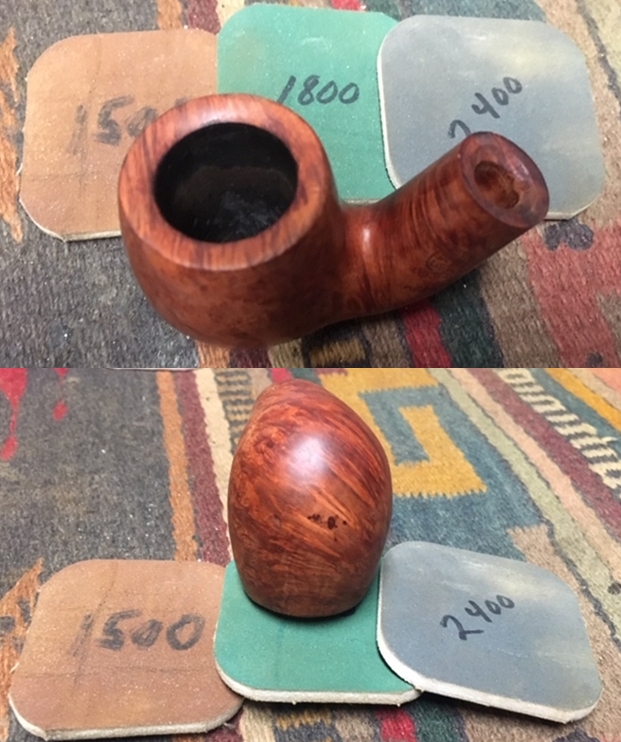
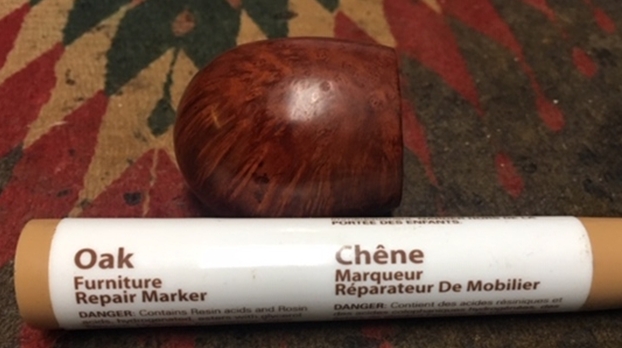
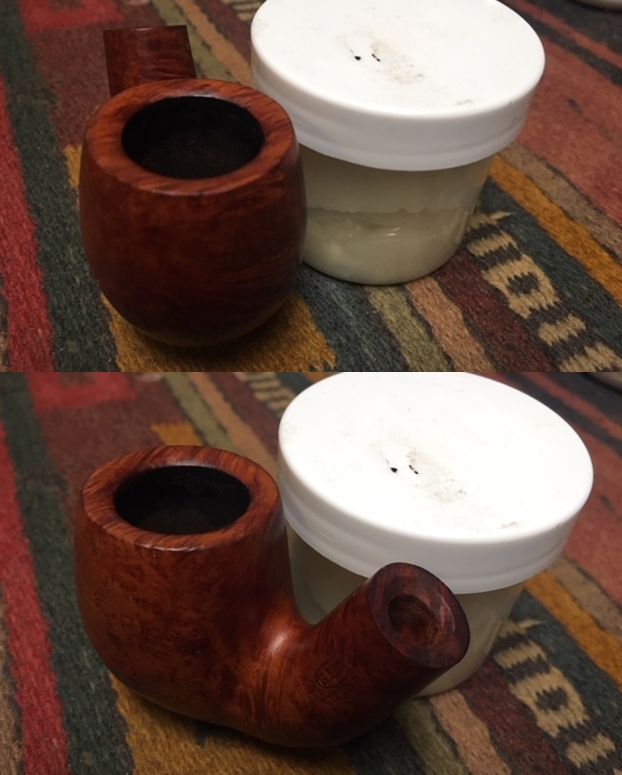
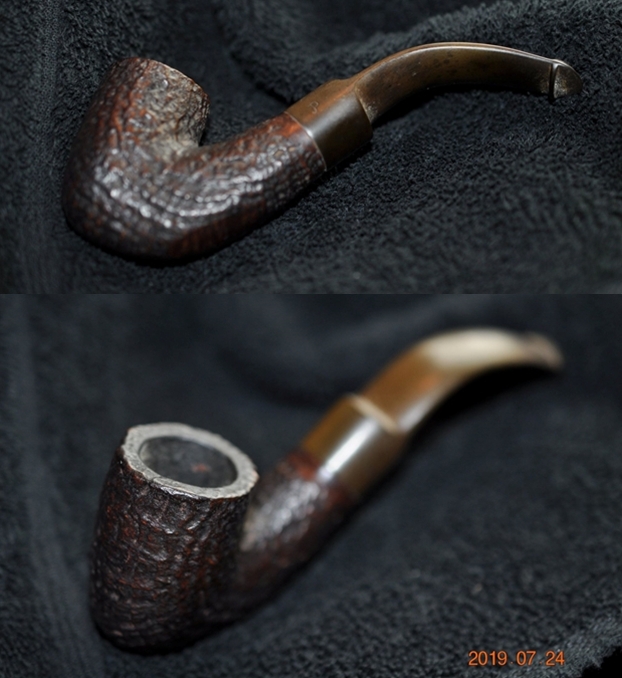
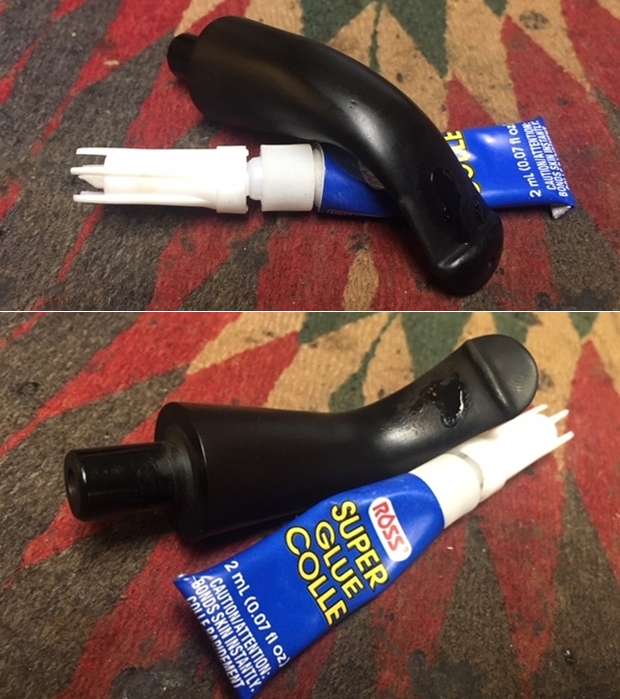
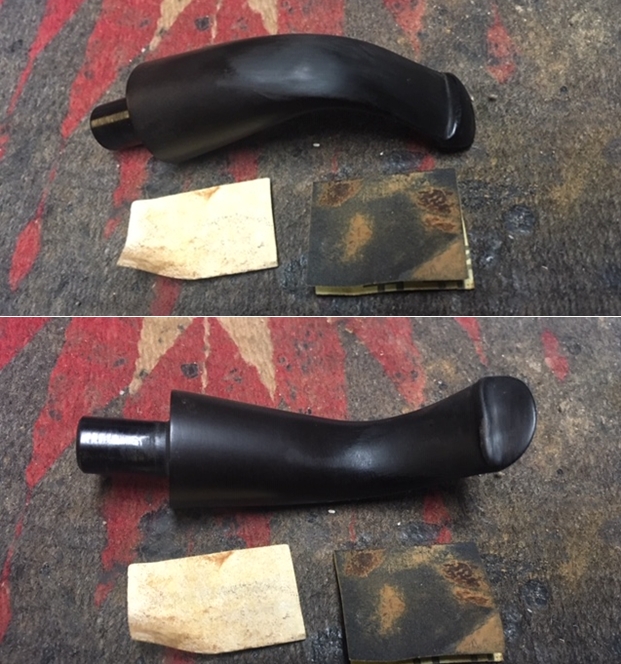
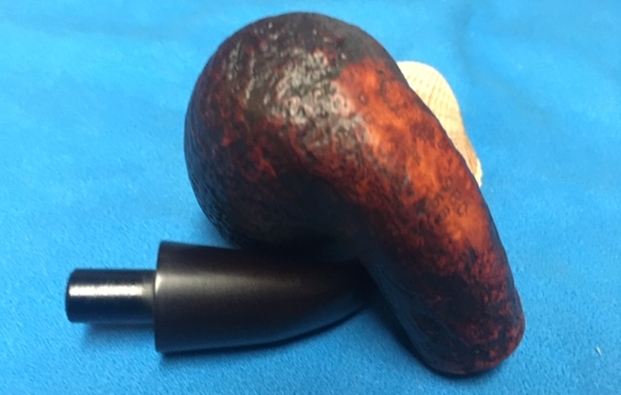
 The stummel is nice and clean. Once the stummel was cleaned up by Abha, I could see a small crack on the left side of the shank close to the smooth briar band at the shank end (marked in red circle). I probed it with my dental tool and found it to be solid without any give. I think this could be a flaw in the briar. However, to ally my worst fears, I shared the pictures of this flaw with Steve for his opinion and to my great relief, he concurred with my assessment. I would just fill it up with a drop of superglue and use a black sharpie marker to mask this flaw. There is, in fact, not much work to be done here save for some spit and polishing to make it nice and shiny again.

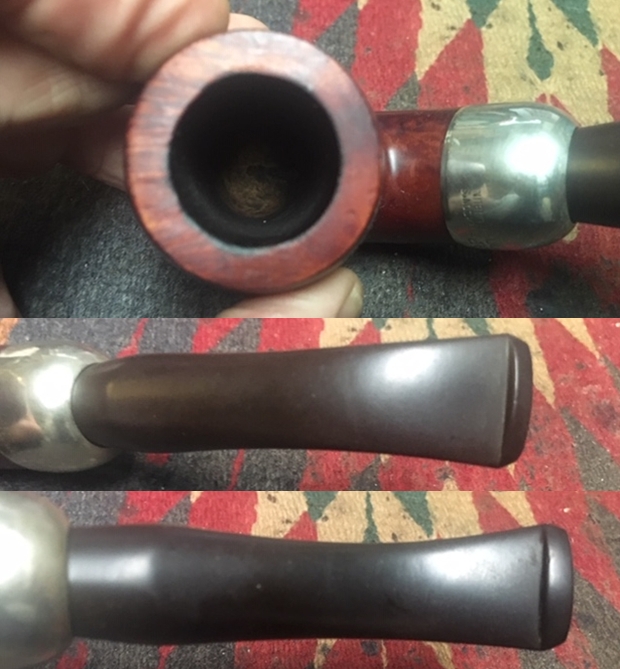
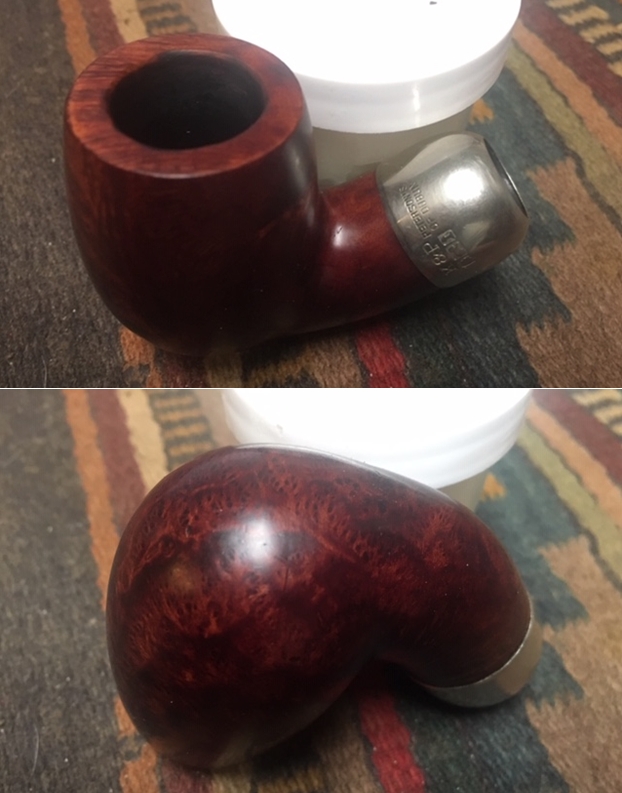
 The oxidation on the vulcanite stem has been greatly reduced, thanks to all the efforts put in by Abha. A bit of sanding to remove the deeper oxidation followed by micromesh polishing cycle should add a nice shine to the stem.
 THE PROCESS
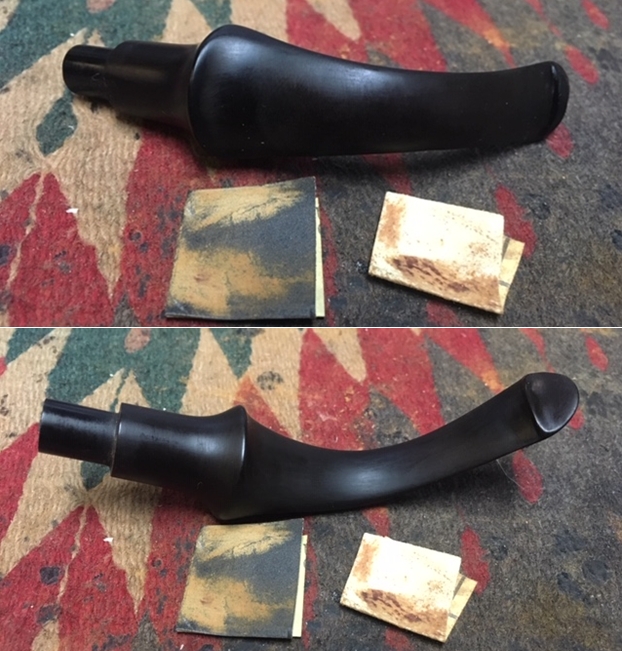
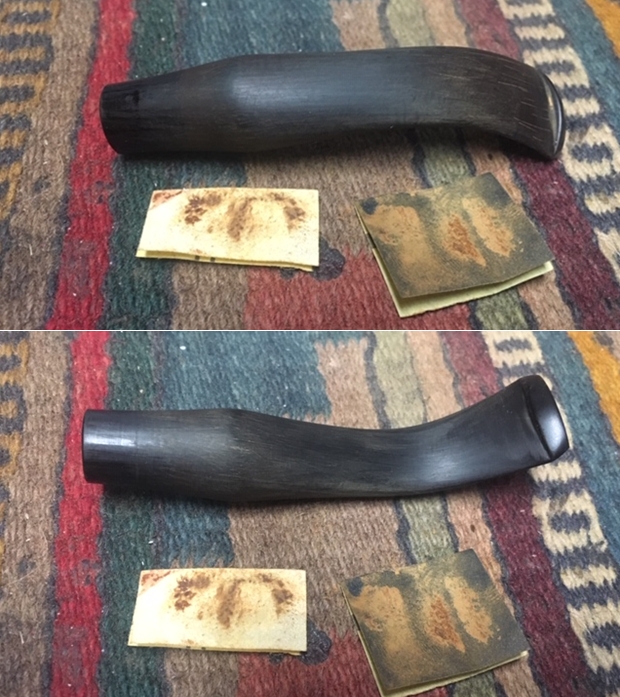
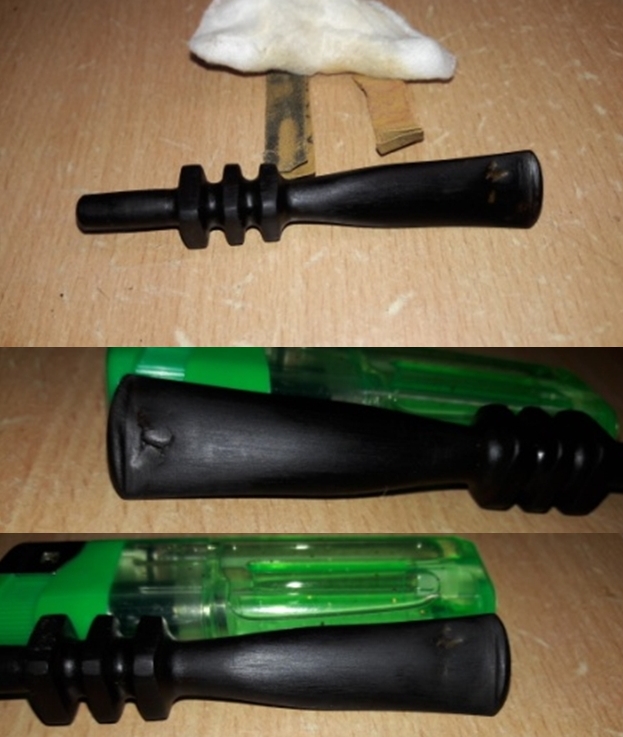
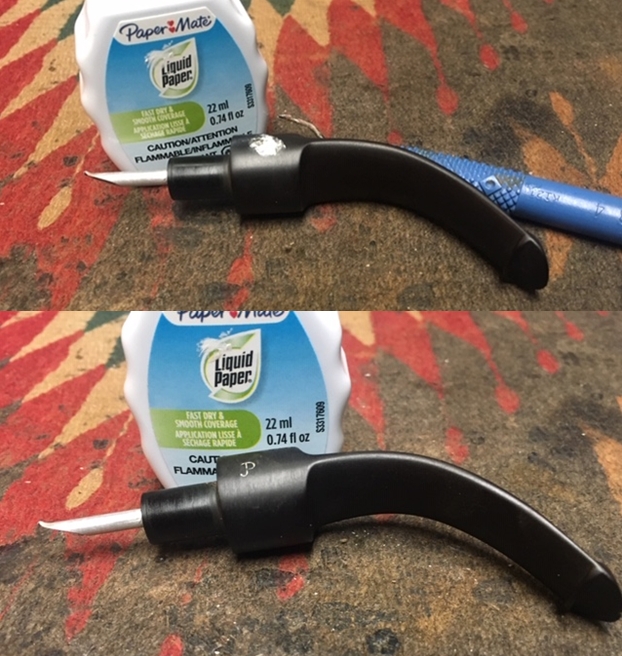
The first issue I addressed was that of the flaw that I had observed during my inspection of the stummel. I spot filled the flaw with a drop of superglue and set it aside to enter in to whatever gaps that may exist internally and harden. While the shank fill was curing, I sand the stem with a folded piece of 220 grit sandpaper and followed it up by sanding it with 400, 600 and 800 grit sand papers. This serves to remove the deep seated oxidation from the stem surface and also reduces the sanding marks of the more abrasive sand papers. I wiped the stem with a moist cloth to remove all the oxidation from the surface.
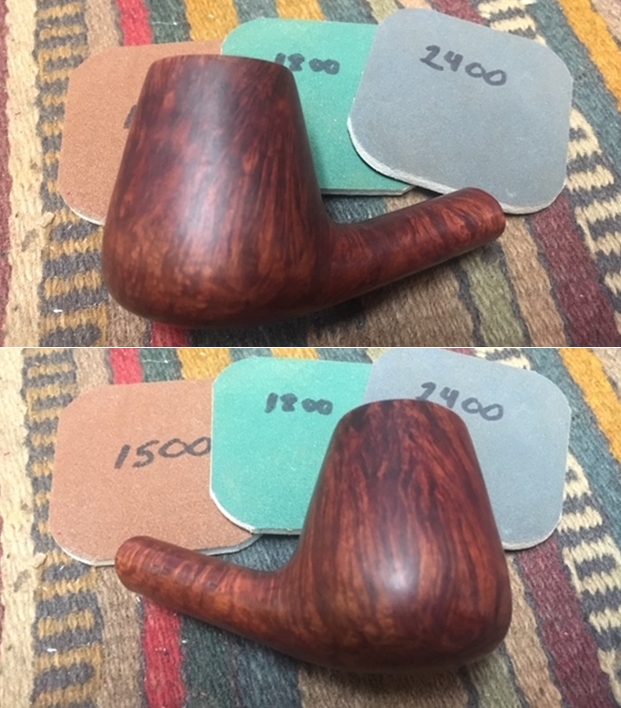
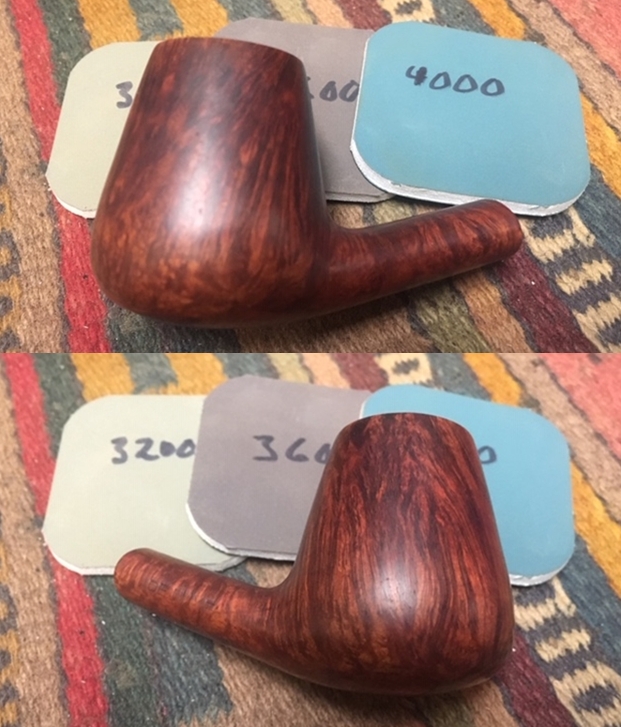
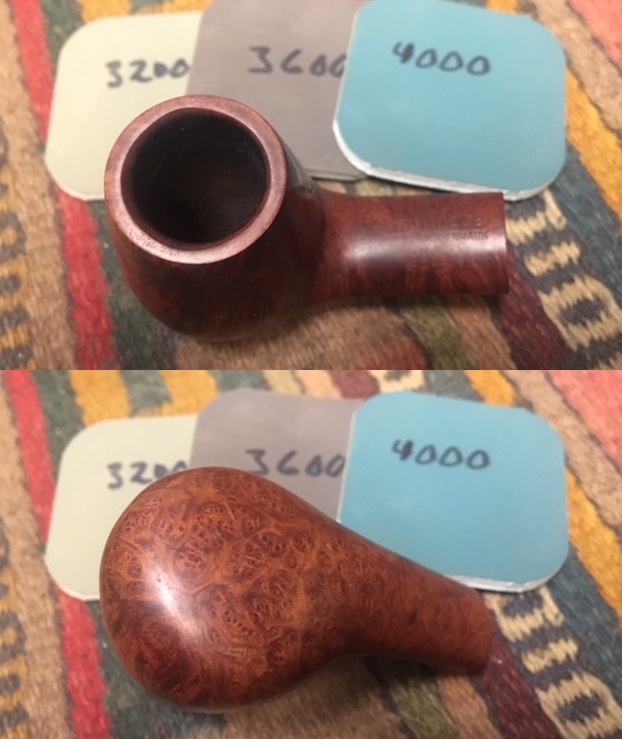
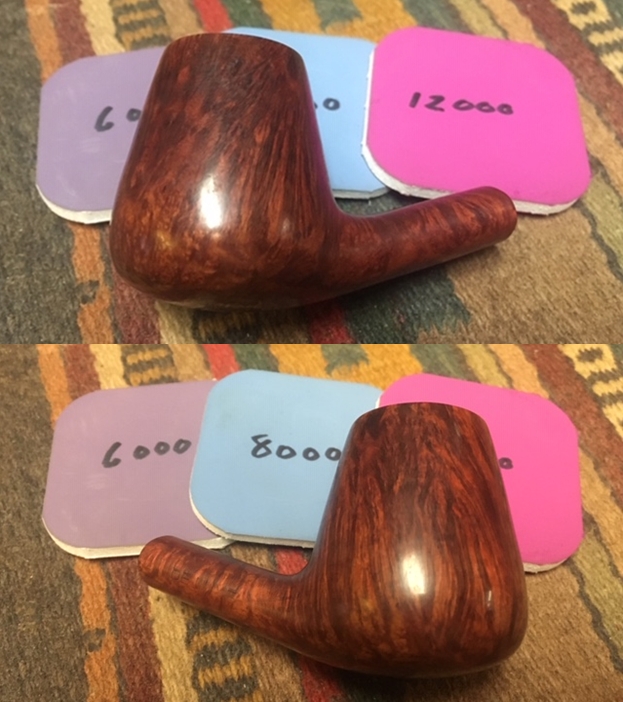
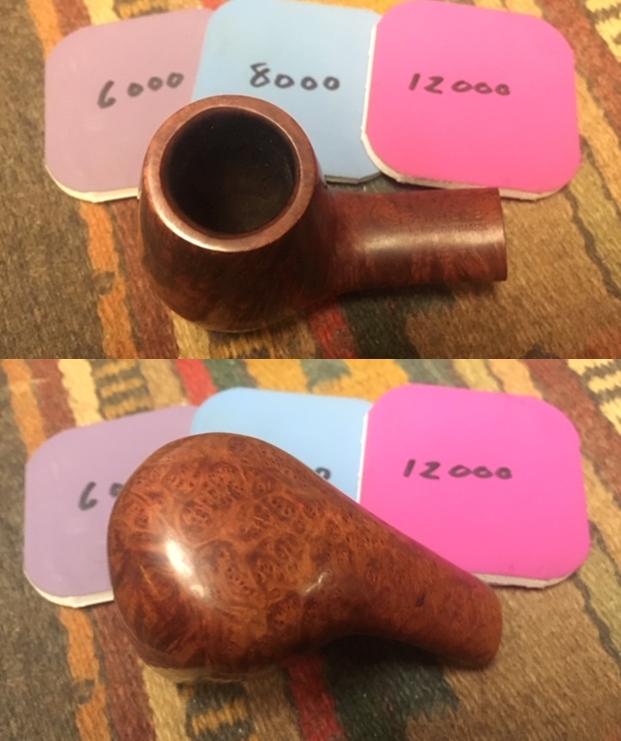
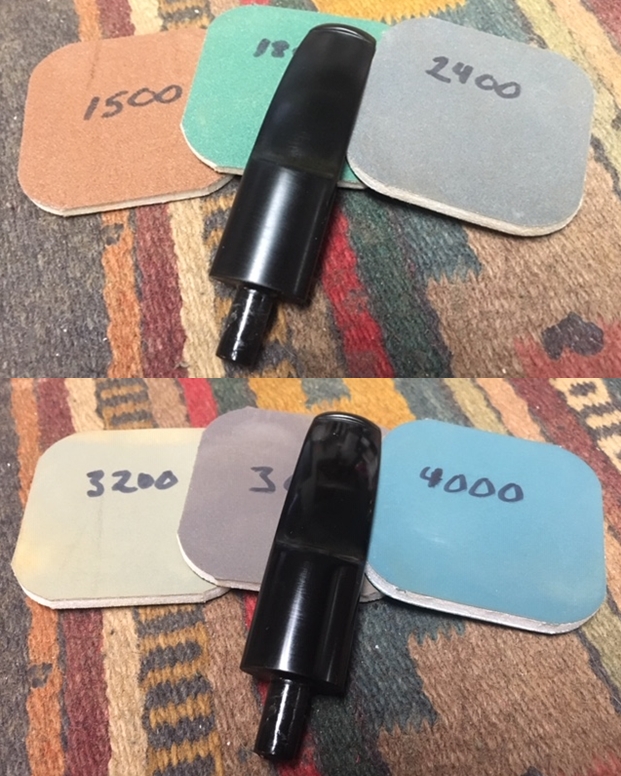
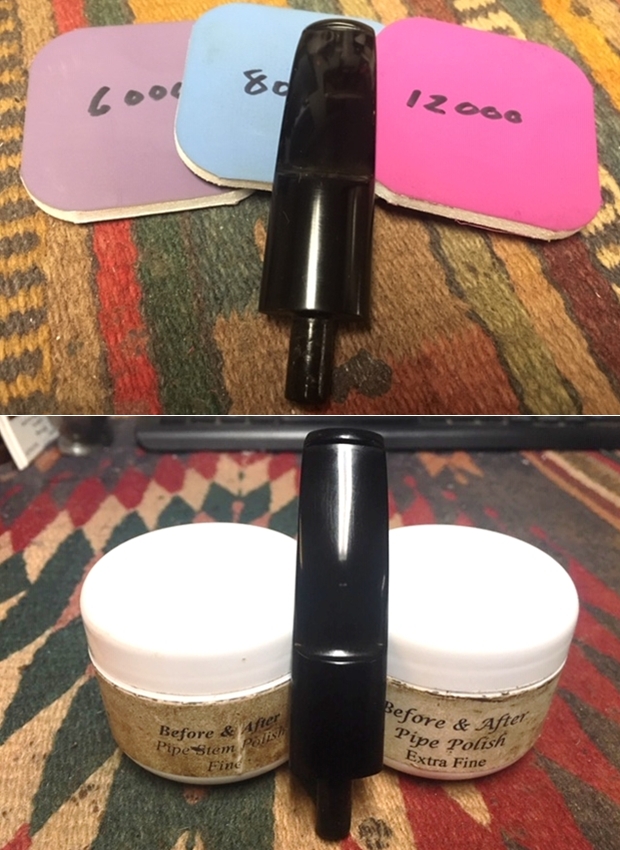
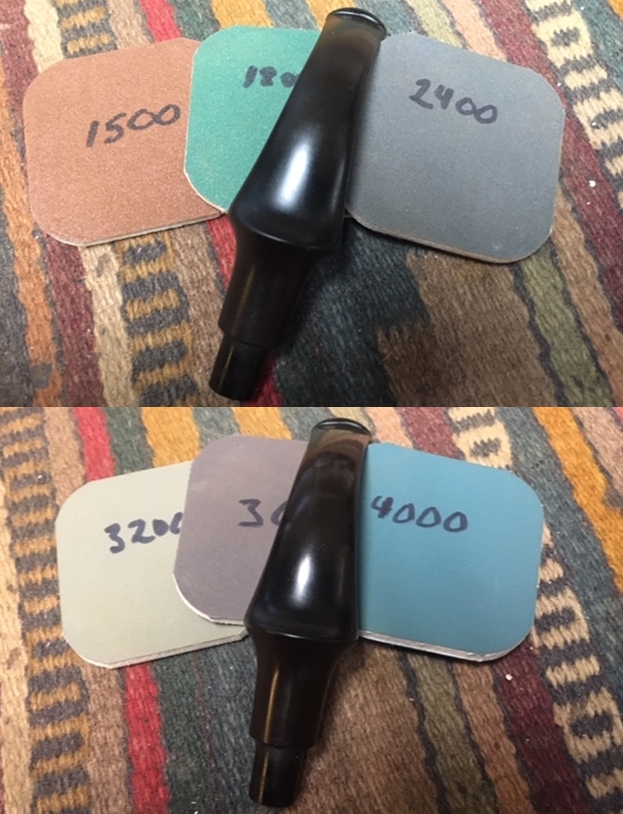
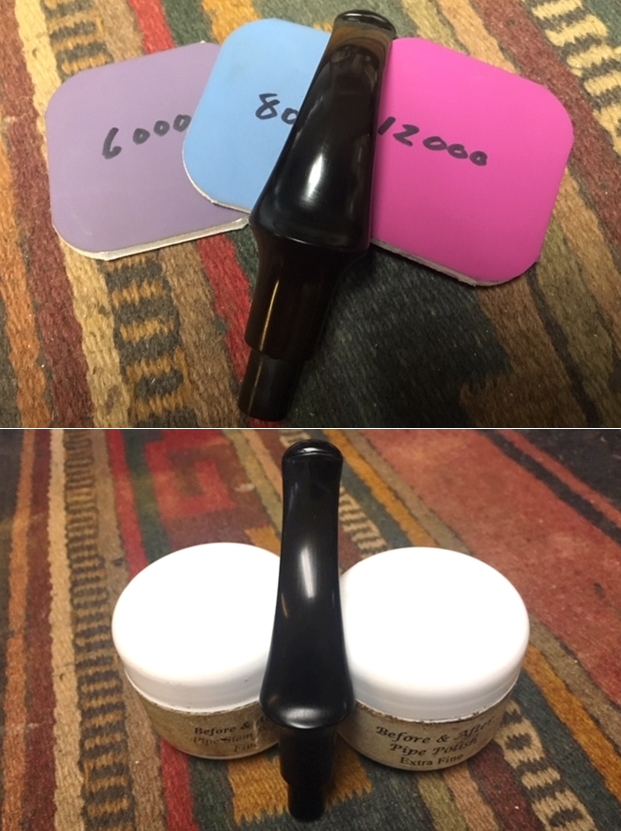
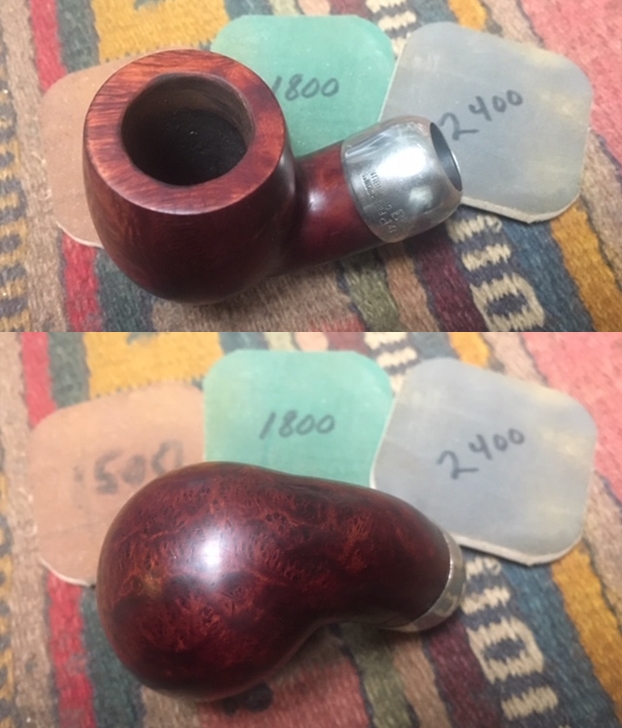
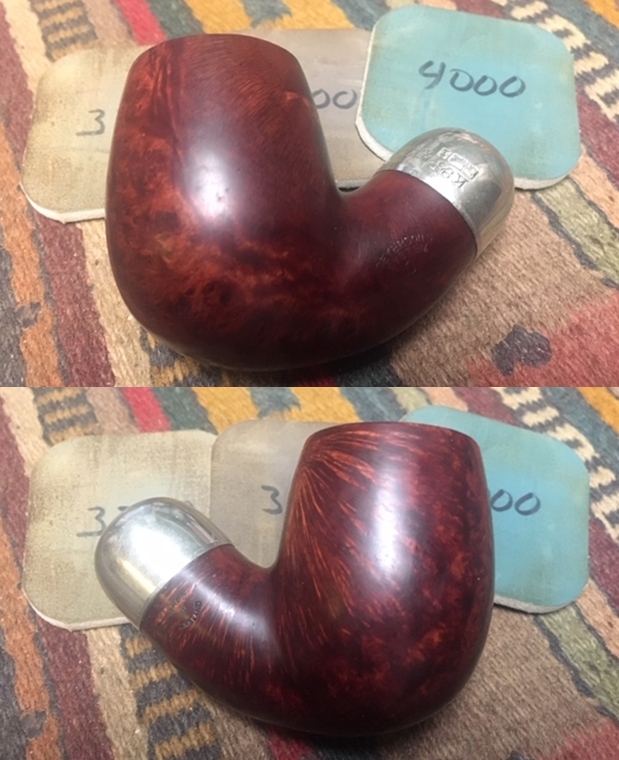
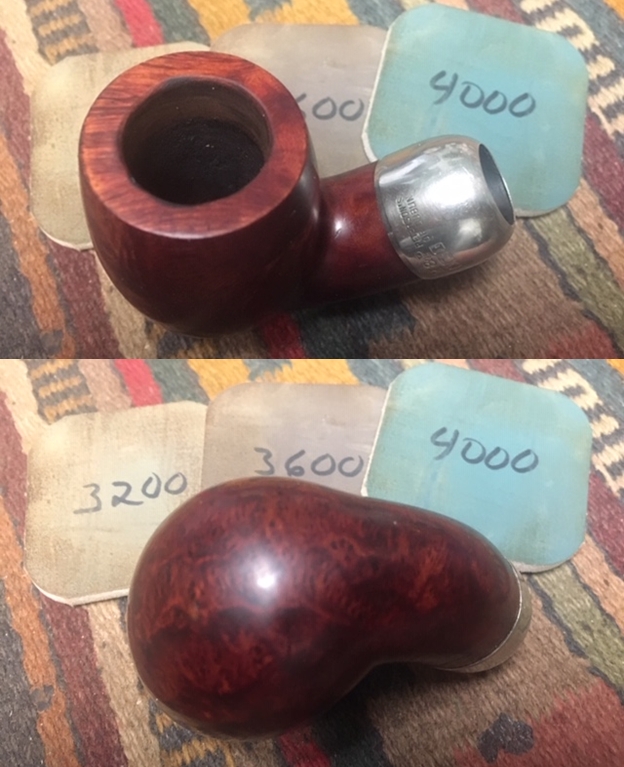
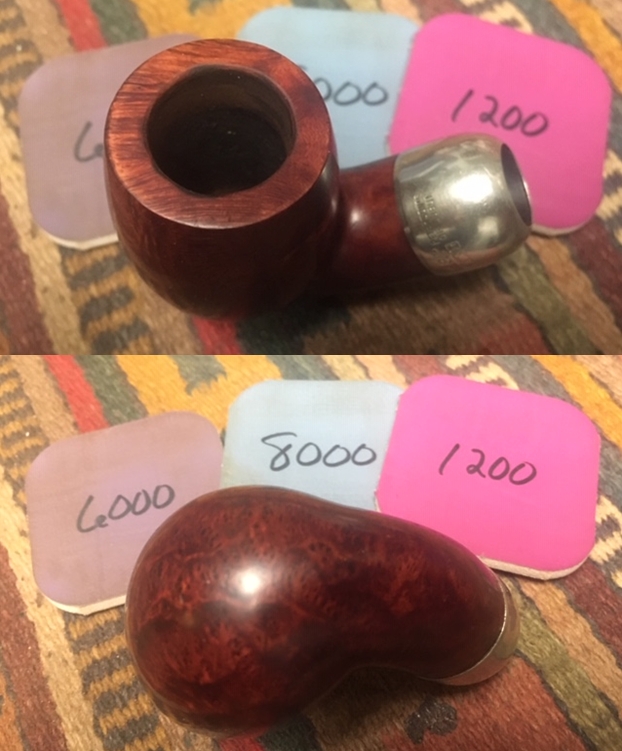
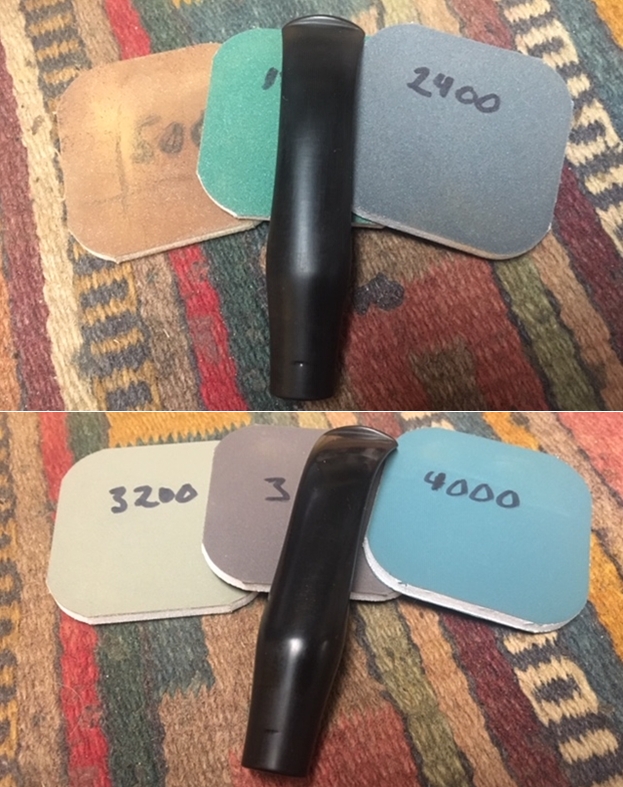
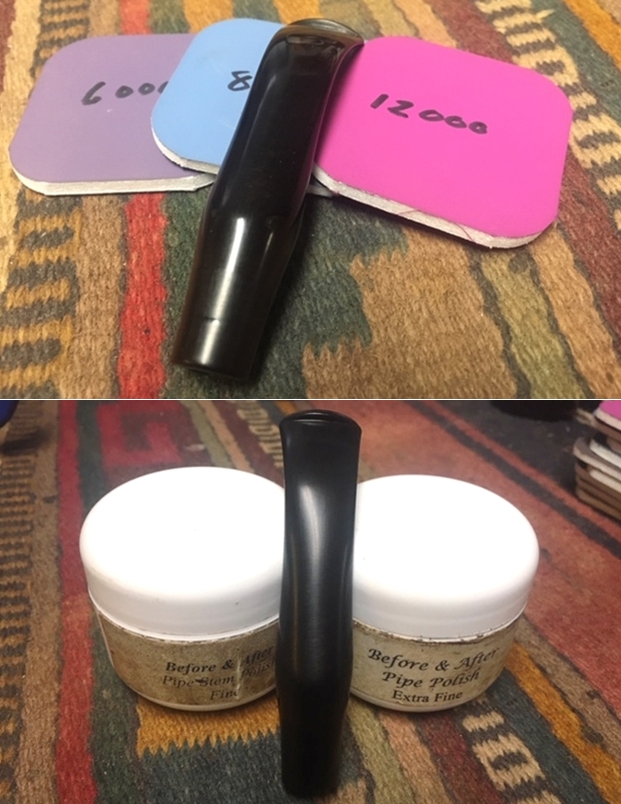
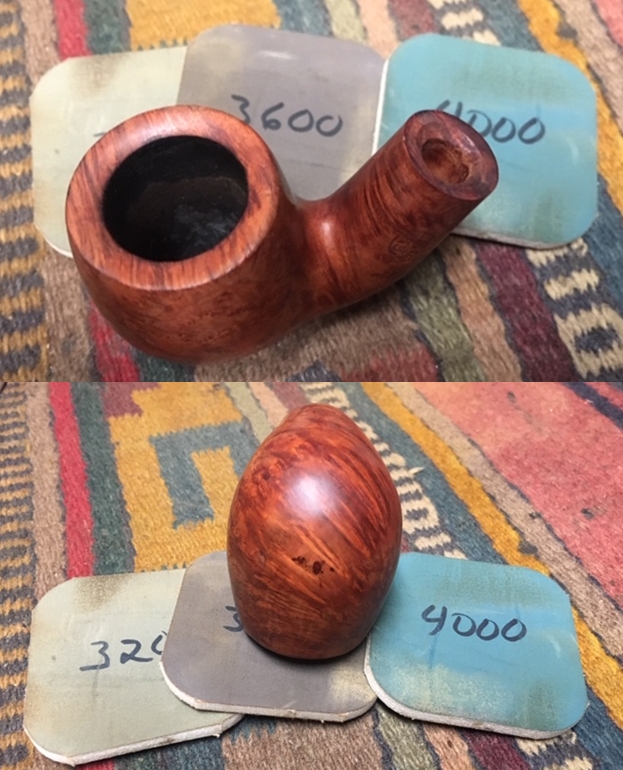
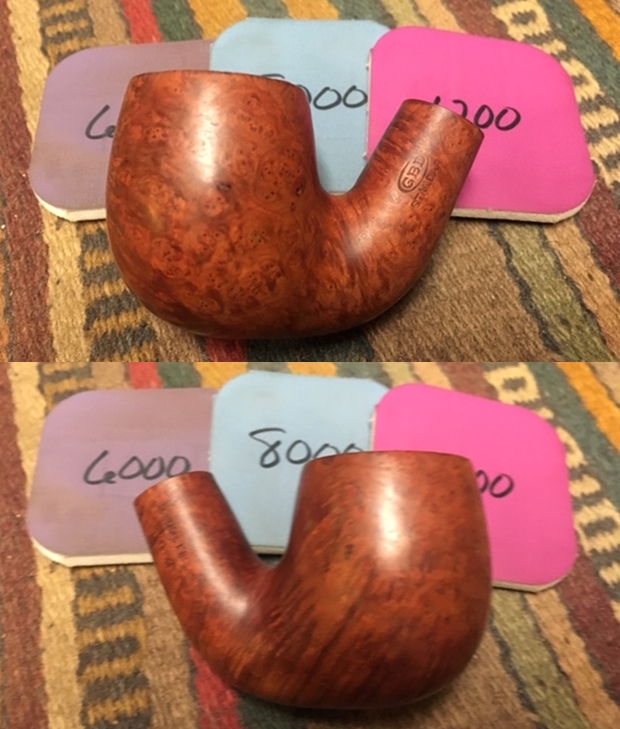
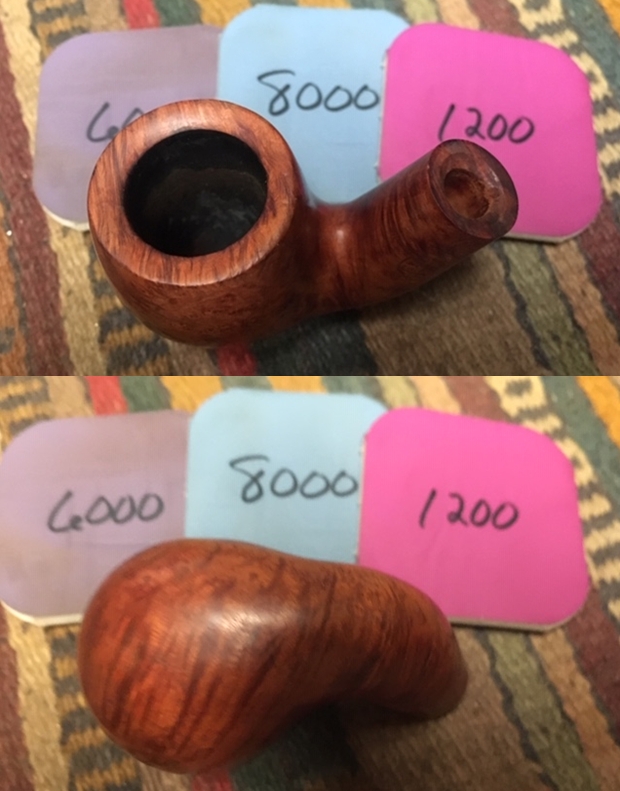
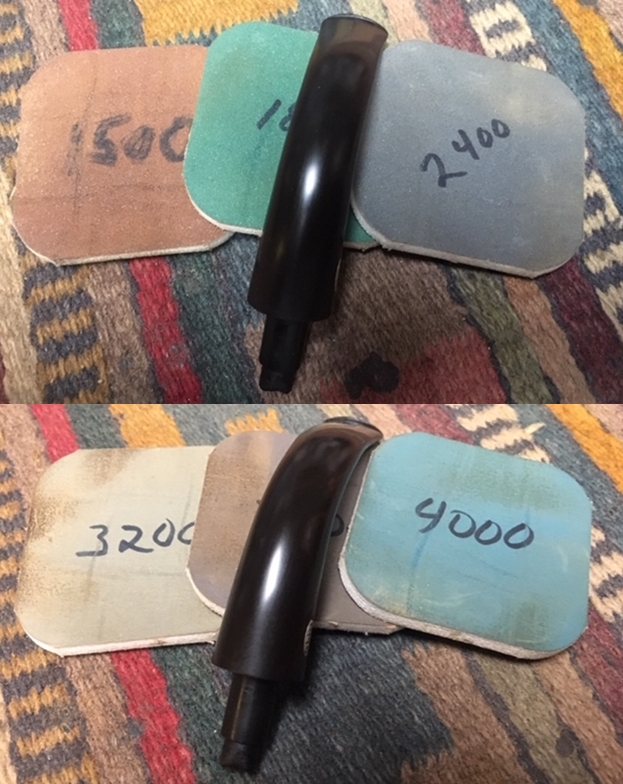
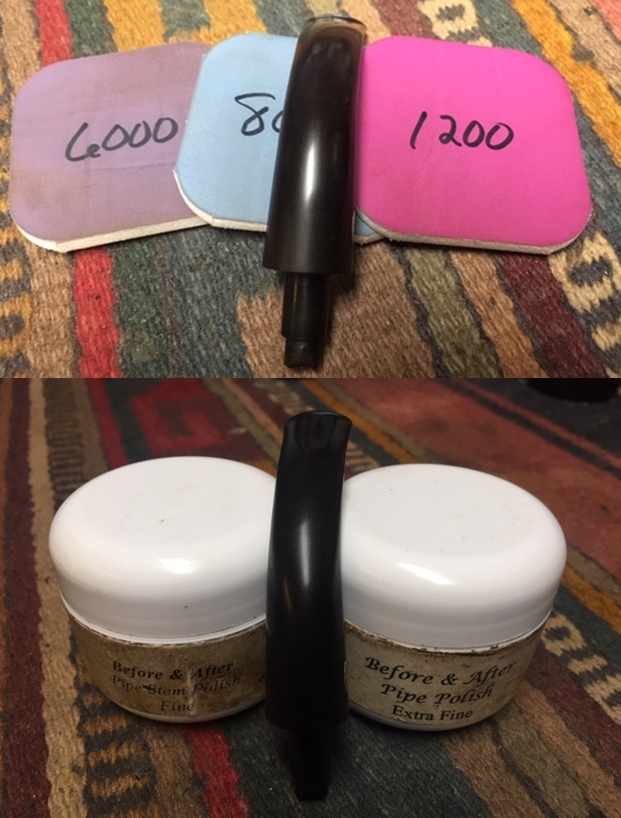
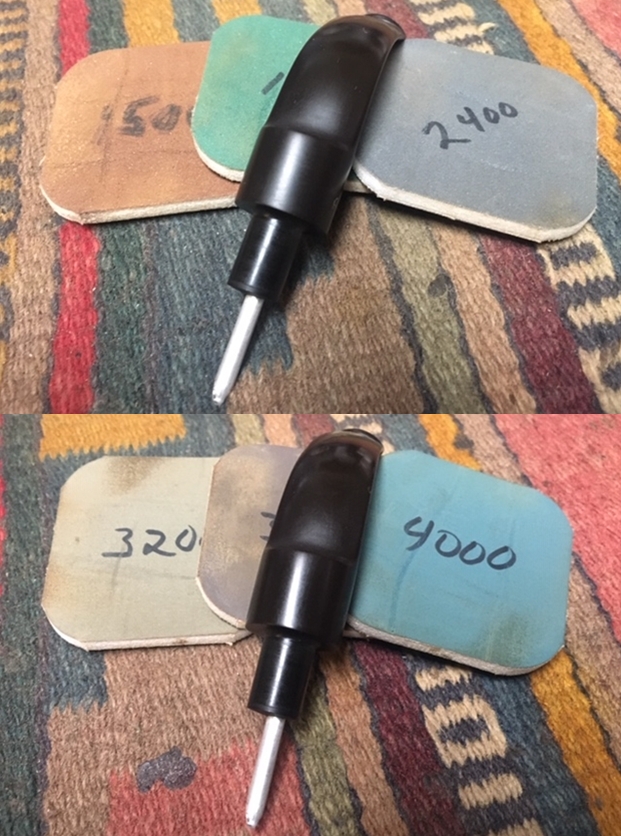
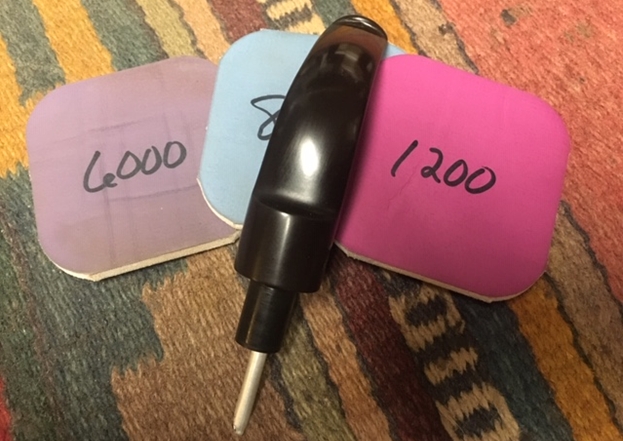
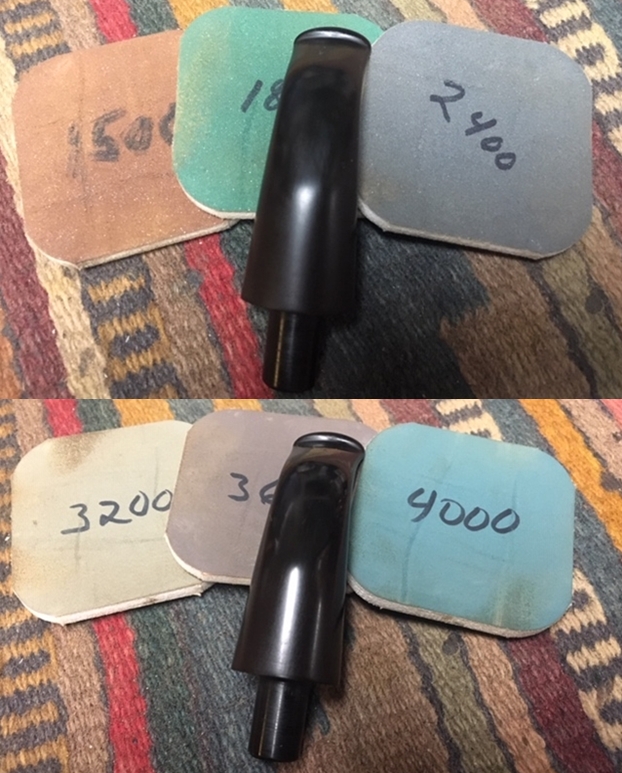
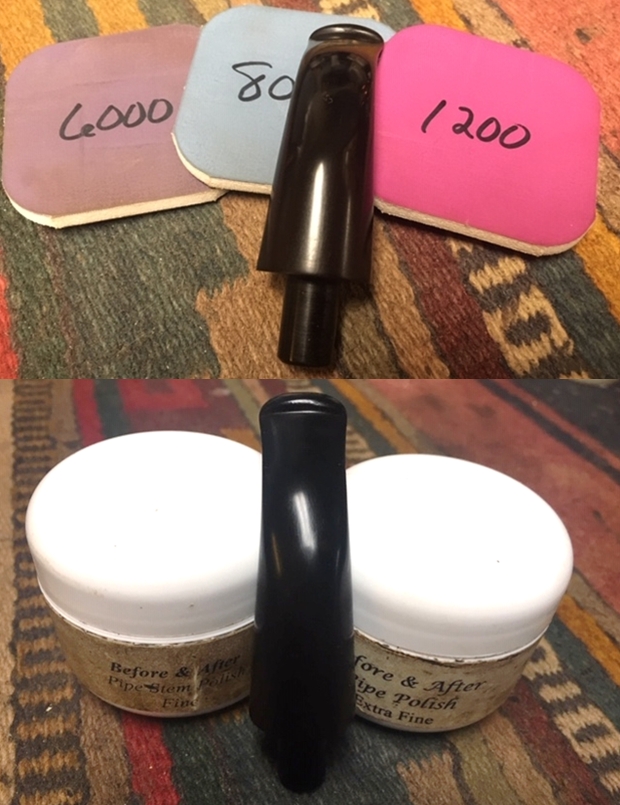
 I followed up the sanding regime with micromesh polishing to bring a shine on the stem surface. I wet sand the stem with 1500 to 2400 girt micromesh pads. Continuing with my experimentation that I had spelled out in my previous post on ROPP REPORTER # L-83 pipe, I mount a cotton buffing wheel on my hand held rotary tool and polish the stem with Red Rouge polish as I had read that this polish has grit in between 2400 to 3200 grit pads of the micromesh pads. Further, I mount a fresh buffing wheel on the rotary tool and polish the stem with White Diamond polish as it has grit equivalent to 3800- 4000 of micromesh pads. I finish the stem polish by wet sanding with 6000 to 12000 grit pads of the micromesh. I rub a small quantity of olive oil in to the stem surface to hydrate it and set it aside. I am really happy with this process of stem polishing as the results are excellent while saving me huge amounts of time and effort.


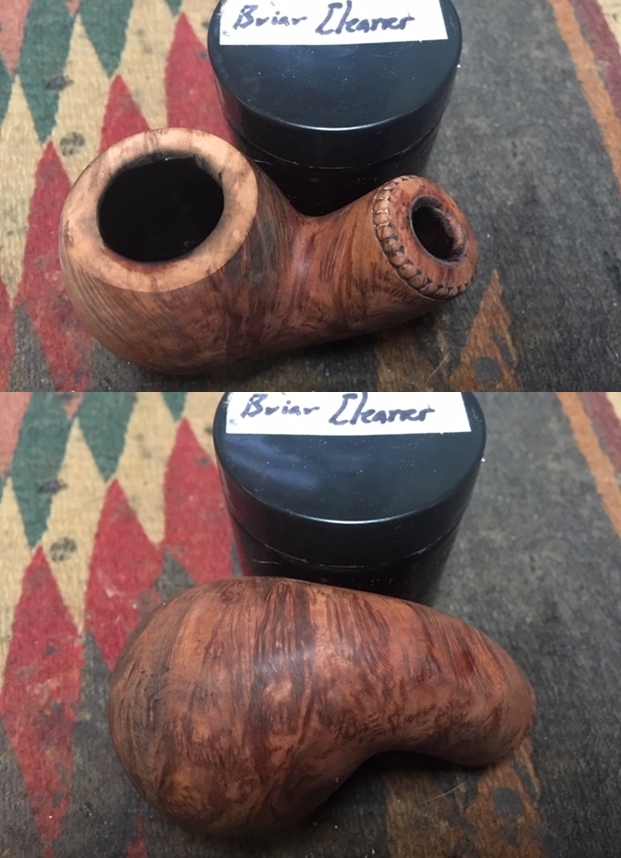
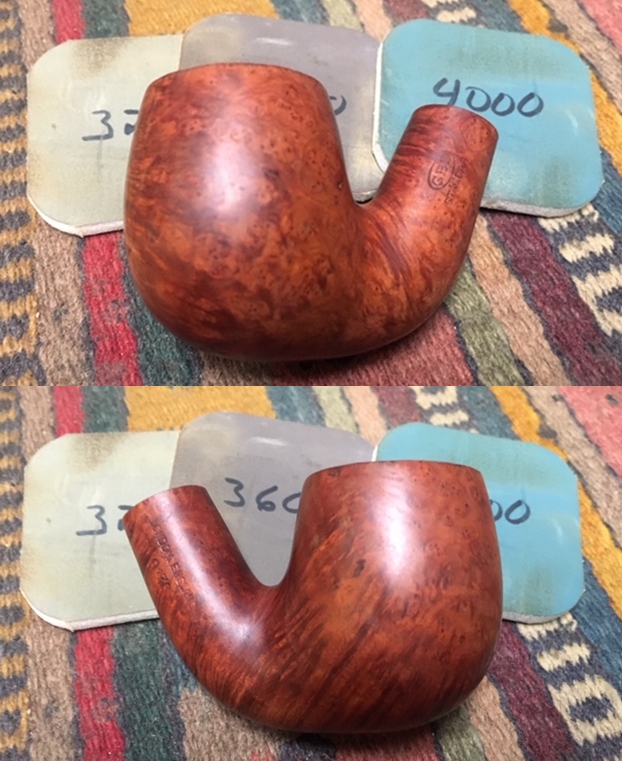
 The shank fill had cured in the intervening period and I sand the excess superglue with a worn out piece of 220 grit sand paper. I further mask it with a permanent black marker. The fill should be impossible once the stummel has been polished and buffed.
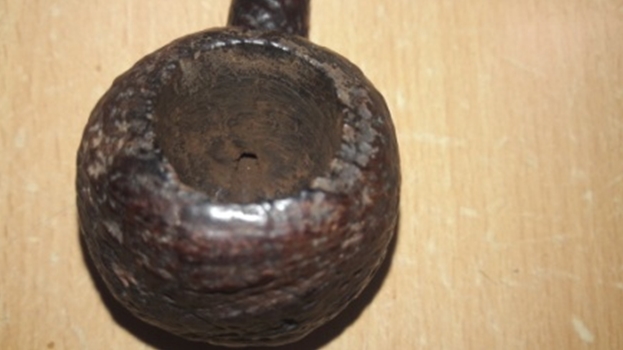
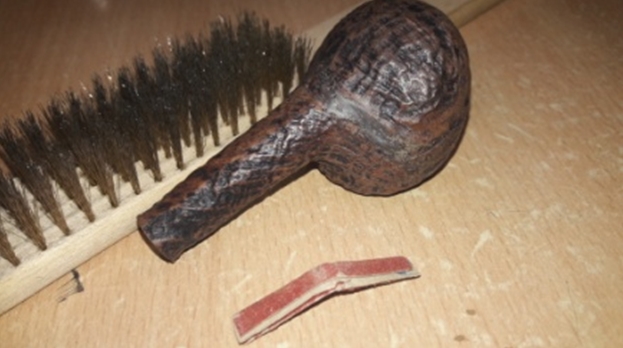
 Next, with a soft bristled brass wired brush, I gently scrub the sandblasted surface of the rim top and dislodged the dried up gunk. The rim top surface is now nice and clean and the stummel is prepped for the next stage in the restoration.
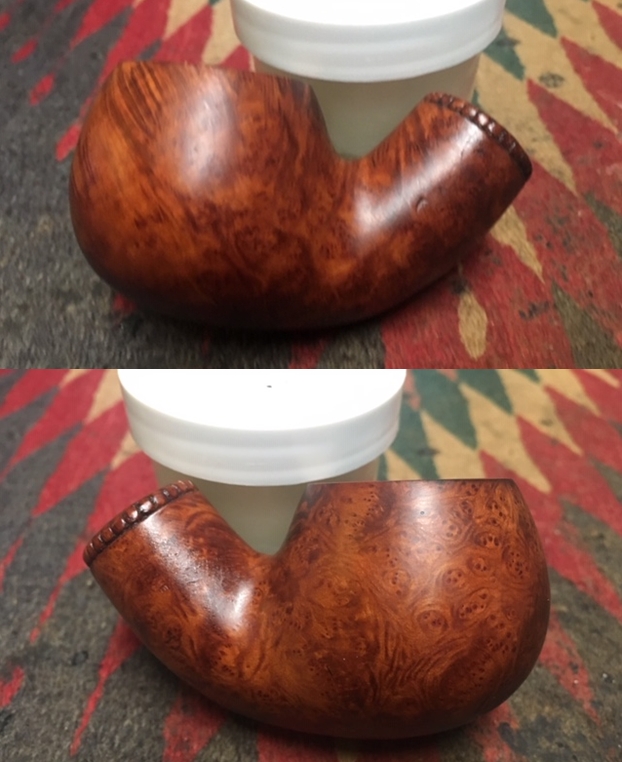
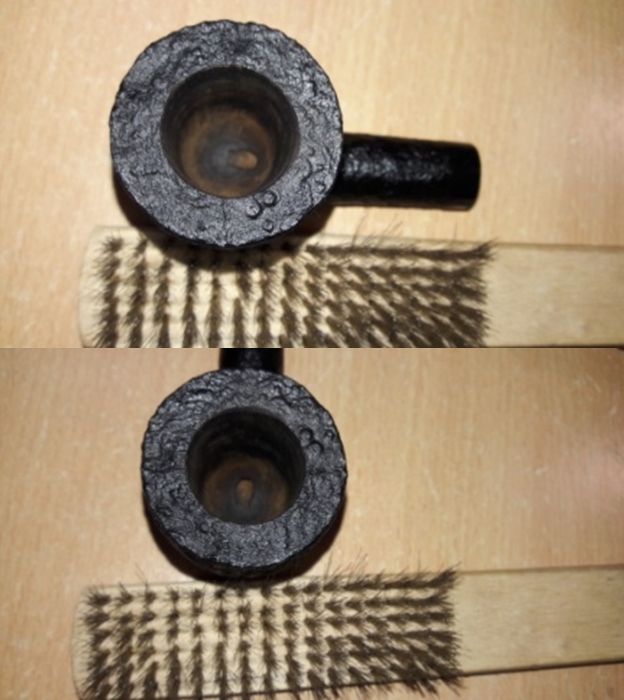 Next, I rub a small quantity of “Before and After Restoration Balm” in to the briar with my finger tips and let it rest for a few minutes. The balm almost immediately works its magic and the briar now has a nice vibrant appearance with the beautiful black sandblast patterns on full display. I further buff it with a horse hair shoe brush.
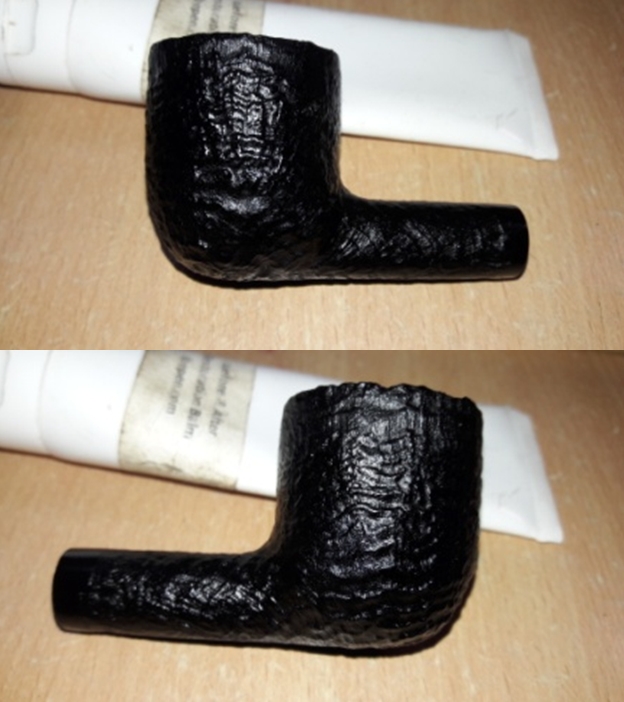

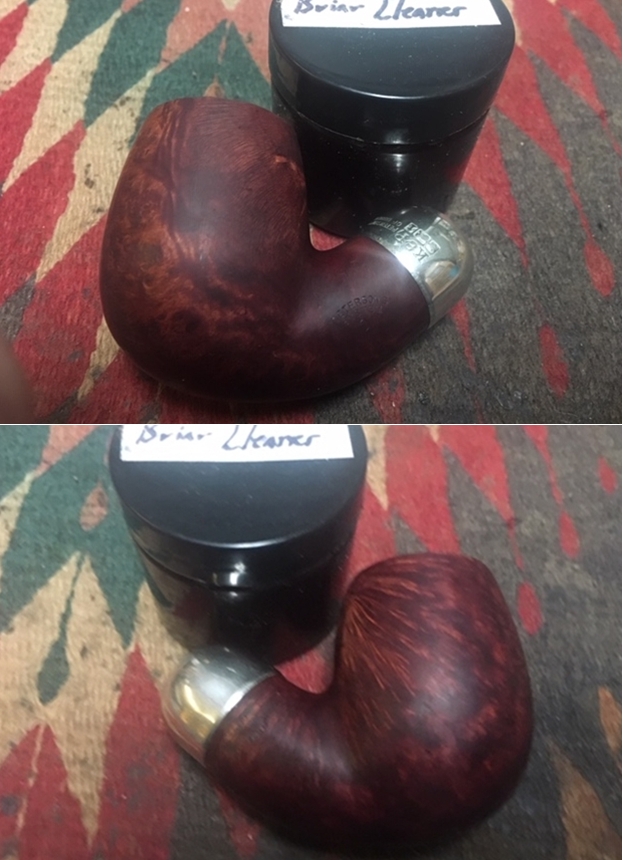
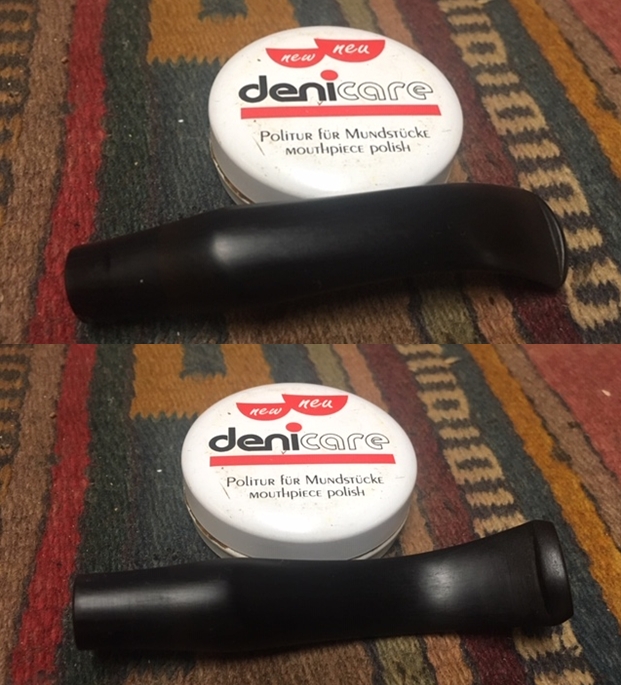
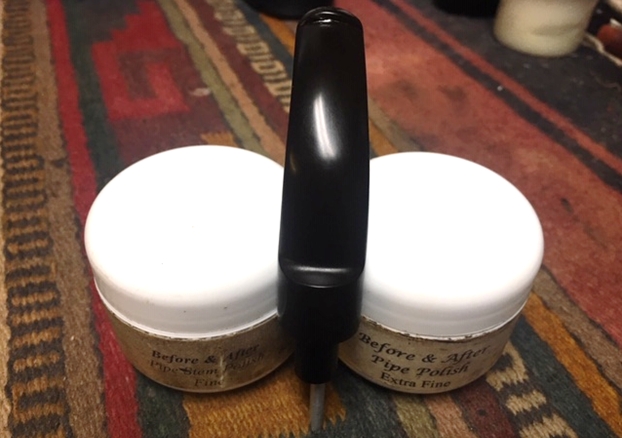
 With the stem well hydrated at this point with absorption of olive oil, I wiped it dry with a paper napkin and removed any excess oil from the stem surface. I applied a small quantity of “Before and After Extra Fine” stem polish and rubbed it deep in to the vulcanite stem. This polish, purportedly, is supposed to remove the finer sanding marks left behind by the abrasive grit papers.
 Now, on to the homestretch!! I mount a cotton cloth buffing wheel on to my hand held rotary tool and apply a coat of Blue Diamond to the stummel, shank extension and the stem to polish out the minor scratches.
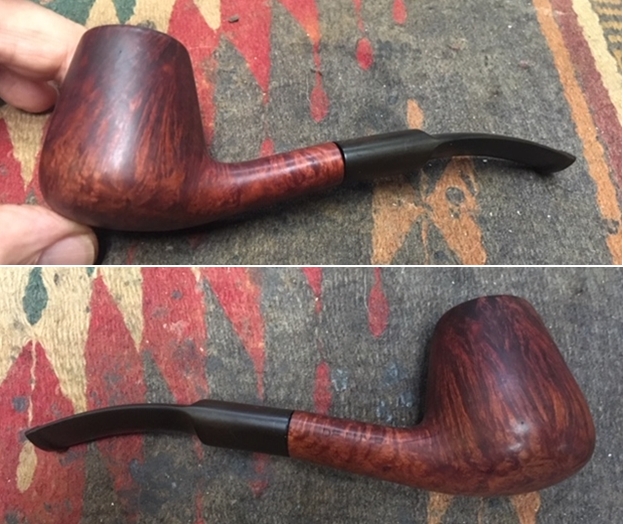
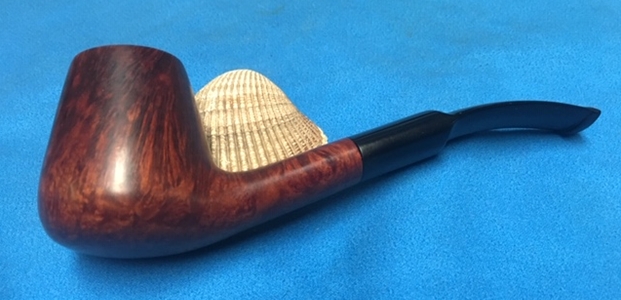
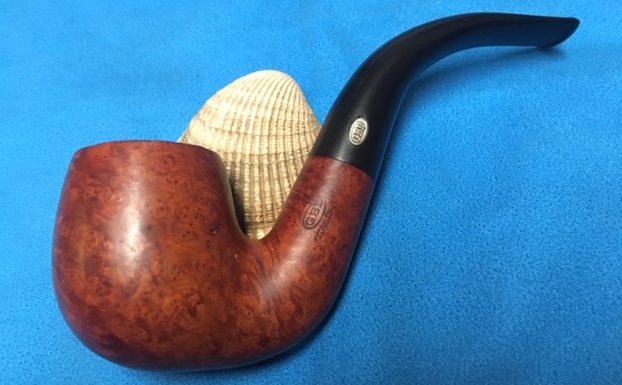
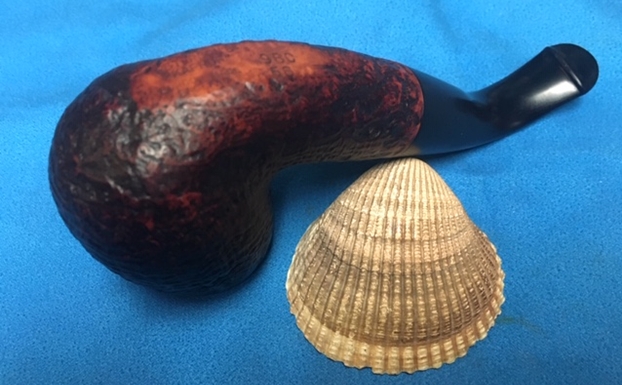
 With a cotton buffing wheel that I use for carnauba wax, I apply a coat of carnauba wax and continue to work on it till the complete coat of wax had been polished out. I mount a clean cotton cloth buffing wheel and give the entire pipe a once over buff. I finished the restoration by giving the entire pipe a rigorous hand buffing using a microfiber cloth to raise the shine further. The finished pipe looks beautiful and should be an ideal combination with a black suit or a black tuxedo!!


 P.S. This pipe has already found a new piper to carry forward the trust posed in him by the previous piper and I am sure that this pipe will provide the new piper many years of happy smokes and will remind him of our association.
I cannot thank Abha, my wife, enough who not only supports my hobby of pipe restoration, but actively helps in this work by doing all the dirty work of initial cleaning and providing me a clean platform to work further.
Thank you all readers of rebornpipes who have spared a moment of their invaluable time in reading through this write up and as is always, your suggestions and advice on my experimentation is always welcome as this would also help the new pursuers of this art.


