Blog by Paresh
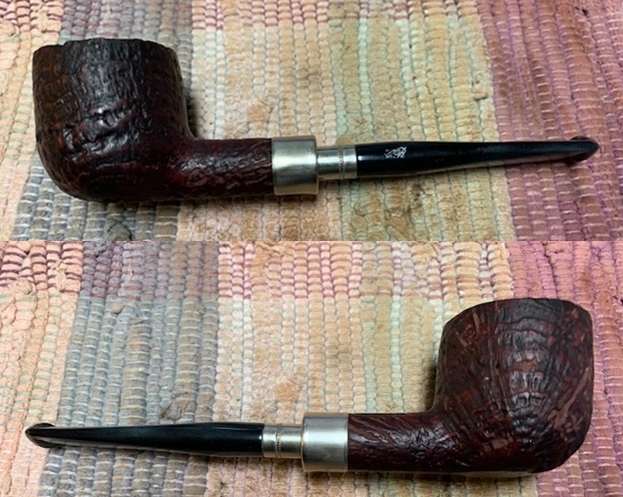
I have quite a few inherited Peterson’s System pipes ranging from the period 1915 to 1947 to present!! I also have these pipes in System Standard, System 0 and System 3. So when Abha, my wife, sent me pictures of pipes that I had purchased from a Mumbai trash collector, I saw two distinct Peterson’s System pipes, one large and the other very small!! When Abha confirmed the COM stamping on both these pipes, I knew that I had Peterson’s System pipes from the 1930s-40s. Another two vintage Peterson’s System pipes added to my collection, I say. And I am not complaining, mind you readers!!
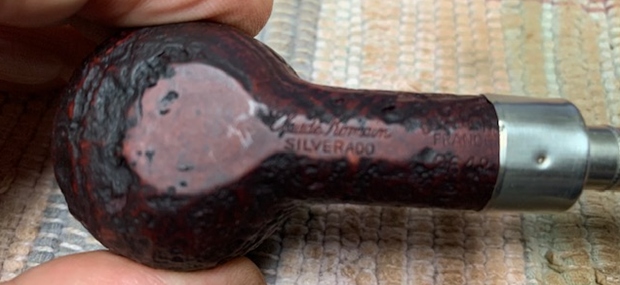
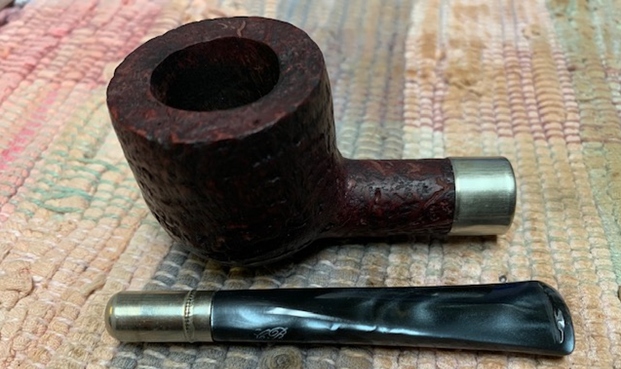
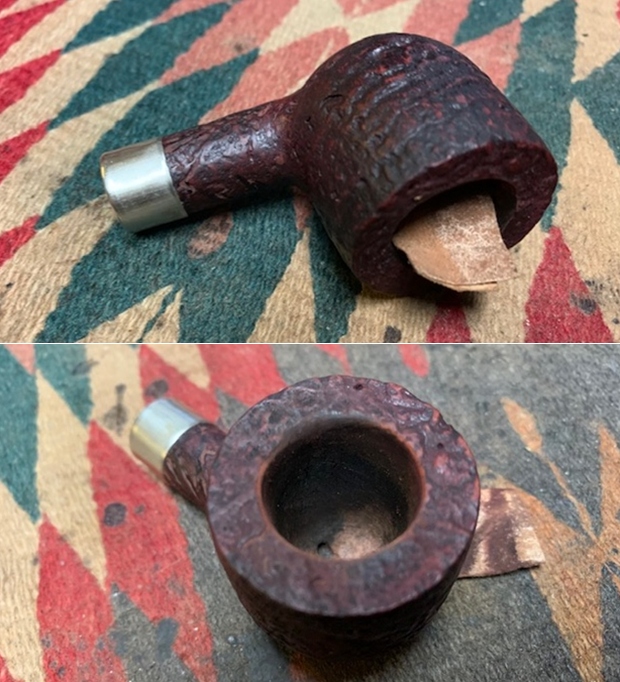
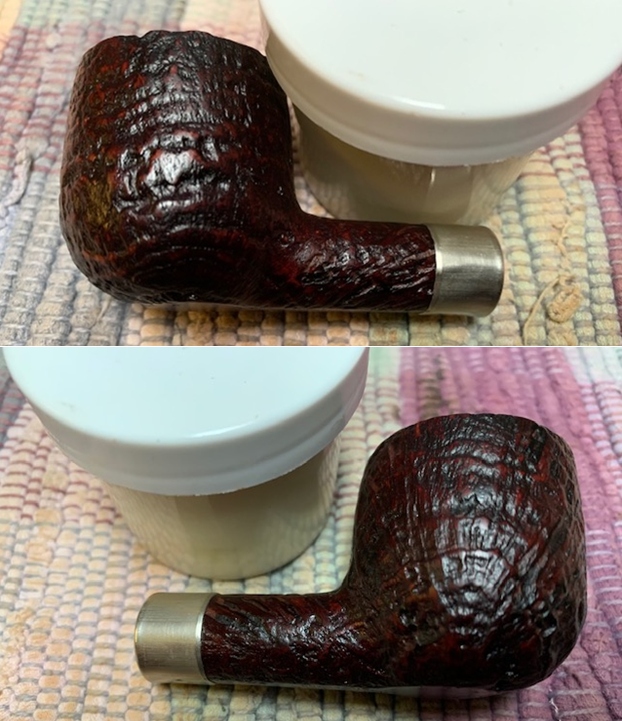
I was fortunate enough to have heeded the advice of my dear friend and mentor, Steve, and struck a deal with a junk collector from Mumbai. He did not know what he was selling and I did not know what I was buying as we reside in different cities!! The argument that Mr. Steve presented was that if not anything, I shall at least have some spares and this was logical. I struck a deal and here are pictures of the pipes that I received in this lot.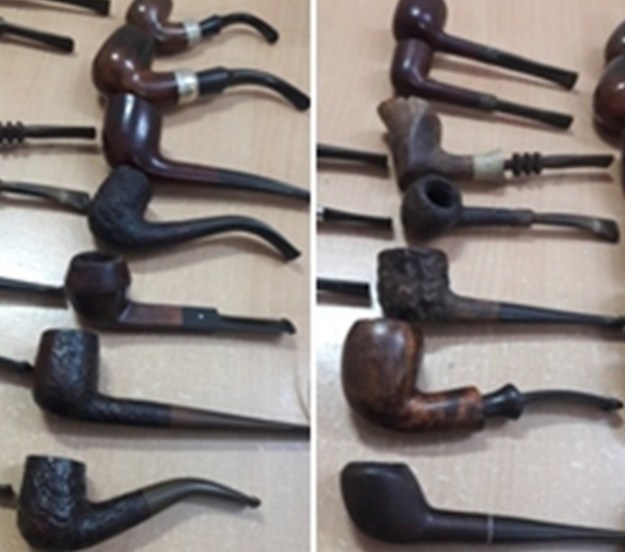
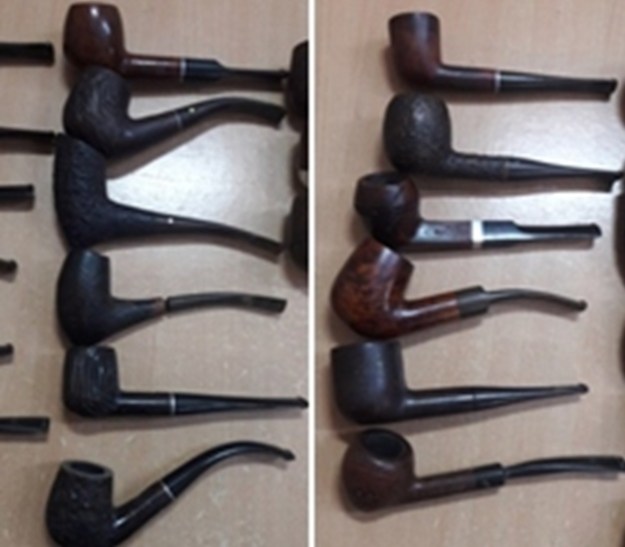
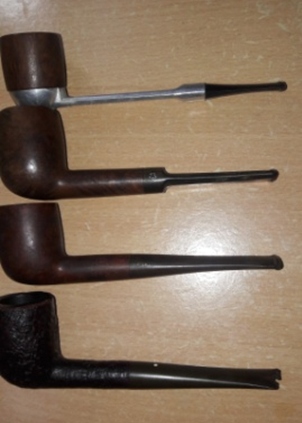 This lot contains some very nice collectible pipes, a few well known brands and some mediocre brands. Overall, with seven Dunhill pipes, a Preben Holm #1 FH, a couple of “Made in England” Pete System pipes, a couple of Charatan’s Belvedere, Custom-Bilt, Stanwell and other assorted pipes, I would say that I had struck a decent haul!! This is indeed my “Mumbai Bonanza”.
I had recently completed the refurbishing of a Savinelli seconds, a “ROYAL OAK” with a twin bore or a bite proof stem from my Mumbai Bonanza. Here is the link to this 18th pipe from this lot (https://rebornpipes.com/2020/08/17/refurbishing-an-interesting-royal-oak-207-apple/).
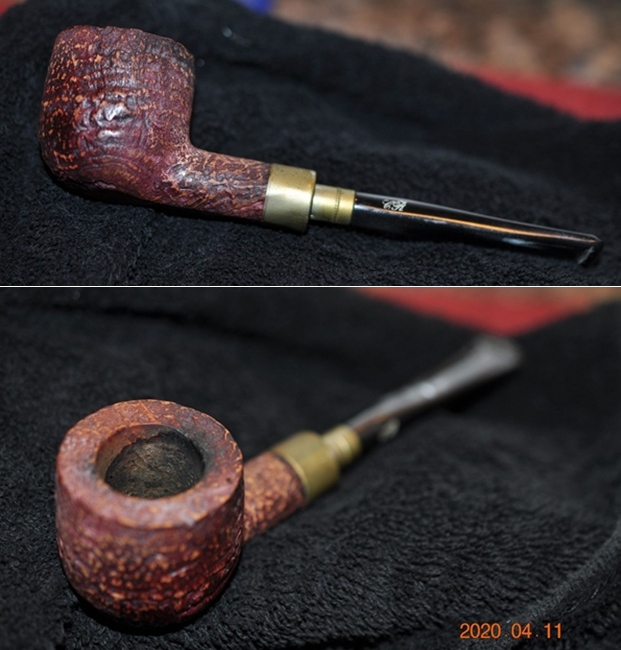
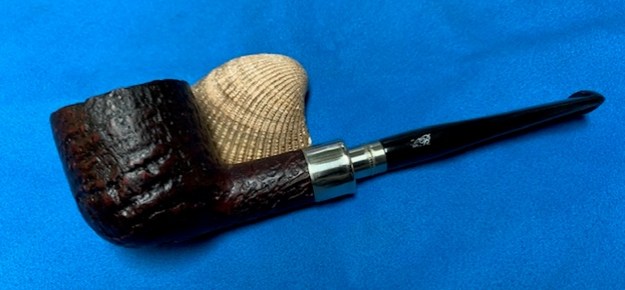
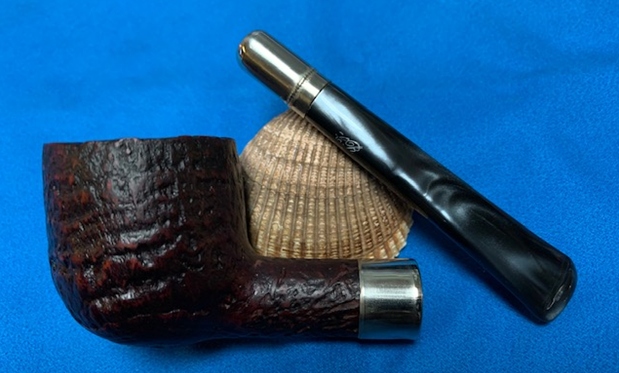
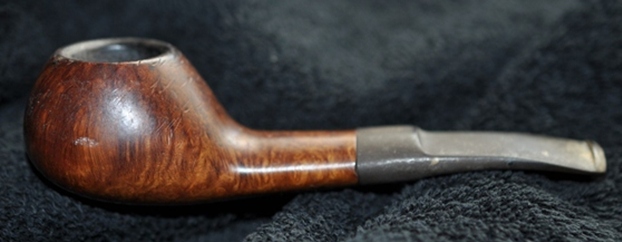
The 19th pipe that I decided to work on from this find is a petite Peterson’s System 3 pipe with a nickel ferrule and is indicated by a red cross.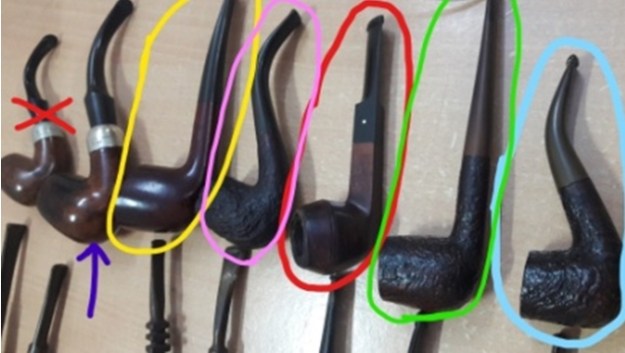 This pipe is stamped on the left of the shank towards the shank end as “PETERSON’S” in an arched block capital letters over arched “SYSTEM” in block capital over grade “# 3” over the shape number “357”. The tail of the P in Peterson’s is forked. The right side of the shank is stamped with football shaped COM stamp “MADE IN ENGLAND” with centered “in”. The ferrule has the usual three cartouche with first having Shamrock, the second a Prone Fox and lastly a Stone Tower. Stamped above the cartouche are the letters “K & P” followed by “PETERSON’S” all in a straight line. The stem is devoid of any logo. All the stampings are crisp and easily readable.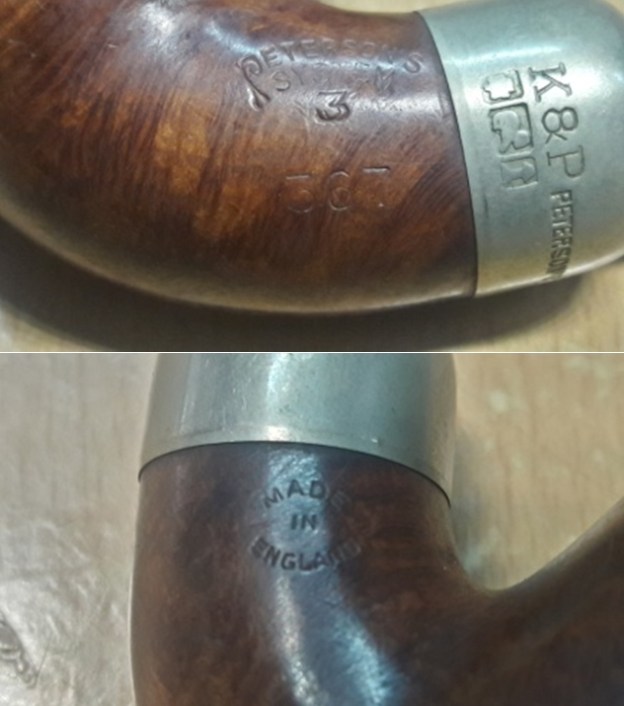
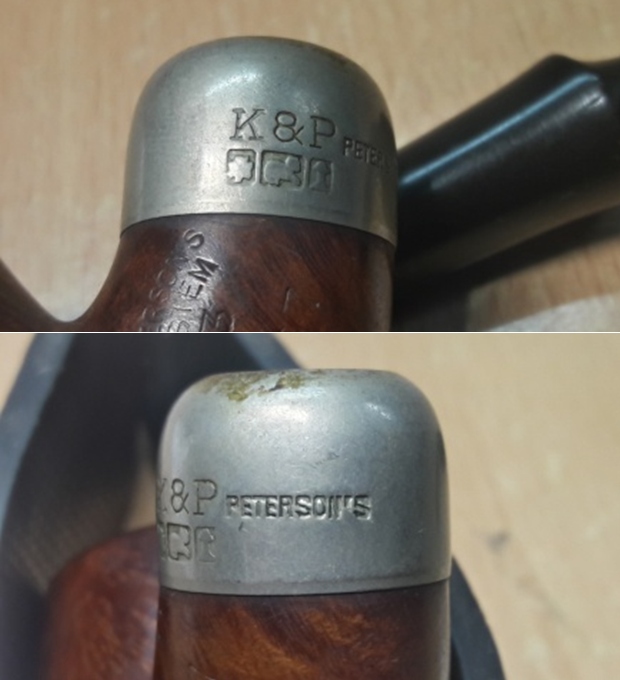
 In my earlier restoration of my inherited Peterson’s System pipes, I had extensively researched the dating of these old Peterson’s and I can say with certainty that this pipe is from the period 1938 to 1940/ 41. Also the forked tail of “P” in Peterson’s with the inward coiling upper part corroborates the vintage of this pipe.
I reconfirmed and refreshed my learning by visiting my favored site (link given below) and my memory has served me right. Here is the link to dating Peterson’s pipes (http://thepetersonpipeproject.blogspot.com/2007/07/dating-peterons-pipes.html).
I quote the relevant portions extracted from the site that would help in understanding the dating of this pipe
Peterson now stamped their pipes with “Made in Eire” in a circle format with “Made” and “Eire” in a circle with the “in” located in the center of the circle. This COM was used during the years of 1938 – 1940? /41?
English made Peterson pipes actually spans between the pre-Republic and Republic eras. In 1895, Peterson opened a shop in London England that lasted until the late 1950s or early 1960s. So the English Era, for a simplified date, will be from 1895 through 1959. The stamps Peterson used in London and that we have seen are:
Made inEngland – block format
Made in England – circle format
Made in London
Made in London England
Simply, London England
Great Britain
Though there are a couple of more, the above will give one the general idea. We believe the earliest stamp of this era was the “Made in England” in a block format since Peterson was using the “Made in Ireland” block format at about the same time on their Irish production pipes. The “Made in England” circle format was used during the same time frame as the “Made in Eire” and “Made in Ireland” circle formats.
From the start of the Patent Era until somewhere in the early 1930s, Peterson used the “Old Style” lettering that used a forked tail “P” in Peterson.
Thus I can conclusively say that the Peterson’s System pipe on my work table is from the English Era and dates from the period 1930s to 1940/41 when the “Made in Eire” football stamp had been in use.
Initial Visual Inspection
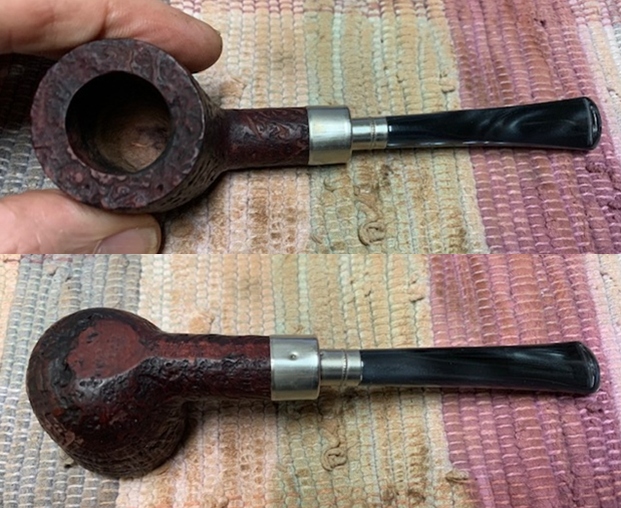
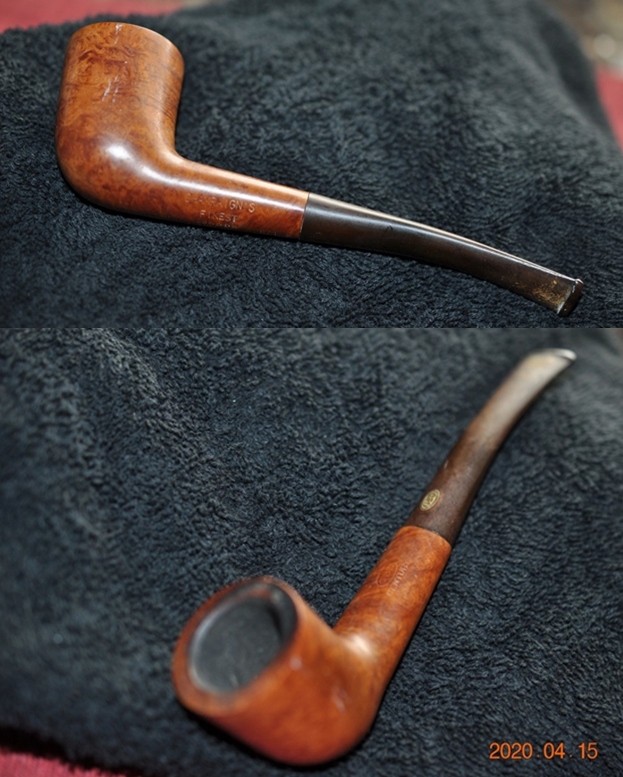
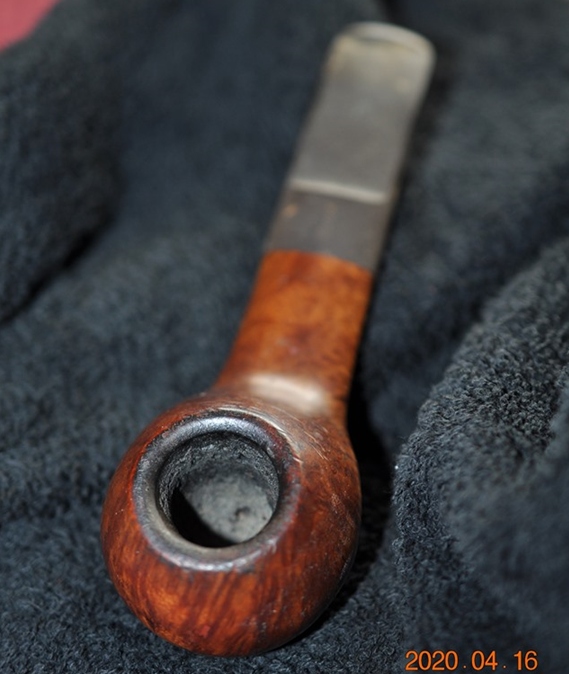
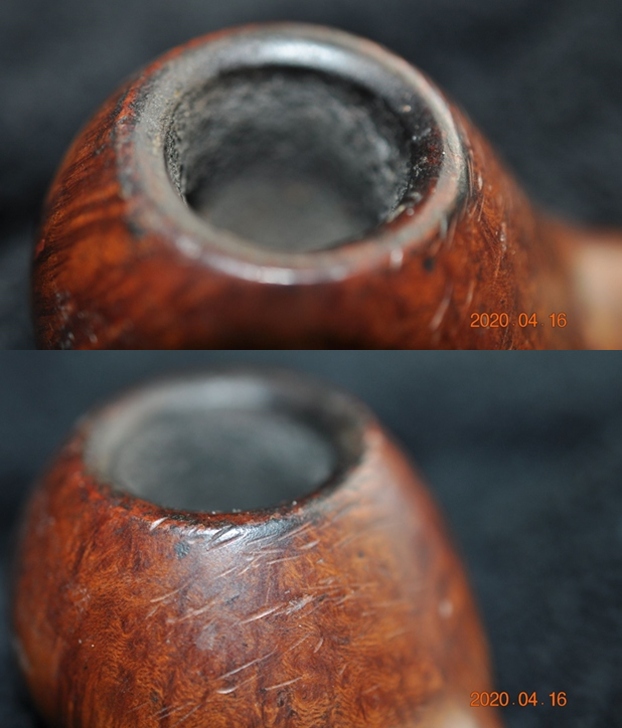
The Peterson’s system pipe that is currently on my work table has a small bowl with a chamber depth of about 1.1 inch, bowl height of about 1.2 inches, chamber inner diameter of 0.7 inches and overall pipe length of 4.5 inches. The stummel is covered in dirt and grime through which beautiful flame grains can be seen around the sides, front, back and over the shank surface while Bird’s eye adorns the foot of the stummel. There are a couple of small fills in the stummel. There is a thick layer of cake in the chamber with lava overflow over the rim top surface. The inner rim edge has many dents and dings and appears charred in 8 ‘O’ clock direction. The chamber is out of round due to the inner rim edge damage. The nickel ferrule is oxidized and without any dents or dings. The vulcanite P-lip stem is heavily oxidized with the bite zone on either surface peppered with deep tooth chatter. The buttons on both surfaces are deformed due to the bite marks. The following pictures will give the Readers an idea of the overall condition of the pipe as it sits on my work table.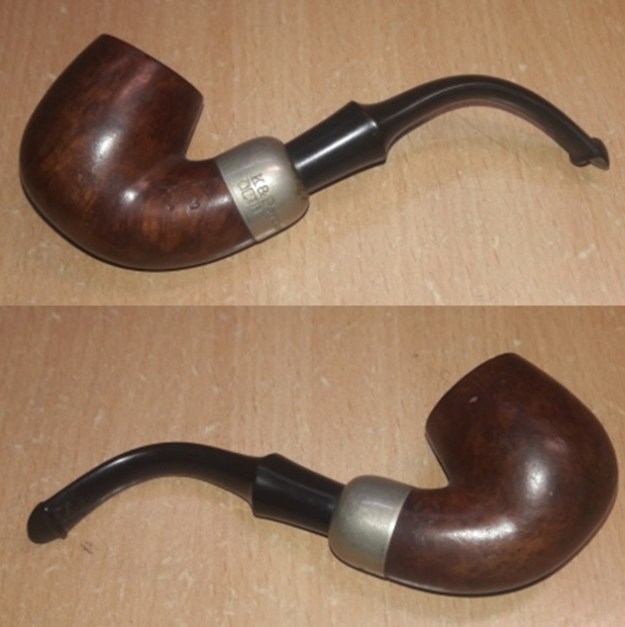
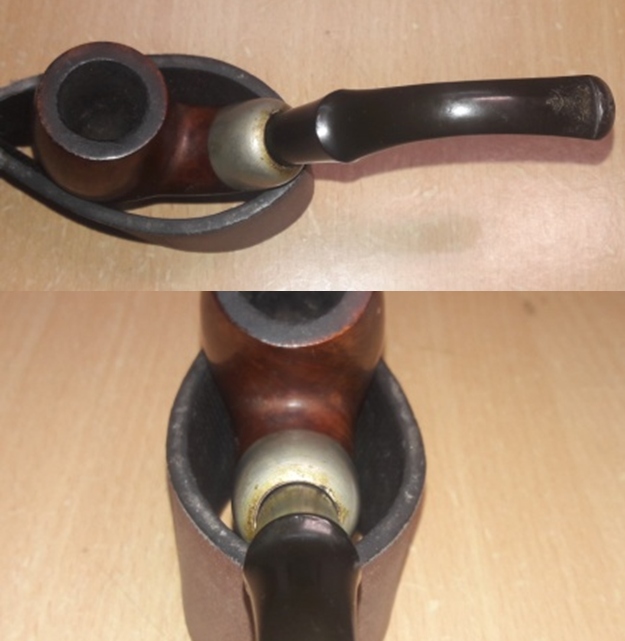
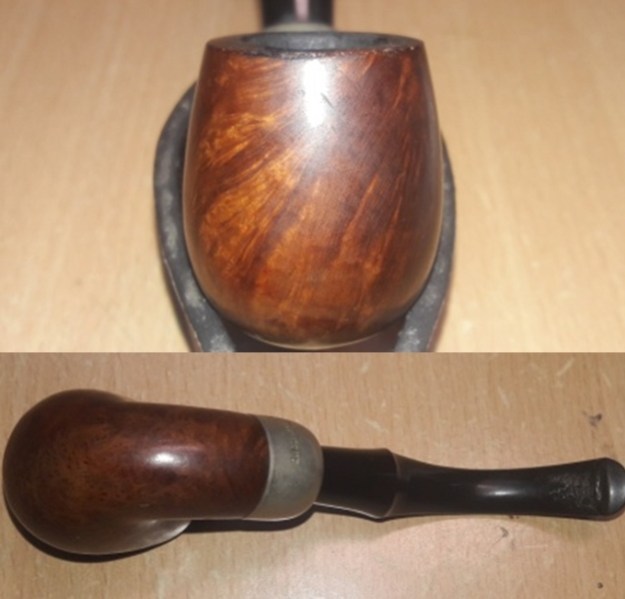 Detailed Visual Inspection
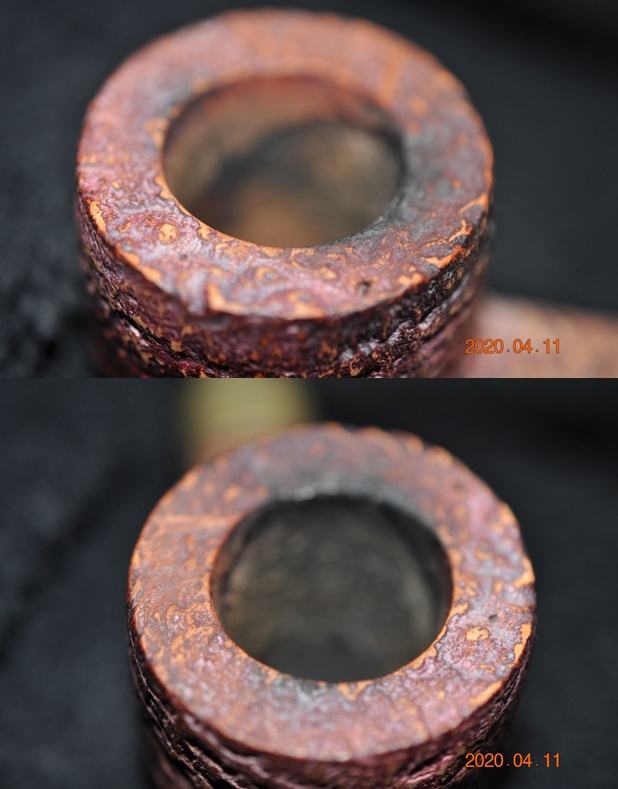
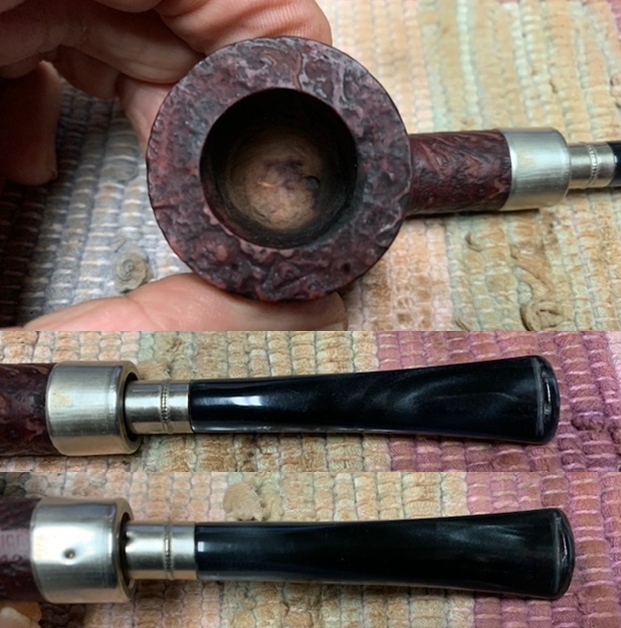
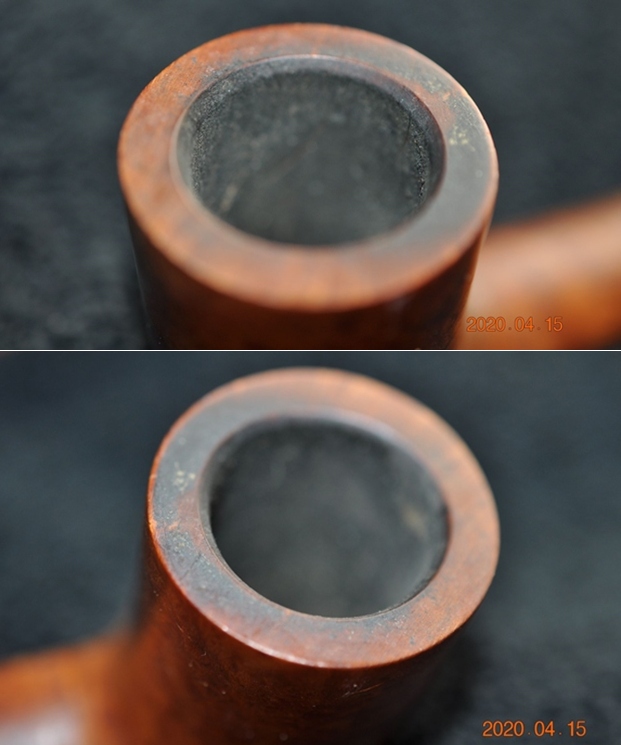
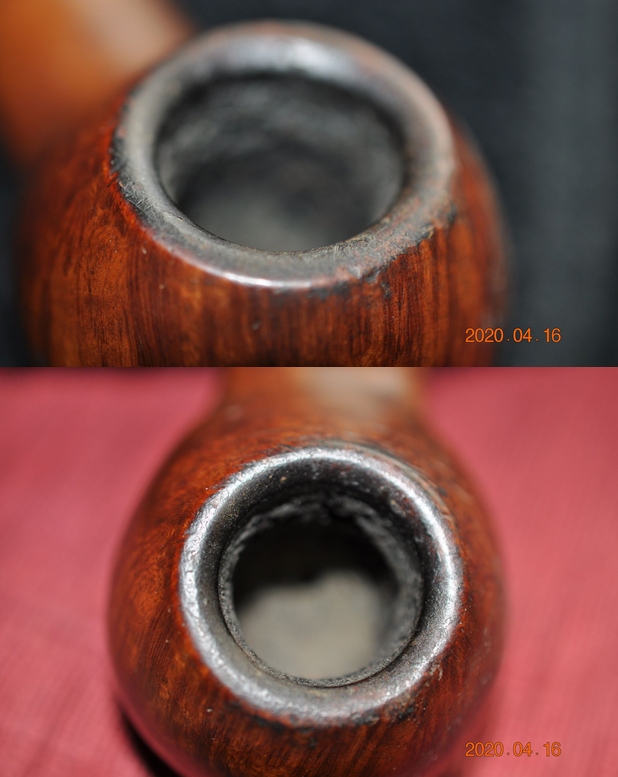
A thick and uneven layer of cake is seen in the chamber. The rim top surface has suffered the maximum damage and is uneven. It is covered in thick overflow of lava, dirt, dust and grime. The condition of the inner walls of the chamber and rim top surface will be known once the cake has been taken down to bare briar and the rim top crud has been scraped off completely. The inner rim is uneven with suspected burn/ charred surfaces in 8 ‘O’ clock and 12 ‘O’ clock direction (marked in yellow circle). Only once the stummel has been thoroughly cleaned that I can be sure of my initial appreciation. The outer rim edge too has dents, chips and dings (encircled in green), but not very severe, likely caused due to knocking against the hard surface. In spite of the thick cake, the chamber odor is, surprisingly, not strong and should be addressed once the cake has been taken down to the bare briar and the shank internals have been thoroughly cleaned. The bowl is out of round with the lower left half being thinner than the rest of the rim top. The stummel feels solid to the touch and I do not foresee any major issues with the condition of the chamber walls. The bowl is, to start with, is small in size and to top it will further reduce the size. I need to be very careful while I top the rim and keep it to bare minimum. A few blemishes to the rim are very much acceptable if I am able to preserve the size and profile of the stummel.  To be honest with you, being a grade 3 System pipe, there is nothing much to boast about the grains on the stummel. It has a smattering of beautiful flame grains that can be seen around the sides, front, back and over the shank surface while Bird’s eye adorns the foot of the stummel. The stummel surface is covered in lava overflow and grime giving the stummel a dirty appearance. The stummel surface is peppered with a number of dents and ding. A couple of fills are noticeable on the right side near the shank- stummel junction, rim outer edge and the foot of the stummel (shown with yellow arrows). These will be clear when the stummel is cleaned of all the grime. In spite of all these flaws, the pipe has a nice look and feel to it. It does have a quality which is seen on vintage pipes, but difficult to explain in words. And not to forget, this is nearly an 80 year old pipe!! The fills will need to be refreshed and the dents and dings will be addressed to a great extent once the stummel is sanded with sandpaper. A nice polish with micromesh grit pads will bring a nice shine to the stummel and highlight the grains.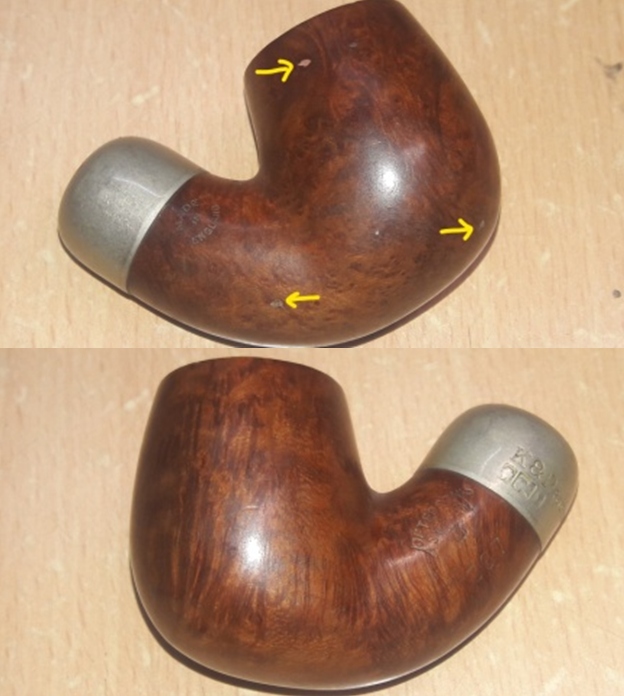
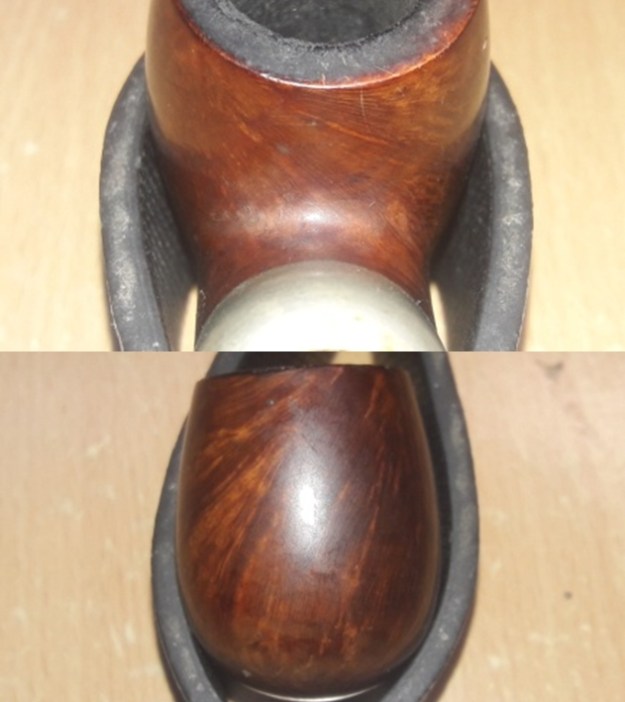
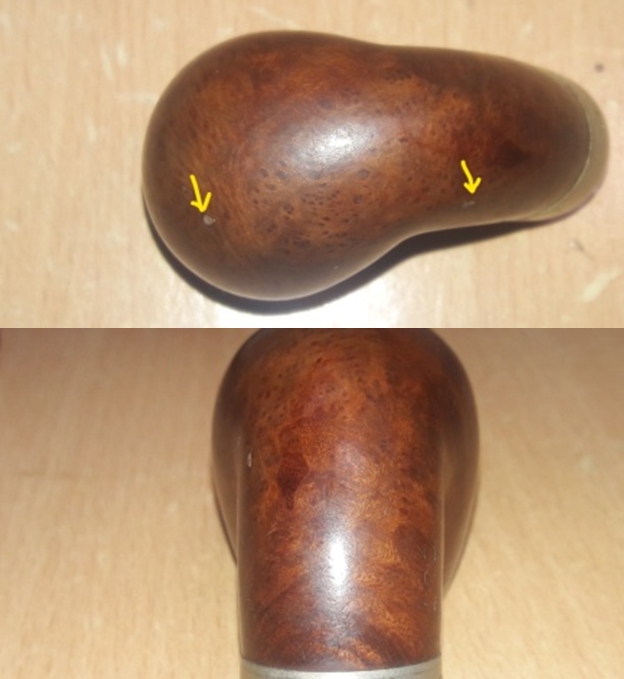 The shank end is adorned with a nickel ferrule that is covered in old oils and grime. The ferrule has oxidized a fair bit but should polish up nicely. The sump shows a heavy deposition of accumulated dried gunk. The sump will need to be cleaned to get the pipe fresh and ready for its new innings. I intend to polish the nickel ferrule with micromesh pads. This will be the first time that I would be doing so and keen to see if it is any better than the usual methods of polishing. I need to be careful with the faux hallmarking and stampings on the ferrule when I polish it.
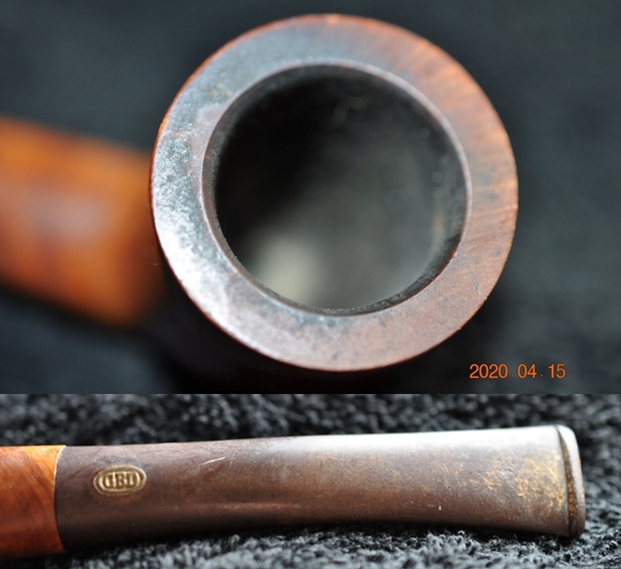
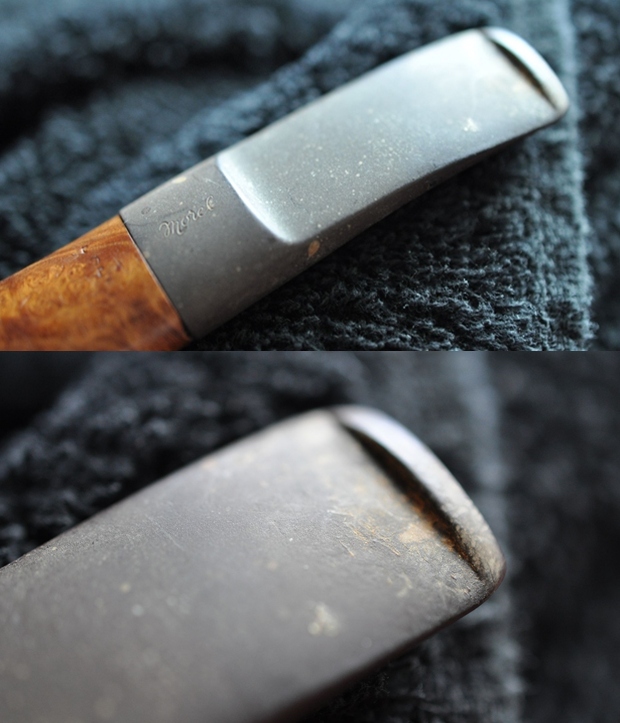
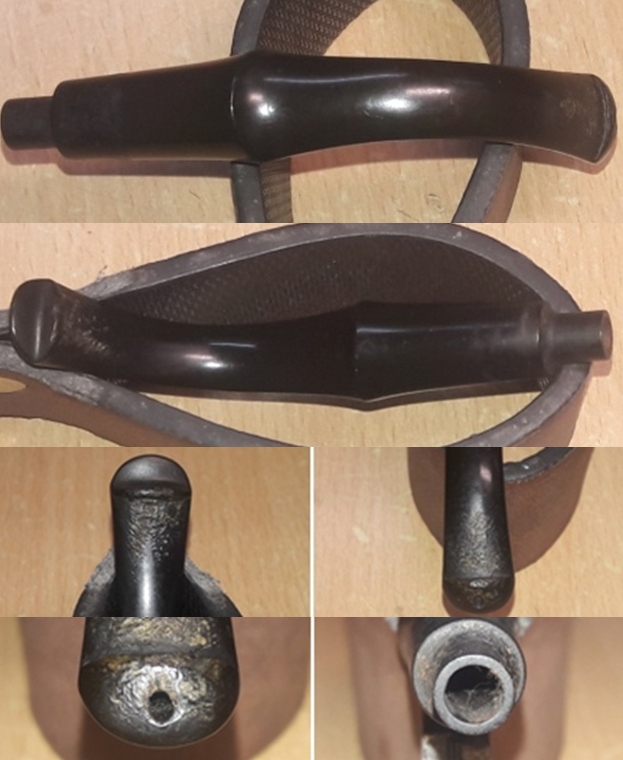
  The P-lip vulcanite stem is heavily oxidized and has calcification deposits towards the button end. There are deep tooth marks on the lower and upper stem surface in the bite zone and appears that the previous owner has literally chomped on the bite zone of the stem. The button edges also have bite marks, in fact, they are badly worn out. The bite marks are deep enough to cause significant thinning of the surface and complete disfigurement of the button edges. The tenon end shows heavy accumulation of oils and tars. The part of the stem that seats in to the mortise is heavily scratched. I shall try to raise the tooth chatter and bite marks to the surface by heating and the deeper ones will be filled with activated charcoal and superglue.
  The Process
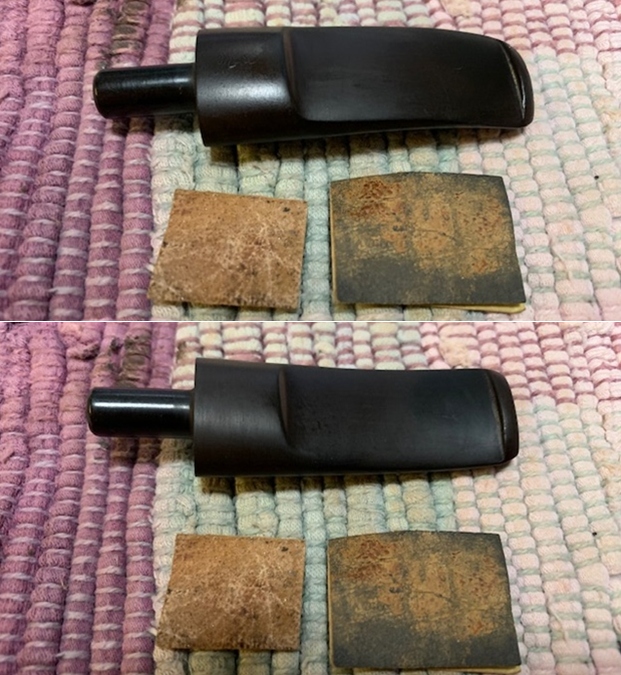
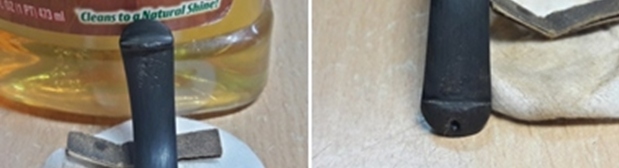
I started the restoration with the stem repairs as this would take the maximum of my time to clean, repair and spruce up. I flamed the damaged button edge and the nicks and dents with the flame of a lighter. This helps the vulcanite to rise to the surface as it has an inherent property to regain its original shape when heated. At this stage, I could clearly make out the extent of damage on either surface in the bite zone. I further sand bite zone to even out the raised bite marks and further eliminate the minor ones. I addressed the deeper oxidation by sanding the entire stem with a folded piece of 150 and followed by 220 grit sand paper. This also helps to prevent the fills turning brown once polished. Once the oxidation was completely removed, I wiped the surface clean with Murphy’s oil soap on a cotton swab and rubbed a little Extra Virgin Olive oil to hydrate the stem.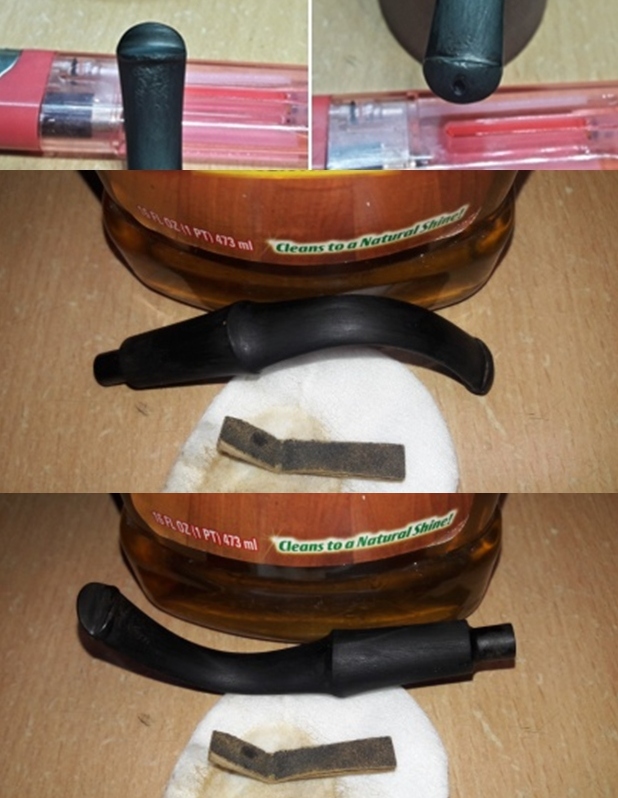
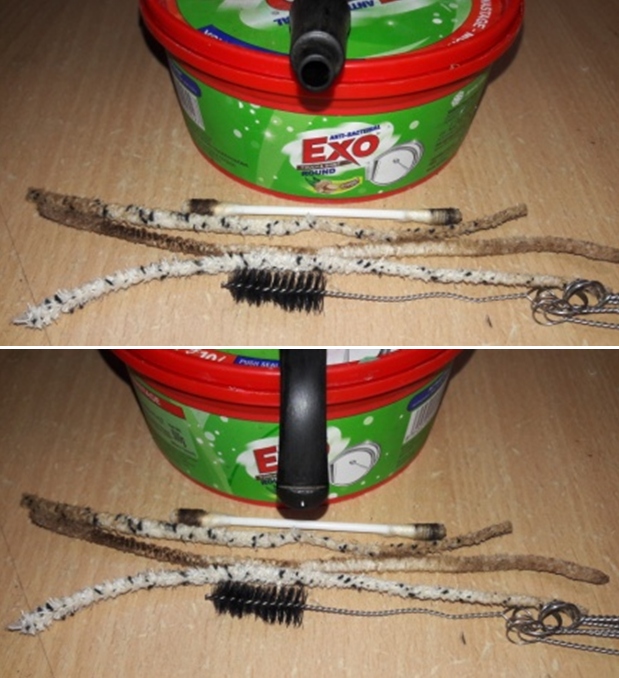
 I cleaned the internals of the stem using hard and normal bristled pipe cleaners and isopropyl alcohol. The gunk that came out with the pipe cleaners tells the sordid tale of the stem condition. To save on to the requirement of number of pipe cleaners, I have resorted to cleaning the stem internals using thin shank brushes with anti-oil dish washing soap and finally rinsing the stem with warm water to clean and freshen up the stem internals. With a pointed dental tool, I scraped out the entire dried gunk from the tenon end.
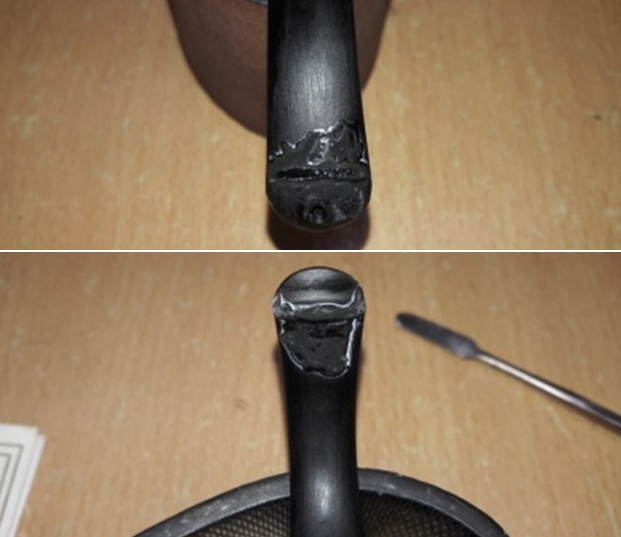
  Continuing with the stem repair, I tightly wrapped a scotch tape around the thin tapered end of a pipe cleaner so that I had achieved a snug fit of the pipe cleaner in the small rounded slot of the P-lip stem. The scotch tape prevents the mix of charcoal and superglue from sticking over the pipe cleaners and keeps the slot end open. Thereafter, I mixed superglue and activated charcoal powder and generously applied it over the bite zone on either side, including over the button and set it aside to cure.
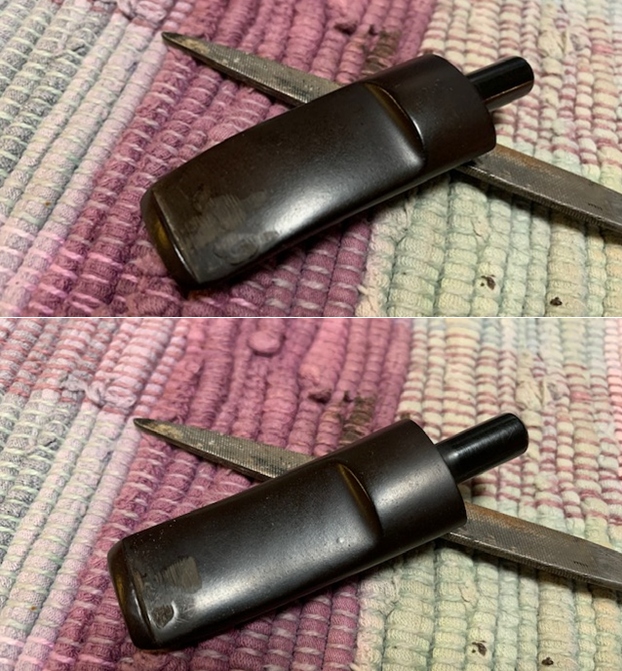
  Using a flat head needle file, I reshaped the button and roughly matched the fills in the bite zone with the rest of the stem surface. I sand the entire stem surface with a piece of folded 220 grit sandpaper to even out the fills as well as remove the oxidation from the stem surface. I followed it up by further dry sanding the stem with 320, 600, 800 and wet sanding with 1000 grit sand papers to achieve a perfect blending of the fills with the stem surface and build a crisp button edge on either side of the P-lip. The repairs look good and the stem should polish up nicely.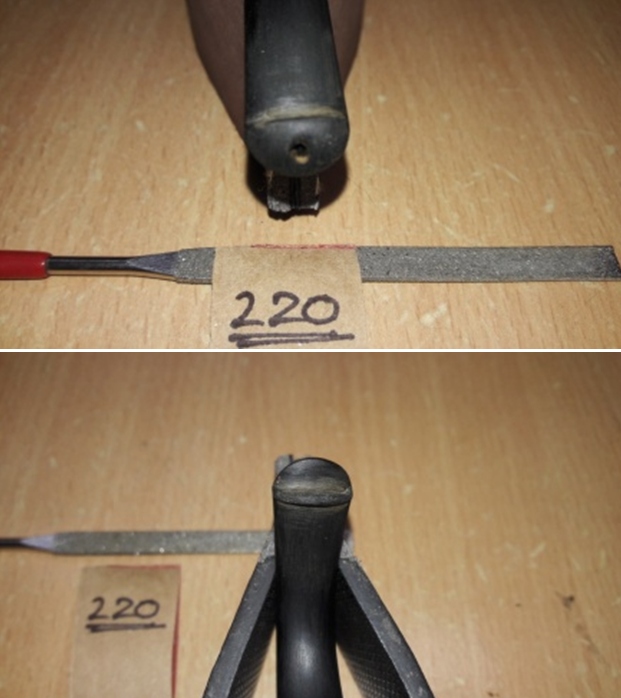
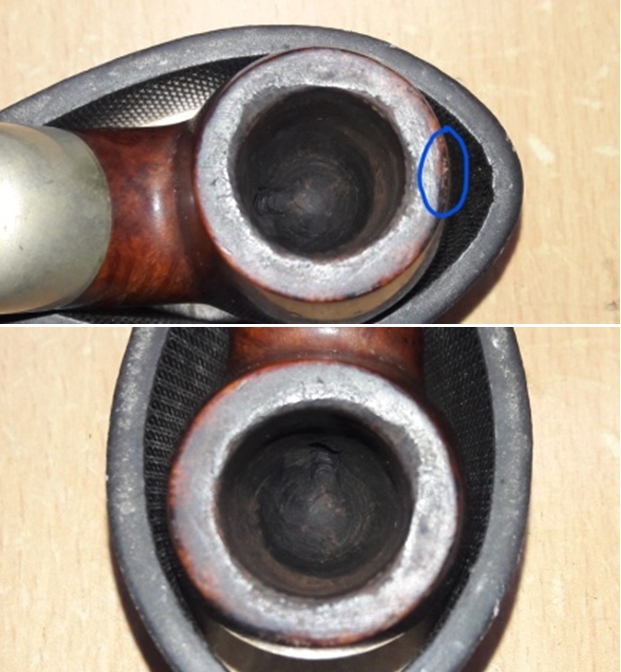
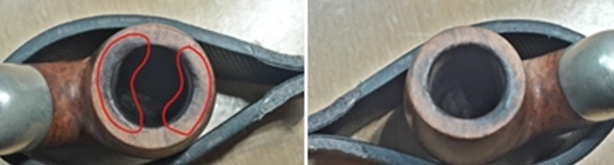
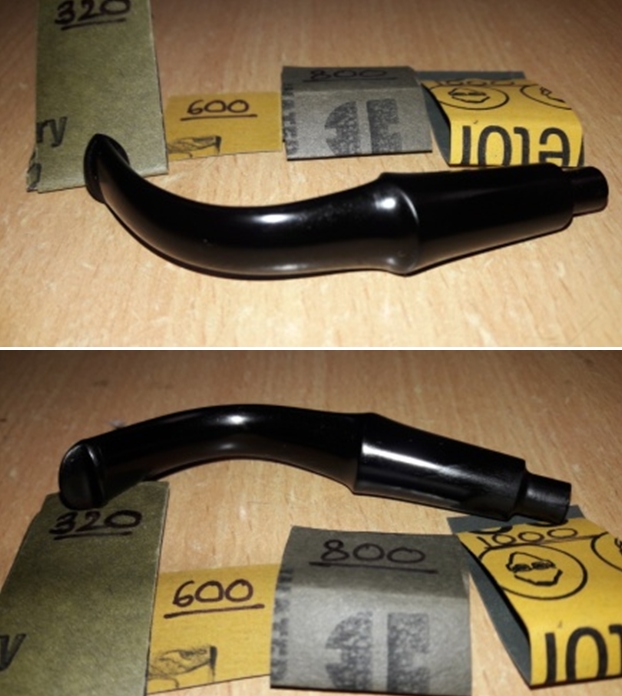 With the stem repairs and refurbishing nearly complete, save for the final micromesh polishing, I started with cleaning of the stummel as I was keen to know the condition of the walls of the chamber. With size 1 head of a PipNet pipe reamer, I took the cake down to bare briar. With my sharp fabricated knife, I removed the cake from the chamber where the reamer head could not reach and thereafter, using a folded piece of 180 grit sand paper, I sand out the last traces of cake and expose the walls of the chamber. I wiped the chamber with a cotton pad dipped in isopropyl alcohol to remove the carbon dust left behind by all the reaming and sanding process. Once the chamber walls were cleaned out, I was pleased to note a pristine chamber with no signs of heat fissures/ lines/ pits. With the same sharp knife, I gently scraped off the lava overflow from the rim top surface. The charred and uneven rim surface (encircled in red) and damaged outer rim edges (major damage is encircled in blue) are now clearly seen and should be easily addressed with simple topping of the bowl.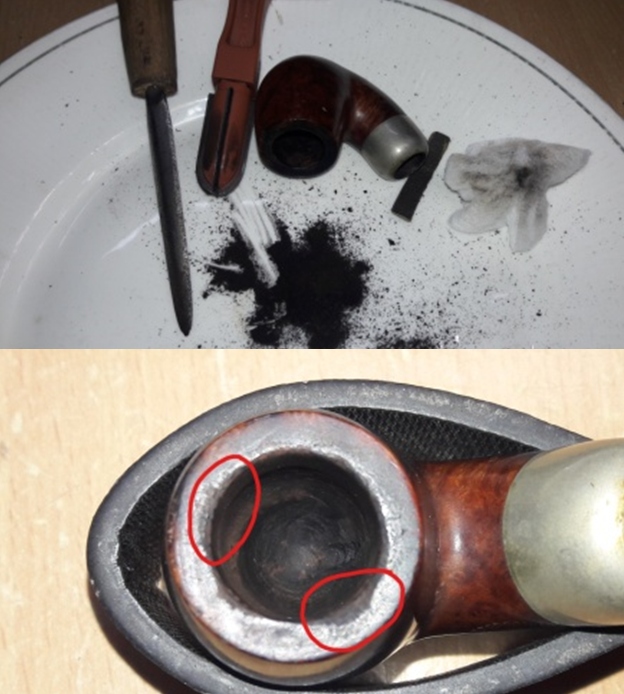
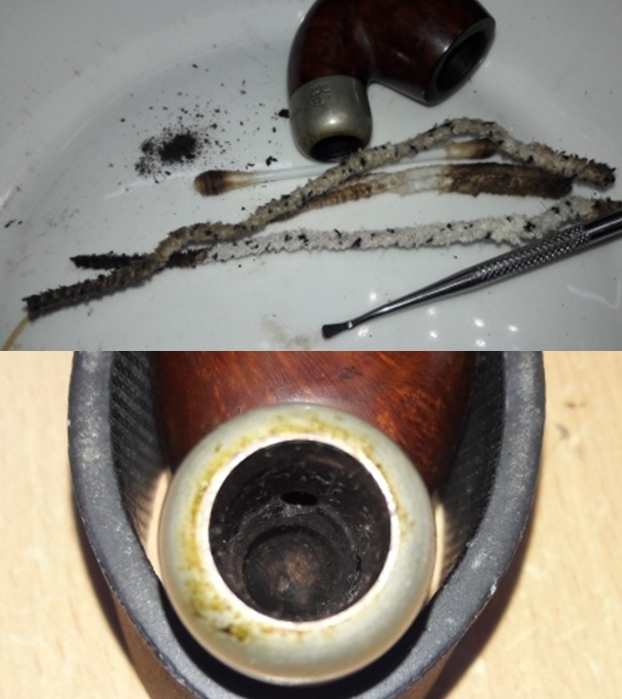
 Next, I cleaned out the internals of the shank and mortise. Using my dental tool, I scraped out all the dried oils, tars and gunk that had accumulated in the draught hole, airway and sump. The amount of crud that was scrapped out and the condition of the pipe cleaners that were used leaves no surprise why air flow through it was restricted. I finished the cleaning by running a few pipe cleaners dipped in isopropyl alcohol. I also wiped the sump with cotton buds and alcohol. I shall continue further cleaning of the mortise and the sump with shank brushes and dish washing soap while cleaning the external stummel surface.
 Next, I cleaned the external surface using a hard bristled toothbrush and Murphy’s Oil Soap. With a soft bristled brass wired brush, I removed the overflowing lava from the rim top surface and cleaned the internals of the shank with a shank brush and dish washing soap to remove what little crud remained in the shank. I rinsed it under running tap water and wiped the stummel dry with an absorbent soft cotton cloth. The external cleaning of the stummel has brought to the fore a few more scratches over the surface. The cleaning of the chamber and shank internals with the dish washing soap has completely eliminated all the ghost smells and the internals now smell and look clean and fresh.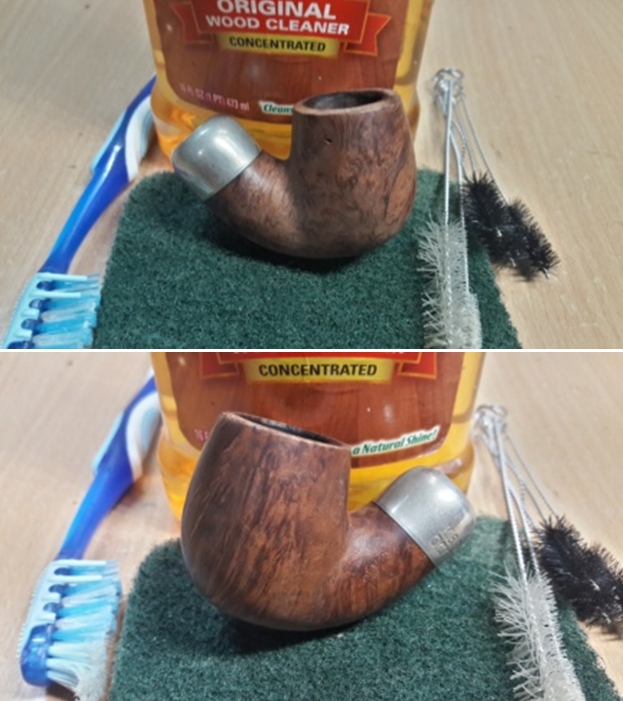
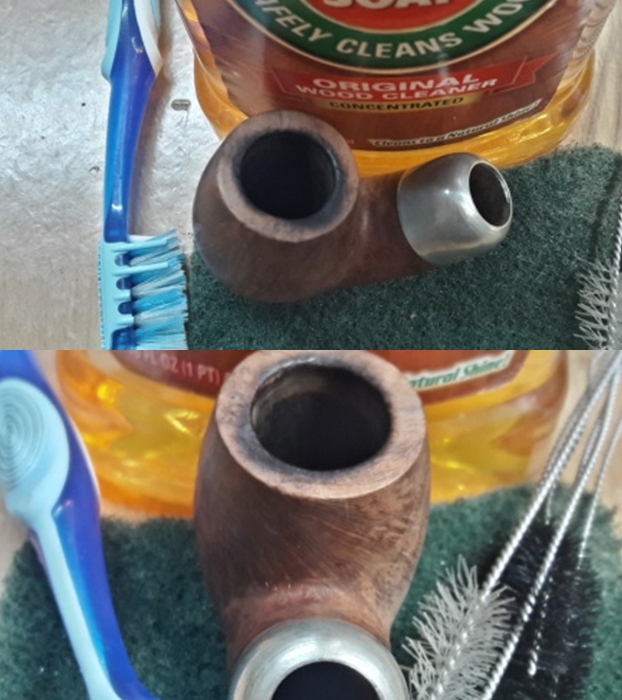
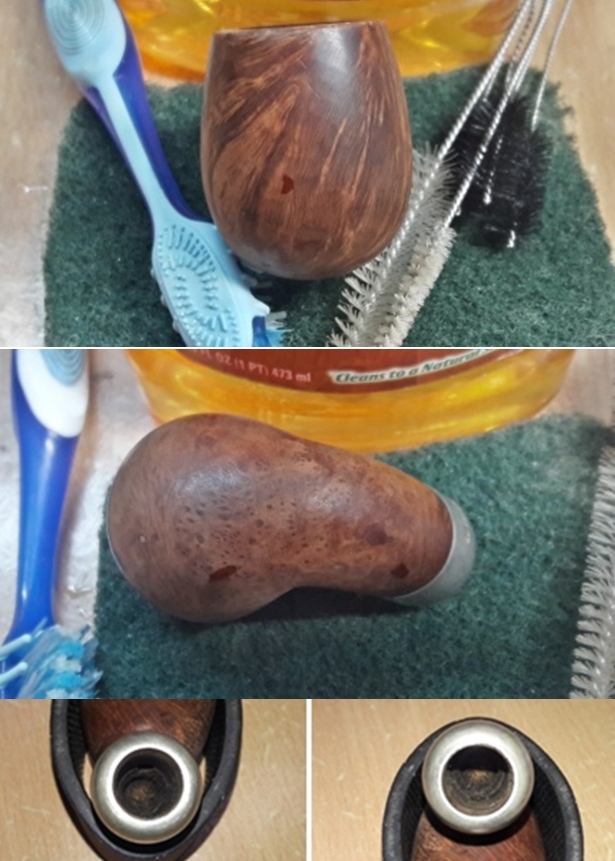 Now that the rim top surface is clean and free of the entire lava overflow, the extent of the charring and dents and dings to the inner rim edge is fairly apparent. The charring at 8 o’clock and 12 o’clock direction (marked in red) is far deeper than I had expected and also the dents and dings to the inner and outer rim edges are far more severe than what it had appeared to me during the detailed inspection. However, topping and creating bevels will address these issues.
  Now that I had a fair idea of the requirement of the extent of topping the rim surface, I top the rim on a piece of 220 grit sand paper to even out the rim surface dents and dings and also to reduce the charred rim surface. I addressed the out of round inner edge by creating a bevel to inner edge with a folded piece of 220 grit sand paper pinched between my thumb and index finger. I agree with the Readers who are of the opinion that the issue of charred rim has not been addressed completely. However, I am ready to accept minor blemishes as against losing too much of briar estate. I am very happy at the way the chamber and rim top surface appears at this in restoration.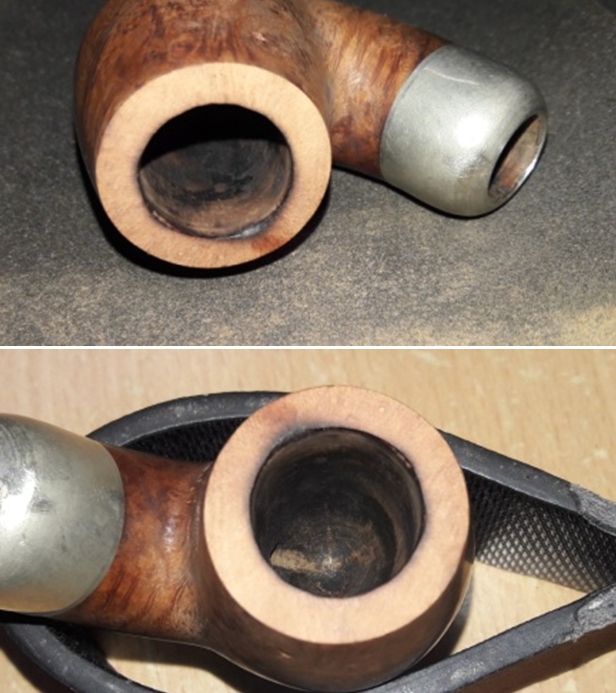
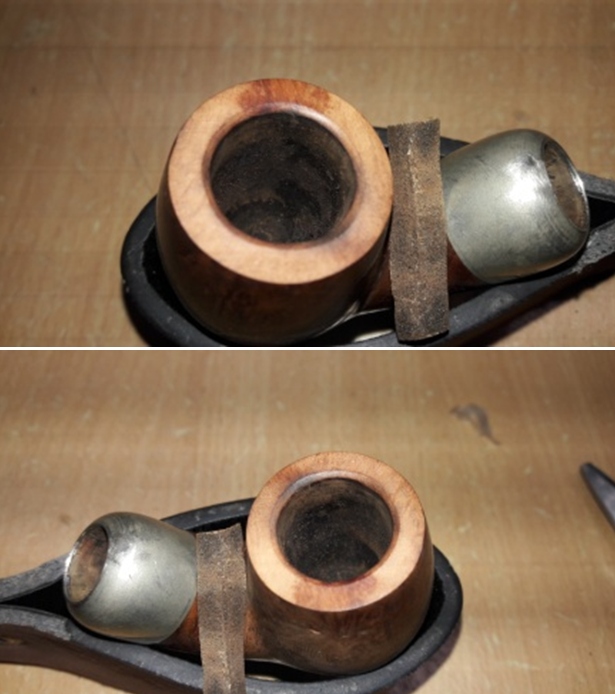 The old fills observed earlier during initial inspection were addressed next. Very carefully and painstakingly, I completely removed the old fill with a pointed dental pick. I cleaned the fill of all the debris of old fill material, wiped it with alcohol and refreshed the pits by spot filling with CA superglue in each fill and set it aside to cure overnight.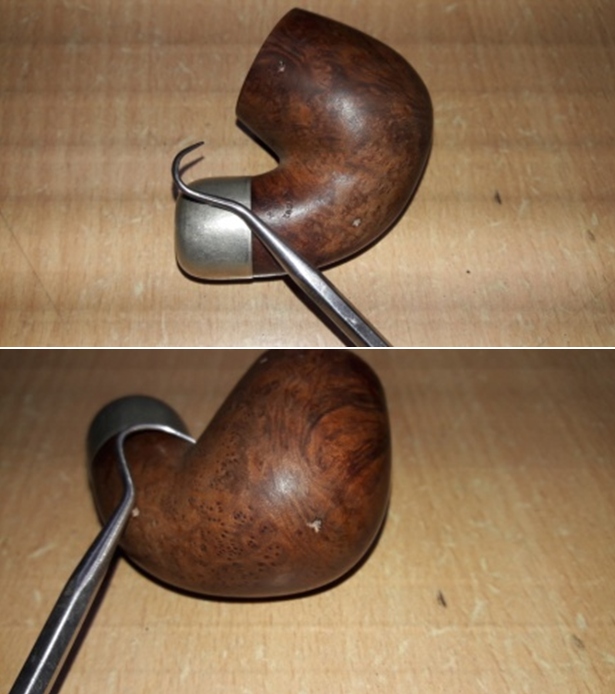
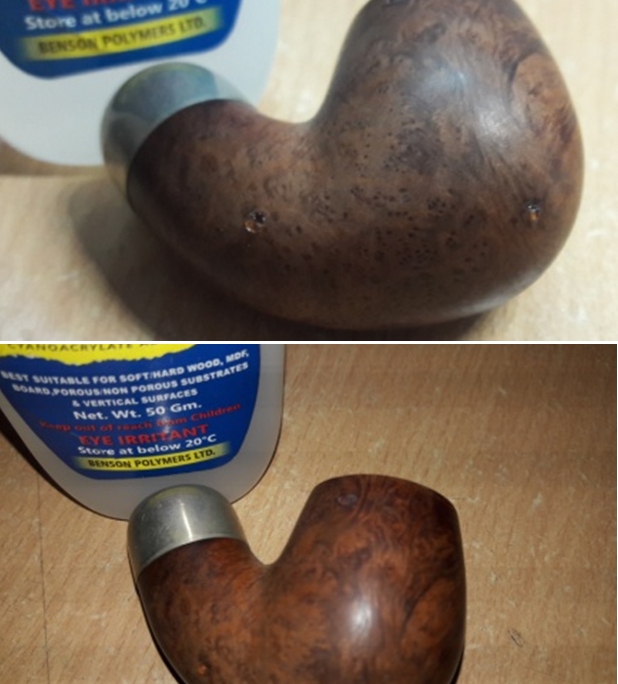 By next day, the fill was nice, hard and well set. Using a flat head needle file, I sand these fills to achieve a rough match with the stummel surface. With a folded piece of 220 grit sand paper, I worked the fill till I had achieved a nice blend with the rest of the stummel surface. It turned out much better than I had anticipated. I further sand the entire stummel surface with the same grit sand paper to further smooth the stummel surface in preparation for a polish by micromesh pads.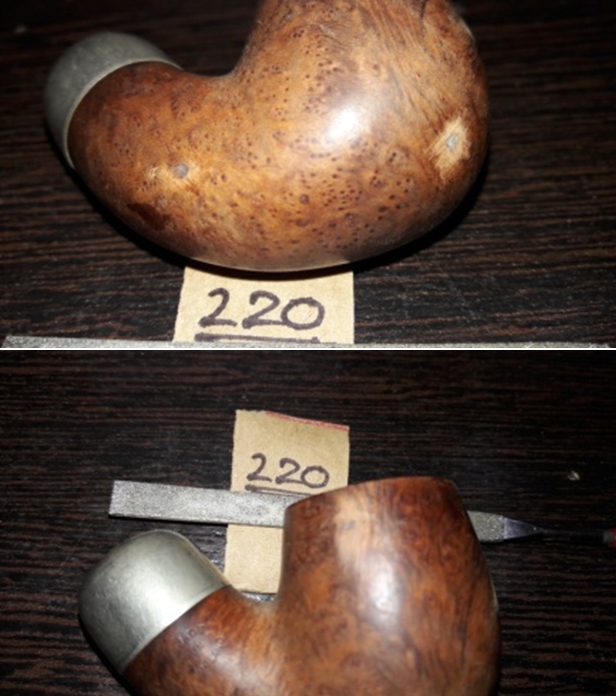
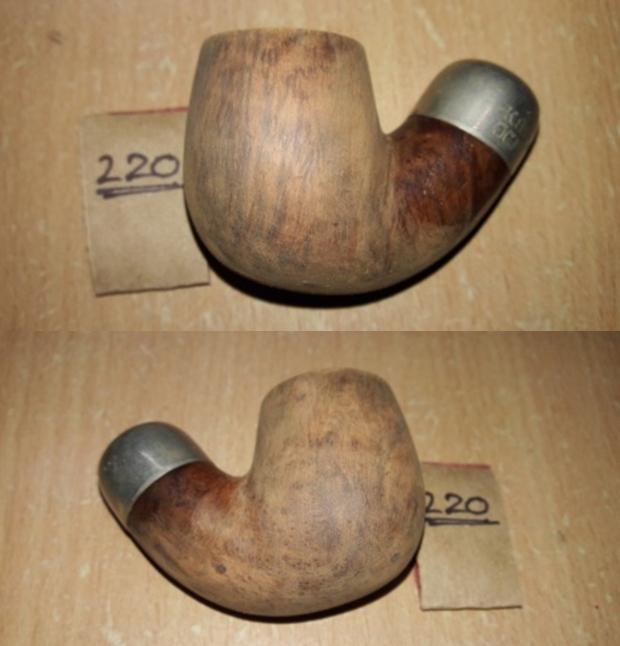
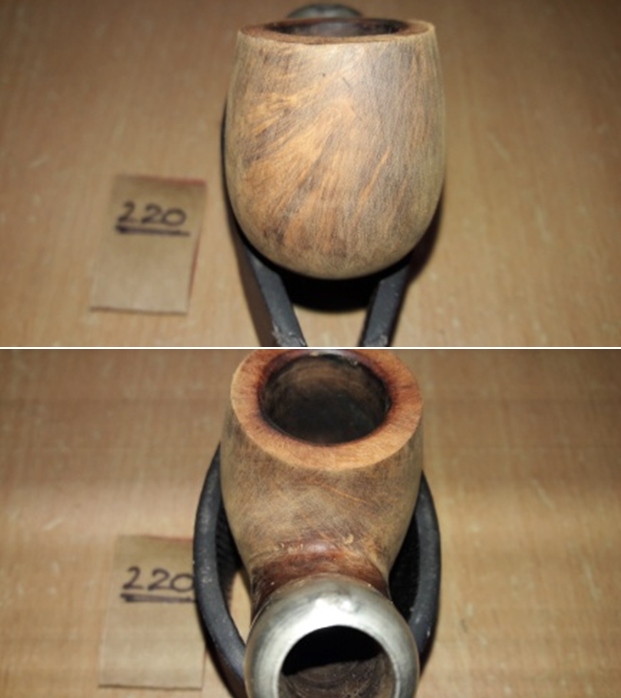
 I subjected the stummel to a complete cycle of micromesh polishing, wet sanding with 1500 to 12000 grit pads. I paid greater attention to polish the rim top surface and the bevels created on the inner and outer rim edges. I wiped the stummel with a moist cloth after every grit pad to remove the sanding dust left behind by the pads. This also helps in monitoring the progress being made and provides an opportunity to take early corrective action, if required. I am happy with the progress being made till now. As decided earlier, I polished the ferrule with each of the micromesh pads and I am very pleased with the appearance of the ferrule.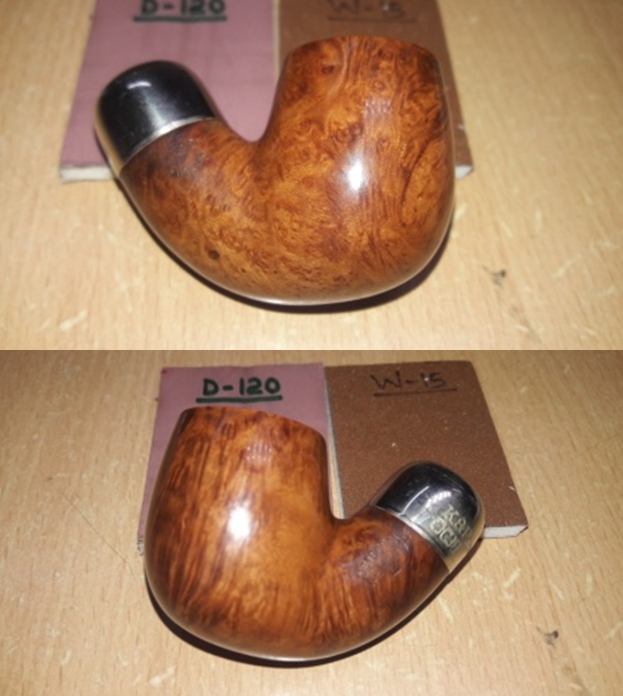
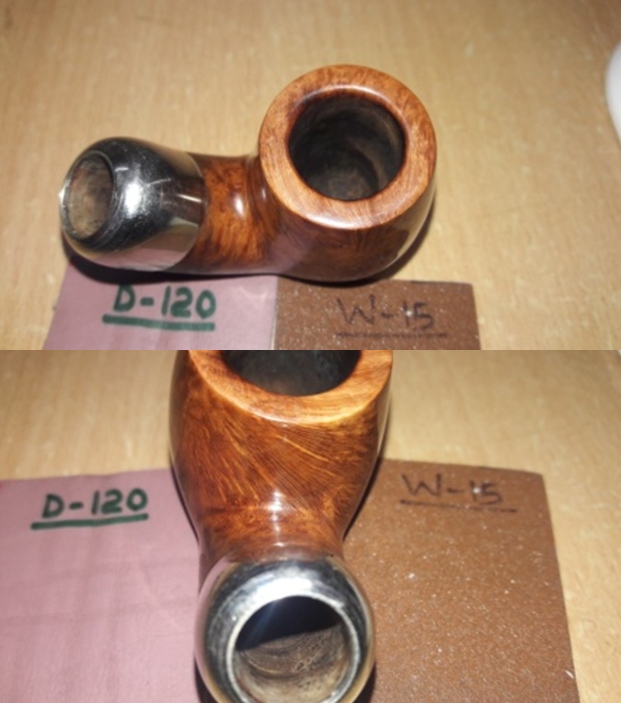
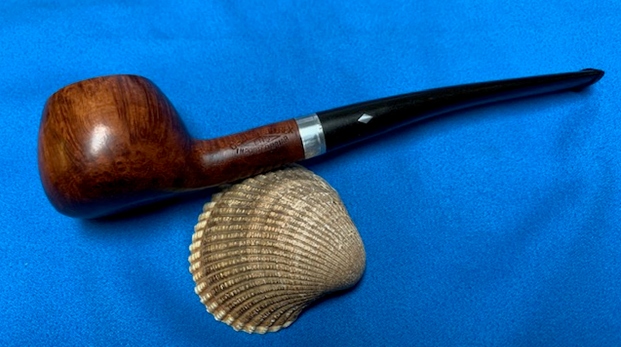
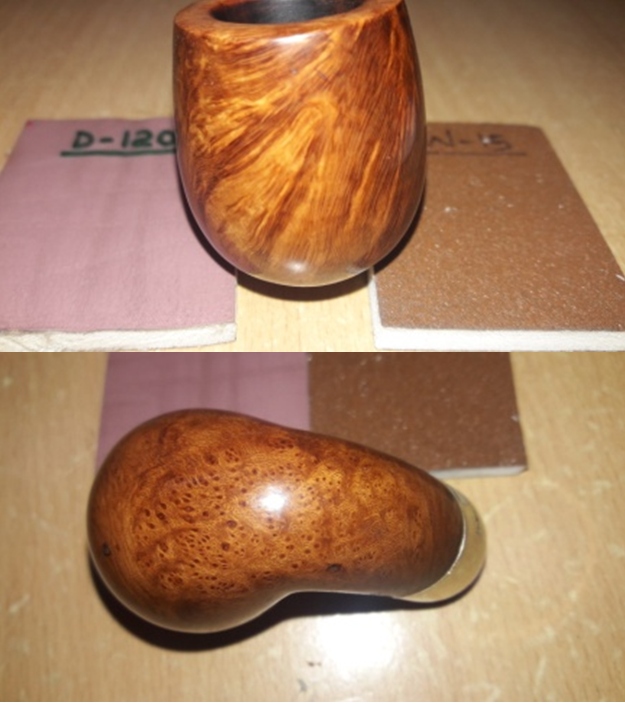 Next, I rub a small quantity of “Before and After Restoration Balm” in to the briar with my finger tips and worked it deep in to the surface and let it rest for a few minutes. The balm almost immediately works its magic and the briar now has a nice vibrant appearance with the beautiful flame and Bird’s eye grain patterns on full display. The contrast of the dark browns of the grain with the light hues of the rest of the stummel adds an interesting dimension to the appearance of the stummel. I further buffed it with a horse hair brush to further deepen the shine.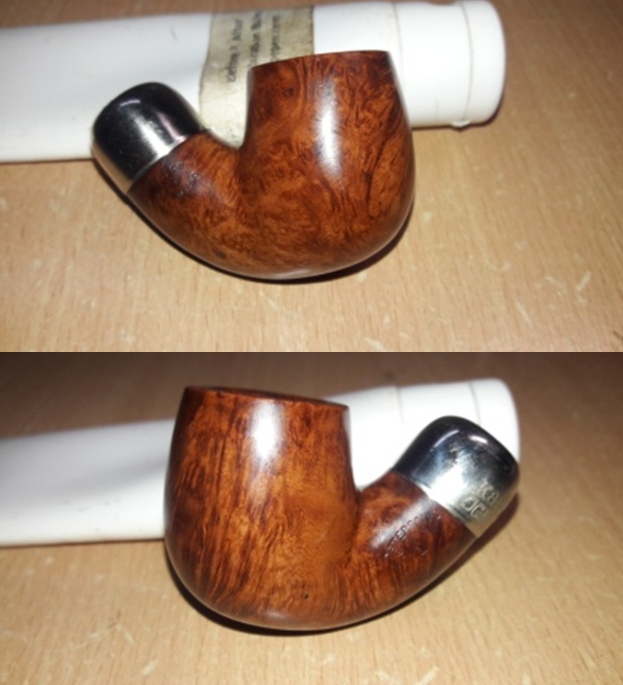
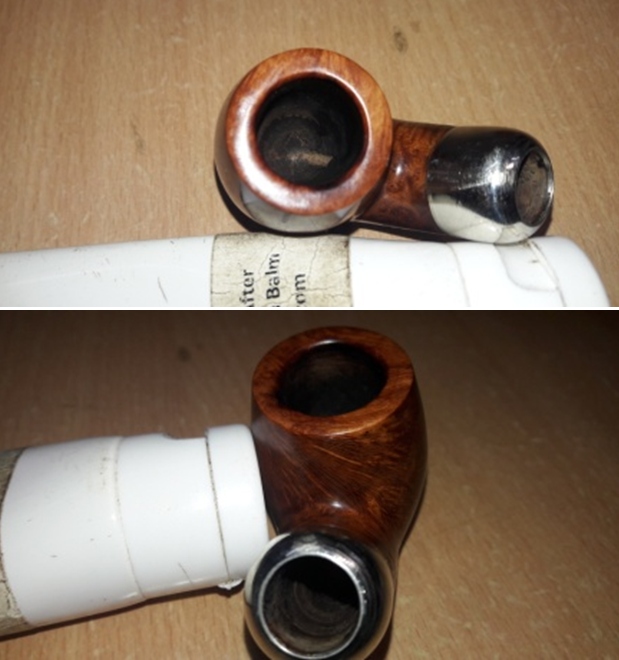
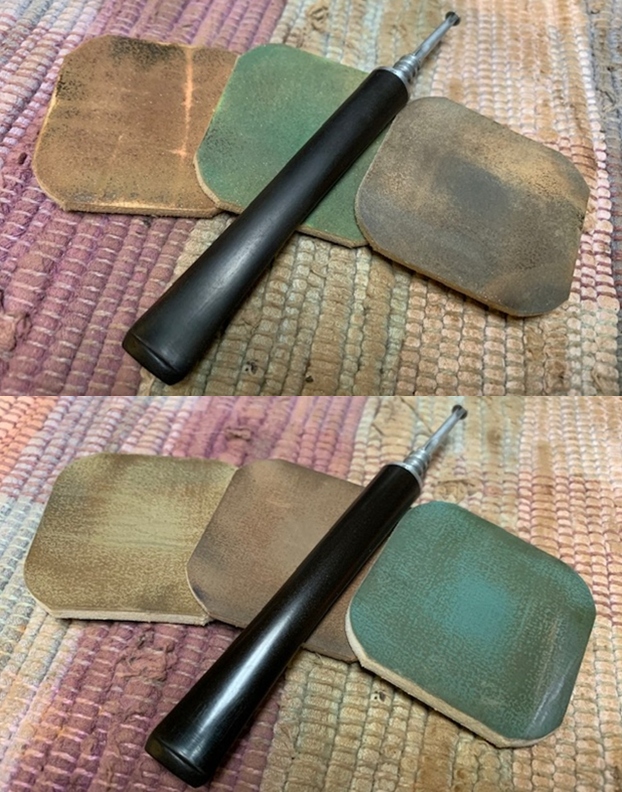
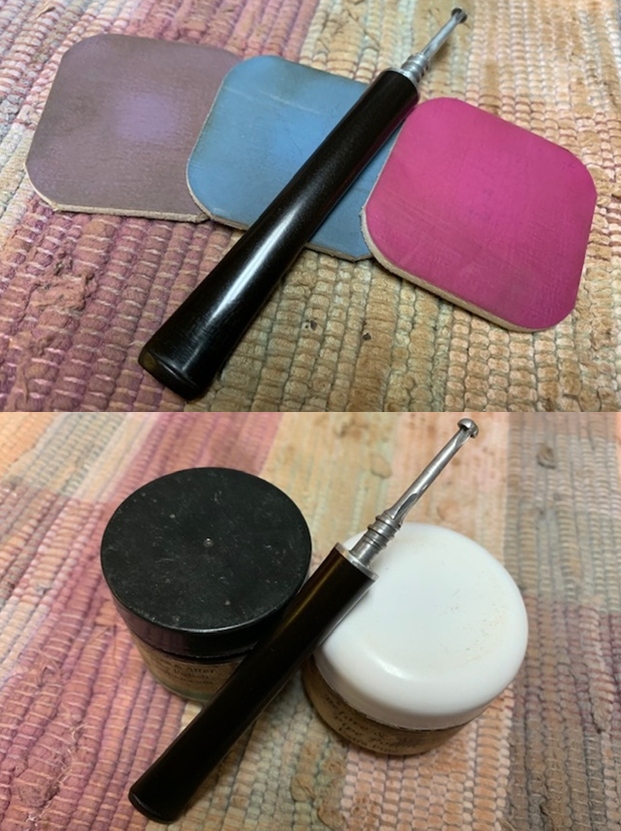
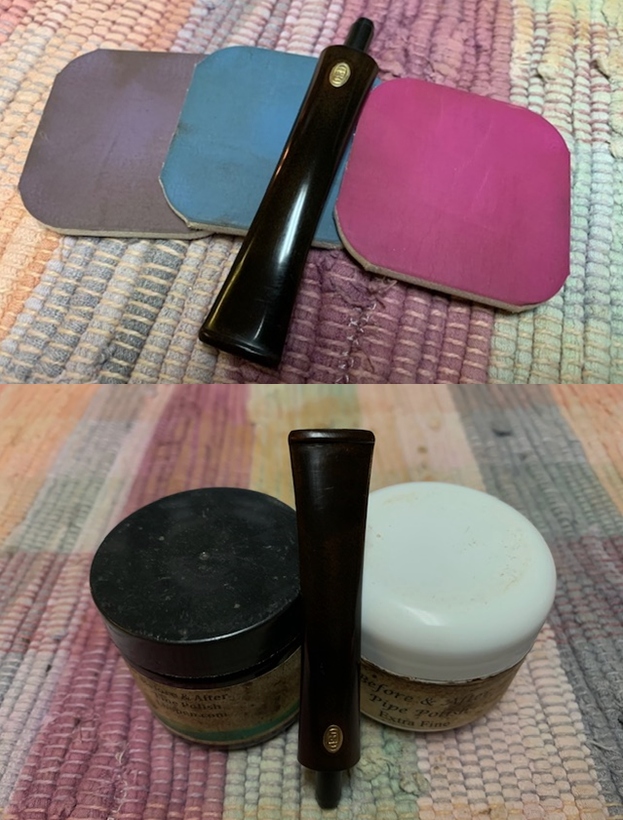
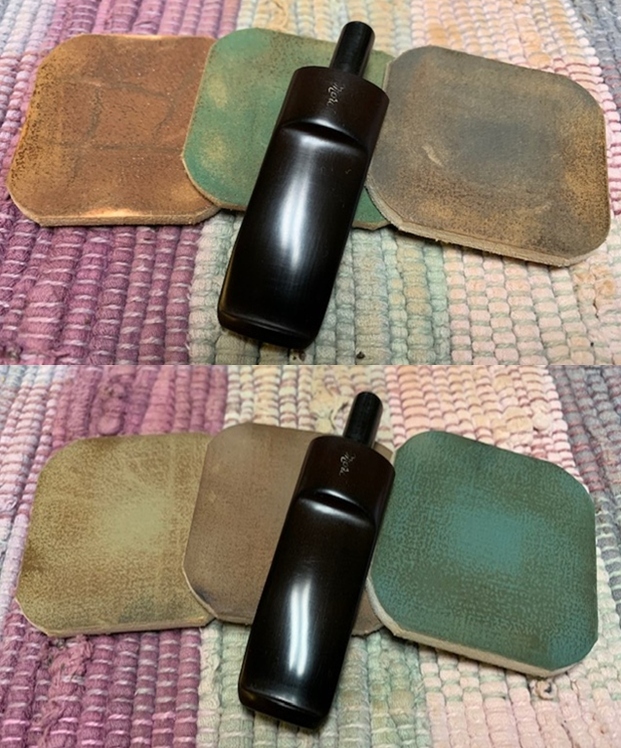
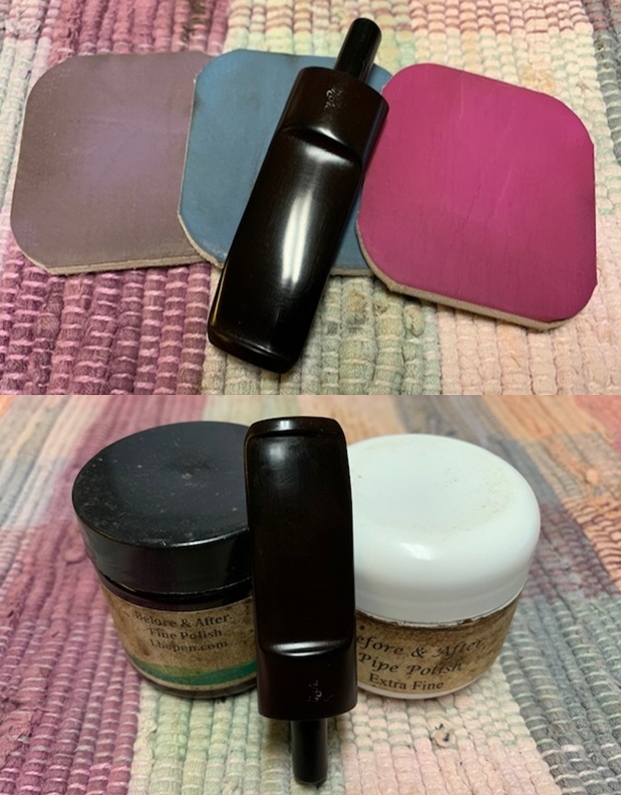
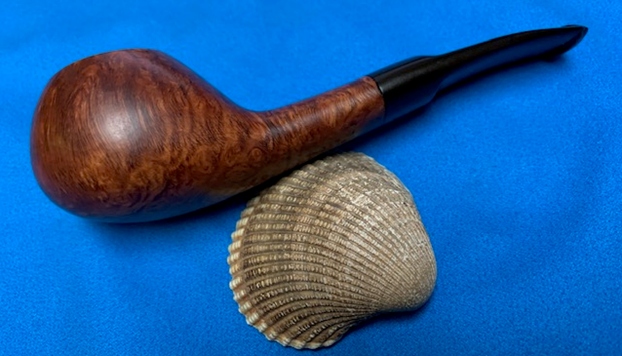
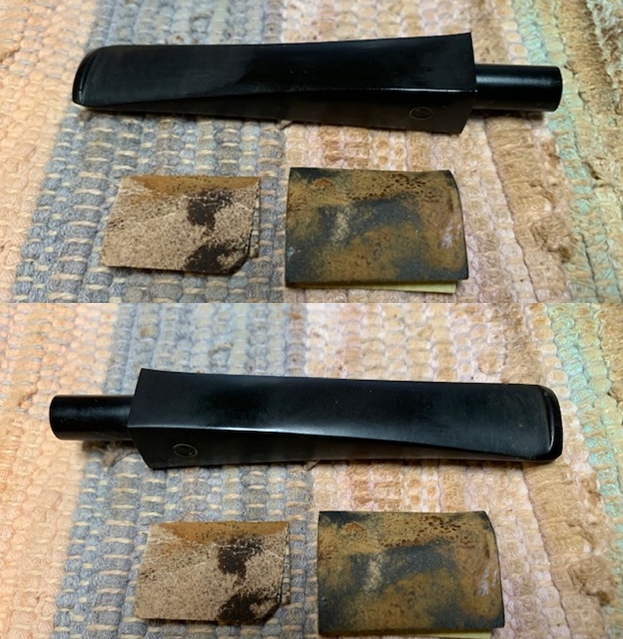
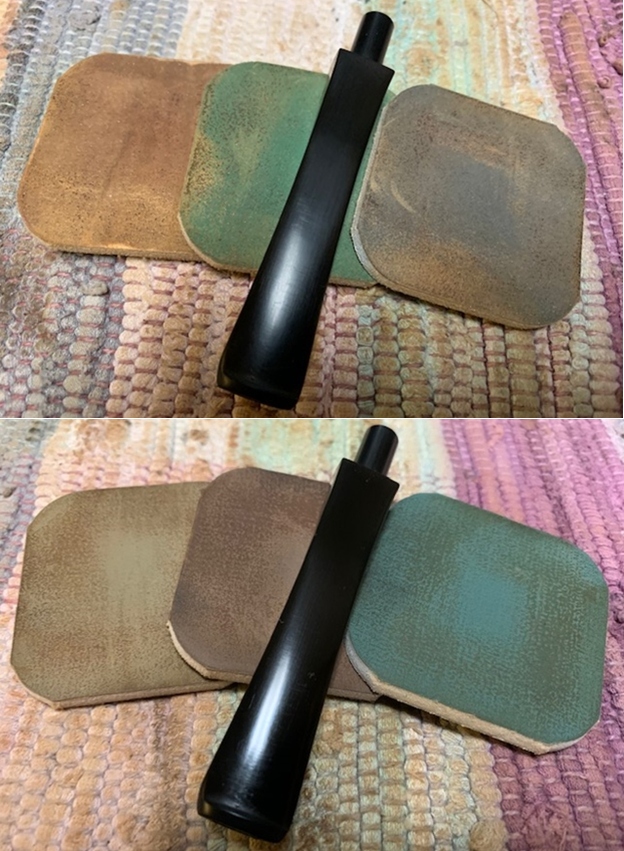
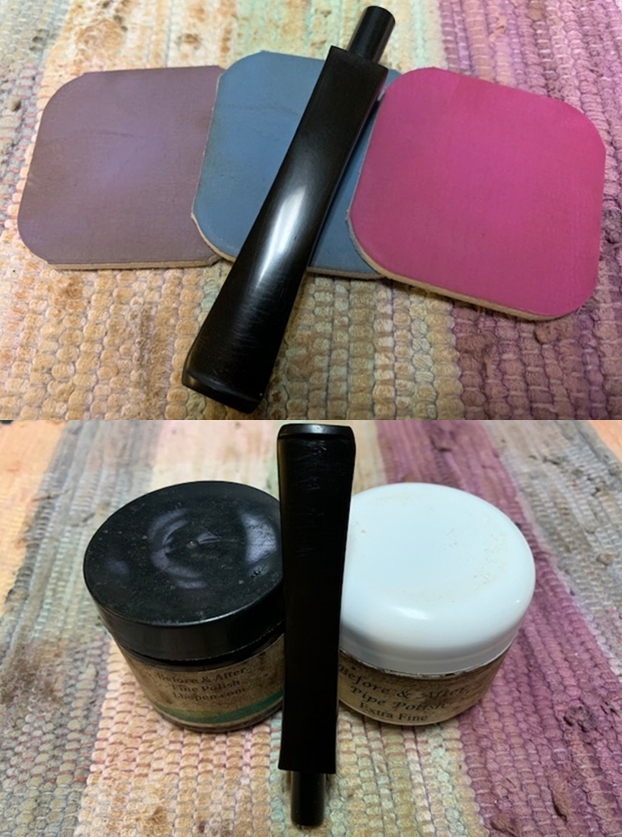
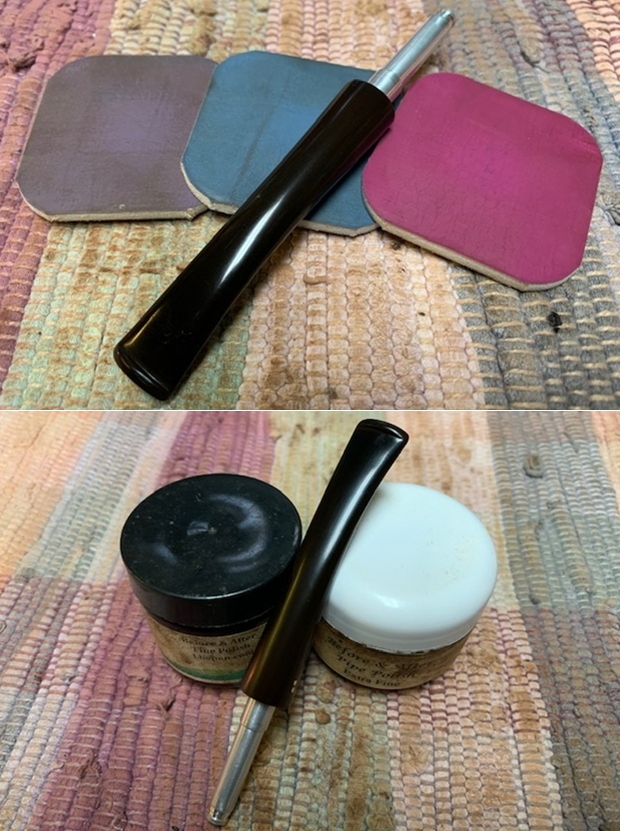
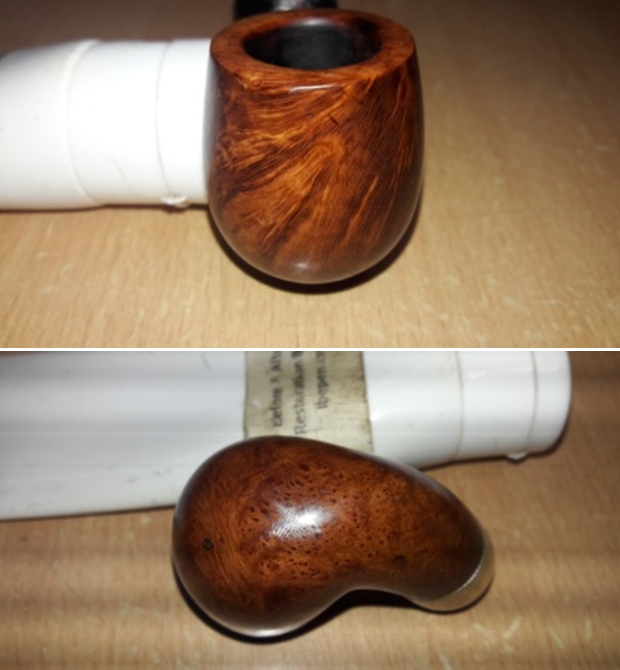 With the stummel repairs and polishing completed, I turned to polishing the stem before I move on to final polishing the entire pipe with Blue Diamond and Carnauba wax. Using the micromesh pads, I completed the polishing cycle by wet sanding the surface with 1500 to 12000 girt pads. The stem looks great with the fills nicely matched with the rest of the surface. I gave a final rub with “Before and After Extra Fine” stem polish compound from Mark to remove fine scratches from the stem surface. I rub a little quantity of Extra Virgin Olive oil in to the stem surface and set it aside to be absorbed by the vulcanite. The stem polished up nicely and appears as good as when new.
 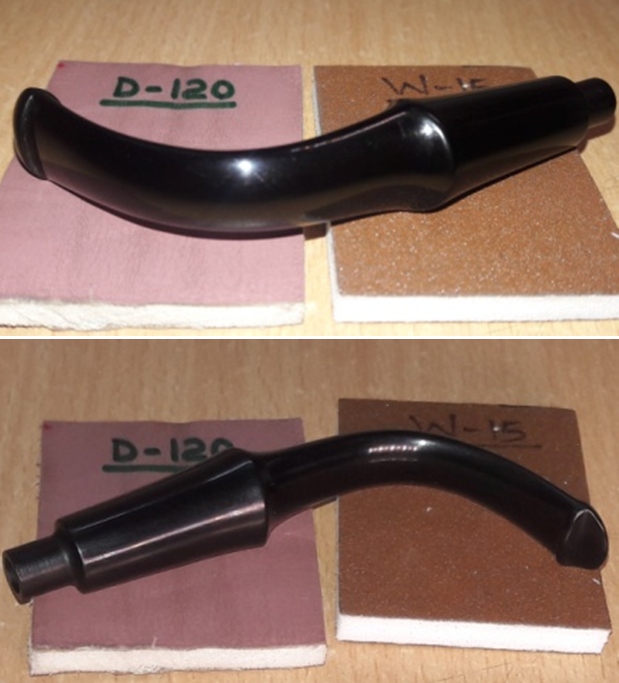 To put the finishing touches, I mount a cotton cloth buffing wheel on to my hand held rotary tool and polished the stummel and stem with Blue Diamond compound. This compound helps to remove the minor scratch marks that remain from the sanding.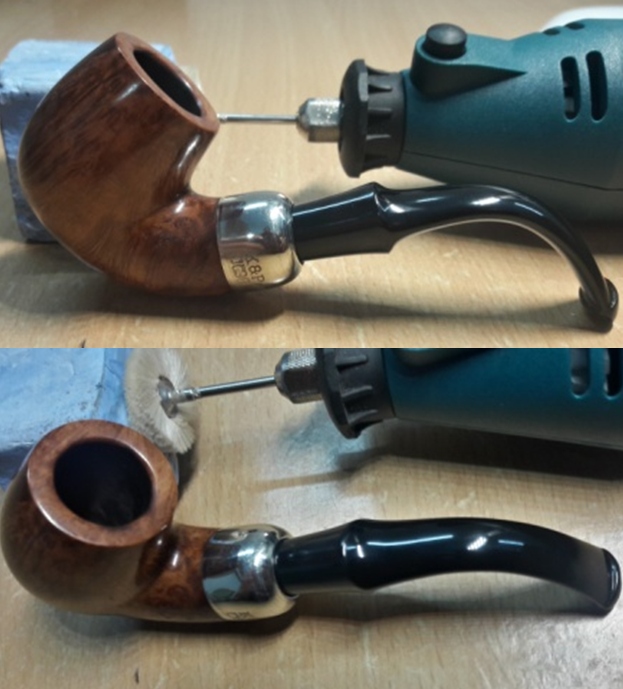
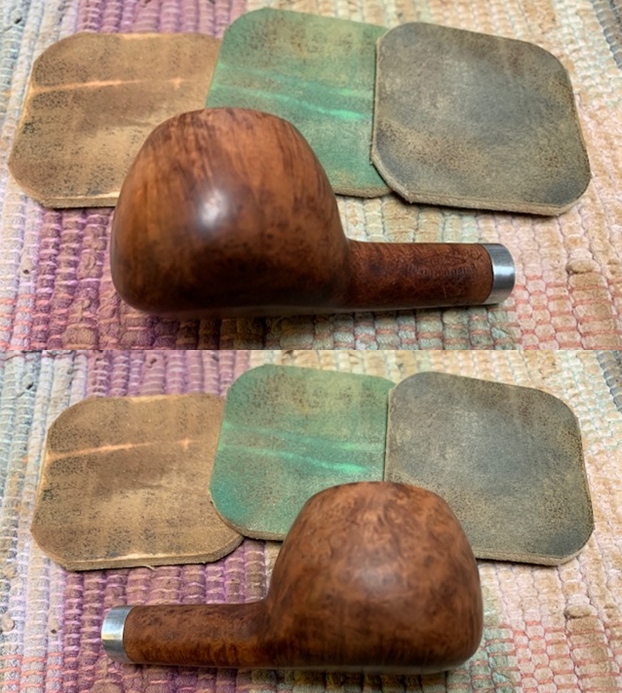
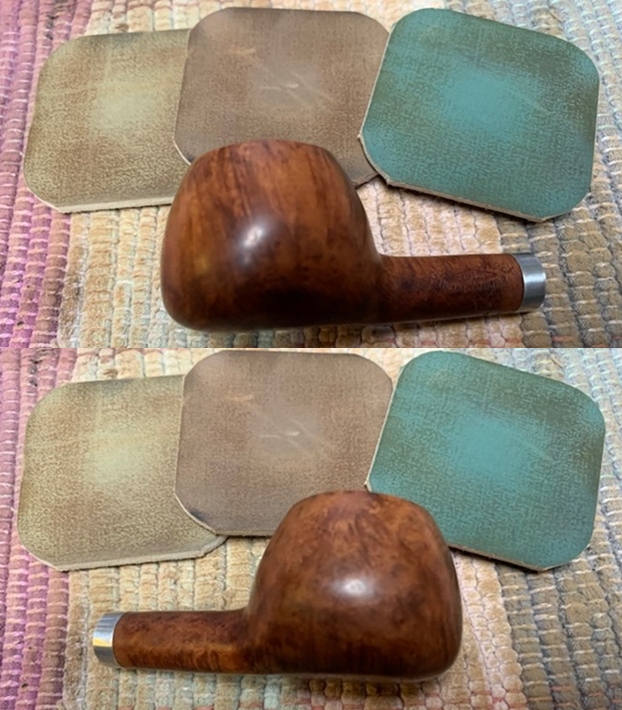
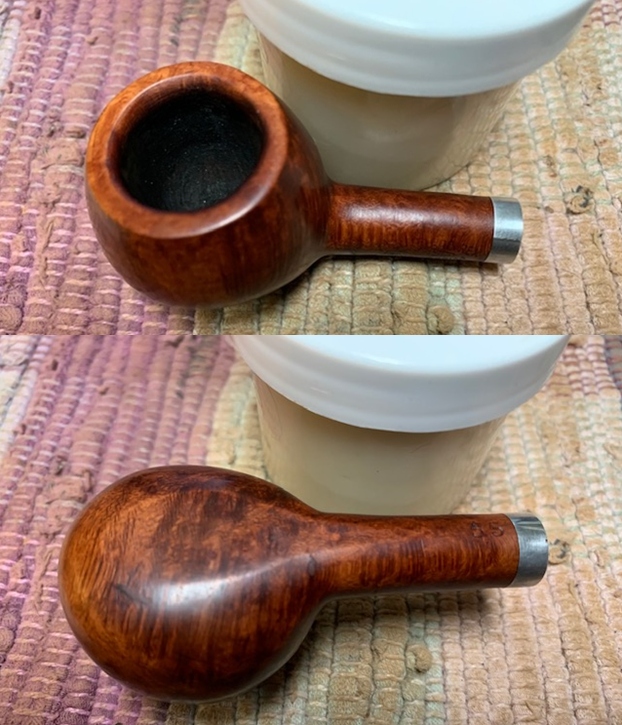
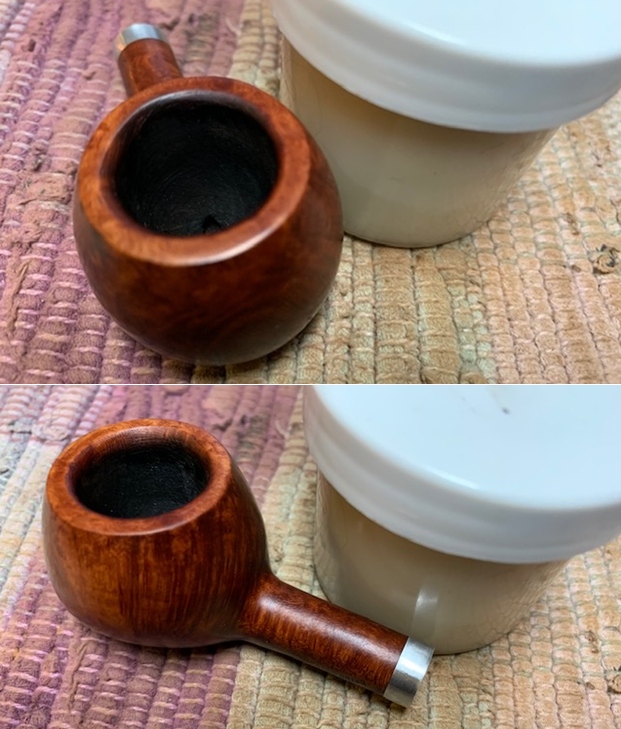
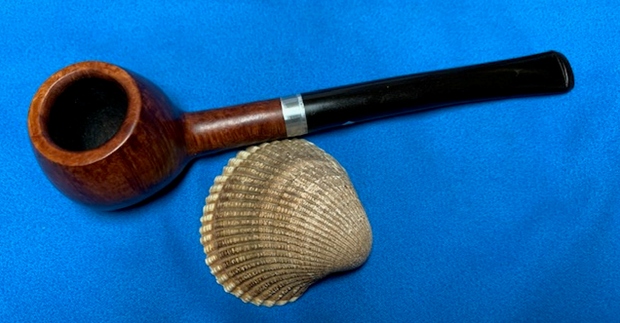
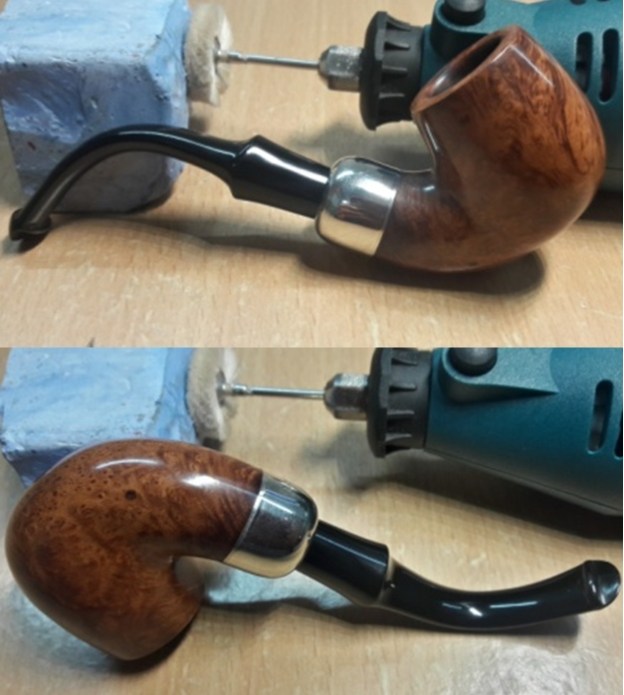 Next, I mount another cotton buffing wheel that I have earmarked for carnauba wax and applied several coats of the wax. I mount a clean cotton cloth buffing wheel and give the entire pipe a once over buff. I finished the restoration by giving the entire pipe a rigorous hand buffing using a microfiber cloth to raise the shine further. I gave a final polish to the ferrule with a jeweler’s cloth and worked up a nice deep shine to the ferrule. The finished pipe with a natural finish to the briar looks amazingly beautiful and is now ready for its long second innings with me.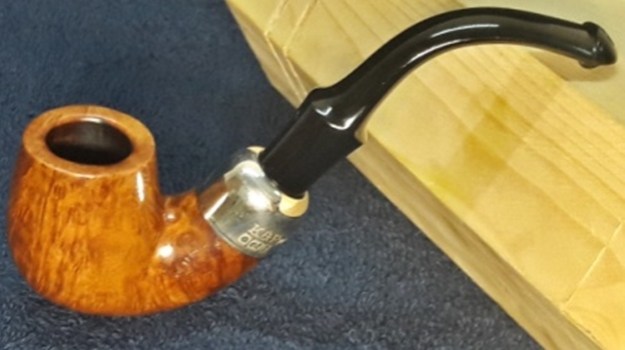
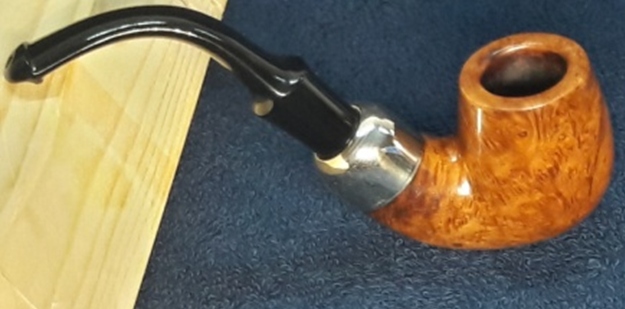
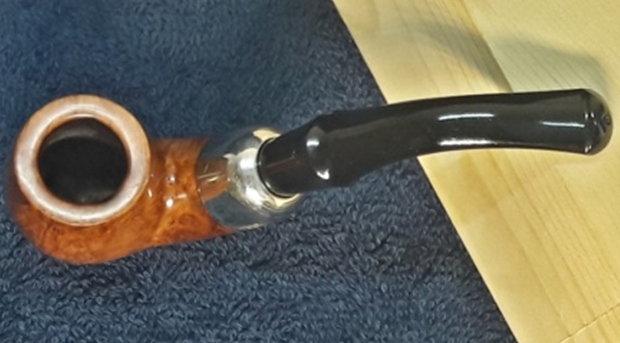
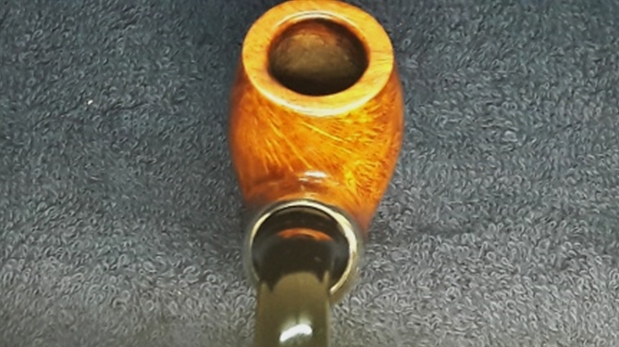
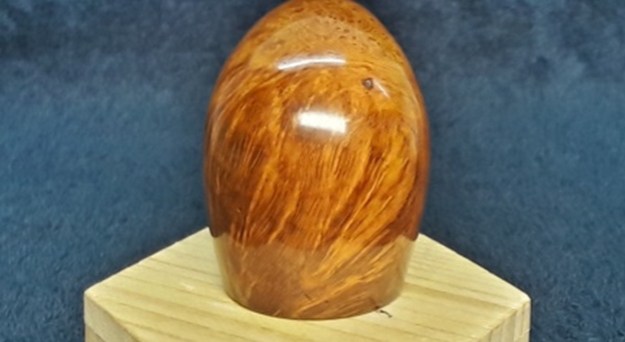

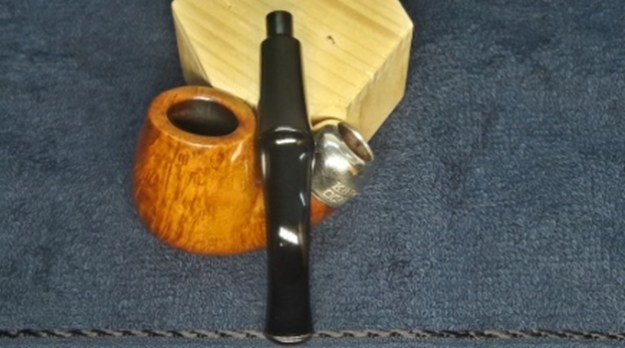
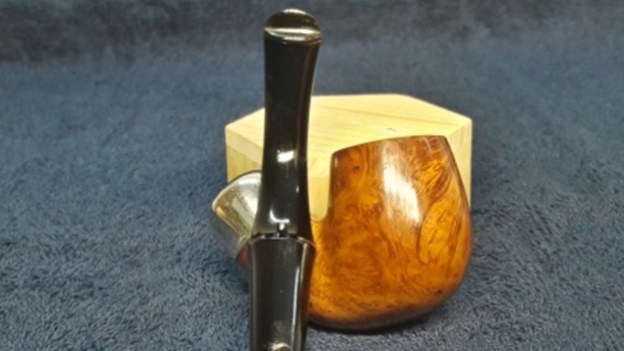 P.S. I had a thought of staining the stummel with a Dark Brown stain and vacillated a long time on trying to reach a decision. Though the fills are discernible in the pictures, in person, these have blended in quite well and the natural finish of the briar against the dark grain makes for a visual treat, in my opinion. However, I am open to the valuable suggestions from the esteemed readers of rebornpipes on the issue of staining the stummel or leave it be.
Praying for the health and safety of all the readers and their loved ones in these troubled times…

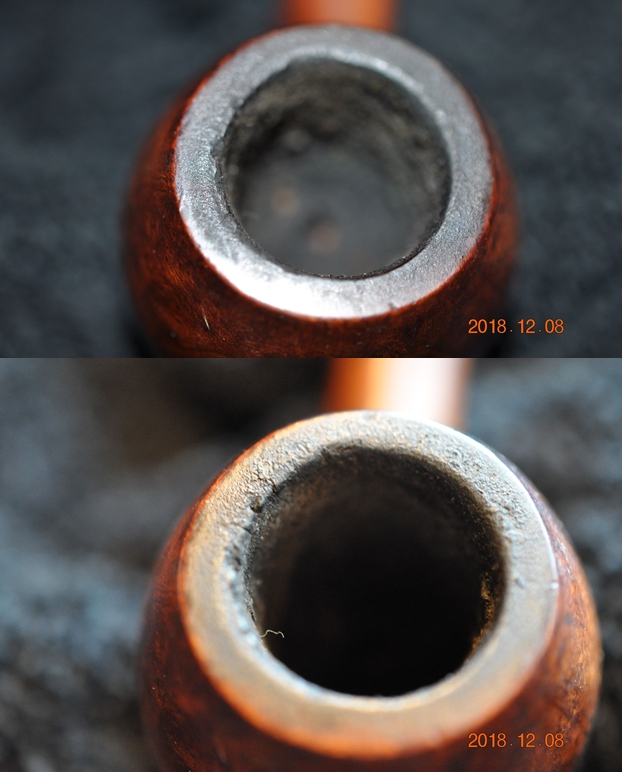
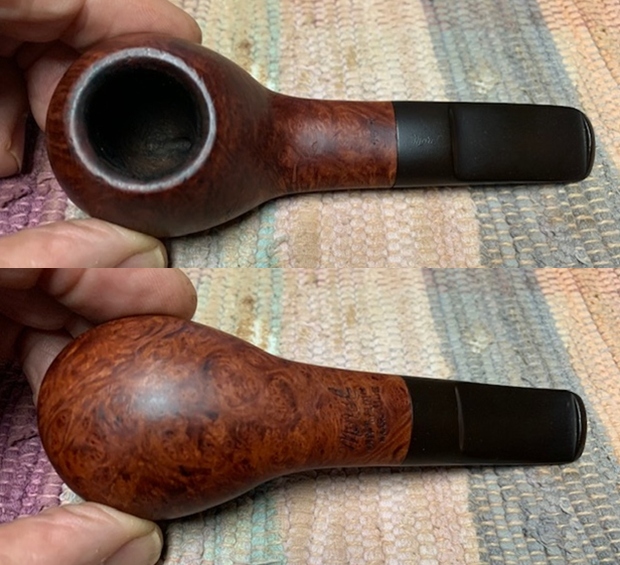
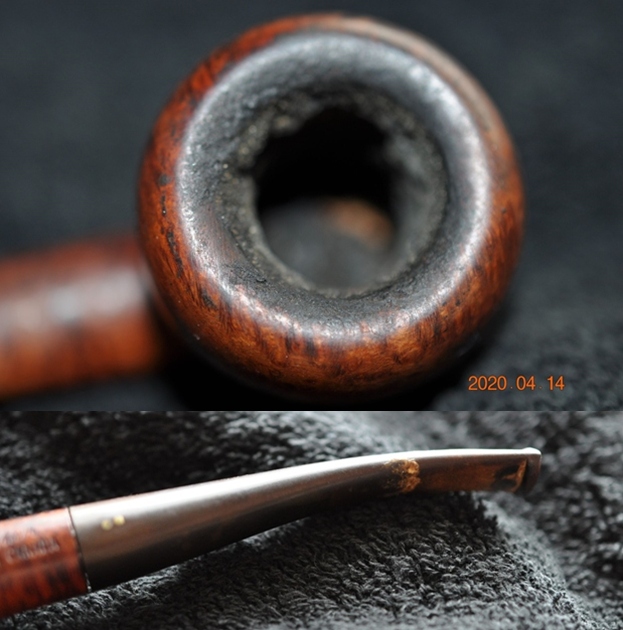
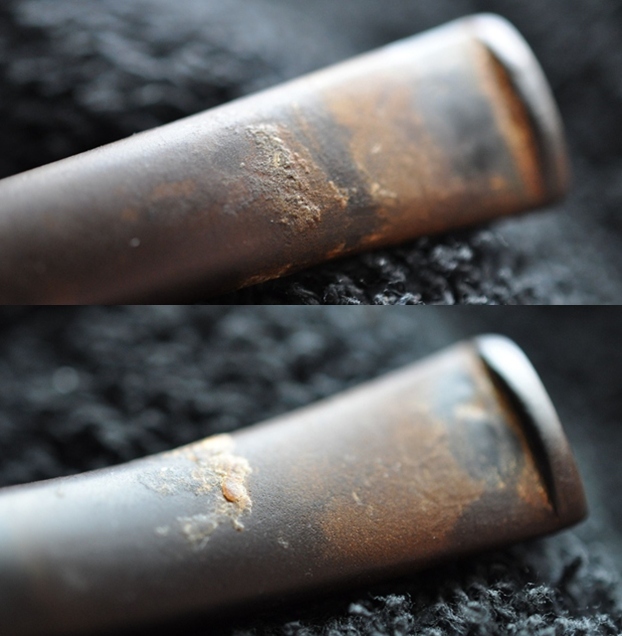
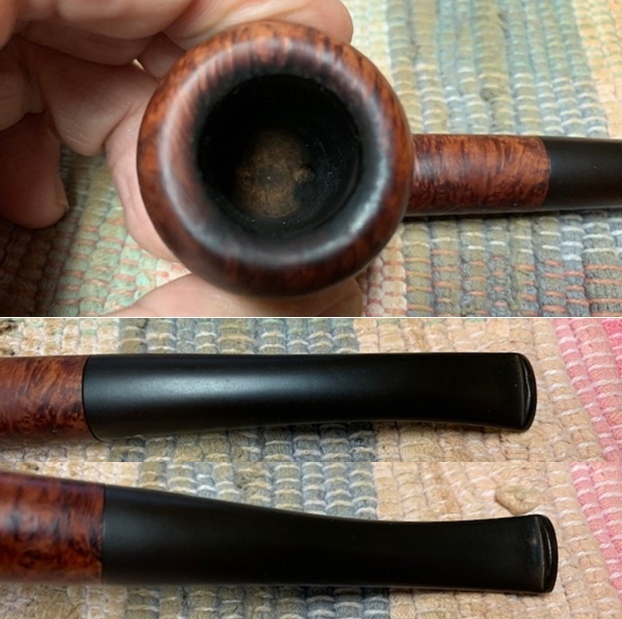
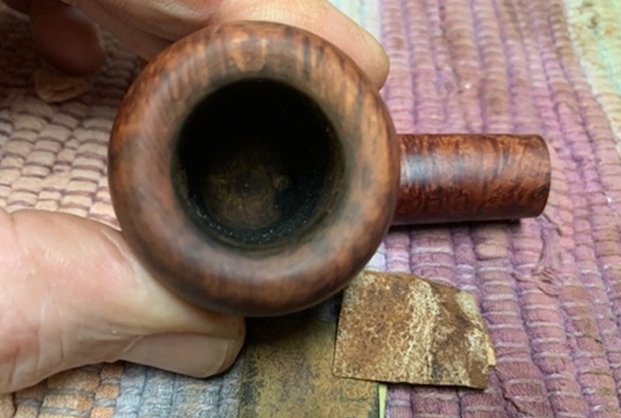
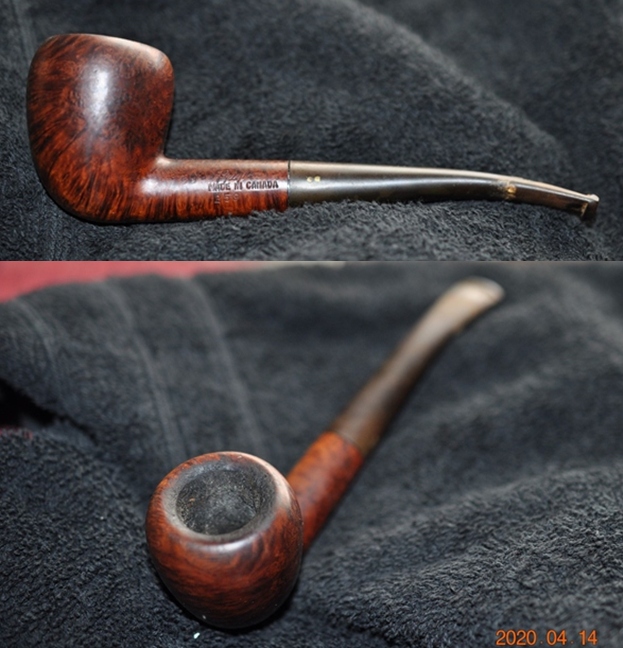 Jeff took photos of the rim top to show the interior the bowl and the rim top and inner edge. It is heavily caked with a thick lava overflow. The stem is oxidized, calcified and has tooth marks on the top and underside near the button.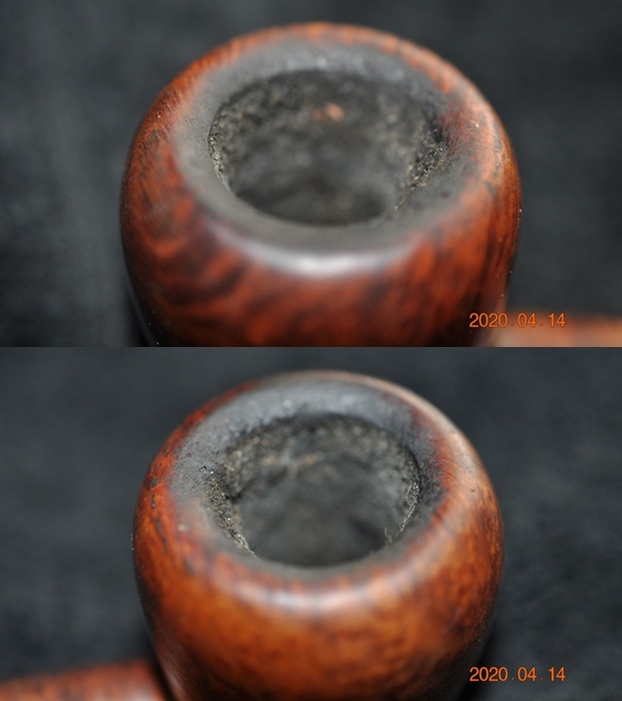
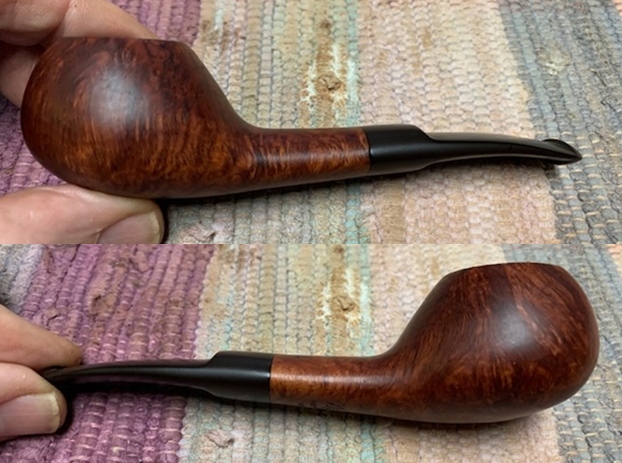
 Jeff took some photos of the bowl sides and heel to show grain that was around this bowl. It is a nice looking pipe.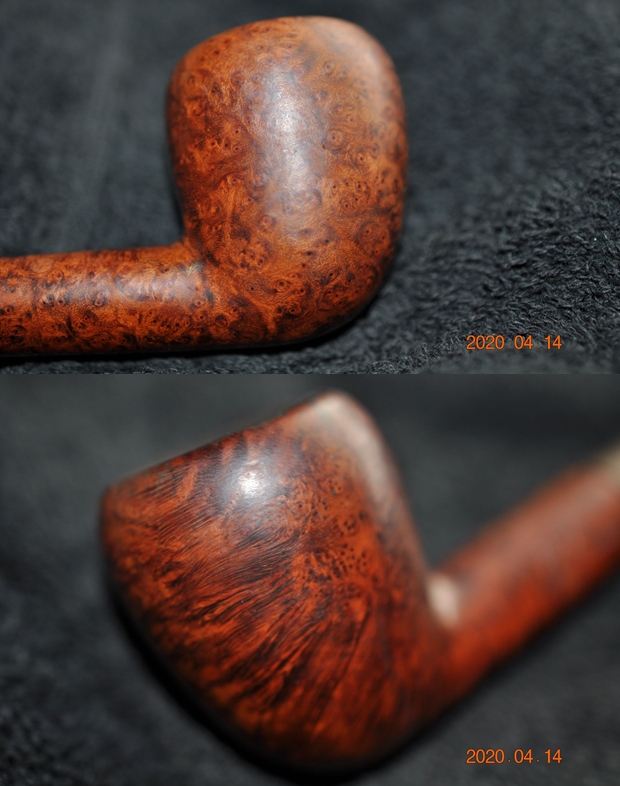
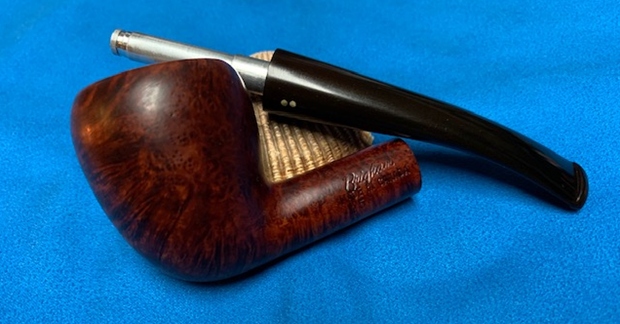
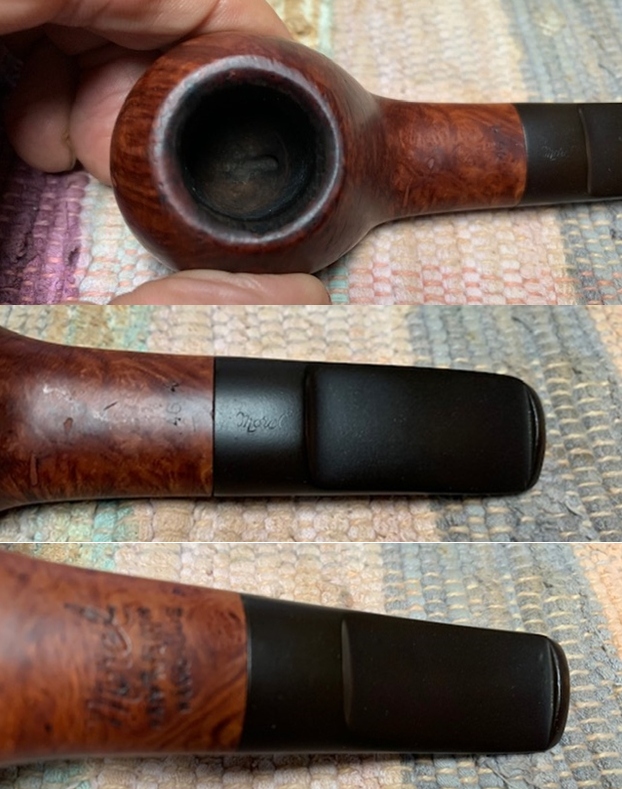
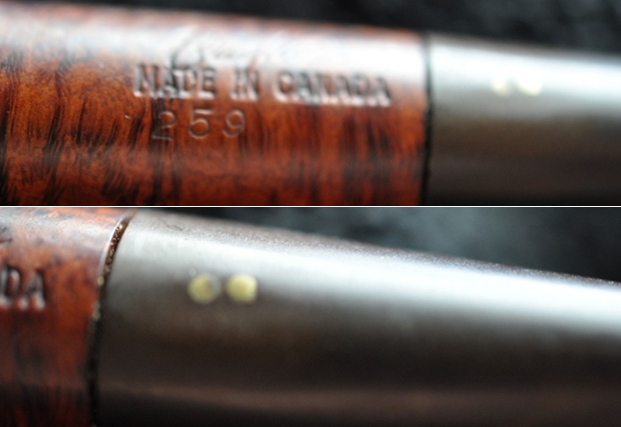
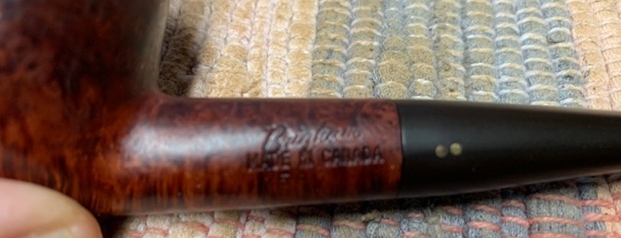
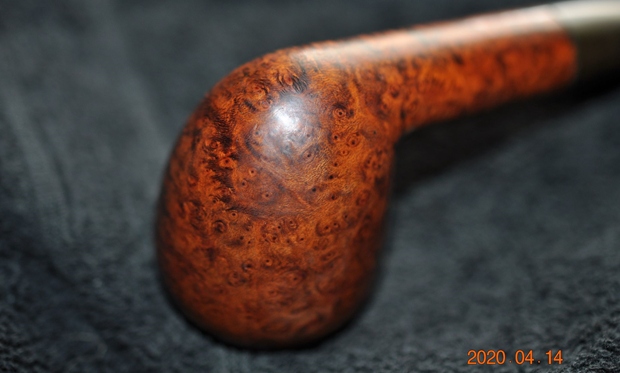 He took a photo of the underside of the shank to show the stamping. The stamping is readable in the photos below and is as noted above – it reads Brigham in script [over] Made in Canada [over] 259. The stem has two dots in a row on the left side.
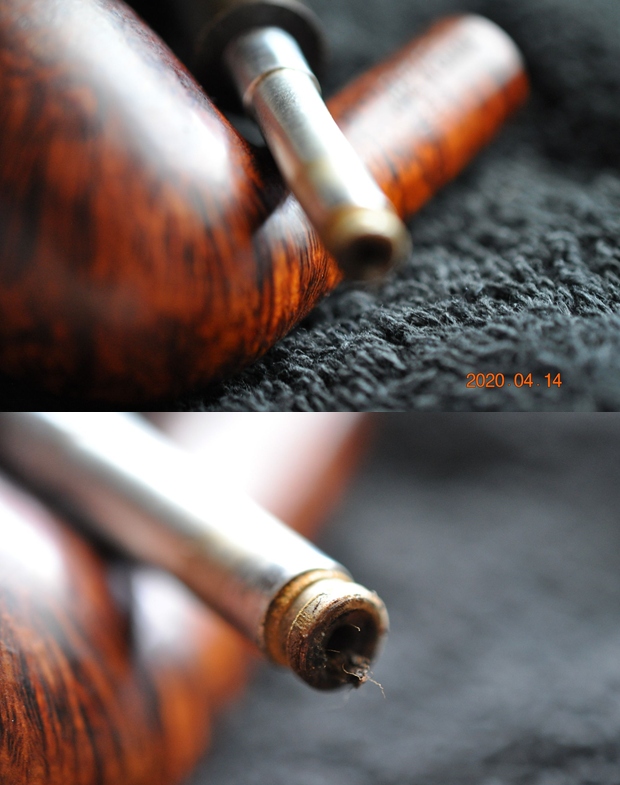
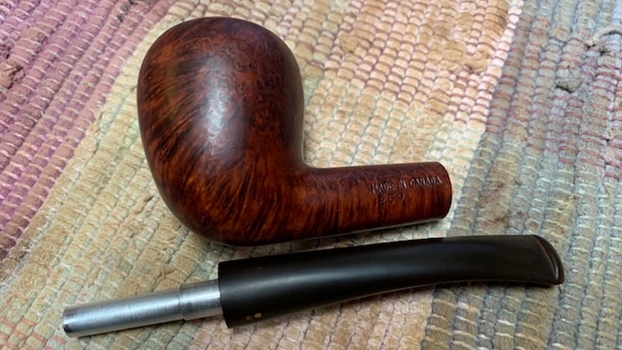
  Jeff took the stem off the bowl and took a picture of the aluminum tube tenon with the Maple Distillator in place and out of the tenon on top of the tube. It is a real mess.
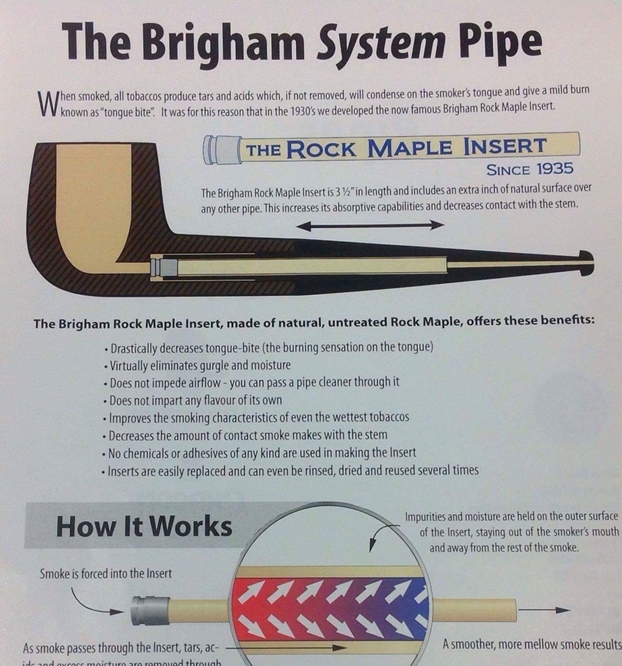
 Before I get into the restoration part of this pipe I decided to include a poster I picked up that shows the filtration system of the patented Brigham Distillator. Give the poster a read. It also helps to understand the internals of these older Canadian Made pipes.
  Jeff had done a great job cleaning up the pipe as usual. He reamed the pipe with a PipNet reamer and cut back the cake back to the bare briar. He cleaned up the walls with a Savinelli Fitsall Pipe Knife. He scrubbed the interior of the bowl and shank with pipe cleaners, cotton swabs and alcohol to remove the tars and oils. He scrubbed the exterior of the pipe with Murphy’s Oil Soap and a tooth brush to remove the grime from the finish. He worked on the rim top lava and darkening with the soap and tooth brush. He scrubbed the inside of the stem with alcohol and pipe cleaners. He scrubbed the exterior with Soft Scrub and then soaked it in Before & After Deoxidizer. He washed it off with warm water to remove the Deoxidizer. The pipe looked far better. The stamping on the side of the stem was very light and the white that had remained was gone.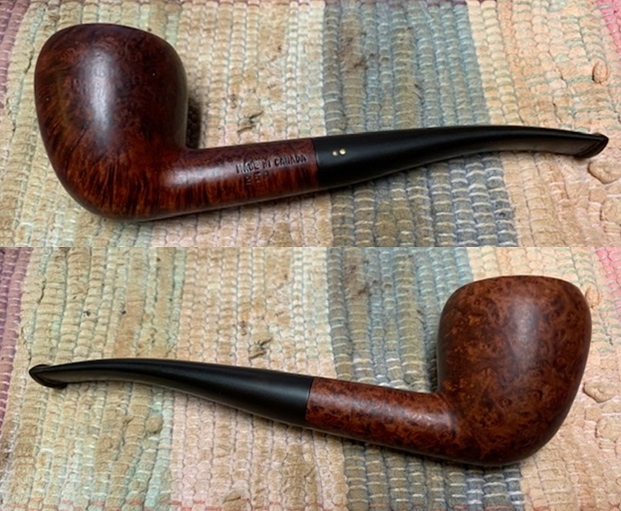
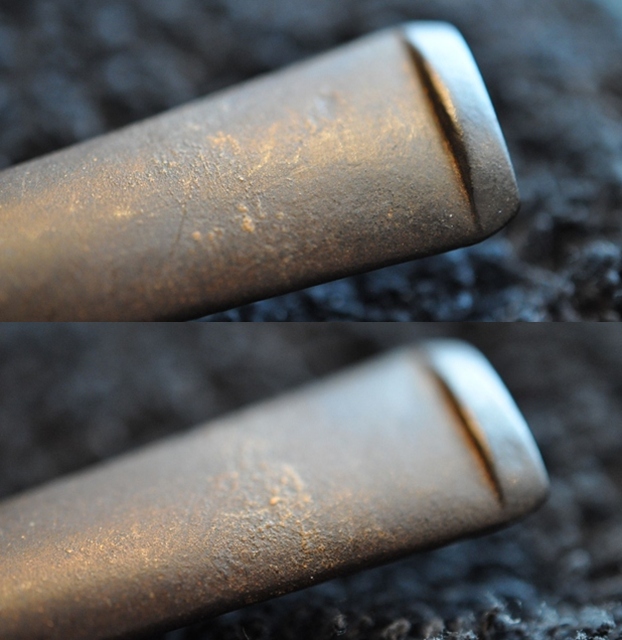
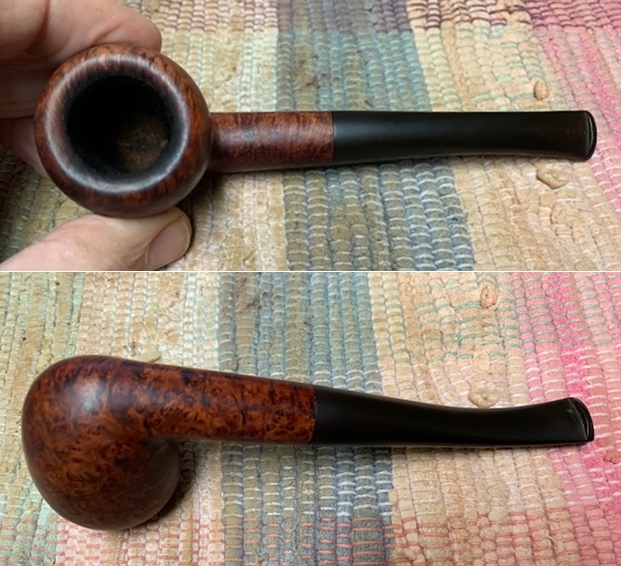 I took some close up photos of the rim top and also of the stem surface. I wanted to show how well it had cleaned up. The rim top and edges show a darkening but are not damaged. It should clean up really well. I also took close up photos of the stem to show the tooth marks on the surface and on the button.
  I took a photo of the stamping on the left side of the shank. You can see that it is stamped as noted above. It is clear and readable.
  I took the pipe apart and took a photo of the pipe. It is a good looking pipe and has some great grain around the bowl and shank.
 I decided to start my restoration work on this one by dealing with the damaged crown rim top. I sanded the crown and the inner edge of the bowl and rim top with 220 grit sandpaper to remove the darkening and damage. I started polishing it with 400 grit wet dry sandpaper.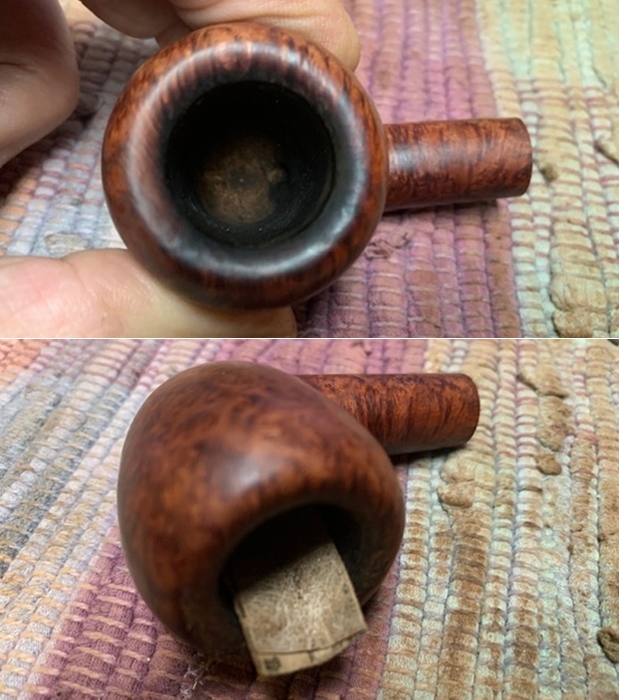
 I polished the smooth portions of the briar with micromesh sanding pads – wet sanding it with 1500-12000 grit pads. After each pad I wiped the briar down with a damp cloth.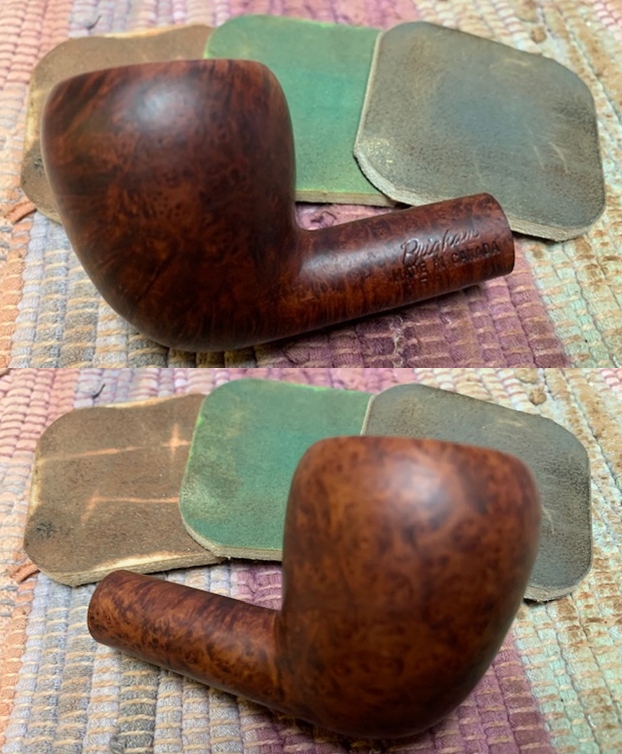
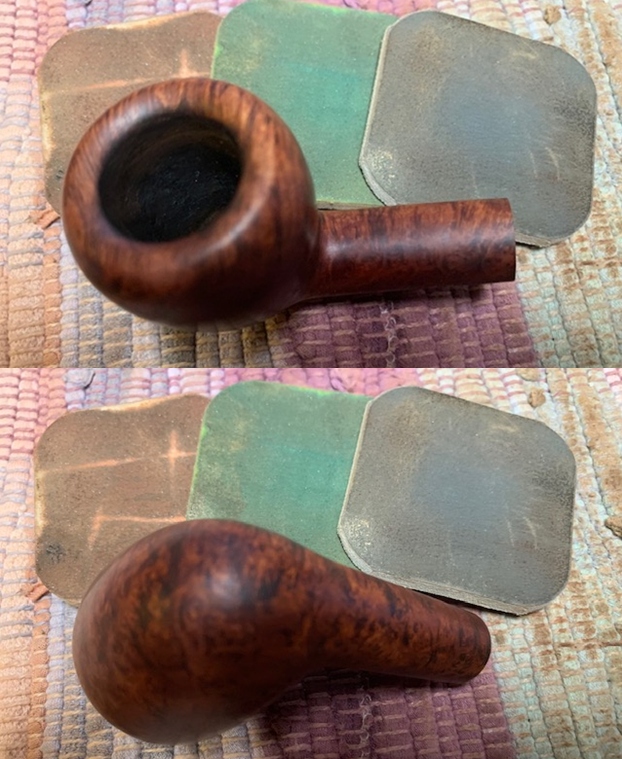
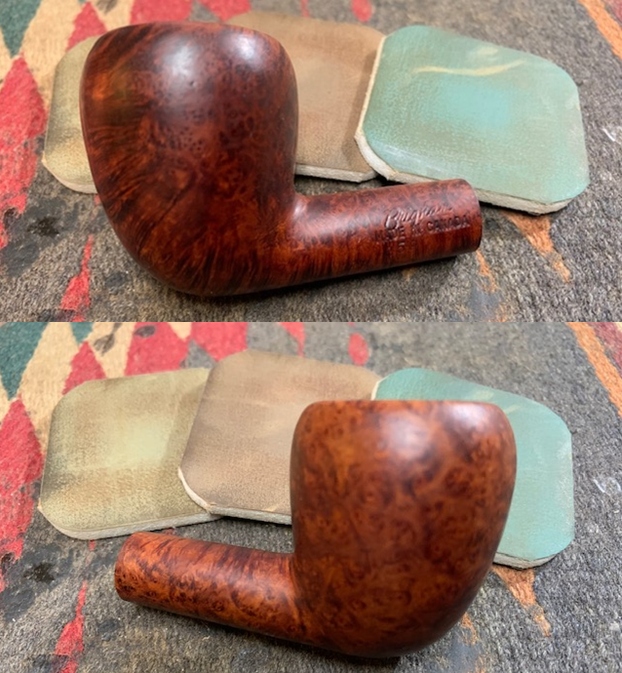
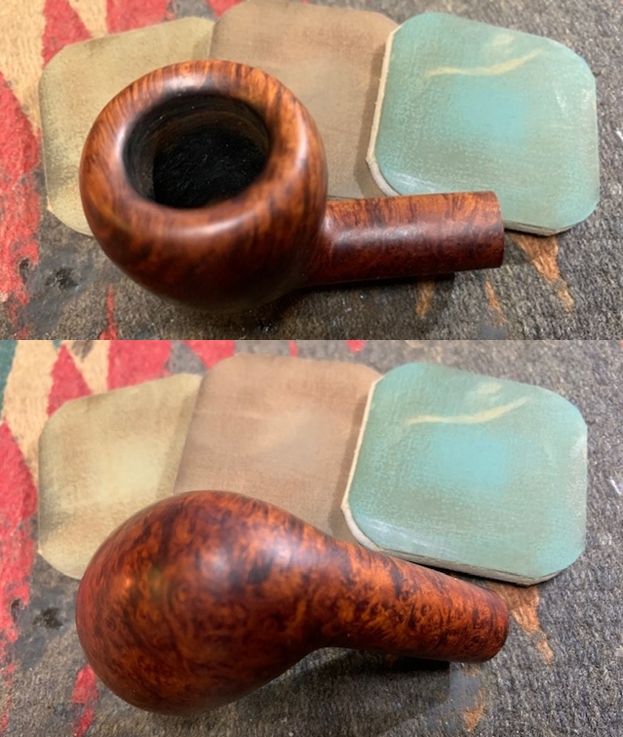
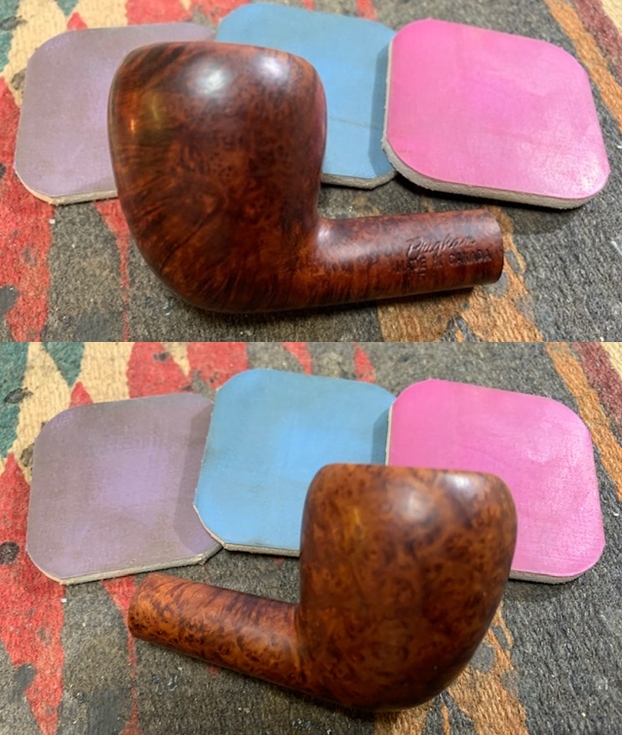
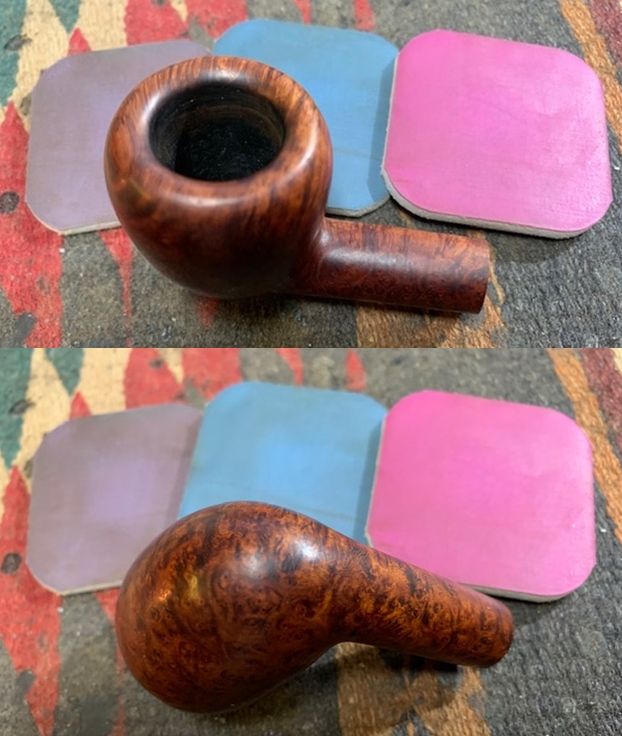 I worked some Before & After Restoration Balm into the surface of the briar with my fingertips to clean, enliven and protect the briar. I let the balm sit for a little while and then buffed with a cotton cloth to raise the shine. The photos show the bowl at this point in the restoration process.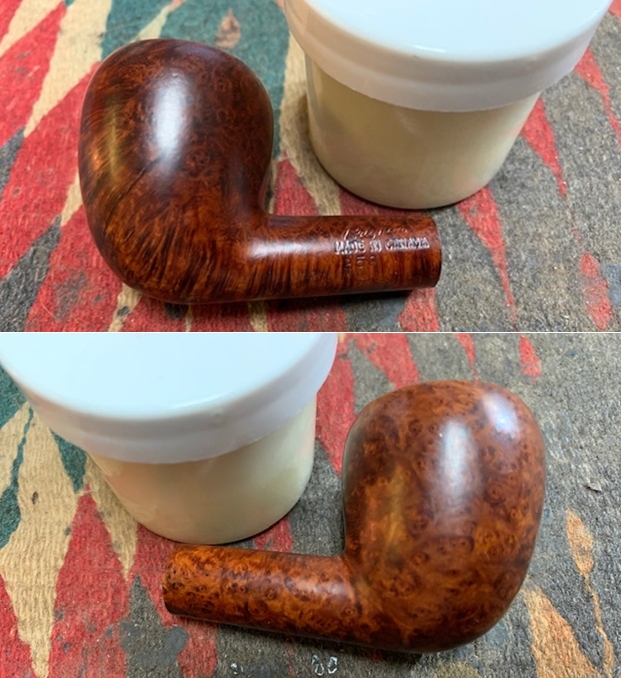
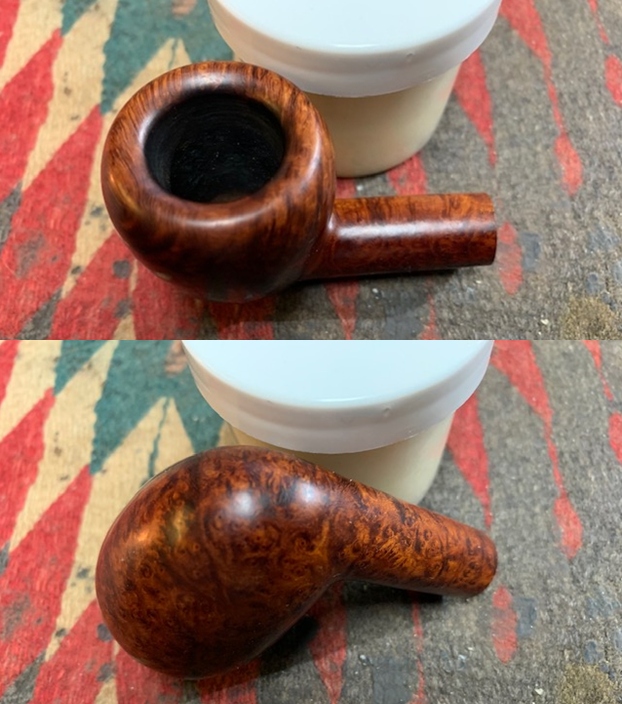
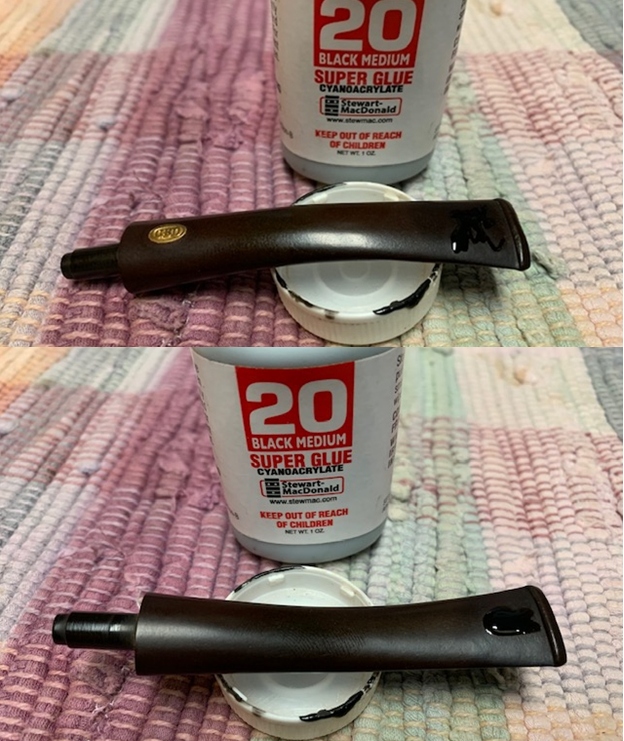
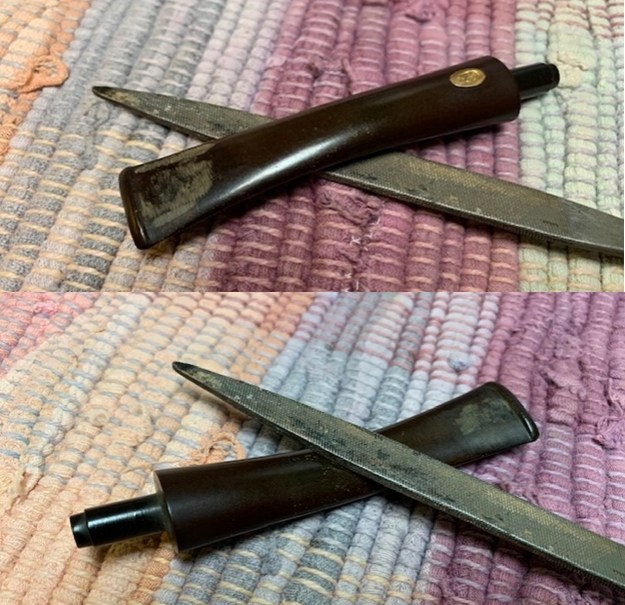
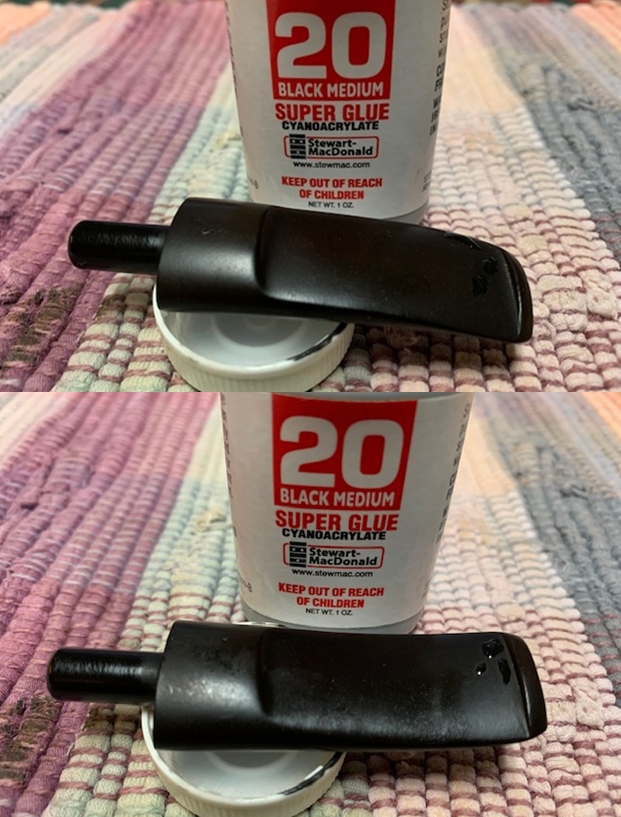
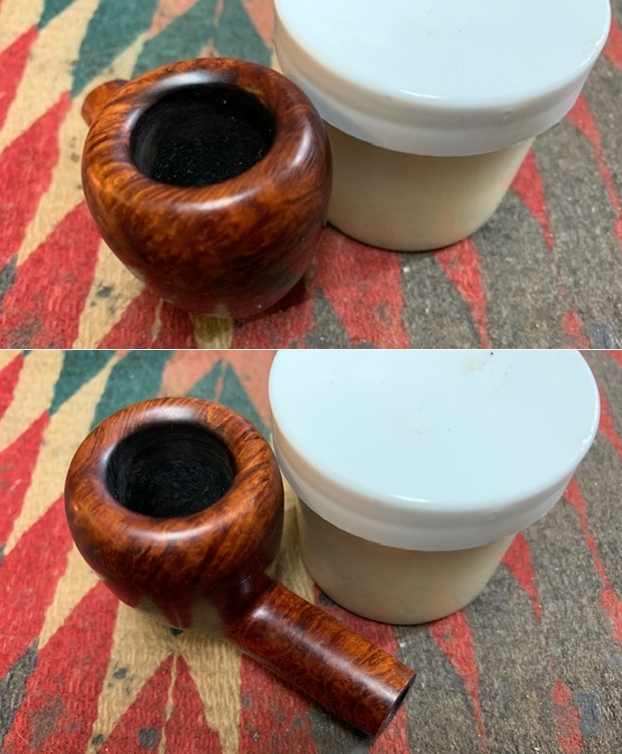 With that done the bowl was finished other than the final buffing. I set it aside and turned my attention to the stem. I filled in the tooth damage with black CA glue and set the stem aside to cure. Once it had cured I used a needle file to recut the button edge and flatten out the repaired spots.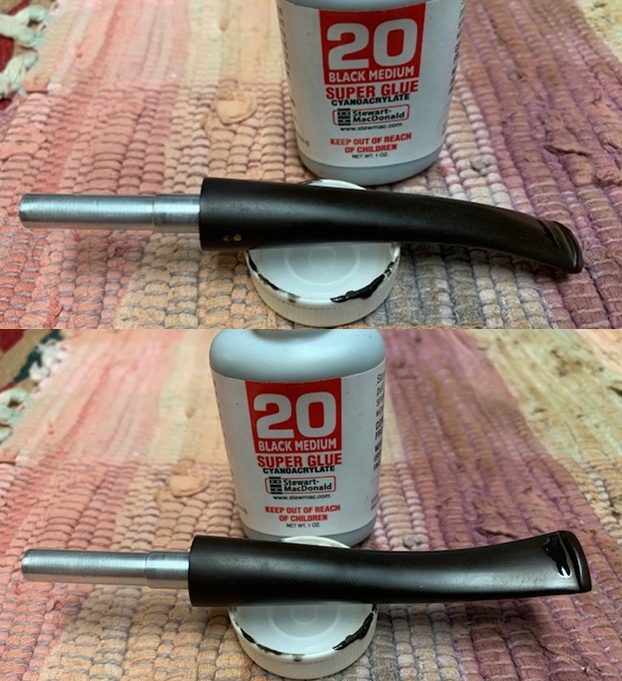
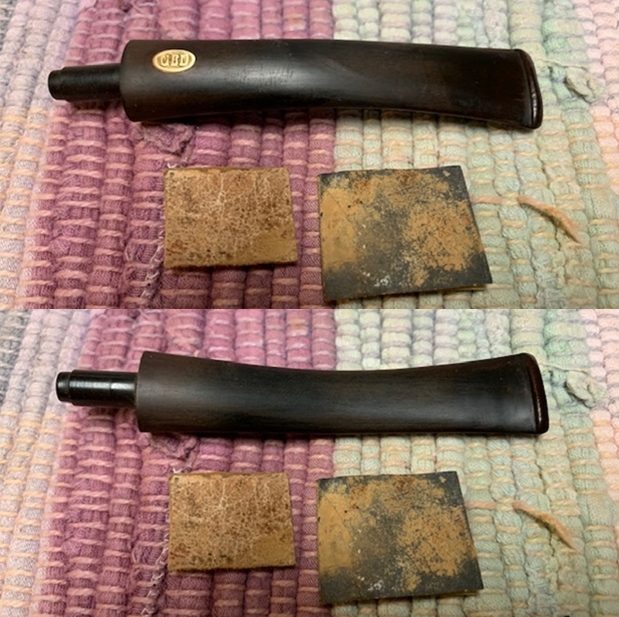
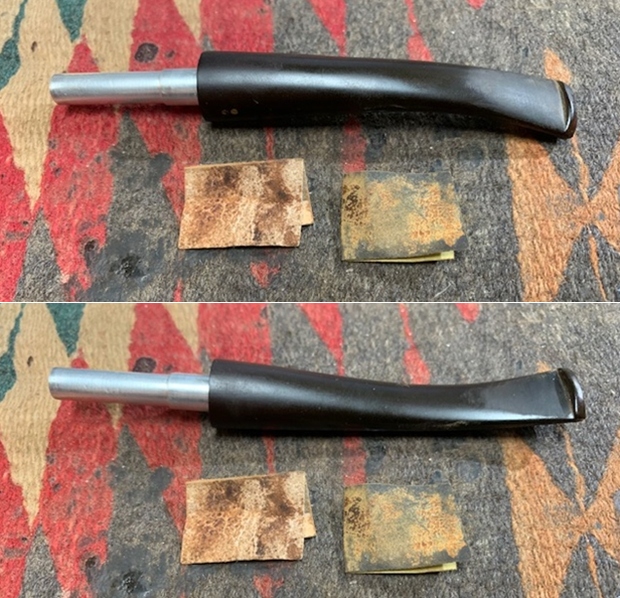
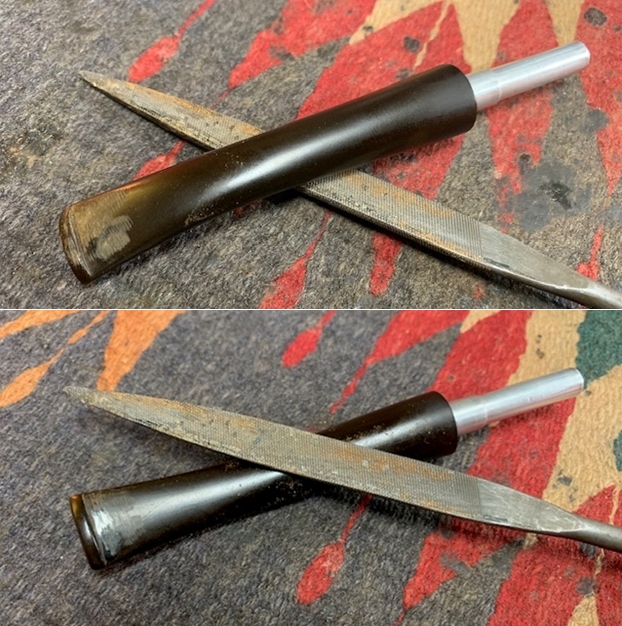 I sanded out the repaired tooth marks and chatter with 220 grit sand paper to blend them into the rest of the stem surface. I started to polish it with a folded piece of 400 wet dry sandpaper. Once it was finished it had begun to shine.
  Before I finished the polishing stem I decided to fit it with the Rock Maple Distillator.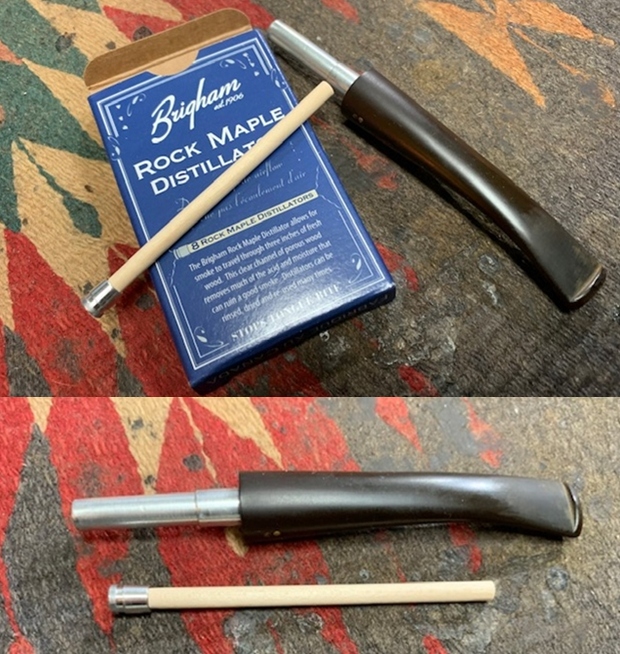
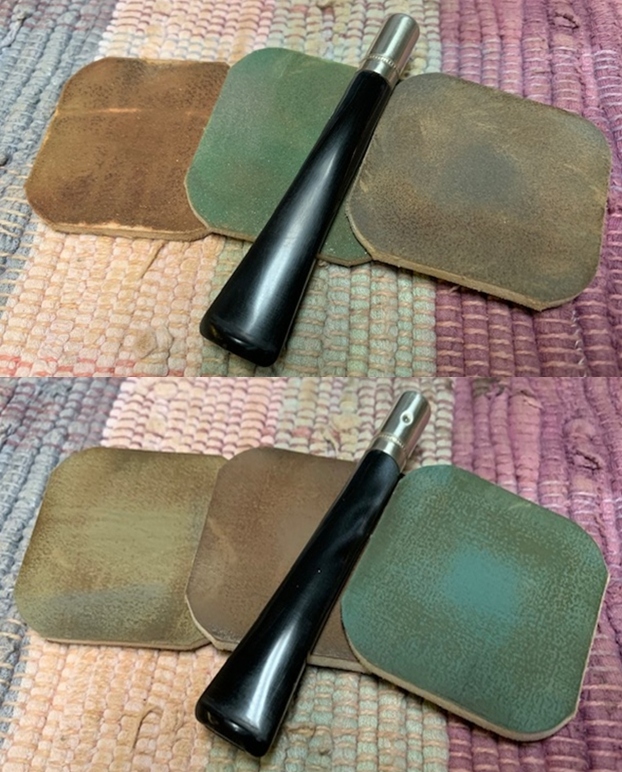
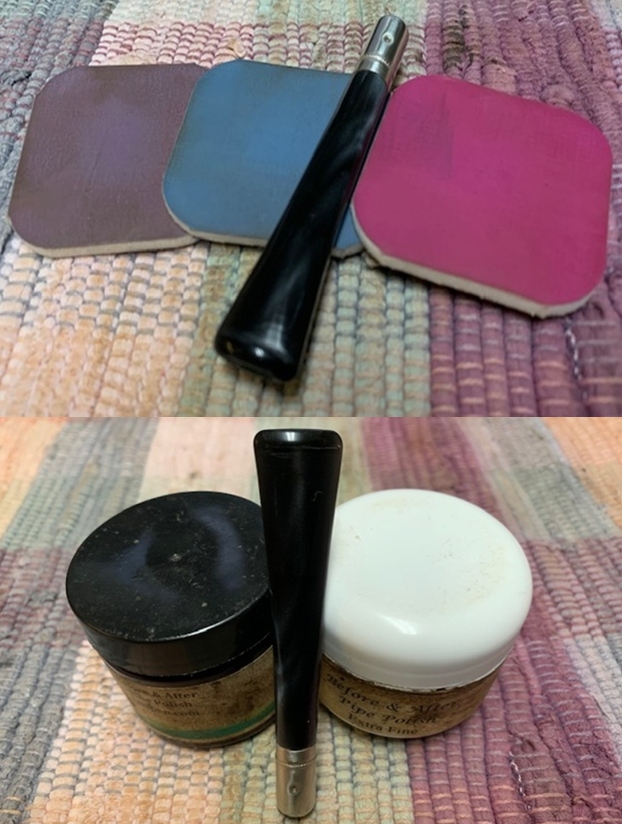
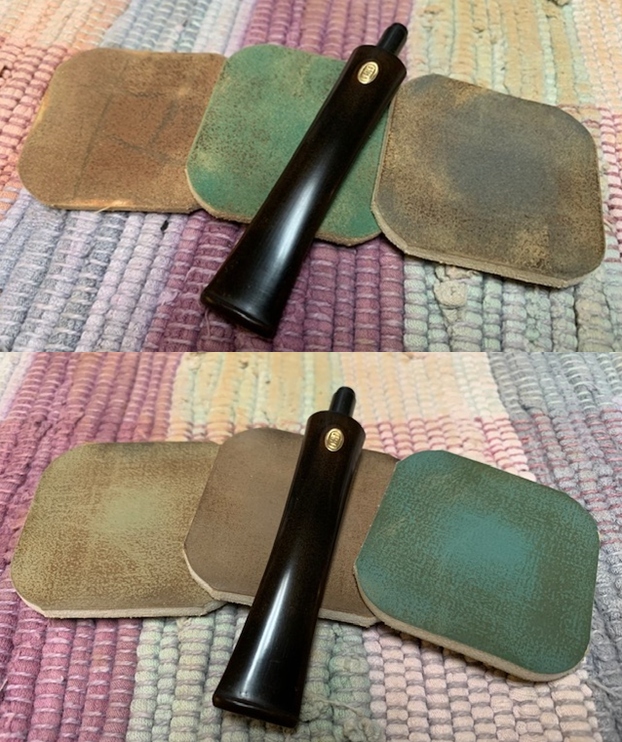
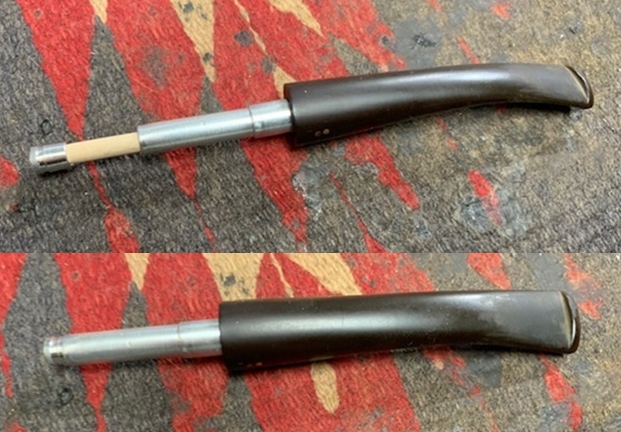 I polished the stem with micromesh sanding pads – wet sanding with 1500-12000 grit sanding pads. I wiped it down after each sanding pad with Obsidian Oil. I polished it with Before & After Pipe Stem Polish – both Fine and Extra Fine.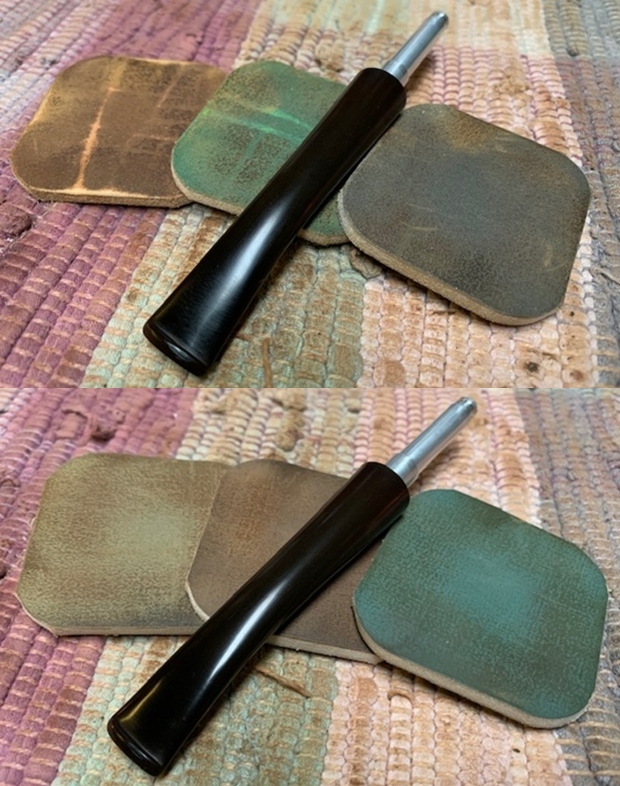
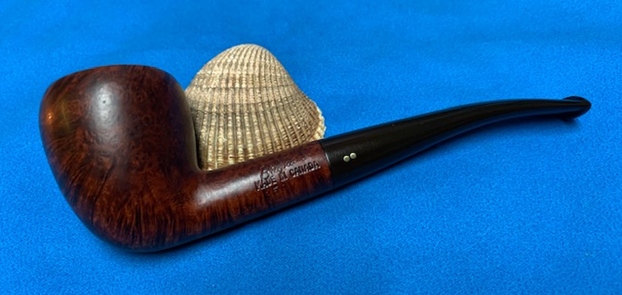
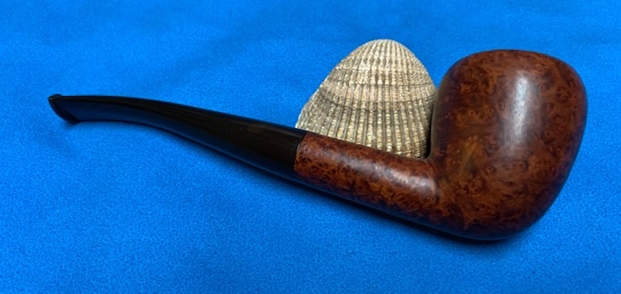
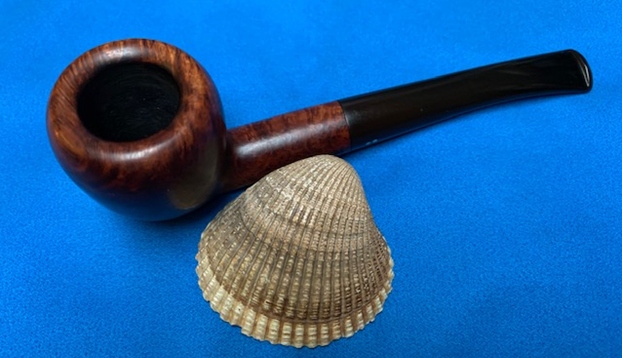
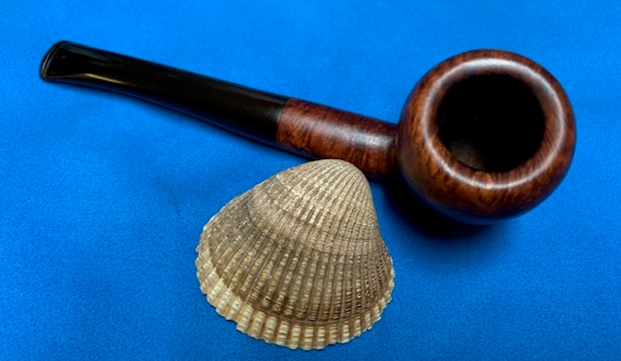
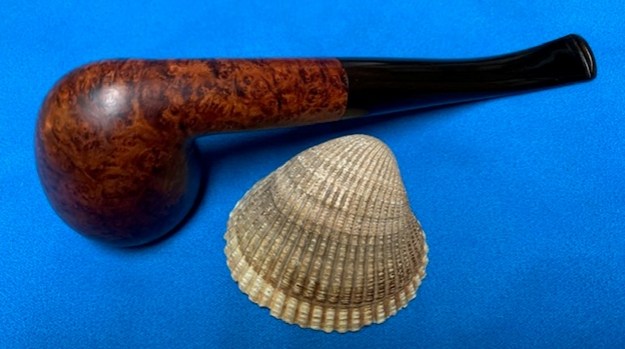
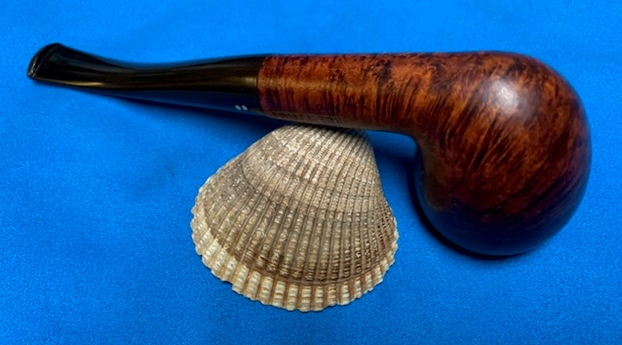
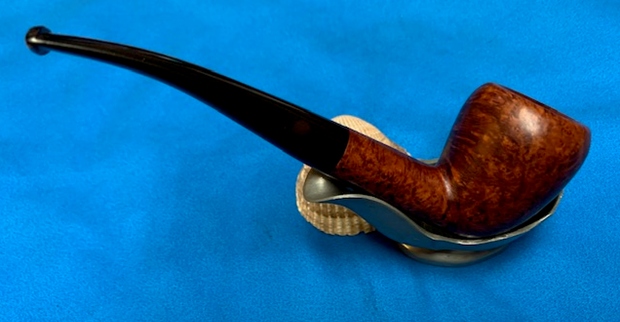
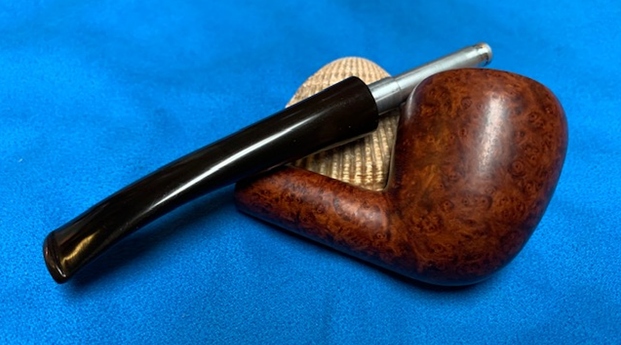
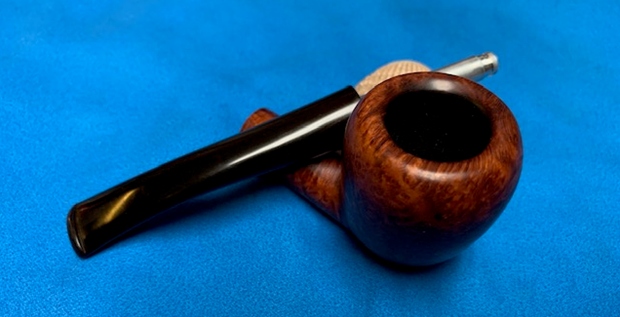
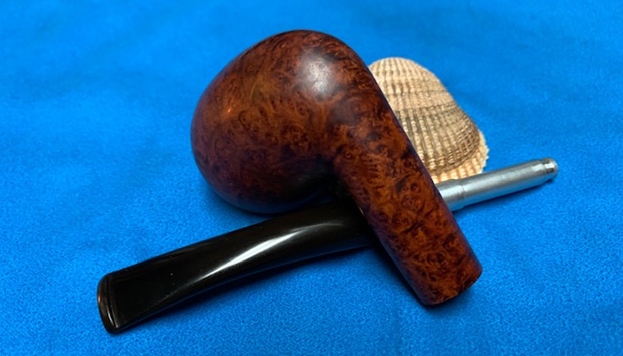
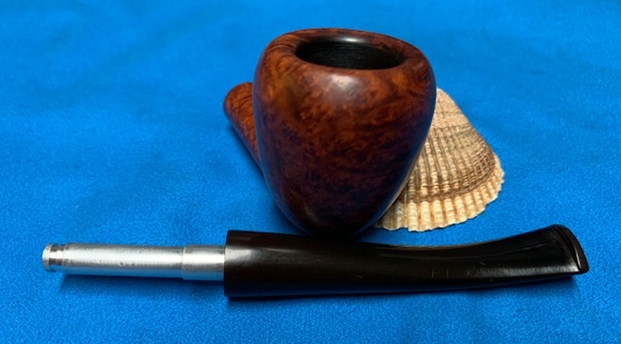
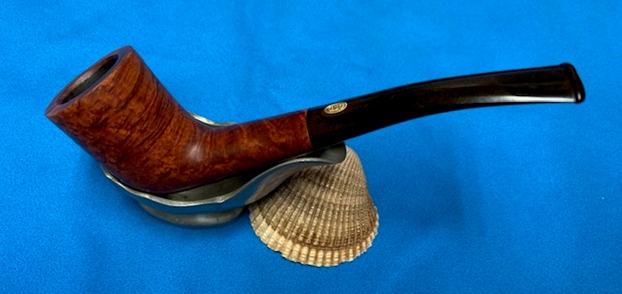
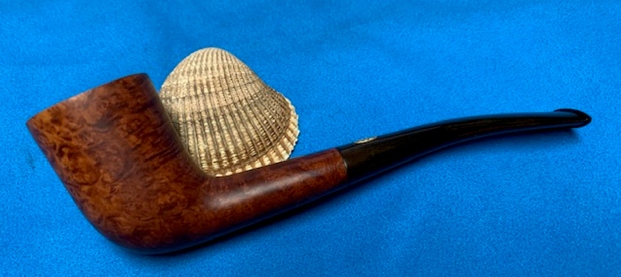
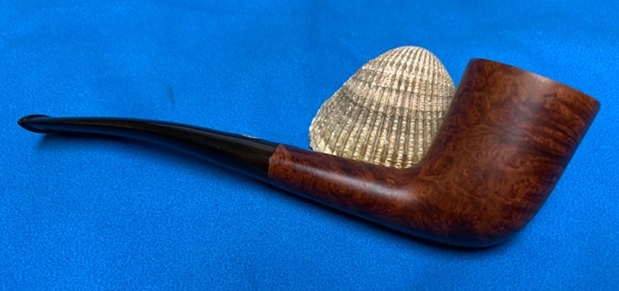
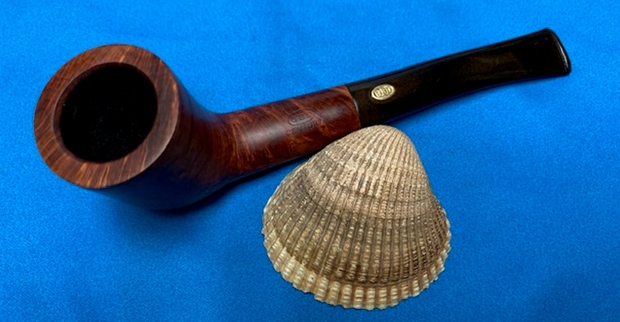
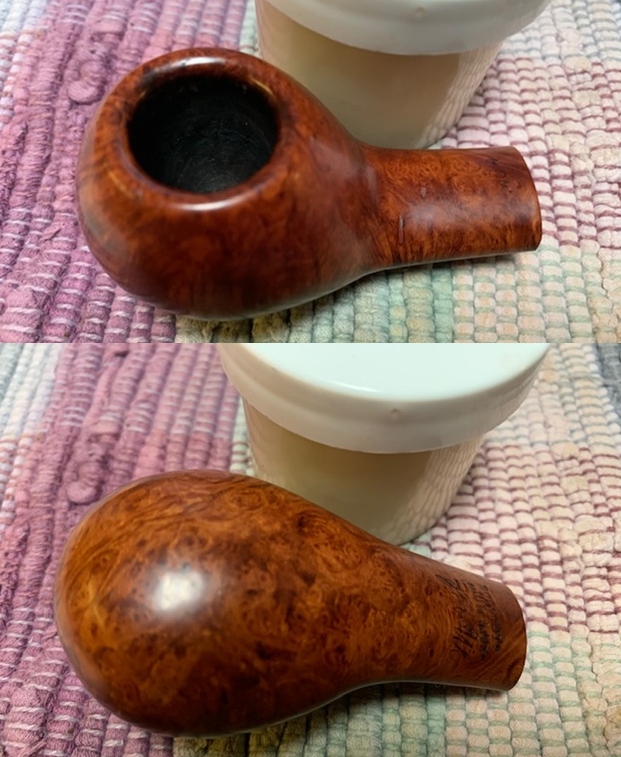
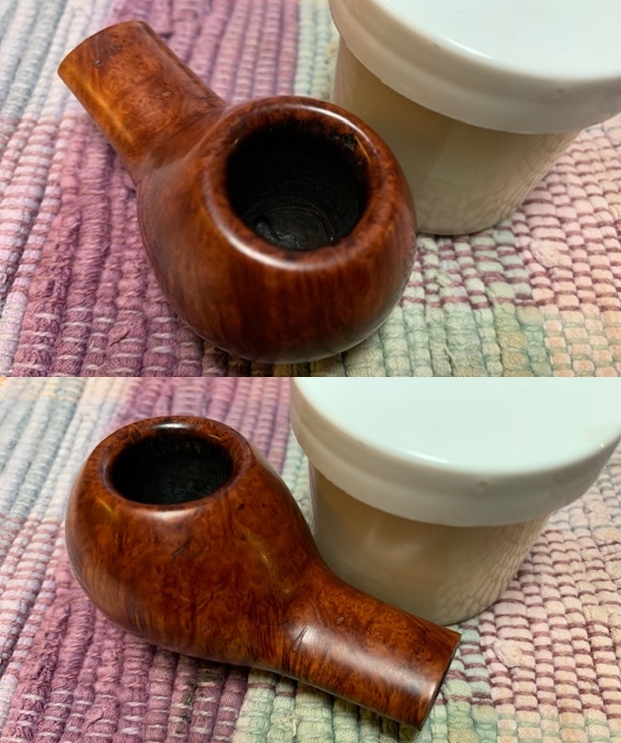
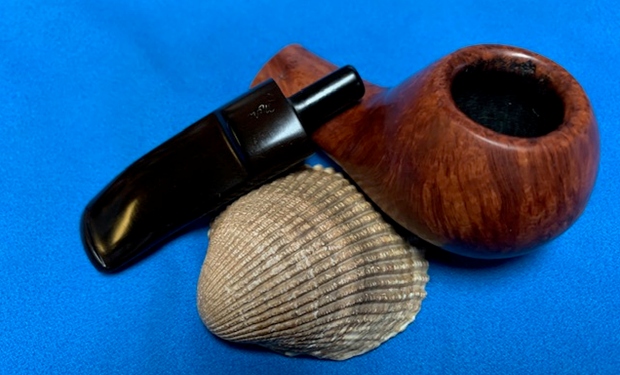
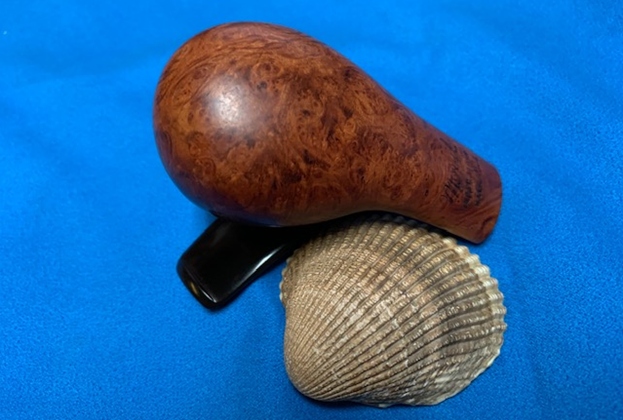
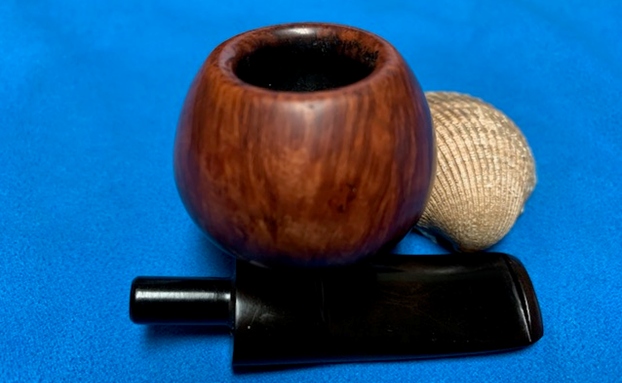
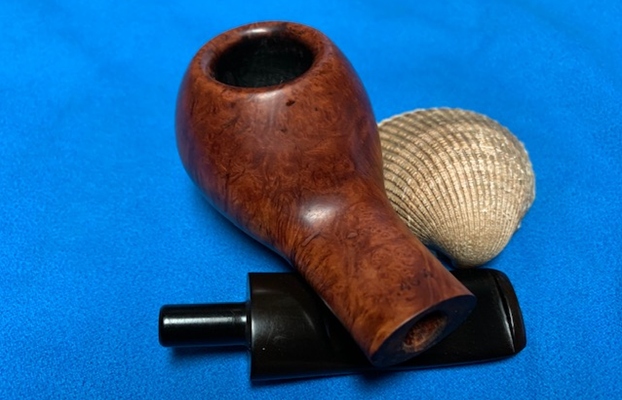
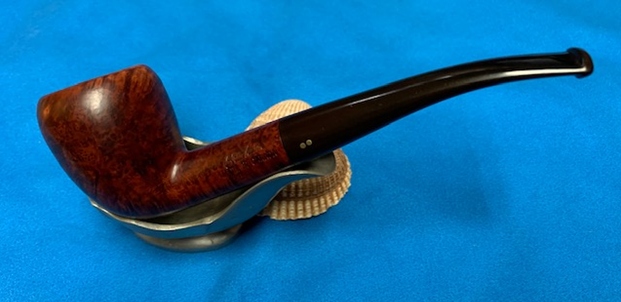
 I am excited to finish this Brigham Acorn. I put the pipe back together and buffed it with Blue Diamond on the buffing wheel. I gave the bowl and the stem multiple coats of carnauba wax. I hand buffed the pipe with a clean buffing pad to raise the shine. It is fun to see what the polished bowl looks like with the grain popping through on the bowls sides and rim top. Added to that the polished black vulcanite stem with the shining brass pins was beautiful. This mixed grain on the smooth finish Brigham 2 Dot Acorn is nice looking and the pipe feels great in my hand. It is light and well balanced. Have a look at it with the photos below. The dimensions are Length: 6 inches, Height: 1 ¾ inches, Outside diameter of the bowl: 1 ½ inches, Chamber diameter: ¾ of an inch. It is a beautiful pipe and one that will be on the rebornpipes store soon. If you are interested in adding it to your collection let me know. Thanks for walking through the restoration with me as I worked over this pipe. Thanks to each of you who are reading this blog. Remember we are not pipe owners; we are pipemen and women who hold our pipes in trust until they pass on into the trust of the next pipeman or woman.