Blog by Steve Laug
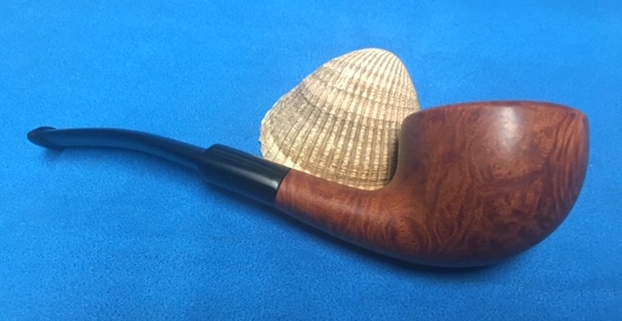
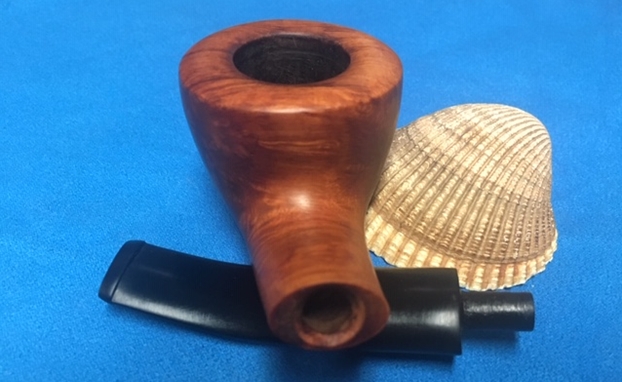
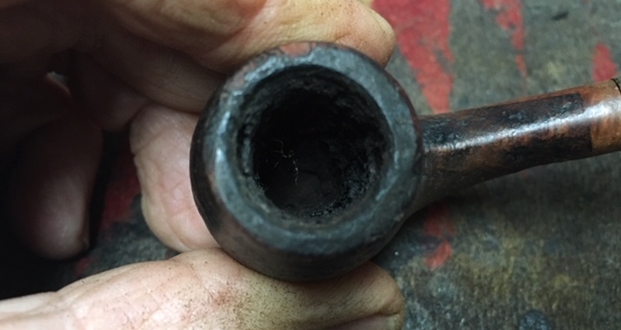
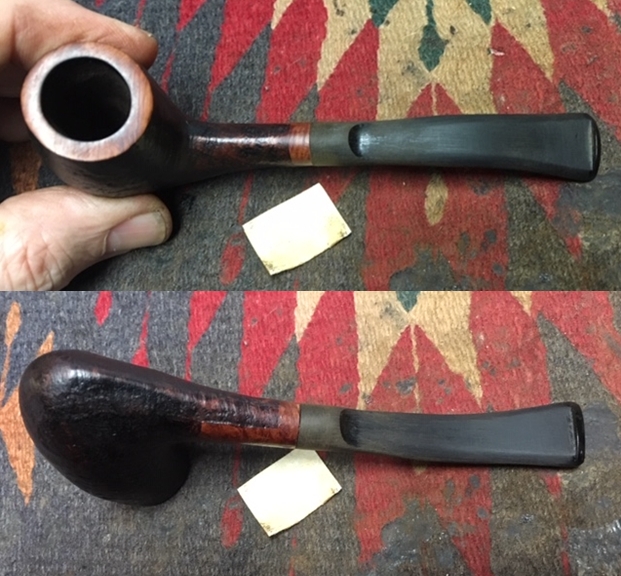
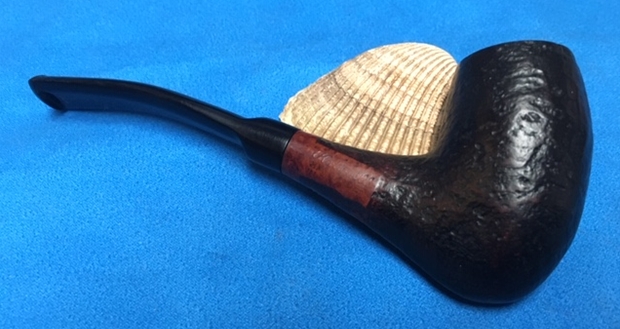
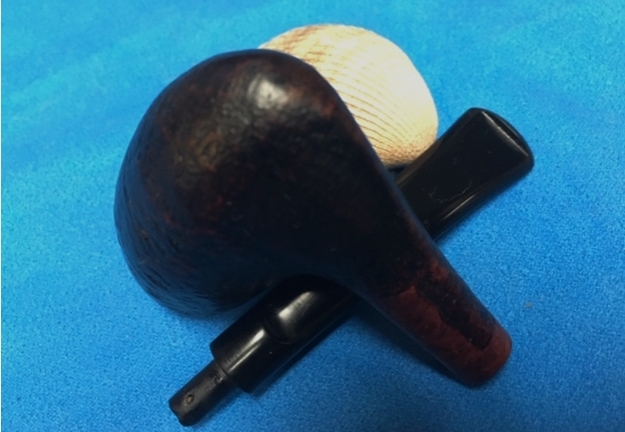
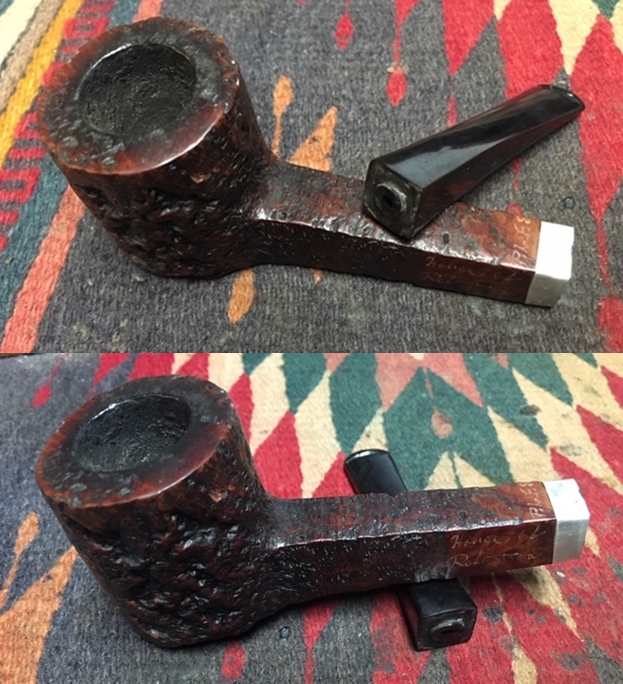
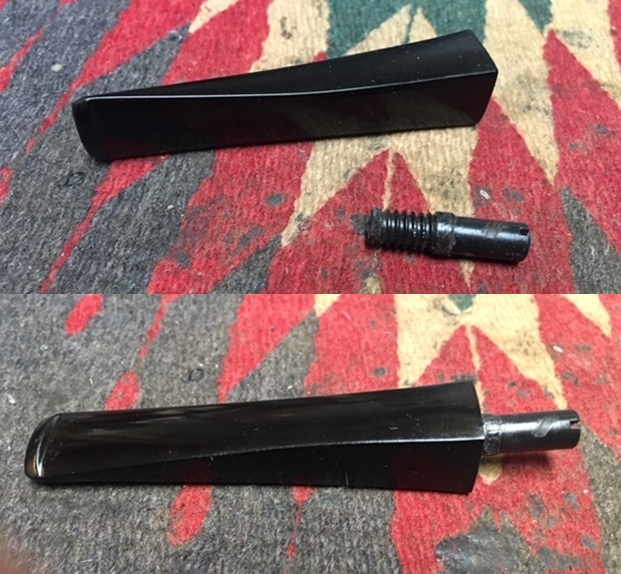
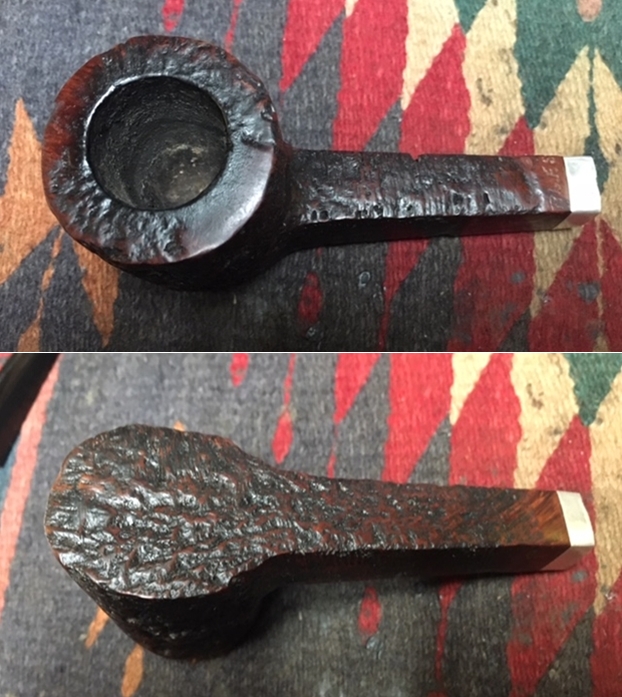
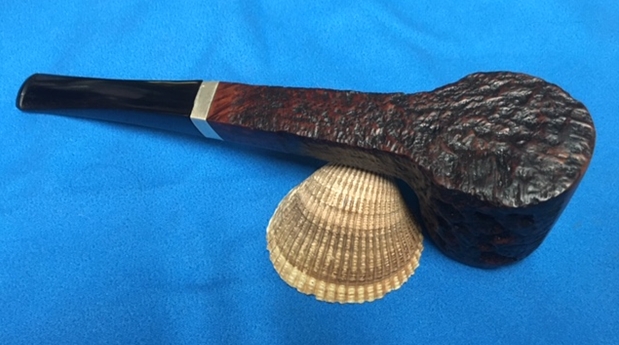
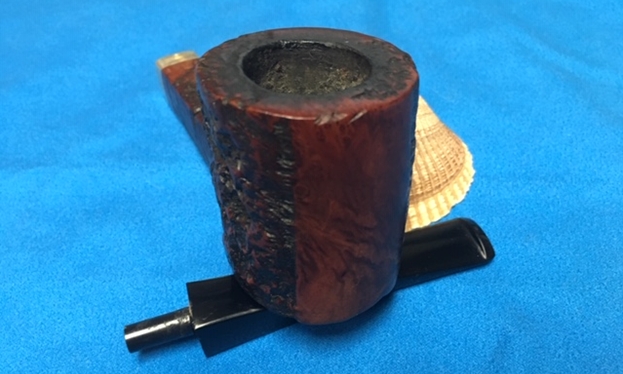
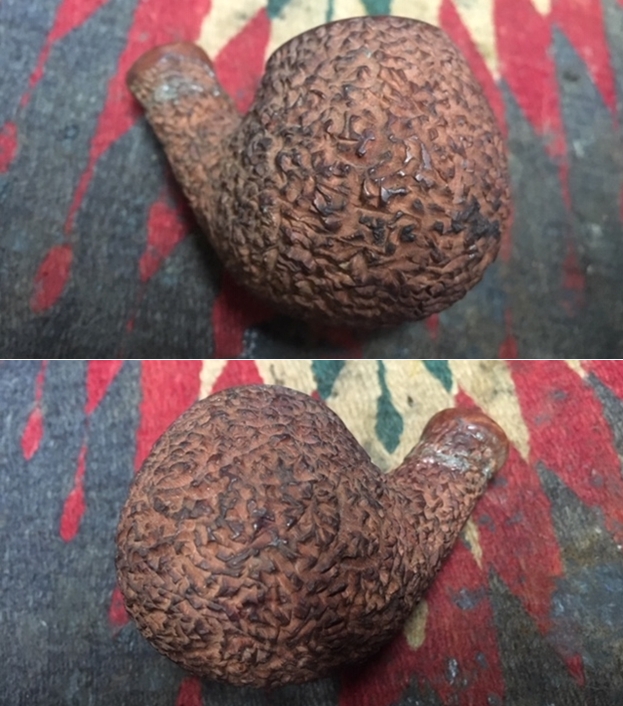
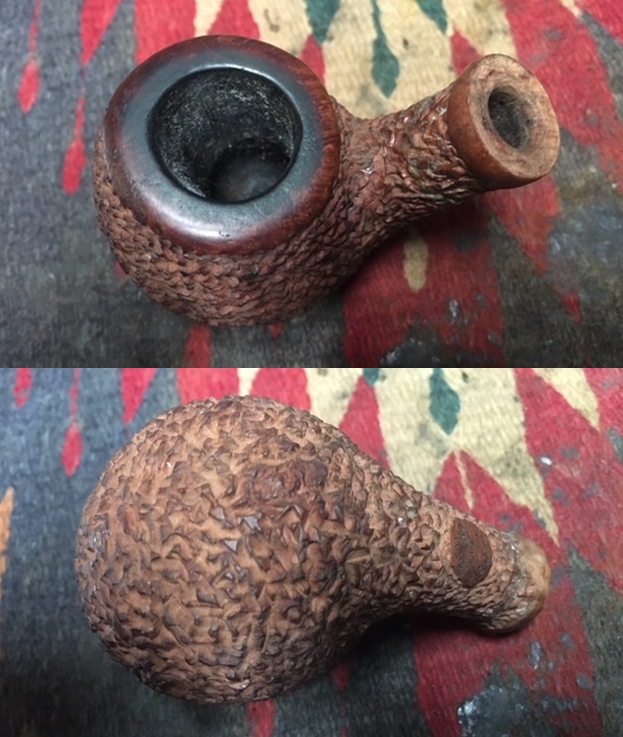
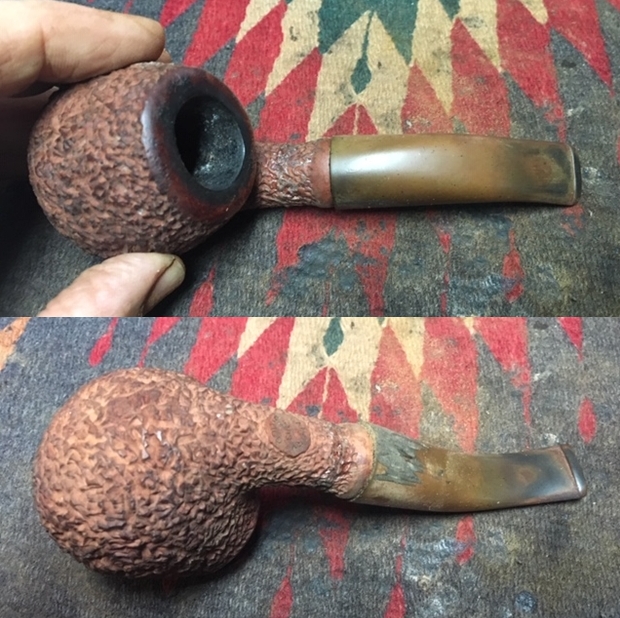
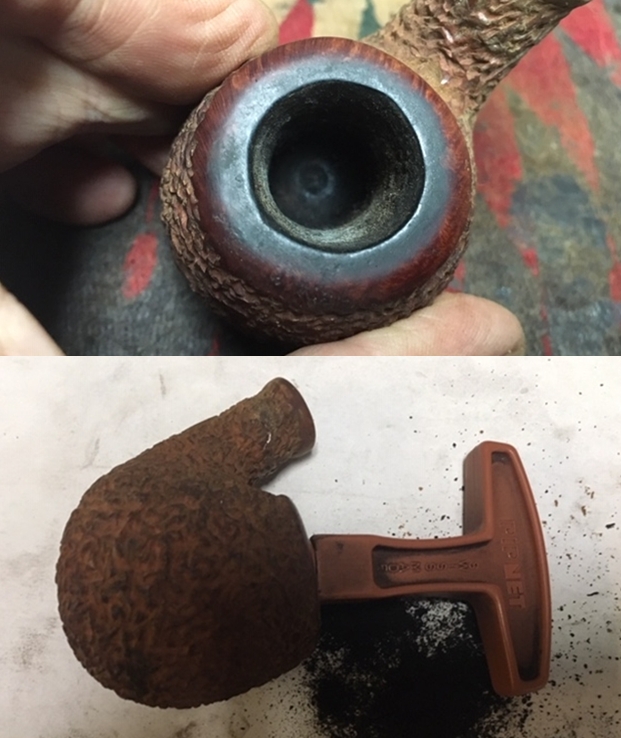
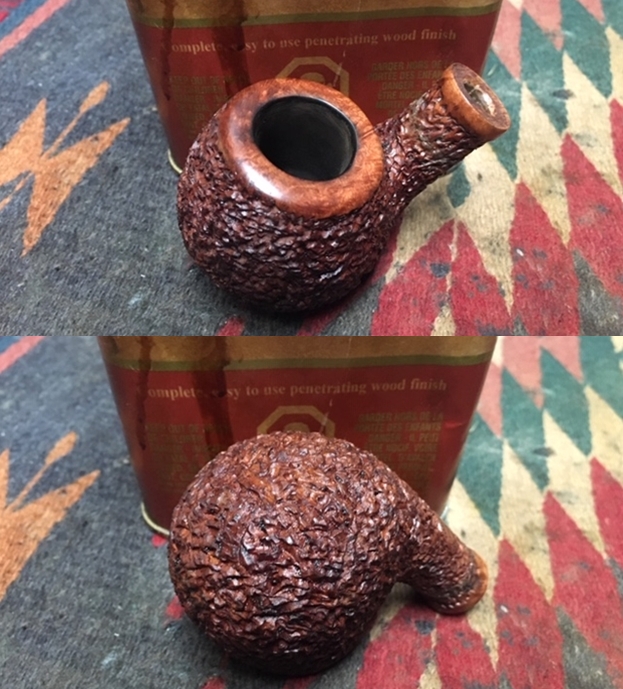
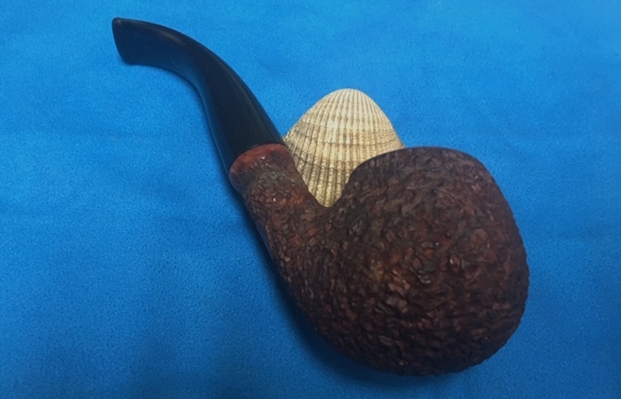
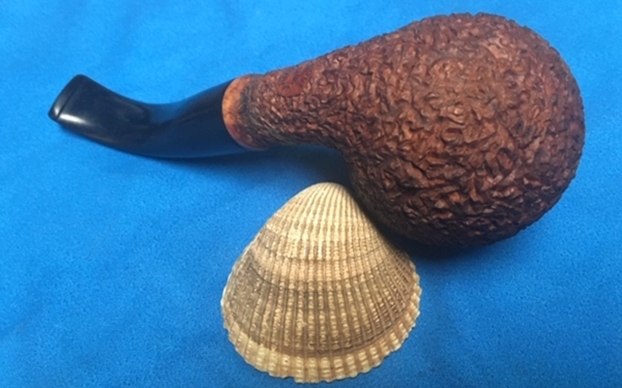
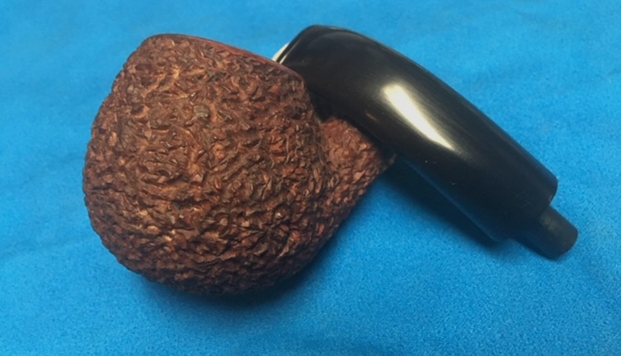
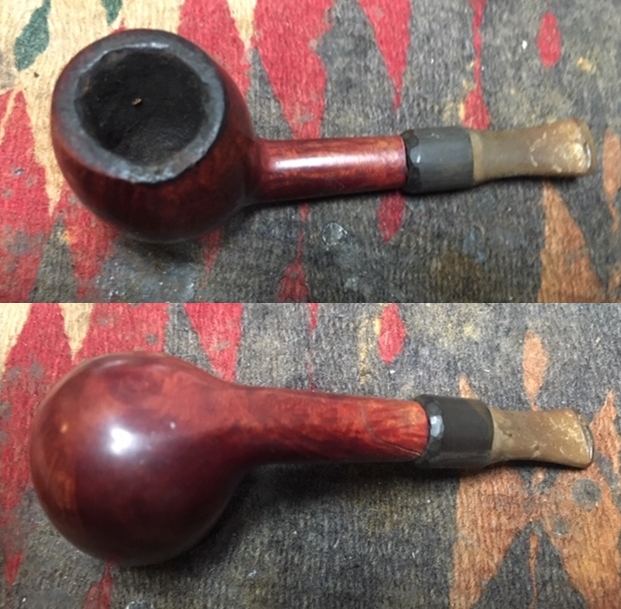
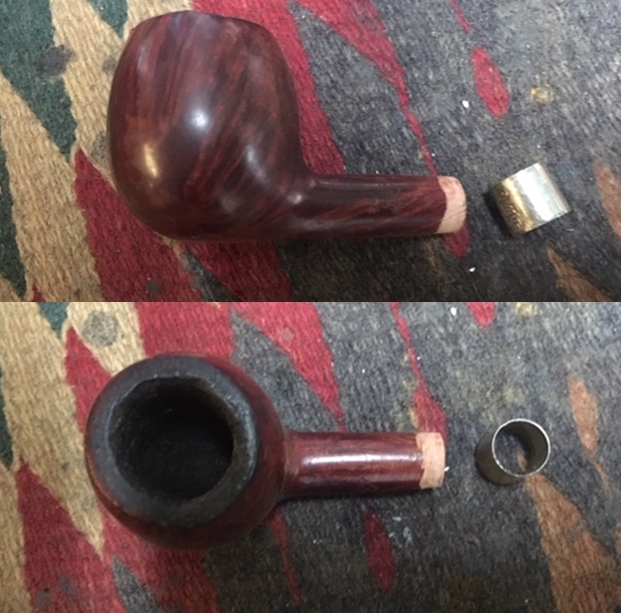
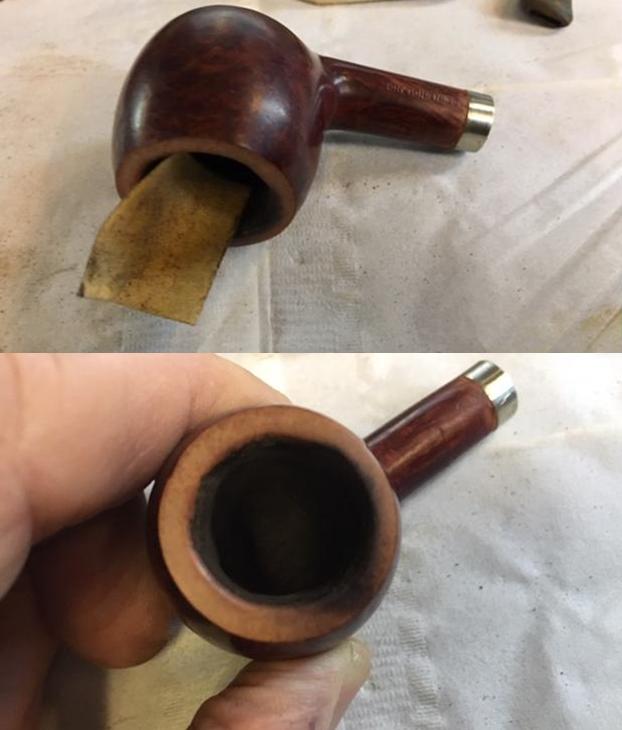
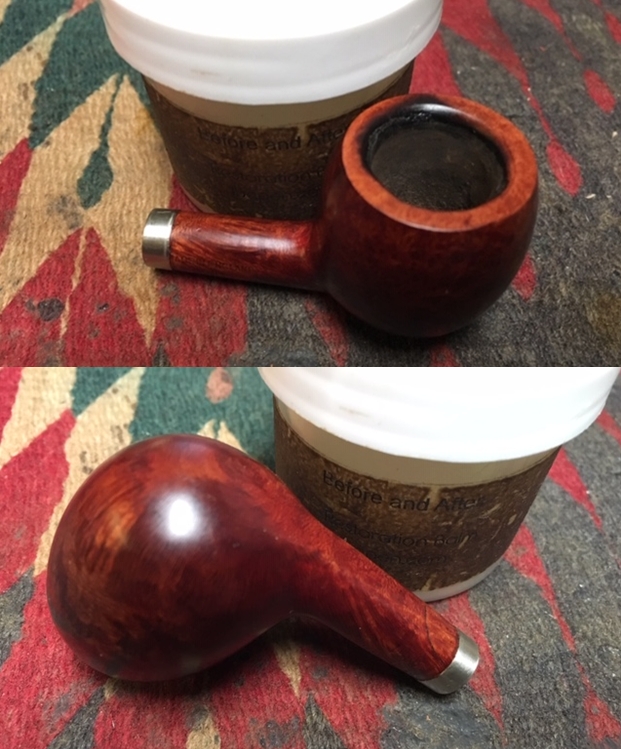
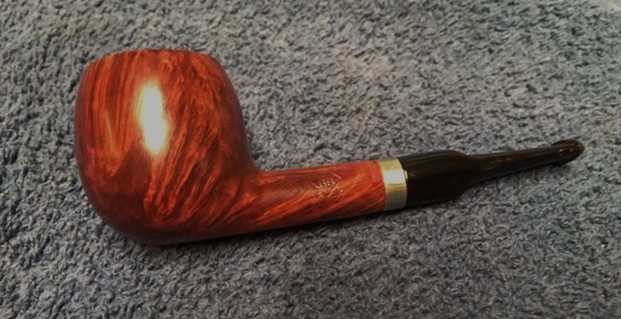
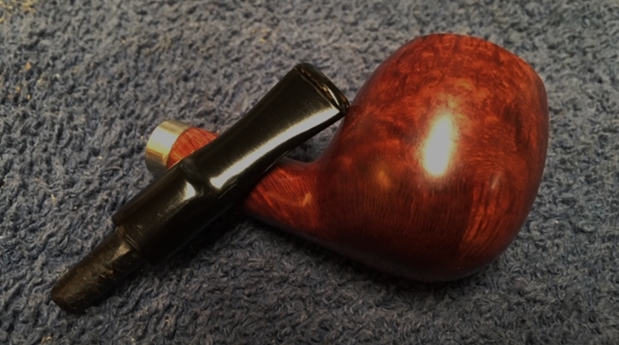
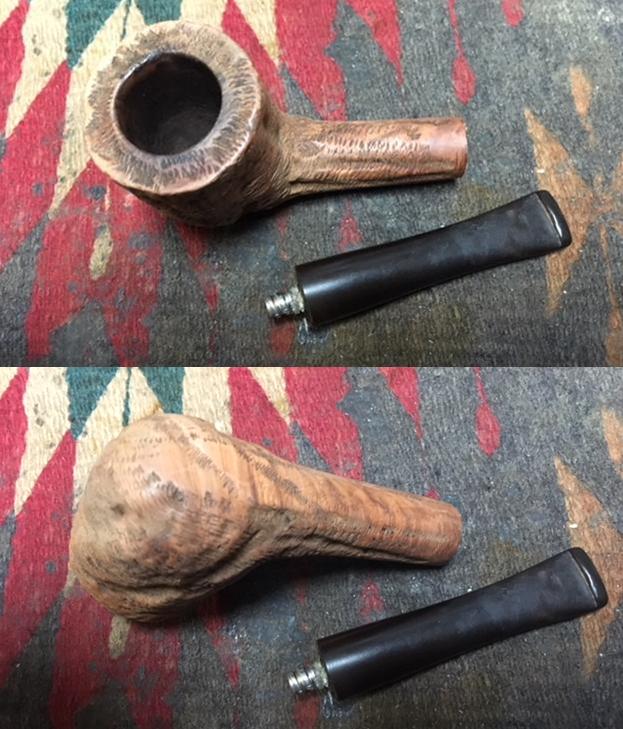
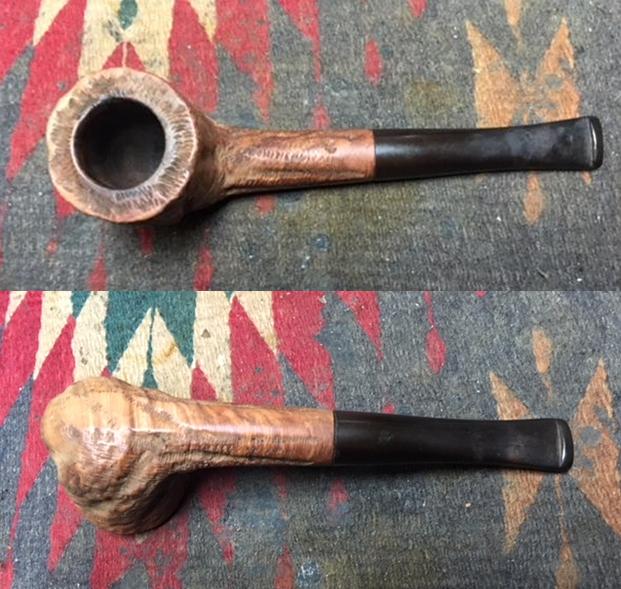
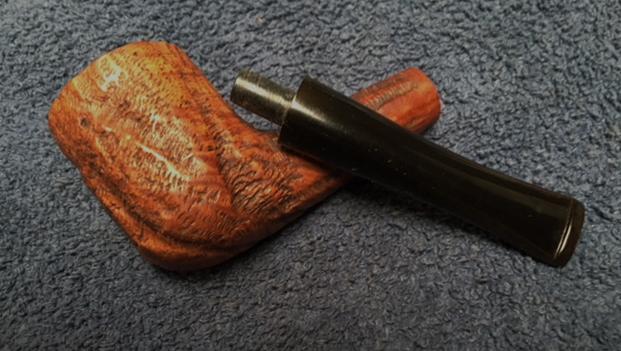
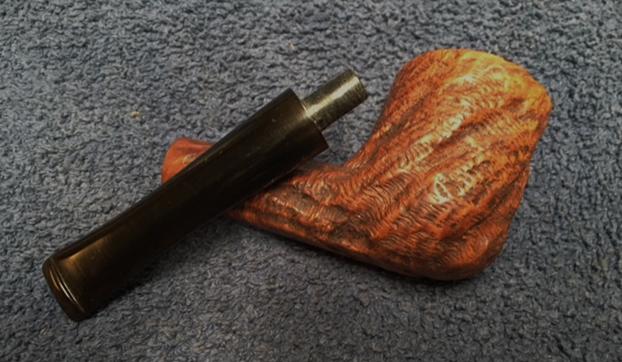
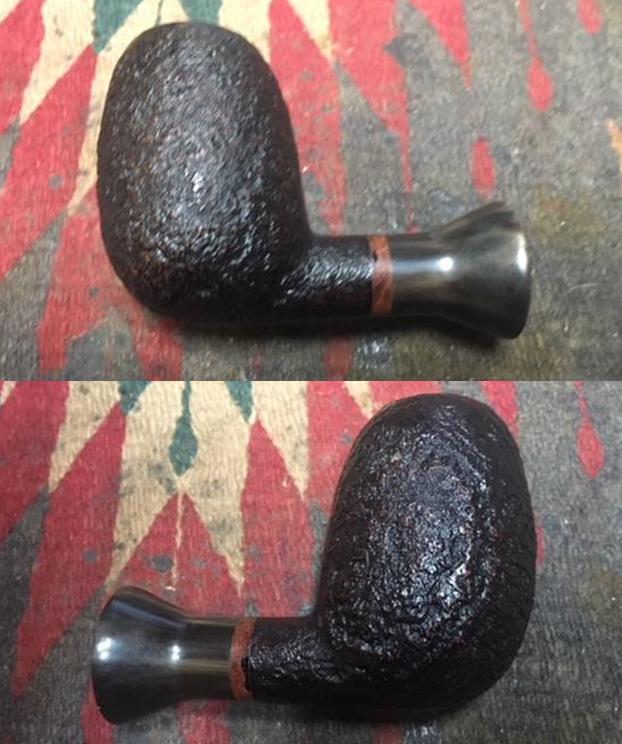
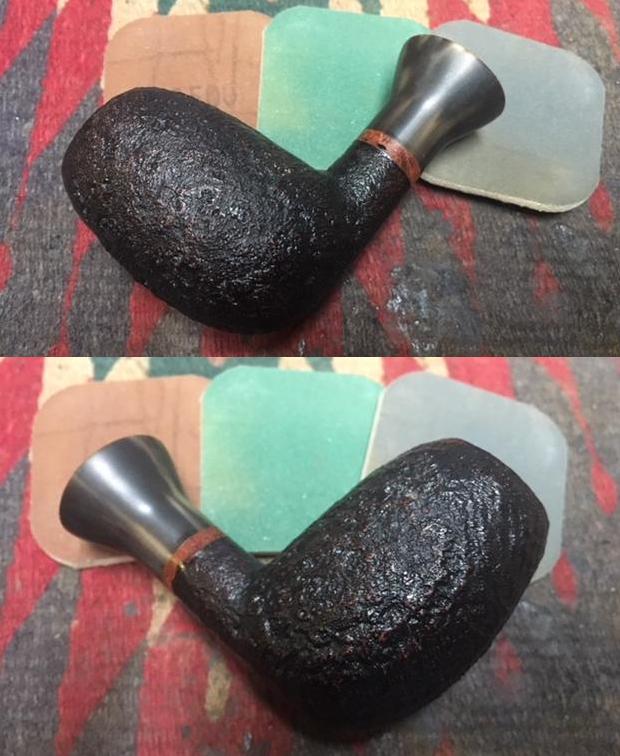
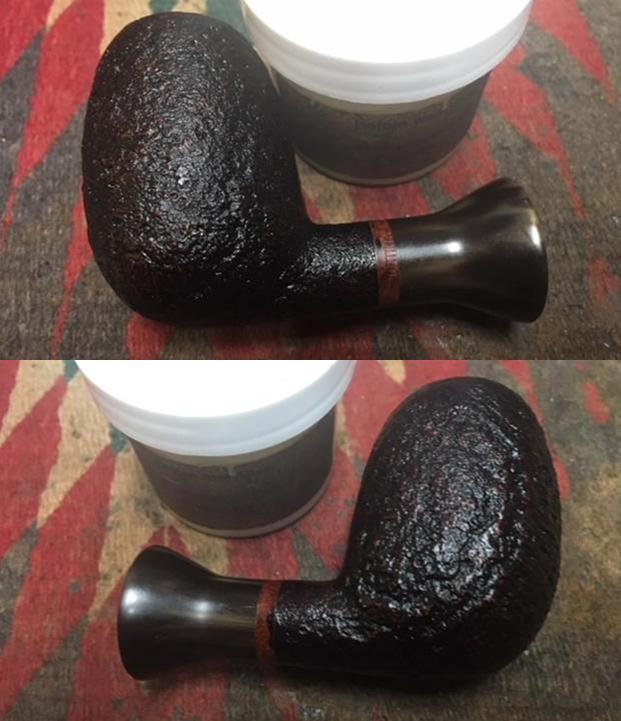
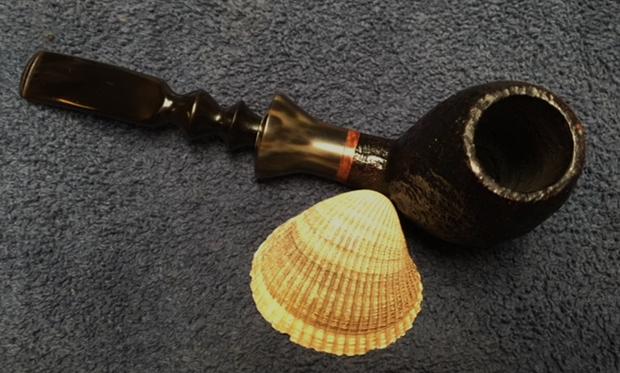
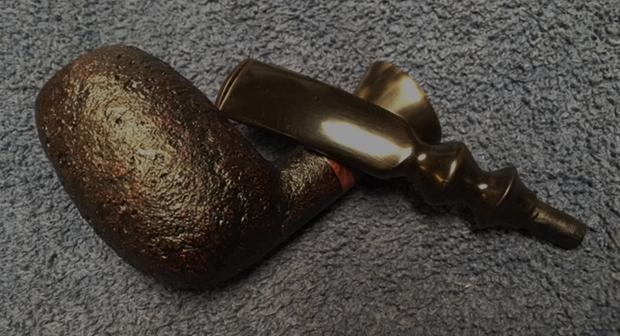
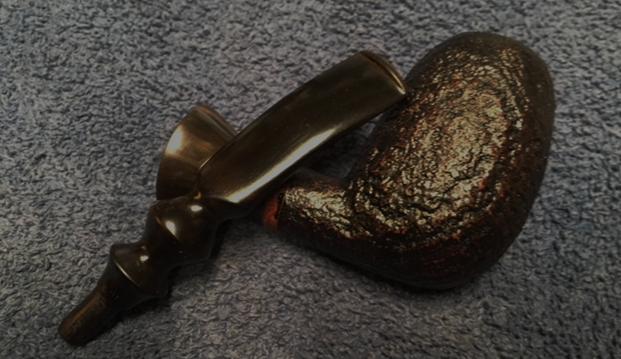
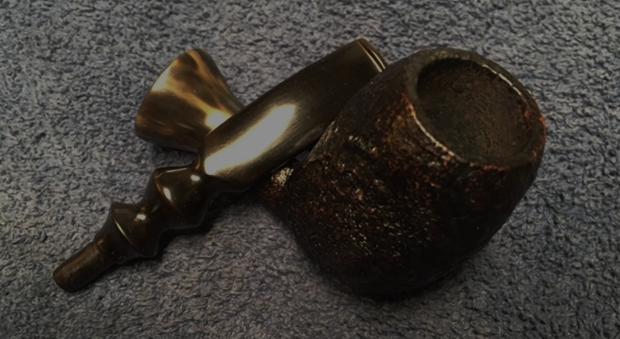
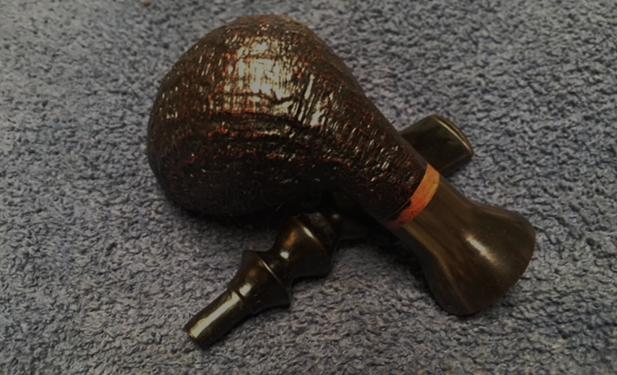
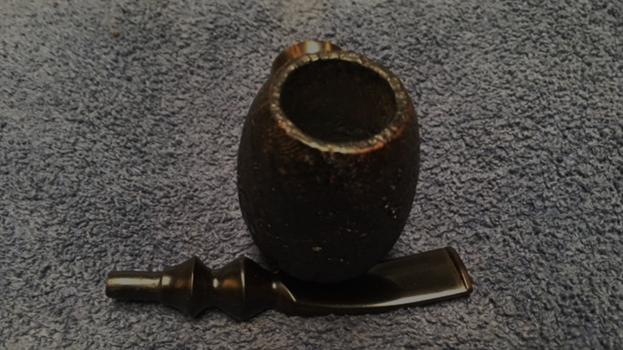
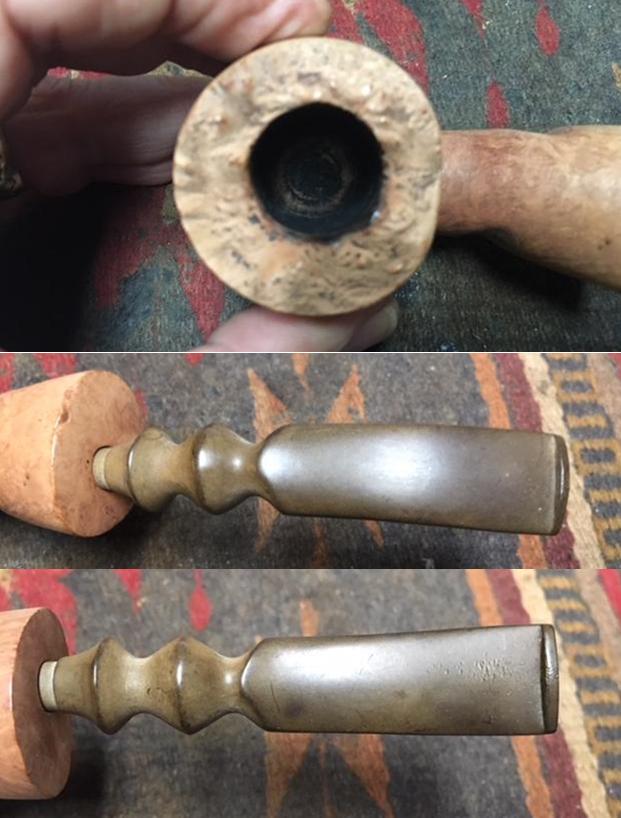
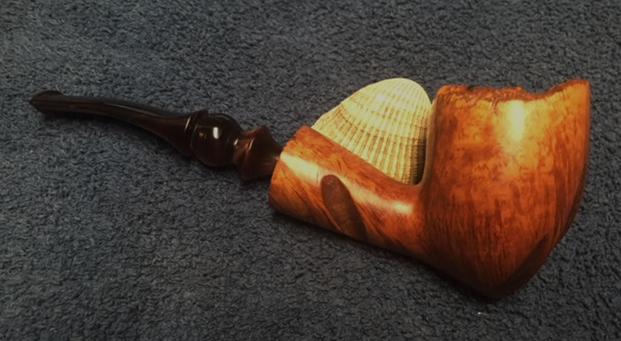
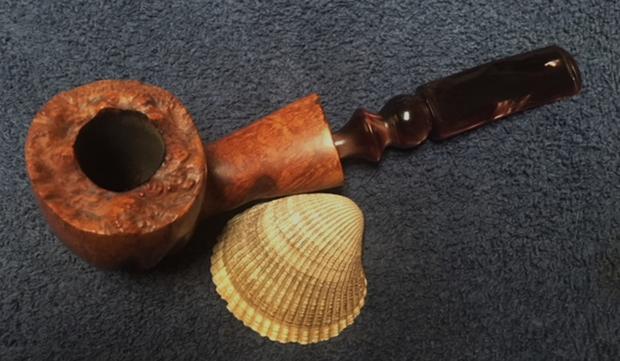
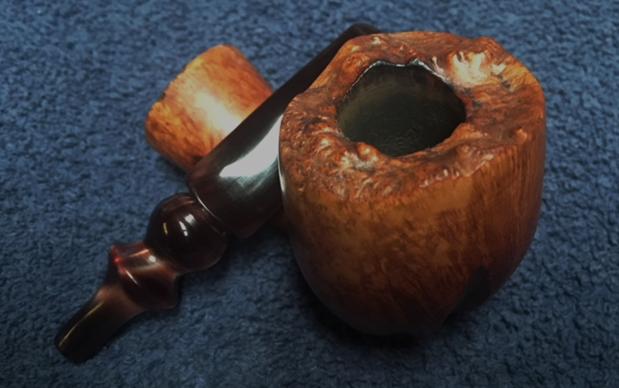
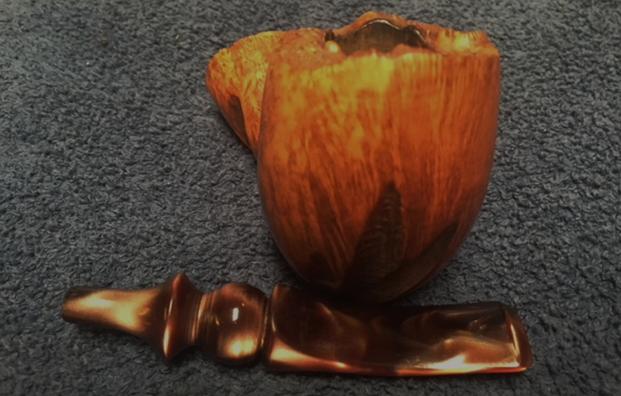
 Since I am already working on restemming pipes I figure I might as well fit a stem to a MALAGA bowl that Alex dropped by a while ago. It is an interestingly shaped piece and I really like the looks of it. MALAGA called this shape a scoop. The grain swirls around the bowl sides and shows some great cross grain on the rim top. It is a pretty clean bowl with a bit of darkening on the rim top and cake build up at the bottom of the bowl. The pipe is stamped on the underside of the shank horizontally with the stem shank junction and reads MALAGA. The finish on the pipe is very in great condition with a few dings and pits in the briar on the right front near the rim. It has the classic Malaga oil cured look and is a rich, natural brown colour. The stem was missing so I would need to fit and shape a new one for it. I went through my can of stems to find an oval stem that would work with this shape pipe. I picked a new stem blank that I thought showed some promise. I took photos of the pipe and the potential stem before working on it. The photos give a pretty clear picture of the shape of the pipe and its general condition when I received it.
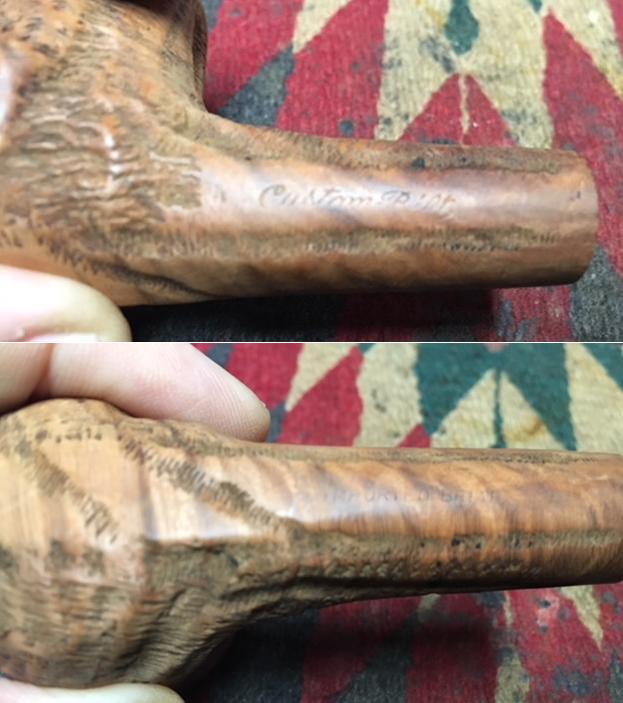
For those of you who are unfamiliar with the brand, I am also including the link to a blog that I wrote that gives some of the history of the Malaga brand and the Malaga Pipe Shop in Royal Oak, Michigan in the USA. Here is the link – https://rebornpipes.com/tag/malaga-pipes/. That blog also includes links to a catalogue and the history of the pipemaker George Khoubesser. If you are interested to learn more, then I invite you to follow the link to get a feel for the brand and the pipemaker.
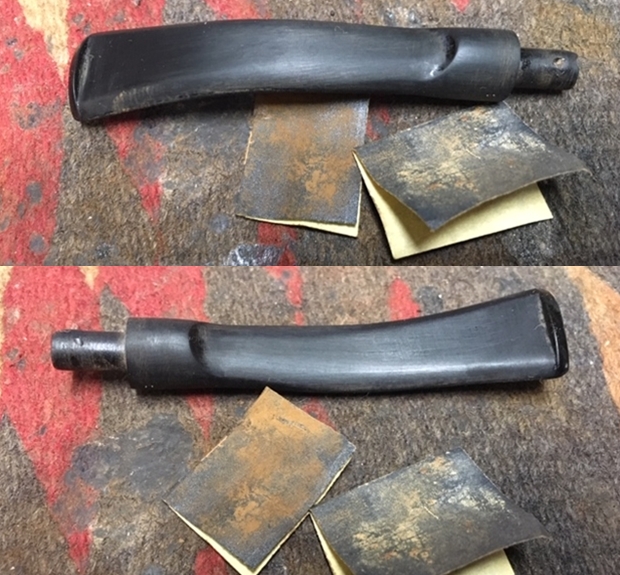
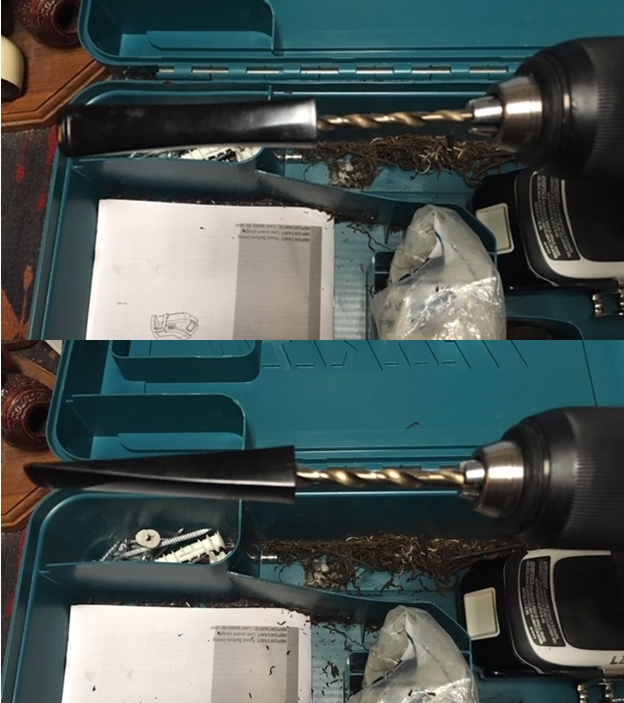
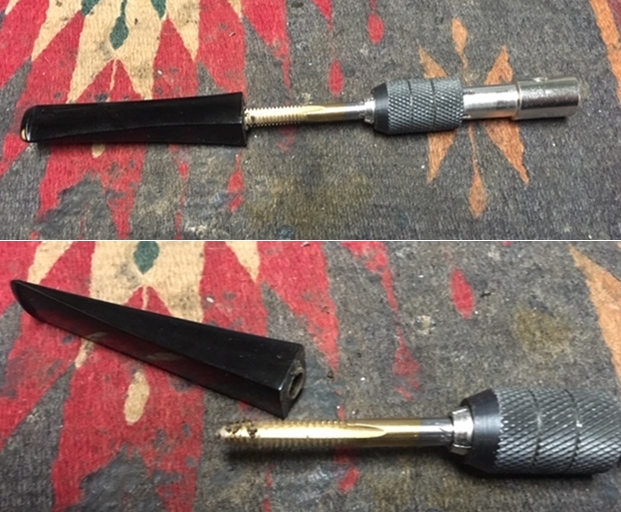
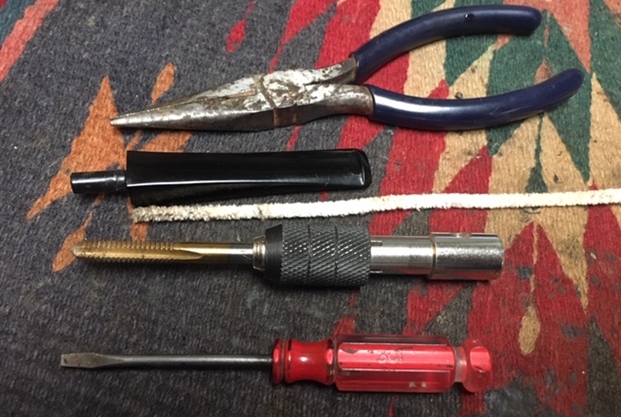
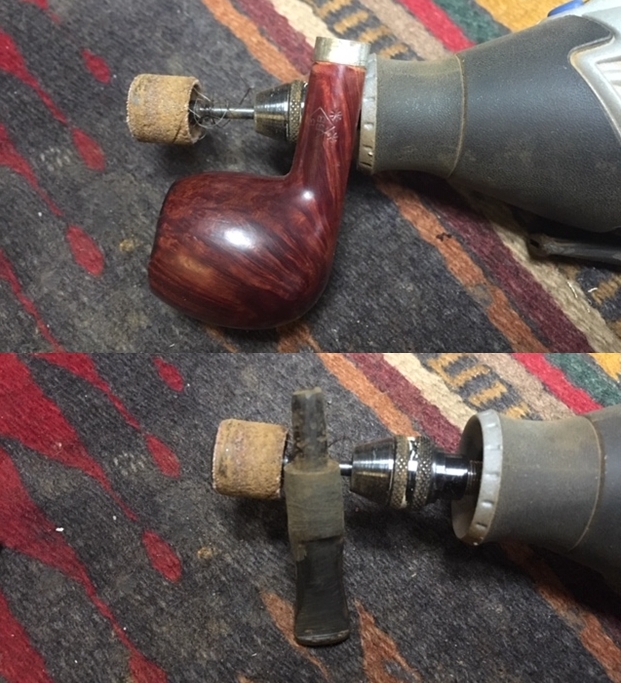
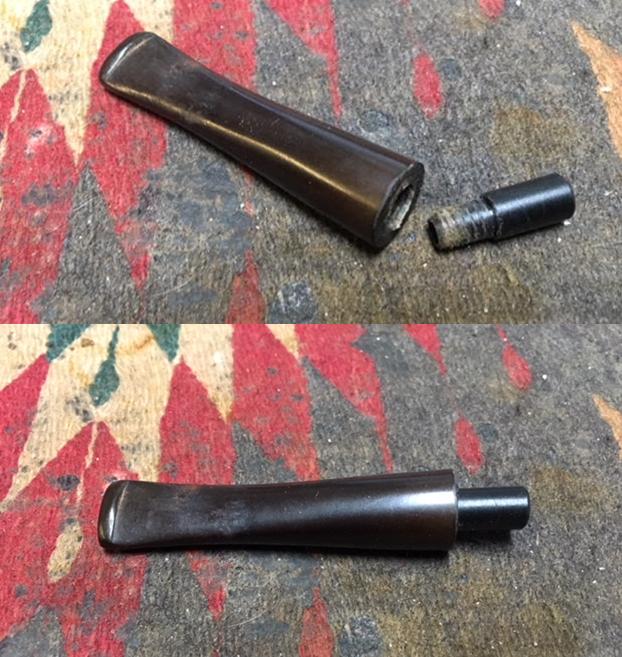
 I changed my habitual pattern of working on pipes with this one as the bowl was pretty clean. I would do the reaming later. I set up my cordless drill and drilled the airway in the tenon so that the guide on the tenon turner would fit. I put the PIMO tenon turner in the chuck and turned the tenon until it was the right diameter for the shank. I know many use a micrometer to set the tenon turner correctly but the way the tool is configured that has never worked for me. I always eyeball it and turn it in degrees. After each turning I check it in the shank. When I get close I stop and finish with sandpaper and files. Probably a bit of a troglodyte but hey, it works for me.
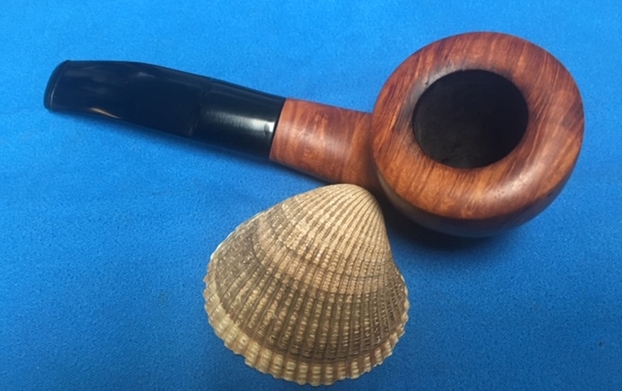
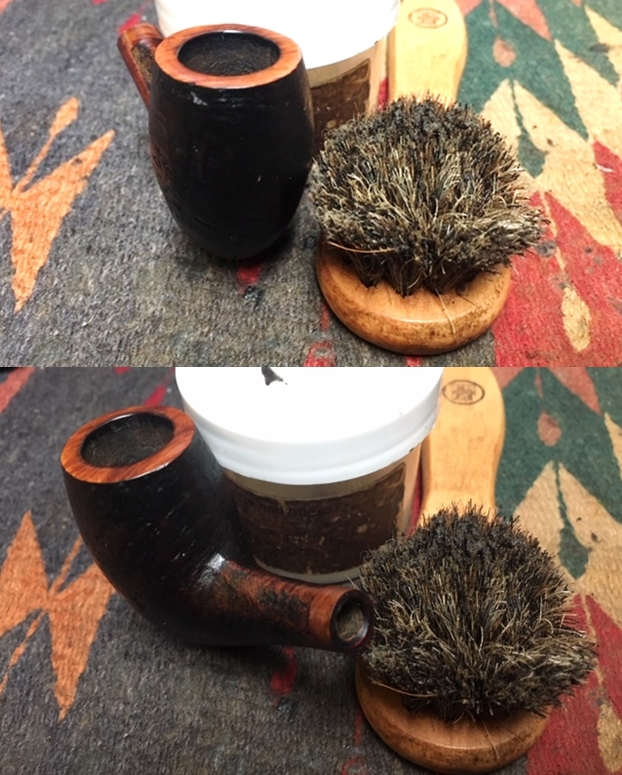
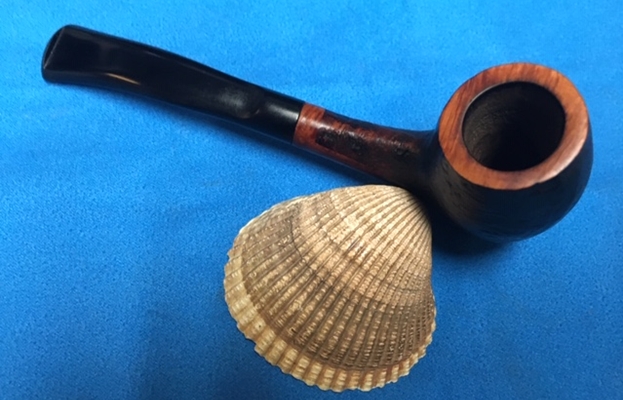
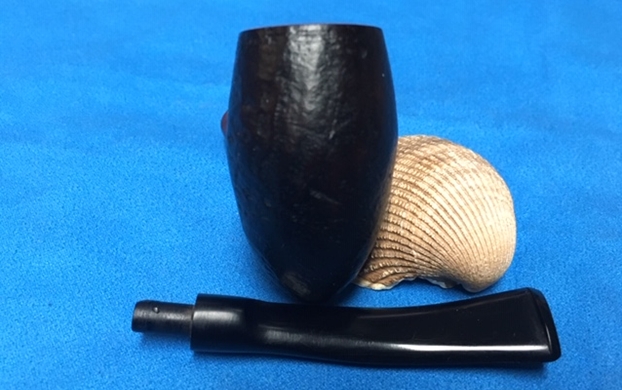
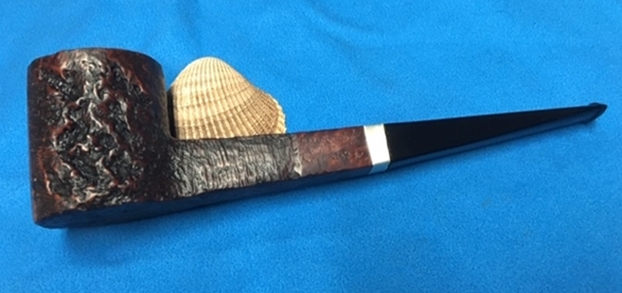
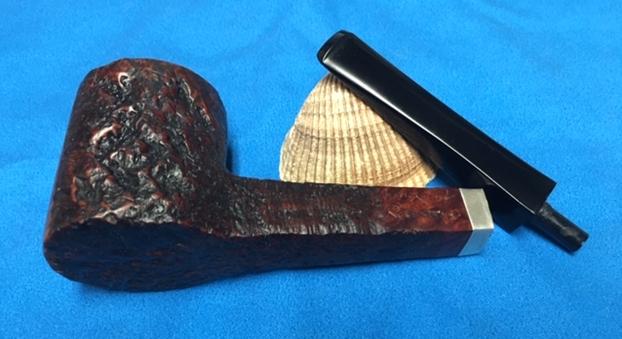
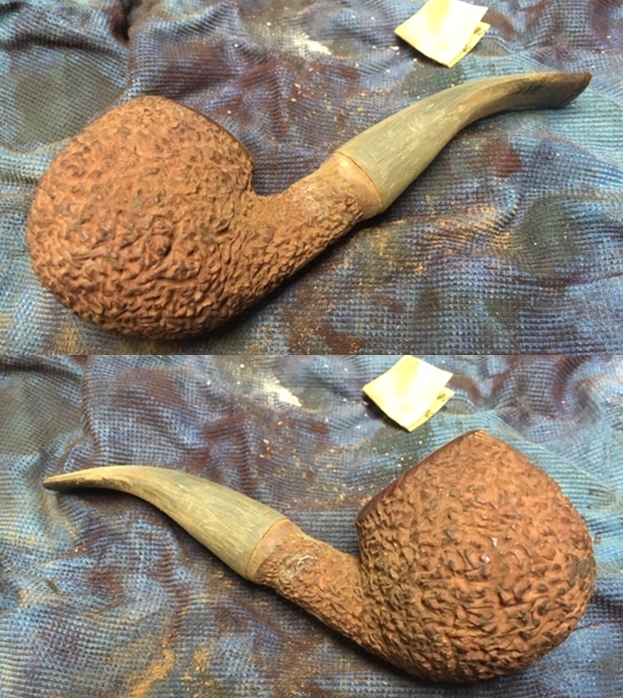
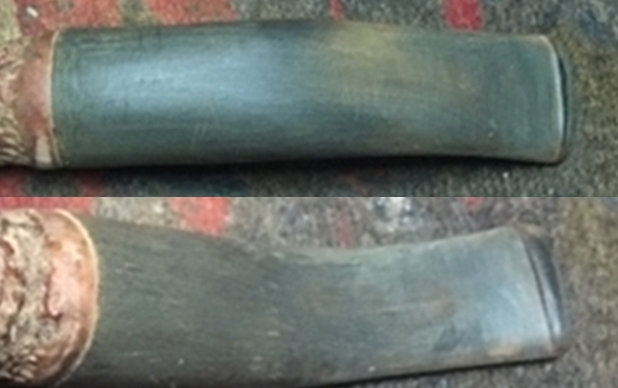
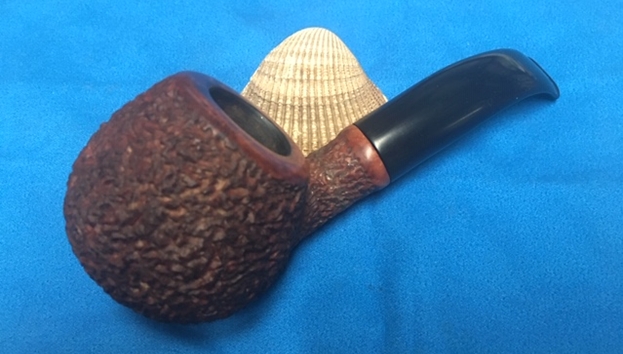
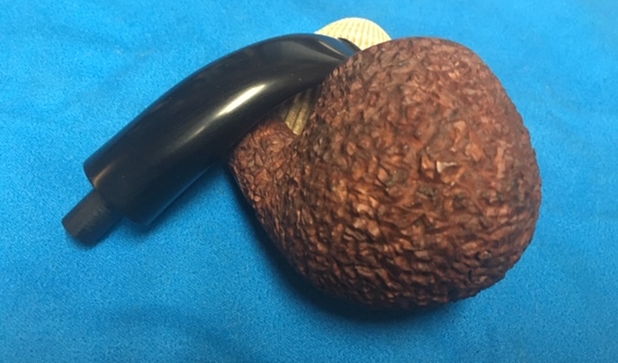
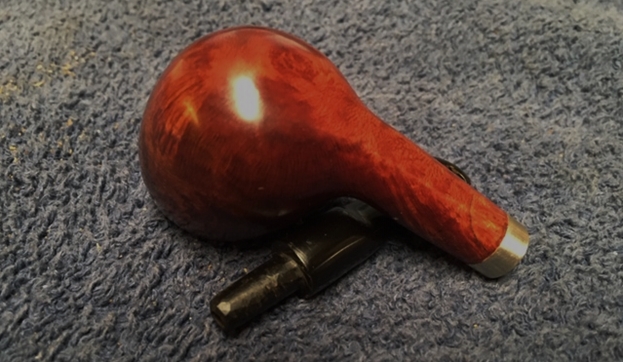
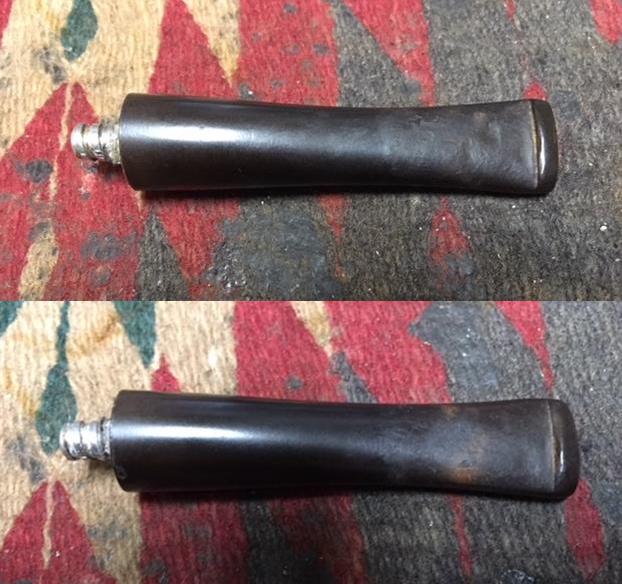
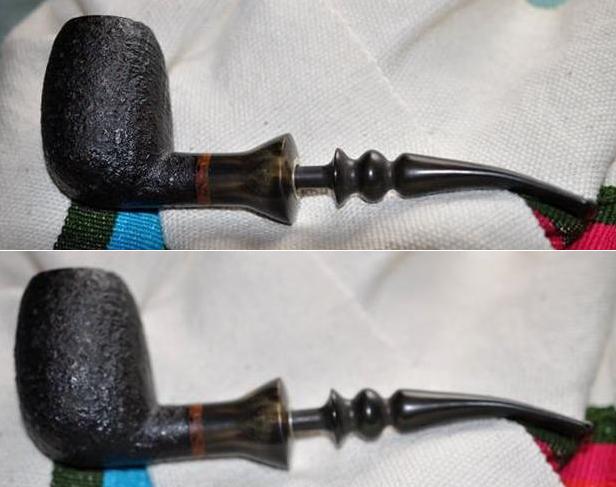
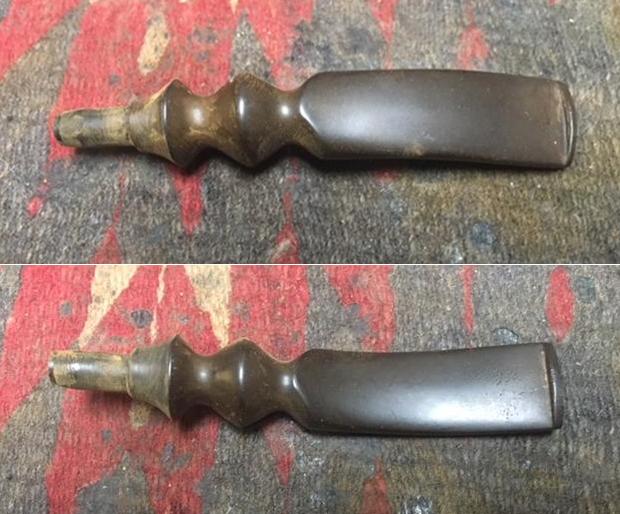
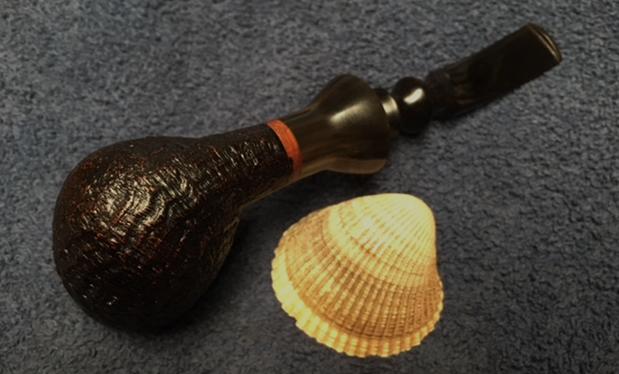
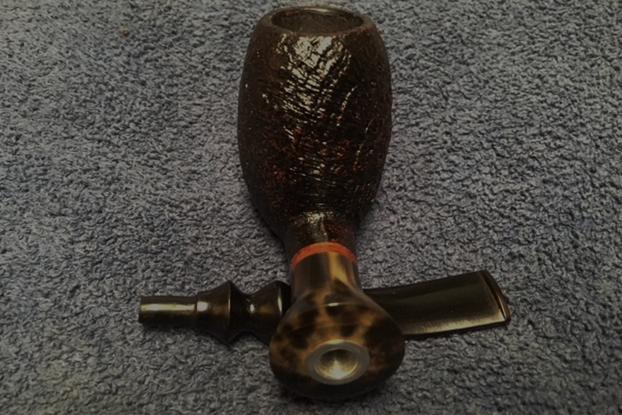
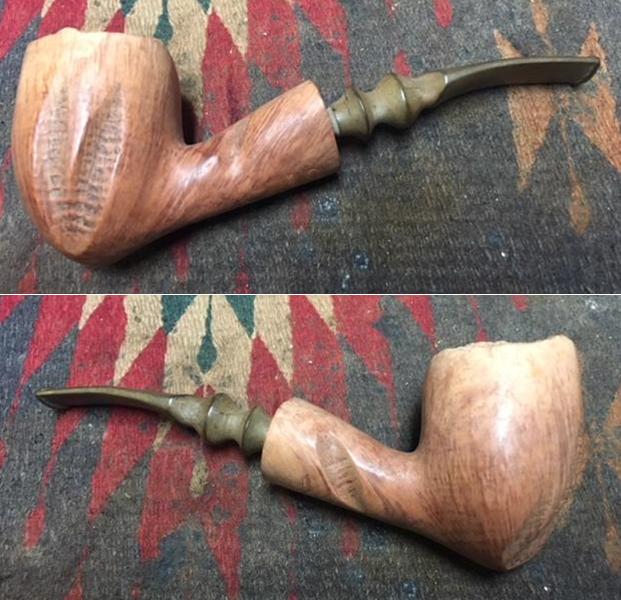
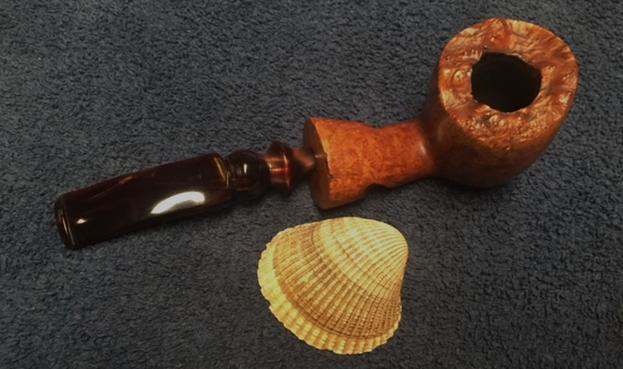
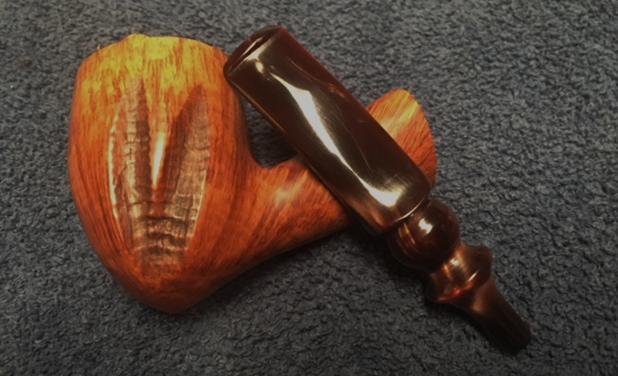
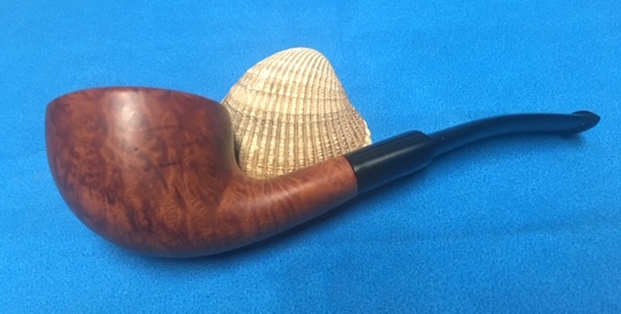
 Once I had the diameter so that the tenon was snug I put the stem in the shank and took photos of the pipe at this point. It is way for me to see if I like the proportion of the length of the shank and bowl with the length of the stem. I have gotten to this point on other pipes and pitched the stem in the can and turned a different stem. In this case I thought it would work very well. I would need to reduce the diameter of the saddle, remove the casting marks on the stem and give it a slight bend when I was finished. What do you think?
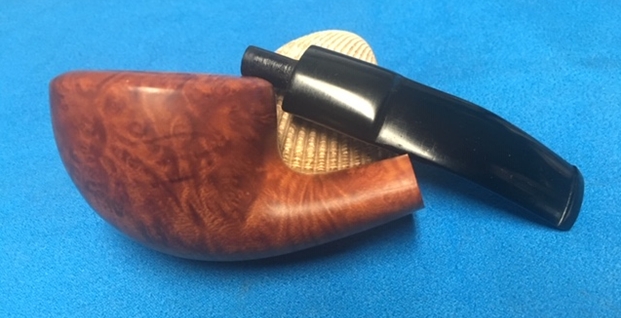
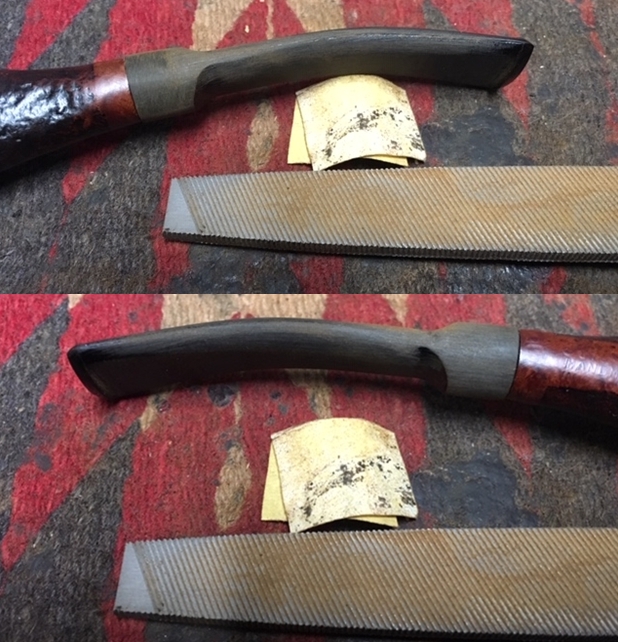
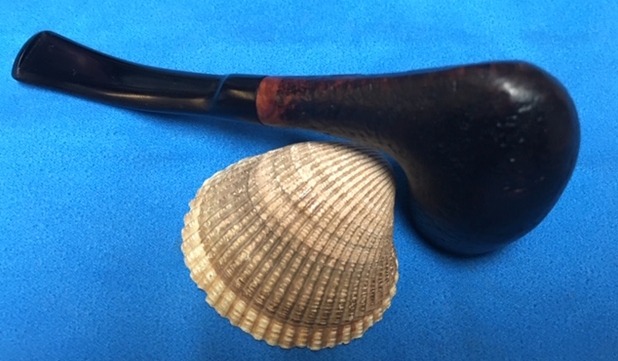
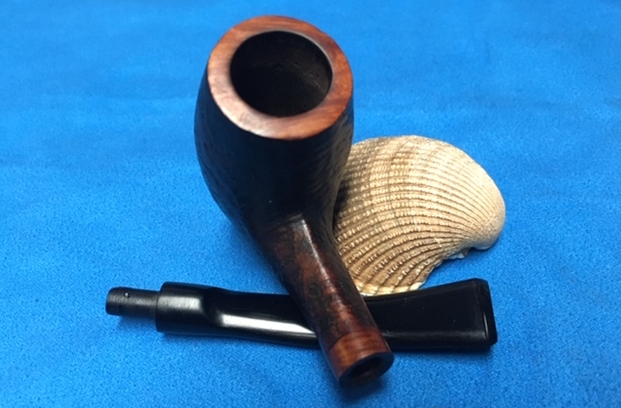
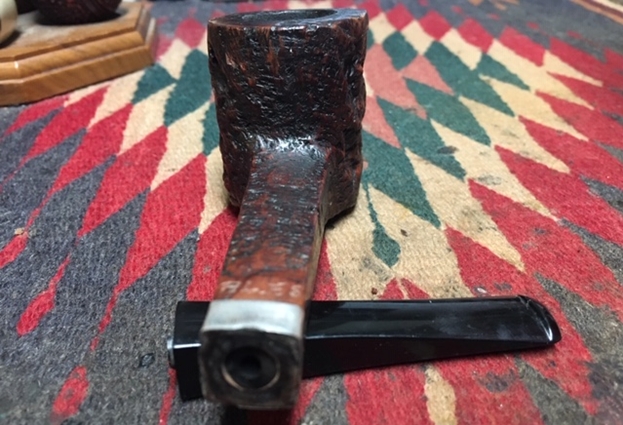
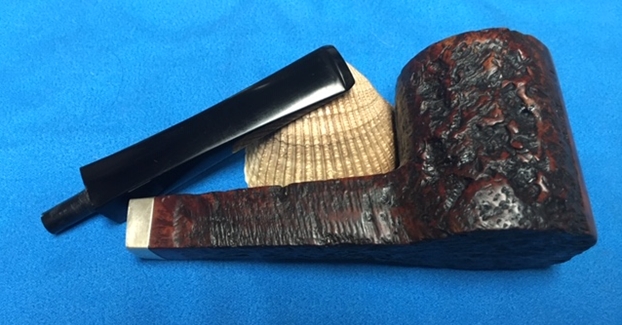
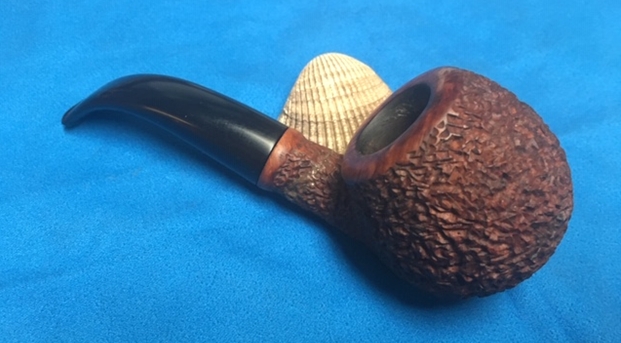
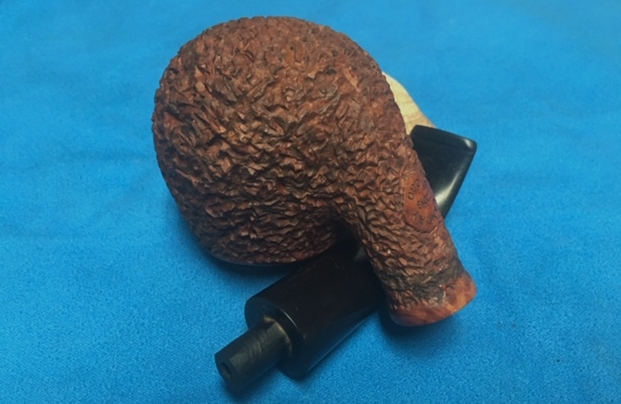
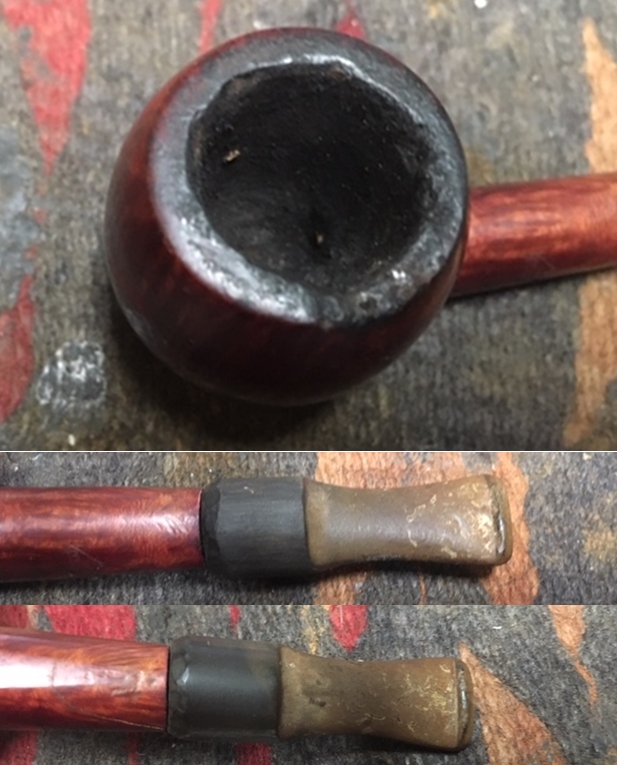
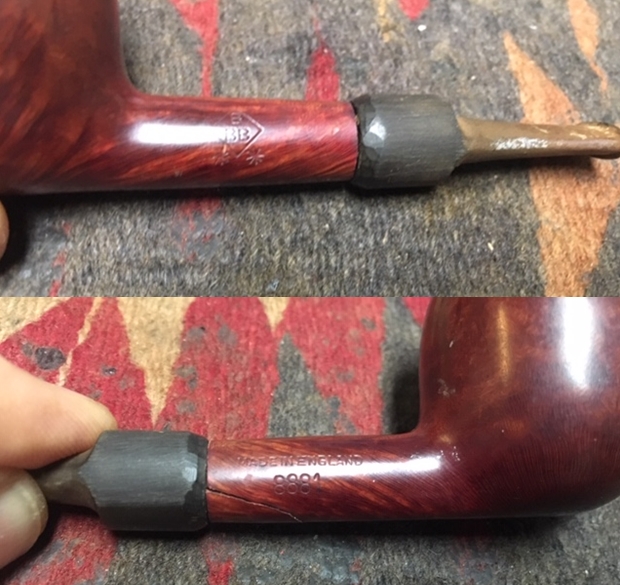
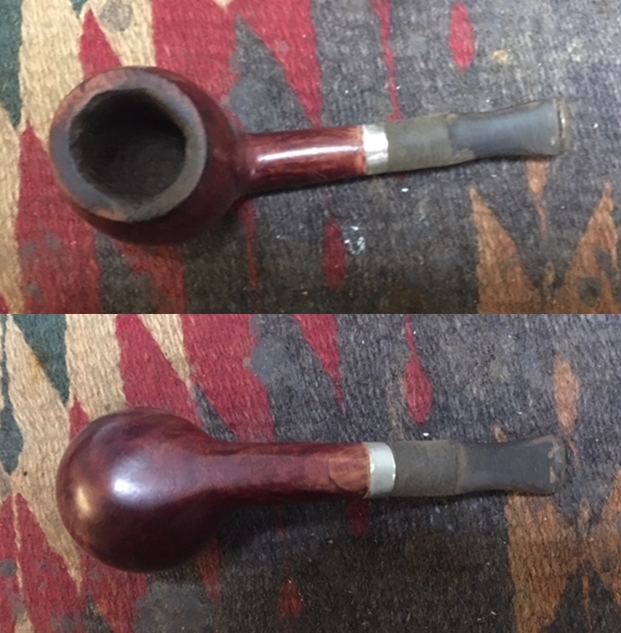
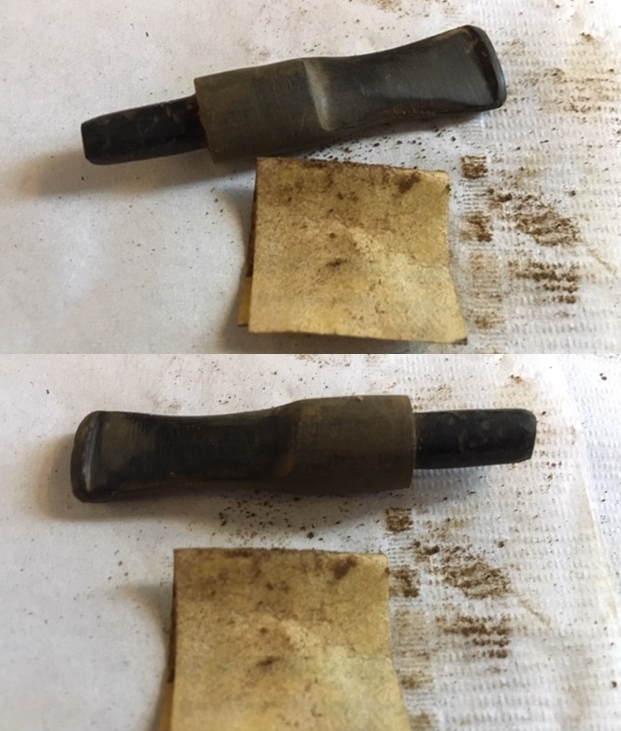
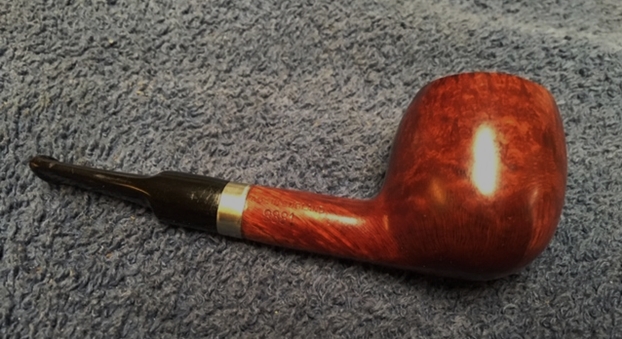
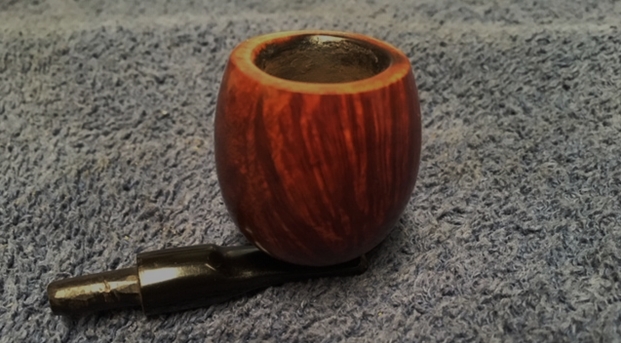
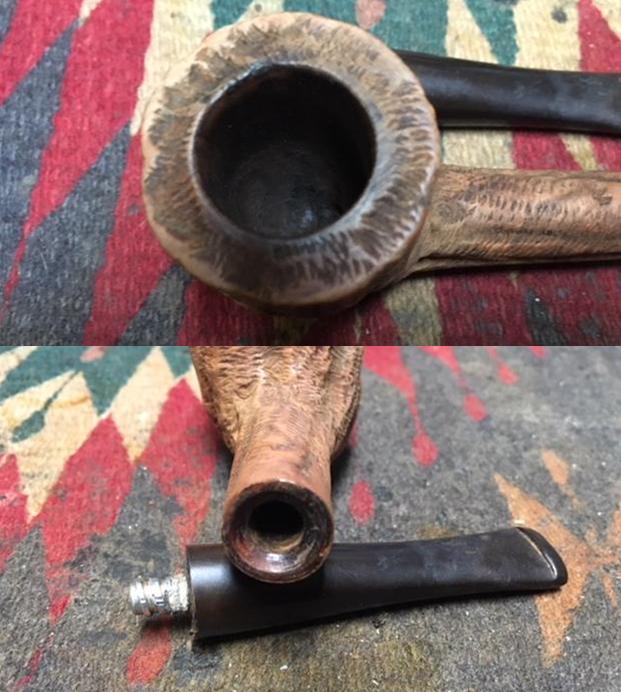
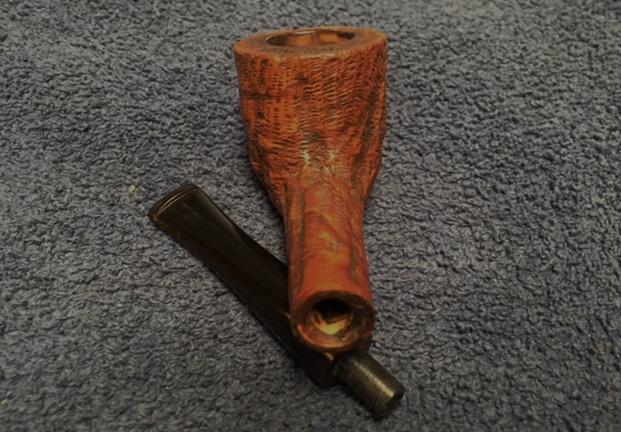
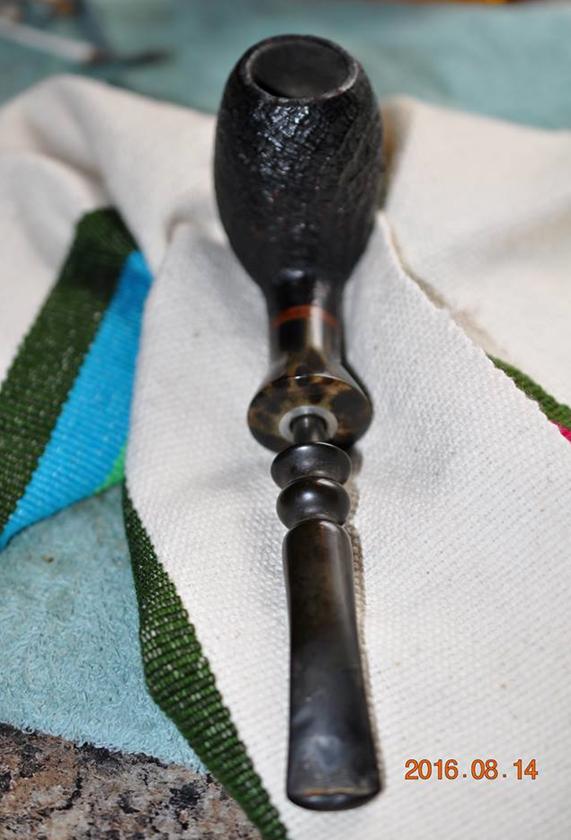
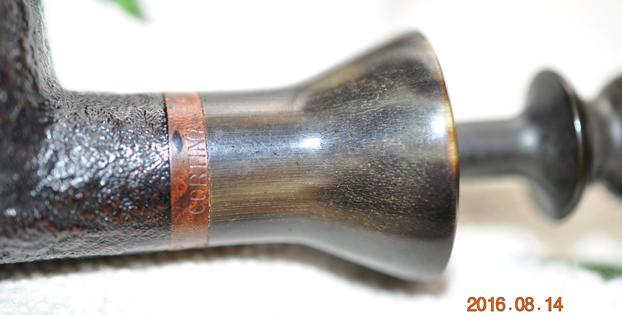
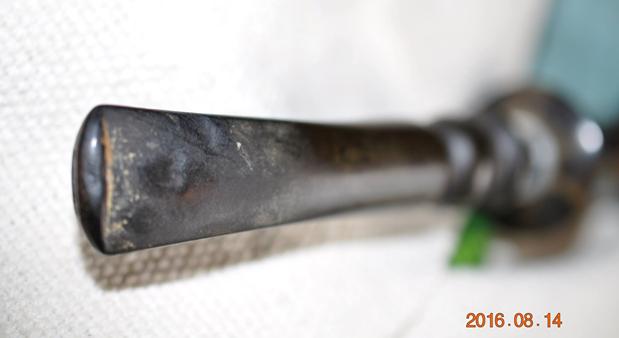
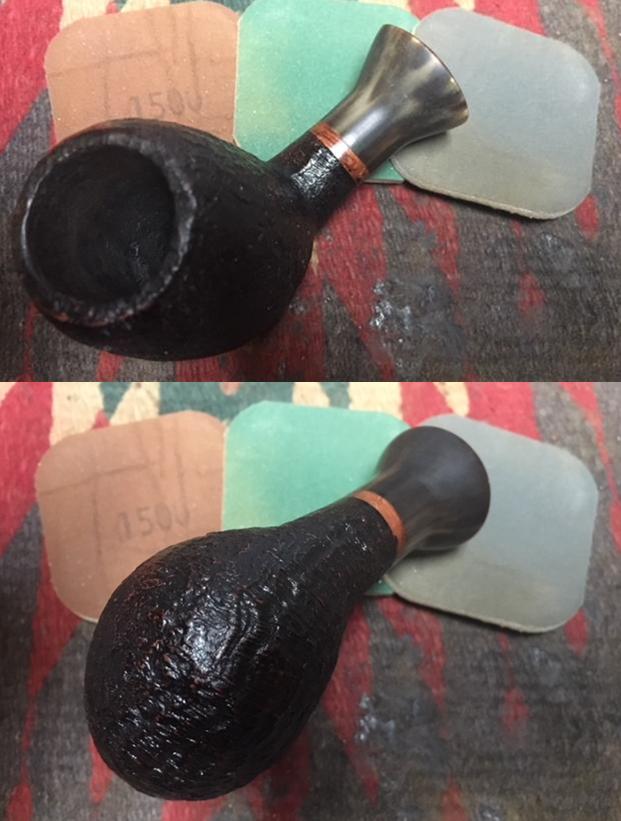
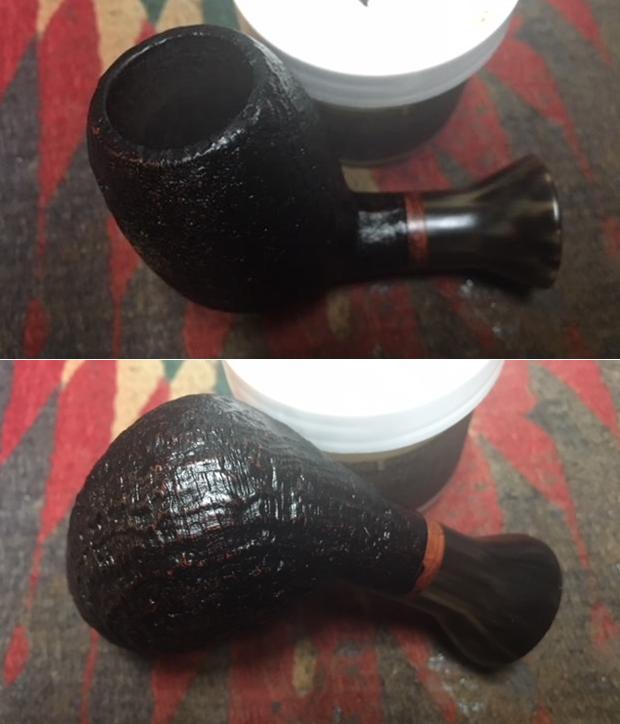
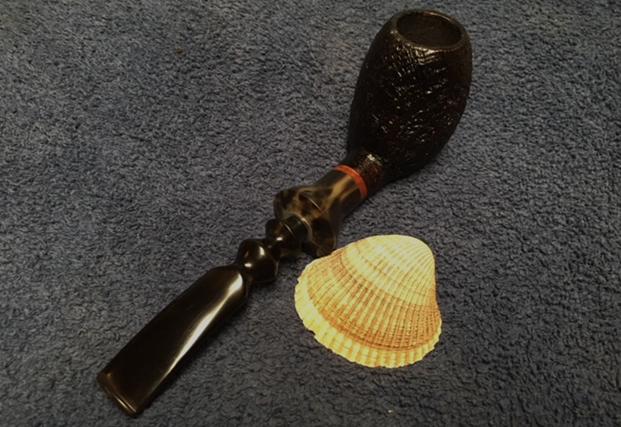
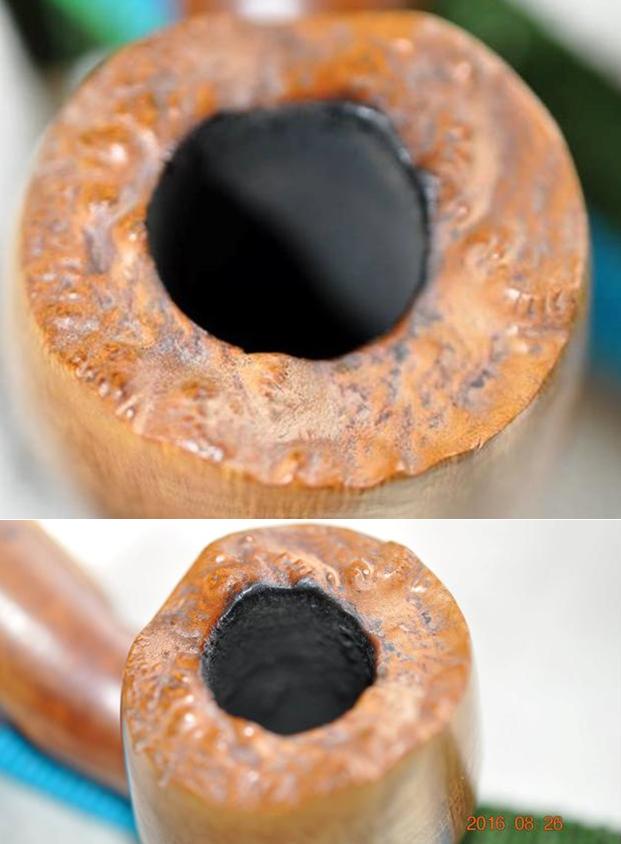
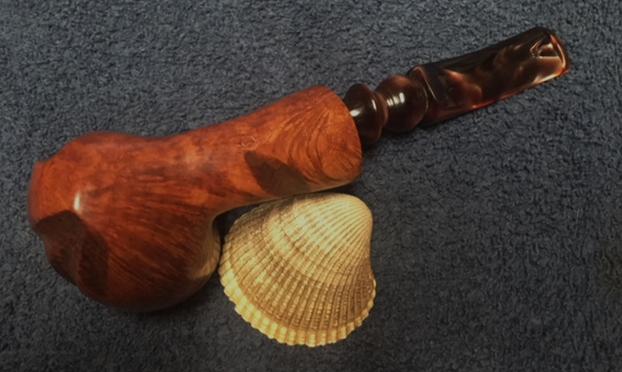
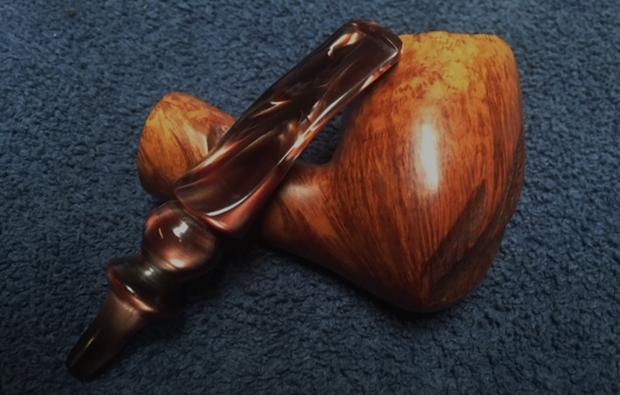
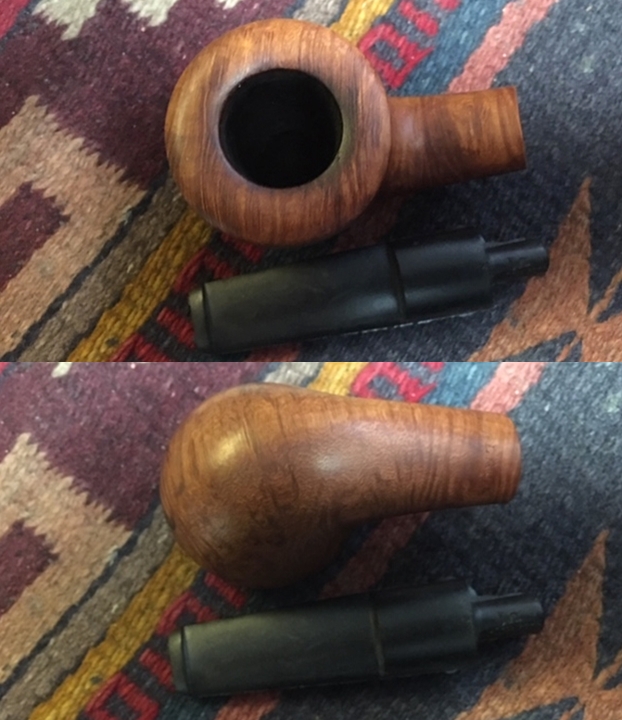
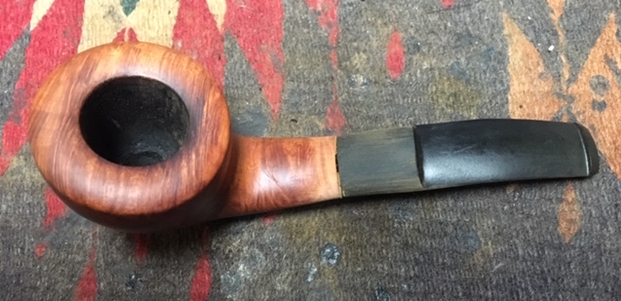
 I took some close up photos of the rim top and the fit of the stem to the shank to give you a clearer picture of where things stood at this point in the process. Incidentally, in the last photo below you can see the MALAGA stamping on the underside of the shank.
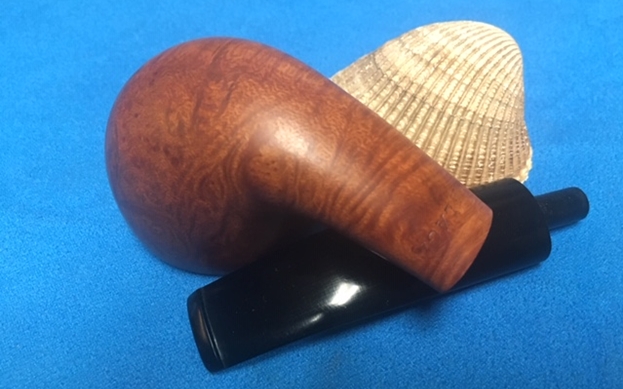
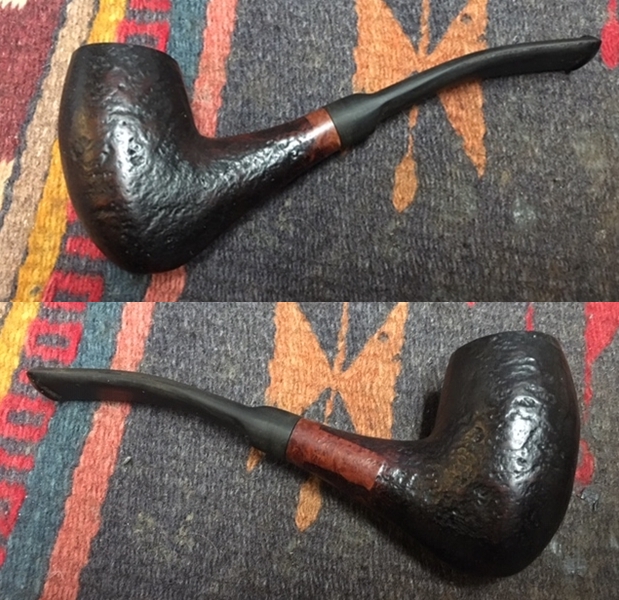
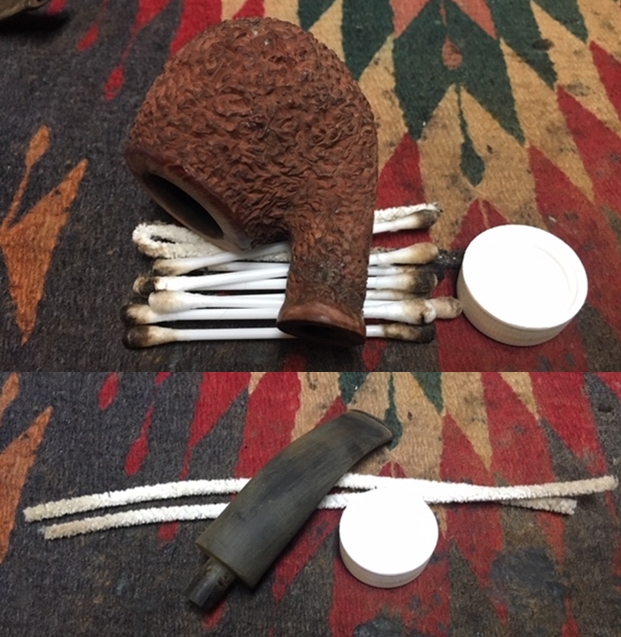
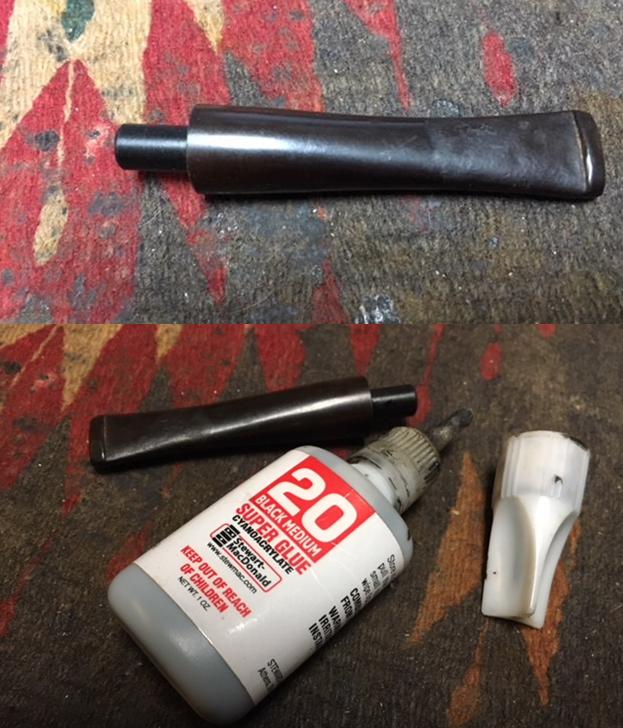
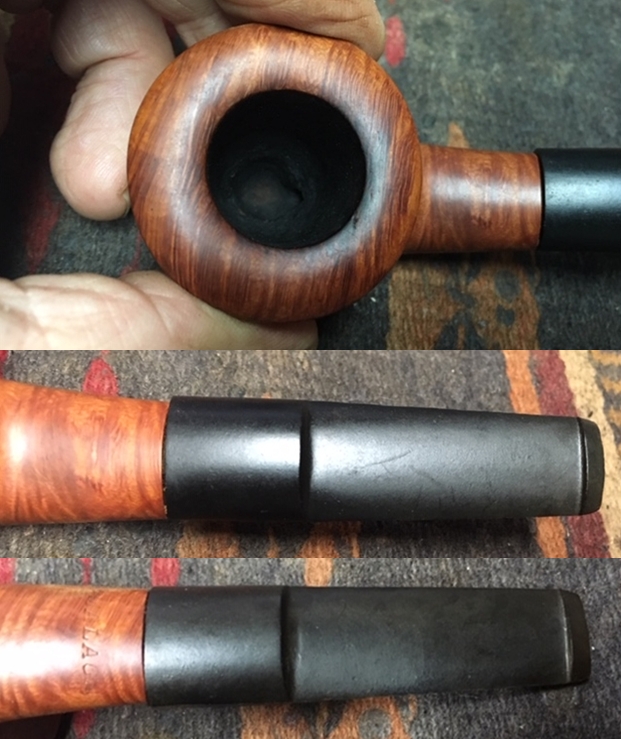 I used the Dremel and sanding drum to take off the casting marks on the sides and button end of the stem. I also used the sanding drum to remove the majority of the excess stem material on the saddle. I hand sanded it with a file and 220 grit sandpaper to get the fit close to a smooth transition. I little a tea light candle and heated the stem to bend it to the angle I wanted to work with the bowl. I took photos of the stem after the bending to show what the pipe looked like at this point in the process. There was still a lot of fine tuning and shaping to do but the pipe was beginning to look complete. I liked the look of the new stem. Some of you may wonder why I sand the shank the bit that I do. My experience is that I can smooth out the transition this way. I know that others do it differently but this is my process.
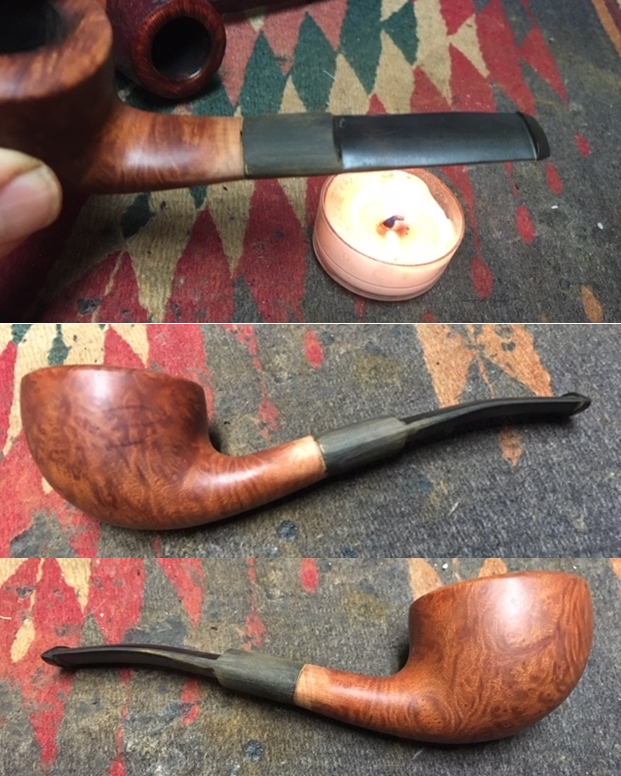
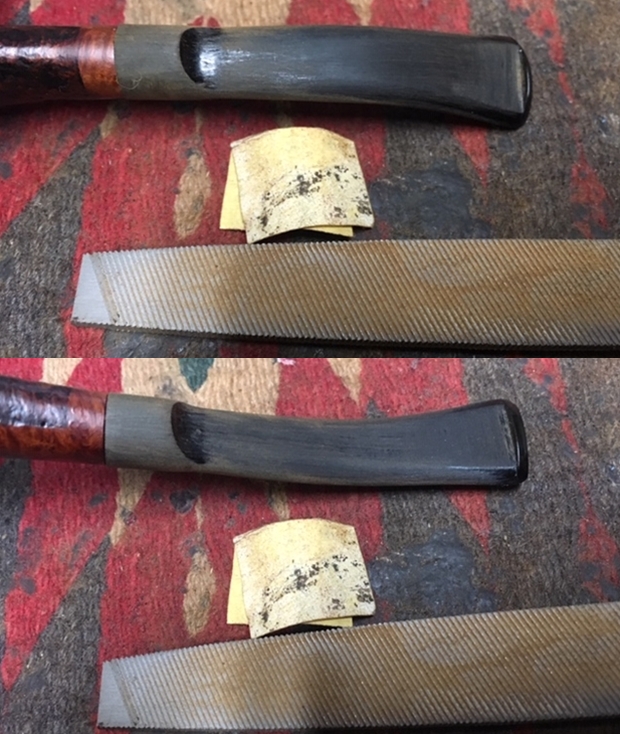
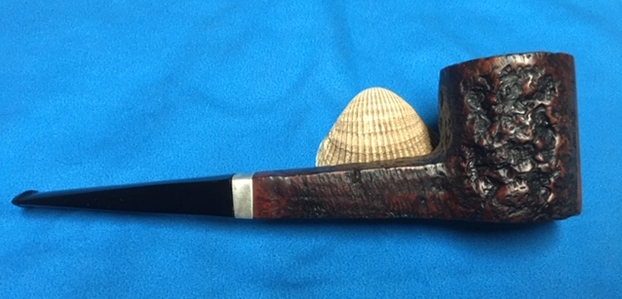
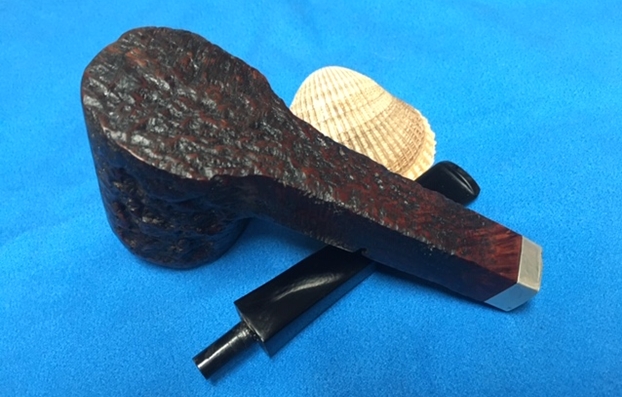
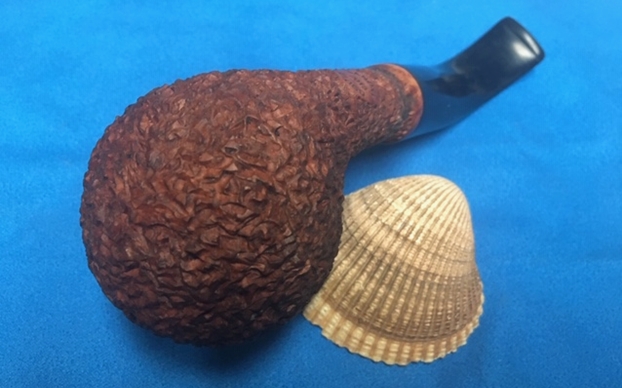
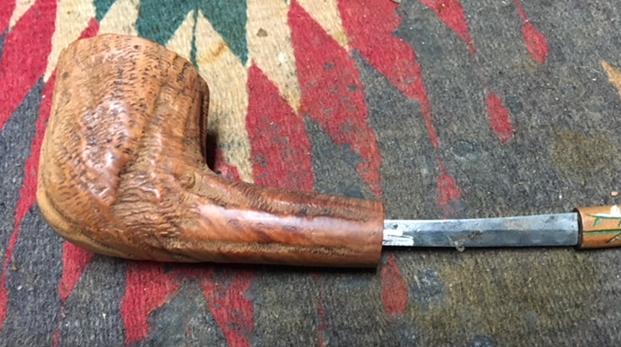
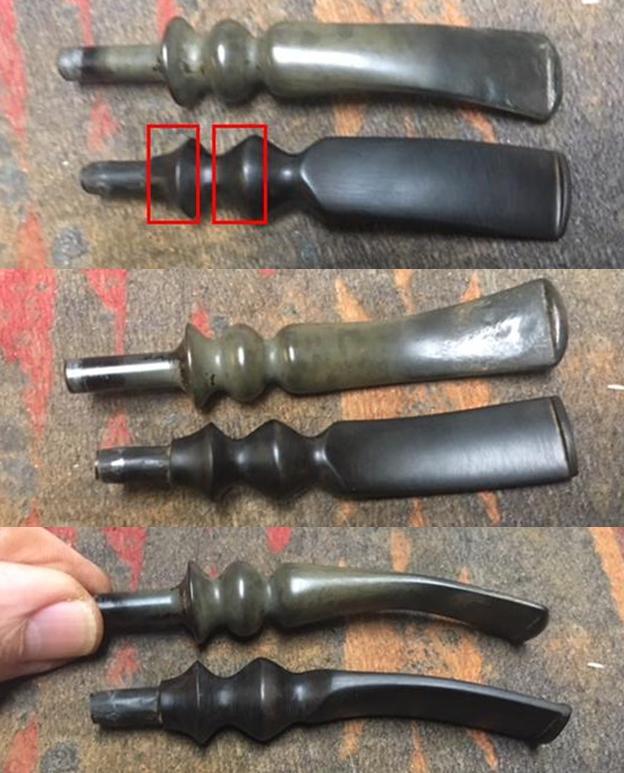
 I continued to sand and shape the stem and fit it to the shank end. I beveled the mortise end a bit more than it was originally using a small half circle needle file. Once that was done I sanded the stem to smooth out the transition with the shank. The photos below show that it is getting closer to a fit.
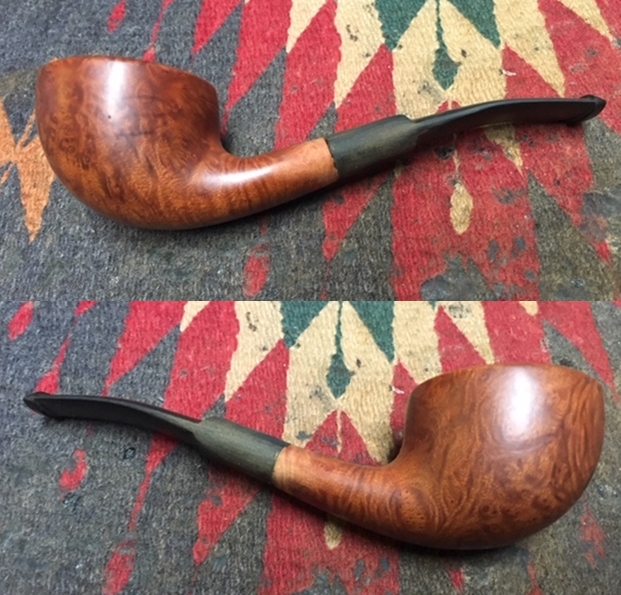
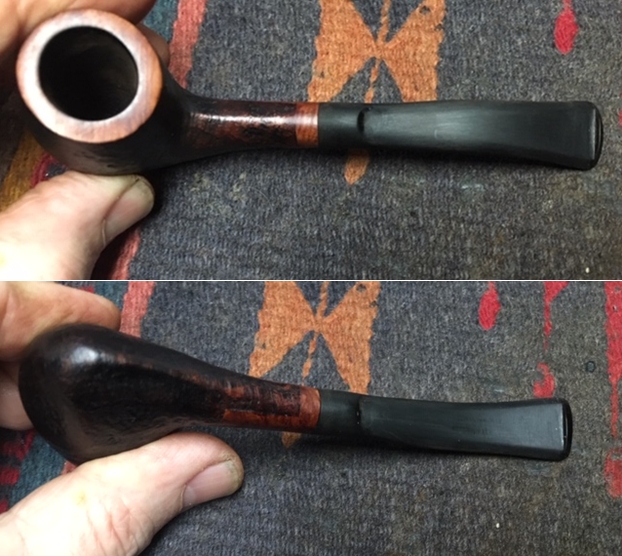
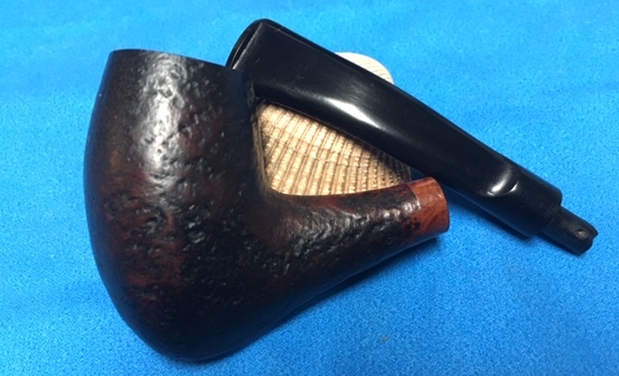
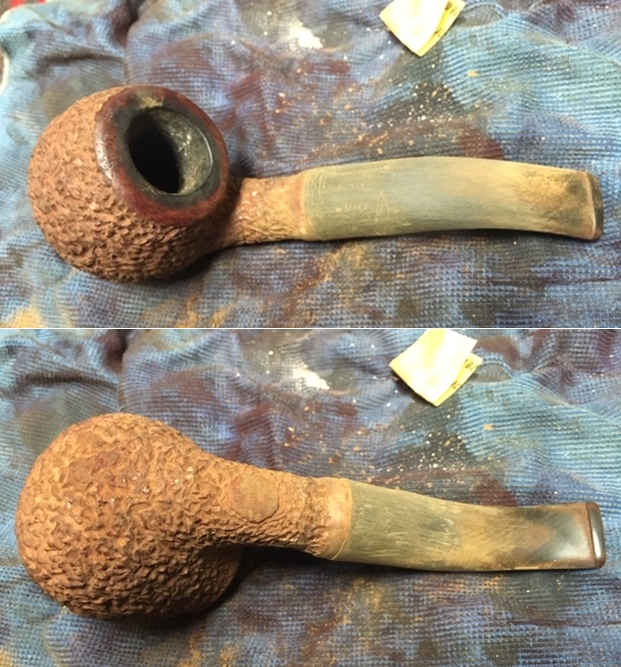
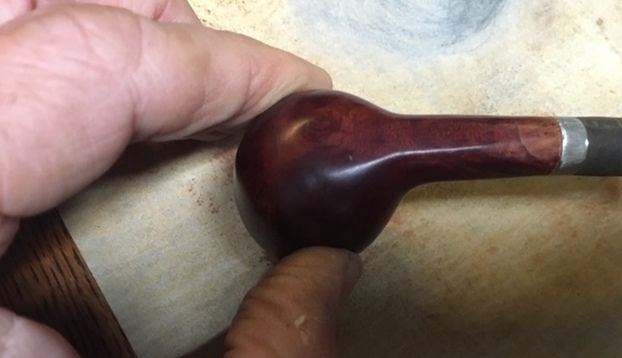
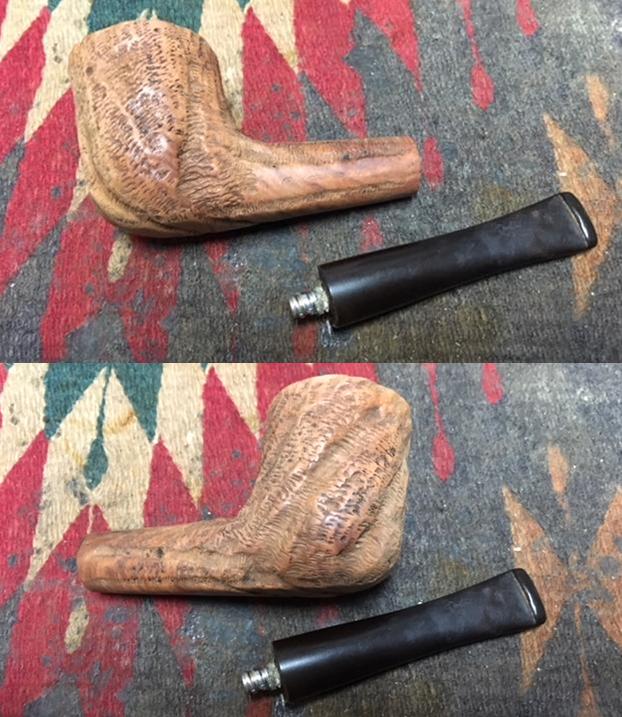
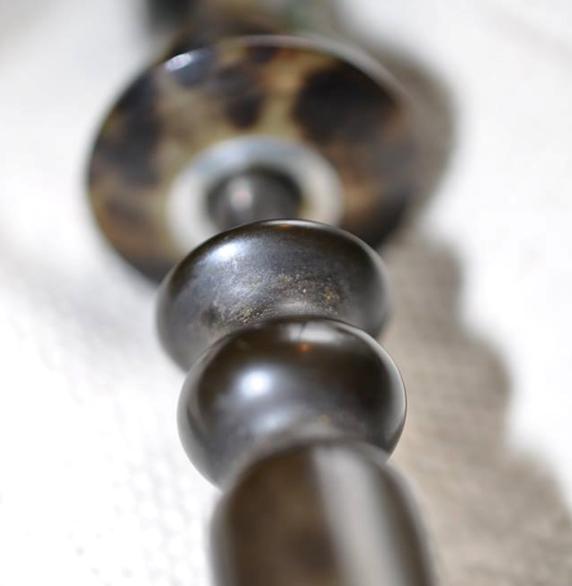
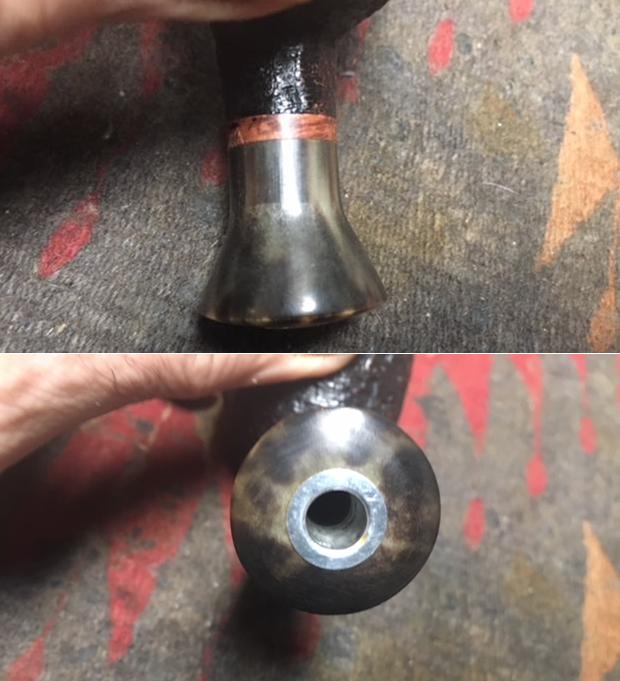
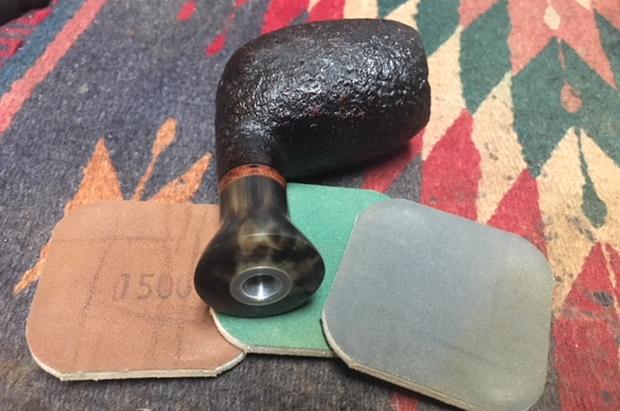
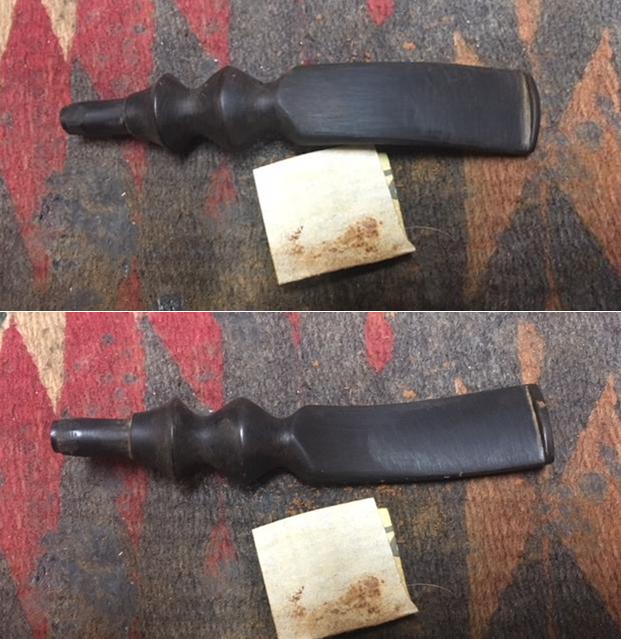
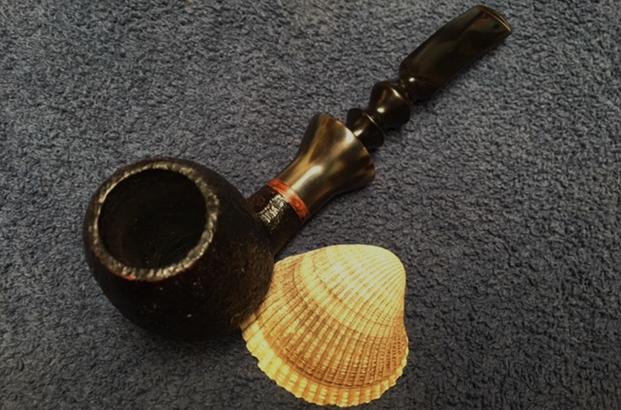
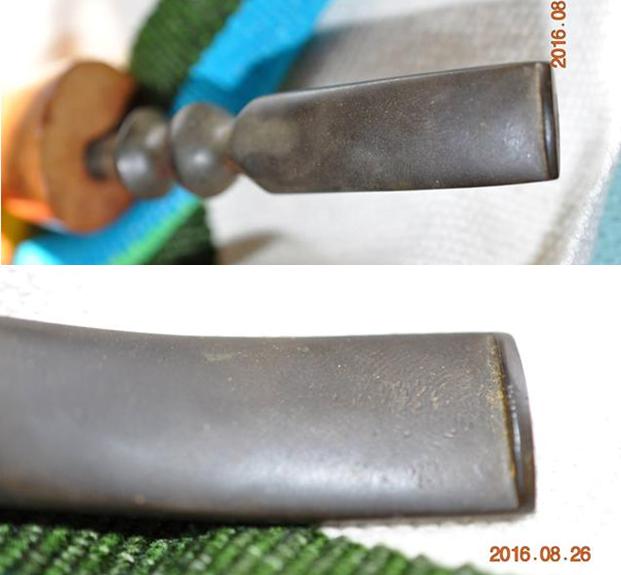
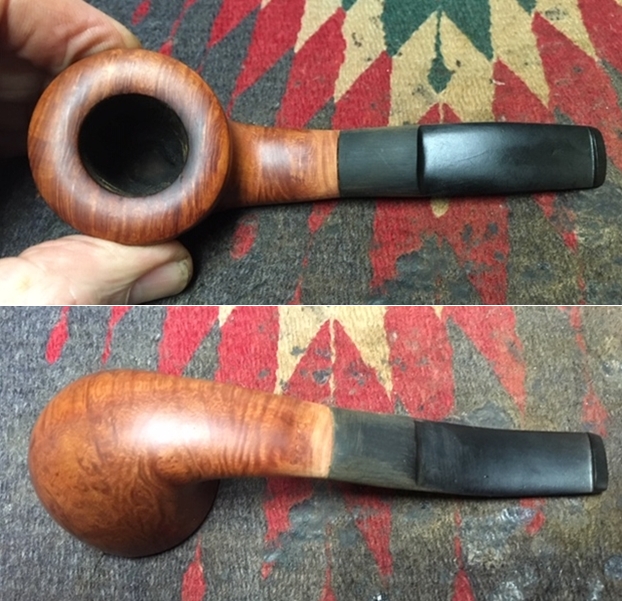 I took some close up photos of the fit of the stem to the shank at this point. It is getting better and better. I still need to do a few adjustments to the tenon to get a snug fit to the shank.
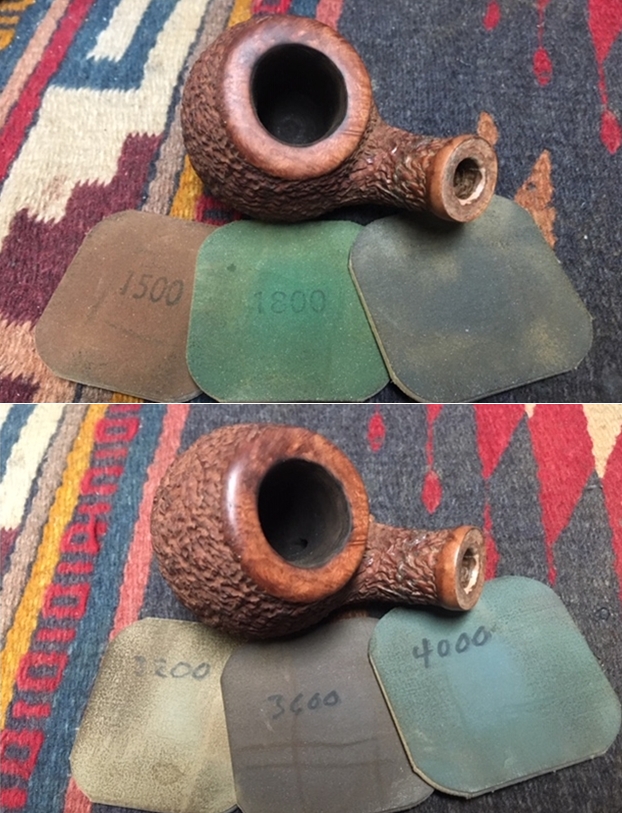
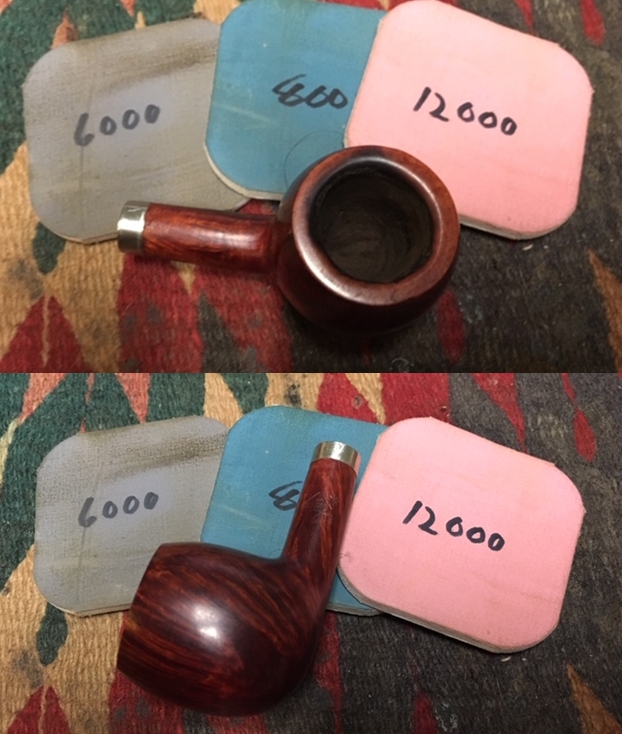
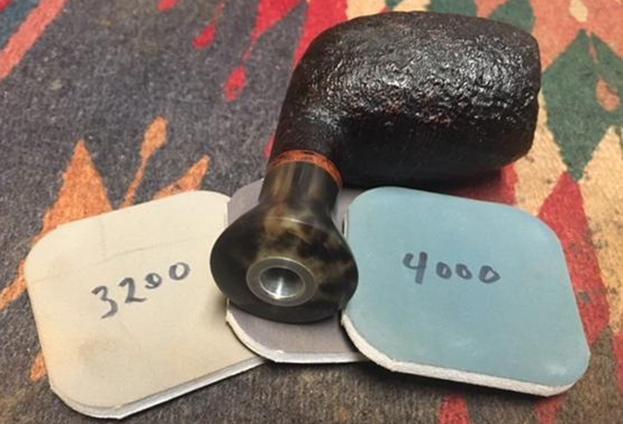
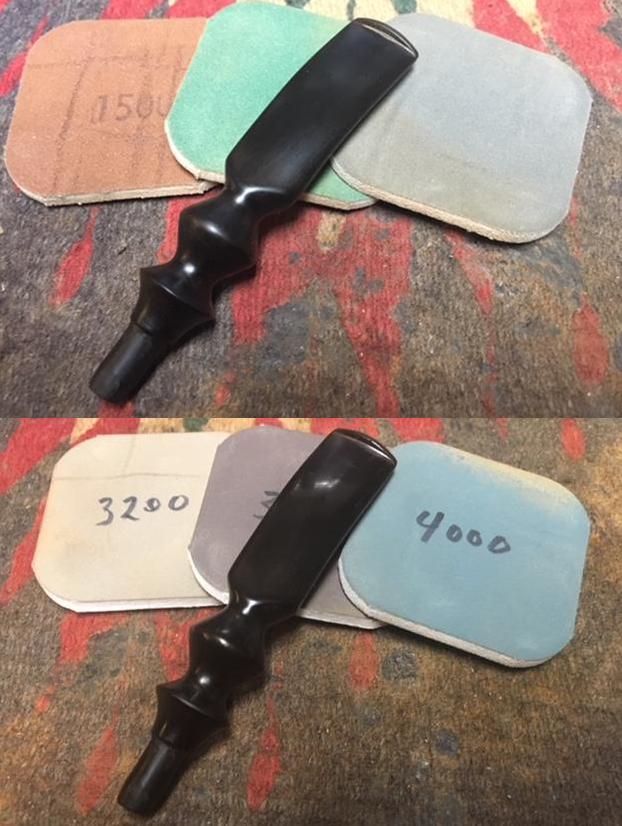
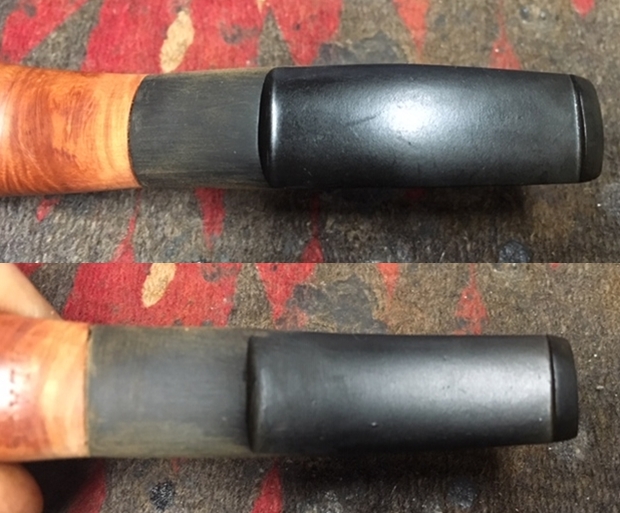 I sanded the stem with 400 grit wet dry sand paper to polish out the scratches left behind by the files and 220 grit sandpaper.
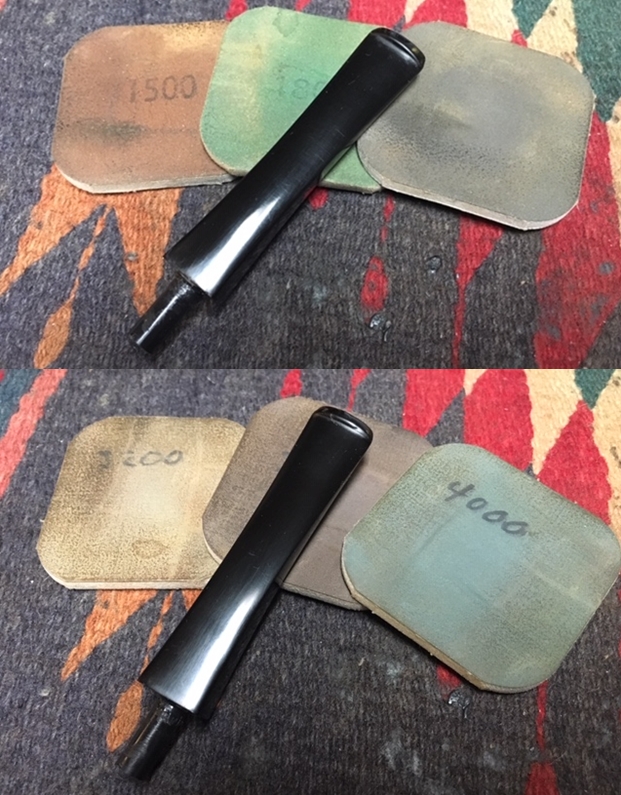
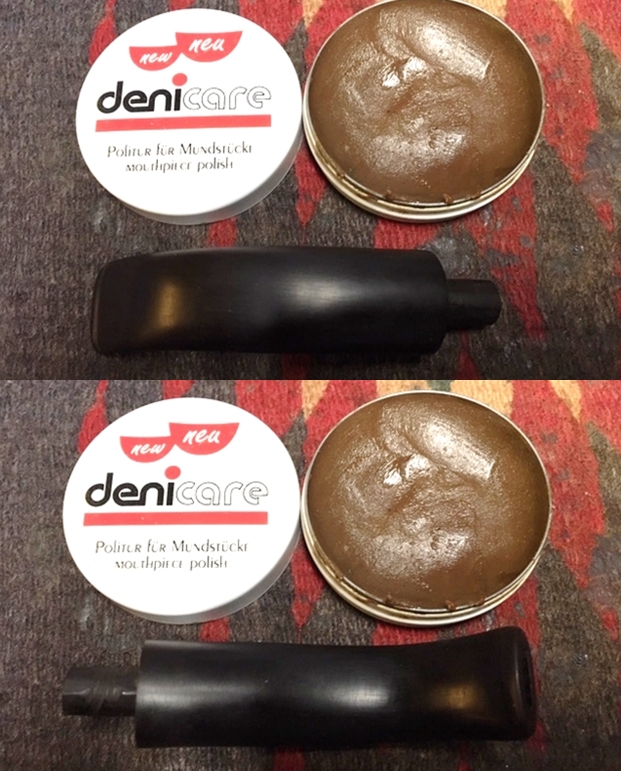
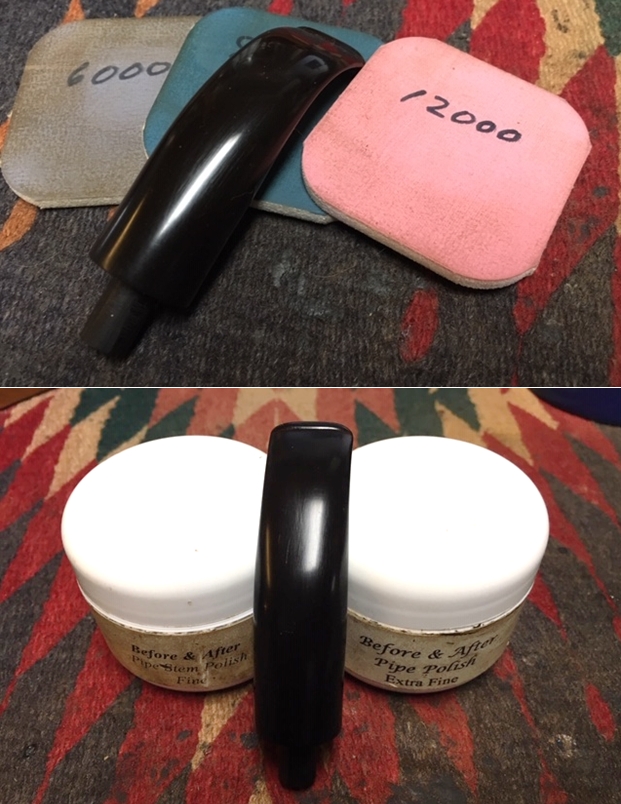
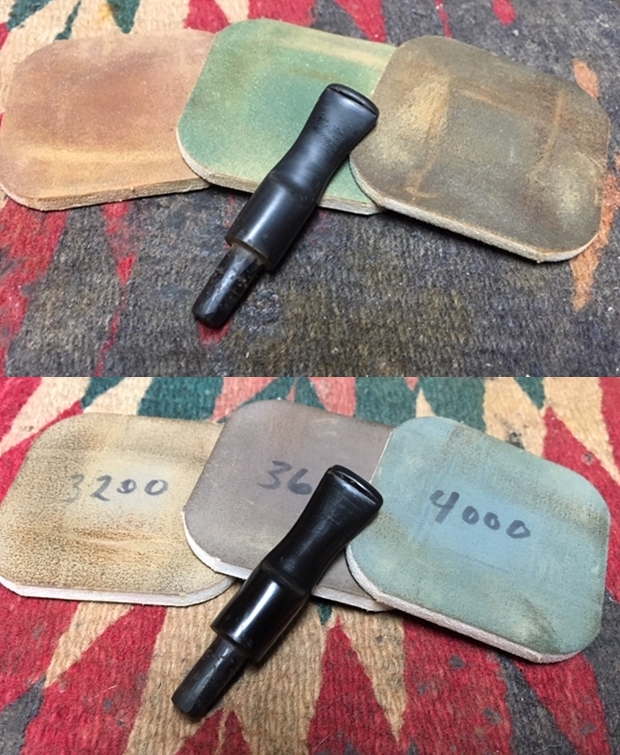
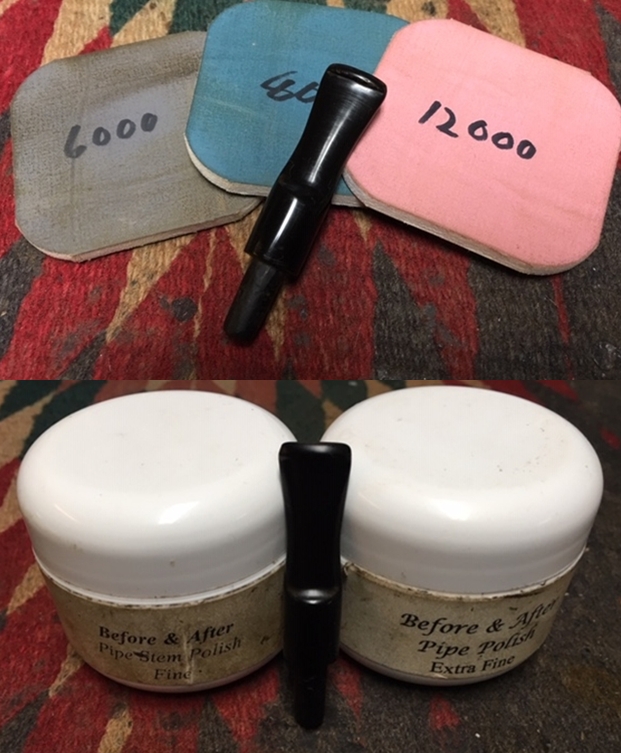
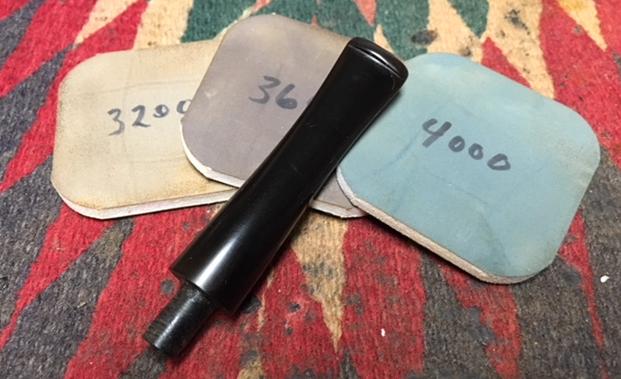
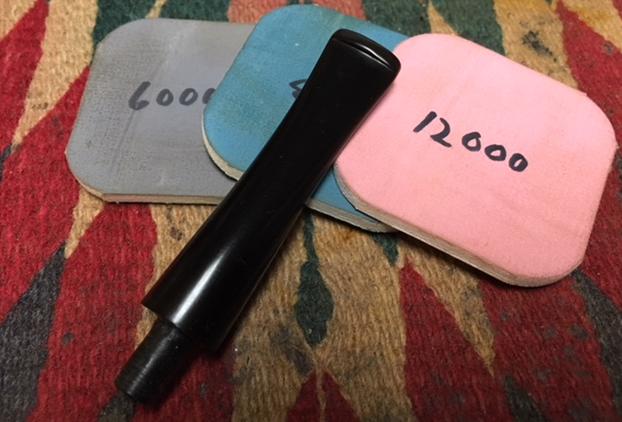
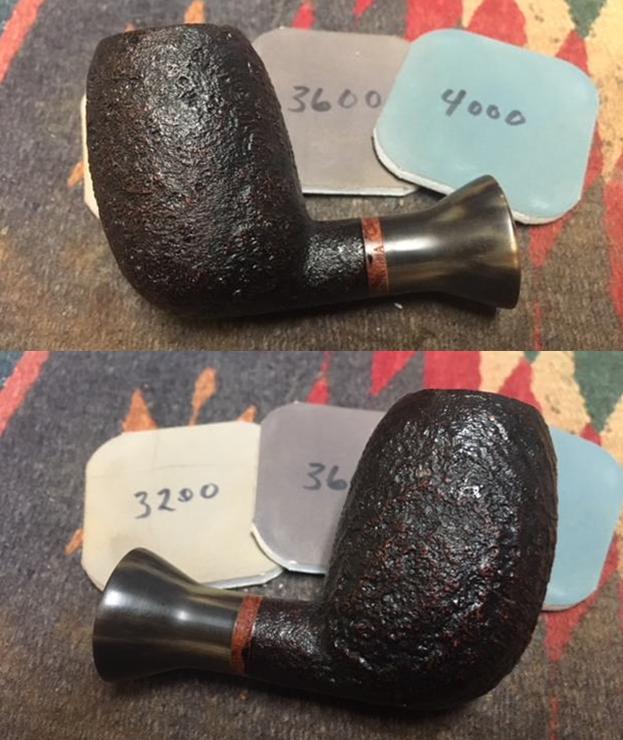
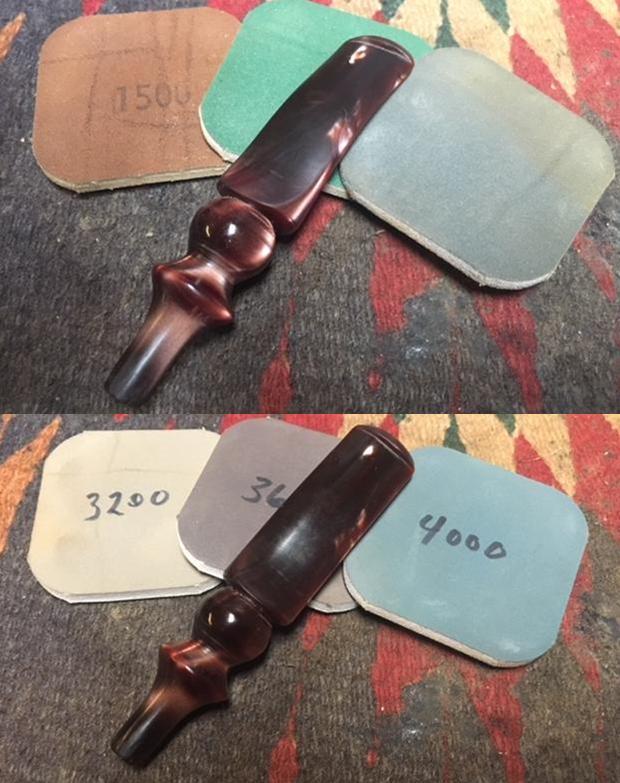
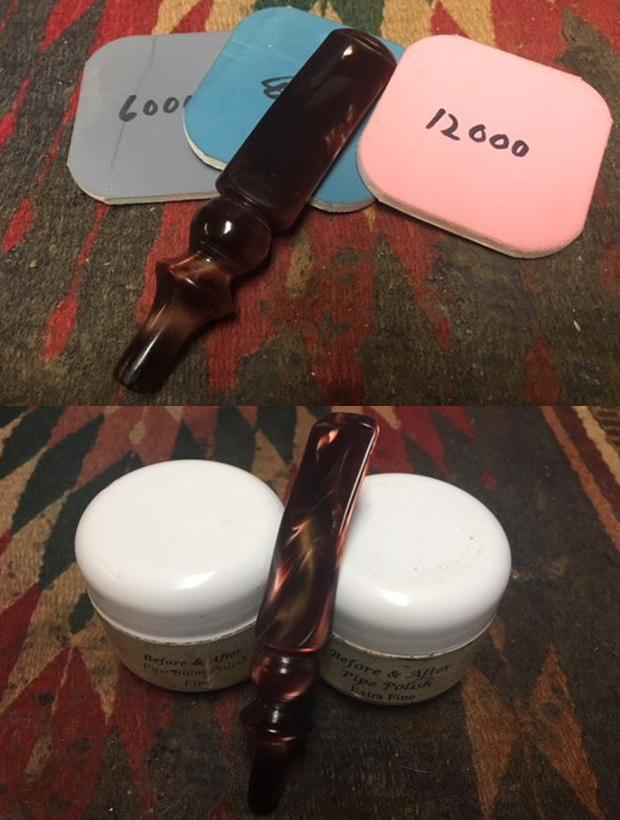
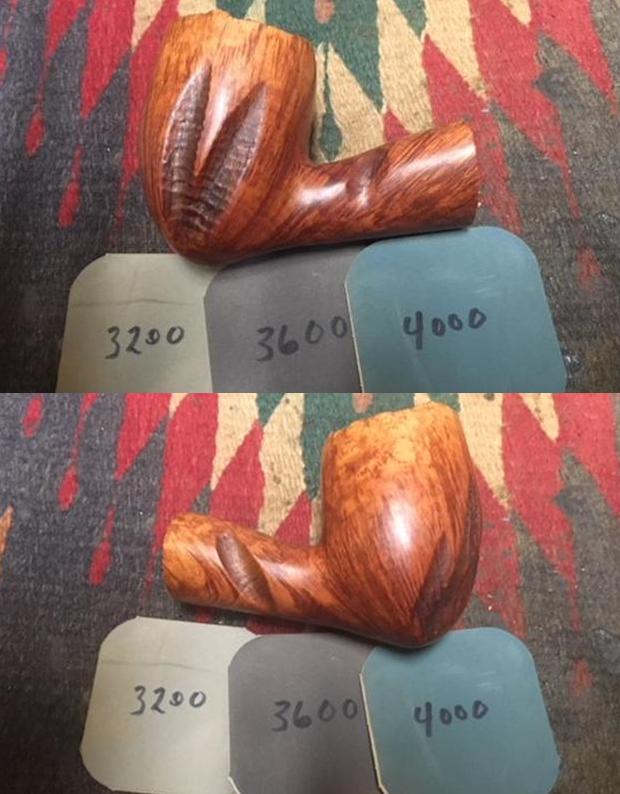
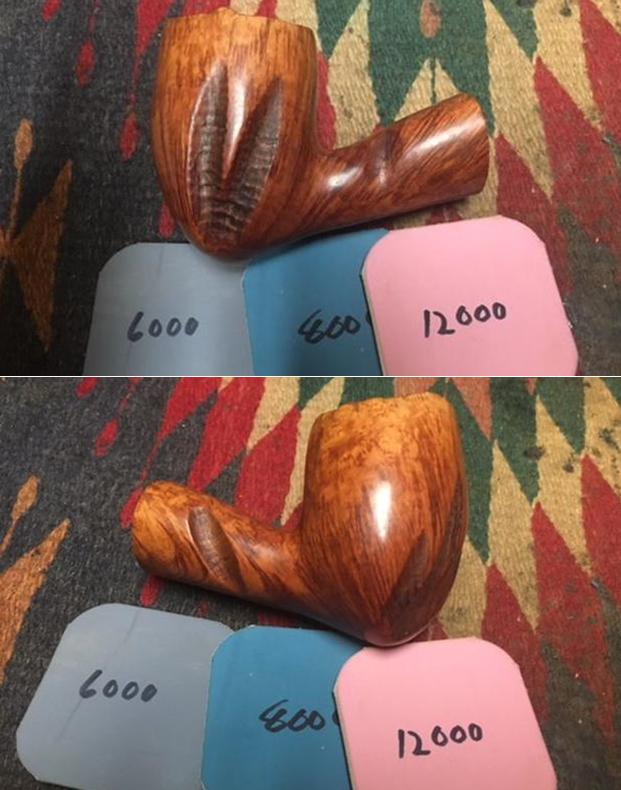
 I polished the stem with micromesh sanding pads – wet sanding it with 1500-2400 grit pads and dry sanding with 3200-12000 grit pads. I wiped the stem down after each of the pads using Obsidian Oil. I polished it further with Before & After Pipe Stem Polish – both Fine and Extra Fine grits. I gave it another coat of Obsidian Oil and set it aside.
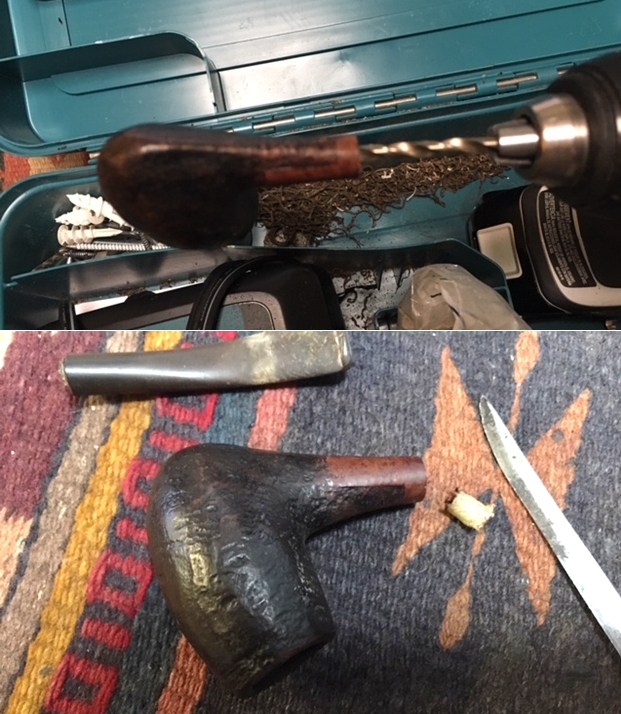
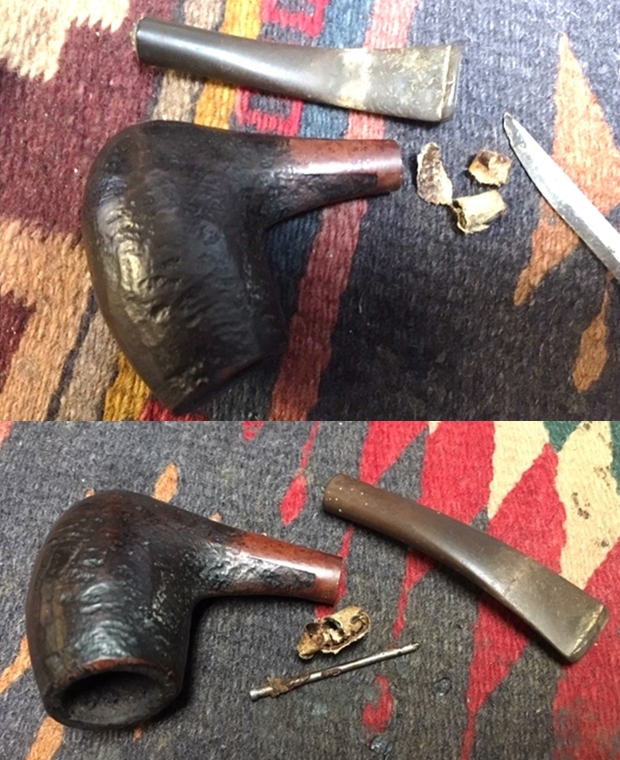
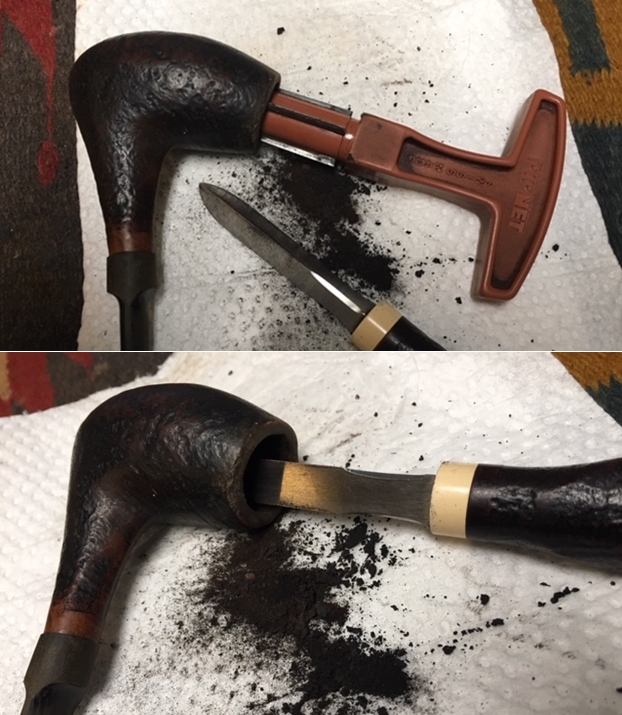
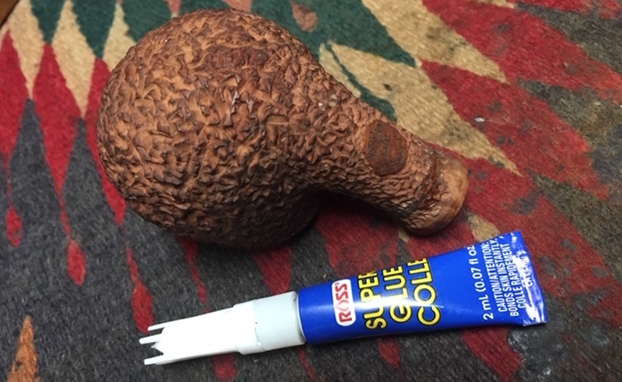
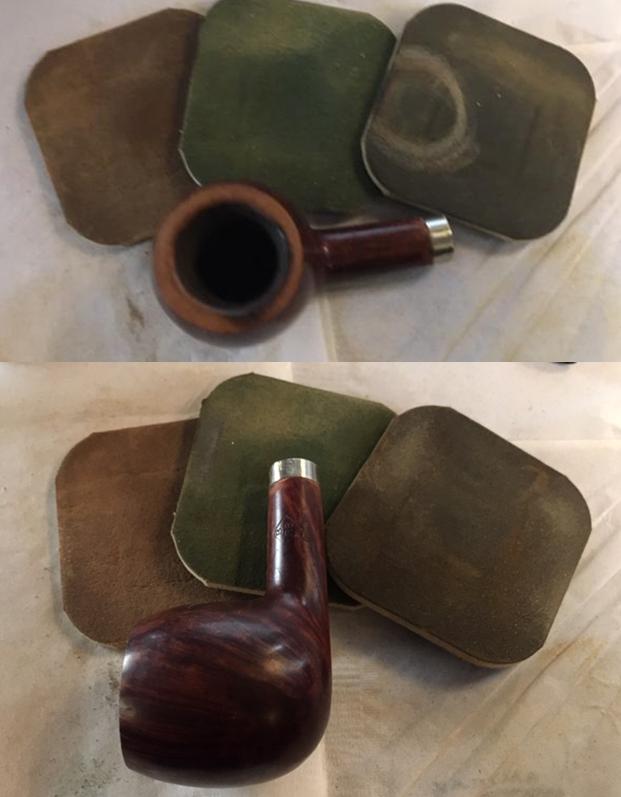
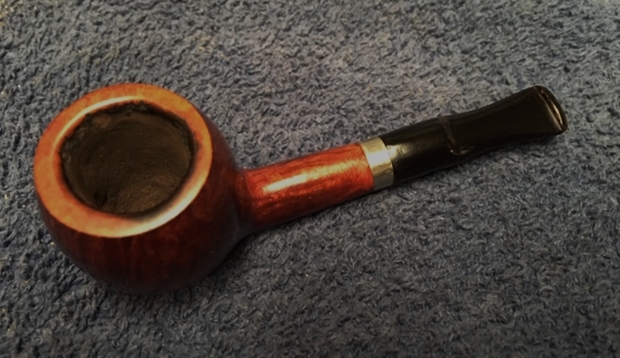
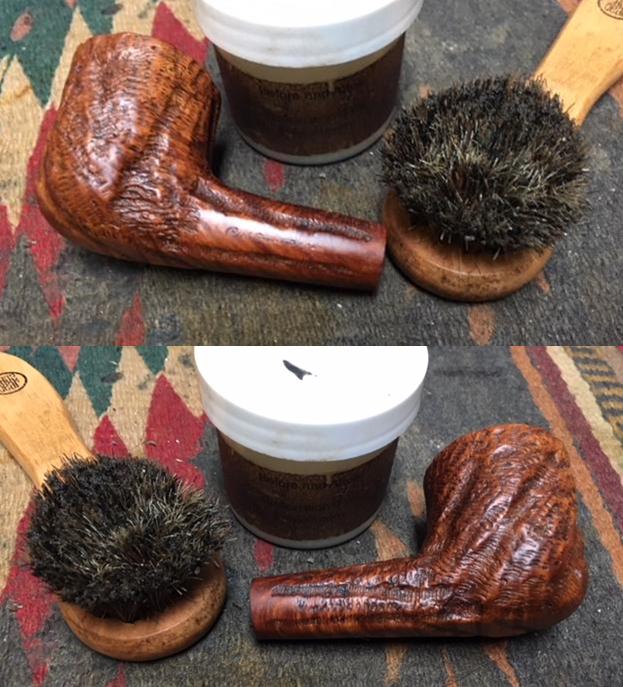
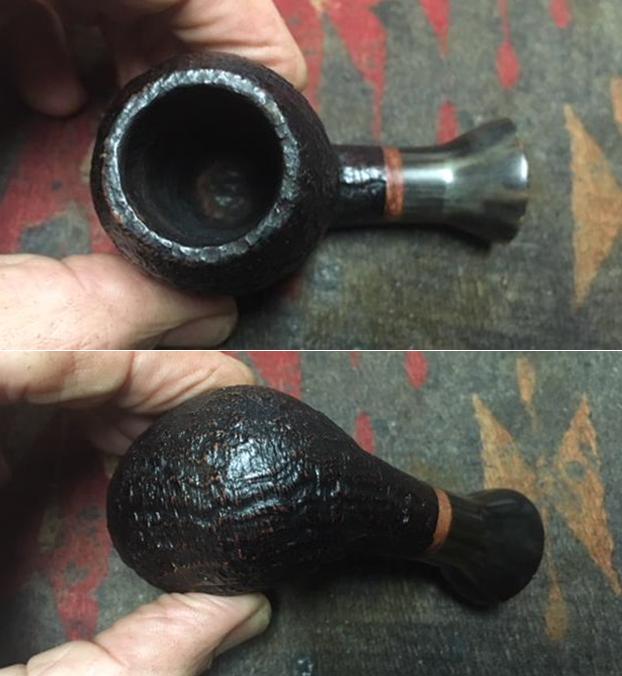
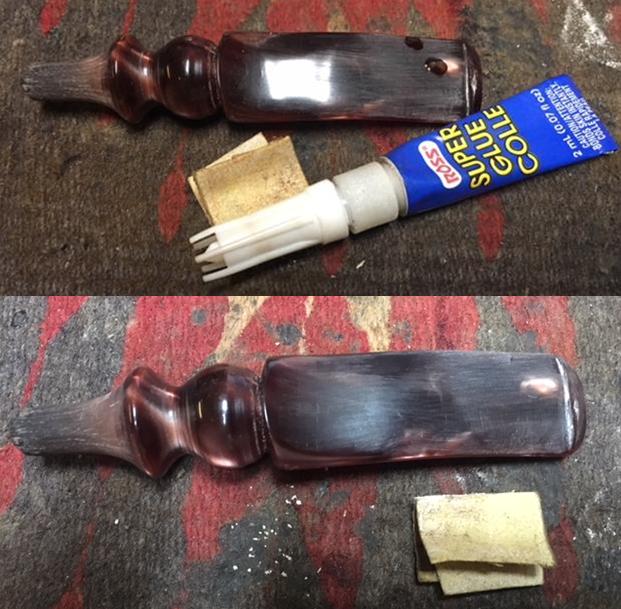
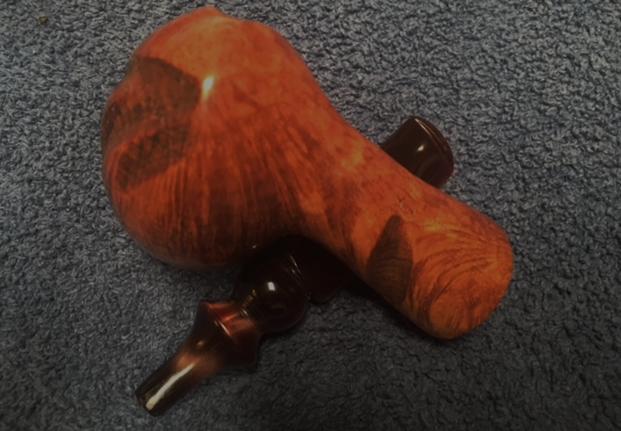
 With the stem fit and finished I set it aside to work on the bowl. The bowl was in decent condition other than some darkening on the top and two small pits on the right front of the bowl. There was also a little bit of cake in the bottom one third of the bowl. Whoever had reamed it did not take the conical bowl into their thoughts. The rest of the bowl was well reamed but the bottom portion was not. I reamed the bowl with a Savinelli Fitsall pipe knife to clean up the bottom part of the bowl. I filled in the two small pits with clear super glue and when the patches cured sanded them smooth with 400 grit sandpaper. Unfortunately I did not take a photo of that part. Ah well. It is easy to get caught up in the process and forget the photos… I apologize for that.
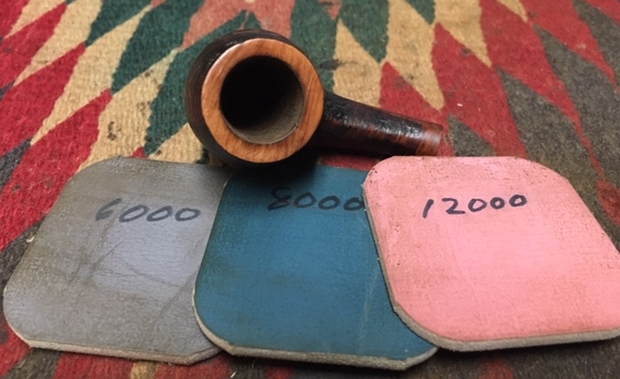
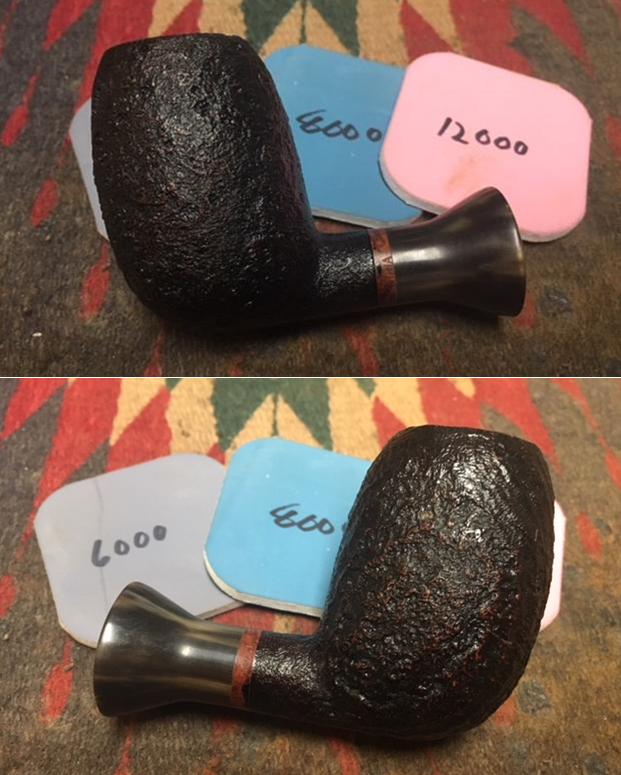
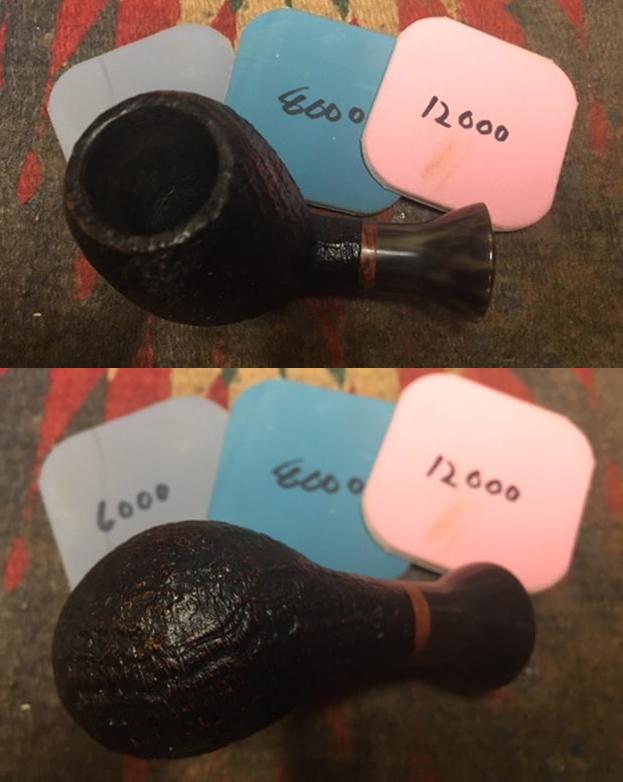
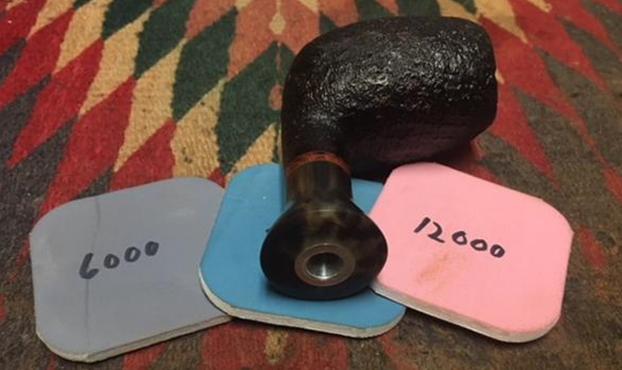
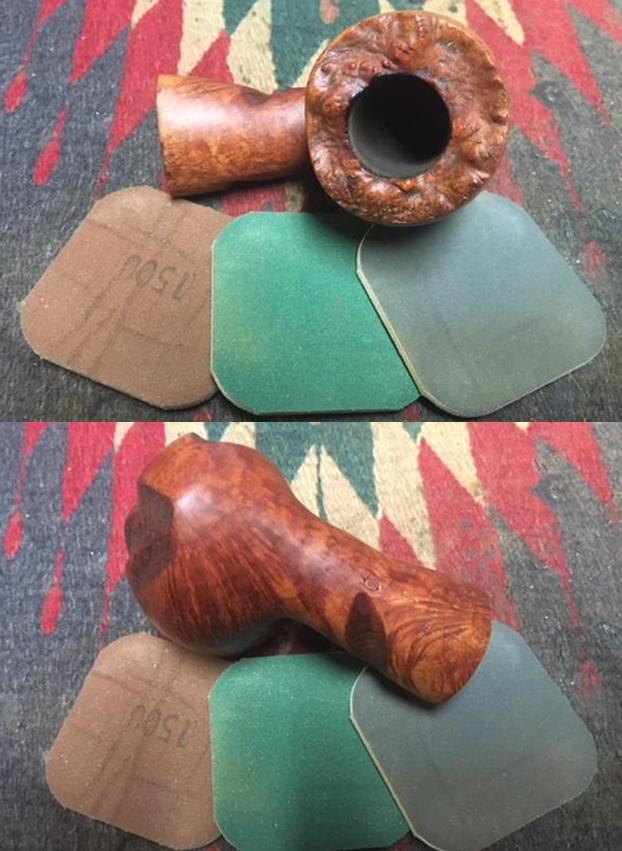
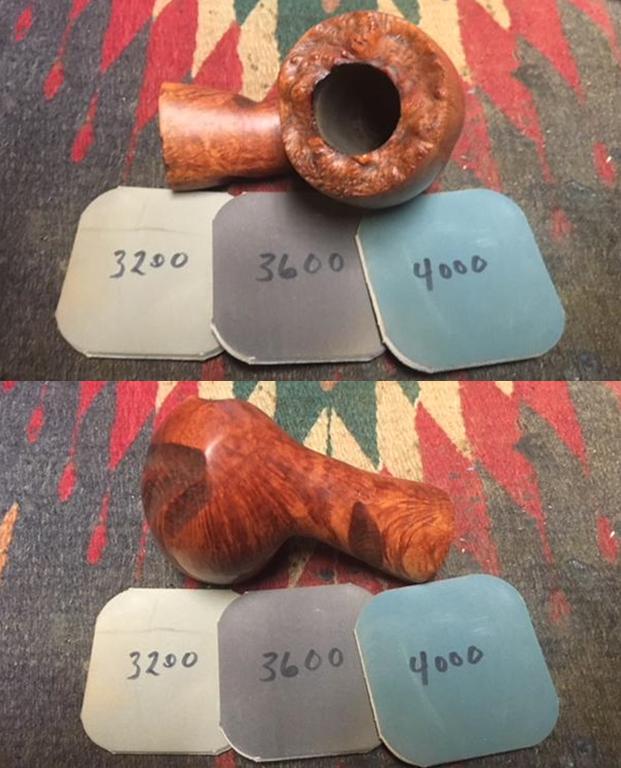
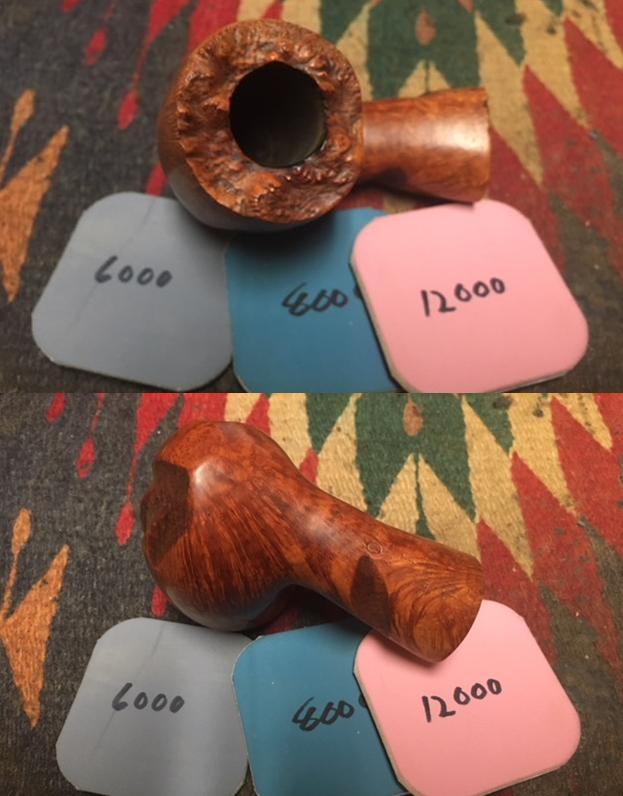
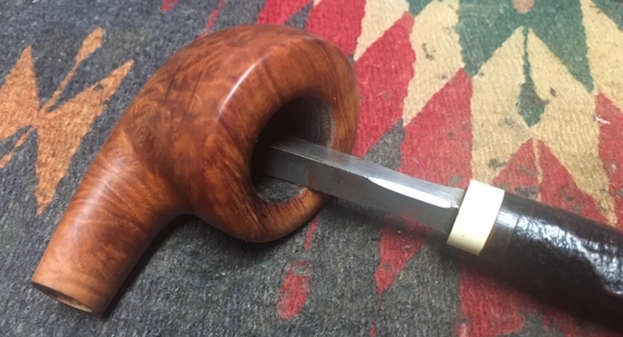 I polished the briar with 2400-12000 grit micromesh sanding pads – wet sanding with 1500-2400 grit pads and dry sanding with 3200-12000 grit pads. I wiped the bowl down with a damp cloth after each pad. I found that with each successive grit of micromesh the grain stood out more and gave a shine to the pipe. I liked what I saw when I looked at it.
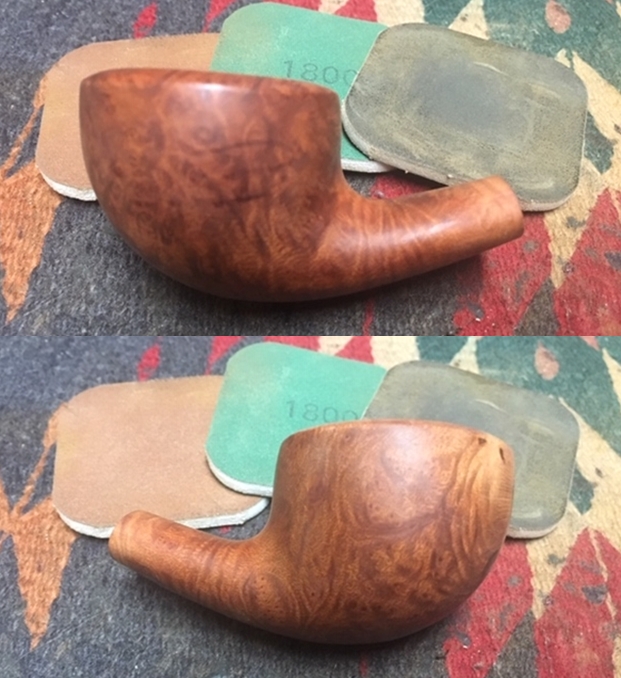


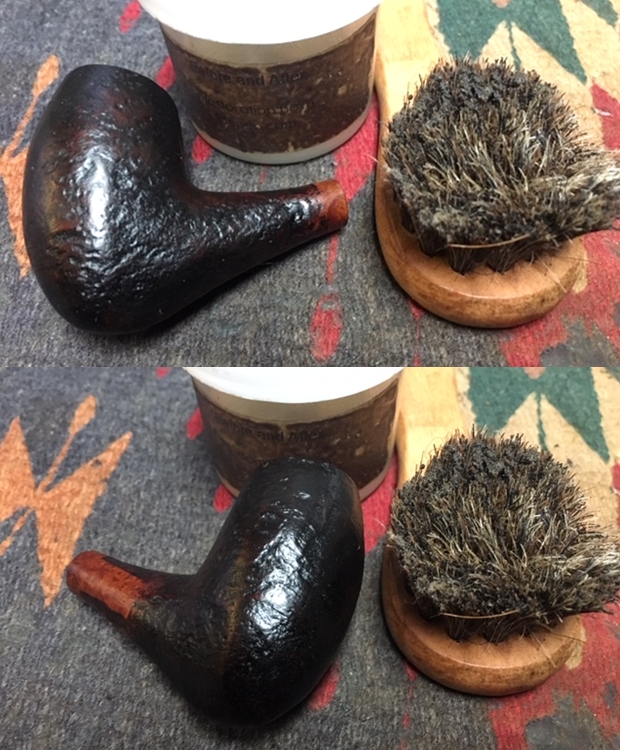
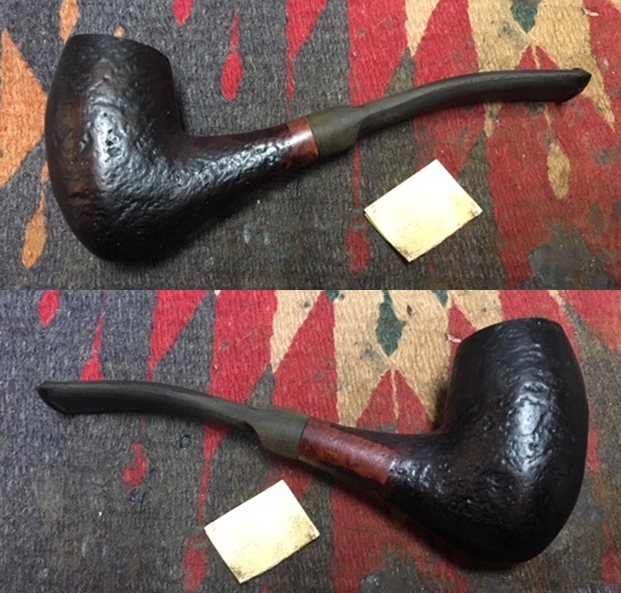
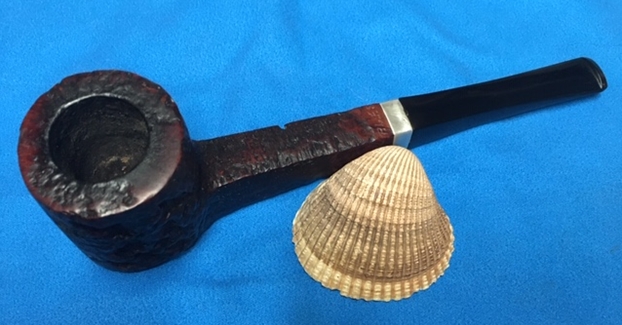
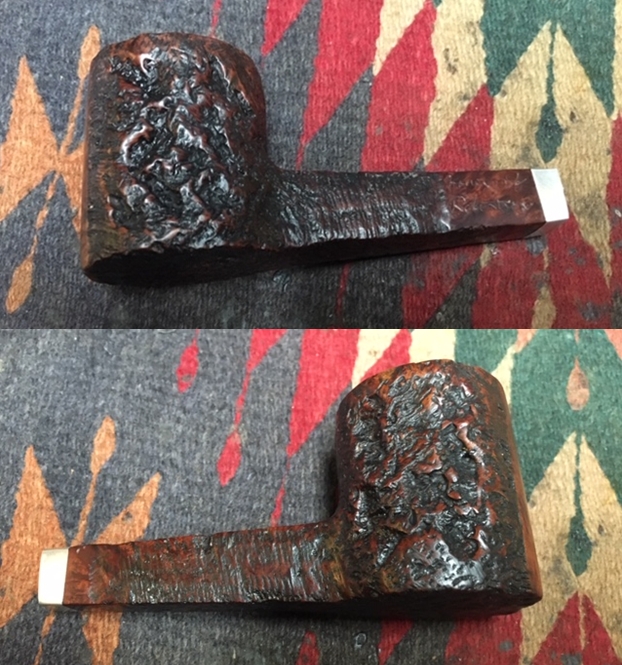
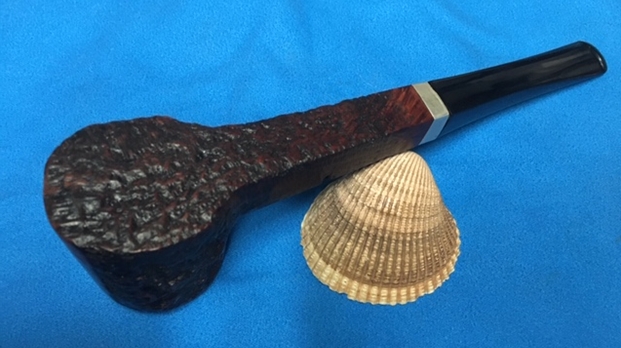
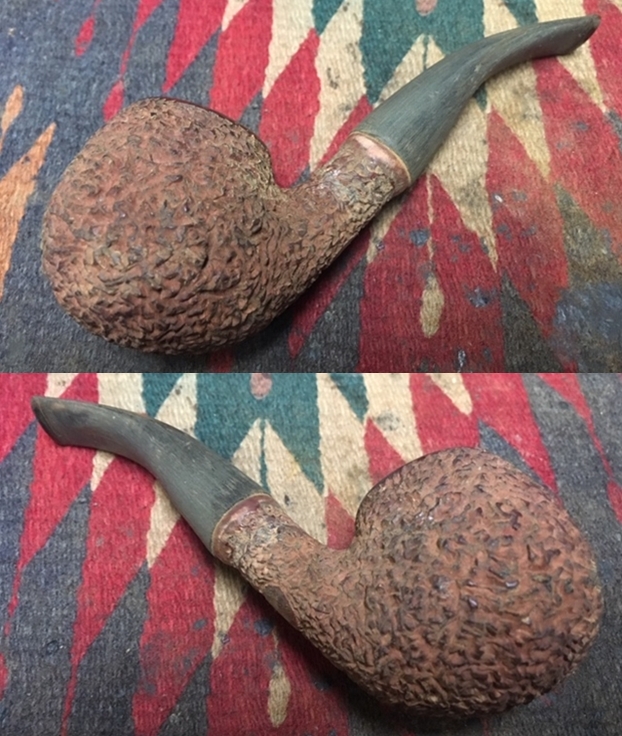
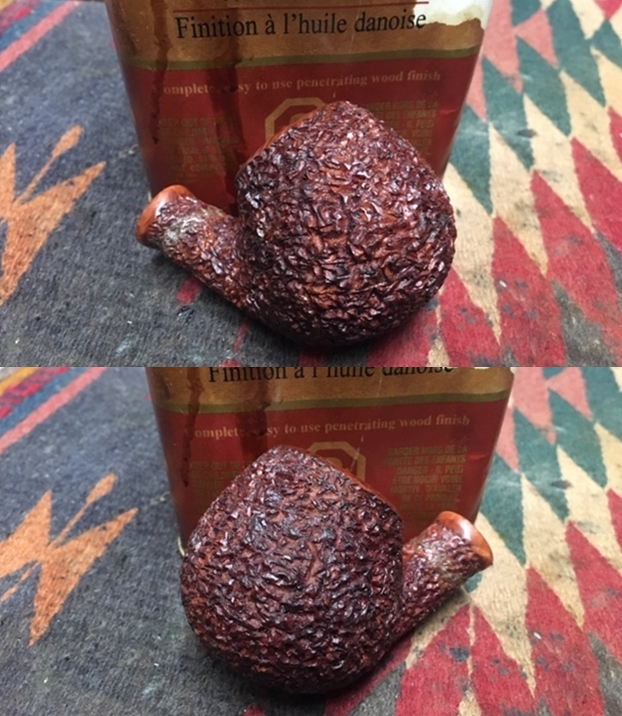
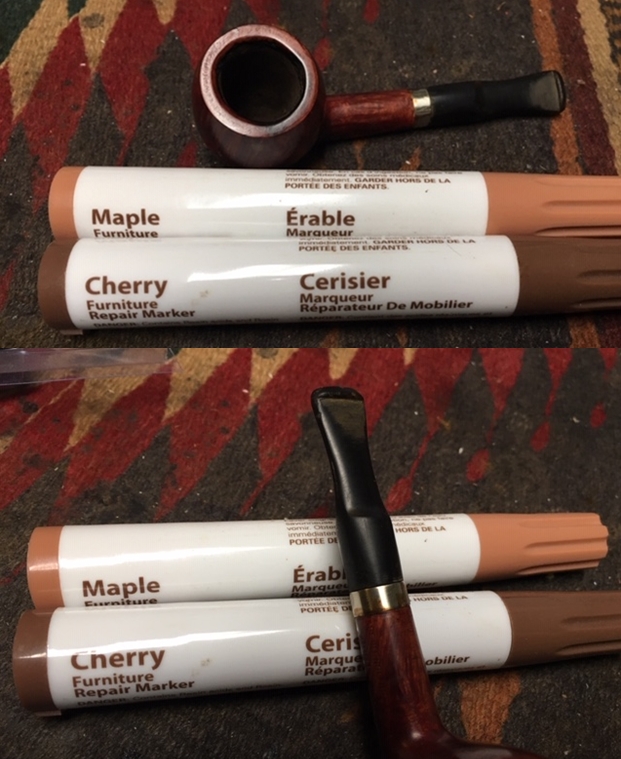
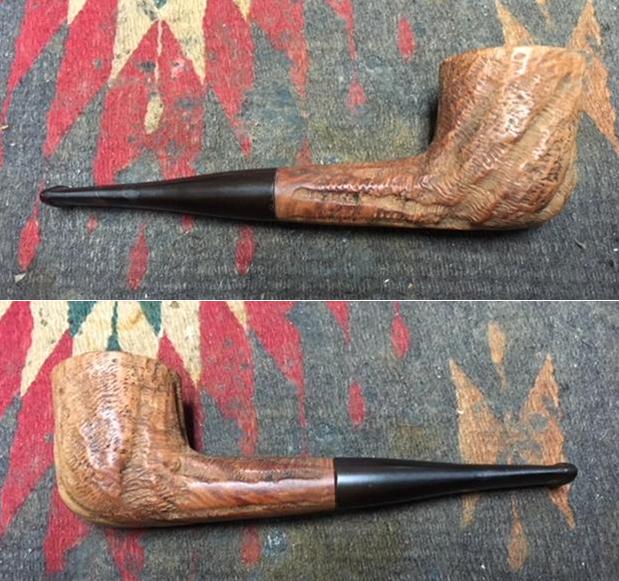
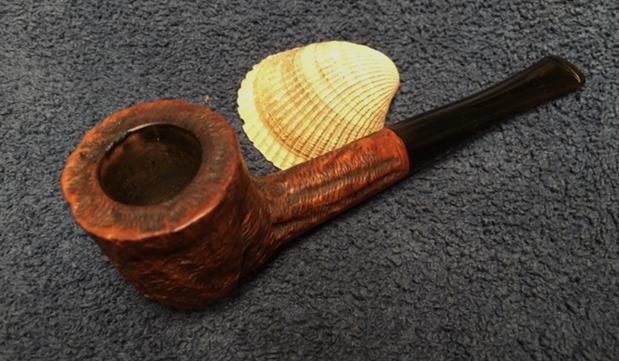
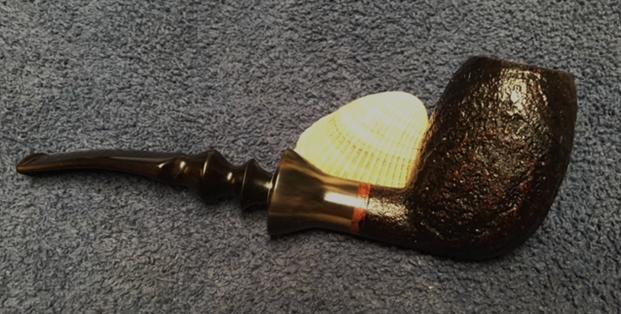
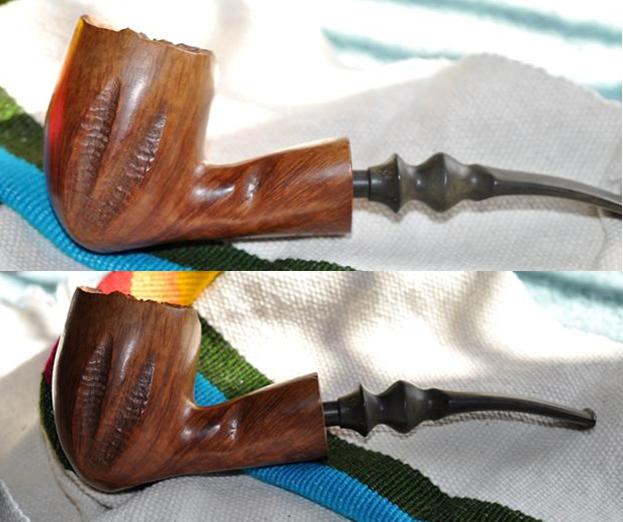
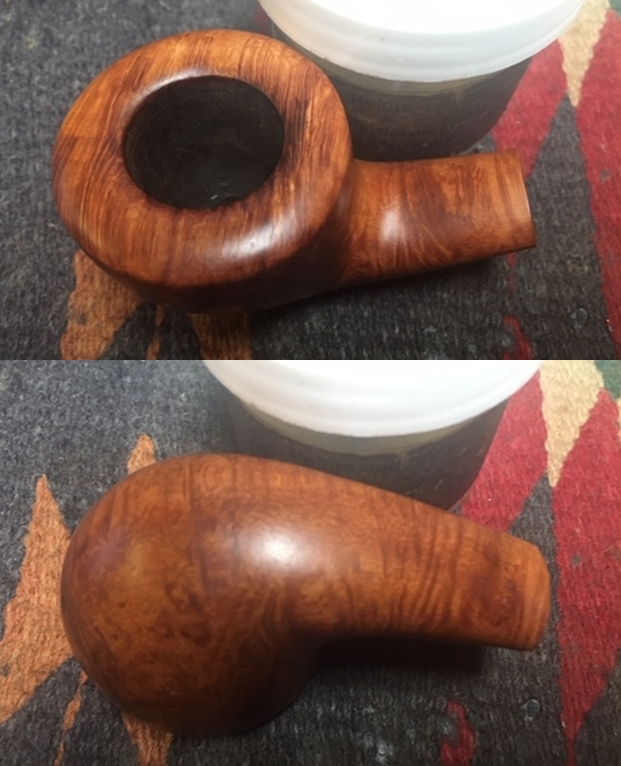
 I worked some Before & After Restoration Balm into the surface of the briar with my fingertips to clean, enliven and protect it. I let the balm sit for a little while and then buffed with a cotton cloth to raise the shine. The following photos show the bowl at this point in the restoration process. The bowl and the rim top look really good and the darkening is gone. The finish looks very good with the rich oil finish on the bowl and rim. I am very happy with the results.
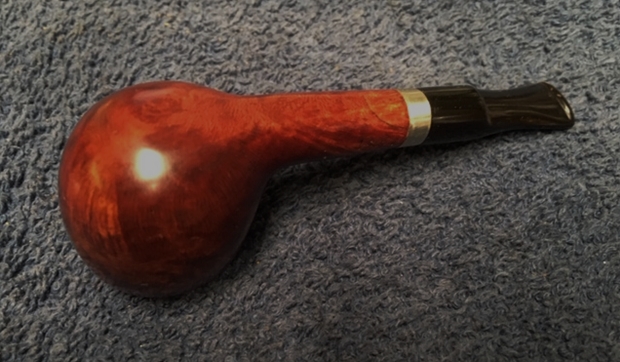
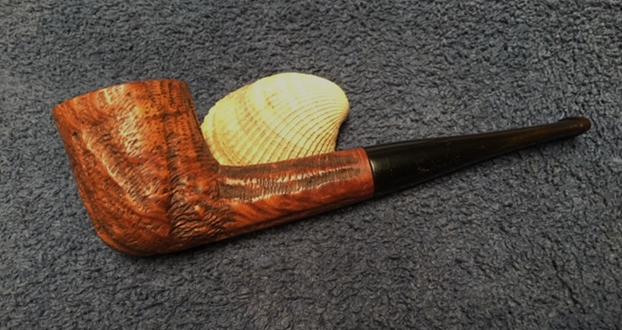
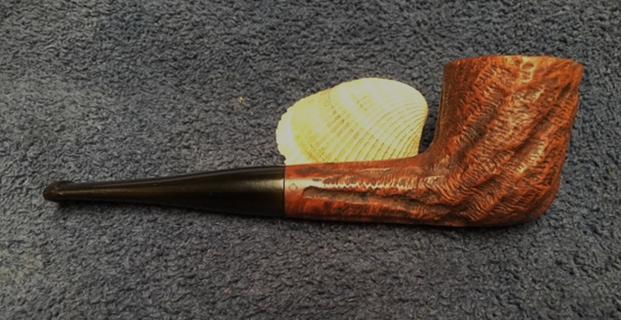
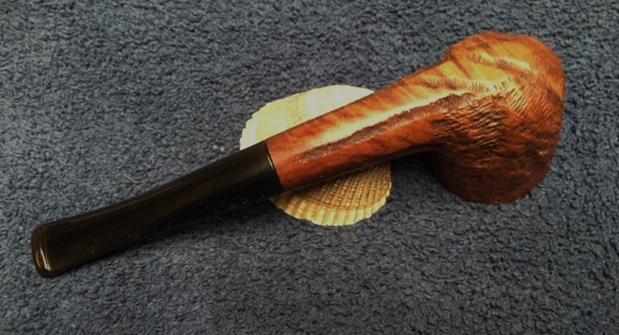
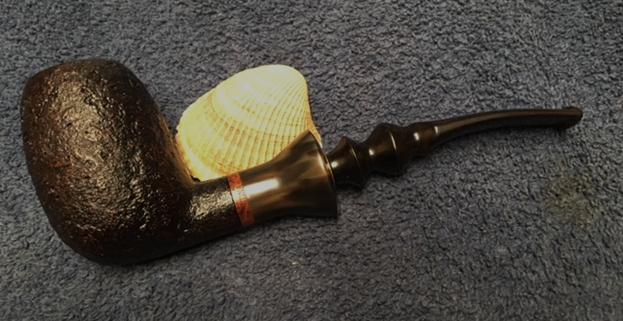
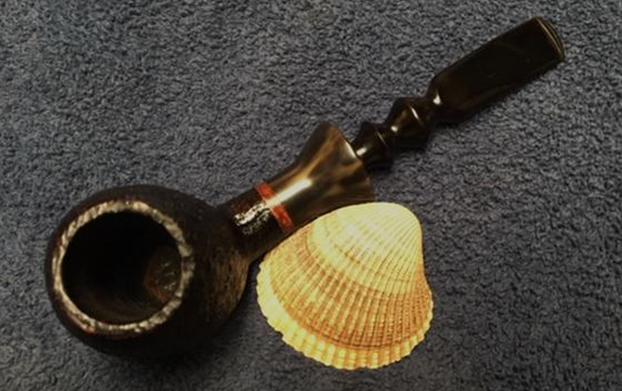
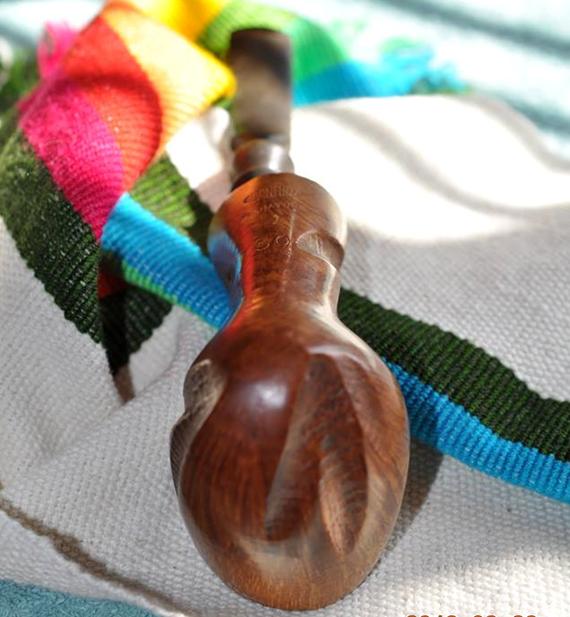
 Now with both parts of the pipe finished, I polished stem with Blue Diamond polish on the buffing wheel. I gave the bowl and stem multiple coats of carnauba wax. I buffed the pipe with a clean buffing pad to raise the shine. I hand buffed it with a microfiber cloth to deepen the shine. The pipe polished up pretty nicely. The contrasting grain came alive with the buffing. The rich oil finish on the briar works well with the new, polished black vulcanite stem. The finished pipe is a beauty and feels great in the hand. Have a look at it with the photos below. The dimensions are Length: 5 ½ inches, Height: 1 1/2 inches, Outside diameter of the bowl: 1 ¾ inches, Chamber diameter: 9/16 of an inch. This one will be going back to Alex with the rest of his pipes that I am working on. Thanks for walking through the restoration and restemming with me on this nicely shaped MALAGA Scoop.