Blog by Robert M. Boughton
https://www.facebook.com/roadrunnerpipes
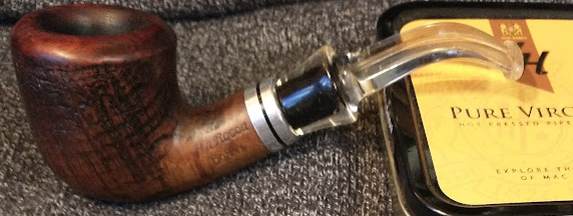
I remembered glancing at a blog Steve wrote about various methods for cleaning Perspex stems, but if I ever got to the most important lesson his years of work with the less forgiving form of acrylic taught him, I forgot it: “that you are never to use alcohol on Perspex!” I’m not going to flagellate myself for waiting to revisit the blog until it was too late for my La Rocca Donna, but cripes, I wish I had not! There are kinder, gentler ways to clean up the type of impenetrable brown mess that only long accretion of tobacco, nicotine and saliva can wreak on the airway of a stem that was once uncorrupted in its clarity, other than the standard approach I took. Oh, well. Lesson learned. At least I seem to have avoided the tiny cracks in the stem that can result from contact with alcohol, but I suspect that some of the discoloration may have been fixed into the Perspex.
RESTORATION 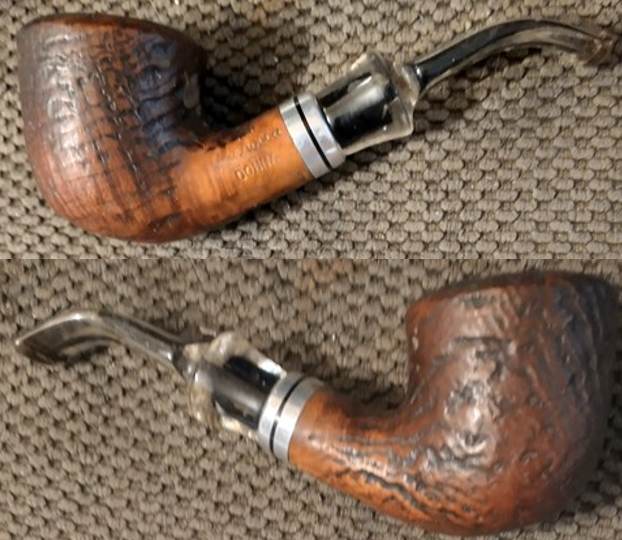

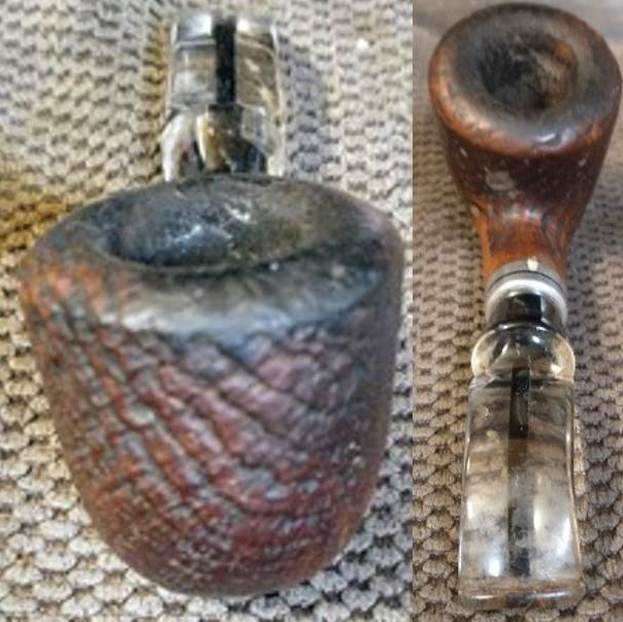
 This time, I’ll begin with the stem, to be done with the bad part – not that it didn’t turn out okay.
  The first thing I did was pour some Everclear – not just Isopropyl – into a dish, the quicker to soak cleaners and run them through. In the words of a former co-worker who always kept me laughing, “In the name of all that’s sacred, what was I thinking?” And I was so pleased by the great progress I made!
 I must turn to the stummel now in order to show the natural progression of my folly, although it all went fine for the briar.
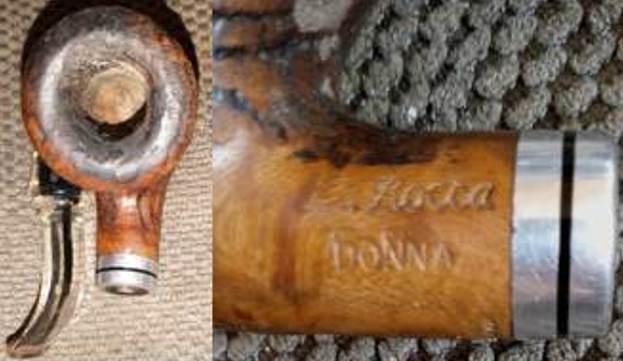
 I reamed and scraped the chamber, then sanded with 60-grit paper and scrubbed it and the shank with more Everclear.
 Using 400-grit paper on the rim made it clear that, once again, my roommate’s propensity for inflicting violence on helpless, loyal pipes had ruined it, short of an ad lib sandblast effect. I did that once on a pipe that had nothing to lose and even surprised my old mentor. He had the audacity to look as if he doubted me! At any rate I liberated Donna here for someone more loving. Deciding on a smooth finish for the rim, I went down to 60-grit followed by a 120/180 pad, 220, 320, 400, 600 and 1000.
  Now, to add injury to insult to the stem, I boiled more Everclear through the pipe in a retort.
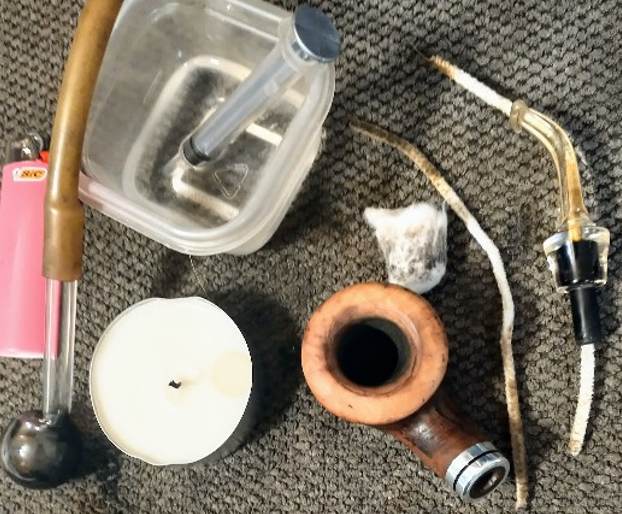 Afterward, I found Steve’s blog and cringed as I read it. I micro meshed the rim, stained it with Fiebing’s British Tan leather dye and buffed off the char with 3600 and 4000 micro mesh.
 I applied Decatur Pipe Shield.
 I found a close equivalent to soft scrub for the stem with some generic gloopy stain remover. It did no harm and even helped a tiny bit, and it did a remarkable job of making the outside of the Perspex sparkle with no other effort.
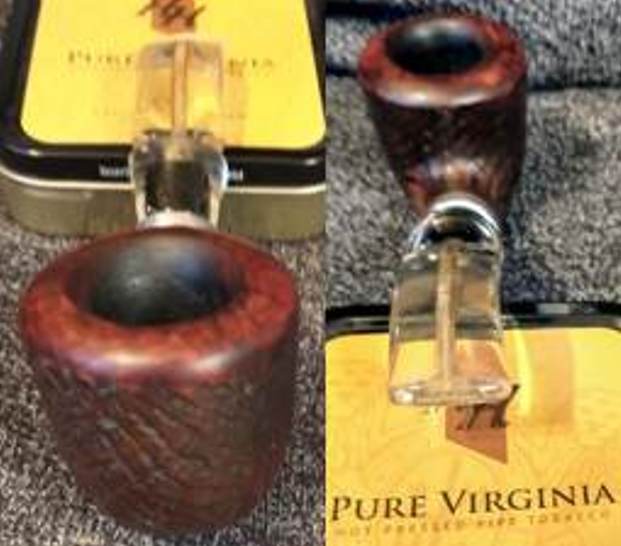
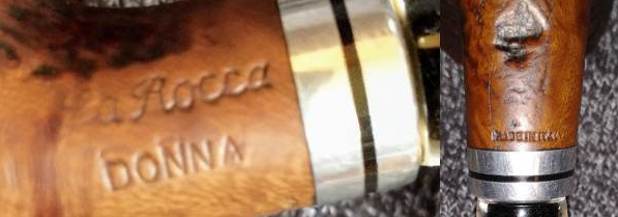
  In the end, this La Rocca turned out nicely. But now my Donna will surely leave me.



 SOURCE
https://rebornpipes.com/2016/07/08/a-collection-of-methods-for-cleaning-clear-perspex-stems/comment-page-1/#comment-35918

