Tag Archives: using a pipe retort

Oh, Donna, I Wish I Read the Instructions First


Blog by Robert M. Boughton

https://www.facebook.com/roadrunnerpipes

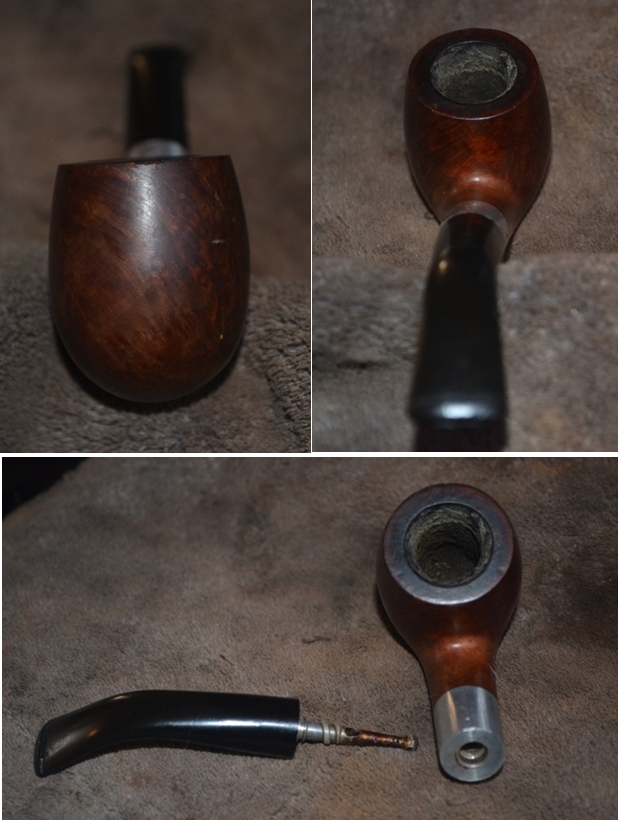
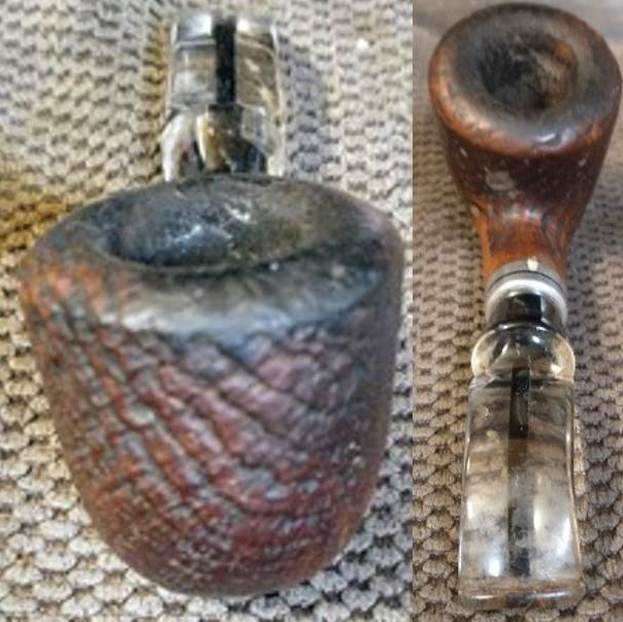
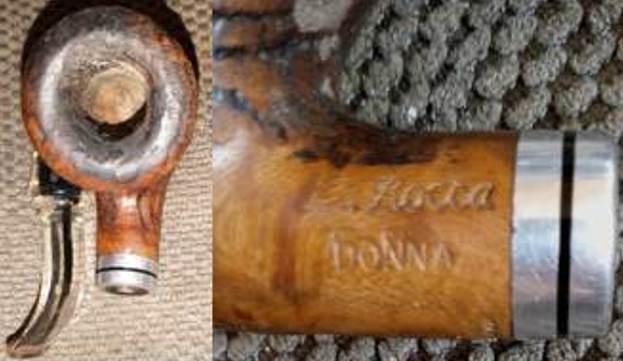
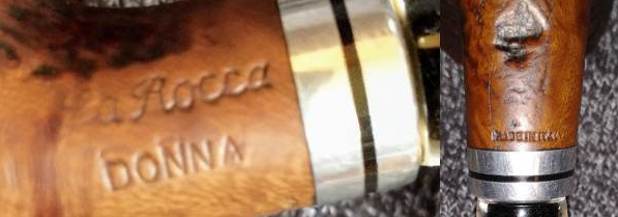
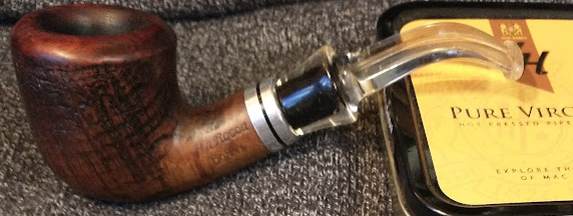
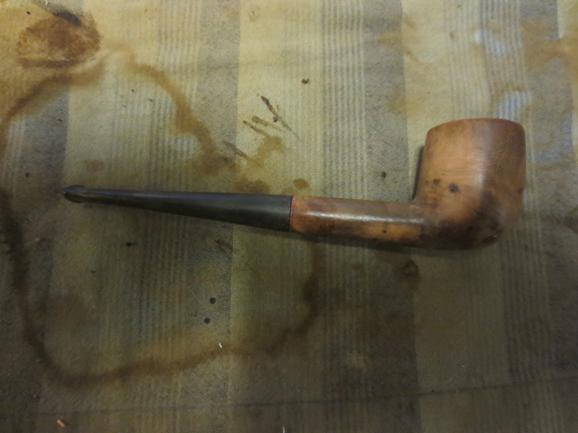
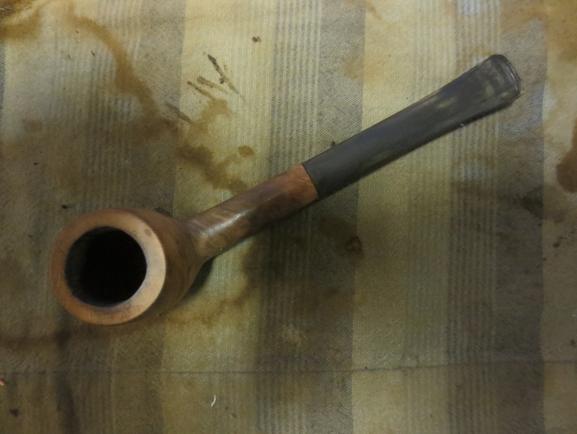
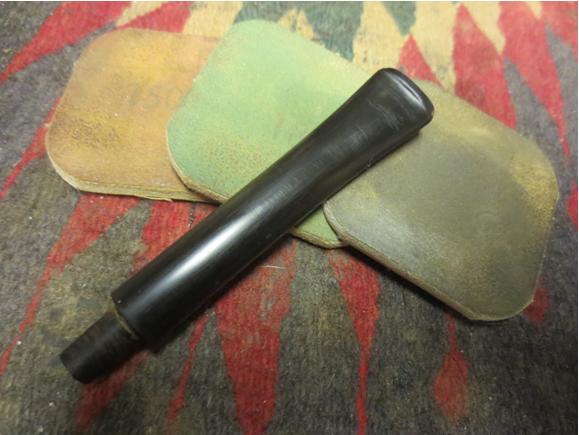
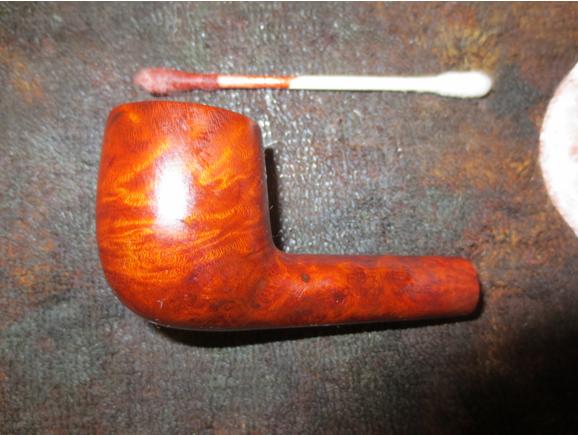
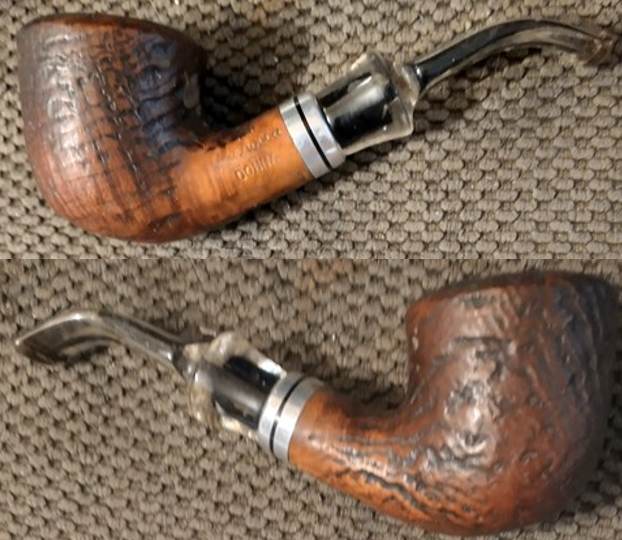
I remembered glancing at a blog Steve wrote about various methods for cleaning Perspex stems, but if I ever got to the most important lesson his years of work with the less forgiving form of acrylic taught him, I forgot it: “that you are never to use alcohol on Perspex!”  I’m not going to flagellate myself for waiting to revisit the blog until it was too late for my La Rocca Donna, but cripes, I wish I had not!  There are kinder, gentler ways to clean up the type of impenetrable brown mess that only long accretion of tobacco, nicotine and saliva can wreak on the airway of a stem that was once uncorrupted in its clarity, other than the standard approach I took.  Oh, well.  Lesson learned.  At least I seem to have avoided the tiny cracks in the stem that can result from contact with alcohol, but I suspect that some of the discoloration may have been fixed into the Perspex.

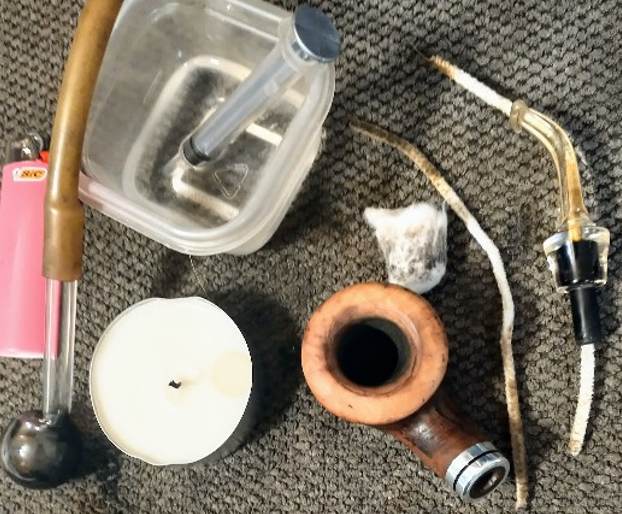
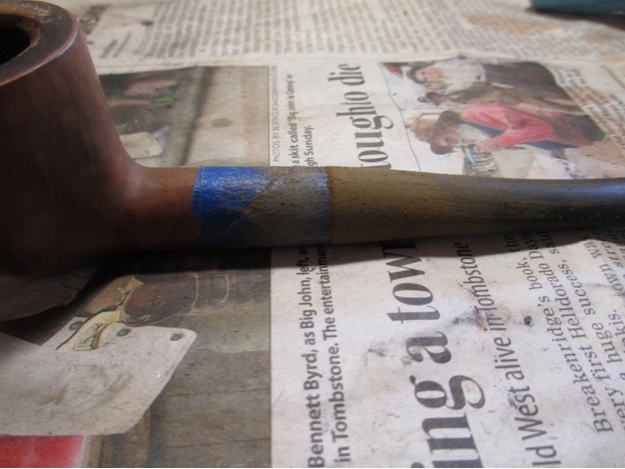
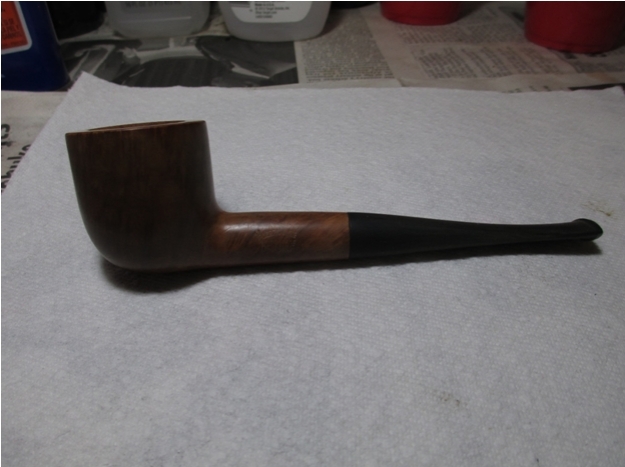
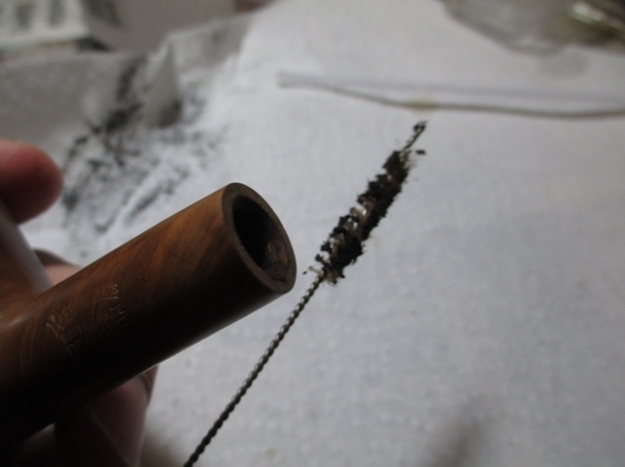
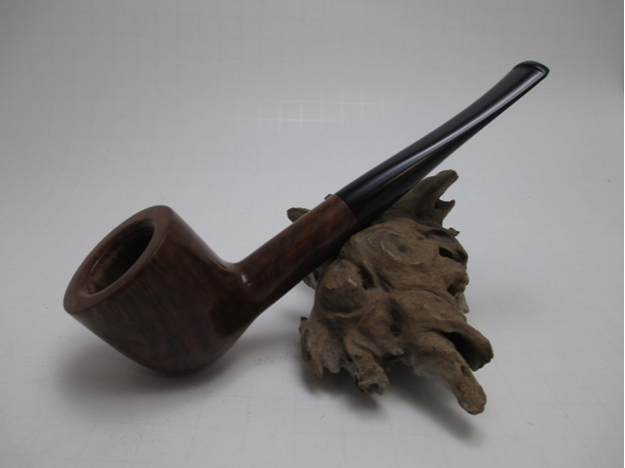
RESTORATION This time, I’ll begin with the stem, to be done with the bad part – not that it didn’t turn out okay. The first thing I did was pour some Everclear – not just Isopropyl – into a dish, the quicker to soak cleaners and run them through.  In the words of a former co-worker who always kept me laughing, “In the name of all that’s sacred, what was I thinking?”  And I was so pleased by the great progress I made!I must turn to the stummel now in order to show the natural progression of my folly, although it all went fine for the briar.I reamed and scraped the chamber, then sanded with 60-grit paper and scrubbed it and the shank with more Everclear.Using 400-grit paper on the rim made it clear that, once again, my roommate’s propensity for inflicting violence on helpless, loyal pipes had ruined it, short of an ad lib sandblast effect. I did that once on a pipe that had nothing to lose and even surprised my old mentor. He had the audacity to look as if he doubted me! At any rate I liberated Donna here for someone more loving. Deciding on a smooth finish for the rim, I went down to 60-grit followed by a 120/180 pad, 220, 320, 400, 600 and 1000. Now, to add injury to insult to the stem, I boiled more Everclear through the pipe in a retort.Afterward, I found Steve’s blog and cringed as I read it.  I micro meshed the rim, stained it with Fiebing’s British Tan leather dye and buffed off the char with 3600 and 4000 micro mesh. I applied Decatur Pipe Shield.I found a close equivalent to soft scrub for the stem with some generic gloopy stain remover. It did no harm and even helped a tiny bit, and it did a remarkable job of making the outside of the Perspex sparkle with no other effort. In the end, this La Rocca turned out nicely.  But now my Donna will surely leave me. SOURCE
https://rebornpipes.com/2016/07/08/a-collection-of-methods-for-cleaning-clear-perspex-stems/comment-page-1/#comment-35918

Breathing New Life into a mystery pipe and in the process finding out that it is a GBD


Blog by Steve Laug

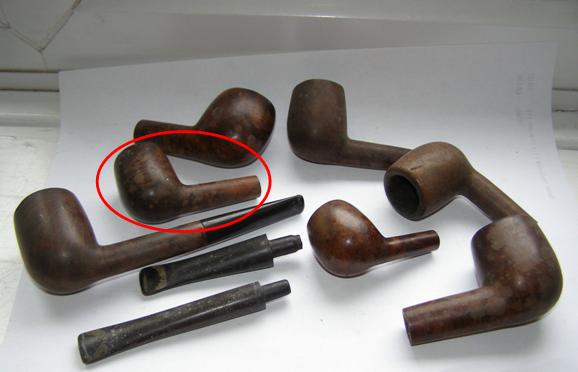
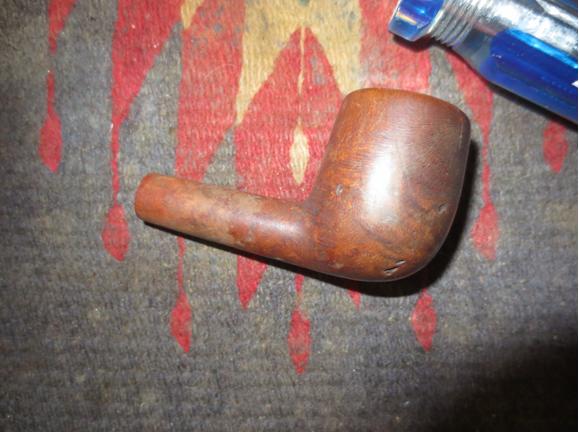
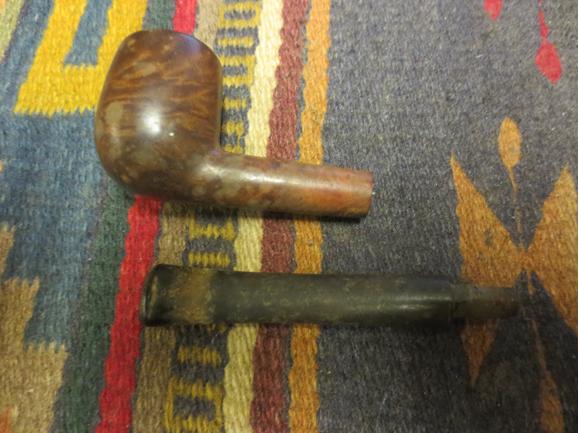
I picked up this bowl in a purchase of bowls on EBay recently. All of them had a broken tenon in the shank and this one was no different. All of the bowls had stamping that was pretty unreadable or not present at all. This one had very faint stamping. When I first looked at it I put it aside and was in no rush to restem another bowl. Yesterday I took it out of the box and had a look at it through a lens with a bright light. I was pretty surprised to see that there was a faint GBD in an oval and underneath that it was stamped PREMIER and under that London Made. The shape number on the other side of the shank and any other stamping was gone. In the next three photos below it is circled in red – in the first it is the second bowl down in the left hand column. In the second it is the second one down and in the third it is at the top of the photo in the middle.GBD1

GBD2

GBD3 It was in pretty rough shape but underneath the grime there was a classic shaped billiard that was just waiting to be reborn. The finish on the bowl was worn, tired and water spotted. The rim was very rough from tapping out and was rounded on the edges. The bowl was caked but it also had about a half bowl of unsmoked tobacco. It also had the tenon broken off in the shank of the pipe. It almost looked as if the owner had dropped it mid smoke and the stem broke off and he just laid it aside. There were some serious deep gouges in the bottom right side of the bowl. It looked as if it was part of the fallout when the pipe was dropped. The photos below show what the pipe looked like when I received it. You can also see why I missed the stamping on the side of the shank.GBD4

GBD5

GBD6 When it arrived I used my usual process and pulled the broken tenons from all of the shanks. I used a screwdriver, pliers and a drywall screw. I thread the screw into the airway on the broken tenon and then use the pliers to wiggle it free. You can see how it works in the photos below. I removed five broken tenons in a matter of moments.GBD7

GBD8 At this point I put all five bowls away and did not look at them for almost a month. The past two days I have been through them and already restemmed the tiny apple. This one came out next from the box. I wet the stem and looked at it through a lens with a bright light. That is when I discovered that the mystery pipe was a GBD. There was no shape number but it was a petite billiard. I had a stem in my stem can that was nearly perfect for the pipe. It did not have a GBD logo but it fit really well. I only needed to shorten the length of the tenon and the left side of the stem to get a perfect fit.GBD9

GBD10 I wiped down the bowl with acetone to see what I was working with under the grime. I took a few photos of the bowl to show what it looked like.GBD11

GBD14

GBD13

GBD12 I shortened the tenon and the fit was great against the shank. Now all that remained was to sand and clean the stem.GBD15 I used a dental pick to remove the dottle from the bowl. You can see the amount of unburned tobacco that remained in the bowl. I think my theory of being dropped mid smoke was pretty accurate. I reamed the bowl with a PipNet reamer and took the cake back to bare briar. The bowl was between the smallest sized cutting head and the second one so I could only do a part of the job with the reamer. The round bowl made it not feasible to work with the KLEENREEM reamer. I cleaned up what remained with a pen knife to smooth out the walls of the pipe.GBD16

GBD17

GBD18 In the photo above shows the damage to rim top and the inner and outer edge of the rim. I decided to top the bowl to clean up as much as possible of the rim damage.GBD19

GBD20 I repaired the deep gouges on the right side of the bowl with superglue and briar dust. I would have tried to steam them out but they had sharp edges on all of the marks and steaming would not have raised them. I sanded the dried repairs with 220 grit sandpaper to blend them into the surface of the briar. You will see in later picture what that looked like.GBD21 I started to clean out the shank and stem with pipe cleaners, cotton swabs and alcohol and soon began to realize that it was far dirtier than I initially expected.GBD22

GBD23 I put the stem on the shank and set up the pipe retort. I boiled three test tubes of alcohol through the bowl and stem until it finally came out clear. The second photo is a cool picture of the boiling alcohol. I had to include it!GBD24

GBD25 I ran pipe cleaners, a shank brush, cotton swabs and alcohol through the stem and shank to remove what was left behind by the retort and was pleased to see how clean it was. One surprise to me was the red stain that came out of the shank. Evidently the pipe had originally been stained with a oxblood stain. You would never have guessed that looking at what I started with. Now that the internals were clean I took a series of photos of the pipe to show where it stood at this point. In these photos you can see the repairs on the right side of the bowl.GBD26

GBD27

GBD28

GBD29 Now it was time to polish the stem and work on the finish of the pipe. I worked on the stem with 220 grit sandpaper and a medium and fine grit sanding sponge to remove the grime and the oxidation on the stem. I don’t know what was on this stem but it was tacky, gummed up the sandpaper and was hard to clean. I wiped it down with alcohol and then repeated the sanding. I was able to remove the oxidation and the tooth chatter at the button. I sanded the stem with micromesh sanding pads – wet sanding with 1500-2400 grit pads and then giving the stem a coat of Obsidian Oil. I dry sanded with 3200-4000 grit pads and gave it another coat of oil. I finished with 6000-12000 grit pads and gave it a final coat of the oil. I let that dry.GBD30

GBD31

GBD32 I sanded the bowl with 1500-4000 grit micromesh to smooth out the sanding marks. I wiped the bowl down with a tack cloth and then gave it a coat of Cherry stain mixed with Danish Oil. I buffed it by hand and gave it a second coat. I set it aside to dry. Once it was dry I buffed it by hand with a soft microfibre cloth.GBD33

GBD34

GBD35

GBD36 I put the stem on the pipe and then buffed the stem and bowl with Blue Diamond on the wheel and then gave the bowl and stem several coats of carnauba wax. I buffed it with a clean flannel buff to raise the shine. I hand buffed it with a microfibre cloth to give a deeper shine to the pipe. The finished pipe is shown in the photos below.The cherry stain brings out the grain and at the same time hides the repairs. While the pipe will never win any contests for beauty or perfection that must have once accompanied the PREMIER it is nonetheless fully functional and should deliver the next pipe man who owns a decent smoke at a decent price. Thanks for looking.GBD37

GBD38

GBD39

GBD40

GBD41

GBD42

GBD43

An Unknown Italian Full Bent Billiard by Any Other Name Would Smell as Sweet


Guest Blog by Robert M. Boughton
Member, North American Society of Pipe Collectors
http://www.naspc.org
http://www.roadrunnerpipes.com
http://about.me/boughtonrobert
Photos © the Author

’Tis but thy name that is my enemy;
Thou art thyself though, not a Montague.
What’s Montague? it is nor hand, nor foot,
Nor arm, nor face, nor any other part
Belonging to a man. O! be some other name:
What’s in a name? that which we call a rose
By any other name would smell as sweet;
So Romeo would, were he not Romeo call’d,
Retain that dear perfection which he owes
Without that title. Romeo, doff thy name;
And for that name, which is no part of thee,
Take all myself.

― William Shakespeare (1564-1616), English playwright and poet, in “Romeo and Juliet,” Act II, sc. 2, 1597

INTRODUCTION
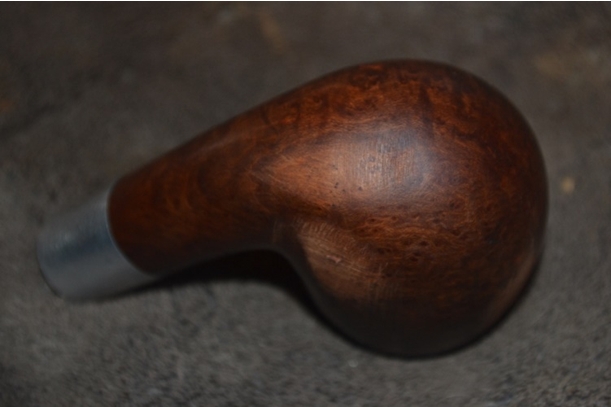
This splendid rusticated full bent billiard somehow overshadowed the other pipes in one of the many estate lots I purchased in rapid succession some months past, despite my inability to identify its brand in the group photo. Of course, being also a system pipe, the slim chance that it was a Peterson’s crossed my mind, but I was more than doubtful. When the lot arrived, I was eager to see who made it and set aside the others of known make and quality in a rush to examine the nomenclature of the mysterious new addition to my pipes to be restored for resale. I was surprised and intrigued to find it was a no-name Italian.It1 I began showing the unusual pipe to some of my friends more familiar with Italian crafters than I. The first of these was my mentor, Chuck Richards, as he was present at our tobacconist just after the package arrived when I tore my way past the over-taping that is the bad habit of so many shippers. His own exquisite pipe of the day in mouth, Chuck examined the specimen with the quick thoroughness of which he is capable, squinting and pursing his lips, but offered nothing by way of a comment, which in itself spoke volumes of his appraisal. In this way Chuck’s style is much like that of New Yorker Magazine reviews, which, if they have nothing at all good to say about a book, condemn the work to a brief blurb citing only its name, author and other trivial information.

Undaunted, perhaps or perhaps not with an undue sense of romanticism, I held onto my suspicion that the no-name bent billiard system was the reject of a well-known company such as Savinelli, Ser Jacopo, Castello or Velani – though I could not suspect a Romeo.

I can only add now that the bella pipa’s origins remain secret, but like Juliet in the Bard’s famous tragedy, I care not for its name.

Needing to know how this pipe smoked before the refurbish, I gave it a good initial cleaning with Everclear. I noted the ease with which the several pipe cleaners – that’s right, this pipe was so well cared for that I did not need to use half a pack of bristly cleaners just to test it with safety – passed through the stem and well-aligned shank opening and draught hole.It2 After letting it have plenty of time to dry out, I loaded a bowl and relaxed on my couch. Soon I drifted into abstracted musing.

By the time I returned to the present space-time continuum, a half-hour had passed. Faint drifts of smoke wafting upward, I realized the tobacco had not yet extinguished, yet the bowl, still in my hand, was cool. The taste of the tobacco remained fresh, without a hint of wetness to the draw. I reached for my tamper and, still puffing, found that less than a quarter of the bowl had turned to ash.

Whoever crafted this pipe, I knew, was a true artist by any name.

THE REFURBISH
Finished with my one and only enjoyment of this wonderful no-name, I turned it again in my hands for another look-over.It3

It4

It5

It6

It7 There was not a thing wrong with it that minimal cleaning and shining would not fix. The rim showed no burn. The rusticated majority of the bowl and shank was faded black from age. The deep red natural wood in two spots had but the faintest scratches. The stem was impeccable if lusterless. The steel band was in good shape. The chamber, even, was as smooth as almost any I have ever seen.

And so I began with a gentle ream of the chamber followed by a scouring using 320-grit paper to remove the mild buildup of cake. As always, I followed this by soaking a couple of small squares of cotton cloth in Everclear and washing away the carbon residue.

The next logical step was to retort the pipe. This, in fact, proved to be the step that took the most time (maybe 10 minutes), despite the previous owner’s excellent care but apparently frequent enjoyment of the bent billiard.

Following the retort, I gave the briar bowl and shank with the band, along with the stem, a bath with purified water. This revealed the minor scrapes on the patches of natural wood, which I removed with progressive increases of micromesh 1500, 2400, 3600 and 4000. I made the band sparkle with a light buff of super fine steel wool, leaving no scratches, and used the same progression of micromesh on the stem.

And that was all, other than buffing the stem with red and white Tripoli and White Diamond, and then the bowl and shank with the last of the Halcyon II I had on hand.It8

It9

It10

It11

It12

It13 CONCLUSION
The strain of my well-known pipe acquisition disorder almost proved too much to overcome with my intense and somewhat inexplicable desire to add a no-name Italian pipe to my collection that already overflows the boundary of a stand-up case with shelves of excellent examples of some of the best brands made. But such is the obsessive-compulsive beast of P.A.D. that the beauty of the pipe itself and the nagging doubt as to the mere possibility of a greater pedigree proved to be a great trial.

The tribulation ended with the wise arbiter of such matters, whence its powers are derived no serious pipe collector can say, granting me at least a reprieve. With every ounce of willpower I could summon, I listed the No-Name Italian Rusticated Full Bent Billiard for sale.

A glooming peace this morning with it brings;
The sun, for sorrow, will not show his head:
Go hence, to have more talk of these sad things;
Some shall be pardon’d, and some punished:
For never was a story of more woe
Than this of Juliet and her Romeo.

— Id., Act IV, sc. 3

Refurbishing a Heritage Heirloom


Blog by Andrew Selking

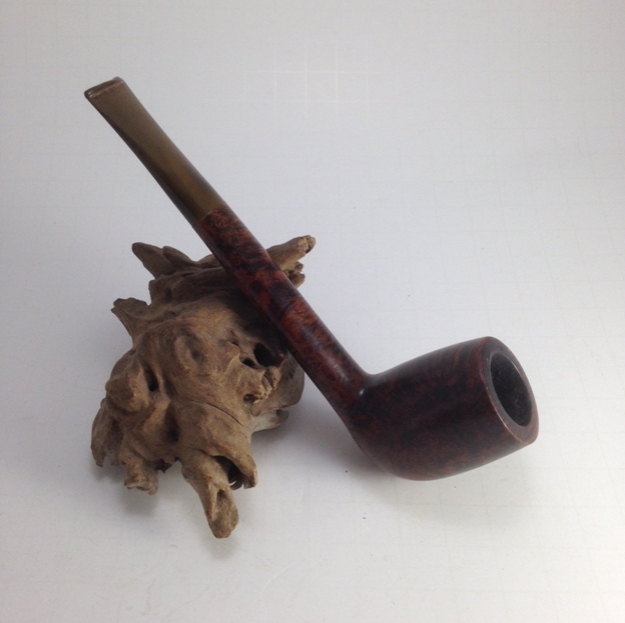
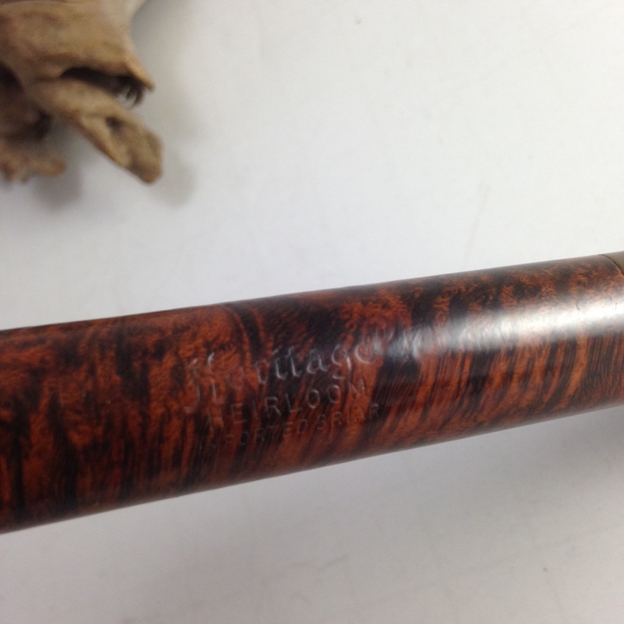
I recently stumbled across the Heritage line of pipes. These pipes were made in the Kaywoodie factory, but on a completely separate line. Heritage pipes were Kaywoodie’s answer to Dunhill. According to one of their brochures, Heritage pipes were made from “briar burls seasoned and cured for up to 8 months,” with only “one briar bowl in over 300 selected to bear the Heritage name.” “Heritage stems are custom fitted with the finest hand finished Para Rubber stems. Mouthpieces are wafer thin and concave.”

The Heritage line began in the early 1960’s, with the trademark issued in 1964. The line was started at the request of Stephen Ogdon, (who worked for Kaywoodie in 1962). Mr. Ogdon had previous experience working for Dunhill, either running the New York store or working for Dunhill North America. Mr. Ogden was made President of Heritage Pi pes, Inc., Kaywoodie Tobacco Co.,Inc. and Kaywoodie Products Inc. as well as a Vice President of S.M. Frank & Co. Heritage Pipes were produced from 1964 until 1970 (Source Kaywoodie.myfreeforum.org).

Here is a copy of the Heritage brochure. (Courtesy Kaywoodiemyfreeforum) heritage1_zps888f5f2b heritage2_zps0d4dc760 heritage3_zpsef2358c6 The pipe I found was the number 72 Medium Canadian, oval shank. Interestingly, the one thing the Heritage line shared with Kaywoodie was the size and shape numbers. Unlike Kaywoodies, the Heritage pipes are normal push tenons.

When the pipe arrived, it had some tar build up on the rim and a thick layer of cake.Andrew1

Andrew2 The stem had some oxidation, but minimal chatter.Andrew3

Andrew4

Andrew5 The finish was in nice condition, so I decided to forgo the alcohol bath and attempt to keep the original finish.Andrew6

Andrew7 The first thing I did was ream the bowl. I used my Castleford reamer and was delighted to find that the cake was very loose, mostly old tobacco, and it easily cleaned back to the wood.Andrew8 Next I decided to find out how the bad the rim was under the tar build up.Andrew9 After a light buffing with 0000 steel wool, the tar was gone and I could see a pristine rim.Andrew10 Since I was on a roll, I decided to re-tort the shank.Andrew11 I normally show pictures of a brush loaded with gunk, but in this case the brush came clean on the first pass. I proceeded to use some q-tips and fuzzy sticks on the shank. Most of the tar came off with the first couple of q-tips, after that it was just a matter of a few more and the shank was clean.Andrew12 Since I didn’t soak the bowl in alcohol, I decided to soak it with some alcohol soaked cotton balls.Andrew13 While the bowl soaked, I retorted the stem.Andrew14 It was just as clean as the shank (this was the first fuzzy stick I passed through after the retort).Andrew15This was the cleanest “dirty” pipe I’ve ever had. Since the stem was so clean inside, I skipped the Oxyclean bath and tackled the oxidation. I used my normal progression of 400 grit wet/dry sandpaper with water, followed by 1500-2400 grit micro mesh pads with water.Andrew16 The finish seemed really dark, probably the result of oil from the previous owner’s hands, so I used some 0000 steel wool and acetone to clean the outside of the bowl and shank.Andrew17 The steel wool worked well on the bowl, so I skipped the 1500-2400 grit micro mesh and started at 3200. I used a progression of 3200-12,000 grit micro mesh for the bowl and stem in preparation for the buffing wheel.Andrew18 After an uneventful spin on the buffer, here is the finished pipe.Andrew19

Andrew20

Andrew21

Andrew22

Andrew23 This line of pipes might be one of the best kept secrets out there. I find that the quality of the stem compares to Dunhills and the wood is spectacular. I highly recommend these pipes.heritage4_zpsdc6295ef

In Retort to Claims of Unclean Restored Pipes – Robert M. Boughton


Guest Blog by Robert M. Boughton
Member, North American Society of Pipe Collectors
http://www.naspc.org
http://www.roadrunnerpipes.com
http://about.me/boughtonrobert
Photos © the Author

“A thick skin is a gift from God.” —Konrad Adenauer (1876-1967), first Chancellor of West Germany

INTRODUCTION
During the course of my serious restorations, and by that I mean the short period of time since I created an online store with the primary goal of selling estate pipes I repair, direct feedback from my local customers has been 100% positive. That, of course, is always gratifying, and I did appreciate it.But those who have read my previous blogs know I am not in the business to be gratified by elliptical, kind words of others. The real motivation is my love of all things tobacco-related and in particular returning a well-used or even battered pipe to its original beauty, or as close as I can come.But being somewhat more thick-skinned than most folks (if everyone grew up in my dysfunctional household, the whole world would have my hide), I always prefer the truth, the whole truth and nothing but the truth. So help me God. That last phrase might better be read, God help me.

In the last couple of months, you see, word has reached me of an alleged problem with the cleanliness of pipes I sold. Now, don’t get me wrong. I only use the word alleged because, having as thick of a head as my dermis and consequent confidence in my work with pipes or on any other subject for that matter, until proven wrong, my impulse was to resist the claim. The problem was that I was not hearing any complaints from customers. Such forthright criticisms might have been disappointing, but being constructive would have been treated as any direct reports: with the professionalism I apply to the daily conduct of my business.

The most unpleasant part of this experience, which as I mentioned went on (and on and on) for a couple of months, was that the feedback I kept getting was not from any friends or fellow pipe club members to whom I sold pipes, but instead from my good friend and mentor, Chuck Richards, who, to my great surprise and initial sadness, was the only person my customers, without exception, seemed to trust with such vital information.

Thus I received the first “word” that I needed to be more careful cleaning my pipes. I can tell you, my pipes almost cleaned themselves when that was all Chuck could say before he was distracted and had to tend to something, giving me just enough time to become more than a tad miffed. Being familiar with Chuck’s occasional terseness, I knew he was only passing on the information and had my interests at heart. Still, my breath grew short, and the heat rose under my collar. Soon enough, I got more details, including the first name of the customer, which I didn’t recognize, and then a description of the pipe – a Londoner black rusticated bent bulldog – that I connected right away to a different first name because I had bent a rule by accepting his check. I realized he went by his second name.Robert1 Yes, I recalled the pipe and its delighted new owner, when he bought it, with clarity. The nice, rough little black bulldog was one of the few I took from my private collection, having enjoyed it for a while and then allowed it to fall back into a corner, unused and not of particular interest to my personal tastes. Could I have forgotten to clean it? The possibility existed, and although I wanted to remember following my usual routine of cleaning and sanitizing the pipe, I had no blog on which to fall back and check since it was in good condition when I decided to sell it for my growing business and dwindling selection.

Therefore, I explained this scenario to Chuck, and, having the address of the nice older gentleman who had purchased it, went to my bank for a cashier’s cheque in full refund and put it in the mail with a letter of sincere apology. I wrote that I also wished for him to keep the pipe and offered a 20% discount on his next purchase should he choose to give me a second chance. I even asked Chuck, who lived in the same neighborhood and was friends with the man, to tell him not to return the refund, as I knew where he banked and would only deposit it myself.

And so I thought the issue settled – but no. Word of my well-restored pipes with unclean shanks kept coming in, via Chuck. I think it is understandable that my mood simmered until, in time, the situation boiled over. When at last, one afternoon at the tobacconist’s, I grew so heated that I broke out in a sweat, I regret to admit I snapped at Chuck, the only person with the nerve to tell me to my face that a problem indeed appeared to exist. Of course, Chuck was only going by the words of others, but enough instances of the same complaint from a sufficient number of witnesses would convince almost anyone.

“I’m just telling you what I’ve been hearing, and not from one or two people but a good number now,” he said, and the grin, which had never left his face during my account of how many bristly cleaners soaked in Everclear I average per pipe until they come out clean, broke into his full gale force smile. I have always been, was then and suspect I ever will be defenseless against that wonderful expression of delighted amusement. It was, indeed, the best retort to my argument he could have made.
Robert2And that is how Chuck came to explain to me the relative inefficacy of bristles versus the boiled alcohol retort method that he had demonstrated to our pipe group a couple of years ago before I would have even thought of taking notes.

But enough of all that. This blog also concerns the restoration of a Kaywoodie Signet Bent Billiard, including a validation of the retort method by Chuck on the pipe I had thought was finished. I will describe and illustrate that process when the time arrives.

RESTORATION
I started this restoration under the impression that it would be just a typical exercise on a better than average estate pipe I bought, with the rim and chamber seeming to be the greatest challenges, except that the other problems (some minor scratches that disappeared with 1500-grade micromesh and deeper blemishes I fixed with high-grit sandpaper) were far fewer than usual.Robert3

Robert4

Robert5

Robert6

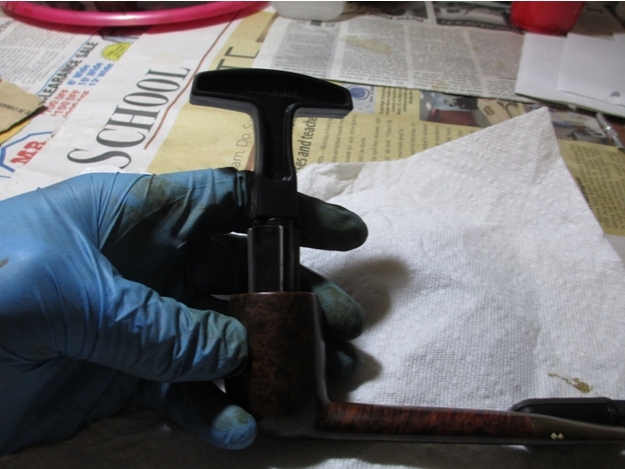
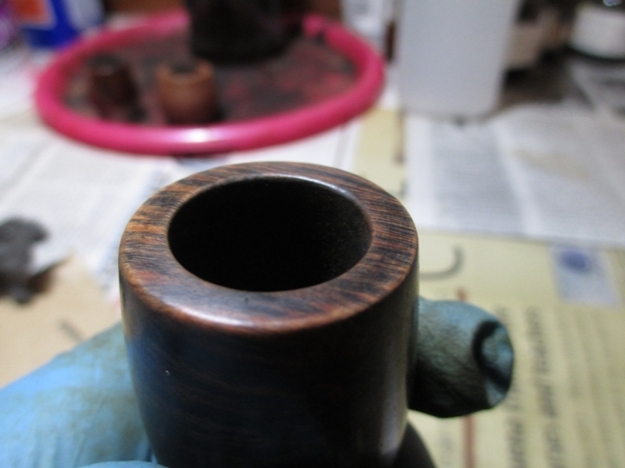
Robert7 I bought a new Castleford five-piece reamer set (with a T-handle and four attachable reamers ranging from 17-23mm) to see if it might be up to filling the boots of my old Senior Reamer, which fell in action during a restoration I blogged not long ago. Choosing the 17mm reamer, I went to work at a slower than usual pace to test the tool that was new to me, and seeing it worked quite well, I finished its part on the chamber.

Then I switched to 220-grit paper and sanded the inner wood to a smoothness relative to the mess it was in when I began, tamped out most of the remaining carbon, blew through the shank to clear some of the rest and rubbed a couple of small cotton squares soaked in Everclear around the chamber to pick up all but particles of the remainder. To the touch of a finger that I ran around the walls, the surface was still rough but could be finished later.

The rim burn came off with super fine steel wool, and scratches and pits uncovered from beneath the blackness were easy to deal with using 400-grit paper followed by 600, then micro-meshing using new 1500, 2400 and 3200 pads.Robert8 After finishing the chamber with 500-grit paper, dumping most of the carbon as I went, I blew through the shank to clear more and soaked a couple of thin squares of cotton cloth in Everclear to scrub the chamber. Only a small amount of residue remained, and to the touch of my finger the sides of the chamber felt silky and polished.

That was when I commenced what was my old way of cleaning the pipe. One after another, I dipped first one end of a bristly cleaner in Everclear and ran it through the shank, then the other end. After more than a dozen cleaners lay filthy in a pile and two more came out white, I repeated the process with the stem, except that it only seemed to require two or three cleaners.

To mix things up, compared to my usual routine, I followed my impulse to finish the stem and be done with it. I started with 600-grade micromesh on both sides just below the bit, and switched to 800, 1000, 1800, 2400 and 3200 micromesh. I buffed it on the wheel with red Tripoli and White Diamond.Robert9 I sanded small areas of the bowl with 400-grit paper to remove the deeper scratches, dings and pits.Robert10

Robert11 To remove the marks of sanding from the wood, I used super fine steel wool followed by my normal progression from 1500-3200 micromesh. I followed the same micromesh procedure on the entire bowl and shank.Robert12

Robert13 Finishing the wood with a buff of white and red Tripoli, White Diamond and carnauba, here is what I handed over to Chuck.Robert14

Robert15

Robert16

Robert17

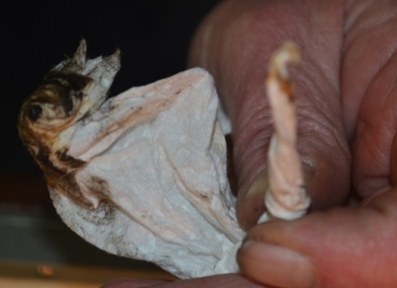
Robert18 The time, at last, has arrived for Chuck’s brilliant demonstration and invaluable contribution to the restoration of this Kaywoodie Signet Bent Billiard, and my further education in pipe restoring, shown step-by-step in the following nine photos: 1) Chuck has prepared the pipe by filling the chamber with a piece of a paper towel, having no cotton available. He has also connected the retort’s Pyrex test tube, almost filled with 190-proof Everclear, and plugged with a stopper. The stopper leads to a copper tube which in turn attaches to a rubber passage that is connected to the pipe’s stem. 2)Chuck begins to heat the alcohol in the test tube at the base. 3) The alcohol begins to boil. 4) As the alcohol soon reaches full boil, Chuck tilts the test tube slightly to allow the hot liquid to bubble through the retort apparatus and into the pipe stem, and from there all the way to the chamber. The paper towel begins its rapid transformation from white to nasty brown. 5) When the test tube is empty, Chuck tilts the pipe back enough for the remaining, filthy alcohol to drain back into the test tube. 6) The lighter product of a second run with fresh Everclear. 7) After wiping dry the chamber, this is the residue. 8) Chuck snakes the other end of the piece of paper towel into the shank and twists it.
9) The residue from that.Robert19

Robert20

Robert21

Robert1

Robert22 And I take a close look inside the chamber of the Kaywoodie that is clean all the way to the bottom.Robert23 CONCLUSION
Although my skin is tough, like a fault on the mail of a dragon of legend, my weak spot was pierced. The wound was neither superficial nor deep but still stings a bit, being inflicted as it was by so many of my friends’ and associates’ lack of trust to confide in me. Had my experiences selling restored estate pipes until now been a scientific experiment, an analysis of the data would support the conclusion that friends are unwilling to express their findings of any serious flaws to the one person who could prevent the same mistakes from being repeated.

This reluctance, of course, is created by the risk of hurting the feelings of the friend whose sensibilities the paying customers would rather spare. Such a reaction by the person on the receiving end of the message is indeed real but necessary for a demonstration of true friendship. An unfortunate fact is that too few people understand how criticism is a two-sided razor, one cutting for the positive and the other for the negative. My mind has always been open to constructive, helpful criticism while it shuts like a steel trap against anything senseless and cruel.

Now, thanks to the good but misguided intentions of some of my friends, I am compelled by dual senses of honor and good business to contact everyone who has purchased a pipe from me, in person or online, with a carefully written explanation of the error and an offer of a free correction, postage included. But also thanks to these friends, and in particular my good friend and mentor, Chuck, I now have a backlog of “completed” restores on which I can practice retorting.

So far, they’re coming along well, with some new restores thrown in.
Re-stemming a Hardcastle Pot – Andrew Selking


Blog by Andrew Selking

I picked up this nice looking Hardcastle pot, but when it arrived I realized that it did not have the proper stem.Hardcastle1

Hardcastle2 Fortunately Steve bailed me out and sent a couple of likely replacements. The stem that I settled on had a slightly smaller tenon diameter and the outside diameter was noticeably bigger. This was going to be a fun challenge. I covered the shank with painter’s tape and started reshaping the stem with 100 grit sand-paper.Hardcastle3 Here is a shot after getting to about 80% completion.Hardcastle4 Next, I took the painter’s tape off and replaced it with Scotch tape (since it is thinner) at the end of the shank. At this point I was using 400 grit wet/dry without water.Hardcastle5 Once I completed that step, I took a rubber washer and placed it on the tenon to protect the end of the stem and shank. I used 400 grit to finish the last little bit, frequently taking the washer out to check the fit.Hardcastle This is what the pipe looked like once I had the stem sanded to fit.Hardcastle6

Hardcastle7

Hardcastle8

Hardcastle9Next I turned my attention to the bowl. I used the largest reamer to get almost to the bottom and finished it with the next smaller one.Hardcastle10 I used OOOO grade steel wool to remove the tar from the rim.Hardcastle11 Once the bowl was clean, I used my retort to clean the shank.Hardcastle12 This is why I am a firm believer in the retort, pipe cleaners dipped in alcohol came clean, but all this gunk was still inside.Hardcastle13 I used the retort on the stem. Although this picture does not show it, always plug the end of the stem to prevent the retort from boiling over and spitting nasty tobacco juice everywhere (ask me how I know this).Hardcastle14 After the stem was cleaned, I worked on polishing it. I started with 400 grit, then moved to 1500 through 2400 grit micro mesh with water.Hardcastle15 I used the 1500 grit through 2400 grit without water on the bowl, then finished both with a progression through 12,000 grit.Hardcastle16 Now the pipe was ready for stain. This time I used an aniline dye (light walnut) from Pimo Pipe Supply. I diluted the dye by 50% with denatured alcohol, applied it with a cotton ball, flamed it with a lighter, and repeated until I had the coverage I wanted.

After an uneventful trip to the buffer, where I used white diamond and carnauba wax on both the stem and bowl, this is the result. I am really happy how this turned out. Thanks again to Steve for his generosity in providing the donor stem.Hardcastle17

Hardcastle18

Hardcastle19

Hardcastle20

Hardcastle21

Cleaning Out the Shank of an Estate Pipe


Blog by Steve Laug

Over the years I have been continually looking for better ways of cleaning out the shank of an estate pipe. I have tried and discarded many methods over that time. The one certainty about the cleaning is that it takes many pipe cleaners, cotton swabs and much alcohol. There are no short cuts to cleaning the shank and airway. Nothing takes the place of slow and repetitive cleaning. Even with using a retort, a short cut on one level, the cleaning of the pipe still takes time before and after the retort has been used. I thought it might be interesting to some of you to read about the process in detail. I have written about the cleaning process – with and without the use of a retort.

With a retort

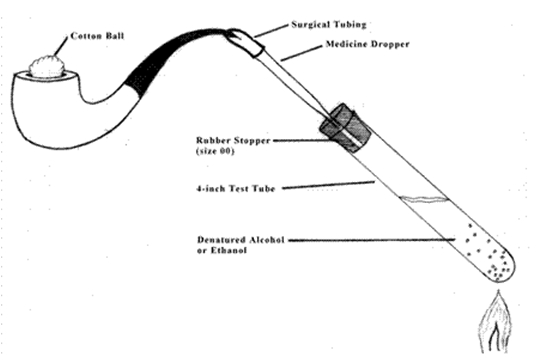
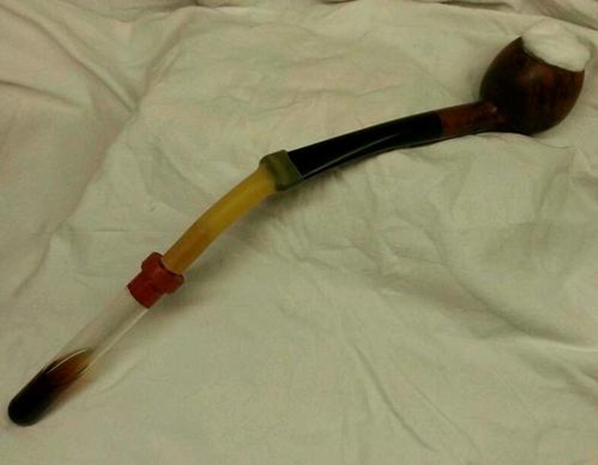
When I clean the shank with a retort I clean the inside of the stem and remove surface grime in the shank and airway. Before setting up the retort I try to remove as much of the surface grime internally as possible. I ream and clean out the bowl to remove any crumbling or breaking cake. I clean out the stem and button as well to give the pipe a relatively clean surface before I set up the retort. Some people use the retort immediately after reaming and leave out the cleaning step that I begin with. I have done it both ways but like the results of my process. The surgical tubing on the retort slides over the button on the stem and if the surface is dirty or has calcified buildup it does not seal well and the boiling alcohol will seep out around the tubing and make a mess. I clean out the inside of the stem to accelerate the cleaning in the shank. Even with pre-cleaning the pipe it often takes multiple uses of the retort to actually remove all of the tars and oils.

IMG_1115

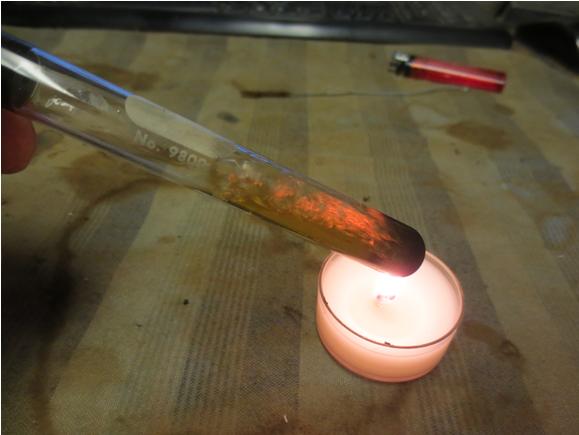
To prepare the pipe for the retort, I stuff a cotton boll in the bowl and do not press it down to hard into the bowl. I want it to plug the top so that the boiling alcohol does not come out the top but still allow it to circulate within the bowl and the shank. I use isopropyl alcohol in the test tube of the retort and I heat it over a tea light/small candle. The boiling point is quite low so it does not take long for alcohol to begin to boil. The stem and shank heat up as the alcohol goes through them. When it is removed from the heat the alcohol will be drawn back into the test tube and will be a dark brown. I empty out the dirty alcohol, refill the test tube and repeat the process until the alcohol come out clean. I remove the retort and run cotton swabs and pipe cleaners dipped in alcohol through the stem and the shank to absorb anything that has been left behind. When the pipe dries out it smells fresh and new.

retort2

retort3

retort1

Without a retort

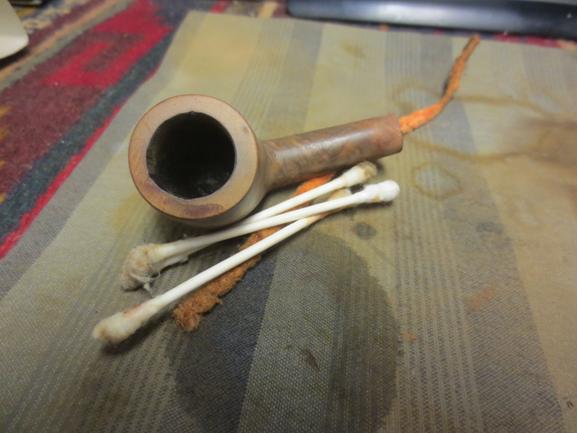
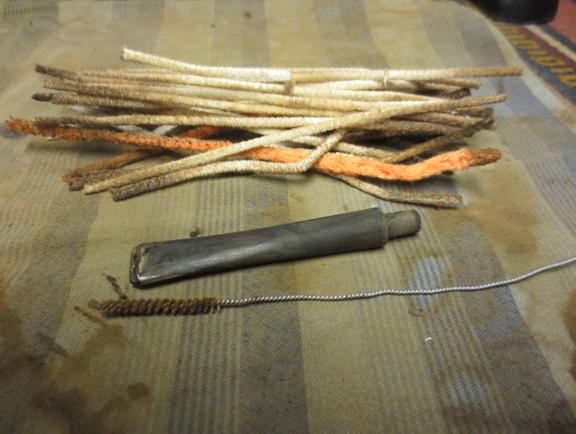
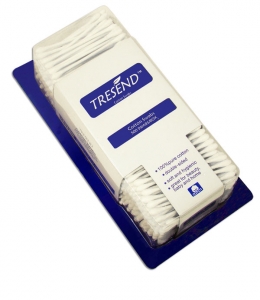
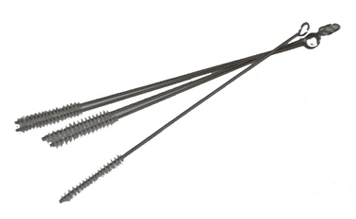
The process of cleaning a shank without a retort begins the same way as the above description. I ream the bowl and clean out the bowl and shank with pipe cleaners and cotton swabs dipped in isopropyl alcohol. I use both the bristle and the fluffy pipe cleaners and also shank brushes. The process for cleaning begins with removing the surface grit and grime. This takes many pipe cleaners before they begin to come out semi clean. Then I use the drill bit that is built into the KleenReem reamer and twist it into the shank. It scrapes the sides of the airway all the way into the bowl and removes the tarry buildup. I clean the bit off with alcohol and repeat the process several times until the bit slides through the airway with no impediment. I then wrap a cut pipe cleaner around the drill bit, dip it in alcohol and run it through the shank and airway until it comes out clean. I finish the cleaning process by scrubbing out the shank and the airway with cotton swabs dipped in alcohol and then pipe cleaners folded and unfolded.

mainmaincotton-swabs-1

cotton-swabs-3

Shank brushes

Shank brushes 3

Longs_Extra_Absorbent_Pipe_Cleaners

Longs_Brush_Pipe_Cleaners

Once the pipe cleaners and the cotton swabs come out clean I smell the pipe and shank to see if it smells clean. If not then I stuff cotton bolls in to the bowl tightly. I leave about ¼ inch of clearance from the bowl rim and then fill the bowl with alcohol using an ear syringe. I have found that this keeps the alcohol within the bowl and off the finish of the pipe. I set the pipe in an old ice cube tray that I have and leave it overnight. The alcohol leaches out the oils and tars that are in the shank and bowl. I remove the cotton and wipe out the shank and bowl and repeat the process until the cotton is clean on the next morning. Once that is done the bowl and the shank are cleaned a final time with pipe cleaners and alcohol. The pipe is now ready to be used.

IMG_9808