Blog by Steve Laug
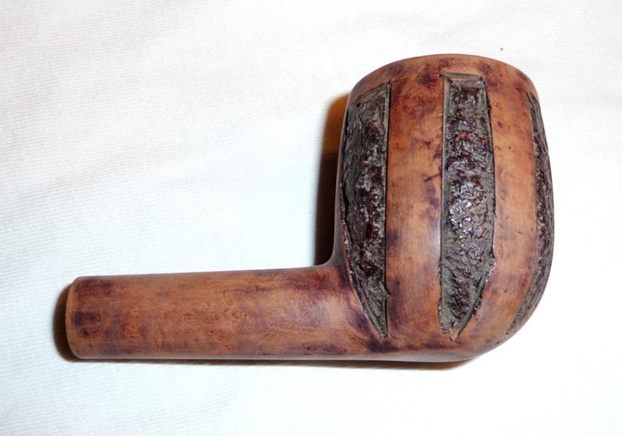
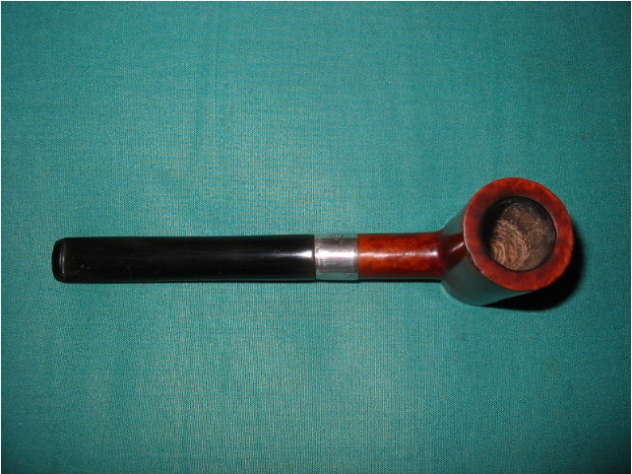
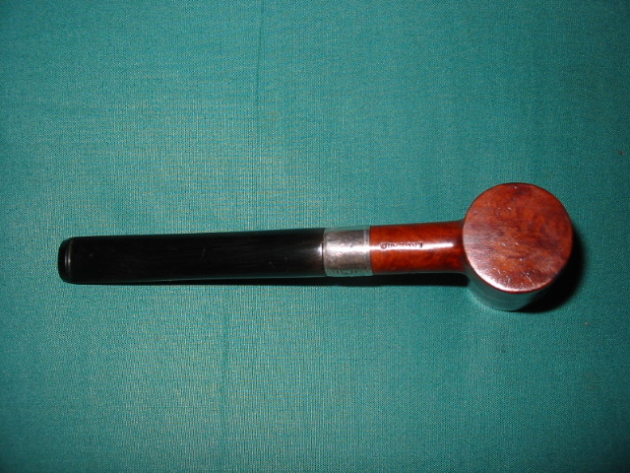
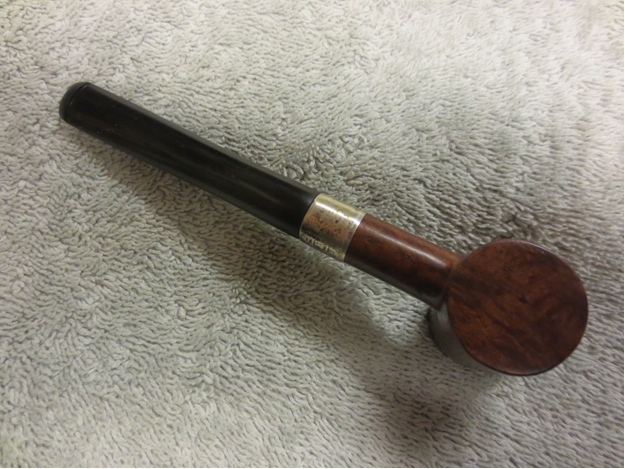
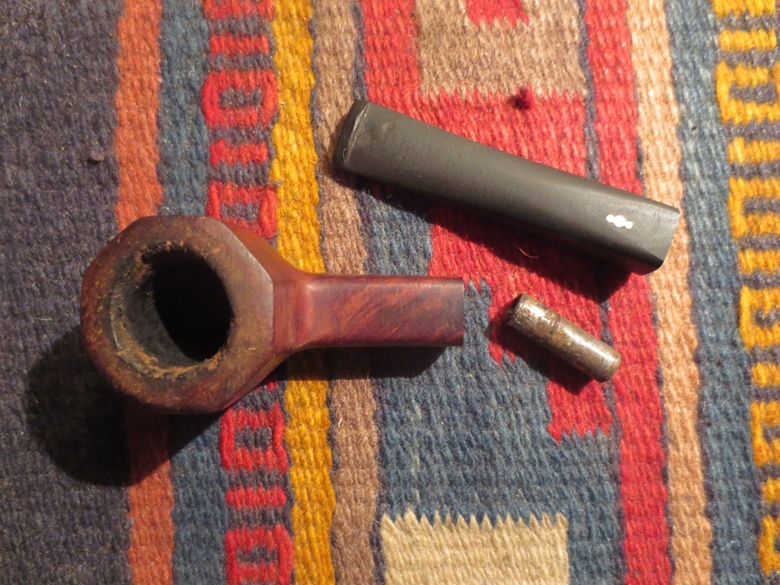
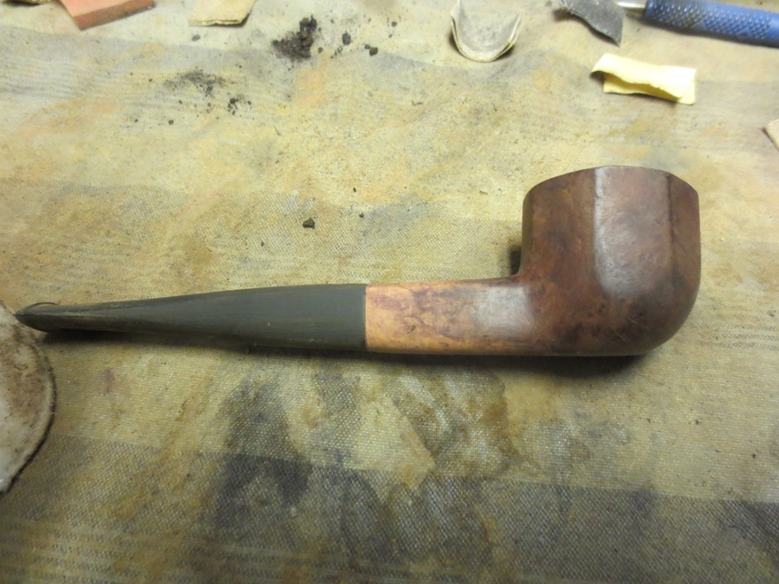
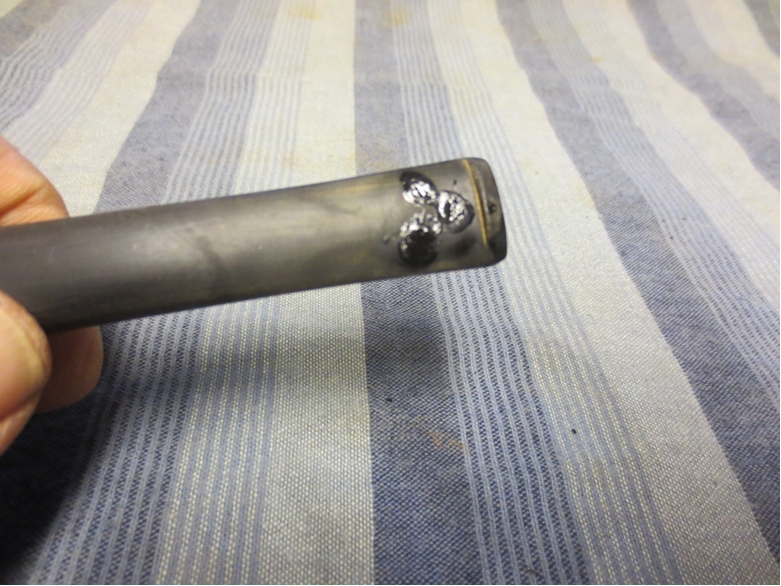
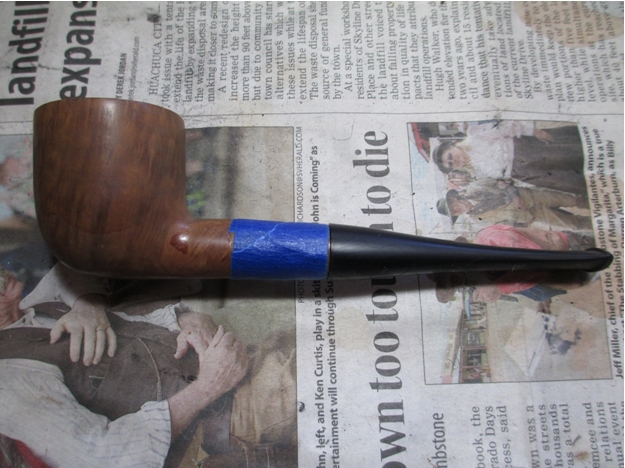
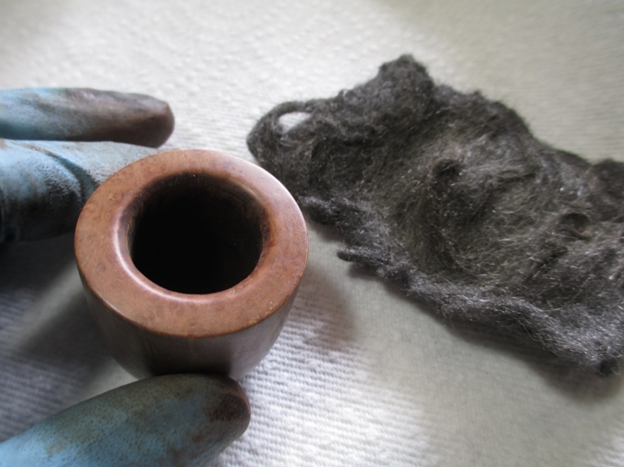
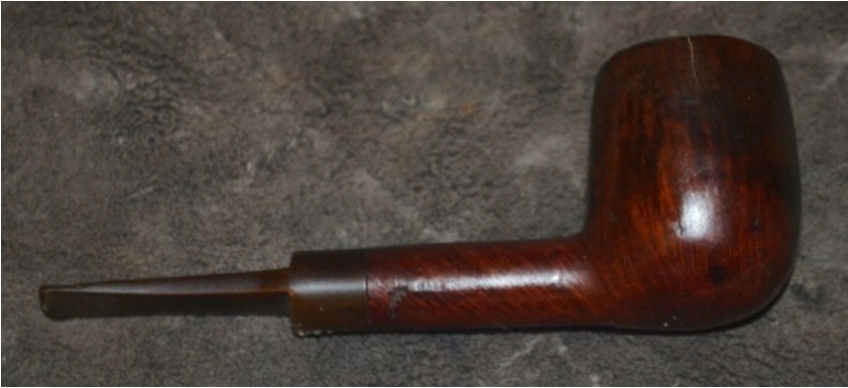
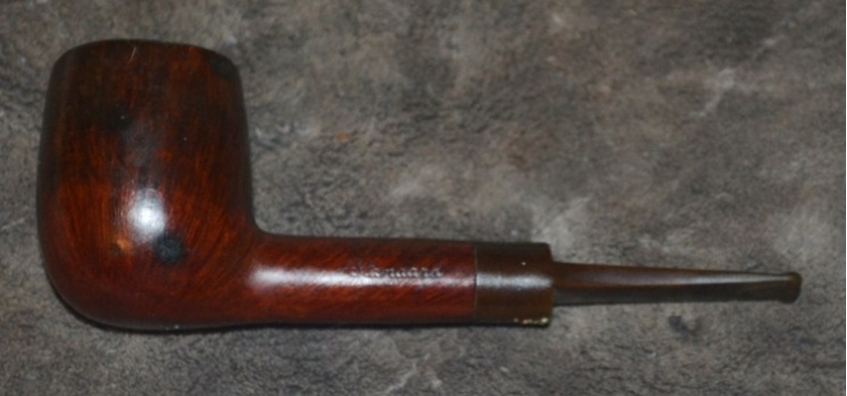
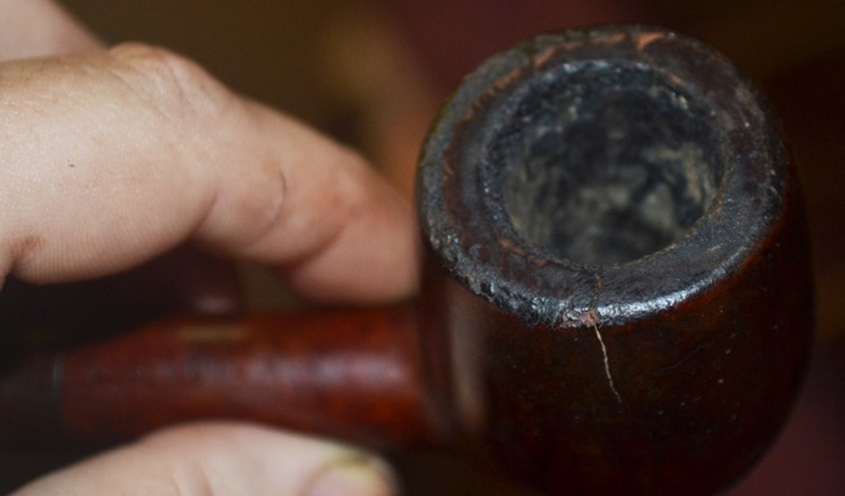
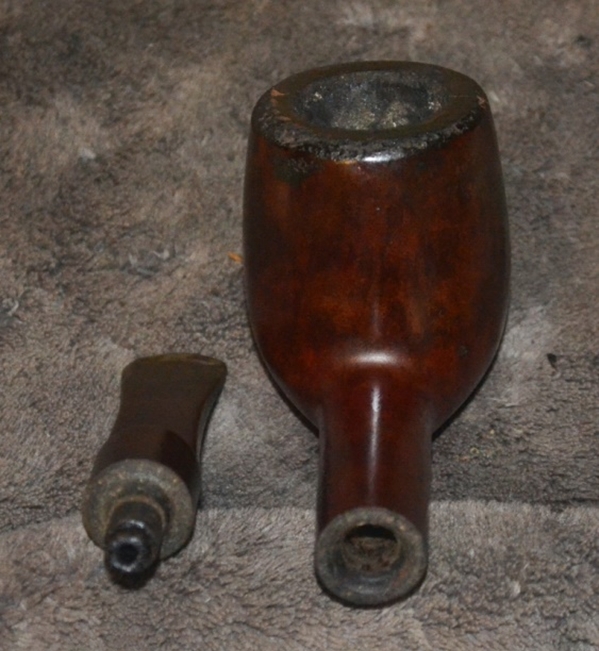
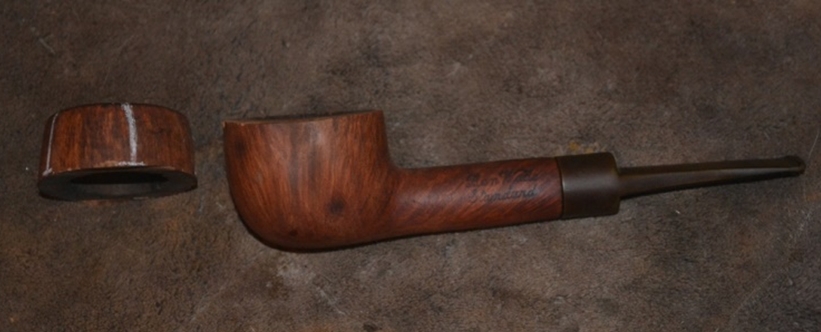
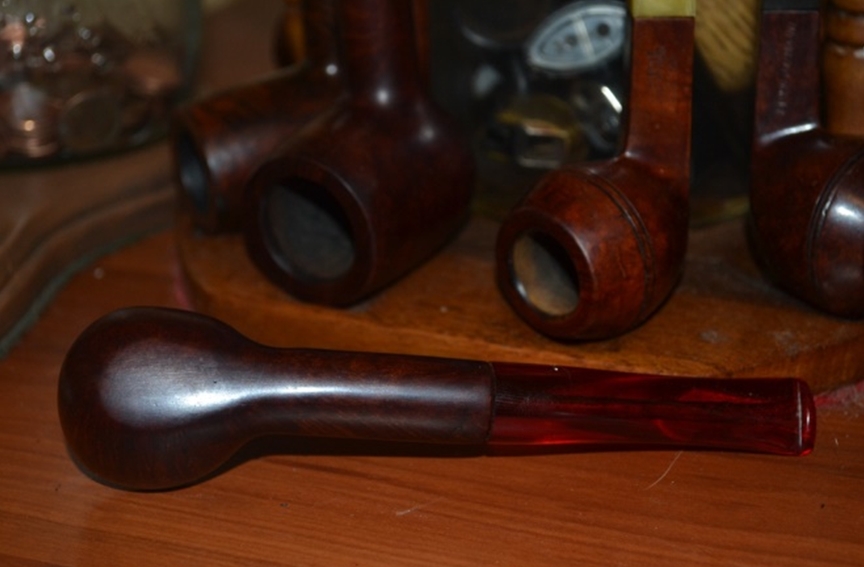
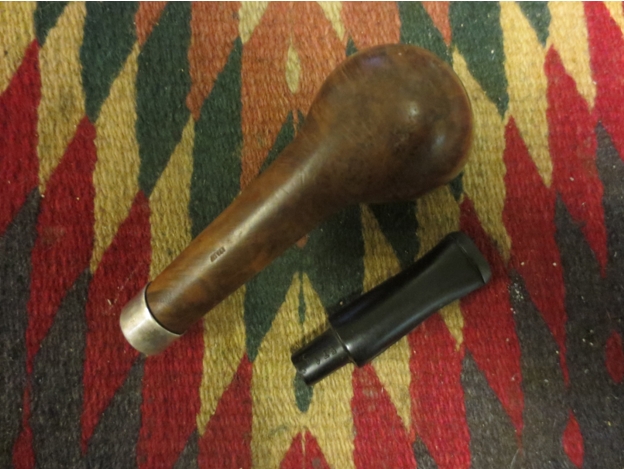
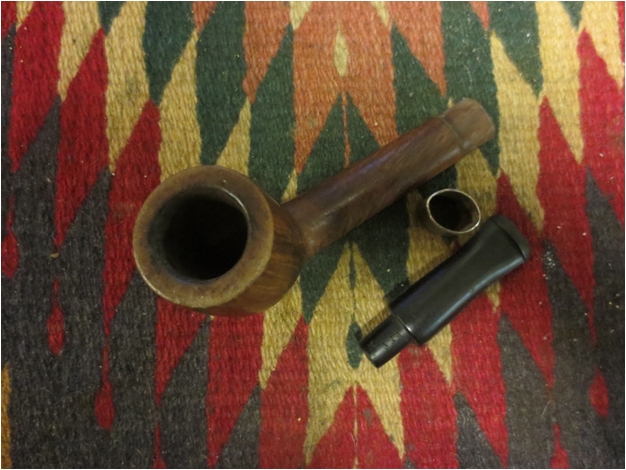
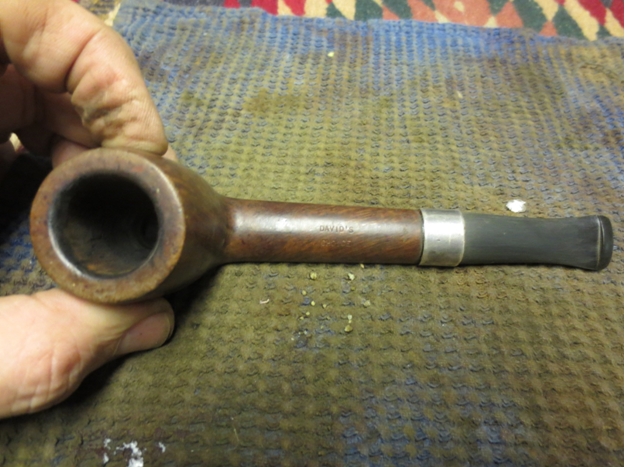
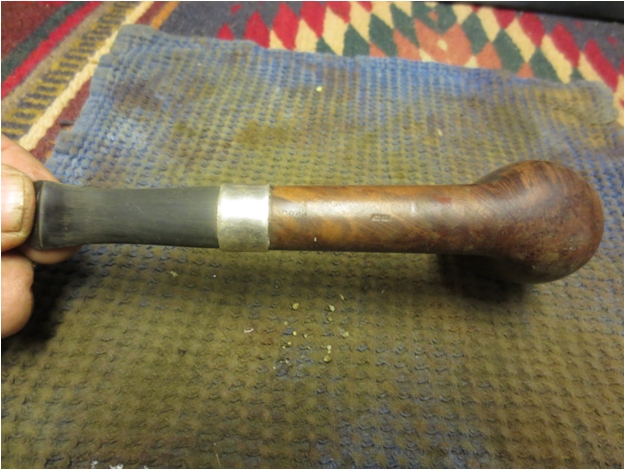
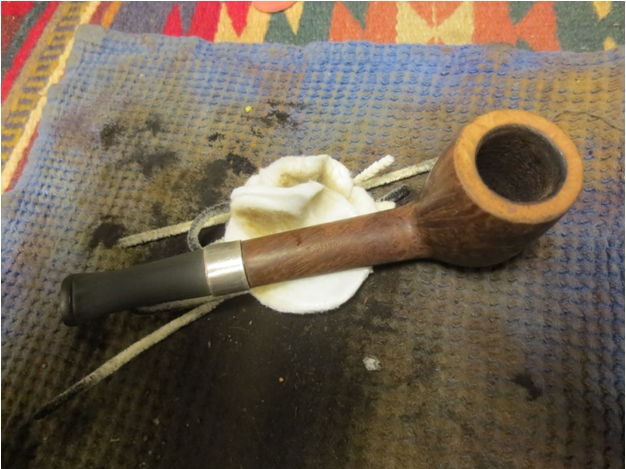
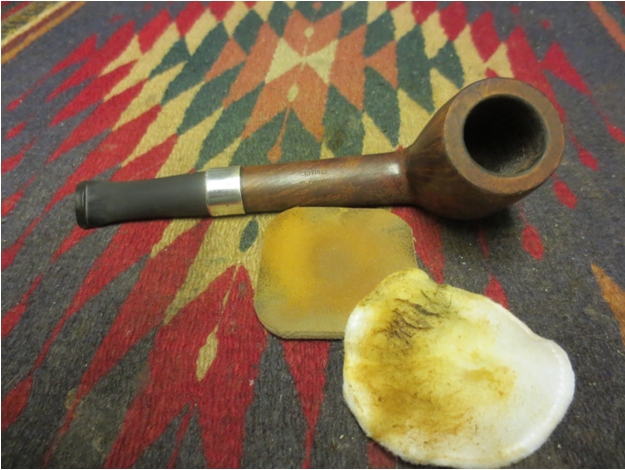
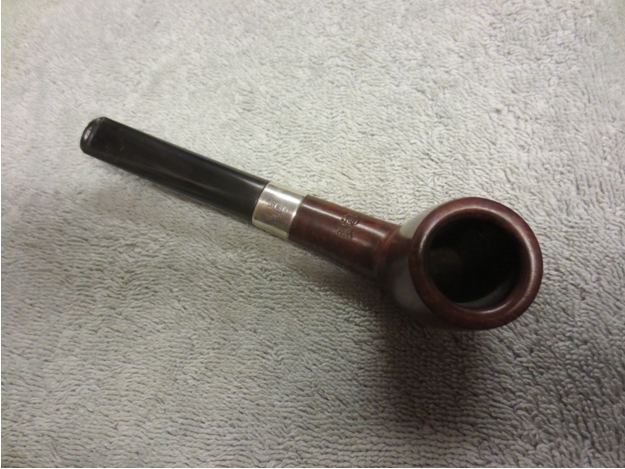
In my recent gift box was a broken shanked pipe that looked like an interesting challenge to me. It is the one pictured below in the lower right corner. It was stamped on the shank Dunbar over Filter Pipe. On the other side of the shank it was stamped 36B or 368 it was hard to read. Next to that was the circular com stamp with Made in London England. Researching the brand on the web I found that it was a Comoy’s Made pipe and was their filter pipe line. This one seems to have been snapped when someone tried to remove the stem from the shank. It was absolutely frozen solid and unmovable. I put the stem and shank in the freezer over night which usually works to break loose a tight stem. It had no effect. I also tried heating the shank and stem with hot water – also to no avail. It appeared that the stem was literally glued in the shank. To top it off it seemed that there was a broken piece of plastic – possibly a tenon insert that blocked the end of the metal tenon in the stem. I could not get air to move through the stem at all.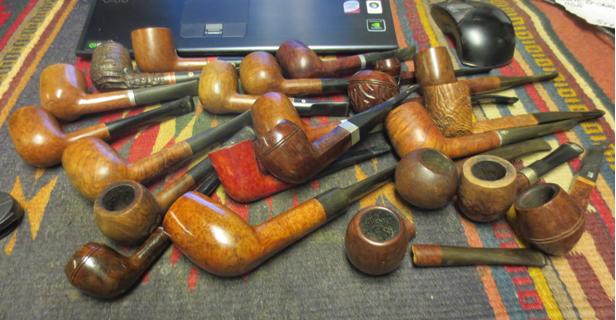

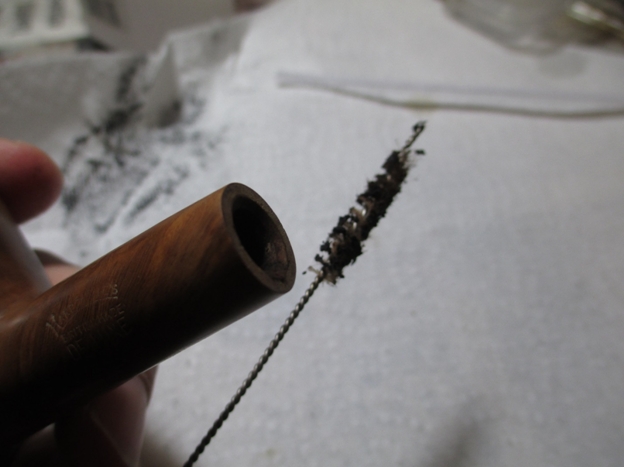
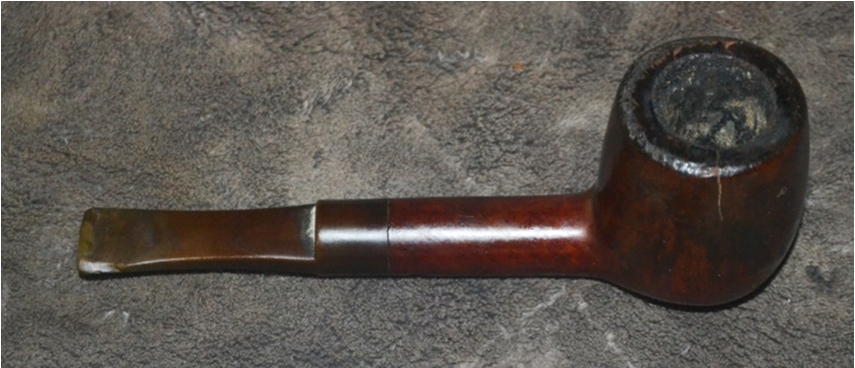
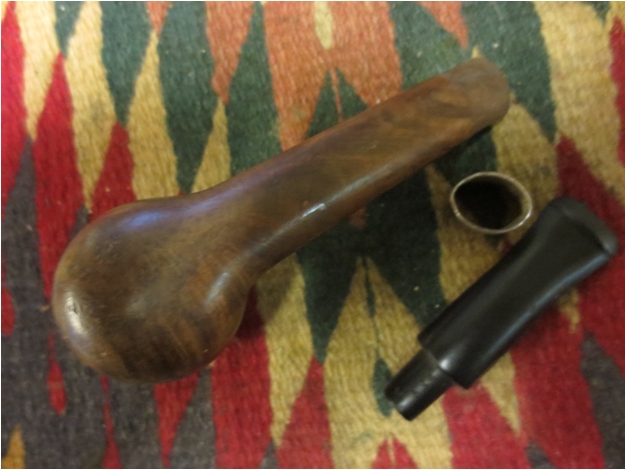
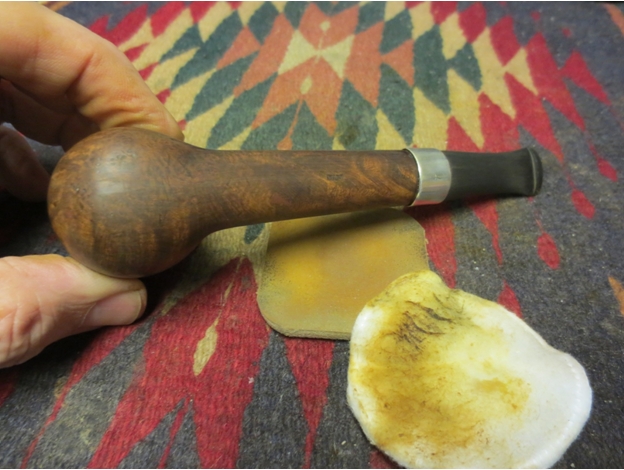
 Finally I used a heat gun on the stem and shank and was able to remove the stem from the tenon. PROGRESS! I soaked the junction of the tenon and mortise with alcohol and even WD40 to see if I could get the tenon to pop free. Nothing worked. The metal tenon was a permanent feature of the shank piece of this pipe. I would need to go with another plan – PLAN B.
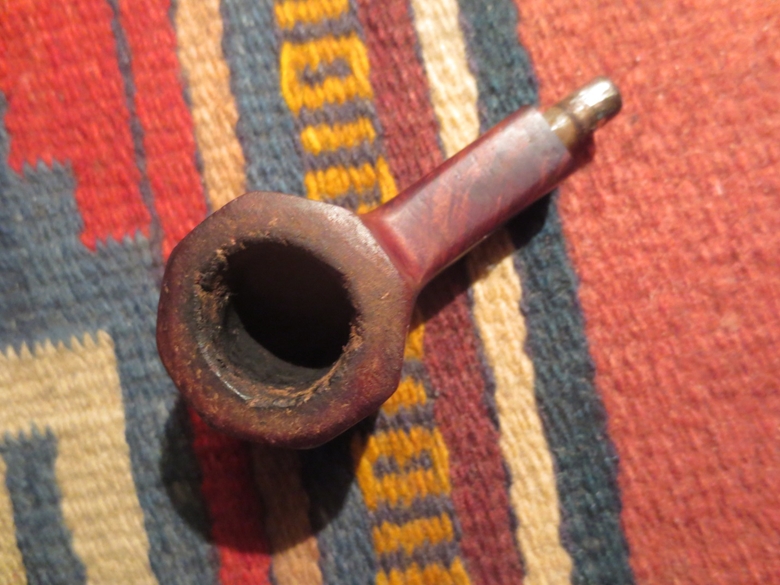
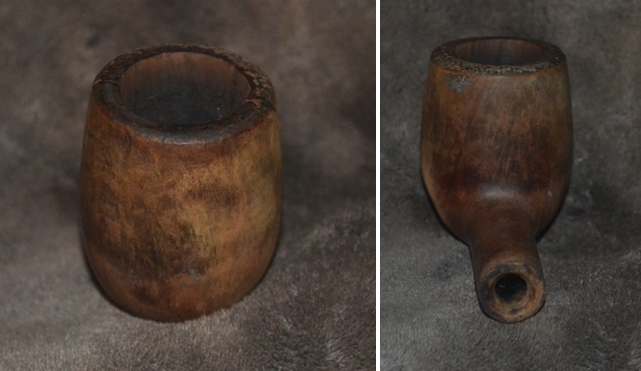
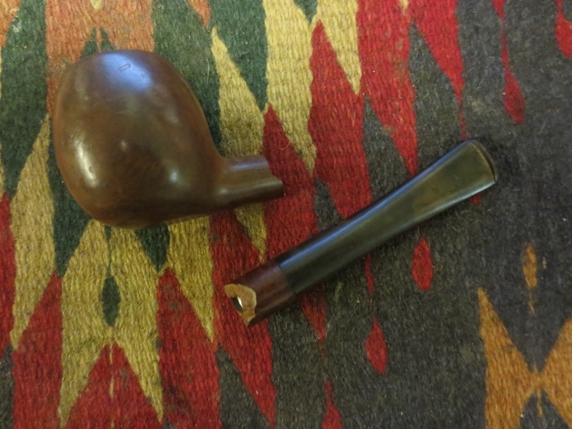
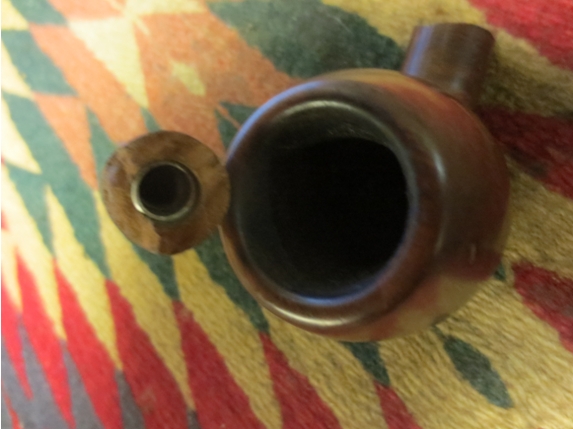
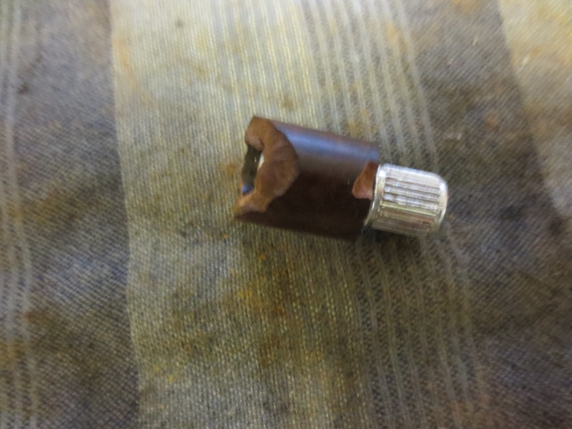 I set aside the broken shank and tenon and decided to use piece from several other pipes and a chunk of briar to reconstruct a Frankenpipe from the nice apple bowl. In doing so I would lose the stamping altogether but I was not overly concerned with that as there was no way I could reconstruct the shank and bowl into a repaired Dunbar Filter Pipe. I cut back the broken shank on the bowl with a Dremel and a sanding drum. I squared off the shank so that I could attach something else to it. I finished by squaring it with my topping board and sandpaper.
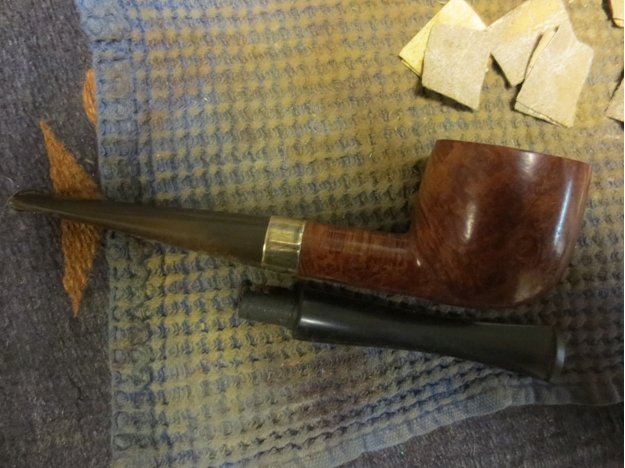
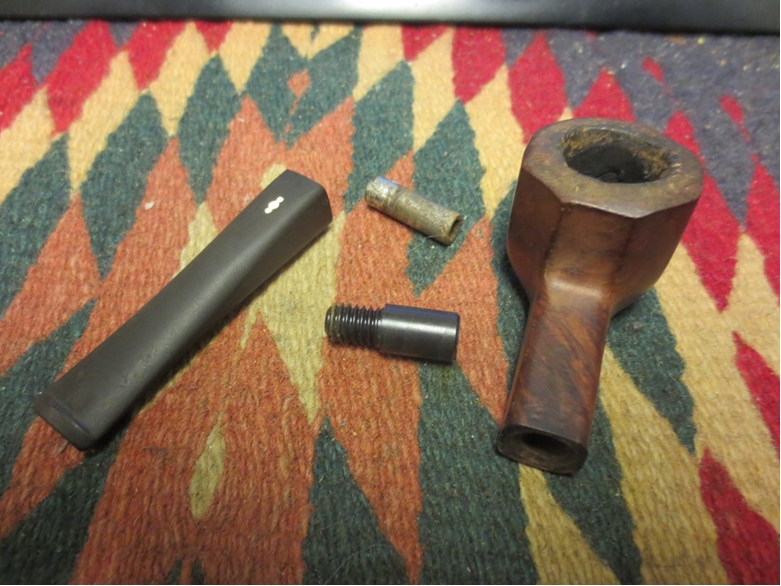
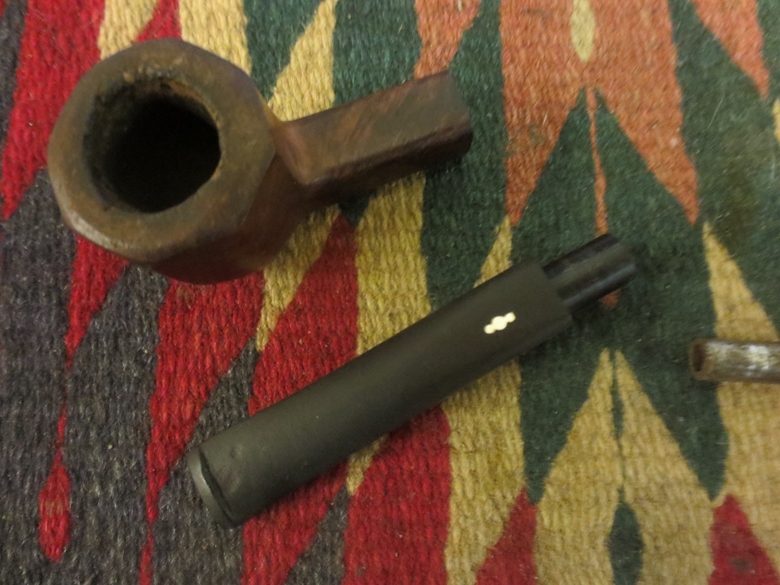
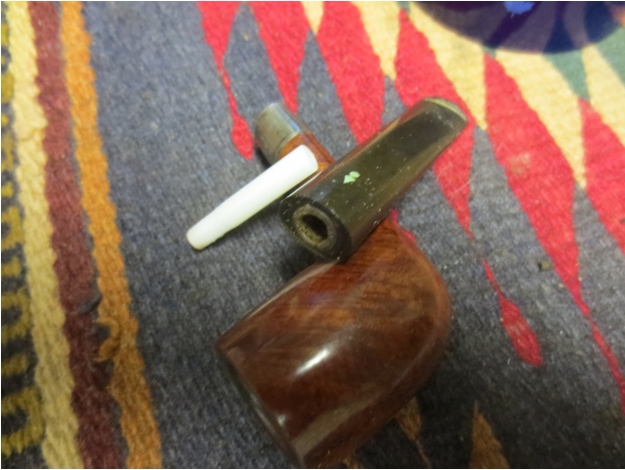
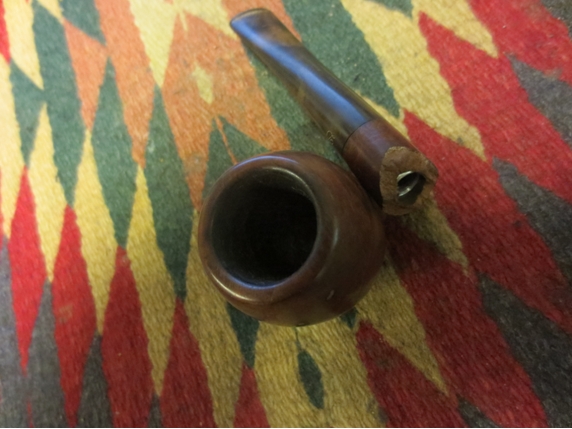
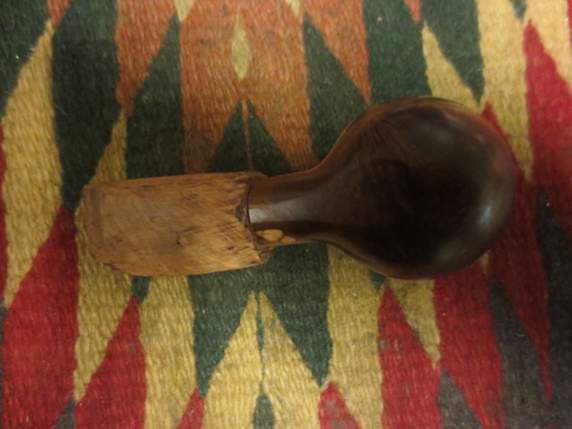
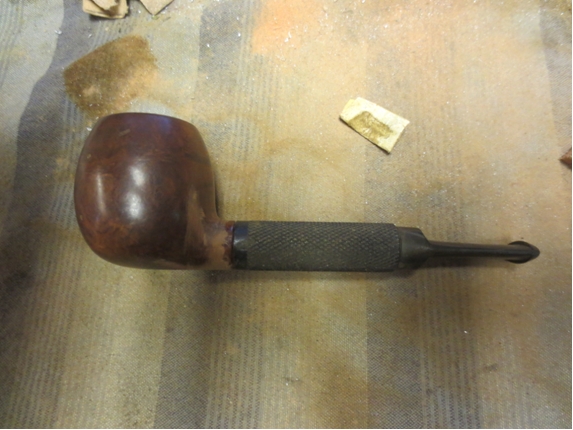
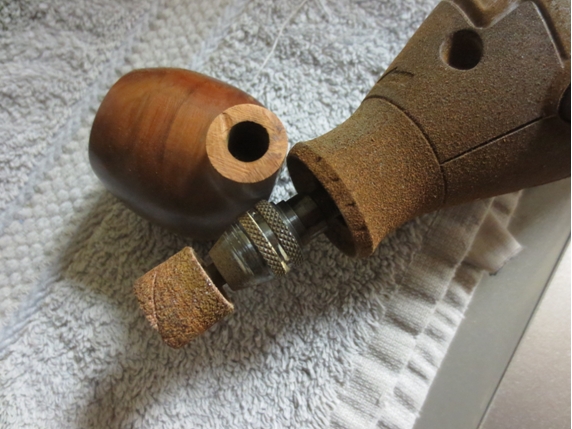 I had a chunk of briar in my repair box that would work nicely. It was the right thickness to match the shank. I drilled it out with a drill bit that left a hole the size of the metal tube that I would use to join the bowl and the briar. I drilled the airway all the way through the briar and used a slightly larger bit on the mortise end of the block. I had a taper stem in my can of stem that was close to the diameter of the shank so I thought I would use it on this pipe. I put the pieces together for the photo below to get an idea of the work I would need to do.
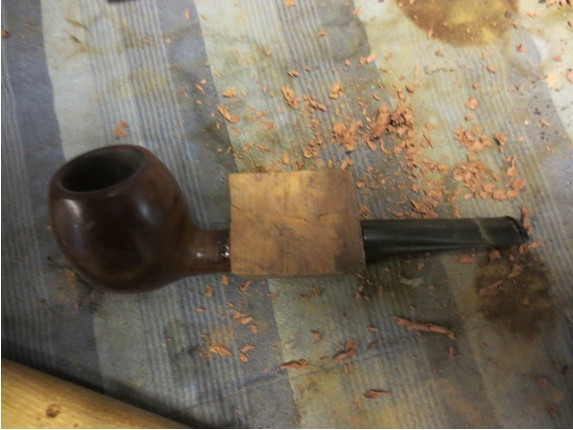 I marred the surface of the metal tube with files and then mixed a two part epoxy and set the metal tube in the briar block. I did not glue it into the bowl at this point as I thought it might be helpful to have the block free of the bowl to be able to use the Dremel and sanding drum to remove the excess briar.
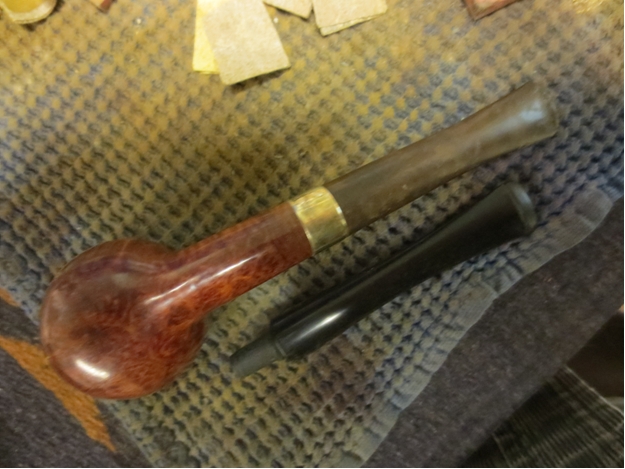
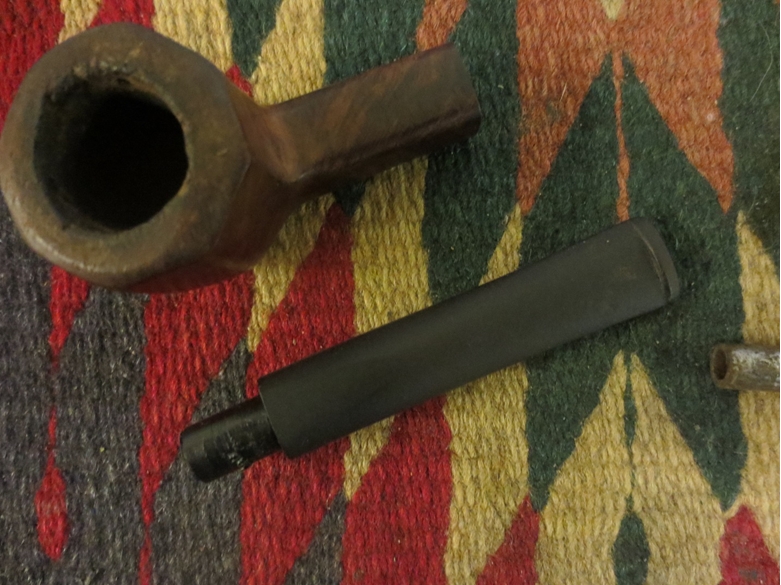
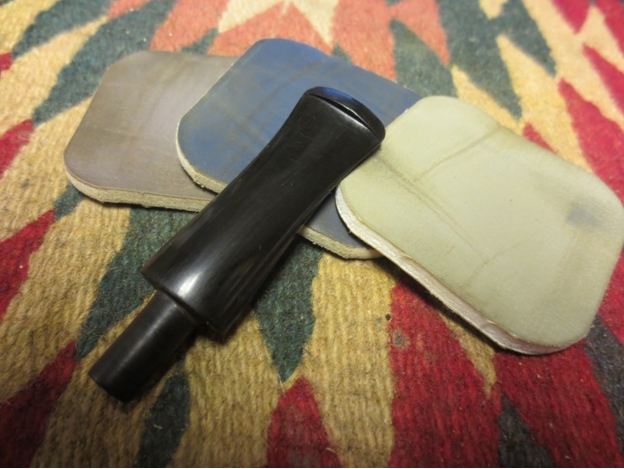
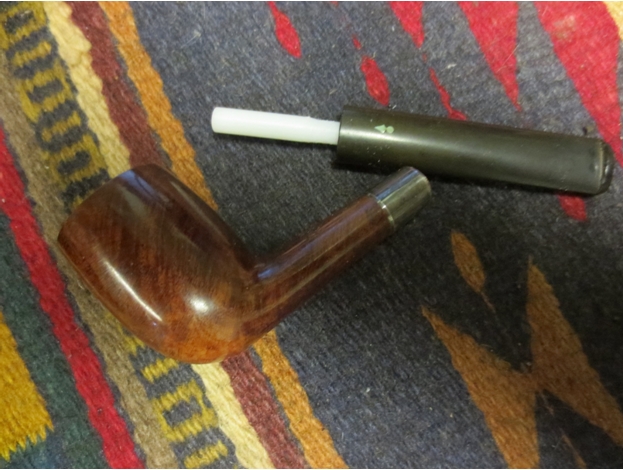
 While I was at it I also took out an interesting old metal sleeve that had come with a box of parts I bought on eBay. It was cross hatched with a smooth band on the mortise end. It had a saddle stem in it that was also stuck. Now I had a couple of options to work with on this old bowl. I could either have a briar shank and a taper stem and then rusticate the shank and at least the union of the bowl and briar or I could have a metal sleeve that would slide over a briar tube and have the saddle stem inserted. I did not need to decide at that moment so I set both stems aside and worked on removing the excess briar.
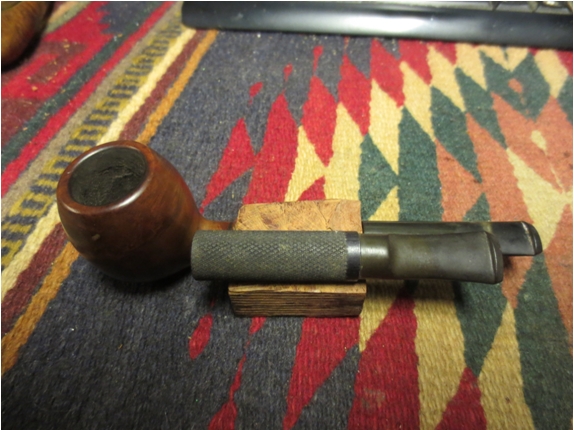 I sanded the block with a Dremel and sanding drum until I had removed much of the excess and was left with a rectangular wedge that I would need to fit and shape to match the diameter of the shank.
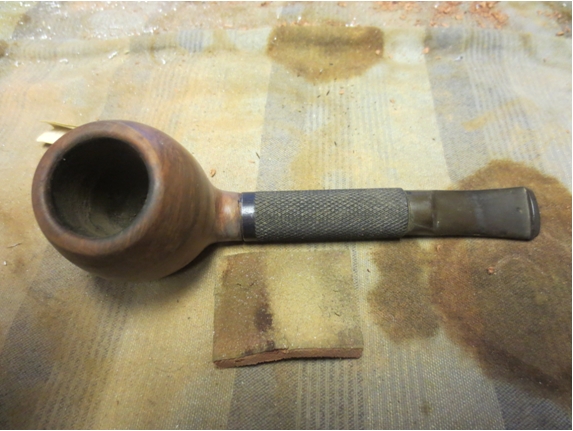
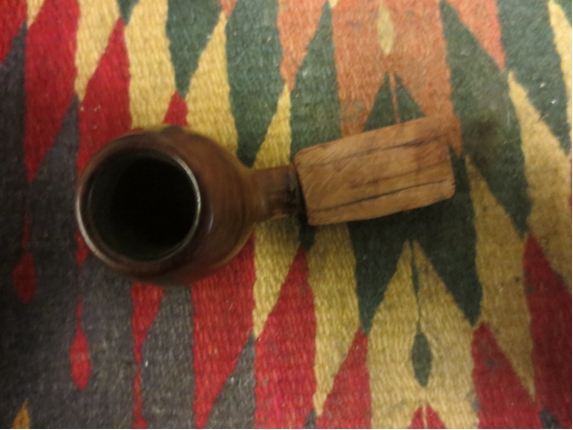 More sanding with the Dremel and sanding drum brought the block closer and closer to the diameter of the shank on the bowl.
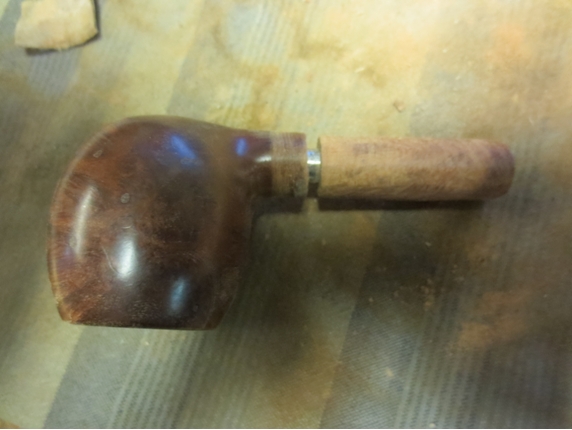
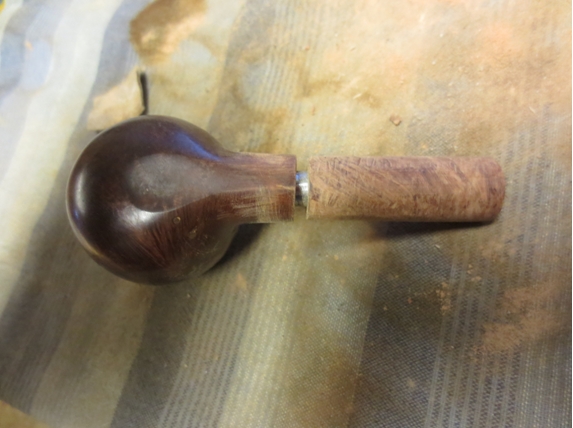
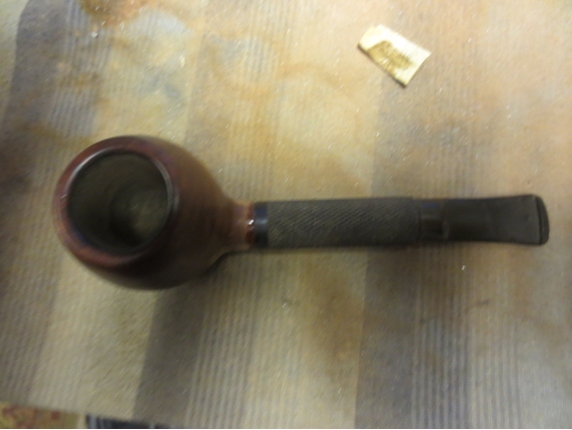
 There was still more sanding that needed to be done. The next four photos show the block getting very close to the size and shape of the shank. I put the stem in place and looked long and hard at it and still had not decided what to do. I sanded with 180 and 220 grit sandpaper to further shape the shank.

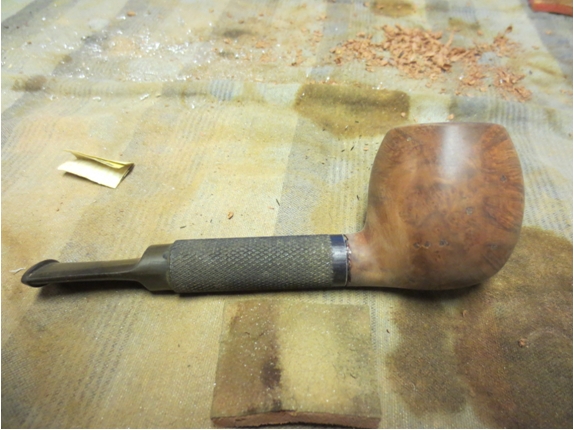
 I looked long and hard at the pipe with the stem in place and decided I really did not like the look of the pipe. I put the metal sleeve next to the pipe and shank to have a look at it and made up my mind. I would continue to sand the briar until it could be pressed into the metal sleeve. I would need to shorten the briar so that it would leave room for the stem in the shank.
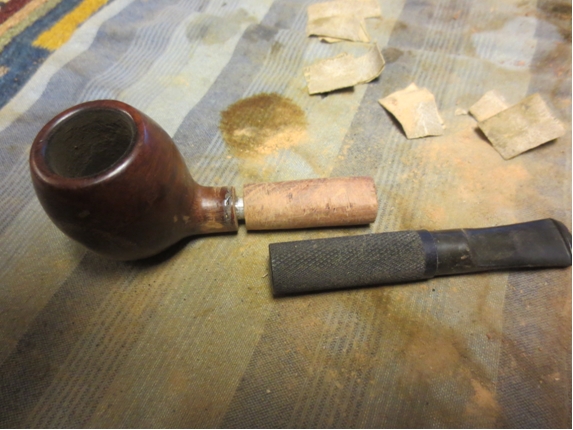 I went back to the Dremel and sanding drum and continued to sand the shank. It would need to be quite a bit thinner in diameter to be able to press the metal sleeve over the briar.

 I also decided to reverse the direction of the sleeve and have the black band against the shank and bowl junction. I figured that once I glued the tube into the airway in the bowl I would reduce the collar of the shank at that point and the slide the metal sleeve over the joint and it would not only hide the connection but strengthen the joint. I used the Dremel with the sanding drum and wood files to cut the collar down on the shank on the bowl until it matched the diameter of the briar that I would press into the metal sleeve. I shortened the briar tube enough to accommodate the stem when it was inserted in the sleeve. I wanted the airway in the briar to hold the tenon on the stem and also step the stem down so that it would sit in the metal sleeve like a faux military mount stem. I finally was ready to attach the briar tube to the bowl so I put epoxy on the piece of metal tube that I used to join the briar shank and the bowl. I pressed it into the airway on the bowl and let it dry. Once it had set I was ready to press the metal sleeve onto the briar tube. This was the moment I was waiting for to see if my vision of the pipe in my head matched the reality of the one on the table.
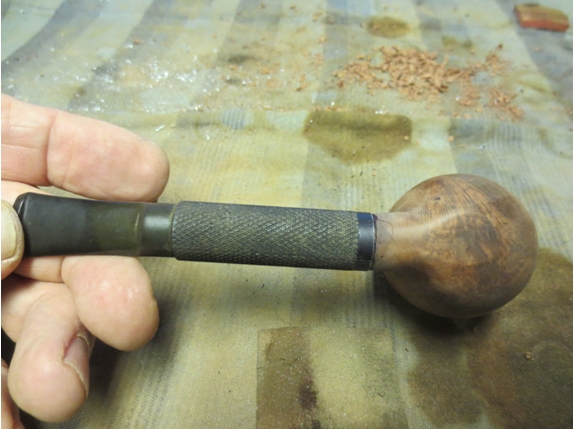
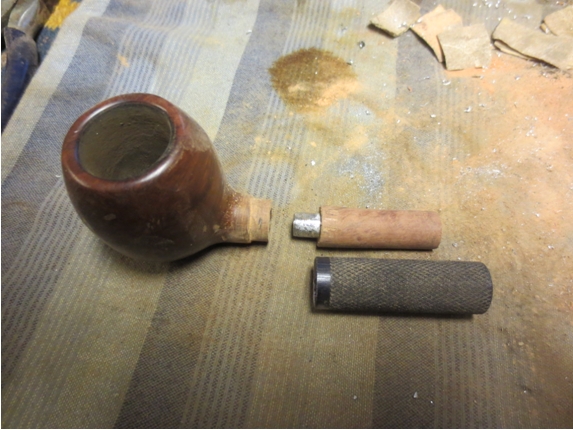 The photo below shows the briar tube is ready to slide into the outer cross hatched metal sleeve. I drilled out the inside of the metal sleeve to remove the step ridges and make the inside the same diameter from the bowl end to the stem end. I used a metal grinding bit on the Dremel to polish the inside.
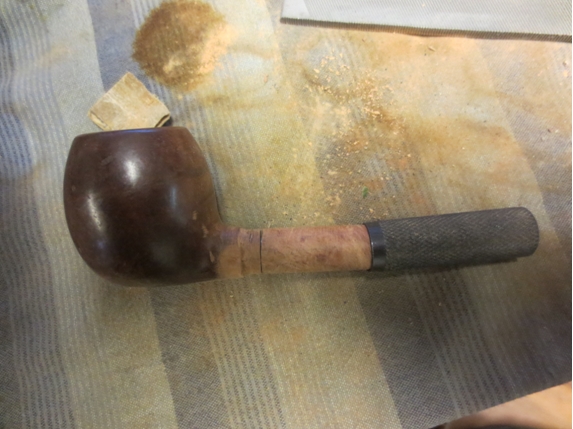 I heated the metal sleeve with a heat gun to expand it and then pressed onto the briar tube and up on the collar of the bowl. I worked quite well. I would need to do a bit of fine tuning on the fit of the bowl and the sleeve but I liked what I saw and it was a match to my vision of the pipe when I started.
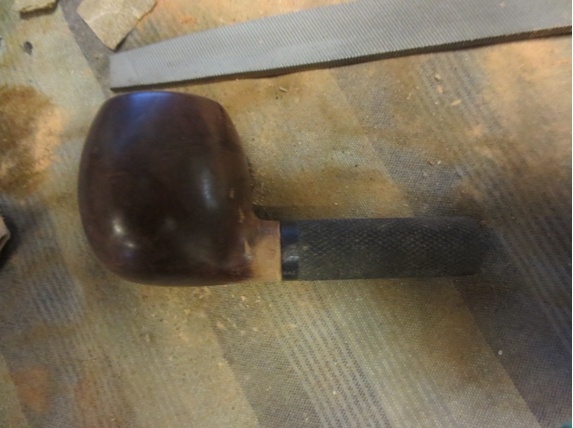
 I sanded the briar at the union of the metal sleeve and the bowl with a folded piece of 220 grit sandpaper. I wanted the joint to be smooth and even all the way around. I did not want a ridge to show at that point. I filled slight gap between the two with clear superglue and briar dust.
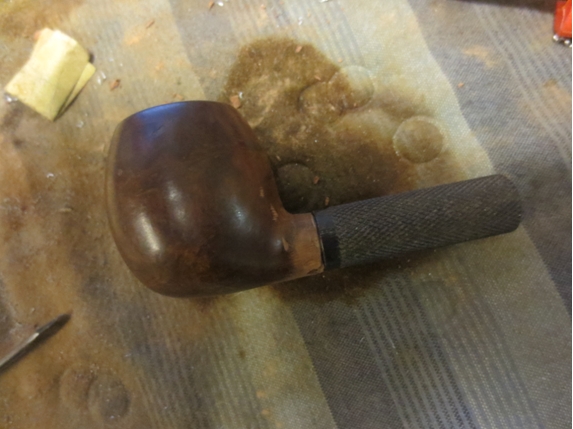
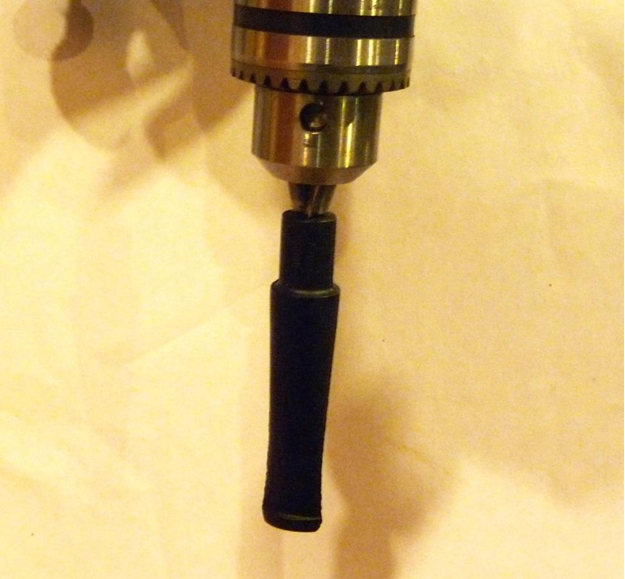
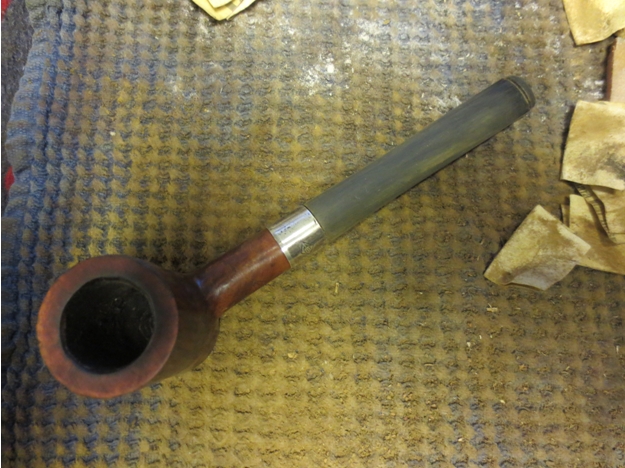
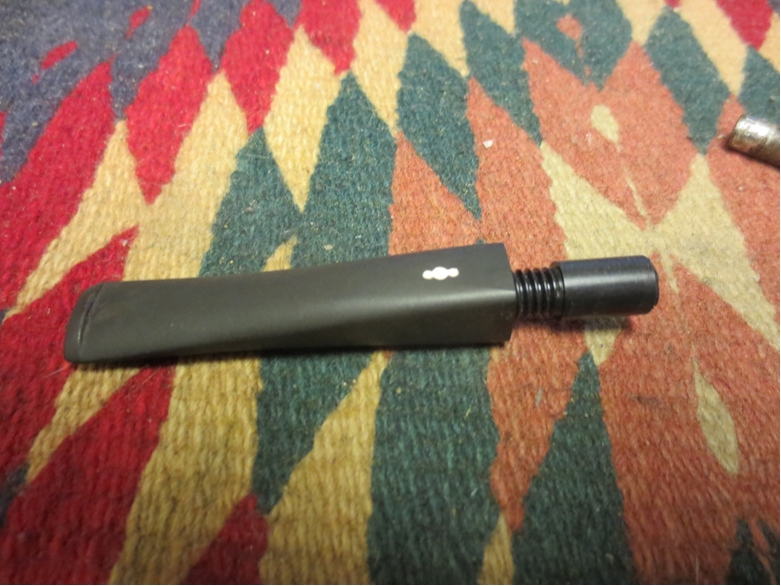
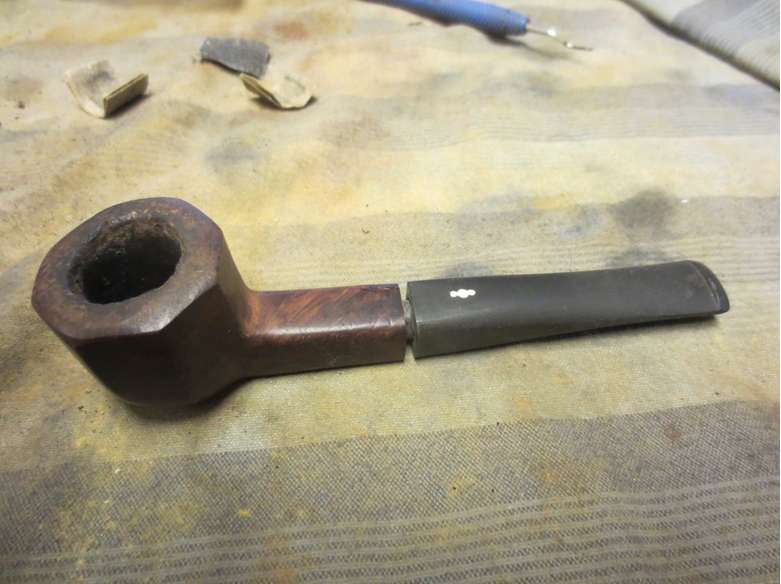
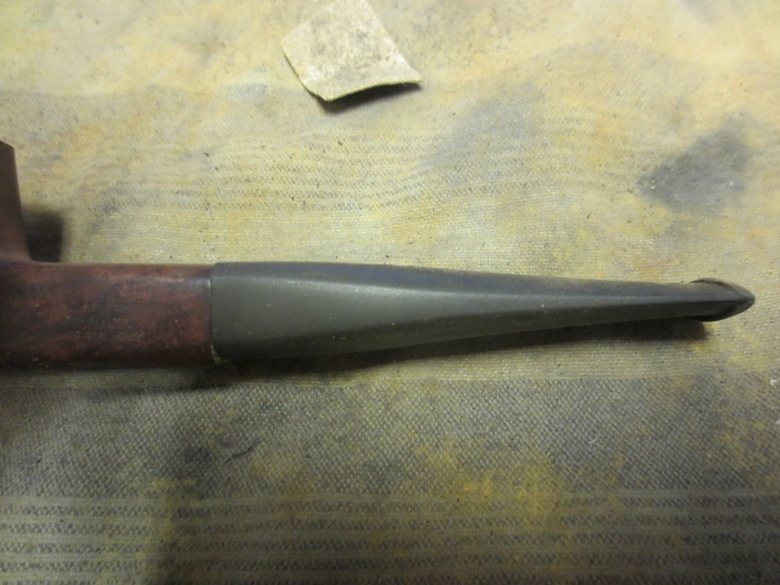
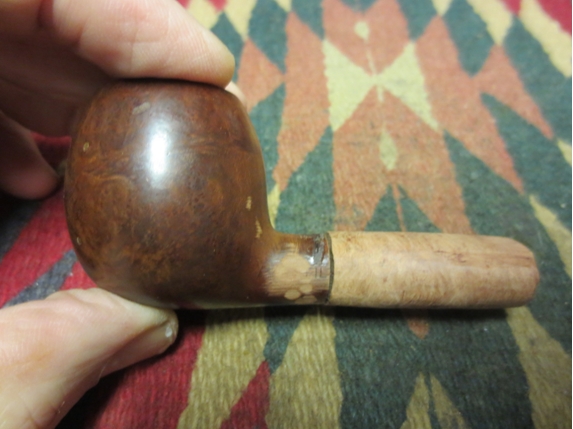
 Once the transition was smooth I turned my attention to the stem. I would need to go back and do more work on the bowl but that was good for the moment. I wanted to fit the stem and get a feel for what the finished pipe would look like. Because I reversed the metal sleeve I needed to adjust the diameter of the saddle stem to have it seat properly inside the sleeve. I used a Dremel with sanding drum and files to cut the step down. In the photo below you can see the rough fit stem. I would need to clean up the step with files and sandpaper to smooth out the newly cut portion of the saddle that would sit in the sleeve. My plan was that the tenon would sit inside the briar and the step down saddle would sit inside the sleeve.
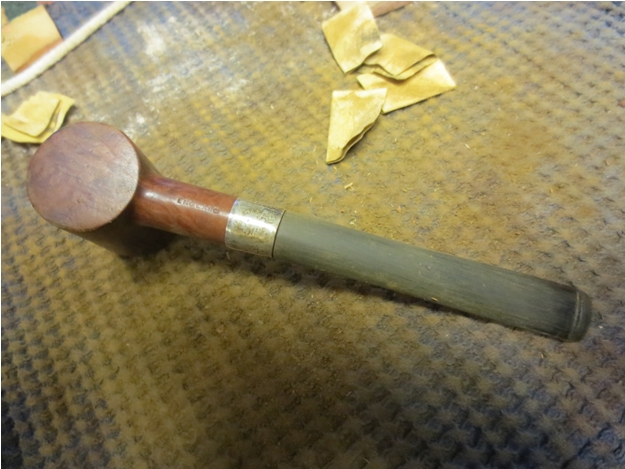
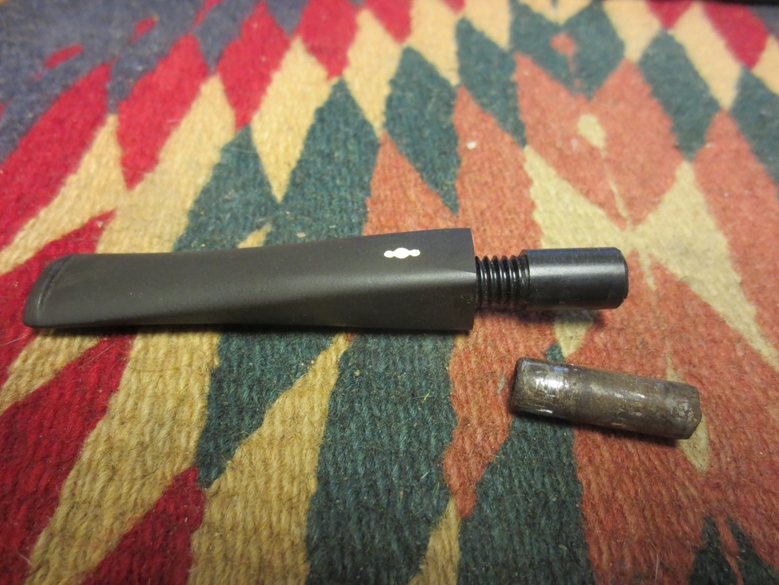
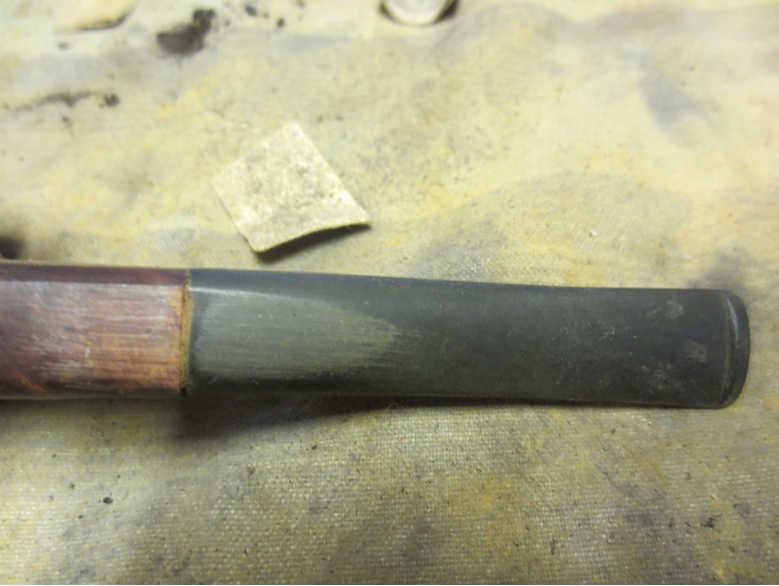
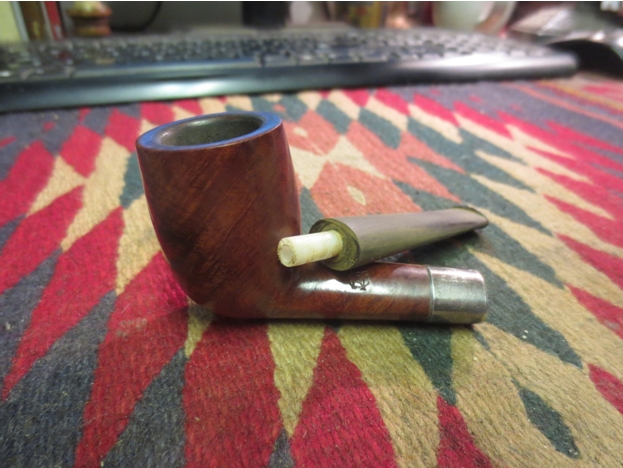
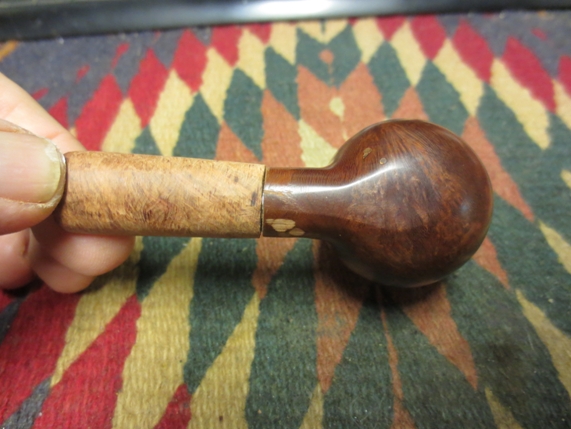
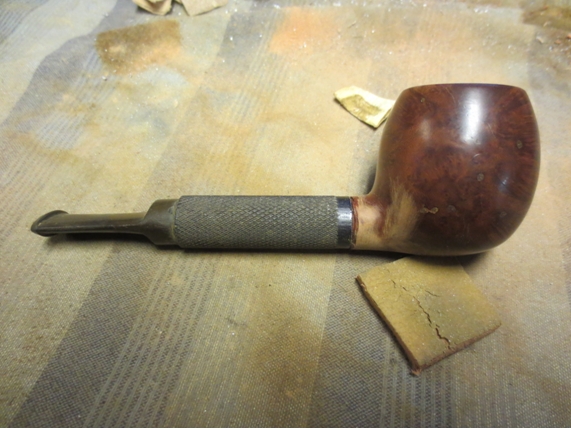
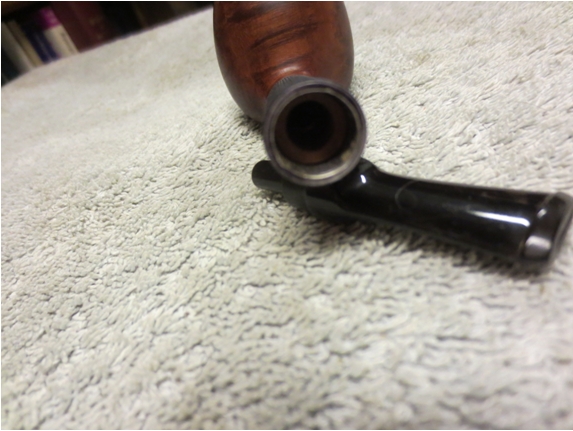
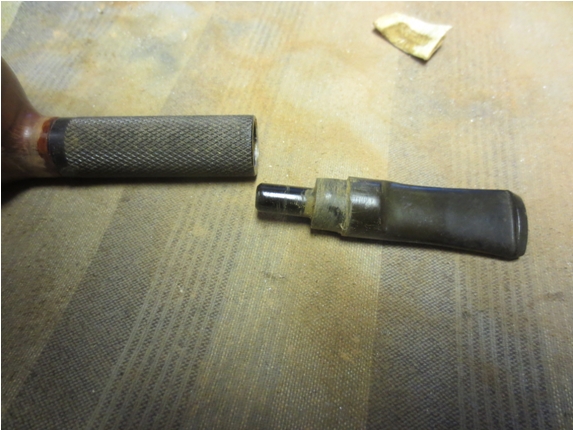 With a little sanding my plan worked. The tenon sat perfectly in the airway in the briar and the stepped down saddle sat snuggly in the sleeve. Now all I needed to do was clean up the stem and polish it for a final fit. The first photo below shows the position of the briar insert in the sleeve. You can see the depth of the section of the sleeve for the saddle part of the stem that I modified in this photo. You can also see the airway where the tenon inserts in the briar. The three photos that follow show the progress of the Frankenpipe at this point in the process.
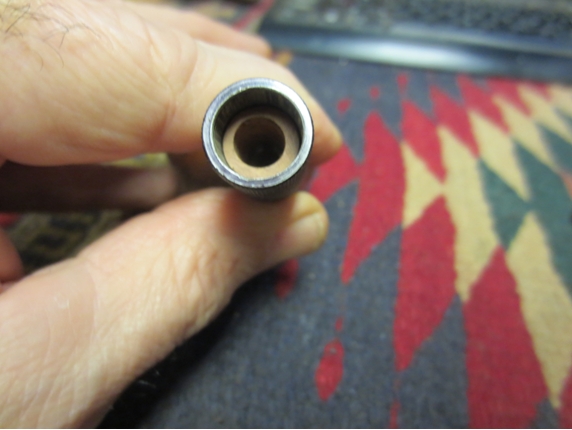
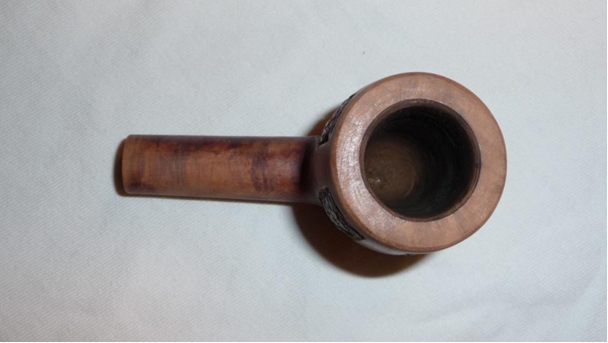
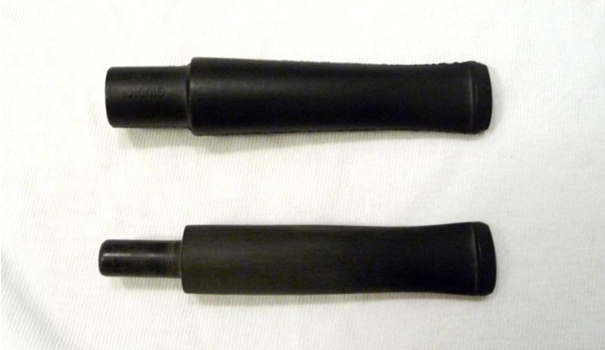
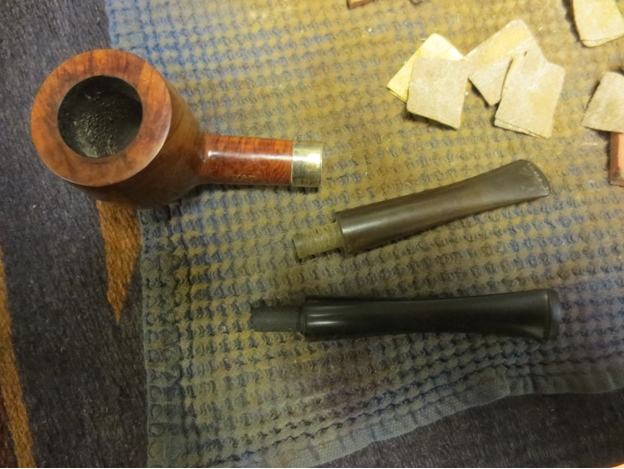
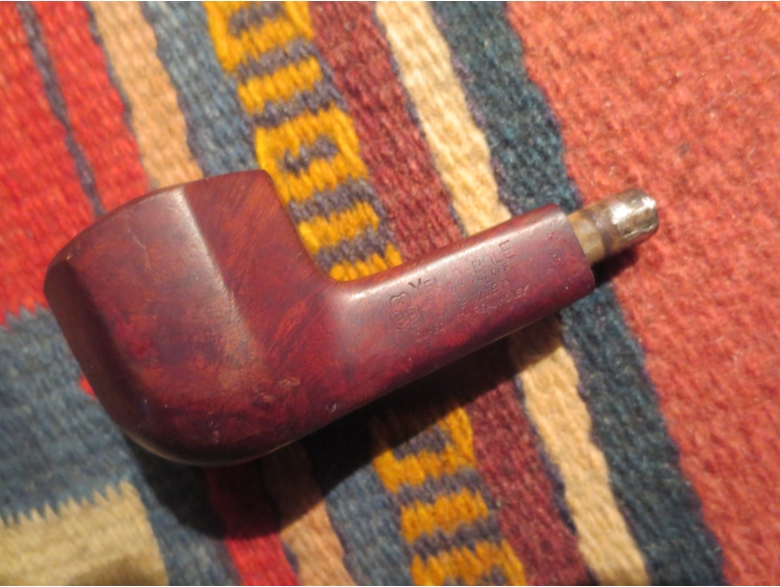
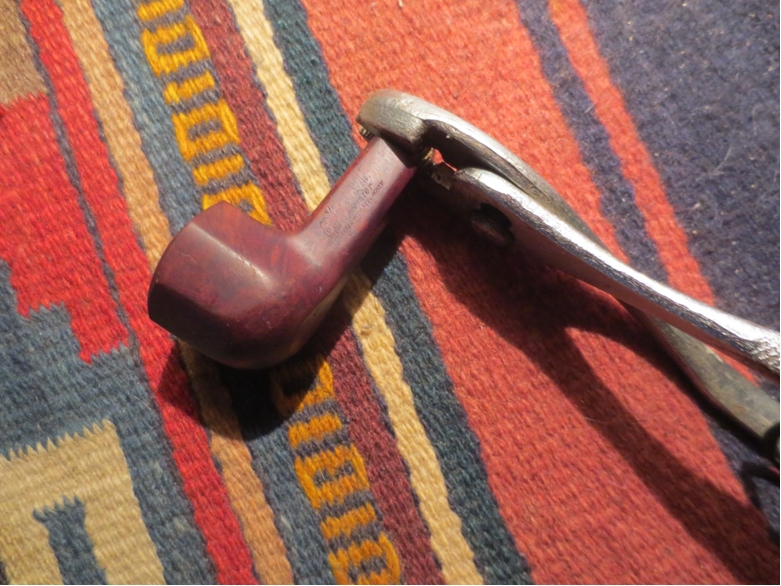
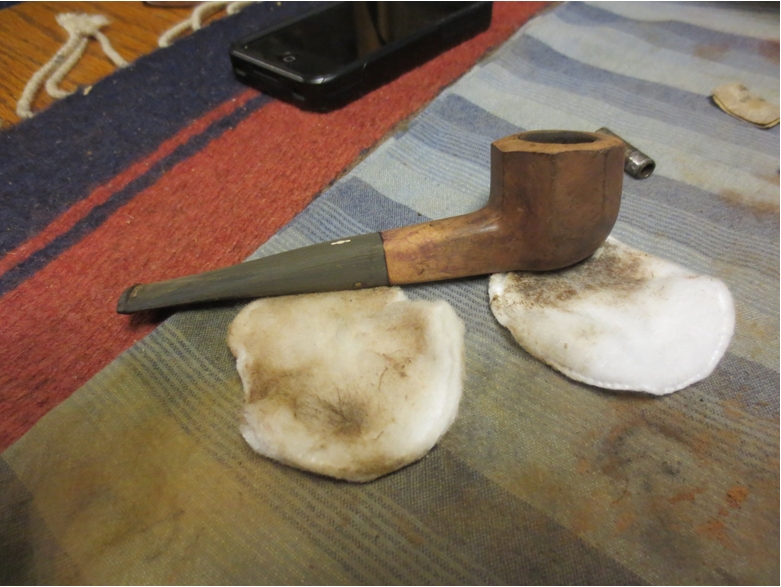
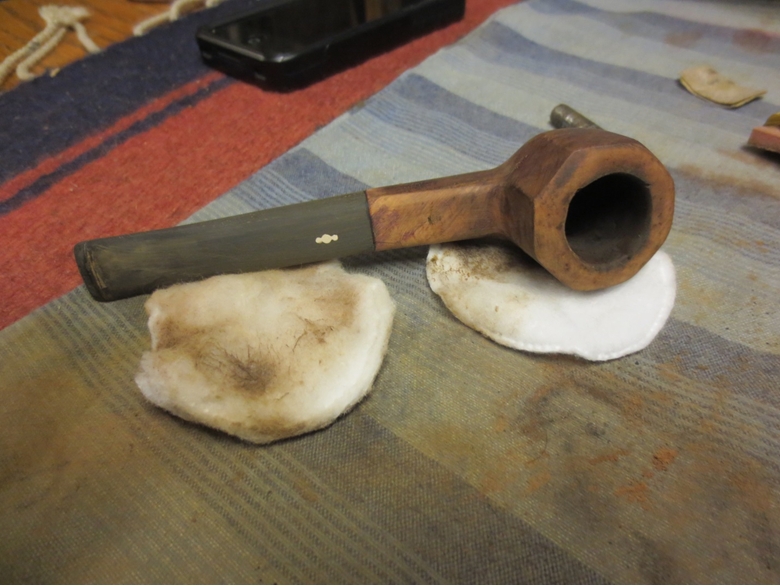
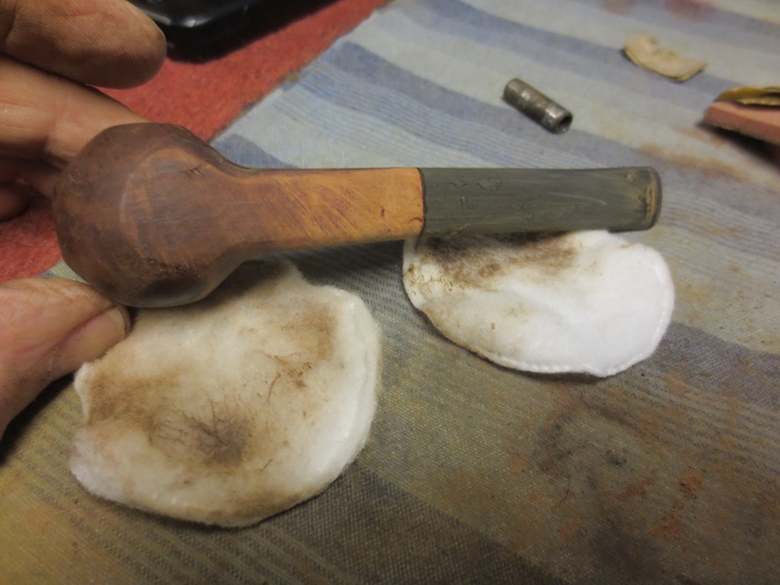
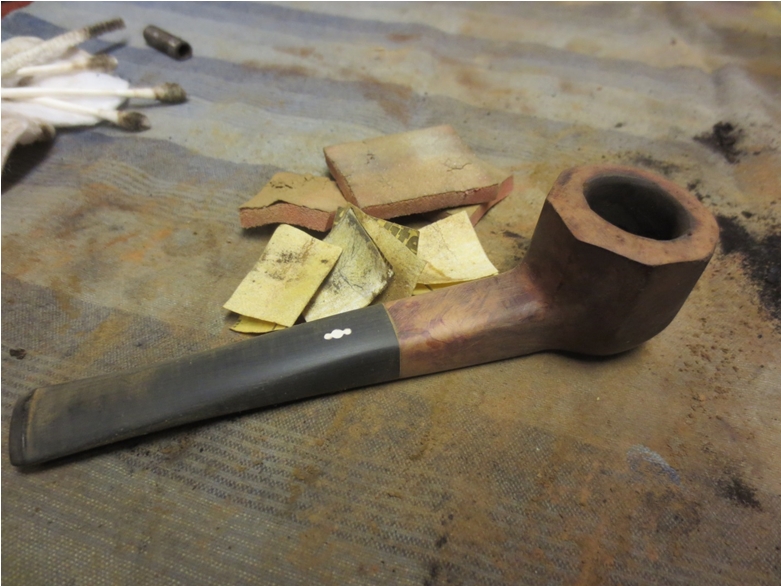
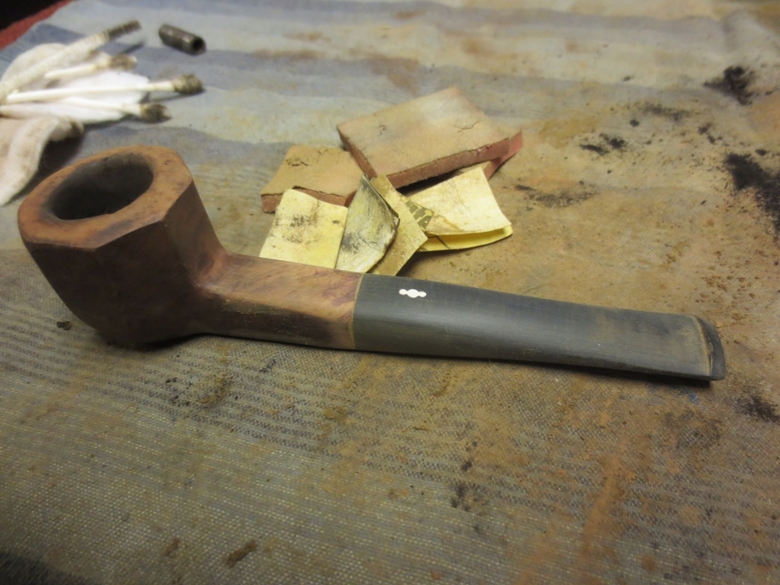
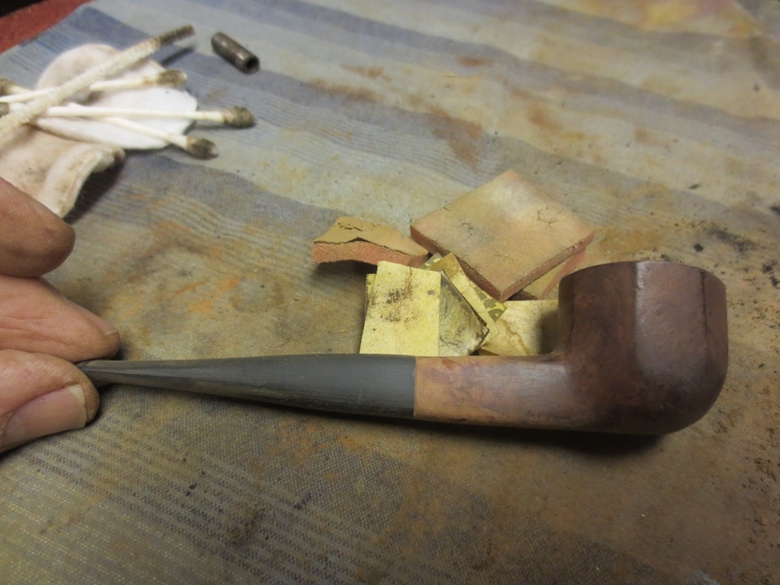
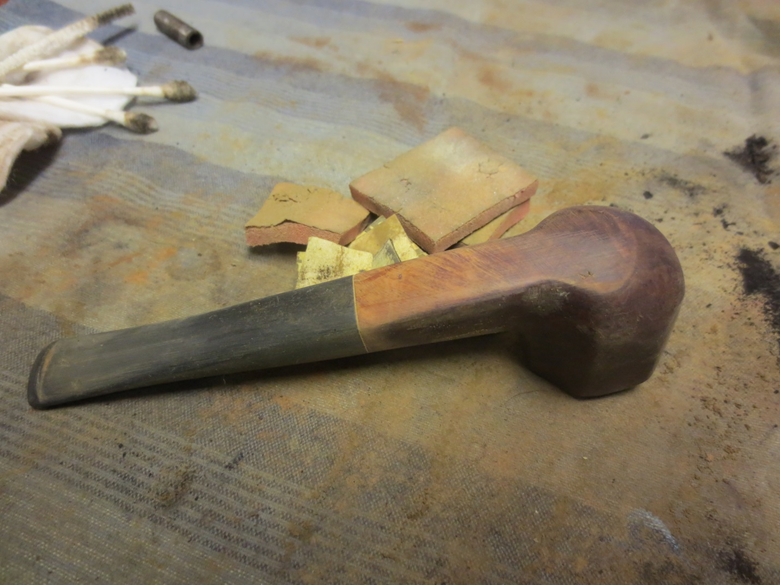
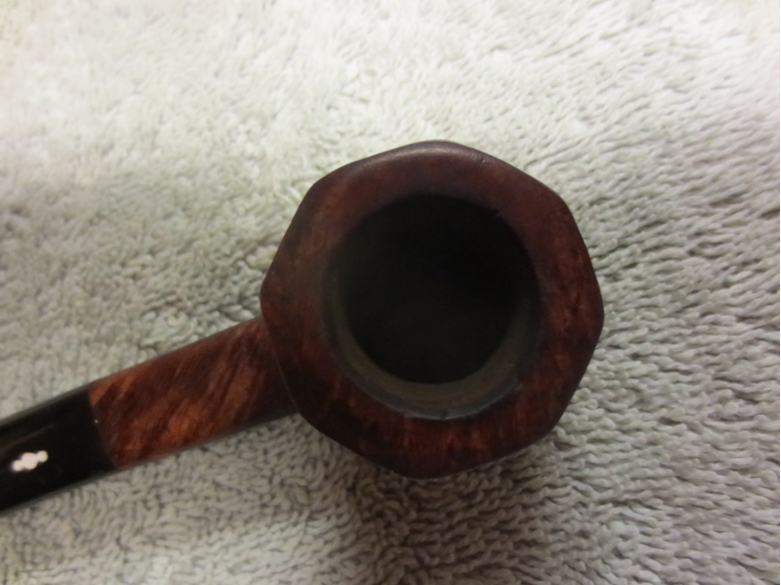
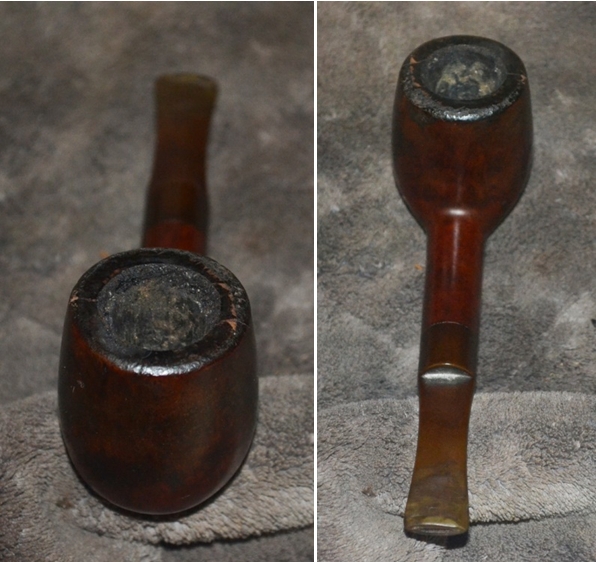
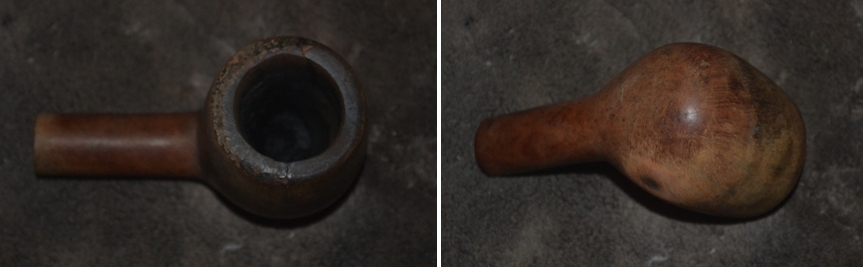
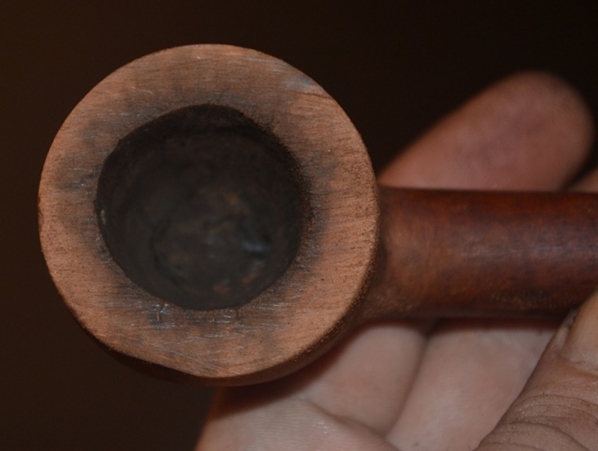
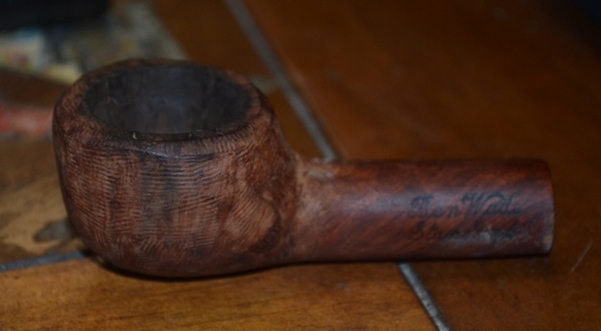
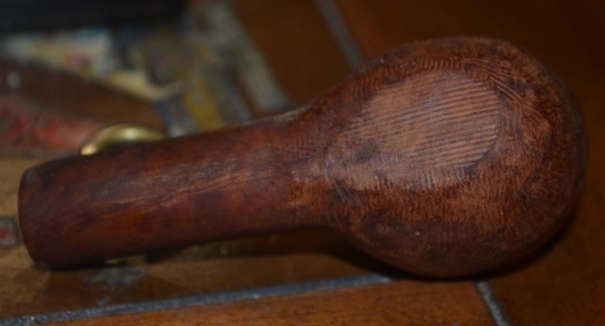
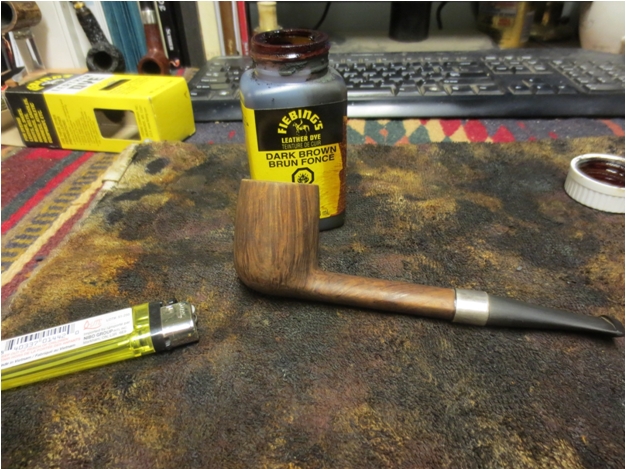
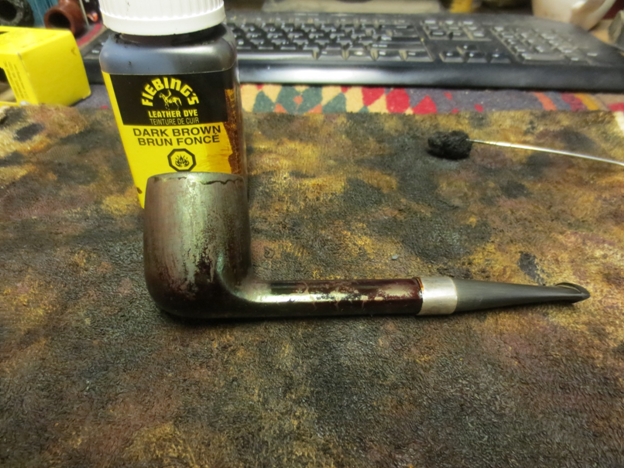
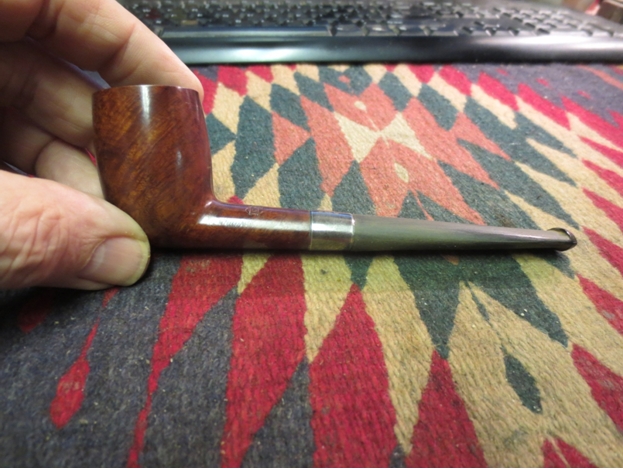
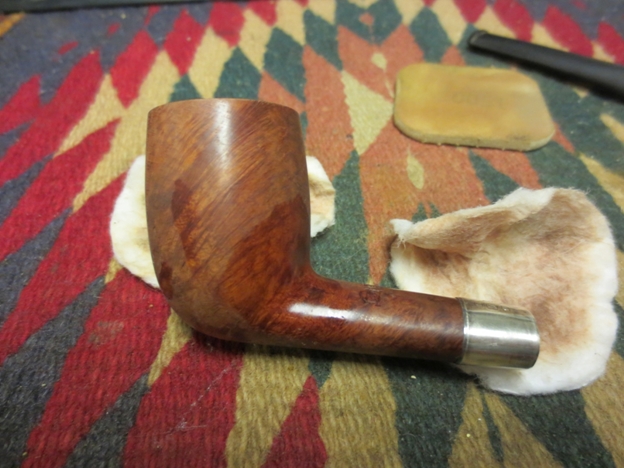
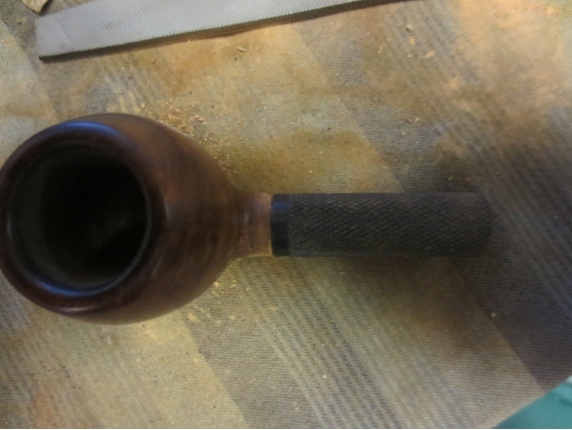
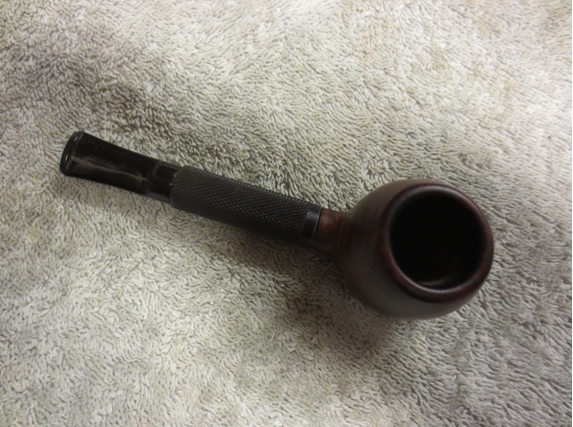
 I sanded the bowl and shank with a medium and fine grit sanding sponge to remove the finish on the bowl, rim and smooth out the sanding scratches on the shank. The bowl was covered with quite a few fills on the sides and I wondered how they would look once I had sanded the finish off. Fortunately the fills were not pink putty but brown putty that actually blended in quite well once I had removed the finish. When I had sanded it I wiped it down with acetone on cotton pads. The first picture below shows the options I went through on this stem and the original broken shank.
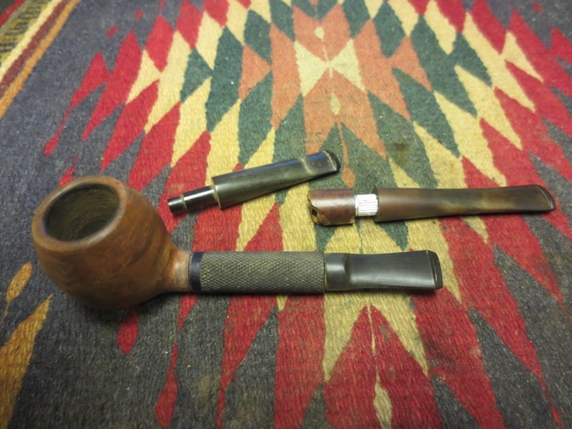

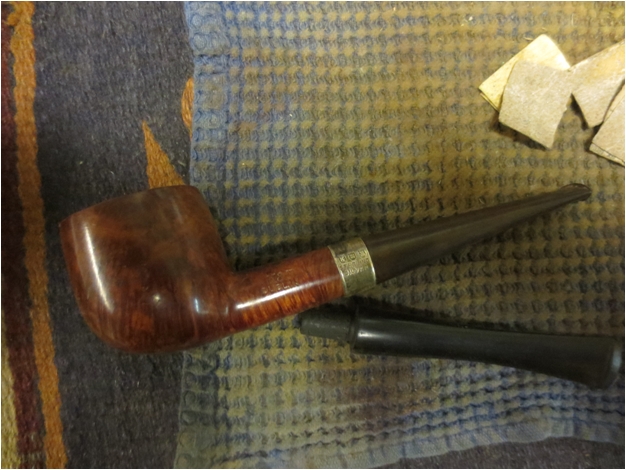
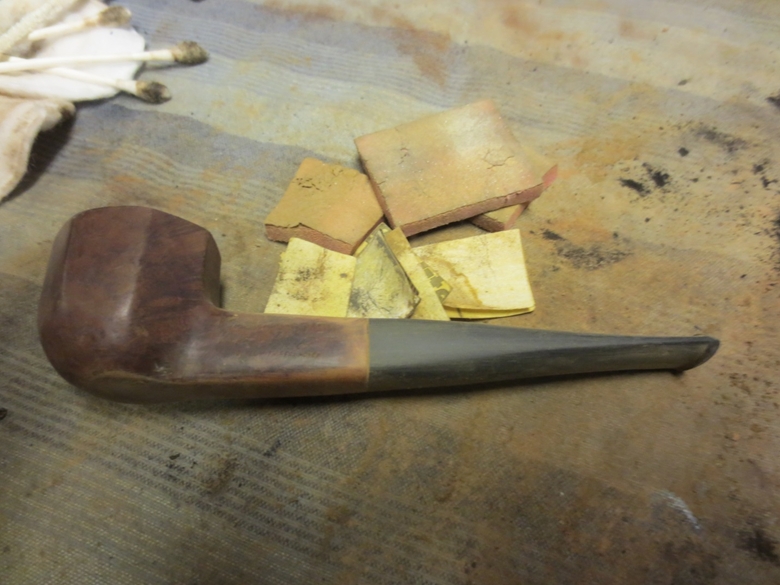
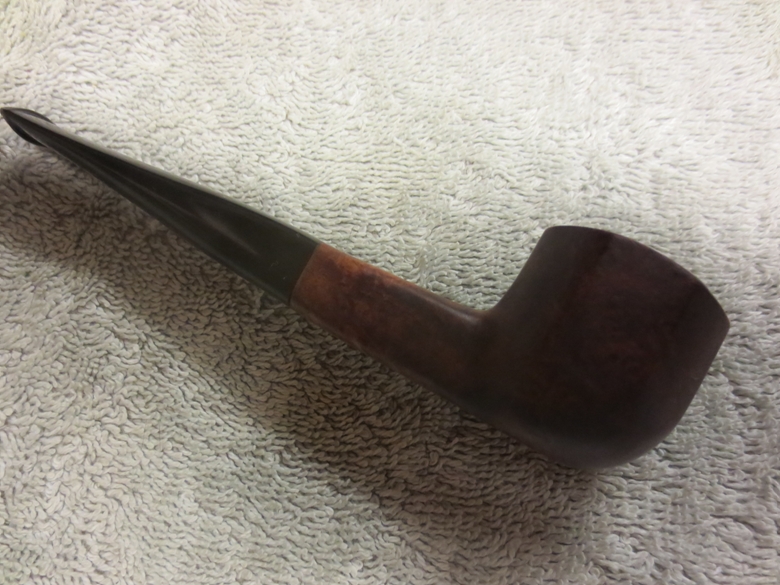
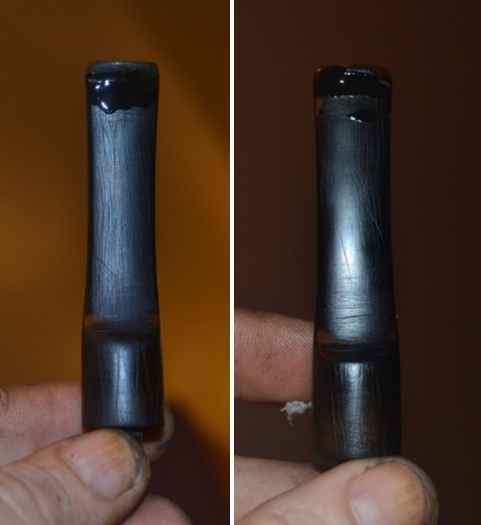
 The pipe was beginning to look like I had hoped. There was still more sanding to do on the bowl and the stem but it was coming along nicely. I used a file to clean up the edge of the step on the saddle so that I could get a good fit of the vulcanite against the metal edge of the sleeve. I sanded the stem with 220 grit sandpaper and a medium and fine grit sanding sponge to remove oxidation and scratches.
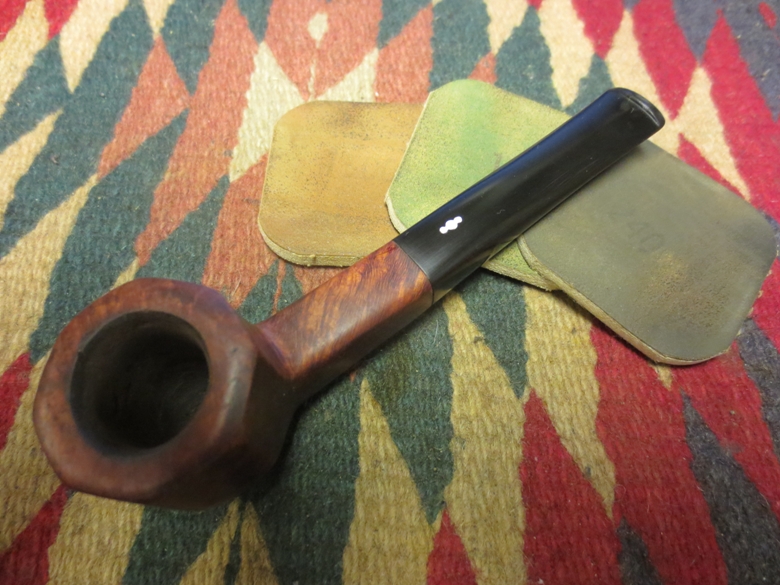
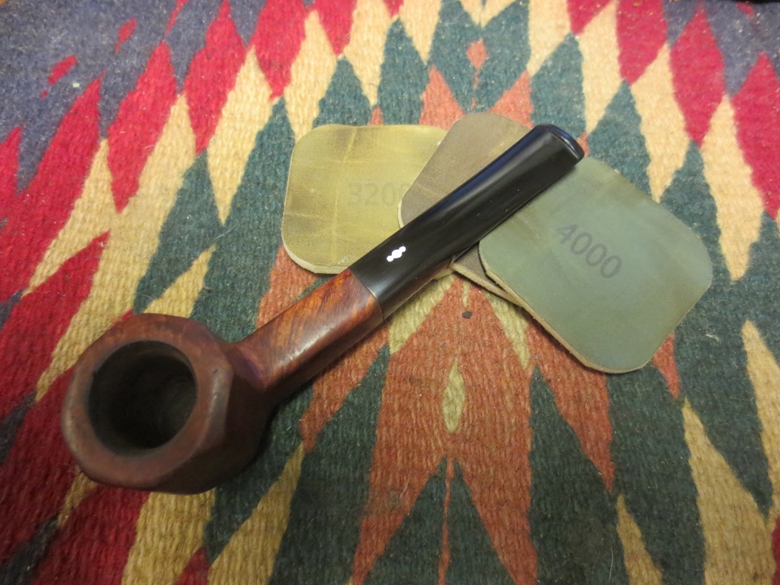
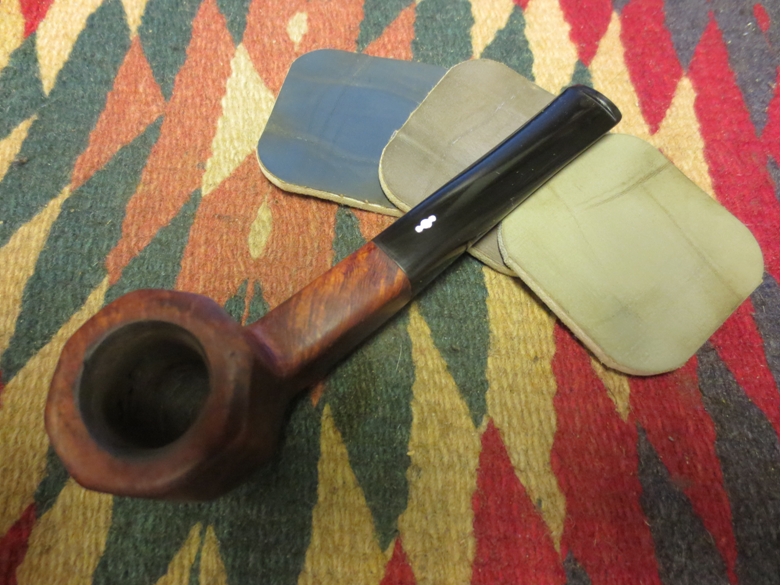
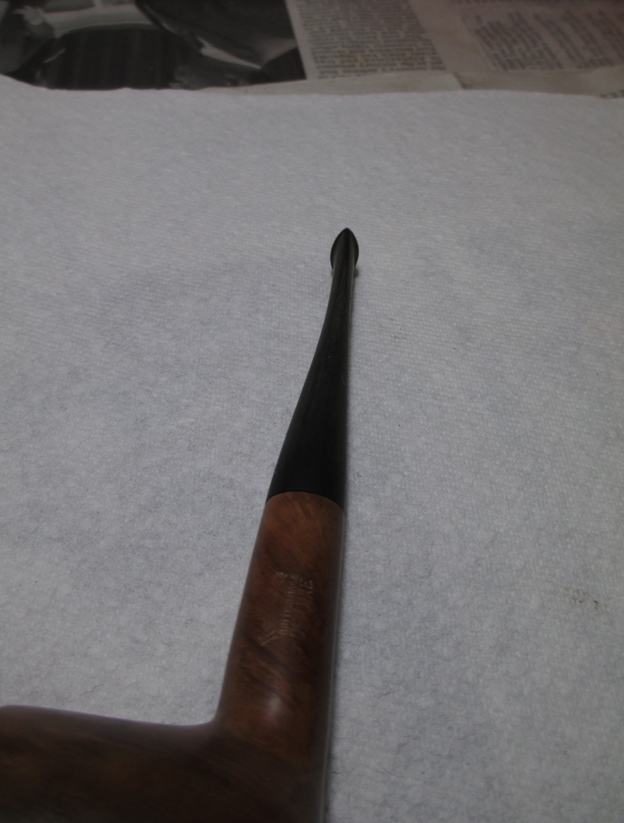
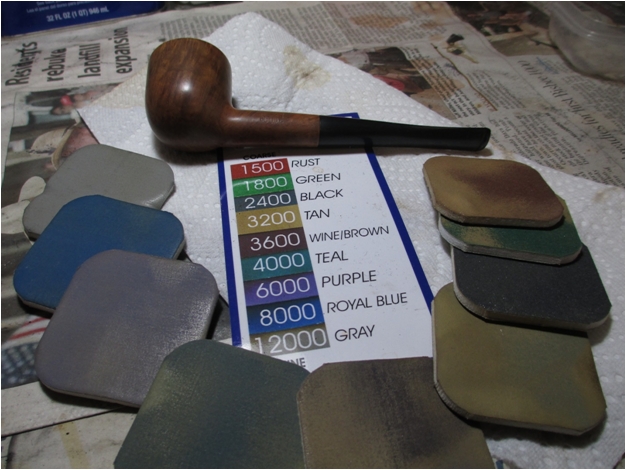
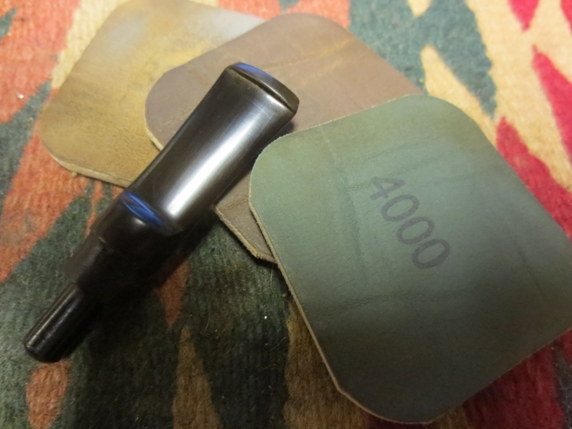
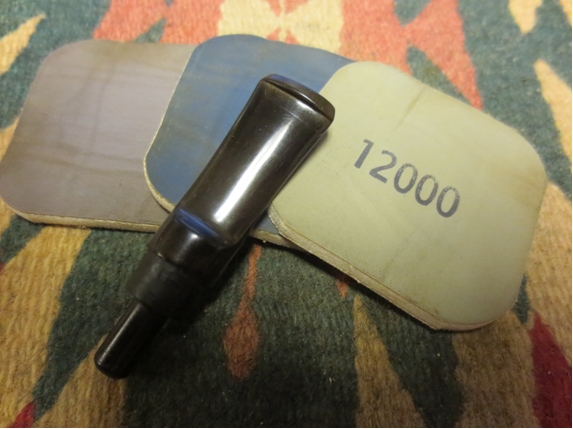
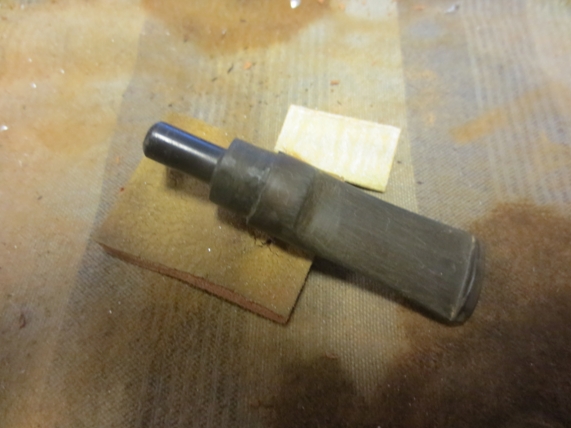 I sanded the stem with micromesh sanding pads – wet sanding with 1500-2400 grit pads and dry sanding with 3200-12,000 grit pads. I rubbed the stem down with Obsidian Oil between each set of three sanding pads. I gave the stem a final rub down with oil after sanding with the 12,000 grit pad.
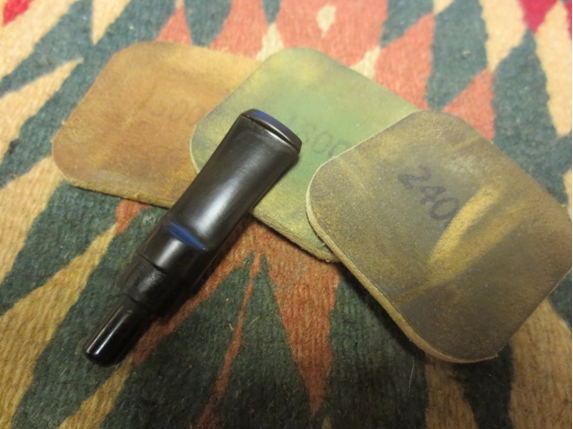
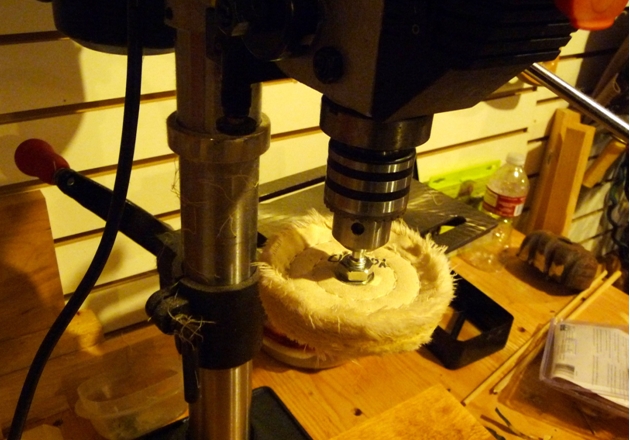
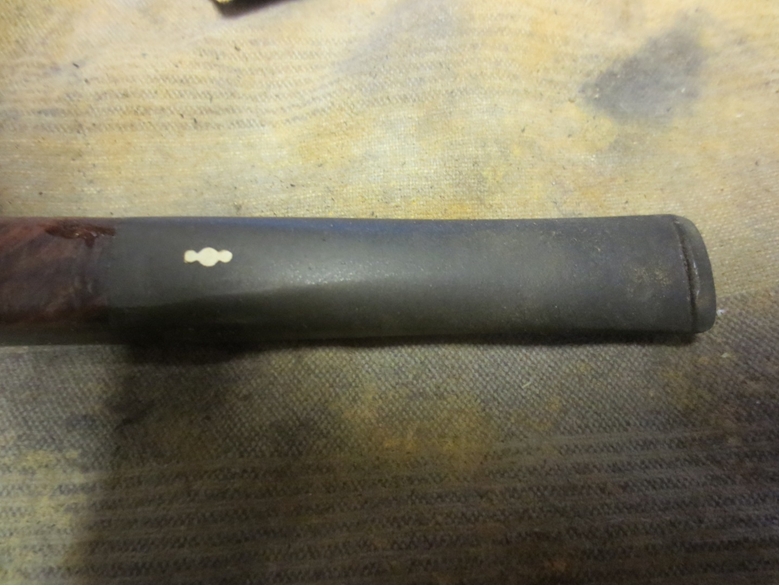
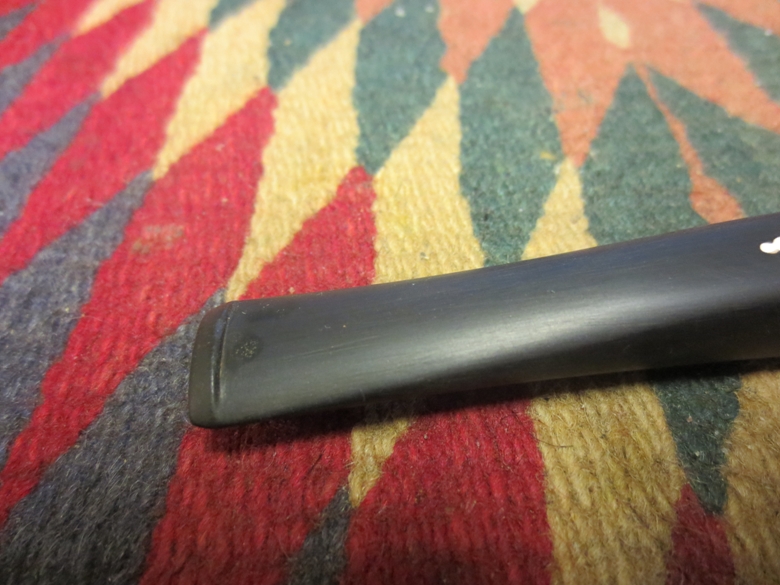
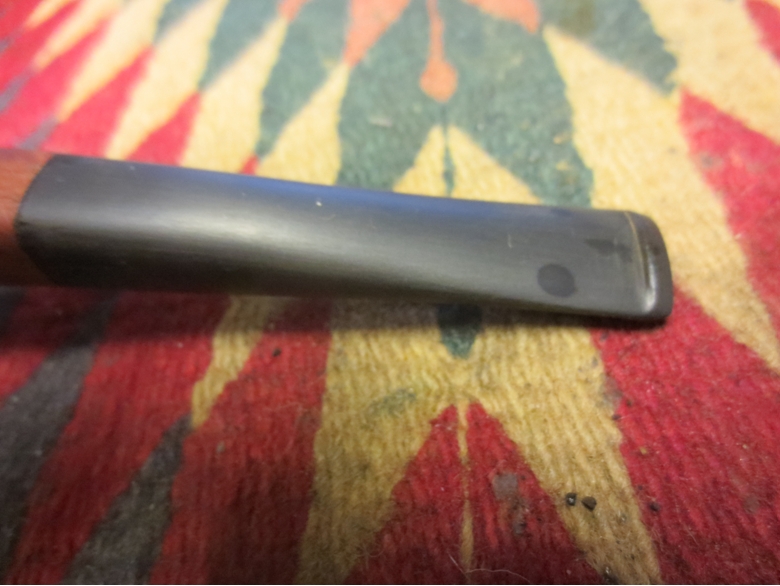
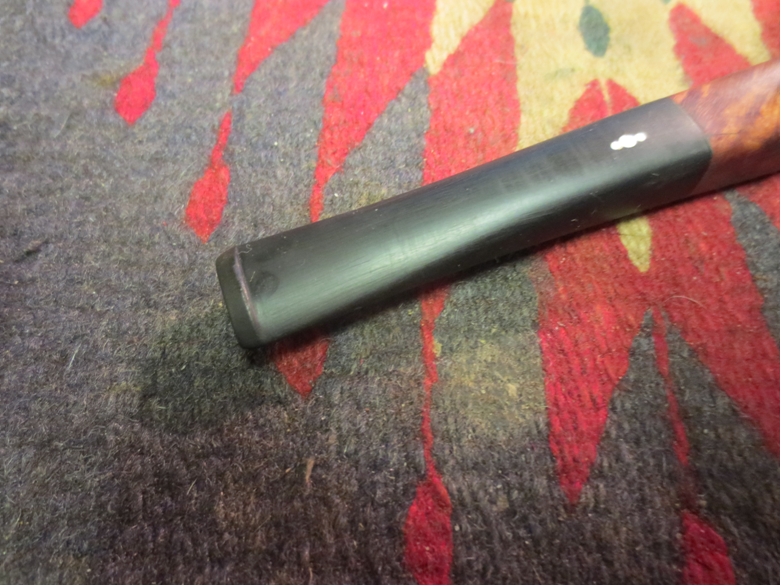
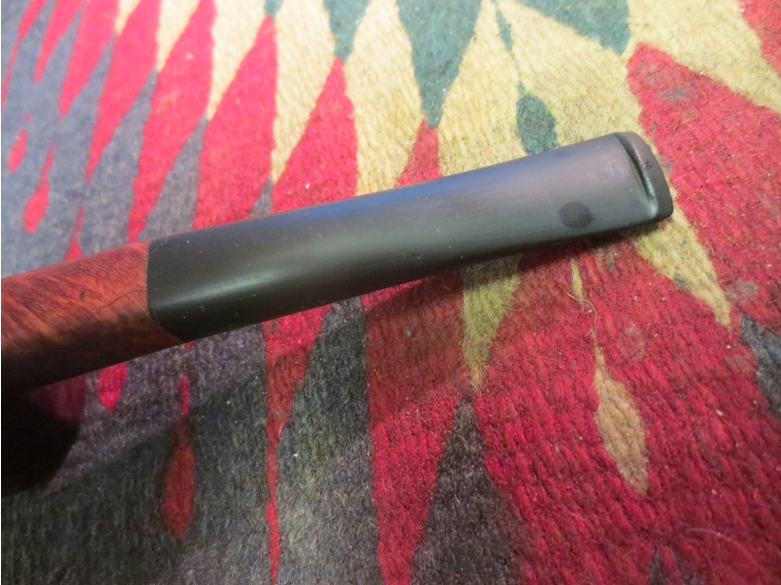
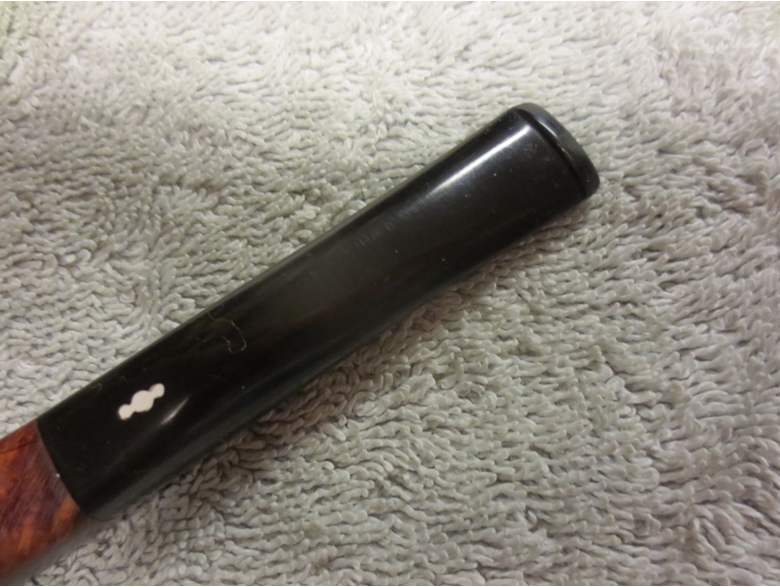
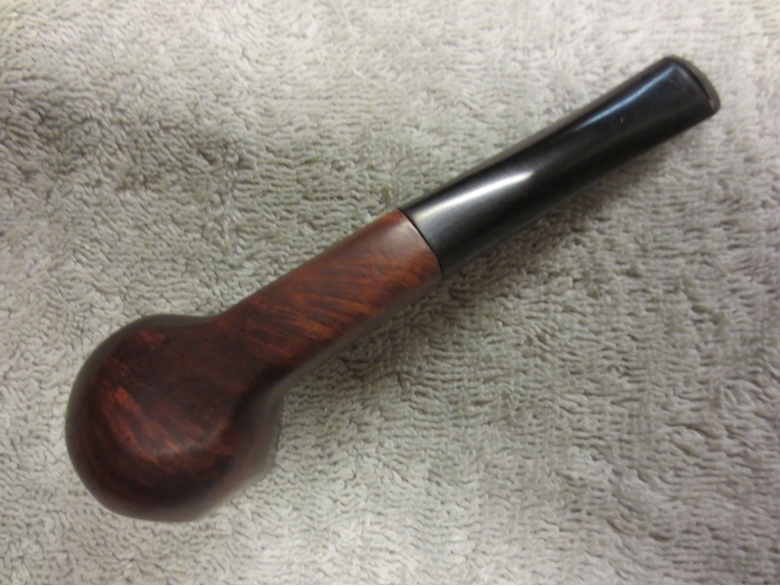
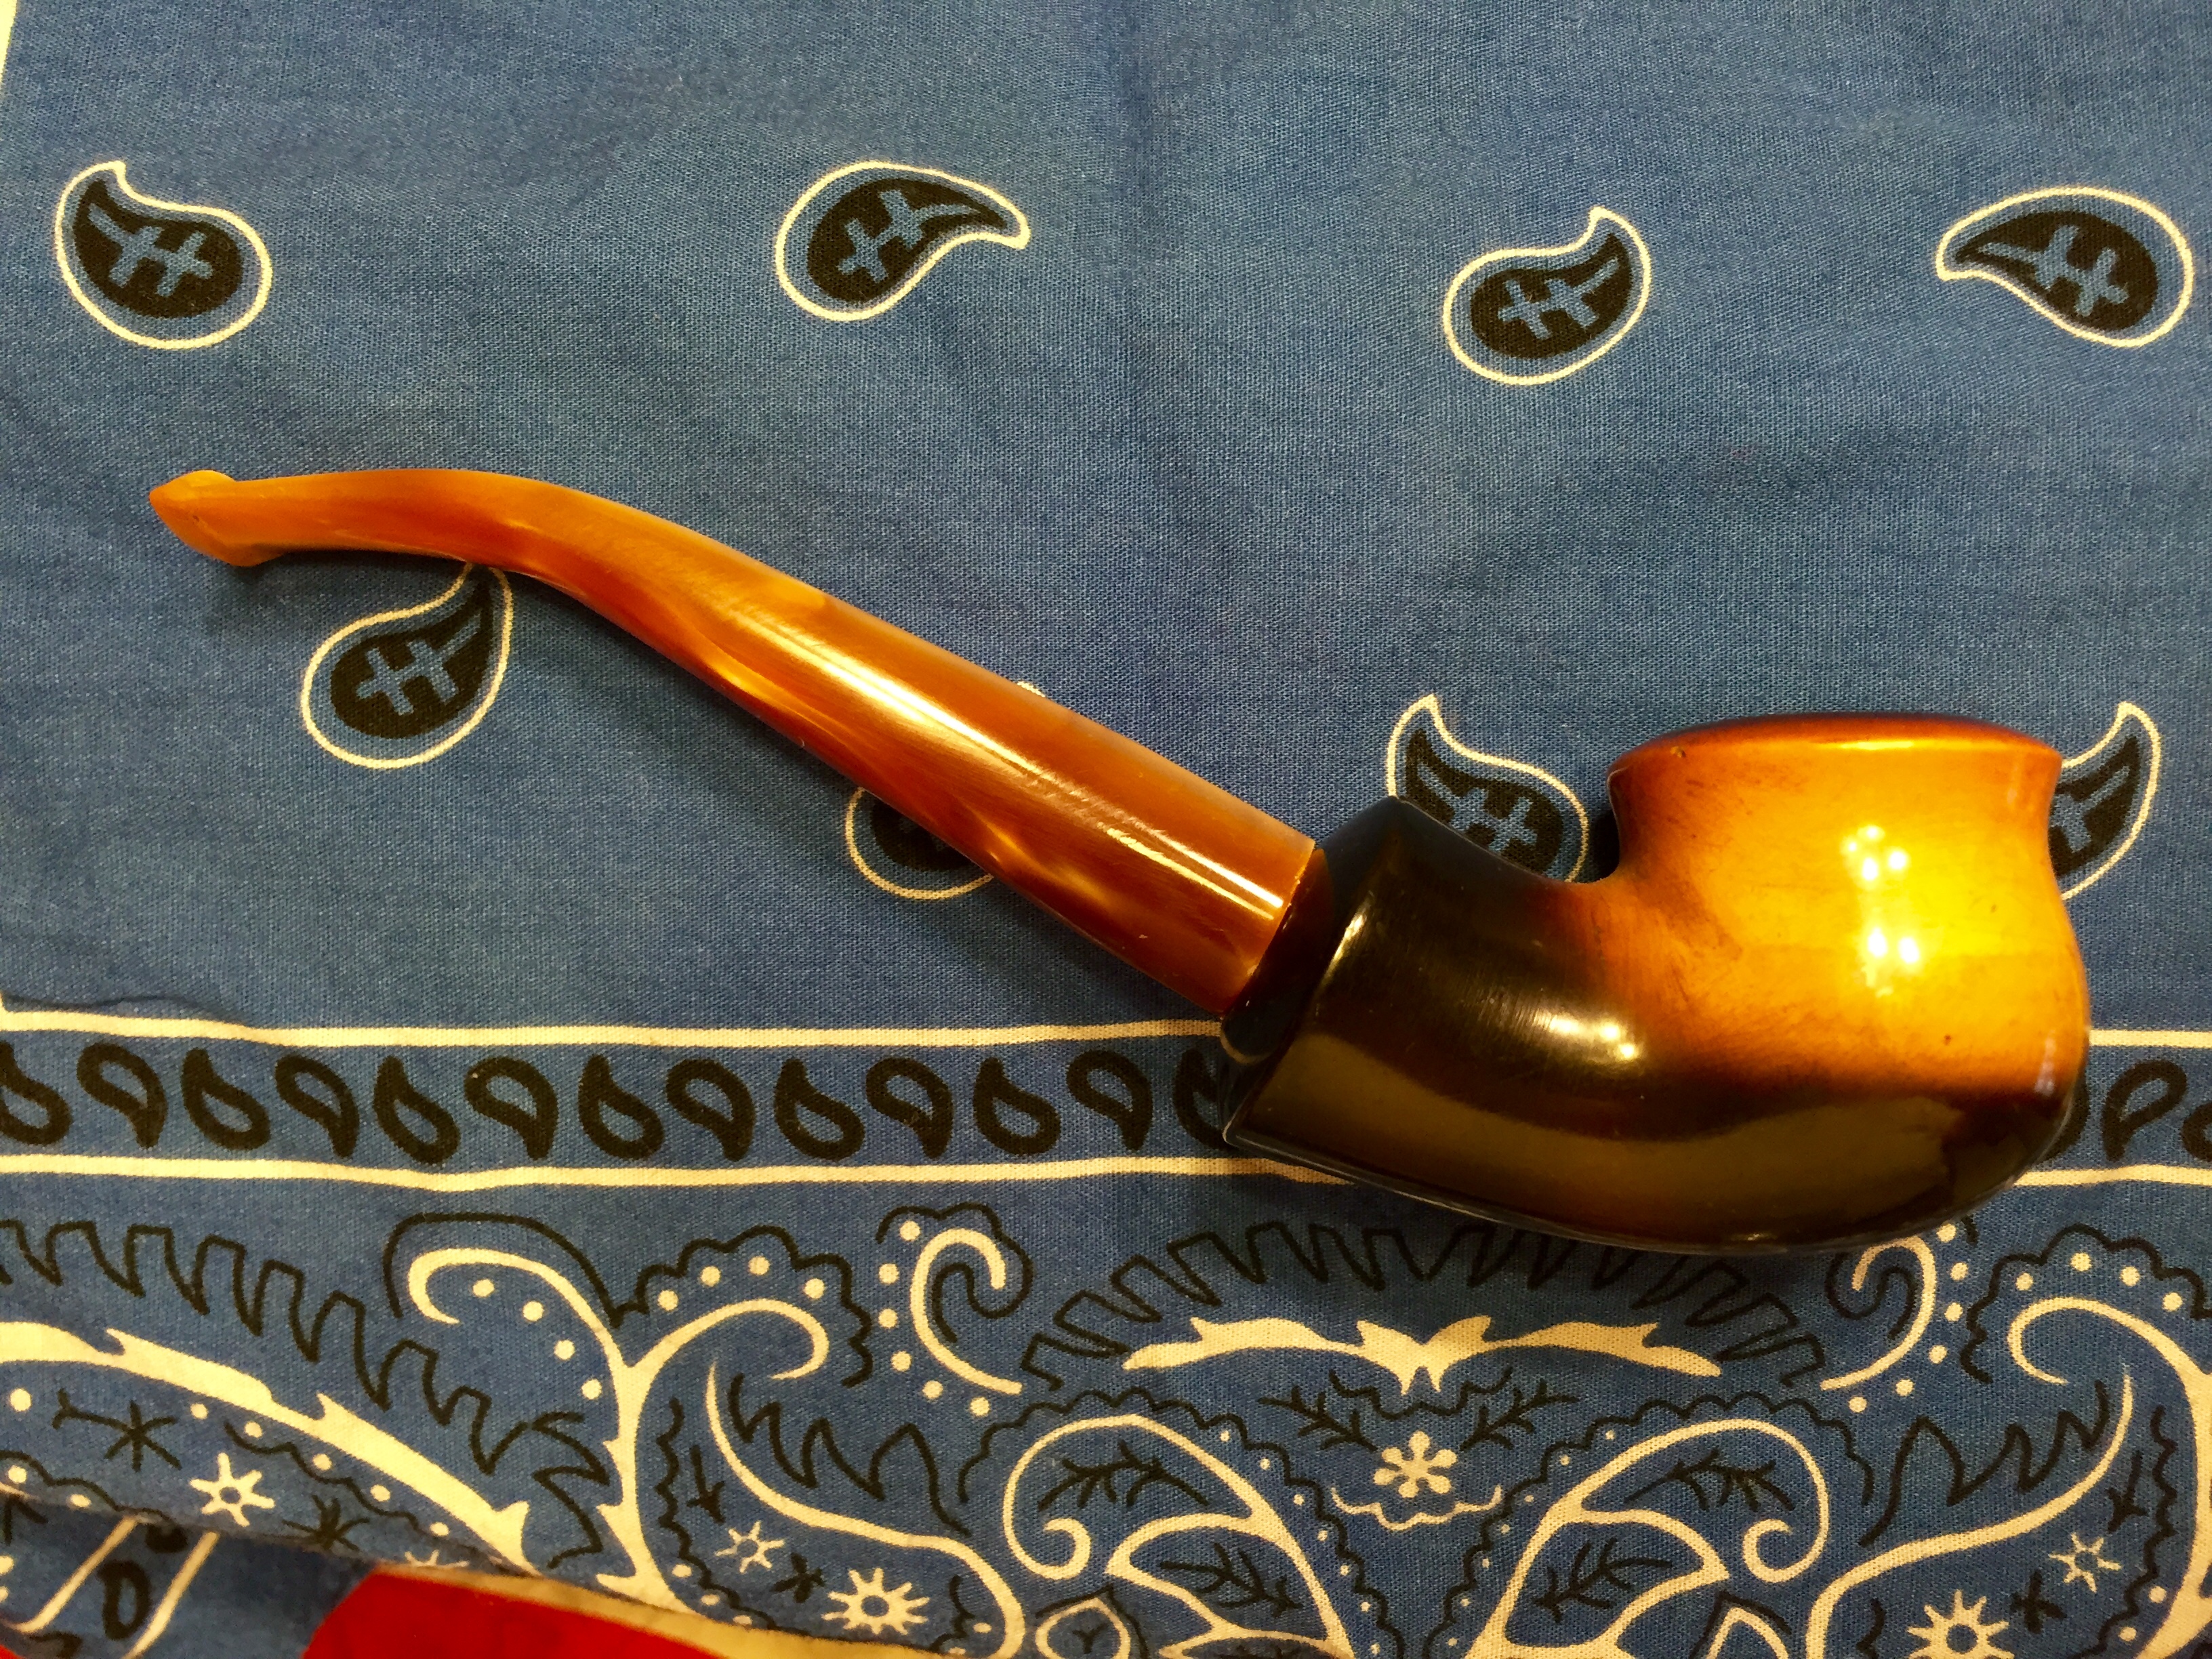
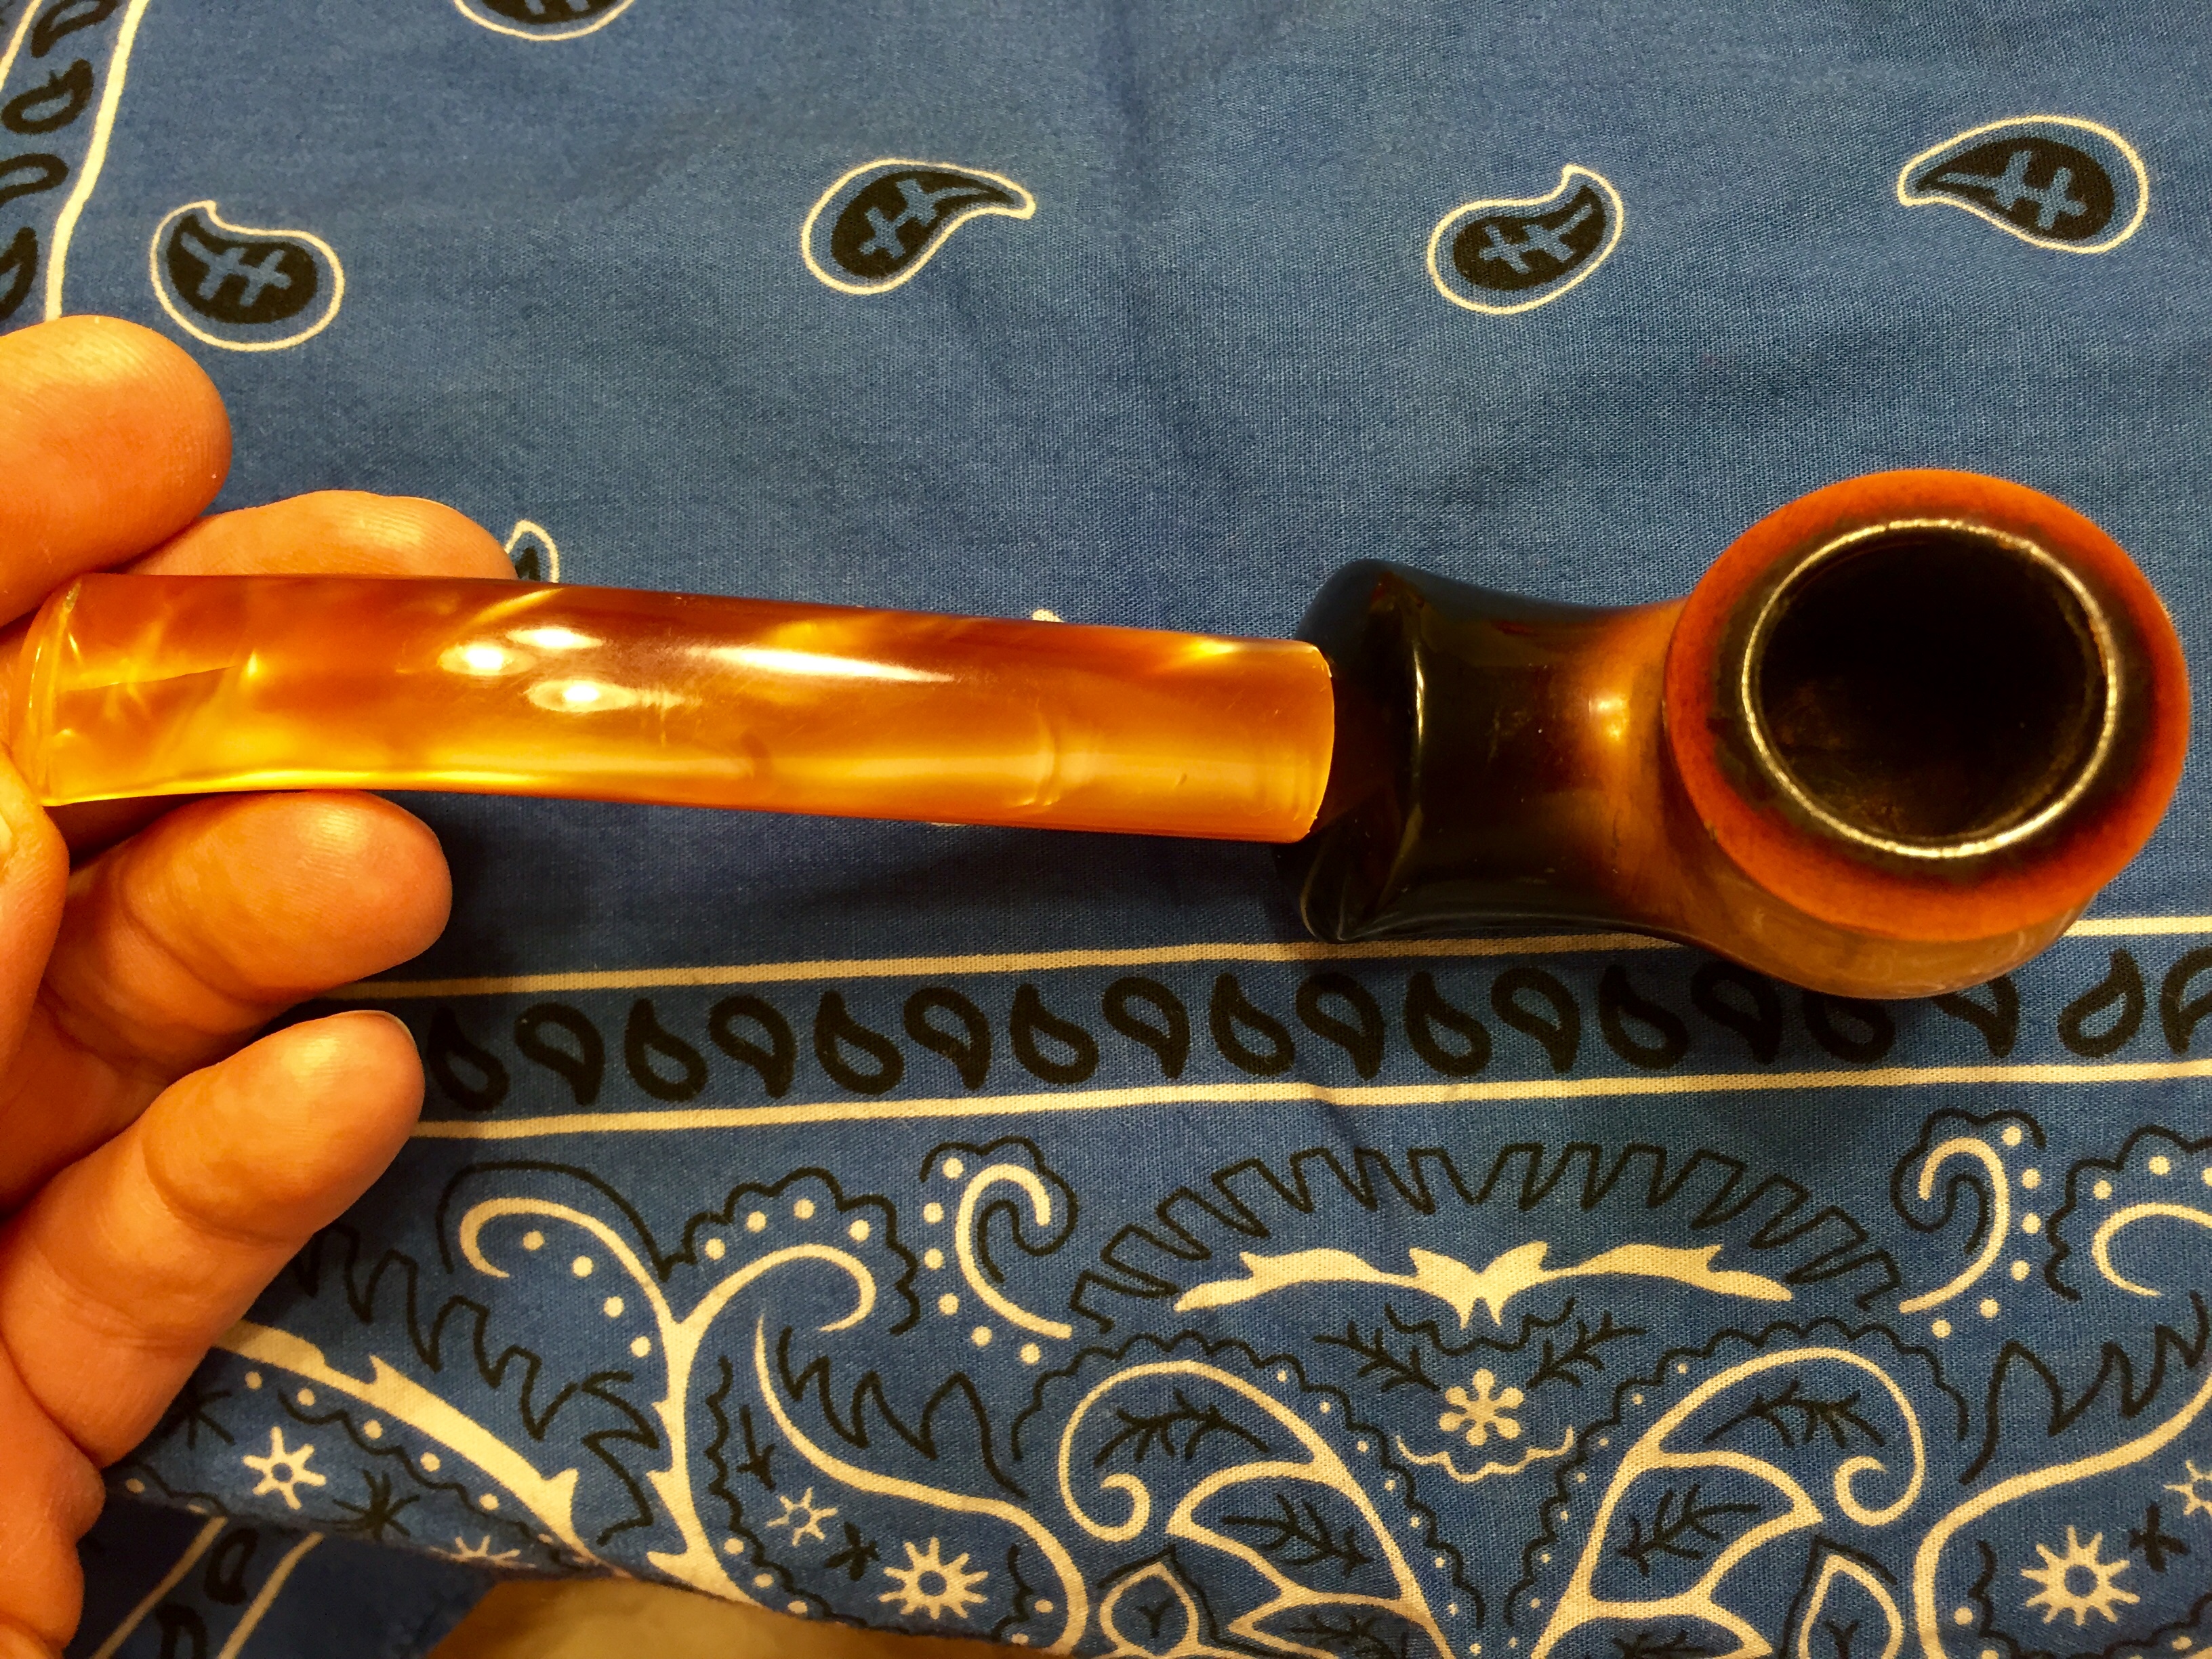
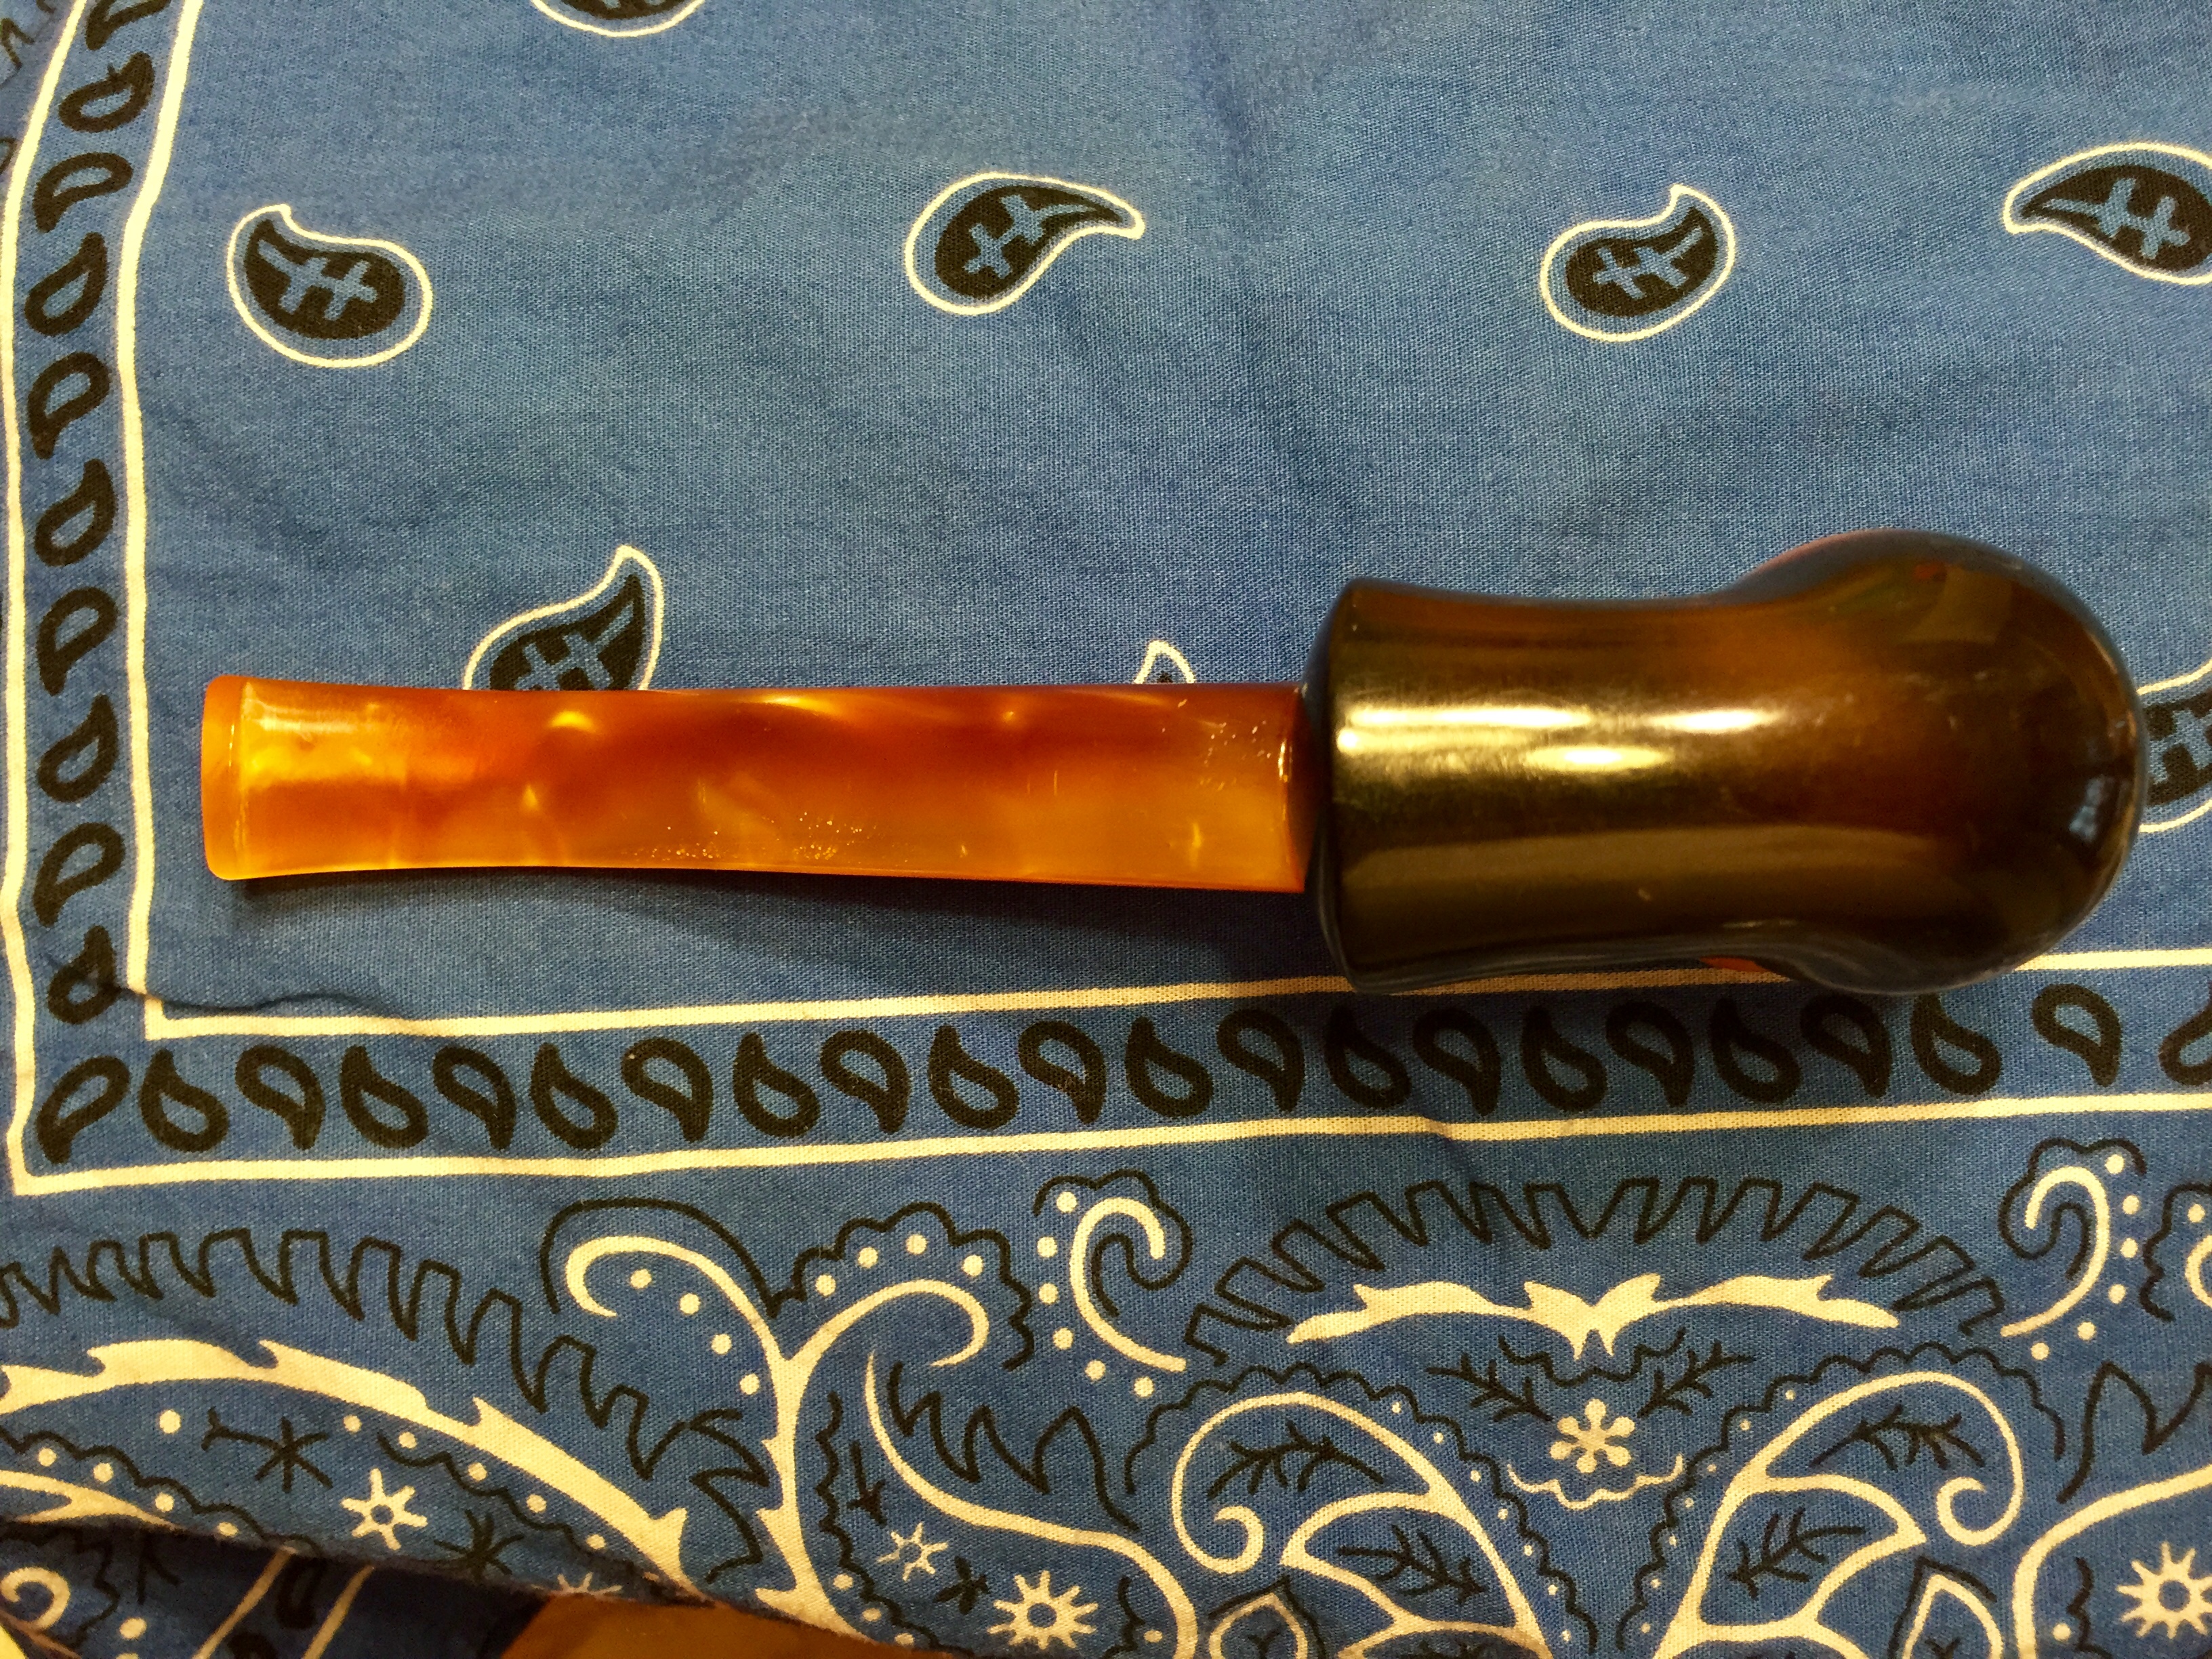
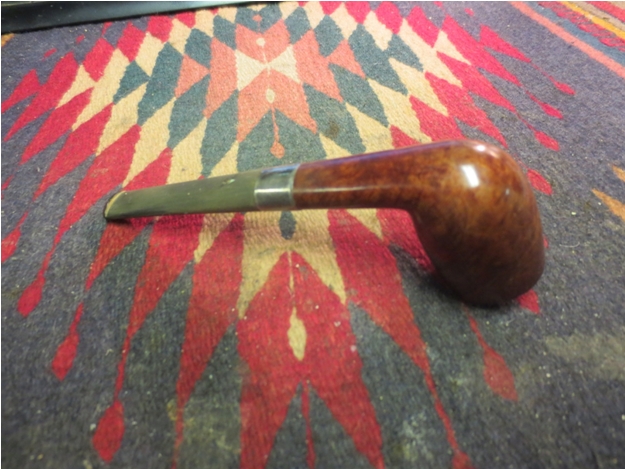
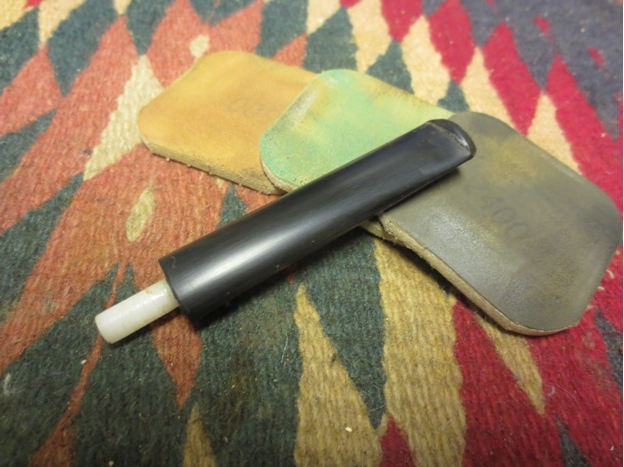
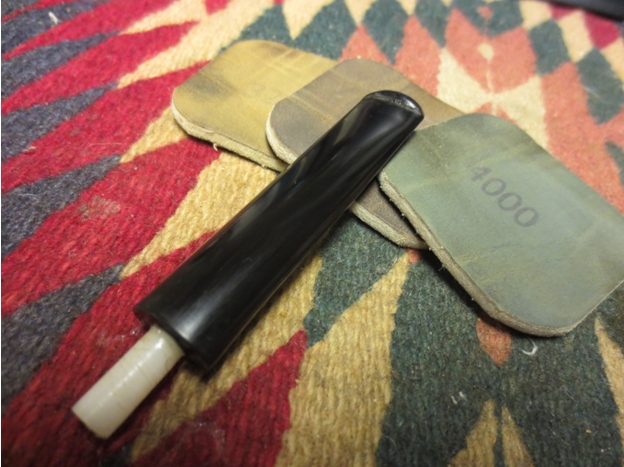
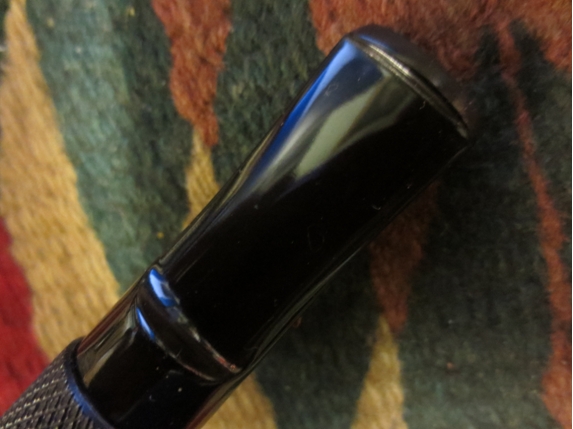
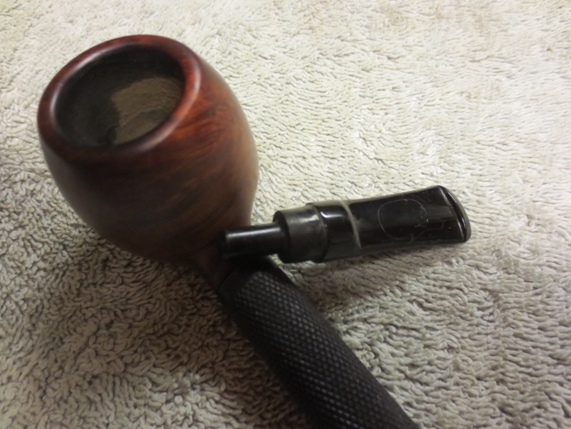
 There was still some stubborn oxidation on the saddle and next to the button. I buffed it with red Tripoli and then with White Diamond. I had a pretty heavy hand with this stem. I did it without the shank and really pressed it into the pads. I wanted to strip away the remaining oxidation. Once it was gone I gave it several coats of carnauba wax. I finished the stem by buffing it with a soft flannel buff to raise the shine. The finished stem, both top and bottom sides, is shown in the next two photos below.
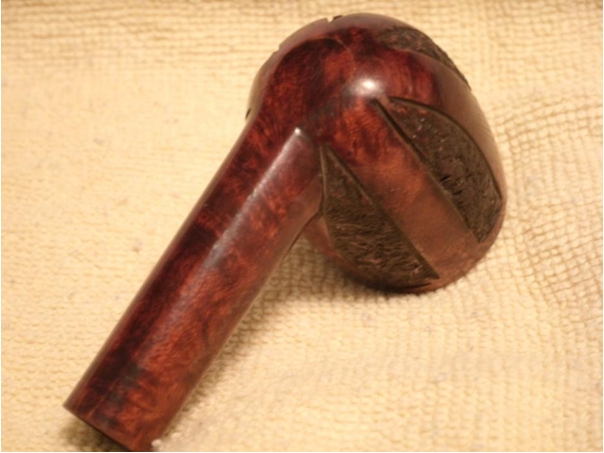
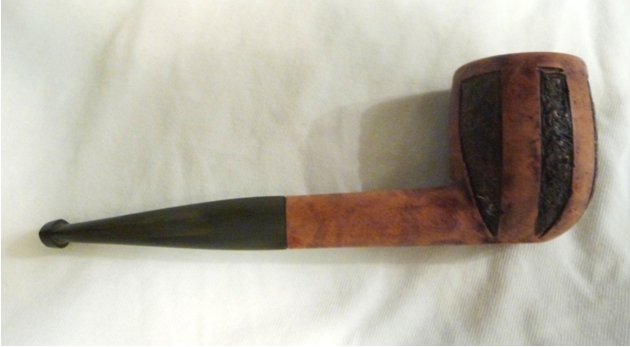
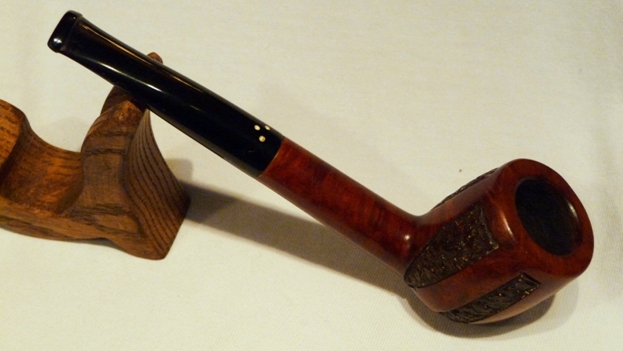
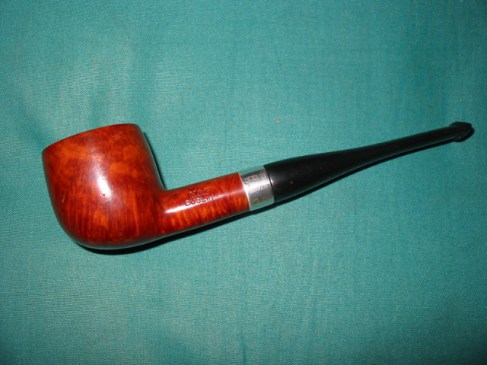
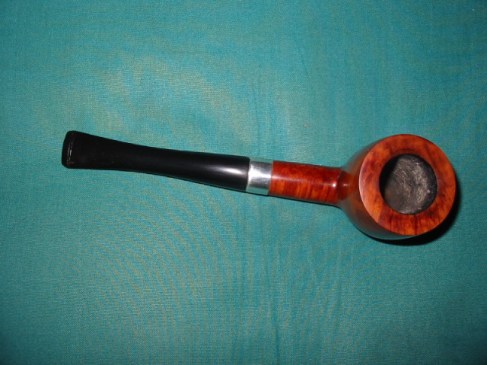
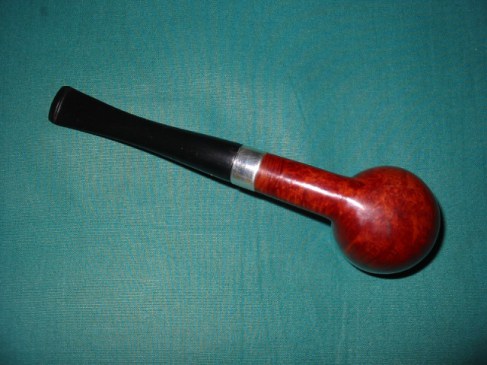
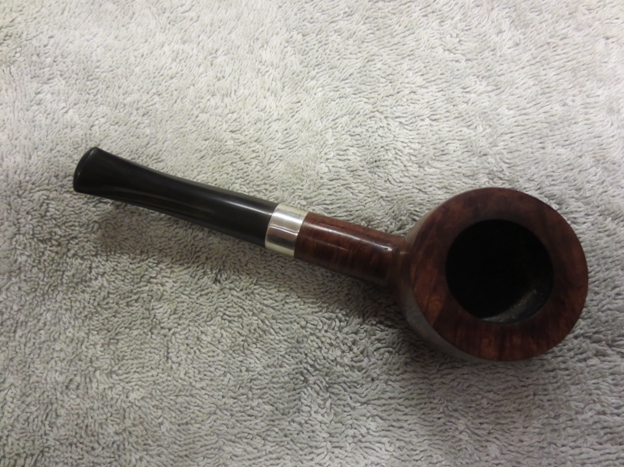
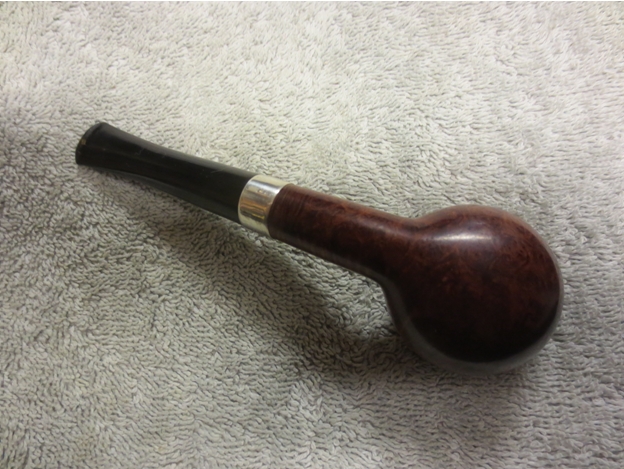
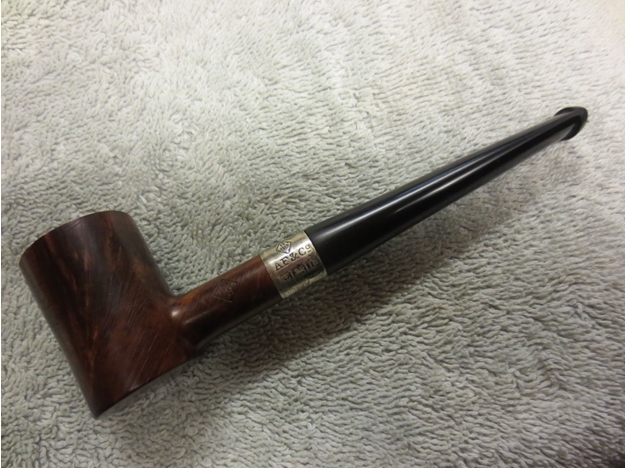
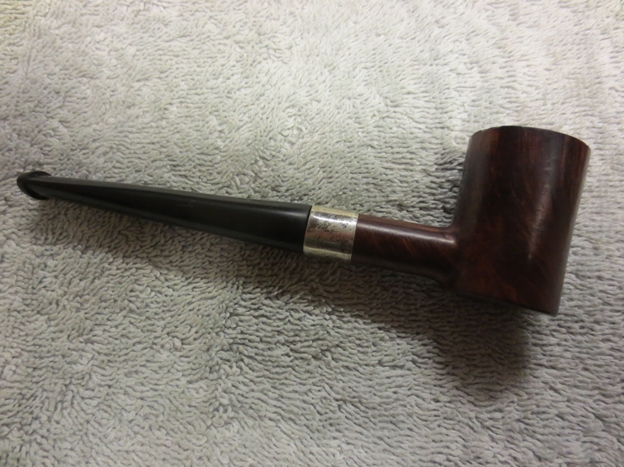
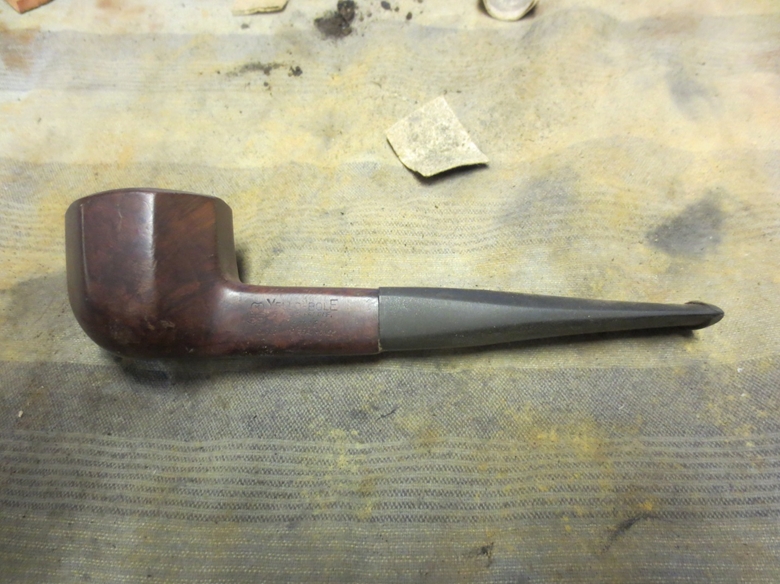
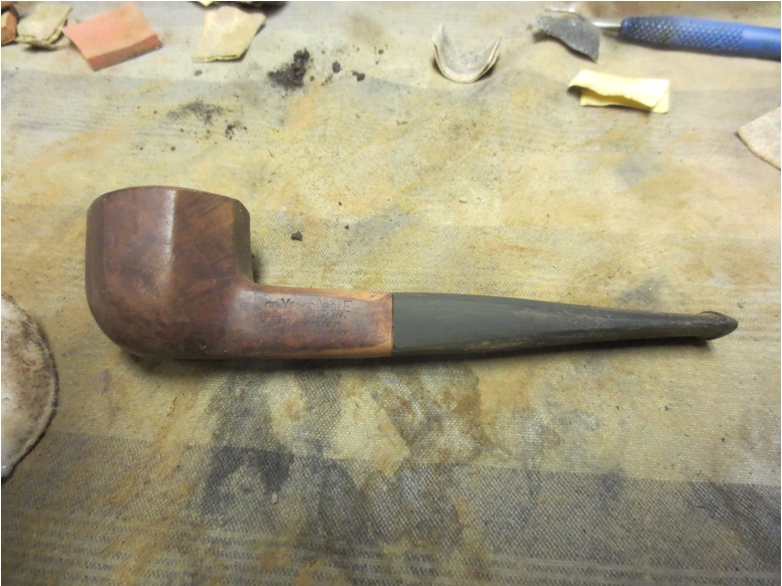
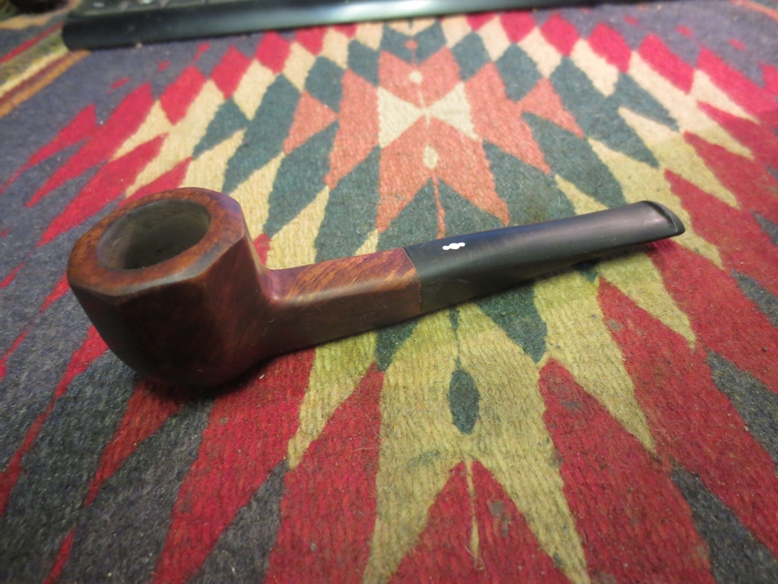
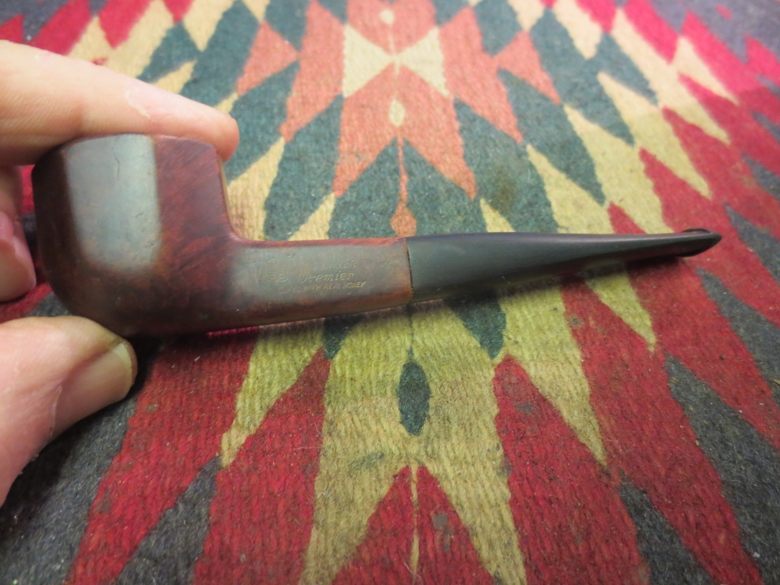
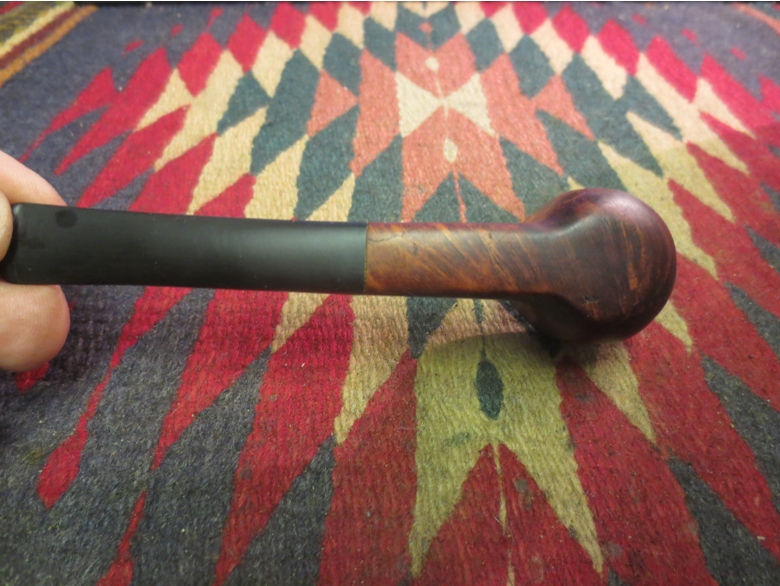
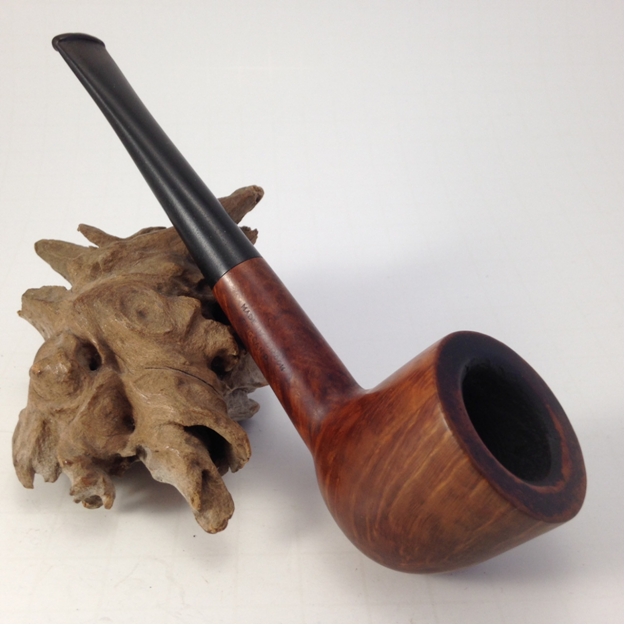
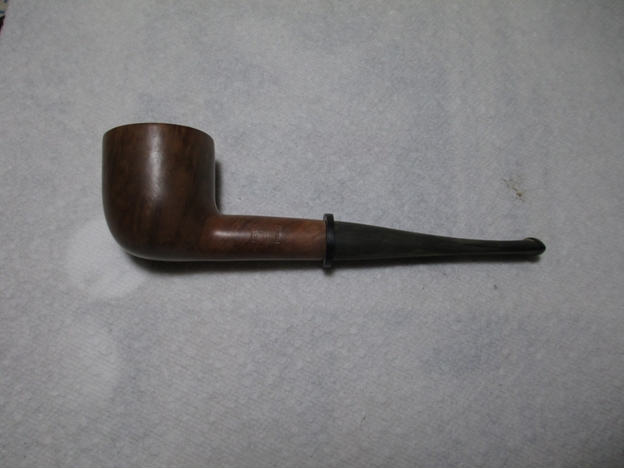
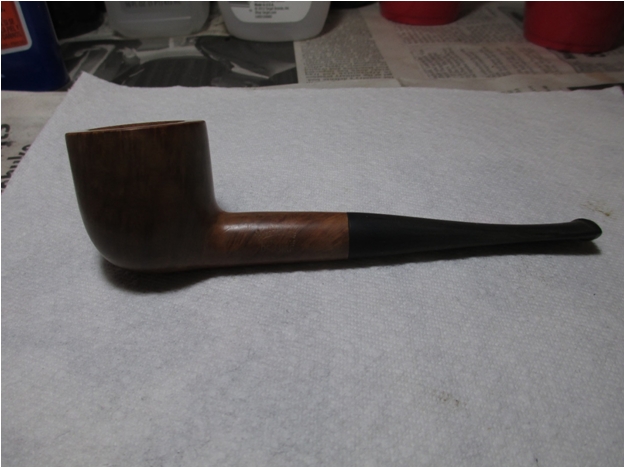
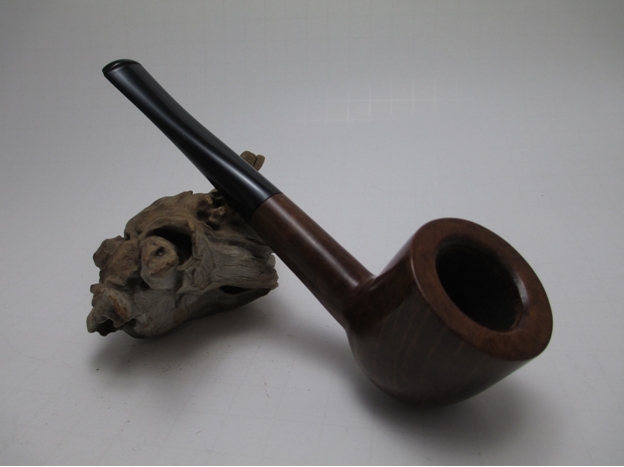
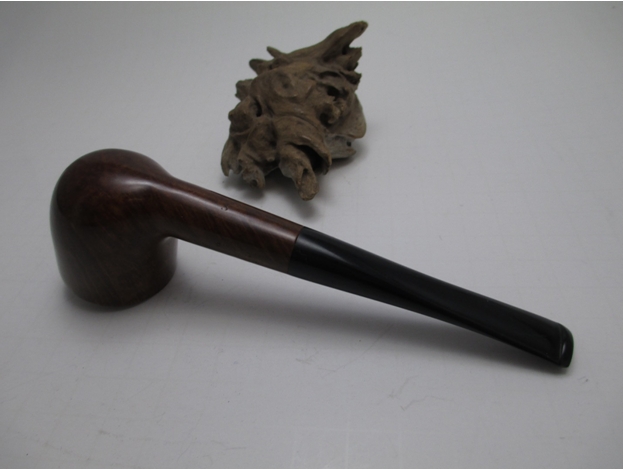
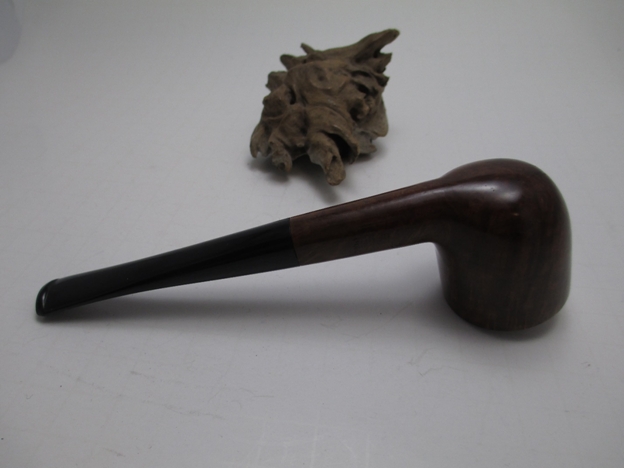
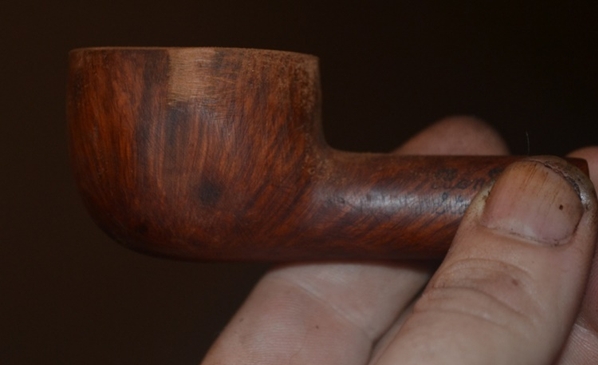
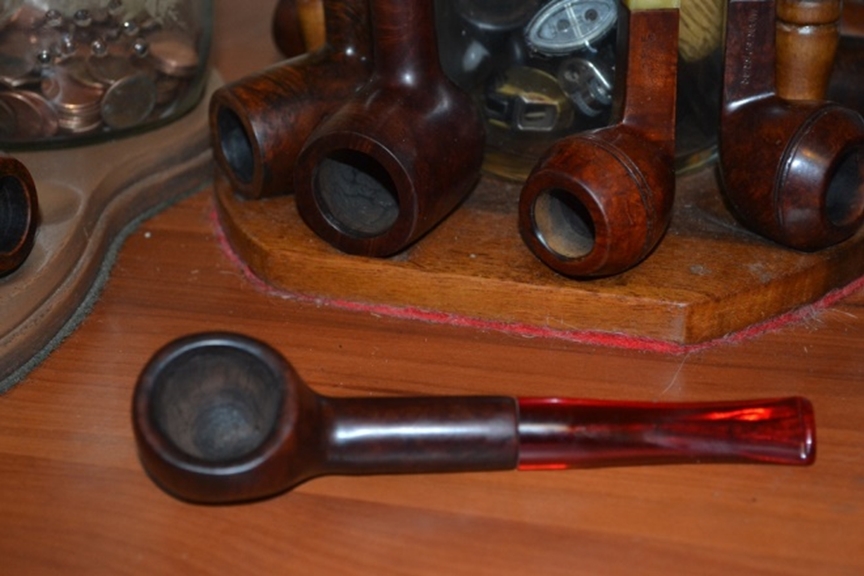
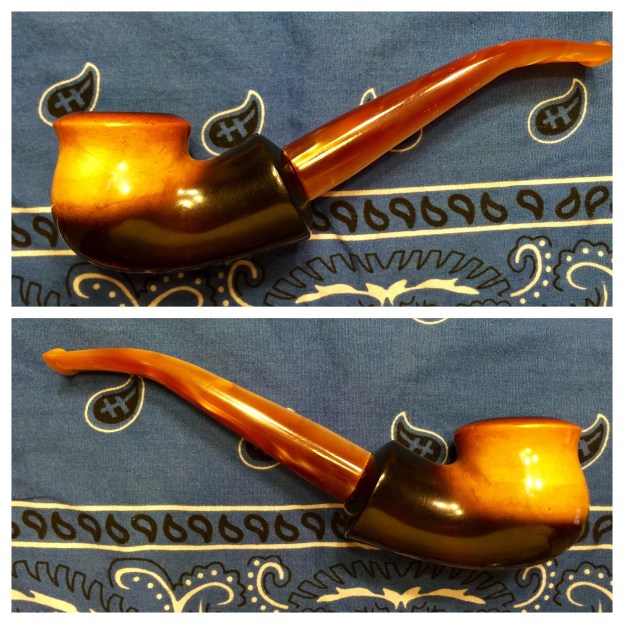
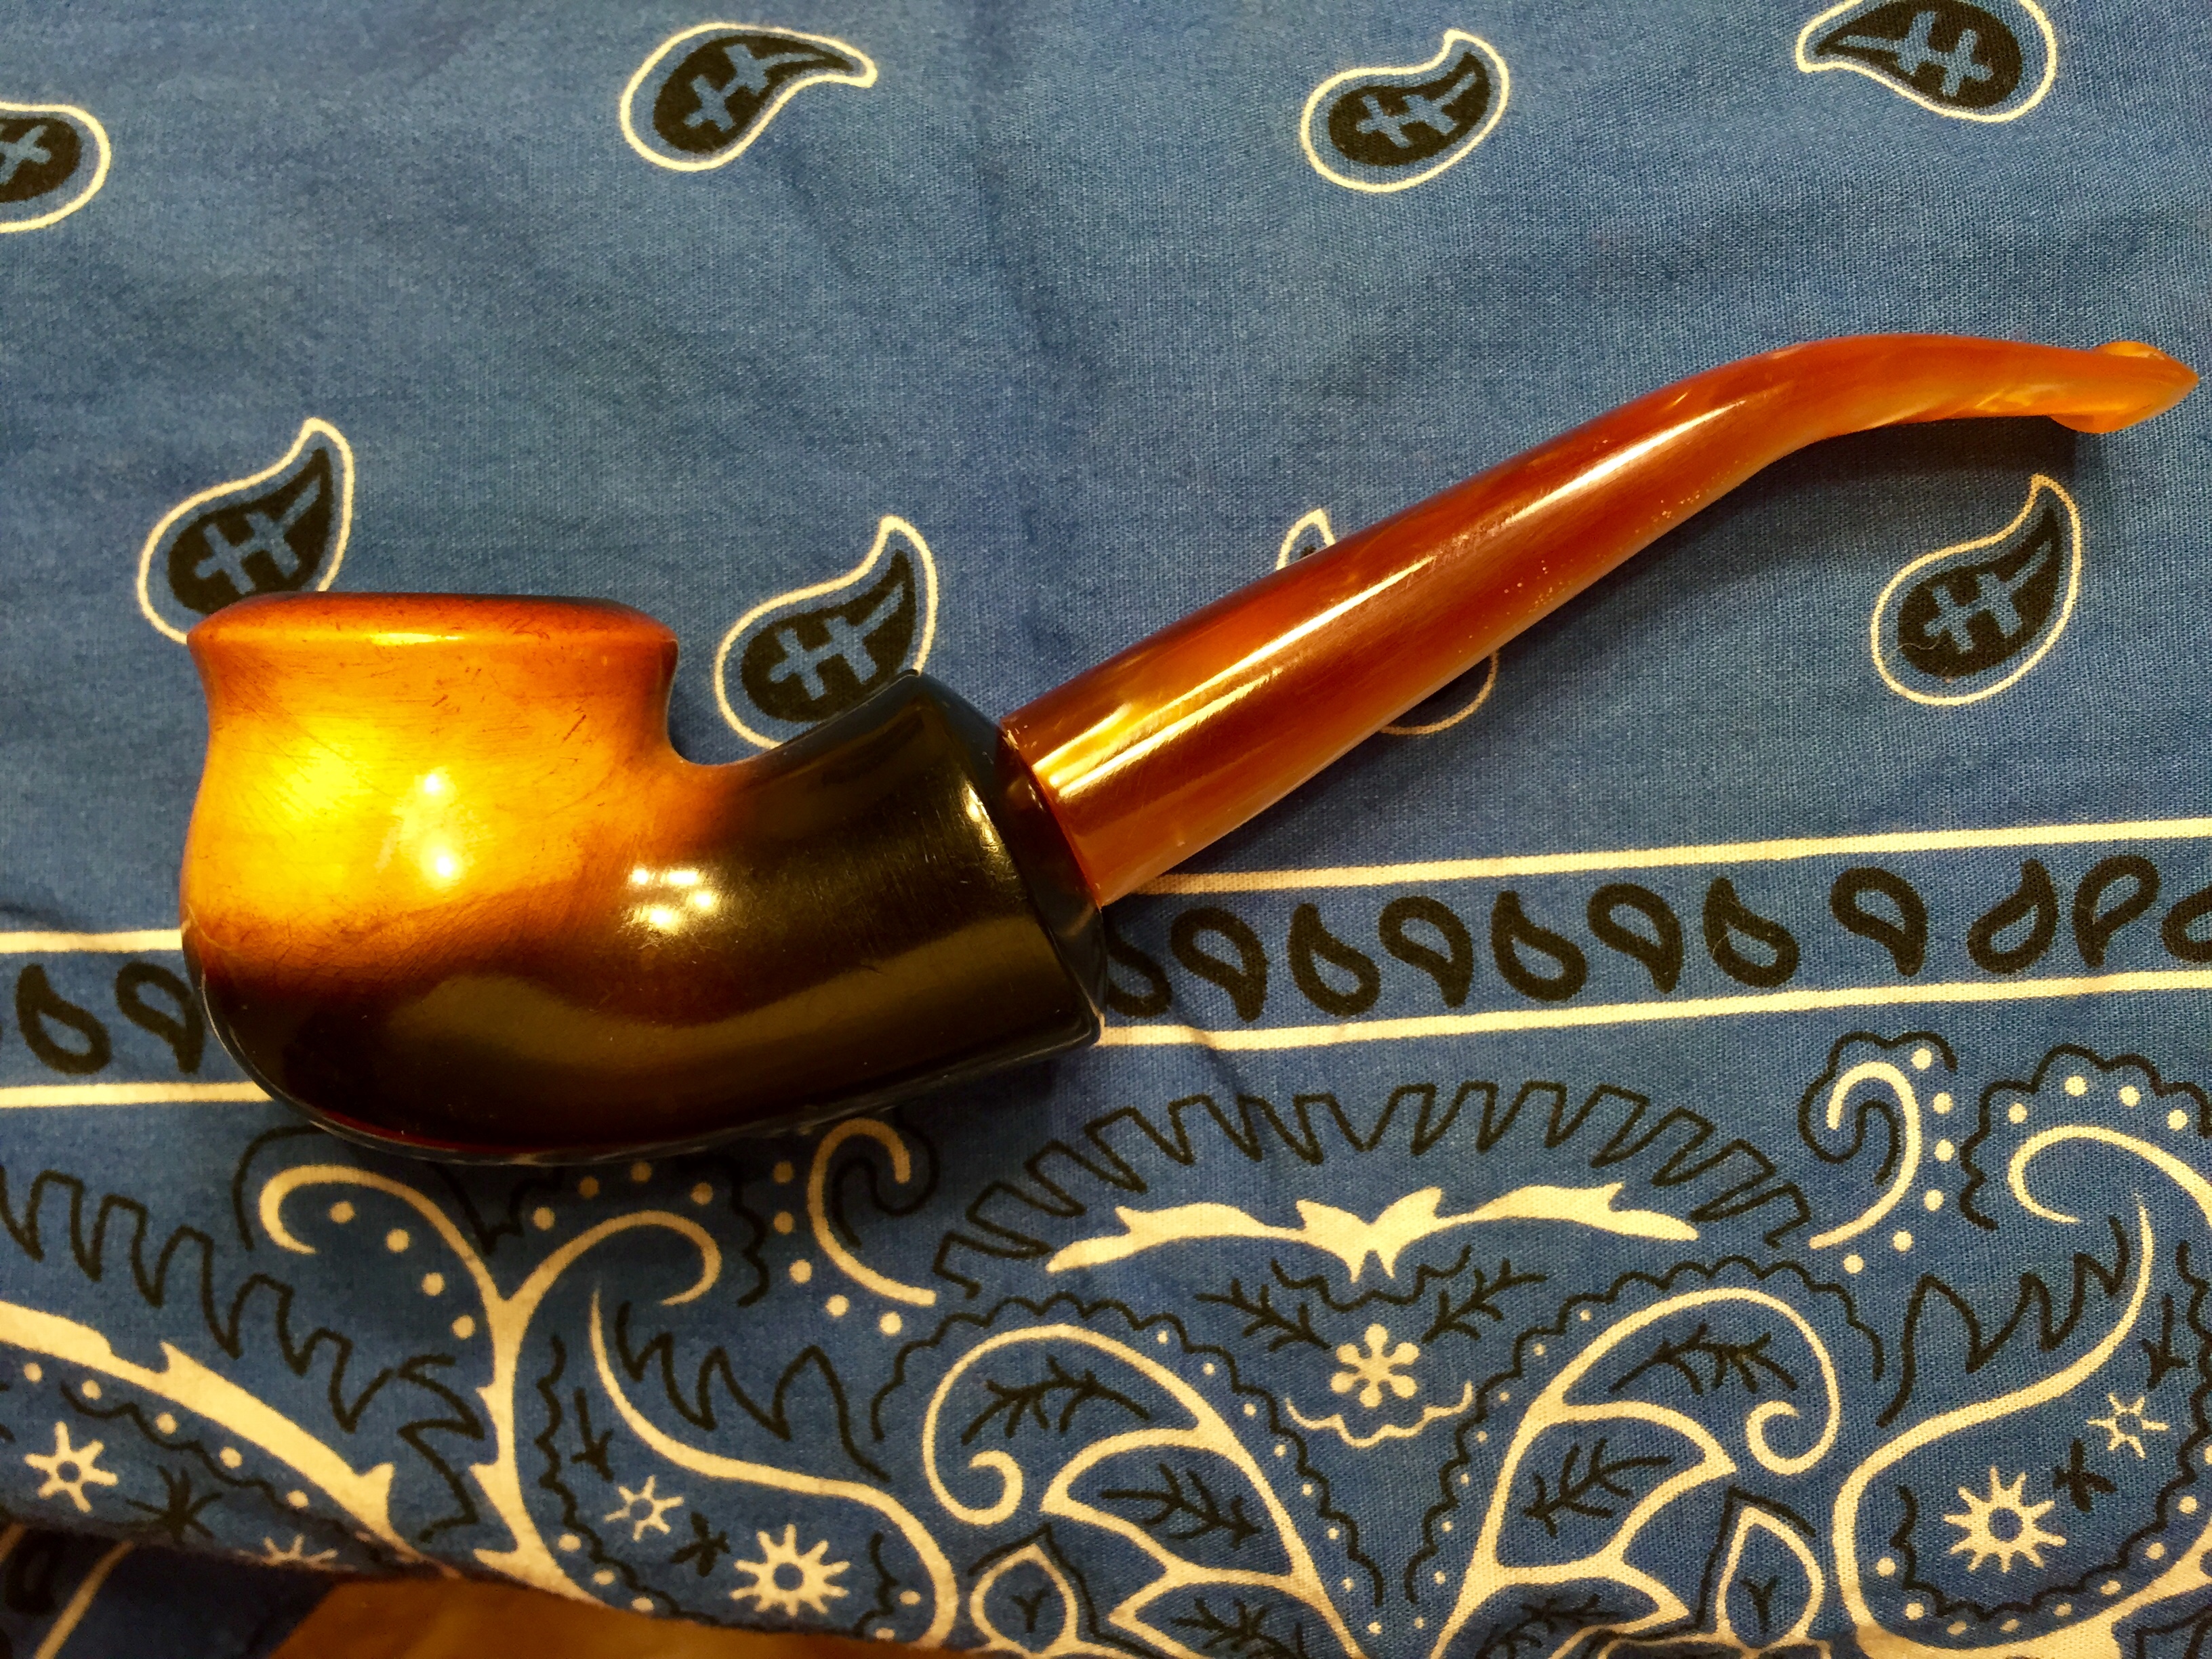
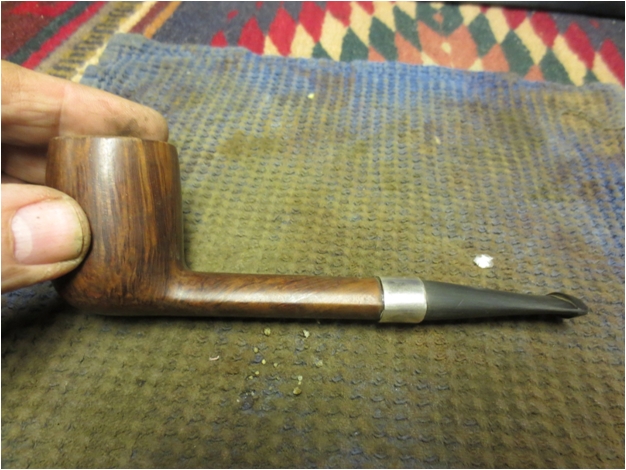
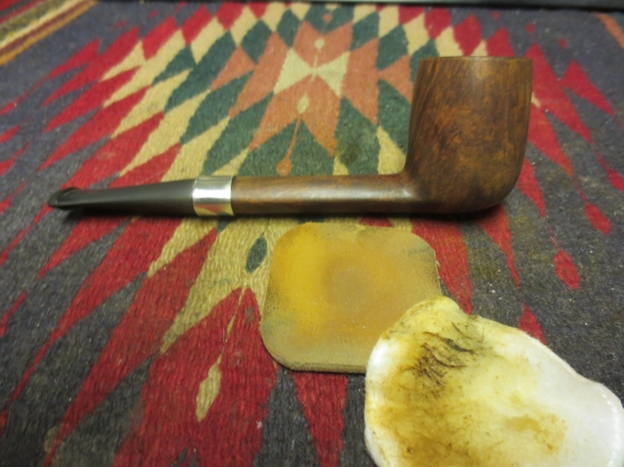
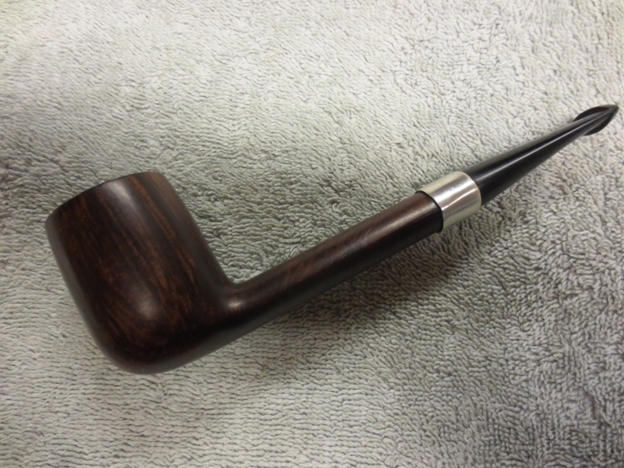
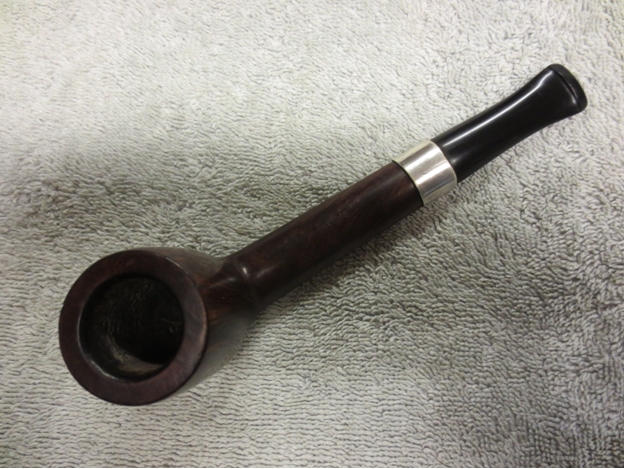
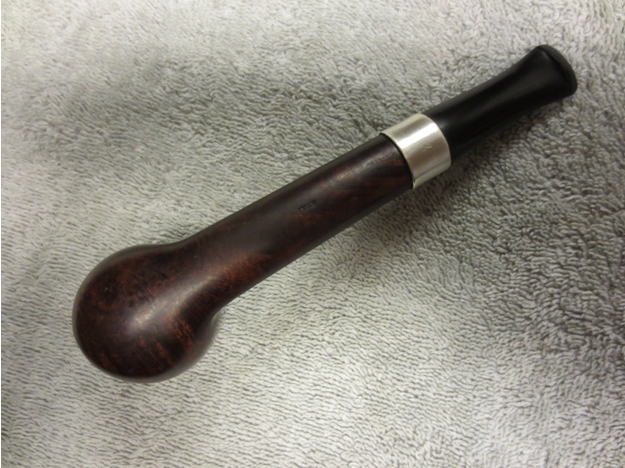
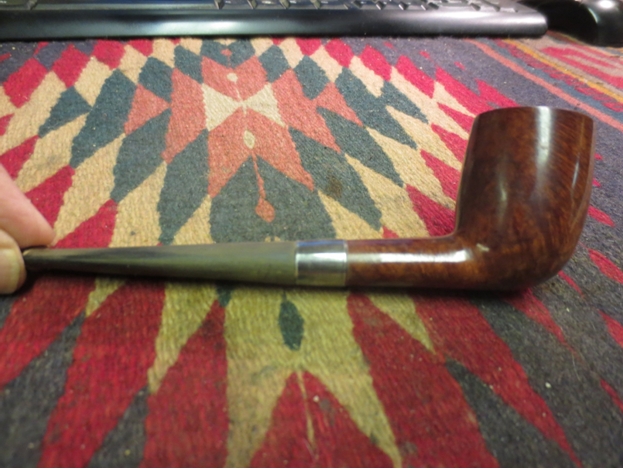
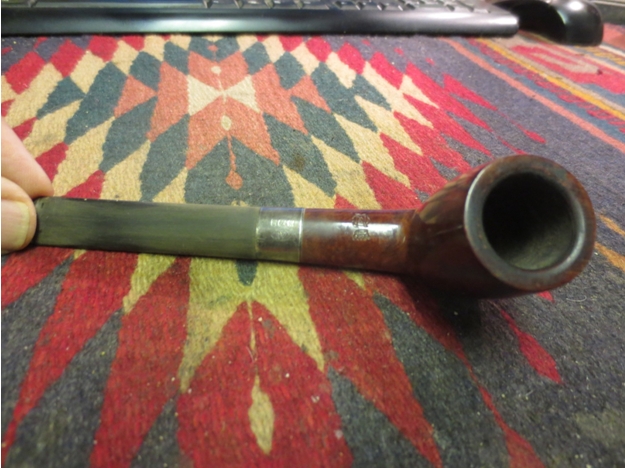
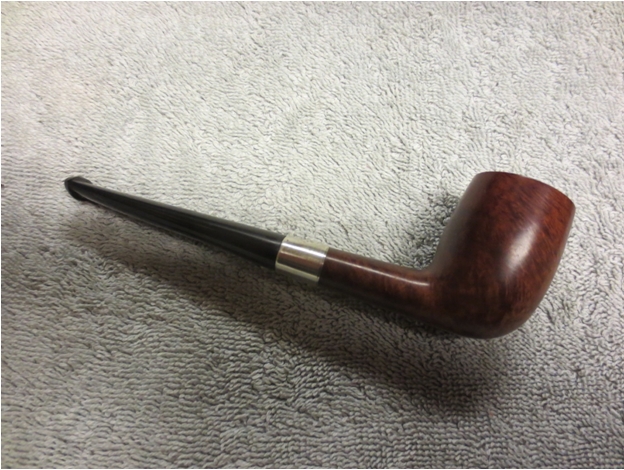
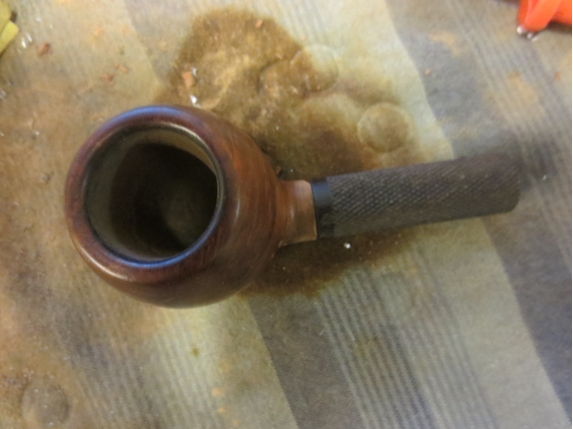
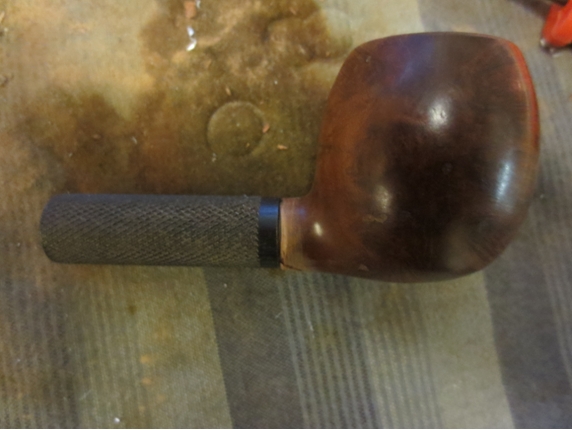
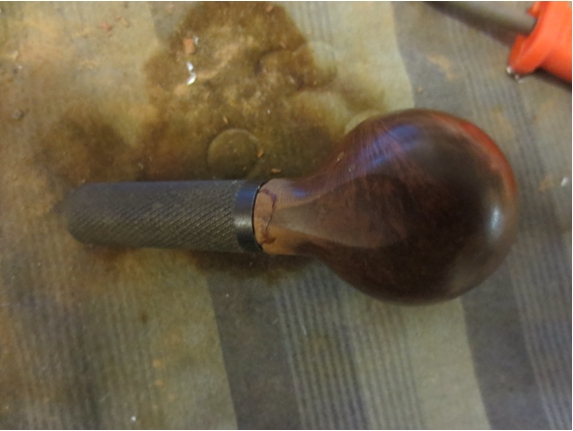
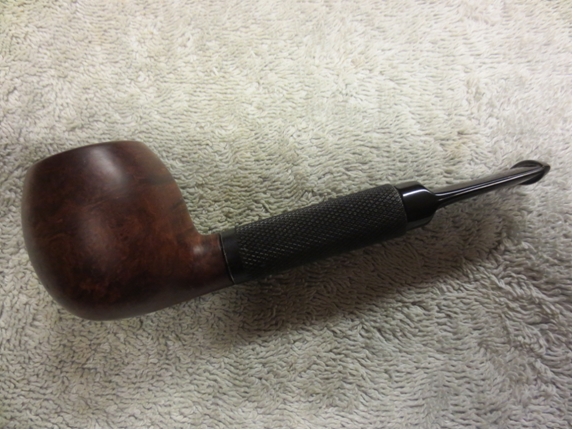
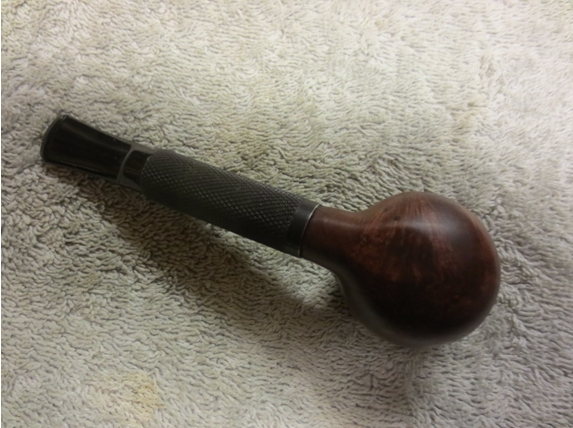
 I decided to not use a stain on the bowl but to oil with a light coat of olive oil. The fills had blended in well and the grain was quite nice. The olive oil brought out a red tint to the briar. I rubbed it down and let it soak into the briar. I buffed the bowl with White Diamond and gave it several coats of carnauba wax. I buffed it to a shine with a soft flannel buffing pad. The finished pipe is shown below.
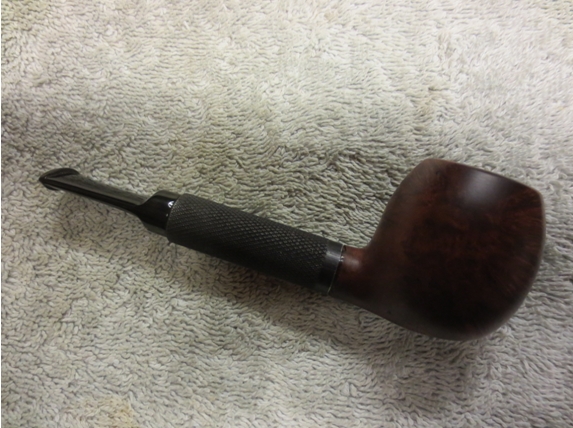
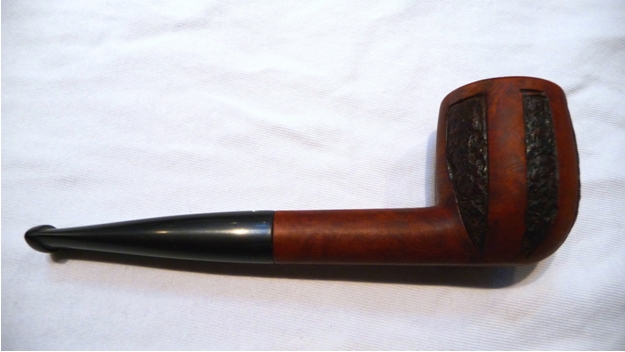
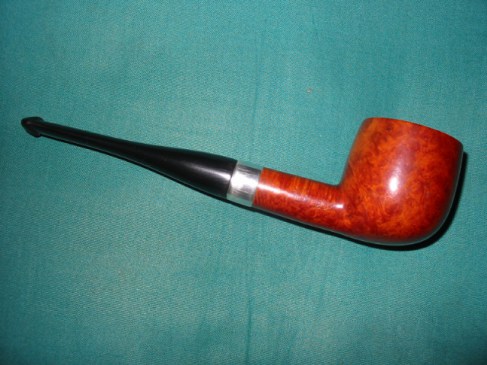
 Now all that remains is to take it on its maiden voyage. The broken shank pipe has been reborn to another Frankenpipe. It has all the parts that pretty much make it certain that it will be a good smoking pipe.