
Blog by Greg Wolford
Over the past couple of months I’ve been moving my workshop upstairs to an empty bedroom. With winter’s quick approach, I wanted to be ready for the bone-stiffening cold so I could do more restorations this year. All but the buffer had been moved into its new home and was close to being tidily organized when my plan went south; our son was moving back home and would need my new space back for his room!
It was a rather quick transition so all of my supplies were hastily packed up and moved back to the basement garage. In my rush, I didn’t think to make notes on boxes or anything else to help me sort through it later, I only packed quickly and securely and moved it all out. I felt like I got evicted! (Please note, that is not what happened to my son.) So finding any of the half-dozen projects I had in the works is now a daunting challenge; our garage serves as a catch-all of sorts, with our laundry area, my workshop, my wife’s “over flow” from her antique booth, and all of my son’s extras now piled in there.
The other day I did manage to find an old meerschaum bowl that I’d began to work on. It came to me in a lot I had gotten a couple of months ago I think, along with another bowl and a couple of pipes (this is the only before photo I have). In fact, this bowl was the main reason I got the lot; it looked old and interesting to me.
After doing a little research and getting some comments from friends on Instagram and Facebook I think it may be an Austrian meerschaum; I originally thought it was African. If I am correct, this pipe, well, bowl, is probably over 100 years old. It originally had a wooden shank extension which is now long gone. At first I thought of trying to make some sort of extension to replace it but soon decided that was more than I was willing to risk/attempt on this bowl.
(I forgot to take photos along the way; sorry folks.)
There was a think but soft and crumbly cake in the bowl and lots of oily build up in the shank. I gently reamed the cake back to very close to the meerschaum walls with my Castleford reamer, followed by an old round-ended, dull knife that I use for this purpose. Then I used some 400 grit wet/dry paper to get the last of the cake out and leave a nice, smooth bowl.
For the shank I stared with the poker-end of a Czech-tool, opening up the airway very gently. Then I moved to pipe cleaners that were dampened with isopropyl alcohol. Then I used alcohol dampened and dry cotton swabs to clean the shank. Do note the term dampened here; you do not want to get the meerschaum too wet. It took some time and many cleaners and cotton swabs to get the shank clean; there were also bits of meerschaum that were loose or came loose in the cleaning process that had to be removed. I also wiped out the bowl with several dampened cotton swabs after cleaning the shank. I also wiped off the outside of the bowl with alcohol dampened cotton balls; other than the rim, the exterior was quite clean. Then I let the pipe rest, to dry, overnight.
The next morning I examined the shank and found it to be a little rough inside. There was also a small divot in the bottom of the “lip” where the extension was and the new tenon would enter. I took the same dull reaming knife and scraped the mortise very gently to smooth it out; this took only a couple of passes and removed very little material but made a bug difference. I put a drop of amber superglue in the divot and sprayed it lightly with glue accelerator (I used a cloth to cover the pipe from over-spray) and then let it cure for a little while as I piddled with other things in the garage. I repeated this a second time and the result was a nice hard, smooth mortise entrance. Now it was time to decide on a stem.
Since the extension was gone, the mortise was very large, which would limit my stem options. I looked through my stems and found two candidates that had tenons large enough to work: a fancy vulcanite one and a long, round tapered acrylic one. It was a pretty easy choice when I put them up to the pipe to compare: acrylic wins by a long shot! The amber/bronze color of the stem just looked “right” with this bowl to my eye so now it was time to fit it.
I used my PME tenon turning tool to slowly reduce the size of the tenon.I noticed as I was cleaning the shank that the mortise narrowed a bit, probably from material loss both previously and current, closer to the bowl. So, as I test fit the tenon and found it stopping at the point of the narrowing I began to turn the tenon only about halfway up the total length. By doing this in small increments I was able to tell when the tenon was almost a perfect fit, which is when I switched to 320 grit paper and sanded the tapered tenon smooth and to a very nice fit.
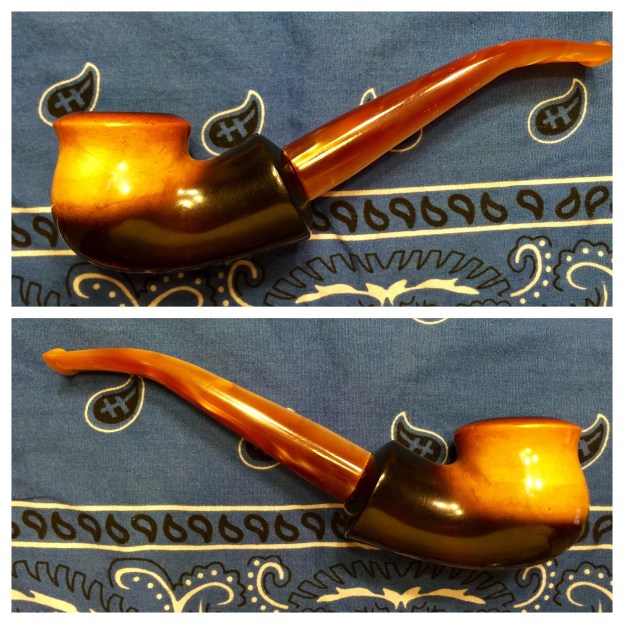
The new stem was in nice condition, without a lot of drawer-dings, so it didn’t require much polishing: a little sanding with 220 and 400 grits, some plastic polish and a buff (lightly) with Tripoli and white diamond. I then used a heat gun to soften the stem and put the bend in it that I wanted and was pleased with. One more round of plastic polish and then everything got a coat of Halcyon II wax.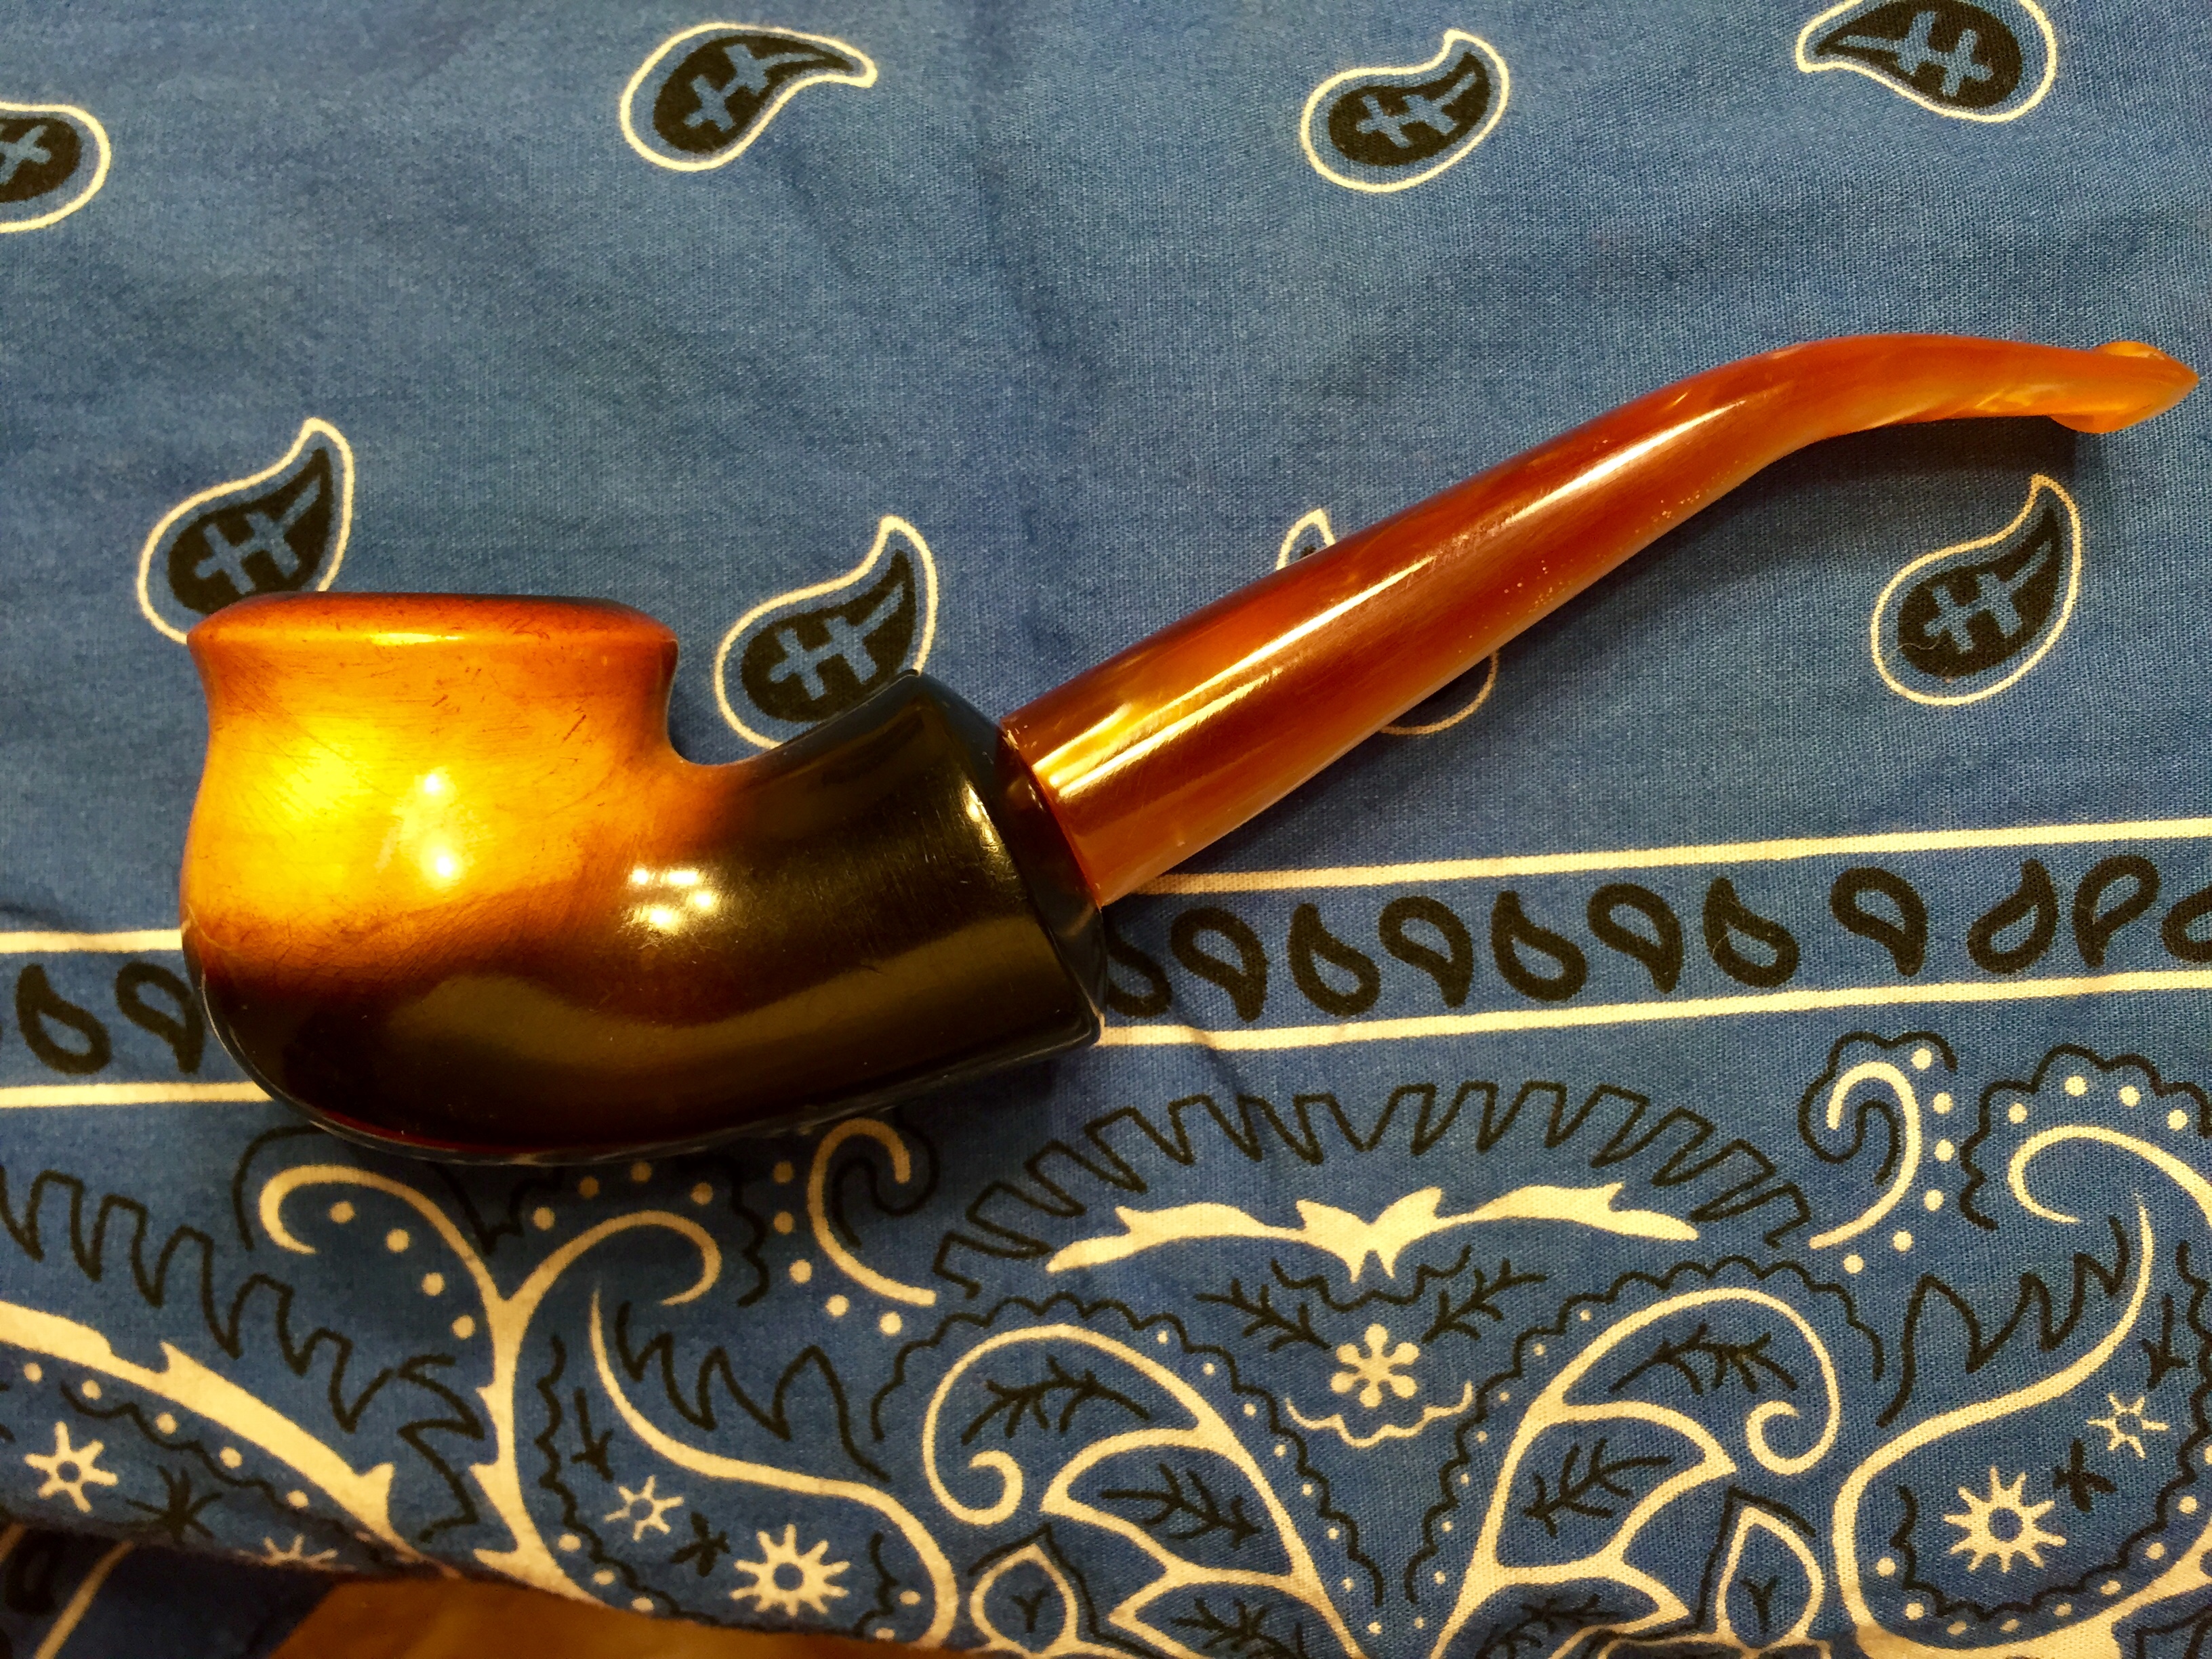
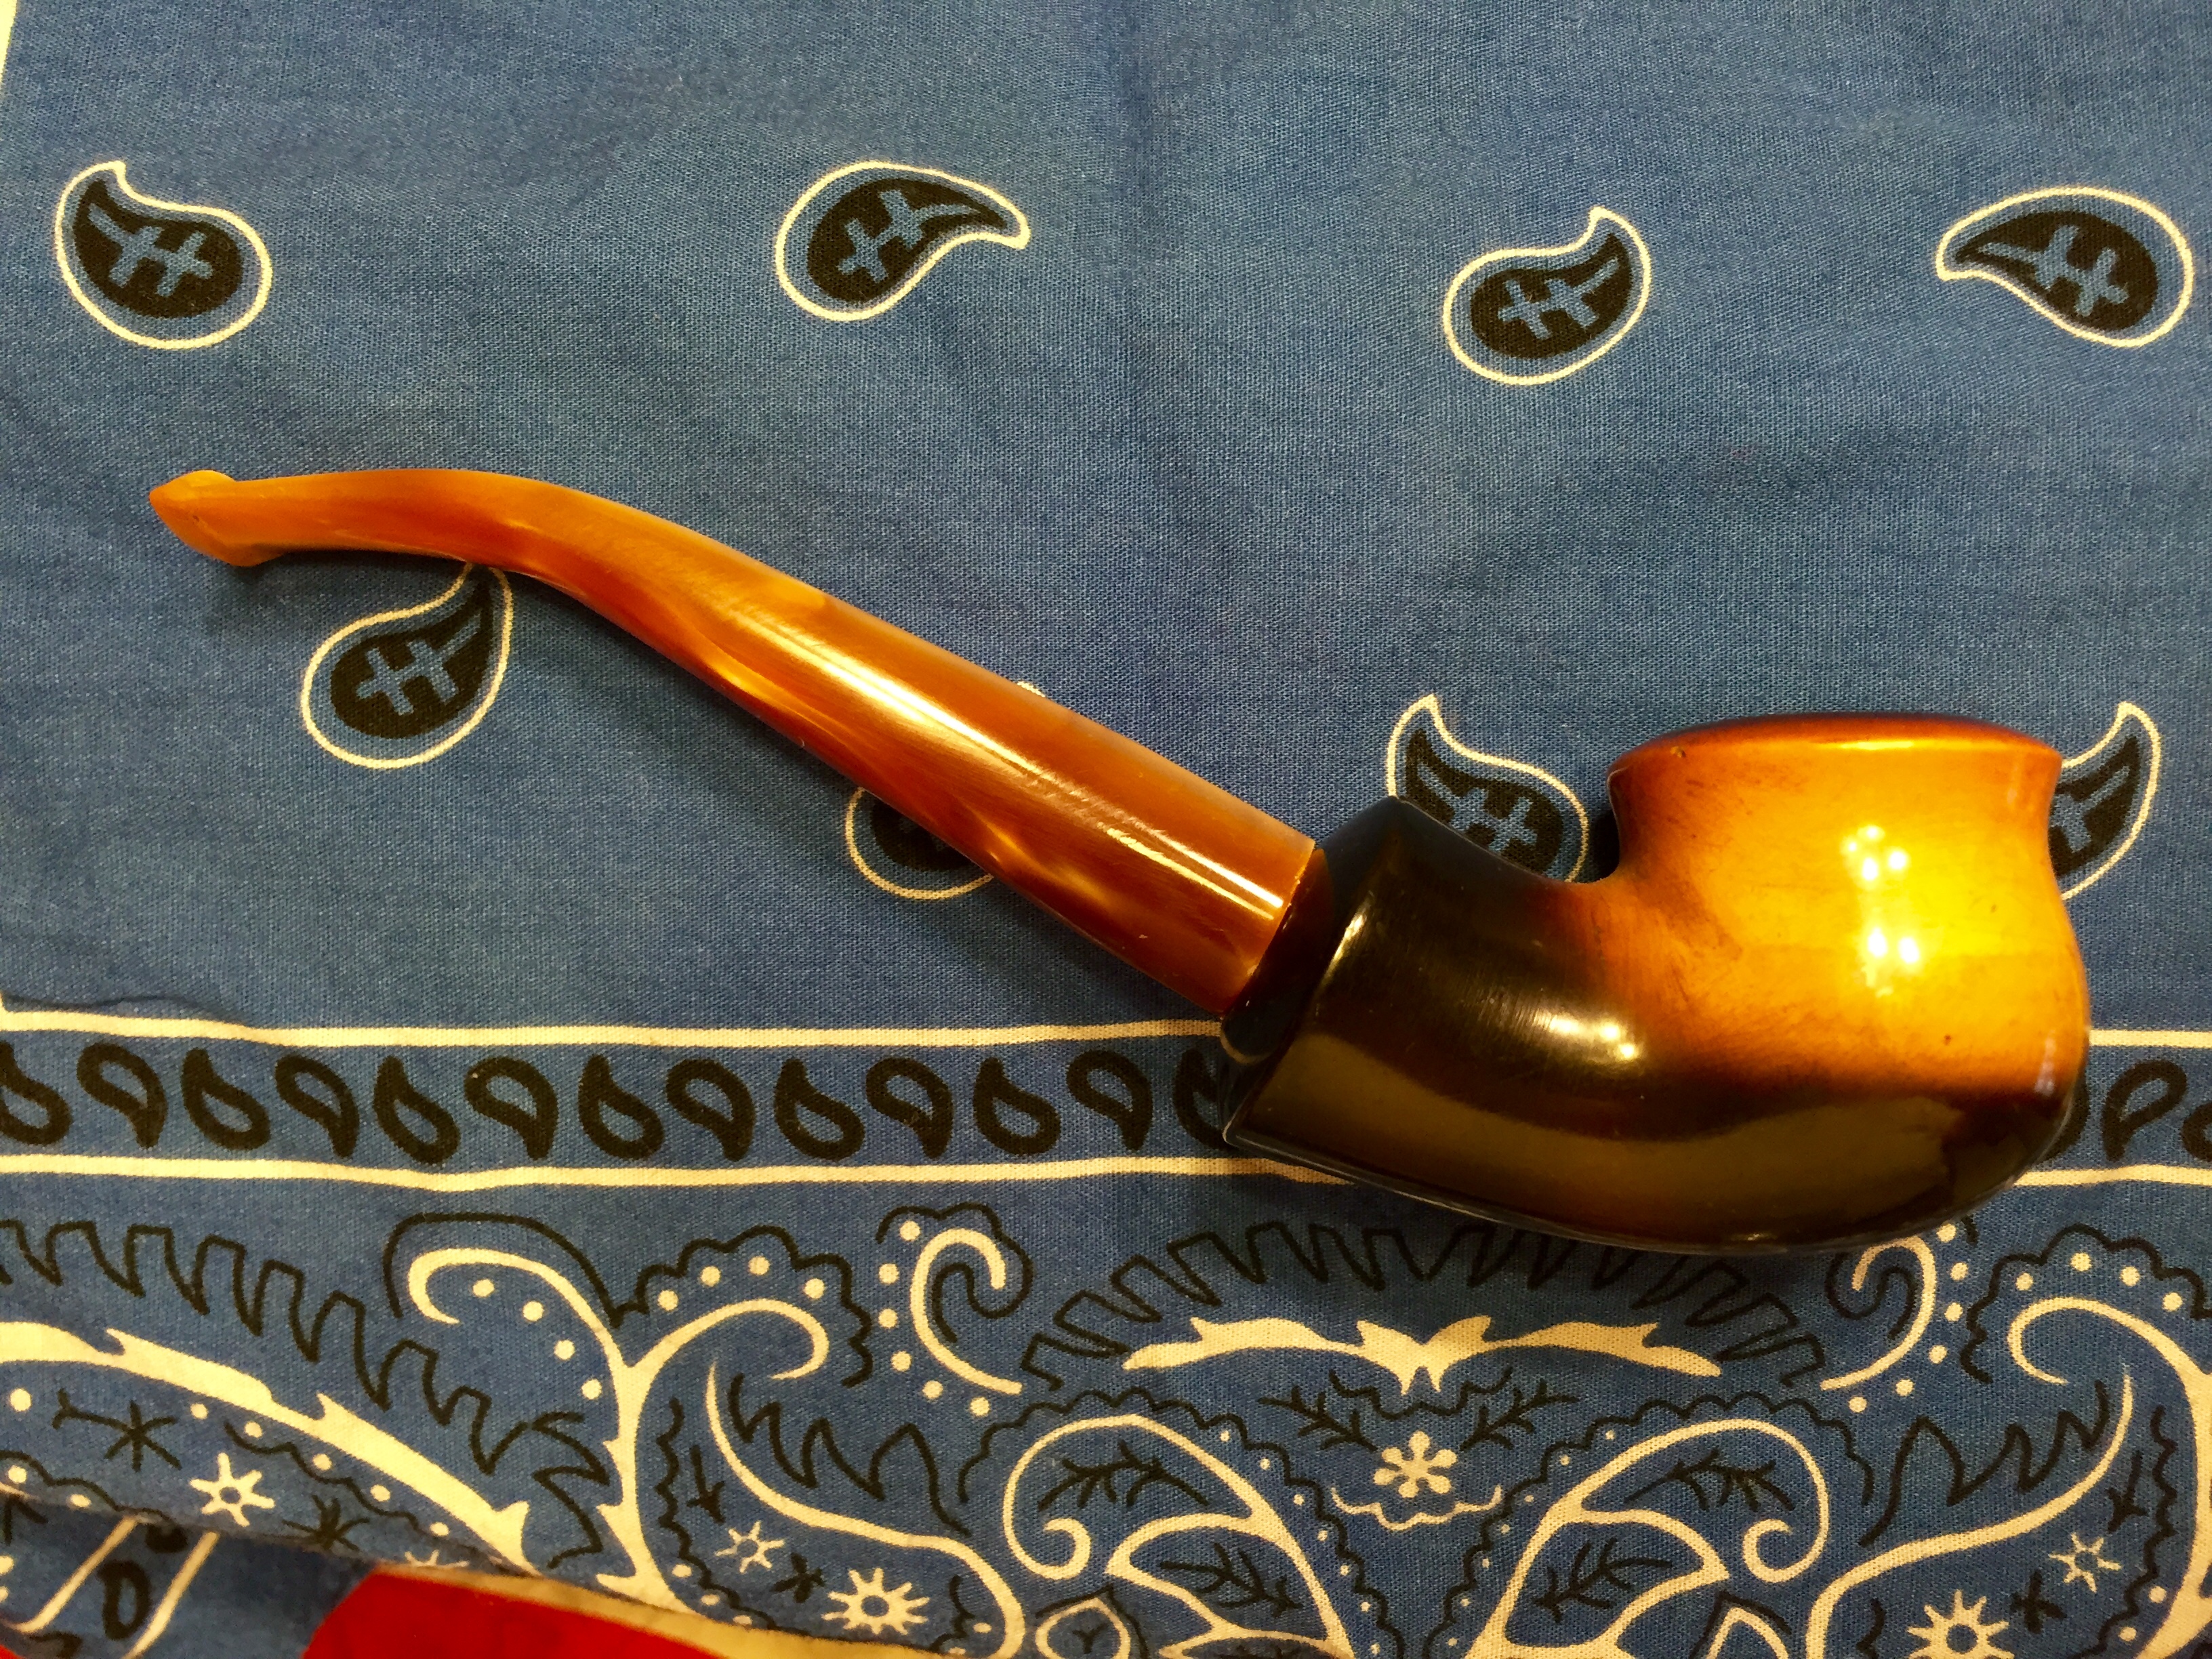
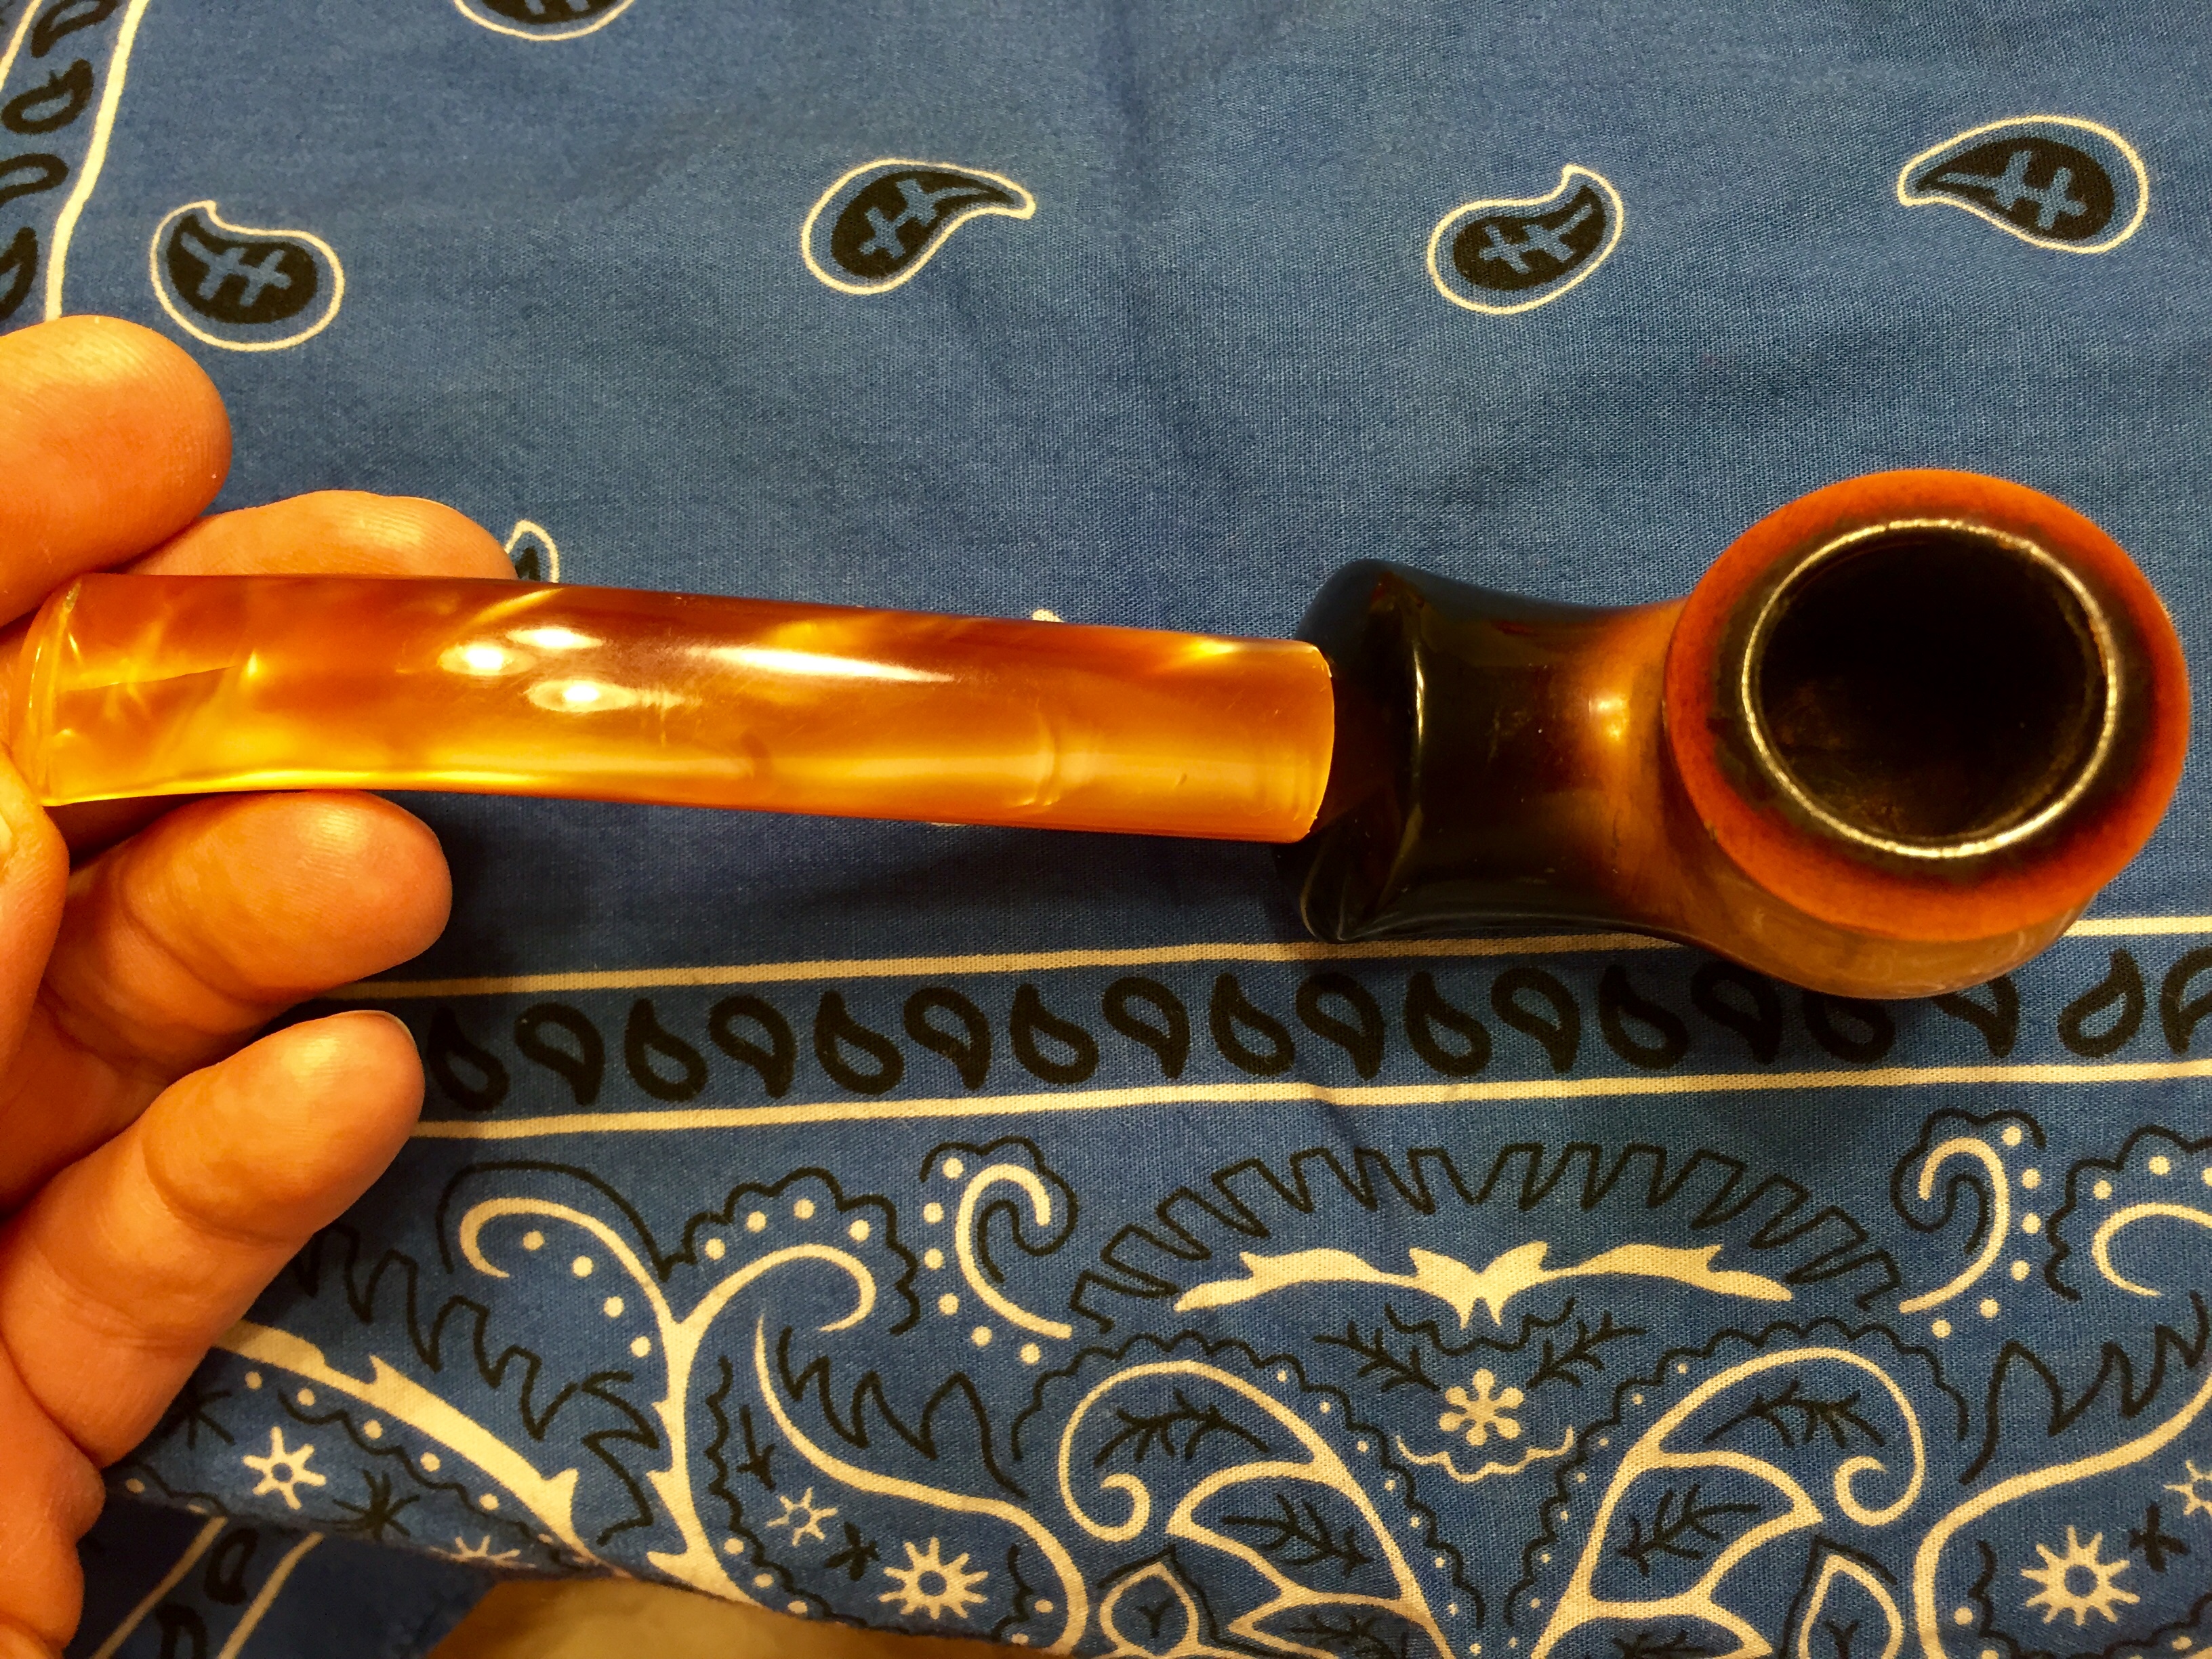
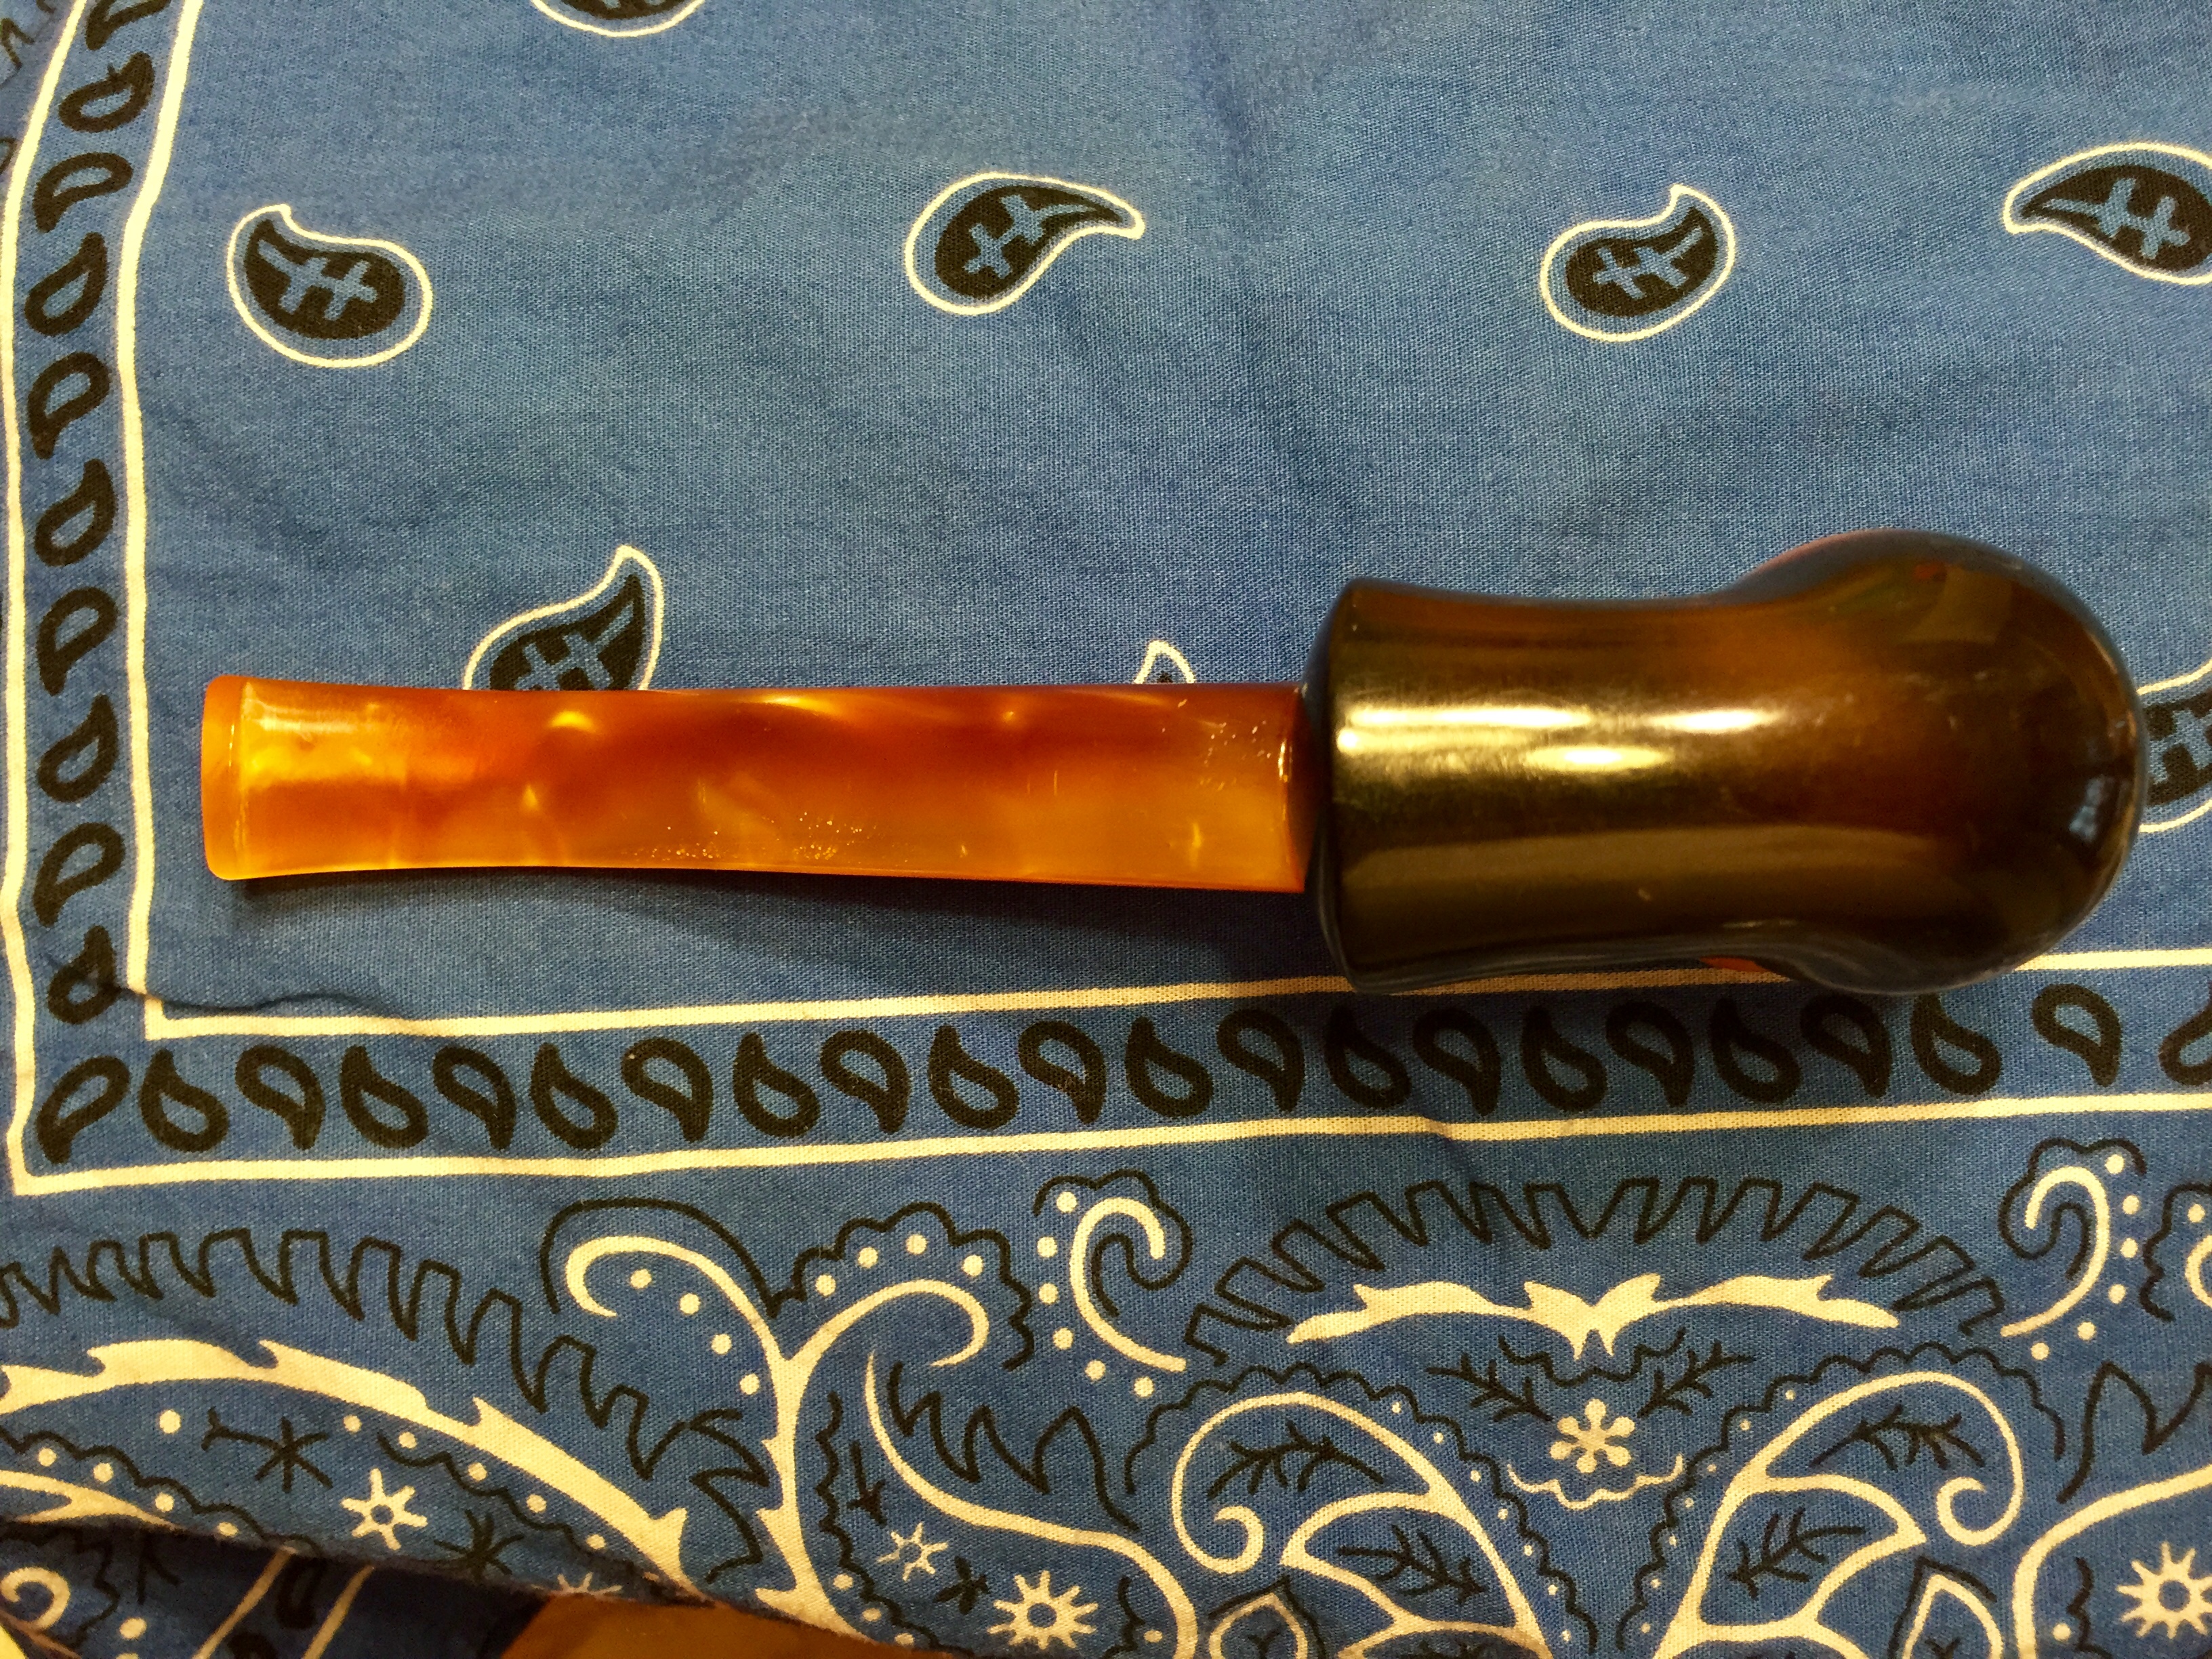
I’d love to tell you how wonderful the old ‘meer smokes but I can’t. You see, my son, the source of my “eviction”, saw the bowl on my work table and fell in love with it, before it was even cleaned up. So, after I got it all finished I took it straight to him to “see what he thought”; he really went nuts over it all reborn! As you have probably guessed by now, the old ‘meer now has a new home in his pipe rack, his first meerschaum pipe, which I hope and expect will serve him well with many good smokes for many years to come.


Your Meer came out great, Greg. The stem could not be a better match, both in style, and color. Too bad that you didn’t get a chance to try it out, but I know it must be very satisfying to pass it on to your son. God bless you all.
LikeLike
Thank you, Dave. Yes, I’m more pleased for him to have it than me, although I am pretty sure he’ll give me an opportunity to tesy drive it at some point! God bless you all as well, my friend.
LikeLike