Blog by Andrew Selking
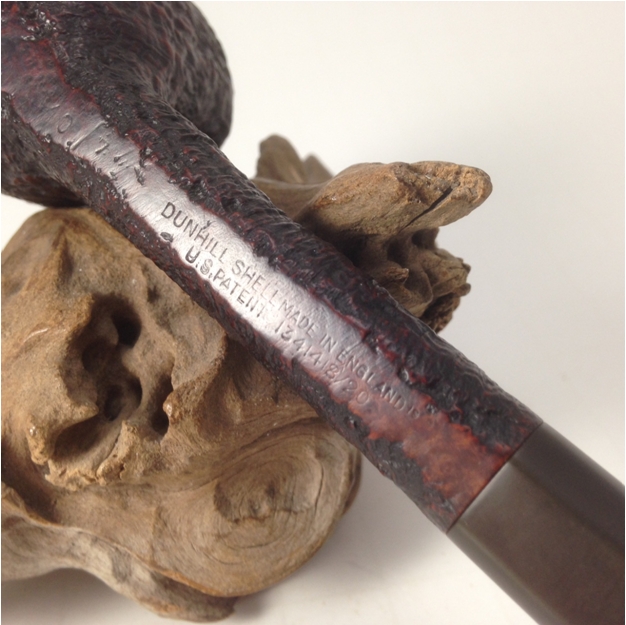
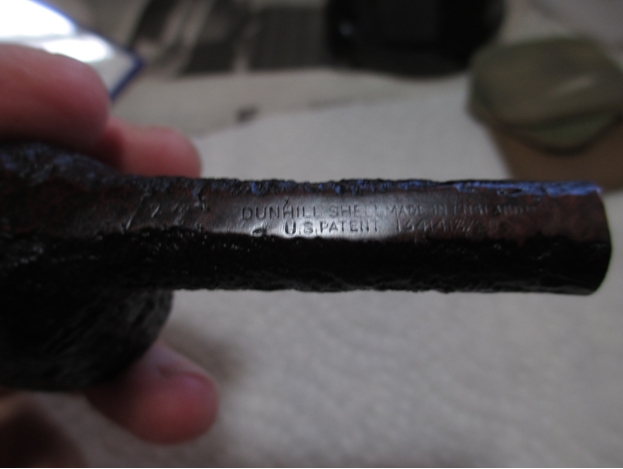
This is my second Dunhill Shell, but like everything it has been a learning experience. I saw this orphan about to expire on eBay without a single bid. As they say, a little knowledge can be a dangerous thing. I knew that it was a desirable patent-era Shell and from the markings it was made in 1935. I should have taken the time to look at a Dunhill shape chart, this pipe had been seriously topped. The good news is, I didn’t pay too much for it and it’s a handy little pipe, 4 15/16 inches long and .7 of an ounce! No wonder the stem didn’t have any tooth marks.
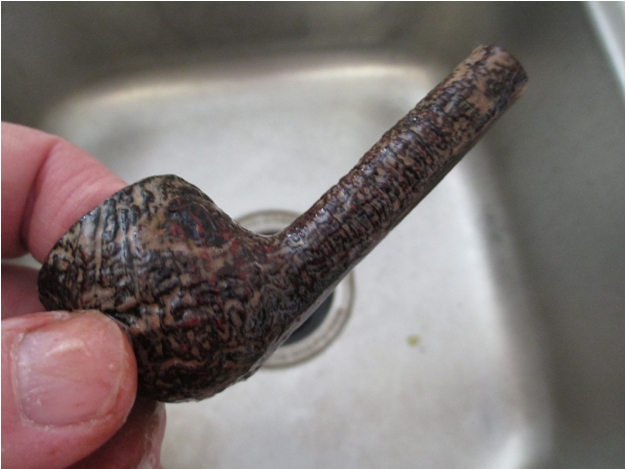
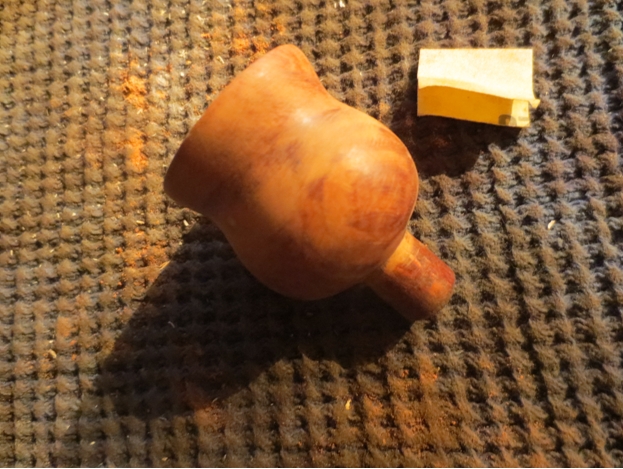
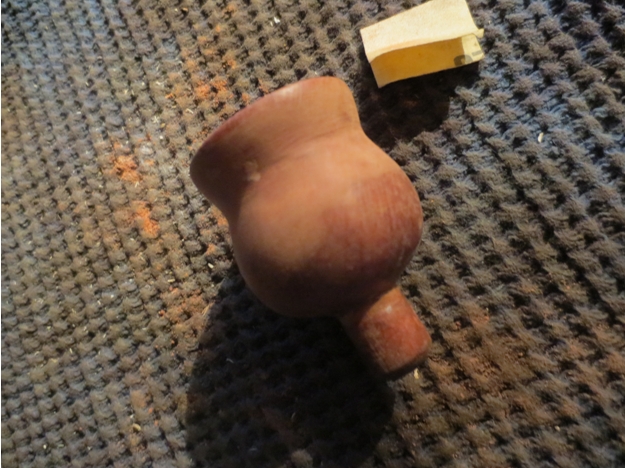
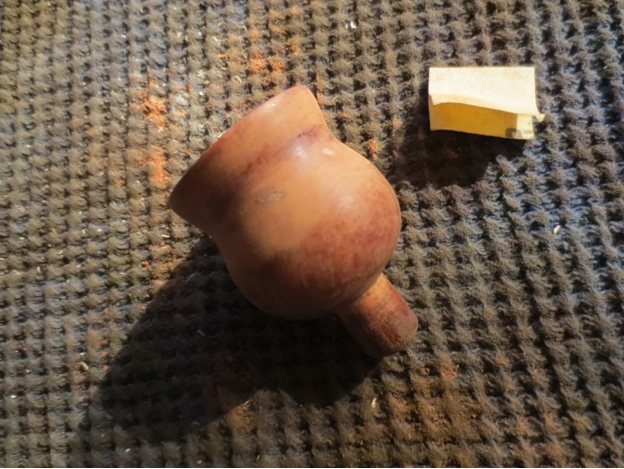
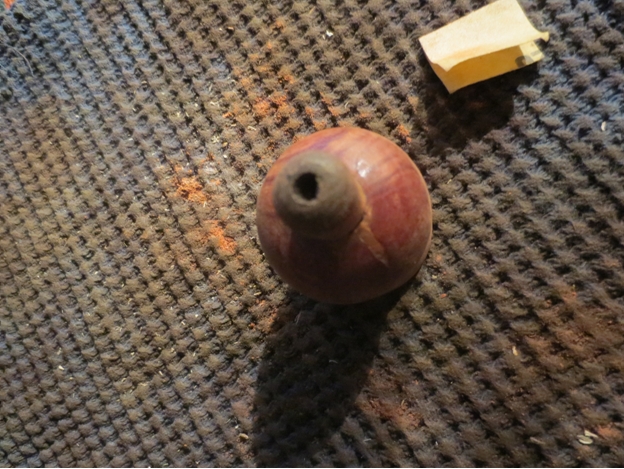
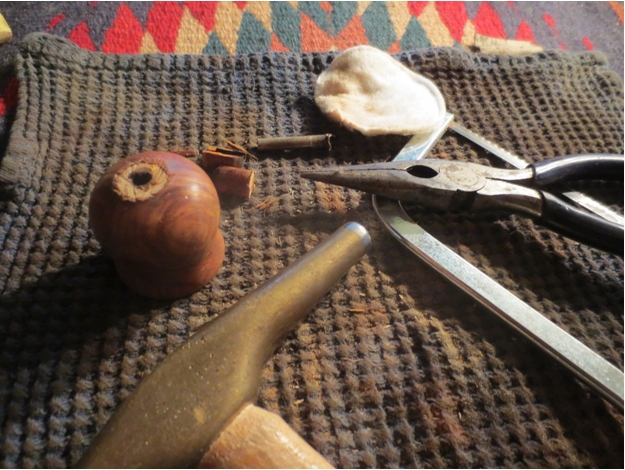
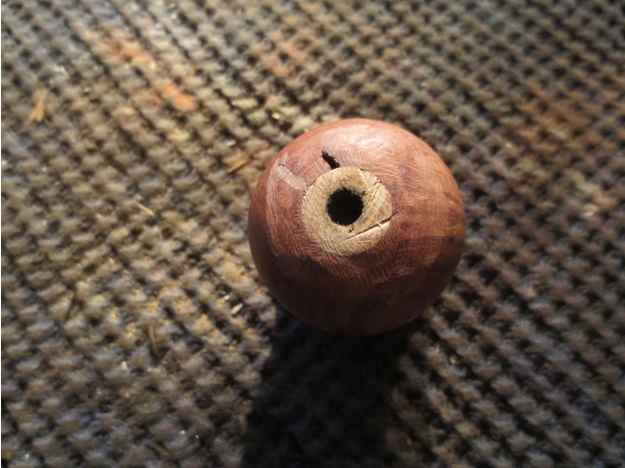
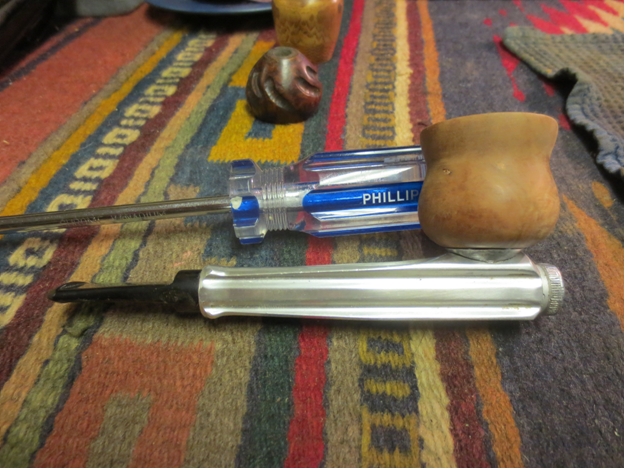
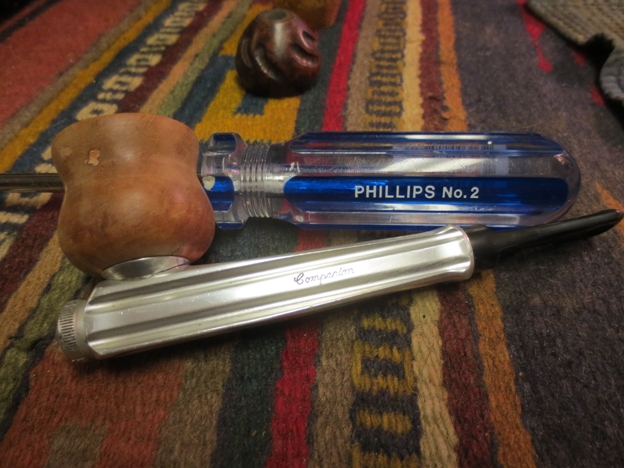
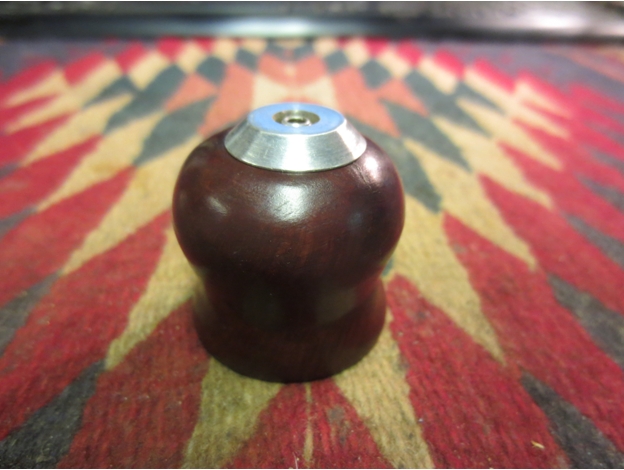
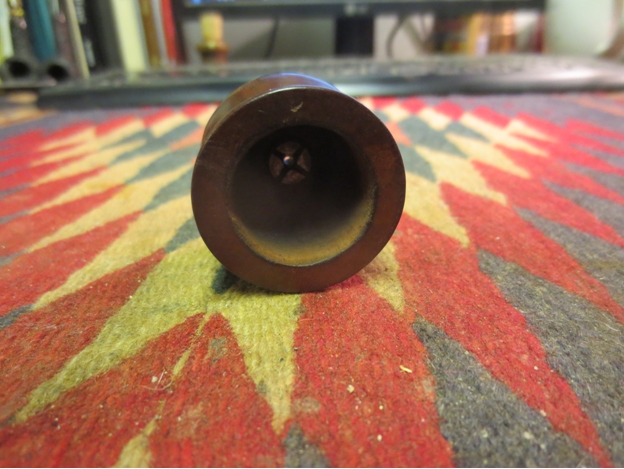
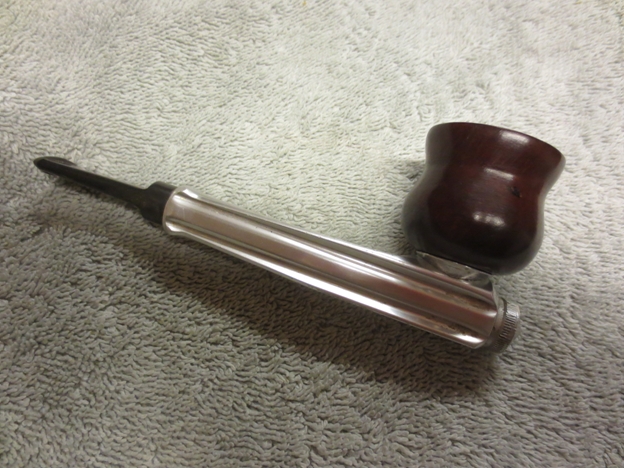
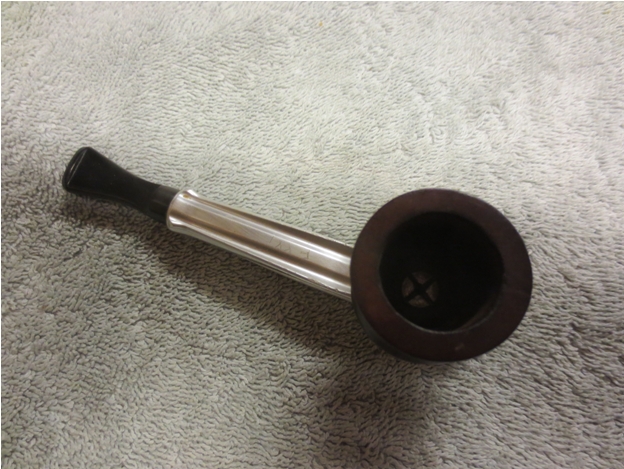
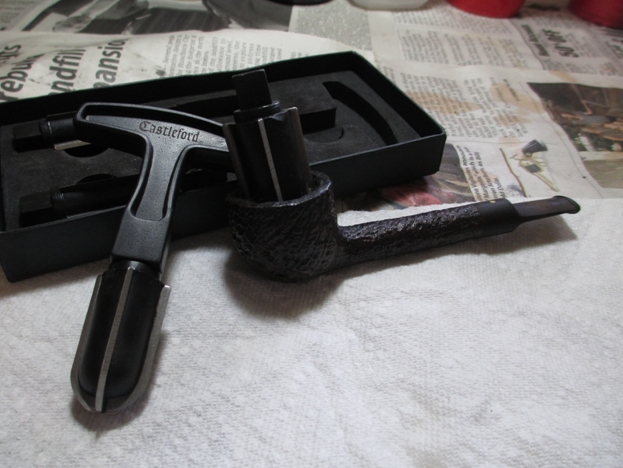
So here’s what the pipe looked like before the restoration.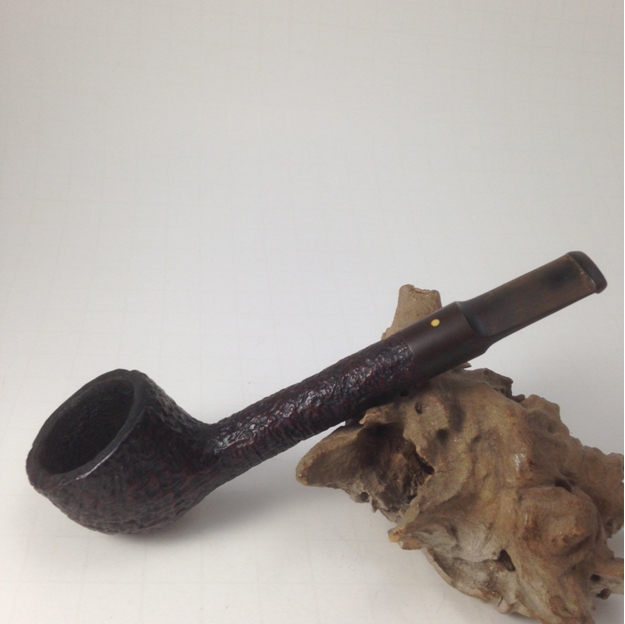
 The one thing that I really like about the Dunhill Shell pipes is the finish. The combination of deep reddish brown and darker brown/black is very pleasing to look at. That is why I treat rough finish pipes (rusticated, blast, fine line) differently than smooth finish pipes. I took a tip from Steve and use Murphy’s Oil Soap, which is made from vegetable oils and specifically formulated for wood. I took a small amount of the soap and applied it directly with a toothbrush.
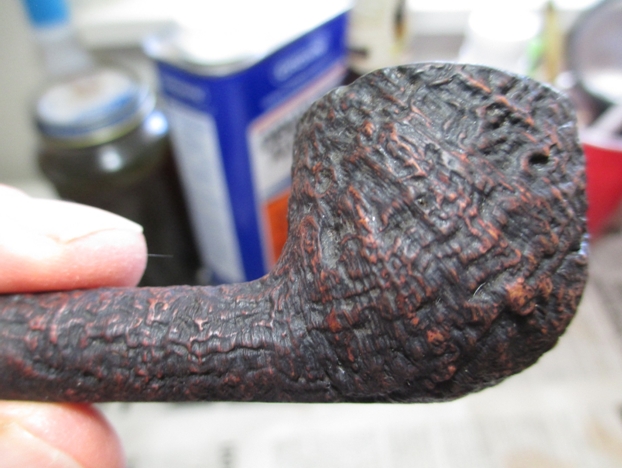
 As you can see the Murphy’s Oil Soap did remove some of the finish, but not nearly as much as the alcohol bath would have. The soap also removed the decades of accumulated grime. If you don’t take care to clean the outside of the pipe no amount of wax will make it shine.
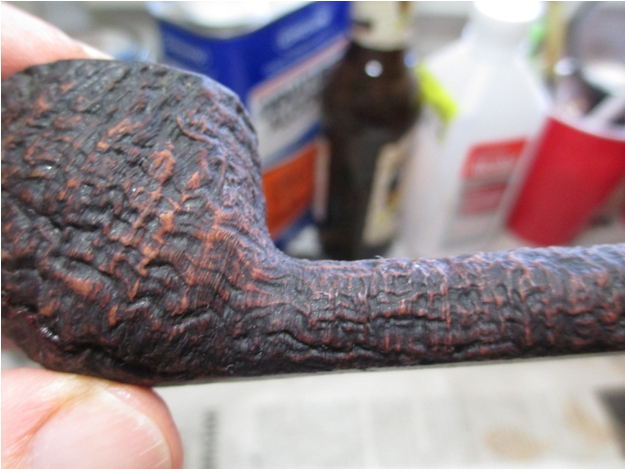
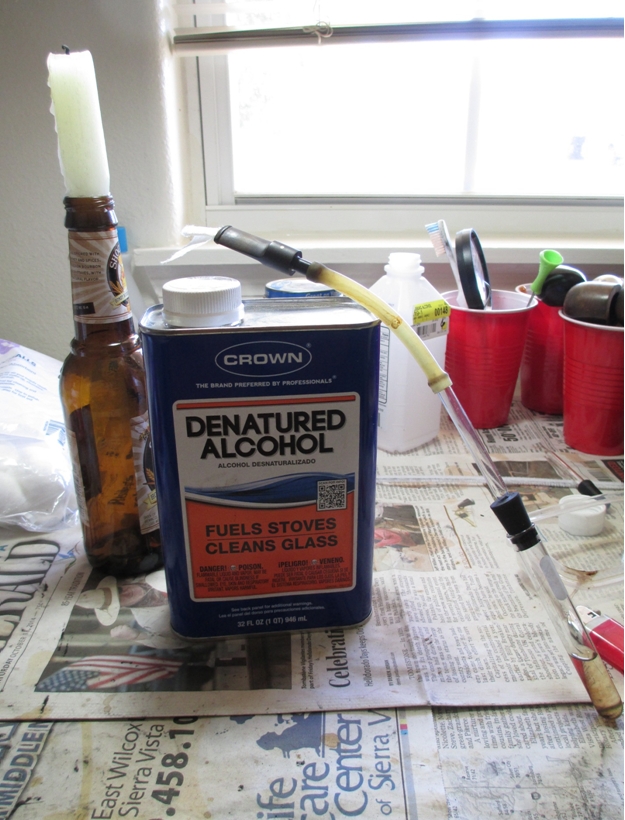
 My next step was to start the stem soaking in Oxyclean and soak the bowl with denatured alcohol. I packed the bowl with cotton balls, plugged the shank with some rolled up paper towel, and used an eye dropper to soak the cotton.
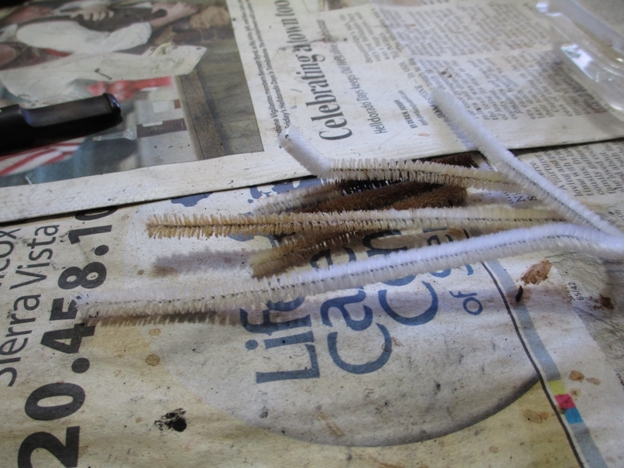
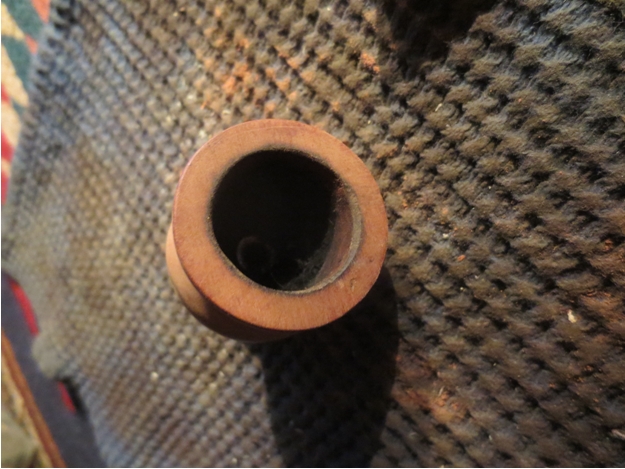
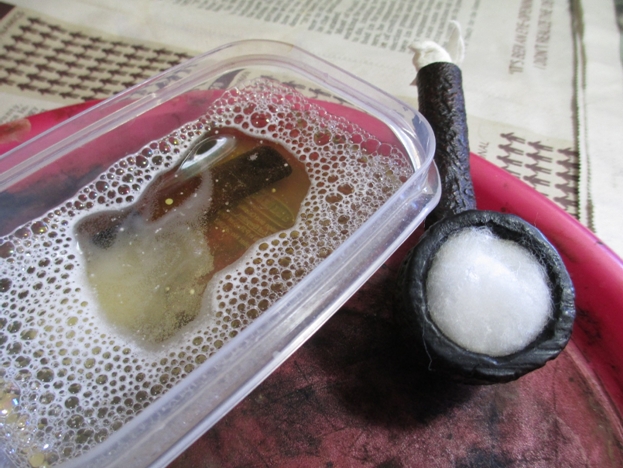 After the cake loosened up, I reamed the bowl. This bowl is huge, I used my two largest reaming heads to clean it out.Instead of doing the retort multiple times, I used q-tips dipped in denatured alcohol followed by pipe cleaners. (I don’t technically use pipe cleaners. I use “fuzzy sticks”. That’s the innocuous name given to pipe cleaners used for crafts.) To maximize each cleaner, I used scissors to cut the dirty section off. As you can see I ended up with a decent size pile of q-tips and fuzzy sticks.
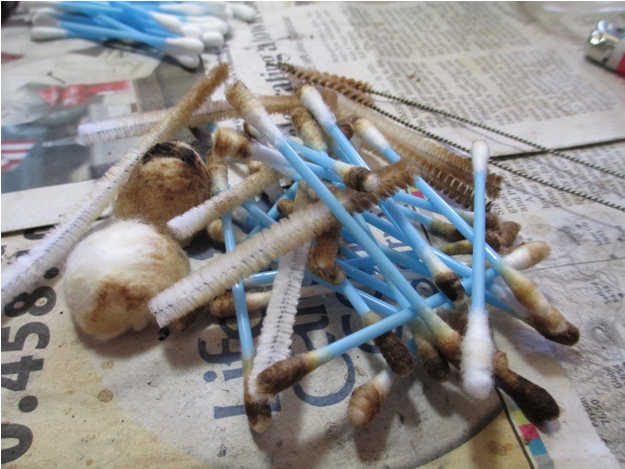 Next I turned my attention to the stem. I did the retort first, then used pipe cleaners to finish the job. Fortunately since the stem is so short, it didn’t take long to clean. You will notice that I packed some paper towel into the end of the stem. Occasionally when you use the retort, the alcohol will boil over and spray everywhere. That does not endear you or your eccentric hobbies to your significant other, especially when the resulting mess makes the wall look like a Jackson Pollock painting.
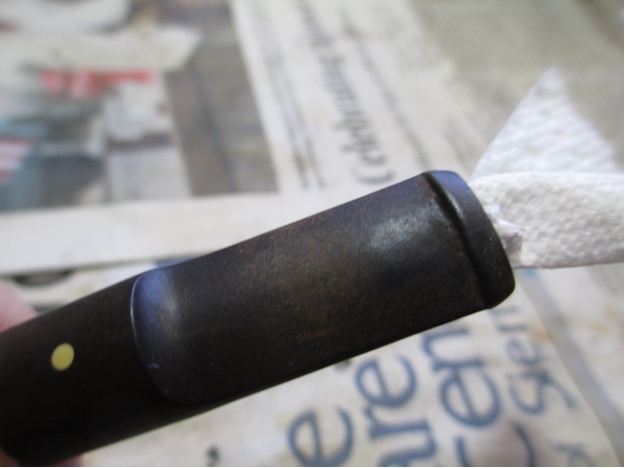
 I usually take extra time on stems as nice as this one. Instead of using 400 grit wet/dry I started out with 1000 grit wet/dry and water. It takes longer, but the last thing I want to do is change the profile of the stem or damage any of the details by using a lower grit sand paper. After the 1000 grit I used 1500-2400 grit micro mesh pads with water.
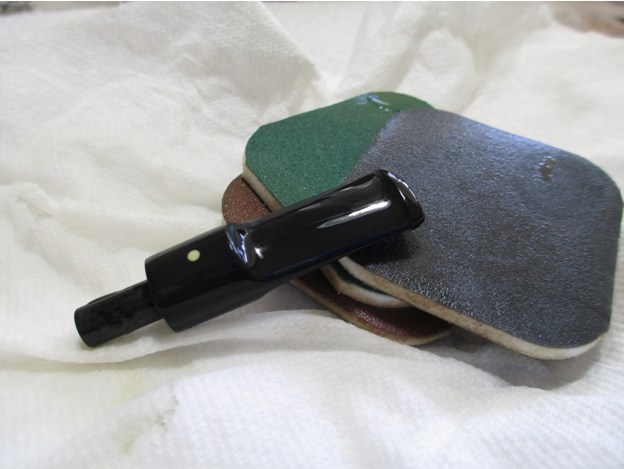 While the stem dried, I began the staining/waxing process. In an attempt to replicate the Dunhill finish, I used the brown shoe polish followed by a thin layer of black shoe polish. The heat gun helps melt the wax so that it gets into all of the crevices and the brush brings out a nice shine.
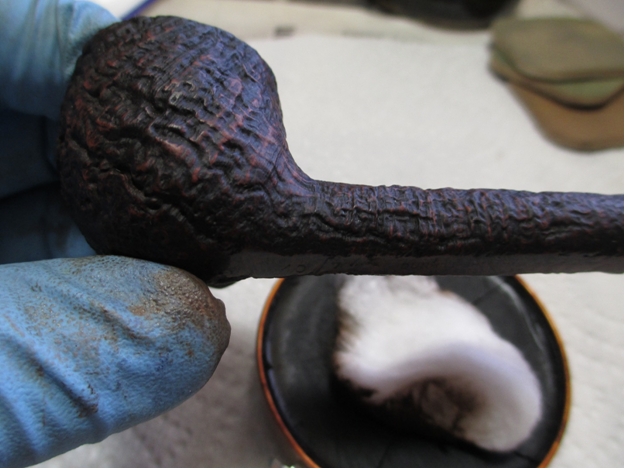

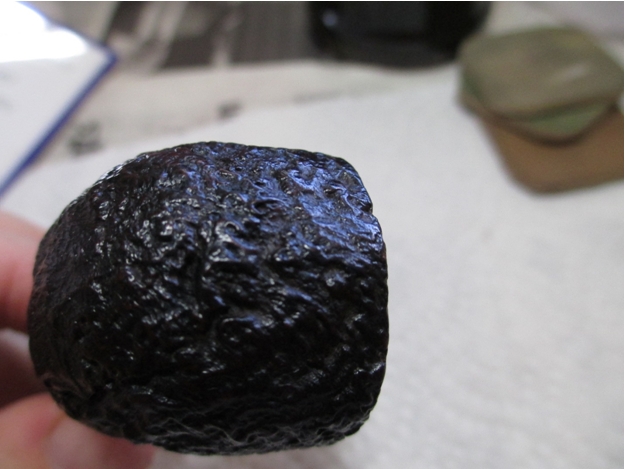
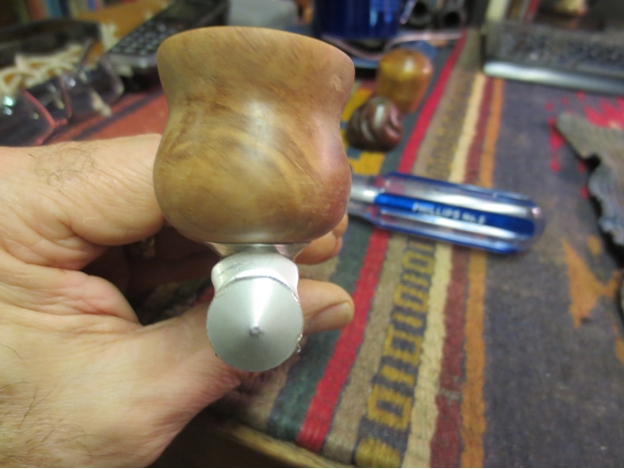
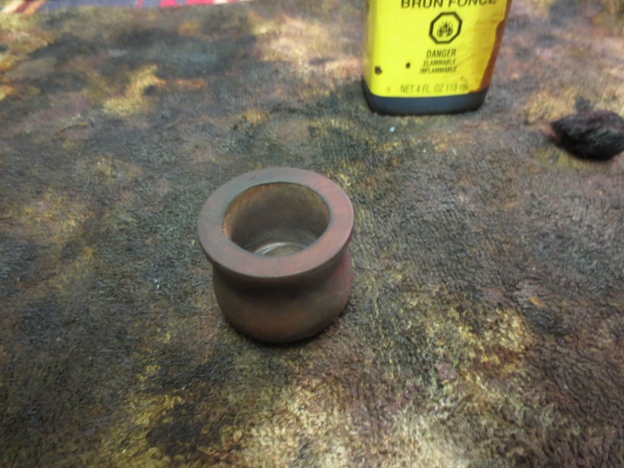
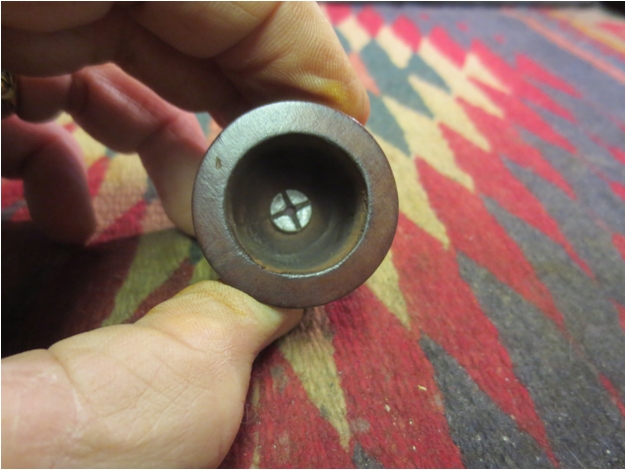
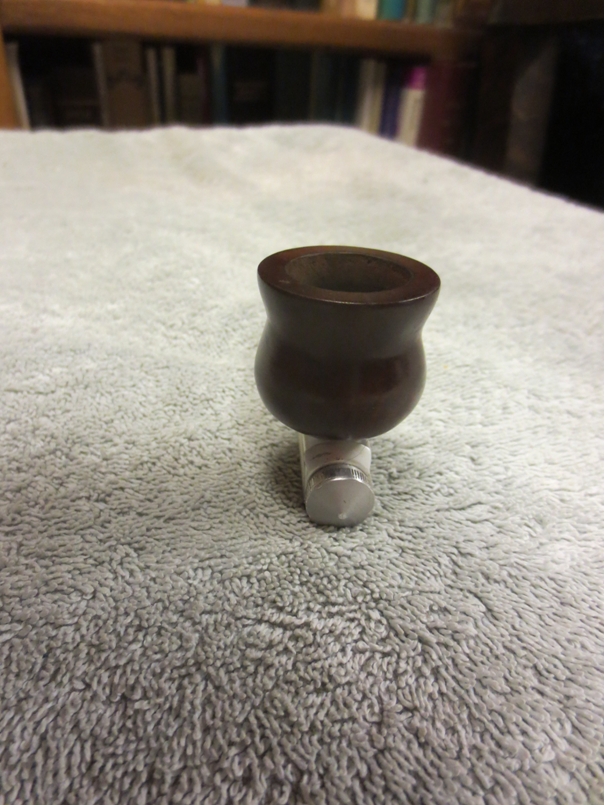
 Here is what the bowl looked like after the application of the second coat of wax and buffing with the brush.
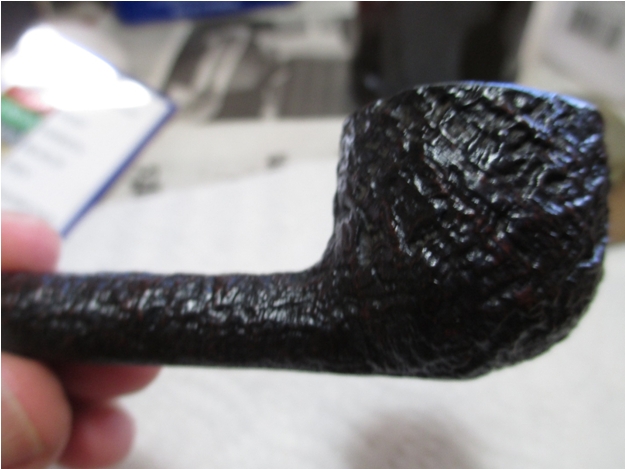
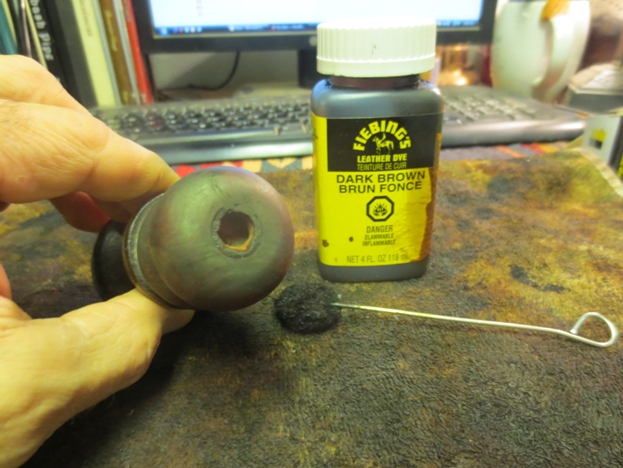
 Since shoe polish is a soft wax, I protect all of my rough finish pips with Halcyon II wax. I applied the wax with my finger tip (a little goes a long way) and let it dry for about 10 minutes. After the wax dried, I buffed it out with a soft cloth and applied a second coat. (The pipe cleaner is so I can hang the bowl up to dry.)
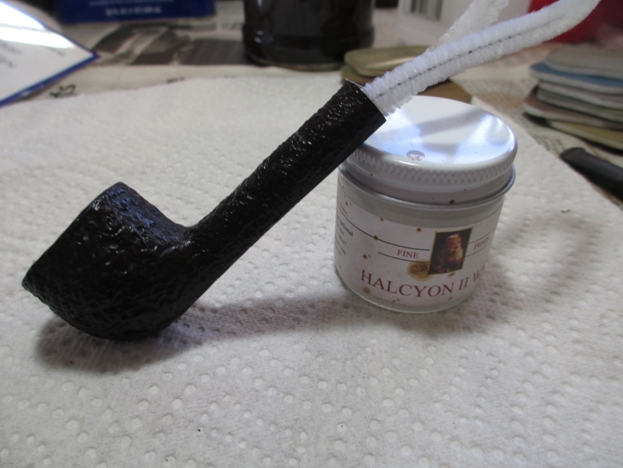 Finally I finished sanding the stem, using a progression of micro mesh pads from 3200-12000 grit followed by a quick spin on the buffing wheel with some carnauba wax.
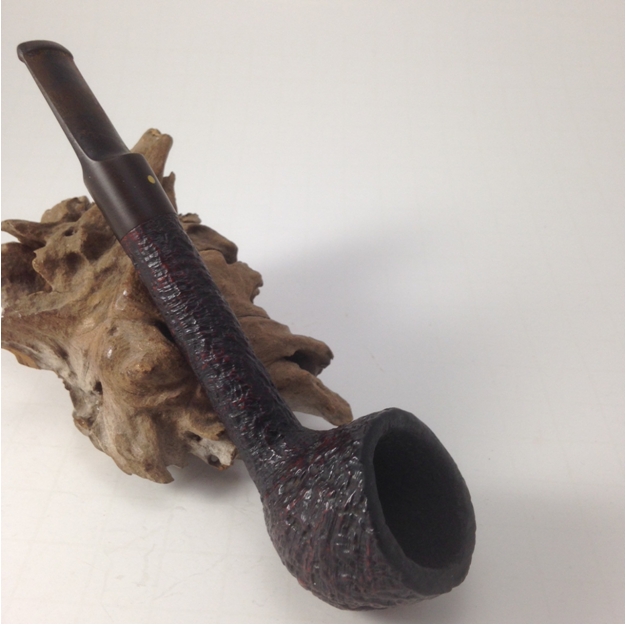
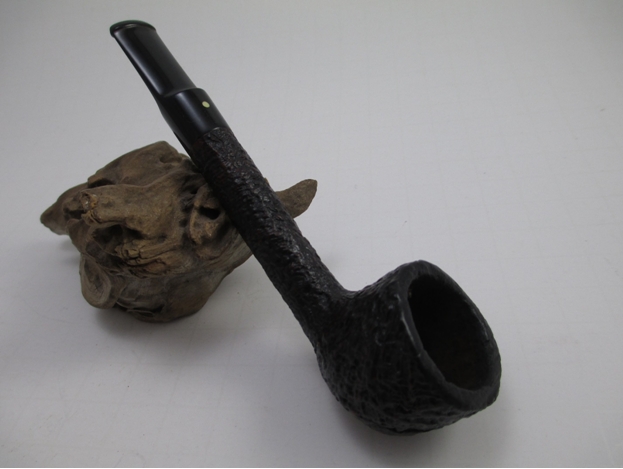
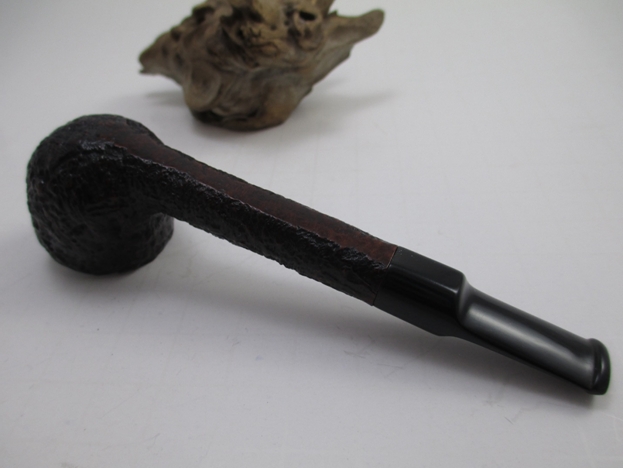
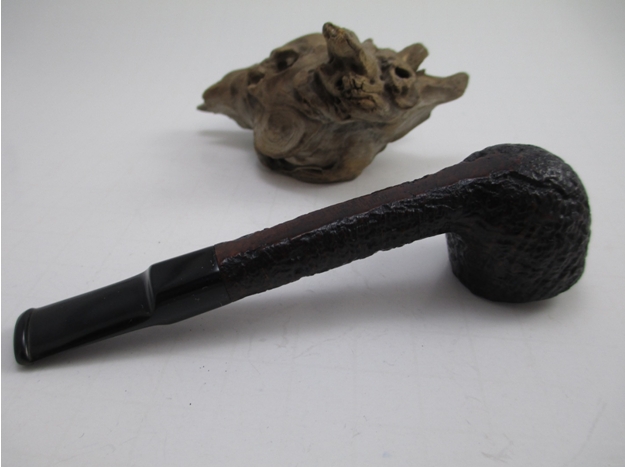
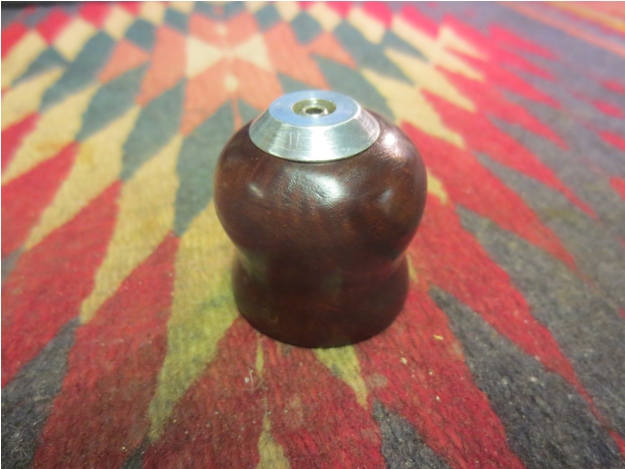
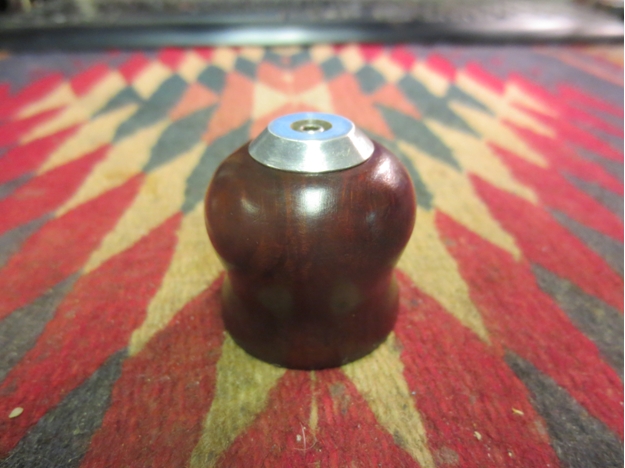
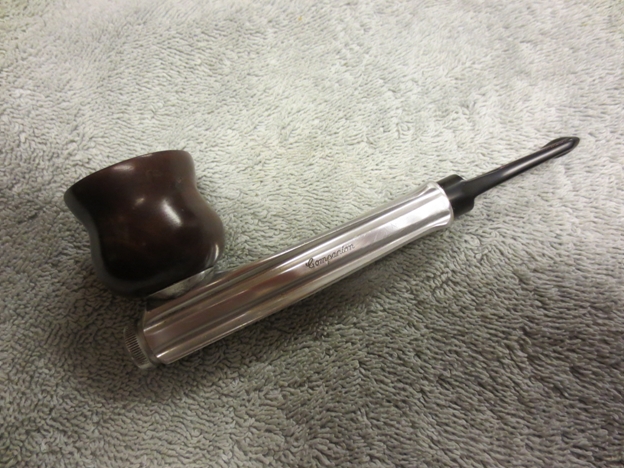
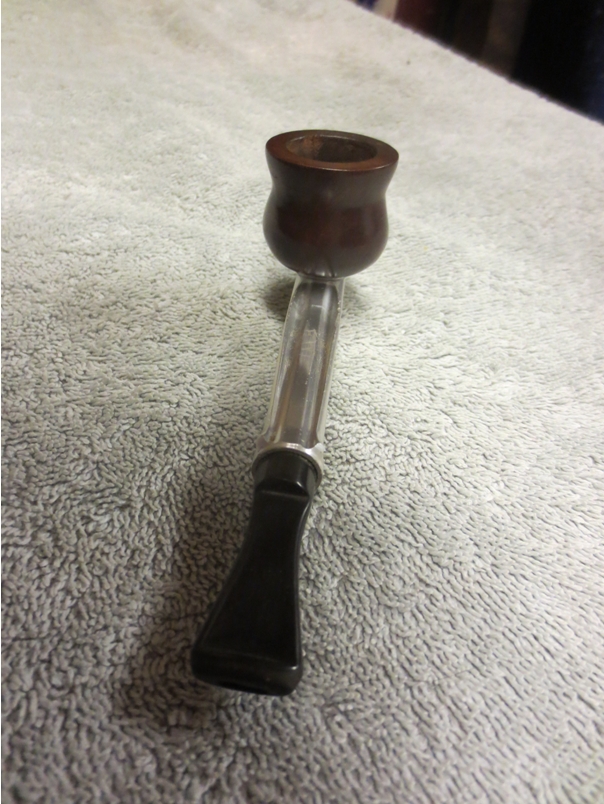
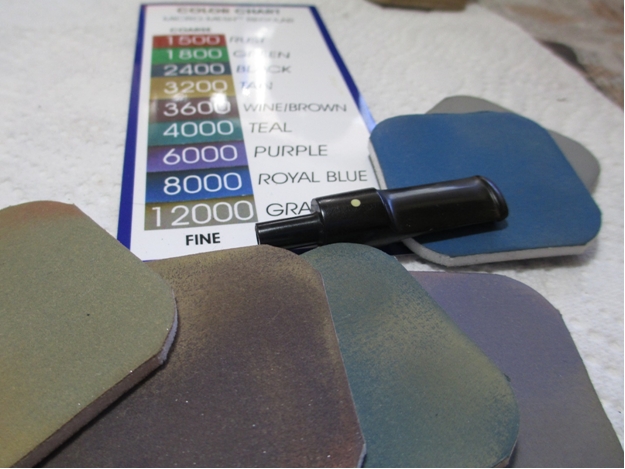 Here is the finished pipe.
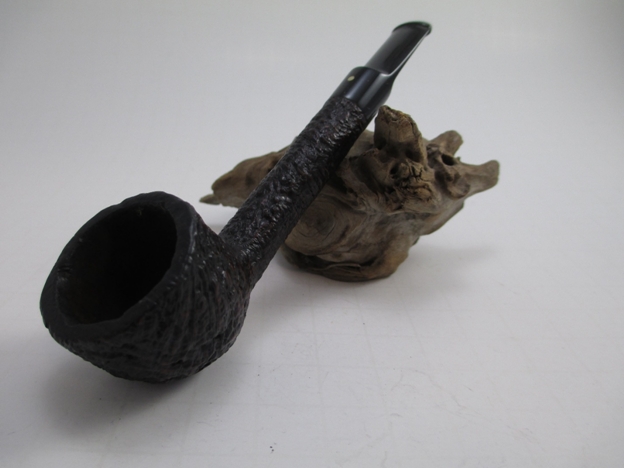


