Guest Blog by Robert M. Boughton
Member, North American Society of Pipe Collectors
http://www.naspc.org
http://www.roadrunnerpipes.com
http://about.me/boughtonrobert
Photos © the Author
This blog is dedicated to my older uncle, Frank Lee Grannis (1945-2014), who was maybe Arlo Guthrie’s biggest fan. Frank once snapped a black and white photo of a teenaged Arlo, at an outdoor music festival somewhere in the countryside, smiling and signing an autograph for another fan who was about Arlo’s age. I lost the photo in my younger, wilder days, or I would include it here, but the image will always be in my memory.
Let’s get Santa Clause ’cause:
Santa Clause has a red suit
He’s a communist
And a beard, and long hair
Must be a pacifist
What’s in the pipe that he’s smoking?—Arlo Guthrie, U.S. singer-songwriter-musician, in “The Pause of Mr. Claus” (1968)
INTRODUCTION
Now friends, tonight we’re gonna sing you a song, a Christmas carol in four-part harmony. The song…the Christmas carol is part of an album called “Arlo.” That’s my name. Some of you right about now might be thinking, thinking in your private thoughts there in your heads, well, this Arlo fella must have a pretty big ego. I mean, to go and name an album after himself, he must have let all that fame and fortune go to his head. I don’t know about the fame and fortune part, because all that doesn’t last long, but my head, my head is really sort of small. We’ve never actually met. All of you out there and me, that is.But that’s not what I came to talk about. Came to talk about a pipe. Remember the pipe? This is a story about a pipe.And I’ll get to it. In time, and four-part harmony.
So there I was, sitting on a bench, looking for a song to start with. I didn’t find it. I’m not proud…or tired.Out of all the songs I wrote, there I was, on the bench trying to pull just one verse from my head, but nothing would come.I knew right then and there I had to get ahold of Steve Laug, he’s a good friend of mine. We’ve never actually met. But we write emails back and forth to each other all the time. Now friends, if you ask me, that’s one hell of a way for folks to talk. Sort of like writing a story, in four-part harmony.
And then it hits me that it would be a friendly gesture to sing a Christmas carol about the guy who started it all. A guy in a red coat who has a beard, and all he does is give presents…for free…to all the rest of us. Must be something deranged about a guy like that.Living in Canada…living at the North Pole, it’ll do that to a guy.
Now, Steve and me, we never exactly said anything about any quote. All we talked about was the pipe. Remember the pipe? Anyway, I sent him a picture with the email, an eight-by-ten color glossy with all the details written down, and I said I thought it was what’s called a brandy shape, and Steve, he says it’s like a BBB he has that’s the same shape, only it’s a Christmas pipe. Well, I never heard of any Christmas pipe shape, but Steve knows more than I do. And later on he wrote back and sent a picture of his BBB, an eight-by-ten color glossy with all the details. And the two eight-by-ten color glossies with all the details were almost the same.
And the good news is, that’s when I remembered this Christmas carol I wrote, in four-part harmony, because it was about Santa Claus, even though it’s spelled with an “e” in the song. Don’t ask me why, you can figure it out. Now, everyone knows old Santa is all about Christmas. So that’s about how that story goes.
Now I’ll get on with the other story, about the pipe. Remember the pipe?
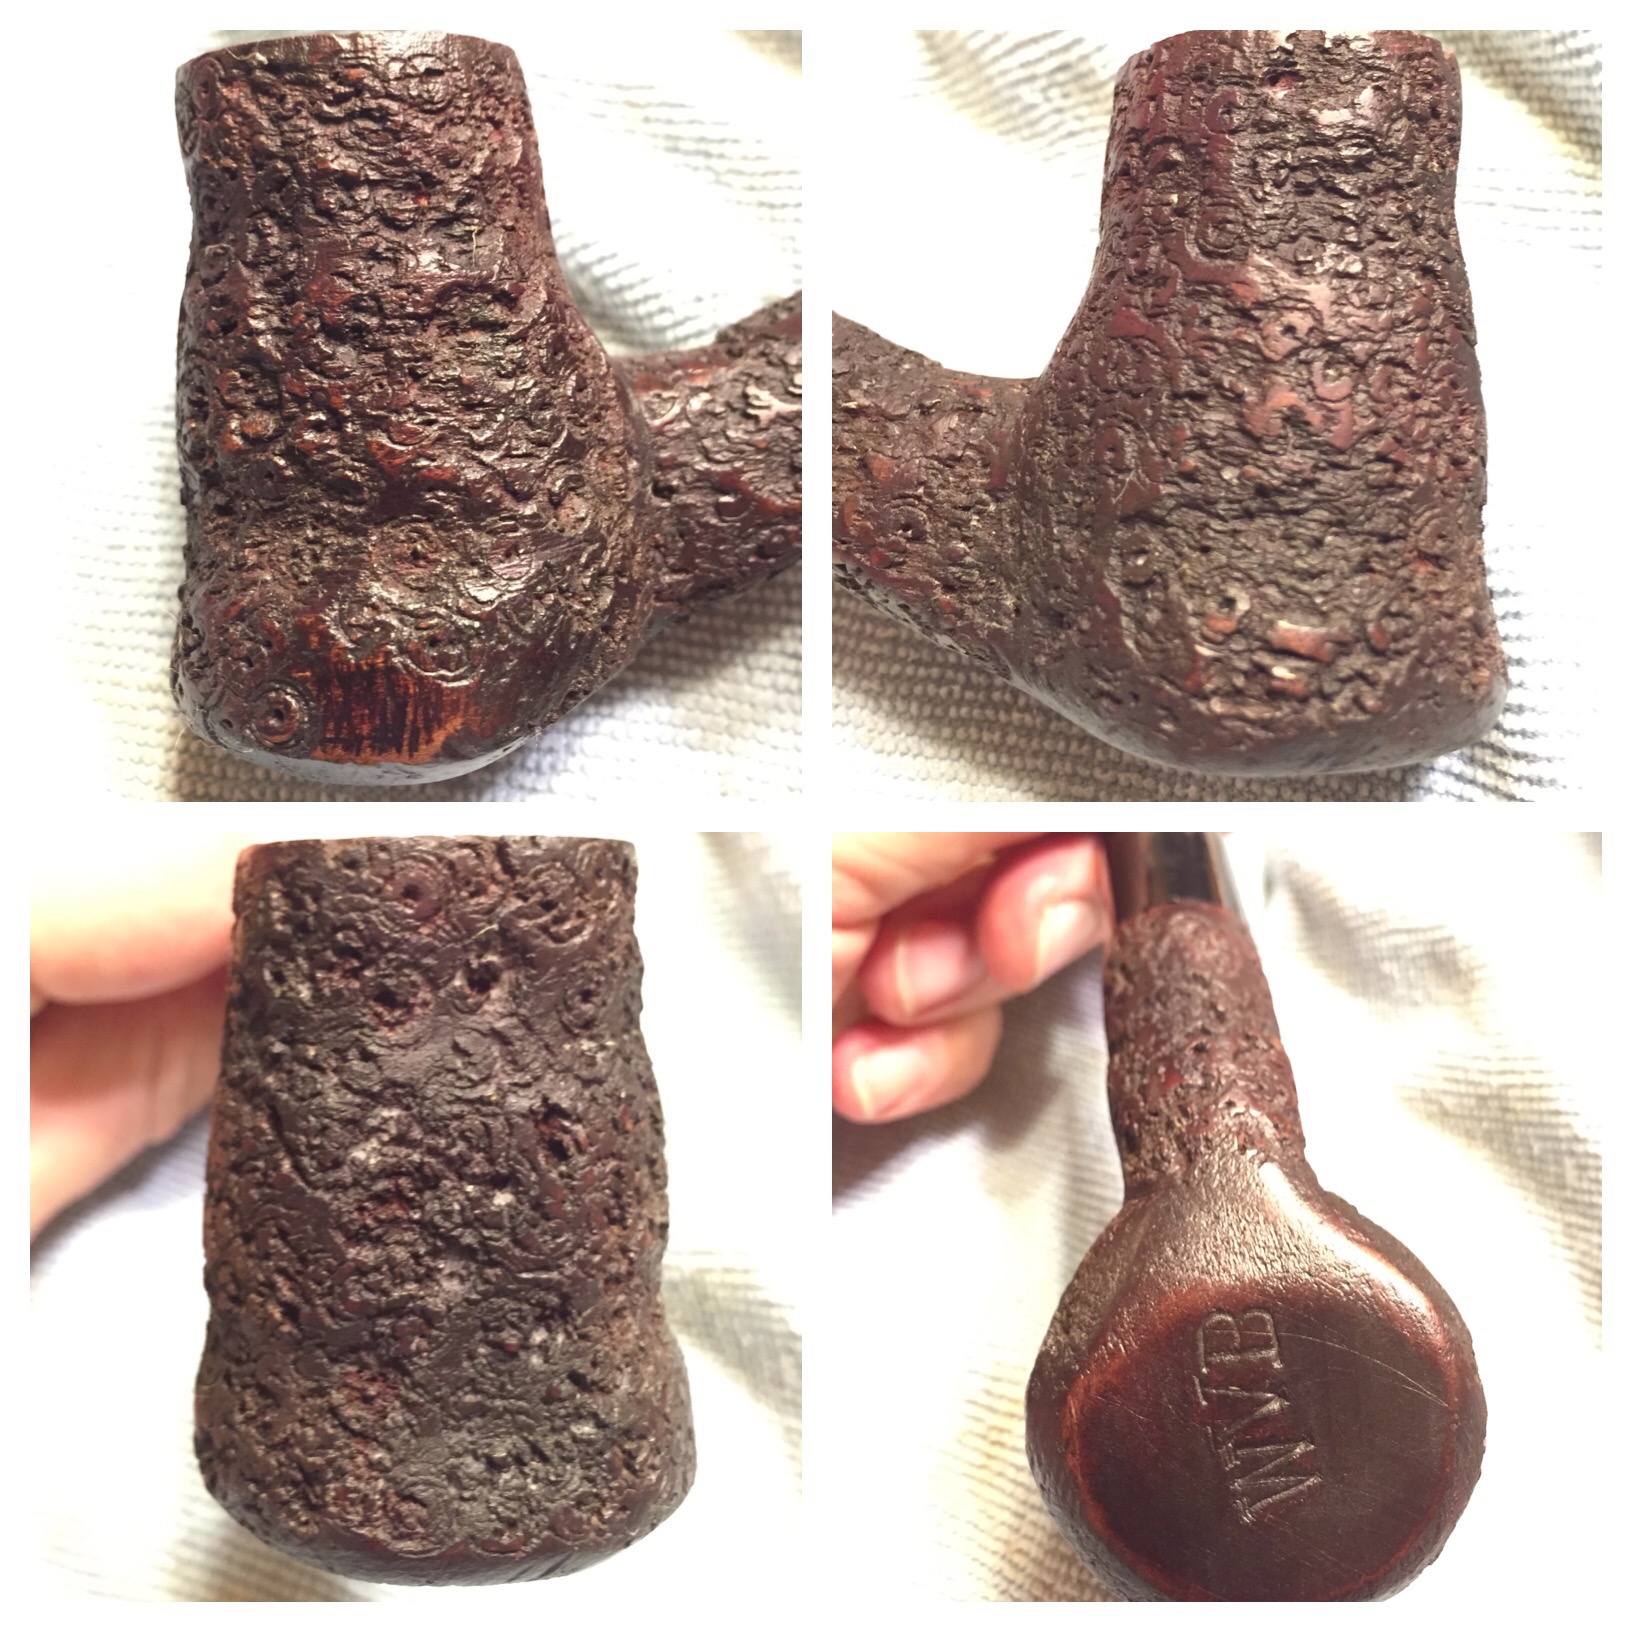
I got mixed up online with some poor fella who was selling seven pipes all together and didn’t have a clue what all was in there. ’Cause my eye went straight to one with a white C on the stem and even I knew what that meant. The listing, in micro-mini small print at the bottom of the page, that you’re not supposed to read, called it a “Como’s Bent Billiard,” but I took a closer look and made out the blurry Y after Como. So there I was, still sitting on the bench and having a good old time knowing how nobody else knew the Como pipe was in there with all the others, and that’s why the price was so low with time running out.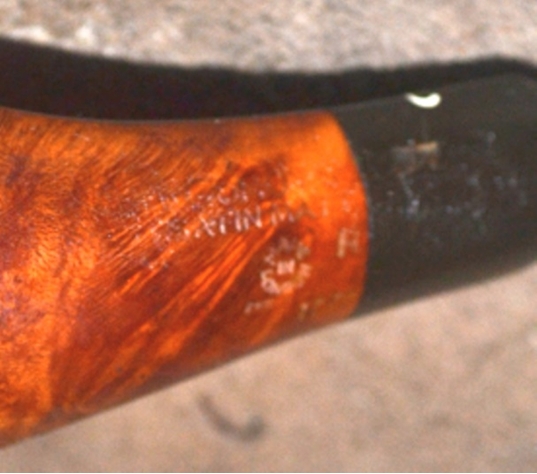 I’d like to dedicate this Christmas carol to all the pipe-abusing S.O.B.s out there who have been bad little boys and girls and ought to keep that in mind this coming Christmas. It’s called “The Pause of Mr. Como.” Now here’s how the song goes.
RESTORATION
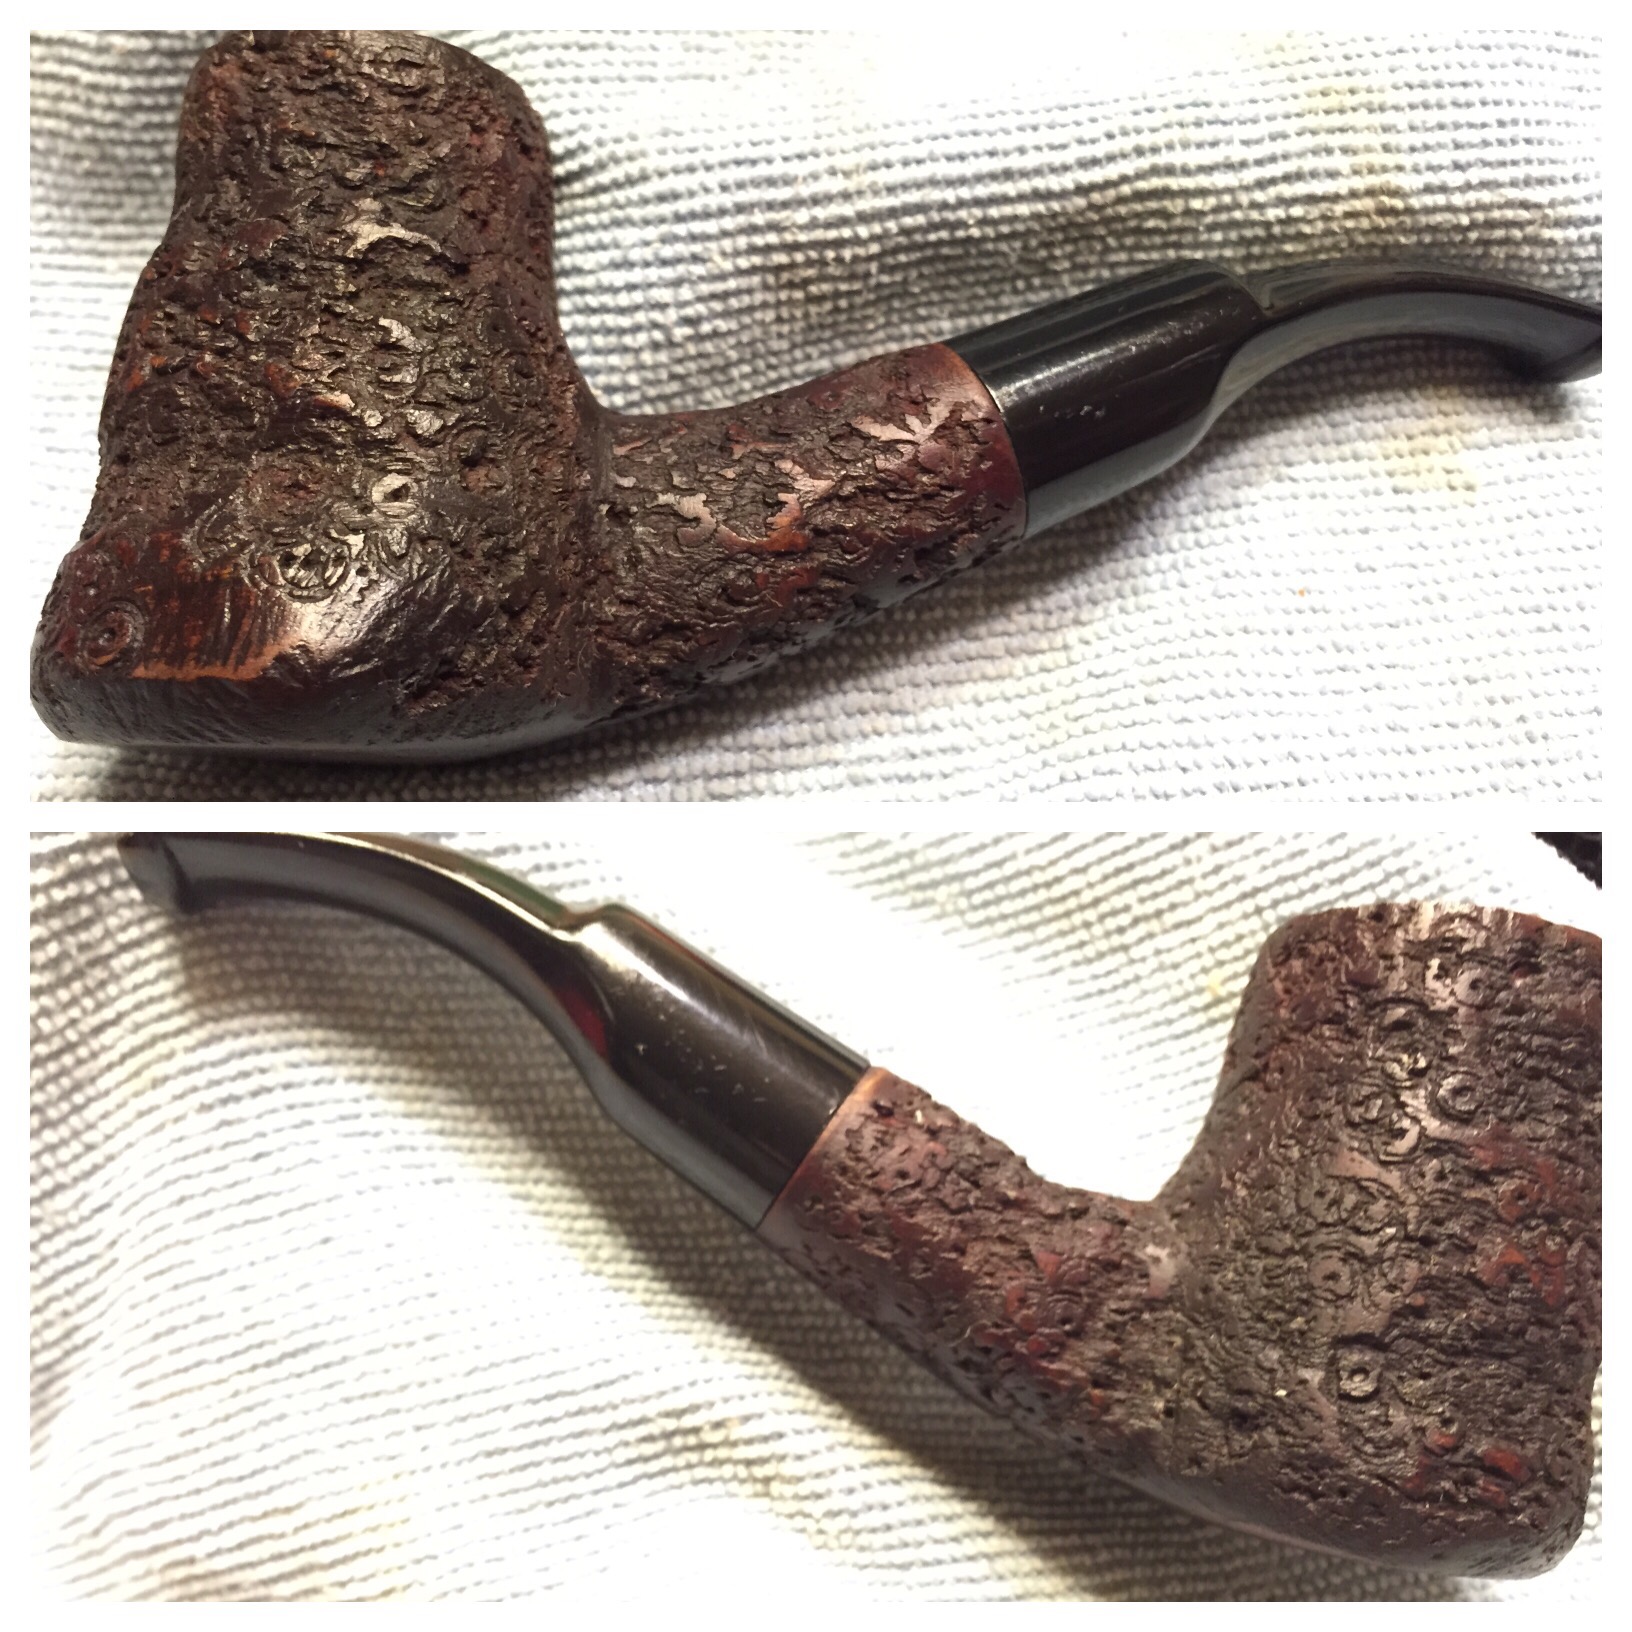
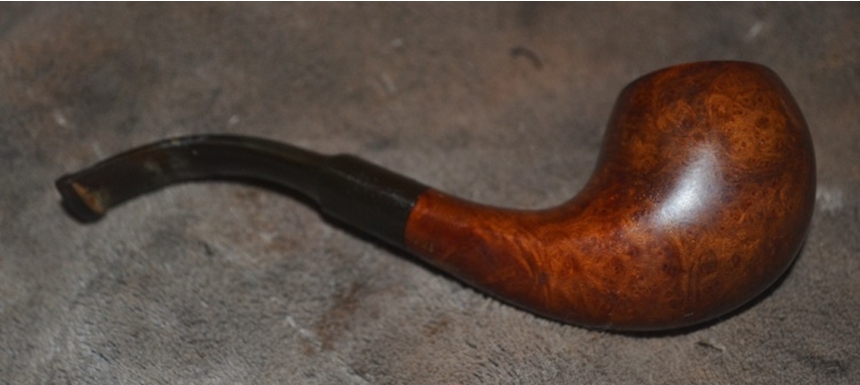
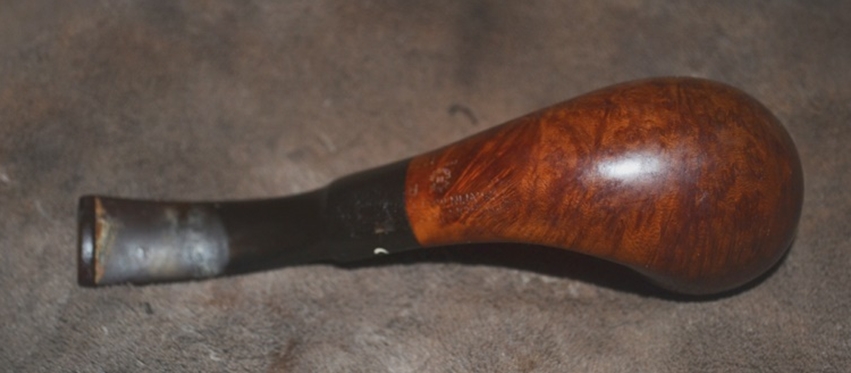
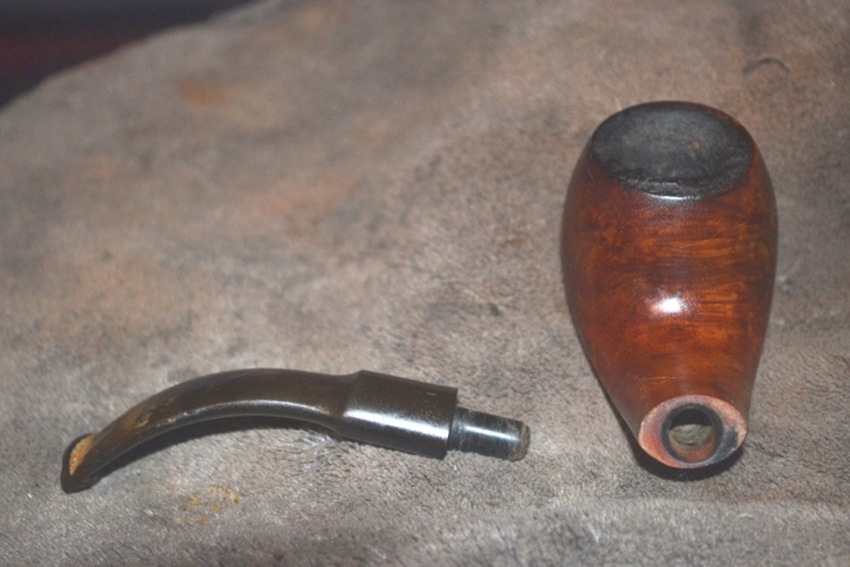
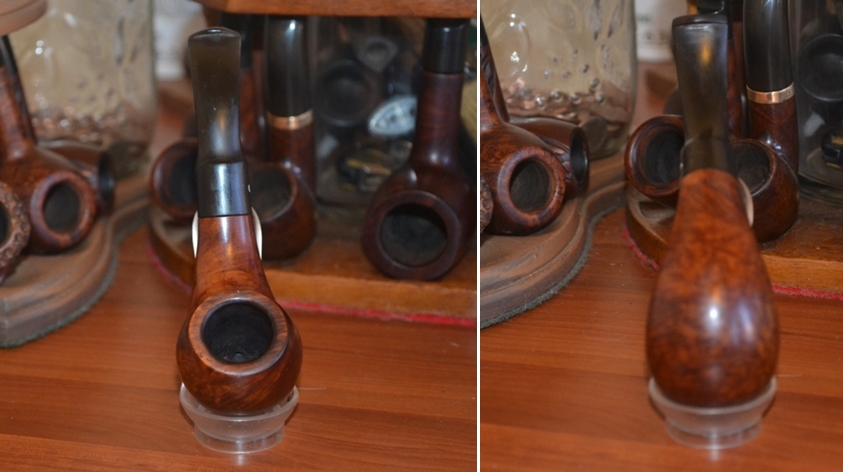
Meanwhile, back to myself again after a brief diversion, I will describe the pipe as I received it. Although there were bad cake buildup in the chamber, rim burning, ubiquitous scratches on all sides of the bowl and a stem in dire need of work and polishing, the allure of this excellent Comoy’s example was almost intoxicating, and I haven’t tasted alcohol in 26 years – not that you could tell after reading my Introduction.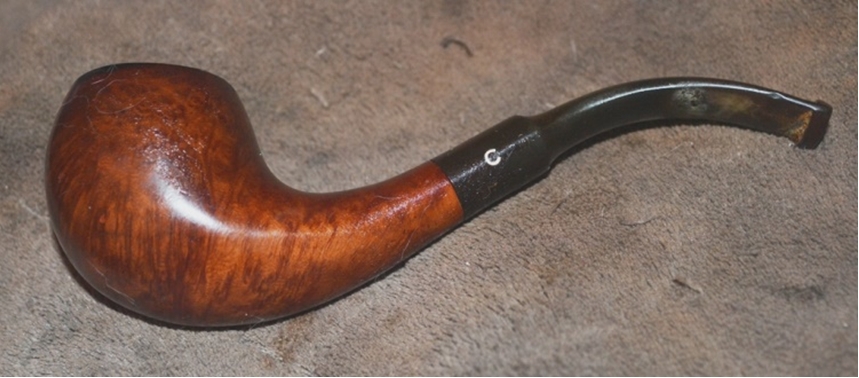
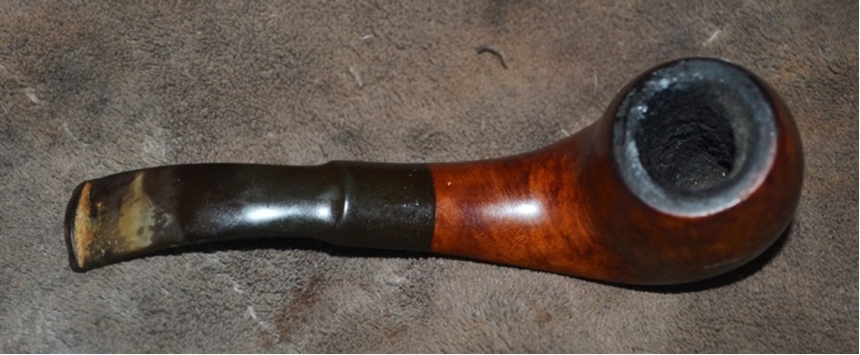
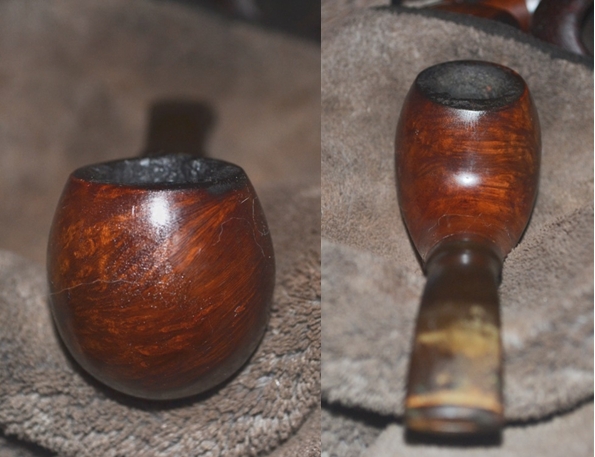
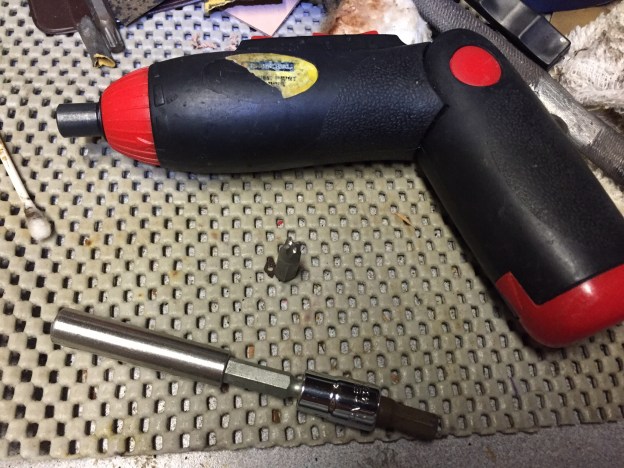
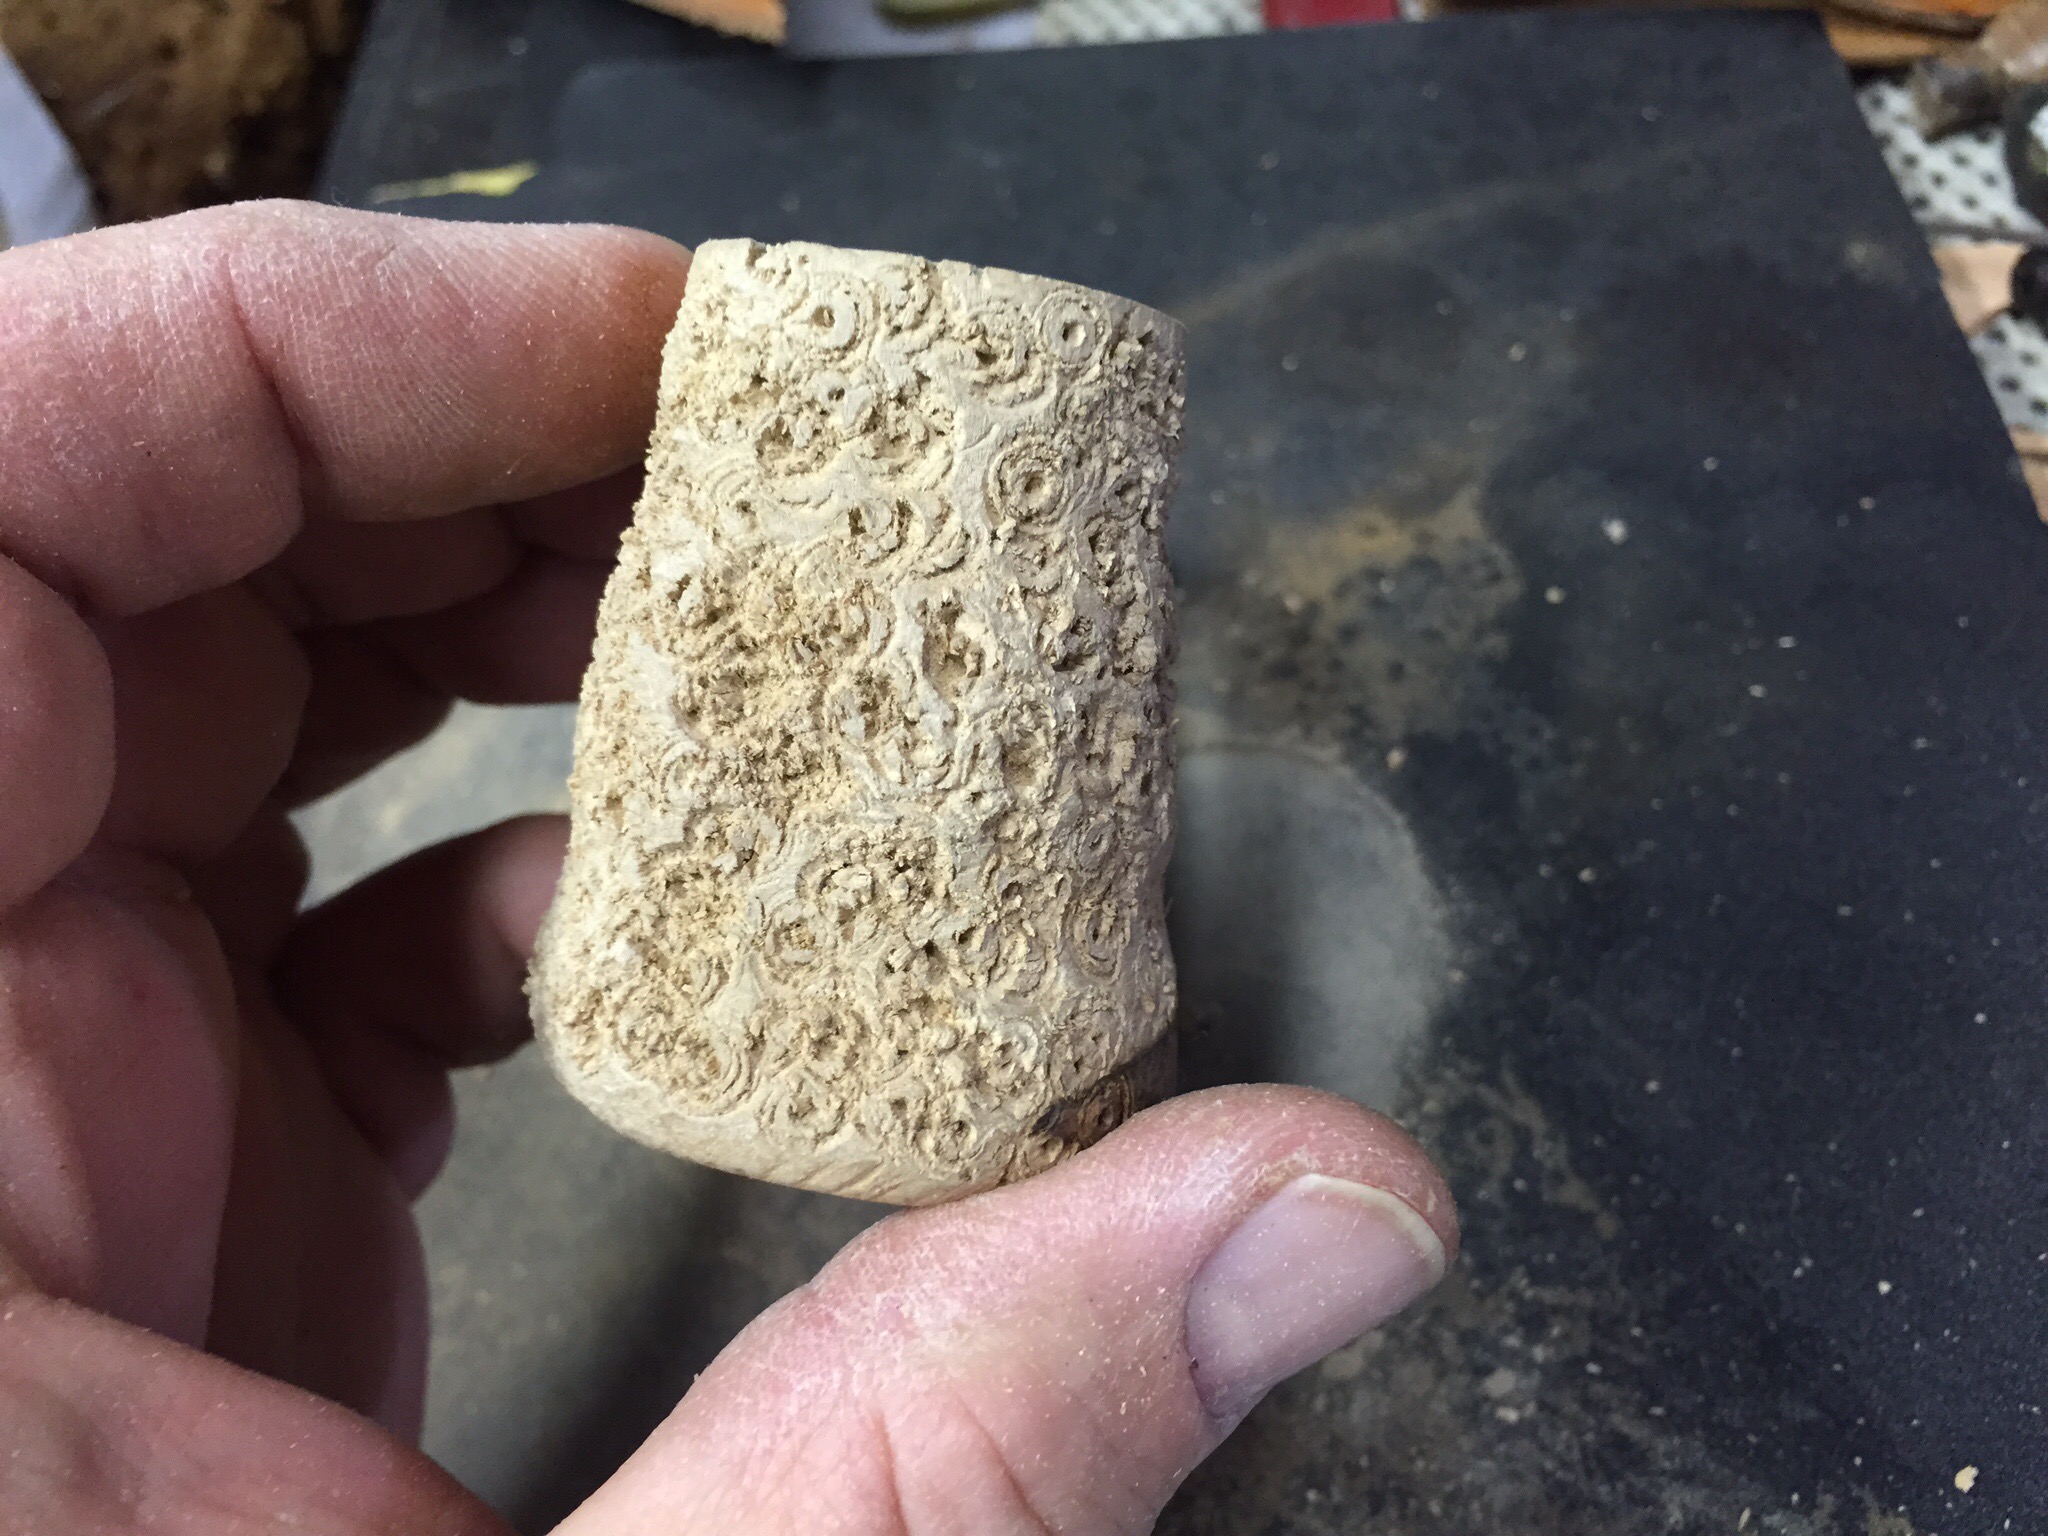
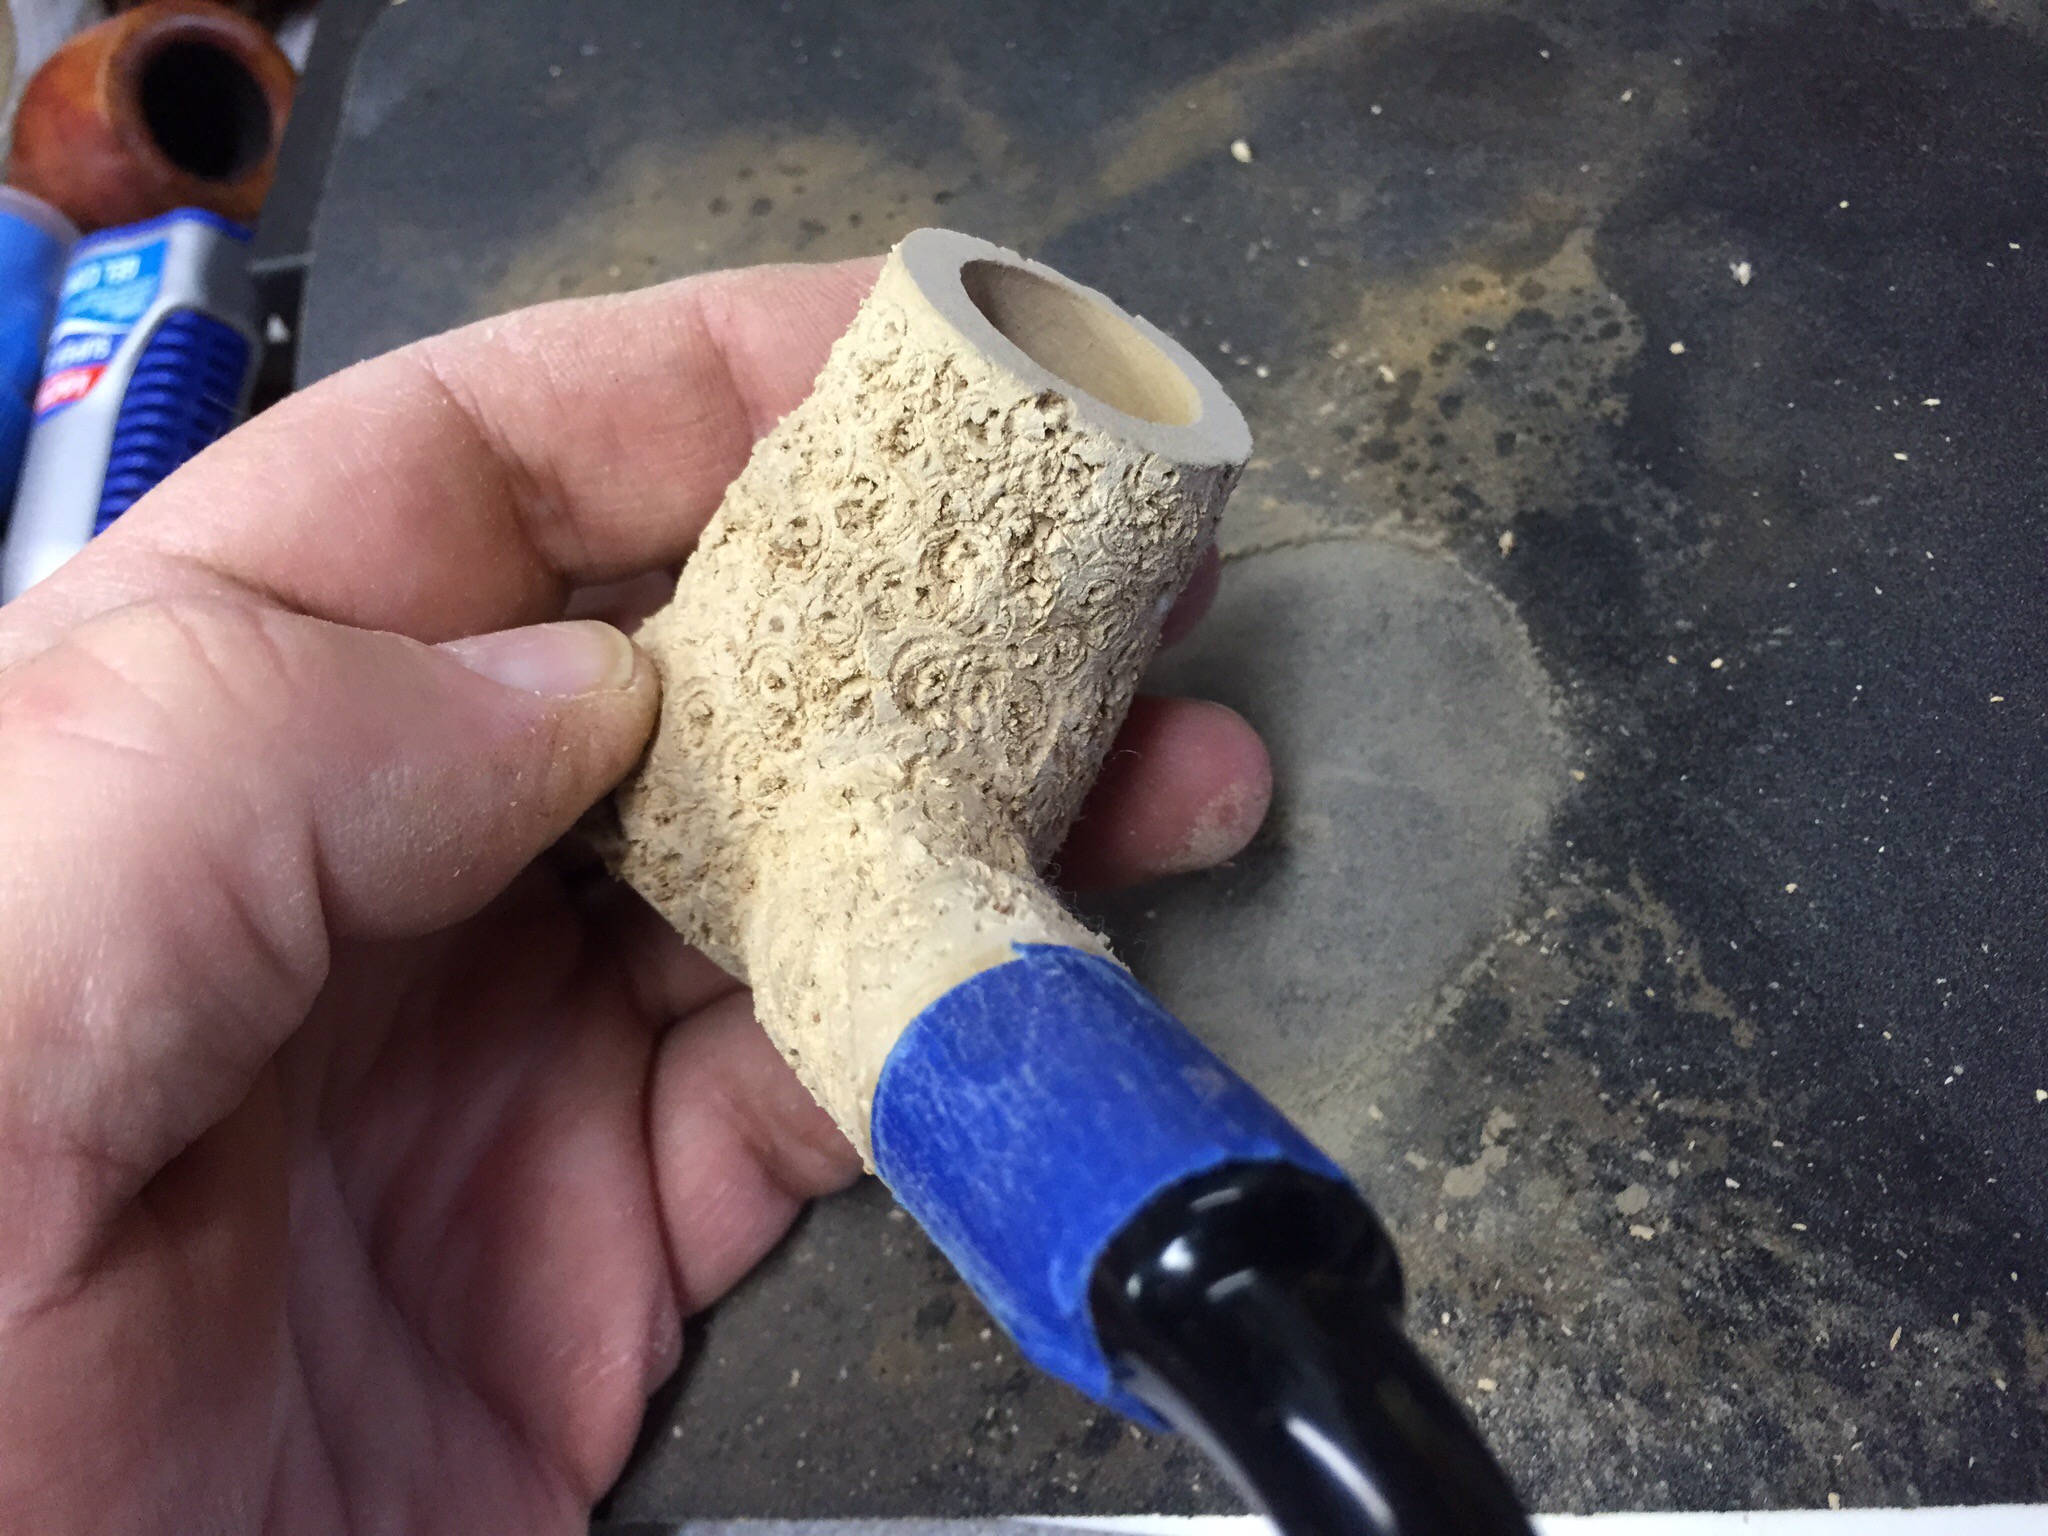
 I like to start on a rim with super fine steel wool, as I did with this pipe. In general, this approach takes off most or all of the char and leaves the wood beneath without a single new scratch and often even shiny. This time I got nowhere with the regular method, and so I switched to 400-grit paper, which removed the char as well as dings and scratches I uncovered. Of course, the sandpaper also took off the old stain.
With the rim clean and smooth, showing the fine grain, I found my old Senior Reamer in its box and took on the chamber.This time, the reamer worked as it should. Almost all of the buildup was reduced to dust. A little quick sanding with 120-grit paper was needed before smoothing with 400.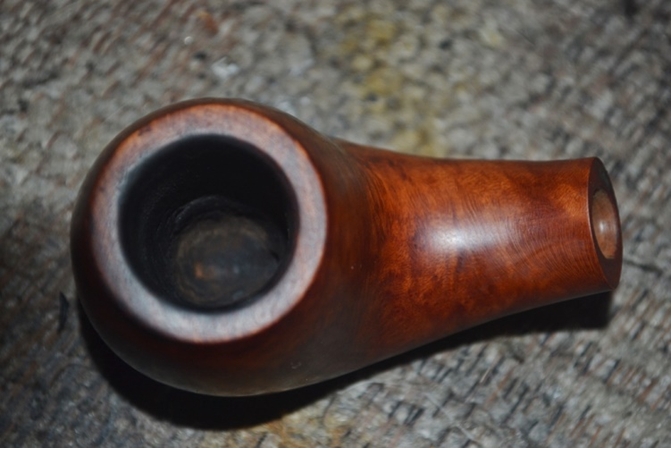 Now, as I described earlier, the outer wood was scratched almost everywhere. I very much wanted to avoid ruining the good, light stain of the original. Having learned that micromesh can go a long way, from advice of my mentor, Chuck Richards, as well as our host and several previous readers, I put the theory to a tougher test than I had before.
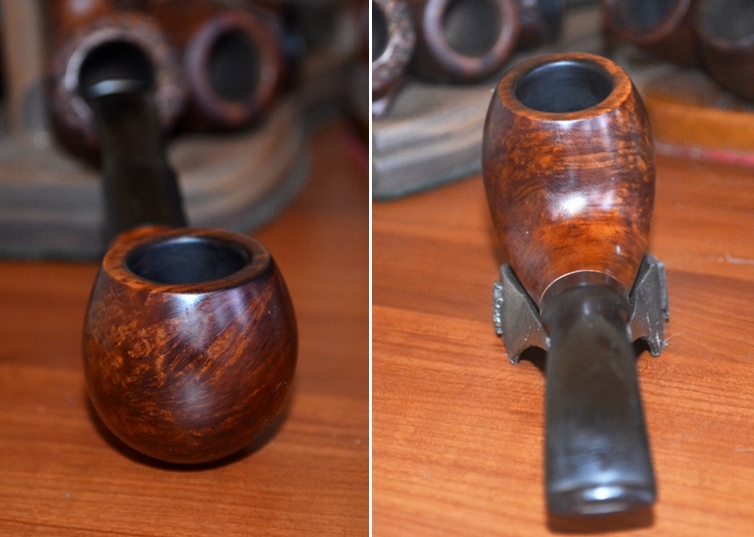
And you know what? I think they’re on to something! Starting with 800-grade, I was able to eliminate all but the most insignificant scratches. I then worked my way up from 1000 to 1500 to 2400 and ending with 3200, leaving the briar– well, leaving the briar as smooth as it must have been the day it left the Comoy’s shop.
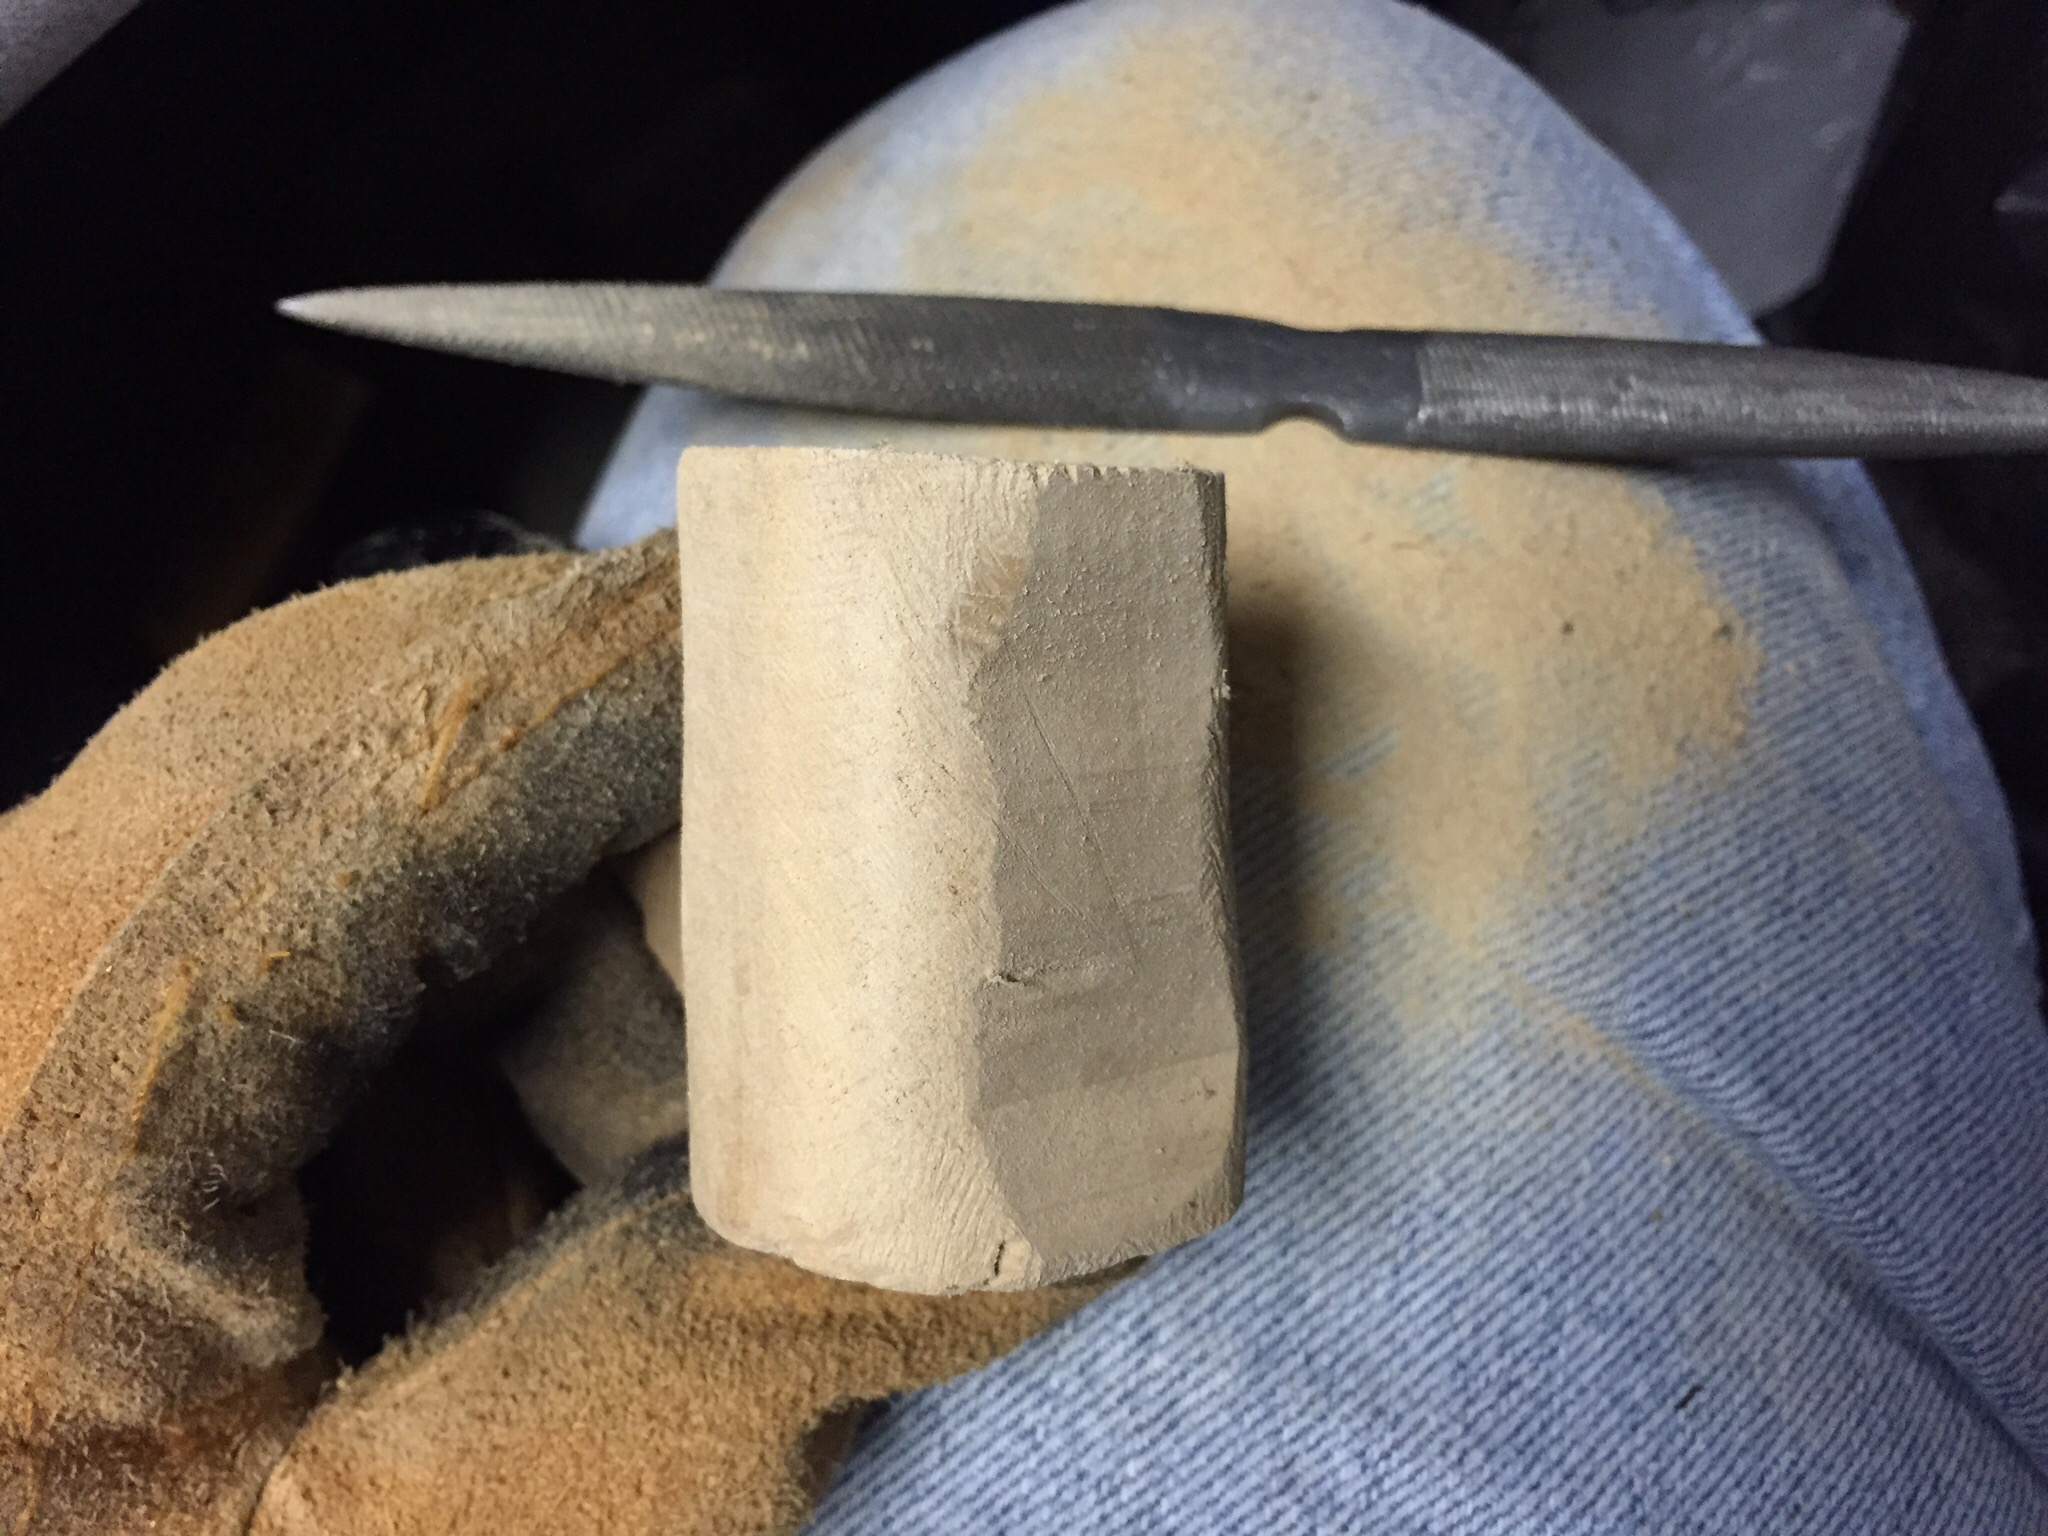
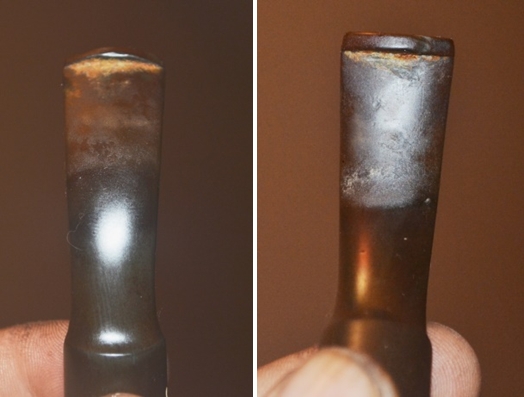
Taking on the stem only required heavy sanding and buffing with 1500, 2400 and 3200 micromesh.
Cleaning the pipe turned out to be the hardest part. I just kept dipping the bristly cleaners in Everclear one half at a time and scrubbing away until they came out of the shank and stem clear.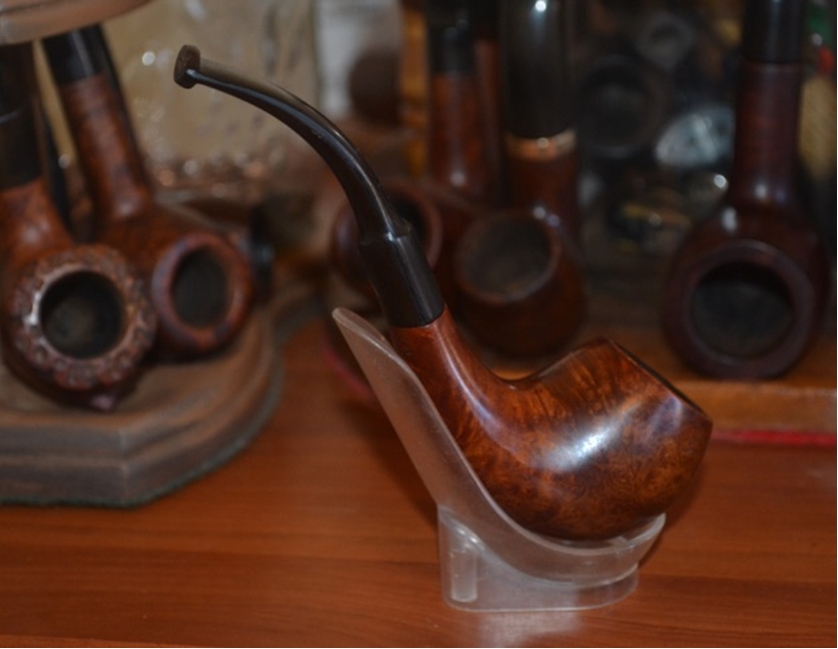
 CONCLUSION
If I had kept this fine example of Comoy’s craftsmanship, I would prize it as the best as compared to the two I own. However, as fate would have it, the pipe sold almost as soon as I posted it on my restored pipes Website. My only consolation is that I have reason to believe it is in adoring hands.