Blog by Greg Wolford
Last winter sometime I got myself a pre-drilled pipe kit from an eBay auction; it is from Mr. Brog and is pear wood. I don’t remember exact how I did it but I really messed it up with a terribly wavy cut on the front using a coping saw; I made a few other small cuts that weren’t bad but made the block a mess added to the front cut. I was very unhappy with myself over it and put the kit away, forgetting about it, figuring it was a total loss.
Last week my son found it while he was carving a briar kit I’d bought him a few months ago and gave it to me. I decided that I was going to go ahead and try my hand at carving it, to get a feel for the process and maybe even salvage it. Considering the bad start I had, I didn’t plan on writing about this so I didn’t take many photos. But I’ve been asked about how I rusticated it so here we go.
I used only files and sandpaper, no more sawing (LOL), to do all of the rest of the pipe except for two things: the rim I carved lightly with a Dremel and I buffed it lightly on the buffer. This is an idea I’d where I started, with the wavy face:
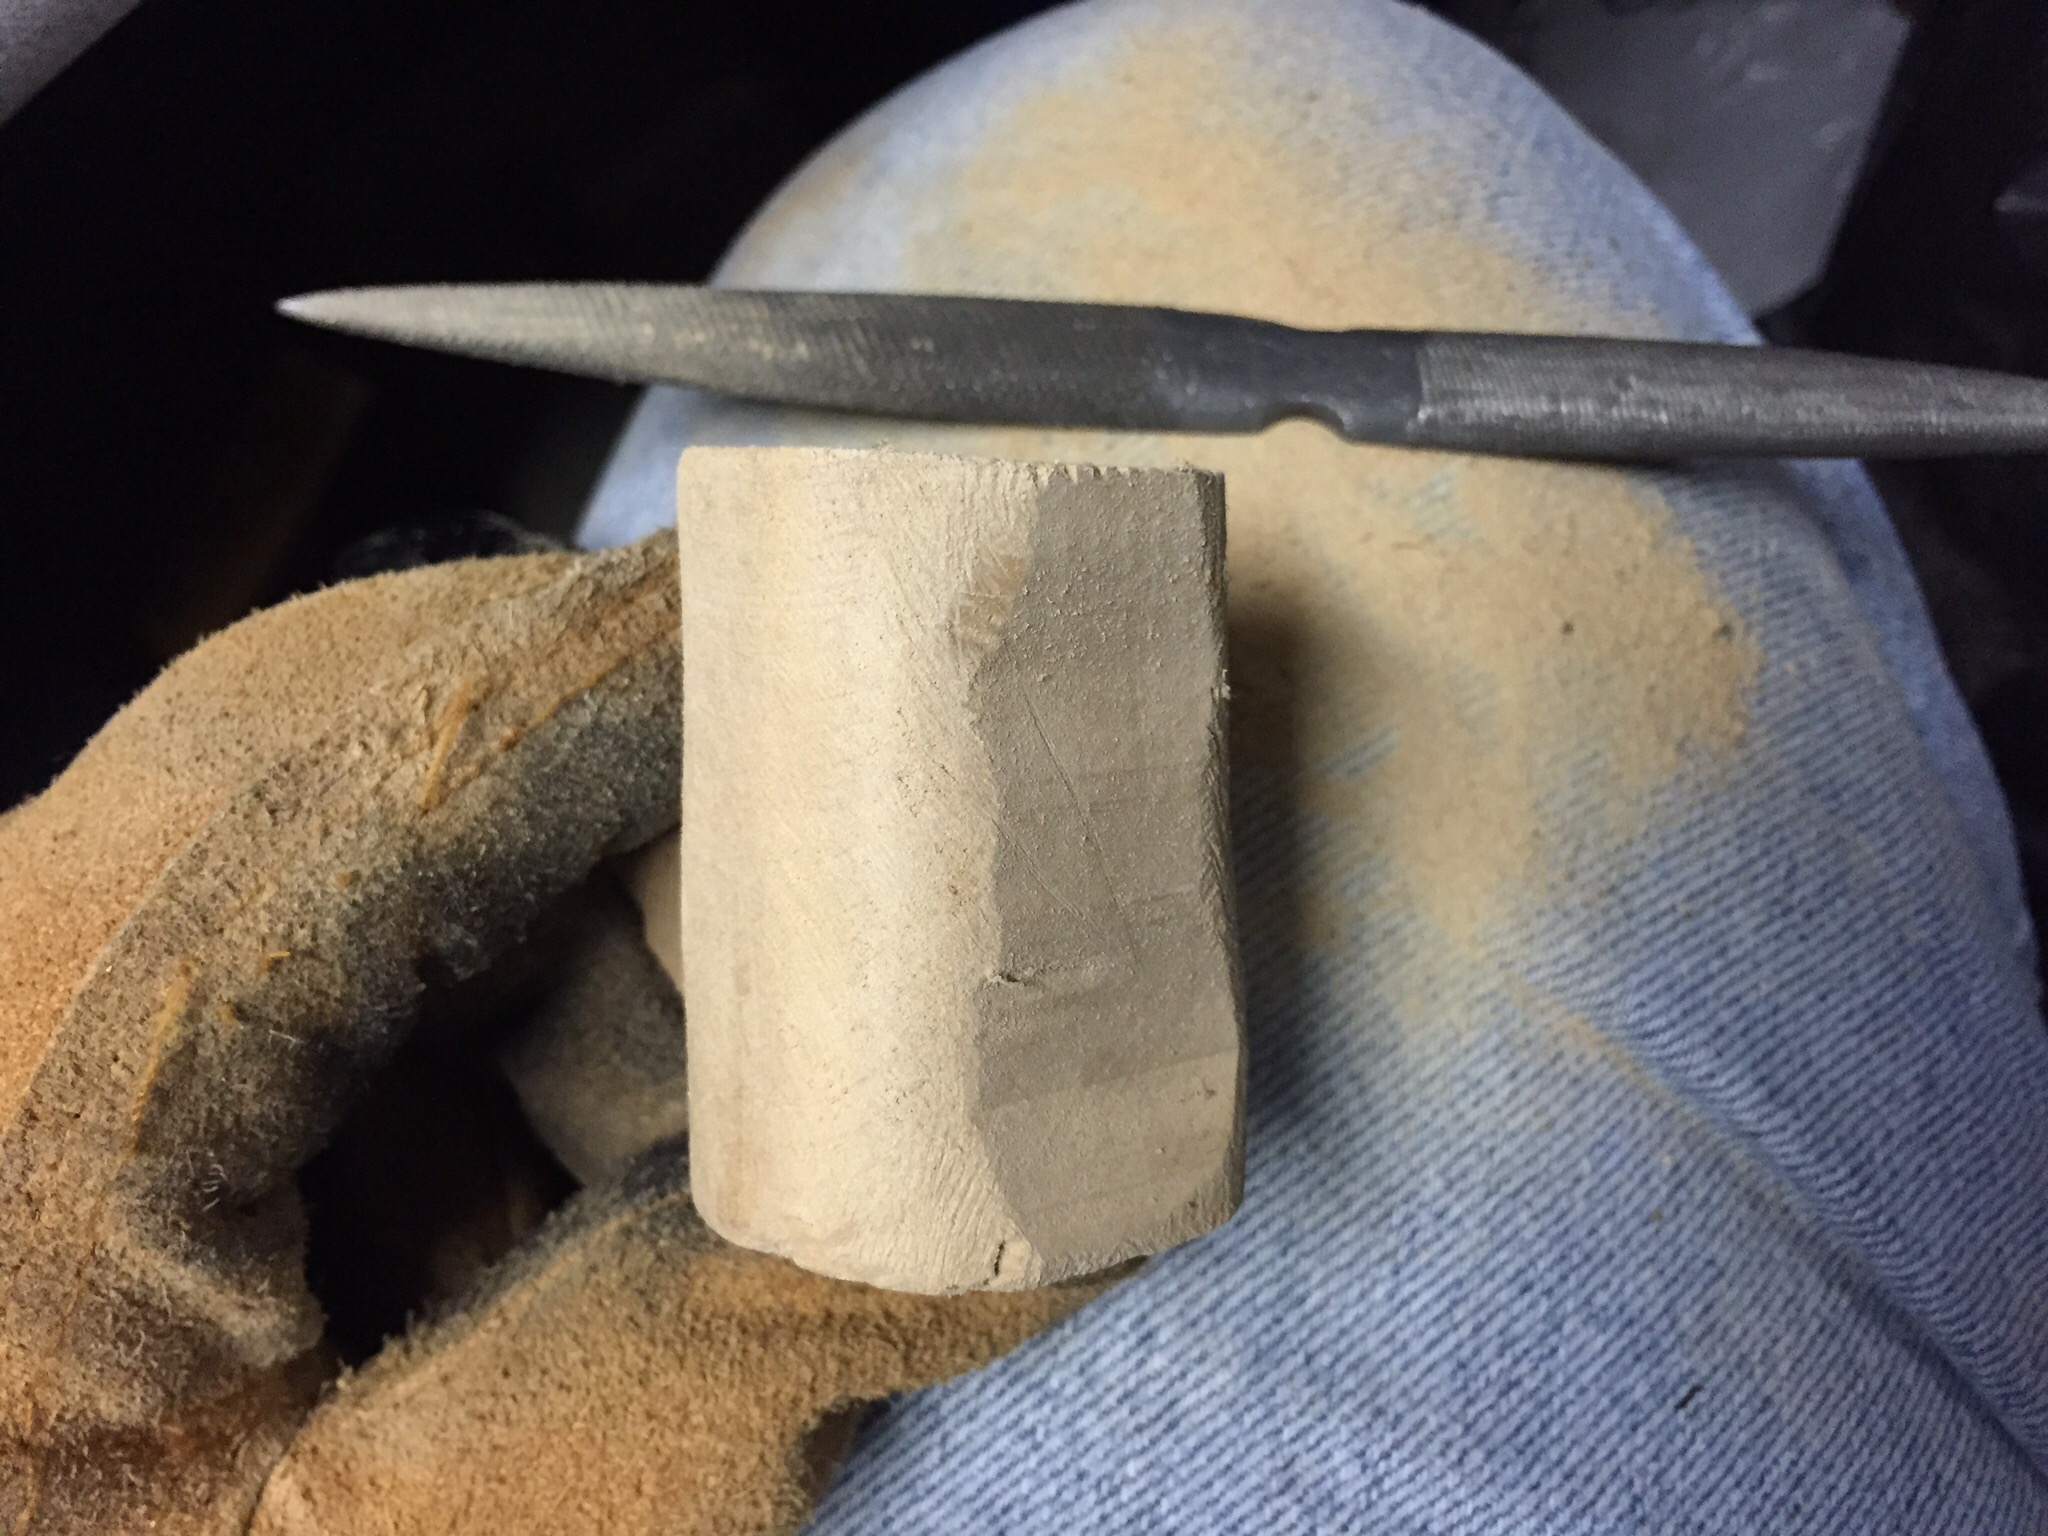
I used various files, including the above pictured vulcrylic file, to shape the block; my plan was to get a volcano type shape and hide the poor face-cut in the process. This proved to be a challenge since the front couldn’t be shaped too much or I’d end up with a much too thin wall.
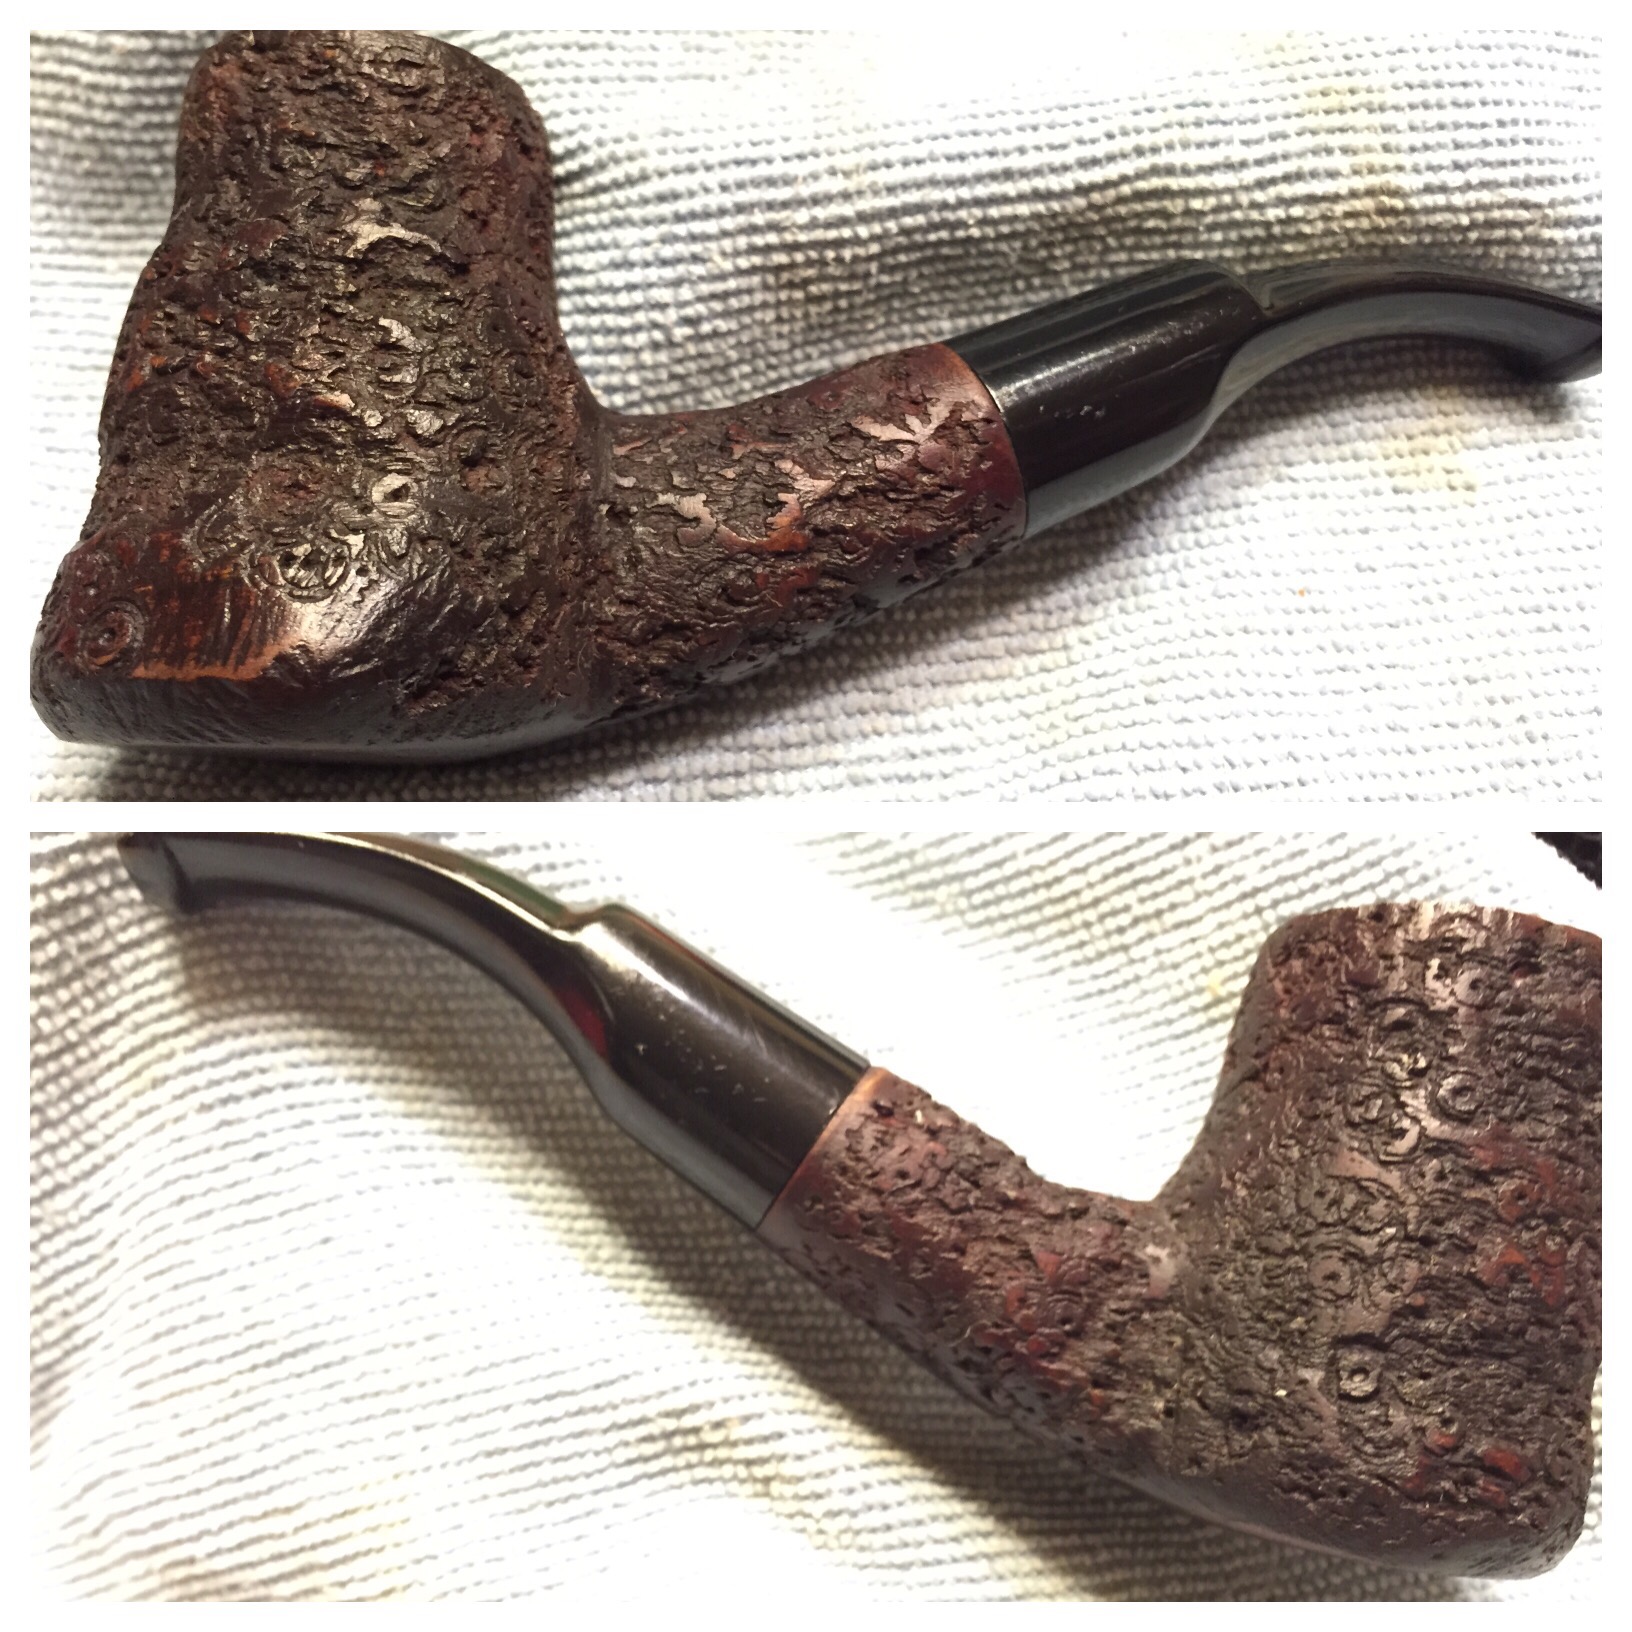
I filed and sanded, slowly bringing out, more or less, the shape I had in mind. I also worked at the shank to a decent transition to the stem, which was a fair amount of work with all the material that needed to be removed. After I had gotten as far as I felt I could go with the shaping and was fairly happy with it I decided this would be a rusticated pipe; it would blend the faults better I thought and, being pear, there was no grain to speak of.
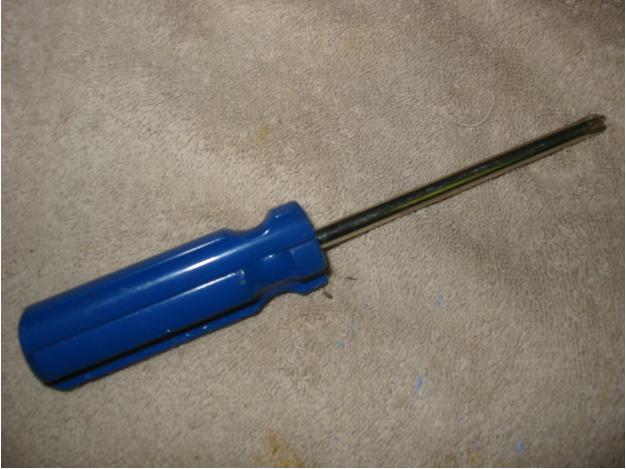
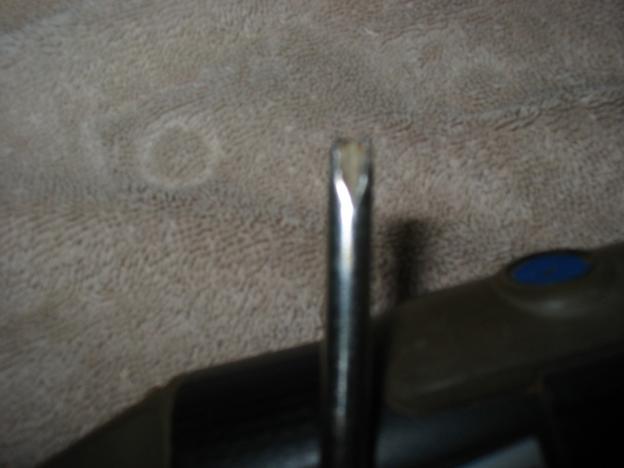
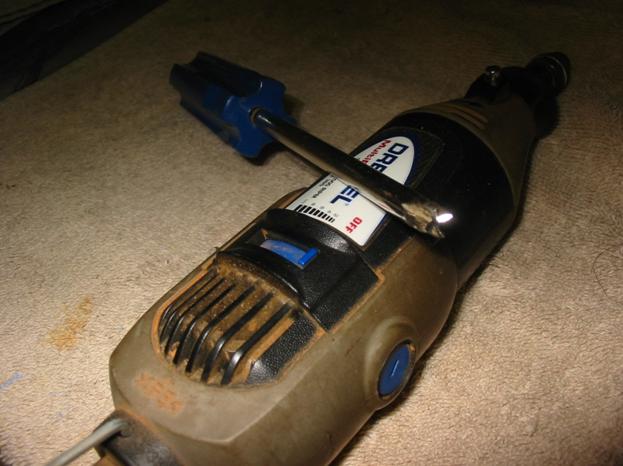
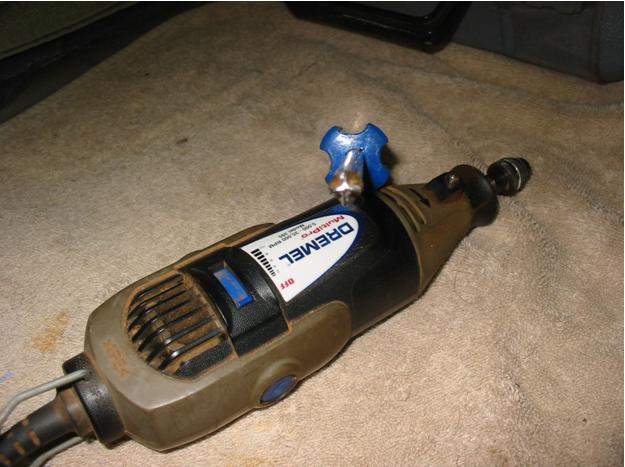
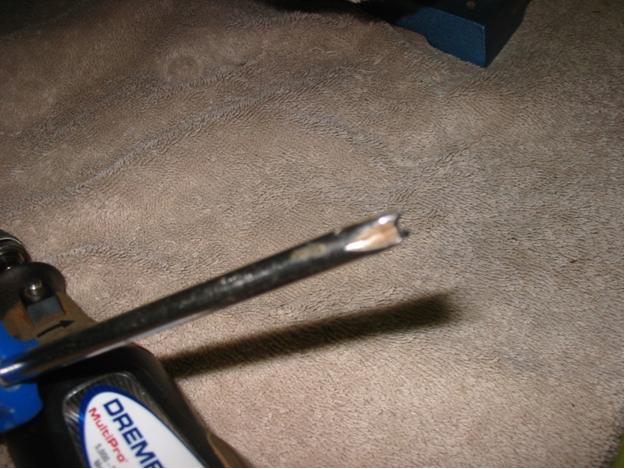
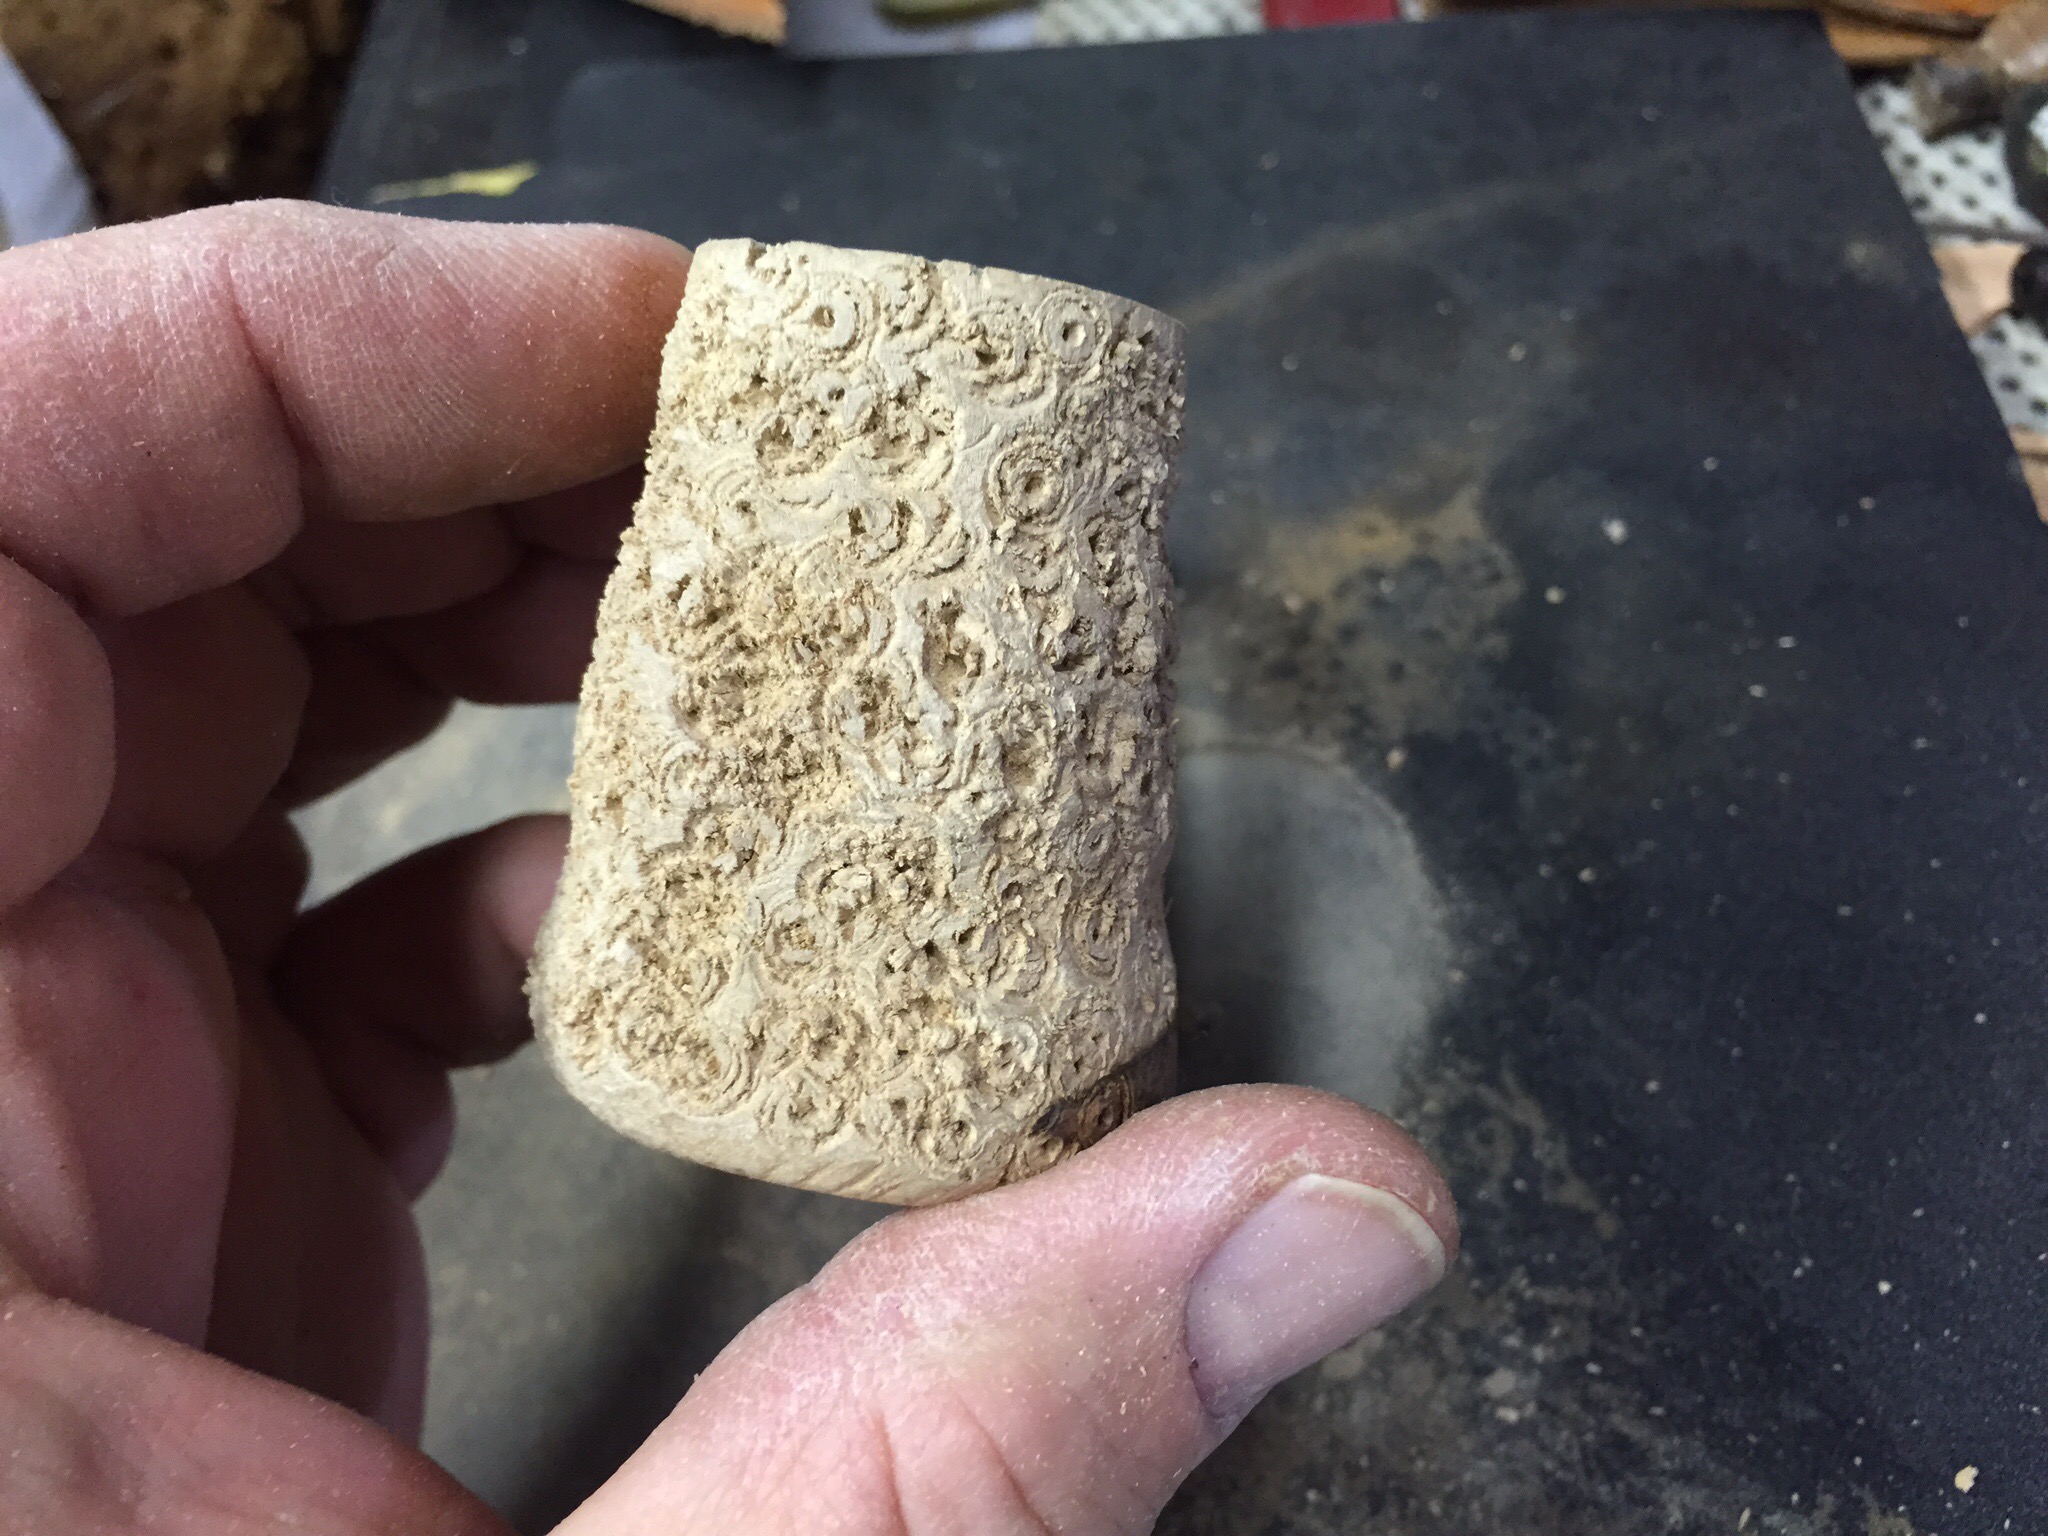
I’ve been wanting to try my hand at rustication and make a tool for a while. I’ve read many ideas on how to do this, mostly on this blog, so I knew what I wanted to try. I have many small screwdriver bits lying around from cheap screwdriver kits I’ve had over the years. The bits are usually not very hard and of low quality, often stripping out on tough screws/bolts; one of these would be my starting point. I held the number 2 Phillips head bit I chose in a pair of vice grips while using a Dremel cutting disk to cut the “X” on the bit tip. This is what I ended up with:

There are now four cutting “teeth” on the bit, one which is slightly longer than the others (by accident I might say). I then chucked this up in a battery-powered screwdriver that had an adjustable handle; it can be used anywhere from straight to a 90-degree angle. I pressed the bit into the wood, depressed the switch, and began rusticating the stummel. This turned out to be a rather fun and enjoyable process I soon found. By varying the pressure, time the bit was rotating, and letting the tool “walk”, I was able to get a pretty interesting and fairly consistent pattern.

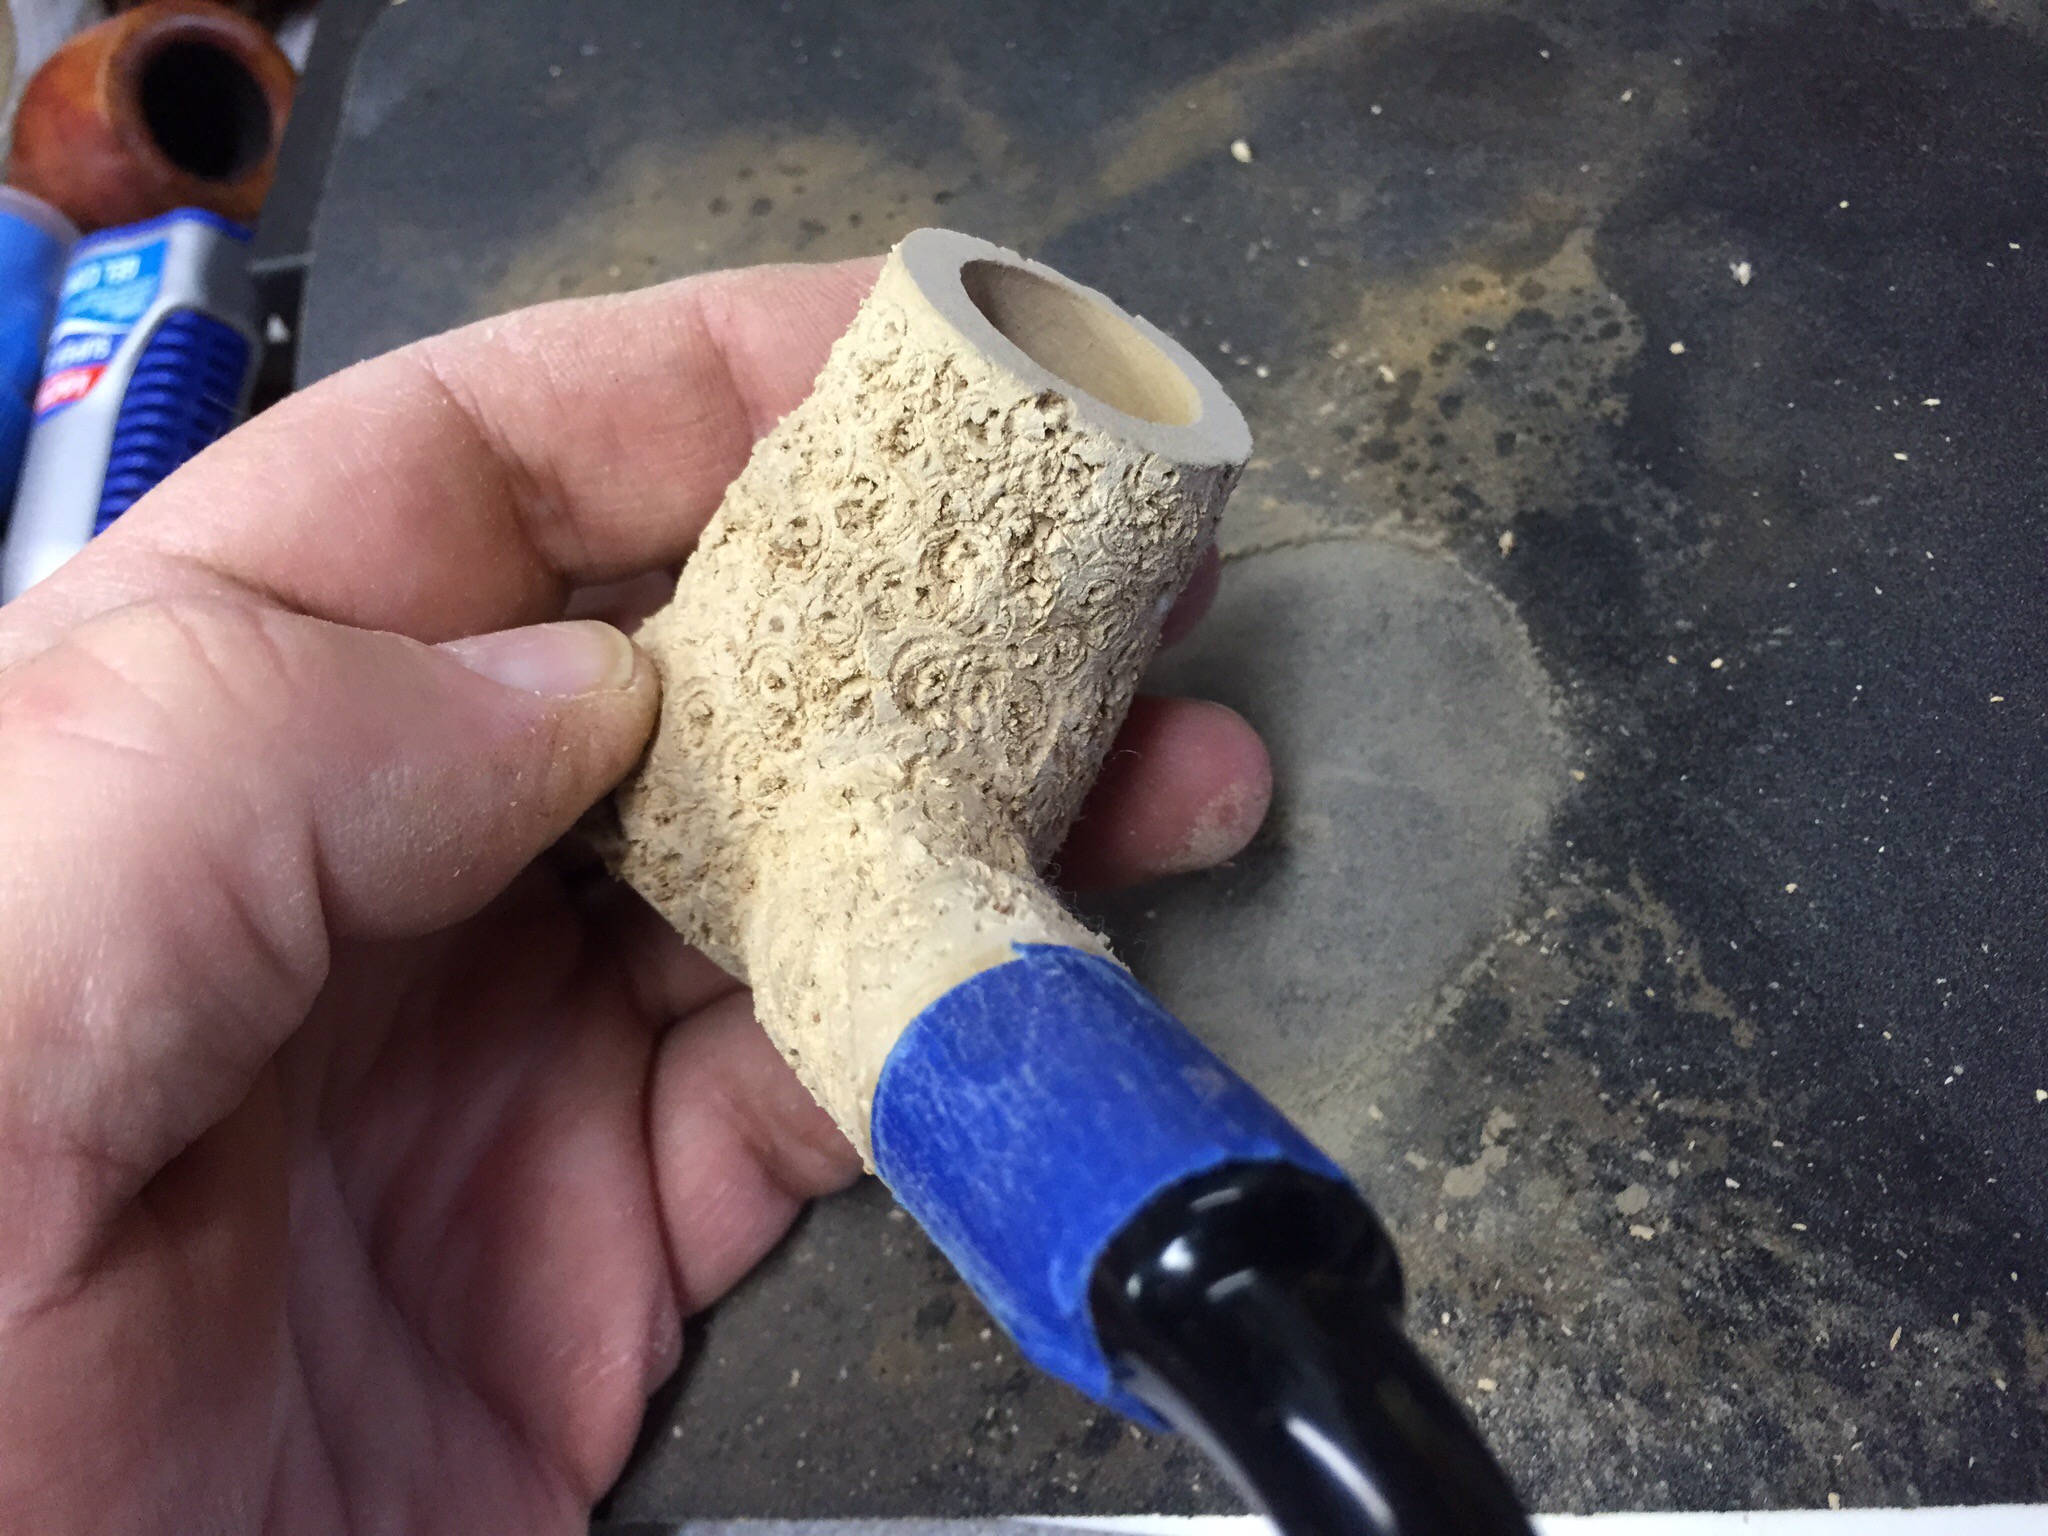

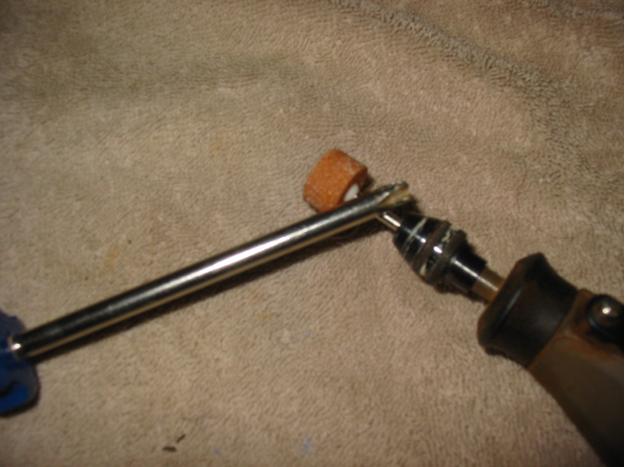
I used a small carving bit in the Dremel to lightly carve the rim because the smooth rim didn’t match the pipe in my opinion.
I then scrubbed the stummel with a wire brush, to knock off the dust and debris from the process. I applied Fiebing’s mahogany leather dye, two coats which I dried with the heat gun rather than flaming because my grandson was helping me with this entire project. I hand buffed the extra stain off with an old rag and steel wool. Next I sanded the wood lightly with 320-grit paper to knock down the really sharp edges that remained. Them I buffed the stummel with Tripoli to further reduce harsh edges and give it a very small amount of contrast. Lastly, I waxed it with Halcyon II and buffed it by hand with a shoe brush.
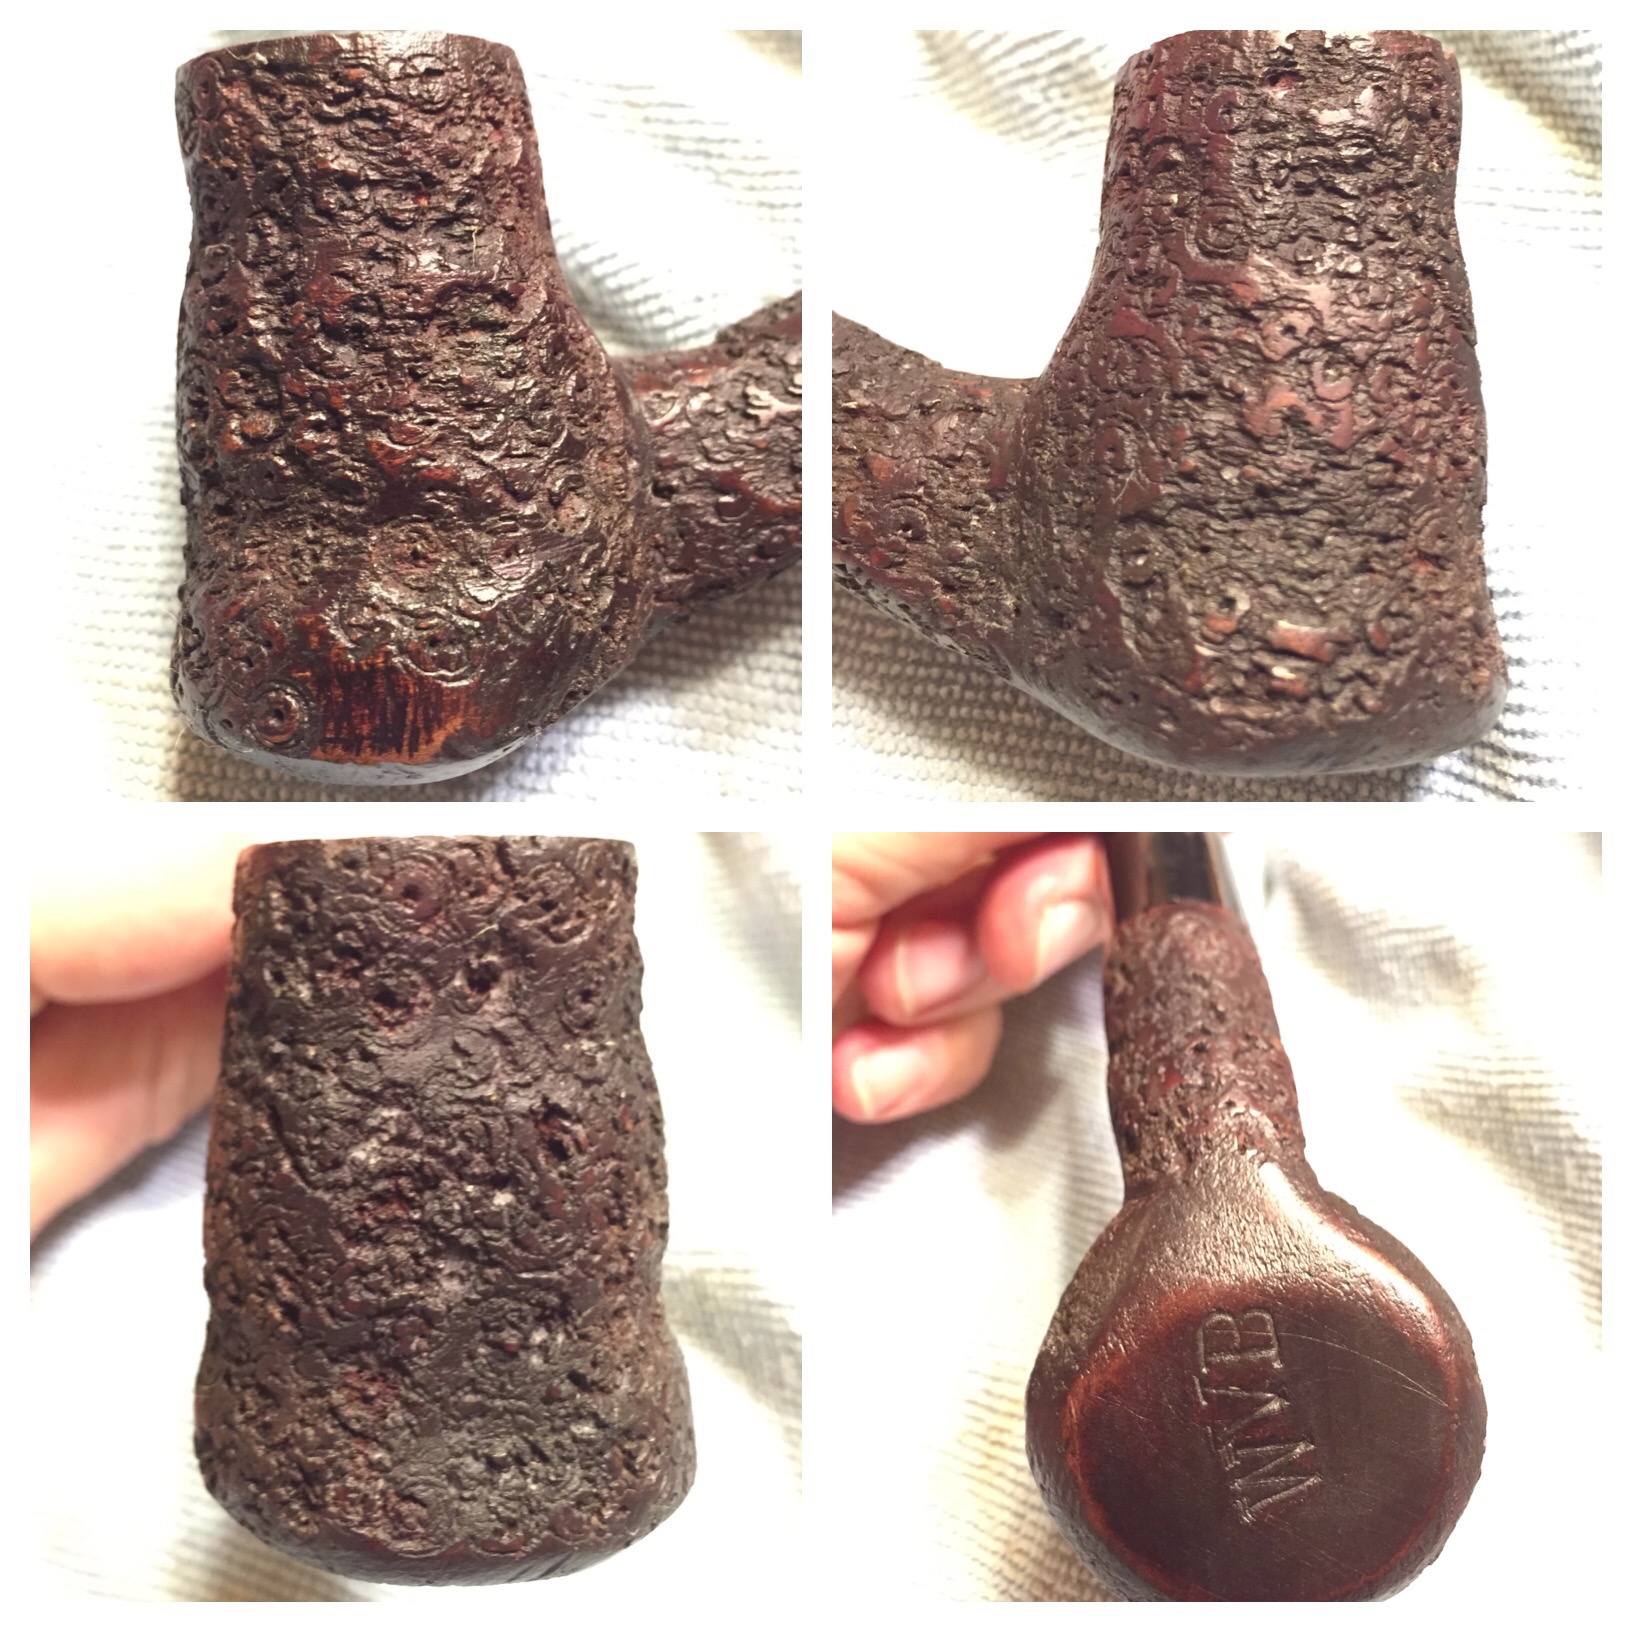
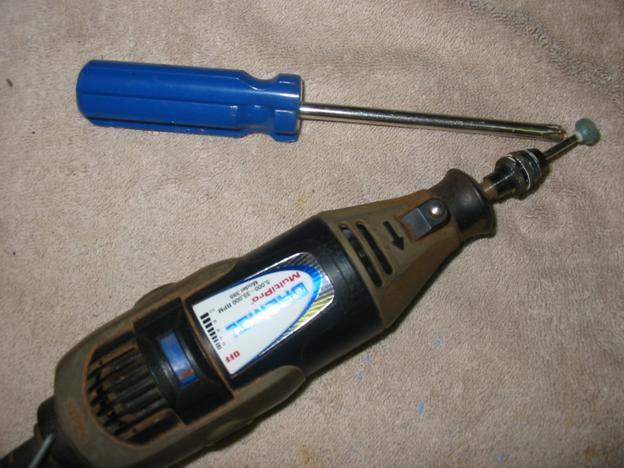
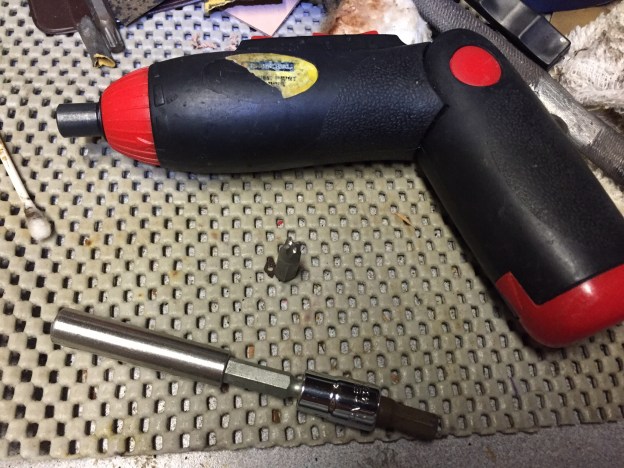
In the end I saved the kit, though it’s not as nice a project as I’d hoped for. But this system of bits ground into various shapes and used with the battery-powered screwdriver is an idea I really think made the project a success. I think that making different tools from different bits coupled with the variations one can achieve with the driver are a great tool to play with in the future, one that I hope others will find useful, too, and maybe find better variations on the idea to share with us for future use. Below is the driver, bit, and extension I used.