Blog by Steve Laug
I have made several rustication tools from screwdrivers in my tool box. It is a pretty simple process so I thought I would document it through text and pictures. Hopefully some of you will find this useful.
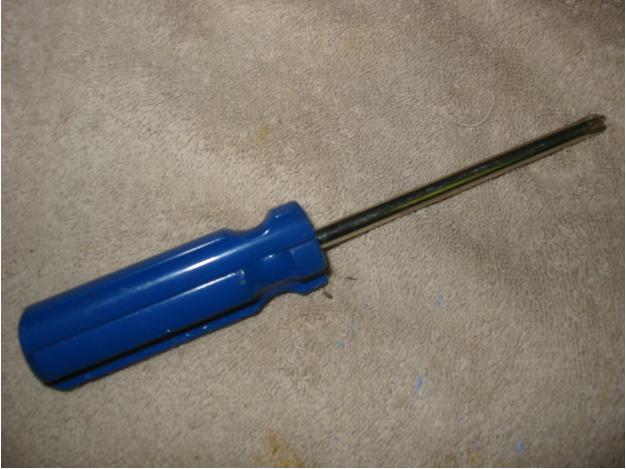
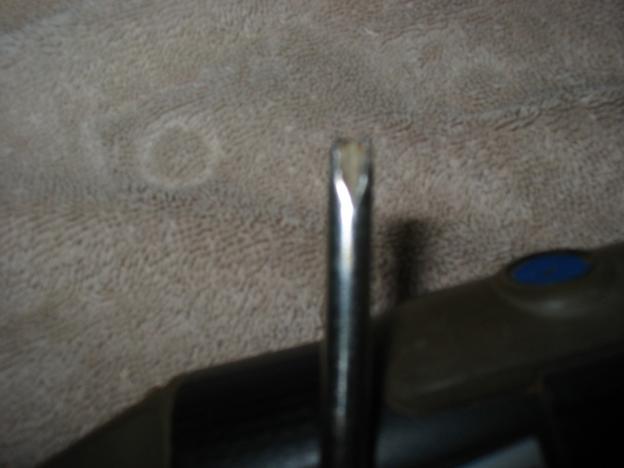
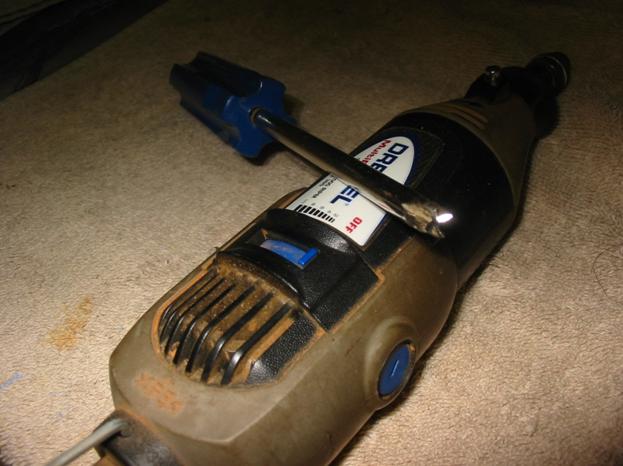
I start with a regular Phillips screwdriver which is a screwdriver with a blunted pointed tip that is shaped to fit the crossed slots in the heads of Phillips screws. It is distinguished from a Reed and Prince screwdriver which has a pointed tip. The photos below show the tip of the screwdriver before I begin working on it.


You can choose any kind of Phillips screwdriver or Reed Prince screwdriver but I would recommend one with a comfortable handle. The one I made in the photos below has a hard plastic handle and when I am pushing and turning it into the briar it is hard on the palm of my hand so I wrap it in a thick cotton cloth for cushioning. You may wish to use one with a softer rubber coated handle to begin with.
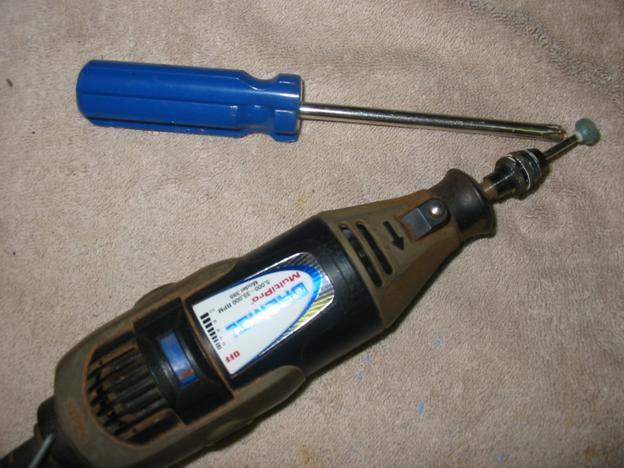
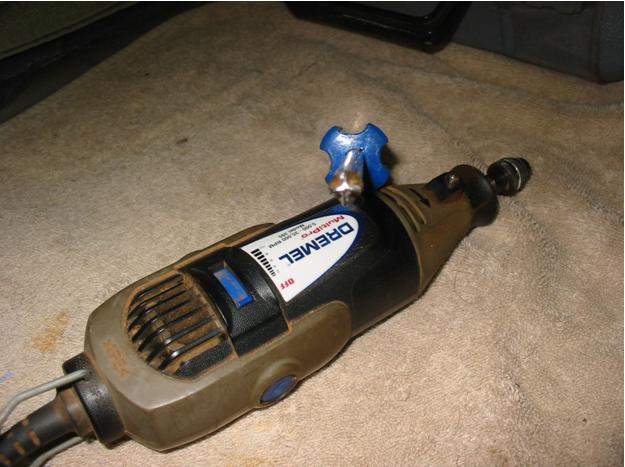
A Dremel makes short work of the shaping and cutting process in crafting this tool. I use several Dremel bits to do the grinding. The first is an 11/16 x 3/8 inch Blue Cobalt Grinding Stone with a 1/8 inch shank. It is 2 inches in length from shaft to tip. The second is a 19/32 x 11/32 inch Brown Aluminum Oxide Cylinder Grinding Stone with a 1/8 inch shank. It is 1 1/2 inches in length from shaft to tip. I finish by polishing it with a sanding drum on my Dremel.
The next two photos show the Cobalt grinding stone on the Dremel and the work of cutting the tip off and then cutting into the grooves of the cross mark.

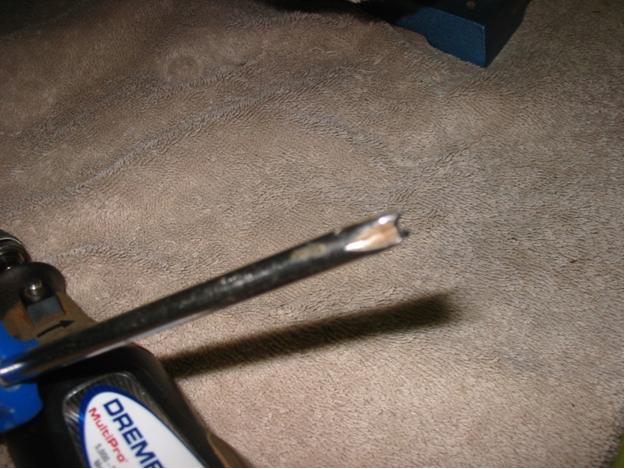
The next four photos show the finished work of the Cobalt grinding stone. I apologize for the poor quality of the photos but they give the idea of the process. The first photo show an end view of the four points beginning to be defined on the tip of the screwdriver. The next three photos show profile views of the tip at this point in the process. Once I get to this point it is time to change the grinding stone for the aluminum oxide stone.


The next photo shows the aluminum oxide grinding stone in the Dremel and the work ready to begin in grinding the tip to sharper and more defined points. I do this with the grinding stone held at an angle to the tip so that I can cut valleys into the cross point of the tip.
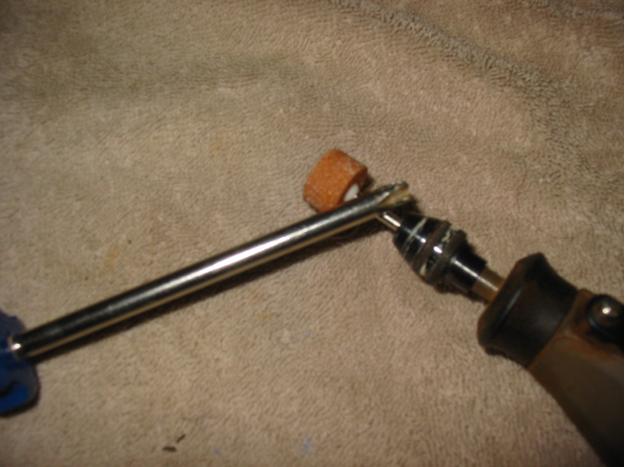
The next series of photos show the tip of the tool in its finished condition after the aluminum oxide stone has been used to cut the grooves deeply and define the points of the tool. At this point in the process I switch to the sanding drum and polish the tip and burnish the edges of the teeth.
The tool is finished and ready to be used to rusticate the surface of the briar. The method is quite simple. The tip of the tool is pressed into the surface of the briar and then twisted and turned as it cuts grooves and valleys into the briar. This is done over the entire surface of the pipe or in selected areas. The beauty of this tool is that is can be used in very tight areas of the surface such as the angle of the bowl and shank union. You can also work it carefully to leaves unmarked surface as you wish.

That’s a real helpful write up. I just made me a rustication tool. This is going to be fun.
LikeLike
Nice post Steve, just a matter of time before someone posted that up.
I also have one made from a flat screw driver. I ground it out to look like a fork.
Great post!
LikeLike