Blog by Steve Laug
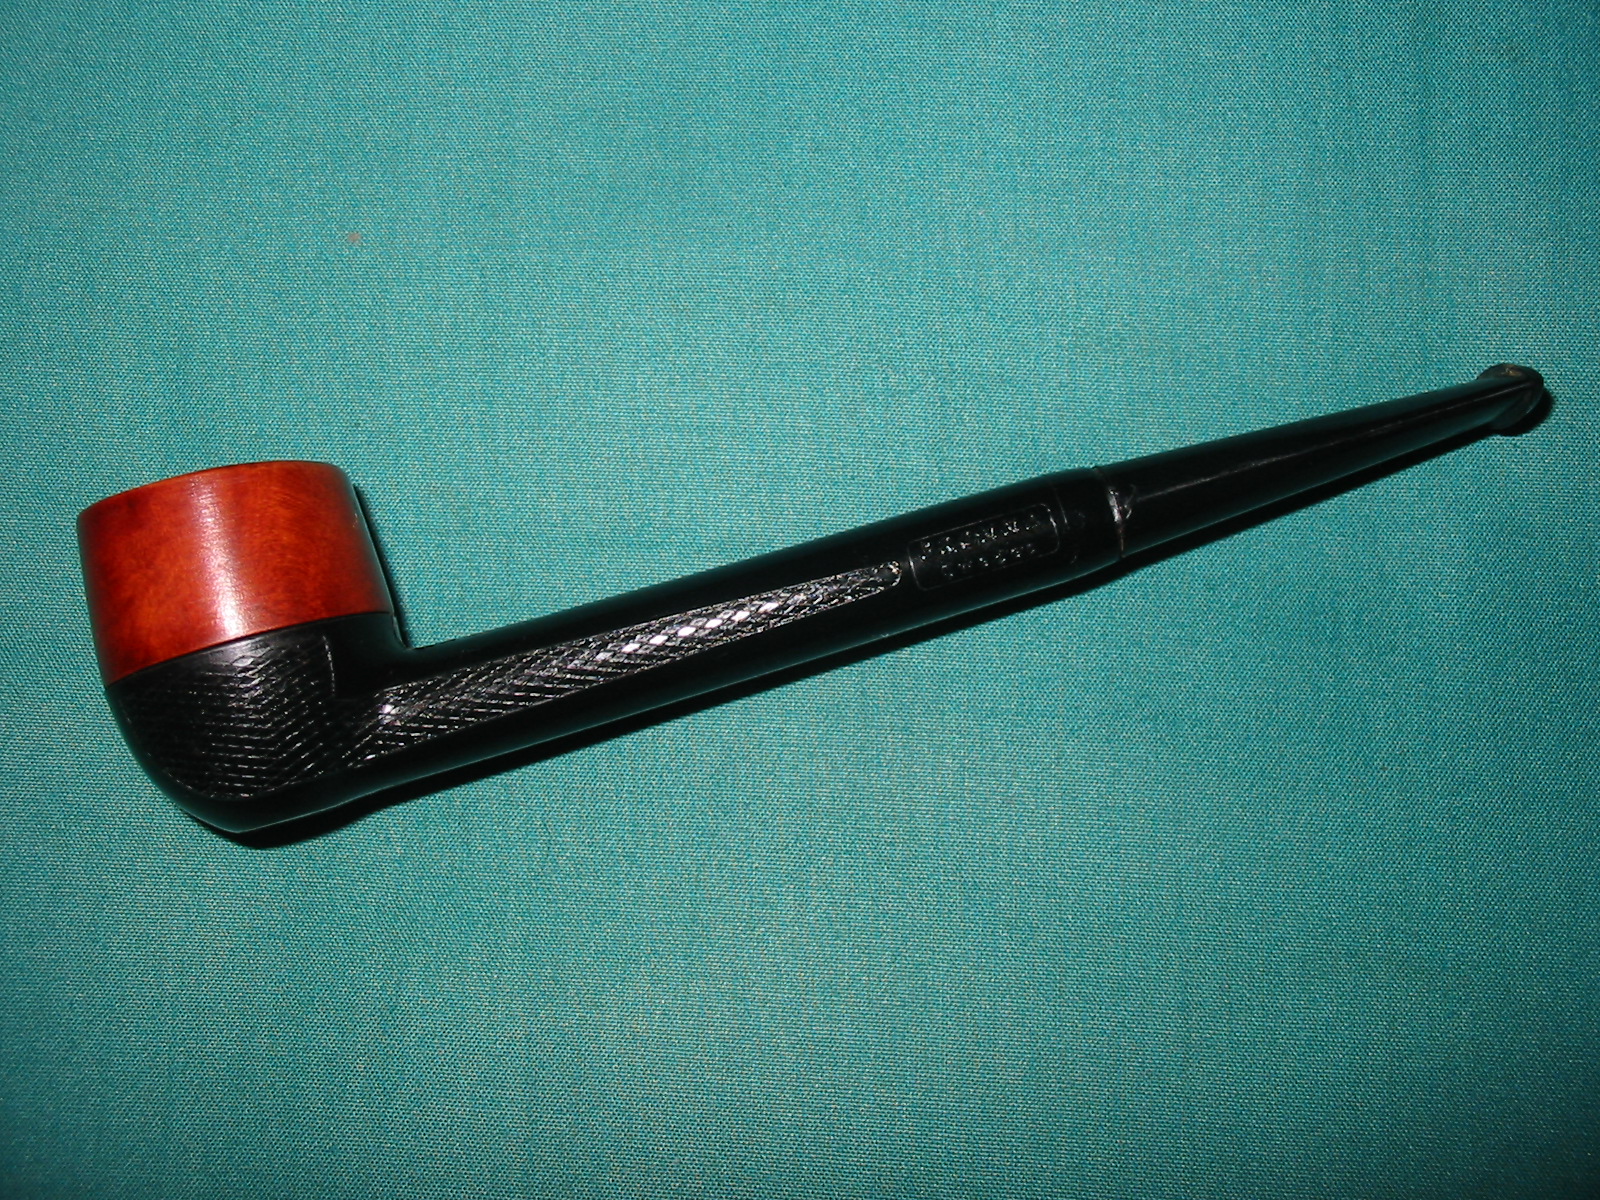
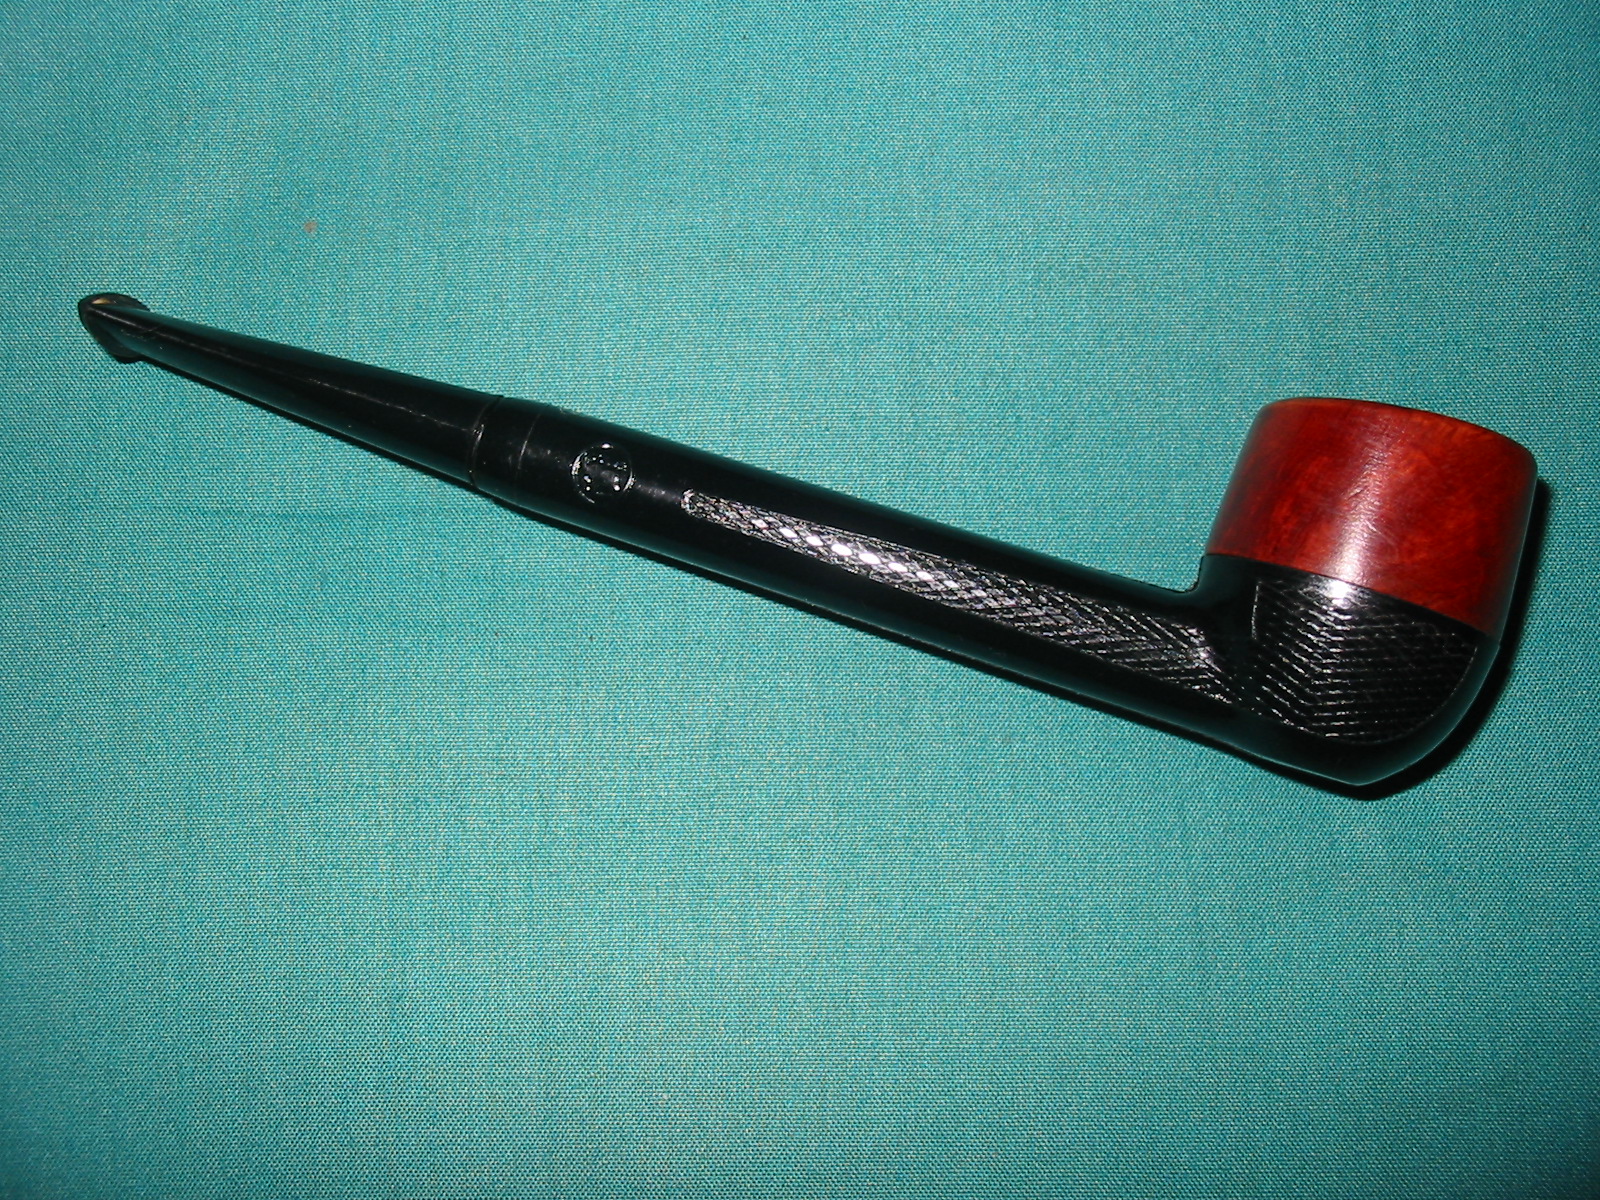
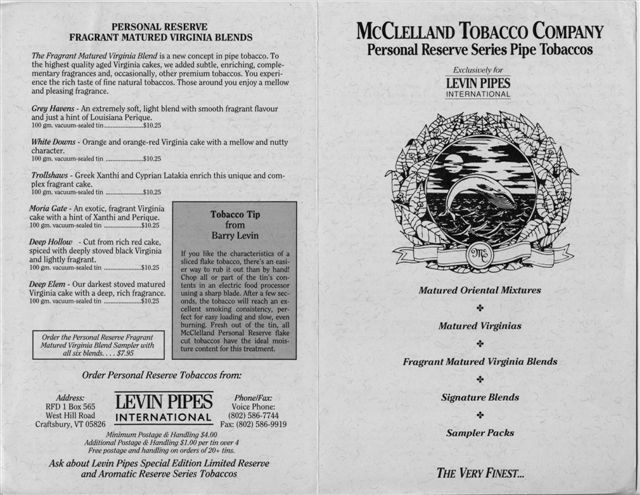
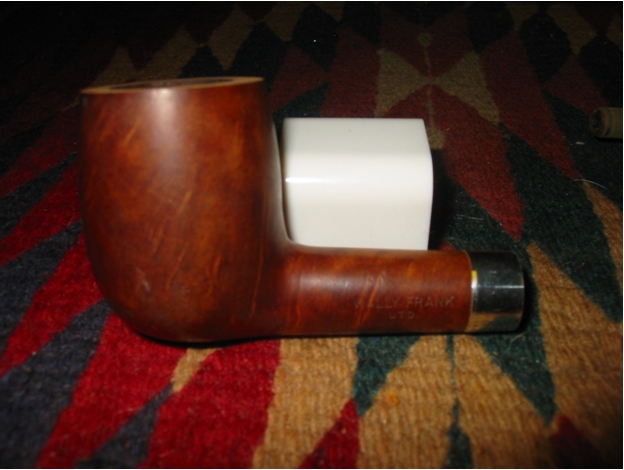
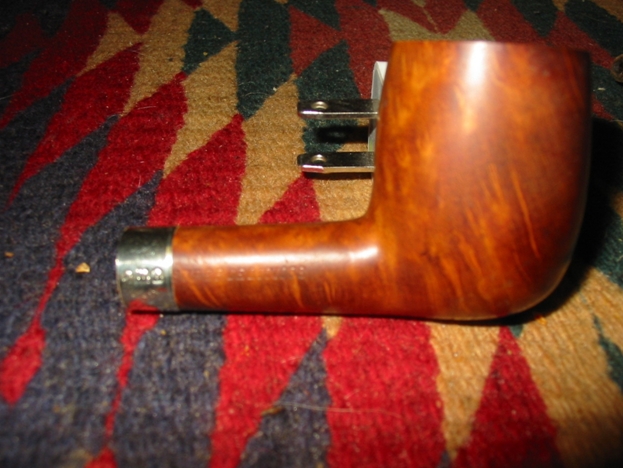
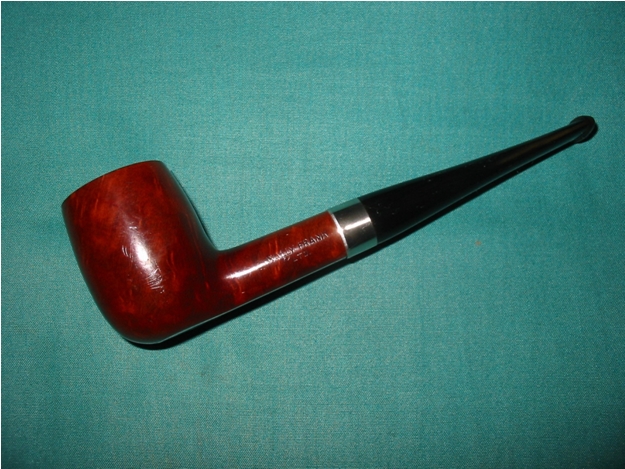
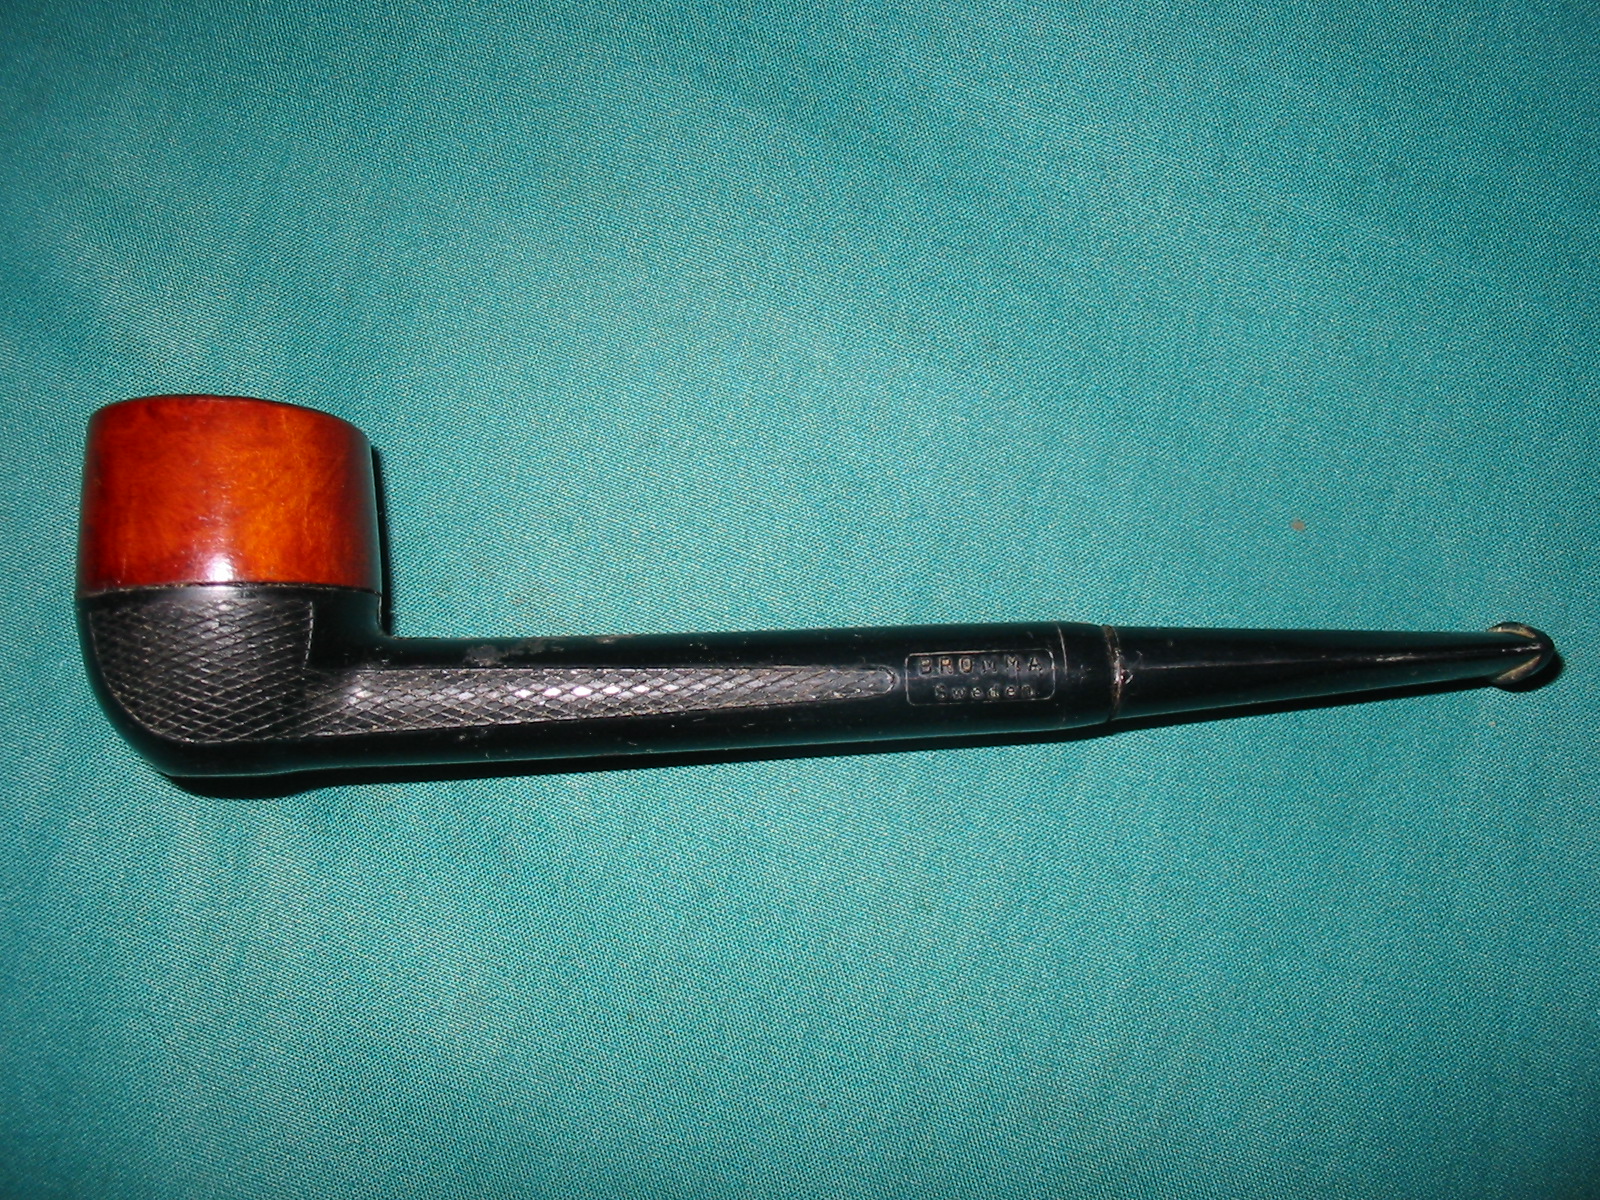
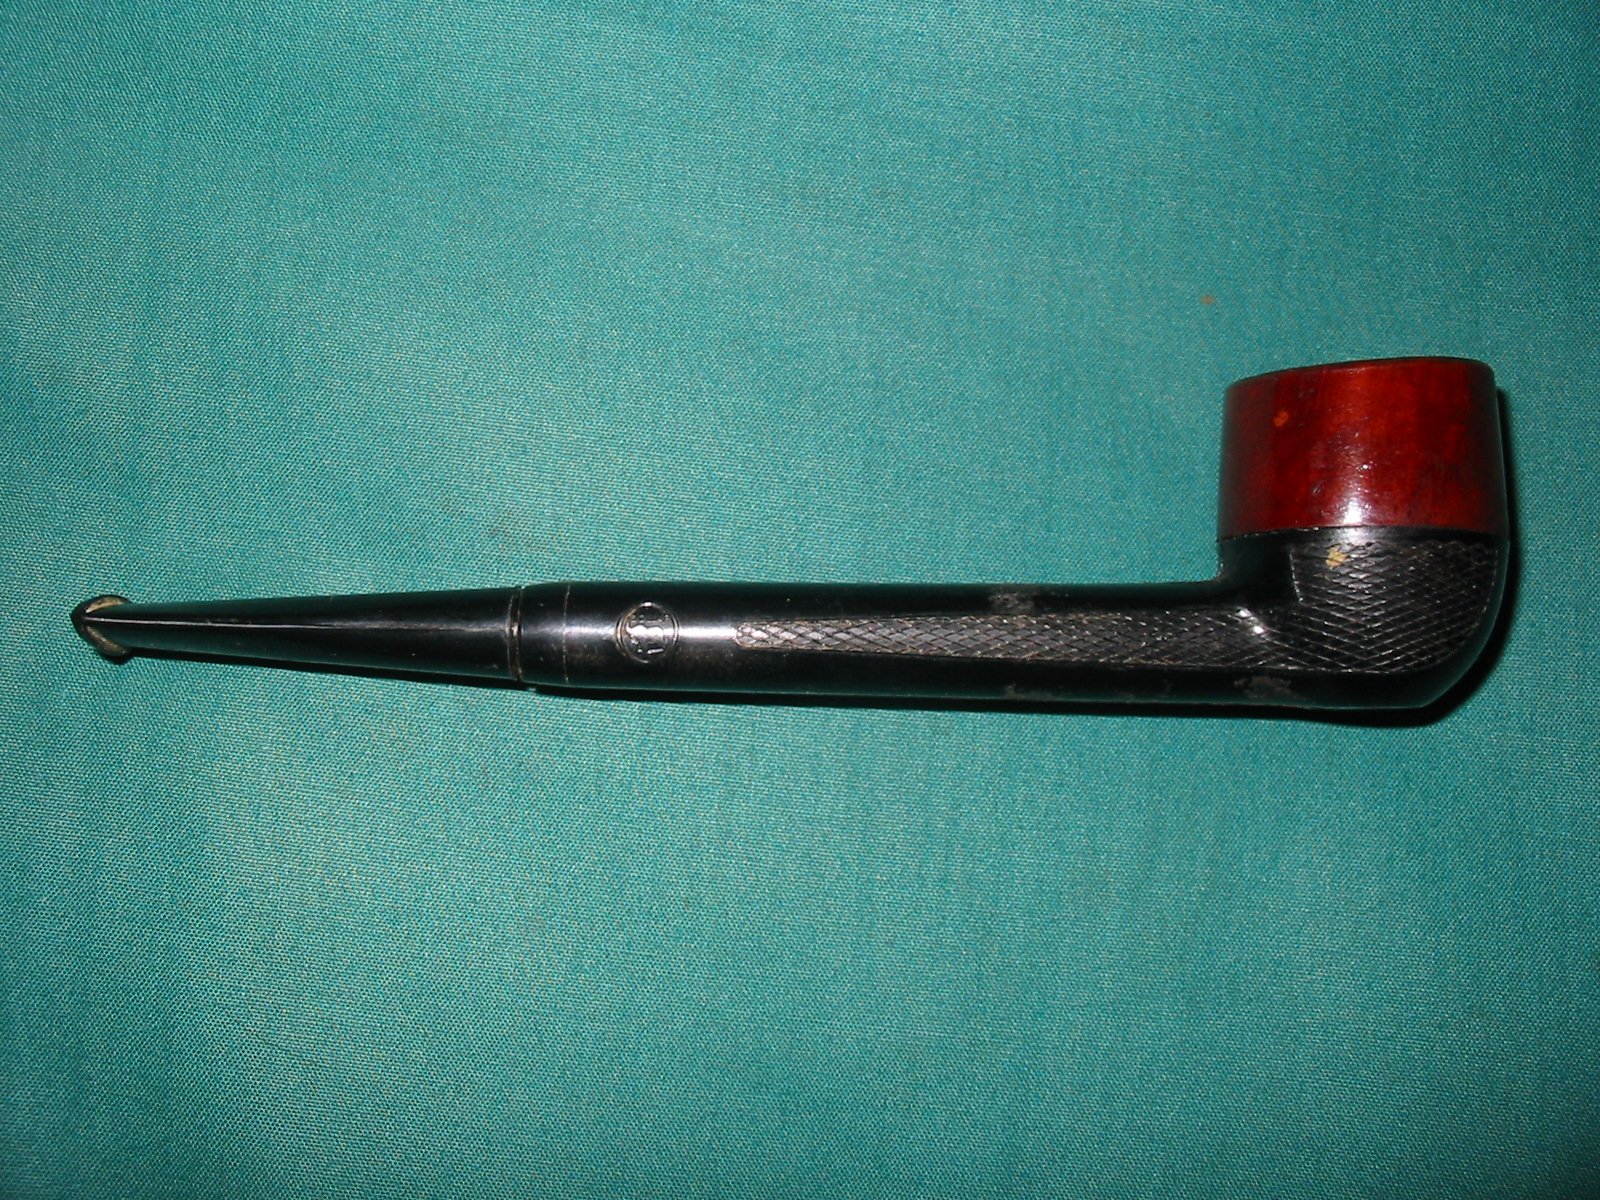
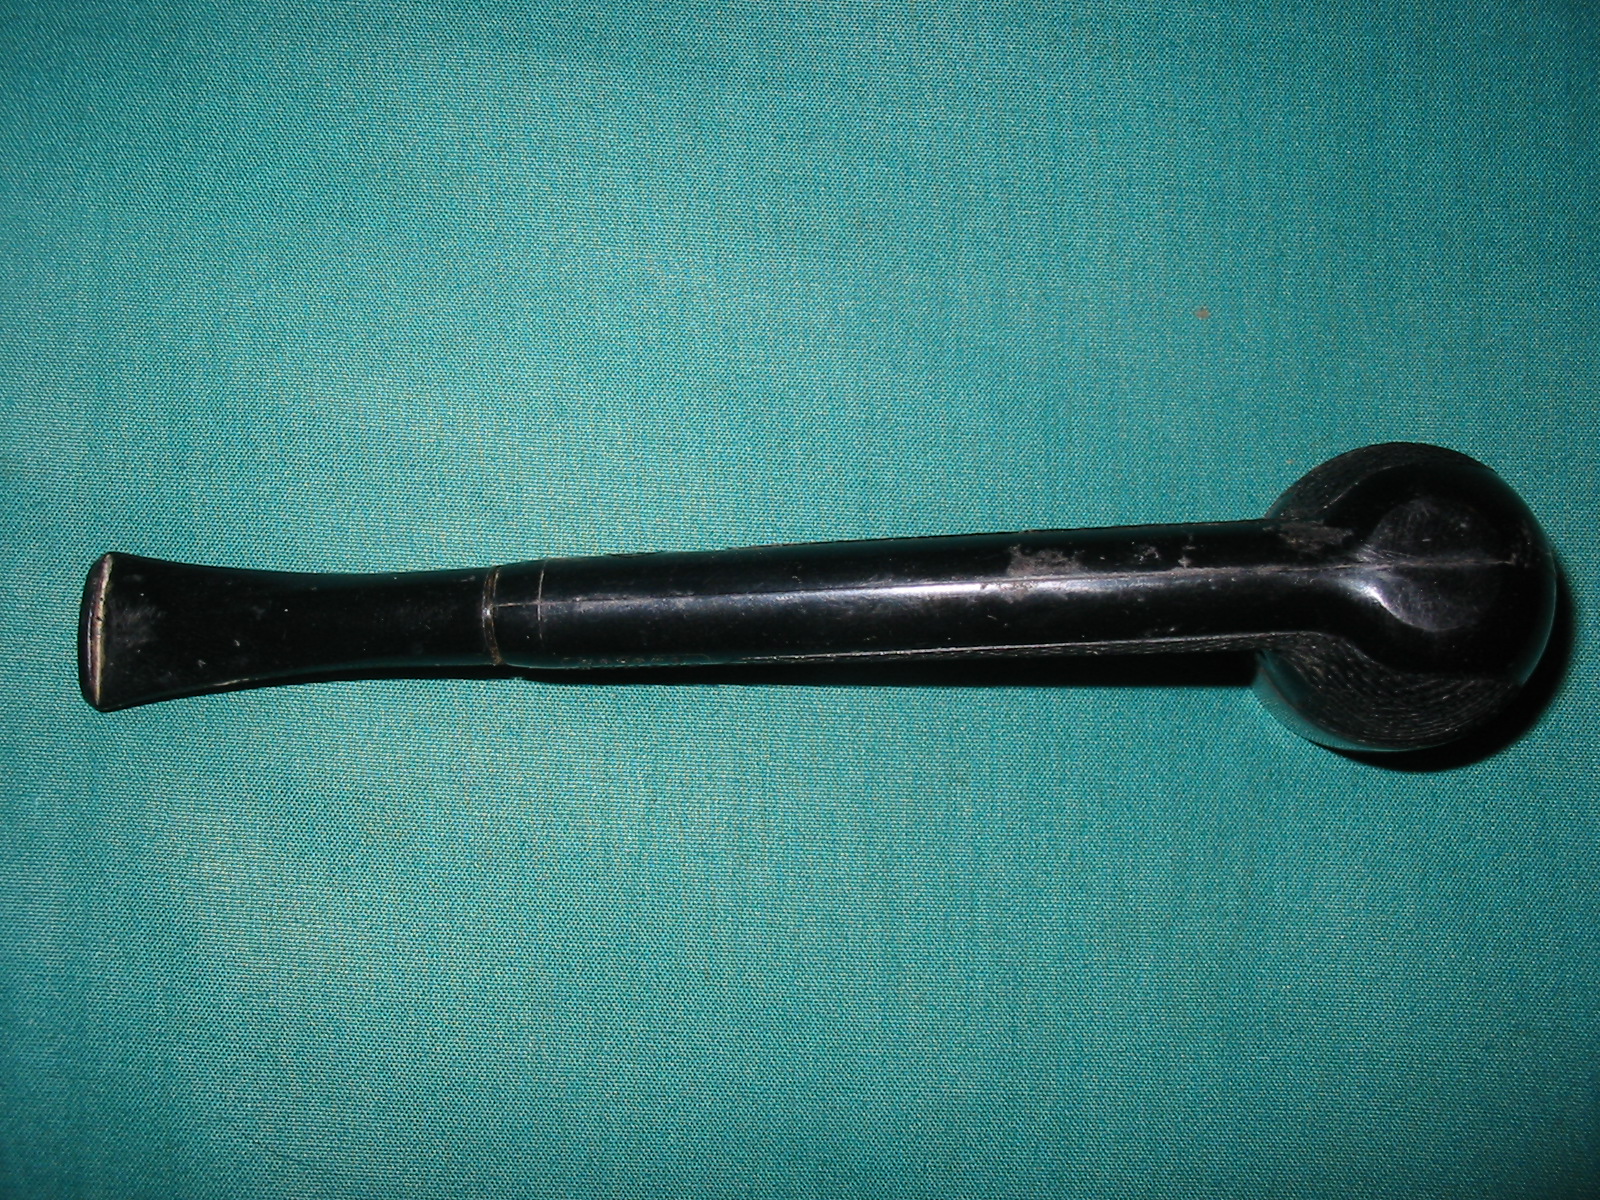
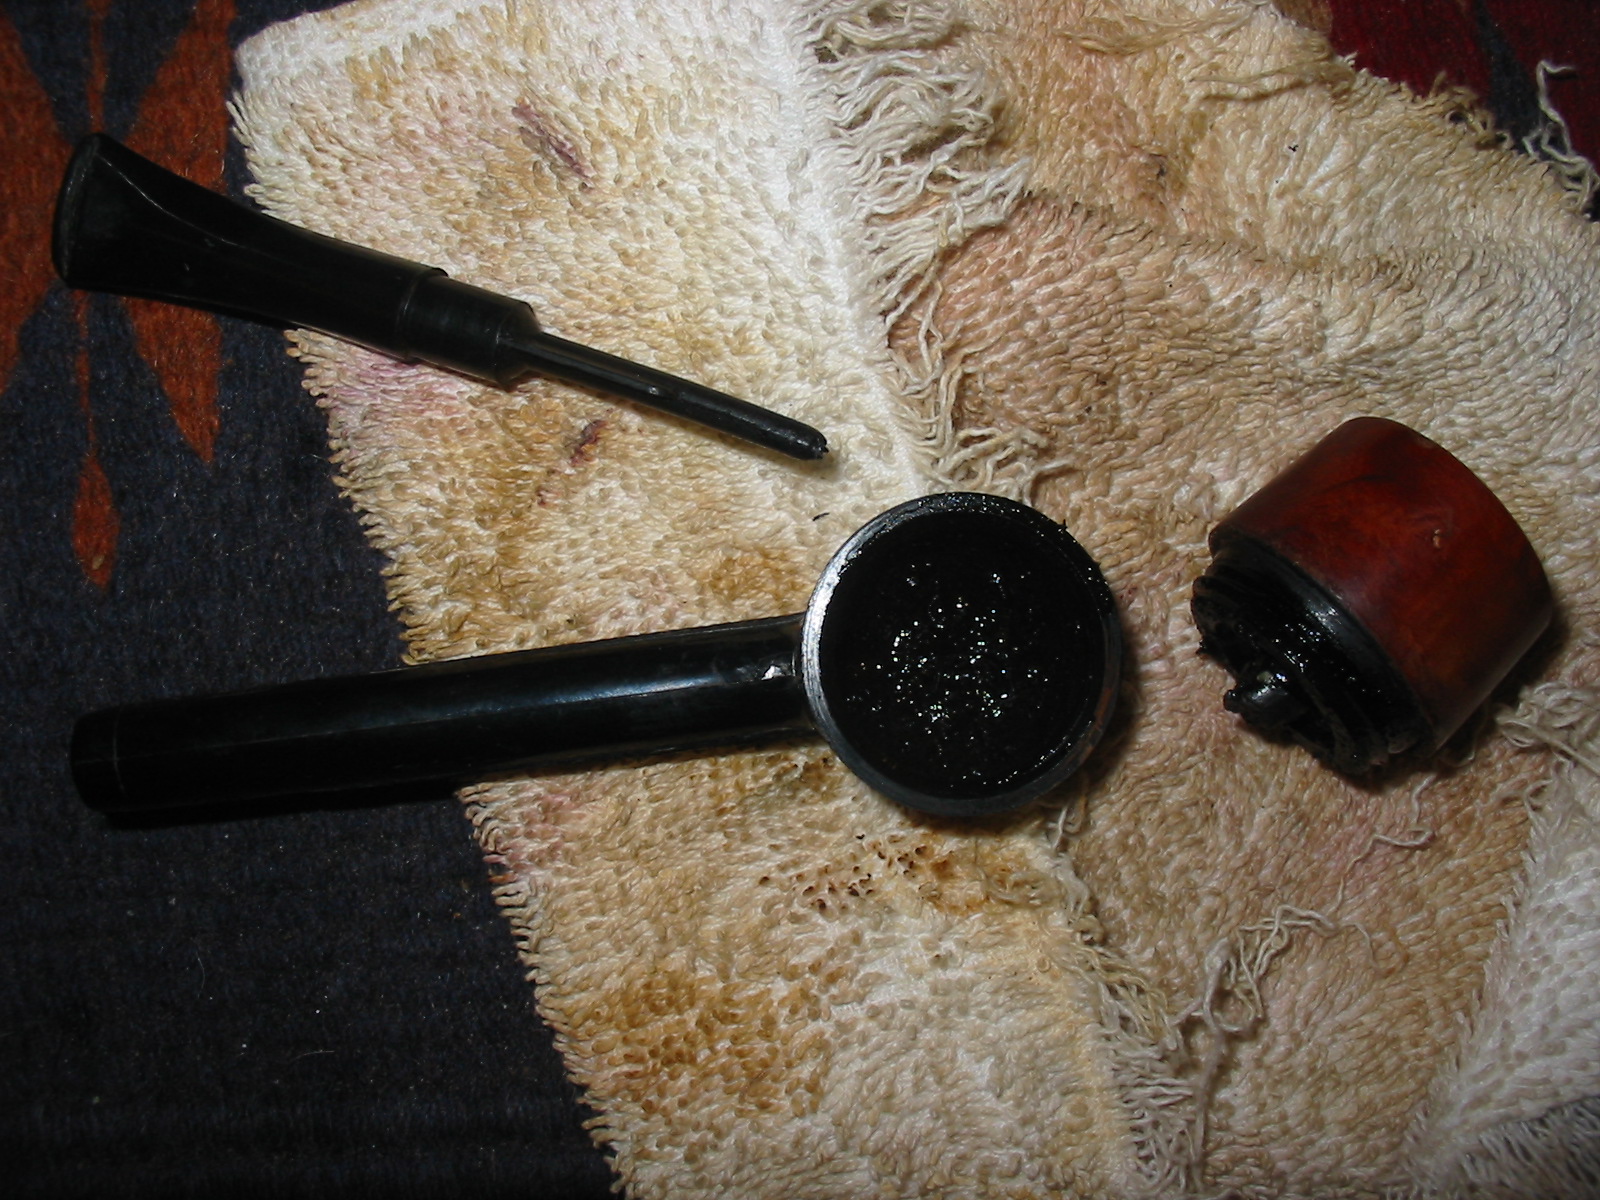
I picked up this old Swedish Pipe in a little town in Northern Alberta, Canada. It was an antique mall, the only one in town and I was able to pick up this one for about $10 so I did not feel too bad about it. I had not seen one of these pipes before. It is stamped BROMMA over Sweden on one side of the shank. On the other there is an Elephant logo in a circle and inside the circle is the word DOLLAR. The bowl is briar and the rest of the pipe seems to be either plastic or Bakelite. It is interesting. I was able to take the stem out when I picked it up but the bowl would not budge. It was definitely a screw on bowl as it was on crooked and at somewhat of an angle. The stem had tooth chatter on the top and bottom but no tooth dents. I sprayed some solvent on the bowl stem connection to try to loosen it. I twisted it carefully but it would not budge so I set it in my box of pipes for repair.
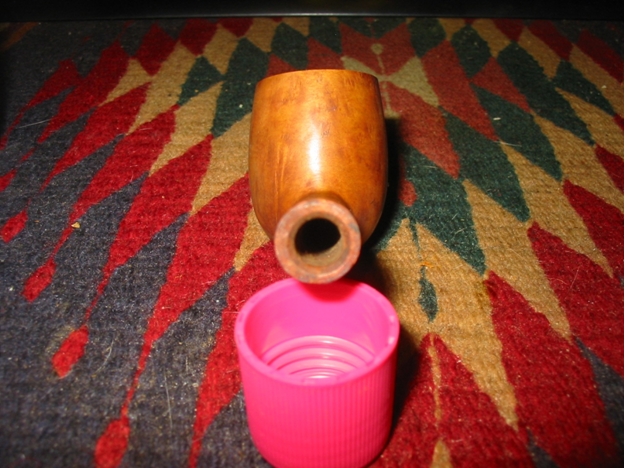
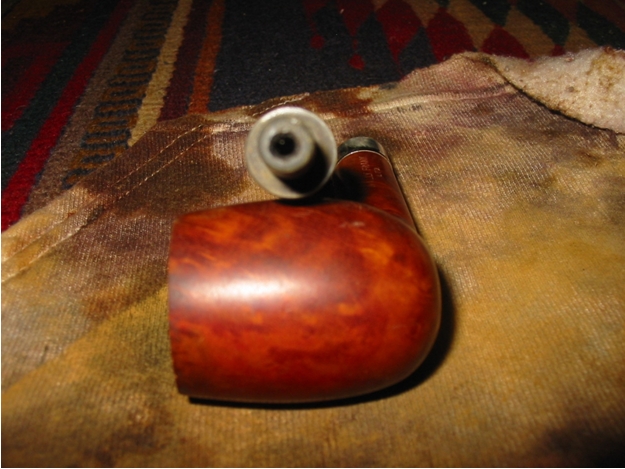
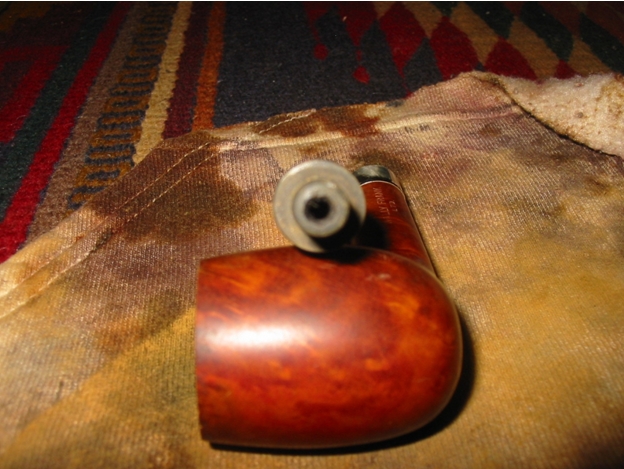
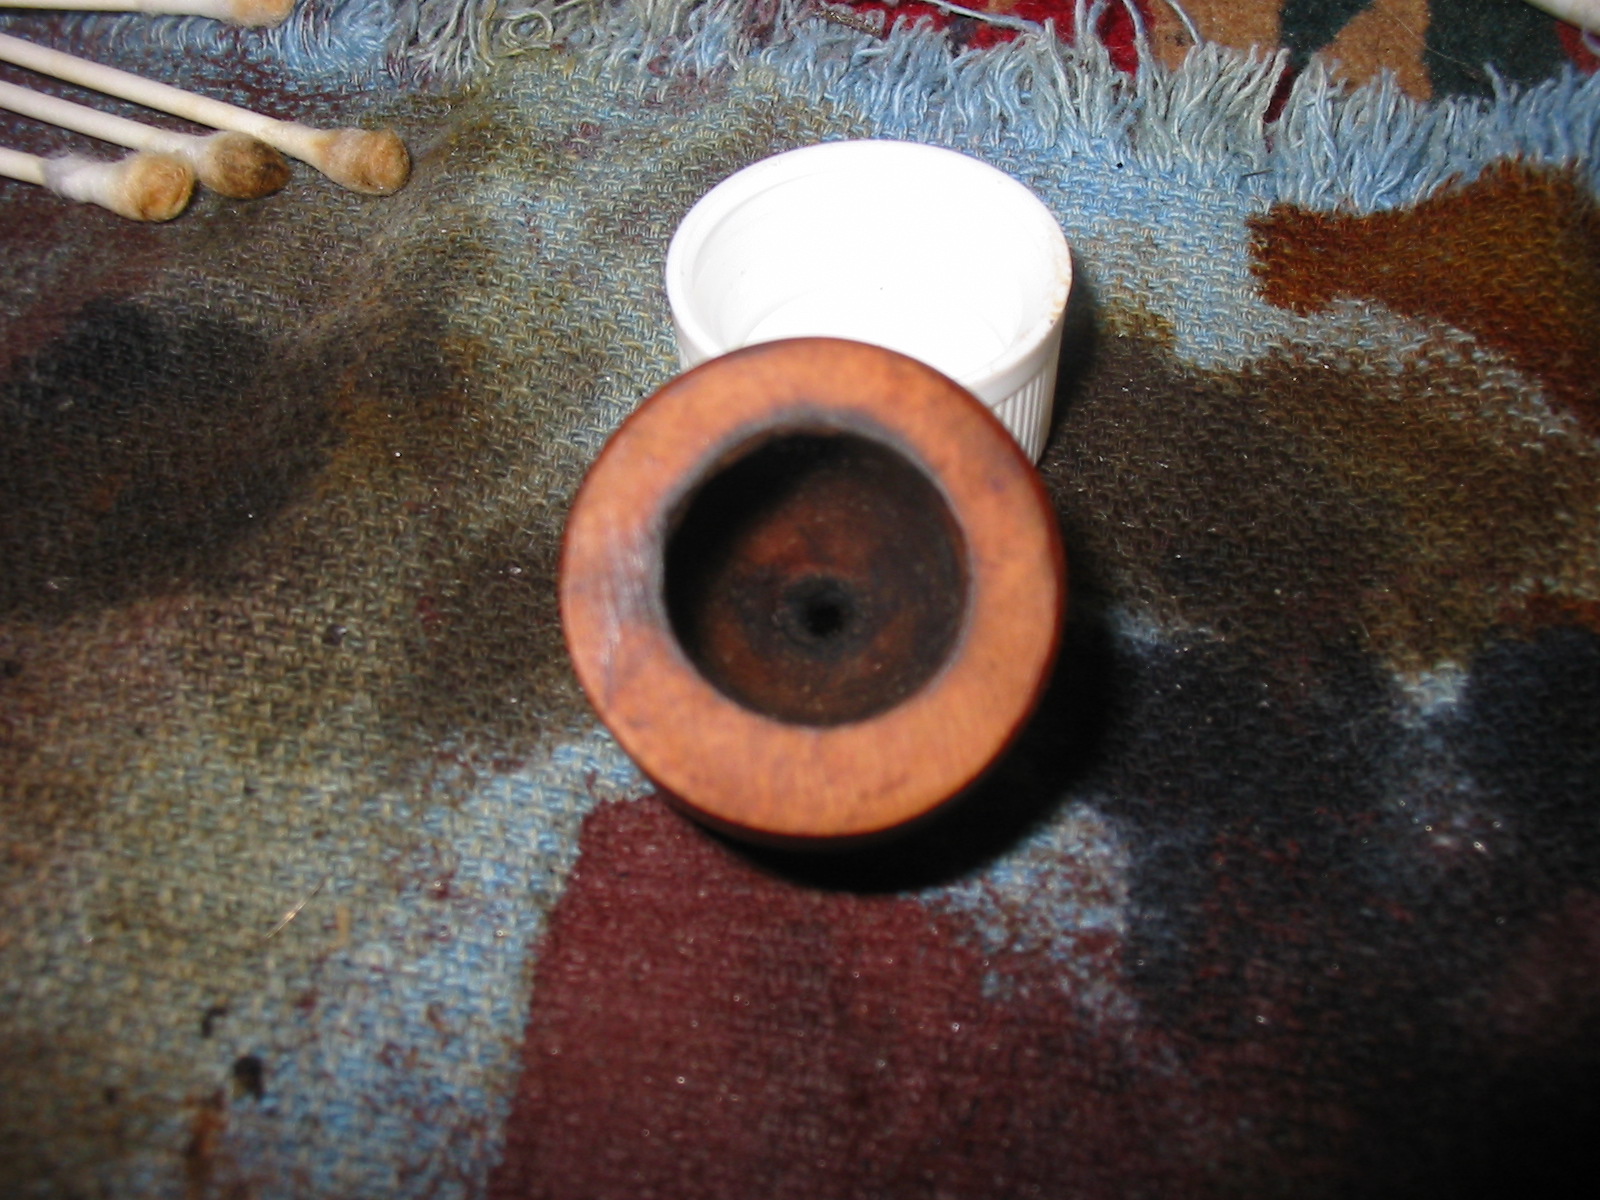
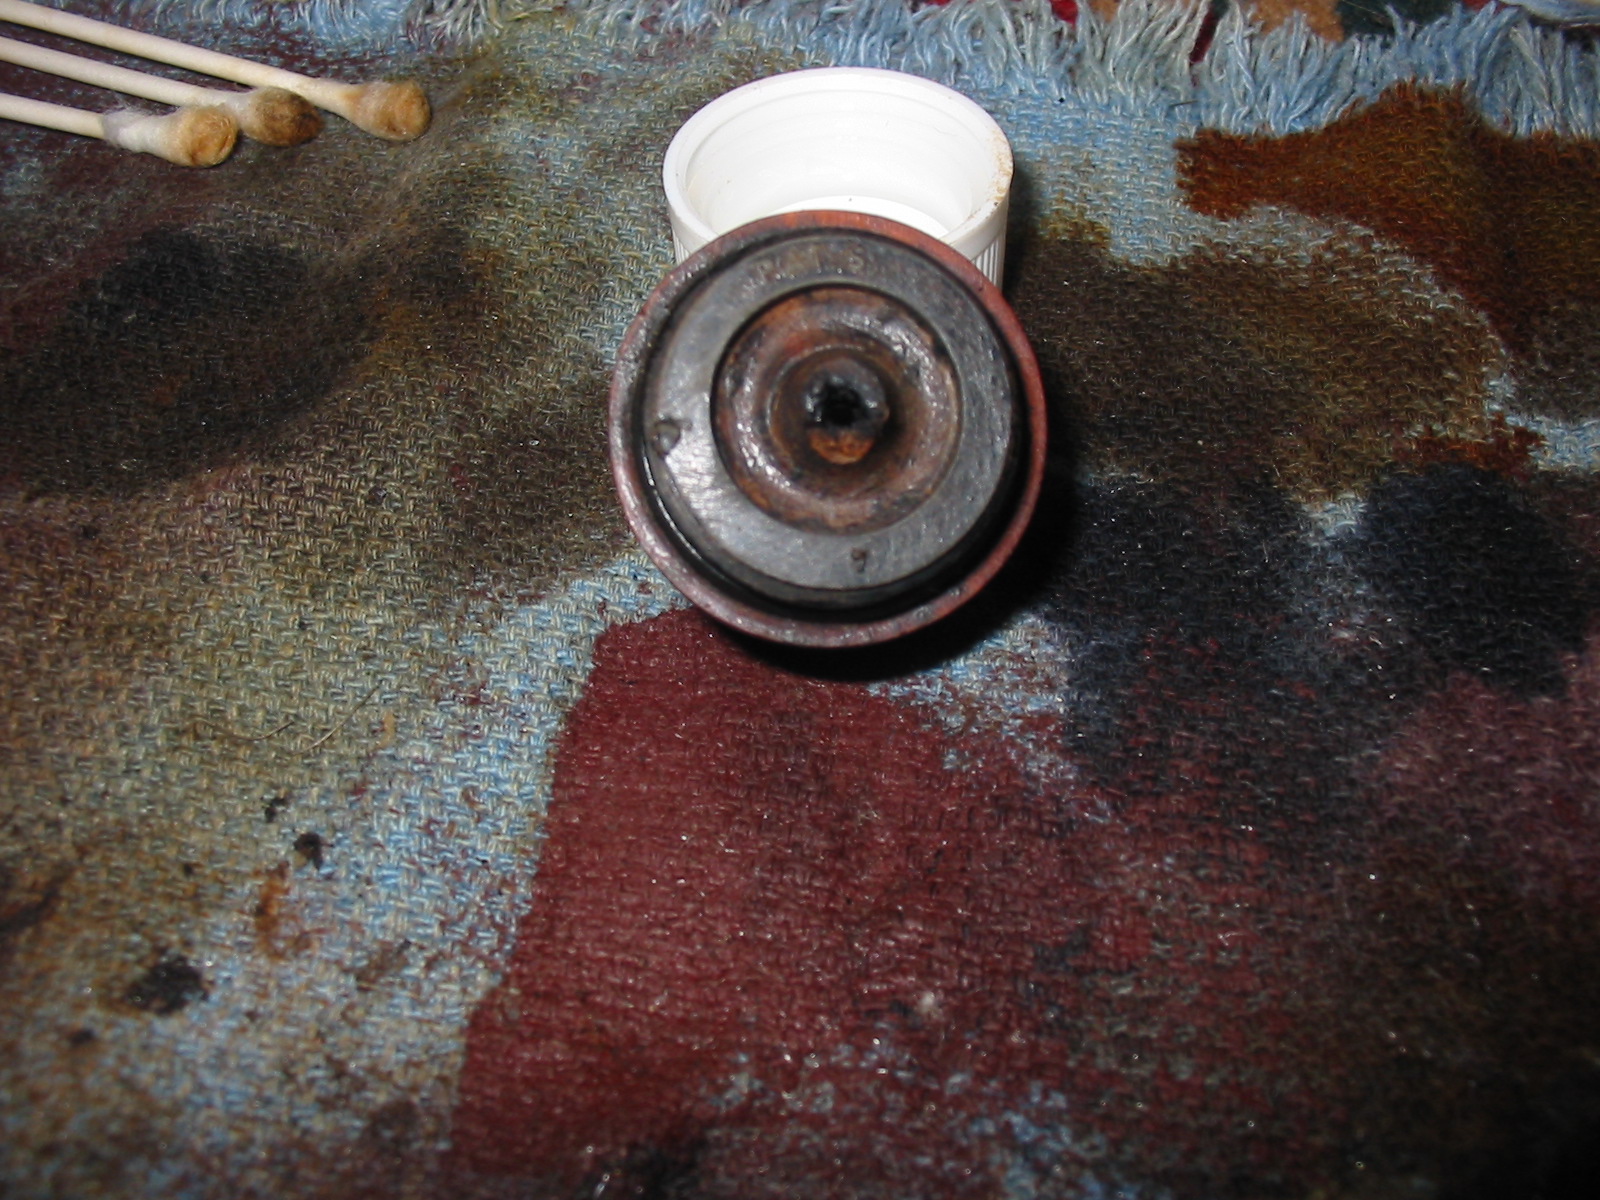
Today was my day to work on it. I took it out of the box and gave the bowl a twist and it would not budge. I used the sanding board to top the bowl and once it was smooth and clean I wiped the entire bowl with acetone. I was careful not to get any on the shank or bottom of the part. I then used Isopropyl and a cotton swab to swab alcohol around the bowl and the bottom portion of the pipe – the keeper for lack of a better word. I repeated this several times and tried to carefully twist the bowl off the keeper. I repeated the swab and alcohol until finally I was able to twist it off the keeper. The next two photos below show what I found inside the keeper portion of the pipe. This is amazingly like the stem portion of the Falcon pipes. The difference is the material it is made of. It is incredibly lightweight and resilient. The base was absolutely full of hardened tars and sludge. My guess is that it had never been taken apart after the initial purchase and after the bowl was put on and misaligned. This would take some work to be sure. The stuff was as hard as rock and would not budge with a pipe cleaner.
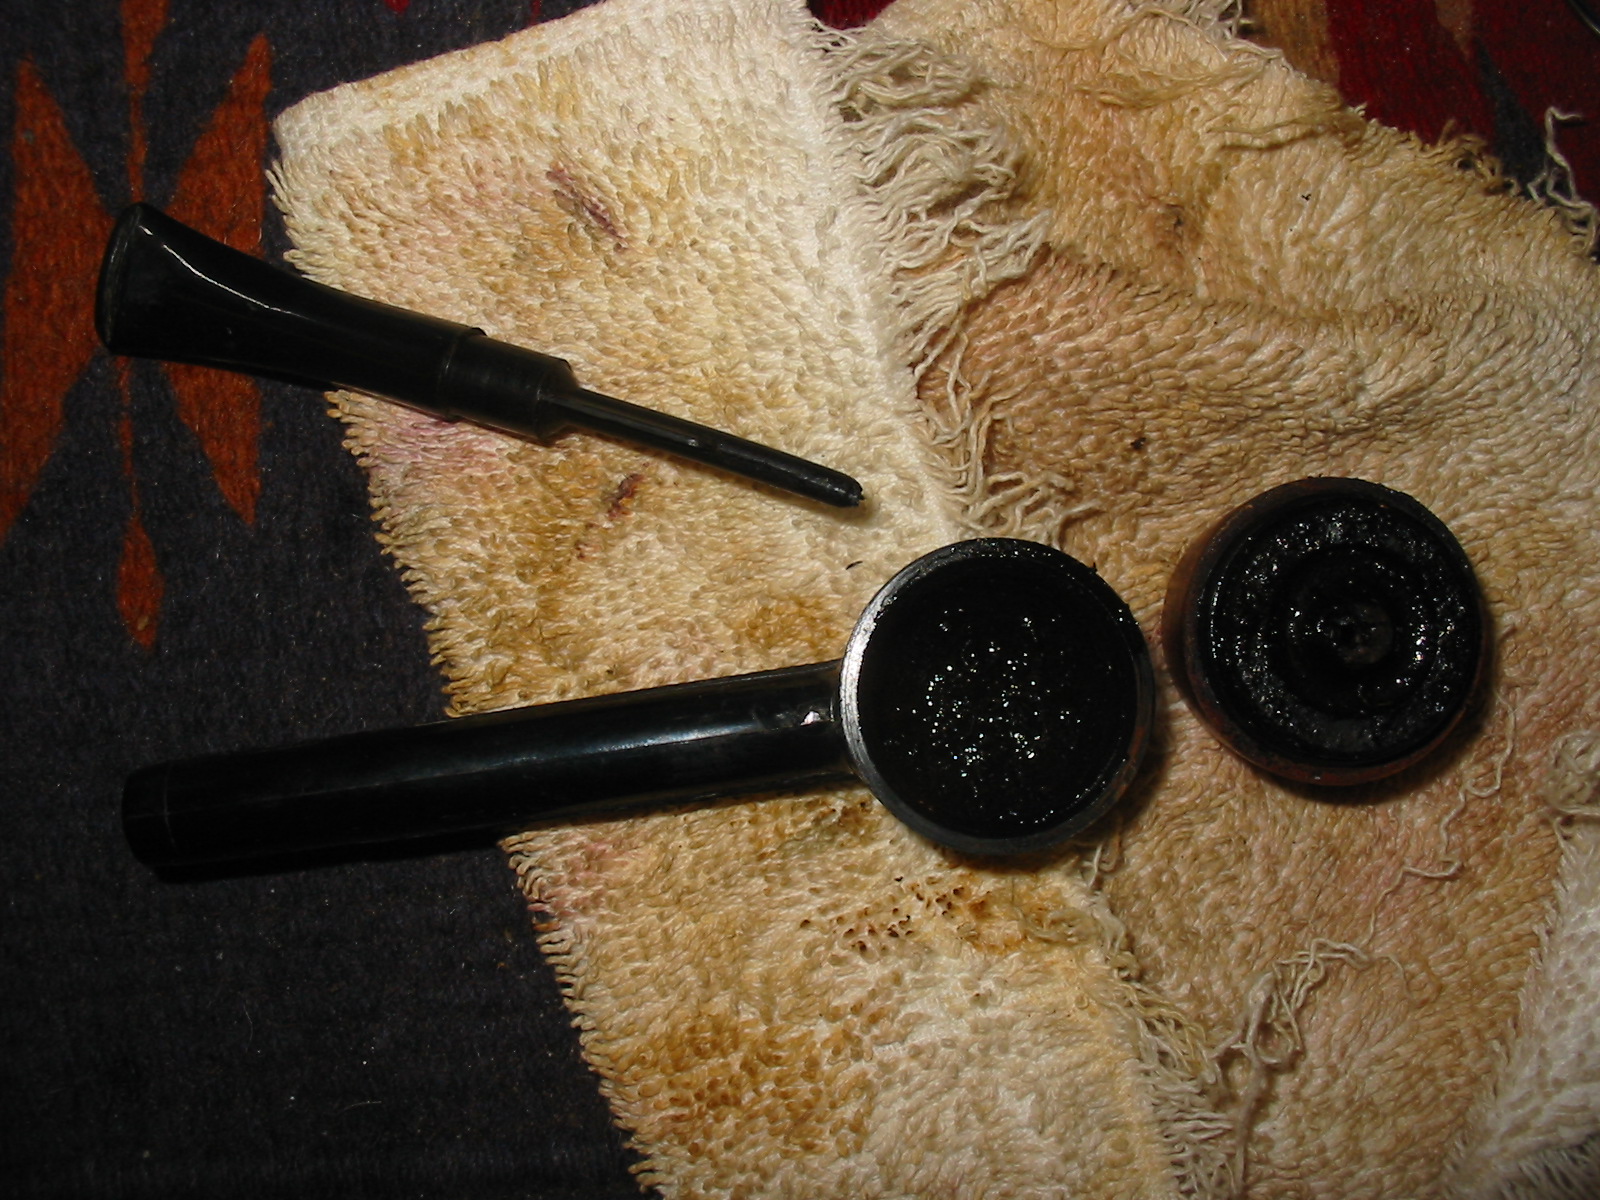
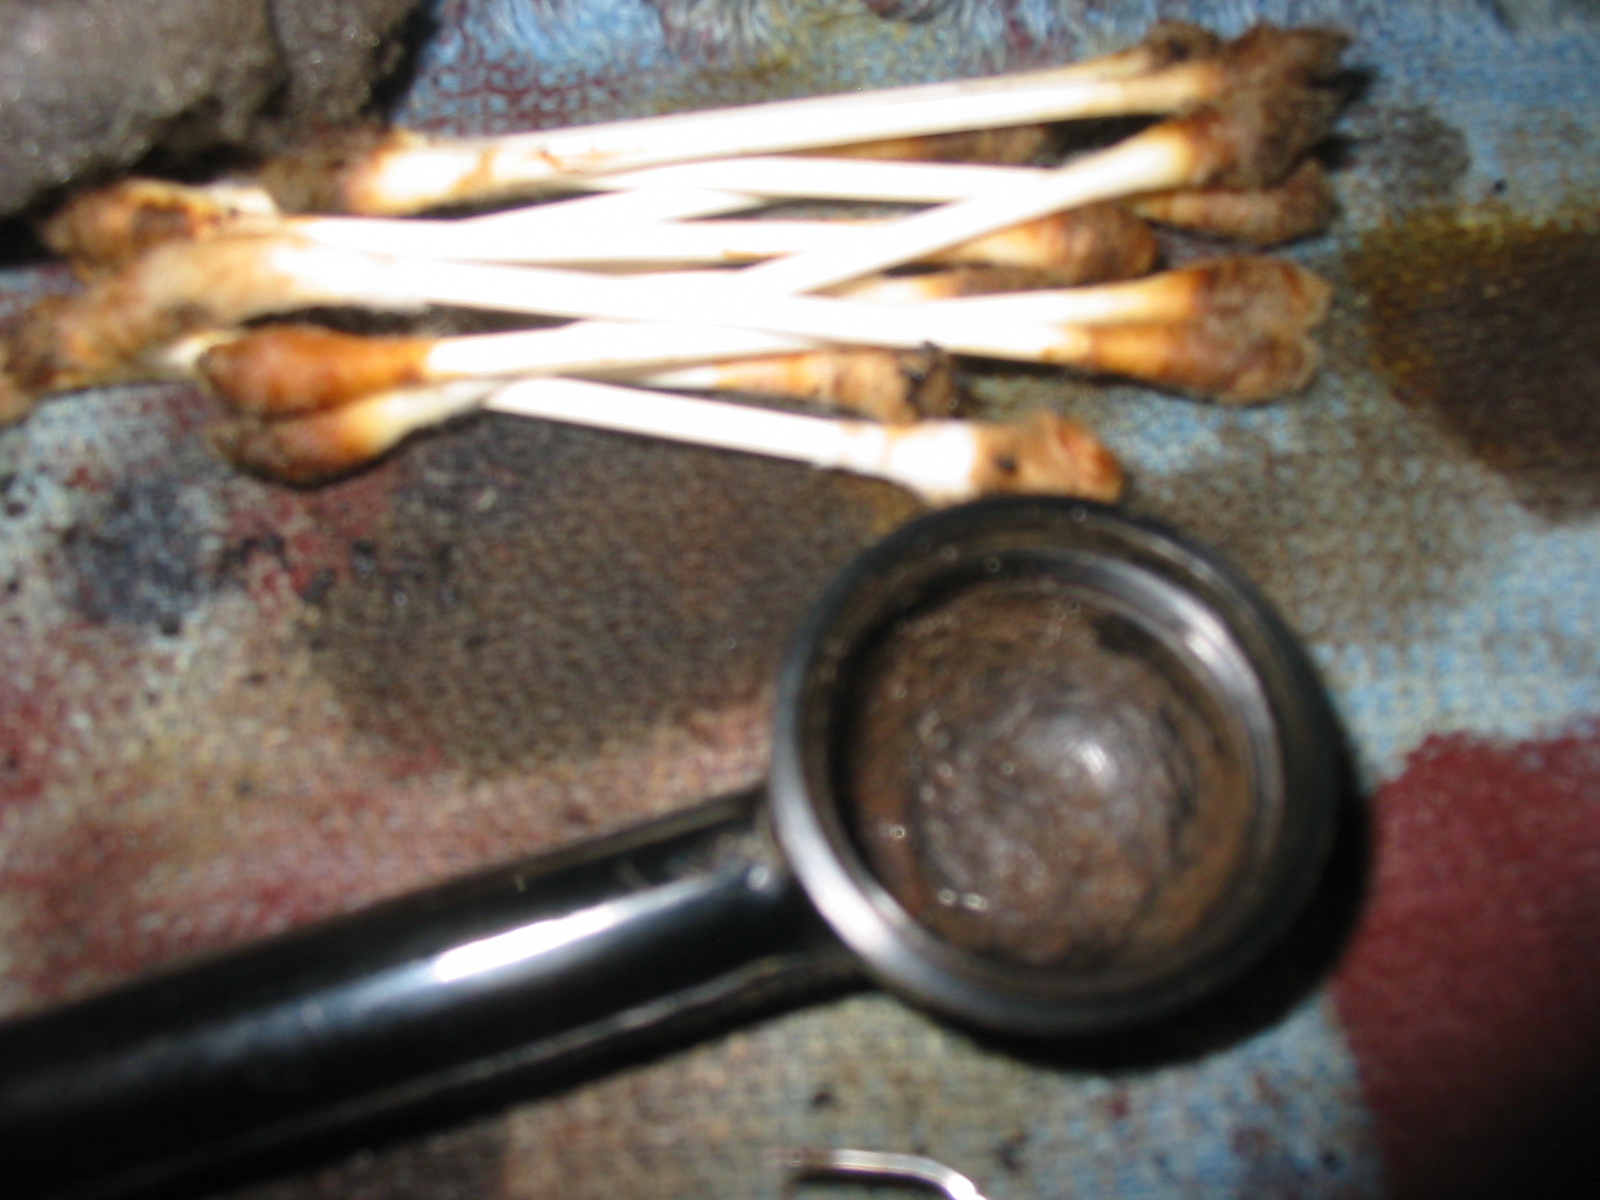
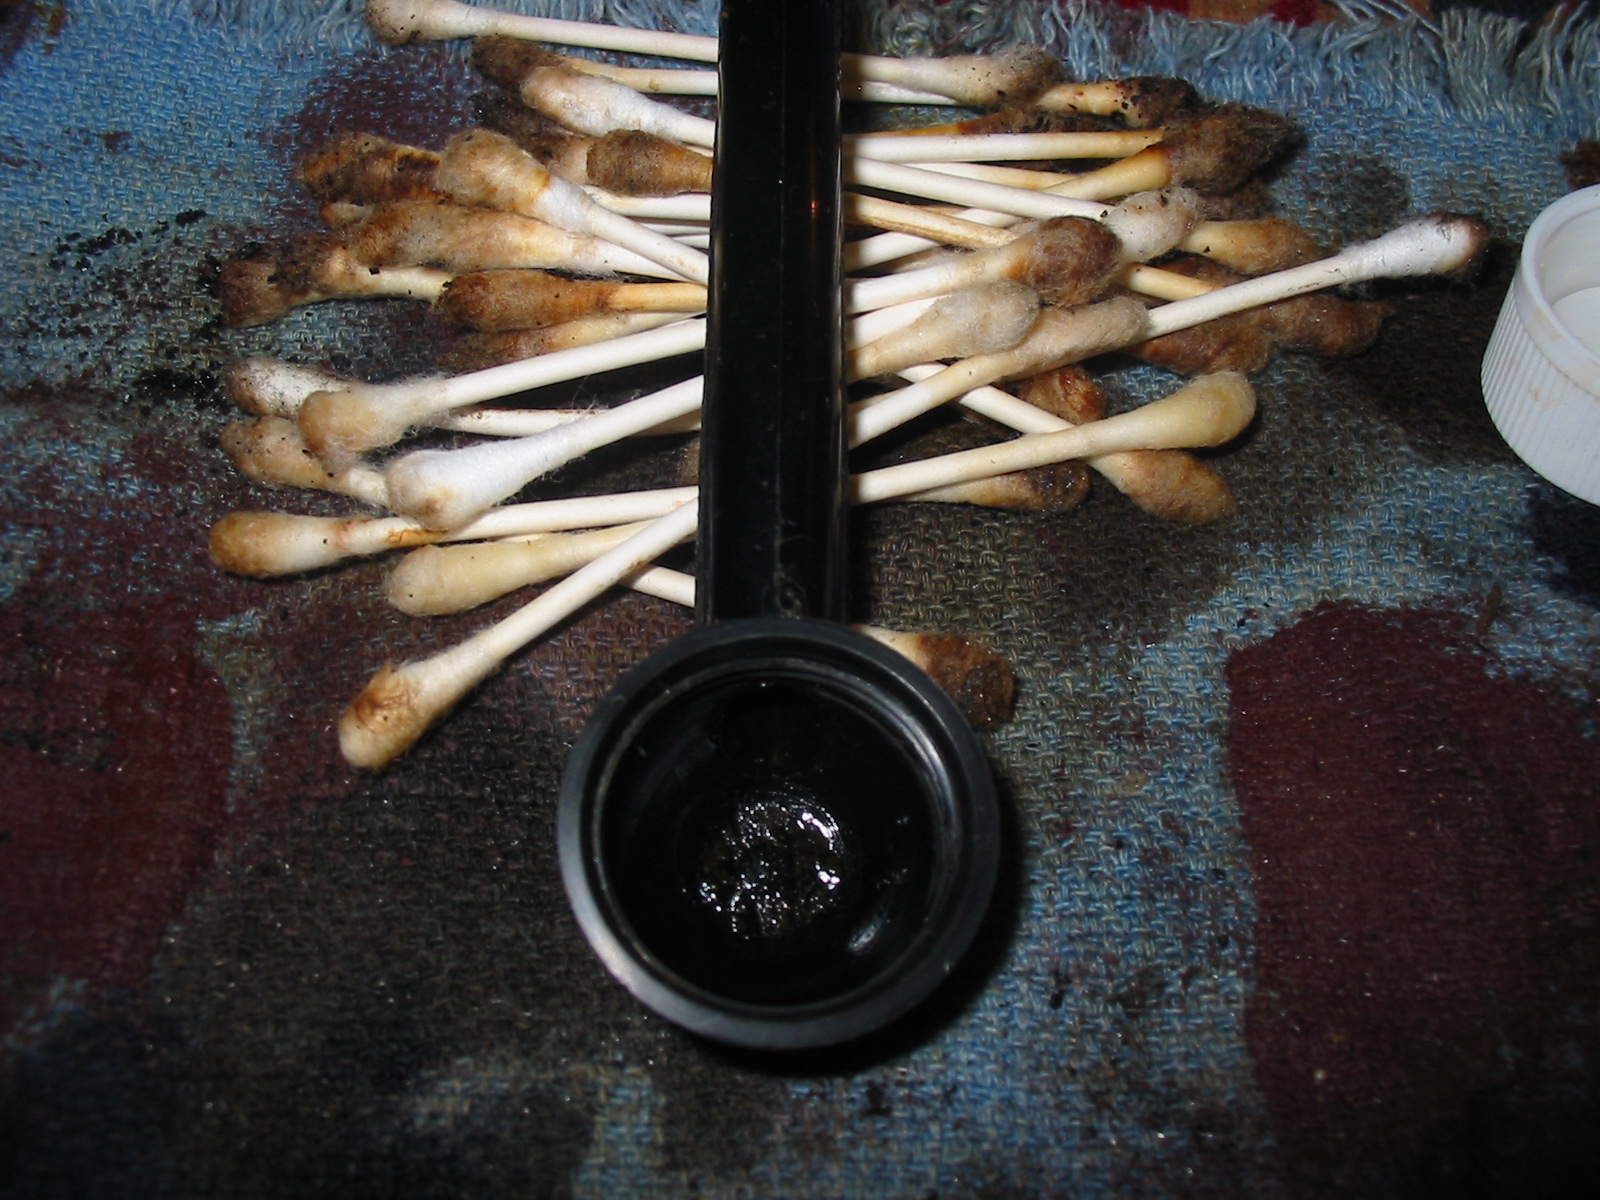
I decided to drop the bowl into the alcohol bath and let it soak away while I worked on the stem and base portion. I used my dental pick and Isopropyl alcohol to work at the rocklike tar in the base. I soaked the tarry stuff with alcohol and picked at it with the dental pick. Once I had some of it loose I would use the cotton swabs to daub out the gunk and alcohol and then repeat the process. The next series of three photos show the process of picking away the tar and the results after wiping it clean with the swabs. I probably used about 60 or more swabs and removed a lot of the gunk from the bottom of the base. I soaked it and kept at it. I used 0000 steel wool to scrub the tars once I had the majority of the material picked free. Then I took it to the sink and used a microfiber cloth to scrub the base with hot water and degreaser.

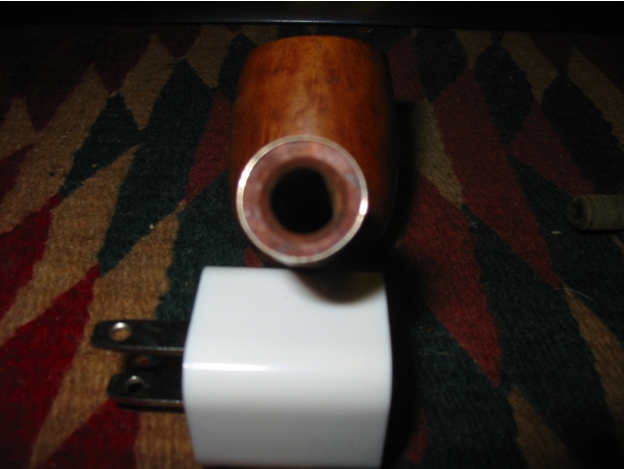
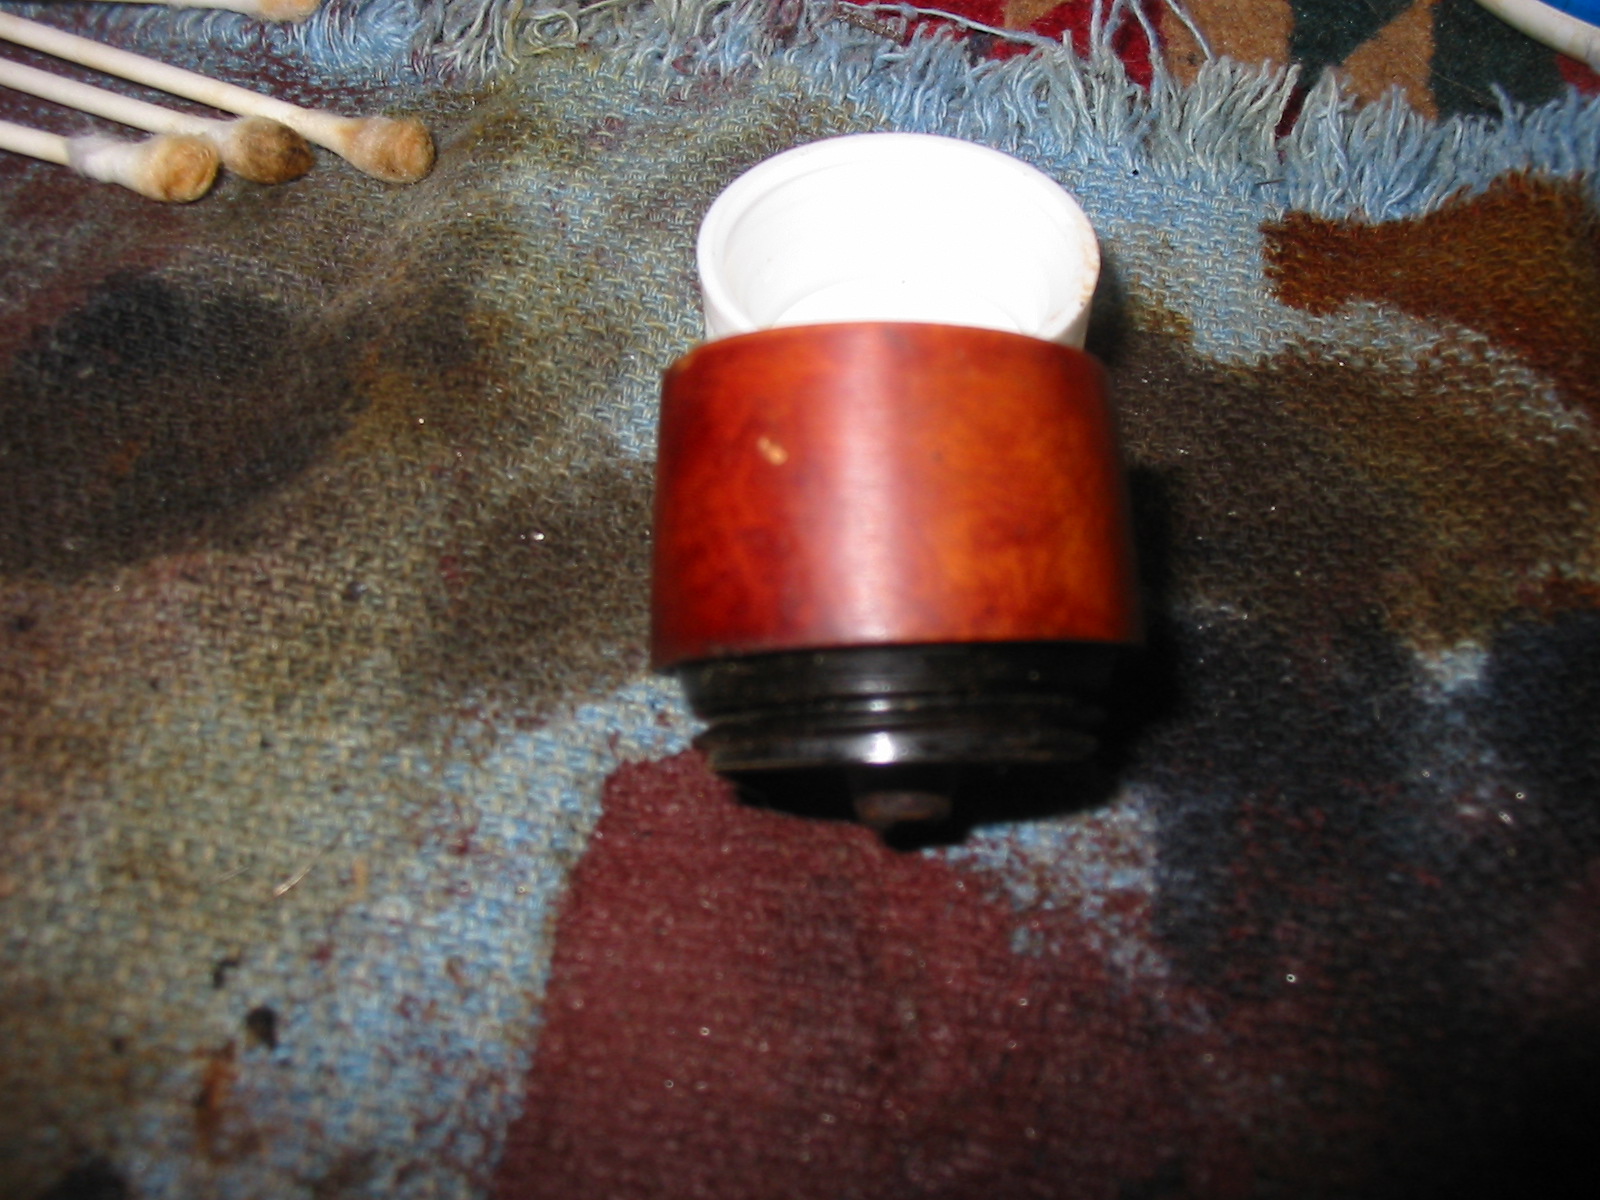
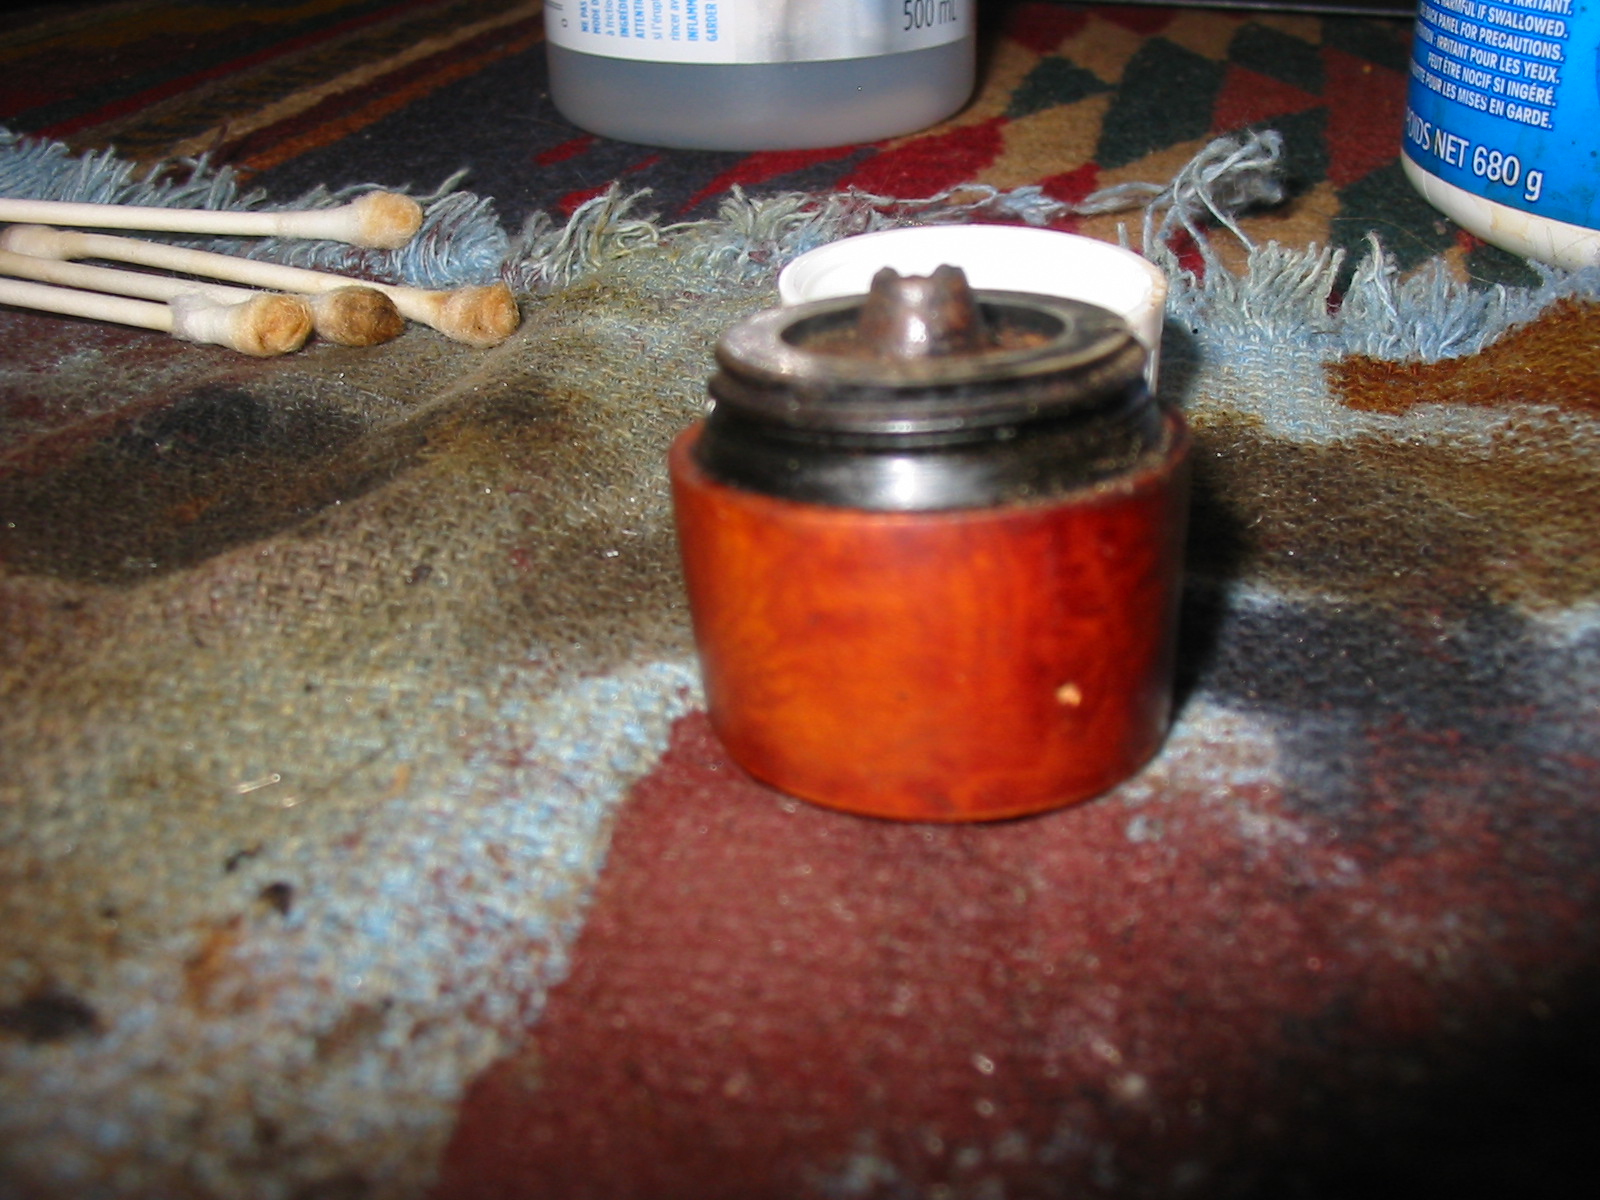
The next two photos show the inside of the base after it has been thoroughly cleaned. The shank itself was almost like a Kirsten barrel and need lots of soft tissue and cloth run through it until it was clean and shiny on the inside. The photos are slightly out of focus but the cleanness of the base is very visible.


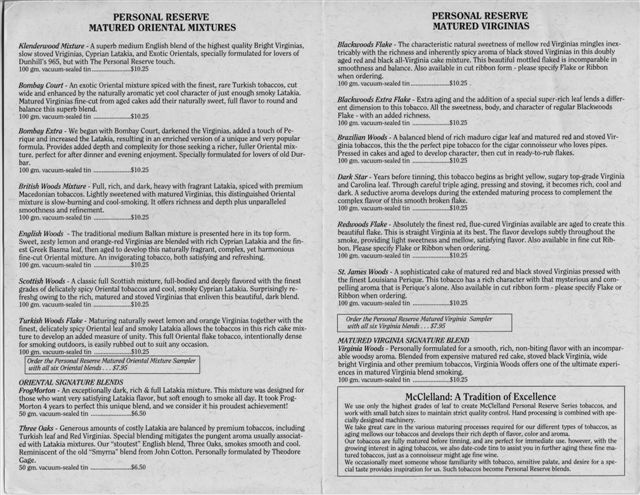
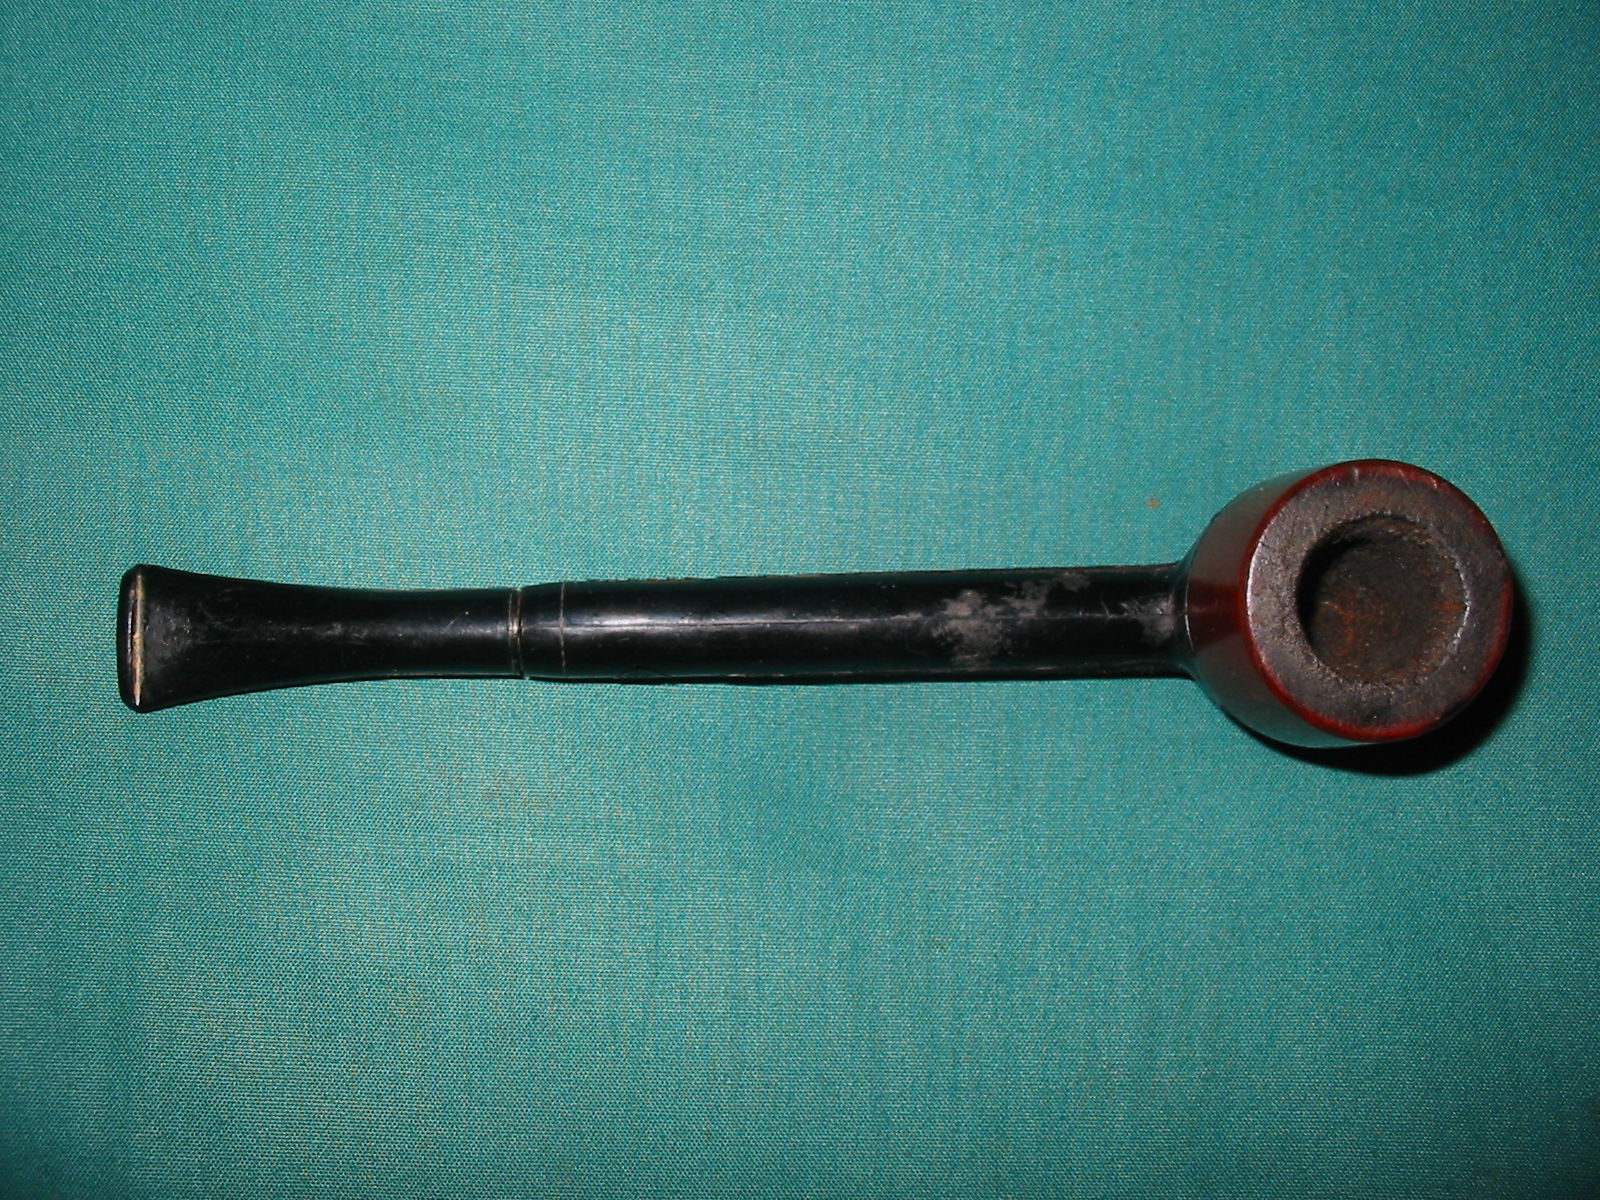
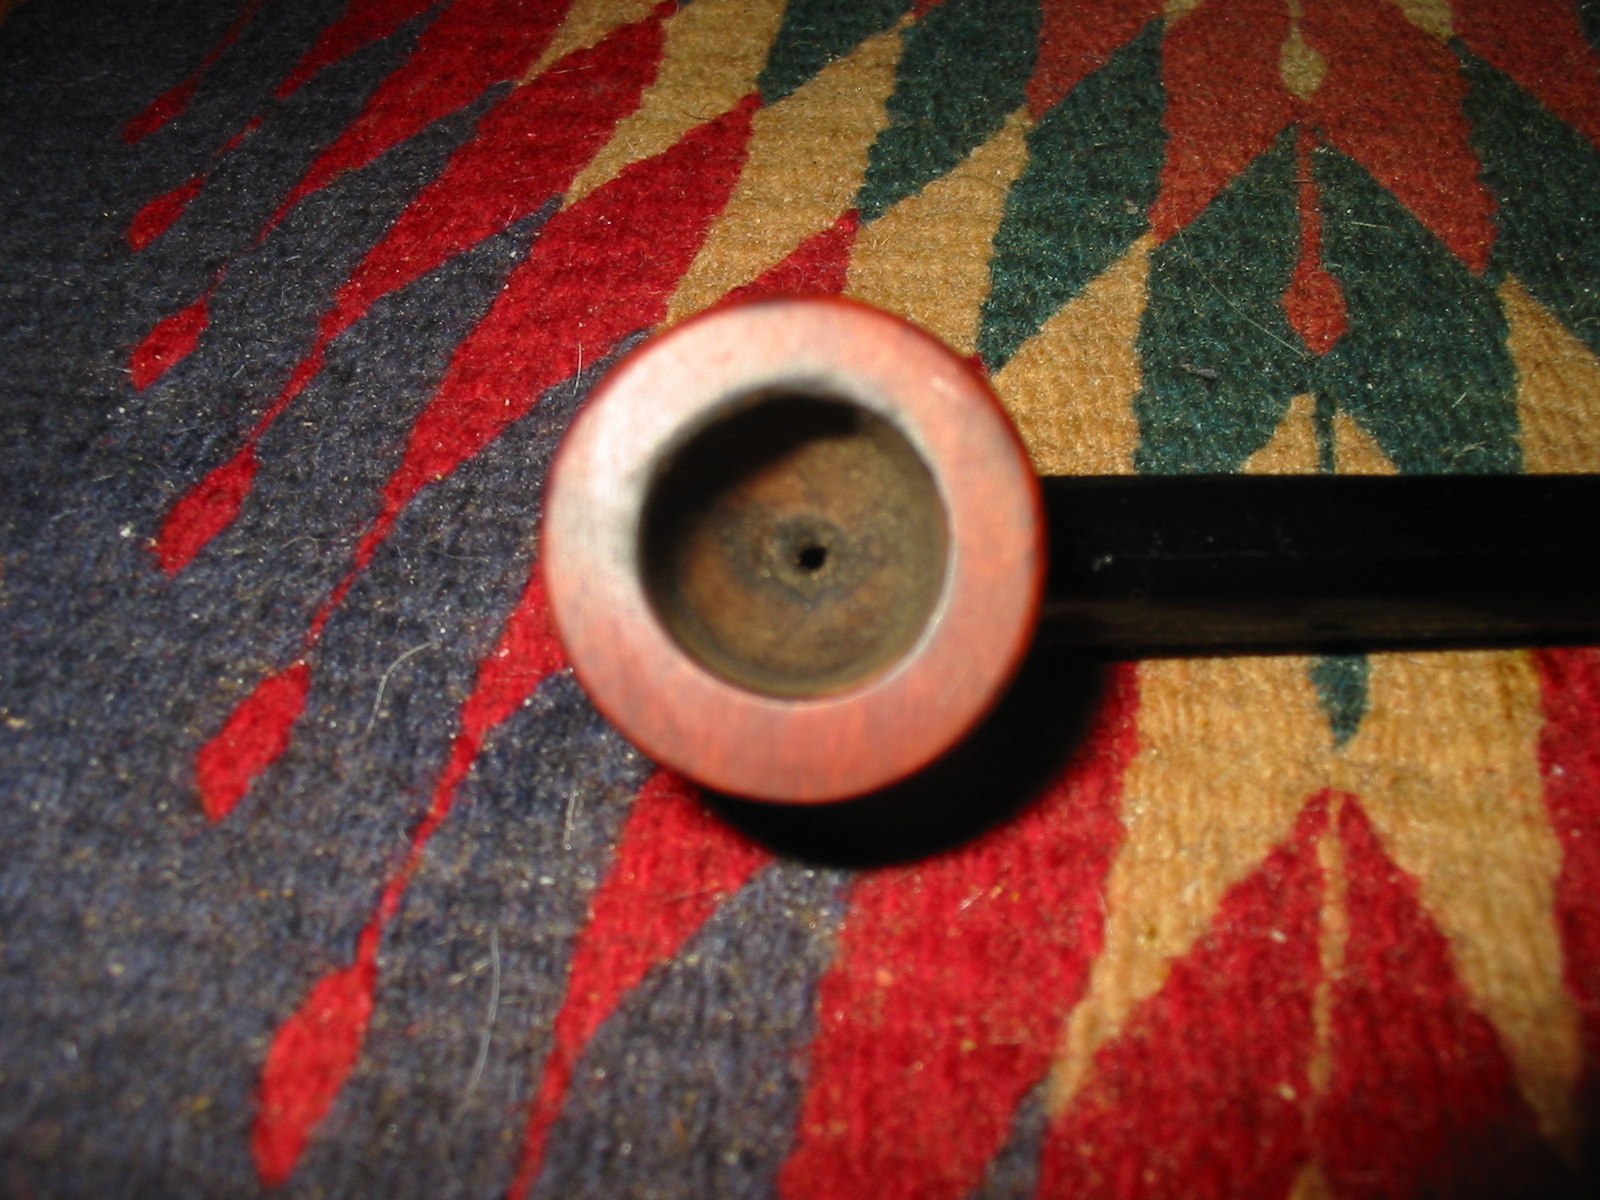
I then removed the bowl from the alcohol bath and went to work on it. I picked out the two putty fills with my dental pick. I also followed the threads with the dental pick to remove the grime and grit that filled the threads and did not allow the bowl to be threaded on correctly. I also used a bristle tooth brush and alcohol to scrub the bottom of the bowl from the threads down to the nipple like structure on the bottom. The next four photos show the bottom of the bowl and the threads after cleaning them. There is an inset portion of the bowl bottom that is like a moat around an island that has the moutainlike nipple in the centre. This took quite a few cotton swabs to clean the grime out of the channel. Once it was clean there is a patent stamp on it. It reads Pat. S. I am guessing it is a Swedish Patent mark. The portion of the bowl that is threaded seems like it is made of the same kind of material as the base of the pipe. The mountain in the middle is briar. It is an interesting and unique design. I am looking forward to firing it up and giving it a smoke once it is finished.
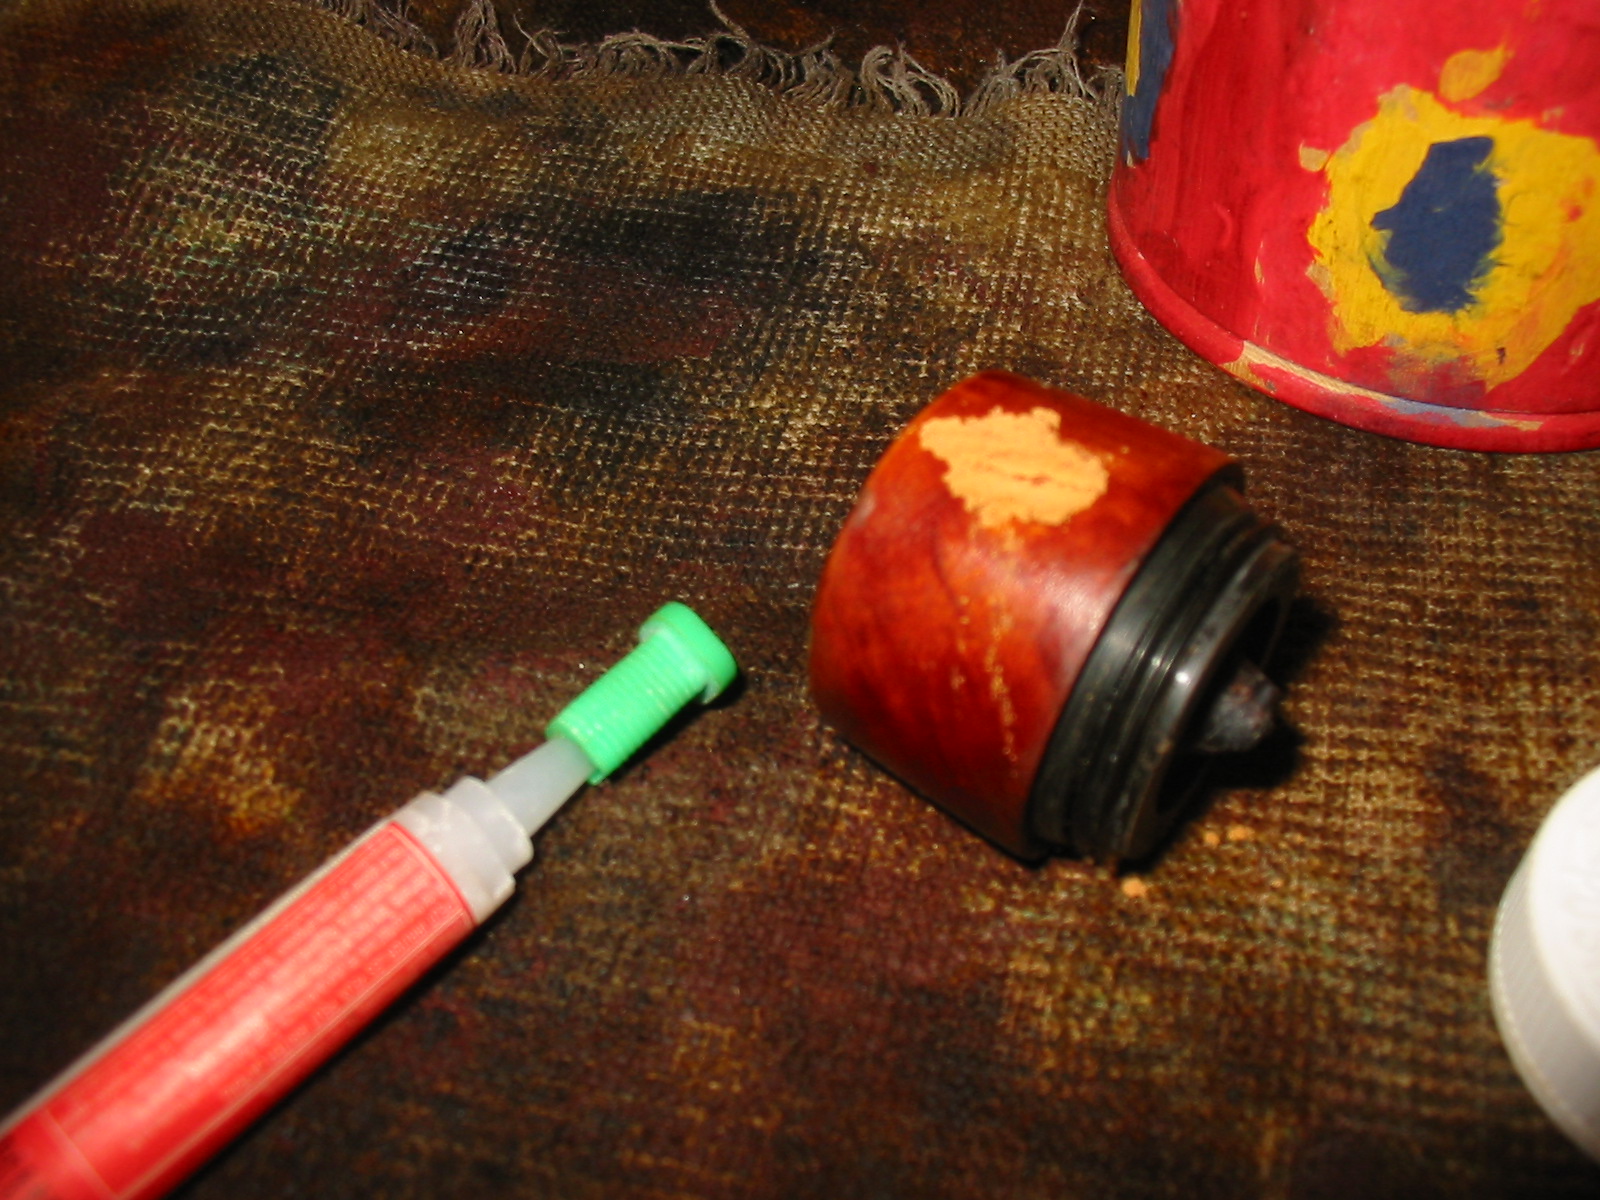
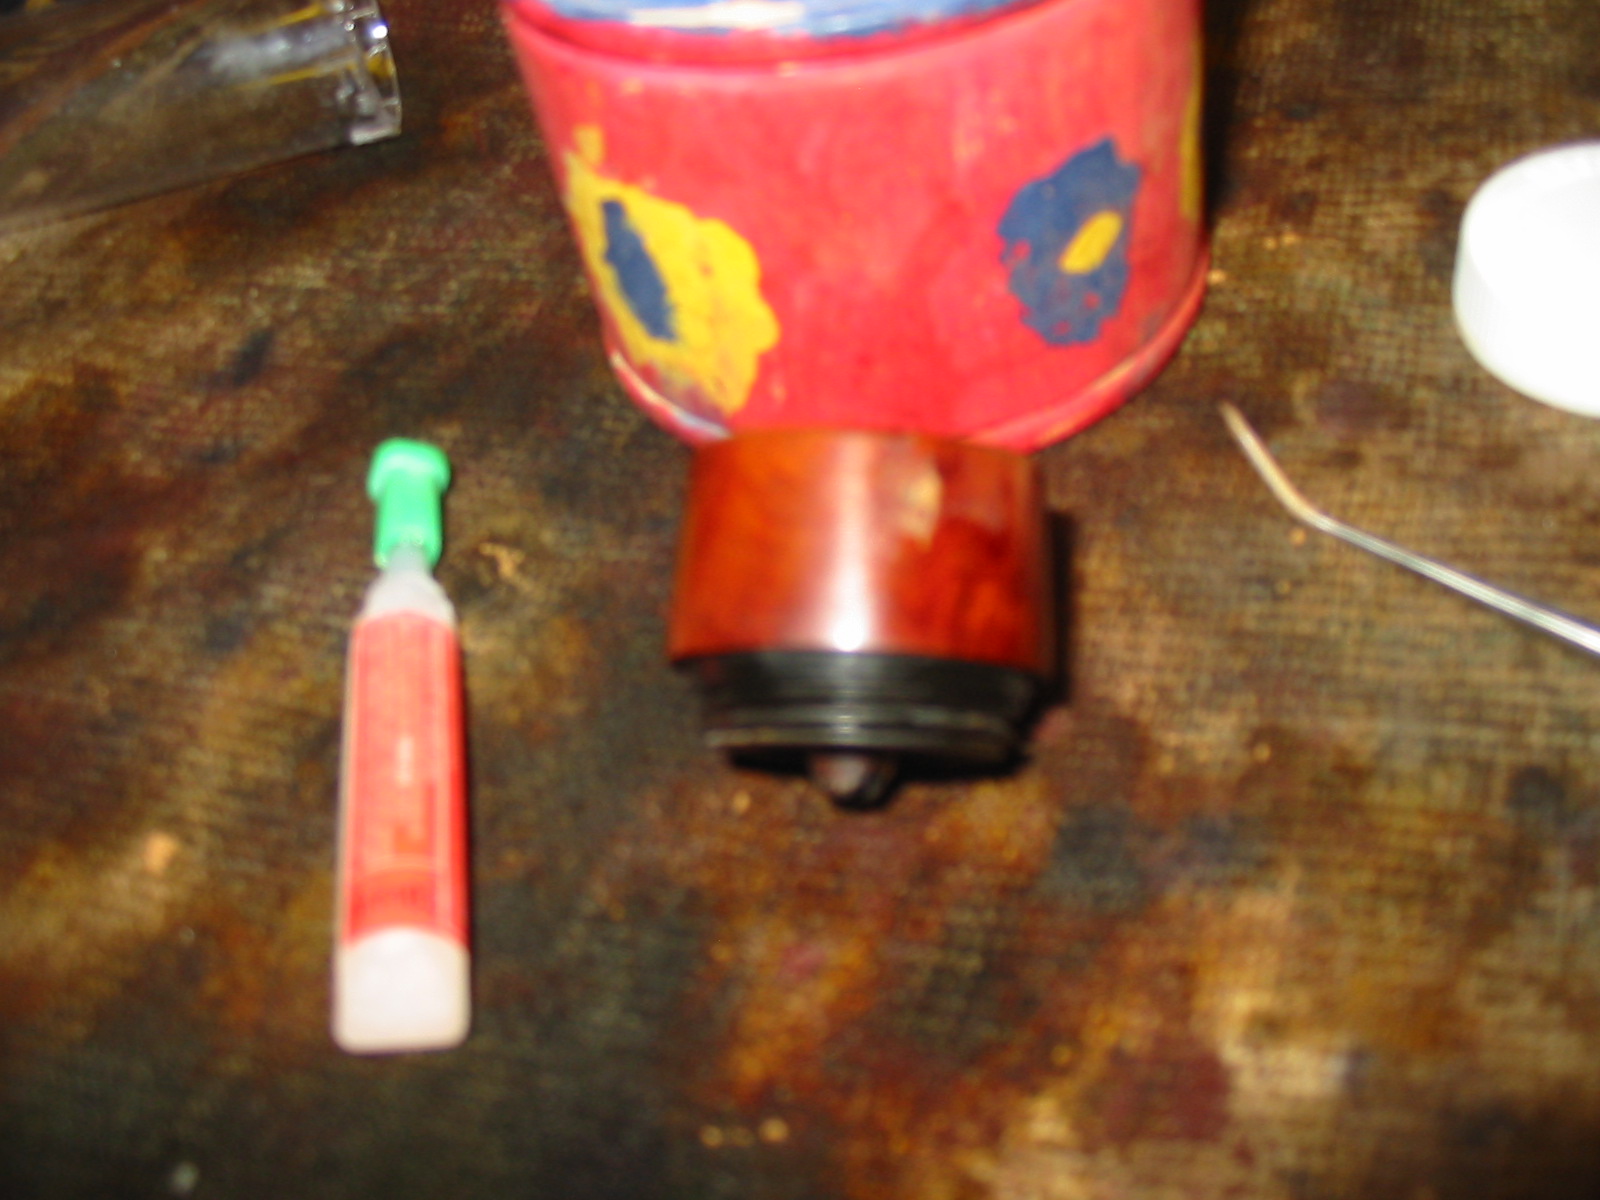
Once the bowl was clean I decided to replace the fills with briar dust and super glue. The next series of photos show that process. I had already picked out the putty fill. I used a dental pick to tamp briar dust into the pits on the bowl. The first picture shows the briar dust before I wiped it smooth and added a few drops of super glue to the mix. The second and third photo are a bit out of focus but show the repaired fills after I sanded them down with sandpaper to smooth the surface to match the surface of the bowl.

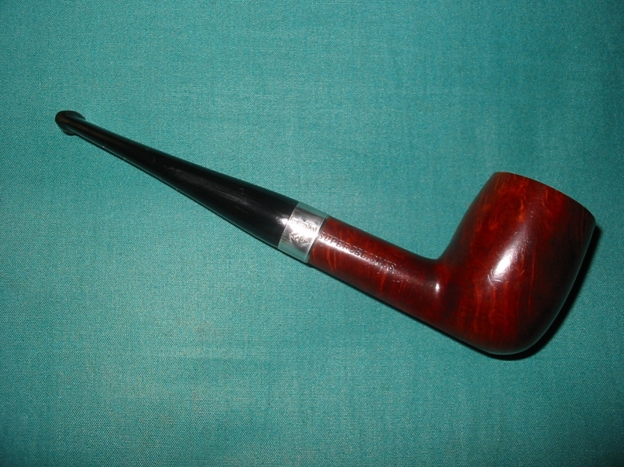
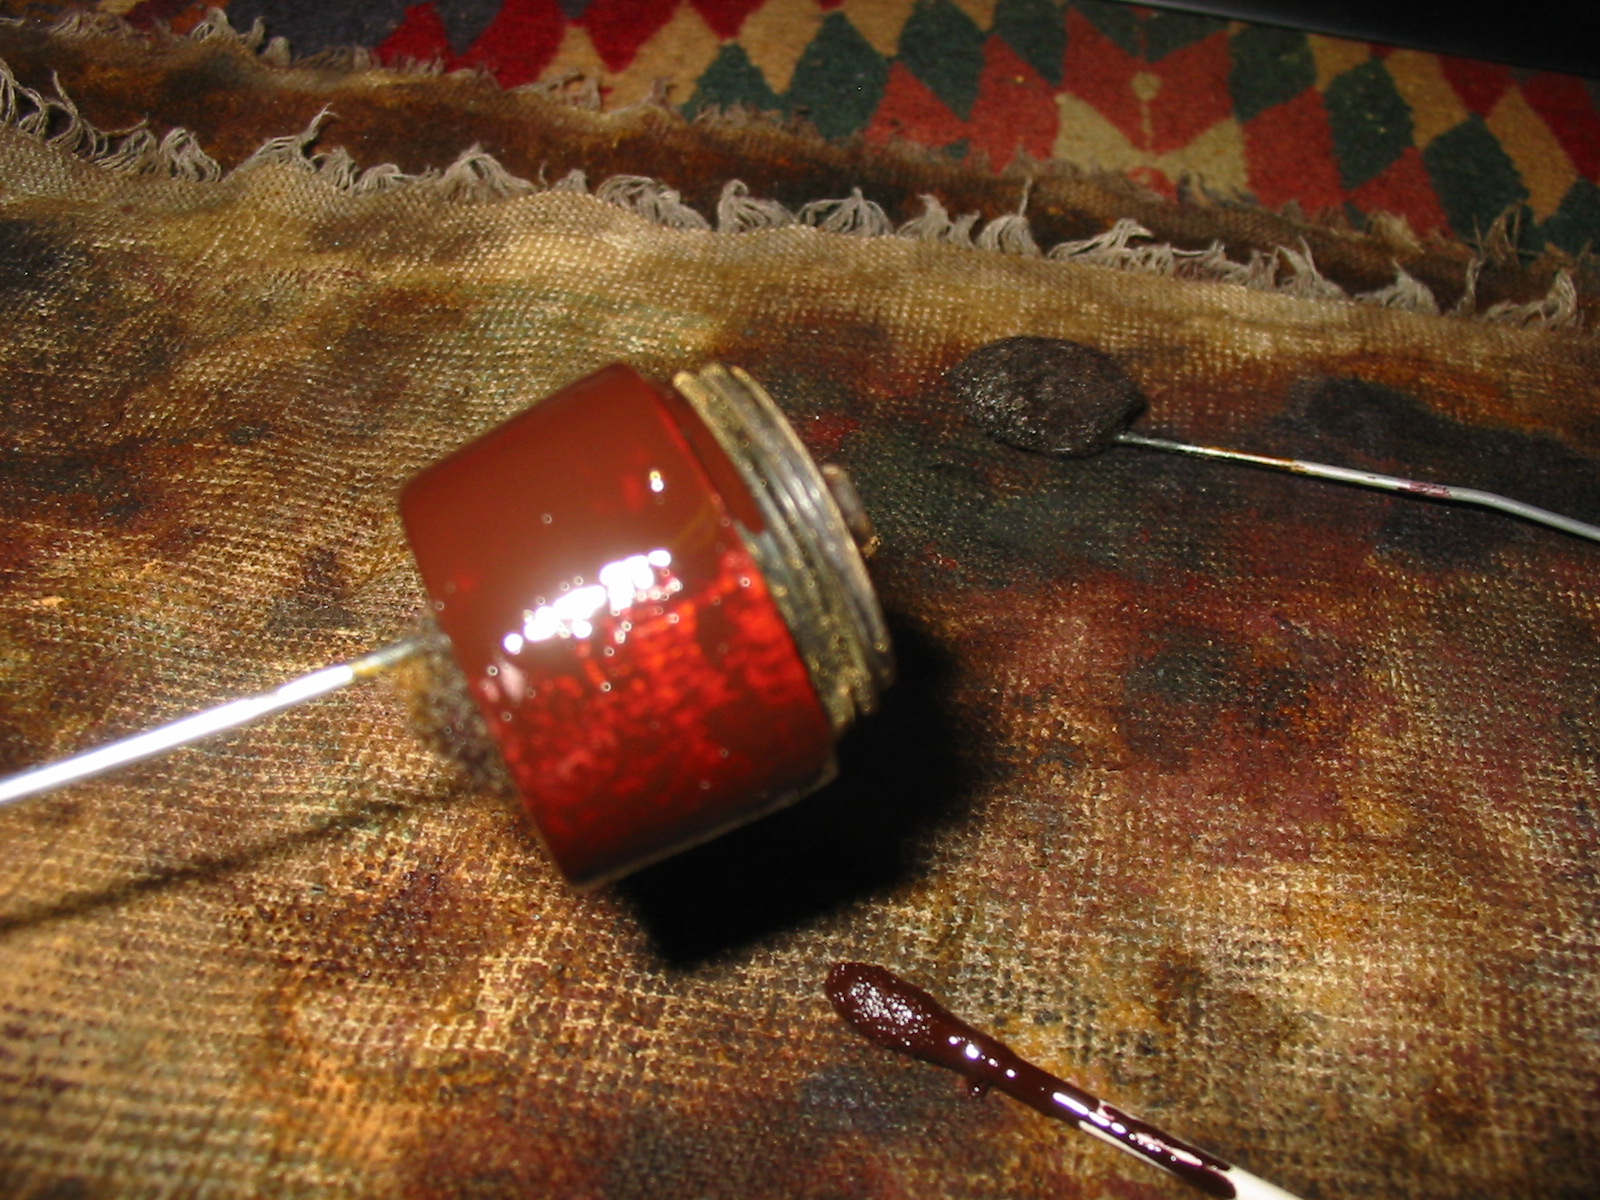
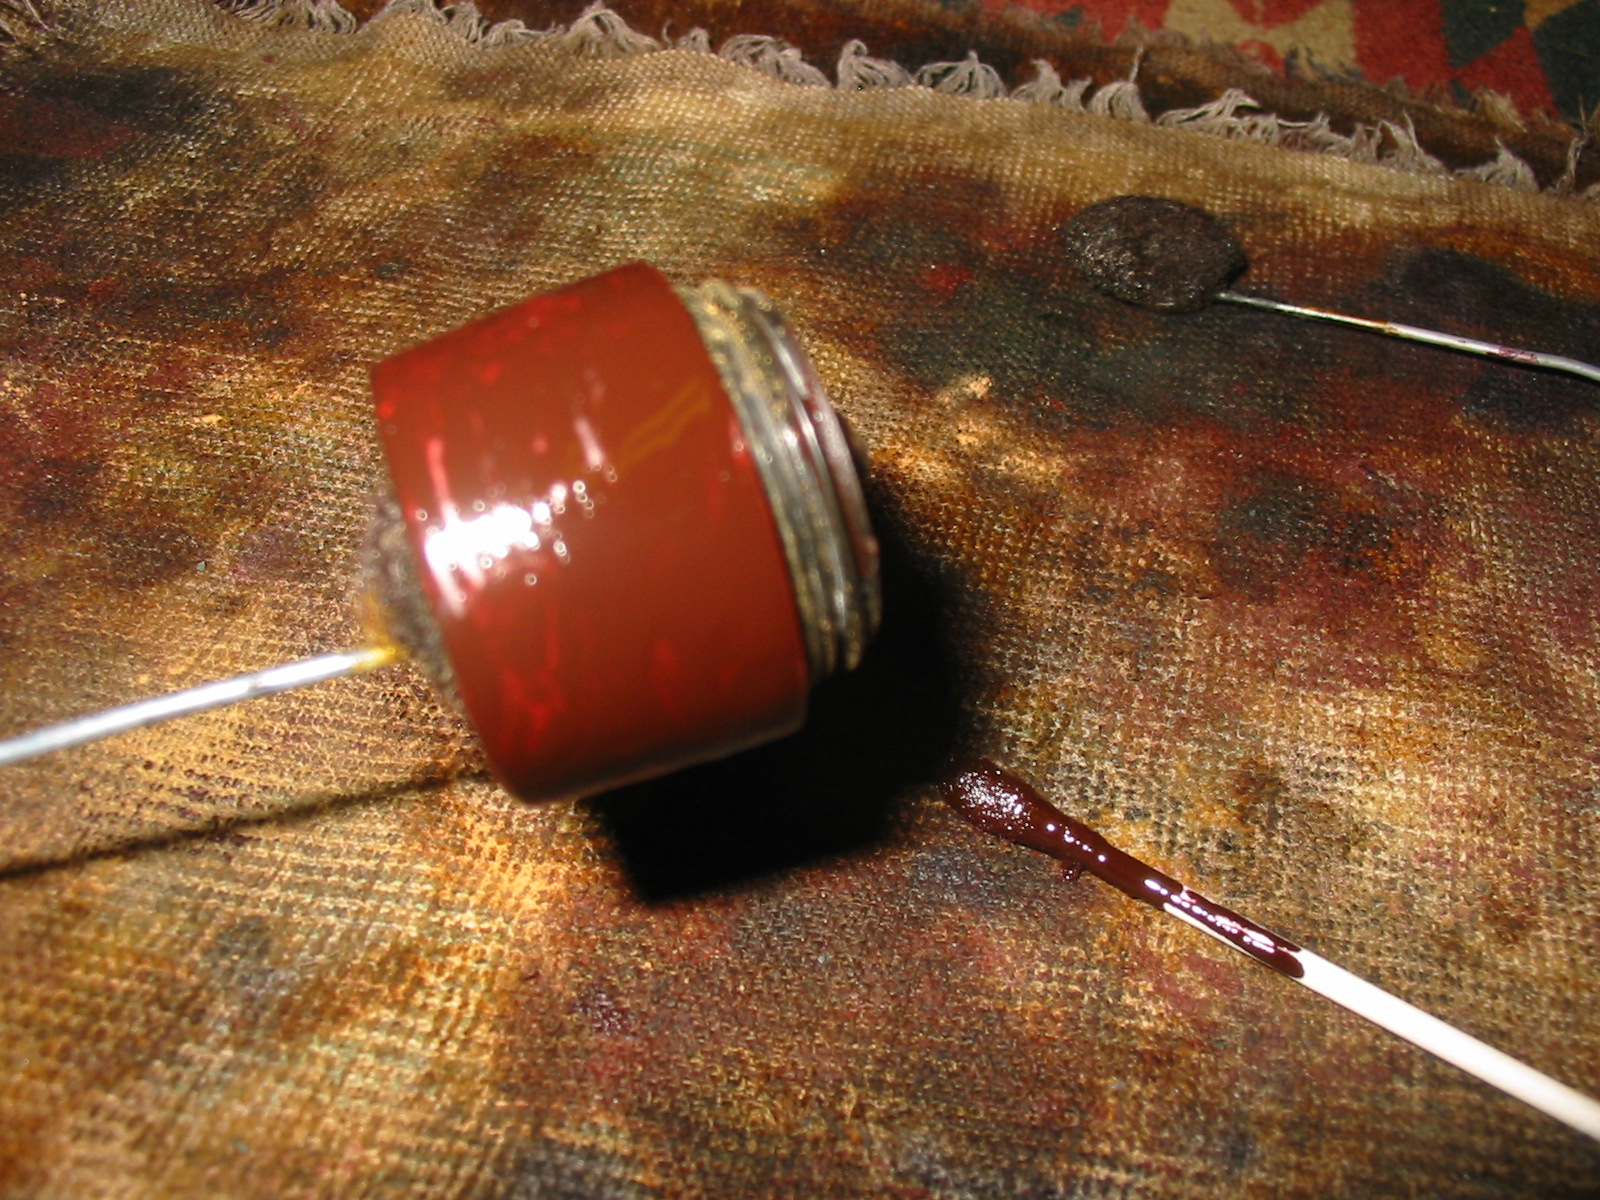
The bowl was now ready to be stained with an oxblood coloured aniline stain. I applied the stain with a cotton swab and then flamed it and buffed it off. The first two photos below show the stain applied and ready to be flamed with a match. I held the bowl with a dauber so that I could manipulate it to apply the stain.
The next two photos show the bowl after a buff with Tripoli. I had not polished them at all at this point I merely buffed off the stain to get an even coat on the bowl sides and rim. The great thing with the briar and super glue fill is that it takes the stain and darkens with the finish coat. It is far more attractive to me than the pink putty fills that were originally present.
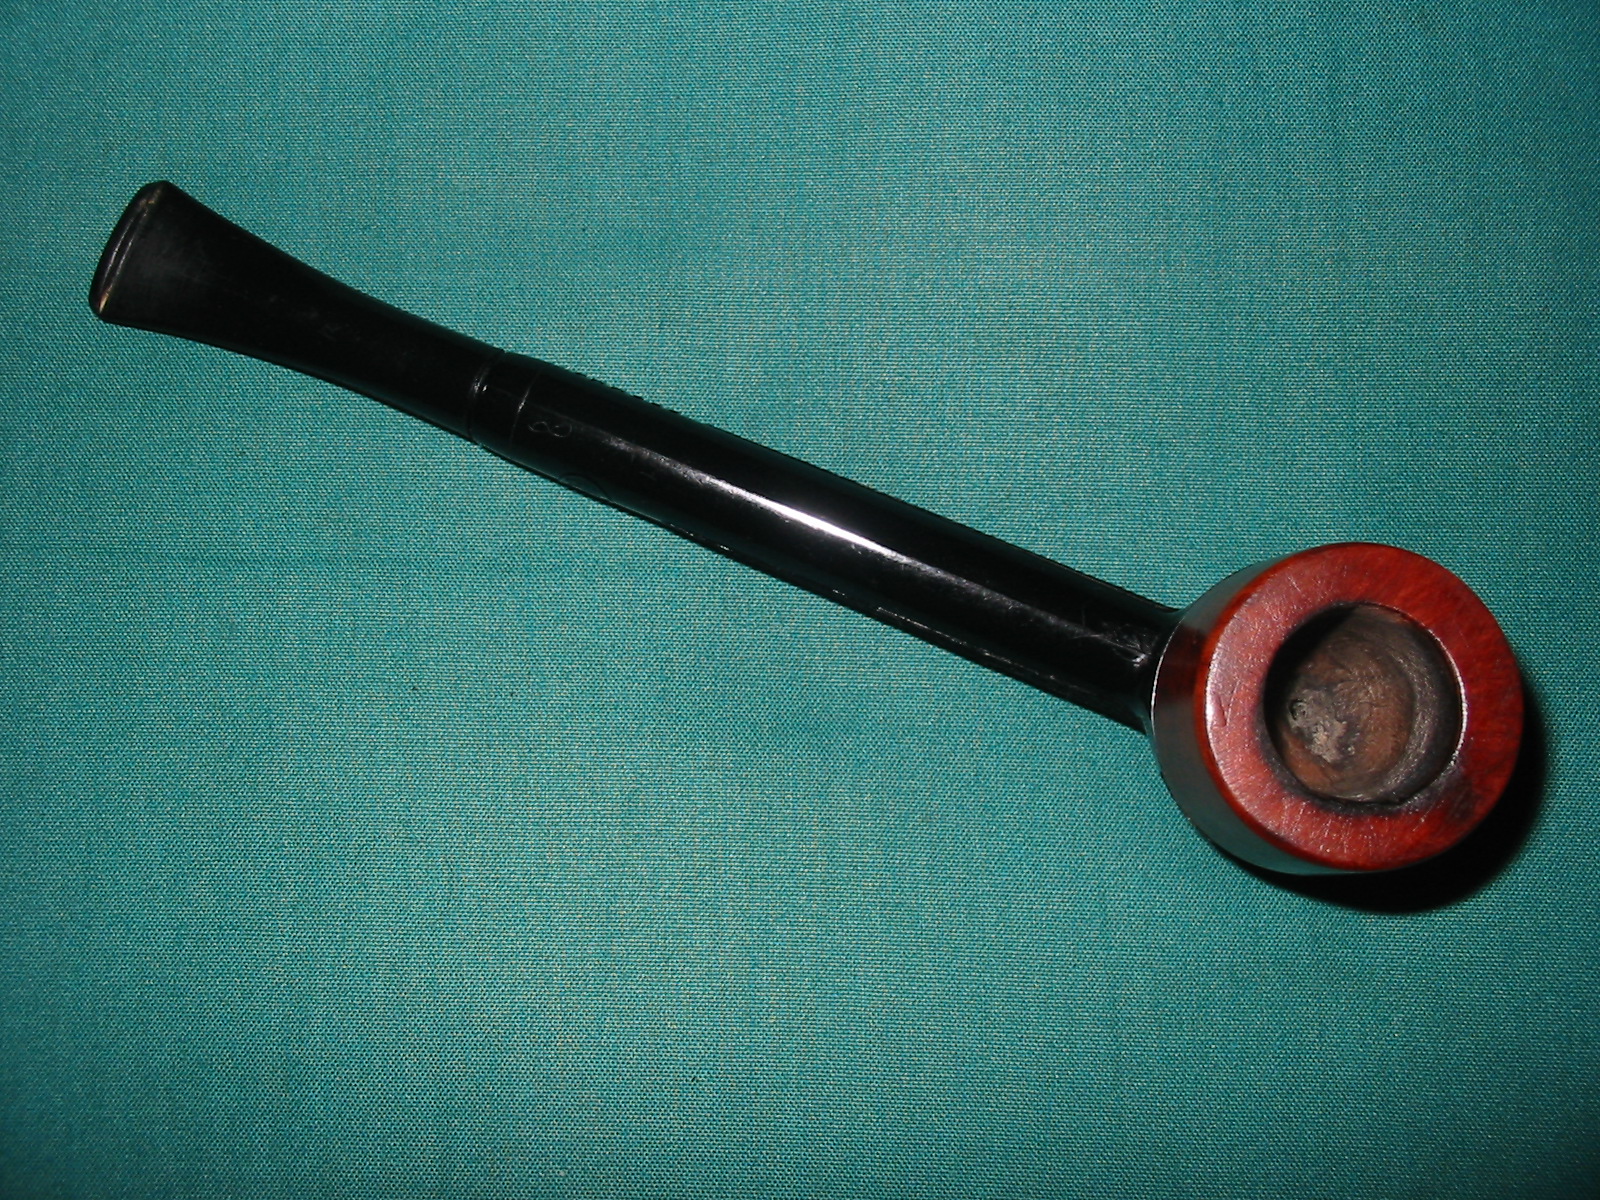
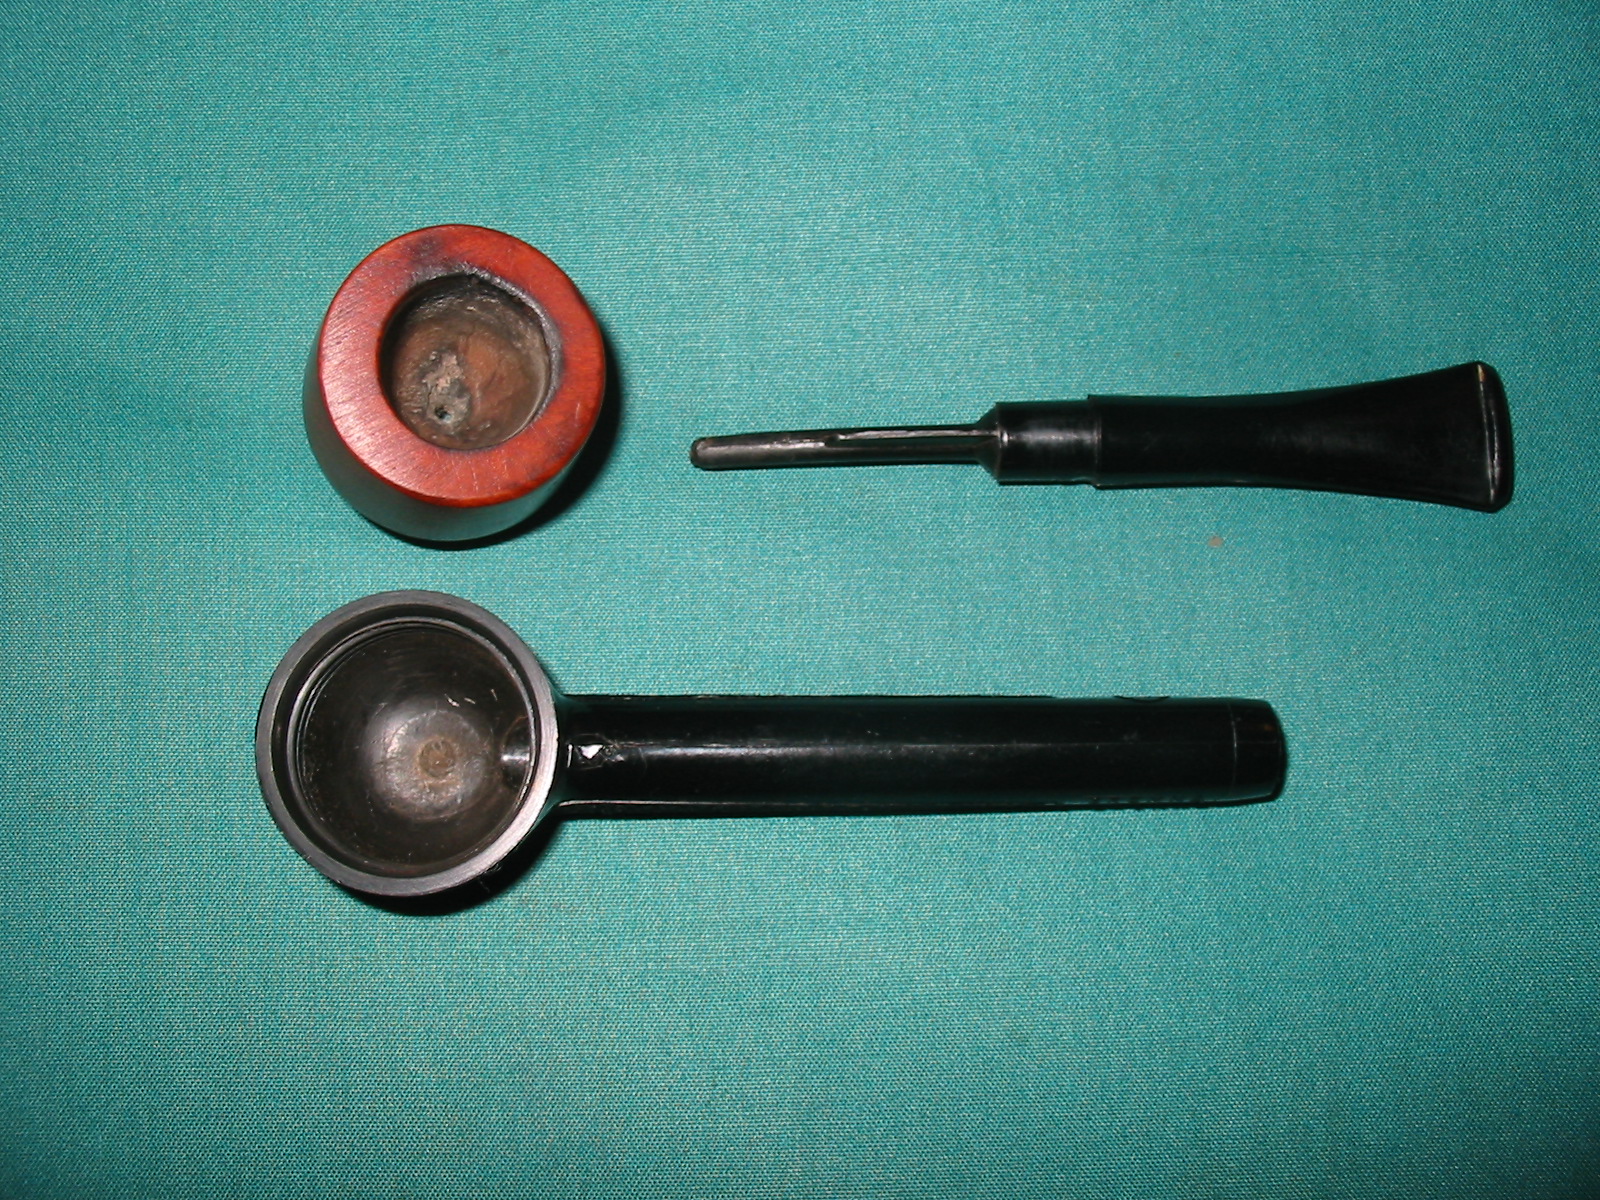
The next two photos show the pipe taken apart. There is the bowl base and long shank that is made of the plastic or Bakelite material, the bowl itself. It has a small burn mark on the top of the rim but I left it rather than take it down any deeper into the surface. The third portion is the stem unit with a four finned stinger apparatus. The airflow is straight through from the bottom of the bowl to the slot in the button. The stinger with cooling fins is designed to cool the smoke and trap the tar and oils along the fins. This portion and the inside of the stem took work to clean. It is open enough to take a pipe cleaner through it with no problem.

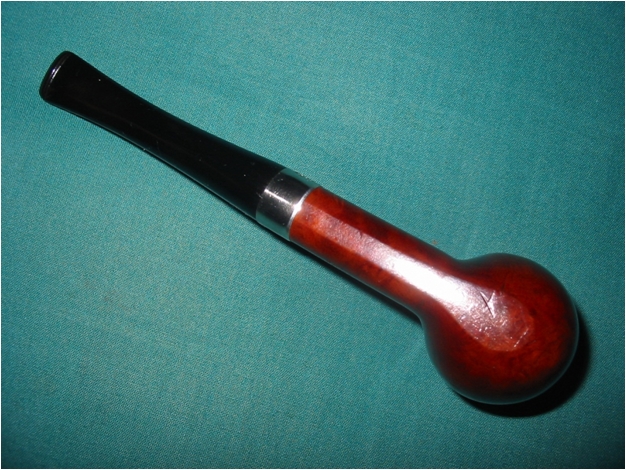
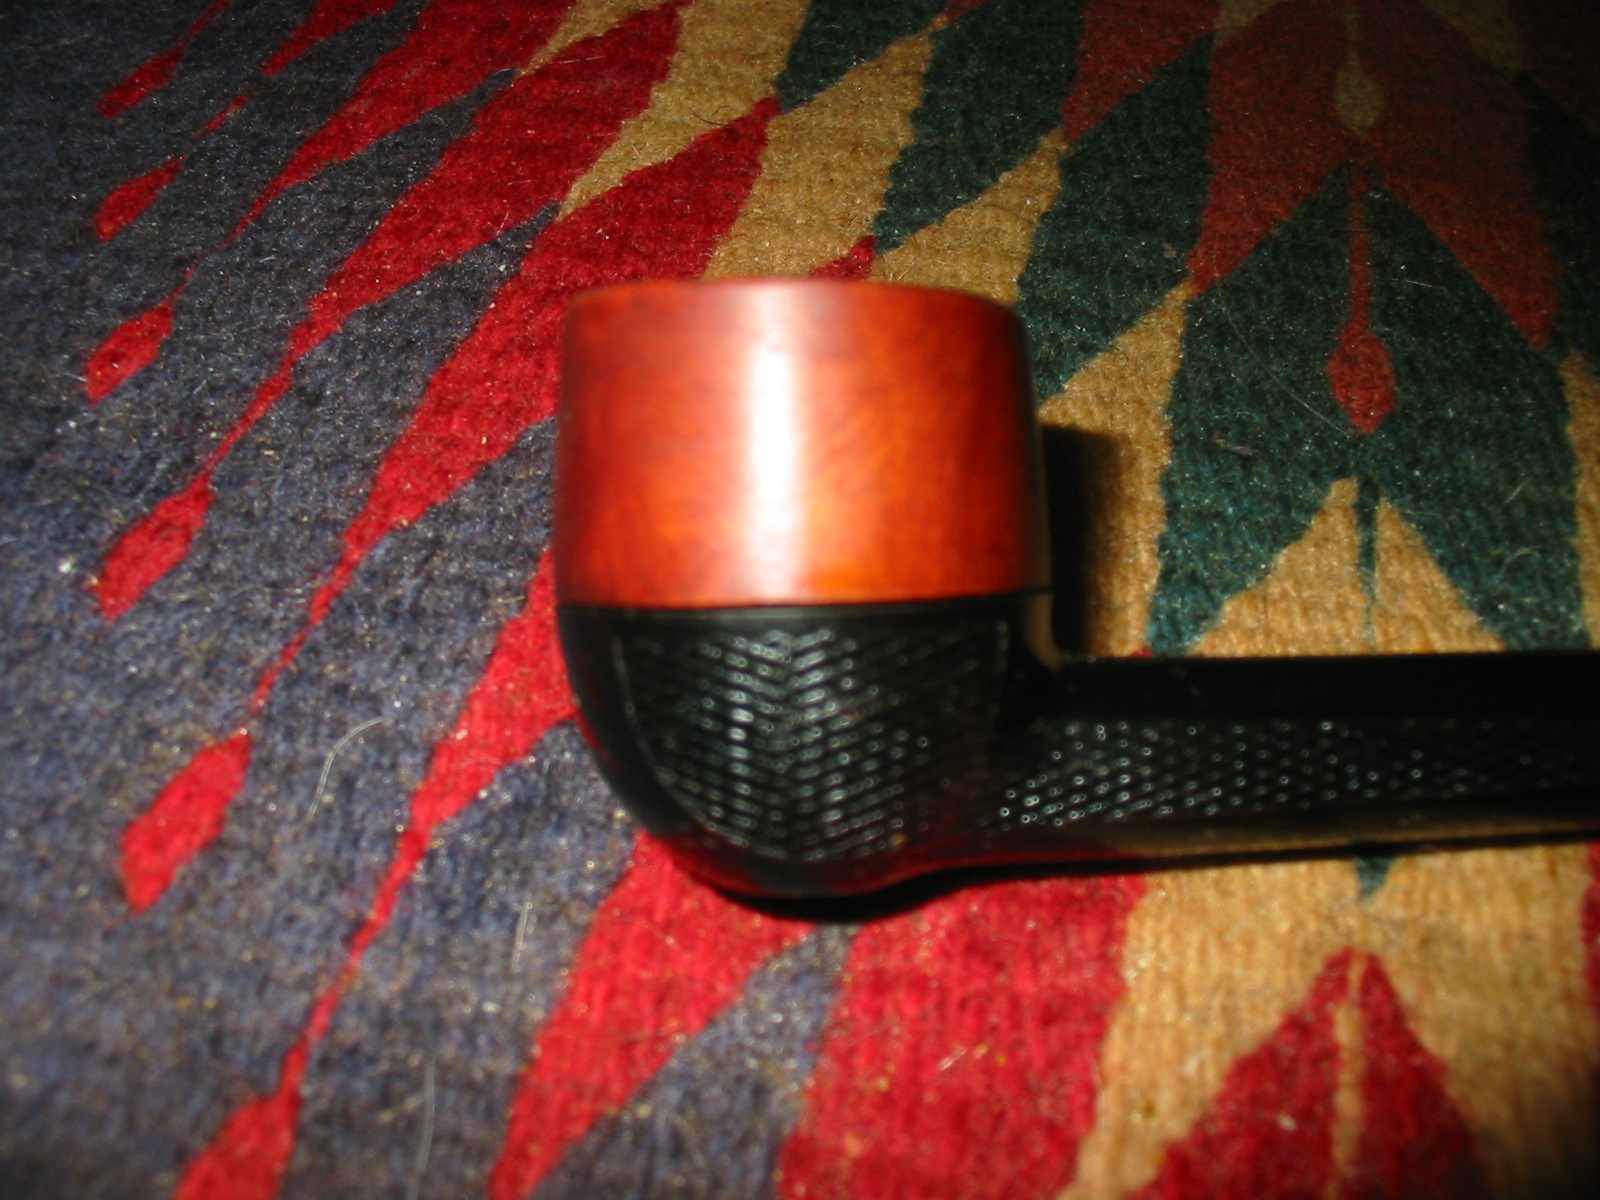
The final four photos are of the complete pipe reassembled and ready to smoke. I coated the bowl base and stem with Obsidian Oil and then hand waxed it with Halcyon II wax and buffed it to a shine by hand as I did not want to risk it on the buffer. I have had this kind of material melt when buffed so I am shy to try it on this pipe. The stem was sanded with micromesh sanding pads from 1500-12,000 grit and then polished with Maguiar’s Plastic polish as I have been doing on all of the pipes lately. I put some carnauba wax on the threads of the bowl to lubricate make the threads as I screwed on the bowl.