Blog by Steve Laug
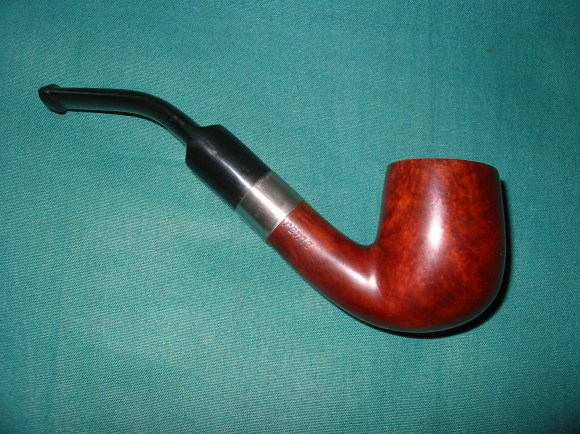
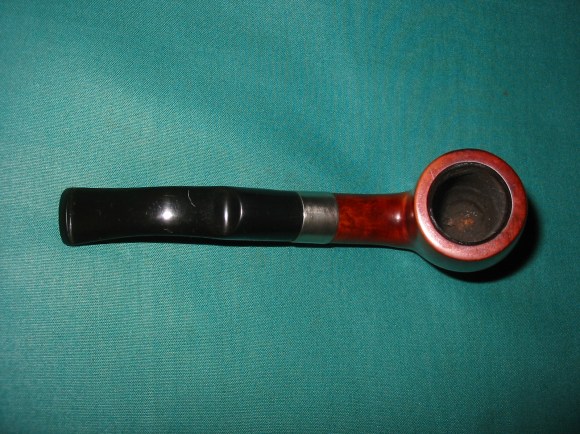
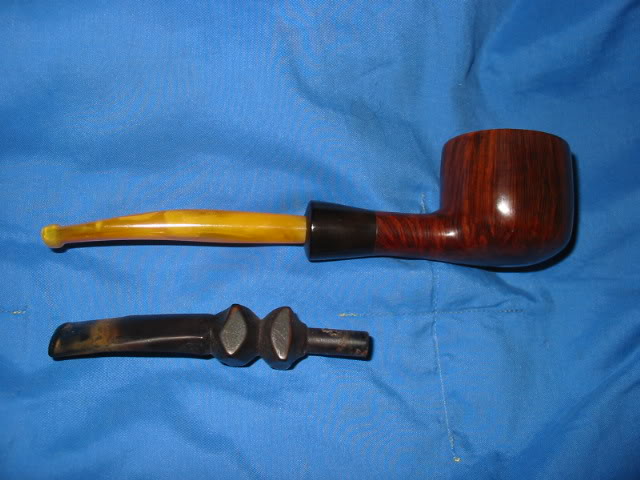
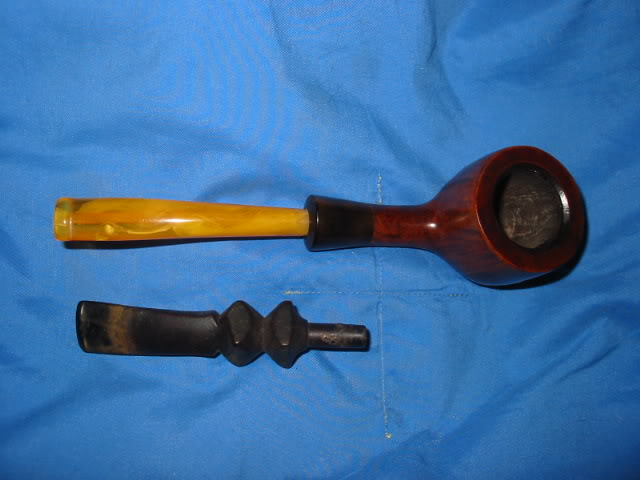
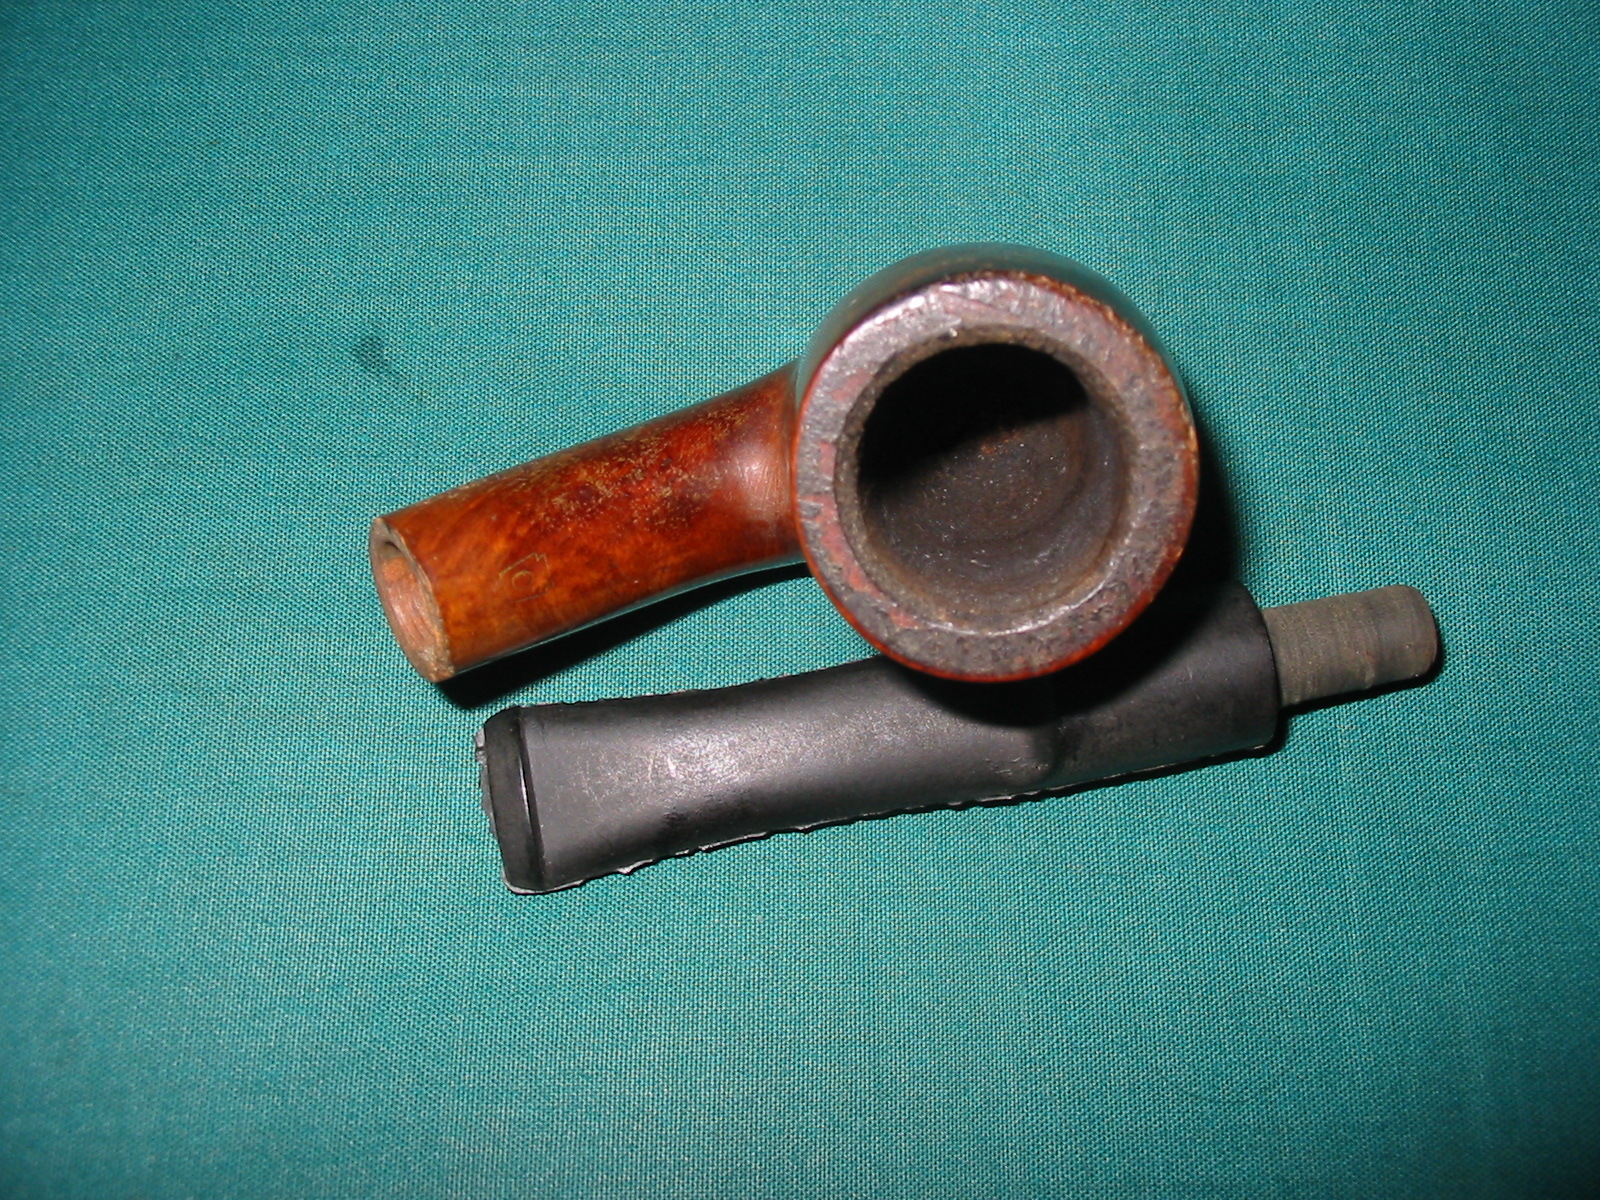
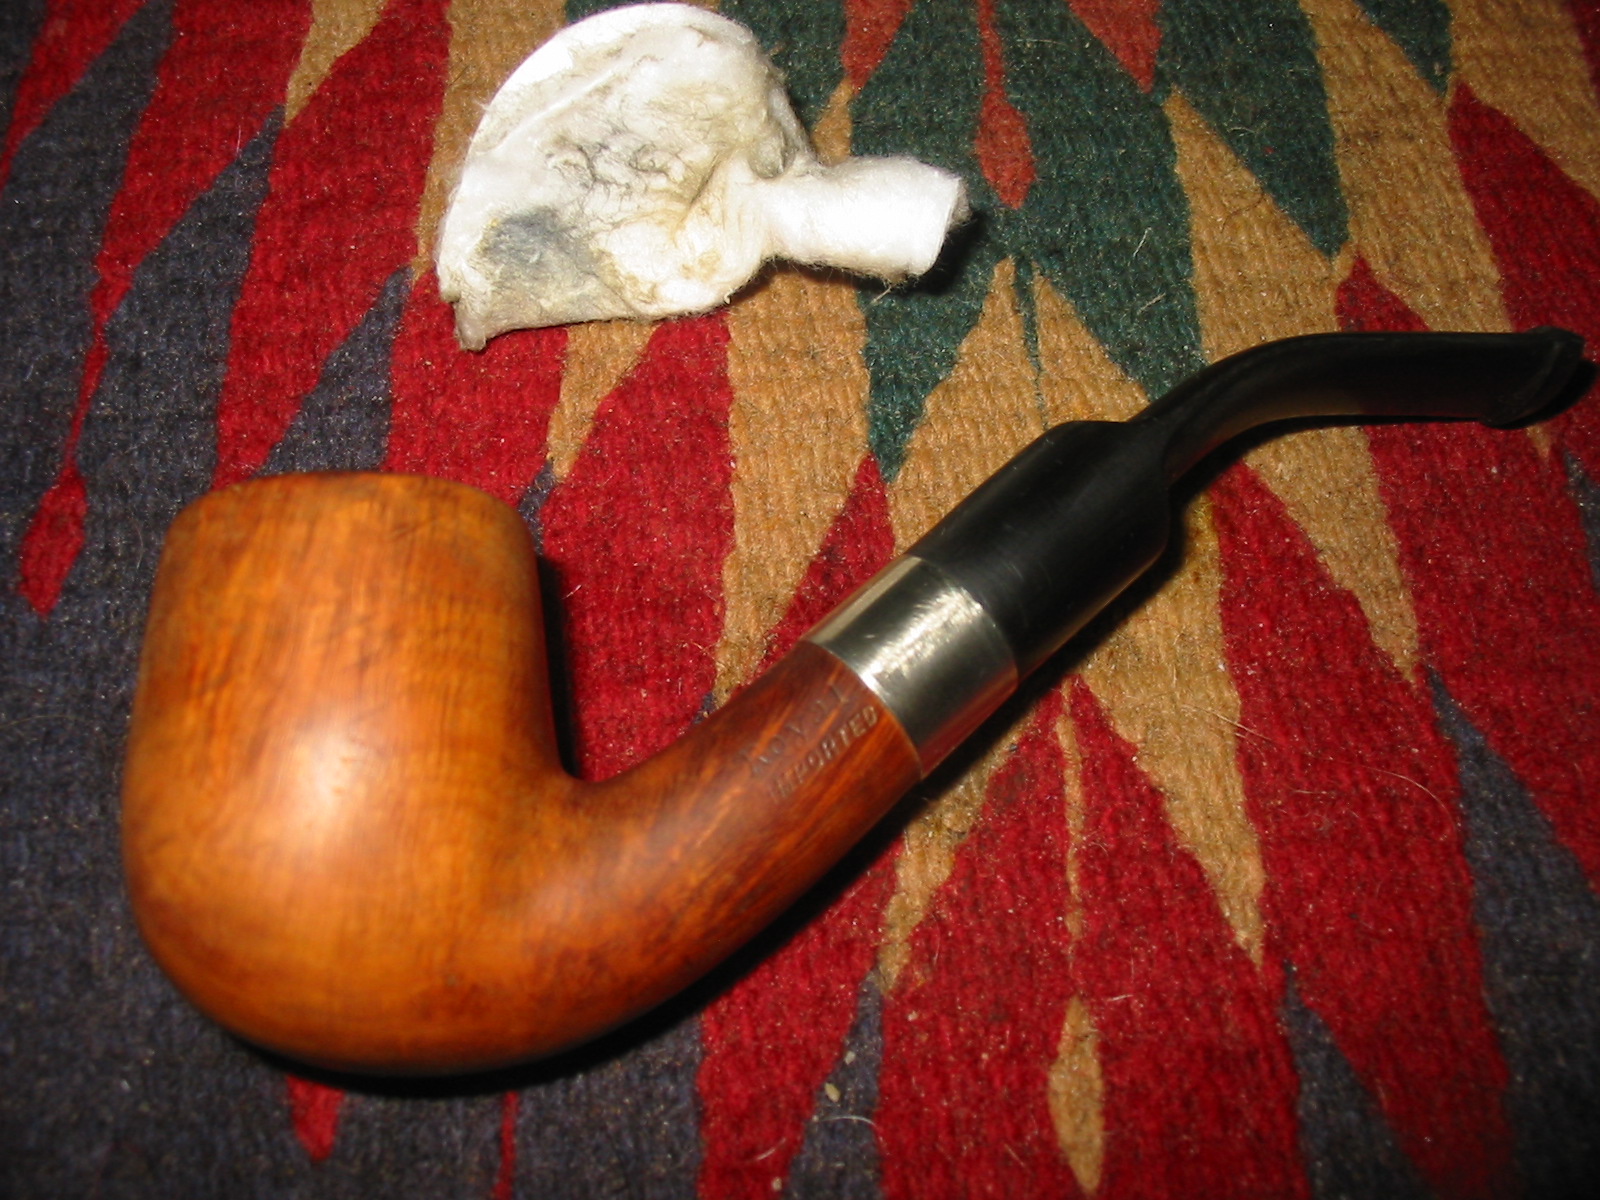
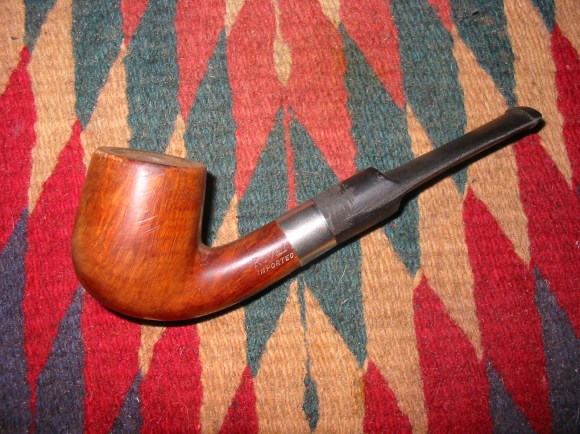
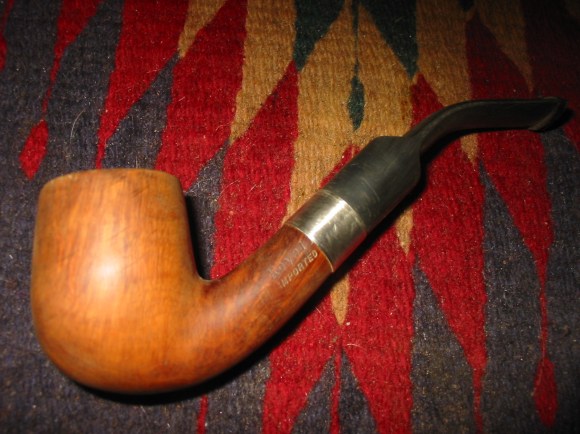
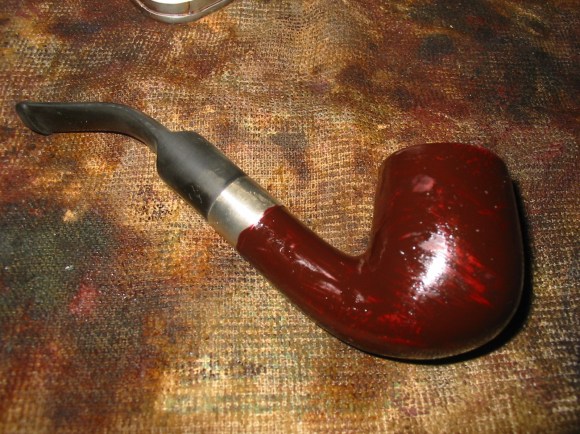
I had this old Royal Duke bowl in my box. It had some promise to my eye but it needed some work. The first thing I did was drill out the metal mortise that took a threaded tenon. I did not have any stems that fit it anyway and I wanted to try something new. The issue that remained once it was gone was the fact that the mortise rough inside and the end of the shank was not square so that there was no way to get a new stem to fit it seamlessly. The finish was very rough as can be seen in the photos below. The varnish on the outside of the bowl had bubbled and blistered. The front edge of the bowl was actually darkened as the varnish seemed to have burned or at least coloured. There were dents in the bowl and the rim was rough. I turned a precast stem with my tenon turner and got it close. I had to custom fit it as the shank was a little tapered toward the end.
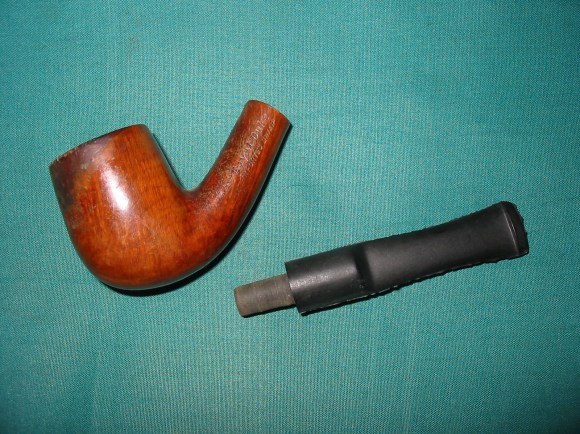
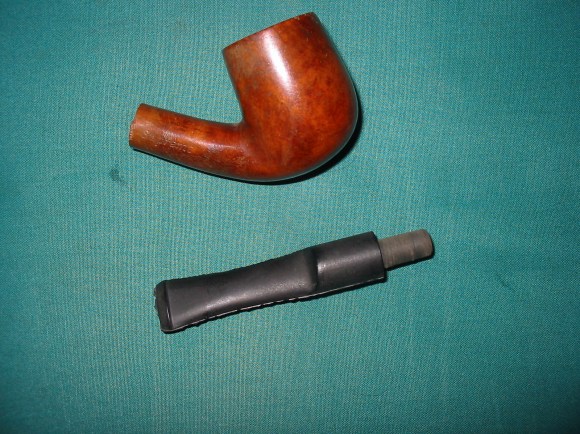

The stem fit fairly well but would take a bit of customizing to get a good tight fit to the shank. It would also need a good cleanup to trim off the castings on the stem. The vulcanite was fairly decent quality as I have had it a long time but it showed no oxidation.

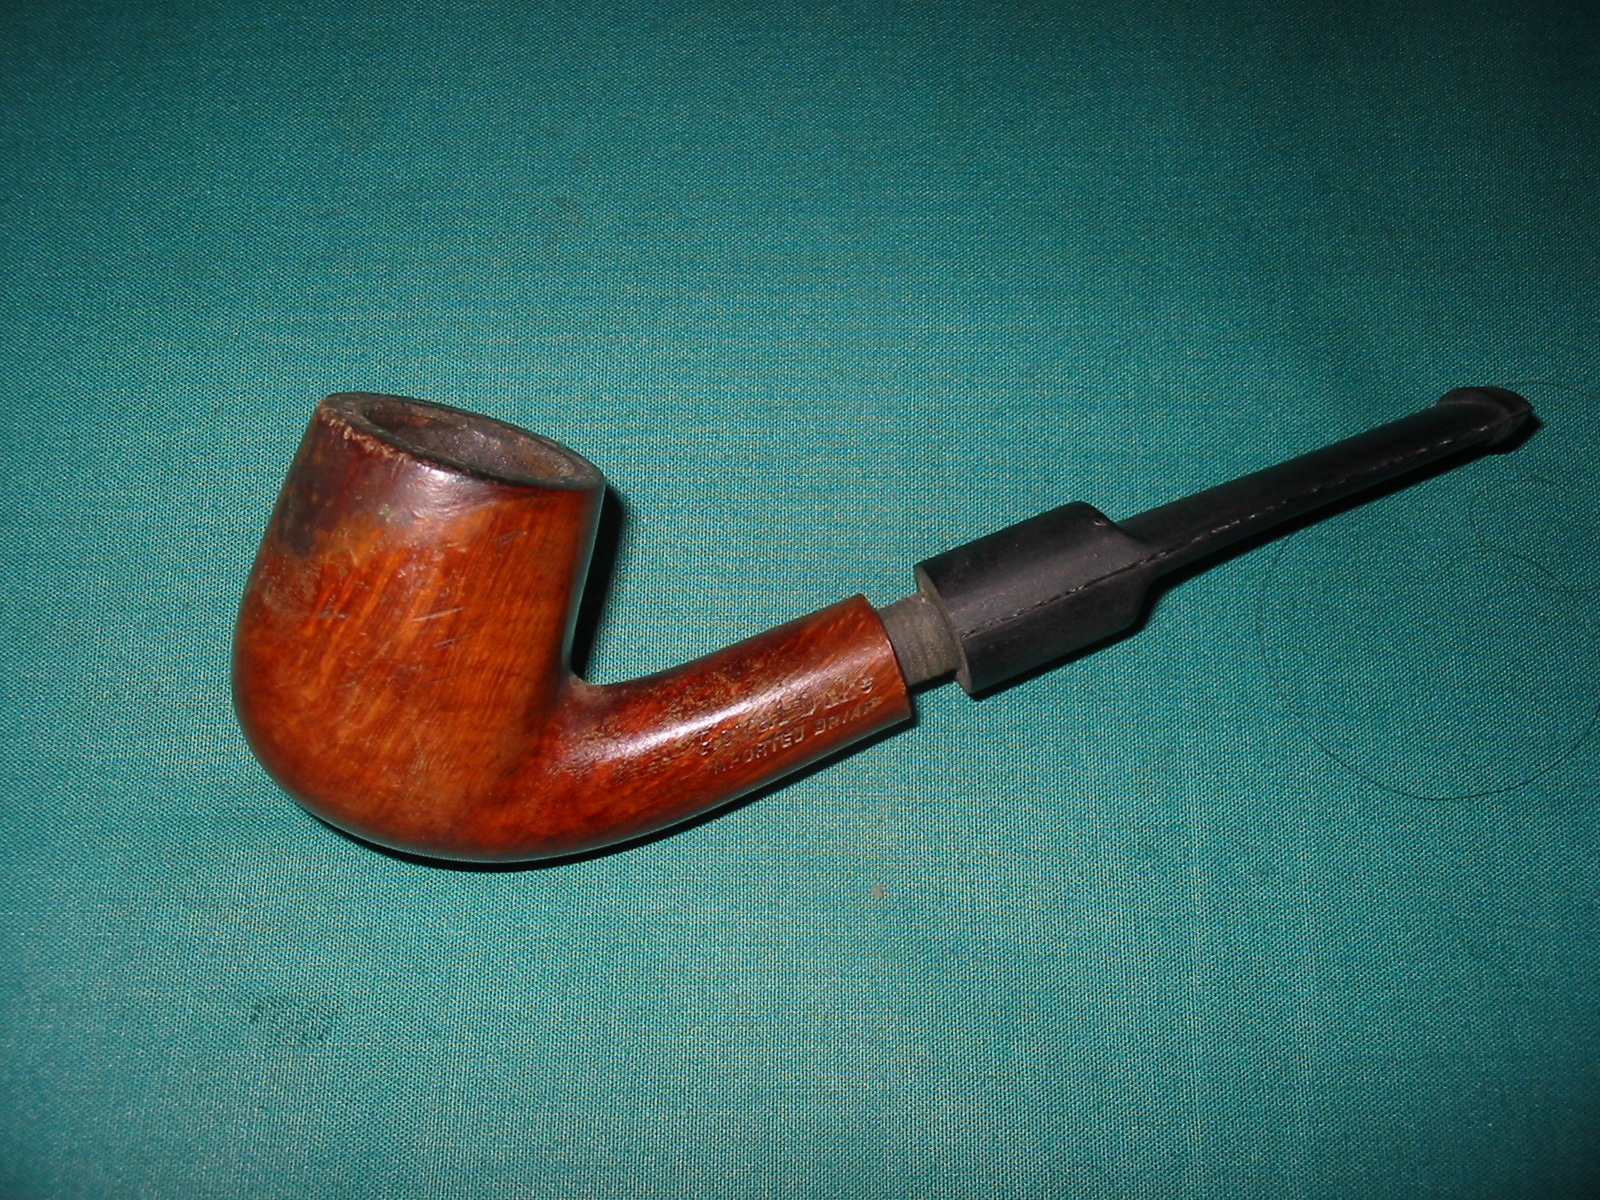
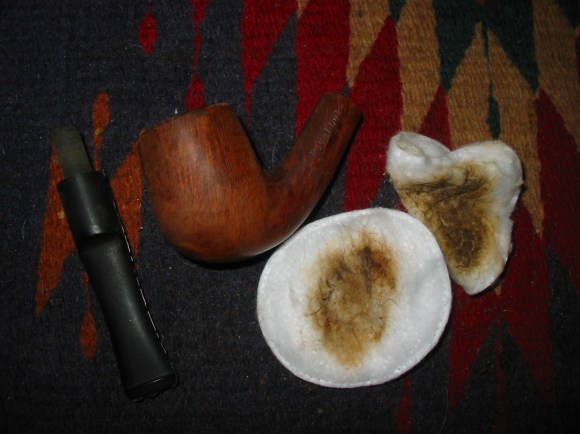
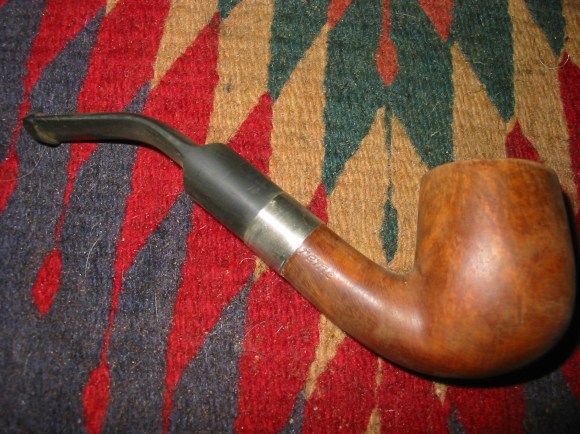
I decided to work on the bowl first to clean up the remaining finish and remove the varnish from the bowl. I also wanted to see if I could remove the darkening around the front and back of the bowl. I washed the bowl with acetone on a cotton pad and cleaned off the finish. It took repeated washing to break through the varnish coat and also the burned and bubble finish. The next two photos show the pads after the wash. You can begin to see the grain coming out on this beauty. That is what drew me to the pipe in the first place and I was glad to see that it was truly there.
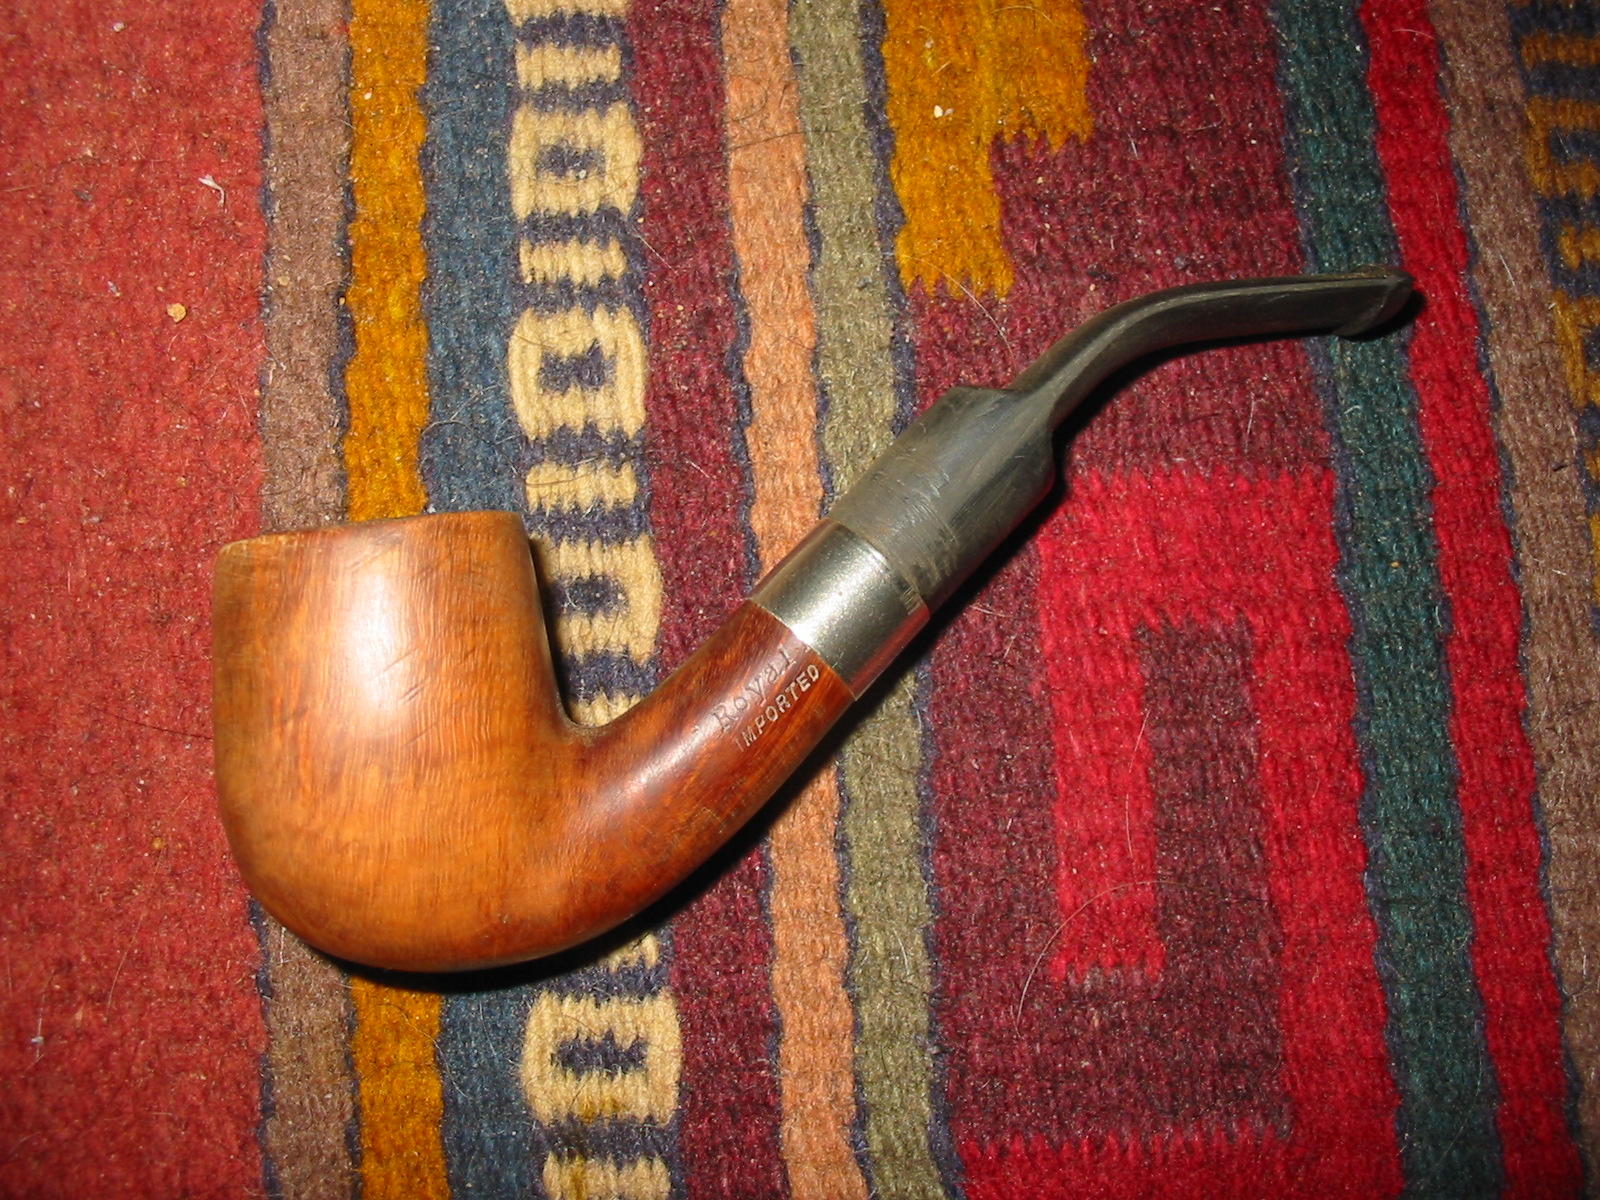
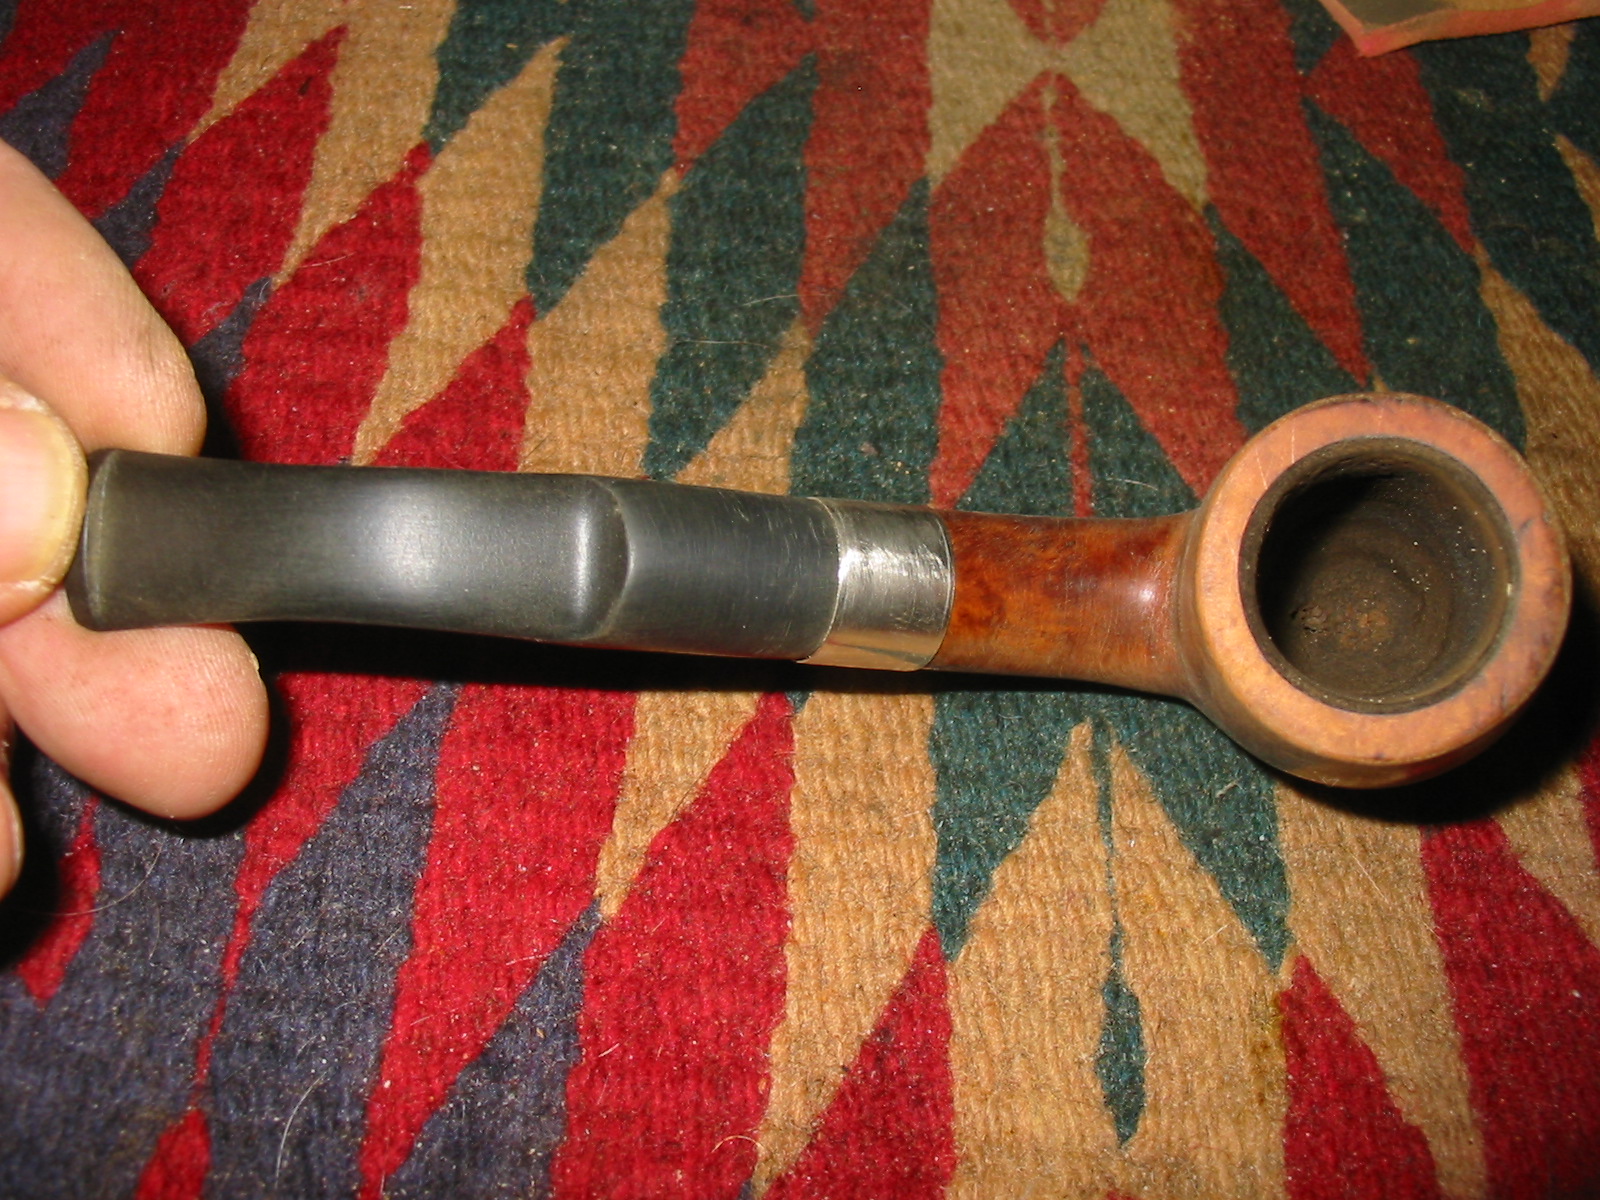
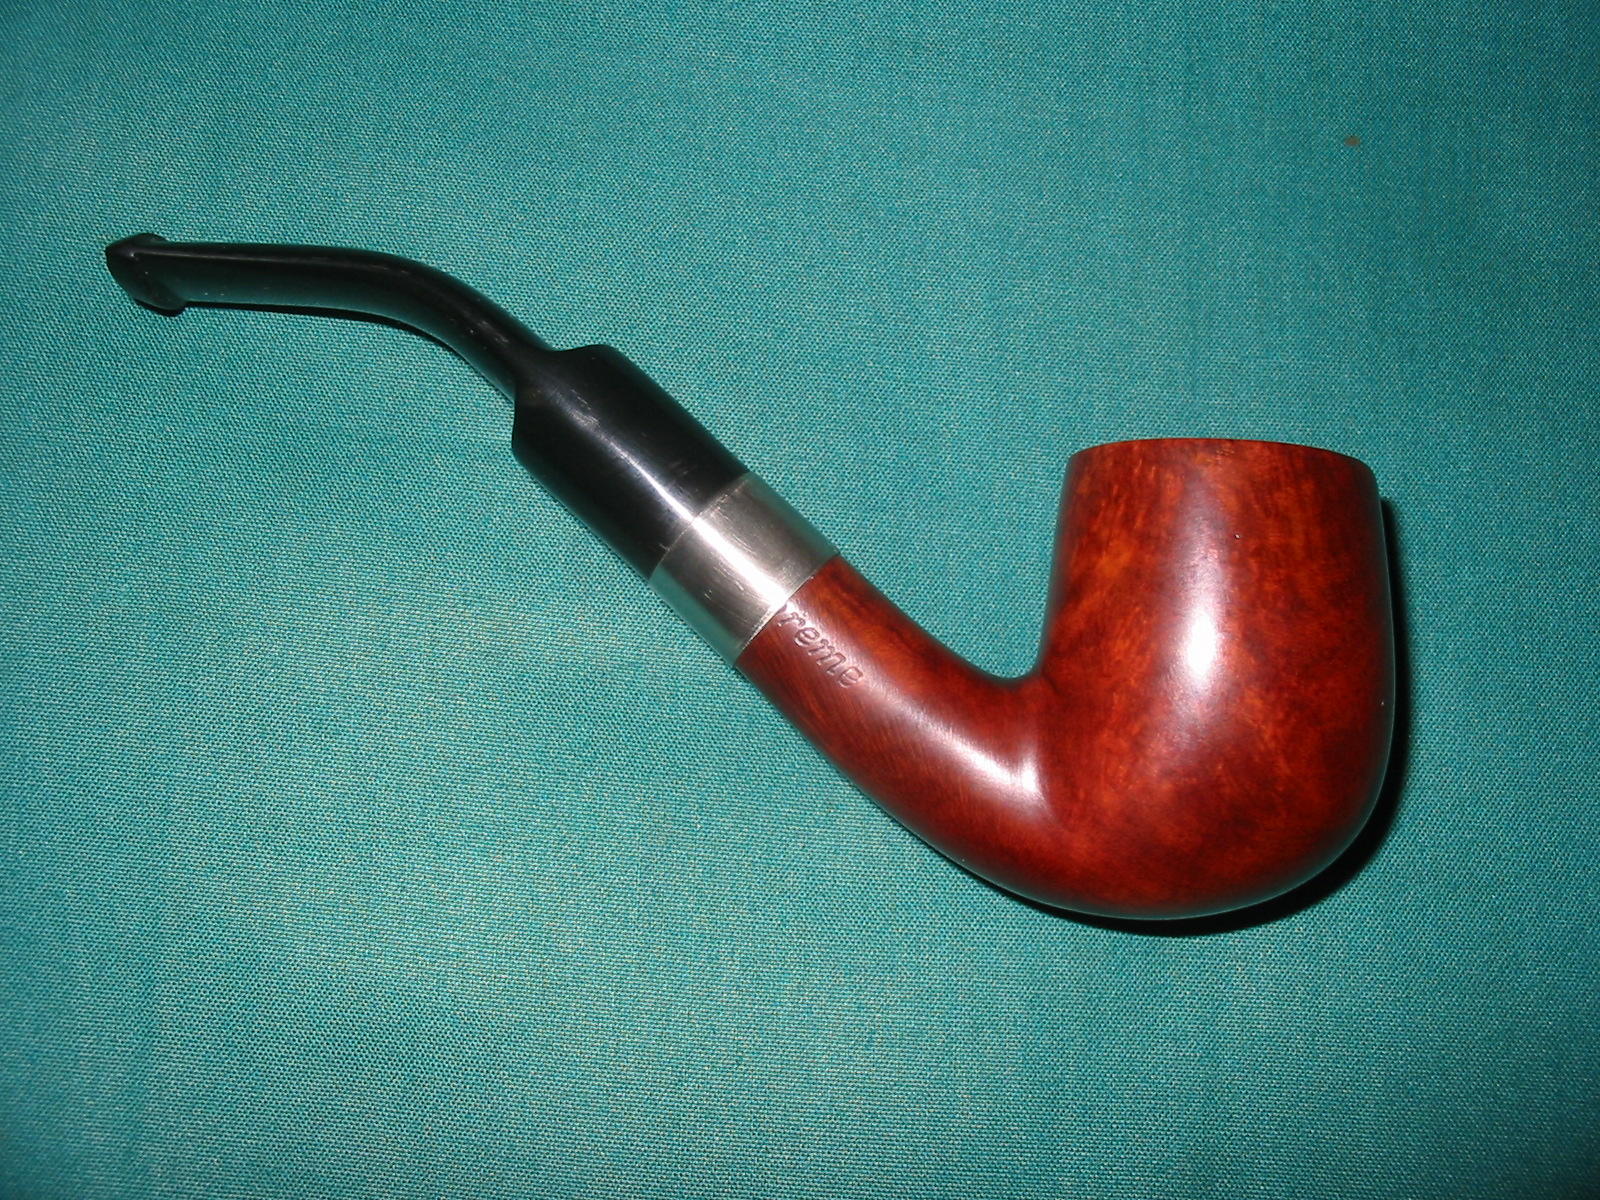
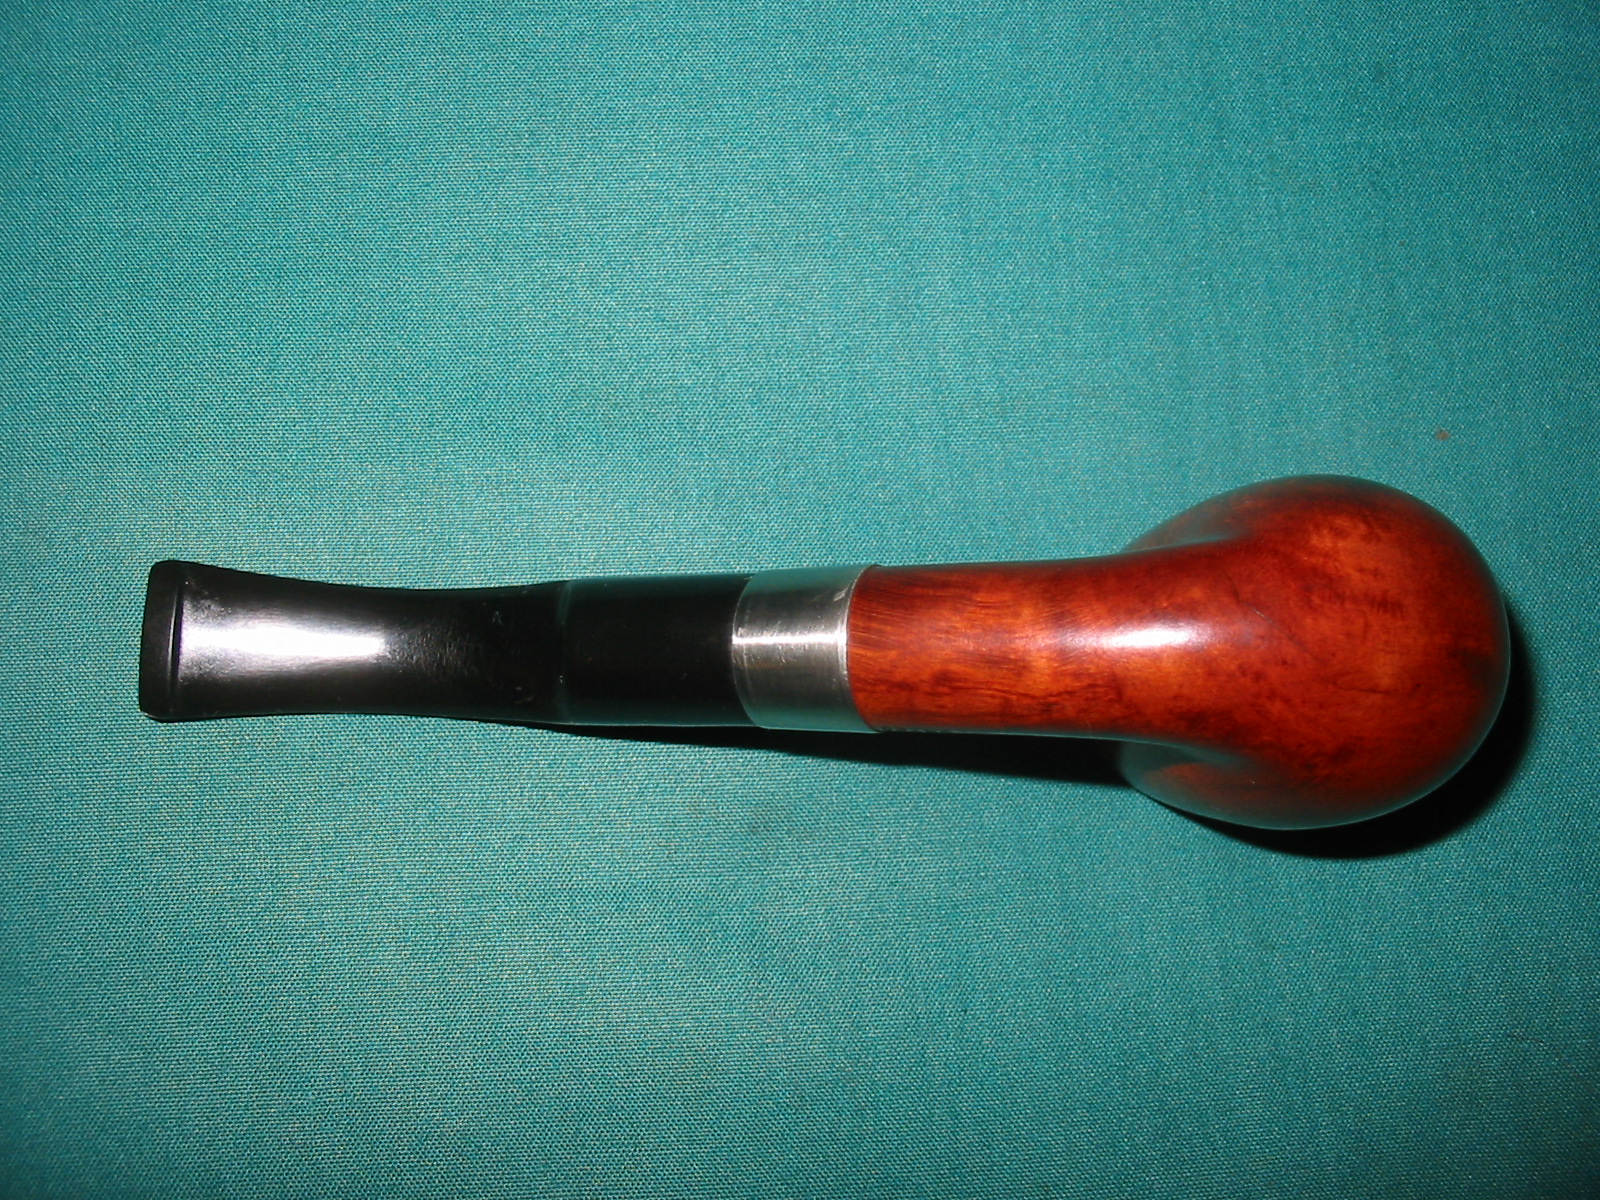
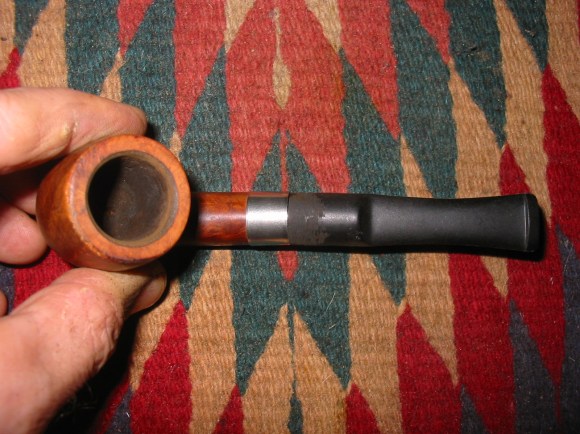
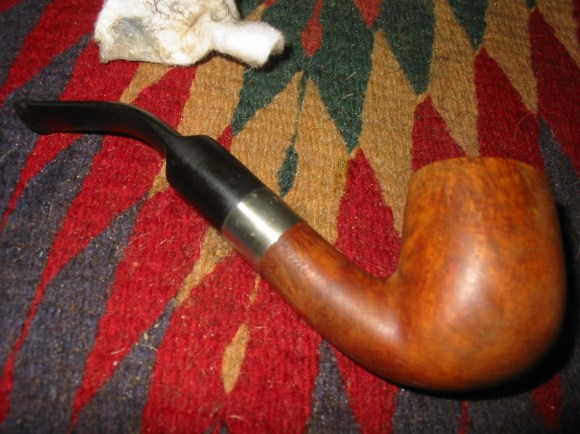
I repeated the washing until the pipe was clean and had no remaining finish coat. The dark undercoat of stain still remained and light brown topcoat also was still present. This is clearly seen in the photos below. I worked on the fit of the stem and tapered the tenon enough to get a good snug fit to the bowl. I also used my Dremel to remove excess vulcanite from the top and the sides of the stem so that it lined up smoothly with the shank of the pipe. It was at that point I decided to pressure fit a nickel band to the shank to square things up a bit. There was no way that the stem and the shank would meet squarely as the shank was a bit angled and dented from the metal inserted mortise. The previous mortise had been threaded in and it had a thin band or flat top on it that sat against the briar. It was also patched a bit with putty to make the flow from the shank to the insert smooth. I fit the nickel band with heat and pressed it into place. I liked the finished look of the band and it gave me a straight edge to work with on the new stem. I again used the Dremel with a sanding drum to shave off more of the vulcanite and make the stem fit against the band inside edge. The next two pictures below show the stem after the fit and the shaving with the Dremel. You can see the rough surface on the saddle and the cleaned up edges of the cast stem and the button.
I then sanded the bowl and the stem with 240 grit sandpaper to remove the scratches in the briar and also on the vulcanite stem. It took quite a bit of sanding to smooth out the saddle of the stem. The next five photos show the progress of the sanding on the stem. I also sanded the bowl to remove the remaining finish and scratches. I topped the bowl and smooth out the inner and outer rim to remove the damages to them both. I also used my heat gun to put the bend in the stem. I have a curbed dowel here that I put the heated stem on to ensure that the bend is straight and that I do not crimp or bend the stem unevenly.


Once the sanding was at this point I wiped the bowl down with Isopropyl alcohol. I find that it removes any sanding dust and also the wet look shows me places where I still need to sand the bowl and stem. Once that was done I sanded the bowl again with 400 and 600 grit wet dry sand paper and water. I progressed through micromesh sanding pads 1500-12,000 grit – the first four pads with water and the remaining ones dry sanding. Once it was completed and smooth I wiped it down a final time before staining it.

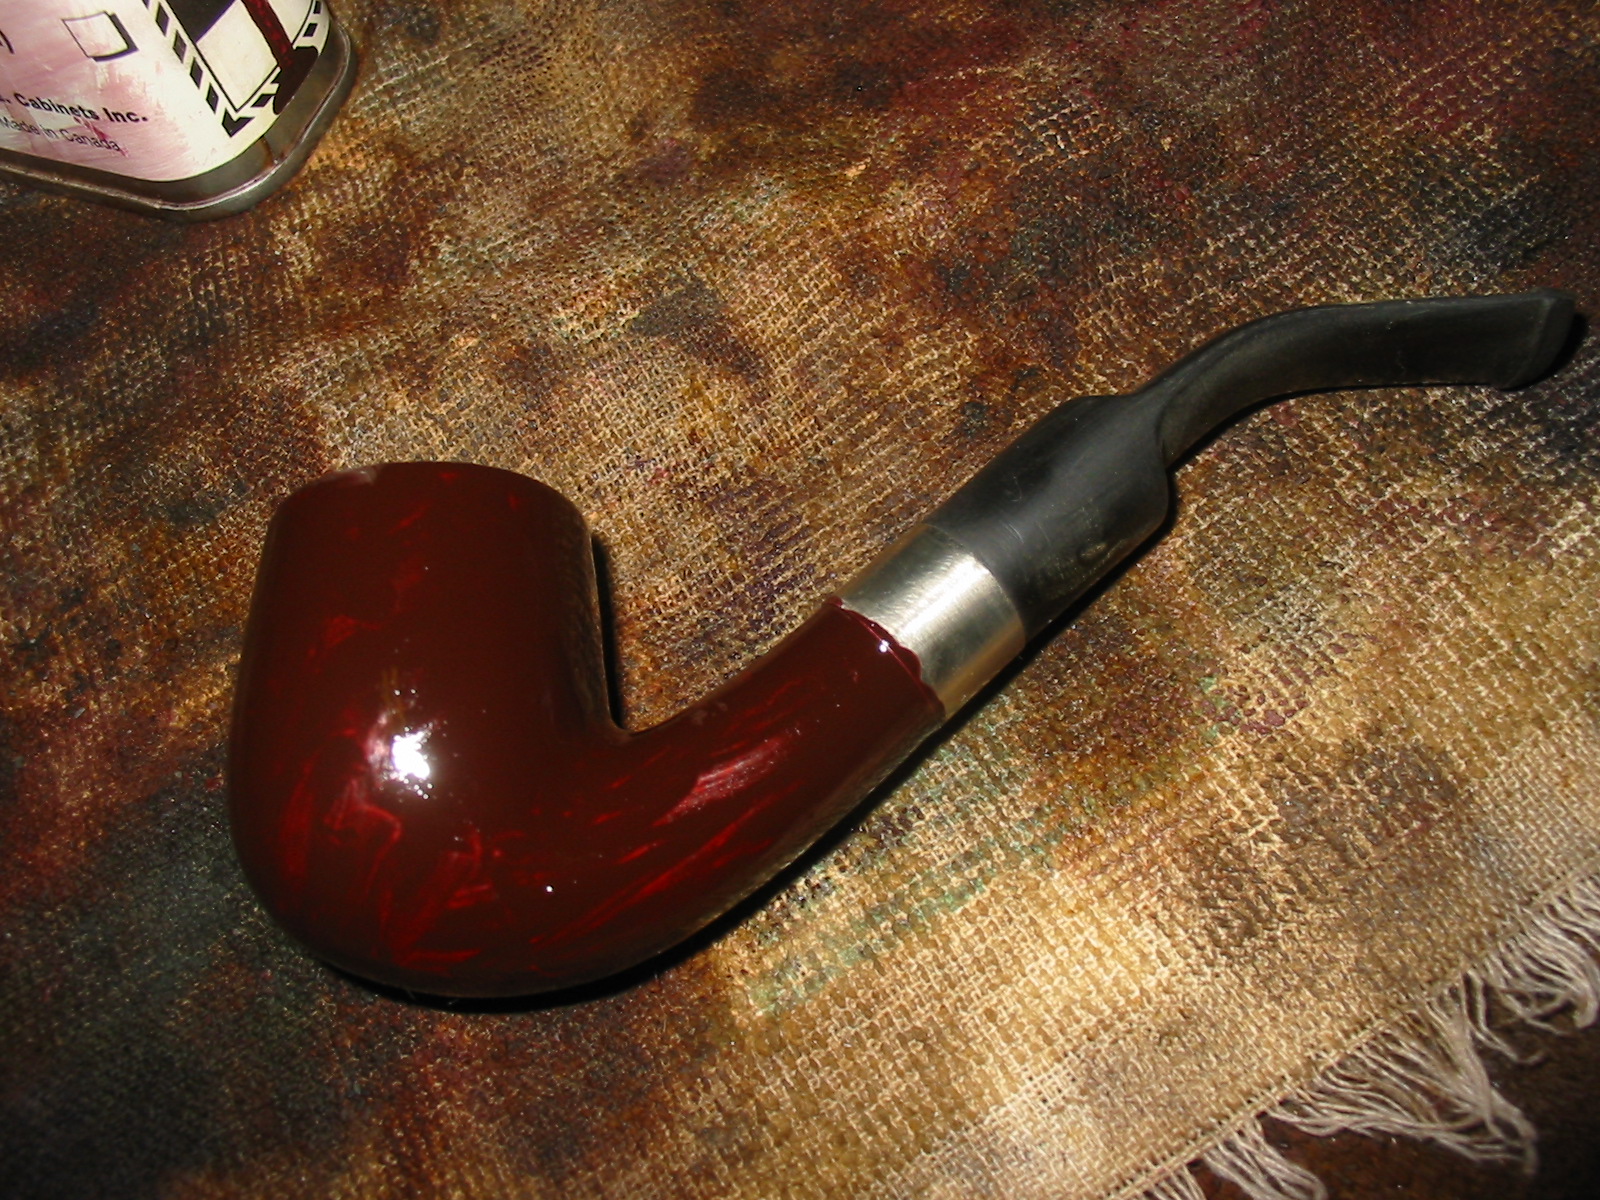
While I was sanding the pipe and working on the stem I tried to visualize what stain I wanted to use on this pipe. At this point remember I was not trying to restore the original Royal Duke colouration. I was working a new pipe out of this piece of briar even though I left the stamping. I decided to go with an oxblood aniline stain. I applied it with a cotton swab, flamed it and then took it to my buffer and buffed it with White Diamond.
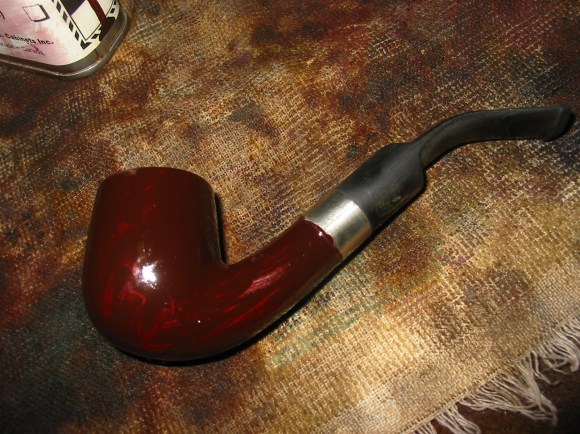
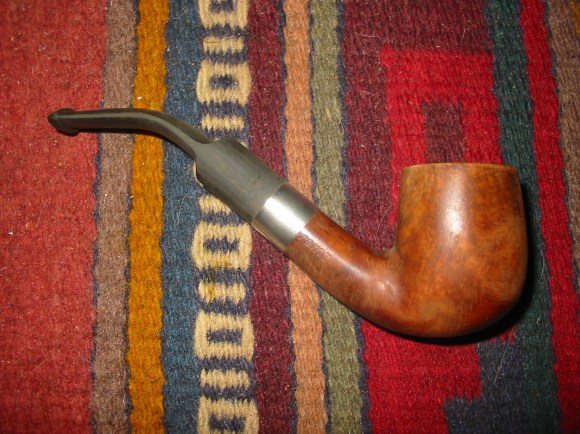
The next three photos show the pipe after the buffing with White Diamond. I had not applied any wax at this point nor was I finished working on the stem. The colour came out better than I imagined. The dark under notes of the grain come through nicely in the finished pipe. The light areas have a reddish brown hue that is a bit lighter as the pipe has been waxed and buffed.

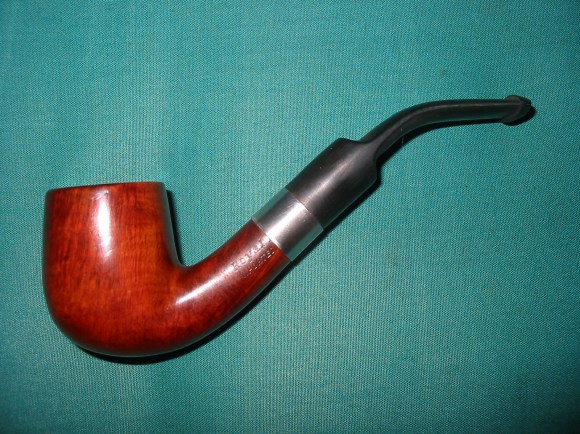

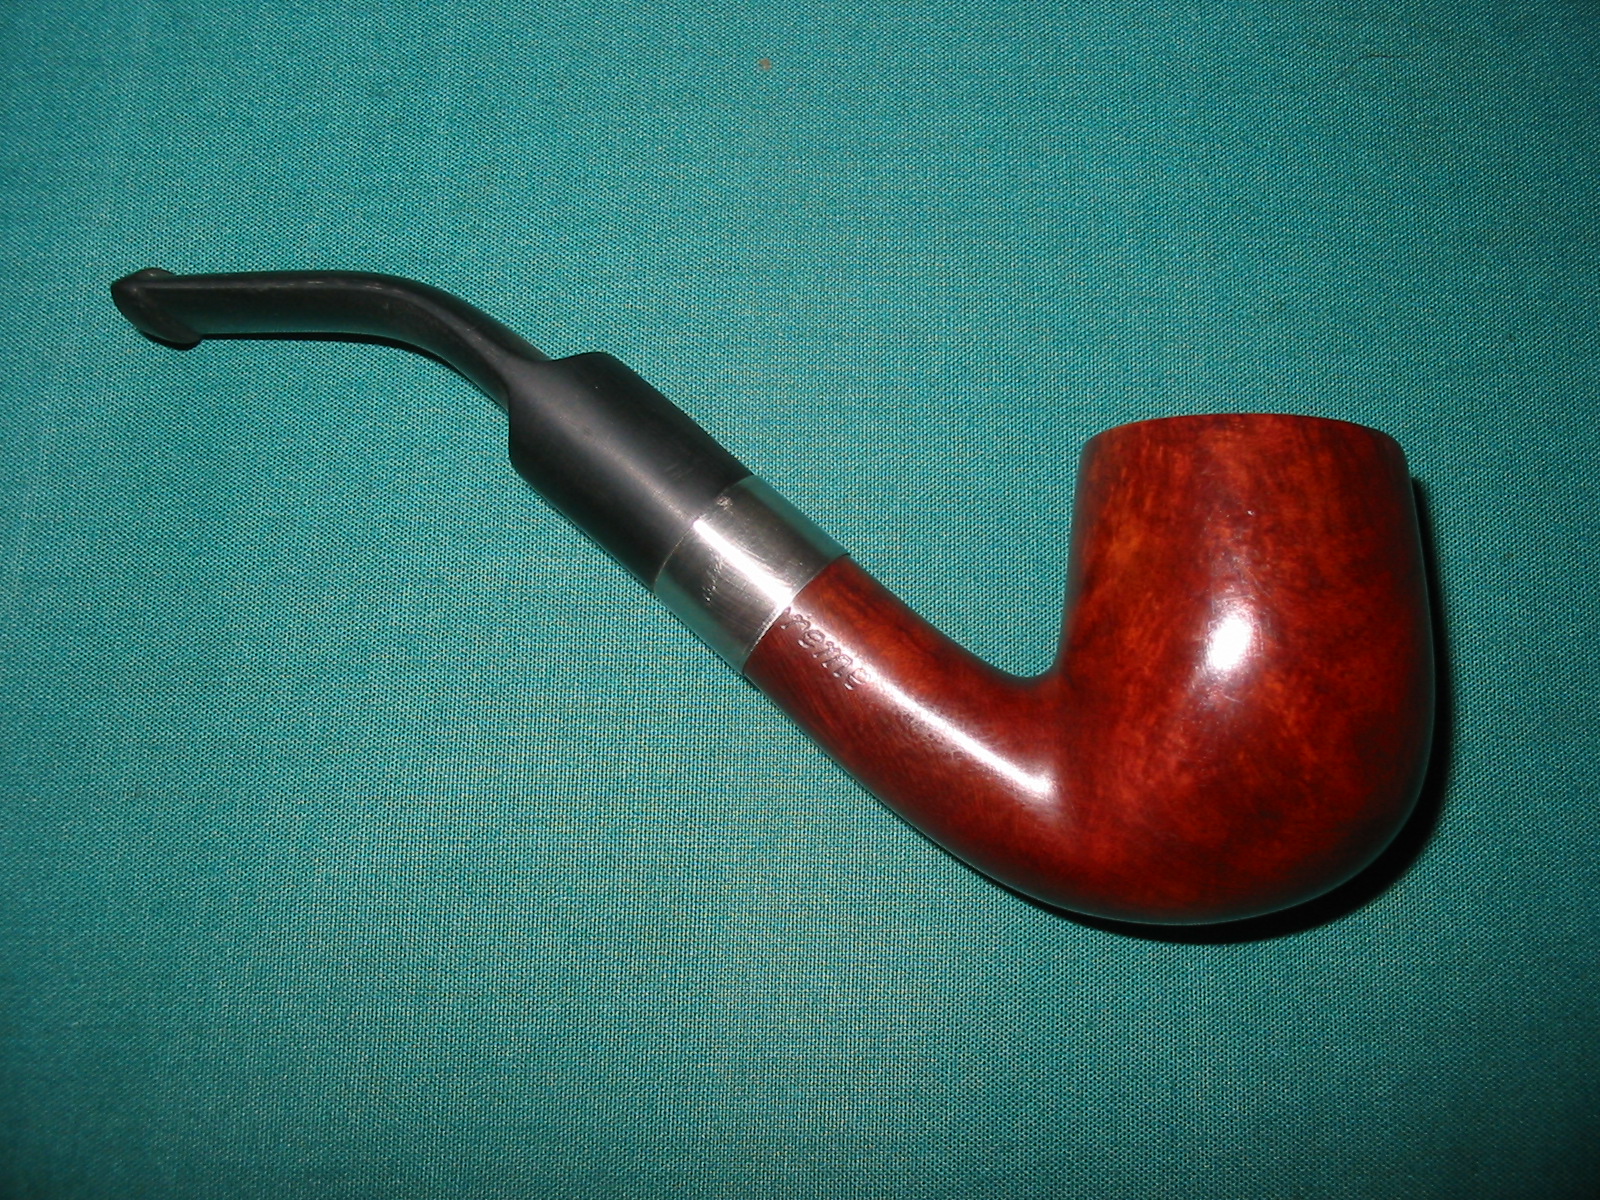
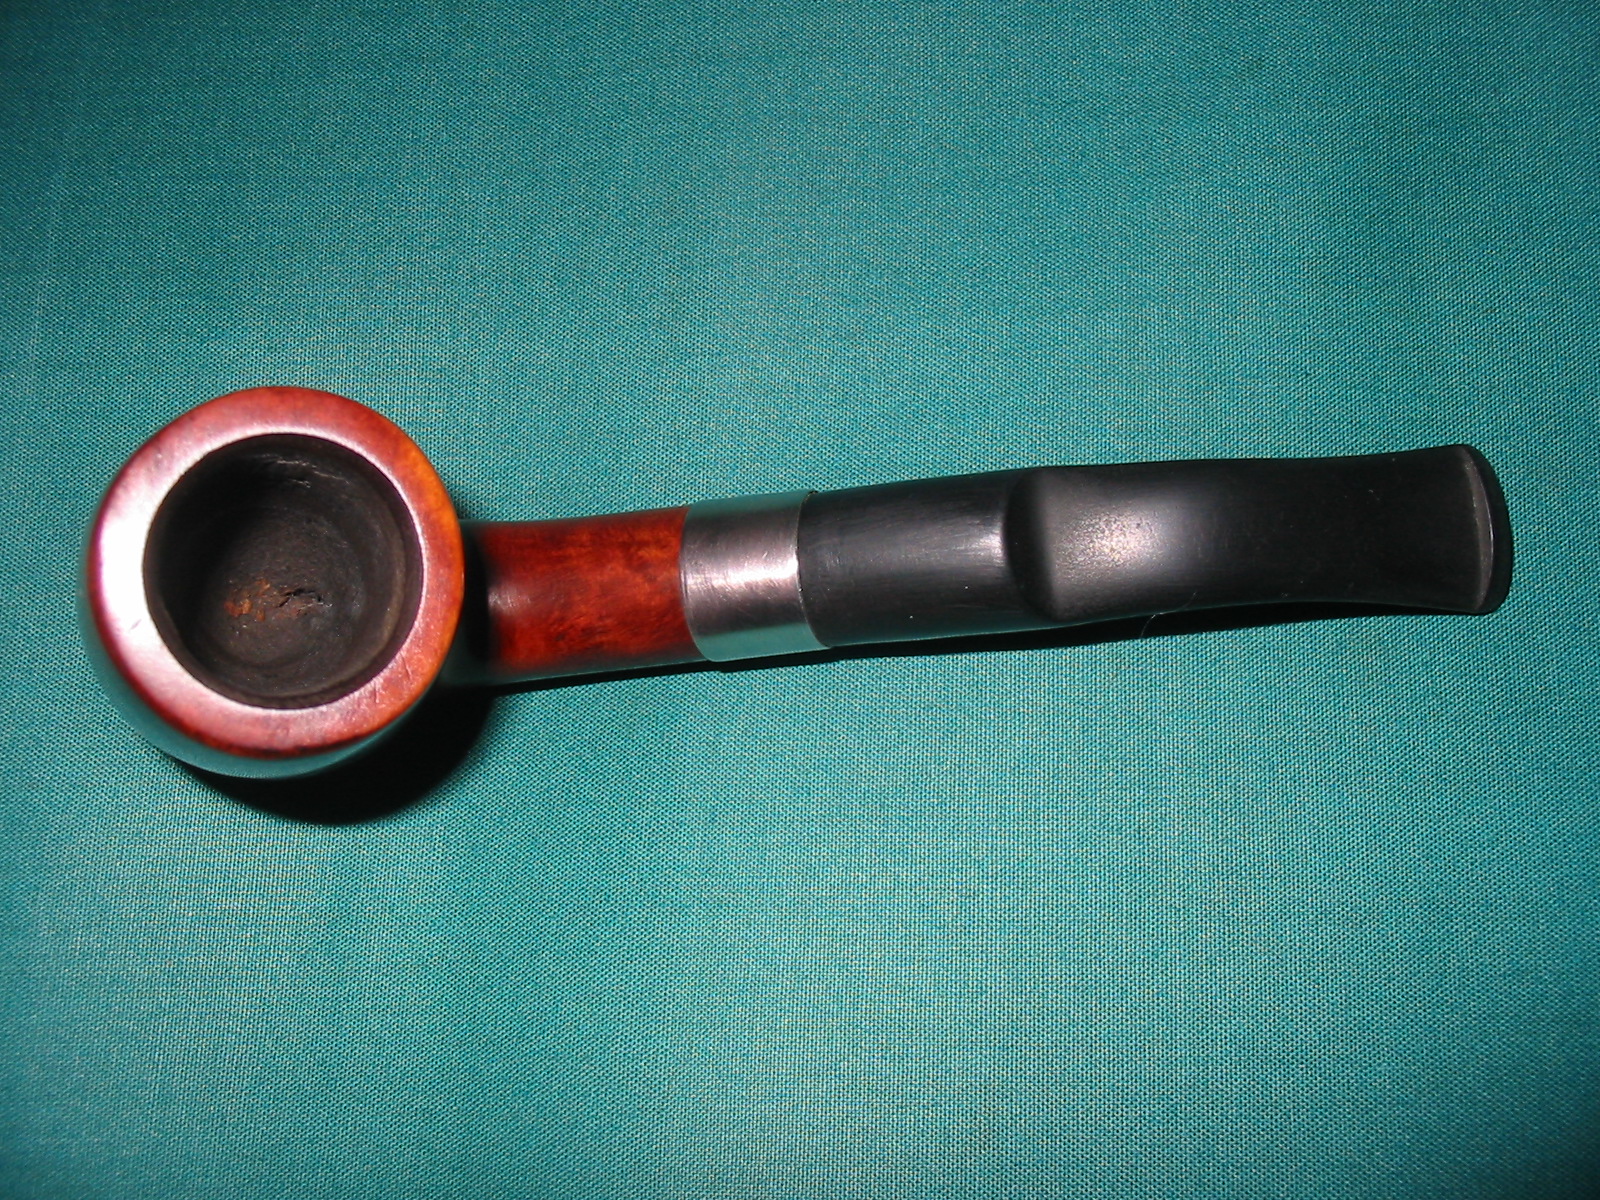
Once the pipe was stained I coated the bowl with multiple coats of carnauba wax to protect the new stain while I worked on the band and the stem. The nickel bands shine up really well with the higher grit micromesh sanding pads. I sanded the band with the 6000-12,000 grit pads and then polished it with some wax as well. I moved on to the stem. I sanded it some more with 240 grit sandpaper to remove some more of the scratches in the saddle area left by the Dremel. I then sanded it again with the 400 and 600 grit wet dry and water to smooth out the lesser scratches left behind by the 240 grit sandpaper. I went on to use 1500-3200 wet micromesh sanding pads to polish up the stem some more. These early grits of micromesh leave behind a matte finish as they sand out the scratches. It takes the grits above 4000 to really see the depth and polish that is there when finished. Once I used the lower grits I then polished the stem using Maguiar’s Scratch X2.0 polish and rubbed it on with a cotton pad and polished it off. I buffed the stem with White Diamond following this to see what I needed to work on.
I took the stem back to my work table and used the higher grits of micromesh. I started with 3600 and worked through 4000, 6000, 8000 and 12,000. Once I finished I buffed it again with the White Diamond and then coated the stem with Obsidian Oil and let it sit while the oil soaked the stem. I hand buffed the oil with a soft cotton cloth and then polished it with some carnauba wax paste and then buffed the entire pipe with several coats of carnauba. I buffed it with a clean cotton buff between coats of wax. The final photos are of the pipe as it stands now.