Blog by Andrew Selking
I have been following Andrew’s refurbishing work on Pipe Smoker Unlimited Forum for quite some time now and decided it was time to ask him if he would be willing to write some of his work up with photos for the blog. I sent him a message and he responded that he was glad to do so. I am happy to be able to present him to the readers here. He has been doing some great work in restoring pipes and has some great adaptations and innovations in terms of tools and equipment used to restore pipes. Besides he also takes amazing photos compared to me! Thanks Andrew for being willing to write for us here. So without further words from me I turn it over to Andrew.
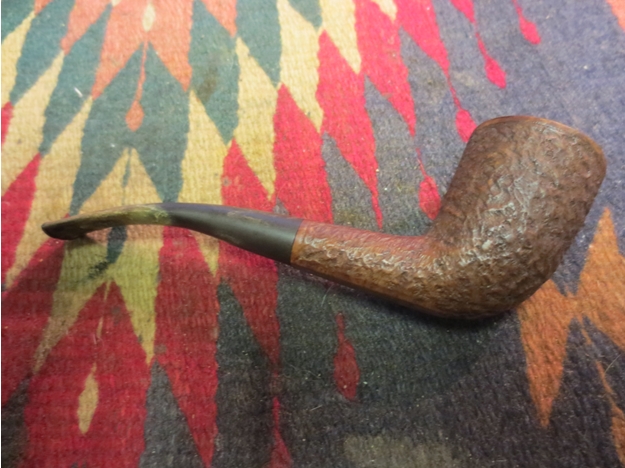
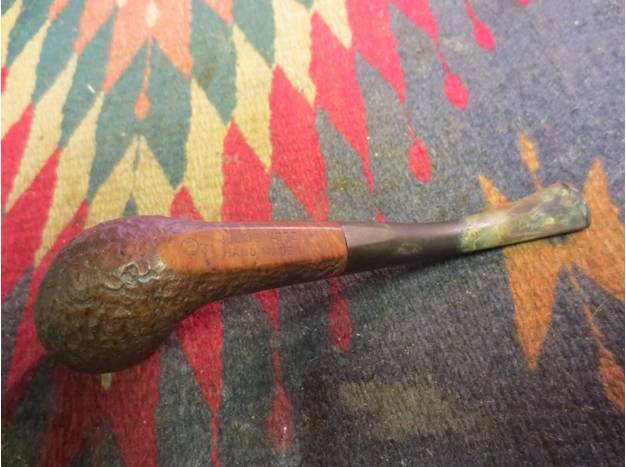
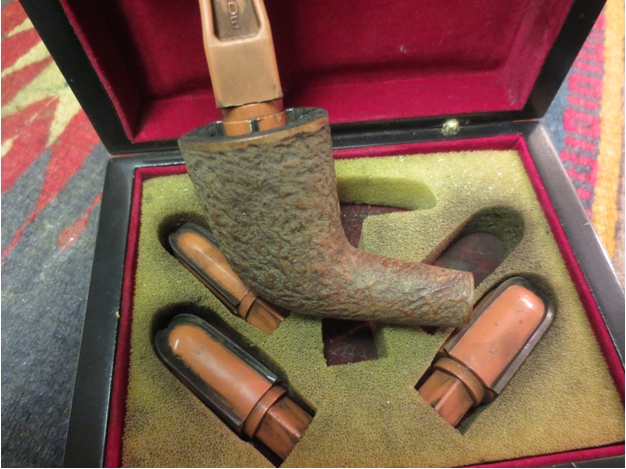
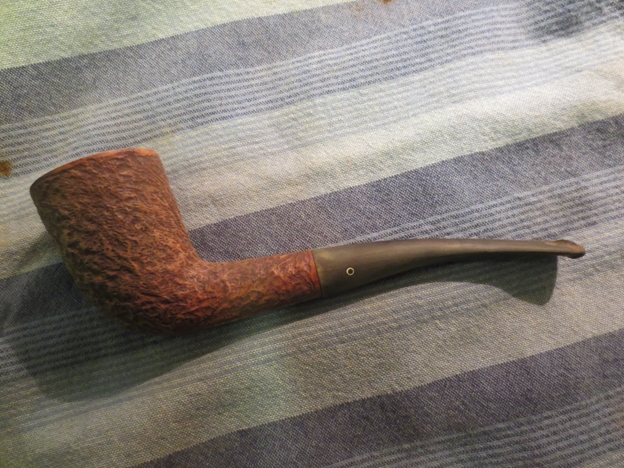
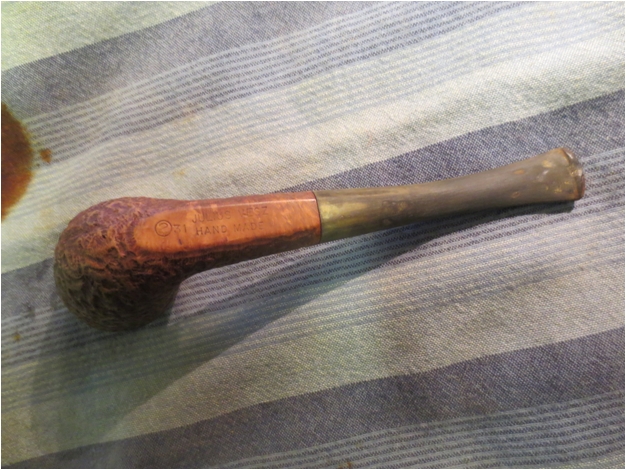
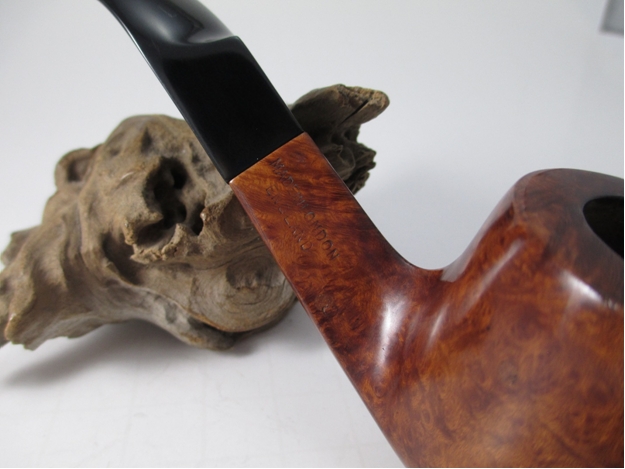
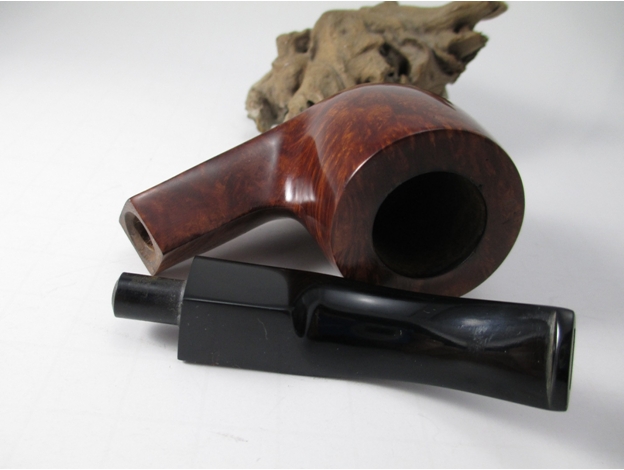
It was a great honor when Steve asked me to write up a restoration for his blog. This pipe came in a lot of three. It’s a very chunky, diamond shank pipe marked Made in London England. It has a couple large fills near the end of the shank, one on the bottom of the bowl, and one on the rim. It also has an amazing feel in your hand and some very pretty cross grain. I decided to do this one for myself.
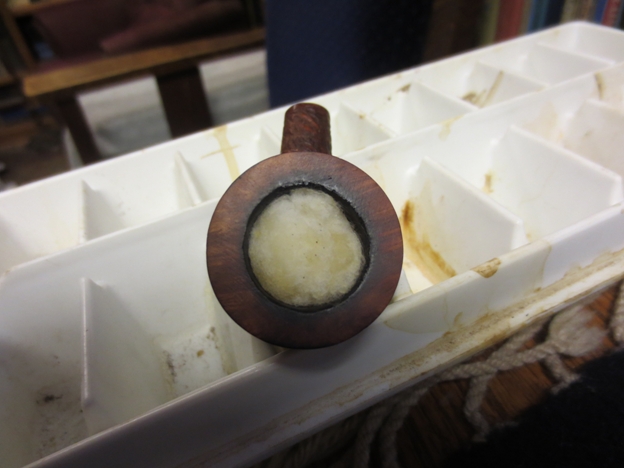
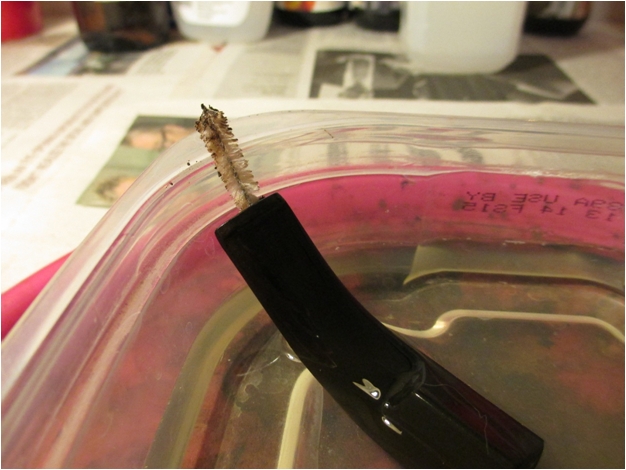
The first thing I do with all of my pipes is soak the bowl in isopropyl alcohol, usually for at least 24 hours. This serves multiple purpose; loosens the gunk inside the pipe (especially in the shank), makes the cake easier to remove, and usually takes of the exterior finish and softens any fills. Here is the bowl taking a bath.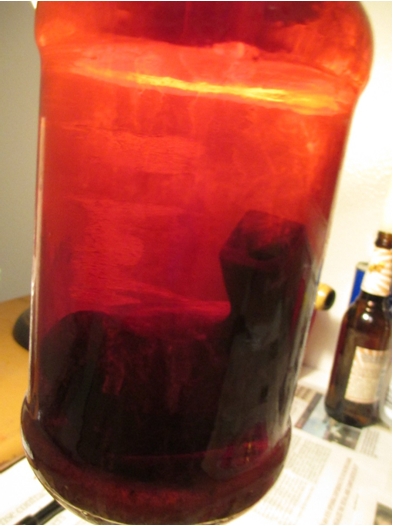 While the bowl marinated, I soaked the stem in a solution of hot water and Oxyclean. After sitting for several hours, I rinsed the stem under running water, this removes some of the oxidation. Next I took a pipe cleaner and used the Oxyclean solution to remove the built up tar and tobacco from inside the stem.
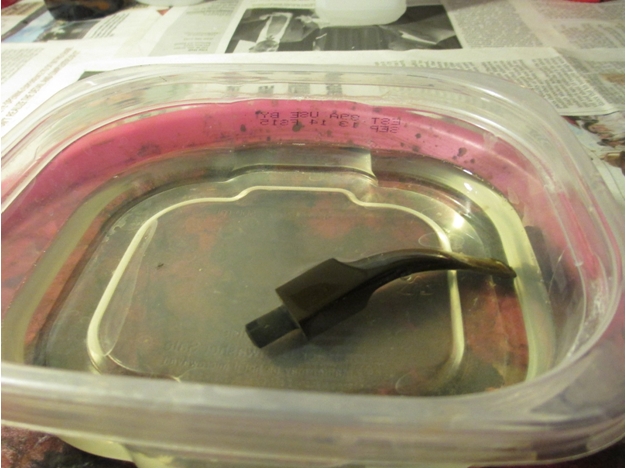
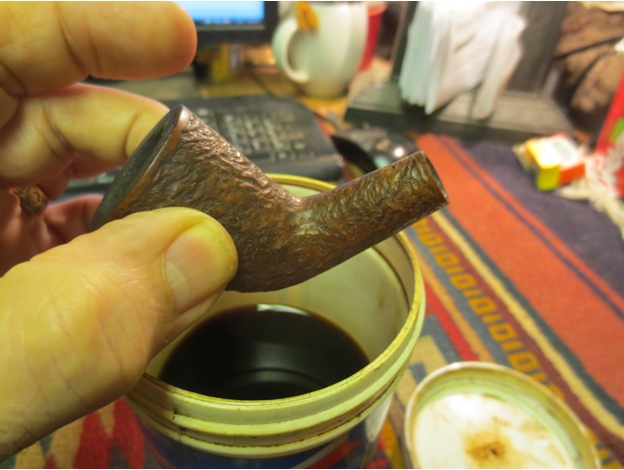
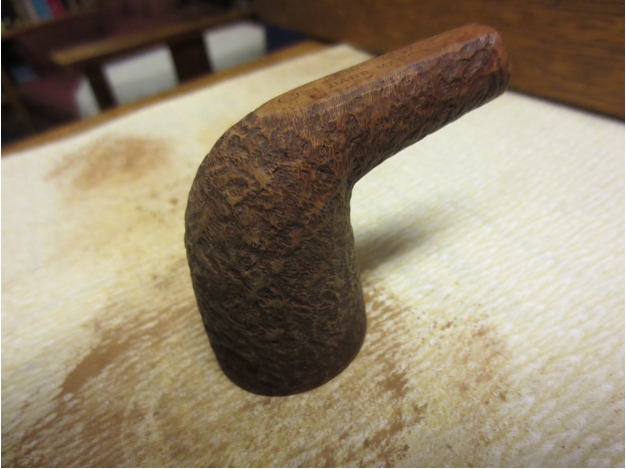
 I set the stem aside and turned my attention to the bowl. In the case of this pipe, the alcohol was not enough to remove all of the finish. When this happens, I use 0000 steel wool soaked in acetone. The steel wool is fine enough that it doesn’t damage the stampings on the shank, but aggressive enough to make short work of any remaining finish.
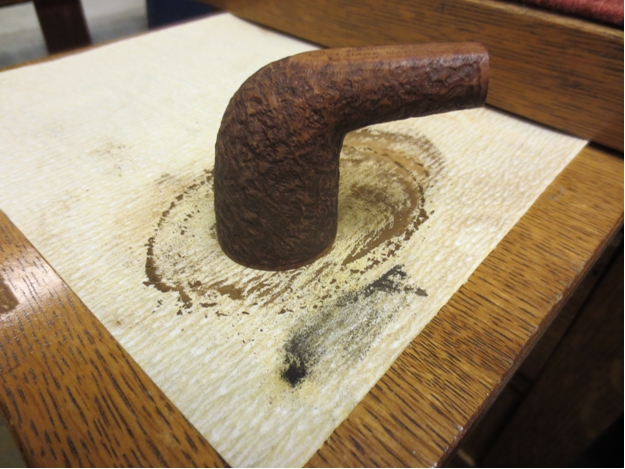
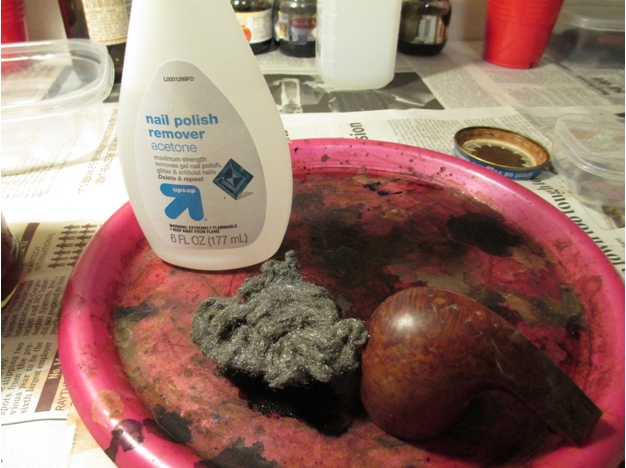 Next I turned my attention to the bowl. I use a Castleford reamer (available on eBay for around $20.00) to remove the cake.
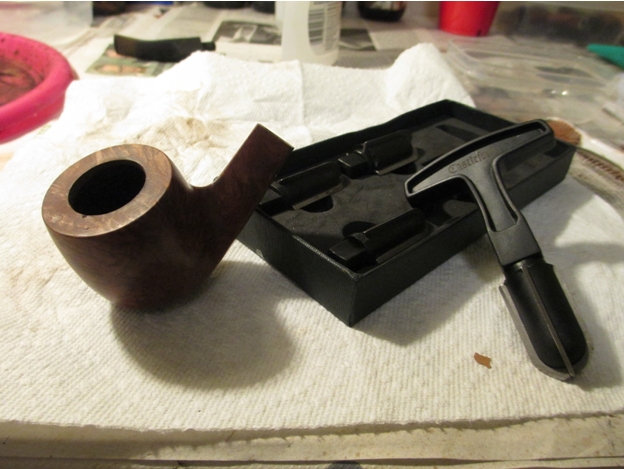 I usually go down to the wood. I’ve found it’s better to use a reamer that is slightly smaller than the inside of the bowl to prevent damage to the wood.
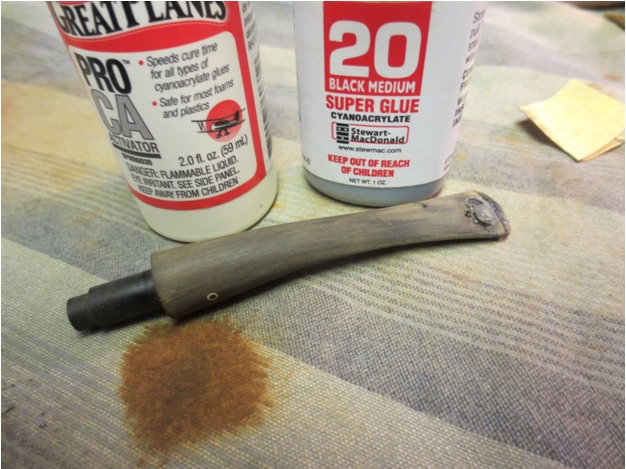
Next I worked on the shank. I have some small brushes that I bought in the baby section at Walmart (normal people use them to clean baby bottles, but I find they work great for the shank of a pipe).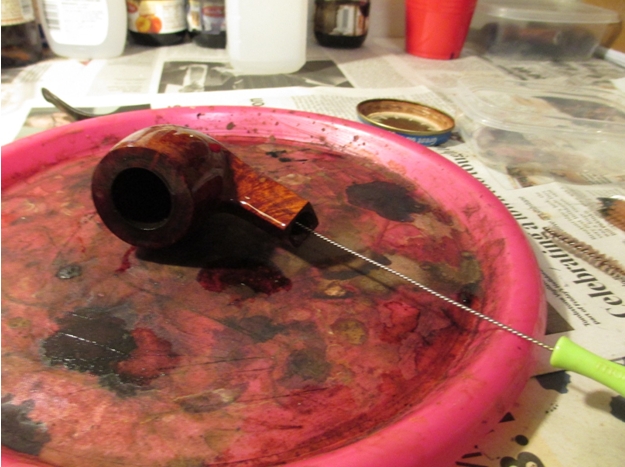
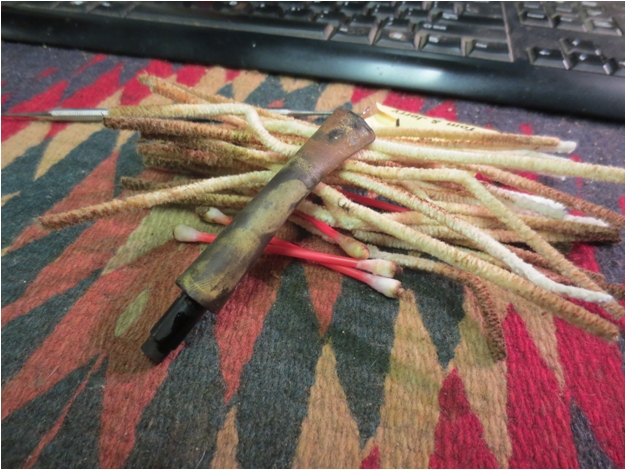
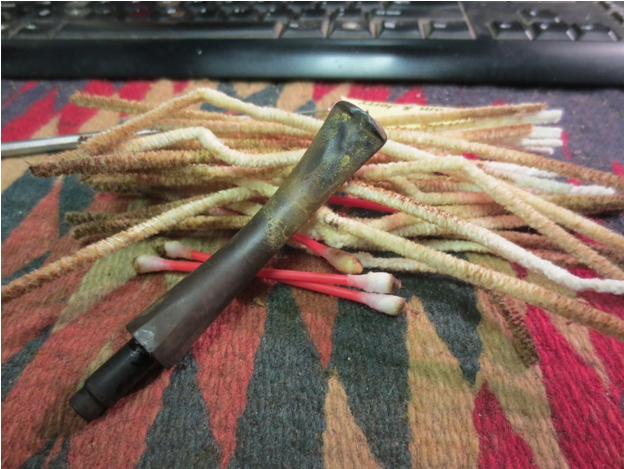
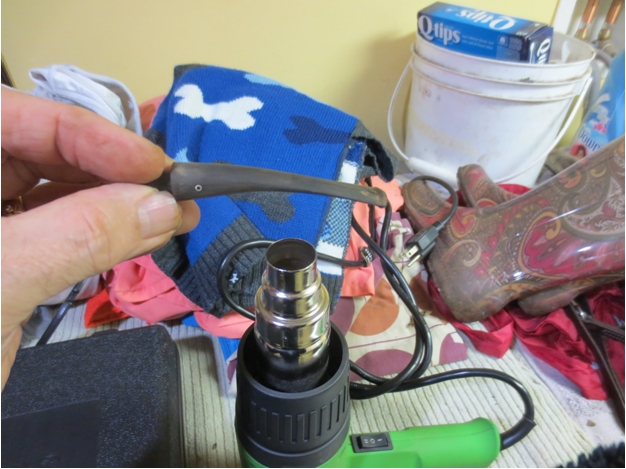
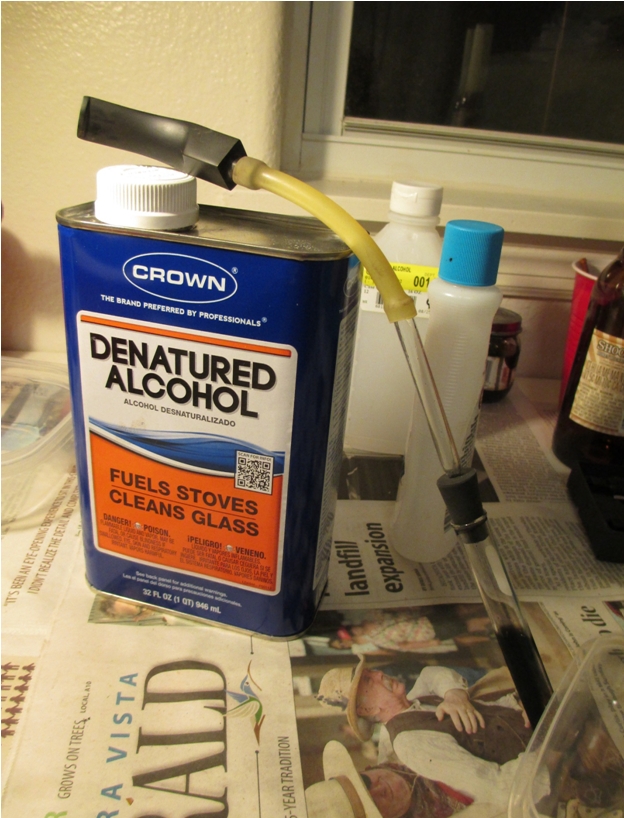
 Although the brush gets most of the gunk out, I use a retort to really clean the inside of the shank and the stem. I started using this method when I couldn’t fit the end of the rubber tube over the wide button on a pipe. The tenon was a perfect fit and the tube also fits perfectly into the shank. This saves a lot of time and pipe cleaners. After doing the retort, I run one pipe cleaner through the stem and a pipe cleaner and q-tip through the shank and it’s done.
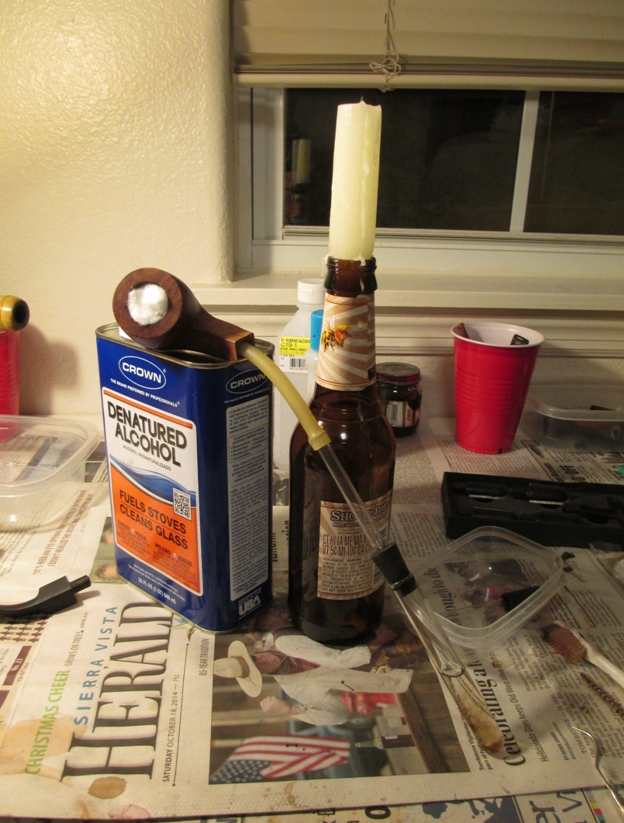

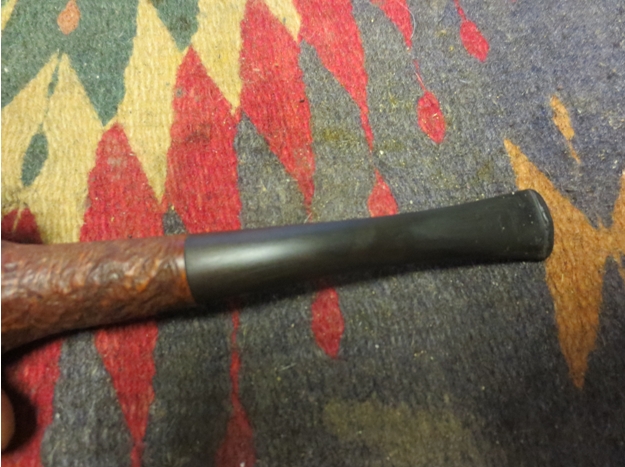
 Now that the inside of the pipe is clean, it’s time to start working on the outside.
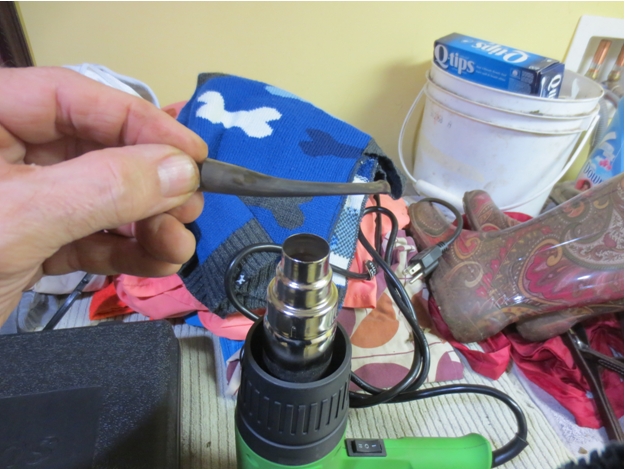
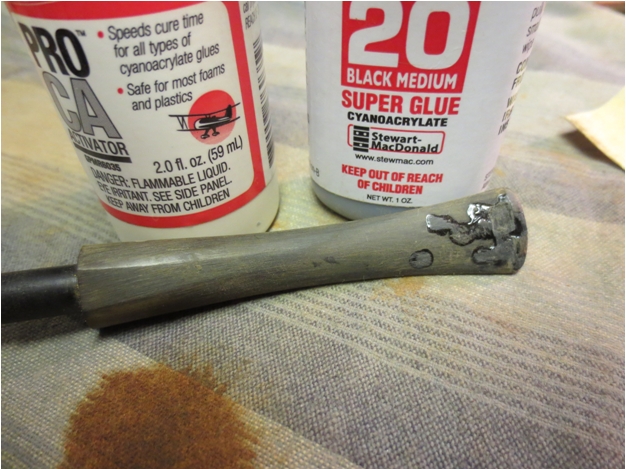
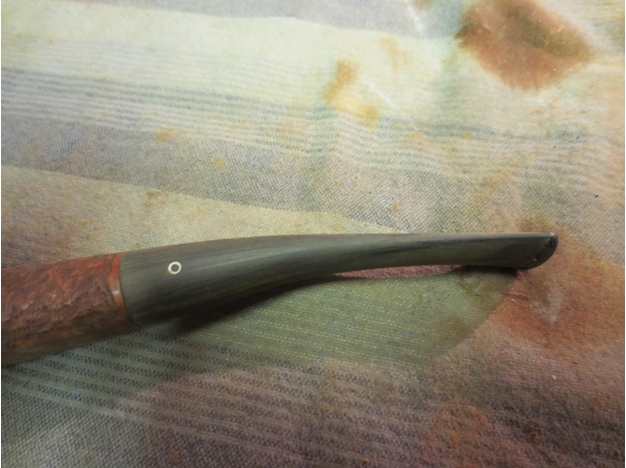
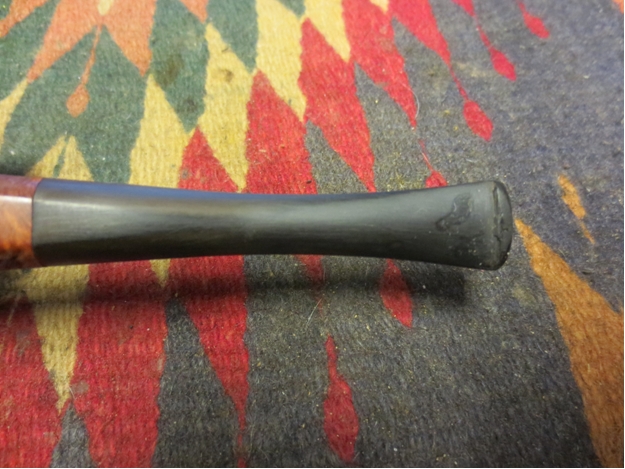
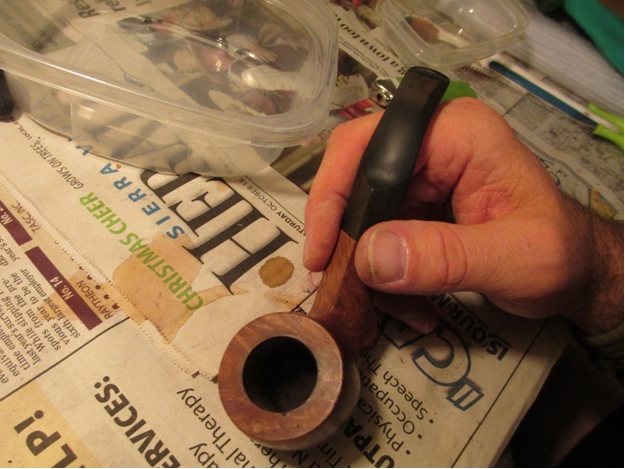 For the stem, I used 400 grit wet/dry sandpaper with water. This gets the majority of the oxidation out, the wet sand paper also makes it easier to get the underside of the button. Next I used micro-mesh pads (1500-2400 grit) with water.
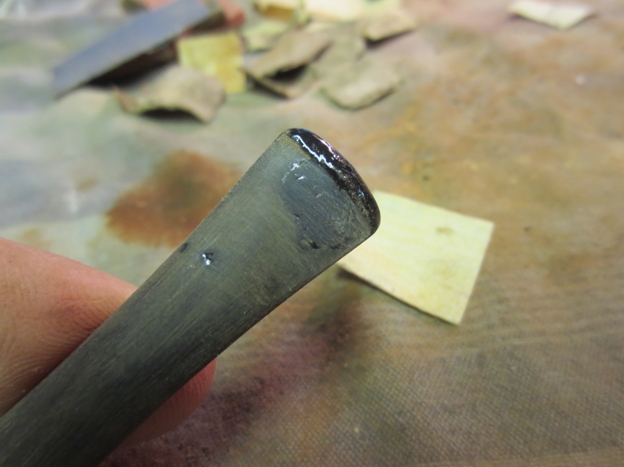
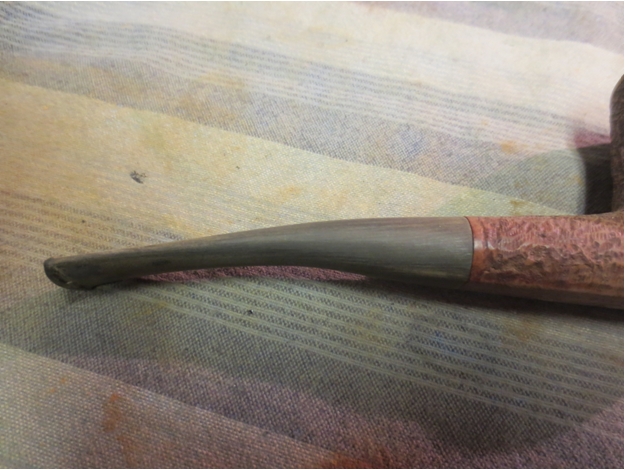
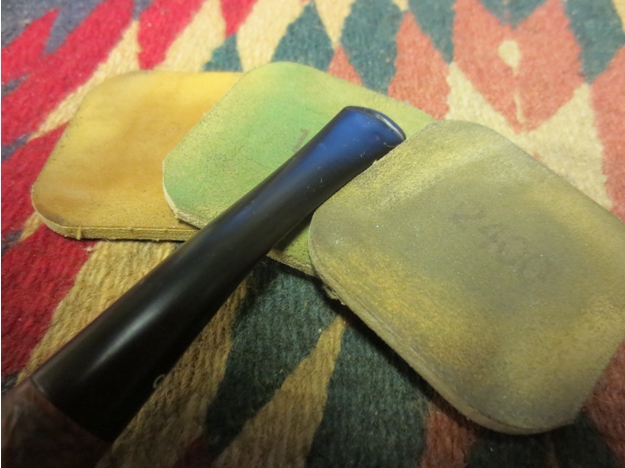
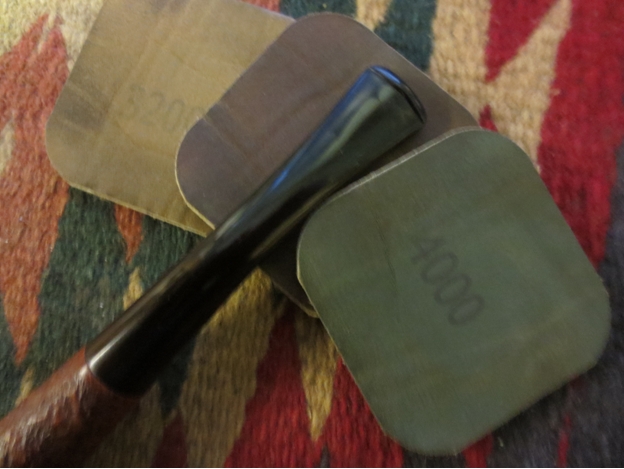
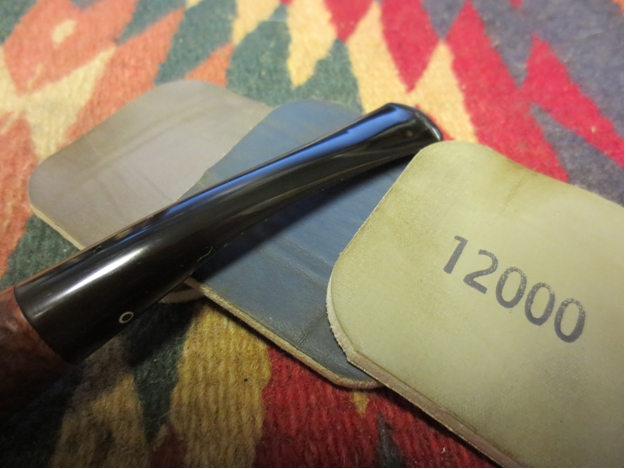
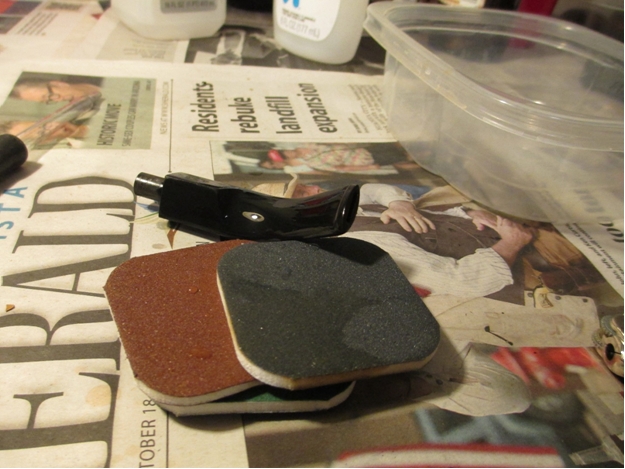 I wiped the stem dry and turned my attention to the bowl. I used a progression of micromesh pads, 1500-12000 grit. I also used the same progression on the stem.
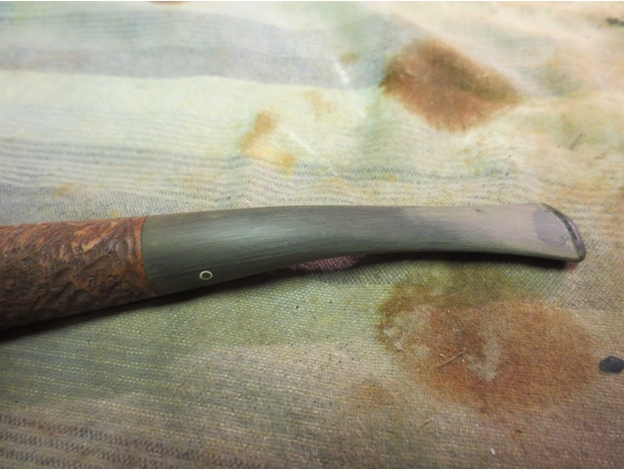
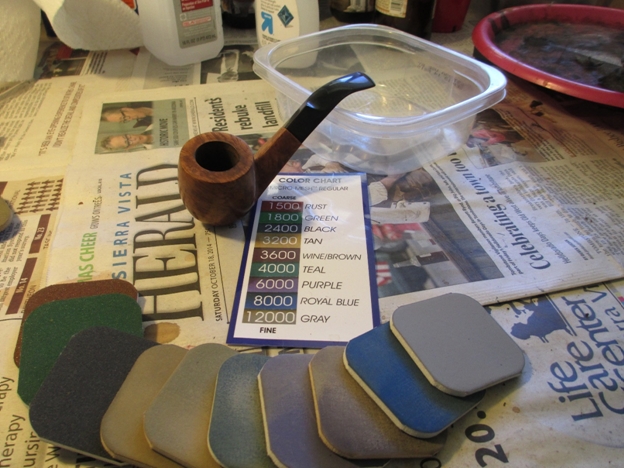 Now the pipe was ready for stain. This next part might be kind of controversial (I have never seen this method anywhere else). I use shoe polish for stain. Now before you dismiss this as crazy talk, consider this. It is very simple. I apply the polish, heat it with a heat gun, and buff it out with a shoe brush. I also protect the finish with carnauba wax and have never had any issues with the polish melting or coming off in my hand.
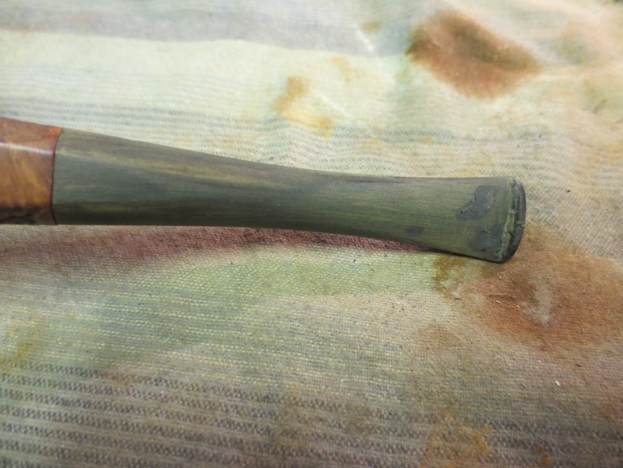
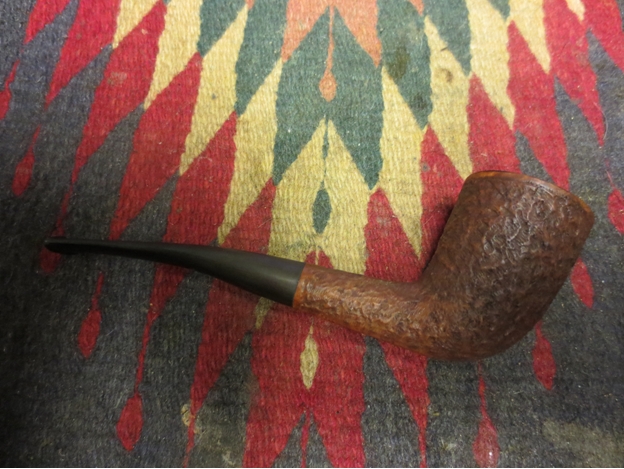
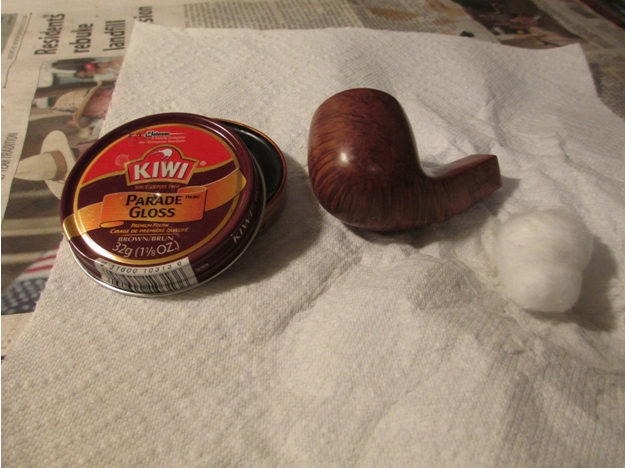 Polish applied.
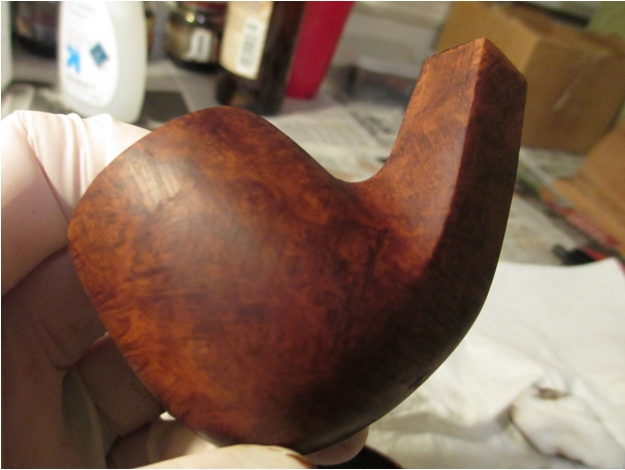 After melting with the heat gun and buffing with a shoe brush.
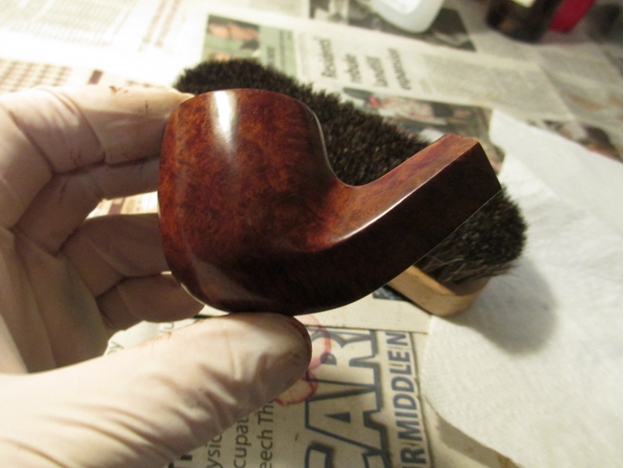 It is also very simple to even out the stain.
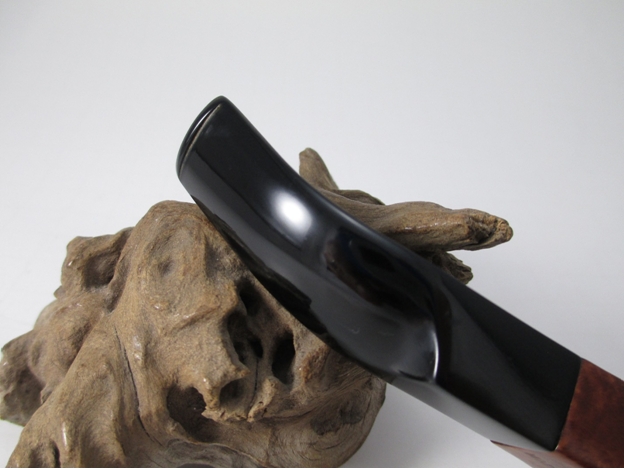
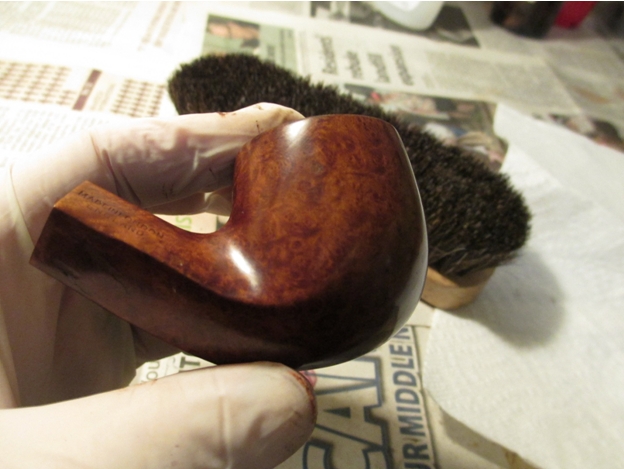 Next up the heart breaker (also known as the buffing wheel). This little gem makes the difference between a really nice application of carnauba wax and an average looking pipe. It will also grab what you’re working on and fling it to the four winds and shatter the pipe you’ve just spent the last few hours working on. Hold what you’re working on with both hands, place as much padding as you can under and behind the buffer, and work on the stem and bowl separately. Sorry about the quality of the picture.
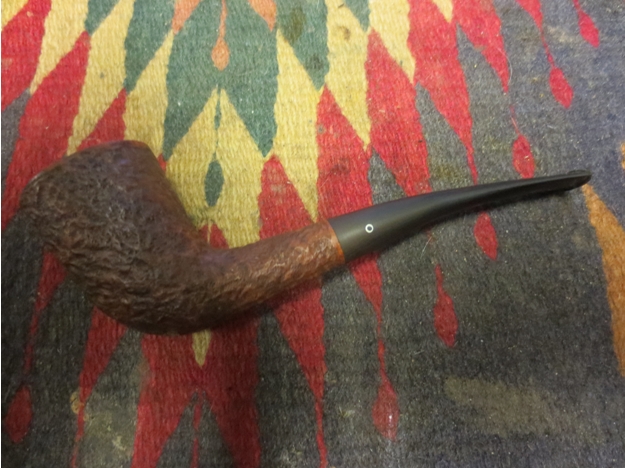
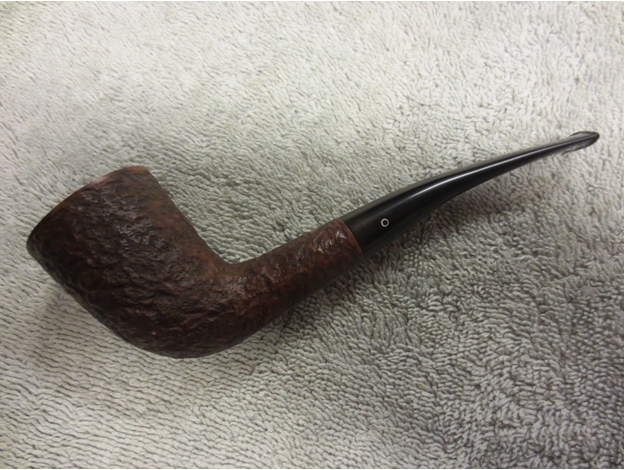
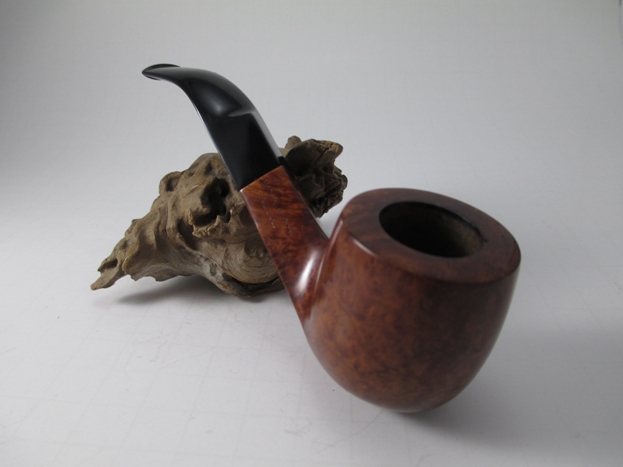
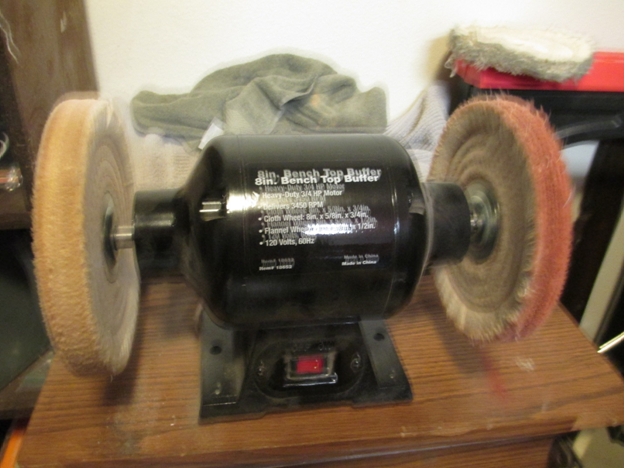 I didn’t lose the pipe to the buffer and here’s the results.
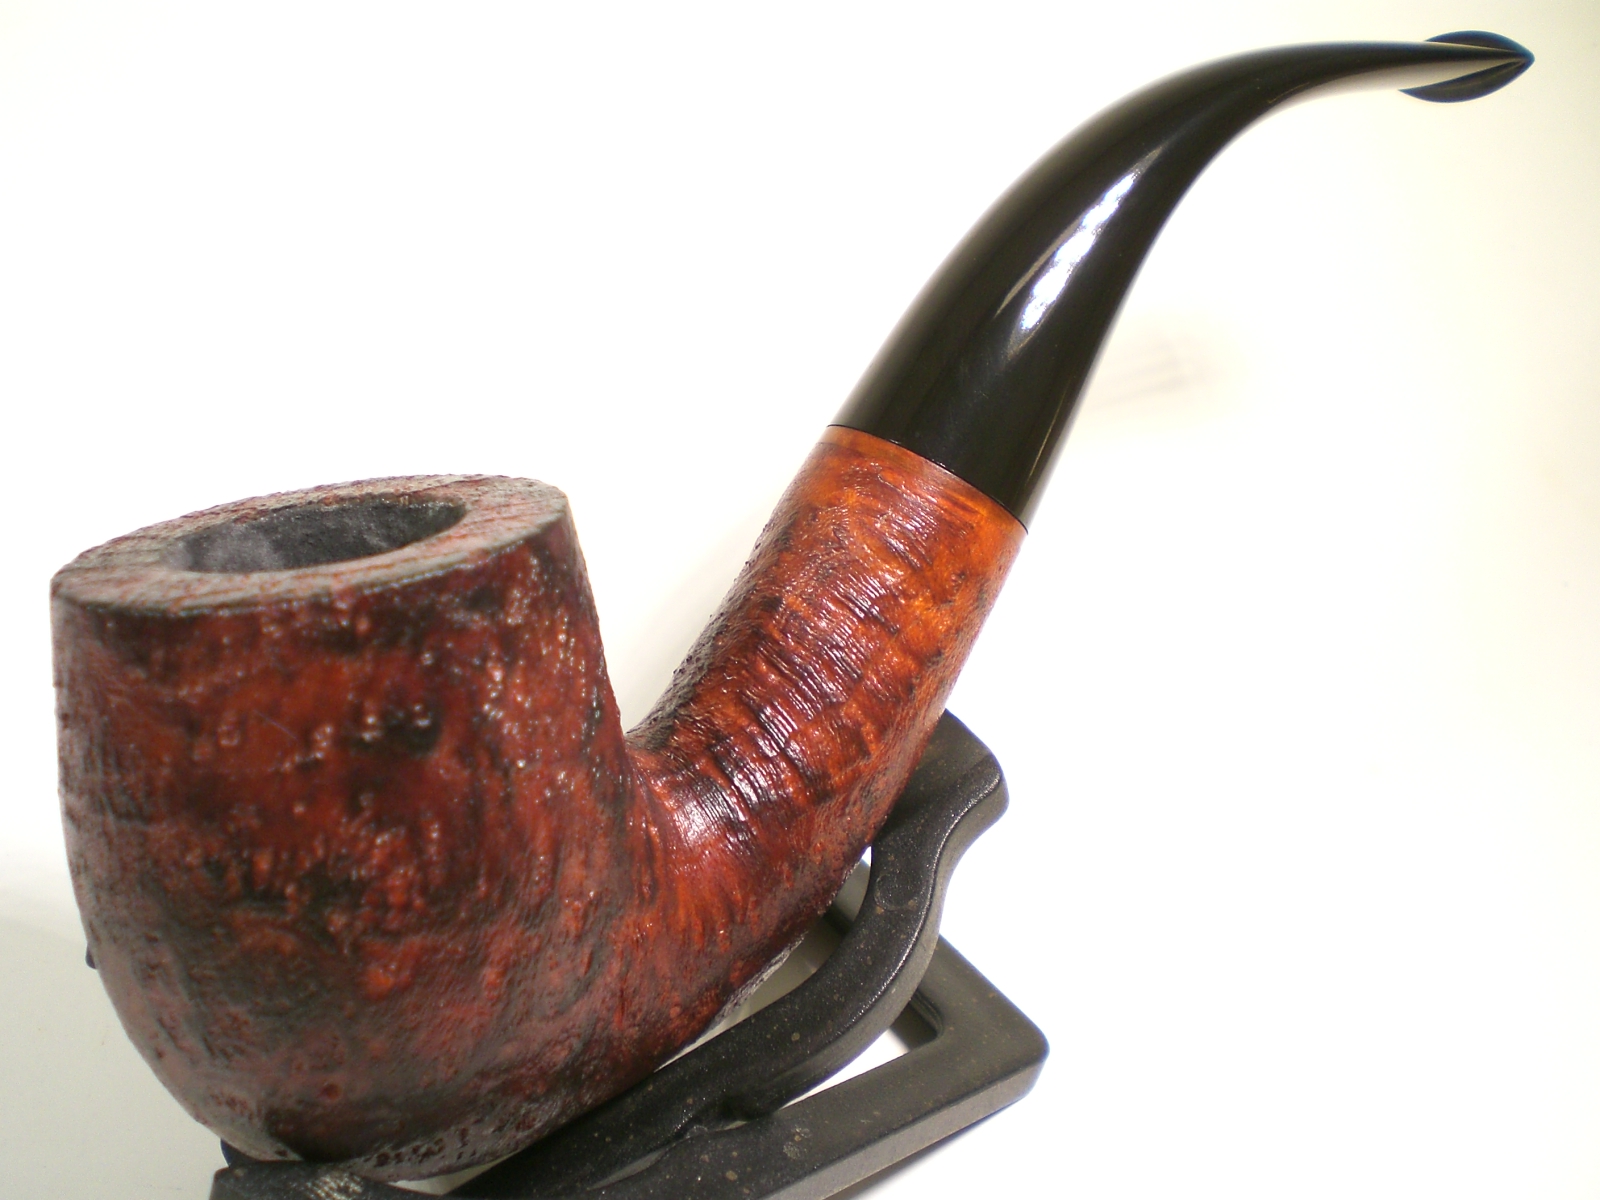
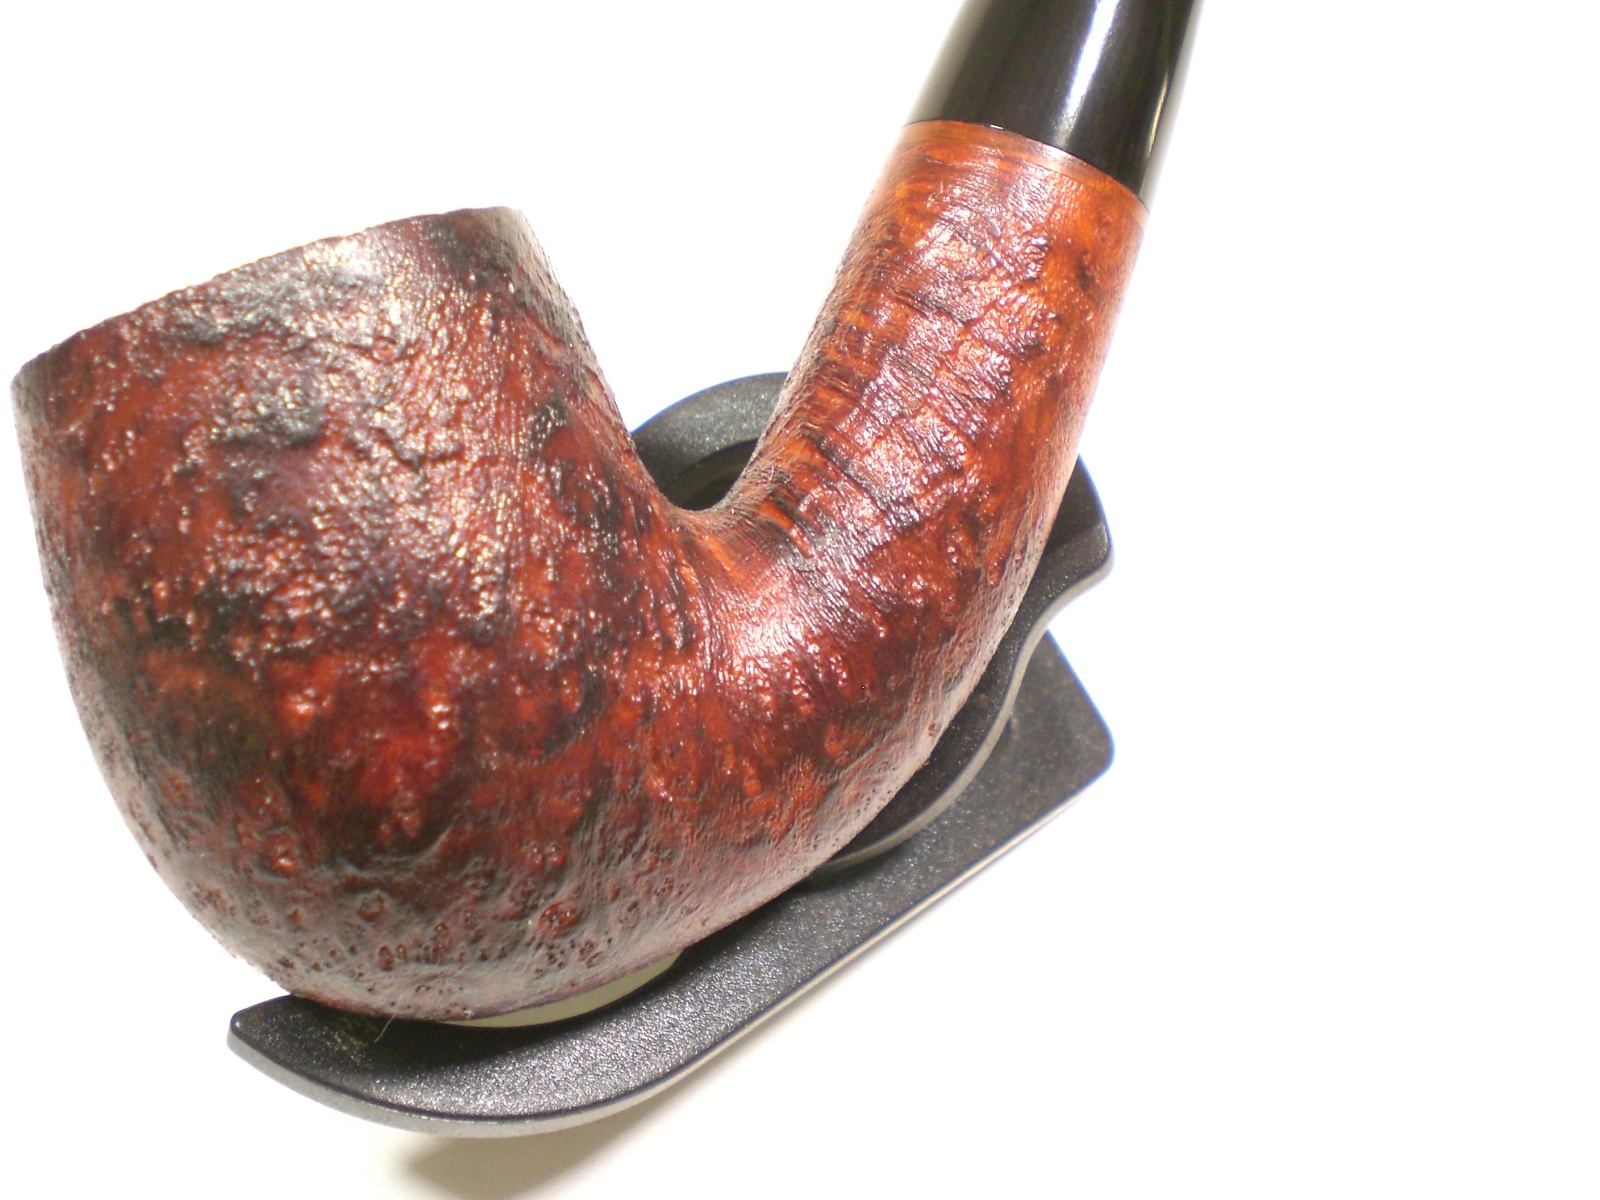
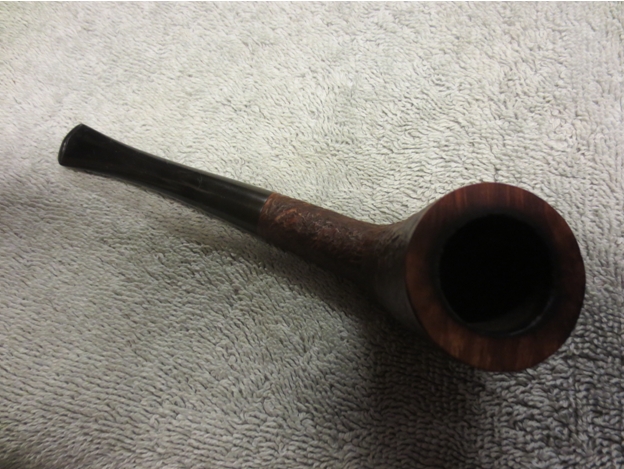
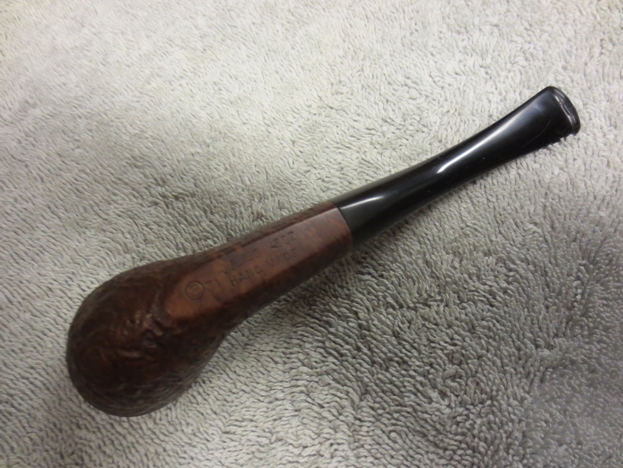
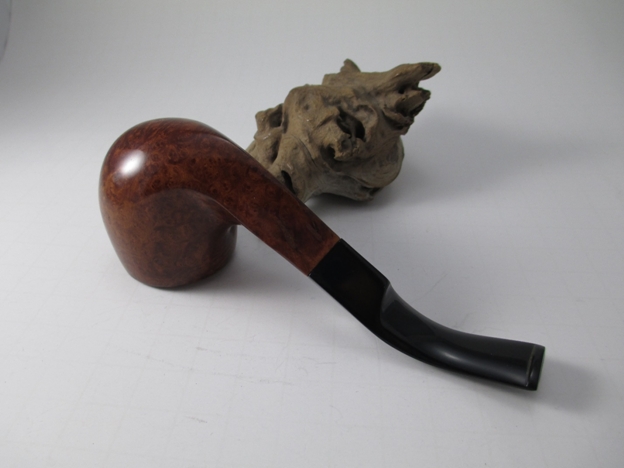
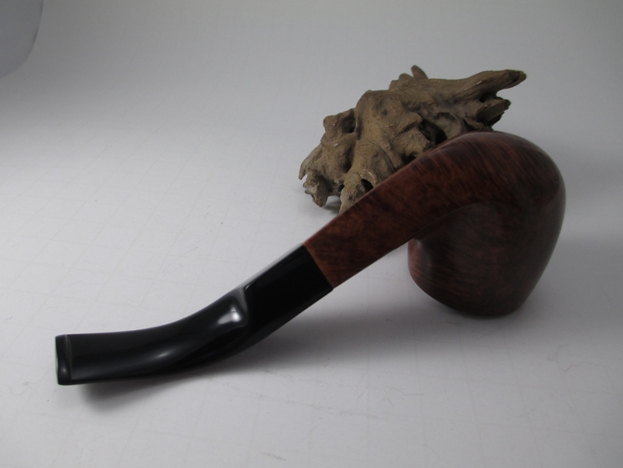
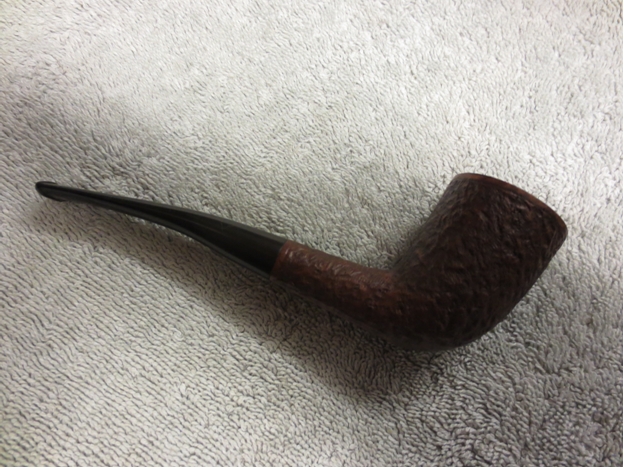
 I anticipate that this pipe will pass on to my kids, or be part of the estate sale. I can’t wait to smoke it.