Daily Archives: November 5, 2014

Kaywoodie 8783B Drinkless Restoration (1935-1938)


Blog by Al Jones

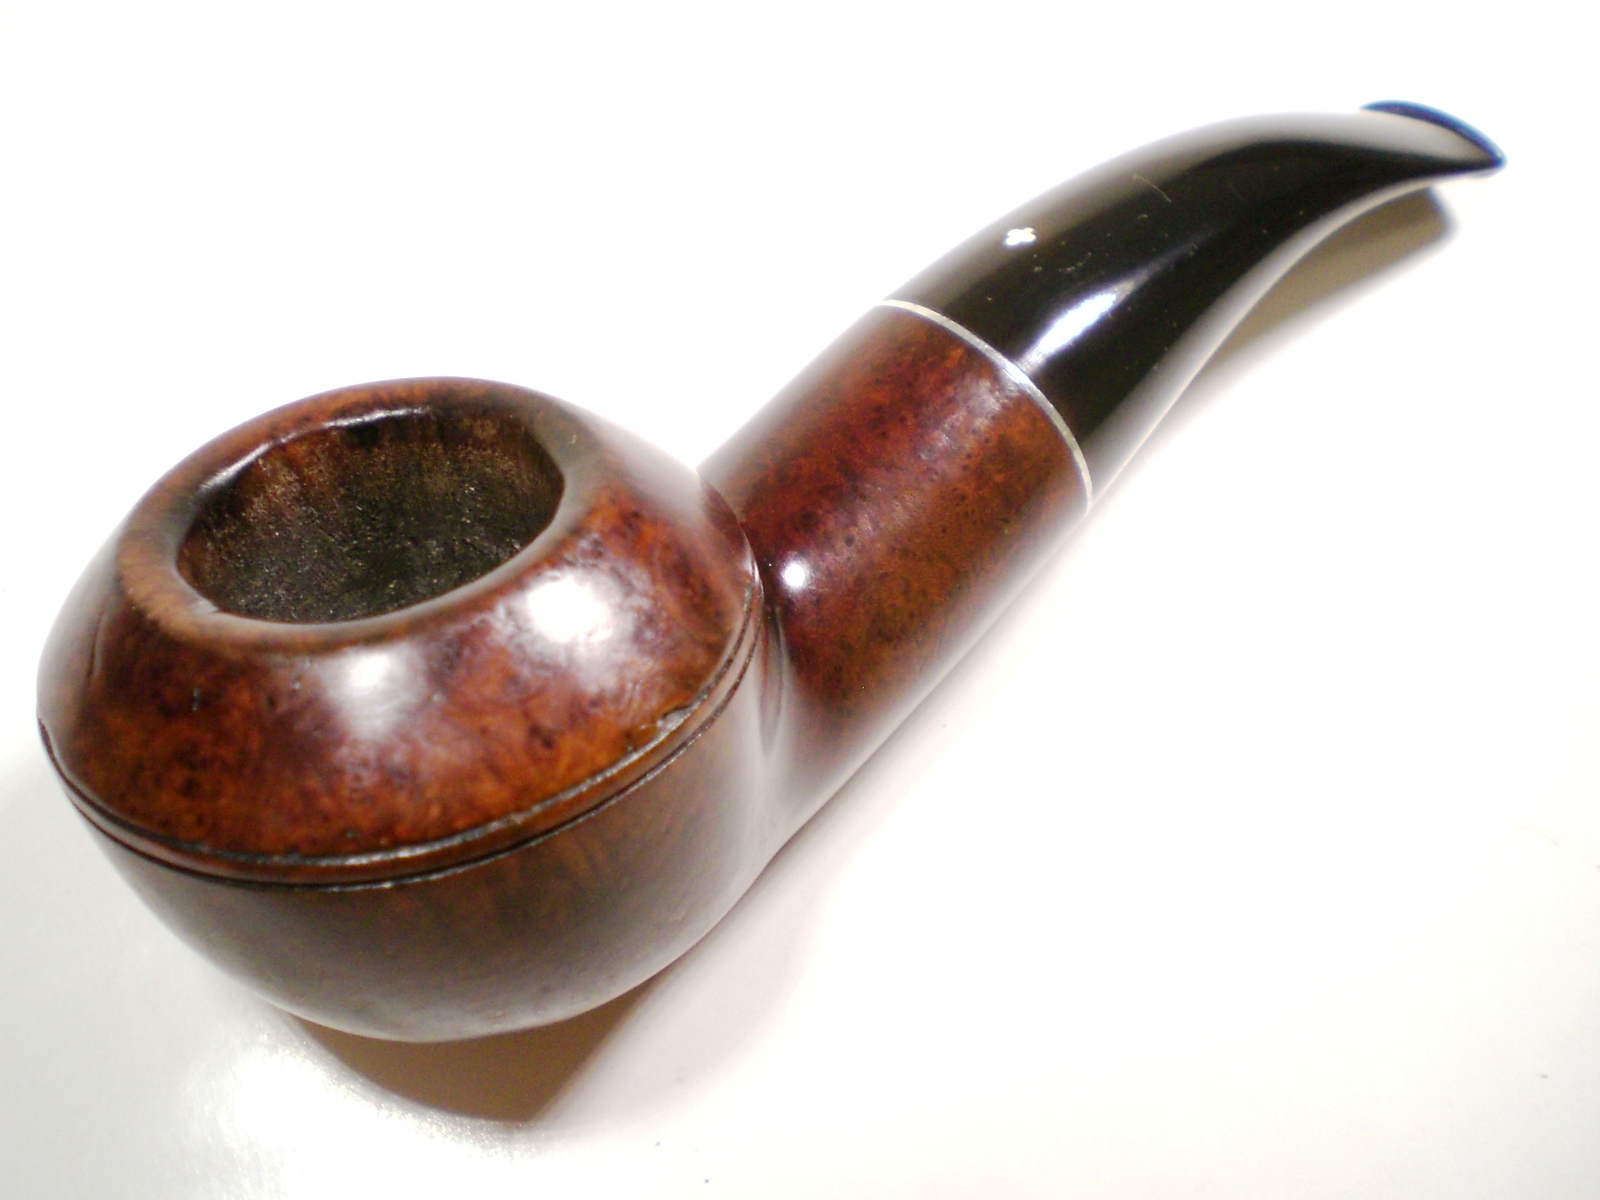
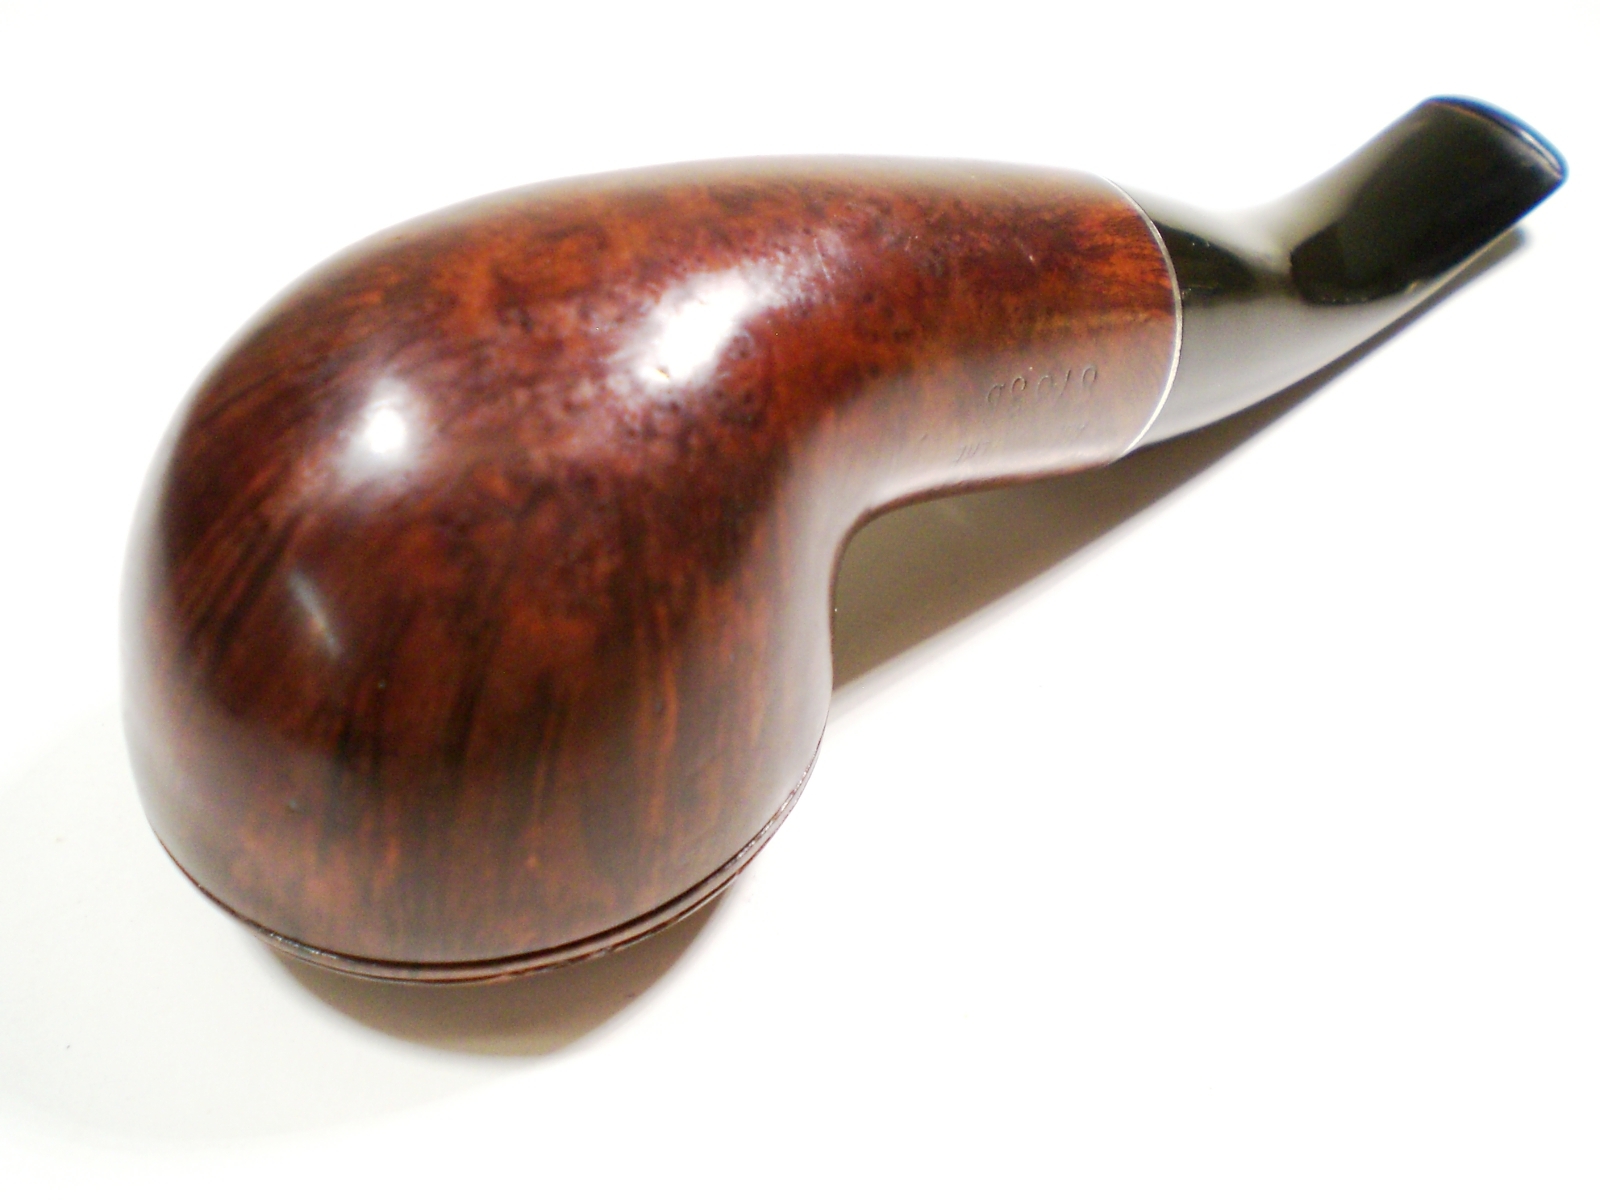
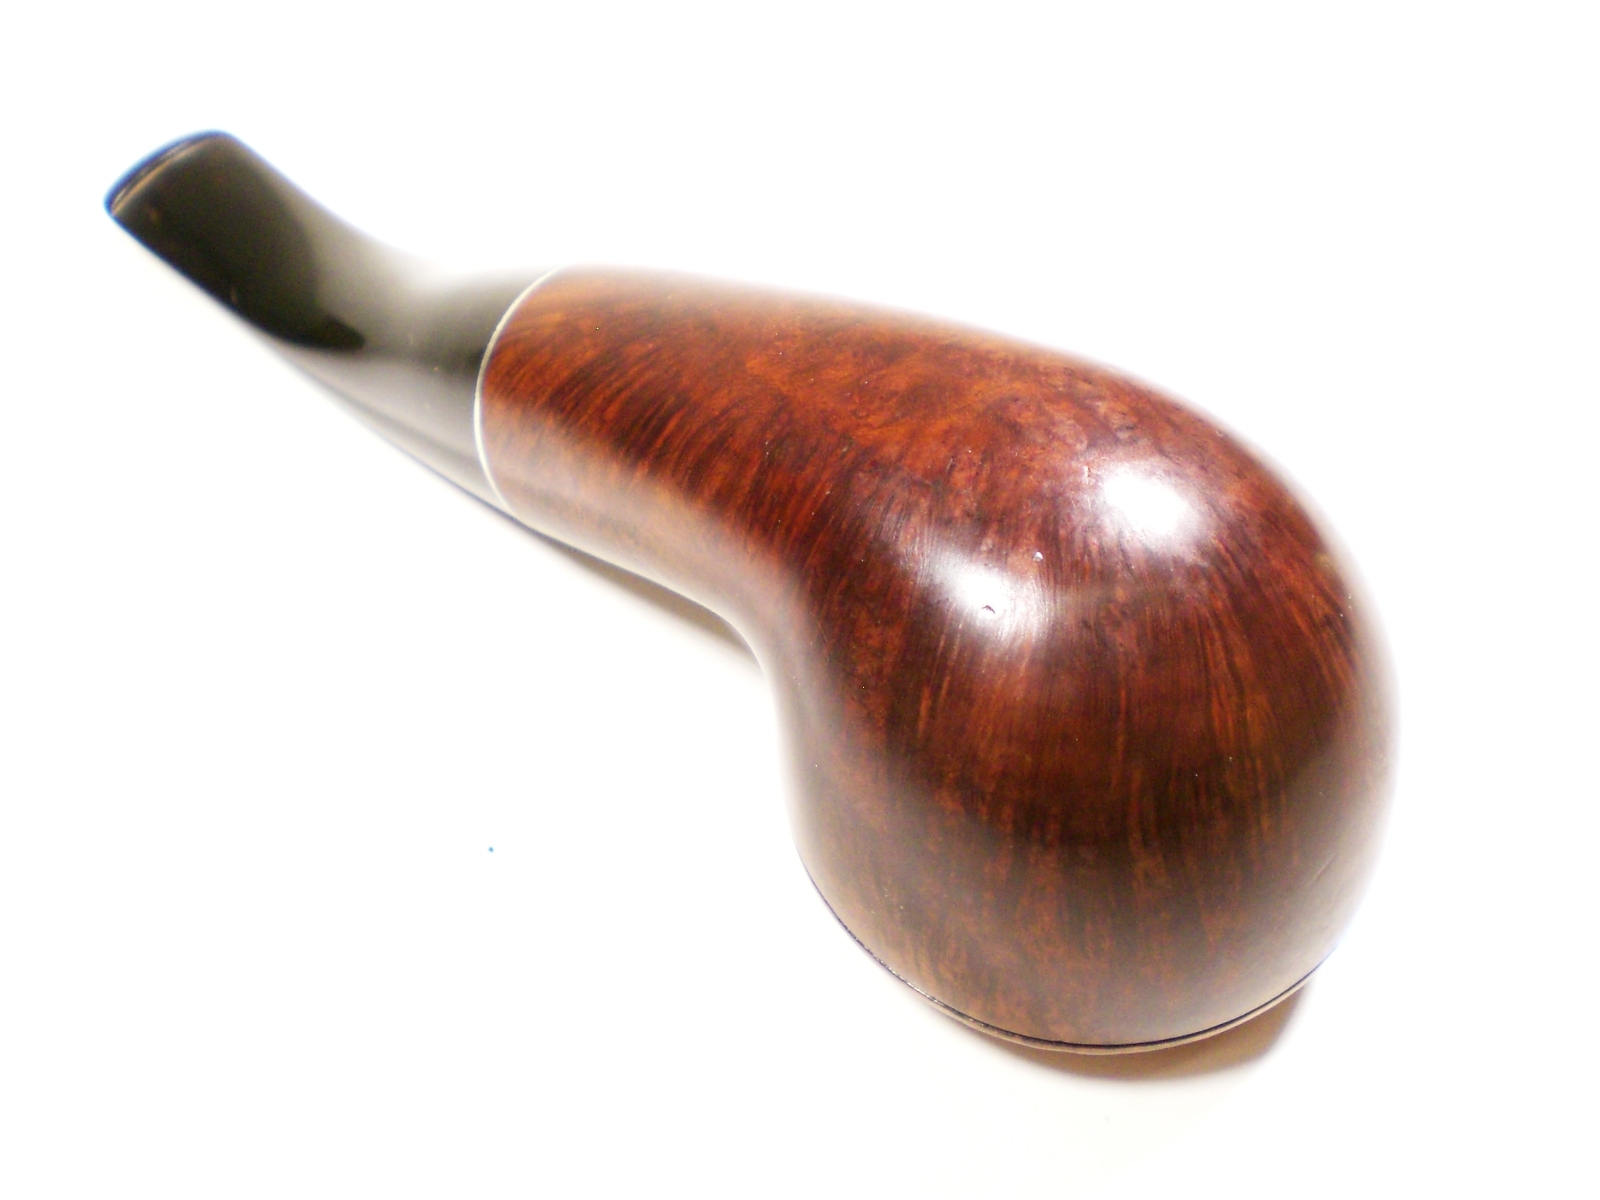
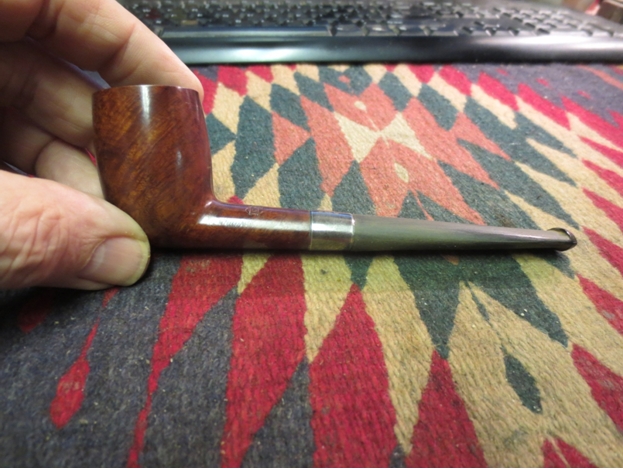
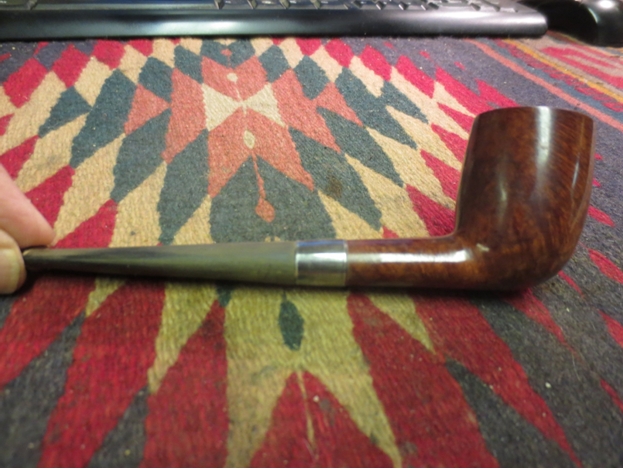
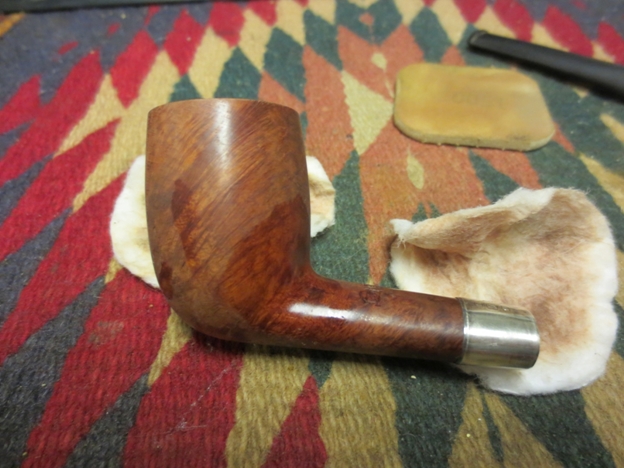
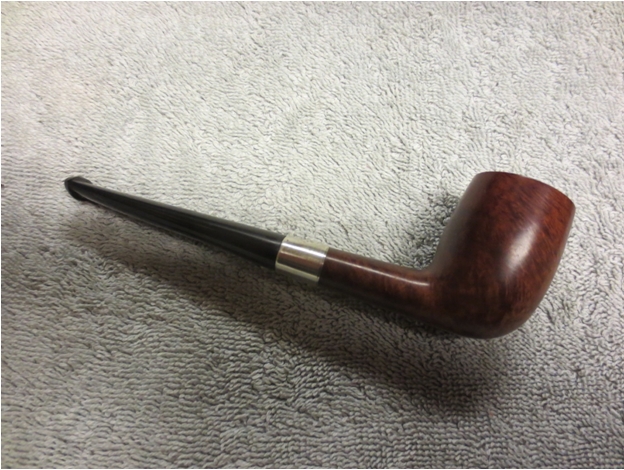
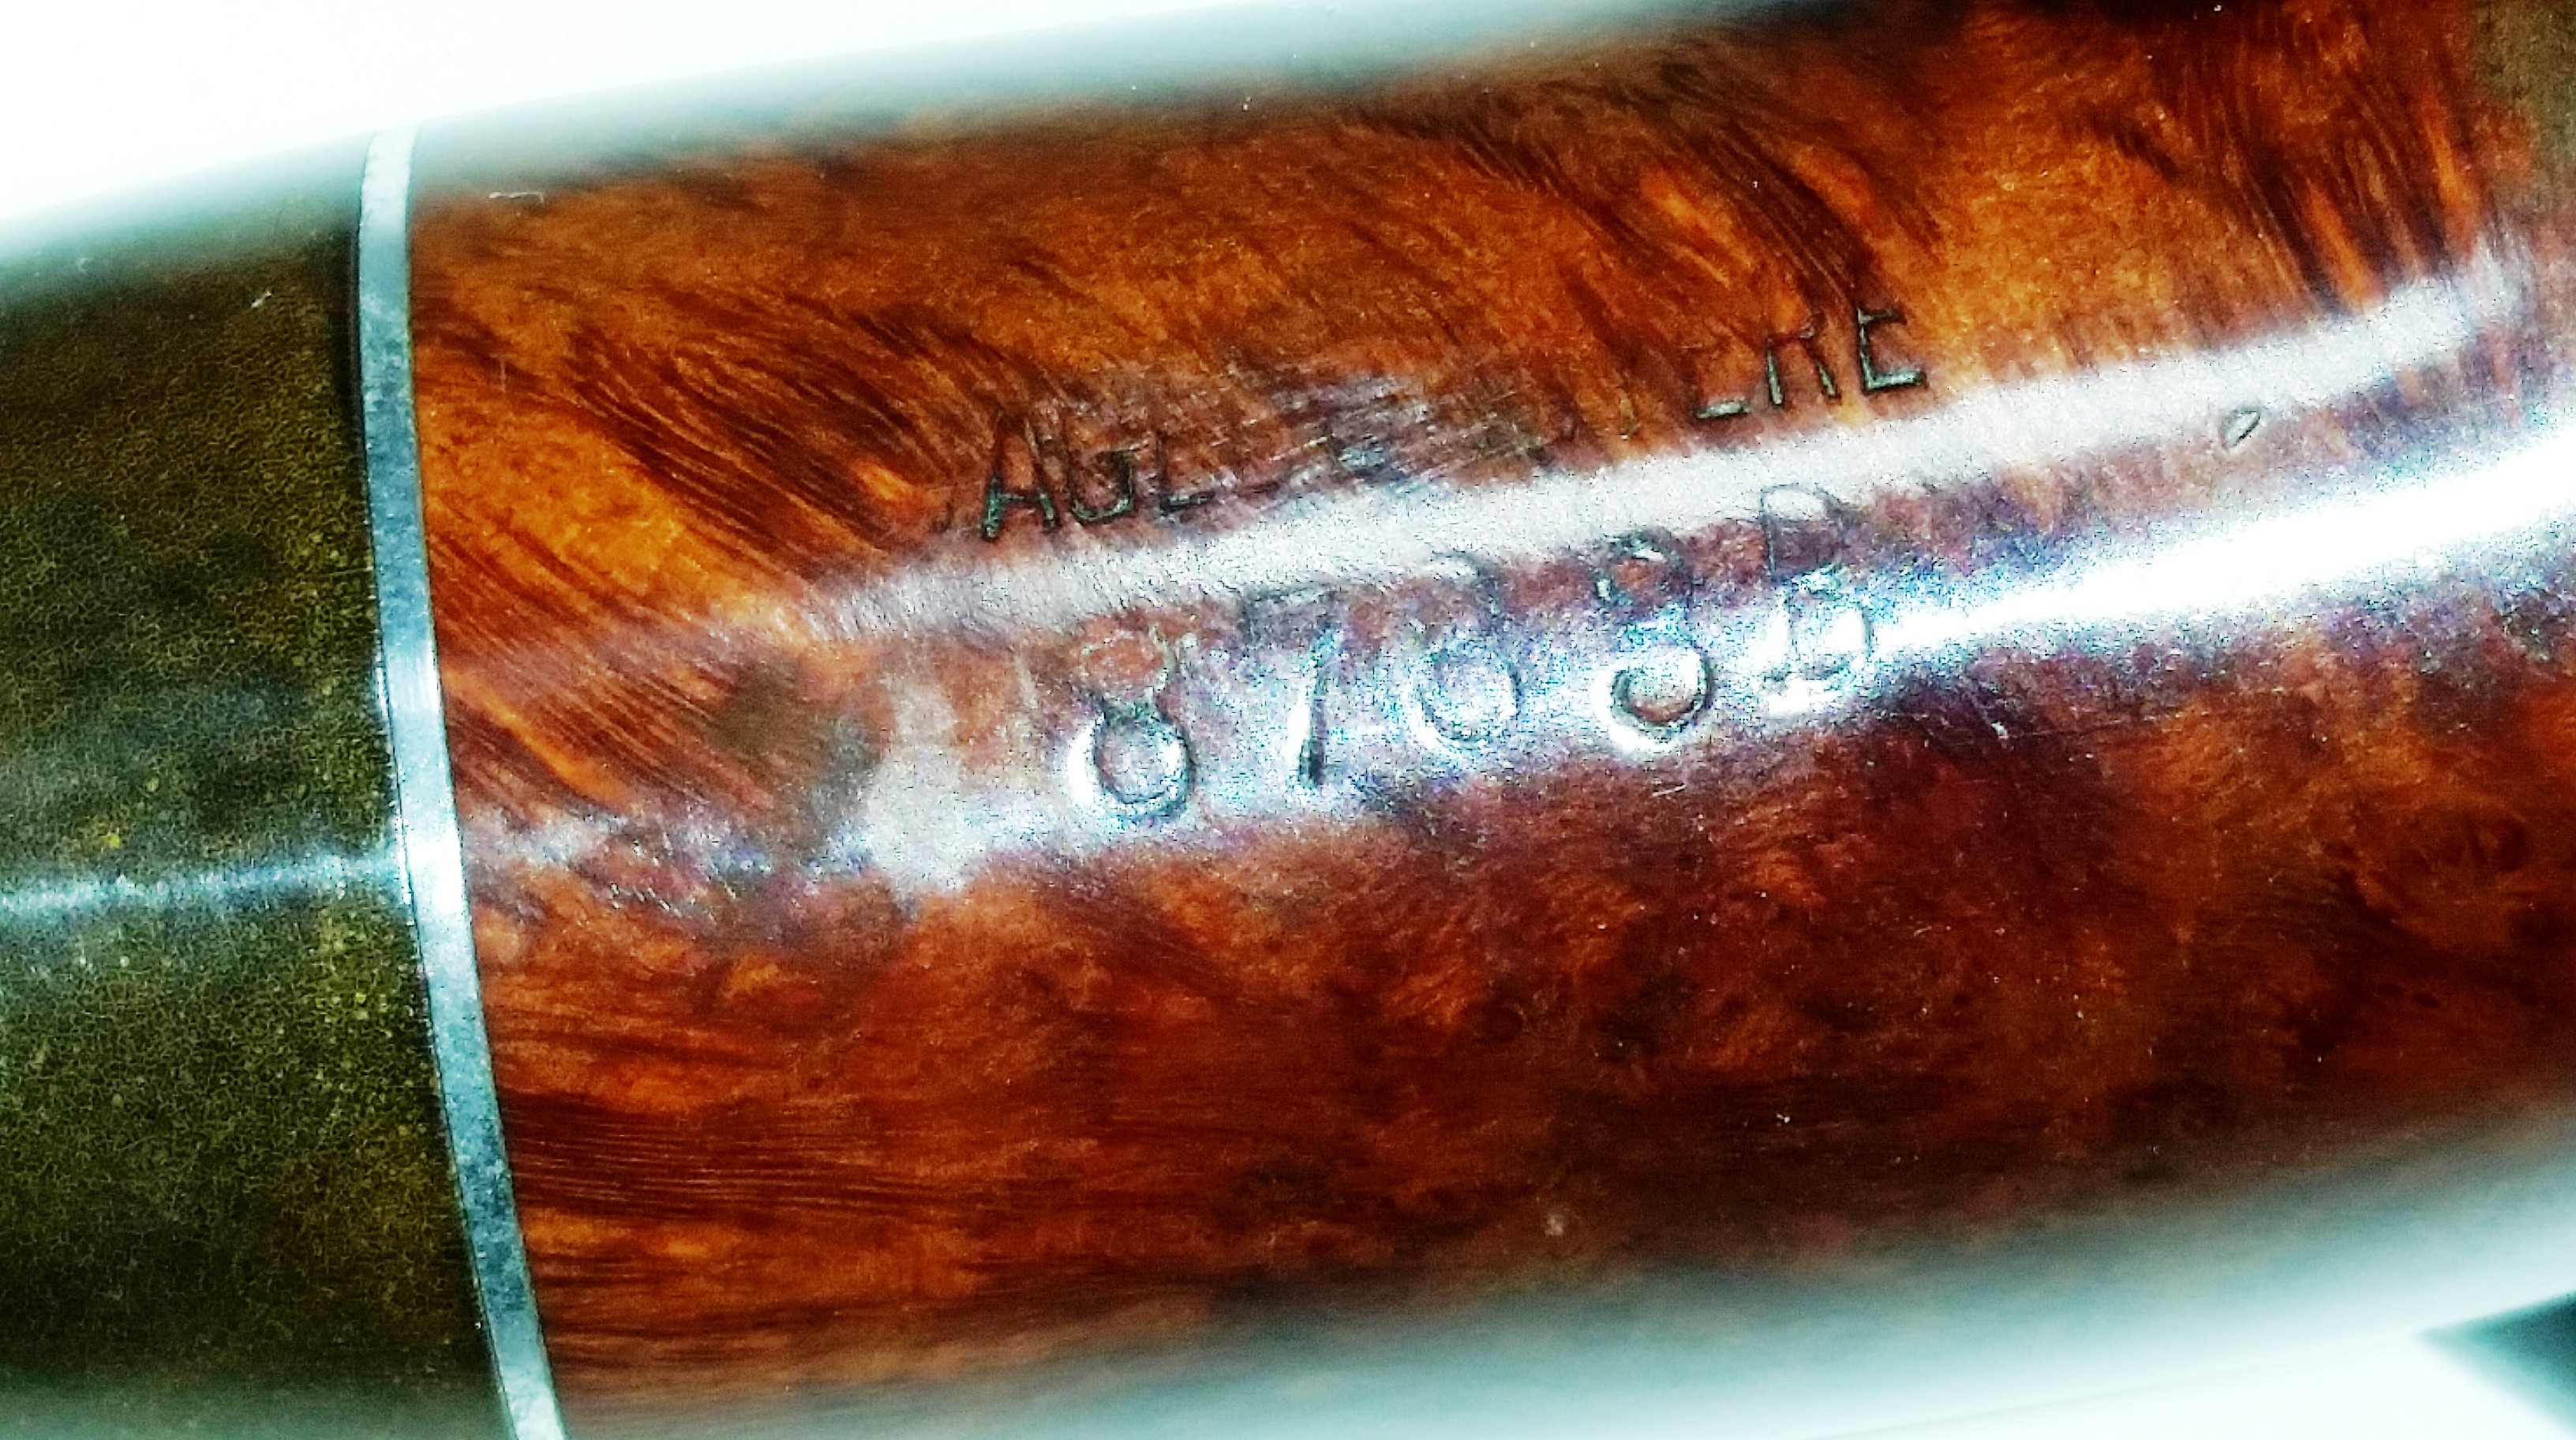
The Shape 8783B is one of my favorite Kaywoodie shapes.  This shape is more common in the Supergrain grade and this is the first one I’ve seen available in the Drinkless grade.   This shape is almost identical in shape and size to my Comoys 499 Extraordinaire, but is significantly lighter at 54 grams.

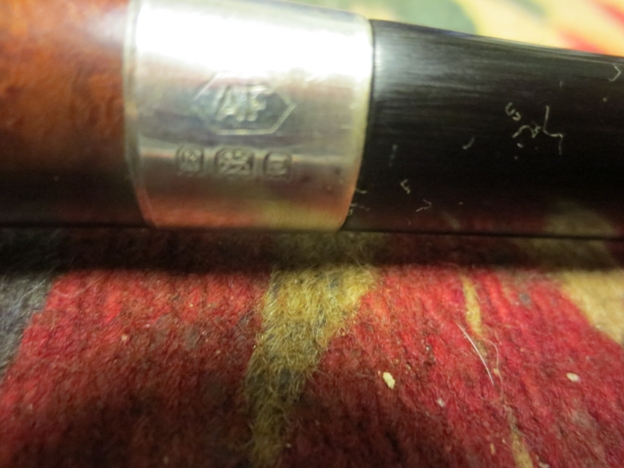
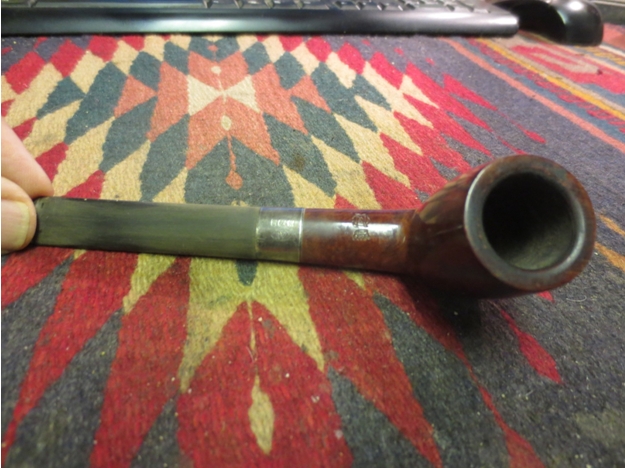
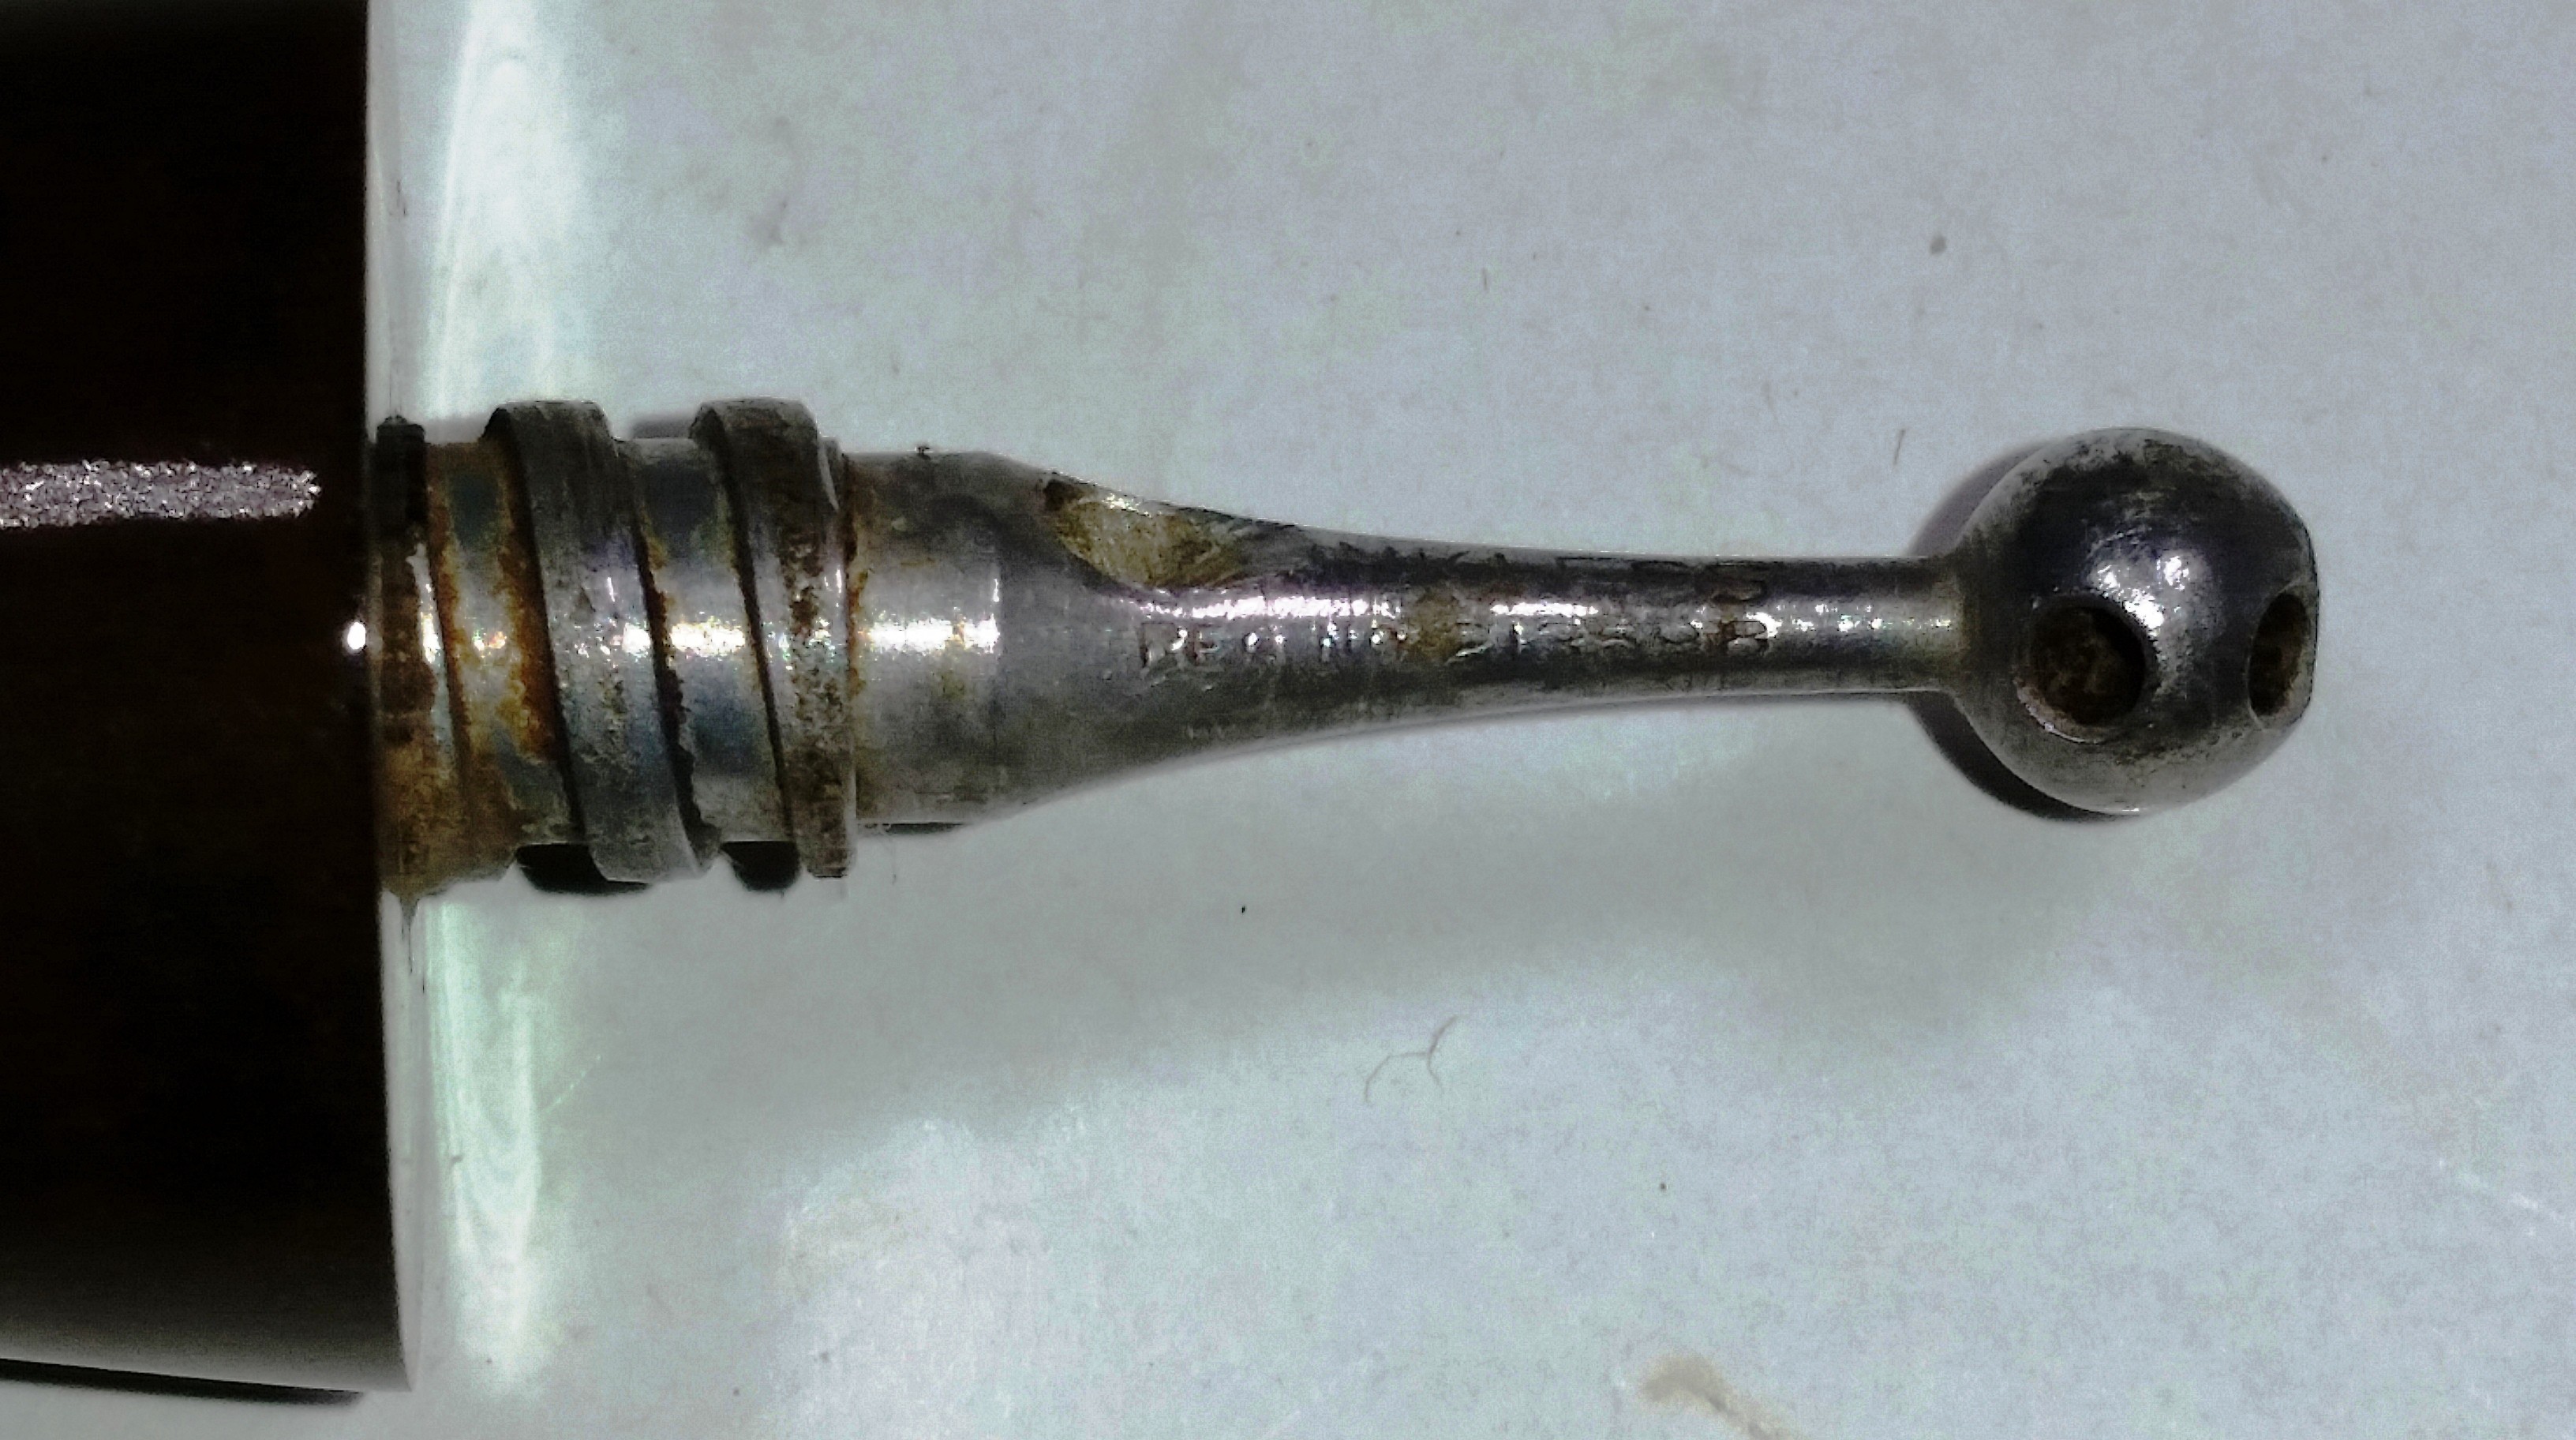
Kaywoodie introduced the Drinkless grade in 1935.  The four digit shape stamp was last used in 1938.  This one has the four hole stinger with a large ball.  It is also my first vintage Kaywoodie with the “Reg No 213598” and “Drinkless” stamps on the stinger.  These details make it easy to date the manufacture of the pipe between 1935 and 1938.  “Drinkless” grade pipes seem to have nicer grain patterns than Supergrain pipes.  This one has some straight grain radiating around the bowl with birdseye on the bowl top.

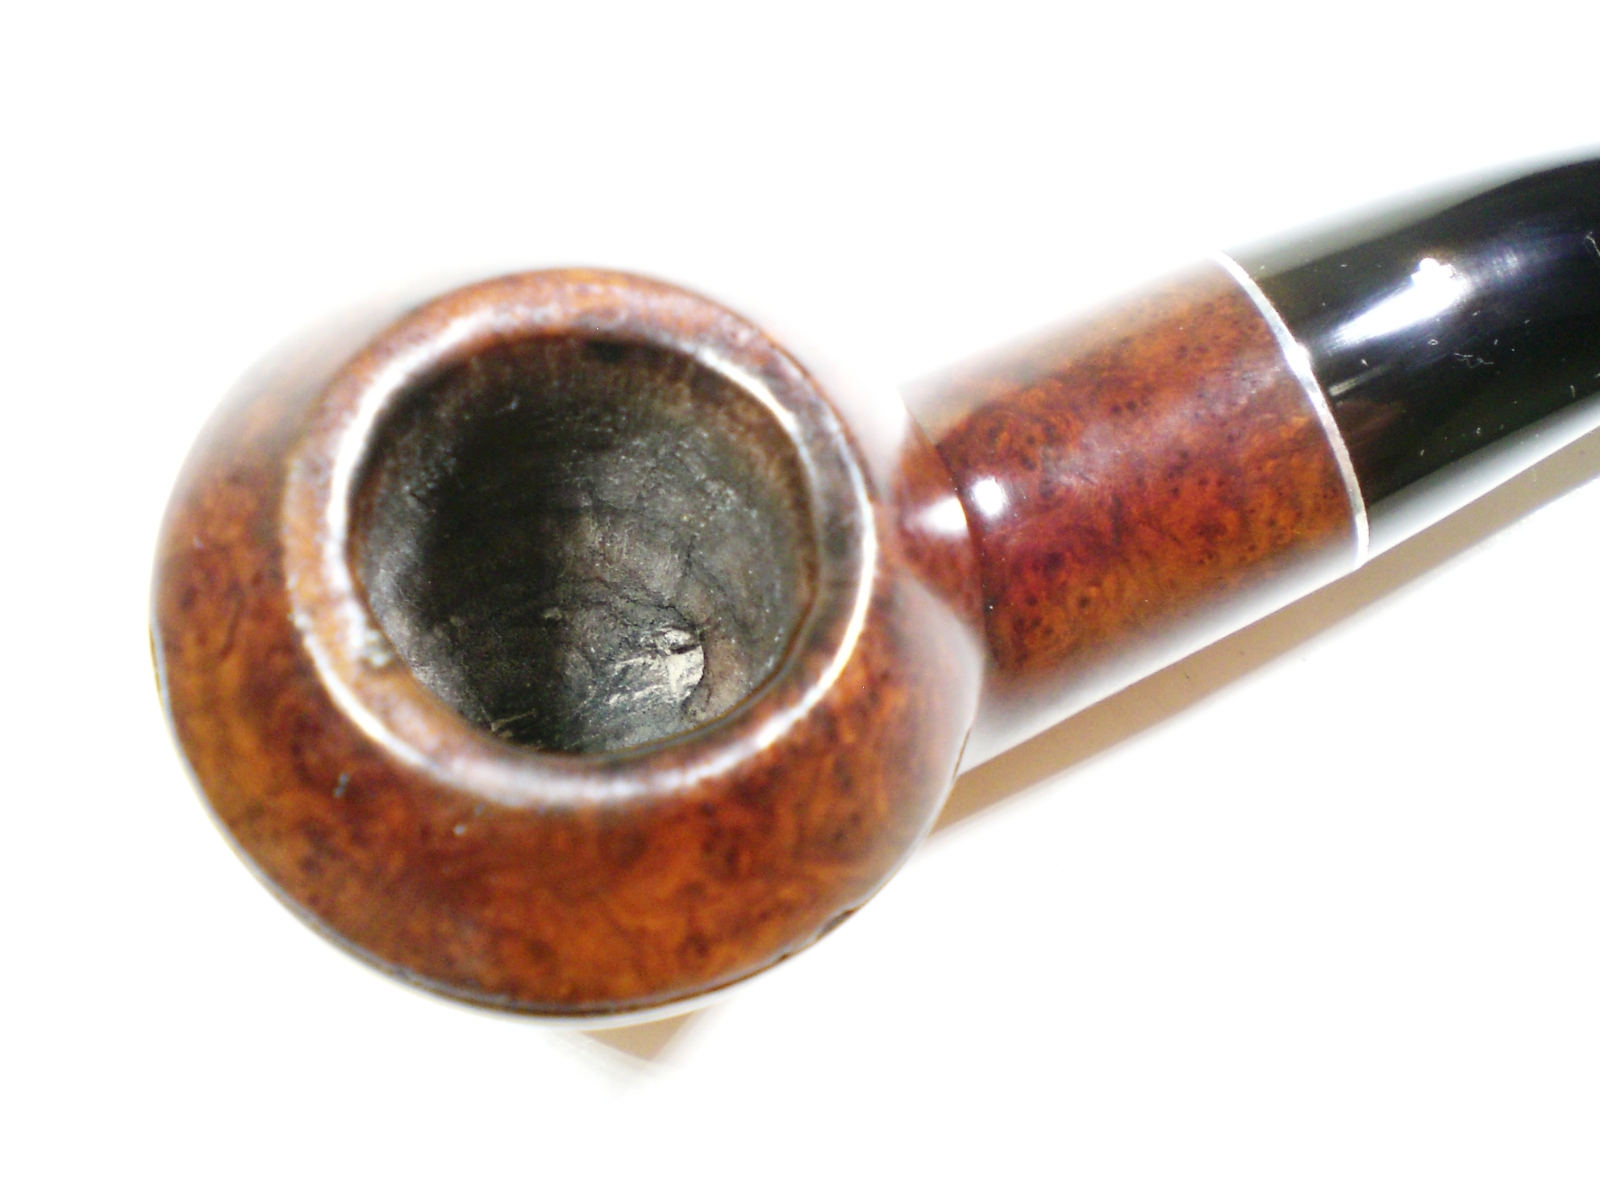
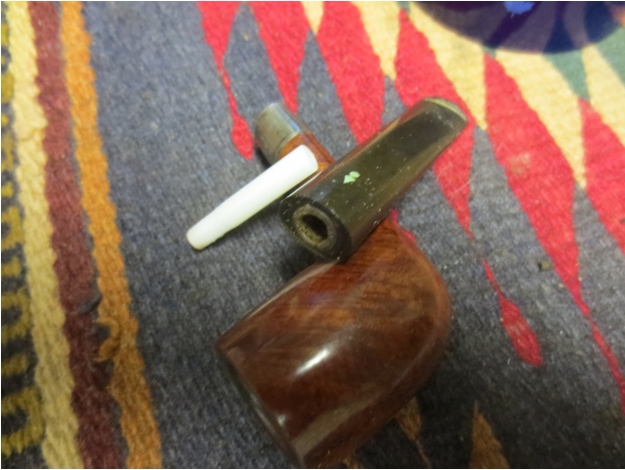
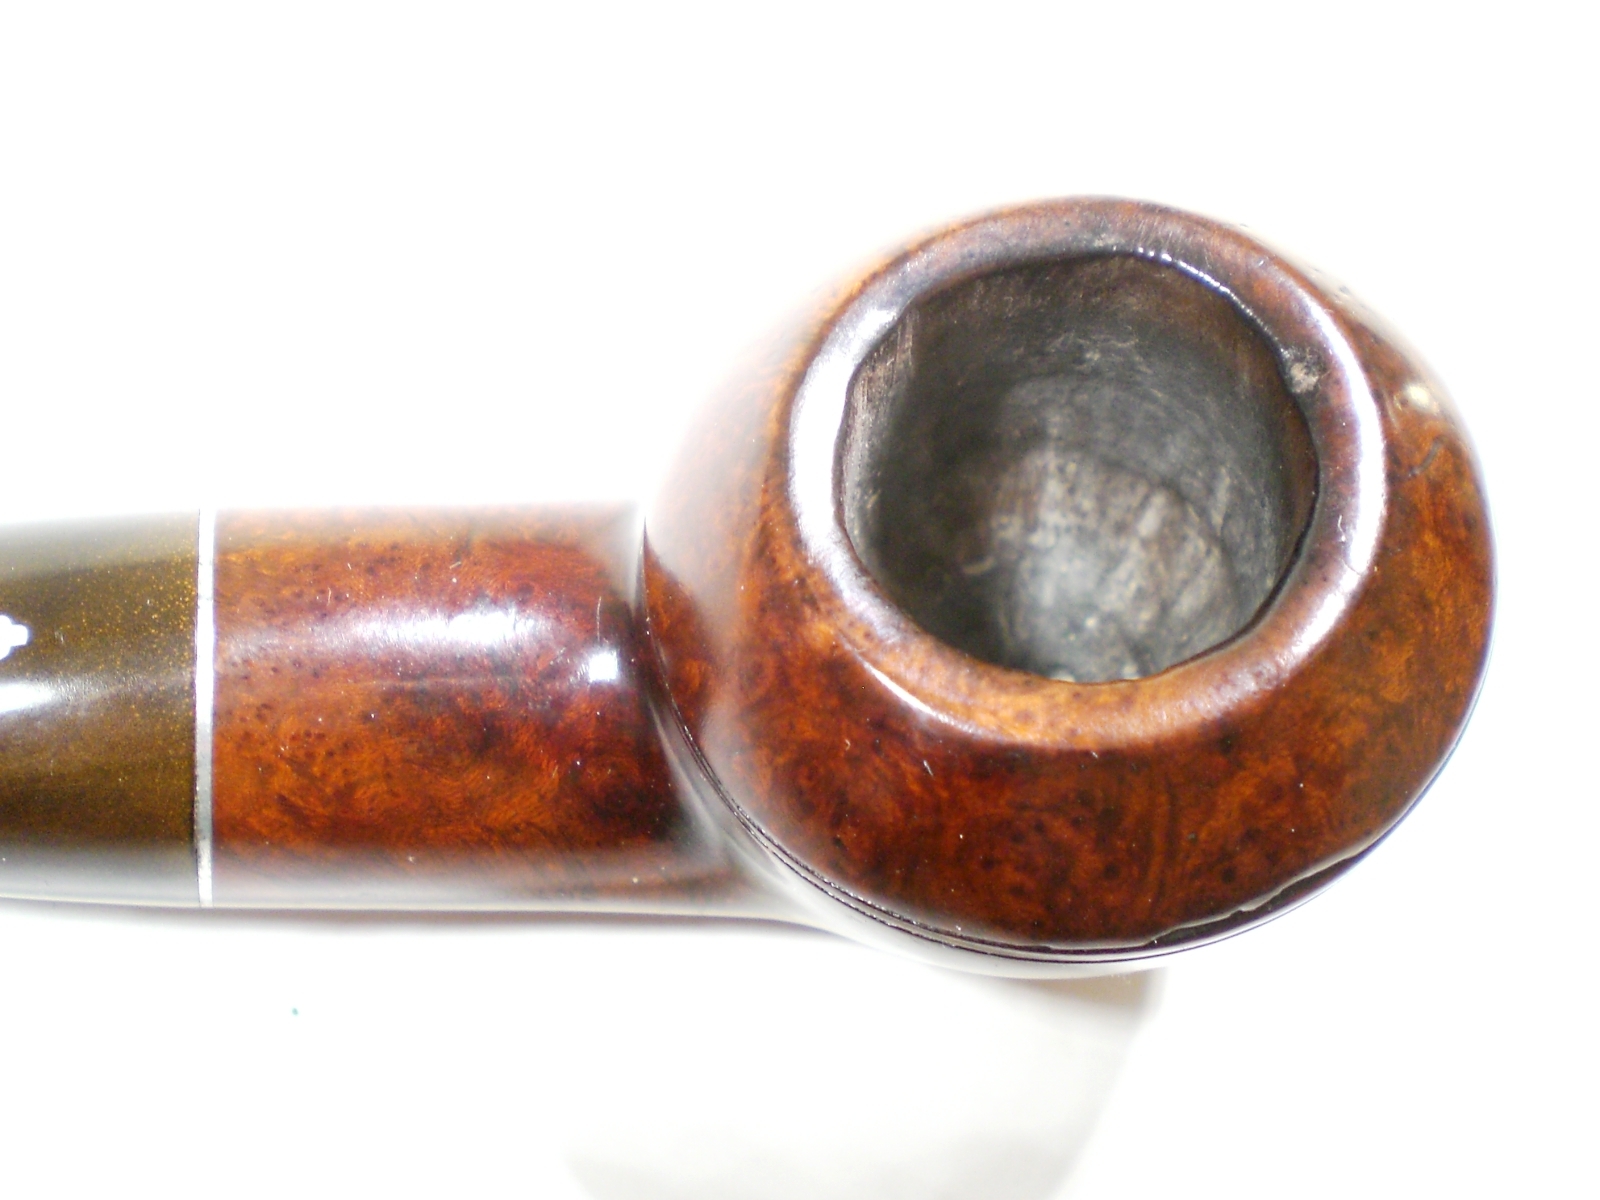
The pipe was advertised as cleaned and polished.  But as you can see from these picture, there was still considerable oxidation on the stem.  The briar had some bruises with some rim darkening and one dent on the bowl top.

Kaywoodie_8783B_Drinkless_Before Kaywoodie_8783B_Drinkless_Before (2) Kaywoodie_8783B_Drinkless_Before (1) Kaywoodie_8783B_Drinkless_Before (3)

Kaywoodie_8783B_Drinkless_Before (11)

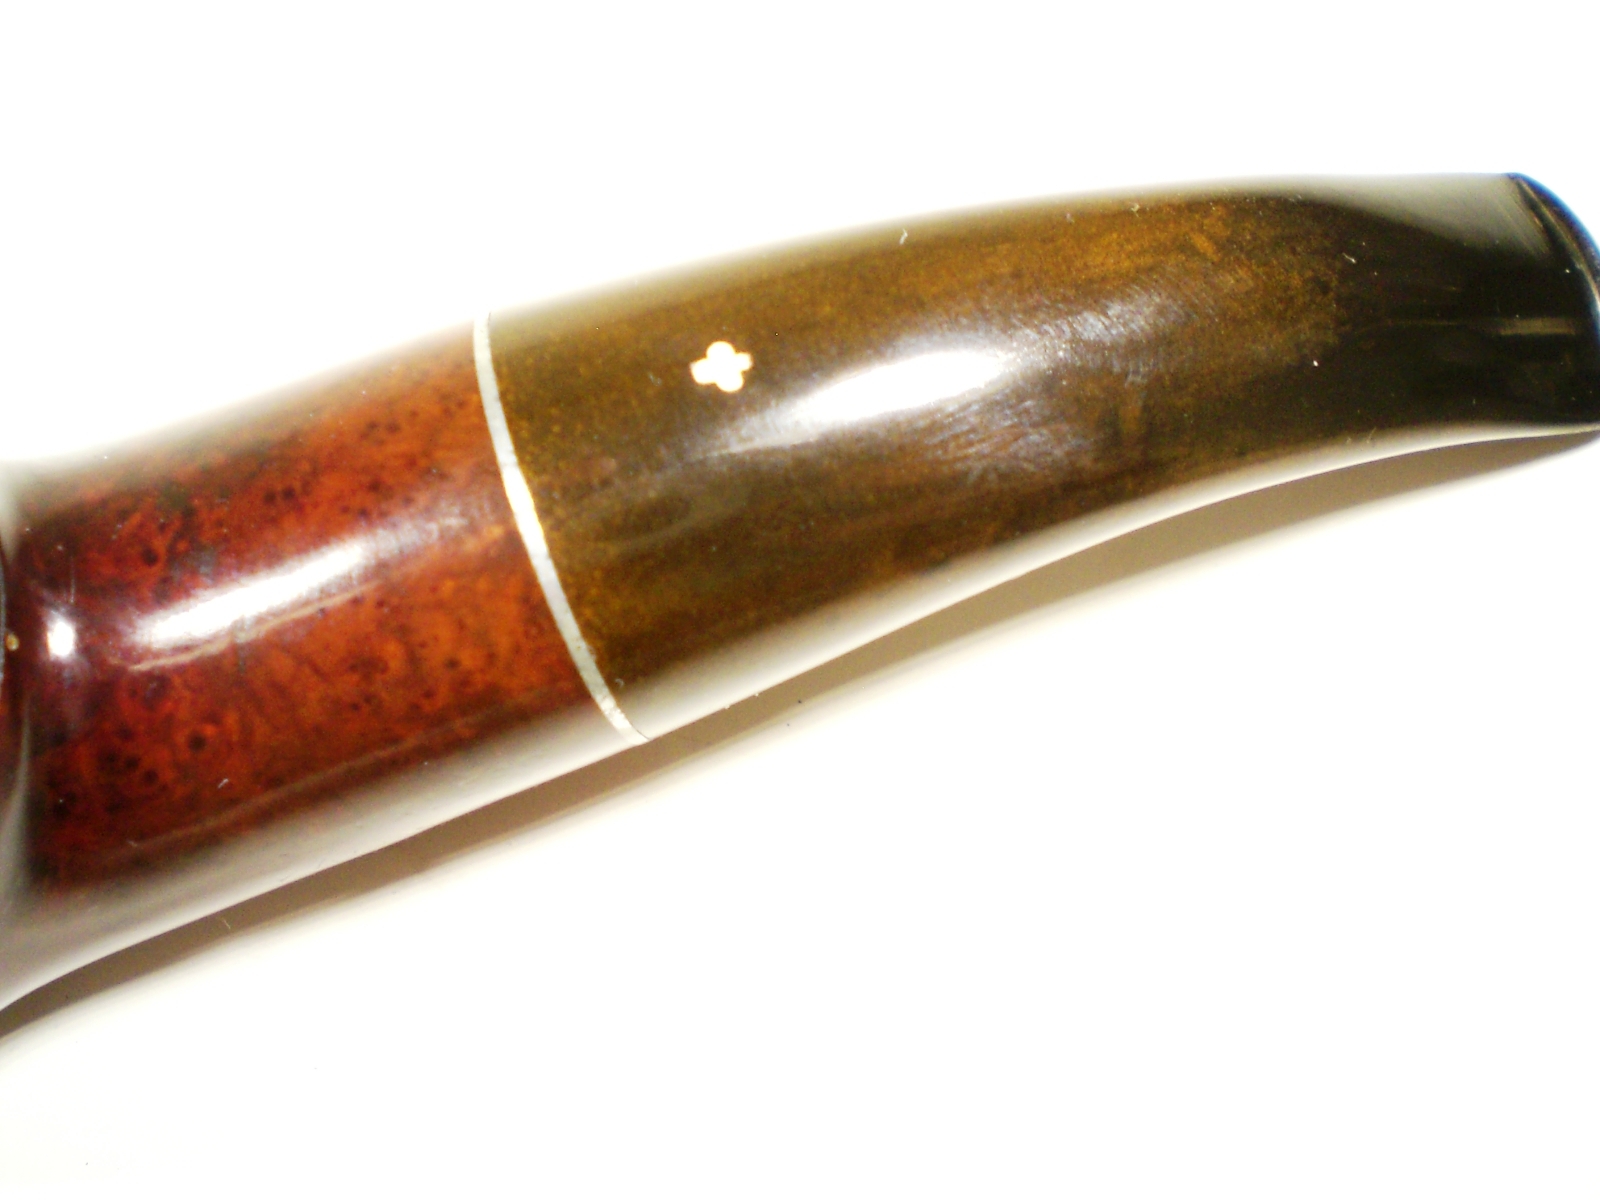
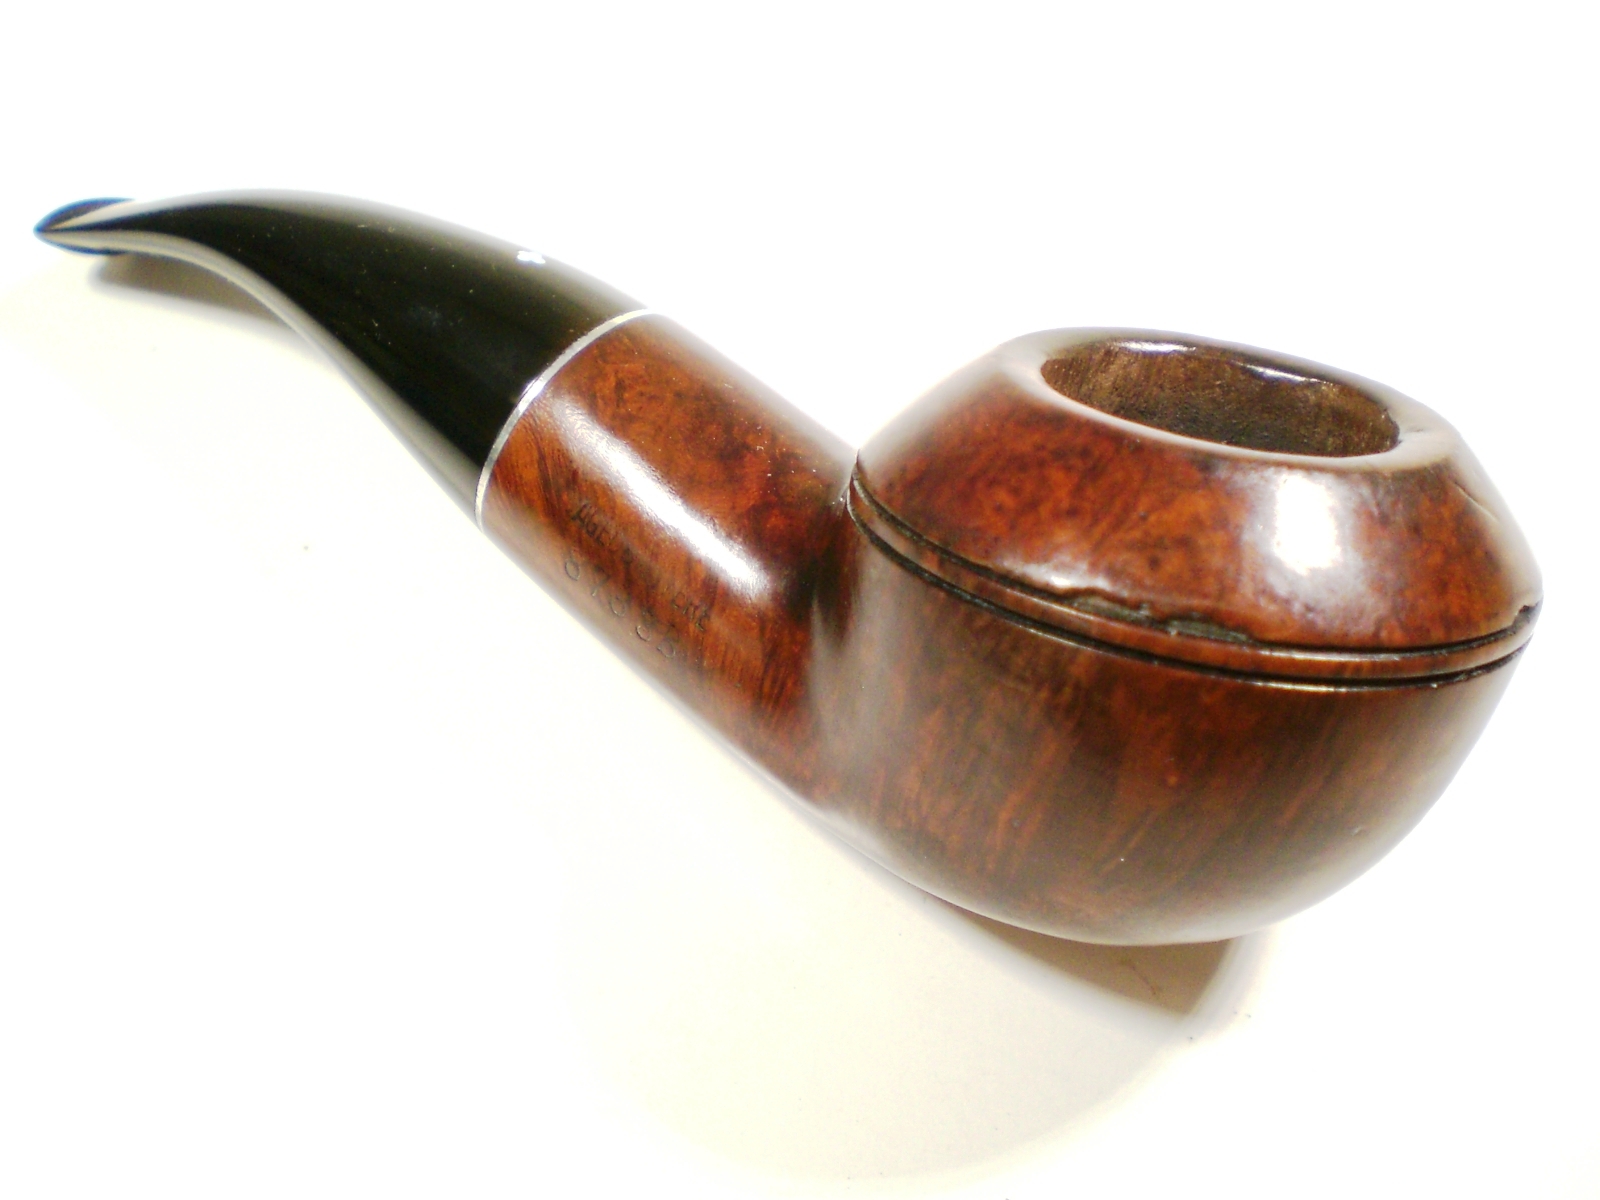
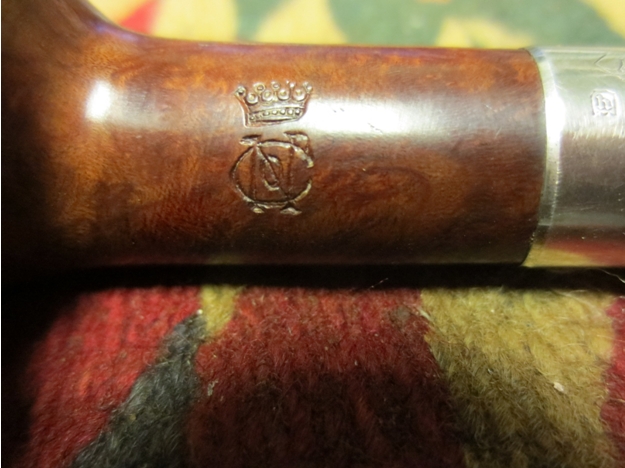
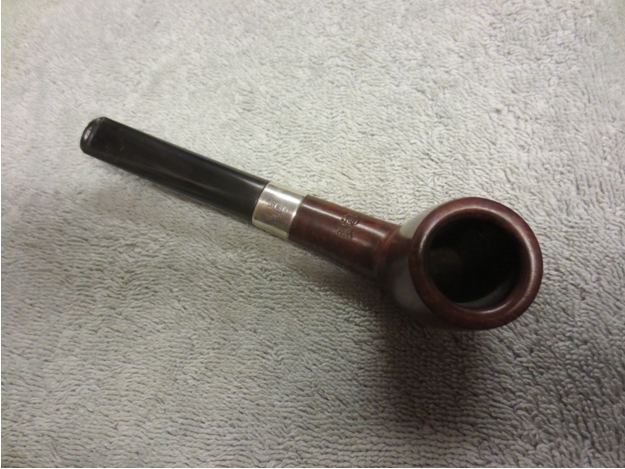
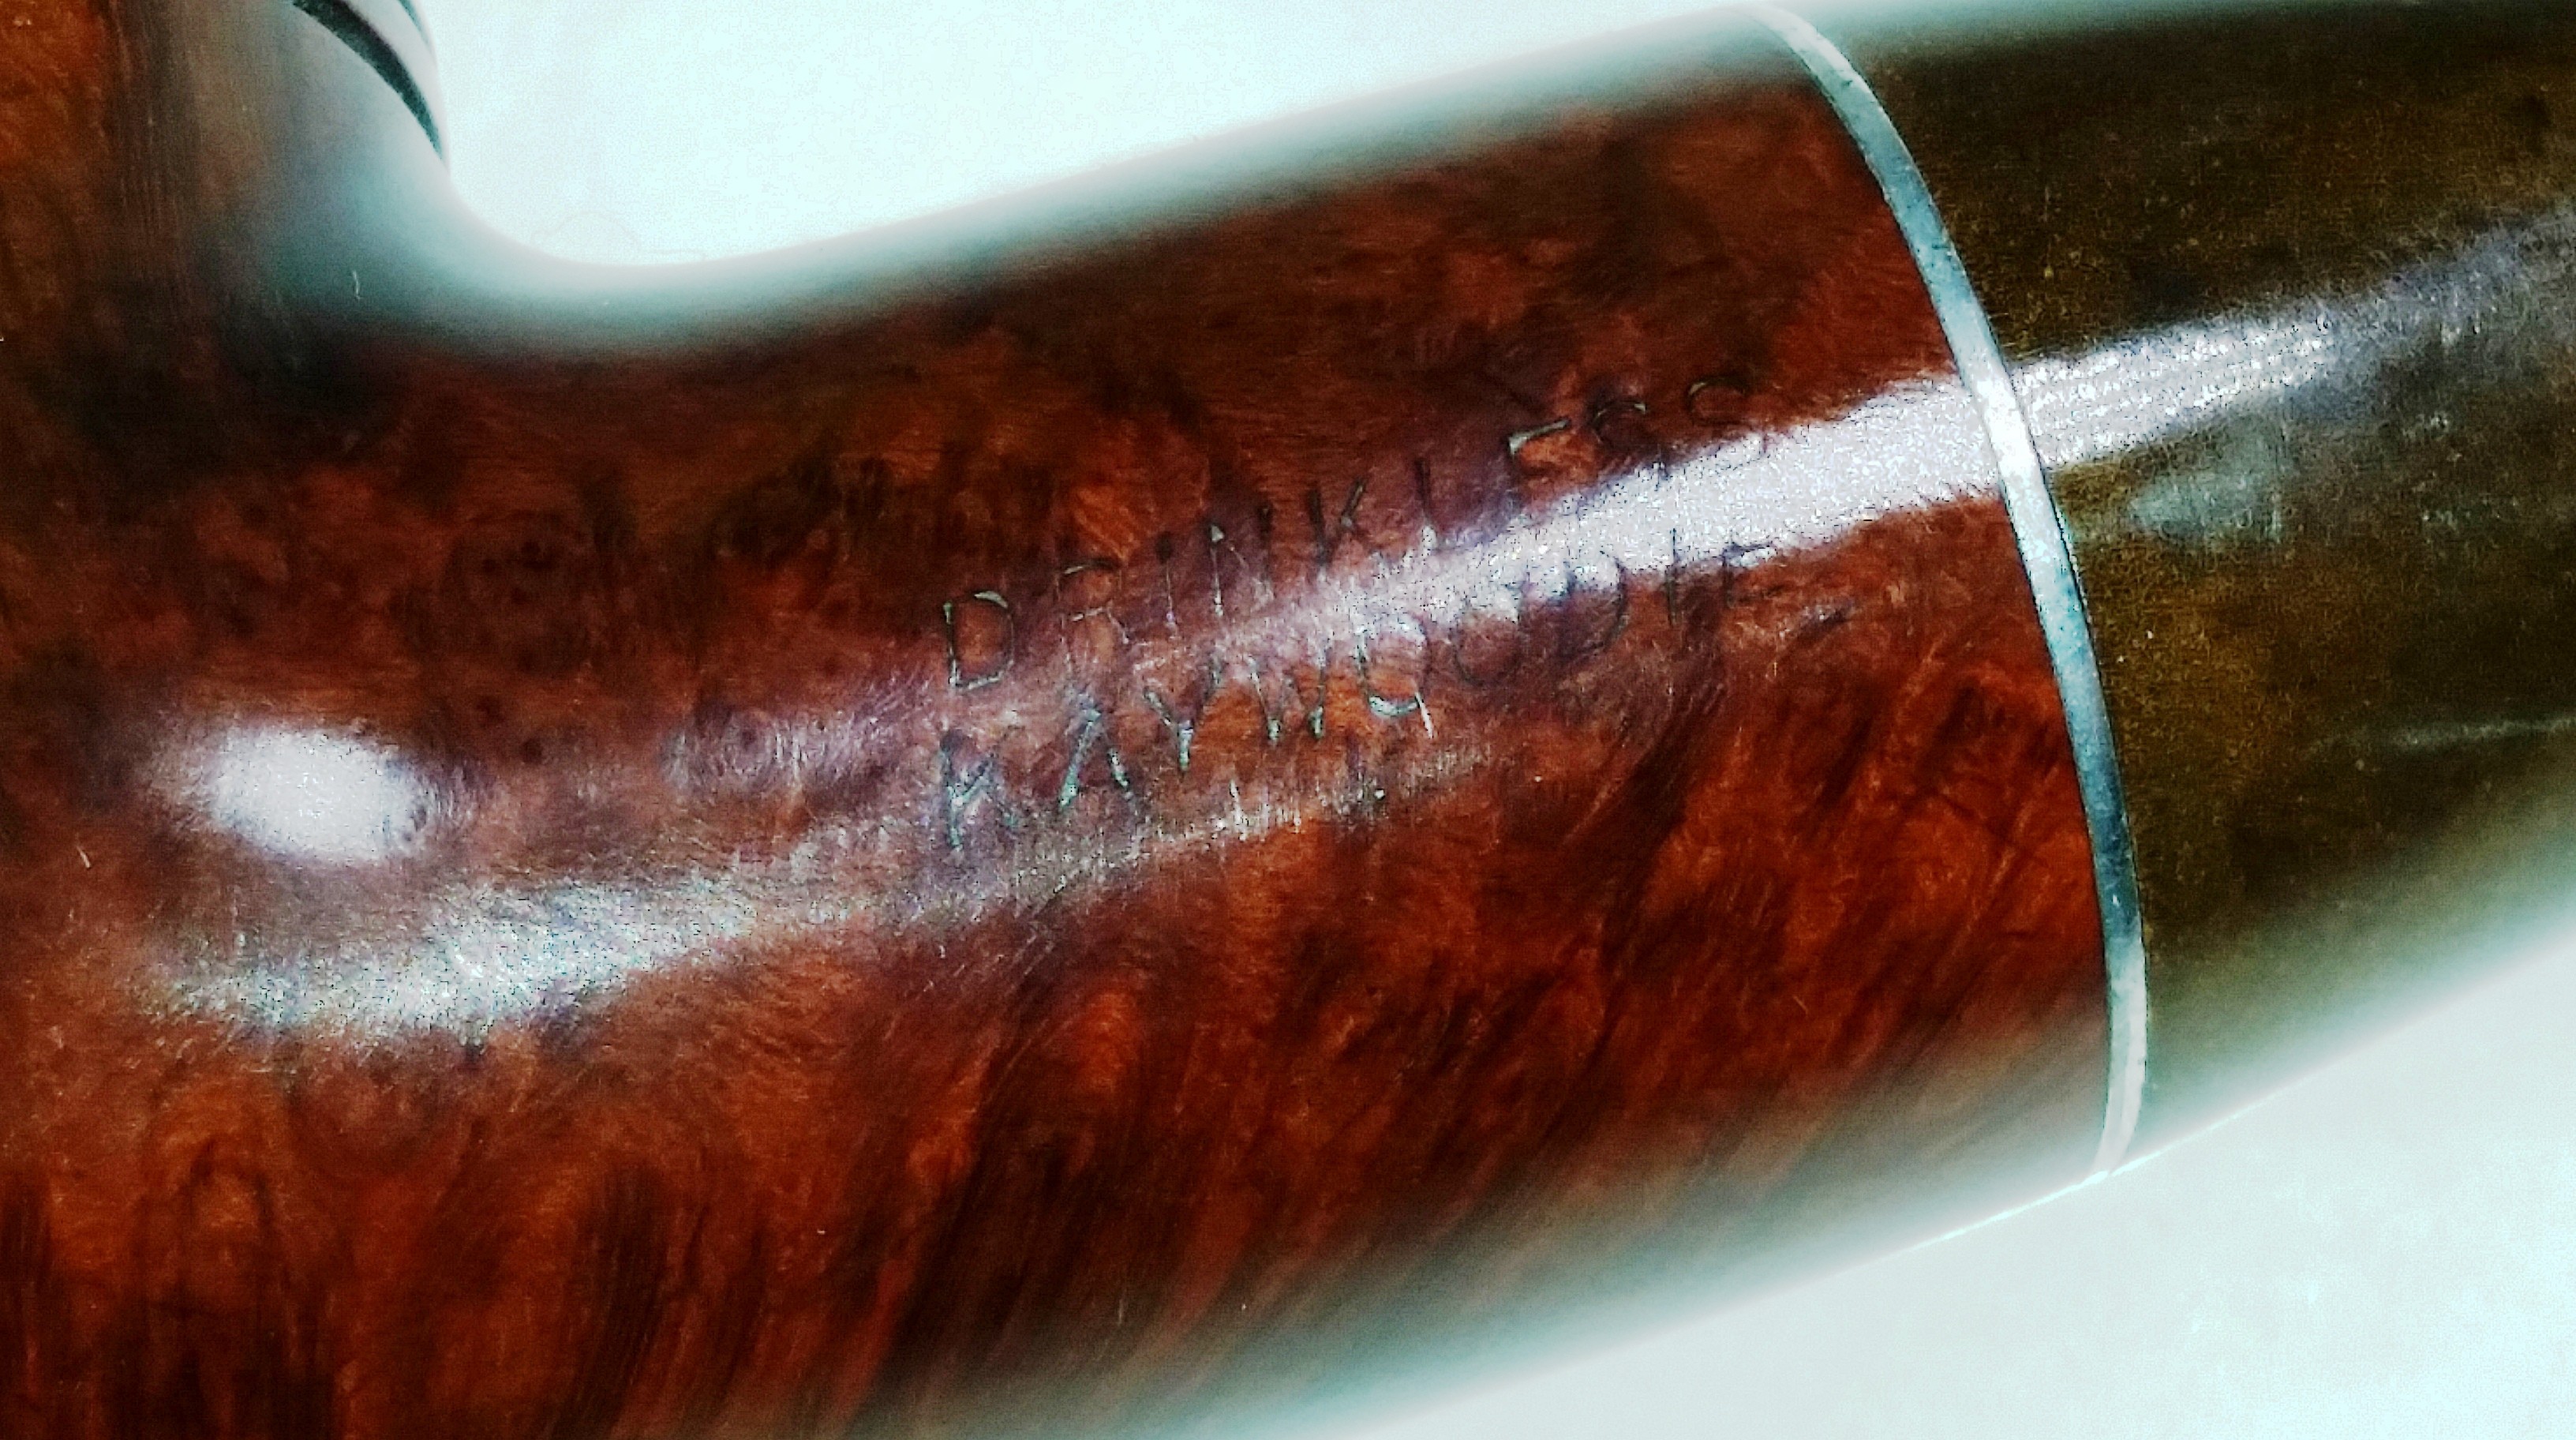
The nomenclature was worn, but visible to the naked eye.  This pipe is stamped Aged Bruyère with Drinkless over Kaywoodie.  Kaywoodie switched to the “Imported Briar” stamp in 1936, so it is possible that this pipe could be from 1935.  There are overlaps between years, so there is no definitive way to determine the exact year.

Kaywoodie_8783B_Drinkless_Before (8) Kaywoodie_8783B_Drinkless_Before (9)

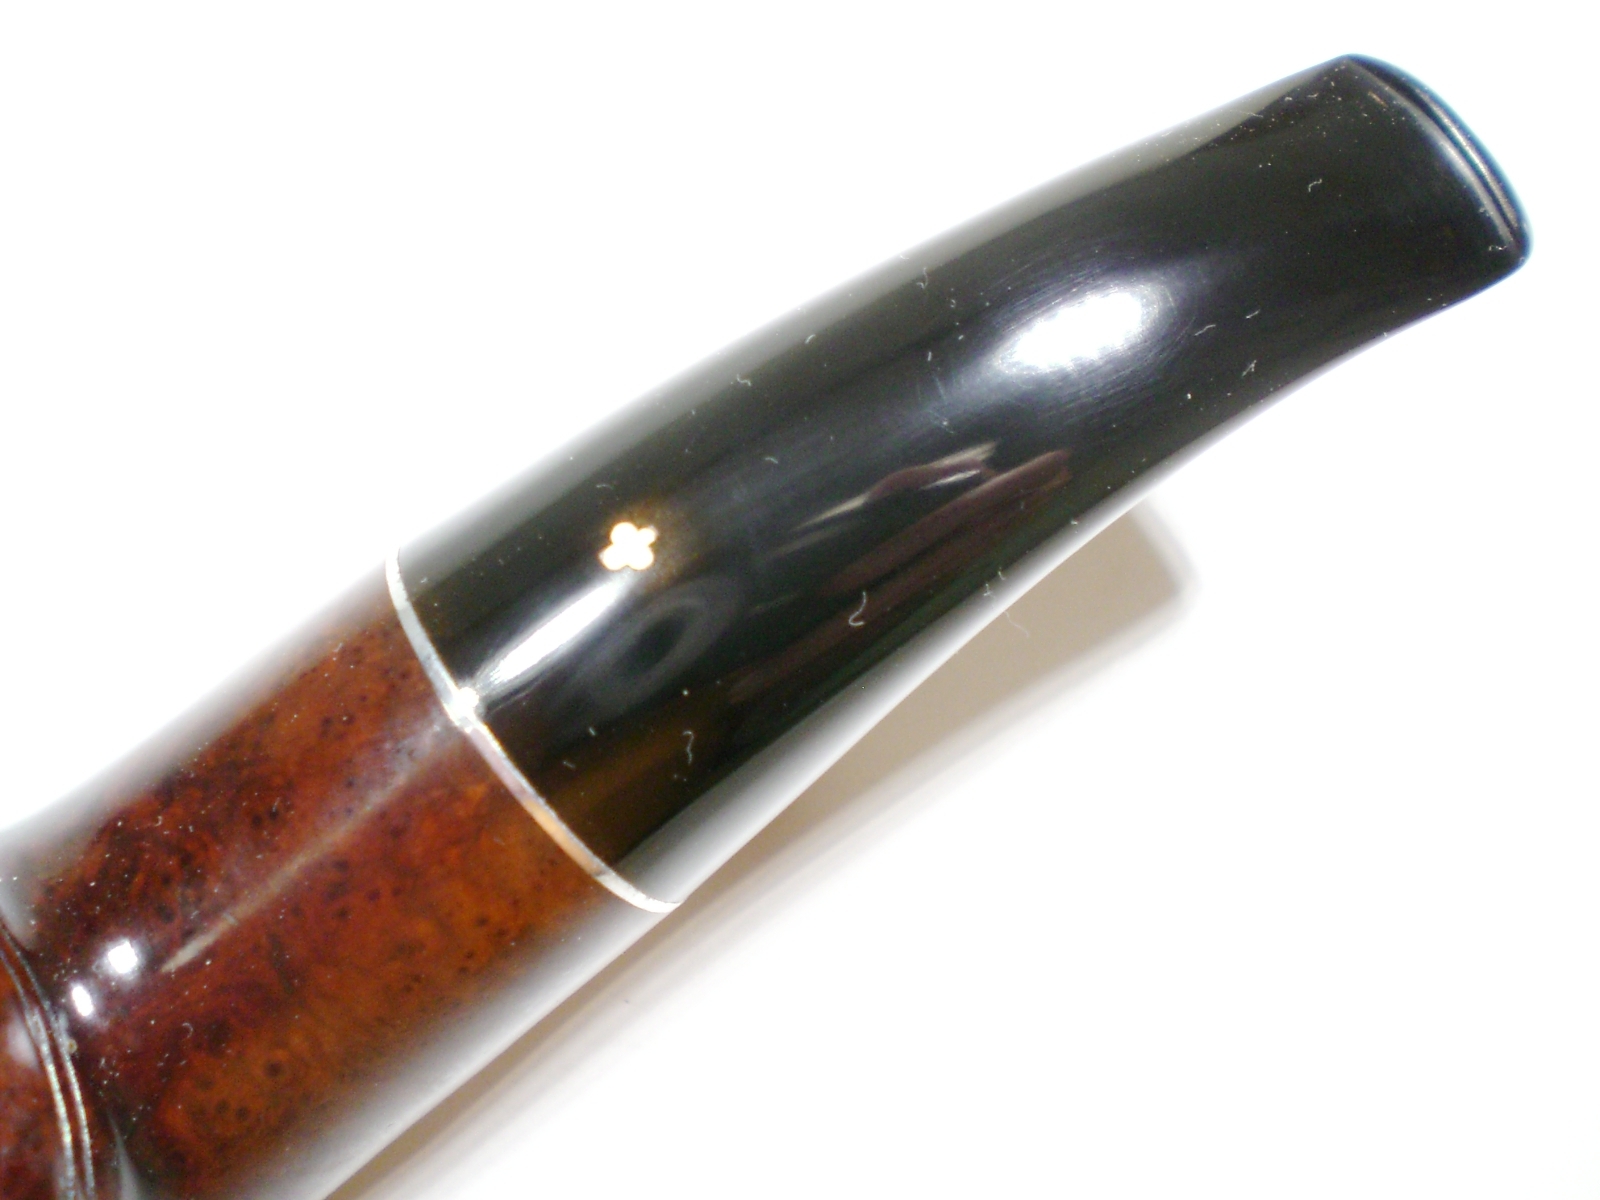
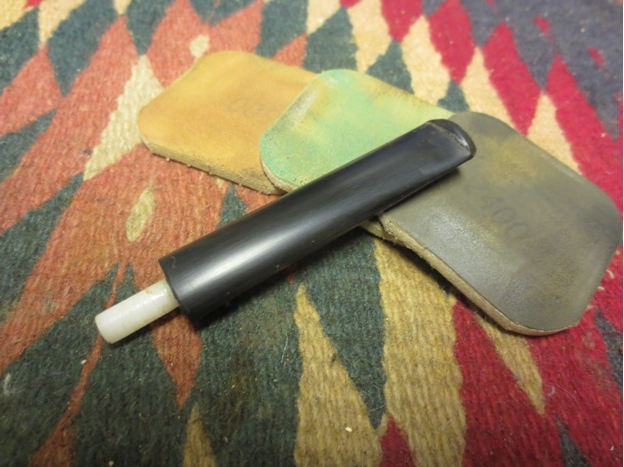
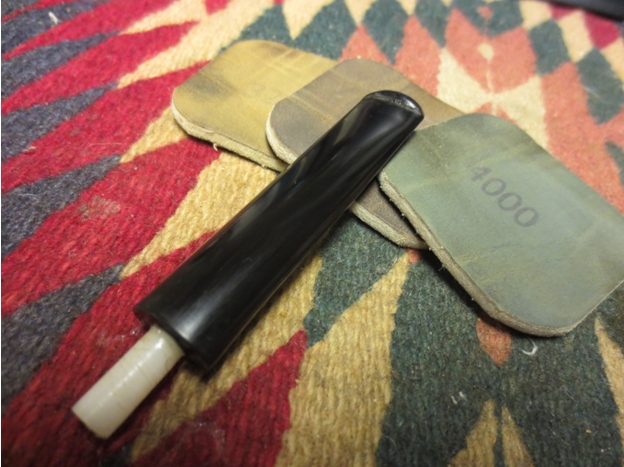
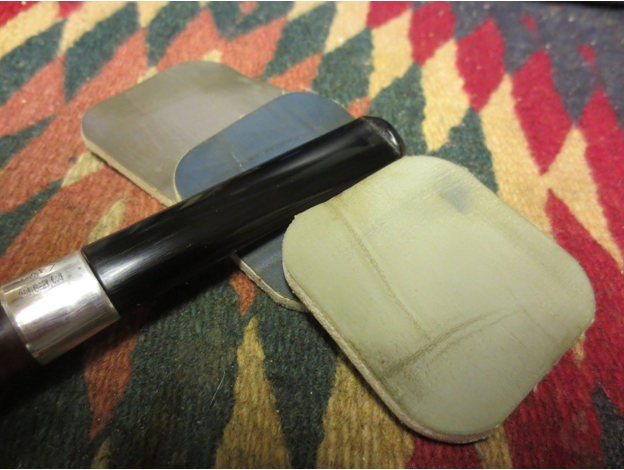
The bowl appeared to be reamed and cleaned, but I soaked it with alcohol and sea salt just to be sure.  The stem presented a problem as it was completely blocked.  Using a piece of heavy copper wire, I was able to push out some dirty pipe cleaner debris and clear the stem.  The detail work and funneling on the button end is very impressive and comparable to Comoys buttons of that era.

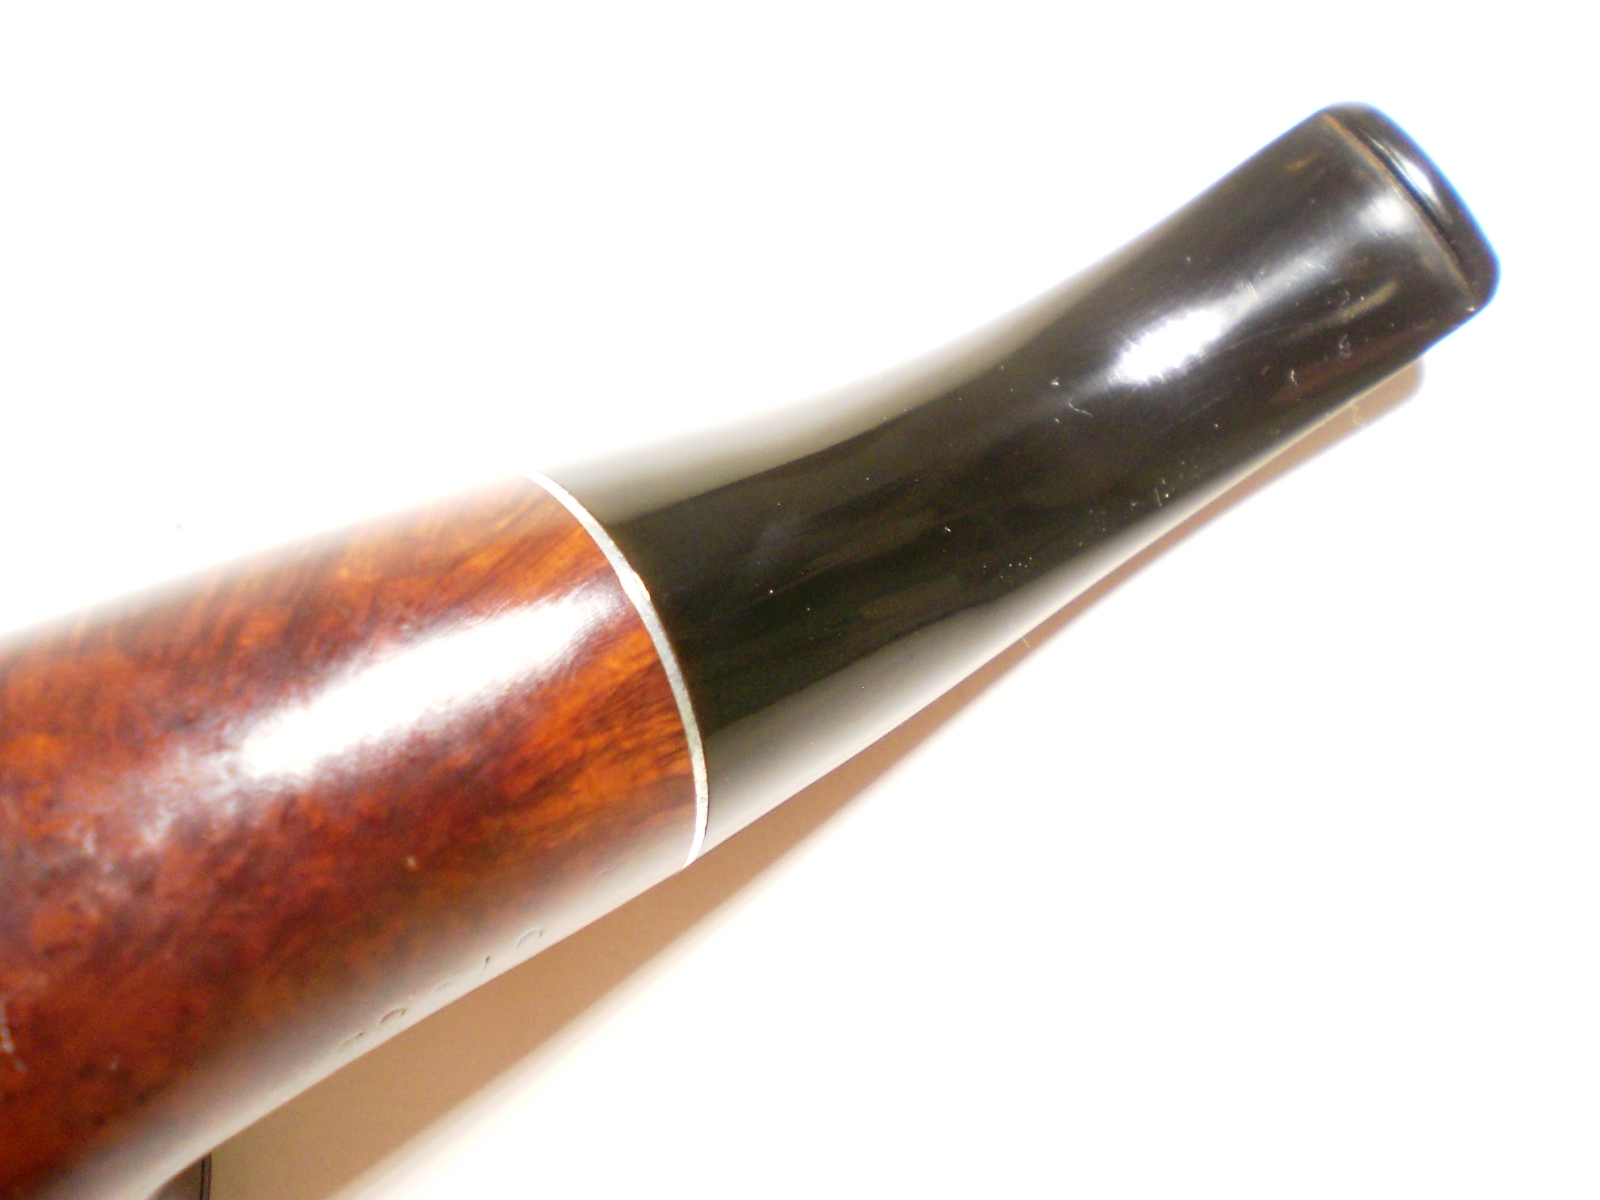
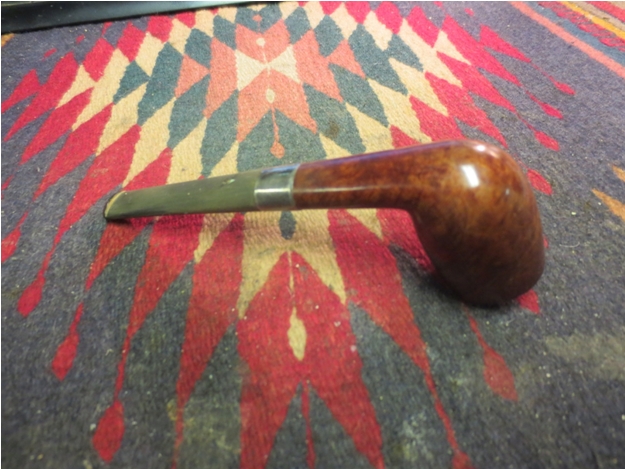
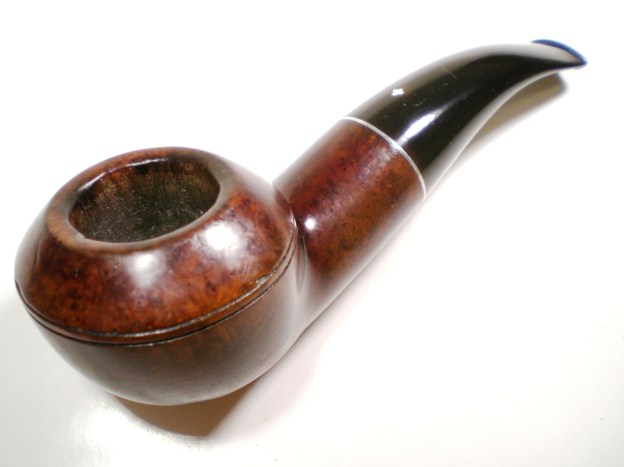
I was able to partially lift the dent from the bowl top with steam.  I heat an old kitchen knife heated with a propane torch pressed onto a wet cloth over the dent.  I then removed some of the rim darkening with a worn piece of 8000 grade micromesh sheet.  The briar was then buffed with several coats of carnuba wax.  I was careful to stay away from the worn nomenclature to avoid any more damage.

The oxidation on the stem was pretty stubborn.  The stem appeared to have had some of the oxidation buffed or sanded off.   I started with 600 grit wet paper, then progressed thru 800, 1000, 1500 and 2000 grades.  I then used 8000 and 12000 grade micromesh sheets.  The stem was then buffed with White Diamond rouge.

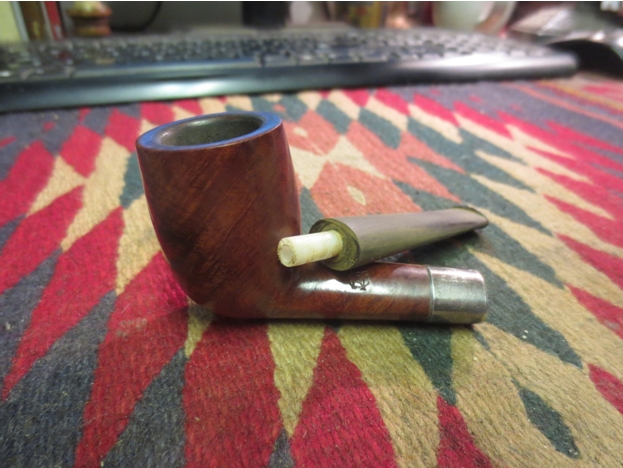
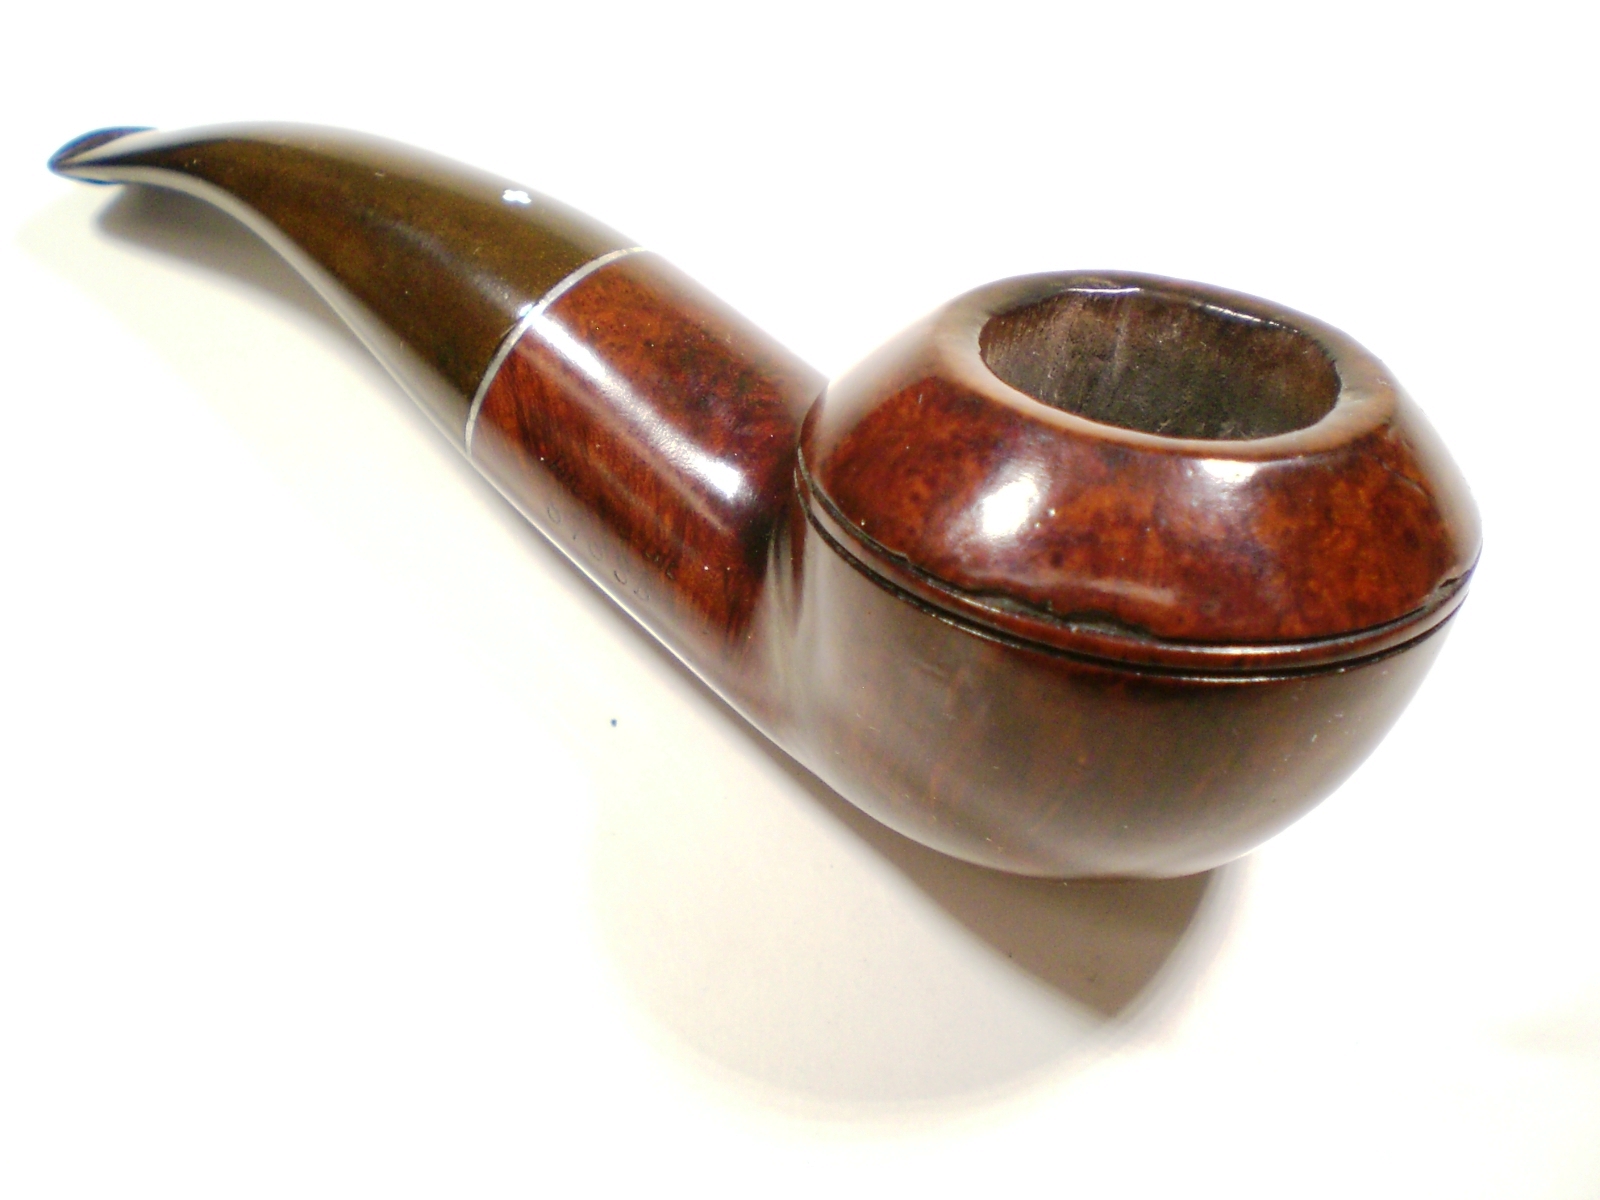
Below is the finished pipe.

Kaywoodie_8783B_Drinkless_Gallery Kaywoodie_8783B_Drinkless_Finished (3) Kaywoodie_8783B_Drinkless_Finished (2) Kaywoodie_8783B_Drinkless_Finished (4) Kaywoodie_8783B_Drinkless_Finished (8) Kaywoodie_8783B_Drinkless_Finished (7) Kaywoodie_8783B_Drinkless_Finished (6)


An Old 1923 Adolph Frankau Billiard Restemmed and Restored


Blog by Steve Laug

On a recent road trip to Alberta I drove over 3300 kilometres and stopped along the way at antique shops and antique malls to look for old pipes to add to my refurbishing box. I am always on the lookout for old pipes that show promise or will make good additions to my own collection. In one of the shops in Nanton, Alberta I found an old billiard and a Savinelli Made Canadian pipe bowl. Both bowls were missing their stems. The billiard bowl was stamped with a stacked lower case o and an N with C over the top of it. Above the stamped letters was a crown. There was no other stamping on the briar. I have looked around the web for this stamping and have not been able to find out who made the pipe from the stamping and the logo on the shank. The photo below gives a clear picture of the stamping on the top of the oval shank. If it looks familiar to any of you reading this article please post the information in the replies at the bottom of the page.A1 There was also a band on the shank that was factory installed. It was not a repair band or one that was added at a later date. The sterling silver band also bore stamping. On the top of the shank band there was an AF in a hexagon stamped in the silver. That AF stamping seems to point to the pipe being made by Adoph Frankau and Company as far as I can ascertain. Stamped underneath the AF there were three hallmarks in the silver. These hallmarks included the following – each of them was in a cartouche. The first was a letter h, the second was a lion, and the third was a lion’s head. The stamping and the order in which they were stamped identifies the silver band on the pipe in the following order – the h is the year 1923, the lion is the stamp for sterling silver and the third stamp, the lion’s head is the stamp for the city of London. The close up photo below shows the stamping on the silver band.A2The finish on the bowl was worn and spotty but otherwise was in good shape. The rim was slightly darkened but did not have any tarry build up. The bowl interior was clean and appeared to either have been reamed or lightly smoked. The shank had a threaded mortise and would have taken a threaded tenon. I went through my can of stems and found a stem that was oval and of a similar diameter as the shank. It had a broken off tenon that needed to be sanded smooth to flatten it against the face of the stem. With some sanding and cleaning up it would fit the shank well. Once I had faced the stem I drilled the remainder of the old broken tenon out of the stem and fit a piece of Delrin tenon into the hole. The piece of Delrin was too long and I cut it off with a hacksaw. The tenon was not threaded to fit in the threaded mortise however the diameter would make a snug fitting push tenon. The diameter of the stem was slightly larger than the shank and band so it would need to be sanded to remove the excess material.A3 A4 I cut of the tenon piece and then glued it into the drilled out stem with superglue. I sanded the stem to adjust the diameter of the oval to make the fit more precise.A5 When the stem was in place the fit was better with the logo side of the stem facing down. I decided to sand that side to fit it against the shank. The inlaid logo was not set too deeply into the vulcanite and with sanding it would be easy to remove. Once I had sanded it with 220 grit sandpaper to remove the excess vulcanite I fit it in the shank to get an overall look at the pipe with stem. More sanding would be necessary to get the fit perfect against the band and shank.A6 a7 a8 A9 To further shape the stem I removed it from the shank and sanded it some more with 220 grit sandpaper and then with a medium and a fine grit sanding sponge. I sanded the stem until the diameter matched that of the shank. I sanded the tooth marks next to the button on the top and bottom of the stem. The photo below shows the shaped and sanded stem. All tooth marks and damage to the stem was removed in the sanding and the stem was ready to polish.A10 I wiped down the bowl with acetone on a cotton pad to remove the spotty finish on the bowl. It took some scrubbing to remove the varnish coat on the pipe. I scrubbed the silver band with silver polish and wiped it down with a silver polishing cloth.A11 A12 A13 I sanded the stem with micromesh sanding pads – wet sanding with 1500-2400 grit pads and dry sanding with 3200-12,000 grit pads. I sanded the tenon smooth as well. I rubbed the stem down with Obsidian Oil after each set of three sanding pads. I buffed the stem with White Diamond to further polish it and then gave it several coats of carnauba wax and buffed it with a soft flannel buffing pad to raise the shine. A14 A15 A16 I buffed bowl with White Diamond on the buffer and then gave it multiple coats of carnauba wax to protect and polish it. I then buffed it with a soft flannel buff to give it a shine. I put the stem back in place on the shank and the buffed the pipe a final time. The finished pipe is shown in the next set of four photos below. It is ready to smoke with its inaugural bowl. It will be a treat to fire up this lightly smoked pipe from 1923.A17 A18 A19 A20