Blog by Steve Laug
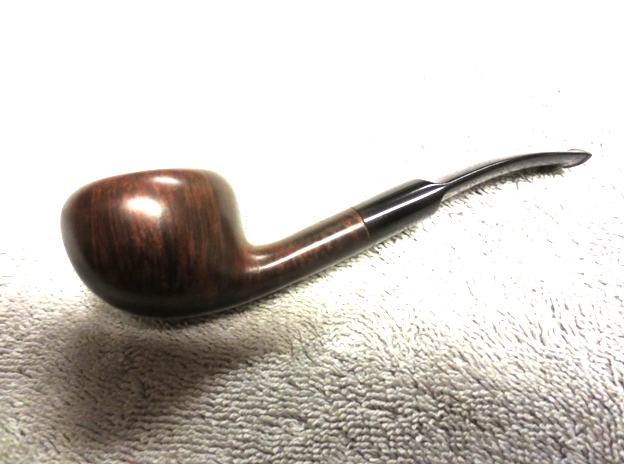
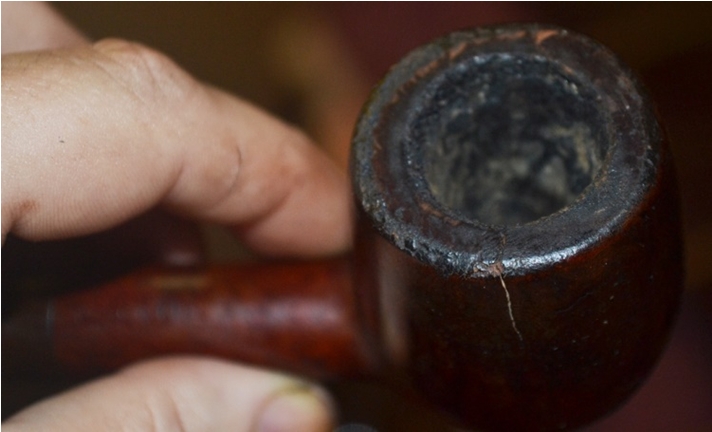
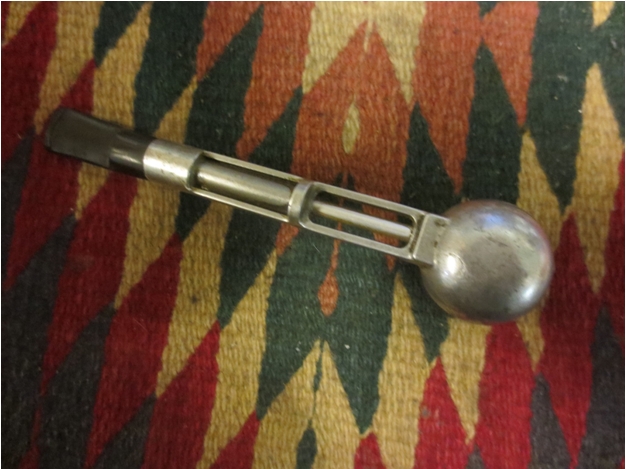
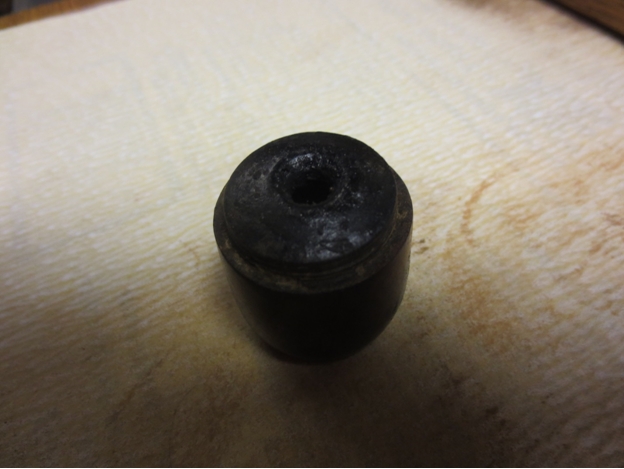
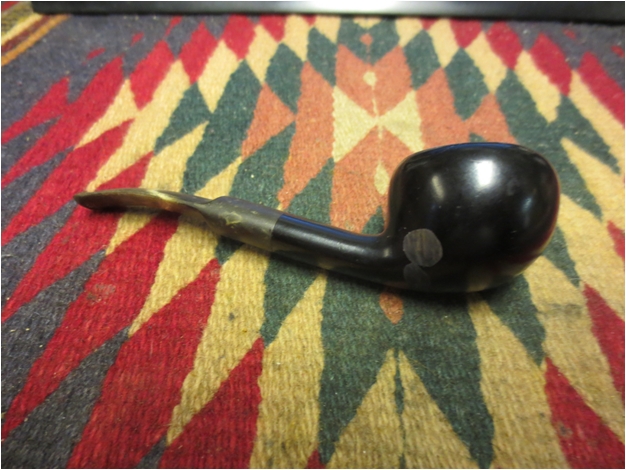
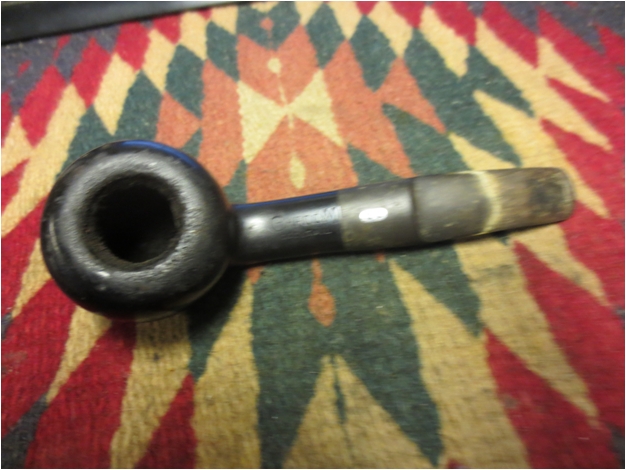
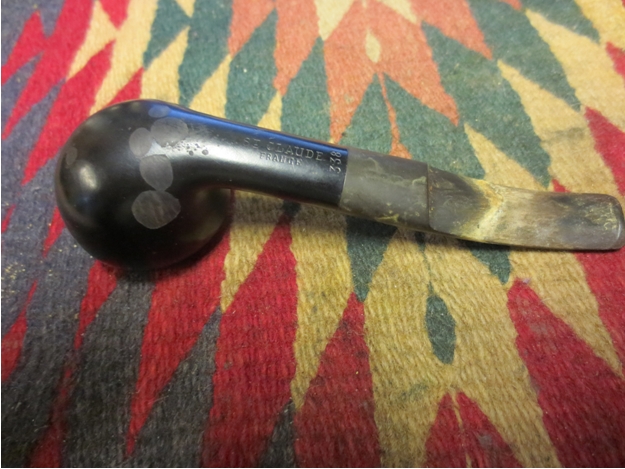
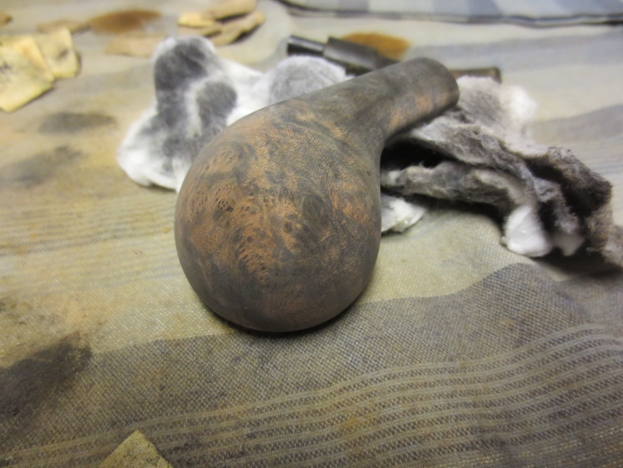
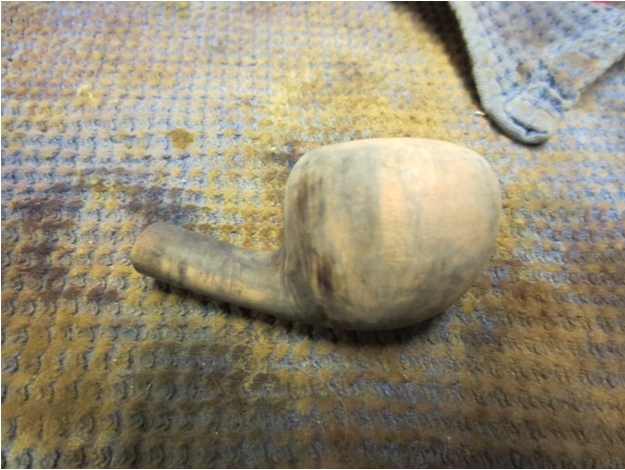
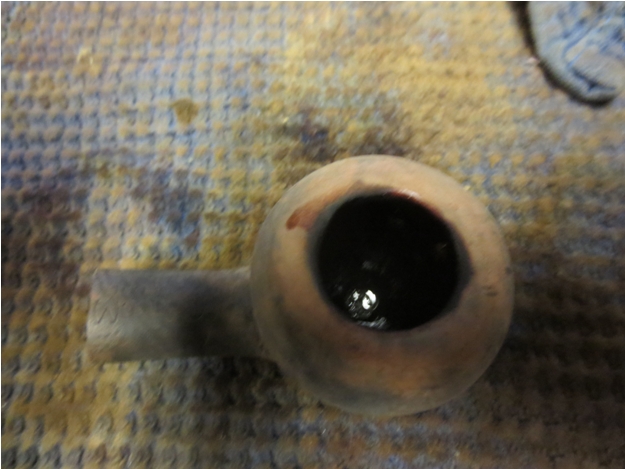
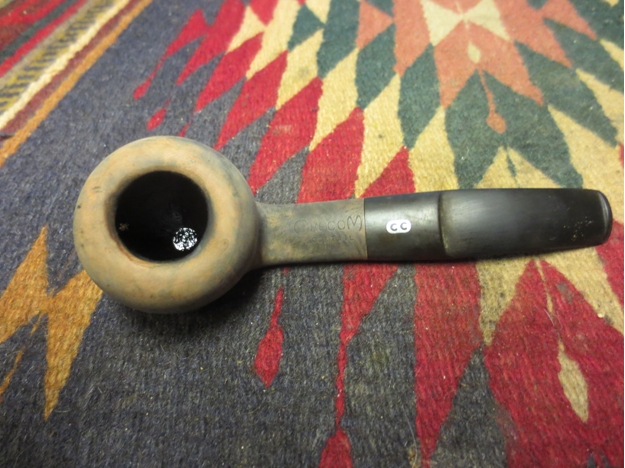
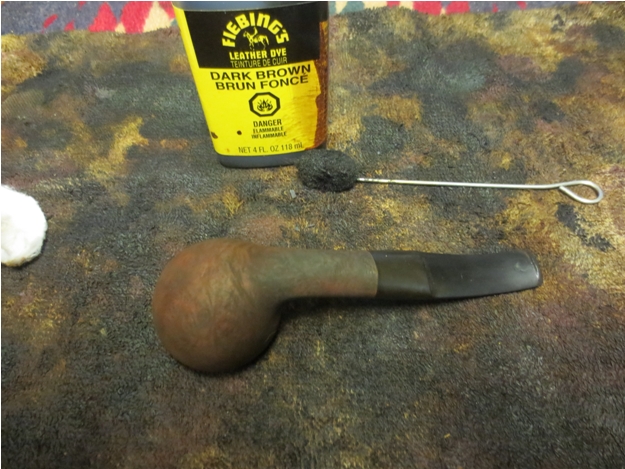
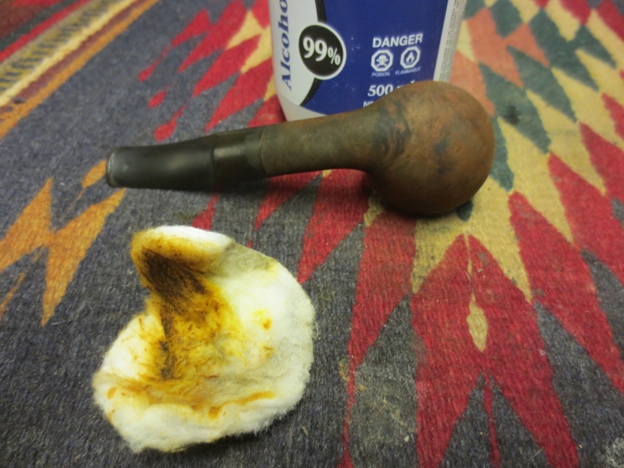
My son-in-law and I dropped off his wife and two of my other daughters at the shopping mall and made our way to the pipe hunting turf. He found a nice Peterson Dunmore and I picked up this little Chacom. I love the shape of the bowl. It is an oval shanked pipe with stamping on both the top and the underside. On top it is stamped Chacom over Cocktail and on the underside it is stamped St. Claude over France and 338 next to the stem shank junction. The bowl was caked and quite dirty. The top of the rim while undamaged by dents or chips was thickly covered with tars and oils. The finish was shot – the black paint, kind of shiny dress black, was peeling and large spots on the finish were missing. The stem was dirty, oxidize, and covered with a calcification for the first inch of the stem. There was tooth chatter on the top and bottom of the stem and on the underside it had some tooth dents that would need to be addressed.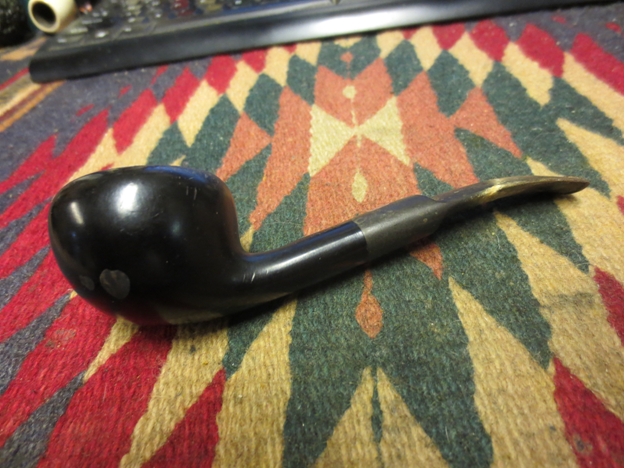
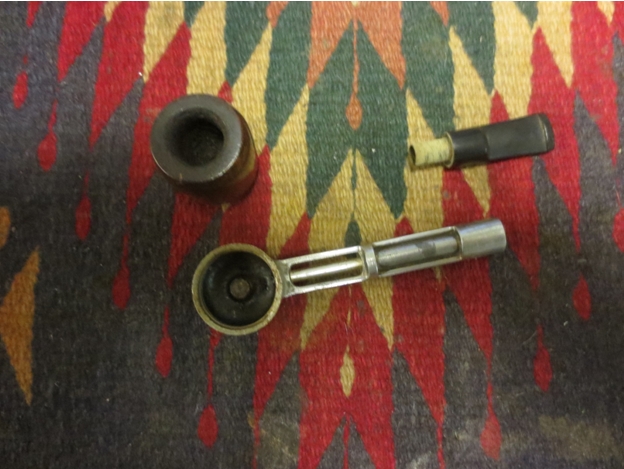
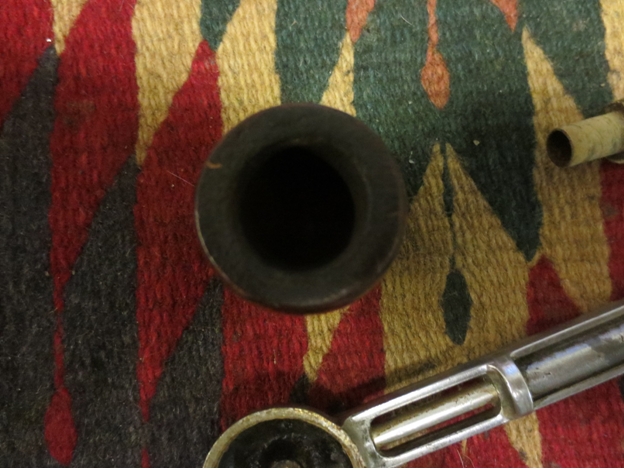
 I reamed back the cake to the bare briar with a PipNet pipe reamer. I used both the first and second sized cutting heads to ream the cake back. This time it was not hard but rather it crumbled when the blades of the reamer touched them.
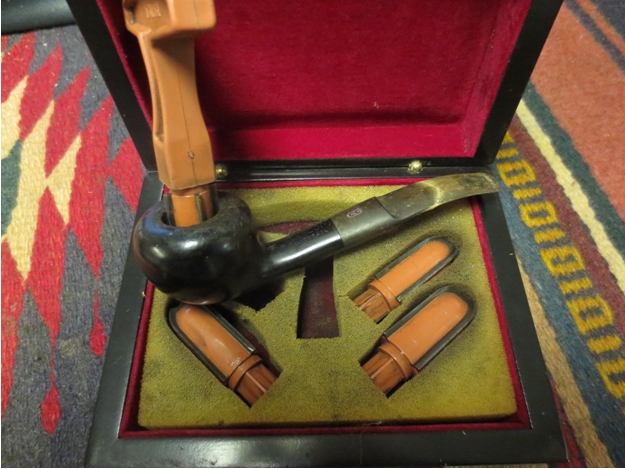 I put the bowl in an alcohol bath overnight and let it soak. In the morning I took it from the bath and found that the finish was unphased by the soak. I had run out of acetone for removing the finish but I borrowed some fingernail polish remover from my daughter. It was a peach flavoured wash with added vitamin E. I figured that neither the pipe nor I would mine the smell of fresh peaches as I scrubbed down the finish. The peach aroma made the acetone removal of the painted finish not only quick and easy but made it smell like peach cobbler! Wow. I used a lot of cotton pads soaked in the acetone to remove the paint and clean up the finish. I sanded the bowl with 220 grit sandpaper but did not sand the shank as I did not want to damage the stamping on the top and the bottom. I went over the sanded bowl with a medium and fine grit sanding sponge.
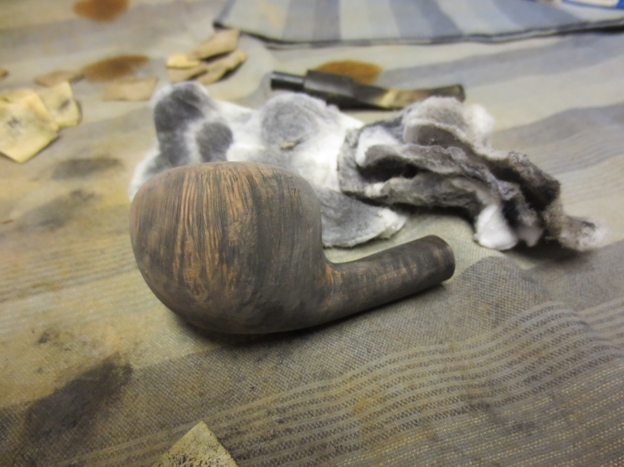
 I dropped the bowl into an alcohol bath to soak out the deep stain and remove some more of the paint that held on fast. While it soaked I worked on the stem. I sanded it with 220 grit sandpaper to remove the calcification and oxidation and then wiped it down with alcohol. I was able to remove the tooth chatter from the top side but the bottom side still had a deep tooth mark. I sanded it and opened up the edges of the mark. I wiped it down with alcohol and then filled it in with black superglue and sprayed it with accelerator.
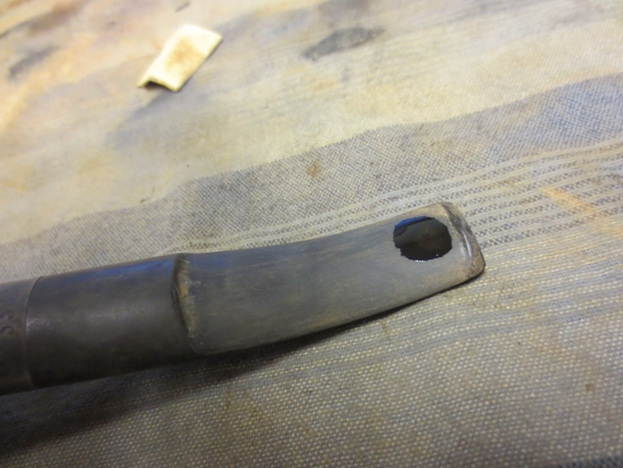 I sanded the patch with 180 and 220 grit sandpaper and then with the sanding sponges to blend it into the surface of the stem.
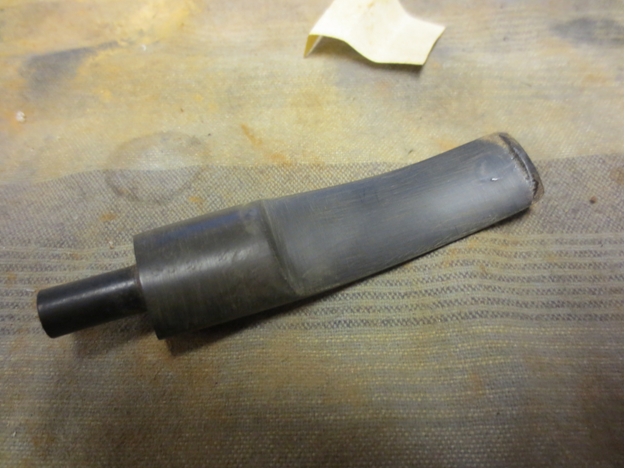
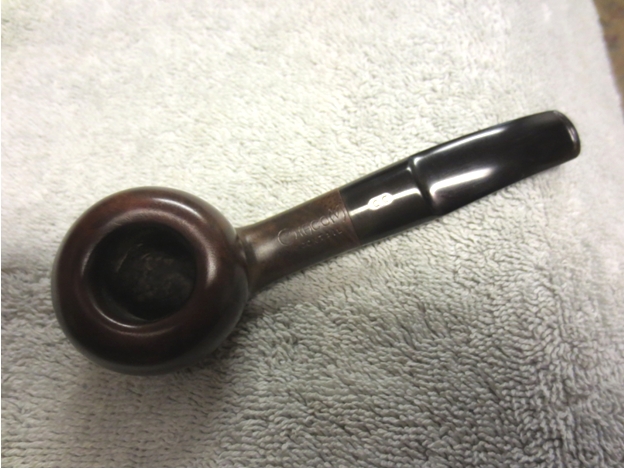
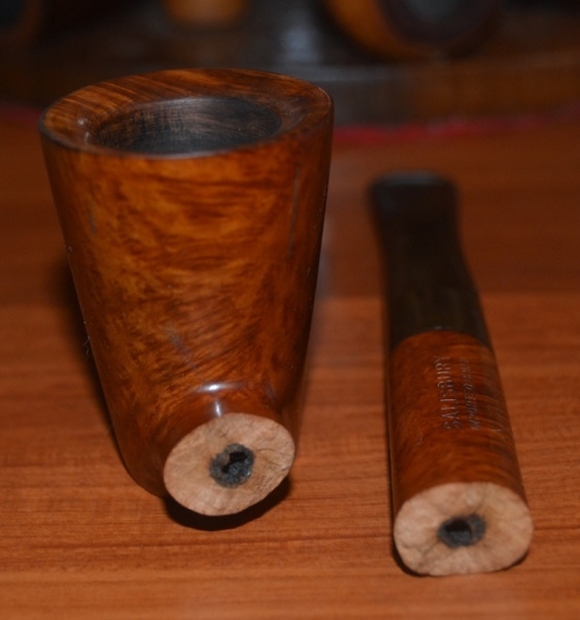
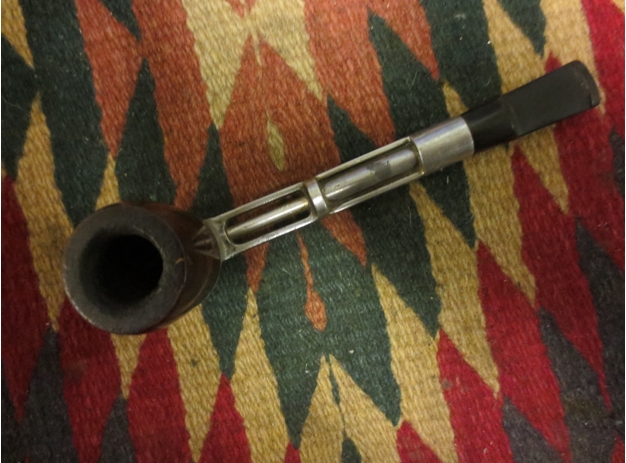
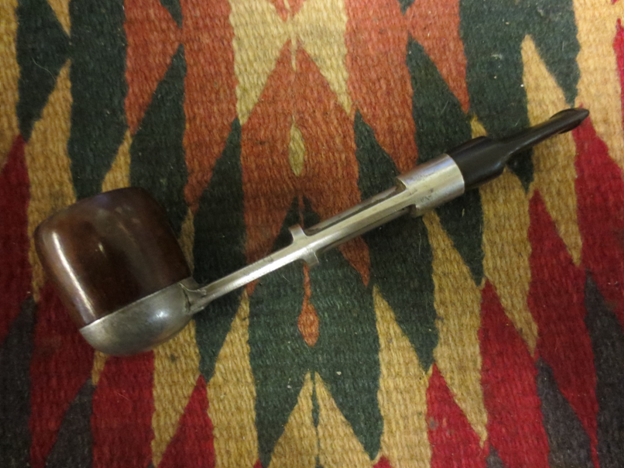
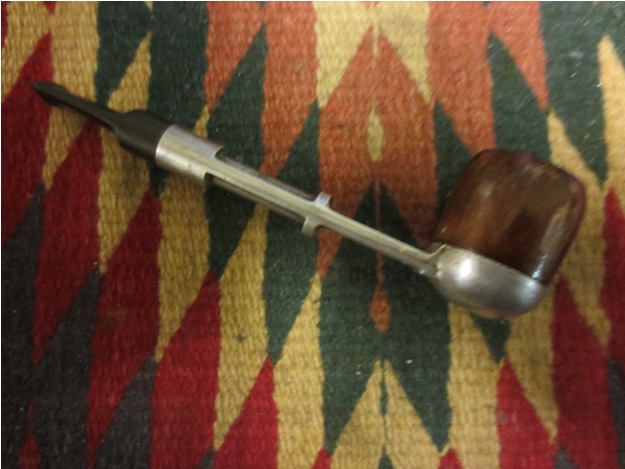
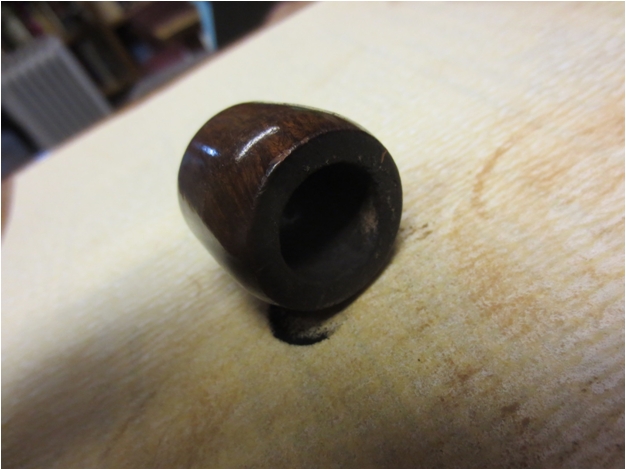
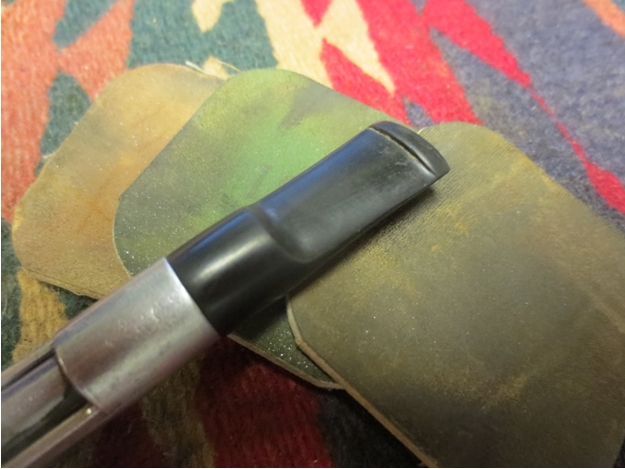
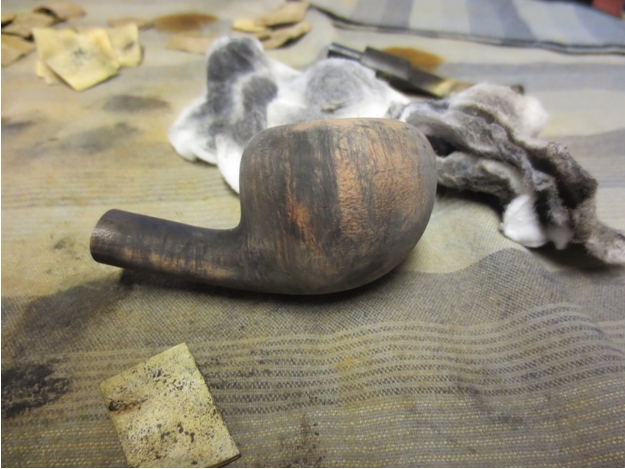
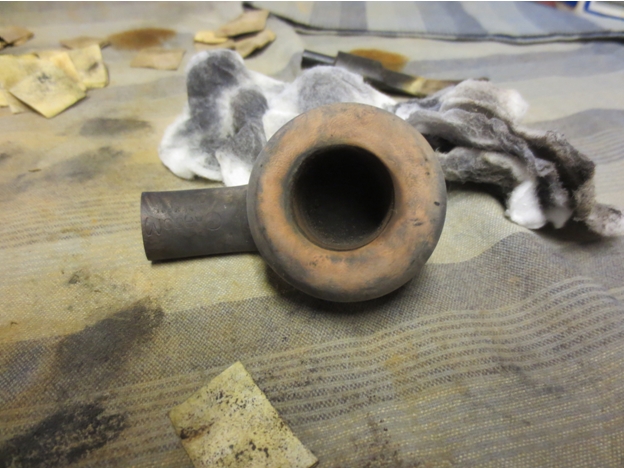
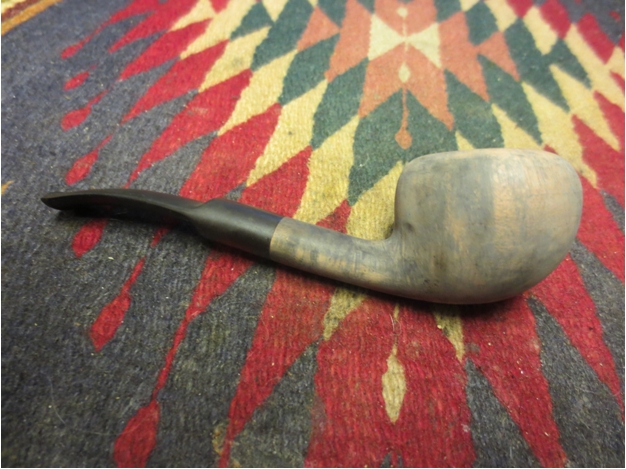
 I removed the bowl from the alcohol bath after it had soaked for about an hour. I dried it off with a soft rag and took the following four photos to give a clear idea of where it stood at this point in the process of removing the finish. The peach flavoured acetone and the isopropyl alcohol had done their magic and the paint was gone!
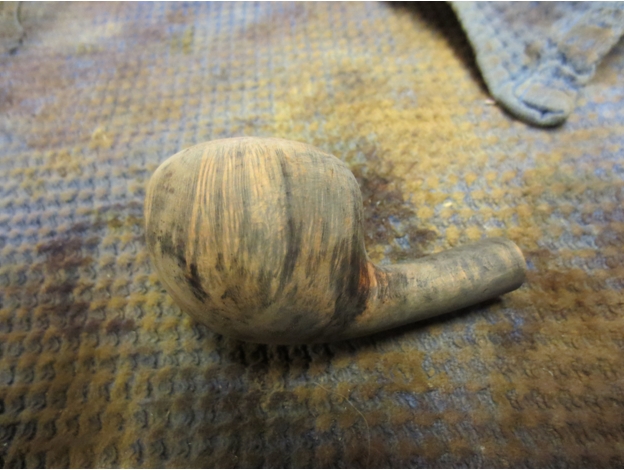

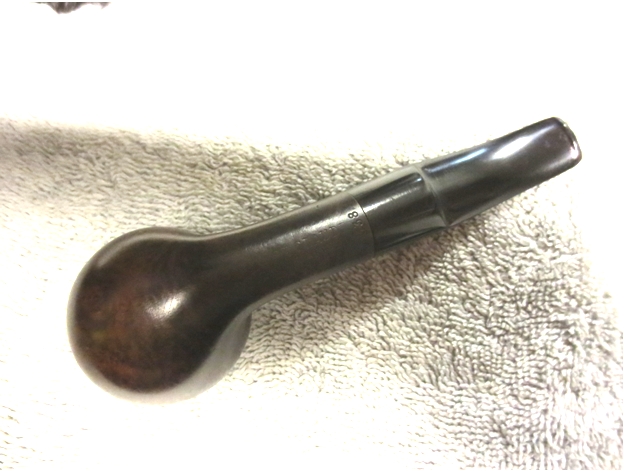
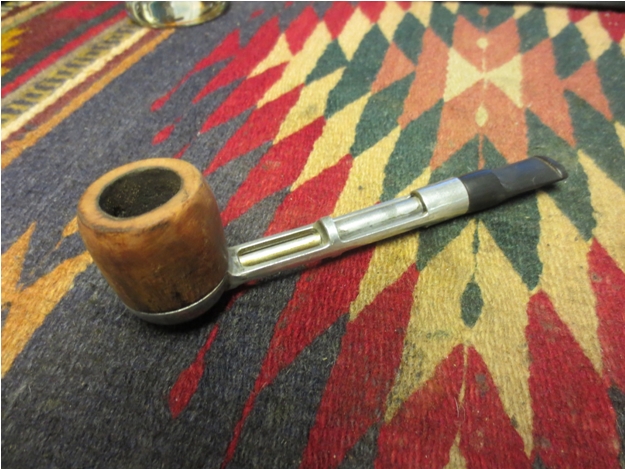
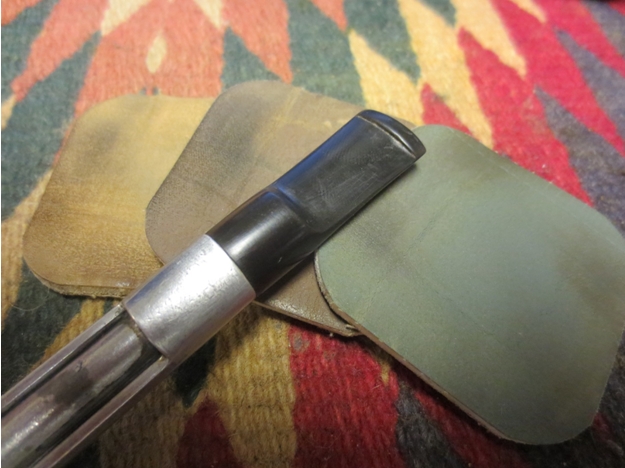
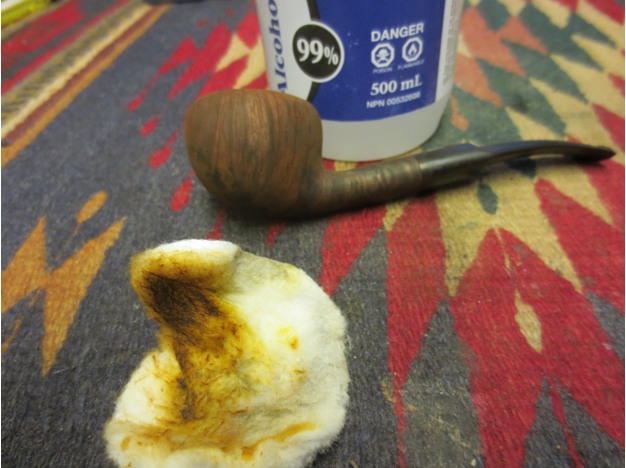
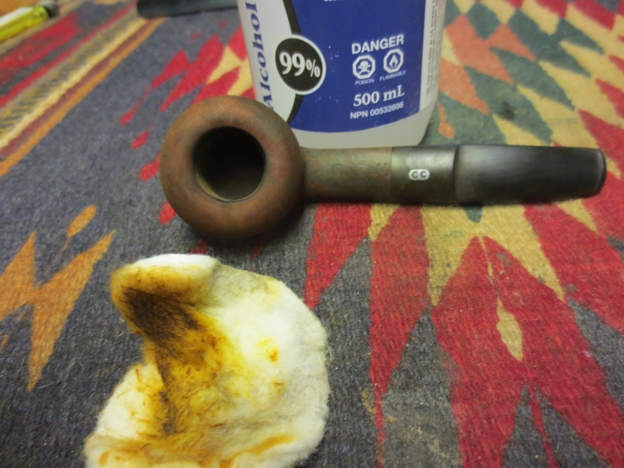
 I let the bowl dry and continued to work on the oxidation on the stem. I sanded the bowl lightly with a medium and fine grit sanding sponge and then wiped it down with a cotton pad and alcohol to remove the dust. I put the stem back on the bowl and took the pictures below to show the progress toward the new look of this old dress pipe.
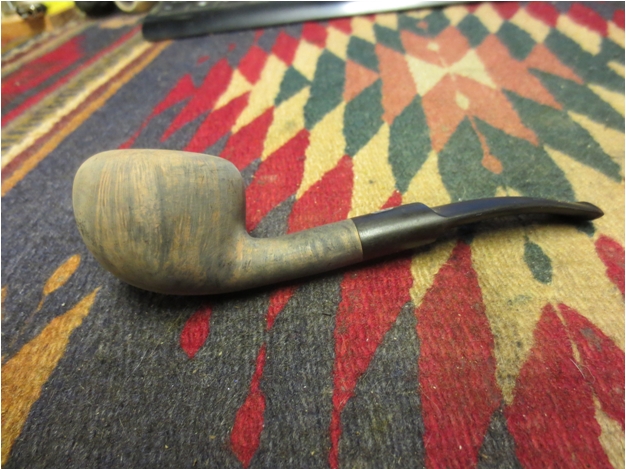
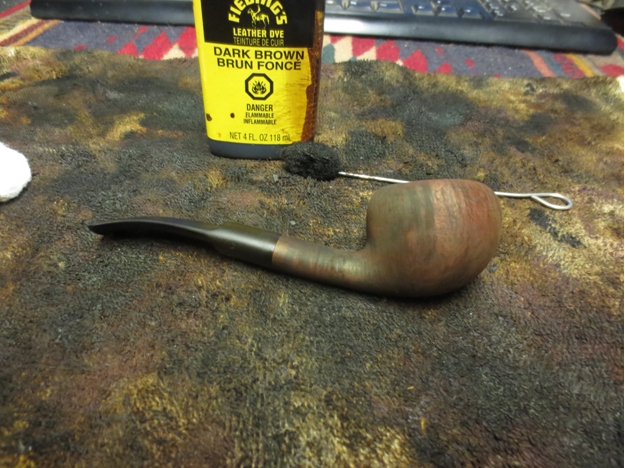
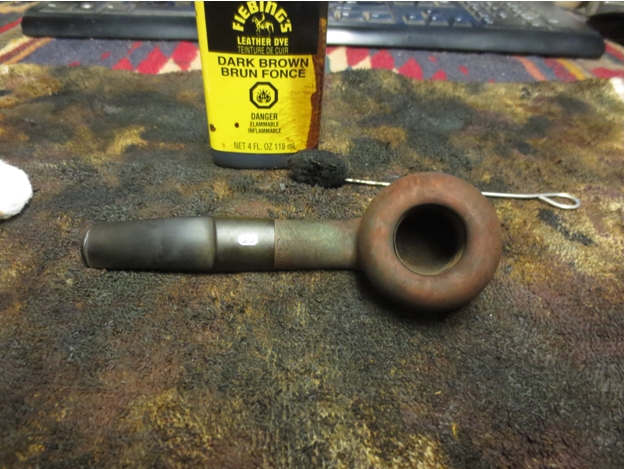
 I used a folded piece of 220 grit sandpaper to rework the inner edge of the rim. It had originally had a slight bevel toward the bowl and I wanted to clean that up and redefine it. Once that was completed I wiped the bowl down a final time with the alcohol and prepared it for staining. I decided to use a dark brown aniline stain to work with the black highlights on the grain. I applied the stain, flamed it and reapplied and flamed it again.
 When the stain dried I wiped it down with isopropyl alcohol on a cotton pad to remove some of the opacity of the colour and to try to make it more transparent. The next four photos show the pipe after the wipe down.
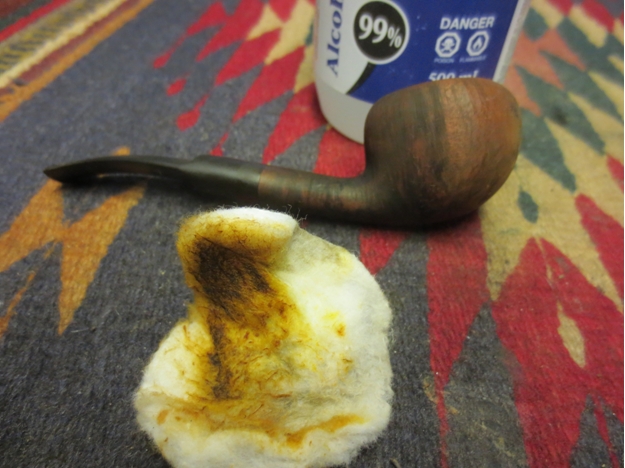
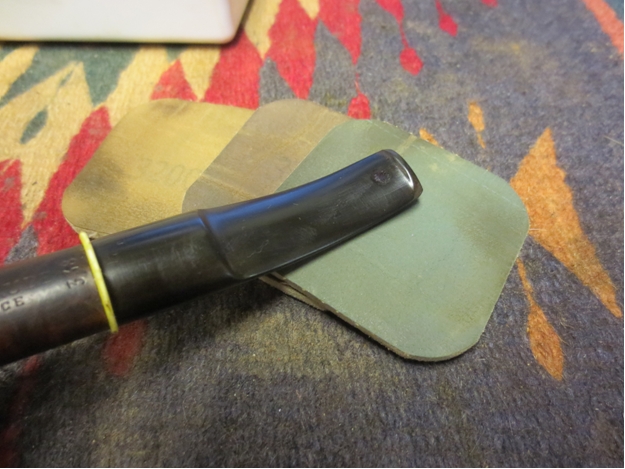
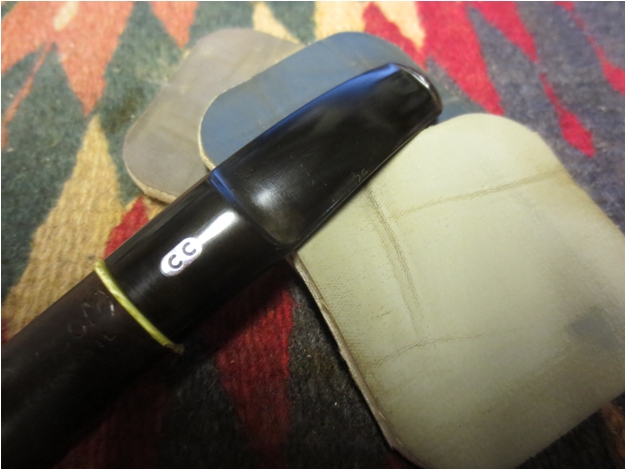
 I took the pipe to the buffer and buffed it with White Diamond, being careful to avoid buffing the stamping on the shank. I am careful not to damage that in the process of the restoration. Once buffed the stamping really shows up again. Now it was time to work on the stem some more and get rid of the oxidation and scratches. I use a plastic spacer between the shank and the stem to protect the shank and to allow me to sand the stem without rounding the shoulders. I sanded with 220 grit sandpaper, medium and fine grit sandpaper and then used micromesh sanding pads. I wet sanded with 1500-2400 grit pads and dry sanded with 3200-12,000 grit pads. I rubbed it down with Obsidian Oil between each set of three pads.
 The tooth repair on the underside of the stem is smooth and even. However, when I sprayed it with the accelerator it left a white centre to the patch. I have not had that happen before but it is all the way through the patch. I will live with it for now, but one day may pick it out and redo it to remove that aspect of the patch.
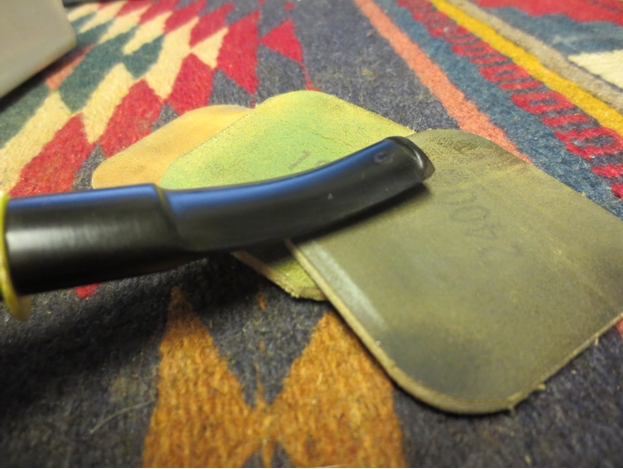

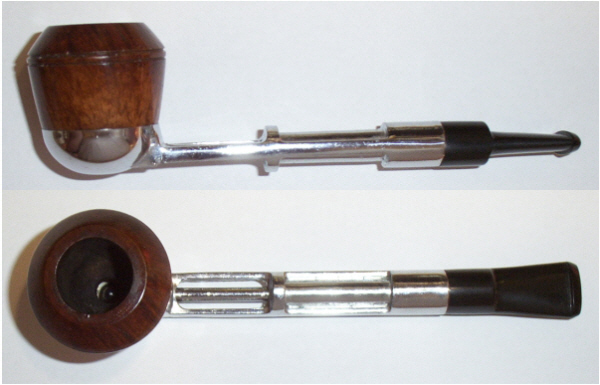
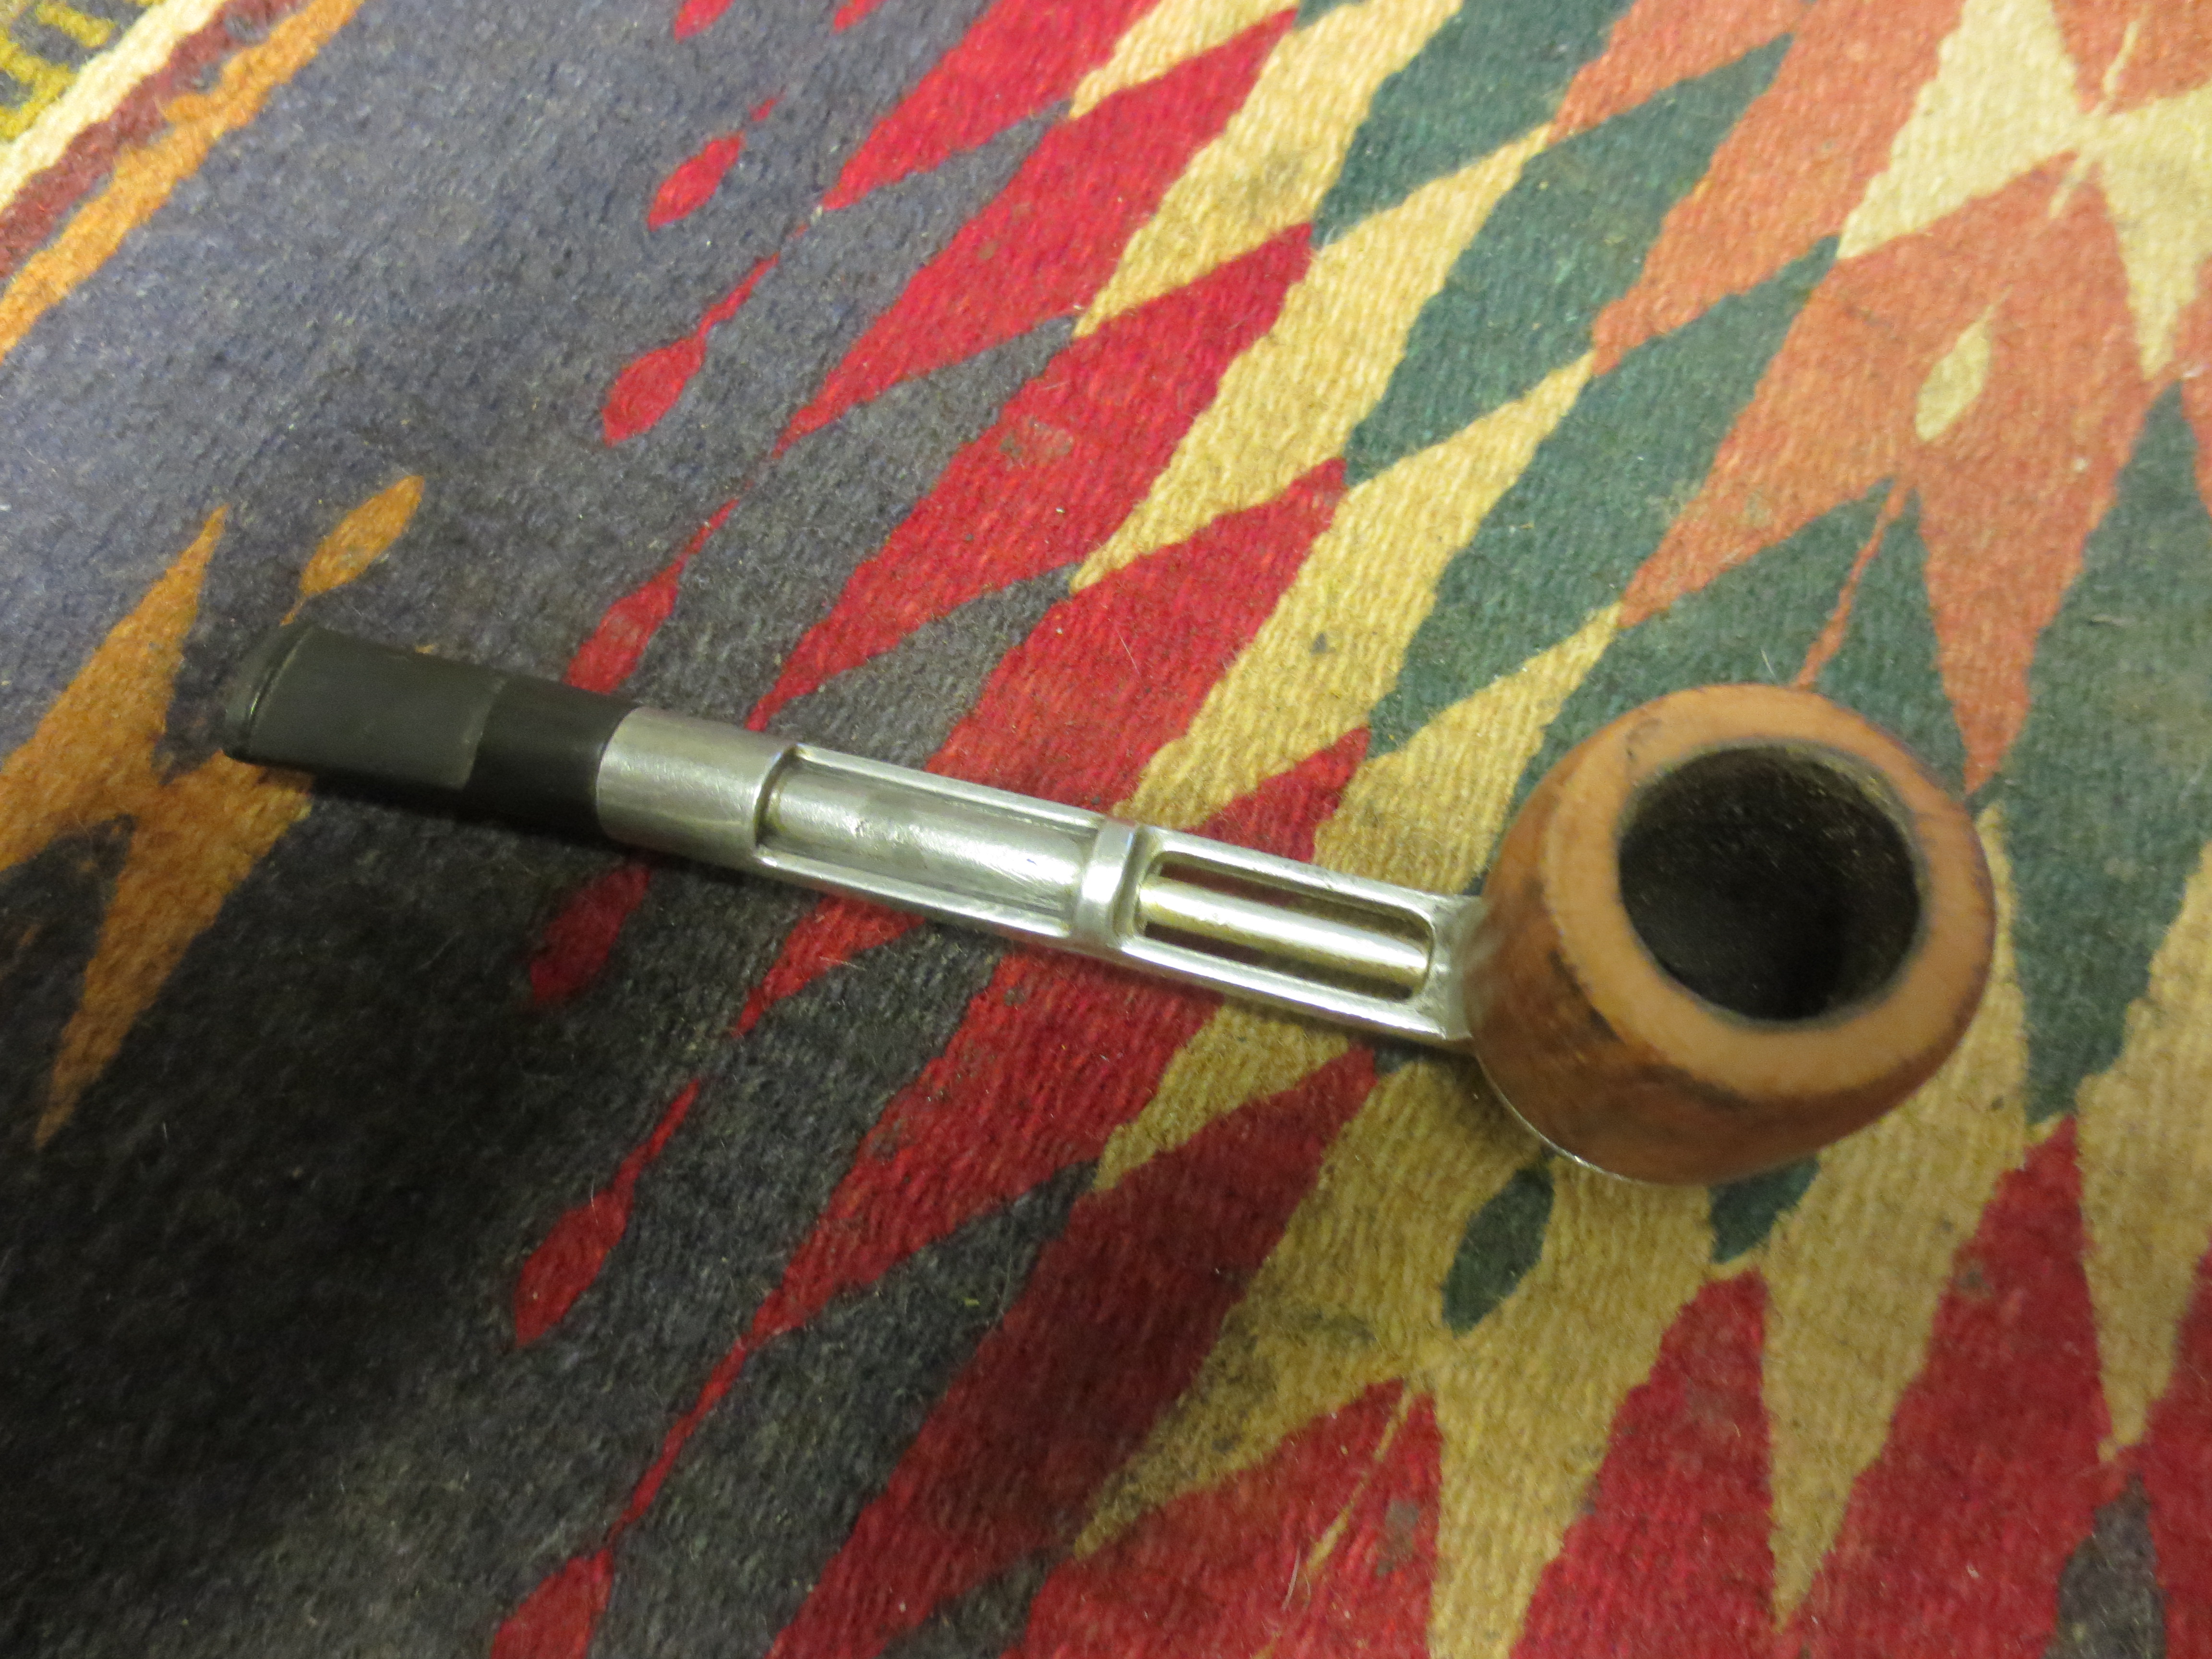
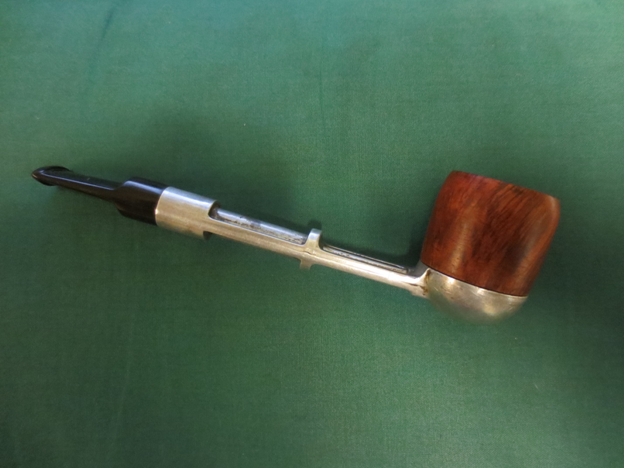
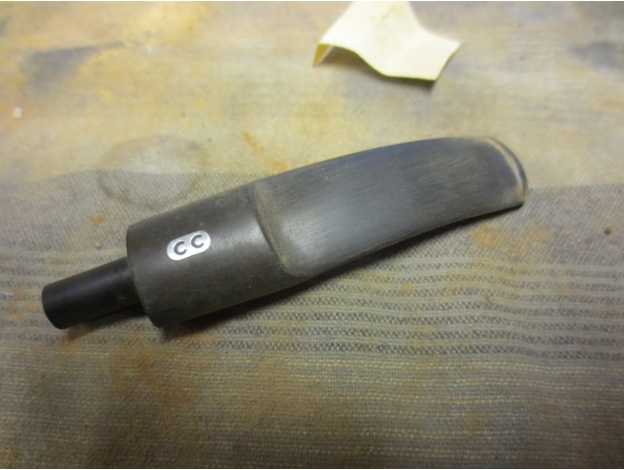
 I continued to sand the stem as the photos highlighted areas that still showed oxidation. Once I had that removed I buffed the stem with White Diamond and gave it multiple coats of carnauba wax. I wiped the bowl down once again with isopropyl alcohol on a cotton pad to further lighten the brown stain and highlight the contrast with the remaining black stain in the grain. I buffed it with White Diamond and then gave it several coats of carnauba. I buffed the entire pipe with a soft flannel buff to give it a shine and set it aside for an inaugural smoke – either later today or early this week. The finished pipe is shown below.