Blog by Andrew Selking
This is the second article by Andrew that I have the pleasure of posting on the blog. It is about a well restored Briar Squire bent Pot. Andrew does some beautiful work and it is a pleasure to read and see the results of his work. Thanks Andrew.
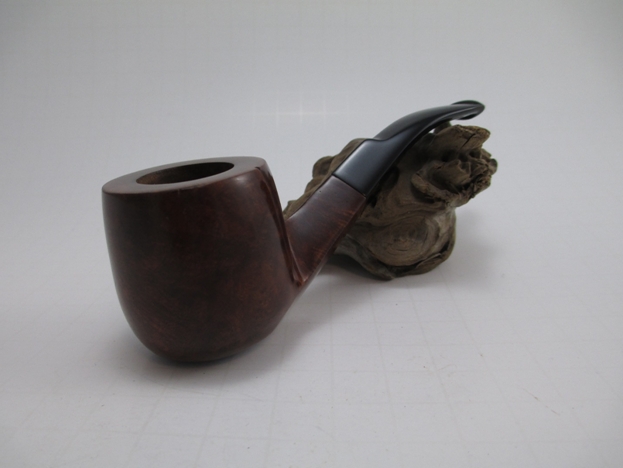
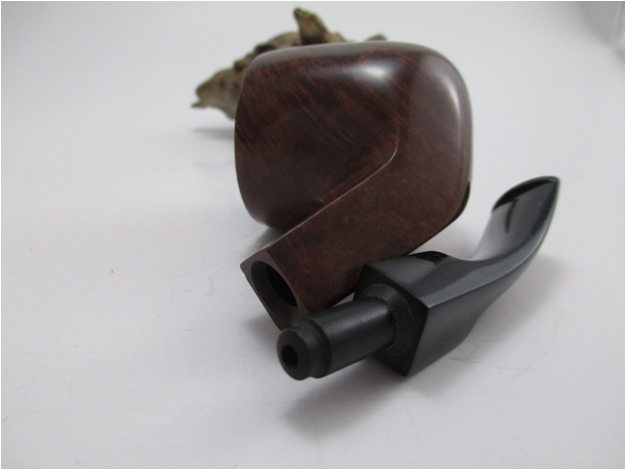
I did not get as many pipes completed as I planned this past weekend, my honey-do list was longer than anticipated. However, I could not resist finding the time to fix up a Briar Squire bent pot with a diamond shank. According to Pipephil.eu, the Briar Squire was a brick and mortar tobacco and pipe shop located in Crystal Lake, IL from 1977 to 1983. I assume they had their pipes made by an outside pipe maker. Whoever made this pipe did a nice job. There were no fills in it and judging by all the angles on the stem that was hand cut as well.
The previous owner kept the bowl very clean, but the stem had some tooth marks and calcification on the end. I dropped the bowl into the alcohol bath and went to work on the stem with the 400 grit wet/dry with water. As you can see in this picture, there is still some faint oxidation left. I readdressed the oxidation with the 400 grit until it was gone. I find that it helps to dry the stem when you think you’ve reached the point where the oxidation is removed.
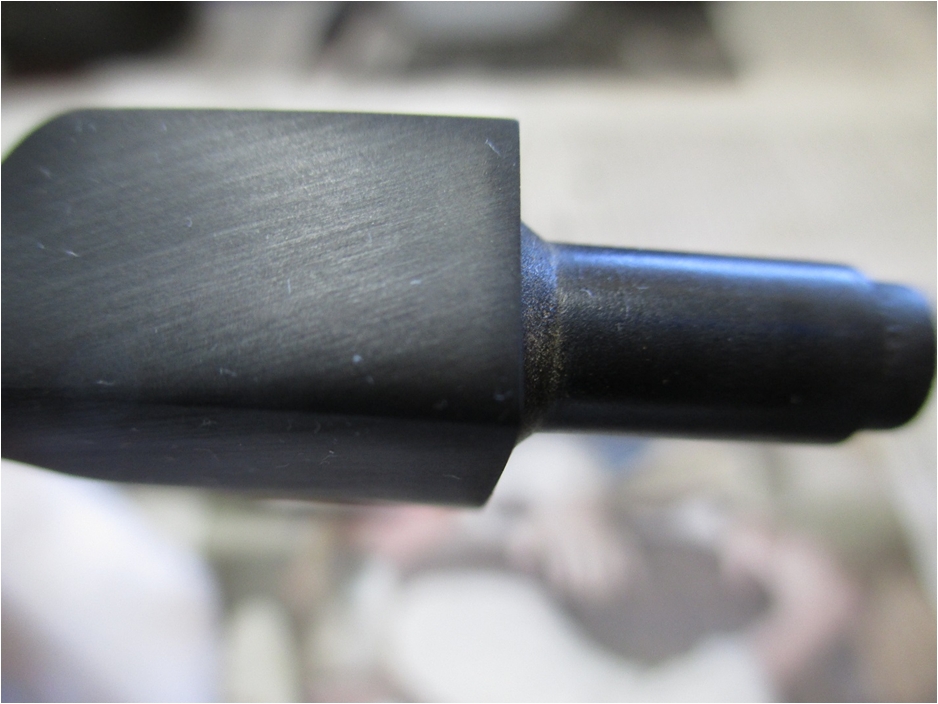 I then proceeded to use the micro mesh, 1500-2400 grit, with water.
 Next I turned my attention to the bowl. The rim had some tar build up, which I tried to remove with distilled water.
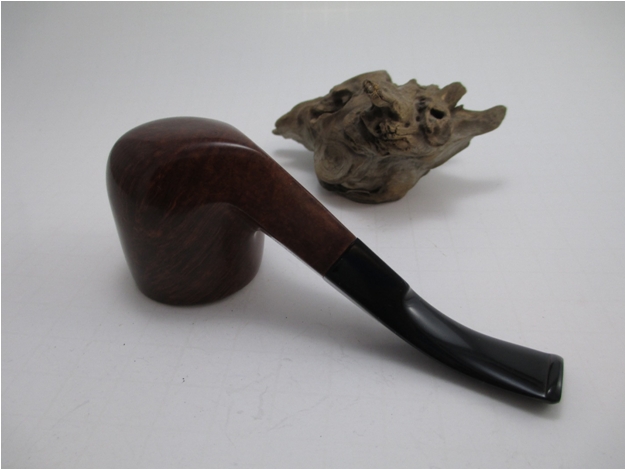
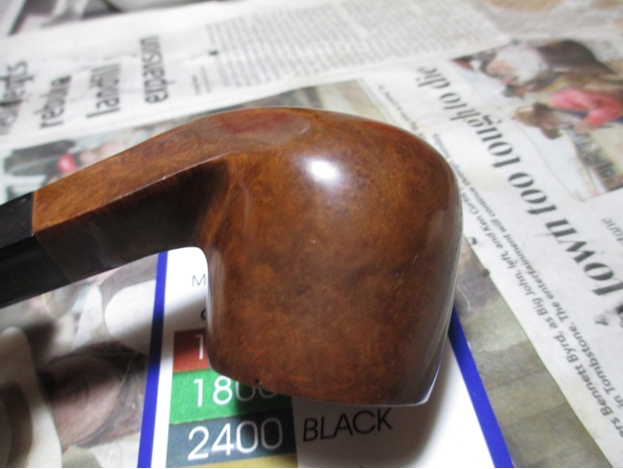
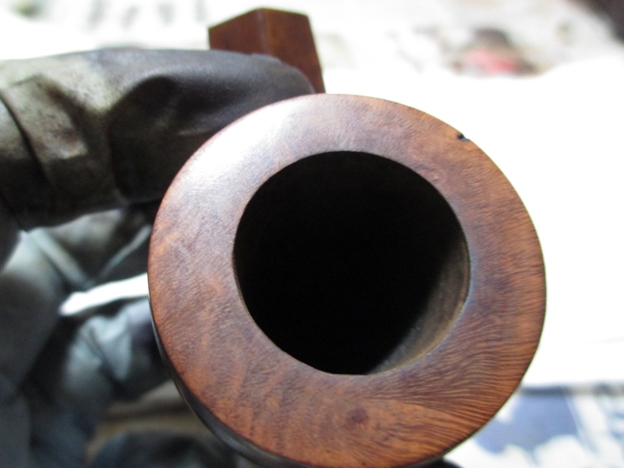
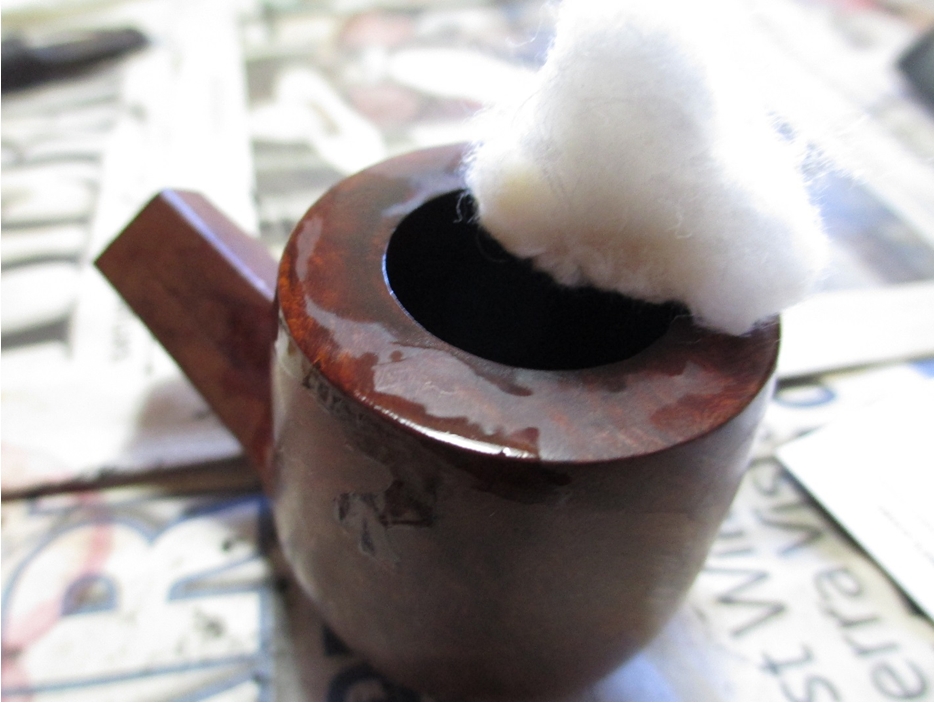 The water helped, but there was an area of stubborn tar that just wouldn’t come off. Since I didn’t want to remove all of the finish, I used 1500 grit micro mesh to top the bowl.
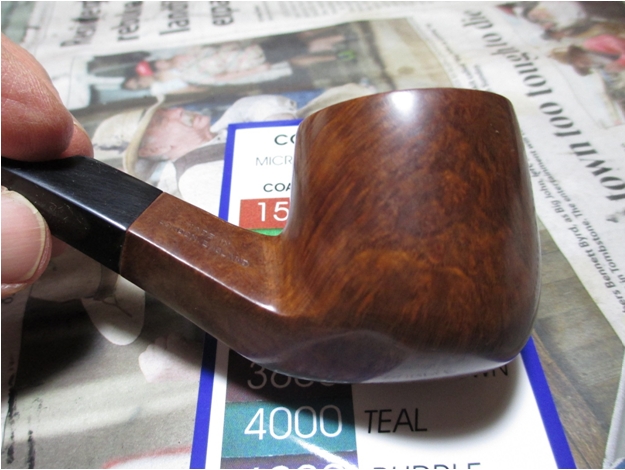
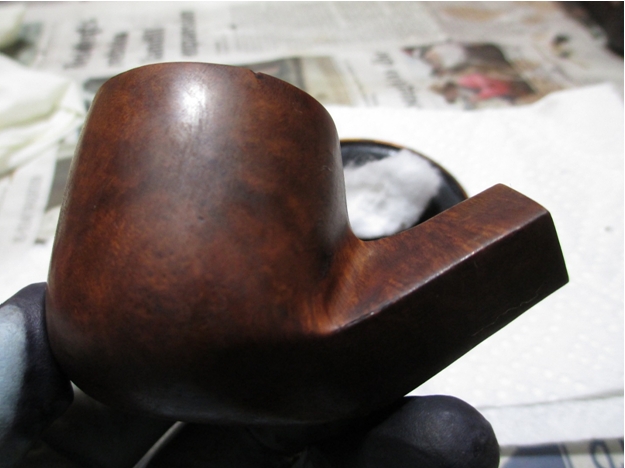
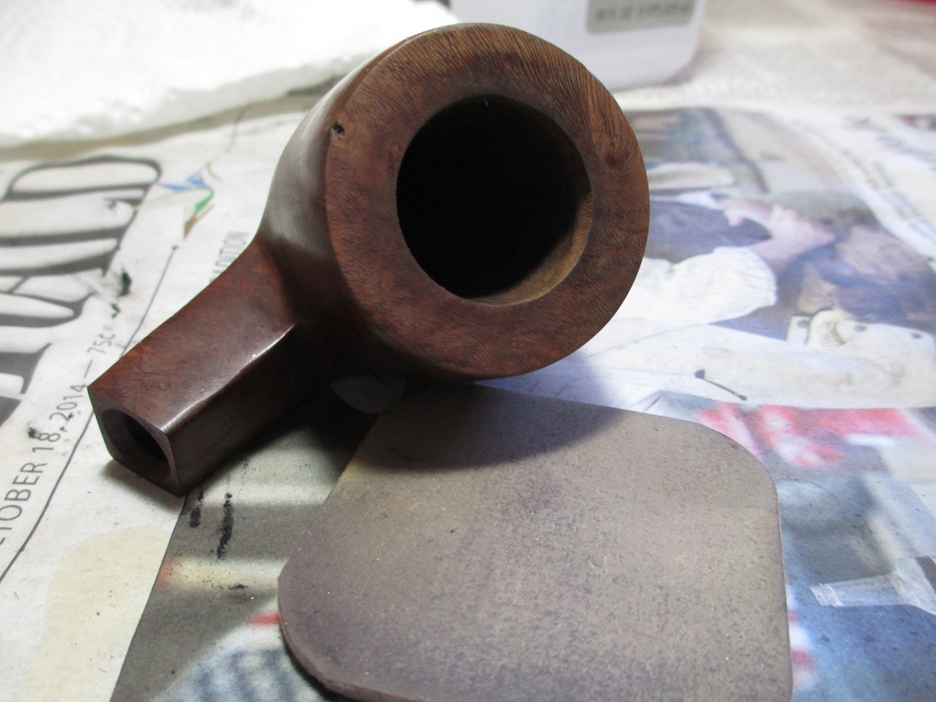 I used 1500-2400 grit micro mesh without water on the bowl, then 3200-12000 grit micro mesh on the bowl and the stem.
 The last few levels really do a nice job of polishing both wood and vulcanite.
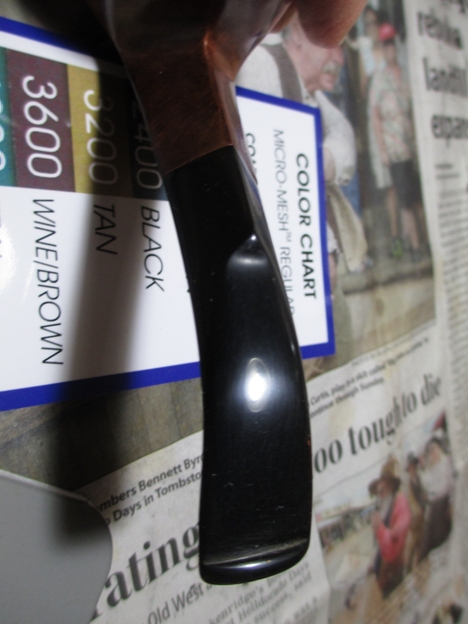

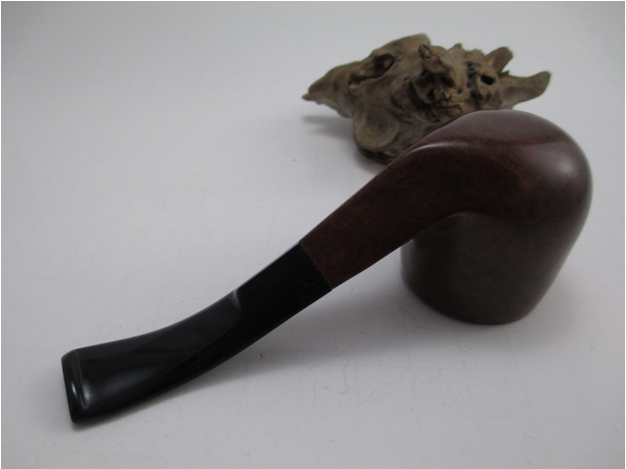
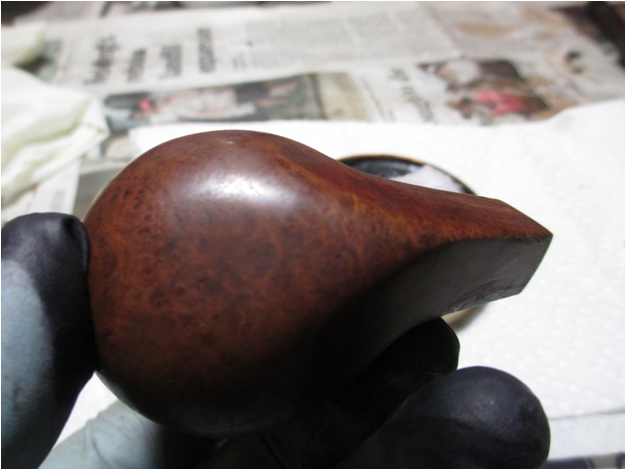
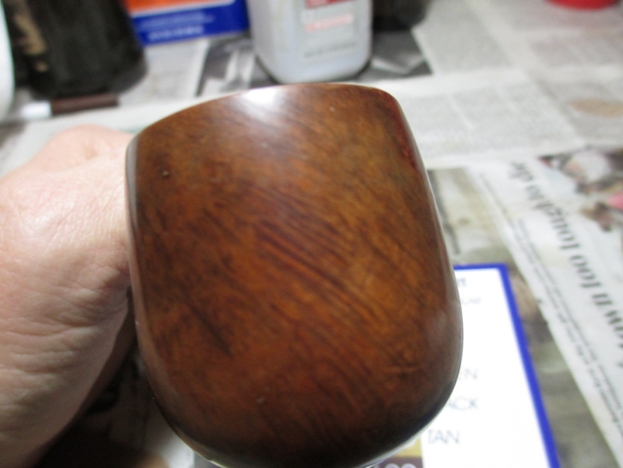 Next it was time to apply the wax/stain. For red/brown colored pipes I use Kiwi Brown. As I mentioned in my previous post, it is very easy to work with and gives a good base shine before the final polish on the buffing wheel.
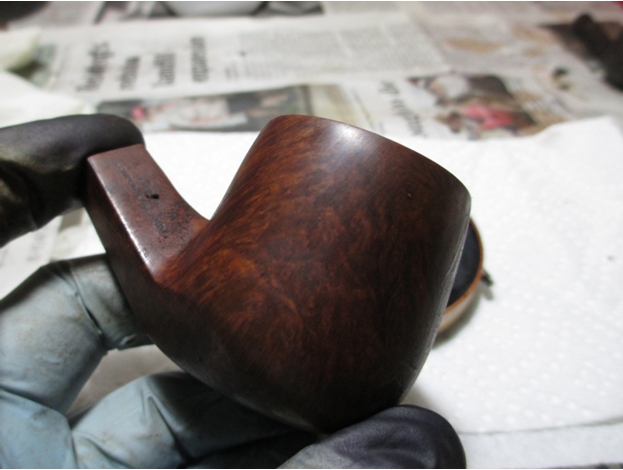
 After applying the shoe polish, I used the heat gun to melt the wax and buffed it out with a brush. As you can see.
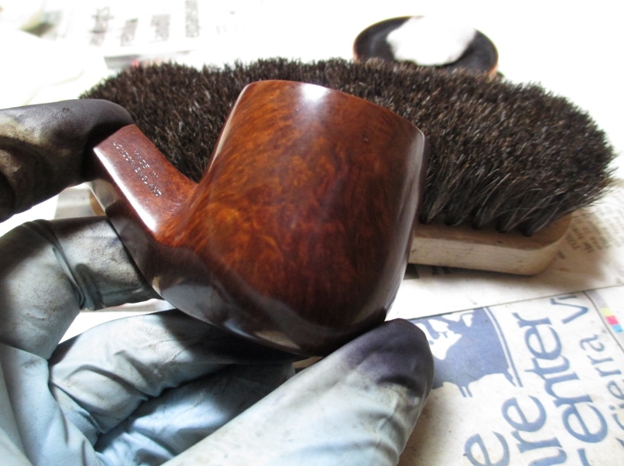 Finally it was off to the buffing wheel.
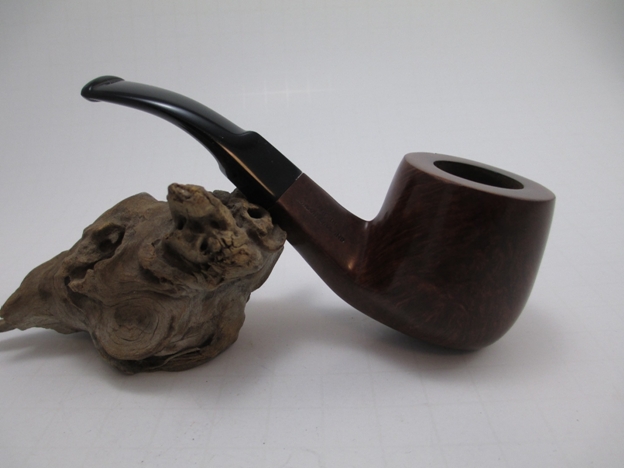
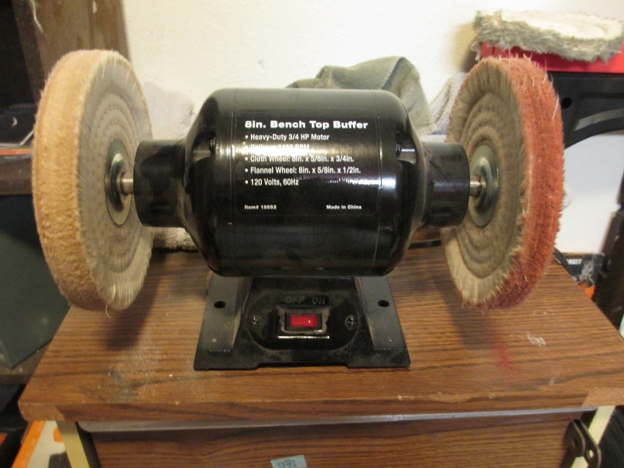 Here are the results. Thanks for looking.