Guest Blog by Robert M. Boughton
Member, North American Society of Pipe Collectors
http://www.naspc.org
http://www.roadrunnerpipes.com
http://about.me/boughtonrobert
Photos © the Author
You can’t stop us on the road to freedom
You can’t stop us ’cause our eyes can see
Men with insight, men in granite
Knights in armor intent on chivalry
She’s as sweet as Tupelo honey
She’s an angel of the first degree
She’s as sweet as Tupelo honey
Just like honey, baby, from the bee — Van Morrison, Northern Irish singer-songwriter-musician, “Tupelo Honey” (1971)
INTRODUCTION
As my good friend and mentor, Chuck Richards, commented at a recent gathering of local enjoyers of the fair tobacco pipe in general, Kaufman Brothers & Bondy created the Yello-Bole line in 1932 as a less expensive alternative to its regular stable of Kaywoodie, Reiss-Premier and of course KB&B pipes.
Now the name Yello-Bole is synonymous with the terms second-rate and, worse still, just cheap, as though the measure of a good smoke were ever determined by its price. [See, for example, Peterson’s late great and noble attempt in years gone by to make pipes affordable to the Everyman.]
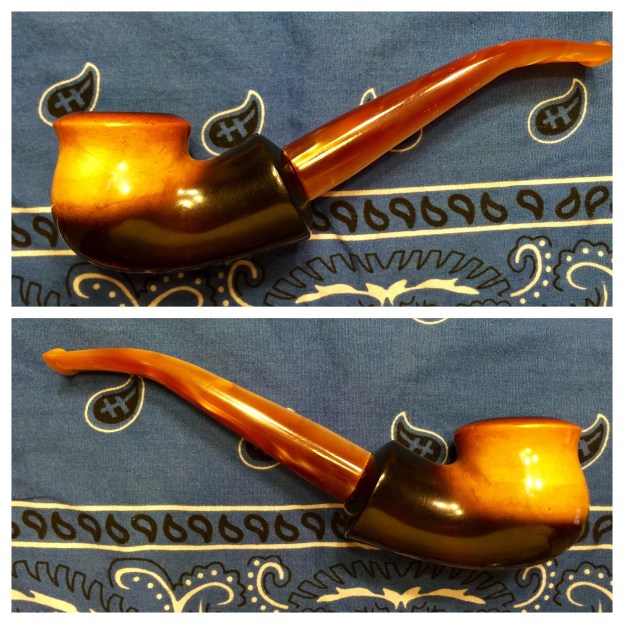
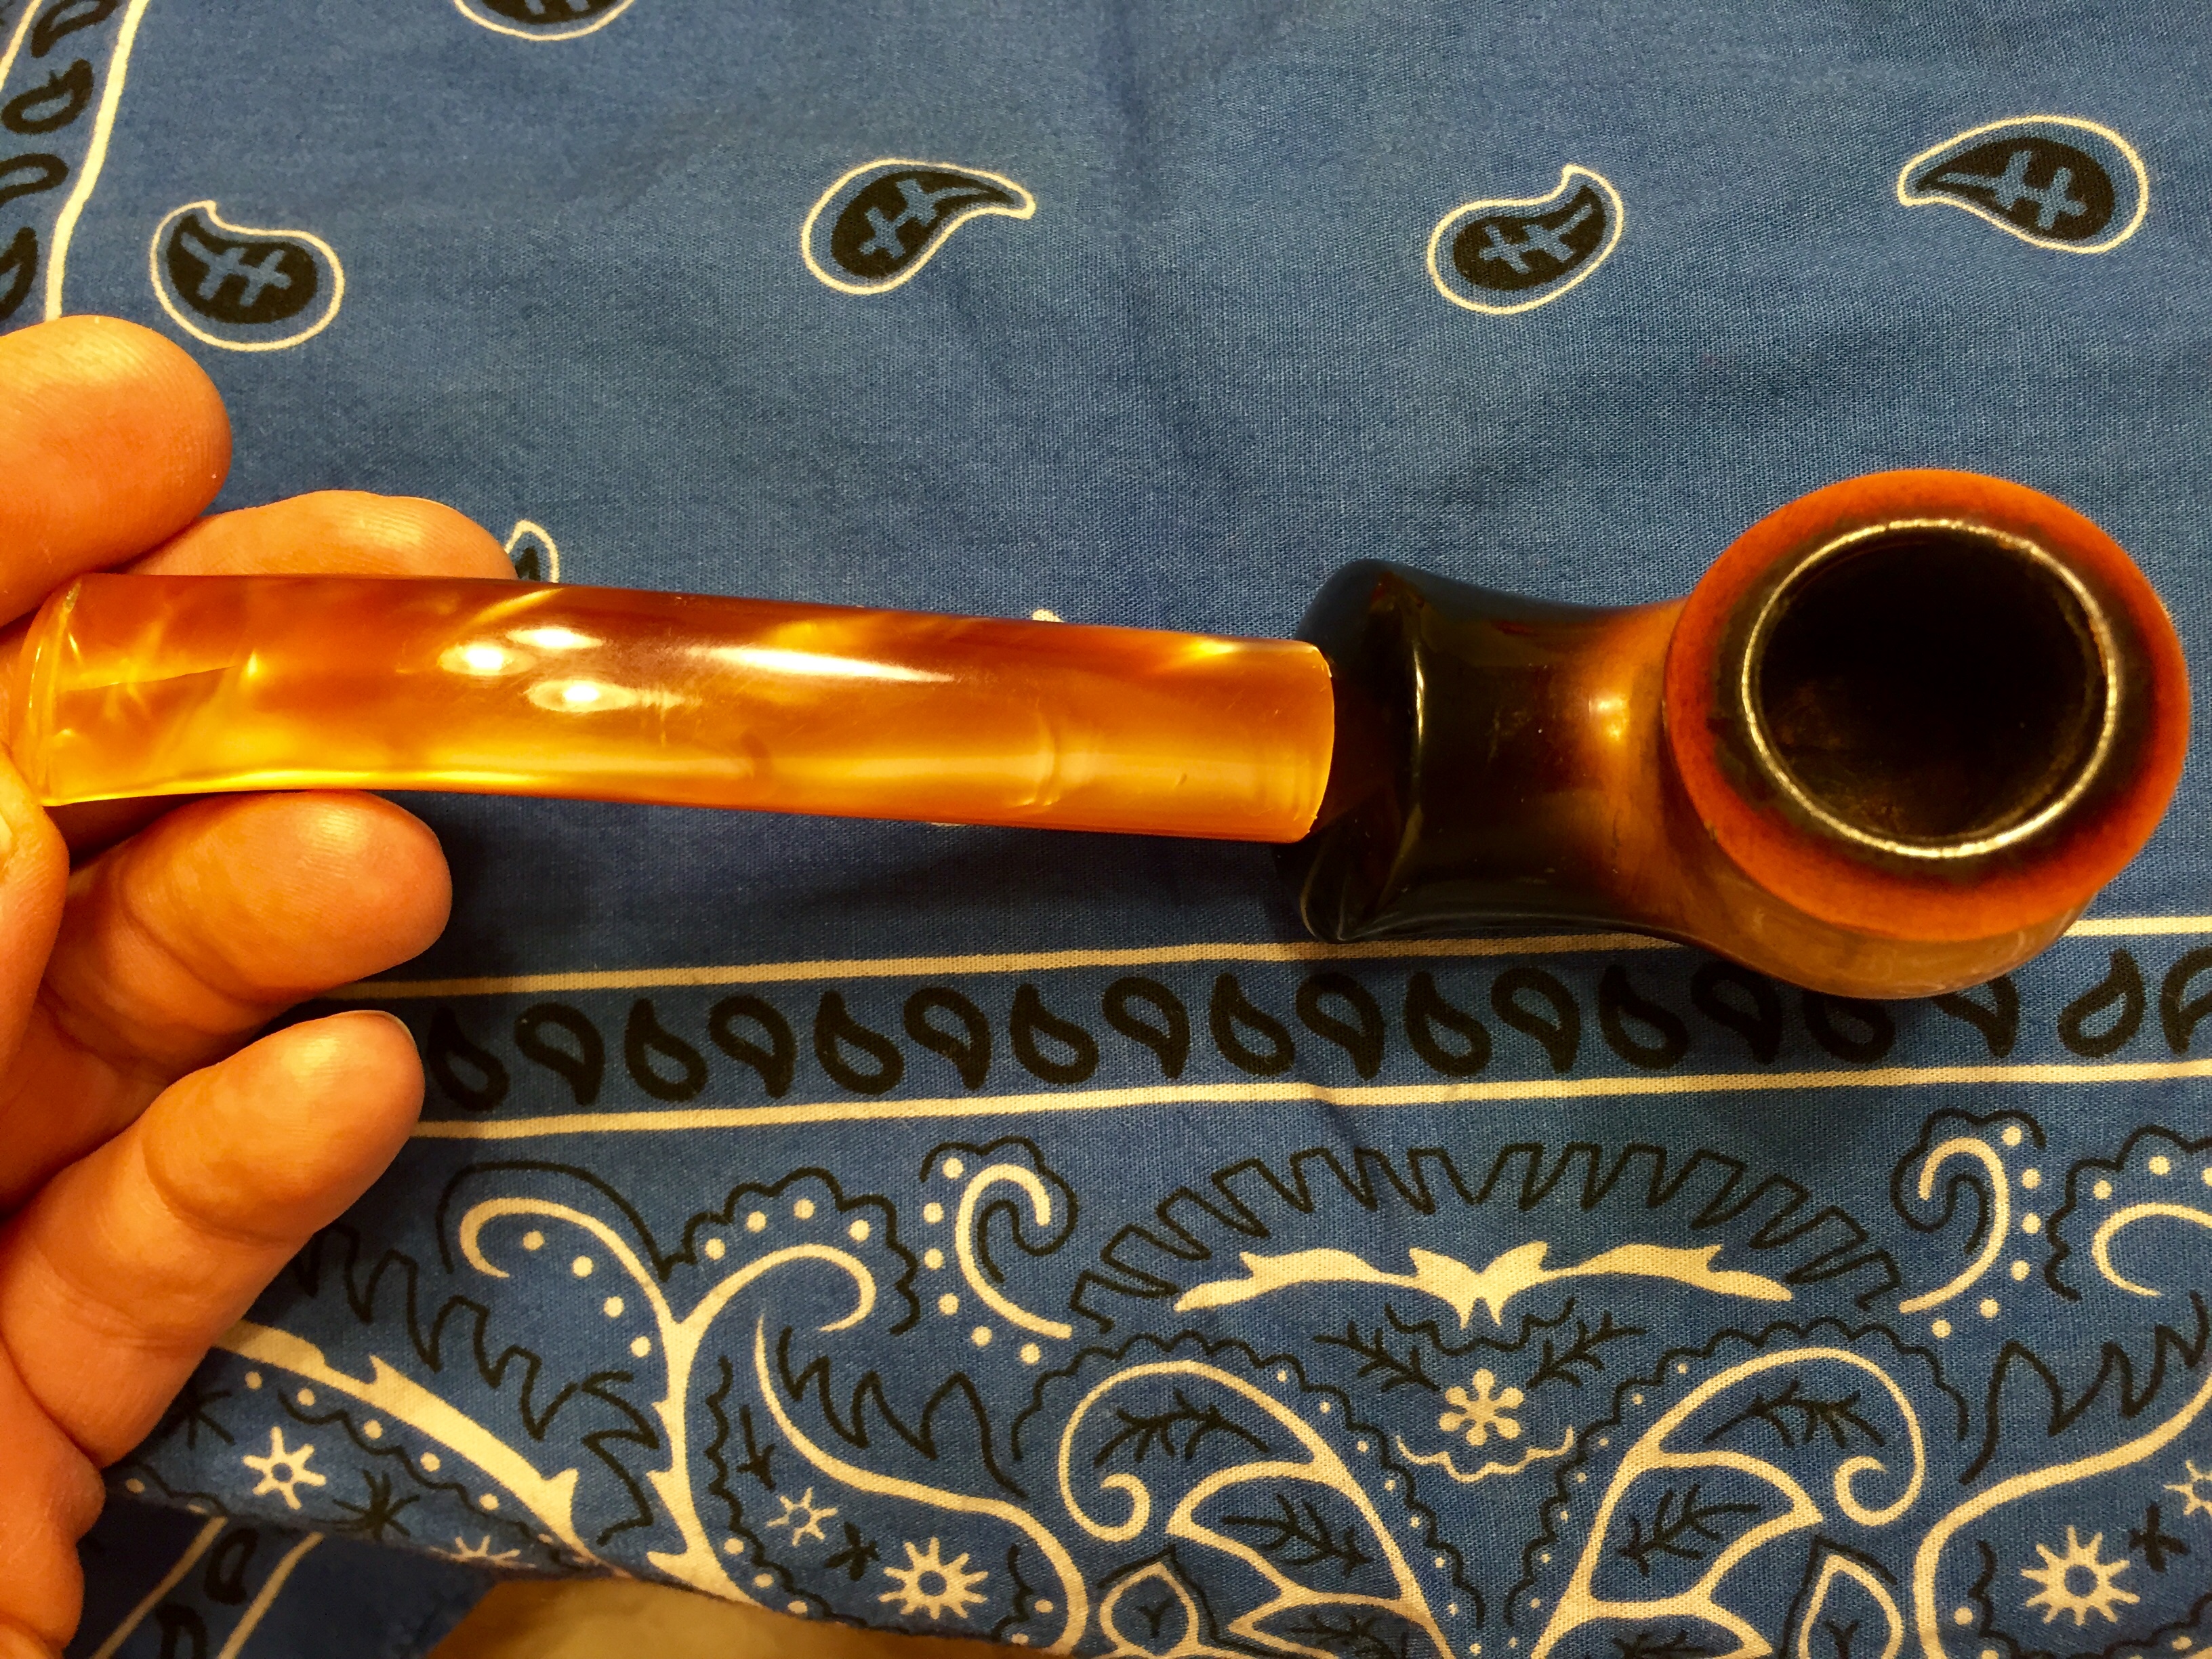
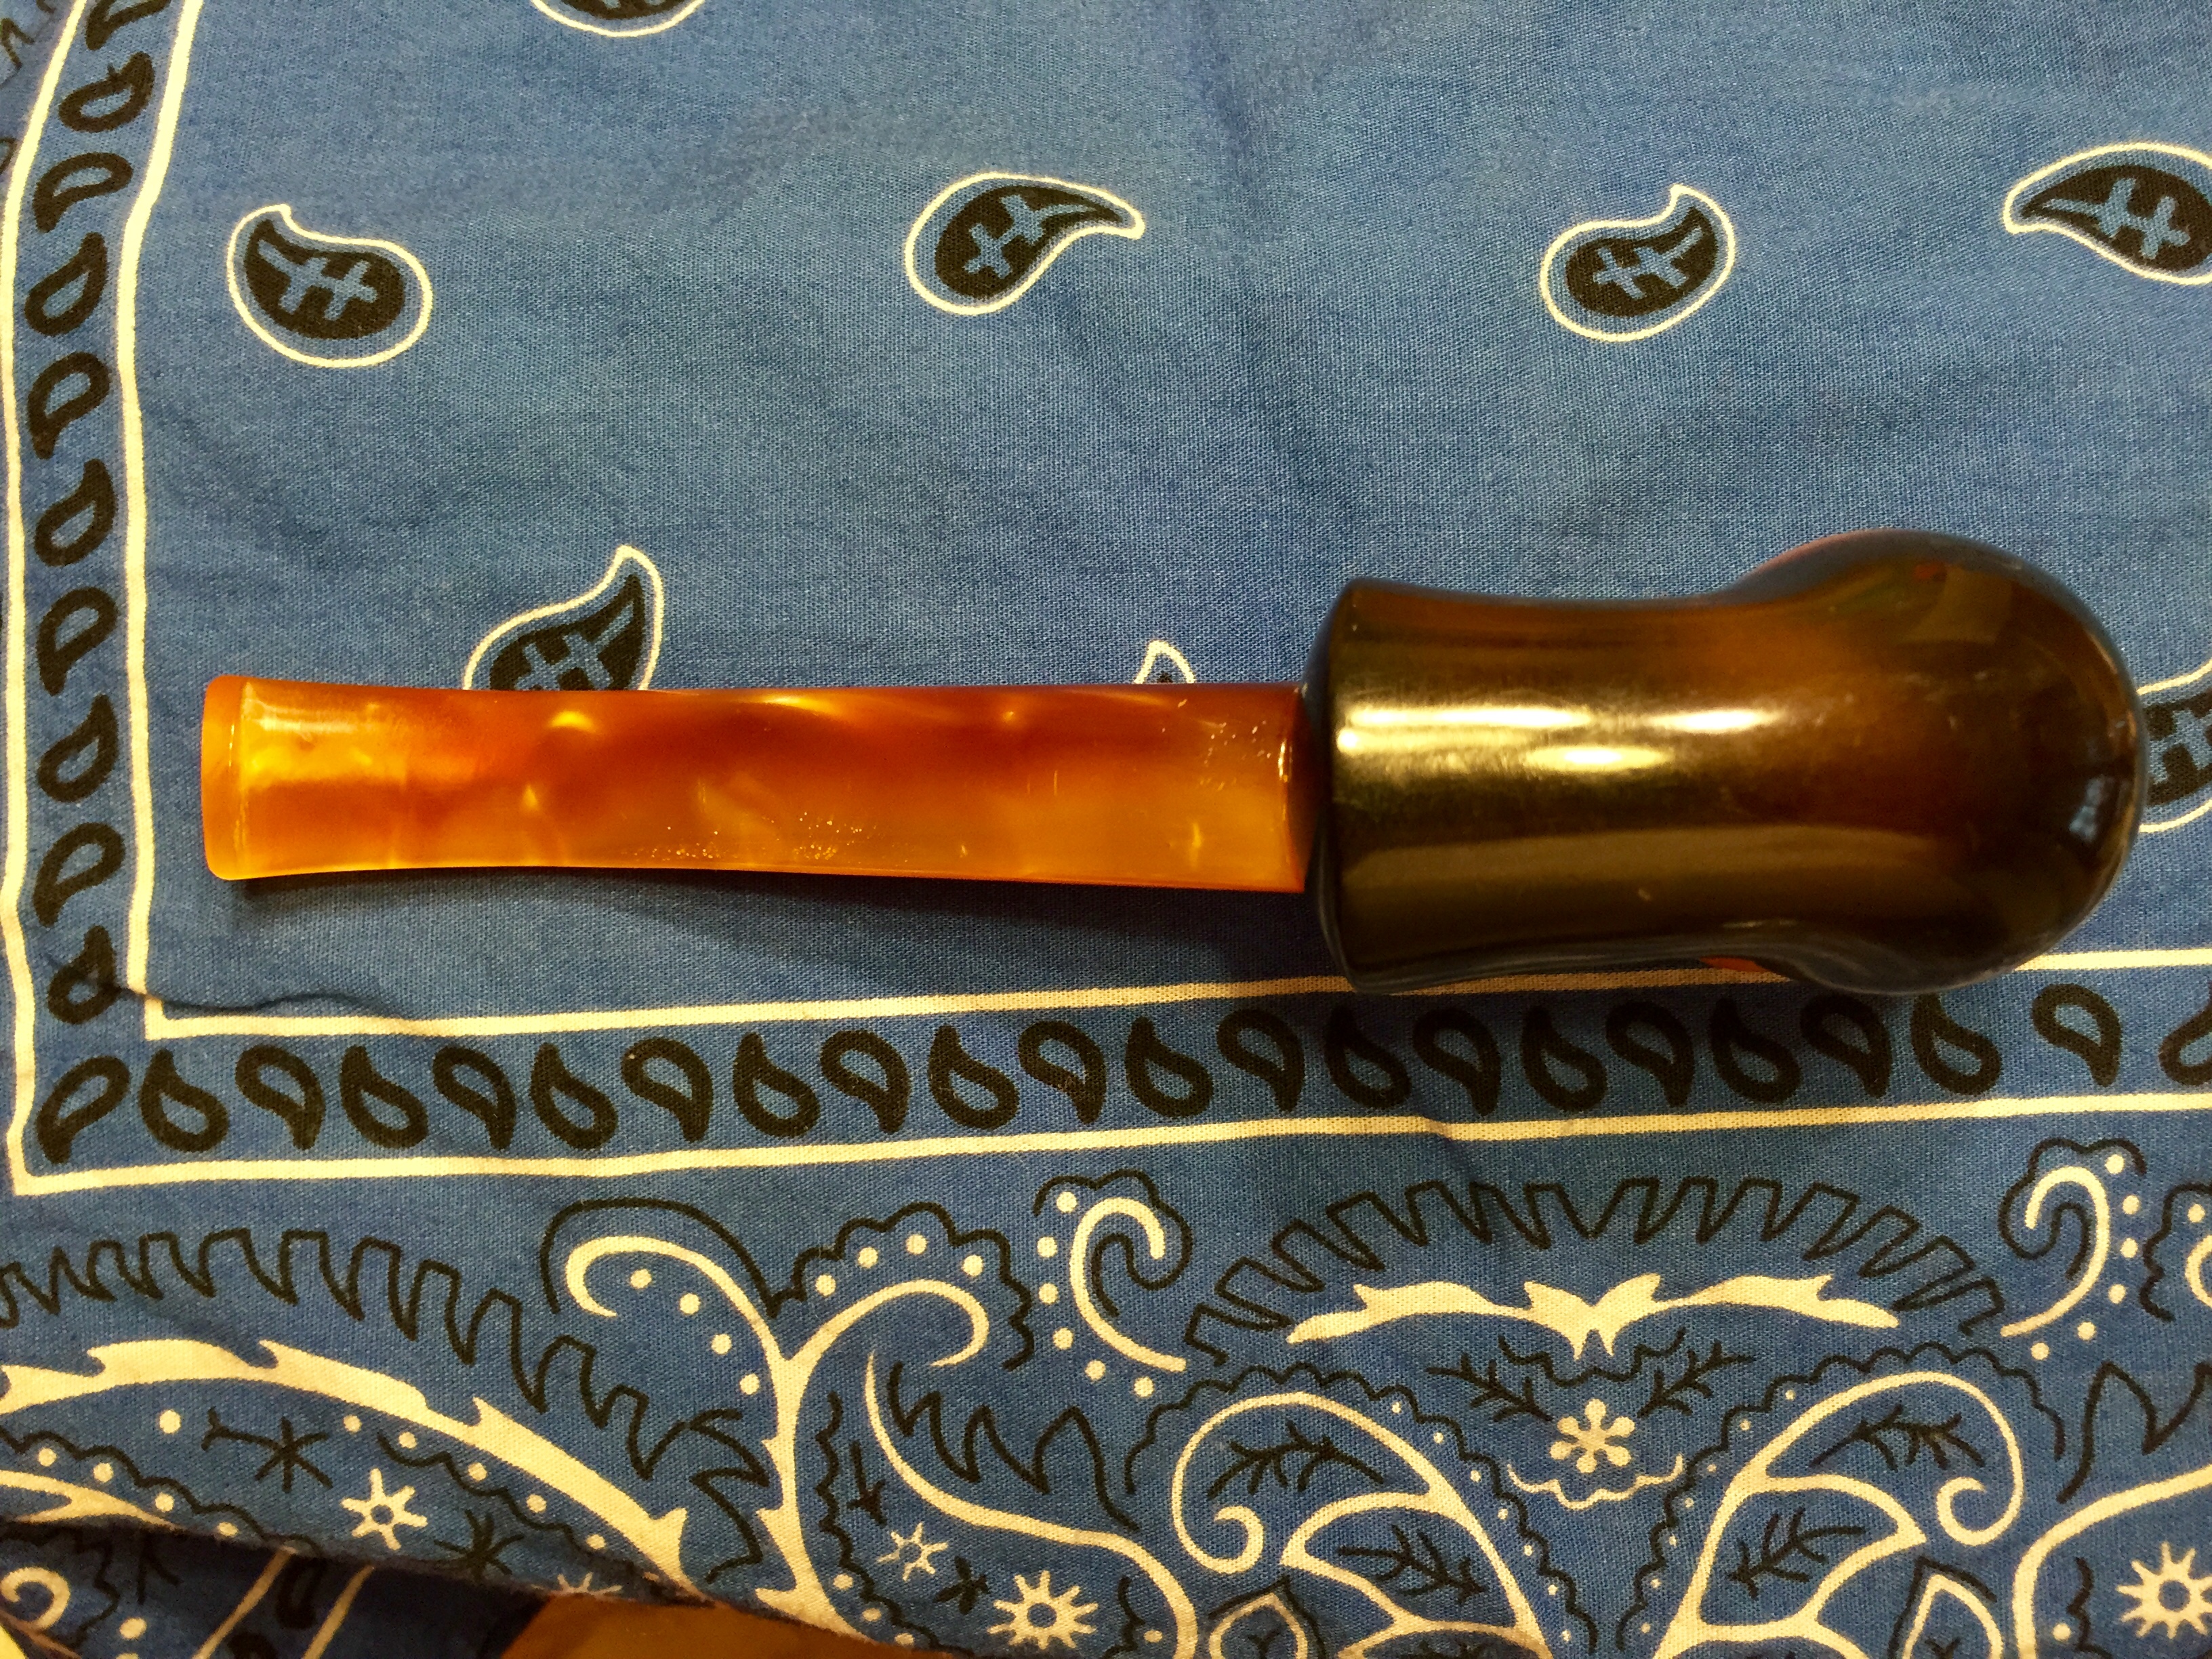
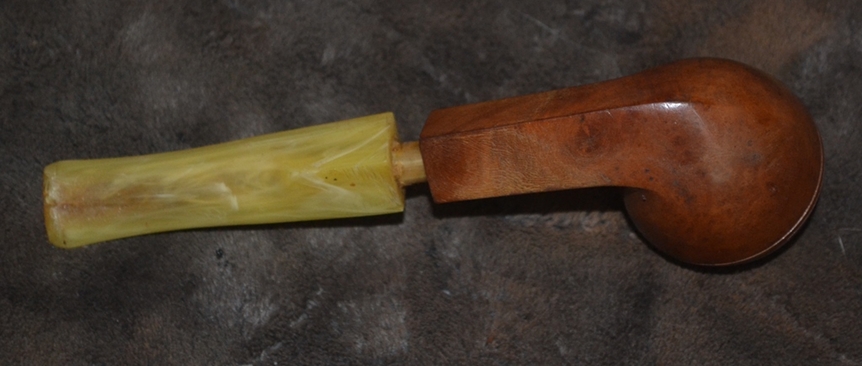
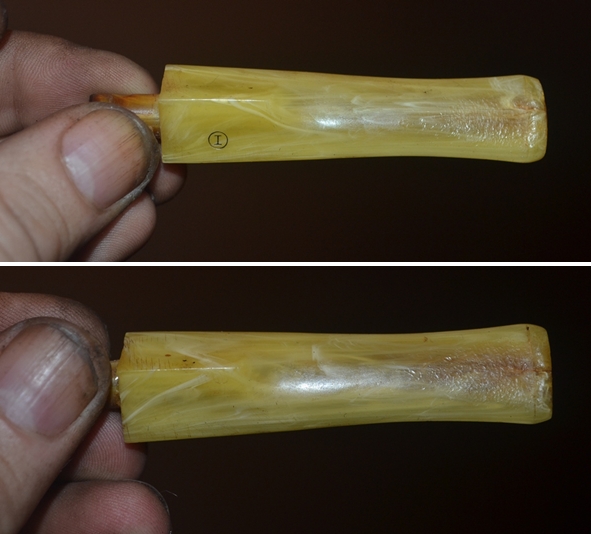
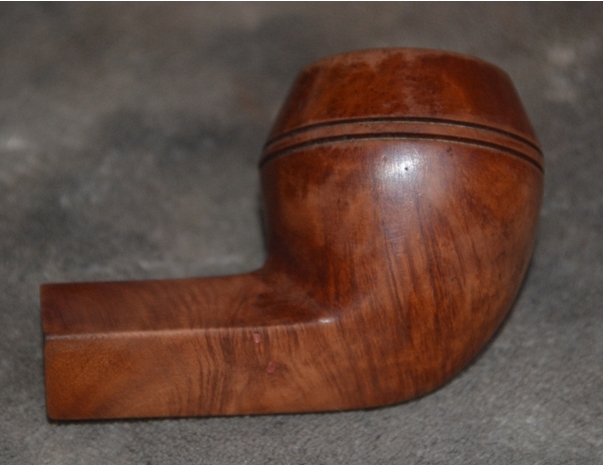
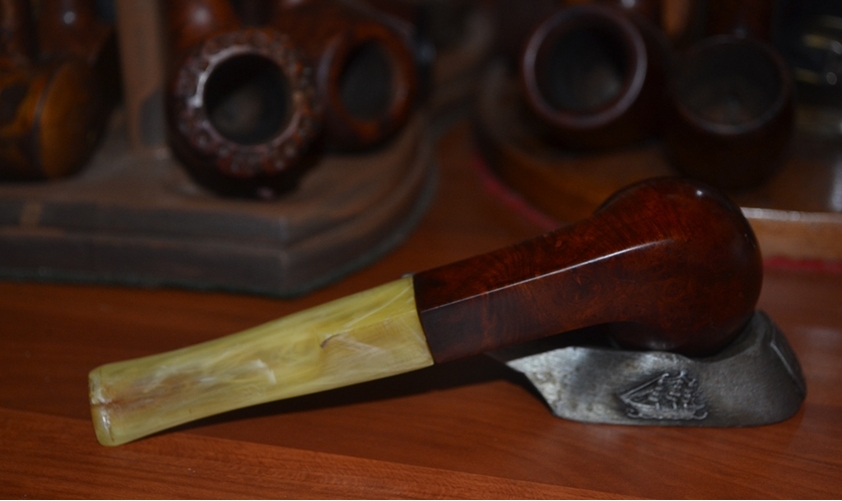
But its older products, such as the KBB Yello-Bole Imperial Bulldog of this discourse, “Cured with Real Honey” and with the KBB in a clover, as well as a tell-tale encircled “I” on the stem (might it be ambera?) – although crafted with briar deemed unsuitable for the older brothers of the family – nevertheless was still made from higher quality pieces of that fine wood than is, in general if ever, available today.
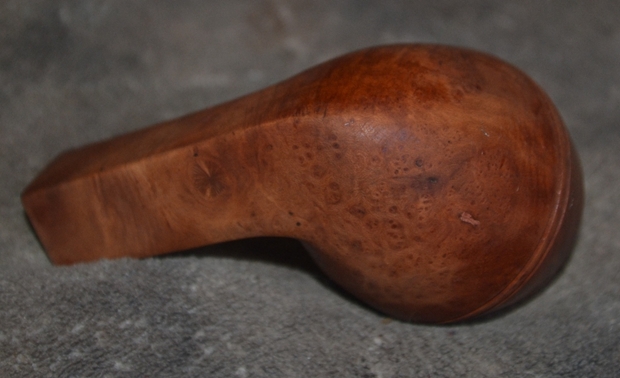
Also, the KBB Yello-Bole Imperial Bulldog is a definite vintage specimen (another present day determinant of value), based on the four key signs contained on the pipe, which date it to anywhere from the 1930s to the 1950s.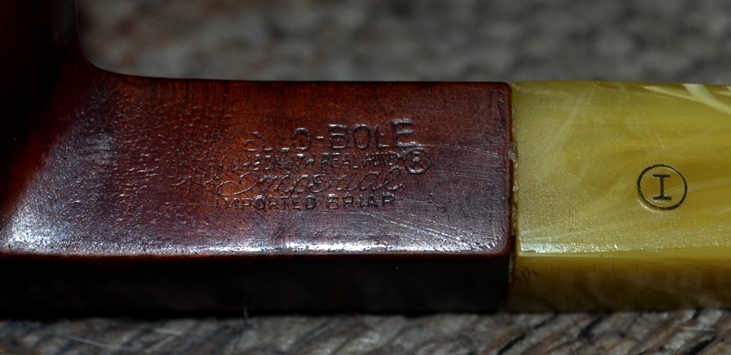
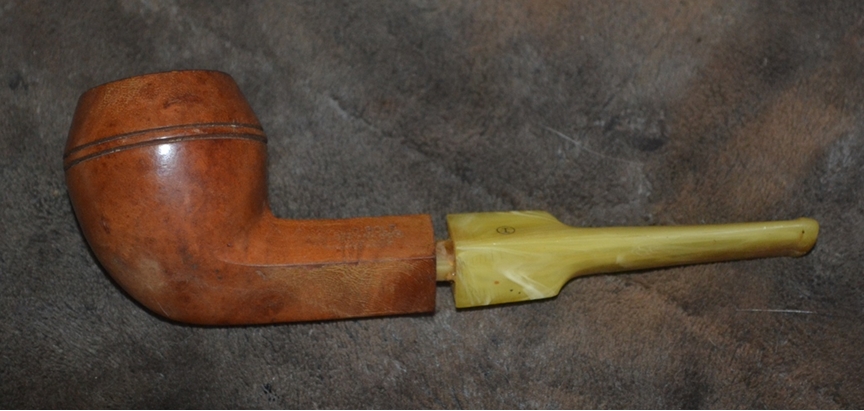
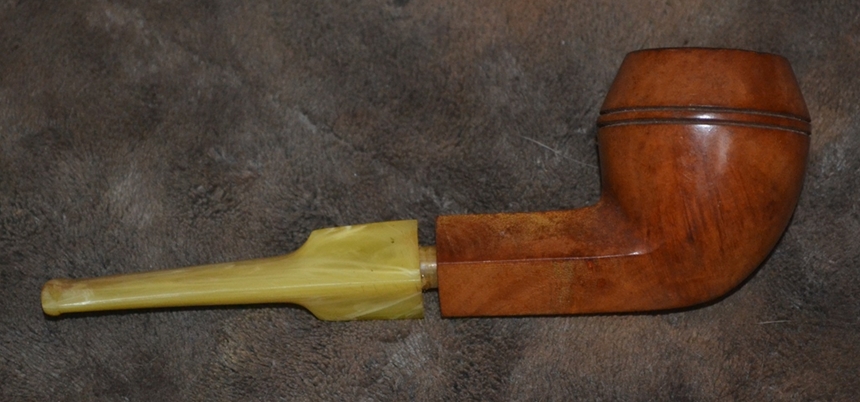

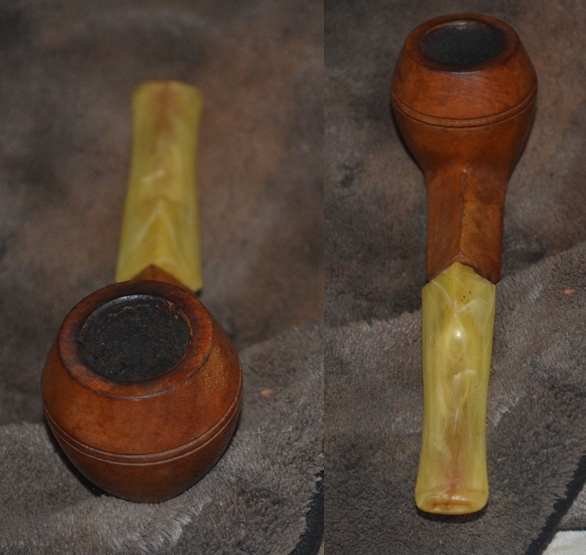

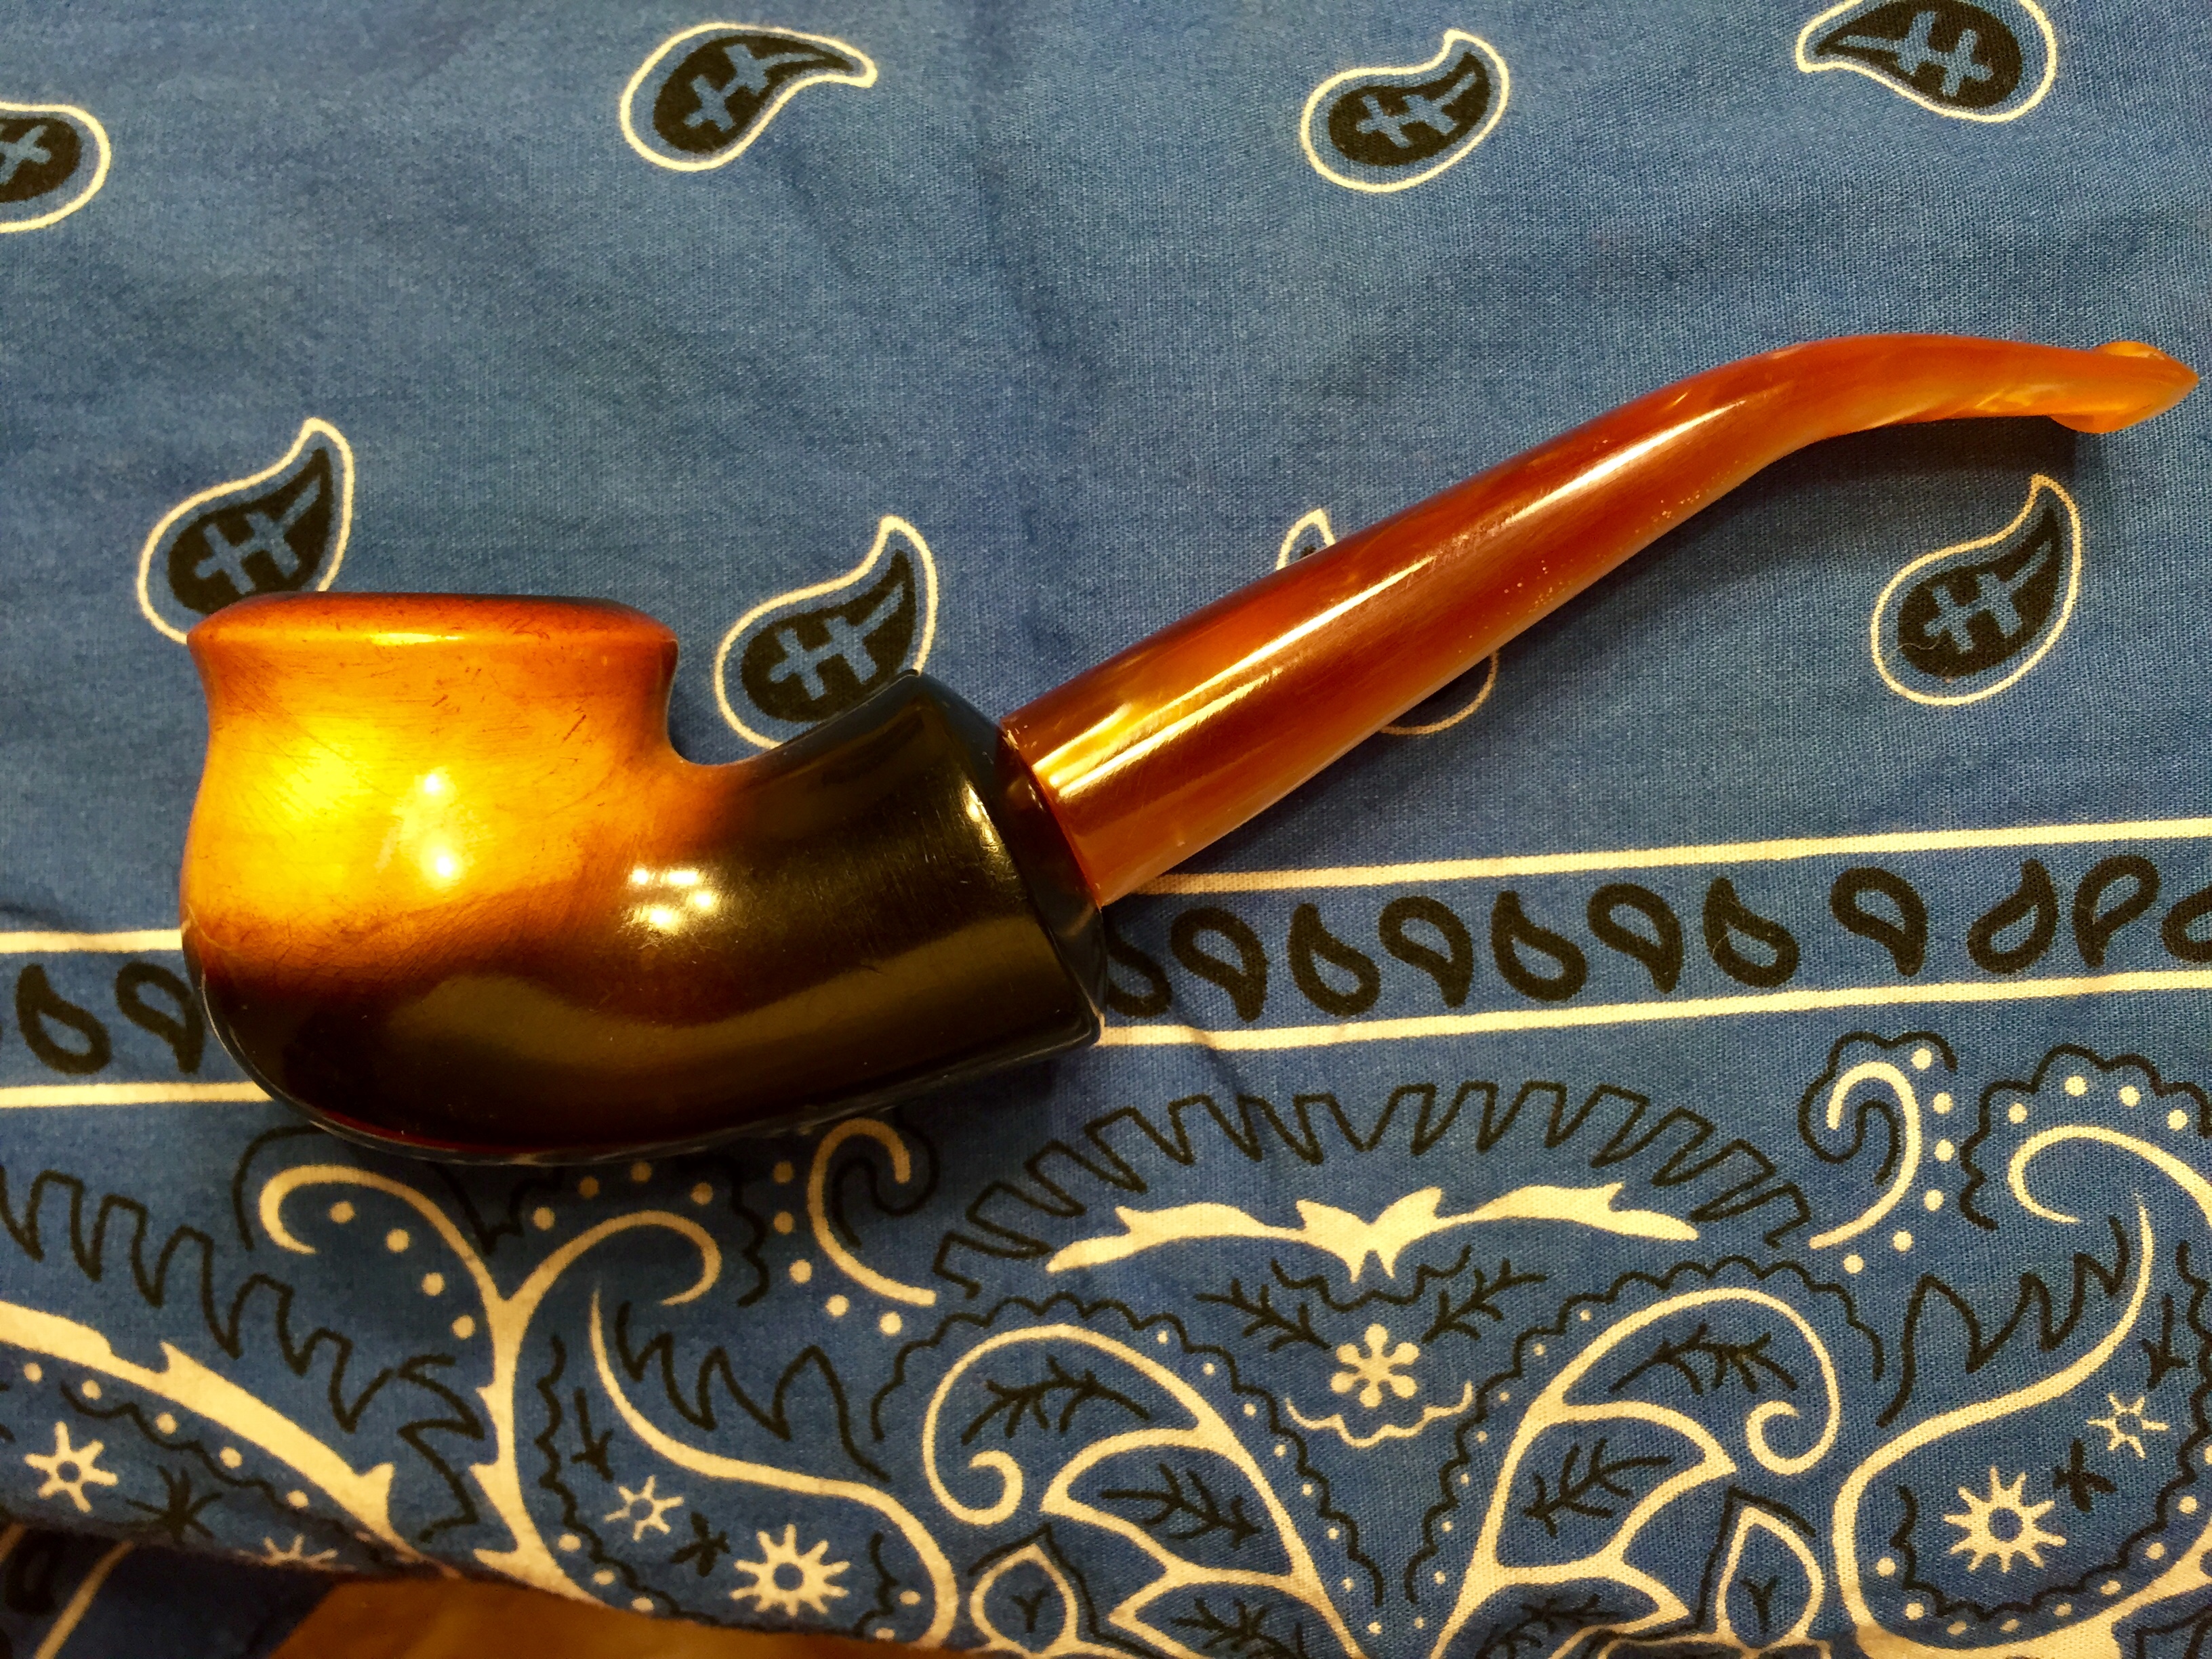
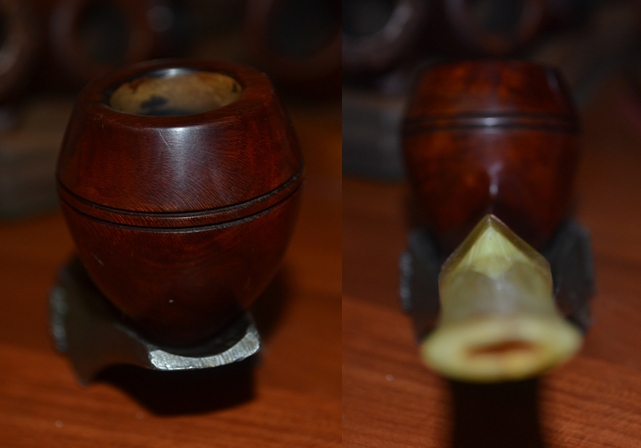
 Beginning with the rim, I removed most of the blackening with a quick rub of purified water, and the rest except for one small, pernicious burn with a light touch of super fine steel wool that left no new scratches but also made clear the blemishes that were already present.
  I sanded the rim with 400-grit paper and micro-meshed with 1500, 2400 and 3600 grades. I later succeeded in removing the one remaining burn mark shown below.
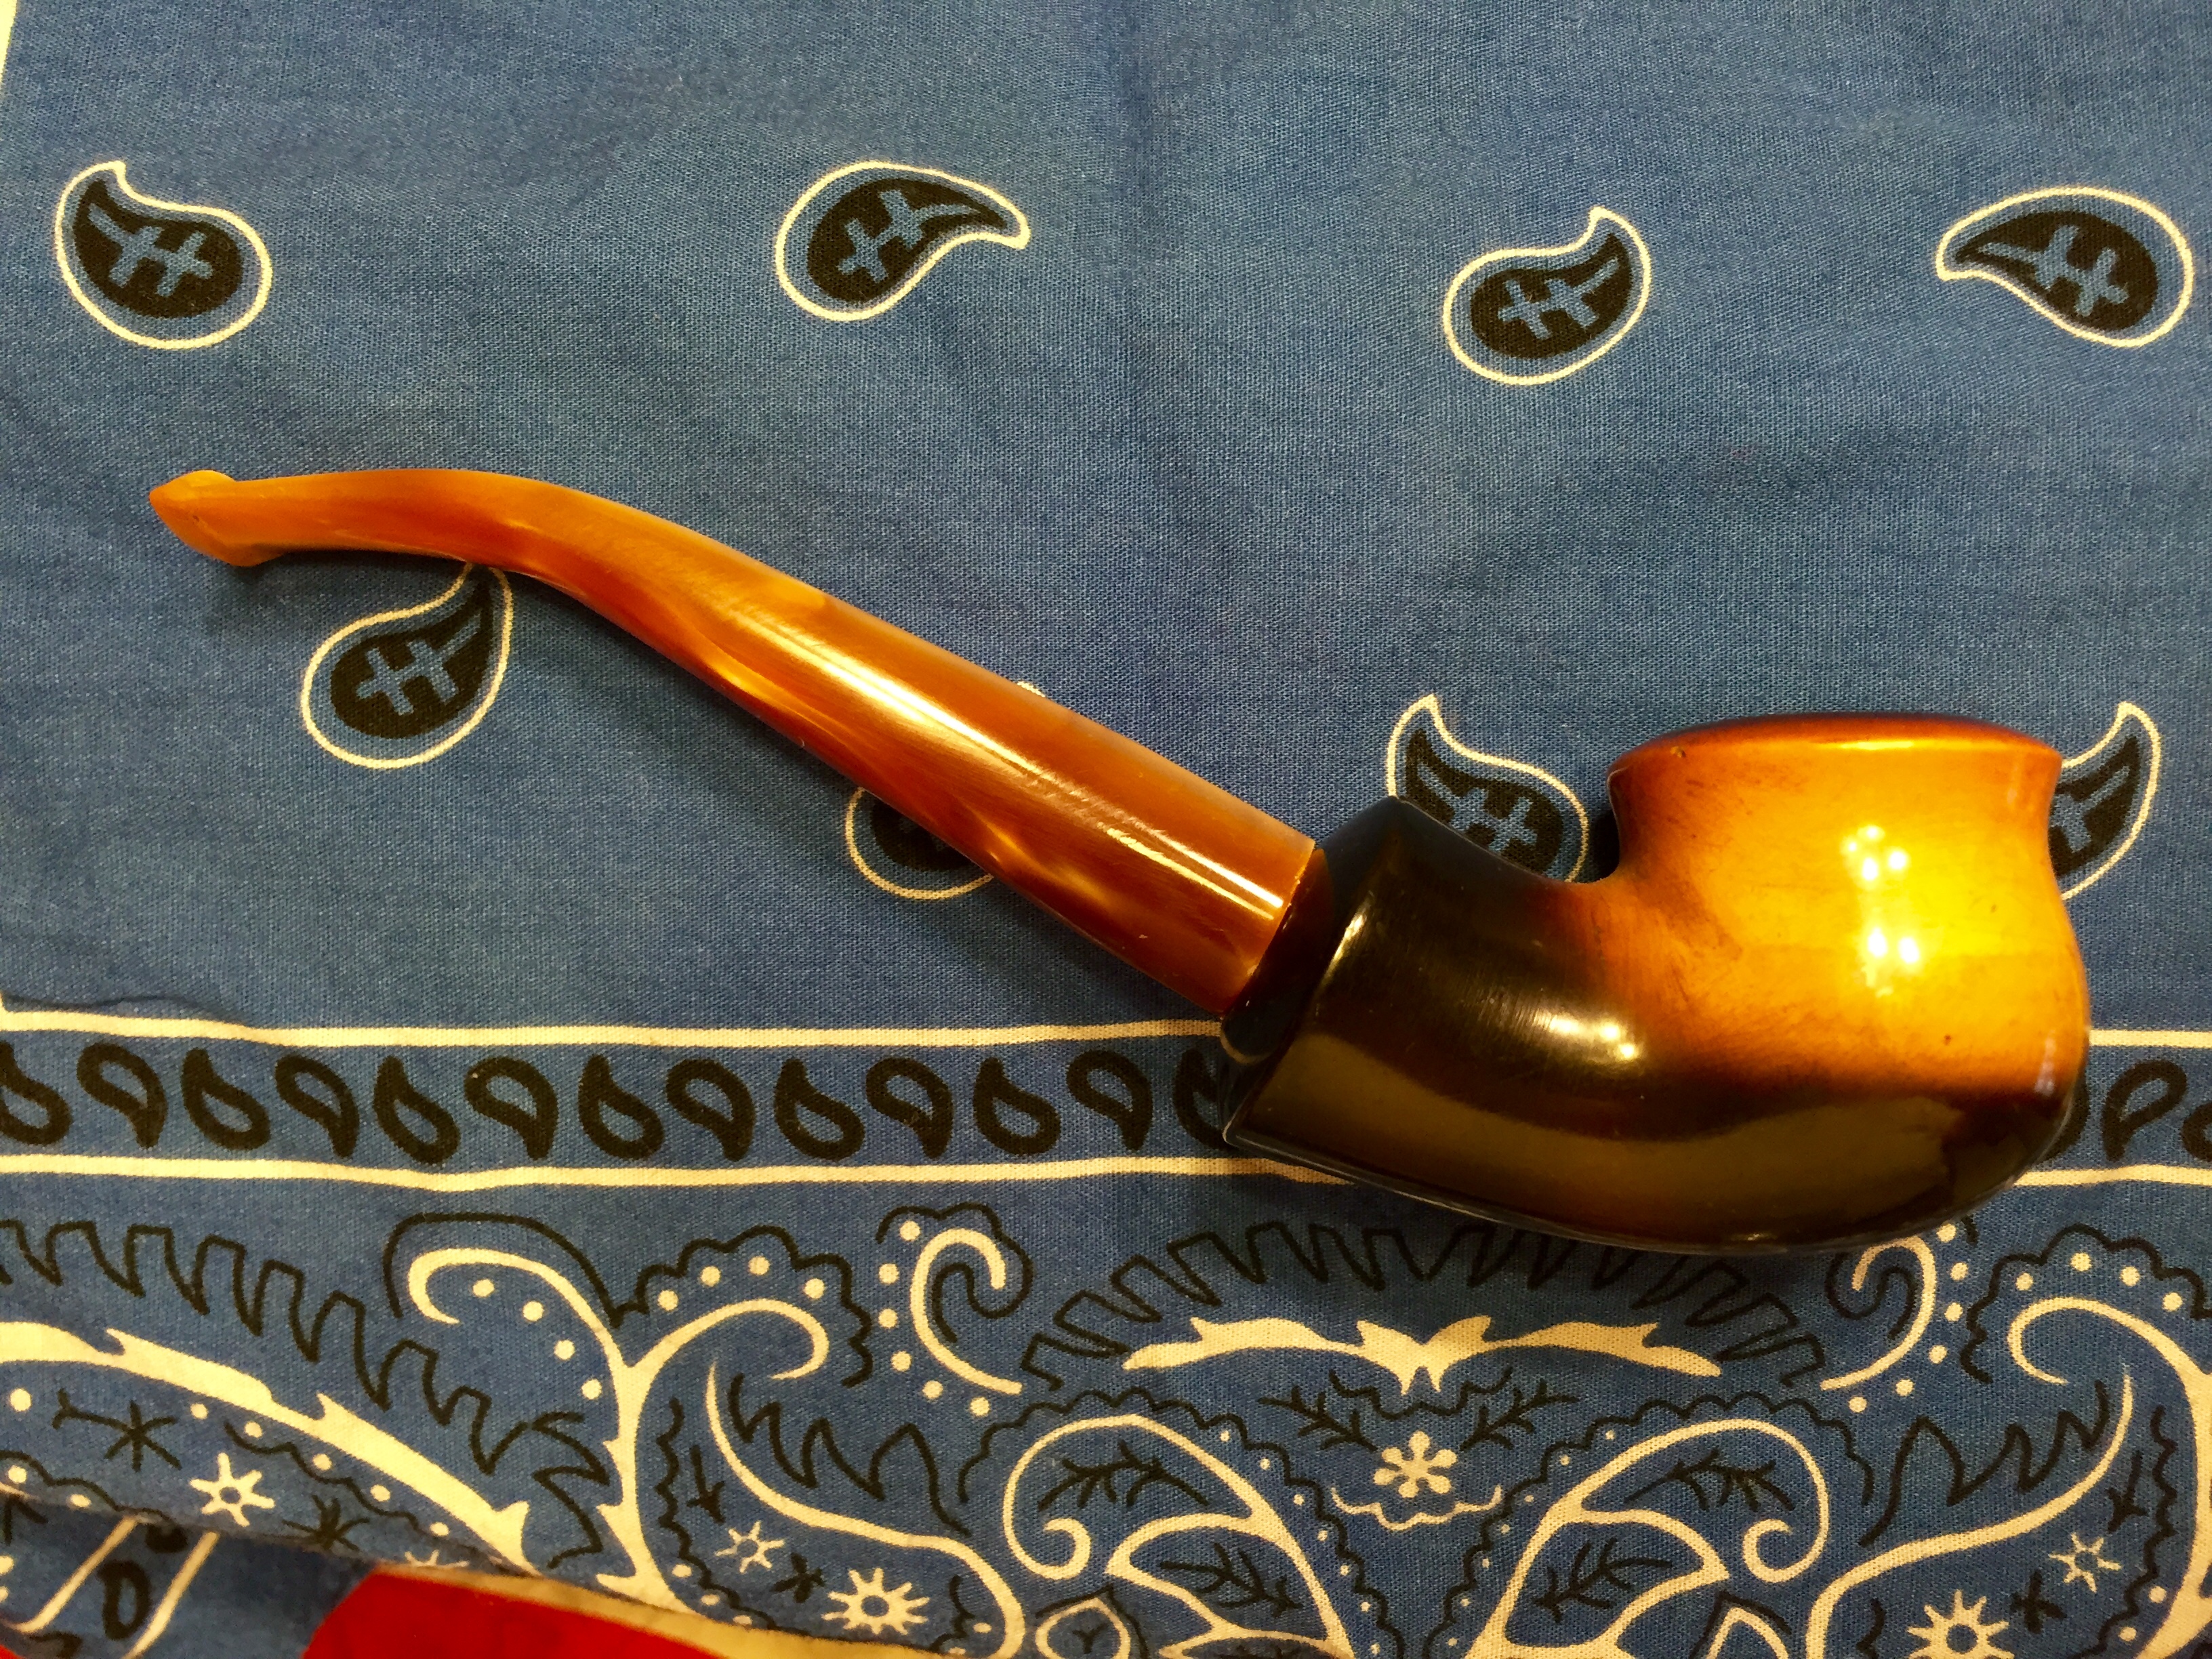
 Moving on to the chamber, I was startled when most of the cake crumbled from the walls with a couple of turns of the reamer. Still more shocking was the sudden appearance of a thin coat of the original yellow product of honey curing. I knew I had a rare find and wondered at the short-term but intense enjoyment of the pipe that could have led to more than average cake but left the prominent yellowing intact. The rest of the cake came clean with gentle 400-grit sanding.
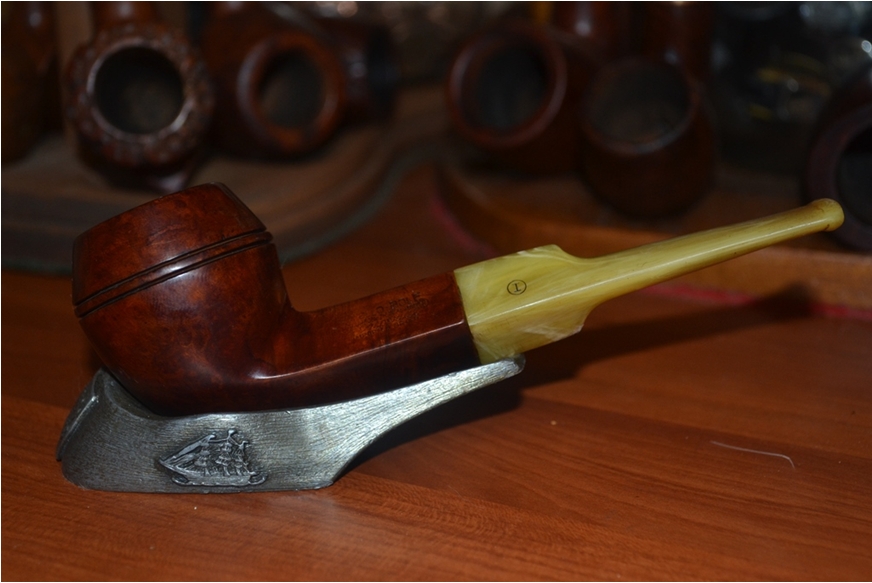
Staying with the 400-grit paper to remove scratches and dings on the beautiful briar, I lightened the color still more and found a few fills and other grain flaws that accounted for why this finely shaped bulldog didn’t end up with, say, a Kaywoodie stamp.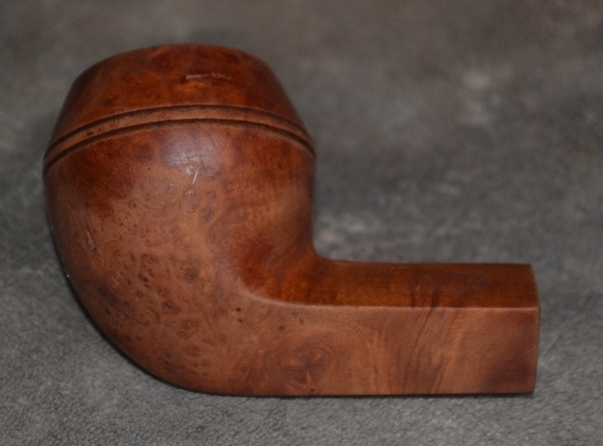
 Using micromesh at an escalation from 1500 to 2400 and 3600 grades eliminated the remaining scratches.
The cleaning of this pipe was achieved with refreshing ease and the expenditure of few bristly cleaners soaked in Everclear.
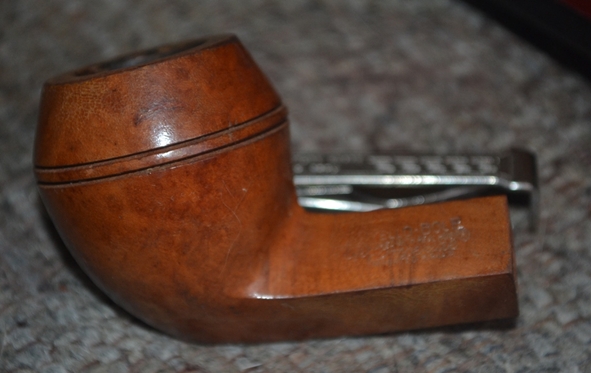
In a difficult choice, I decided to re-stain the briar with a medium as opposed to the original light brown color. I applied Lincoln boot stain and flamed the alcohol out before removing the char with 2400 micromesh and smoothing it out using 3600.
To polish the prepped pipe, I used red and white Tripoli, White Diamond and carnauba, and after rubbing the wood with a cotton rag saw it needed another round on all of the buffers except the red Tripoli.
I finished the stem with red and white Tripoli before White Diamond.
 CONCLUSION
This was a very pleasant and relaxing restoration, in particular following my Ben Wade and the Chamber of Horrors brush with terror.
Tonight and tomorrow (Wednesday and Thursday), before the monthly official meeting of my pipe club at the local Moose Lodge, I will attempt to power through as many of the easier prospects as possible from my recent online purchase spree. The highlights include what I believe is a Comoy’s Smooth Bent Satin Matt Short Brandy #1770 (Made in London in a circle); a Kaywoodie Silhouette Bent Rusticated Squat Apple; a Kaywoodie Smooth Bent Signet Billiard; an Ehrlich Rusticated Straight Billiard; a LHS Park Lane Smooth Straight Poker; a Reinhard’s Smooth Straight Billiard; an Amadeus Greek Bent Billiard; a Parker Tall Tan Straight Poker; a unique small Town and Country Round-Bottom Straight Squat Rhodesian; a no-name Gourd Calabash Meerschaum Lined; a trio of old Missouri Meerschaum corncobs…and another KBB Yello-Bole, this one a Straight Four-Panel, also with the KBB in a clover but a yellow circle on the stem.
The first person to post a response challenging my ability to pull off the restorations/refurbishes of the above pipes before tomorrow night, and willing to bet a free pipe from the loser to the winner, is on for the bet. I will post before and after shots in a blog on my business Website, noted at the top of this submission, by 9:00 p.m. MDT (U.S.) tomorrow.
Our host, I trust, will vouch for my honesty in this type of wager.