Blog by Steve Laug
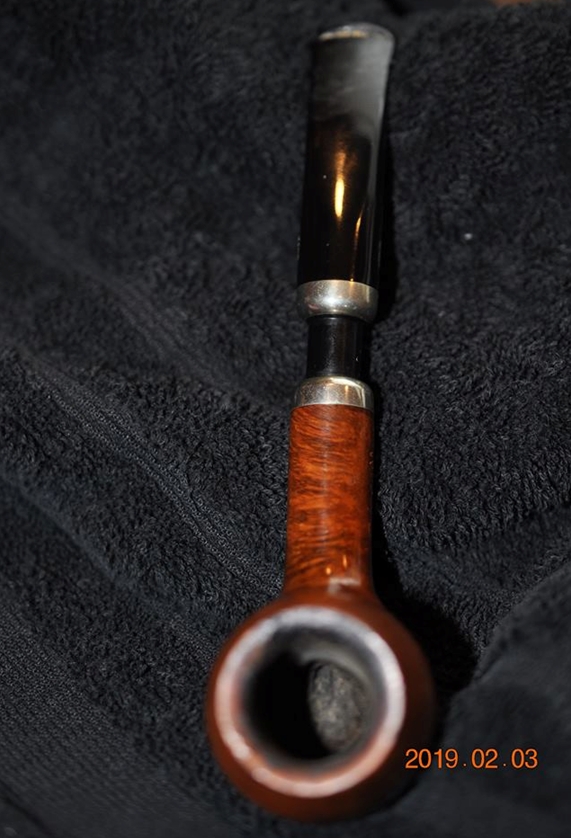
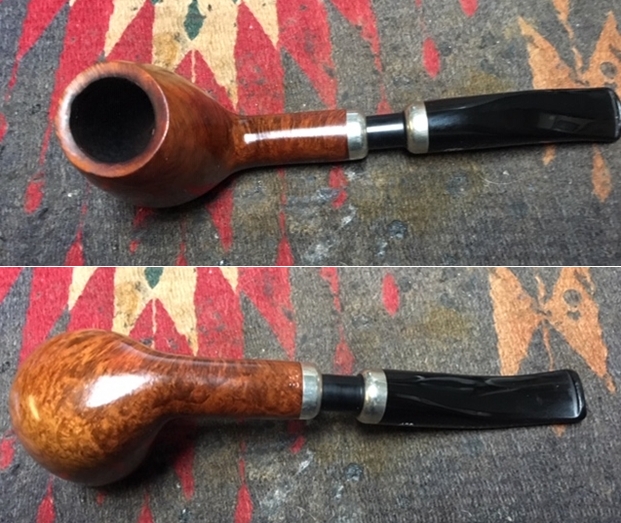
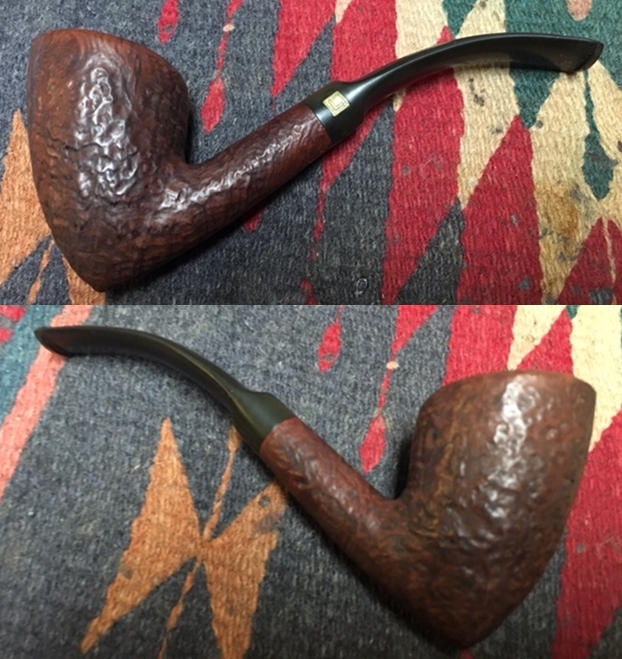
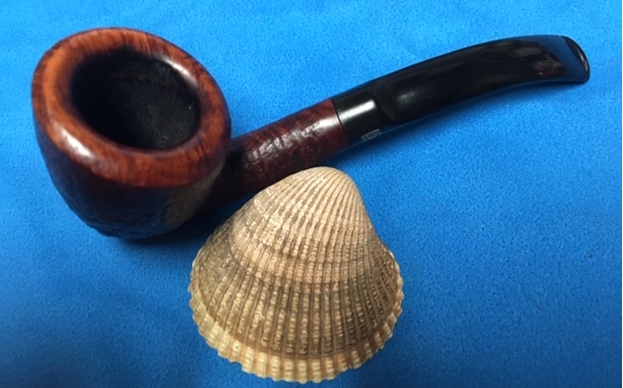
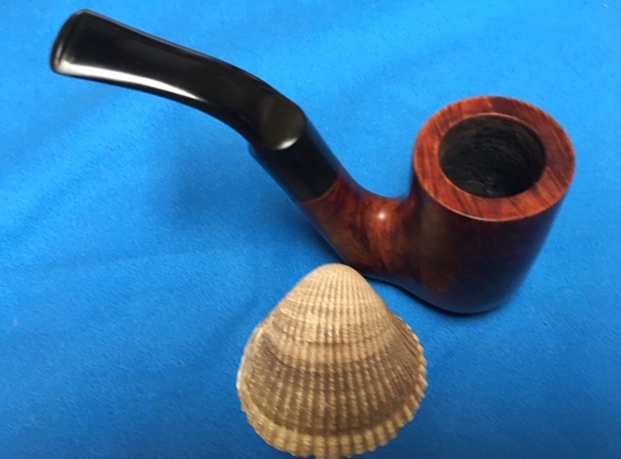
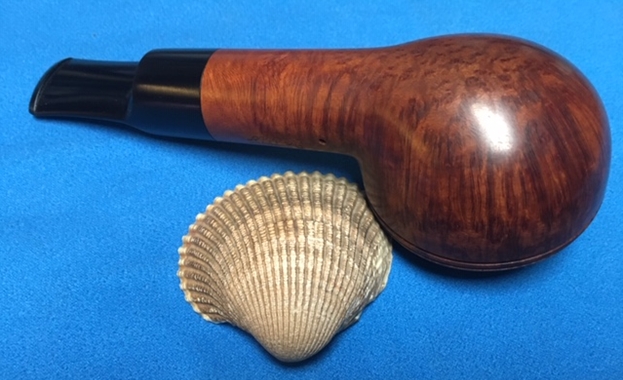
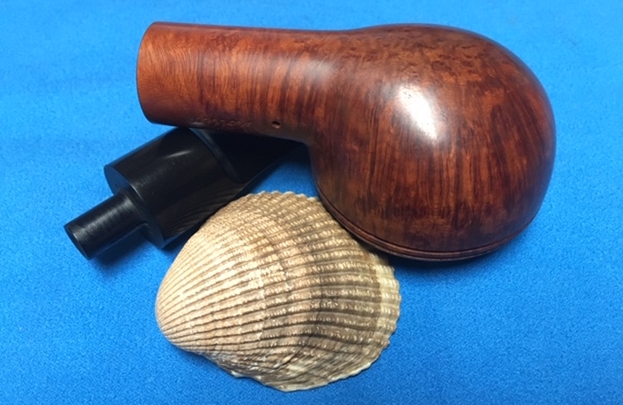
 The next pipe on the table is from one of the unsung pipe makers that I really enjoy working on. It is a Bari pot shaped pipe with a rectangular shank and tapered vulcanite stem. This has some stunning straight and flame grain around the bowl and shank with birdseye on the top of the bowl and the heel. It showed a lot of promise even in its filthy condition. The rim top was quite wide and had a slight bevel on the inside rim edge. The pipe is stamped on the topside of the shank Bari over Opal and on the underside Made in Denmark over the shape number 8443. Lately we have been picking up some really dirty pipes and this pipe was no exception. It was very dirty with a thick cake in the bowl and a layer of lava overflowing on to the rim top. It was thick enough to have some wrinkles in the surface that looked almost like cracks. It was hard to know what the inner edge of the rim looked like because of the lava and cake. From the photos it appeared that the inner edge was in good condition. Other than being dirty the finish also appeared to look very good. The stem was lightly oxidized and the button surface on both sides was worn down from tooth damage. There was chatter on both sides of the stem. Jeff took some photos of the pipe before he started working on it.
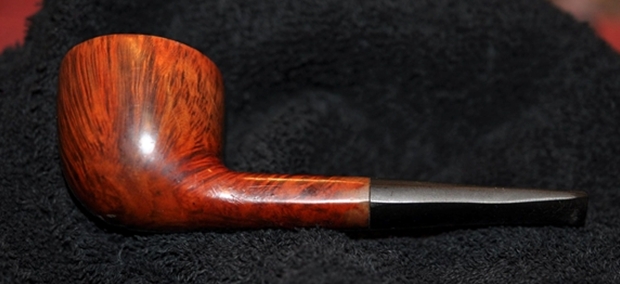
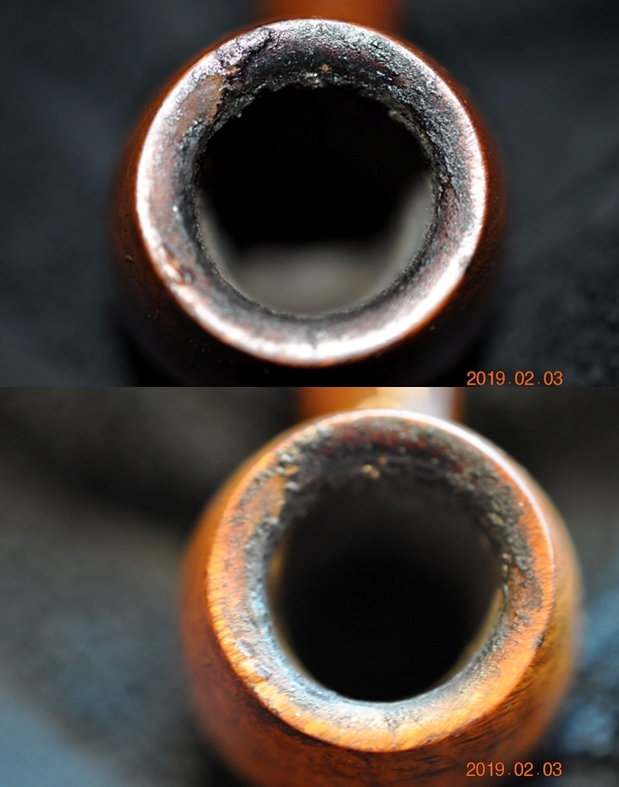
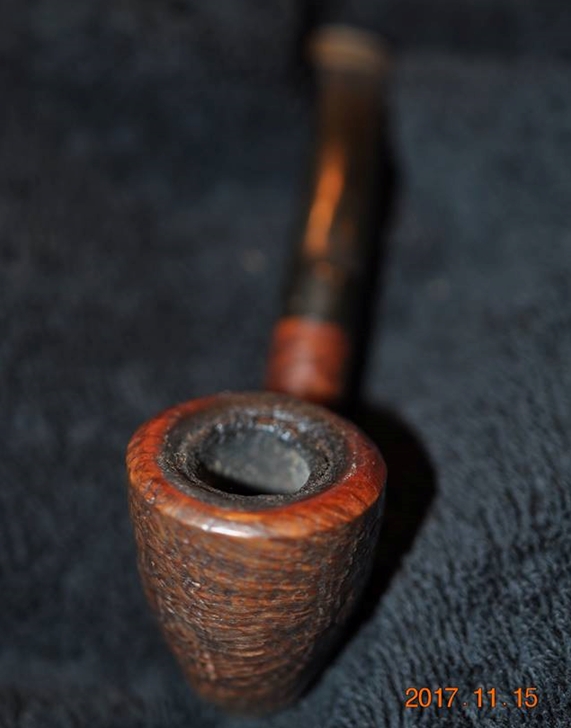
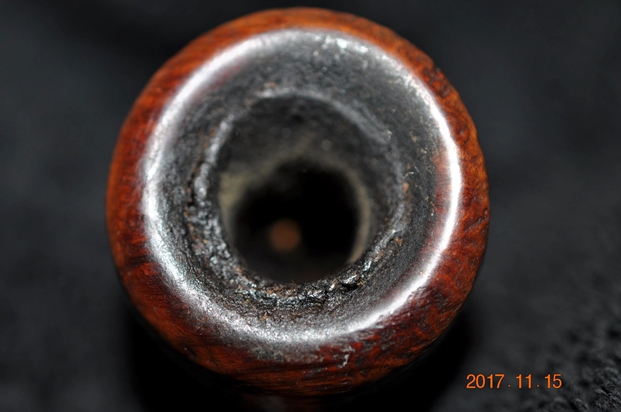
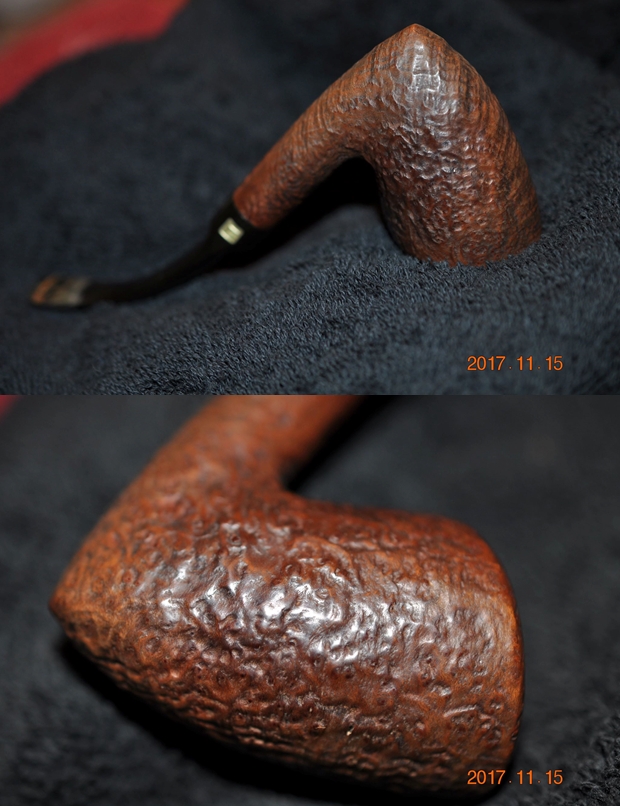
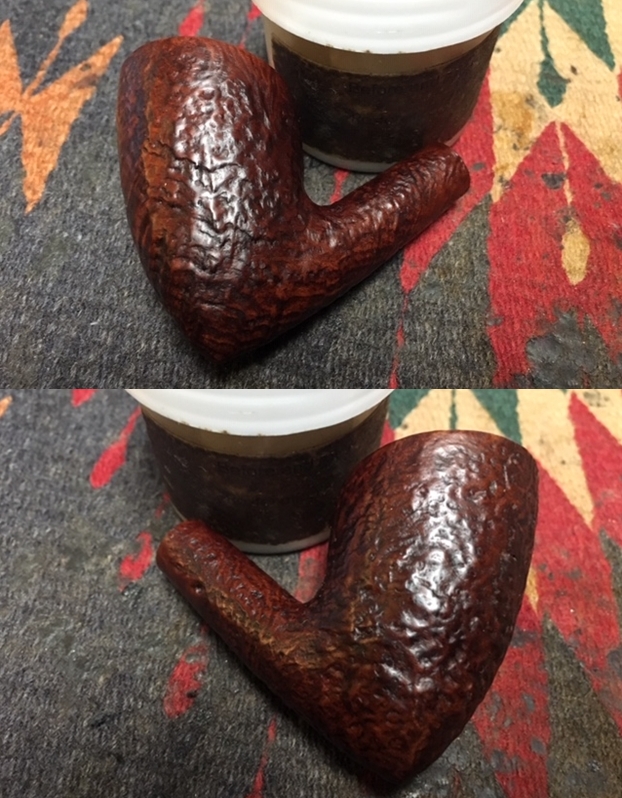
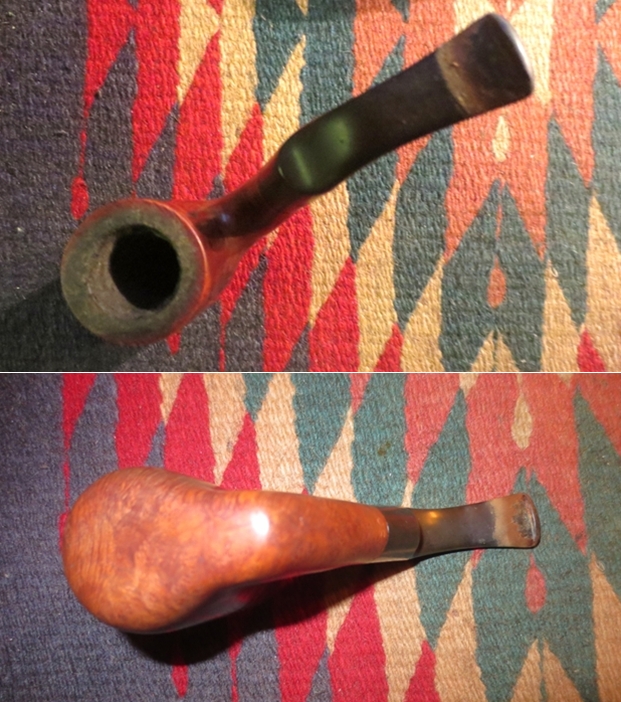
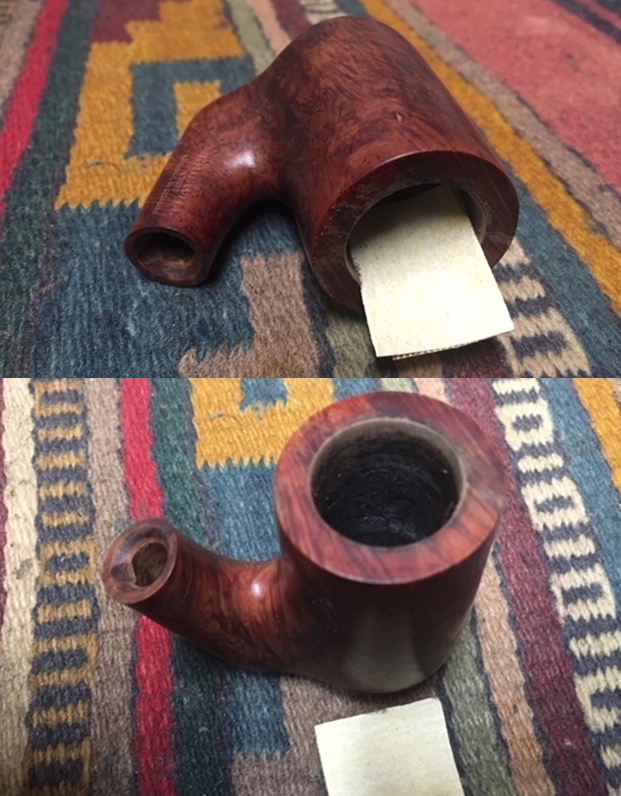
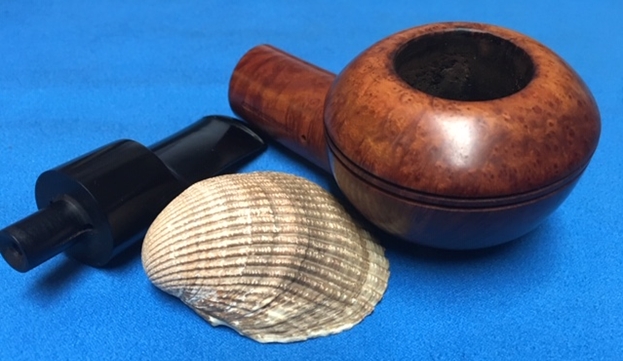
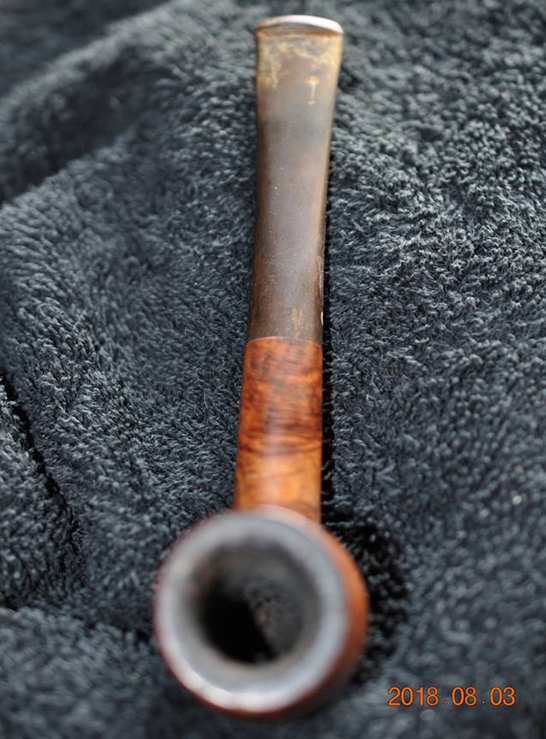
 He took photos of the rim top to show the thick cake in the bowl and the overflow of lava. The cake is thick and hard and the lava overflow is a thicker toward the back of the beveled rim. The bowl and the rim are a real mess. This must have been a great smoking pipe.
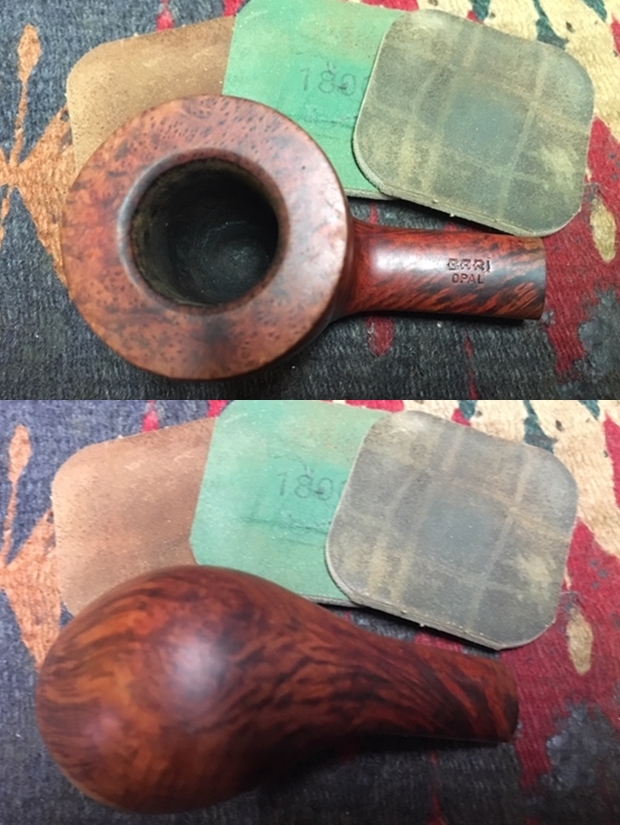
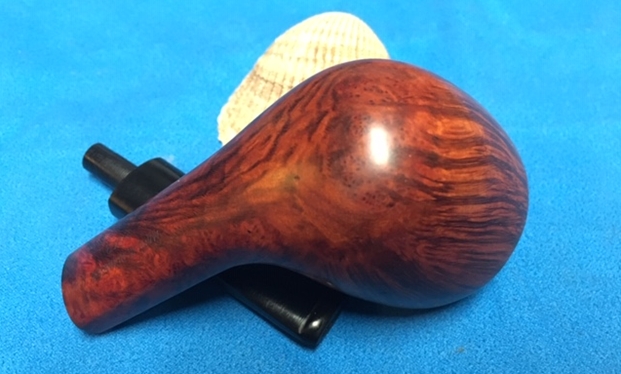
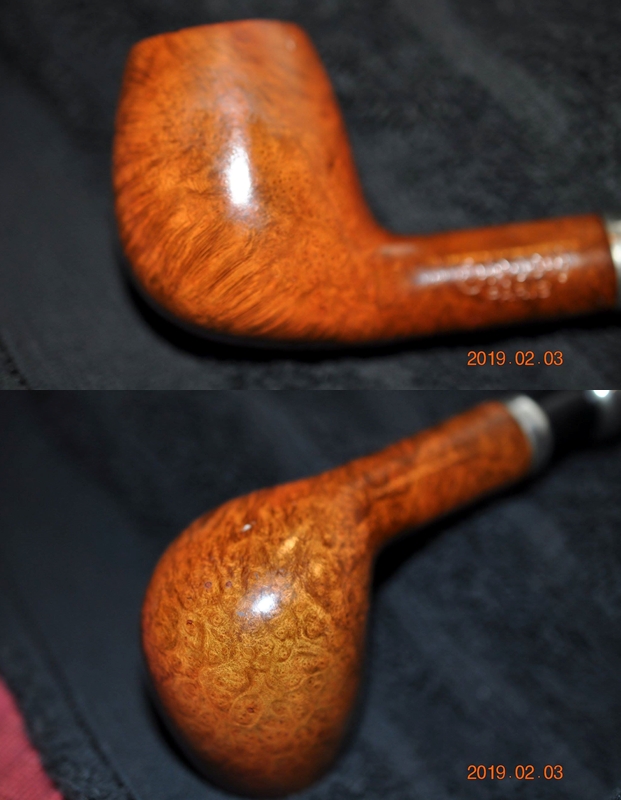
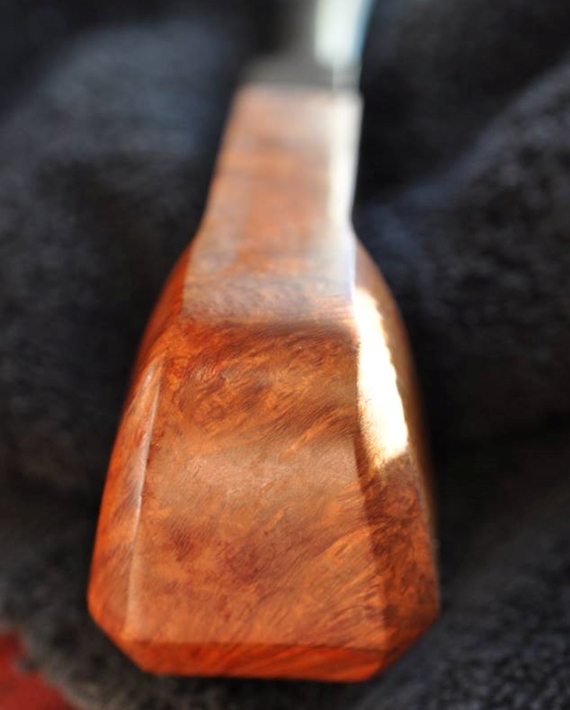
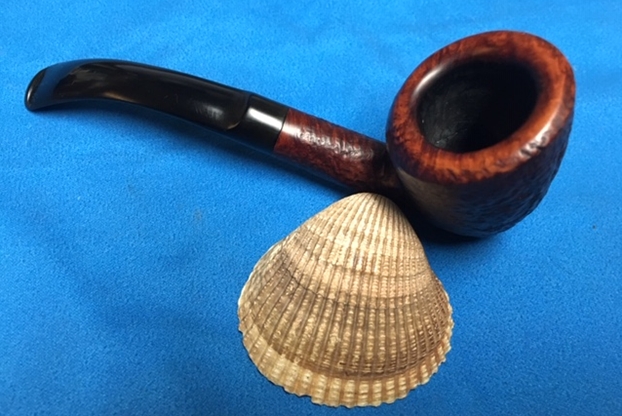
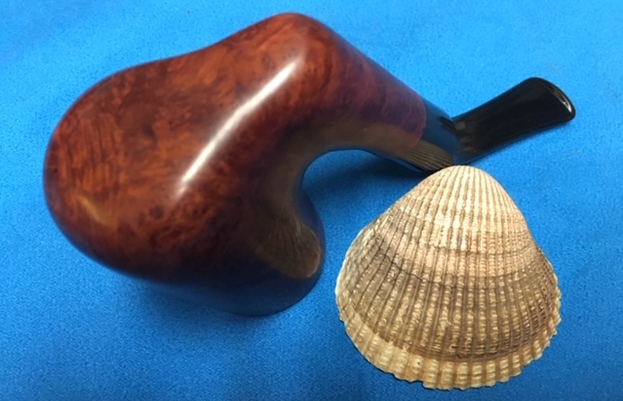
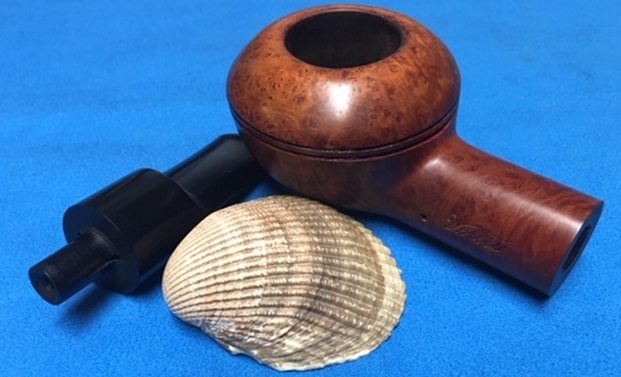
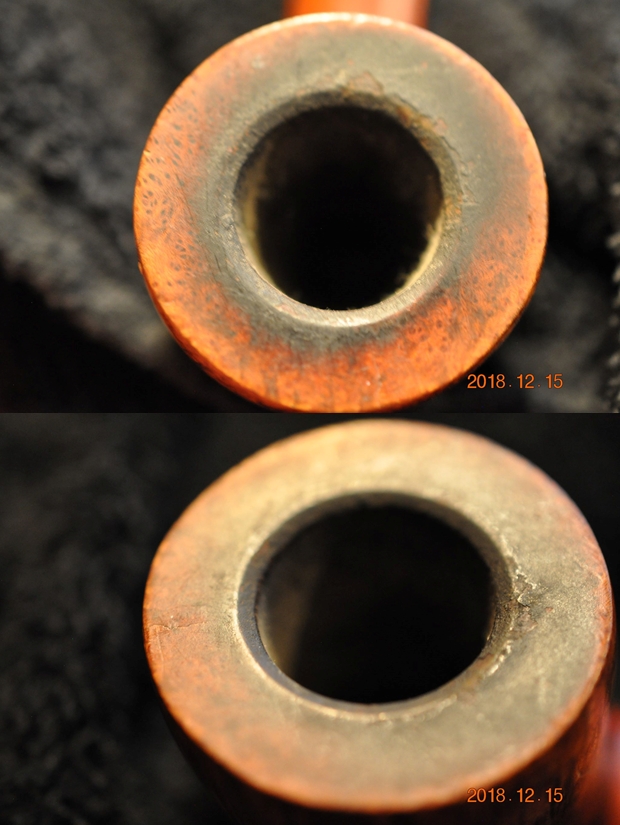 He took a photo of the right side and heel of the bowl to show some of the grain and the condition of the pipe. There is one small fill at the top of the bowl that will need to be dealt with but otherwise it is a pretty pipe.
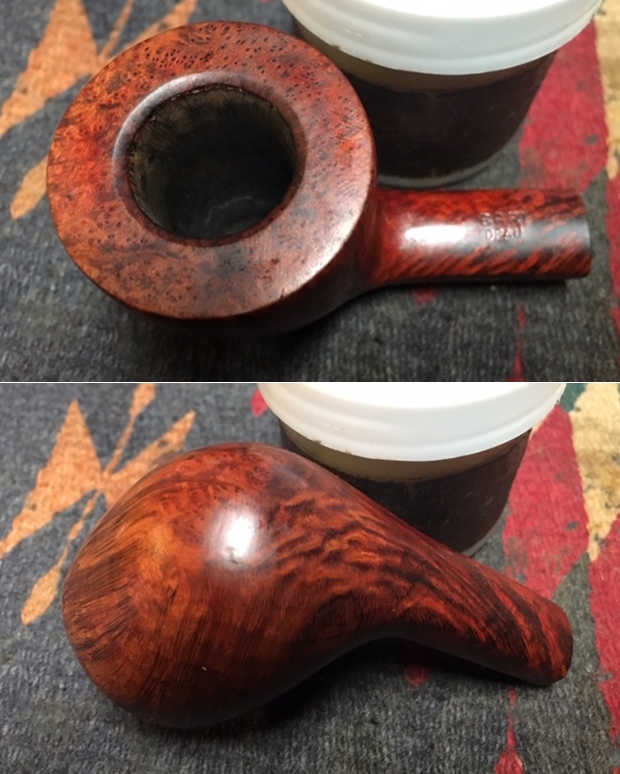
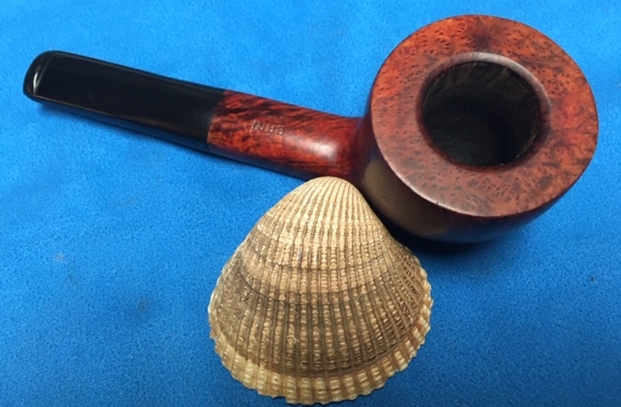
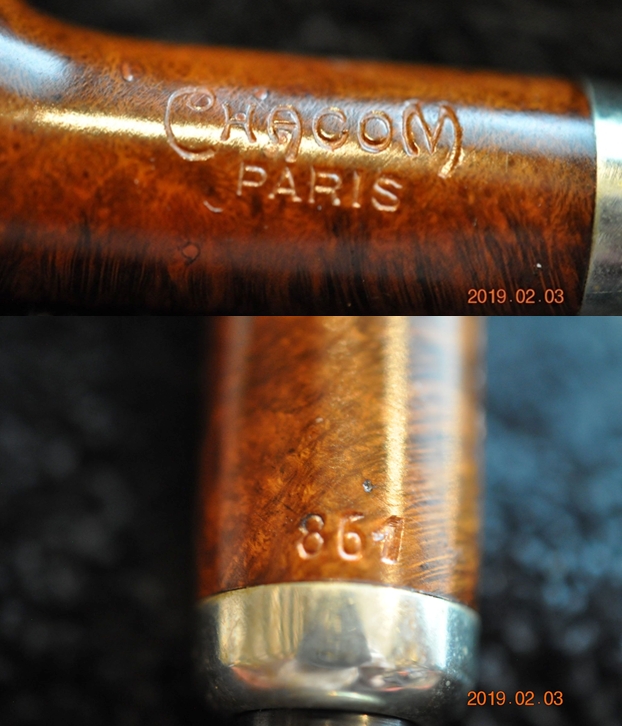
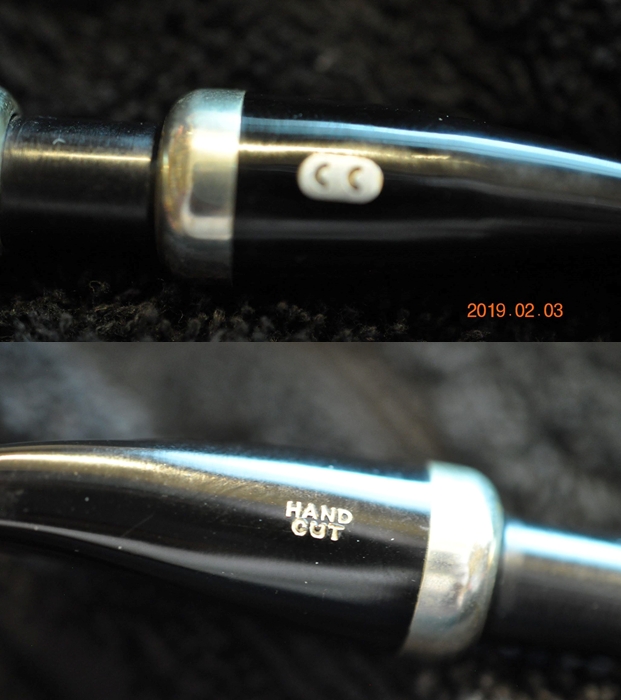
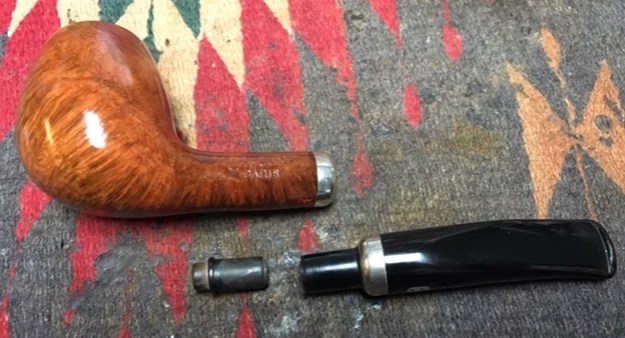
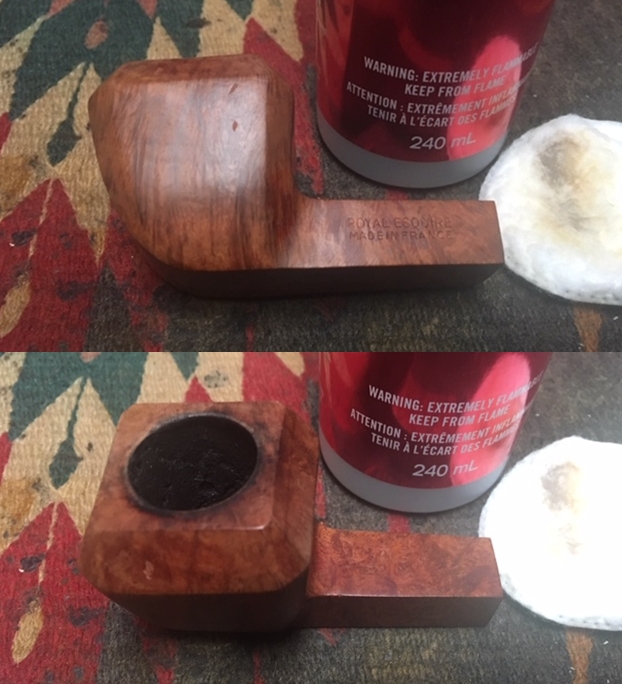
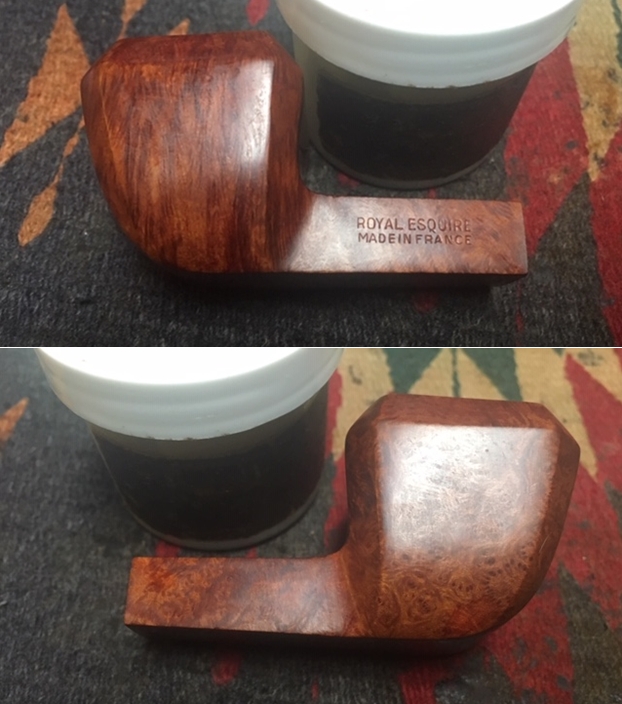
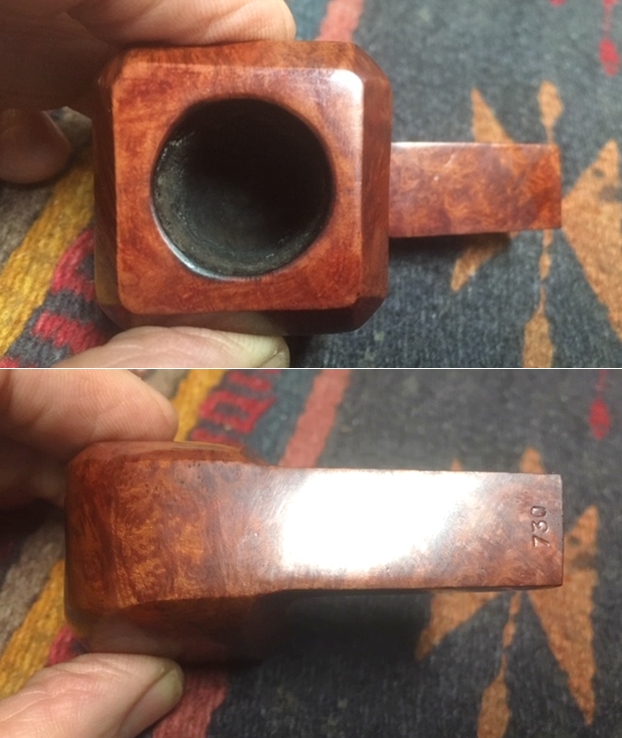
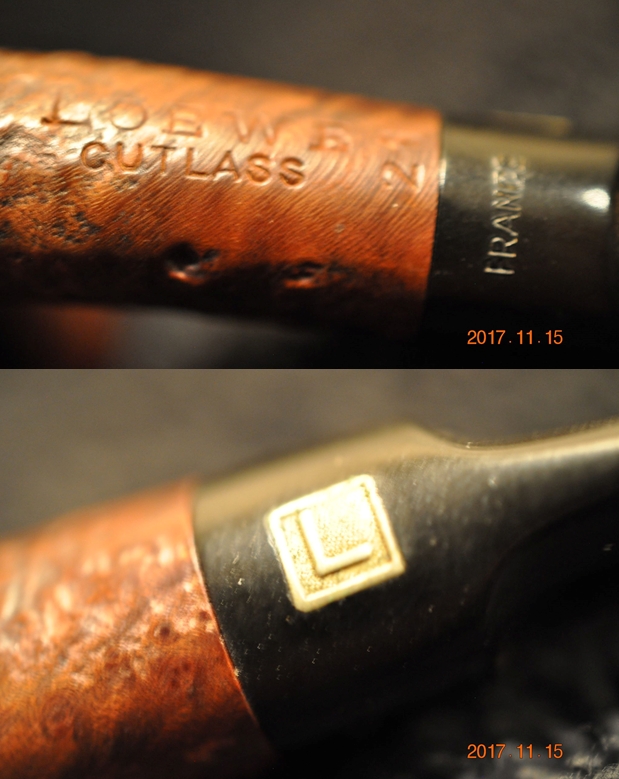
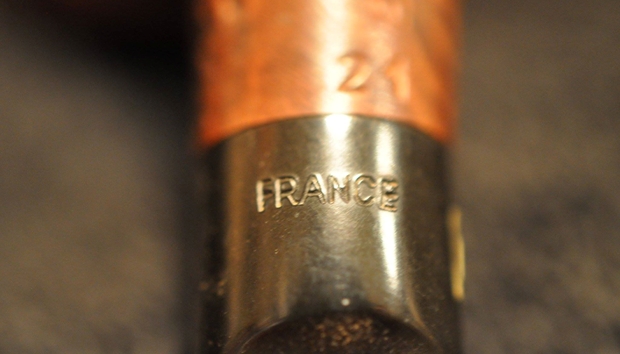
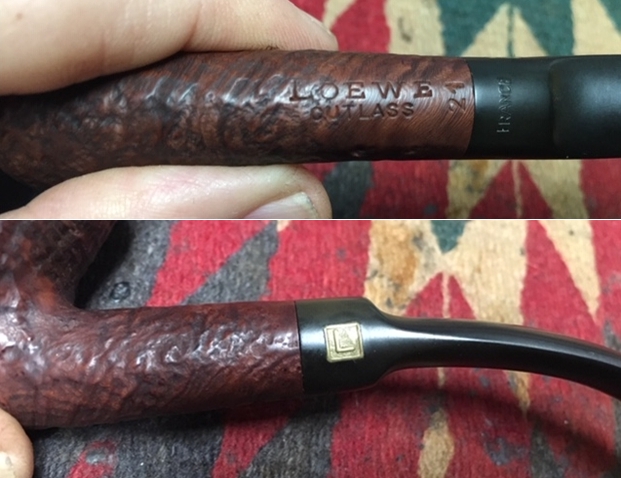
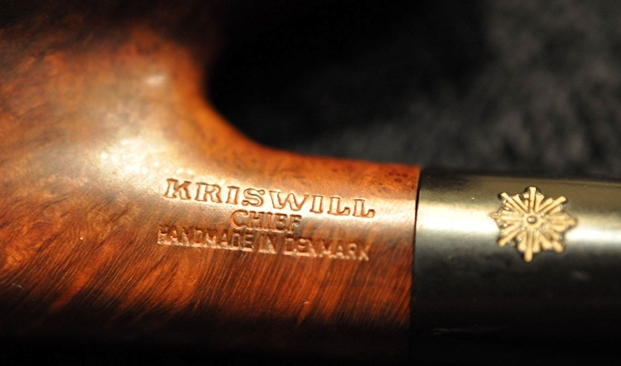
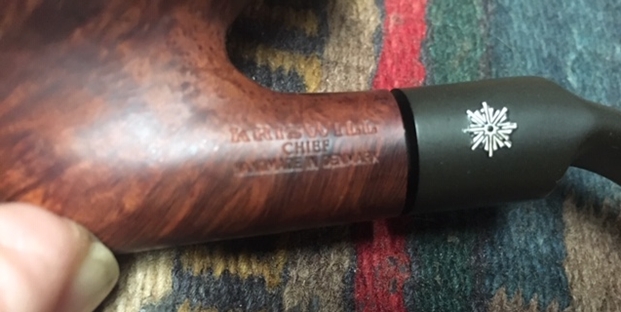
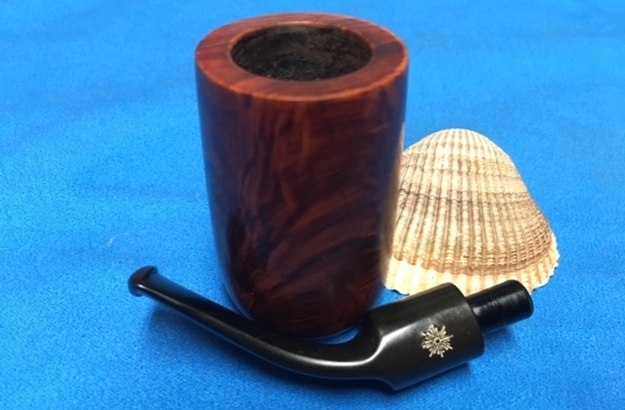
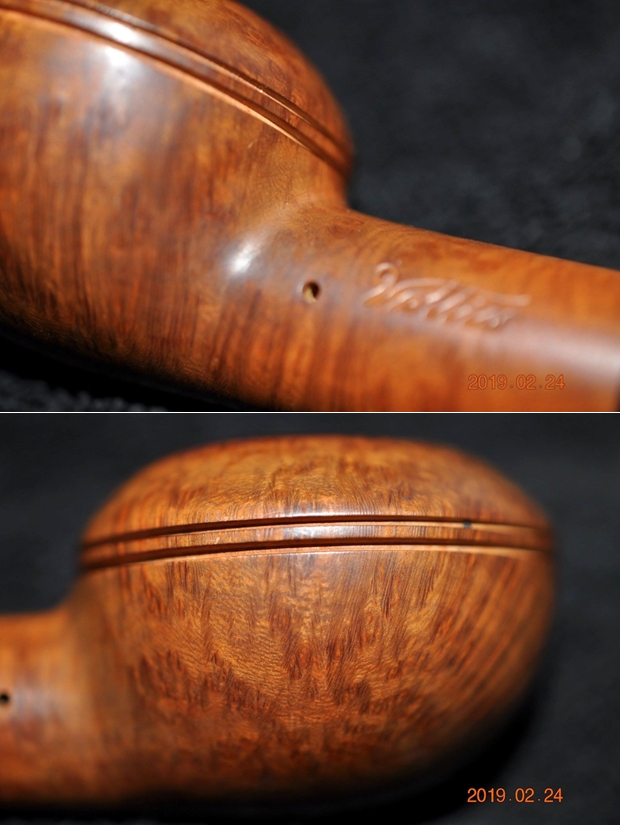
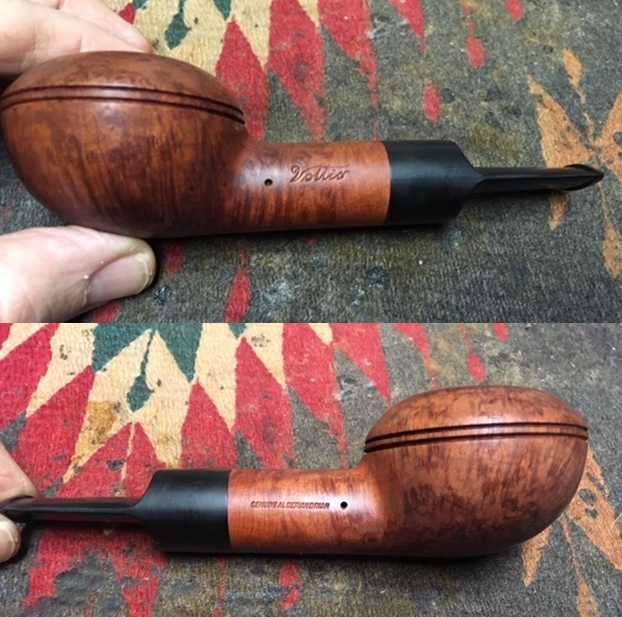
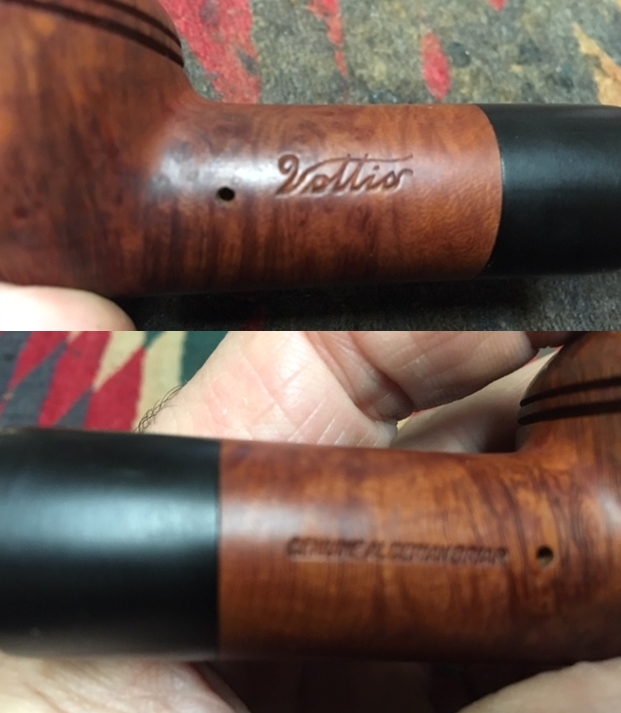
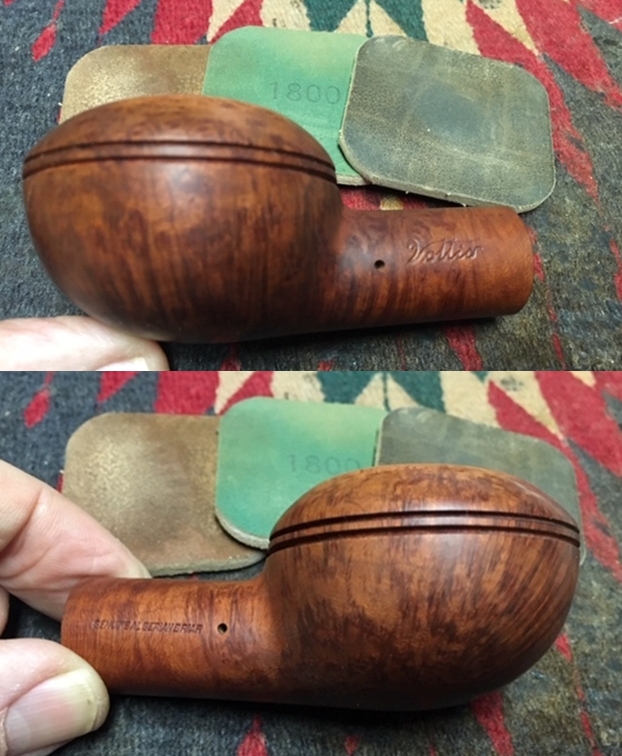
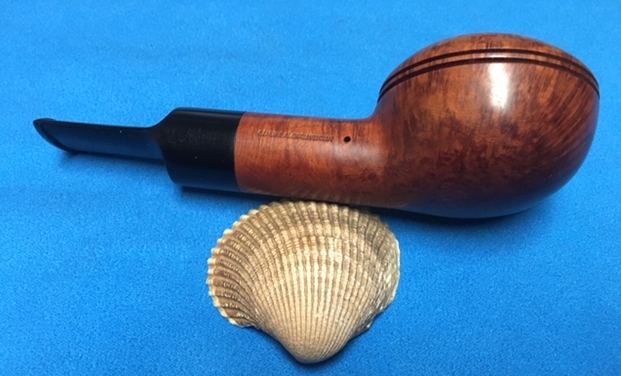
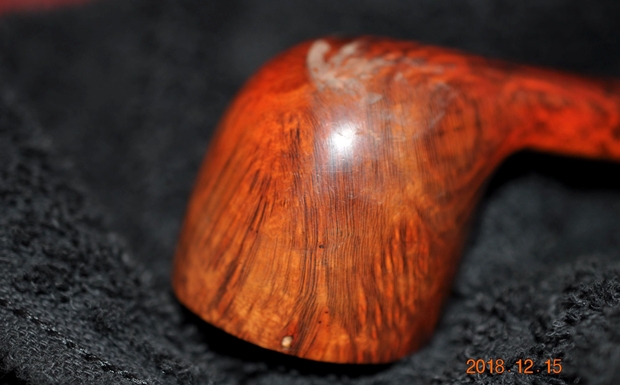 Jeff took photos of the stamping on the top and underside of the shank to capture the clarity of it even under the grime. It is clear and legible.
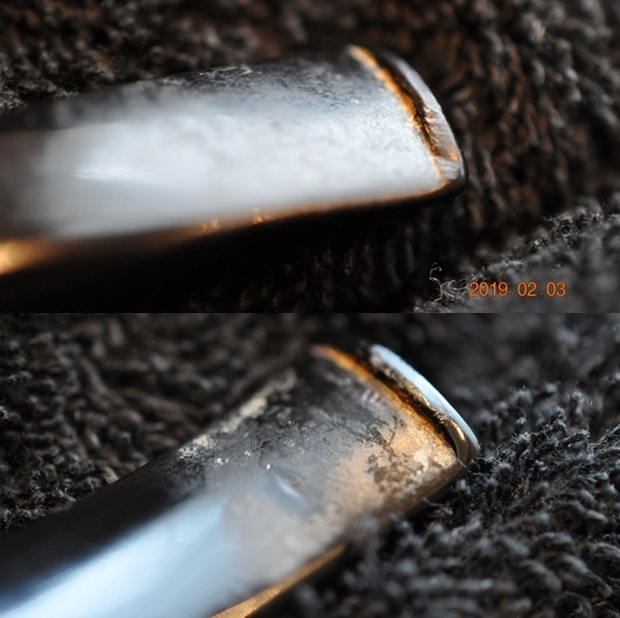
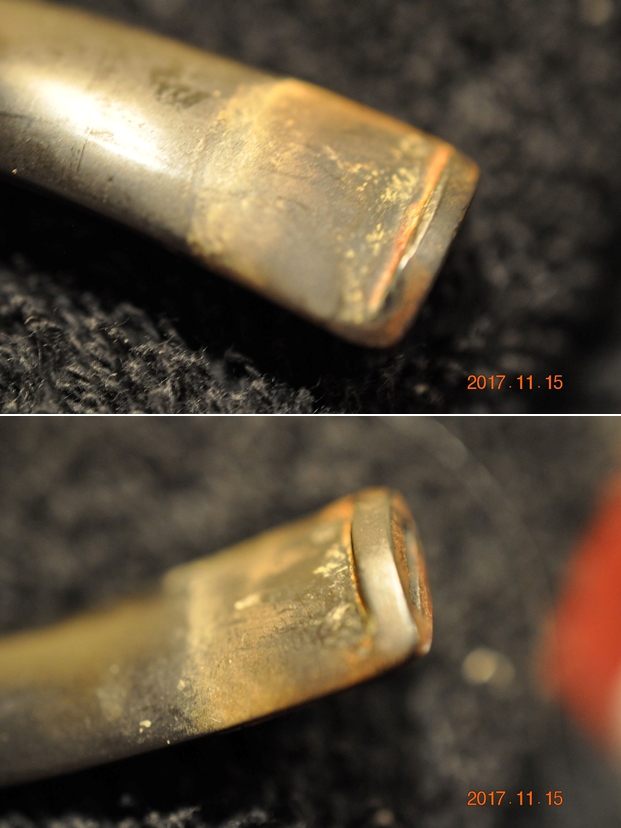
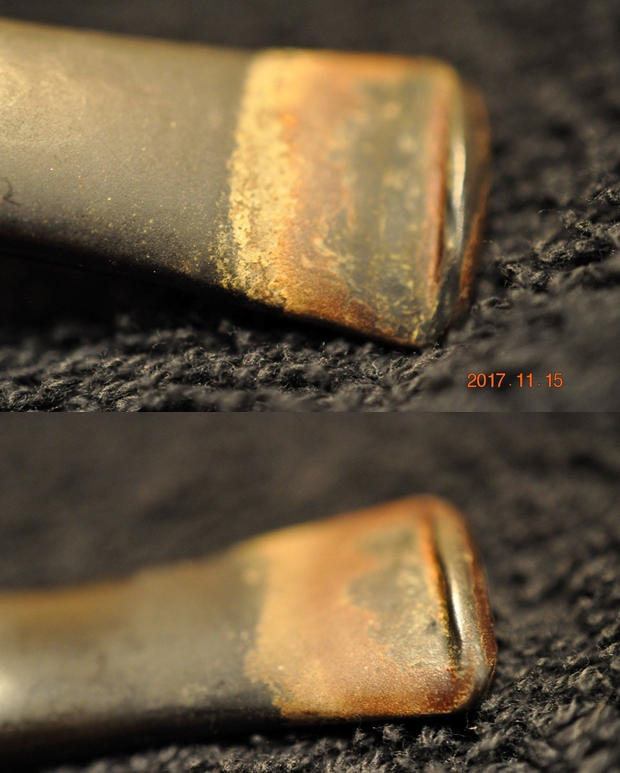
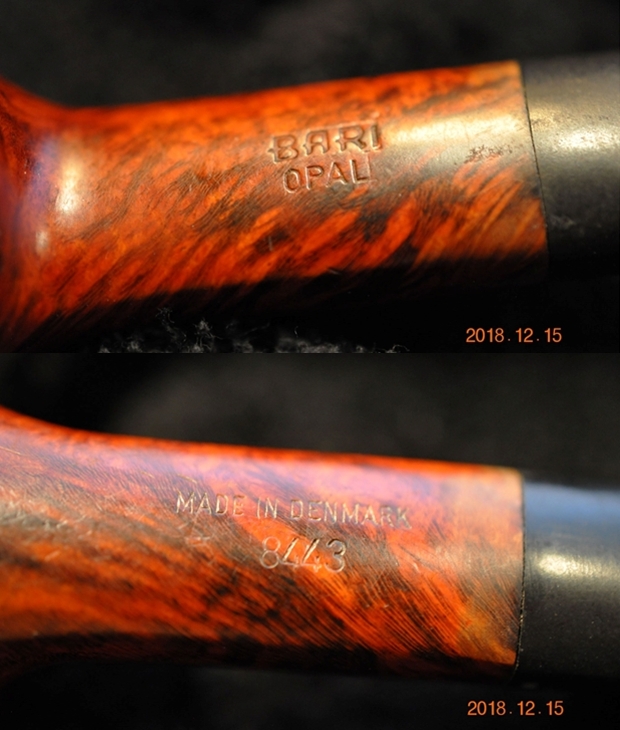 The vulcanite stem was worn at the button with the sharp edge of the button worn down with tooth marks. The stem also had a lot of chatter both sides and some oxidation.
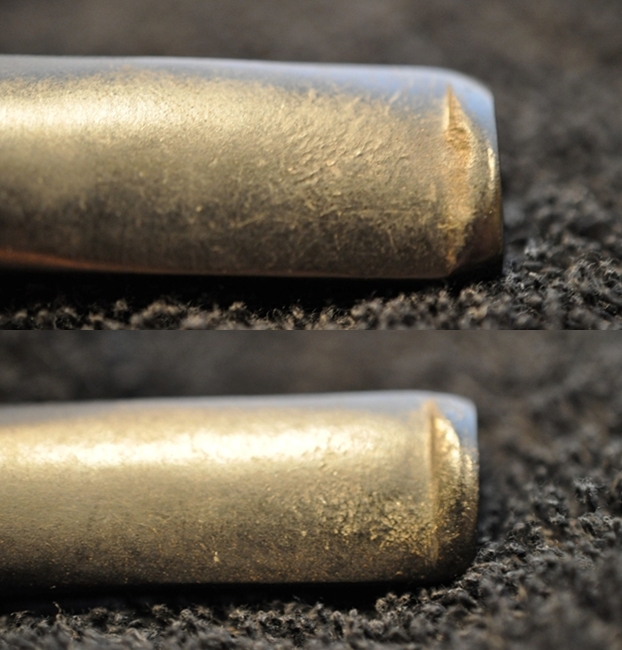 Jeff had already cleaned up the pipe before sending it to me. He had reamed the bowl with a PipNet pipe reamer and cleaned it up with a Savinelli Fitsall Pipe Knife. He scrubbed the exterior with Murphy’s Oil Soap and a tooth brush to clean off the grime off the finish and the heavy overflow of lava on the rim top. He cleaned up the internals of the shank, mortise and stem with pipe cleaners, cotton swabs and alcohol to remove all of the oils and tars in the pipe. When it arrived here in Vancouver it was a clean pipe and I knew what I had to work with. I took photos of it before I started my part of the restoration.
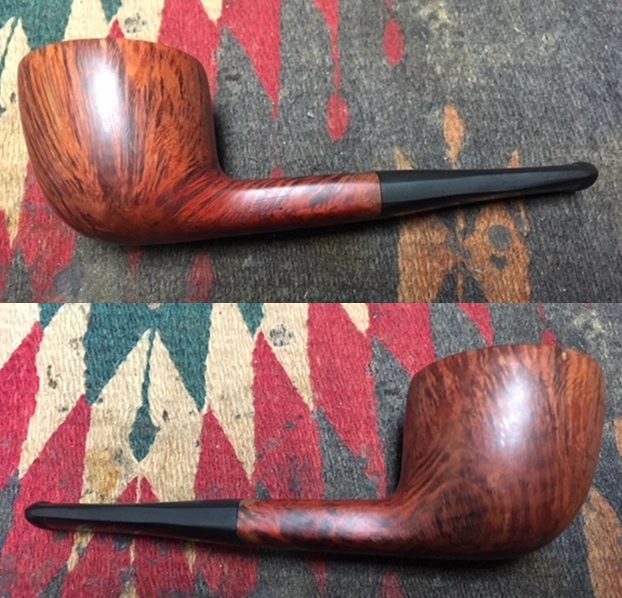
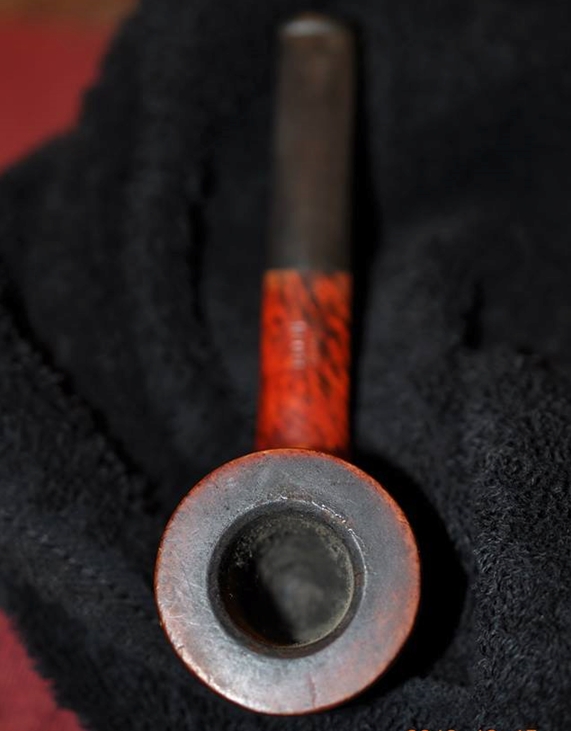
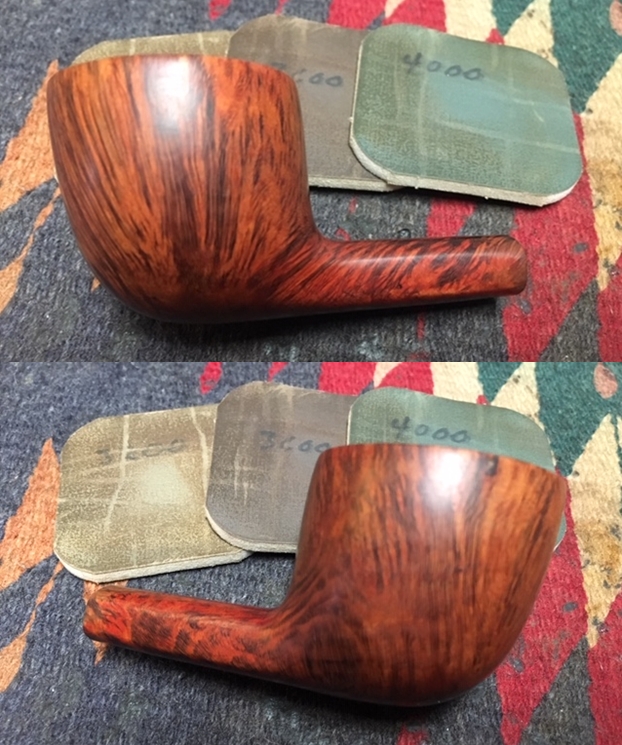
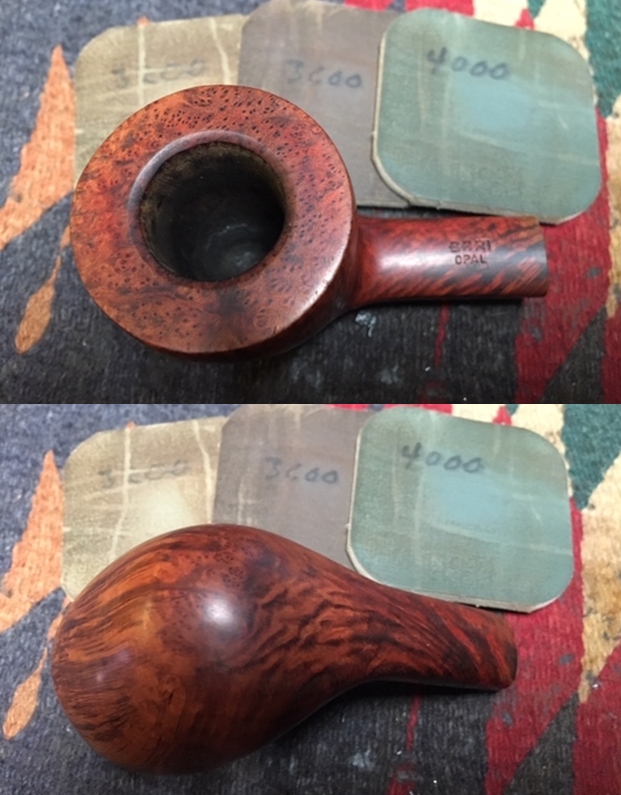
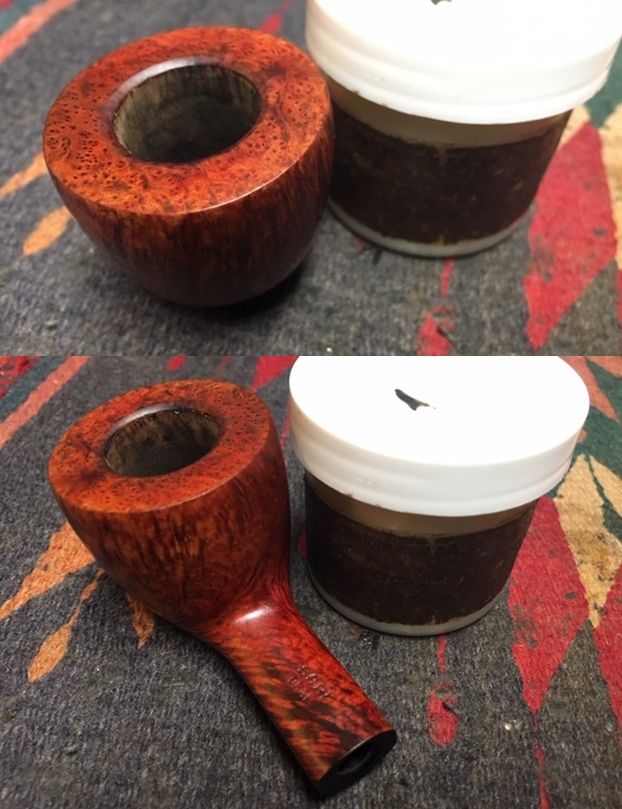
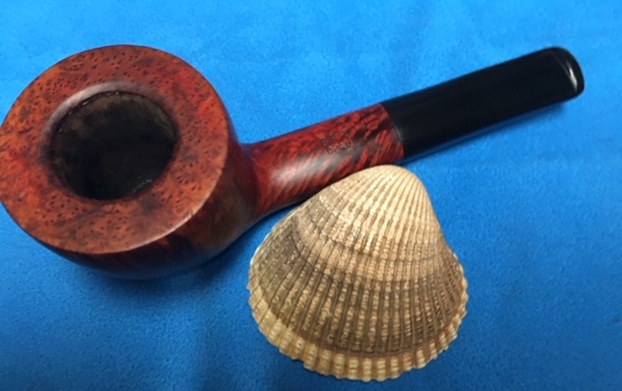
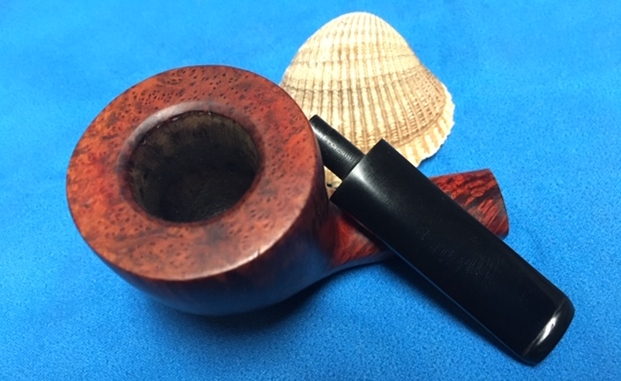
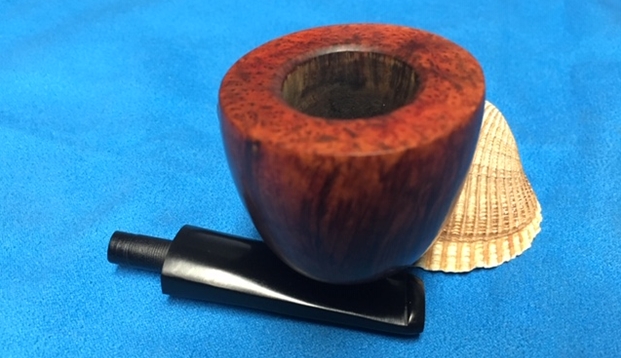
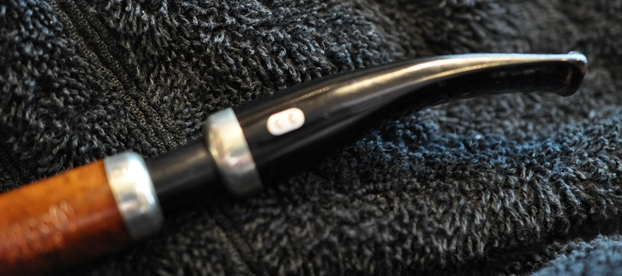
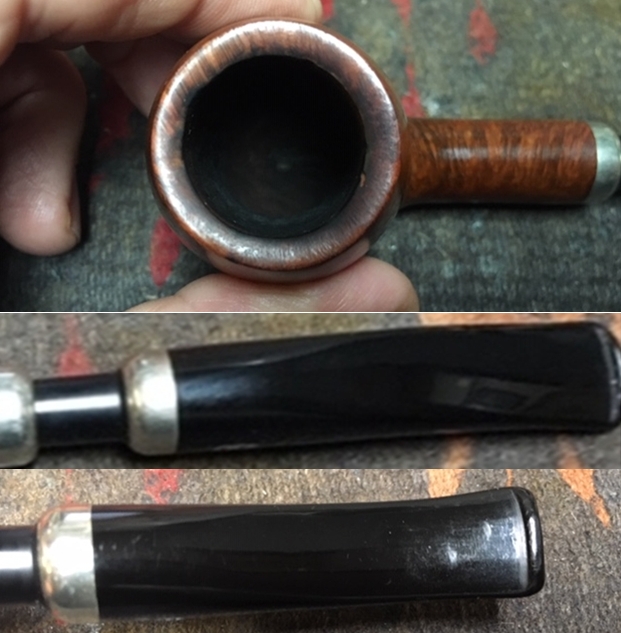
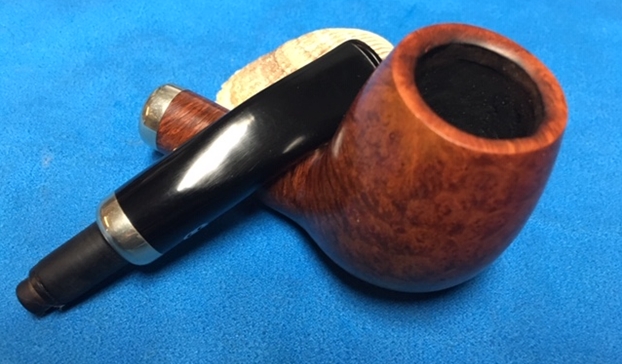
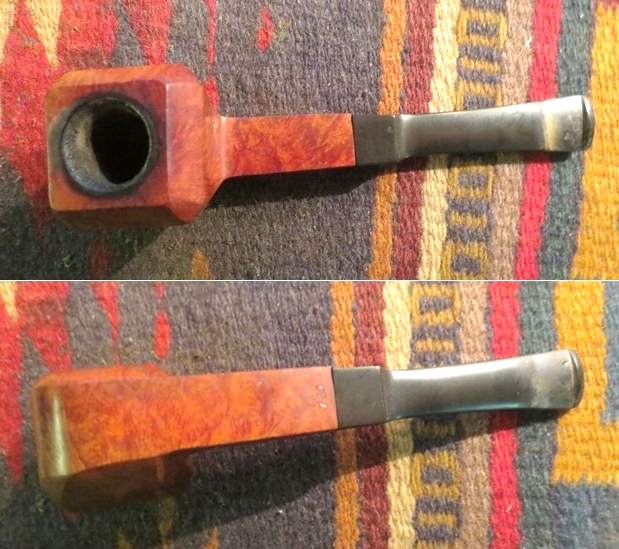
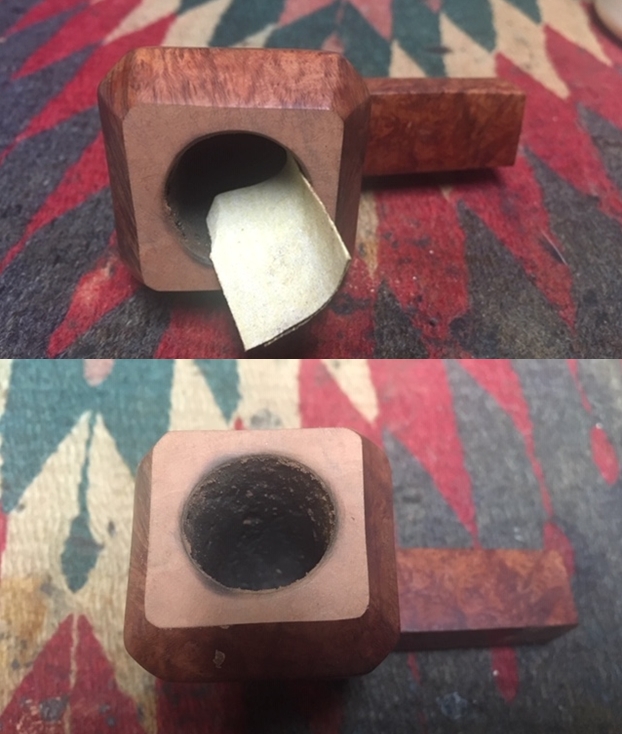
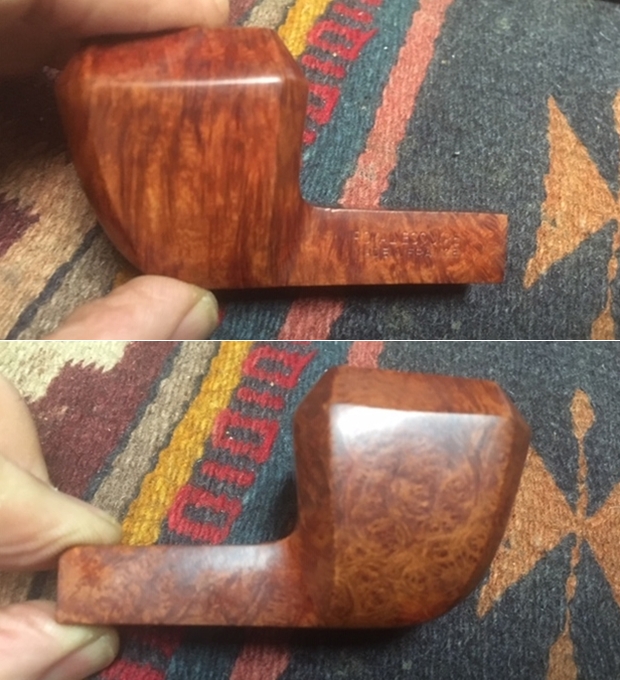
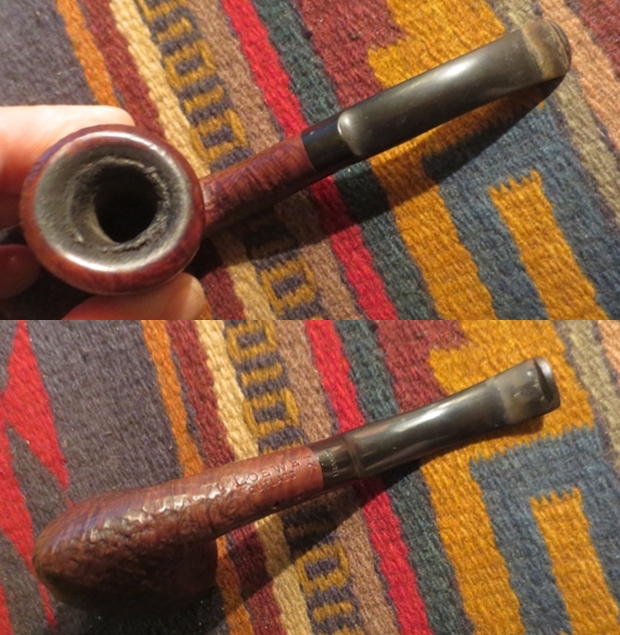
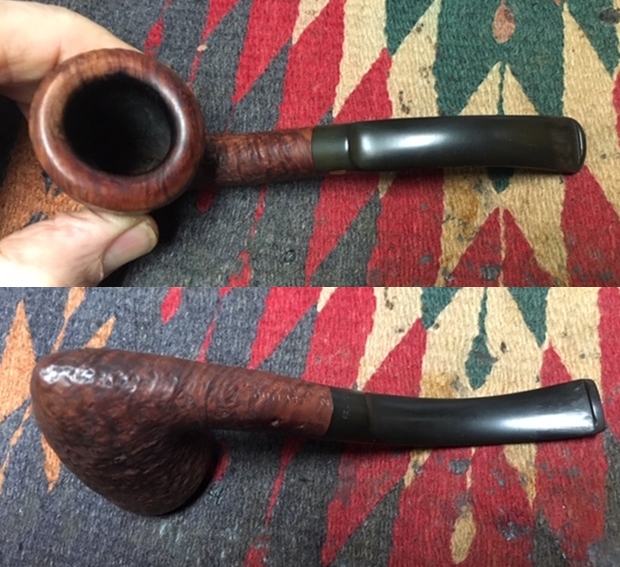
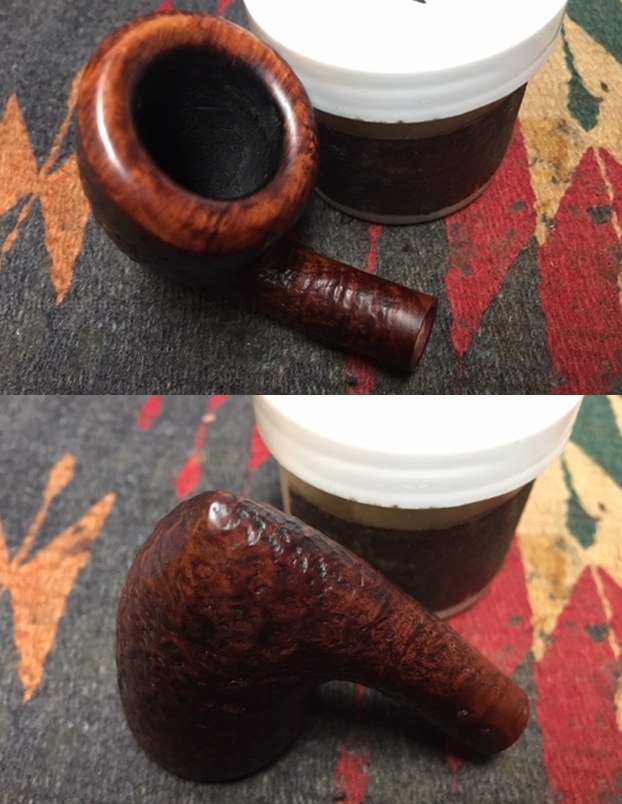
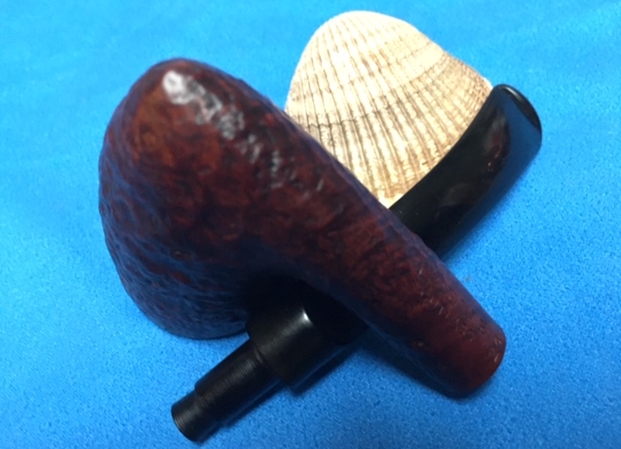
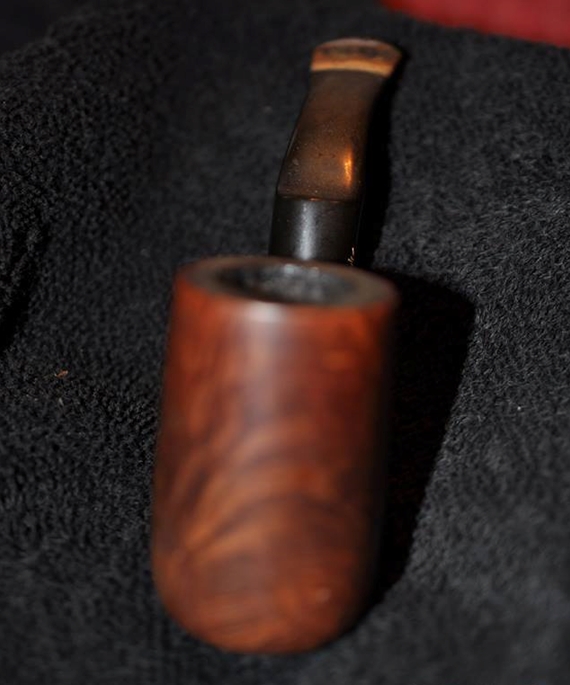
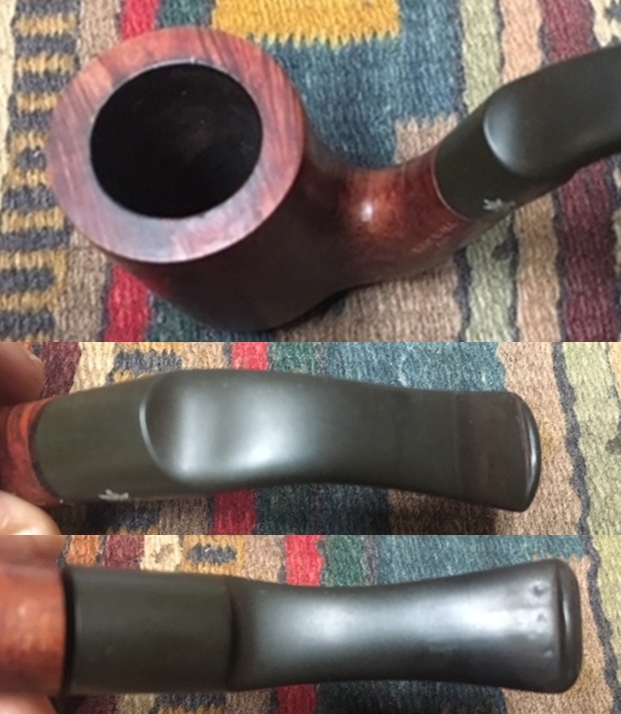
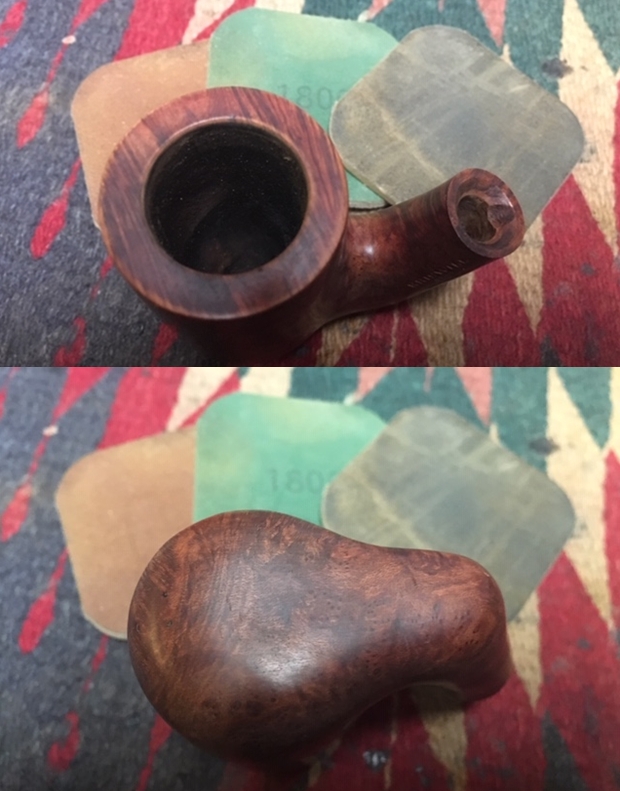
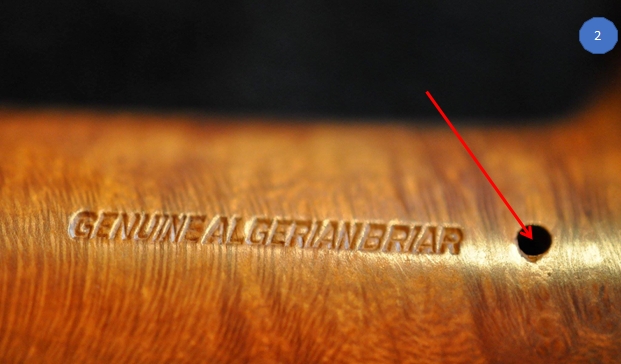
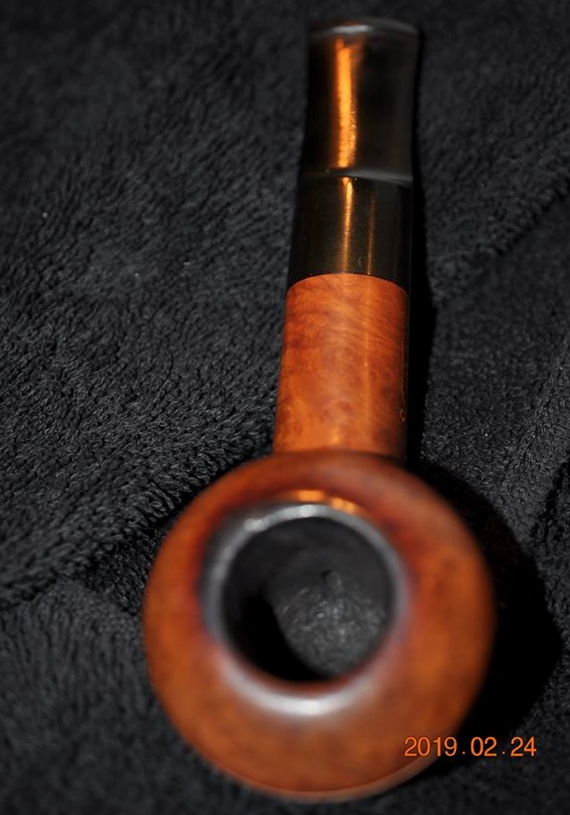
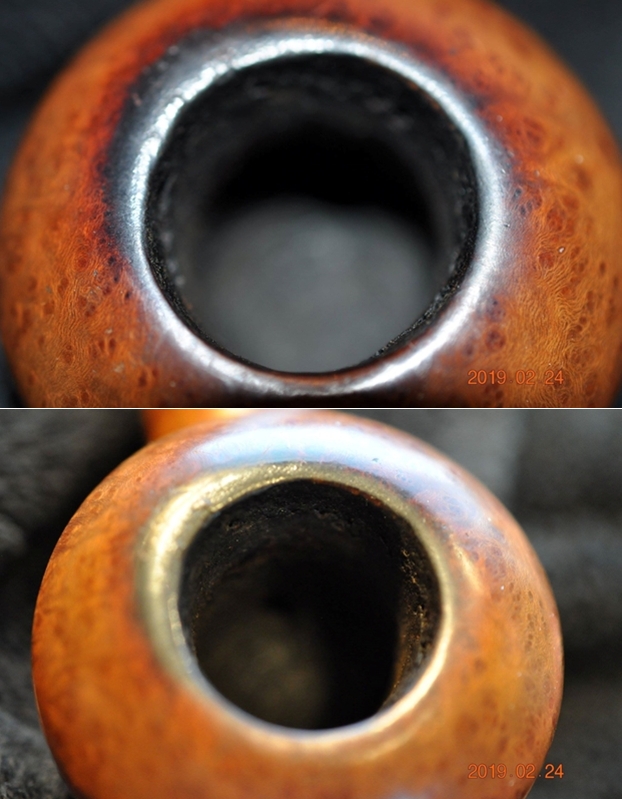
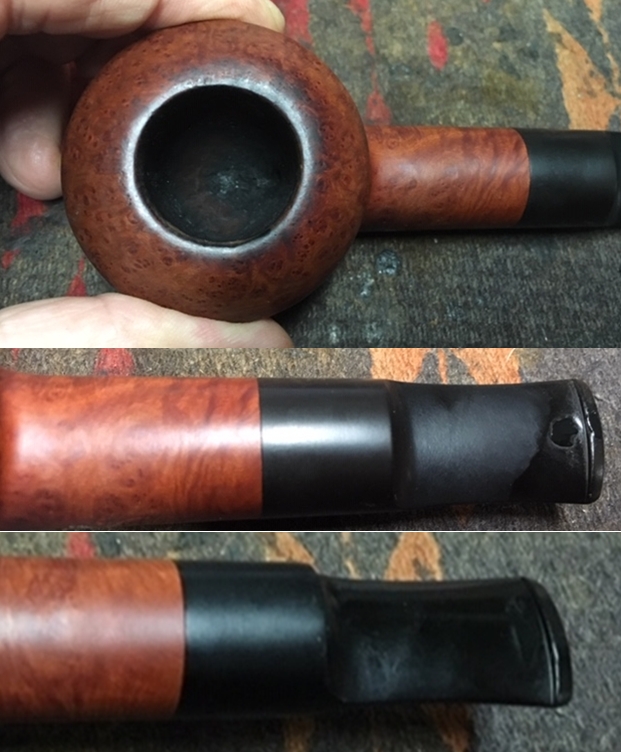
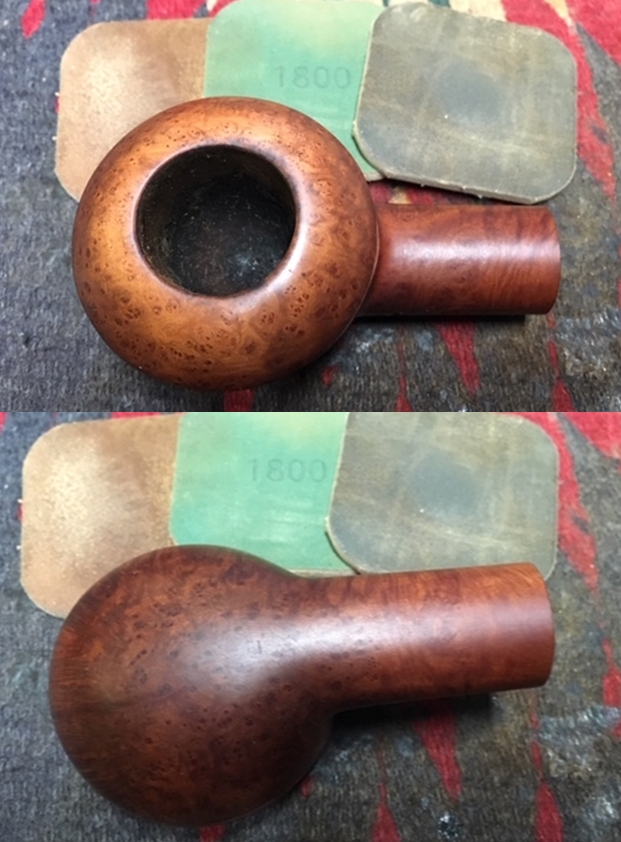
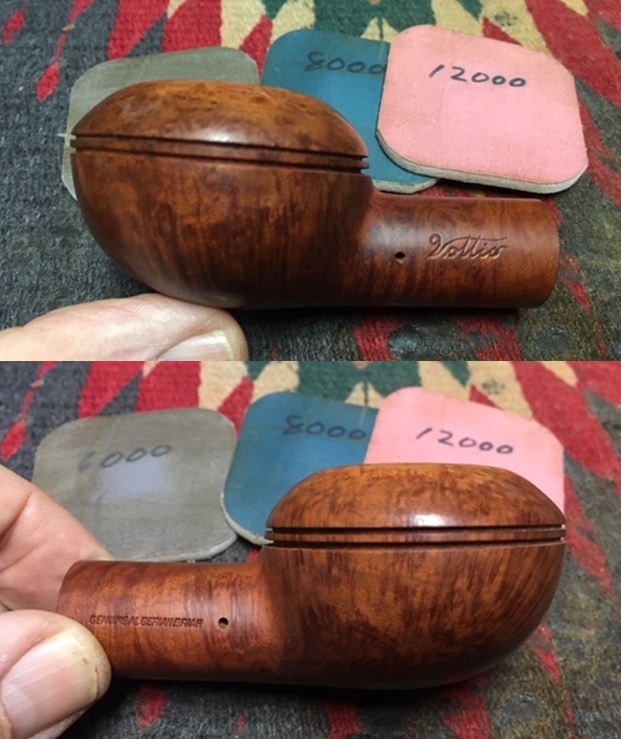
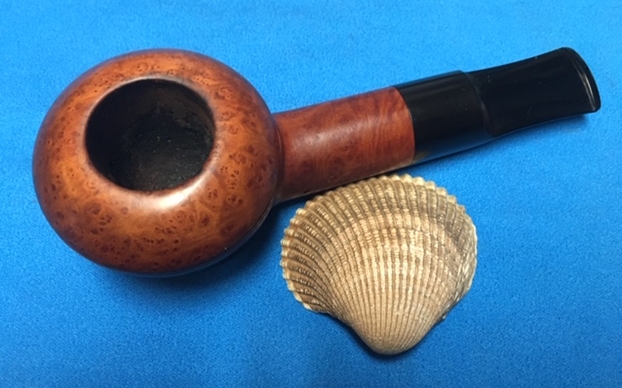
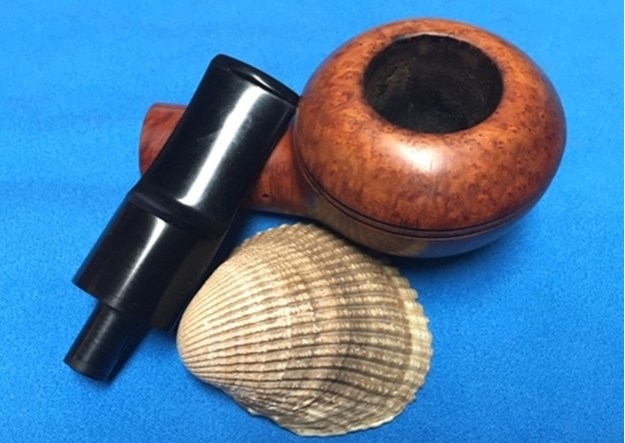
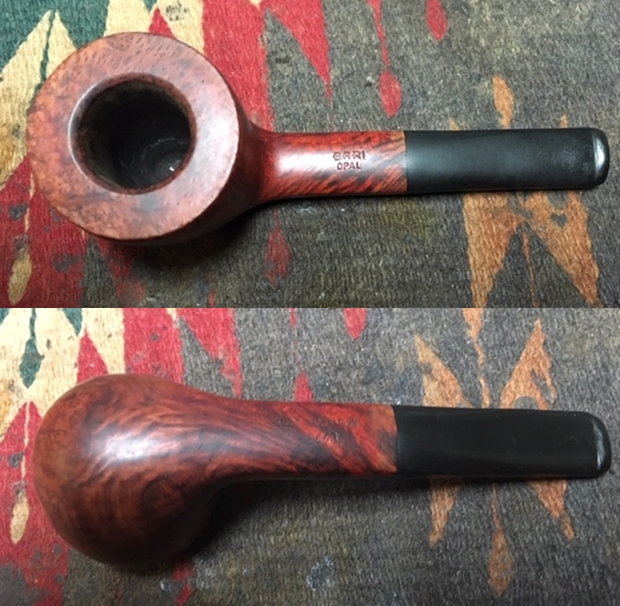 I took photos of the rim top and the stem to show their condition. Jeff was able to clean up the thick cake and lava overflow that was shown in the rim and bowl in the earlier photos. He was also able to get rid of the grime and grit in the surface of the briar. The rim top looked a lot better than when he started. There was still some pitting and darkening on the surface of the inward bevel but it should clean up very well.
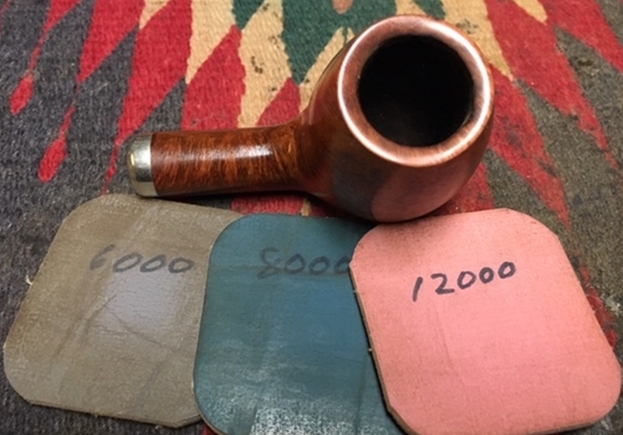
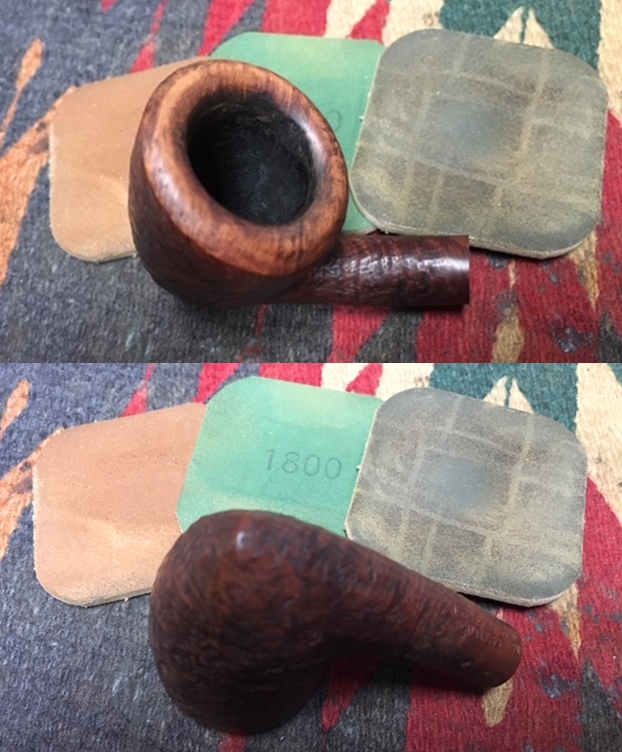
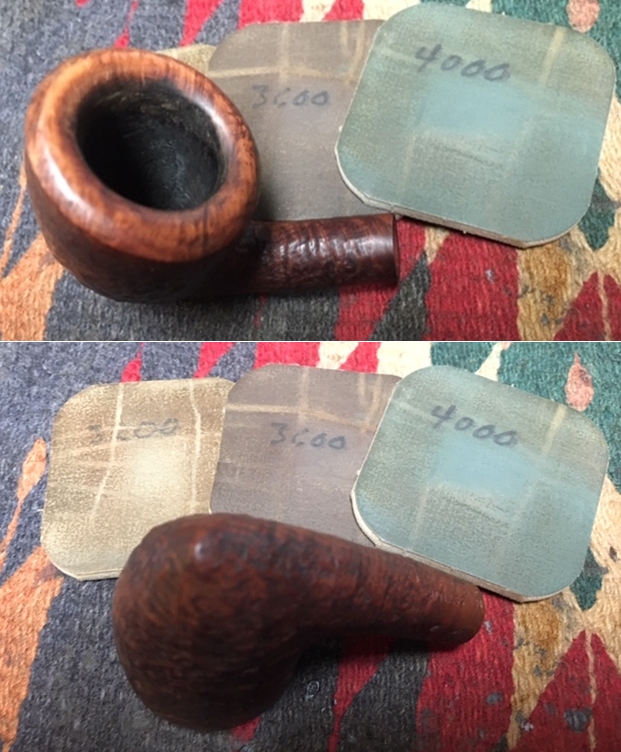
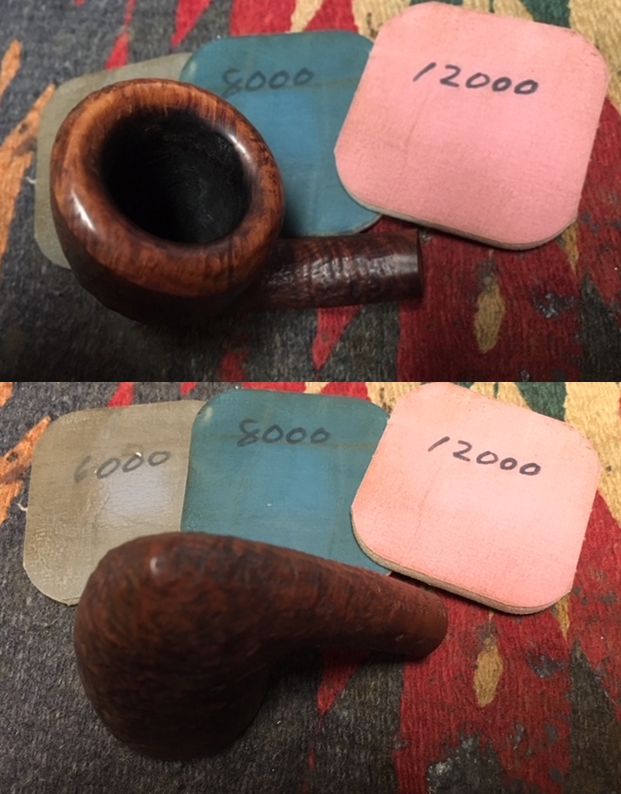
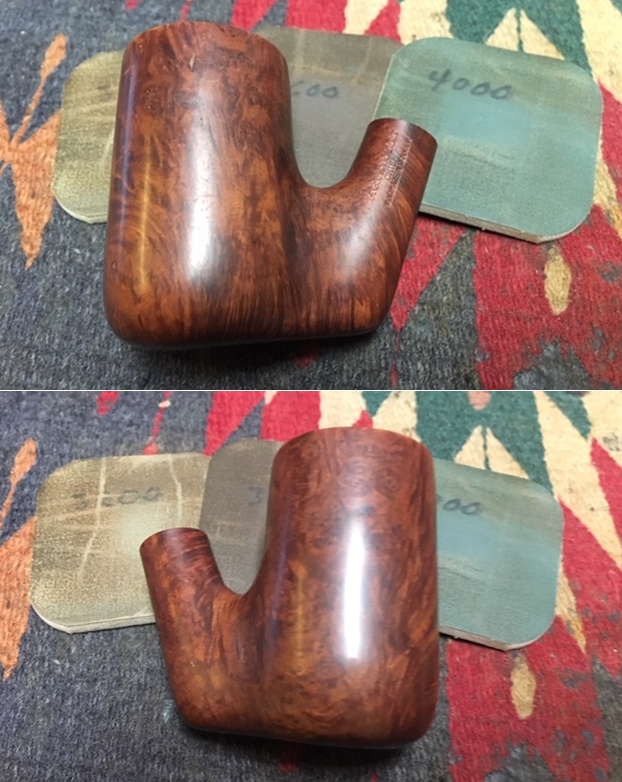
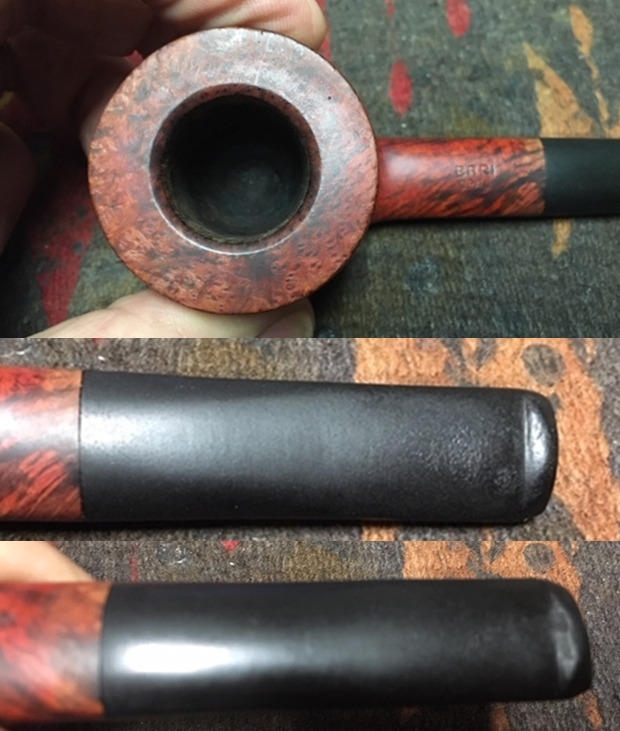 I decided to work on the scratches in the surface of the briar first. I polished the surface with micromesh sanding pads – wet sanding with 1500-2400 grit pads and dry sanding with 3200-12000 grit pads. I wiped the rim down with a damp cloth after each pad. I was able to polish out the scratches without damaging the finish on the bowl or the rim. The finish looked very good once I was done polishing it.
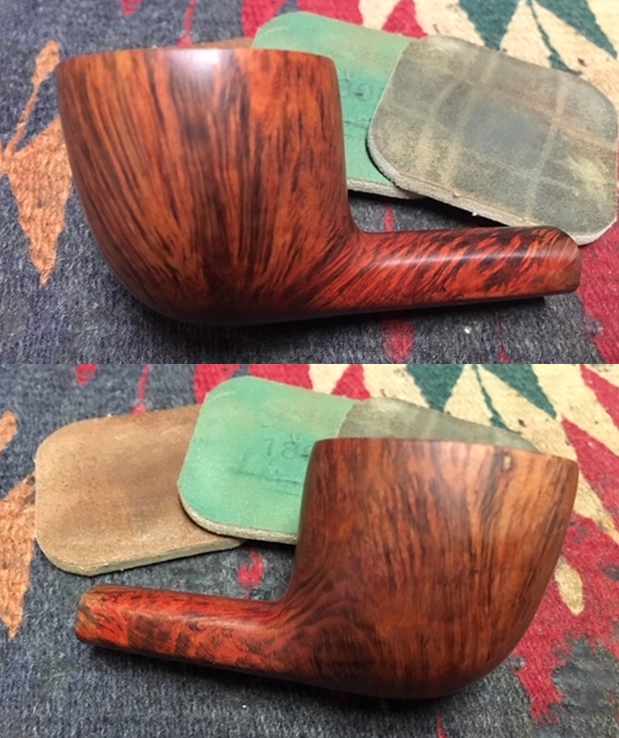
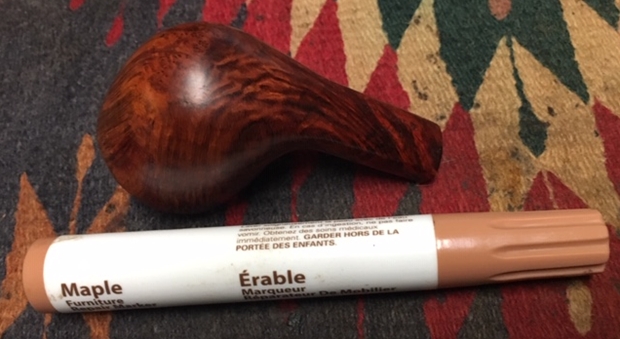
 On the right side of the bowl there was a fill that stuck out. I touched it up with a black Sharpie pen and buffed it by hand. I used a Maple stain pen to touch up the area around the fill and the lighter areas on the shank end.
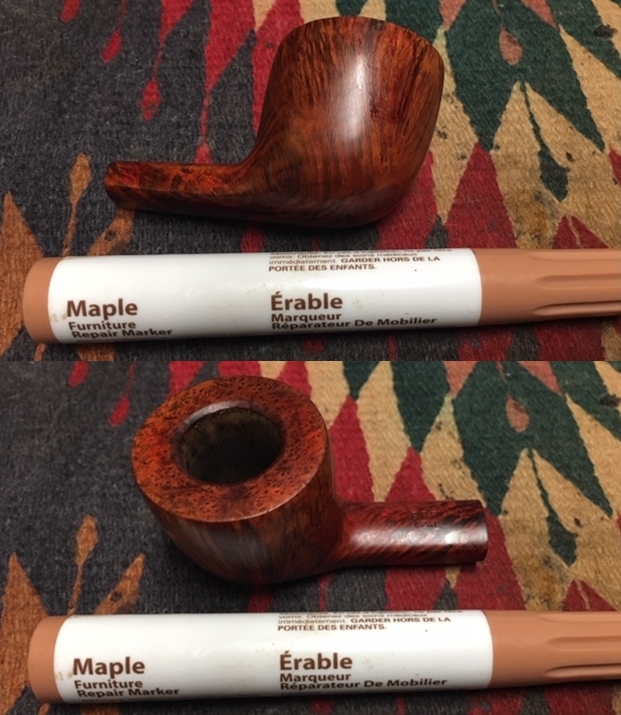
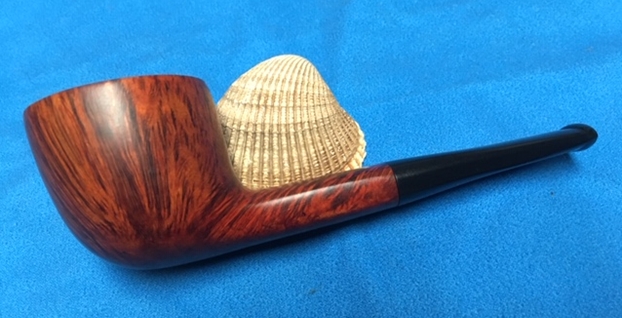
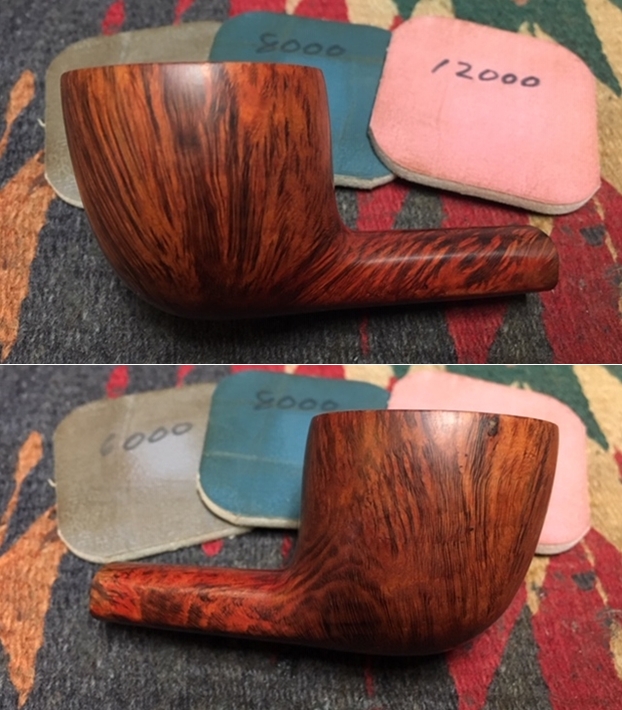
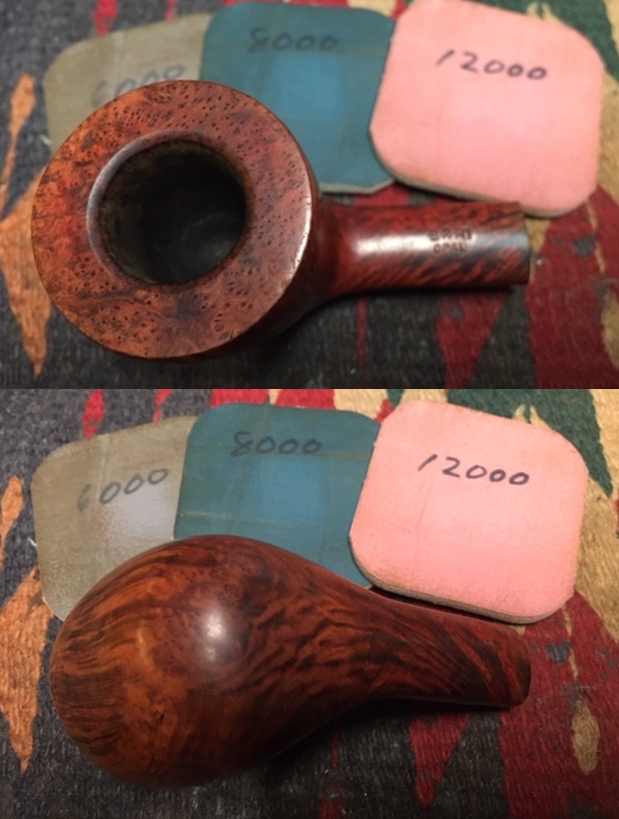
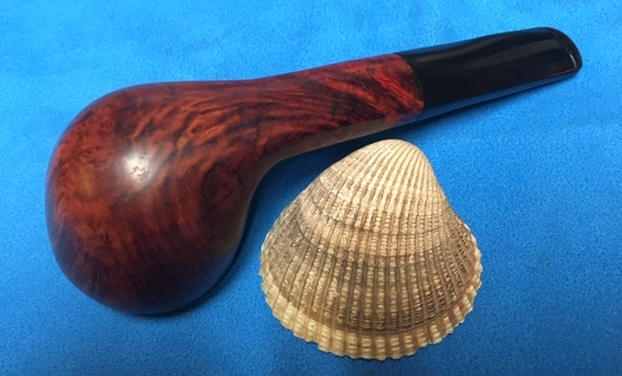
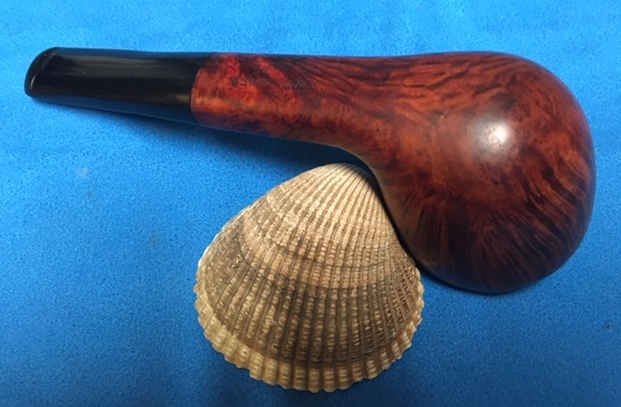
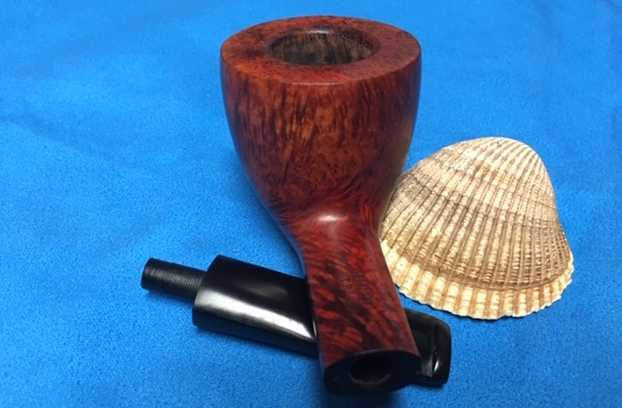
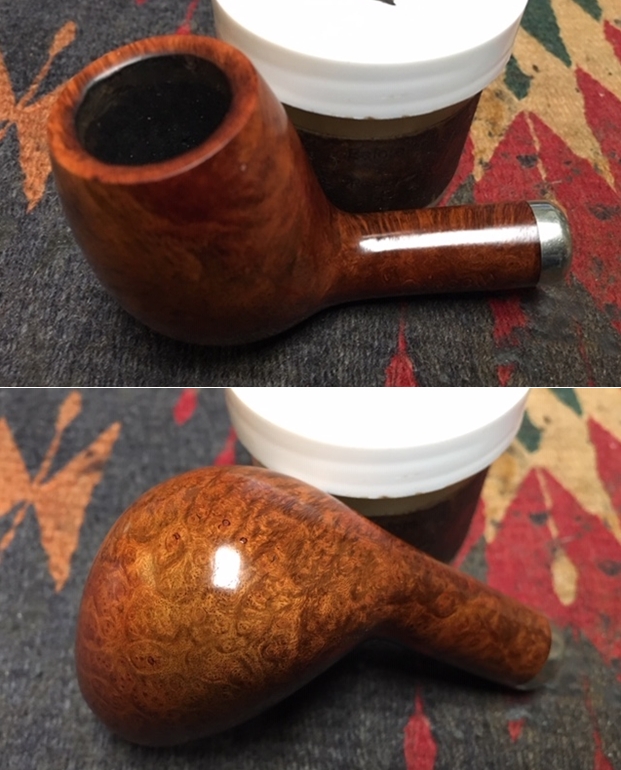
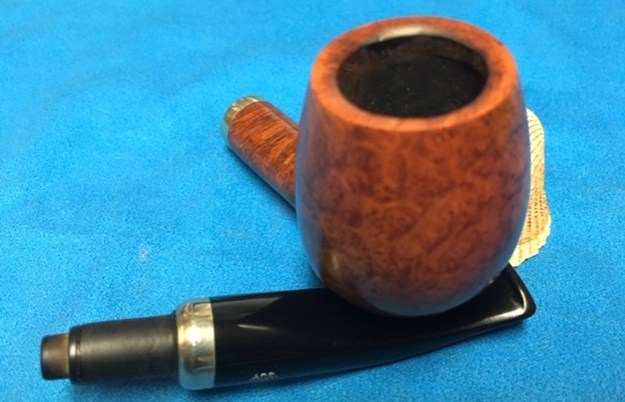
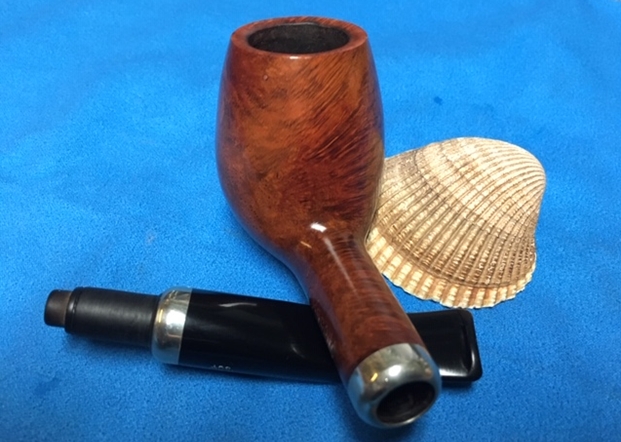
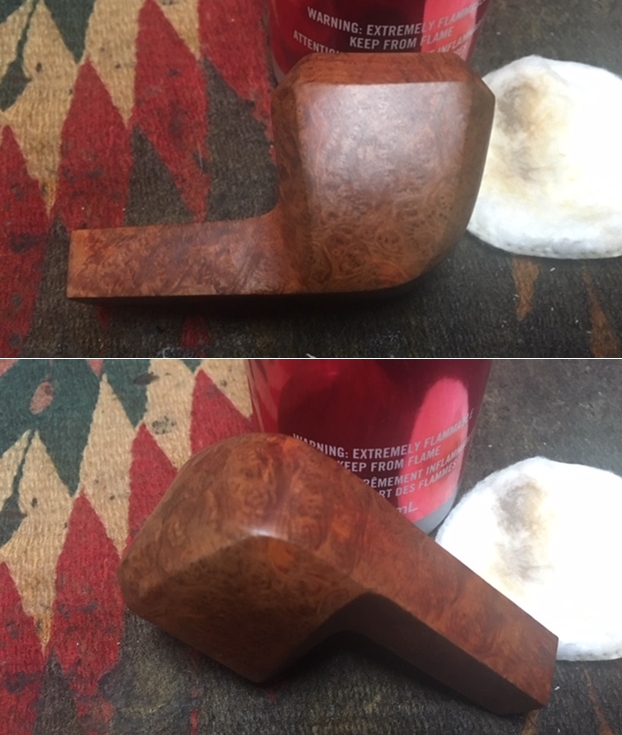
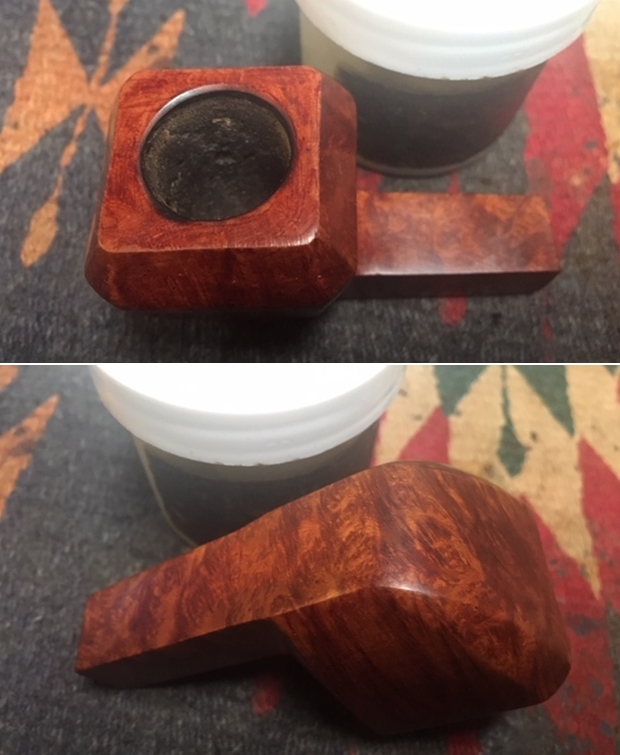
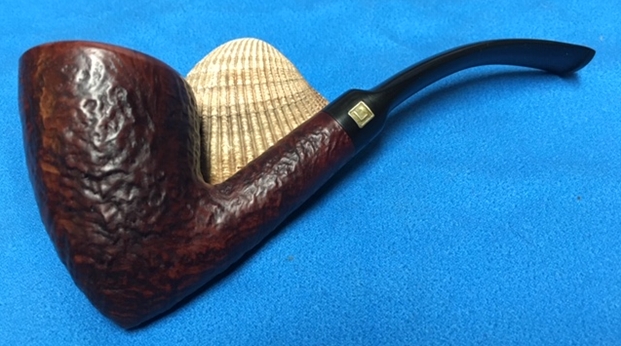
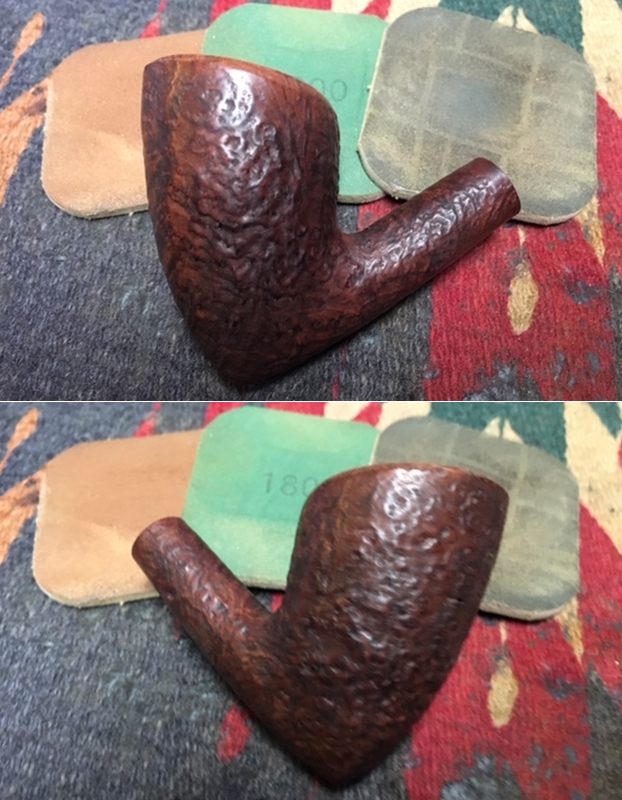
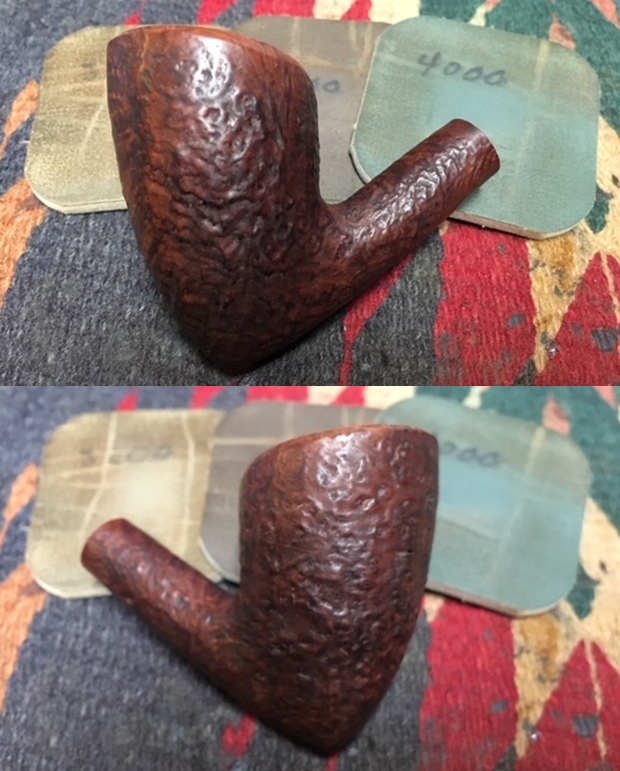
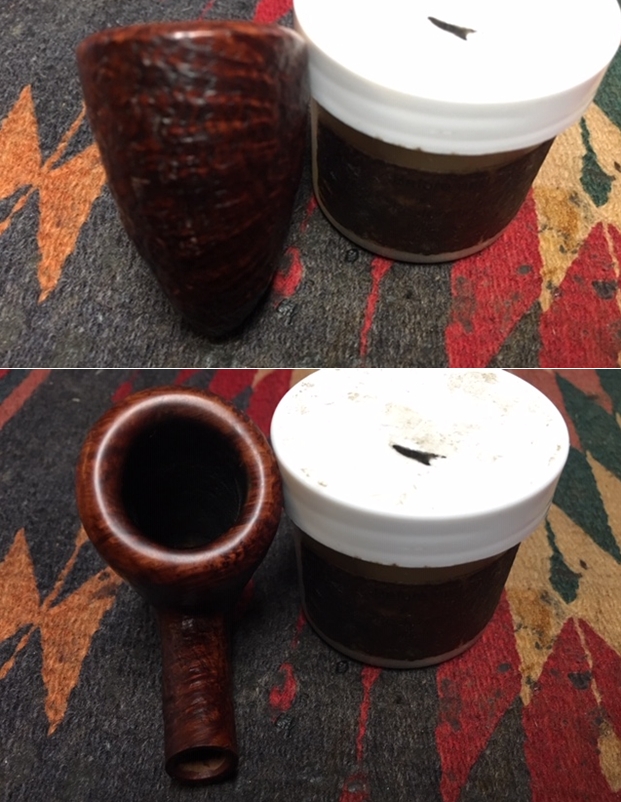
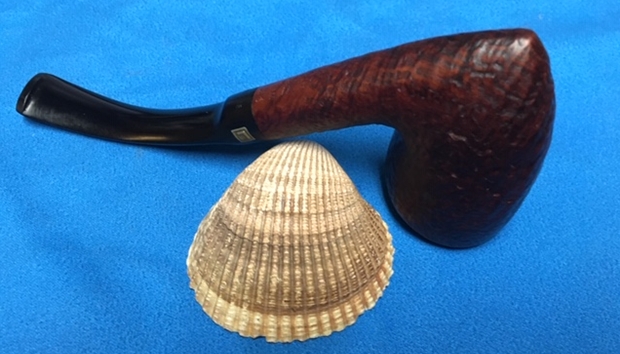
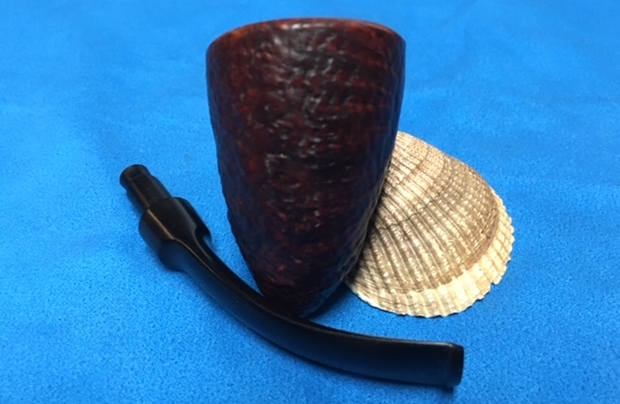
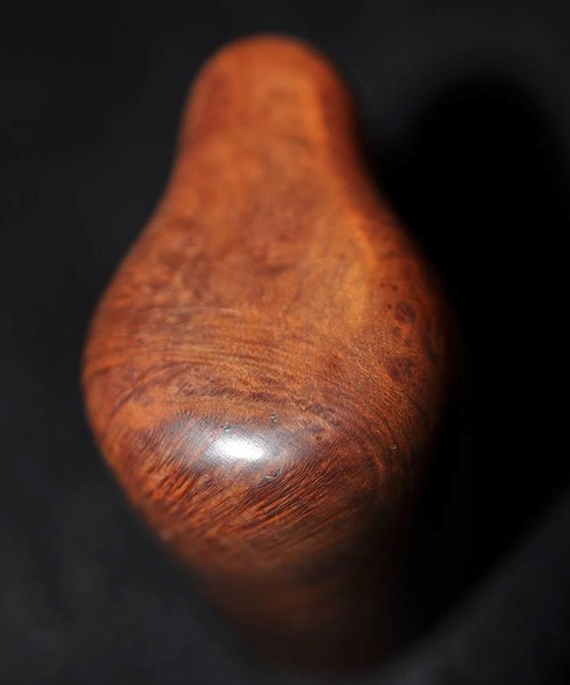
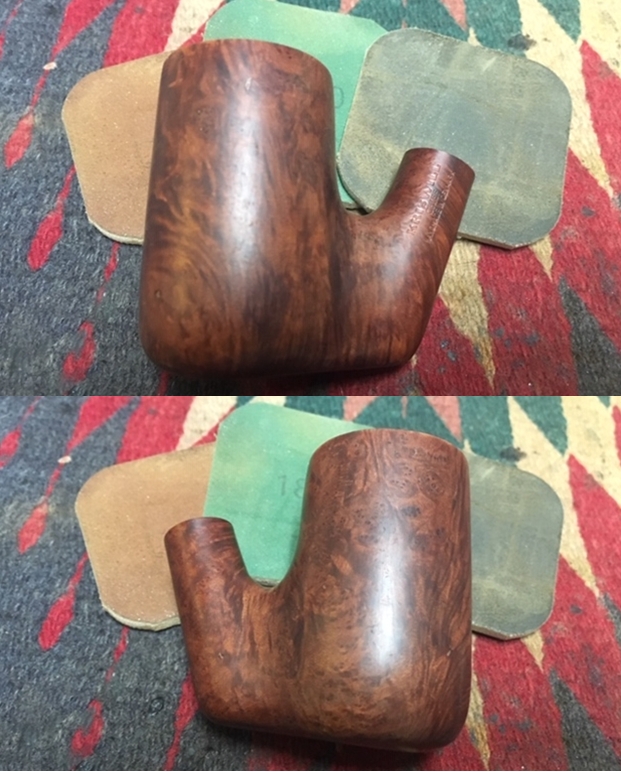
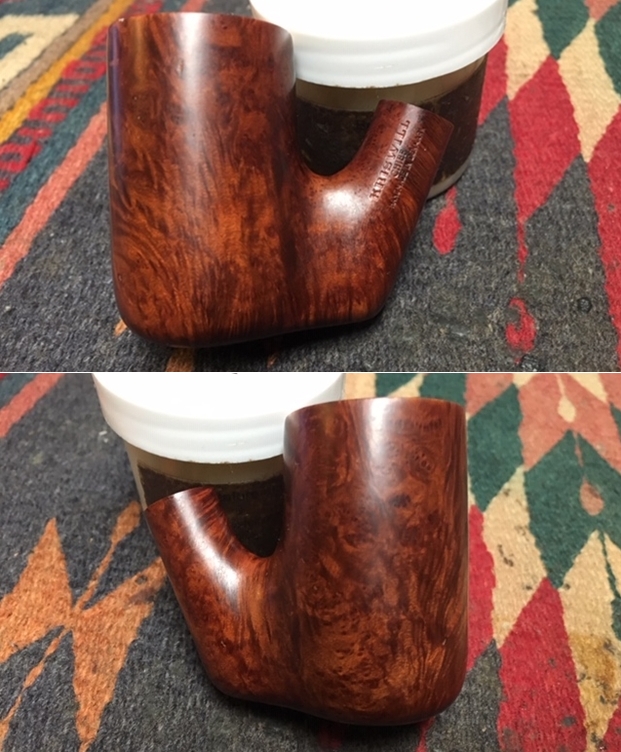
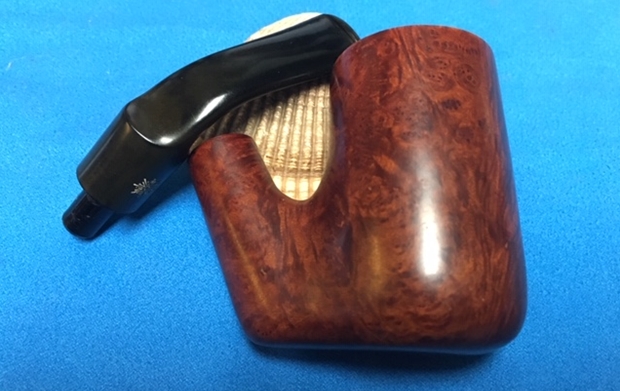
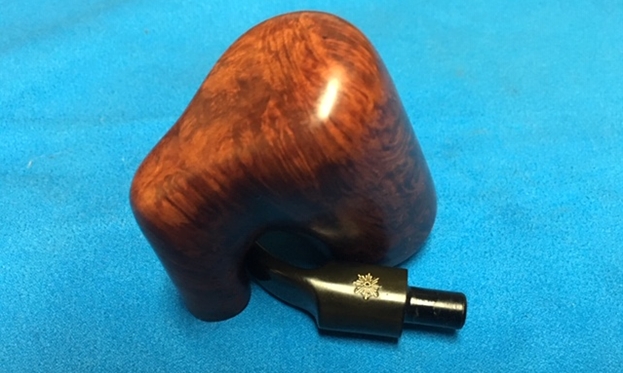
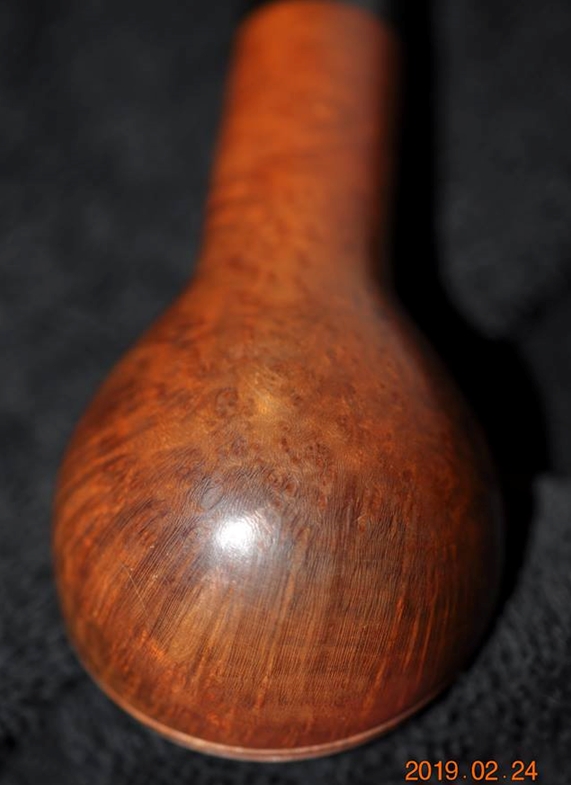
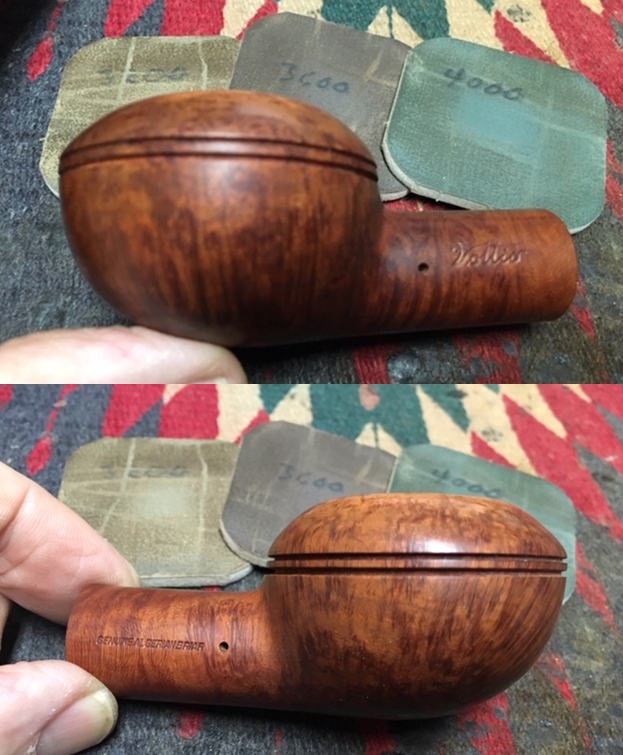
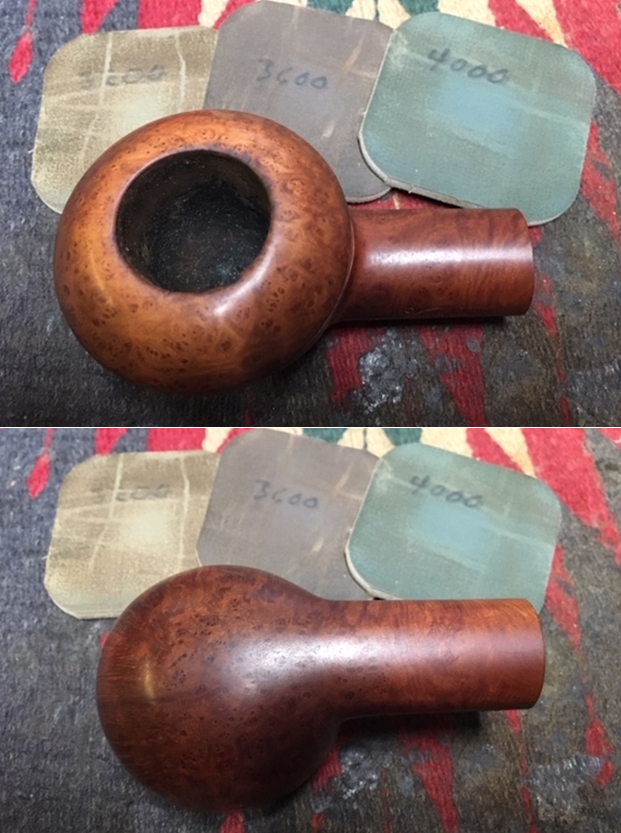
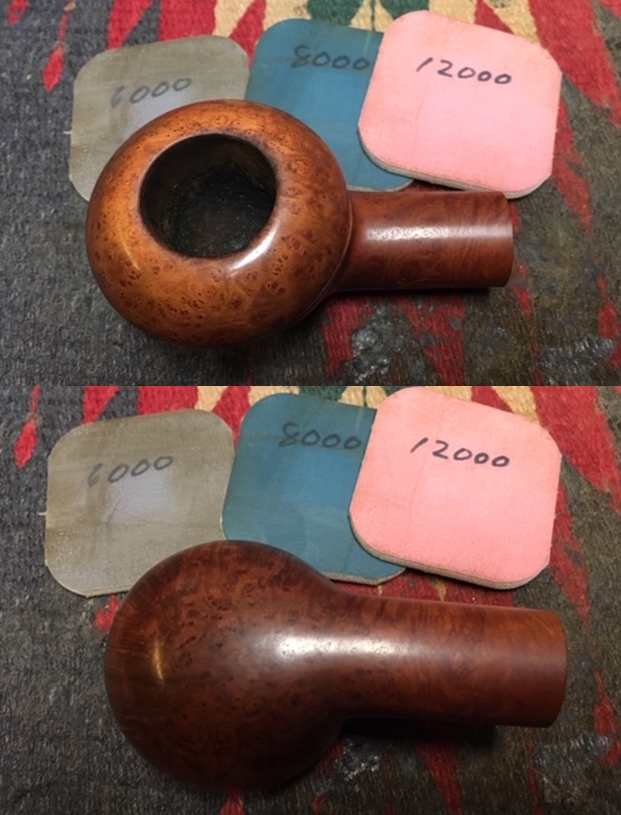
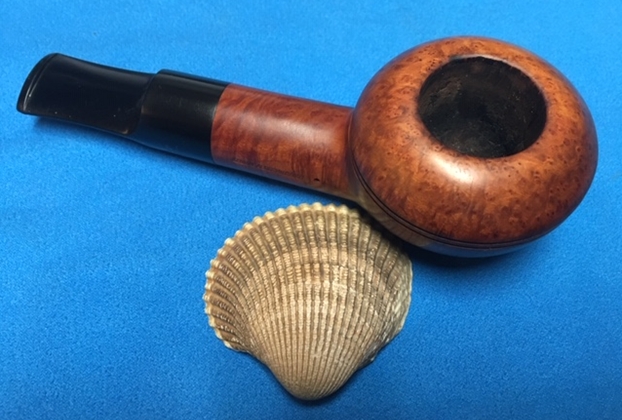
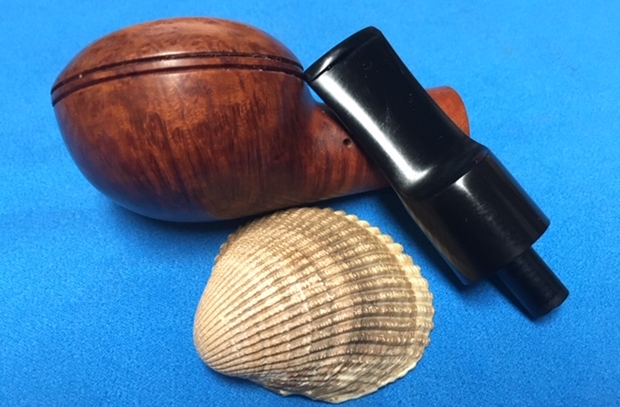
 The finish on the rest of the bowl was in excellent condition. After I was finished with the stain pens and polishing the restained areas I rubbed the bowl and shank down with Before & After Restoration Balm to deep clean the finish on the bowl and shank. The product works to clean, enliven and protect the briar. After it sat for a little while I wiped it off and buffed it with a soft cloth. The briar really began to have a rich shine. I took some photos of the bowl at this point to mark the progress in the restoration. It is a beautiful bowl.
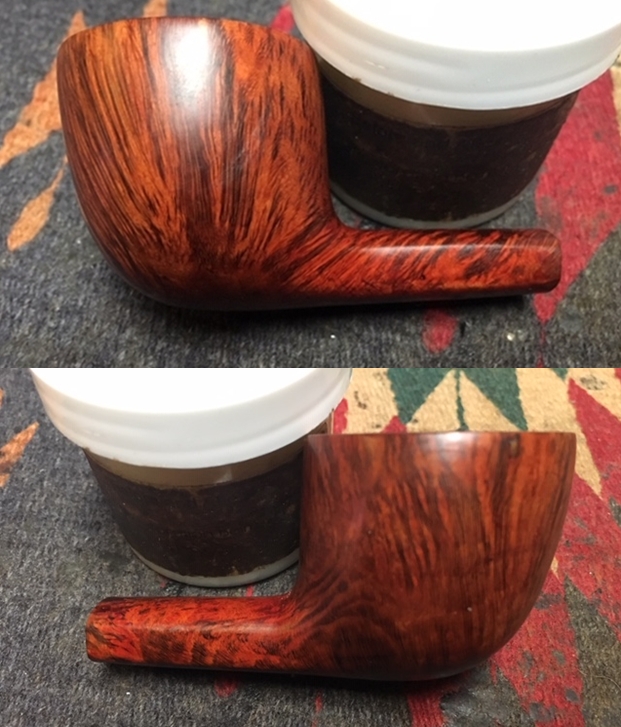
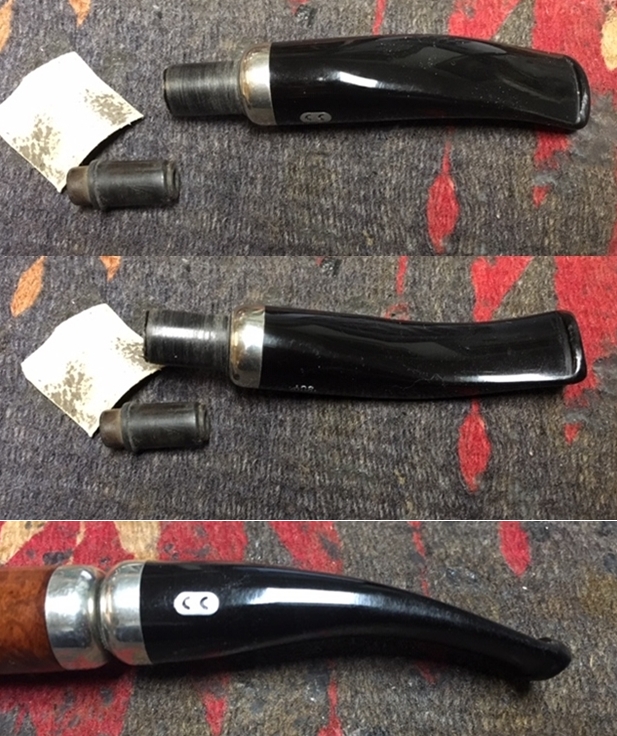
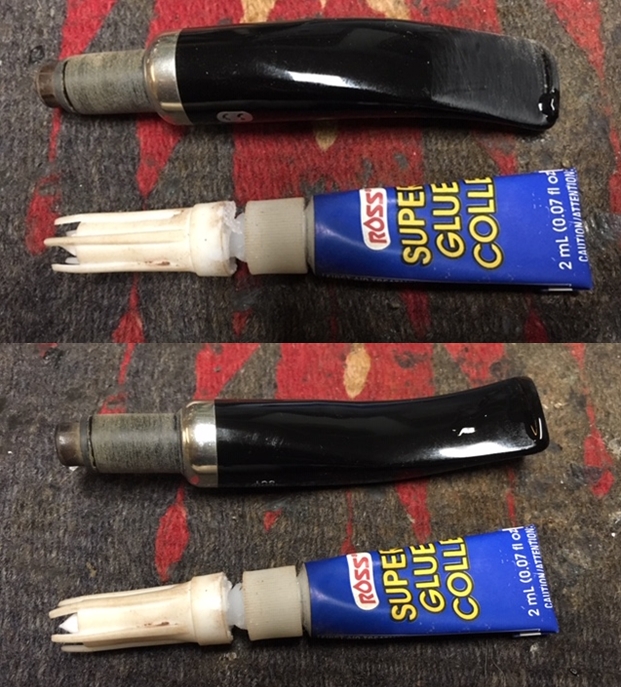
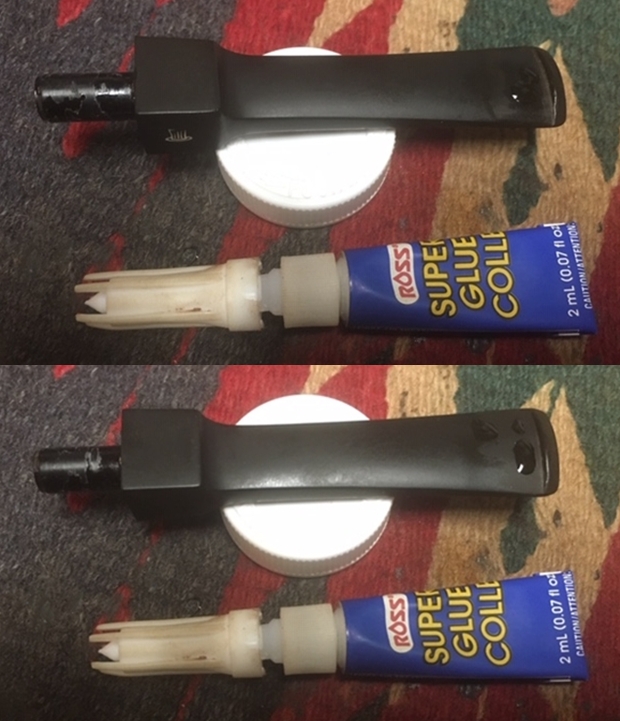
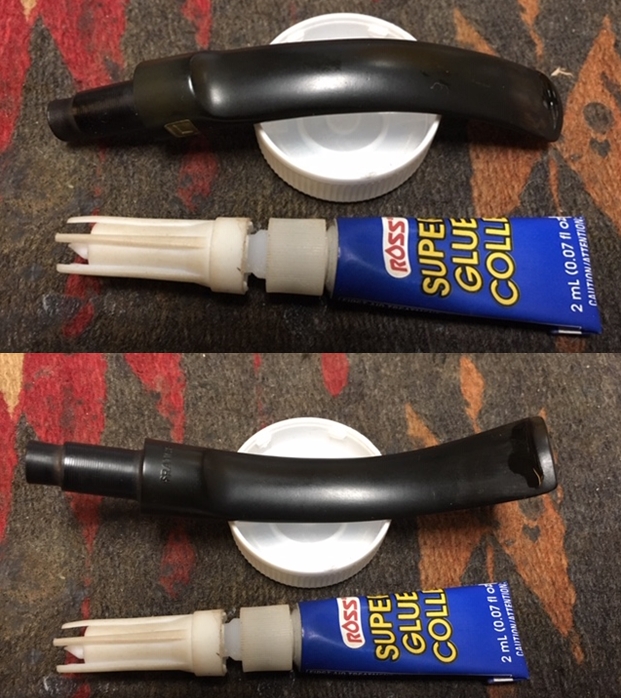
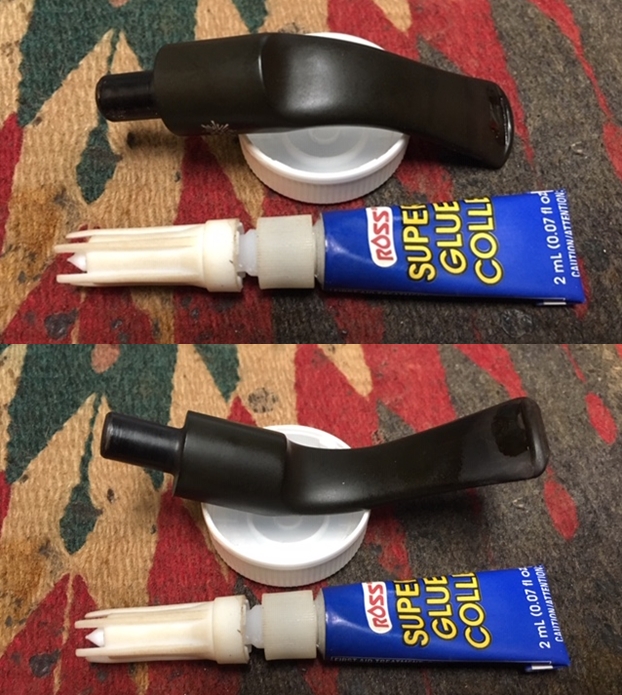
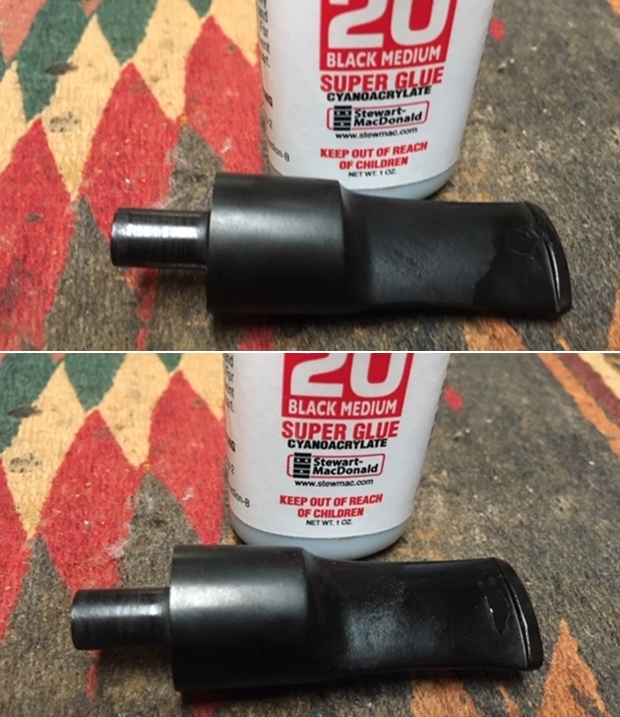
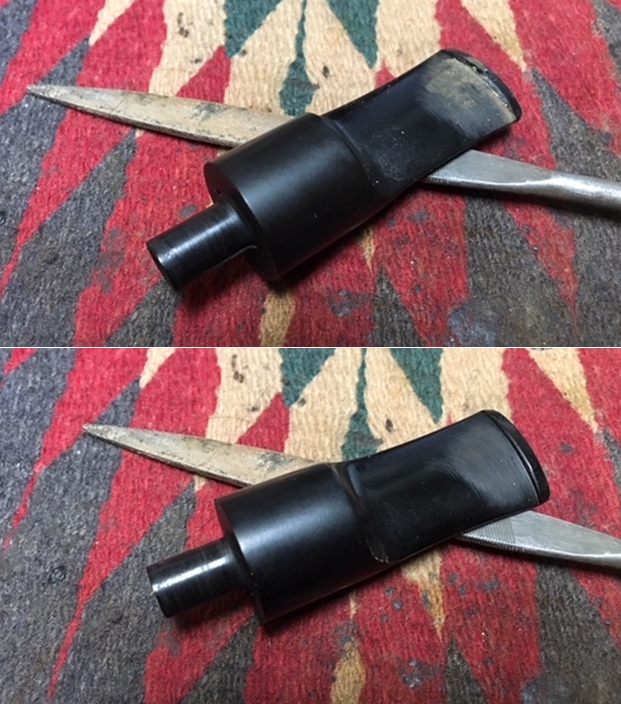
 I set the bowl aside and worked on the stem at this point in the process. The stem may well be a replacement one but it is hard to know for certain. It is well made and fits perfectly to the shank. I decided to start by repairing the deep tooth marks on the button and the stem. I filled them in and built up the surface of the button with clear super glue and set the stem aside while I went to lunch.
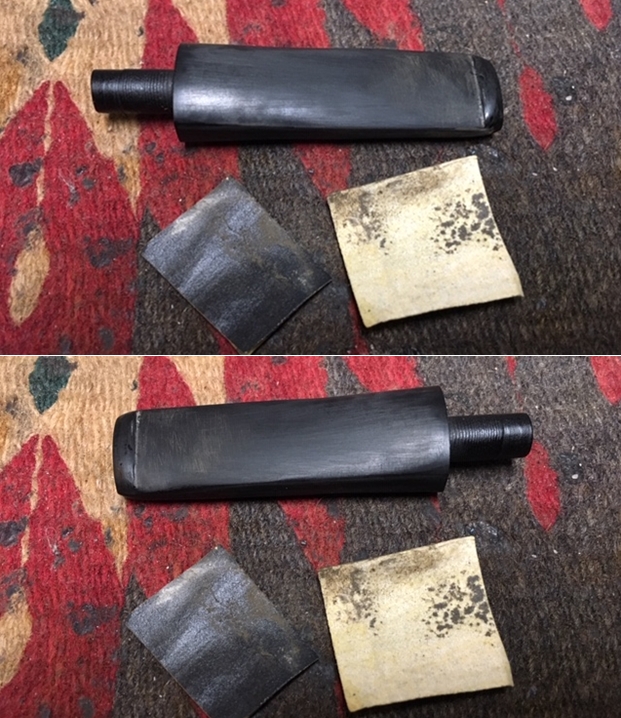
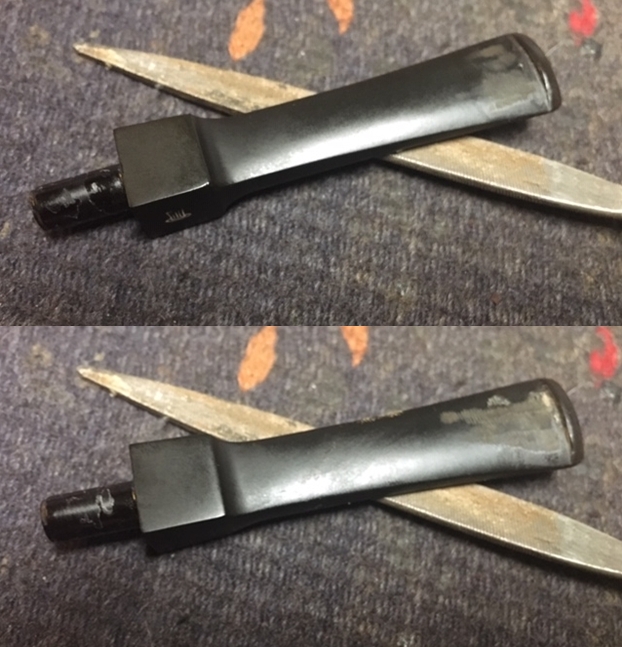
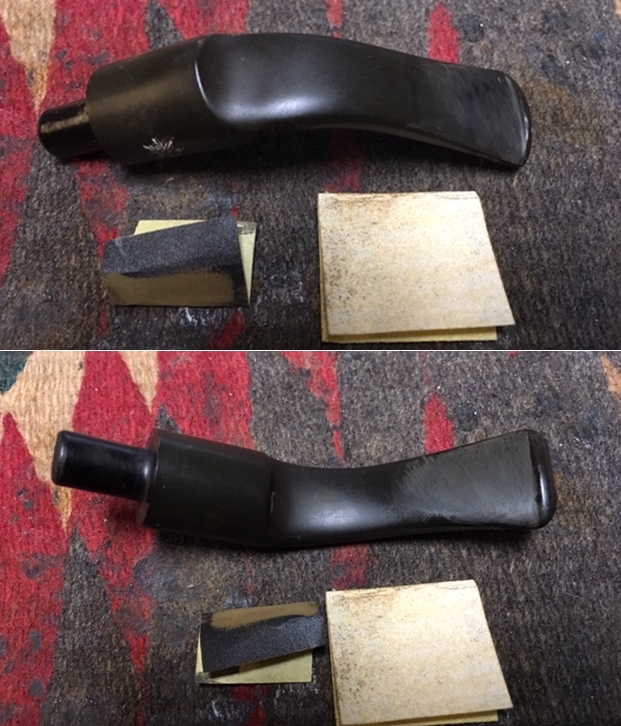
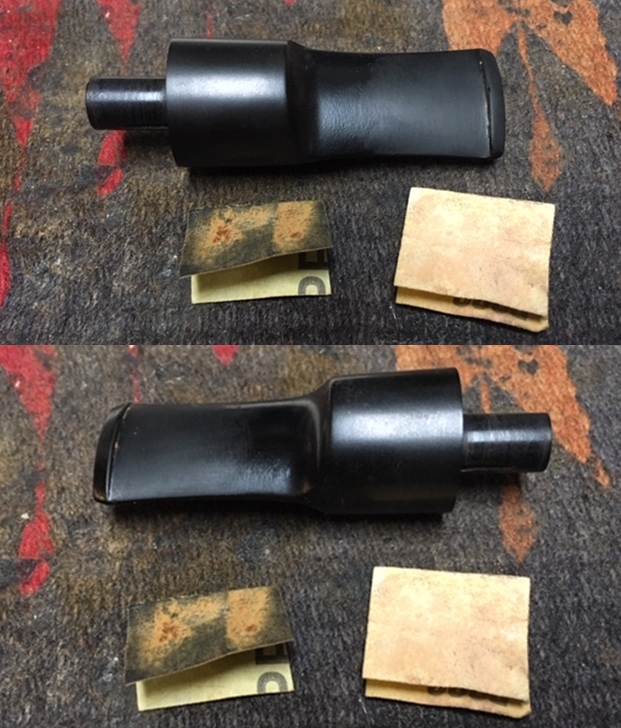
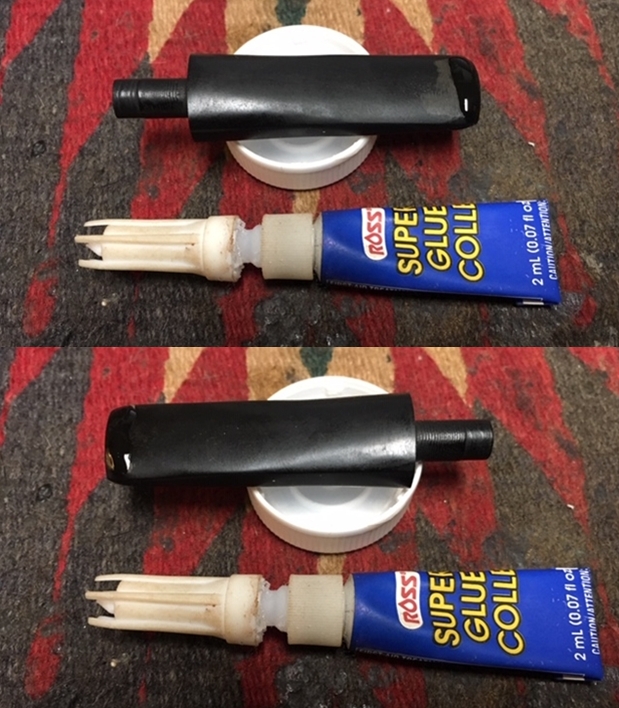 I used a needle file to cut a sharp edge on the button on both sides of the stem. I worked it until there was a definite sharp edge. I sanded the button and the stem with 220 grit sandpaper and 400 grit sandpaper to remove the scratches.
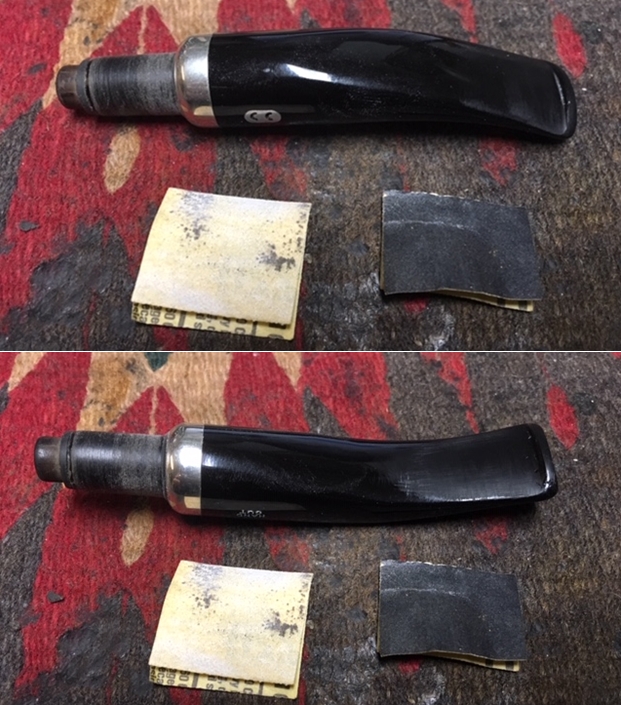
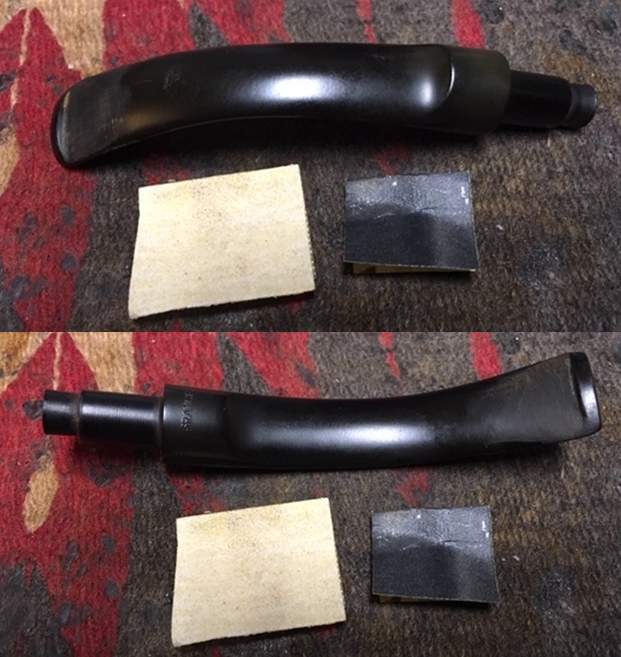
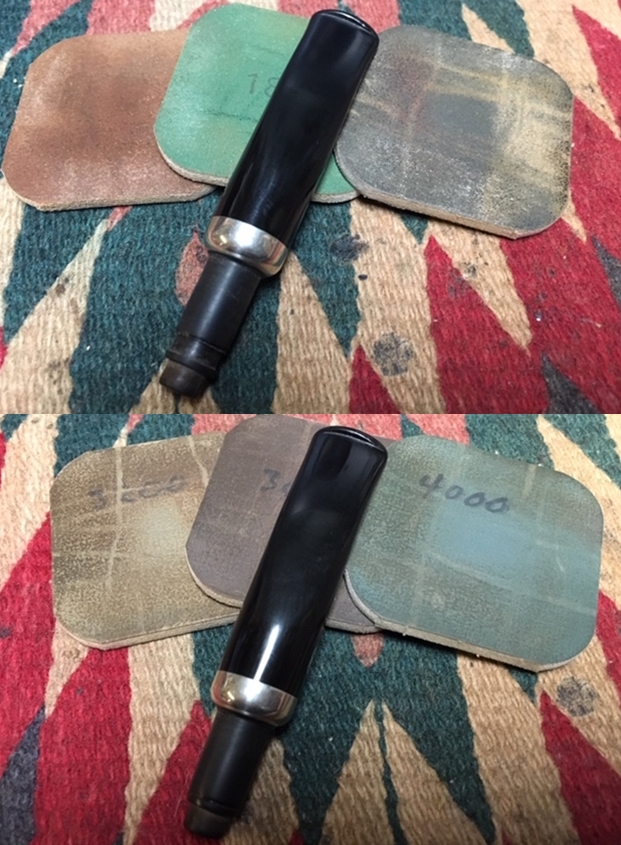
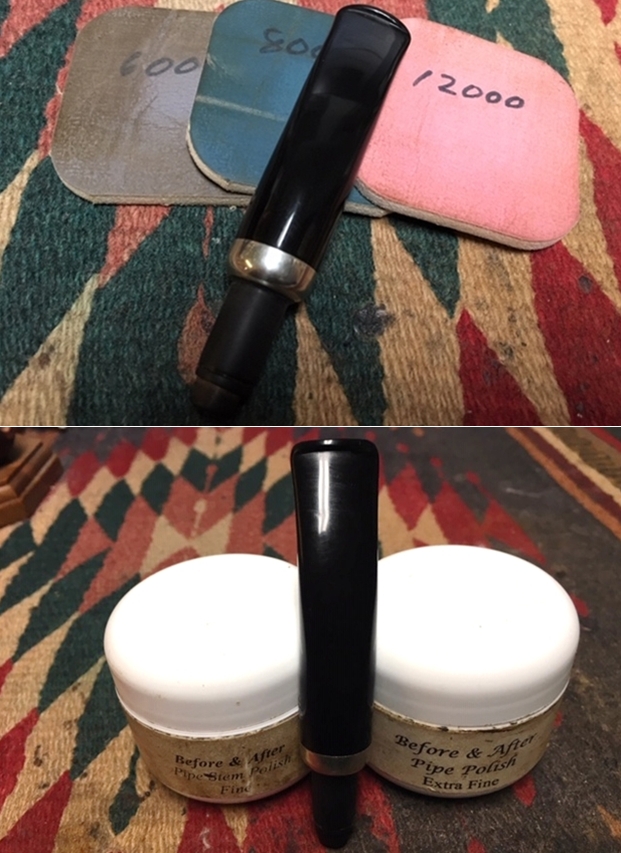
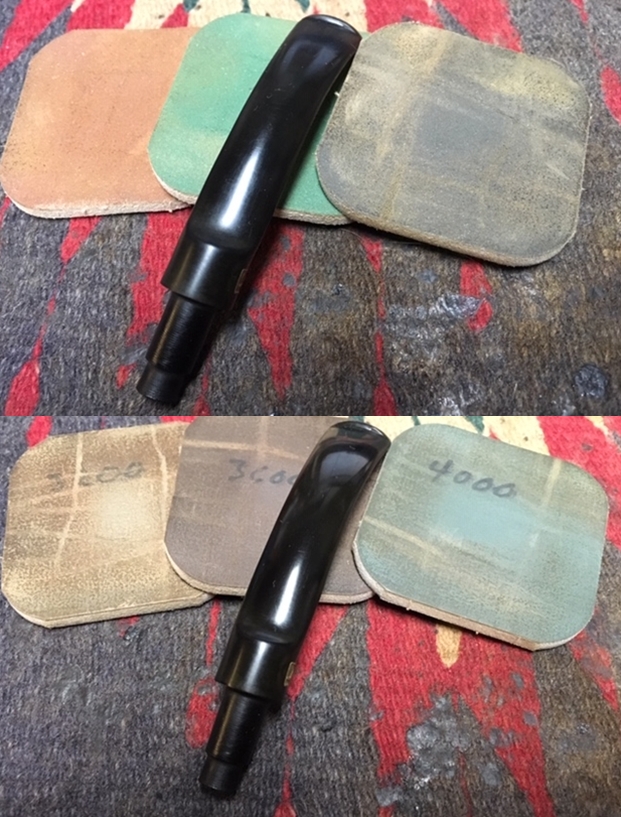
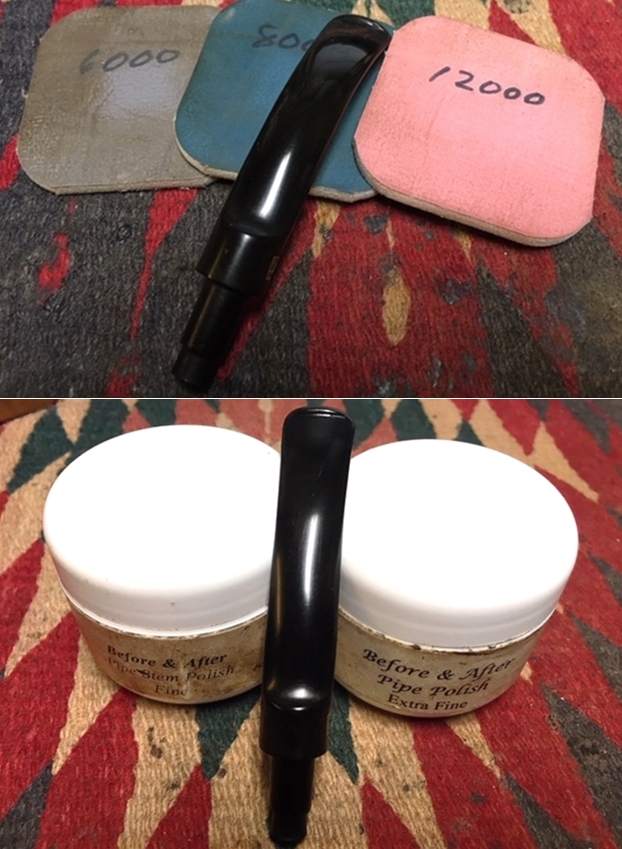
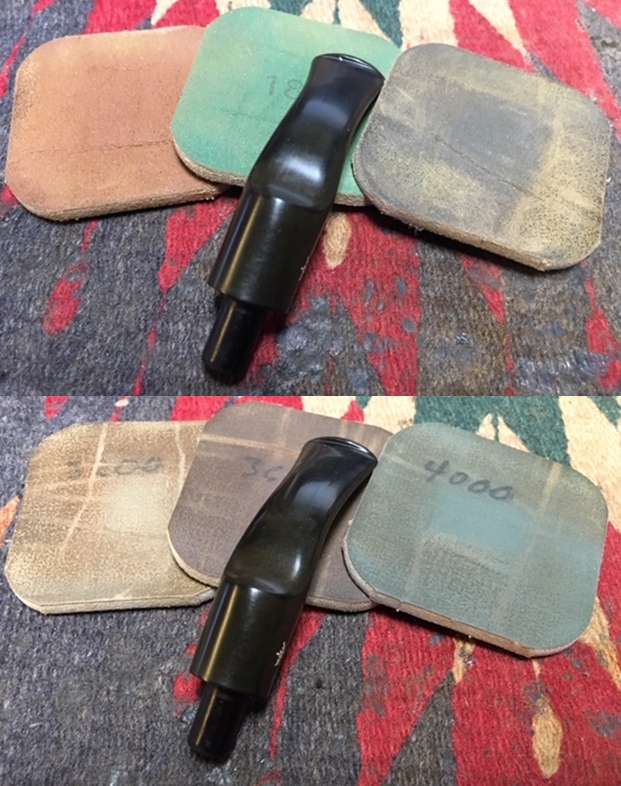
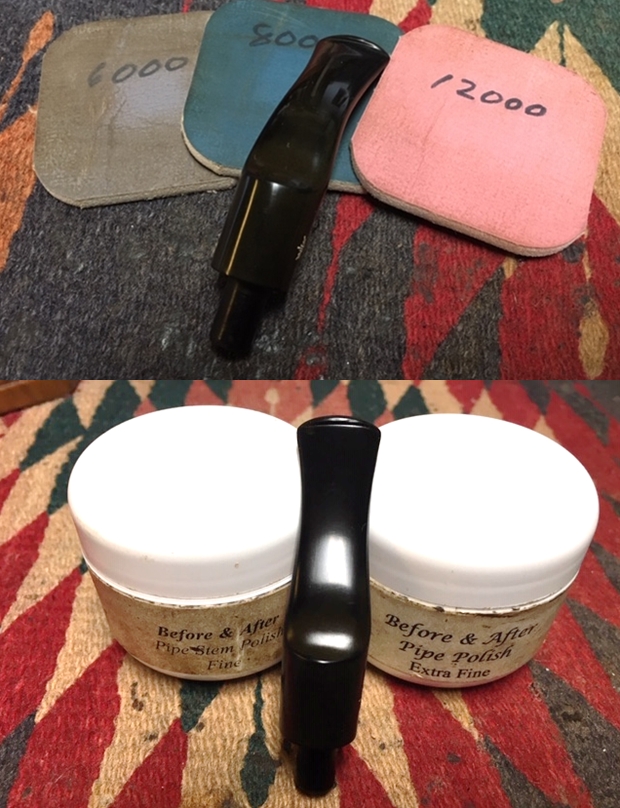
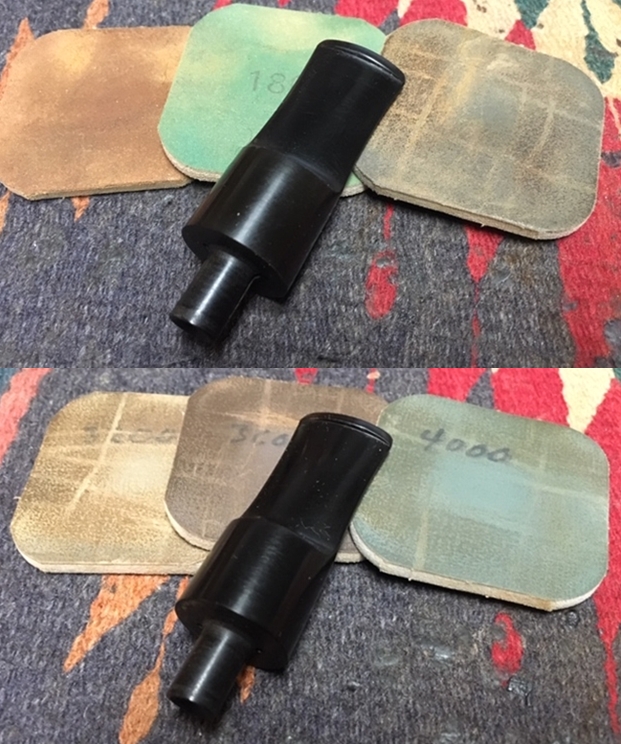
 I polished the stem with micromesh sanding pads – wet sanding with 1500-2400 grit pads and dry sanding with 3200-12000 grit pads. I wiped the stem down after each pad with Obsidian Oil to remove the sanding dust. I polished Before & After Pipe Stem Polish – both Fine and Extra Fine. I gave it a final hand buff with some Obsidian Oil and laid it aside to dry.
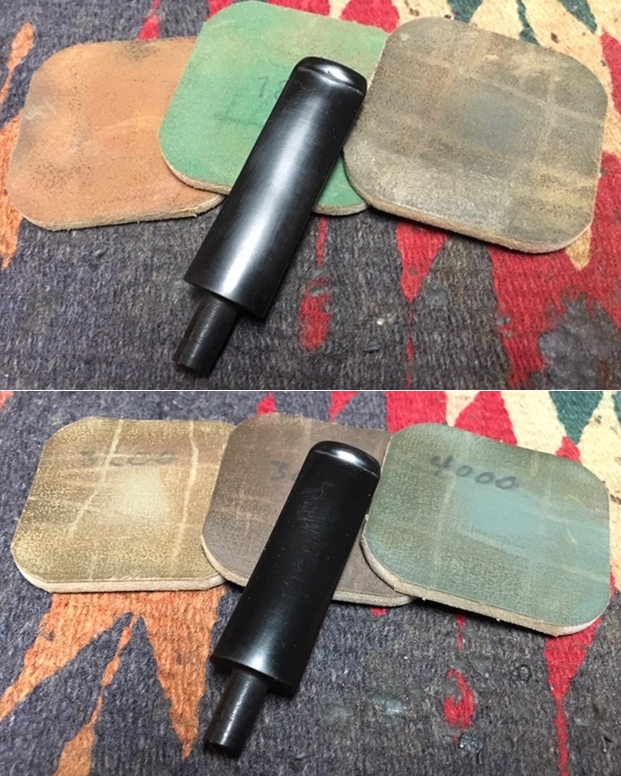
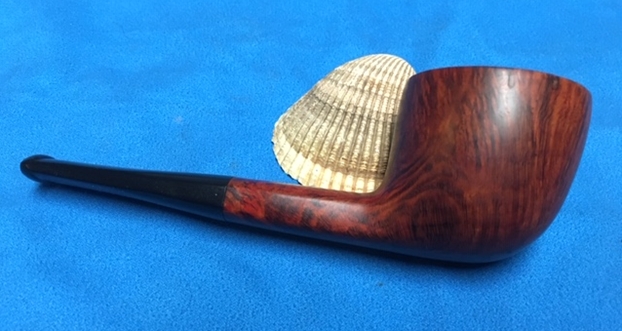
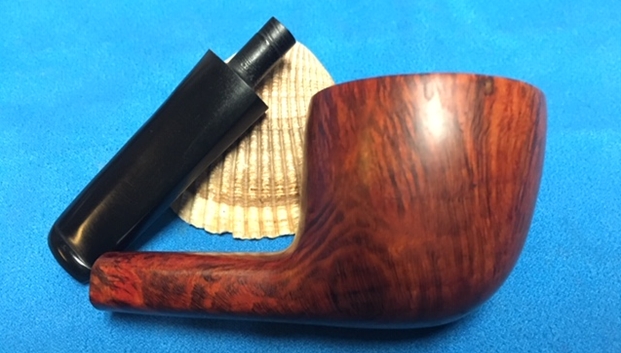
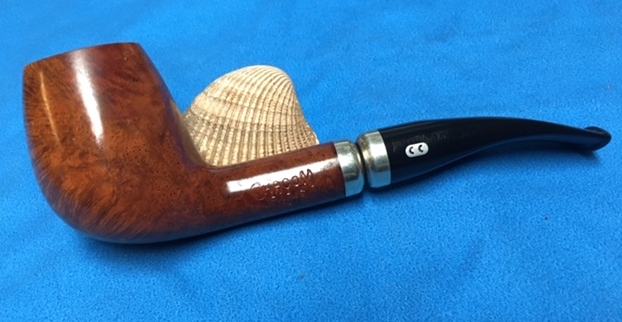
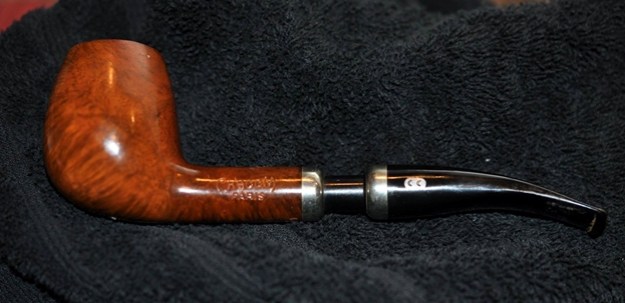
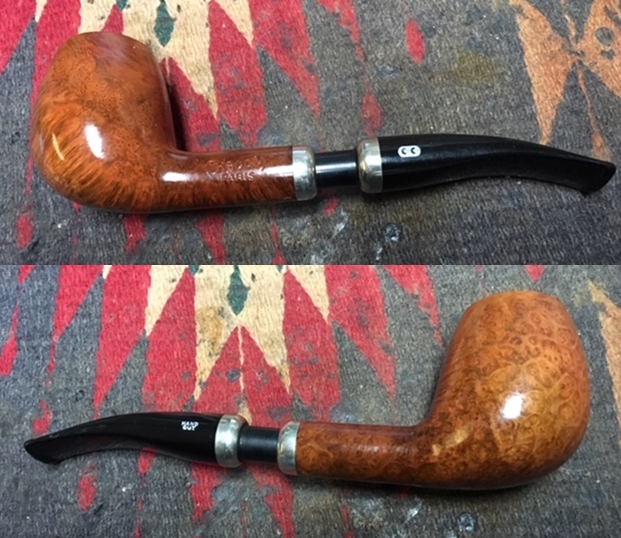
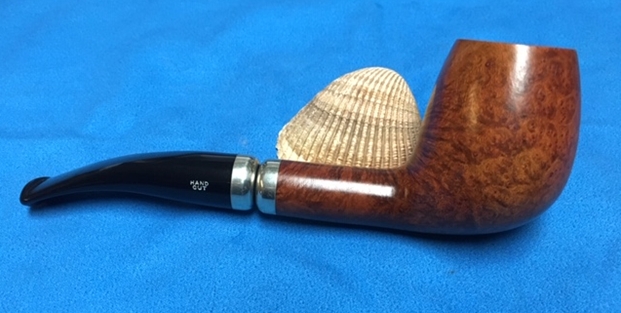
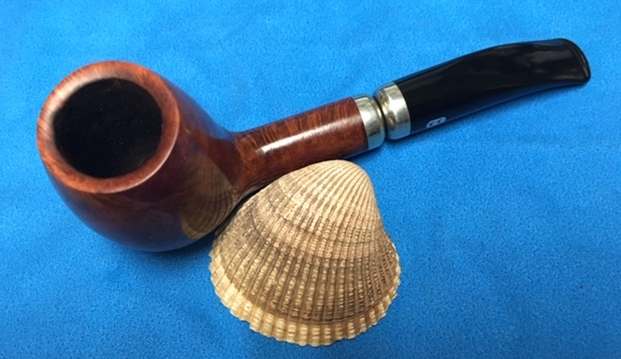
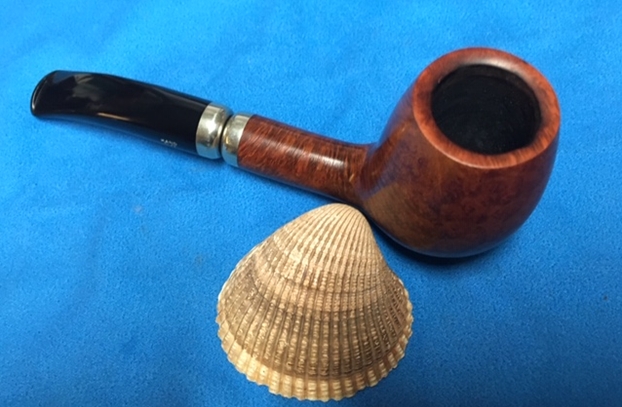
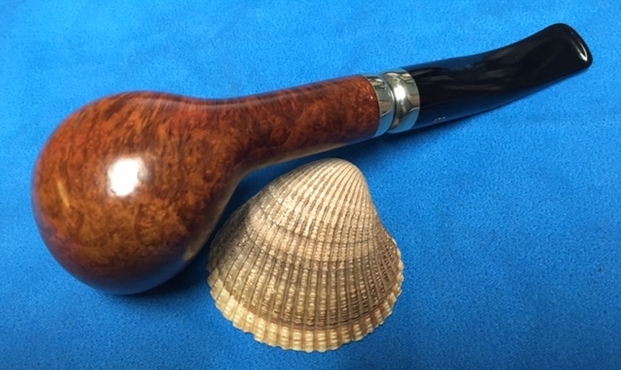
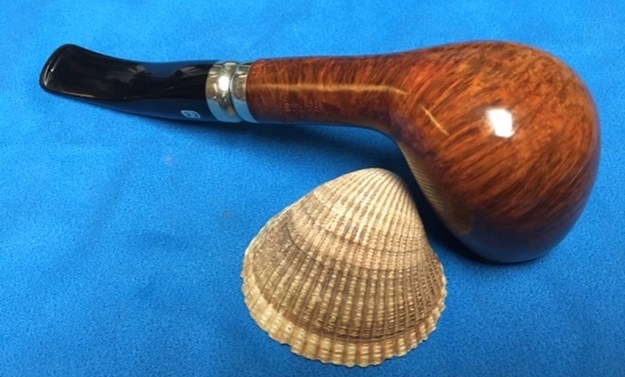
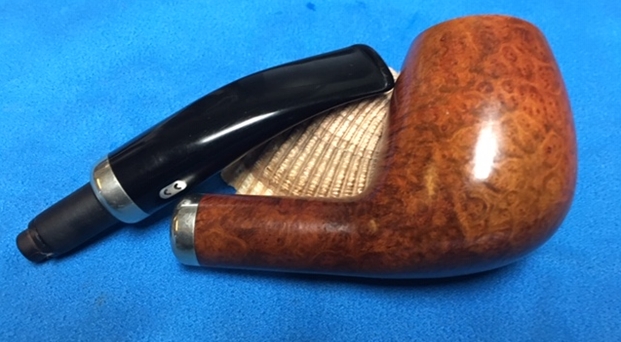
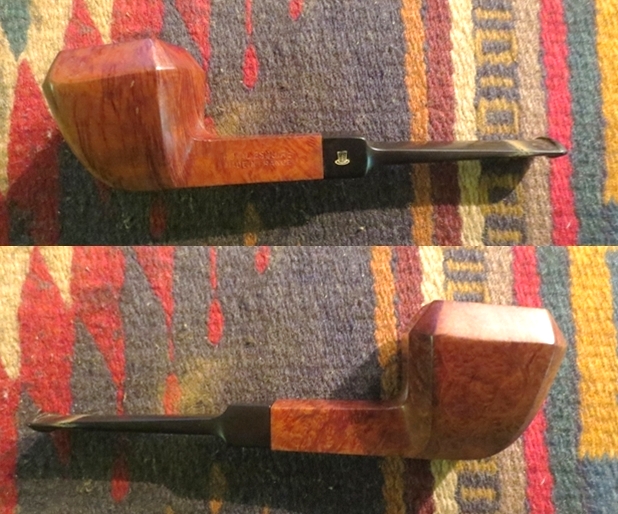
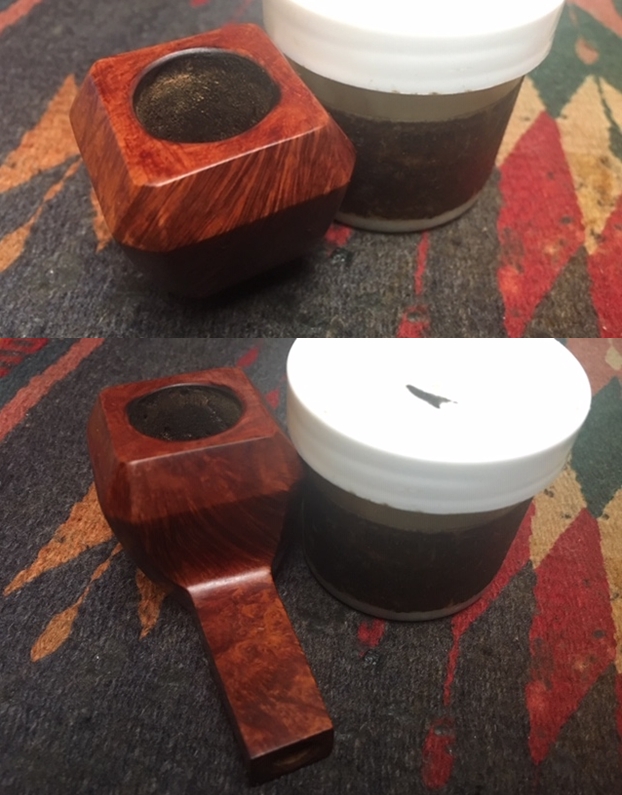
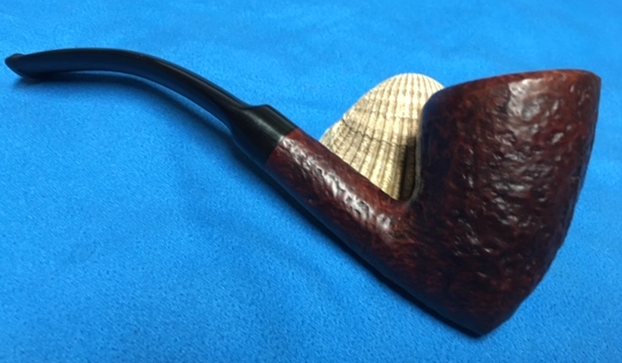
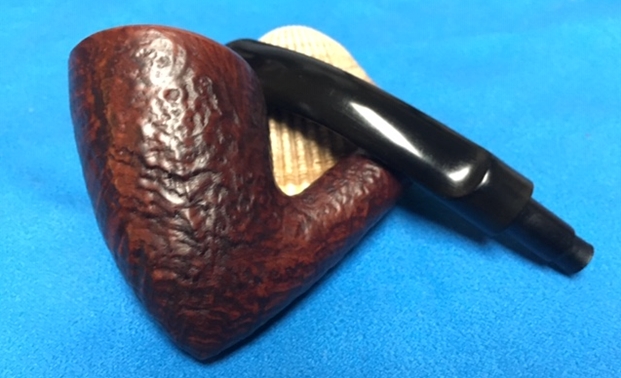
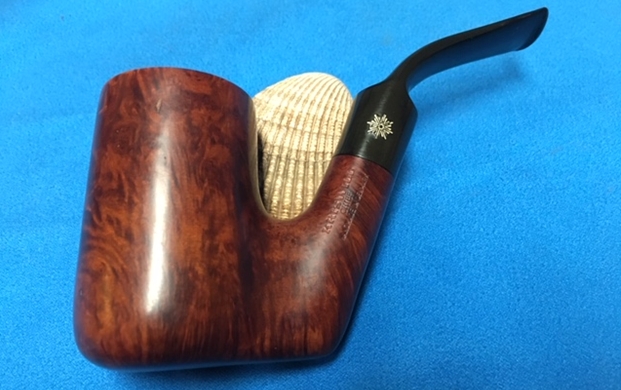
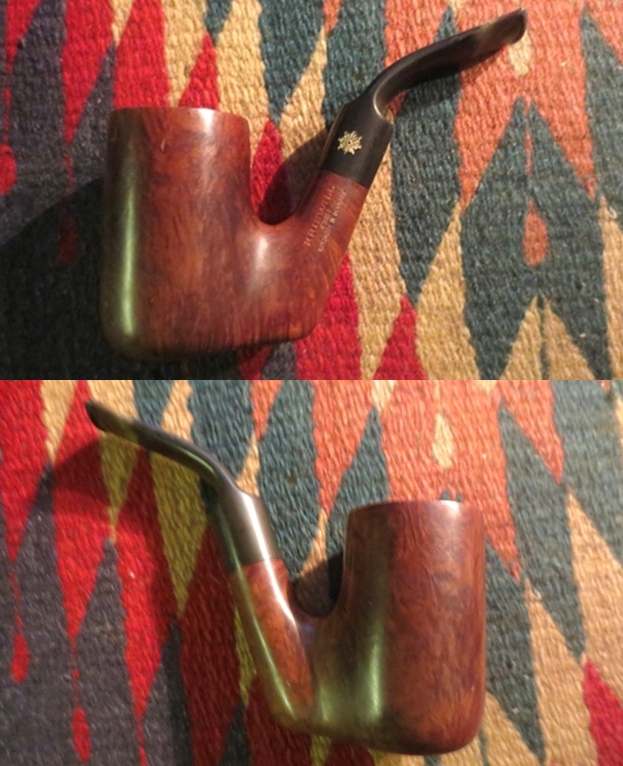
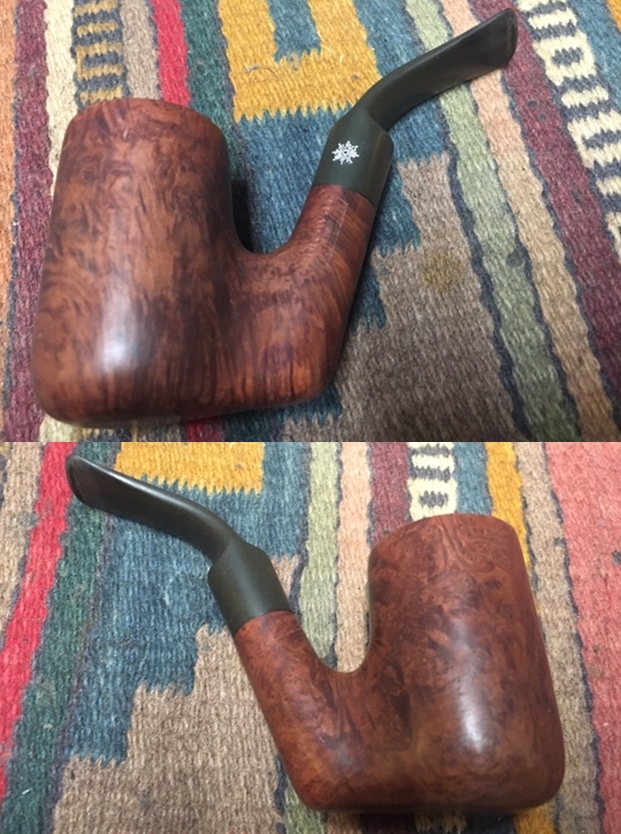
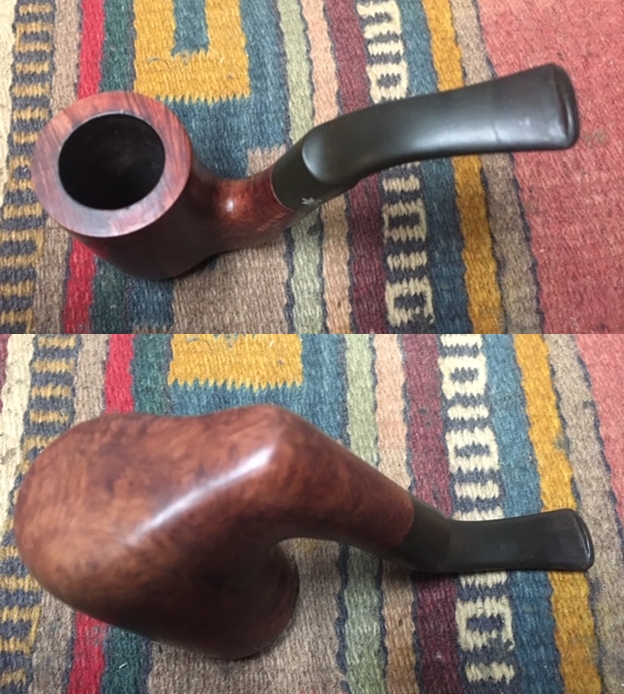
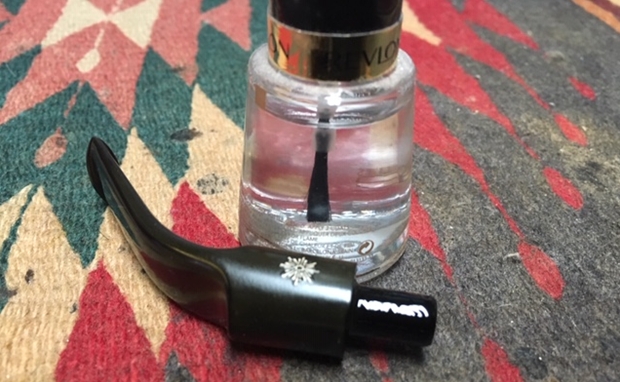
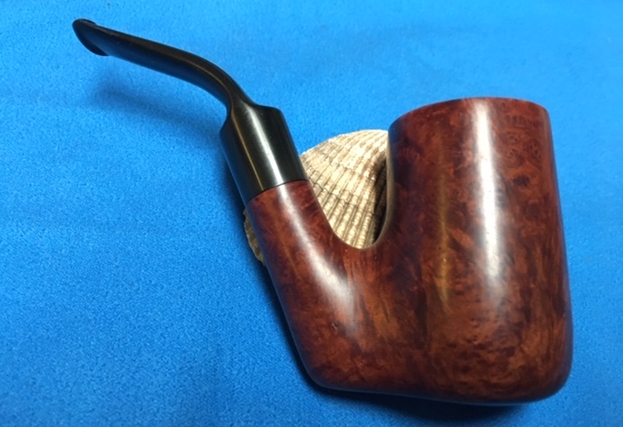
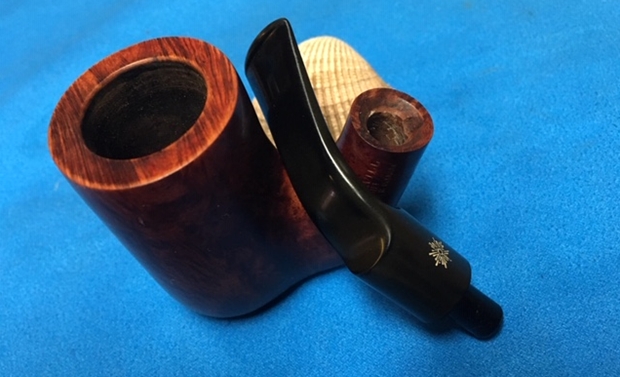
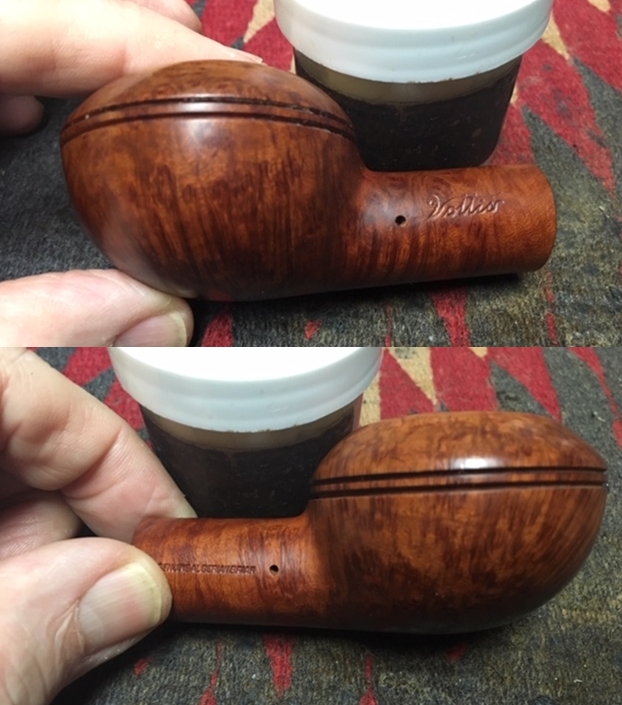
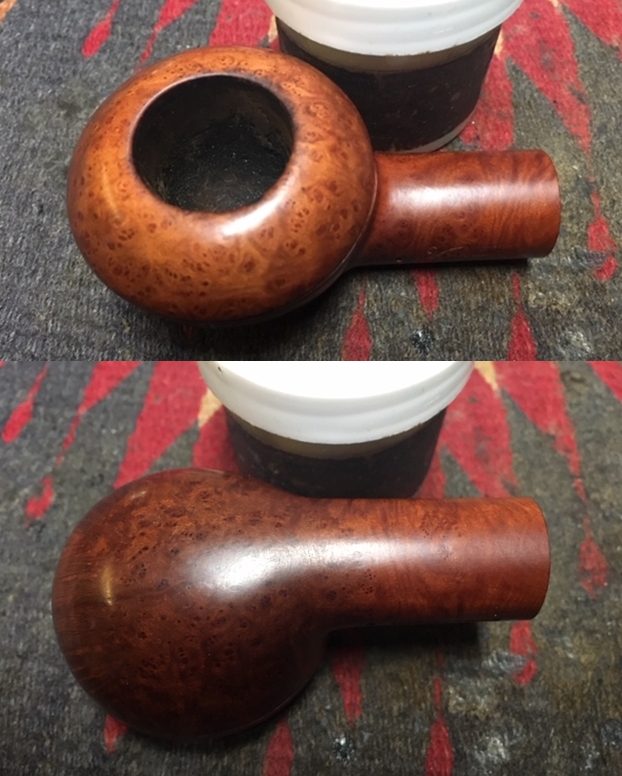
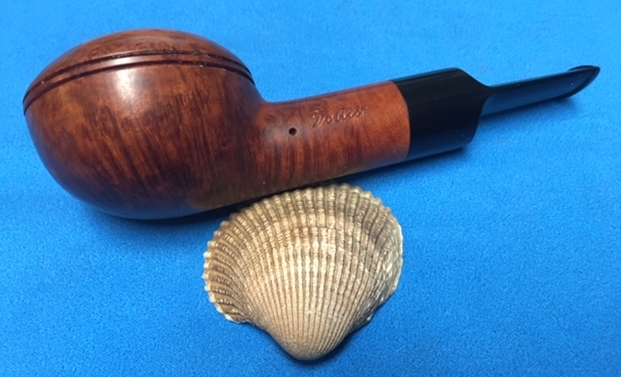
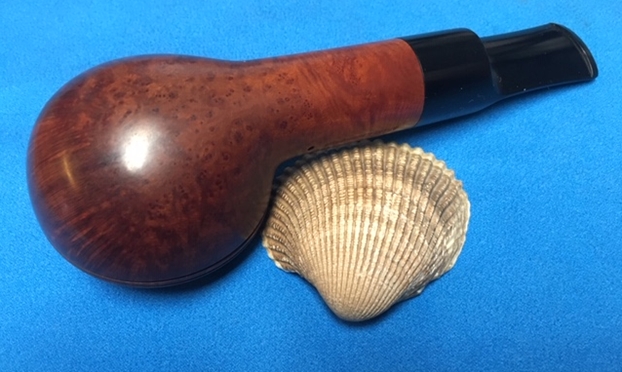
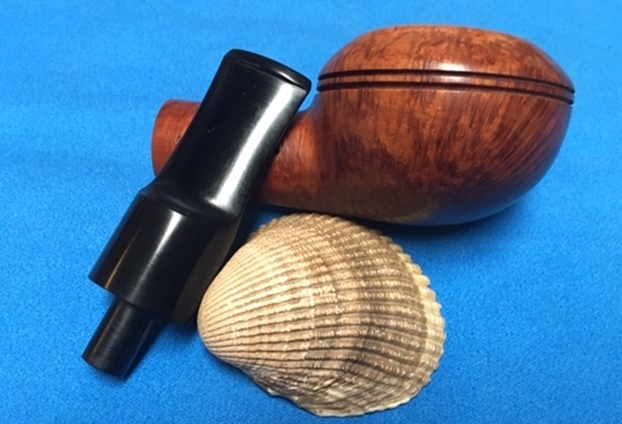
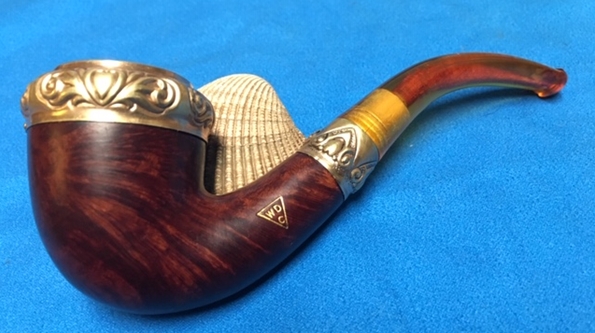
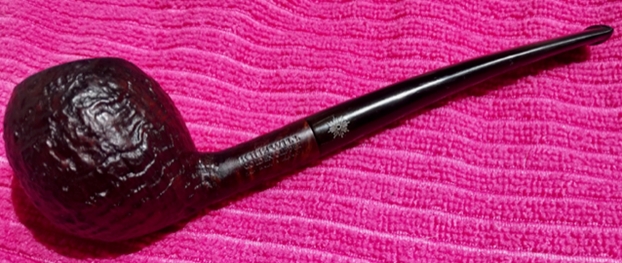
 I put the stem back on the pipe and the pipe to the buffer. I worked it over with Blue Diamond to polish out the remaining small scratches in the briar and the vulcanite. I gave the bowl and the stem several coats of carnauba wax and buffed the pipe with a clean buffing pad to raise the shine. I hand buffed it with a microfiber cloth to deepen the shine. I love the way that the buffer brings a shine to the pipe. I was happy with the look of the finished pipe. The photos below show what the pipe looks like after the restoration. I have worked on quite a few Bari’s over the years and I am always pleased with the way the shape and the grain work together. The shape and the look is uniquely Bari and are very elegant. The polished black vulcanite stem looks really good with the contrasting browns of the briar. The dimensions of the pipe are Length: 5 inches, Height: 1 3/4 inches, Outside diameter of the bowl: 1 3/4 inches, Chamber diameter: 7/8 of an inch. This pipe will soon be added to the rebornpipes online store. If you are interested in adding it to your collection let me know. This one should be a great smoker. Thanks for walking through the restoration with me on another beauty!


