
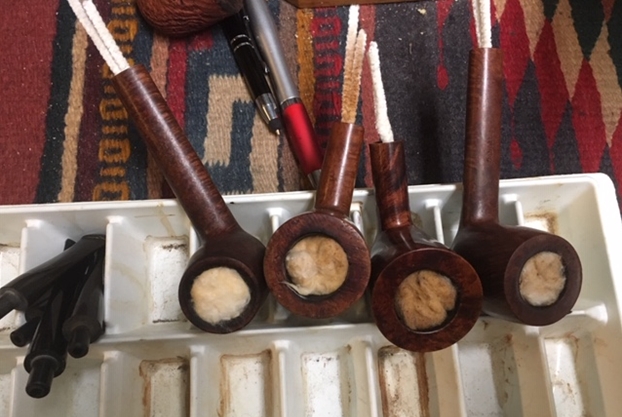
Blog by Steve Laug
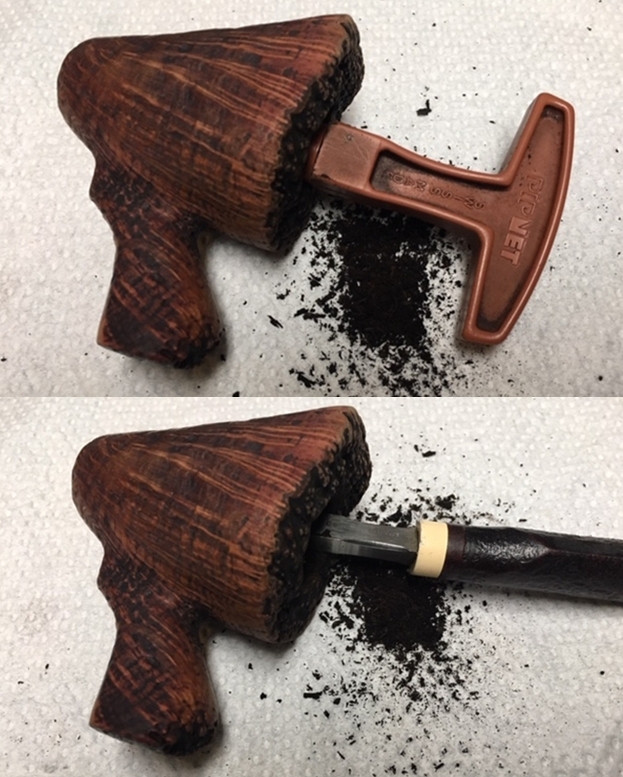
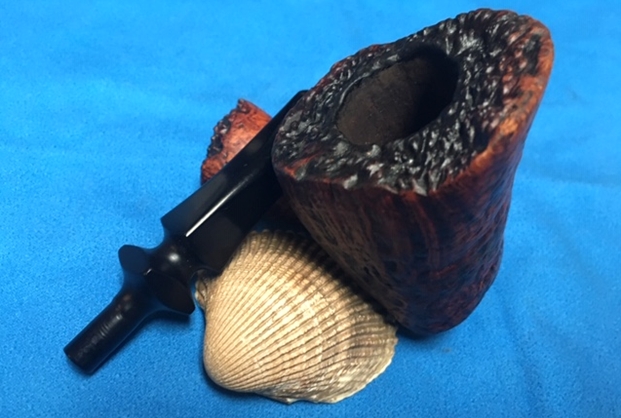
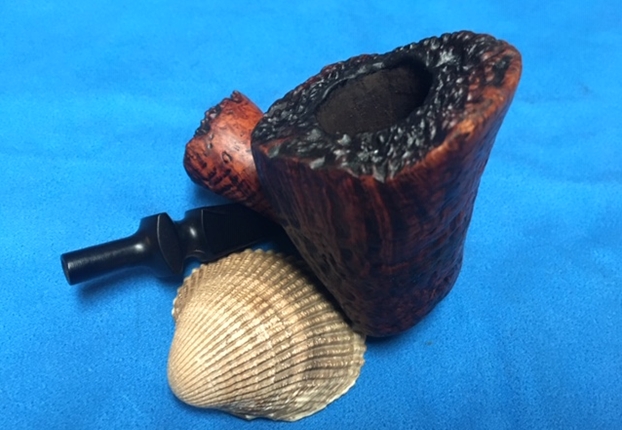
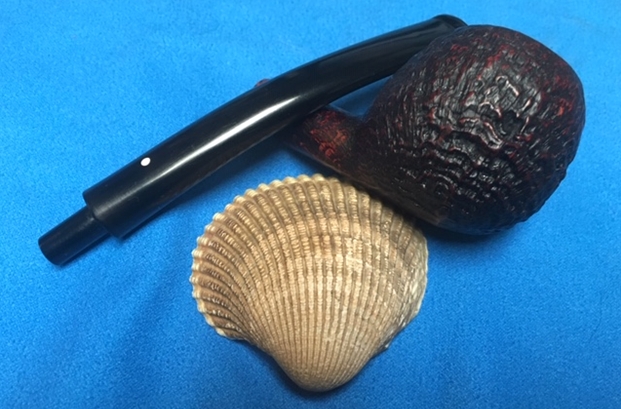
Sometimes restoring pipes can be very frustrating. This evening I was working on an estate Dunhill Tanshell Zulu and the tenon broke off in the shank. I don’t know if it was cracked but I do know that I did very little and the stem was in one hand and the bowl in the other. It is at times like that when a repair person feels like packing it in and doing something else. But that is really not optional so I turned to do something else… still pipe repair related but still something different. I have a box of pipes that my brother sent me recently and in that was a very nice looking long, pencil shank billiard bowl without a stem. I had a cracked shank but otherwise it was a pretty piece of briar and it needed some TLC – a band and a new stem. It seemed like just the thing to take my mind off the frustrating Dunhill. I wrote Jeff about it and he sent me the following photos of what it looked like before he cleaned it. It was a frustrating piece for him even in the clean up. The stem was with it but the tenon had snapped off in the shank. In removing the tenon from the shank the pencil shank had snapped. Maybe I was moving from one frustration to another! The first photos is the parts grave yard – a snapped shank, a chunk of briar, a broken tenon and a broken stem…oh my. Jeff took a couple of photos of the snapped shank and the piece of briar that had come off. At least it was a very clean break. After cleaning the pipe Jeff glued the piece of briar back on the shank and when it arrived it was tight.
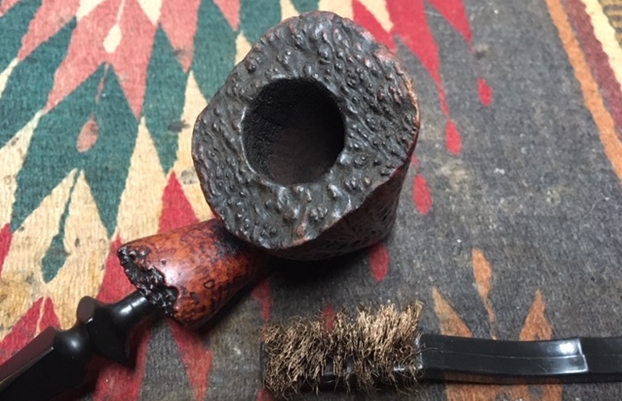
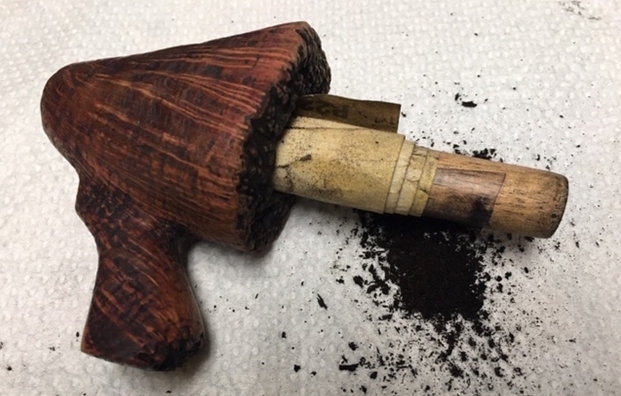
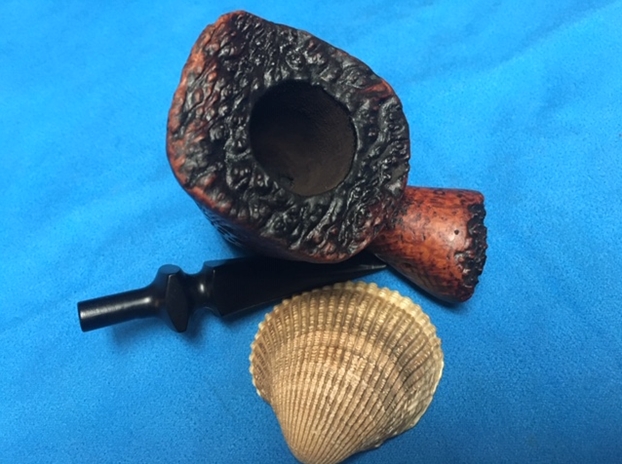
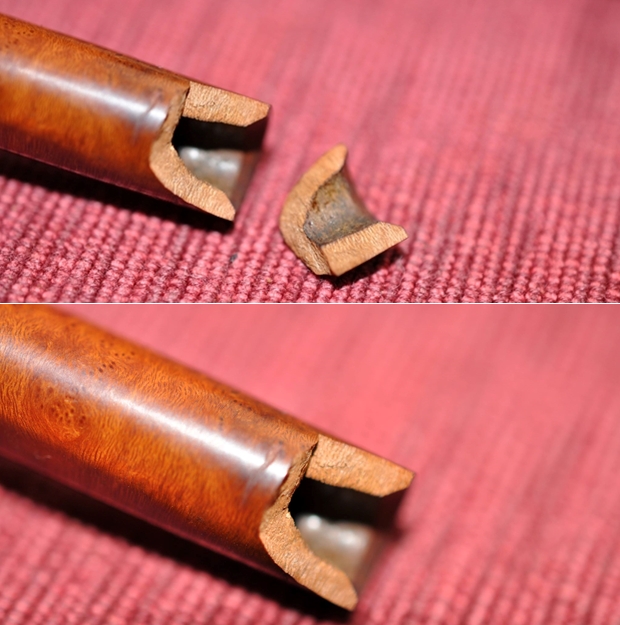 The bowl and rim were in awful condition. There was a thick lava coat on the rim top and a thick cake in the bowl. There was tobacco debris in the cake and the lava on the rim it was a mess. It was obviously a great smoking pipe and someone’s favourite – though it always surprises me how far some pipemen and women let their pipes go.
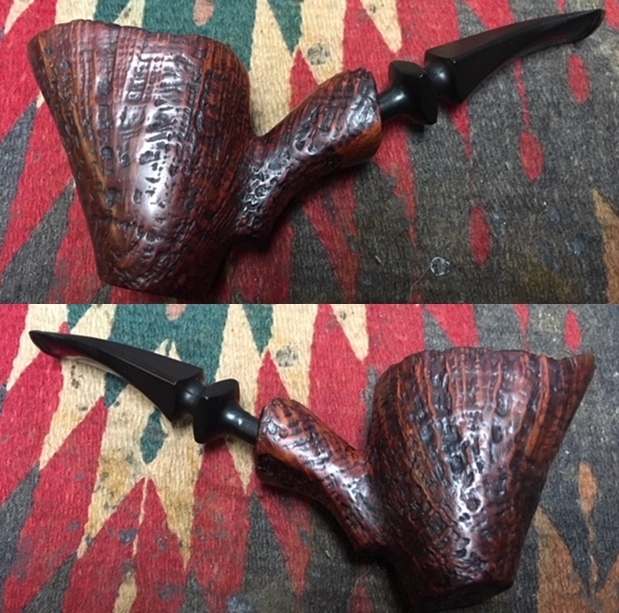
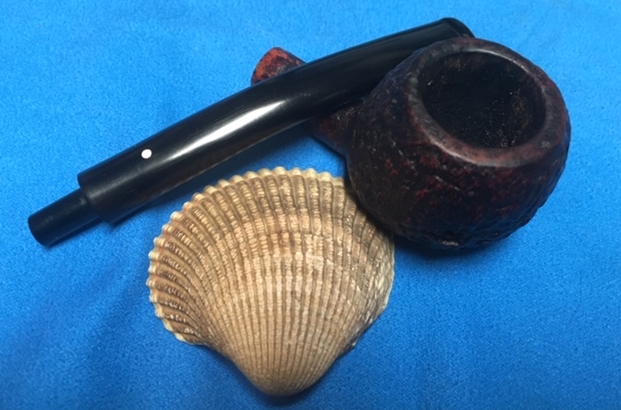
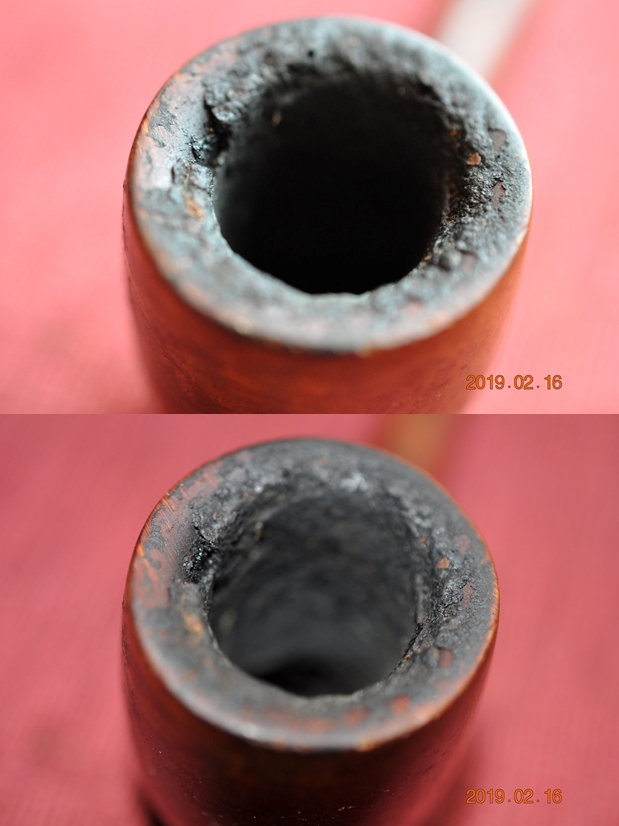 Even the exterior of the bowl was a mess with spots of grime and tar on the outside of the bowl as can be seen in the following photos. There were nicks and dents in the bowl but beside all that it was a beautiful piece of briar.
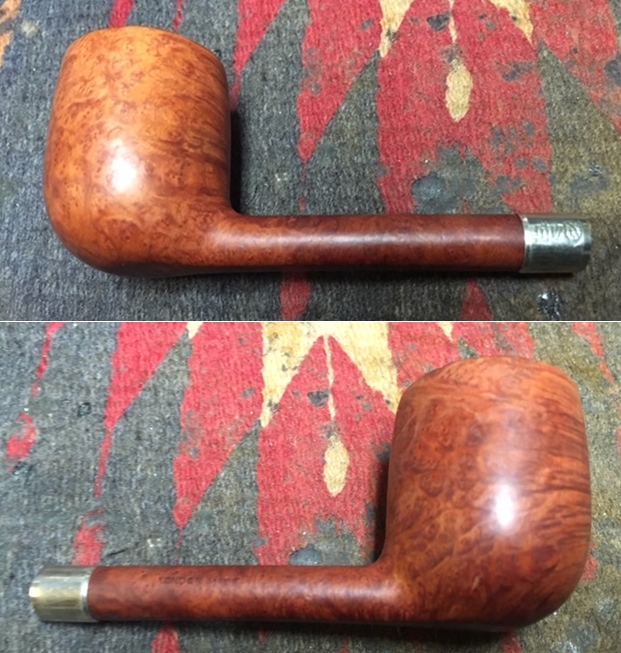
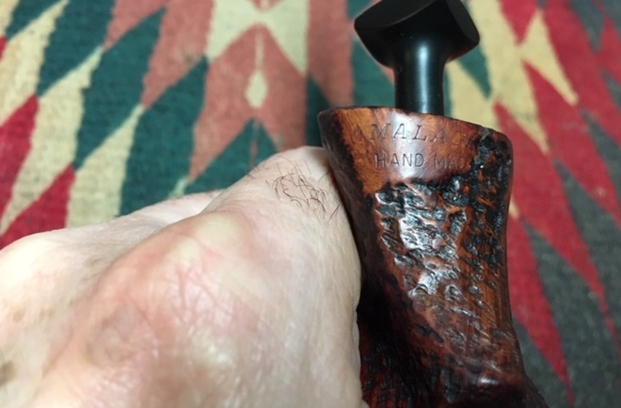
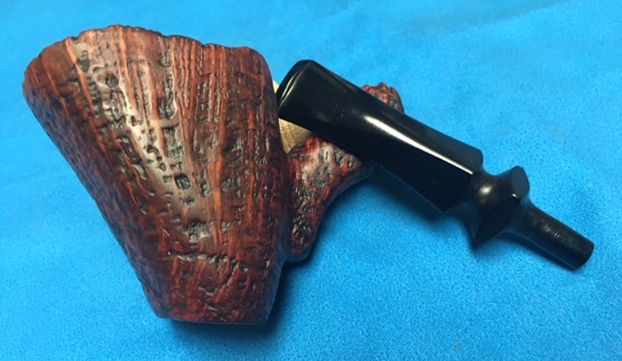
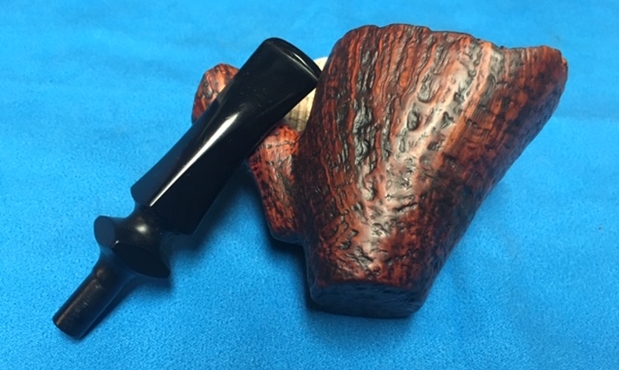
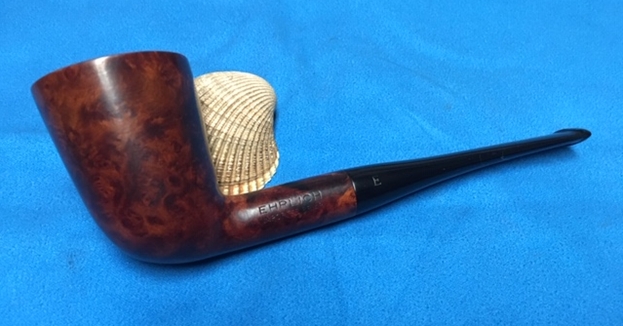
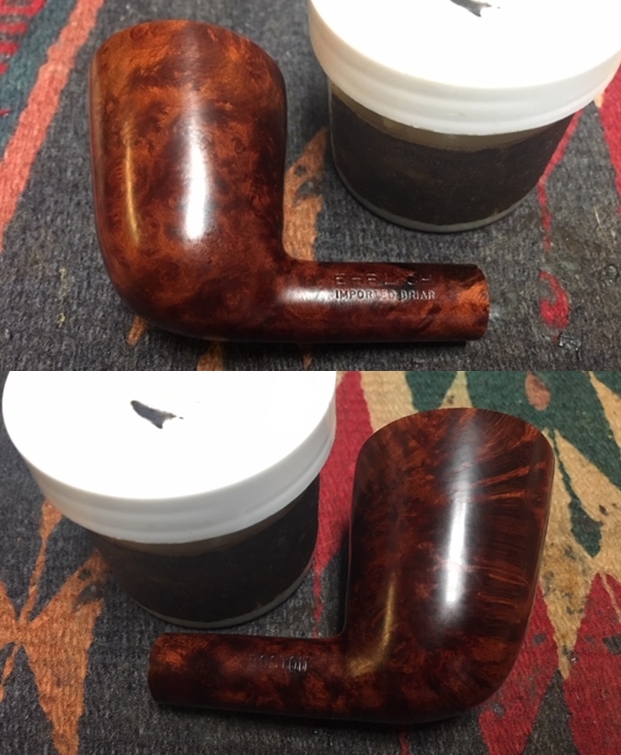
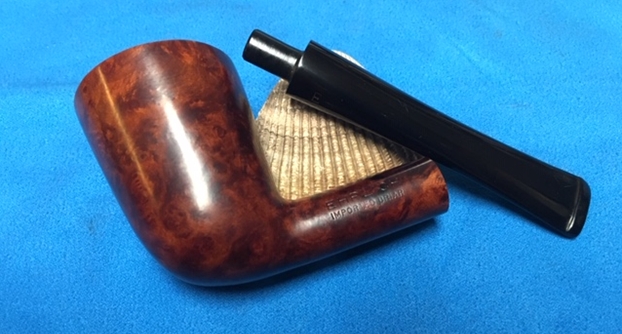
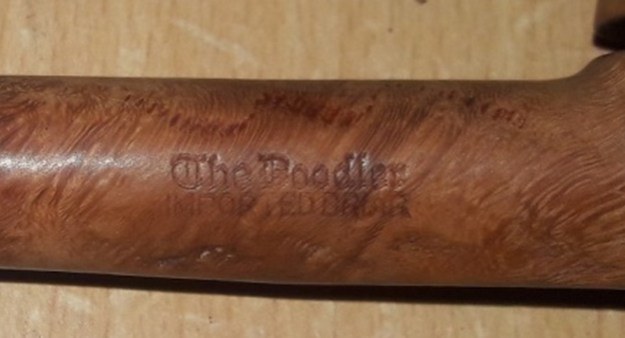
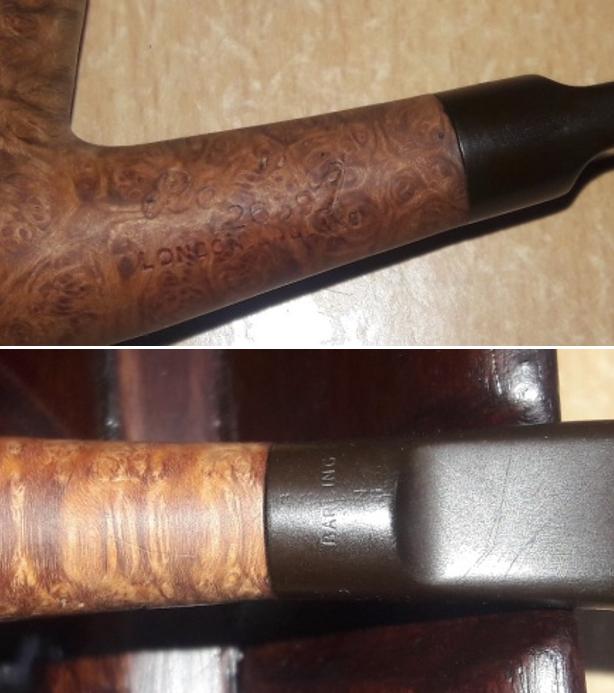
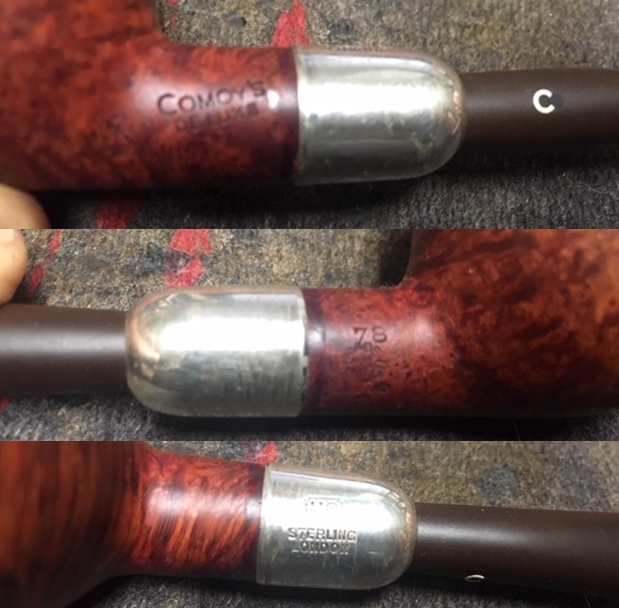
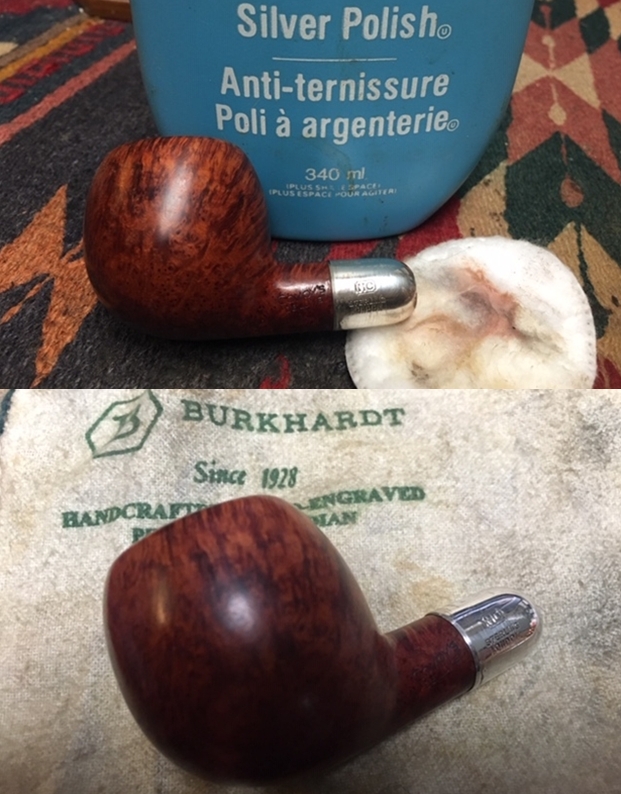
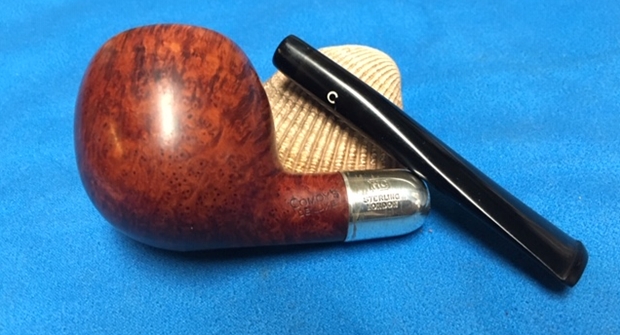
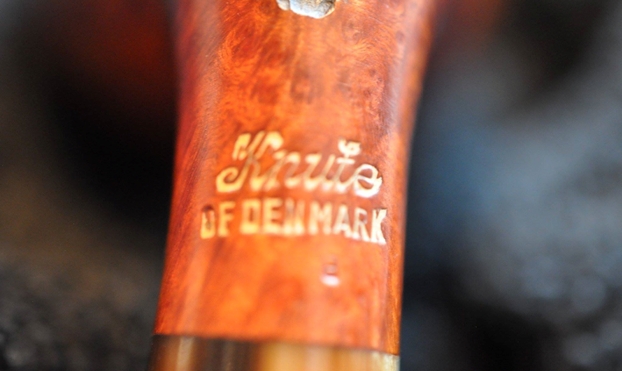
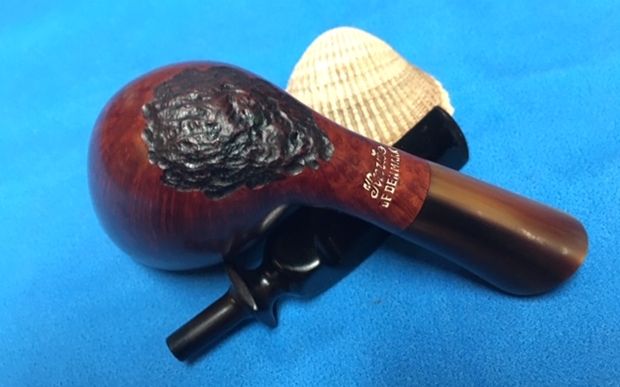
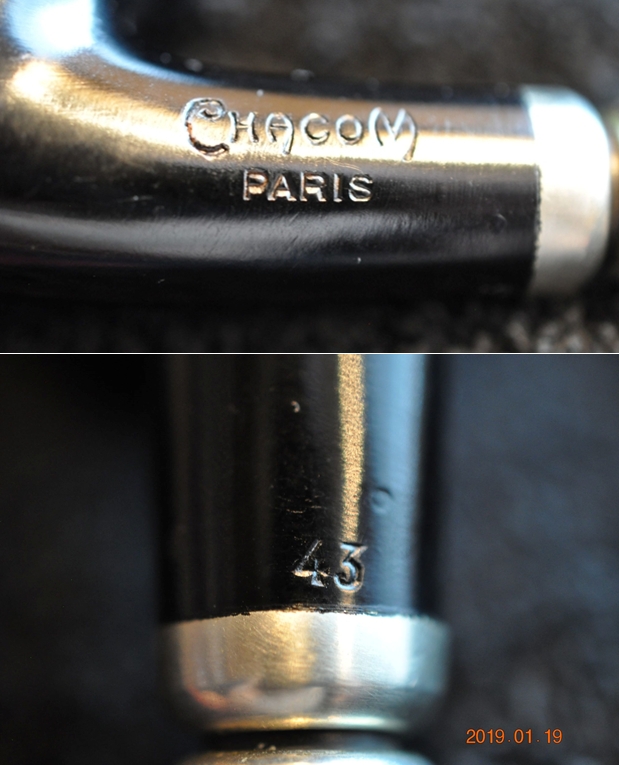
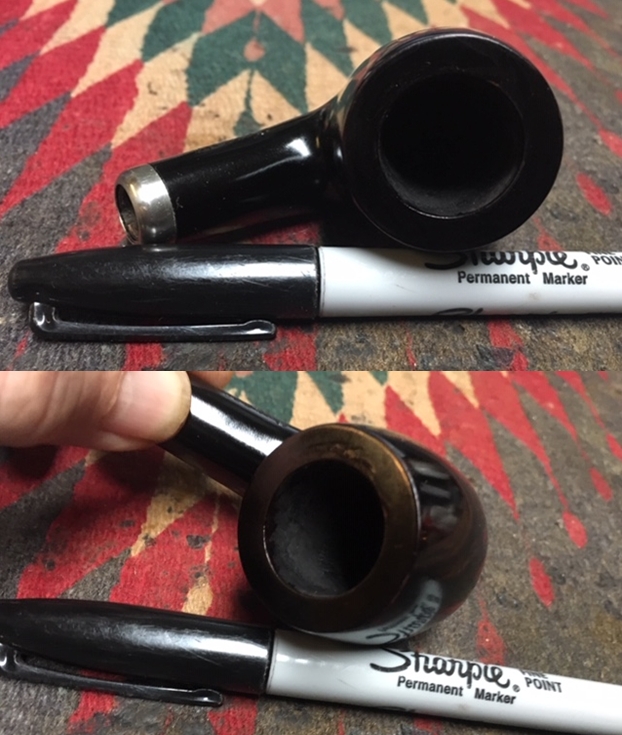
 Jeff took a photo of the only stamping on the pipe – London Made was stamped on the right side of the shank.
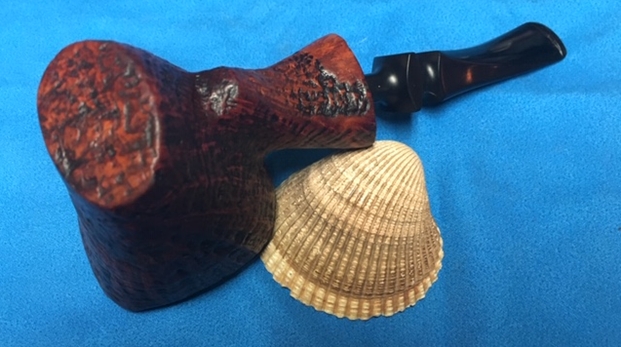
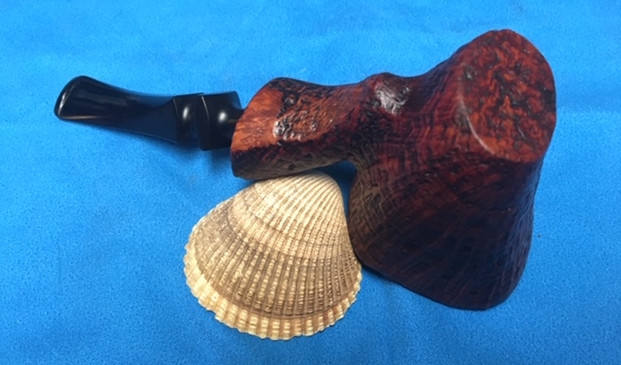
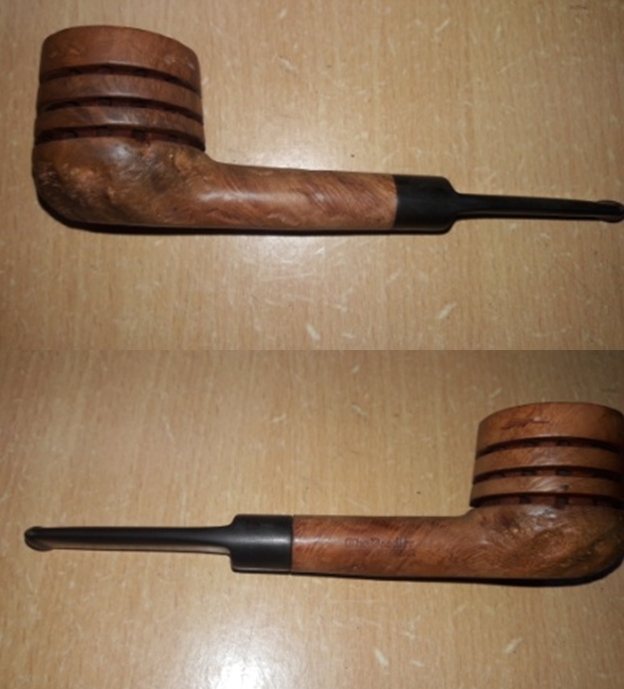
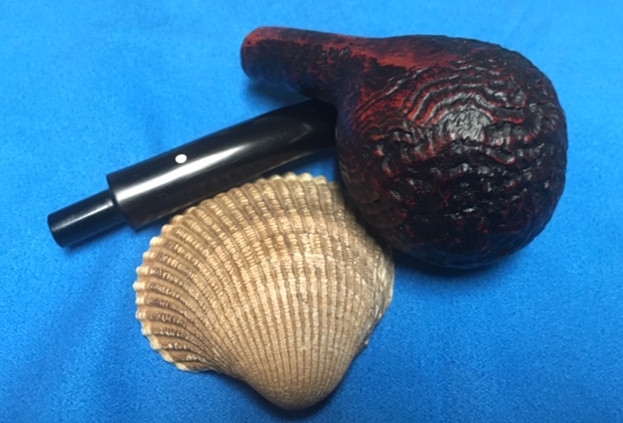
 He had done a great job cleaning up the pipe. When I took it out of the box it did not look much like the pipe pictured above. The bowl had been reamed and cleaned (Jeff followed his usual regimen of reaming and cleaning). The exterior had been scrubbed and the internals were spotless. The piece of briar had been glued in place and the repair was solid. The broken stem/tenon was gone. It was a clean and beautifully grained stummel when brought it to the worktable and took the following photos.
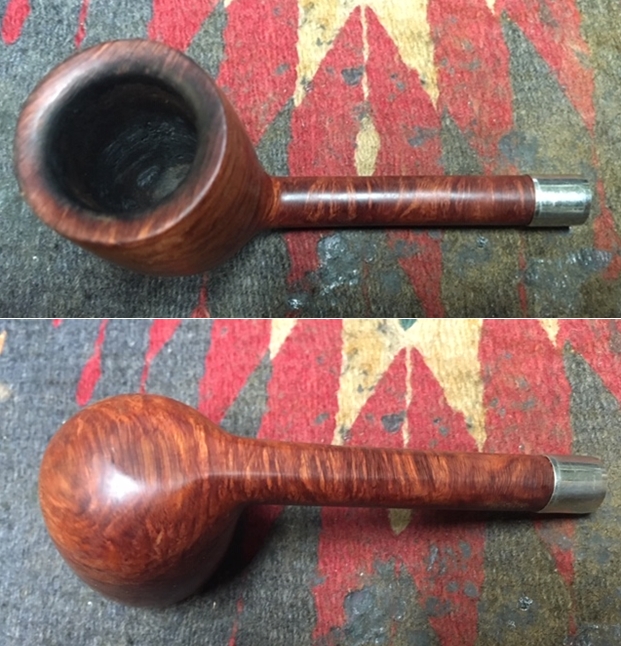
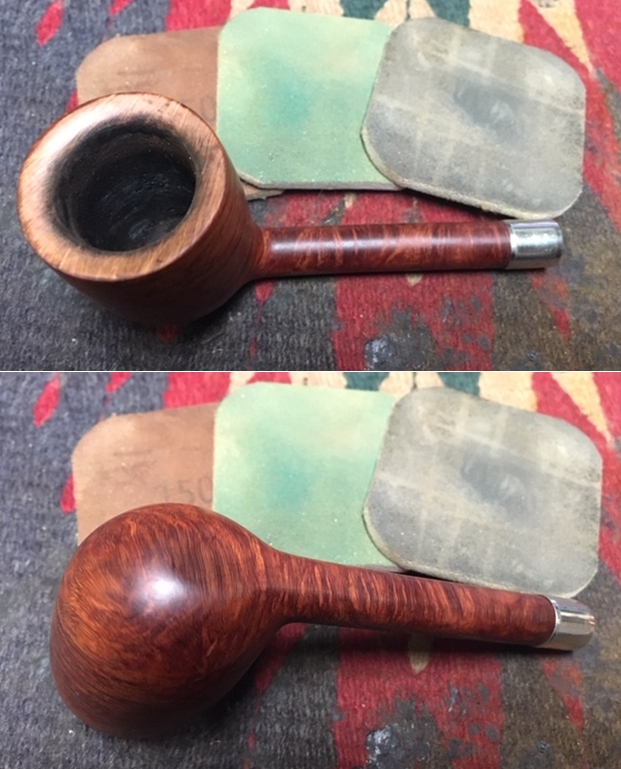
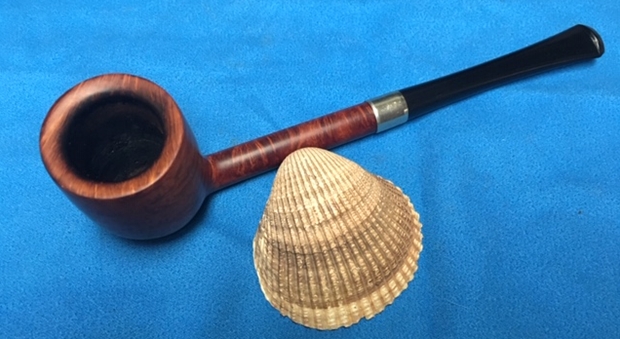
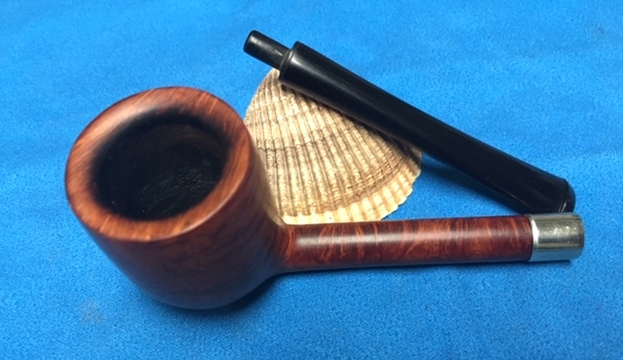
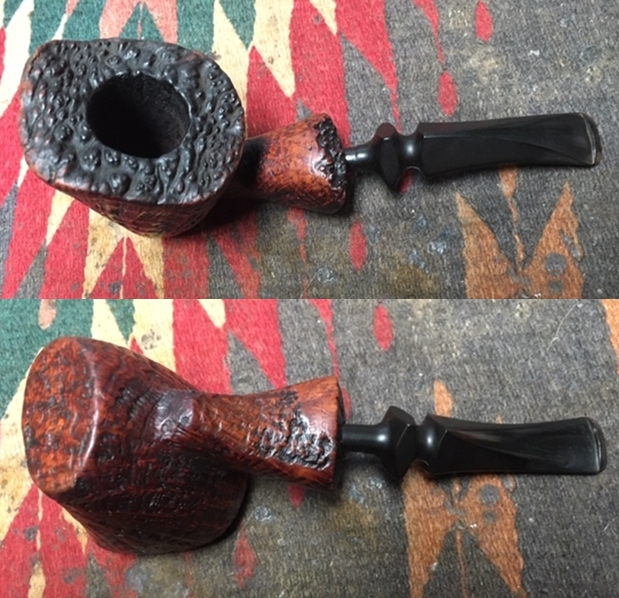
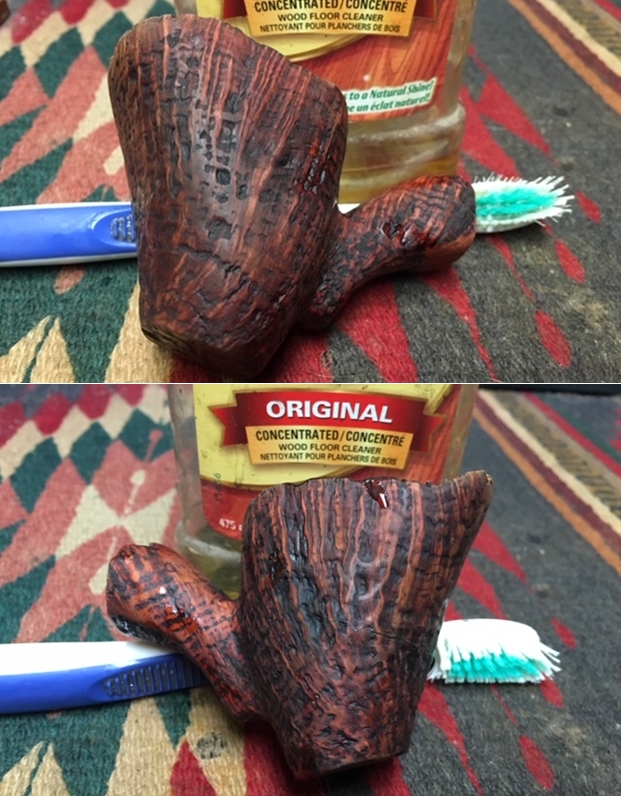
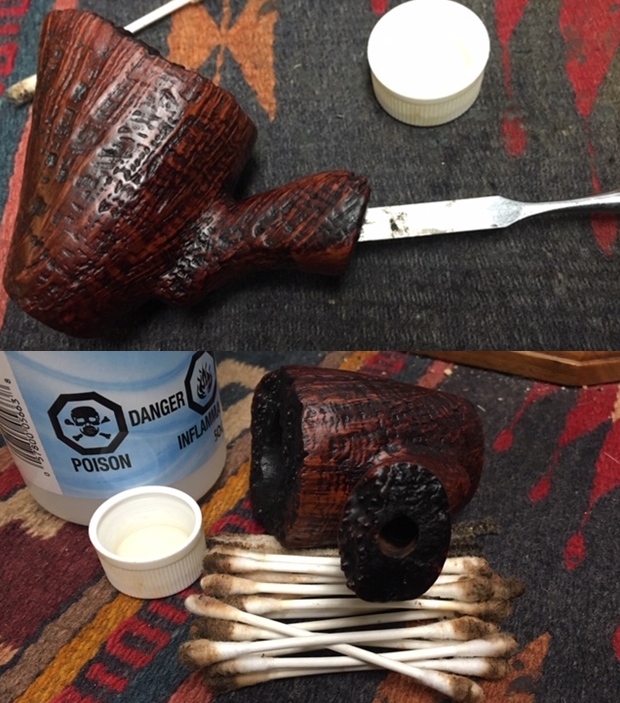
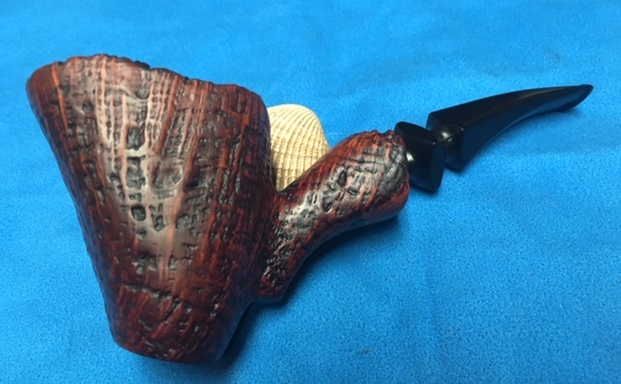
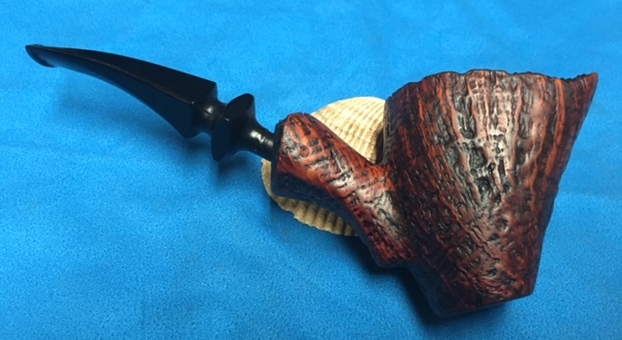
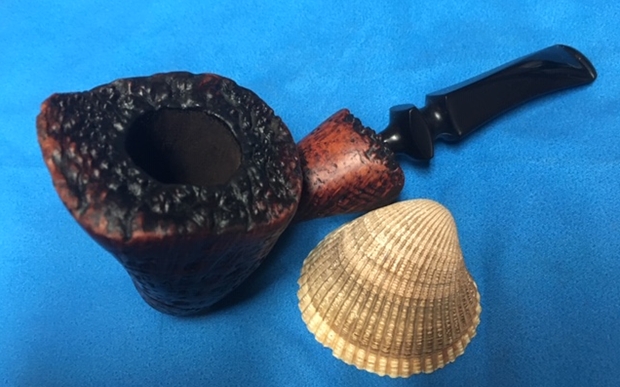
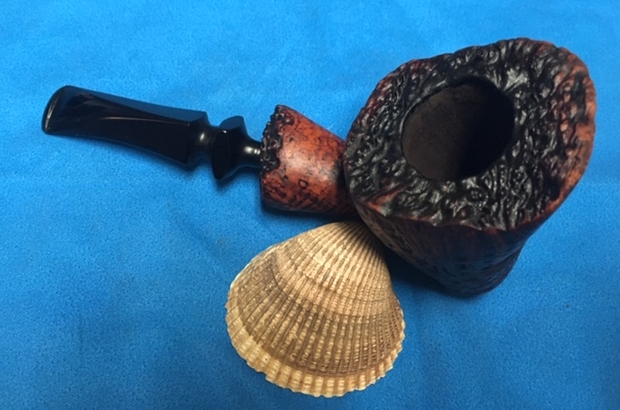
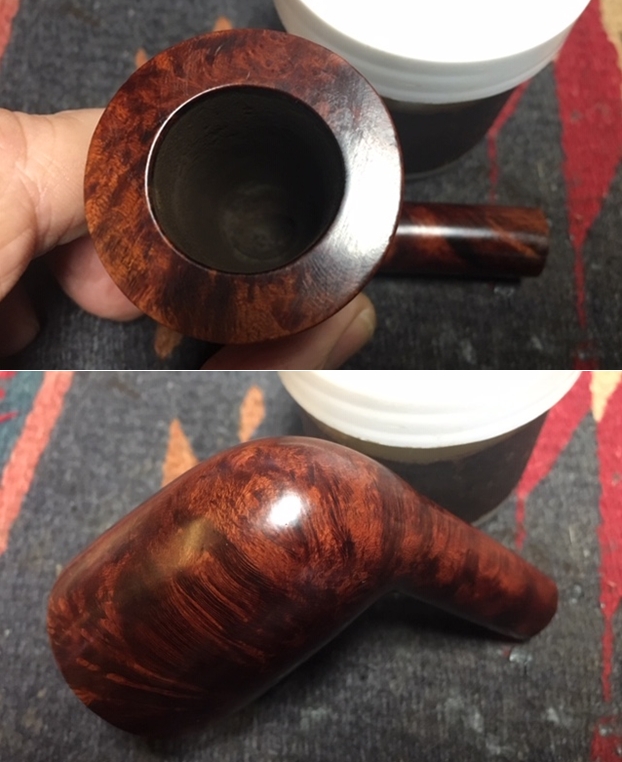
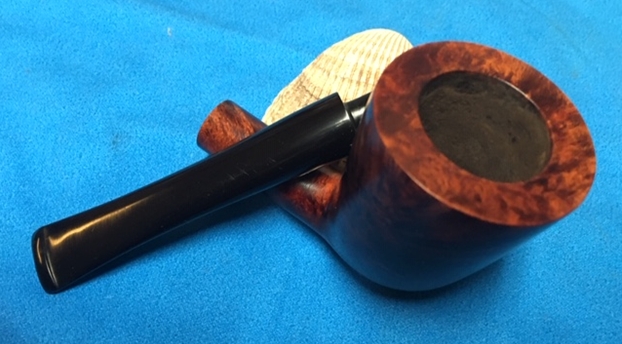
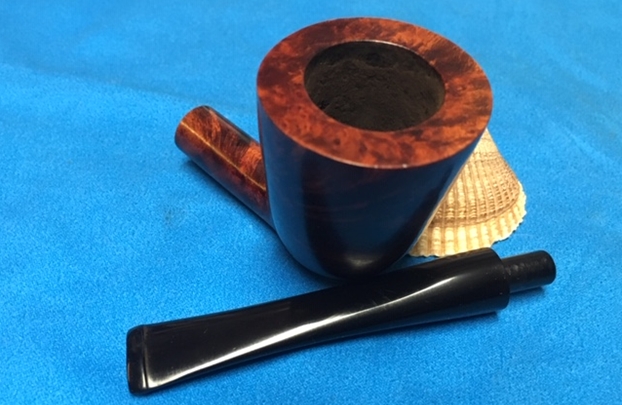
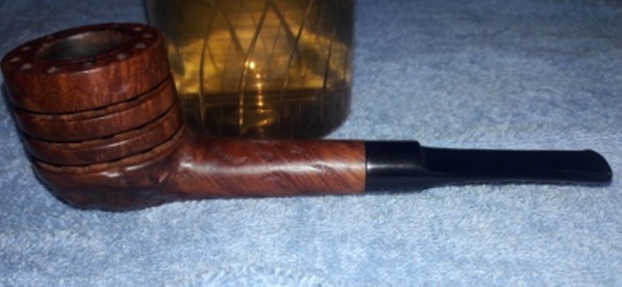
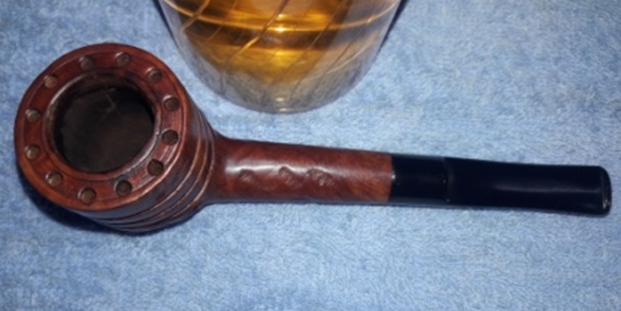
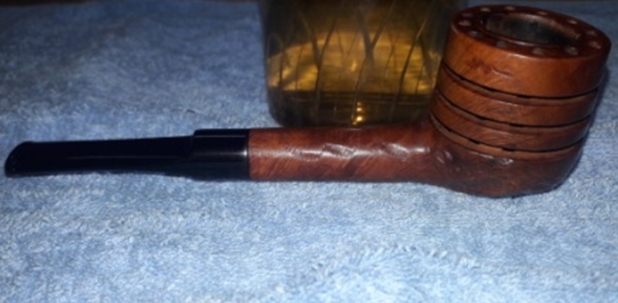
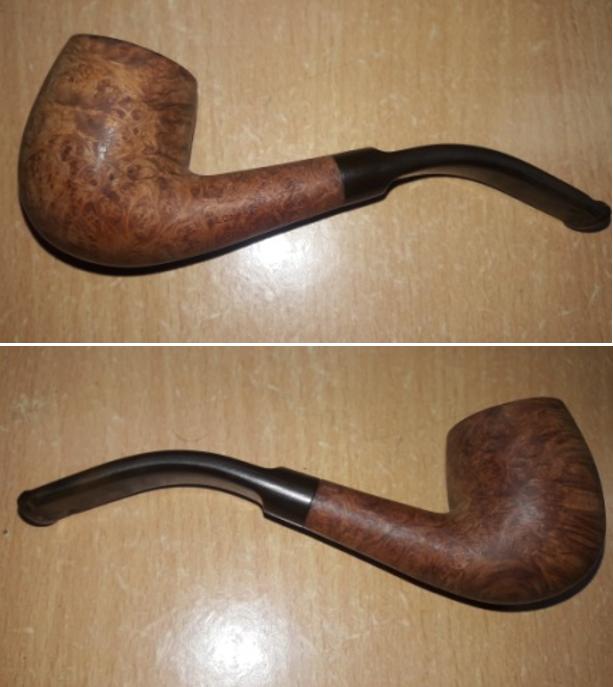
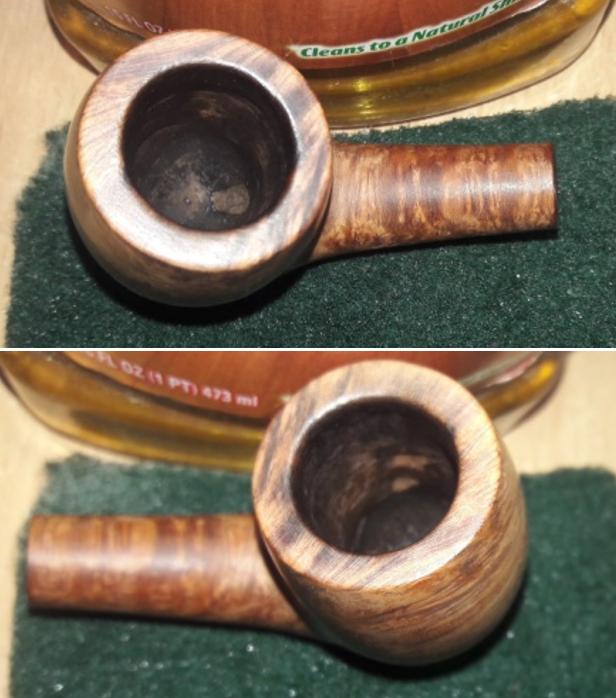
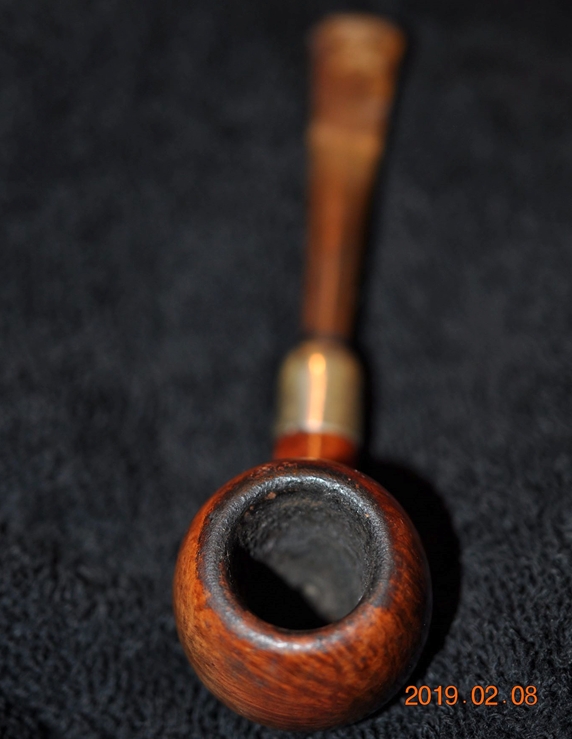
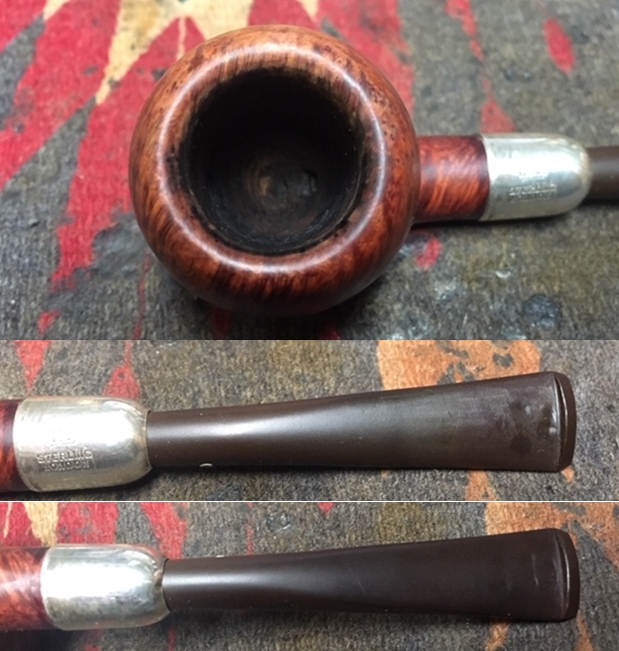
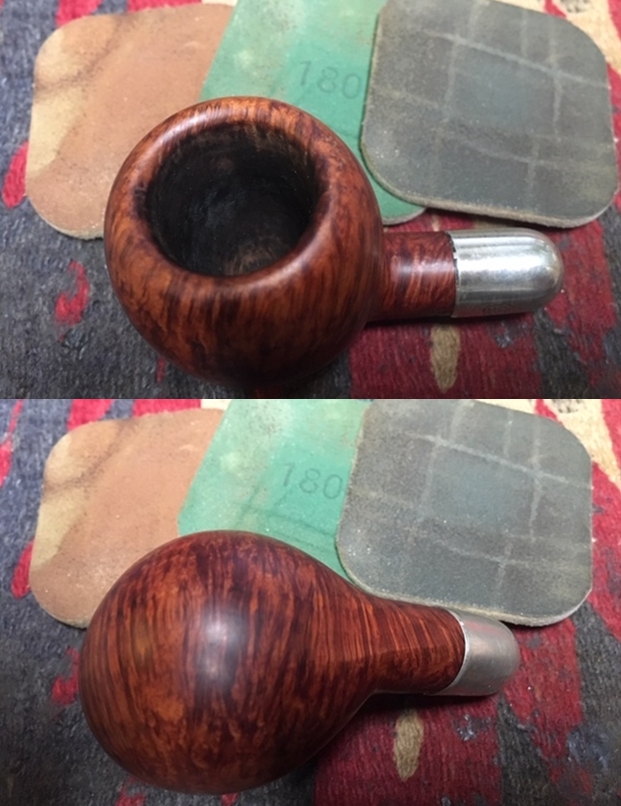
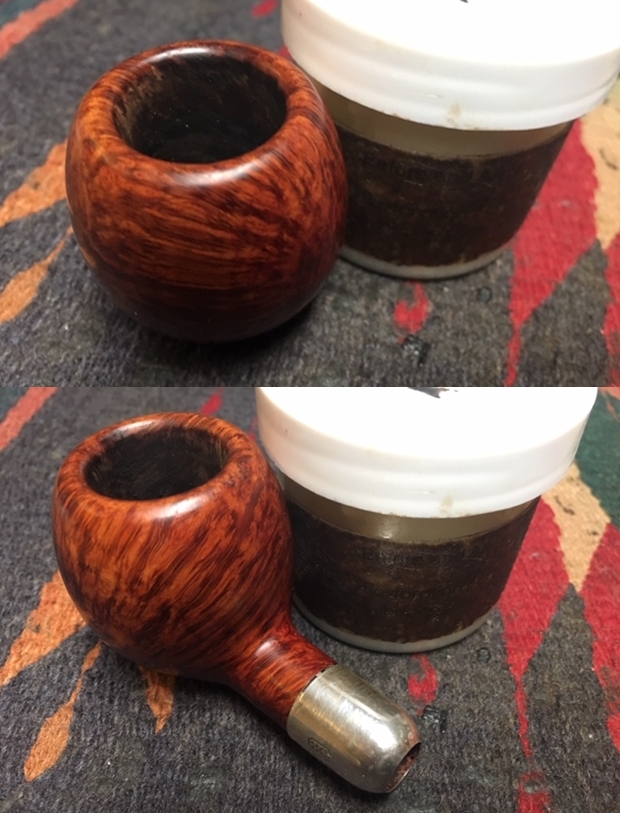
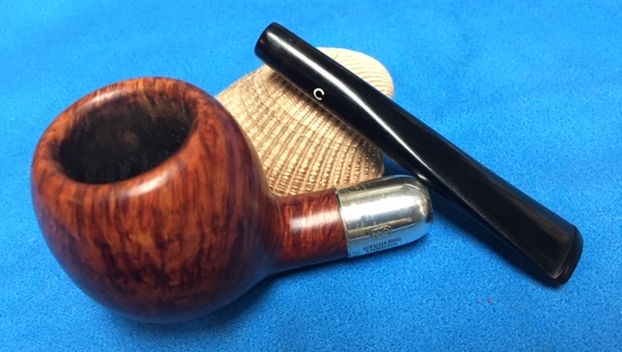
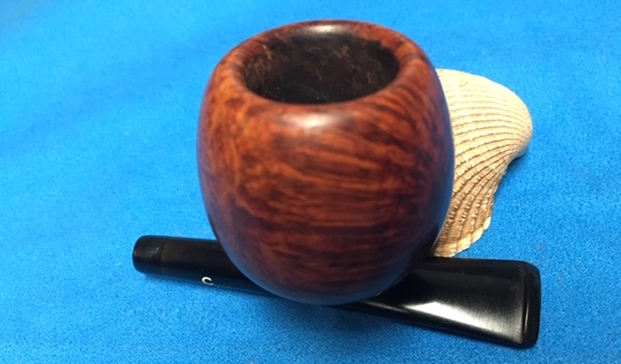
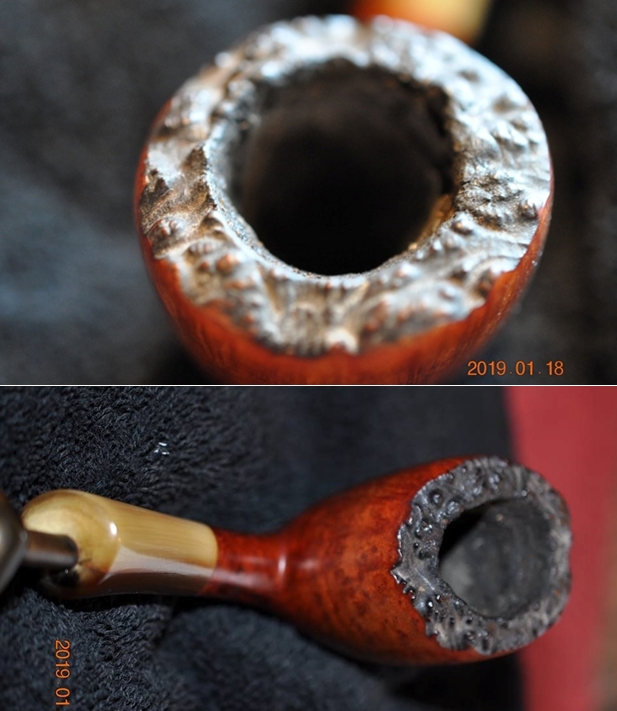
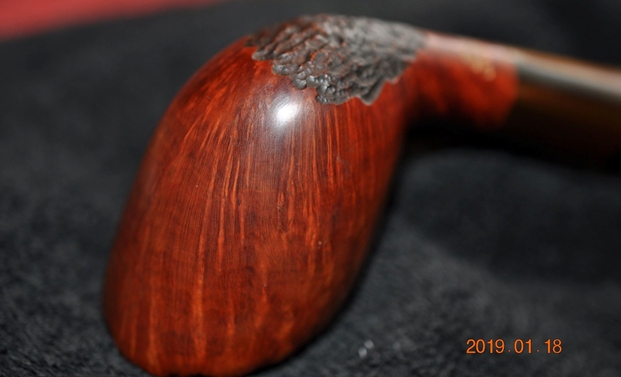
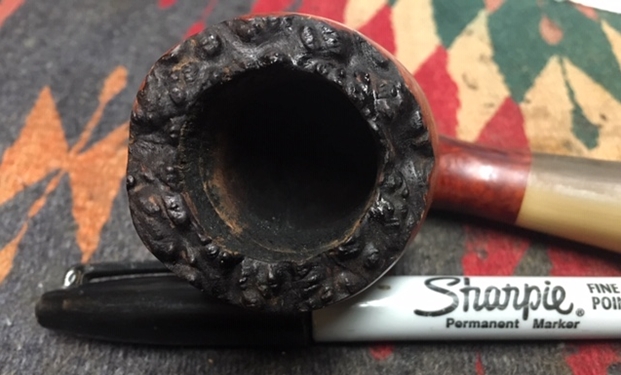
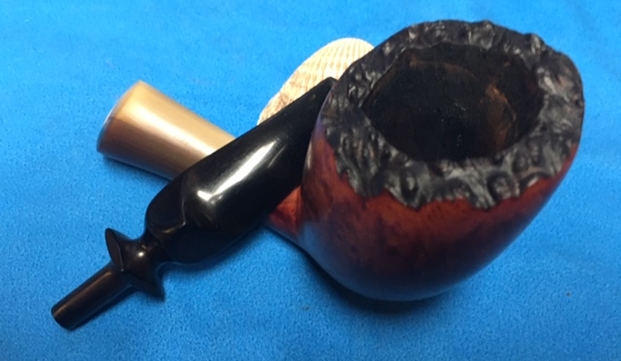
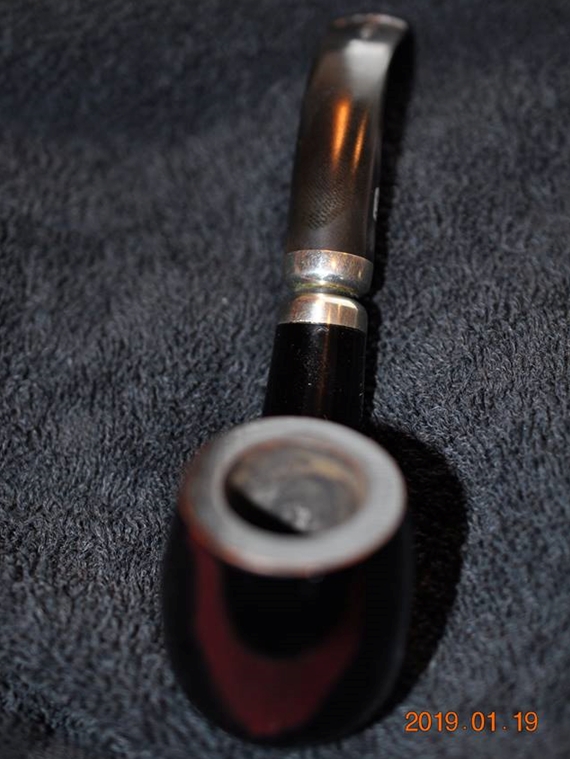
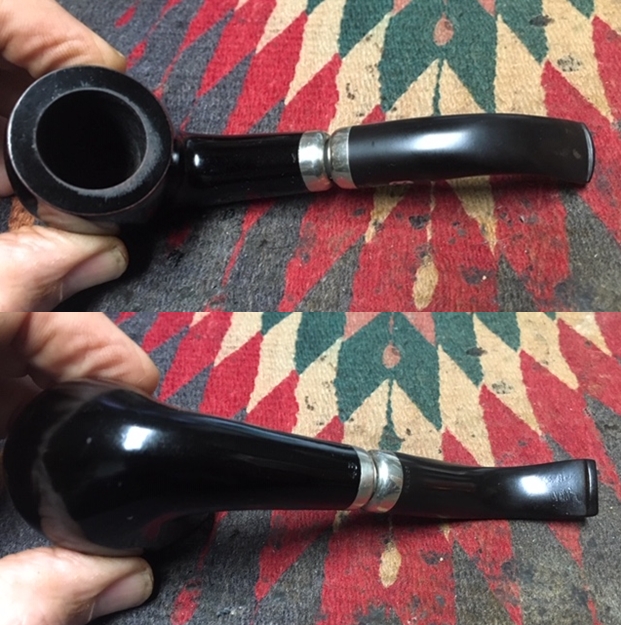
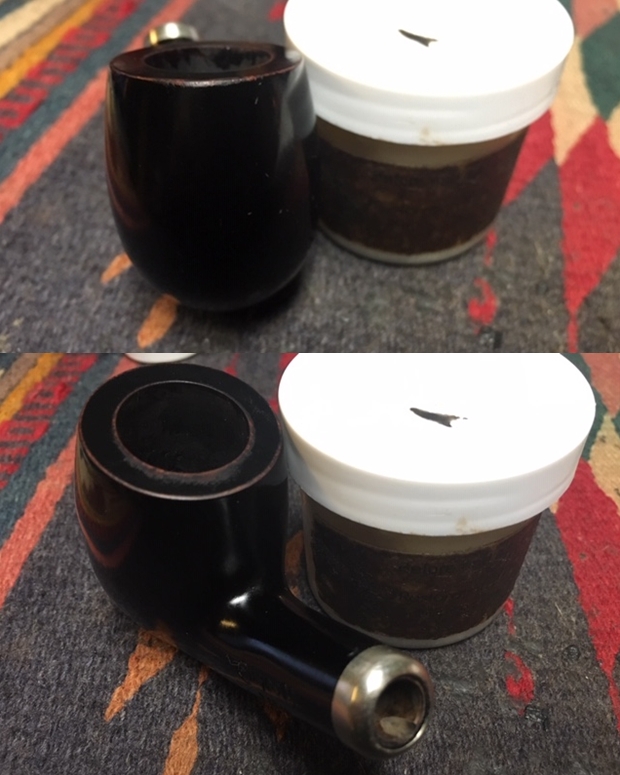
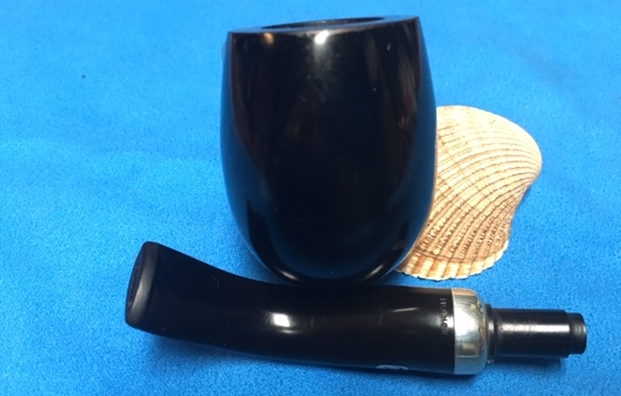
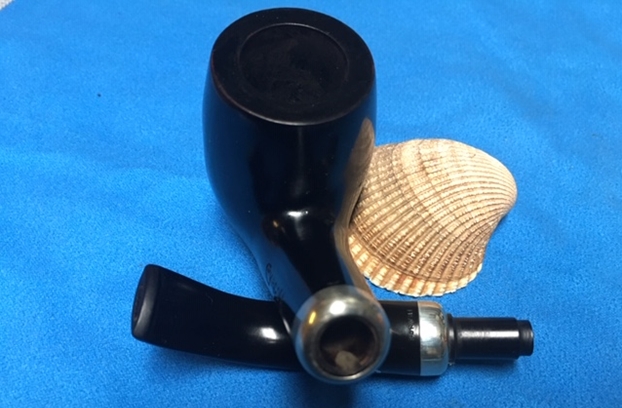
 I took a photo of the bowl and rim to capture the condition of the pipe before I started my part of the restoration work. The rim was clean but there was some nicks and dents in the top. The inner and outer edge were in excellent condition and there was darkening toward the back side of the rim top.
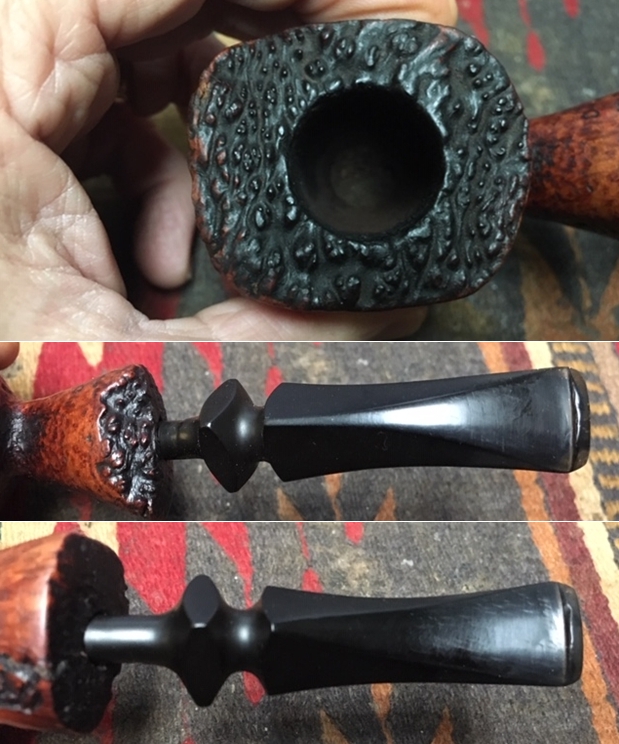
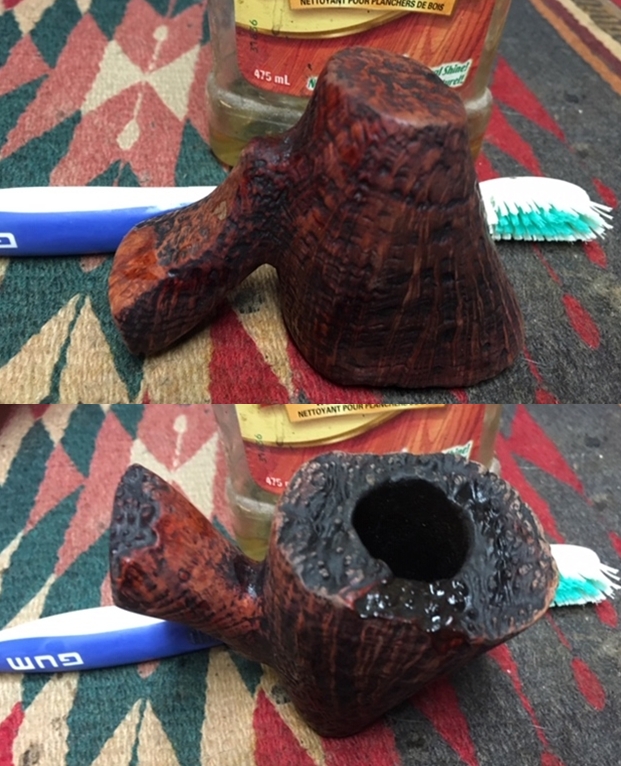
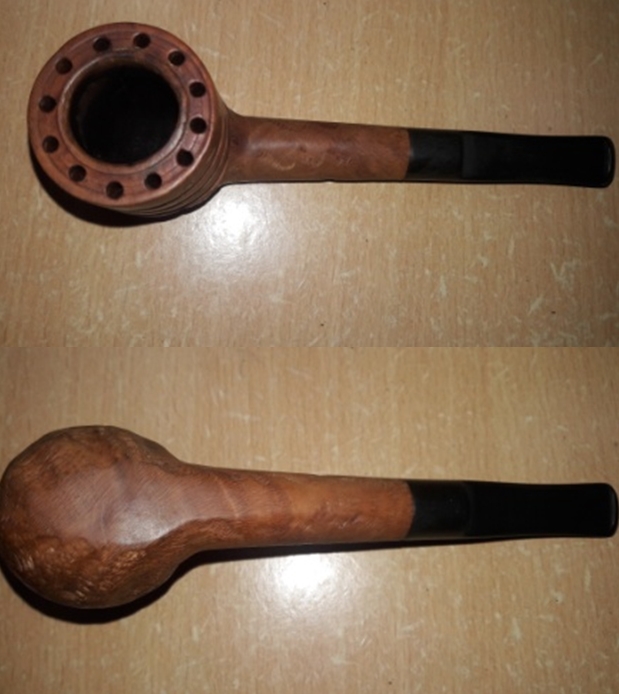
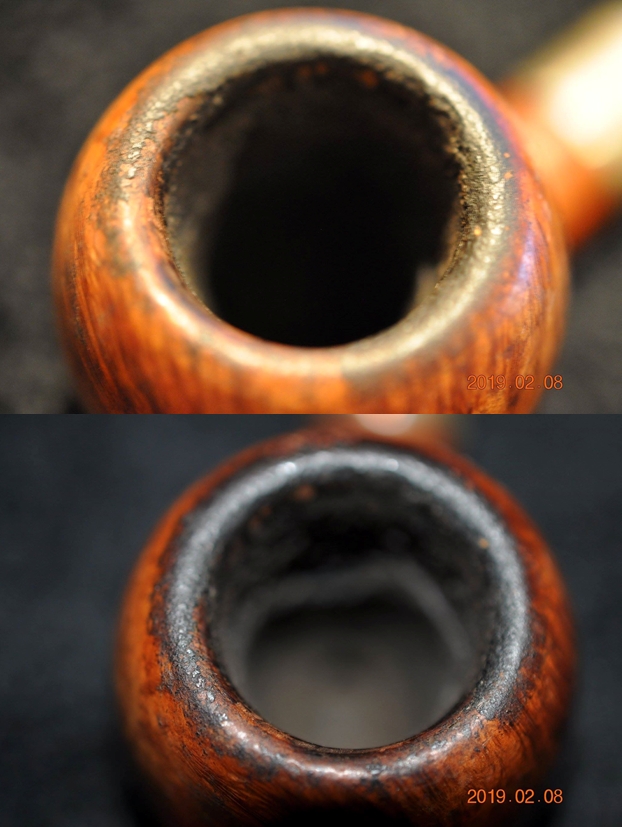
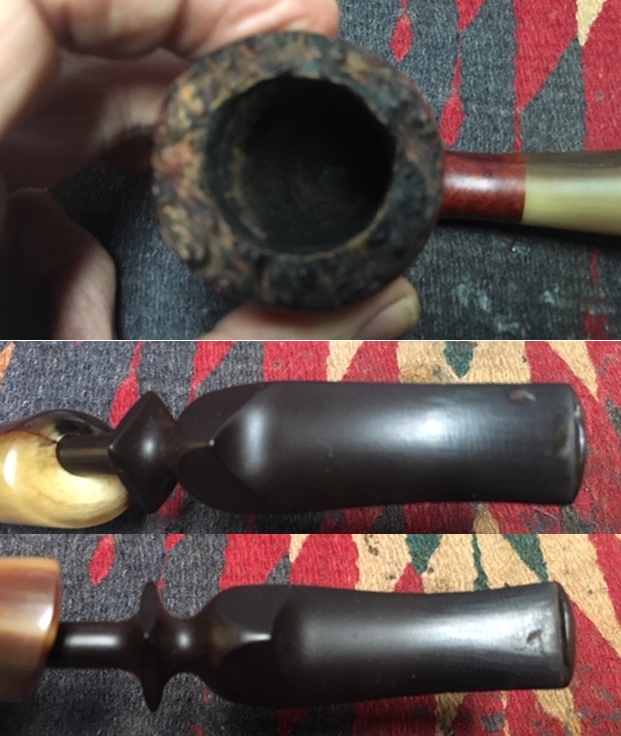
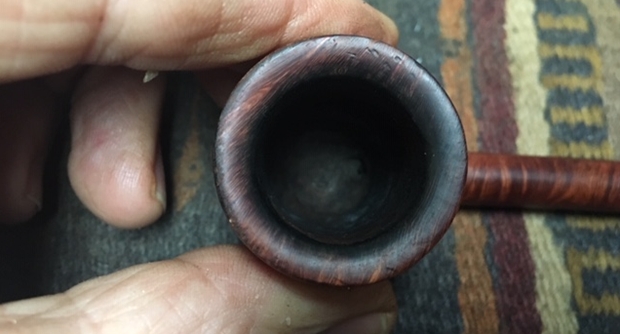 The shank had a crack in it but had been glued. It would need to be banded. The photo is a little blurry but I have circle the crack in red so that you can identify it.
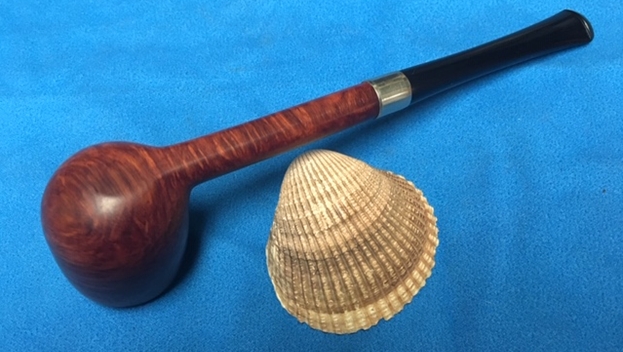
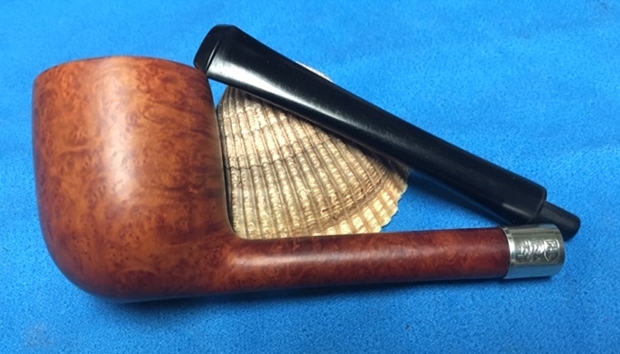
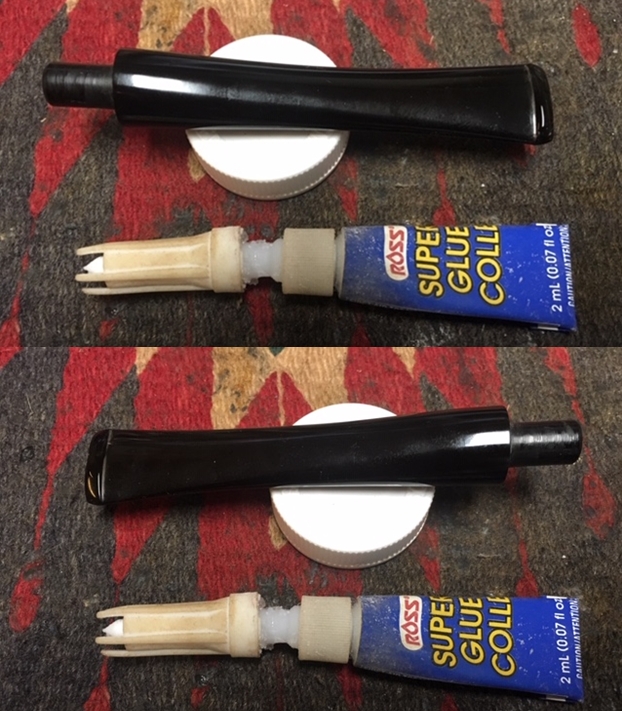
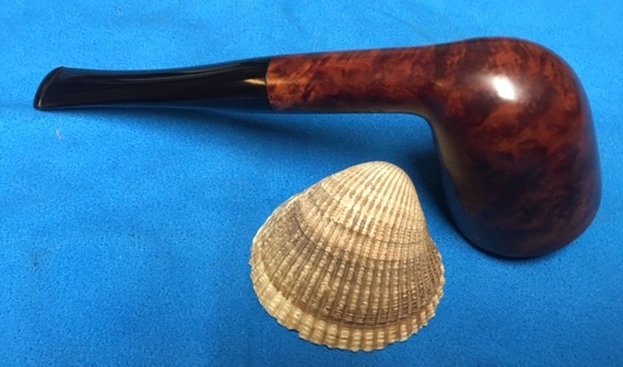
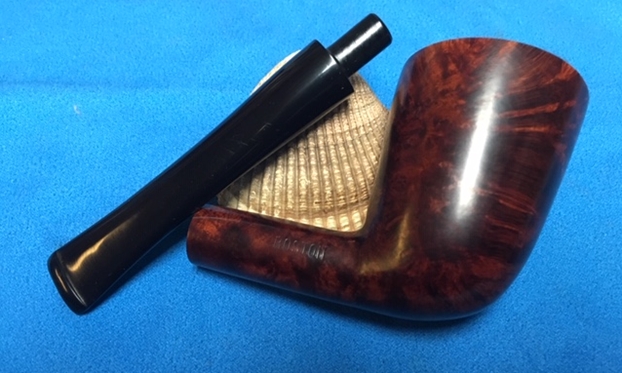
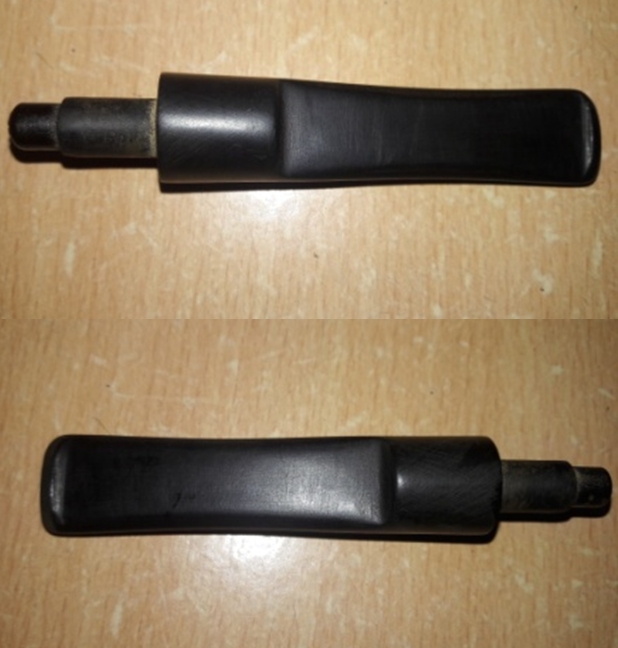
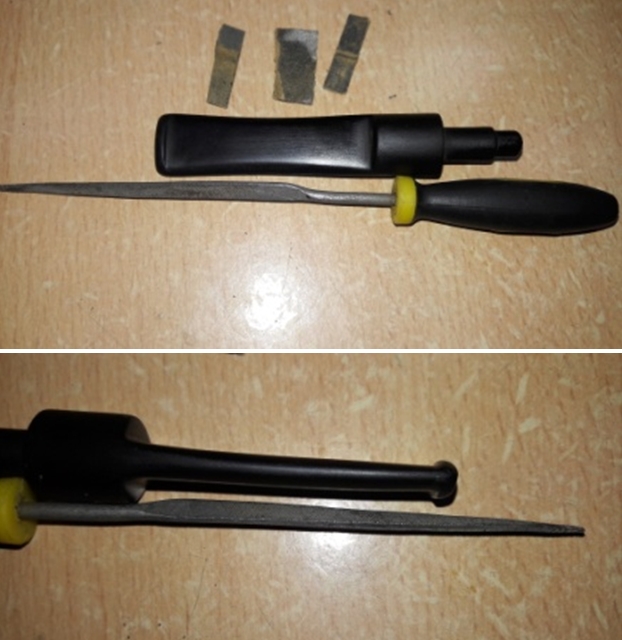
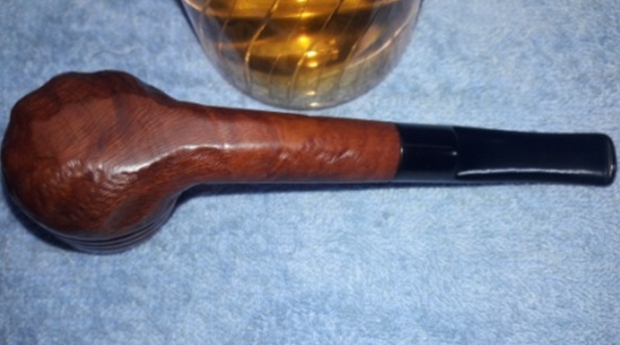
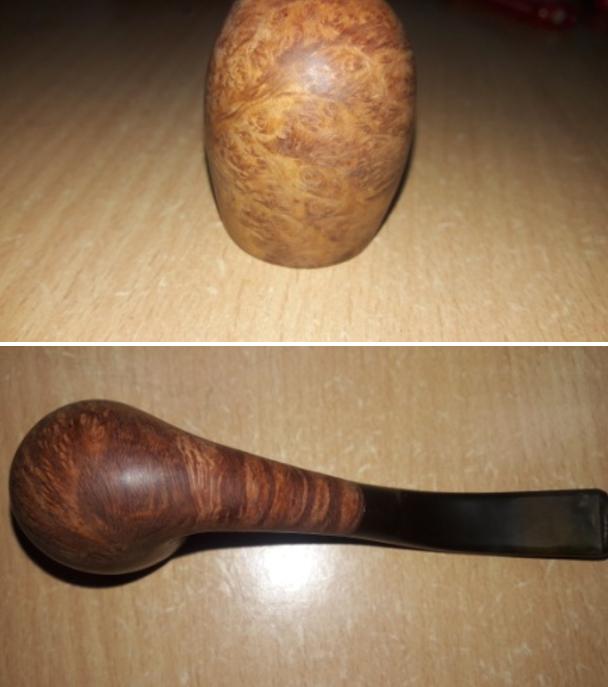
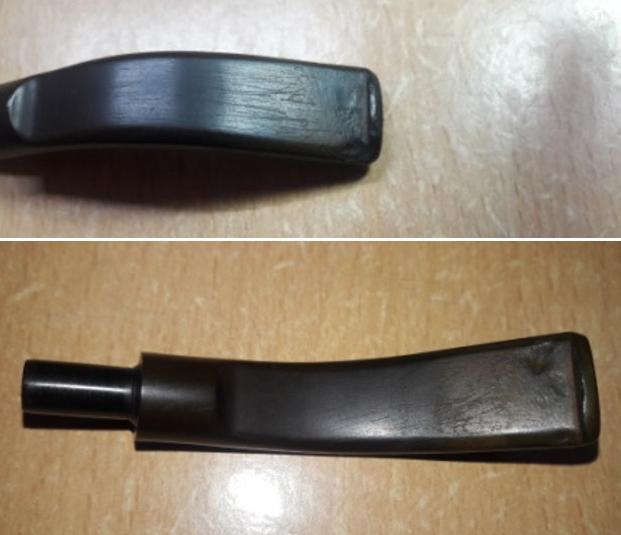
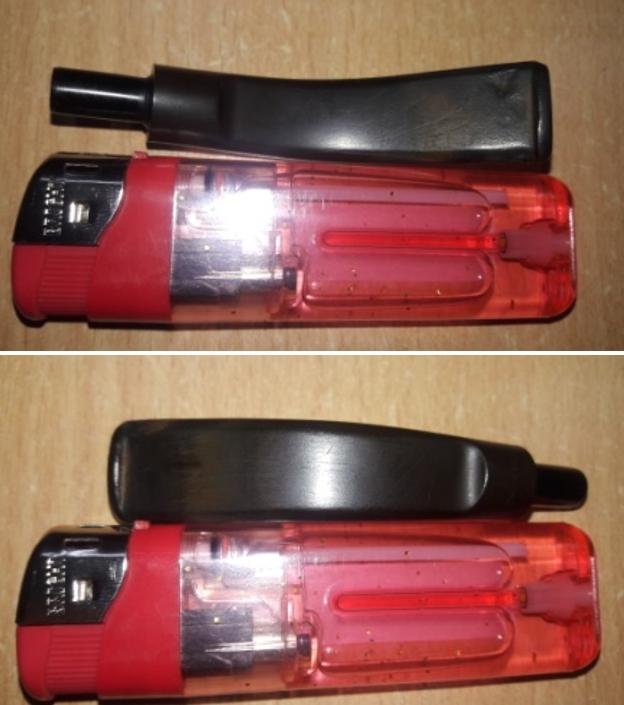
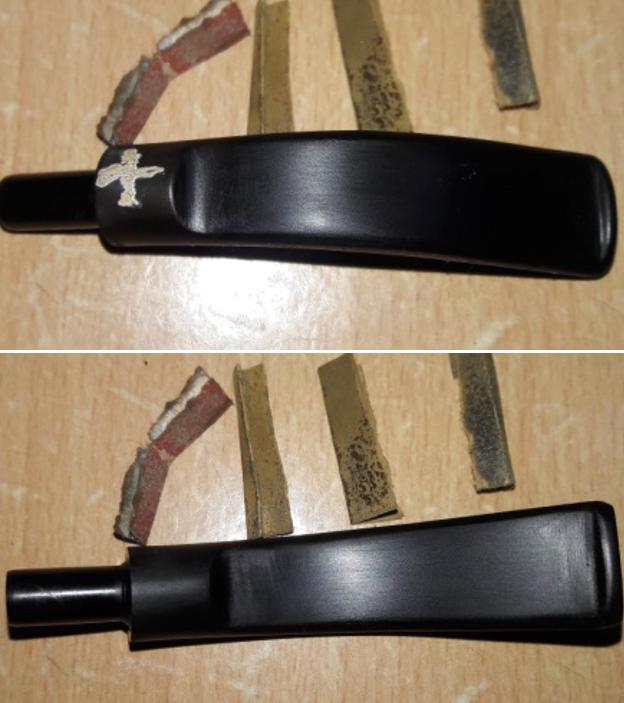
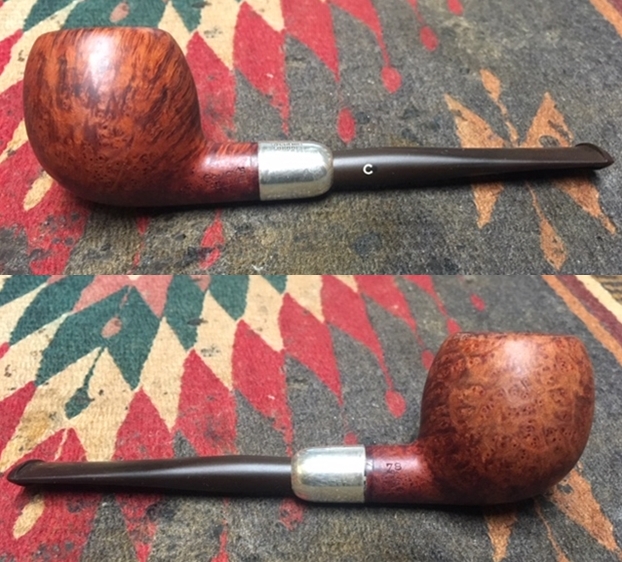
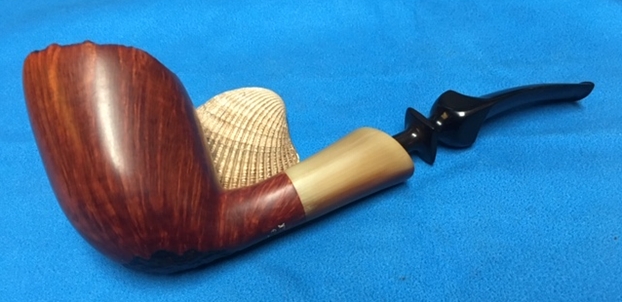
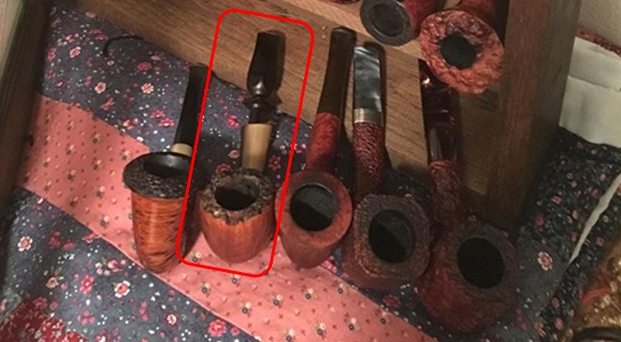
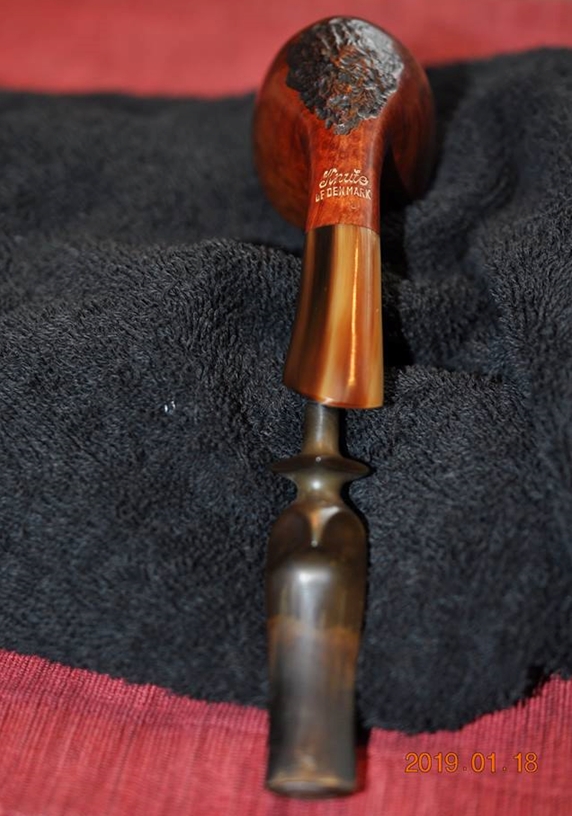
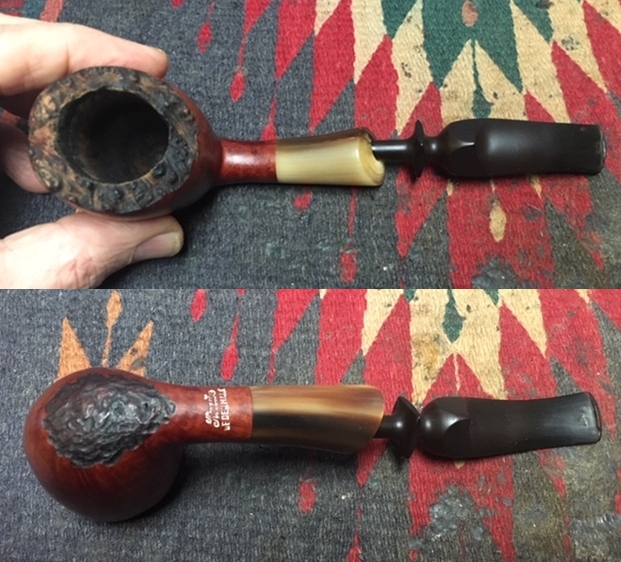
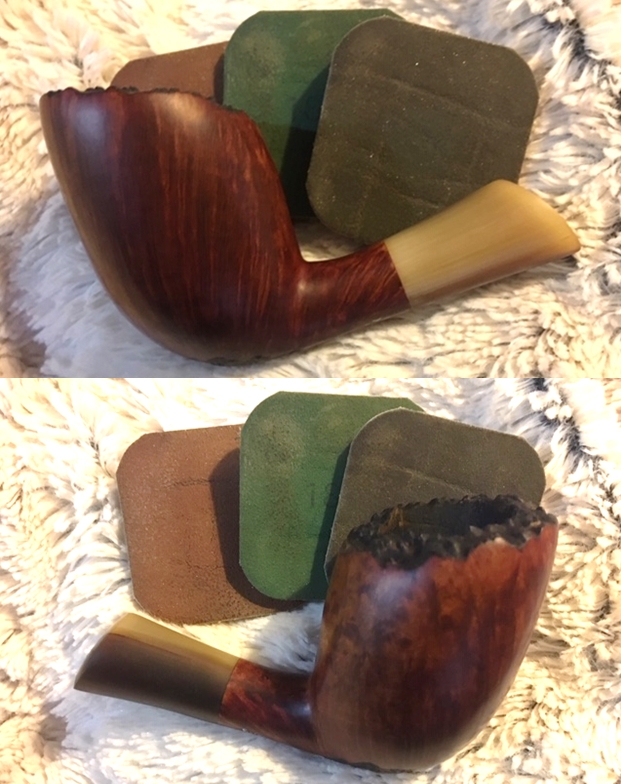
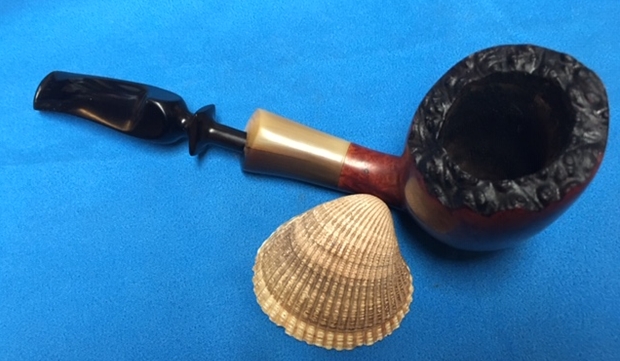
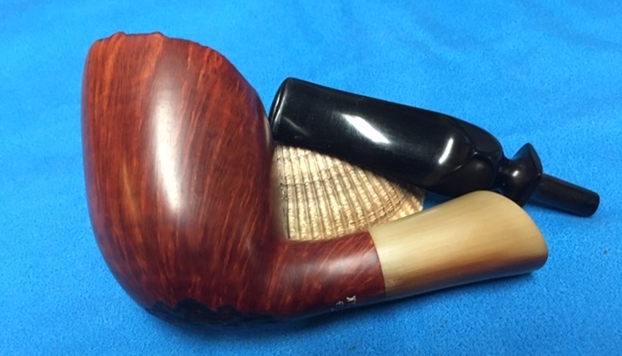
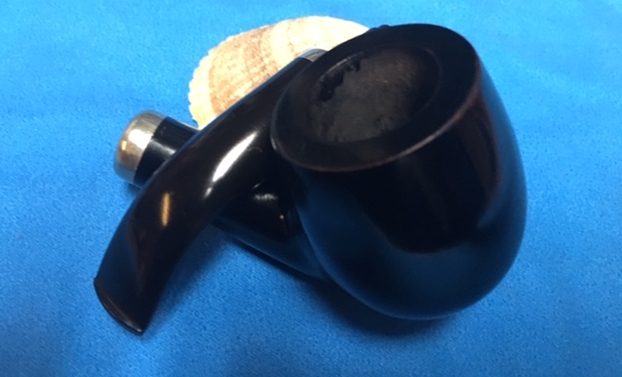
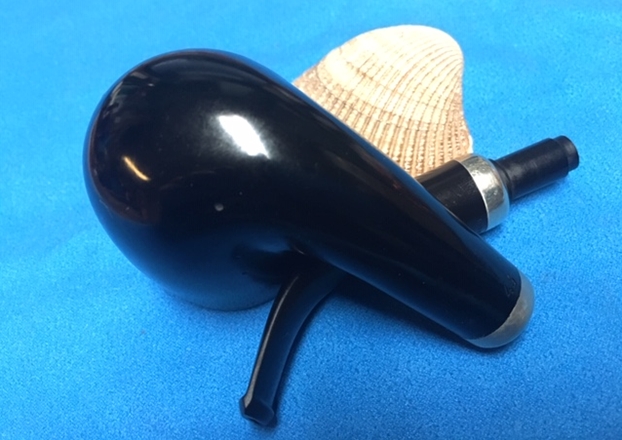
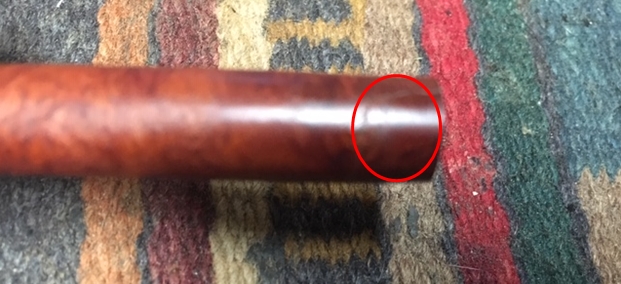 I went through my can of straight stems and found two that had possibilities as well as taking out a band that would fit the shank. I took a couple of photos of my options at this point. I decided to go with the tapered stem as I liked the look of the pipe with that stem.
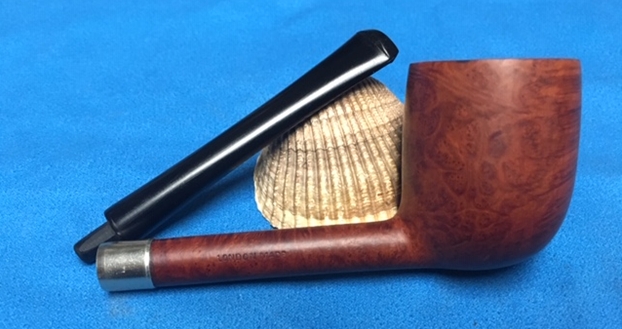
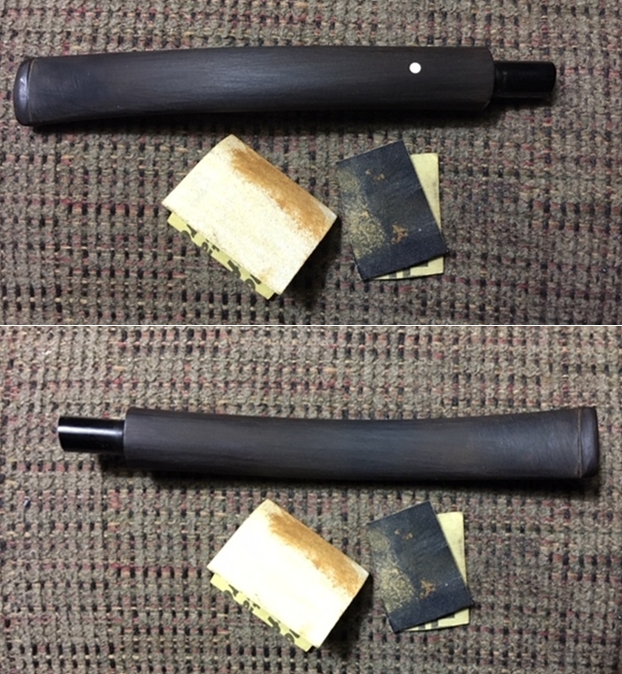
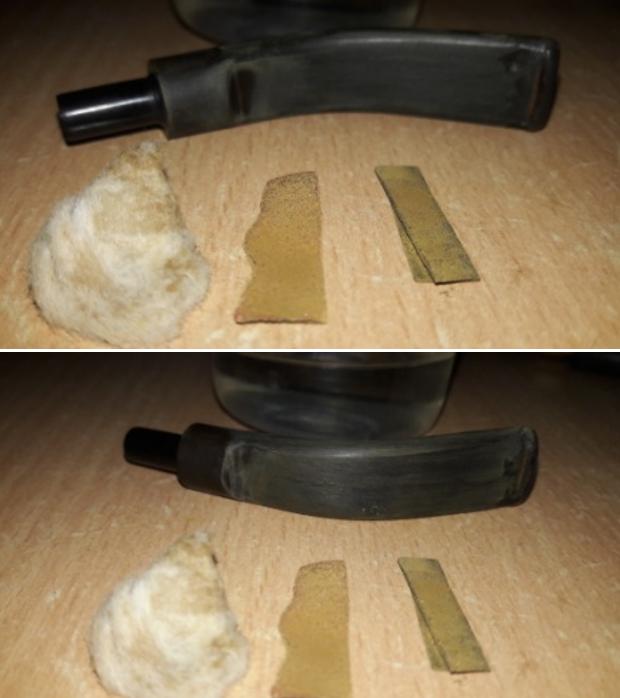
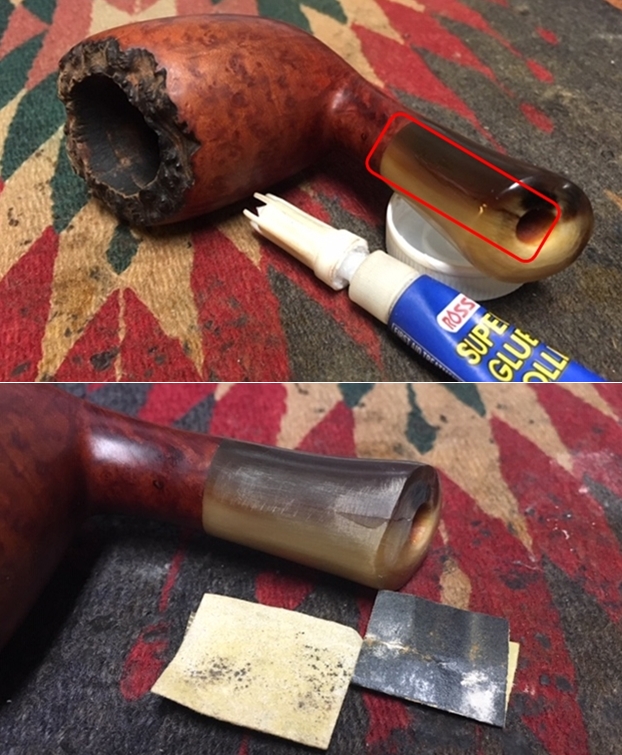
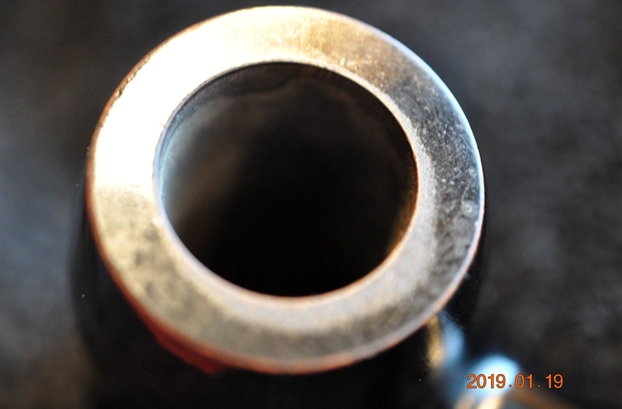
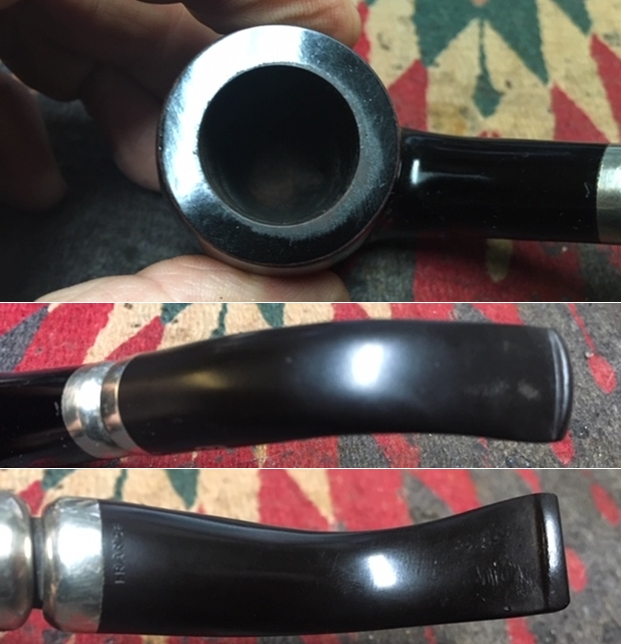
 I decided to band the shank first. I rubbed some all-purpose white glue on the shank end and pressed band onto the shank. I cleaned off the excess glue with a damp cloth. The glue would dry and bind the pieces together and hold the band onto the shank end. Once the glue had cured I would fit a new stem. I took some photos of the newly banded shank to show the progress at this point.
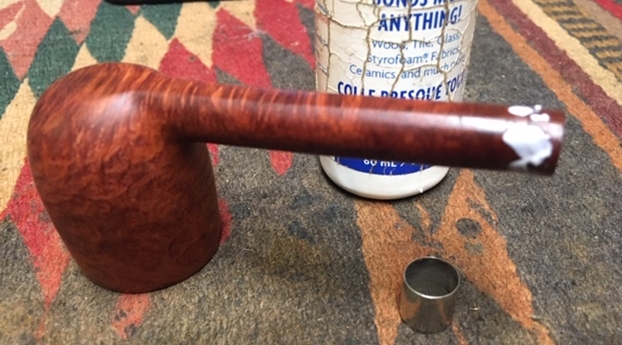
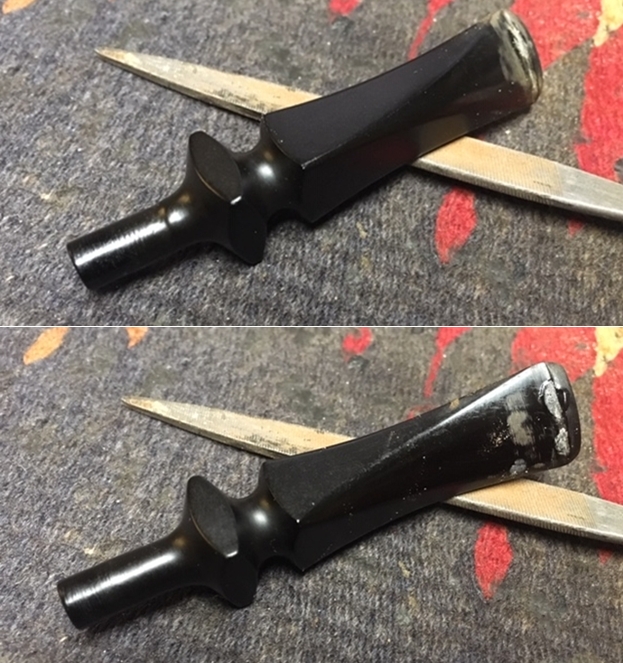
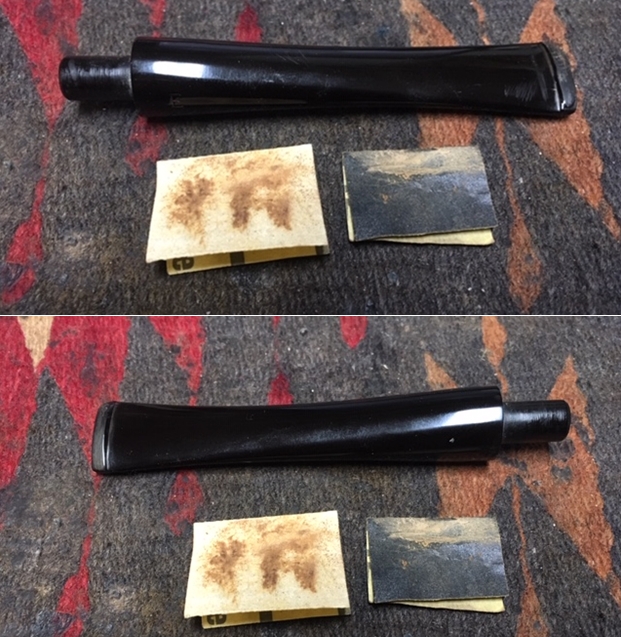
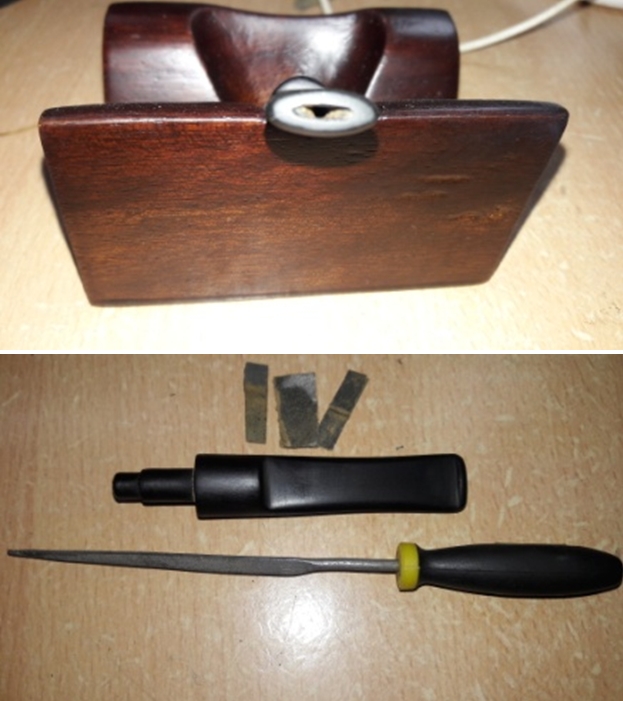
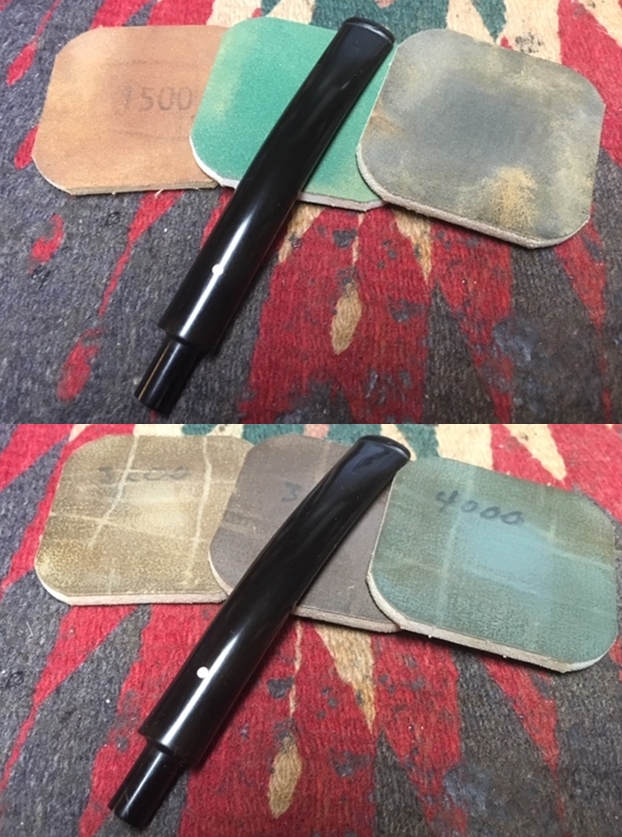
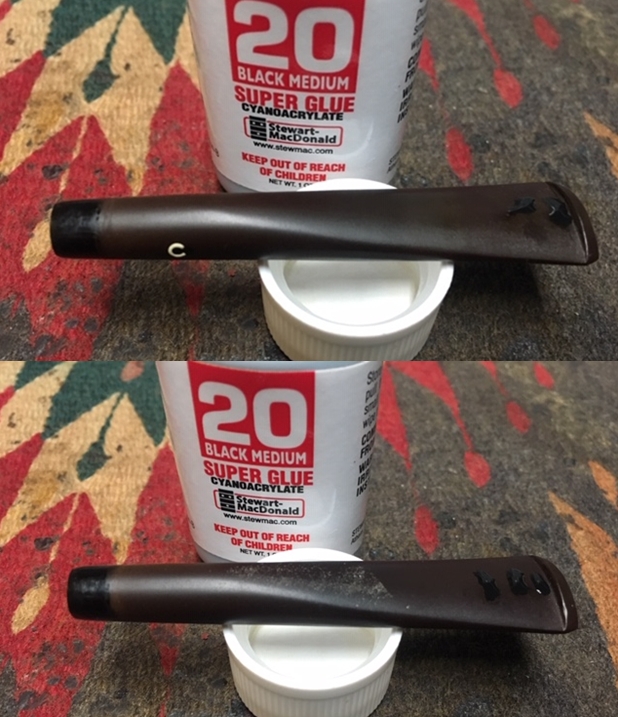
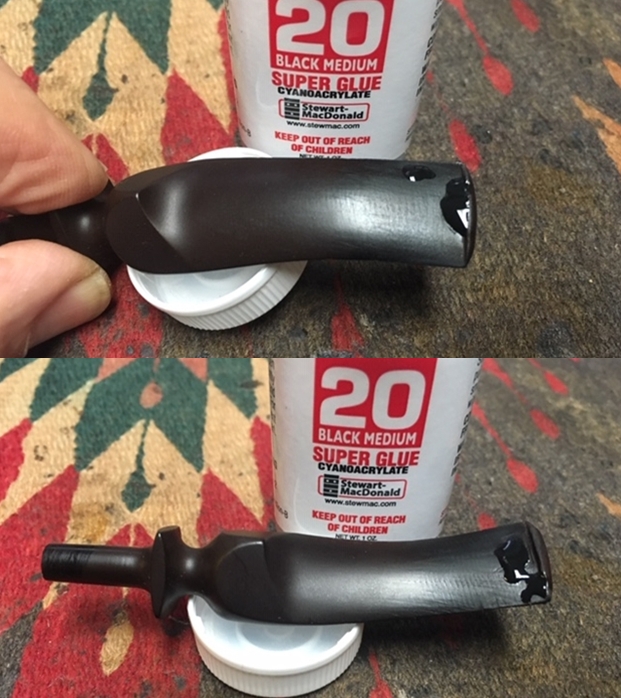
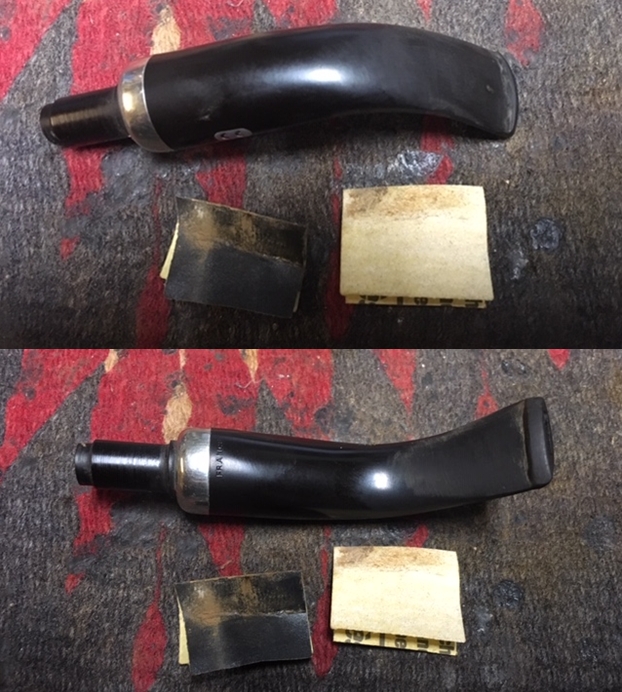
 While the glue on the band was curing I use a needle file to reduce the diameter of the tenon. I had measured previously so I knew what I needed to remove. I sanded it with a piece of 220 grit sandpaper to smooth out the tenon.
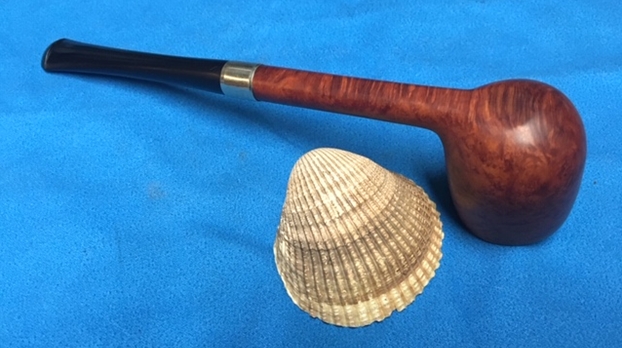
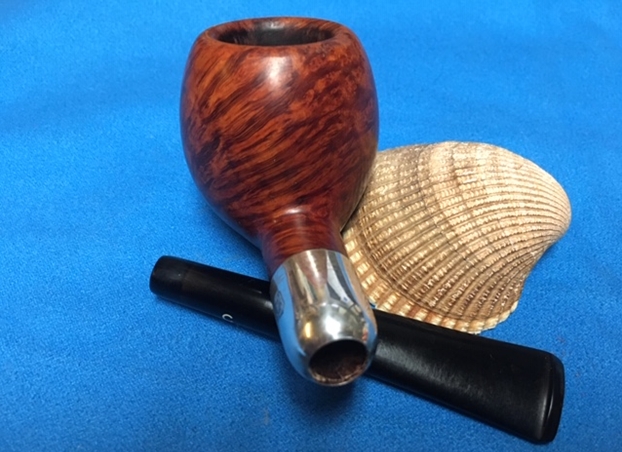
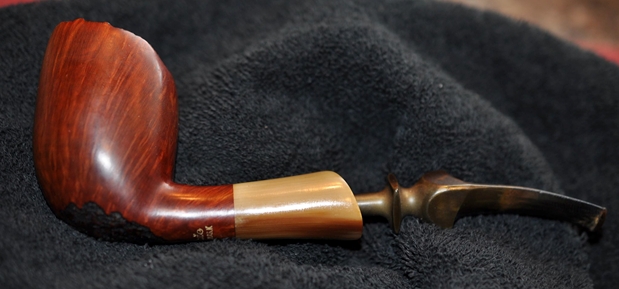
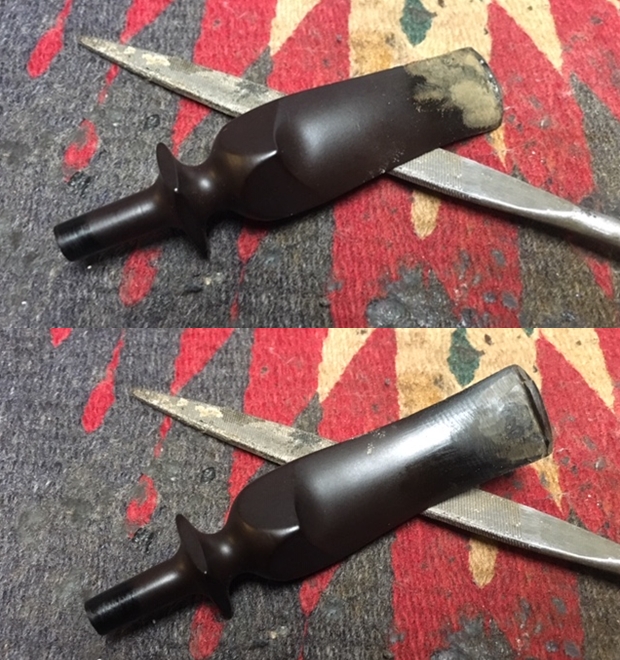
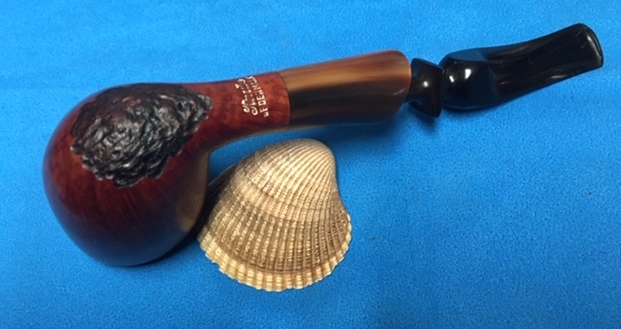
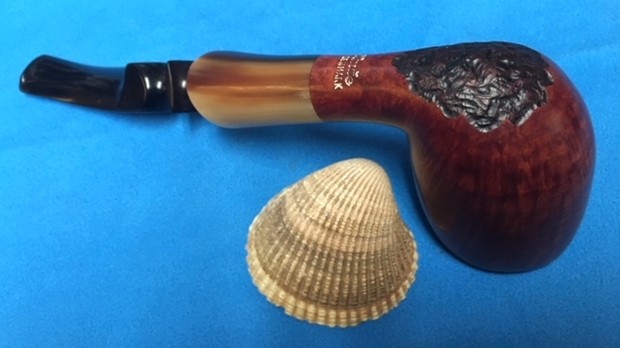
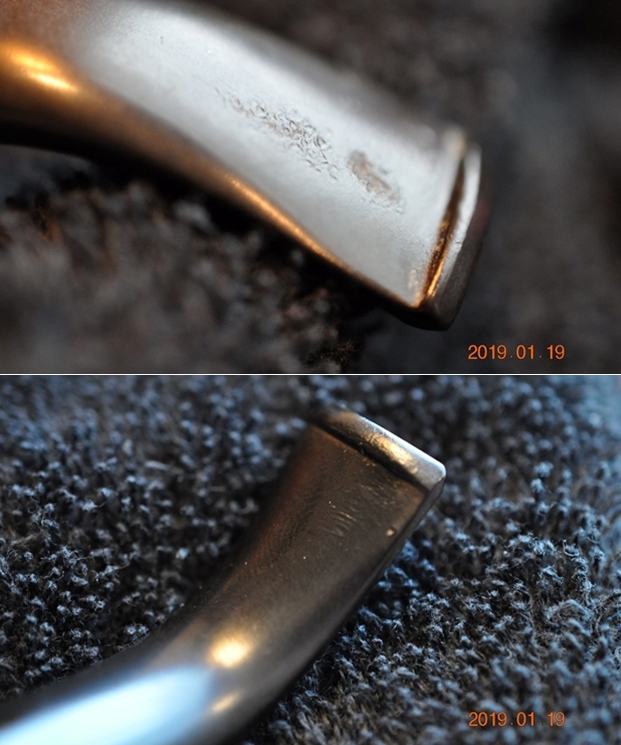
 I fit the stem to the shank and took a few photos to show what the pipe would look like with the new stem. The diameter of the stem at the shank was a little off so it would need to be sanded to reduce it to fit and there were a few tooth marks and some chatter on the stem but otherwise it was looking good.
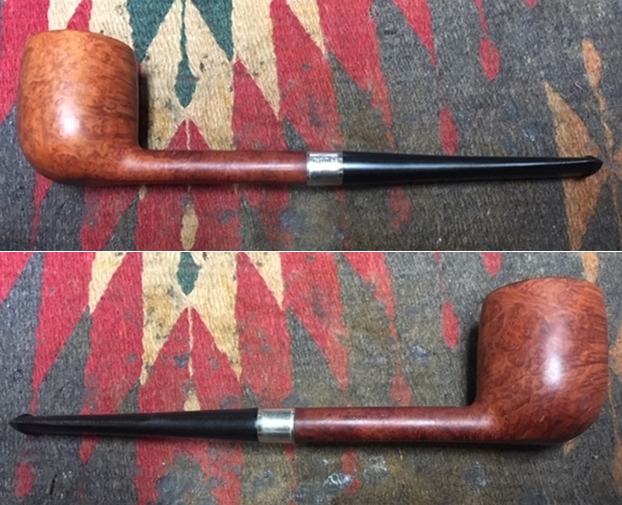
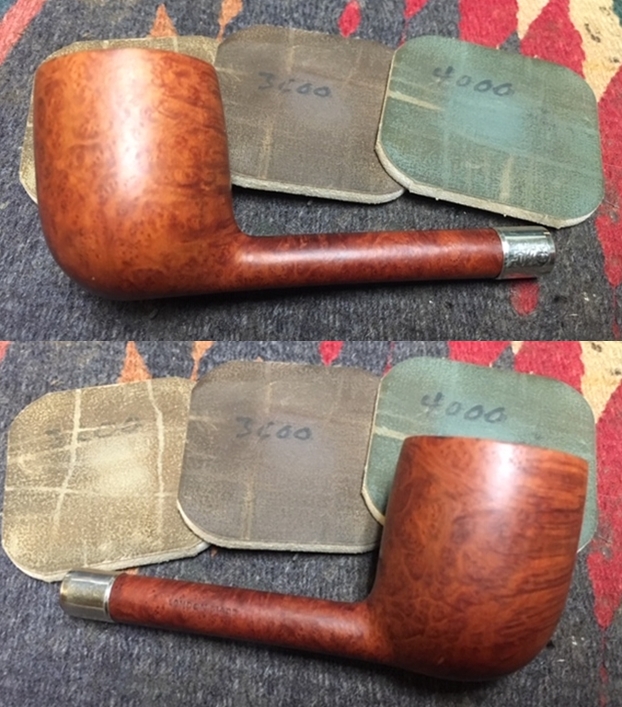
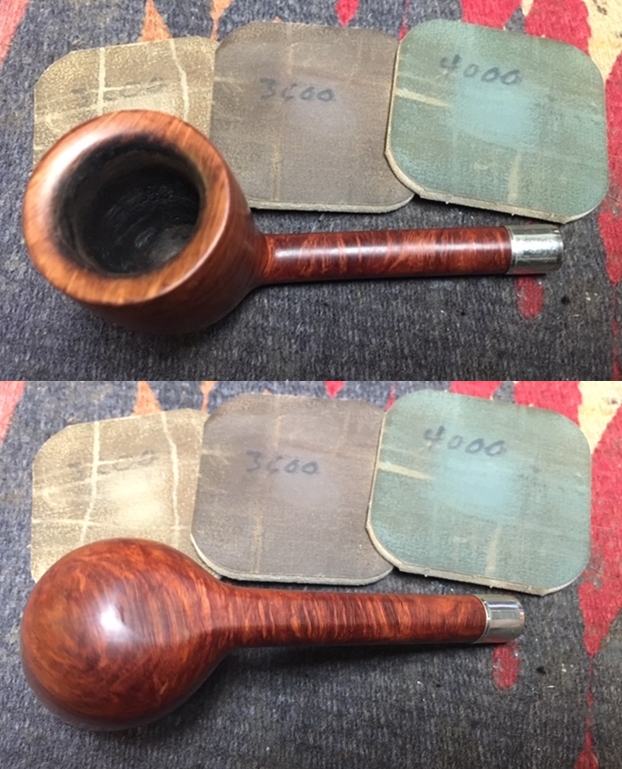
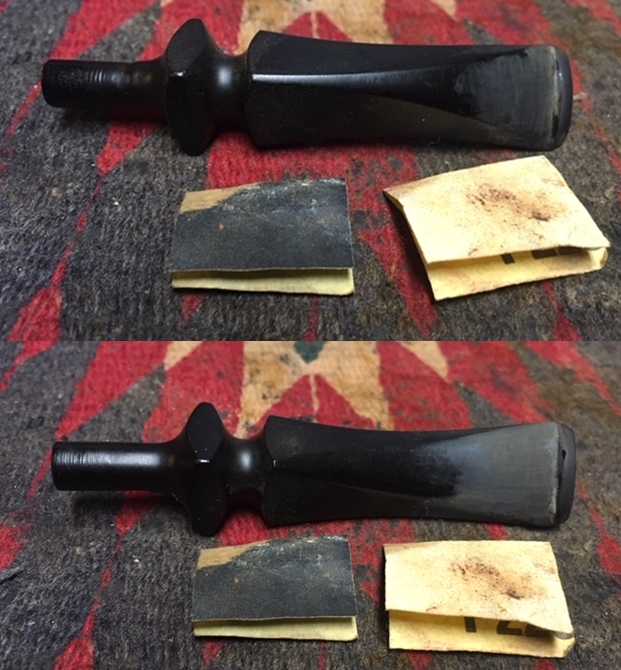
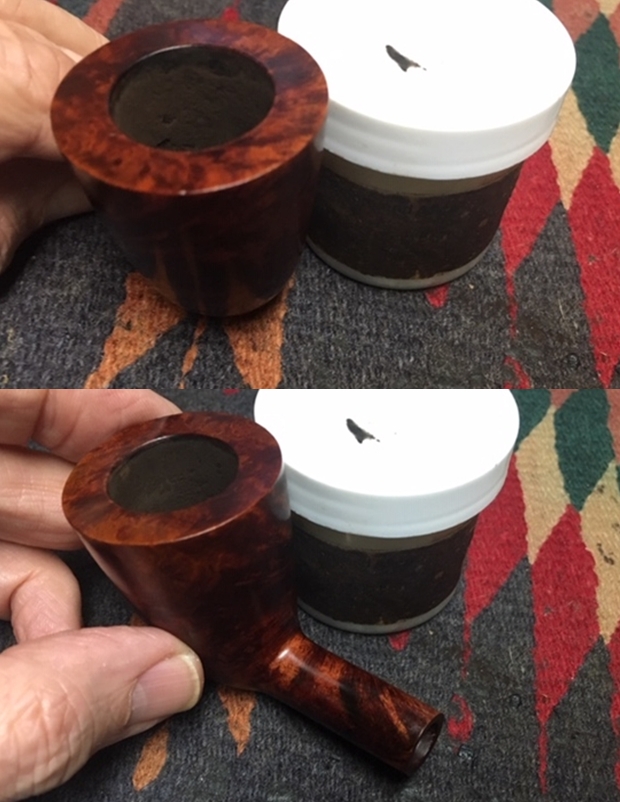
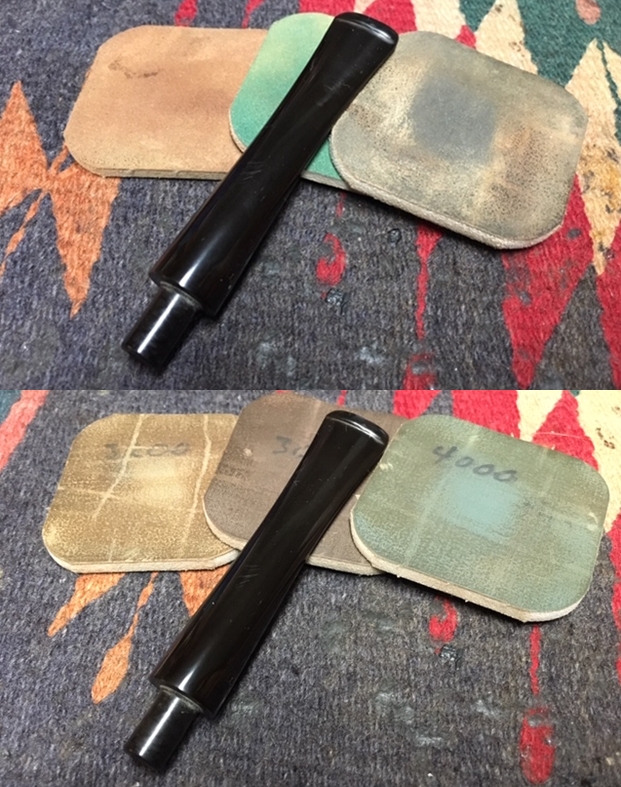
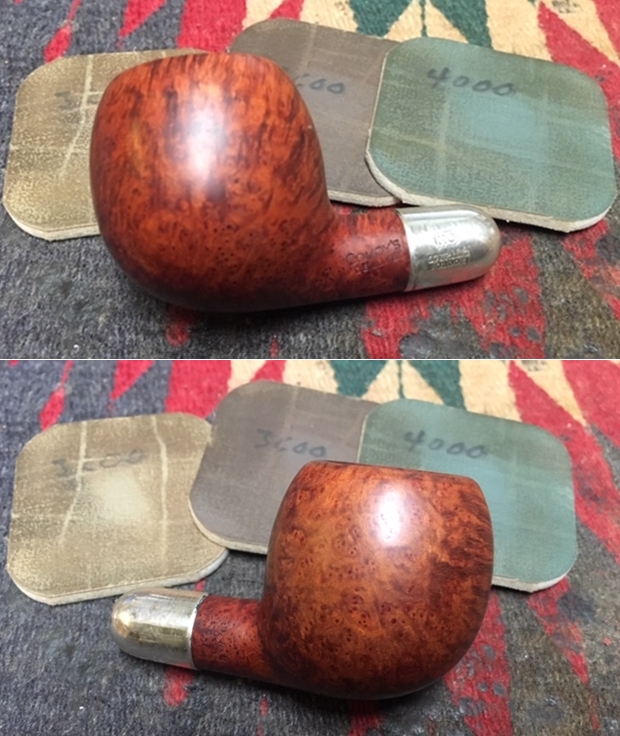
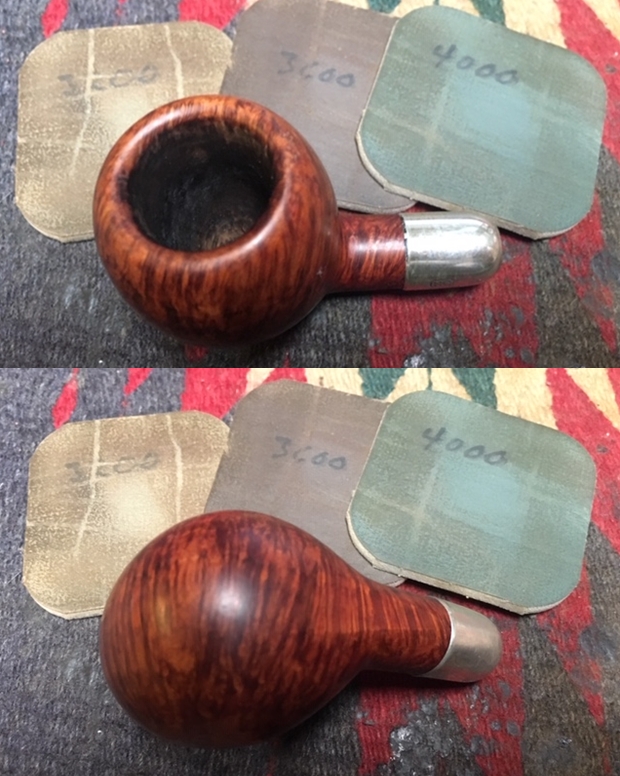
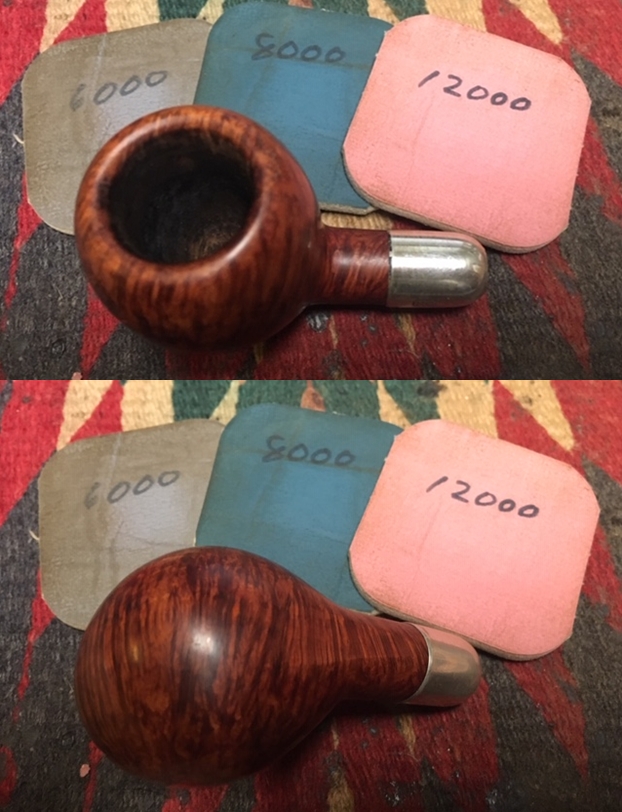
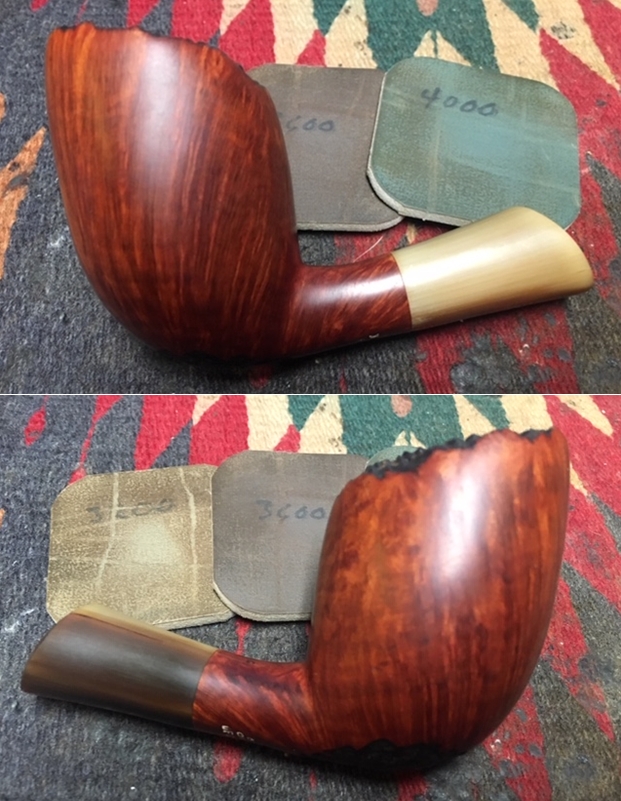
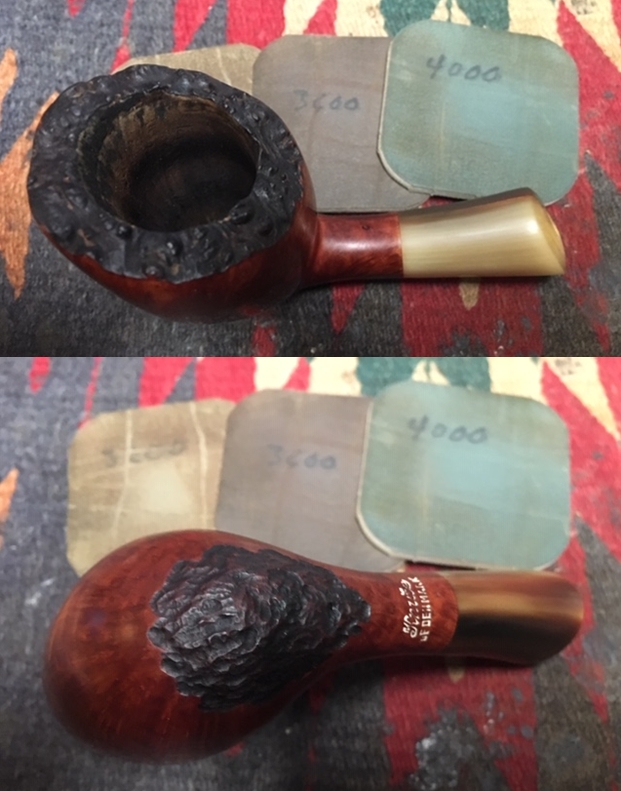
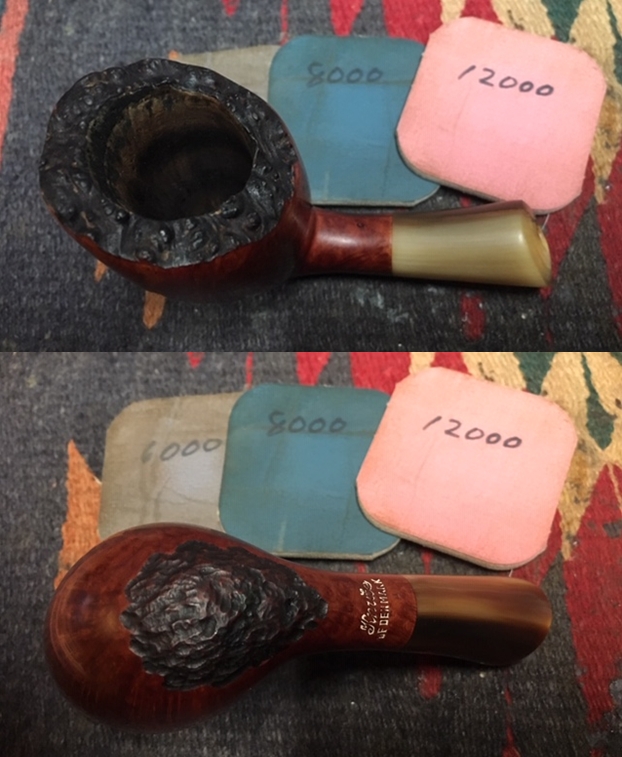
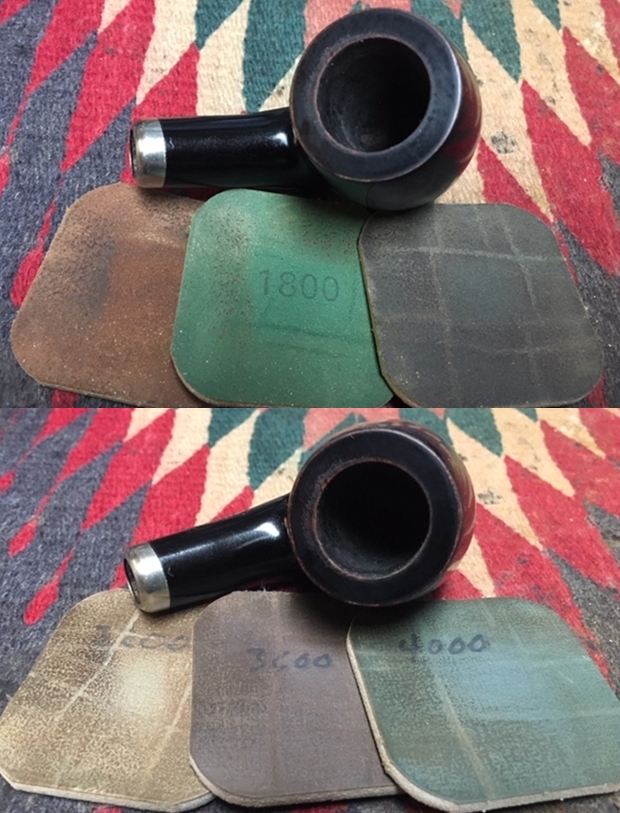
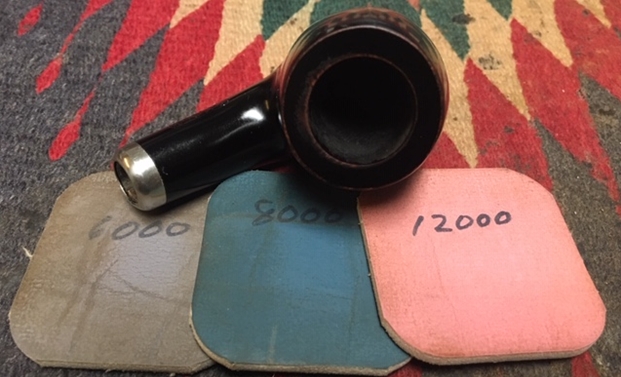
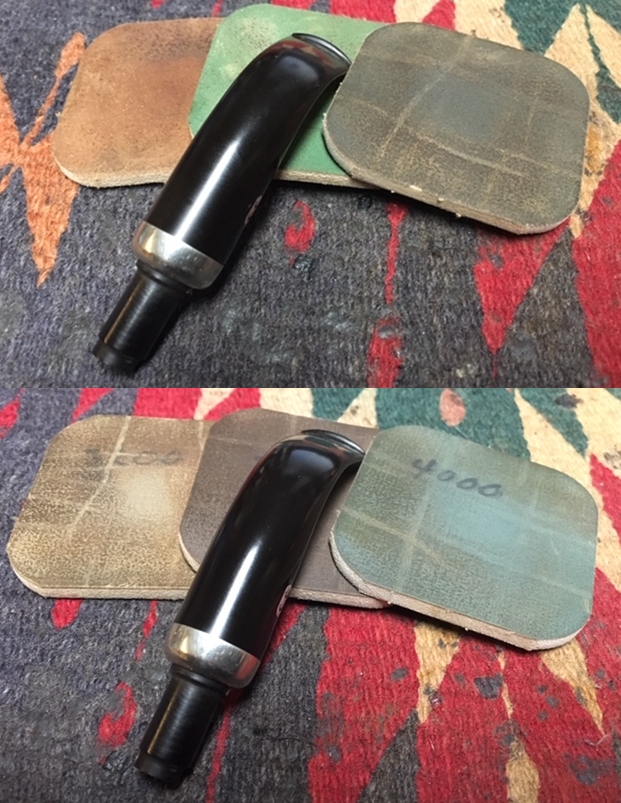
 I sanded the rim top with a folded piece of 220 grit sandpaper to remove the damage and to minimize the darkening. I polished the rim and the bowl with micromesh sanding pads – wet sanding with 1500-2400 grit pads and dry sanding with 3200-12000 grit pads. I wiped the rim down with a damp cloth after each pad. The photos show the progress.

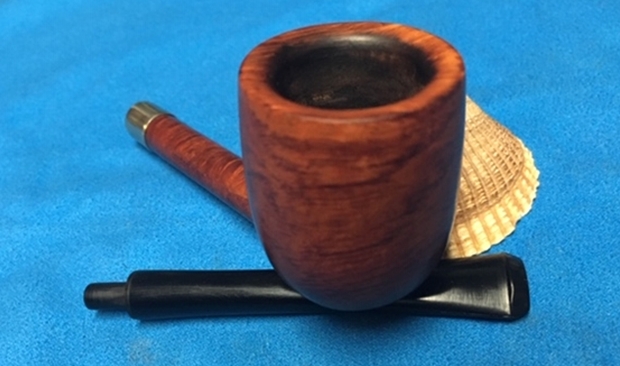
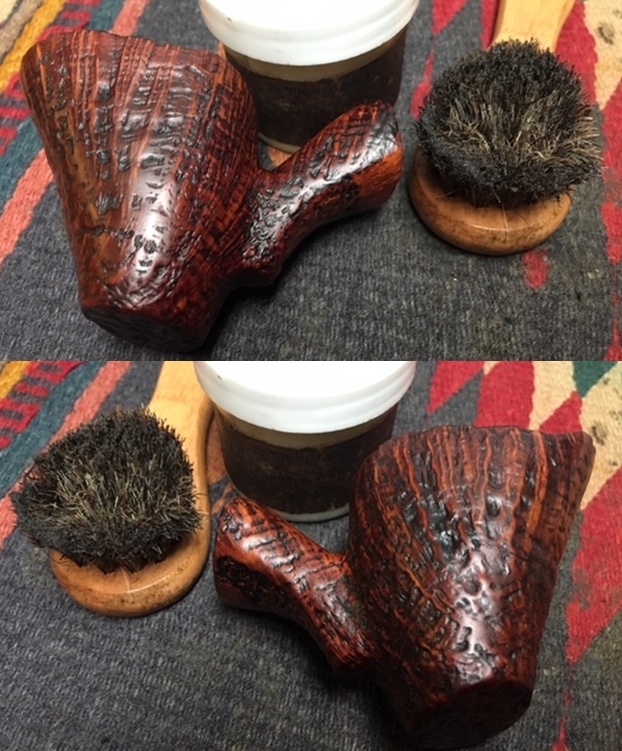
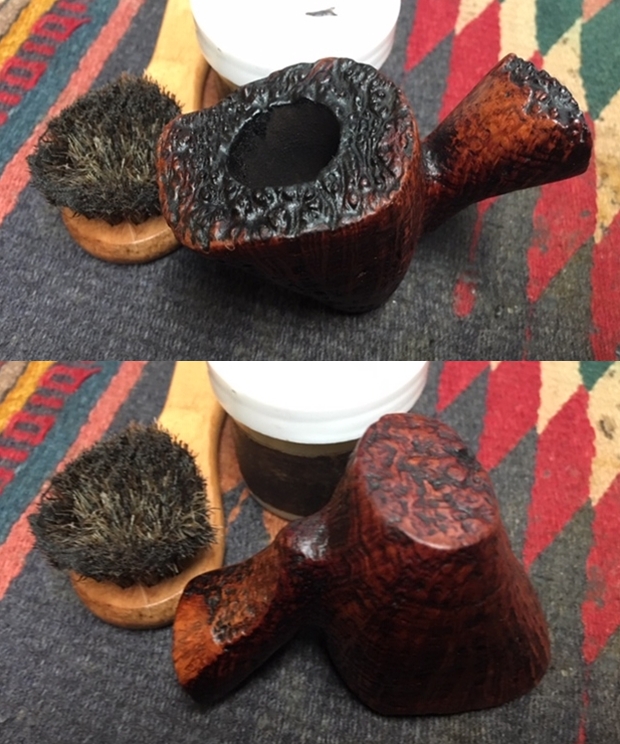
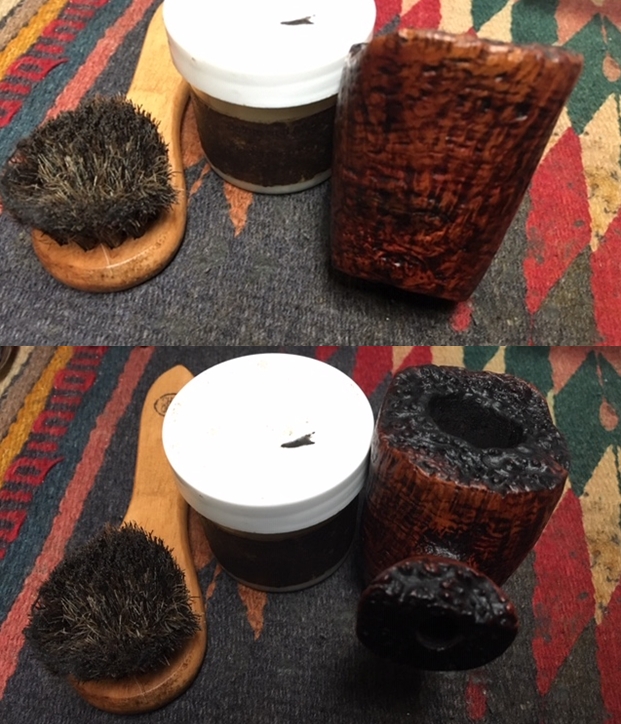
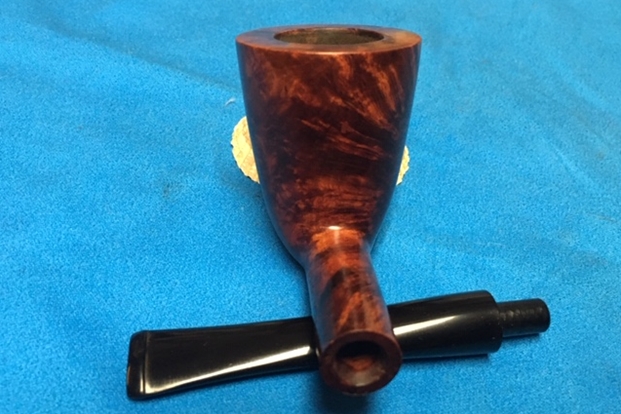
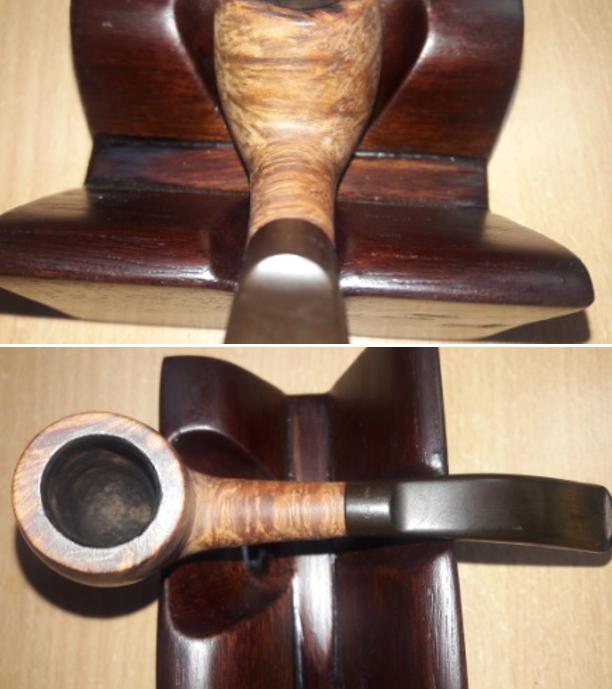
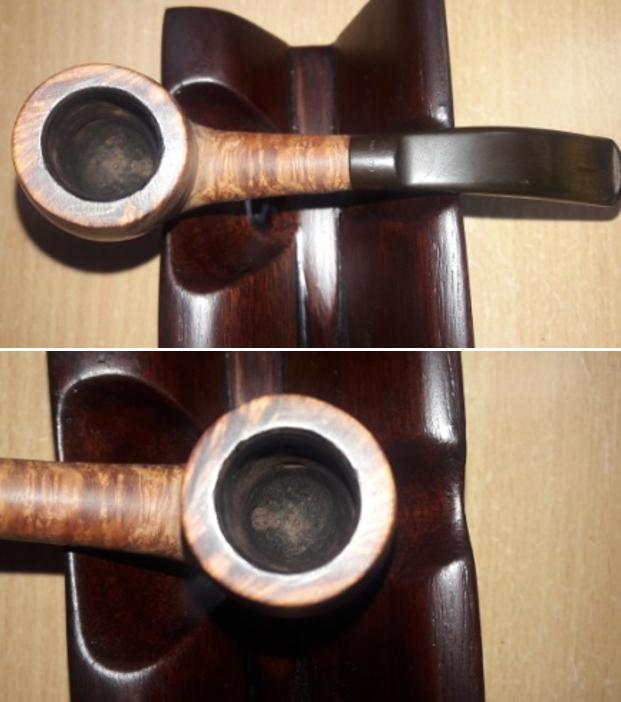
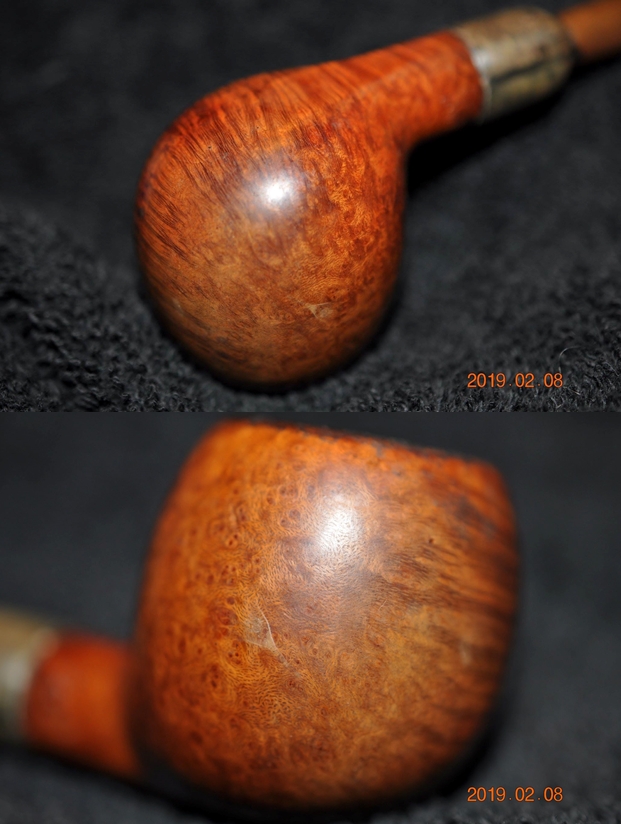
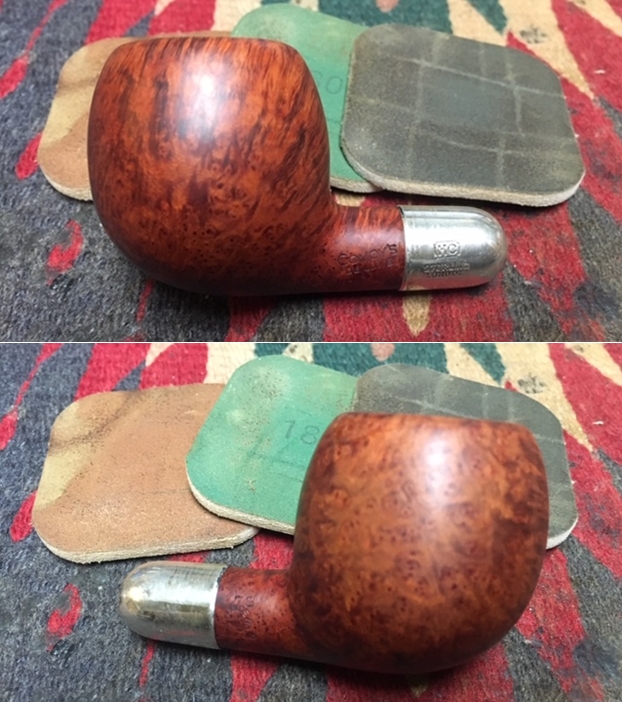
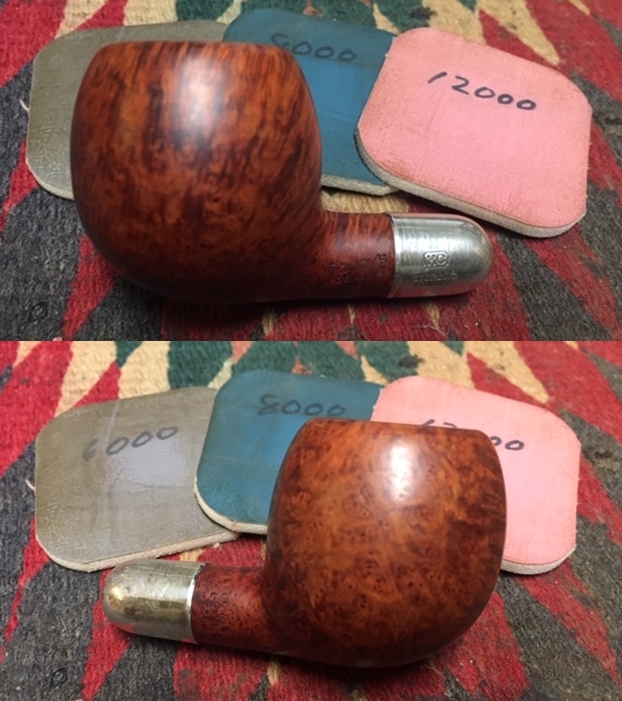
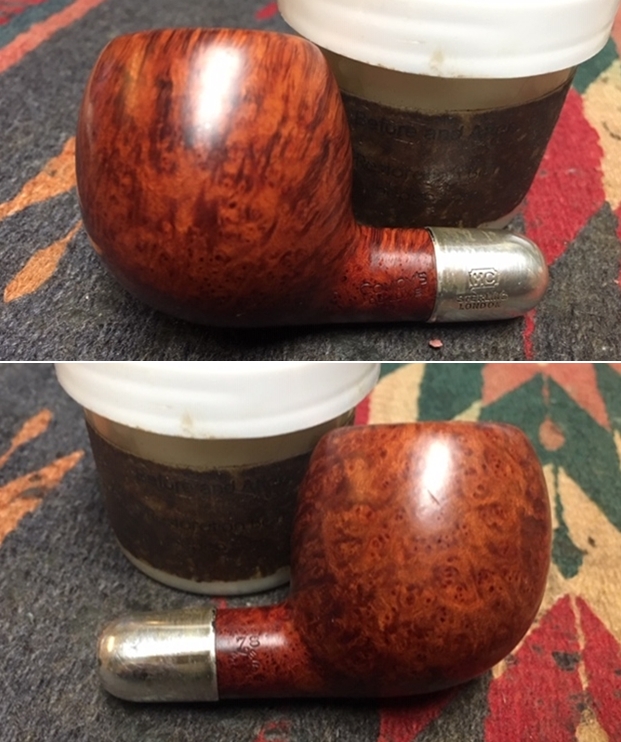
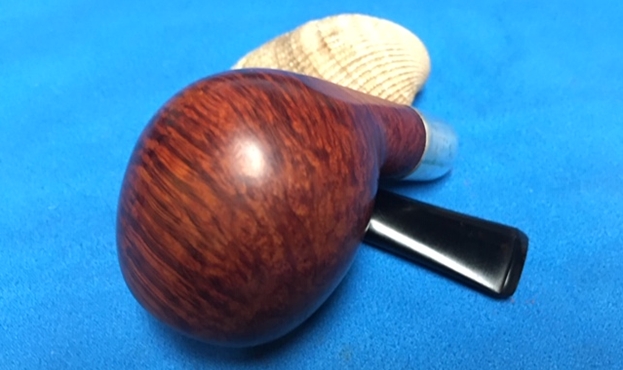
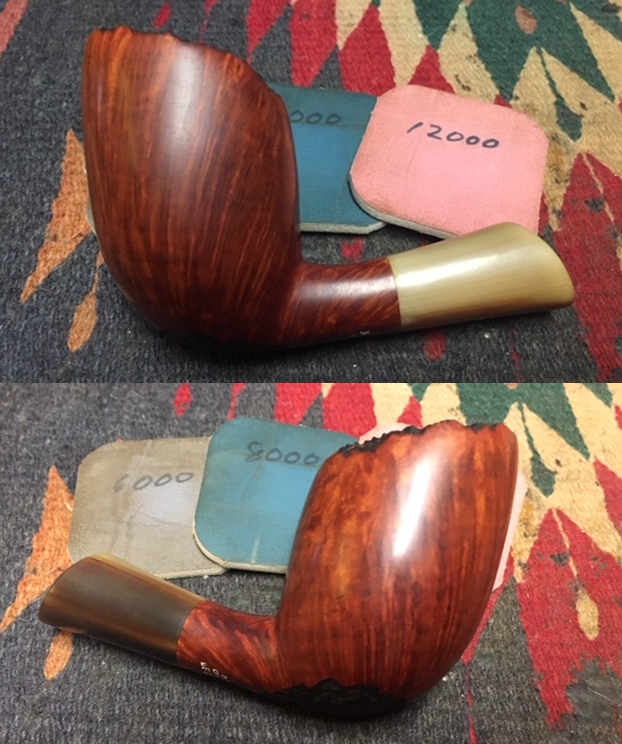
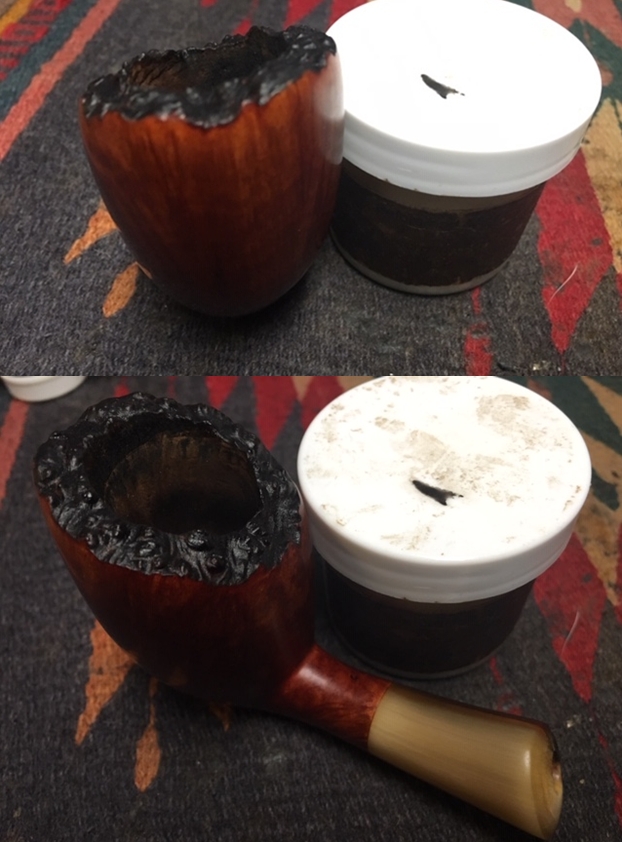
 I worked some Before & After Restoration Balm into the surface of the briar with my fingertips to clean, enliven and protect it. I let the balm sit for a little while and then buffed with a cotton cloth to raise the shine. The following photos show the bowl at this point in the restoration process. The bowl and the rim top look very good with the beautiful grain popping around the rim and sides of the bowl.
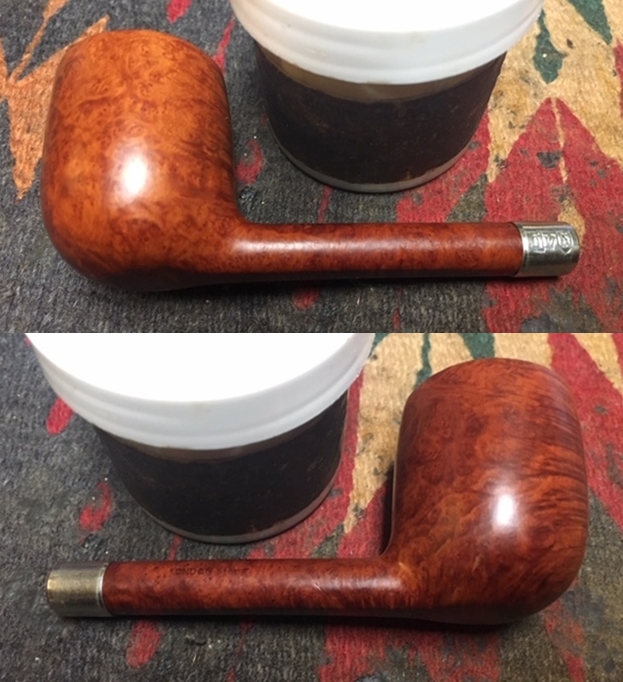

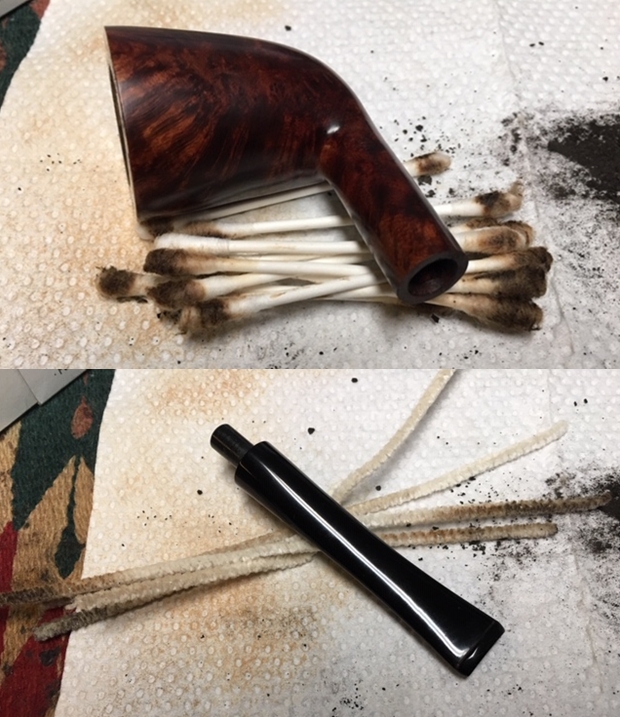
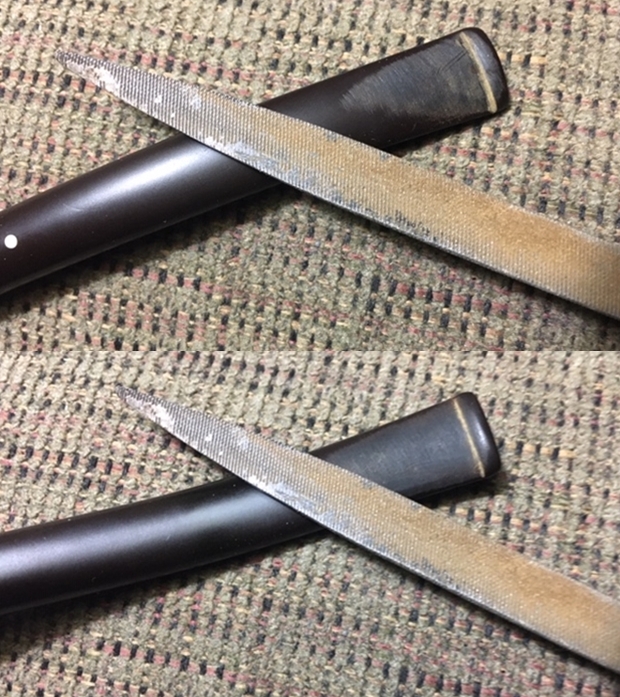
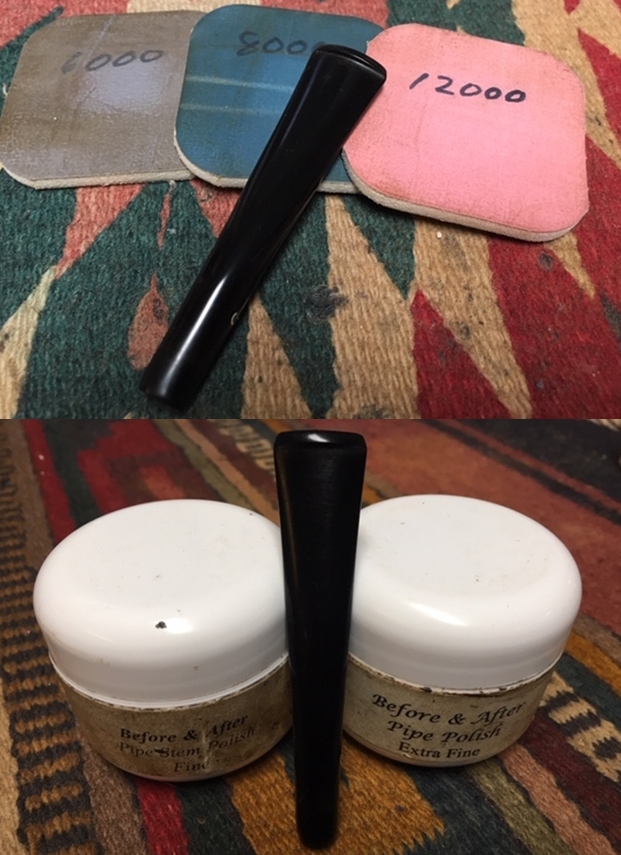
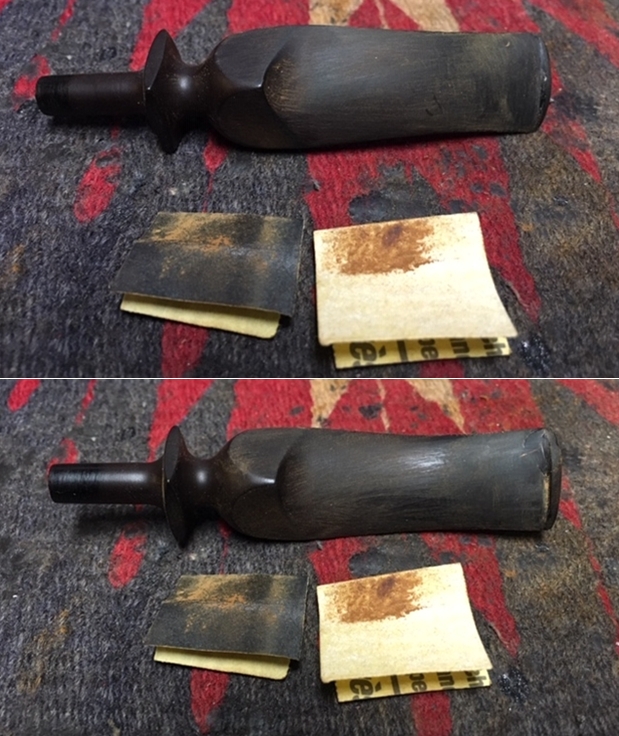
 With the bowl finished I set it aside and turned my attention to the stem. I sanded the stem and button surface with 220 grit sandpaper to smooth out the tooth marks and chatter on the surface of the stem and the button. The stem surface looks better at that point. I forgot to take photos of the process of removing the excess material on the diameter of the stem so that the fit against the band and shank looked better. Once that was done then I started the polishing of the surface with 400 grit wet dry sandpaper.
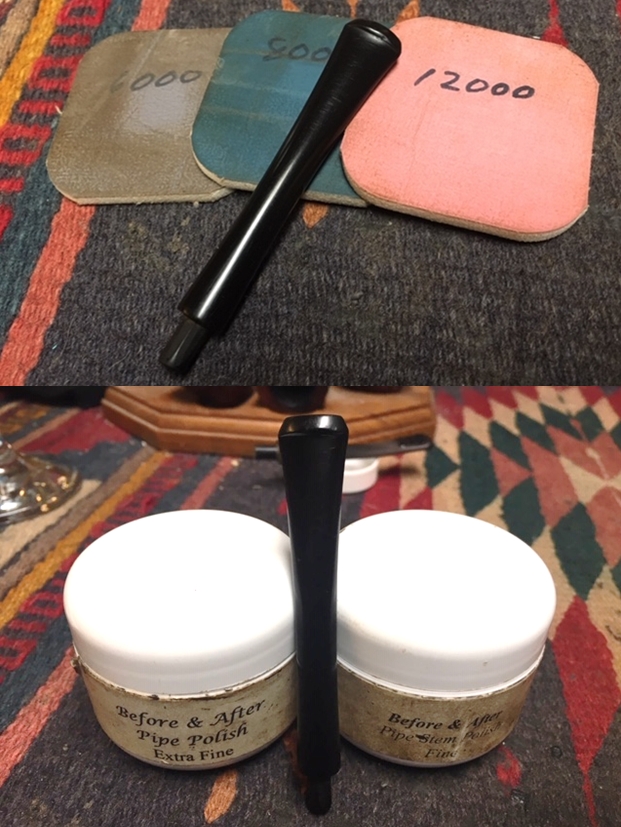
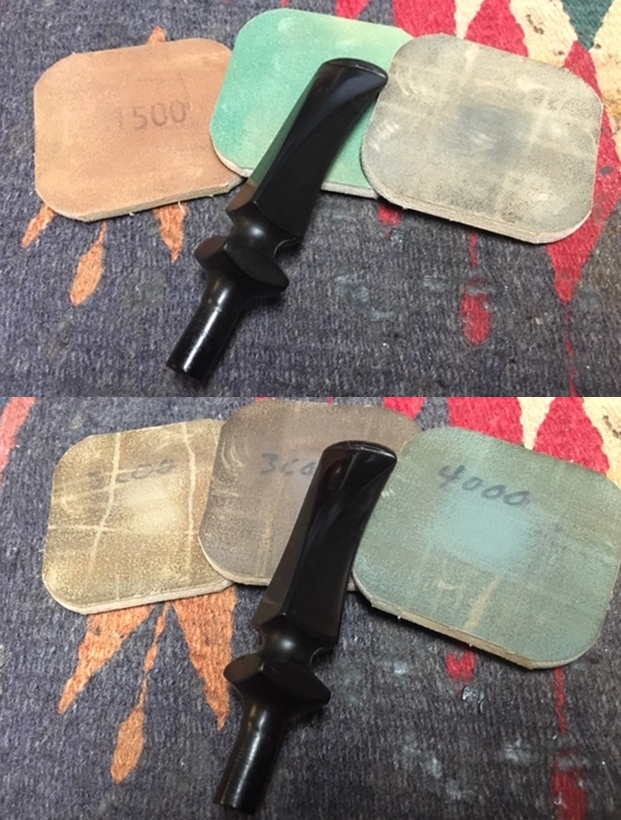
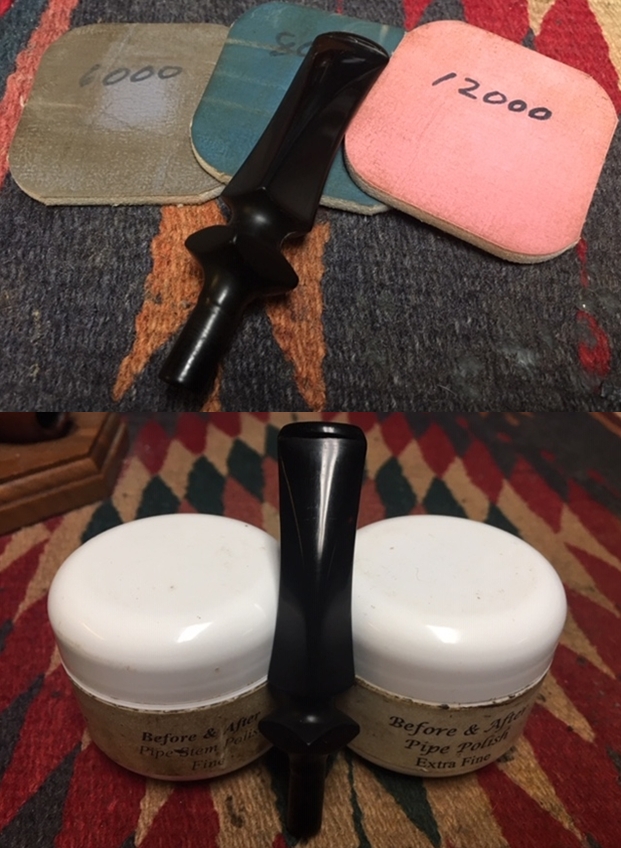
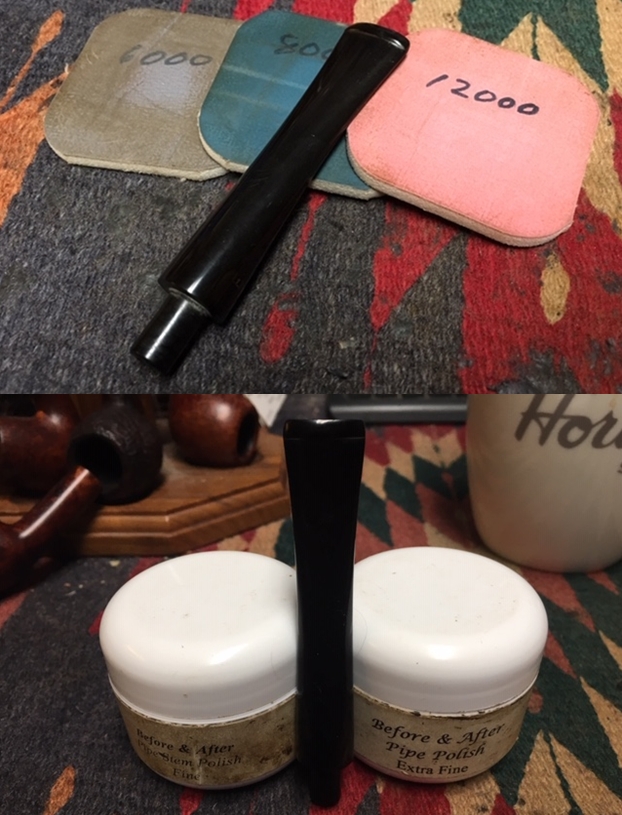
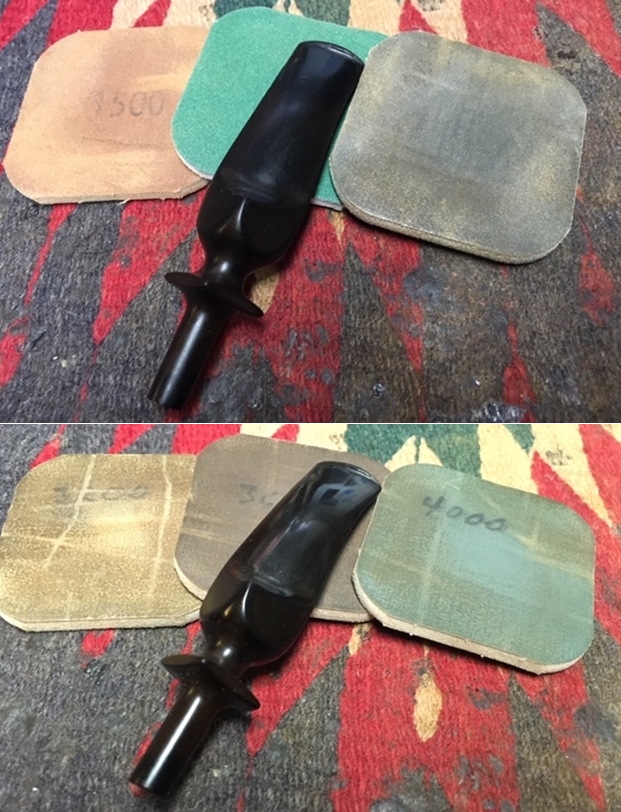
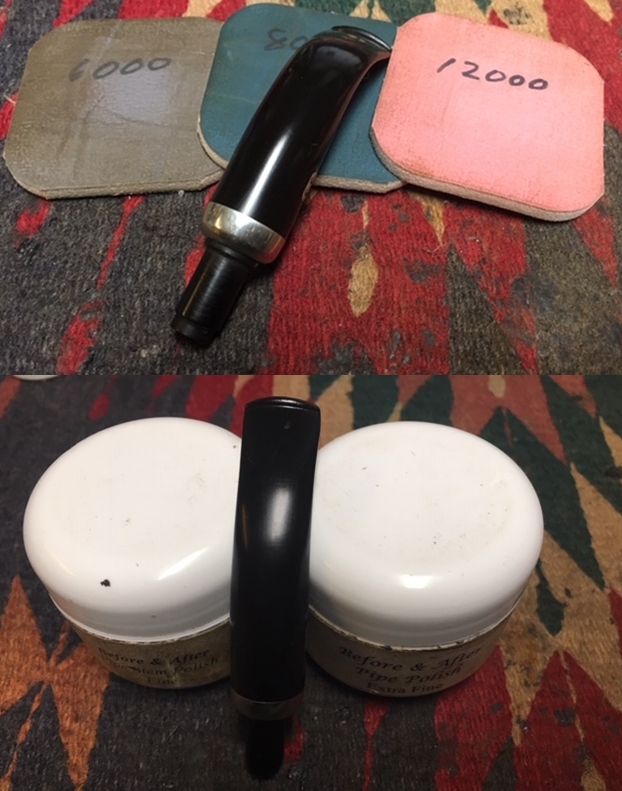
 I polished the stem with micromesh sanding pads – wet sanding it with 1500-2400 grit pads and dry sanding it with 3200-12000 grit pads. I wiped the stem down with a damp cloth after each pad. I further polished it with Before & After Pipe Polish – both Fine and Extra Fine. I wiped it down with a coat of Obsidian Oil and set it aside to dry.
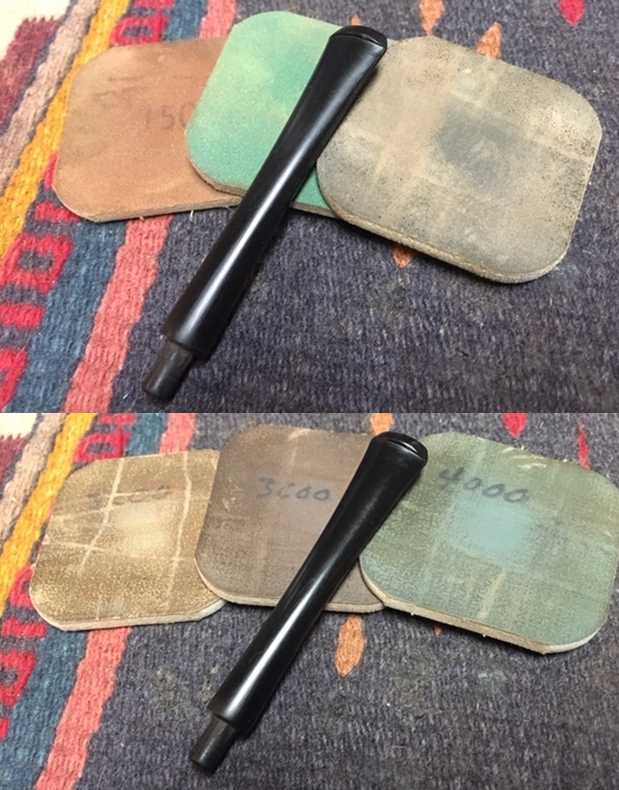
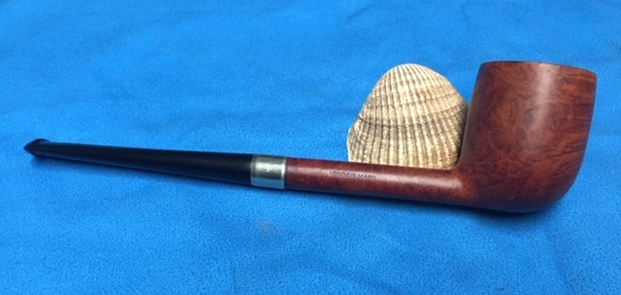
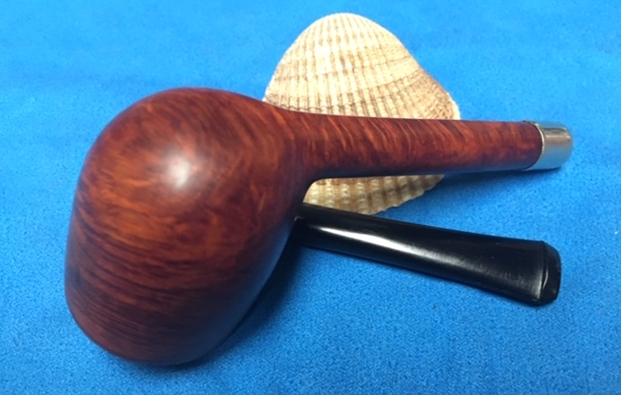
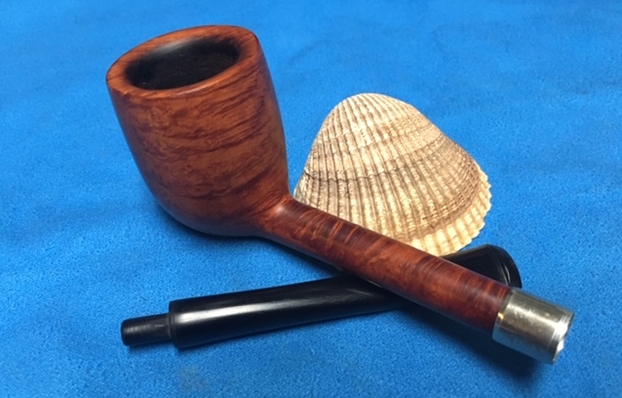
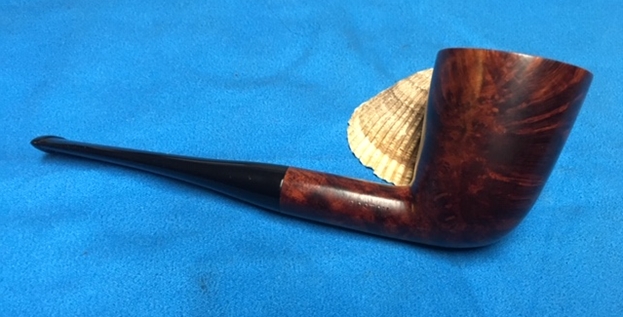
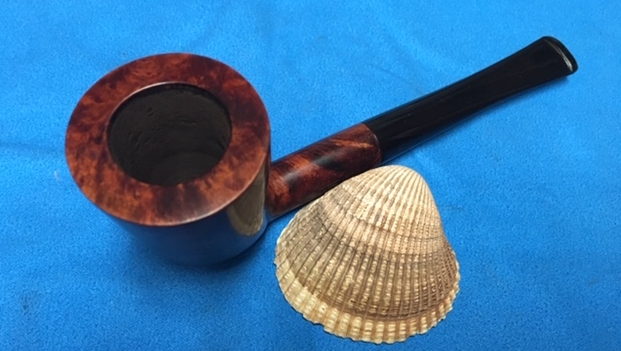
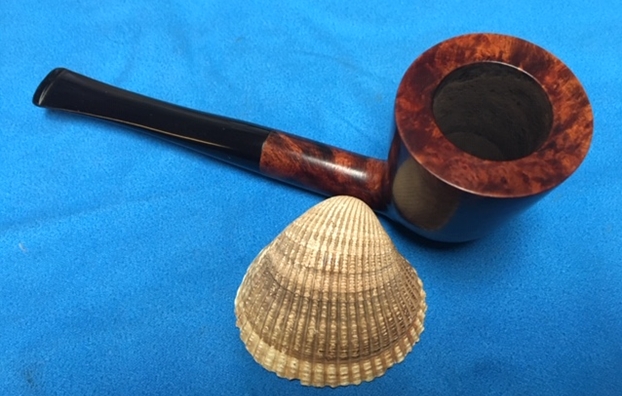
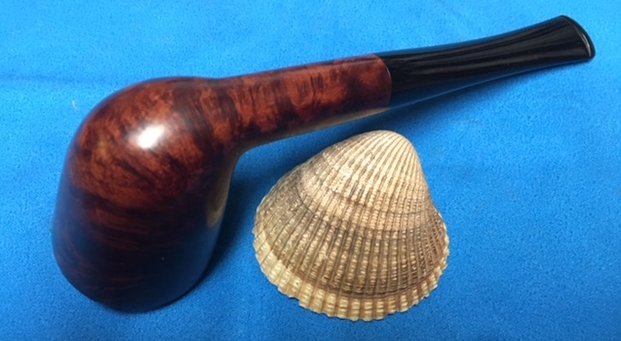
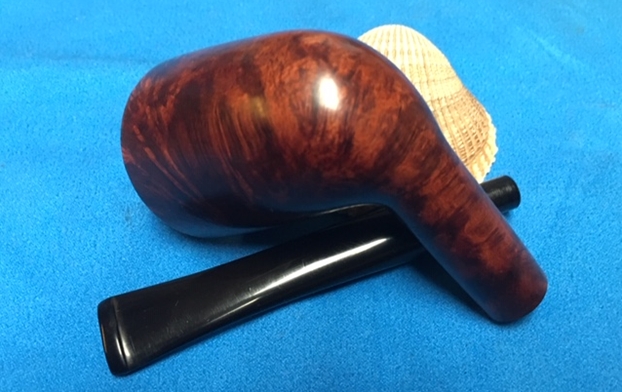
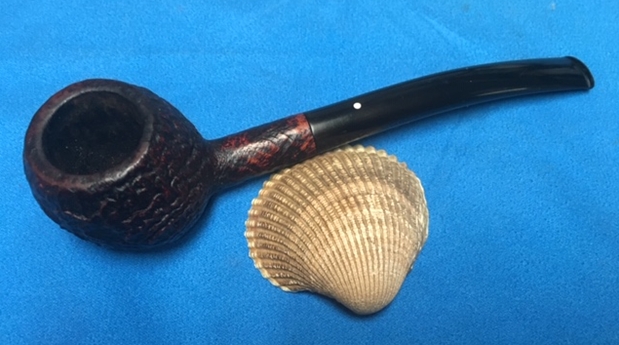
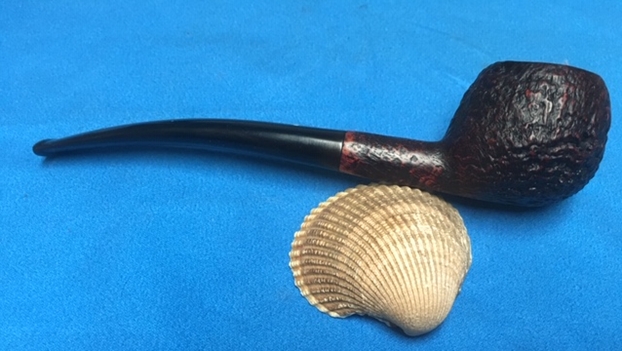
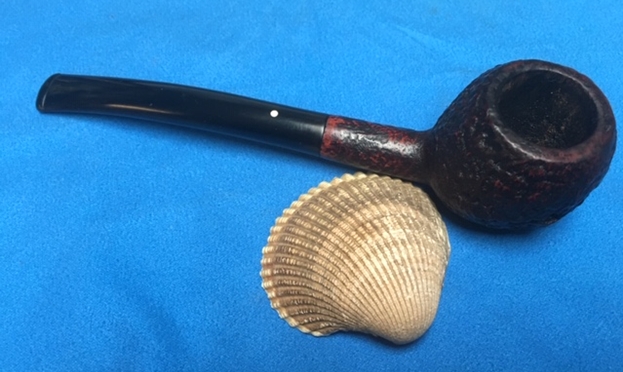
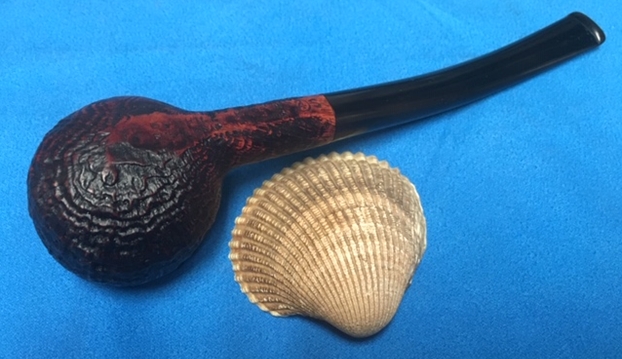
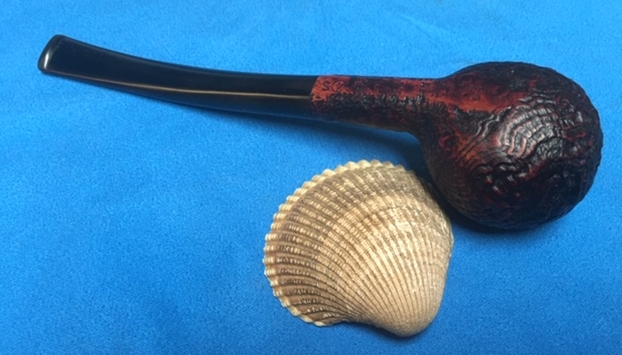
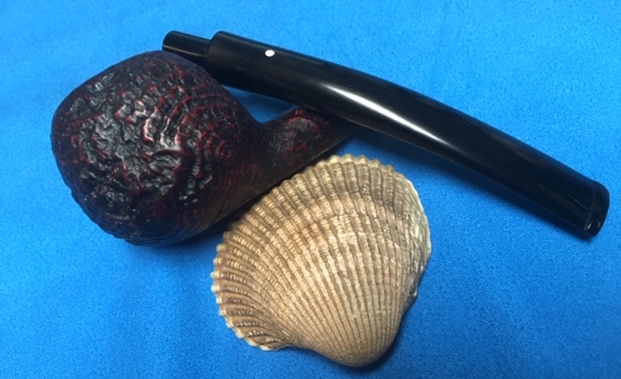
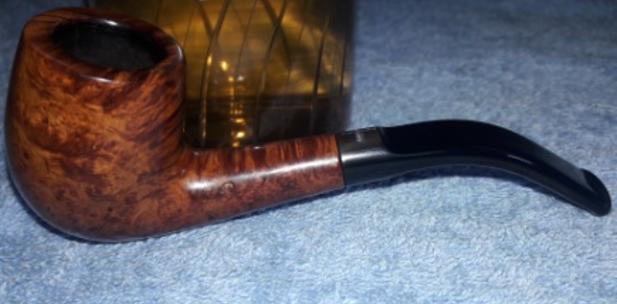
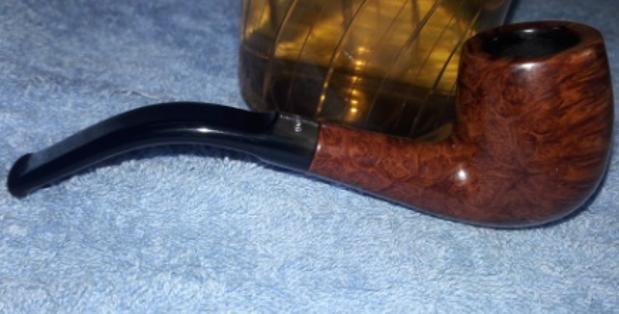
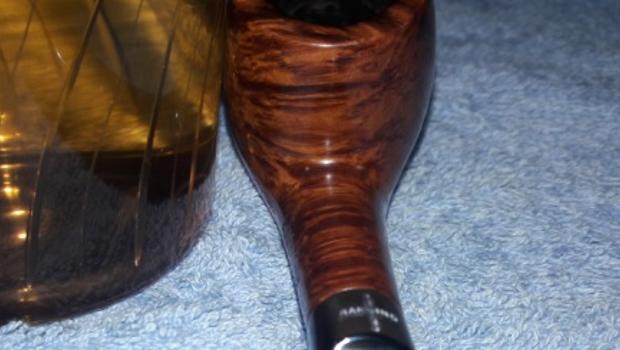
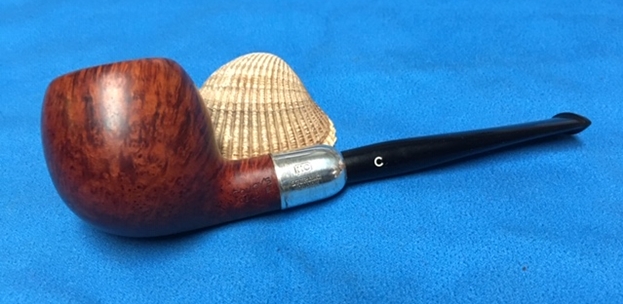
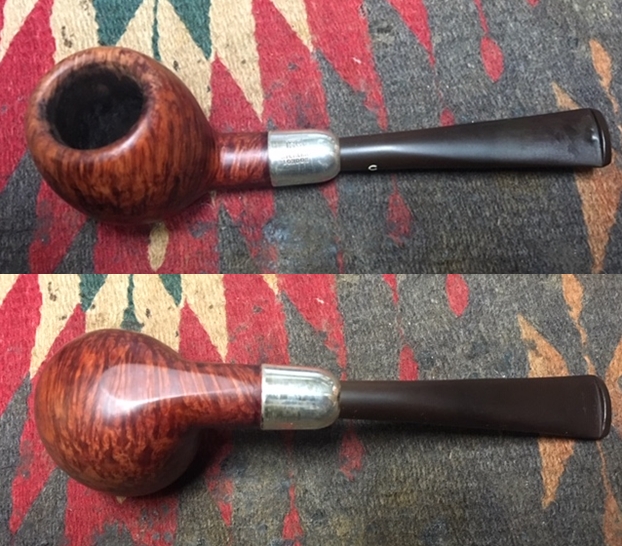
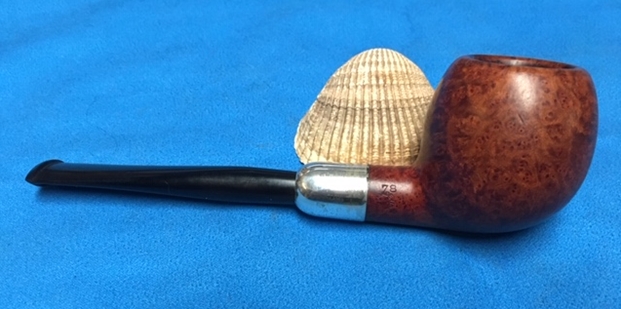
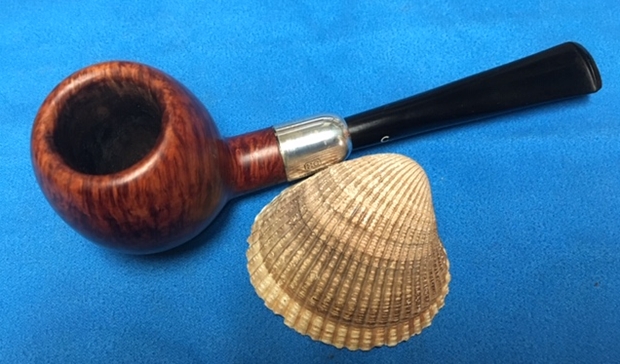
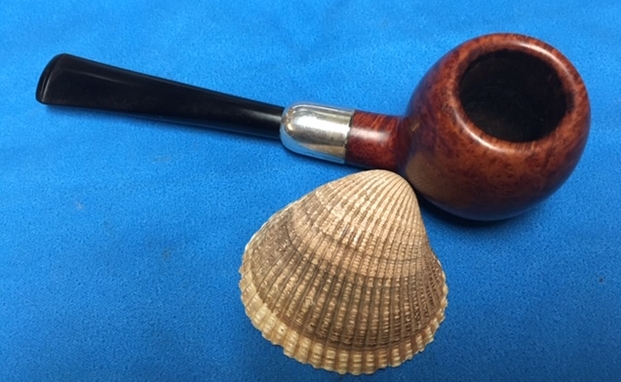
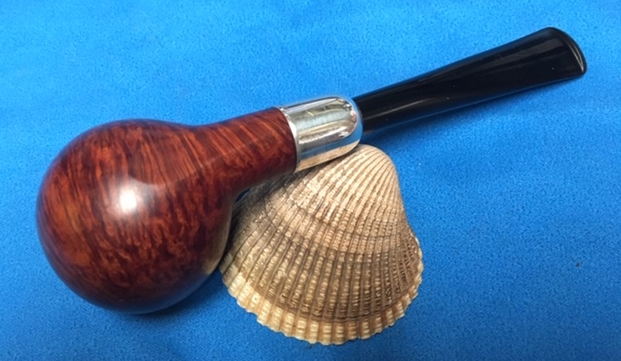
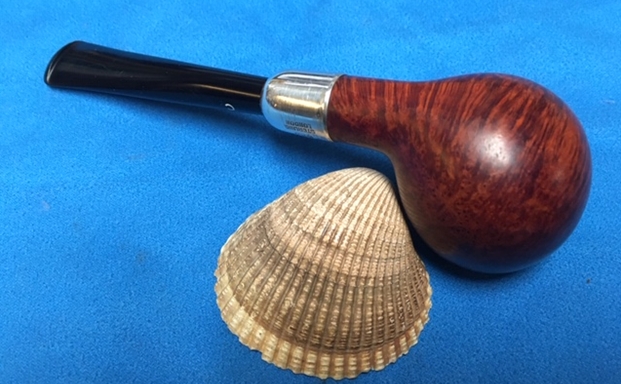
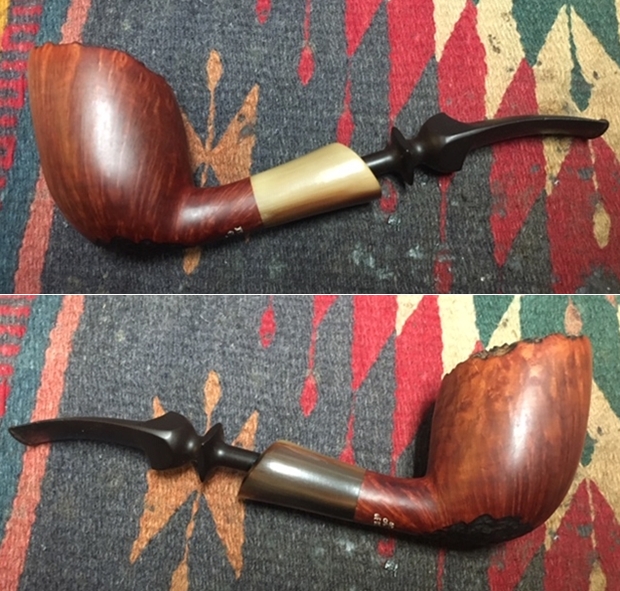
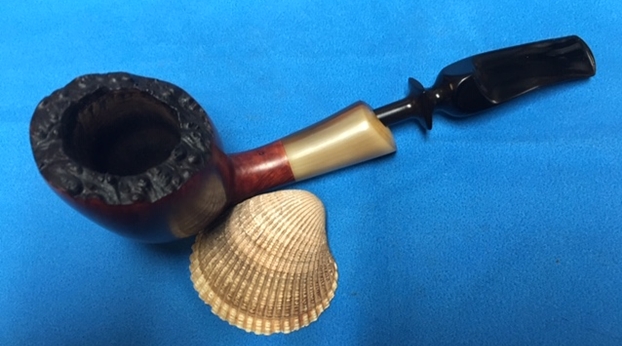
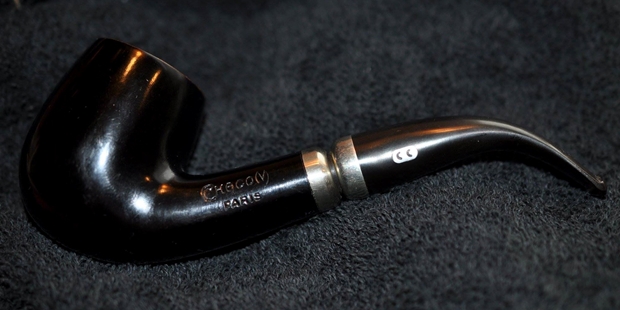
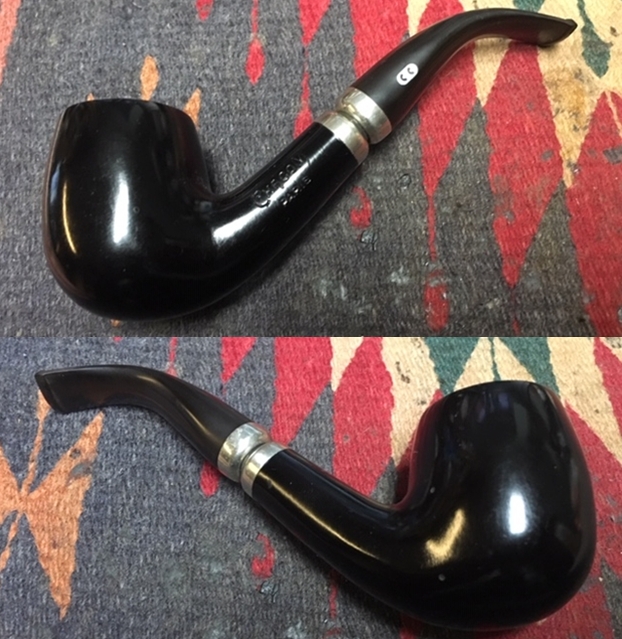
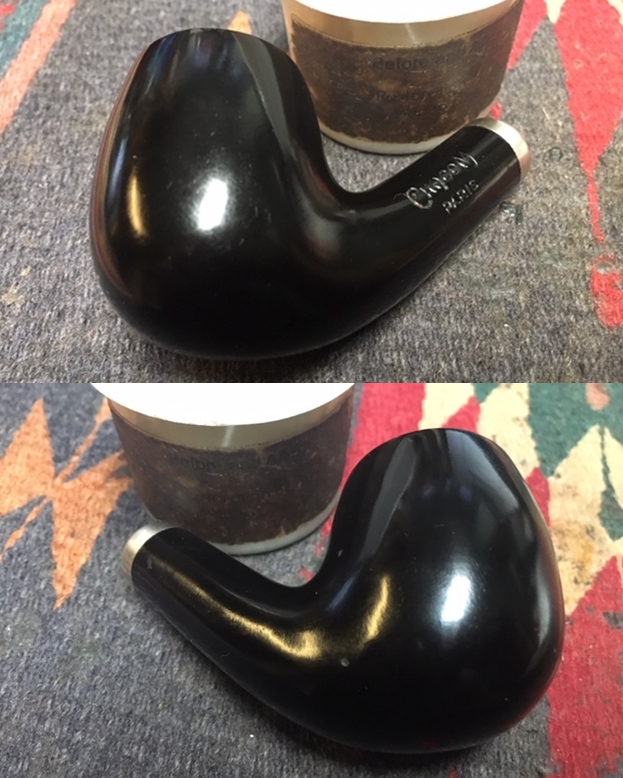
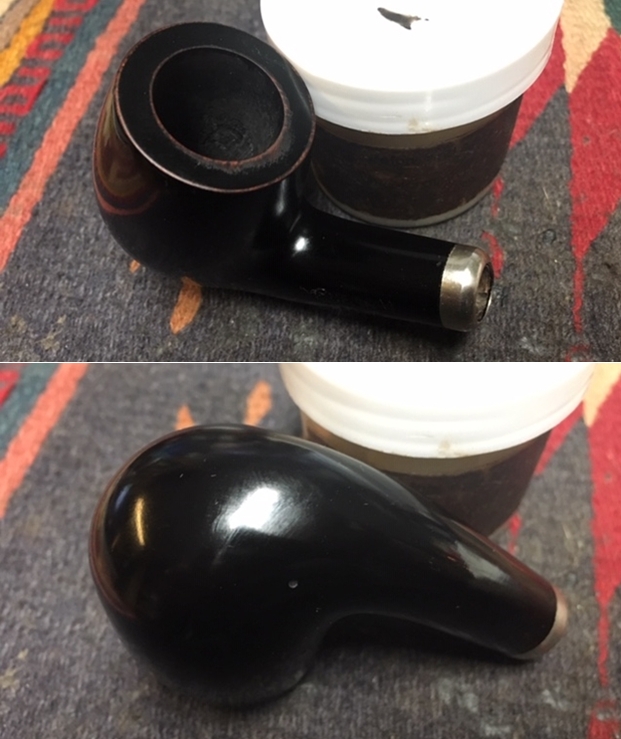
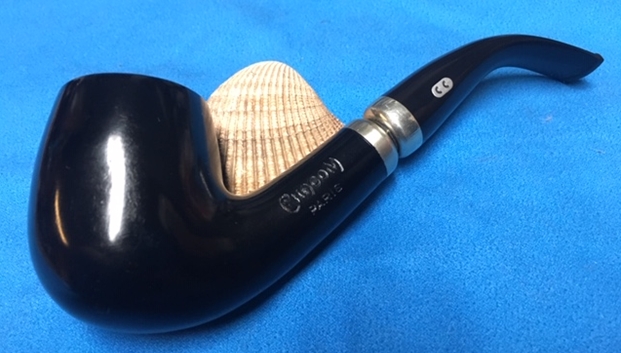
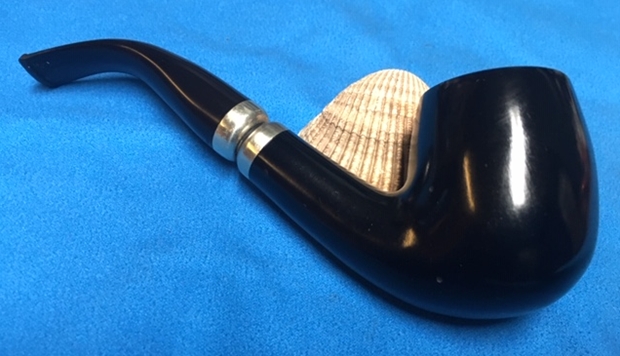
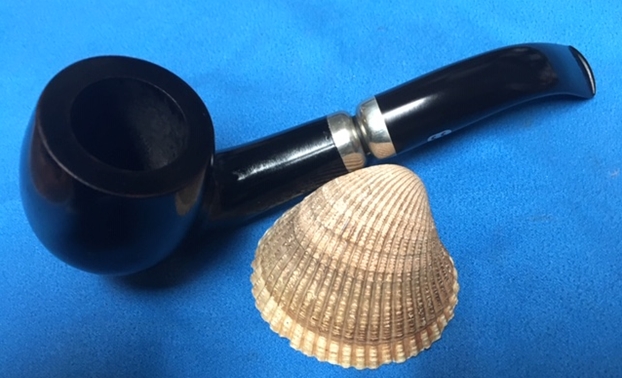
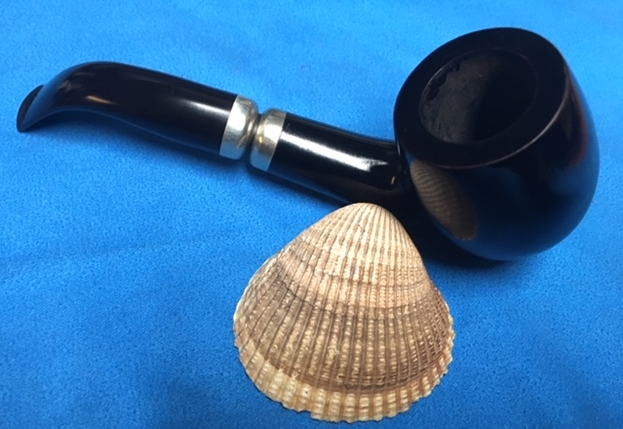
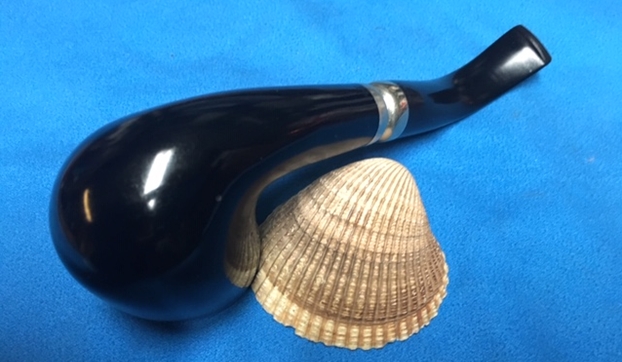
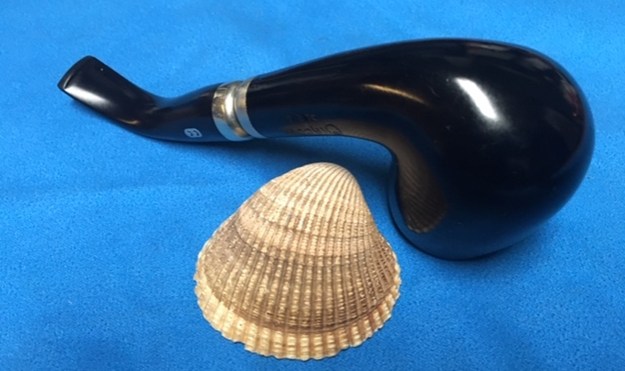
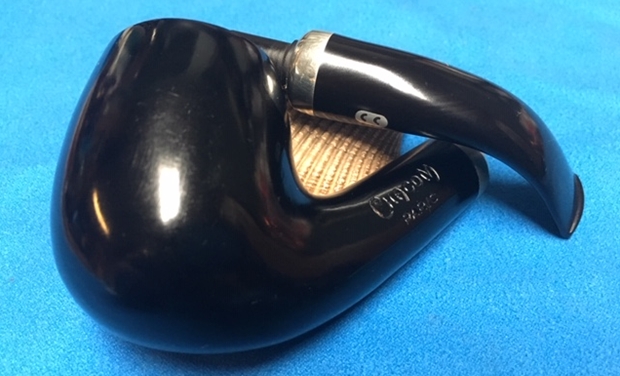
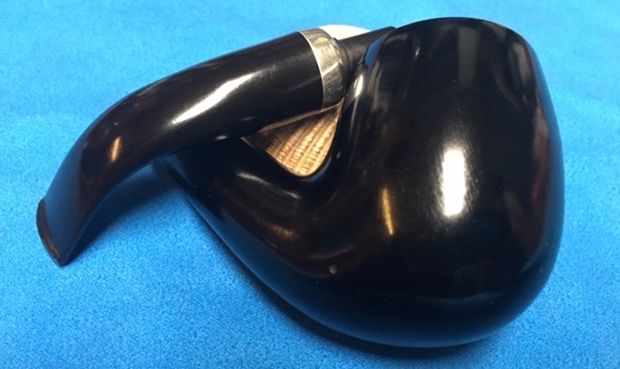
 With both parts of the pipe finished I put it back together. I carefully polished the bowl and the stem with Blue Diamond polish on the buffing wheel. I carefully worked around the band so I would not get the polishing from the band get on the shank. I gave the bowl and the stem multiple coats of carnauba wax. I buffed the pipe with a clean buffing pad to raise the shine. I hand buffed it with a microfiber cloth to deepen the shine. The pipe polished up pretty nicely. The beautiful natural finish and the grain came alive with the buffing. The rich finish on the briar works well with the polished nickel band and new black vulcanite stem. The finished pipe is very light weight and looks quite stunning with its slender shank and stem. Have a look at it with the photos below. The dimensions are Length: 6 1/2 inches, Height: 1 3/4 inches, Outside diameter of the bowl: 1 1/4 inches, Chamber diameter: 7/8 of an inch. This one will be going onto the rebornpipes online store soon. It is a nice one for sure and one that will fit well into someone’s collection. Thanks for walking through the restoration and restemming with me on this thin, pencil shank Crosby billiard. It should be a great smoker!
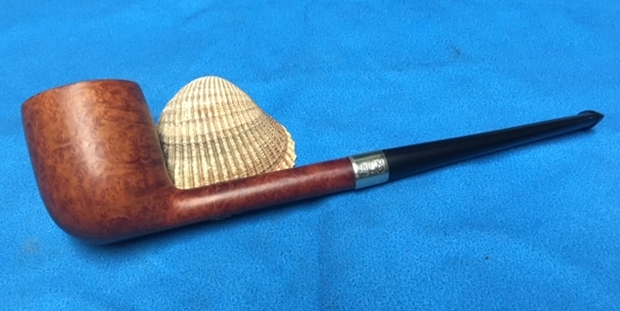


