by Steve Laug
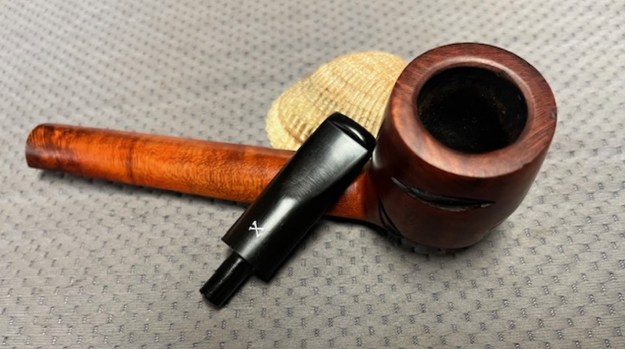
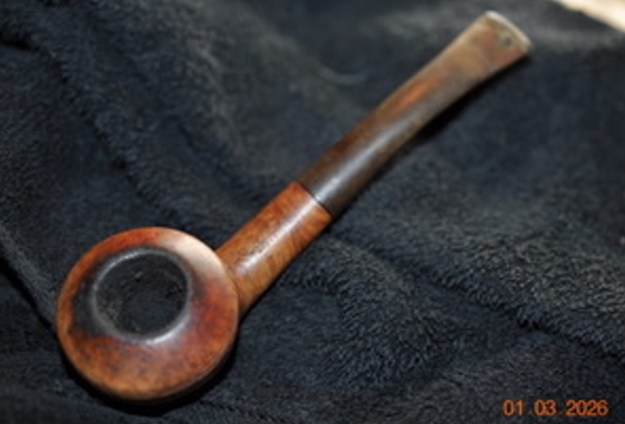
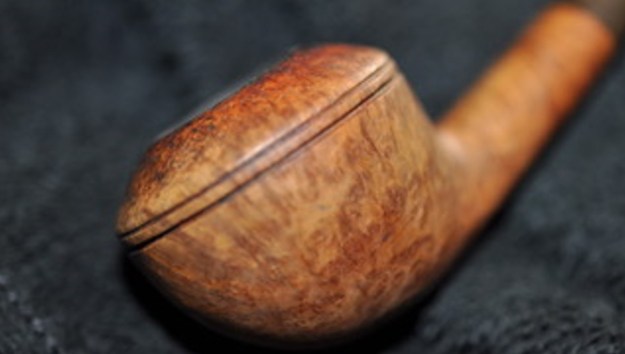
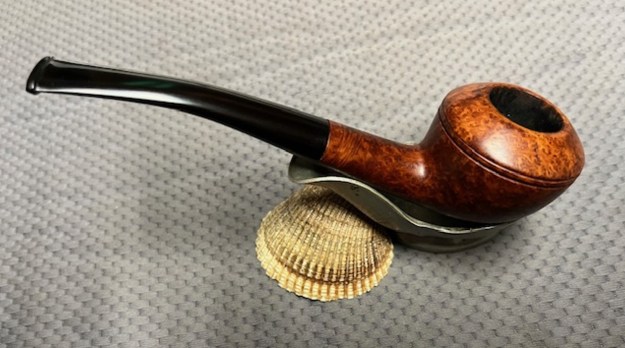
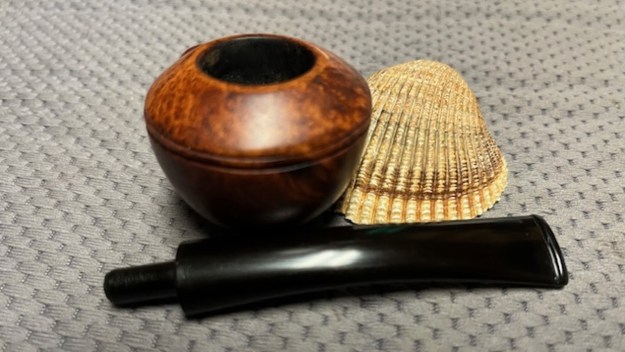
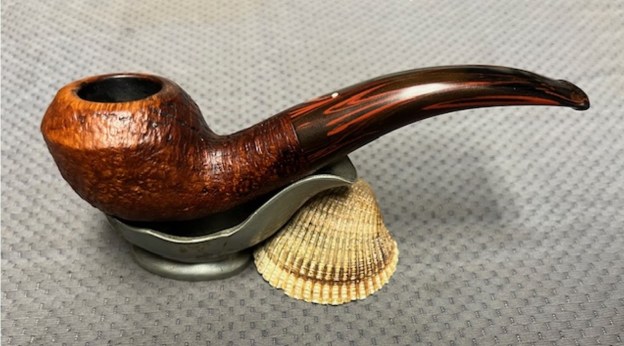
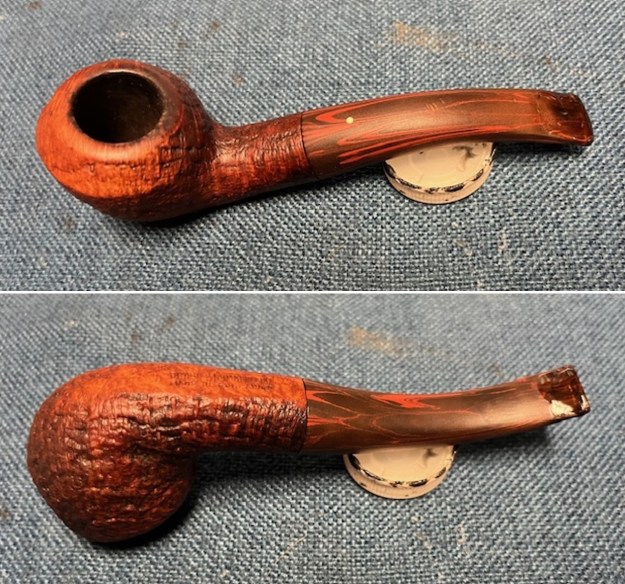
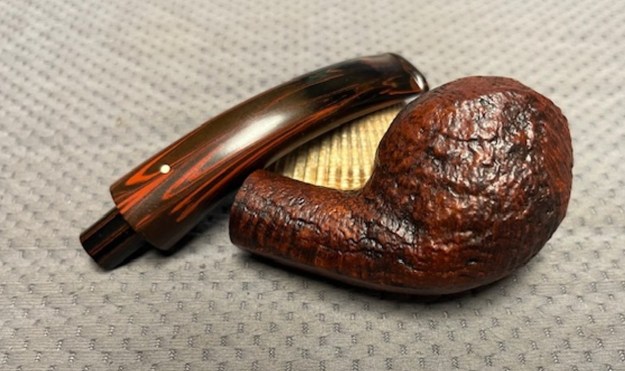
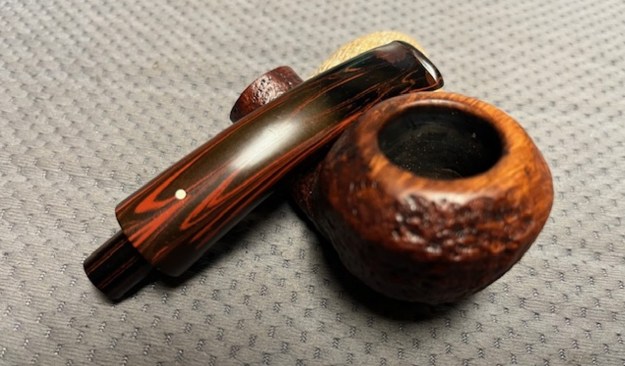
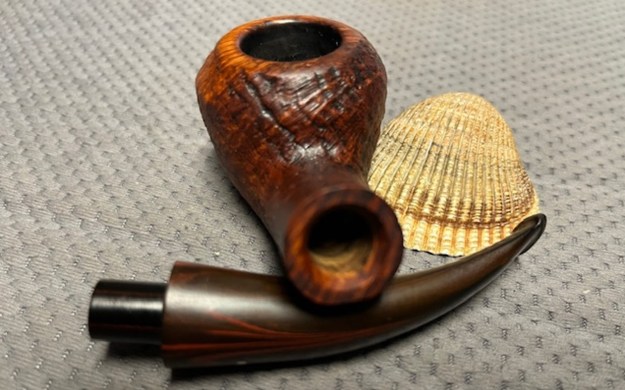
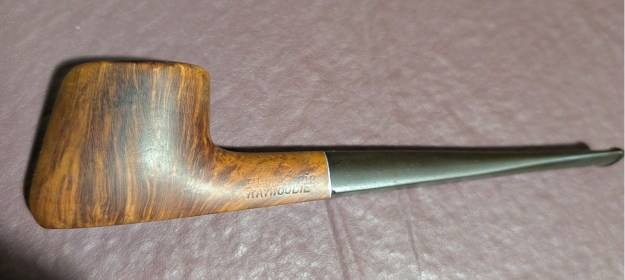
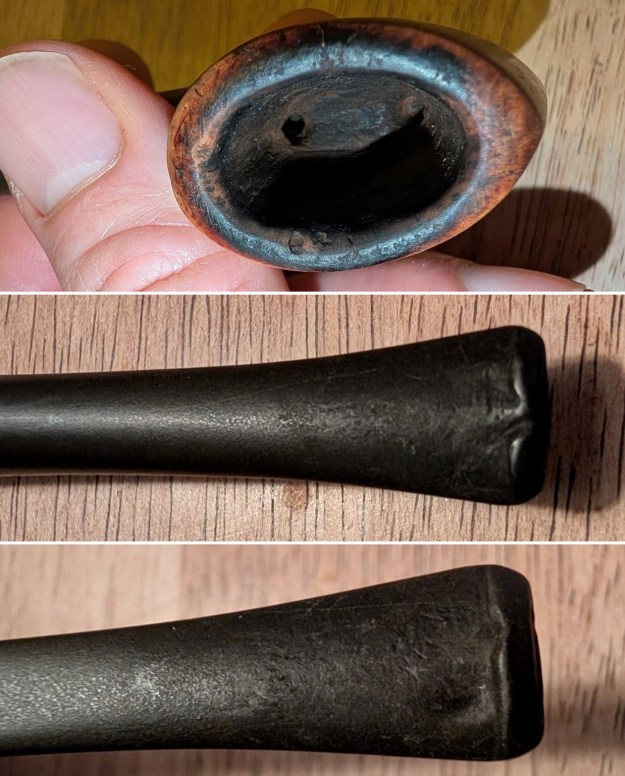
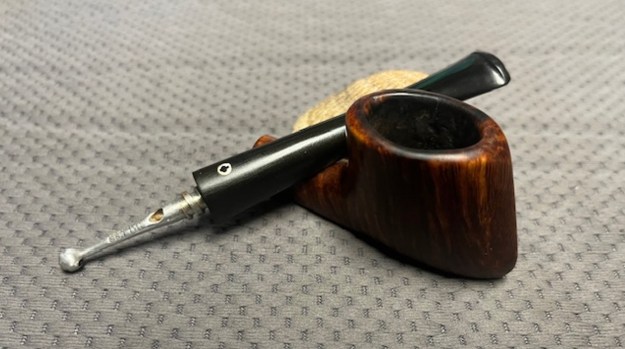
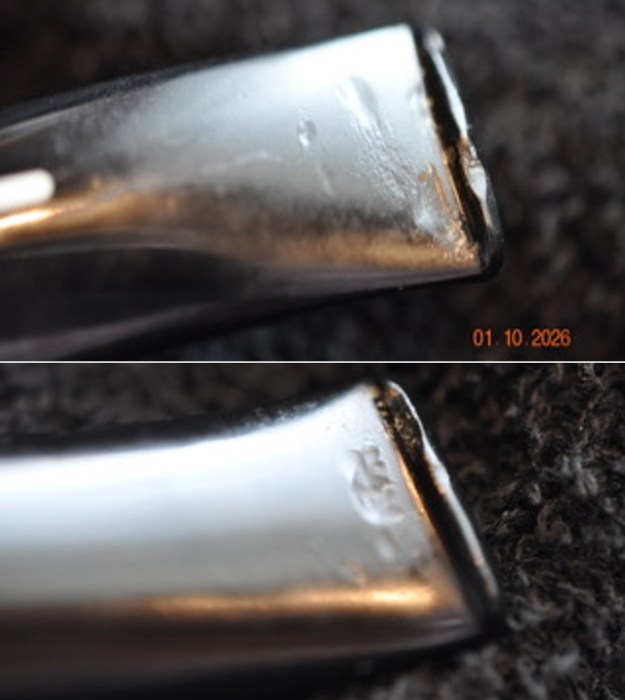
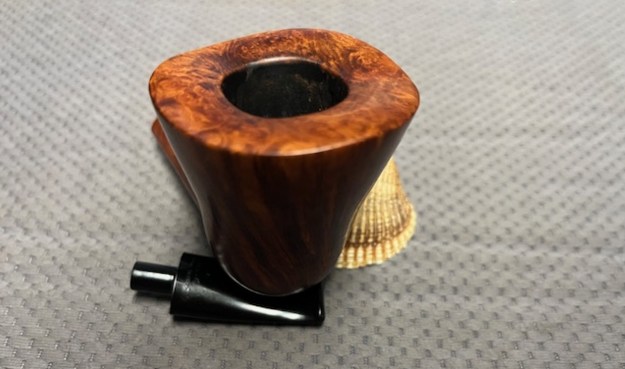
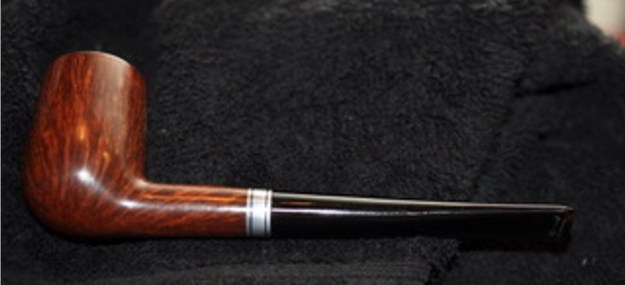
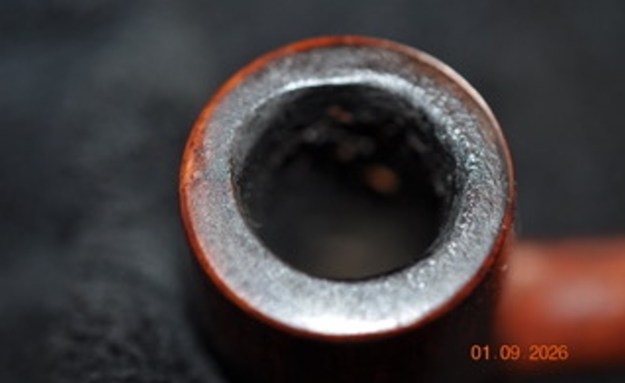
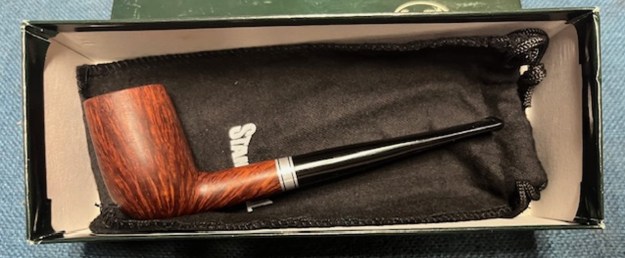
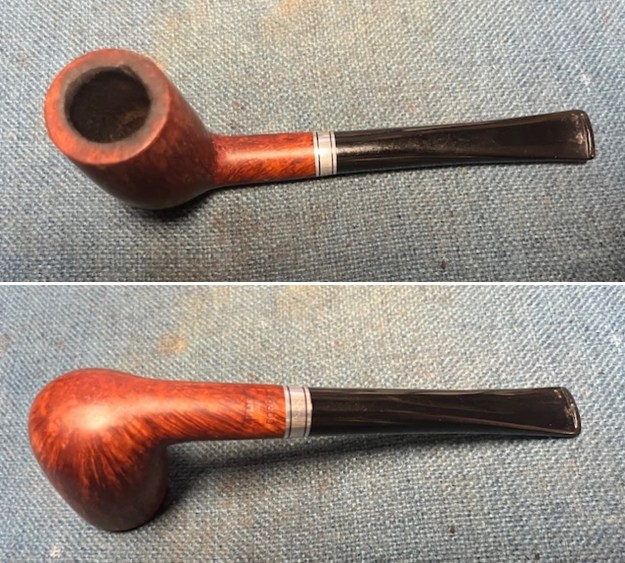
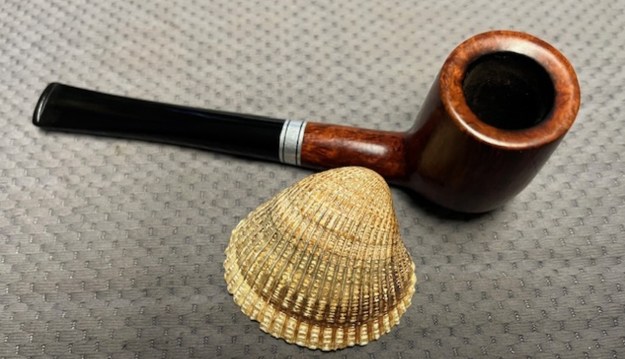
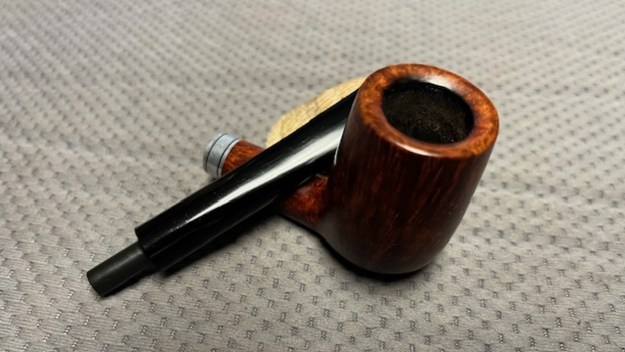
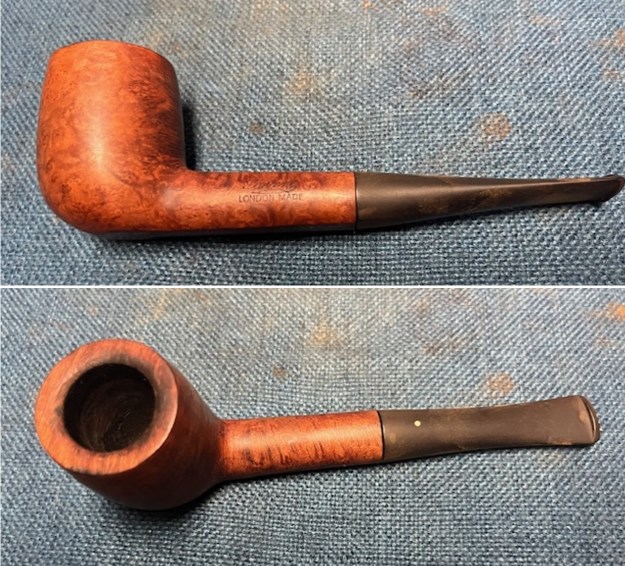
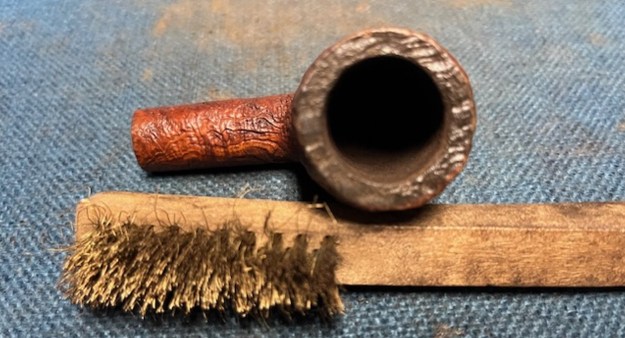
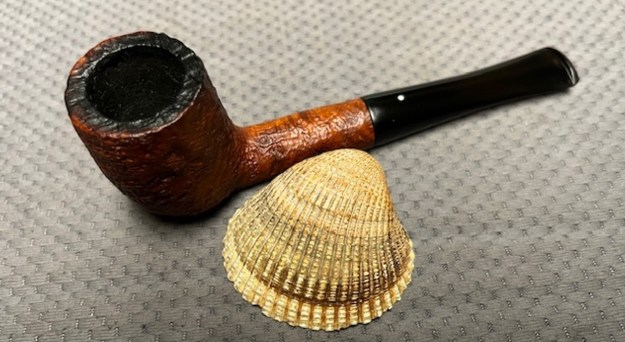
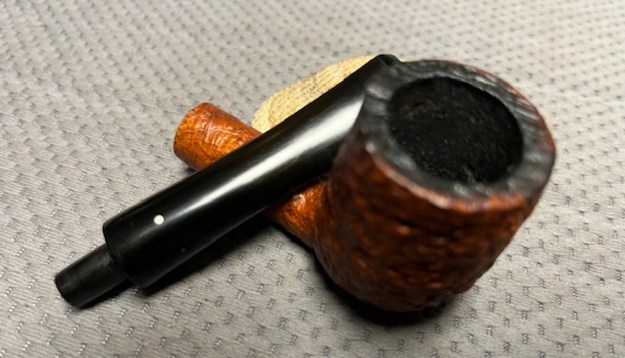
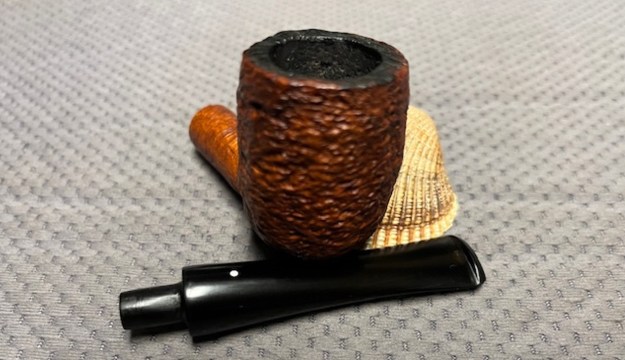
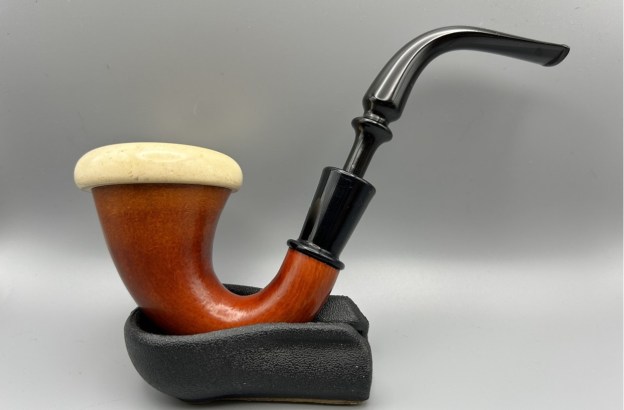
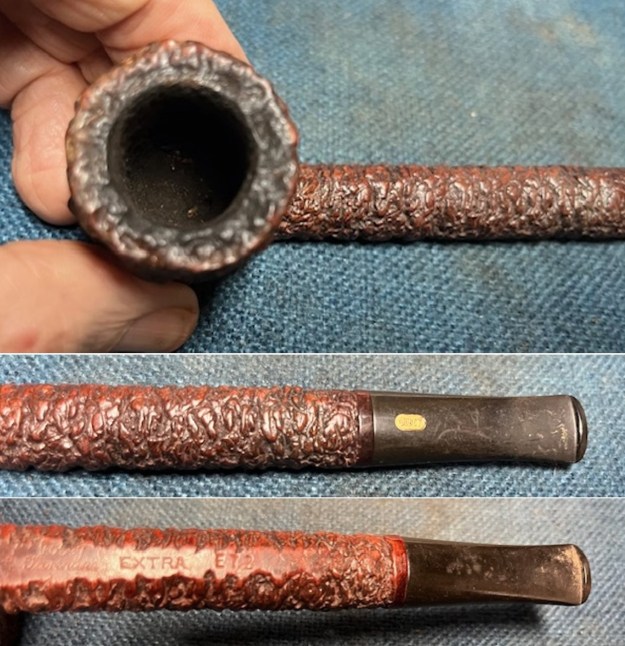
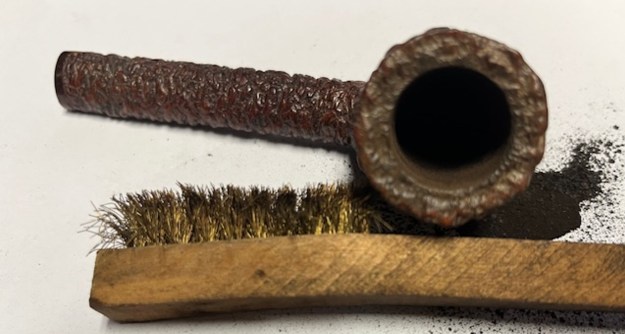
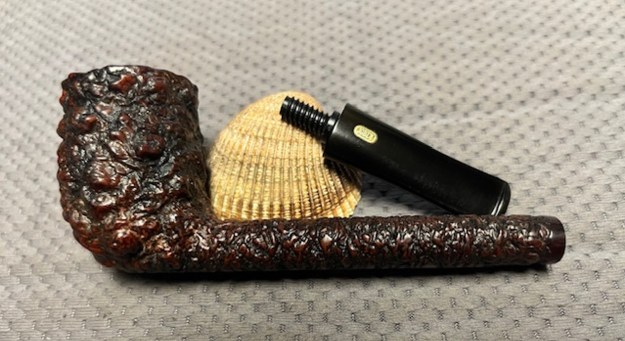
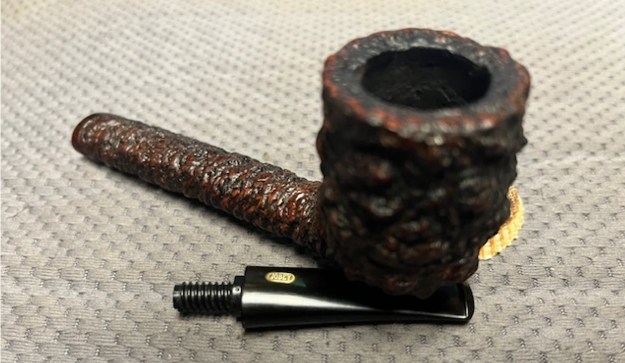
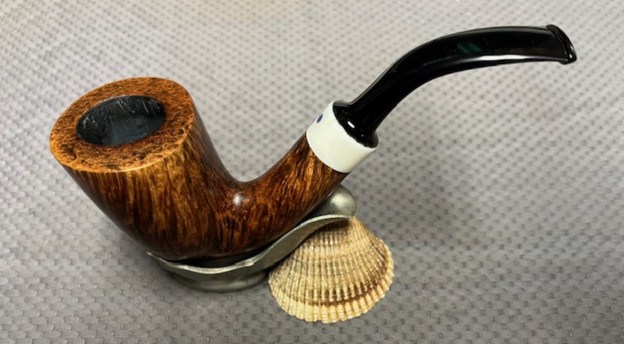
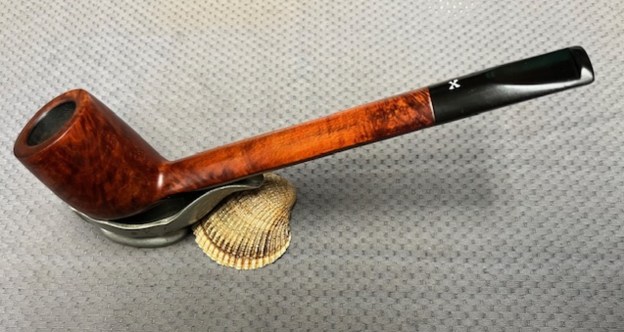
The next pipe on the table is a great looking long Canadian that Jeff picked up on 12/17/2020 from an auction in Cramerton, North Carolina, USA. The finish is smooth around the bowl and shank with some leaves carved into the finish. There is one on the left side of the shank and there are three on the right side with one of them on bottom right and front. The bowl had been coated with a varnish coat that was spotty in places and would need to be removed. It is a great looking pipe. It is stamped on the underside at the shank/stem junction it reads Israel. The finish was dirty and had a lot of grime and grit ground into the rustication and the smooth portions. The rim top and inner edge of the bowl is dirty with a heavy lava flow on the edge and the top. There is a thick cake in the bowl. The taper stem has an X logo on the top. It is lightly oxidized and there were tooth marks and chatter on the surface. Jeff took photos of the pipe before he started his clean up work. It showed a lot of promise.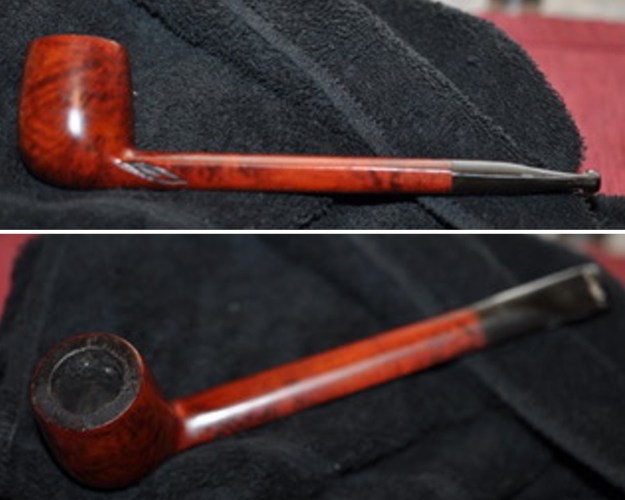 He took close up photos of the bowl and rim top from different angles to show the condition of the bowl and the rim top. You can see the lava on the rim top and on the inner edge of a caked bowl flowing onto the top. He took photos surface of the vulcanite stem which is lightly oxidized and dirty. It has tooth marks on both sides as well as chatter.
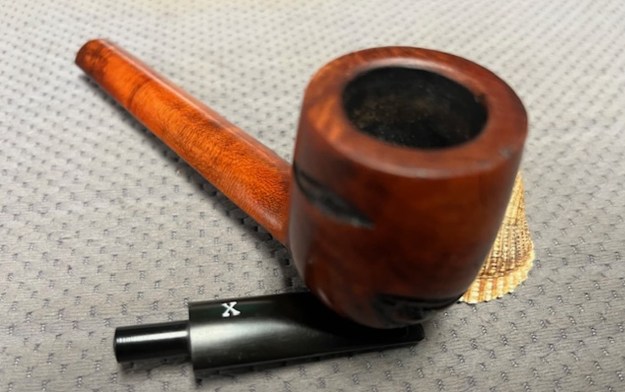
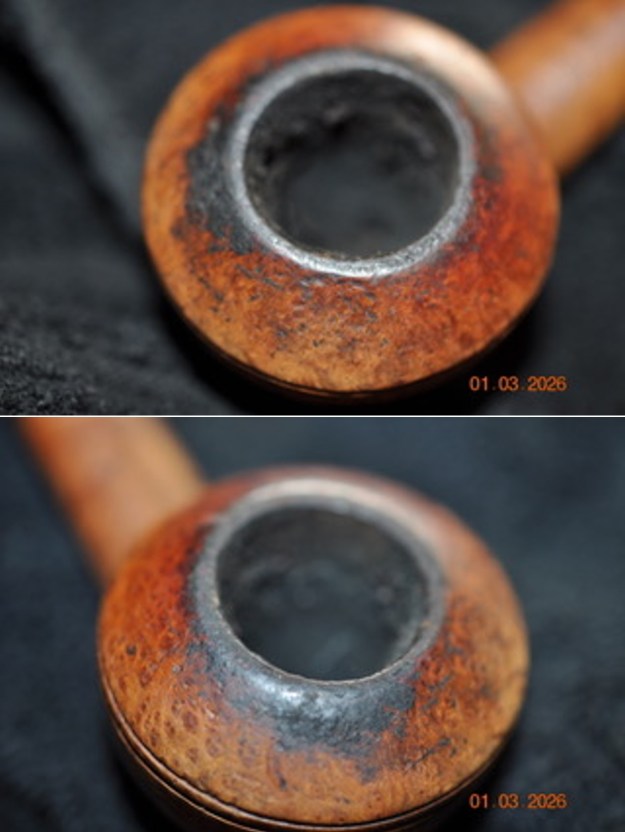
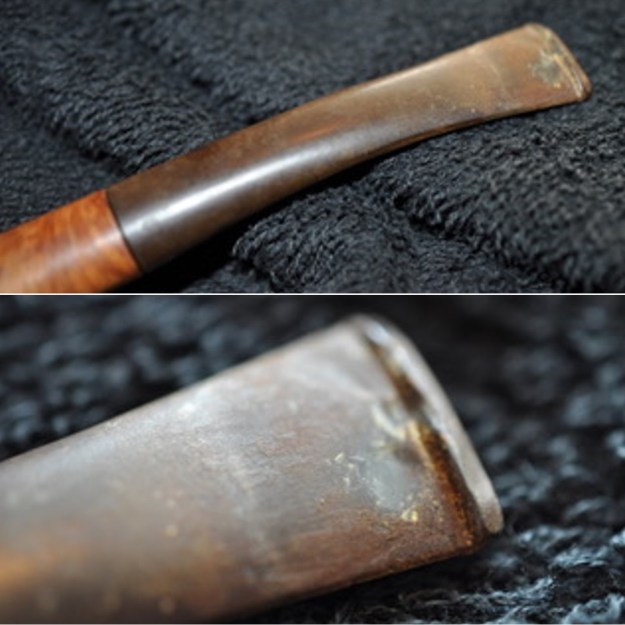
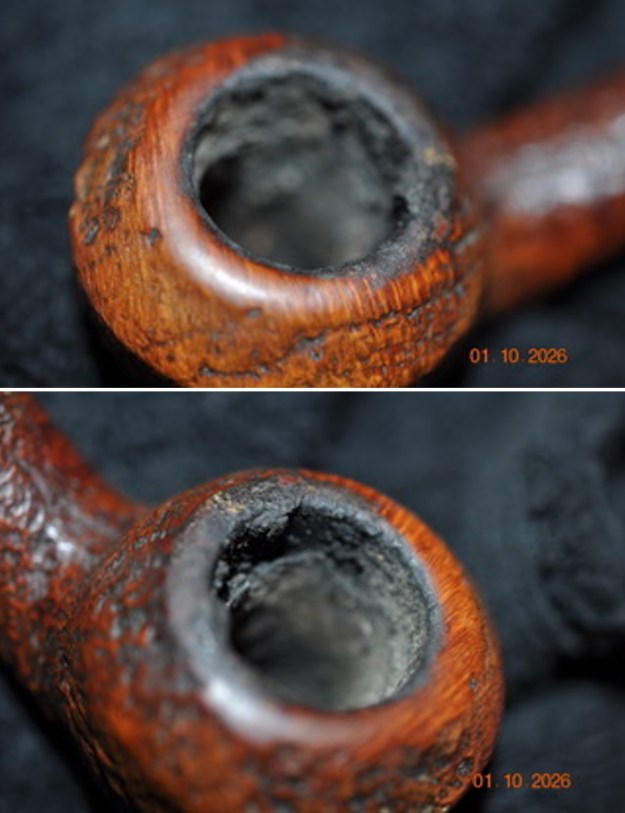
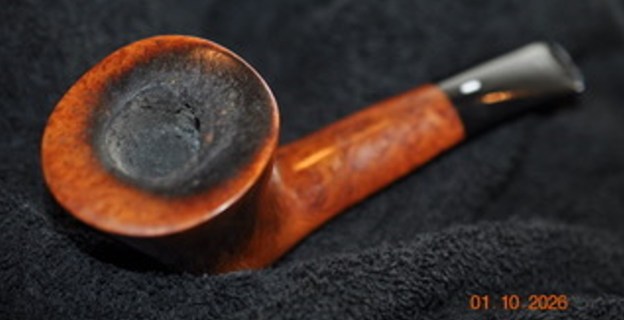
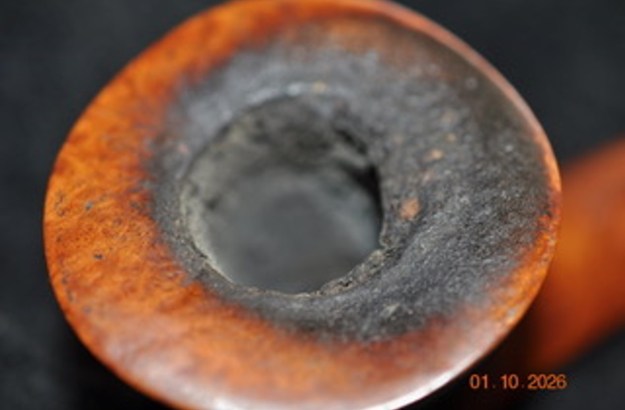
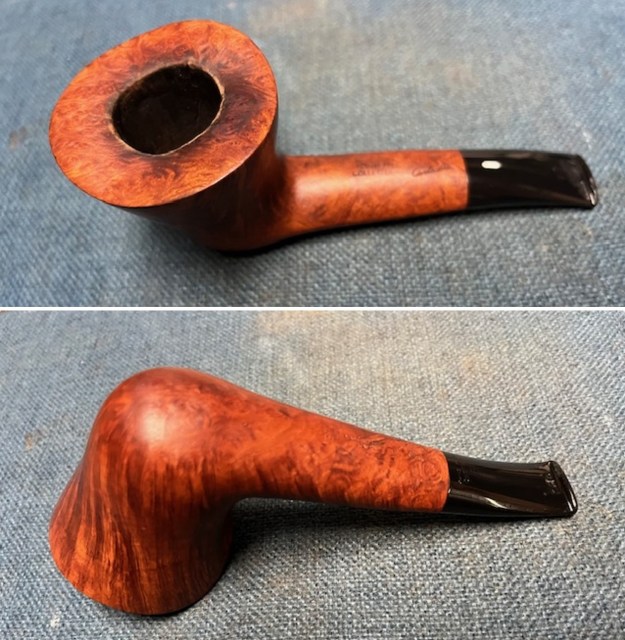
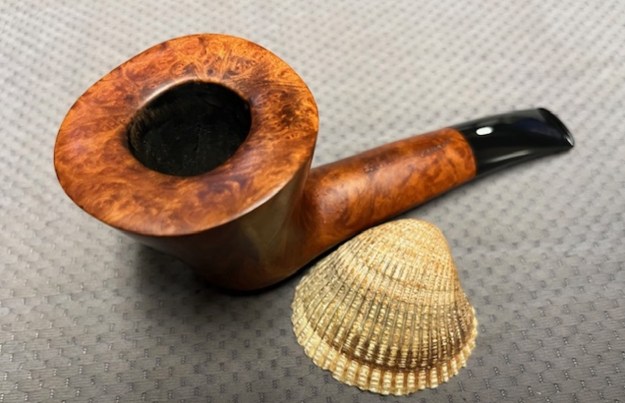
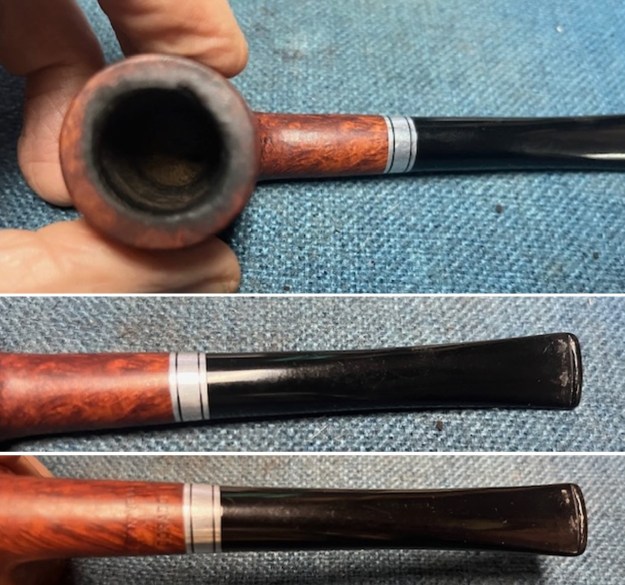
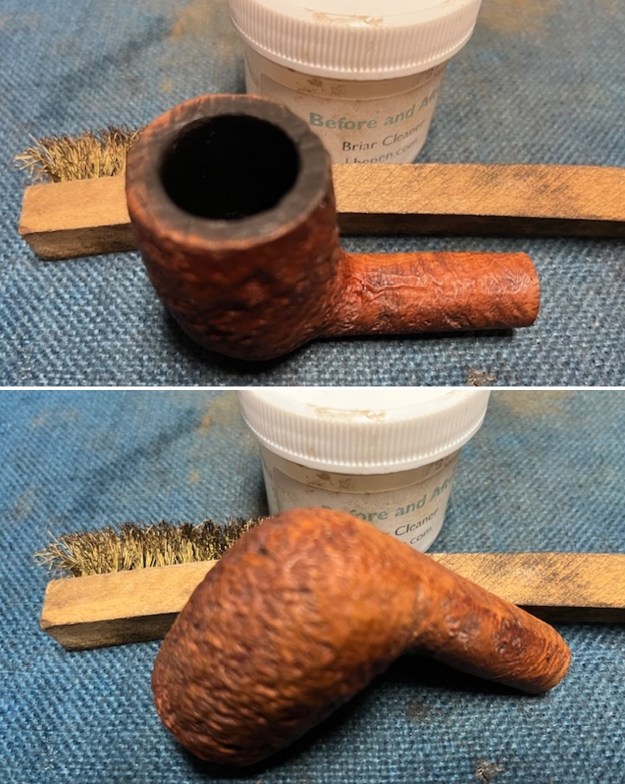
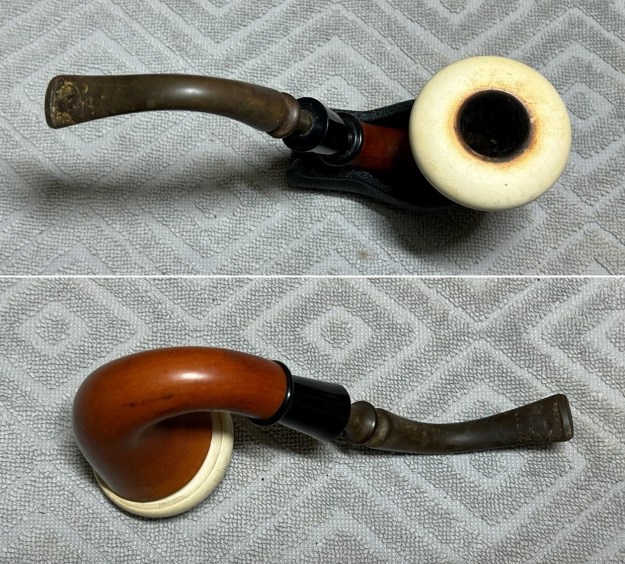
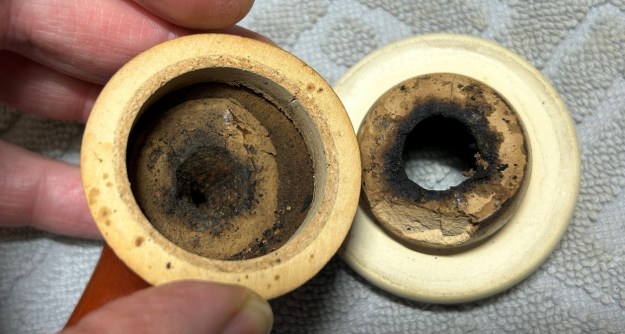
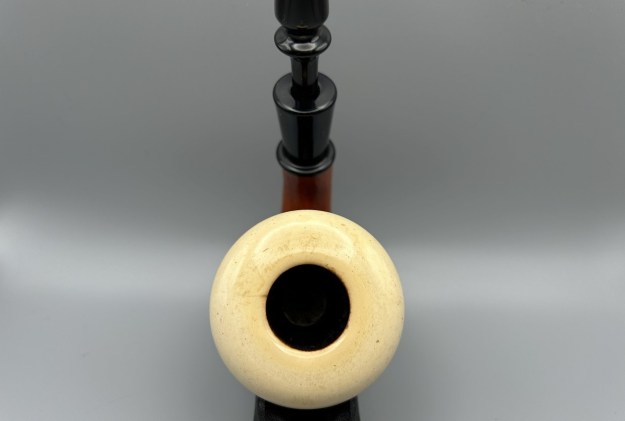
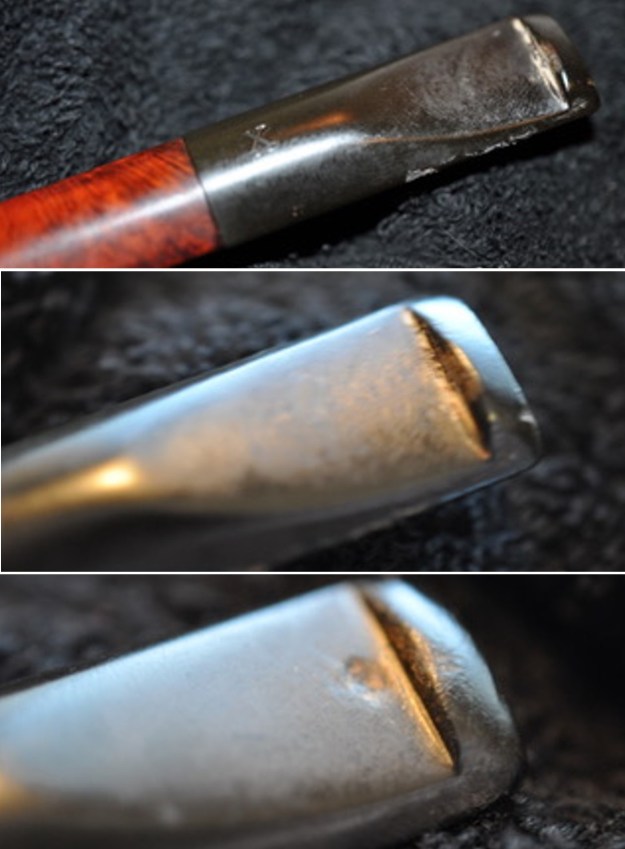
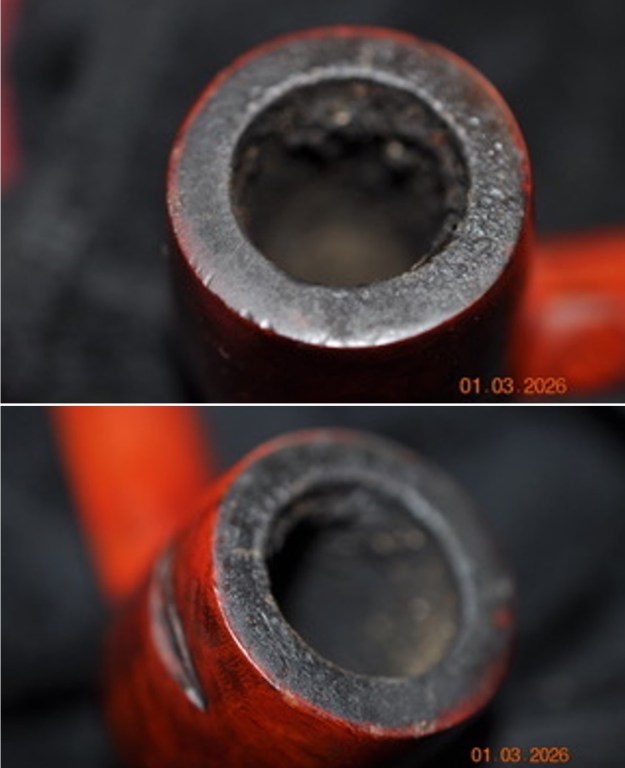
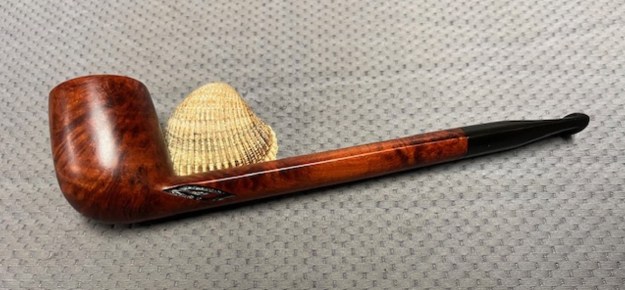
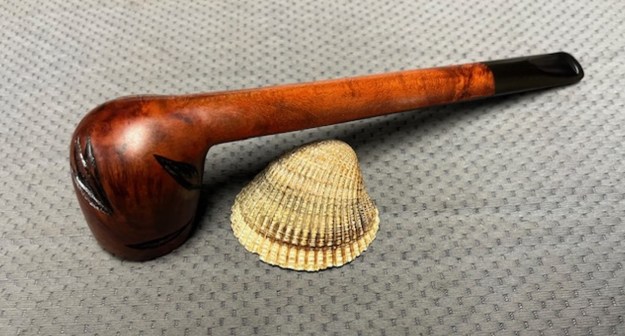
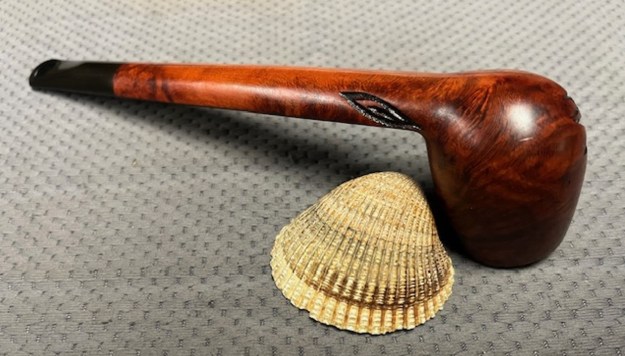
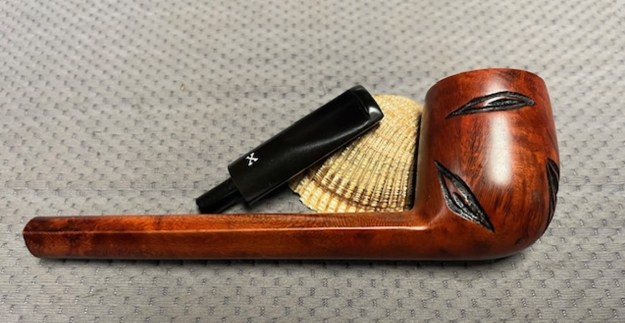
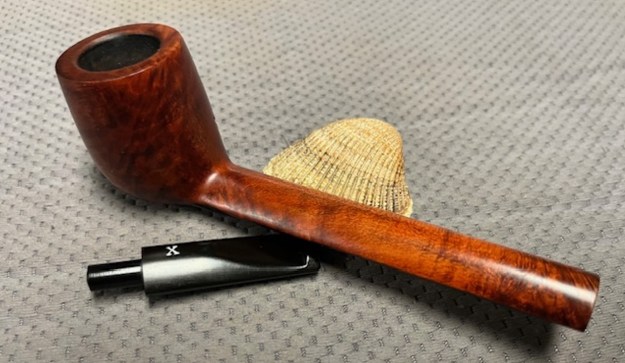
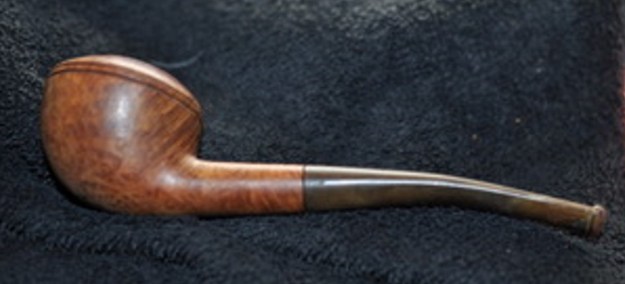
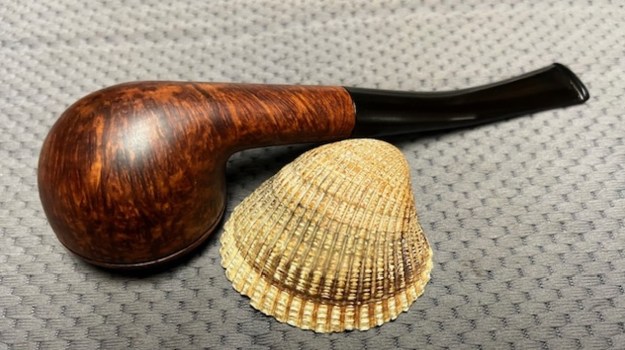
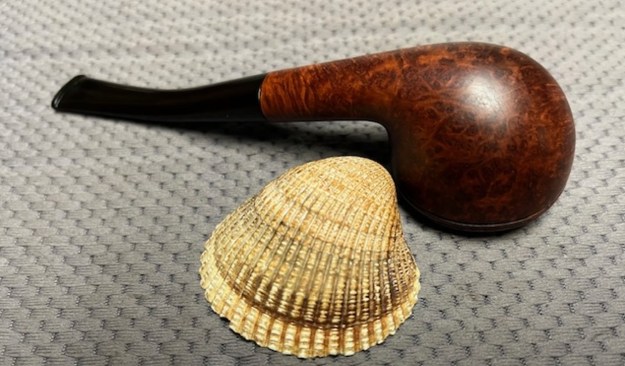
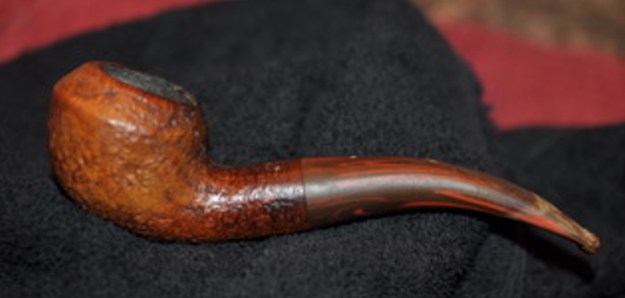
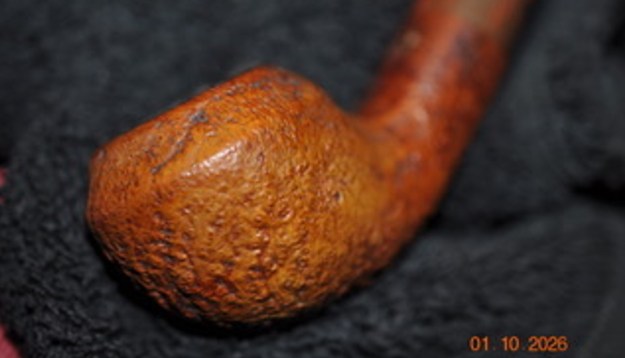
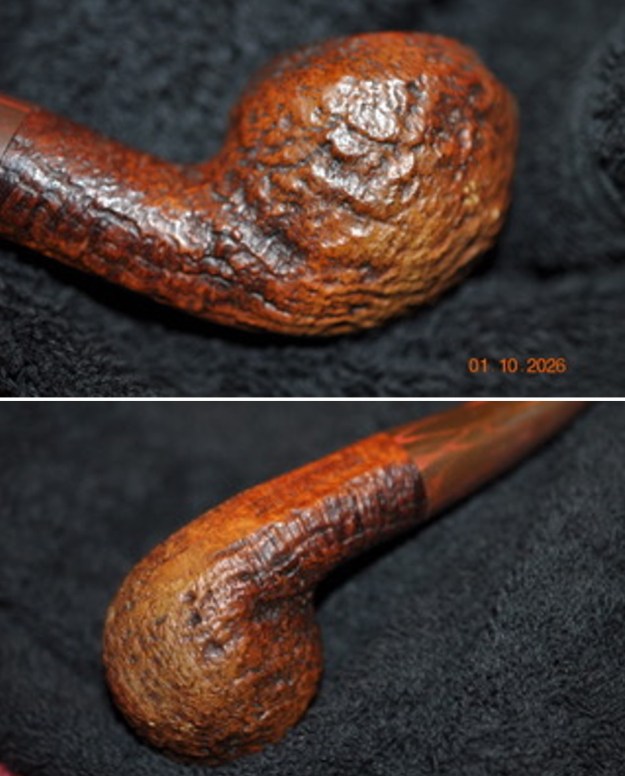
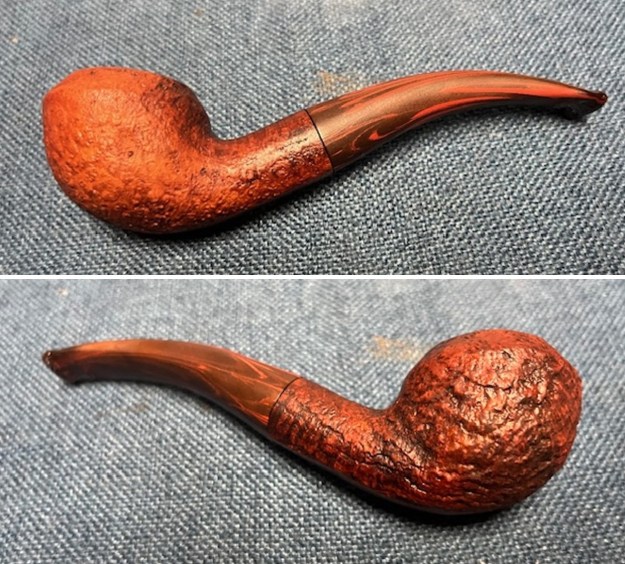
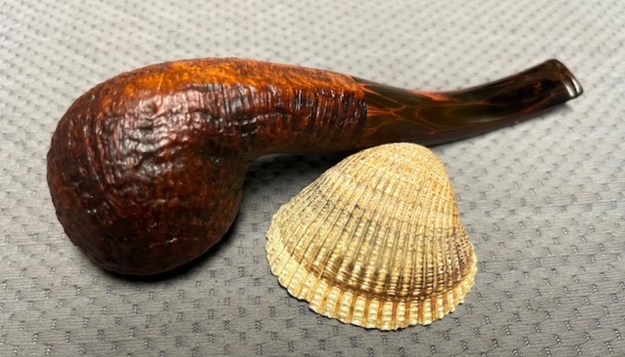
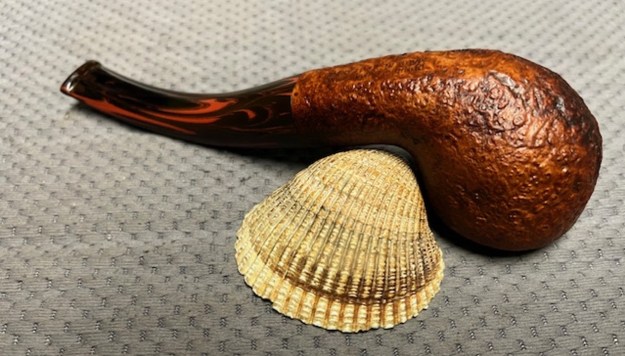
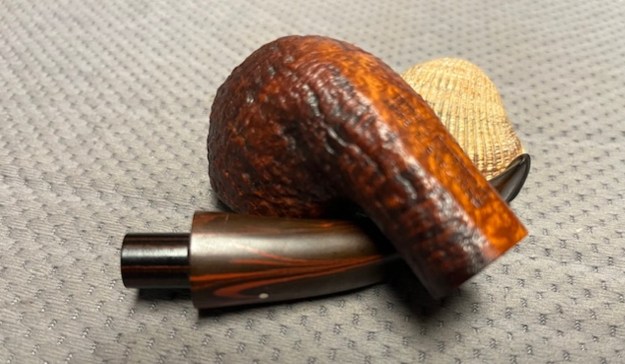
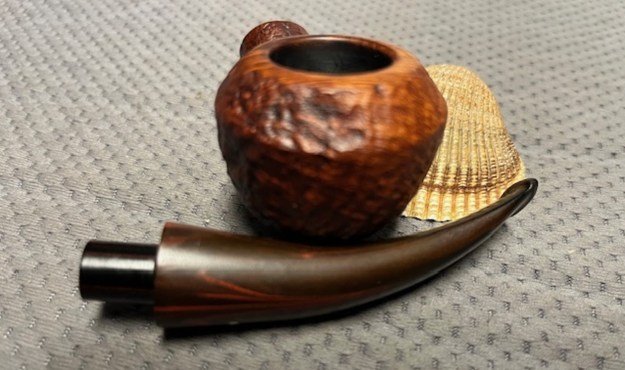
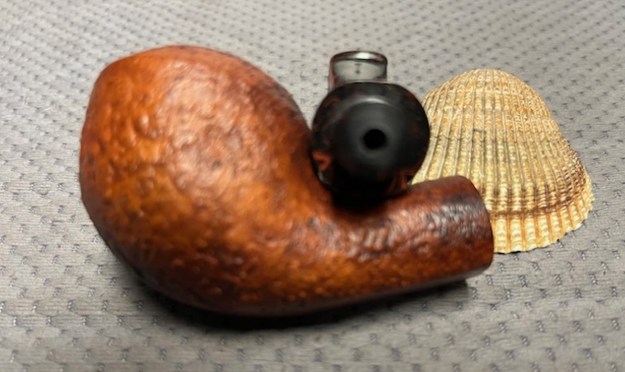
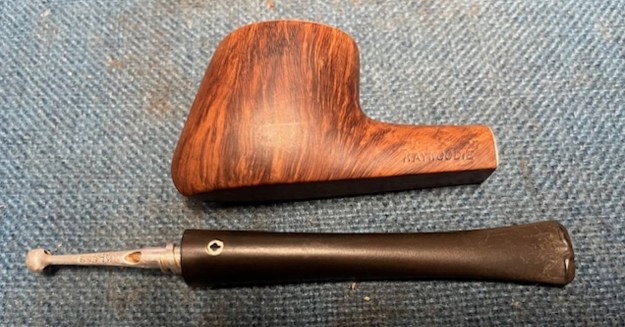
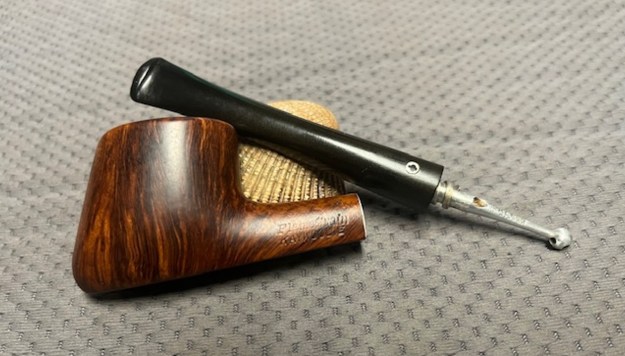
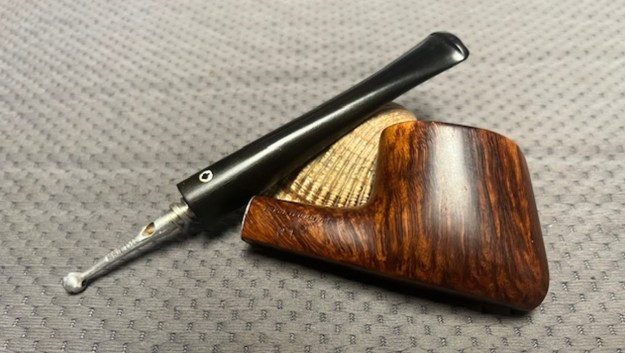
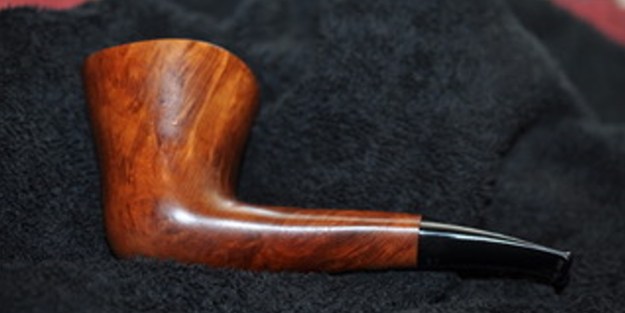
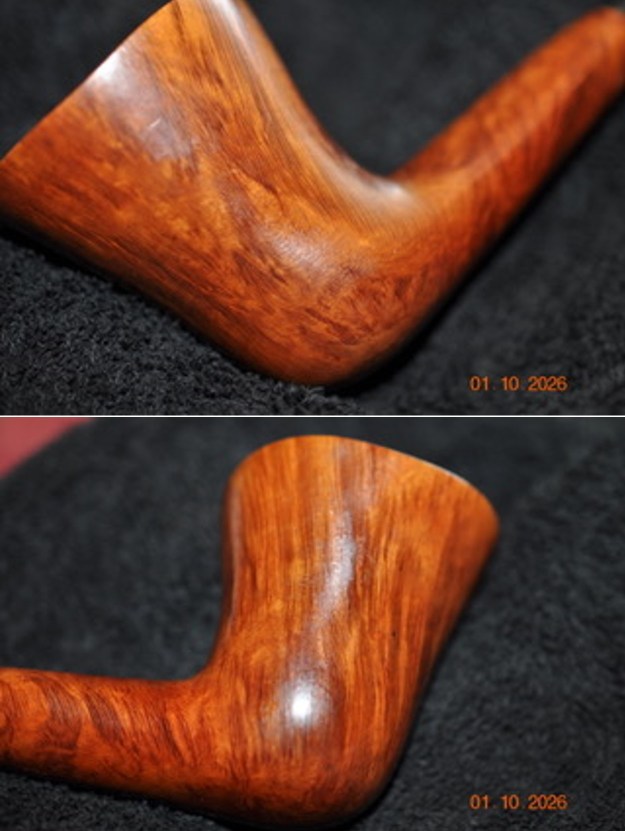
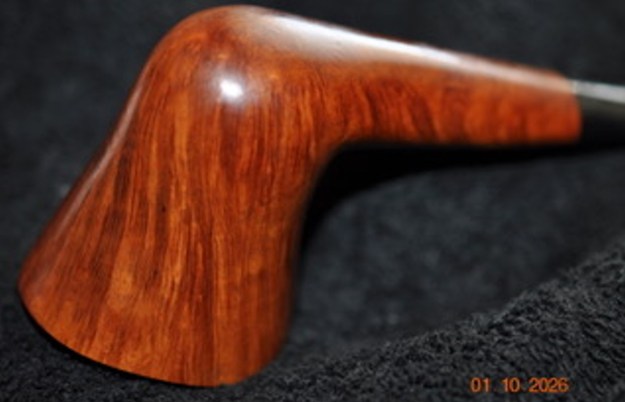
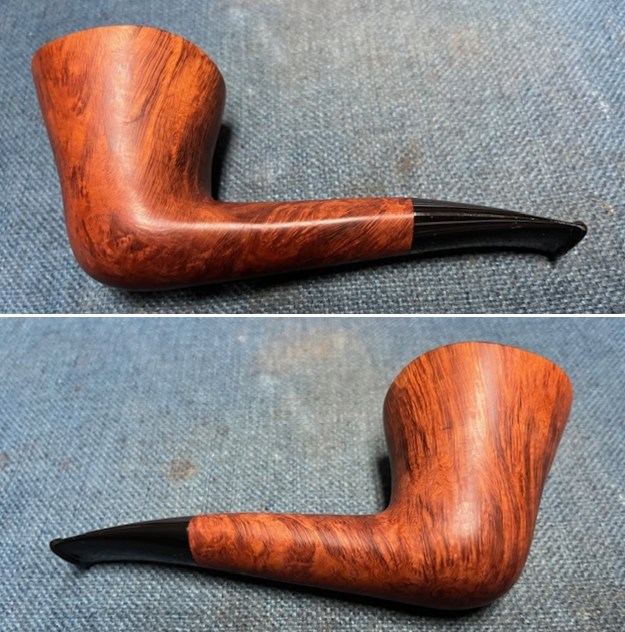
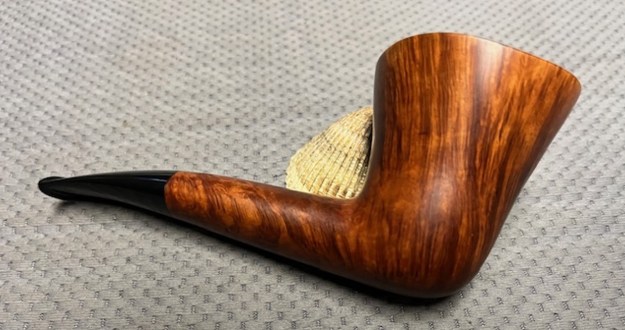
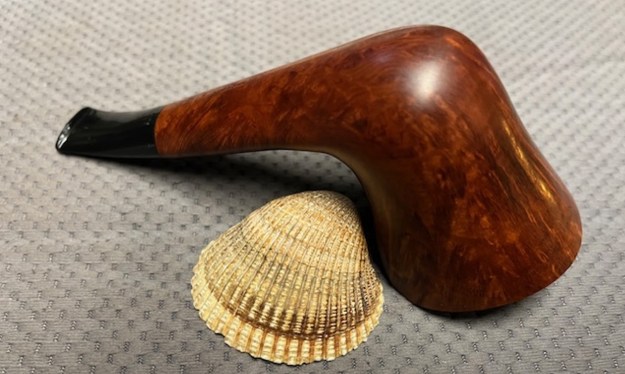
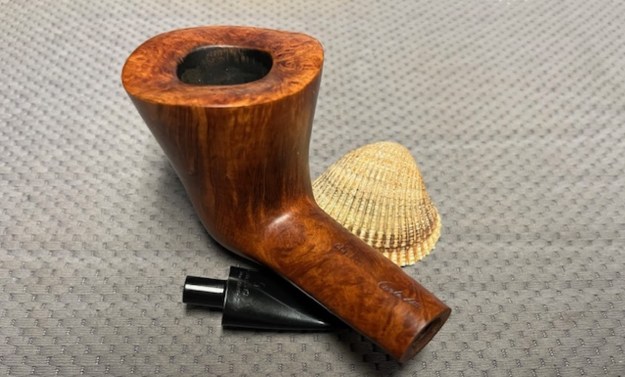
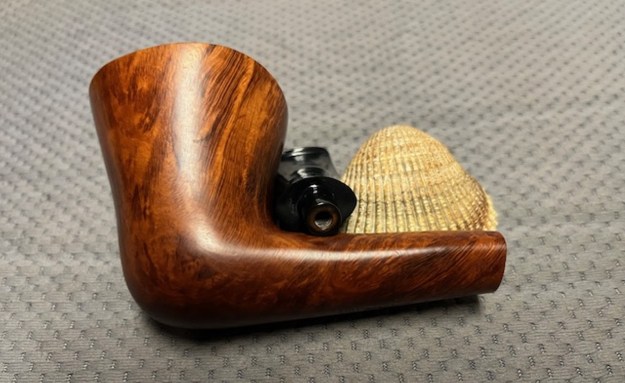
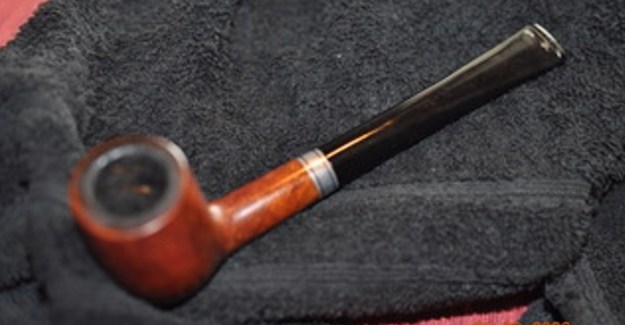
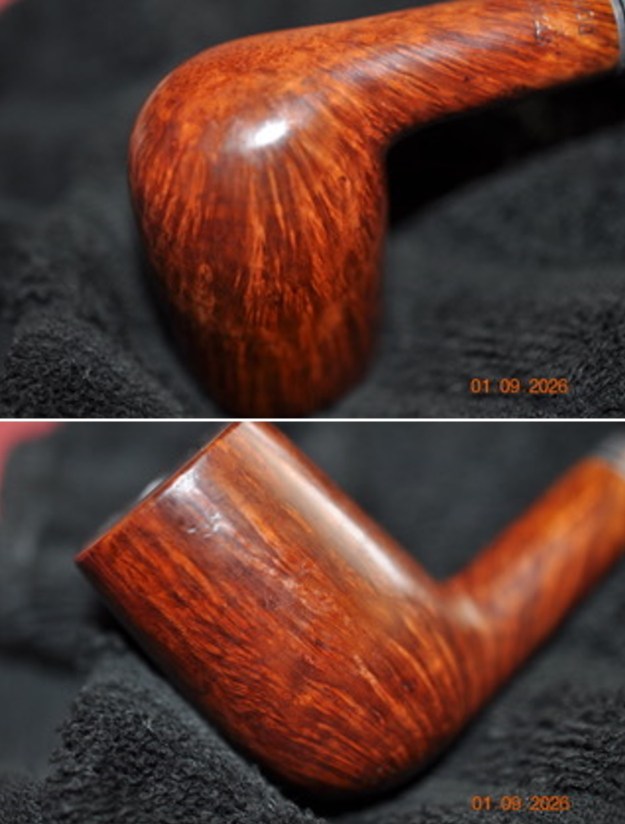
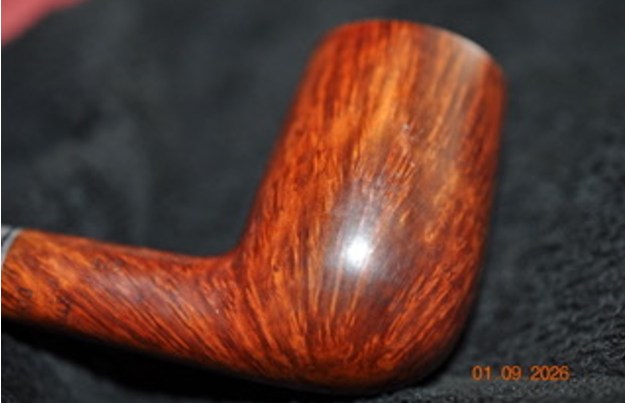
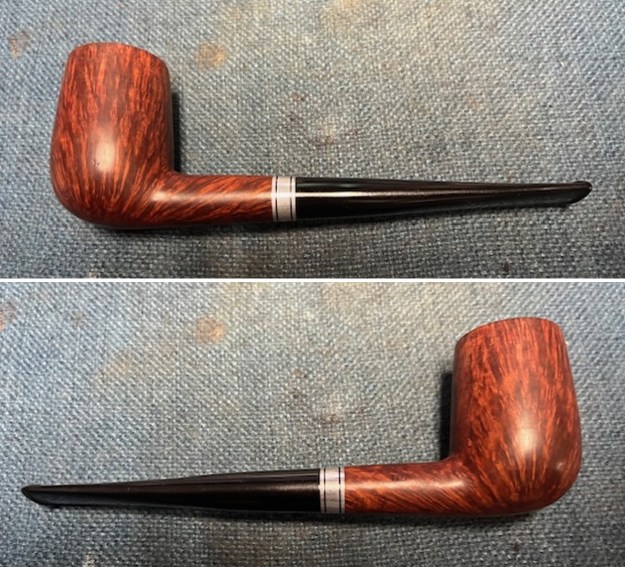
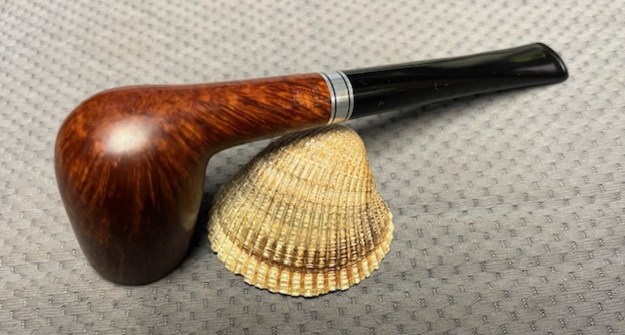
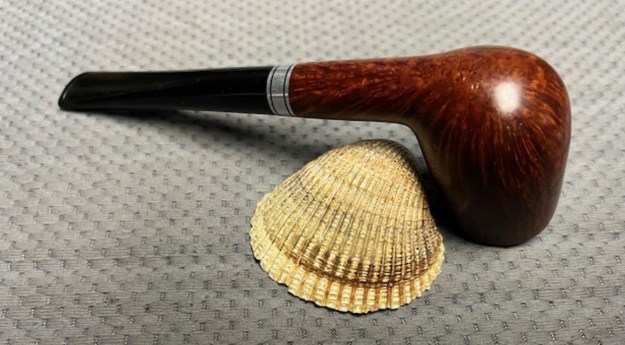
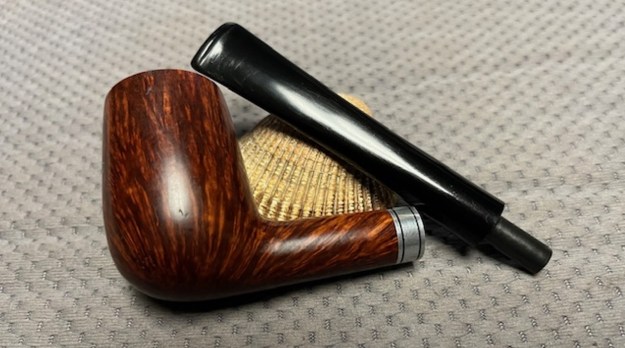
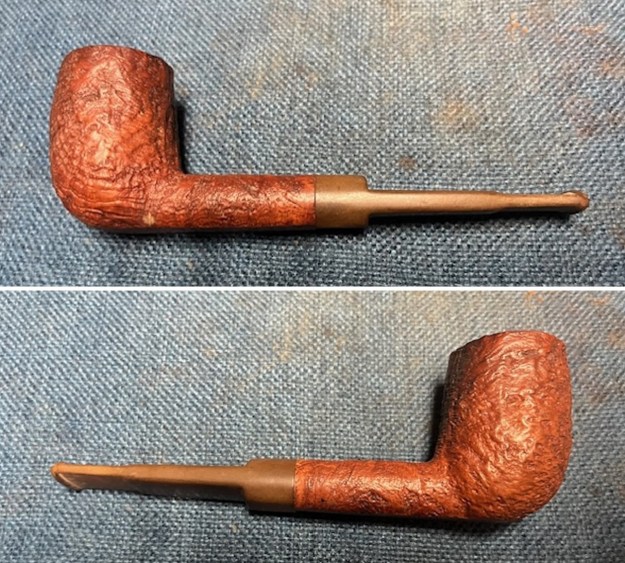
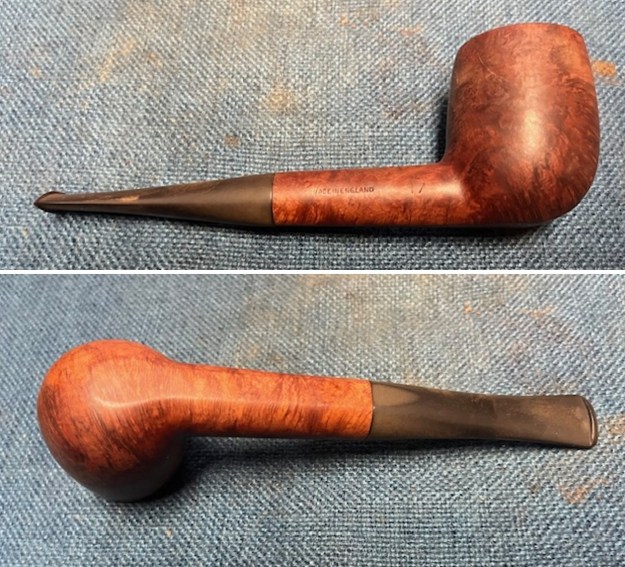
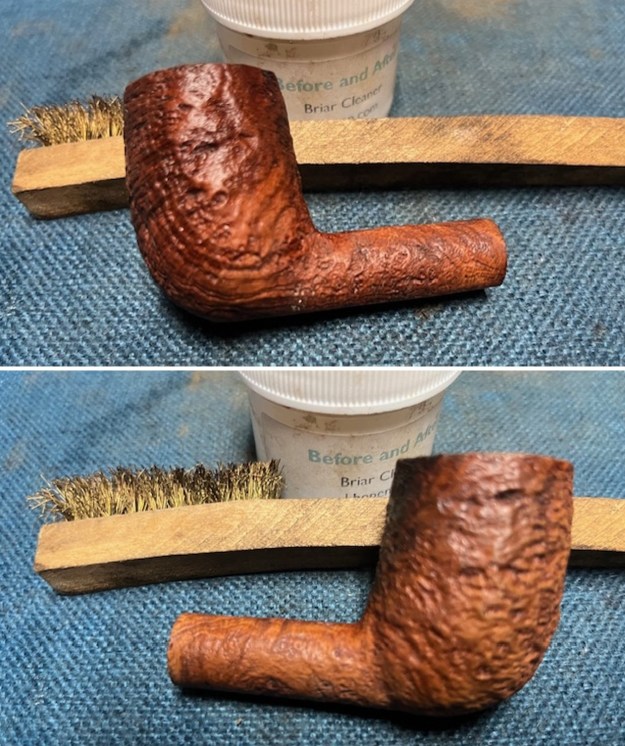
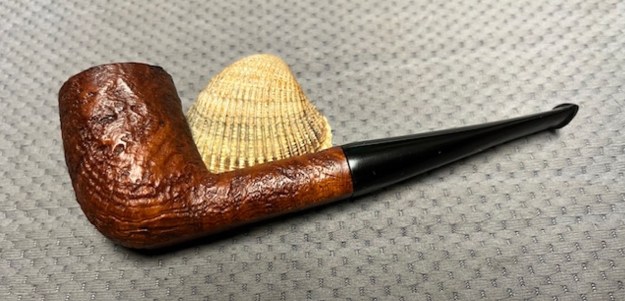
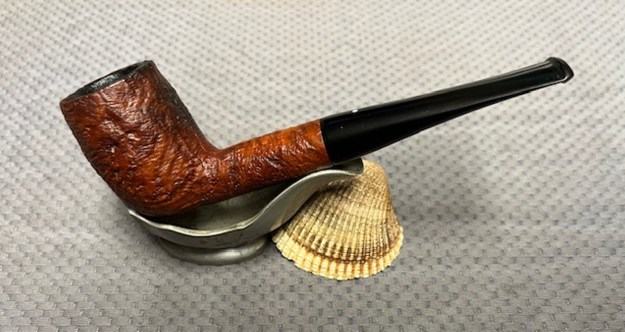
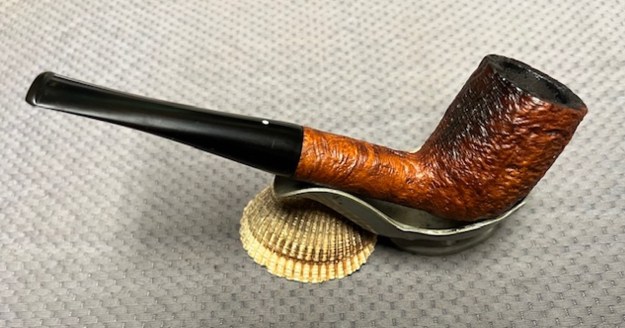
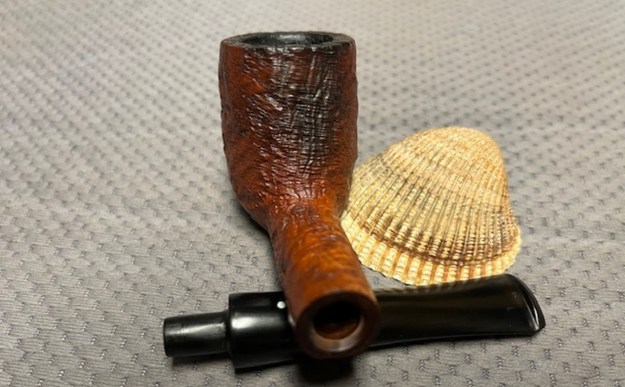
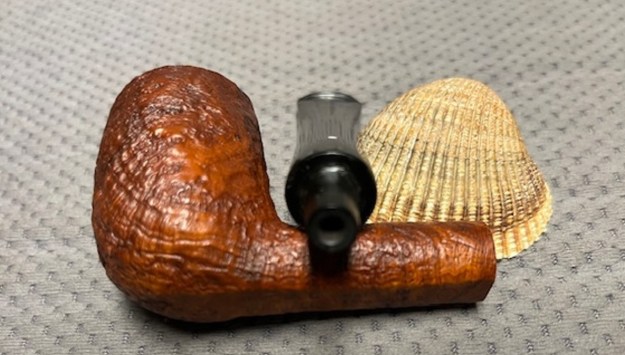
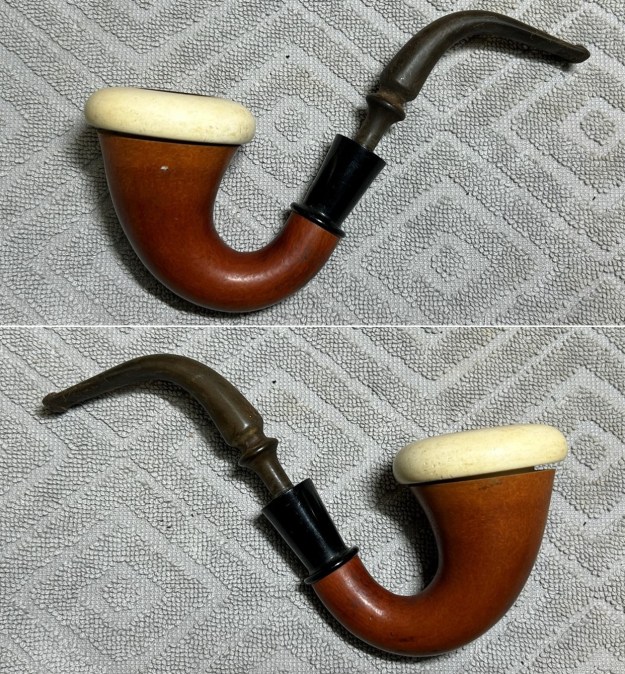
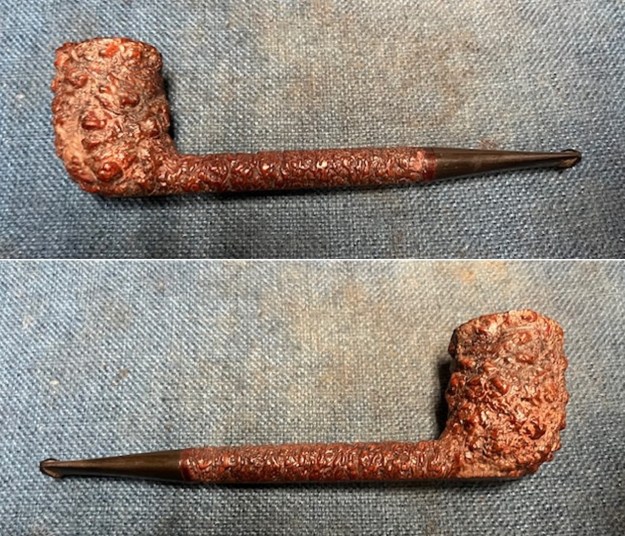
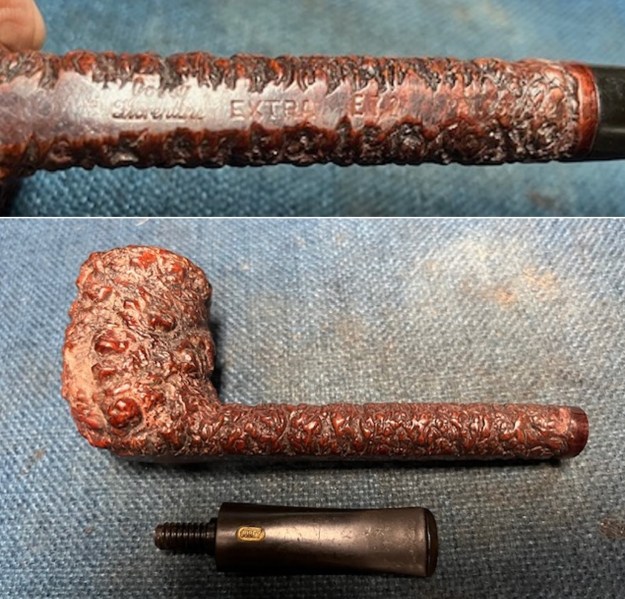
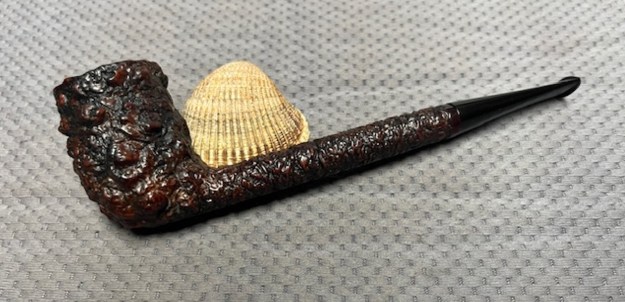
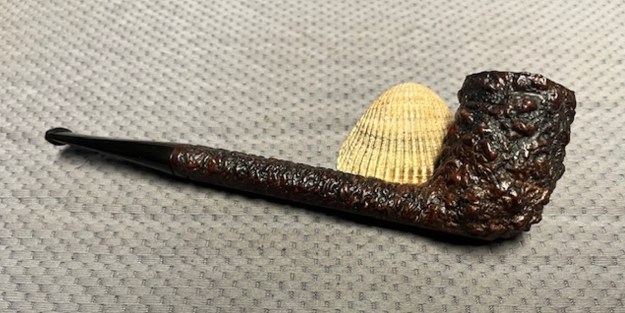
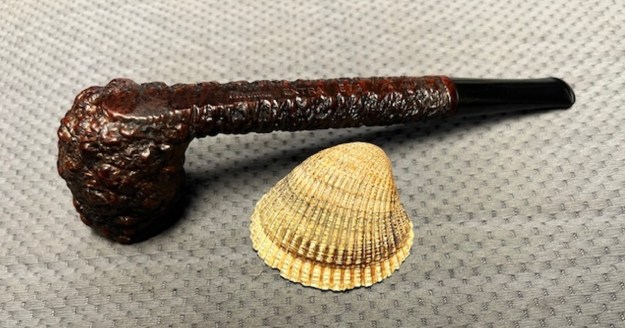
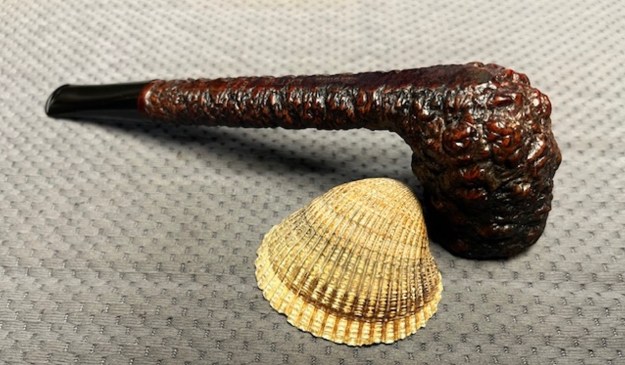
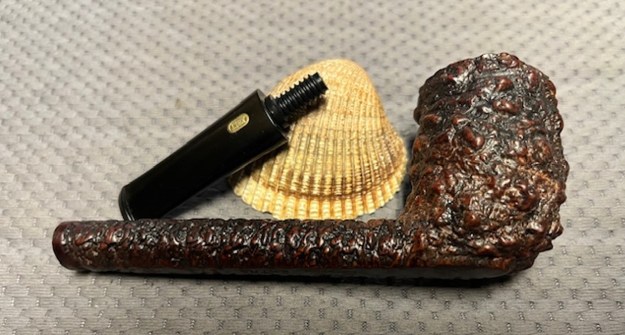
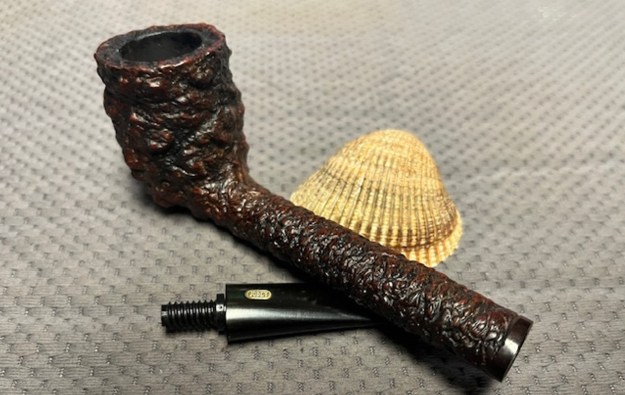
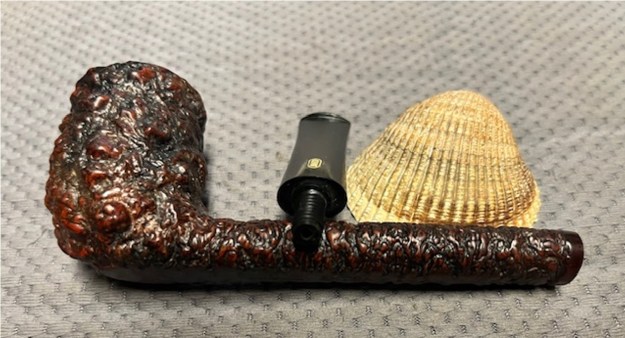
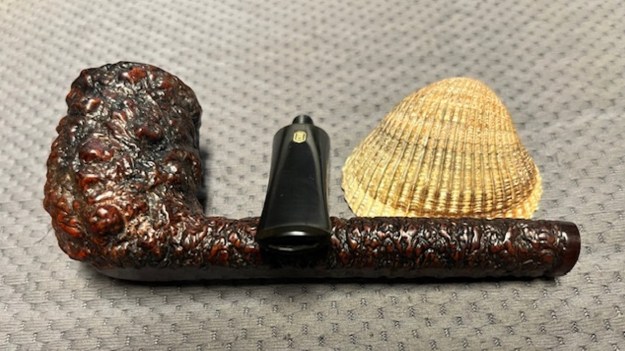
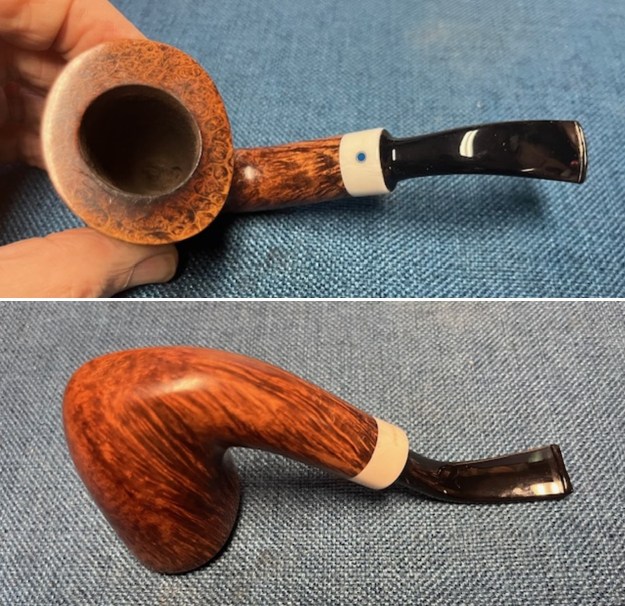
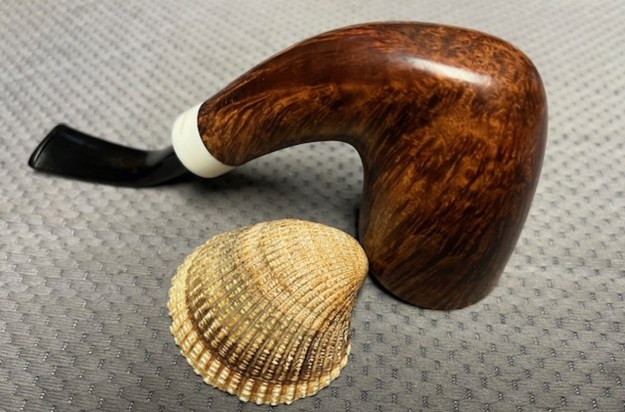
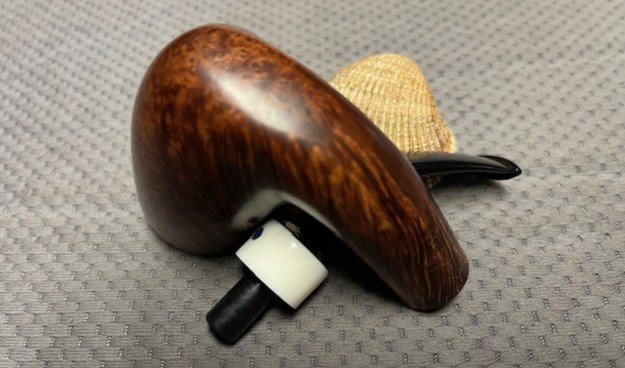
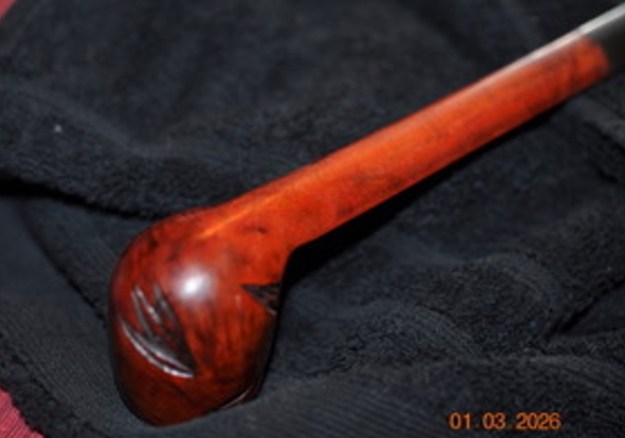
 He took photos of the sides and heel of the bowl to show the rich reddish finish and the carved leaves around the right side and shank. There is great grain peeking through the grime on the shank and the sides of the bowl.
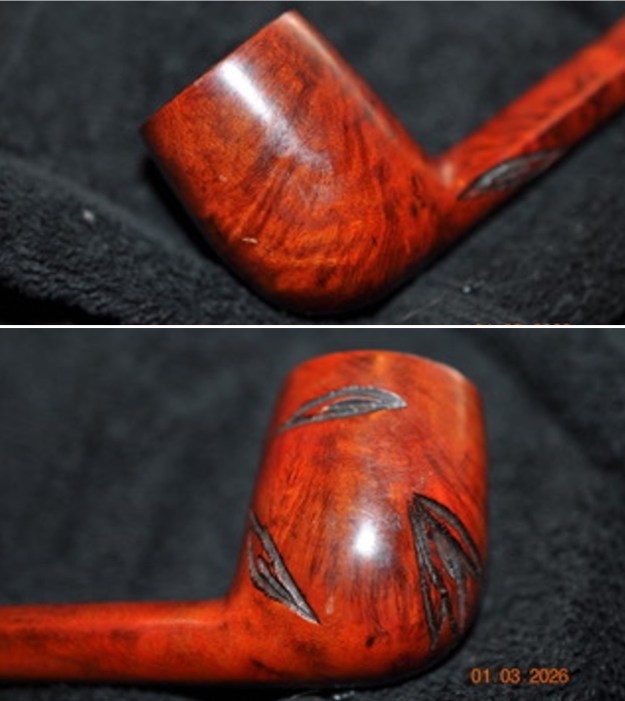
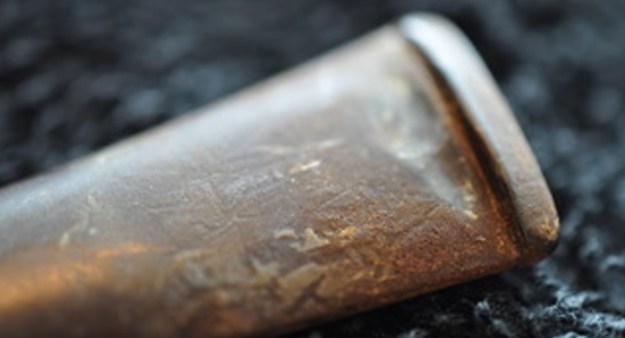
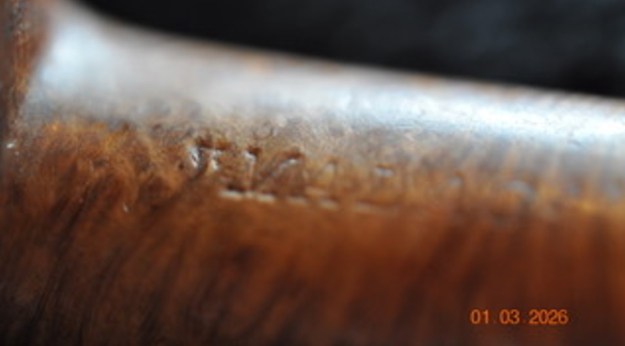
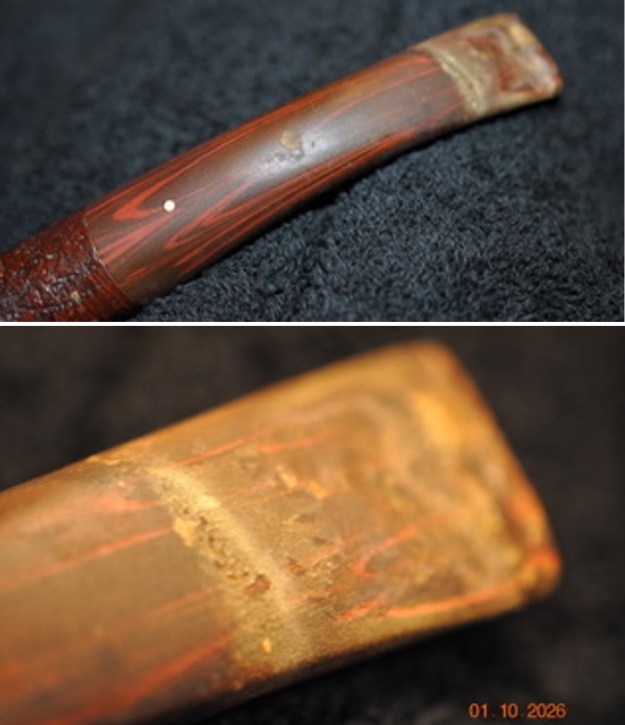
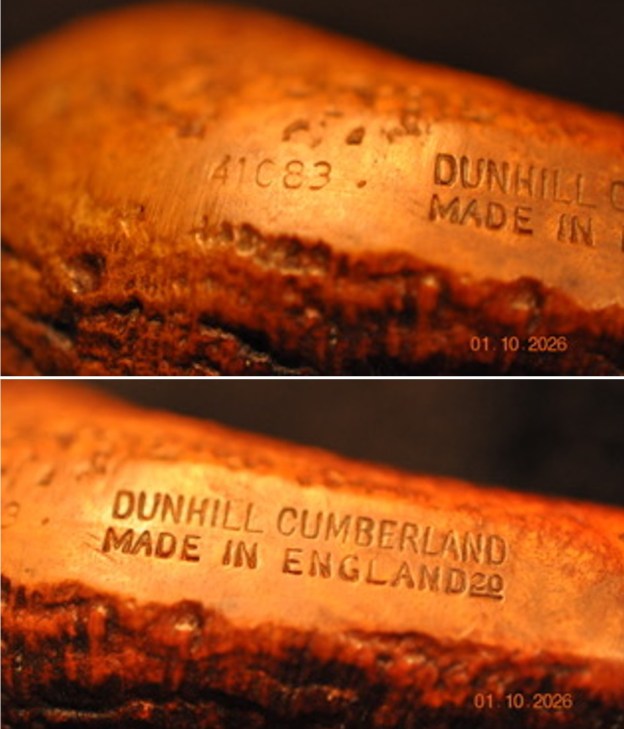
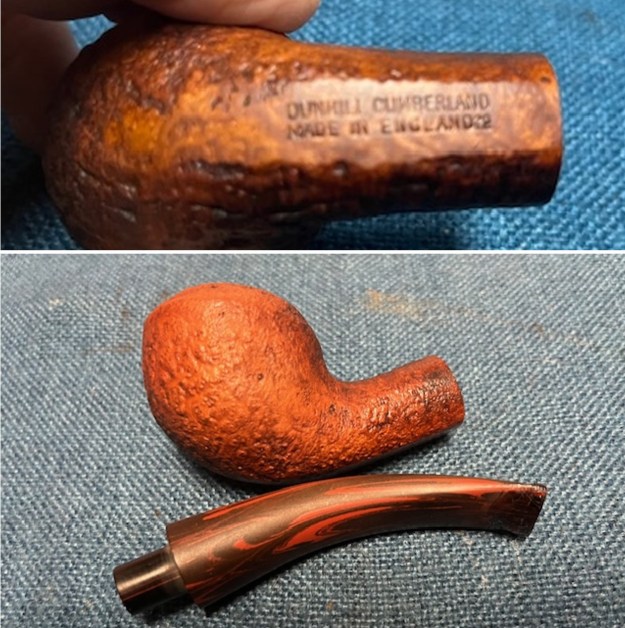
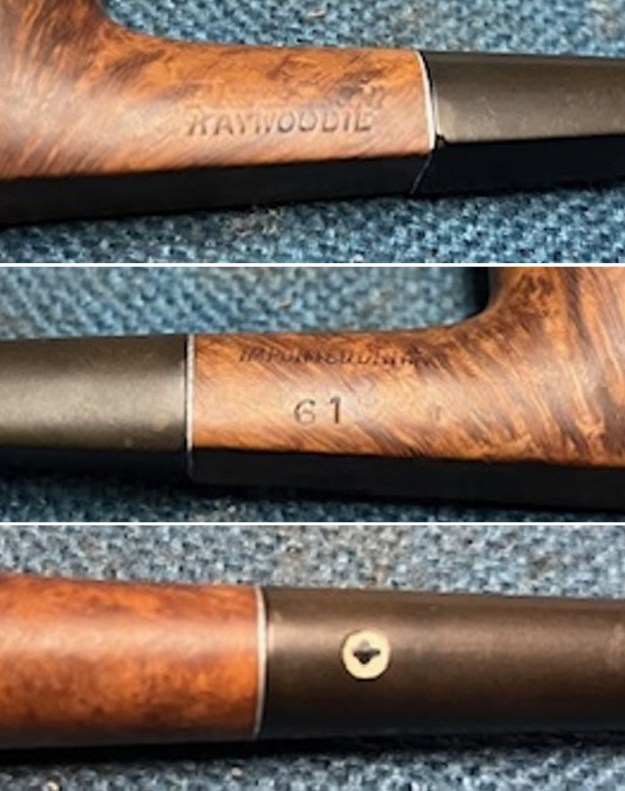
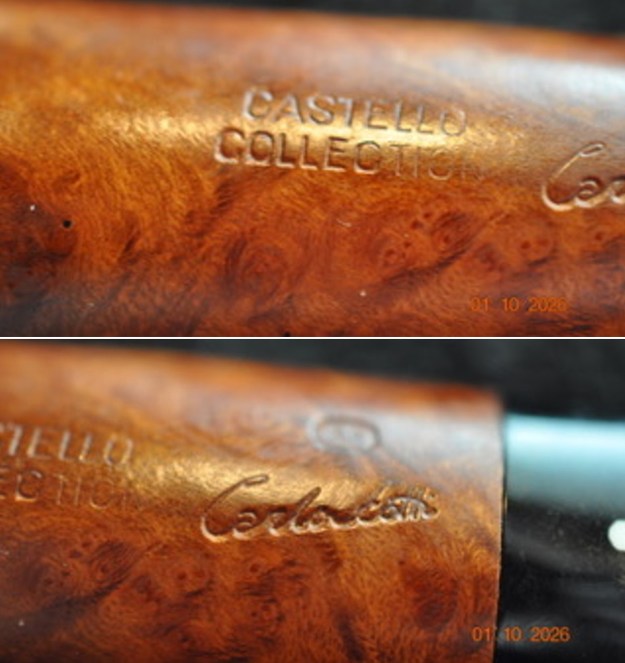
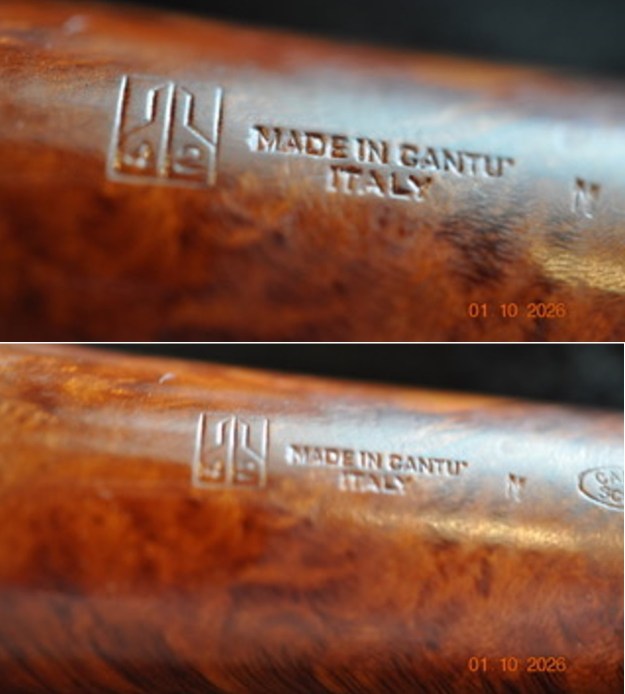
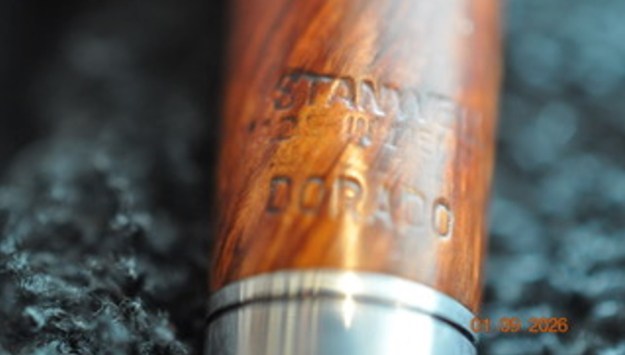
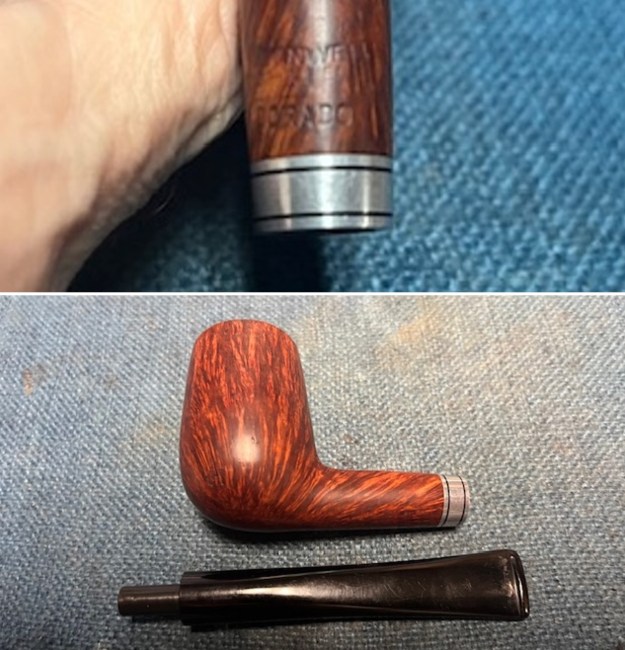
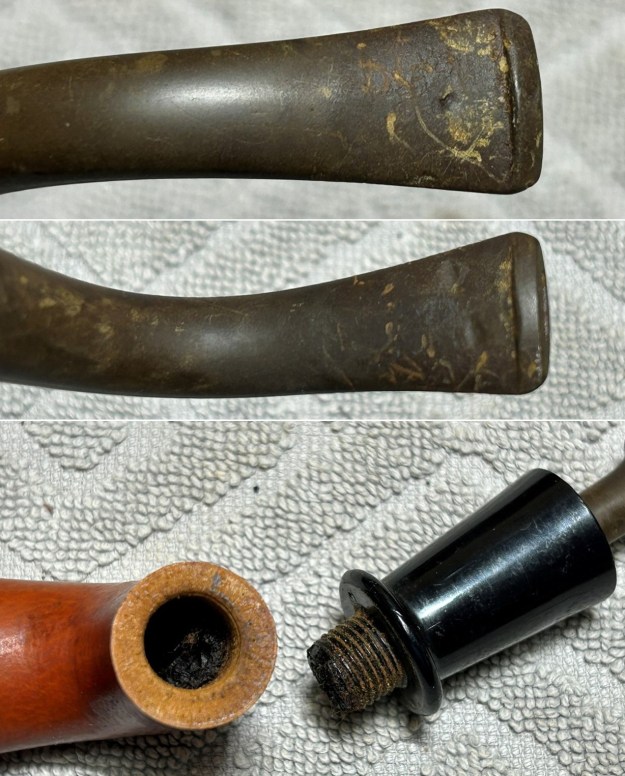
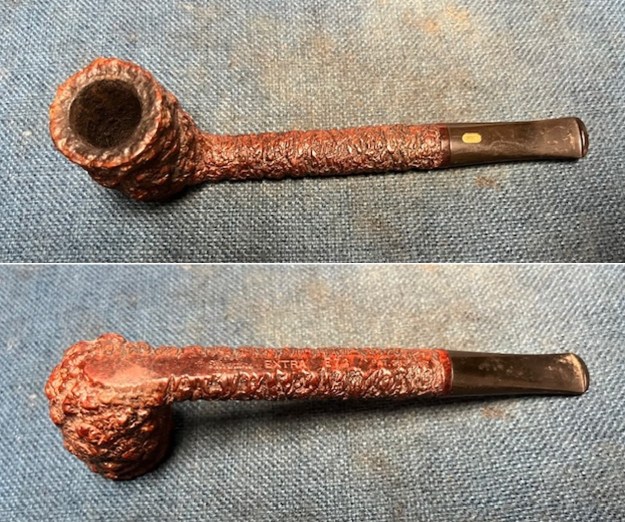
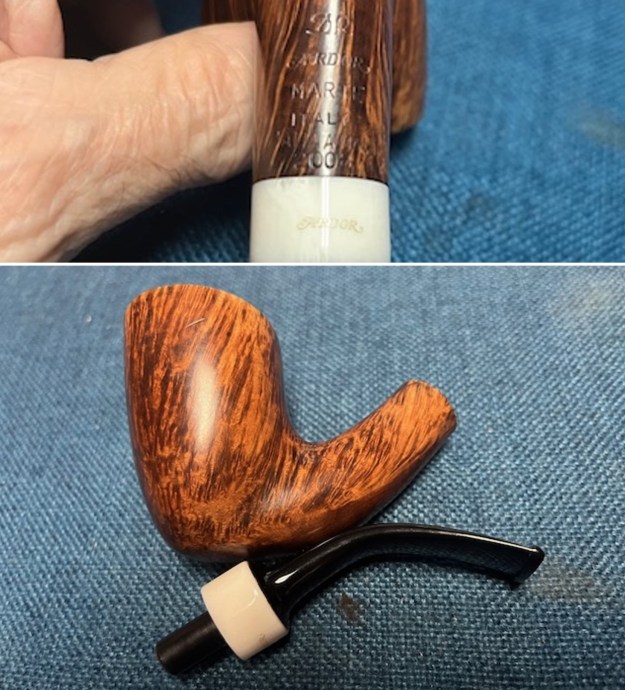
 Jeff took photos of the stamping on the underside of the shank to capture it. It was clear and readable as noted above. He also took a photo of the X logo on the stem top.
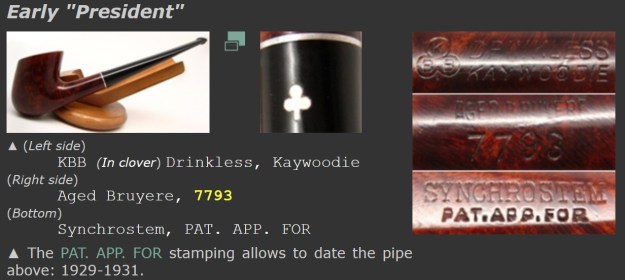
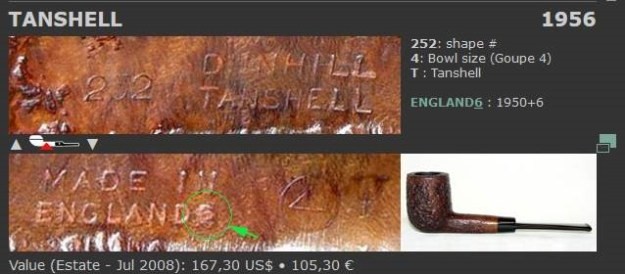
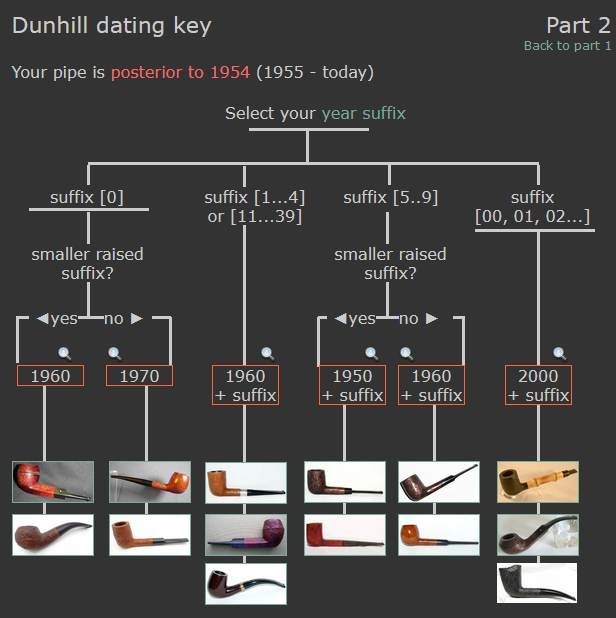
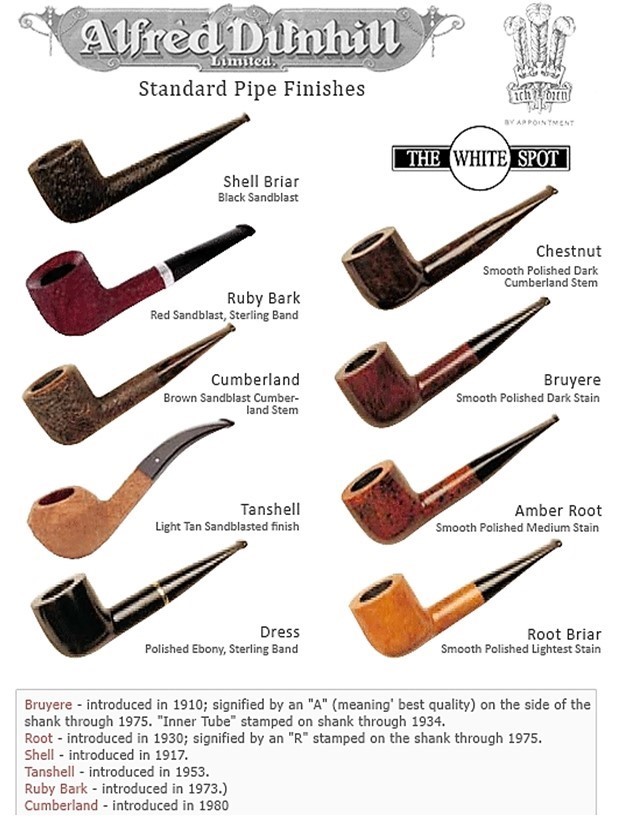
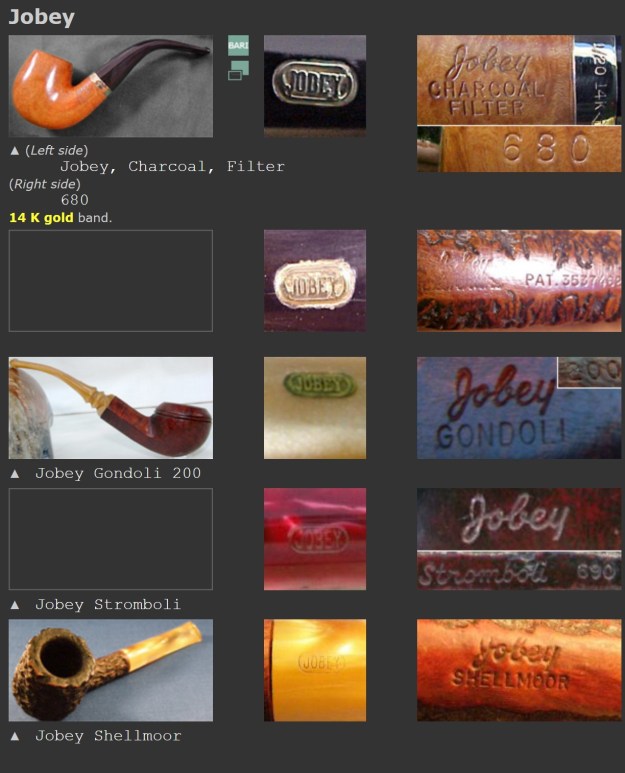
 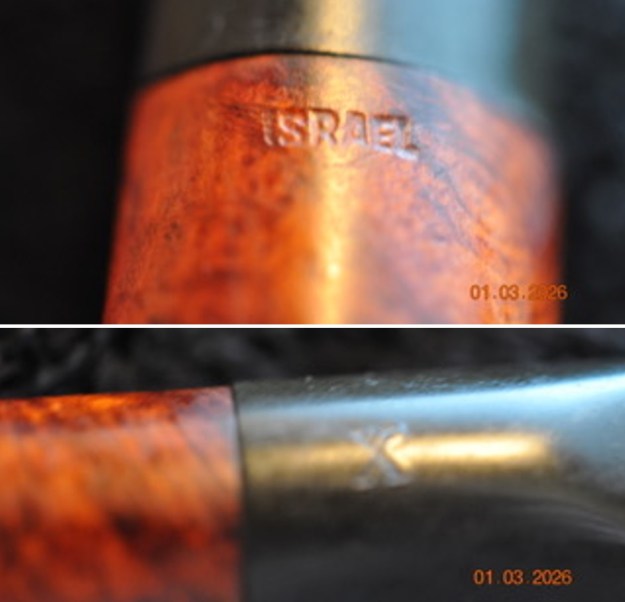 I turned to both Pipephil and Pipedia to see if I could find any information on the stamping on the pipe. There was nothing stamped with both Israel on the shank and X on the stem top. I am pretty convinced that the pipe was made by the Shalom Pipe Company in Israel and the makers of Alpha pipes. The shape and the conformation of the pipe remind me of other Shalom pipes. While I will never know the maker for certain I am fairly confident it as noted above. It is a neat looking pipe.
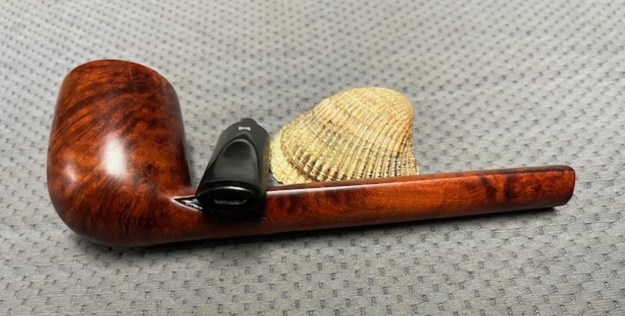
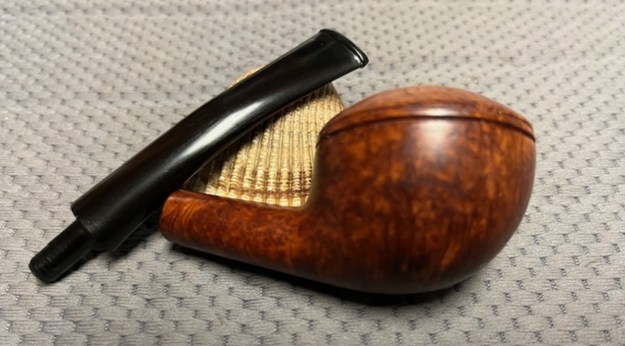
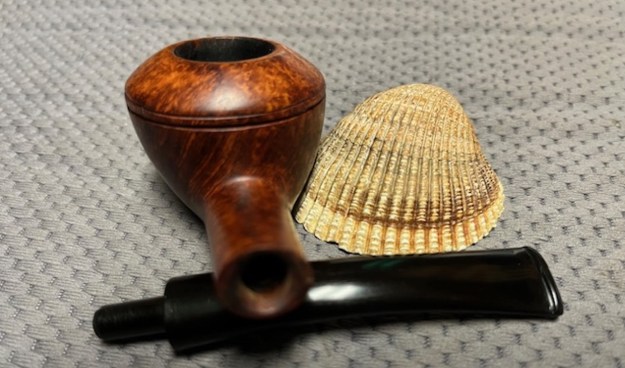
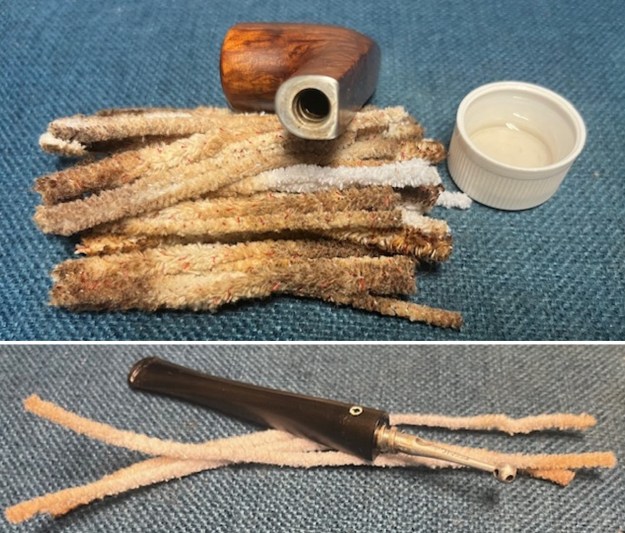
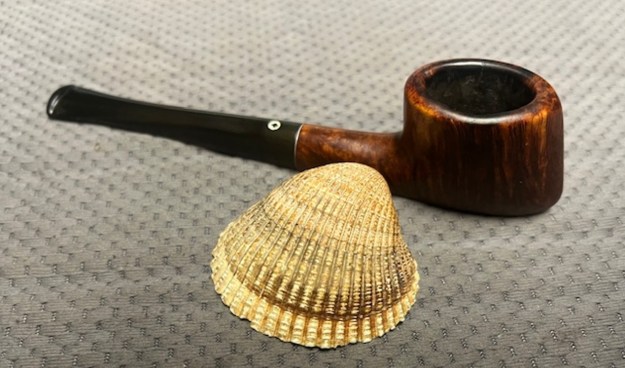
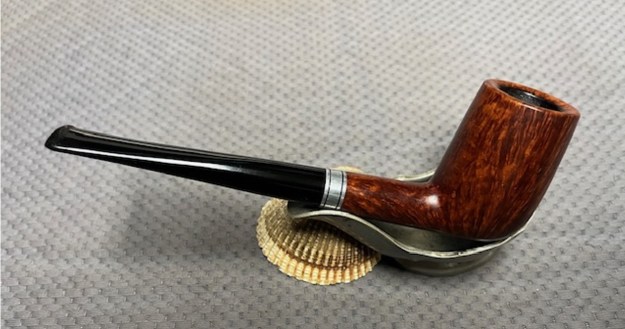
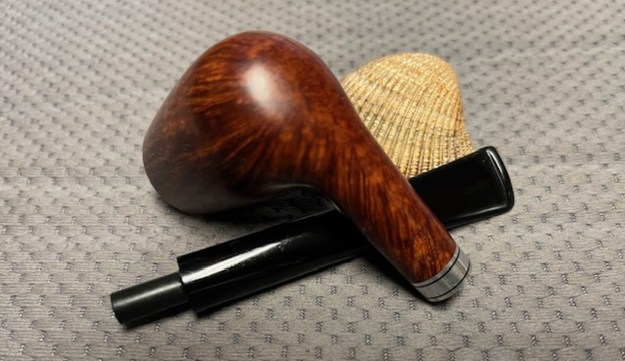
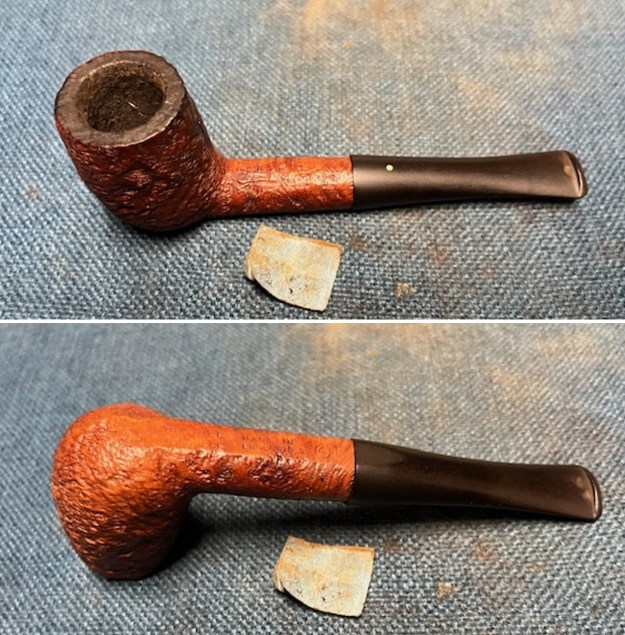
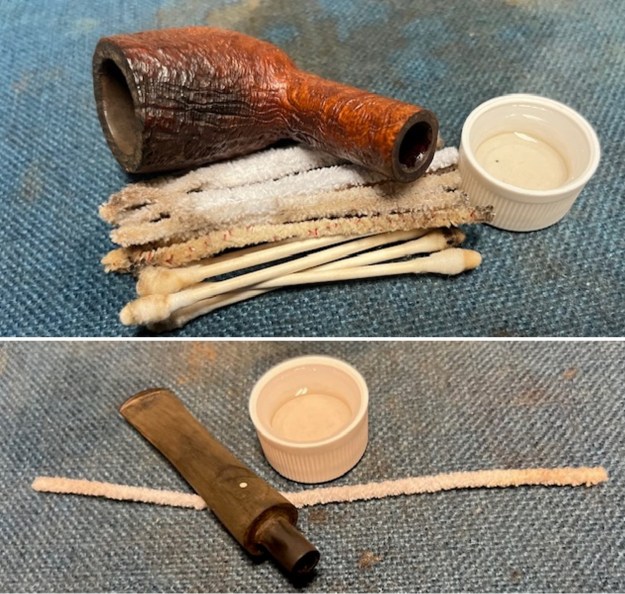
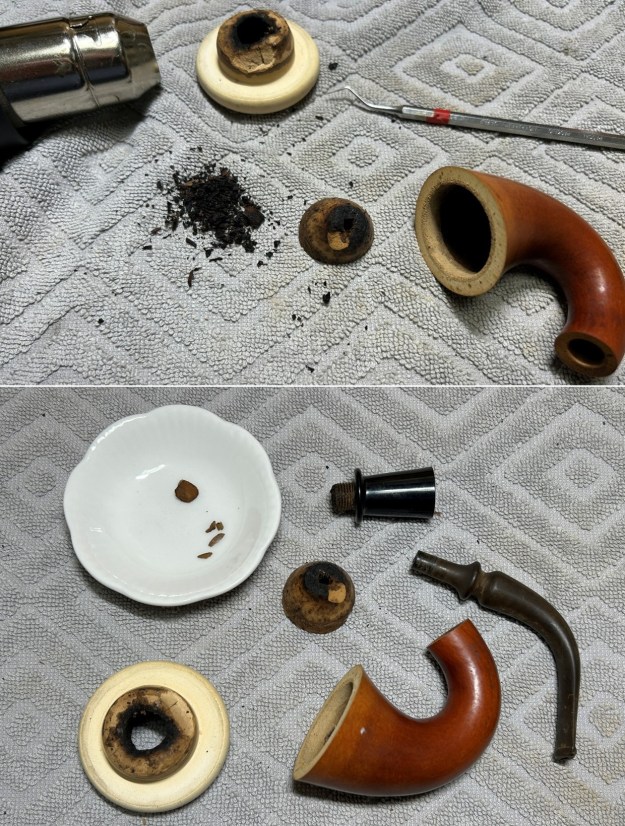
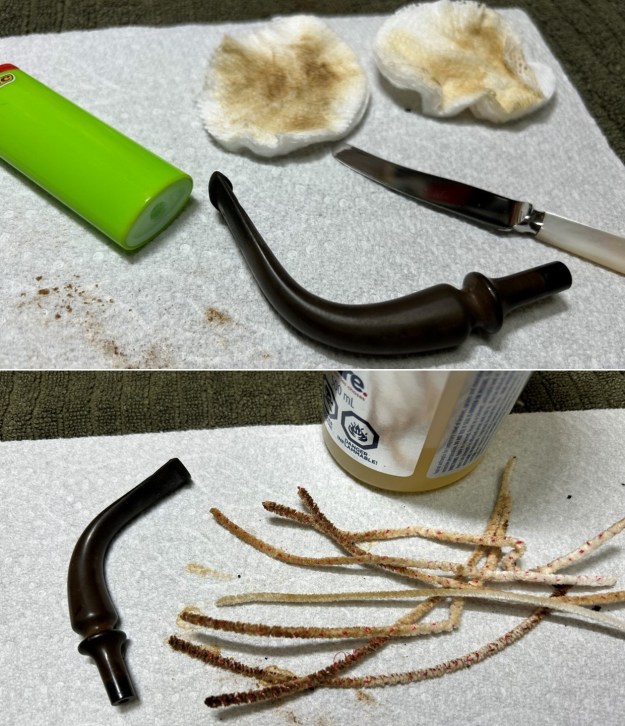
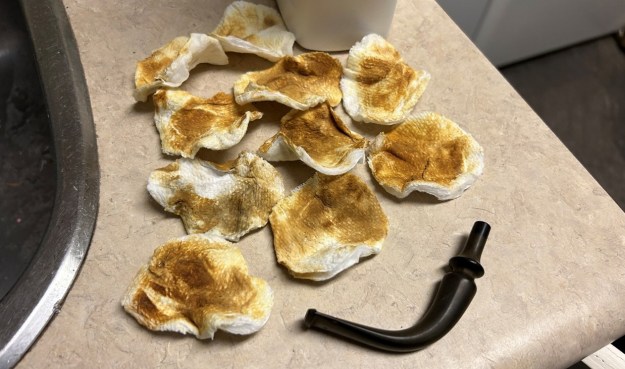
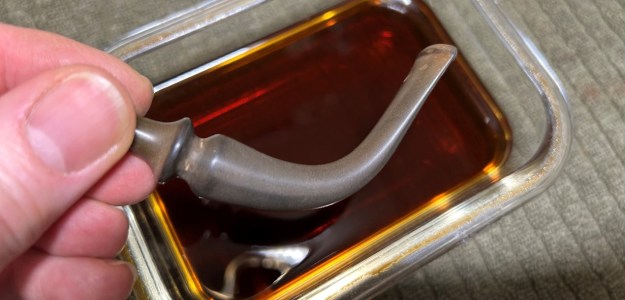
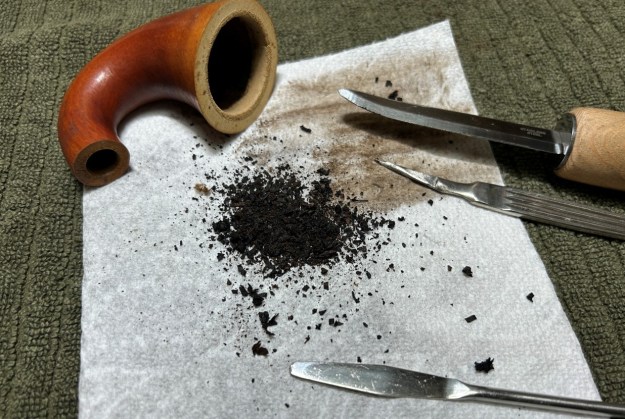
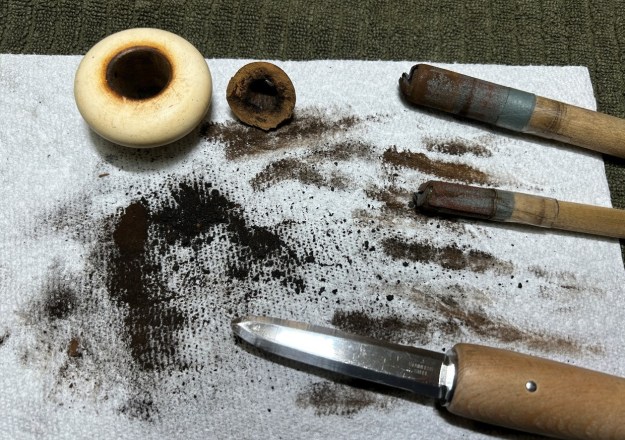
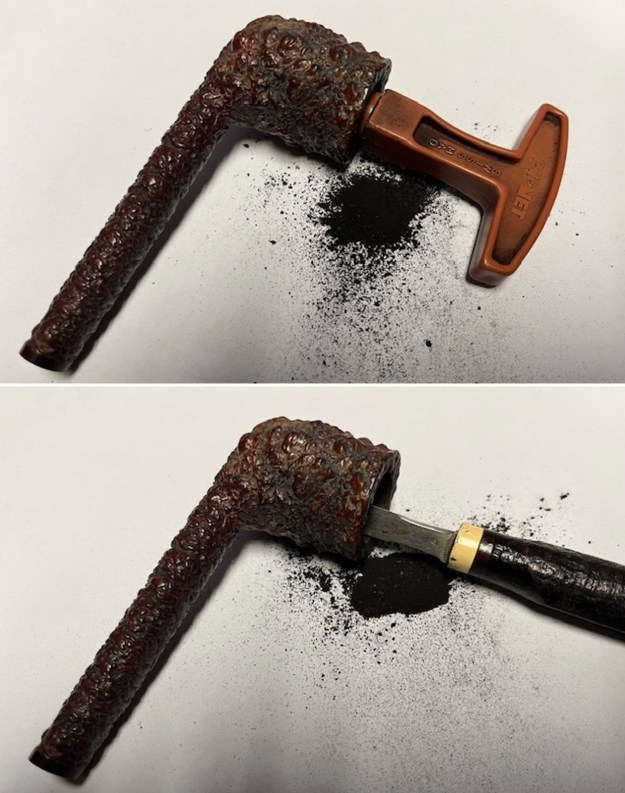
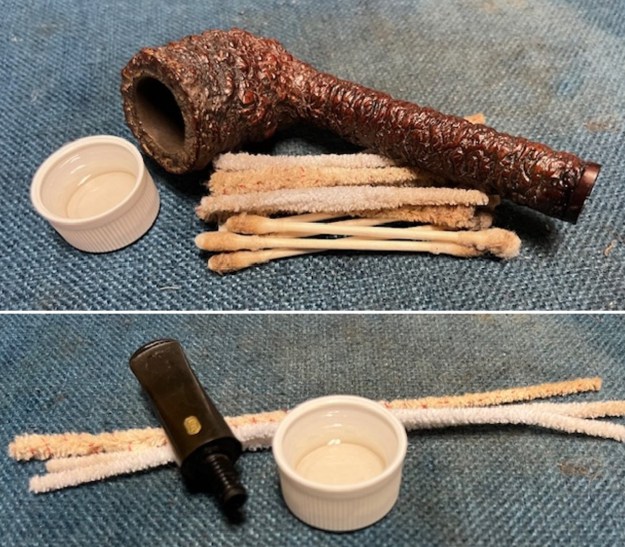
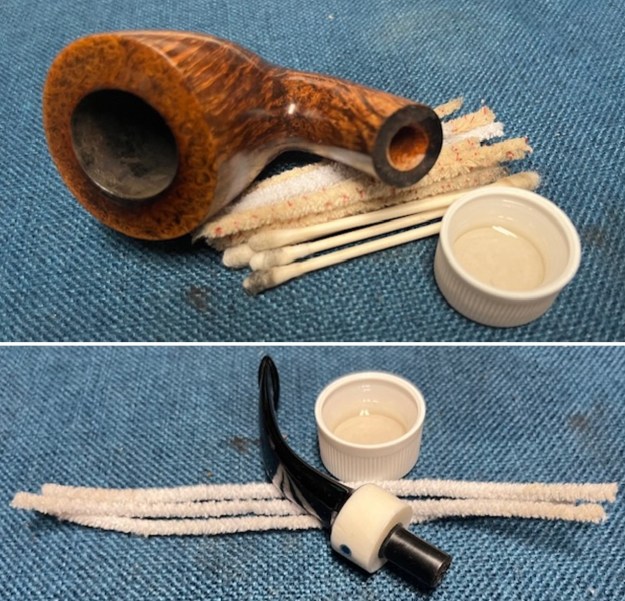
When I received it from Jeff it did not look like the same pipe. It was clean and the finish had life. He reamed it with a PipNet pipe reamer and got rid of the cake. He cleaned up the reaming with a Savinelli Fitsall Pipe Knife so that we could see the walls of the bowl and assess for damage. It was in good condition. He cleaned the internals of the shank and stem with cotton swabs, pipe cleaners and alcohol. He scrubbed the exterior with undiluted Murphy’s Oil Soap and a tooth brush. He rinsed the pipe under warm water. He dried it off with a cloth and then let it air dry. He scrubbed the stem with Soft Scrub and soaked it in Briarville’s Stem Deoxidizer. He rinsed it with warm water and dried it off with a soft cloth. It came out looking very good. The finish on the bowl and the rim top cleaned up nicely. I took pictures of the pipe to show how it looked when I unpacked it. 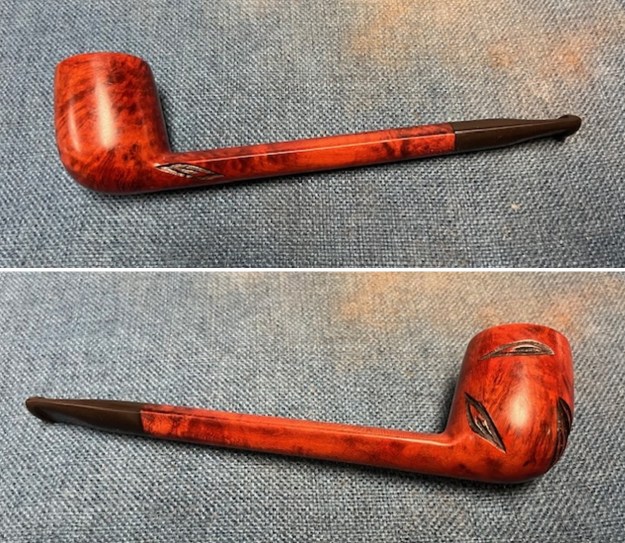
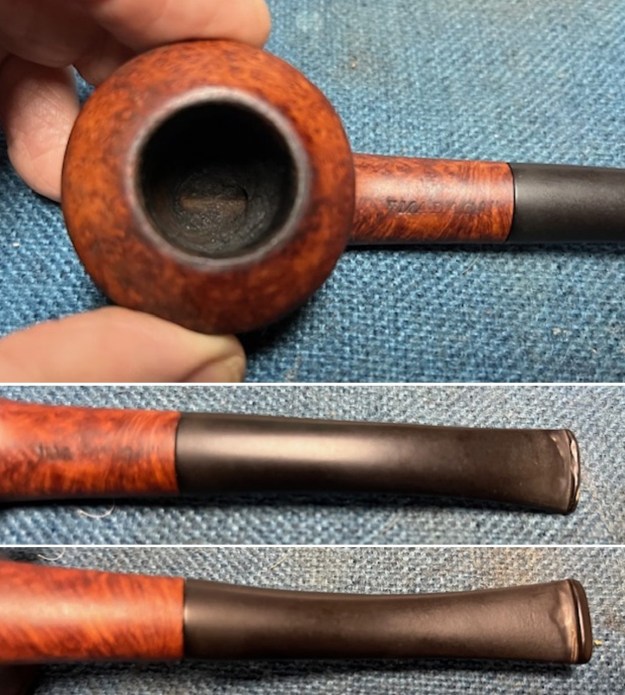
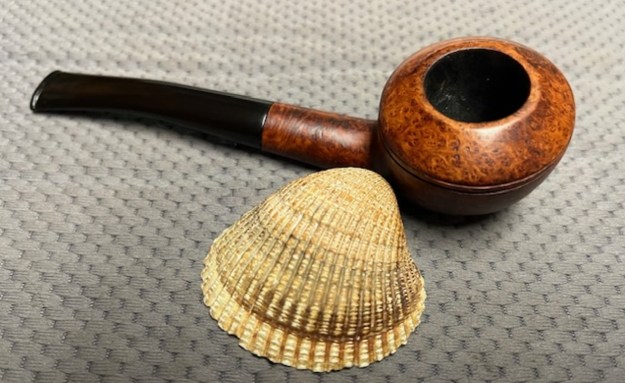
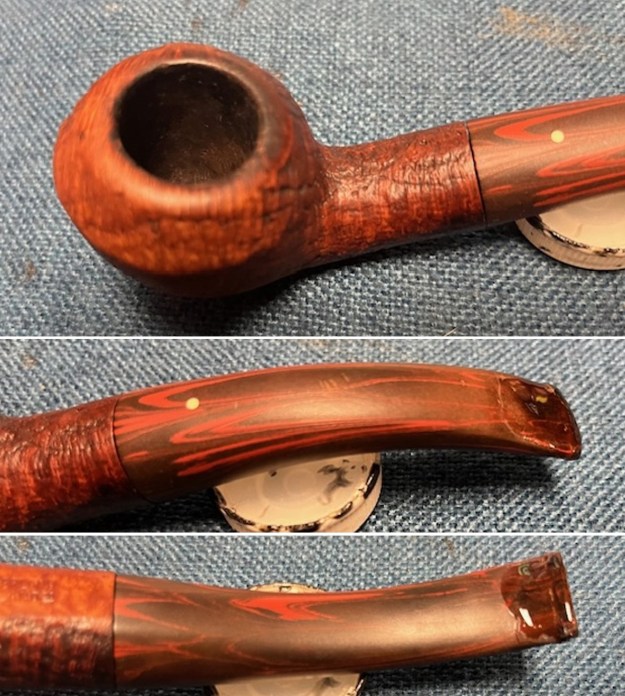
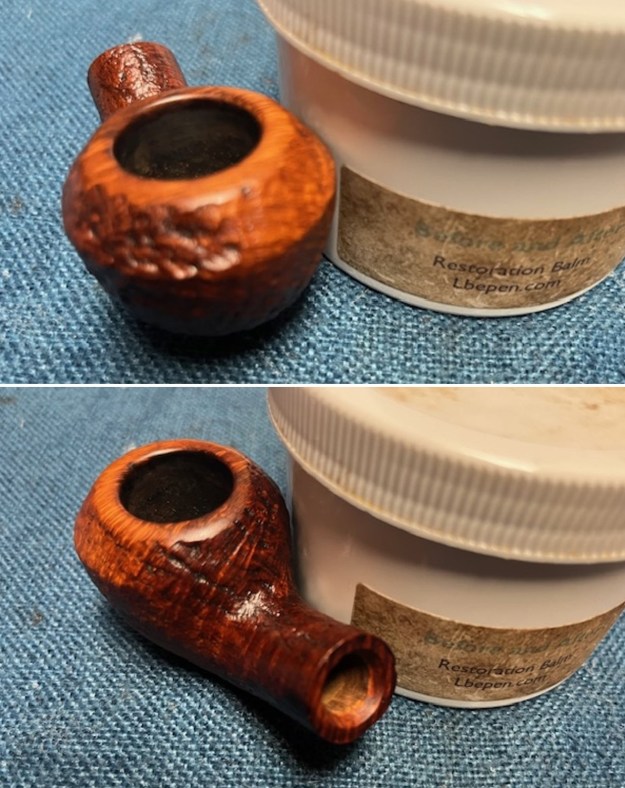
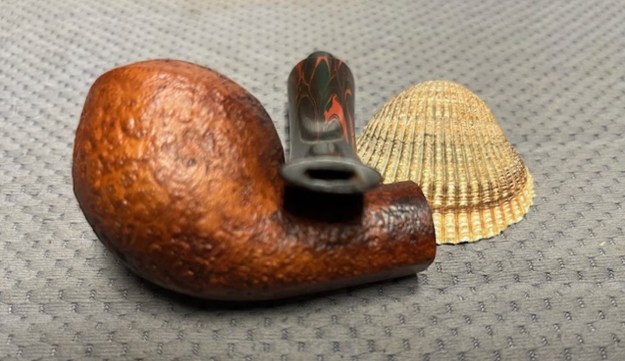
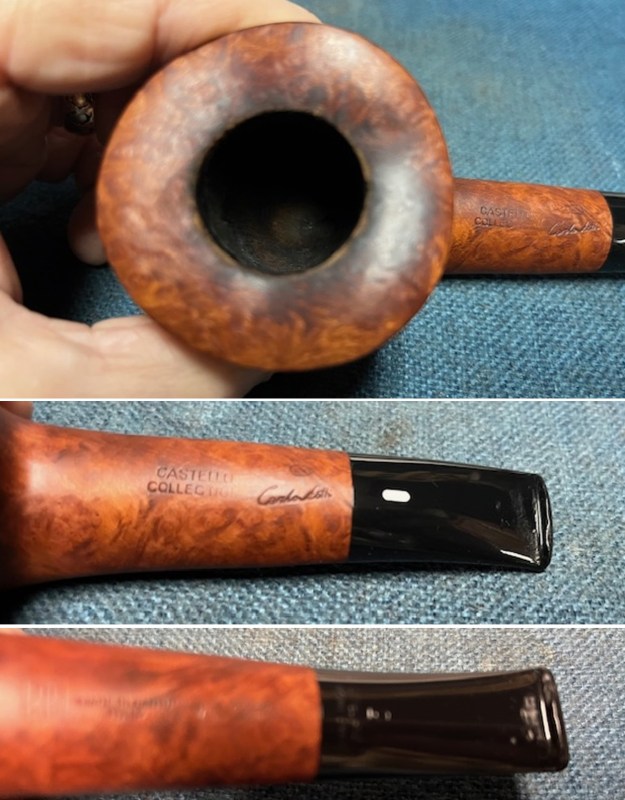
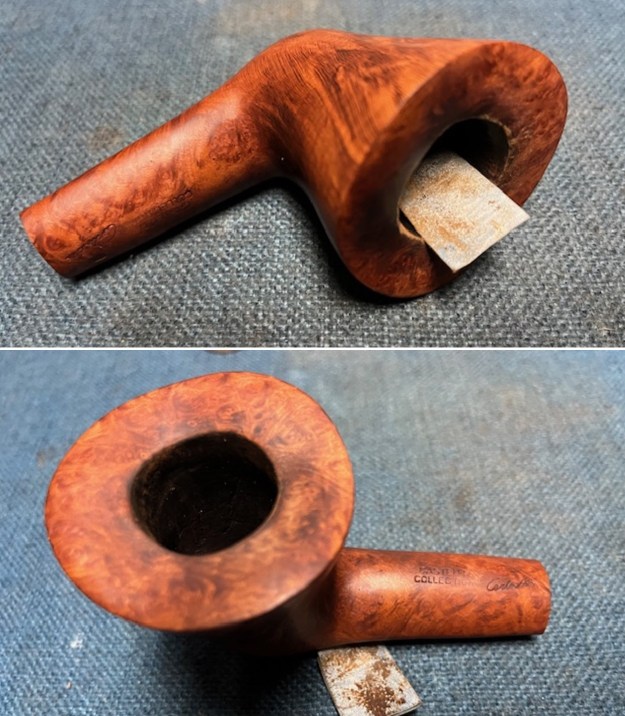
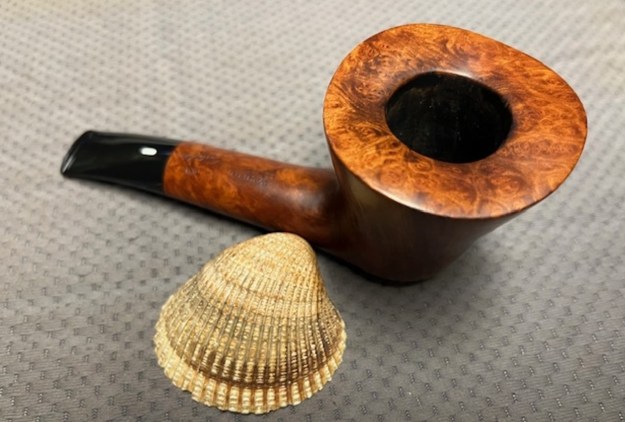
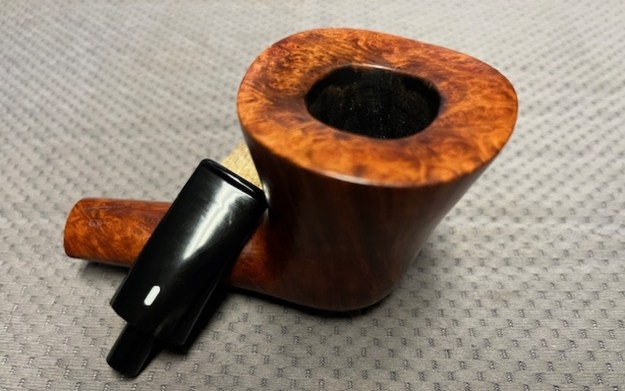
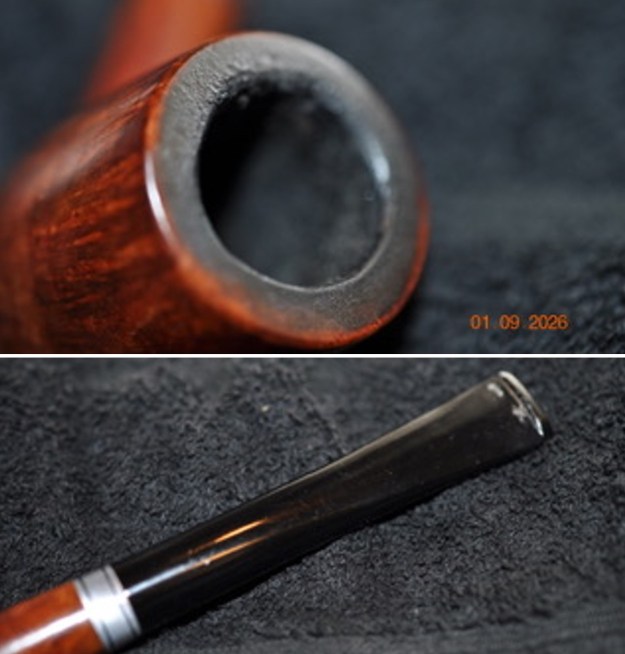
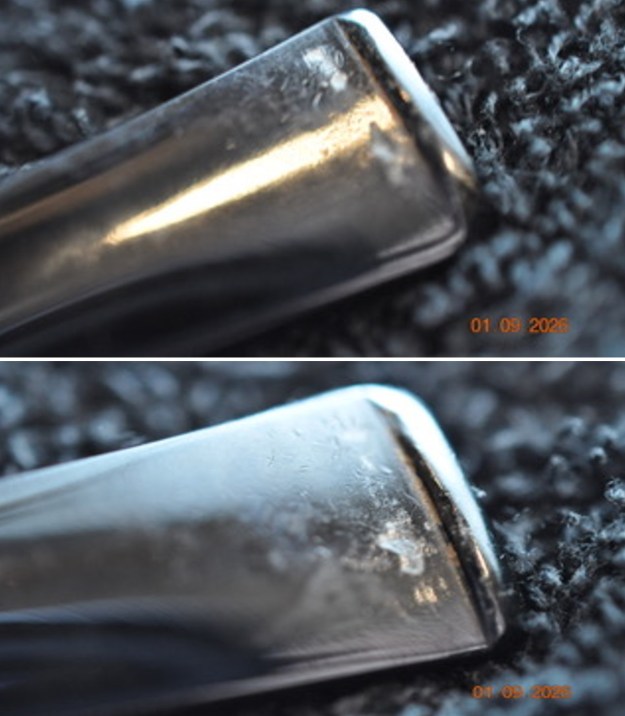
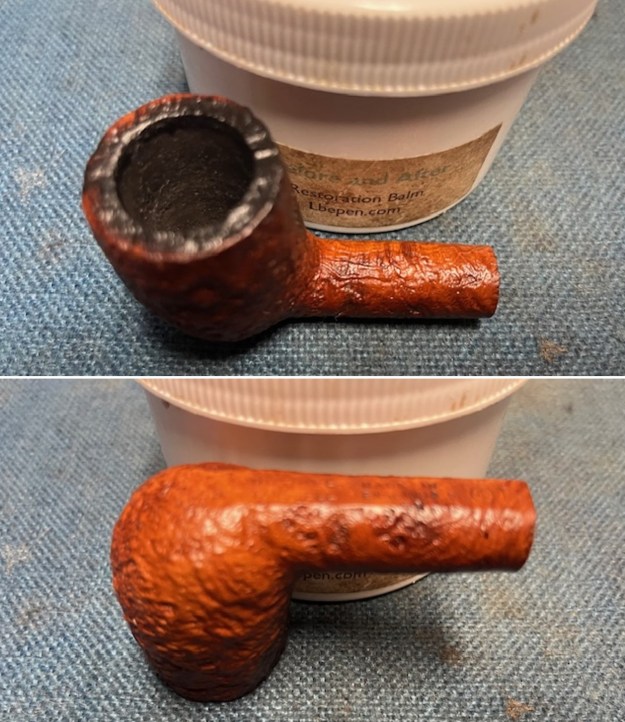
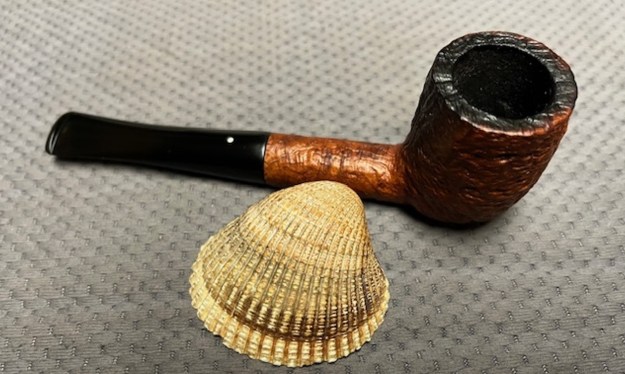
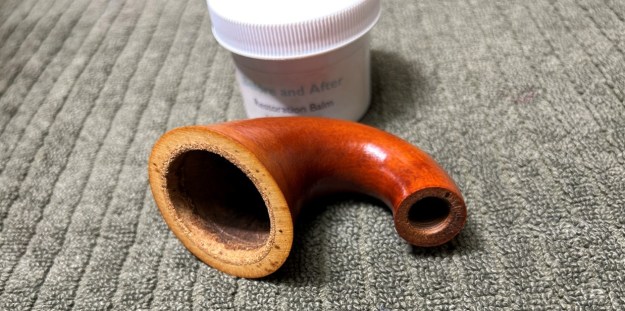
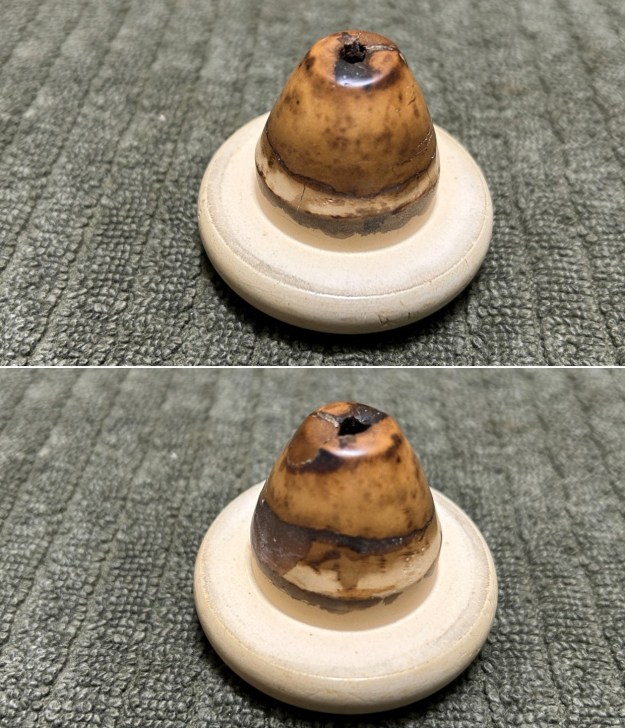
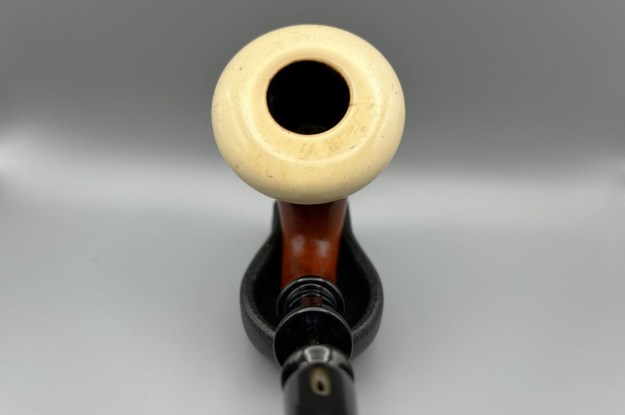
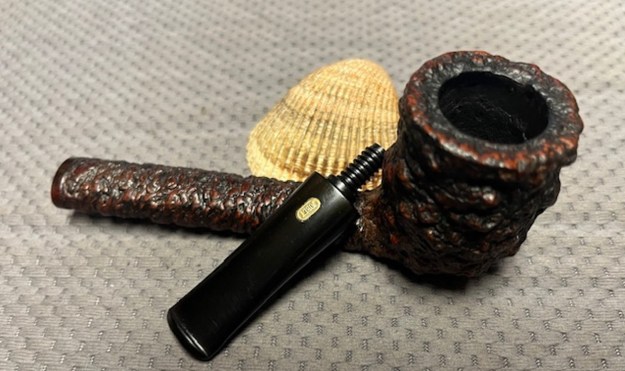
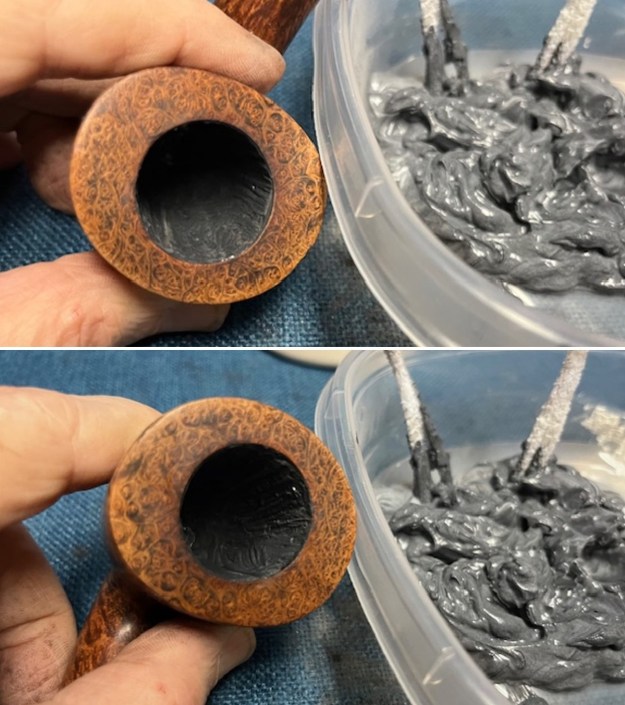
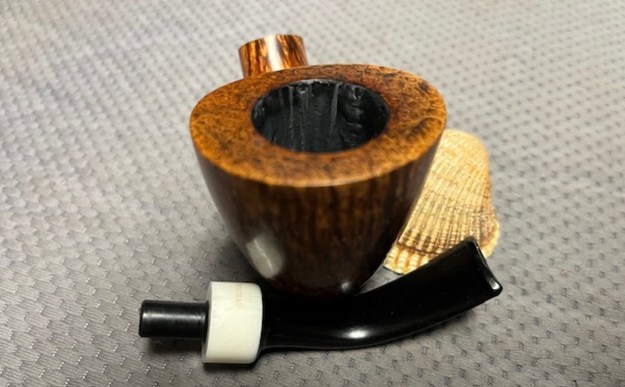
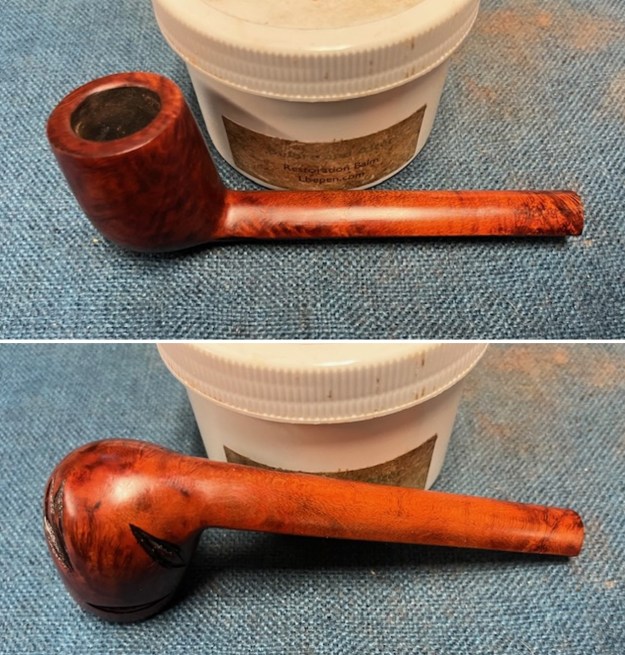
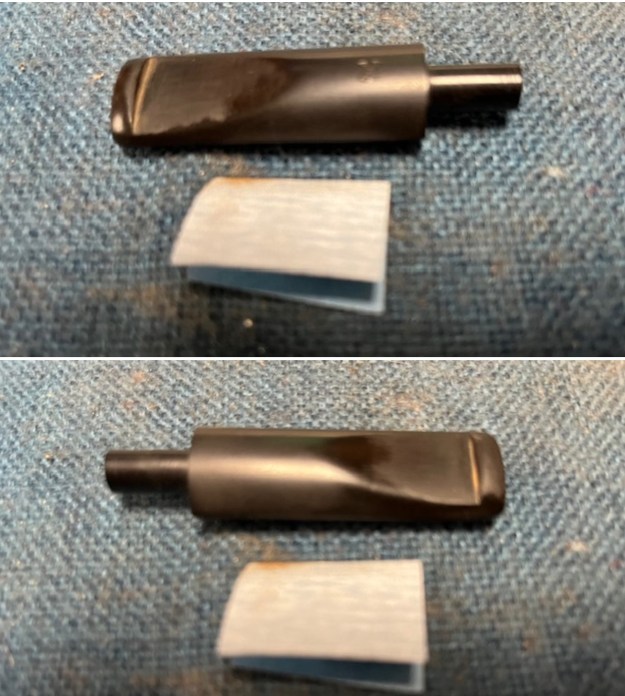
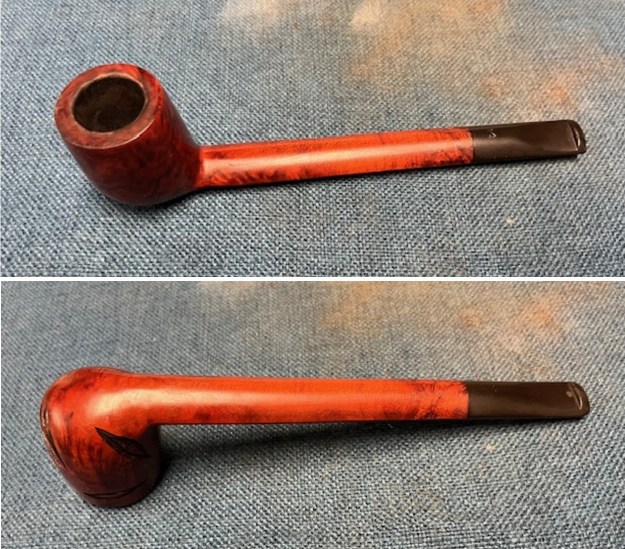 I took some photos of the rim top and stem to show the condition of them both when the pipe arrived. Overall it looked good. There is some damage and darkening to the inner edge of the bowl. The stem looked good even with the tooth marks on the top and underside ahead of the button.
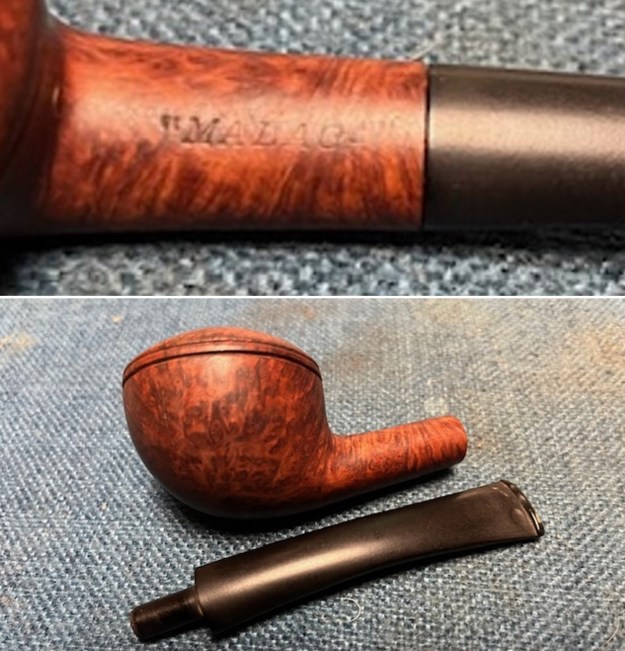
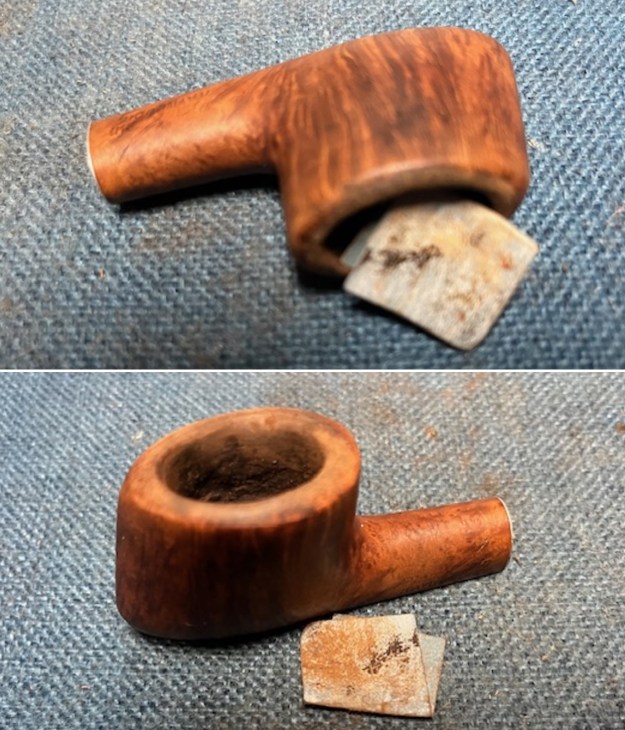
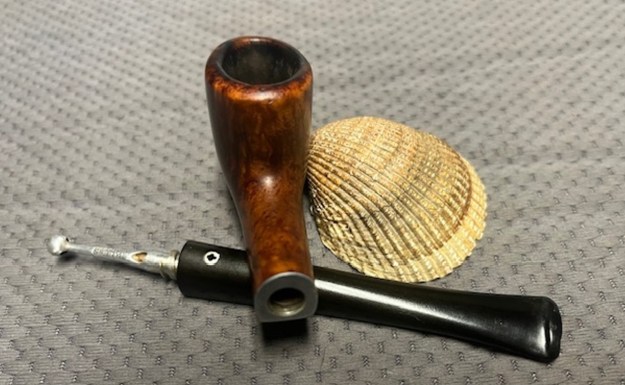
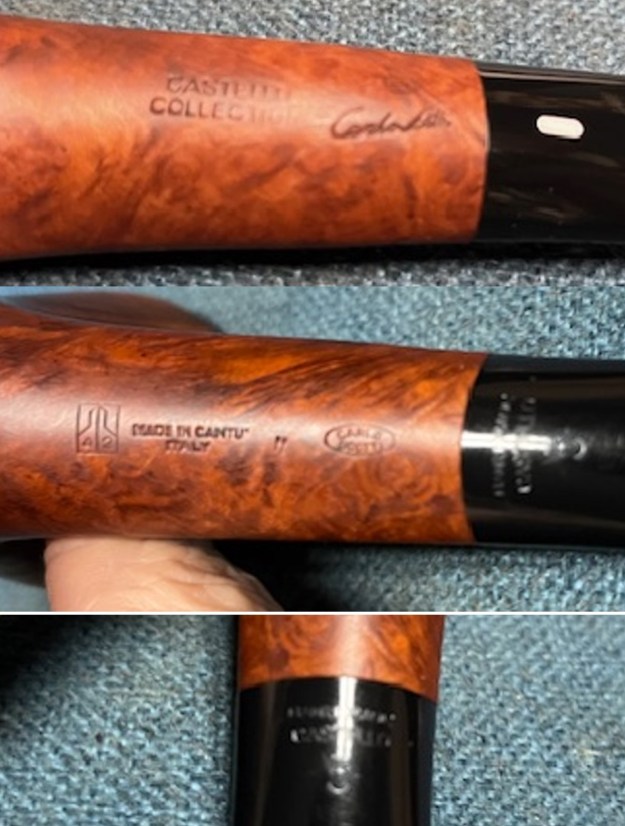
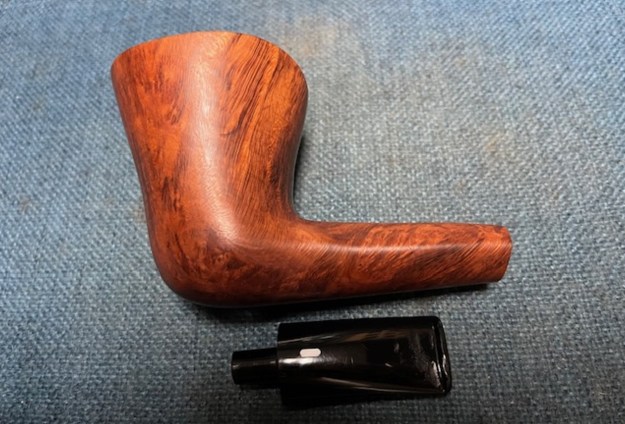
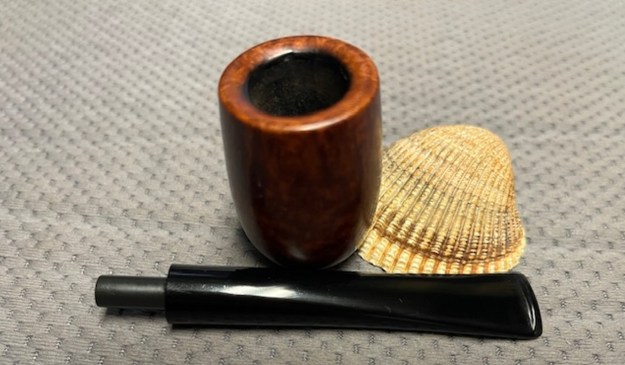
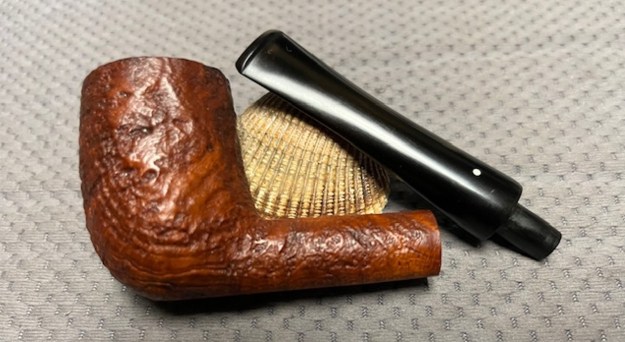
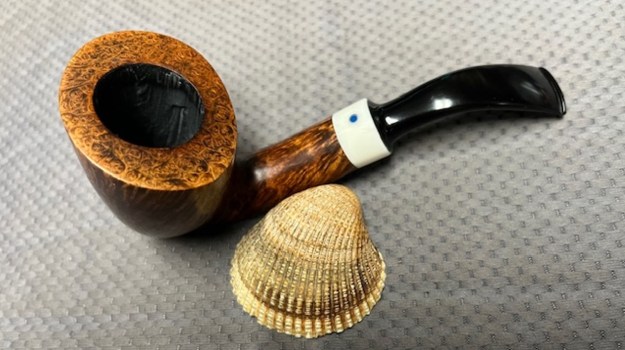
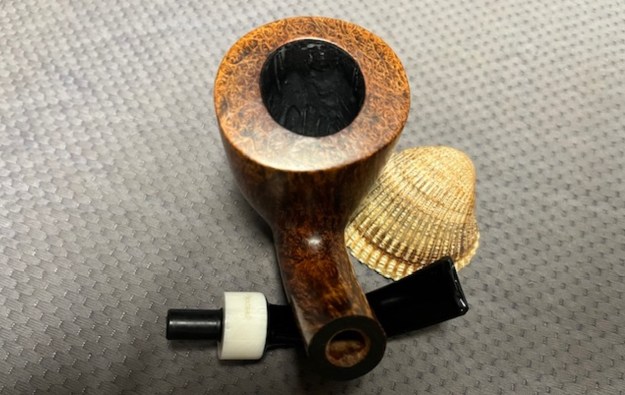
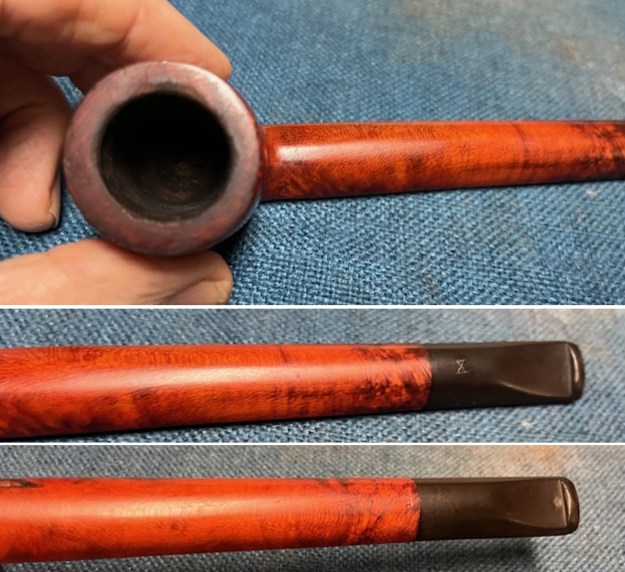 I took a photo of the stamping on the underside of the shank and reads Israel. It is clear and readable and in great condition. The X stamp on the topside of the stem is faded but readable. I removed the stem from the shank and took a photo of the pipe to show the look of the pipe.
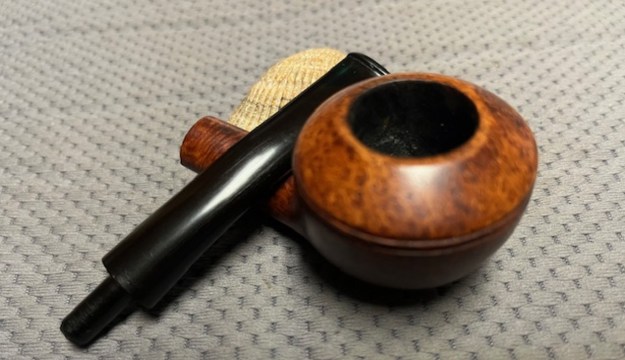
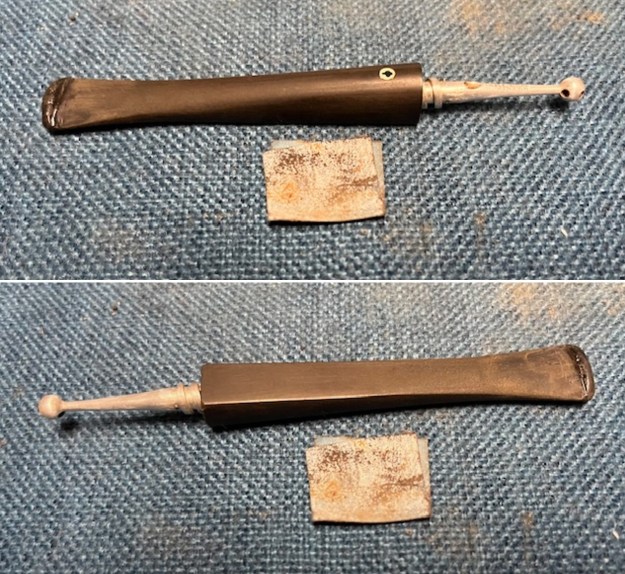
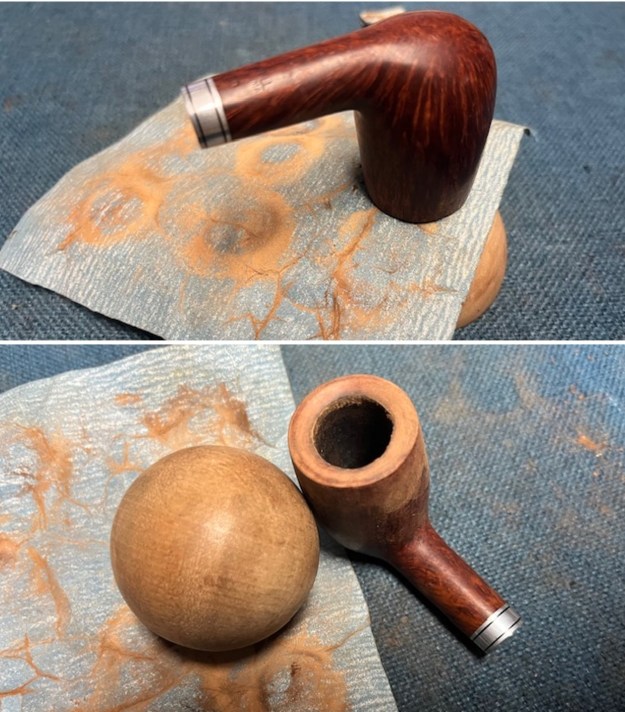
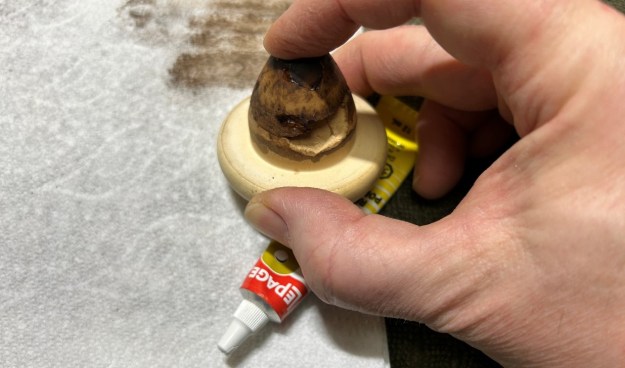
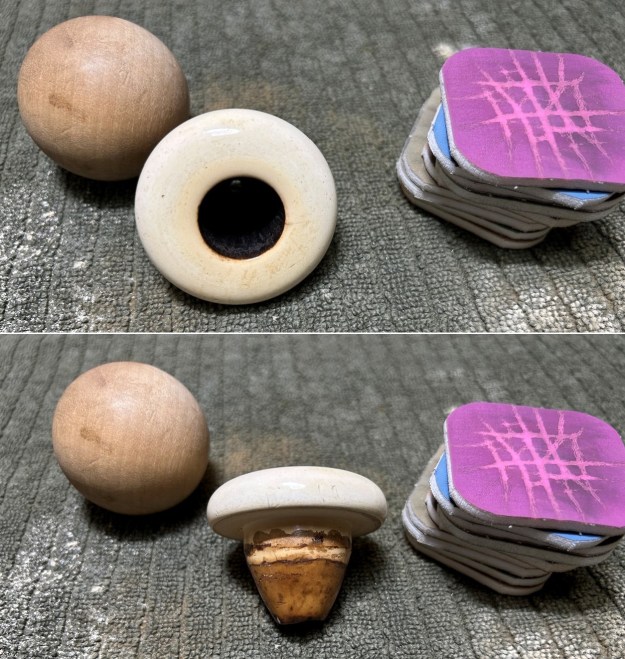
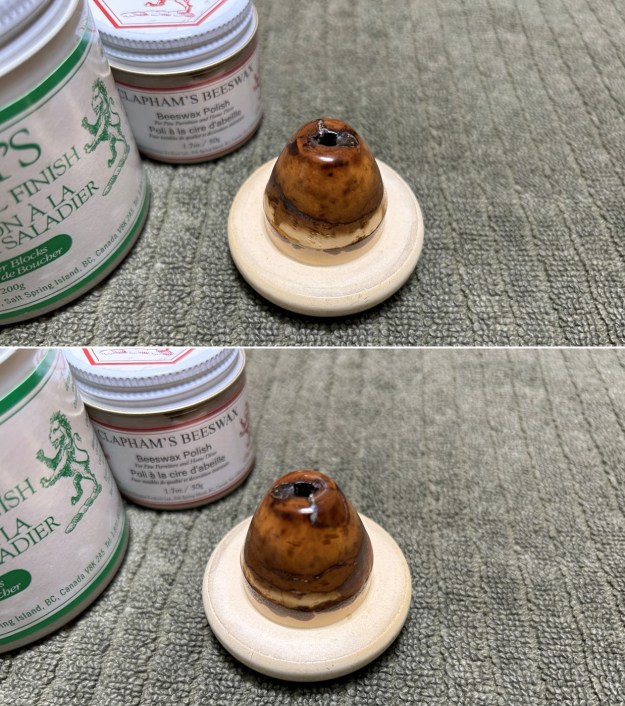
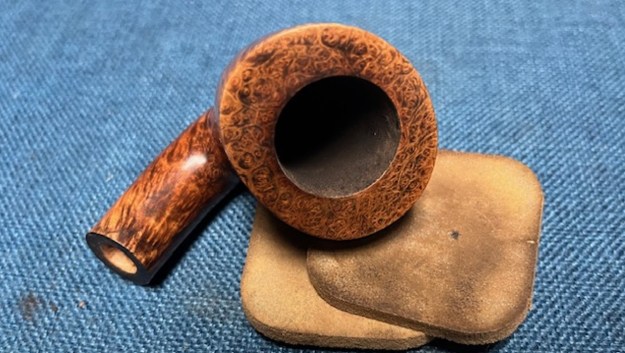
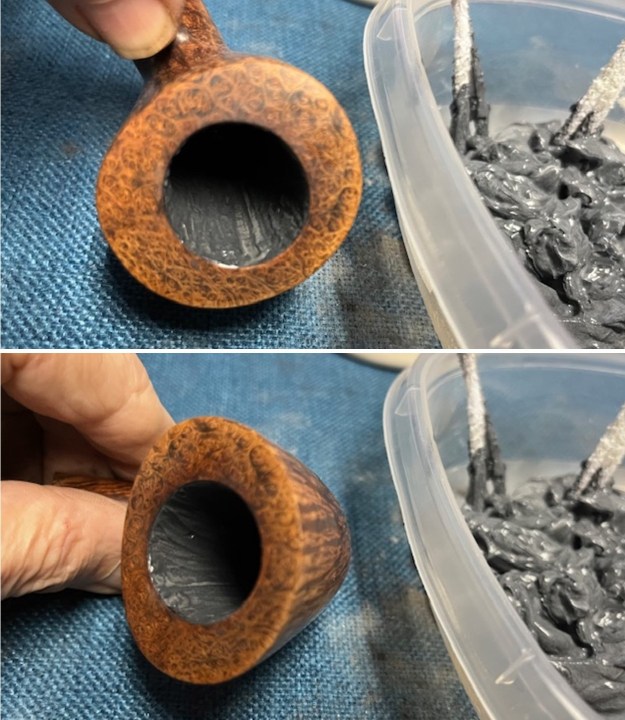
 I cleaned up the inner edge of the bowl with a folded piece of 220 grit sandpaper. To remove the damage on the inner bevelled edge I used a wooden sphere and 220 grit sandpaper. It looked much better.
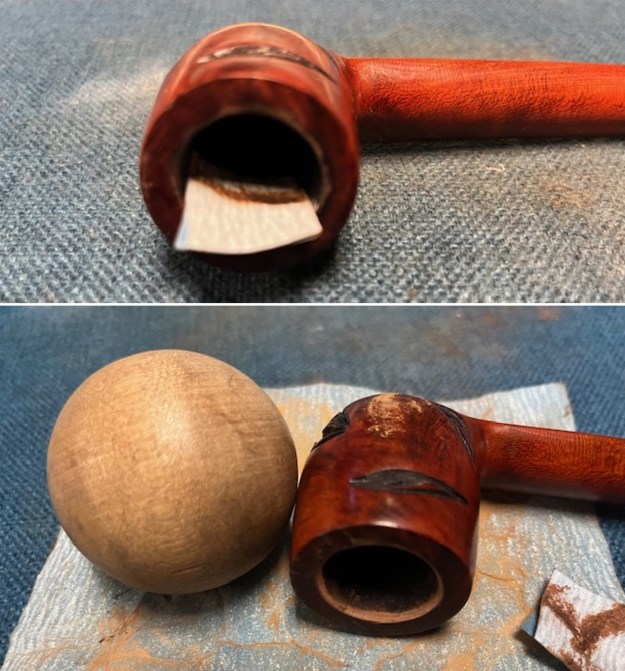
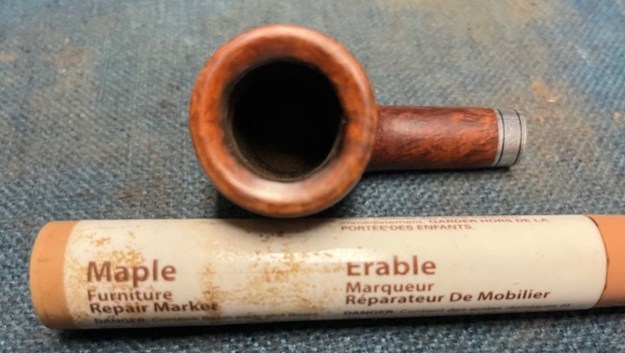
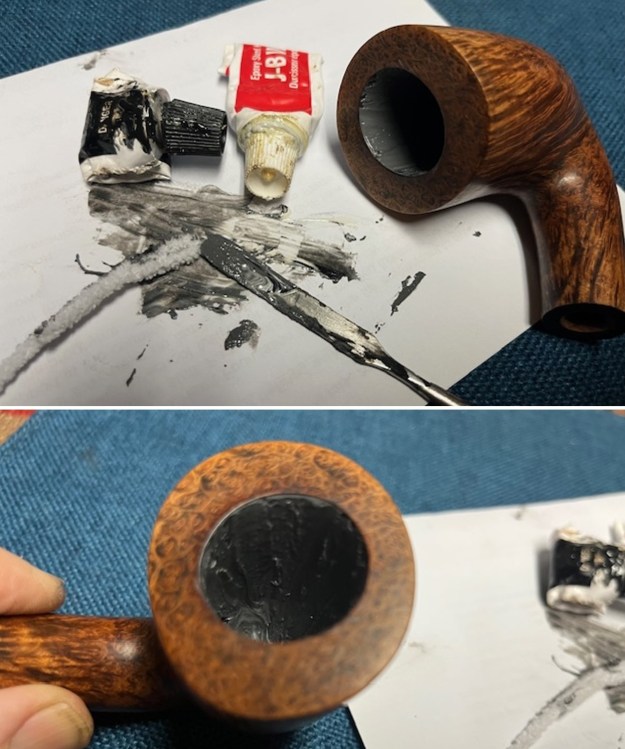
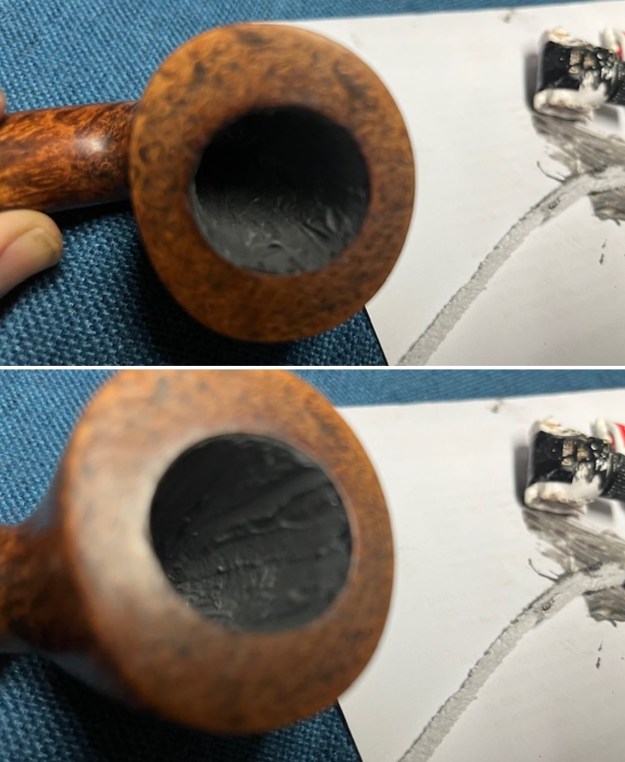
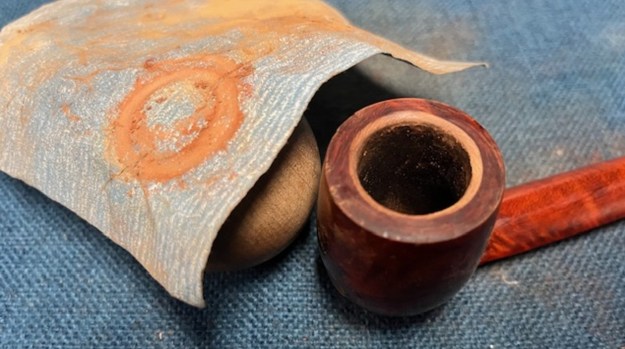 I touched up the stain on the rim top and inner edge of the bowl with a Maple stain pen to match the rest of the briar.
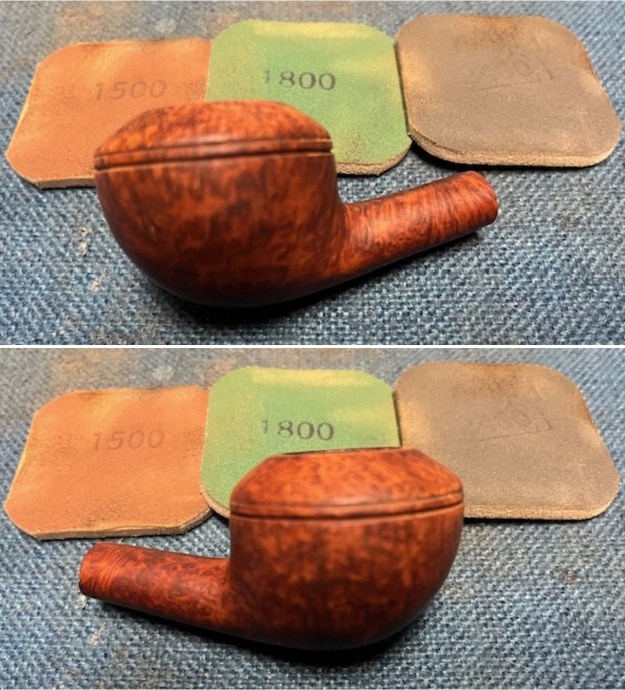
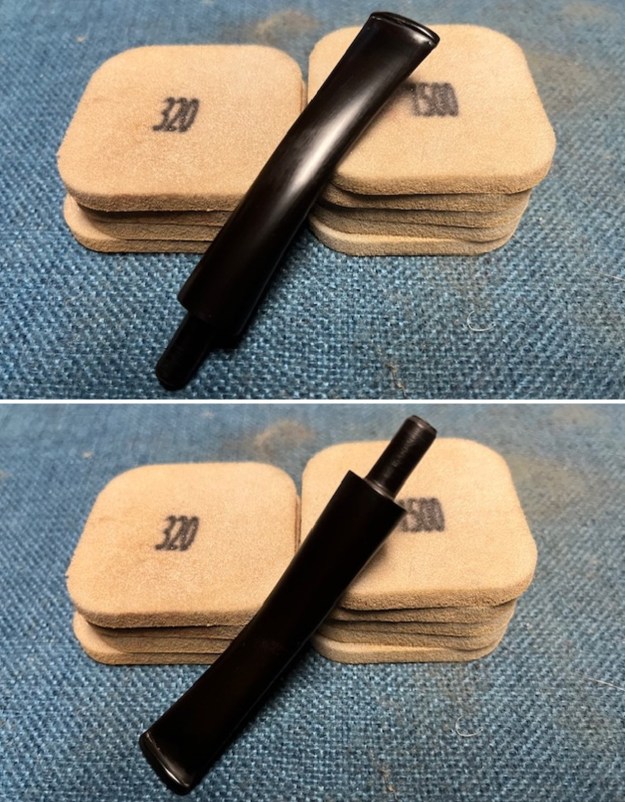
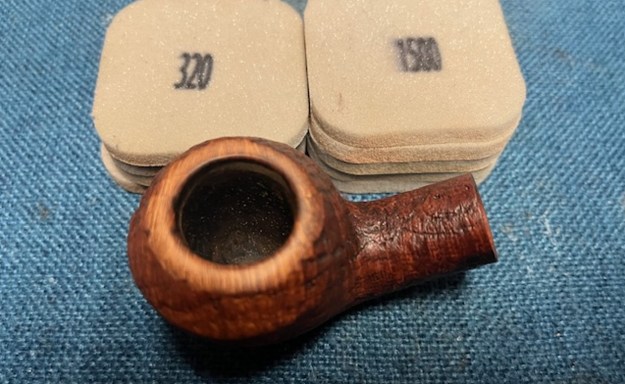
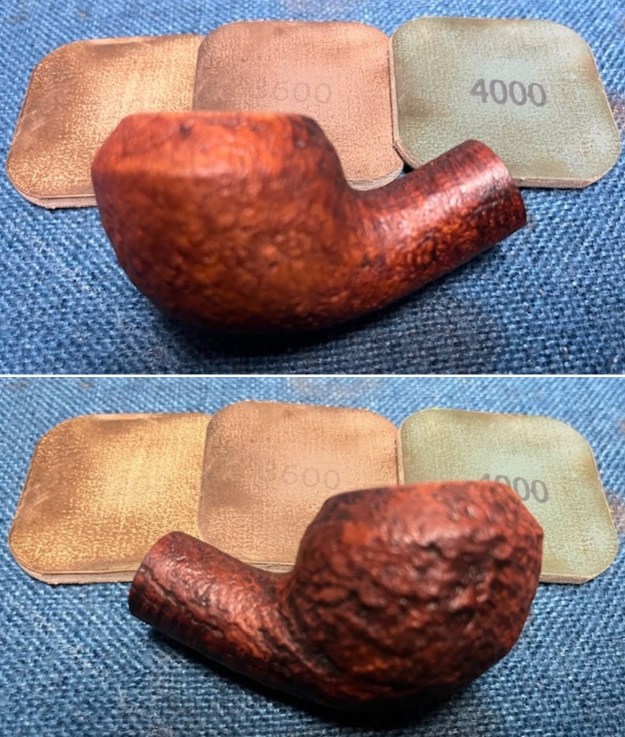
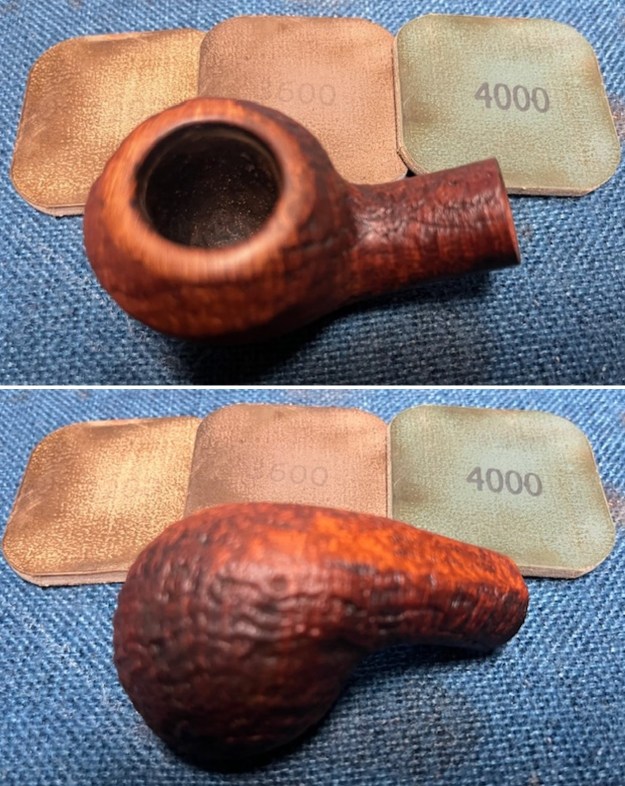
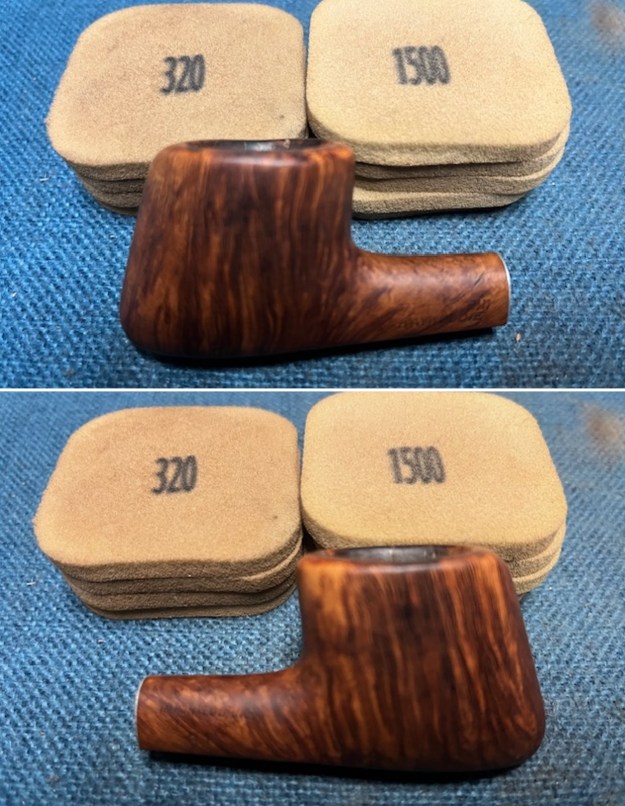
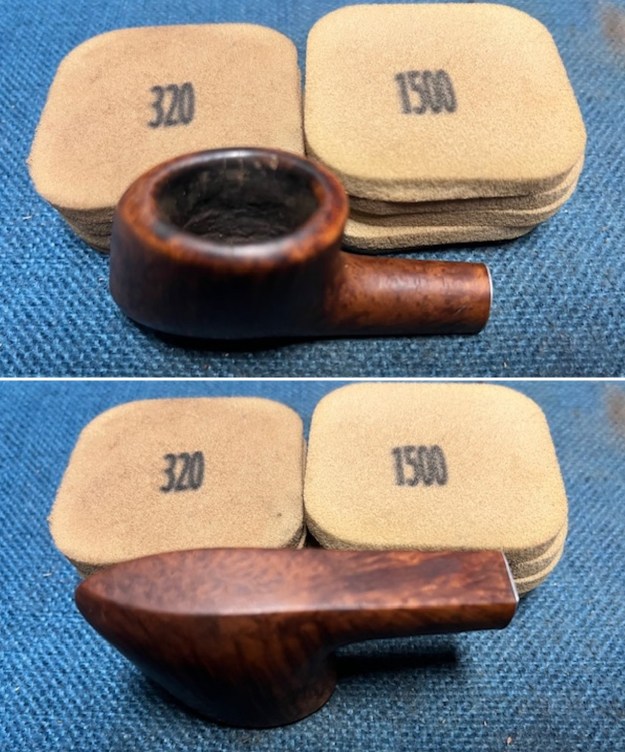
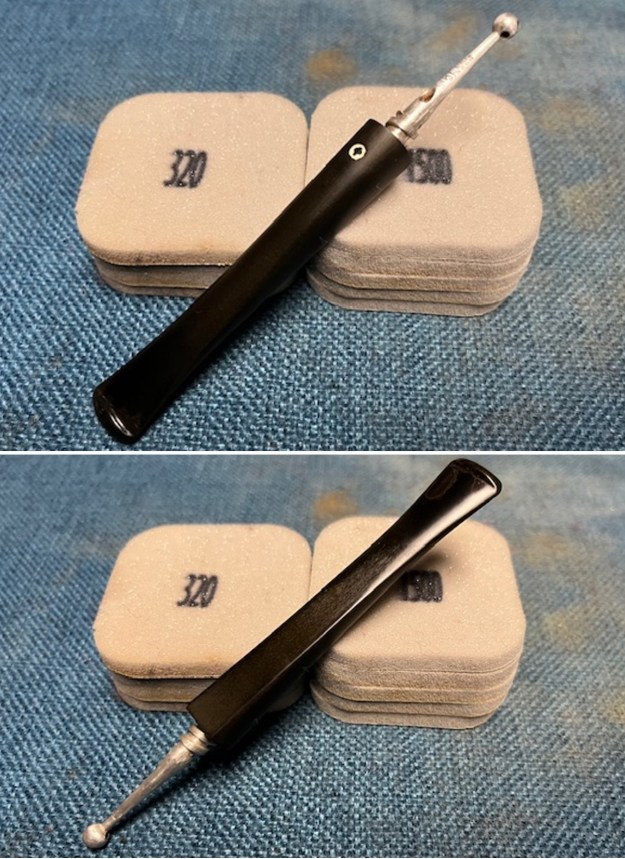
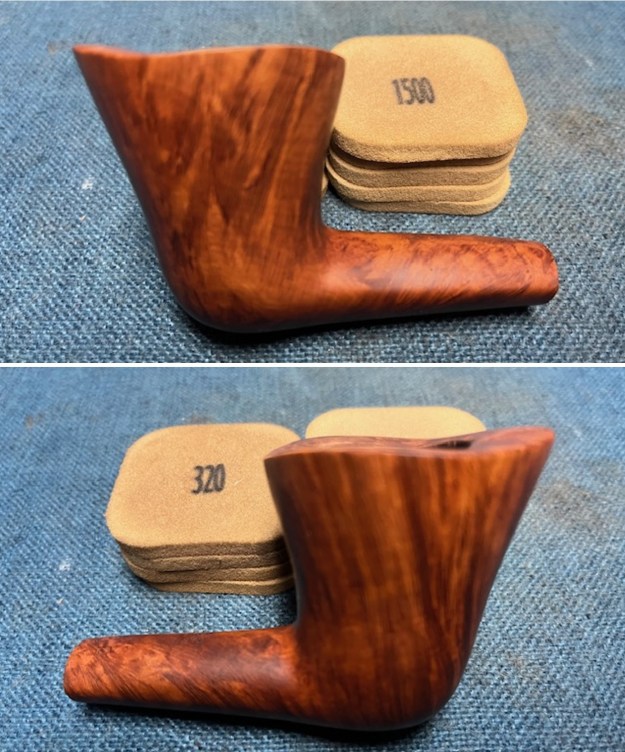
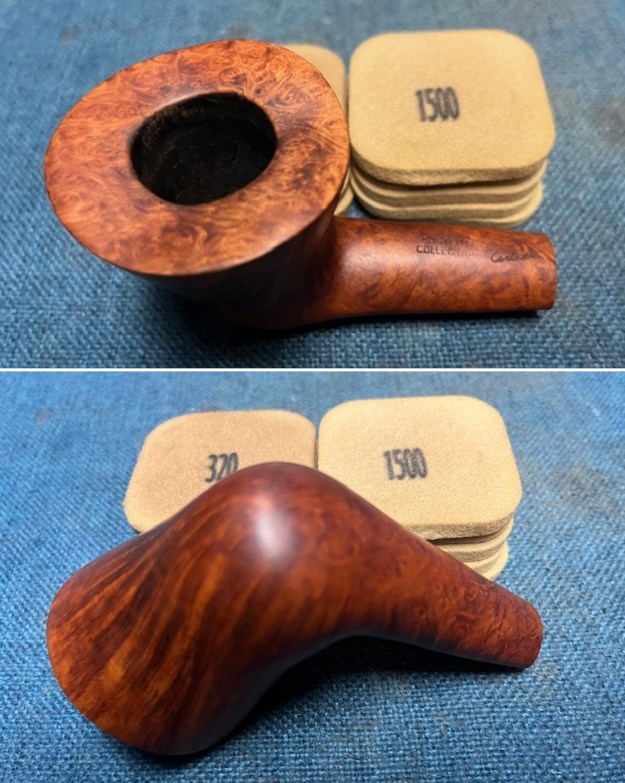
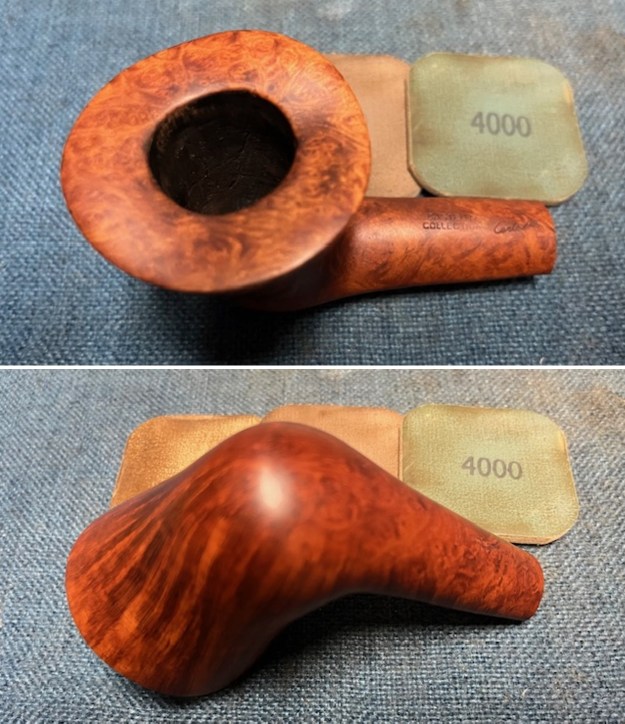
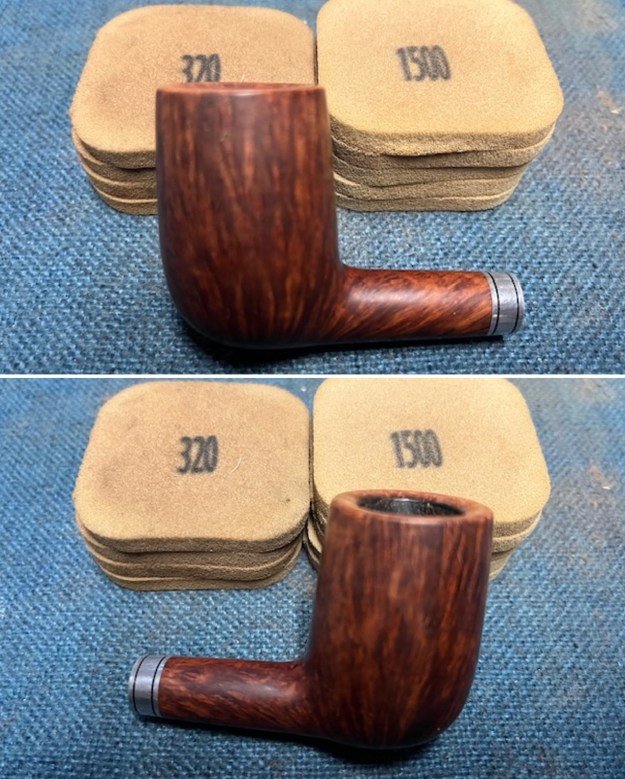
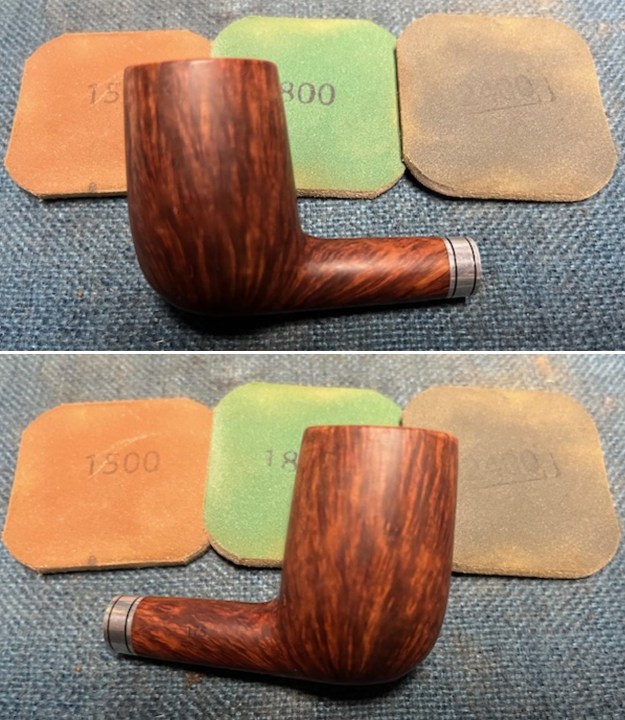
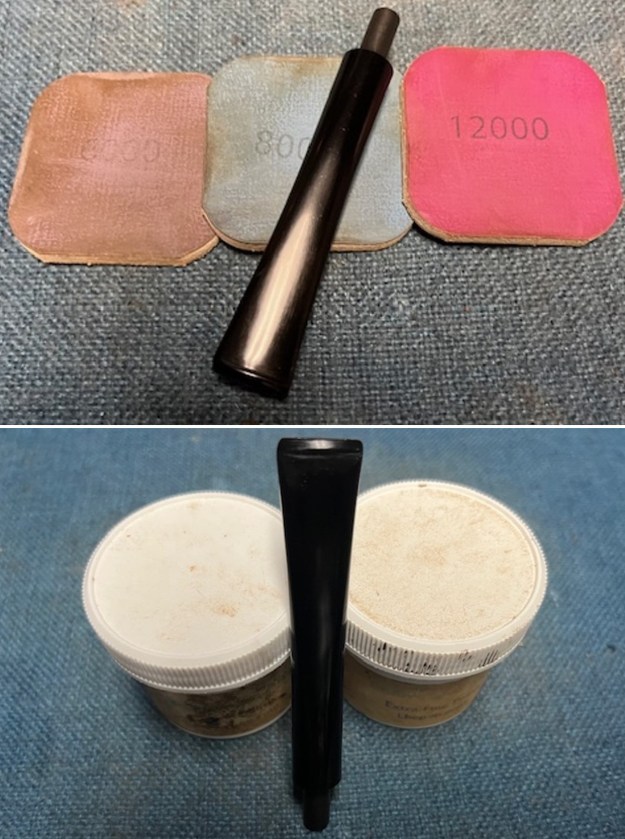
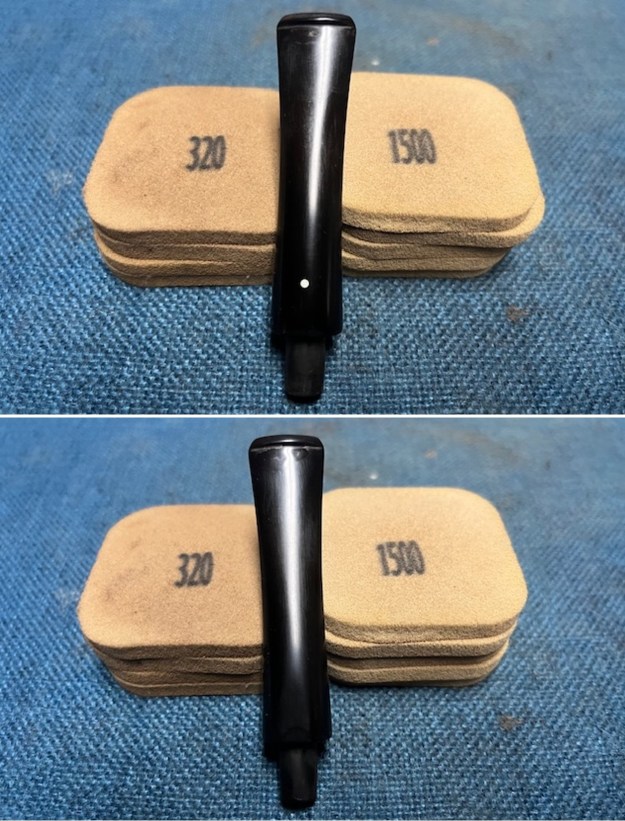
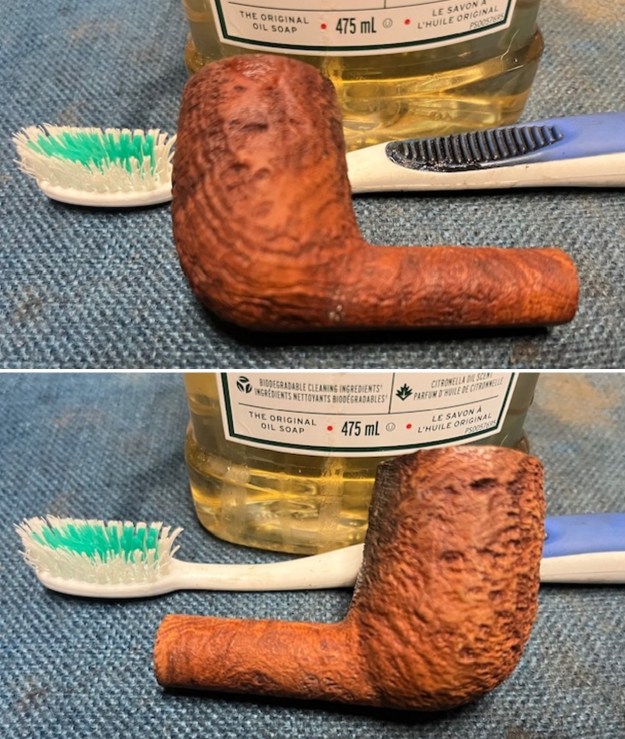
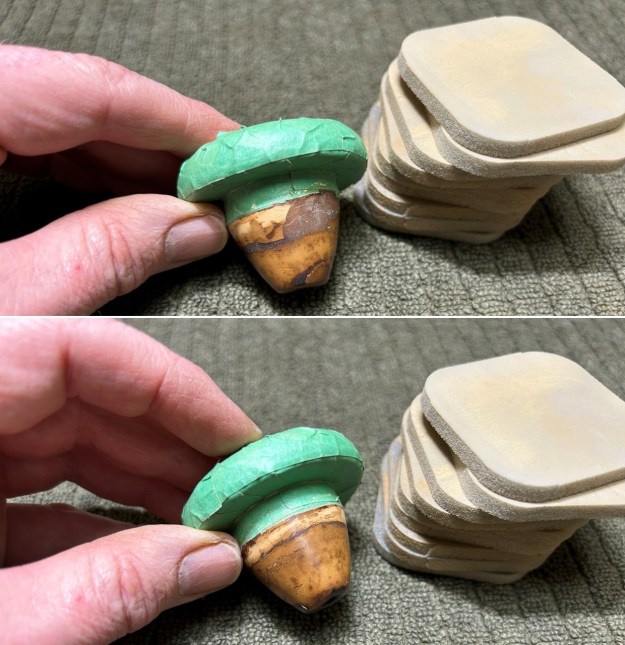
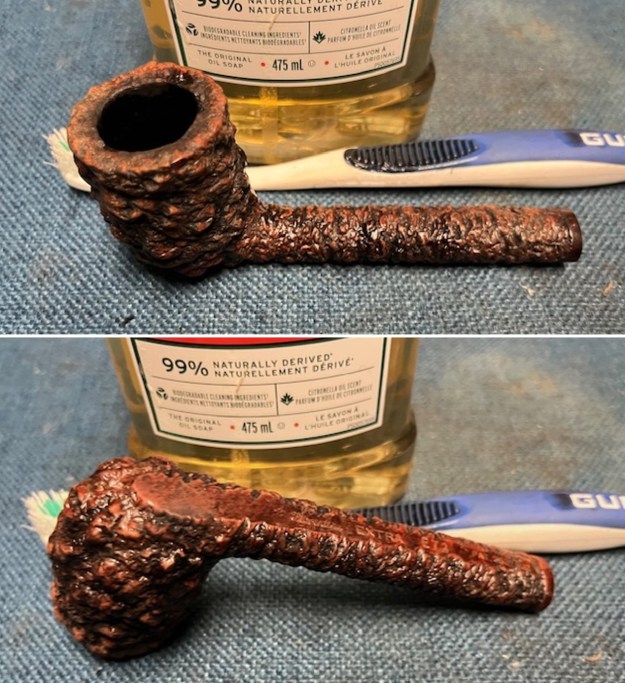
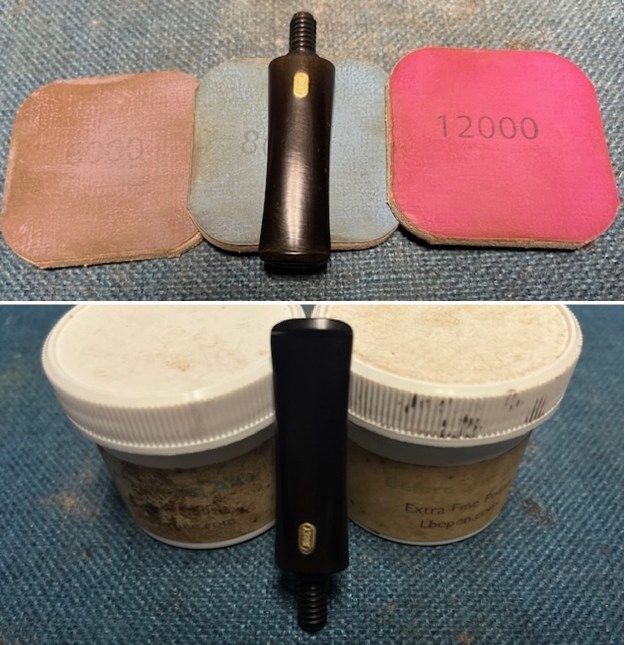
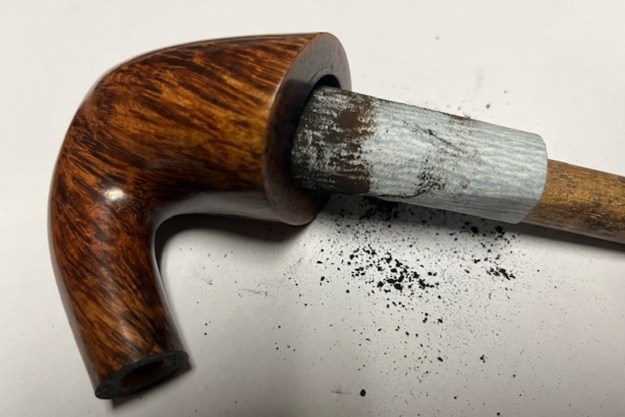
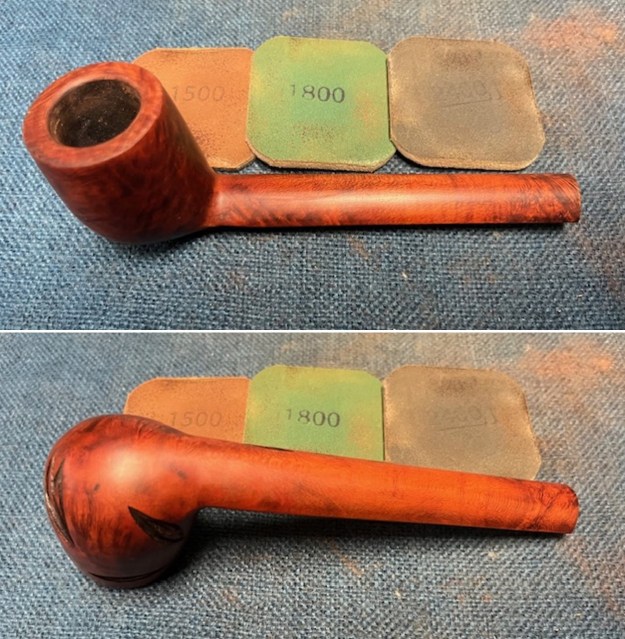
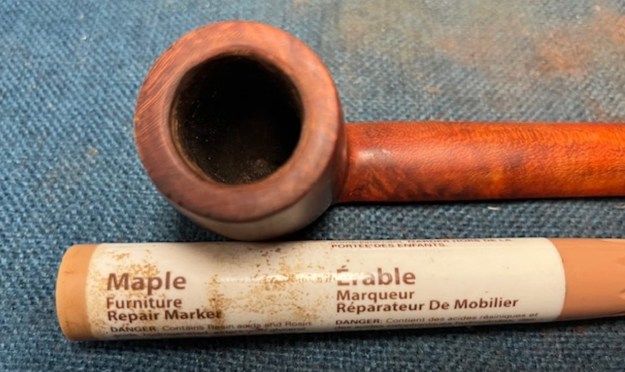 I sanded the sides of the rim top and bowl with 320-3500 grit 2×2 inch sanding pads to remove the varnish coat. I wiped it down after each pad with a damp cloth. It really began to have a more natural shine.
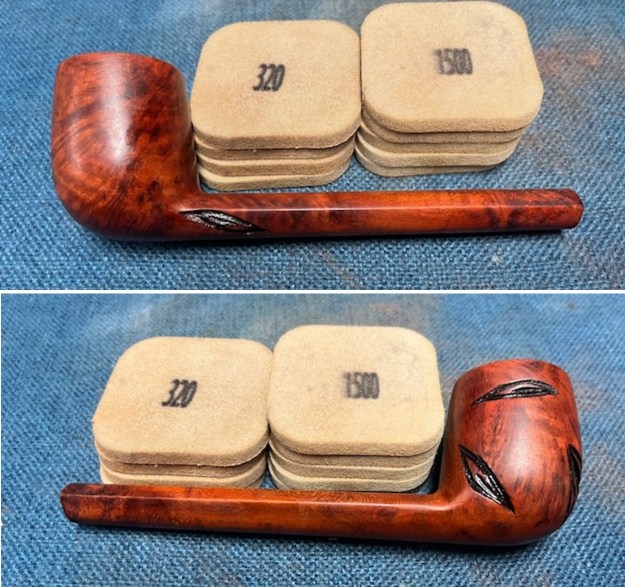
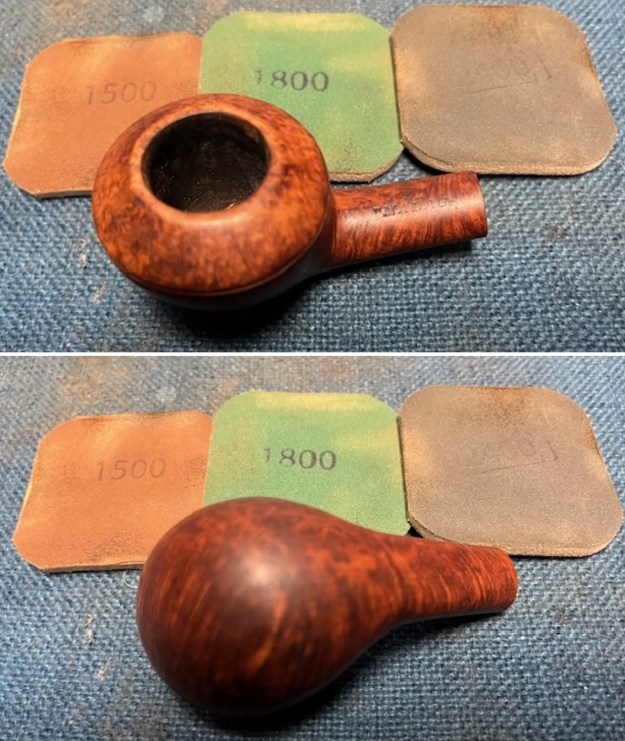
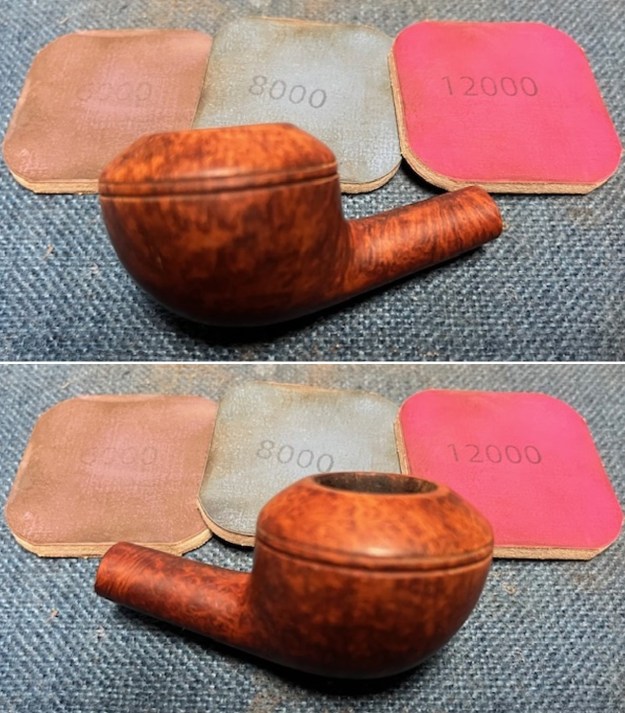
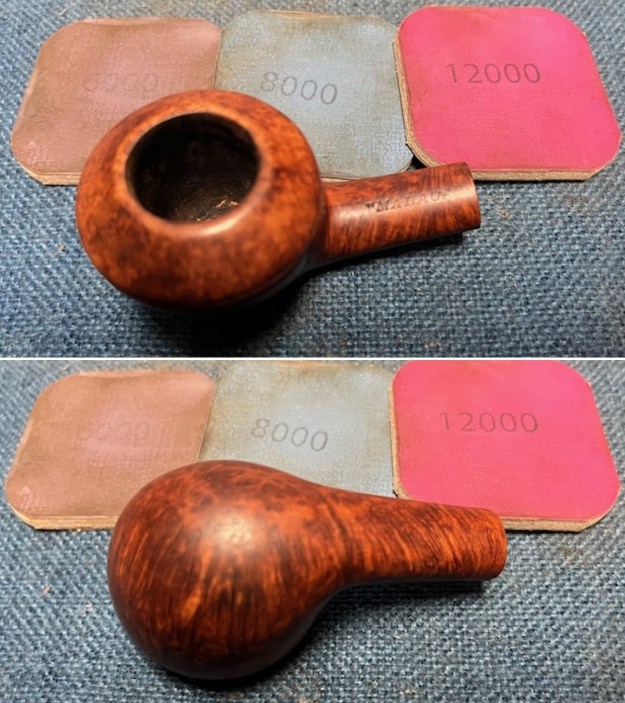
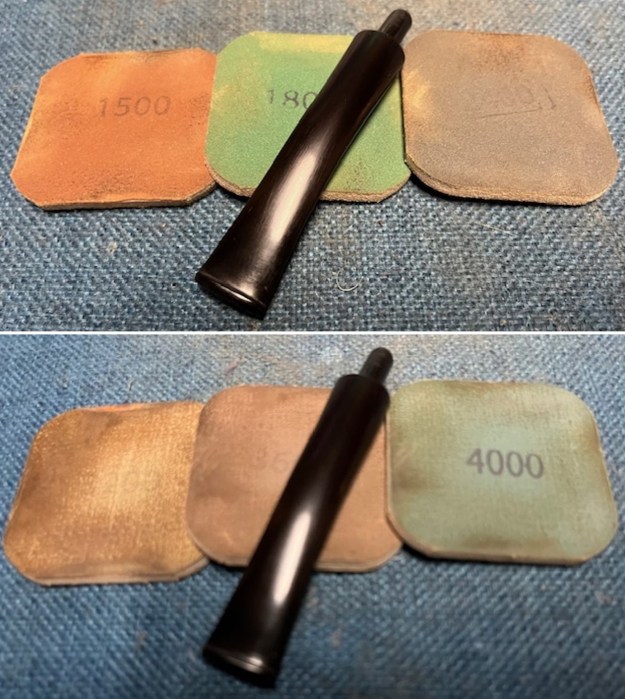
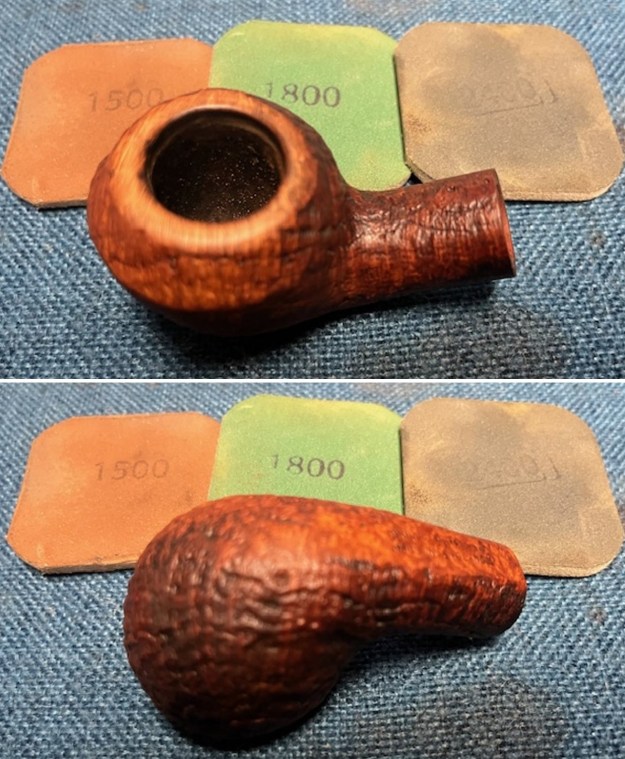
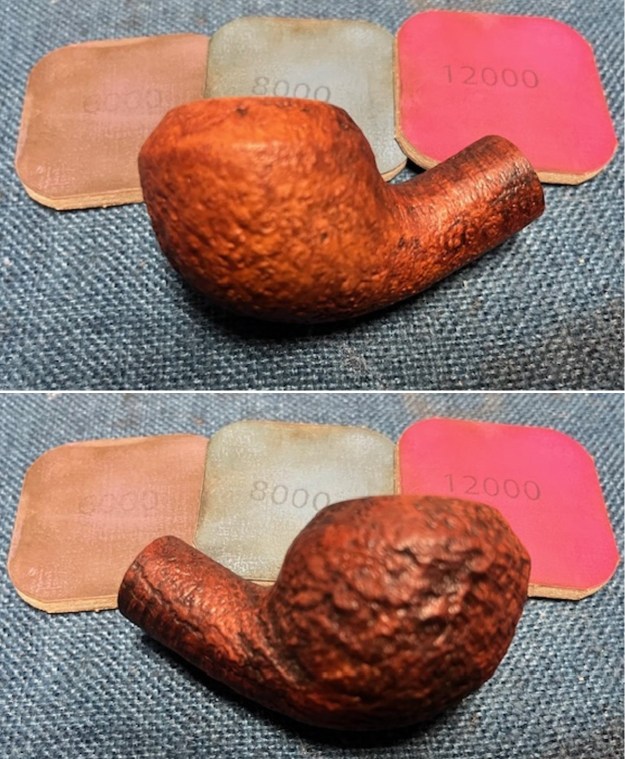
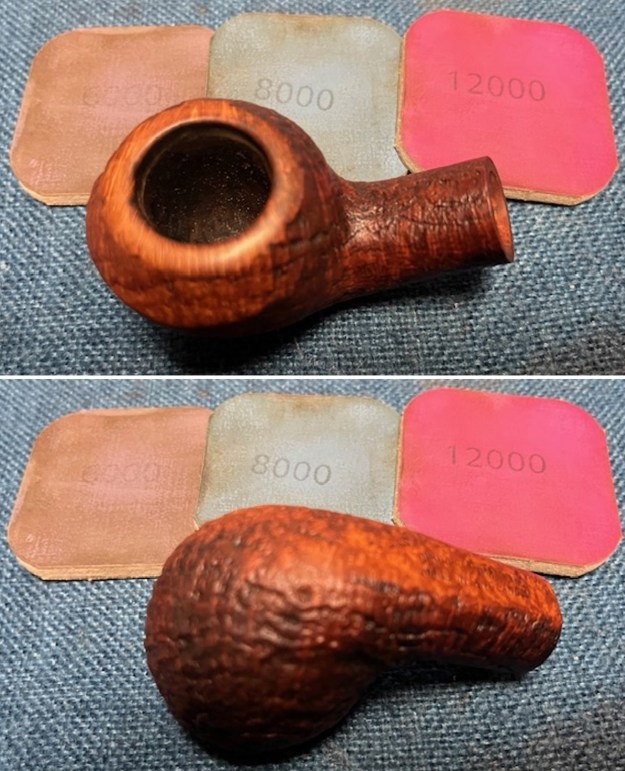
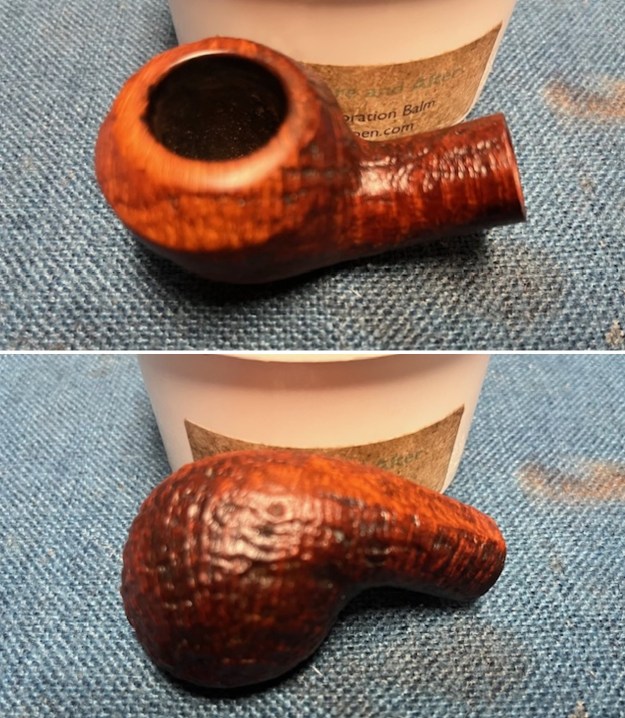
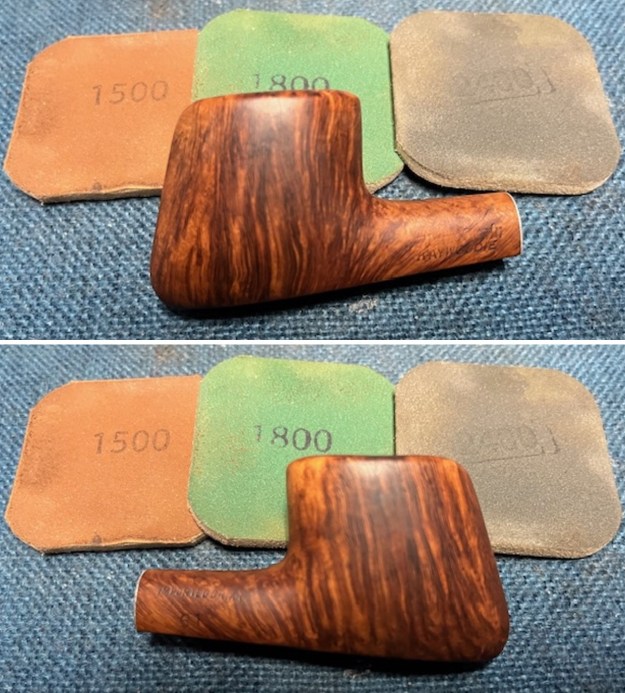
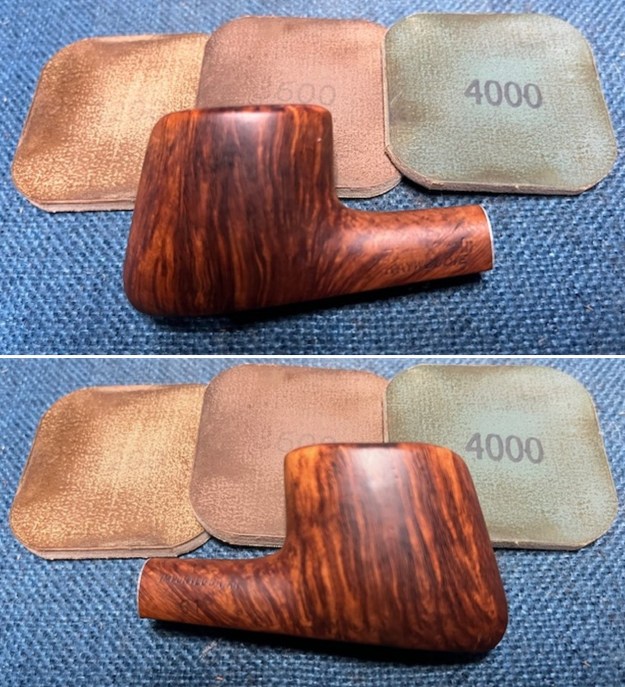
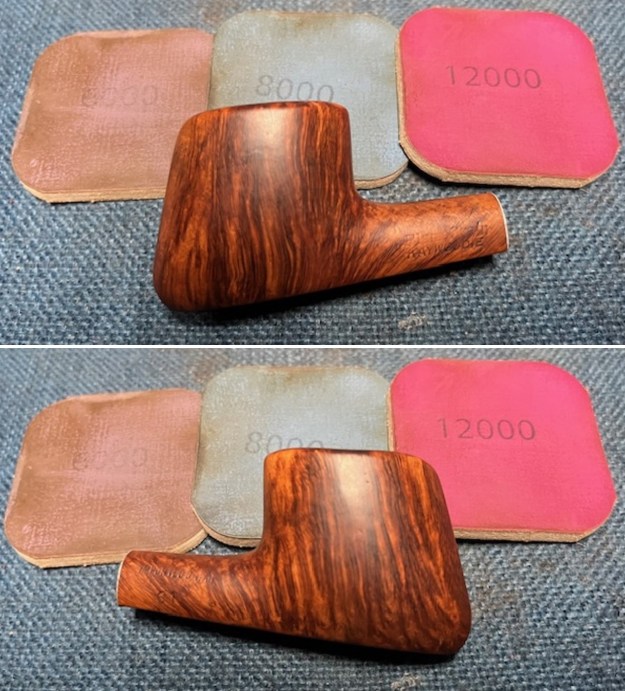
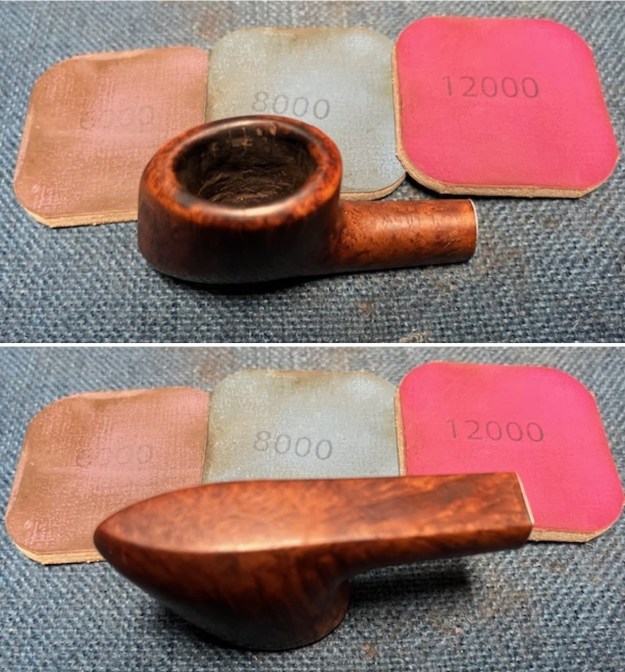
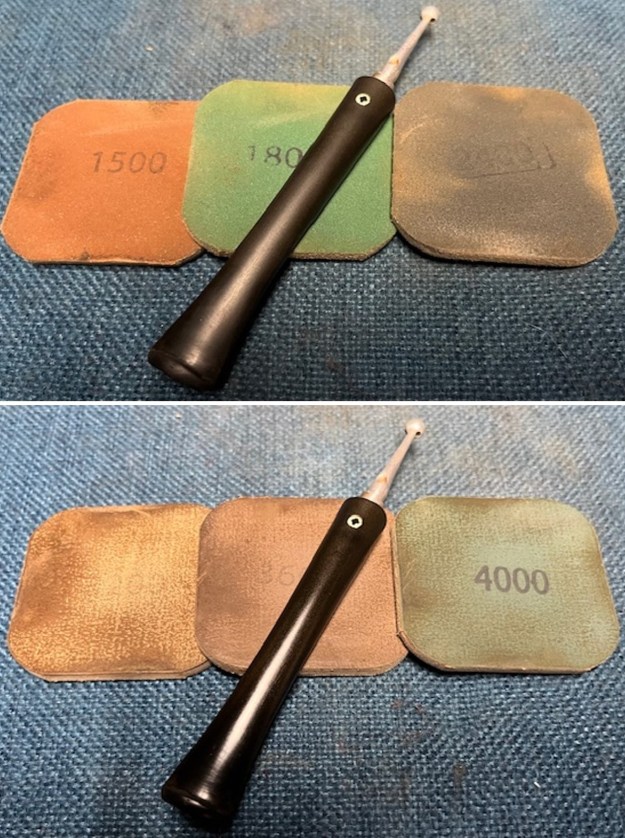
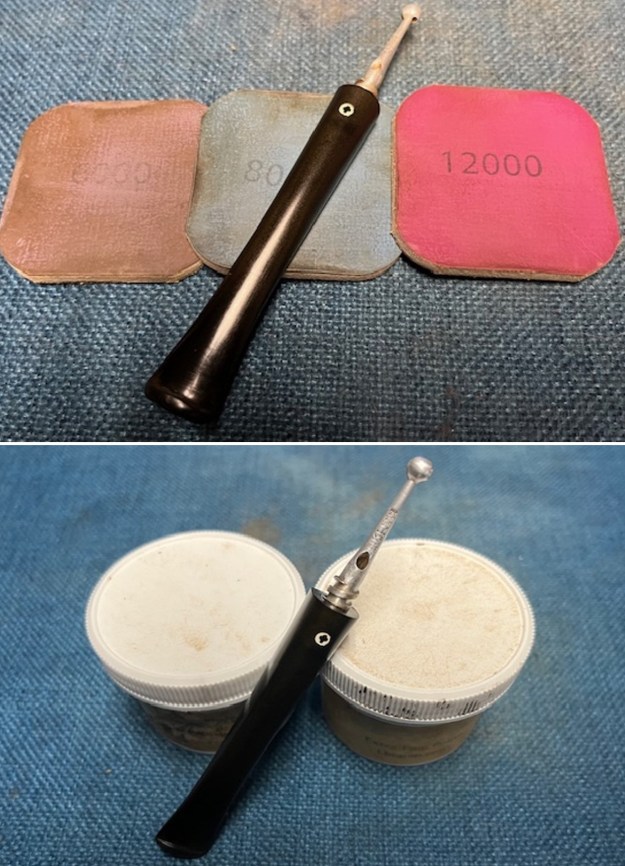
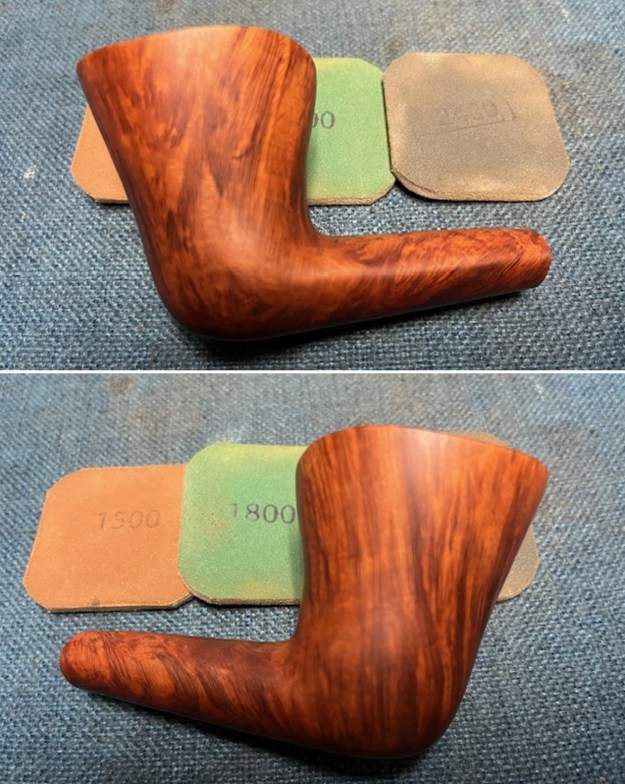
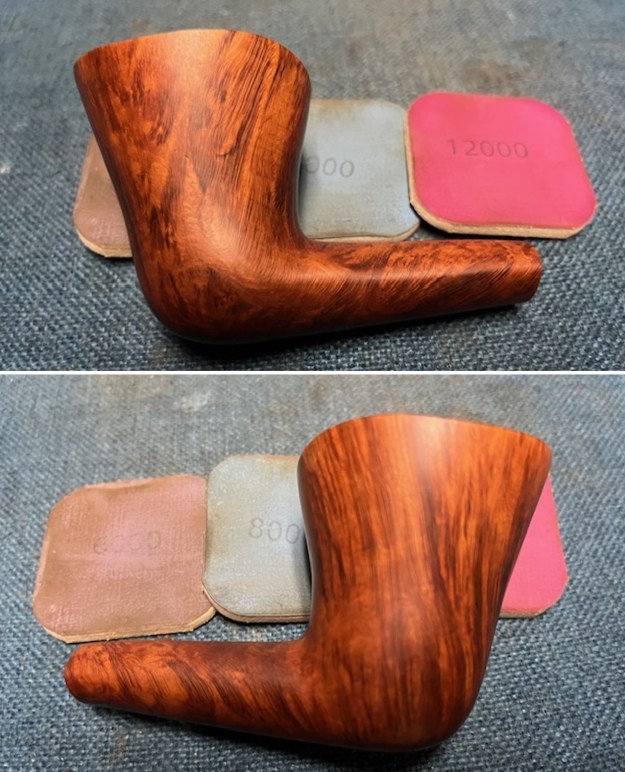
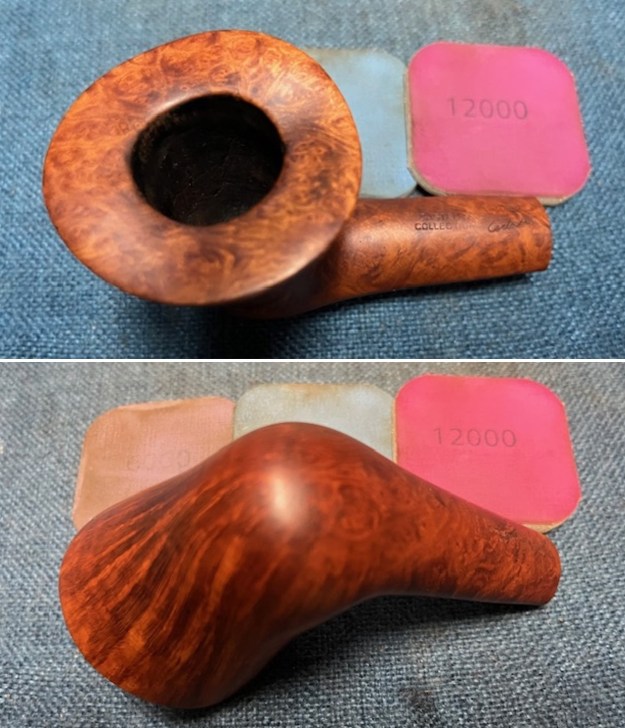
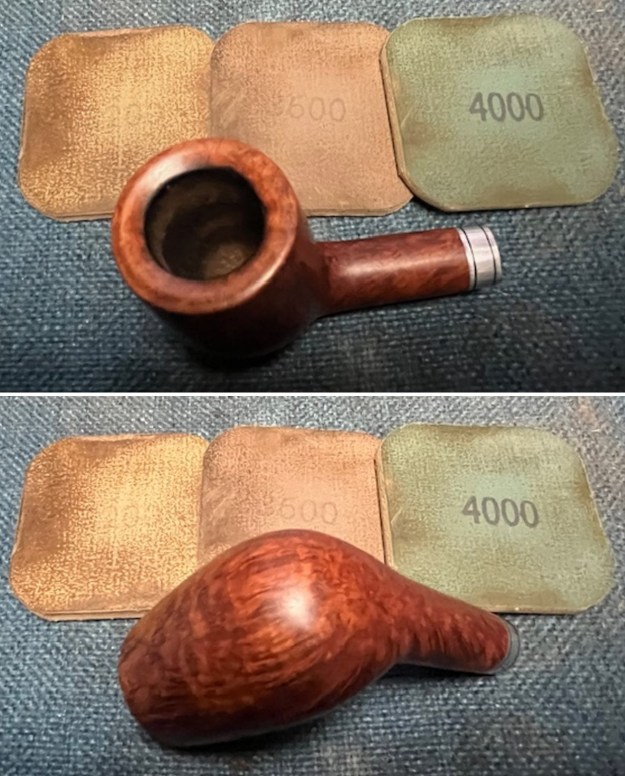
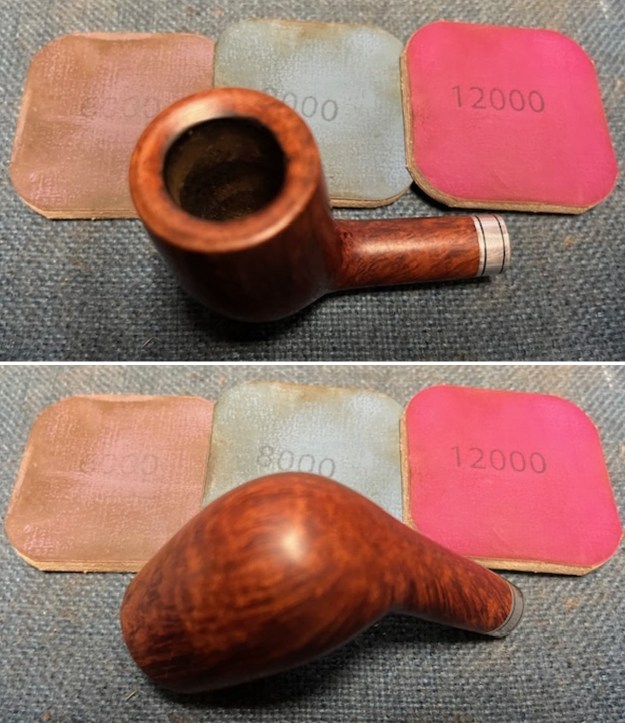
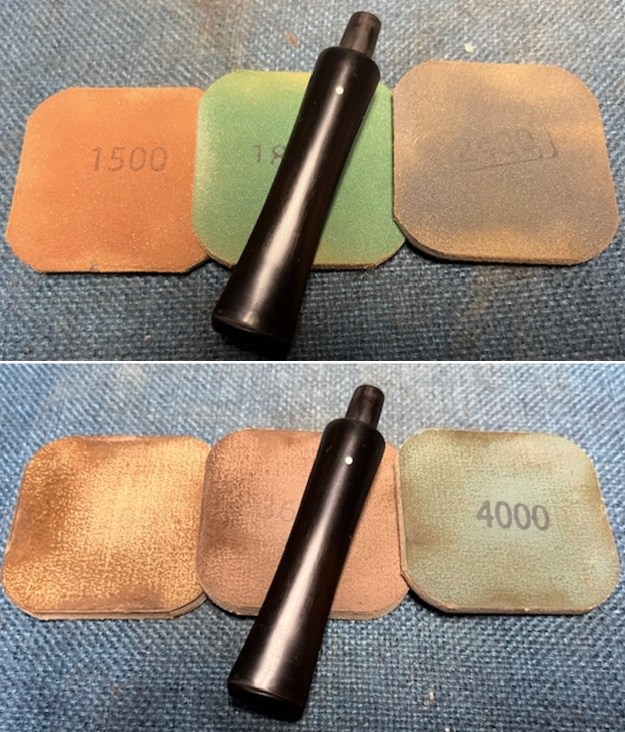
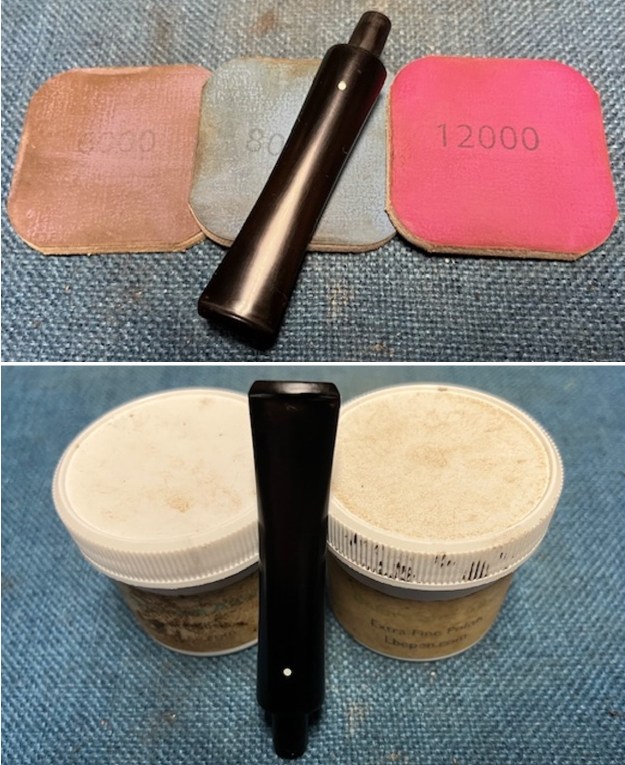
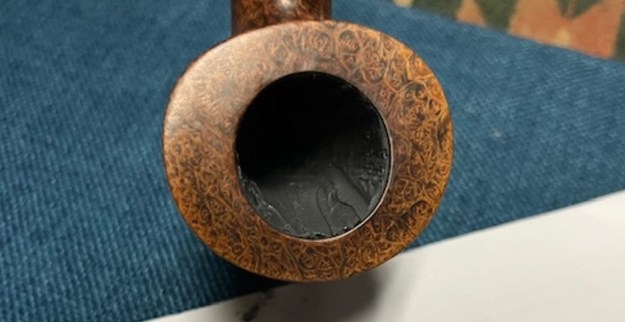
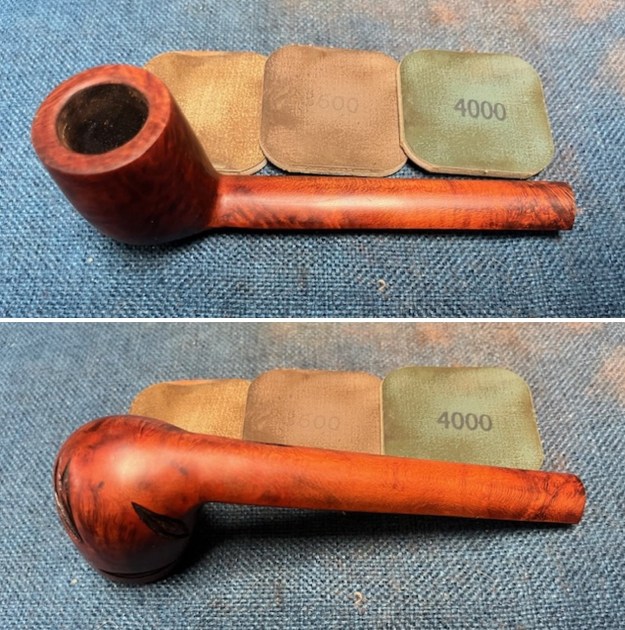
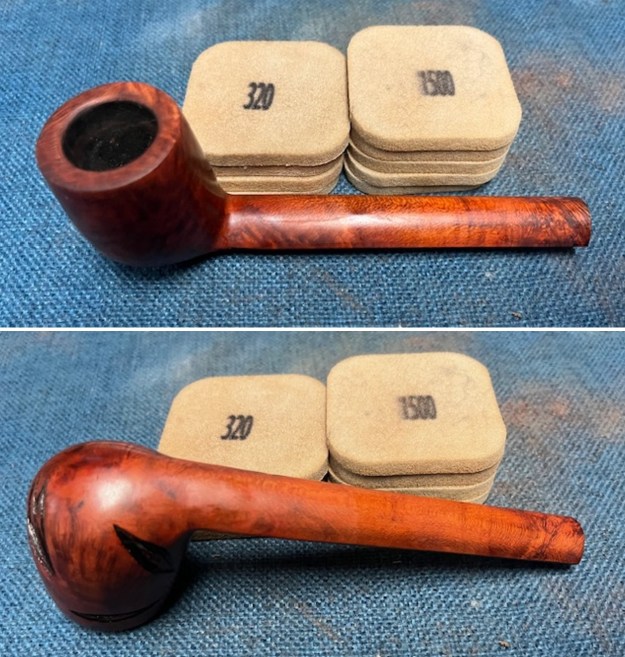 I polished the bowl and the high points on the plateau with micromesh sanding pads – wet sanding with 1500-12000 grit pads. I wiped the briar down after each pad with a damp cloth. The bowl is starting to look very good.
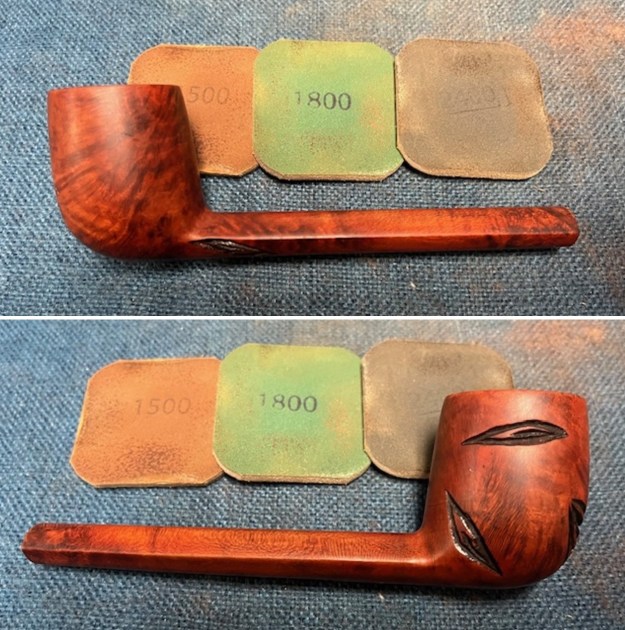

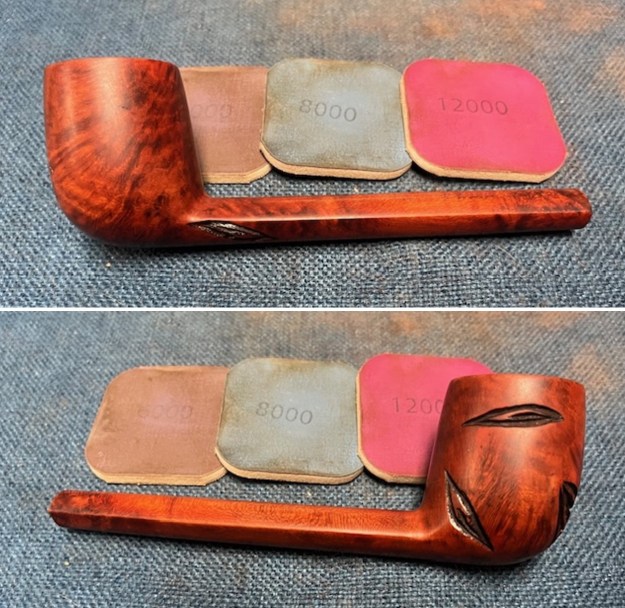
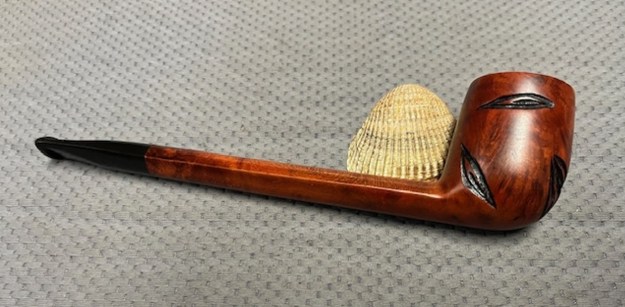
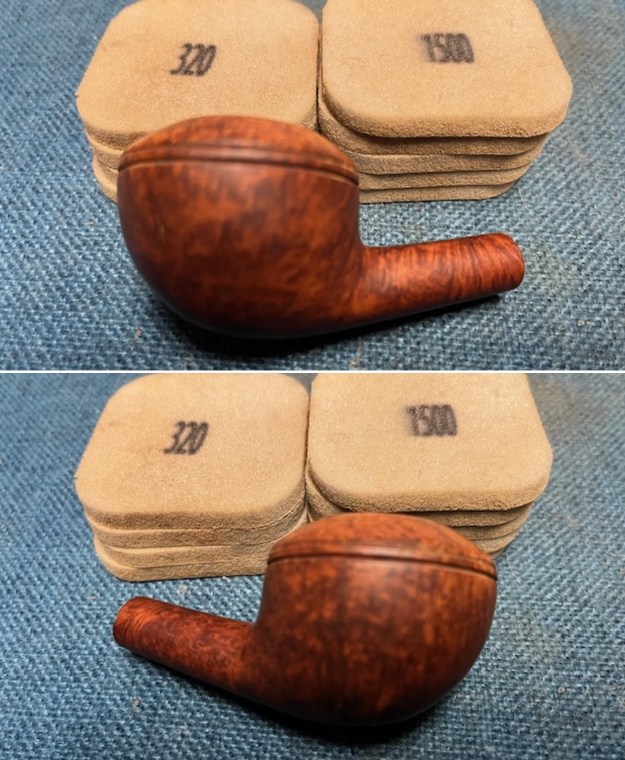
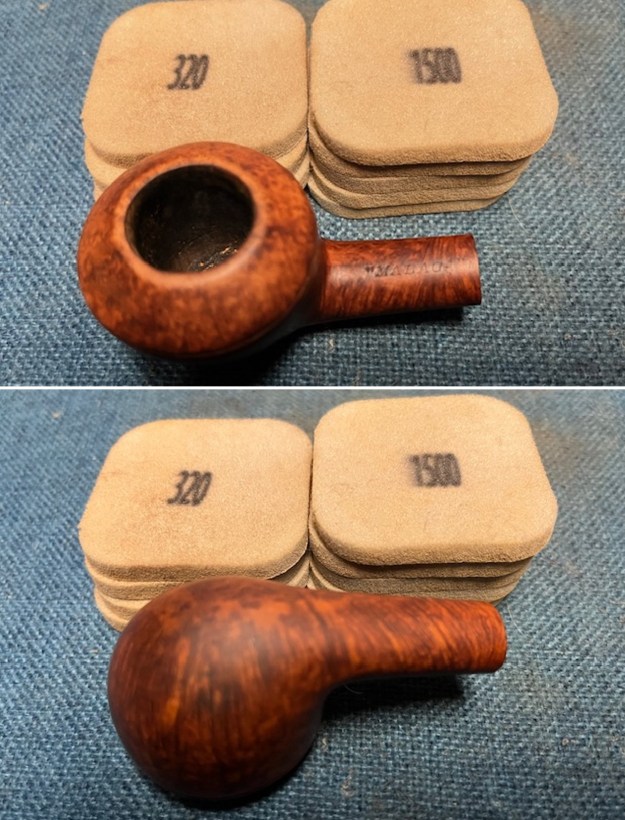
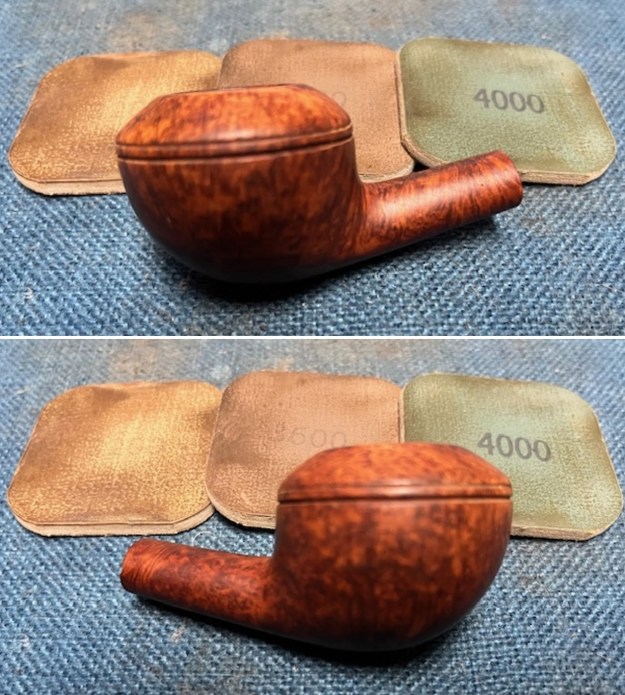
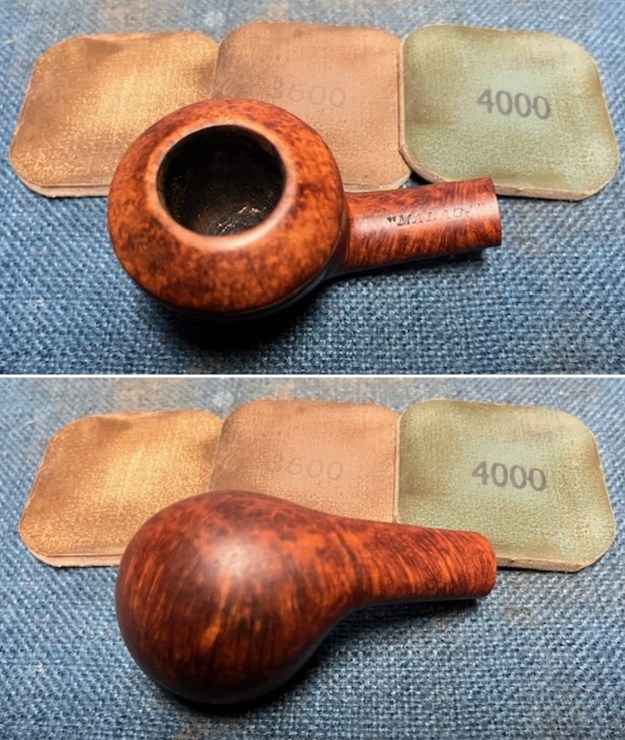
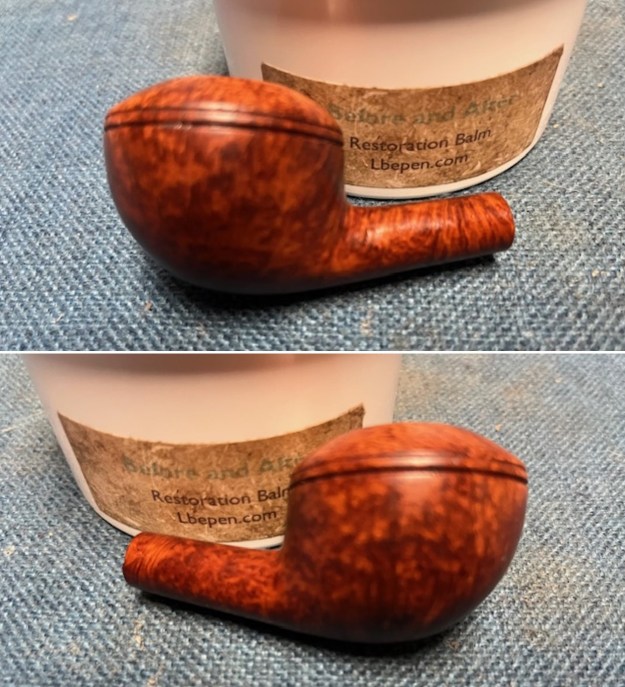
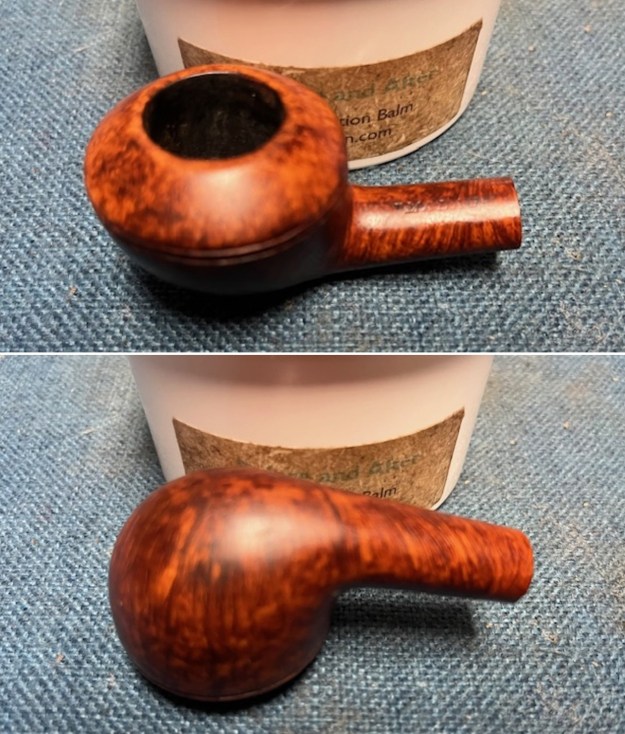
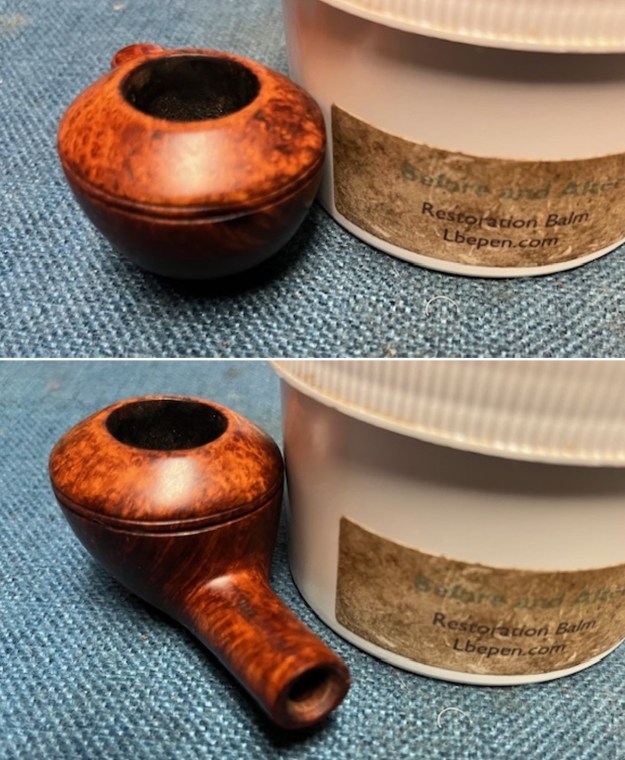
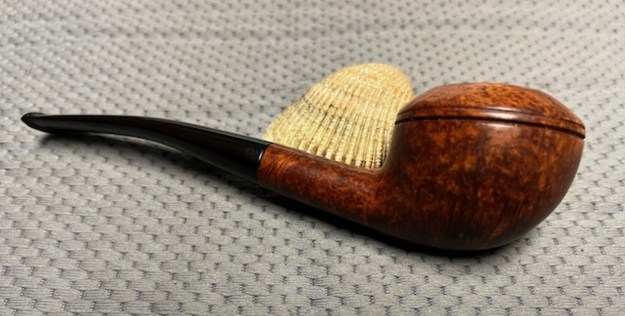
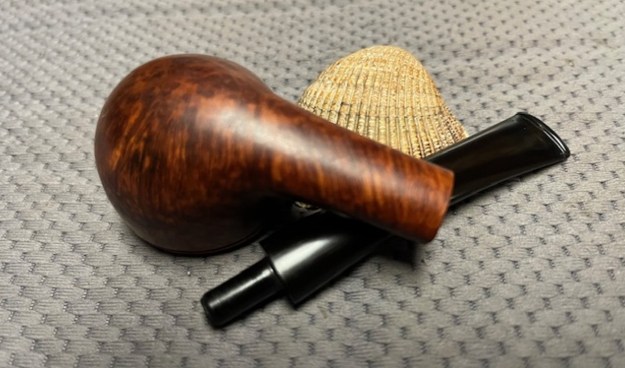
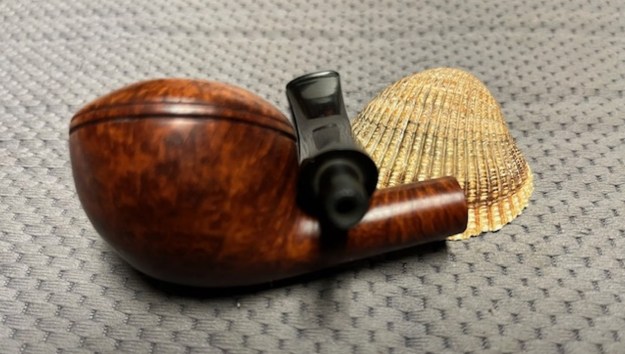
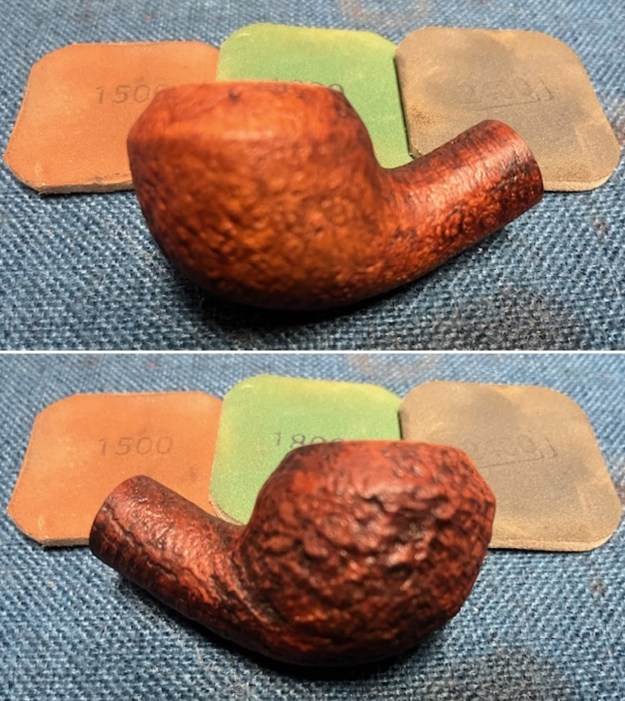
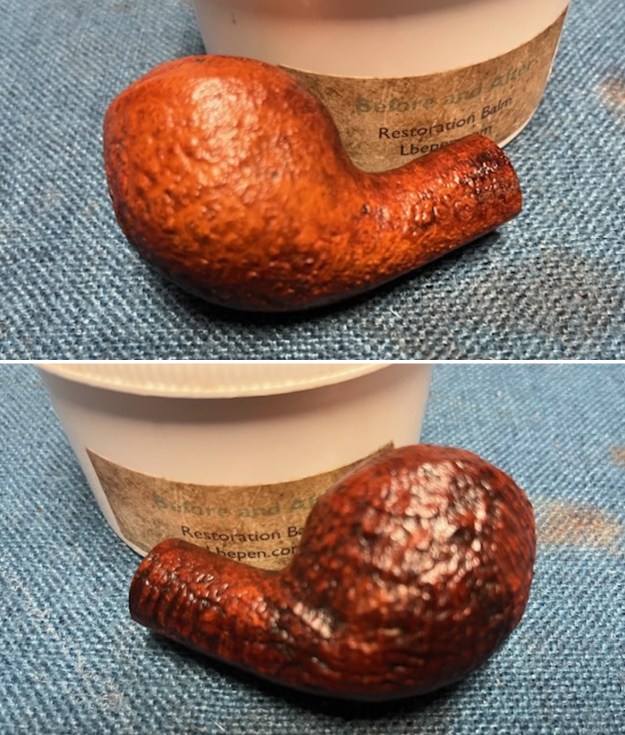
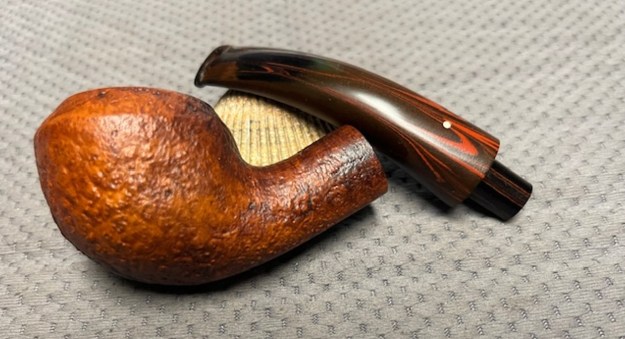
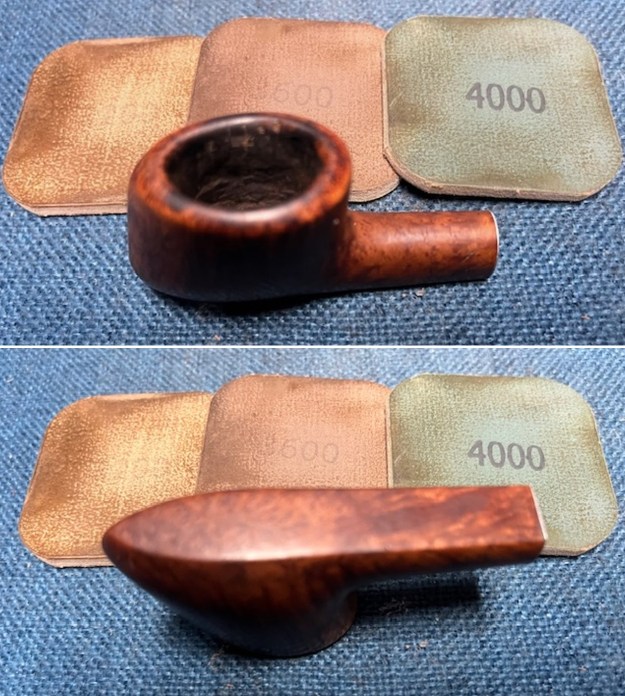
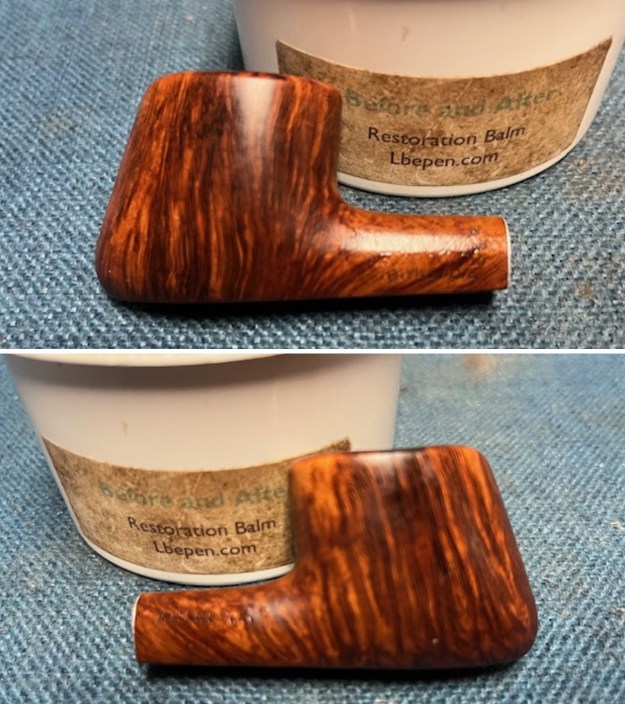
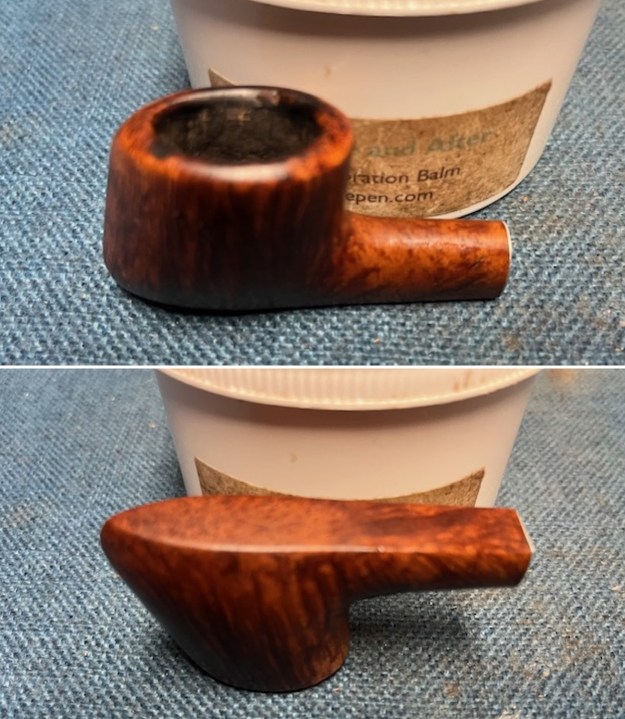
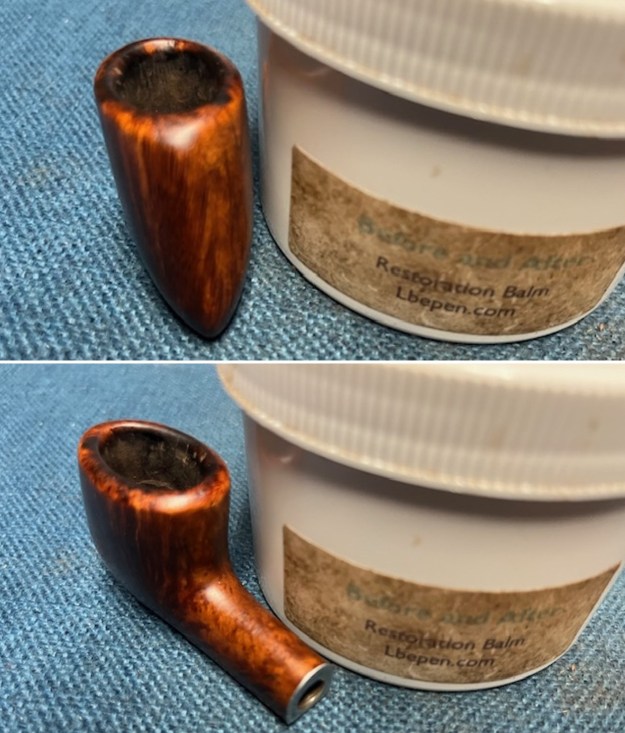
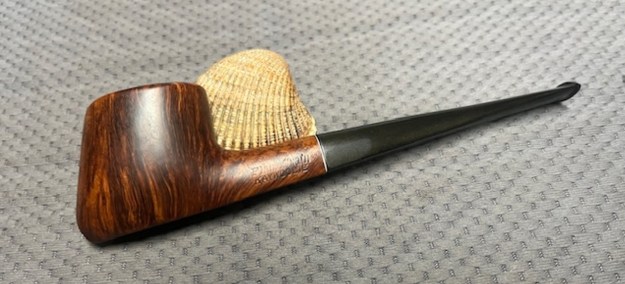
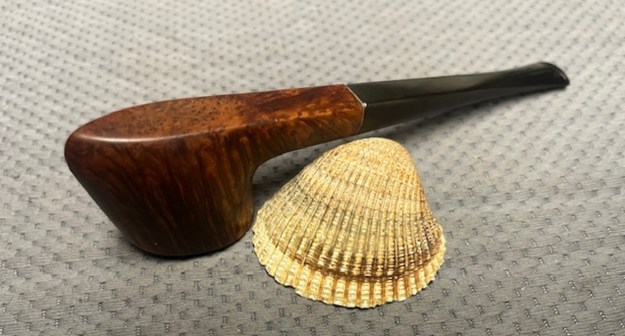
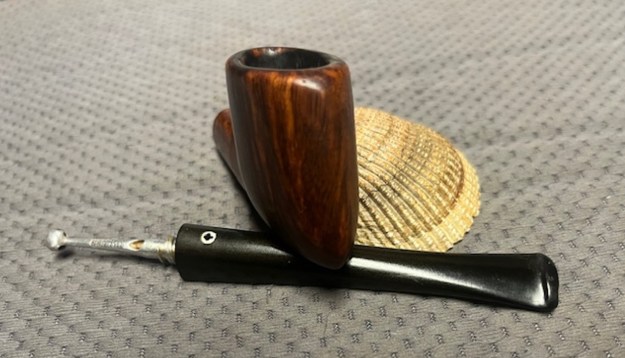
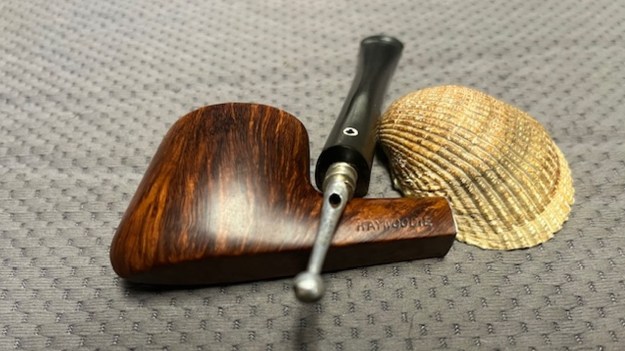
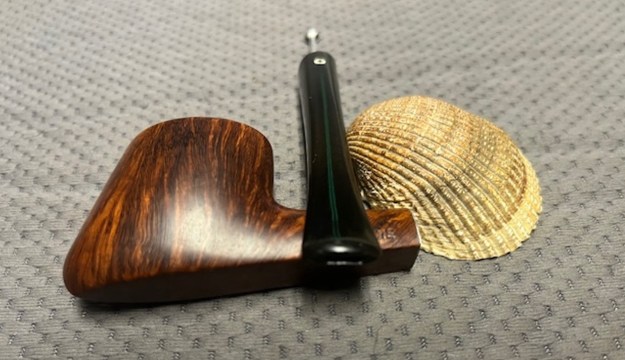
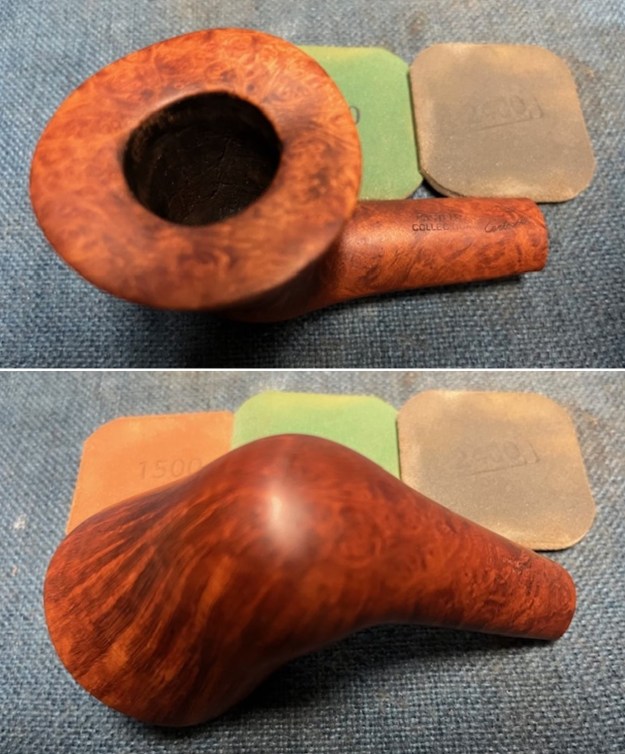
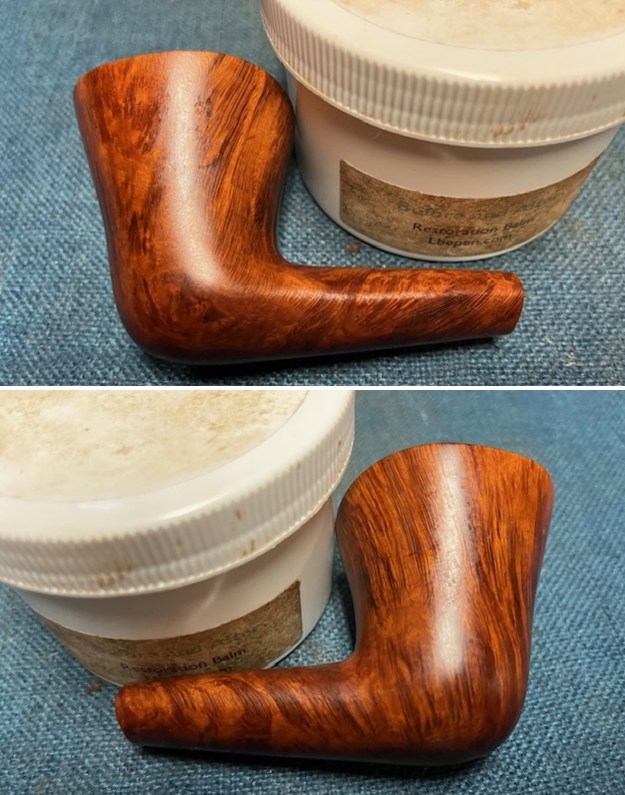
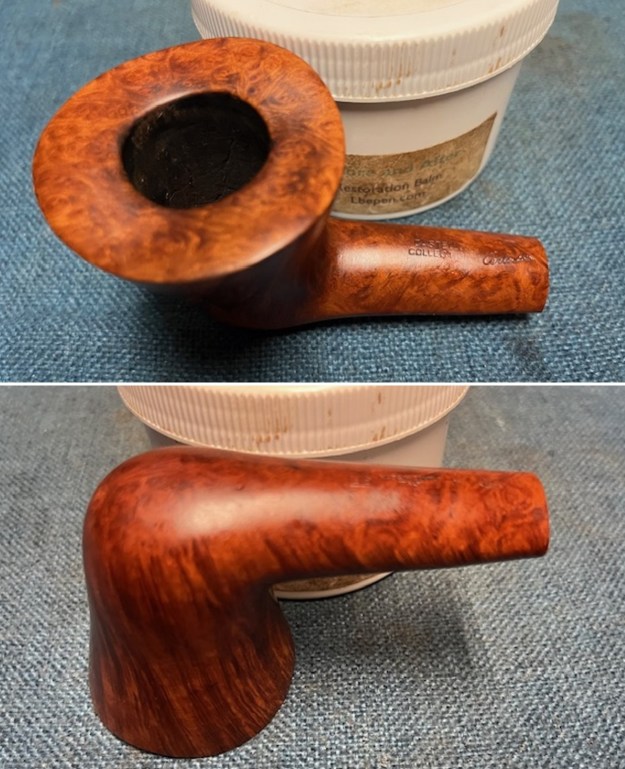
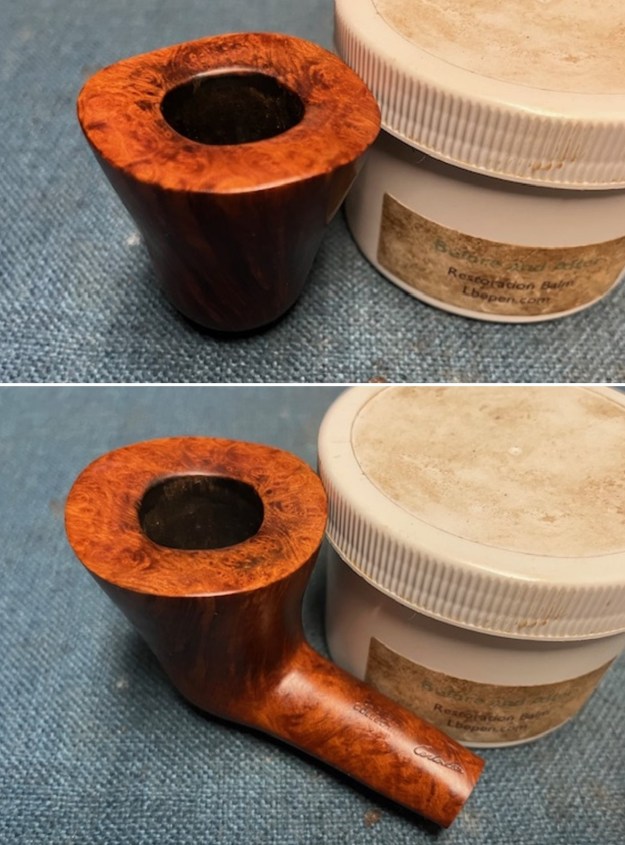
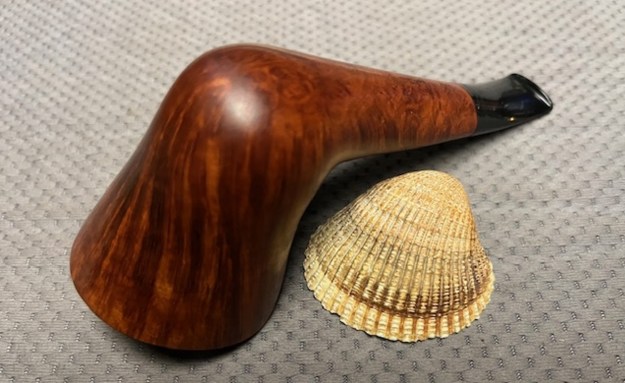
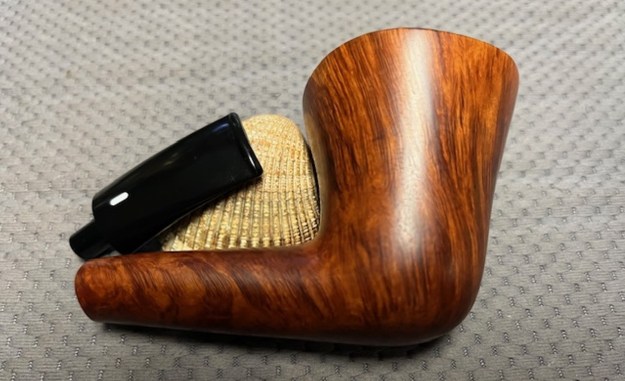
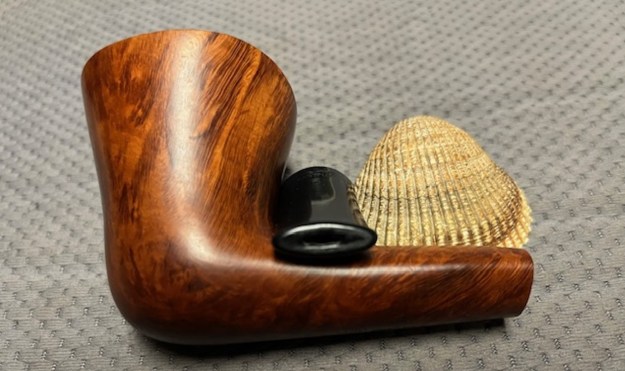
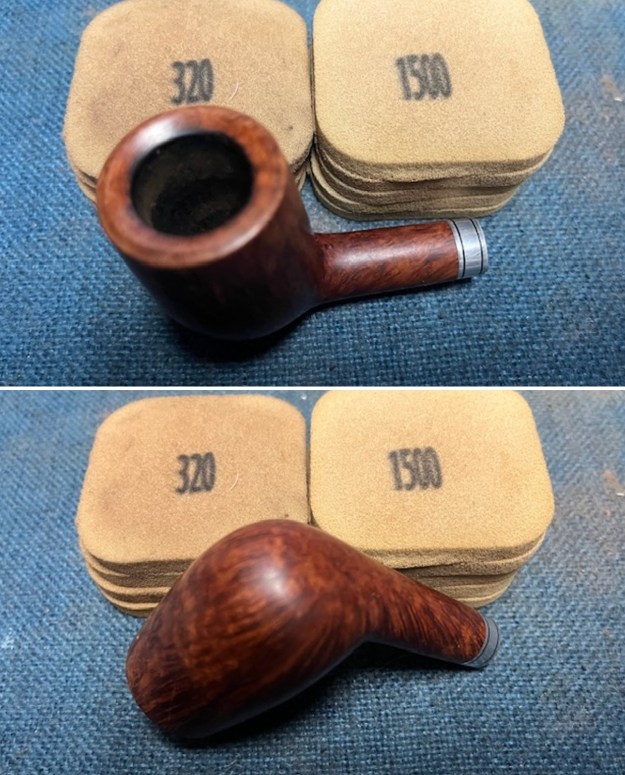
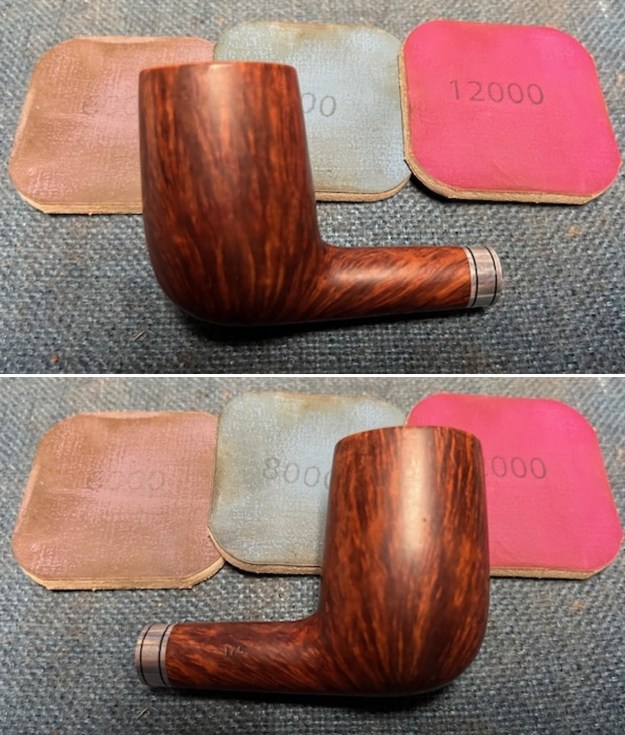
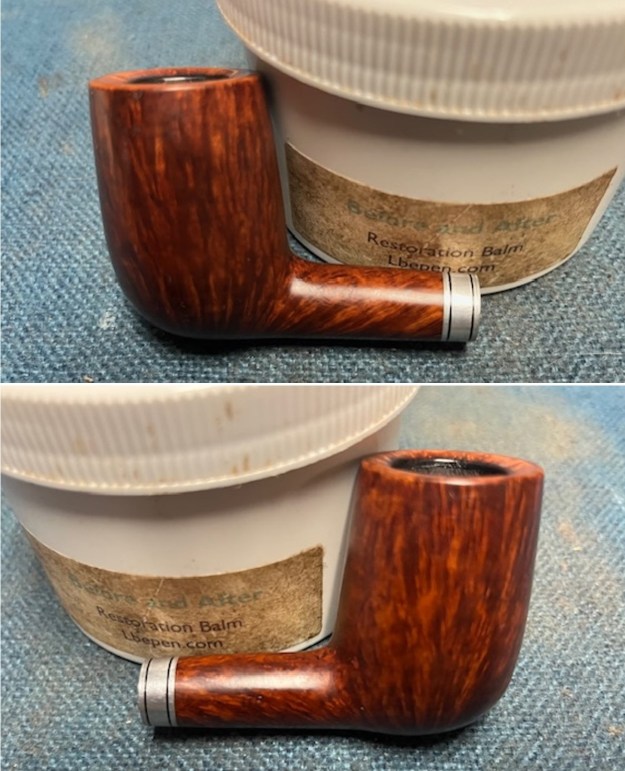
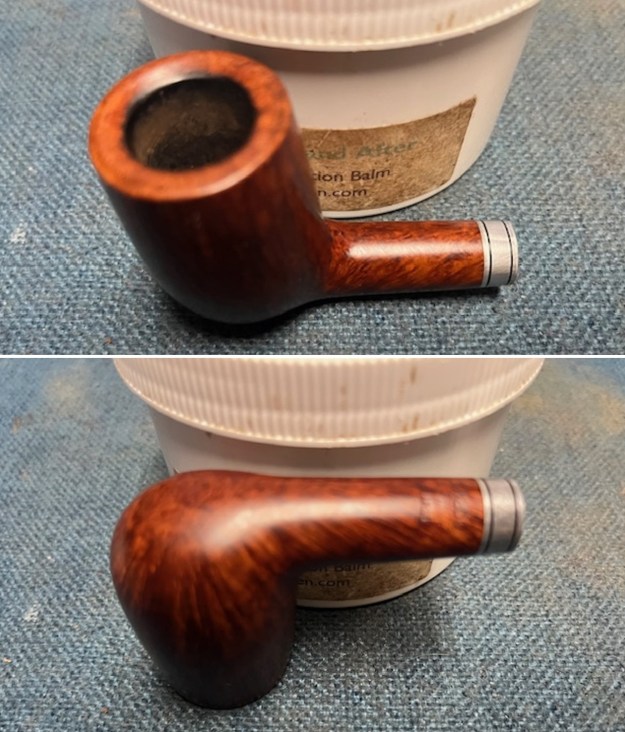
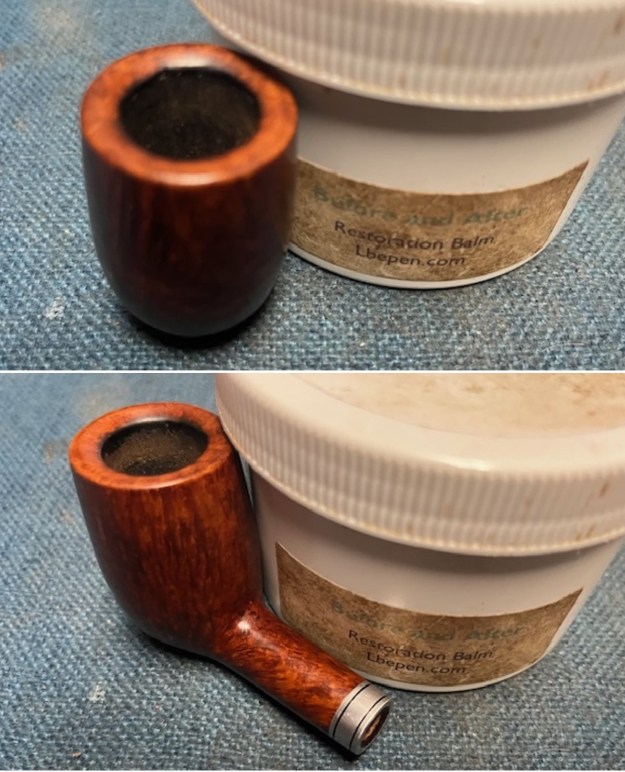
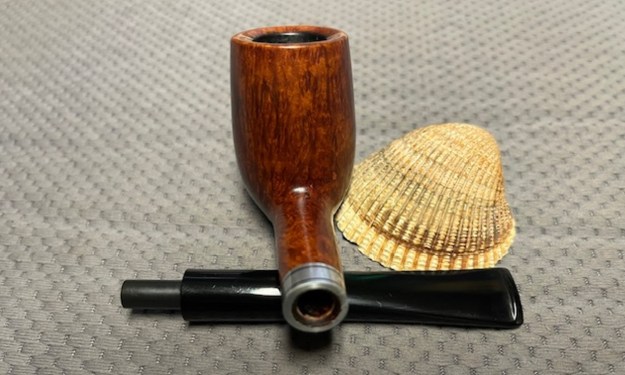
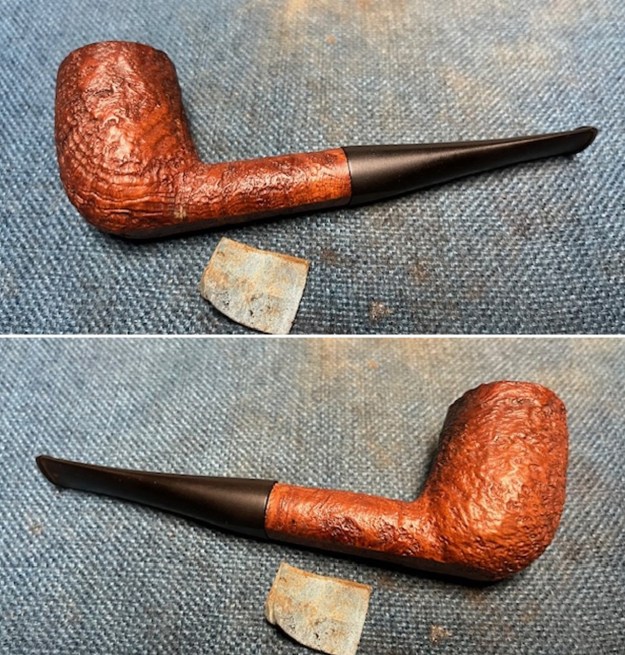
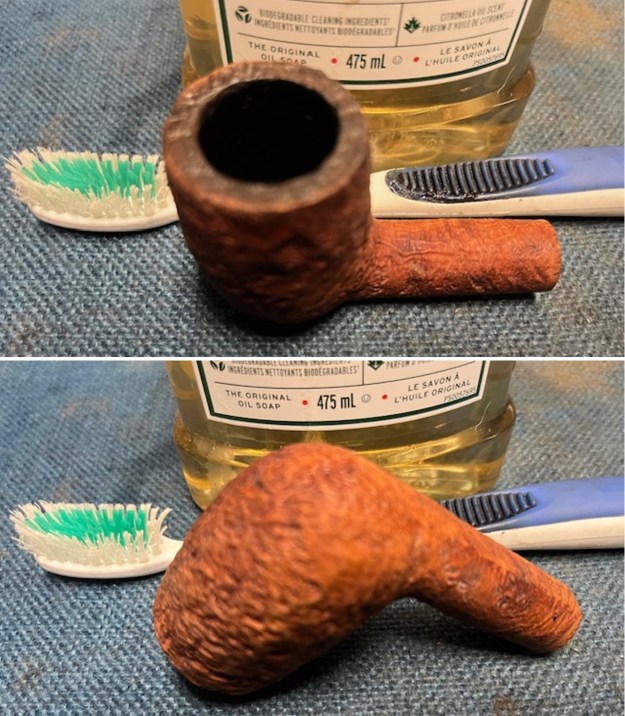
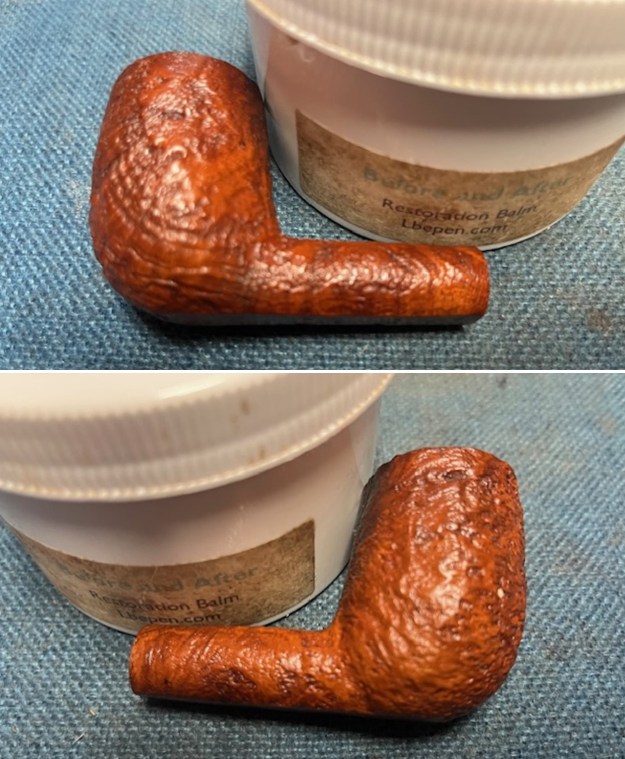
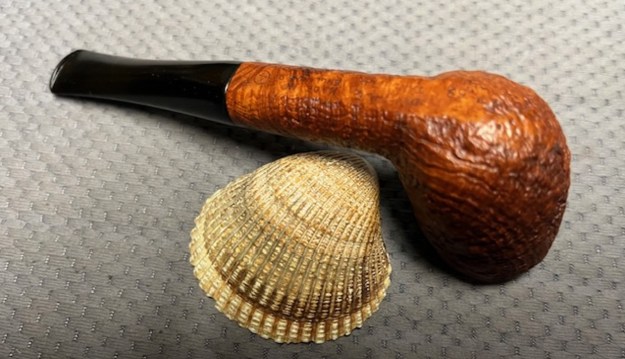
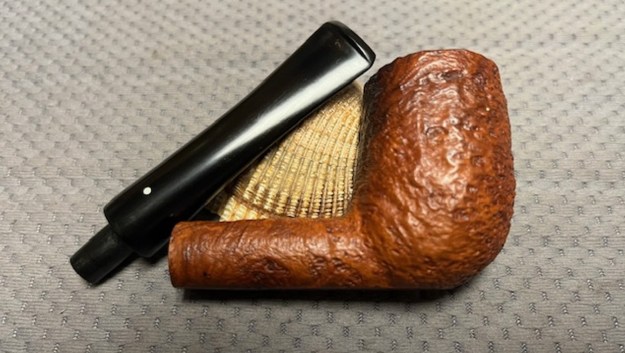
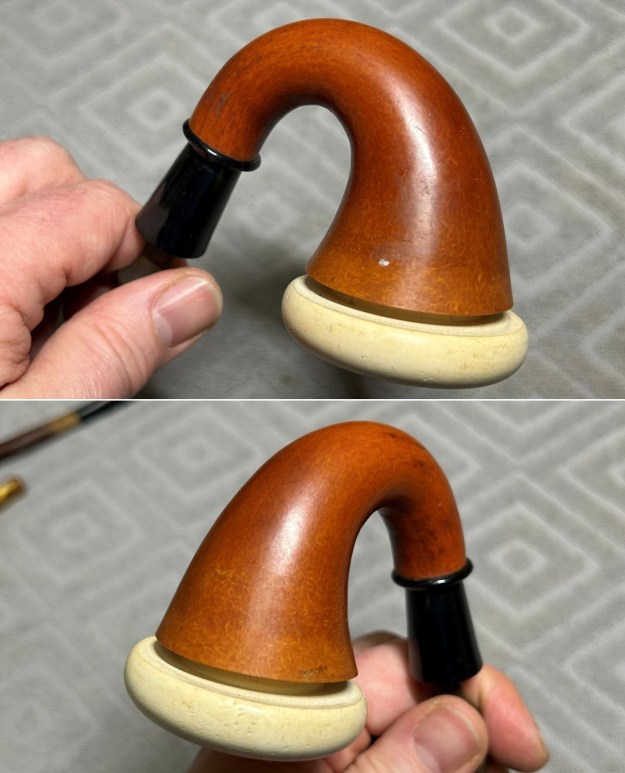
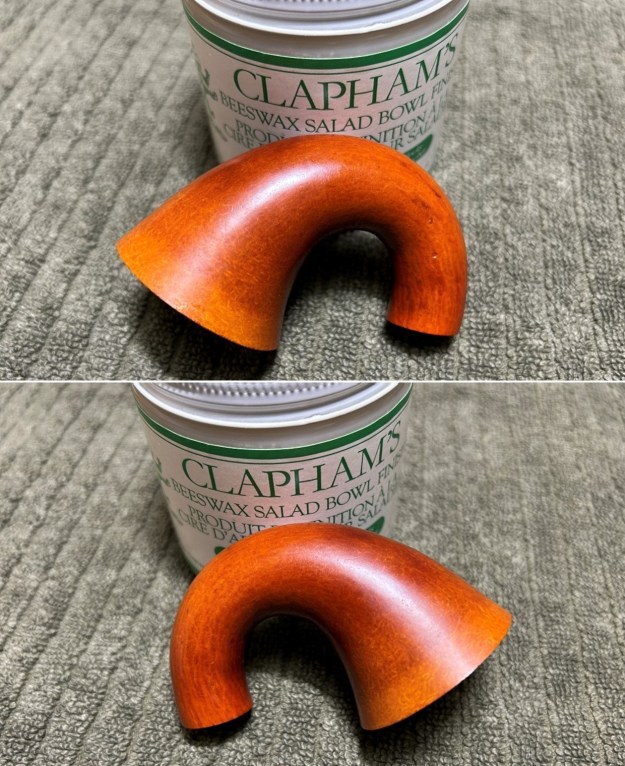
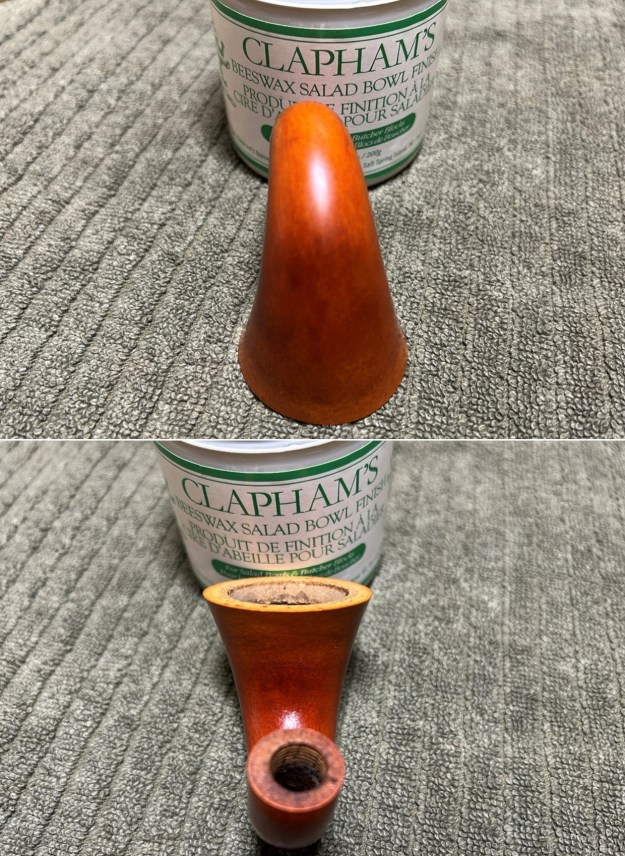
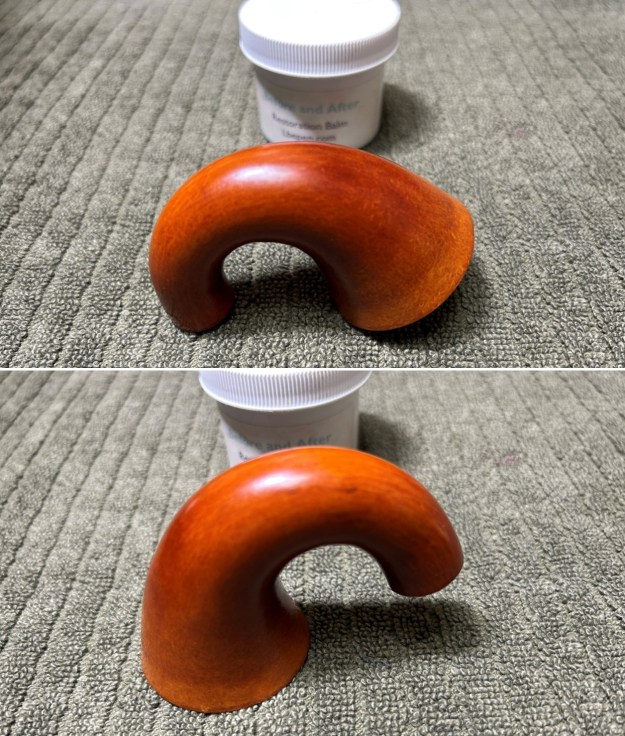
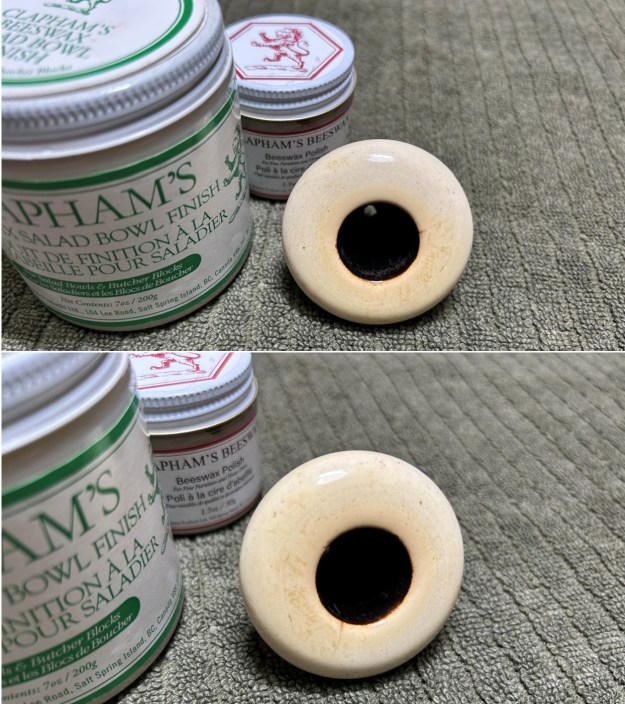
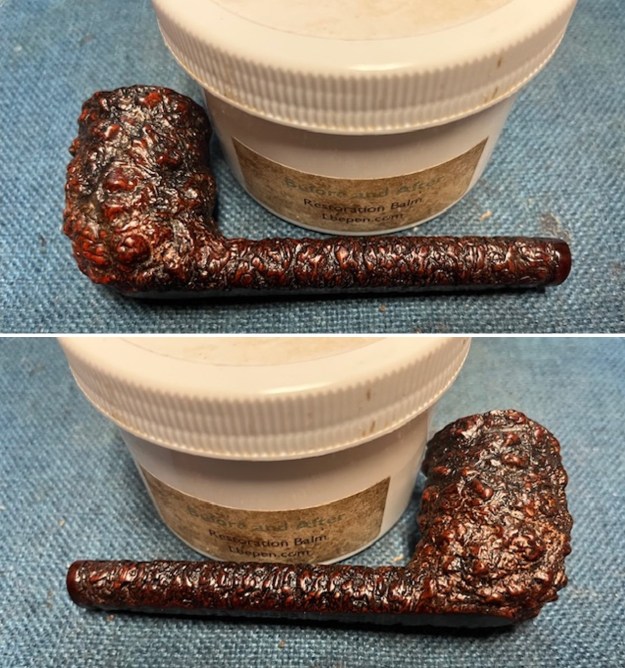
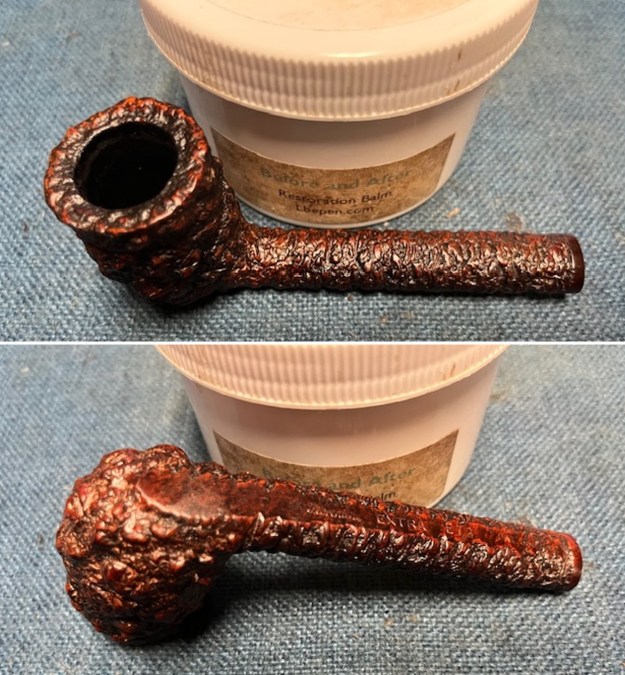
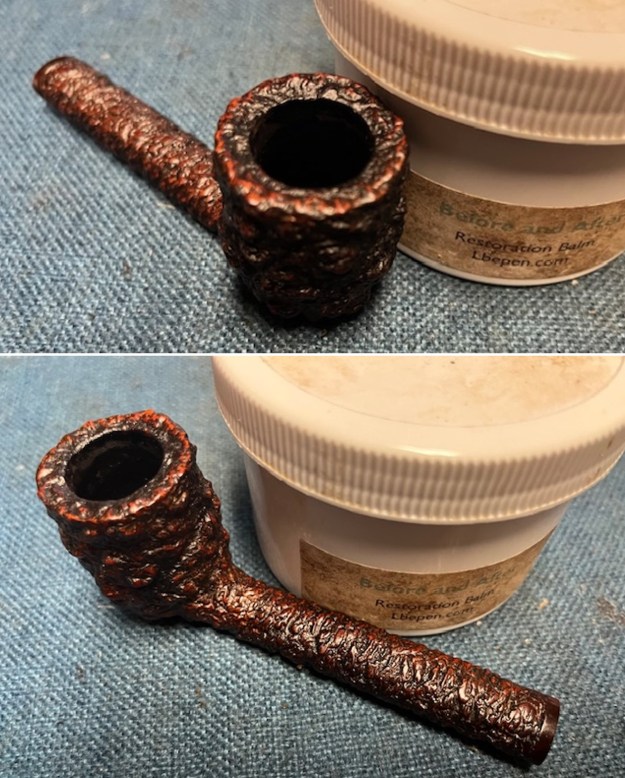
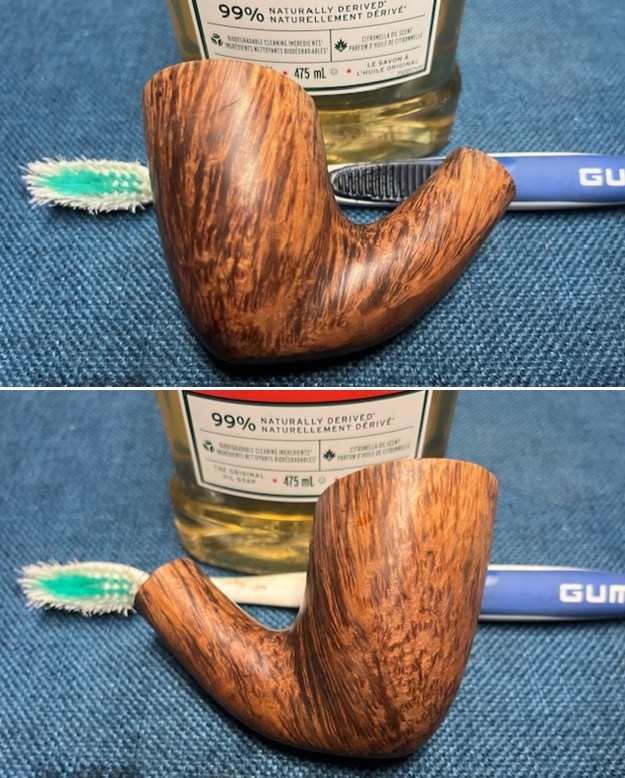
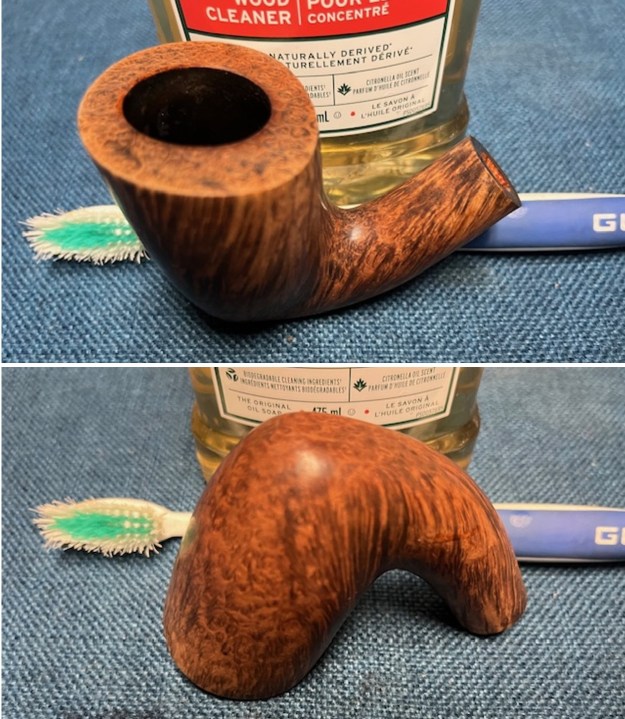
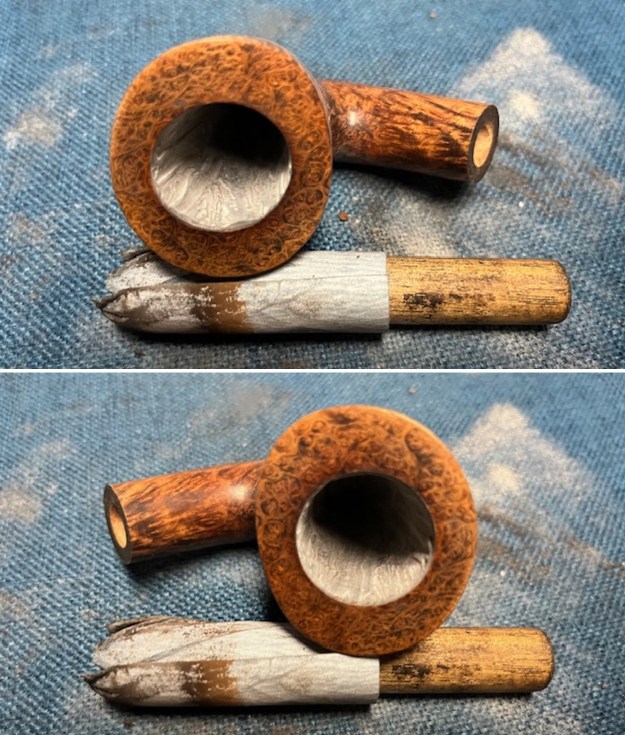
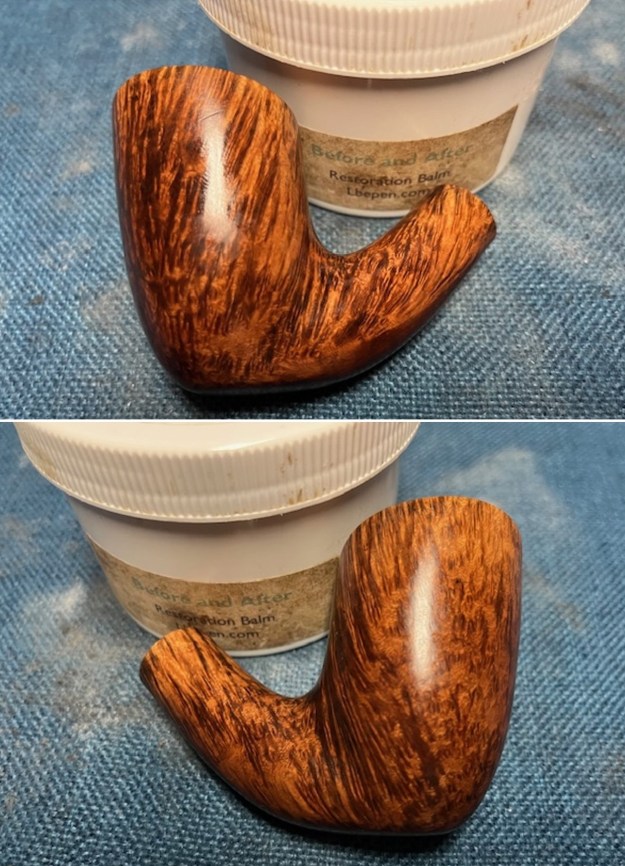
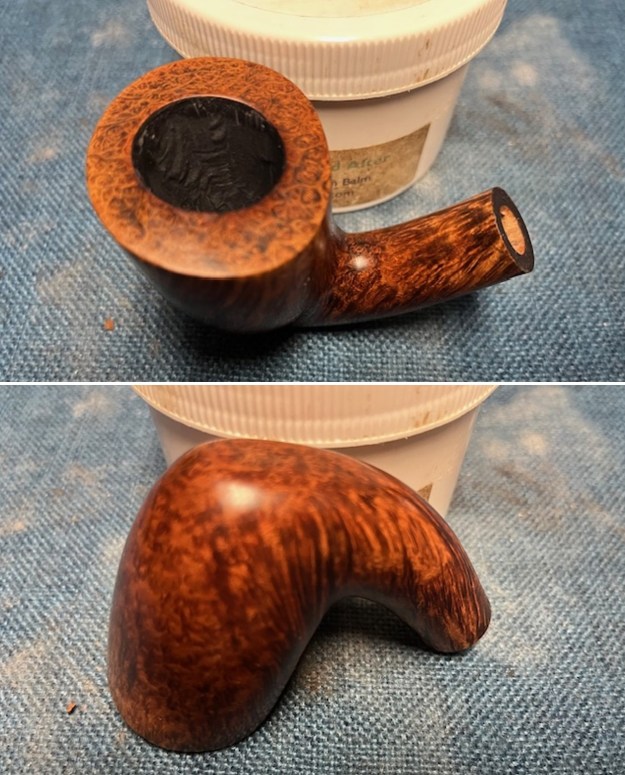
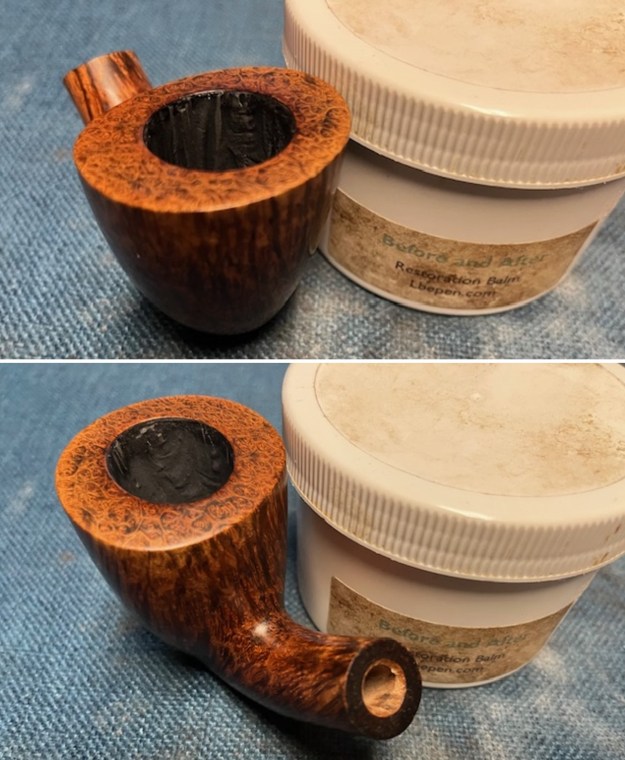
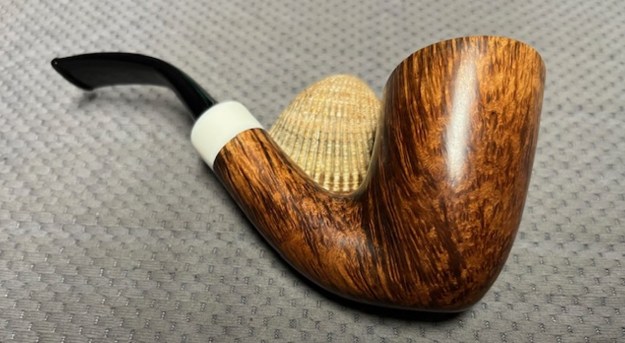
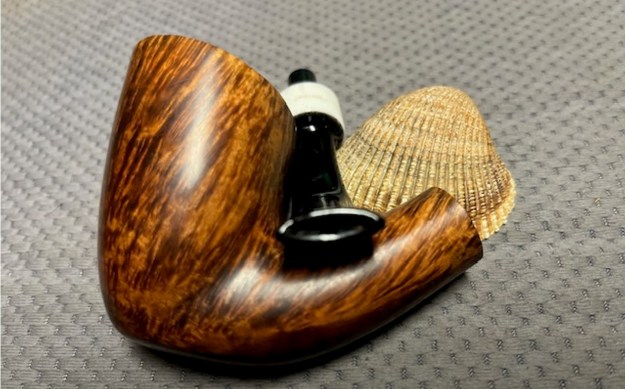
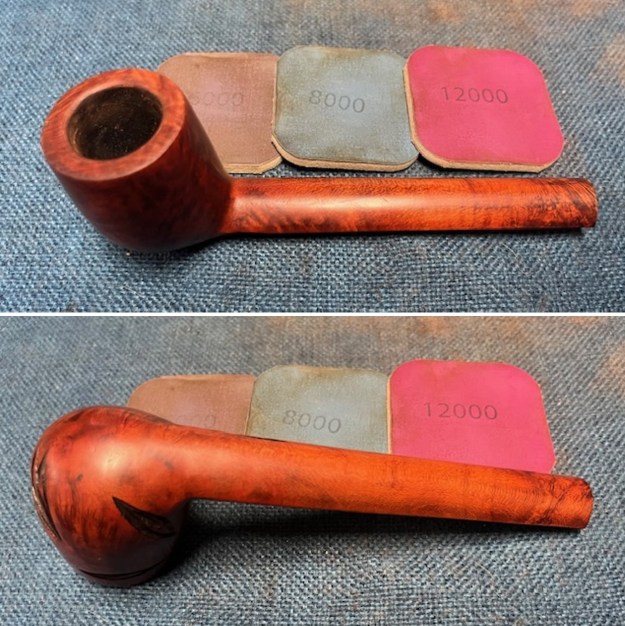 I worked some Before & After Restoration Balm into the surface of the briar with my fingertips and into leaf patterns with a horsehair shoe brush to clean, enliven and protect it. I let the balm sit for a little while and then buffed with a cotton cloth to raise the shine. The photos show the bowl at this point in the restoration process.
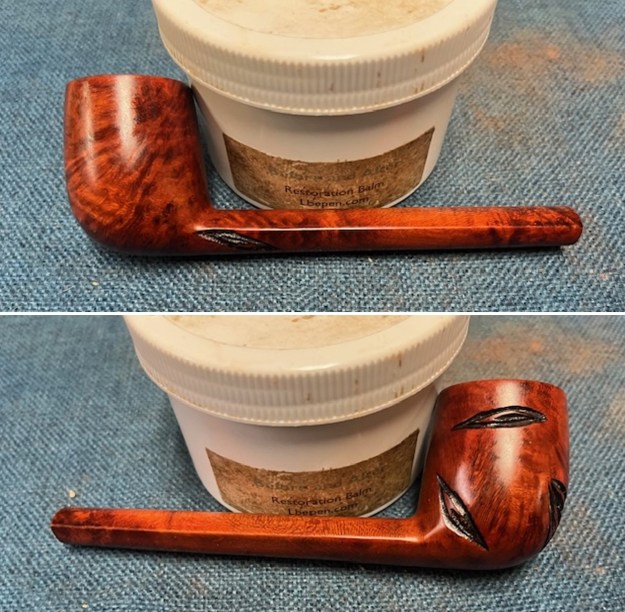
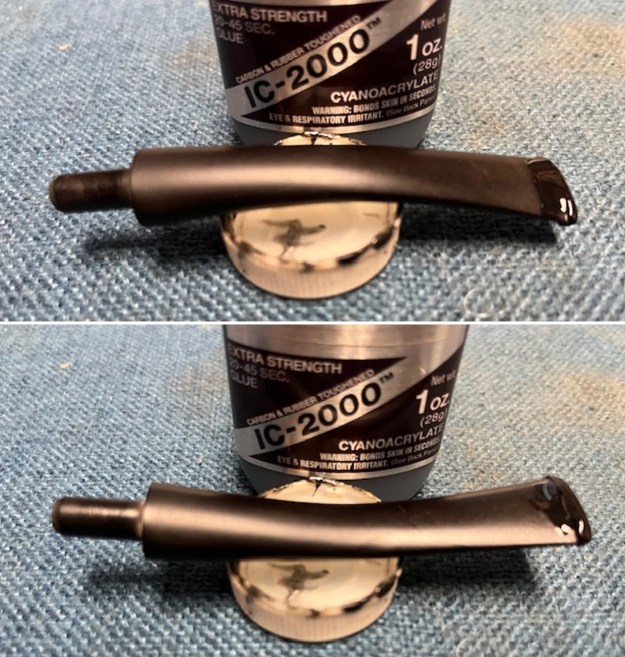
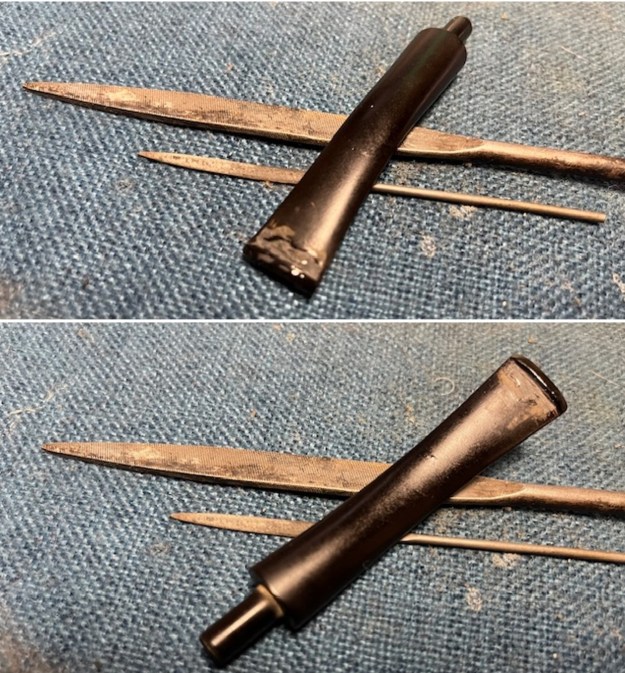
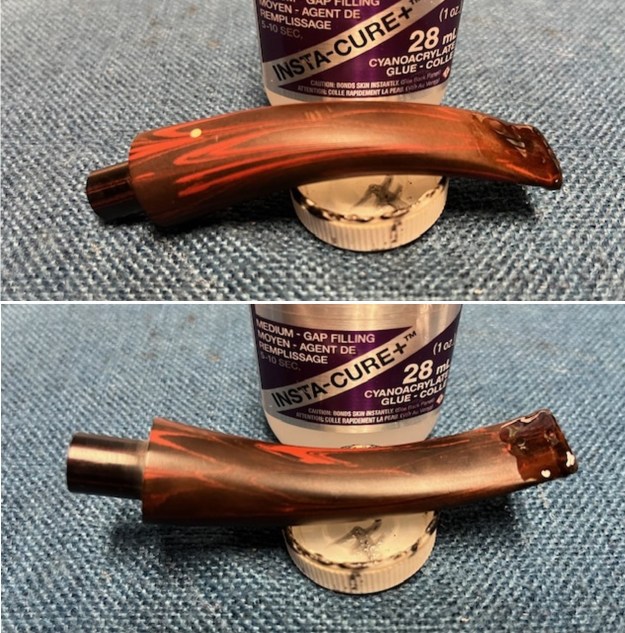
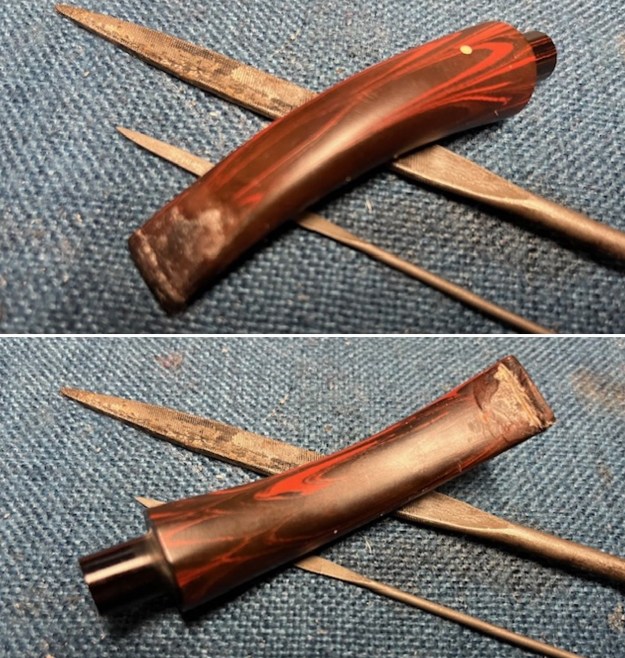
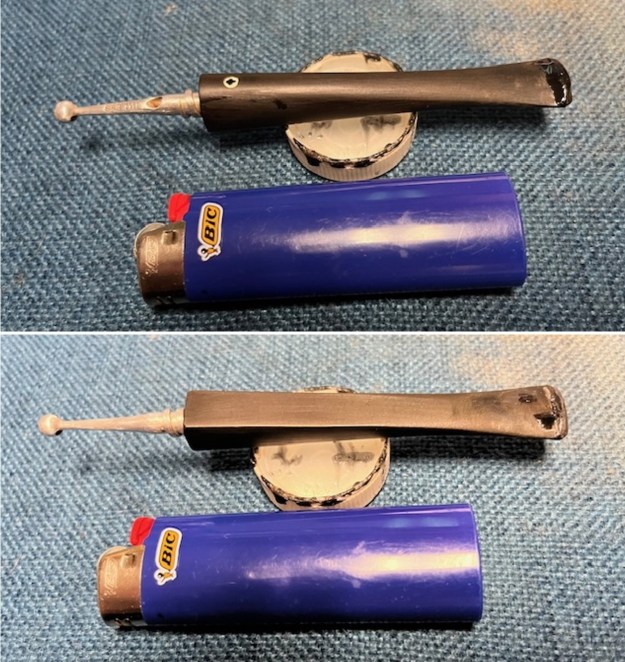
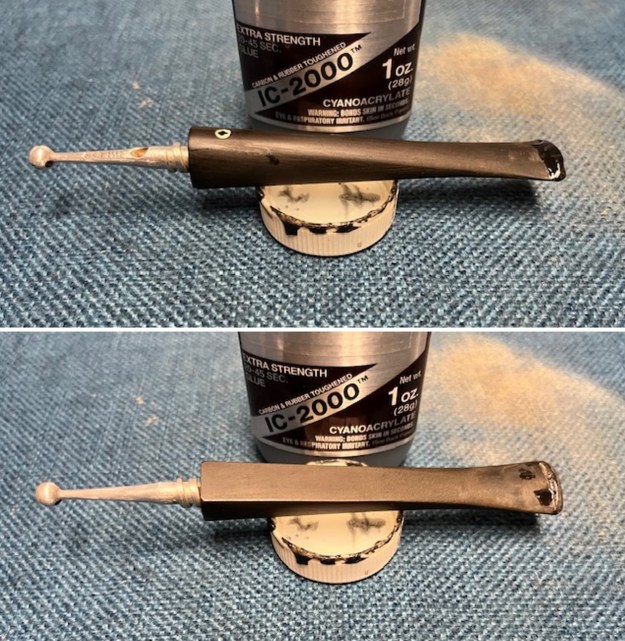
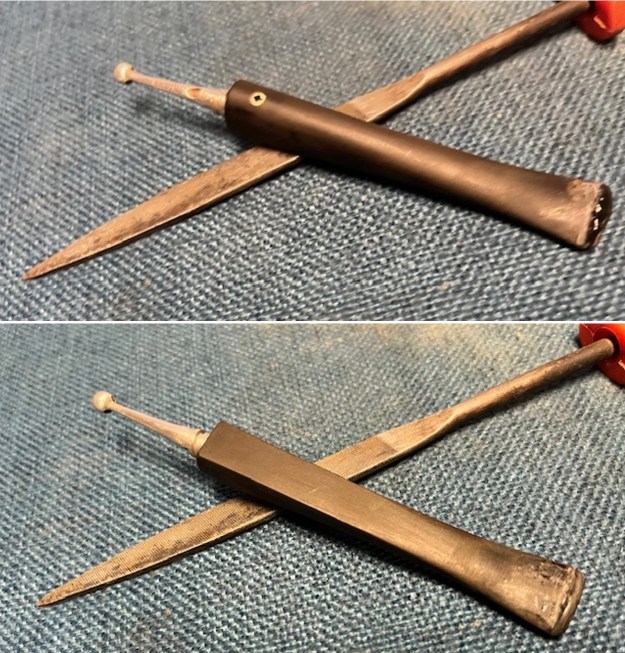
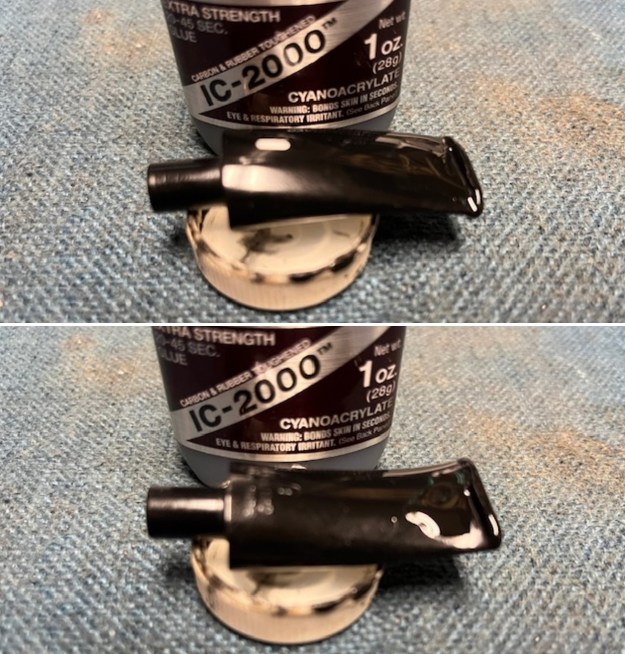
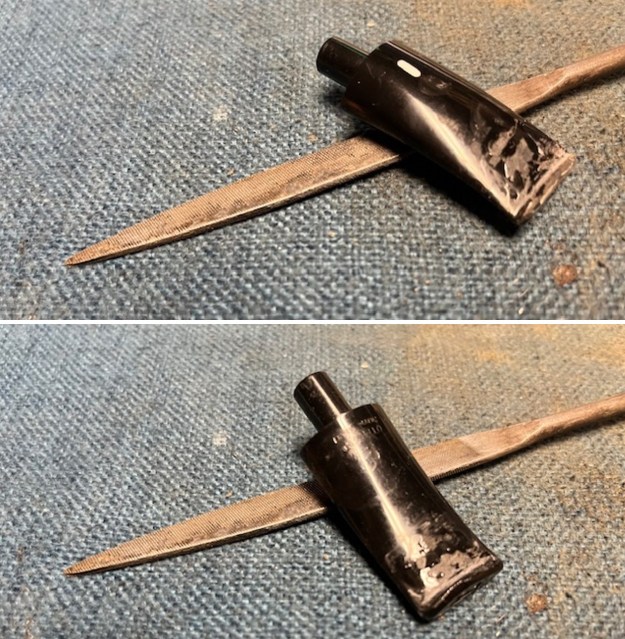
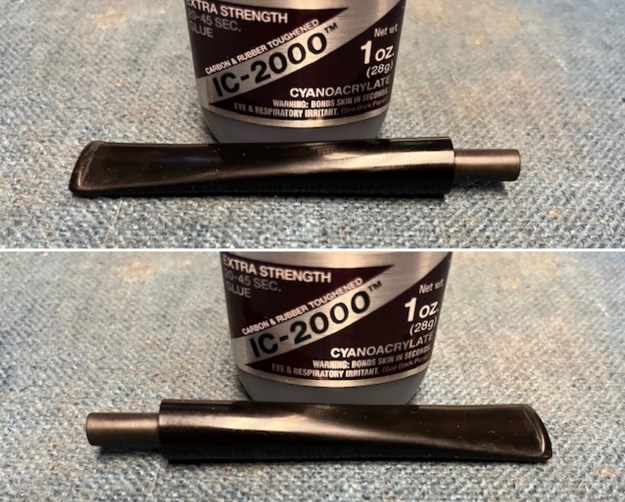
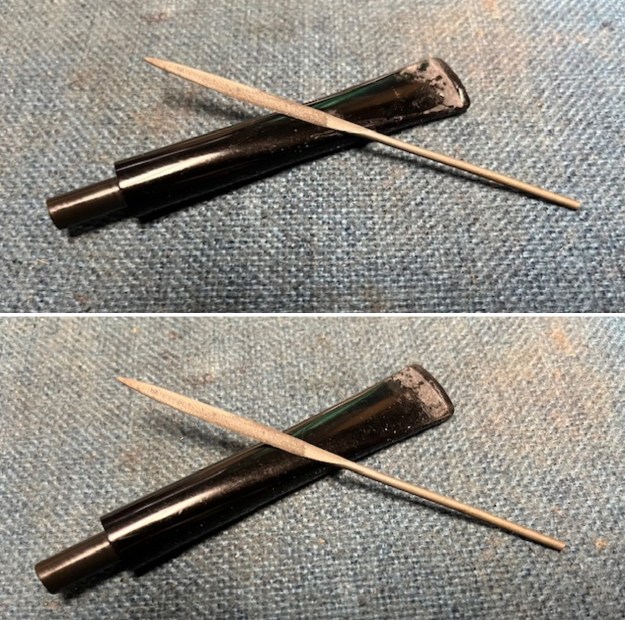
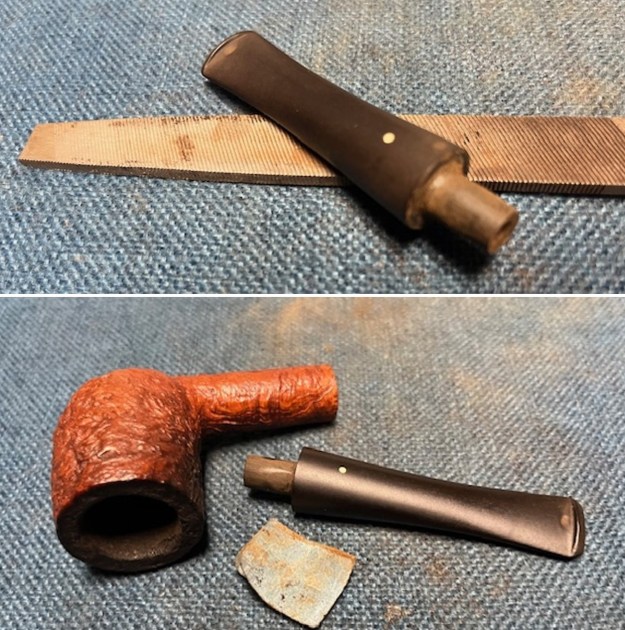
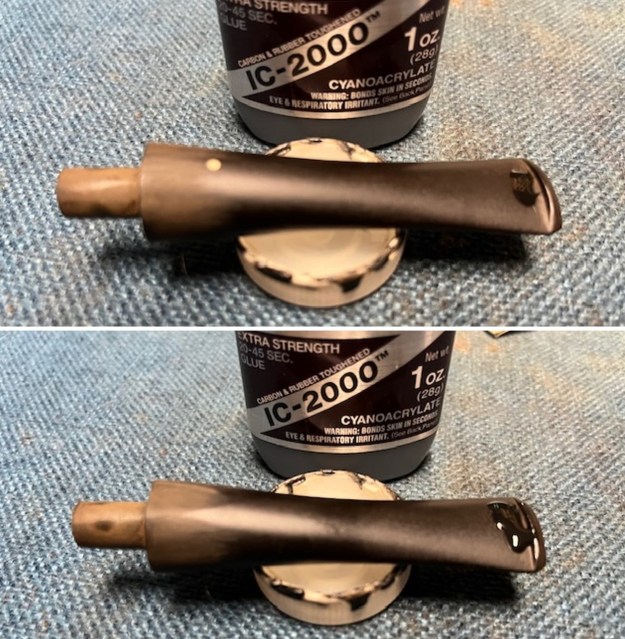
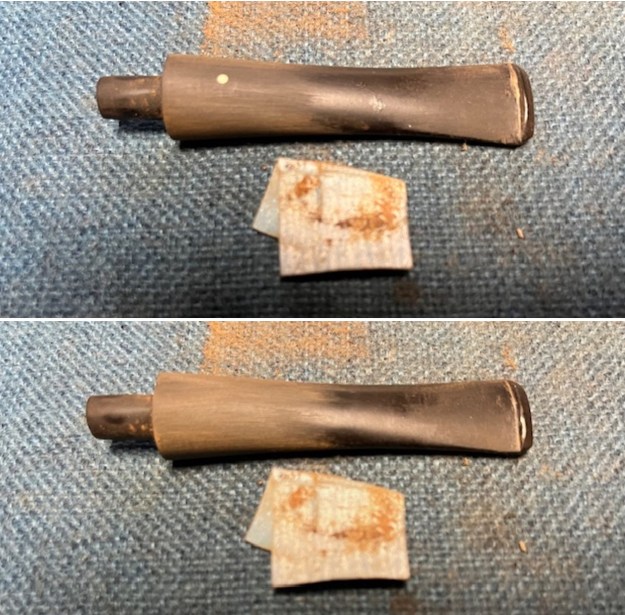
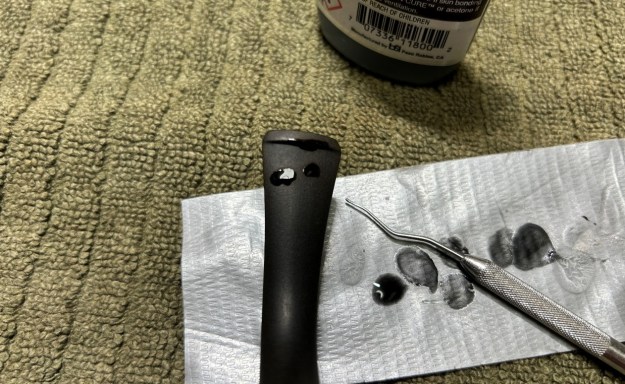
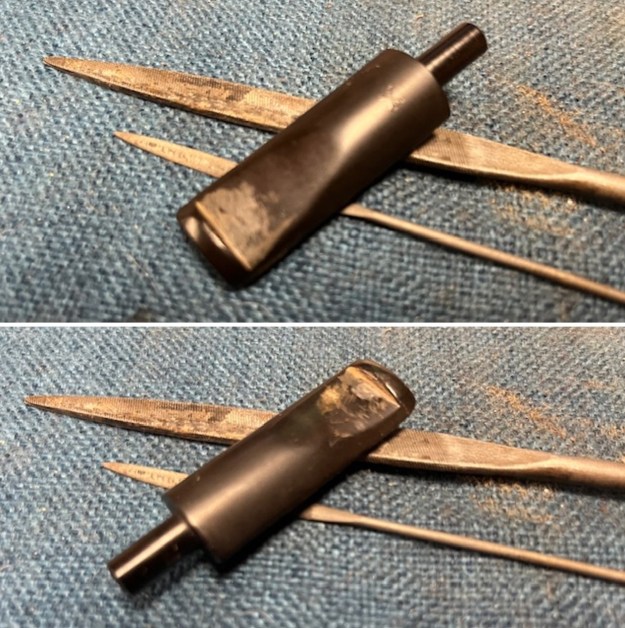
 I set the bowl aside and turned my attention to the stem. I filled in the deep tooth marks on the top and underside of the stem ahead of the button with a rubberized/carbon extra strength Black CA glue. Once it cured I used some small flat files to blend the repairs into the surface of the vulcanite. I sanded it with 220 grit sandpaper to finish blending it into the stem surface.
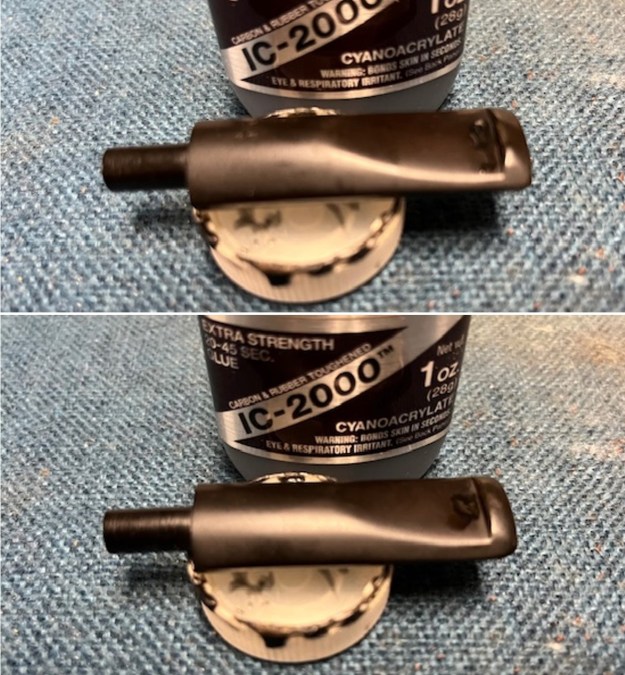
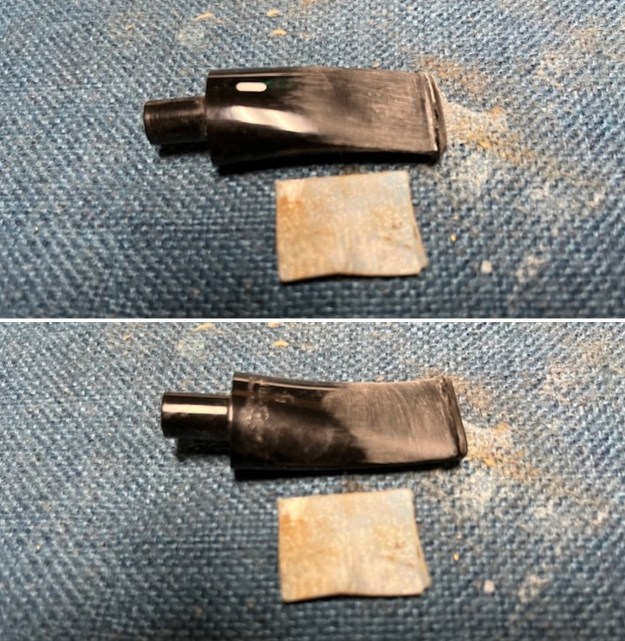
 I touched up the X stamp on the topside of the stem with some white acrylic fingernail polish. I let it harden and then scraped off the excess and went over it with a 1000 grit sanding pad. It looked very good at this point.
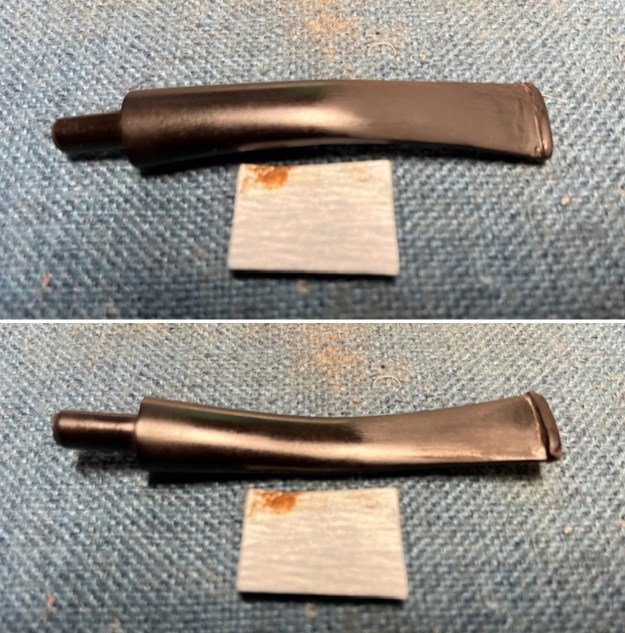
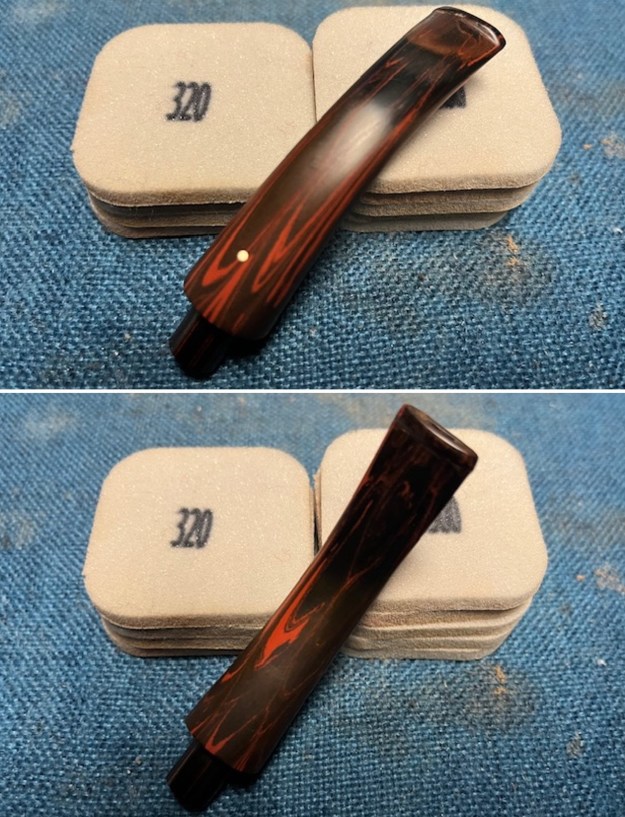
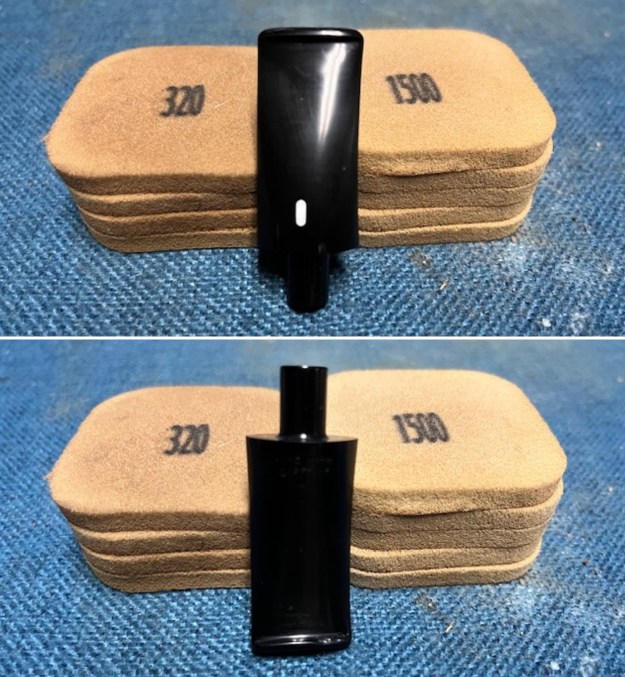
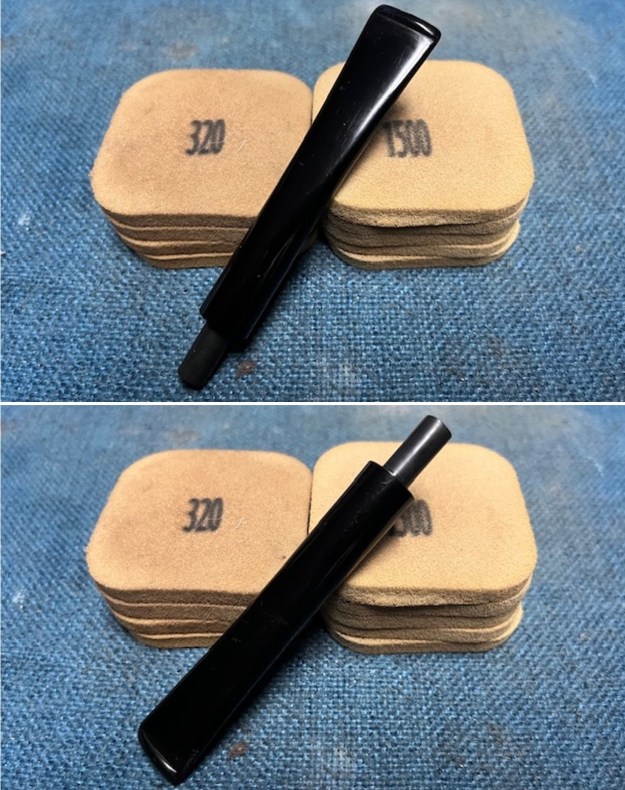
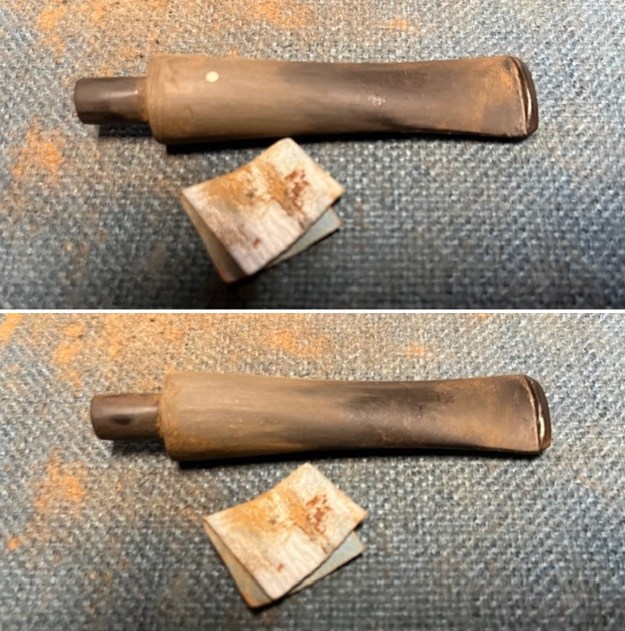
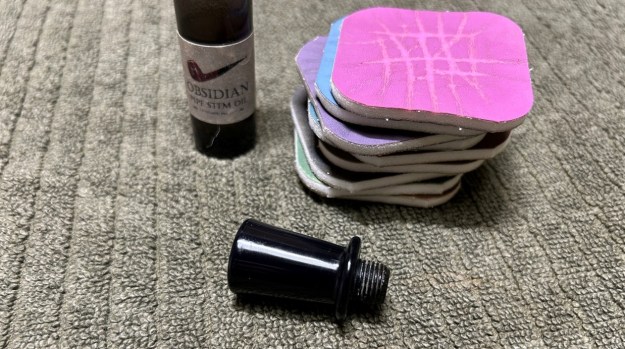
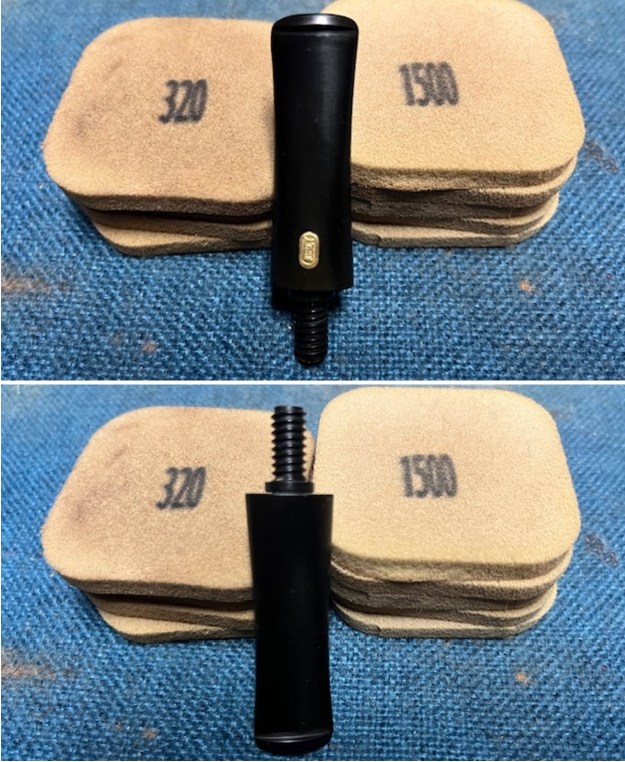
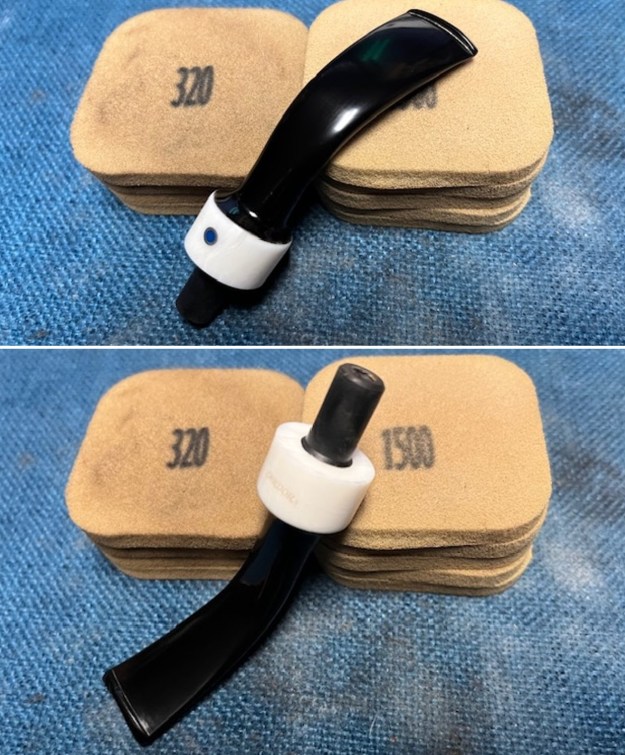
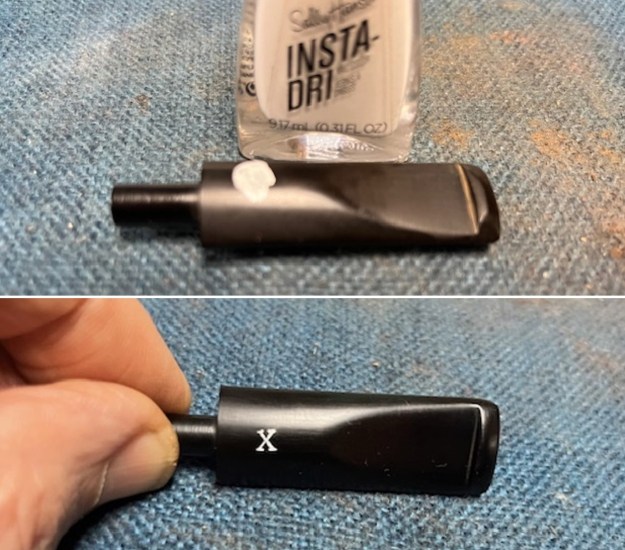 I set the bowl aside and turned my attention to the stem. I sanded the stem with 2 x 2 inch sanding pads – dry sanding with 320-3500 grit pads and wiping it down after each pad with an Obsidian Oil cloth.
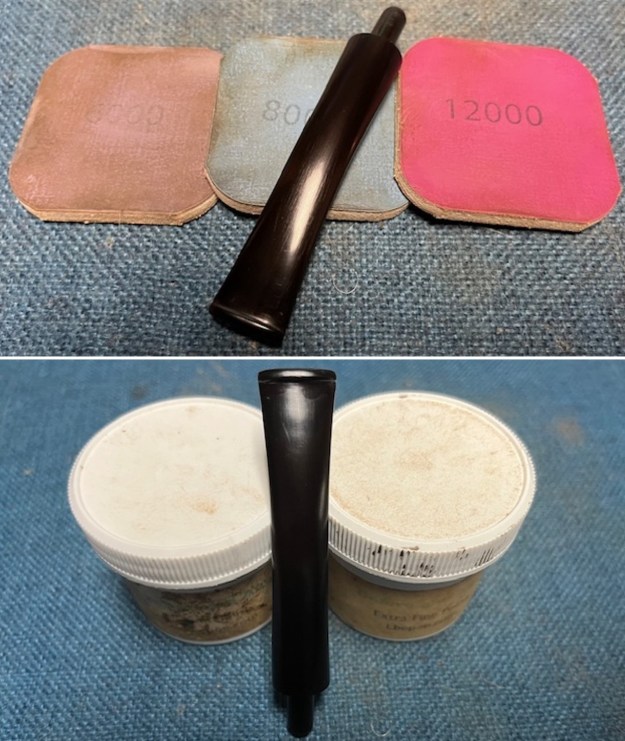
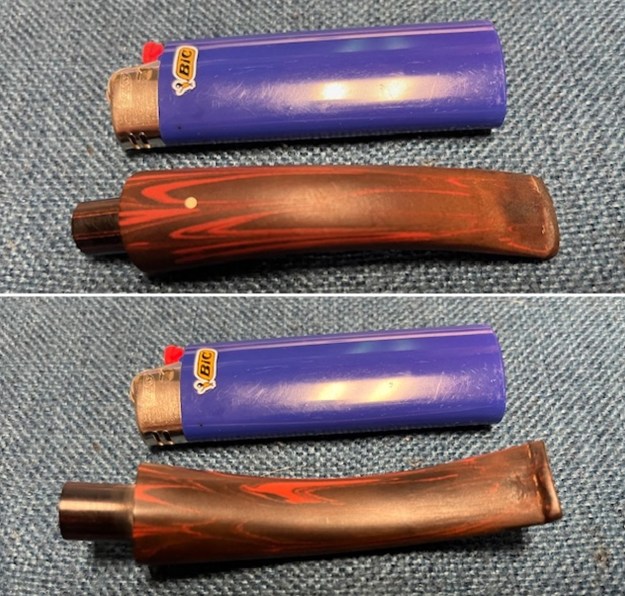
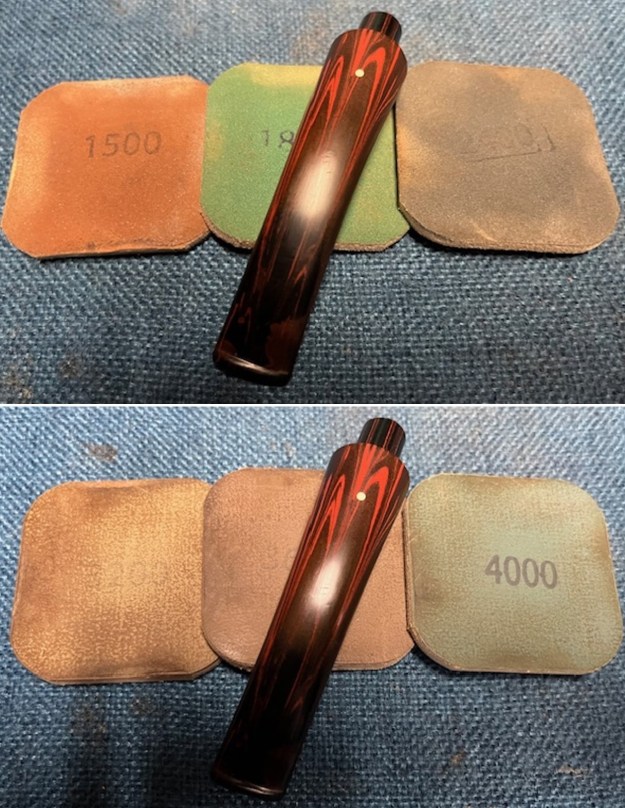
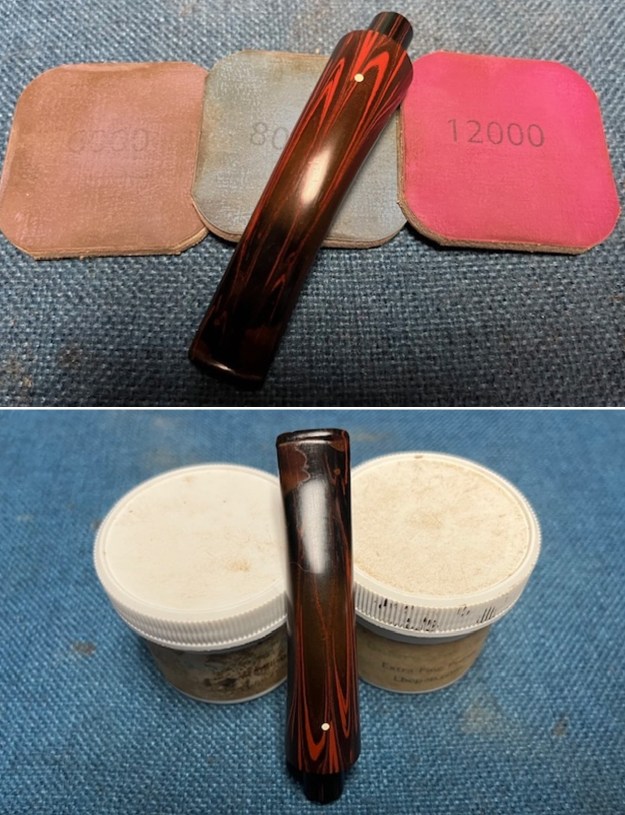
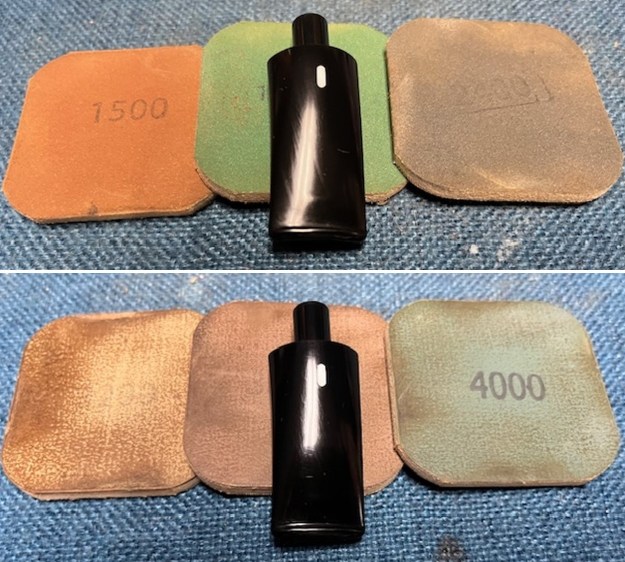
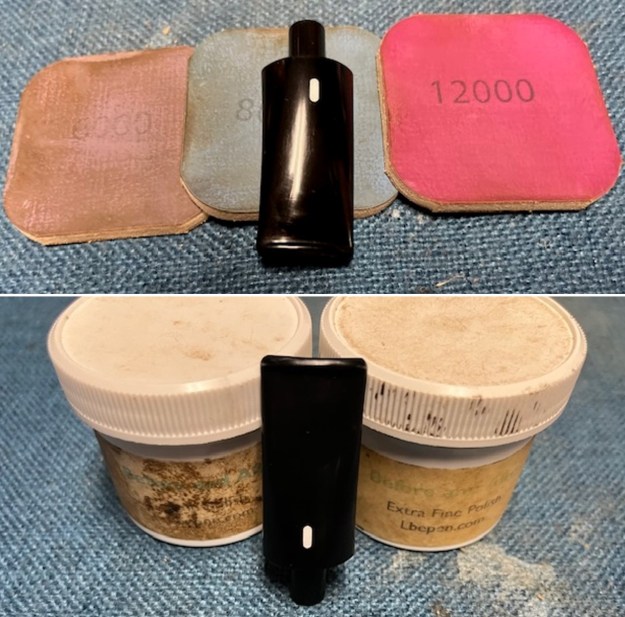
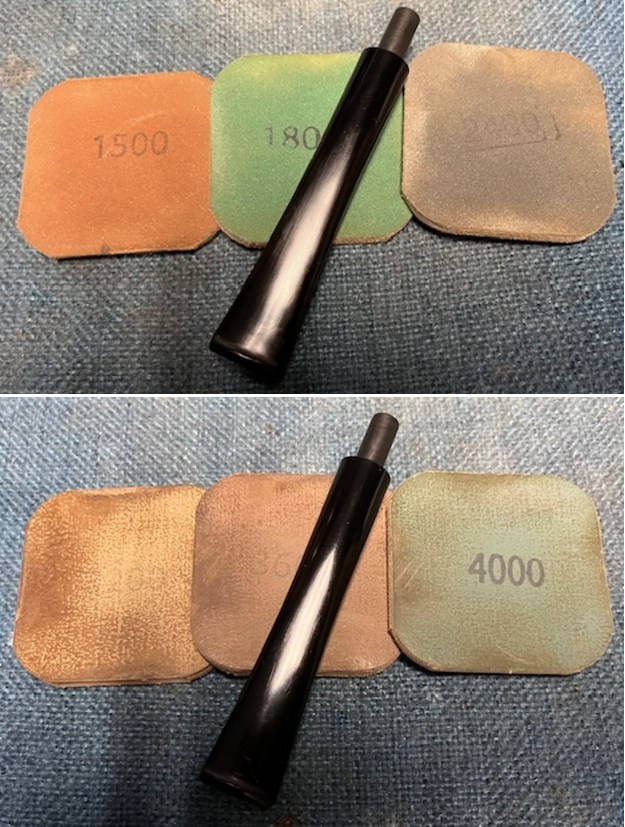
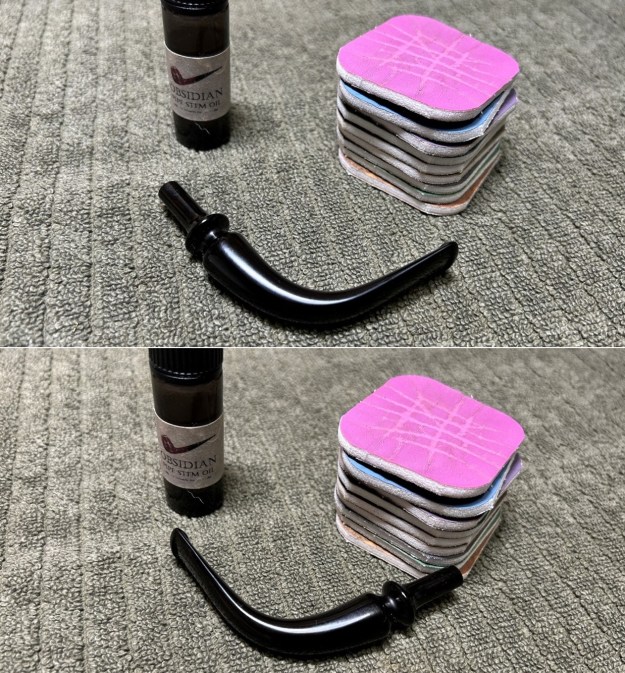
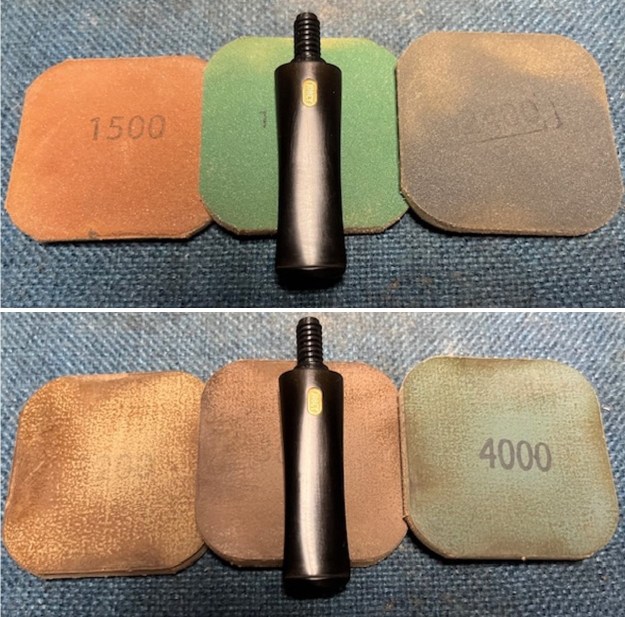
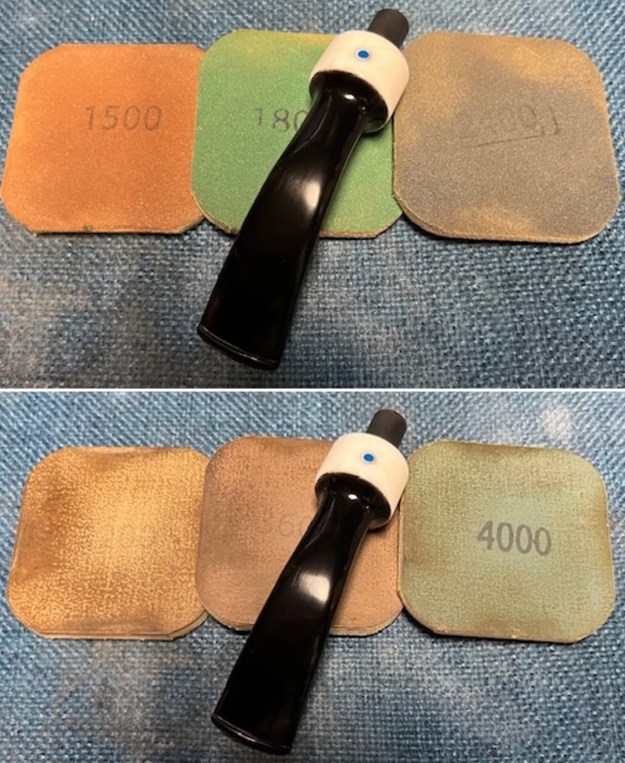
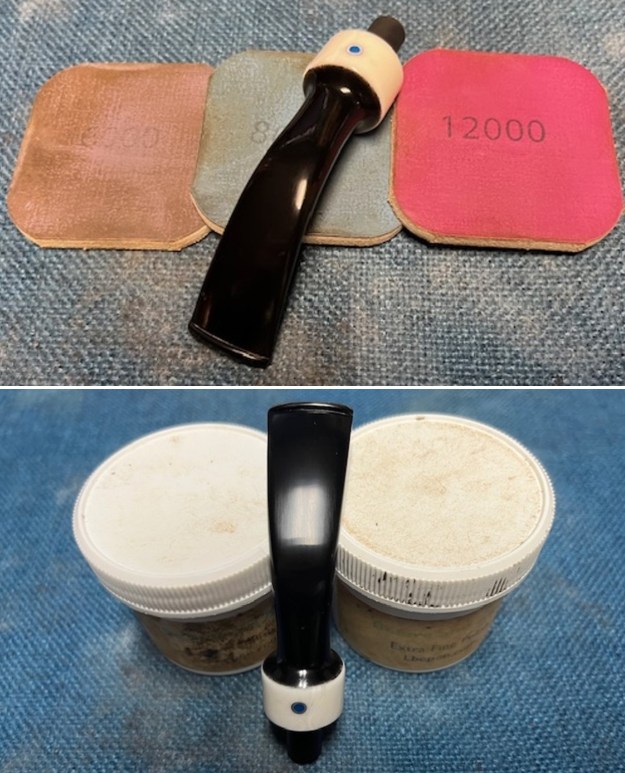
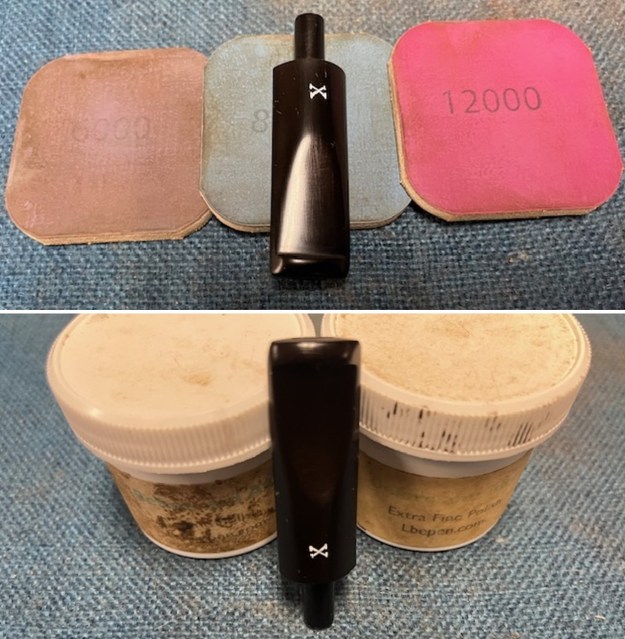
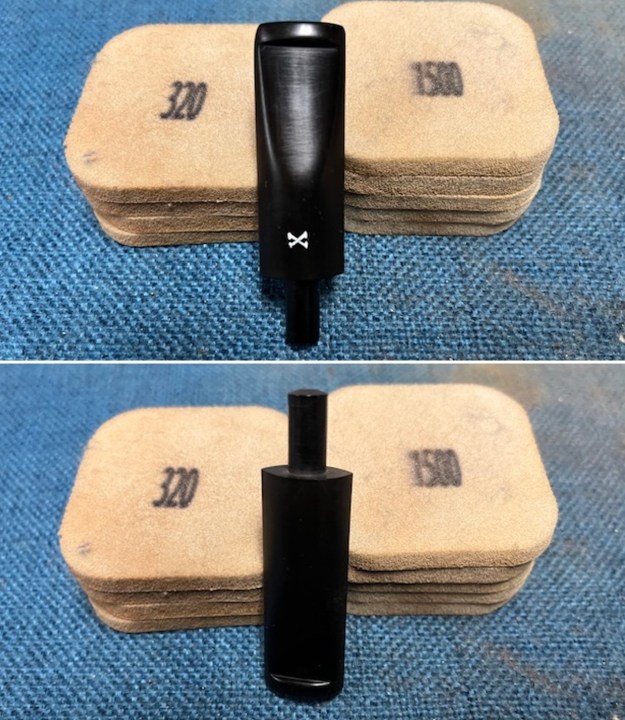 I polished the stem with micromesh sanding pads – wet sanding with 1500-12000 grit sanding pads. I wiped it down after each sanding pad with some Obsidian Oil. I finished polishing it with Before & After Pipe Stem Polish – both Fine and Extra Fine and buffed it off with a cotton cloth.
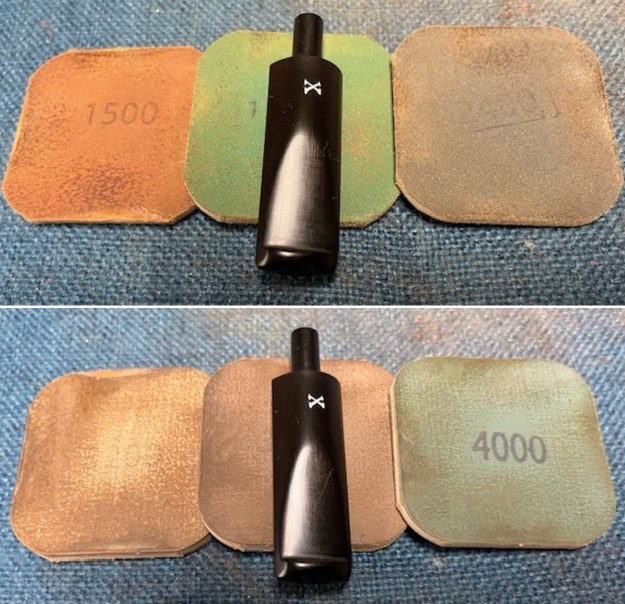
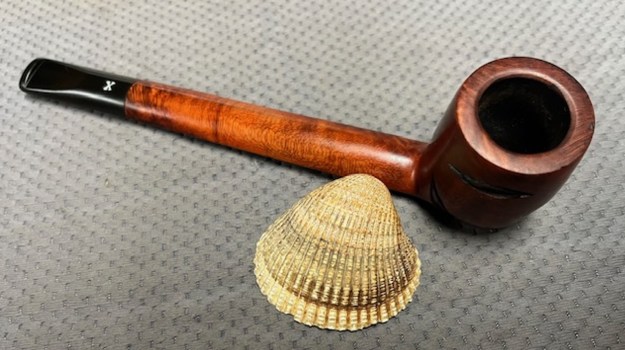
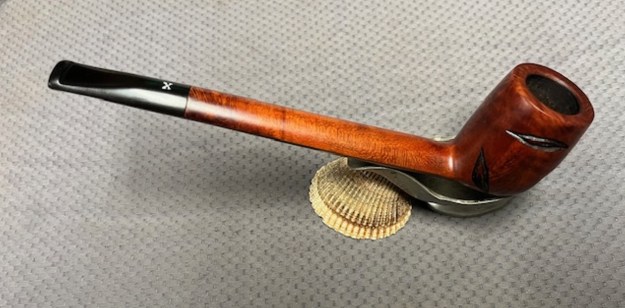
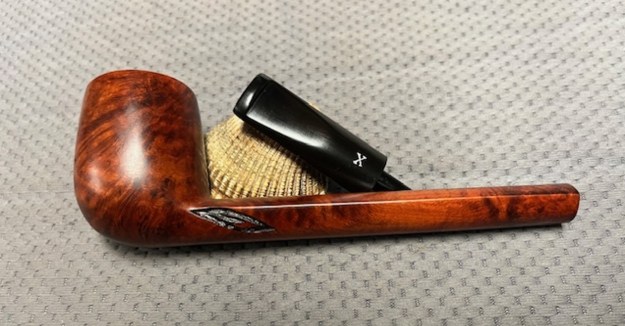
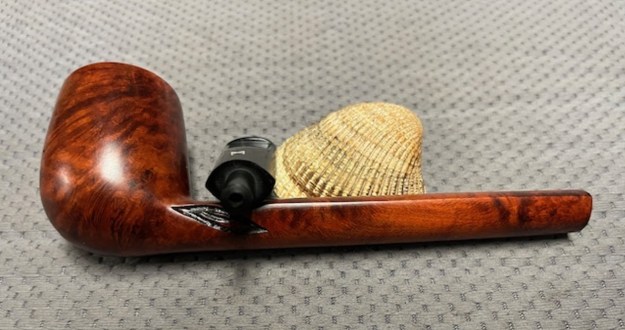
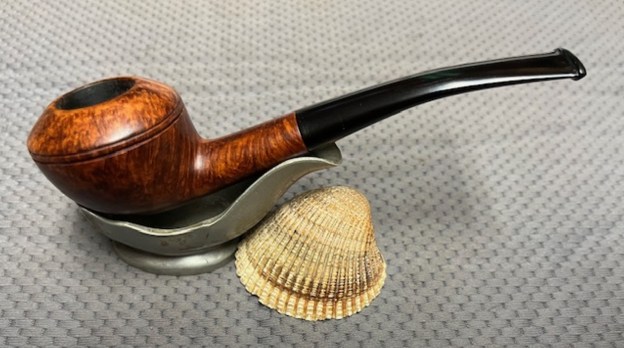
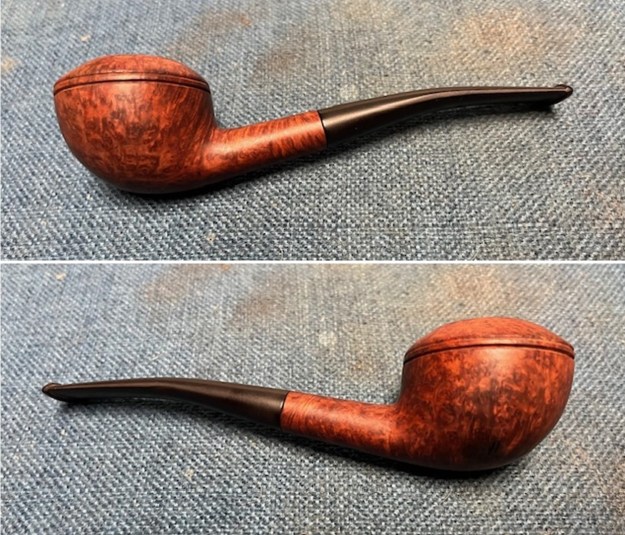
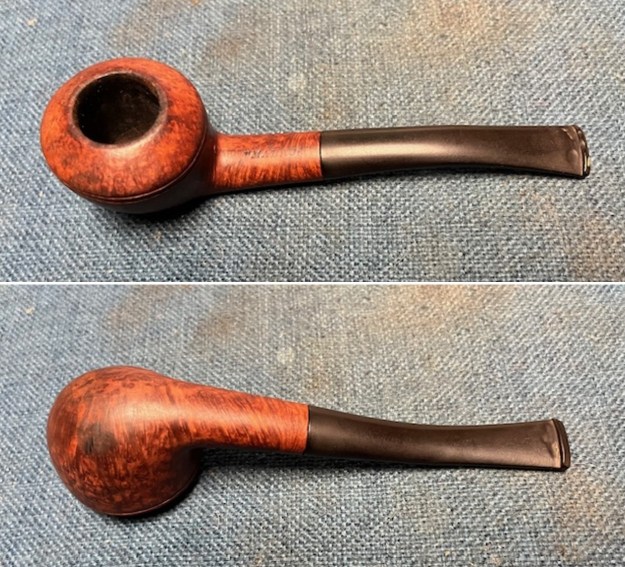
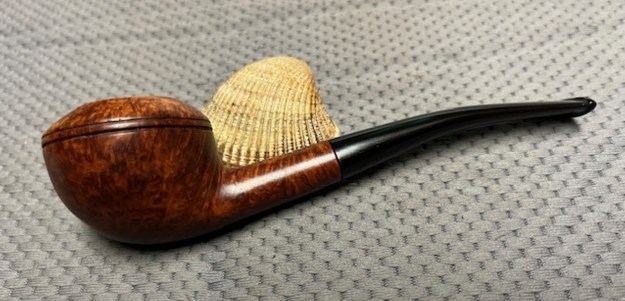
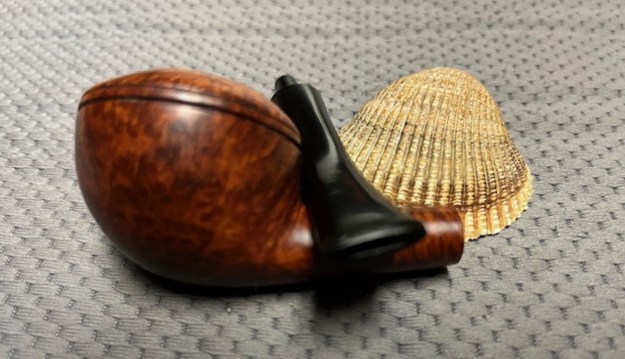
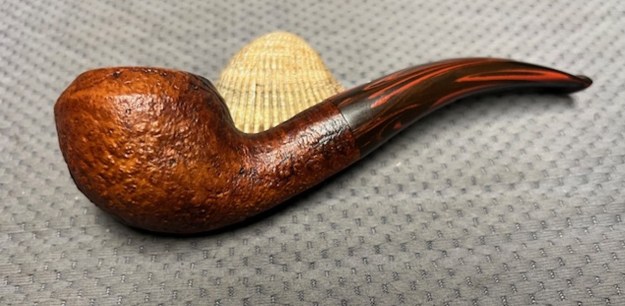
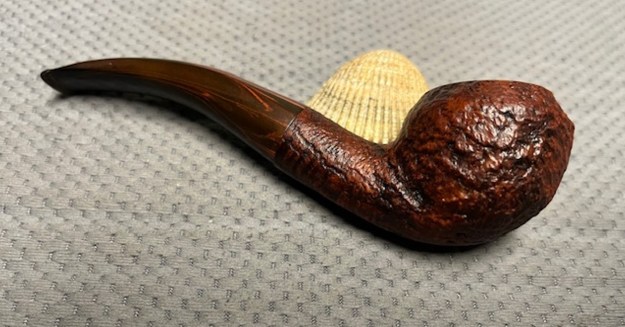
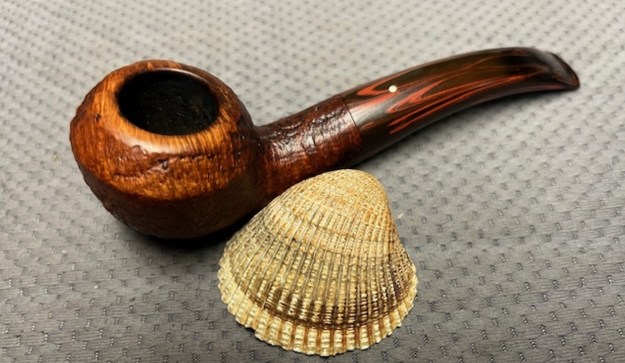
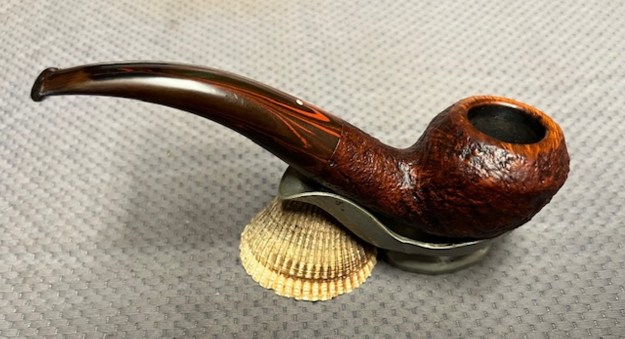
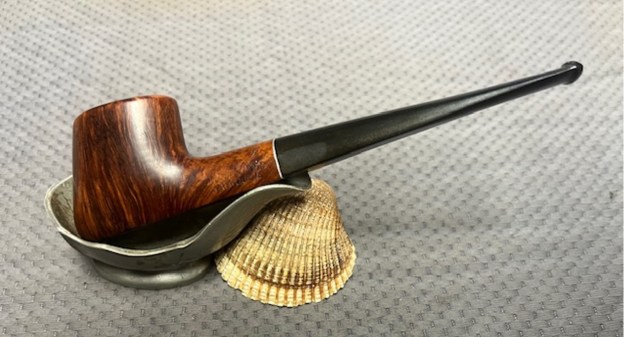
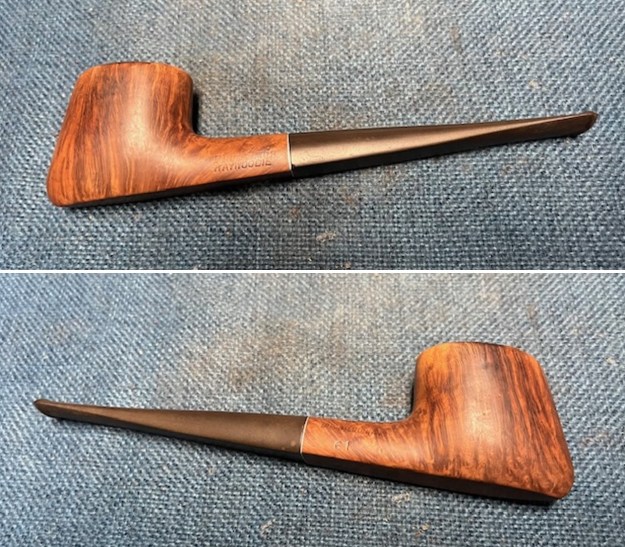
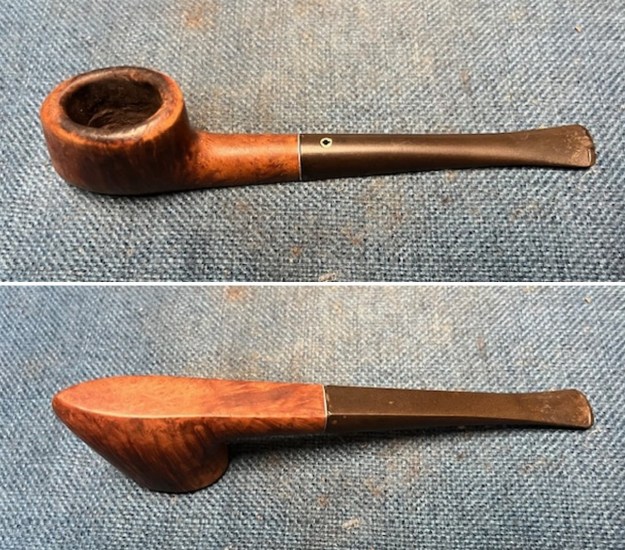
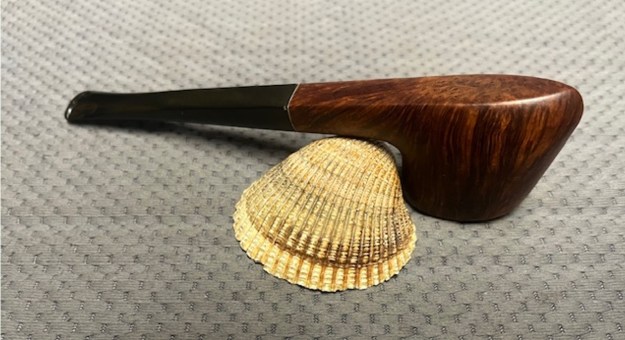
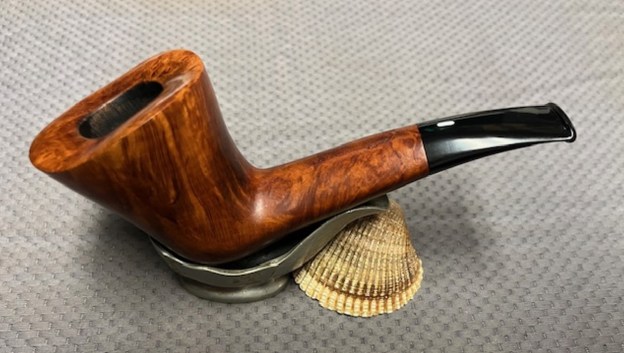
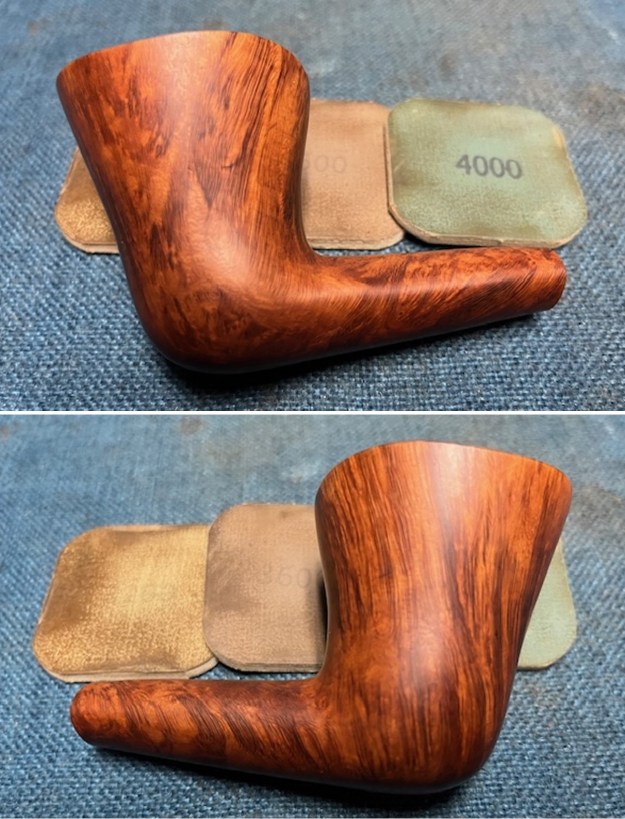
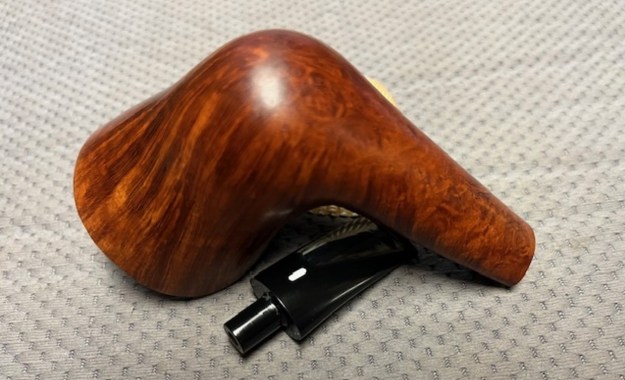
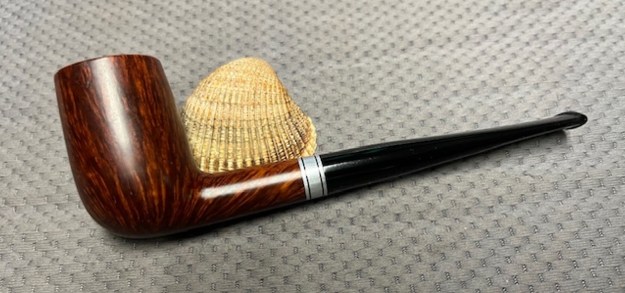
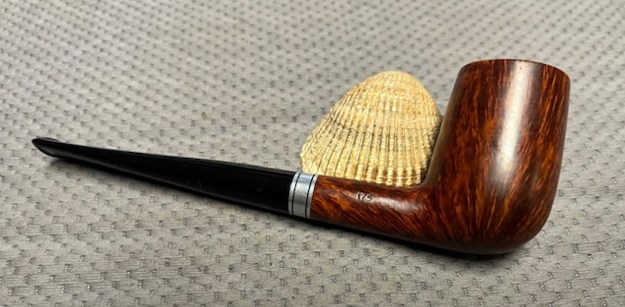
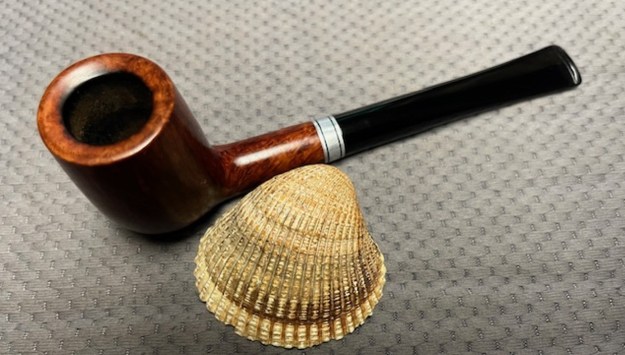
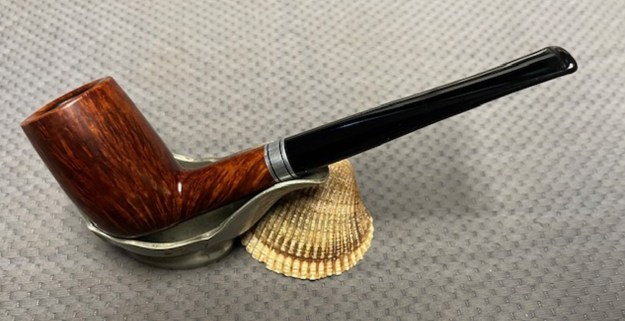
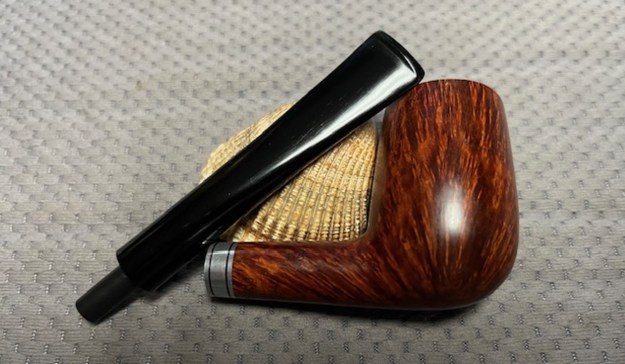
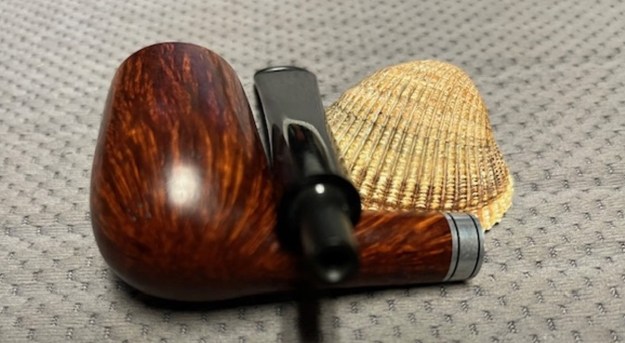
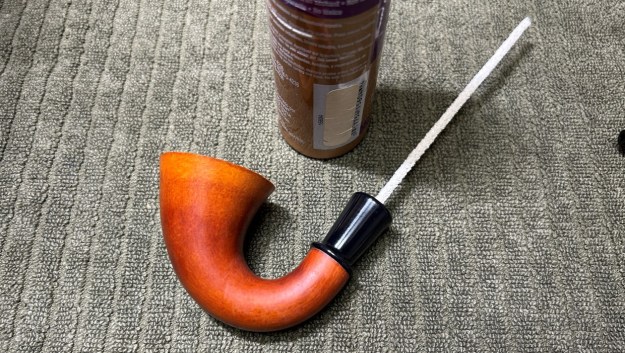
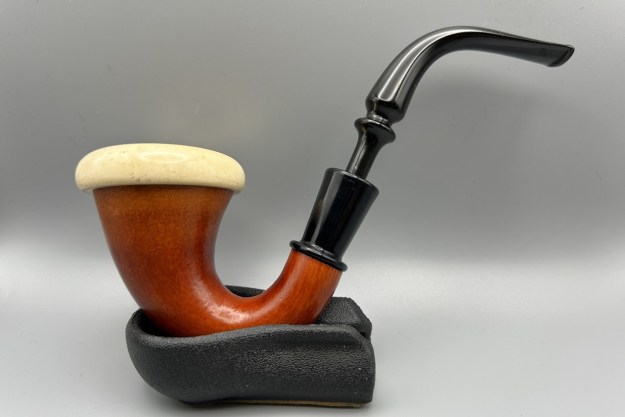
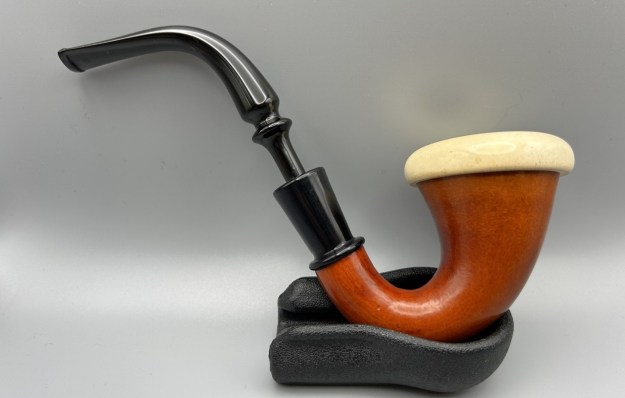
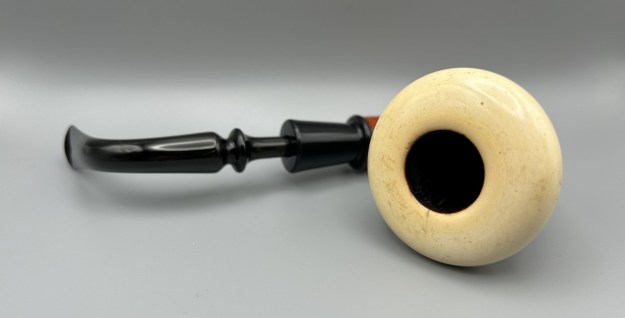
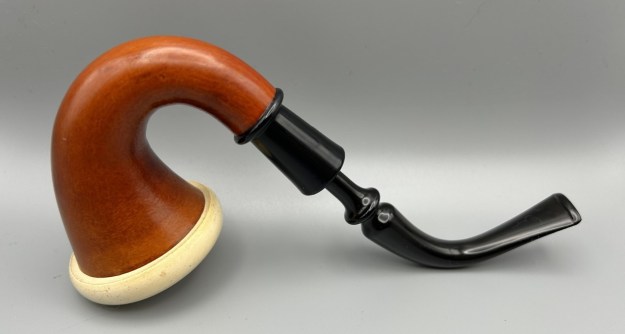
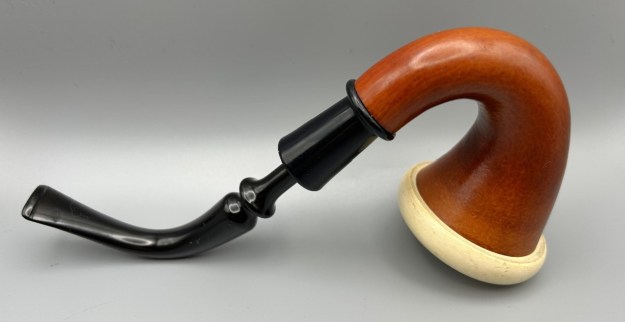
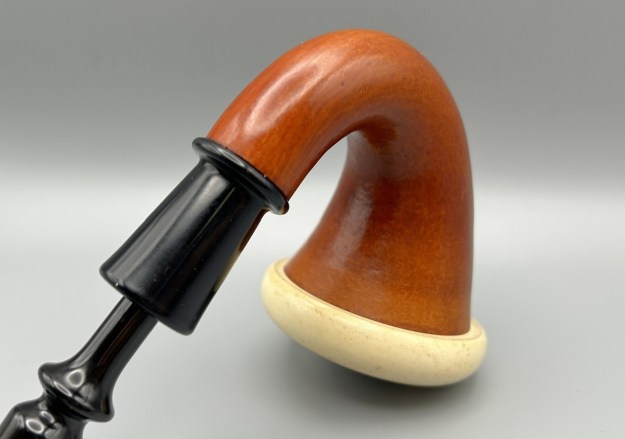
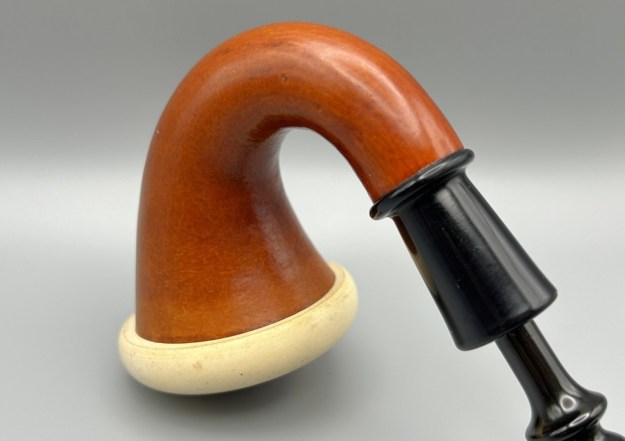
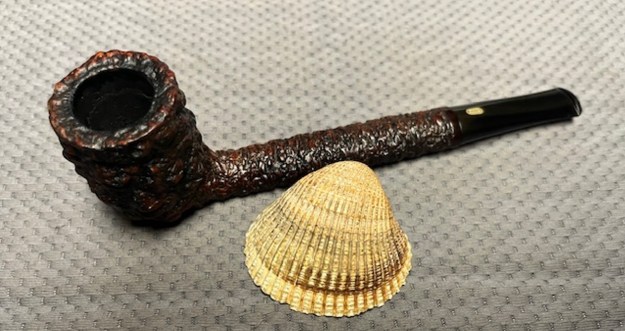
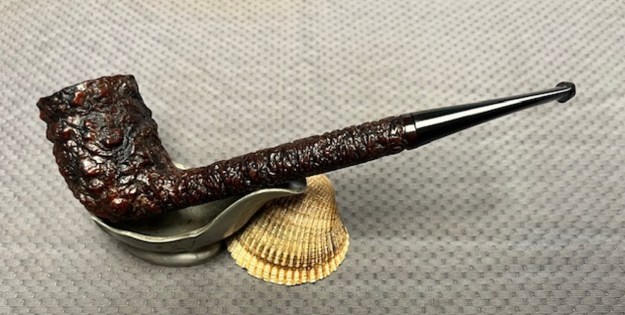
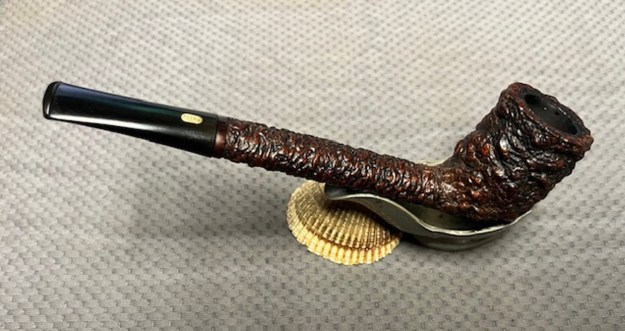
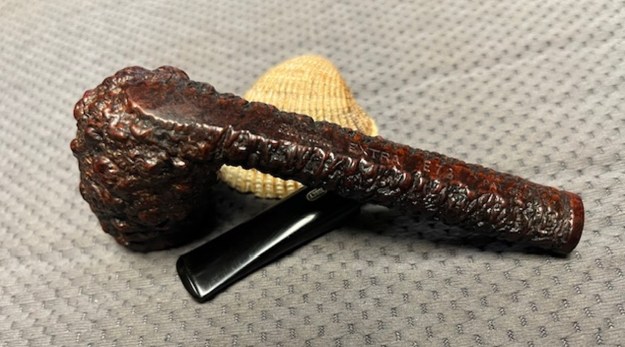
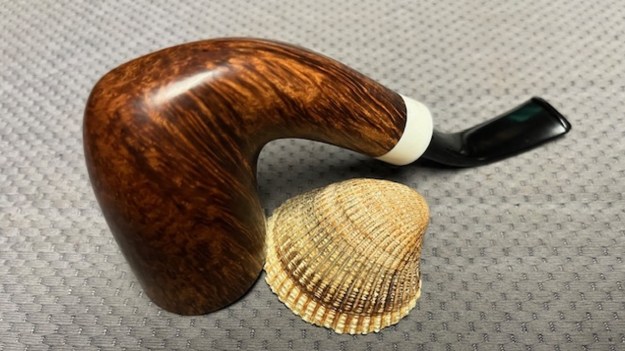
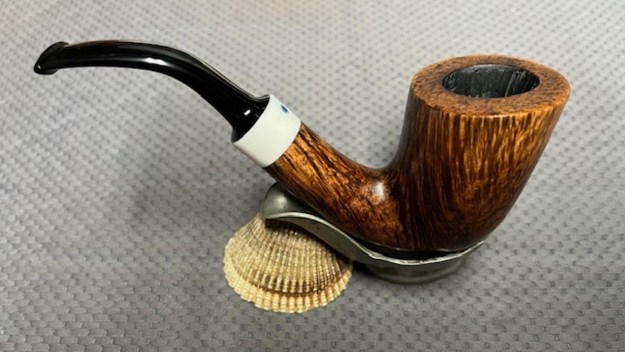
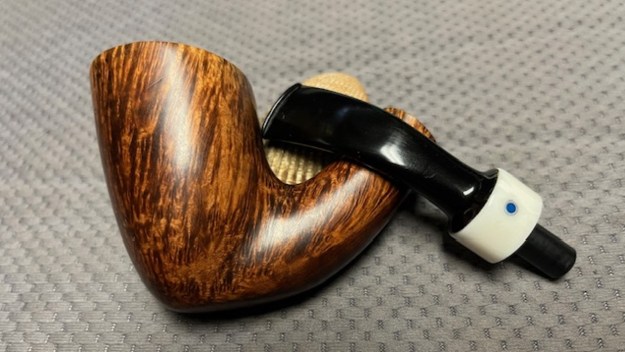
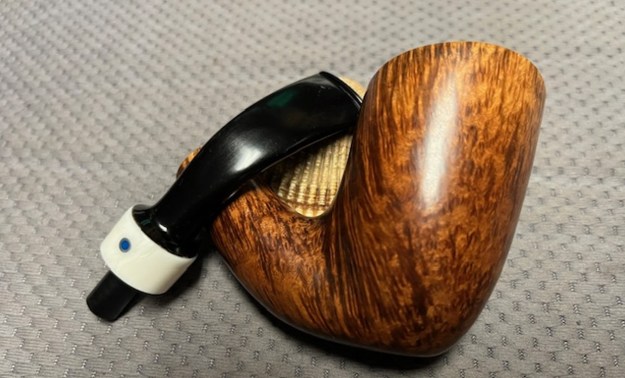
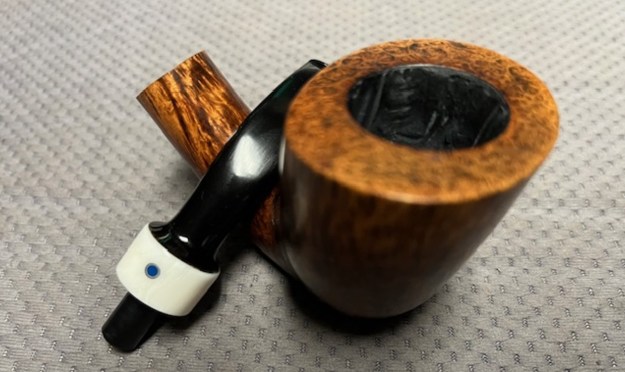
 This beautiful mixed finish Israel Long Shank Canadian with carved leaves, probably made by the Shalom Pipe Company with a slightly bent vulcanite stem has a great look and feel. I polished the stem and the bowl with Blue Diamond polish on the buffing wheel. I gave the bowl and the stem multiple coats of carnauba wax. I buffed the pipe with a clean buffing pad to raise the shine. I hand buffed it with a microfiber cloth to deepen the shine. The pipe polished up pretty nicely. The rich combination of browns and blacks in the smooth and carved leaves took on life with the buffing. The rich colour of the briar works well with the polished vulcanite stem. I like the grain and finished look of this Israel Long Shank Canadian. Have a look at it in the photos below. The shape, finish and flow of the pipe and stem are very well done. The dimensions are Length: 7 ½ inches, Height: 2 inches, Outside diameter of the bowl: 1 ¼ inches, Chamber diameter: ¾ of an inch. The weight of the pipe is 52 grams/ 1.83 ounces. This Israel Long Canadian is a real beauty. Thanks for walking through the restoration with me as I worked over another beautiful pipe. This one will be going on the rebornpipes store in the Pipes from Various Makers Section shortly if you would like to add it to your collection. Thanks for your time.