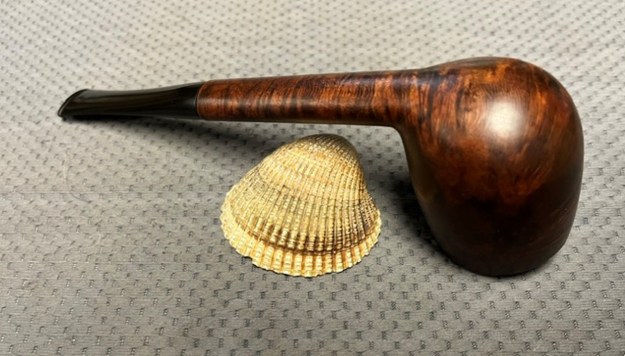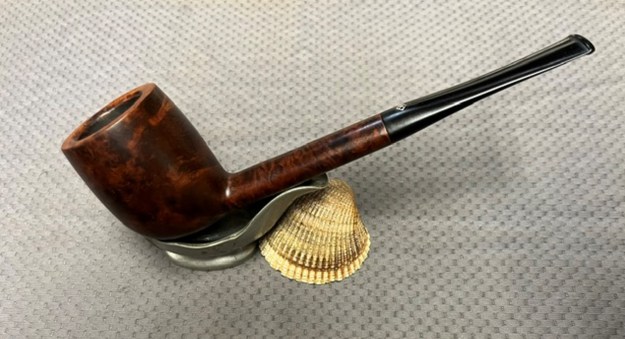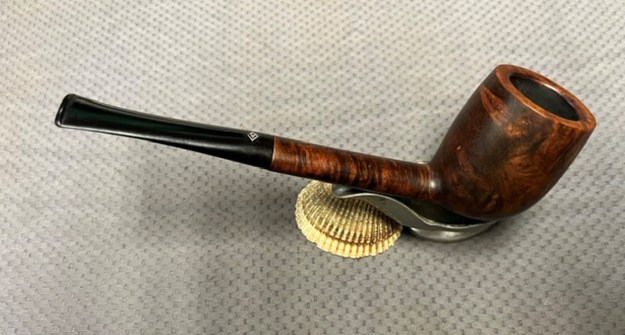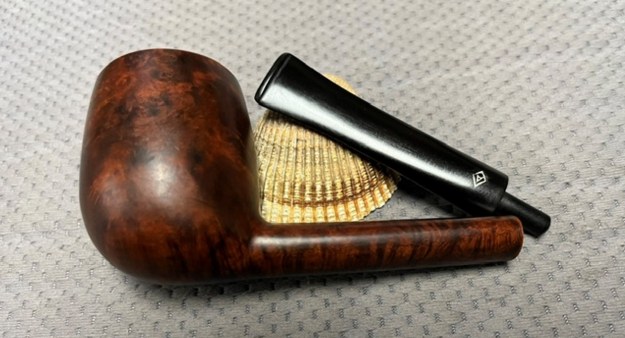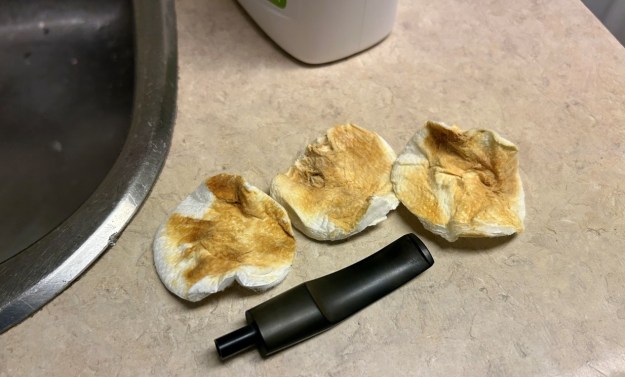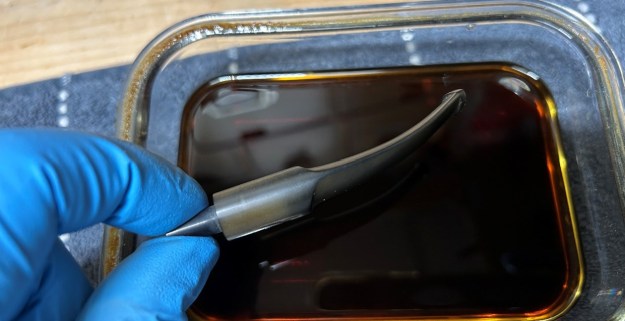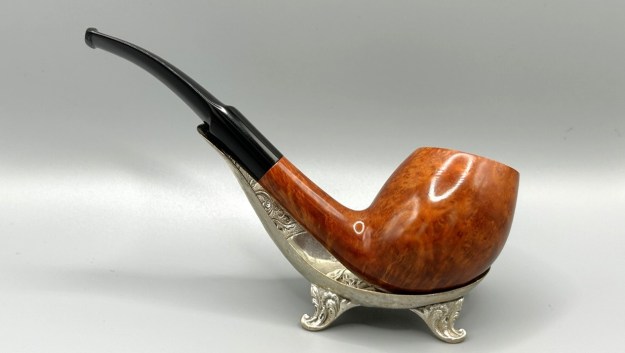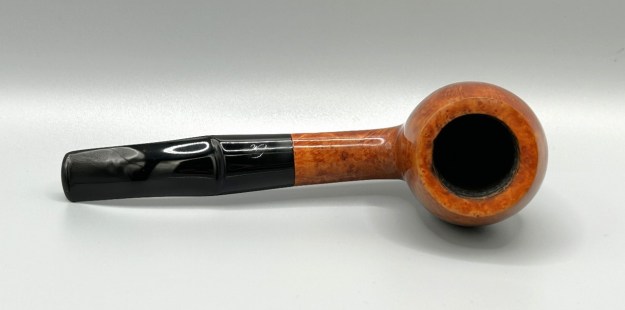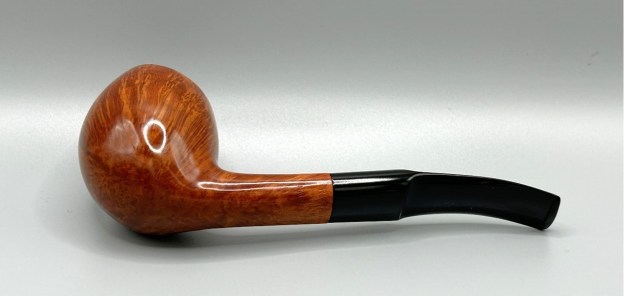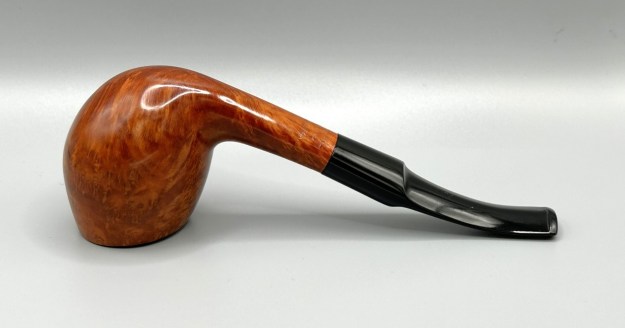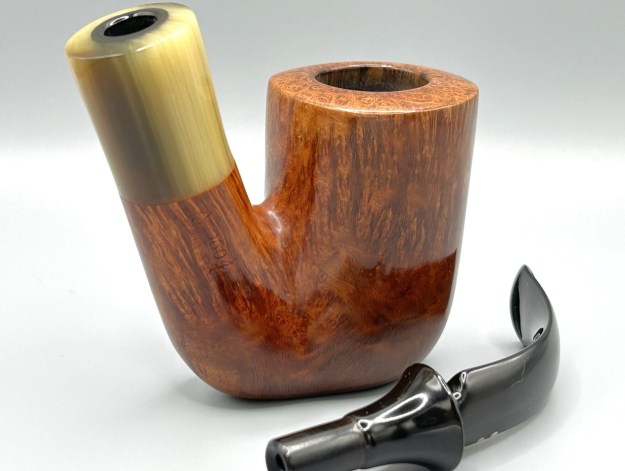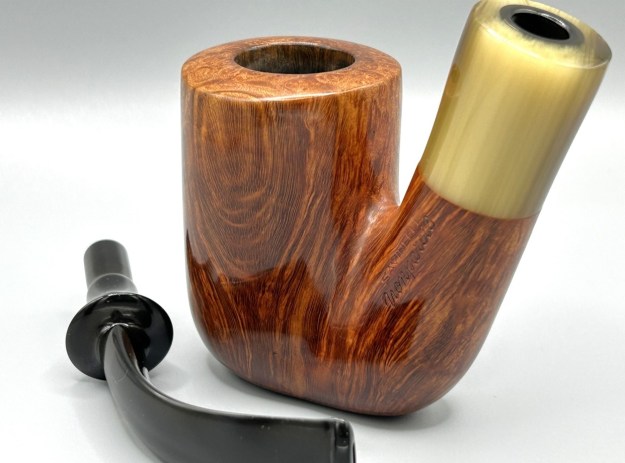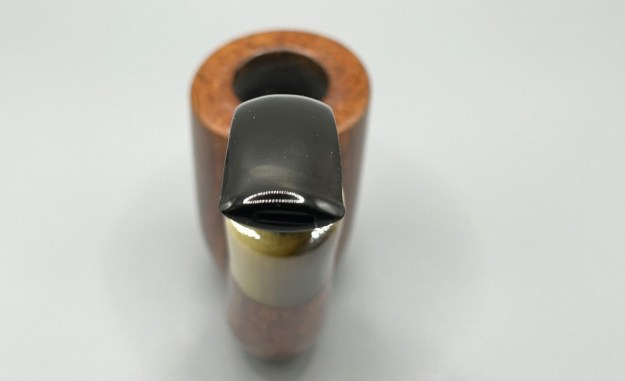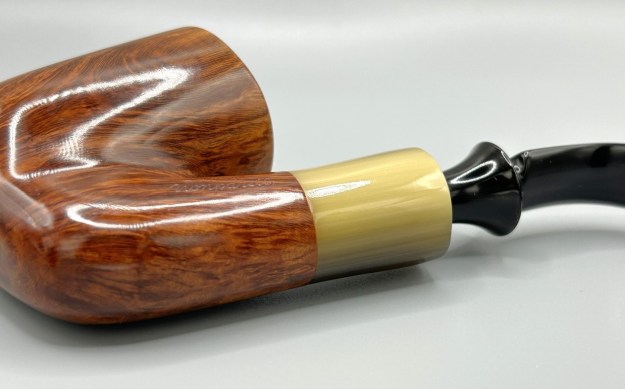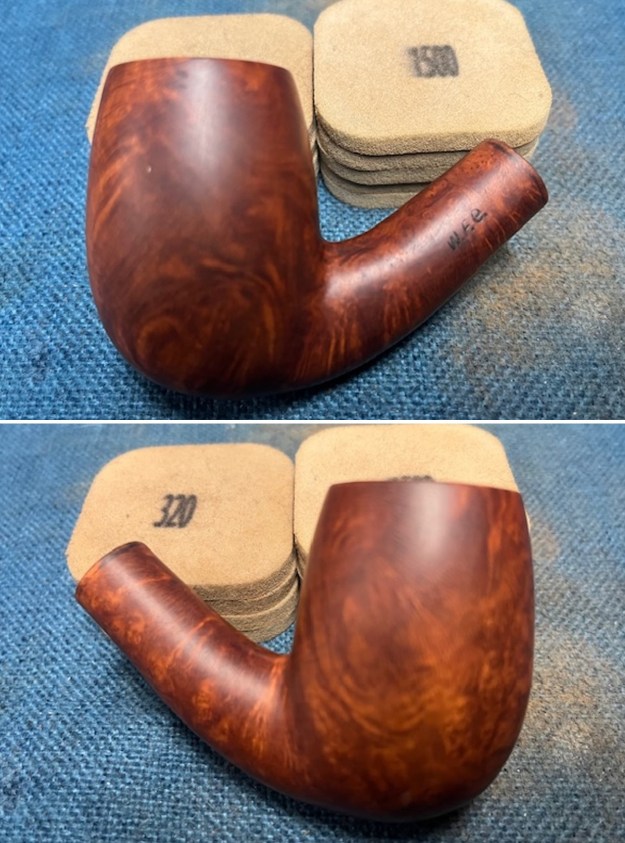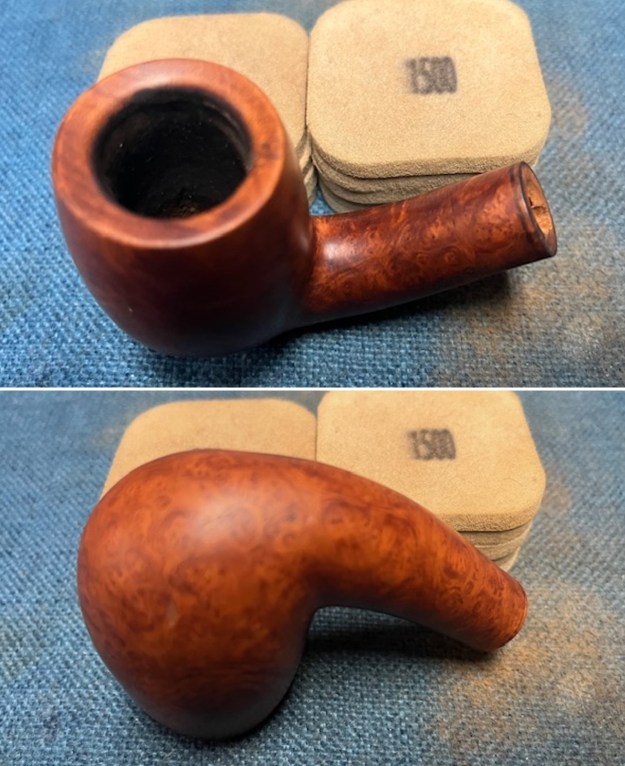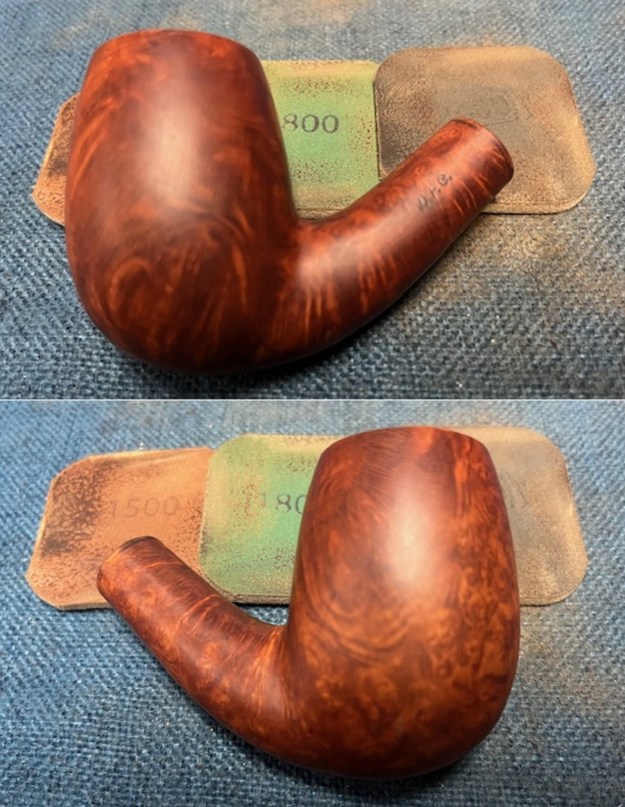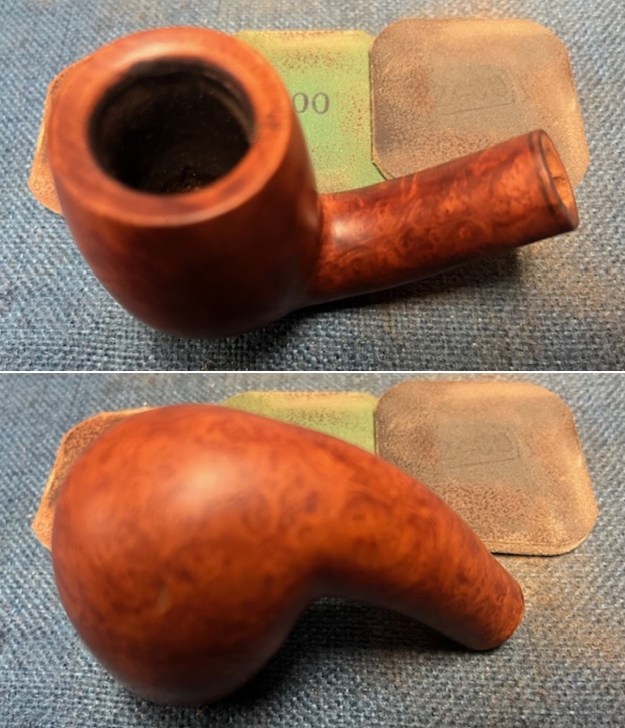
Tag Archives: removing tooth marks

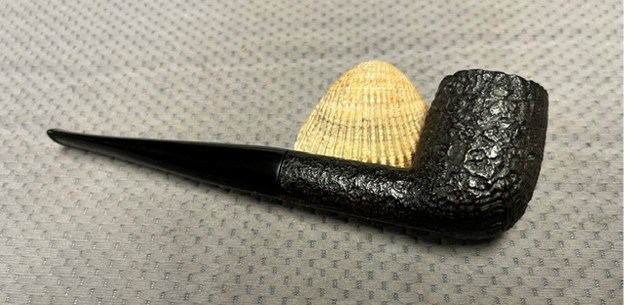
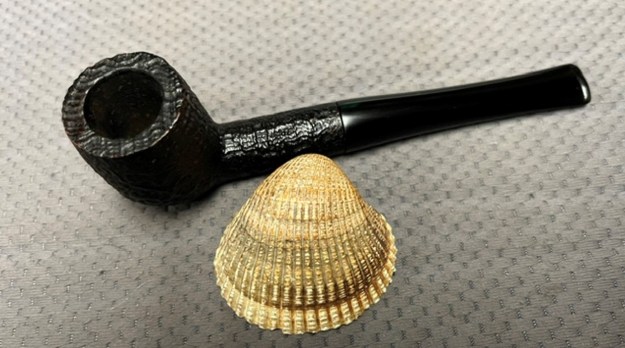
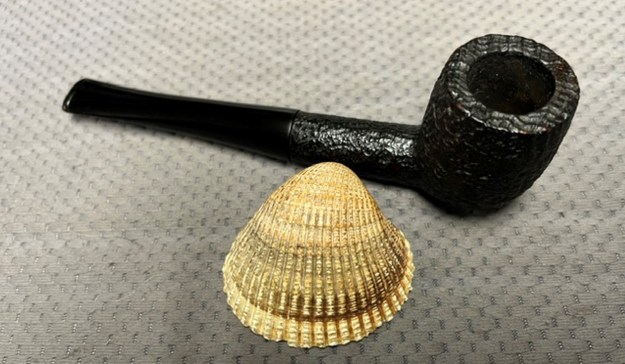
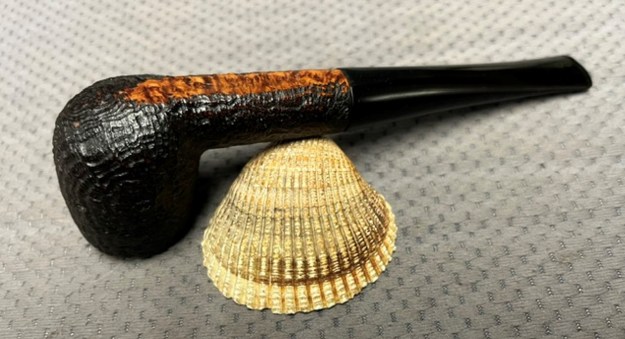
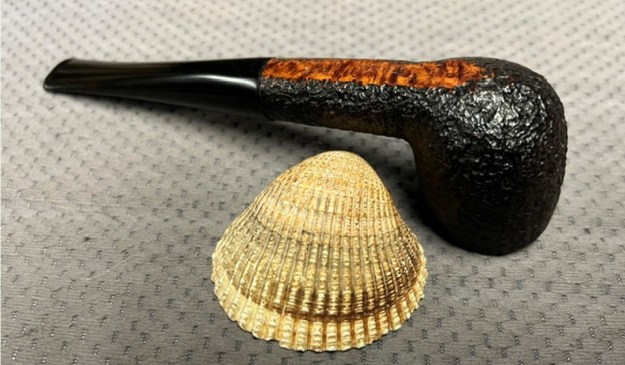
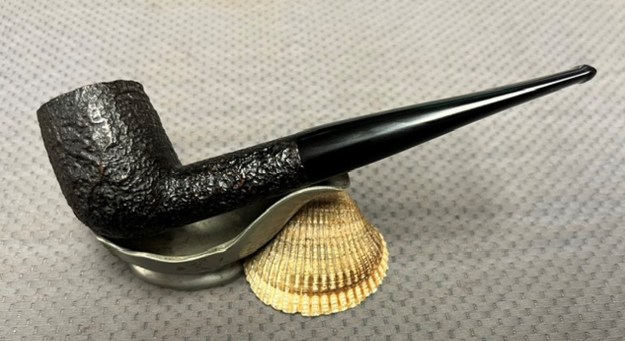
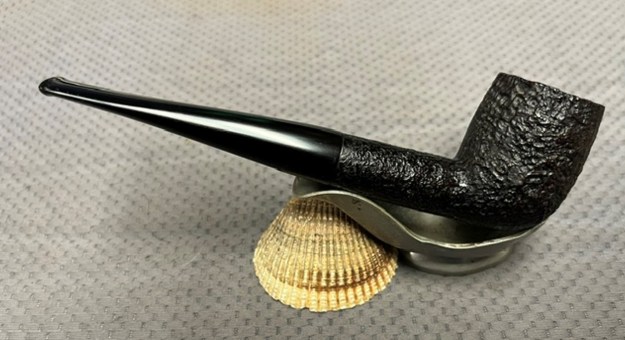
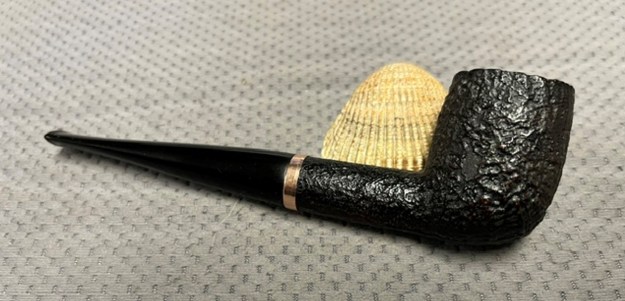
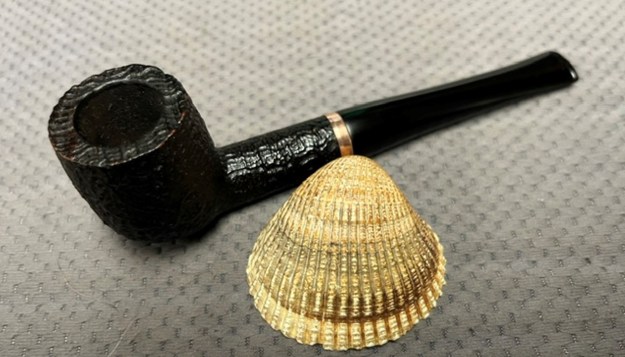
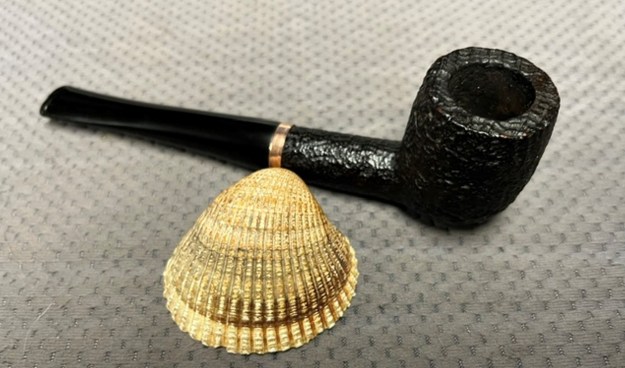
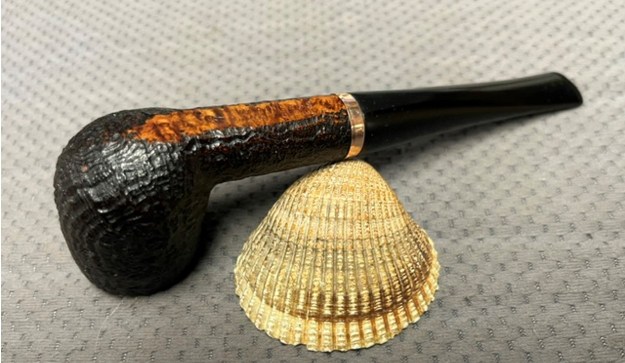
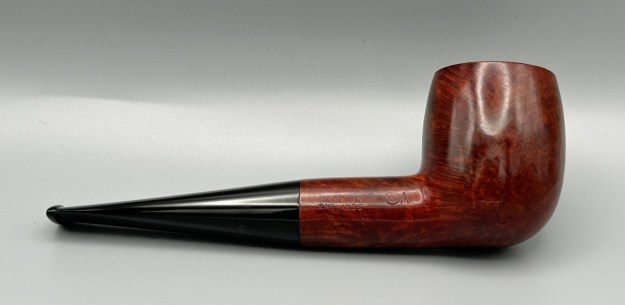
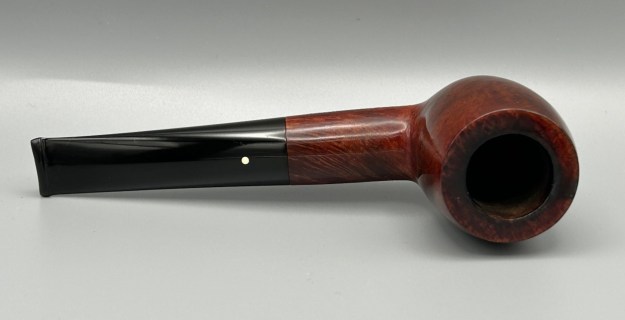
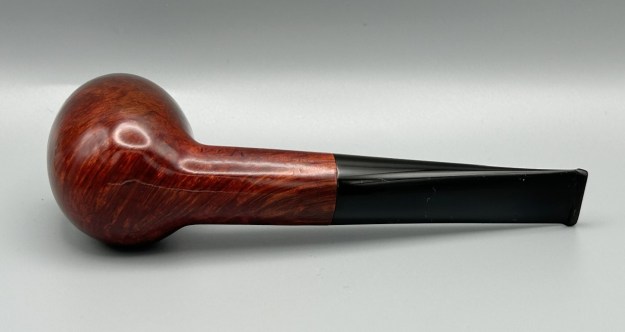
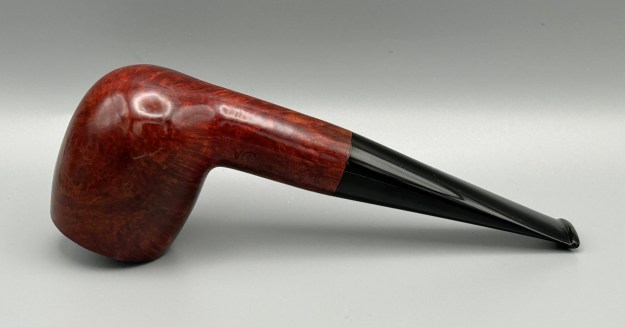
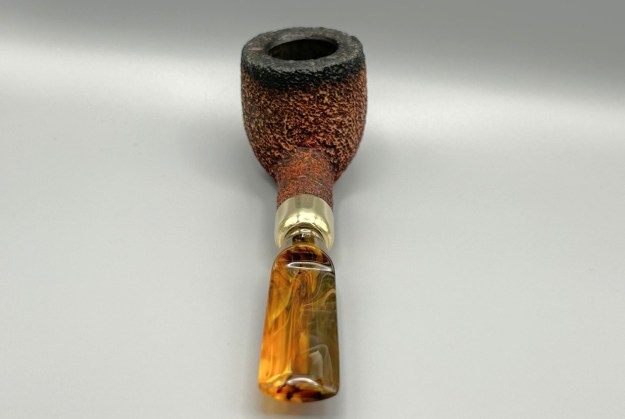
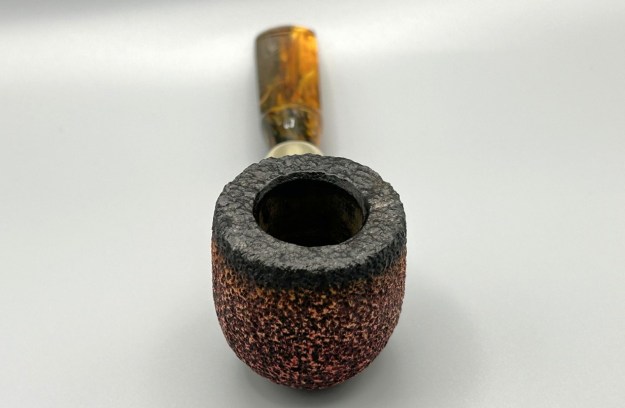
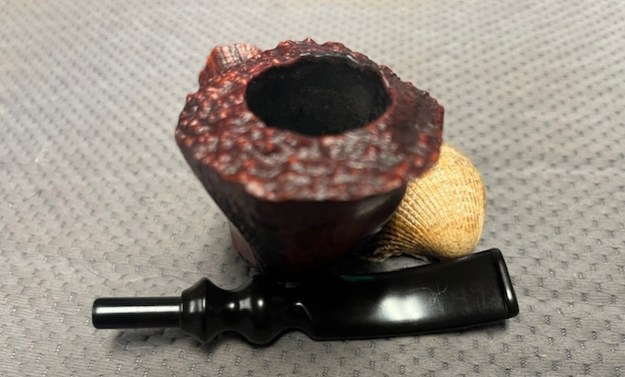
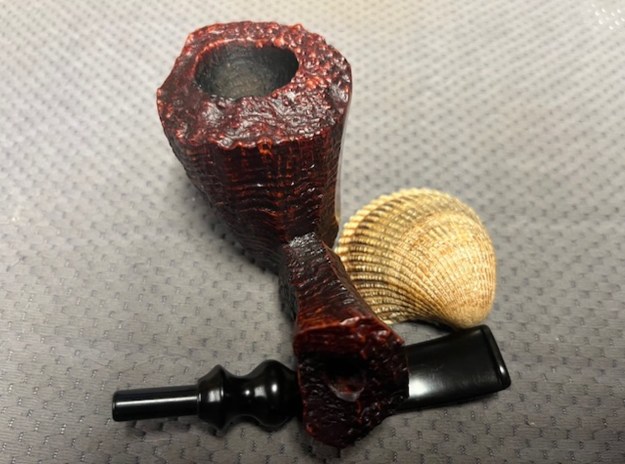
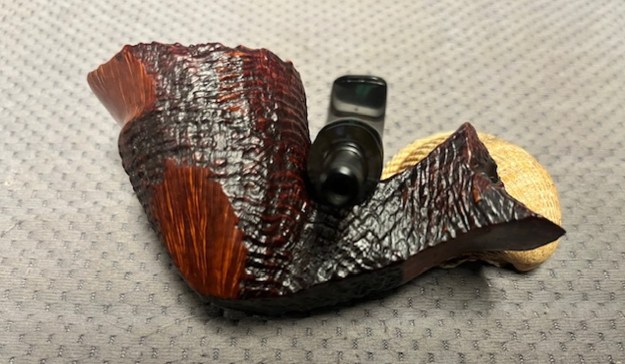
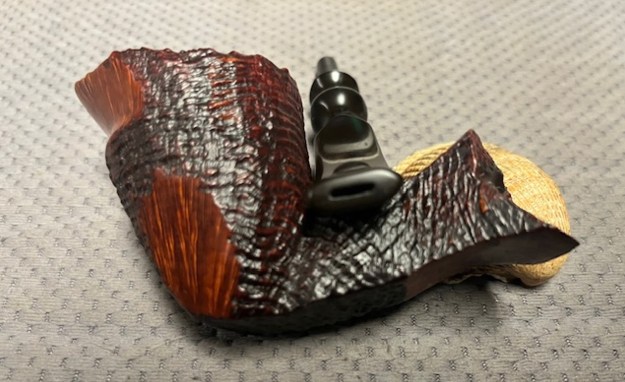
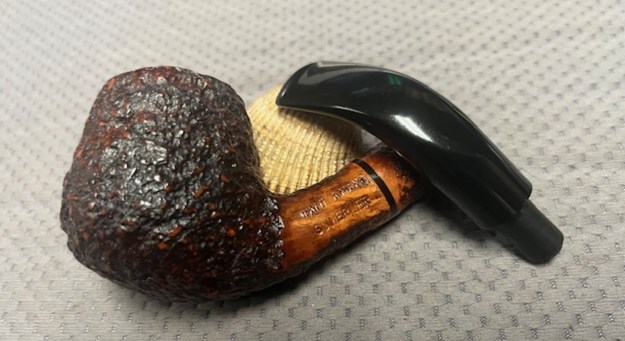
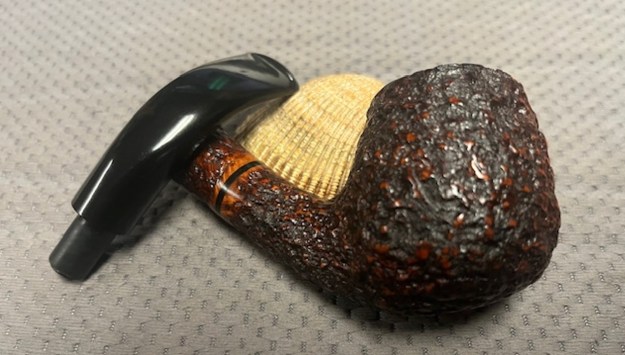
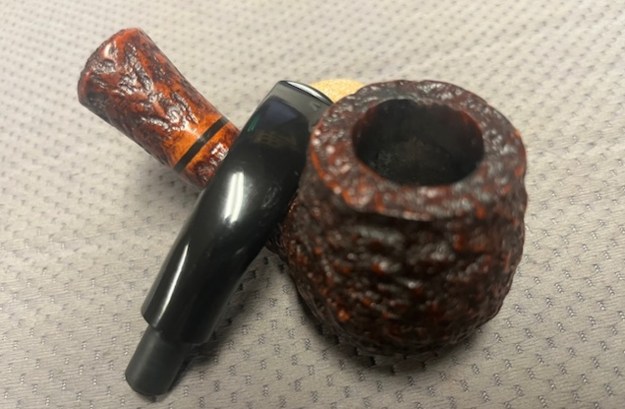
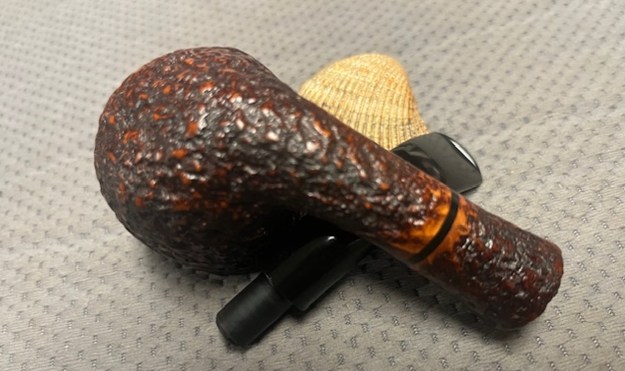
Restoring and Restemming a Stanwell Regd. No. 969-48 Old Briar 858 Billiard


by Steve Laug

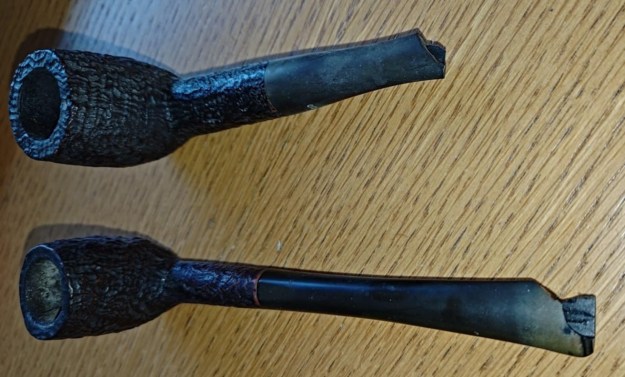
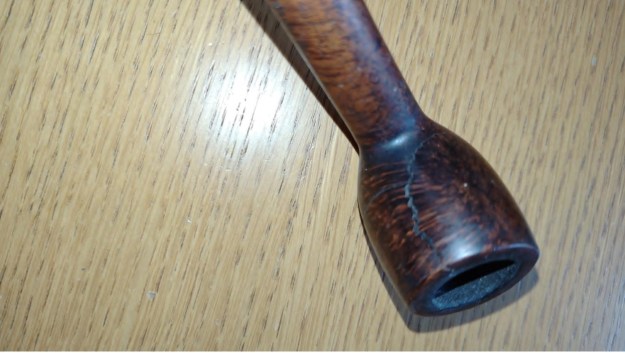
Not too long ago I received an email from a Andrew in Greece asking if I could work on some pipes for him. He had some that needed a stem and a couple of pipes with broken stems and a Canadian that had a crack down the back of the bowl and across the right side. We emailed back and forth and he sent me the following photos. I figured they would be some interesting pipes to work on so he sent them to me to work on. I received the box yesterday. When I opened it this morning I was amazed to see what he had sent. The Sandblast Canadian that needed restemming was stamped 264 Peterson’s Kapruf. The rest of the stamping was quite faint. The pipe needed to be restemmed and it had a small divot in the shank end and what looked like a crack. The second, a smooth Canadian was a BBB Ultonia 504 with a gold band. The two Sandblast with broken stems turned out to be Stanwells. The larger on is stamped Stanwell [over] Regd. No. 969-48. It is followed by the shape number 858 [over] Old Briar. The smaller one is stamped Stanwell [over] Regd. No. 969-48 followed by de Luxe followed by the shape number 87. The last of the five with the cracked bowl is an 8 Dot Sasieni [over] London Made [over] Pat. No. 1513428. It was also stamped “Amesbury”. They were going to be an interesting lot to work on.
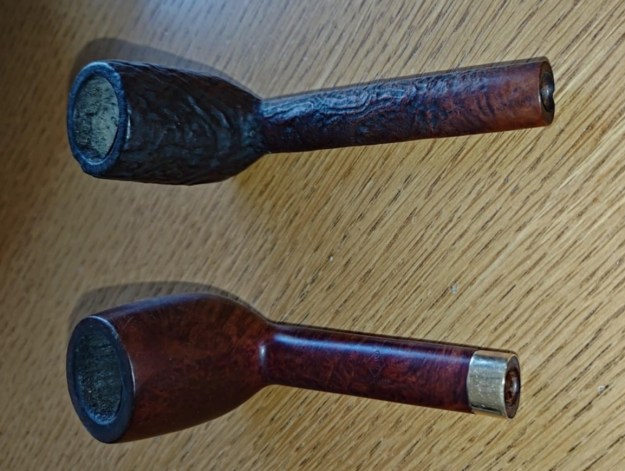
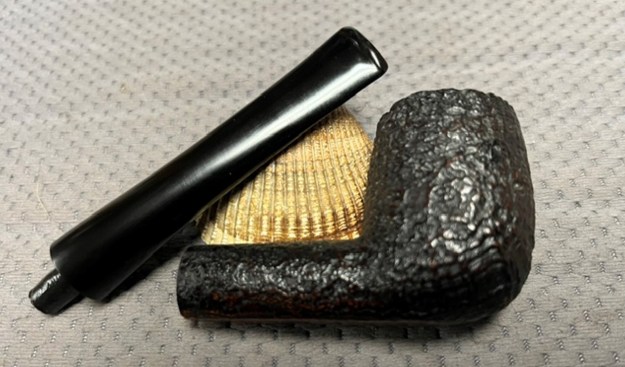
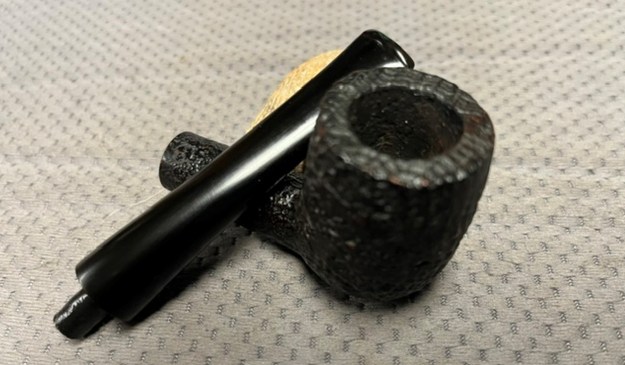
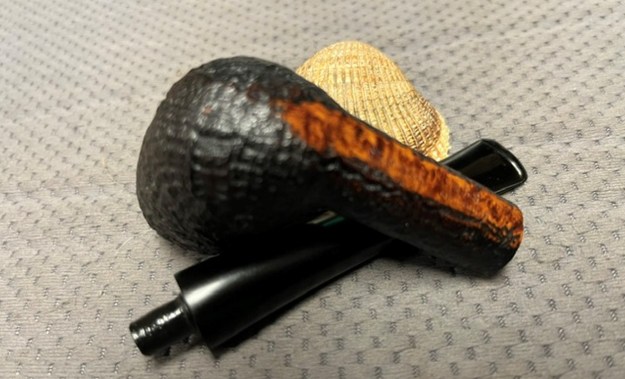
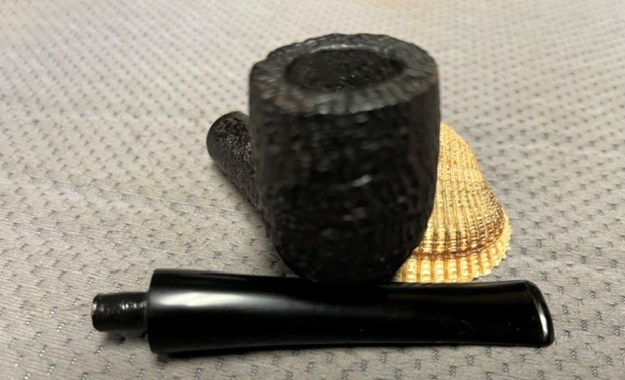
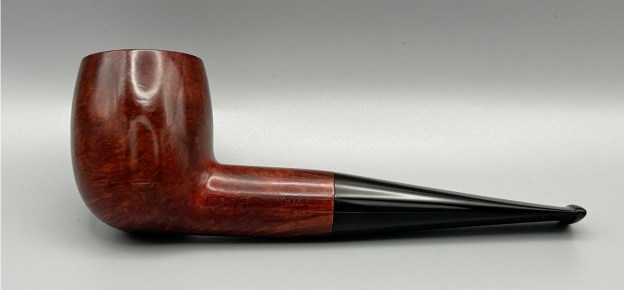
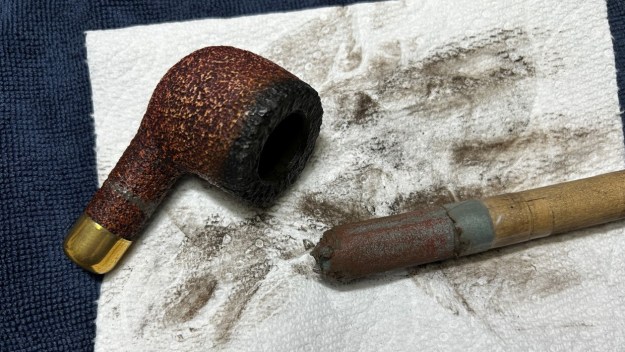
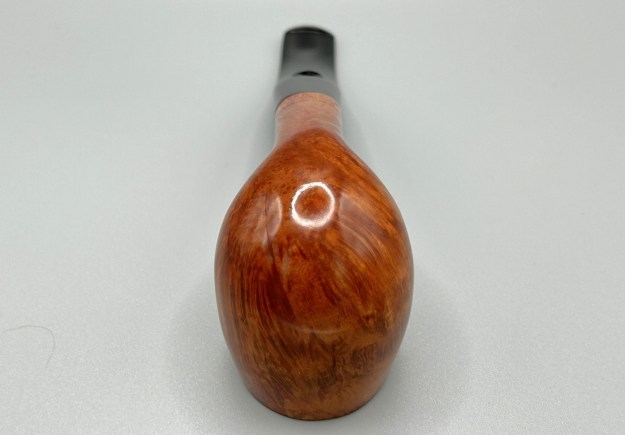
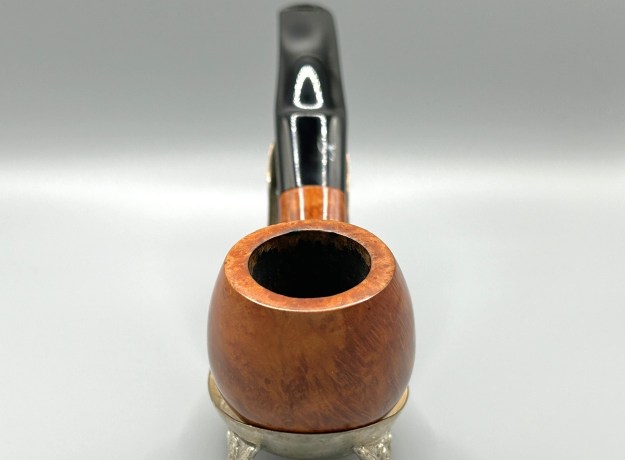
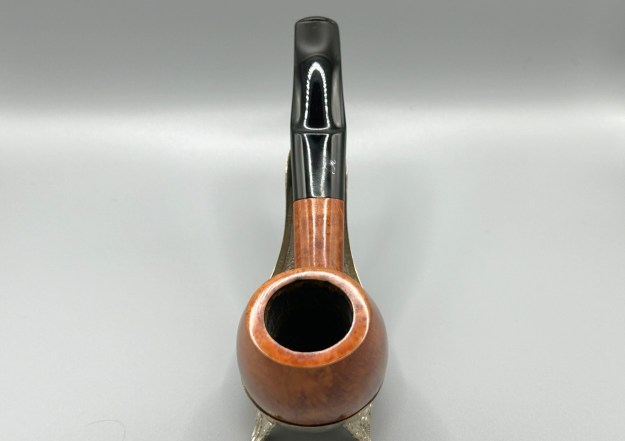
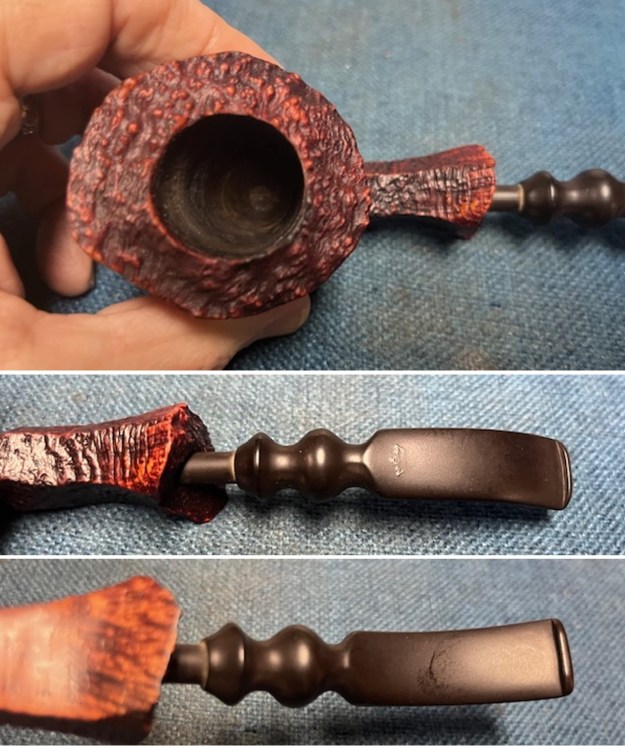
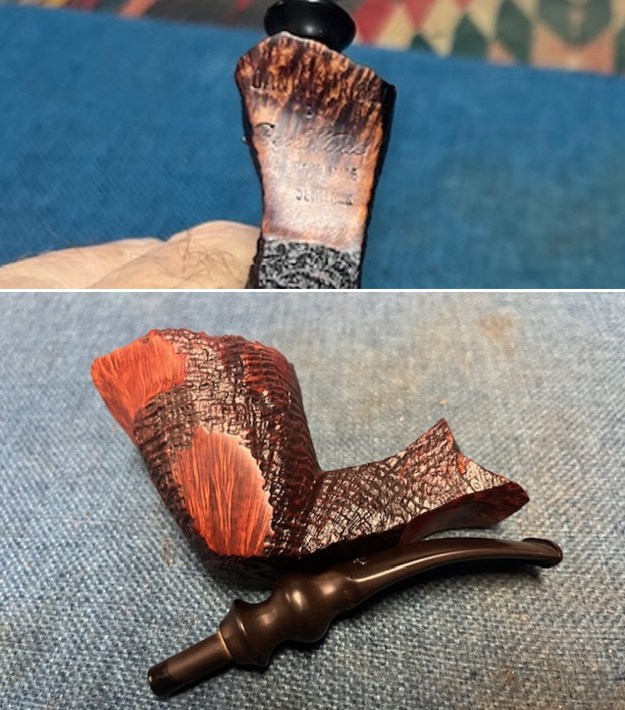
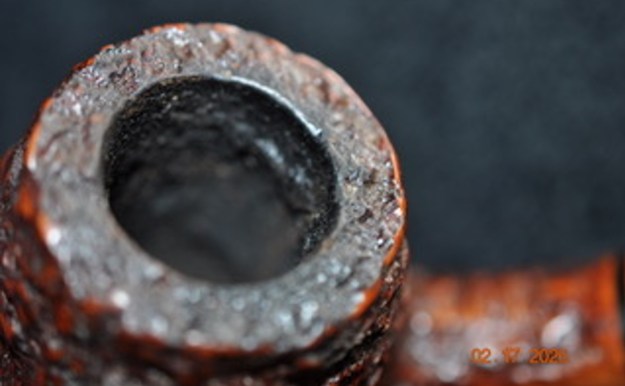
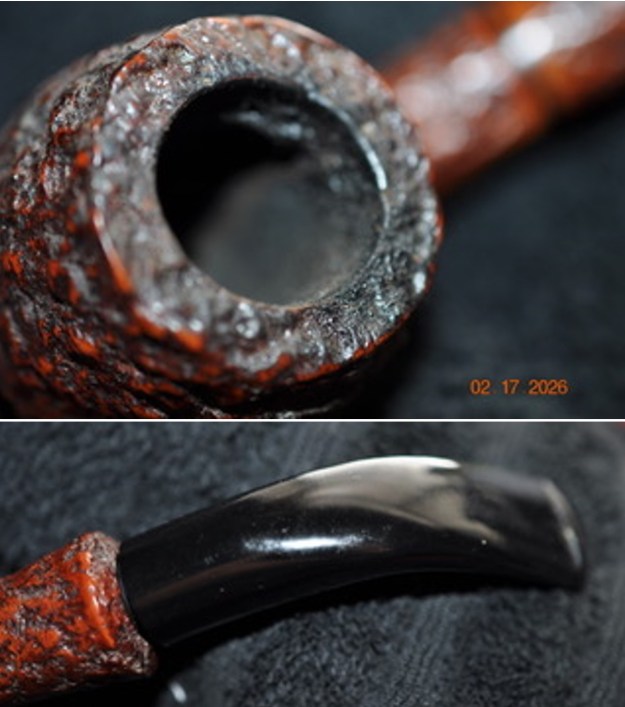
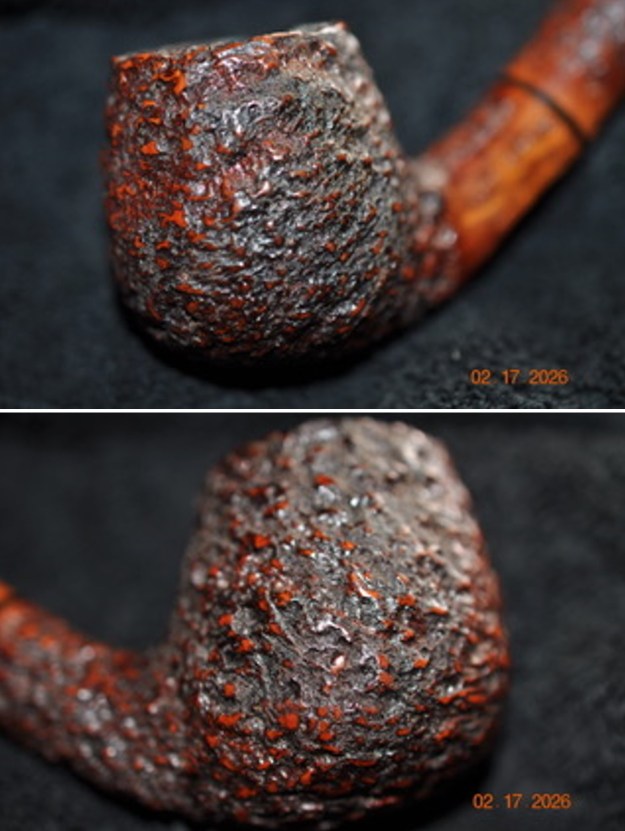
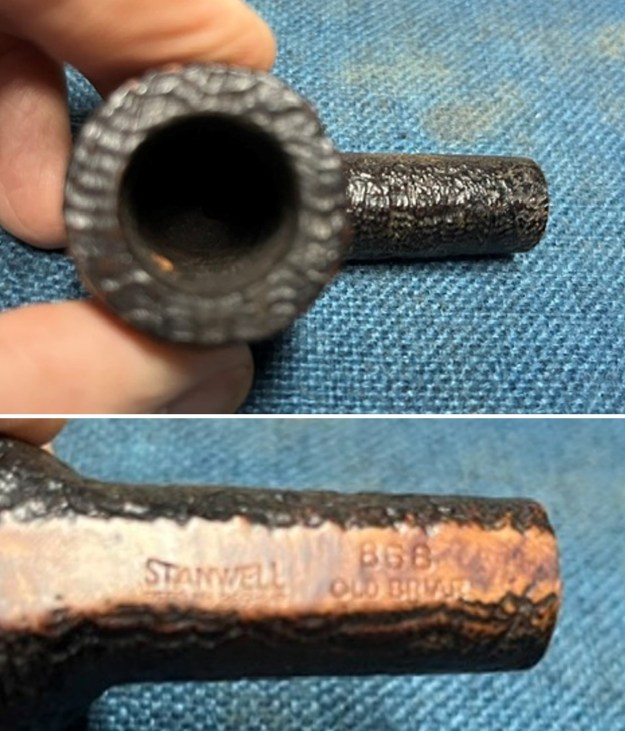
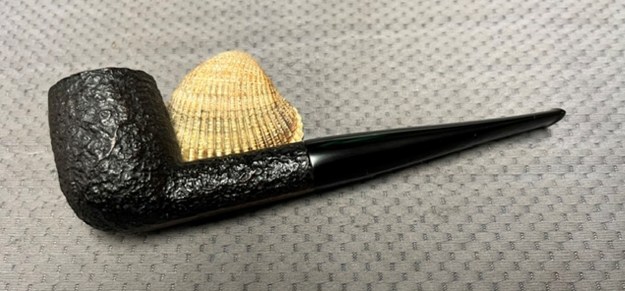
The final pipe I had left to deal with was the larger Stanwell Old Briar 858 billiard next. It was in decent condition, probably the best of the lot. The stamping on the shank read Stanwell [over] Regd. No. 969-48 followed by Old Briar [over] the shape number 858. It was clear and readable. The sandblast finish was nice but dirty. The bowl had a light cake in it and there were spots of lava on the rim top and inner edge. The inner edge was in excellent condition with no damage. The interior of the shank was quite dirty. I took a photo of the bowl and rim top to show the condition of them bowl. The lava on the rim top was in the sandblast. The inner edge looked very good. I also took a photo of the underside of the shank to show the faint stamping that was present. It is faint in spots but is still readable.I turned to do a bit of research on the Stanwell Old Briar line first to Pipephil’s site and found a listing there with a photo of the stamping (http://www.pipephil.eu/logos/en/logo-stanwell.html). I included the sidebar information below the scan.Logo without crown. The “Regd. No.” stamping discontinued in late 1960s to very early 1970s.
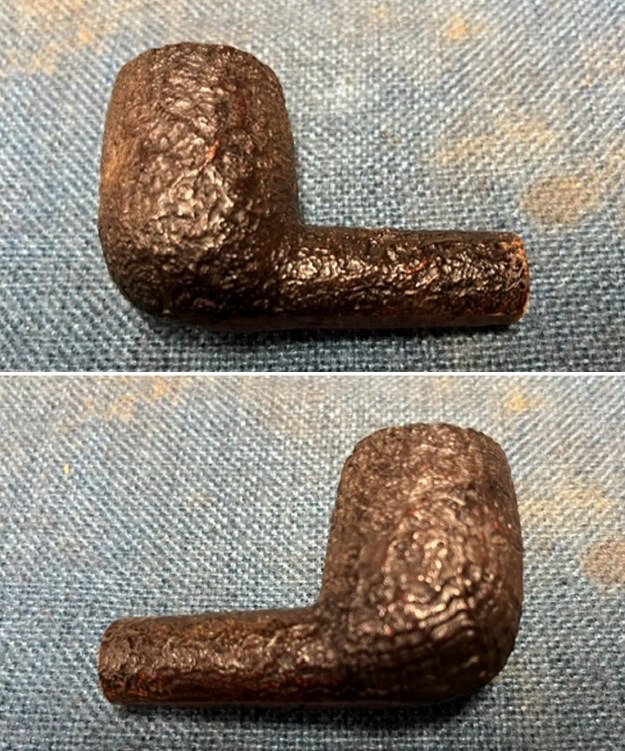
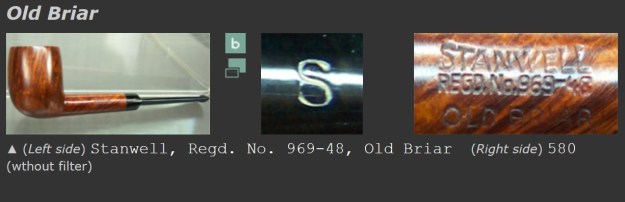
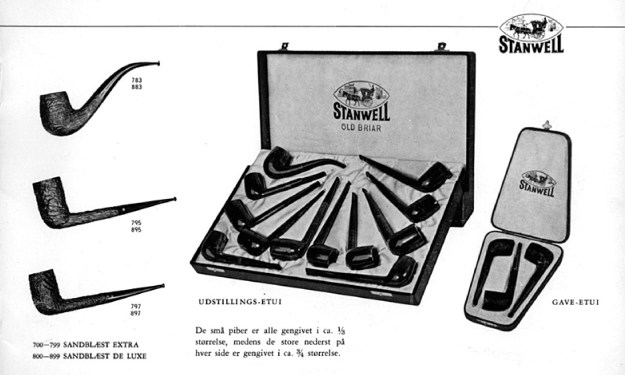
I know that Pipedia has some great history (https://pipedia.org/wiki/Stanwell) on the brand so I turned there hoping to see the Old Briar. There were several examples of the Old Briar line shown on the site and references to it appearing in both a 1960s and 70s catalogue. I turned to an offsite catalogue from the 1970s and scrolled through until the page I am including below that show the Old Briar Line(https://files.homepagemodules.de/b169807/f122t2475p9130n1.pdf). It also states that the 800-899 shape numbers included the Sandblast De Luxe which includes the shape 858 Billiard that I am working on.I knew that the pipe I had in hand was pipe a robust Sandblast De Luxe 858 Billiard. With the Regd. No. on the shank, the pipe was made in the period between 1948 and 1960.
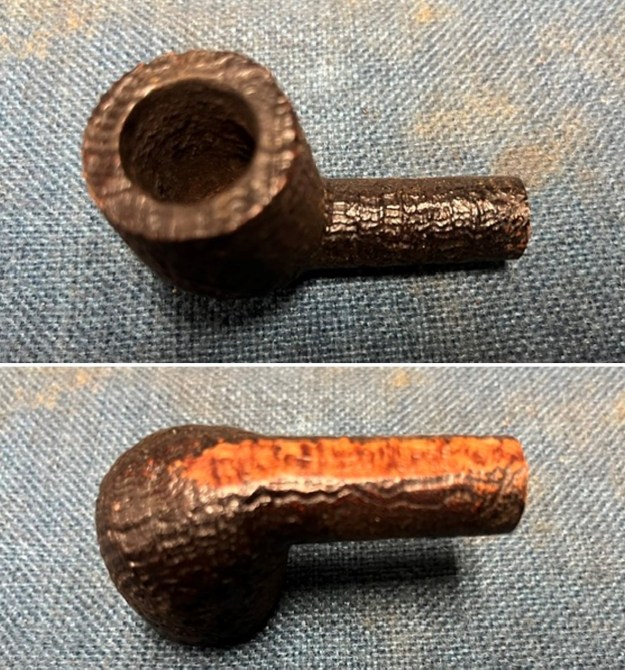
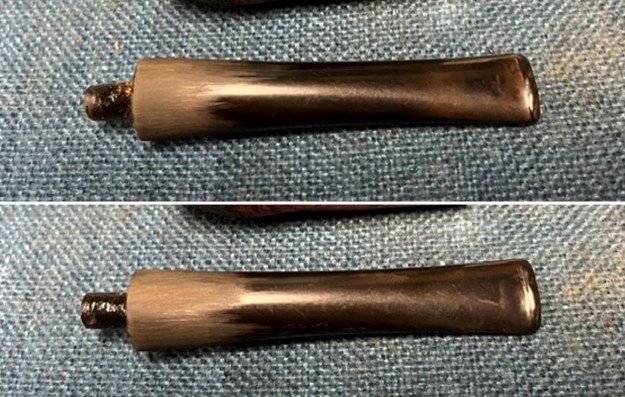
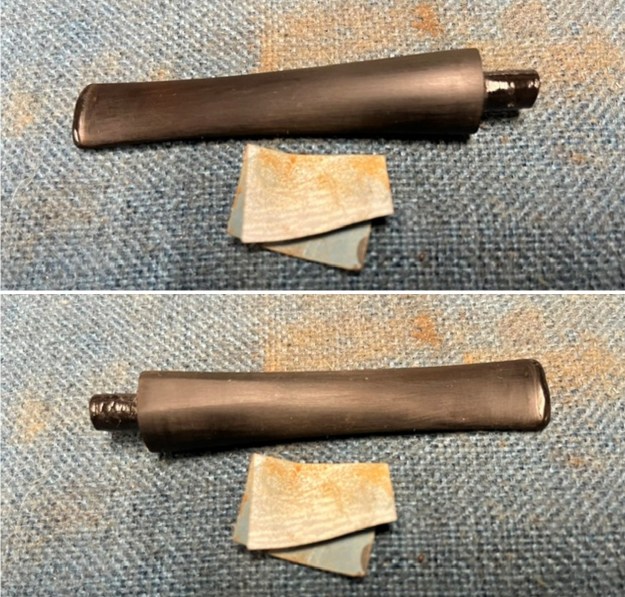
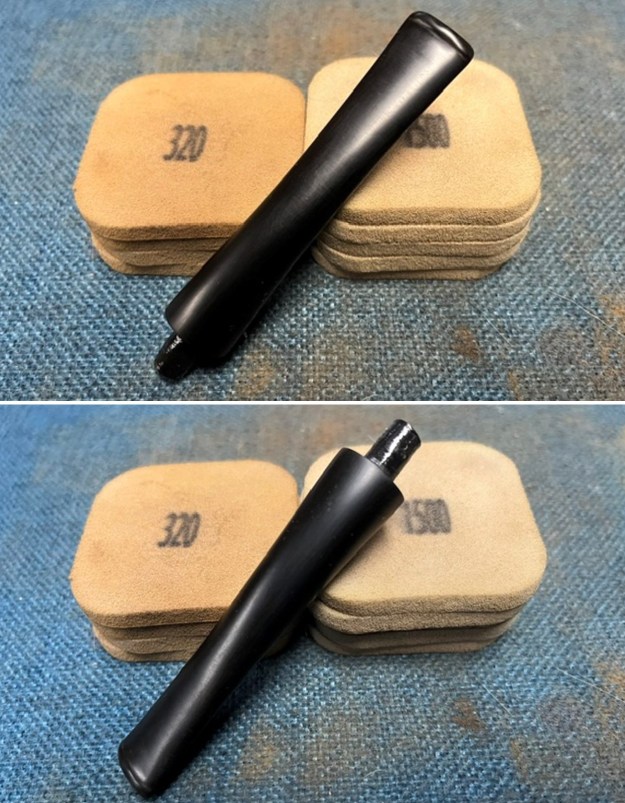
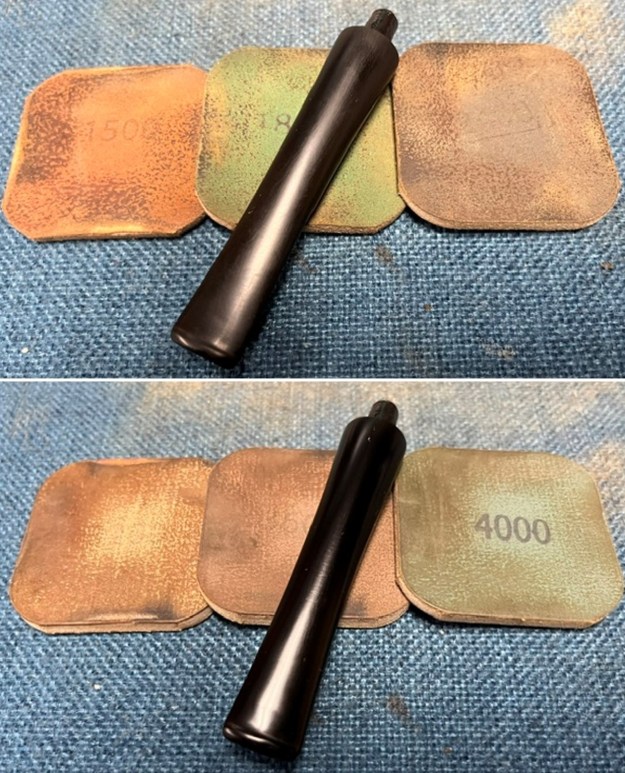
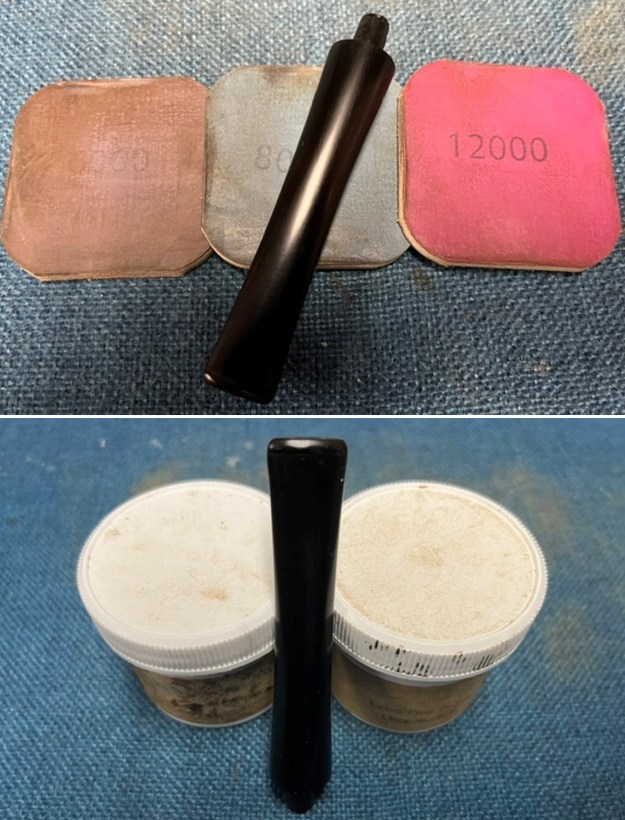
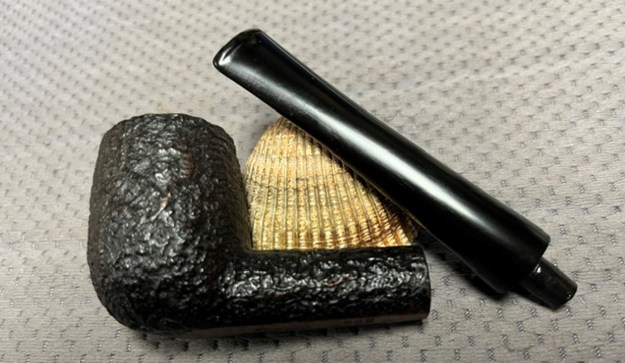
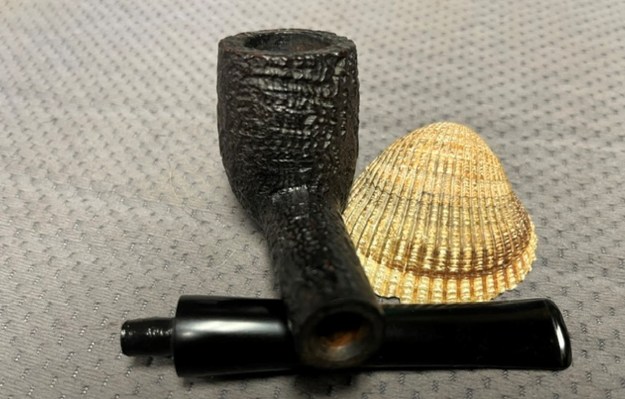
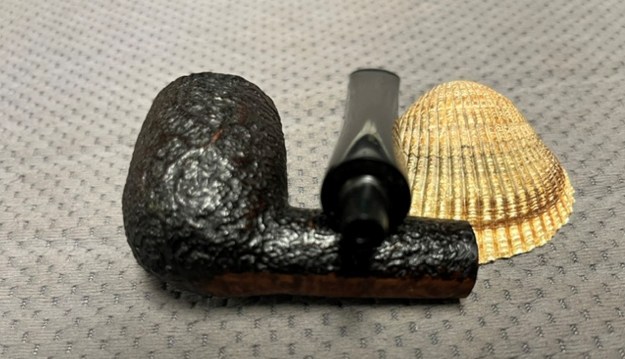
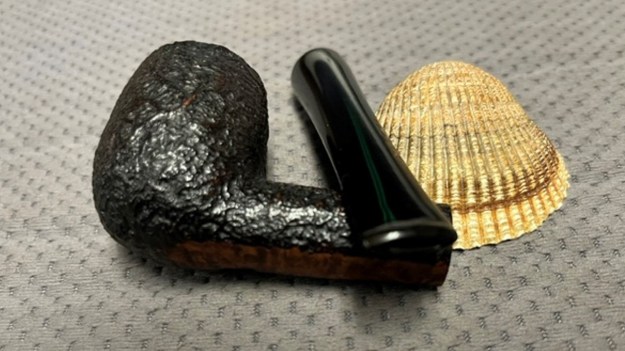
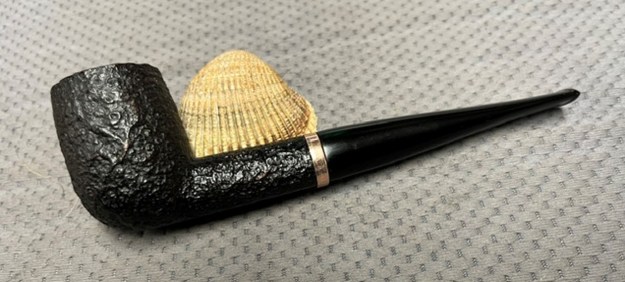
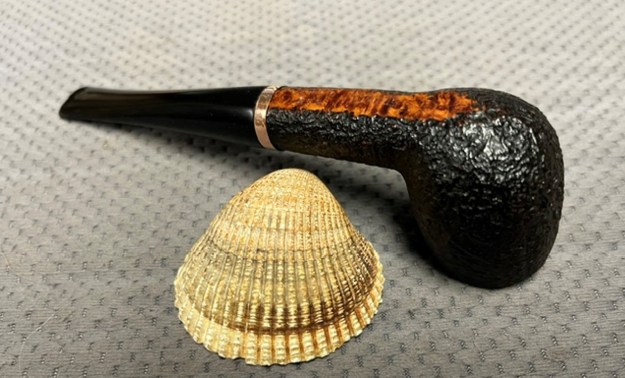
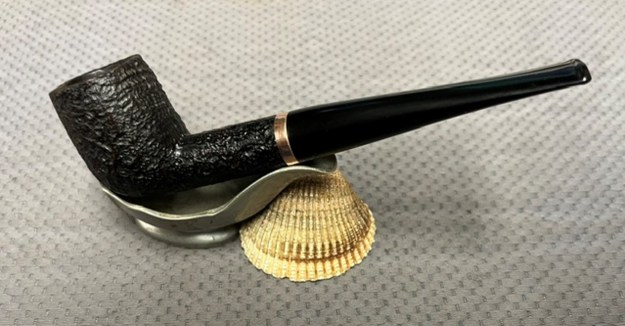
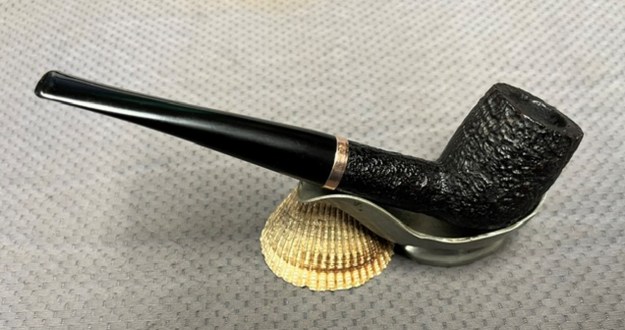
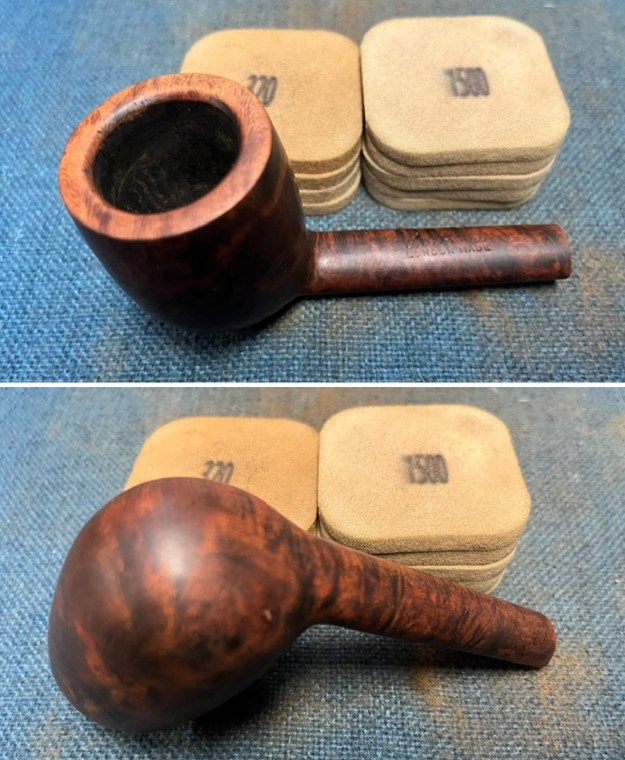
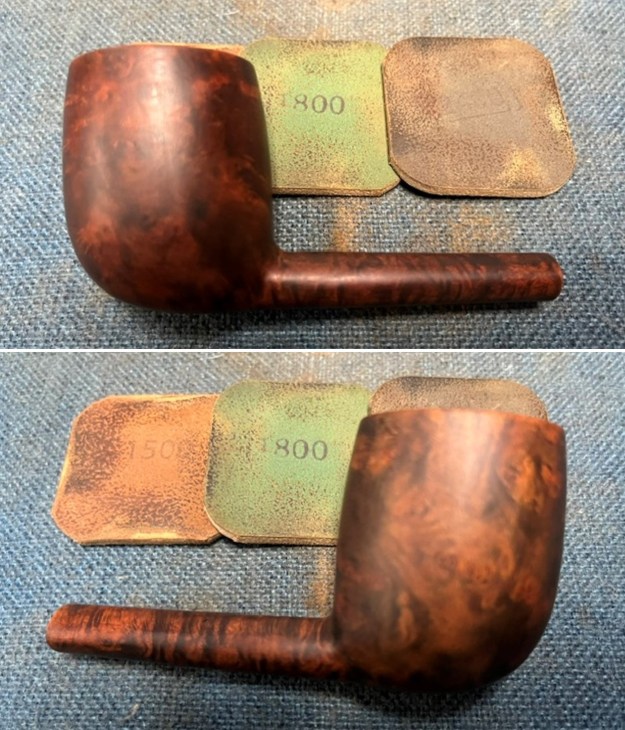
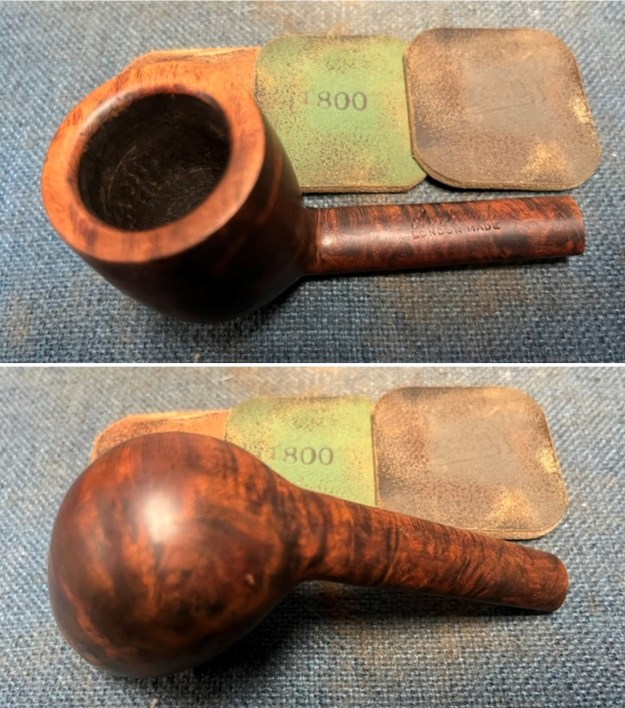
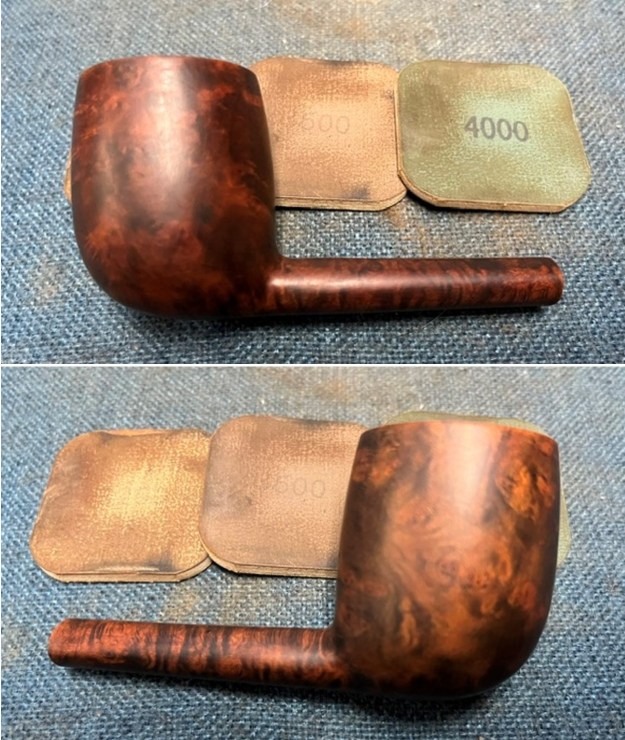
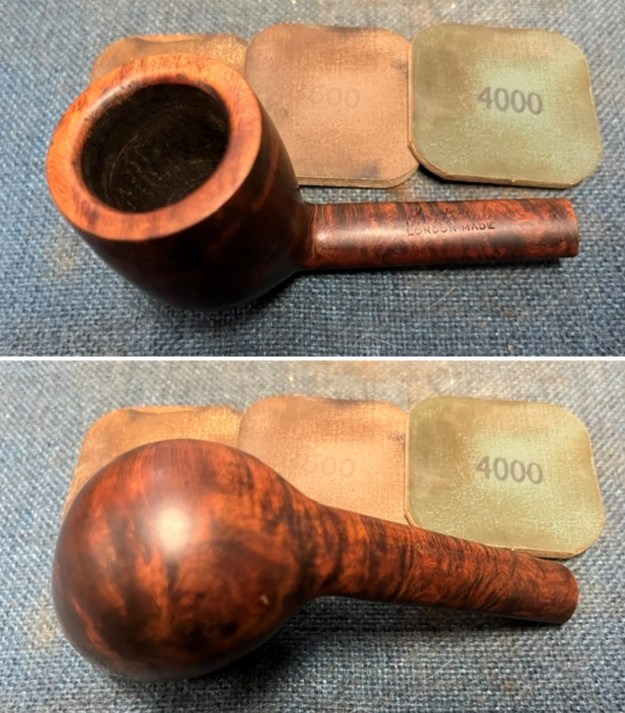
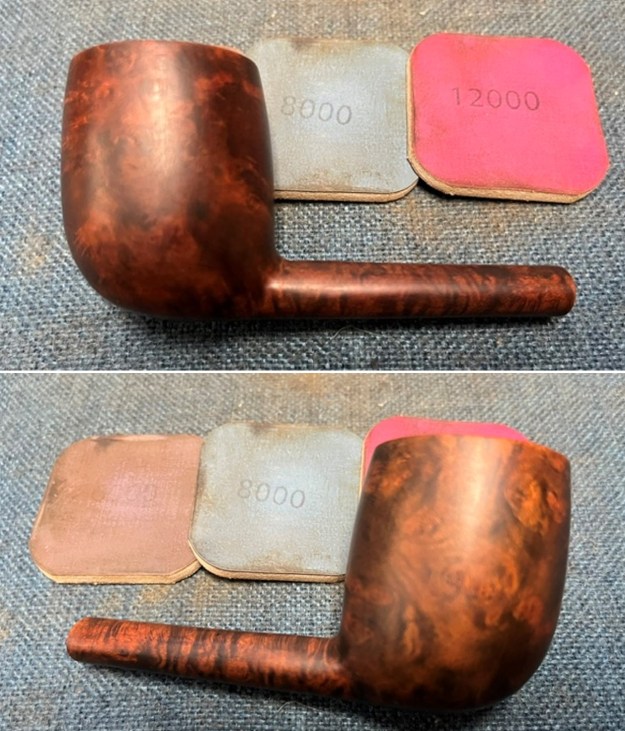
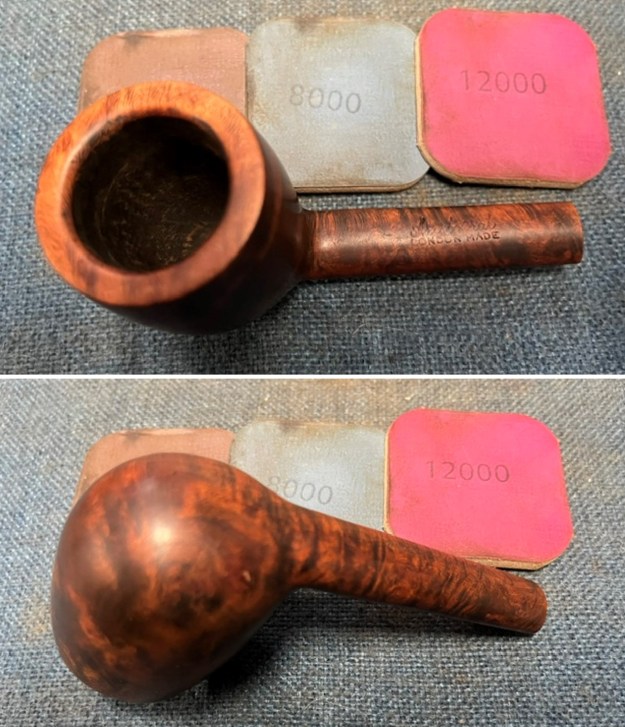
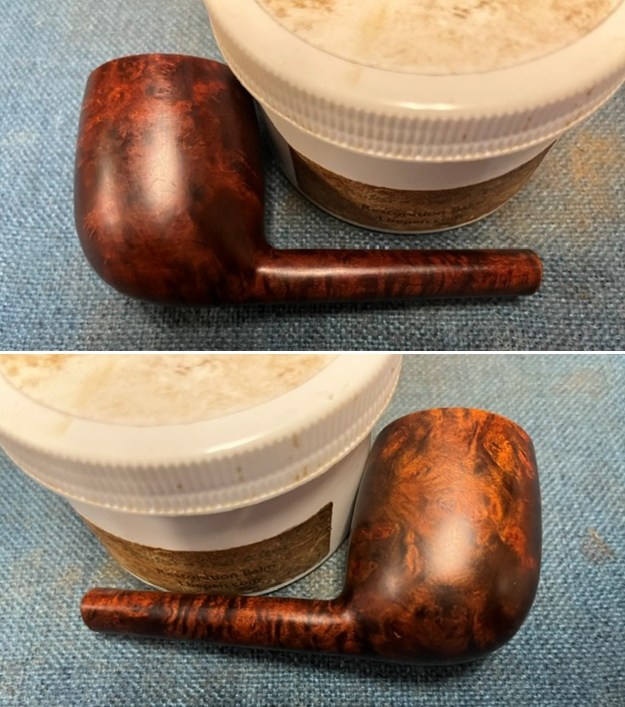
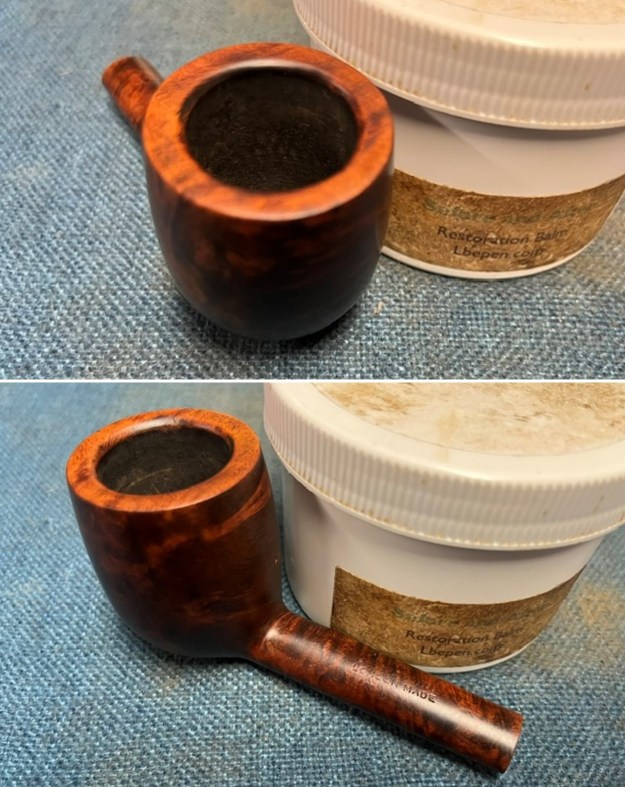
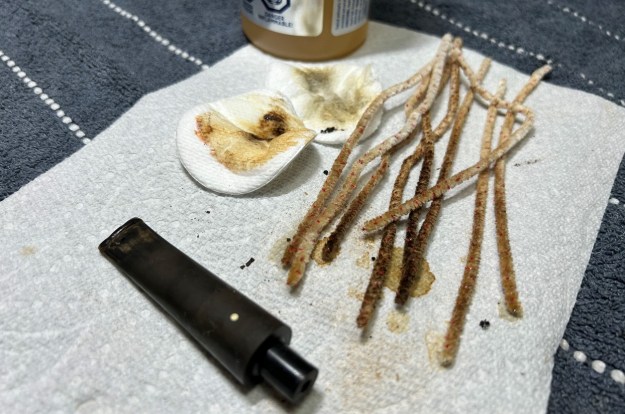
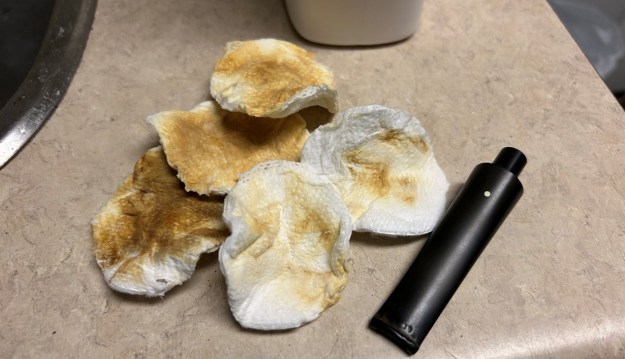
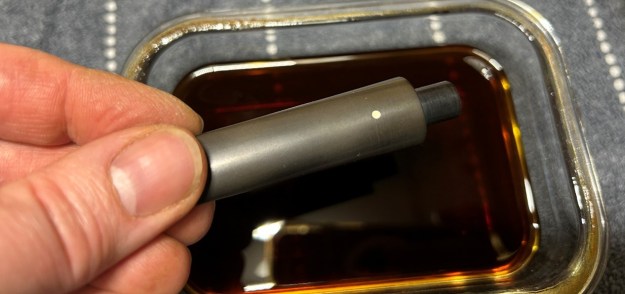
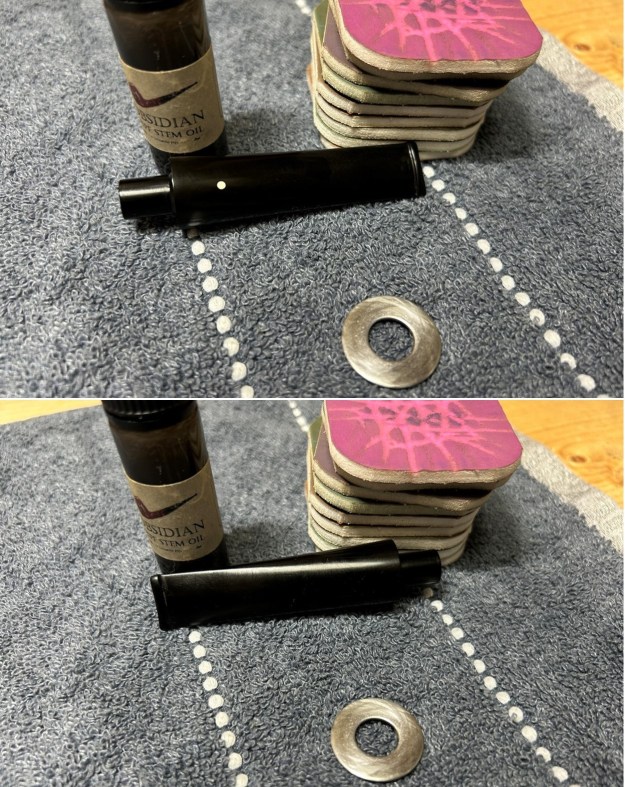
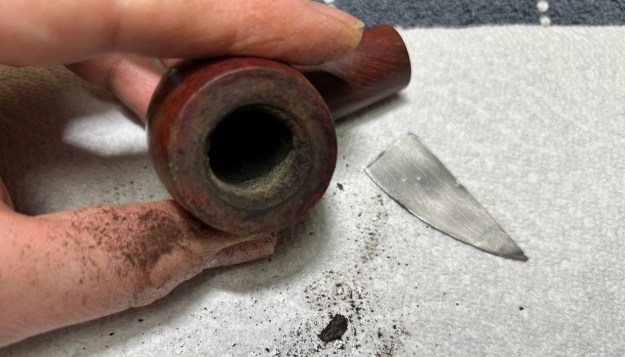
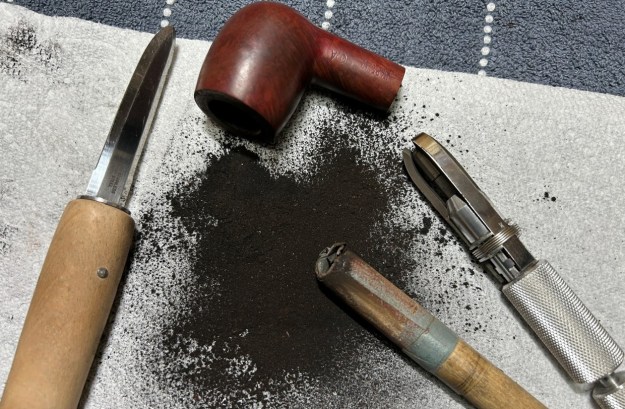
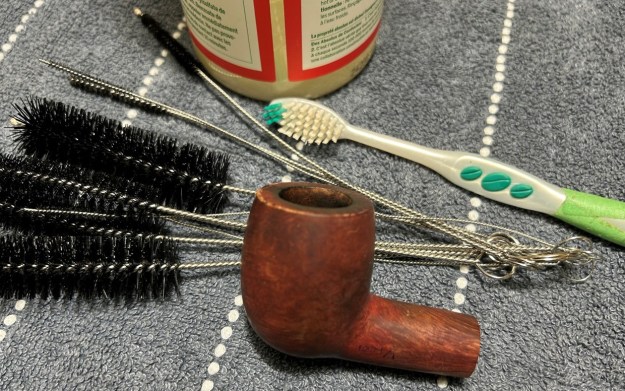
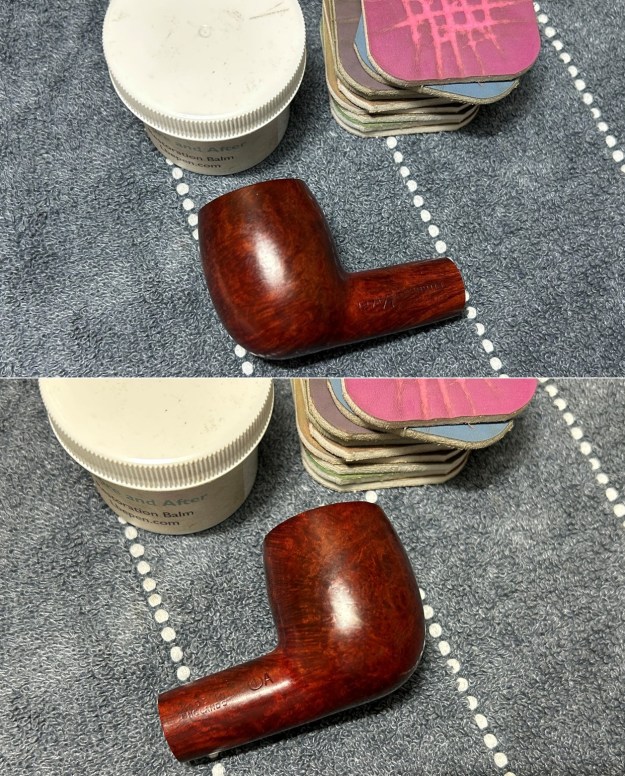
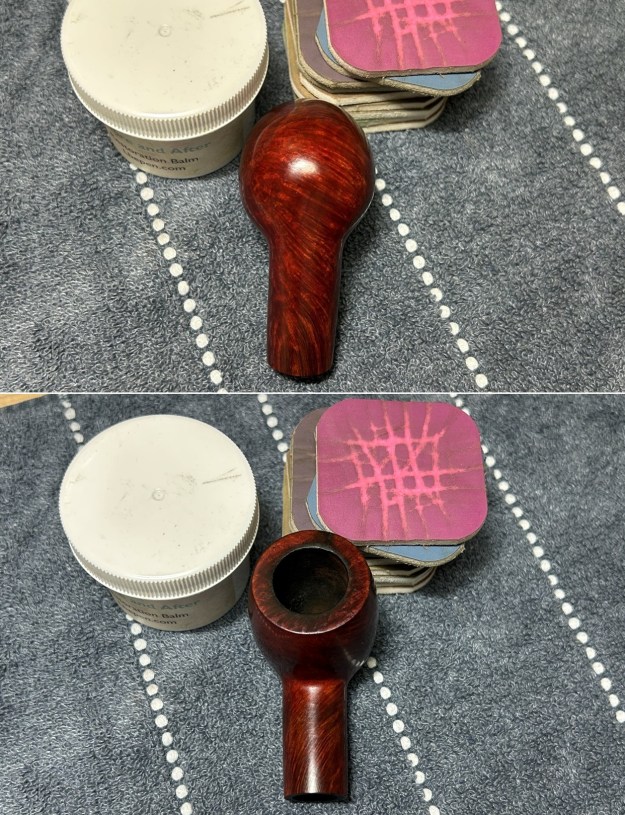
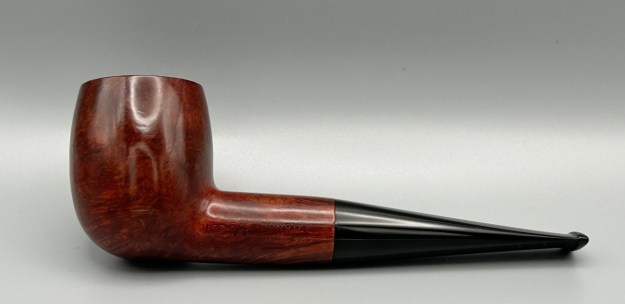
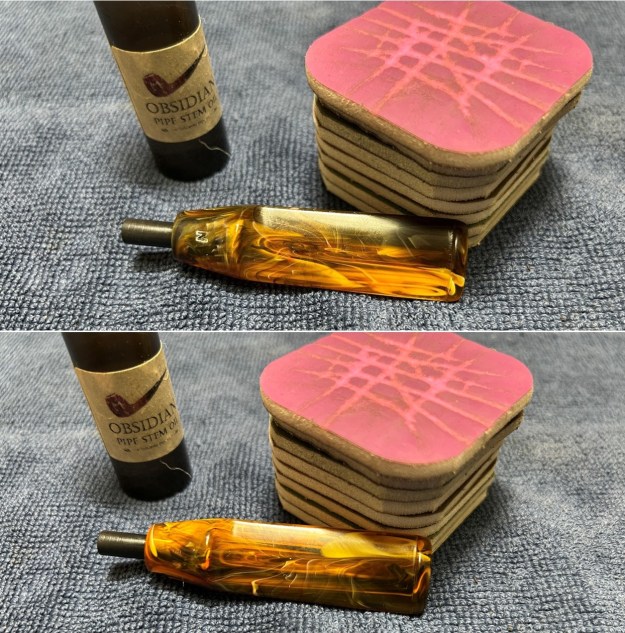
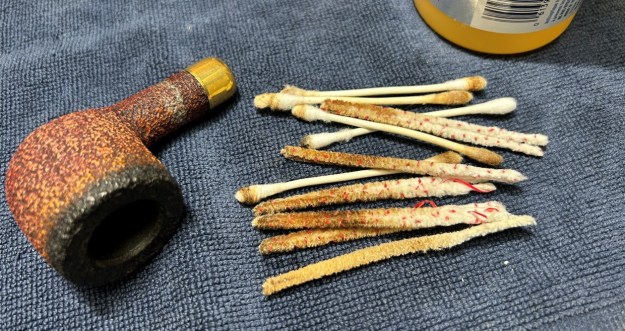
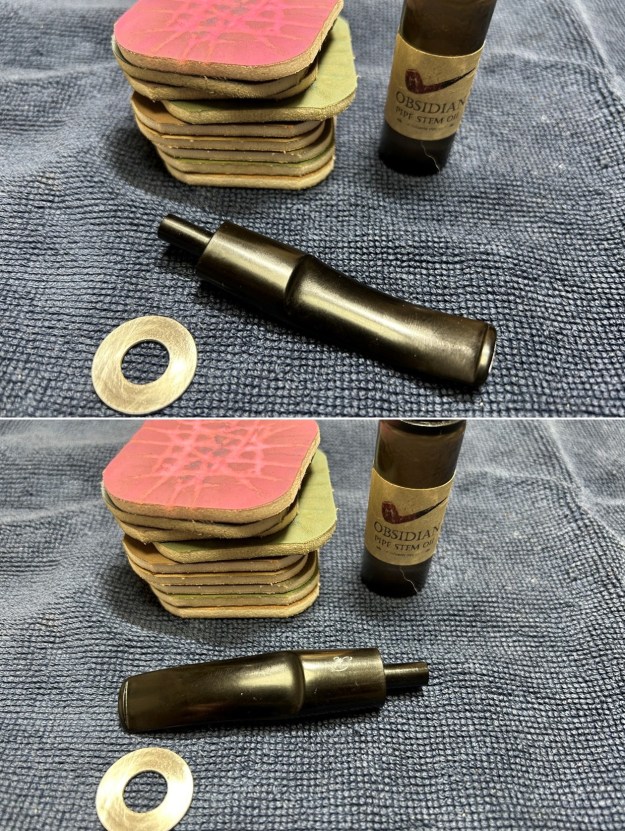
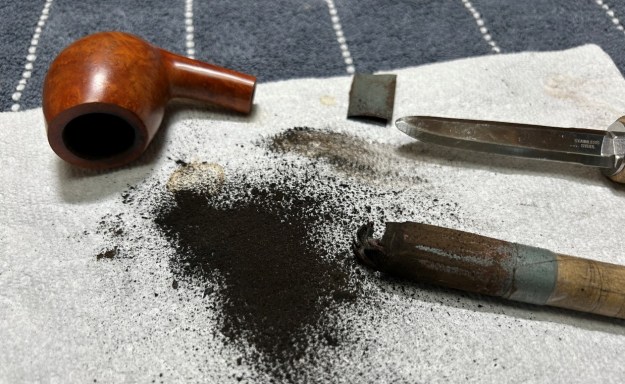
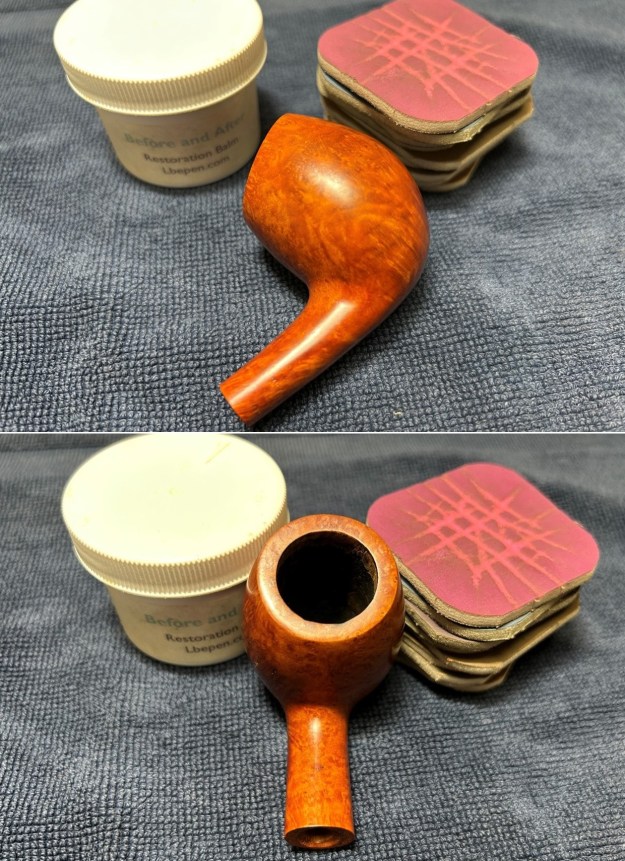
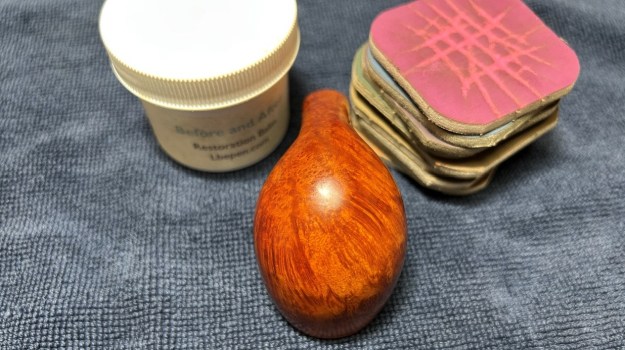
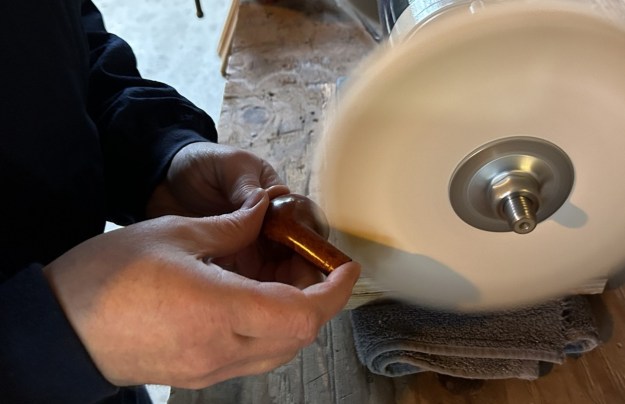
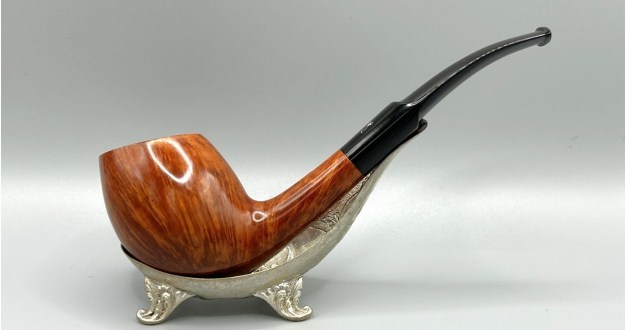
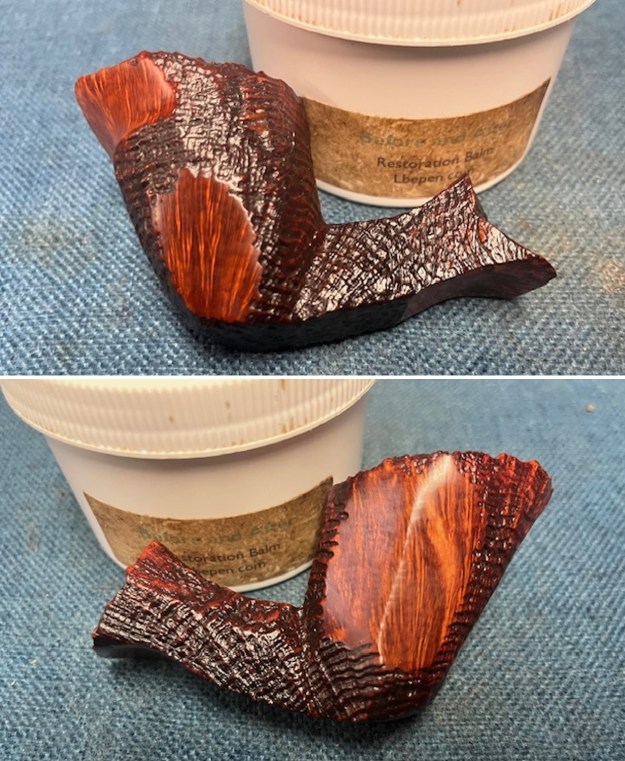
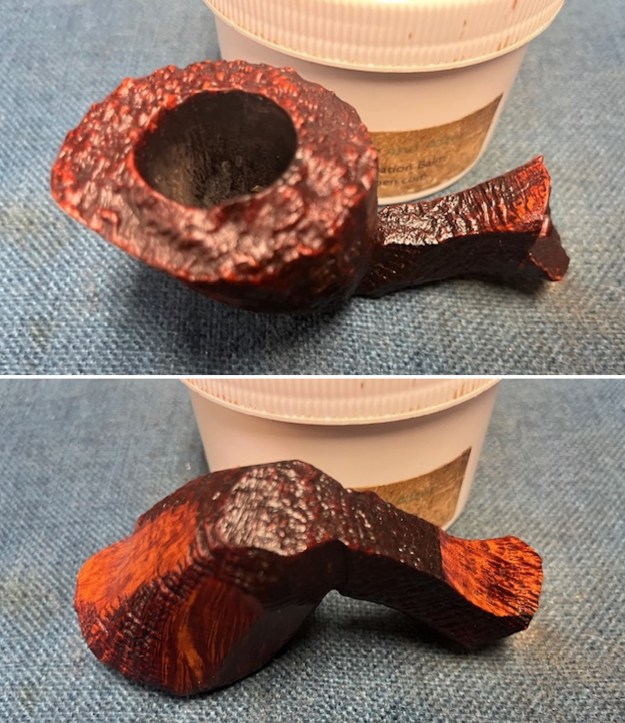
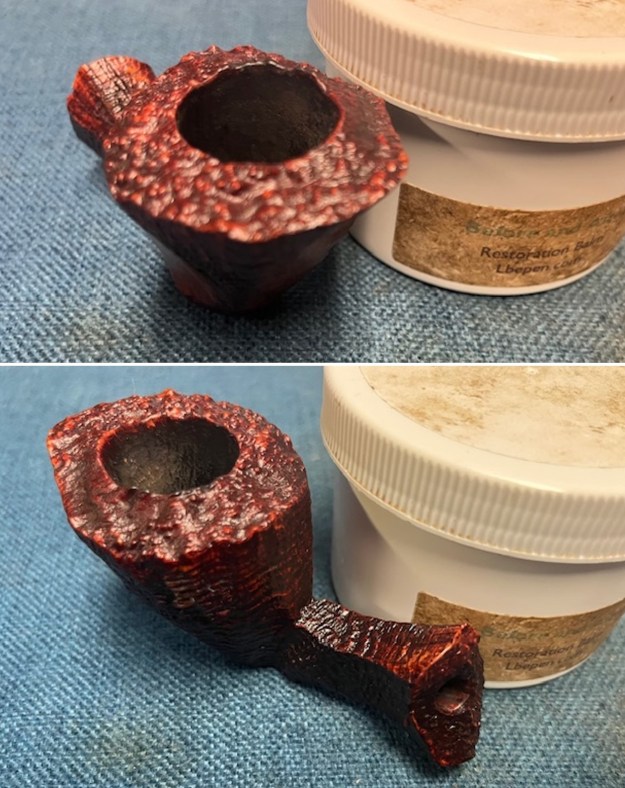
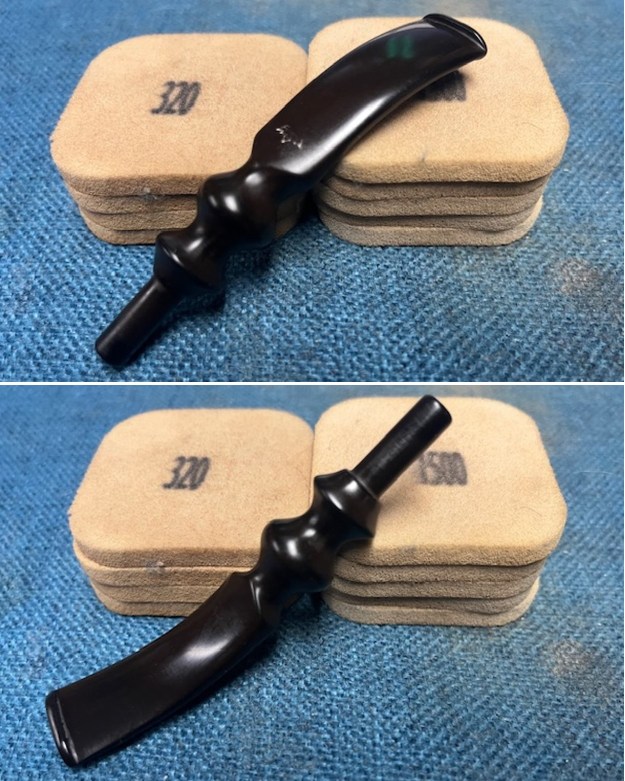
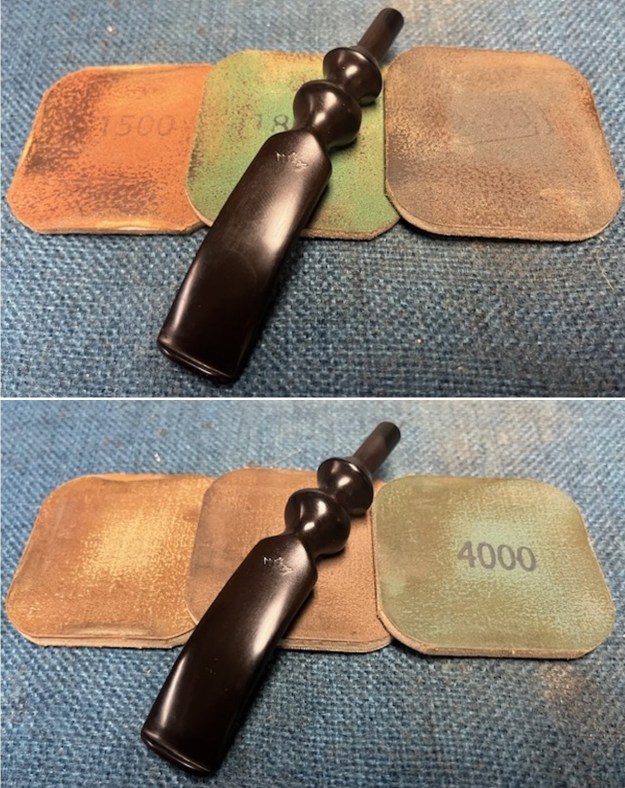
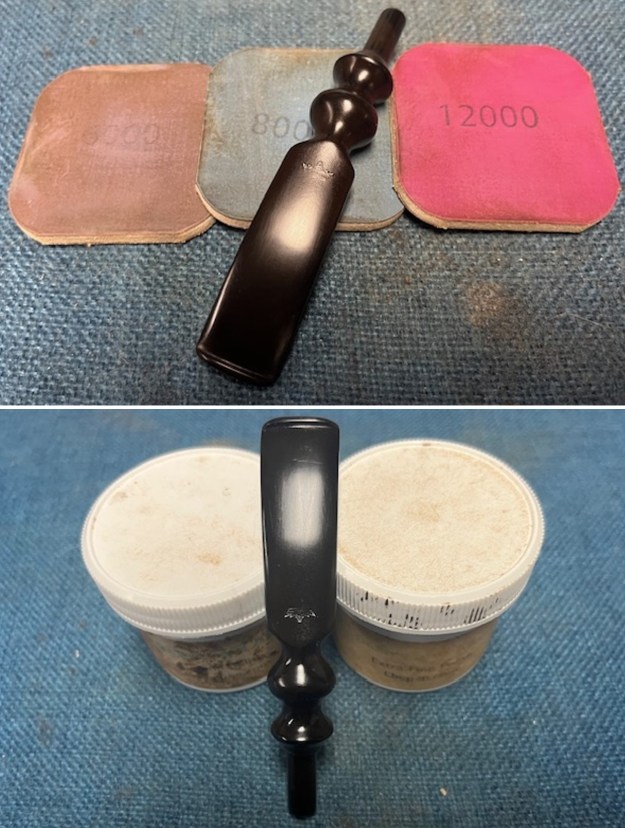
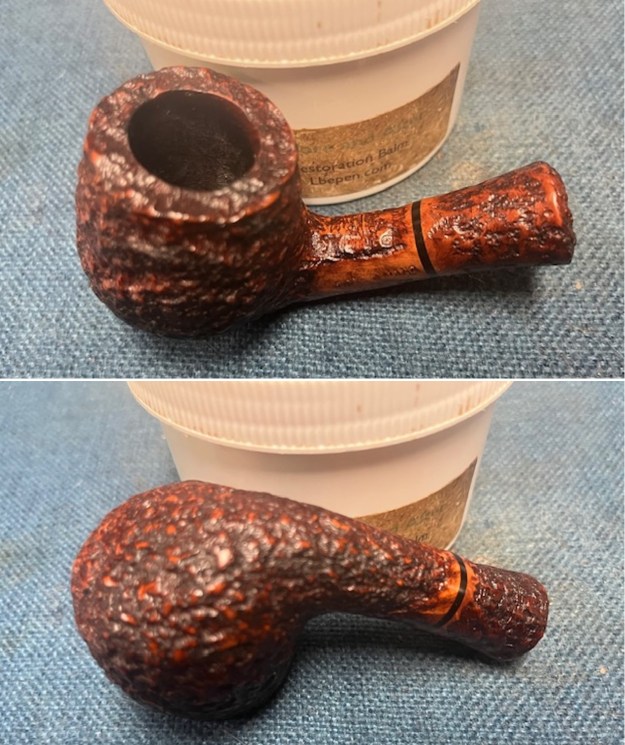
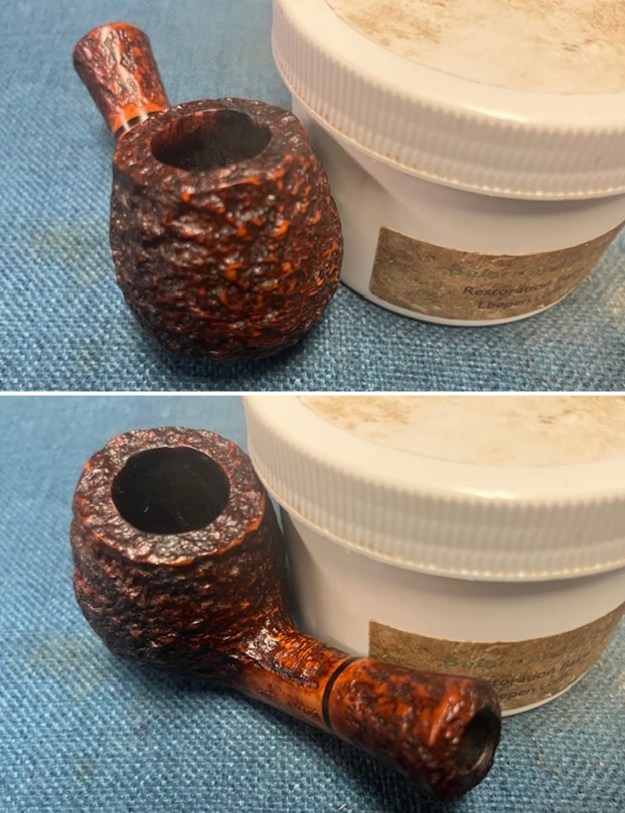
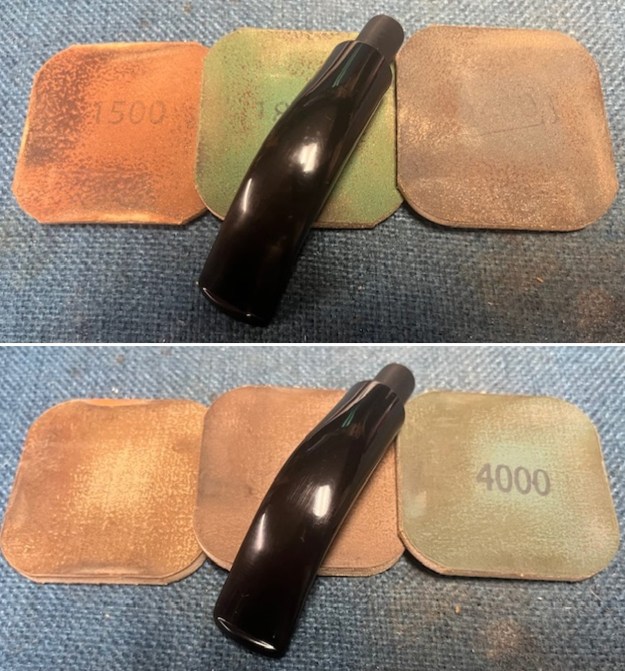
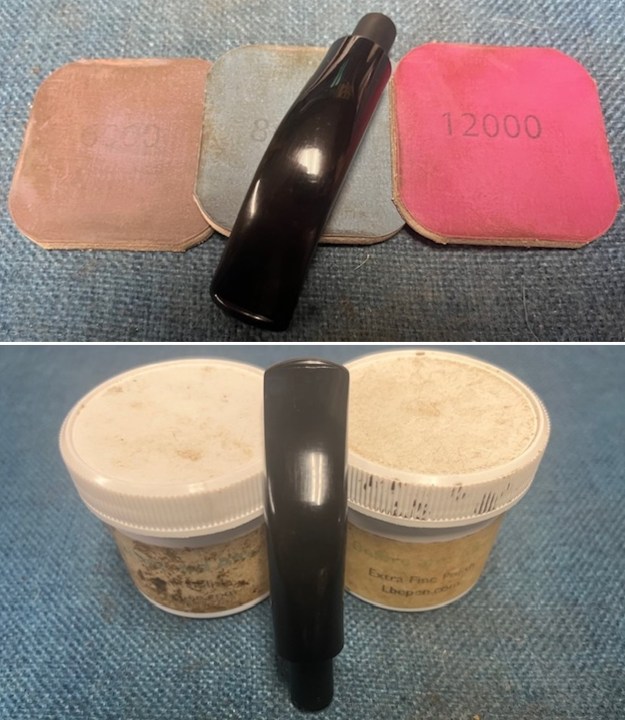
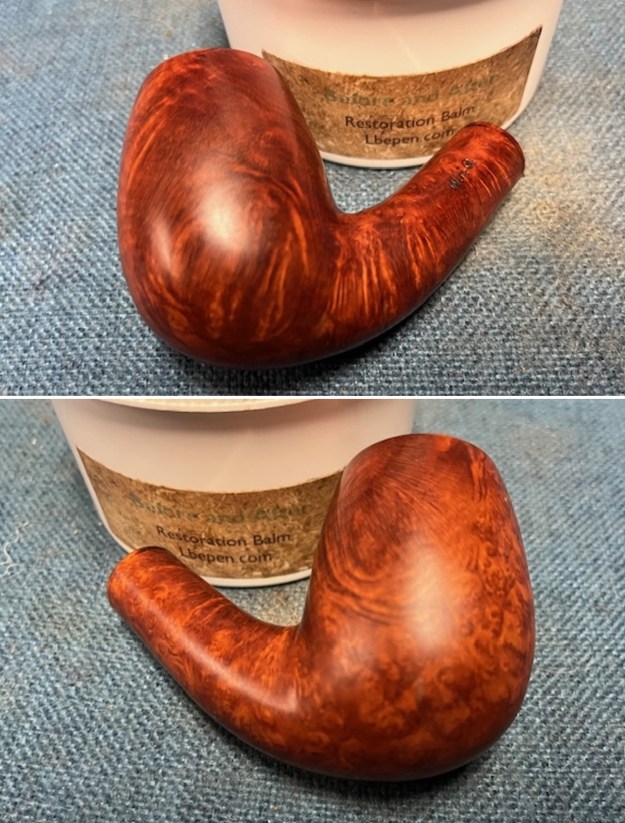
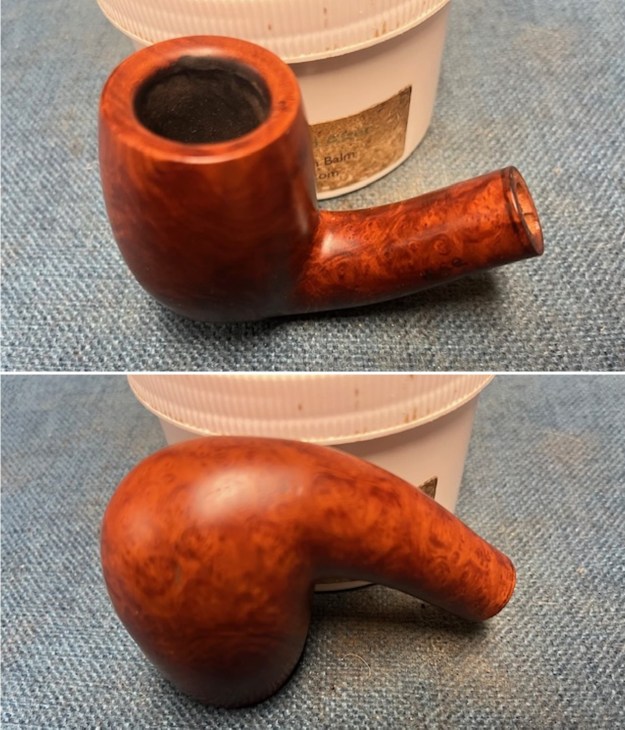
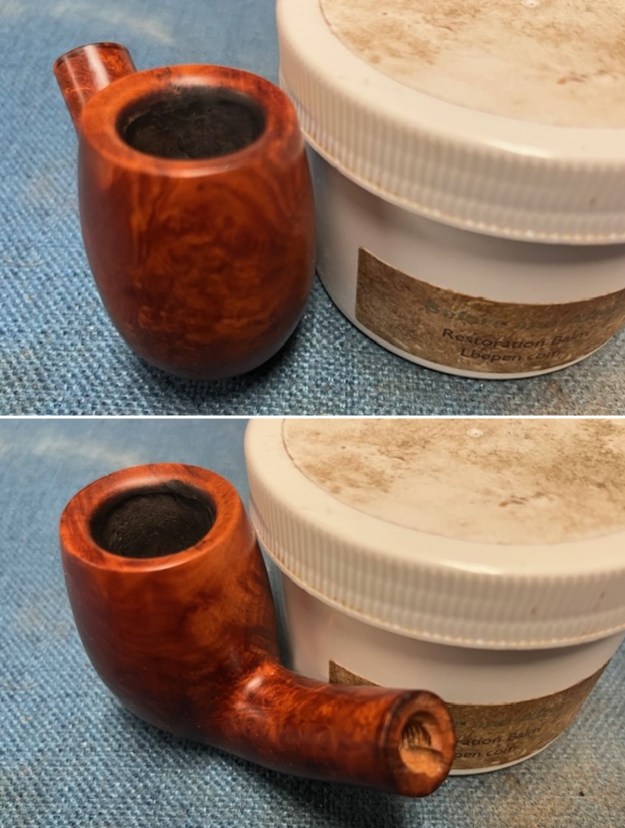
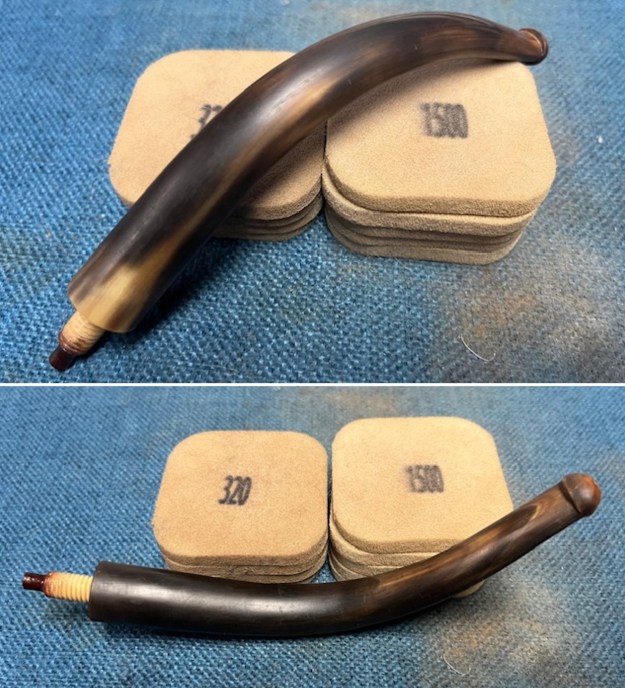
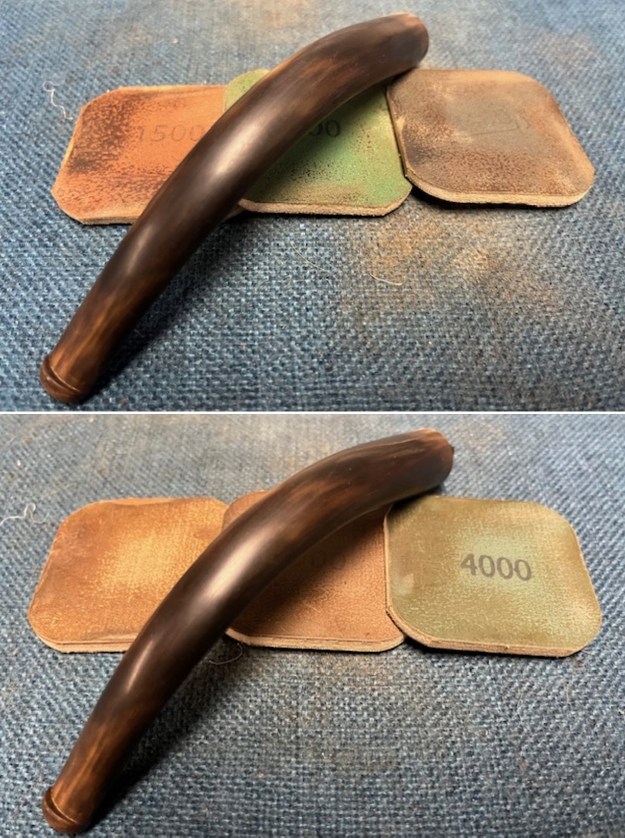
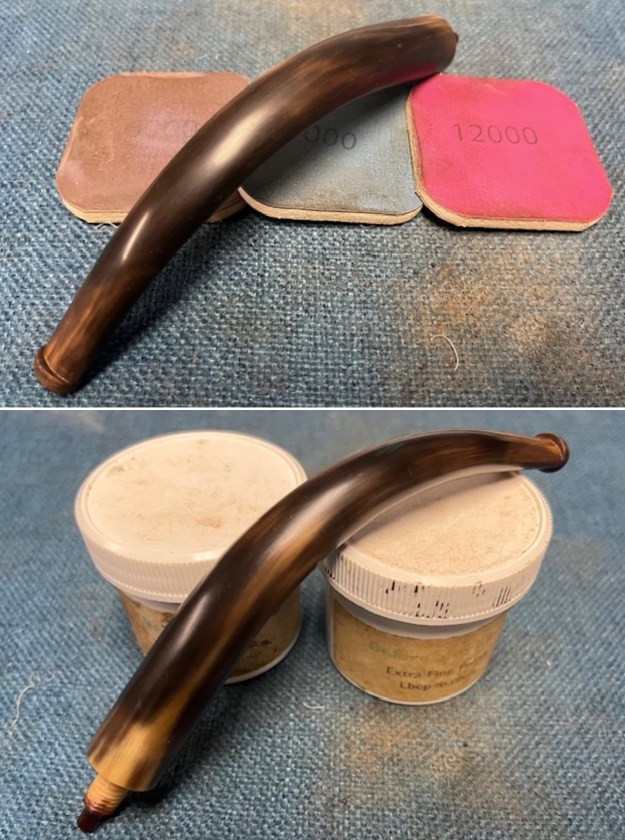
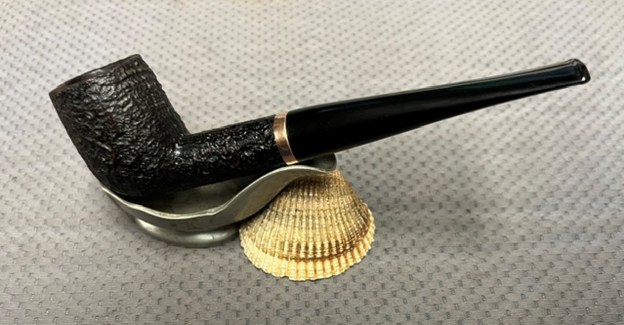
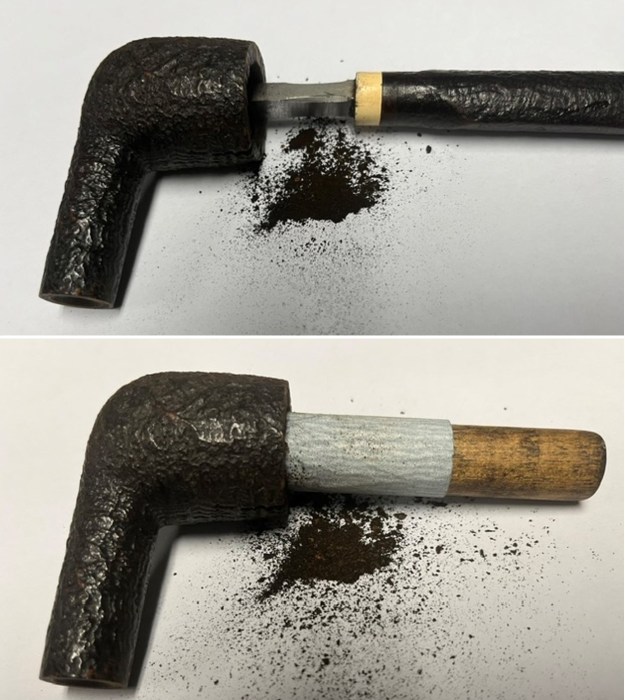
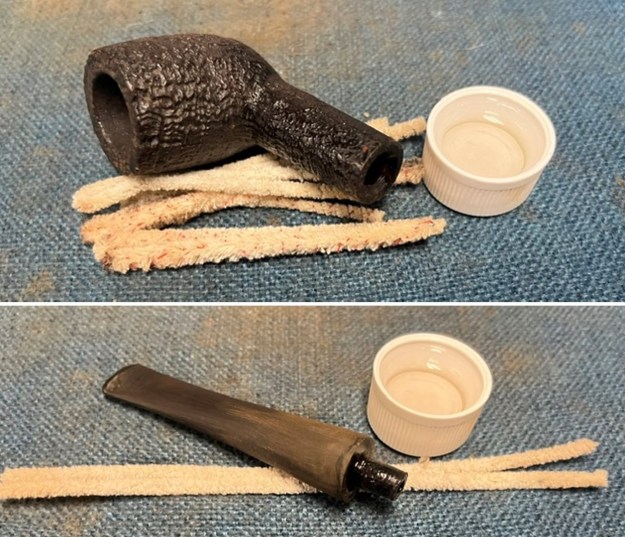
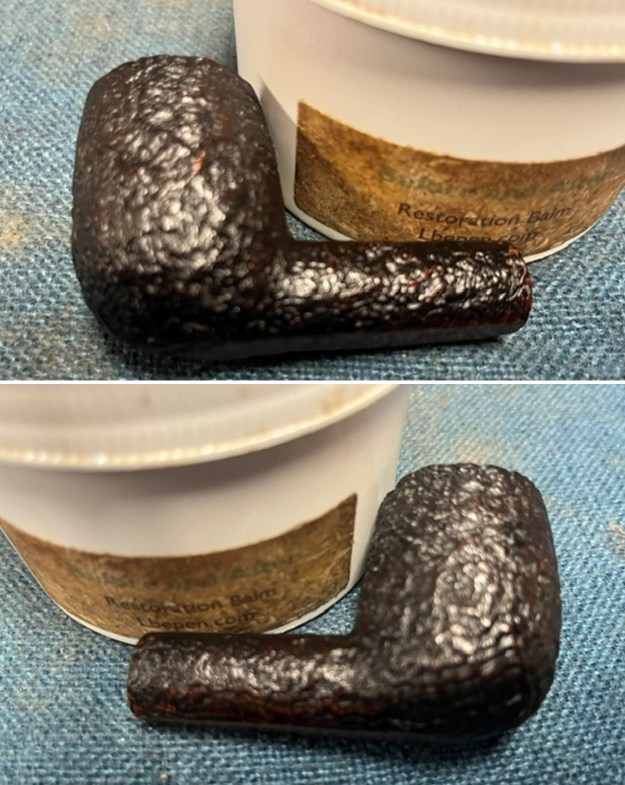
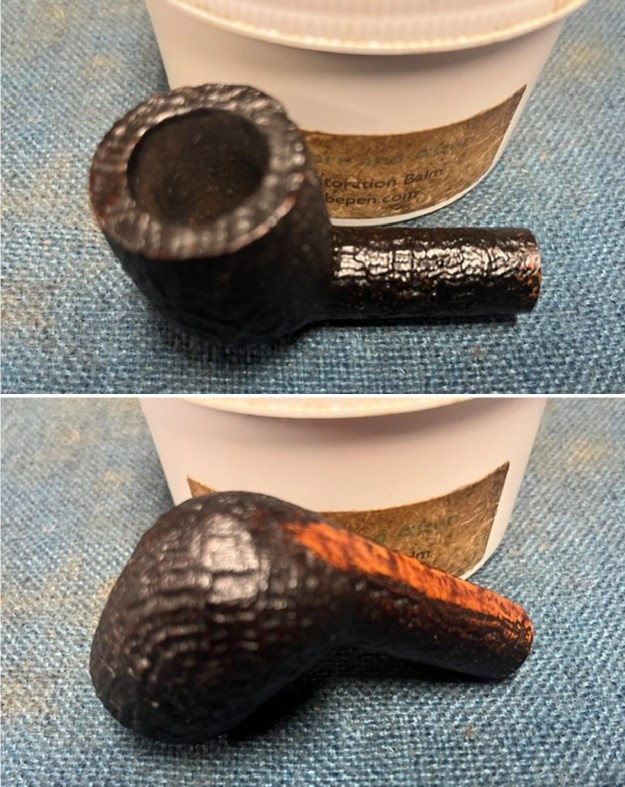
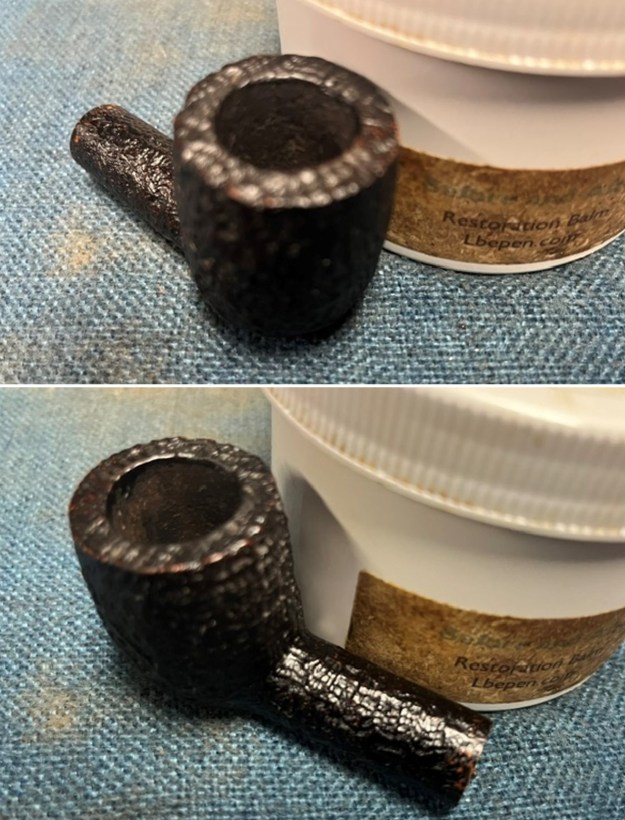
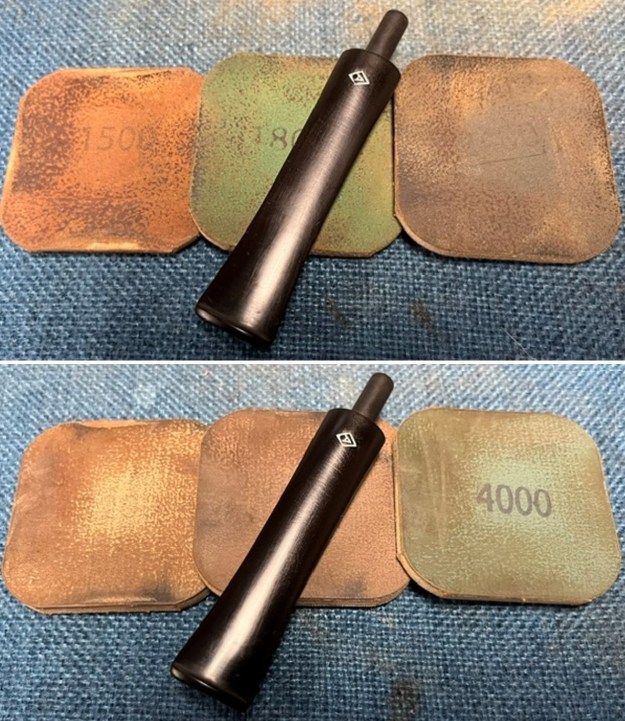
Now it was time to work on the pipe.  I started my work on the pipe by reaming it with a Savinelli Fitsall Pipe Knife. I cleaned the lava built up on the rim top with a brass bristle wire brush. I sanded the bowl walls with 220 grit sandpaper wrapped around a dowel to clean up the remaining bits. It looked much better after the clean up. I cleaned out the internals of the shank and bowl with pipe cleaners – regular and bristle and isopropyl alcohol. The pipe is very clean. I like it clean to make a better fit for new stem. I cleaned out the airway in the stem I had chosen with pipe cleaners and alcohol. I worked some Before & After Restoration Balm into the surface of the briar with my finger tips and a shoe brush to work it into the sandblast. The product is incredible and the way it brings the grain to the fore is unique. It works to clean, protect and invigorate the wood. I went through my stems and found one that was the right length and would need some slight adjusting to fit the diameter of the shank and the tenon.I used a Dremel and sanding drum along with a folded piece of 220 grit sandpaper to shape and rework the stem and tenon to fit the shank end. Once I was finished with the reshaping of the stem I put it in the shank and took photos of the look of the stem.I sanded the stem with 320-1500 grit 2×2 inch sanding pads. I wiped the stem down after each sanding pad with an Obsidian Oil Cloth to remove the sanding dust. It began to look very good. I polished the stem with micromesh sanding pads – dry sanding with 1500-12000 grit pads. I wiped the stem down after each sanding pad with an Obsidian Oil Cloth. The stem began to take on a rich shine. This Stanwell Regd. No. 969-48 Old Briar Sandblast 858 Billiard with a new vulcanite taper stem is a great looking pipe now that it has been restemmed and restored. The beautiful sandblast on the briar shines through the polished finish is stunning. I put the stem back on the bowl and carefully buffed the pipe with Blue Diamond on the buffing wheel. I gave the bowl and the stem multiple coats of carnauba wax on the buffing wheel and followed that by buffing the entire pipe with a clean buffing pad. I hand buffed the pipe with a microfiber cloth to deepen the shine. The finished Stanwell Regd. No 969-48 Old Briar 858 Billiard fits nicely in the hand and feels great. Give the finished pipe a look in the photos below. The dimensions of the pipe are Length: 6 inches, Height: 1 ½ inches, Outside diameter of the bowl: 1 ¼ inches, Chamber diameter: ¾ of an inch. The weight of the pipe is 35 grams/1.23 ounces. It is a beautiful pipe and the last of the five pipes that Andrew sent me. Once I am finished with it, the lot they will be heading back to Greece. Thanks for walking through the restoration with me as I worked over this pipe. Thanks to each of you who are reading this blog. On a lark, I slipped a thin brass band on the shank just to see what it would look like. I figured it would give it a great, distinguished look. It was not needed so it was solely for decorative purposes. I sent picture of the pipe with and without the band to Andrew and he liked it as much as I did. With that in mind, I glued the band in place on the shank and let cure. I took photos of it once it was finished.
Restoring a Large bowl Aristocrat London Made oval shank Billiard


by Steve Laug

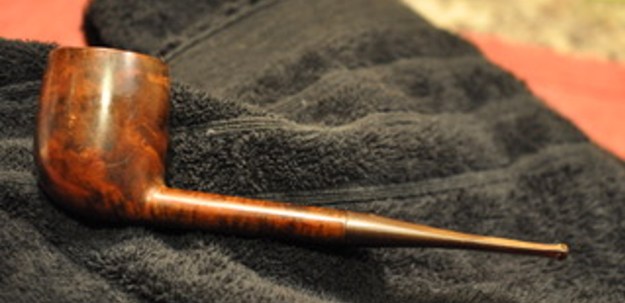
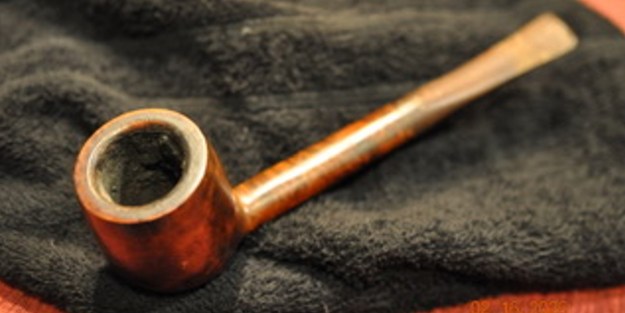
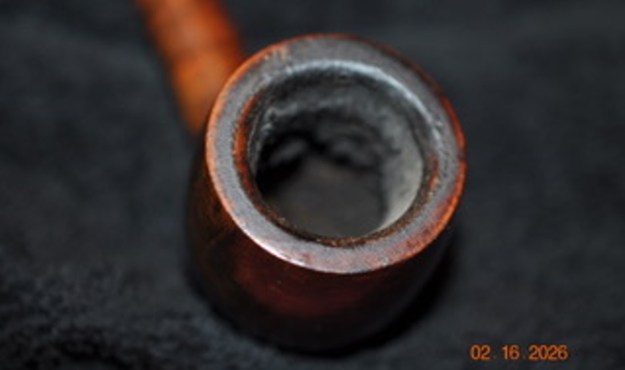
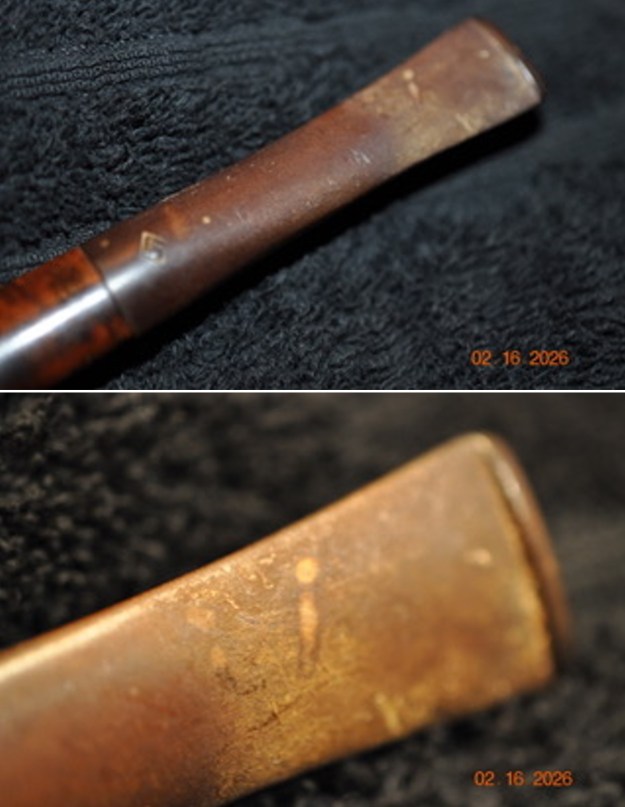
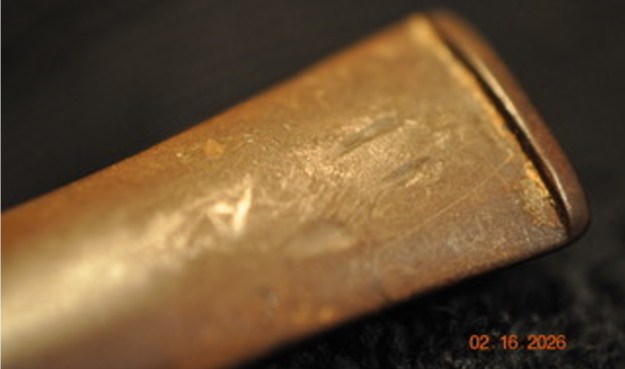
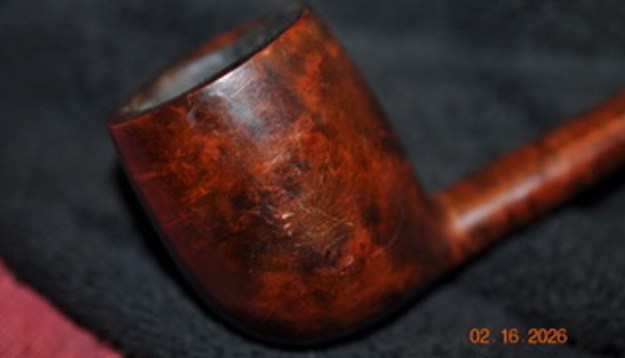
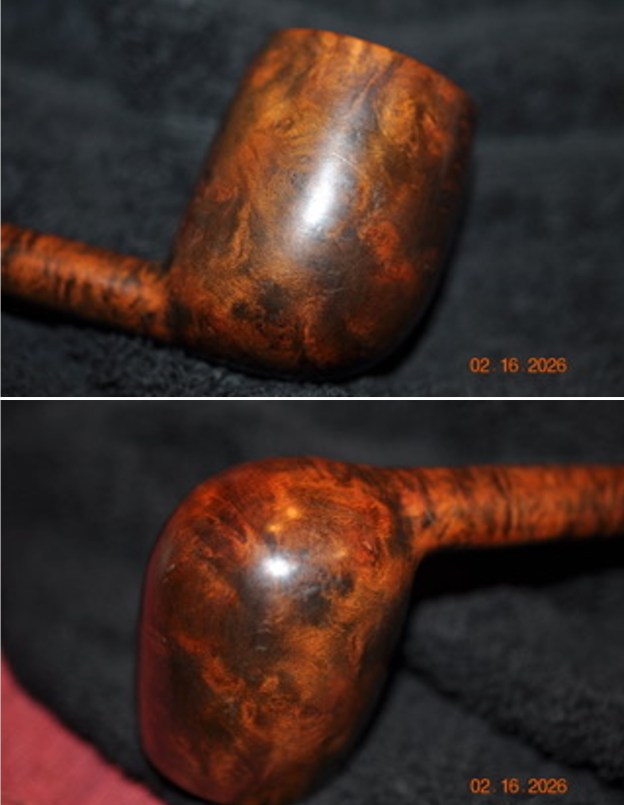
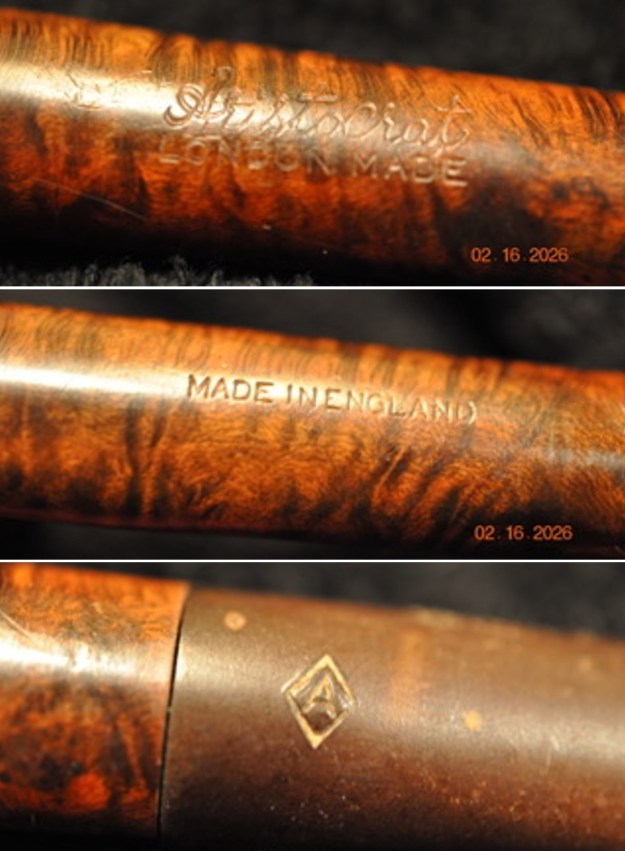
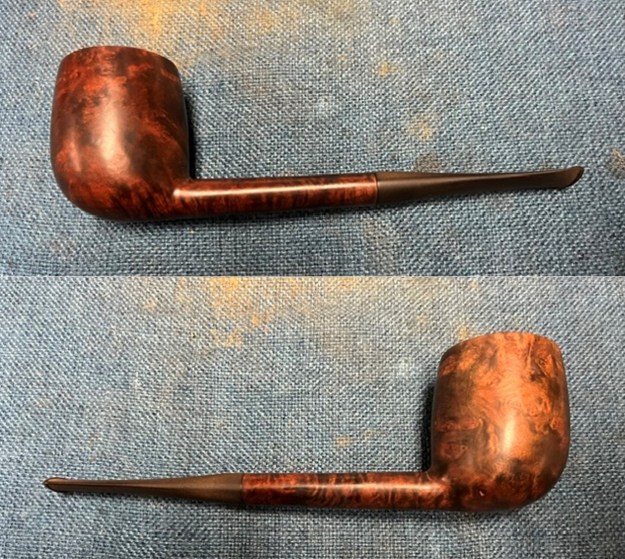
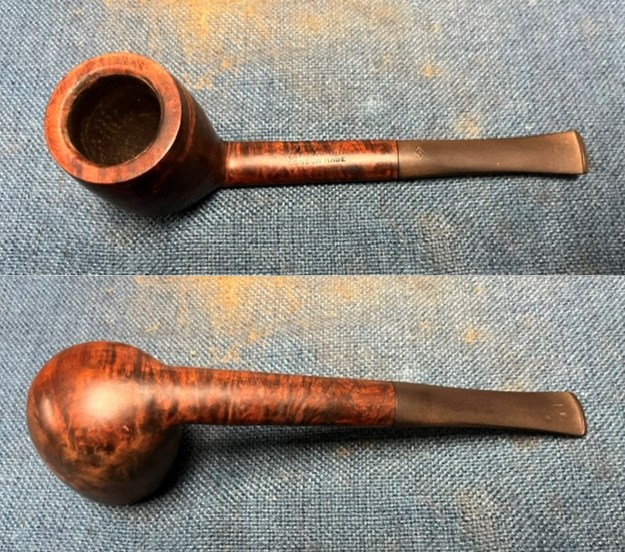
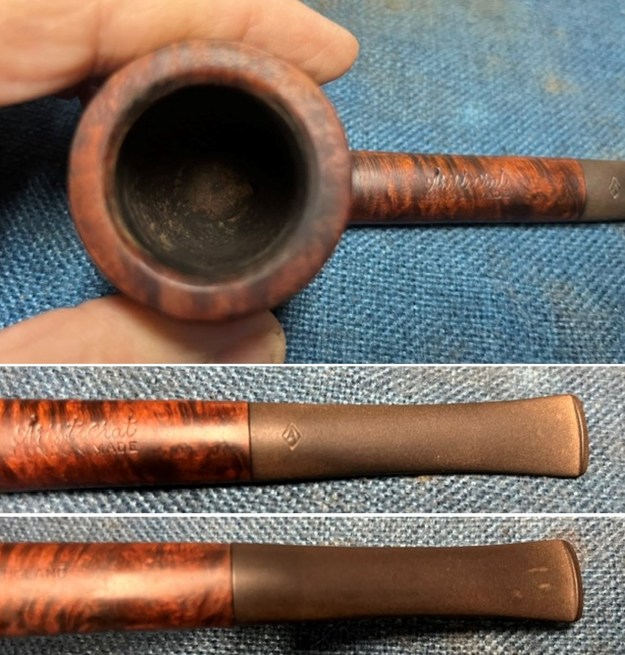
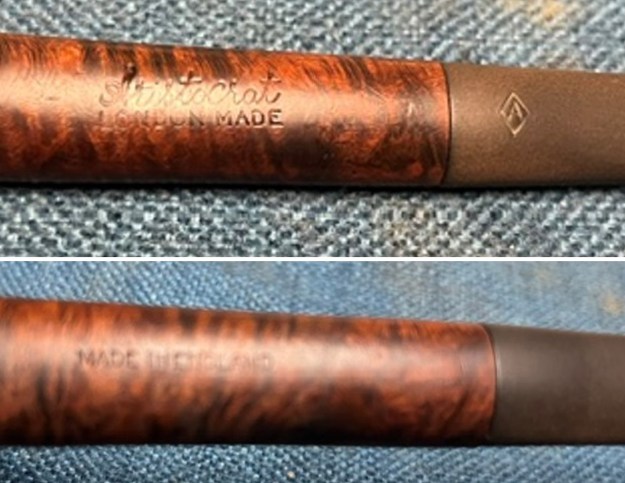
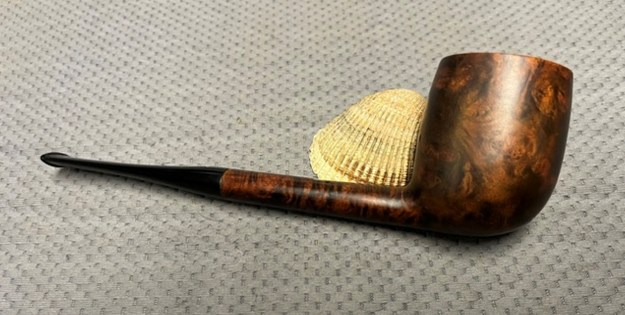
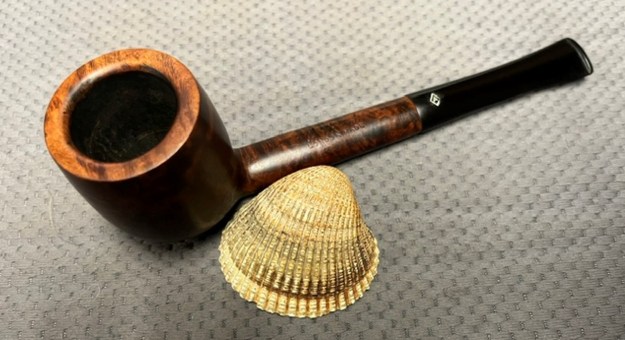
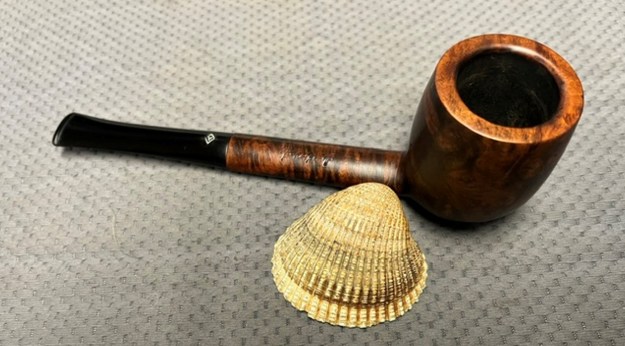
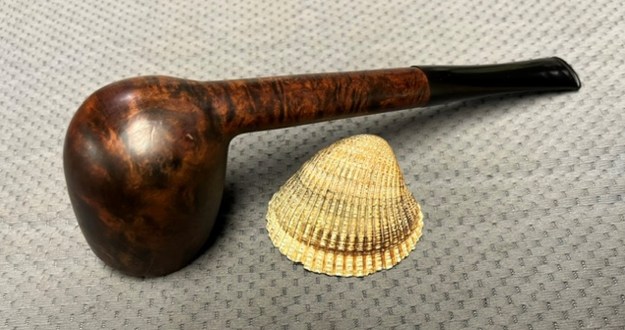
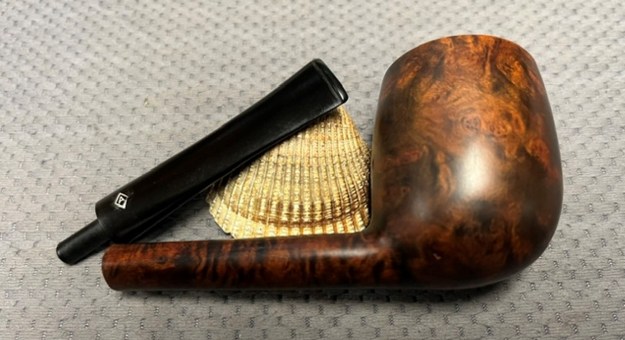
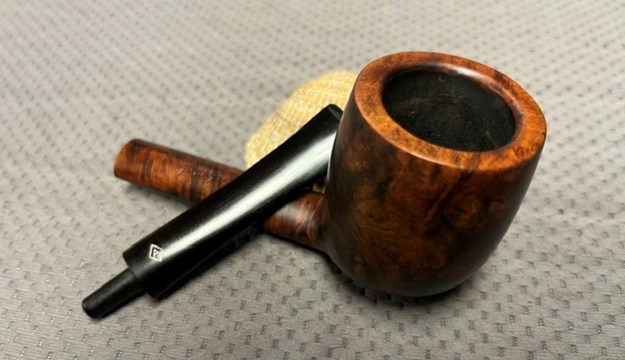
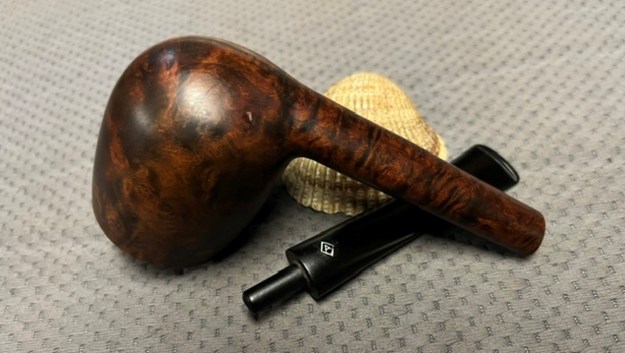
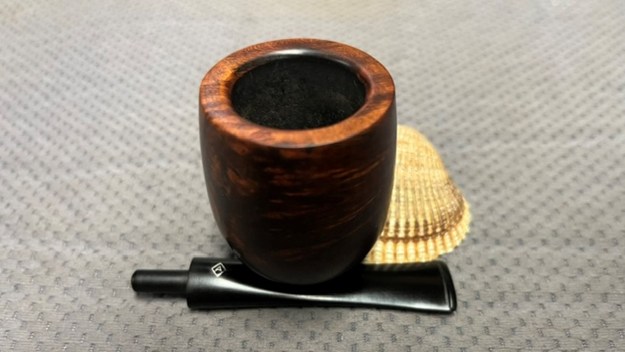
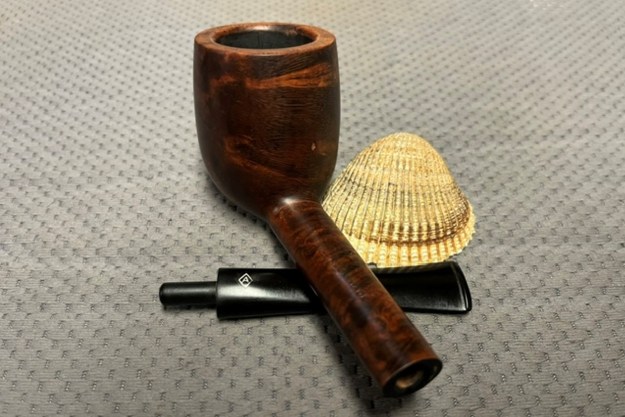
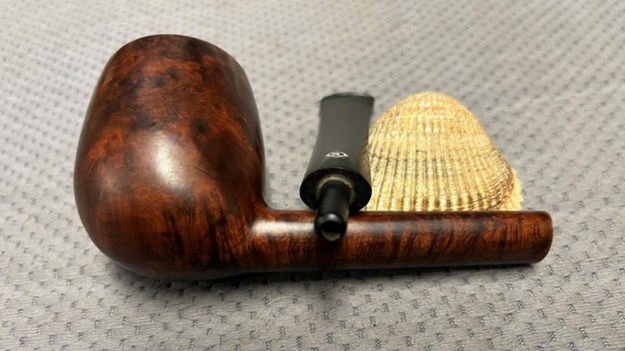
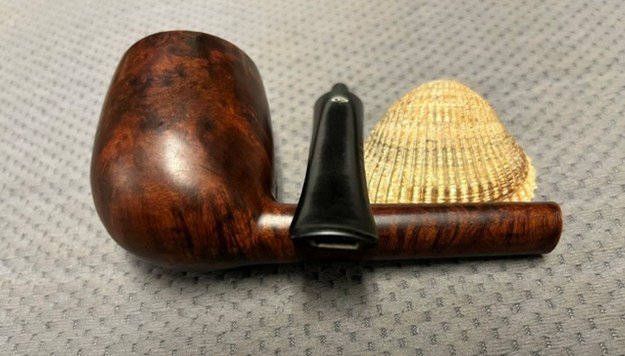
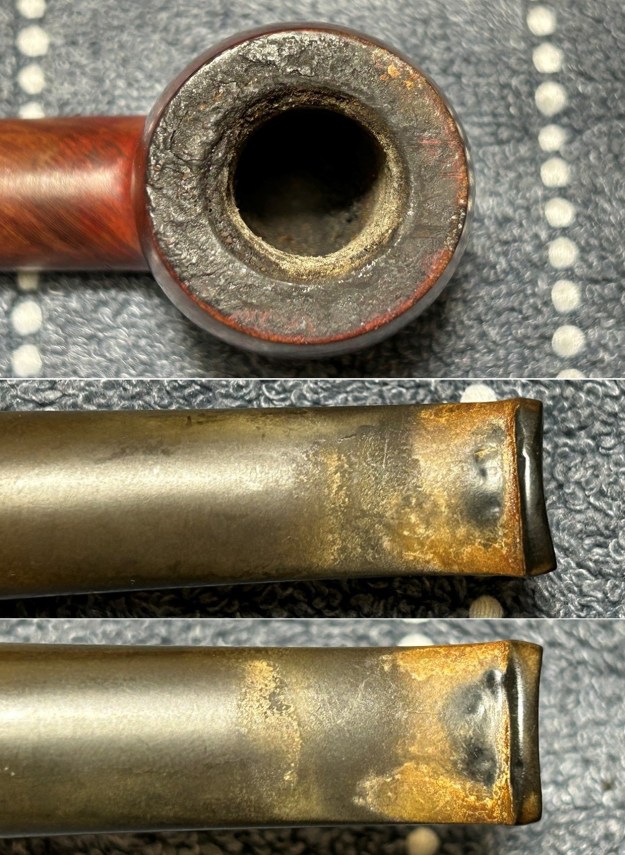
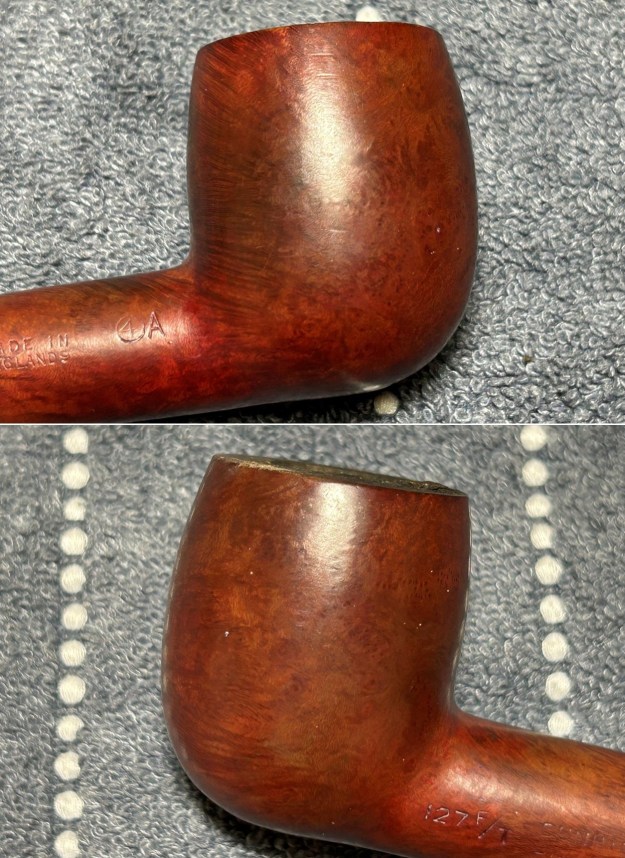
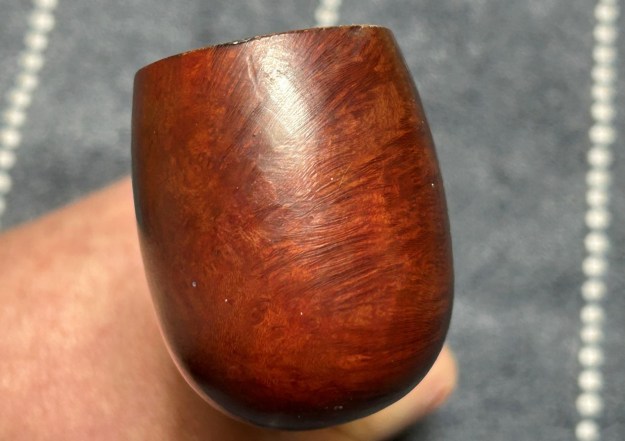
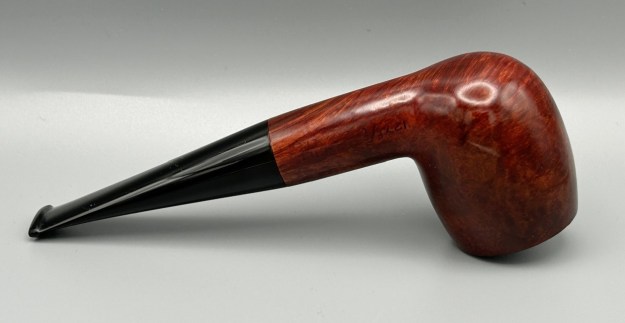
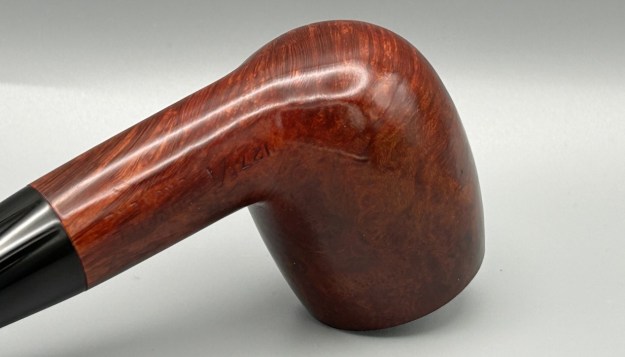
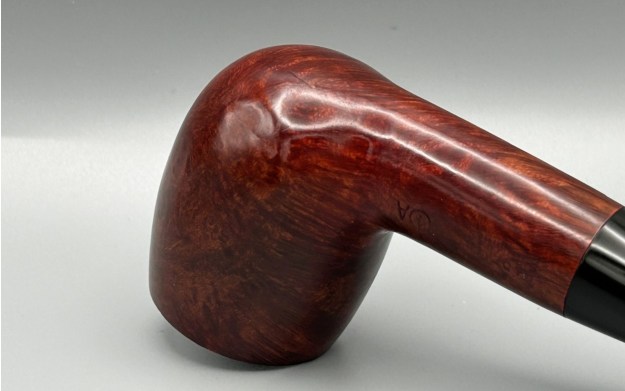
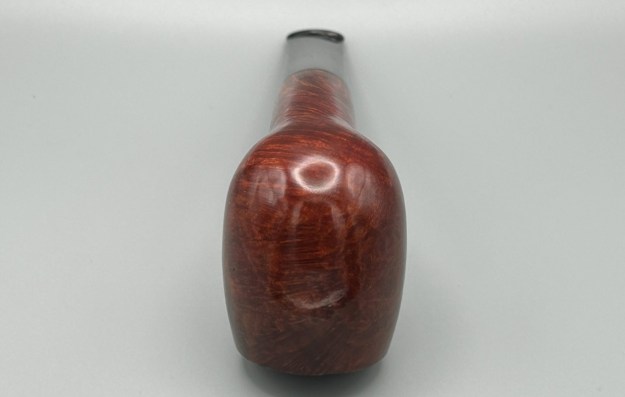
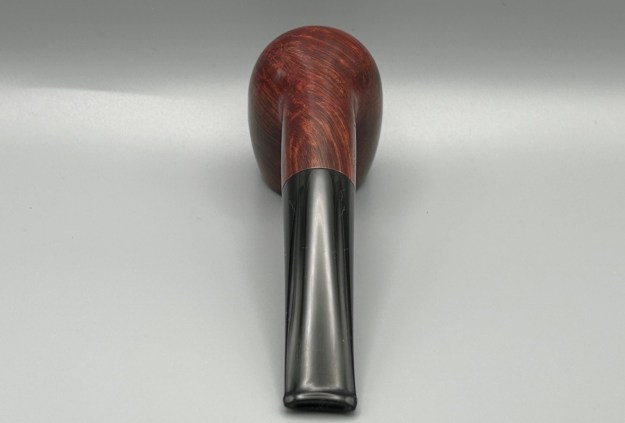
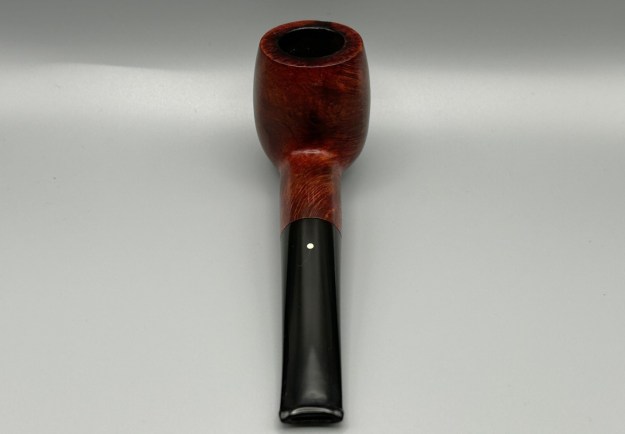
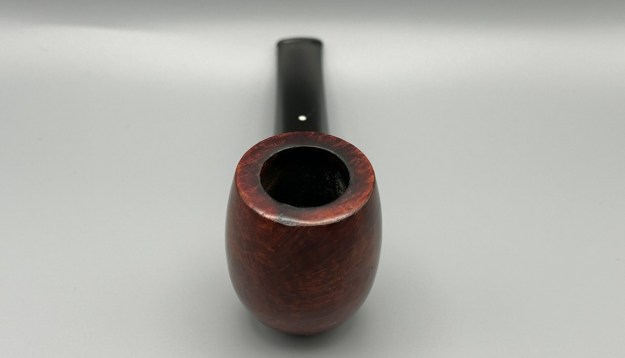
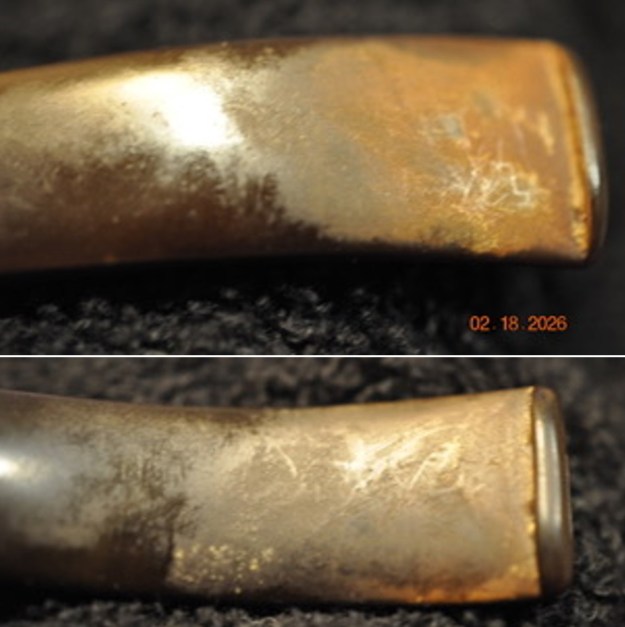
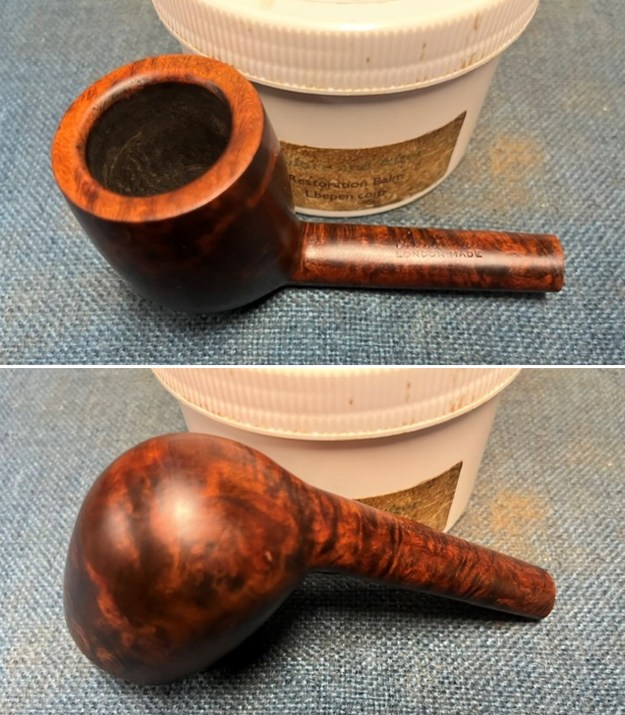
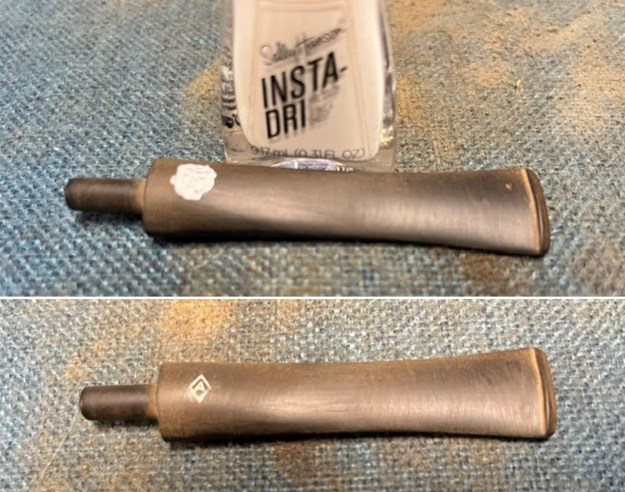
This large, smooth large bowled oval shank Billiard pipe was purchased on 01/20/2026 from a Facebook seller in Quaker Town, Pennsylvania, USA. It really is a beautifully grained large Billiard with a rich smooth finish.  The stem is an oval vulcanite taper stem. The bowl is stained with a contrast of browns that give depth to the grain around the bowl and shank. It is stamped on the topside of the shank and reads Aristocrat in script [over] London Made. On the underside it is stamped Made In England. The bowl had a thick cake with an overflow of lava on the inner bevel and the rim top – heavier toward the back-left side of the bowl. There was grime ground into the finish which left the look quite dull. The taper stem has a Diamond A the topside. It was oxidized and had light tooth marks and chatter on both sides of the stem ahead of the button. Jeff took photos of the pipe before he started his work on it. He took photos of the rim top to show the condition of the top and edges of the bowl. It is dull and has the lava in the rusticated surface of the rim. It is uniquely a beautiful pipe. The stem had oxidation, light tooth marks and chatter on both sides ahead of the button. He took photos of the sides and heel of the bowl to show the finish around the bowl and the condition of the pipe. You can see the grime ground into the surface of the briar. The stain combination really makes the grain stand out. I look forward to seeing it once it is clean and polished. He took photos of the stamping on the sides of the shank. It is clear and readable as noted above. The Diamond A stamp on the top of the stem is also clear and readable.In search of the origins of the Aristocrat, I first look in my autographed copy of Herb Wilczak & Tom Colwell’s, “Who Made That Pipe?” dated 3/3/97.  Tom Colwell’s gifting of this book to “Bruce” is in April of 2001, concluding with his signature.  There were several listings for ‘Aristocrat’ but only two fell within the correct UK parameters:

John Redman/Kapp & Peterson – ENGL
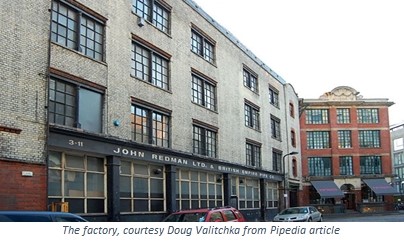
Comoy’s / Harmon Bros. LTD – ENGLPipedia’s entry for the John Redman Co. does not include much information.  I researched this company before as being the probable English manufacturer of pipes stamped with Boston’s Tobacconist Shop, L.J. Peretti name (see: A Christmas Gift in need of a stem splice – L J Peretti Squared Shank Billiard). This restoration started a fun hobby of collecting L.J. Peretti pipes and selling many too! Here is the information. John Redman Ltd. and British Empire Pipe Co.

Other lines include Aristocrat, Buckingham, Buckingham Palace, Canberra, Captain Fortune, Dr John, Golden Square, Redonian, Richmond (not Sasieni), Twin Bore.

Former factory located at 3-11 Westland Place, Hackney, London N1 7LP

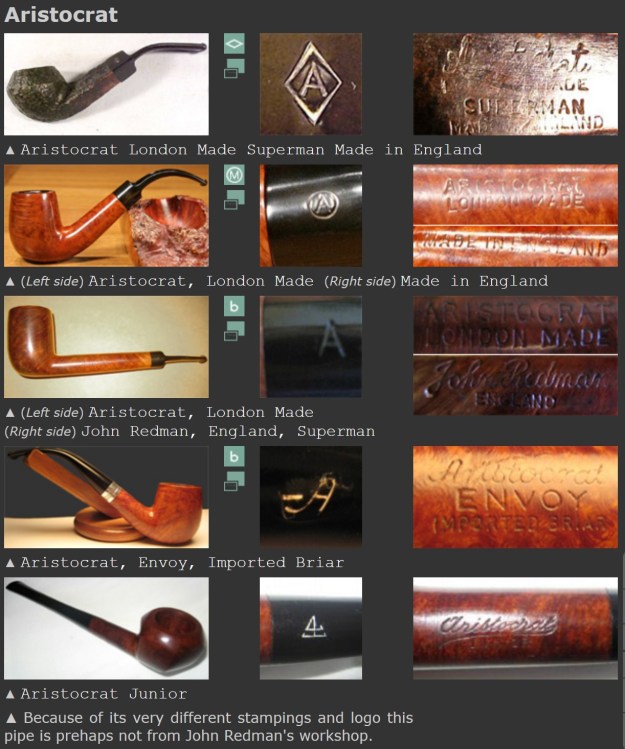
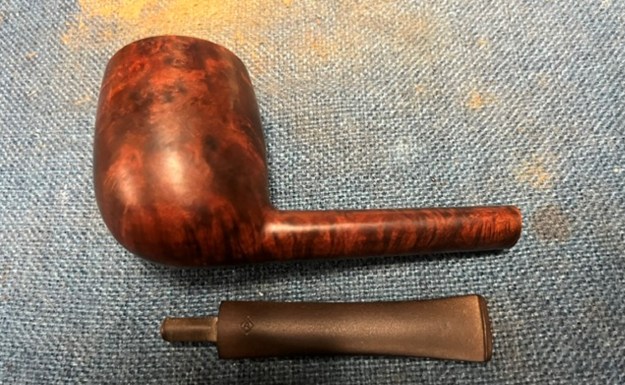
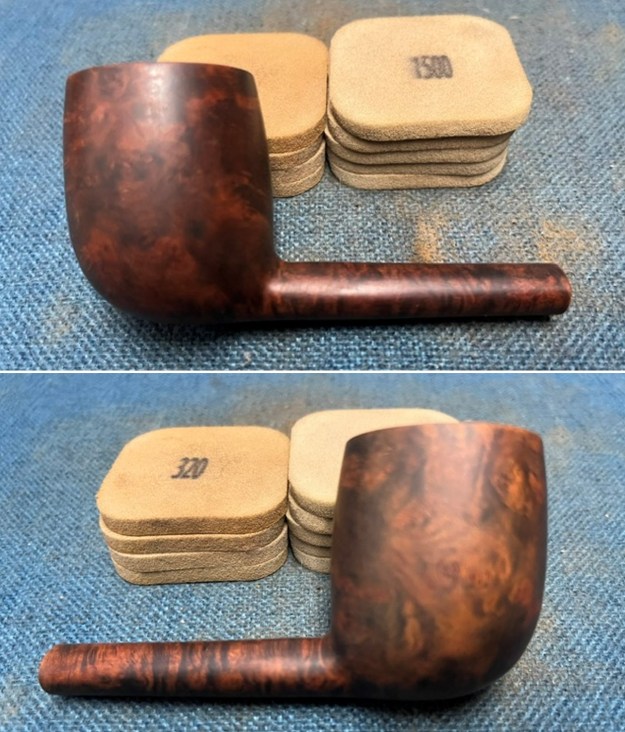
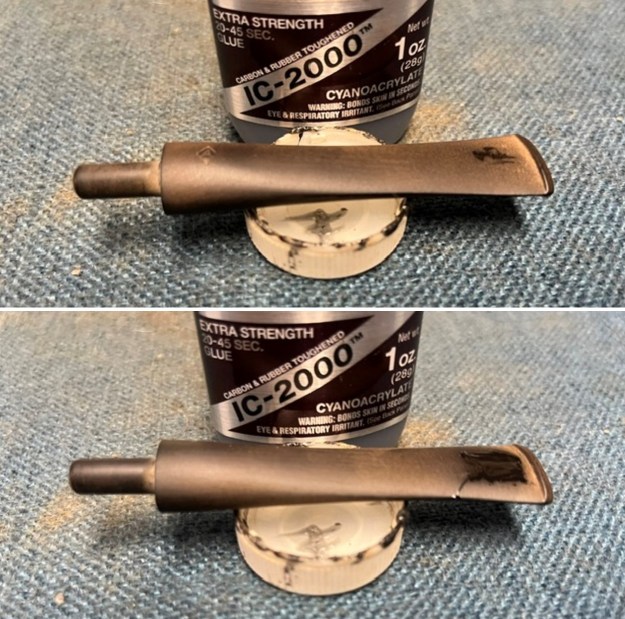
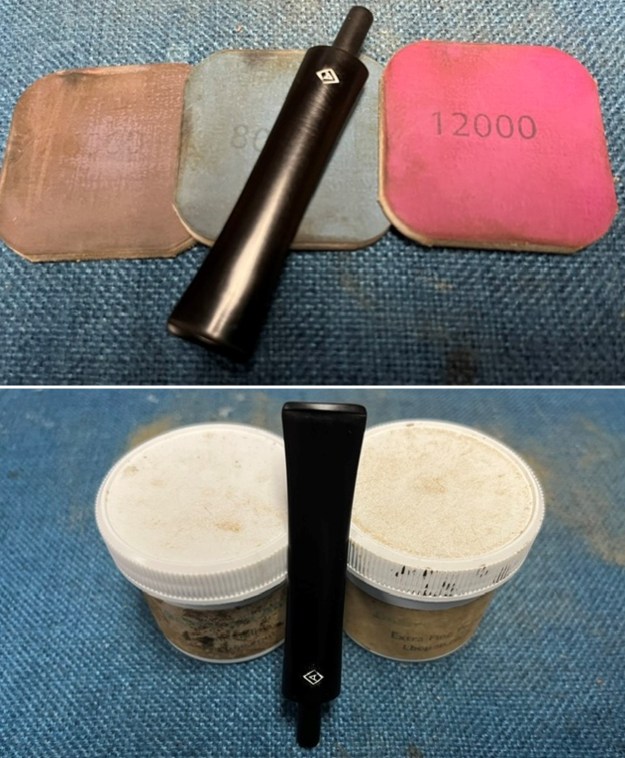
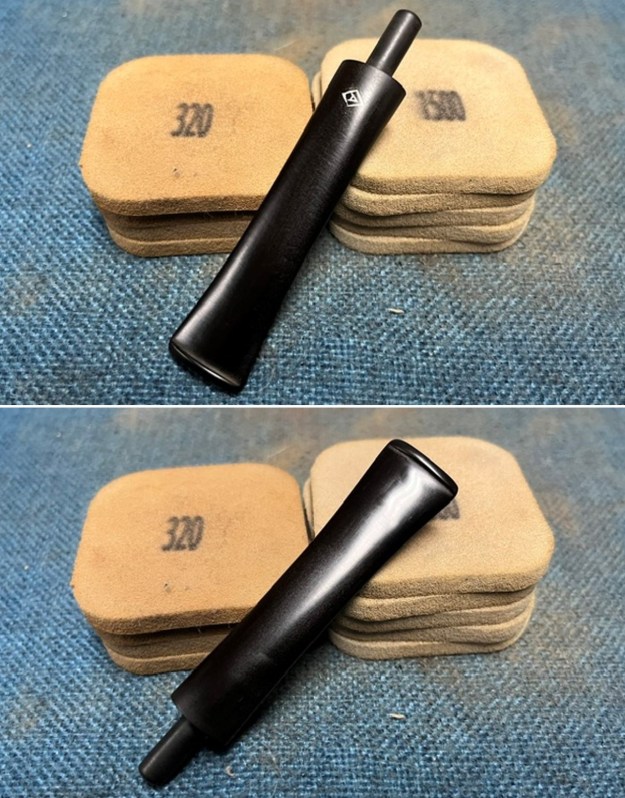
Pipephil’s entry solidified the John Redman Ltd. And British Empire Pipe Co., with the Aristocrat and the ‘A’ stem stamping (http://www.pipephil.eu/logos/en/logo-a7.html). The side bar stated that the Aristocrat is an export brand of John Redman Ltd. It was time to work on the pipe. As usual Jeff had done a thorough cleanup on the pipe. He reamed the bowl with a PipNet pipe reamer and a Savinelli Fitsall pipe knife to remove the cake. He scrubbed out the mortise and the airway in the shank and the stem with alcohol, cotton swabs, shank brushes and pipe cleaners. He scrubbed the exterior of the bowl, rim, shank and stem with a tooth brush and Murphy’s Oil Soap to remove the oils and tars on the rim and the grime on the finish of the bowl. He rinsed it under running water. He dried it off with a soft cloth. He soaked the stem in Before & After Deoxidizer and rinsed it off with warm water. He dried it with a soft cloth. The pipe looked good. I took a photo of the rim top and stem to show the condition. The finish on the rim top looked much better and had cleaned up well. The vulcanite stem had some remaining oxidation and some light tooth chatter and marks on both sides ahead of the button edges.The stamping on the top and underside of the shank is clear and readable as noted above. The logo on the top of the stem is clear but needs a touch up of colour. I removed the stem from the shank and took a photo of the pipe to give a sense of the whole. It is a nice-looking rusticated Brandy and should clean up very well. I sanded the bowl with 320-3500 grit 2×2 inch sanding pads to remove the scratching on the sides of the bowl and shank. I wiped the bowl down with a damp cloth after each sanding pad to remove the sanding debris. I polished the briar with 1500-12000 grit micromesh sanding pads to further remove the marks in the finish and to deepen the shine. I wiped it down with a damp cloth after each sanding pad to remove the debris. It looked much better. I worked some Before & After Restoration Balm into the surface of the briar with my finger tips. The product is incredible and the way it brings the grain to the fore is unique. It works to clean, protect and invigorate the wood. I set the bowl aside and turned my attention to the stem. I “painted” the surface of the stem with a lighter flame to lift the tooth marks. It raised them slightly. I filled in what remained with some extra strength Black CA Glue and set it aside to cure. Once it cured I carefully flattened the repairs with 220 grit sandpaper. It looked better. I promptly forgot to take photos of the stem at this point but the photos that follow these show the overall condition of the stem at this point in the process. I touched up the diamond A stamp on the top of the stem with white acrylic fingernail polish. Once it cured it significantly better.I sanded the stem with 320-3500 grit 2×2 inch sanding pads to remove the oxidation and tooth marks. I wiped the stem down after each sanding pads with an Obsidian Oil cloth. It looked much better. I polished the stem with micromesh sanding pads – dry sanding it 1500-12000 pads. I wiped it down with Obsidian after each pad to remove the dust and polishing debris. I polished it with Before After Pipe Polish – both Fine and Extra Fine. I gave it another coat of Obsidian Oil. This richly finished, large bowled Aristocrat London Made Oval Shank Billiard with an oval vulcanite taper stem is in great condition. The briar is clean and really came alive. The rich brown stains gave the grain a sense of depth with the polishing and waxing. I put the stem back on the bowl and carefully buffed the pipe with Blue Diamond on the buffing wheel using a light touch on the briar. I gave the bowl and the stem multiple coats of carnauba wax on the buffing wheel. I buffed the pipe with a clean buffing pad to raise the shine. I hand buffed the pipe with a microfiber cloth to deepen the shine. The finished Aristocrat London Made Billiard is a beauty and feels great in the hand and looks very good. Give the finished pipe a look in the photos below. The dimensions of the pipe are Length: 7 inches, Height: 2 inches, Outside diameter of the bowl: 1 ½ inches, Chamber diameter: 1 inch. The weight is 1.83 ounces/53 grams. Thanks for reading this blog and my reflections on the pipe while I worked on it. I will be putting it on the rebornpipes store in the British Pipe Makers Section. If you are interested in adding it to your collection let me know. Thanks for following the blog on this restoration.
A New Home for a Dunhill Bruyere 127 Billiard


by Kenneth Lieblich

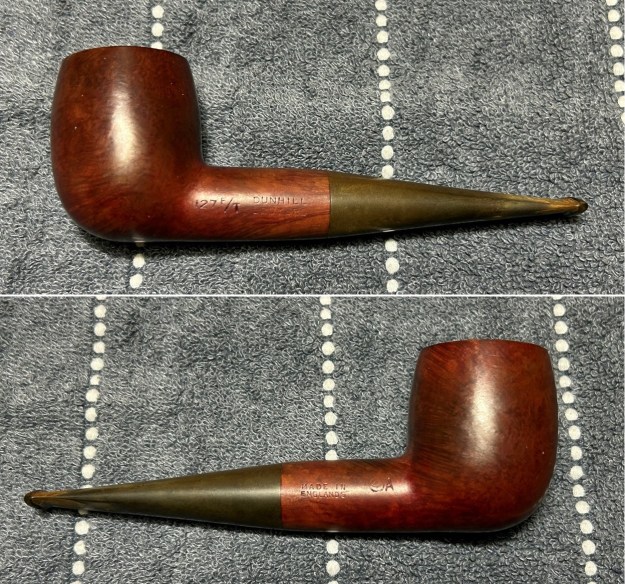
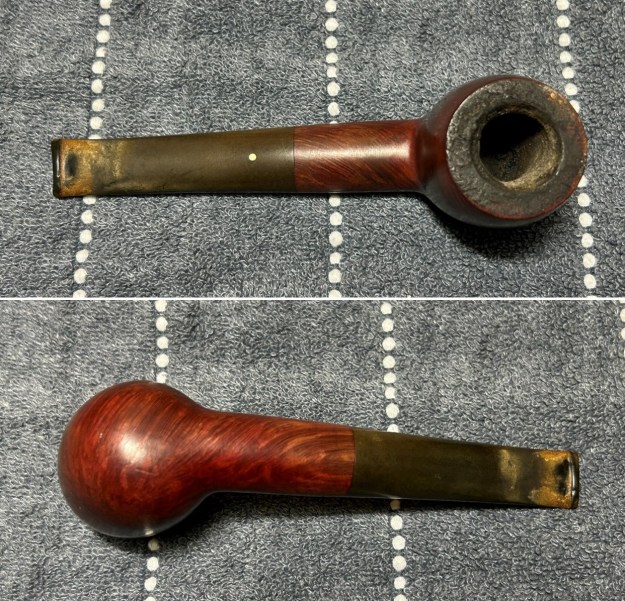
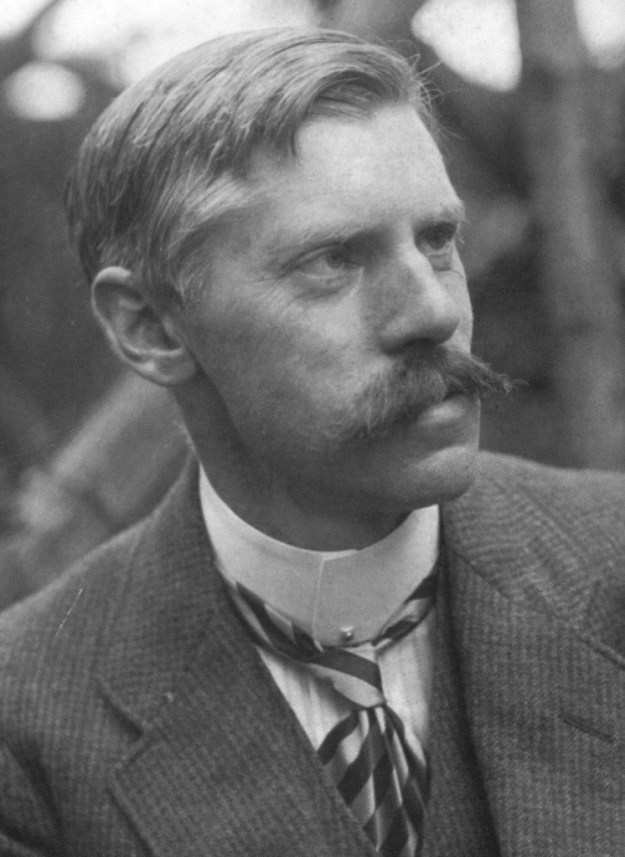
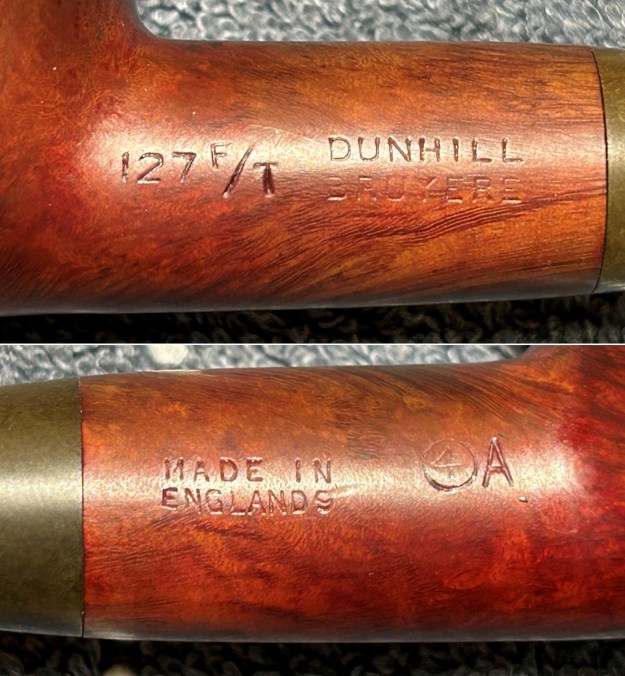
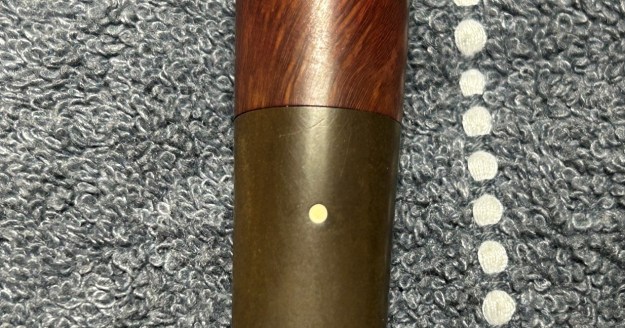
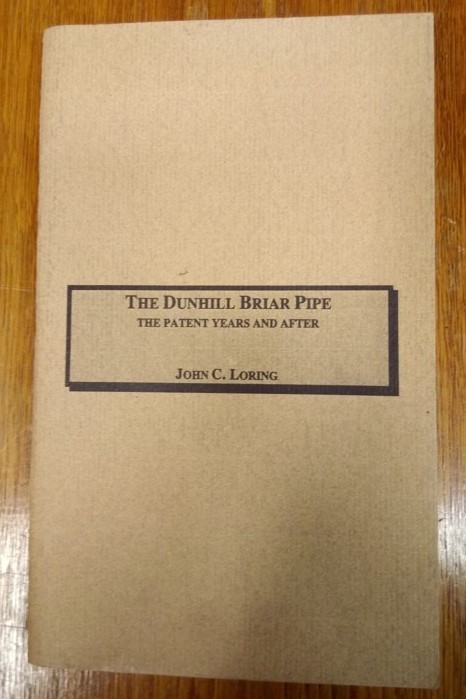
I thought I might take a moment to show you a Dunhill that recently came into my possession and, for the time being, is staying in my possession. This handsome Dunhill Bruyere 127 billiard was smoked quite heavily, demonstrating its status as a favourite of whoever owned it in the past. When I saw it, I really liked the thick shank and well-proportioned billiard bowl. There is some beautiful briar here and, despite the pipe’s portly appearance, it is light and comfortable to hold. I am pleased to report that the markings are very clear and well-cut on the shank. On the left-hand side is the model number, 127. Immediately to the right of this are the letters F/T. Then, to the right of that, is Dunhill [over] Bruyere. On the right side of the shank is Made in [over] England9. To the right of that is an encircled 4, followed by an A. Finally, the stem, of course, has the iconic white spot of Alfred Dunhill’s company. Here is a photo of Alfred, followed by the markings. Let’s have a closer look at what all of these markings mean. The model number 127 is one of the classic Dunhill billiard shapes. The ‘F/T’, as John Loring states in his book The Dunhill Briar Pipe, ‘is a stamping after the shape number indicating that the pipe has a fish tail bit’. The markings Dunhill [over] Bruyere refer (obviously and respectively) to the company that produced the pipe and the finish. The history of Alfred Dunhill, his company, and his family is fascinating. If you are interested in learning more, have a read of this article from Pipedia. The Bruyere finish is described by Pipedia as follows:

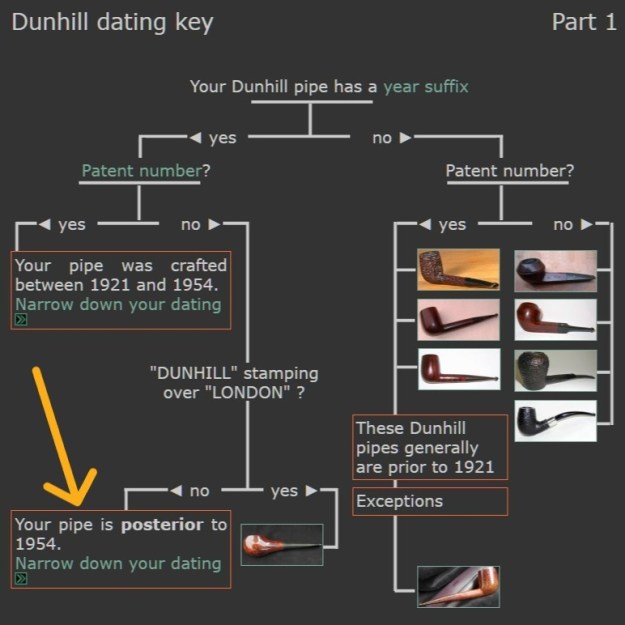
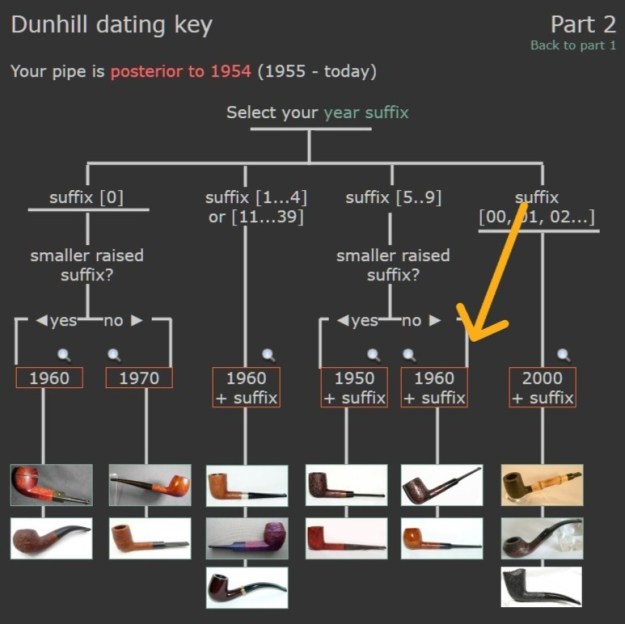
The Bruyère stands as Dunhill’s foundational pipe finish, introduced with the commencement of the company’s pipe manufacturing in 1910. It remained the sole finish available until the introduction of the Shell in 1917. The Bruyère is characterized by its smooth texture and a deep reddish stain, often described as ‘plum-coloured’. This distinctive appearance was achieved through a two-coat staining process, which involved a brown understain followed by the final deep red. The briar selected for this finish after 1920 was the ‘dead root’ of the Tree Heath, (Erica Arborea), sourced primarily from Calabria, Italy. This material was prized for its density and superior smoking characteristics, having been seasoned by nature itself. Positioned as a premium product from the outset, a Bruyère pipe in 1910 was priced at seven shillings and sixpence, more than double the cost of an average pipe of the era.The markings Made in [over] England9 give us an indication of when this pipe was manufactured. The number is the date suffix and provides us the information we need to figure out the date. I already knew the answer, but allow me to walk you through the process. I went to Pipephil’s Dunhill Dating Key (which you can find here) and I have reproduced (below) the two charts they use to date Dunhills. In the first image below, we are asked if our pipe has a date suffix. It does, so we follow the arrow and the chart asks if our pipe has a patent number. It does not, so we proceed. Then we are asked if our pipe reads Dunhill [over] London – again, it does not. As a result, we know that our pipe dates from after 1954.On to the second chart – and it is a bit more straightforward. The chart asks for the digit in our date suffix. In our case, it is 9. Then it asks if the digit in question is raised (in other words, is it a superscript). The answer is definitely ‘no’, so we know that the date of our pipe is the result of simple addition: 1960 + 9 = 1969. Now we know that the year of manufacture is 1969! The pipe is older than I am!Next, the encircled 4 and the capital A. This tells us about the size and finish of the pipe. Pipedia says:

The encircled group number indicates the size of the bowl (1, for example, is the smaller bowl). It is usually followed by a letter corresponding to the pipe finish. This number/letter code has been introduced about 1950 and was discontinued about 1976 replaced by a 4 or 5 digits code. They were reintroduced in March 2012, but only for commemorative versions.

In this case, the 4 indicates a medium/large size bowl and the A refers to Bruyere. As to why the letter A represents Bruyere, we again refer to Loring’s book: ‘When the Root finish was introduced in 1931 the “A” came to mean Bruyere but initially the “A” probably denoted that the pipe was of first quality’.Finally, the white spot. Have you ever wondered about it? Well, very briefly, here is the origin of the famous white spot (from Pipedia):

In 1912, the famous white spot was introduced for very practical concerns. With straight pipes, customers had trouble knowing which way to insert the handmade vulcanite mouthpieces. So Alfred Dunhill ordered white spots to be placed on the upper side of the stem. This very practical solution would become a definitive trademark of Dunhill pipes. The “white spot” soon became known as a symbol of quality.

Now let’s get on with restoring this beautiful pipe!

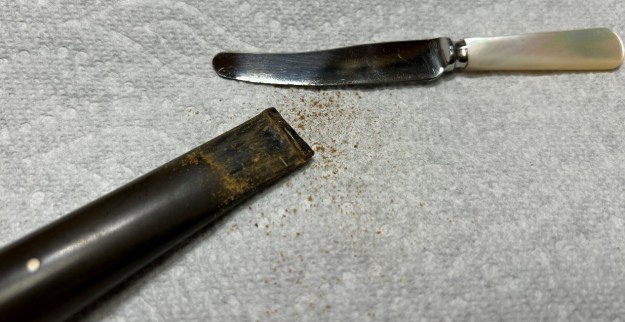
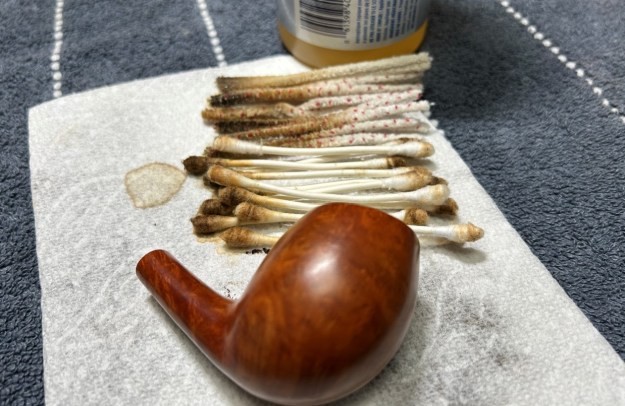
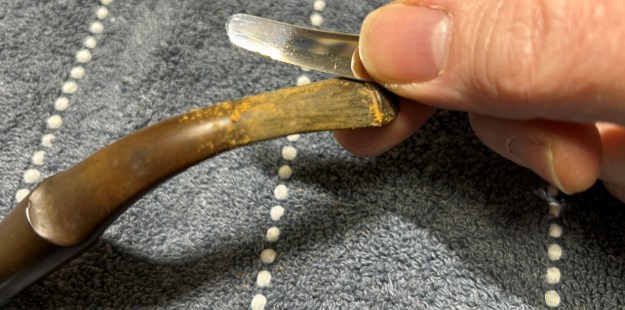
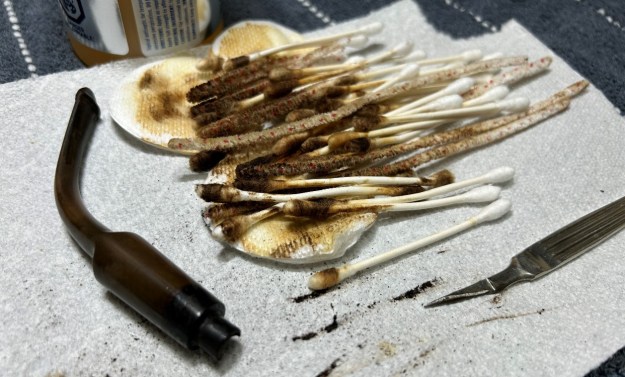
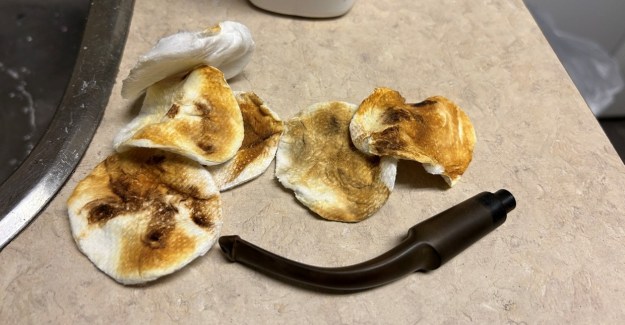
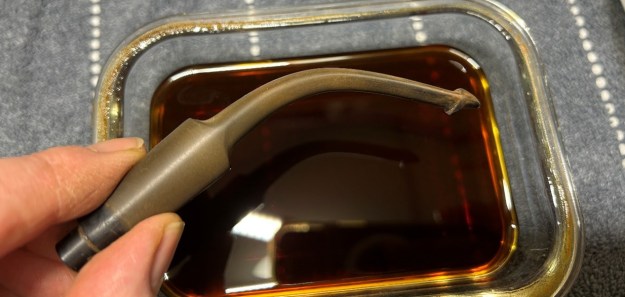
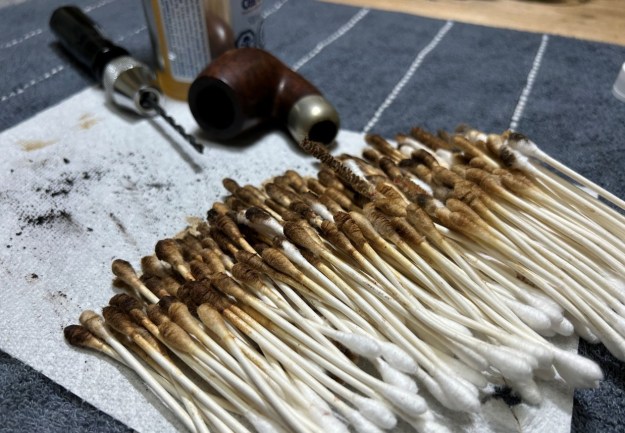
The pipe was, indeed, lovely, but – boy – was it dirty! The rim of the bowl had mounds of lava on it and the interior walls were coated in cake. I’m pleased to say that the exterior briar was in great shape. No problems at all. Meanwhile, the stem was quite oxidized and heavily calcified. It also had some tooth dents, but nothing too serious. I used a disposable lighter and ‘painted’ the stem with its flame. The gentle heat of the flame can cause the dents in the vulcanite of the stem to expand back into shape. This certainly helped, but did not completely correct the situation. The stem’s calcification was quite substantial. I used an old butter knife and gently scraped some of the thicker accretion off. Doing this now helps later in removing the oxidation.I used isopropyl alcohol on a few cotton rounds and wiped down the stem to provide an initial cleaning of filth before moving on to the next steps. The primary cleaning came next. I disinfected the inside of the stem with both pipe cleaners and cotton swabs dipped in lemon-infused 99% isopropyl alcohol. I scrubbed thoroughly to make sure the interior was very clean.The goal of the next step is the removal (or minimization) of oxidation. Going to my sink, I used cream cleanser, cotton rounds, and a toothbrush, and scoured the stem to remove as much surface oxidation as possible. As the photos show, the result was a hideous, ochre-coloured mess – but better off the stem than on it.Once the stem was reasonably clean, I soaked it overnight in some Briarville Stem Oxidation Remover. This solution works to draw oxidation in the stem to the surface of the vulcanite. This is a major aid and an important step in ensuring a clean stem. The following day, I drew out the stem from its bath and scrubbed the lingering fluid with a toothbrush.As the stem was now clean and dry, I set about fixing the marks and dents in the vulcanite. This was done by filling those divots with black cyanoacrylate adhesive, impregnated with carbon and rubber. I left this to cure and moved on.

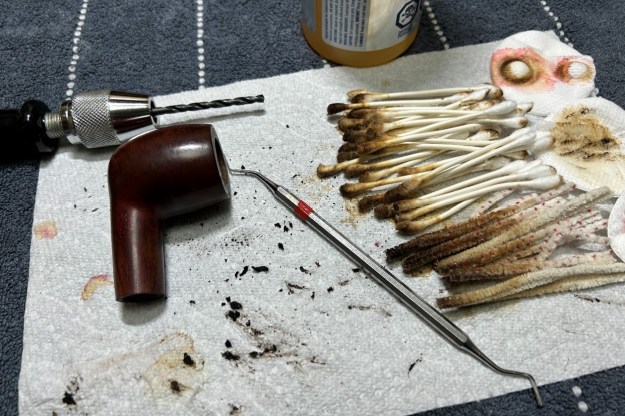
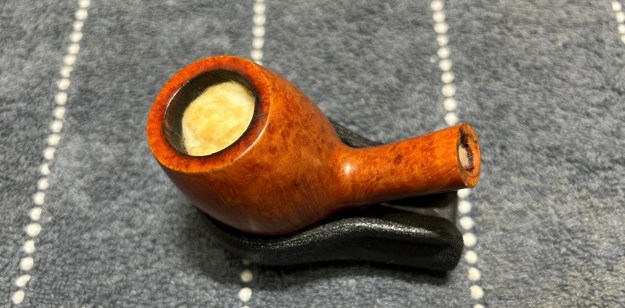
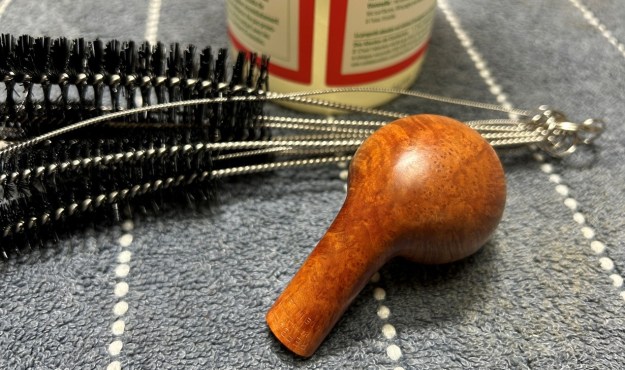
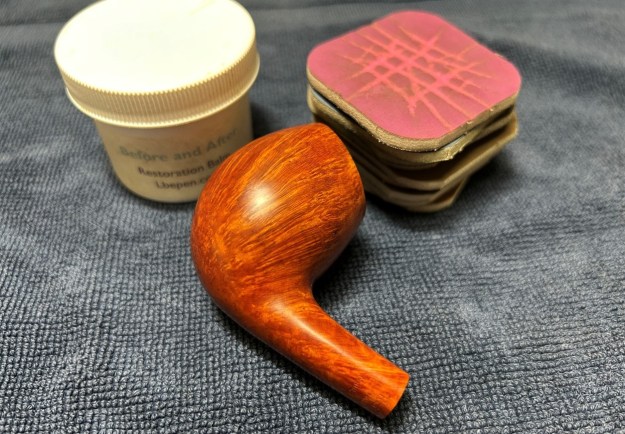
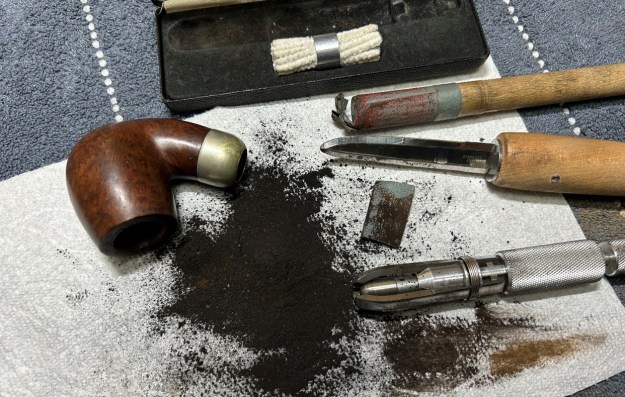
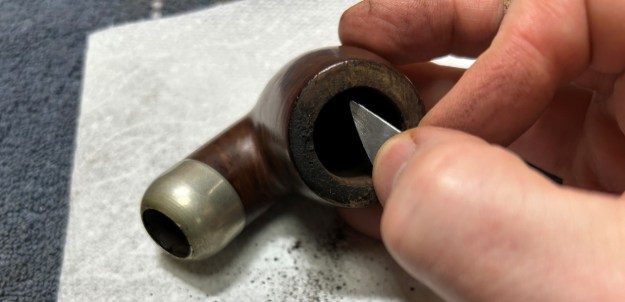
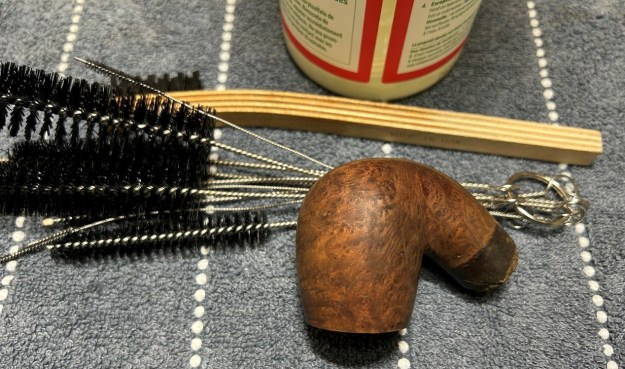
The penultimate step for the stem is sanding. First, with my set of needle files, I reduced the bulk of the cyanoacrylate repairs. I removed the excess adhesive as near to the surface as possible, without cutting into the vulcanite. Following that, I used all nine of the micromesh sanding pads (1,500 through 12,000 grit) to sand out flaws, even out the vulcanite, and provide gentle polishing of the finished surface. I also applied pipe-stem oil while using the last five micromesh pads. There was a wonderful, deep black shine to the stem when I was done.As the stem was (nearly) complete, I moved on to the stummel. The first step was to remove the lava on the rim. For this, I took a piece of machine steel and gently scraped the lava away. The metal’s edge is sharp enough to remove what I need, but not so sharp that it damages the rim. This work revealed some minor wear and a little burn on the rim. Nothing serious – and all part of this pipe’s history.My next step was to ream out the bowl – that is to say, remove all the cake inside the bowl. This accomplished a couple of things. First (and most obviously), it cleaned the bowl and provided a refurbished chamber for future smoking. Second, when the old cake was removed, I could inspect the interior walls of the bowl and determine if there was damage or not. I used a reamer, a pipe knife, and a piece of sandpaper taped to a wooden dowel. Collectively, these ensured that all the debris was removed. I was pleased to see that the walls were in good condition, despite the heavy smoking.The inside of the stummel needed to be cleaned thoroughly. However, this pipe was so clogged, that I first needed to open the horribly occluded airway. So, I took a long drill bit, held in a drill chuck, and hand-cranked it to dislodge the dreadful detritus inside. Hand cranking is essential because it provides a precision and caution that a power drill cannot provide. Similar to the stem, I then cleaned the stummel with both pipe cleaners and cotton swabs dipped in lemon-infused 99% isopropyl alcohol. With a pipe this dirty, it took quite a while and much cotton to clean.I then decided to ‘de-ghost’ the pipe – that is to say, exorcize the remaining filth from the briar. I filled the bowl and the shank with cotton balls, then saturated them with 99% isopropyl alcohol. I let the stummel sit overnight. This caused the remaining oils, tars and smells to leach out into the cotton.To tidy up the briar, I wiped down the outside, using a solution of a pH-neutral detergent and some distilled water, with cotton rounds. This did a good job of cleaning any latent dirt on the surface of the briar. The last step of the cleaning process was to scour the inside of the stummel with the same mild detergent and tube brushes. This was the culmination of a lot of hard work in getting the pipe clean.I used all nine micromesh pads (1,500 through 12,000 grit) to sand the outside of the stummel and finish it off. This sanding minimizes flaws in the briar and provides a beautiful smoothness to the wood. I rubbed some LBE Before & After Restoration Balm into the briar and let it sit for 30 minutes or so. The balm moisturizes the wood and gives a beautiful depth to the briar. I then buffed the stummel with a microfibre cloth. For the final step, I took the pipe to my bench polisher and carefully buffed it – first with a blue diamond compound, then with three coats of carnauba wax. This procedure makes the pipe look its best – the stummel sings and the stem glows.

All done! This Dunhill Bruyere 127 billiard looks fantastic again and I am delighted with the results. This is one pipe that I am going to be adding to my collection – at least for now. The approximate dimensions of the pipe are as follows: length 5½ in. (138 mm); height 1⅞ in. (48 mm); bowl diameter 1½ in. (39 mm); chamber diameter ¾ in. (20 mm). The weight of the pipe is 1½ oz. (43 g). I hope you enjoyed reading the story of this pipe’s restoration as much as I enjoyed restoring it. If you are interested in more of my work, please follow me here on Steve’s website or send me an email at kenneth@knightsofthepipe.com. Thank you very much for reading and, as always, I welcome and encourage your comments.

A Sound Repair for a Suave Nørding Meerschaum Pot


by Kenneth Lieblich

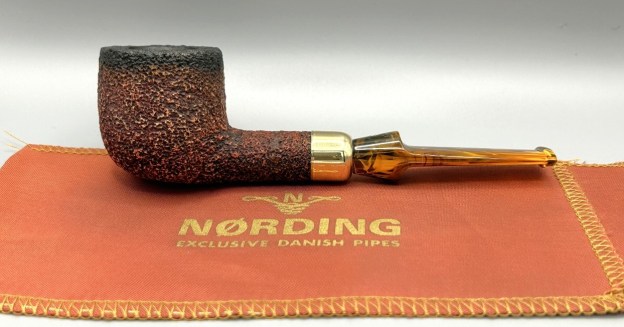
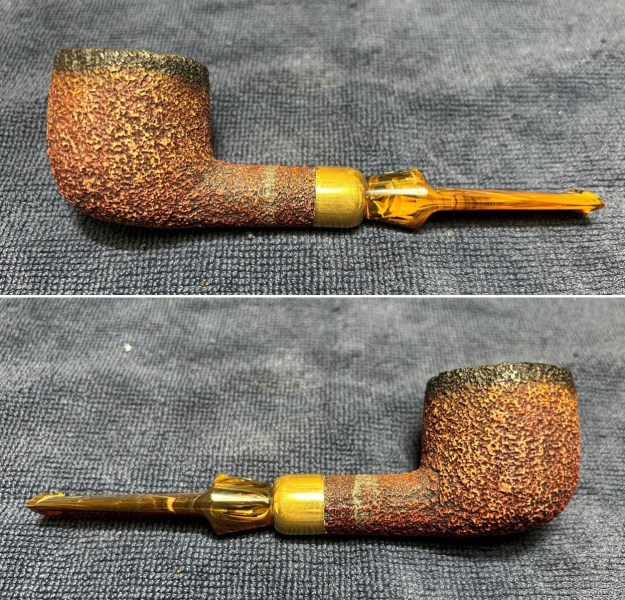
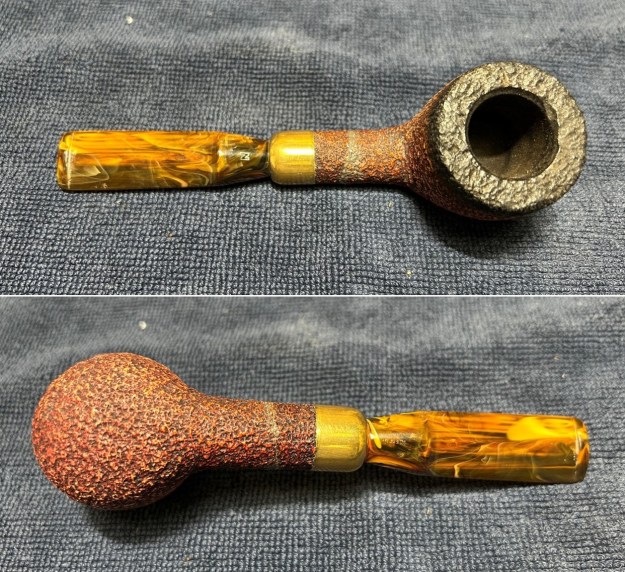
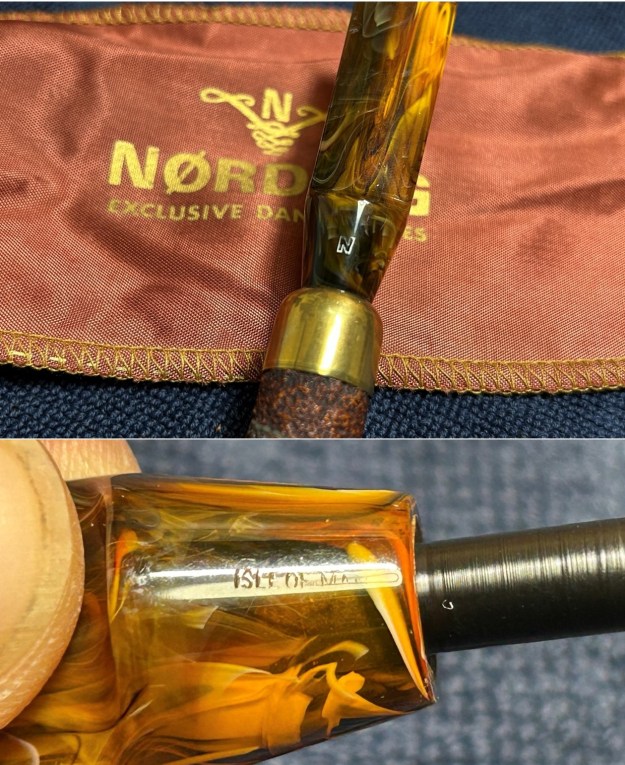
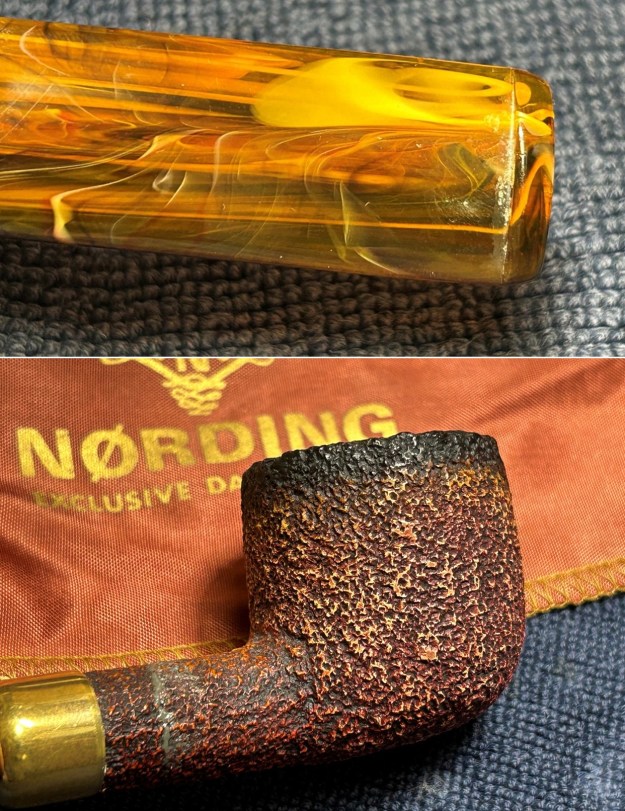
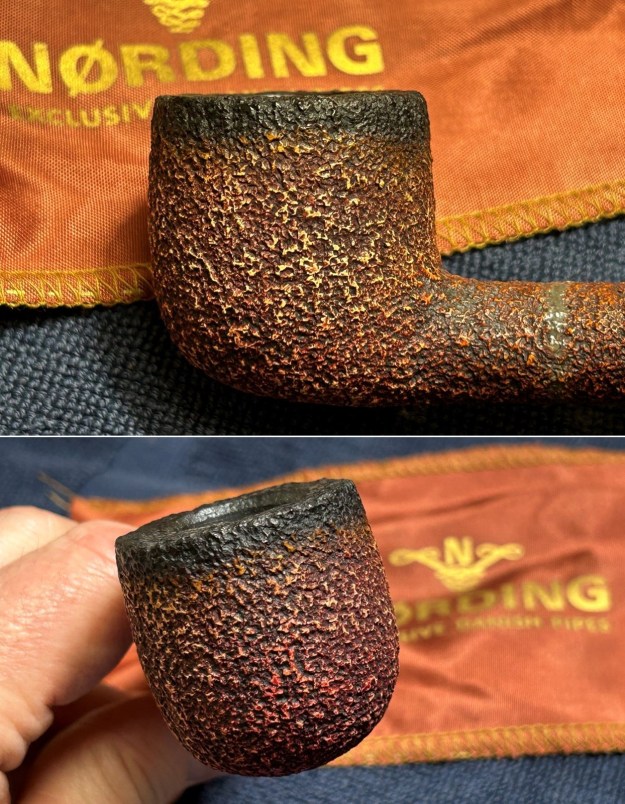
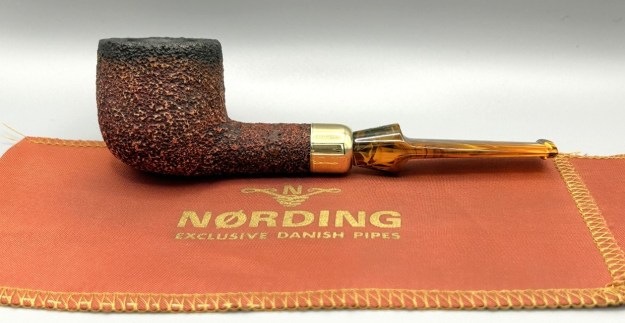
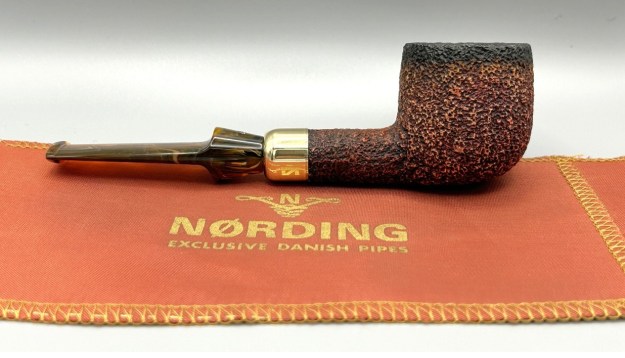
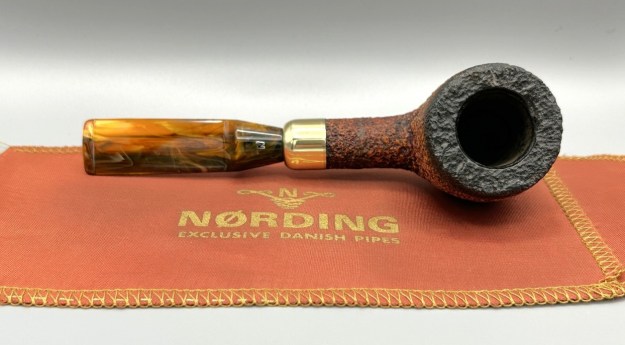
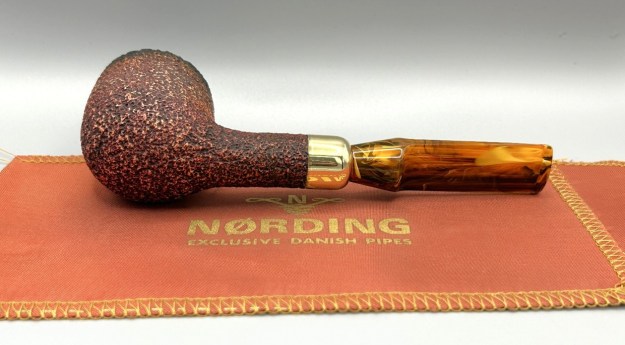
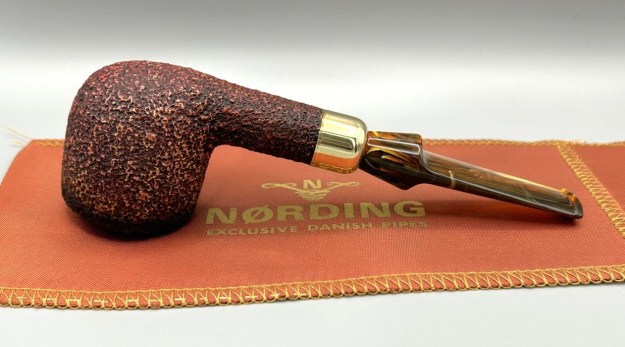
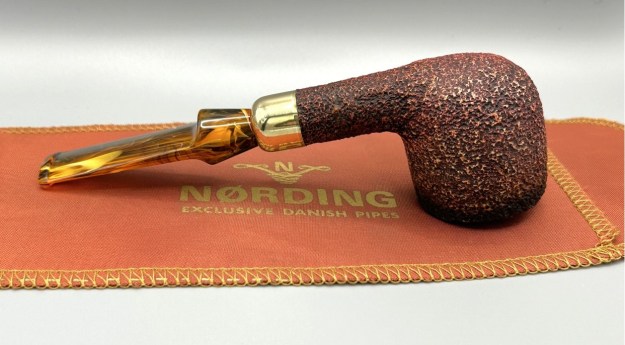
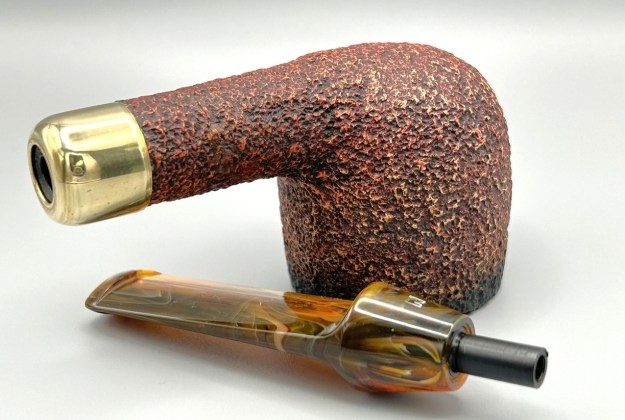
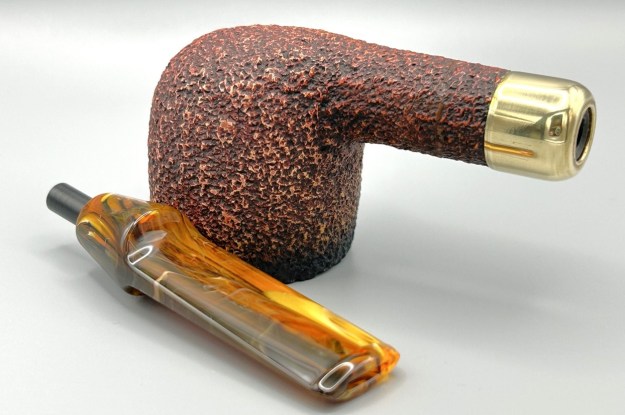
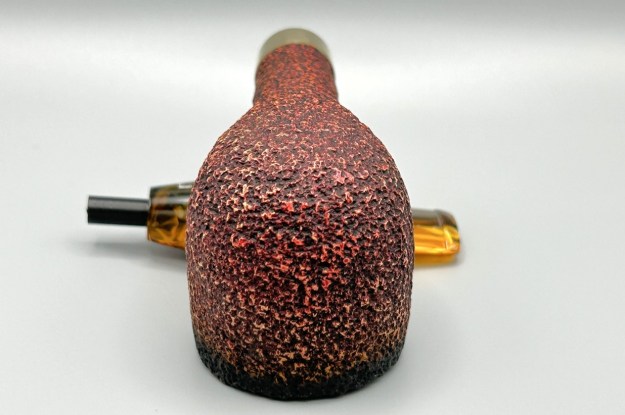
I don’t know about you, but this pipe immediately reminded me of similar Peterson meerschaum pipes. It bears a certain resemblance, and no wonder – it was made in the same place as the Pete meers. This Nørding is very attractive, both in its construction and in its aesthetics. As you can see, this Nørding is a pot shape, with a metal cap over the shank and a lovely, variegated acrylic stem. It also comes with its own original pipe sock – a very fine detail. Before the pipe came into my possession, it had been repaired – very well, I must say – and I will talk more about the repair below. For the time being, it was my job to clean it up, beautify it, and send it back out into the world. Please take the time to see how this one turned out: I think you will be impressed. The pipe itself has few markings, but the pipe sock certainly helps with identification! Anyway, the top of the stem has the letter N of the Nørding pipe works. This mark is slightly faded, but still completely readable. Underneath the stem, we see the words, Isle of Man. This tells us where the pipe was made.Erik Nørding is well-known in the pipe world and his pipes are highly regarded. You can visit his website here to view some of what he has to offer. The site offers a bit of background information, including the fact that he is 87 years old in 2026! Pipedia has a long entry on him, and I encourage you to read it here. These are the first few lines:

Erik Nørding was born in Copenhagen, Denmark. Originally educated in engineering. Pipe carving began as a hobby, but as time went by, he became more interested in pipe making as a profession. During the last 40 years Erik Nørding has built his own business, which today produces approximately 50.000 pipes a year, 90% of which are for the export market. From pipe design innovations to knife making to custom machinery and barbecue cookery, Erik Nørding’s inventiveness keeps expanding. A blacksmith and engineer, Nørding knows his way around pipe making machinery. Strangely, it was not his love for woodworking that propelled Erik Nørding into the pipe making field — it was his terrific facility with machines.

The information on Nørding over at Pipephil is scant, but it does confirm what I indicated earlier: his meerschaum pipes were made on the Isle of Man. Here is some information from Pipedia about meerschaum production on the Isle of Man:

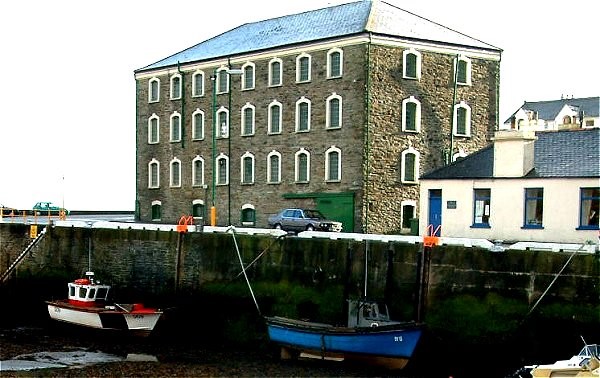
Laxey Pipes Ltd. resided in a historical 19th century four-storey Man stone building at The Quay, Old Laxey, Isle of Man, which thankfully has been preserved.

The company specialised in the production of meerschaum pipes using the Meerschaum mined by the Tanganyika Meerschaum Corporation in the Amboseli basin in Tanganyika (since 1964 part of the United Republic of Tanzania).

Please note: you may often find names like “Manx Pipes Ltd.”, “Man Pipe Co.” and others more, but there is no indication of another Isle of Man pipe producer other than Laxey Pipe Ltd. at any time!

Laxey Pipes Ltd. marketed own brands like “Manxpipe”, “Manxman”, “Manxland” e.c. Names like “John Bull”, “White Knight” (unwaxed), “Domino” (black, or lined) indicated some shapes / colours of Laxey’s own series. The stems either showed the astronomical sign for “male” or “man” (circle + arrow), or the crest of the Isle of Man, the 3-legged X in a circle. Manxpipes and Laxey’s other brands were available through pipe retailers in general, but also were sold (mainly) to tourists through their own shop in Laxey.

Furthermore Laxey Pipes Ltd. manufactured the meer bowls for Peterson, Barling, Nørding and others from the later 1960’s until 2001. Man Pipe e.g. was a brand distributed by Comoy’s. The bowls usually showed no nomenclature indicating the orderer. “Genuine Block Meerschaum” was engraved frequently. Often, just the stems were different, while bowls were the same.

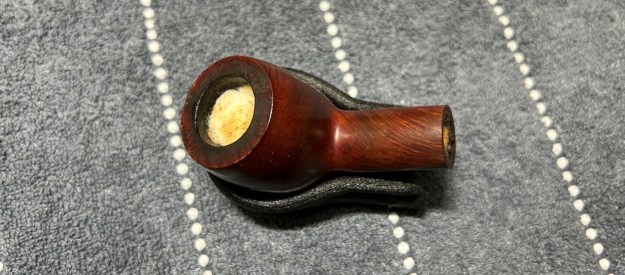
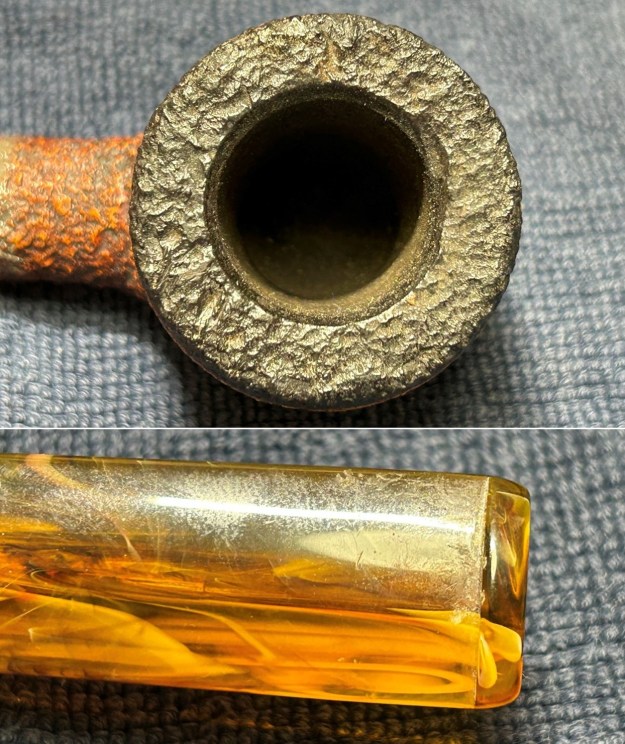
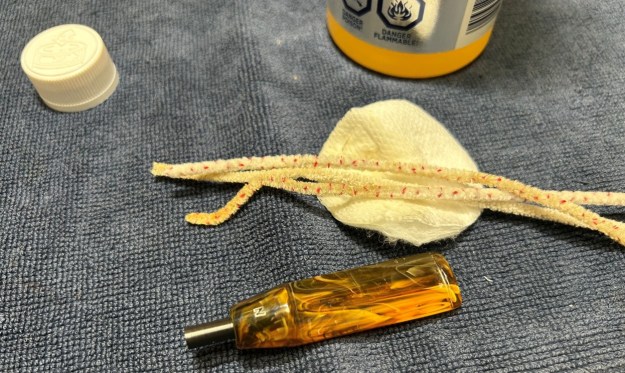
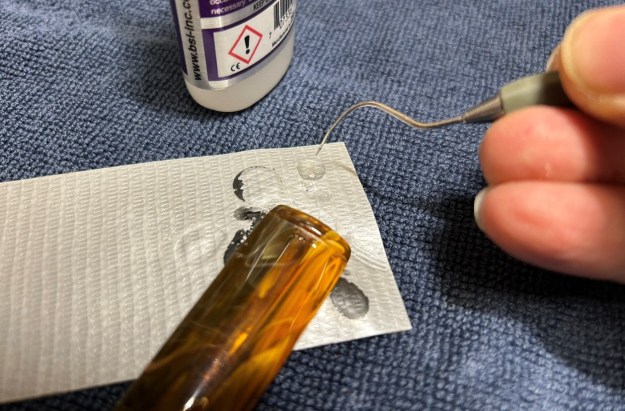
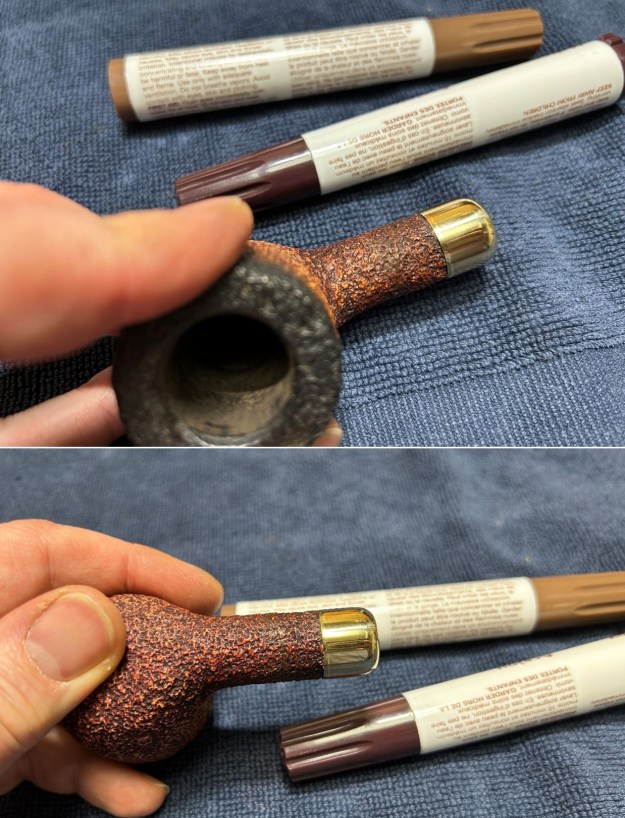
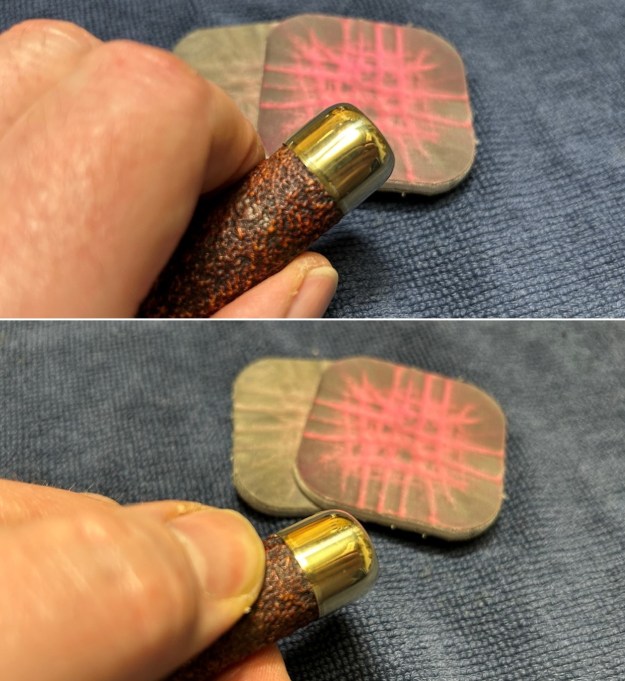
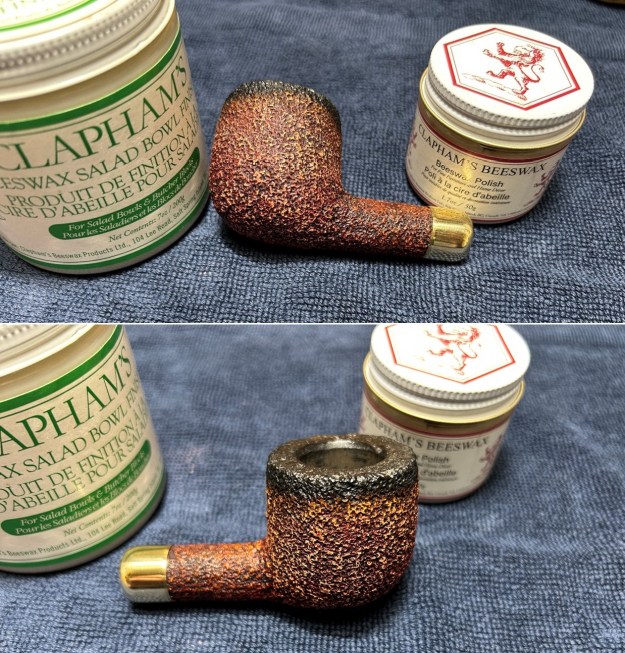
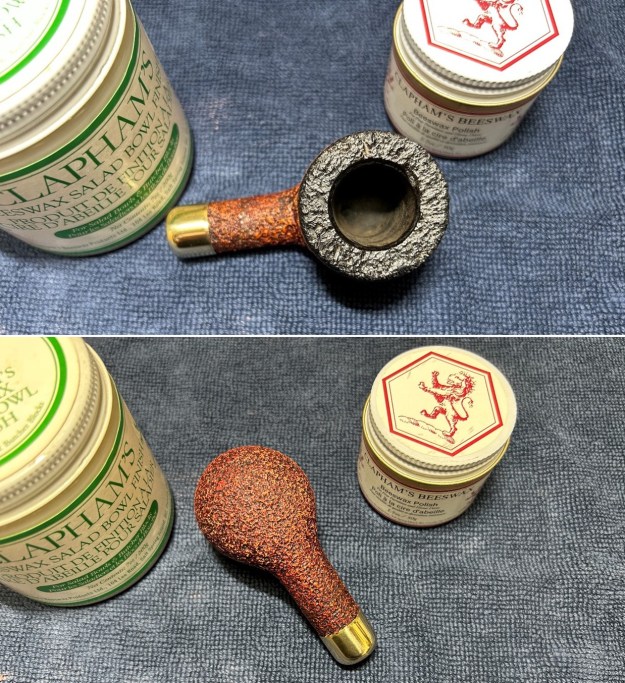
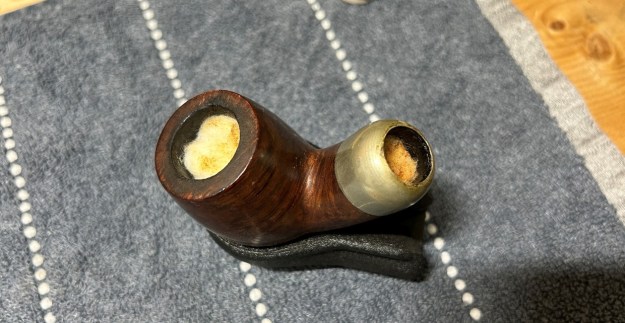
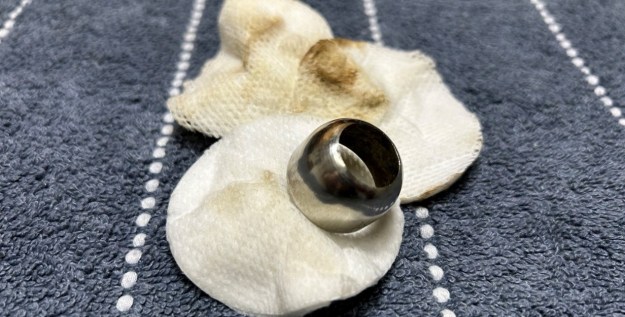
Supply of meerschaum from East Africa run out (Kenya / Tanzania exhausted, Somalia inaccessible), and thus the last Laxey meers were supplied to trade in May, 2001. Laxey Pipes Ltd. tried to survive continuing with briar pipes – mainly in the Danish style -, but to no success. It closed down business in July, 2002.So, let’s take a closer look at this very handsome pipe. The first thing to note is that this pipe’s shank was cracked at some point in the past. I don’t know any details of this incident or of who repaired the pipe. However, I performed a detailed and thorough inspection of the repair, and it is excellent. It was repaired with an epoxy and, although there was more squeeze-out than I would have left, I was quite impressed with the quality of the work. I have no qualms about it at all. Other than that, the bowl has a bit of cake inside, but not much. It is in lovely condition. Same with the stem, which has only minor tooth marks. Let’s get this pipe back to its best. I used isopropyl alcohol on a few cotton rounds and wiped down the stem to provide an initial cleaning before moving on to the next steps. The primary cleaning came next. I disinfected the inside of the stem with both pipe cleaners and cotton swabs dipped in lemon-infused 99% isopropyl alcohol. I scrubbed thoroughly to make sure the interior was very clean. Fortunately, it wasn’t very dirty at all.As the stem was made of acrylic, no deoxidation procedure was needed. Instead, I went straight into fixing the marks in the acrylic. This was done by filling those divots with clear cyanoacrylate adhesive. I left this to cure and moved on.The penultimate step for the stem is sanding. First, with my set of needle files, I reduced the bulk of the cyanoacrylate repairs. I removed the excess adhesive as near to the surface as possible, without cutting into the acrylic. Following that, I used all nine of the micromesh sanding pads (1,500 through 12,000 grit) to sand out flaws, even out the acrylic, and provide gentle polishing of the finished surface. I also applied pipe-stem oil while using the last five micromesh pads. There was a wonderful shine to the stem when I was done.As the stem was (nearly) complete, I moved on to the stummel. The first step was to ream out the bowl – that is to say, remove all the cake inside the bowl. This accomplished a couple of things. First (and most obviously), it cleaned the bowl and provided a refurbished chamber for future smoking. Second, when the old cake was removed, I could inspect the interior walls of the bowl and determine if there was damage or not. Normally, at this point, I would use a reamer to remove the built-up cake inside the bowl, but meerschaum has the potential to crack in those circumstances. Instead, I used a pipe knife, and a piece of sandpaper taped to a wooden dowel. Collectively, these ensured that all the debris was removed. There wasn’t too much.Similar to the stem, I then cleaned the stummel with both pipe cleaners and cotton swabs dipped in lemon-infused 99% isopropyl alcohol. I did it carefully because too much soaking can cause meerschaum to soften. In this case, I moved quickly, nothing softened, and everything turned out well. I also took a brush to the rusticated surface of the bowl. There were a few bits and pieces of debris and my brushing removed them. It looked much better.It was at this point that I used all my nous (as the Brits would say) to improve the look of the repair. I stared a lot; I pondered a lot; I harrumphed a lot. Eventually, I used a combination of some of my furniture pens (which is simply dye in pen form) to match the colours. I was very pleased with the results – from some angles, the repair is essentially invisible.I took some very fine micromesh pads and buffed up the metal cap on the shank. I also polished it with my jeweller’s cloth and made it shine.I then applied some Clapham’s Beeswax Finishes to the meerschaum and let it sit for about 30 minutes. As meerschaum pipes don’t do well on a bench-polisher, I then buffed it with a microfibre cloth. I repeated this process and left it – it sure was pretty! For the final step, I took the stem to my bench polisher and carefully buffed it with a blue diamond compound.

All done! This Nørding Meerschaum pot looks fantastic again and is ready to be enjoyed by its next owner. I am pleased to announce that this pipe is for sale! If you are interested in acquiring it for your collection, please have a look in the ‘Danish’ section of the store here on Steve’s website. You can also email me directly at kenneth@knightsofthepipe.com. The approximate dimensions of the pipe are as follows: length 5⅞ in. (149 mm); height 1¾ in. (45 mm); bowl diameter 1⅝ in. (41 mm); chamber diameter ⅞ in. (85 mm). The weight of the pipe is 1¾ oz. (53 g). I hope you enjoyed reading the story of this pipe’s restoration as much as I enjoyed restoring it. If you are interested in more of my work, please follow me here on Steve’s website or send me an email. Thank you very much for reading and, as always, I welcome and encourage your comments.

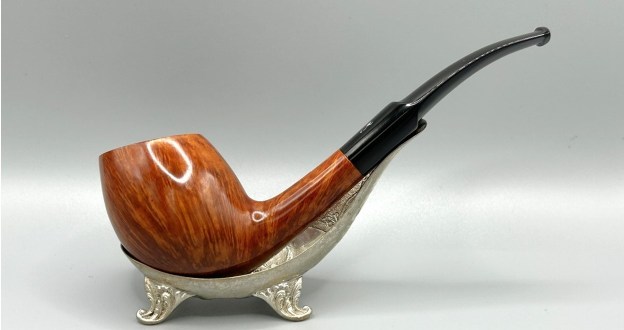
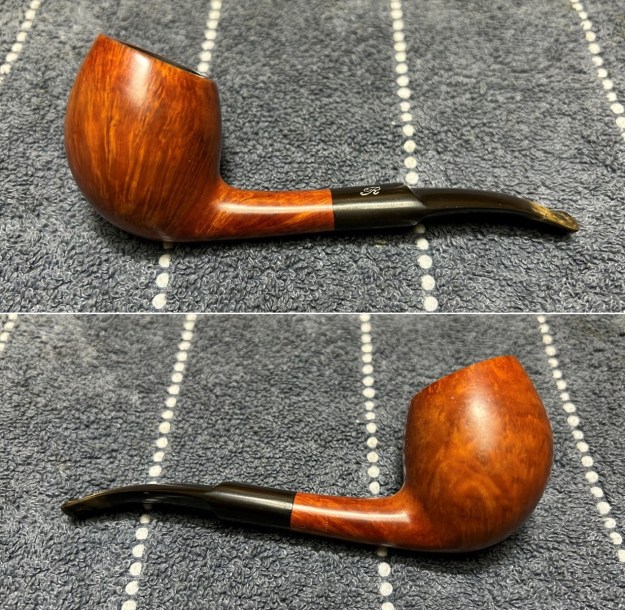
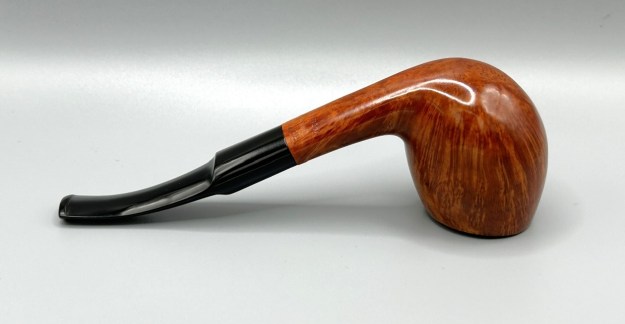
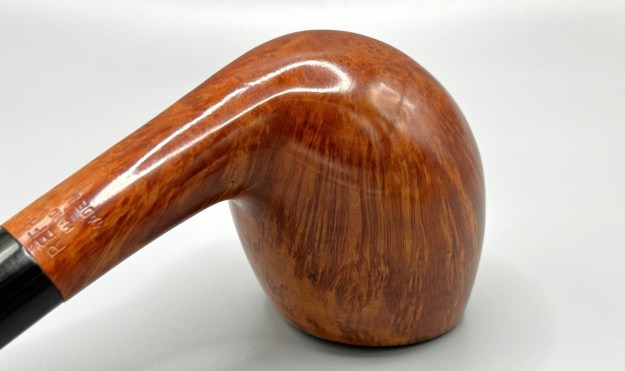
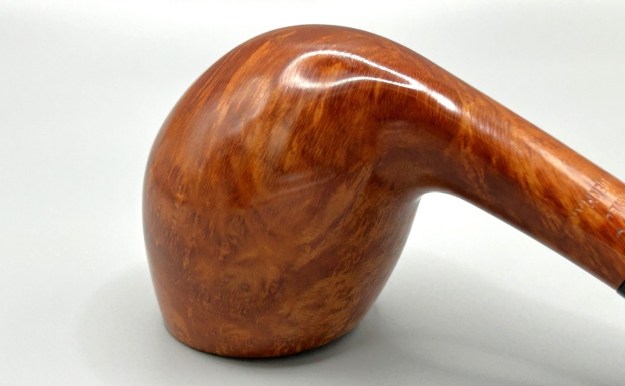
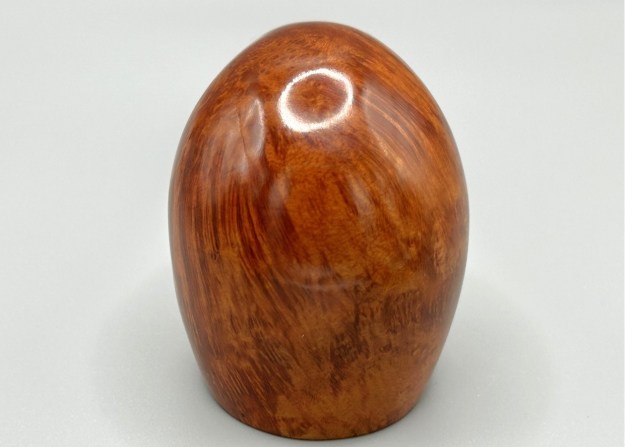
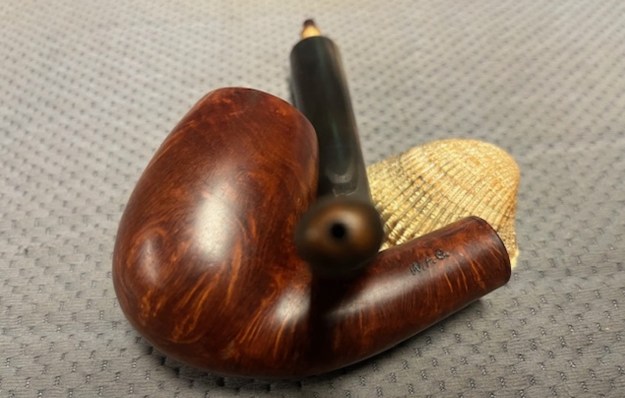
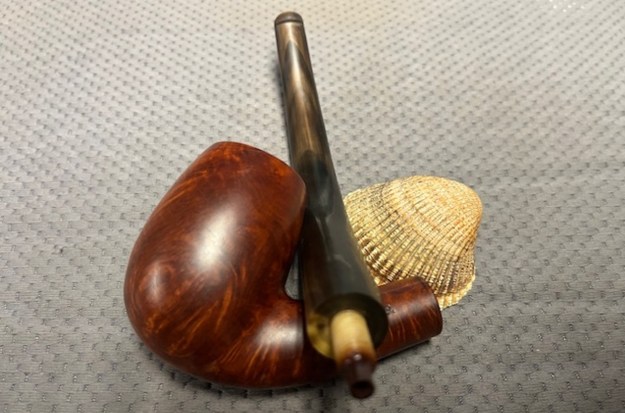
Cleaning Up a Beautiful Refbjerg Hand-Carved Bent Egg


by Kenneth Lieblich

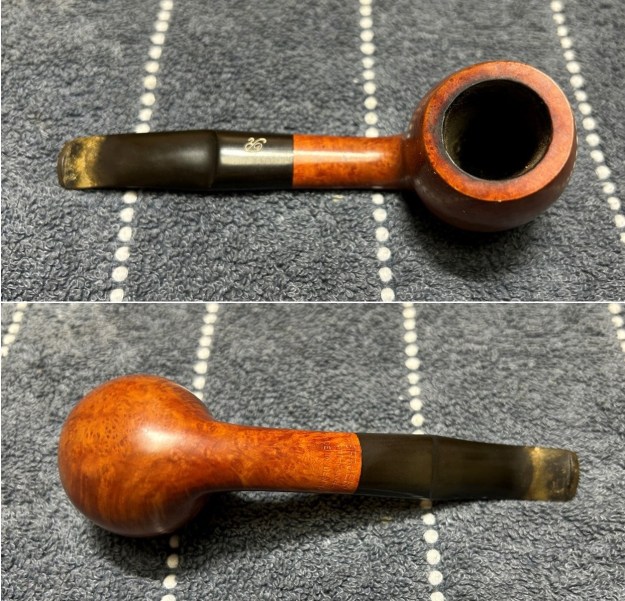
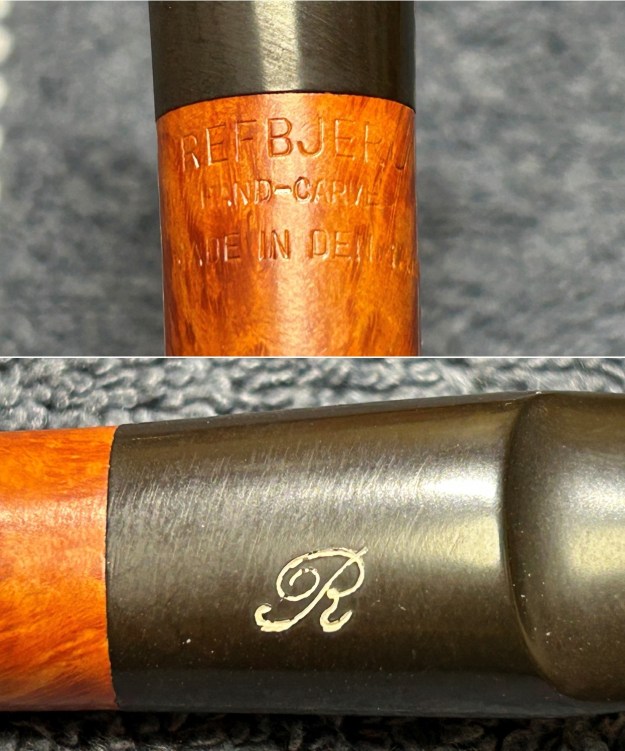
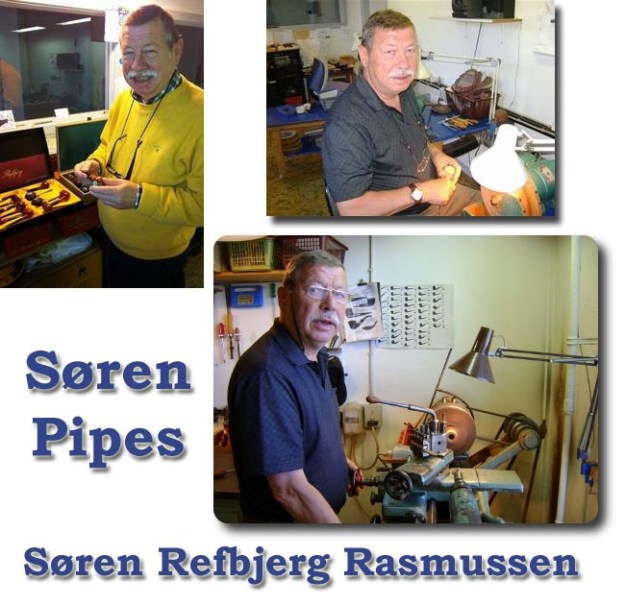
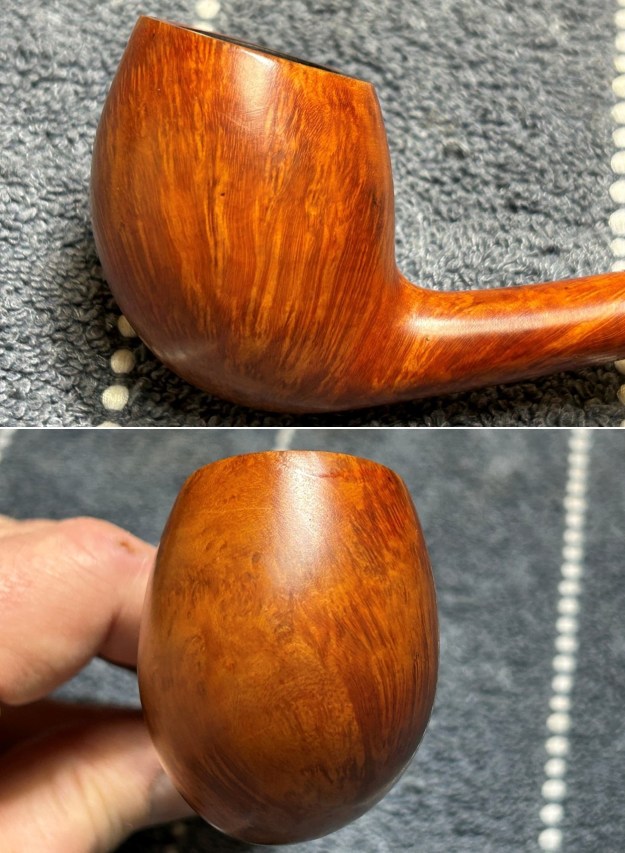
The proceeds of a recent auction lot included this lovely Danish pipe. It really caught my eye and I’m sure it will catch yours too. This is a sort of freehand, hand-carved, bent egg by master carver, Søren Refbjerg Rasmussen. There is some wonderful grain in this pipe and it feels so good to hold. It is light and comfortable. It promises to be a great smoker. On the underside of the shank, we read Refbjerg [over] Hand-Carved [over] Made in Denmark. On the stem, there is a cursive letter R, representing his name, Refbjerg.Pipedia has an article on Mr Rasmussen and I quote a part of it here:

Søren Refbjerg Rasmussen founded a company in 1969, which employed an average of 8 – 12 craftsmen in the 1970’s. The semi-freehands they produced were traded under his prename Søren. Rasmussen himself finished only the very best pipes. So his way of pipemaking closely resembled the ways of Preben Holm, Karl Erik Ottendahl or Erik Nørding. Altogether more than 1,000,000 pipes were sold. Today he works alone as Refbjerg and manufactures only a small number of pipes in his workshop in DK-2860 Søborg, which are considered to be tremendously precisely executed. The dimensions mostly range from small to medium sized, corresponding to his personal preferences. The shapes adhere to the classical models, but often he gives them a touch of Danish flair. Refbjerg accepts minor faults but never uses any fillings. “Straight Grain” is the only grading, used for his very best pieces. He likes stem decorations made of exotic woods or metal rings.Meanwhile, over at Pipephil, there is the following entry:And, finally, scandinavianpipes.com includes these details about him:

Søren Refbjerg was born 1943 in the city of Søborg where he still lives and has been a full time pipe-maker since 1969. In the 70´s Søren had his own small factory with 10 employees producing a huge number of pipes mainly for the US market. Søren has indeed been one of the most productive Danish pipe-makers and for many years he also produced pipes for W.Ø. Larsen For the last decades Søren has been making pipes by himself, always using briar from Corsica. Søren derive much relaxation from being on the coast while angling for Sea Trout with his own hand-tied flies and find this environment to be a great inspiration for making pipes. Many times Søren say to himself: “Inspired by nature, made by me”.

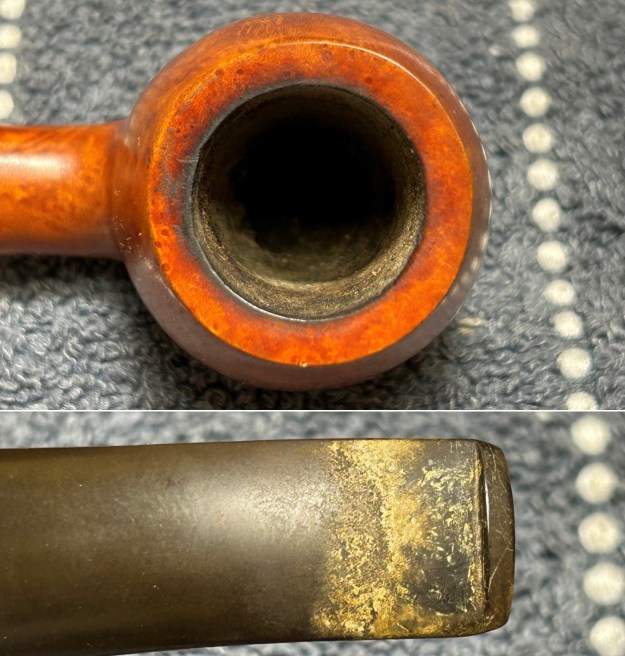
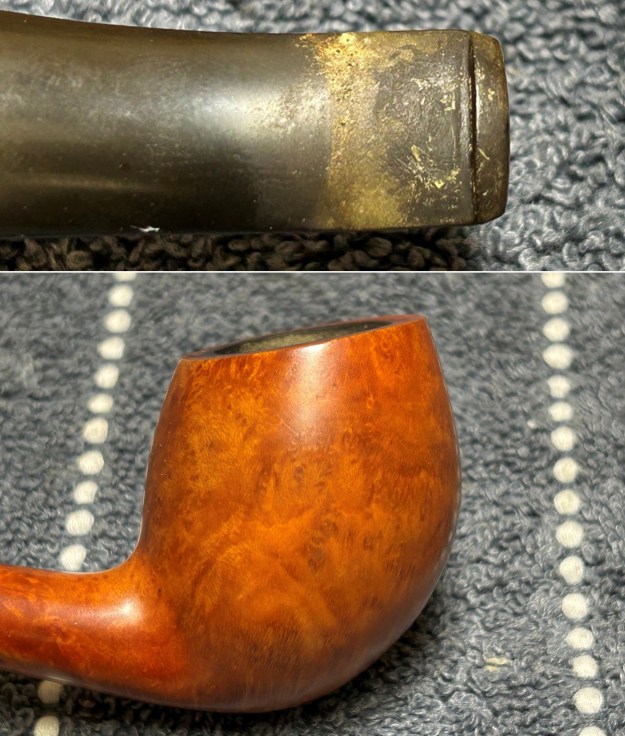
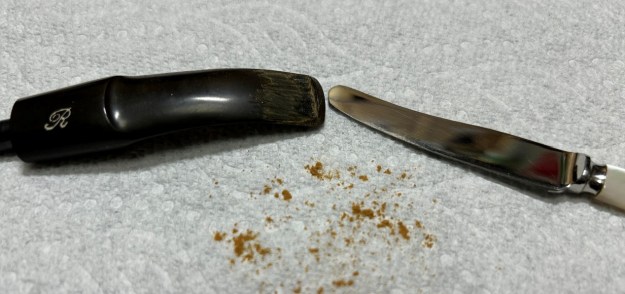
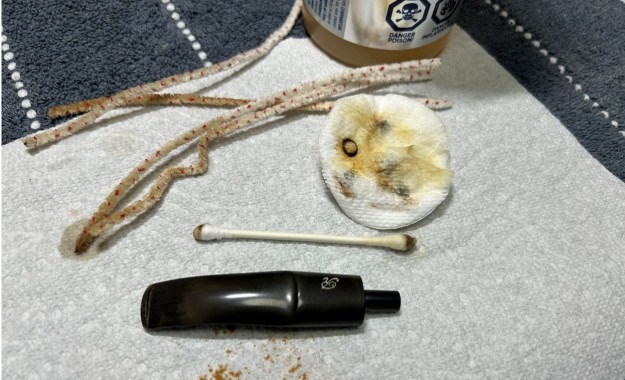
He died in 2021. Let’s take a closer look at the pipe. It is in very nice shape. The stem is thoroughly calcified (and has a bit of oxidation), but isn’t damaged. Its stylized R is a bit thin/faded, but there are no notable tooth marks. The stummel is lovely! Wonderful condition, with only slight marks to the rim. The stem’s calcification was quite substantial. I used an old butter knife and gently scraped some of the thicker accretion off. Doing this now helps later in removing the oxidation.I used isopropyl alcohol on a few cotton rounds and wiped down the stem to provide an initial cleaning of filth before moving on to the next steps. The primary cleaning came next. I disinfected the inside of the stem with both pipe cleaners and cotton swabs dipped in lemon-infused 99% isopropyl alcohol. I scrubbed thoroughly to make sure the interior was very clean.The goal of the next step is the removal (or minimization) of oxidation. Going to my sink, I used cream cleanser, cotton rounds, and a toothbrush, and scoured the stem to remove as much surface oxidation as possible. As the photos show, the result was a hideous, ochre-coloured mess – but better off the stem than on it.Once the stem was reasonably clean, I soaked it overnight in some Briarville Stem Oxidation Remover. This solution works to draw oxidation in the stem to the surface of the vulcanite. This is a major aid and an important step in ensuring a clean stem. The following day, I drew out the stem from its bath and scrubbed the lingering fluid with a toothbrush.After this, I painted the logo on the stem with some enamel nail polish. I restored the logo carefully and let it fully set before proceeding. This didn’t work ideally, but came out fairly well.

The penultimate step for the stem is sanding. First, with my set of needle files, I reduced the bulk of the cyanoacrylate repairs. I removed the excess adhesive as near to the surface as possible, without cutting into the vulcanite. Following that, I used all nine of the micromesh sanding pads (1,500 through 12,000 grit) to sand out flaws, even out the vulcanite, and provide gentle polishing of the finished surface. I also applied pipe-stem oil while using the last five micromesh pads. There was a wonderful, deep black shine to the stem when I was done. As the stem was (nearly) complete, I moved on to the stummel. The first step was to ream out the bowl – that is to say, remove all the cake inside the bowl. This accomplished a couple of things. First (and most obviously), it cleaned the bowl and provided a refurbished chamber for future smoking. Second, when the old cake was removed, I could inspect the interior walls of the bowl and determine if there was damage or not. I used a pipe knife and a piece of sandpaper taped to a wooden dowel. Collectively, these ensured that all the debris was removed.Similar to the stem, I then cleaned the stummel with both pipe cleaners and cotton swabs dipped in lemon-infused 99% isopropyl alcohol.I then decided to ‘de-ghost’ the pipe – that is to say, exorcize the remaining filth from the briar. I filled the bowl and the shank with cotton balls, then saturated them with 99% isopropyl alcohol. I let the stummel sit overnight. This caused the remaining oils, tars and smells to leach out into the cotton.To tidy up the briar, I wiped down the outside, using a solution of a pH-neutral detergent and some distilled water, with cotton rounds. I also used a toothbrush in the crevices. This did a good job of cleaning any latent dirt on the surface of the briar. The last step of the cleaning process was to scour the inside of the stummel with the same mild detergent and tube brushes. This was the culmination of a lot of hard work in getting the pipe clean.I used all nine micromesh pads (1,500 through 12,000 grit) to sand the outside of the stummel and finish it off. This sanding minimizes flaws in the briar and provides a beautiful smoothness to the wood. I rubbed some LBE Before & After Restoration Balm into the briar and let it sit for 30 minutes or so. The balm moisturizes the wood and gives a beautiful depth to the briar. I then buffed the stummel with a microfibre cloth. For the final step, I took the pipe to my bench polisher and carefully buffed it – first with a blue diamond compound, then with three coats of carnauba wax. This procedure makes the pipe look its best – the stummel sings and the stem glows.This Refbjerg Hand-Carved Bent Egg looks fantastic again and is ready to be enjoyed by its next owner. I am pleased to announce that this pipe is for sale! If you are interested in acquiring it for your collection, please have a look in the ‘Danish’ section of the store here on Steve’s website. You can also email me directly at kenneth@knightsofthepipe.com. The approximate dimensions of the pipe are as follows: length 5½ in. (139 mm); height 1⅞ in. (46 mm); bowl diameter 1⅔ in. (41 mm); chamber diameter ⅞ in. (22 mm). The weight of the pipe is 1¼ oz. (37 g). I hope you enjoyed reading the story of this pipe’s restoration as much as I enjoyed restoring it. If you are interested in more of my work, please follow me here on Steve’s website or send me an email. Thank you very much for reading and, as always, I welcome and encourage your comments.

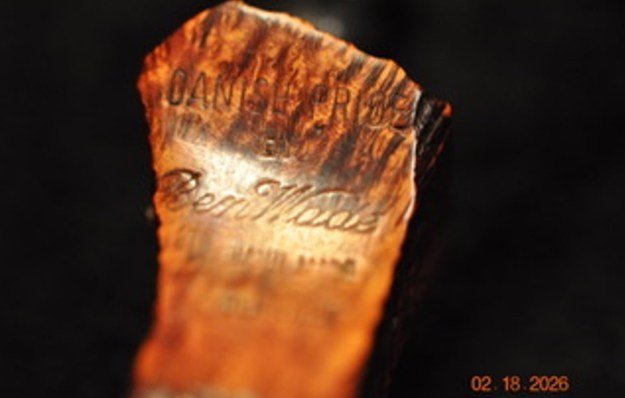
Restoring a Danish Pride by Ben Wade Hand Made in Denmark Freehand


by Steve Laug

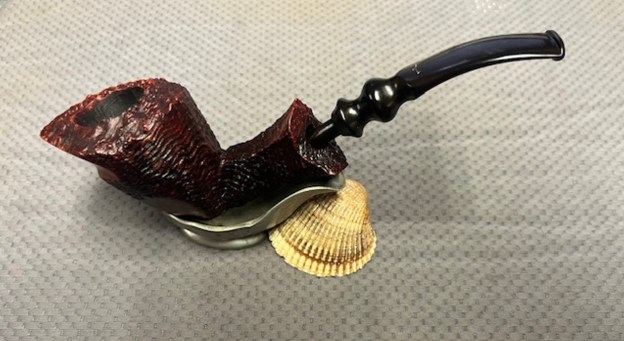
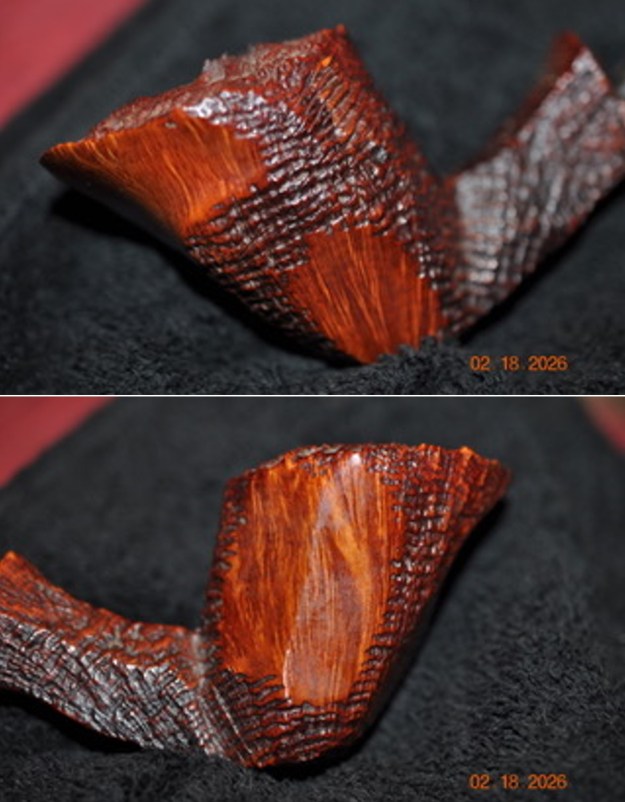
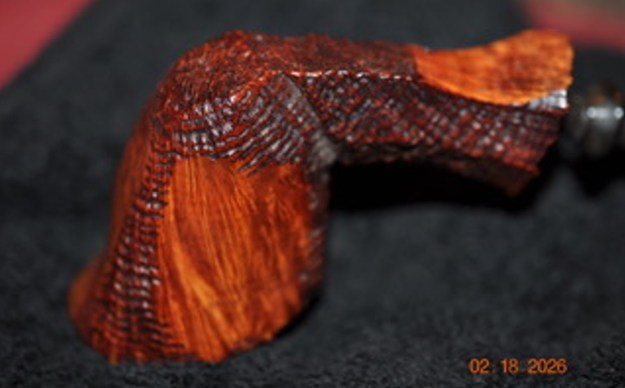
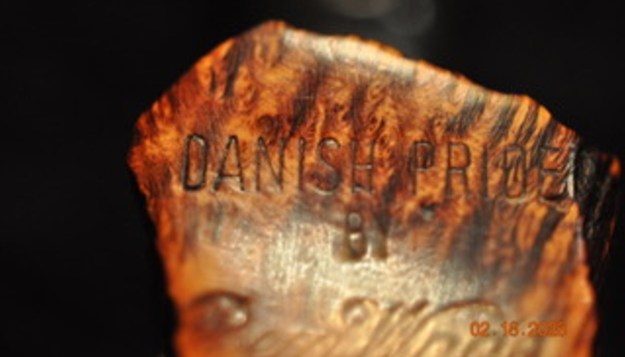
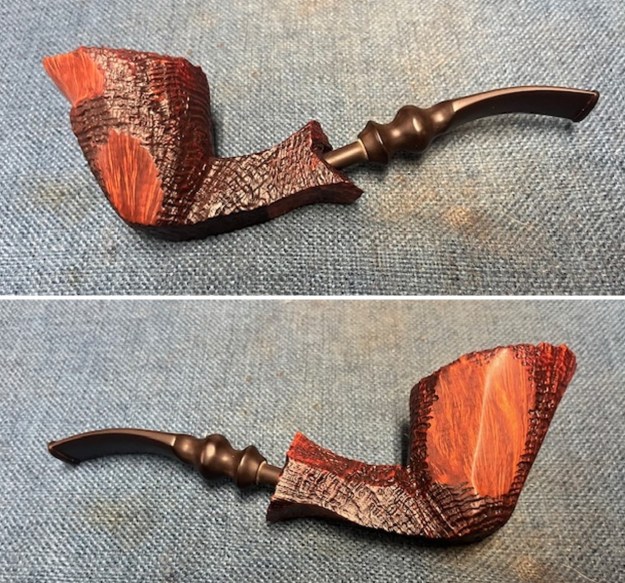
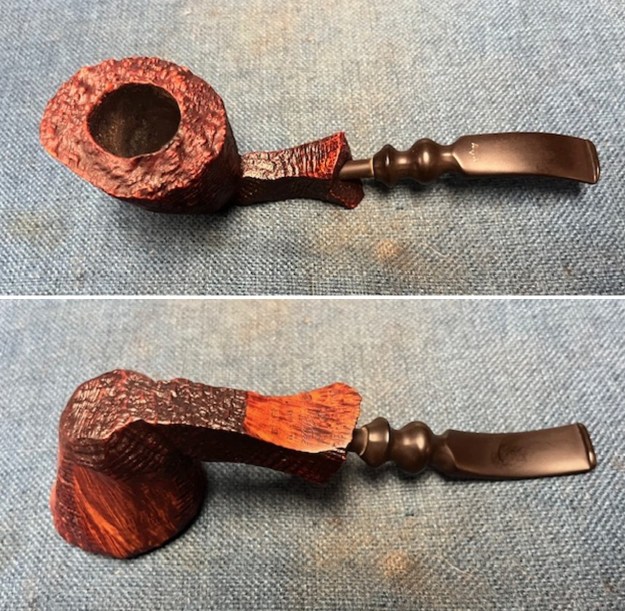
This particular mixed finish plateau, smooth and sandblast Freehand pipe was purchased on 01/20/2026 from a Facebook seller in Quaker Town, Pennsylvania, USA. It really is a beautiful, deeply sandblast Freehand with smooth nicely grained smooth patches. The stem is a fancy turned vulcanite saddle stem. The mixed finish bowl is stained with a contrast of browns that give depth to the sandblast and highlight the grain on the smooth patches. It is stamped on the underside of the shank on a smooth panel and reads Danish Pride [over] By [over] Ben Wade. Under that it is stamped Hand Made [over] In [over] Denmark. The bowl had a thick cake with an overflow of lava in plateau rim top – heavier toward the back of the bowl. There was grime ground into the finish which left the look quite dull. The bent saddle stem has a Crown [over] BW stamped on the flat blade. It had light tooth marks and chatter on both sides of the stem ahead of the button. Jeff took photos of the pipe before he started his work on it. He took photos of the rim top to show the condition of the top and edges of the bowl. It is dull and has the lava in the rusticated surface of the rim. It is uniquely a beautiful pipe. The stem had light tooth marks and chatter on both sides ahead of the button. He took photos of the sides and heel of the bowl to show the sandblast finish and smooth patches around the bowl and the condition of the pipe. You can see the grime ground into the surface of the briar. The black band inlaid on the shank is a great highlight in the briar of the shank. He took a photo of the stamping on the left side of the shank. It is clear and readable as noted above. In a previous blog I had researched the brand quite a bit. I have included it below for information on this pipe (https://rebornpipes.com/2020/10/03/restoring-a-danish-pride-by-ben-wade-mixed-finish-handmade-freehand-sitter/). I quote:

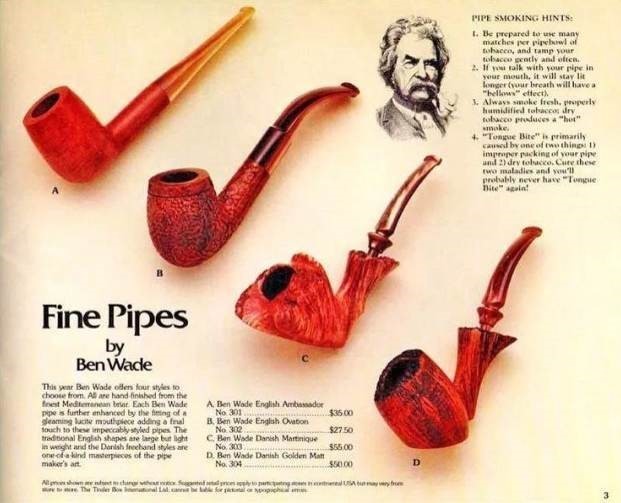
I remembered that the Preben Holm pipes were marketed under the Ben Wade label in the US and imported through Lane Ltd. I turned to Pipedia and read the listing on the brand to refresh my memory and flesh out the knowledge of the brand (https://pipedia.org/wiki/Ben_Wade). I have included a photo from that site that was taken from a Tinderbox advertisement.I quote the portion of the article that summarizes the Danish period of the history of the brand:

Young Copenhagen master pipemaker Preben Holm had made a meteoric career heading a pipe manufacture employing 45 people at the age of 22! But around the turn of 1970/71 he was in major financial difficulties. His US distributor, Snug Harbour Ltd. in New York City, left him in the lurch. Holm had three unpaid invoices on his desk and another large shipment was ready for the USA, when Snug Harbour’s manager told him on the phone that there was no money at all on the account to pay him.

So the Dane went to New York for an almost desperate search for a new distribution partner. He made contacts with Lane Ltd. and met Herman G. Lane in February 1971. Lane Ltd. had no interest in Holm’s serial pipes produced at that time but so much the more in the hand-carved freehands because the hype for Danish freehands and fancies in the States was still on its way to the climax then. The meeting resulted in an agreement to start a cooperation. Lane insisted to improve the quality considerably and in return he assured to be able to sell essentially larger quantities.

Holm went back home to work on new samples with all-new designs and altered finishes for Lane. Both, Lane and Holm, agreed that it would be unwise to sell the pipes under Preben Holm’s name as long as Snug Harbour had a considerable stock of Preben Holm pipes and might sell them pipes at very low prices just to bring in some money.

So on Mr. Lane’s proposal it was determined to use the name Ben Wade belonging to Lane Ltd. Lane spent considerable amounts of money for advertising the new brand in the big magazines– the centerpiece being whole-page ads showing a very exclusive Seven Day’s Set.

The cooperation with Lane Ltd. proved to be an eminent business success for both partners. Within a very short time Ben Wade Handmade Denmark sold in much larger quantities and at higher prices than they had ever dreamed of. And the hype these freehands and fancy pipes caused went on unbroken long after Herman G. Lane deceased. Preben Holm – obviously much more brilliant in pipe making than in pipe business – was in major troubles again in 1986 and had to sack most of his staff. The Ben Wade production was significantly lowered but continued until his untimely death in June of 1989.

Up to now Preben Holm made Ben Wade pipes are cult and highly sought for on the estate markets.

With that information my initial thoughts were confirmed. This pipe was a Preben Holm made Freehand distributed in the US by Lane Ltd under the name Ben Wade. The freehand rage occurred in the late 70s and the pipes were made until Preben’s death in 1989. My guess would be that this pipe was made sometime during that time period and potentially in the late 70s.

Jeff had cleaned up the pipe following his normal cleaning process. In short, he reamed the bowl and then cleaned up the reaming with a Savinelli Fitsall Pipe Knife. He scrubbed the bowl with undiluted Murphy’s Oil Soap with a tooth brush. He worked over the lava and debris on the plateau rim top and shank end and was able to remove it. He rinsed it under running warm water to remove the soap and grime. He cleaned out the inside of the shank and the airway in the stem with alcohol, cotton swabs, shank brushes and pipe cleaners. He scrubbed the stem with Soft Scrub and cotton pads to remove the debris and oils on the stem. He soaked it in Briarville’s Pipe Stem Deoxidizer to remove the remaining oxidation. He rinsed it with warm water and dried it off. I took photos of the pipe once I received it. It really looked good. I took close up photos of the stem and the rim top to show both how clean they were and what needed to be addressed with both. The rim top and bowl look good. The stem looked better and the light tooth marks and chatter were still present. I would need to remove those to bring the stem back.I took a photo of the stamping on the underside of the shank. You can see from the photo that it is faint in some spots but it is still readable. I removed the stem from the bowl and took a photo of the parts to give a sense of the beauty of the pipe.The bowl was in such good condition after the clean up that I worked some Before & After Restoration Balm into the surface of the briar with my finger tips and a horse hair shoe brush to get into the crevices of the plateau and sandblast portions. The product is incredible and the way it brings the grain to the fore is unique. It works to clean, protect and invigorate the wood. I set the bowl aside and turned my attention to the stem. I sanded the stem with 320-3500 grit 2×2-inch sanding pads. I wiped the stem down after each sanding pad with an Obsidian Oil cloth.I polished the stem with micromesh sanding pads – dry sanding it 1500-12000 pads. I wiped it down with Obsidian after each pad to remove the dust and polishing debris. I polished it with Before After Pipe Polish – both Fine and Extra Fine. I gave it another coat of Obsidian Oil. I am happy with the way that this Preben Holm Made Danish Pride by Ben Wade Freehand turned out. It really is a beautiful looking pipe with a great shape and mix of smooth and sandblast finishes around the bowl and shank. The rugged plateau on the rim top and shank end are beautiful. The fancy original vulcanite saddle stem works well with the reddish brown of the stained briar. The pipe really came alive with the buffing. The rich brown stains of the finish gave the pipe a sense of depth with the polishing and waxing. I put the stem back on the bowl and carefully buffed the pipe with Blue Diamond on the buffing wheel using a light touch on the briar. I gave the bowl multiple coats of Conservator’s Wax and the stem multiple coats of carnauba wax on the buffing wheel. I buffed the pipe with a clean buffing pad to raise the shine. I hand buffed the pipe with a microfiber cloth to deepen the shine. The finished Danish Pride by Ben Wade really is a beauty and feels great in the hand and looks very good. Give the finished pipe a look in the photos below. The dimensions of the pipe are Length: 7 inches, Height: 2 ¼ inches, Outside diameter of the bowl: 2 inches wide x 2 ¼ inches long, Chamber diameter: 7/8 of an inch. The weight of the pipe is 63 grams/2.26 ounces. The pipe will be going on the rebornpipes store in the Danish Pipe Makers Section if you would like to add it to your collection. Thanks for reading this blog and my reflections on the pipe while I worked on it. It was a fun one to work on!

Savinelli Nonpareil 9604 Oom Paul


by Kenneth Lieblich

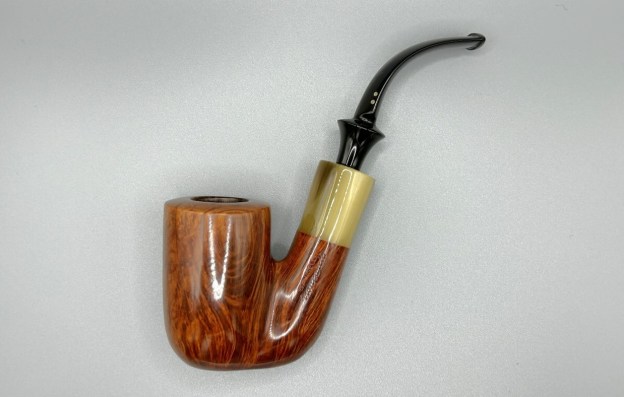
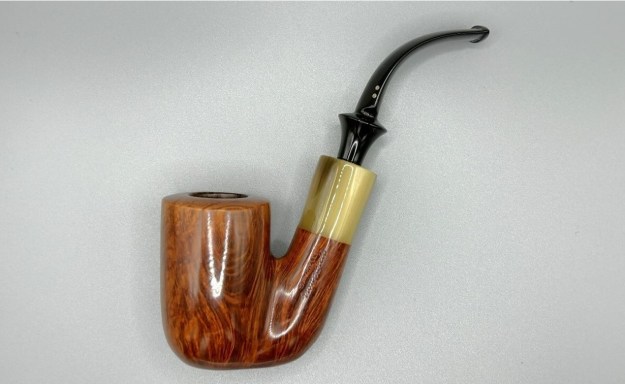
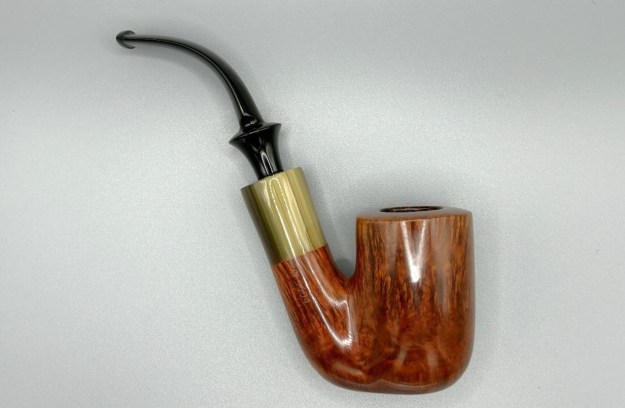
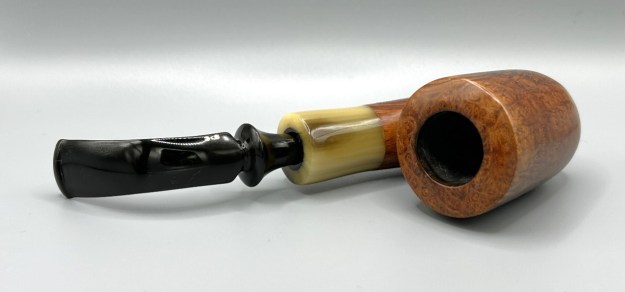
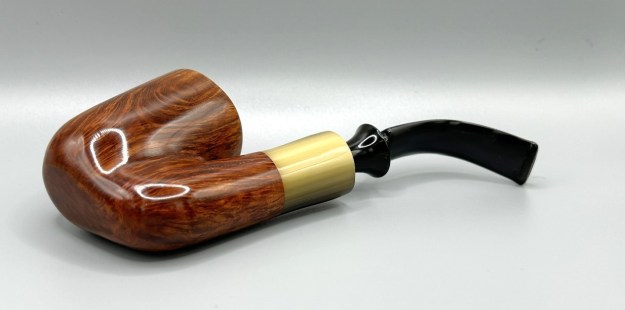
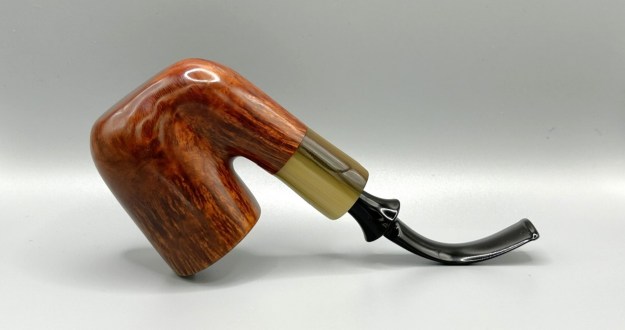
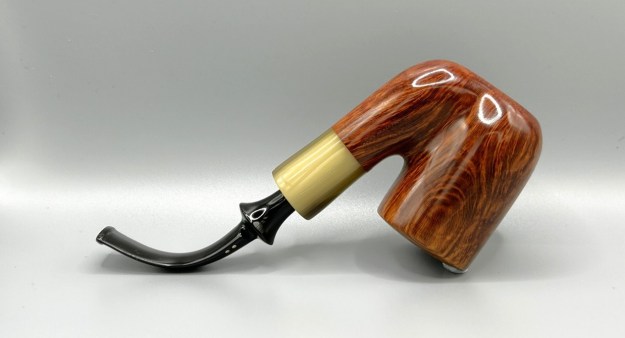
Say hello to this beautiful Savinelli Nonpareil 9604 Oom Paul! I have had this pipe in my collection for a while, but it’s time to let it go. It’s a gorgeous piece of briar with a handsome horn shank extension. This Oom Paul is very attractive, but I need to send it out into the world. You can now buy this pipe for your collection and enjoy it. No restoration story this time, but a quick view of a lovely pipe. This pipe promises to be a great smoker.

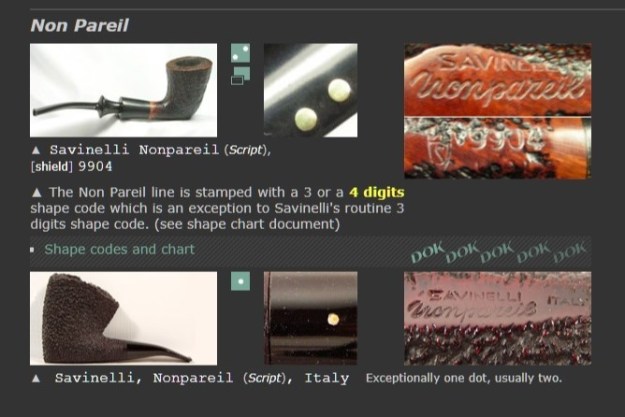
Let’s look at the markings. The left side of the shank reads Savinelli [over] Nonpareil. Despite Savinelli being an Italian company, the word nonpareil is French and means “without equal” – literally, “not the same”. On the left side of the shank is the lovely Savinelli crown, next to which are the marks 9604 [over] Italy. Finally, there are two brass dots on the left side of the stem – a very nice touch.

Savinelli is one of the most recognized names in pipe smoking and they have a long and storied history. You can read about them from their own website or from Pipedia’s article about them. I was particularly interested in learning more about the Nonpareil line. I checked with Pipephil and they did have a bit of information, which I display below. I learned from Pipephil that old Savinellis used to have four-digit shape numbers, newer ones three. The exceptions to this rule, however, are the Nonpareil and Dry System lines.This Savinelli Nonpareil 9604 Oom Paul is ready to be enjoyed by its next owner. I am pleased to announce that this pipe is for sale! If you are interested in acquiring it for your collection, please have a look in the ‘Italian’ section of the store here on Steve’s website. You can also email me directly at kenneth@knightsofthepipe.com. The approximate dimensions of the pipe are as follows: length 4⅜ in. (159 mm); height 4¾ in. (120 mm); bowl diameter 1½ in. (37 mm); chamber diameter ¾ in. (20 mm). The weight of the pipe is 2½ oz. (71 g). I hope you enjoyed reading the story of this pipe’s restoration as much as I enjoyed restoring it. If you are interested in more of my work, please follow me here on Steve’s website or send me an email. Thank you very much for reading and, as always, I welcome and encourage your comments.

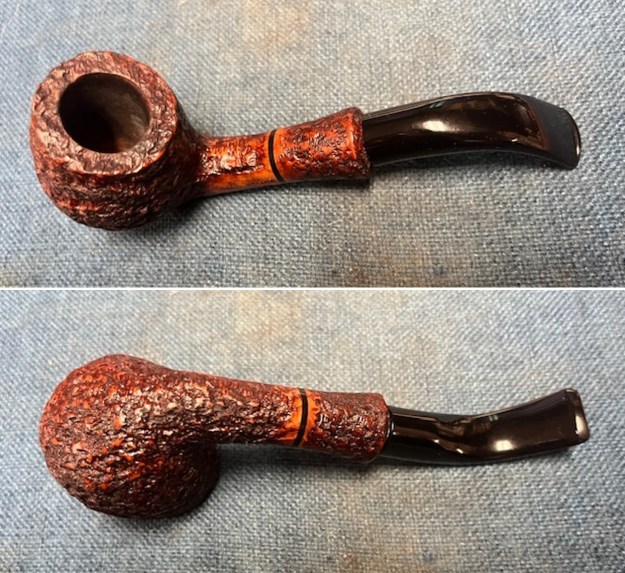
Restoring a Fatte a Mano Sumerler Rusticated Bent Brandy


by Steve Laug

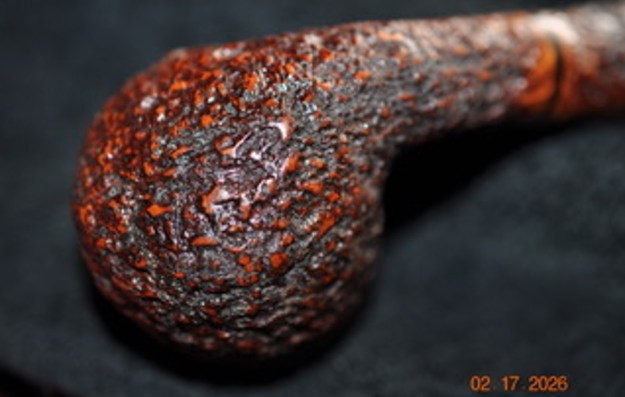
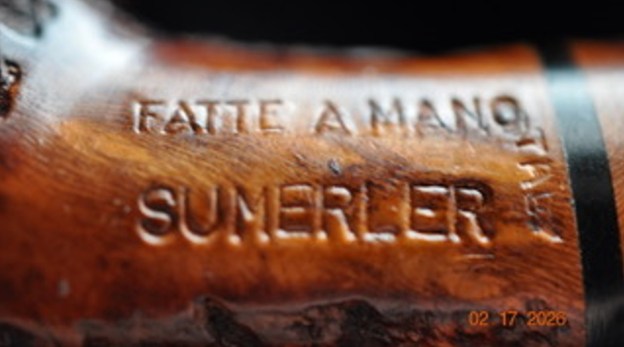
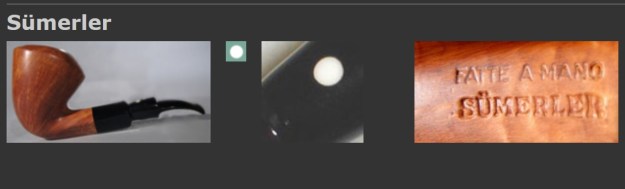
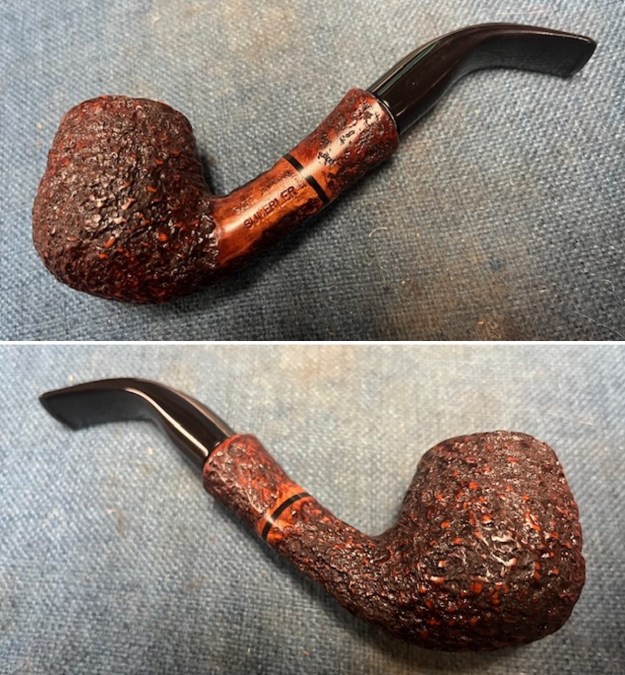
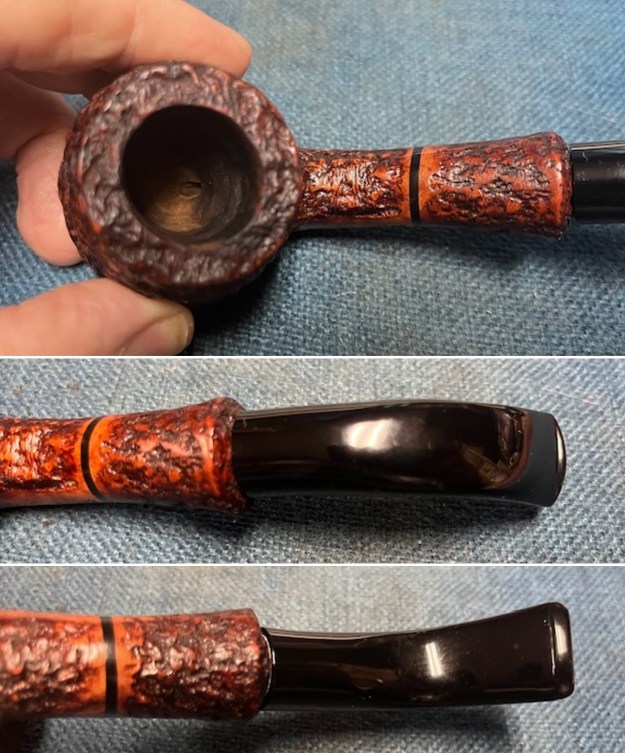
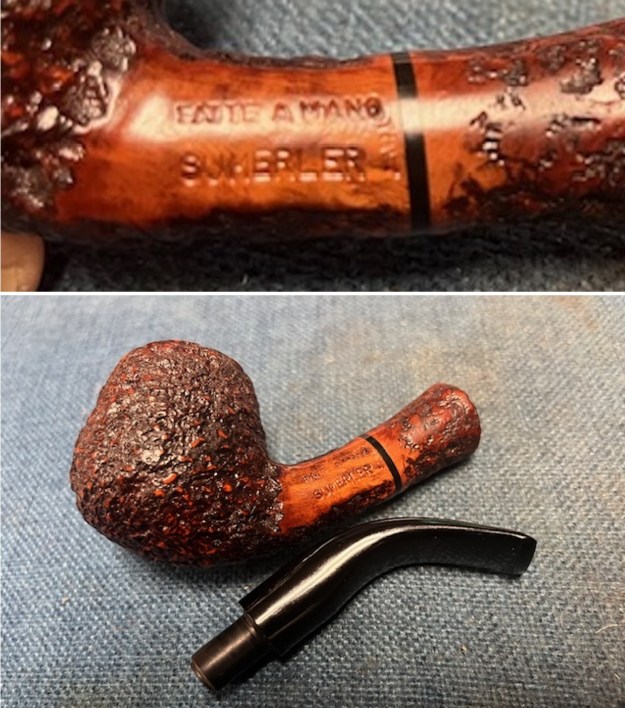
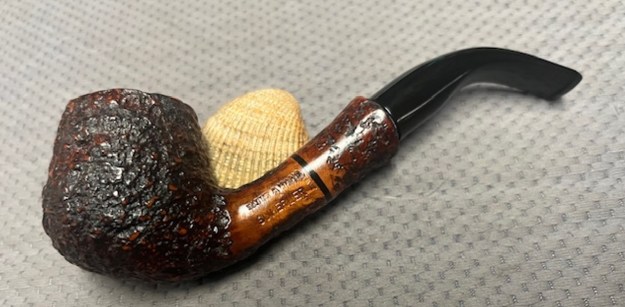
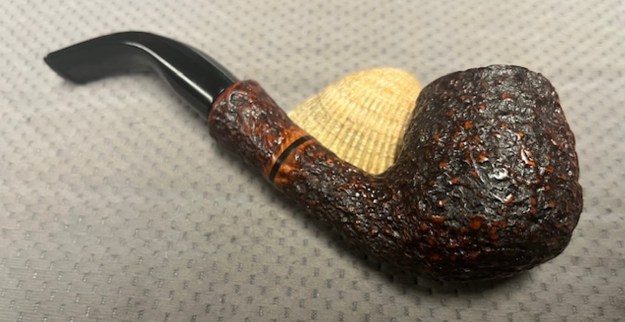
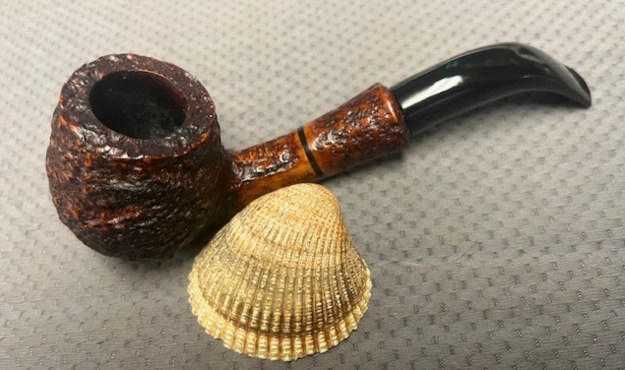
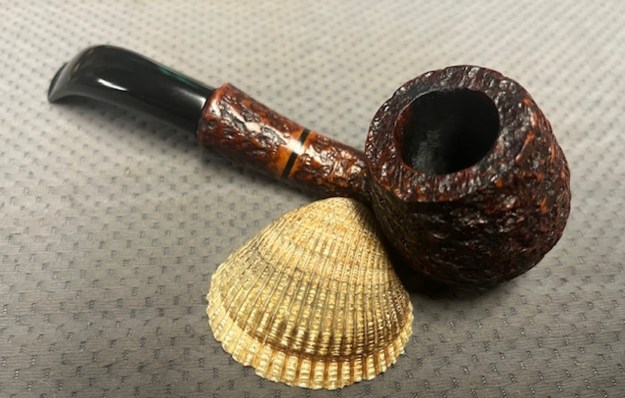
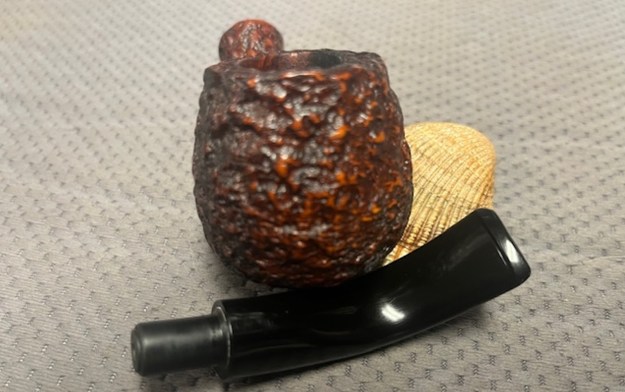
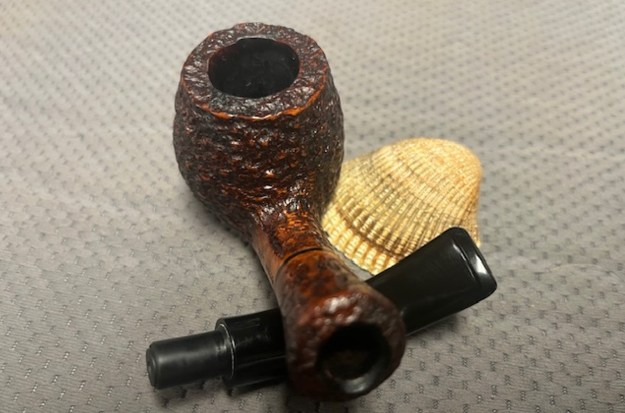
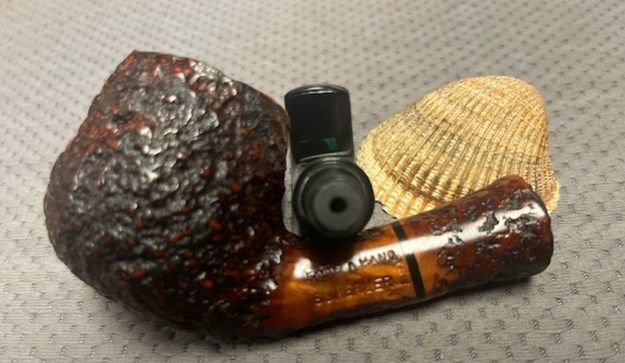
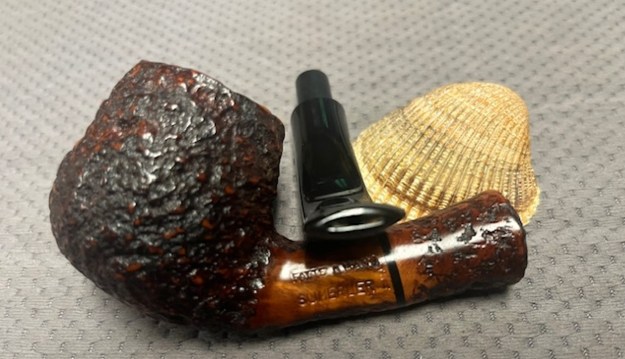
This particular rusticated Bent pipe was purchased on 01/20/2026 from a Facebook seller in Quaker Town, Pennsylvania, USA. It really is a beautiful, deeply rusticated Bent Brandy with thin black acrylic insert ahead of the shank end visible in the photos below. The deeply rusticated bowl is stained with a contrast of browns that give depth to the rustication. It is stamped on the left side of the shank on a smooth panel Fatte A Mano [over] Sumerler. At the right end of the smooth patch it is stamped Italy. The bowl had a moderate cake with an overflow of lava in the rusticated rim top – heavier toward the back of the bowl. There was grime ground into the finish which left the look quite dull. The bent acrylic stem has no logo stamped on the surface on either side of the stem. It had light tooth marks and chatter on both sides of the stem ahead of the button. Jeff took photos of the pipe before he started his work on it. He took photos of the rim top to show the condition of the top and edges of the bowl. It is dull and has the lava in the rusticated surface of the rim. It is uniquely a beautiful pipe. The stem had light tooth marks and chatter on both sides ahead of the button. He took photos of the sides and heel of the bowl to show the rusticated finish around the bowl and the condition of the pipe. You can see the grime ground into the surface of the briar. The black band inlaid on the shank is a great highlight in the briar of the shank. He took a photo of the stamping on the left side of the shank. It is clear and readable as noted above. Before I started working on the pipe, I turned to Pipephil’s site to see if I could learn anything about the Fatte A Mano Sumerler brand (http://www.pipephil.eu/logos/en/logo-s13.html). There was a photo a Sumerler pipe that has the same stamping as the one I am working on. I did a screen capture of the pertinent section and have included the side bar information below the photo. Pipes with this brand are sometimes carved by Armellini.

It appears that the pipe was made by Armellini in Italy and sold as a sub line or second line to Armellini main work.

I looked up the Sumerler on Pipedia to see if I could gather further information on the company (https://pipedia.org/wiki/Armellini). The notation in Brands and Makers section took me to the article on Armellini. There was no reference there to Sumerler. It gives some great history.   

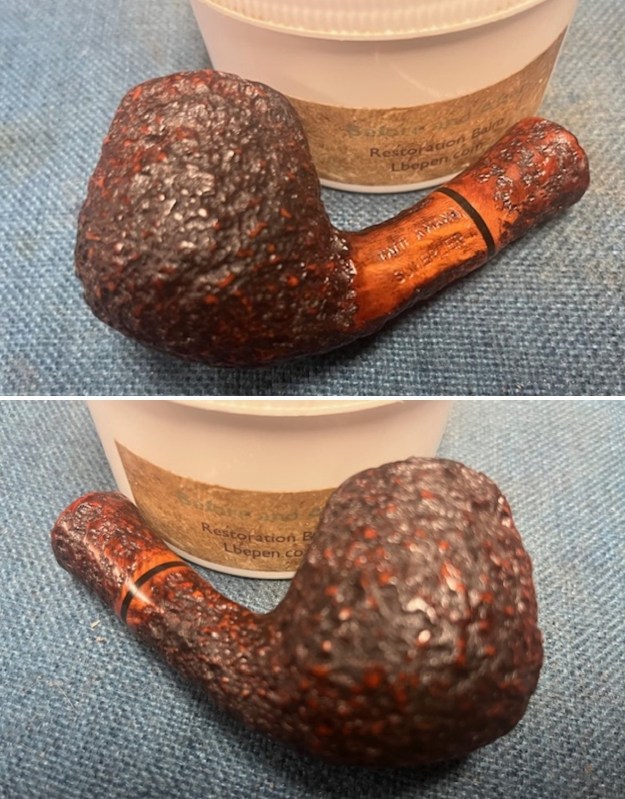
It was time to work on the pipe. As usual Jeff had done a thorough cleanup on the pipe. He reamed the bowl with a PipNet pipe reamer and a Savinelli Fitsall pipe knife to remove the cake. He scrubbed out the mortise and the airway in the shank and the stem with alcohol, cotton swabs, shank brushes and pipe cleaners. He scrubbed the exterior of the bowl, rim, shank and stem with a tooth brush and Murphy’s Oil Soap to remove the oils and tars on the rim and the grime on the finish of the bowl. He rinsed it under running water. He dried it off with a soft cloth. He soaked the stem in Before & After Deoxidizer and rinsed it off with warm water. He dried it with a soft cloth. The pipe looked good. I took a photo of the rim top and stem to show the condition. The finish on the rim top looked very good. The acrylic taper stem had light tooth chatter and marks on both sides ahead of the button and on the button edges.The stamping on the left side of the shank is clear and readable as noted above. I removed the stem from the shank and took a photo of the pipe to give a sense of the whole. It is a nice-looking rusticated Brandy and should clean up very well.I worked some Before & After Restoration Balm into the surface of the briar with my finger tips and a shoe brush to work it into the rustication. The product is incredible and the way it brings the grain to the fore is unique. It works to clean, protect and invigorate the wood. I polished the stem with micromesh sanding pads – dry sanding it 1500-12000 pads. I wiped it down with Obsidian after each pad to remove the dust and polishing debris. I polished it with Before After Pipe Polish – both Fine and Extra Fine. I gave it another coat of Obsidian Oil. This deeply rusticated Sumerler Bent Brandy with a thin black acrylic band mid shank is a great looking pipe now that it has been restored. The polished acrylic taper stem is in great condition. The briar is clean and really came alive. The rich brown stains gave the rustication a sense of depth with the polishing and waxing. I put the stem back on the bowl and carefully buffed the pipe with Blue Diamond on the buffing wheel using a light touch on the briar. I gave the bowl multiple coats of Conservator’s Wax and the stem multiple coats of carnauba wax on the buffing wheel. I buffed the pipe with a clean buffing pad to raise the shine. I hand buffed the pipe with a microfiber cloth to deepen the shine. The finished Sumerler Bent Brandy is a beauty and feels great in the hand and looks very good. Give the finished pipe a look in the photos below. The dimensions of the pipe are Length: 6 inches, Height: 1 ¾ inches, Outside diameter of the bowl: 1 ½ inches, Chamber diameter: ¾ of an inch. The weight is 2.19 ounces/62 grams. Thanks for reading this blog and my reflections on the pipe while I worked on it. I will be putting it on the rebornpipes store in the Italian Pipe Makers Section. If you are interested in adding it to your collection let me know. Thanks for following the blog on this restoration.

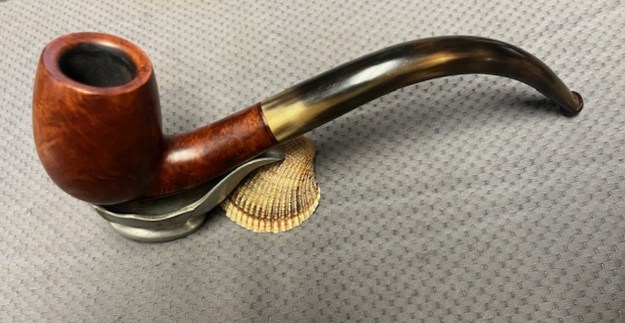
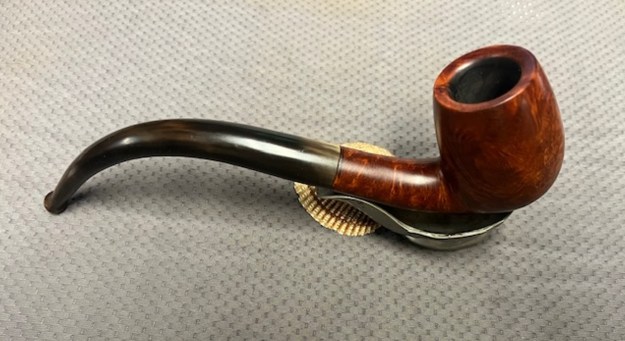
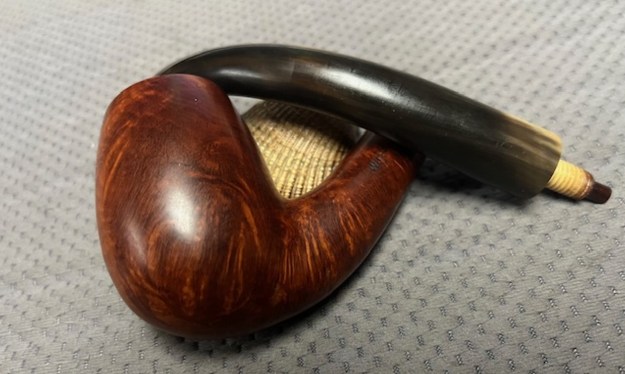
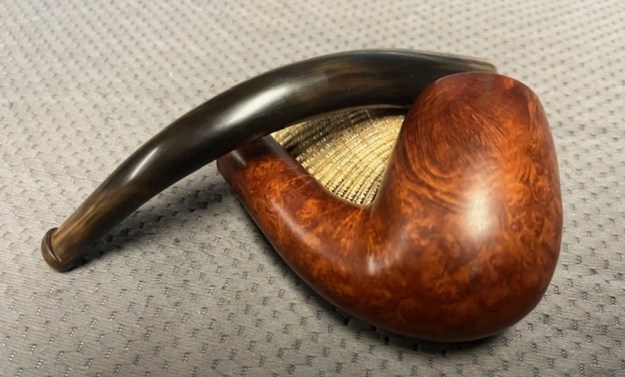
Restoring a Beautiful Swan Neck French WFC Mystery Bent Billiard with a Horn Stem


by Steve Laug

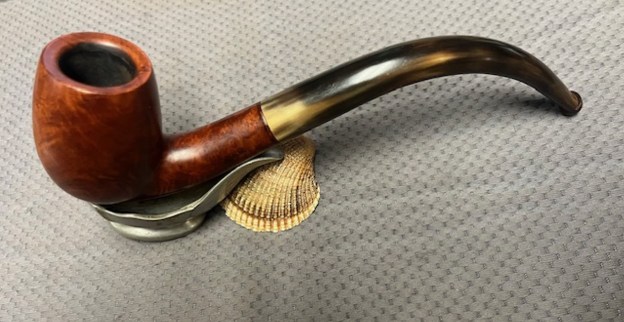
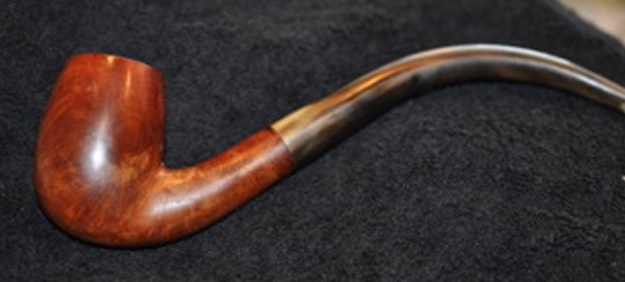
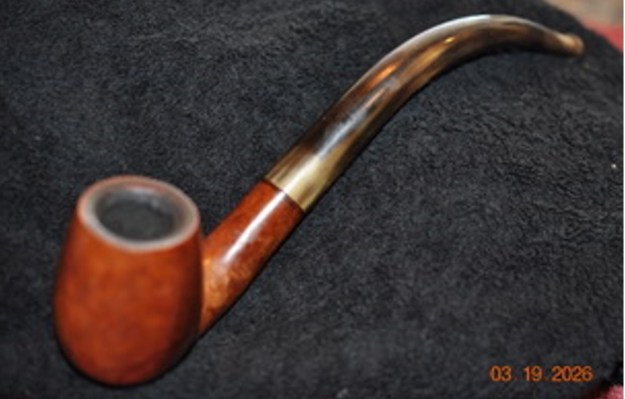
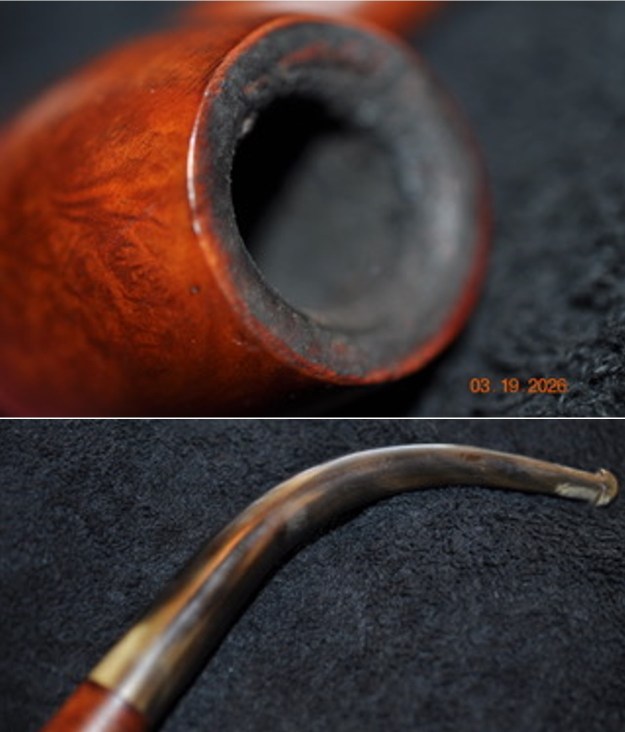
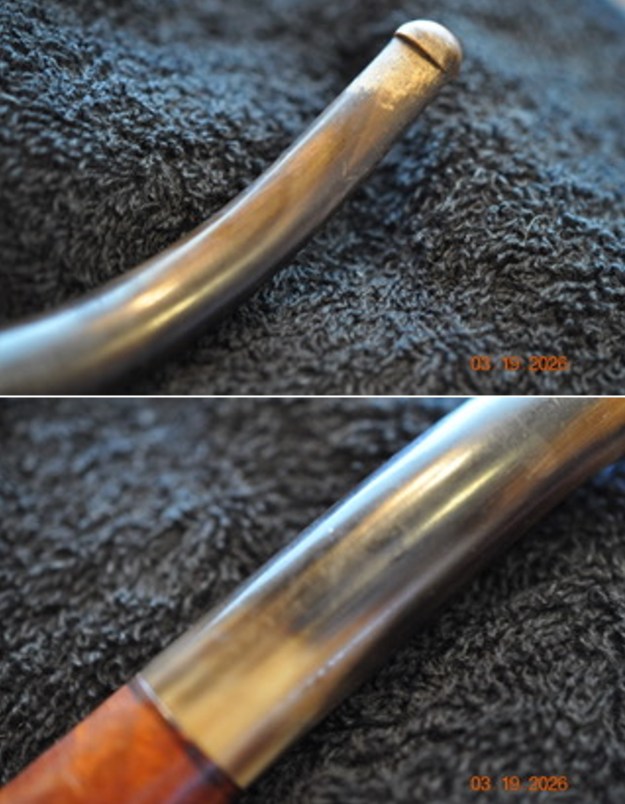
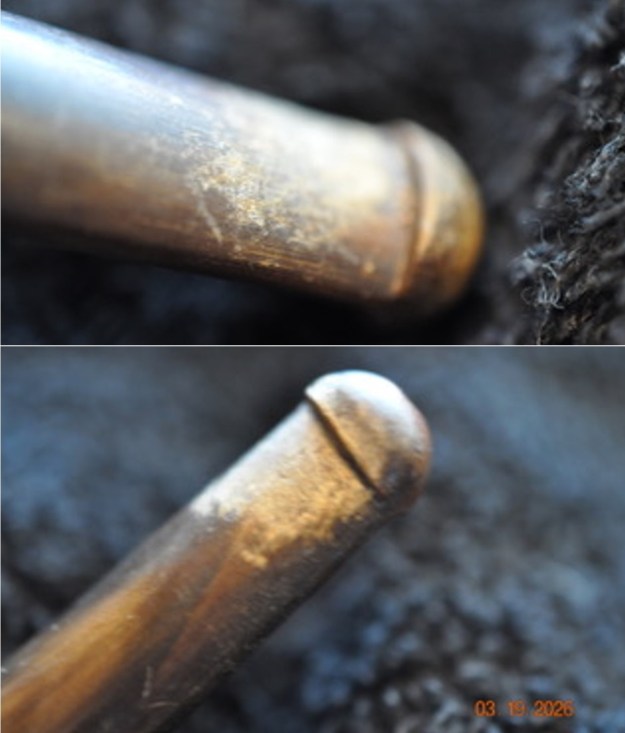
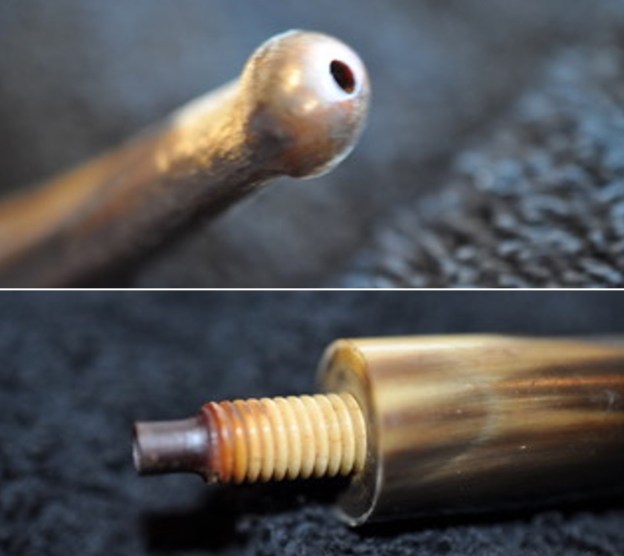
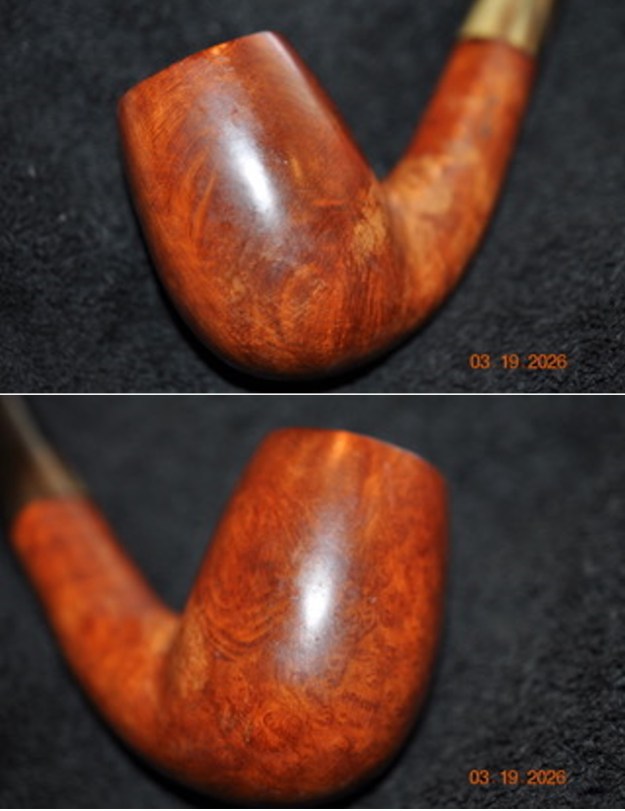
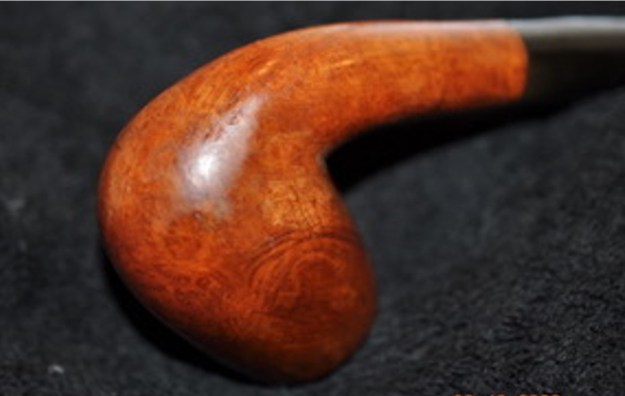
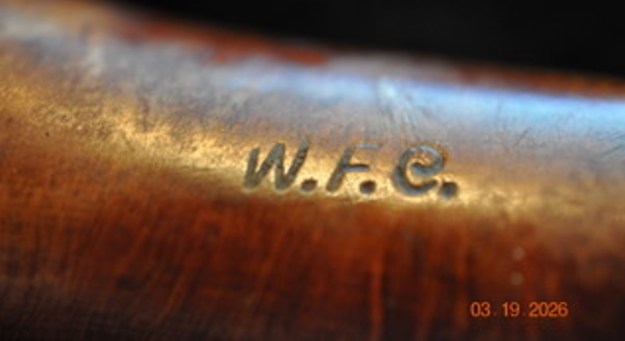
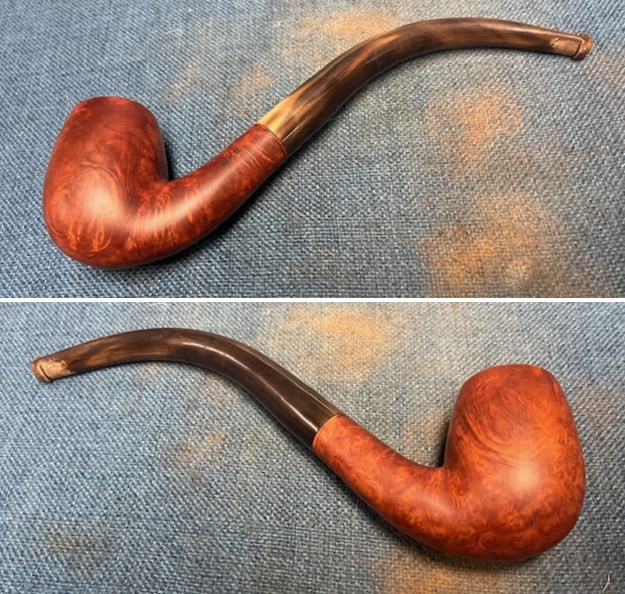
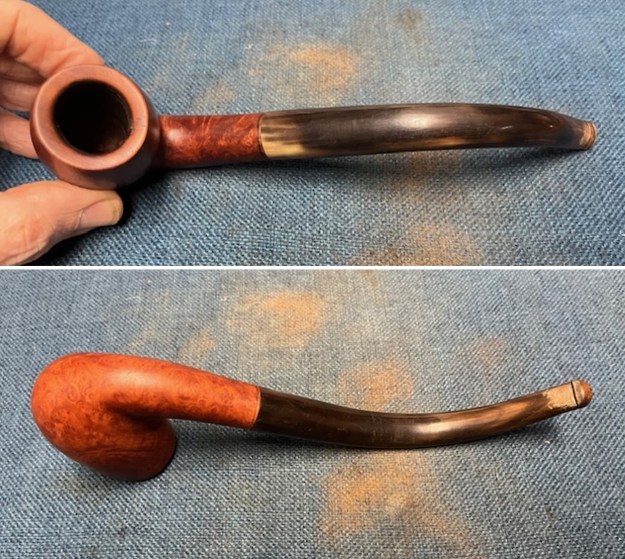
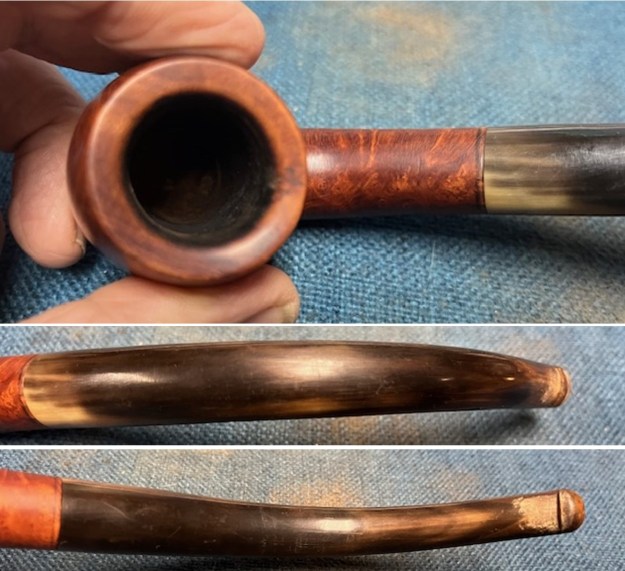
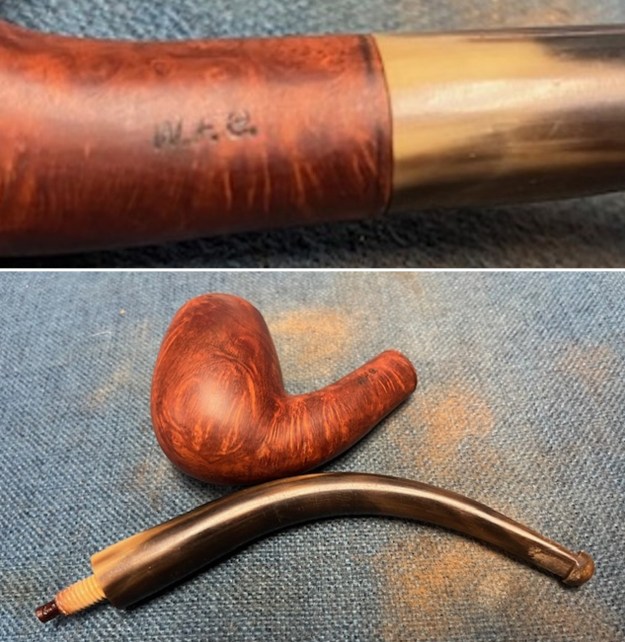
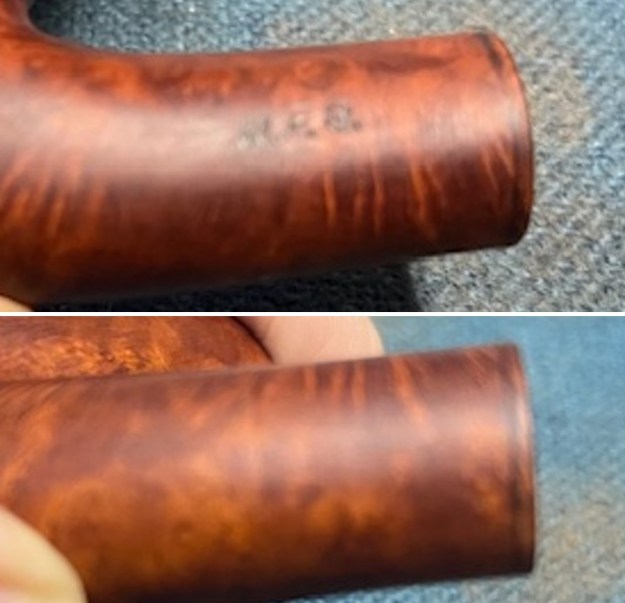
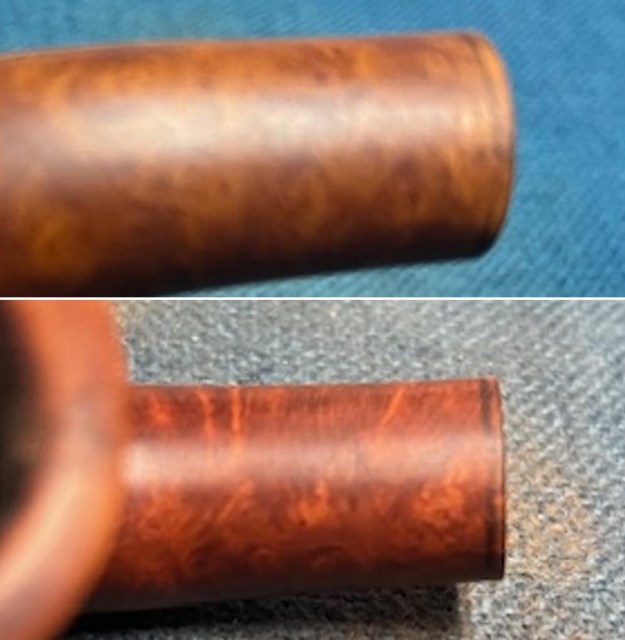
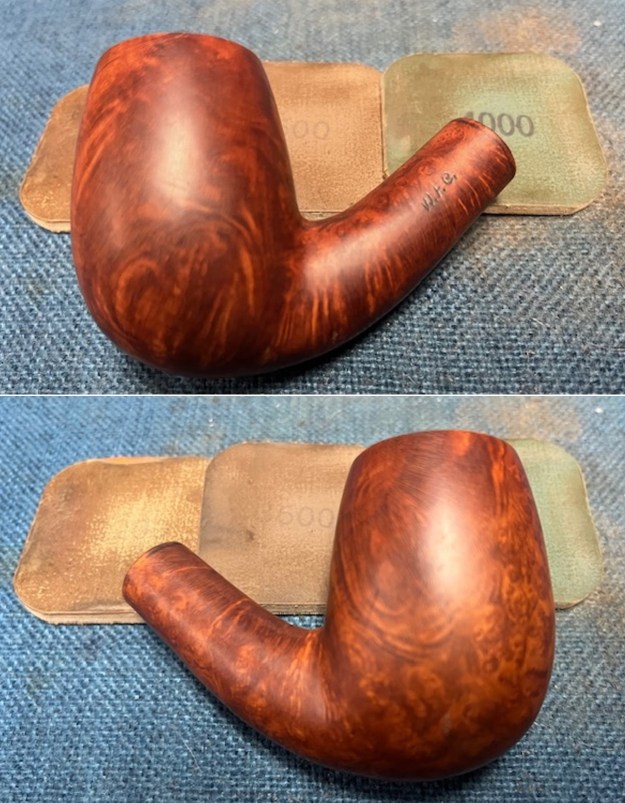
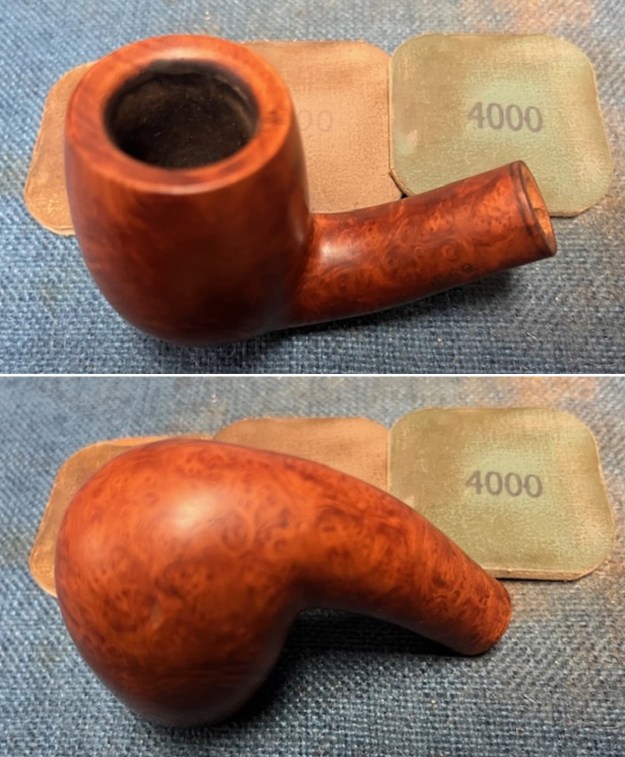
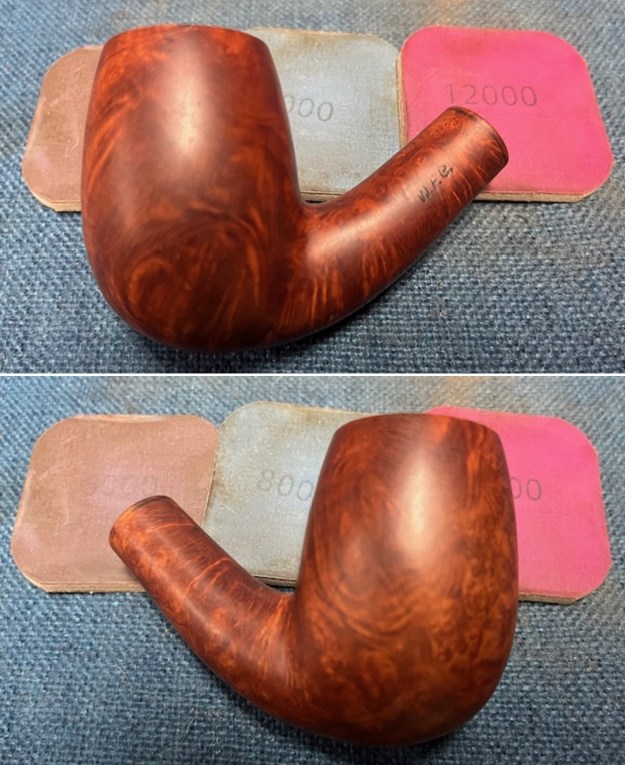
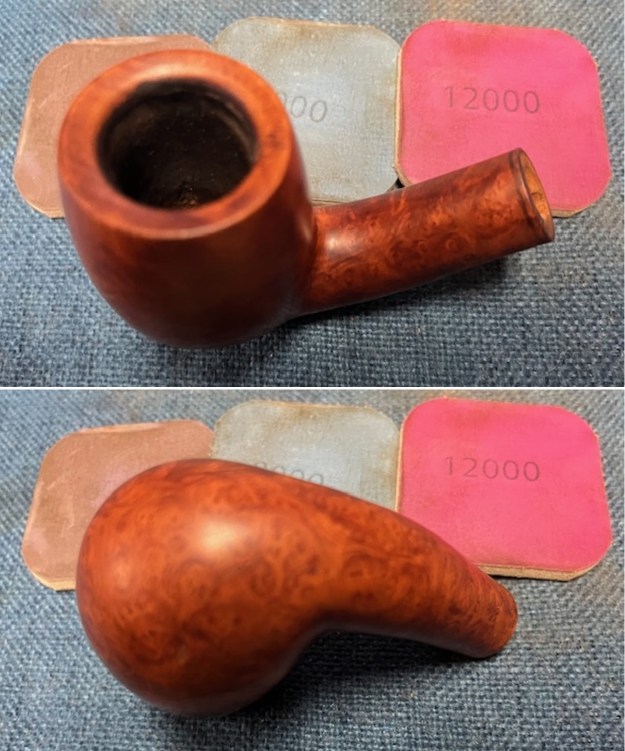
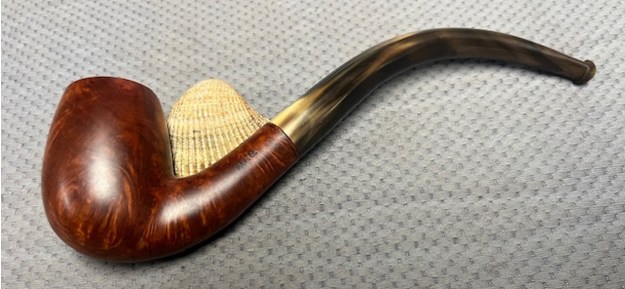
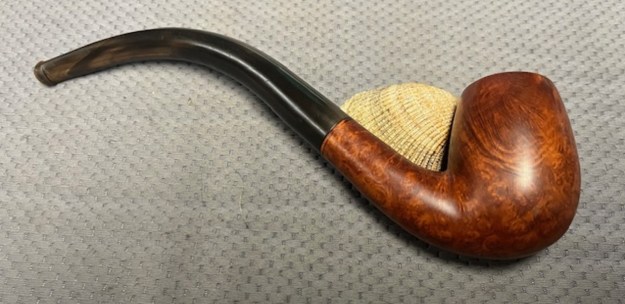
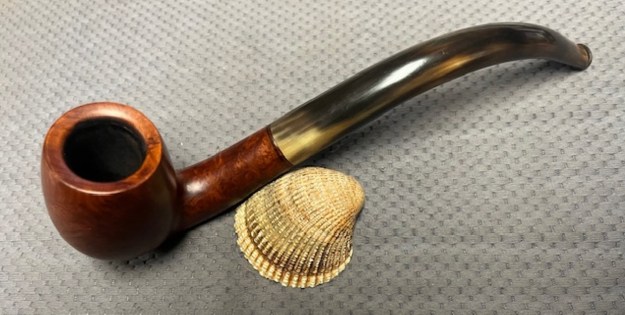
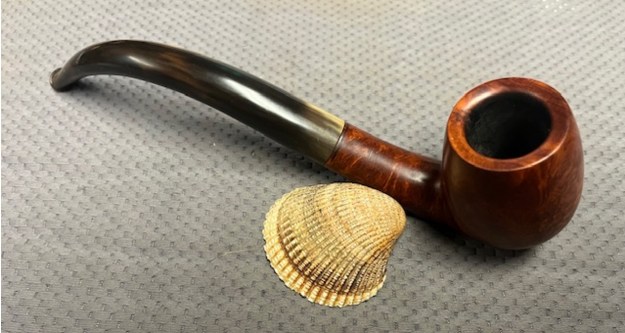
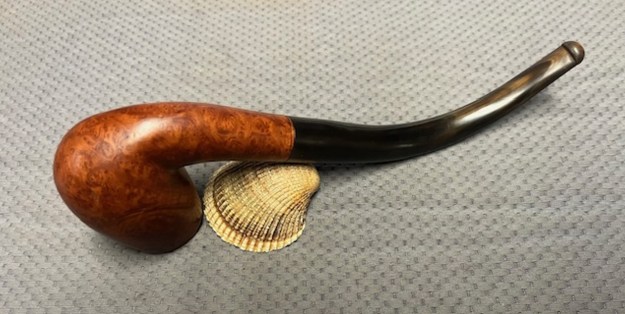
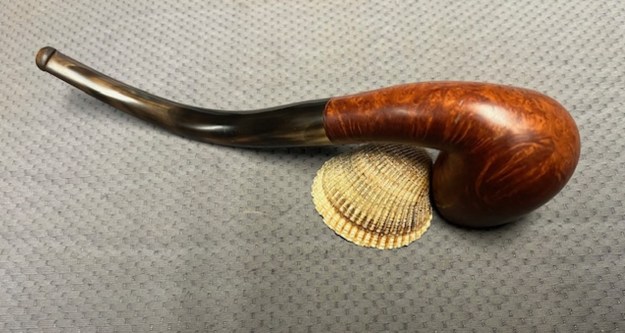
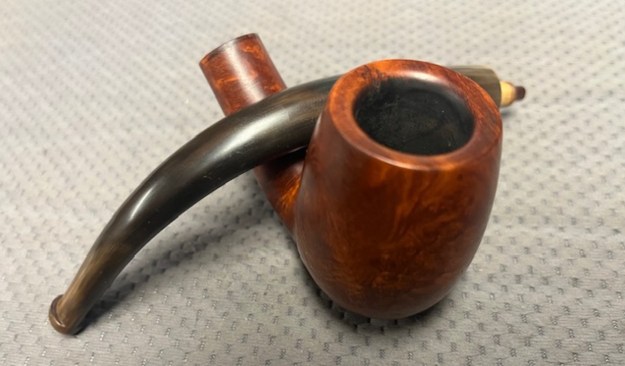
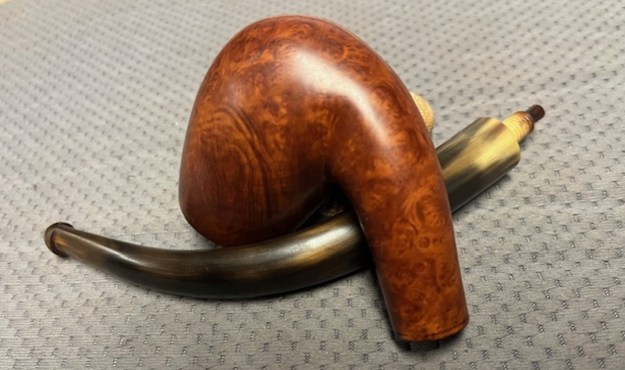
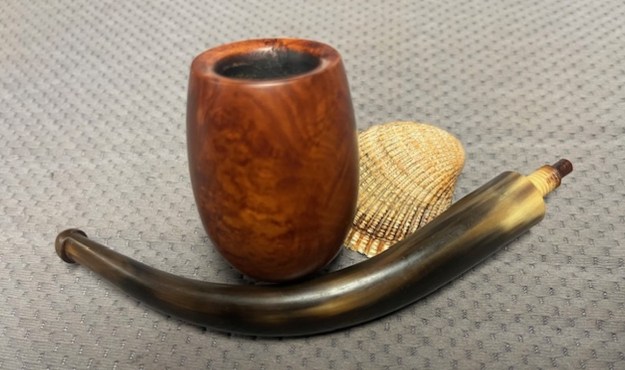
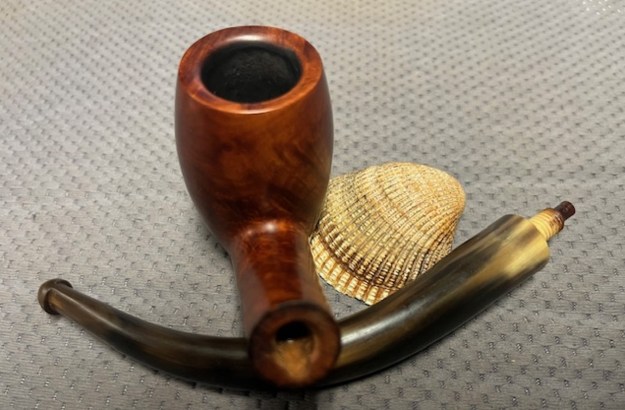
This beautiful swan neck bent Billiard is next on the table. We purchased it on 01/28/26 from a seller in Delafield, Wisconsin, USA. It is a beautiful large Bent Billiard with a lovely horn stem and bone tenon that screws into the shank. The bowl is dirty and had a thick cake in the bowl and a thick lava coat on the rim top. The shank end of the bowl had some darkening at the junction of the stem and shank. It easily could have had a thin brass band on the shank that left behind the stain. The finish on the bowl was worn and dirty. The stem was worn and oxidized with tooth marks and chatter on the top and underside of the stem. The only stamping on the shank was W.F.C. in script. There were no other identifying marks on the shank and the stem. It was not a recognizable brand and some of the folks I spoke to suggested it might refer to the previous owner’s initials. I suppose there is no way to know that for sure but it is very similar to quite a few French made St. Claude older bent billiards with the same shape and stem connection. It is a real beauty that should clean up very well. Jeff took photos of the pipe to give a sense of its condition and beauty. Jeff took photos of the bowl and rim top to show the condition of the bowl. You can see the thick cake in the bowl and the lava on the rim top of the bowl. It is really a well used pipe that obviously had been someone’s favourite. The photos of the stem show the condition of the surface and the bone tenon. Jeff took photos of the bowl and shank from various angles. You can see the grain in the briar in each of the photos below. It is a great piece of briar with nice grain that follows the shape. He took a photo of the initials on the left side of the shank. They are clear and readable as noted above. It definitely looked like it was stamped rather than etched and is quite clear. Are they someone’s initials or are they initials of a company.It was time to work on the pipe. As usual Jeff had done a thorough cleanup on the pipe. He cleaned up the reaming of the bowl with a PipNet pipe reamer and a Savinelli Fitsall pipe knife to remove the cake. He scrubbed out the mortise and the airway in the shank and the stem with alcohol, cotton swabs, shank brushes and pipe cleaners. He scrubbed the exterior of the bowl, rim, shank and stem with a tooth brush and Murphy’s Oil Soap to remove the oils and tars on the rim and the grime on the finish of the bowl. He rinsed it under running water. One of the benefits of this scrub is that it also tends to lift some of the scratches and nicks in the surface of the briar. He dried it off with a soft cloth. He scrubbed the stem surface off with Soft Scrub and rinsed it off with warm water. The pipe looked good. I took a photo of the rim top and stem to show the condition. The finish on the rim top looked spotty. The vulcanite saddle stem had light tooth chatter and marks on both sides ahead of the button and on the button edges. The stamping on the underside and left side of the shank is clear and readable as noted above. There was a stamp on the left side of the saddle was readable but the white in the stamp was gone. I removed the stem from the shank and took a photo of the pipe to give a sense of the whole. It is a nice-looking long shank apple and should clean up very well.I took some photos of the darkening around the shank end of the pipe. It appears that the darkening could have come from a tin shank band. I will work on it and think about the possibility of adding a new band to it. I sanded the briar with 320-3500 grit 2×2 inch sanding pads. I carefully worked around the stamping on the shank side. I wiped it down after each pad with a damp cloth to remove the sanding debris. I blended the repair into the surrounding briar and polished the briar with micromesh sanding pads – I dry sanded the briar with 1500-12000 grit sanding pads. I wiped the bowl down with a damp cloth after each sanding pad to remove the debris. It really took on a rich shine. I worked some Before & After Restoration Balm into the surface of the briar with my finger tips and a horse hair shoe brush to get into the rusticated portions. The product is incredible and the way it brings the grain to the fore is unique. It works to clean, protect and invigorate the wood. I sanded the stem with 320-3500 grit sanding pads to remove the tooth chatter and the marks in the stem surface. I wiped it down after each sanding pad with an Obsidian Oil soaked cloth. It began to look very good.I polished the stem with micromesh sanding pads – dry sanding it 1500-12000 pads. I wiped it down with Obsidian after each pad to remove the dust and polishing debris. I polished it with Before After Pipe Polish – both Fine and Extra Fine. I gave it another coat of Obsidian Oil. This Large French Made WFC Bent Billiard with a horn stem turned out very nice. The mix of brown stains highlights the grain worked well with the smooth taper horn stem. The rim and bowl look very good. The finish on the pipe is in excellent condition. I screwed the horn stem back on the shank and carefully buffed the pipe with Blue Diamond on the buffing wheel. I gave the bowl and stem multiple coats of carnauba wax on the buffing wheel and followed that by buffing the entire pipe with a clean buffing pad. I hand buffed the pipe with a microfiber cloth to deepen the shine. The finished Large Swan Neck WFC Bent Billiard is unique and feels great in the hand. Give the finished pipe a look in the photos below. It is a nice pipe whose dimensions are Length: 8 inches, Height: 2 ½ inches, Outside diameter of the bowl: 1 ¼ inches, Chamber diameter: 7/8 of an inch. The weight of the pipe is 81 grams/2.89 ounces. Thanks for walking through the restoration with me as I worked over another beautiful pipe. This one will be going on the rebornpipes store, in the French Pipe Makers Section shortly. If you are interested in adding it to your collection let me know by message or by email to slaug@uniserve.com. Thanks for your time.

As always, I encourage your questions and comments as you read the blog. Thanks to each of you who are reading this blog. Remember we are not pipe owners; we are pipe men and women who hold our pipes in trust until they pass on into the trust of those who follow us.
Restoring an old, PRE-Republic Peterson System Standard 307


by Kenneth Lieblich

Beannachtaí na Féile Pádraig dhuit!

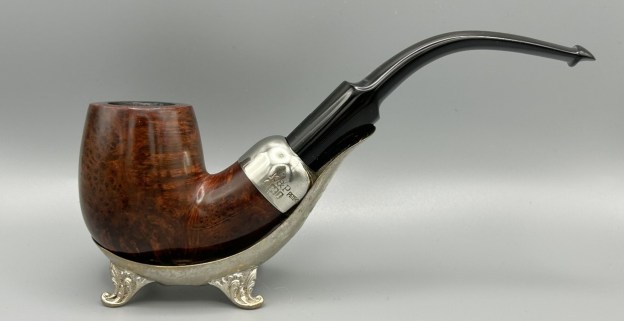
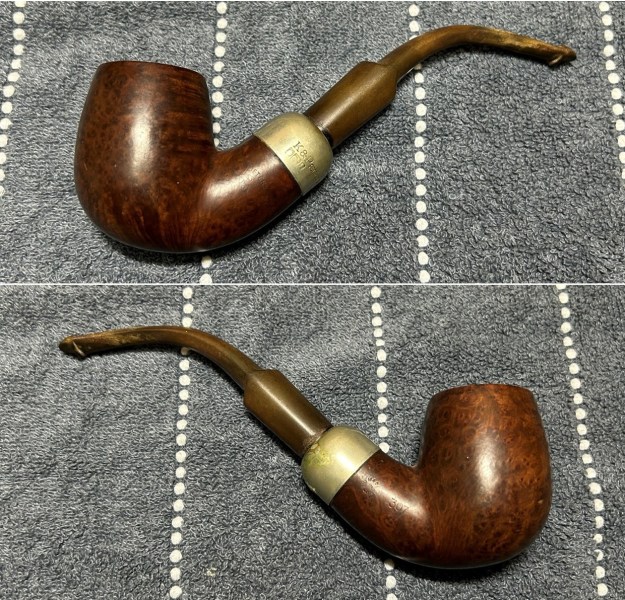
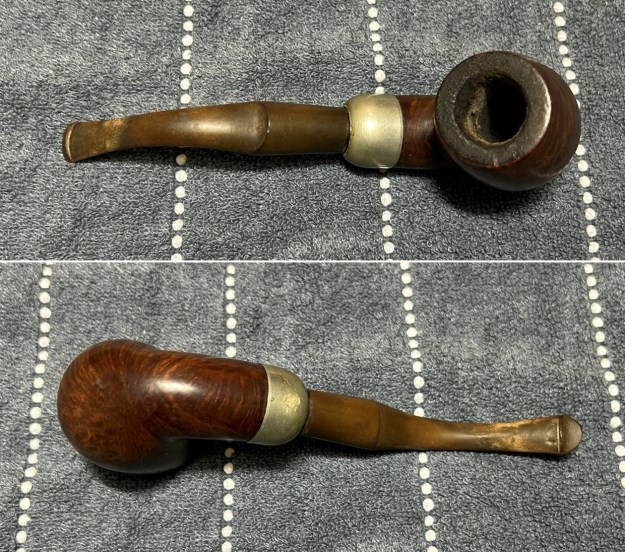
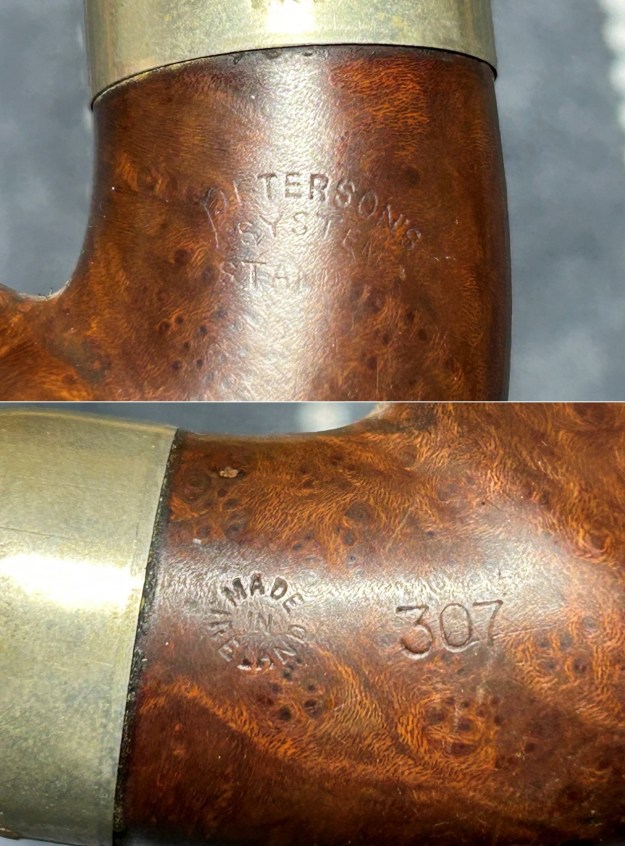
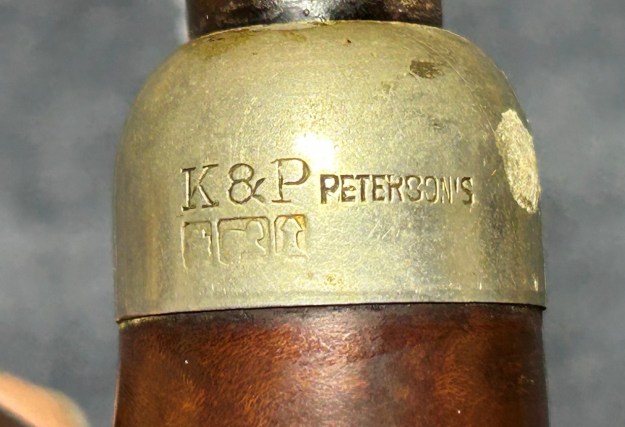
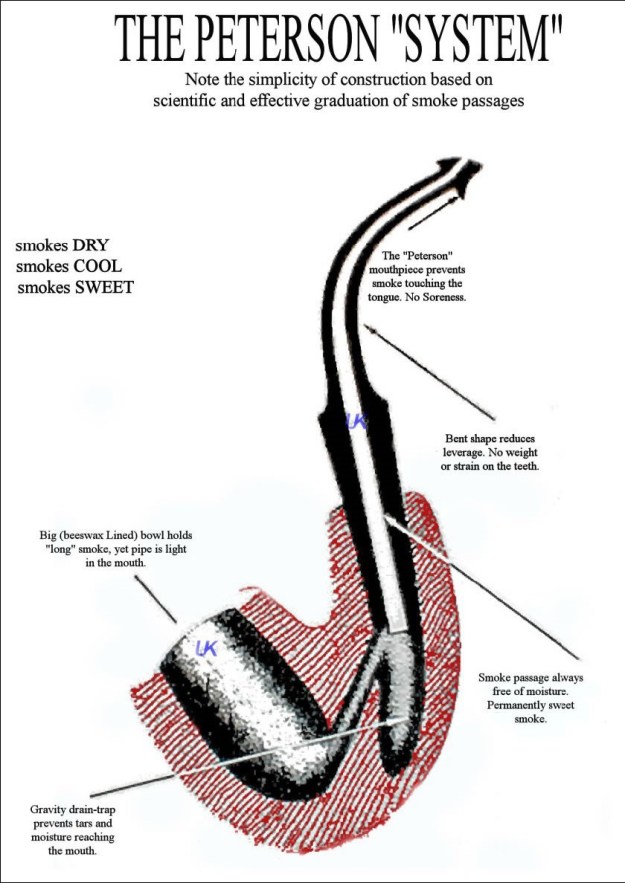
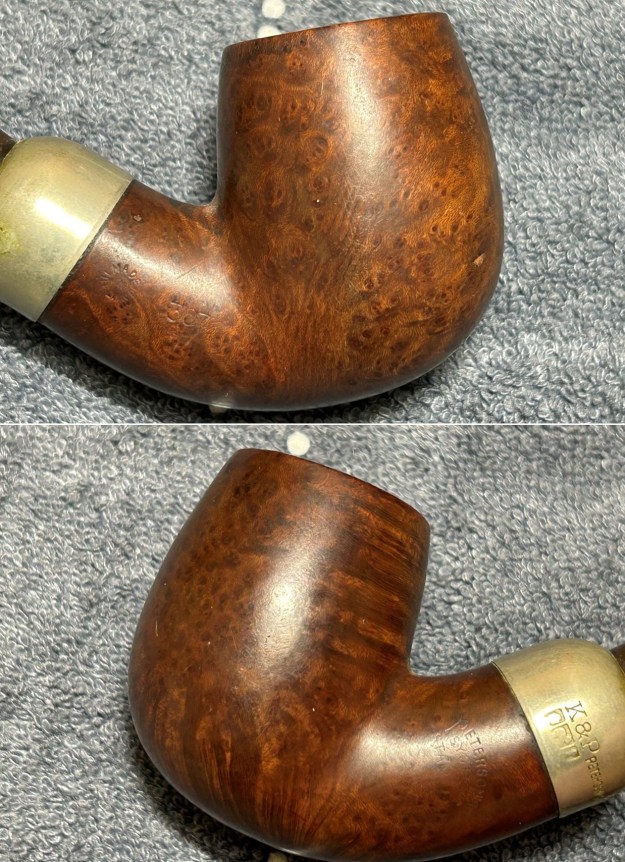
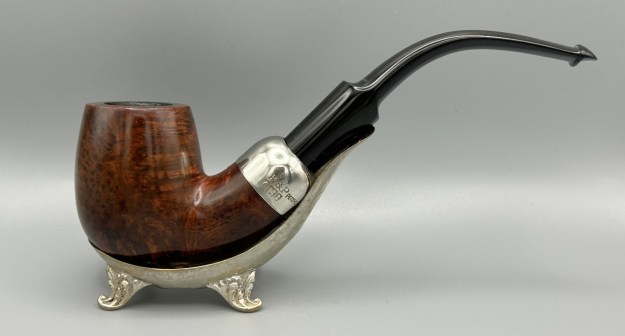
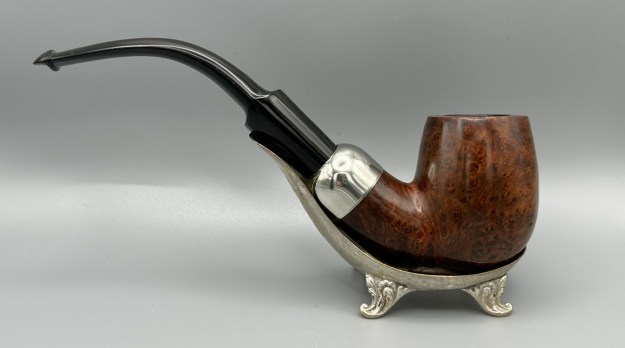
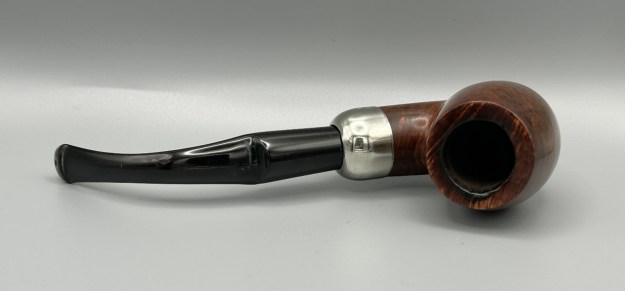
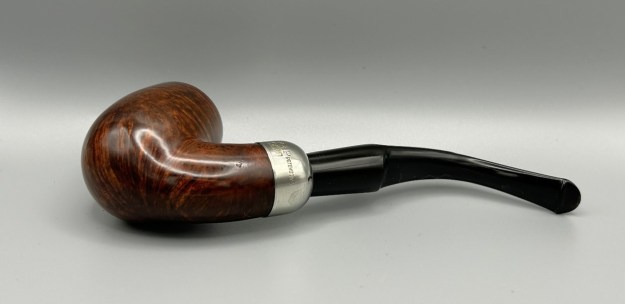
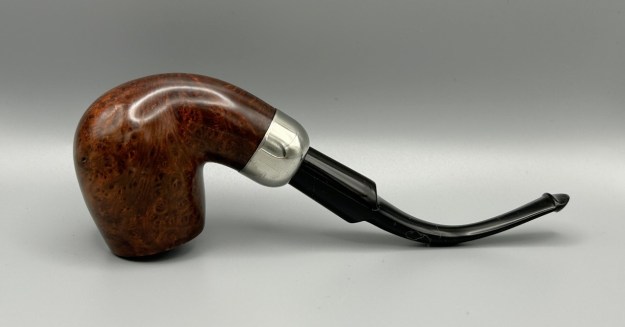
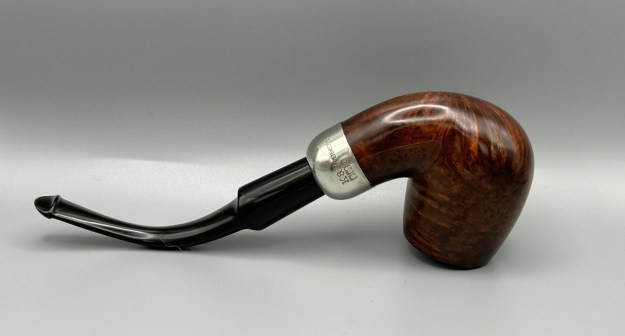
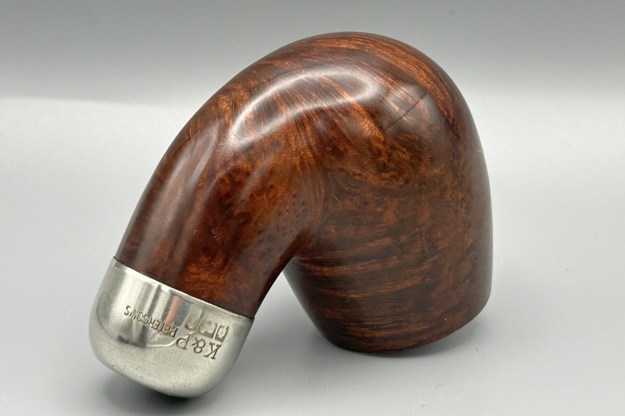
Next from my workbench on this feast of Saint Patrick is this handsome Peterson System Standard 307. It’s an older one, coming from before the Republic of Ireland was established. I acquired it some time ago and I figured that it was time to honour the great patron of Ireland, Saint Patrick, with a pipe from the land he converted. This is a terrific pipe that is a bit worn, but was obviously well-loved. Some special attention from me will bring out its best. This is a really good-looking pipe, and feels comfortable and satisfying in the hand. There is a lovely patina on this old timer and I really want to get this into the hands of a Peterson lover. Let’s have a closer look. This Peterson 307 pipe has the classic ‘System’ look: bent shape, nickel mount, and tapered, army-style stem. Of course, it also has the traditional Peterson P-lip stem. The markings on the left side of the shank are Peterson’s [over] System [over] Standard. The right side of the shank showed Made in Ireland in a circle and, next to that, the shape number 307. The nickel mount on the shank had K&P Peterson’s [over] the typical Peterson faux hallmarks. There were no markings on the stem. The Peterson System pipes are well-storied among Peterson collectors/admirers. I took the opportunity to read the article on Pipedia, specifically about the System pipes, by Jim Lilley. There is lots of good information there and I encourage you to read it: https://pipedia.org/wiki/A_closer_look_at_the_famous_Peterson_Standard_System_Pipe.Having seen that the words “Made in Ireland” were in a circle, I knew that I was dealing with an older pipe. Precisely how old would require some elementary research. The main Pipedia article on Peterson included a few interesting lines:
Charles Peterson applied for a patent for an improved tobacco pipe on the 8th of August 1890. He was awarded patent number 12393 on the 16th of June 1891 for Great Britain and Ireland. This came to be known as the famous ‘System Pipe’ patent…. Later they stamped their pipes with “Made in Ireland” in a circle format 1945-1947…

This is helpful in dating this pipe. I can comfortably say that this pipe dates from 1945 through 1947 – that is to say, about 80 years old (at the time of writing).

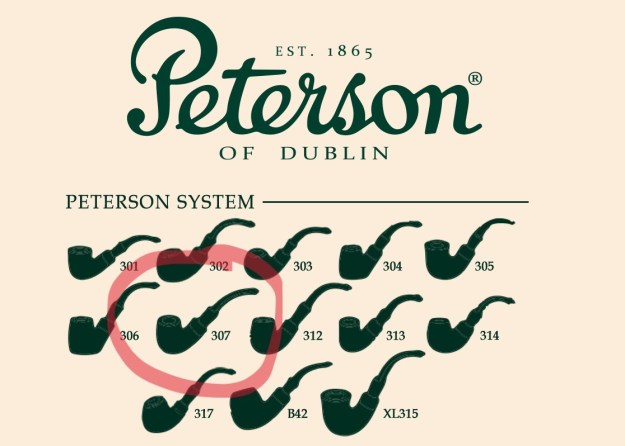
As usual, I also owe a debt of gratitude to Mark Irwin of Peterson Pipe Notes. He has a very interesting article on the various System shapes and I highly recommend having a look: https://petersonpipenotes.org/146-a-guide-to-system-shapes-1896-2019-part-1-the-300-shape-group/. He writes the following on the history of the 307:

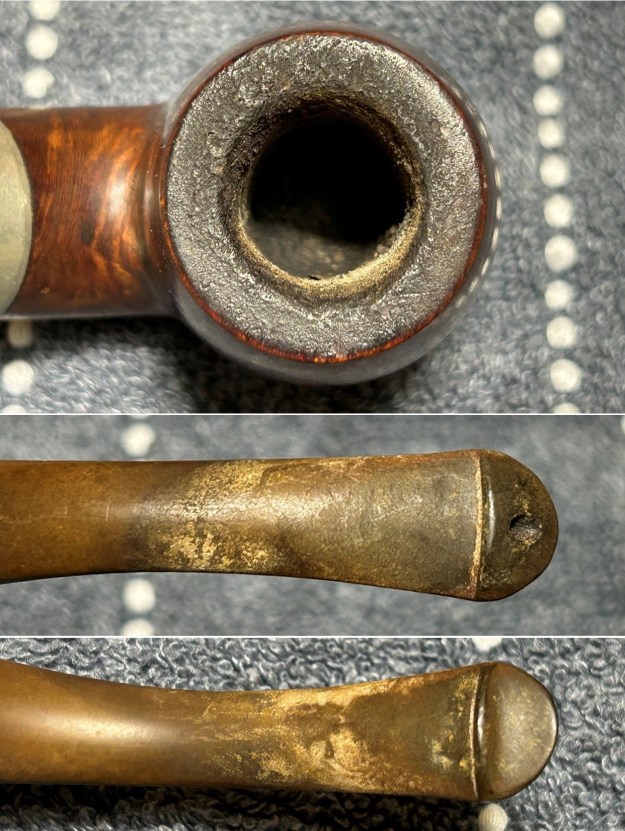
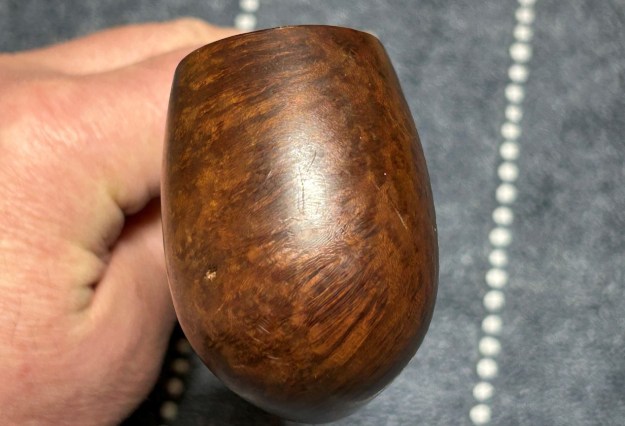
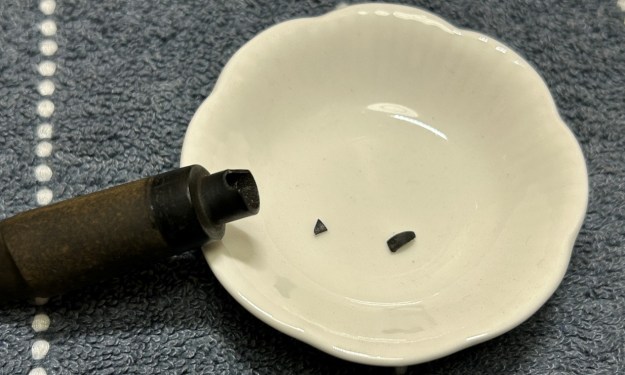
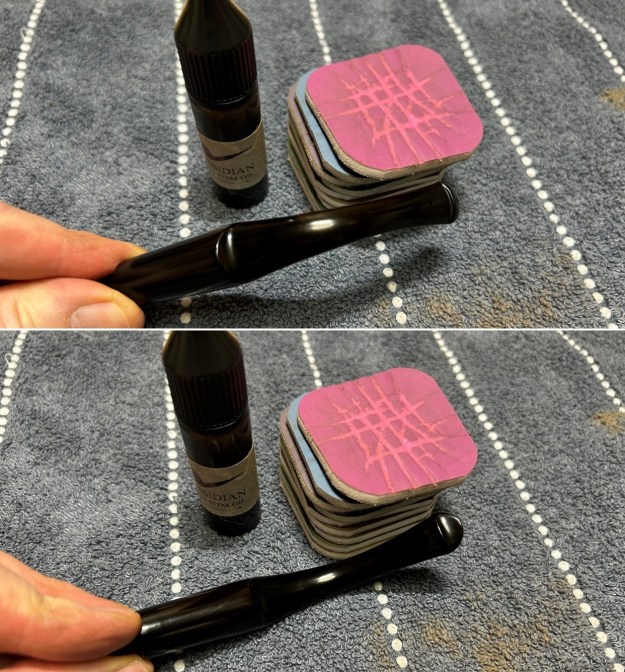
The 307 is an original Patent bent billiard-shape, shown in the 1896 catalog as shape 9. It has retained its original shape number in the De Luxe version, but was issued in the 1937 catalog as the 307 (2nd quality) / 357 (3rd quality). Since then, it has also appeared as the 9S and 9B (De Luxe), Dunmore System 78 (1978-1983), and the Classic Range 9BC (1940s-1950s) / XL90 (1980s-Present). The 9B dating from the 1940s-1960s (the De Luxe System with a tapered rather than saddle bit) is rarely seen on the estate market. There have been changes in the shape since the 1960s, all toward less “cheeking,” making earlier versions, when available, preferable to those wishing to get back to the first, classic iteration of the shape.On to the pipe itself – well, it has seen better days. This one was obviously a great smoker, because the previous owner smoked it thoroughly. The stem is very dirty, oxidized, calcified, and has a few tooth marks. The bowl has a lot of lava on the rim, lots of cake in the bowl, and a few nicks in the briar. But, as Steve always says, this is part of the pipe’s story. Despite the filth, you can see how smart this pipe is. Let’s get on with the work. I used a disposable lighter and ‘painted’ the stem with its flame. The gentle heat of the flame can cause the dents in the vulcanite of the stem to expand back into shape. This helped a bit. The stem’s calcification was quite substantial. I used an old butter knife and gently scraped some of the thicker accretion off. Doing this now helps later in removing the oxidation.I used isopropyl alcohol on a few cotton rounds and wiped down the stem to provide an initial cleaning of filth before moving on to the next steps. The primary cleaning came next. I disinfected the inside of the stem with both pipe cleaners and cotton swabs dipped in lemon-infused 99% isopropyl alcohol. I scrubbed thoroughly to make sure the interior was very clean. I used a lot of pipe cleaners and cotton swabs – this stem was dirty!The goal of the next step is the removal (or minimization) of oxidation. Going to my sink, I used cream cleanser, cotton rounds, and a toothbrush, and scoured the stem to remove as much surface oxidation as possible. As the photos show, the result was a hideous, ochre-coloured mess – but better off the stem than on it.Once the stem was reasonably clean, I soaked it overnight in some Briarville Stem Oxidation Remover. This solution works to draw oxidation in the stem to the surface of the vulcanite. This is a major aid and an important step in ensuring a clean stem. The following day, I drew out the stem from its bath and scrubbed the lingering fluid with a toothbrush.As the stem was now clean and dry, I set about fixing the marks and dents in the vulcanite. This was done by filling those divots with black cyanoacrylate adhesive, impregnated with carbon and rubber. At some point in the process, two tiny pieces of the tenon broke. Even though this has no effect on the pipe, I took the time to repair it. It took some patience, tweezers, effort, a dental tool, and some CA glue, but I was really pleased with the results. It is a perfect repair. I wish I had photos of the repair process, but I needed both my hands at the time!The penultimate step for the stem is sanding. First, with my set of needle files, I reduced the bulk of the cyanoacrylate repairs. I removed the excess adhesive as near to the surface as possible, without cutting into the vulcanite. Following that, I used all nine of the micromesh sanding pads (1,500 through 12,000 grit) to sand out flaws, even out the vulcanite, and provide gentle polishing of the finished surface. I also applied pipe-stem oil while using the last five micromesh pads. There was a wonderful, deep black shine to the stem when I was done.As the stem was (nearly) complete, I moved on to the stummel. The first step was to ream out the bowl – that is to say, remove all the cake inside the bowl. This accomplished a couple of things. First (and most obviously), it cleaned the bowl and provided a refurbished chamber for future smoking. Second, when the old cake was removed, I could inspect the interior walls of the bowl and determine if there was damage or not. I used a reamer, a pipe knife, and a piece of sandpaper taped to a wooden dowel. Collectively, these ensured that all the debris was removed.My next step was to remove the lava on the rim. For this, I took a piece of machine steel and gently scraped the lava away. The metal’s edge is sharp enough to remove what I need, but not so sharp that it damages the rim. This work revealed that there were some burn marks on the rim, but nothing terrible. Again, this is a lingering legacy of the man who once smoked it.The inside of the stummel needed to be cleaned thoroughly. However, this pipe was so clogged, that I first needed to open the horribly occluded airway. So, I took a long drill bit, held in a drill chuck, and hand-cranked it to dislodge the dreadful detritus inside. Hand cranking is essential because it provides a precision and caution that a power drill cannot provide. Similar to the stem, I then cleaned the stummel with both pipe cleaners and cotton swabs dipped in lemon-infused 99% isopropyl alcohol. I cannot (and the photo below cannot) convey to you how dirty this pipe was. Holy moly. It took forever and so much cotton to clean.After that, you’d better believe that I decided to ‘de-ghost’ the pipe – that is to say, exorcize the remaining filth from the briar. I filled the bowl and the shank with cotton balls, then saturated them with 99% isopropyl alcohol. I let the stummel sit overnight. This caused the remaining oils, tars and smells to leach out into the cotton.To tidy up the briar, I wiped down the outside, using a solution of a pH-neutral detergent and some distilled water, with cotton rounds. I also used a toothbrush in the crevices. This did a good job of cleaning any latent dirt on the surface of the briar. The last step of the cleaning process was to scour the inside of the stummel with the same mild detergent and tube brushes. This was the culmination of a lot of hard work in getting the pipe clean.I used all nine micromesh pads (1,500 through 12,000 grit) to sand the outside of the stummel and finish it off. This sanding minimizes flaws in the briar and provides a beautiful smoothness to the wood. This included buffing up the nickel mount to a beautiful shine! I then reattached the nickel mount with some pH-neutral glue. After letting the glue set, I rubbed some LBE Before & After Restoration Balm into the briar and let it sit for 30 minutes or so. The balm moisturizes the wood and gives a beautiful depth to the briar. I then buffed the stummel with a microfibre cloth. For the final step, I took the pipe to my bench polisher and carefully buffed it – first with a blue diamond compound, then with three coats of carnauba wax. This procedure makes the pipe look its best – the stummel sings and the stem glows.

This Peterson Standard System 307 looks fantastic again and is ready to be enjoyed by its next owner – just in time for St Patrick’s Day. I am pleased to announce that this pipe is for sale! If you are interested in acquiring it for your collection, please have a look in the ‘Irish’ section of the store here on Steve’s website. You can also email me directly at kenneth@knightsofthepipe.com. The approximate dimensions of the pipe are as follows: length 6¼ in. (159 mm); height 2⅛ in. (53 mm); bowl diameter 1⅔ in. (41 mm); chamber diameter ¾ in. (20 mm). The weight of the pipe is 1⅞ oz. (56 g). I hope you enjoyed reading the story of this pipe’s restoration as much as I enjoyed restoring it. If you are interested in more of my work, please follow me here on Steve’s website or send me an email. Thank you very much for reading and, as always, I welcome and encourage your comments.