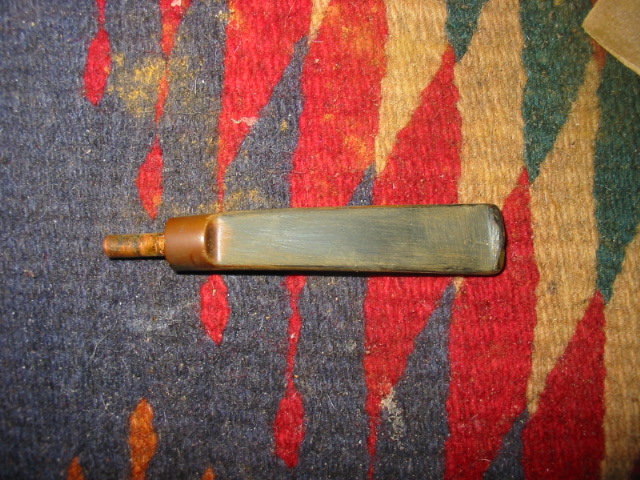
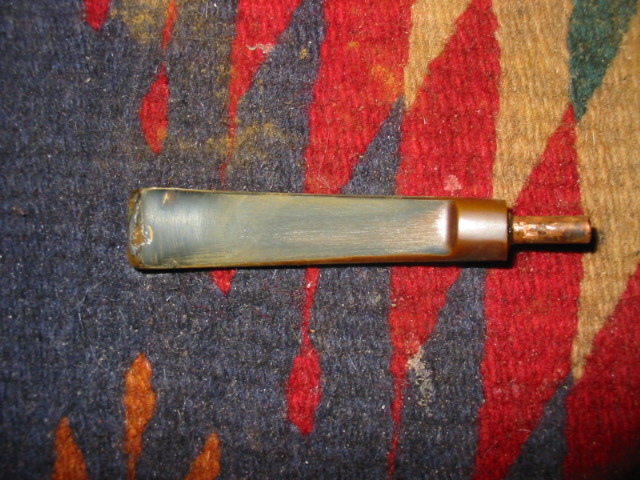
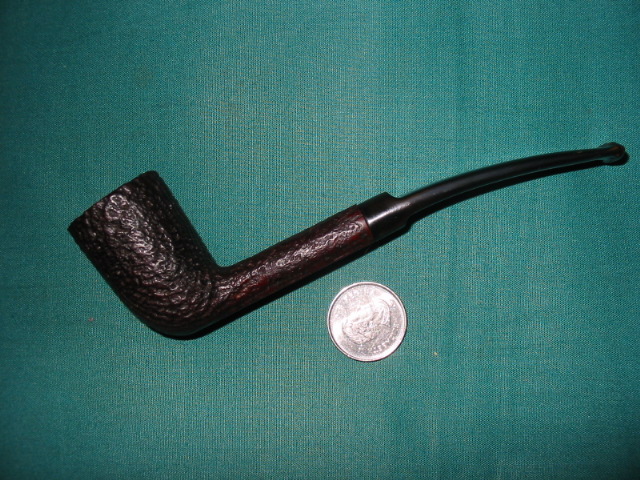
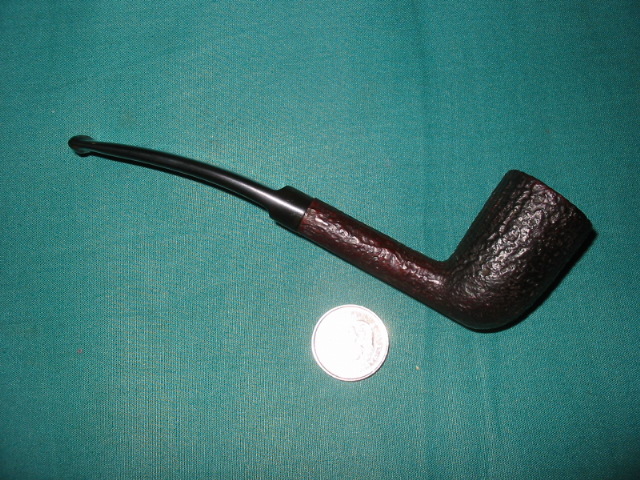
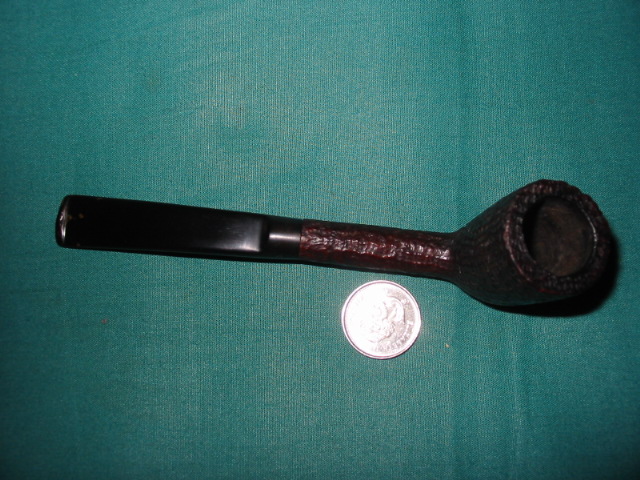
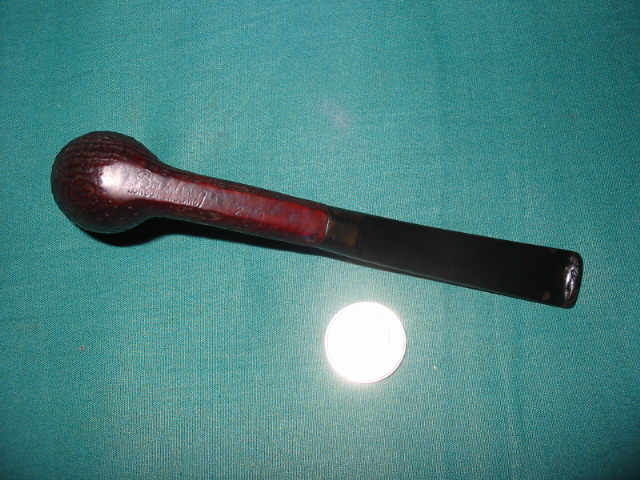
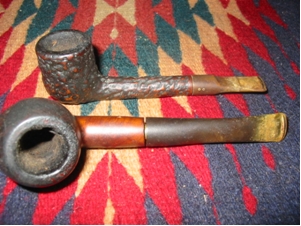
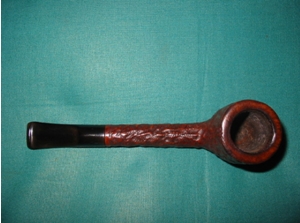
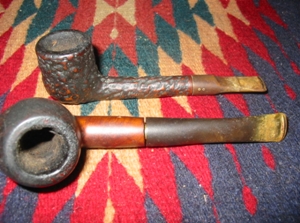
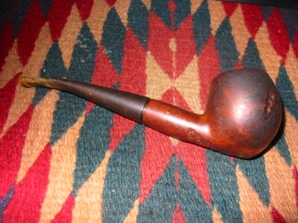
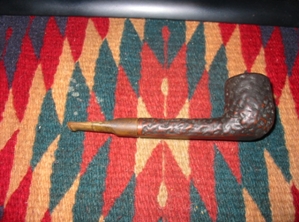
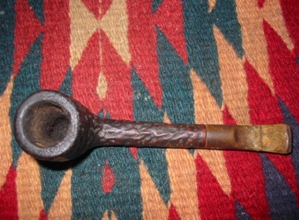
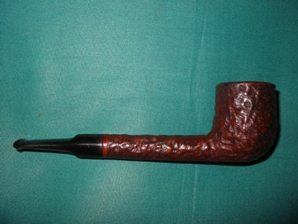
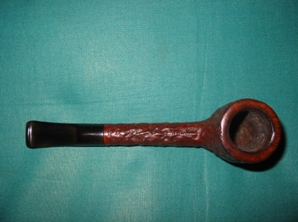
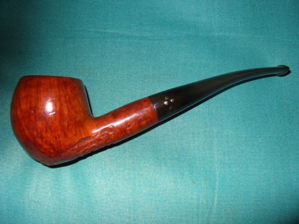
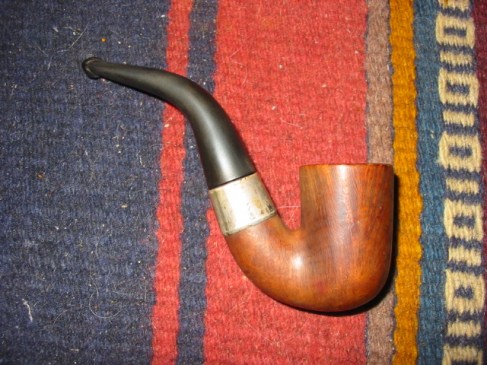
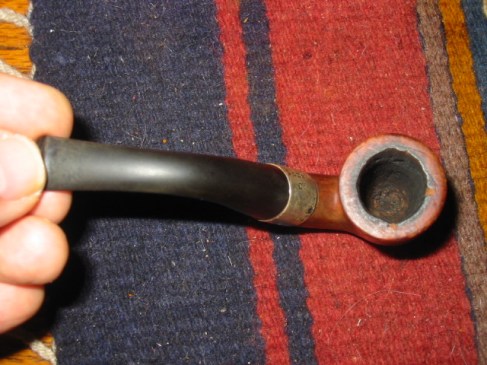
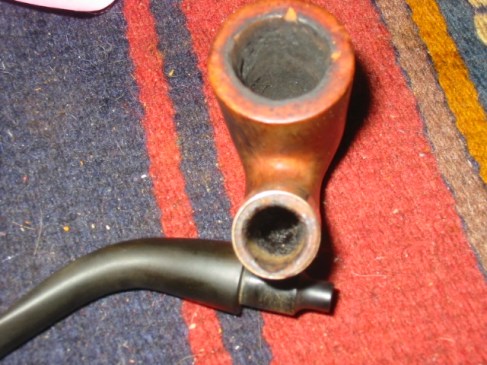
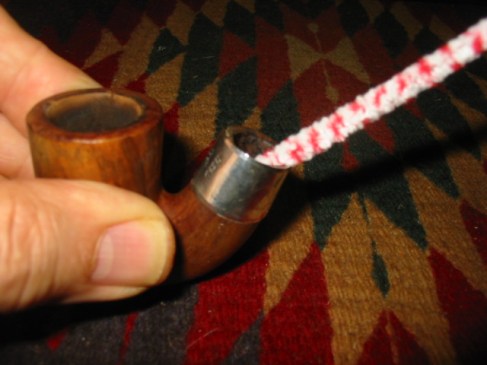
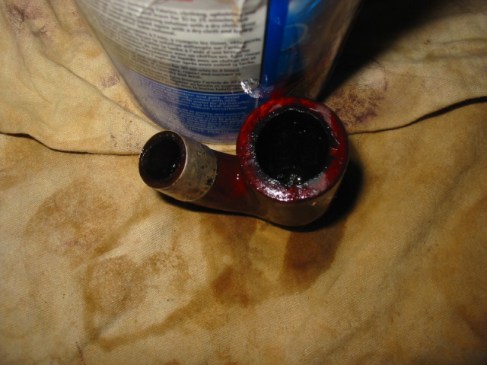
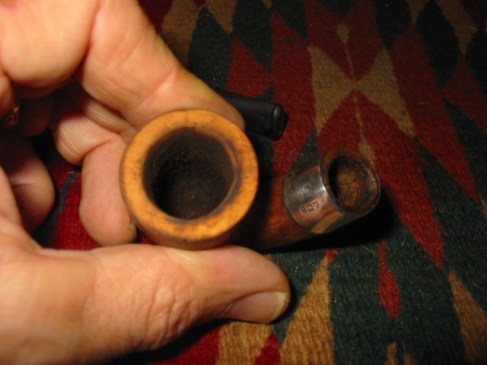
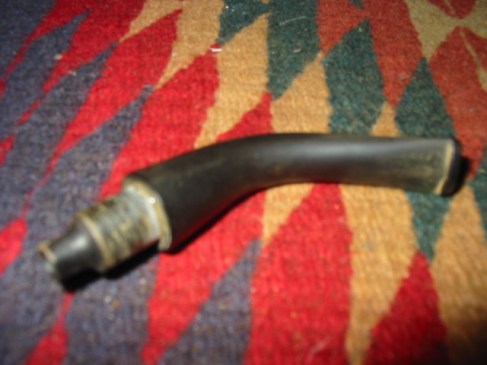
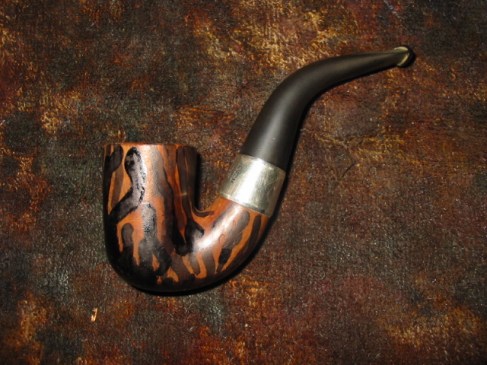
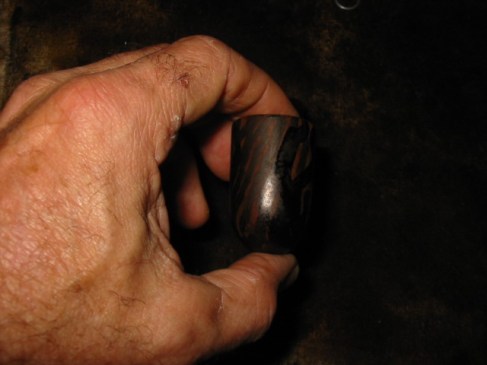
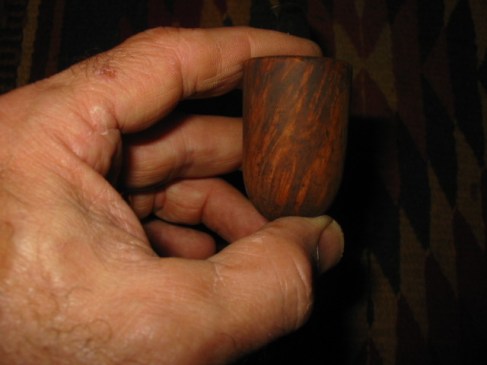
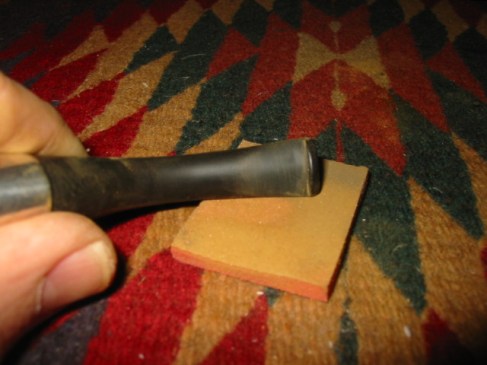
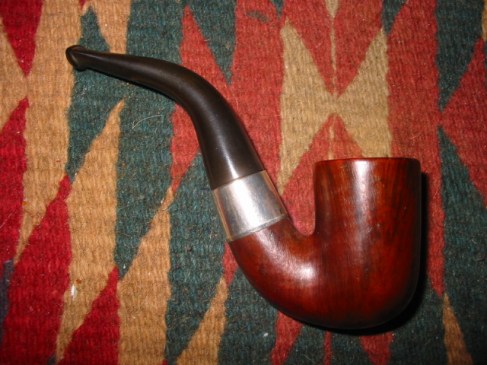
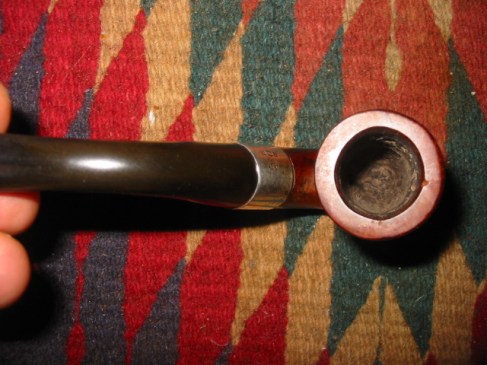
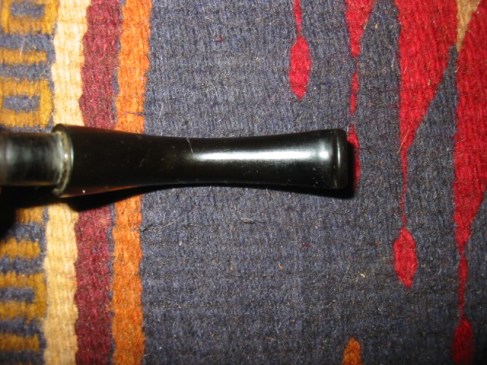
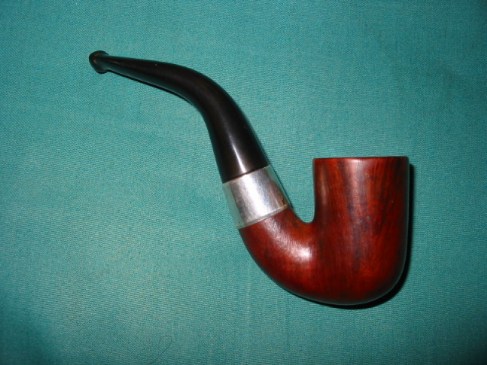
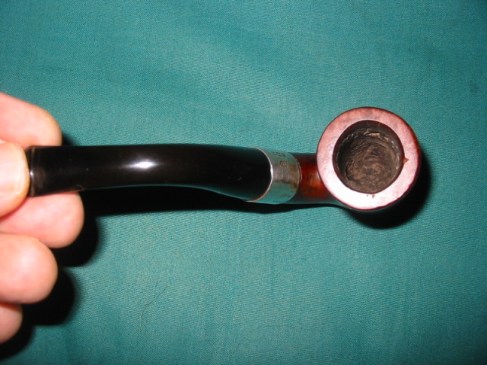
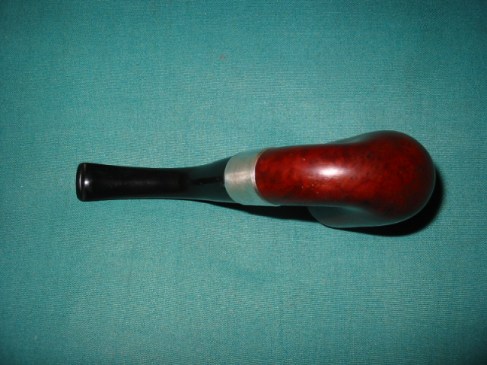
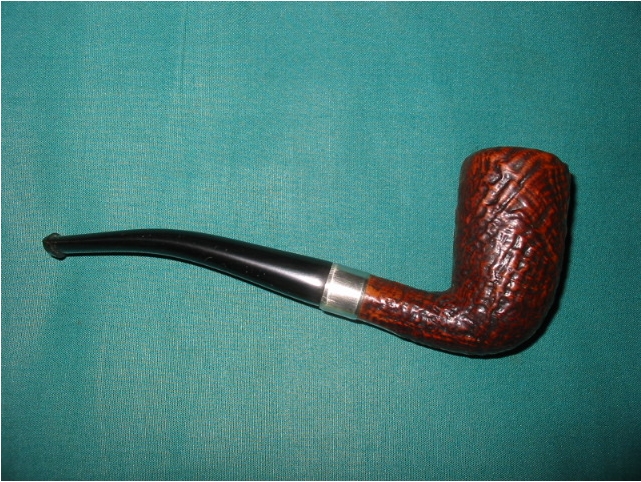
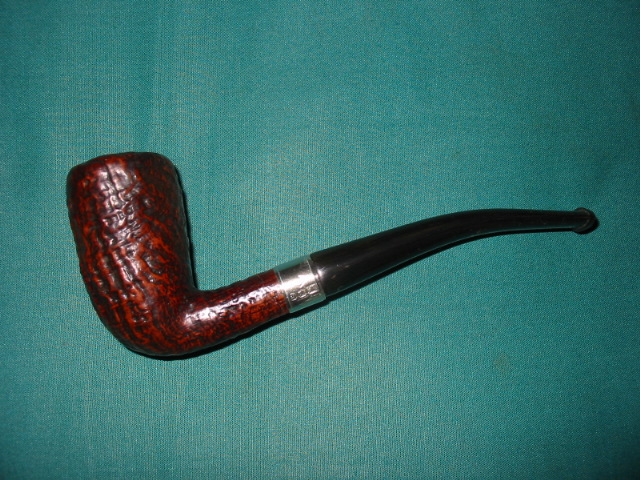
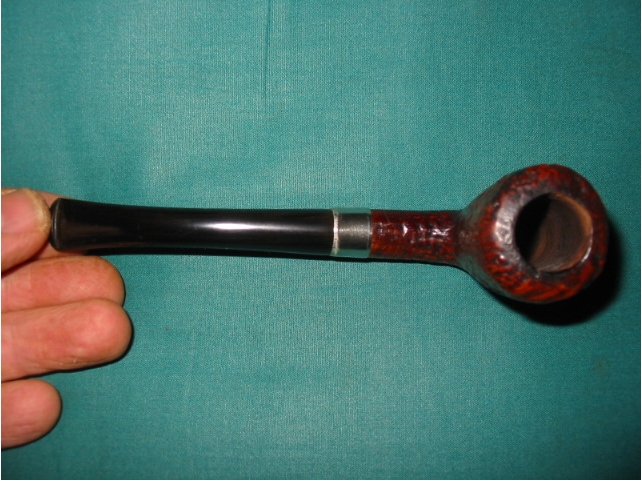
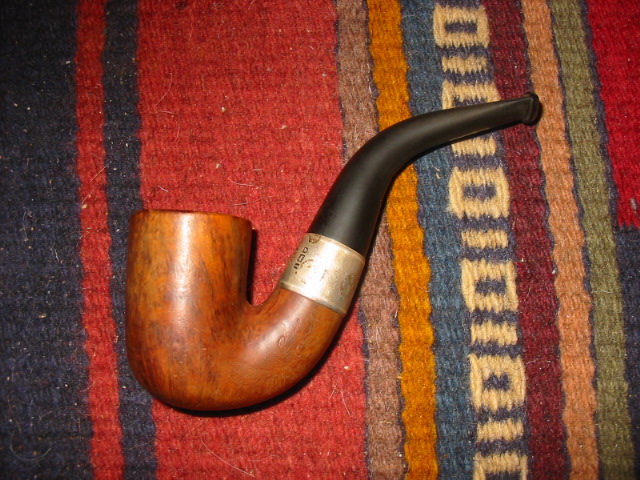
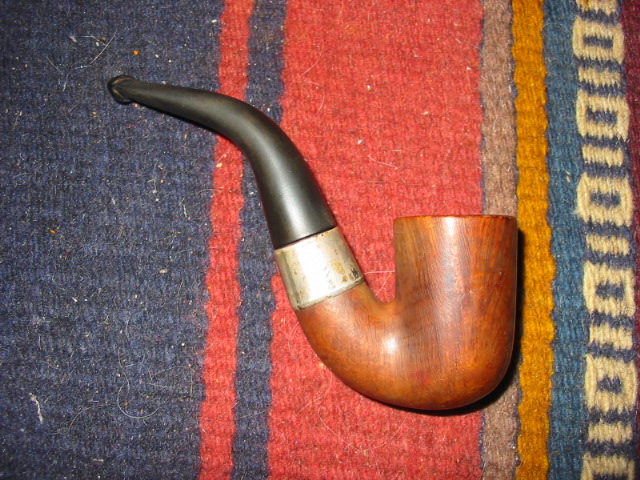
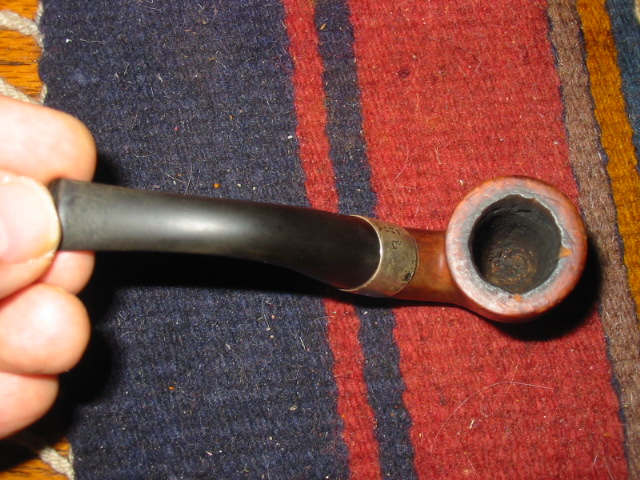
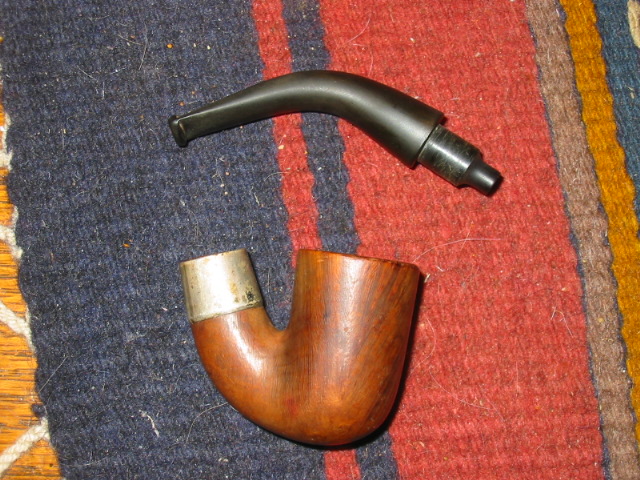
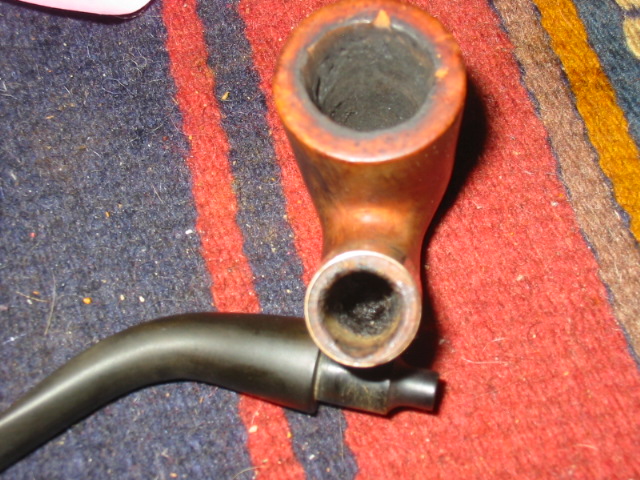
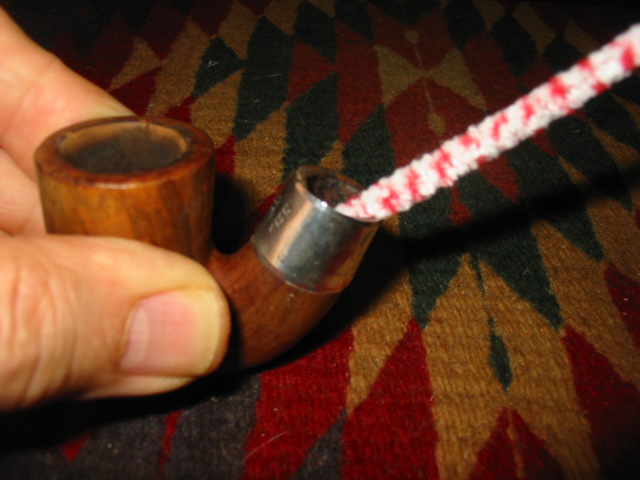
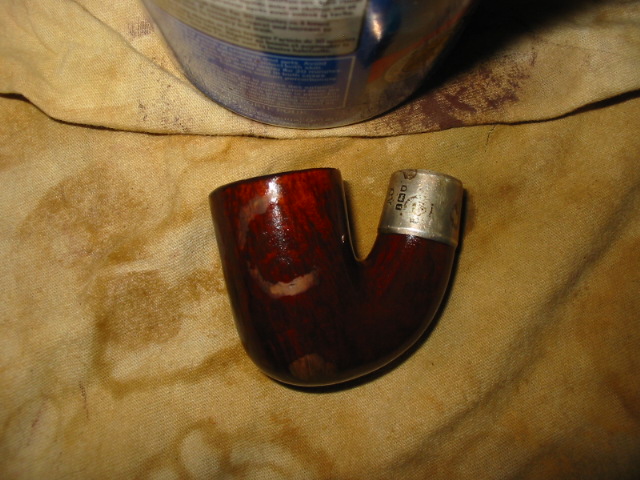
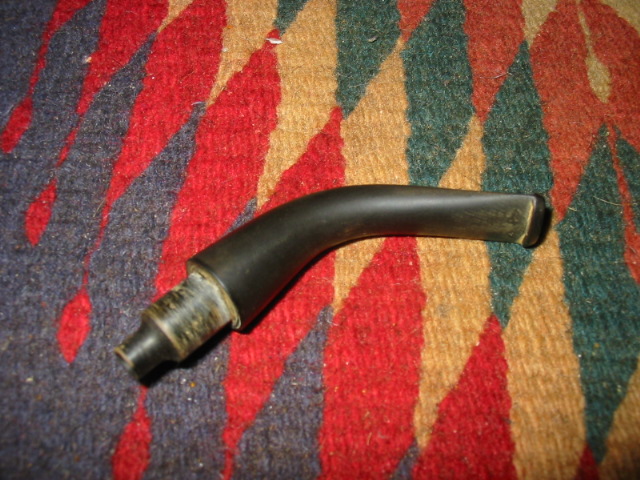
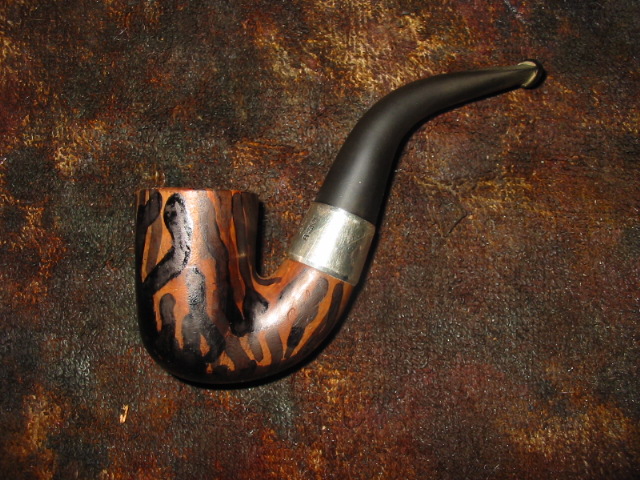
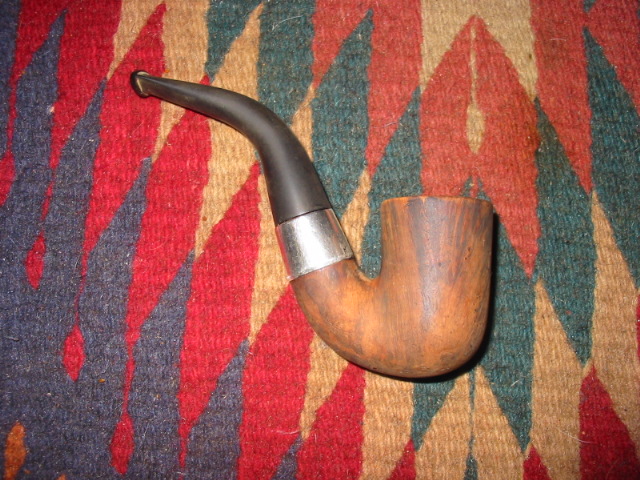
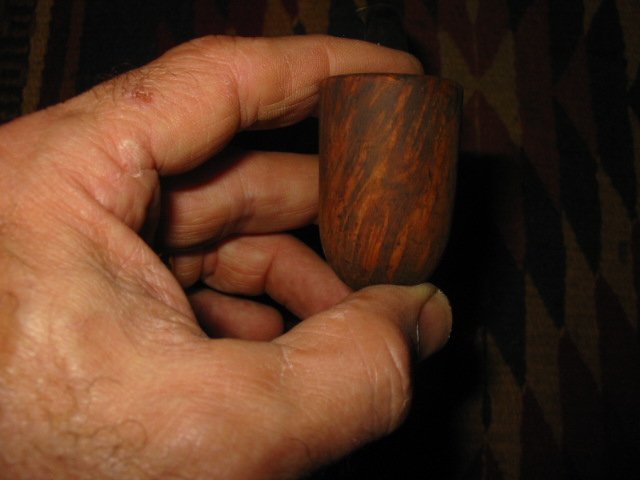
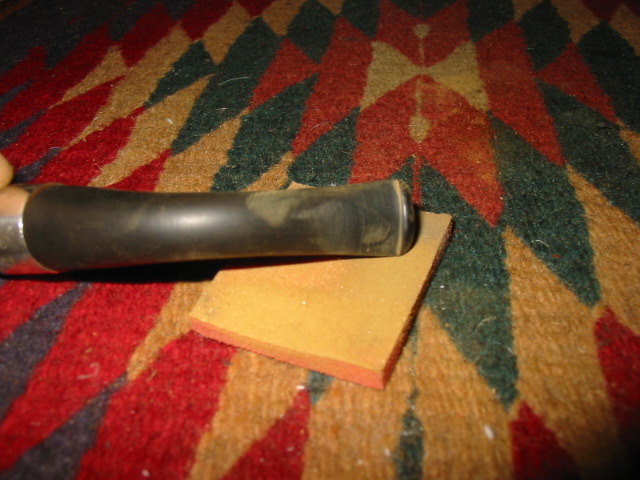
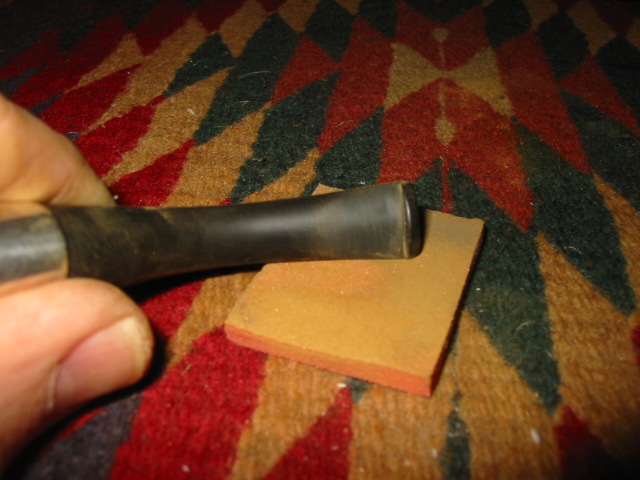
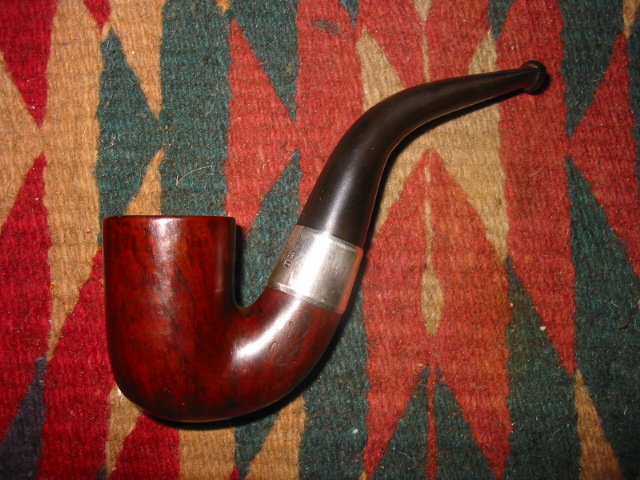
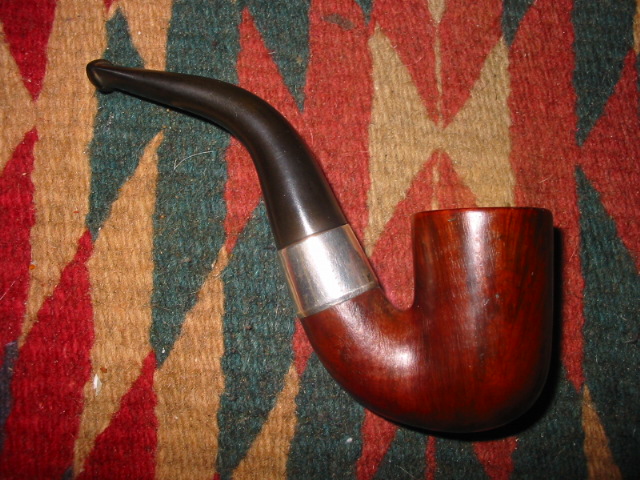
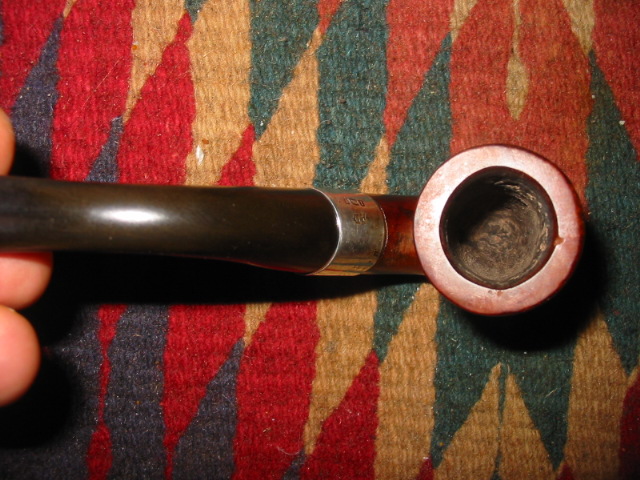
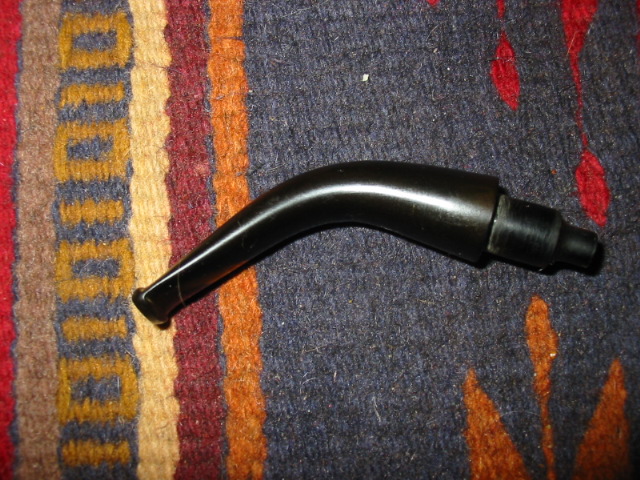
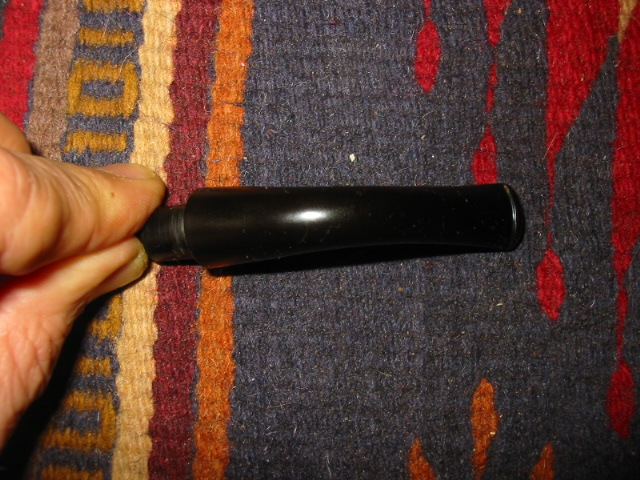
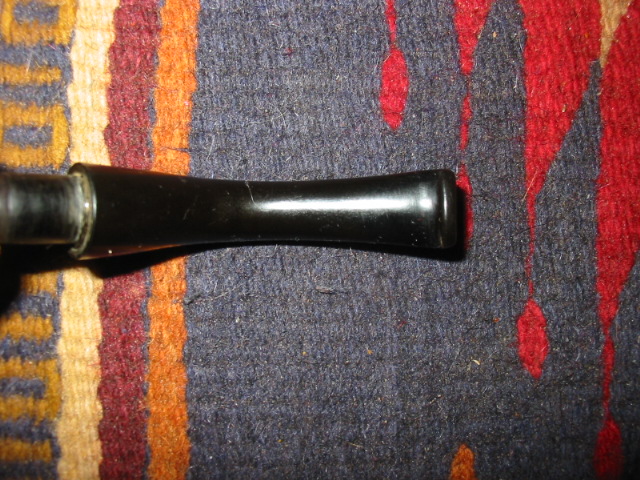
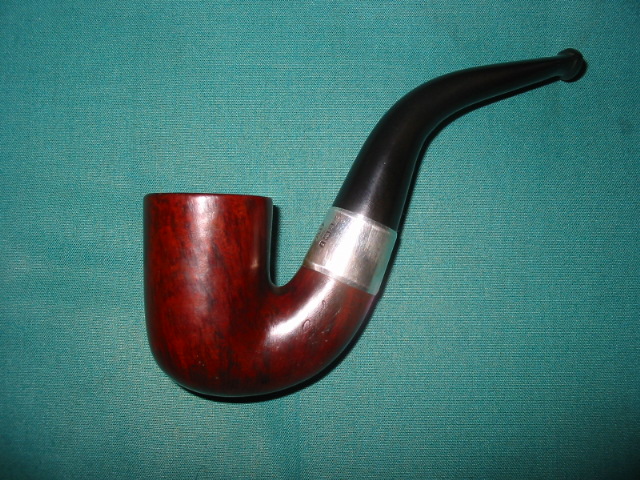
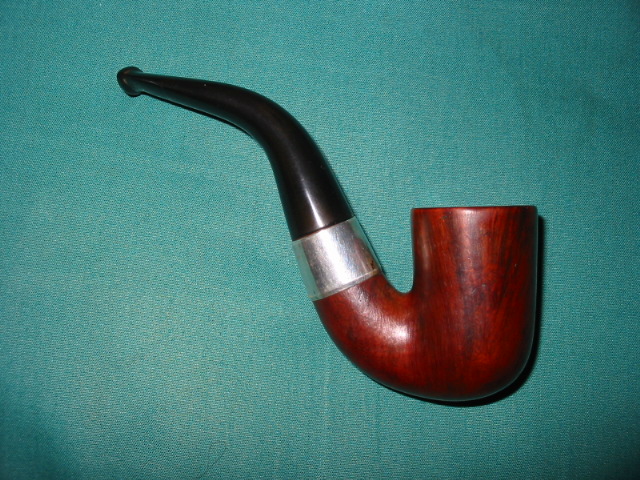
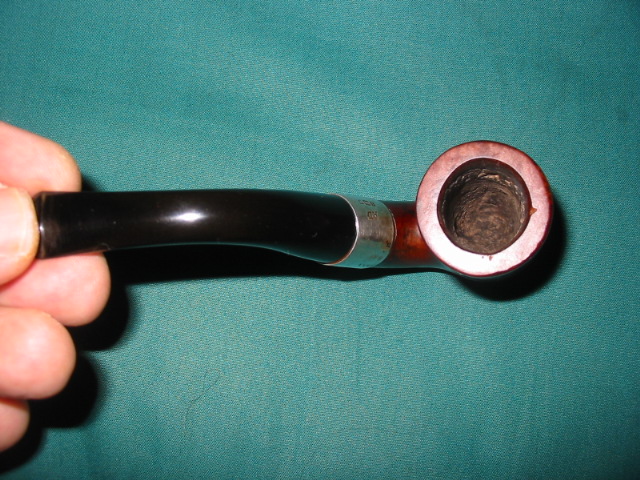
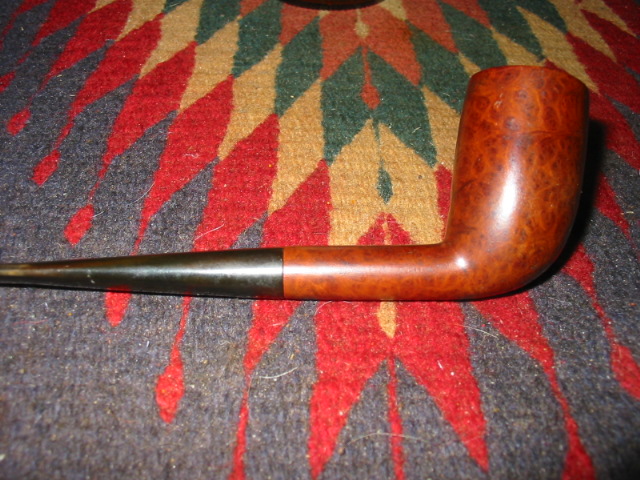
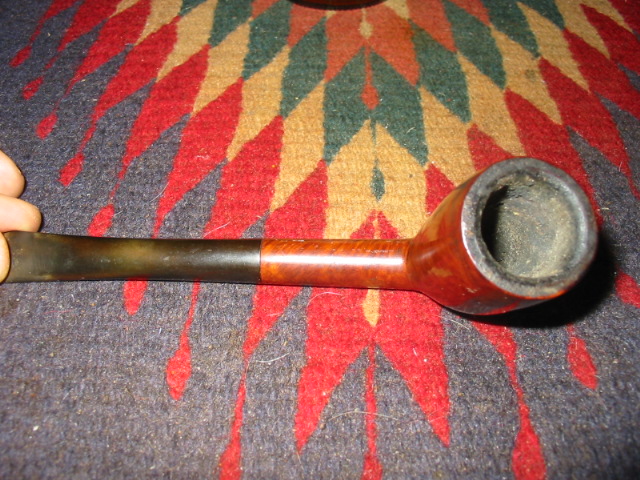
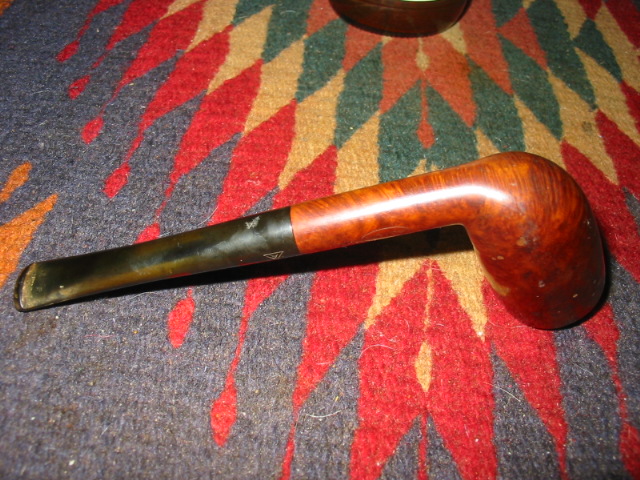
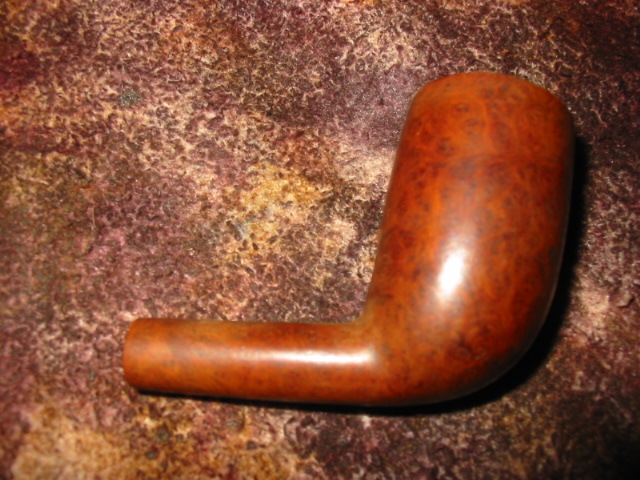
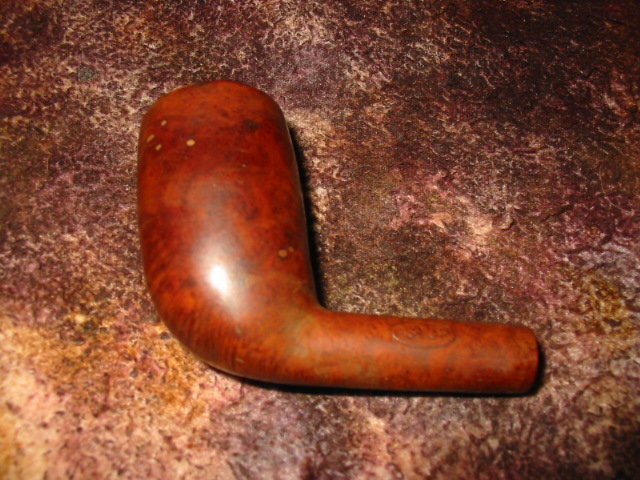
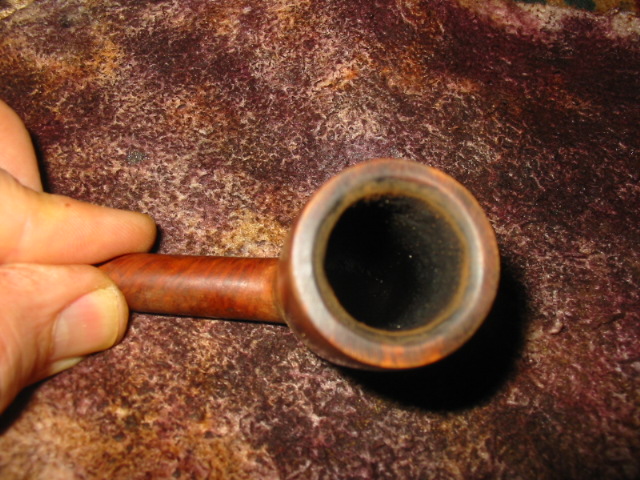
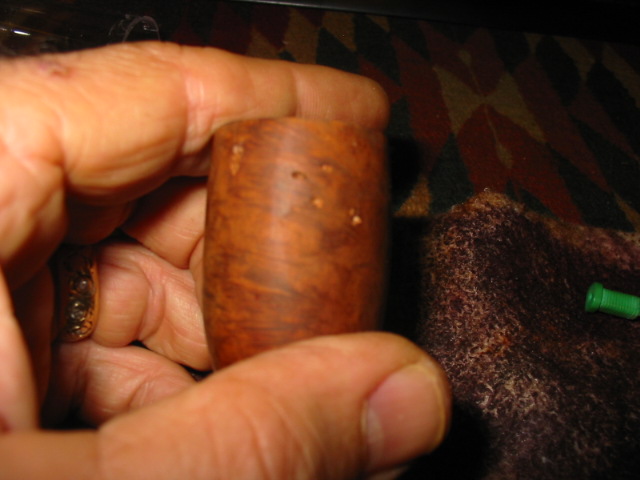
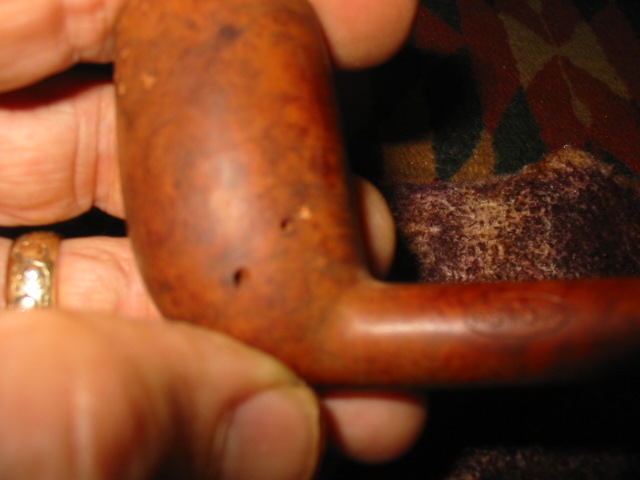
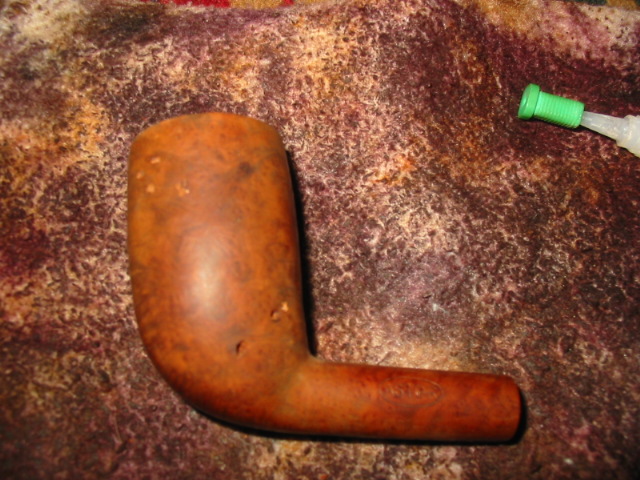
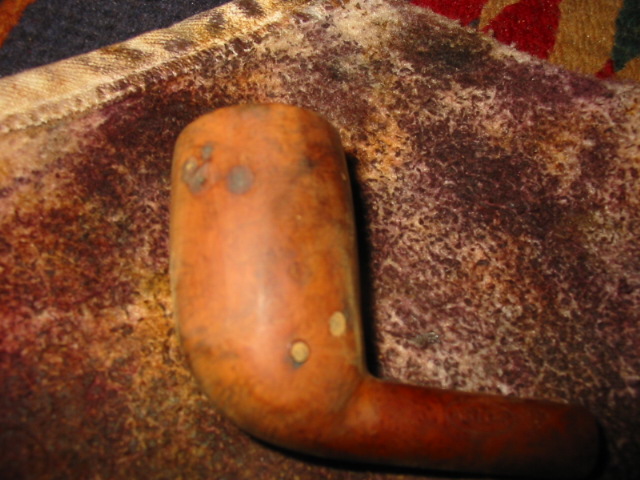
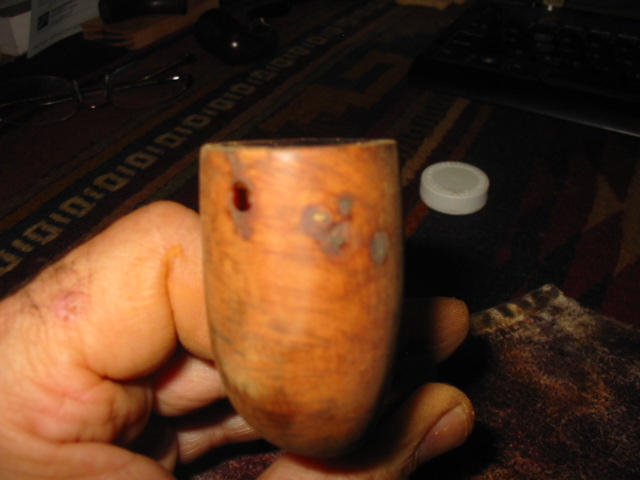
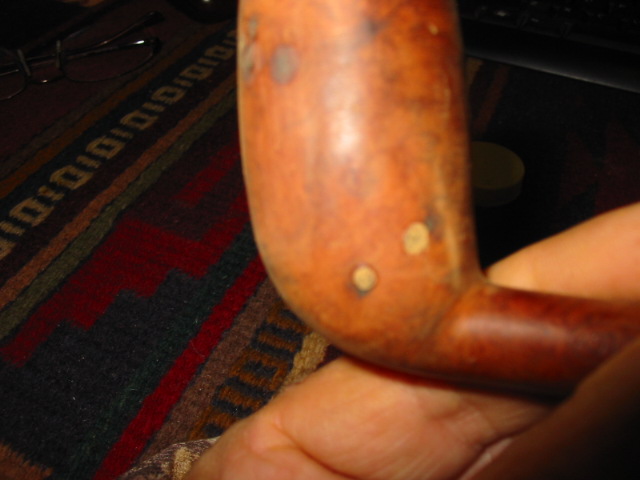
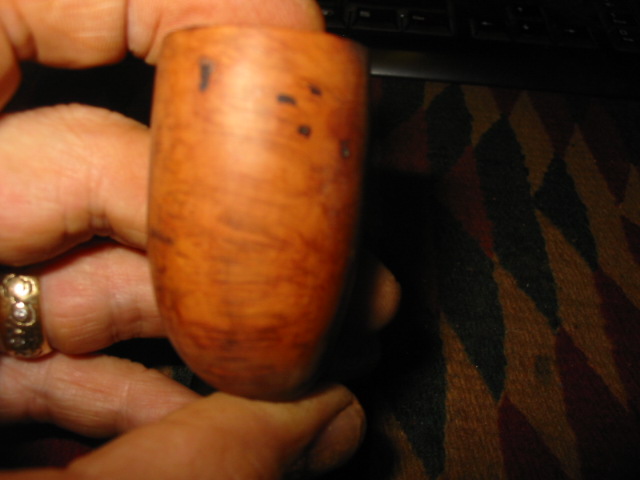
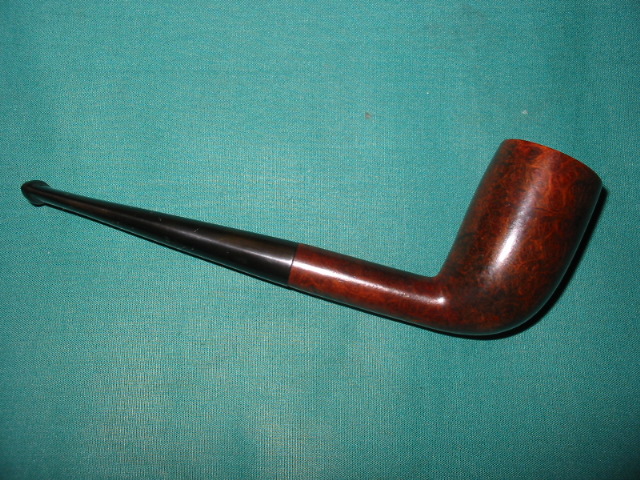
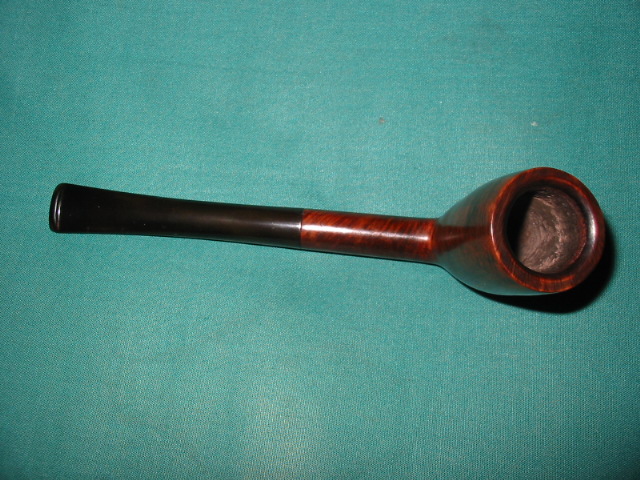
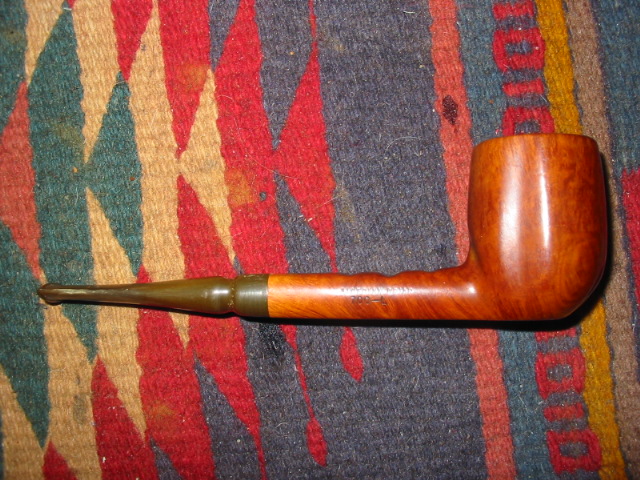
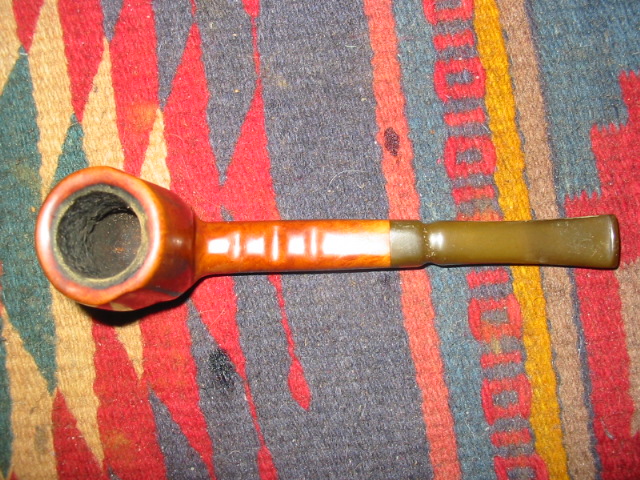
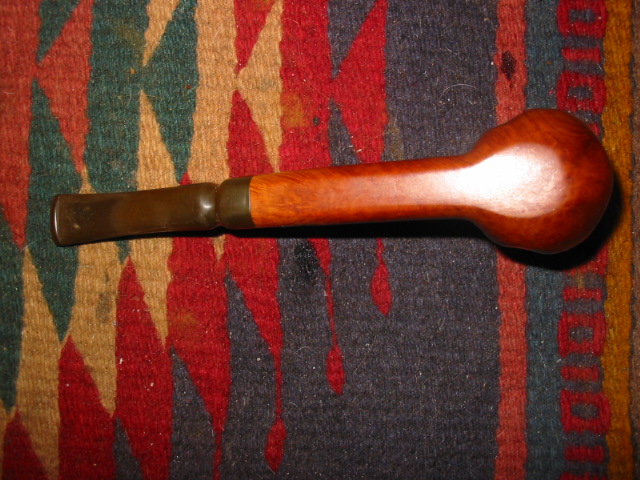
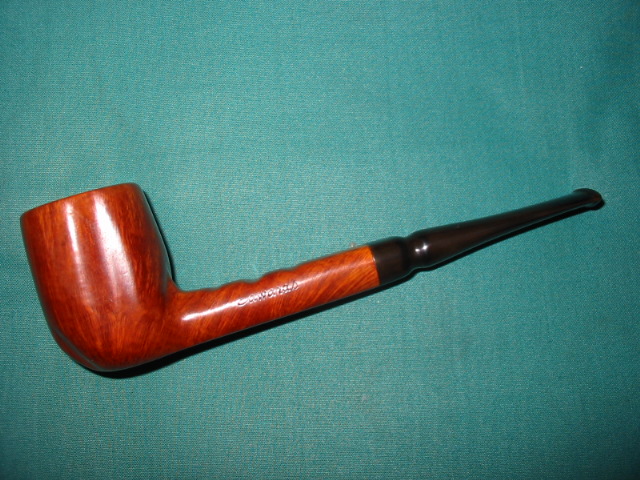
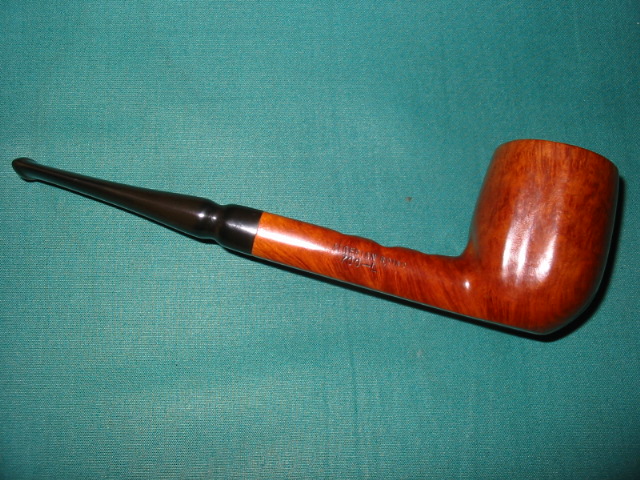
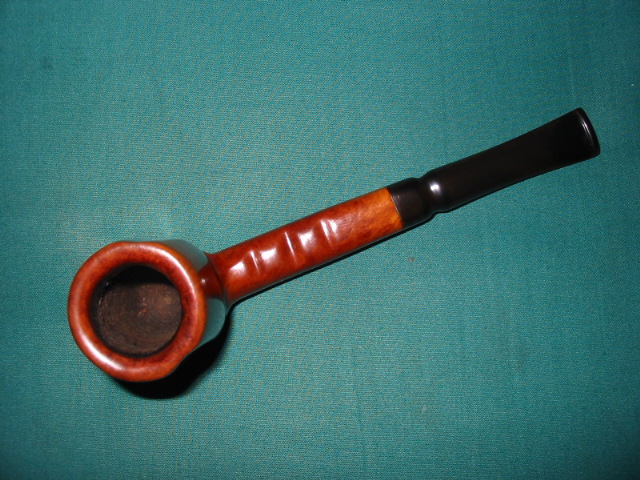
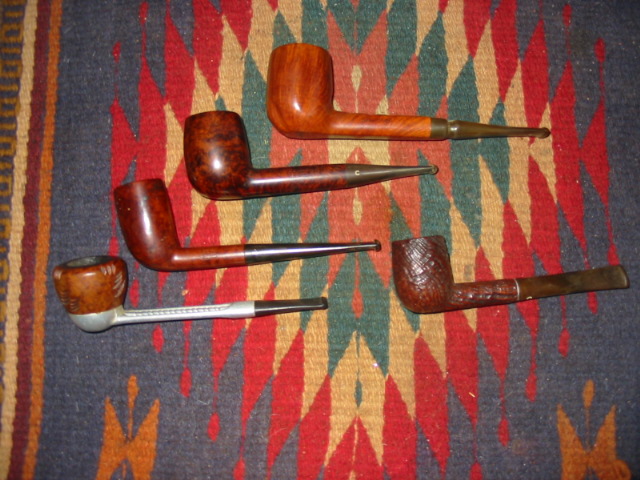
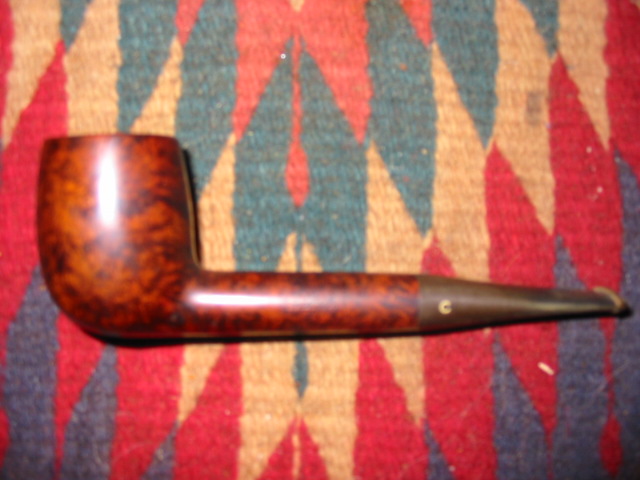
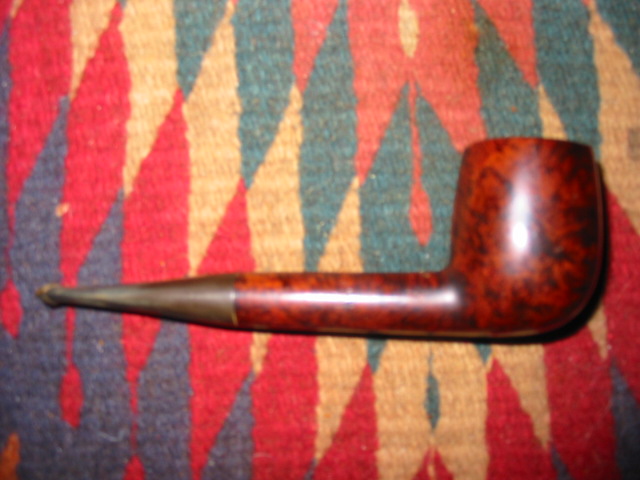
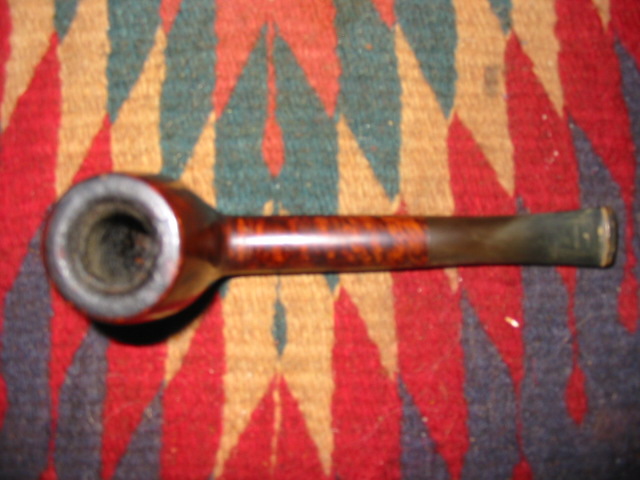
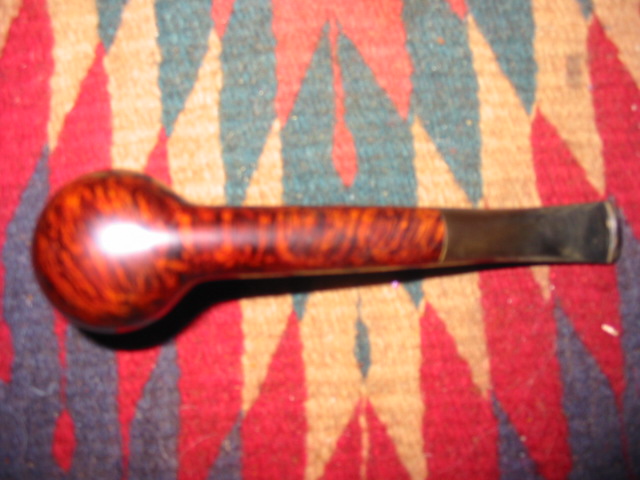
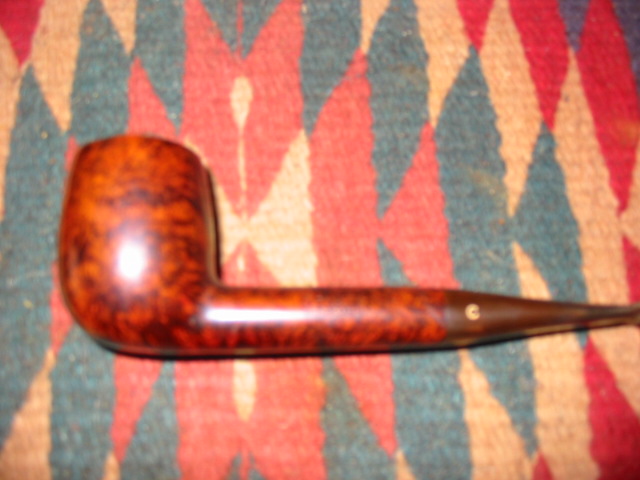
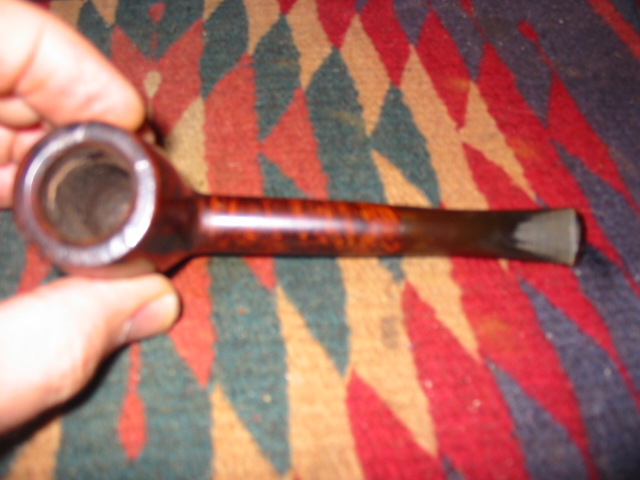
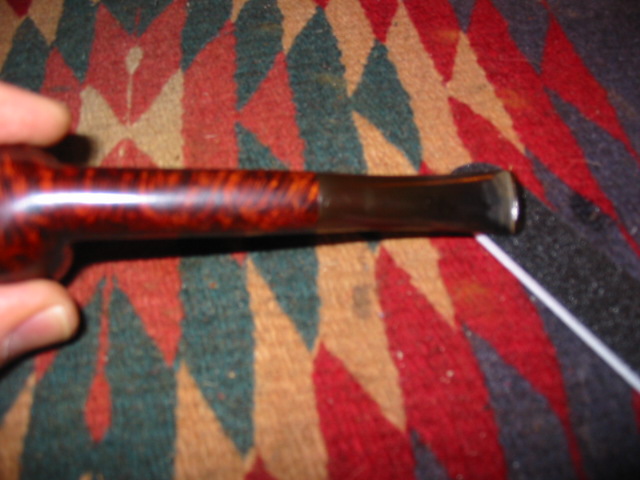
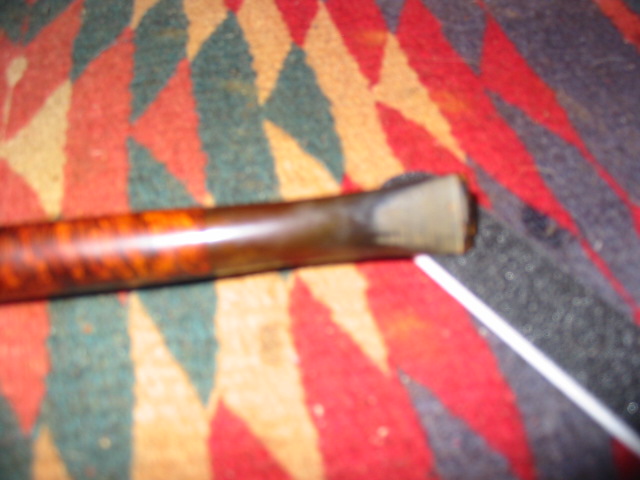
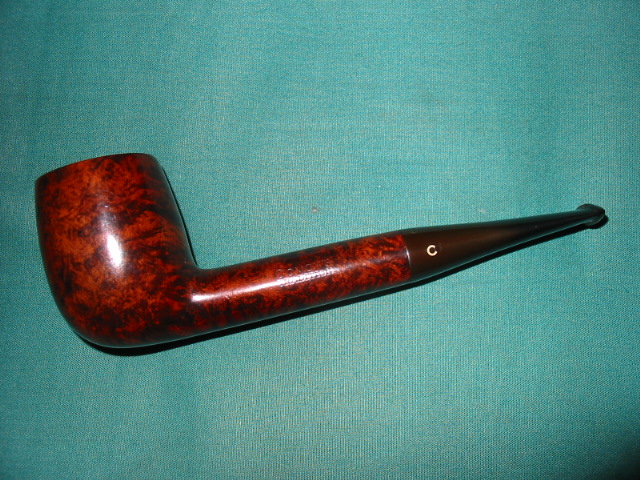
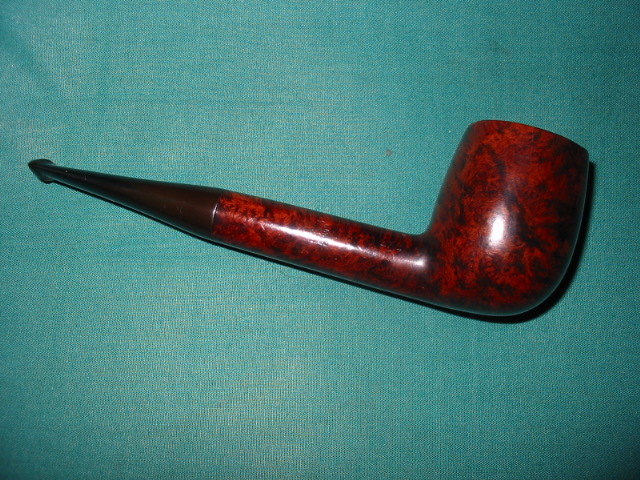
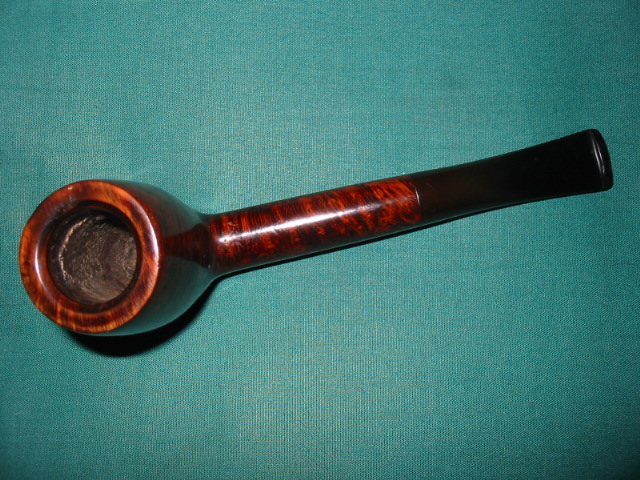
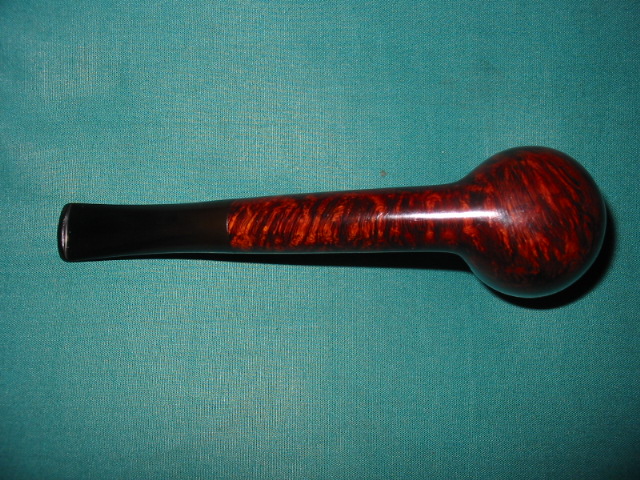
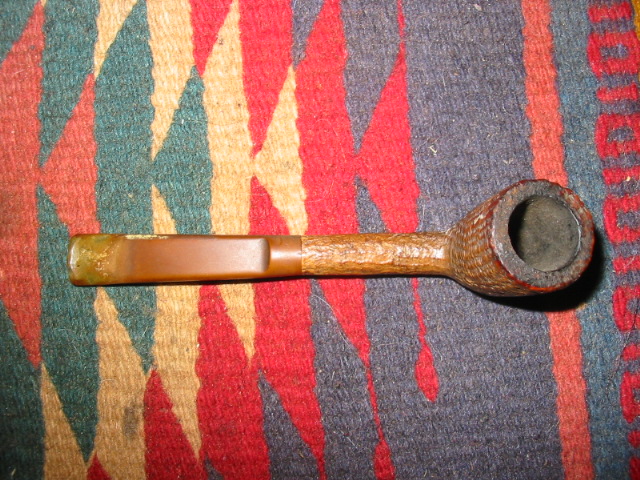
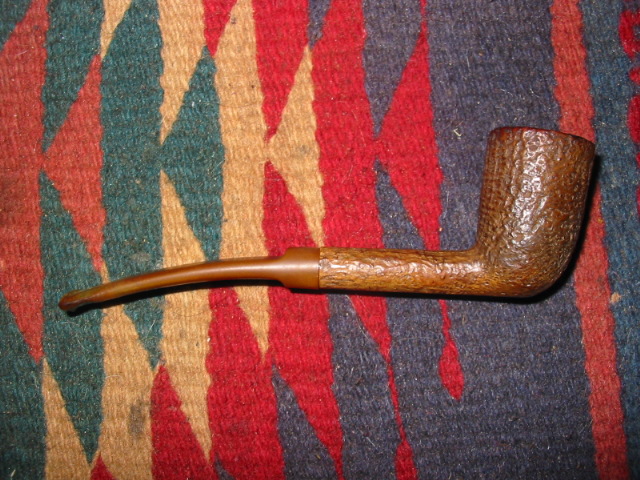
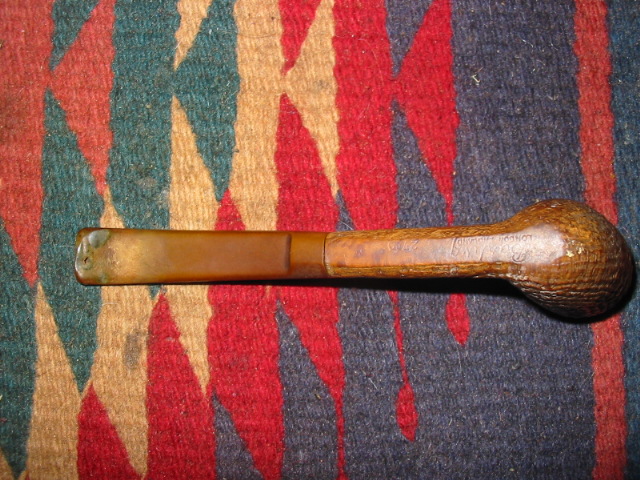
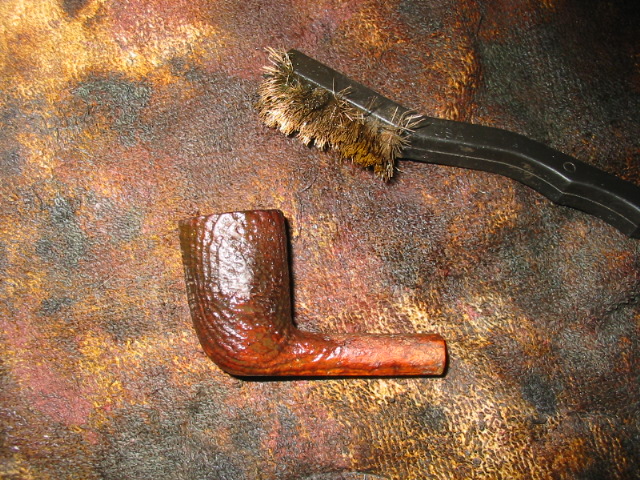
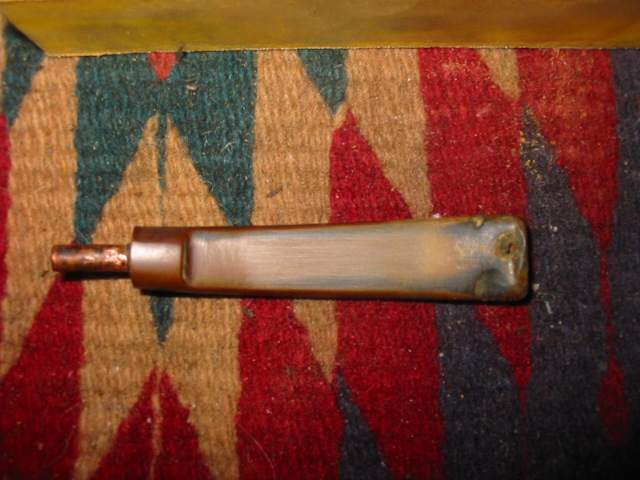
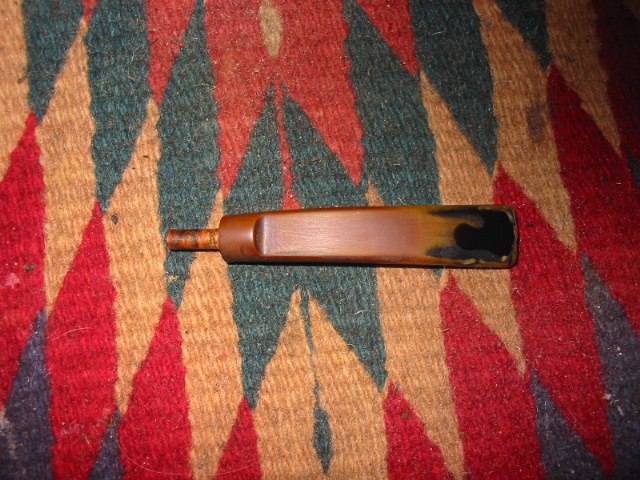
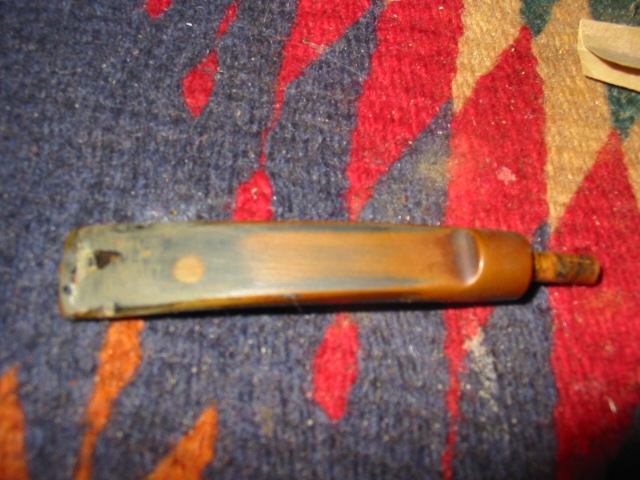
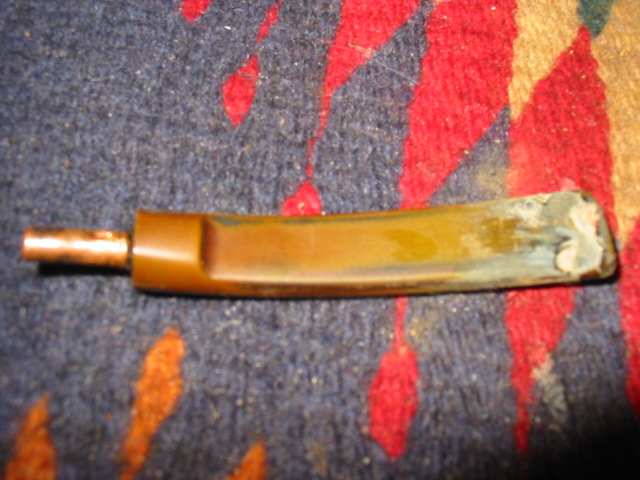
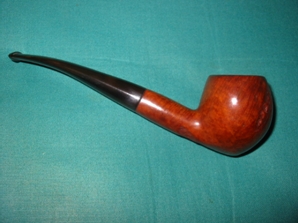
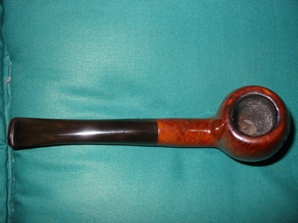
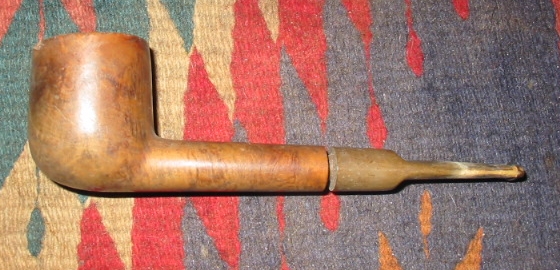
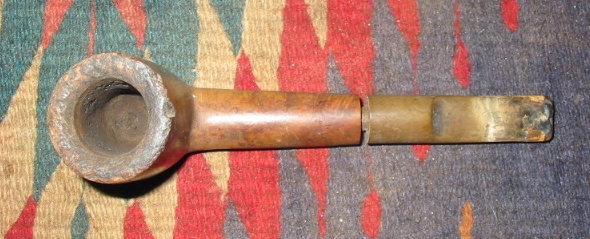
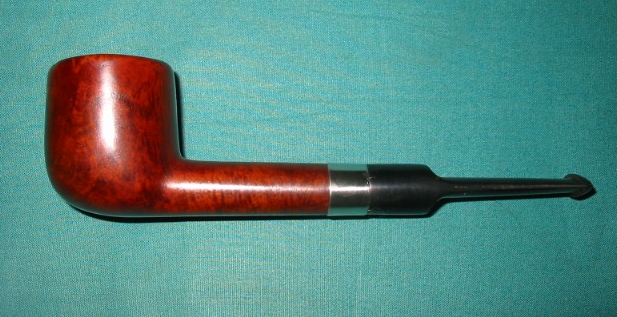
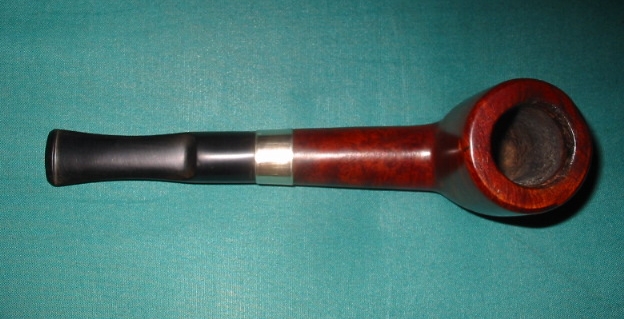
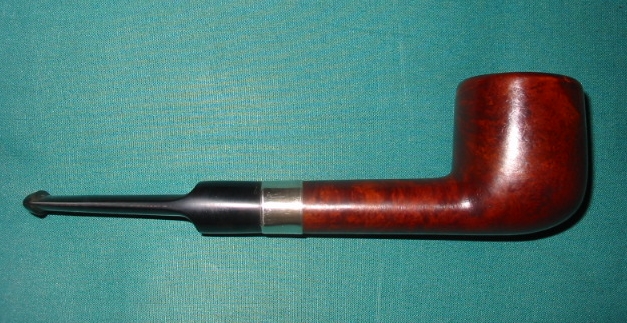
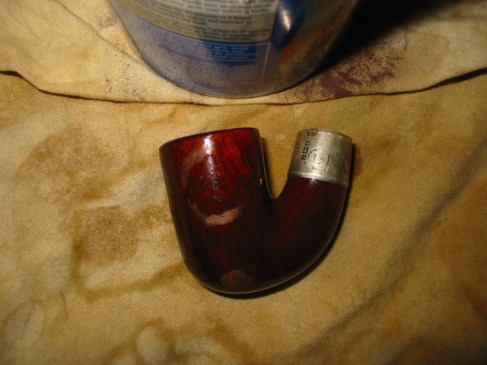
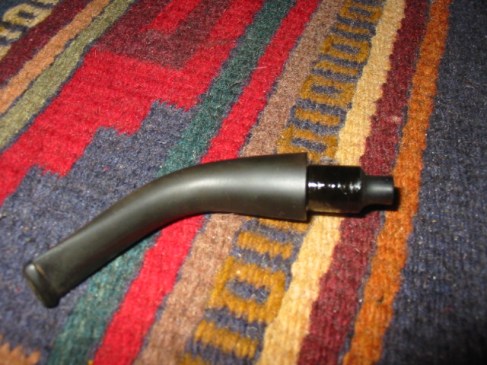
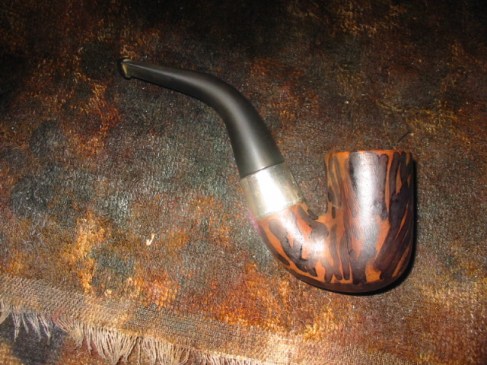
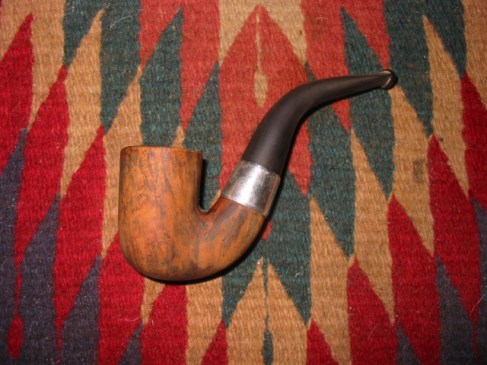
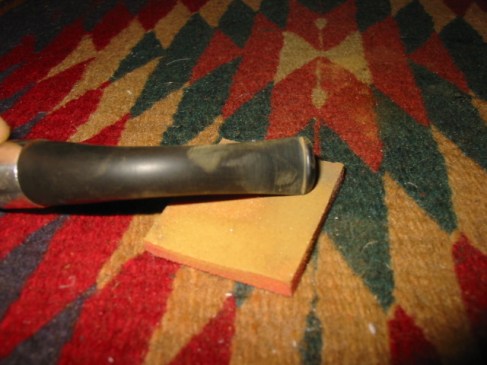
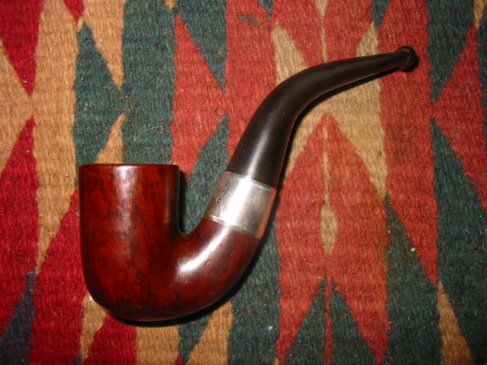
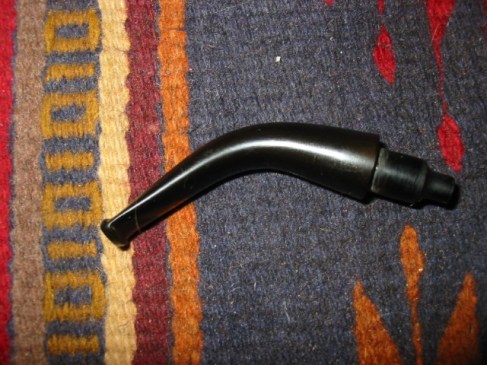
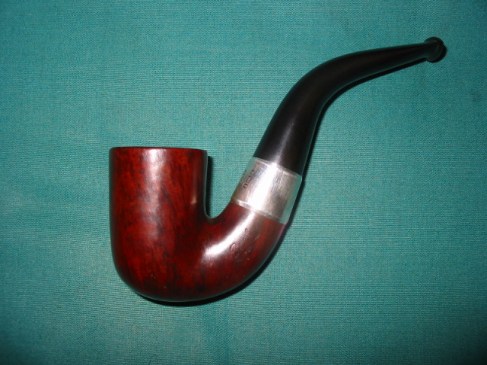
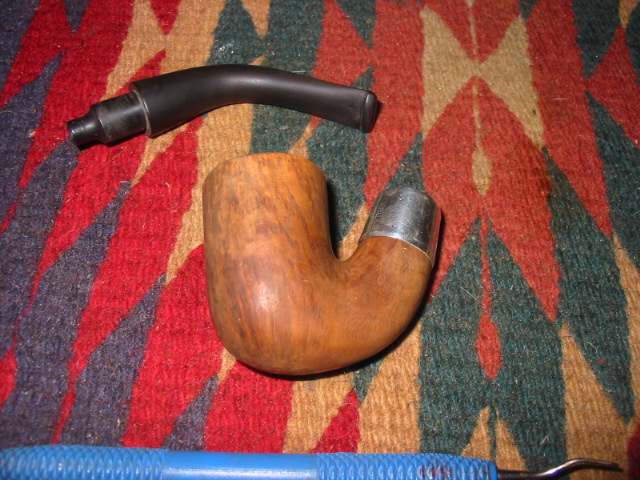
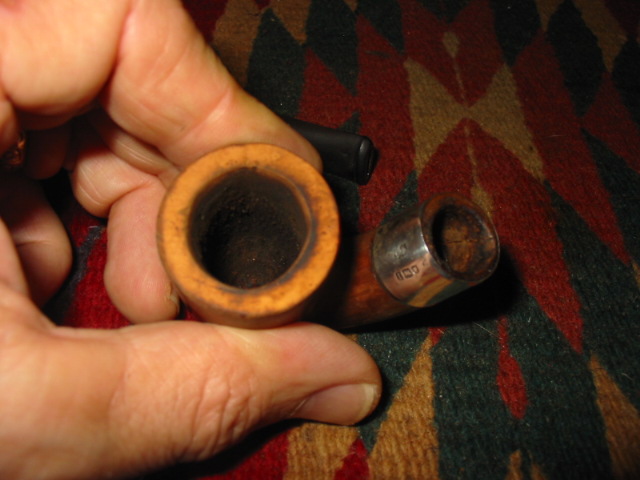
I picked up this old Peterson shape number 10 at a flea market for about $12. This one needed cleaning inside and out as well as reaming. The finish was quite good. I just used a soft bristle tooth brush to get into the crevices. The shank had a crack in it so I banded it with a silver band. The bowl was caked and very narrow. I used a battery terminal brush and an old adjustable reamer to get inside of it. The stem on it was obviously not the original but a smaller diameter replacement stem that did not fit well. The shank had been sanded smooth but was not tapered to meet the misfit stem but it was perfect for setting the band. Before doing that I used some super glue to squeeze the crack in the shank together. I held it until it was dry. I then heated the band with my heat gun and pressure fit it on the shank. I flattened the bottom edge of the band to match the flat bottom where the stamping is. I fit and shaped a new stem. Once it was fit I bent it to a comfortable fit for the mouth. Then I sanded and polished it with my usual regimen of micromesh pads from 1500-6000 grit.
Tag Archives: removing tooth marks
New Life for an Old Barling
I have often written on the blog that good refurbishing begins with observation of the work at hand. I never fail to spend time looking at a pipe and noting areas of concern before I work on it. That is probably why it is pretty simple to record the work I have done on the pipe after the fact. In the old Barling bent, who’s refurbishment is recorded in the following post, I chose to post the notes from my observations. Enjoy!
At Smokers Forums a friend and I have exchanged ideas and thoughts through pm’s, emails and phone calls for several years now. Our talks have covered much ground but seem to also involve at least a fair amount of chatting about refurbishing estate pipes. A couple of weeks ago he contacted me with an idea of somehow collaborating on a refurb. He had an old timer he wanted me to look at and talk over with him. It came in the mail and I gave him a call with what I saw as I handled the pipe and took it apart. The list below gives some of my observations about the pipe as I checked it out carefully.
- The band is crooked and turned on the shank. It may take heating the band to it to loosen it.
- The silver hallmarks are an anchor, lion and a shield. The shield should have a letter in it to identify the year but it is worn away. The band is made in Birmingham, England, and it is Sterling Silver. As for the year, the best I can do is estimate; it lies within a 20 year period – 1876-1895. We would need to check the dates on Barlings made in the 1800s, to see when it fits into their history. That could narrow it down. It also may be an aftermarket band that was added to repair the shank.
- The only stamping is Barling in script. I cannot see an “s” on it and certainly no apostrophe. That should also help date it. The tail on the “g” hooks or curls under several other letters.
- The divot in the bottom edge of the shank, for lack of a better word, is not a worn spot in the shank – interestingly once I cleaned the shank I lined up a pipe cleaner in the centre of the divot and it is perfectly aligned with the drilling of the airway. With the pipe cleaner in place (think drill bit) the divot is gone and the walls are all equal. I am thinking this is the divot that is often found in Oom Paul or bent shapes to drill the airway straight to the bowl. I am going to give that a bit more thought before I step in with a repair to the shank. I may get away with building up the tenon instead.
- The bowl is in very good shape. I cleaned it out and the walls are all sound and the bottom of the bowl is also sound – no sign of damage to the briar; though the airway comes out a little high on the side of the bowl. I may need to smoke a cigar to make some pipe mud to raise the bowl bottom a bit!
- There is a little damage to the front outer edge of the rim but it has been rounded with time. The inner rim was damaged by a reaming with a knife and is slightly out of round. I have already remedied that with sandpaper.
- The design of the tenon is very interesting. It is almost a reverse funnel (think inside of a funnel). The curvature at the tenon and step down is such that it provides a bit of a cooling chamber in the sump of the pipe almost like those new fangled calabash things that are hitting the market now.
- The vulcanite is very hard and does not seem to show any oxidation. I have seen that before on these old timers – they use a very good quality of rubber and maybe less sulfur in the mix to vulcanize it. Not sure but for some reason they hold the black colour without any browning.
- The stem has a few tooth marks – 2 on top and two on the bottom. Some minor tooth chatter as well.
- The silver band is also angled like it was put on crooked after it was misaligned. The hallmarks should be on the side but seem to be on the top.
- It appears that there is a crack in the shank that was repaired and then banded.
Chuck and I talked through this list a bit on the phone and then through pms on Smokers Forums and he left it to me to see what I could do with the old pipe. Here are some pictures of the pipe when it arrived. The finish was pretty much gone but there was some great looking grain underneath. The issues I pointed out above will be clearly visible by looking at the photos in the first series of three. All of the external issues are visible in these photos.
Once the stem was removed from the pipe several other issues became apparent. The biggest one that we discussed was the way the mortise was worn and out of round. You can see the dip or divot in the bottom of the shank that makes the mortise almost oval. Inside the mortise you can also see the tar buildup where the step down end of the tenon sat. It has the reverse of the shape of the step down. Where it had a curved shoulder between the tenon and the step down, the mortise had the reverse. The tars were built up to the point that the tenon step down sat firmly in place. The rest of the tenon was loose in the mortise as years of use had worn away a part of the mortise. The question we were left with once the pipe was cleaned was how to address the wear in the mortise and tighten up the fit of the tenon. The options were two:
- Build up the inside diameter of the mortise – this could be done by inserting briar and redrilling it or by using a build-up of glue and briar dust.
- Build up the outer diameter of the tenon – there are several ways of doing this including the use of clear nail polish or superglue applied to the tenon and then sanded to fit correctly.
Each method had a few issues involved in using them.
– To build up the mortise with an inserted piece of briar would be difficult in that the mortise was no longer round and once the mortise was redrilled the walls of the briar plug would be very thin. Also the stem itself was cut to fit the out of round shape of the shank and mortise so it would have to be reshaped.
– To build it up with glue and briar dust would work but be a bit hard to control the amounts and if it was built up too much removing it and sanding it would be difficult to control.
– To build up the tenon with nail polish is a temporary fix and would need to be repeated over time and use. To use the superglue is more permanent but are there any long term effects from the use of the glue on the inside of the pipe. Even if, as in this case the tenon is not in contact with the mouth. The glue would only be used on the upper portion of the tenon and not on the step down portion.
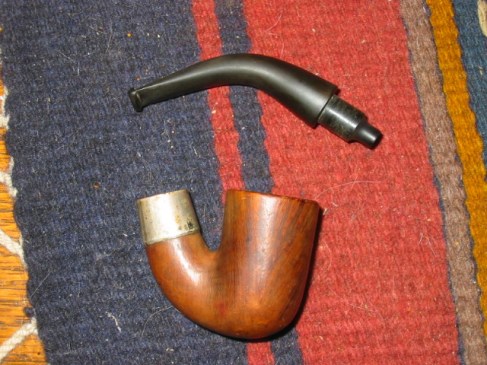
Chuck and I discussed these options and issues and he left it to my judgment to choose one. I thought about it and laid aside the pipe for the night and came back to it in the morning. I examined the tenon and mortise once again to get another view of the problem before I worked on it. I inserted a pipe cleaner at the angle of a drill bit from the shank through the airway to the bottom of the bowl to see where the edge would land. The drilling of the shank matched the notch in the bottom of the mortise. It had been enlarged due to the age of the pipe and its use but it matched exactly. This influenced my decision where to go with the repair. Once that was decided it was time to work on the finish of the pipe and the internals. I dropped the bowl in the alcohol bath to let it soak and remove the grit, grime and old finish. I was hoping that the soak would also loosen the glue on the band so that I could turn it into the correct position on the shank. It soaked for about an hour and a half while I did other things. I removed it from the bath and laid it on my work table. The pictures below show it before I dried it off.
I steamed the dents on the top and also sanded out the remnants of them on the surface. I wiped down the bowl with acetone to remove any remaining finish on the bowl. I picked the thick tars in the sump of the shank and tapped out the crud that came loose. It took a lot of detailed picking to get the surface free of the build up. I then cleaned out the sump of the shank with many cotton swabs until they were clean. The picture below shows the pipe after the cleaning and wiping down with acetone. The second picture shows the rim with the dents removed and the roundness of the bowl restored.
After thinking through the options on the shank and the mortise situation I decided that the best way of dealing with this old war horse was not to build up the mortise and cause problems with the fit of the stem and shank but to work on the tenon on the stem. I had read elsewhere of the use of super glue to build up the tenon so I gave it a coating. The best way I have found it to work for me is to drip it on the tenon and turn it as it drips. The fluid thus gives the entire tenon an even coating. The first two pictures below show the tenon after the application of the layer. Once it was dry the tenon was obviously too big so I sanded it, while repeatedly checking for the fit. The third picture shows the tenon as it is now – a perfect snug fitting stem on the Barling this morning!
To highlight the beautiful grain in the pipe I used a brush dipped in black stain to follow the grain patterns on the bowl. I applied it with an art brush to give it a good coverage. Before applying the stain to the bowl I warmed the briar to open the pores in the wood to receive the stain deeply. The pictures below show the bowl after staining with the brush. It looks odd and actually less than charming but the process works as will be seen in the next series of photos.
After stain dried I sanded it with a fine grit sanding foam that allows me to follow the curves. I was careful around the faint stamping on the shank. Here is the pipe after it has been wiped cleaned with Isopropyl alcohol after sanding. The grain is highlighted well. The final picture below shows the grain on the front of the bowl.
I set aside the bowl for awhile and dealt with the tooth marks on the stem. After steaming them to raise them I sanded with 240 grit sandpaper to remove the remaining signs of the tooth marks and the tooth chatter. I then sanded with fine grit foam sanding pads to work out some of the scratches in the surface.
I did some more sanding with the micromesh sanding pads on the pipe bowl to get the black stain tamed a bit so that when I put the overstain on it would show through but not dominate. I wanted to get a stain on the pipe that fits the older Barling pipes that I have here so I thinned down some oxblood stain for the overstain. I applied it and flamed it. Then I took it to the buffer and with a light touch removed the excess and left a nice top coat of rich reddish brown stain with the black shining through to highlight the amazing grain on this old pipe. The three pictures below show the pipe with the stem on but the stem was not finished as it still showed some of the browning of oxidation.
From there I removed the stem again and sanded it with 400 and 600 grit wet dry sand paper and water. I finished the stem with 1500-6000 grit micromesh pads dipped in water to give bite to the sanding disks as I polished it. The way I use the micromesh is to dip it in water and then sand, dip again and sand again through the various grits until I am finished and the stem has some depth to its blackness. I coated the stem with several coats of Obsidian Oil and then a coating of wax by hand.
I put the stem back on the pipe and took it to the buffer. I buffed the whole thing with White Diamond and then cleaned the silver band with silver polish and polished the entire pipe with multiple coats of carnauba wax.
Restoring an Astor Belge
This was one of the pipes I picked up recently on a trip to the US. It is a small Astor Belge shape which is one of my favourite shapes of pipes. Astor pipes were made by Comoy as a second line of pipes. From the number of fills on this one it can easily be seen why it is a second. It is a shame as it also has some amazing cross grain on the front and back and some beautiful birdseye among the fills on both sides. The extent of the birdseye grain can be seen in the second photo below.
The pipe was dirty but really in pretty good shape for its age. I reamed the bowl and cleaned the bowl and shank with Isopropyl alcohol (99%) to remove the tars and oils from the inside. Then I dropped the stem in some oxyclean to soak and wiped the bowl down with acetone (fingernail polish remover) to remove the finish. I dropped the bowl in the alcohol bath for awhile to give it a good soak and worked on several others for awhile.
After an hour in the bath, I removed the bowl and dried it off. The next series of three photos show the pipe after removal from the bath. I used micromesh 1500 grit sanding pads to remove the grime and tar from the rim and the inside bevelled edge. It took a bit of work to smooth this out and keep the angles the same all the way around. The third photo below shows the finished bevel and the top after quite a bit of sanding. The top took a bit more sanding with the micromesh to remove the darkening as it was on the surface and not too deep into the briar.
At that point I decided to remove the fills from the bowl as I personally dislike the pink putty fills that are often used on these old timers. I used the dental pick to remove the as can be seen in the next series of three photos. They were all pretty deep and would need to be repaired. After picking out the fill I wipe the bowl down with a soft cloth and Isopropyl alcohol to clean the surface of any remaining bits of putty. When they are clean and dry I fill them with briar dust that I have saved for this purpose.
After filling them with briar dust I drip the super glue/krazy glue into the dust and it dries almost instantly. The next three photos show the newly filled holes at various stages of the repair. The first photo shows the dust and super glue in the bottom holes before I sanded them. The top holes in the photo have been sanded a bit to smooth them out but are not finished. The second photo of the front of the bowl shows both the sanded ones and a newly filled hole with the super glue patch before it dried. The final photo in this series of three shows all the holes filled and the initial sanding completed.
The next two photos sow the holes patched and sanded smooth. The super glue and briar dust turned black in this case. This does not always happen but it did this time. I have no explanation for that in this case but they do look better than the previous pink fills. I have also learned that they can be hidden a bit with a dark understain. In this case I decided to stain the entire bowl with black aniline stain for a first coat. I flamed the stain and when it dried I took the pipe to the buffer and buffed the entire bowl with Tripoli to remove the excess stain and leave the black in the grain and around the fills. You can also use black permanent marker to build the grain pattern around the fills to help hide them though I did not use that method on this pipe. I then sanded the bowl with the 1500 and 1800 grit micromesh pads to remove more of the overstain. I washed the bowl down several times with acetone to also lighten the black. Once it was at the saturation I wanted it was ready for the overcoat of stain.
I decided to use oxblood coloured aniline stain for the finish coat on this one. I wiped it on and then wiped it off before it dried to get good coverage I repeated that several times and finally gave it a full coat and flamed the stain to set it. When it was dry I took it to the buffer and buffed it with Tripoli and White Diamond to give the final coat a real shine.
I finished the stem with my usual regimen of micromesh pads from 1500-6000 before putting it back on the bowl and buffing the pipe with White Diamond. I coated the stem with several coatings of Obsidian Oil and then gave the whole pipe multiple coats of carnauba wax to finish. The pictures below show the finished pipe. Though the fills are still visible they are diminished in their overall presence in the pipe. They no longer stand out in the finish. I personally love the depth of colour that this old Belge has with the new stains.
Edwards Contour or Criterion Restoration
I found this old Edwards pipe while I was visiting a small community in Washington in the US. My wife and I were away for our 36th wedding anniversary and always love visiting second hand shops and antique malls. We must have visited a dozen or more shops on that trip. This older Edwards pipe was in the last shop we visited. It was an interesting shape and intrigued my eye. I made an offer for it and it soon became mine.
Once I got home I decided to refurbish it as one of the first I dealt with. I am not sure of the name of the particular Edwards line this one came from but on one of the online forums someone thought that it belonged to either the Contour or Criterion line. He had pointed out that the lines were carved in France but the only sign of that was that the word France was usually stamped on the underside of the stem. However, on this one there was no stamping on the stem – no France or other name, just smooth brown oxidation. The stem also had tooth marks on the top near the button and a very prominent dent on the underside of the stem near the button. The finish on the pipe was dirty but in great shape. There were no dents or scratches and the pipe seemed to have been well cared for. Edwards did not stain their pipes as is evidenced by the natural finish on this one. The rim was probably the most potentially problematic area on the pipe. It was tarred, caked and possibly charred on the bevel inward.
I reamed the bowl and cleaned the inside of the bowl and the shank. I wiped down the entire pipe with undiluted Murphy’s Oil soap on a cotton pad and removed the grime and old waxes. I scrubbed the bevelled rim with the oil soap as well to remove the tars and the surface carbons. I used some 1500 and 1800 grit micromesh to remove the rest of the tars and bring it back to a smooth surface. I was pleased to see that there was not any charring or burn to the surface of the rim and once cleaned it looked pristine. The pipe has not been stained but had a natural finish so I buffed and polished the rim and the rest of the surface of the pipe to get the shine back. While I was at the buffer I also buffed the stem with Tripoli to break up the oxidation and then took it back to my work table. At the table I used nail polishing sticks (these are fingernail polishing stick and come with micromesh sandpaper on a foam stick) to sand out the bite marks on the top and underside of the stem. I worked with the 1500-6000 grit micromesh pads to polish the stem and remove the remaining oxidation. A folded pad worked well to sand in the grooves of the stem to give even that area a clean glow. I coated it with Obsidian Oil and once it was dry I buffed the entirety with several coats of carnauba wax.
A WDC Milano Hesson Guard Reworked
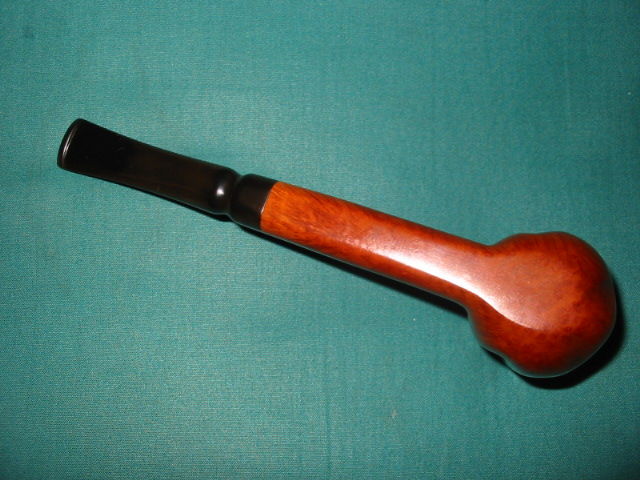
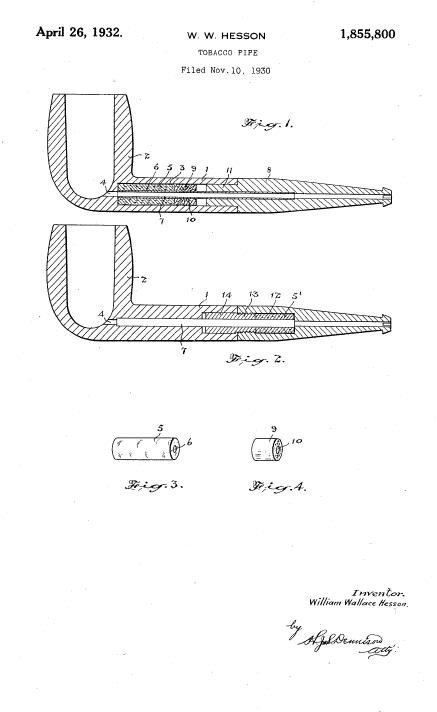
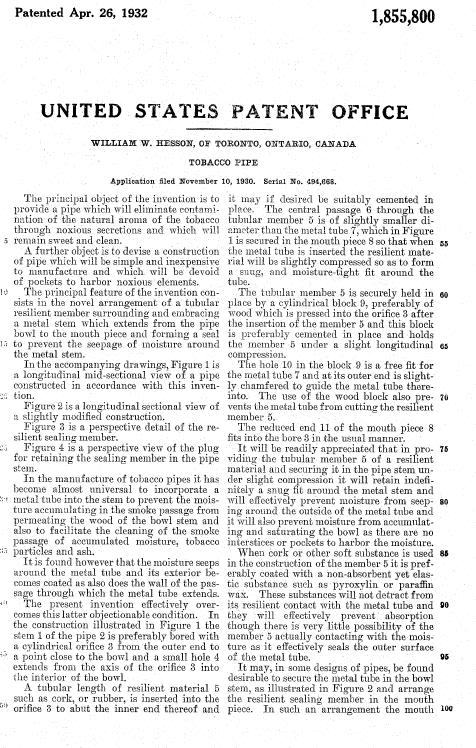
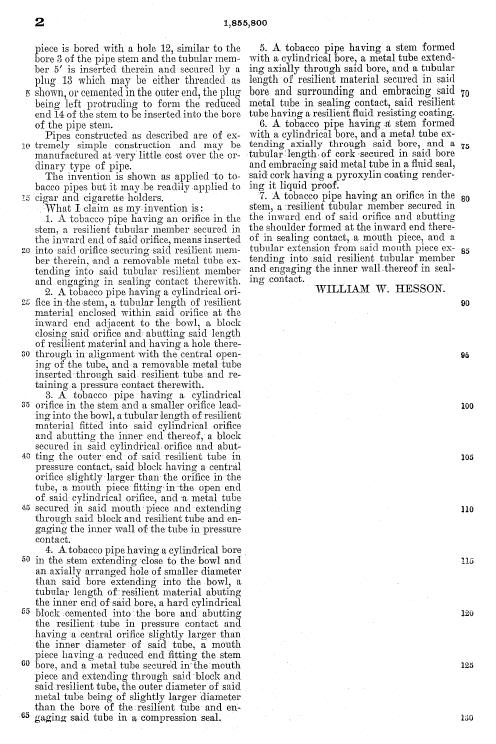
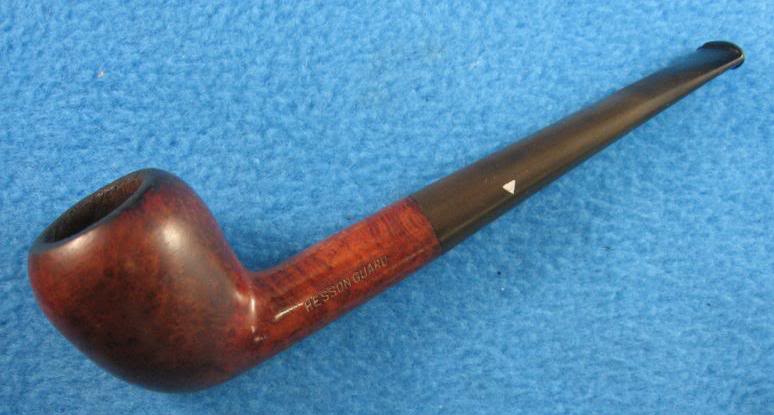
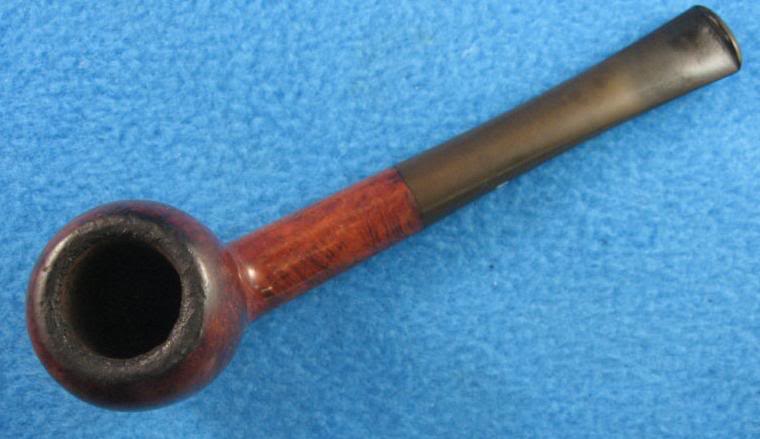
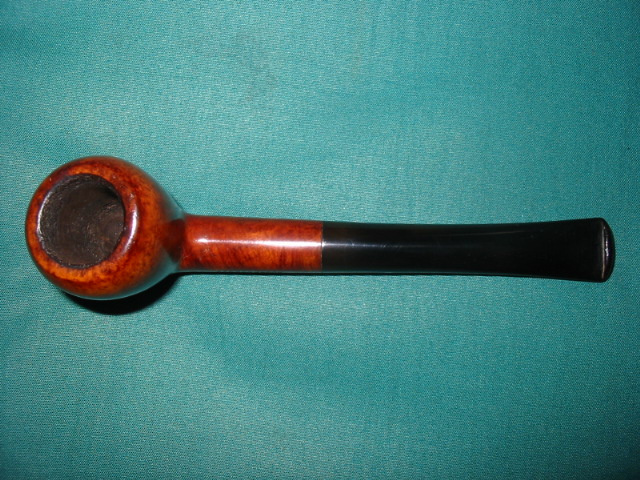
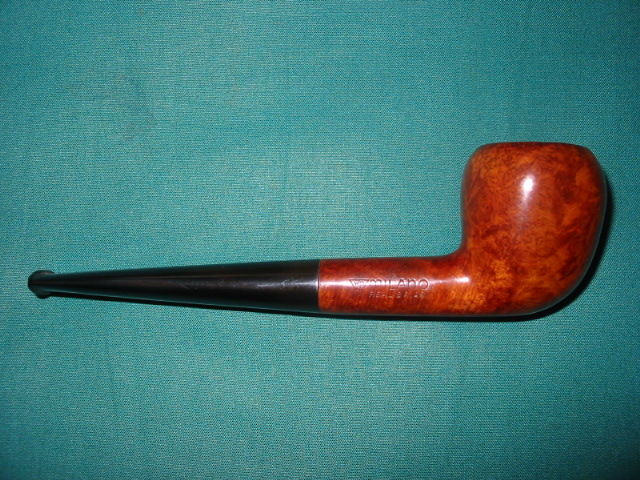
I just worked over this old timer – A WDC Milano Hesson Guard. In order to know more about the pipe I was working on I searched for information regarding the patent number stamped on the pipe and went to the US Patent site where I found documentation. The patent was filed for it in 1932. It is an early example of the pipe. It is in the acorn shape. It has the patent number stamped on it as well as the other WDC labels. The triangle on the stem is silver or steel inlay. For me this is a part of the mystery of unpacking the history and life of the brand and mark. I always like to know as much of the back story as I can find on any of the pipes I refurbish. Patent numbers stamped on the pipe provide a means of ferretting out information on the design and the particular part of the pipe that is patented. I have included the patent site information on the pipe for your reading pleasure. At least to me this part is fascinating information.
The pipe was caked with a crumbly thick cake that pretty much filled the bowl when I picked it up. I reamed it out to field dress the pipe. I generally do this with most of the pipes I bring home for renewal. It keeps the mess of the carbon from the cake outside and away from my work desk. In the photos below you can see that the finish was pretty dirty with a lot of hand oils and grease ground into the bowl surface. The rim was caked and tarred and it looked like it was damaged. The finish was worn and the stain faded in many places on the bowl sides. The stem was oxidized and had some bubbles in the surface along the button – the bubbles are visible near the button in the second photo below.
I scrubbed the exterior of the pipe with Murphy’s Oil soap, undiluted. I wipe it on with a cotton cloth and immediately wipe it off. Others have said that it removes the stain if left to long and it does indeed do that. But I have found it unsurpassed in quickly removing grime and grease if rubbed on and rubbed off quickly. I worked on the rim as well with a soft bristle tooth brush and the oil soap to remove the buildup. Once that was done I put it in the alcohol bath and removed the finish that was on it. It seemed to have had some built up waxes and also some kind of varnish coat over the stain. It came off with a bit of elbow grease after soaking. I decided to not stain this pipe as the briar looked great as it was. I just sanded it with the micromesh pads to polish it and remove the surface scratches. Then I took it to the buffer to give it a buff with White Diamond.
I worked on the stem while the bowl soaked in the bath. I soaked it in the Oxyclean mixture for a while to soften the oxidation. I dried it and buffed it with Tripoli to remove the surface oxidation. I sanded it with 240 grit sandpaper to get the deeper oxidation. I also had to lift a few tooth marks from the underside of the stem near the button. I used the heat gun to do that. The bubble on the top of the stem also was heated to try to smooth it out. It was evidently not a blister but a bump from teeth. It went back in place with the heat. I sanded the remaining signs of bite with 240 grit sandpaper and then 400 and 600 grit wet dry and water. I finished it with the normal regimen of 1500-6000 grit micromesh pads to polish. I put it back on the bowl and then gave the entirety a buff with White Diamond to polish it and finished the restoration with several coats of carnauba wax.
Restored a Comoy’s Tradition from the 50’s
I have been looking for a Comoy’s pipe in the higher grades since I read a thread on Smokers Forums on the various grades of Comoy’s. On my anniversary trip to the States I came across a nice Tradition at an antique store. With a little bit of haggling the pipe and three others became mine (in the picture below the top pipe is an older Edwards that I picked up the next day at a different shop).
Please forgive the blurry pictures in the next foursome, I was too hurried to get at the clean up and restoration and did not focus them well. They are clear enough to see that the finish was in pretty good shape. The bowl was thickly caked and the rim was gummed up and looked to be dented. The stem was clean but oxidized and had tooth marks on the top of the stem near the button and on the underside in a matching pattern. I did a bit of field dressing to the pipe last evening while we were at the hotel, cleaned the stem and the inside of the shank with Isopropyl alcohol and also sanded the stem with a piece of 240 grit sand paper and some micromesh pads I had in my bag. (I know – it was my anniversary but I had thrown my book bag in from work and when I opened it I found the sanding disks. I have them in the bag when I have a break at work and want to get outside and have a pipe and work on one I have with me.) My wife was occupied with talking to the kids on the phone and looking through her purchases from the days shopping. So I had about an hour to do a bit of work!
I wiped down the top of the bowl with some Murphy’s Oil Soap (undiluted) on a cotton facial cleansing pad I picked up in the US. I had read about that on a post by Alan (Castana on SF) and they work very well. I applied the soap and removed it three times to soften and remove the grime. Once it was gone I found that the rim itself was pretty pristine. Just a little bit of wear on the chamfering on the right front. I reamed and cleaned the bowl and shank. I also used the micromesh pads (1500 and 1800 grit) on the rim and then restained the rim only with a dark brown aniline stain, wiped on and buffed off to match the bowl.
I worked on the stem next. It had bite marks on the top and bottom side near the button. I heated the stem and raised them as far as I could with heat then sanded out the remaining marks. To sand them I used 240 grit sandpaper first then used a fingernail sanding board that I picked up at Walmart this afternoon before coming home. It is pictured below in several of the pictures with the stem. It worked extremely well to remove the remaining tooth marks in the stem. I cleaned the oxidation with micromesh pads (1500-6000 grit) and put it back on the pipe to give it a buff with some Tripoli before returning to finish the polishing with the micromesh pads. I gave the stem a coat of Obsidian Oil and let it soak in before taking the whole pipe to the buffer to buff it lightly with White Diamond and several coats of carnauba wax.
Here is the finished pipe. I have been researching the stamping on this one. I found out that the stamping dates it to the early 1950’s. It is stamped in a circle with “Made” at the top, “In” in the middle and “London” at the bottom with “England in a straight line beneath. From the Derek Green’s History of Comoy’s Article I quote: “I believe this stamp was first used in the export drive in the early 1950’s and I have not seen any pre WW11 Comoy’s stamped in this way”.
http://www.derek-green.com/comoy_history03.htm
Giving New Life to a Barling’s 2729 Fancy Bent Dublin from 1962
I picked up this old Barling’s shape 2729 in a lot I bought on EBay. From what I could find out about it on the internet it came out in 1962. You can see from the pictures the state it was in when it arrived. It was the kind of challenge I like to work on in these old estate pipes. There is a deep satisfaction in bringing them back to life and restoring them to a spot on the pipe rack and the weekly rotation. The finish was gone, though in the grooves of the blast there was some darker brown/red stain. The blast was obscured on the sides and rim by the grime that filled the valleys in it. The rim was intact and not beat up at all – just incredible dirty. The bowl had been lightly reamed and was still round!! The stem was well chewed with deep dents on the edges of the stem and deep dents in the top and bottom. There were also holes chewed through the stem on both the top and bottom as well. The oxidation was very heavy and deep. The Barling’s Cross was all but gone on the stem but under a bright light it was faintly visible so the stem was clearly the original.
I took the stem off the pipe to work on and placed the bowl in my alcohol bath for overnight. Before submerging it in the bath I wet it with alcohol and scrubbed it with a small brass tire brush that is readily available at most Wal-Mart stores or online through Amazon. I find that the soft brass does not damage the ridges and valleys on the blast finish but really loosens the grime when used with Isopropyl alcohol. I generally dip the bowl and then scrub it before leaving it to soak. When I remove it from the bath I scrub it once again and wash off the bowl with some fresh alcohol to remove any residual grime. Once the bowl was dry it was utterly lacking any finish. It was ready to restain. I set it aside and turned my attention to the stem.
The stem was a mess on this pipe as I mentioned above. Below are four pictures of it after I soaked it in Oxyclean to soften the oxidation on the surface. The pictures show how reddish brown that oxidation was when I started. I sanded the surface to highlight the bite marks and holes in the stem. The stem was badly chewed and could have been a candidate for replacement but it was an original Barling’s stem so I wanted to see if I could save it and reuse it. I cleaned the surface and picked the grit and grime out of the holes with a dental pick. I washed the surface down with Isopropyl to give a good clean surface. The button was virtually chewed away and there was a fair sized hole on the underside of the stem. The tooth marks were very deep and there was not much to work with in lifting them with heat. This made them a candidate for a patch with black super glue.
The picture below shows the top of the stem with the black super glue fill in the bite marks and holes. The idea is to slowly fill them and build up the surface of the stem. I also continued to fill them until there was a good slope from the stem surface to the top of the button. Once it was dry my plan was to use needle files to recut the button.
The next picture shows the glue after it has dried and I have done the initial sanding to smooth out the surface of the stem. I still have not recut the button at this point.
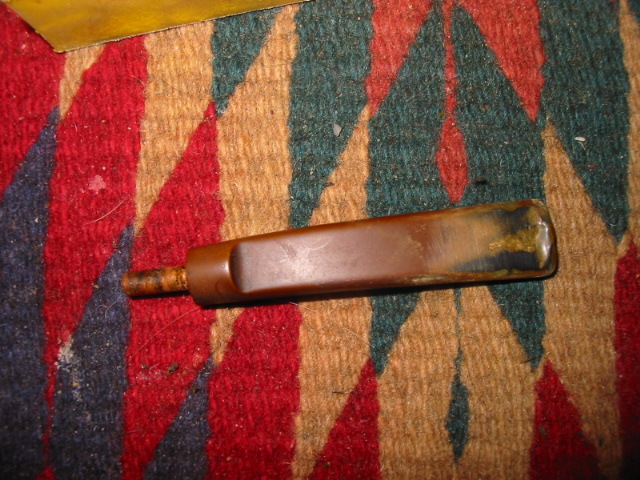
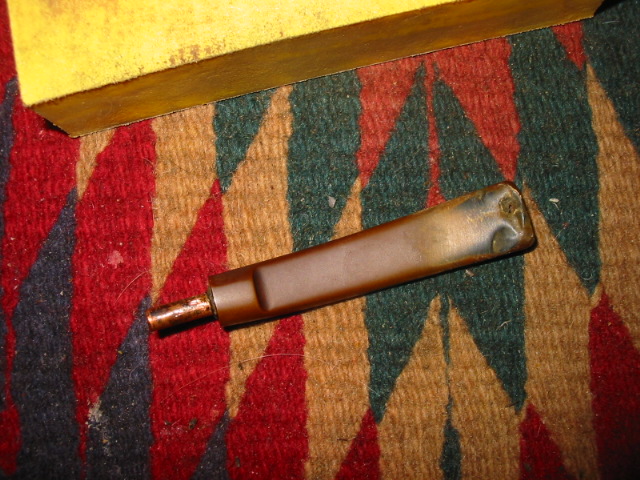
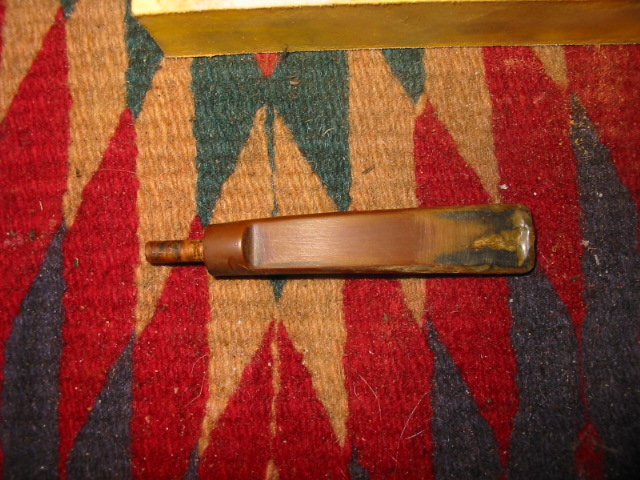
The picture below shows the underside of the stem after the glue has dried and I have done the initial sanding on the stem. It is still pretty rough but the holes are filled and the button is built up. Note in this picture the very visible copper tenon on the stem. The previous owner must have broken the tenon and had it replace with this thin copper tubing. The tenon is very delicate on this stem so the copper is actually an interesting fix in terms of durability. I have never seen a repair like that. The tubing was scored and inserted into the stem and held with an epoxy. After the soak in Oxyclean it was loose so I removed it, cleaned it and since it was a good tight fitting tenon/mortise union so I decided to reuse it. It is a wonder that he did not put a copper band around the button end of the stem as well to repair the bite through and tooth marks.
The next two pictures show the stem after sanding the stem surface smooth with 240 grit sandpaper. My purpose in using that grit is to get a clean surface to work with as I move to rework the button on the top and bottom of the stem. I had yet to work on the saddle of the stem in these pictures. I will often save that until the rest is finished.

I failed to take pictures of recutting the button on the stem but you can see the new button in the finished pictures below. I cut and shaped it with a flat needle file and a wedge needle file. I like the clean angles of a new button so I was aiming for that with just a little wear to match the age of the pipe. I finished the sanding and polishing of the stem using 400 and 600 grit wet dry sandpaper and then used the normal list of micromesh sanding pads from 1500-6000 grit. I keep a bowl of water close by to dip both the paper and the pads in as I sand as I find it more effective in removing the scratches and remaining oxidation. Once the stem was finished I put it on the pipe bowl and gave it a buff with Tripoli and White Diamond to get a good sheen to the surface. I never buff a stem apart from a pipe as I do not want to damage the stem shank junction by rounding the clean edge of the stem. Once I finished I set it aside and went back to restain the bowl.
I did a bit of research (that is a part of the process I really like) to find out about the original finish and colour of stain used on this particular pipe. I learned that it was more of a reddish tone and really wanted to get close to that reddish brown colour on the finished pipe. I used some oxblood stain and a bit of medium brown stain (both aniline stains) and gave the bowl a coat of the brown first and then flamed it and buffed it. After that I gave it a coat of the oxblood stain and flamed it. I reinserted the stem and took it to the buffer and with a light touch buffed it with Tripoli and White Diamond. I did not want to soften the ridges of the blast but wanted to buff it enough to get a contrast in the stain.
I used some Obsidian Oil on the stem and then Halcyon II wax on the bowl. Once they dried I hand buffed the stem and the bowl with a soft cotton cloth. I added a coat of wax to the stem when it was finished as well. In the pictures below you can have a look at the finished pipe. I took pictures with a .10 cent piece/dime below the pipe to give an idea of the size. It is a dainty little pipe with a pencil shank. I hope to smoke it this week end and enjoy a nice bowl of aged 5100 in it.
Refurb on a Brigham 2 Dot Lovat
Blog by Steve Laug
I just finished refurbishing this Brigham 2 Dot Lovat that I picked up in the estate pipe rack at a local tobacconist. This one was a challenge, but I loved working on it. It has the standard Brigham style rustication. It was in rough shape. The bowl was incredibly grimy and needed a lot of work. The grime had filled in most of the rustication to the point that it looked worn out and smooth. I soaked and scrubbed it for about an hour using a brass white wall tire brush to scrub out the grime caked on the outside of the bowl. The inside of the bowl was so badly caked that I reamed it back to the wood. Once I had it reamed and the scrubbing of the outside finished I dropped it in the alcohol bath overnight and went to work on the stem.
The stem was another story. It was given a soak in OxyClean to soften the oxidation. I find that OxyClean does not remove the oxidation at all, but it does soften it and make working on it much simpler. After the Oxy soak I went to work on the inside of the stem. Where normally there was to be a Brigham filter in the long metal tenon this time it was gone and the tars had built up to the point that the stem was totally closed off. I tried to blow through it but could not get any air through. I used an awl or ice pick to open up the stem and the tenon. Then I worked on it with bristle pipe cleaners and a shank brush. It took a lot of pipe cleaners and alcohol to get it clean. Then the outside was sanded with 400 and 600 grit wet dry sandpaper followed by the run of micromesh sanding pads. Once it was clean and shiny I set it aside and turned my attention to the bowl.
I took the pipe bowl out of the alcohol bath and went to work on it. I used the brass brush one last time to clean off the remaining grime and then dried off the pipe. There was no finish left on the pipe so I restained it with a cherry stain. I reinserted the stem in the shank and took it to my buffer and polished the entirety with Tripoli and White Diamond, finishing with a coat of wax.
You Just Found a Pair of Dad’s Old Pipes?
Blog by Steve Laug
They are both in very rough shape and need help but you want to keep them anyway. There is dried out old tobacco in both and the finish is about shot. The rims and sides of the bowls are both covered with dark grime and the mouth piece, or stem, is covered with bite marks and hard white lime like crust. The rest of the family tells you they are not worth saving and should just be thrown out but something inside you rebels against that. You still have memories of your father smoking those pipes and the associated feelings and smells still linger for you. It is hard to let go of these pieces of history. Something inside you wants to restore them but you just don’t know where to start. If this sounds like your situation, then you have come to the right place.
You have already begun the first step in the process of refurbishing and that is to respect what you hold in your hands. These pipes are a piece of family history that can be passed down through future generations and when cleaned up and maintained, will last longer than any one of you. If they could speak to future generations can you imagine the stories they would tell? But if you listen to the wood, the old tobacco in the bowl, the dents and dings and the smells that still linger in it you will hear it speak. It will tell you what your Dad smoked. It will tell you how much he loved that old pipe and it still held the half smoked bowl of the last tobacco he smoked in it. It will tell you in the decimated finish where his fingers curved around the bowl. As you remember, you will know the stories that give meaning to dents – one from the fishing trip you took, one from the dash on the car when he laid it down and it hit the gear shift before bouncing off to the floor. All those bits and pieces add to the myth that surrounds story of a family. Be sure to take some photos of the old timers before you go to work on it. You will be amazed at the transformation that still respects the history of your Dad’s pipes.
The first step in the process is to do what I call field dressing of the pipe. It starts by laying out some newspaper on a table top where you can work on the pipe. Sit down with the pipe and begin to clean it. Use a small screw driver, ice pick or a dental pick, if you have one, to clean out the remnants of tobacco in the bowl. Put it to the side on the paper. You can purchase a pipe reamer on eBay for reaming the bowl or you can carefully use a knife with a rounded end to scrape out the old carbon. If you use a knife be sure to proceed slowly and carefully to ensure that bowl stays round. Scrape slowly, bit by bit, until you have a thin even cake all around the bowl. Once that is done you can wrap a piece of dowel with some sandpaper and use it to sand the bowl back to smooth. Use a paper towel or a soft cloth and some Isopropyl alcohol to wipe down the surface of the bowl and remove the dirt and oils of the past. This should also help to soften the remaining finish on the bowl. This cleaning will go deeper as we progress through the process but start with a cleaning of the outer surfaces of the bowl and the stem of each pipe. I have learned that it is always more pleasant to work with a clean pipe than one that is oily and tarred.
The stem needs to be separated from the shank. This may sound like an easy thing to do, but sometimes with the amount of tars and use the pipe has seen, the stem will be stuck in the shank. Put the pipe in the freezer. You don’t need to bag it or tag it, just sneak it in when the family is not paying attention and leave it there for an hour or so, long enough to sip a coffee and relax a bit. The different materials in the stem and bowl of the pipe make them contract at different rates and I have found that when I remove it from the freezer the stem is easily removed. If it is still stuck then put it back for another cup of coffee.
Once the stem is removed I fill a jar with Isopropyl alcohol and place the pipe bowls in it and let them soak for awhile. The length of time depends on the depth of the grime. I put the lid on the jar and give it a bit of a shake to churn the alcohol through the pipe. I leave it and turn my attention to the stem.
The stem will take a bit of work and will take the better part of a couple of hours to get back into shape. I clean the inside of the stem with pipe cleaners and cotton swabs until they come out clean. I dip them in the Isopropyl and run them through to remove all the grimes from inside the stem. Once I have it clean then fill a bowl with some water and put it in the microwave and set it to boil. I dip the end of the stem with the bite marks in the boiling water repeatedly to lift the bite marks a bit. Vulcanite, which is the material the stem is made of is said to have memory and will return to its original state. This method does wonders in lifting the bite marks. When they have raised as much as they are going to dump the water and take the stem back to your table. Using 240 grit sandpaper, remove the brown oxidation and calcified white stuff that are on the stem. Be careful as you sand to not round the sharp edges on the stem at the mouth end (button) or the pipe end (tenon). You want to leave a good tight fit with sharp clean edges when you are finished. You will find that the sandpaper scratches the surface but do not worry about it as the goal at the moment is to return it to a dull black. Once it is clean of the browns use 400 grit and then 600 grit wet dry sandpaper to smooth out the scratches and remove any remaining oxidation.
The stem should be a dull or flat black once you have finished with this step in the process. Now you have a choice to make. There are several steps that can be taken next depending on what choices you make. You can either use repeatedly higher and finer grades of wet dry sandpaper or you can use micromesh sanding pads – I use 1500, 1800, 2400, 3200, 4000 and 6000 grit pads to finish the stem to a gloss. These pads are readily available at woodworking shops or online – just Google Micro-mesh pads. If you use the sandpaper it works well but is a bit more labour intensive. After you have the stem restored to a gloss you can use a bit of olive oil to polish it – wiping it on and then off or you can use some softened beeswax or carnauba wax. I have even used Kiwi Neutral shoe polish which is a carnauba based wax.
I then set the stem aside and retrieve the bowls from the alcohol bath. Before I take them out I use the alcohol in the bath to scrub the bowls using an old tooth brush as it just gets into the cracks and crevices and gets the dirt out of the surface. Once that is done I dry off the pipe with a soft cloth and get to work on the finish. For the rough surfaced ones like the smaller pipe in the picture I will often use the tooth brush repeatedly to remove all the grime on the pipe. With the smooth pipes like the second pipe in the picture I wipe it down with alcohol dampened cloths until it is clean. I then sand the smooth one with either the 400 and 600 grit sand paper or the Micro-mesh pads to smooth out the finish. If the top is rough you will need to decide what to do with it. I have posted on the blog how I repair those issues so have a look on there for the article on topping a pipe bowl.
When both bowls are clean and free of dirt and tars I wash them down with a fresh alcohol cloth and then they are ready to stain. I use Feibings Shoe Dye for the stain and have found that the Medium Brown dye works well and matches most of the stains on these old pipes. Both pipes in the pictures were stained with the same Dye. I use the dauber that comes with the Dye (the dye is available at most shoe repair shops for about $4-$5). I coat the bowl while holding the stem. As the stain will turn your hands brown, wear rubber gloves for the staining. Once it is stained light the stain on fire with a match to set it. You will think I am nuts in suggesting this and think you will catch things on fire but like the alcohol in Baked Alaska it only burns blue for a short while and really sets the stain into the grain of the wood.
Set the pipe aside over night to let it thoroughly dry. The next day use the 600 or higher grit wet dry sandpaper to remove the excess stain on the exterior of the smooth bowl. Wipe it down regularly with a damp cloth to see what it is looking like. With the rough surfaced pipe I use a piece of flannel fabric and buff the surface until it glows. Once both pipes are finished and look acceptable to you give them a good coat of wax or polish. Some folks use Pledge on the bowls and have done so for years without ill effect. This gives them a rich glow. The only thing left to do is join the family heritage by smoking a bowl of your own tobacco in the pipe. When you are done with that smoke, wipe the pipe down with a soft cloth and clean it inside with a pipe cleaner. With a little care the finish that you have done will last until you own grandchildren need to refinish it once again. But take delight in smoking a piece of the family history and adding another generation’s story to the life of this old pipe. Enjoy.
If you have any questions on the process feel free to post a response or question here.
Here are the same pipes after finishing the process I laid out above.
From Sow’s Ear to Silk Purse
Blog by Steve Laug
This morning I decided to do a few more refurbs on pipes from my box. It is getting low on options as I have reworked the majority of the interesting ones. There are about 25 or so pipes to choose from now and many are in a real state of disrepair. As I sorted through them I came upon this one. I took it out of the box and turned it over in my hands. The bowl was clogged with the remnants of the last smoke – dried tobacco and sticky tars. I decided that this was the first pipe I would work on today. It would be a challenge to see if anything beautiful could come from this mess. It was a beat up old pipe. I think the previous owner must have always had it in mouth and chewed on it like a piece of straw and then used it to hammer nails. The top was chipped and dented with valleys and mountains and the whole covered in a thick coating of tars – pipe lava. The stem was gnawed on had deep dents and tooth marks. It was oxidized to a rich brown that stank of sulfur.
The first step in the process for me is always to ream the bowl and clean out the detritus of the past. I used a dental pick to get the remaining dottle out of the bowl and to make way for my reamers. I find that the dental pick works well as it is sharp enough to break into the hardened ball of tobacco remnant and remove it quickly. I work it around to clean out any loose leftovers so that I can work on the hardened cake that is left in the bowl. This one had a thick cake that was a bit crumbly and soft once the tobacco ball was removed. It would need to be reamed back quite a bit. I generally ream back to bare wood on these old timers as I want to start a hard cake that is not built upon the old crumbling base cake that was in the pipe when I started. I used the PipNet reamer on this one. I fit the cutting head into the T handle and began to carefully turn the reamer into the bowl. I generally do this over a plastic bucket as it is a mess. The coarse dust of the carbon that is cut away is a black cloud if you are not careful. I proceed slowly as it is easy to angle the cutting head and take the bowl out of round. Once it is done I tap out any dust that remains before moving the pipe to my work desk.
On the desk I had placed a work surface that was washable and then took out the soft cotton wash cloths that I use to remove grime and stains and wet them with Isopropyl. I washed down the outside of the bowl including the rim. It removed much of the dirt the first pass and I continued to scrub until the cloth came back clean. For this part of the process I leave the old stem in place as it serves as a handle for me to hang on to while I am working with the bowl. I picked at the grime on the top of the bowl a bit with the dental pick and decided that indeed this one was a candidate for topping. The two pictures above show the pipe after the reaming and cleaning of the bowl. It is ready to be topped.
In preparation for topping the bowl I use a flat surface – either a hard flat board or a piece of glass to which I anchor the sand paper. This time however I wanted to try out a new trick that I had learned from a friend on one of the online forums so I anchored a piece of 240 grit sand paper on a Masonite clipboard and put the clipboard on the desk top. Topping the bowl is a careful process that involves keeping the rim flat on the sand paper and turning it either clockwise or counter clockwise until the chips and dents are minimized. The trick is to take if far enough to remove the majority of the dents and chips without changing the overall profile of the bowl. Too much of the top removed changes the pipe rather than merely restoring it. As I sand the top of the bowl I stop to check it regularly to see if I have removed enough of the damage to the bowl. On this particular pipe it took me quite a bit of time to take it down slowly to the point it was smooth enough to do the next step in the process.
Often once the top is close to being smooth enough the last remaining dents can be steamed out and then a minimal amount of sanding will finish the job. On this particular pipe the top was smooth after sanding it. There was no need to remove any further dents. However there were some major chips out the outer edge of the rim. To remove them would have involved sanding off a fairly significant amount of the top and would have changed the overall look of the pipe. I decided instead to chamfer the edges on the outer portion of the rim. I used a piece of sand paper held at an angle that I maintained throughout the sanding. The idea was to hide the battered edge and remove some of the damage while minimizing some of the larger chips. Once I had the outer rim repaired to my satisfaction I did the same to the inside rim to regain some of the roundness of the bowl. The previous owner seemed to have used a knife to remove cake so there were major chunks taken out of the inside edge. Chamfering the inner edge took care of most of the damage and made the rest relatively invisible to a quick glance.
I then cut a stem to fit – turning the tenon on a precast stem and also taking off the excess vulcanite on the area where the stem joined the shank. I wanted to get the fit to be precise without gaps. Once I had the fit correct and just needed to sand out the scratches I put the bowl in the alcohol bath to let it soak and remove the stain. I continued to work on the stem while it soaked. I generally leave the bowl in the bath for a minimum of 30 minutes and have even left them over night in an extremely dirty bowl. Once I take it out of the bath I wipe it down with a dry cotton cloth and let it dry. I then sand the bowl down to remove any scratches in the surface. I start with a 400 grit wet dry sand paper and work my way through the Micro-mesh pads 1500, 1800, 2400, 3200, 4000, and 6000 to get a good smooth surface. As I worked on the shank I noticed a fine crack that became evident as I removed the grime from the inside of the shank. I heated a nickel band and pressure fit it to the shank to take care of the crack.
I finished the bowl by re-staining it with a medium brown stain as an undercoat and then buffed and sanded it yet again. A top coat of oxblood stain followed that sanding. I find that the two coats of stain complement each other and add some depth and patina to the pipe that only the one colour does not give. It was then polished on the buffing wheel with White Diamond and then given several coats of carnauba wax. I had also finished the stem and put it on the bowl and buffed and waxed the entirety.
This is the finished product. I think you would agree it has ceased to be a sow’s ear and has become a silk purse!