Blog by Steve Laug
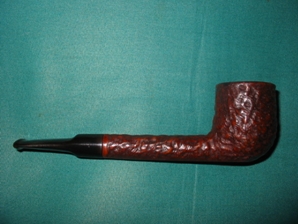
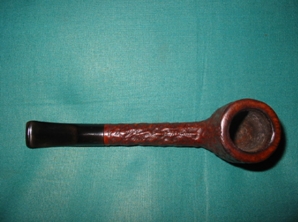
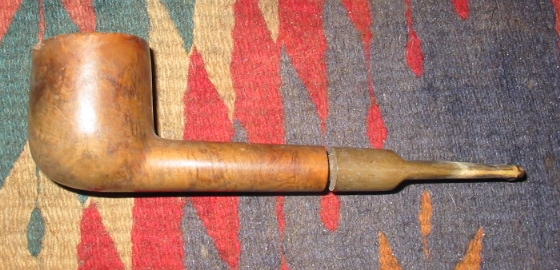
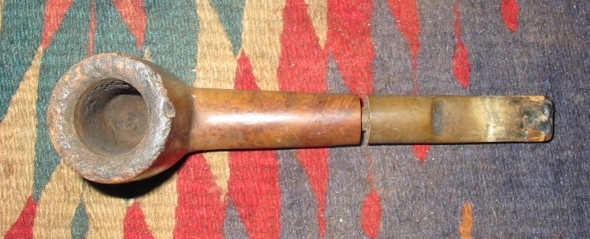
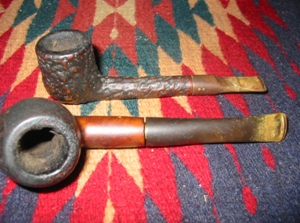
They are both in very rough shape and need help but you want to keep them anyway. There is dried out old tobacco in both and the finish is about shot. The rims and sides of the bowls are both covered with dark grime and the mouth piece, or stem, is covered with bite marks and hard white lime like crust. The rest of the family tells you they are not worth saving and should just be thrown out but something inside you rebels against that. You still have memories of your father smoking those pipes and the associated feelings and smells still linger for you. It is hard to let go of these pieces of history. Something inside you wants to restore them but you just don’t know where to start. If this sounds like your situation, then you have come to the right place.
You have already begun the first step in the process of refurbishing and that is to respect what you hold in your hands. These pipes are a piece of family history that can be passed down through future generations and when cleaned up and maintained, will last longer than any one of you. If they could speak to future generations can you imagine the stories they would tell? But if you listen to the wood, the old tobacco in the bowl, the dents and dings and the smells that still linger in it you will hear it speak. It will tell you what your Dad smoked. It will tell you how much he loved that old pipe and it still held the half smoked bowl of the last tobacco he smoked in it. It will tell you in the decimated finish where his fingers curved around the bowl. As you remember, you will know the stories that give meaning to dents – one from the fishing trip you took, one from the dash on the car when he laid it down and it hit the gear shift before bouncing off to the floor. All those bits and pieces add to the myth that surrounds story of a family. Be sure to take some photos of the old timers before you go to work on it. You will be amazed at the transformation that still respects the history of your Dad’s pipes.
The first step in the process is to do what I call field dressing of the pipe. It starts by laying out some newspaper on a table top where you can work on the pipe. Sit down with the pipe and begin to clean it. Use a small screw driver, ice pick or a dental pick, if you have one, to clean out the remnants of tobacco in the bowl. Put it to the side on the paper. You can purchase a pipe reamer on eBay for reaming the bowl or you can carefully use a knife with a rounded end to scrape out the old carbon. If you use a knife be sure to proceed slowly and carefully to ensure that bowl stays round. Scrape slowly, bit by bit, until you have a thin even cake all around the bowl. Once that is done you can wrap a piece of dowel with some sandpaper and use it to sand the bowl back to smooth. Use a paper towel or a soft cloth and some Isopropyl alcohol to wipe down the surface of the bowl and remove the dirt and oils of the past. This should also help to soften the remaining finish on the bowl. This cleaning will go deeper as we progress through the process but start with a cleaning of the outer surfaces of the bowl and the stem of each pipe. I have learned that it is always more pleasant to work with a clean pipe than one that is oily and tarred.
The stem needs to be separated from the shank. This may sound like an easy thing to do, but sometimes with the amount of tars and use the pipe has seen, the stem will be stuck in the shank. Put the pipe in the freezer. You don’t need to bag it or tag it, just sneak it in when the family is not paying attention and leave it there for an hour or so, long enough to sip a coffee and relax a bit. The different materials in the stem and bowl of the pipe make them contract at different rates and I have found that when I remove it from the freezer the stem is easily removed. If it is still stuck then put it back for another cup of coffee.
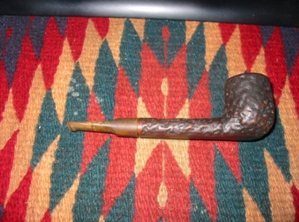
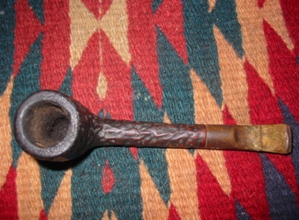
Once the stem is removed I fill a jar with Isopropyl alcohol and place the pipe bowls in it and let them soak for awhile. The length of time depends on the depth of the grime. I put the lid on the jar and give it a bit of a shake to churn the alcohol through the pipe. I leave it and turn my attention to the stem.
The stem will take a bit of work and will take the better part of a couple of hours to get back into shape. I clean the inside of the stem with pipe cleaners and cotton swabs until they come out clean. I dip them in the Isopropyl and run them through to remove all the grimes from inside the stem. Once I have it clean then fill a bowl with some water and put it in the microwave and set it to boil. I dip the end of the stem with the bite marks in the boiling water repeatedly to lift the bite marks a bit. Vulcanite, which is the material the stem is made of is said to have memory and will return to its original state. This method does wonders in lifting the bite marks. When they have raised as much as they are going to dump the water and take the stem back to your table. Using 240 grit sandpaper, remove the brown oxidation and calcified white stuff that are on the stem. Be careful as you sand to not round the sharp edges on the stem at the mouth end (button) or the pipe end (tenon). You want to leave a good tight fit with sharp clean edges when you are finished. You will find that the sandpaper scratches the surface but do not worry about it as the goal at the moment is to return it to a dull black. Once it is clean of the browns use 400 grit and then 600 grit wet dry sandpaper to smooth out the scratches and remove any remaining oxidation.
The stem should be a dull or flat black once you have finished with this step in the process. Now you have a choice to make. There are several steps that can be taken next depending on what choices you make. You can either use repeatedly higher and finer grades of wet dry sandpaper or you can use micromesh sanding pads – I use 1500, 1800, 2400, 3200, 4000 and 6000 grit pads to finish the stem to a gloss. These pads are readily available at woodworking shops or online – just Google Micro-mesh pads. If you use the sandpaper it works well but is a bit more labour intensive. After you have the stem restored to a gloss you can use a bit of olive oil to polish it – wiping it on and then off or you can use some softened beeswax or carnauba wax. I have even used Kiwi Neutral shoe polish which is a carnauba based wax.
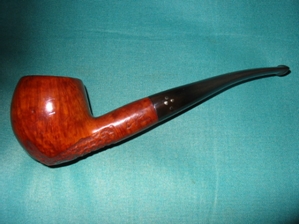
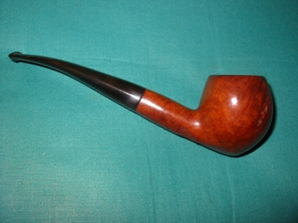
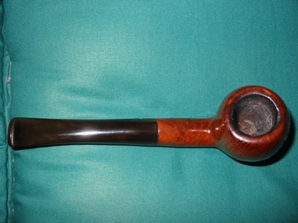
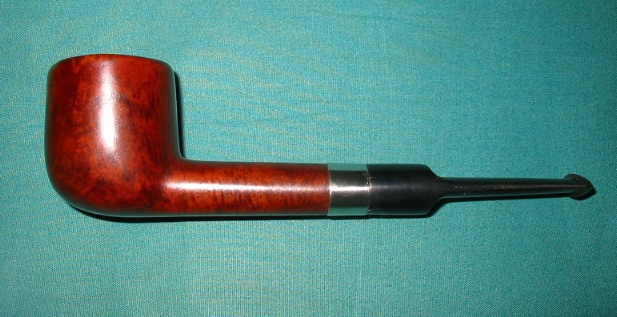
I then set the stem aside and retrieve the bowls from the alcohol bath. Before I take them out I use the alcohol in the bath to scrub the bowls using an old tooth brush as it just gets into the cracks and crevices and gets the dirt out of the surface. Once that is done I dry off the pipe with a soft cloth and get to work on the finish. For the rough surfaced ones like the smaller pipe in the picture I will often use the tooth brush repeatedly to remove all the grime on the pipe. With the smooth pipes like the second pipe in the picture I wipe it down with alcohol dampened cloths until it is clean. I then sand the smooth one with either the 400 and 600 grit sand paper or the Micro-mesh pads to smooth out the finish. If the top is rough you will need to decide what to do with it. I have posted on the blog how I repair those issues so have a look on there for the article on topping a pipe bowl.
When both bowls are clean and free of dirt and tars I wash them down with a fresh alcohol cloth and then they are ready to stain. I use Feibings Shoe Dye for the stain and have found that the Medium Brown dye works well and matches most of the stains on these old pipes. Both pipes in the pictures were stained with the same Dye. I use the dauber that comes with the Dye (the dye is available at most shoe repair shops for about $4-$5). I coat the bowl while holding the stem. As the stain will turn your hands brown, wear rubber gloves for the staining. Once it is stained light the stain on fire with a match to set it. You will think I am nuts in suggesting this and think you will catch things on fire but like the alcohol in Baked Alaska it only burns blue for a short while and really sets the stain into the grain of the wood.
Set the pipe aside over night to let it thoroughly dry. The next day use the 600 or higher grit wet dry sandpaper to remove the excess stain on the exterior of the smooth bowl. Wipe it down regularly with a damp cloth to see what it is looking like. With the rough surfaced pipe I use a piece of flannel fabric and buff the surface until it glows. Once both pipes are finished and look acceptable to you give them a good coat of wax or polish. Some folks use Pledge on the bowls and have done so for years without ill effect. This gives them a rich glow. The only thing left to do is join the family heritage by smoking a bowl of your own tobacco in the pipe. When you are done with that smoke, wipe the pipe down with a soft cloth and clean it inside with a pipe cleaner. With a little care the finish that you have done will last until you own grandchildren need to refinish it once again. But take delight in smoking a piece of the family history and adding another generation’s story to the life of this old pipe. Enjoy.
If you have any questions on the process feel free to post a response or question here.
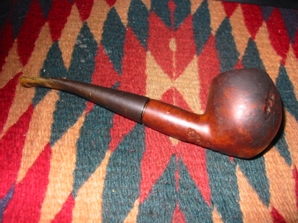
Here are the same pipes after finishing the process I laid out above.