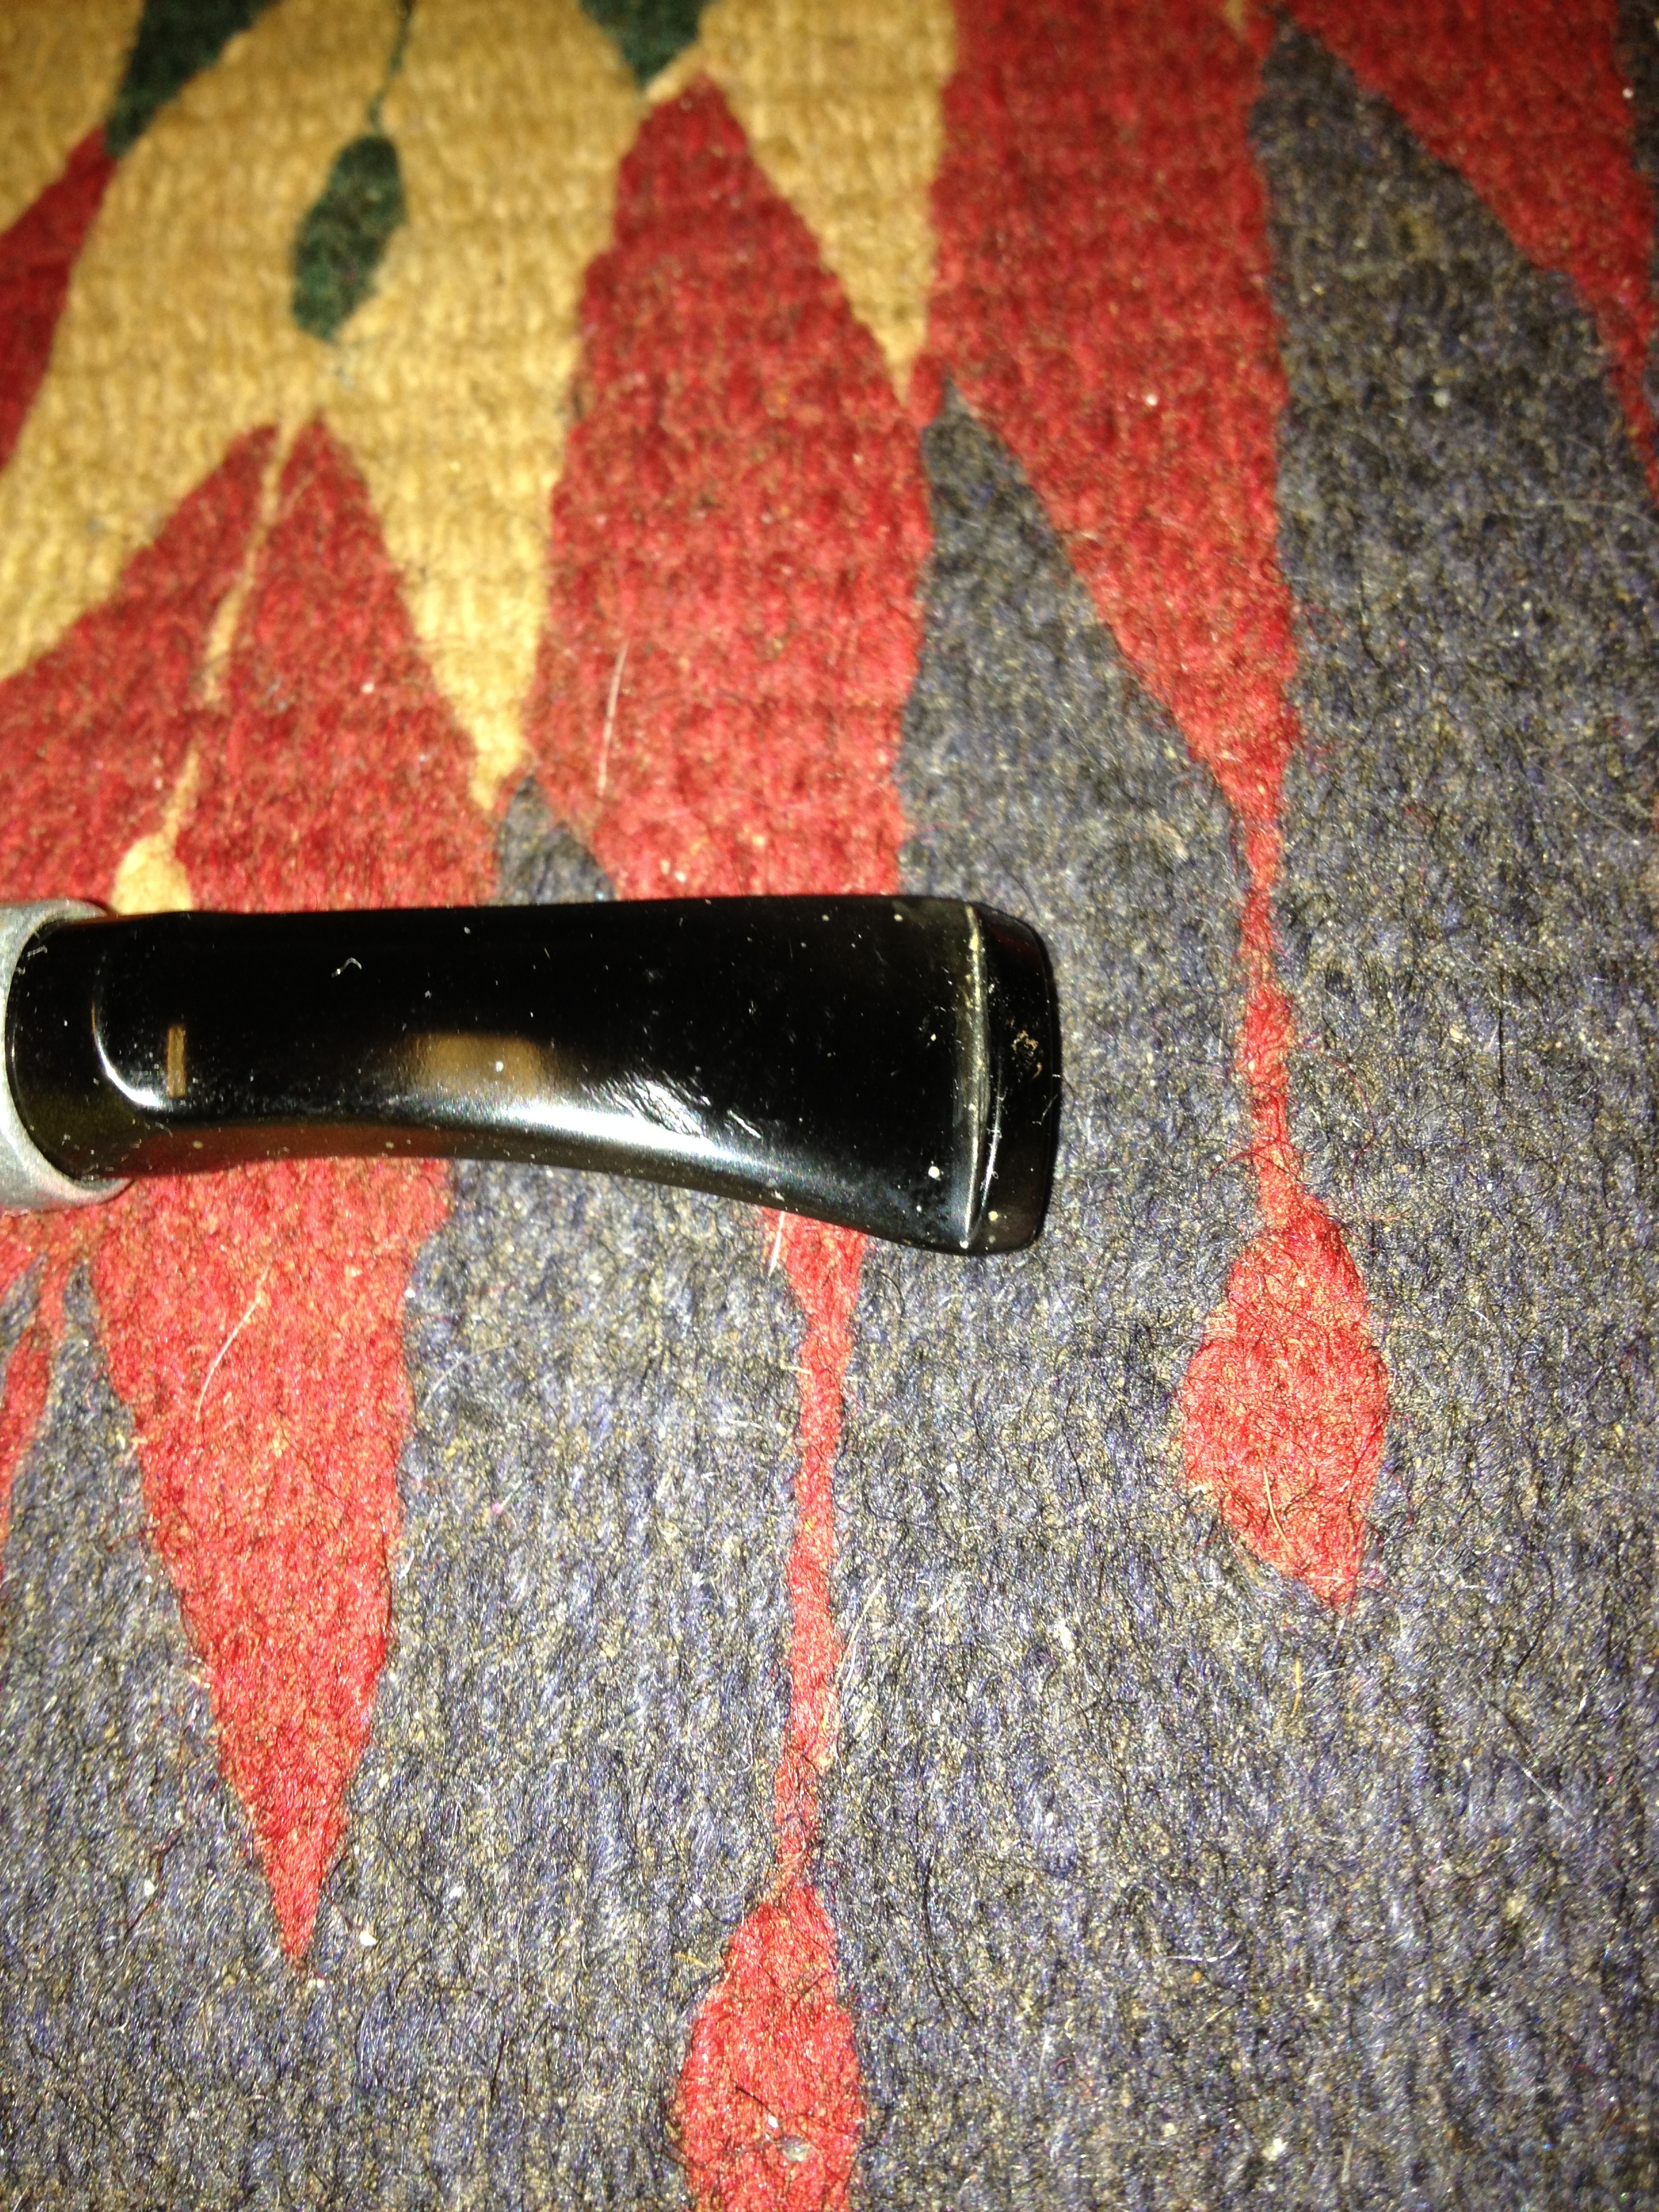
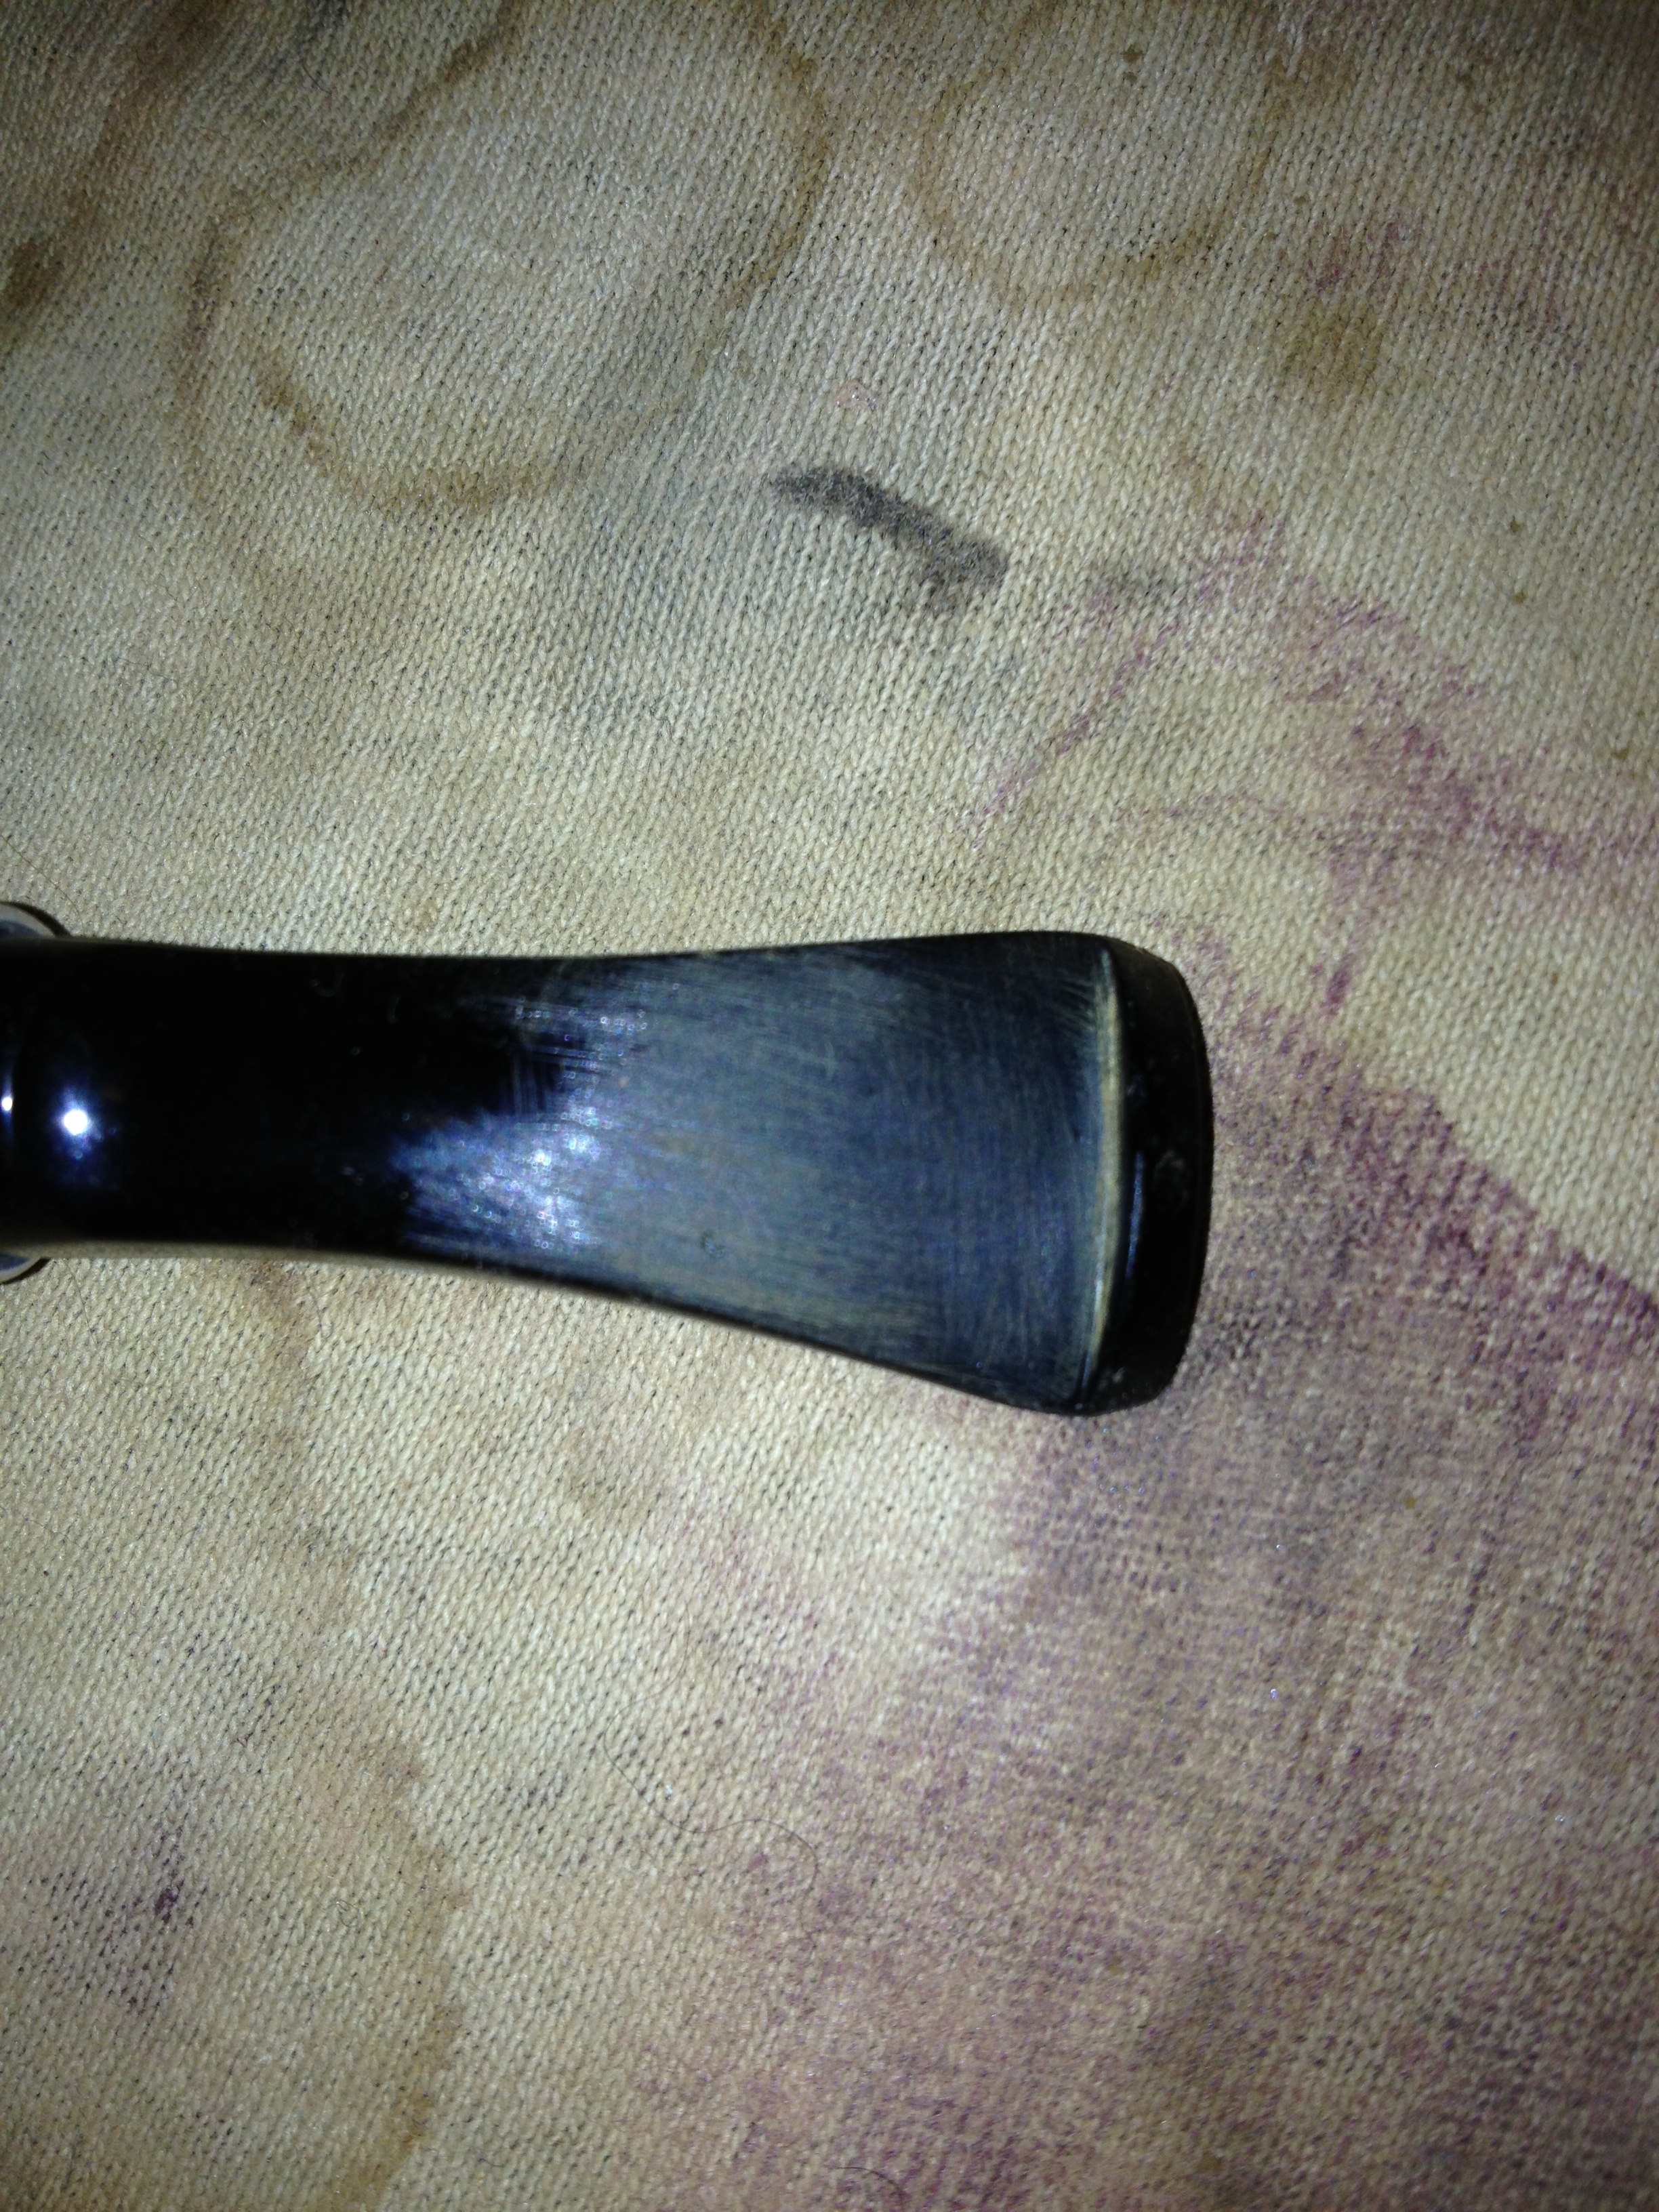
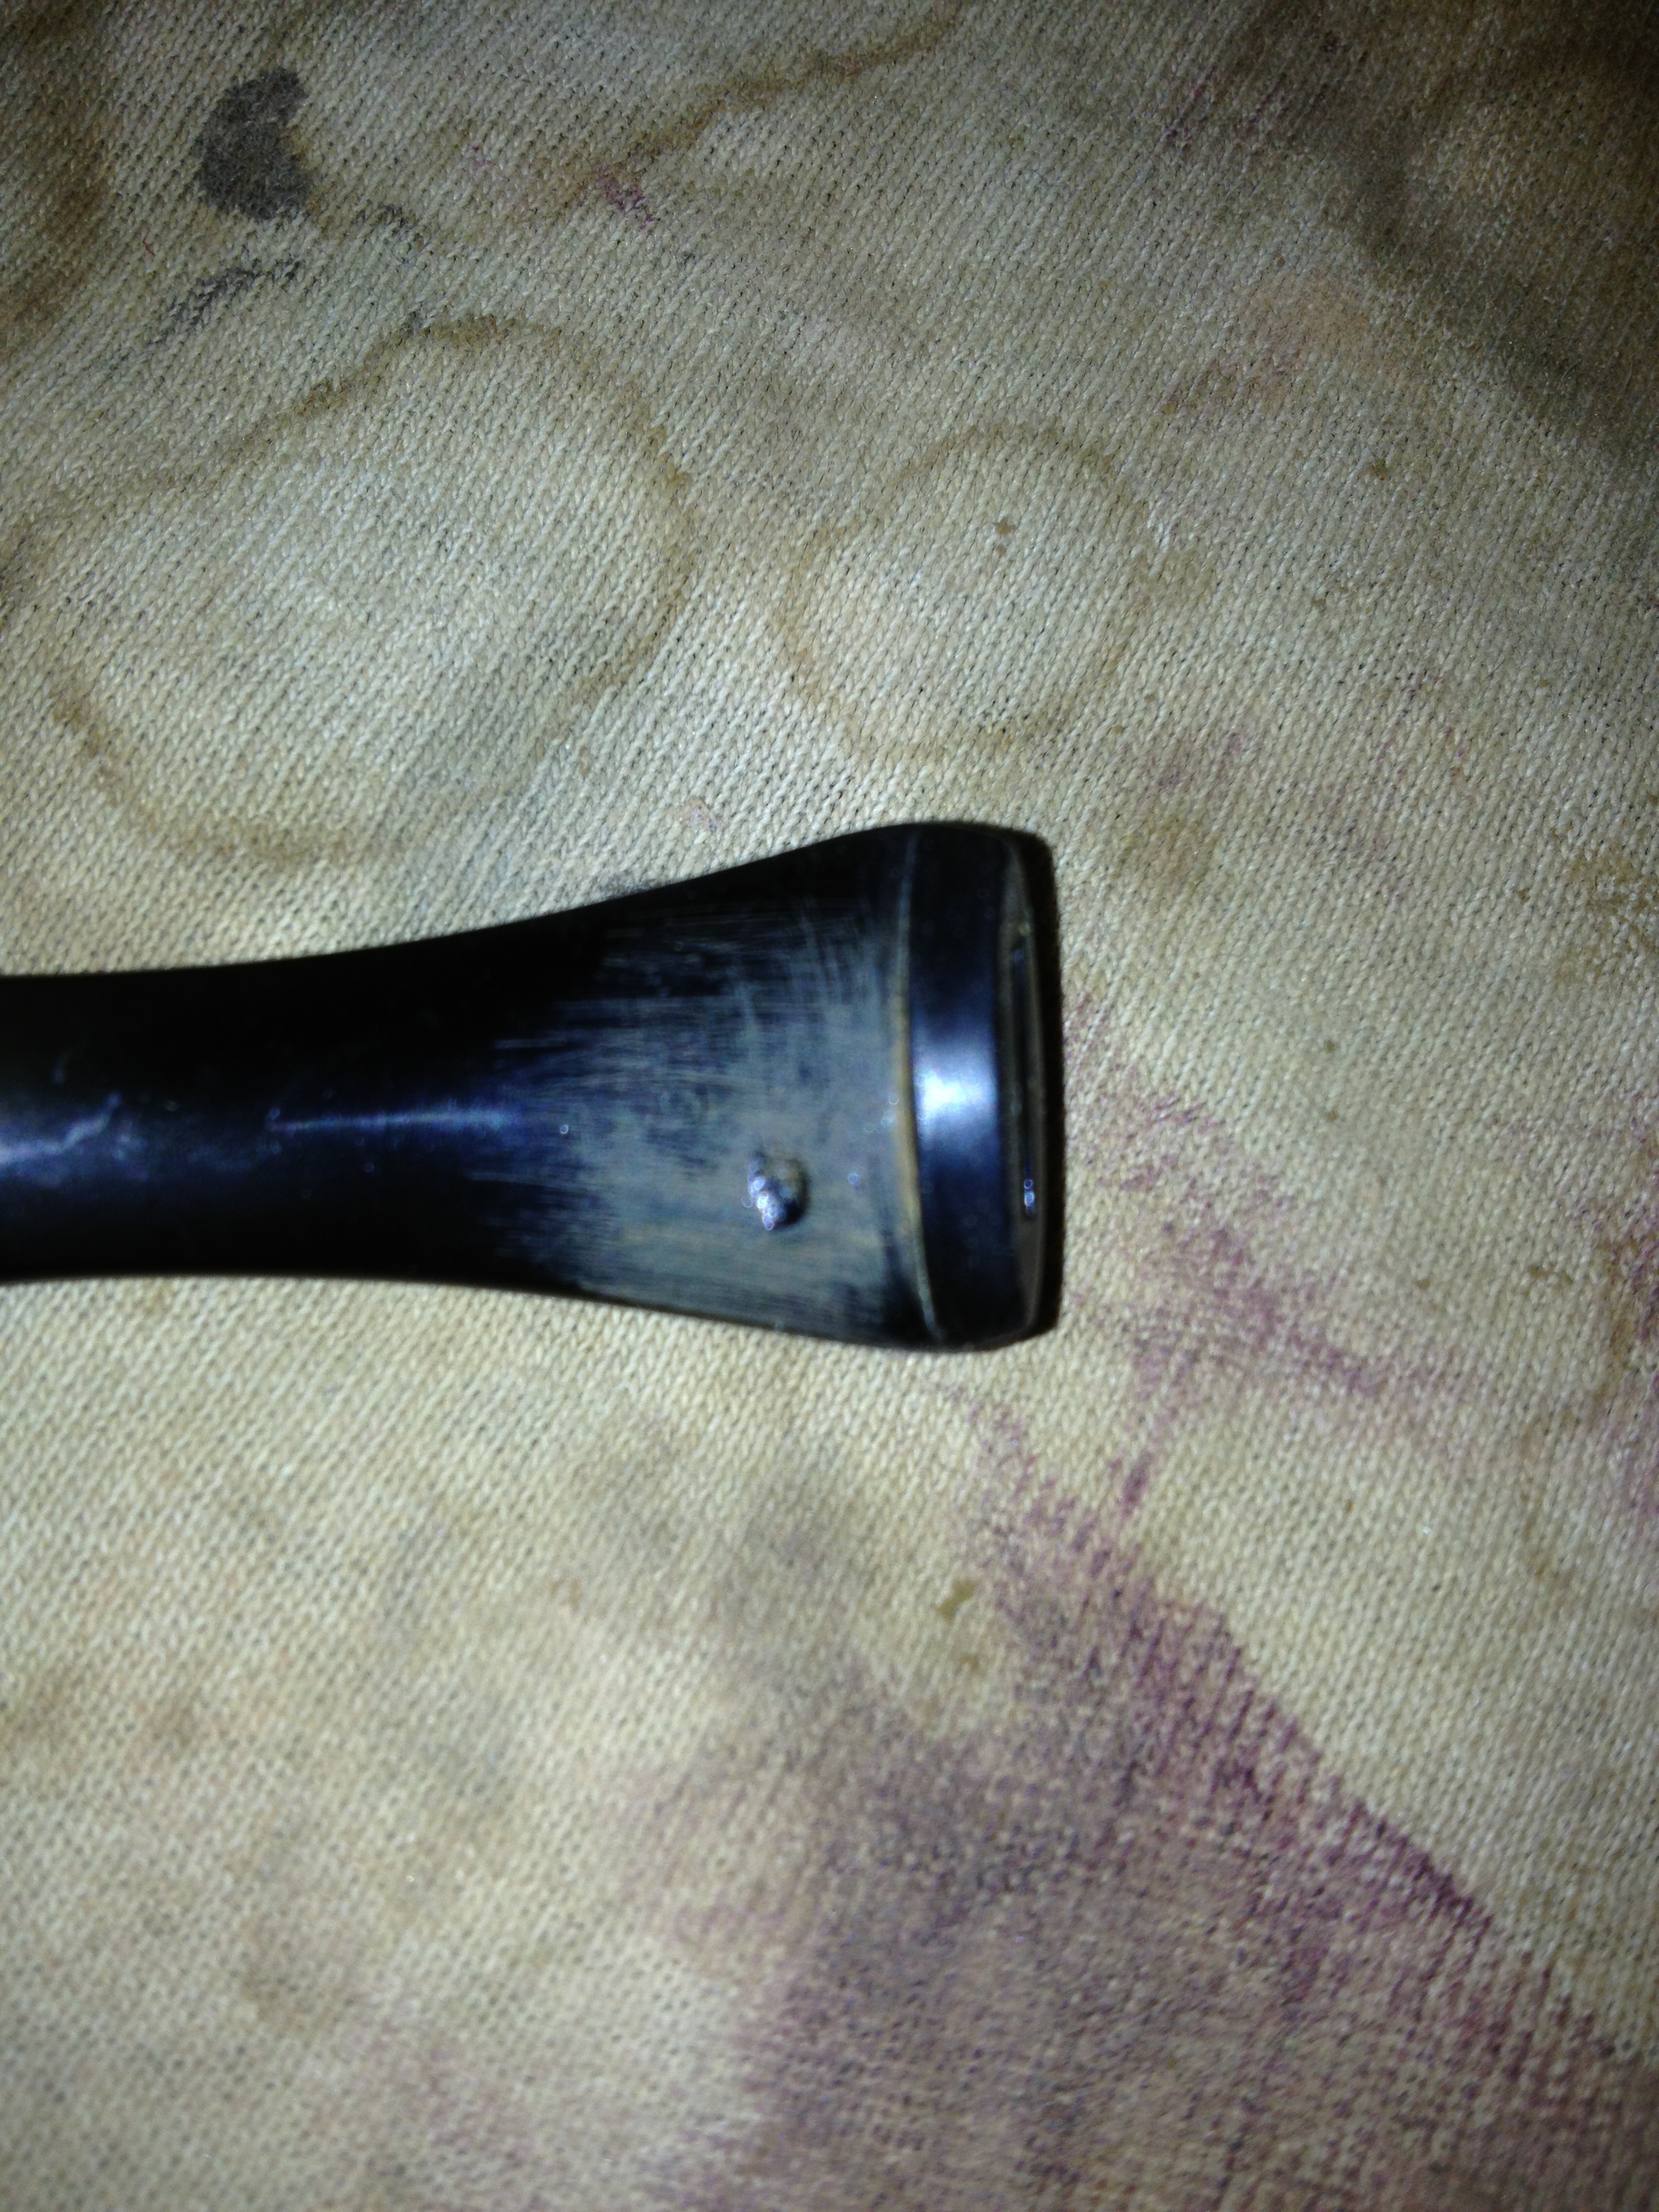
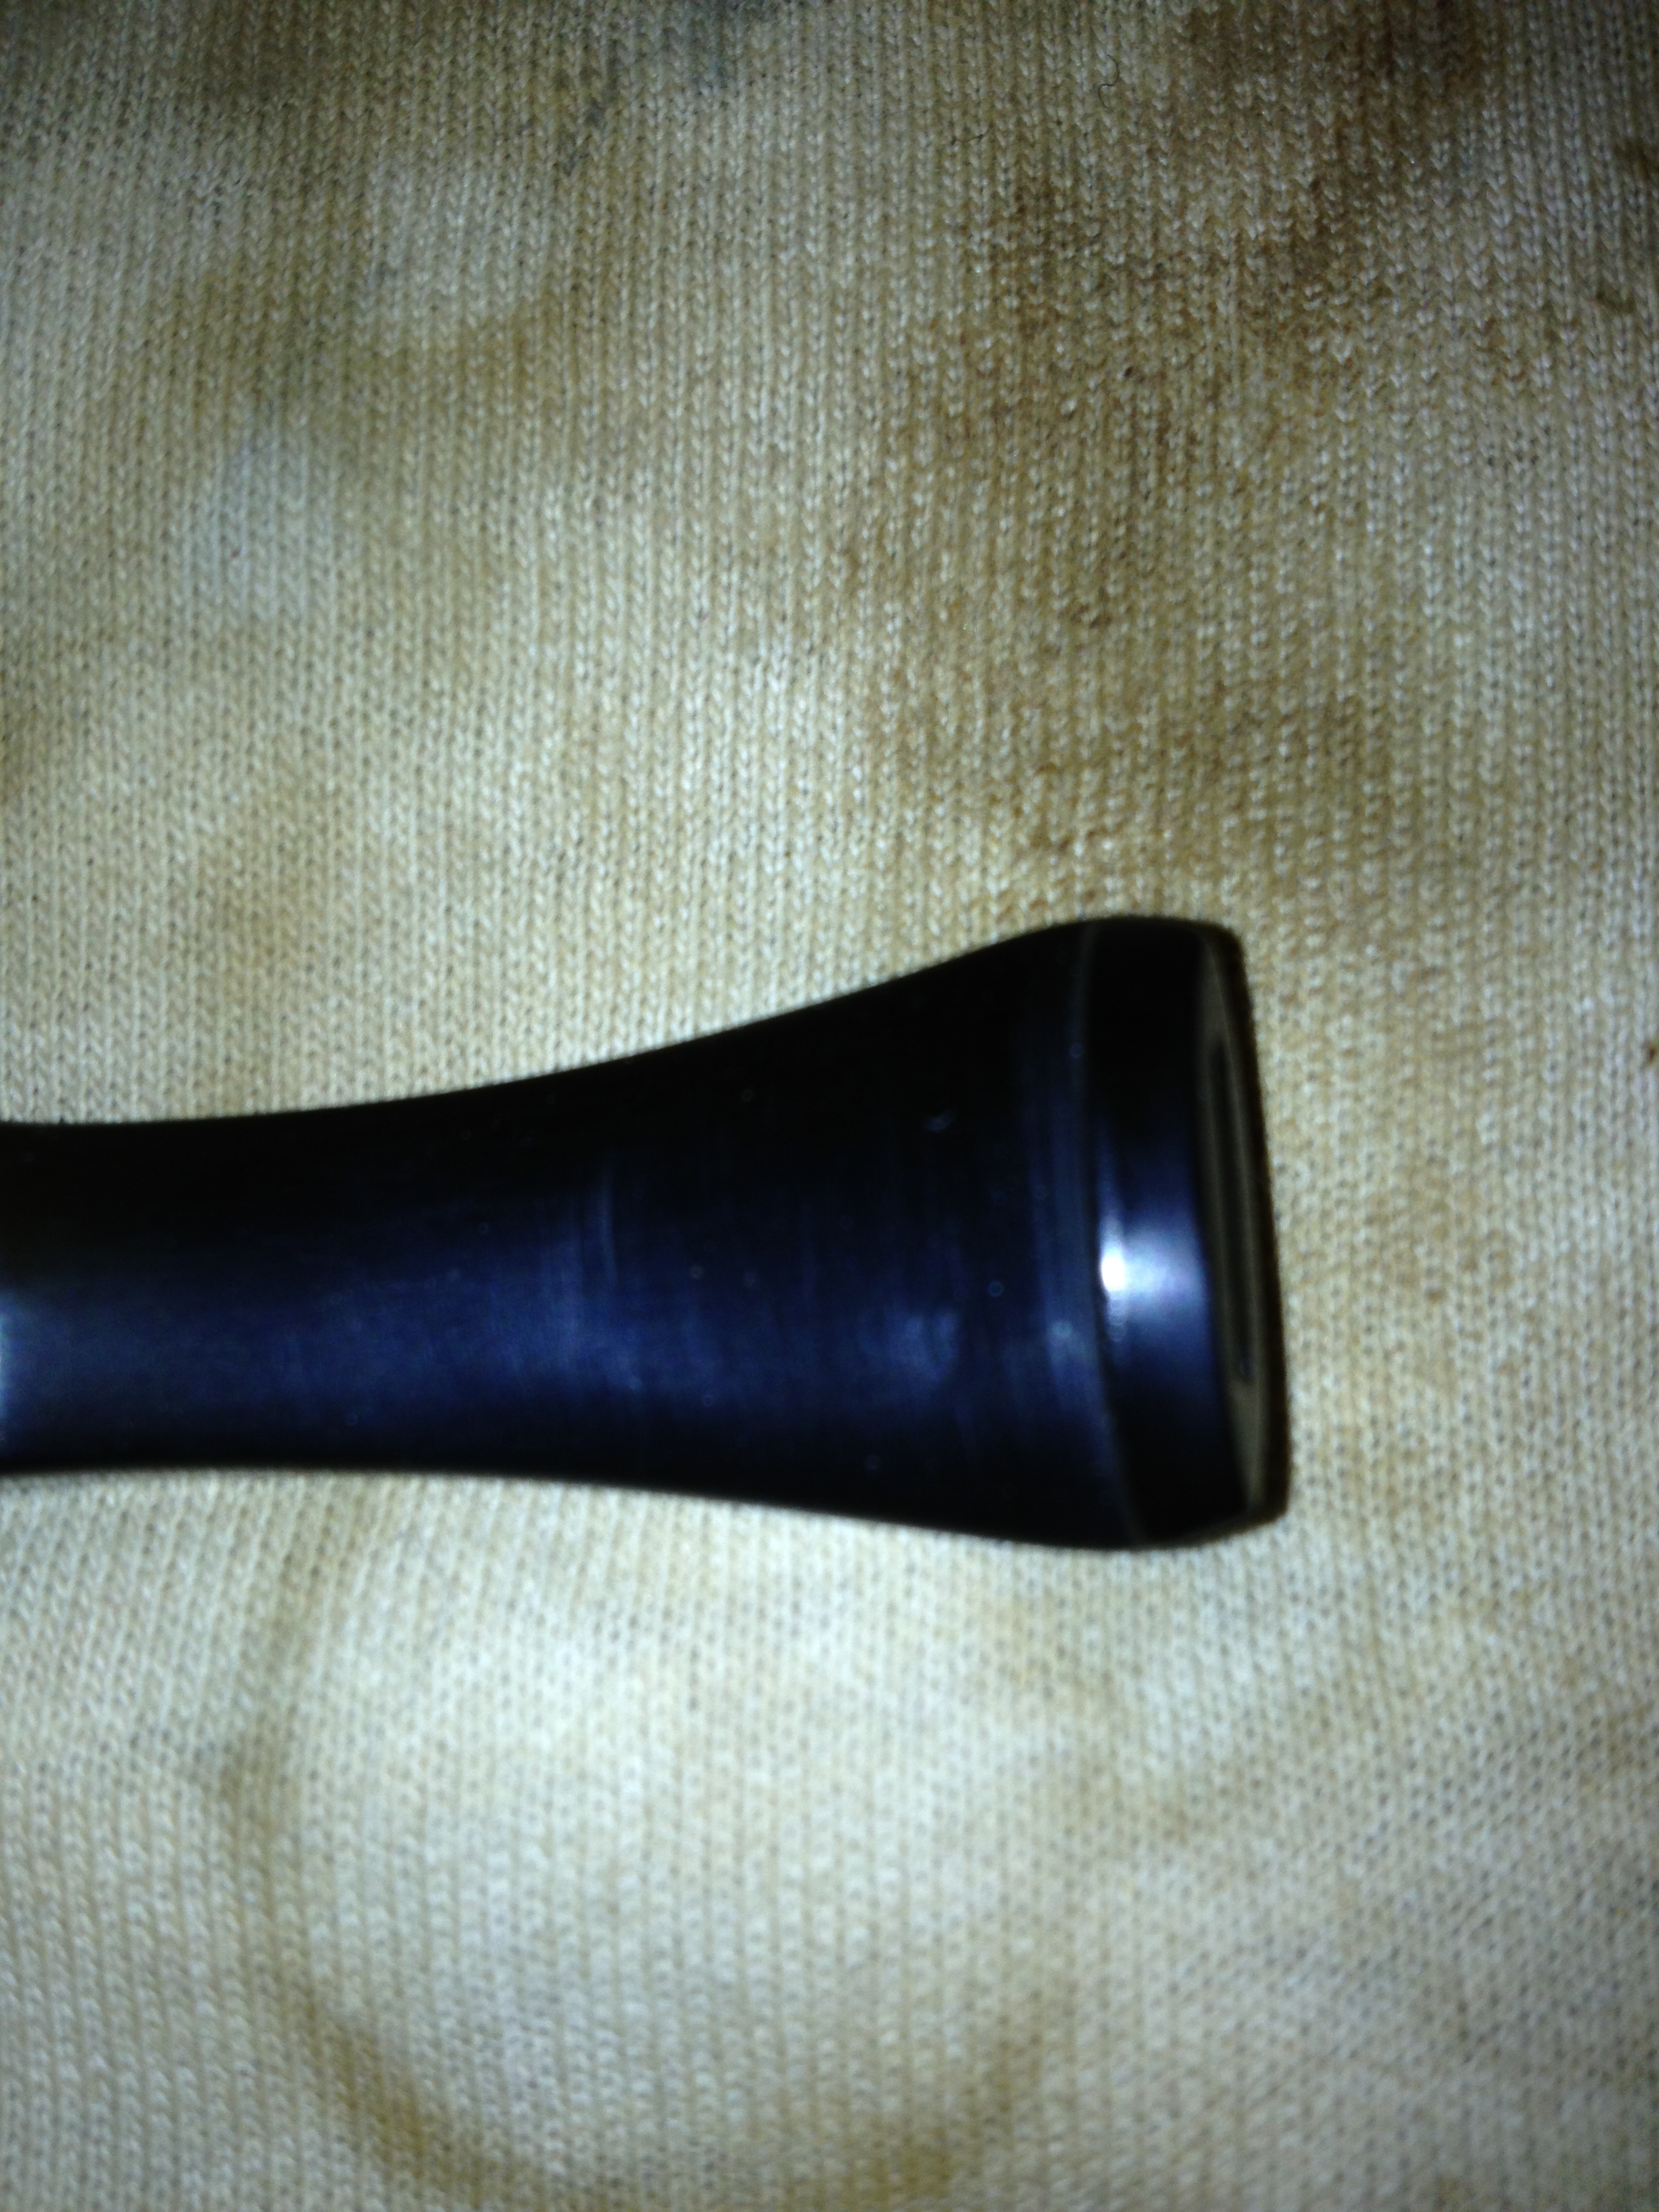
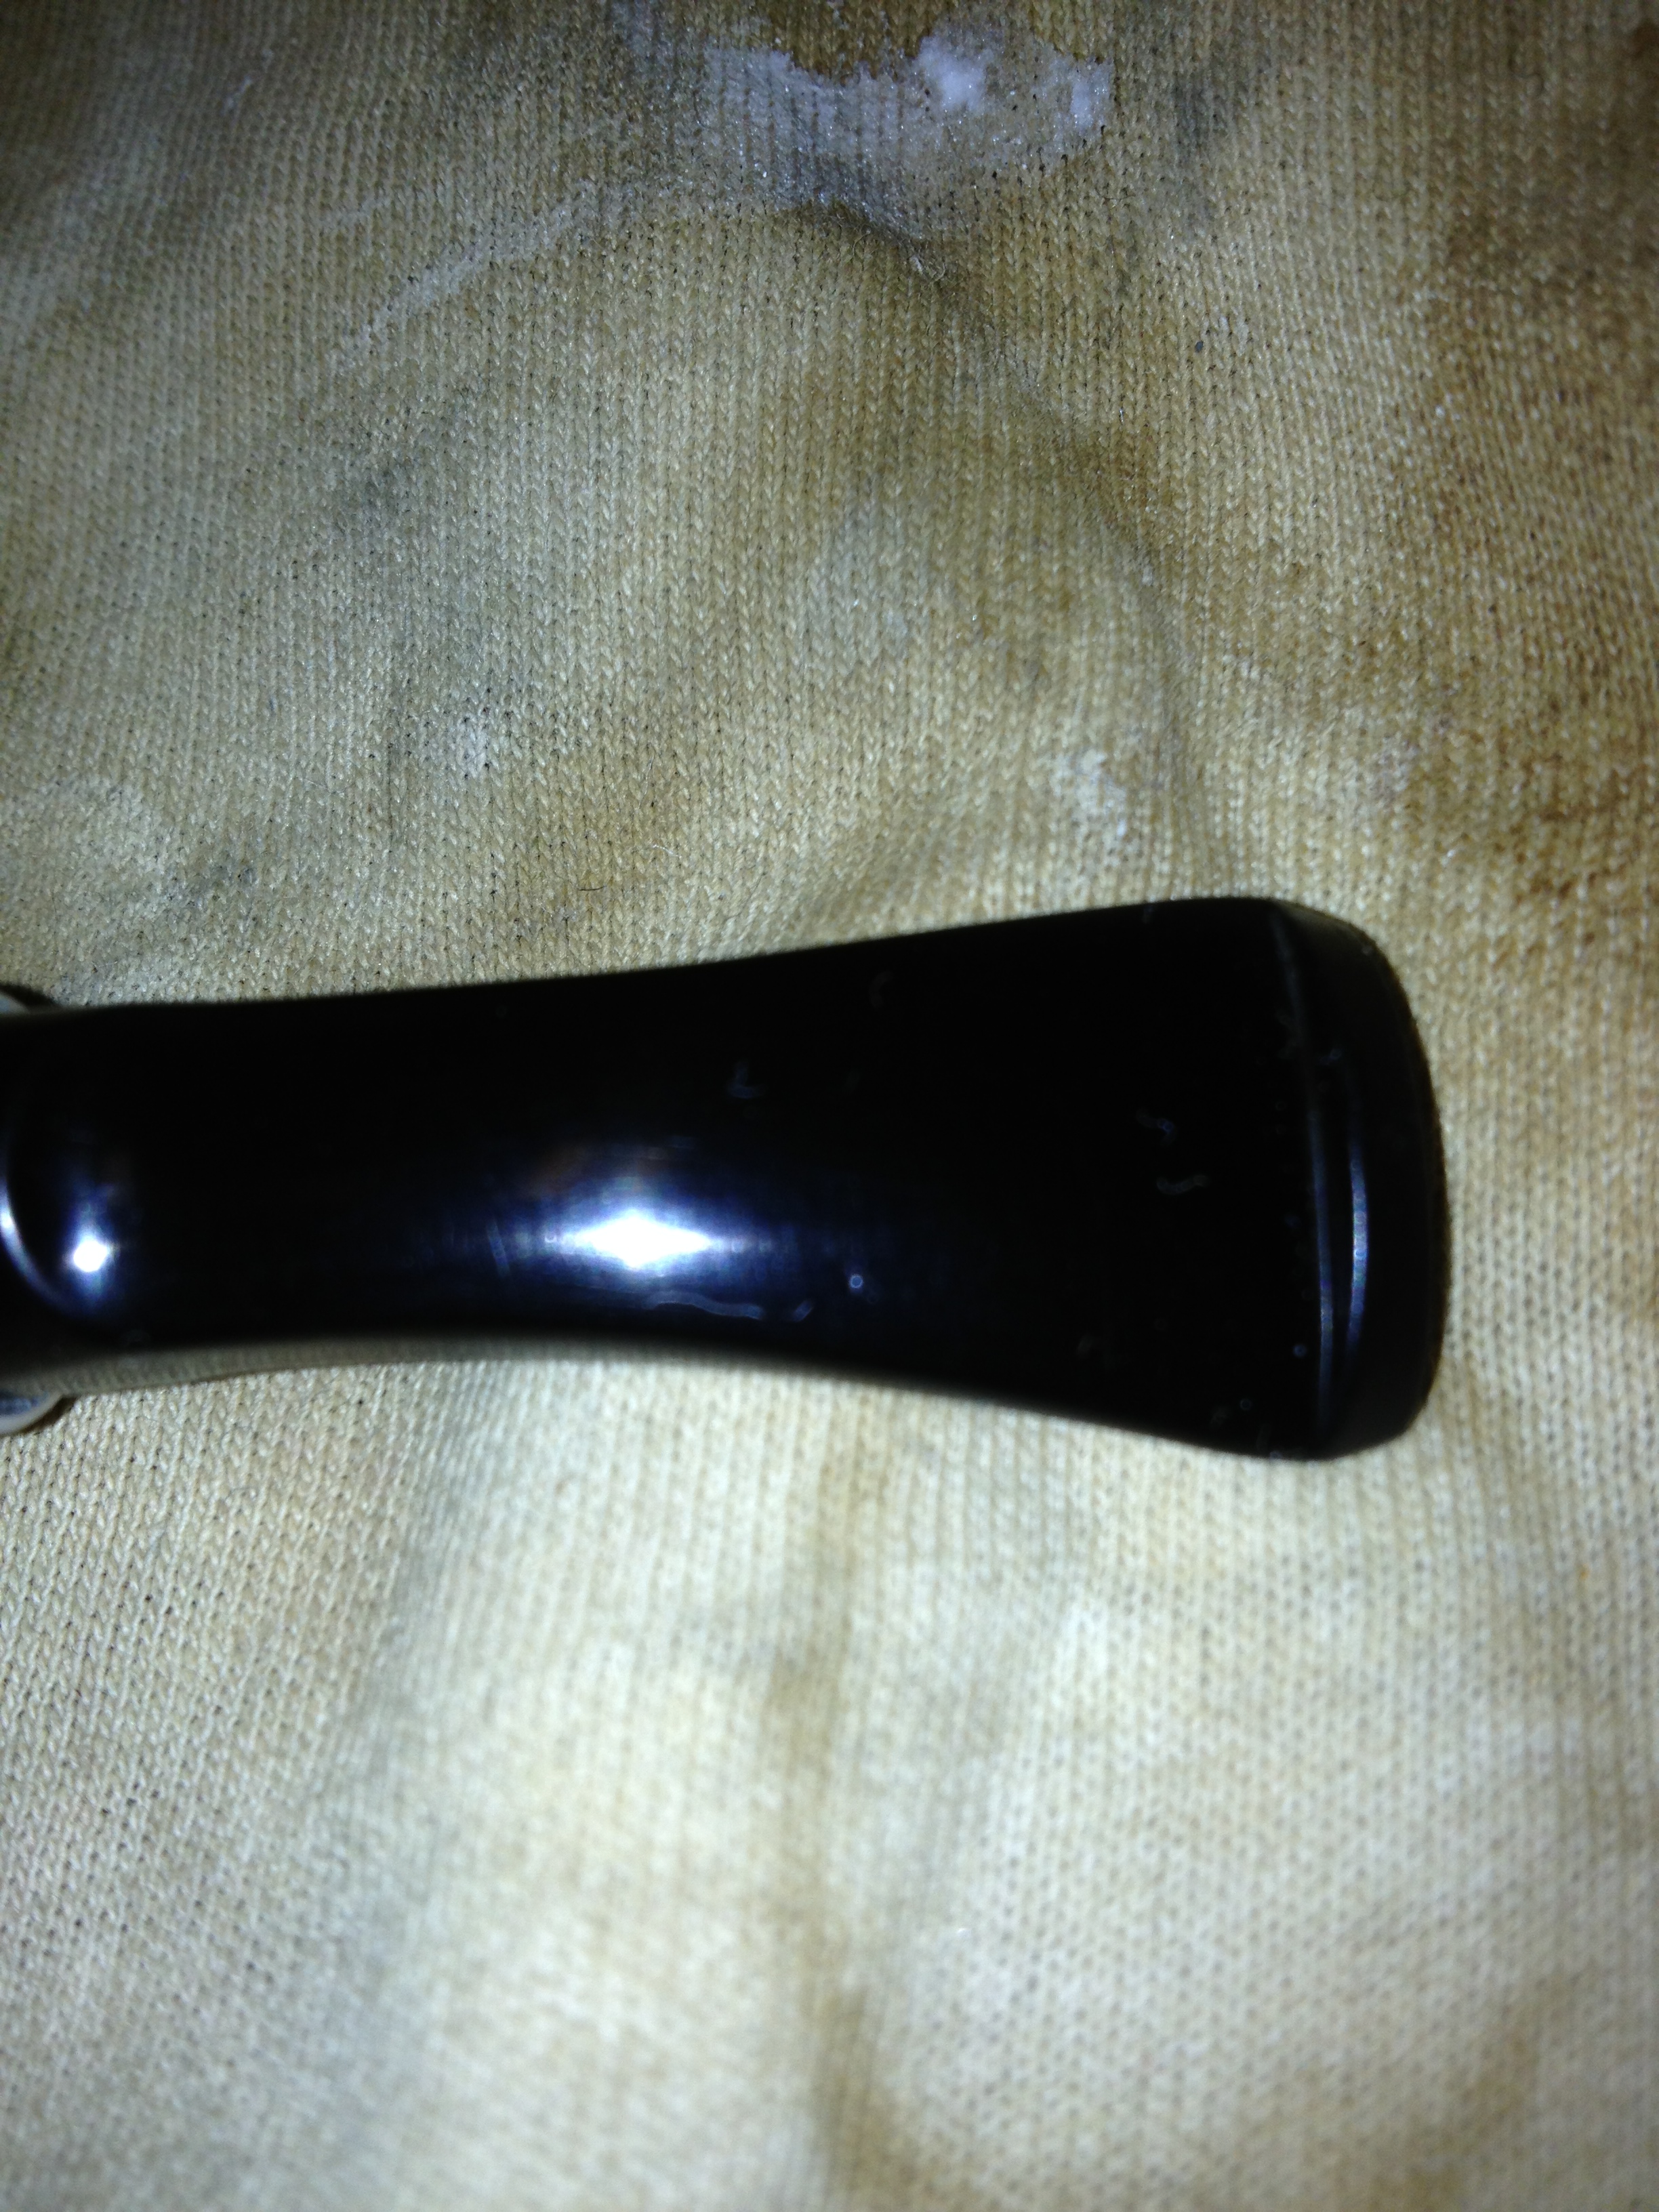
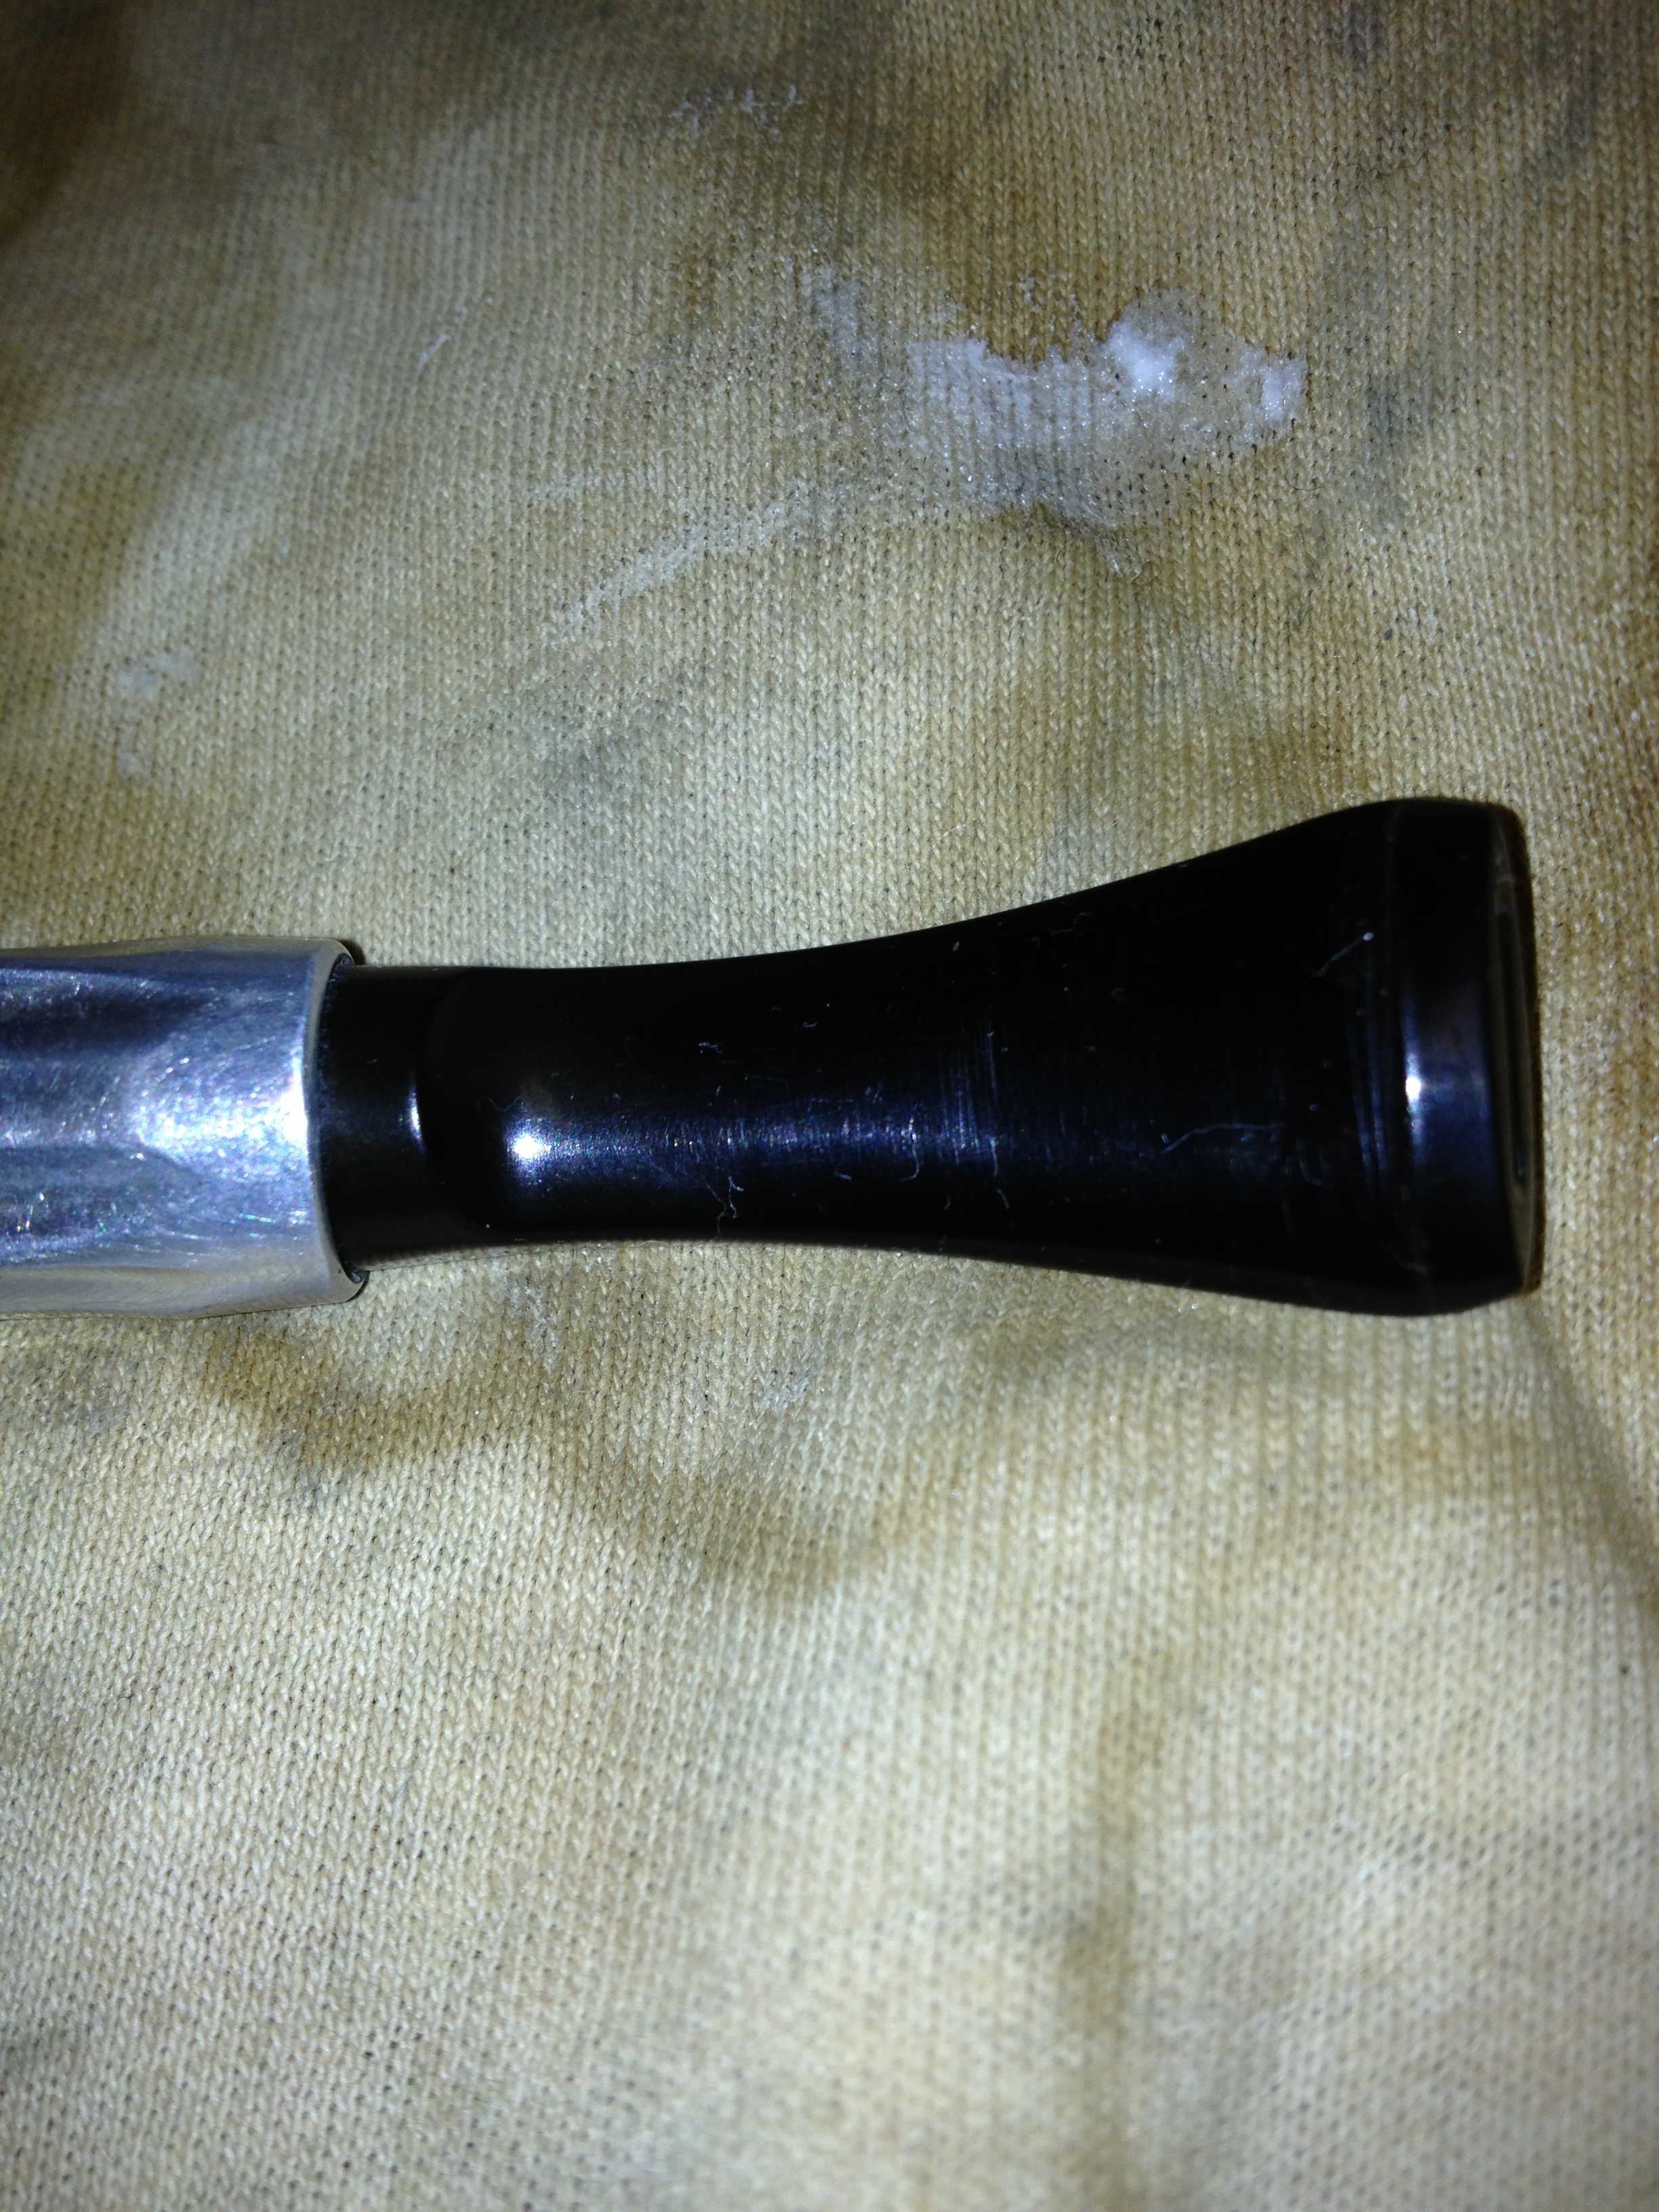
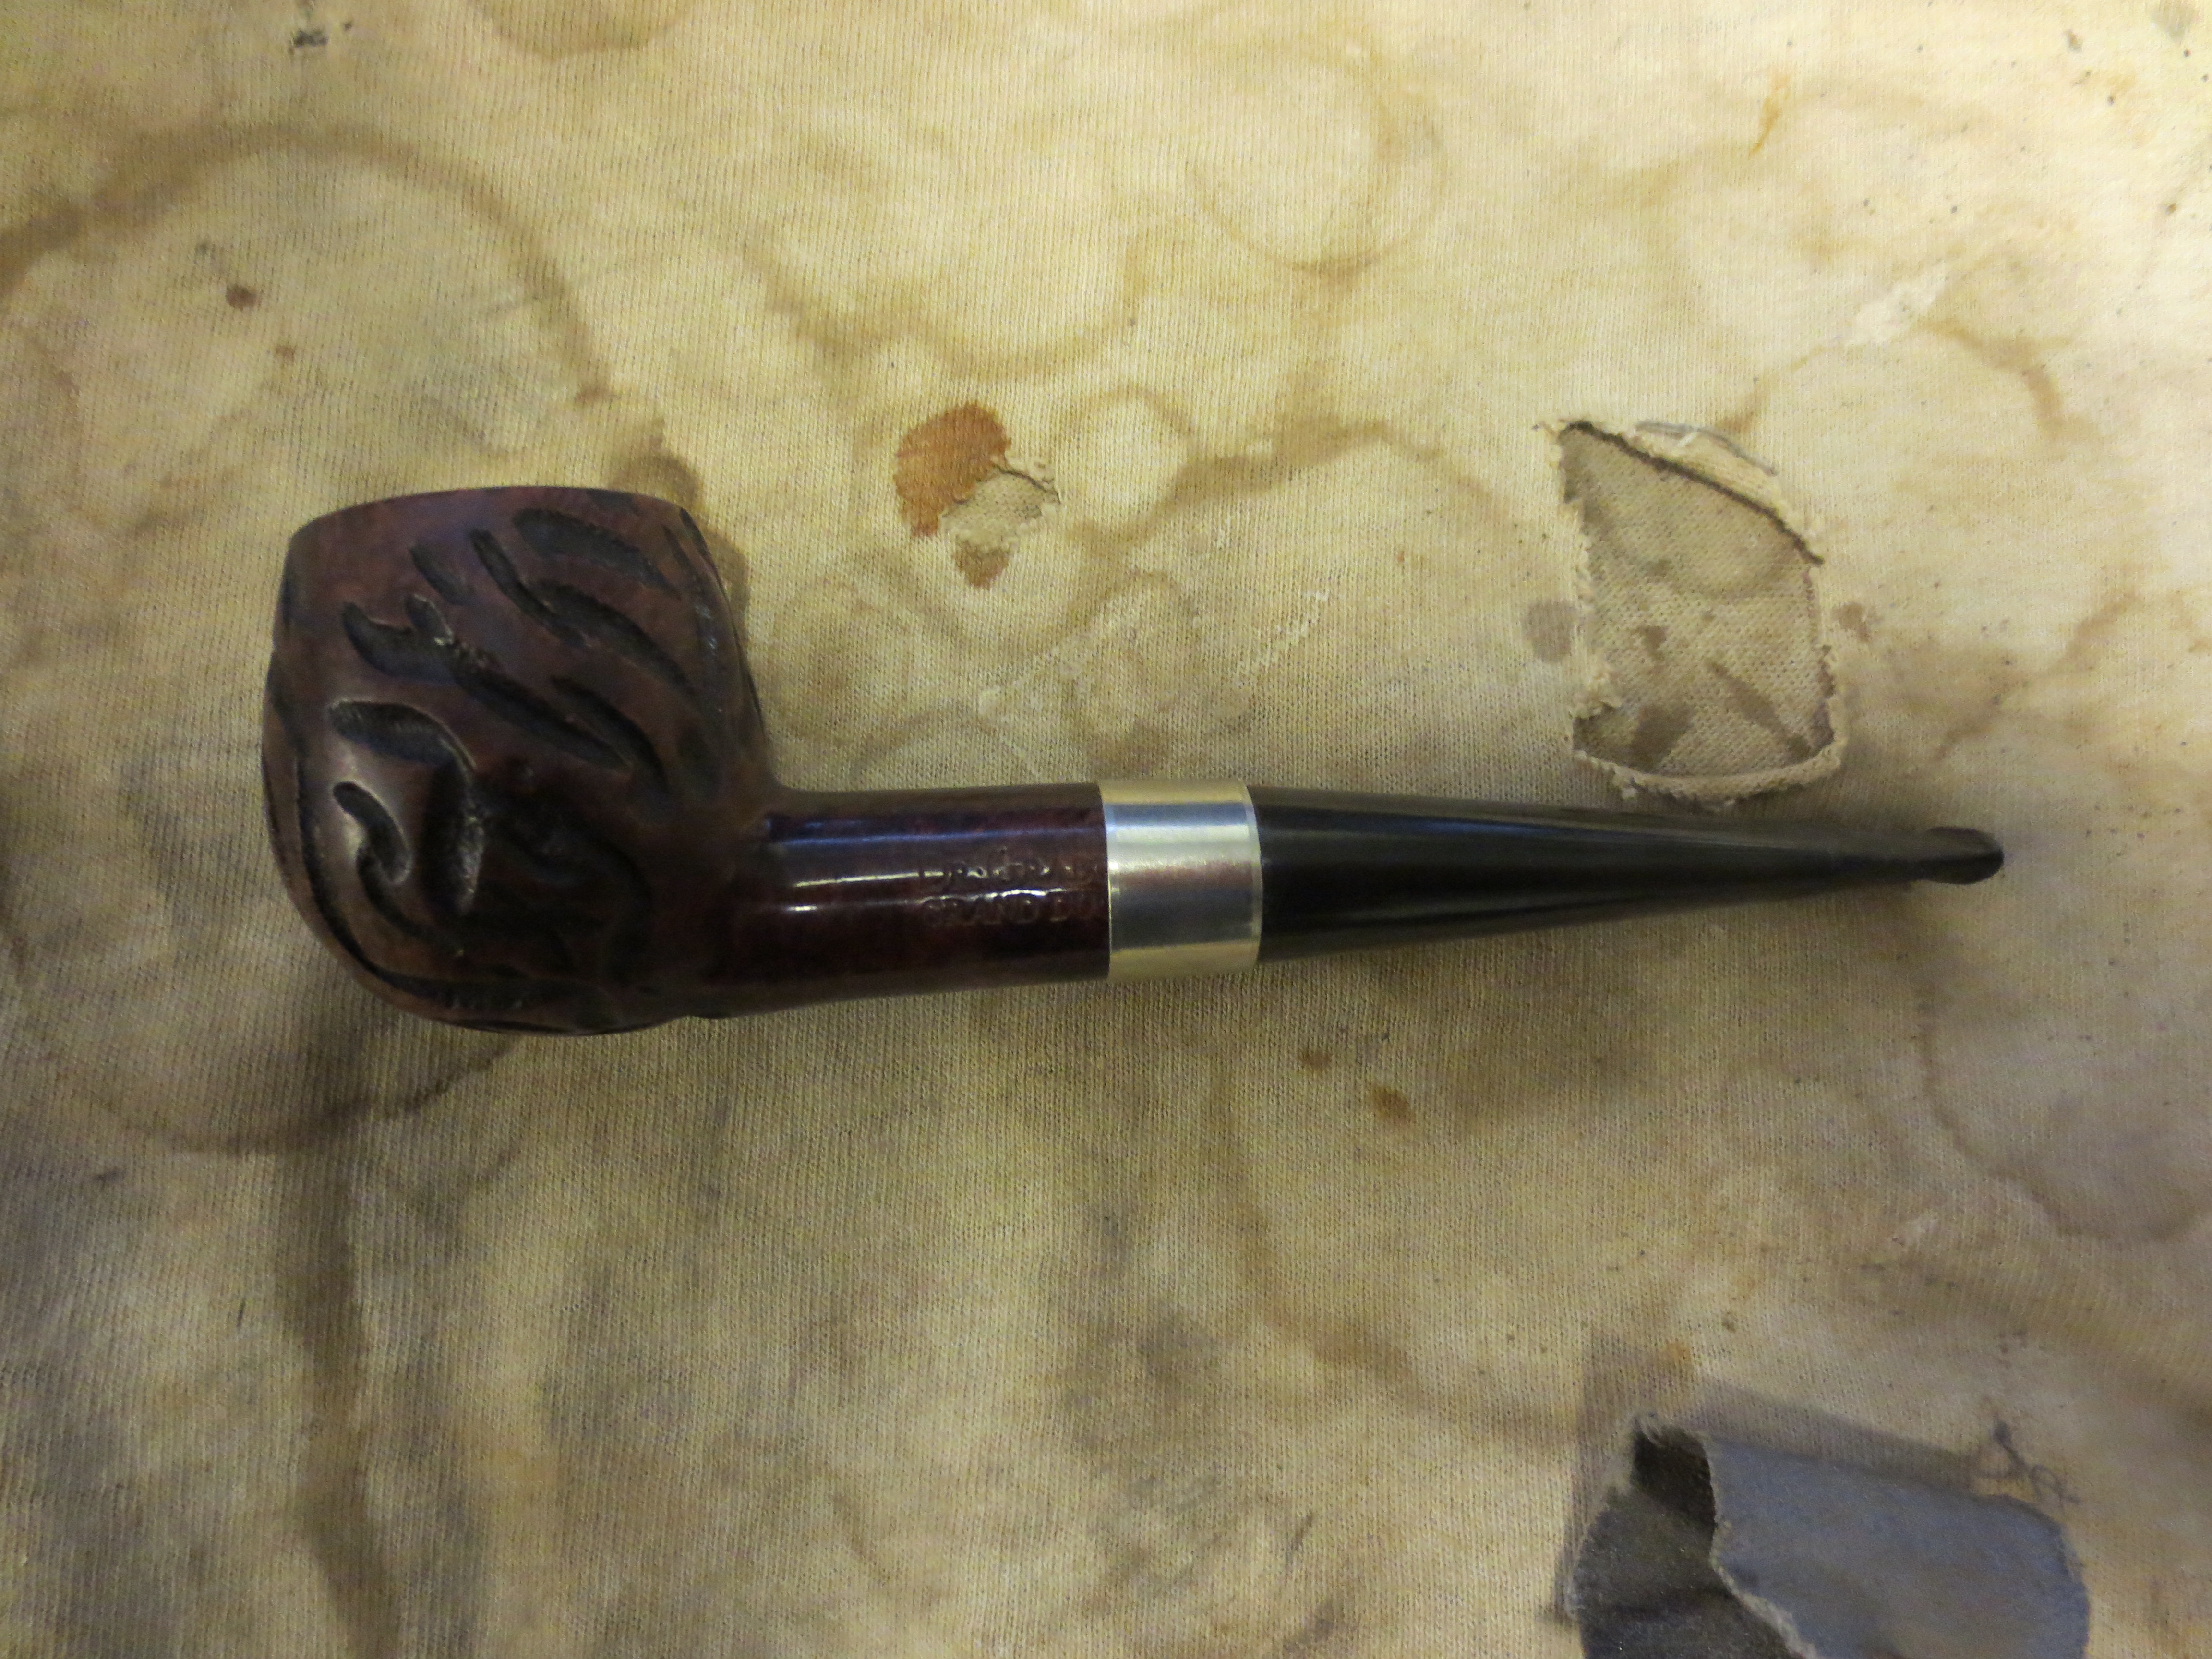
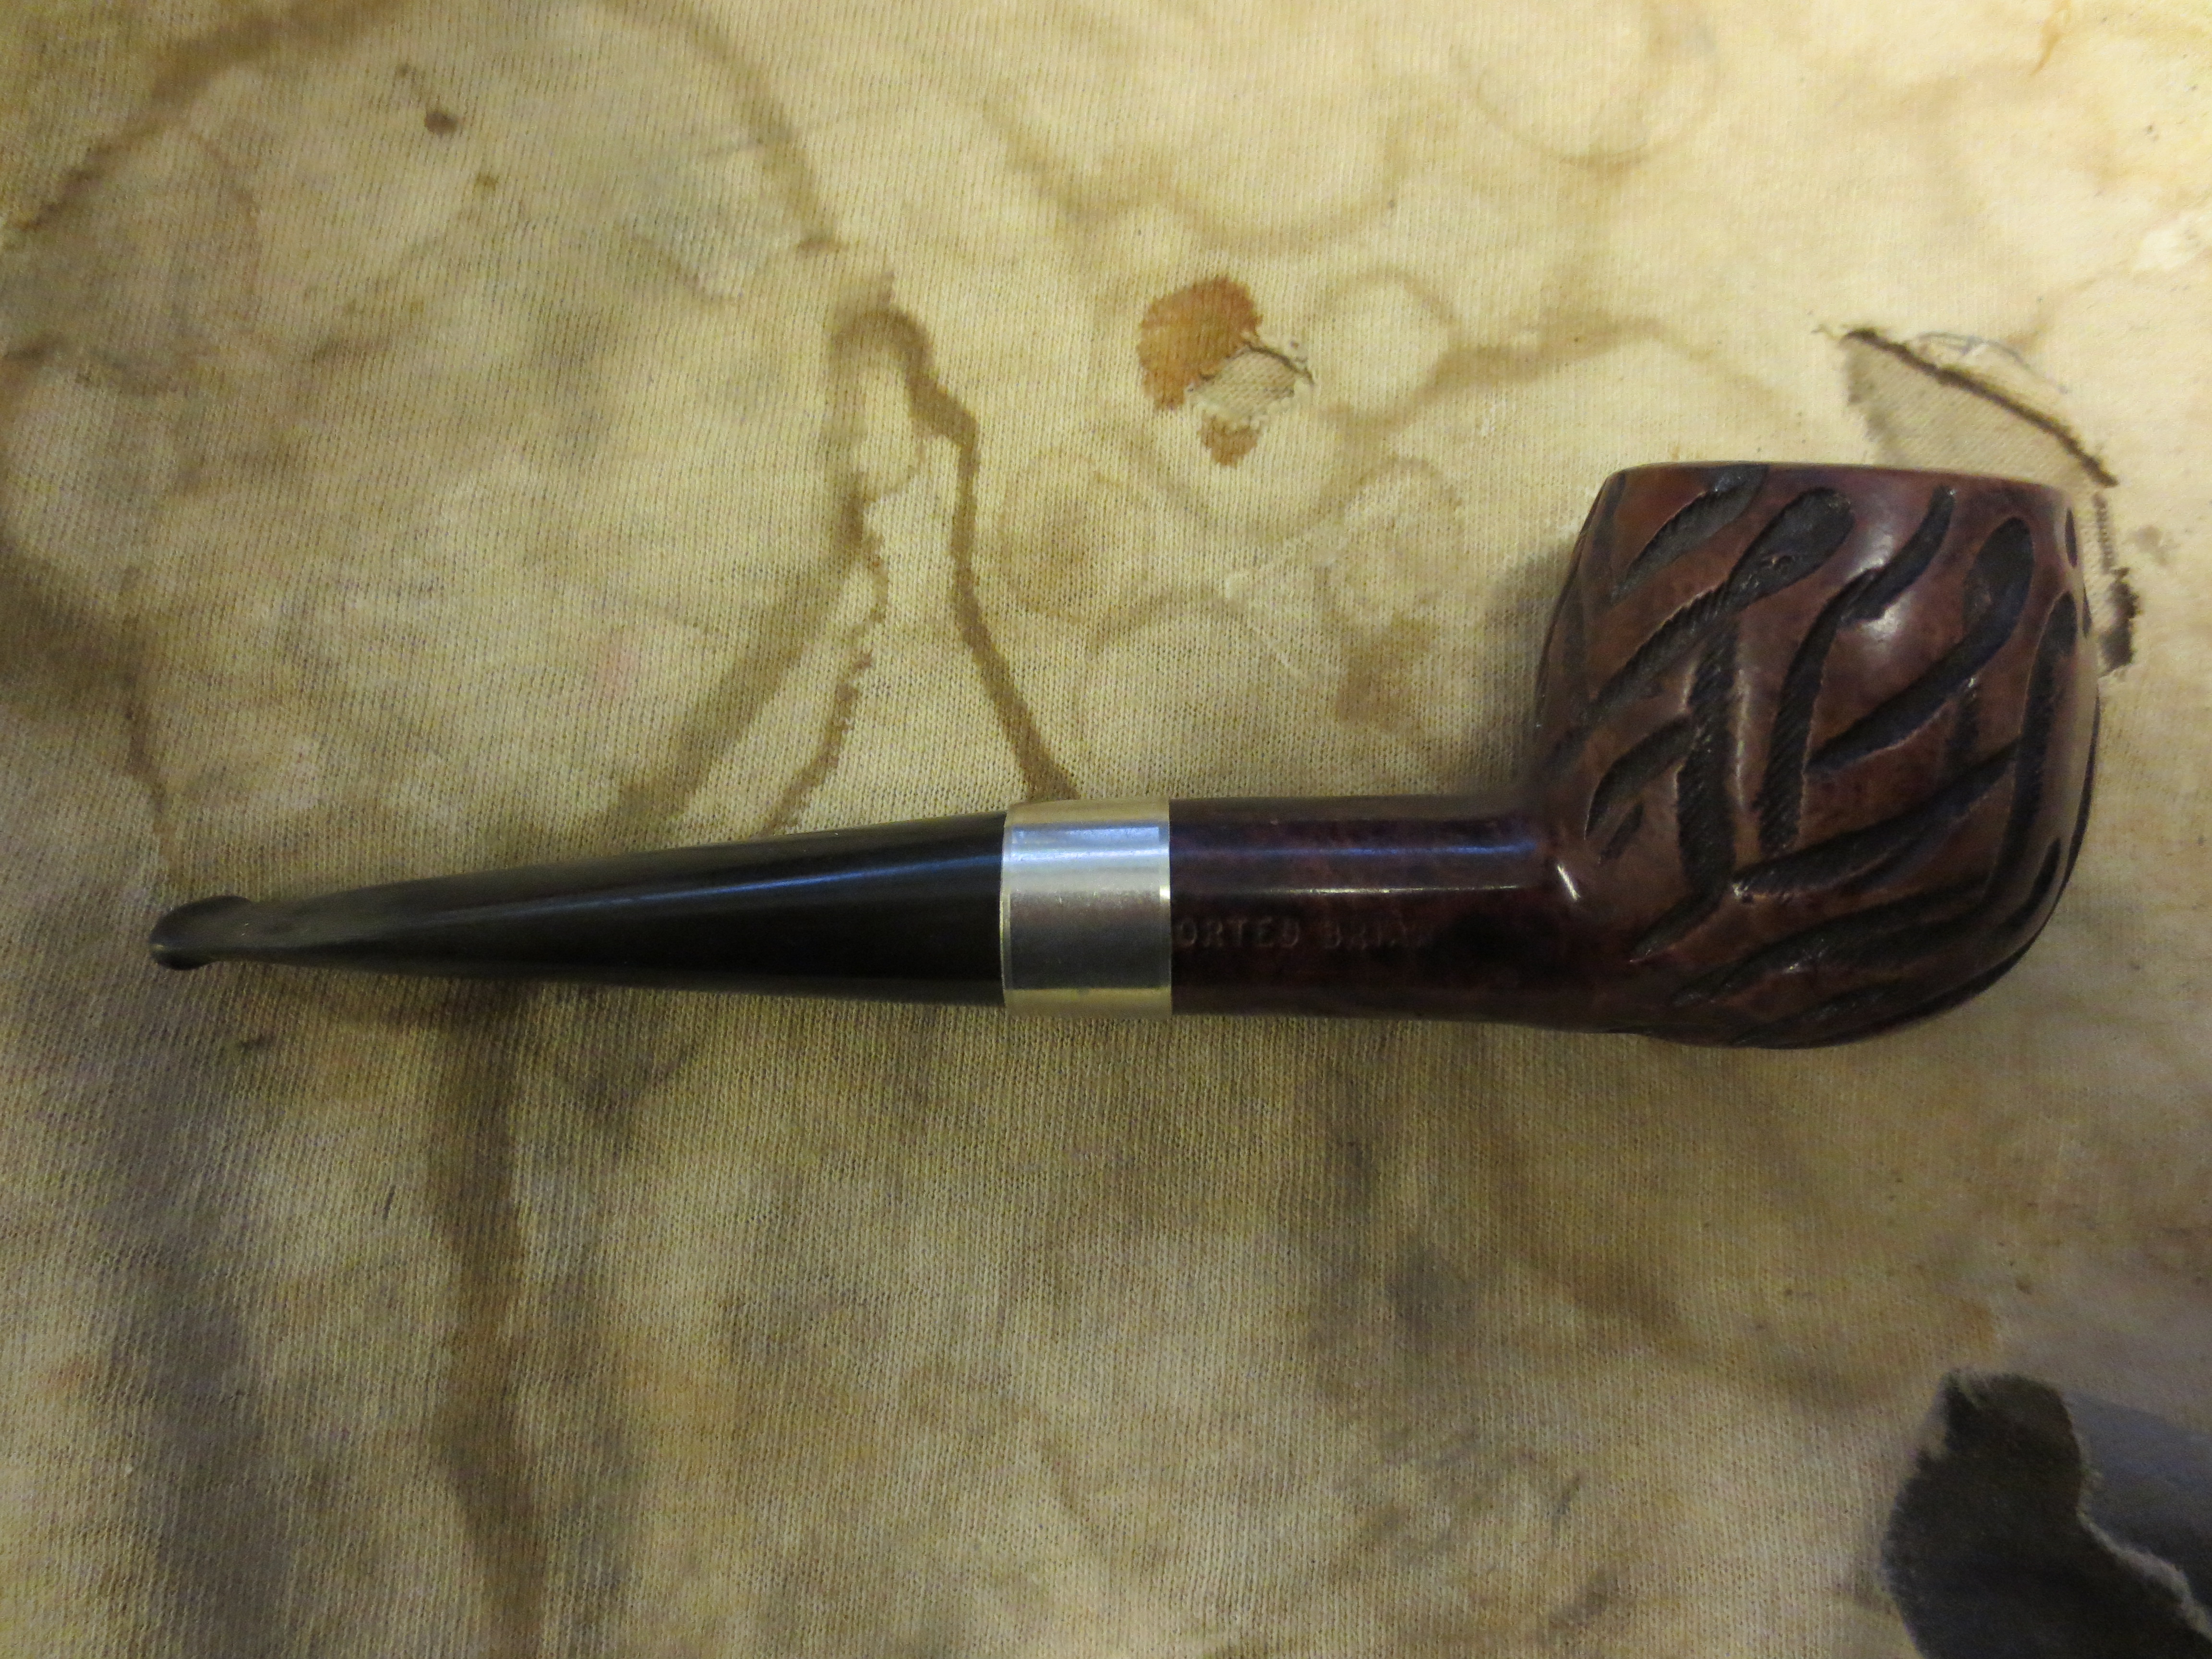
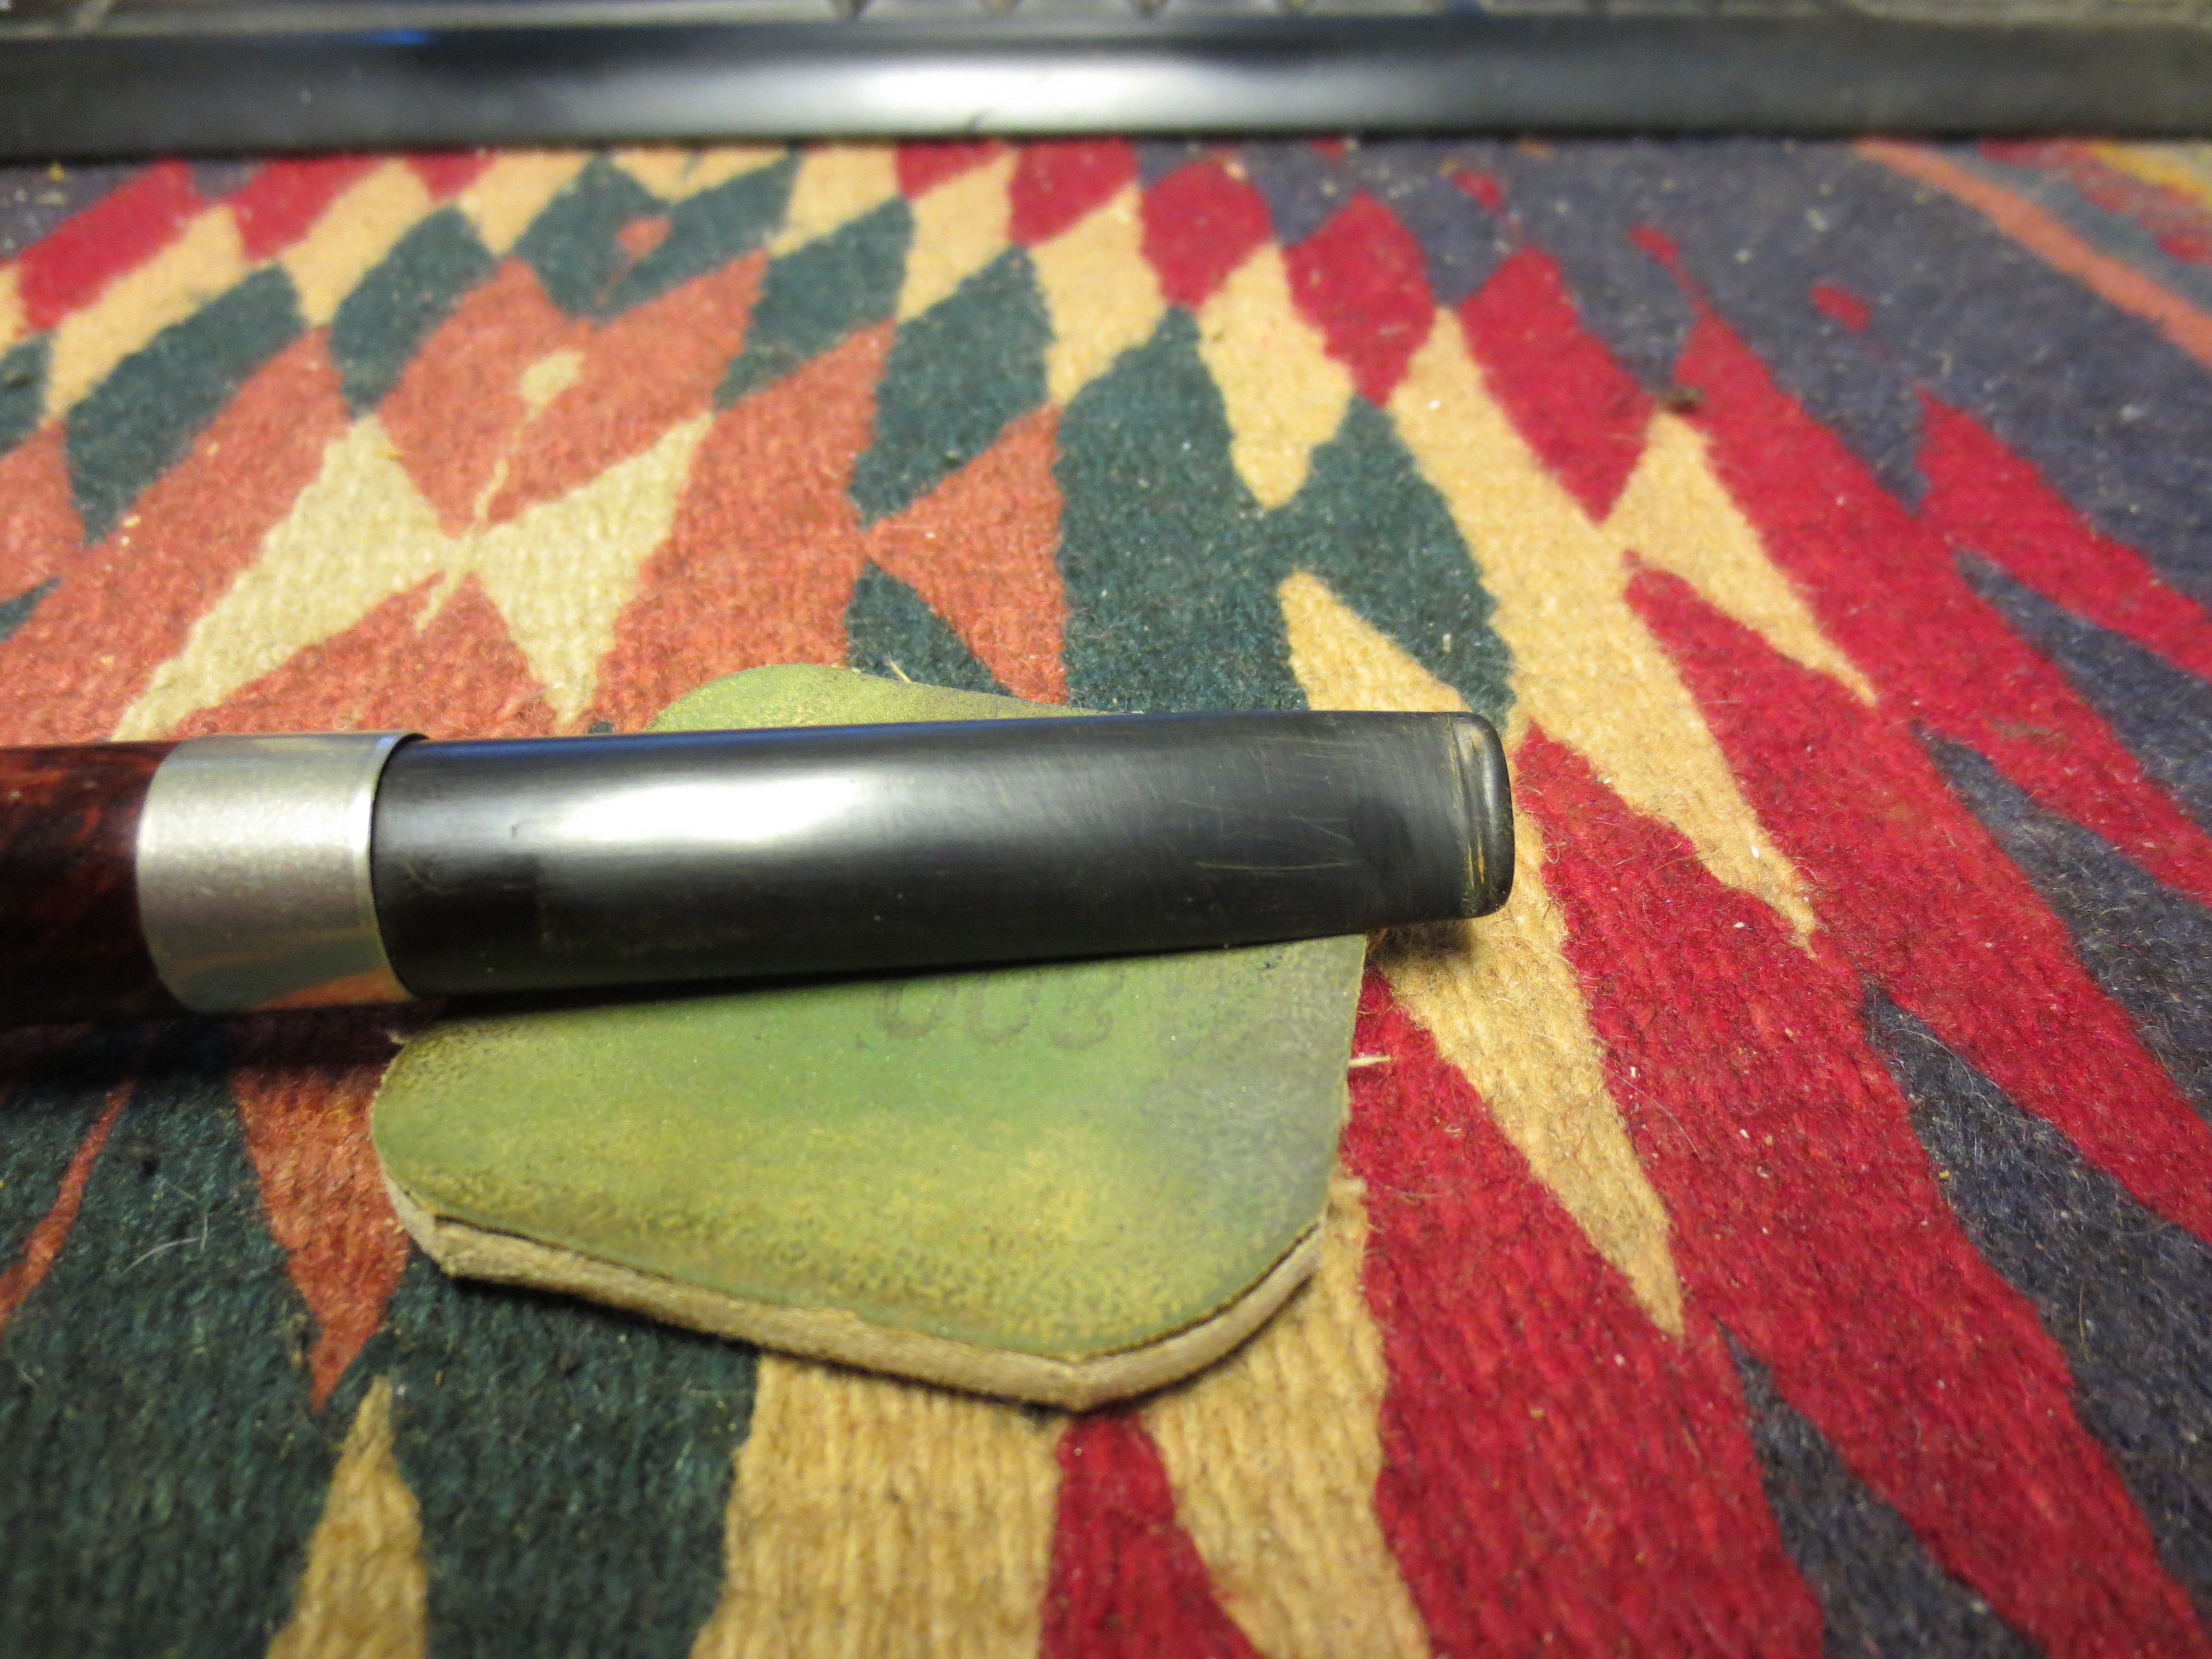
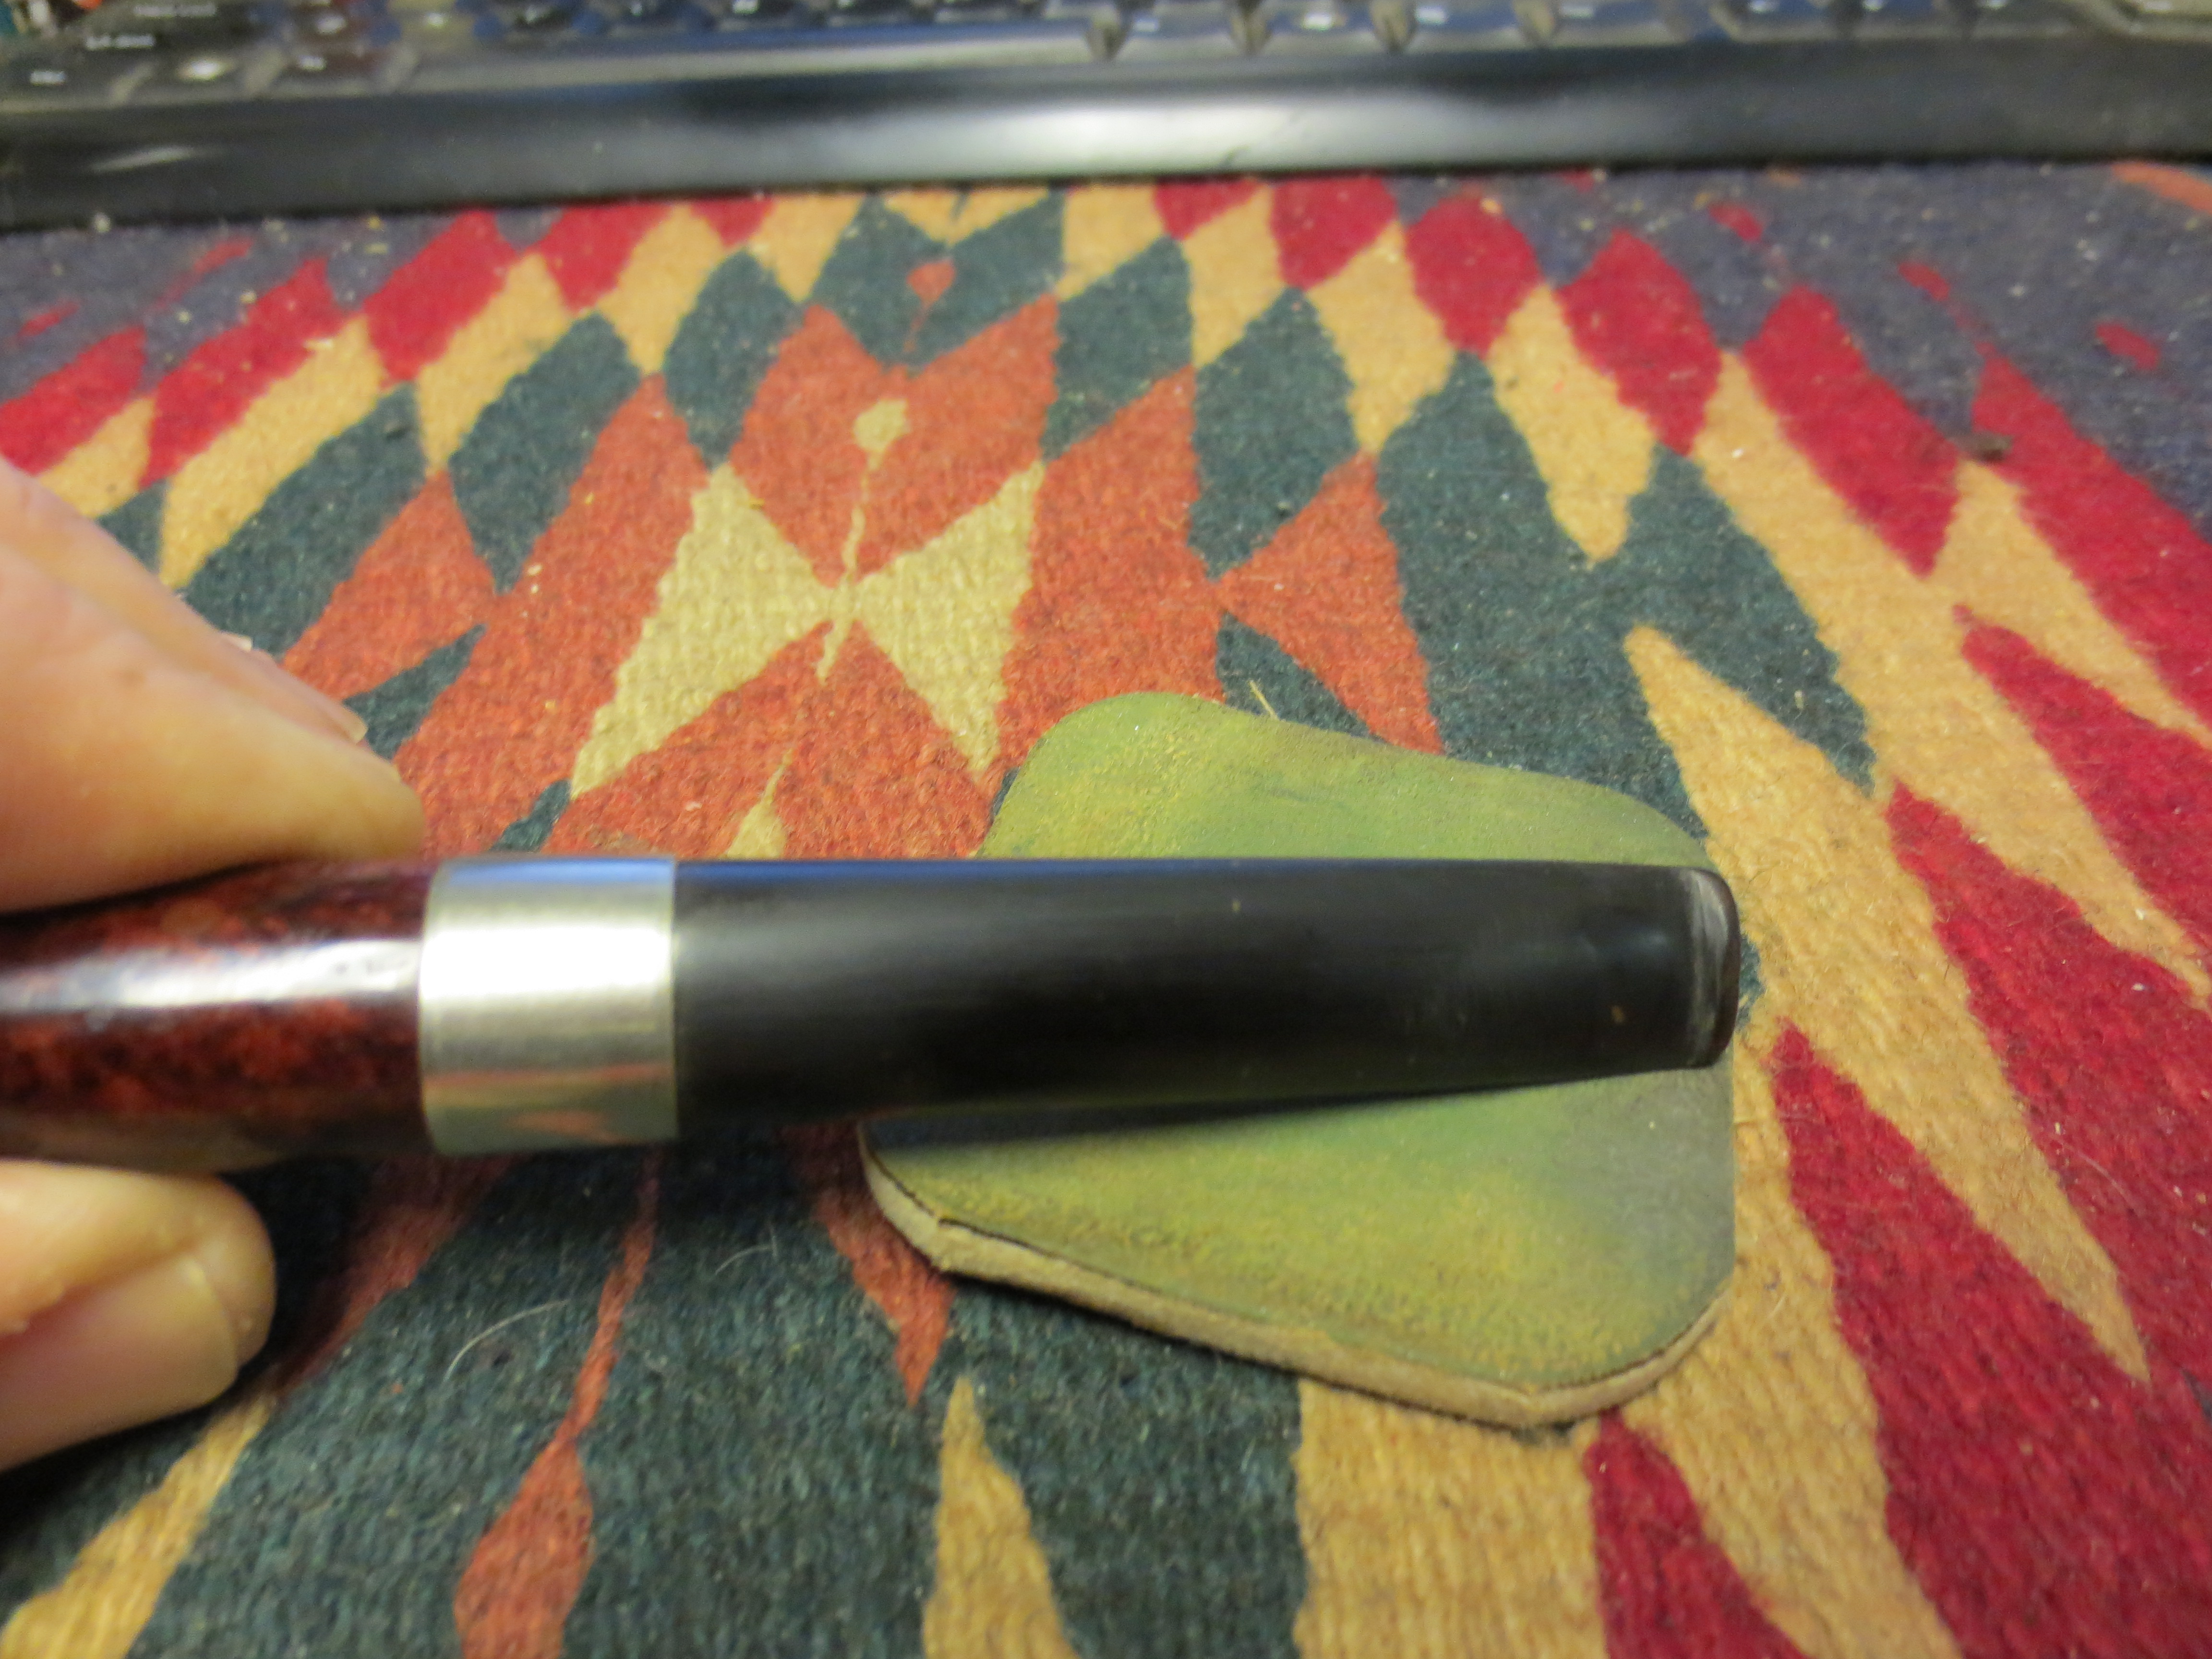
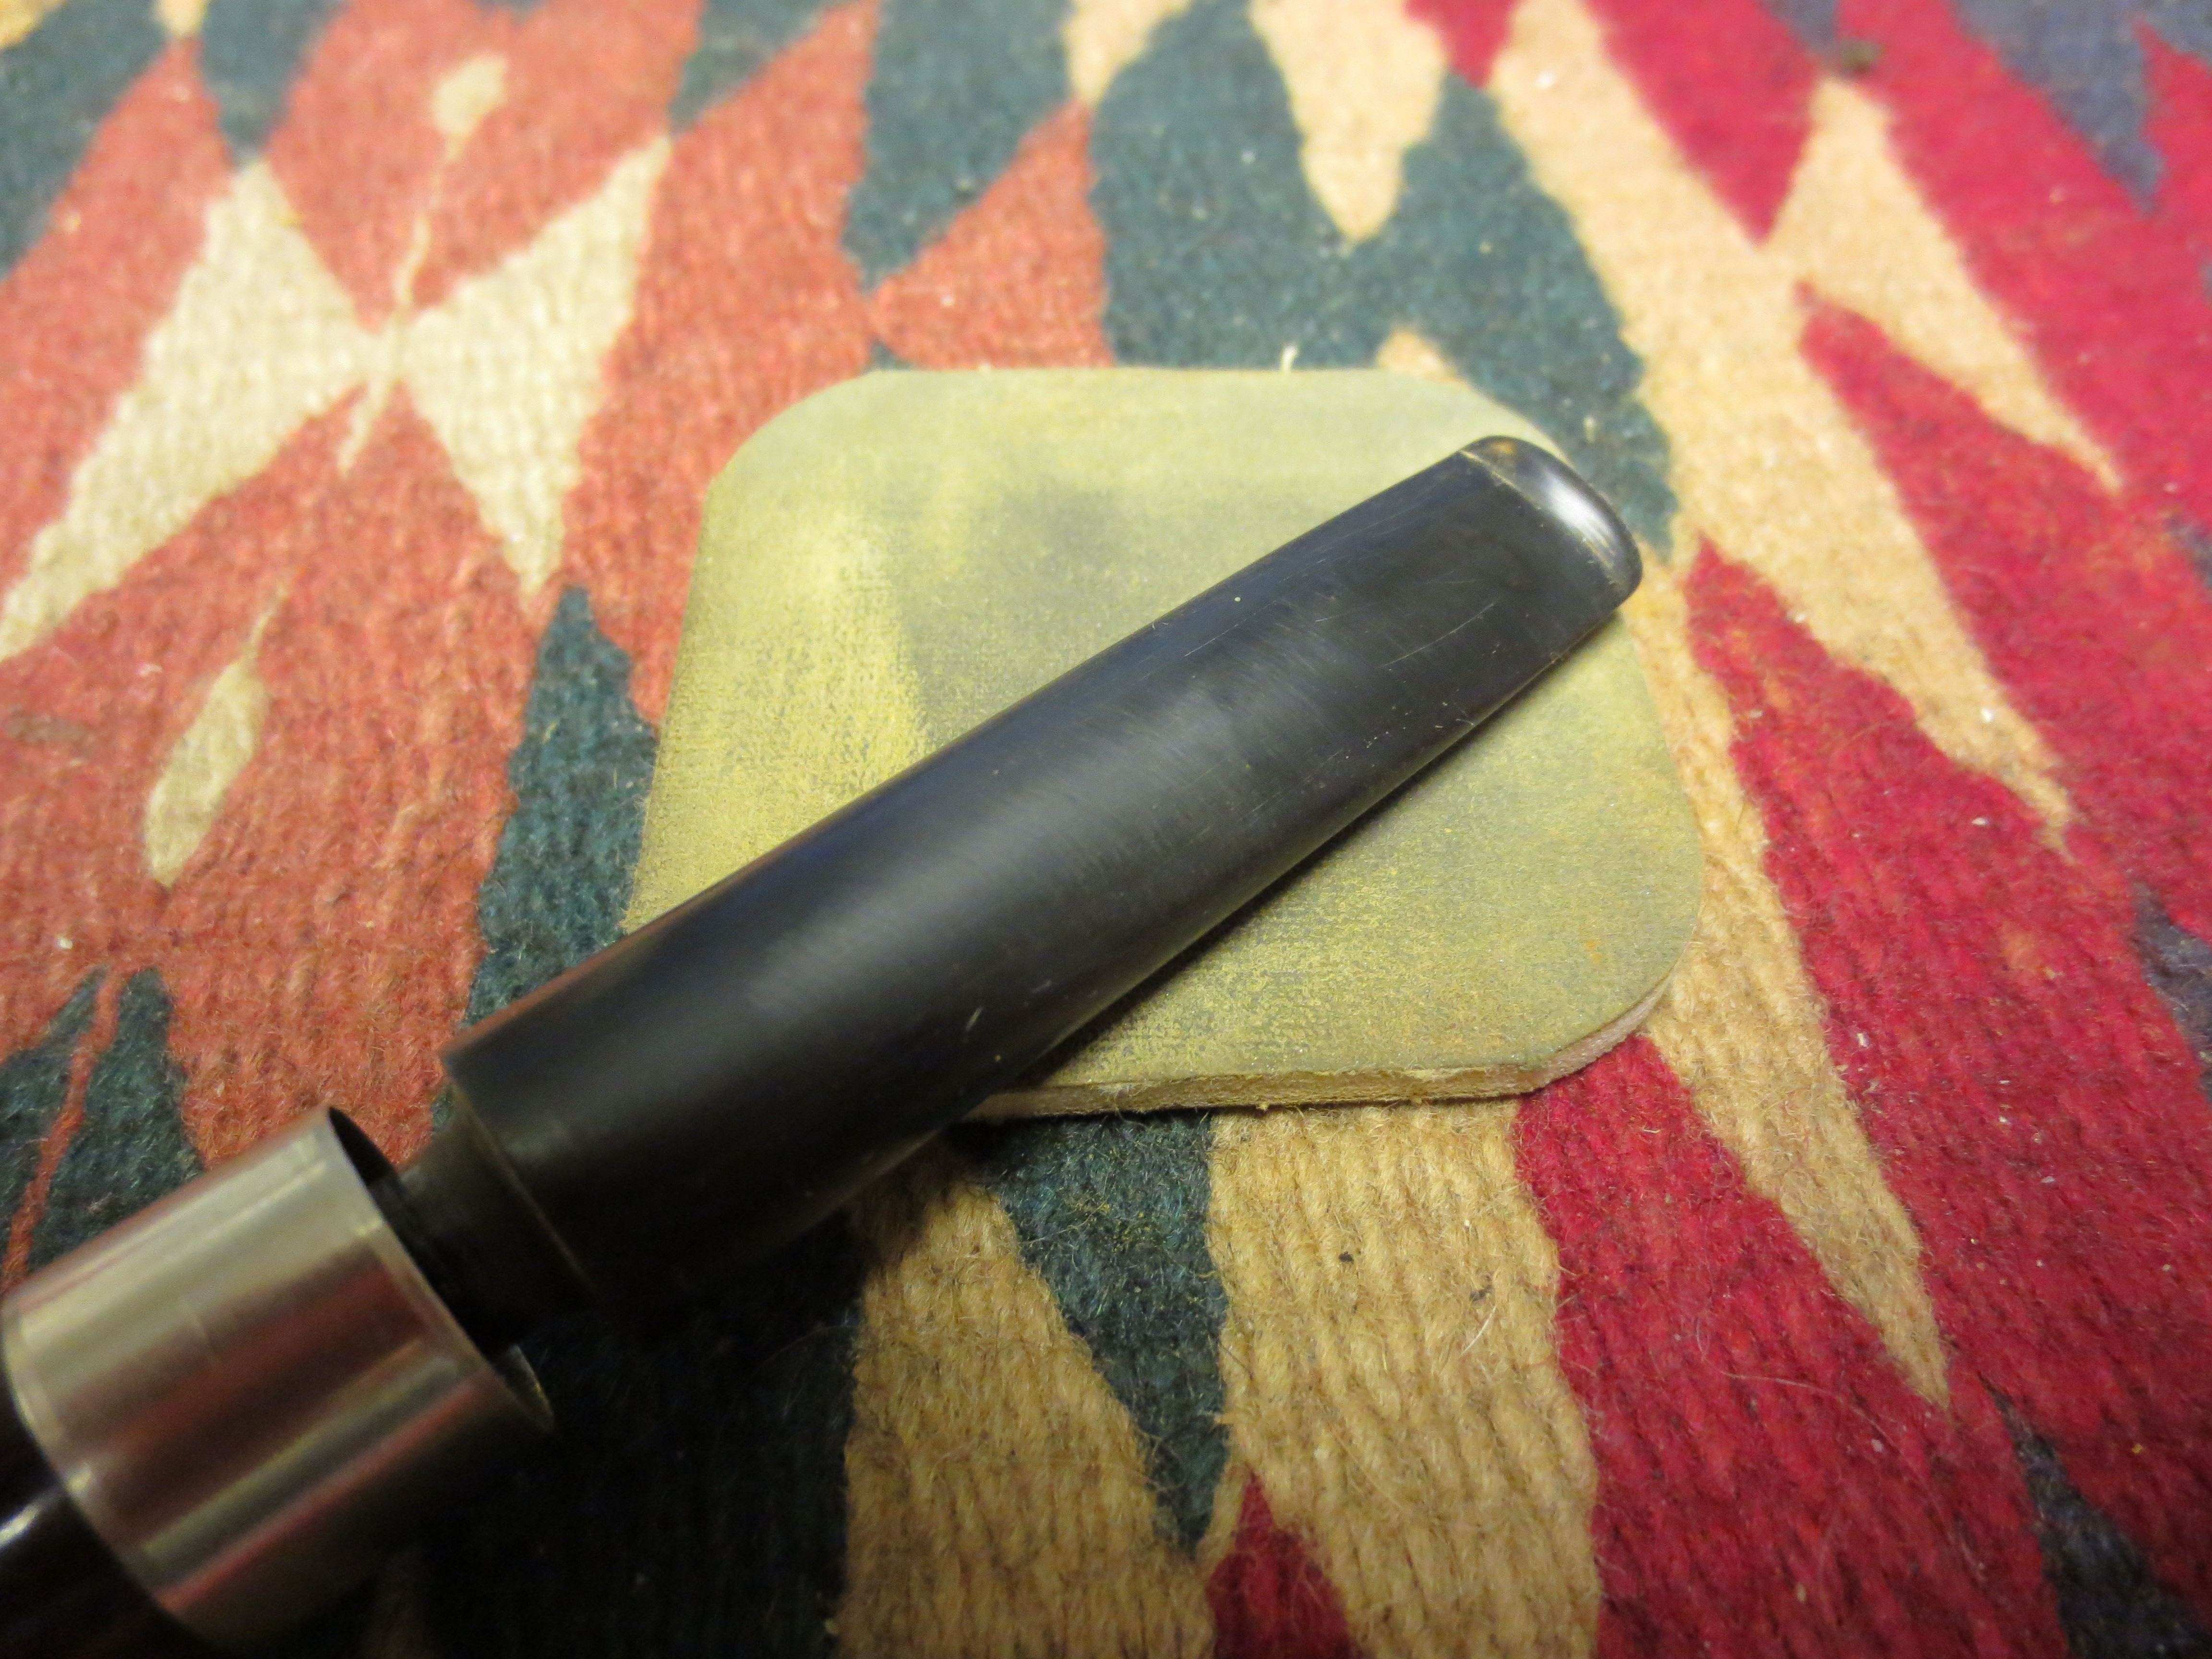
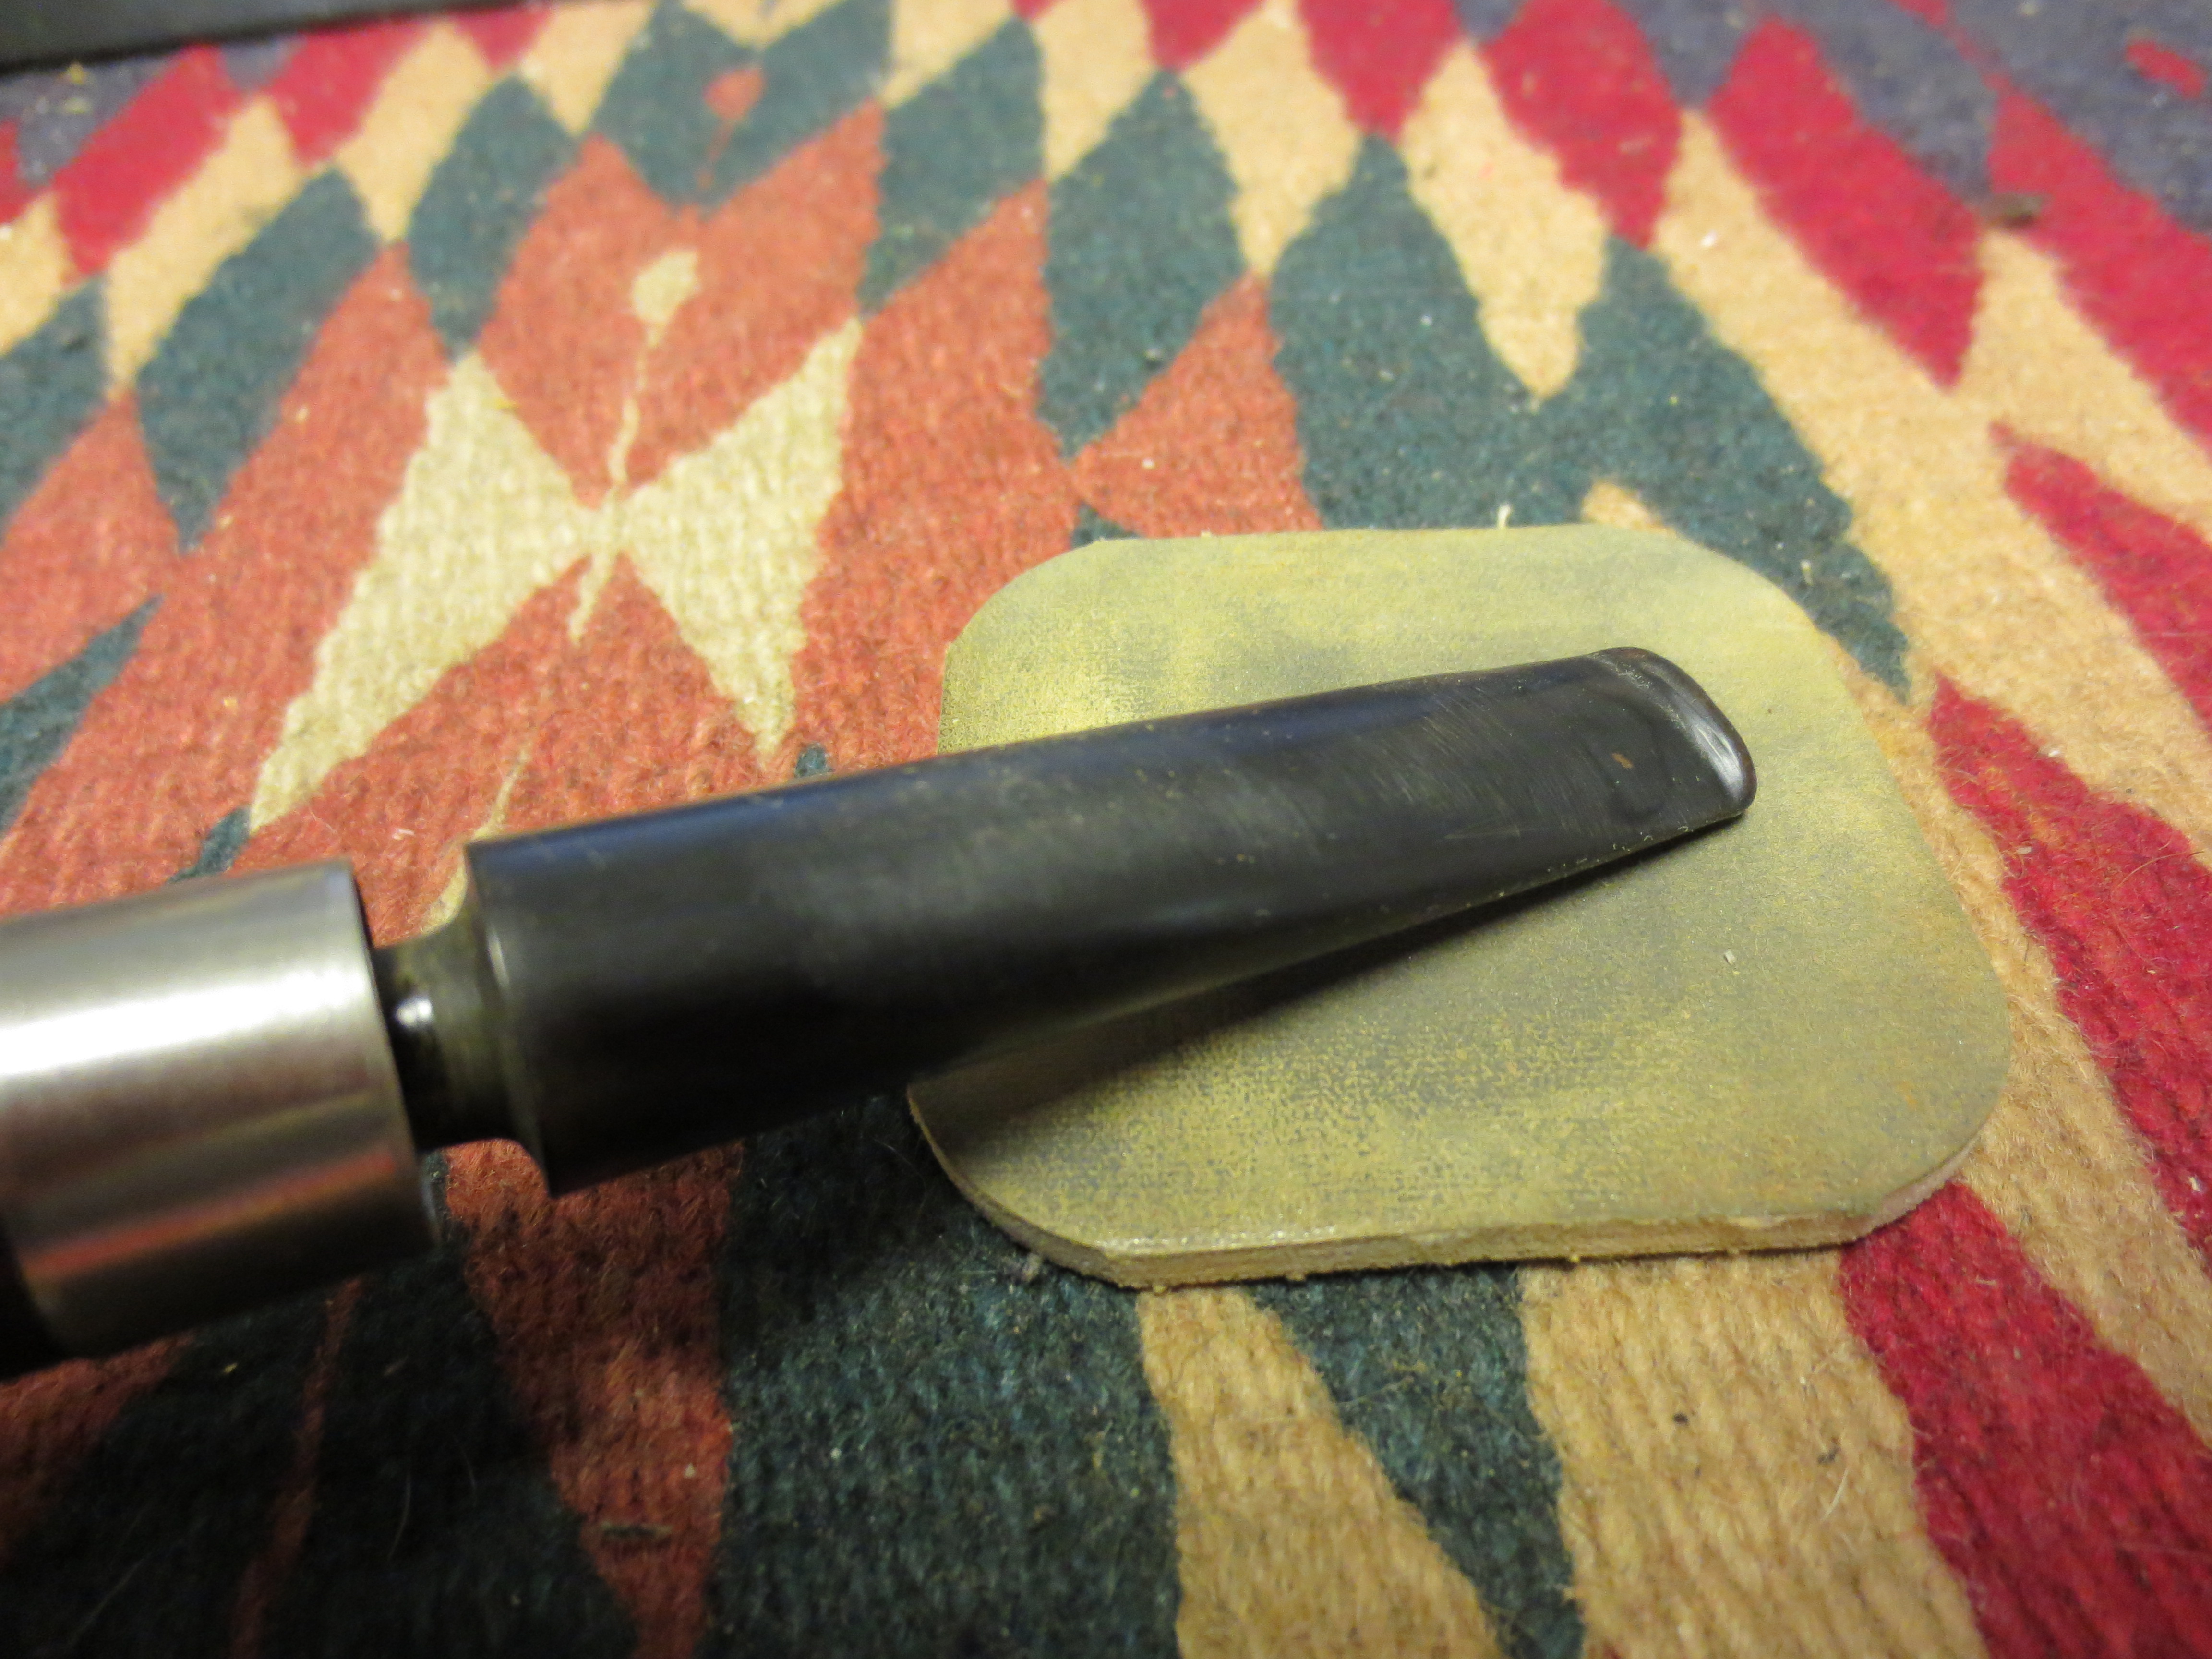
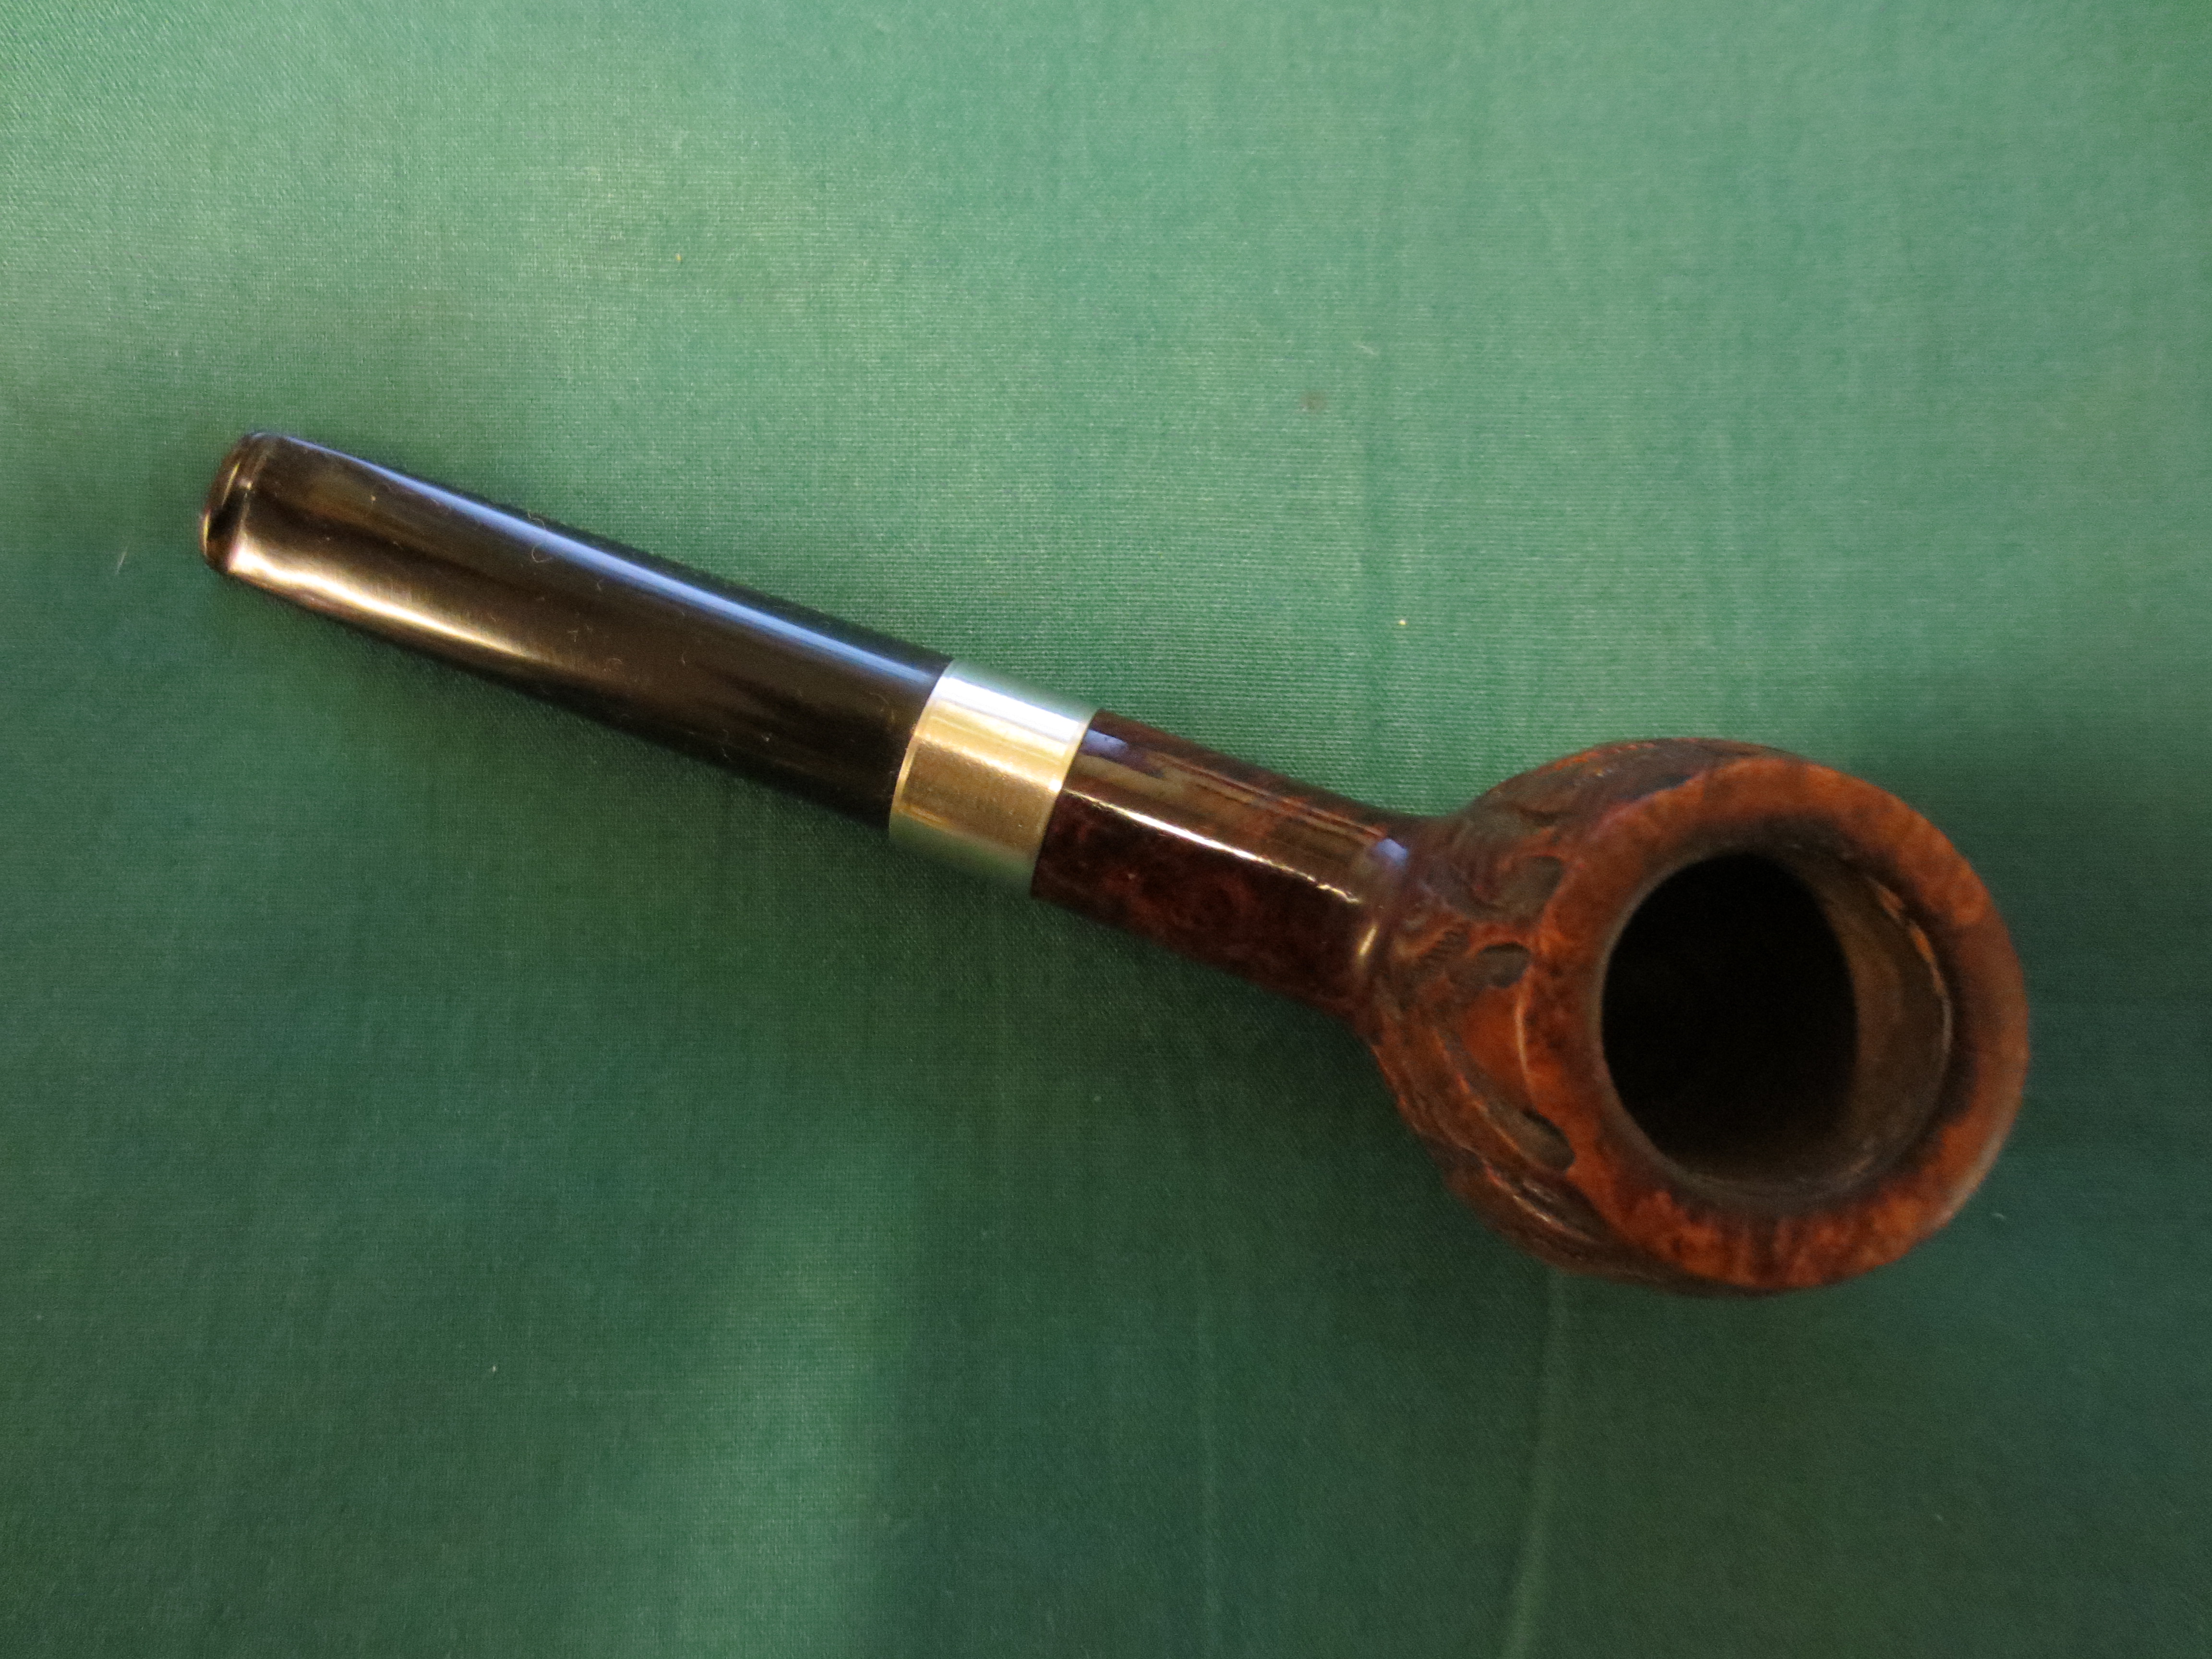
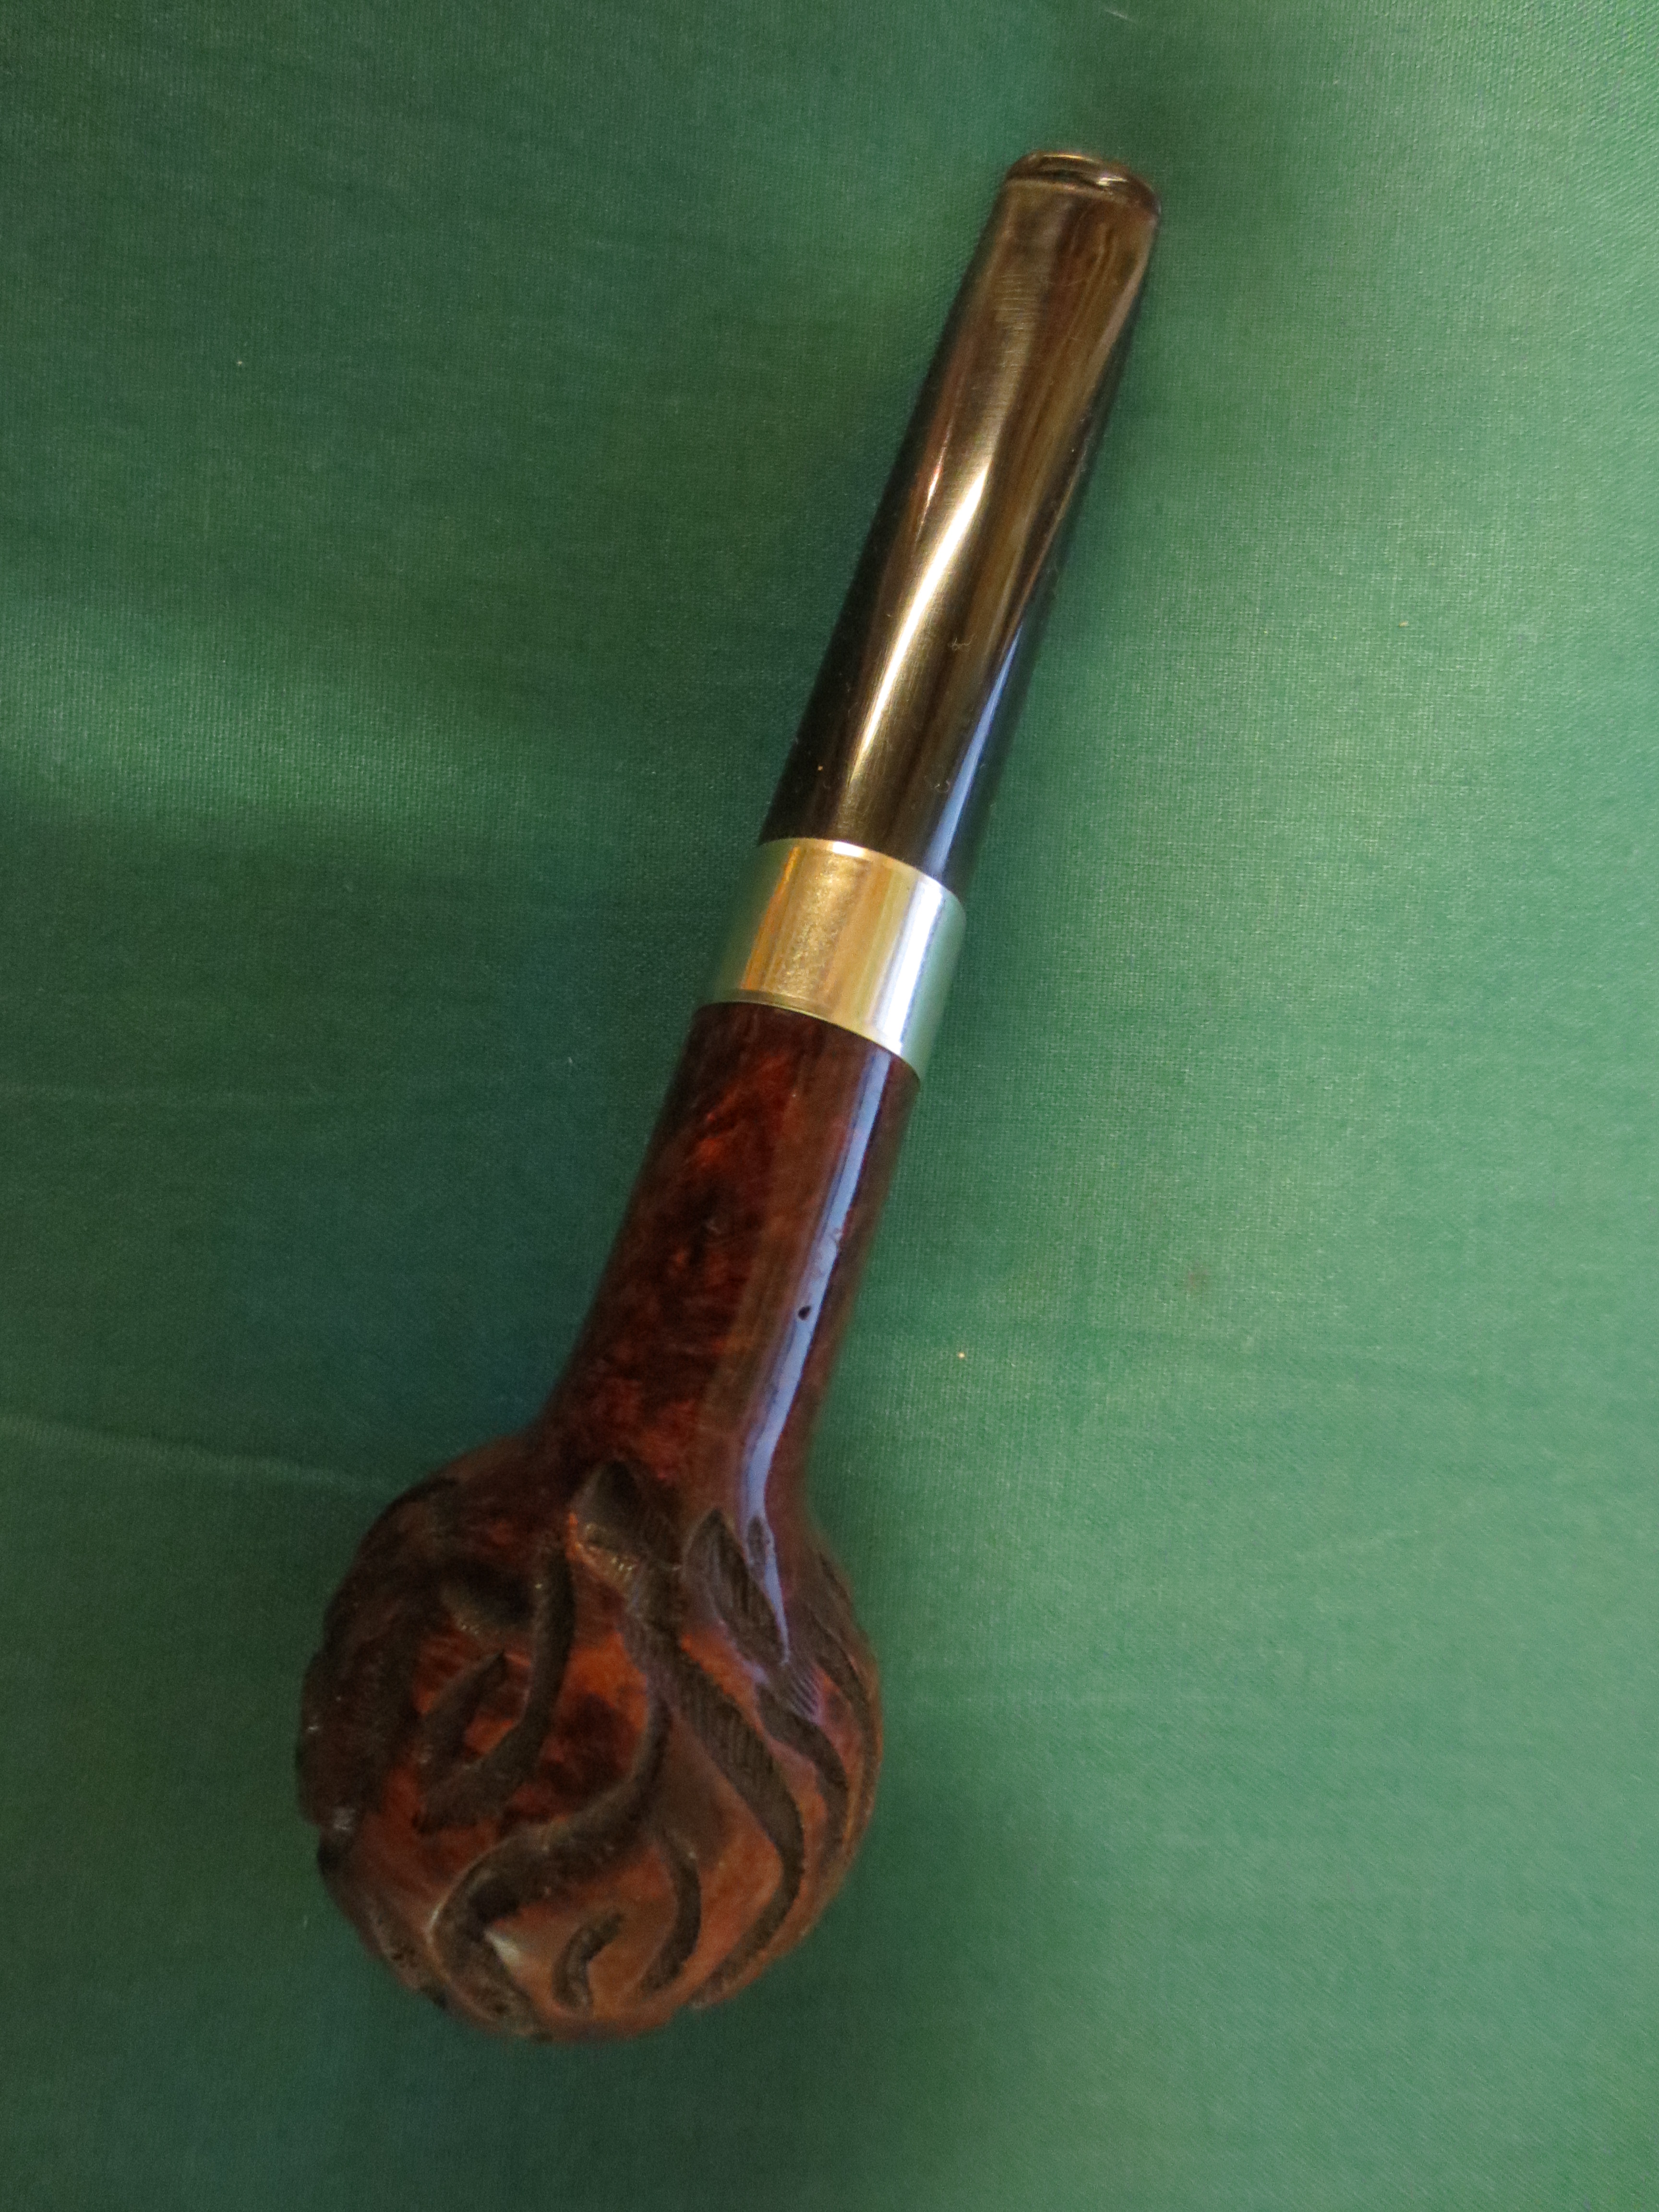
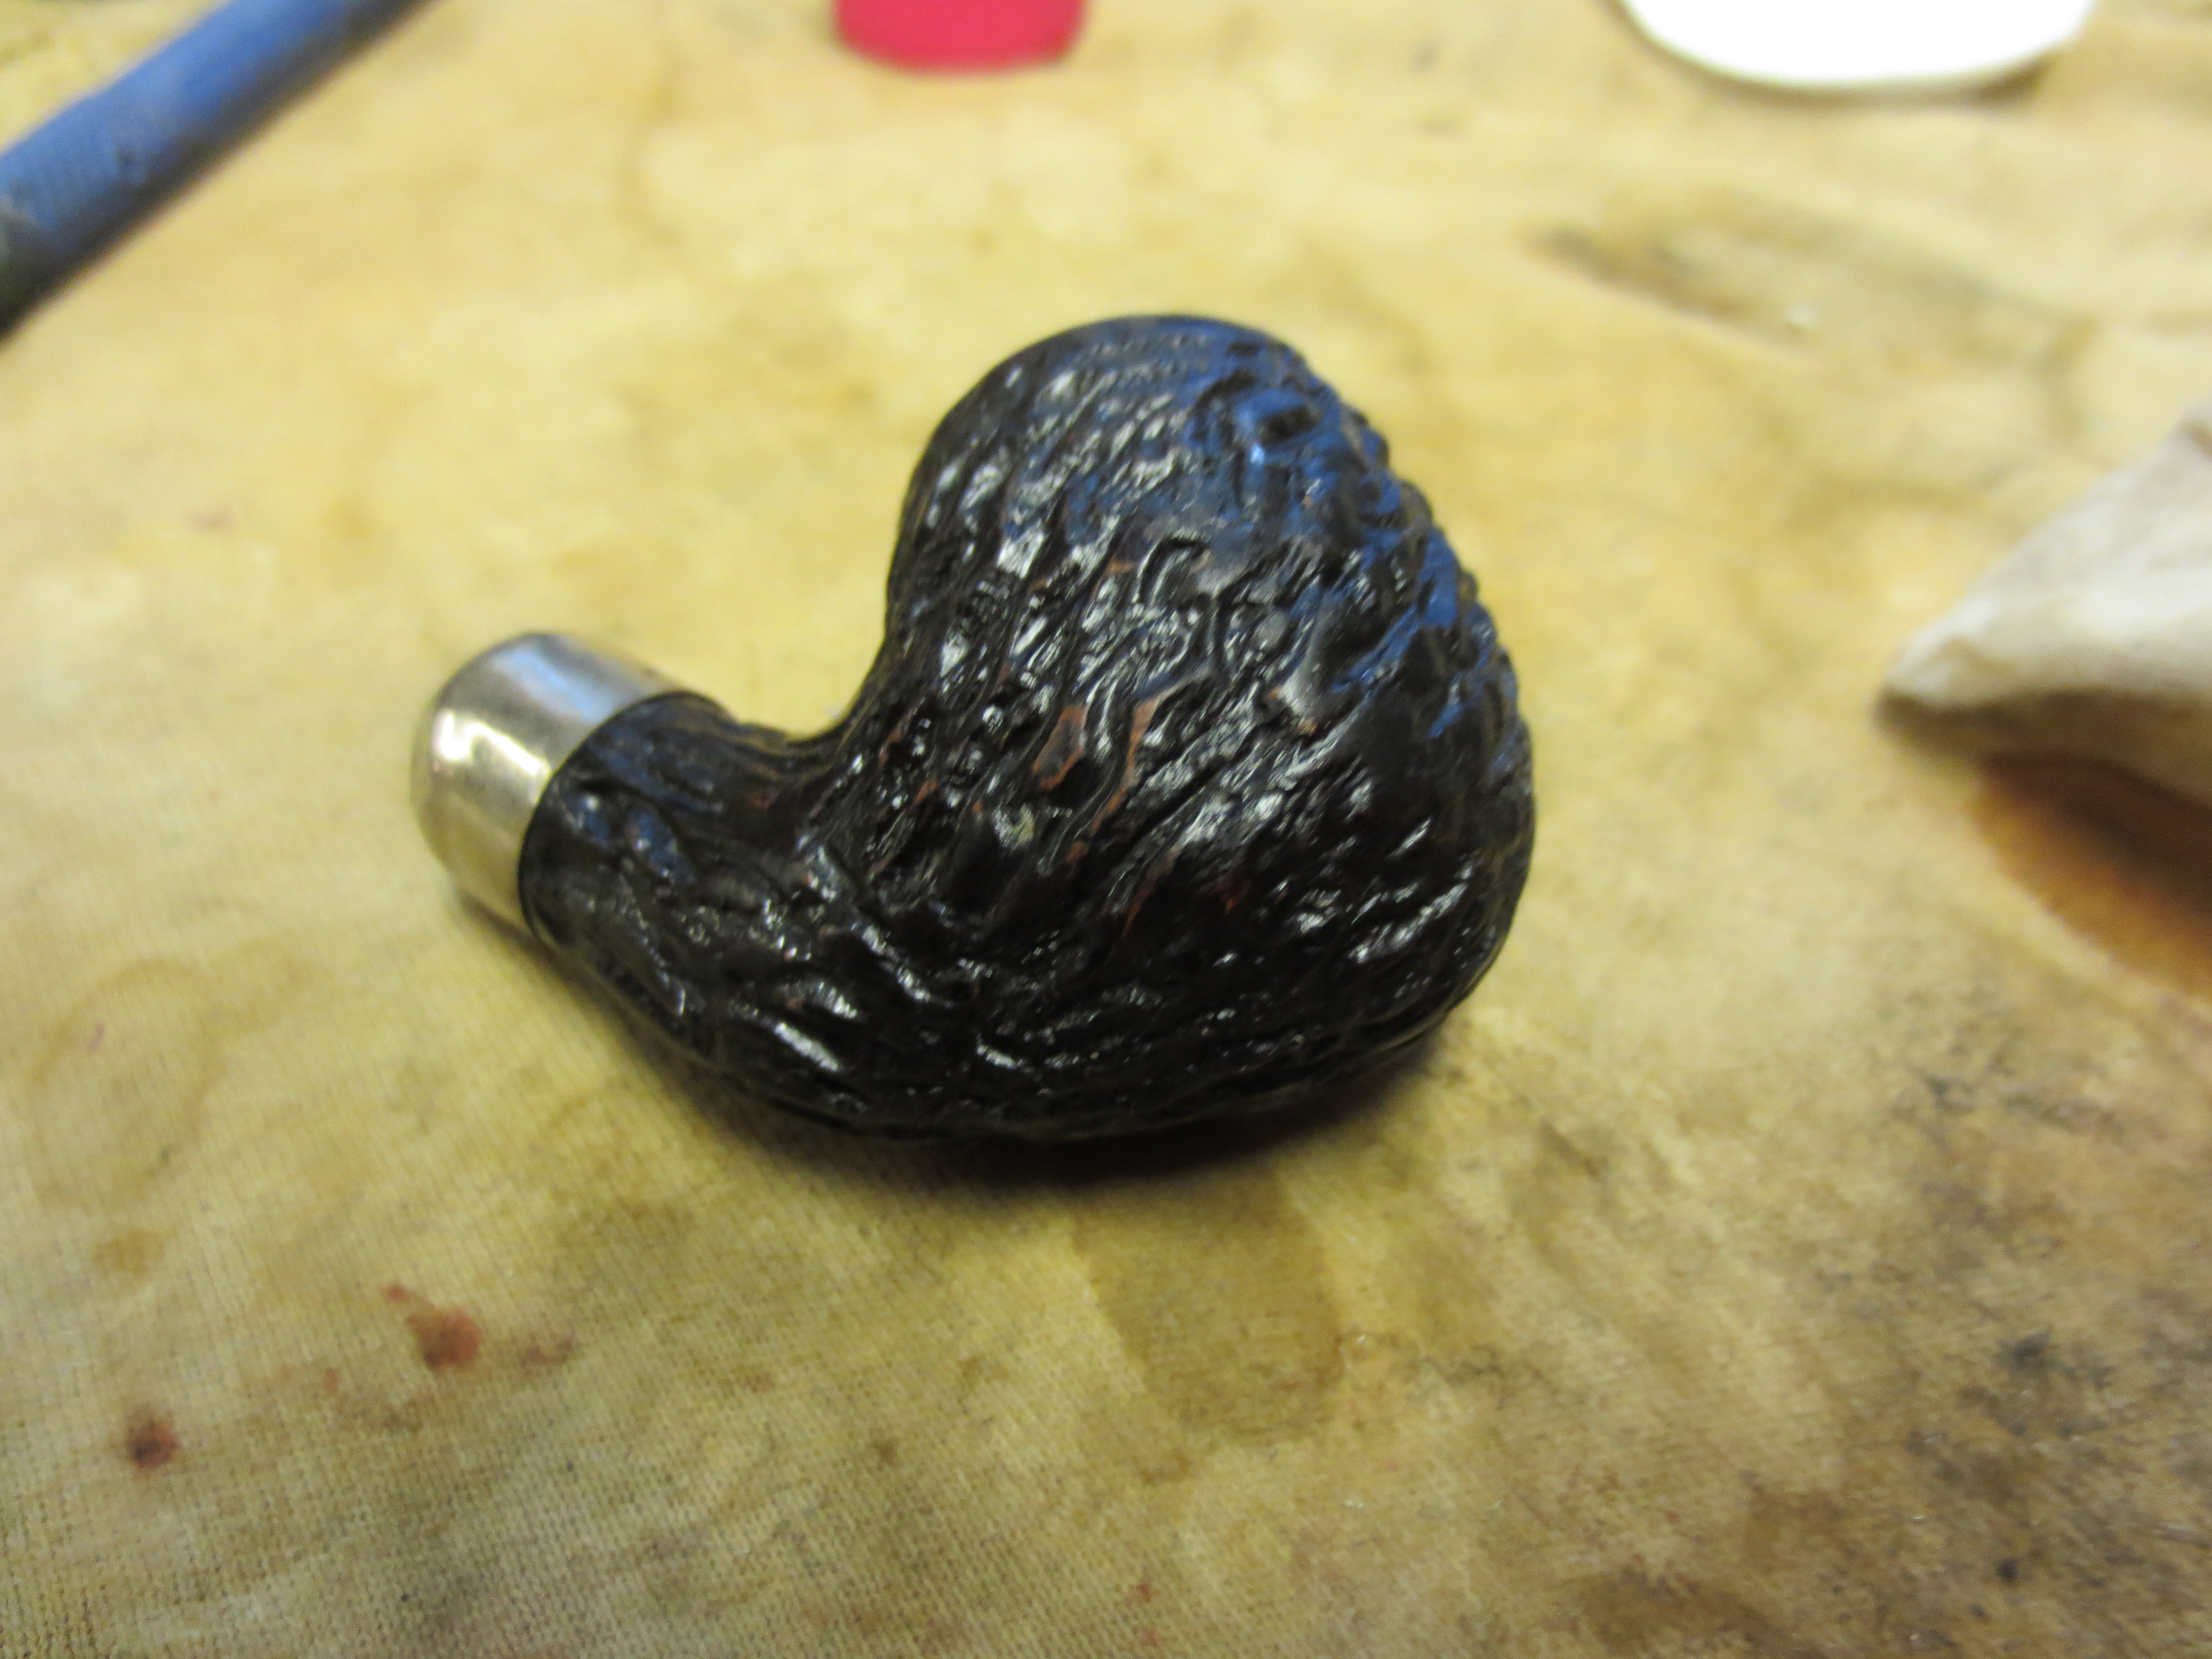
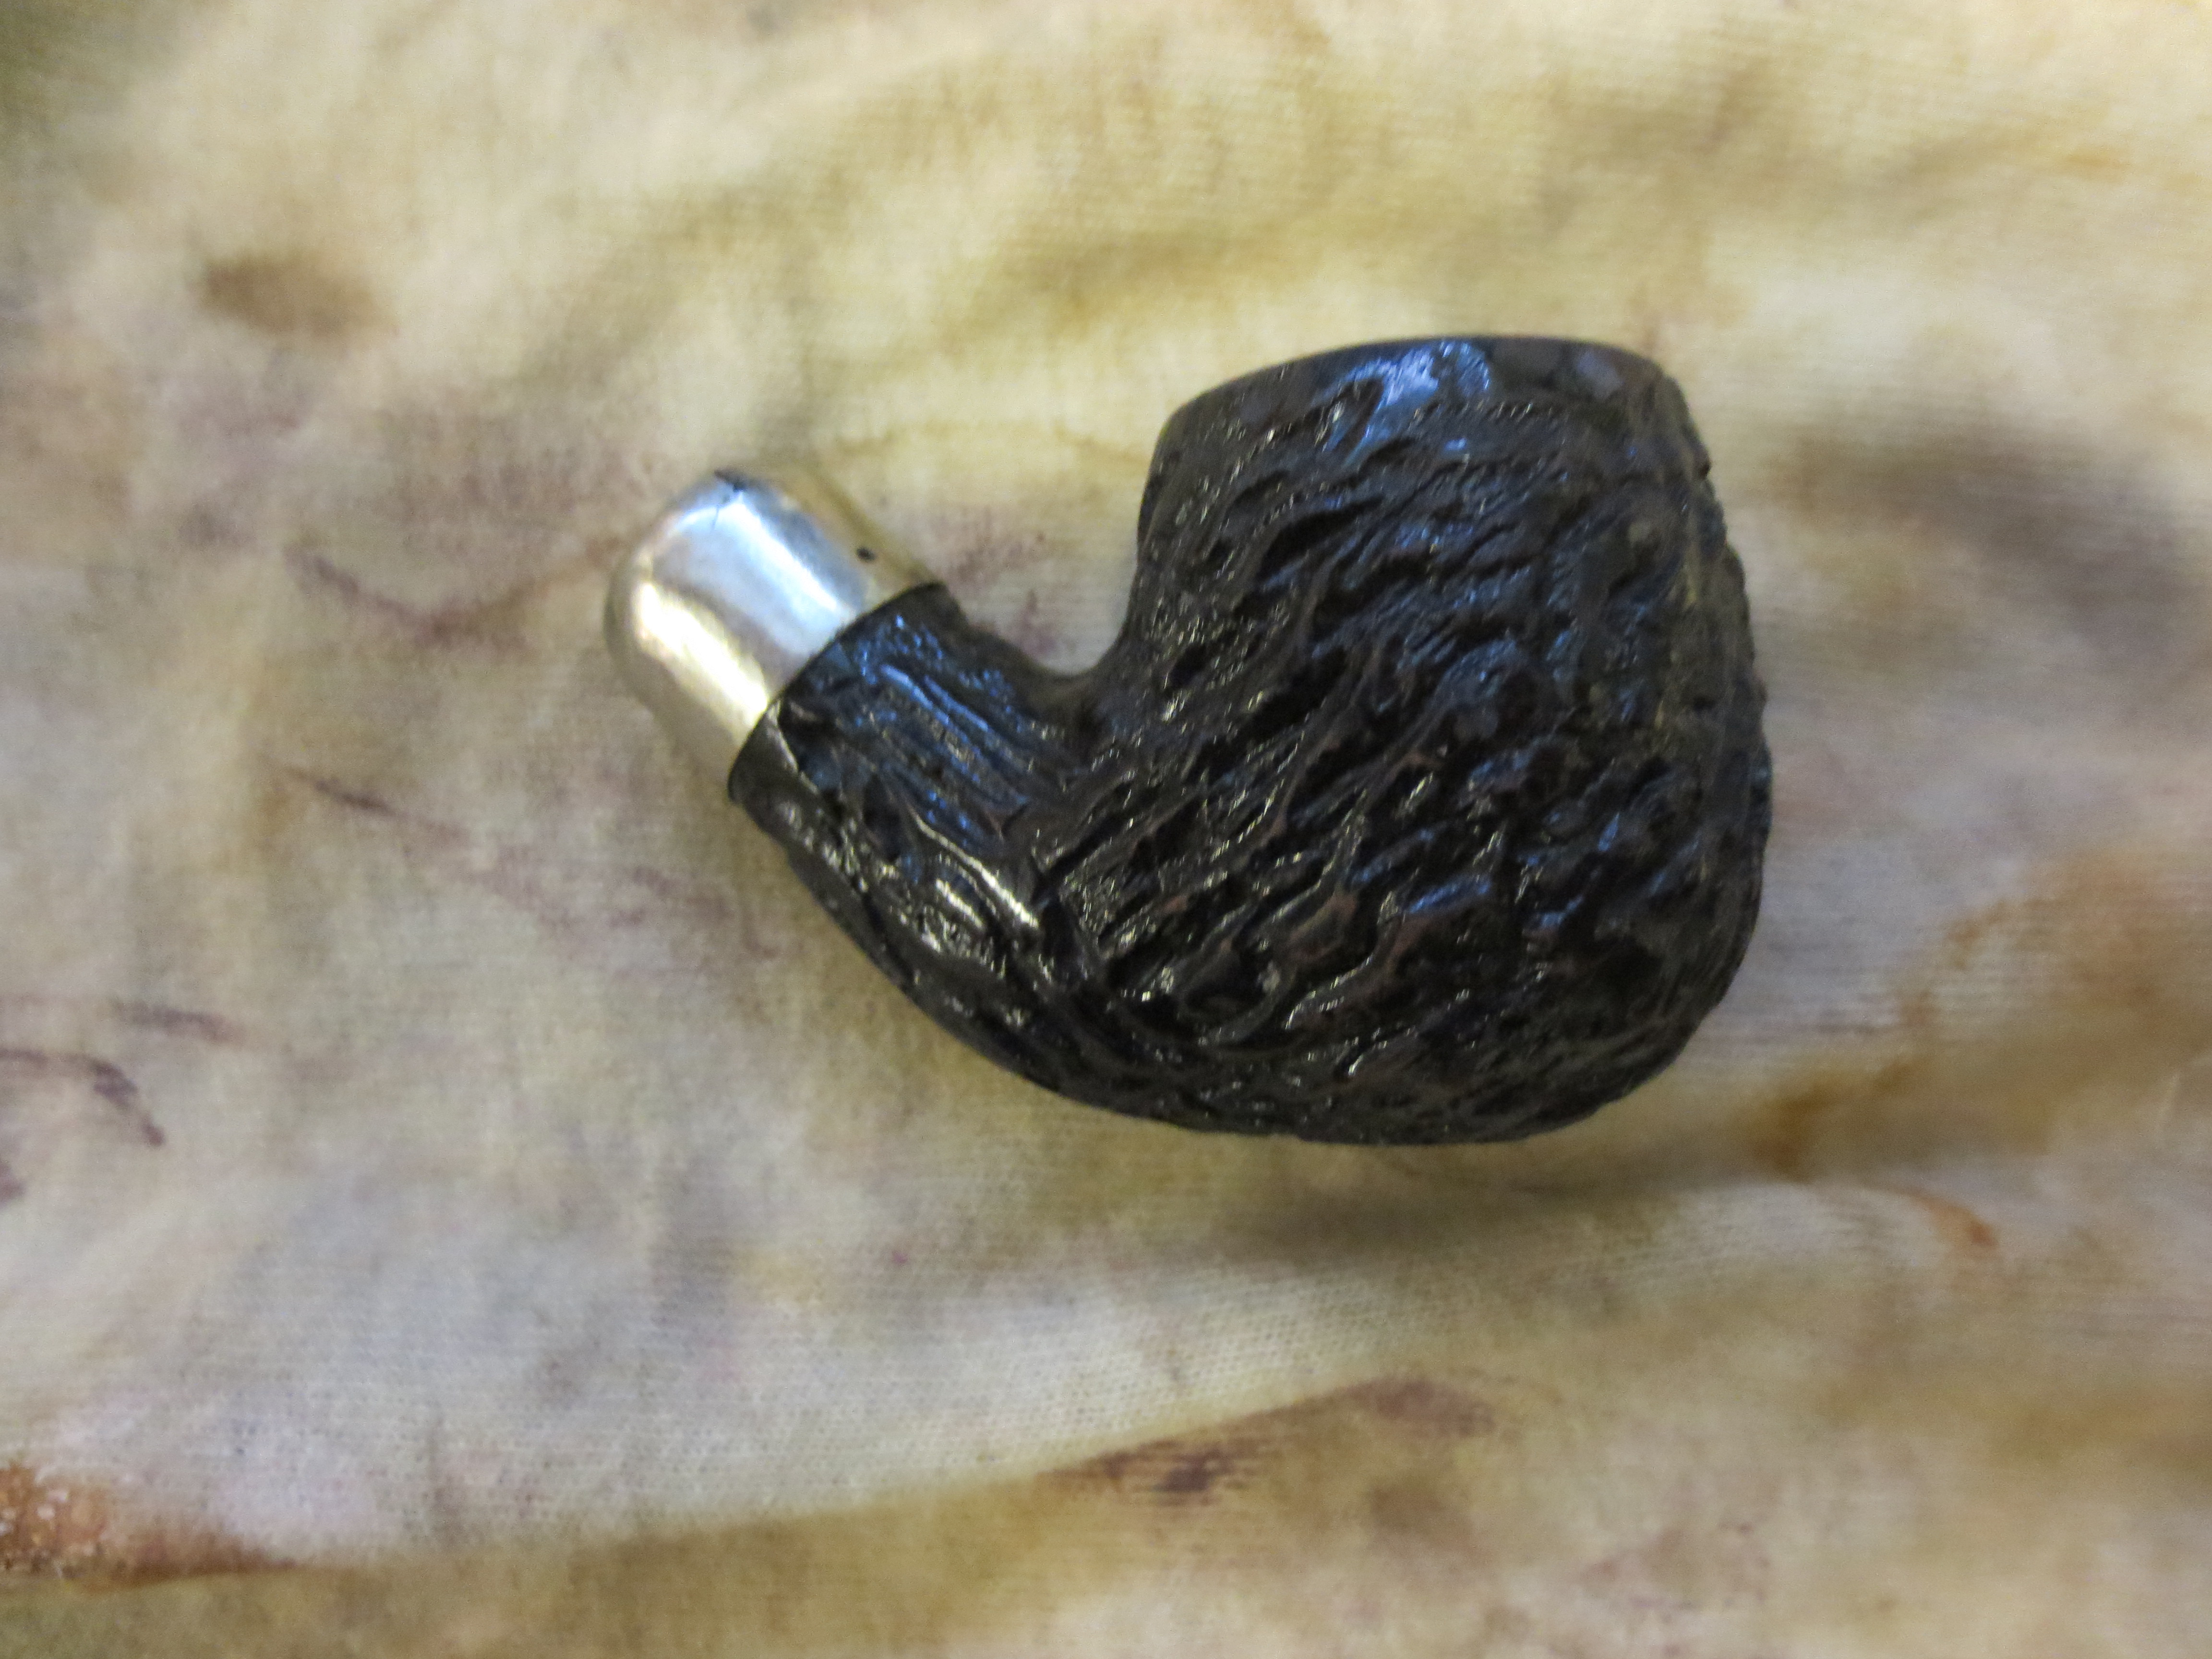
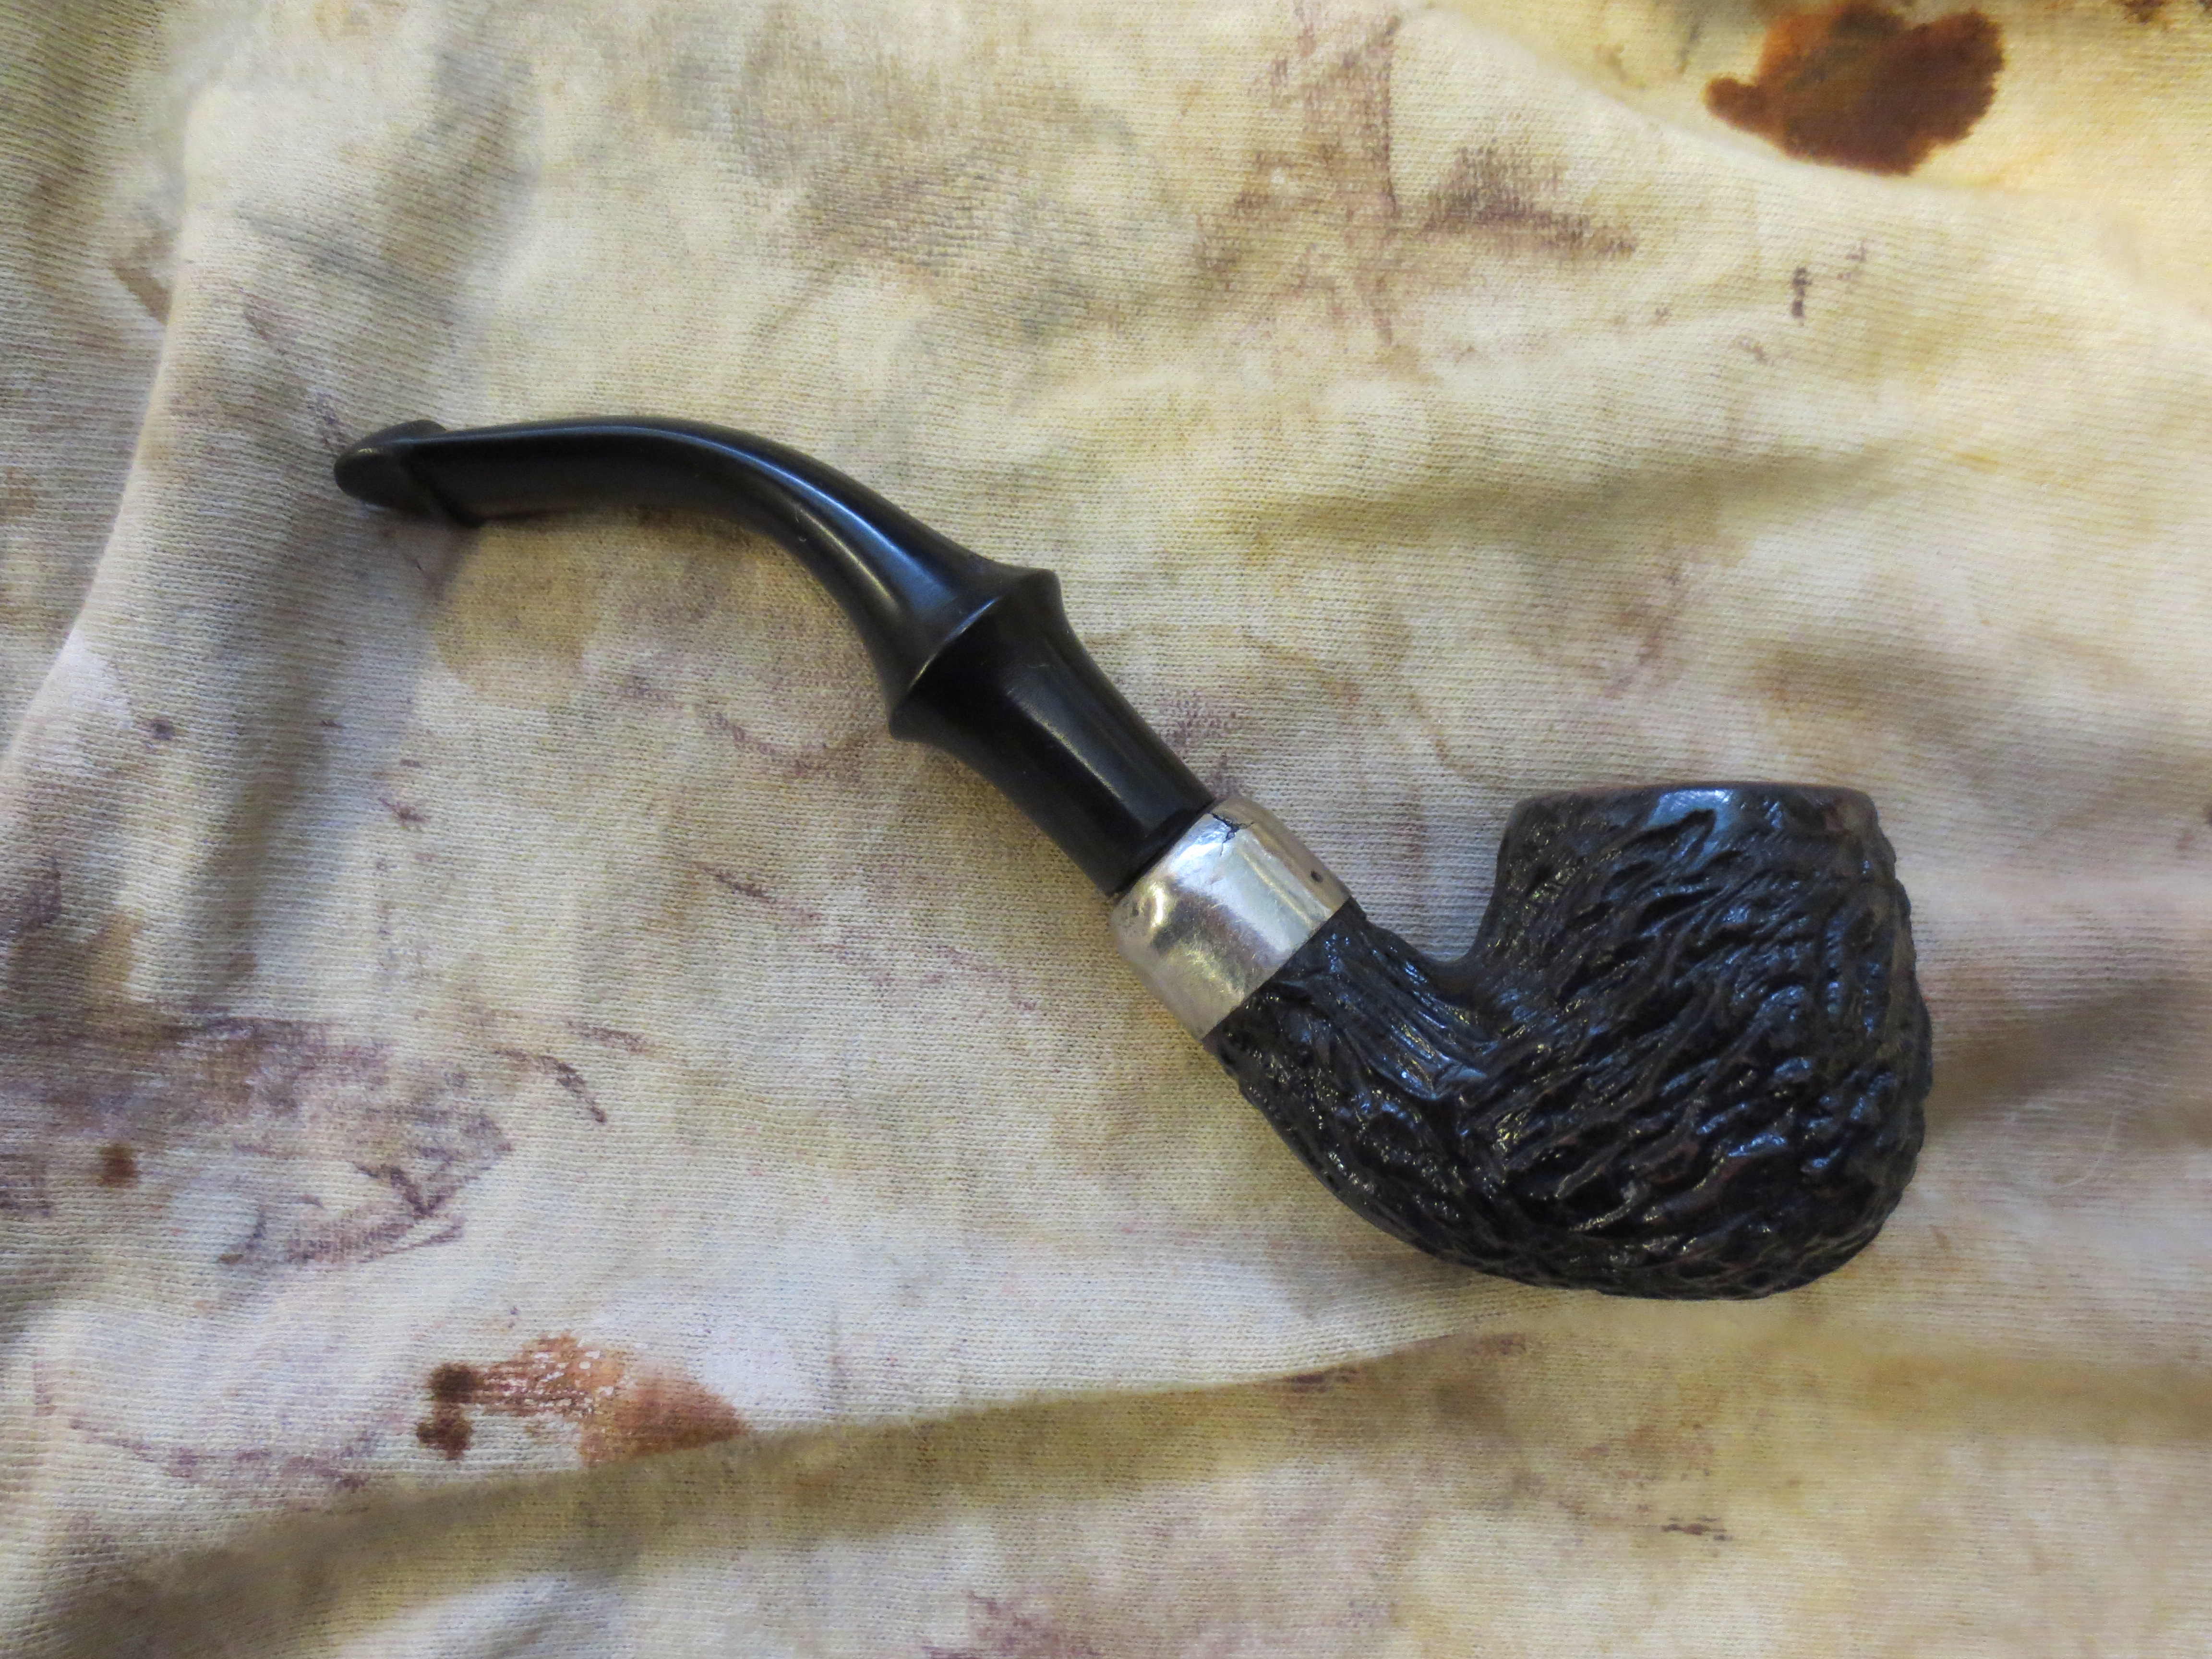
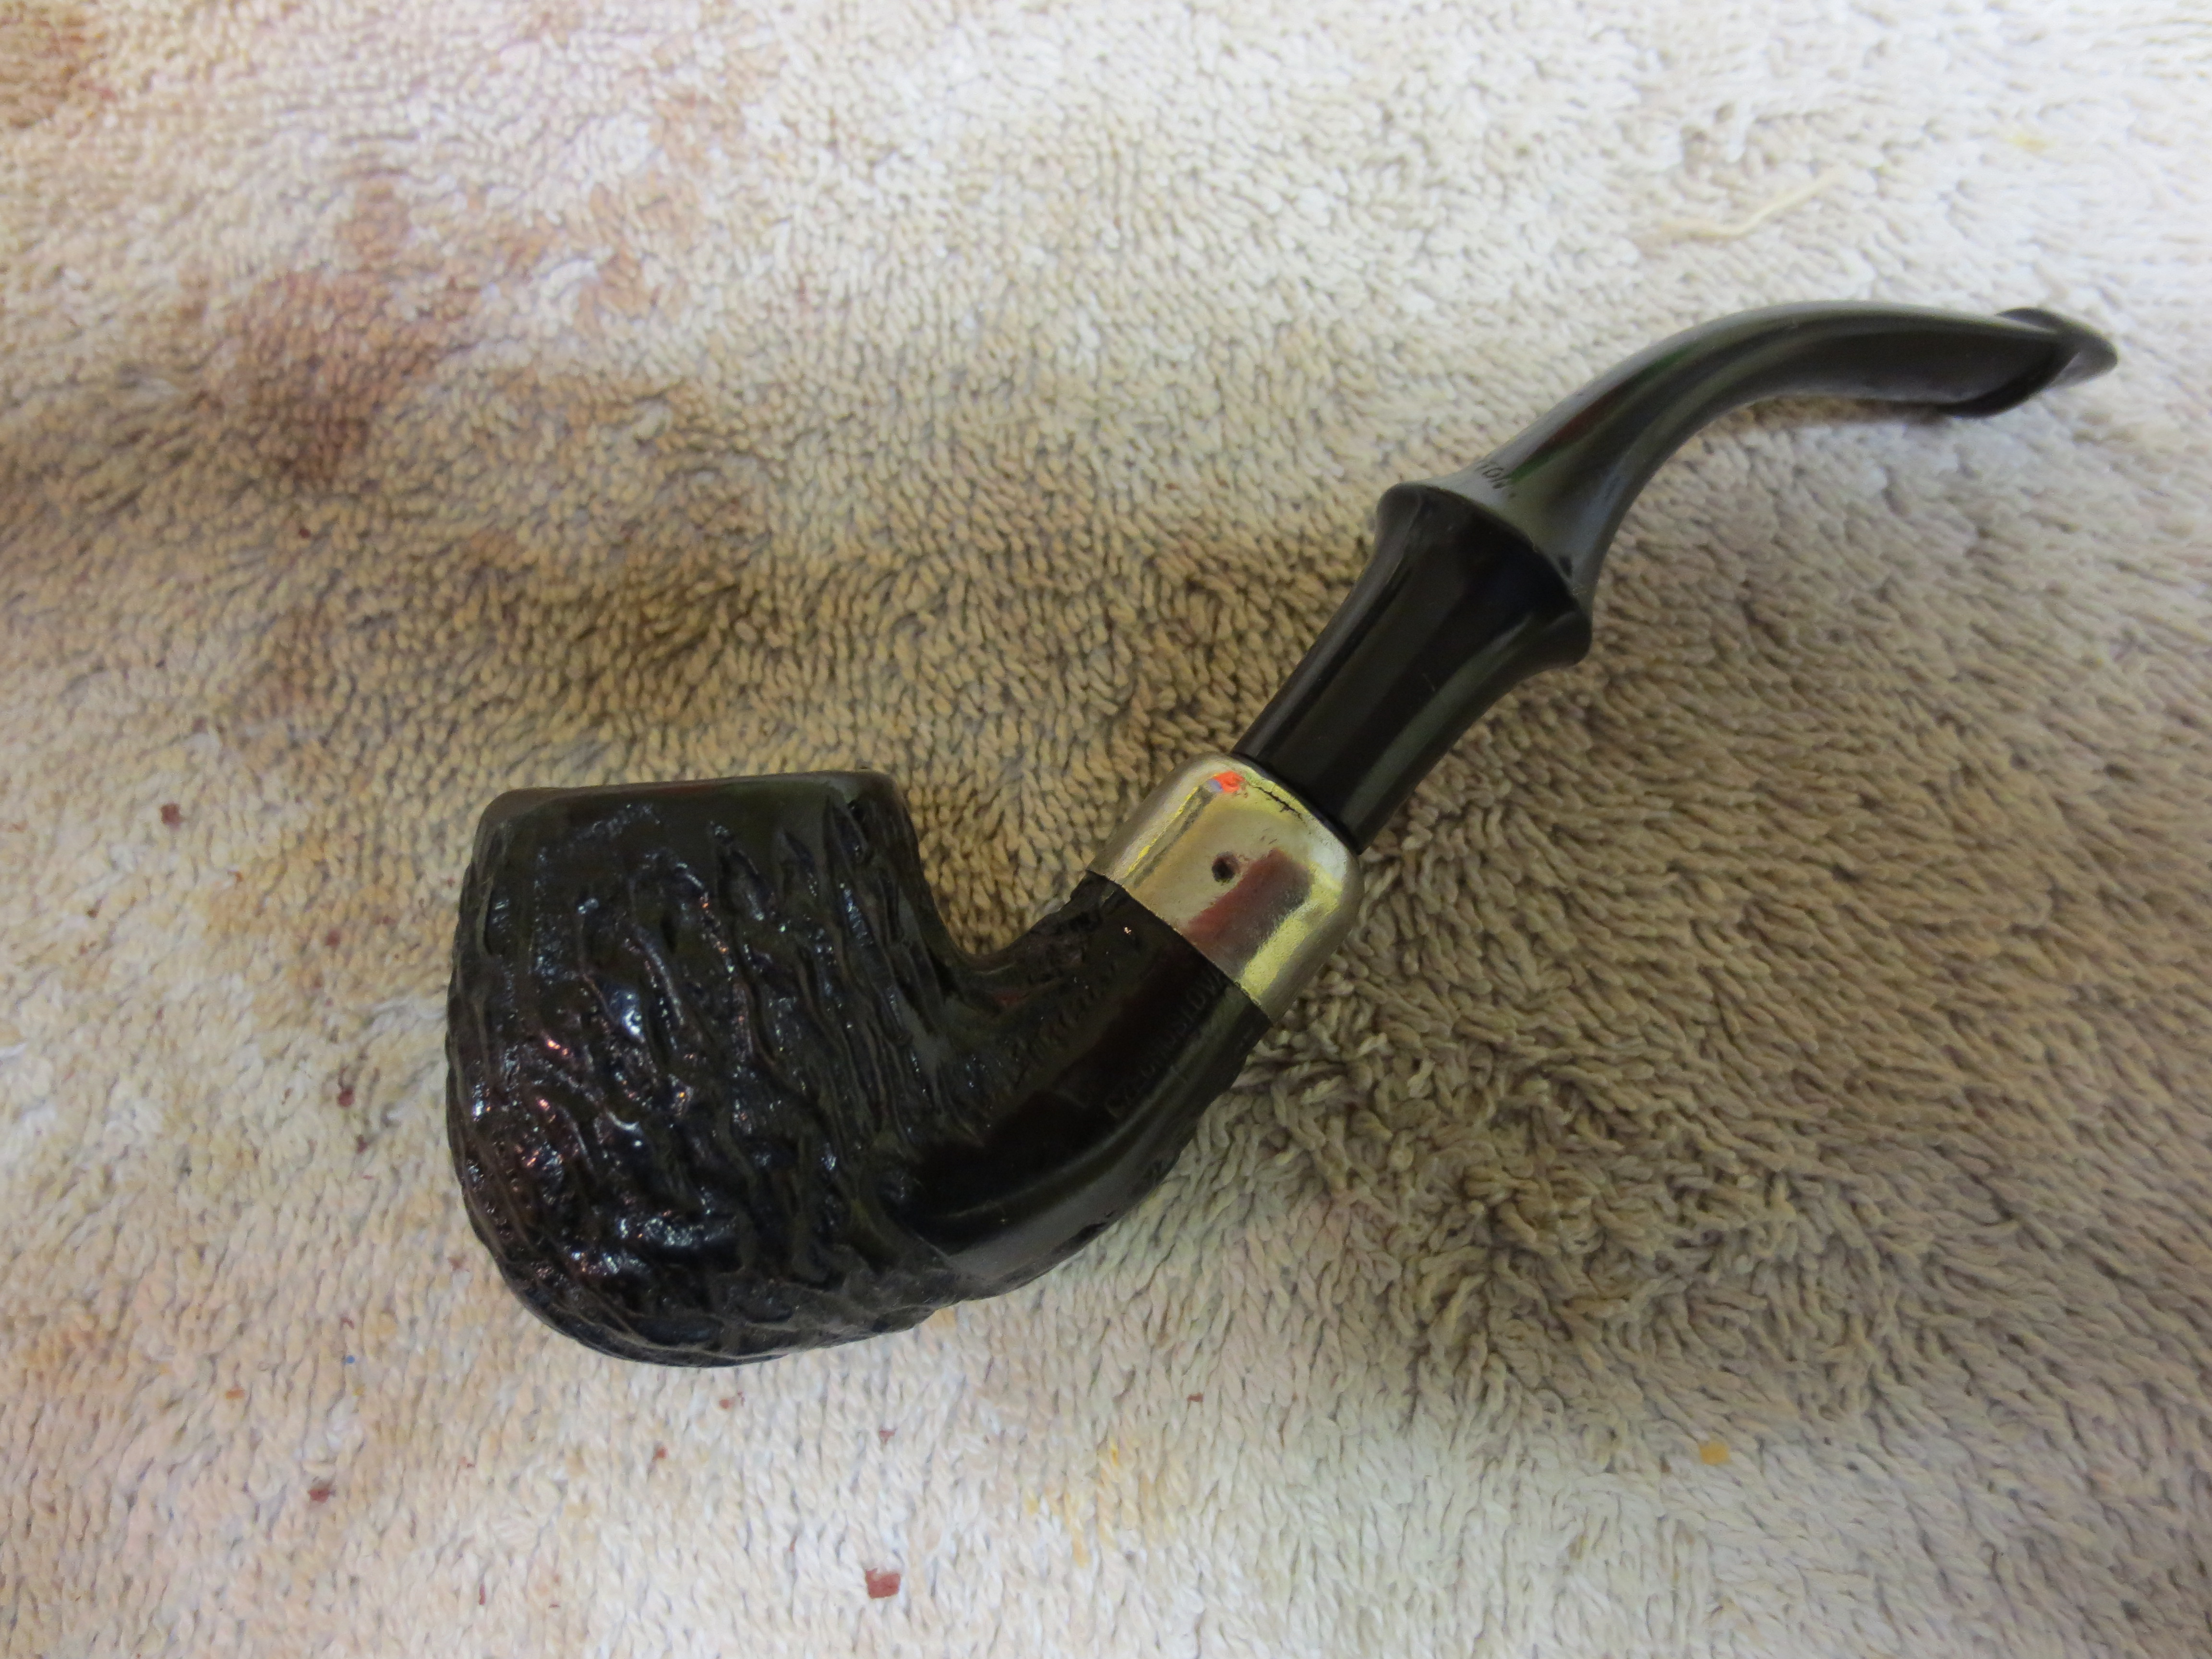
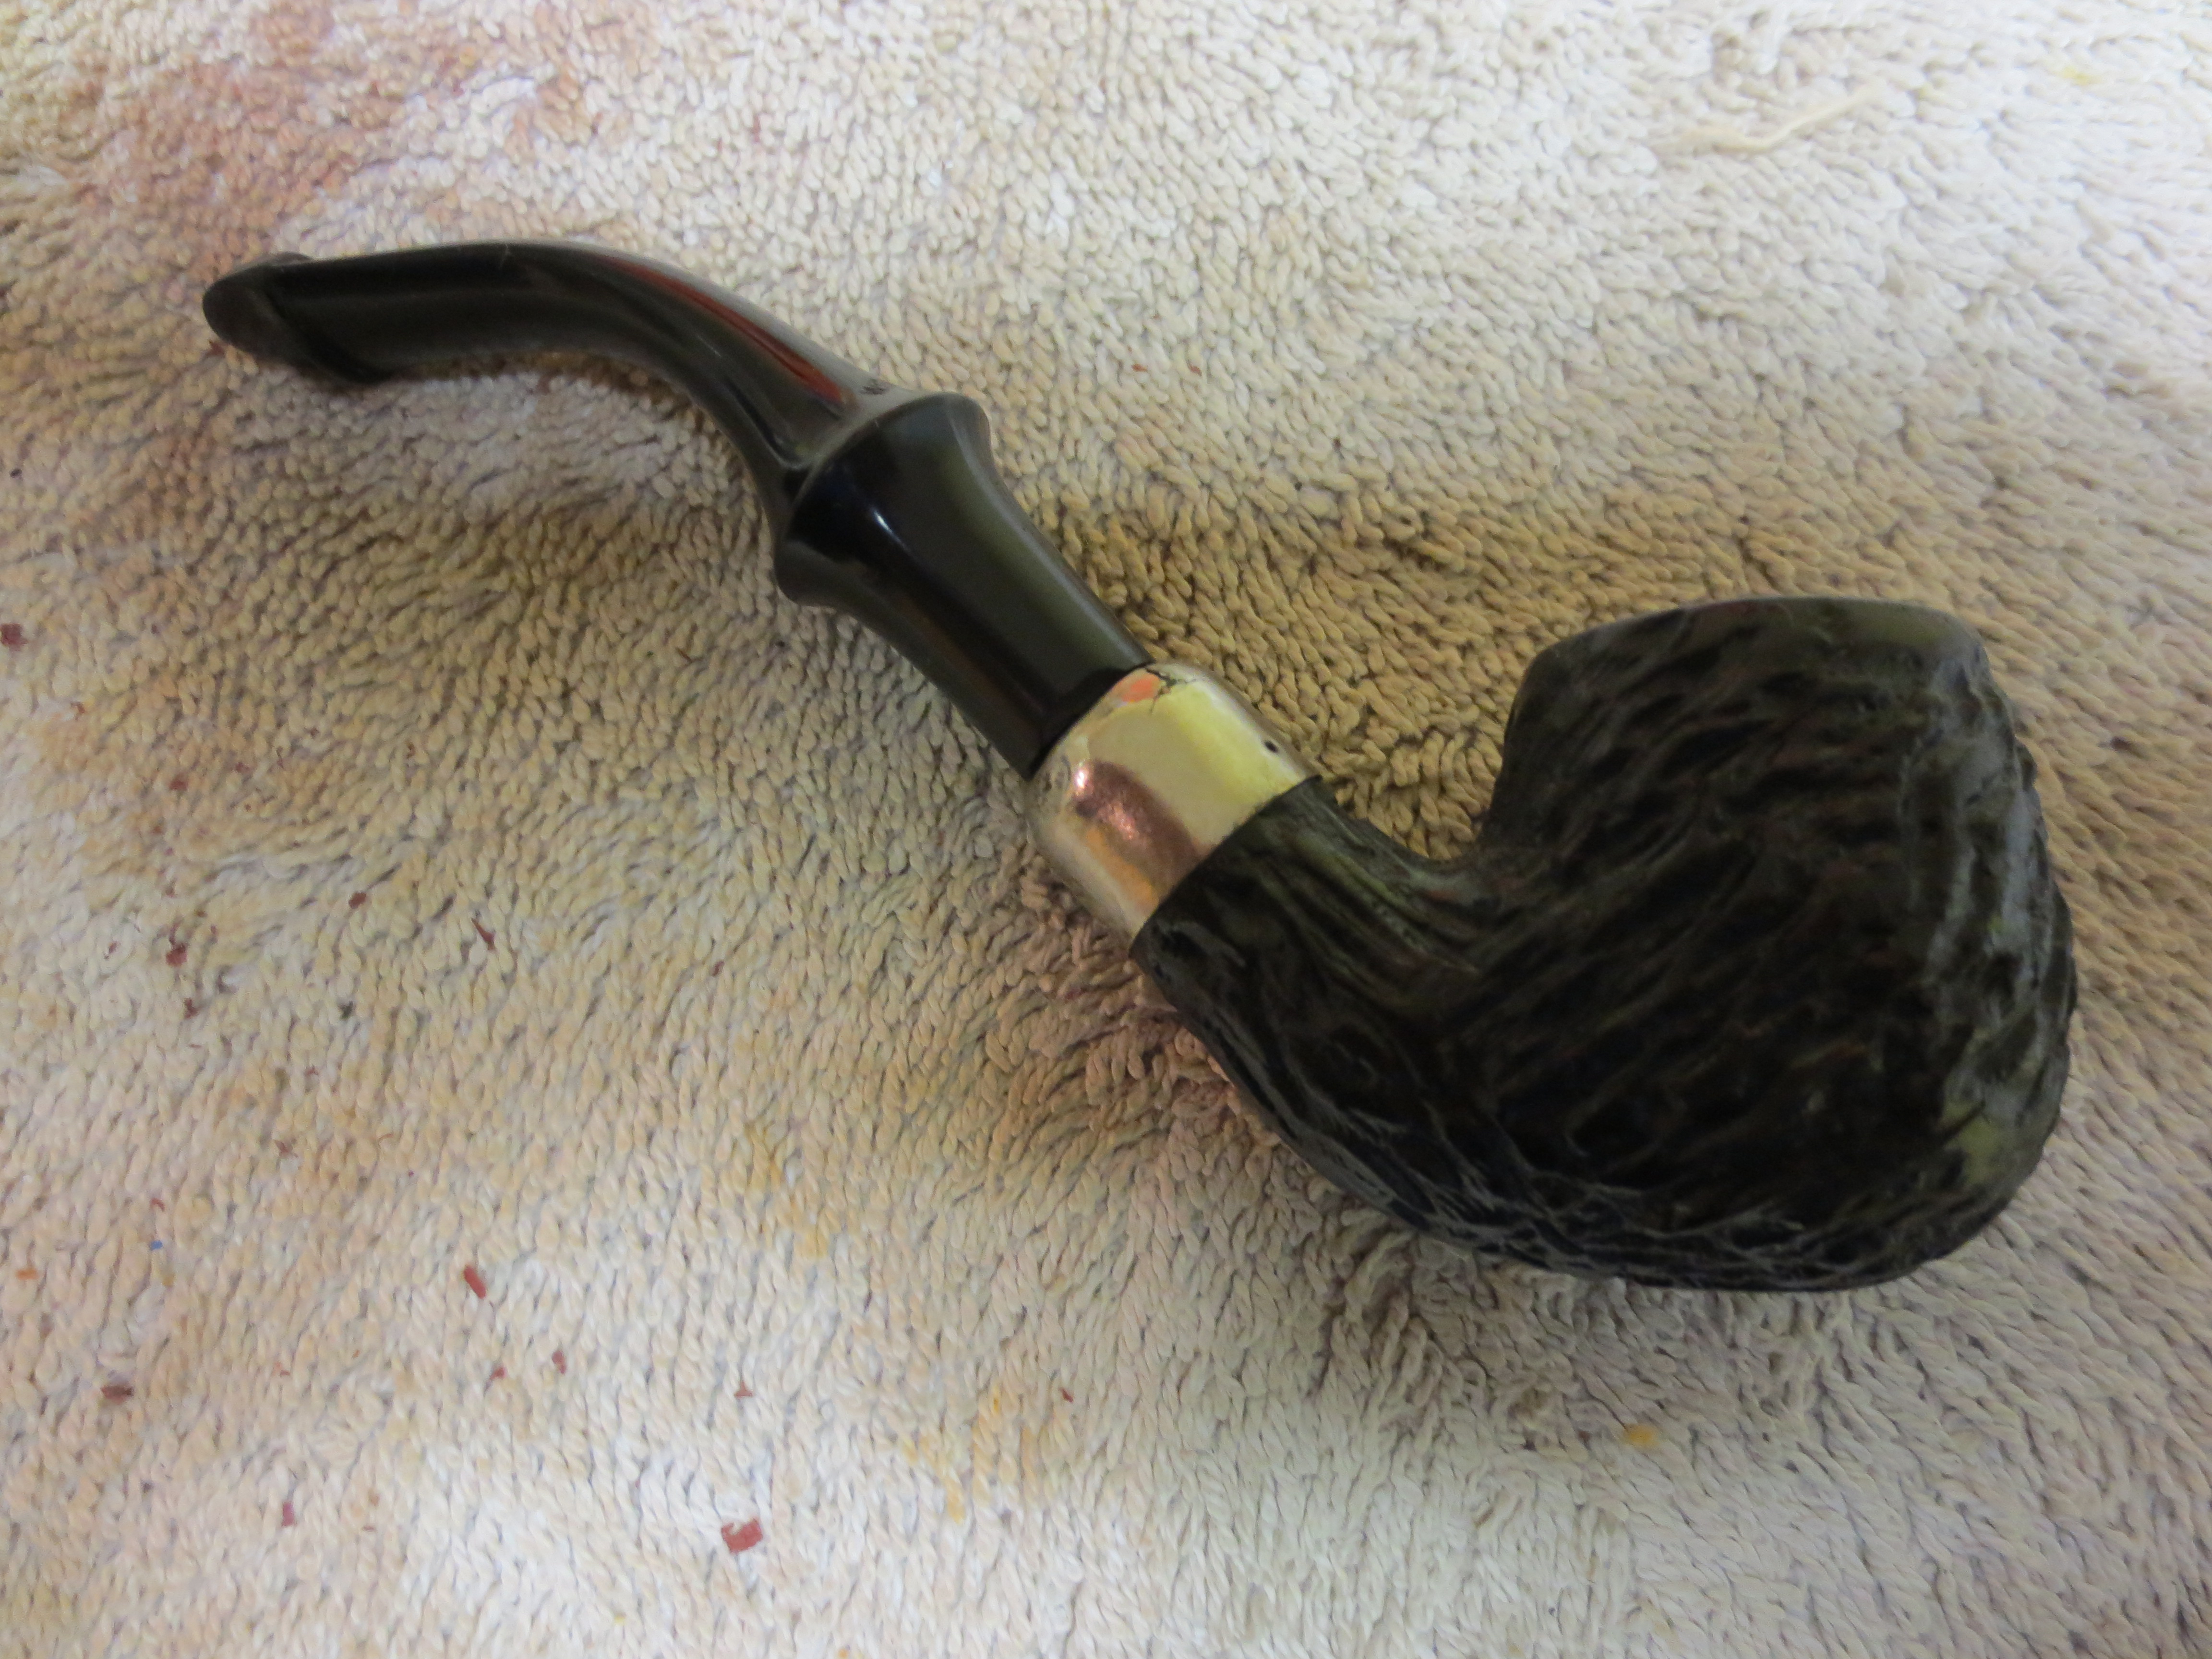
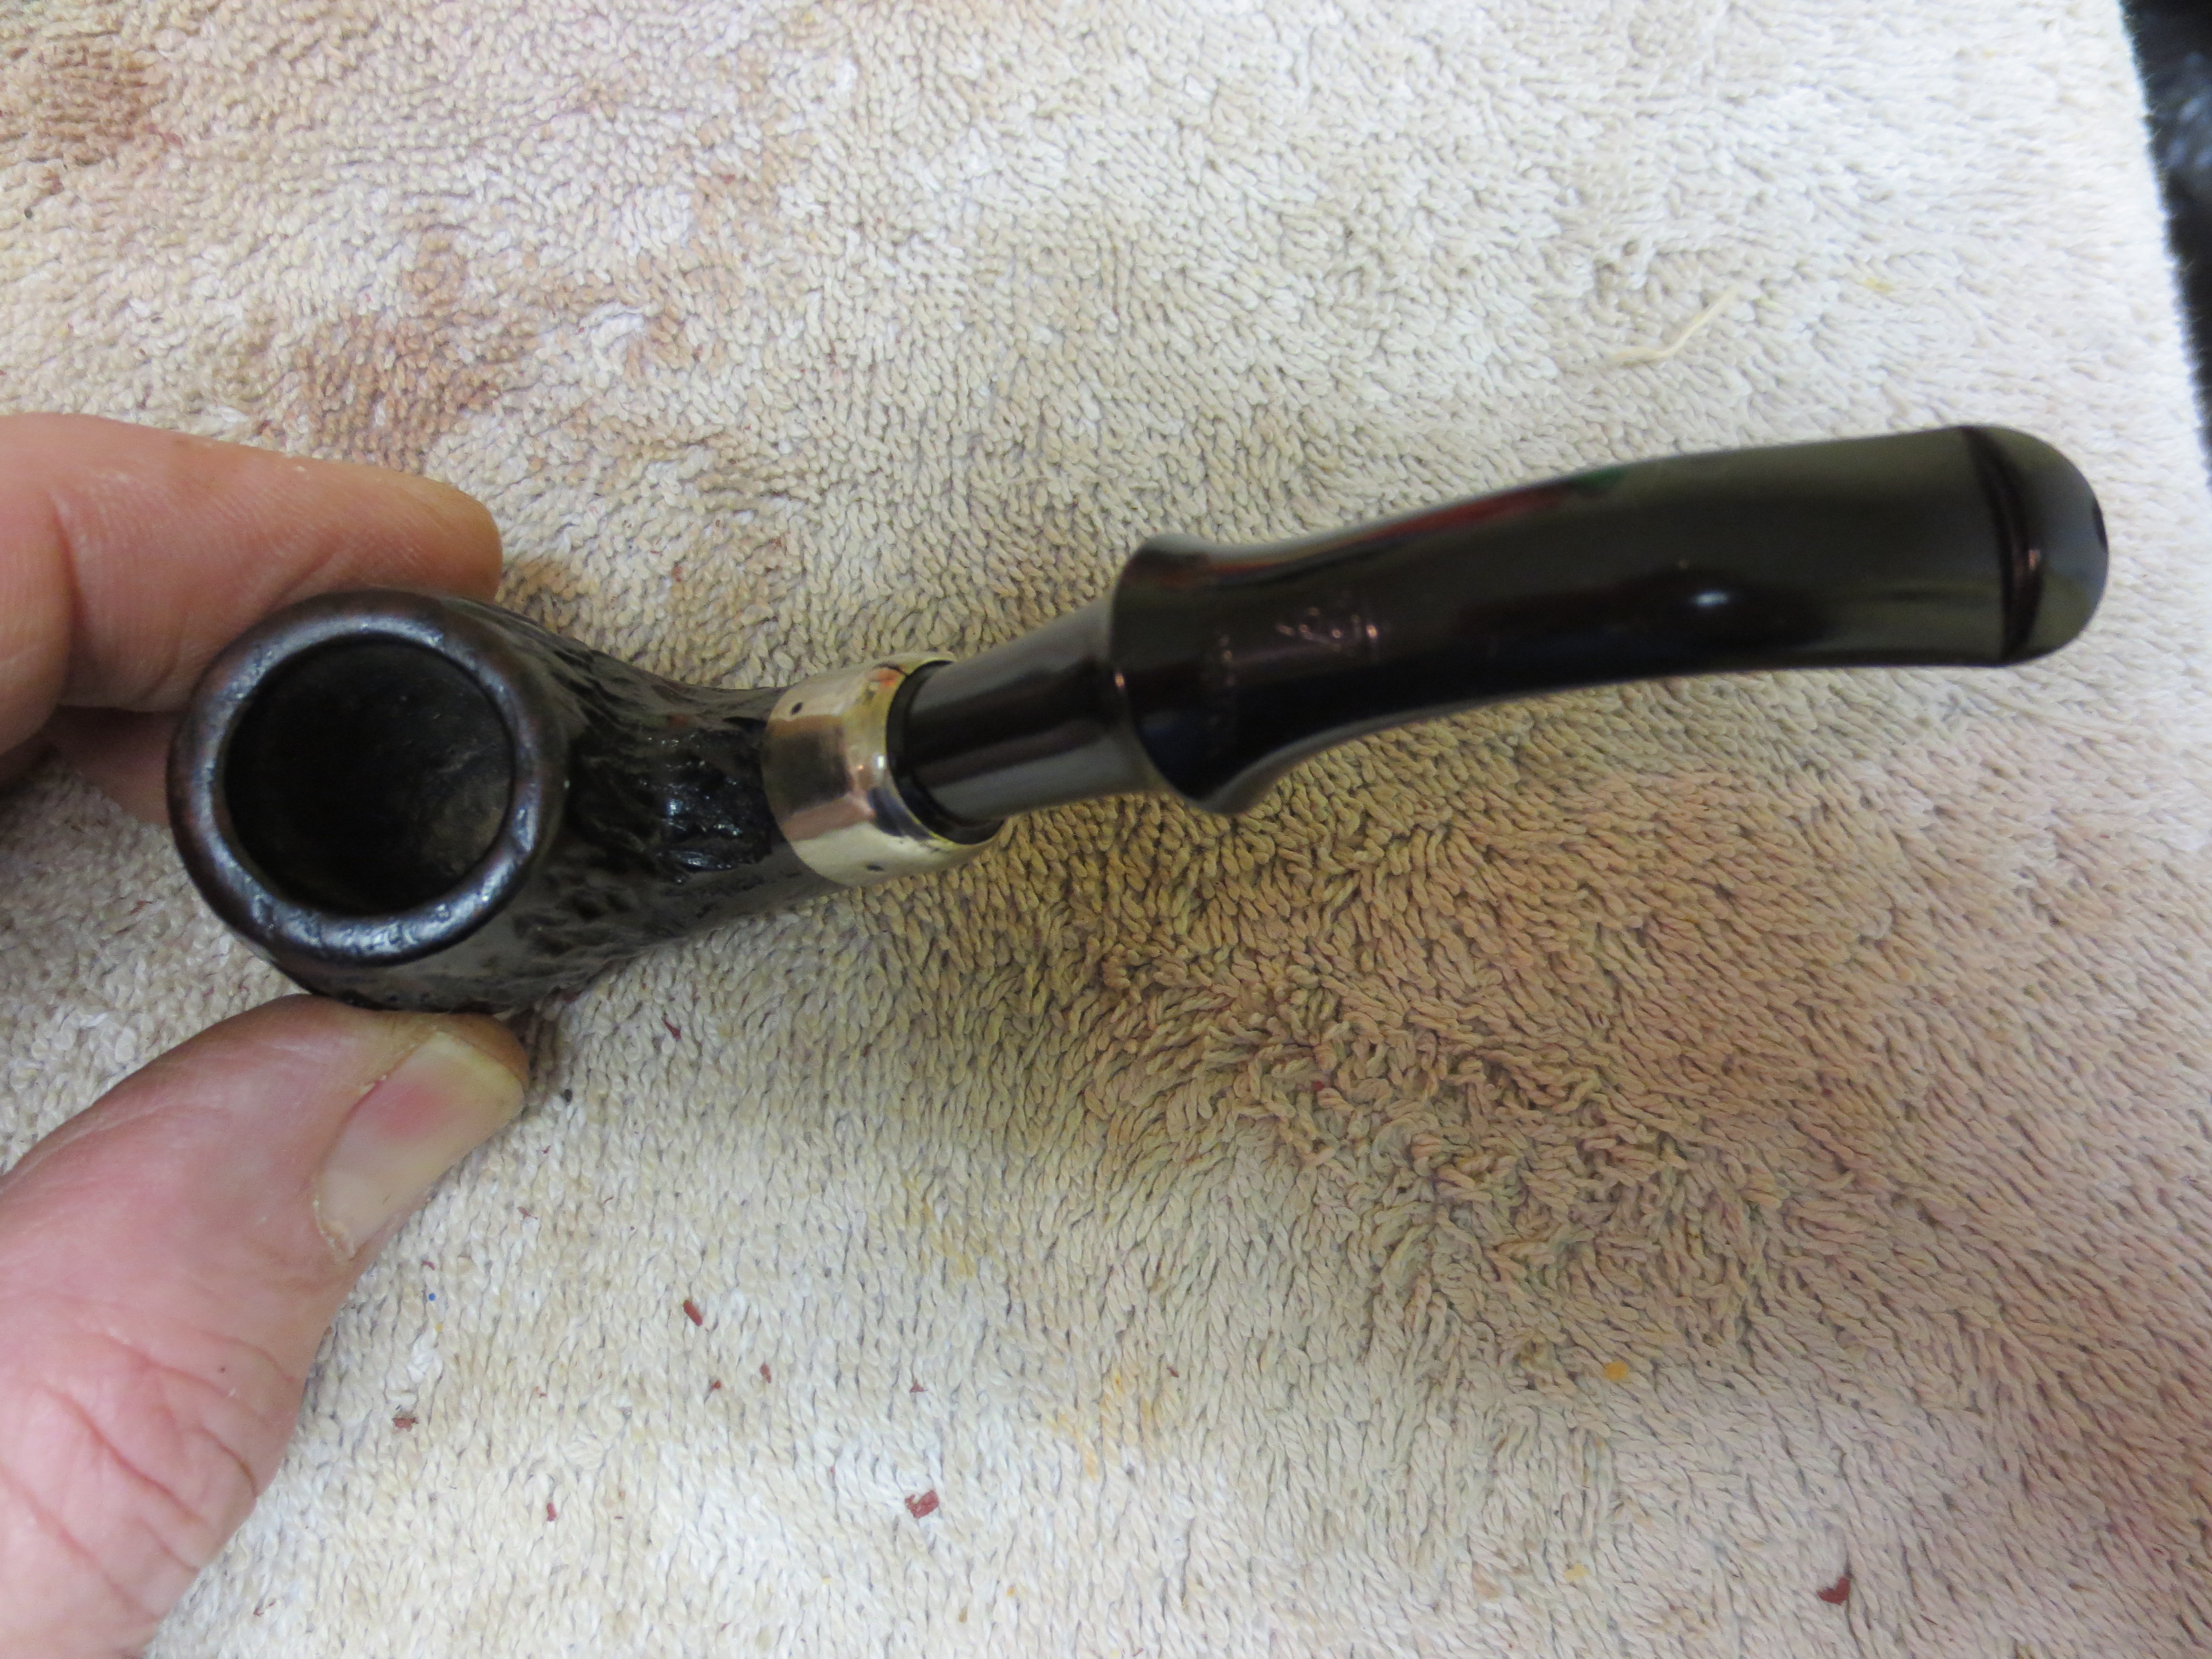
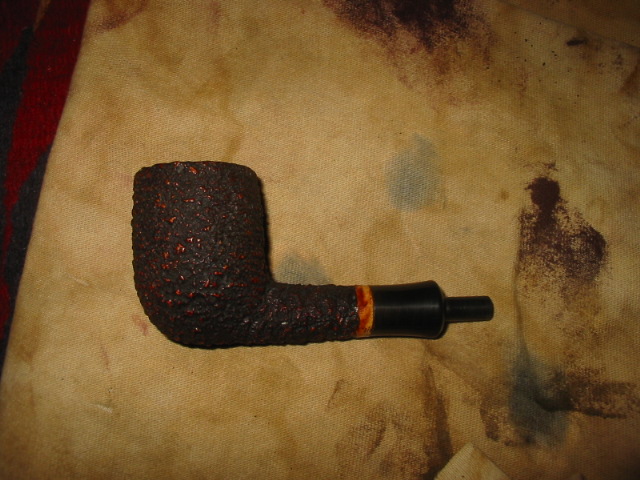
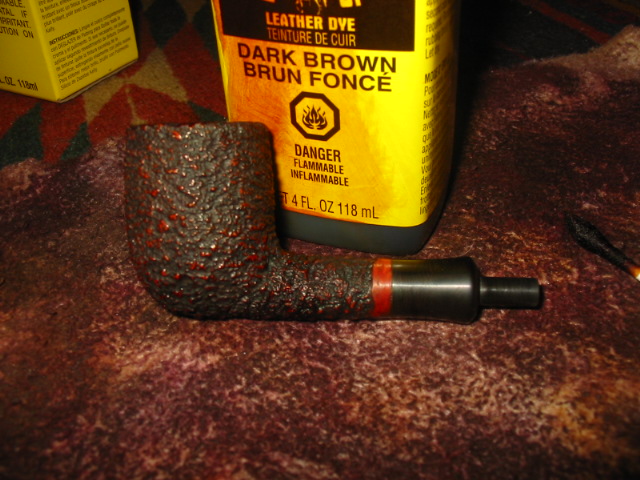
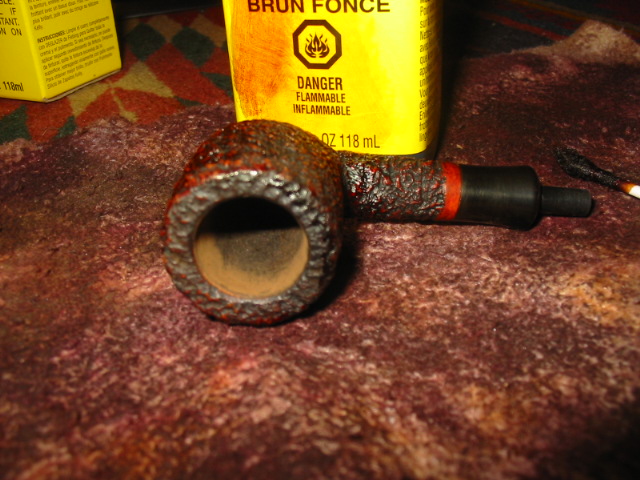
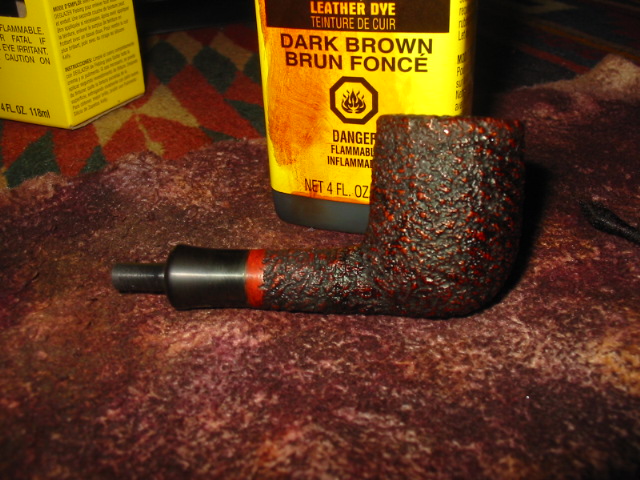
Tag Archives: removing tooth marks

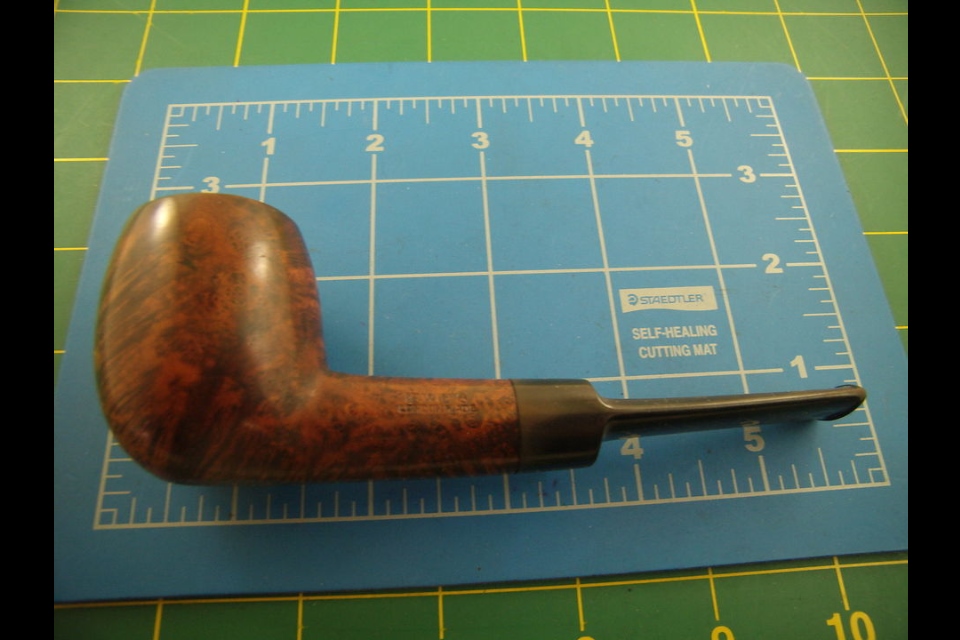
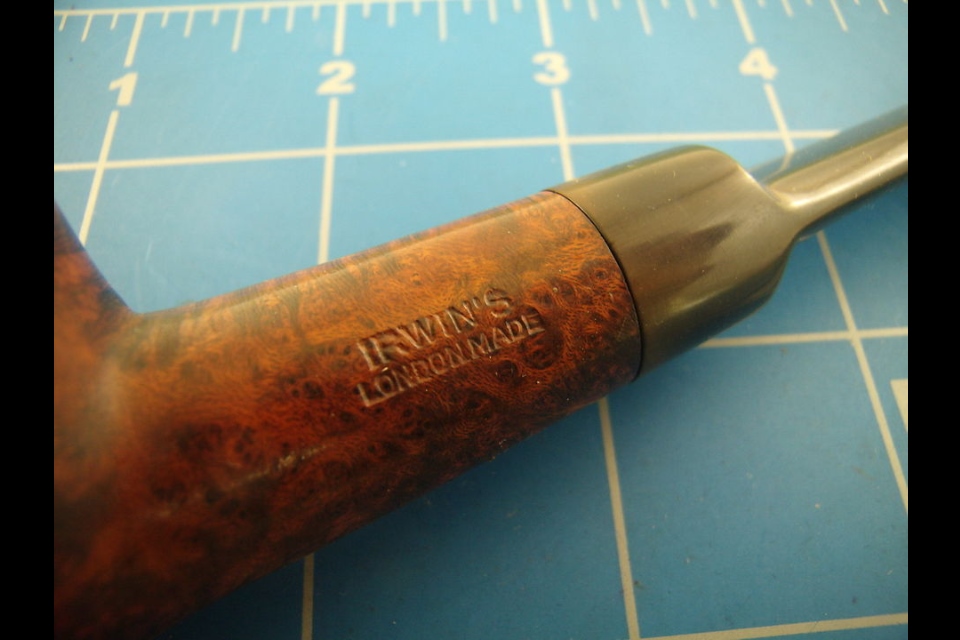
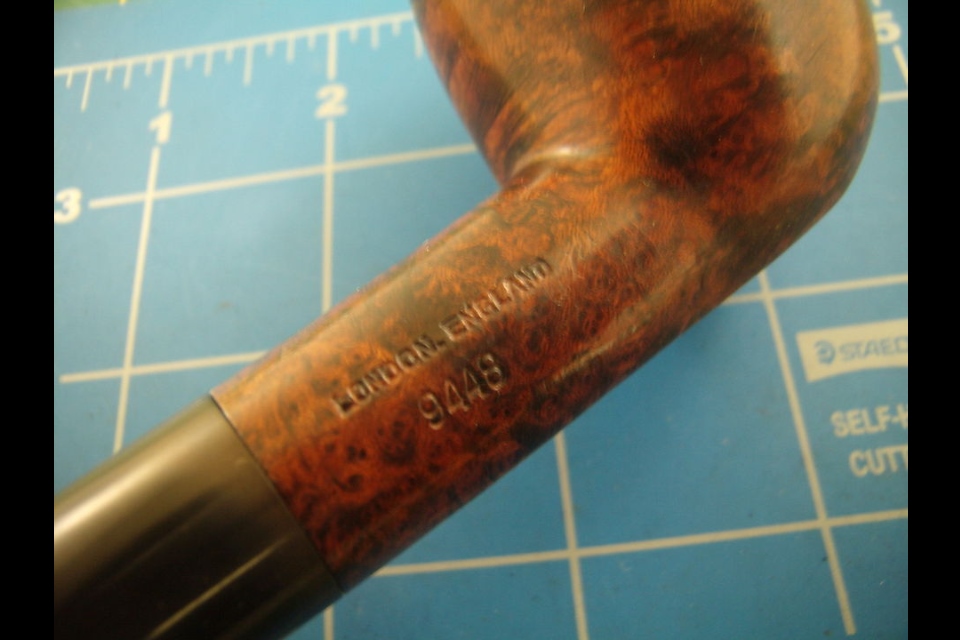
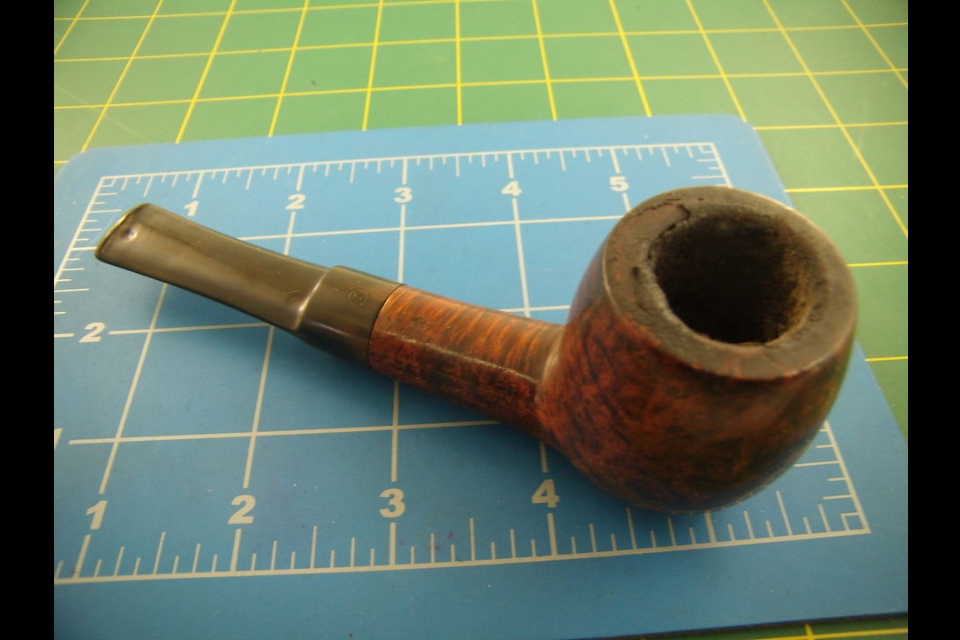
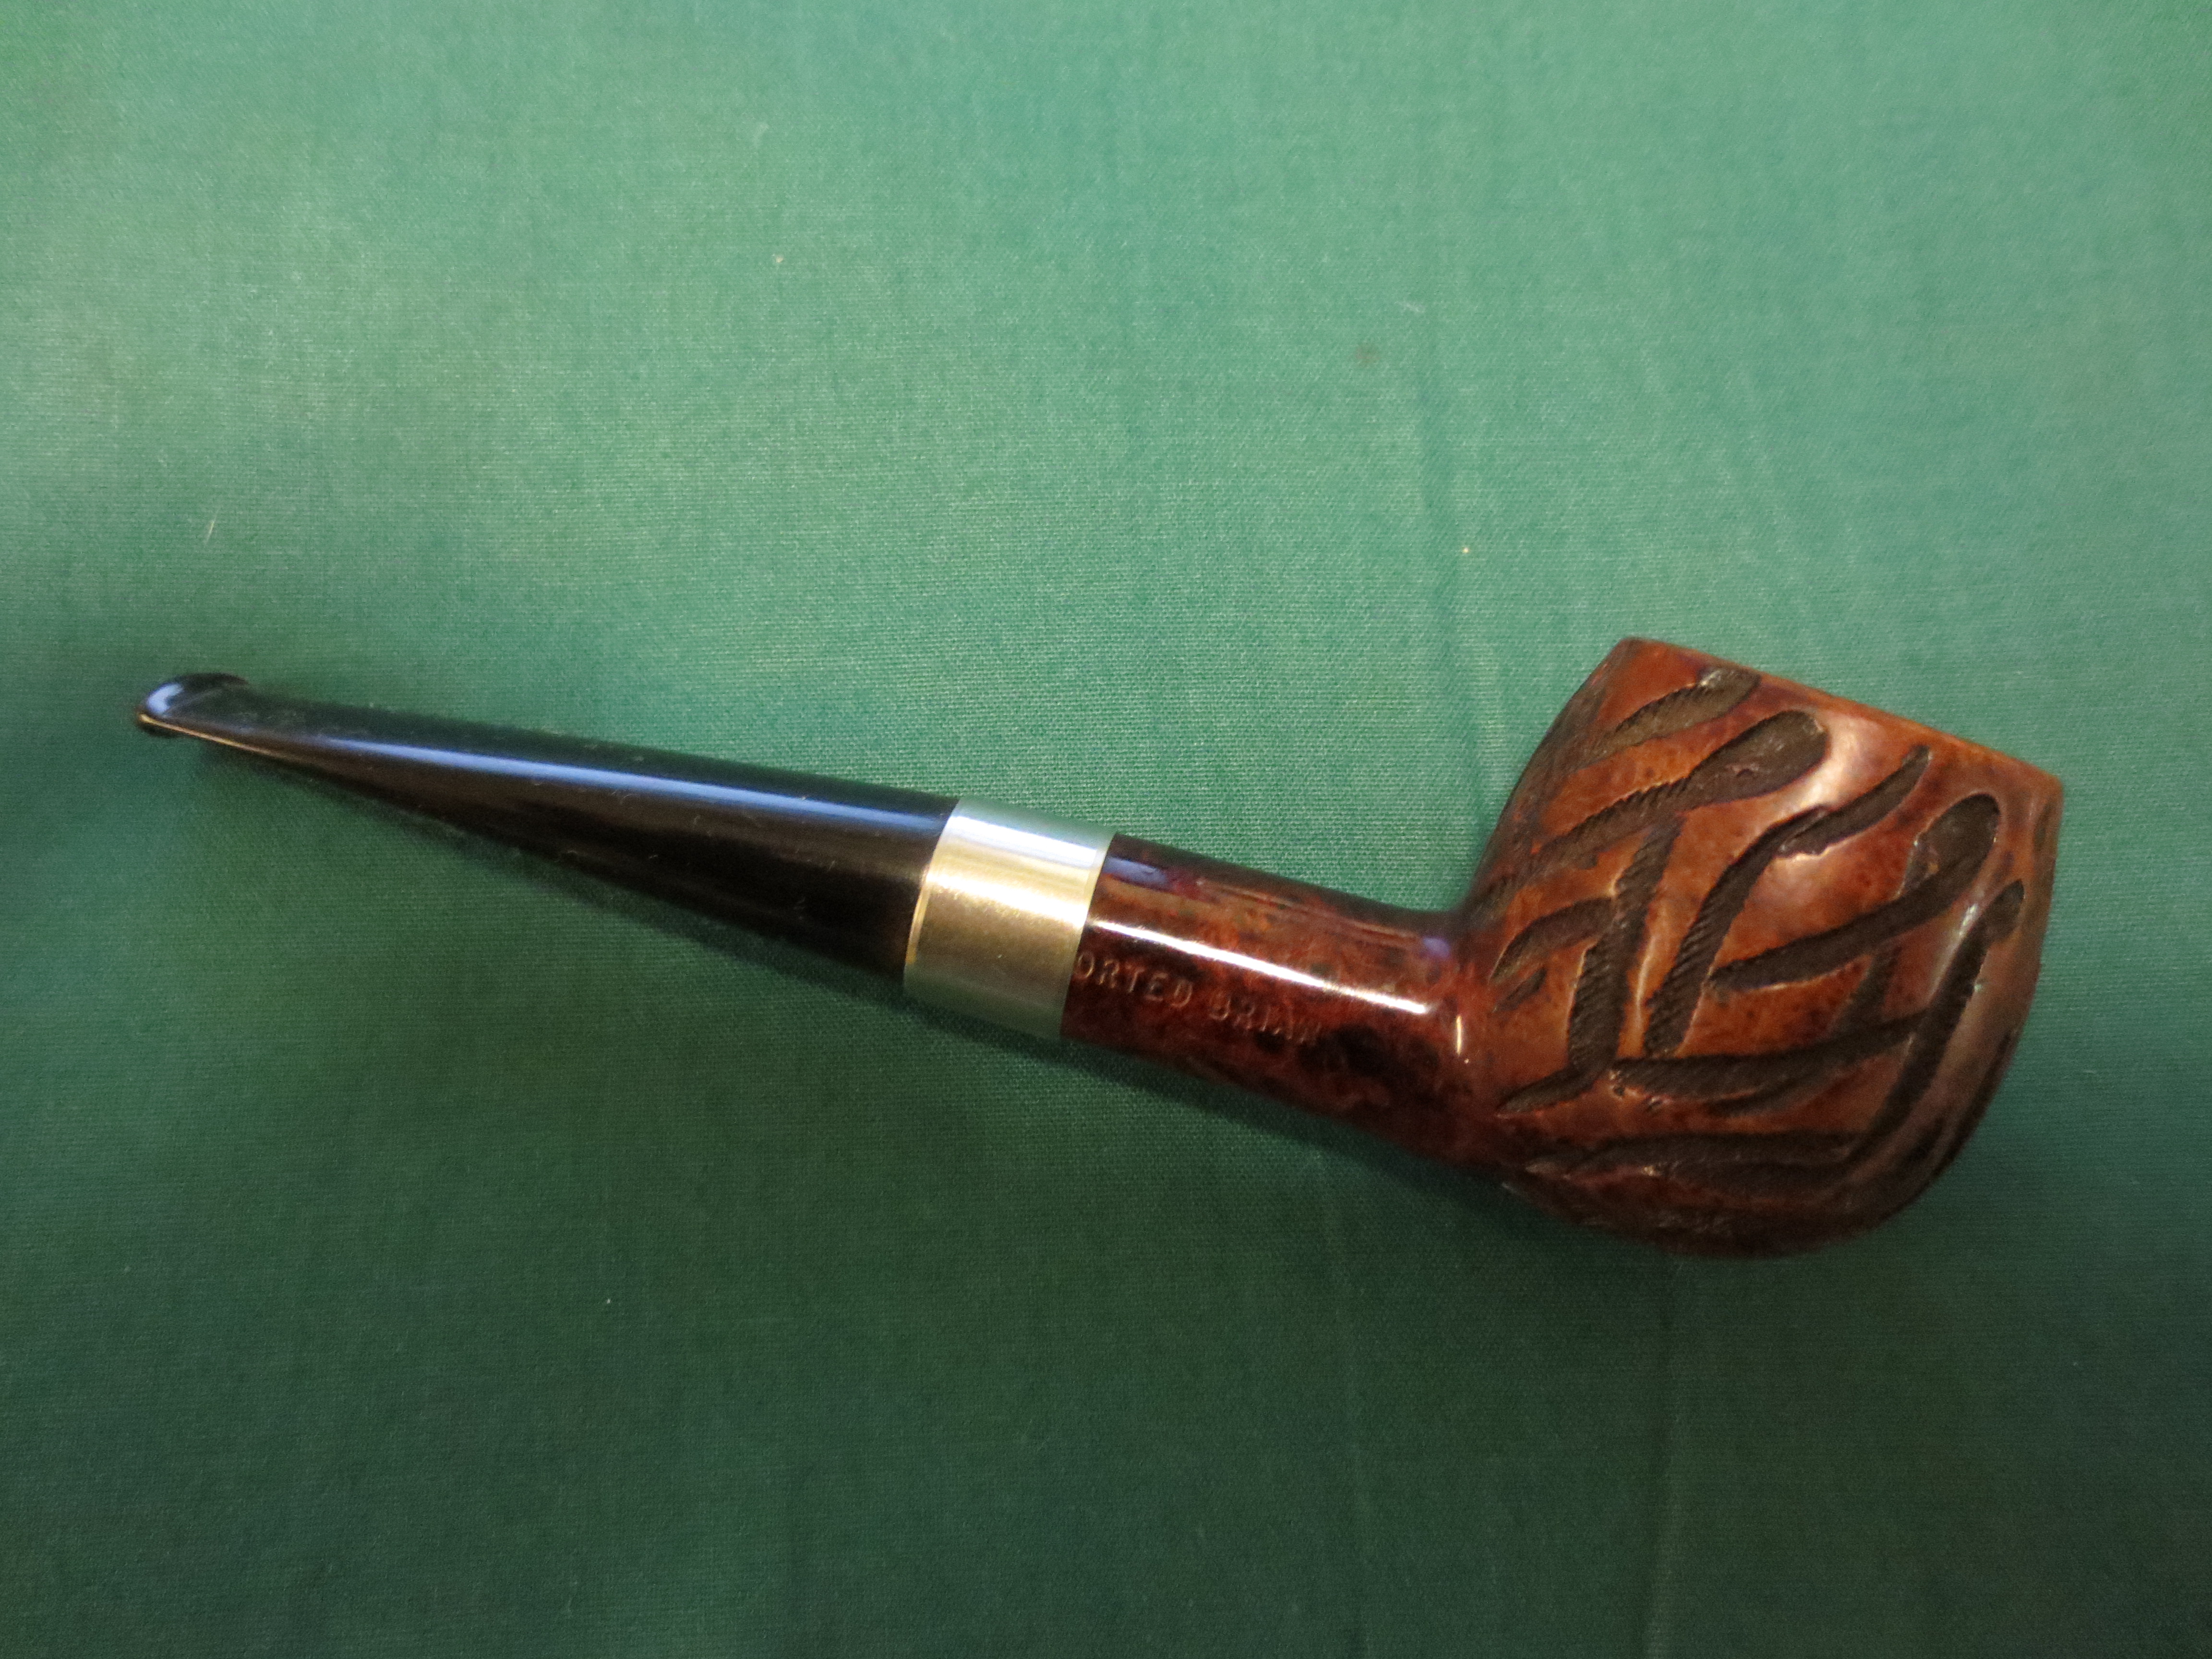
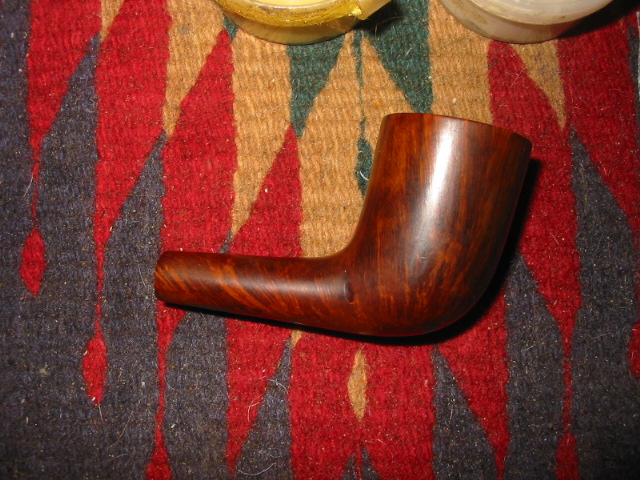
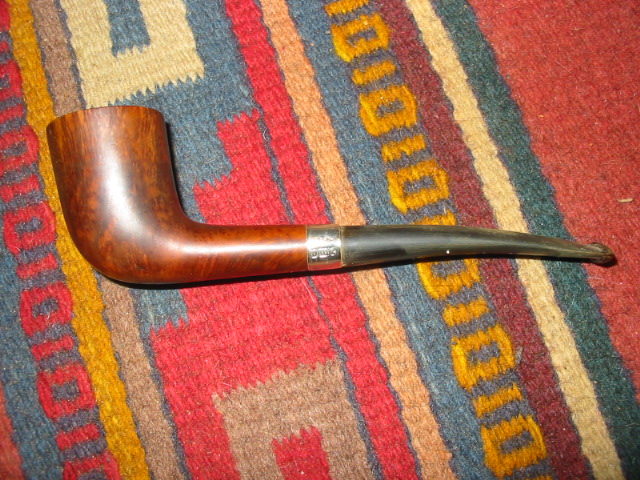
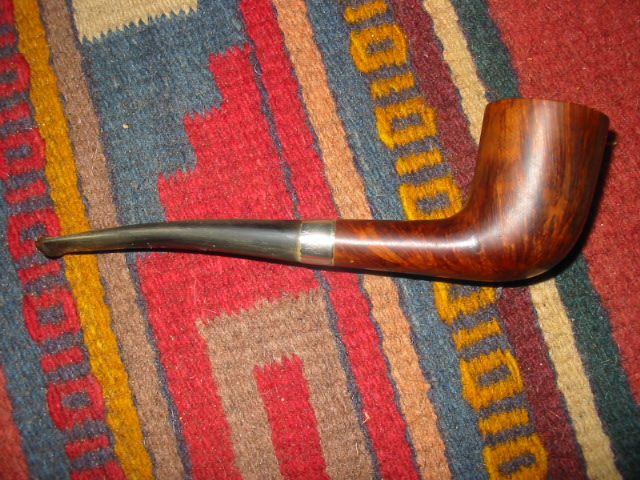
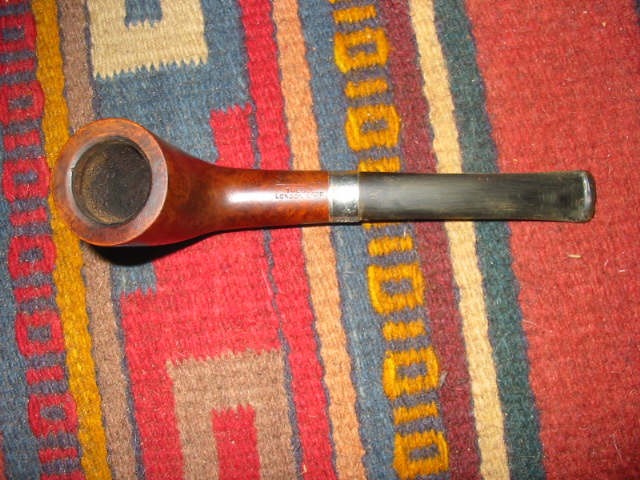
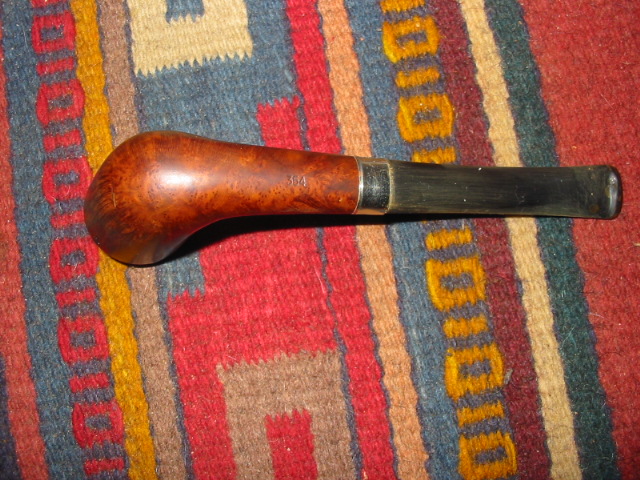
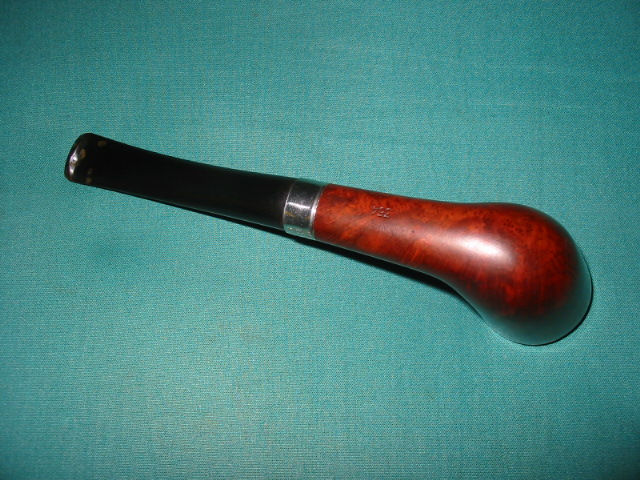
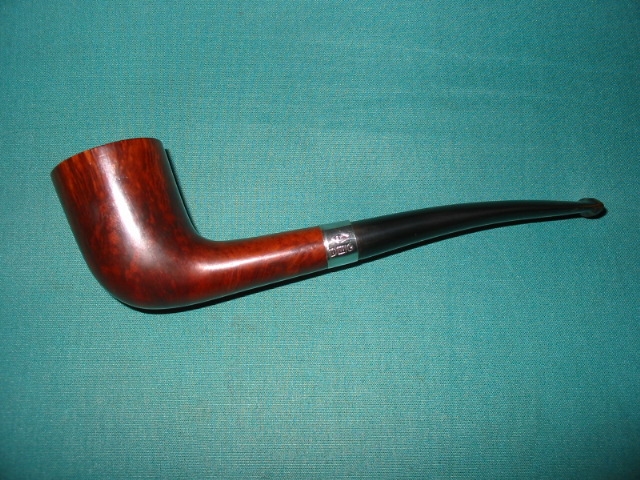
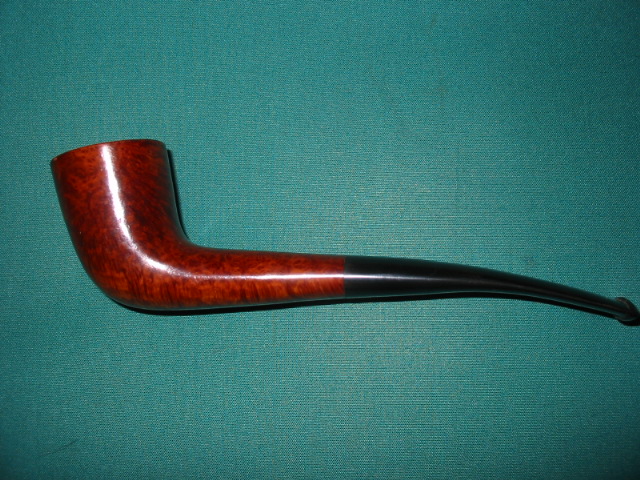
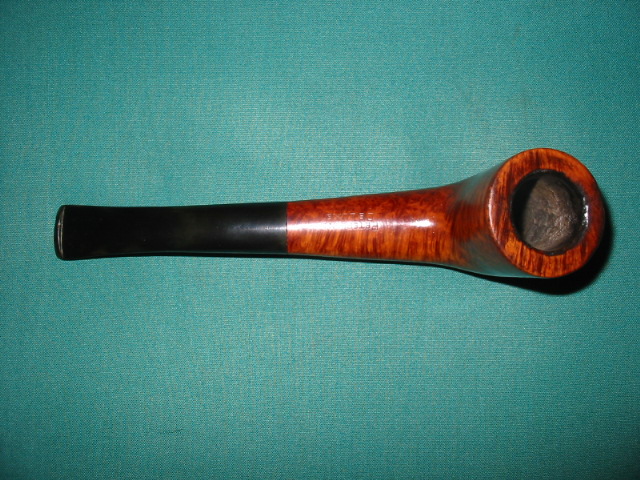
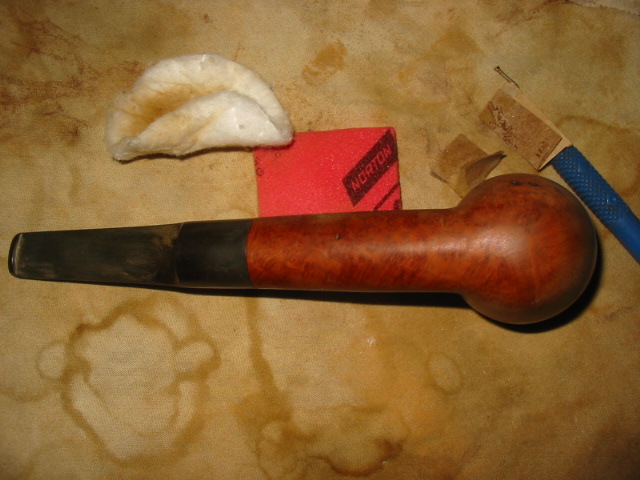
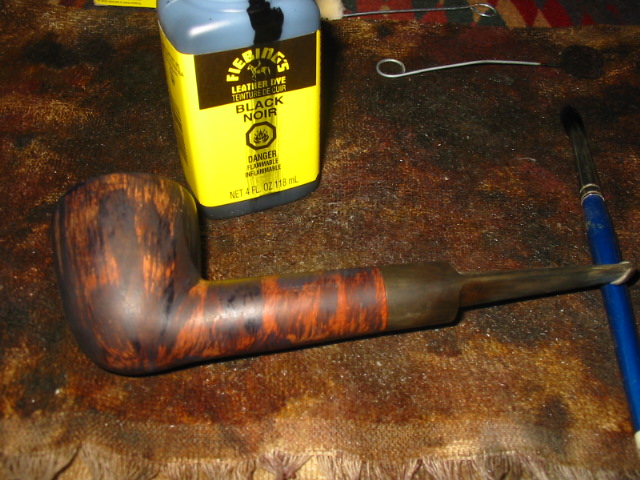
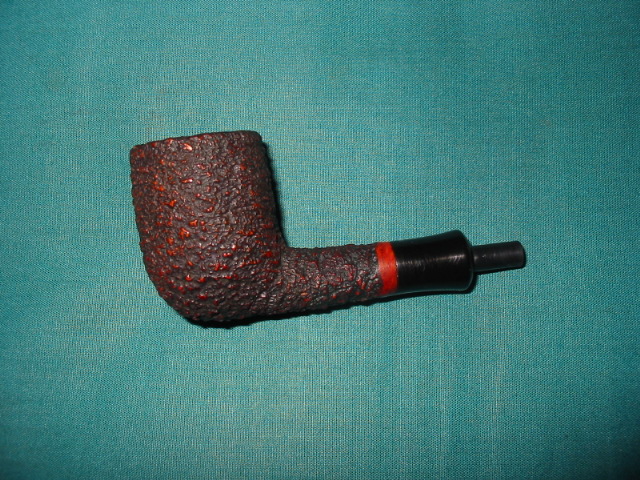
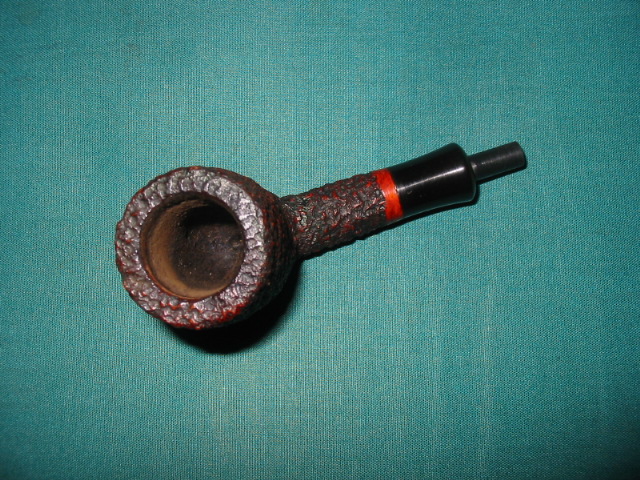
Irwin’s (GBD Second) 9448 Refurbished


Blog by Greg Wolford

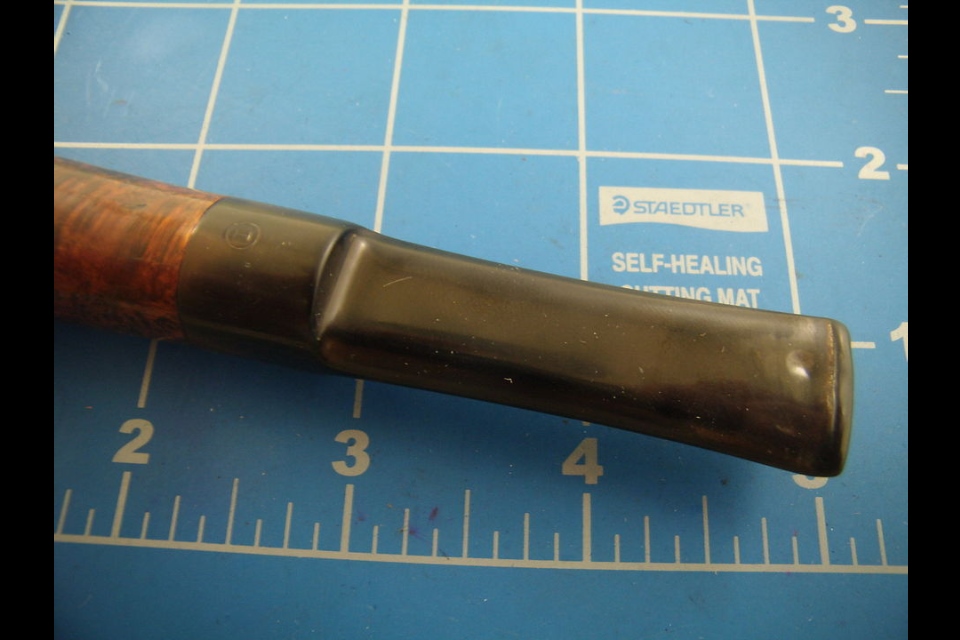
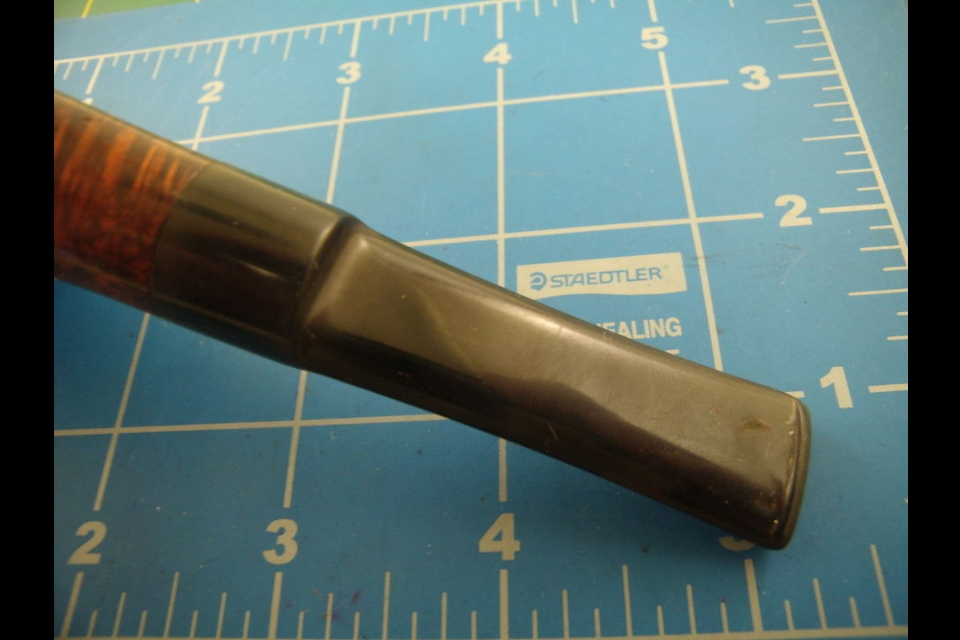
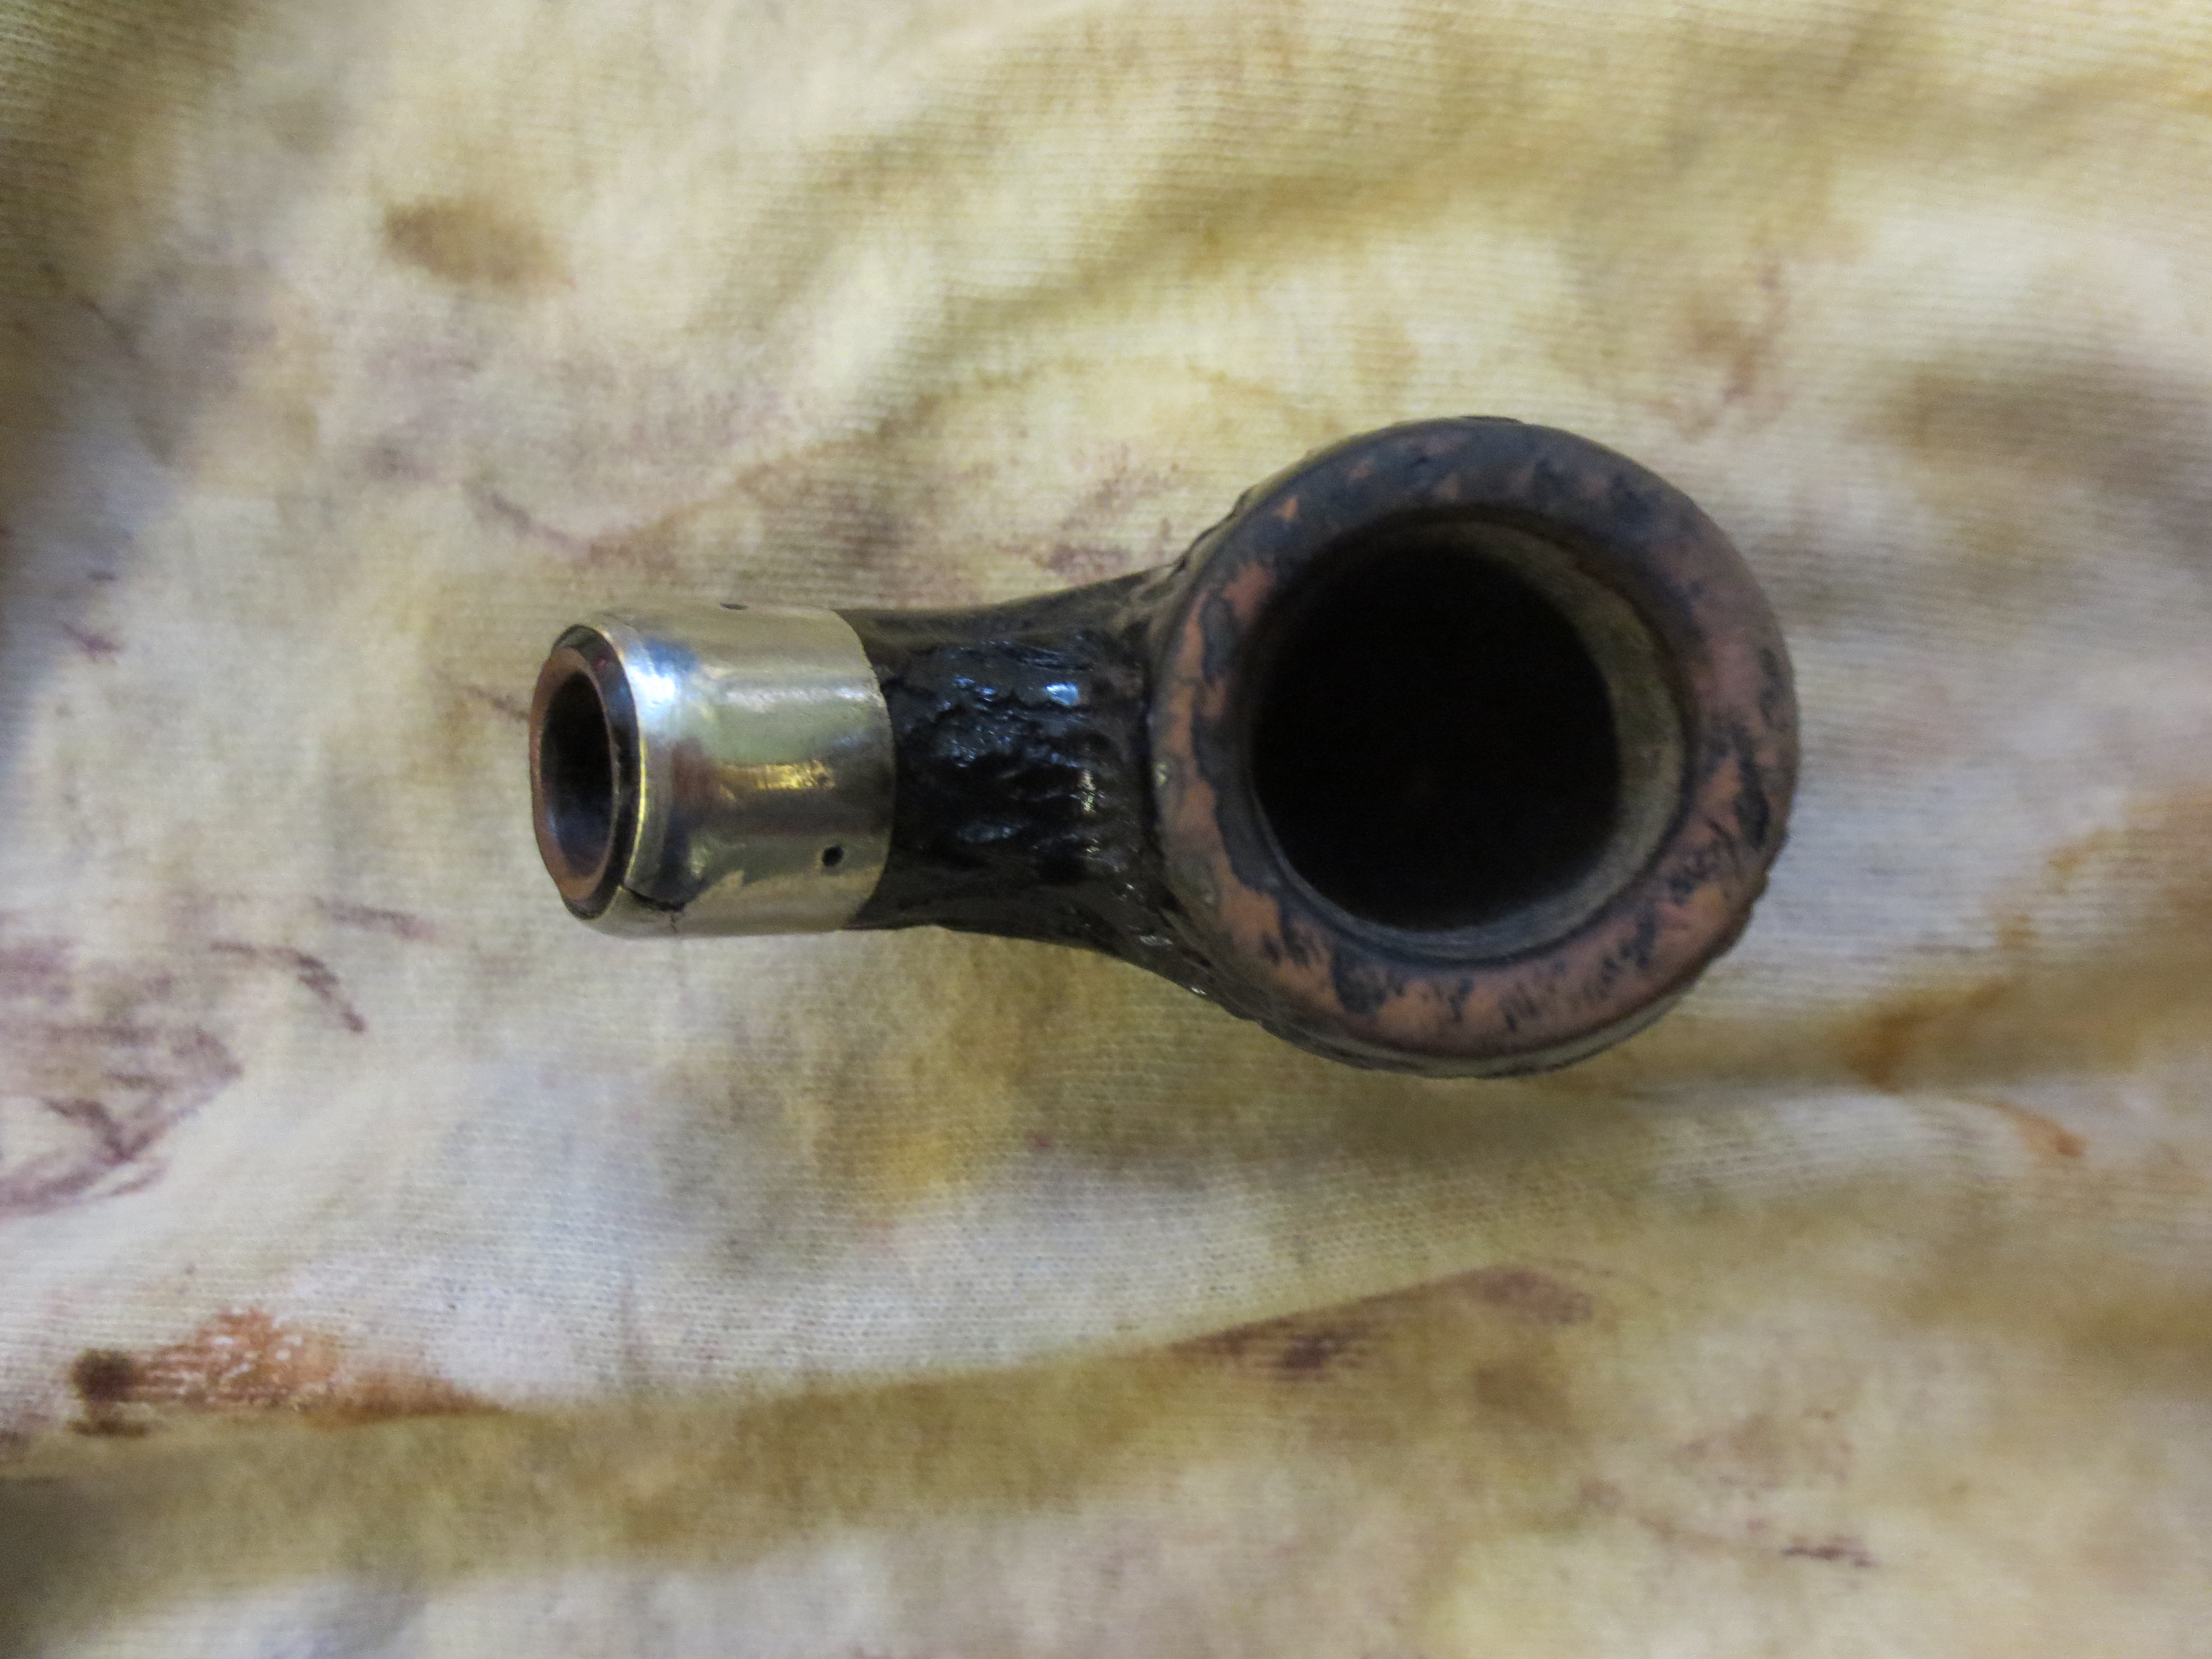
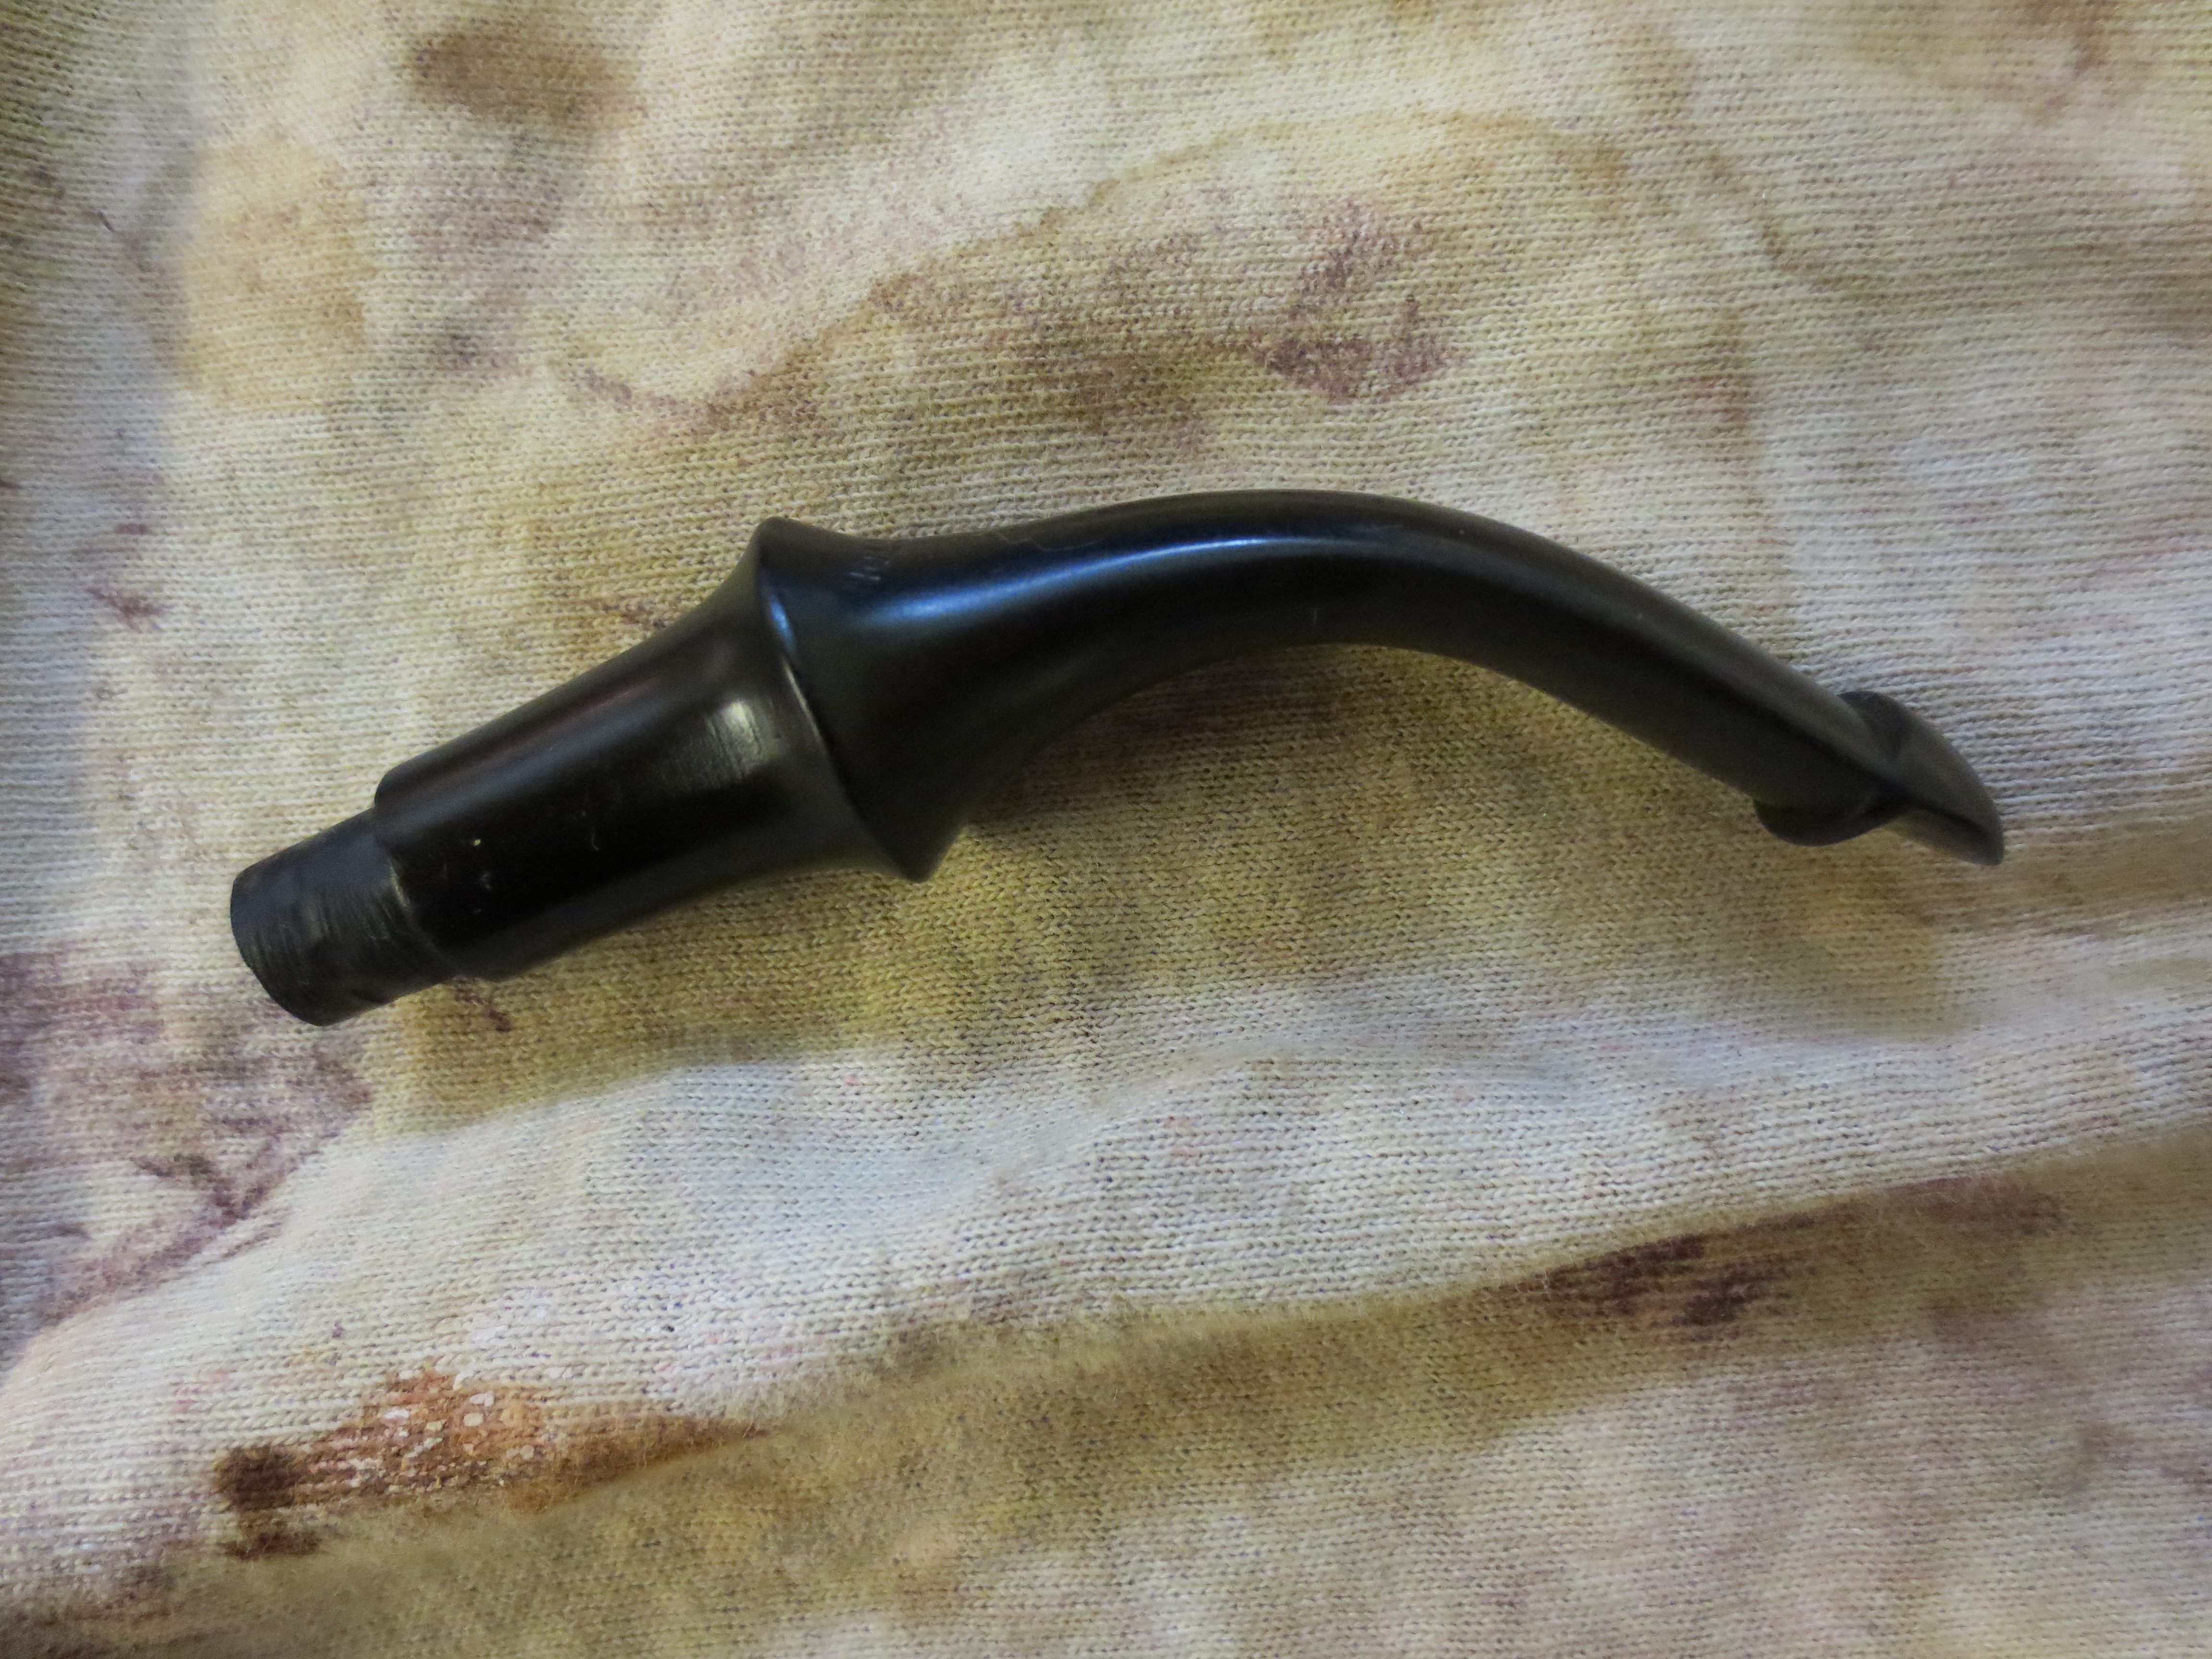
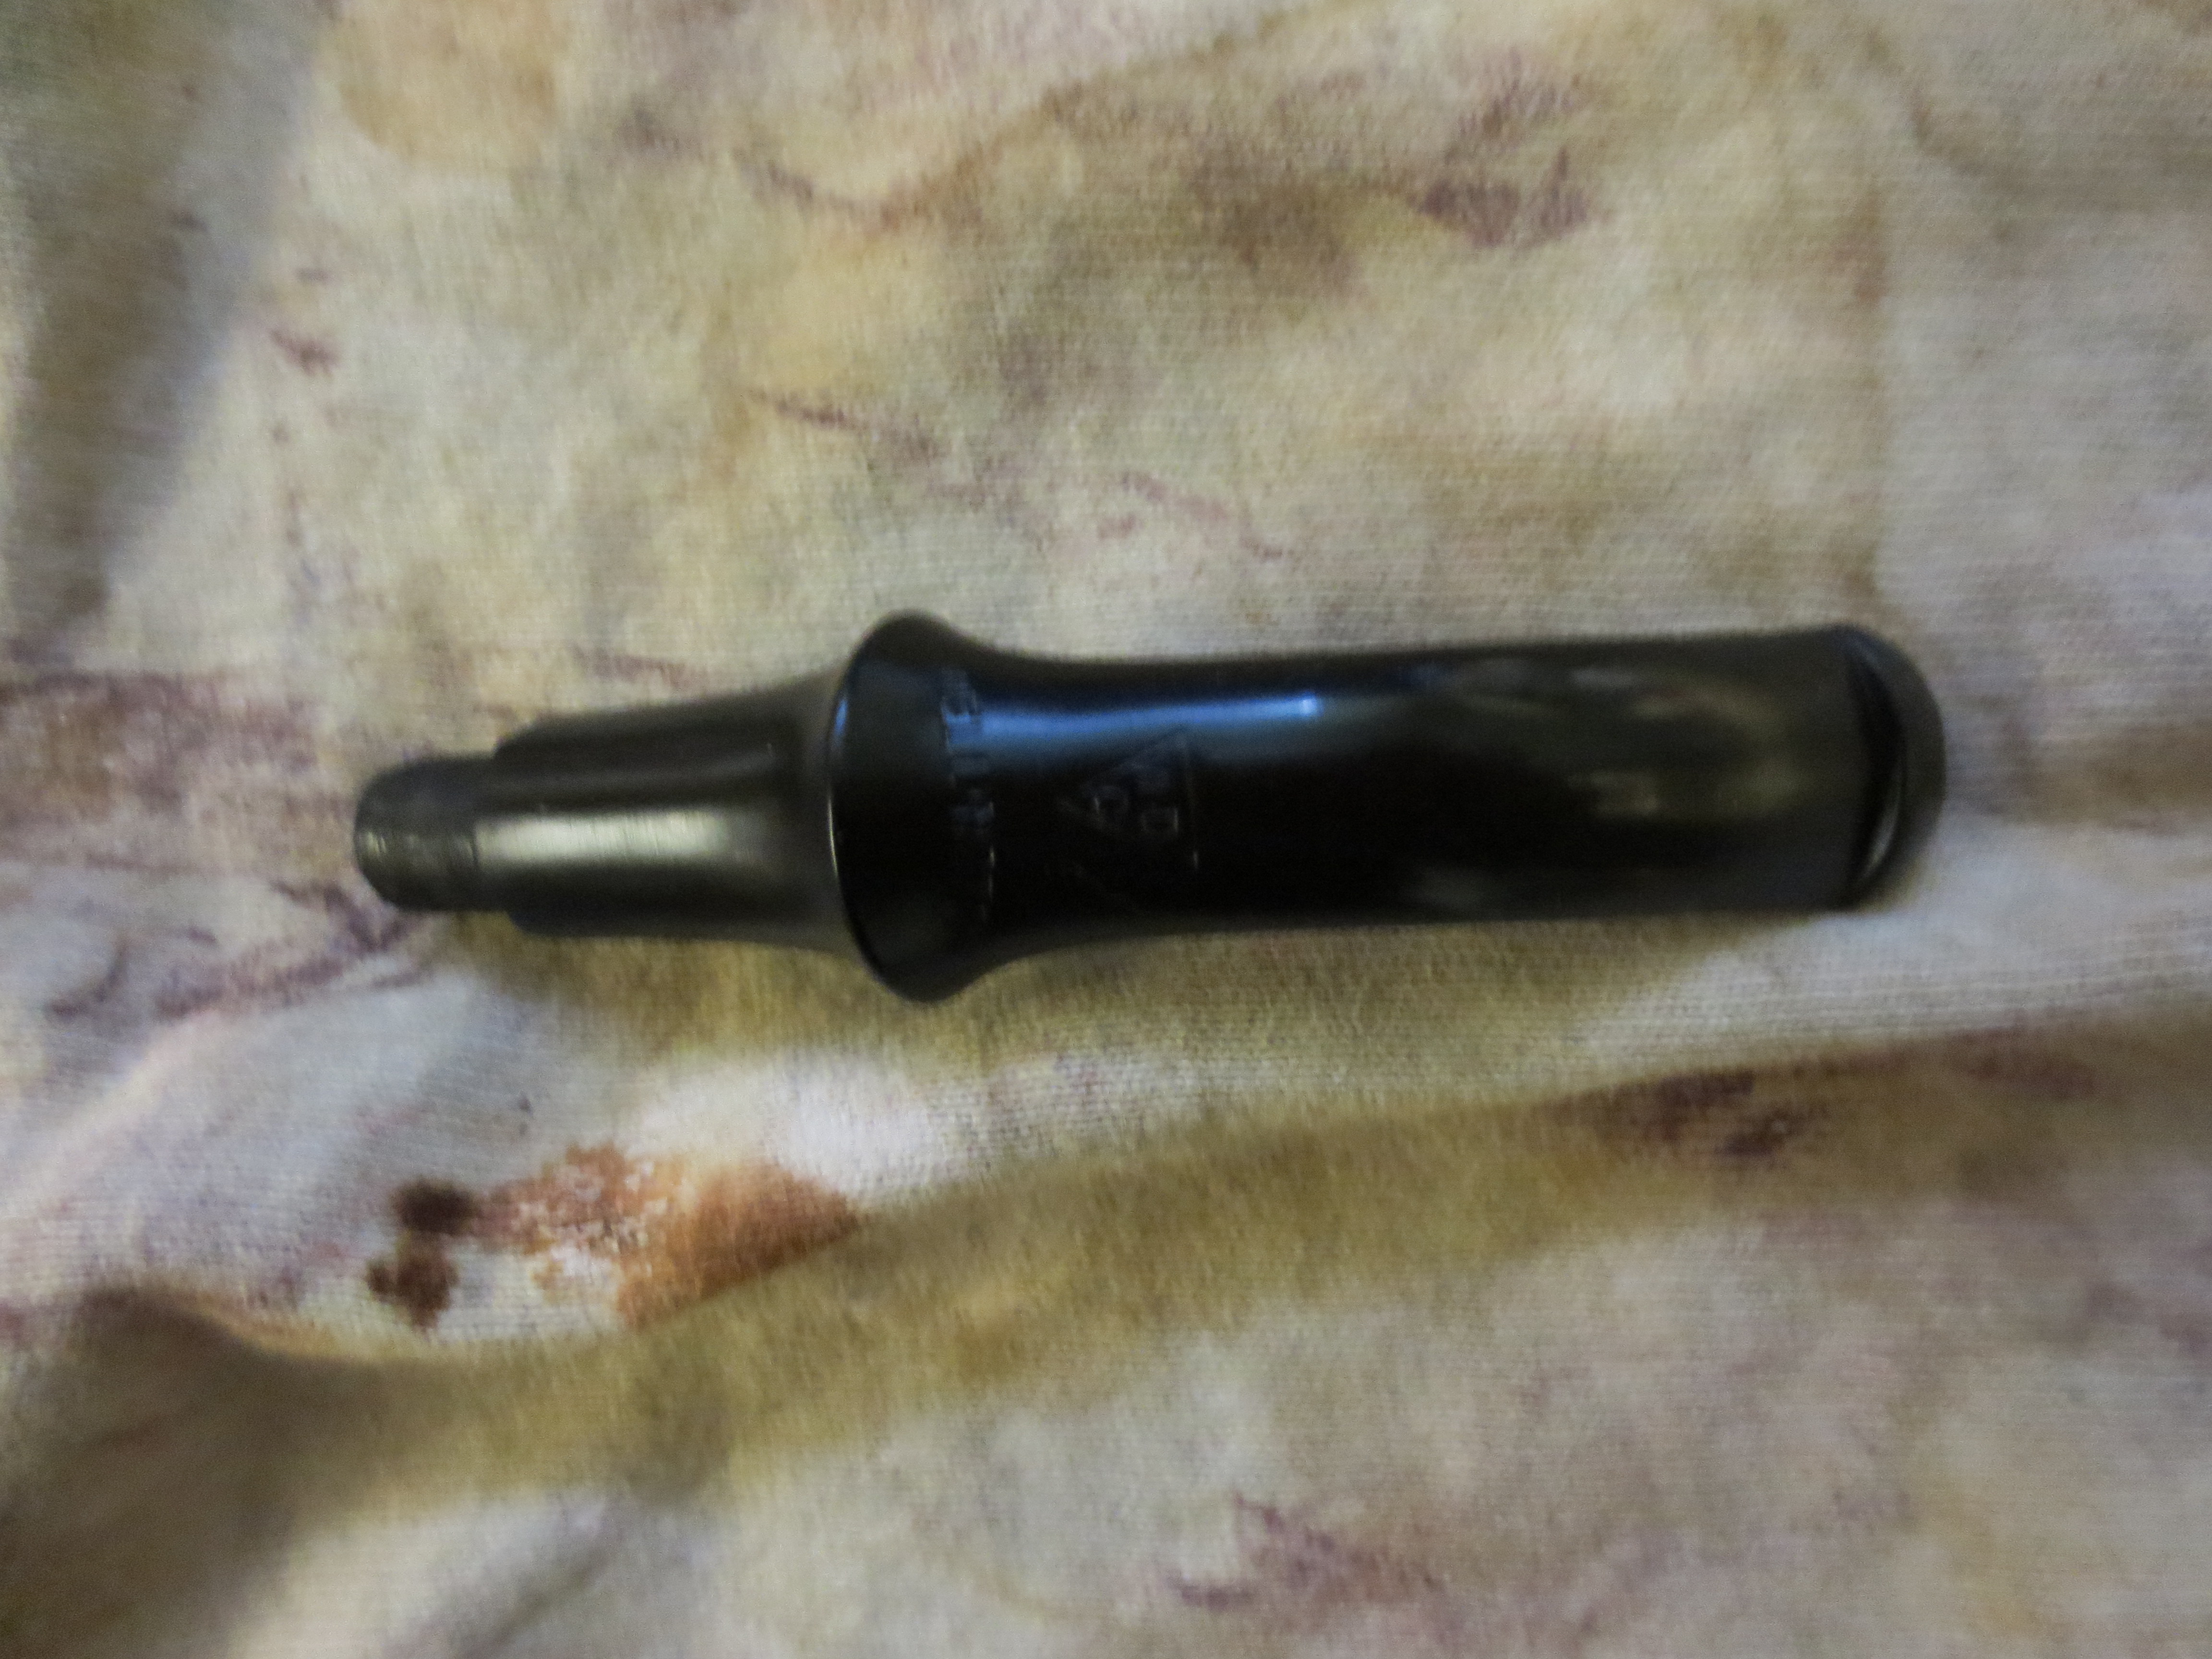
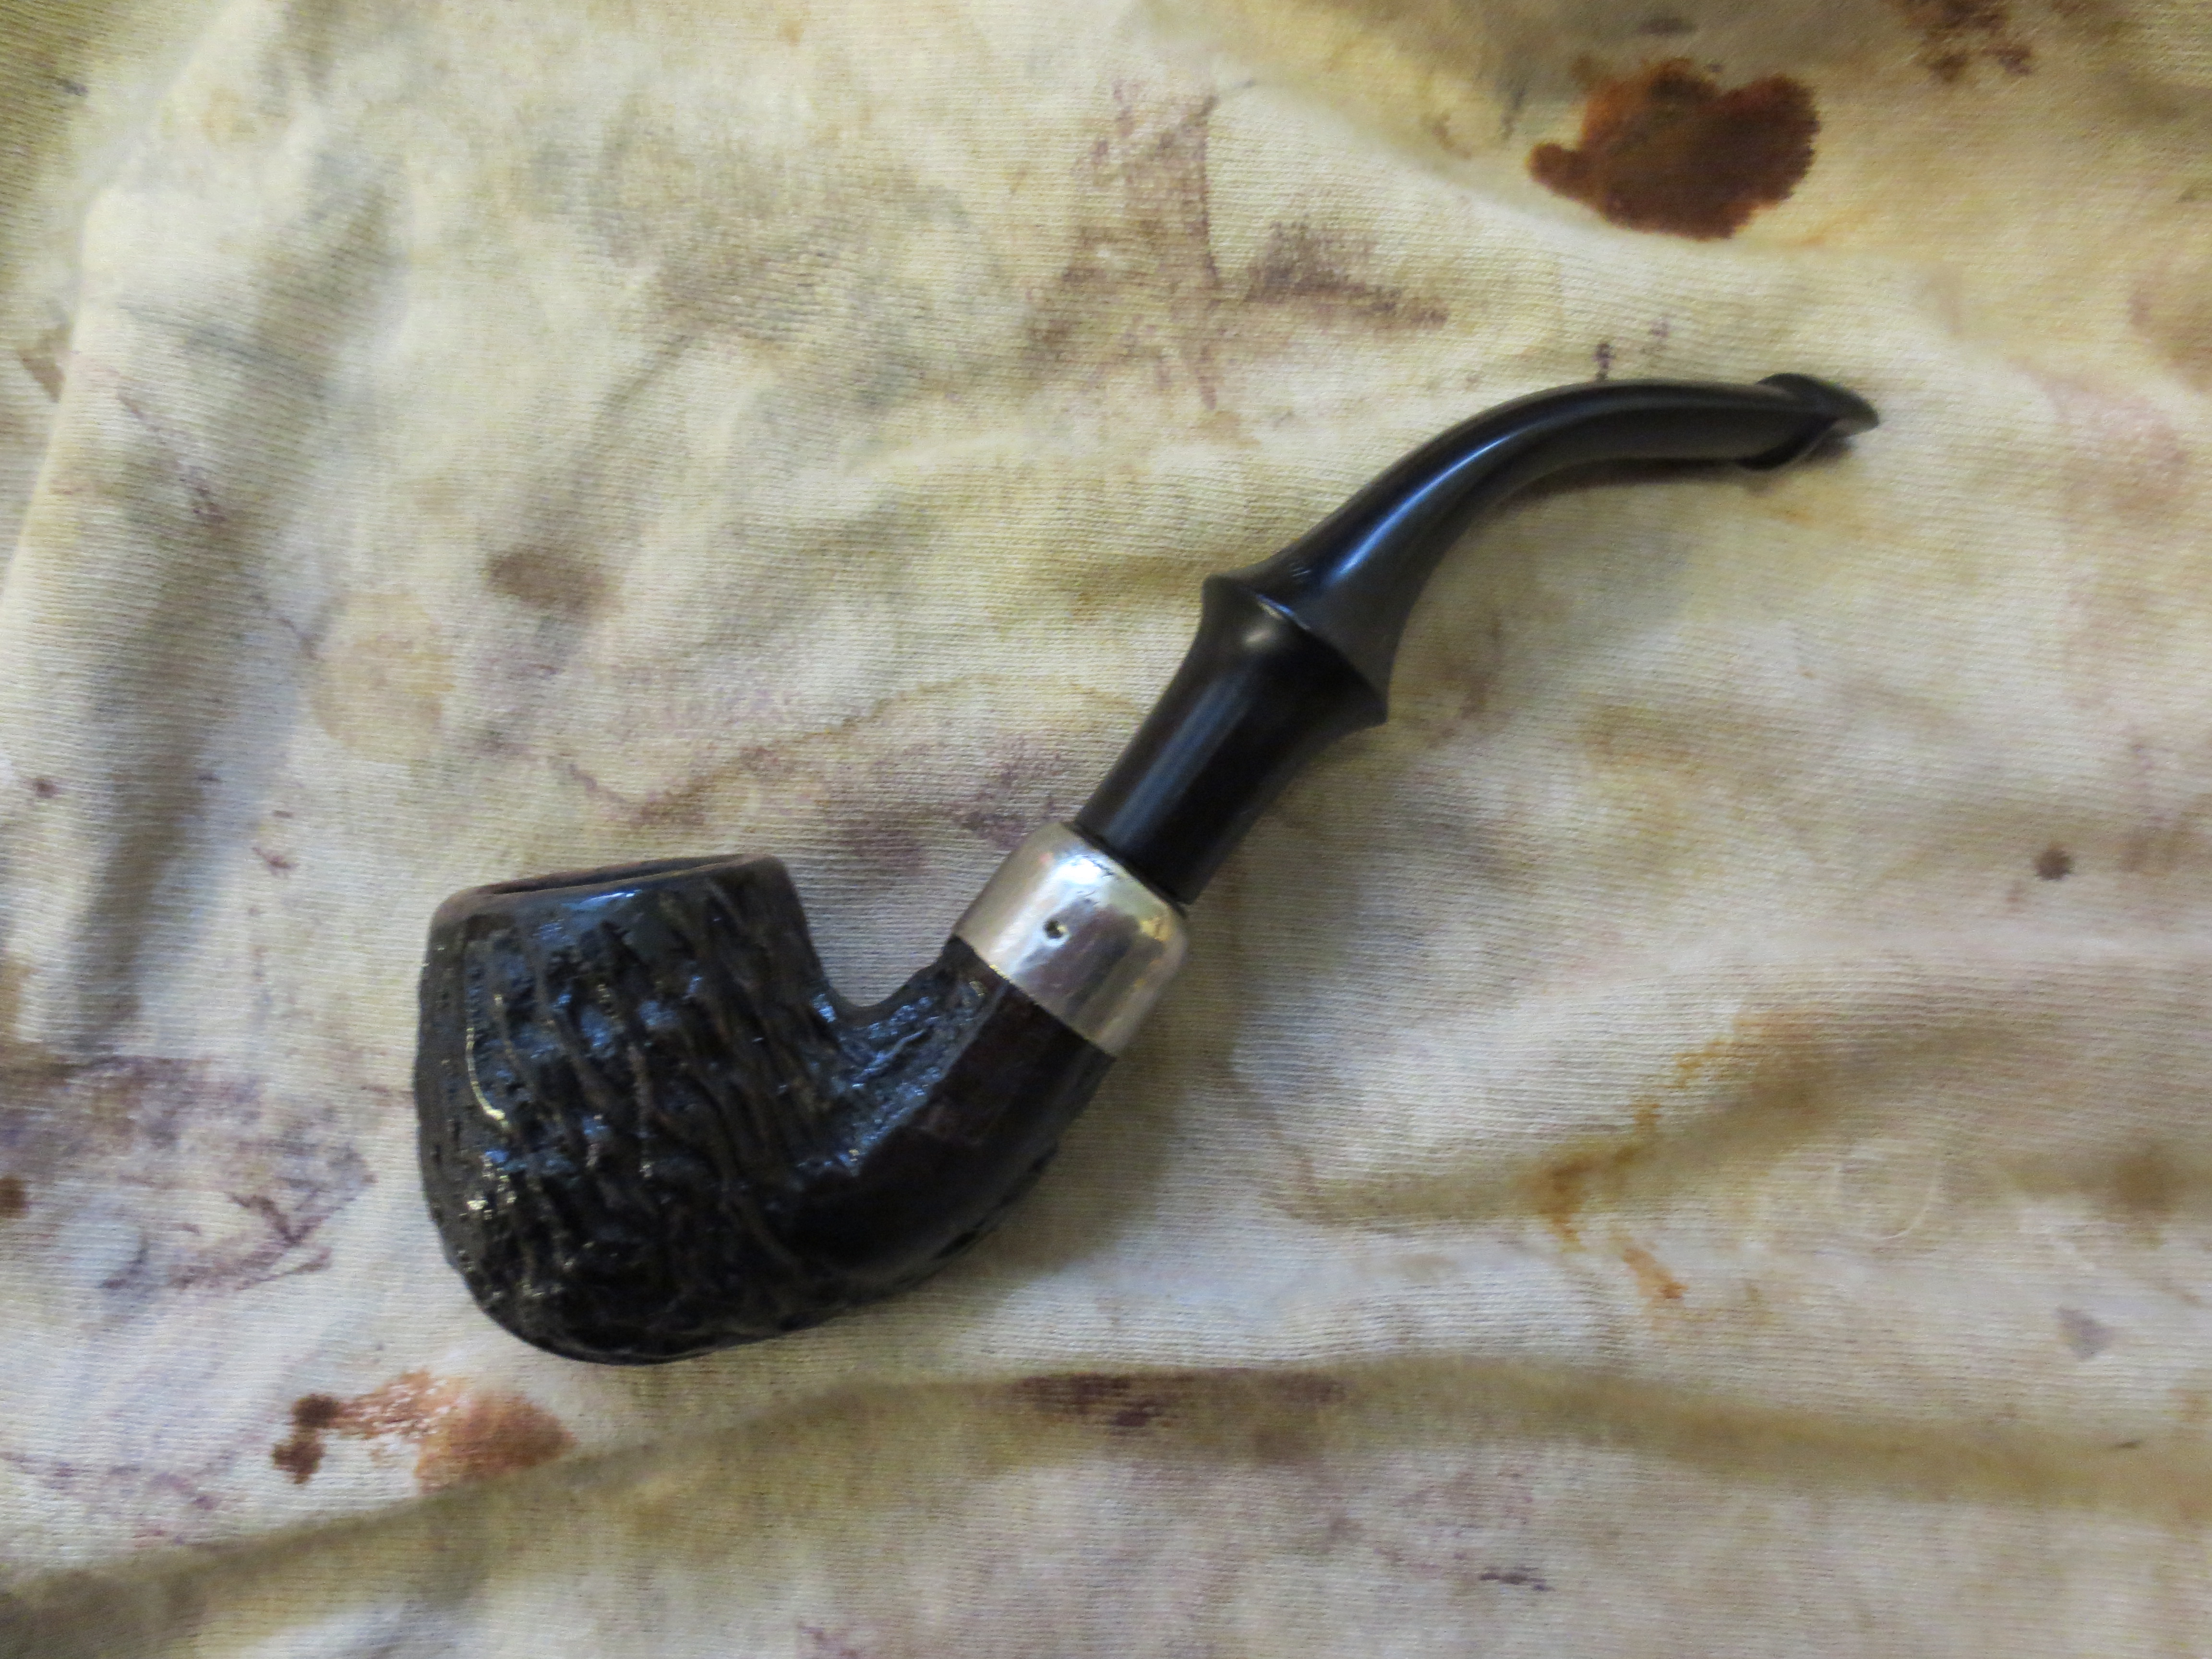
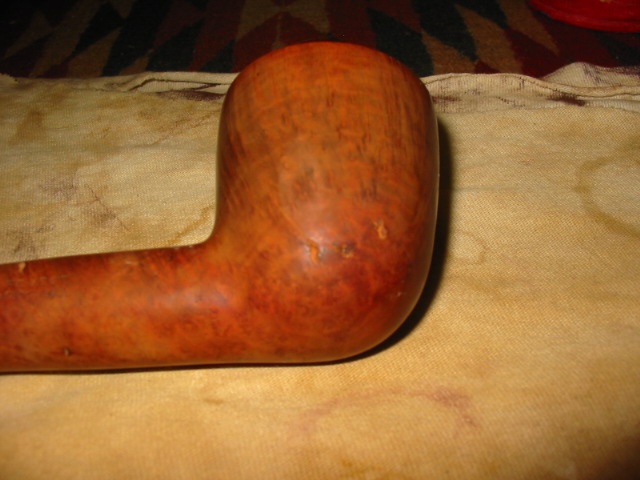
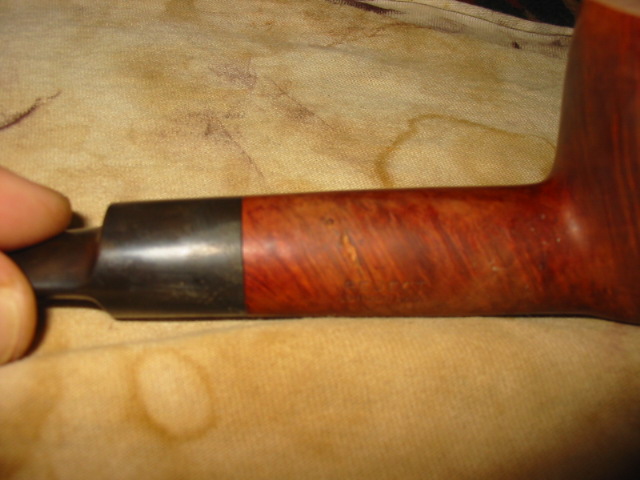
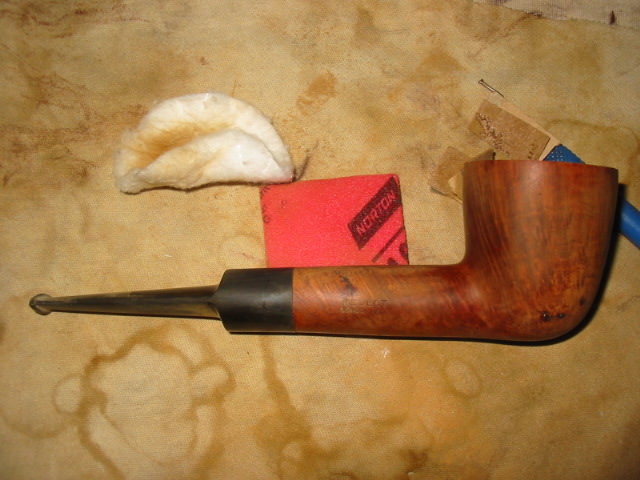
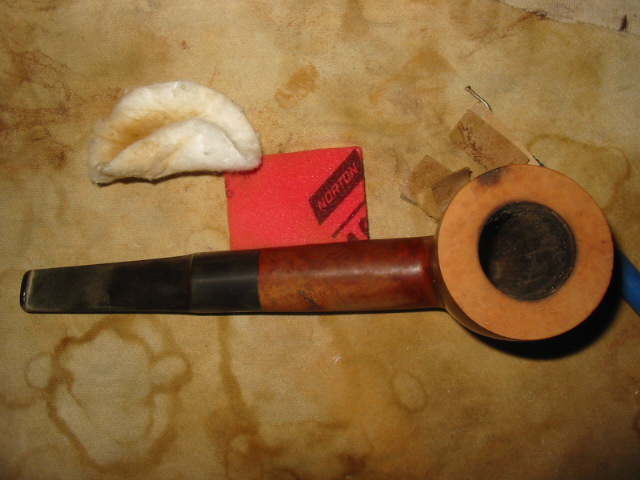
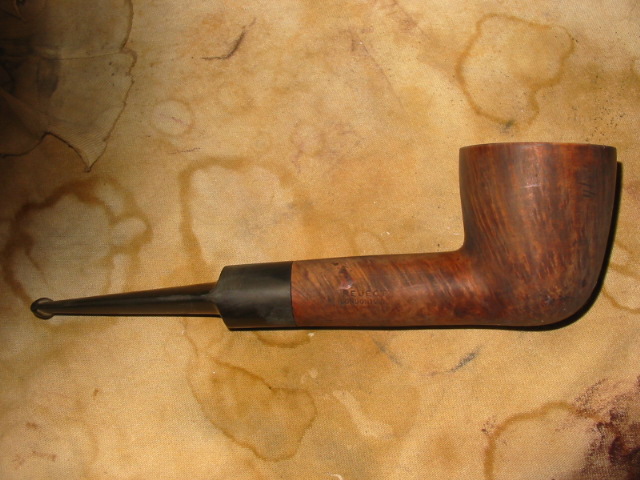
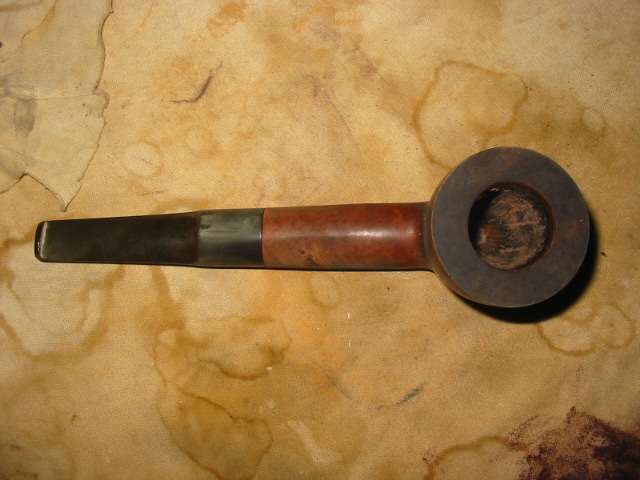
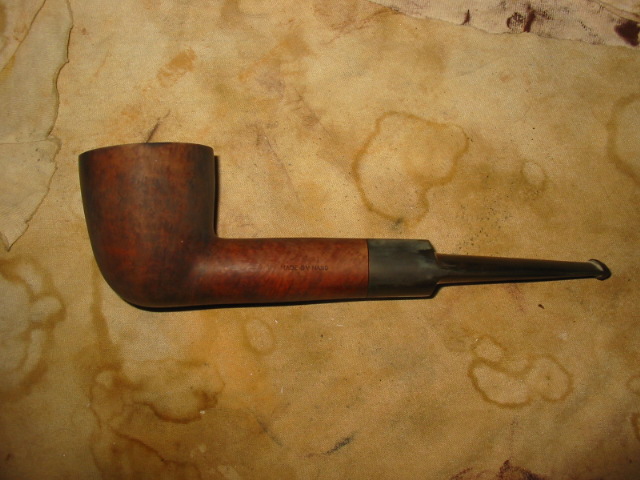
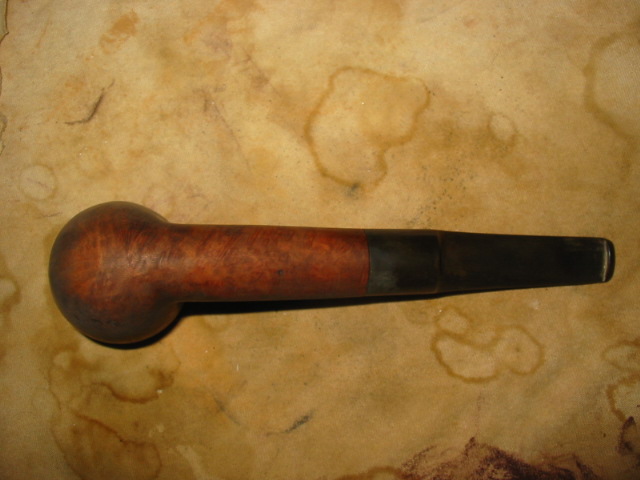
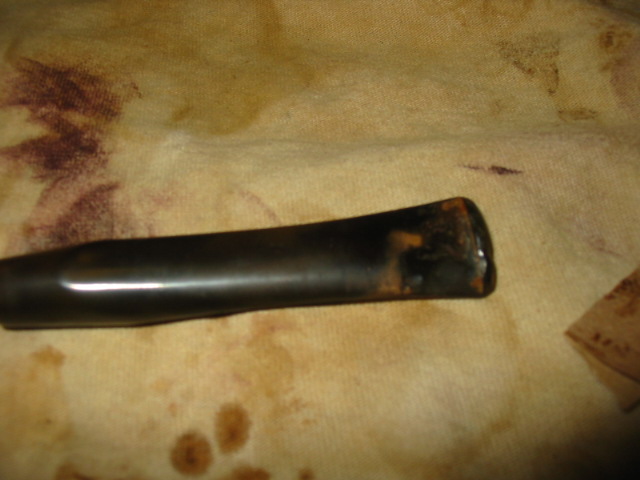
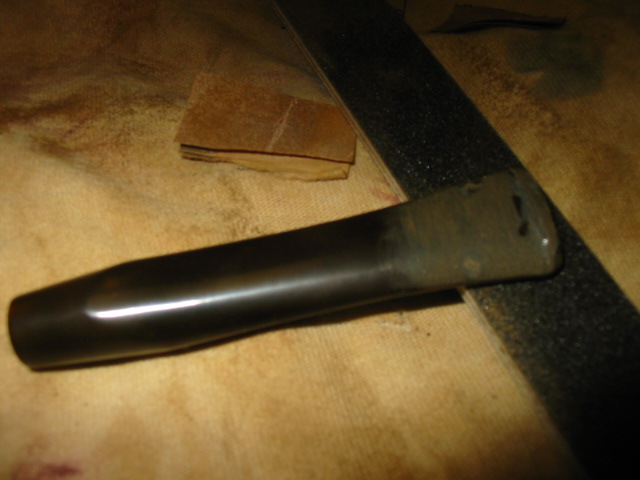
I picked this Irwin’s 9448 up not too long ago expecting it to be an easy clean up, which was partly right and partly wrong, and knowing it was a GBD second it should be a great pipe for the money. From the seller’s photos I figured a little heat to lift the tooth dents, some light sanding and then micro meshing and the stem would be good to go. The stummel I figured would need to be cleaned, soaked in an alcohol bath and retained. Here are the photos from the seller:

Seller's Photo

Seller’s Photo

IMG_5457 (2) IMG_5458 (2) IMG_5459 (2) IMG_5460 (2) IMG_5461 (2) IMG_5462 (2)

I forgot to take my own photos when the pipe arrived and during the process so only the seller’s before and my after photos will be shown. The process went as follows though:

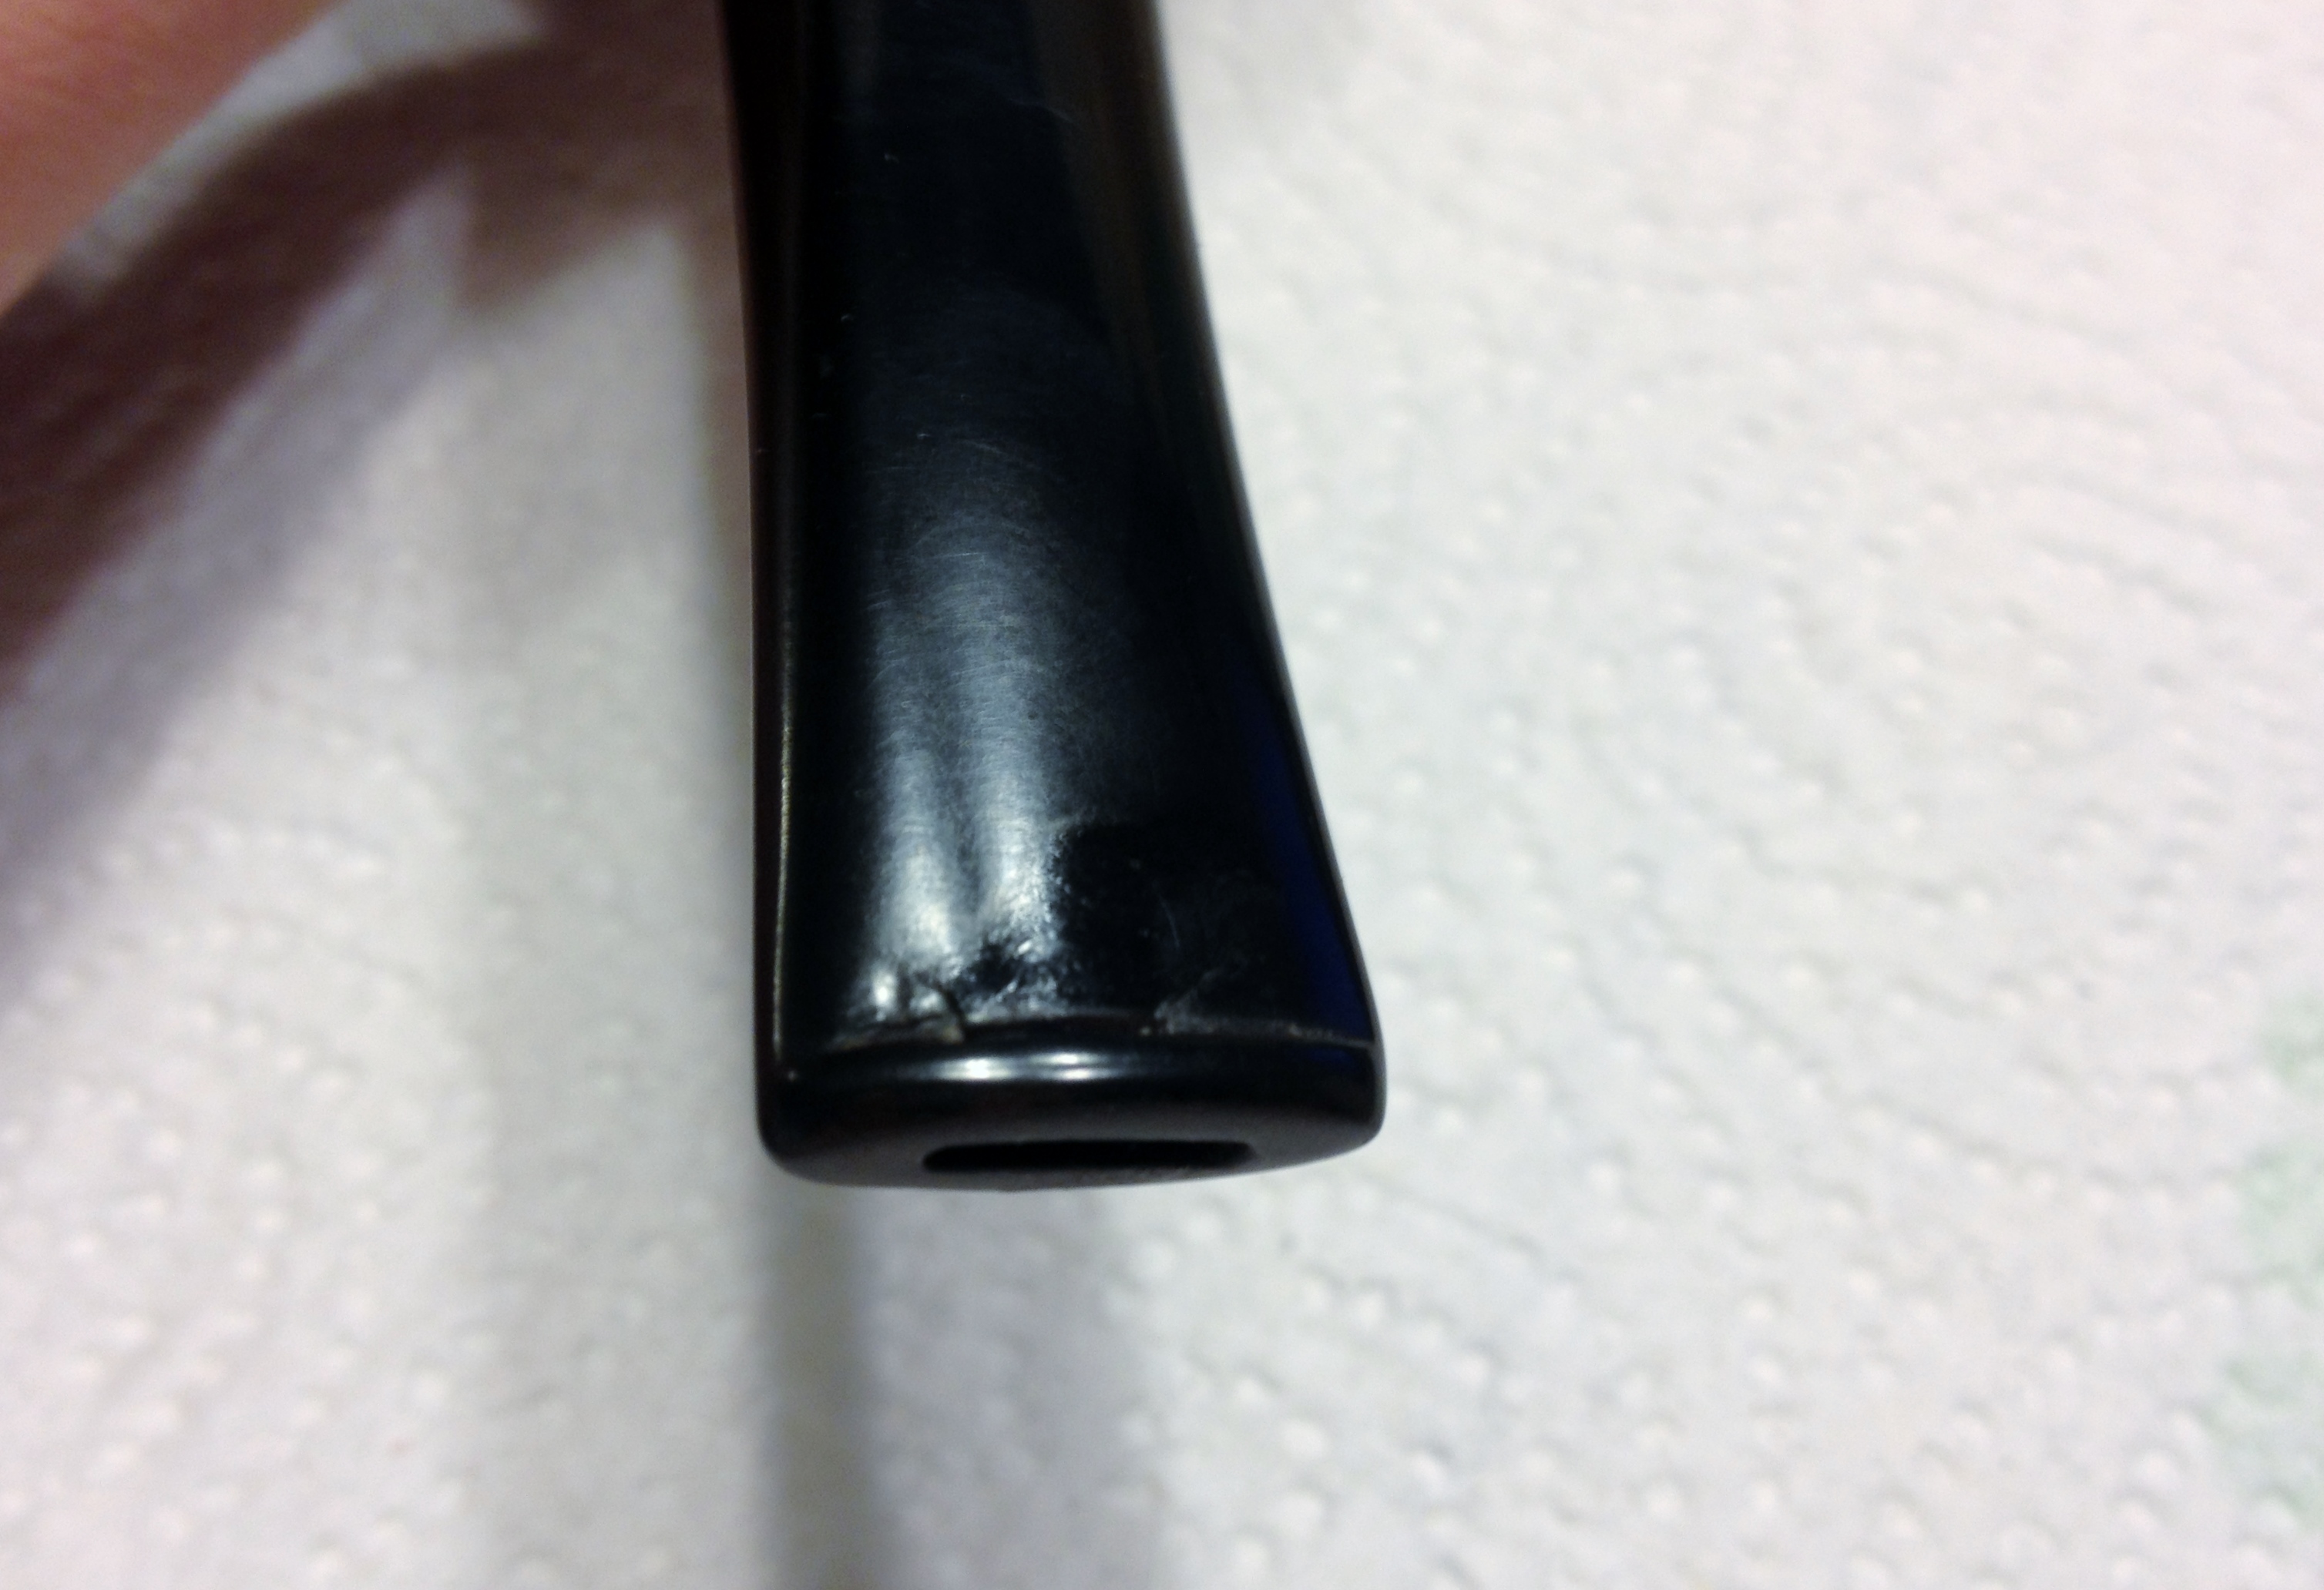
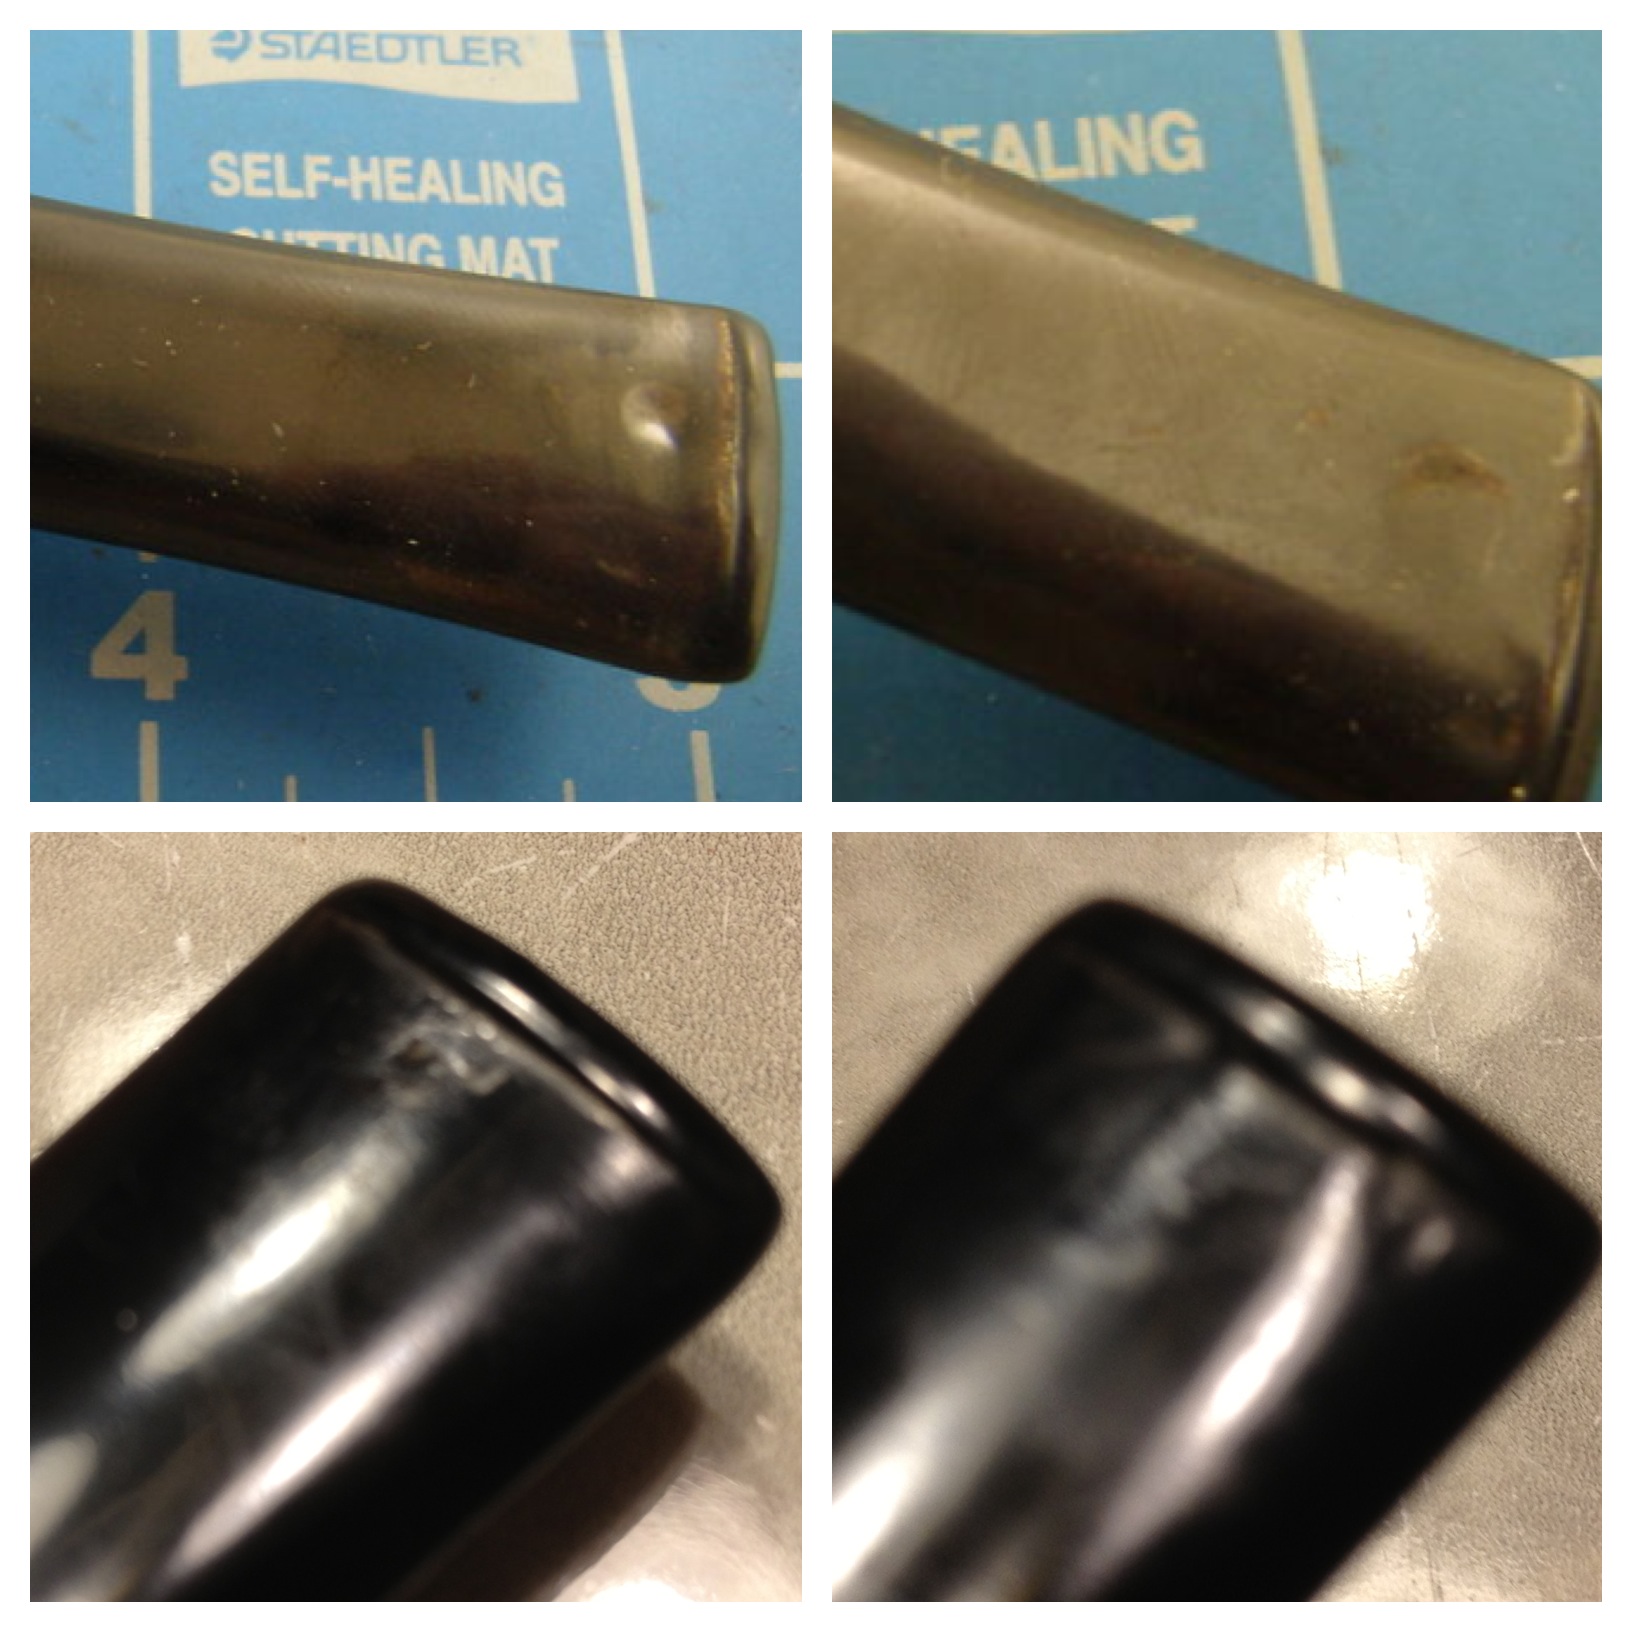
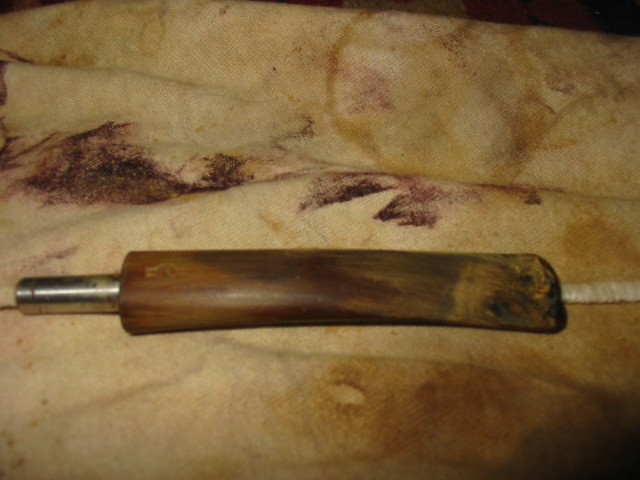
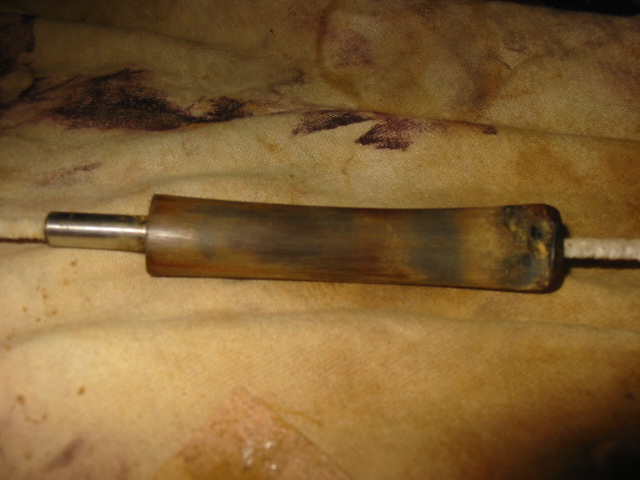
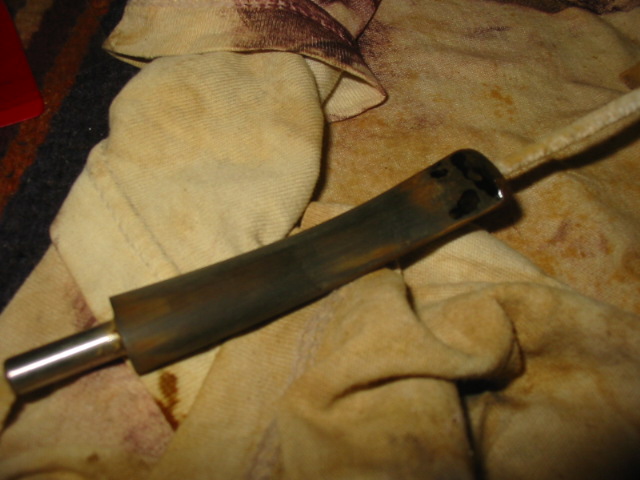
The stummel was in better shape than I anticipated: it was dirty and did have a few dents to raise but was in really good condition overall. The stem was another story: the tooth dents were much deeper than the photos showed or than I had expected. I knew that this stem was going to require filling the dents and thought over a few options, which I have more to say on later here. So, I decided to start with the stummel.

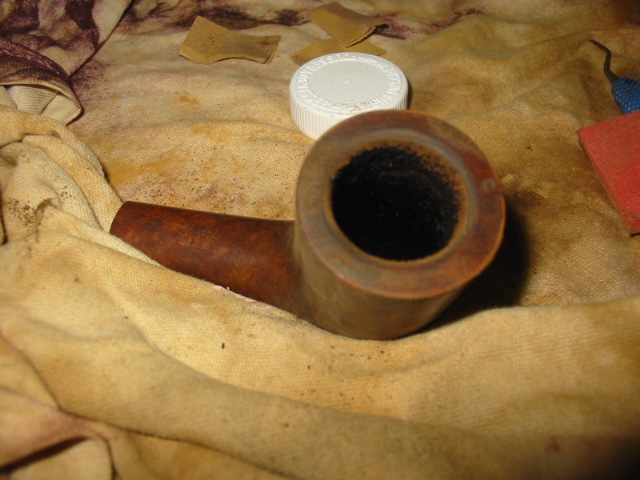
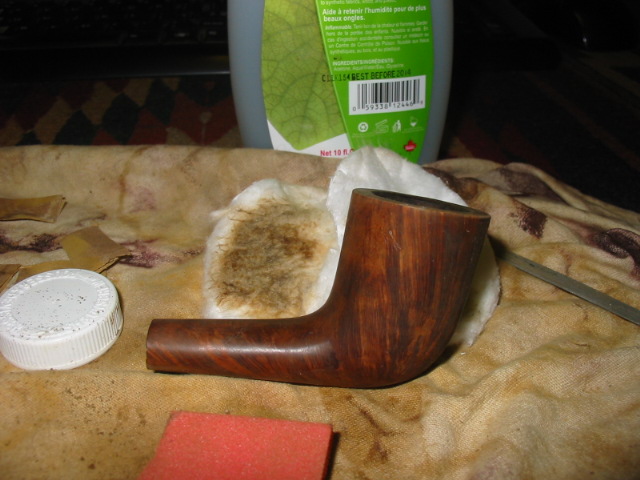
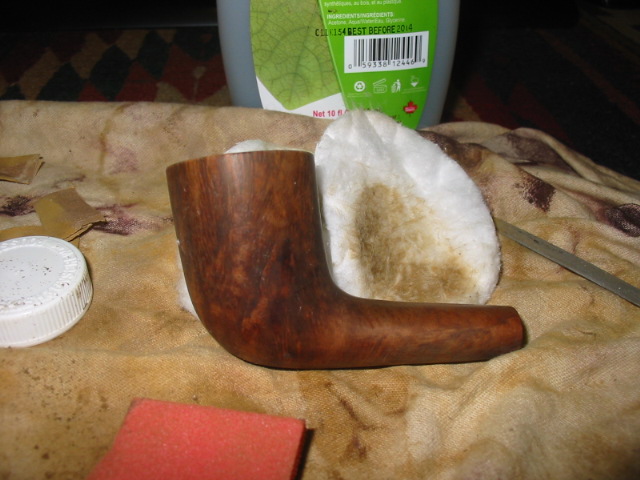
After reaming the bowl and cleaning the shank, I began by wiping the pipe down with acetone on disposable cotton pads, and went through many of them. After get most of the dirt and wax off, I took some cotton swabs dipped in 91% isopropyl alcohol and began to work off the heavy build up on the rim. It was a slow process but as the layers came off I could see the rim was in very nice shape and didn’t need topped. Once all the gunk was off, I took a few more passes over the entire stummel with a couple more cotton pads wet with alcohol to make sure all the finish and dirt was removed. I then turned my attention to the dents: one on the front of the bowl, two on the bottom near where the curve of the bowl met the flat “sitter” area, and a couple on the rim.

I used my heat gun to heat up the end of an old kitchen “butter knife” and a wet scrap rag to produce the steam to raise the dents. All of them came out fairly easily except for one on the “sitter” portion and it took several applications of steam to get it out. But it did finally raise.

At this point I went to the buffer to see what the stummel looked like. I buffed it with some Tripoli and then again my hand with an old t-shirt. I saw then that the pipe had good color under all the dirt, it had just been hidden. And the steam had done its job very nicely, too, giving me a pretty well smoothed out stummel. There was one fill on the left side of the bowl but not a large one and it didn’t really stand out to my eye so I decided to leave it alone. I wiped it down with one more alcohol pad to remove any trace left from the Tripoli and then decided to not sand or re-stain it; the color was really nice and the grain showed in a nice contrast. So I set the stummel aside to work on the stem.

I began by heating the stem, with a pipe cleaner inserted to make holding, moving and not damaging the airway easier. The dents lifted some but, as I expected, were too deep to come anywhere near level. So now it was time to try some patching or filling of the dents.

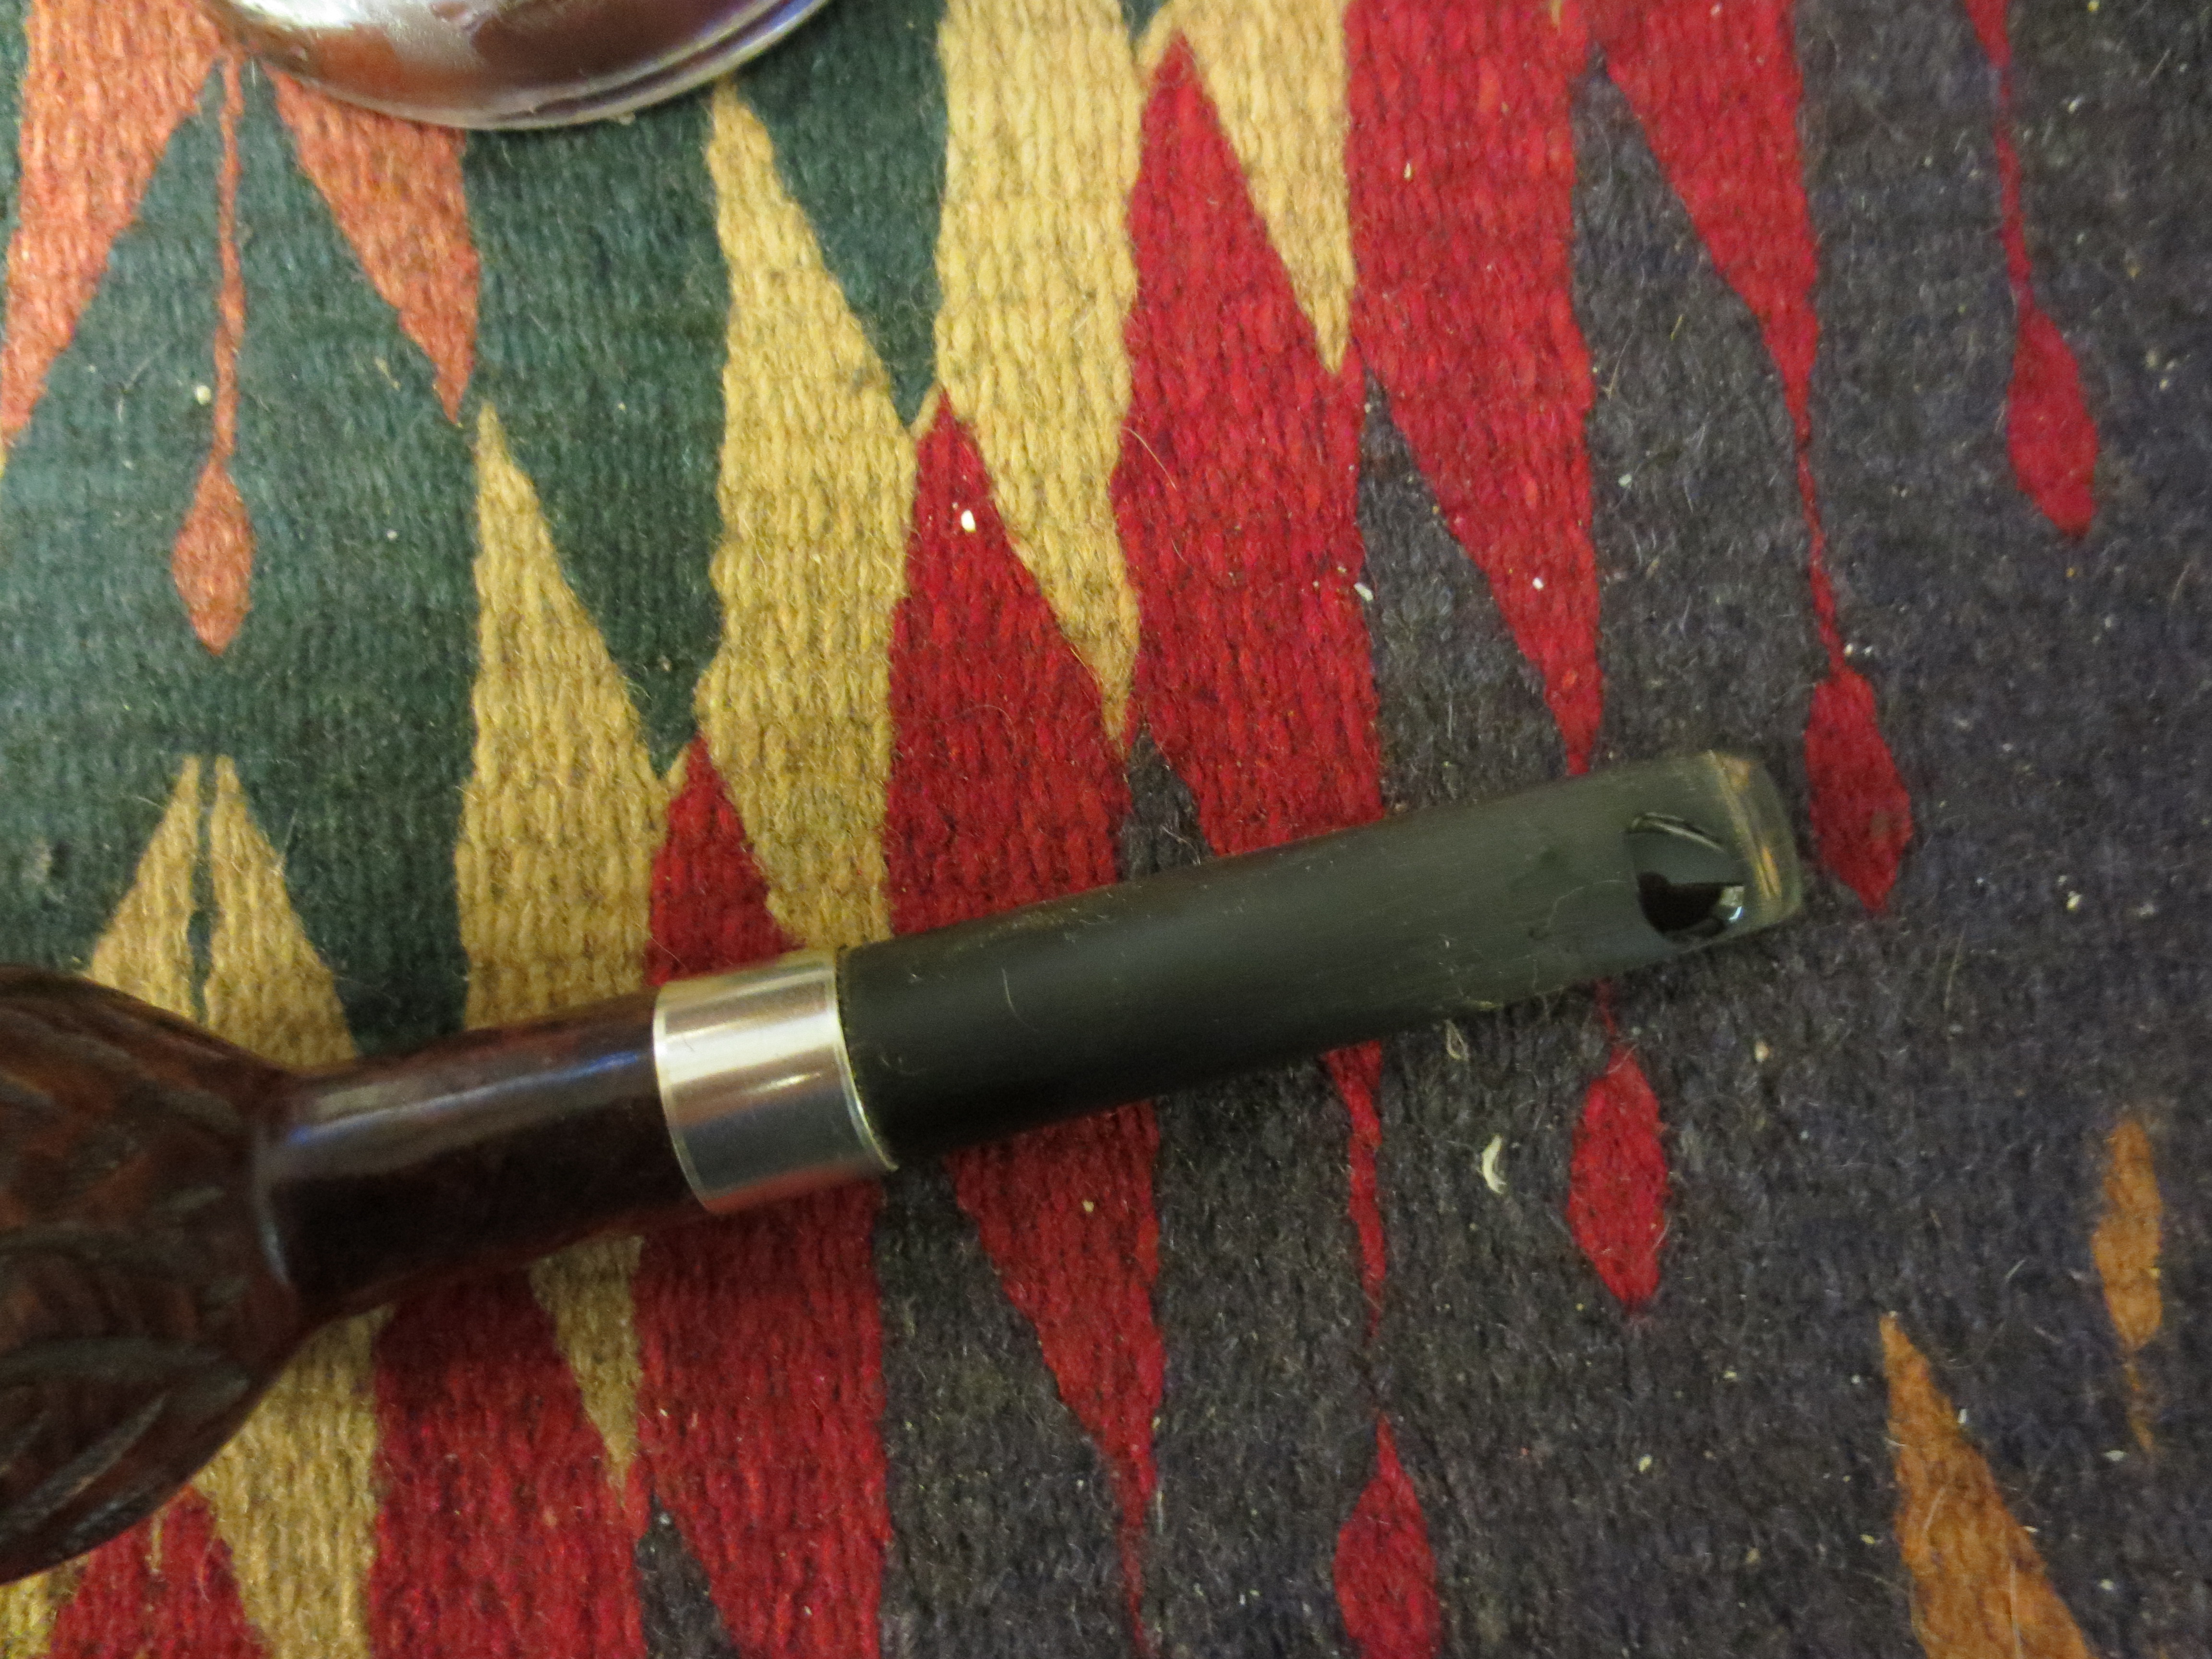
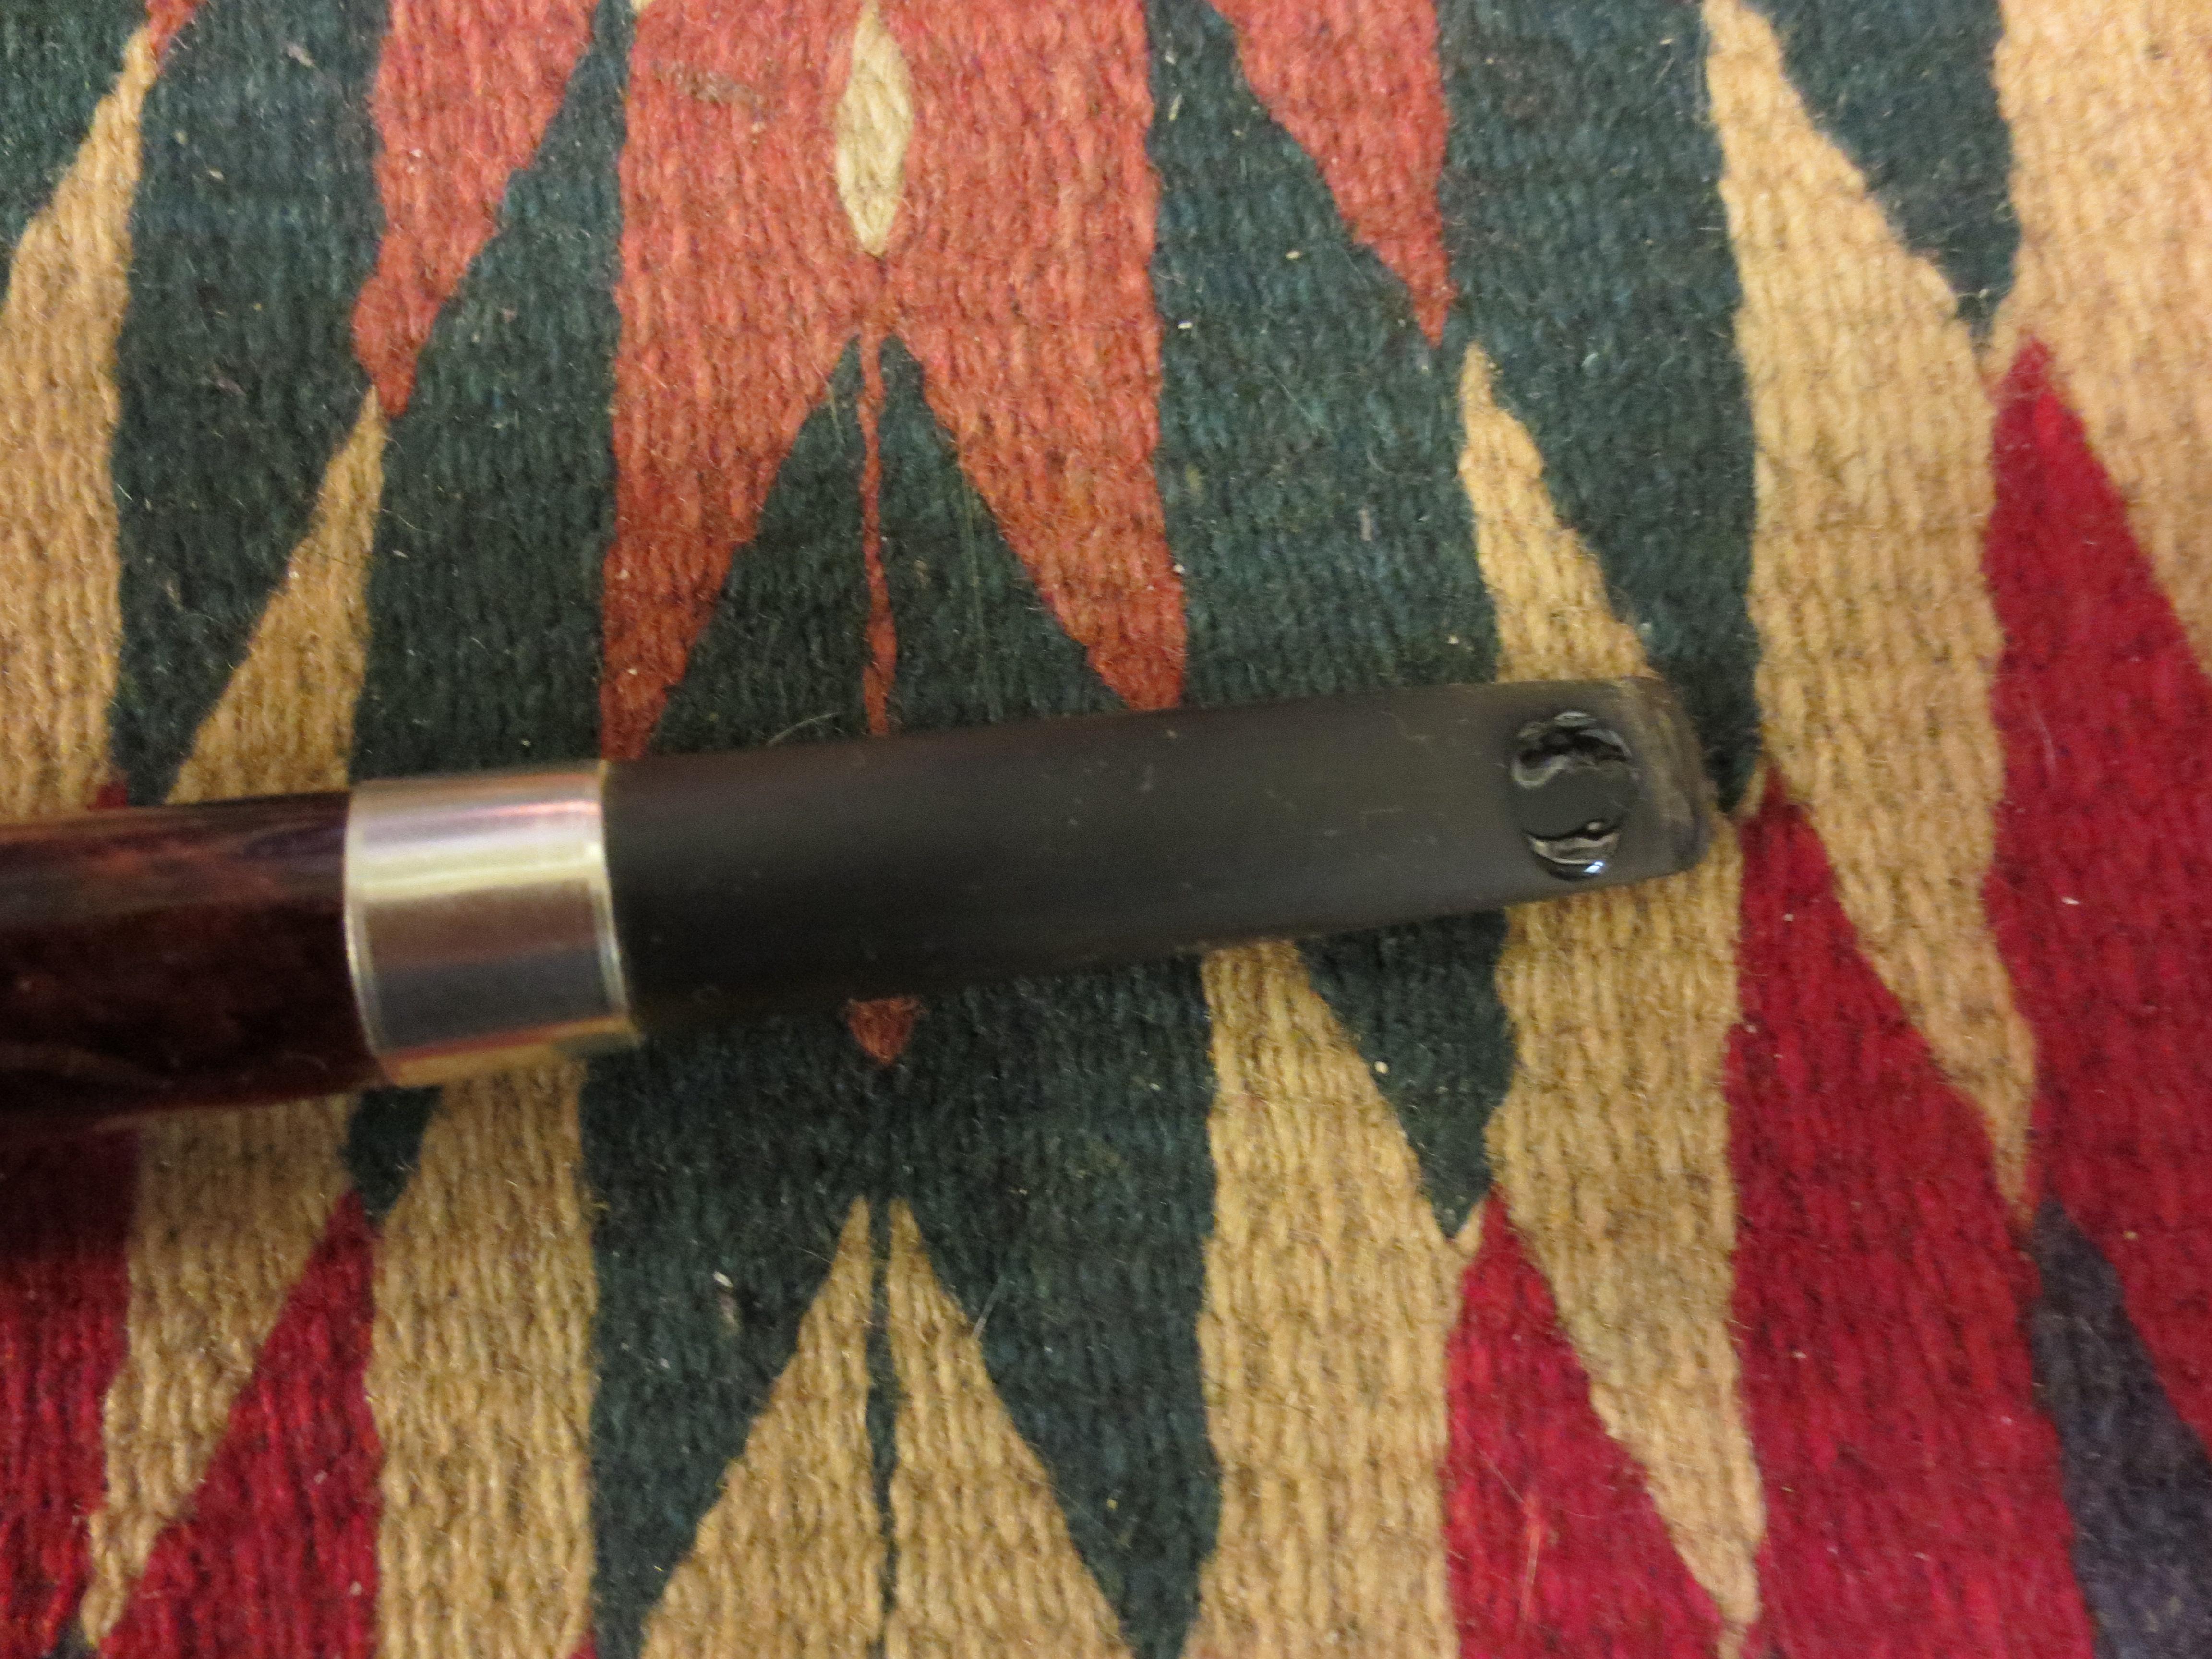
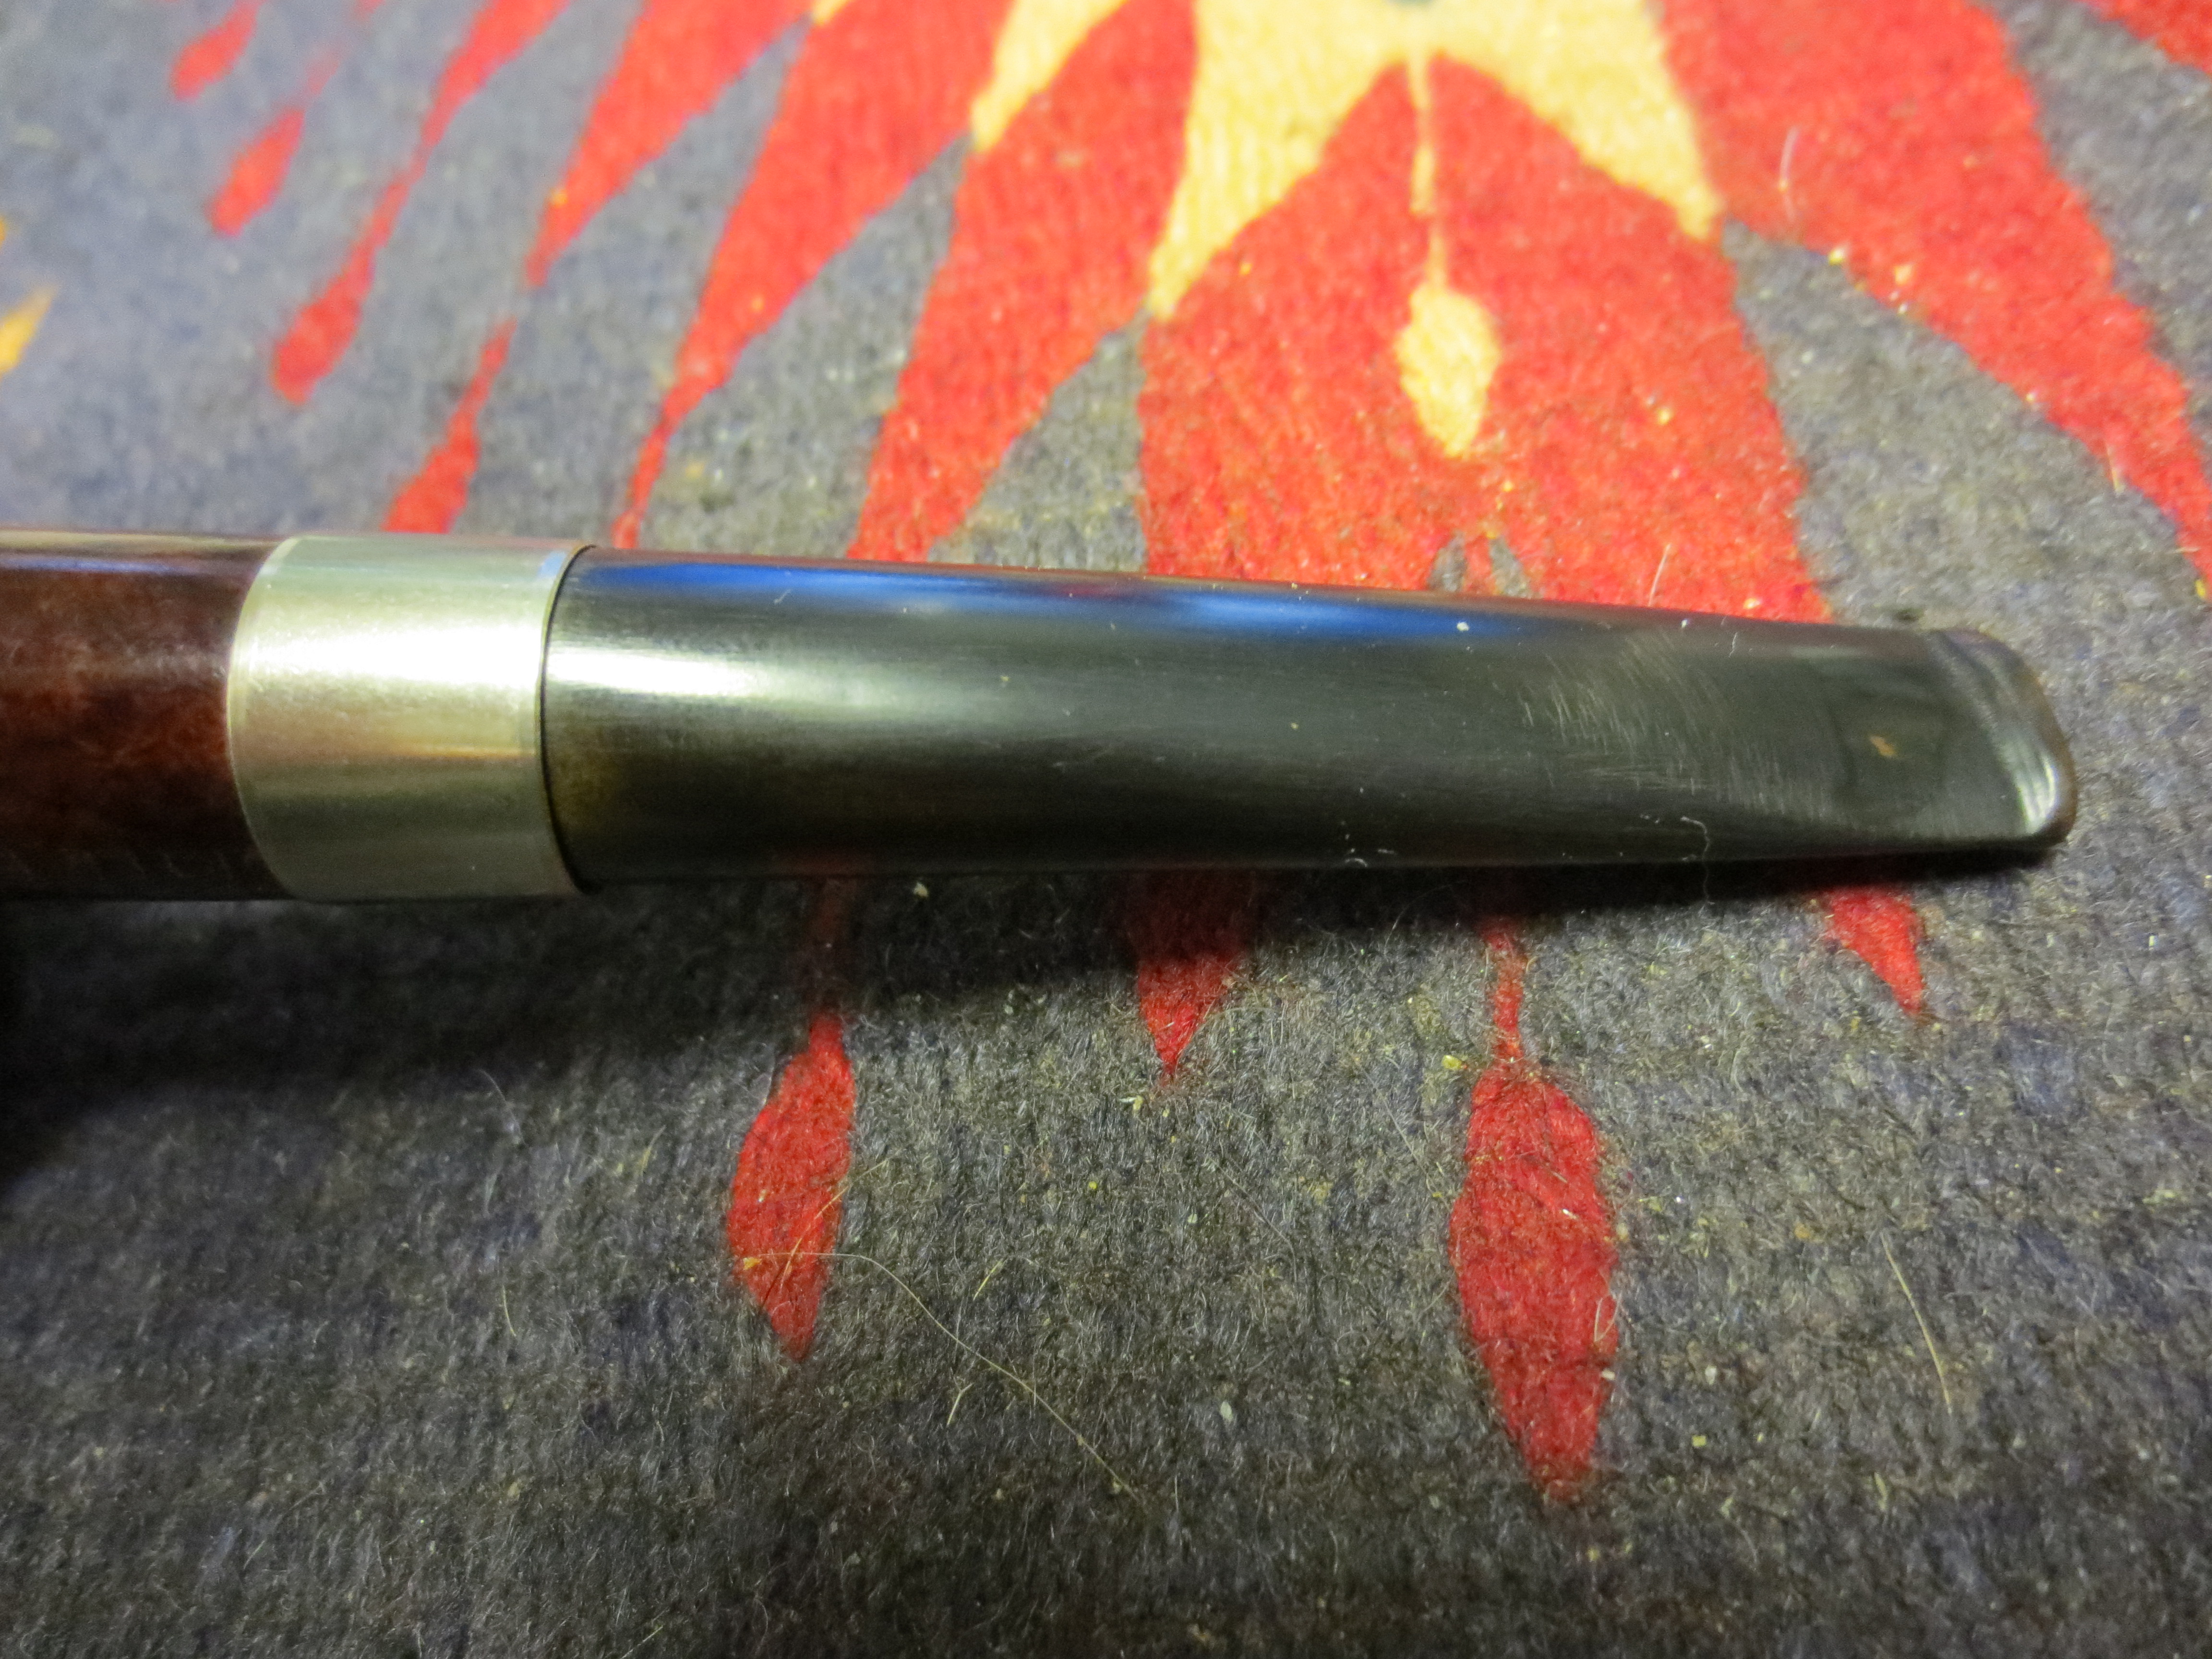
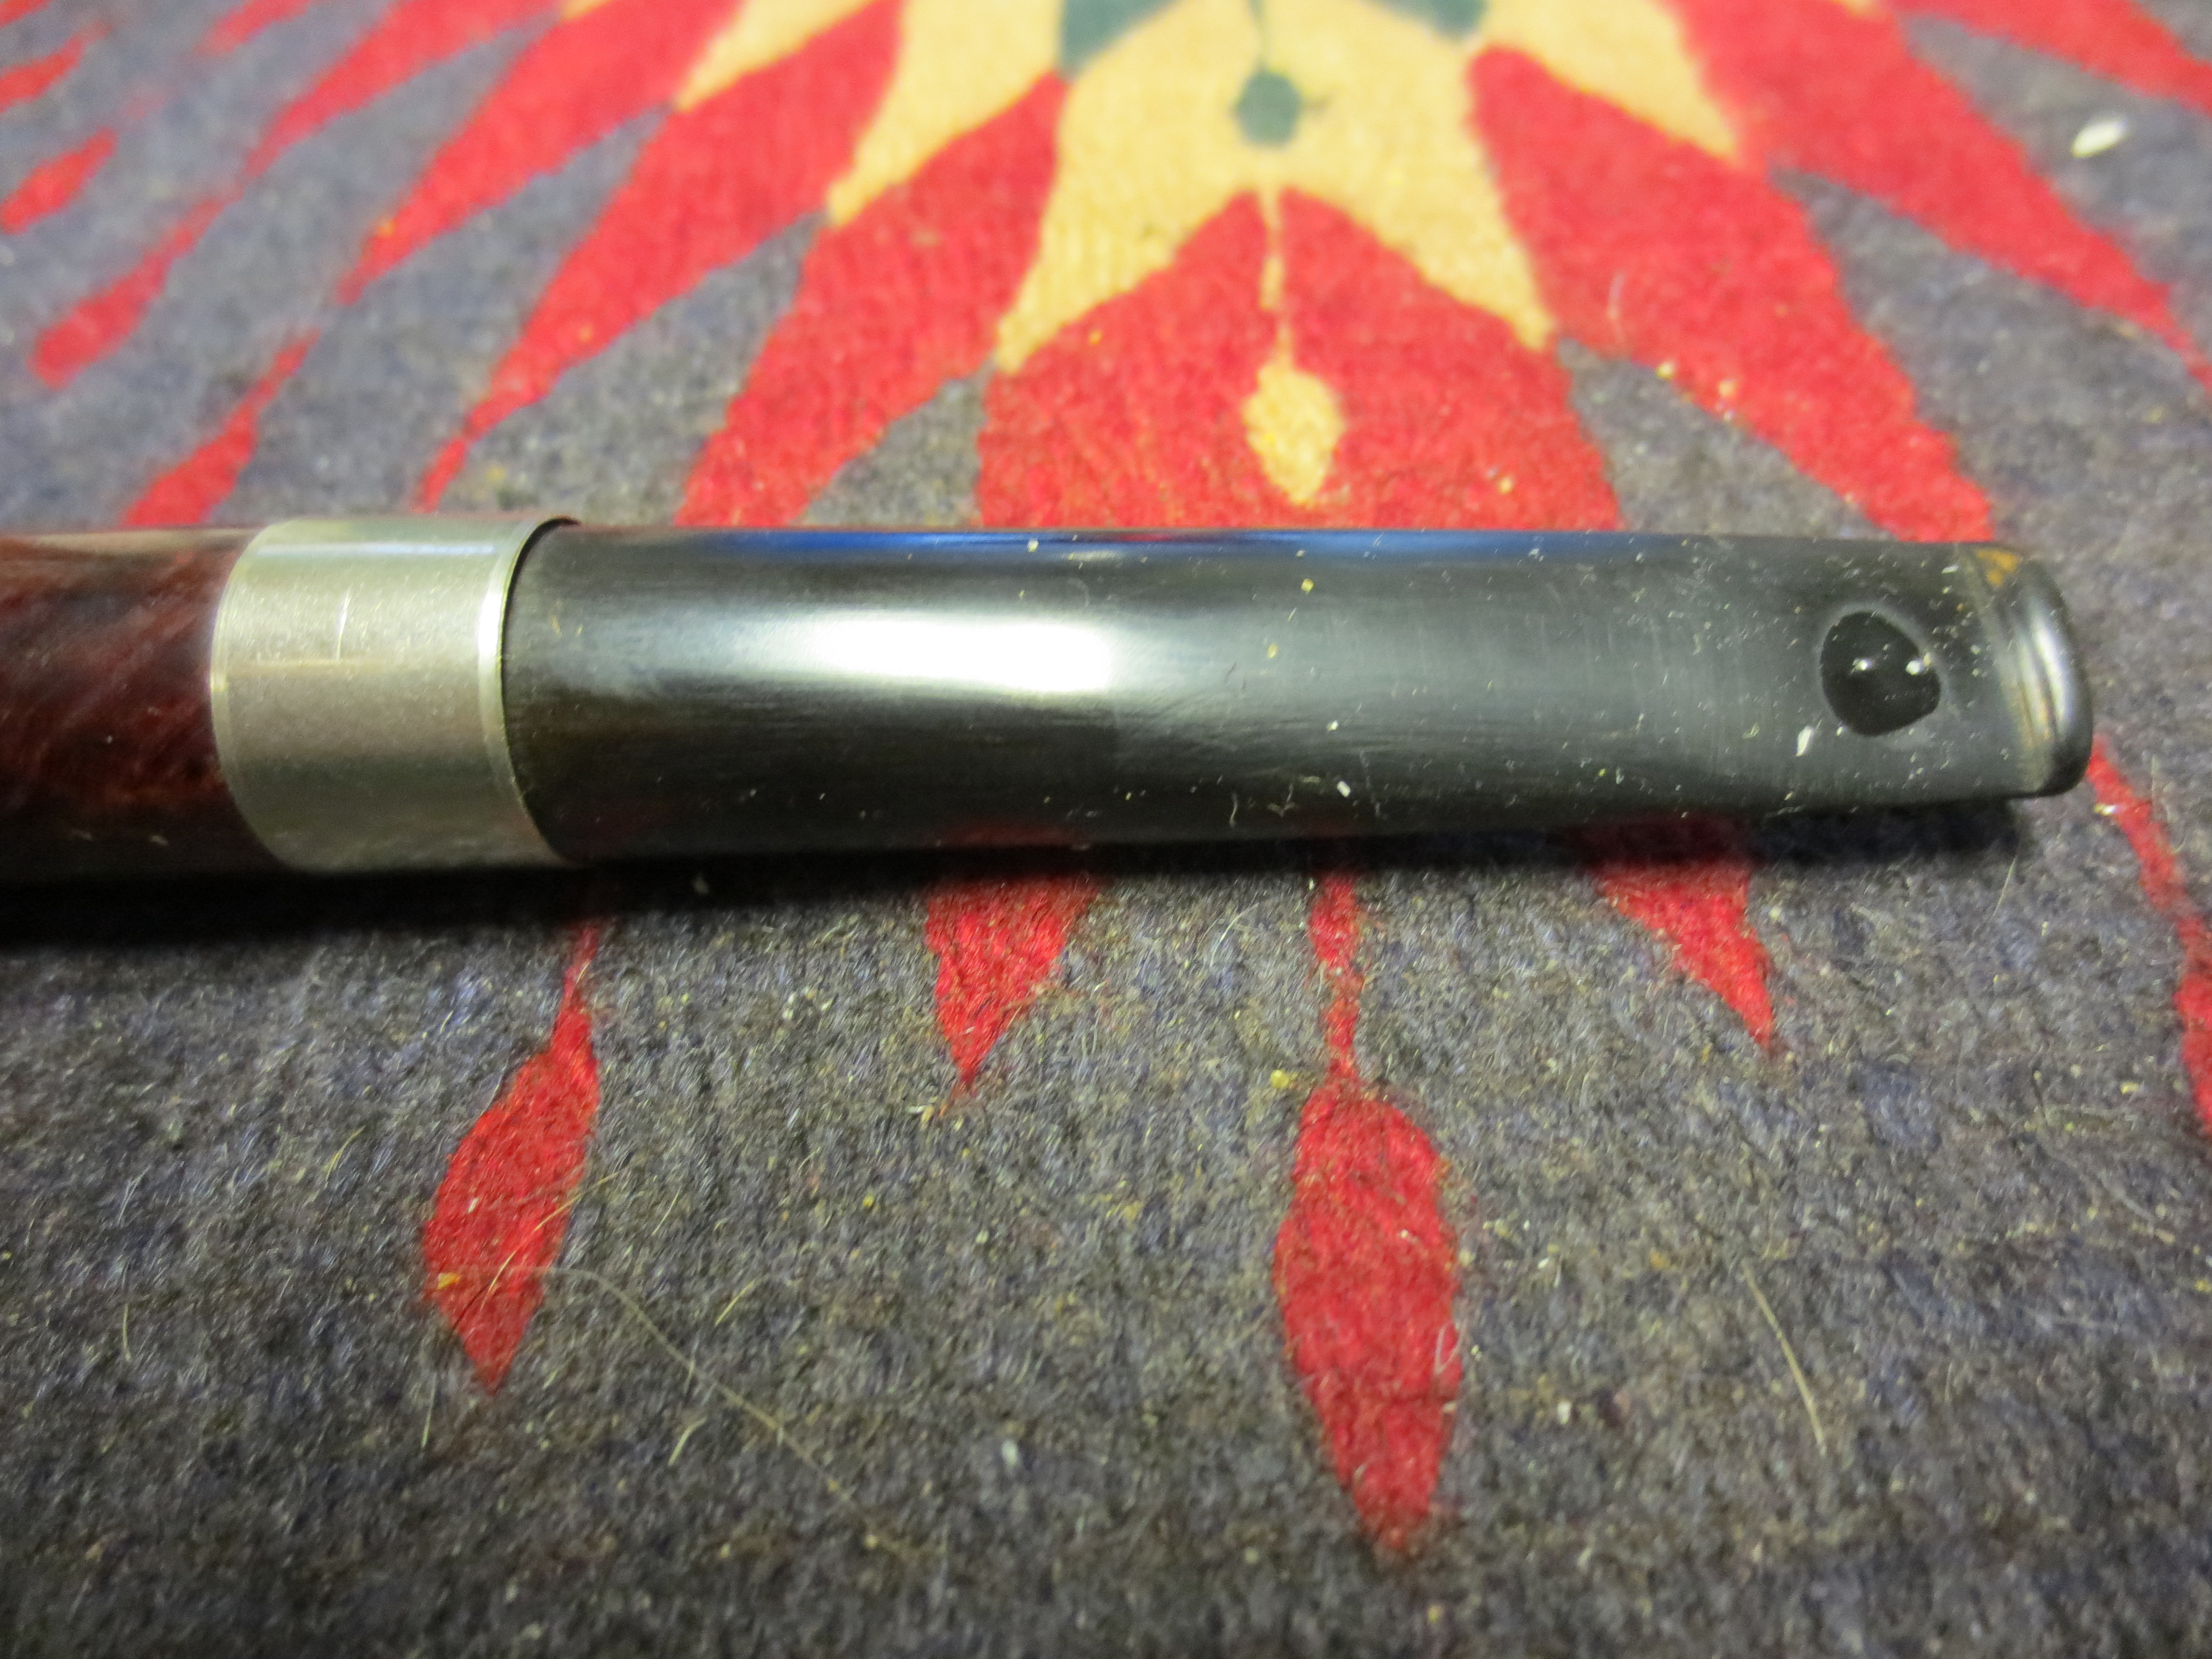
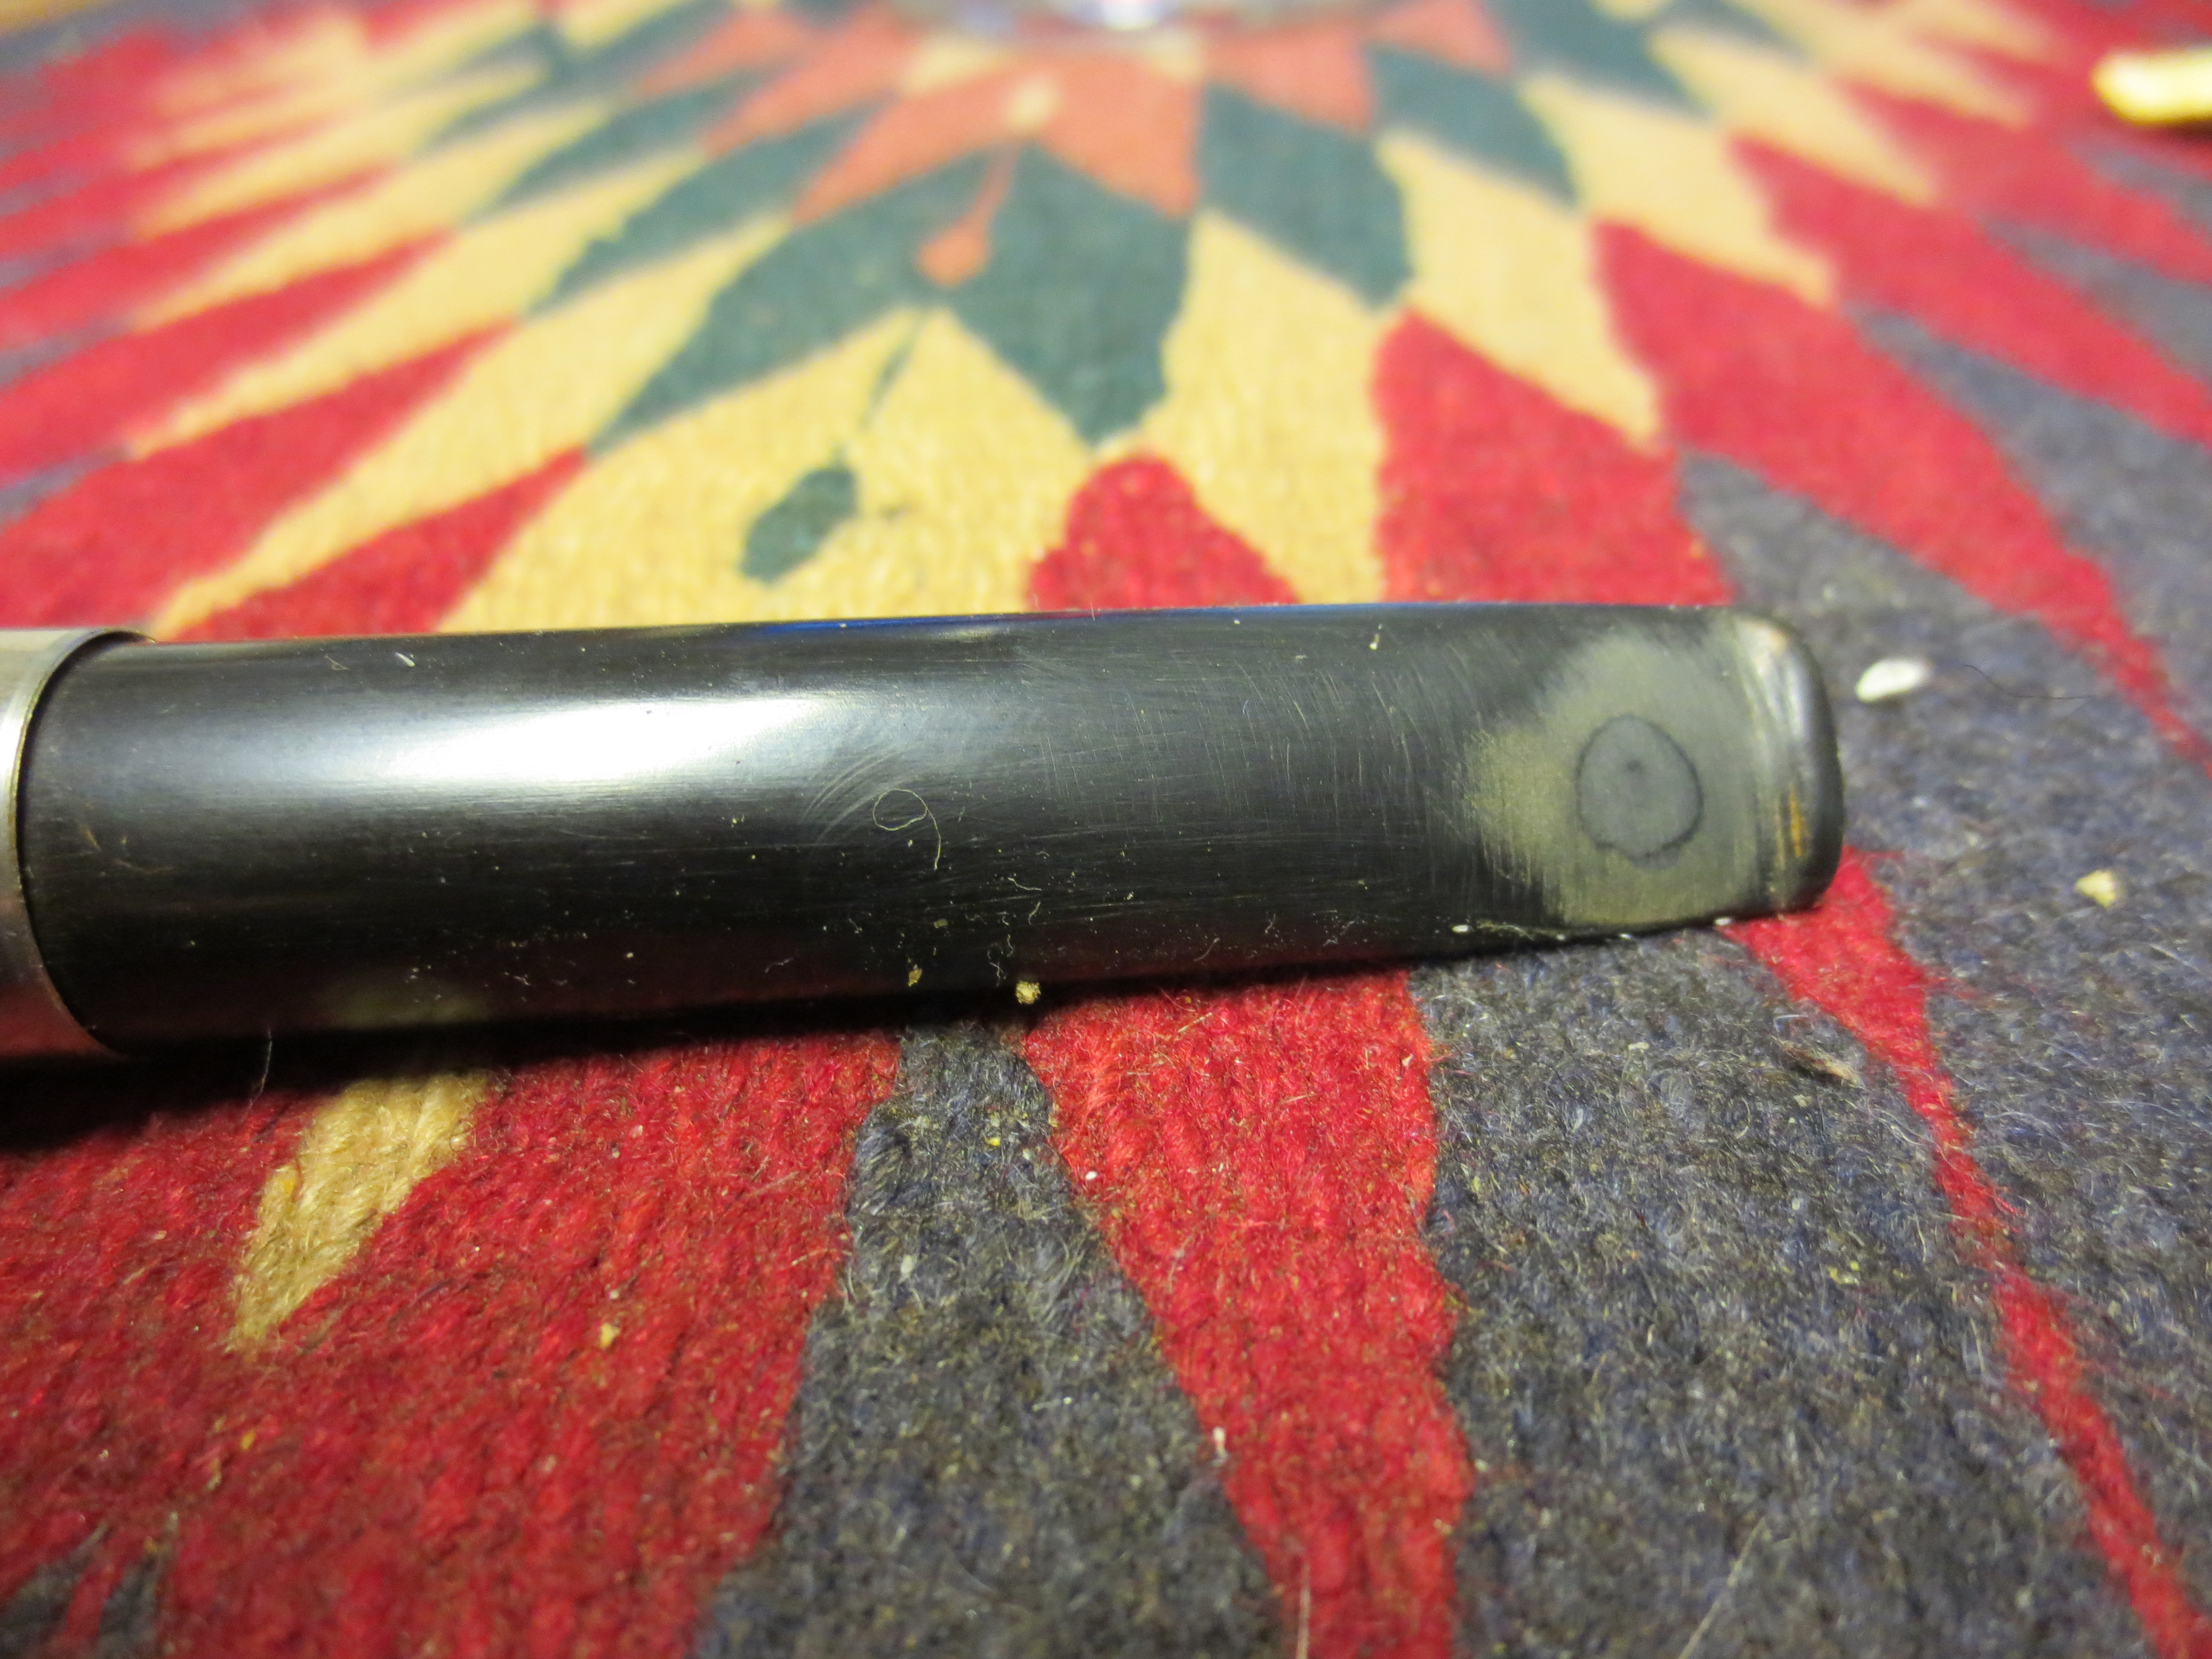
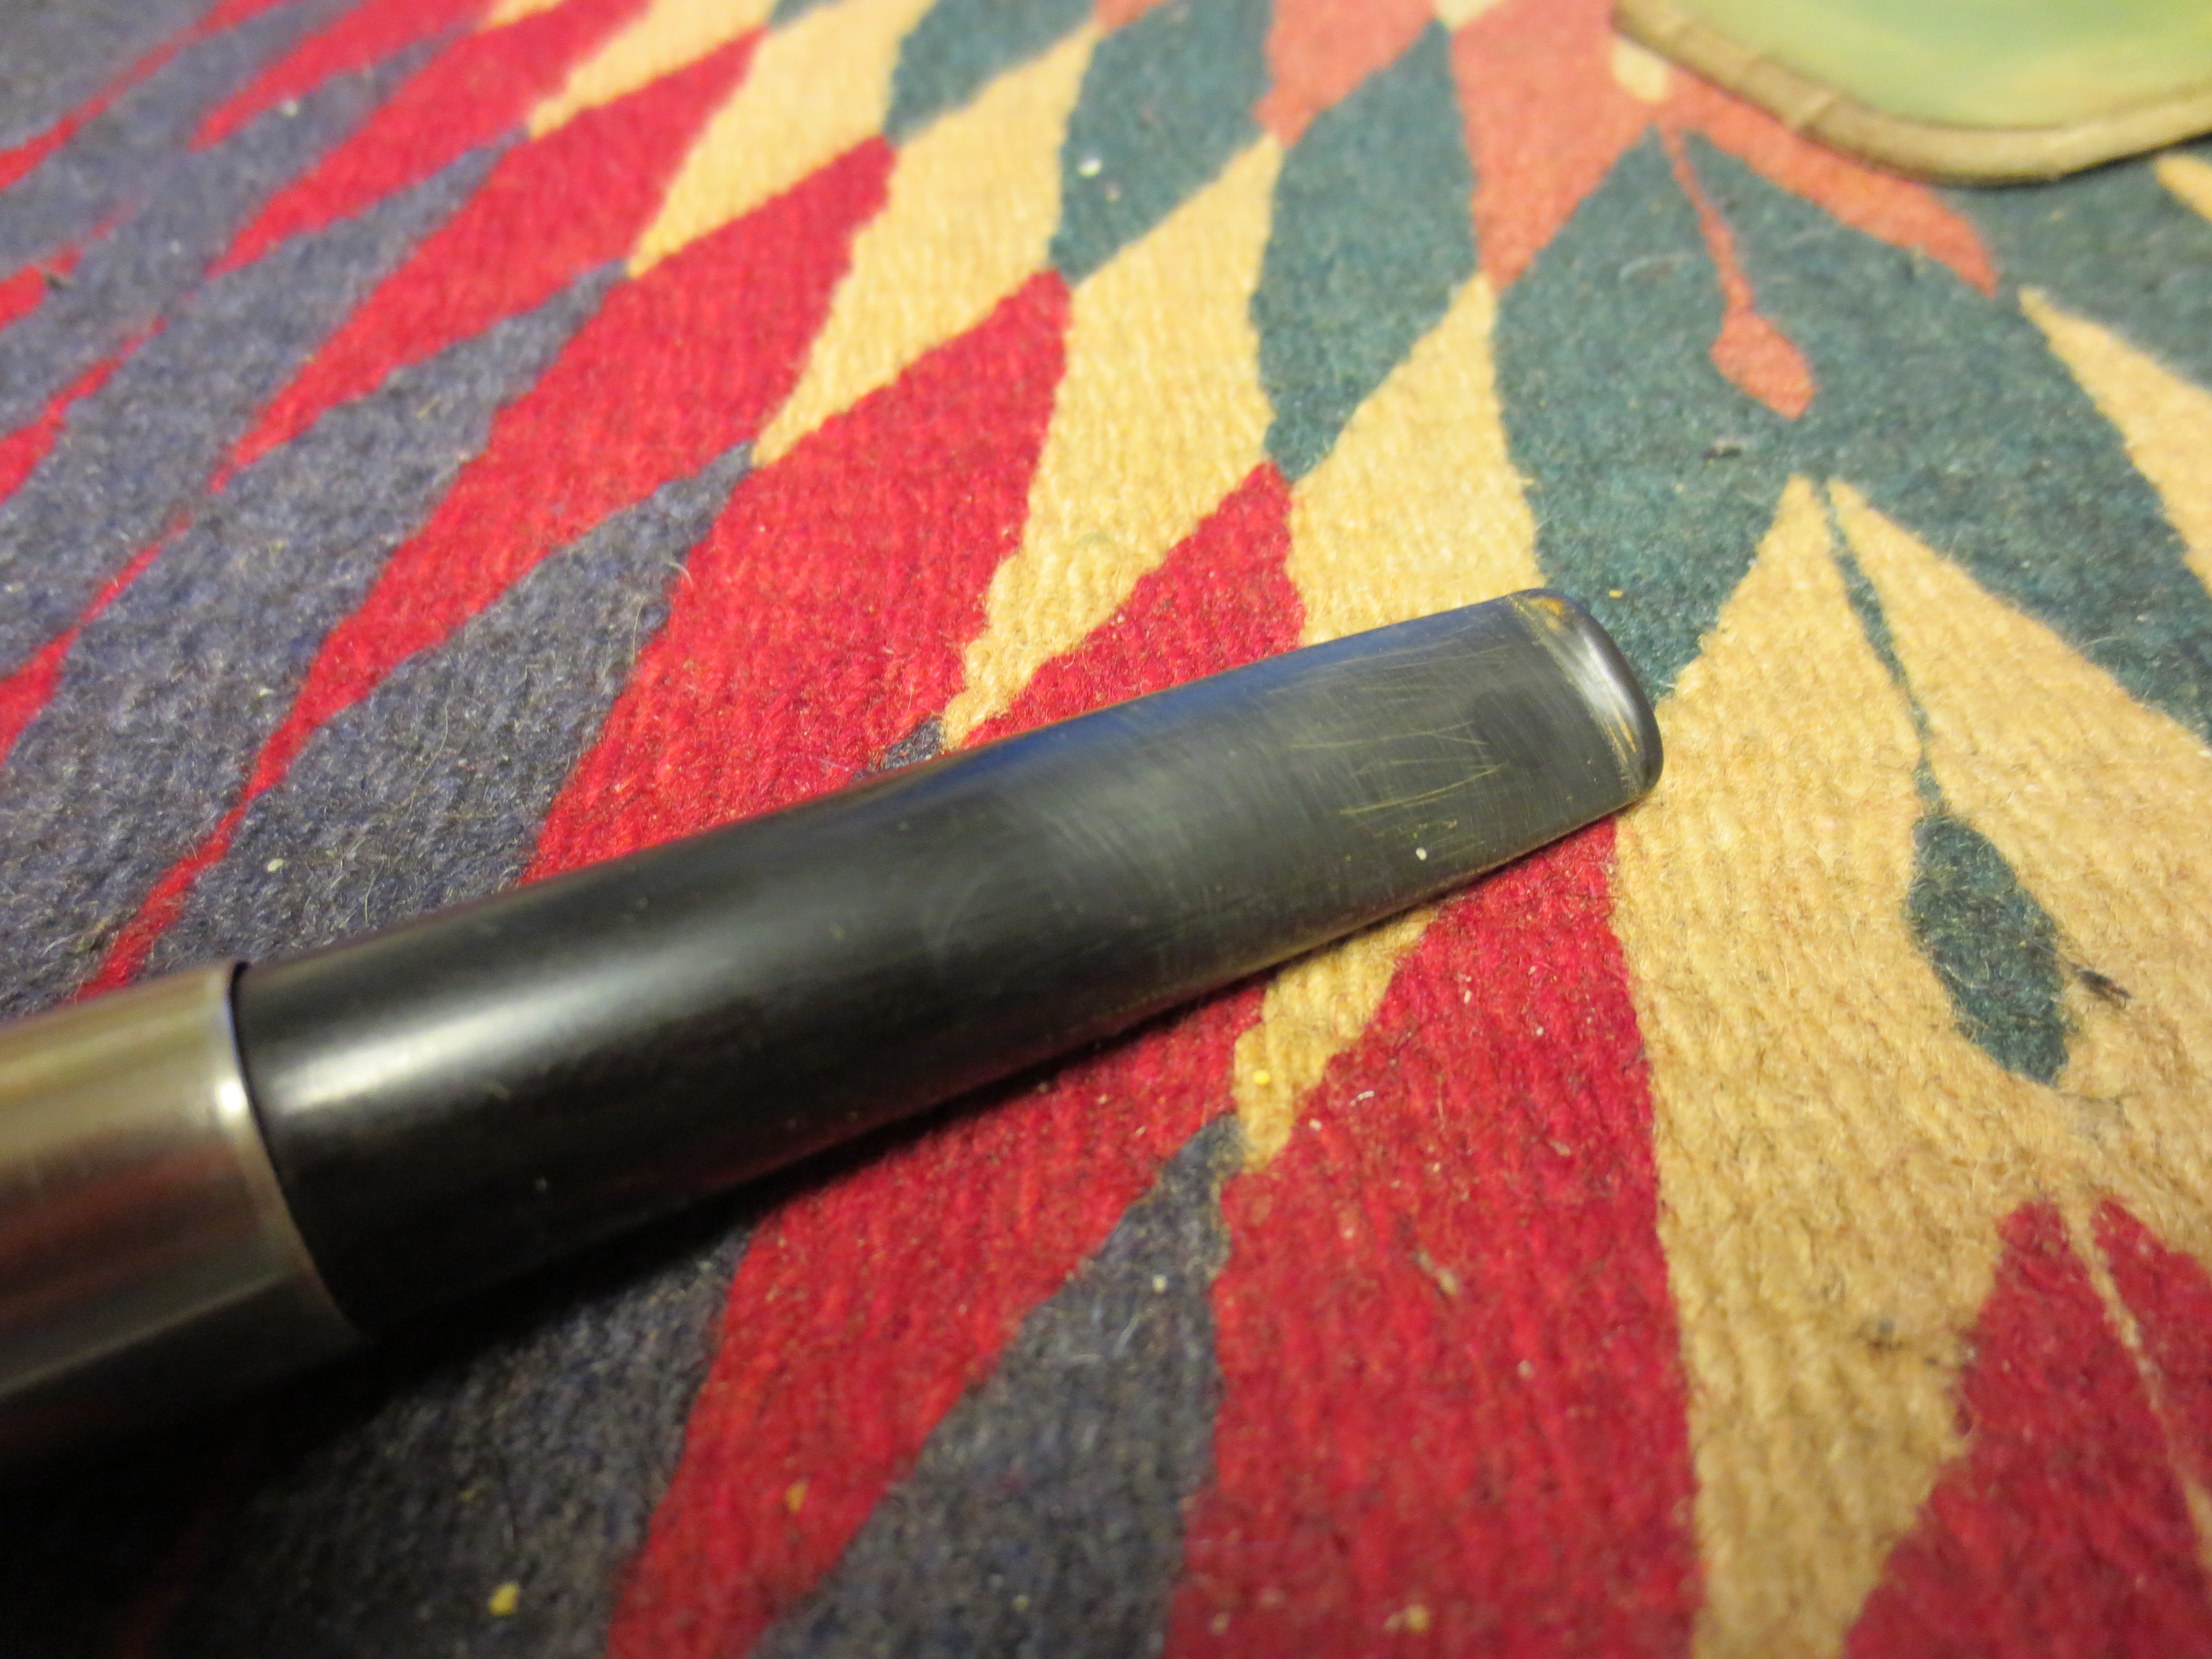
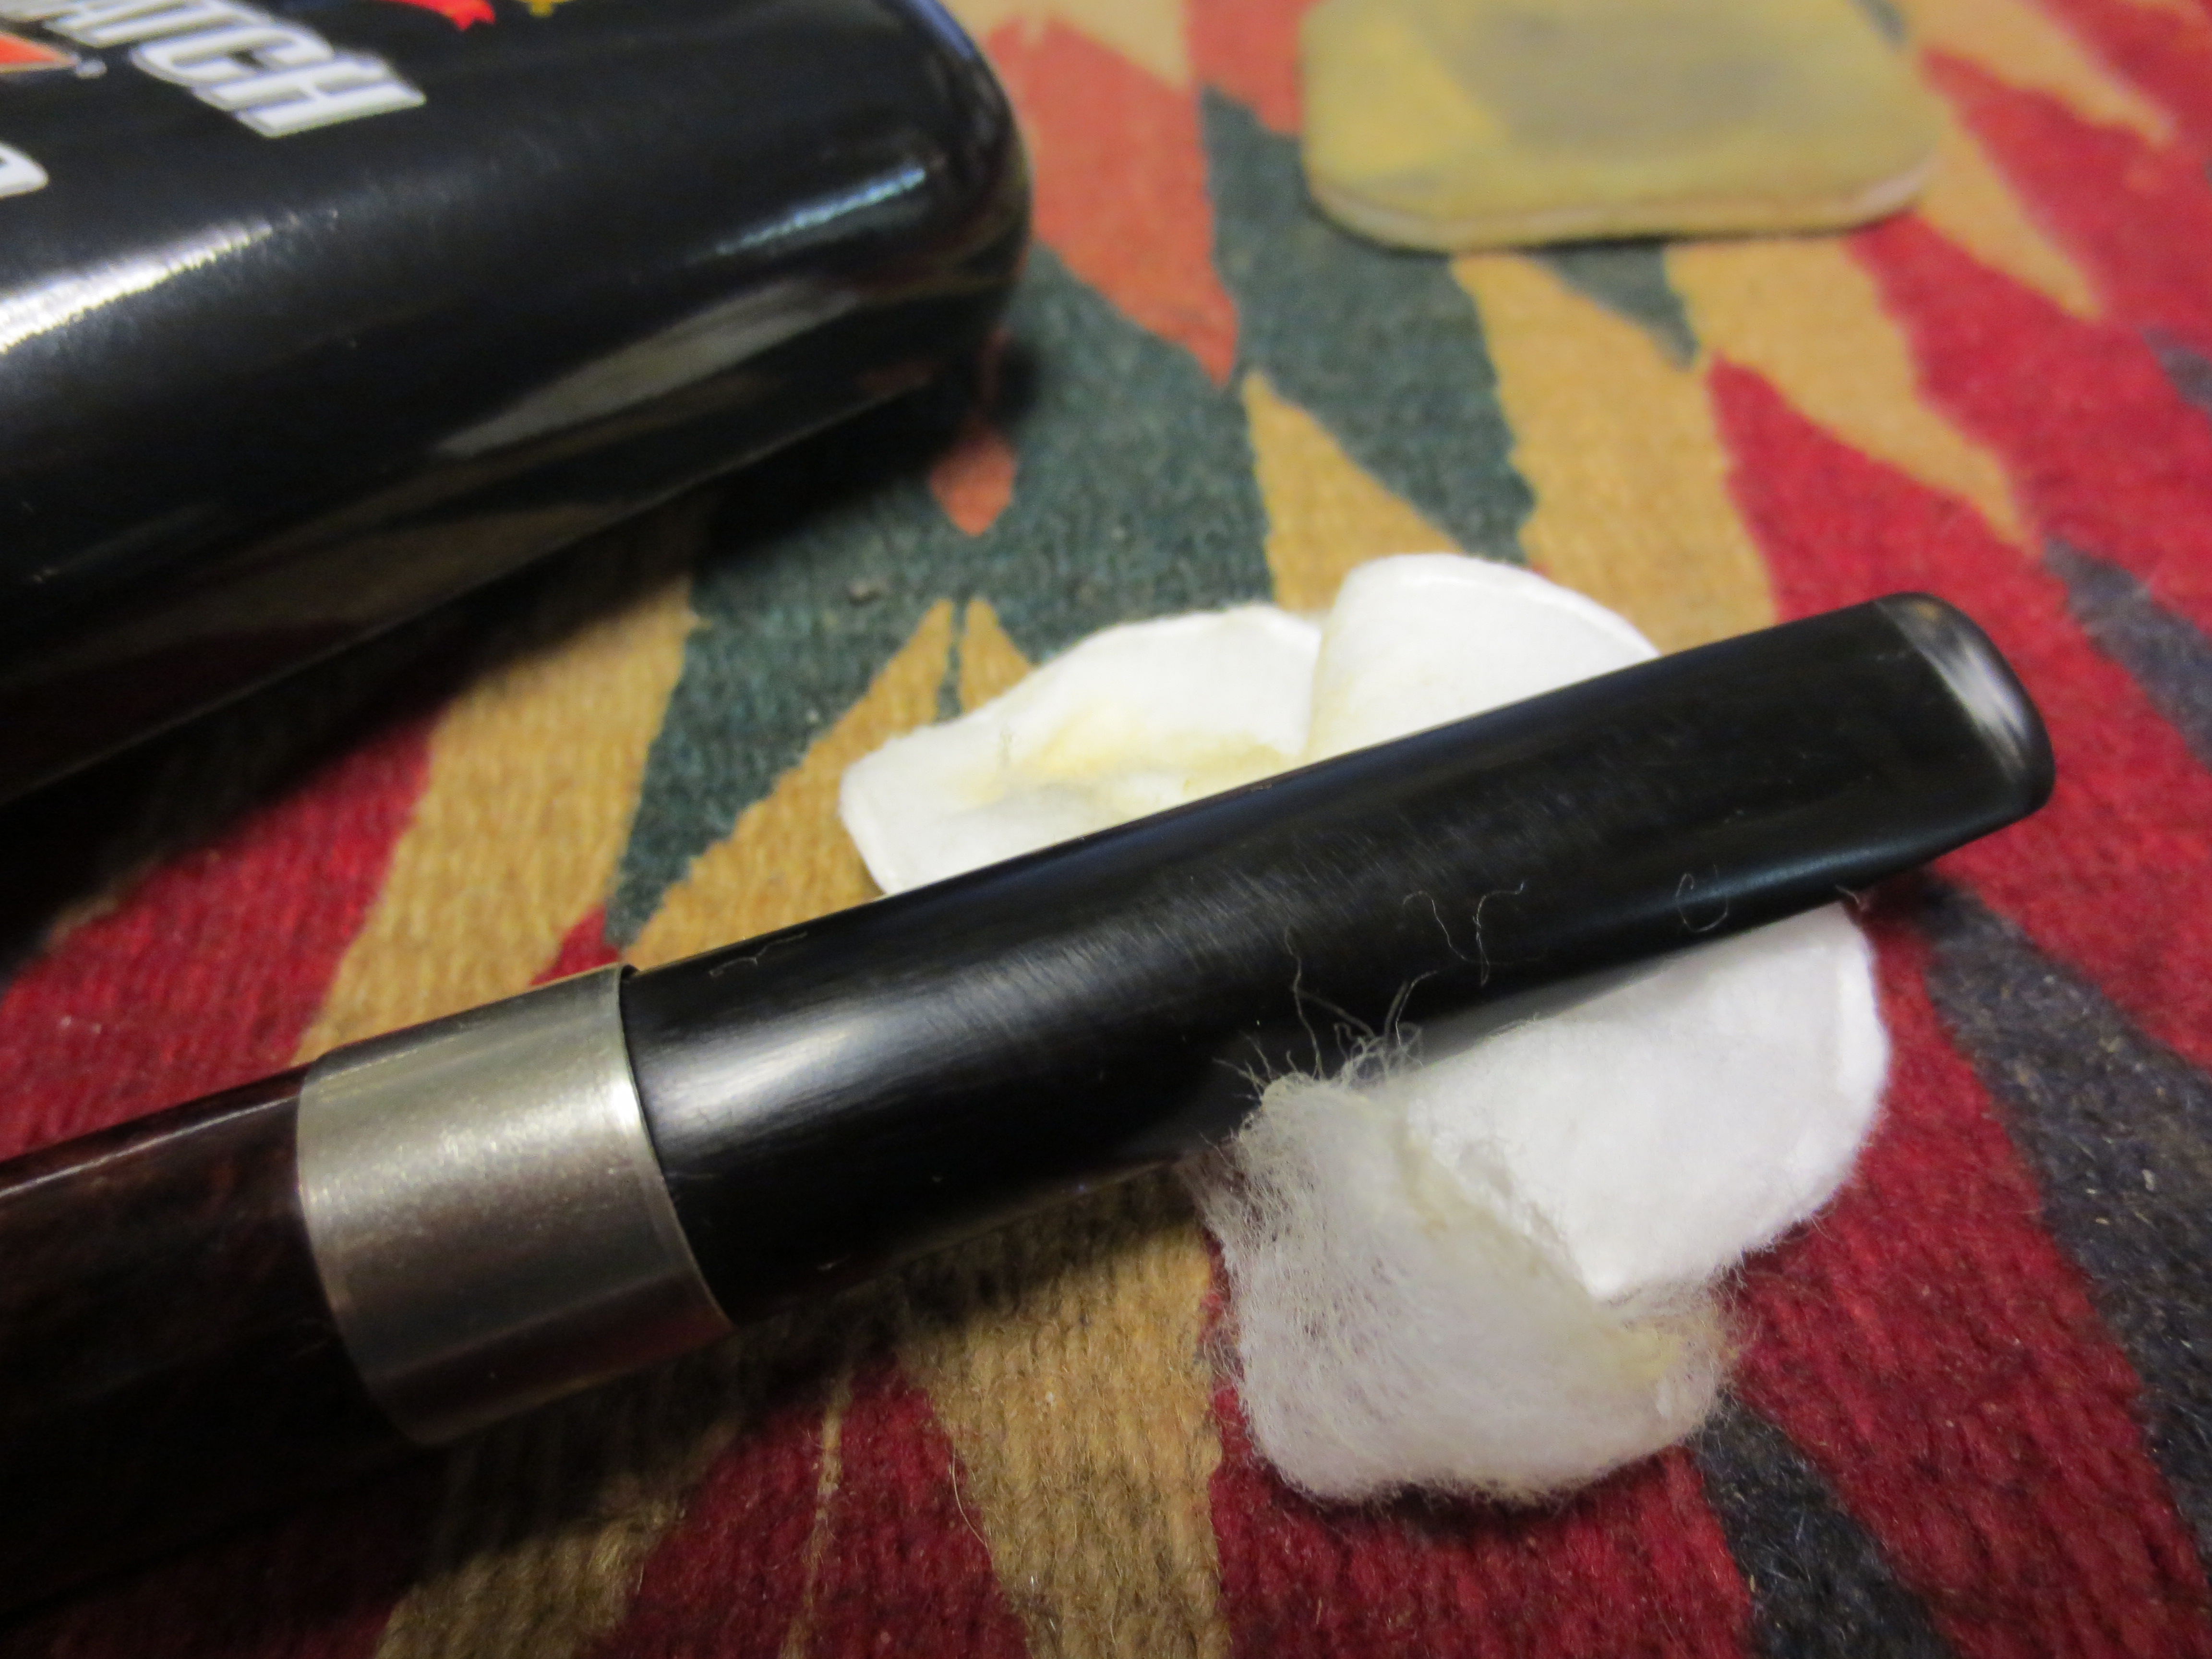
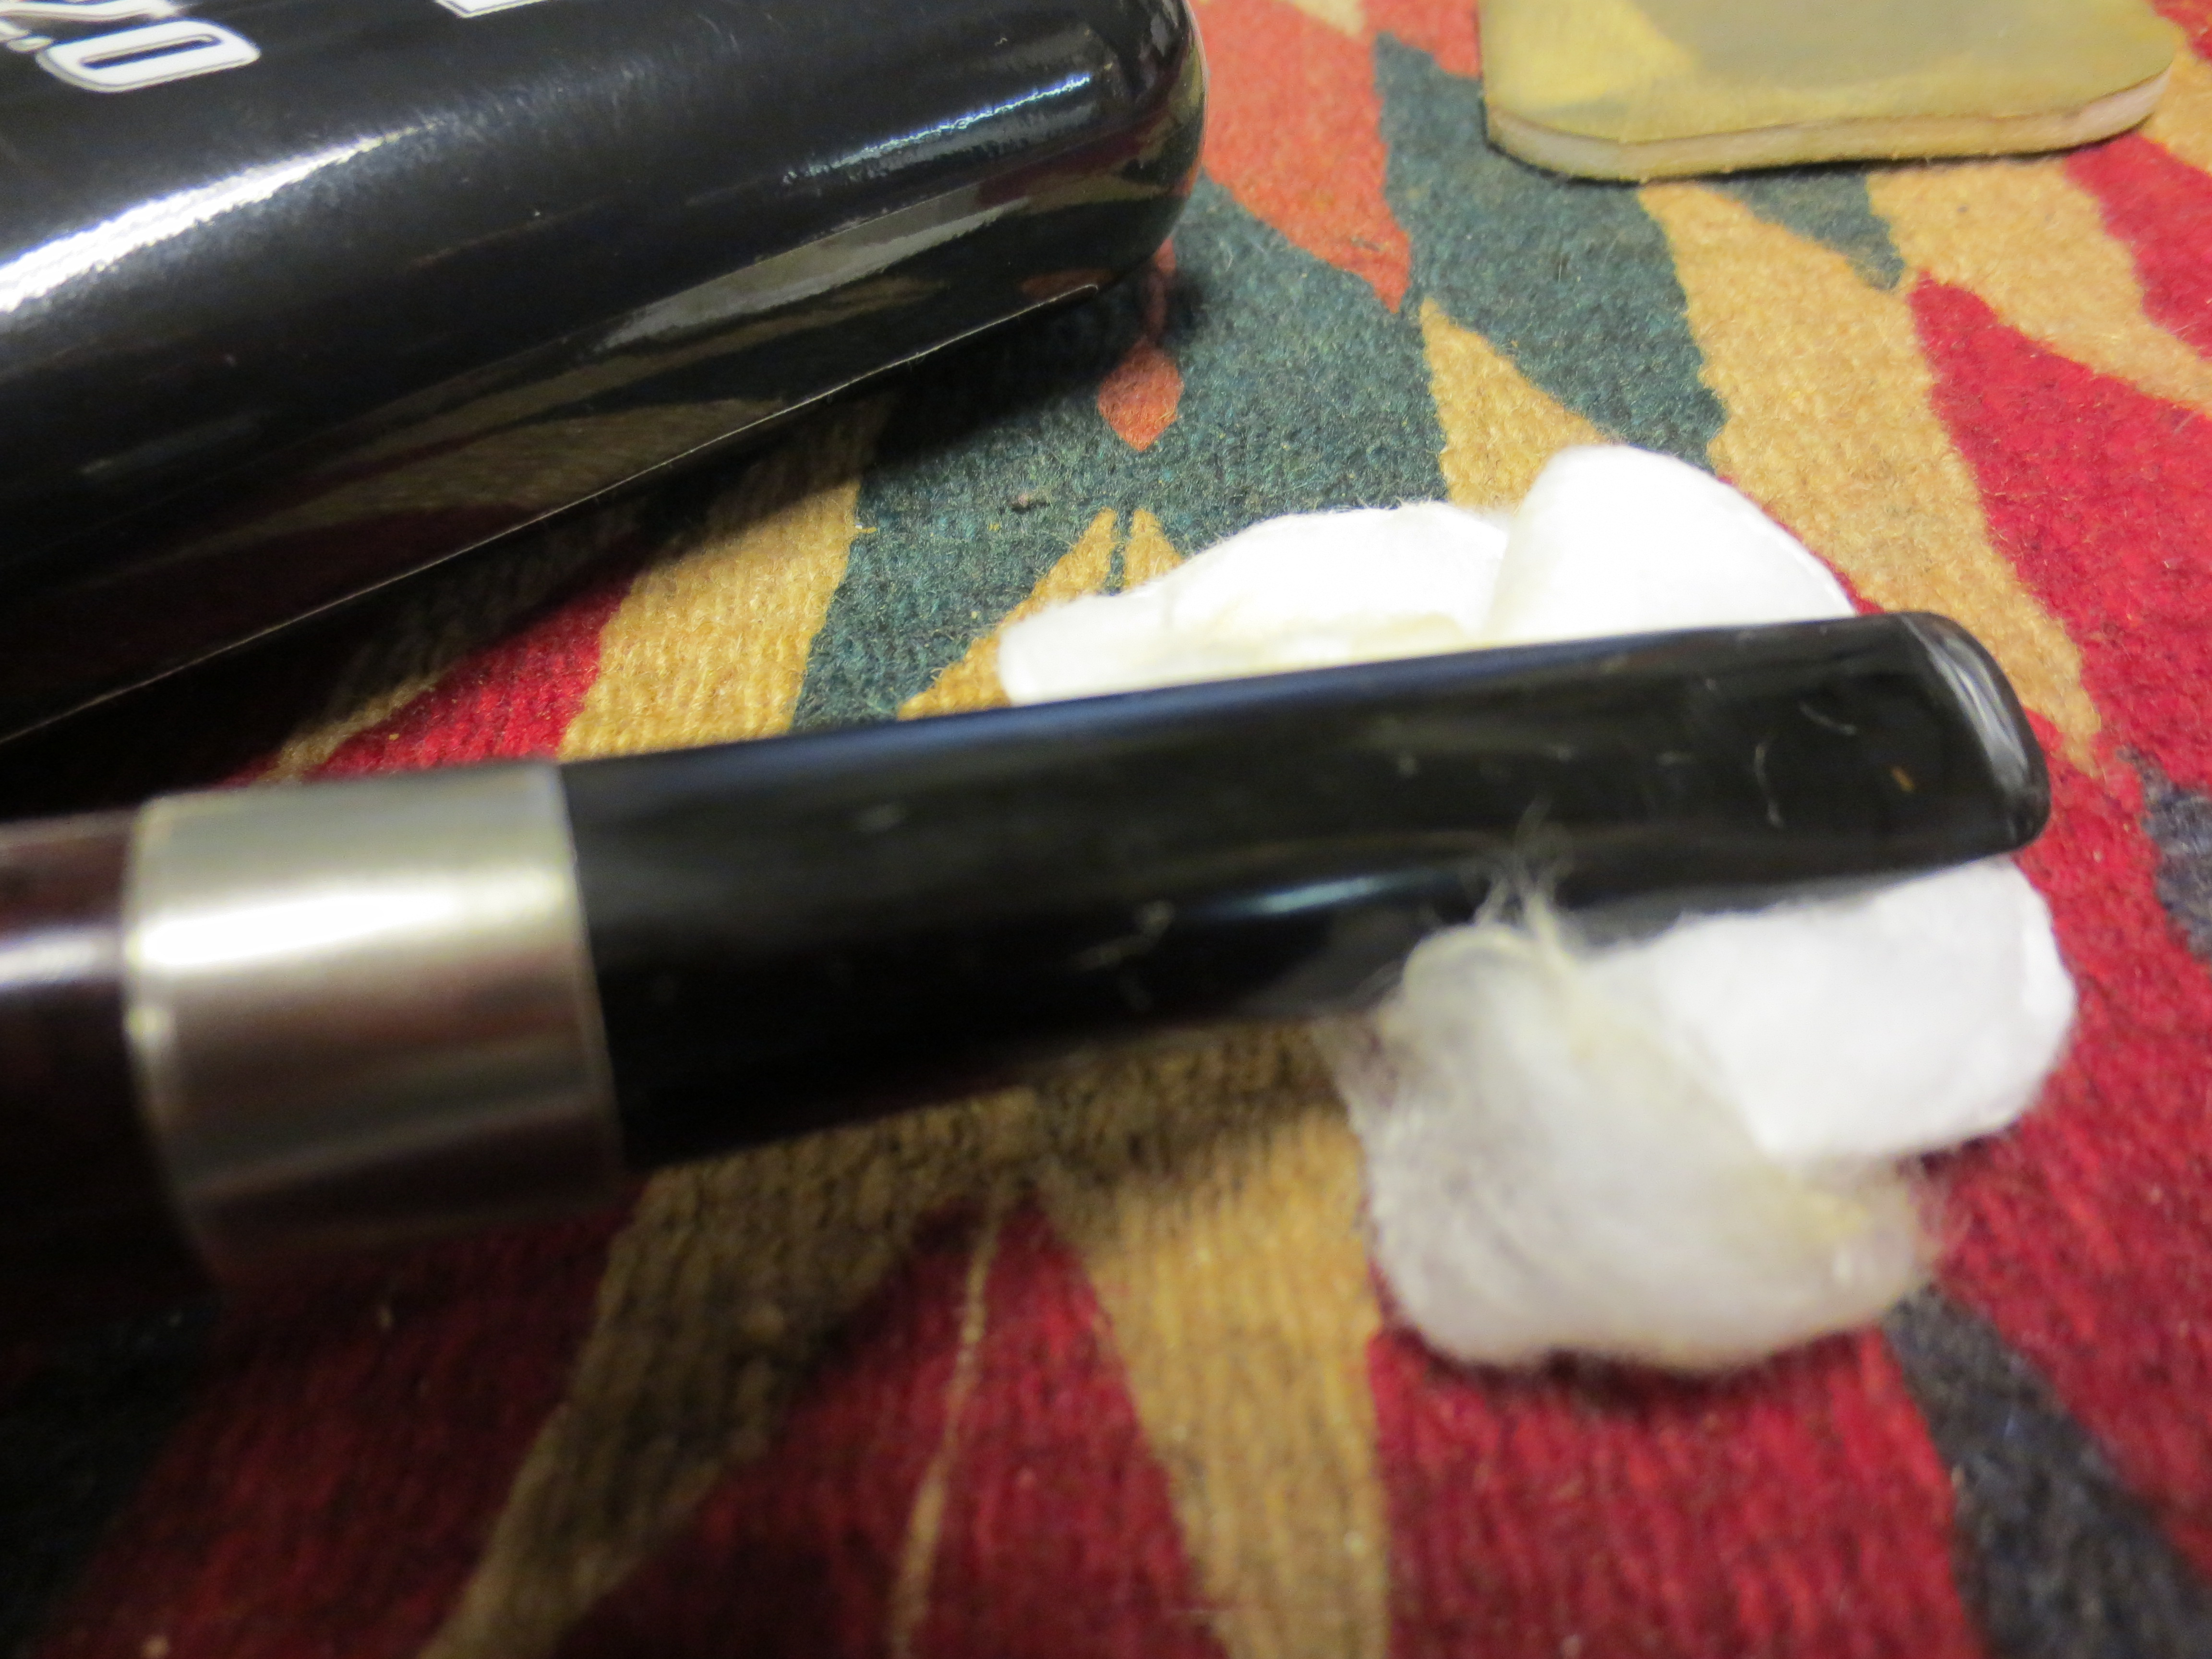
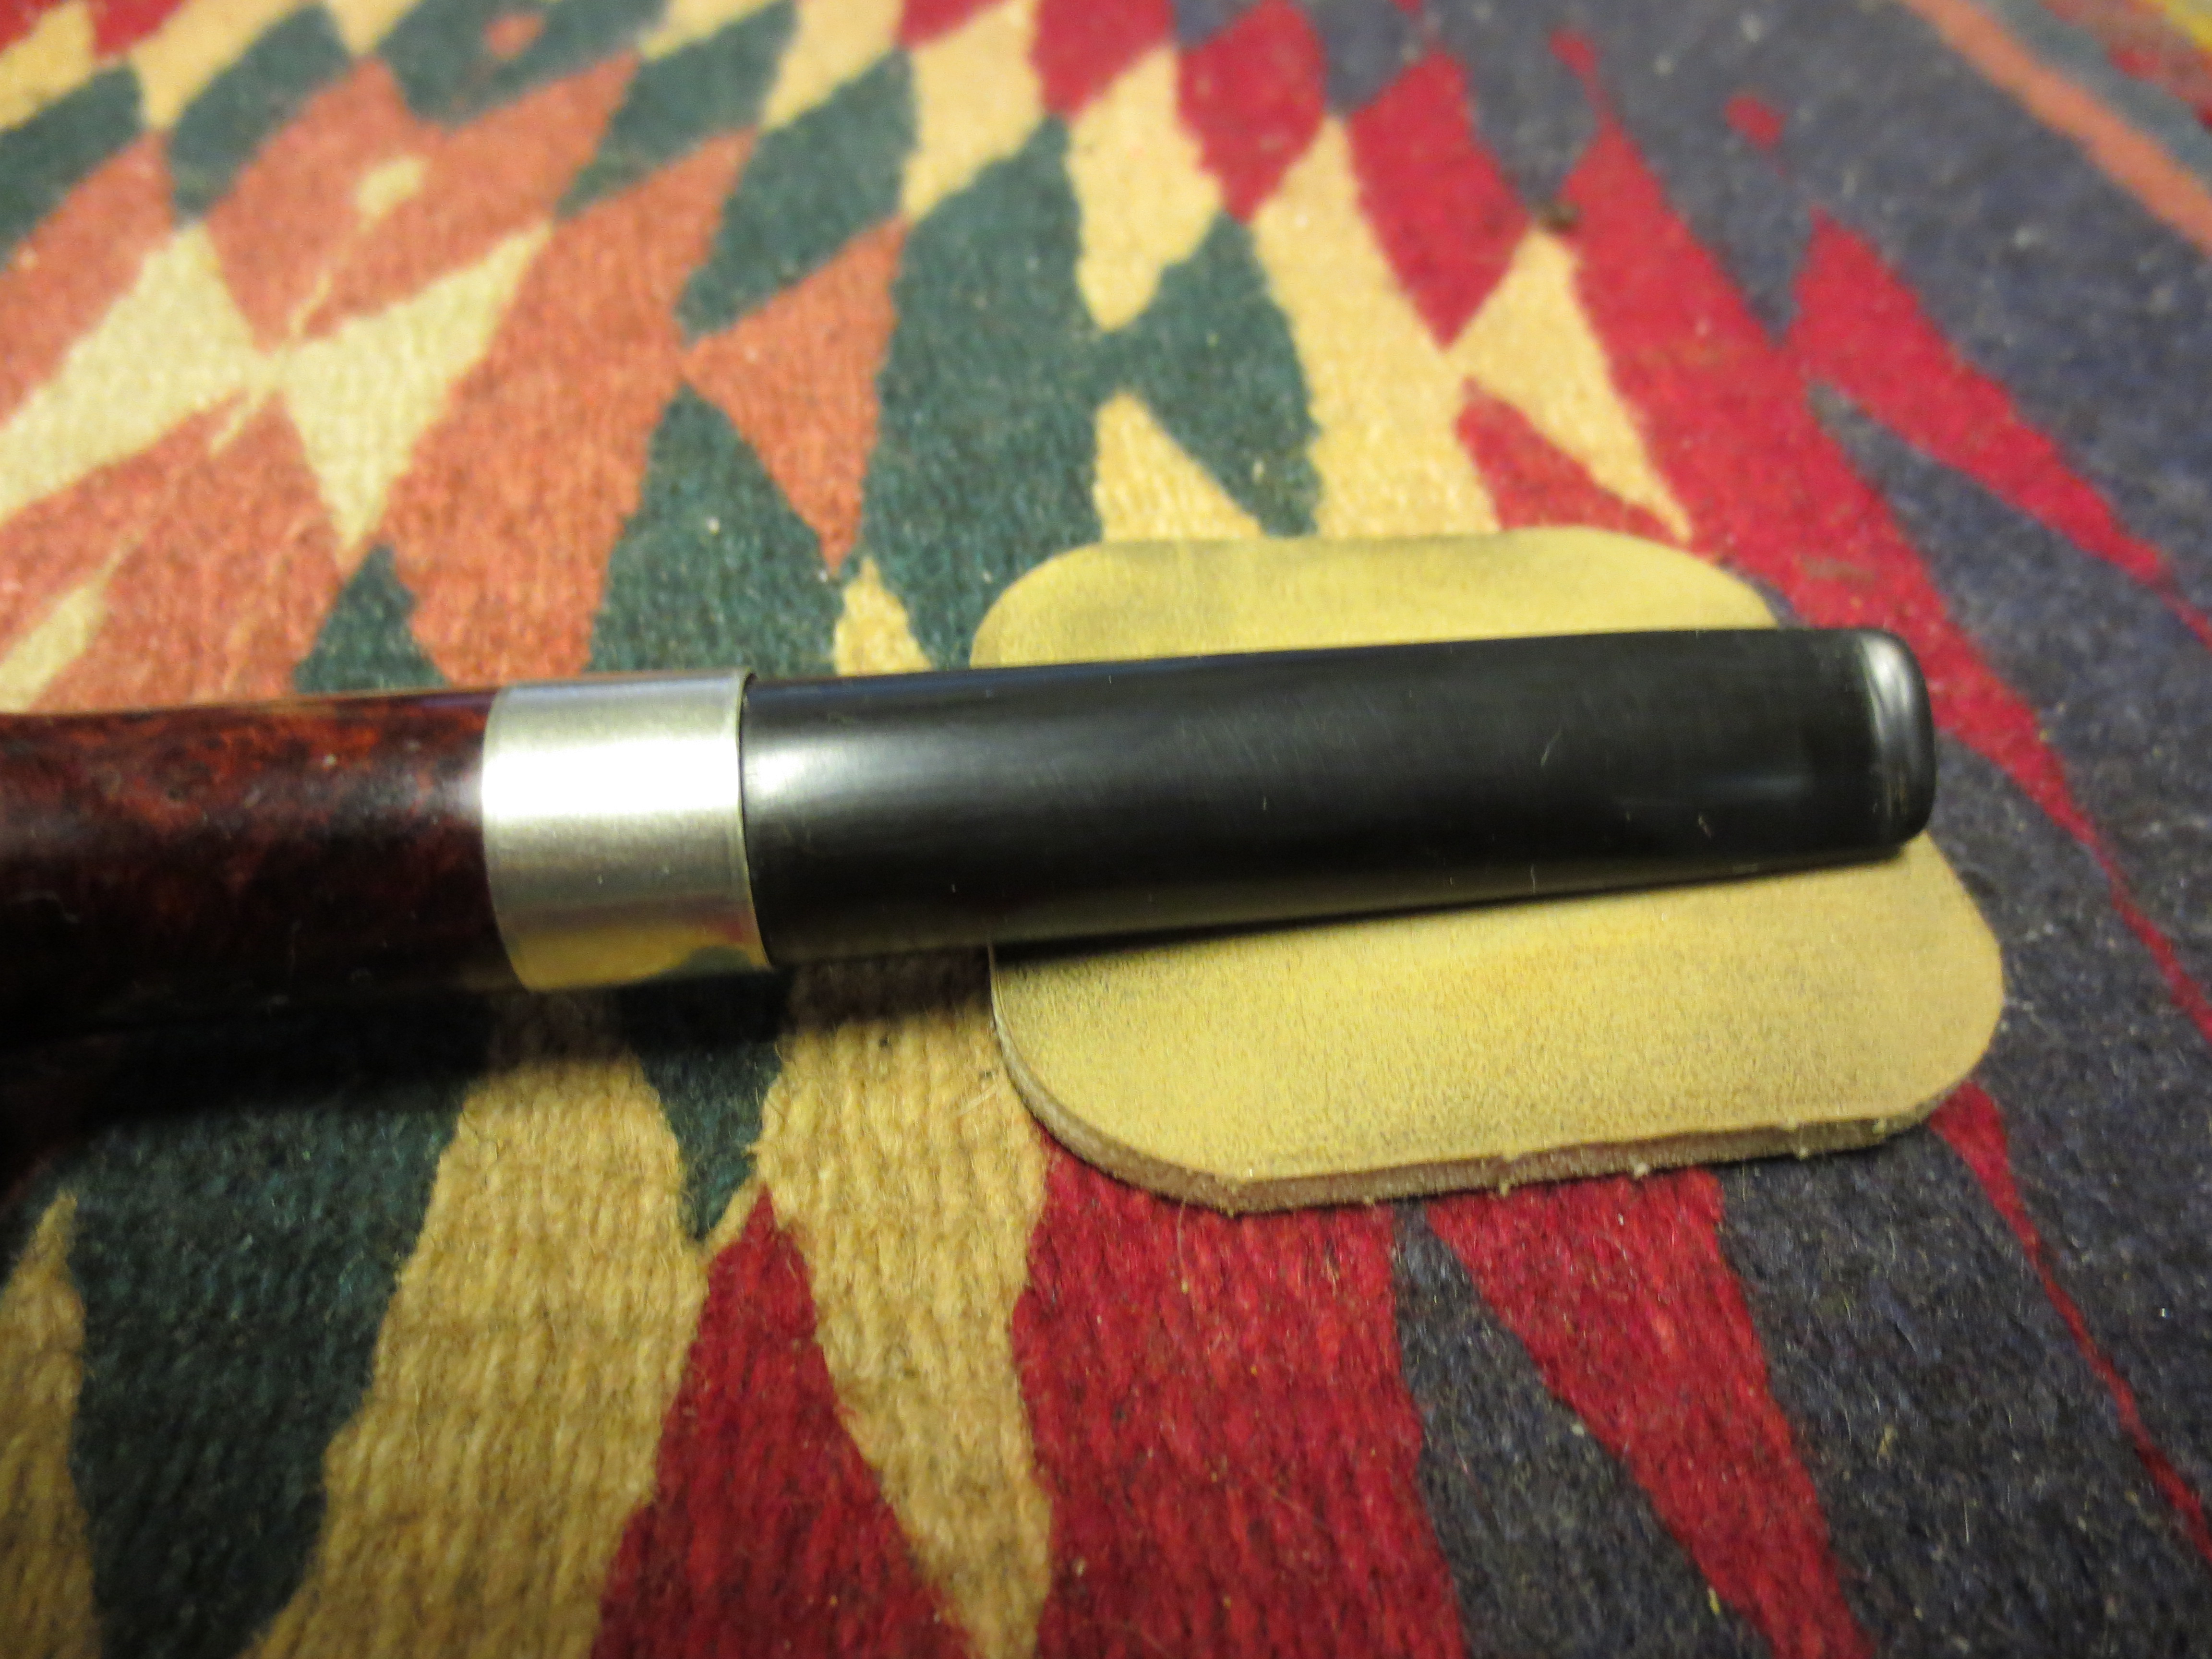
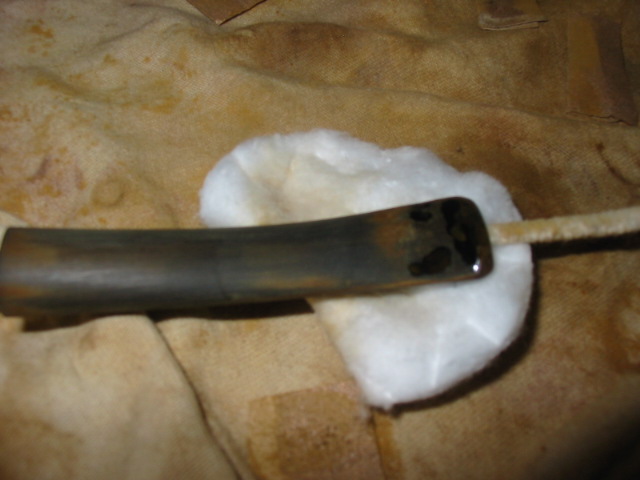
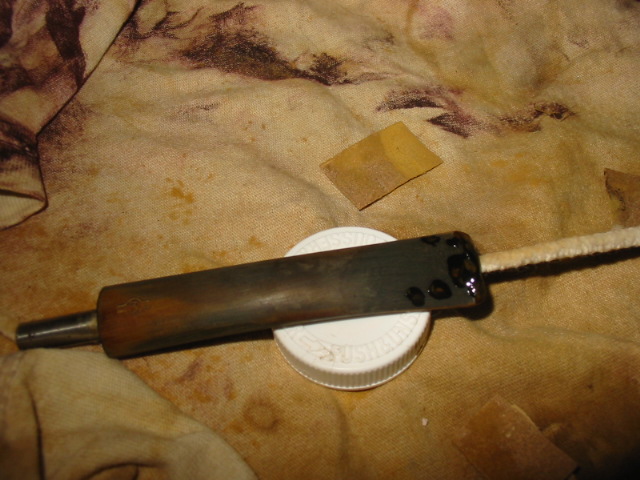
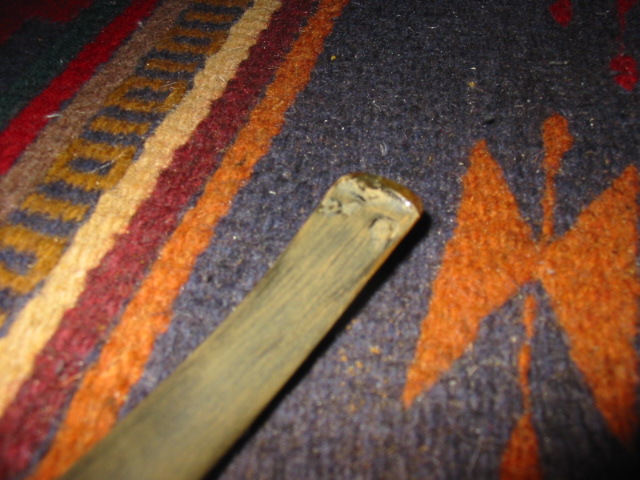
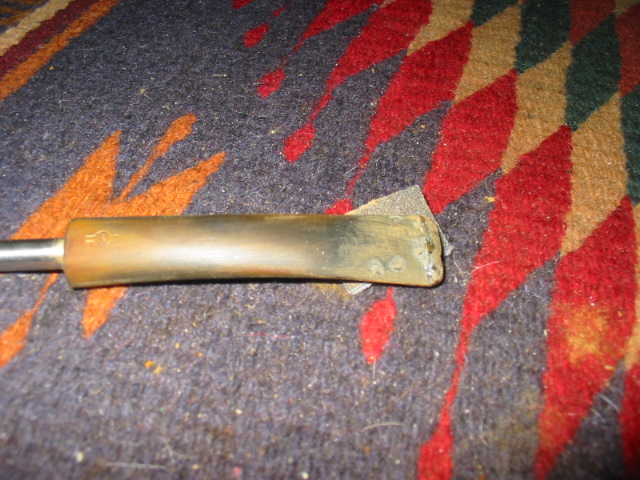
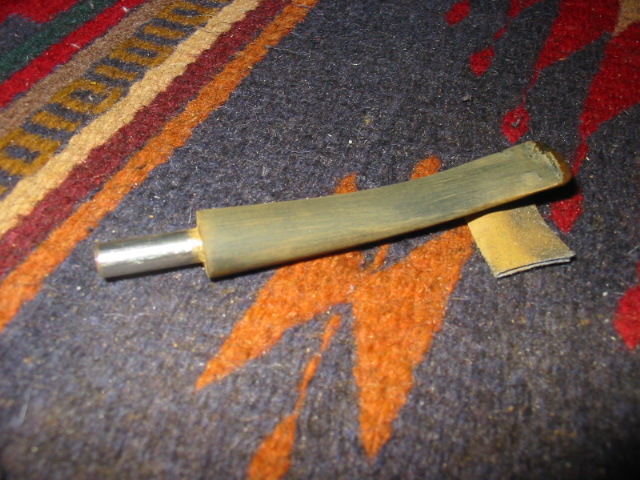
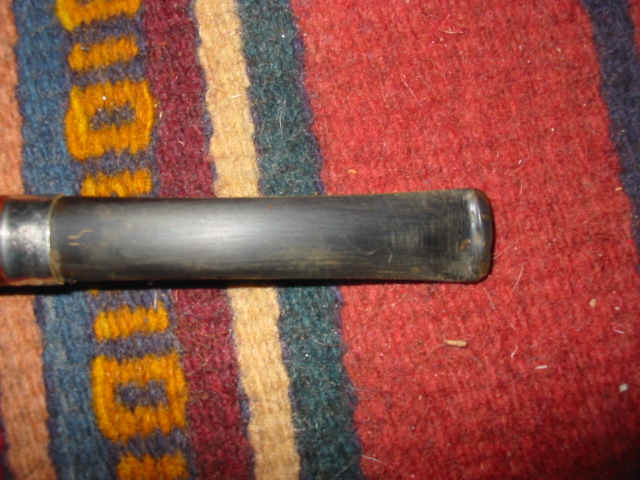
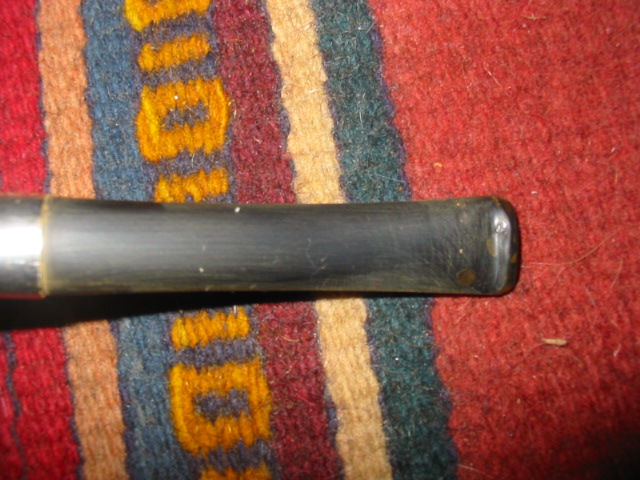
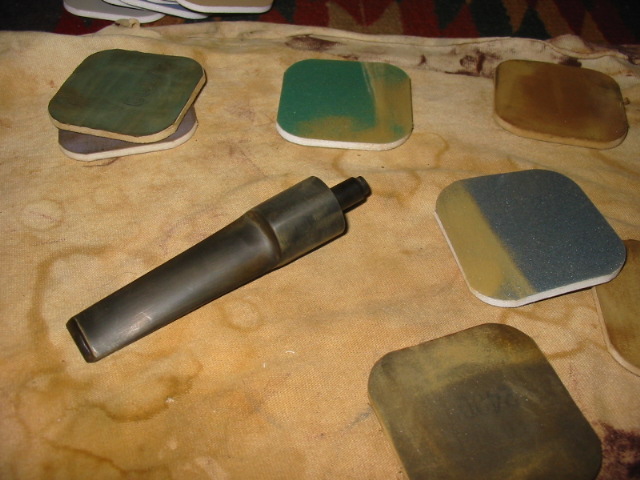
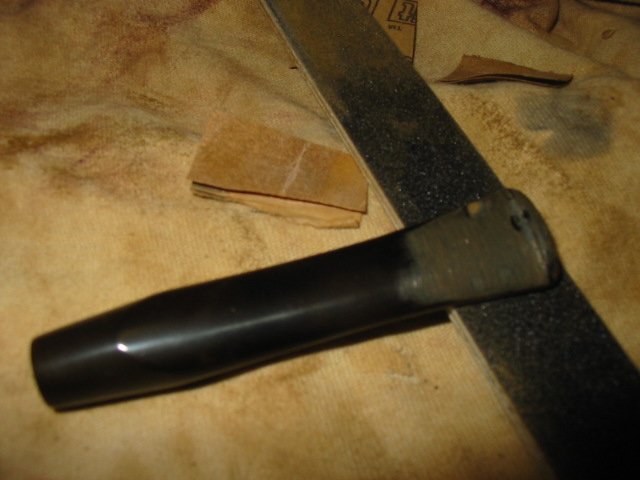
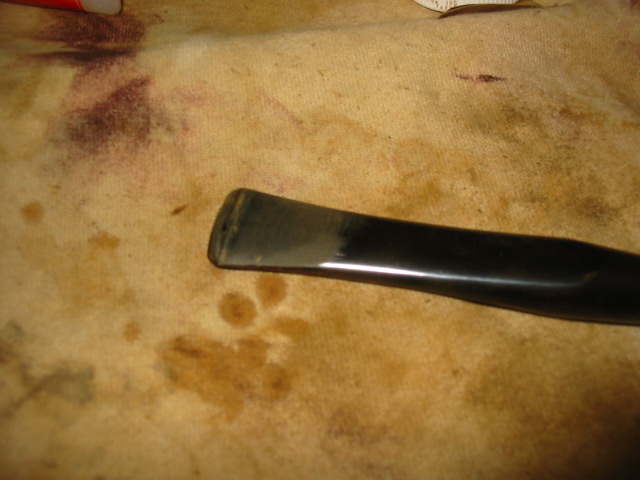
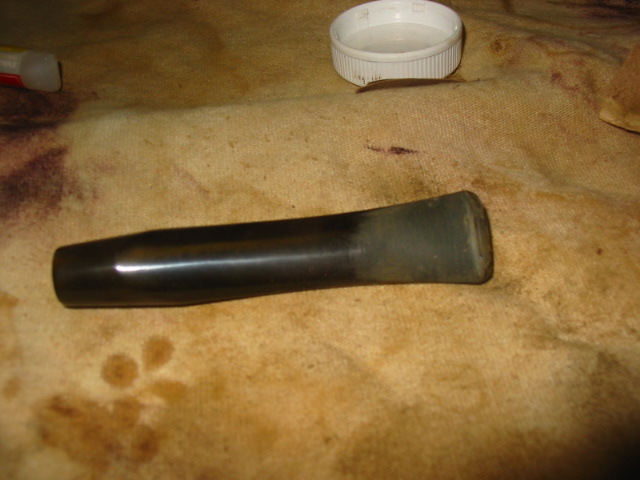
A while back Al, another contributor here on the blog, had mentioned he had used cigar ash to fill in a few dents but that they were still visible repairs. I have been experimenting with a couple of ideas that so far have not made any great improvements over just using super glue alone. I thought that on this one I would try to make a patch with carbon reamed from the pipe. The carbon is much darker, a real black, than ash so I thought this might make a better repair. I worked in layers, packing in the carbon, applying a drip of super glue, allowing it to dry, sanding it back down with an emery board and repeating; I think I did three rounds on each side of the stem, trying raise the dents slowly and make them stronger in the long run. After the last application on the underside, I began to work with my needle files, then emery boards, 320 grit wet sand and finally onto micro mesh, wet sanding 1500-2400. I then applied the Novus 2 plastic polish, rubbing it on and off with cotton pads. The remaining grits of micro mesh I used dry through 12,000. Finally I used the Novus 2 again, applied the Mother’s Back to Black with my fingers and let it dry before buffing it off with another cotton pad. The final step was to polish it with the Novus 1 plastic polish. Now it was time to reassemble the pipe and take it back to the buffer. At this point I knew the patch wasn’t as good as I’d hoped it would be: it was better, I think, but it was also still noticeable.

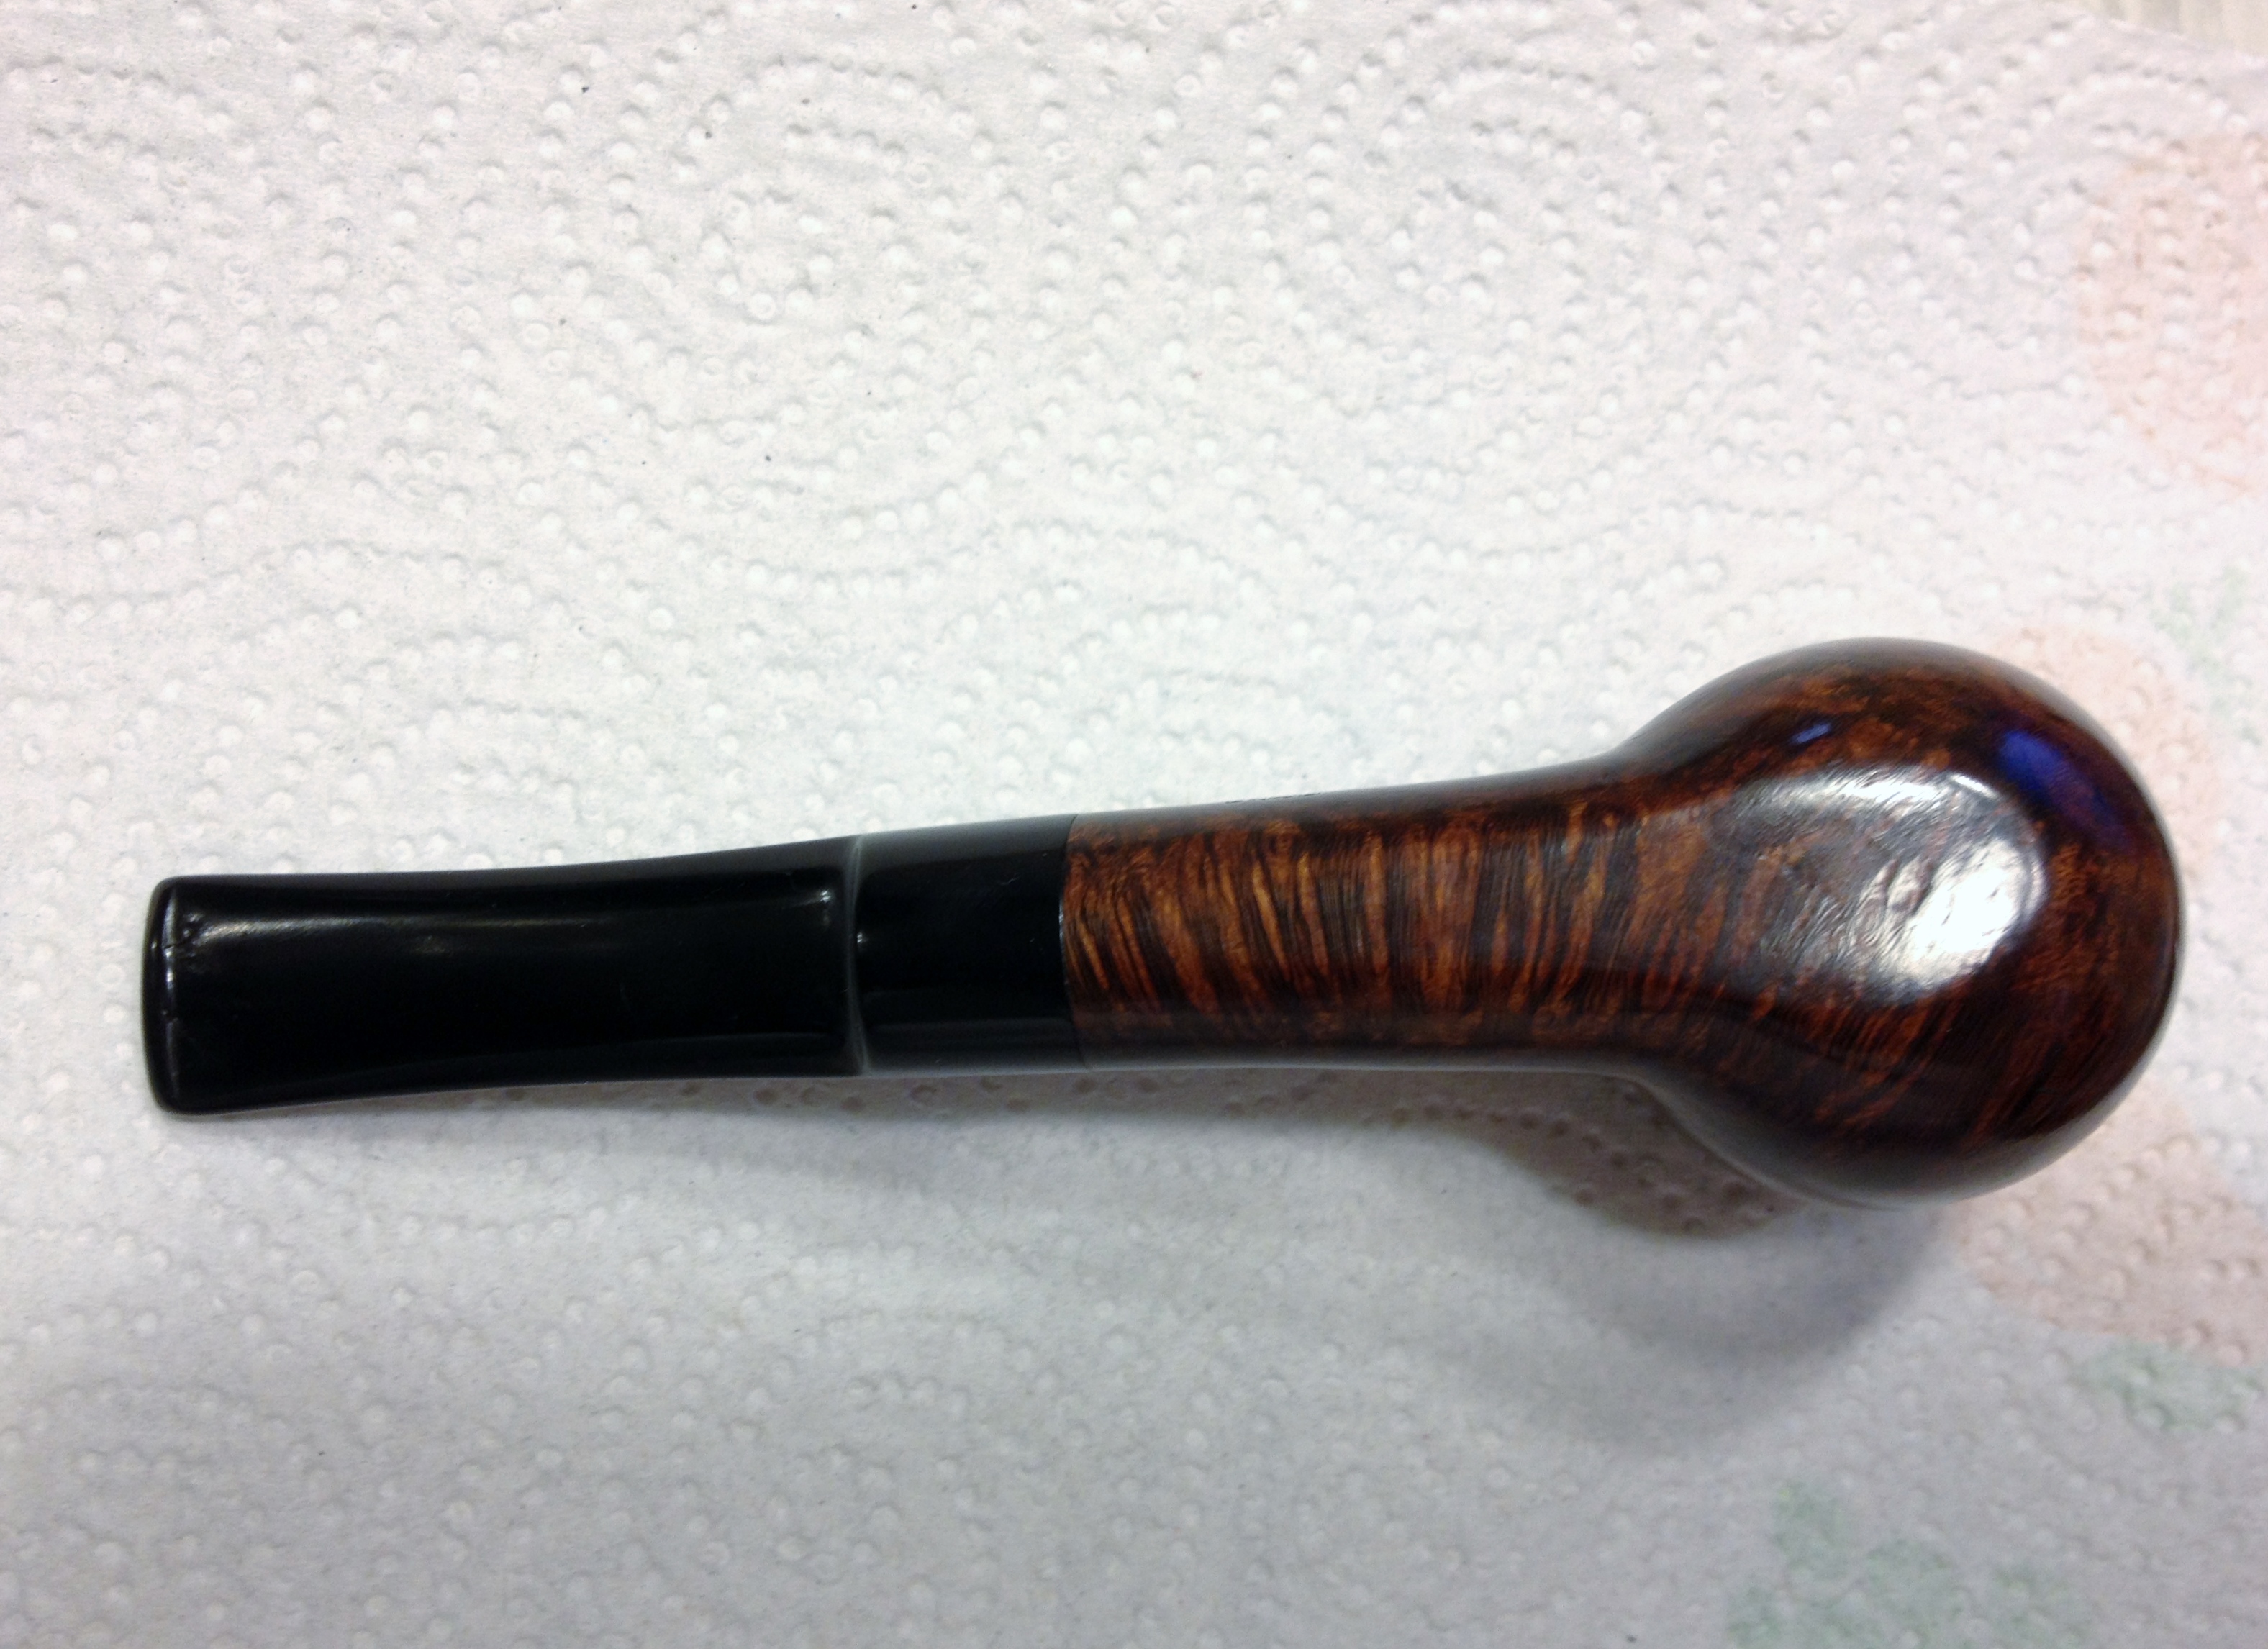
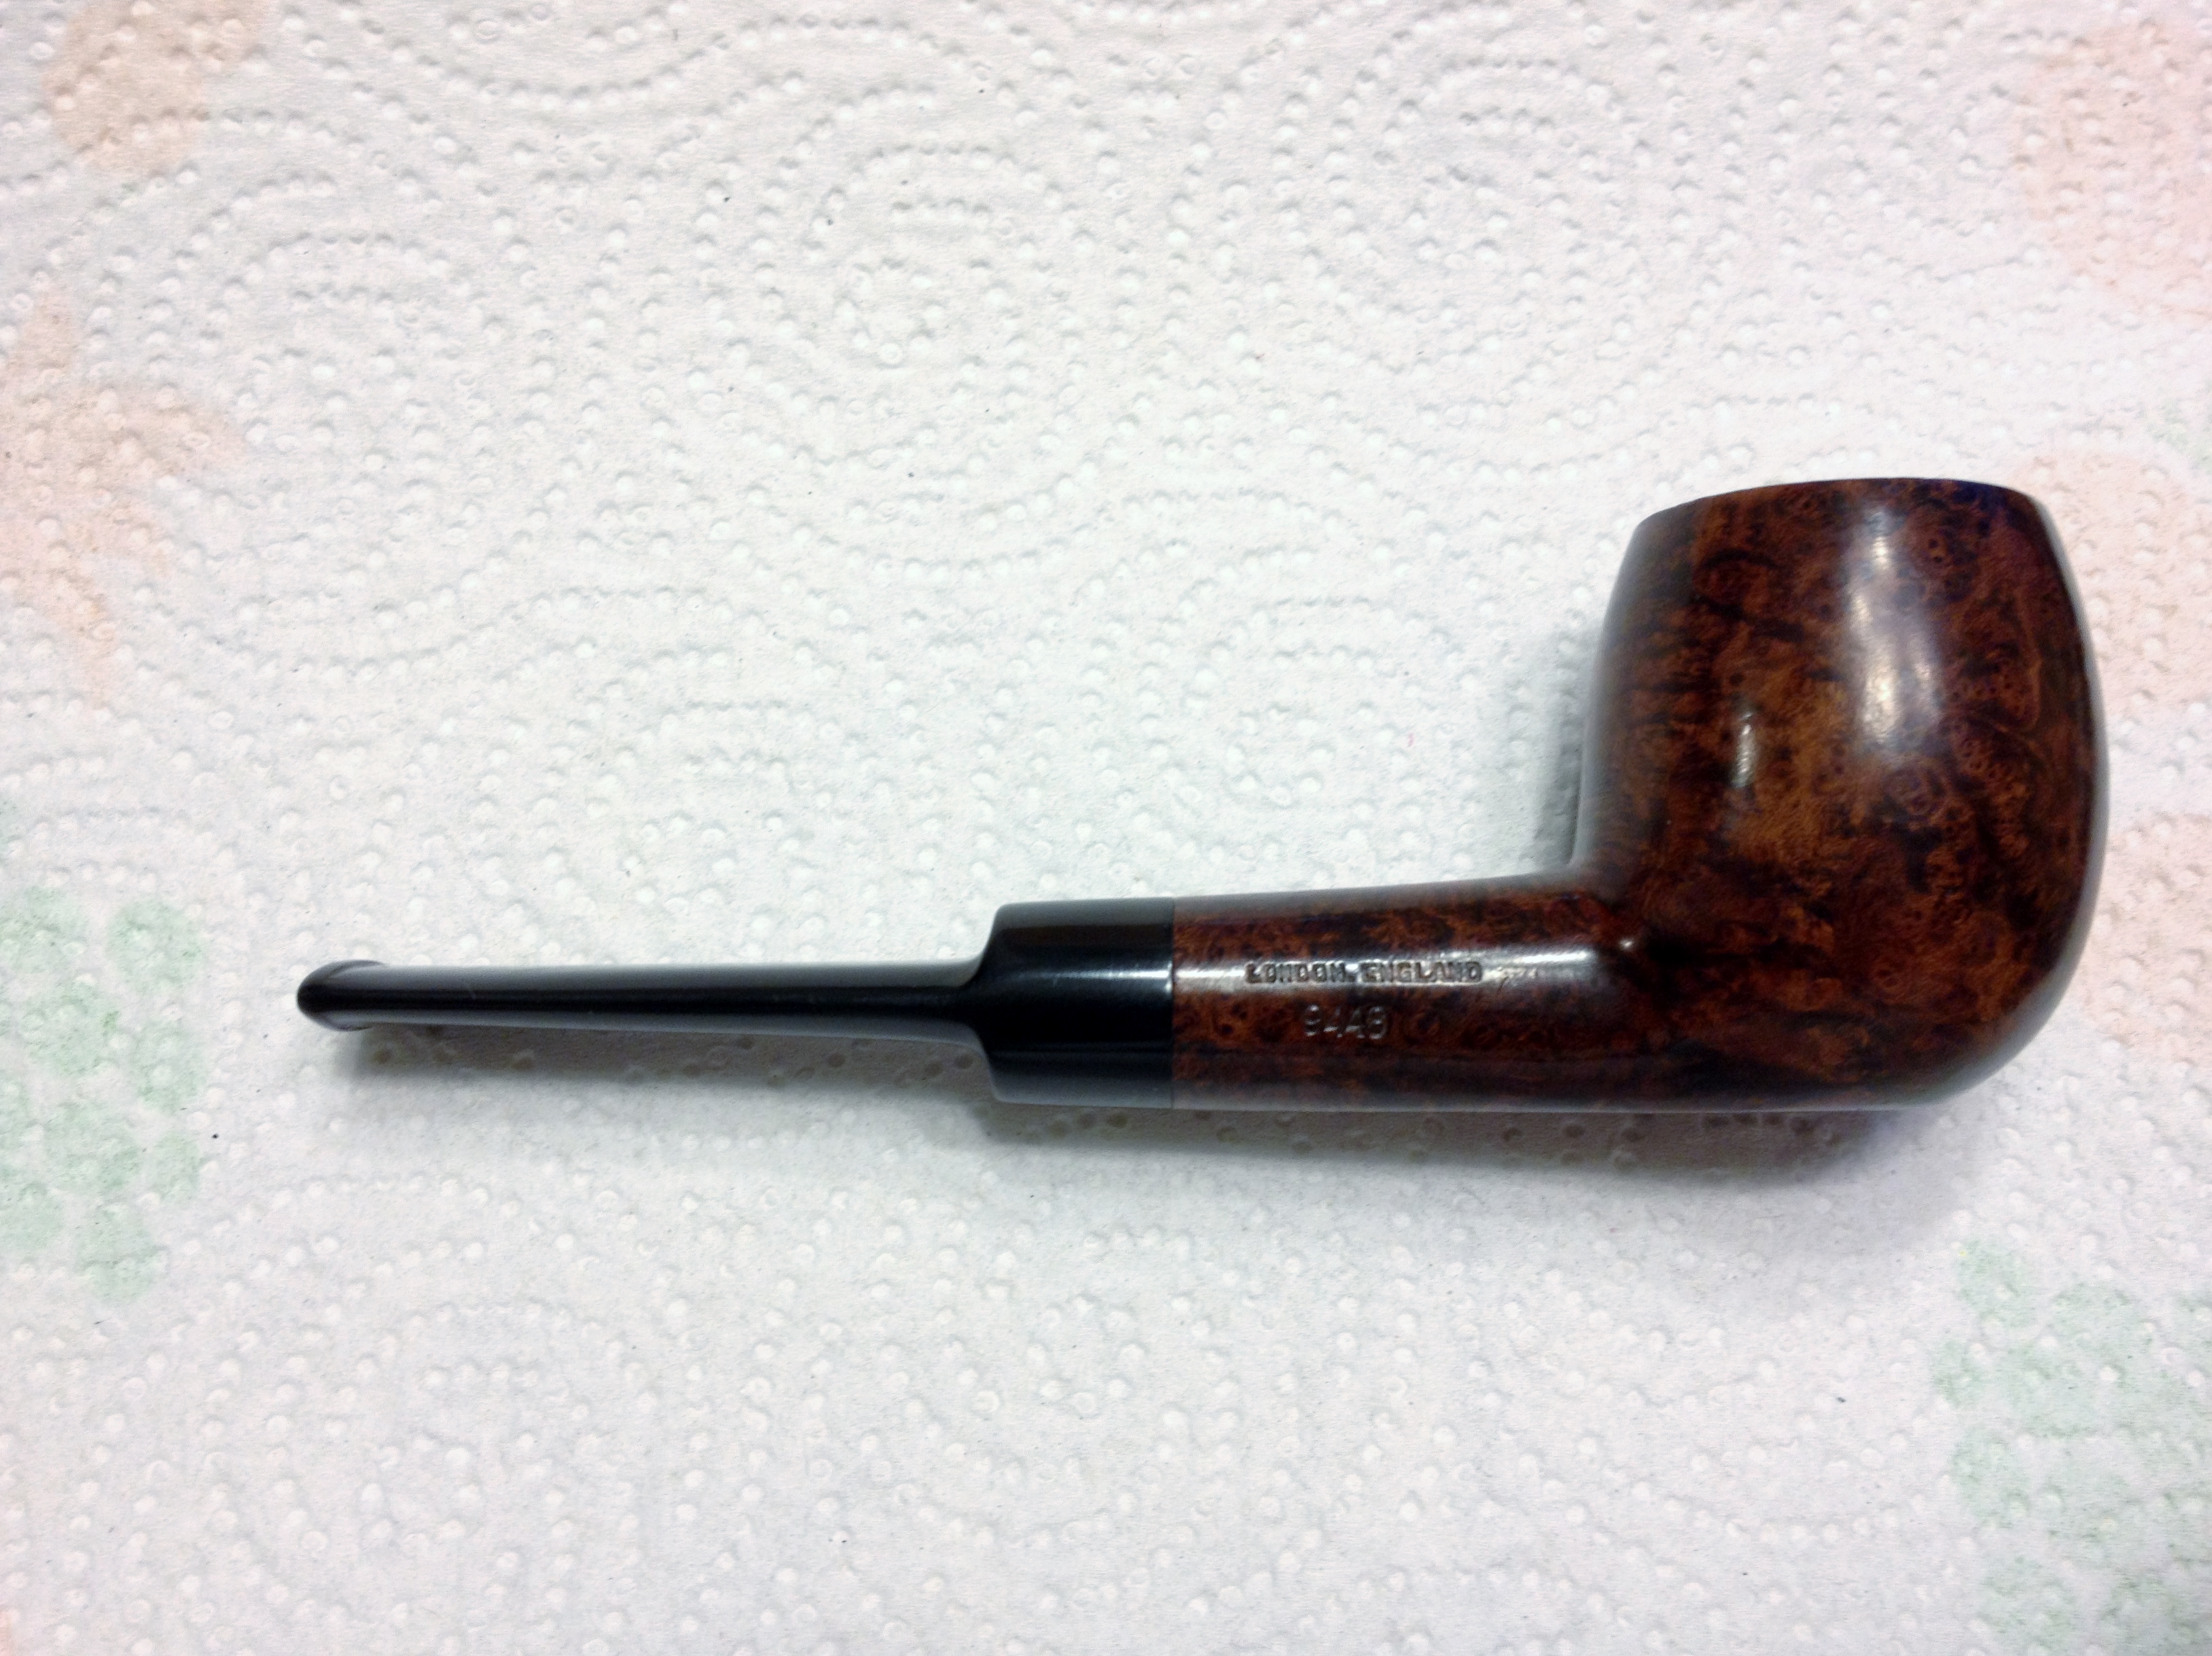
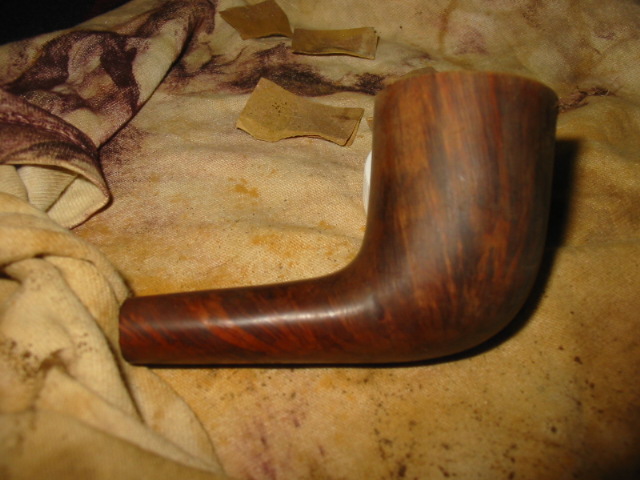
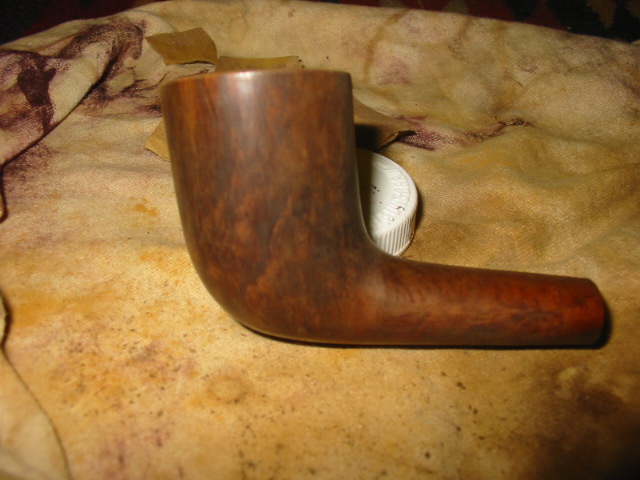
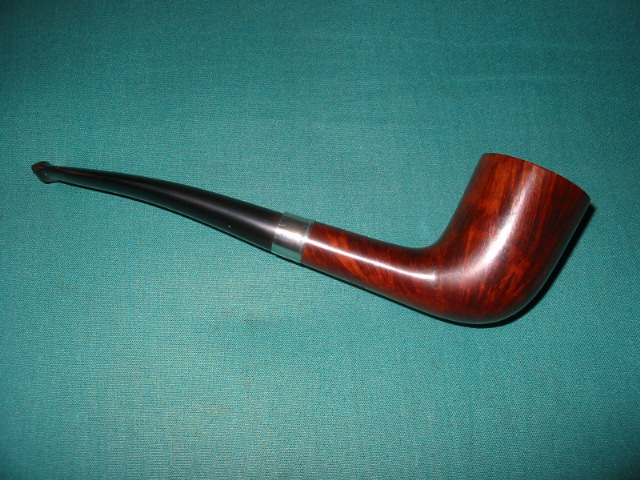
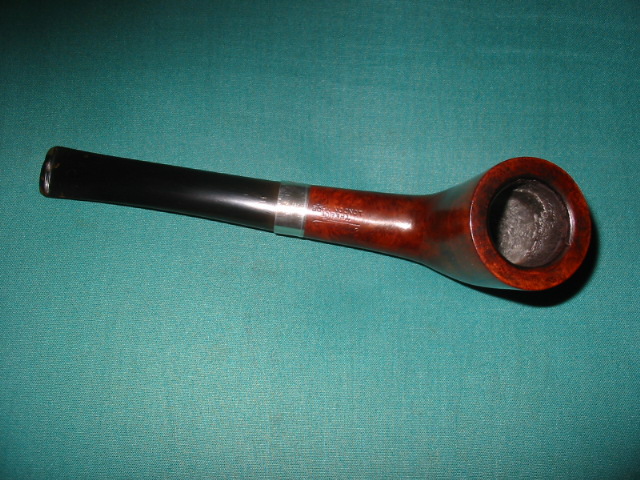
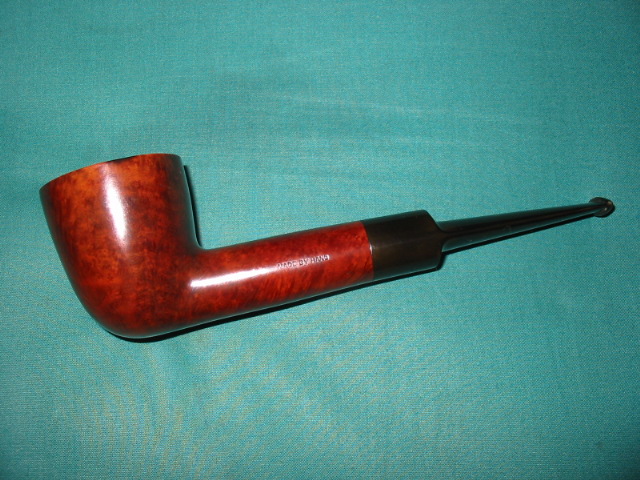
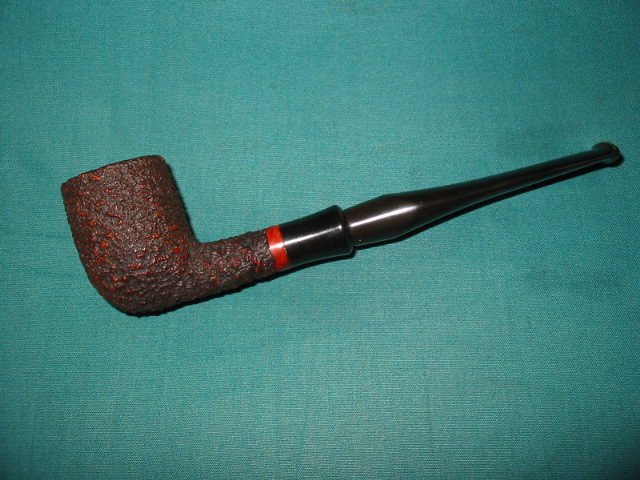
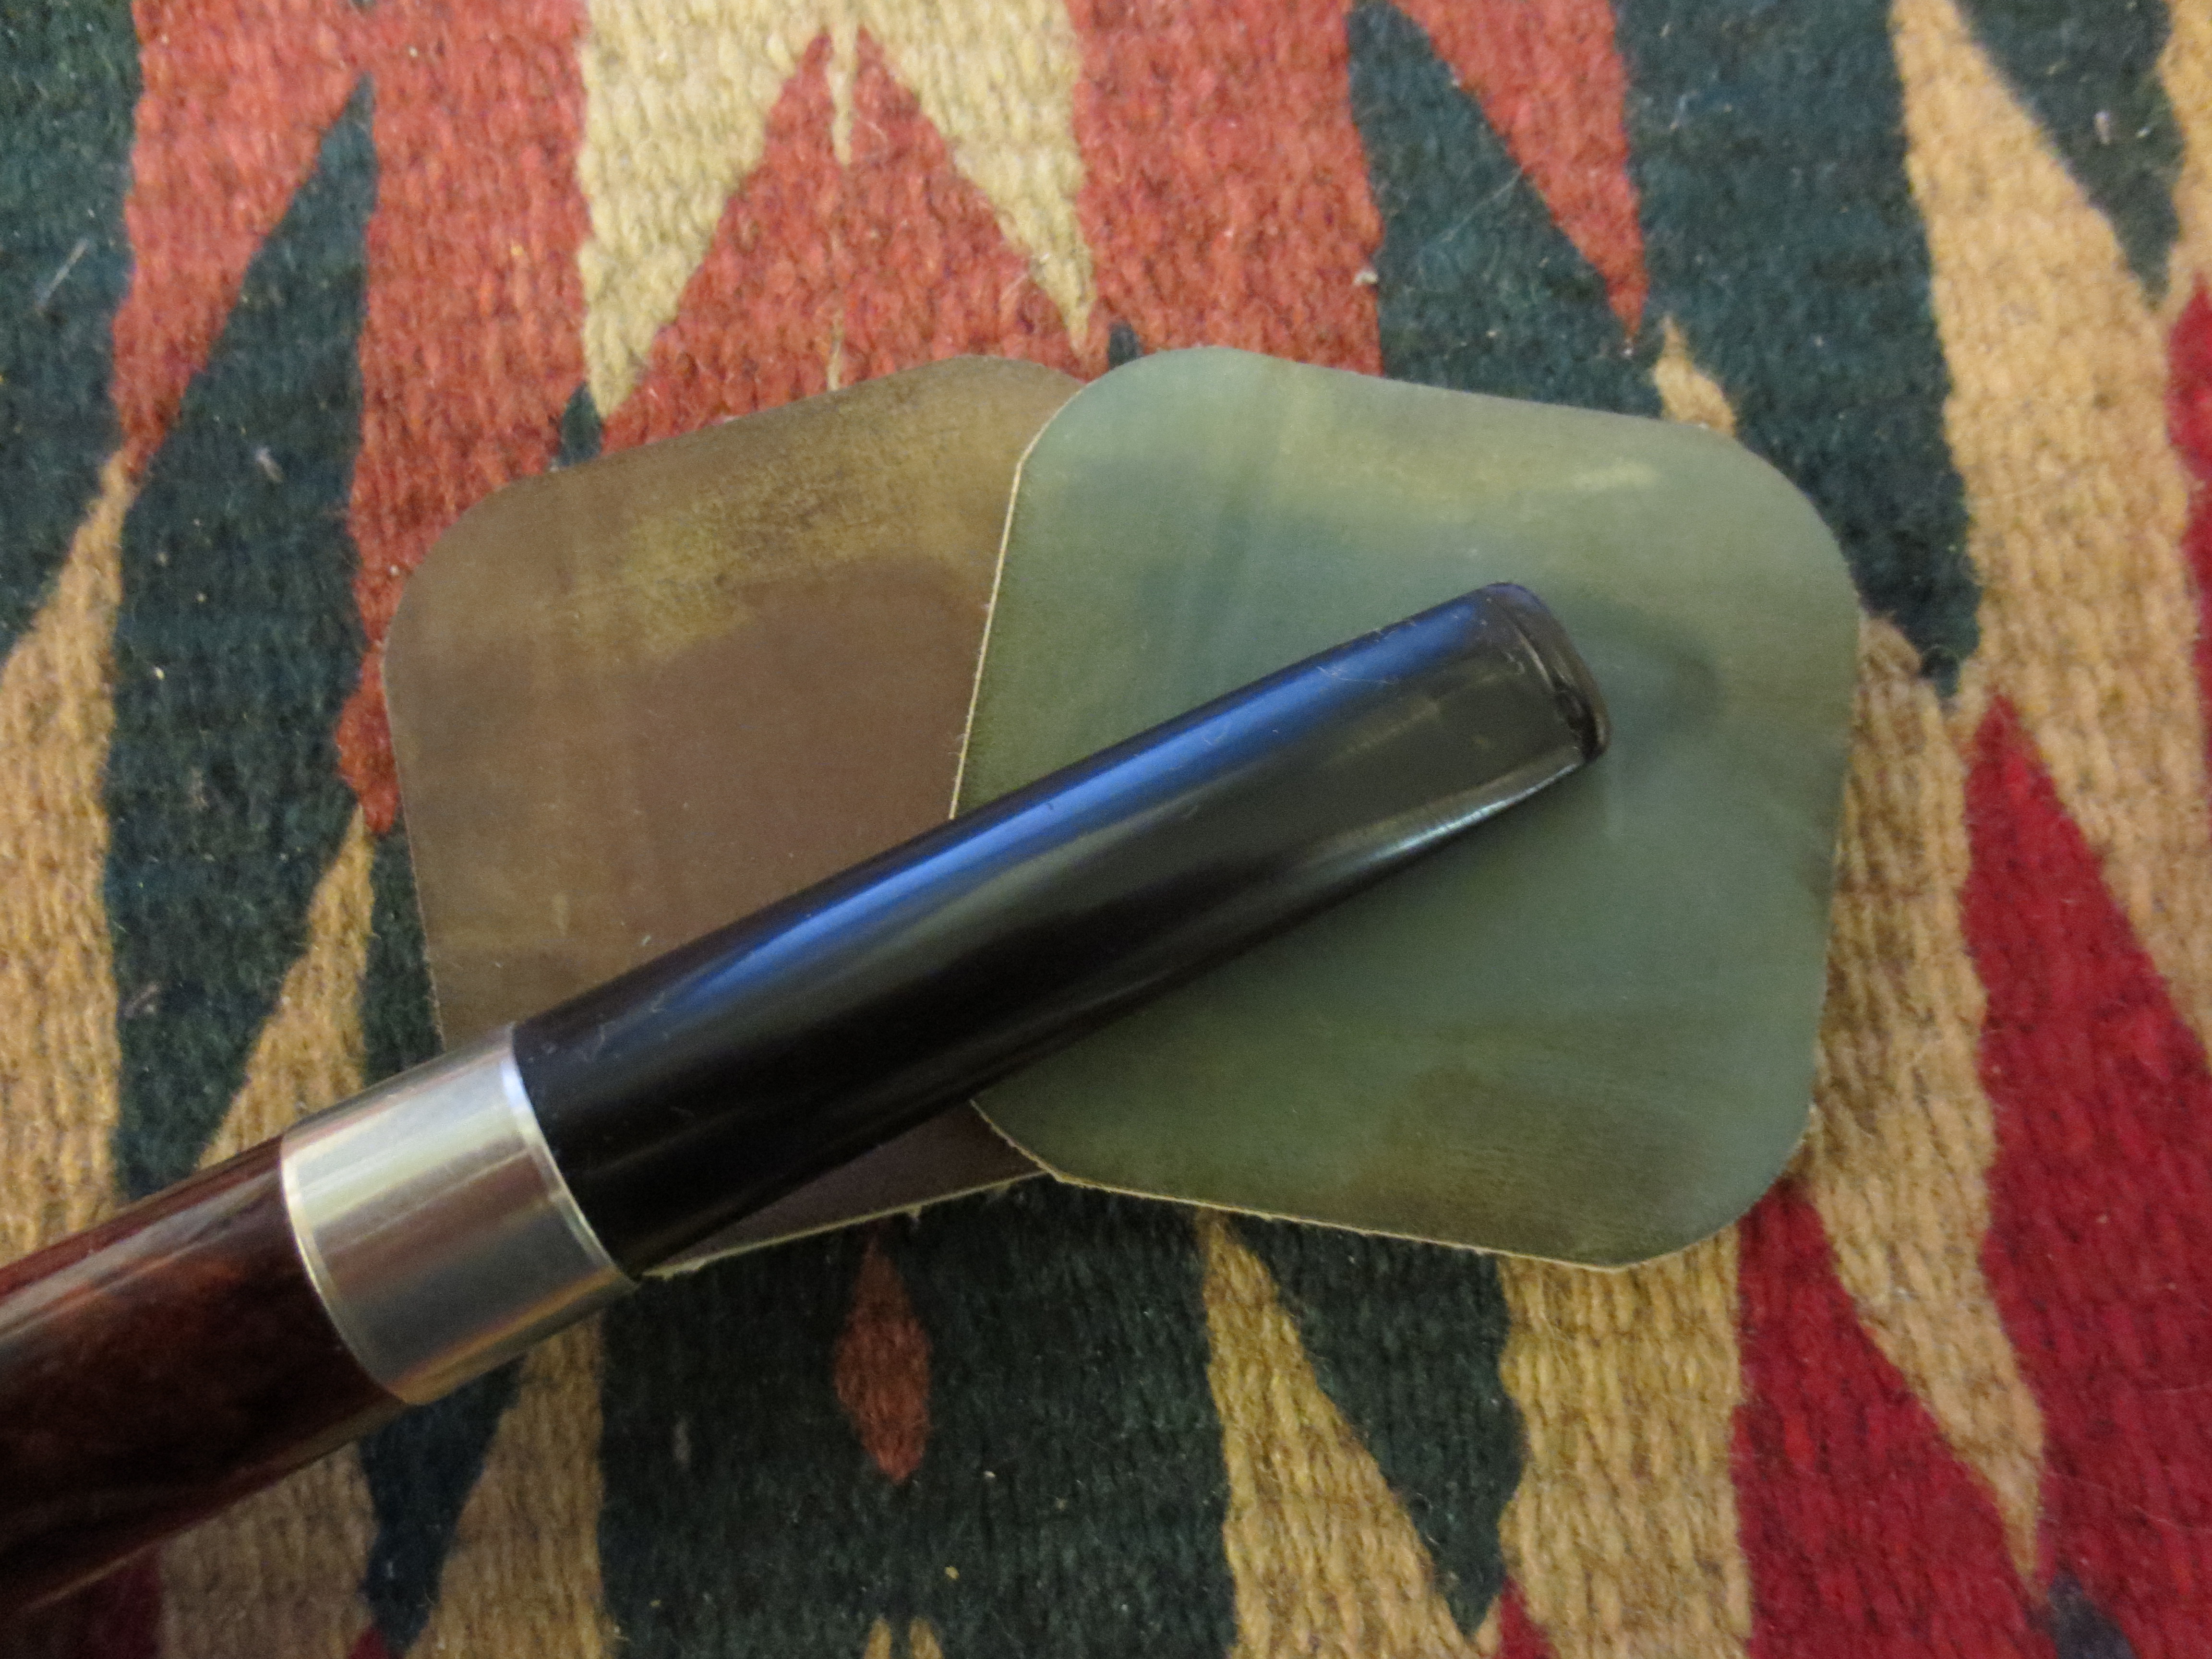
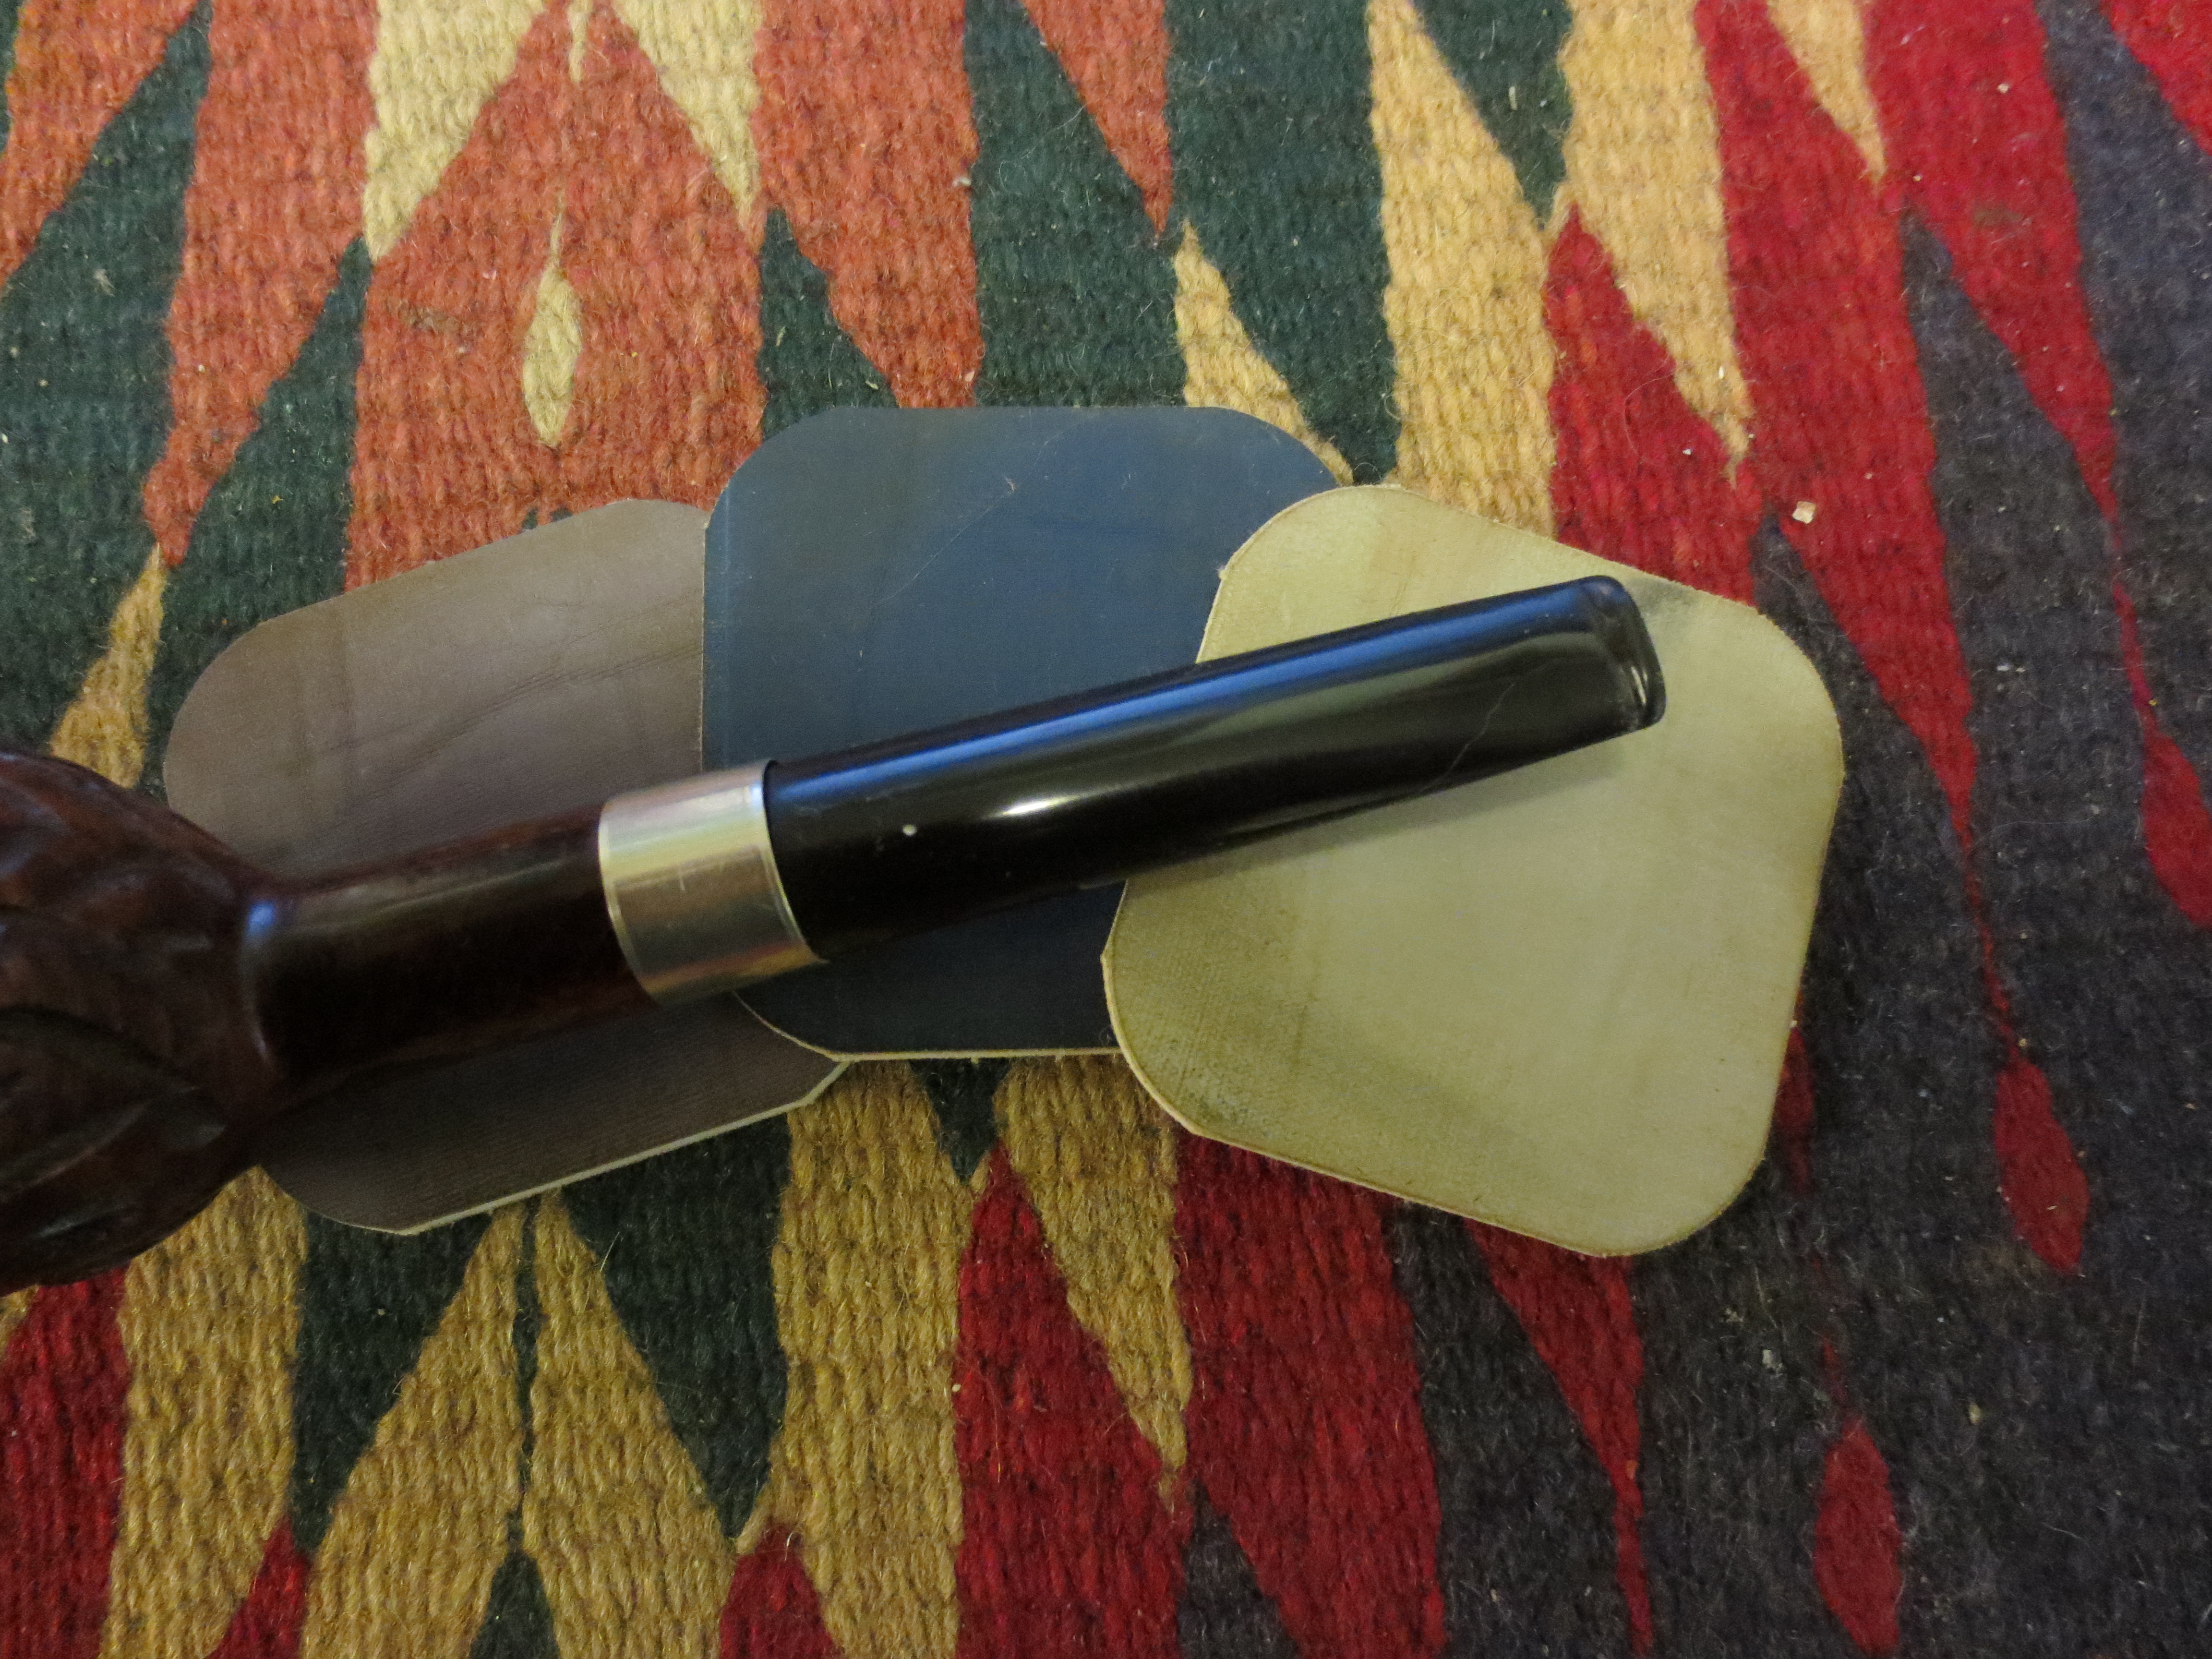
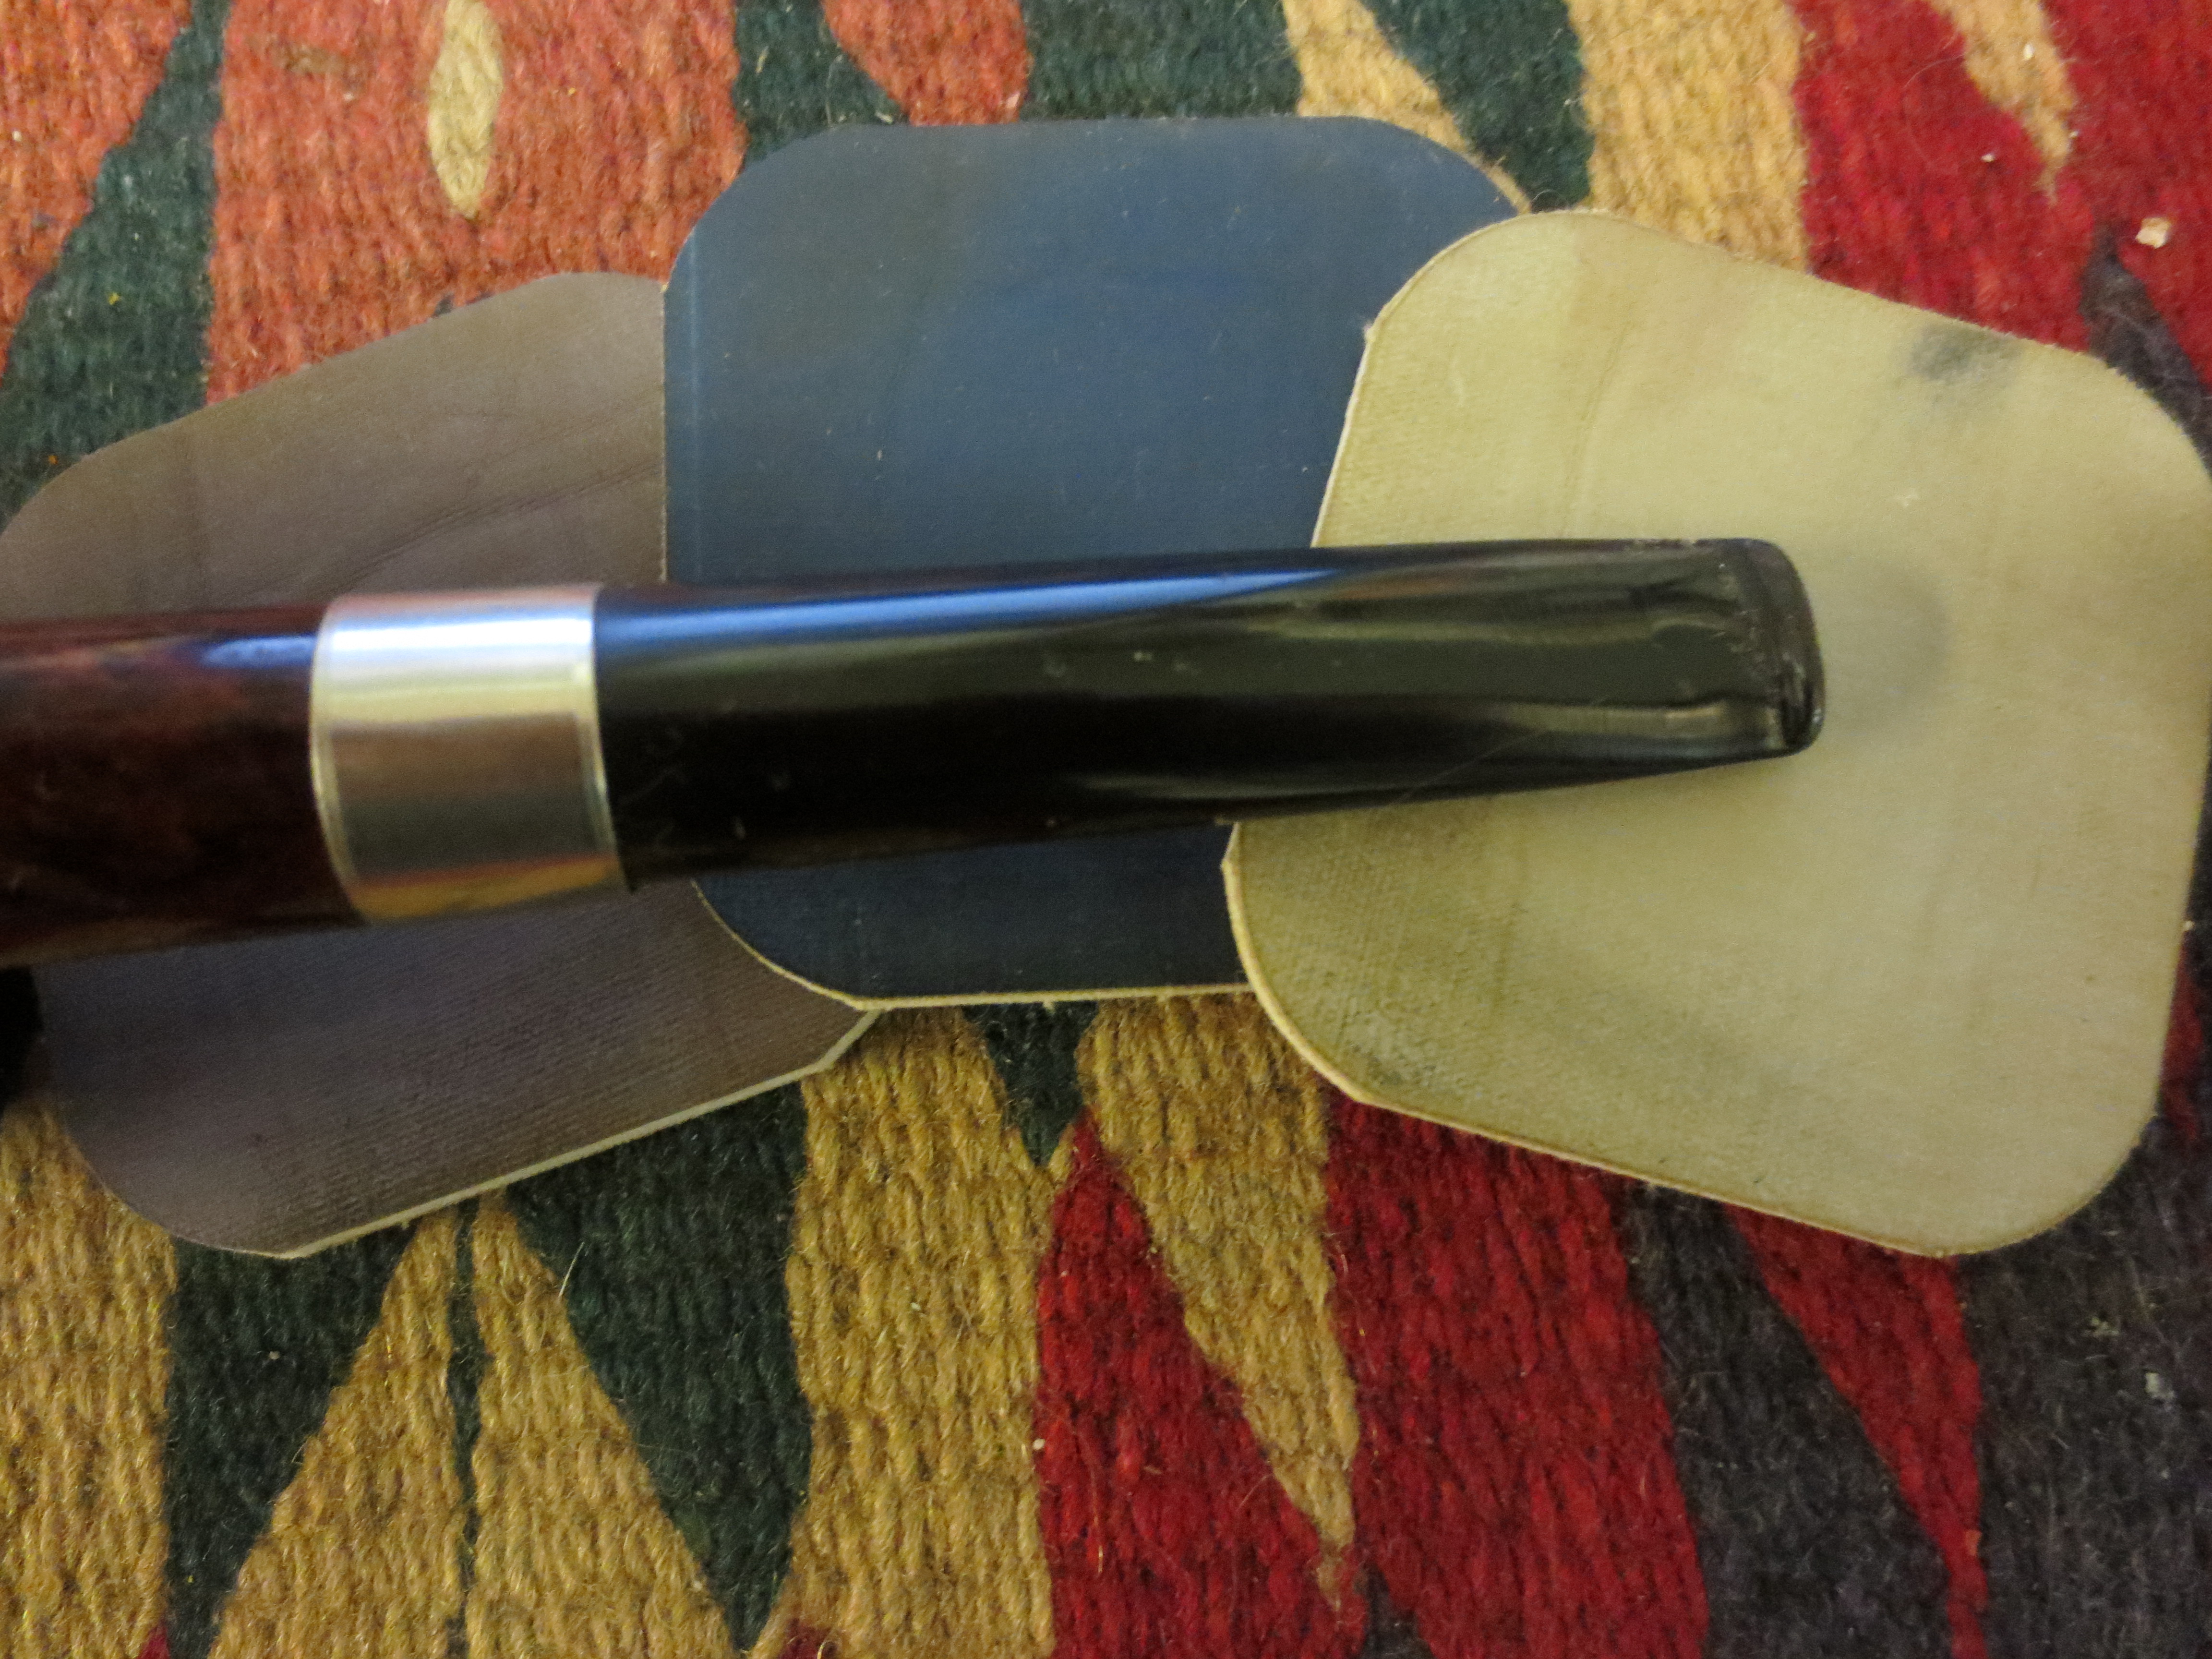
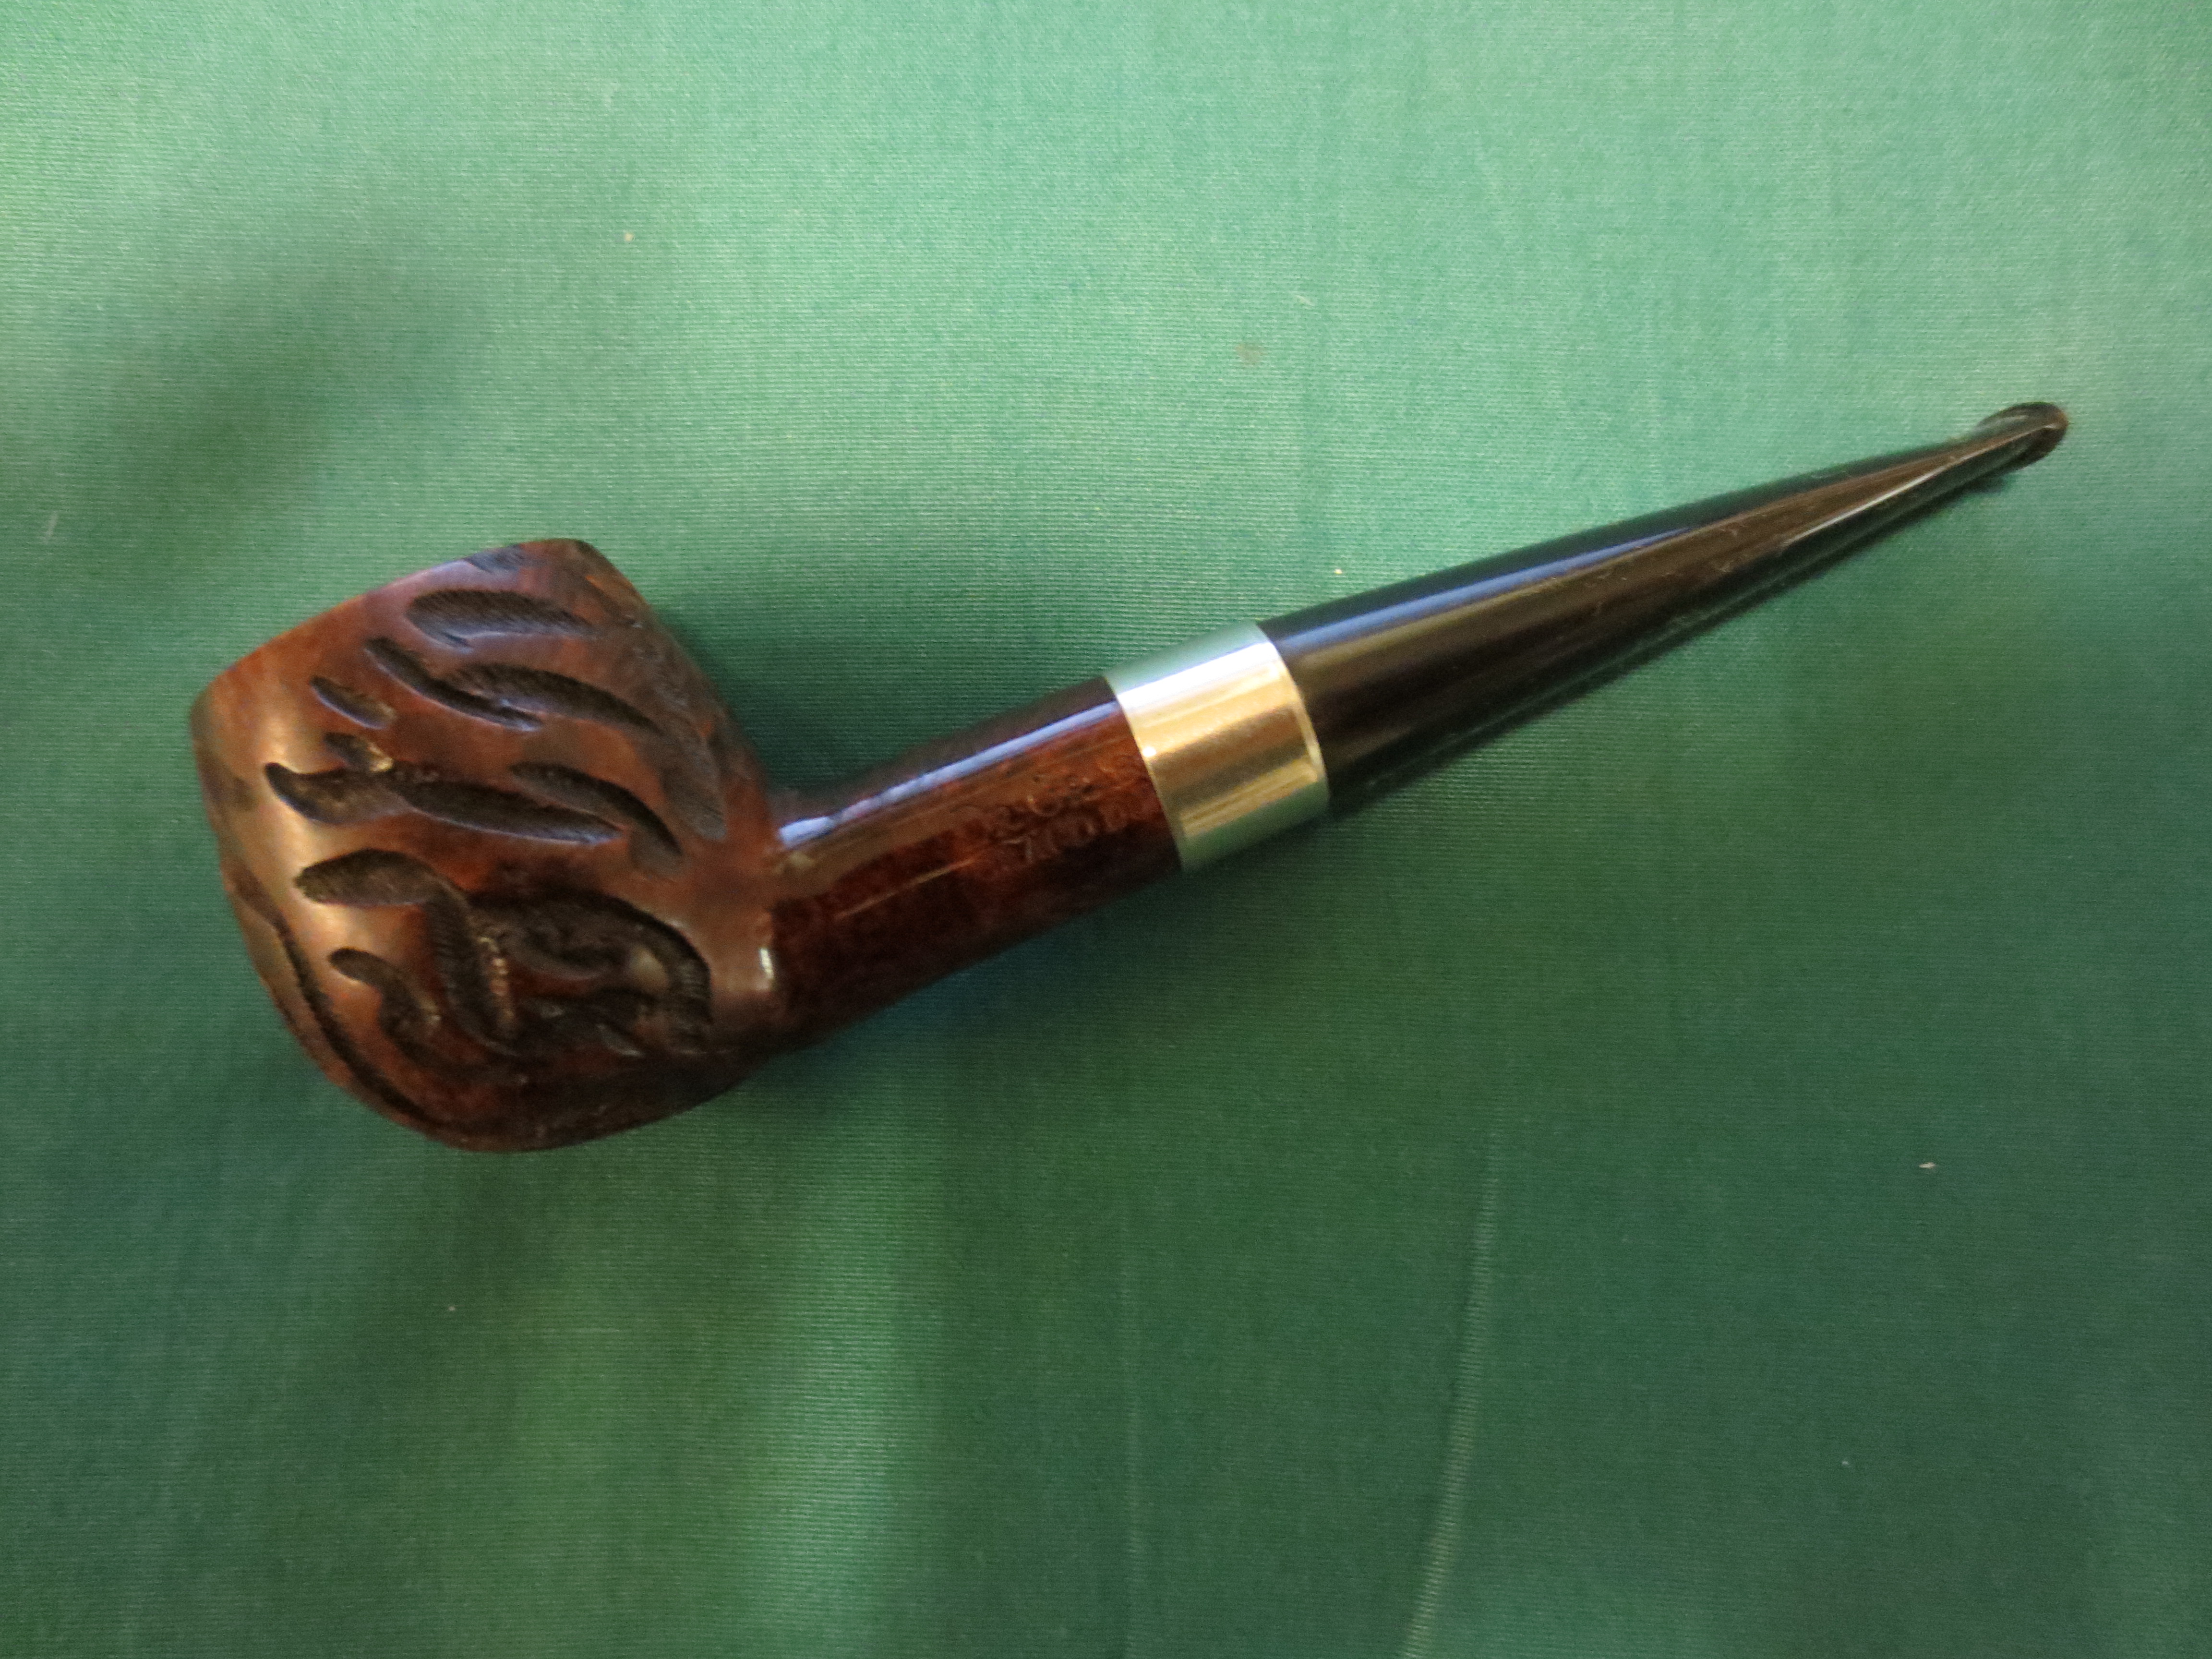
I buffed the stummel with Tripoli again before I reassembled the pipe and buffed the entire pipe with white diamond. I then applied several coats of carnauba wax to the pipe and buffed it out with a new soft cloth wheel. This is what the pipe looks like now, cleaned up (except for the fact I smoked it before I took the photos) but without any new staining done to it.
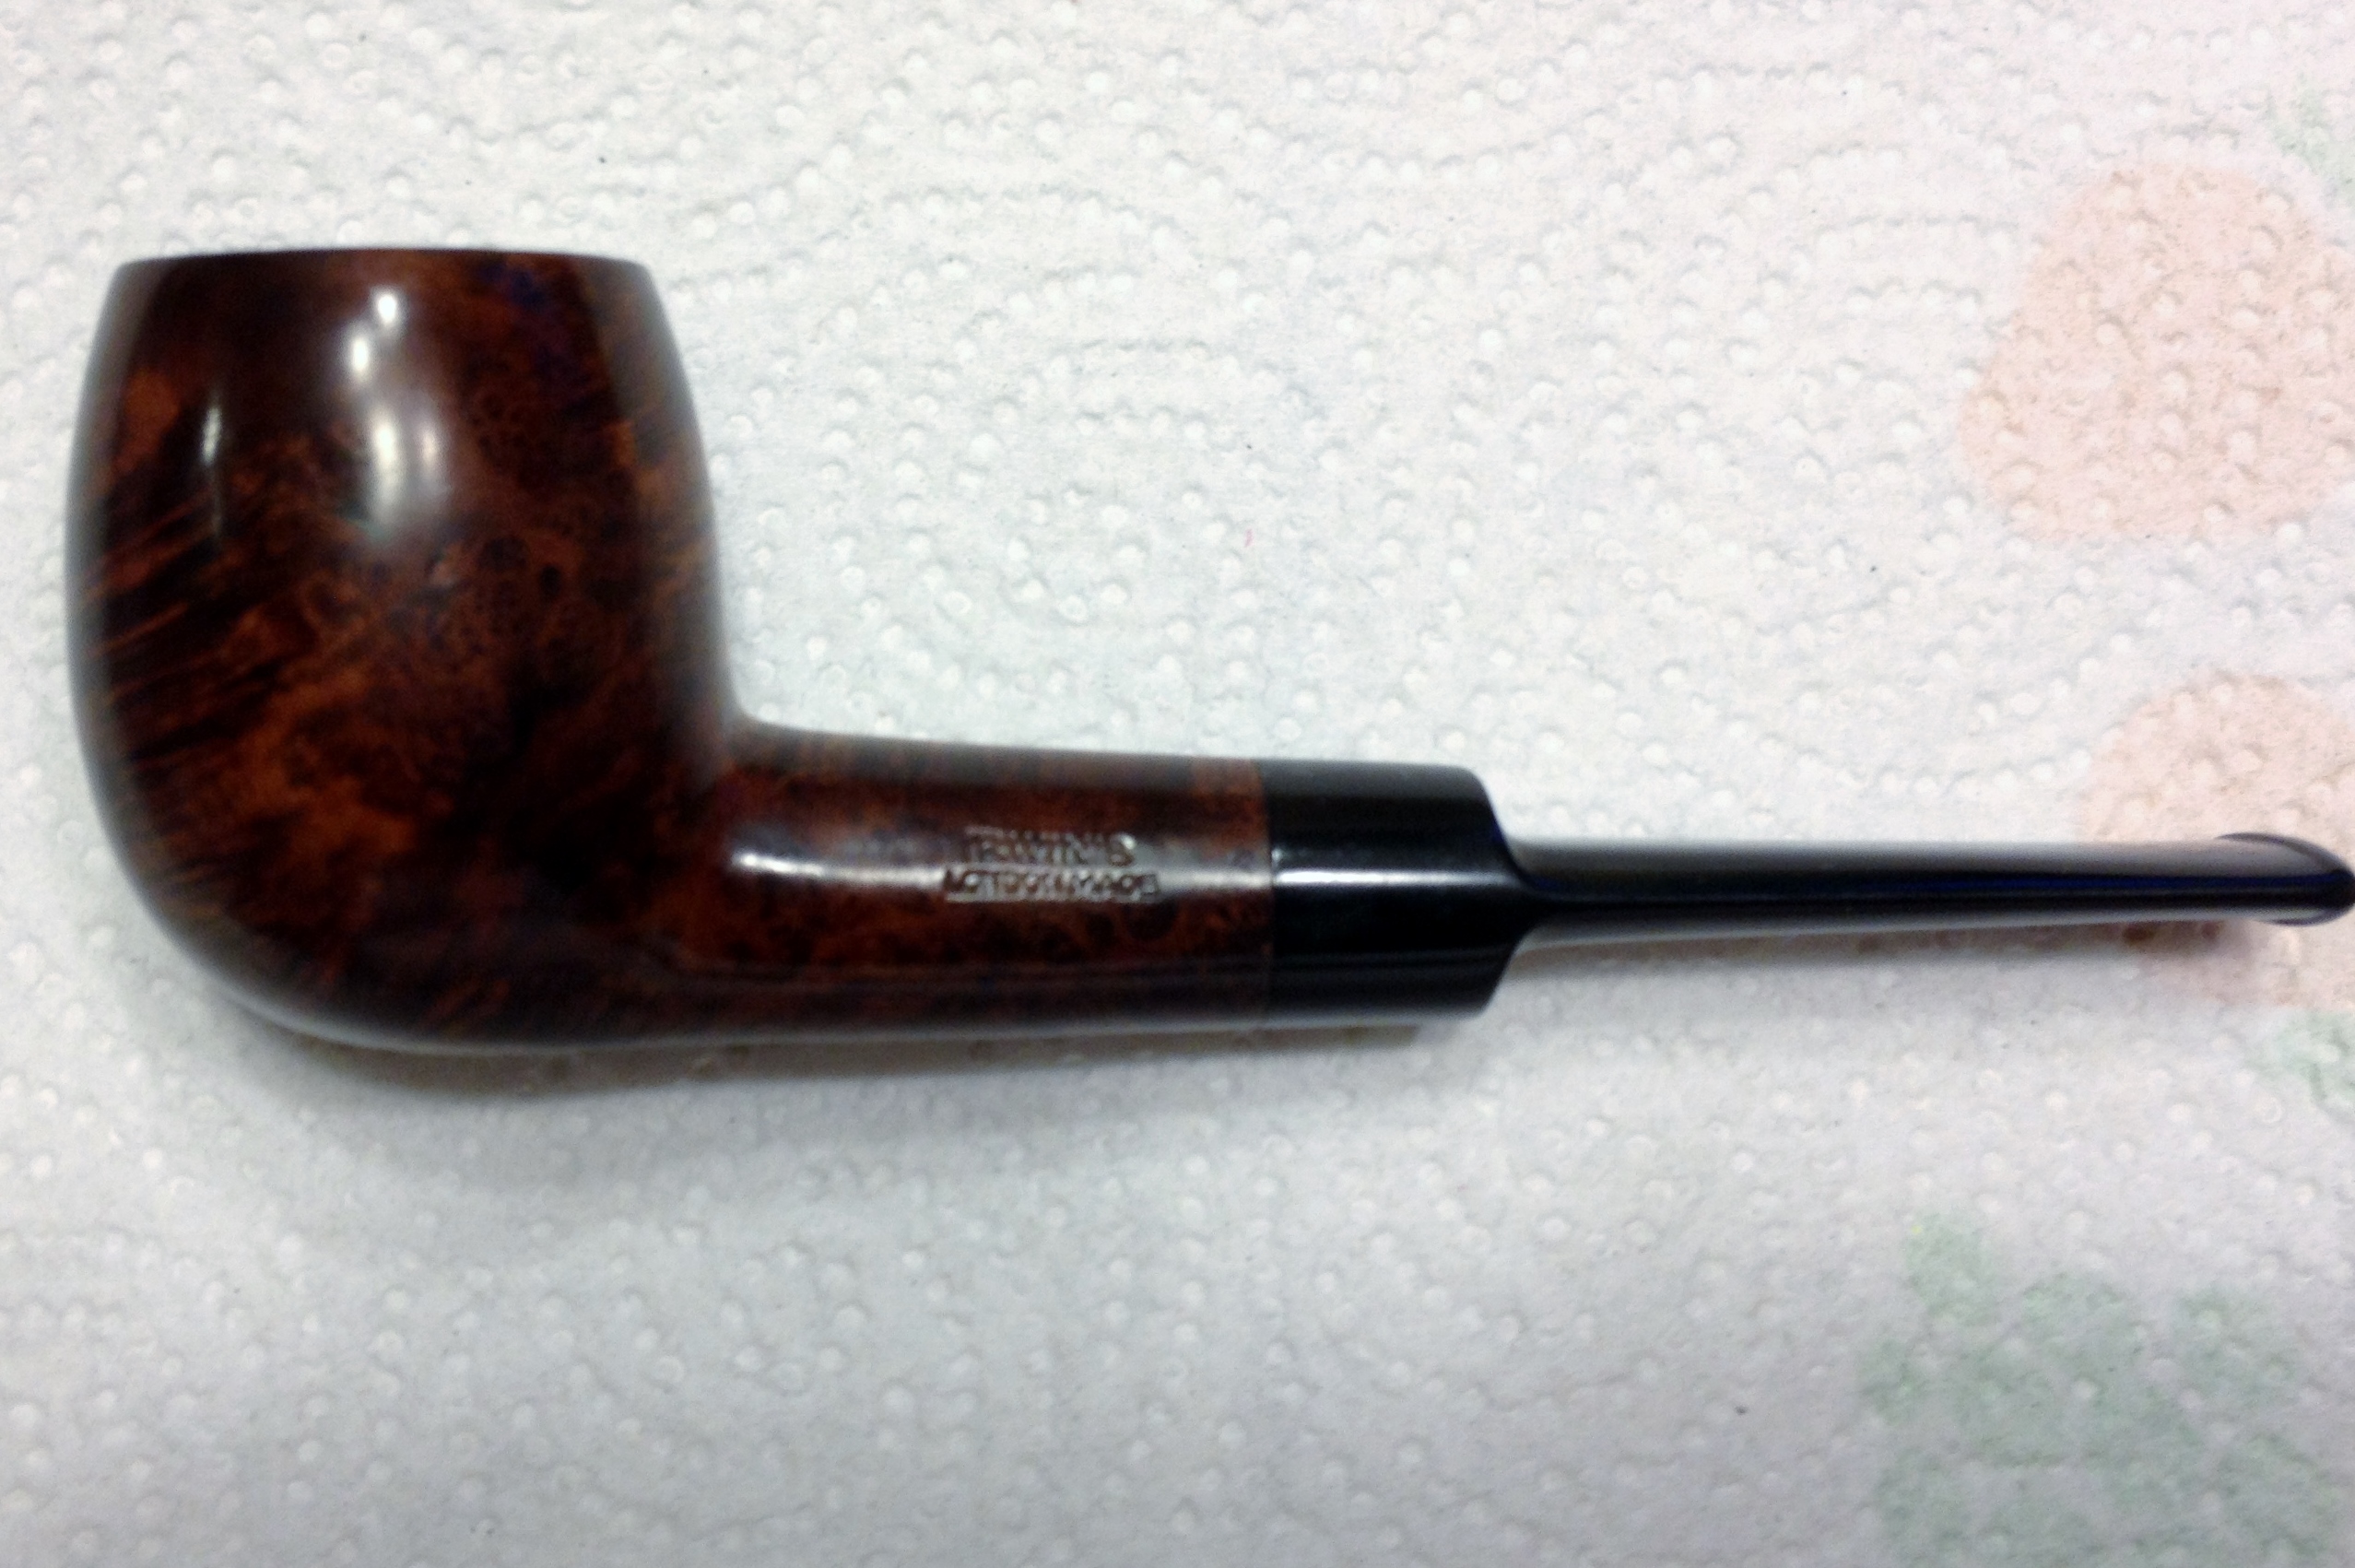
After
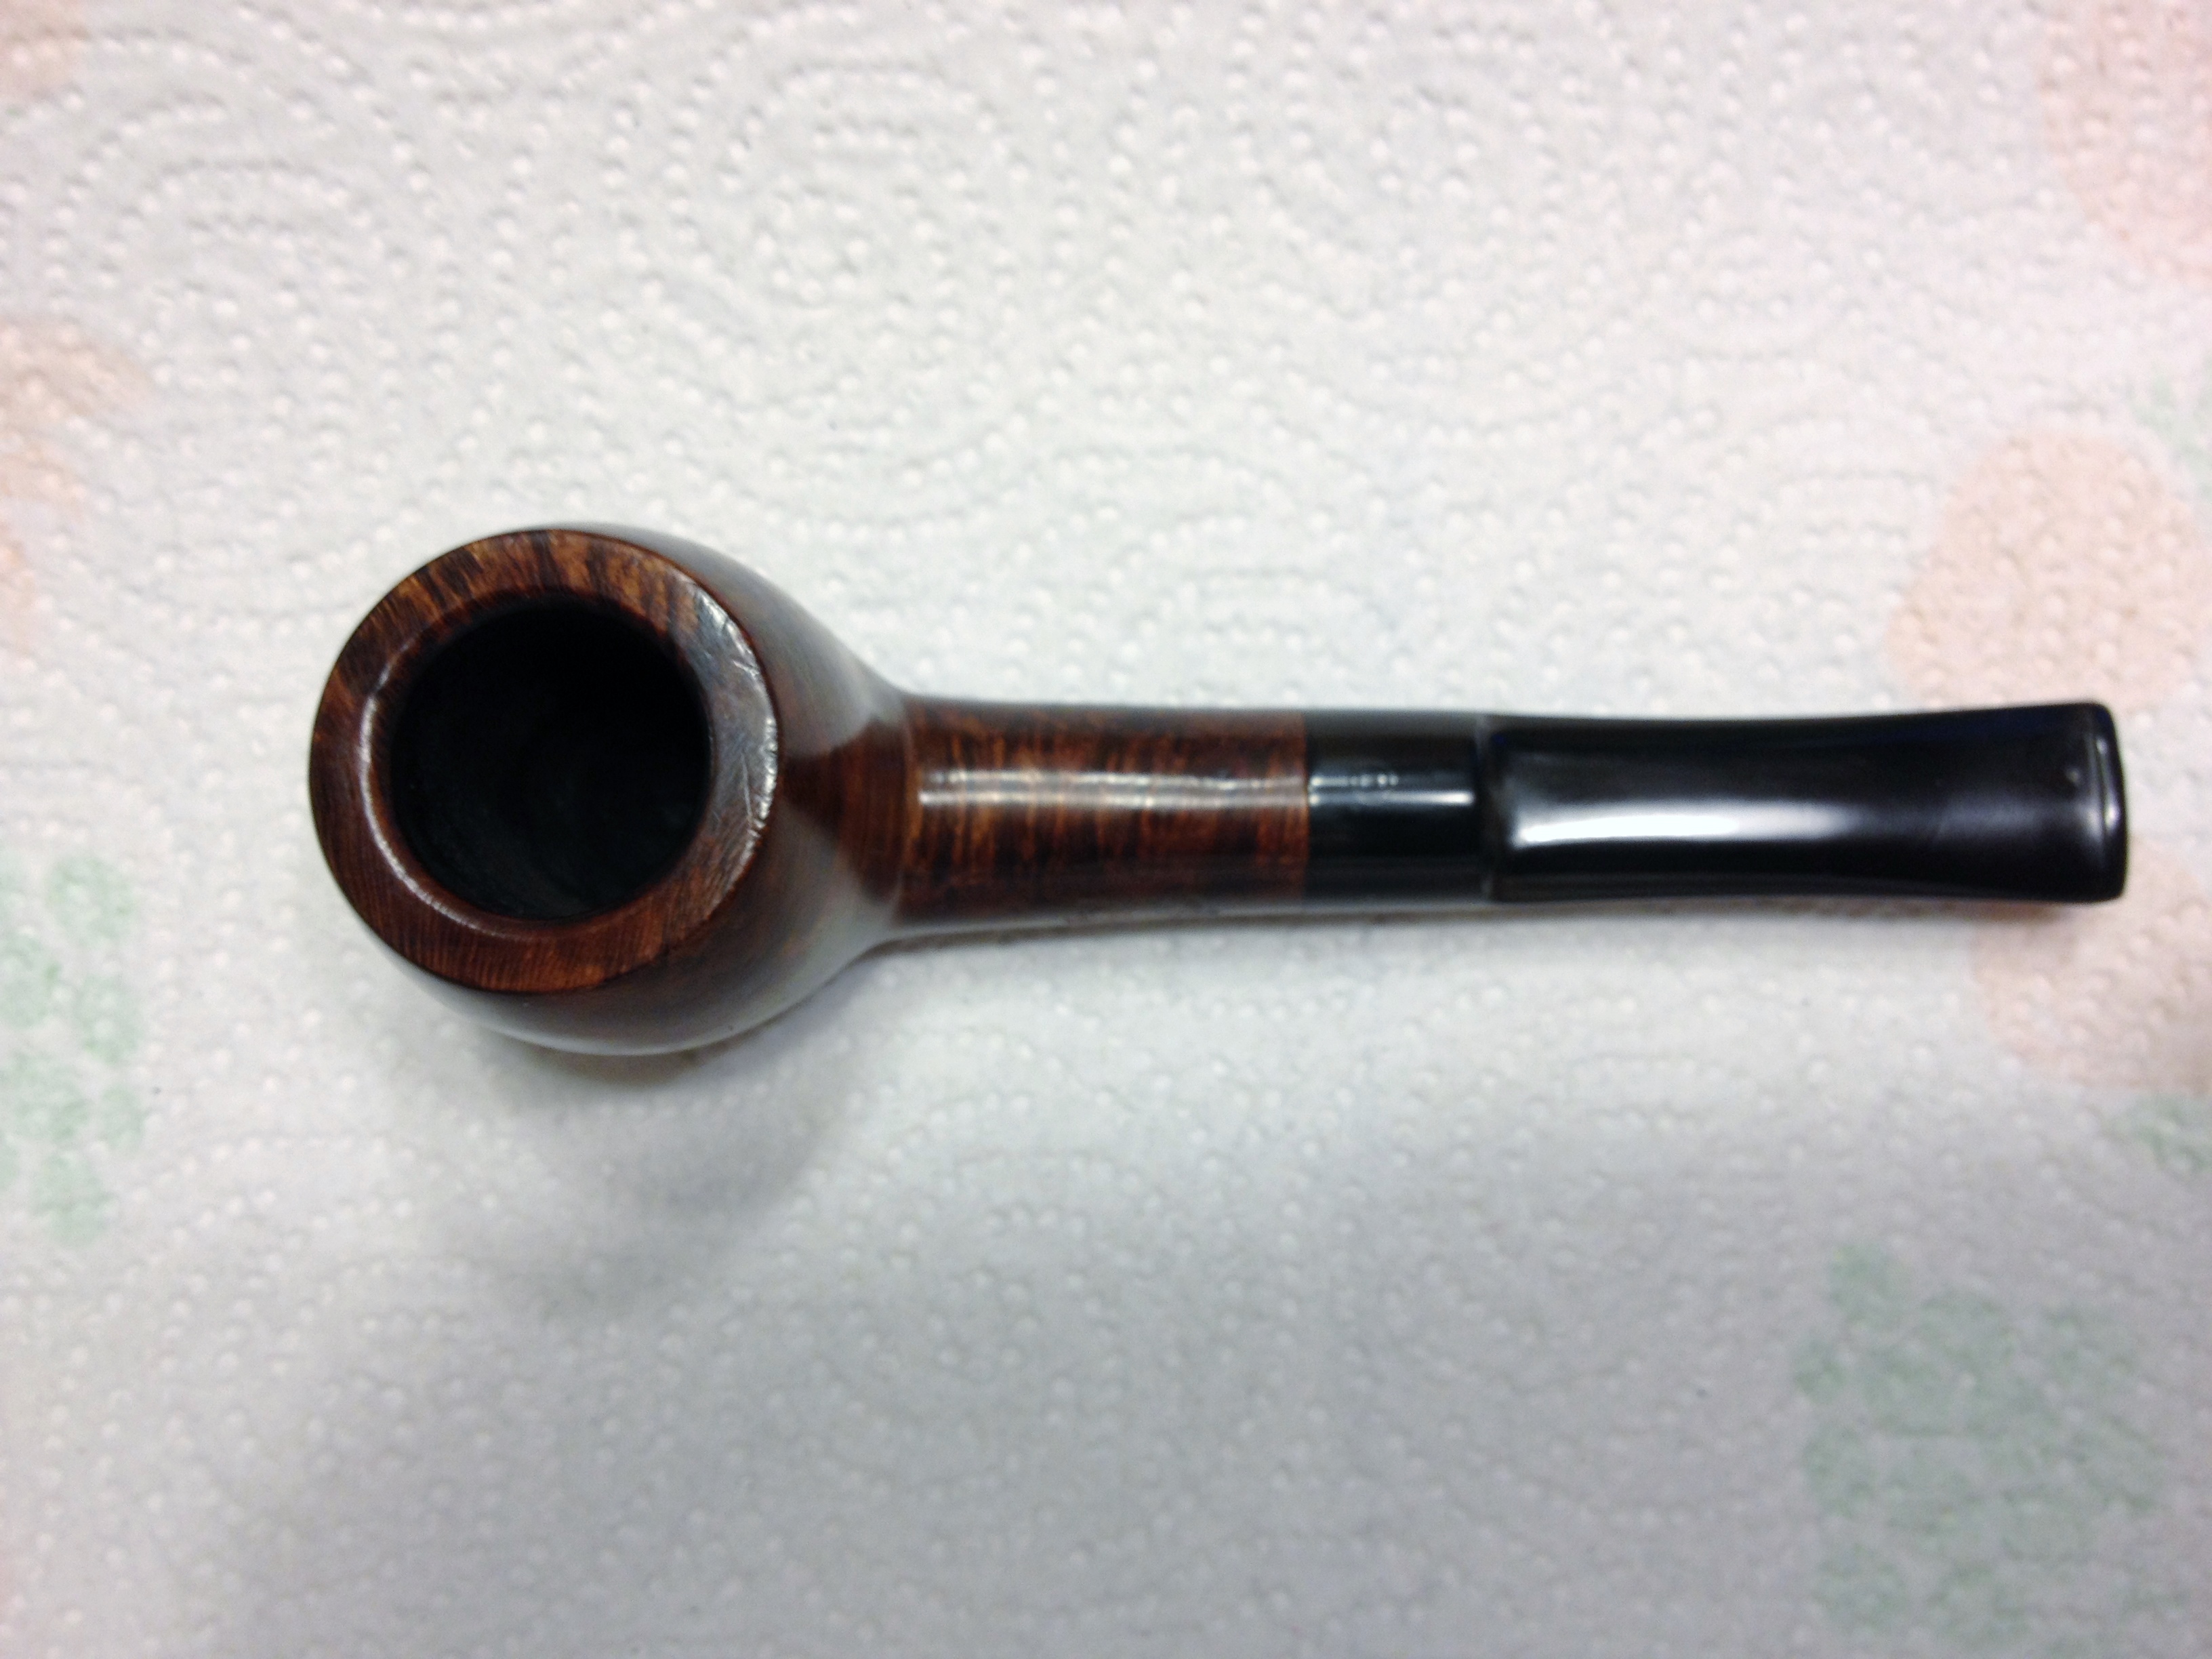
After

IMG_5493 IMG_5492 IMG_5491

The bit area does look a lot better and it is smooth, almost; apparently the layering technique wasn’t my best idea as a small piece of the top patch came off at some point, probably on the buffer. Next time I will not work in layers but more like a briar-dust fill and do it all at once, which be faster, too. I do wish it were less noticeable on the whole,though.
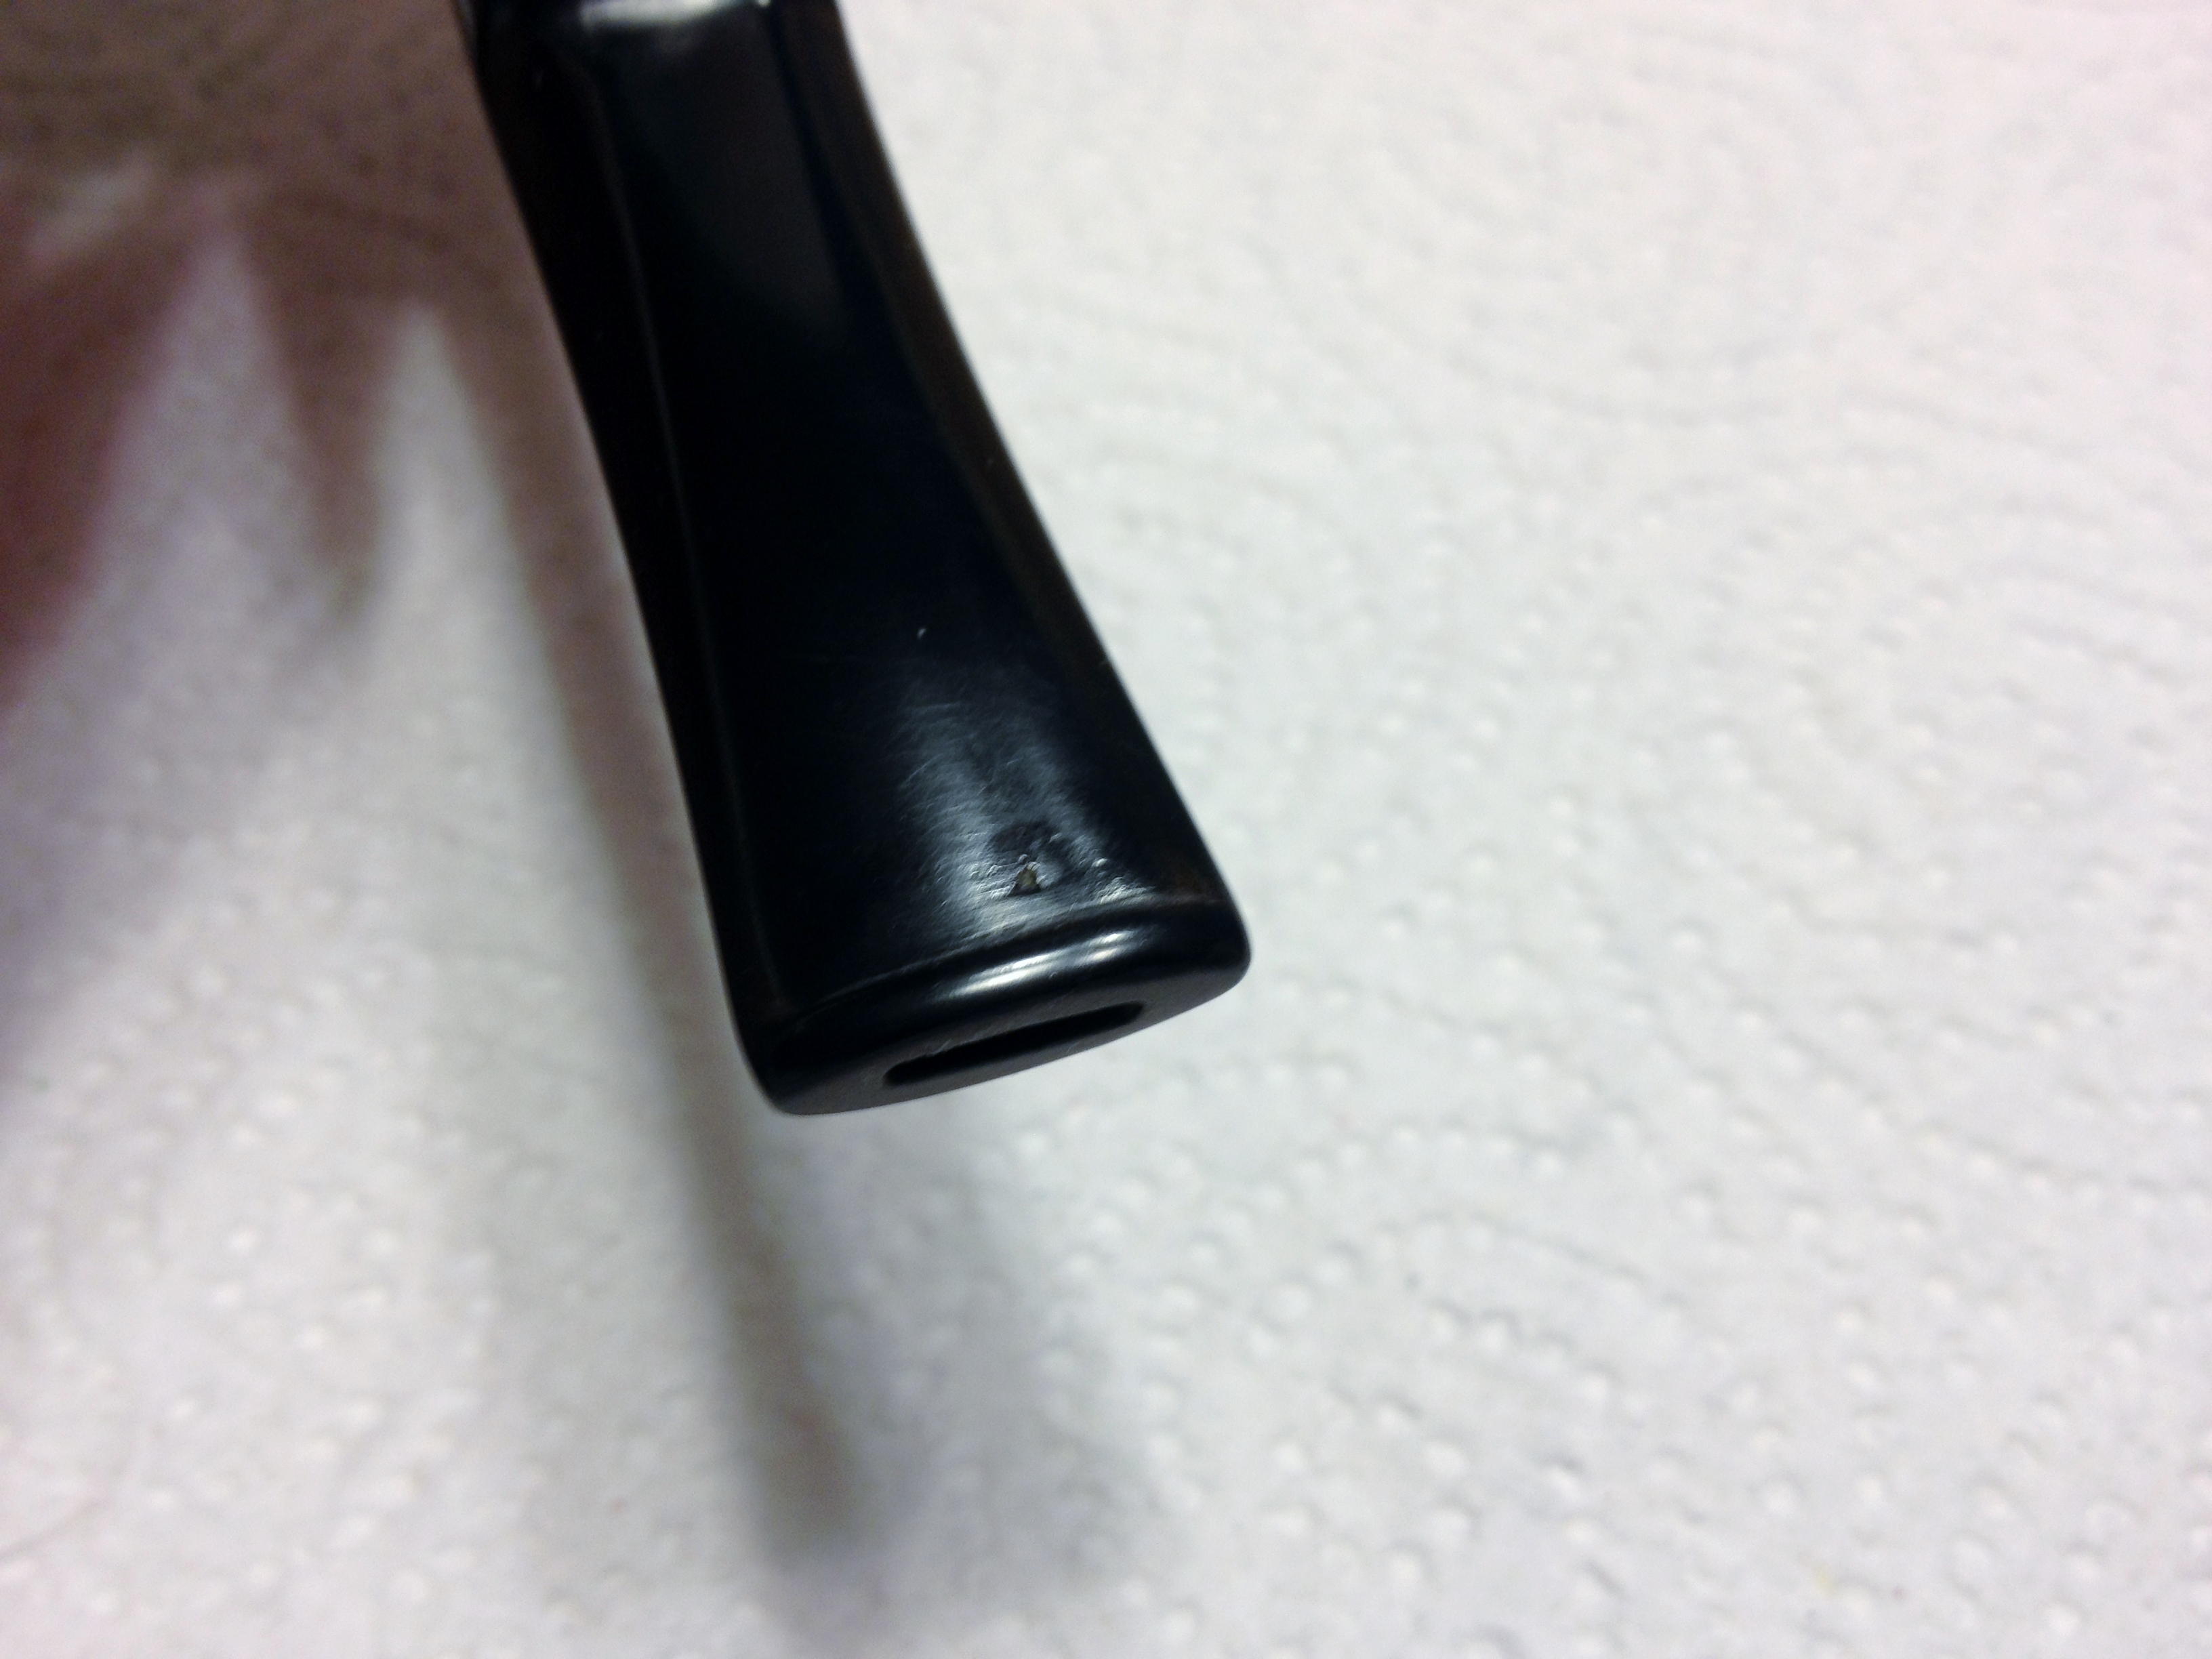
IMG_5494 IMG_5495

Before and After

Before and After

I have a few other ideas about trying to get a less visible patch that I may pursue. However, now that I know I can get black super glue, already made, that may be my future course. But the “can I do it myself ” part of me wants to keep experimenting so we shall see. If any of you readers have any ideas on making these repairs less visible I’d be most appreciative if you would share them in the comments section.
Repairing a Bite Mark on a Kirsten Stem


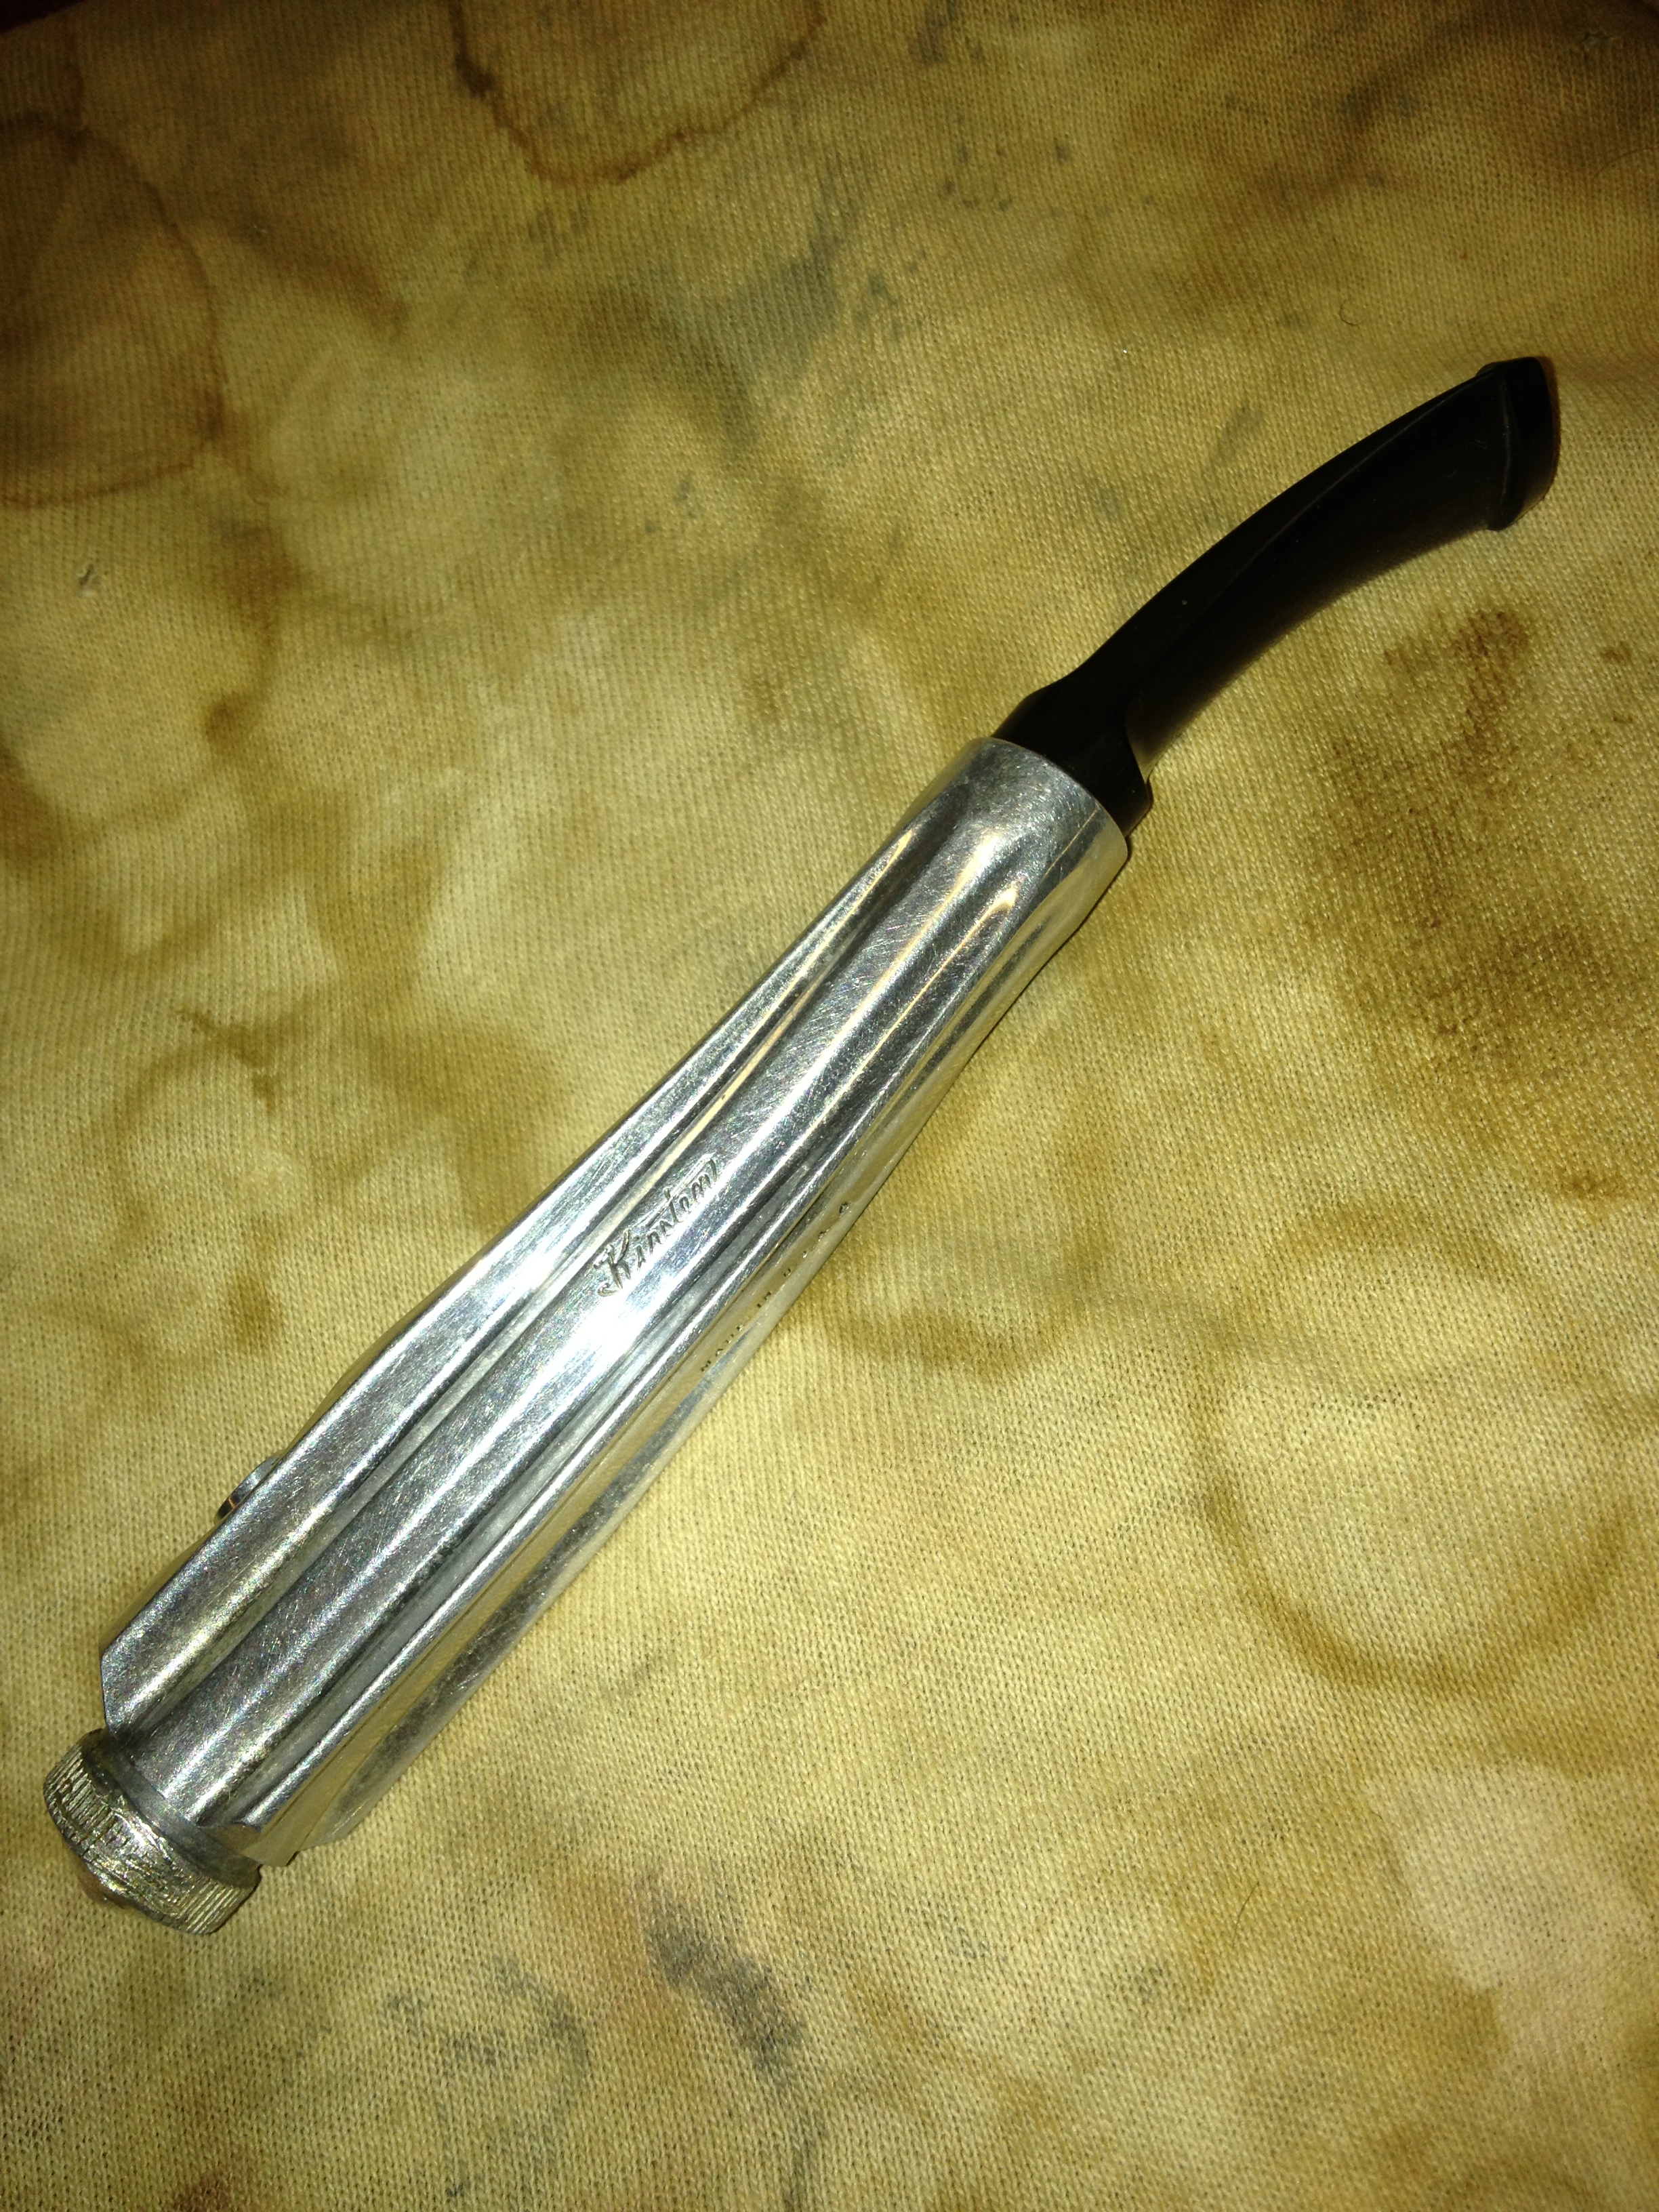
In one of my EBay bargain basket purchases I picked up a Kirsten Barrel and stem. It is complete minus the bowl. I have a bowl coming from a friend so it was time to do some work on the stem and barrel. The valve on the end of the stem was stuck shut so removed the stem and needle valve system from the barrel and filled the barrel with alcohol up to the top of the valve on the end. This worked through the buildup on the valve and I was able to remove it. The barrel was fairly easy to clean up with alcohol and cotton swabs. The stem valve also cleaned up nicely but the stem was another matter altogether.

ImageImage

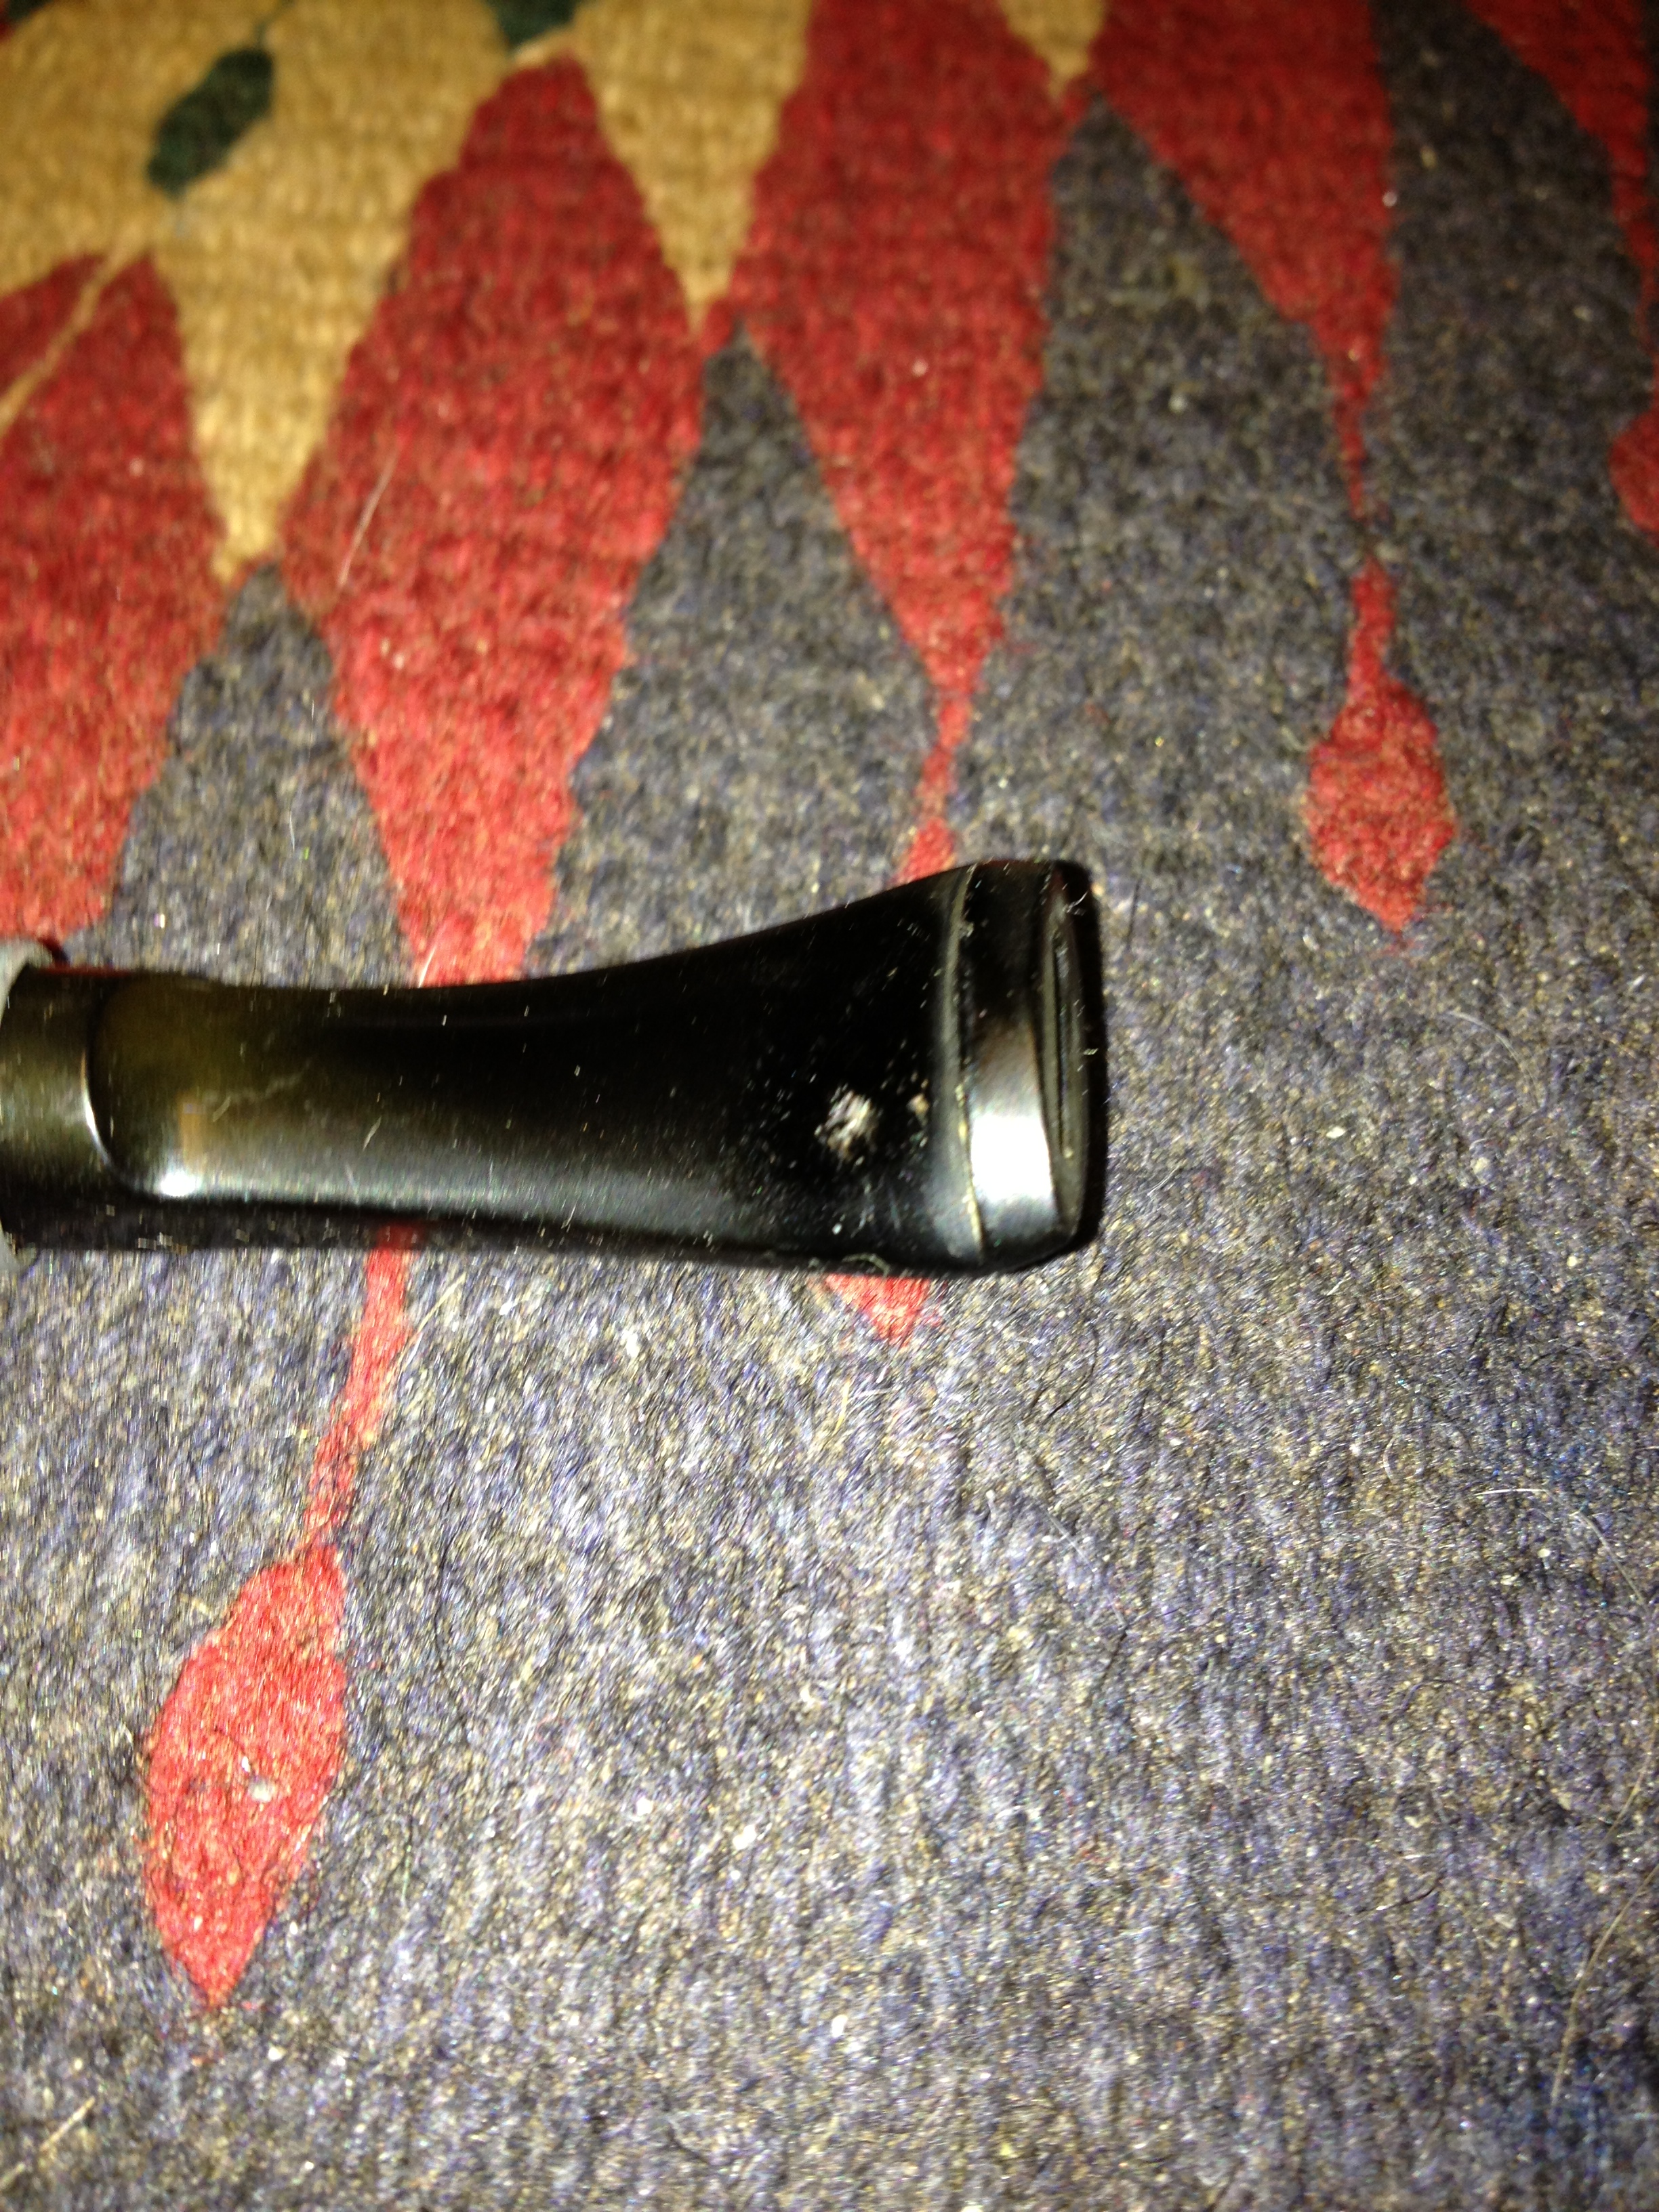
On the underside of the stem was a deep bite mark. It was rough around the edges and the vulcanite was compromised. On the top side of the stem were some smaller and less deep bite marks that were more like dents. There was also a wrinkle in the topside of the stem that was strange. The first two photos below show the stem when I began to work on it.

ImageImage

I decided to use my heat gun and set it on the lowest setting and held the stem over the gun to lift the tooth marks as much as possible. The ones on the top side of the stem lifted very easily with the heat. The wrinkle also smoothed out easily with the heat. The bite mark on the underside lifted slightly but it was not going to come out smoothly. I then sanded it with 240 grit sandpaper to remove the remnants of the bite marks and remaining tooth chatter. The top of the stem came out very nicely and I would need to work out the scratches with higher grits of sandpaper and micromesh. The underside was another matter. I sanded out the roughness around the edges of the crater in the stem. I sanded out the remnants of tooth chatter to see what I would have to do to reclaim the stem. The next two photos show the stem after the sanding with the 240 and 320 grit sandpaper. The topside is nice, but the bottom crater remains – smaller but visible.

ImageImage

I sanded the stem with 400 and 600 grit wet dry sandpaper to remove the majority of the scratches pictured above. The top side I then sanded with 1500-2400 grit micromesh sanding pads. The first photo below shows the top of the stem and the bite marks and tooth chatter is gone. The stem from the top looks clean and new – ready for the bowl when it gets here. The second photo shows the underside of the stem. For the crater in the underside I cleaned out the hole with a cotton swab and alcohol. I picked away any debris that had collected in the hole with a dental pick. I then filled the hole with black superglue. I made a superglue bubble over the hole to make sure that when it dried it would be able to be full enough. I set it aside for the night. In the morning I sanded it with 320 grit sandpaper and took the bubble down to the surface of the stem. I then sanded with 400 and 600 wet dry to smooth it out more. Finally I sanded it with the 1500-2400 micromesh sanding pads to get it to the point shown in the second photo below.

ImageImage

At this point the stem is repaired and all that remains is to do some final sanding with the higher grits of micromesh sanding pads. I worked on it with 3200 and 3600 grit micromesh and then polished it Maguiar’s. After that I sanded it with 4000-12,000 grit micromesh and then gave it a coat of Obsidian Oil. The finished stem was buffed with White Diamond and then more carnauba wax. I also hand polished the barrel with carnauba wax.

ImageImage


Repairing a Stem on a Dr. Grabow Grand Duke with Black Superglue


I took on this project to demonstrate how I use black superglue to repair deep bit marks/bite throughs on vulcanite stems. I had this old Grabow stummel in my box and I found a stem that looked good on the bowl. The bowl had a small hairline crack in the shank so I pressure fit a band on it for a repair. The bowl needed to be topped so I did that after banding. I restained the top to match the bowl colour. I used a dark brown aniline stain that I mixed with isopropyl alcohol until I got the match I was looking for. I stained and flamed the rim to set the stain. The stem was in pretty rough shape but I decided to use it anyway and take it on as a project. The button was almost gone from the deep bite marks. There were three bite marks on the underside of the stem near the button and on bite mark on the top of the stem. I decided to use the boiling water trick to try to raise the dents as much as possible. These were deep bite marks and the edges were rough so my guess was that they would not come up to the surface with the heat. I then sanded the surface of the stem with medium grit emery paper to remove the surface marks and dents and then smooth out the area of the deep bite marks. I work to have a semi rough surface for the superglue to bond with so I am not sanding it smooth as much as working it over to make it clean. The next three photos show the state of the stem after I had sanded it and readied for patching.

ImageImageImage

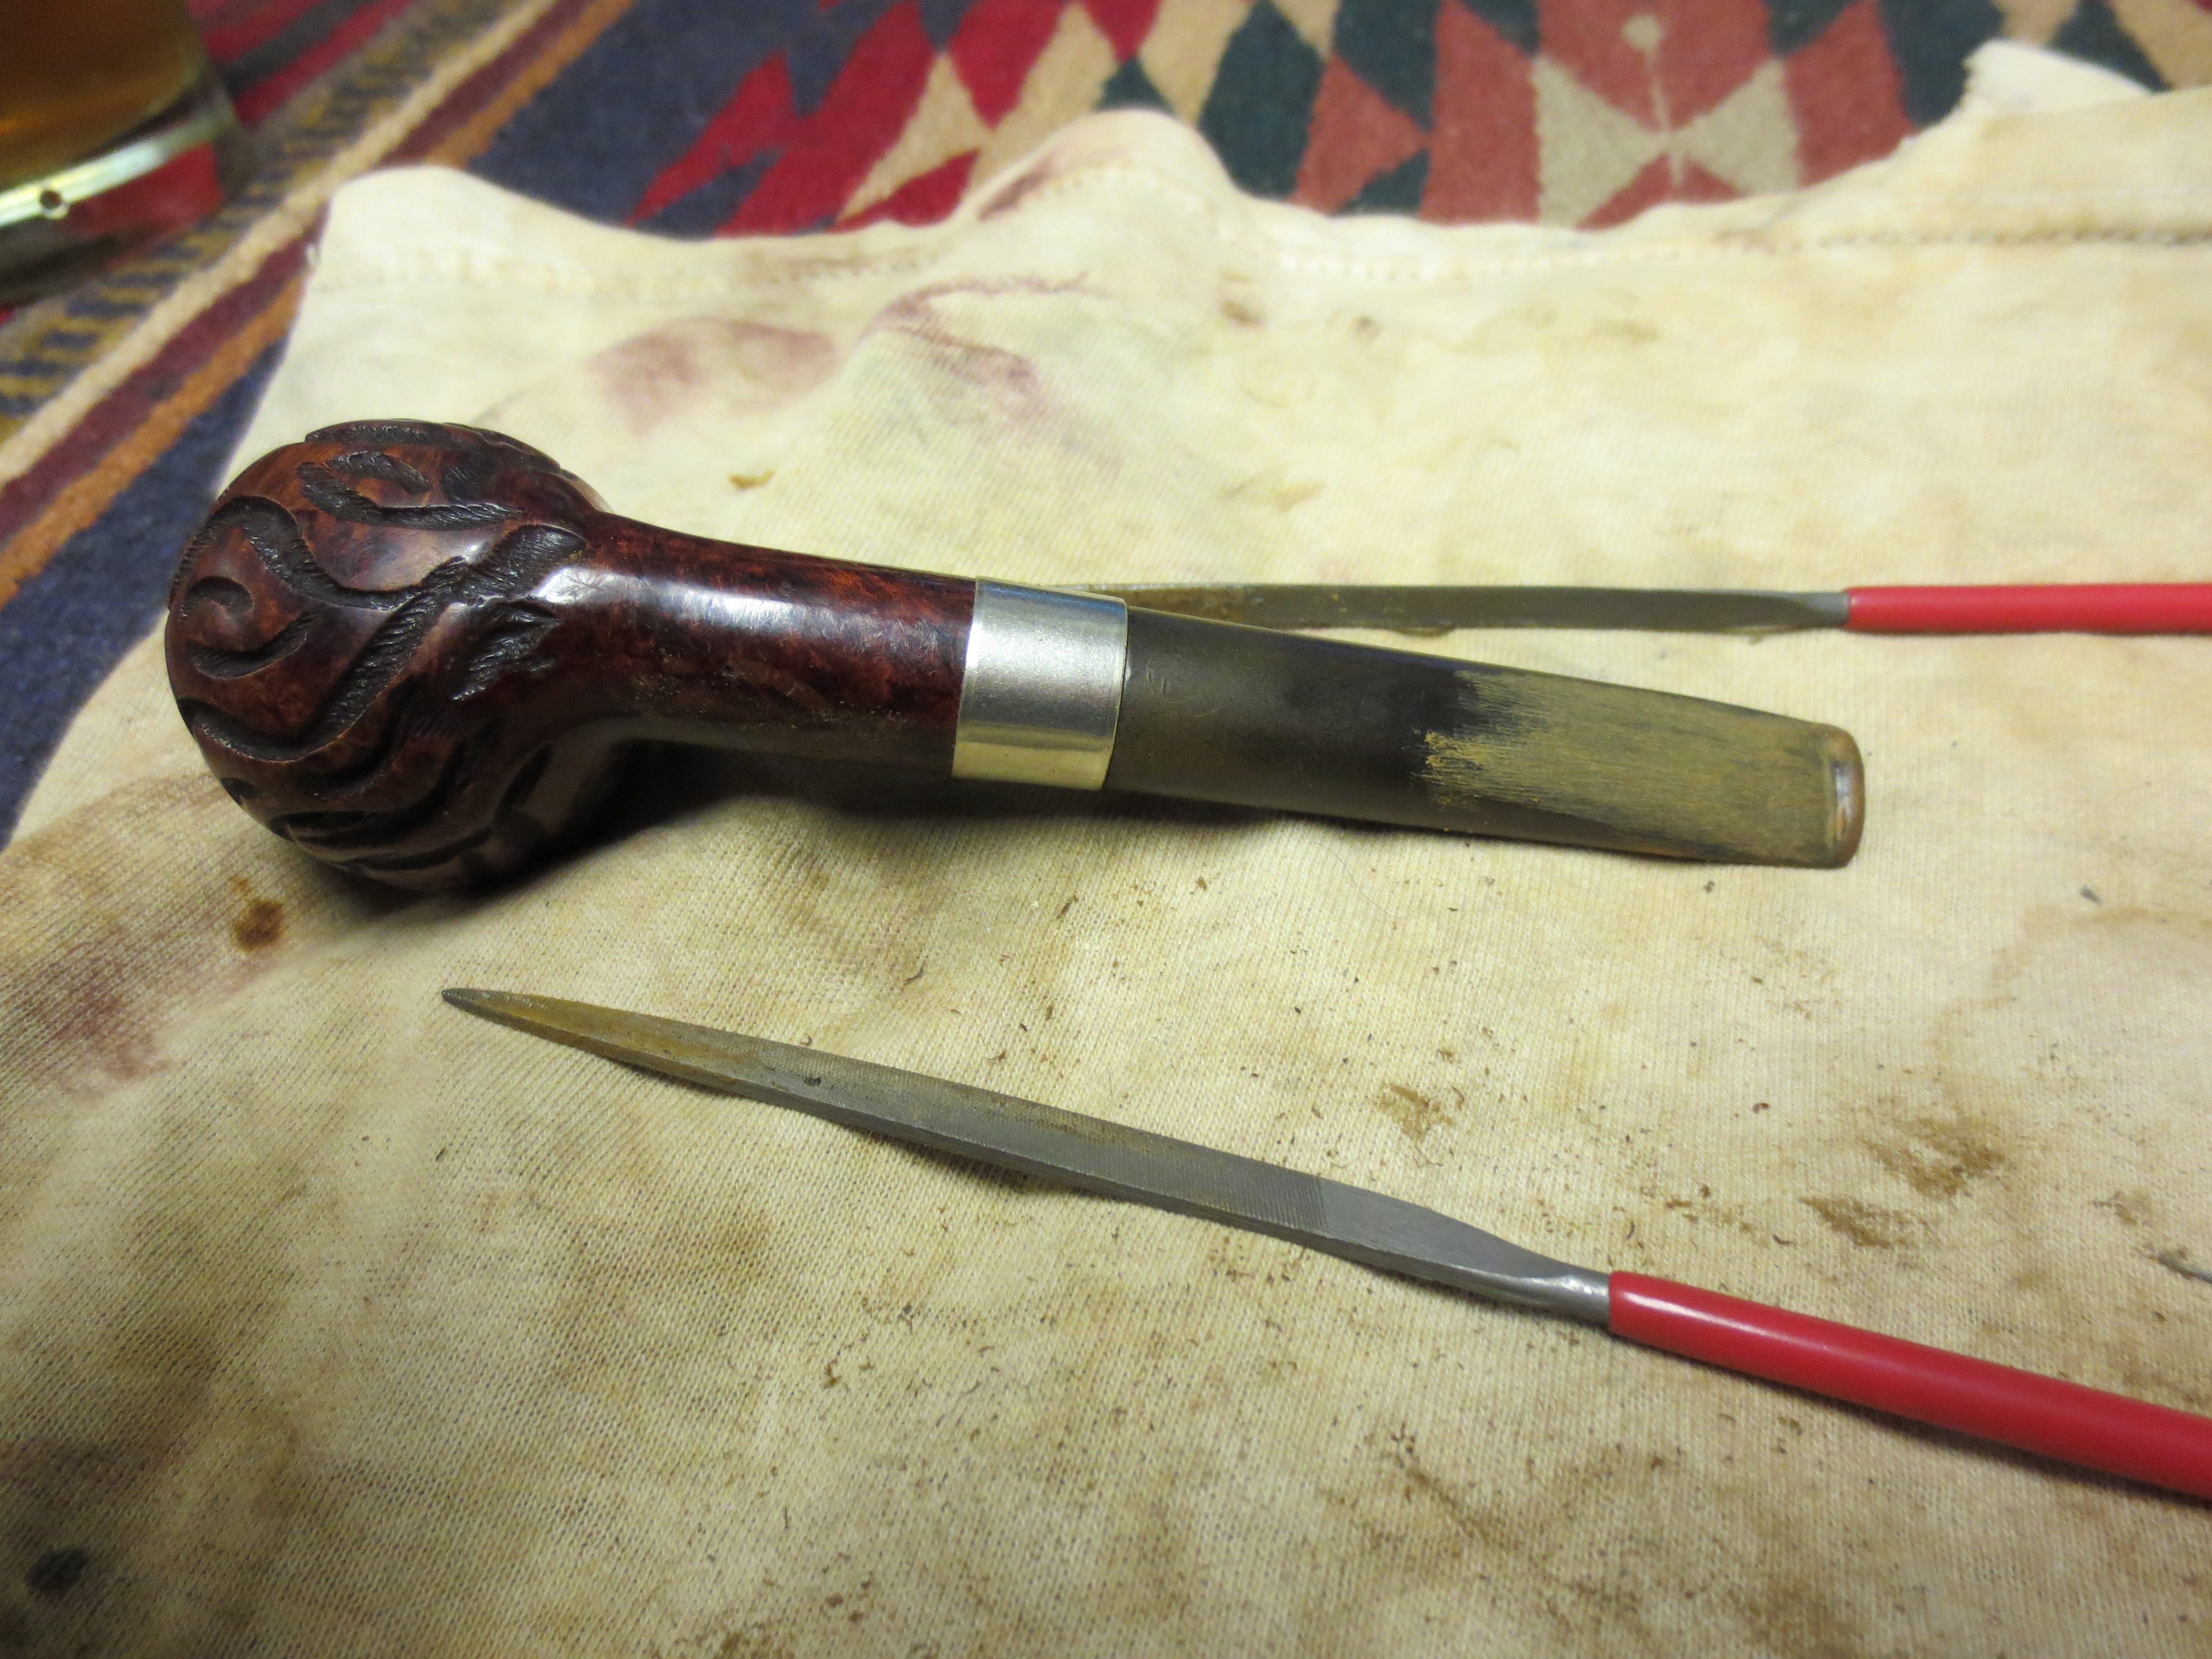
Once I had sanded the surface smooth I used my needle files to recut the sharp edge of the button and rework the flow and angles of the button. I also used the needle files to carve the surface of the stem and provide a gentle slope to the new button area. I have found that often when recutting the button and defining its shape it is easy to cut a trough and make a hump in front of the newly shaped button so I always start about half way up the stem and use the file to change the taper to flow to the edge of the button. This served the dual purpose of removing high spots on the bite marks and to help identify the actual holes that would need to be patched. The next two photos show the file work on the stem.

ImageImage

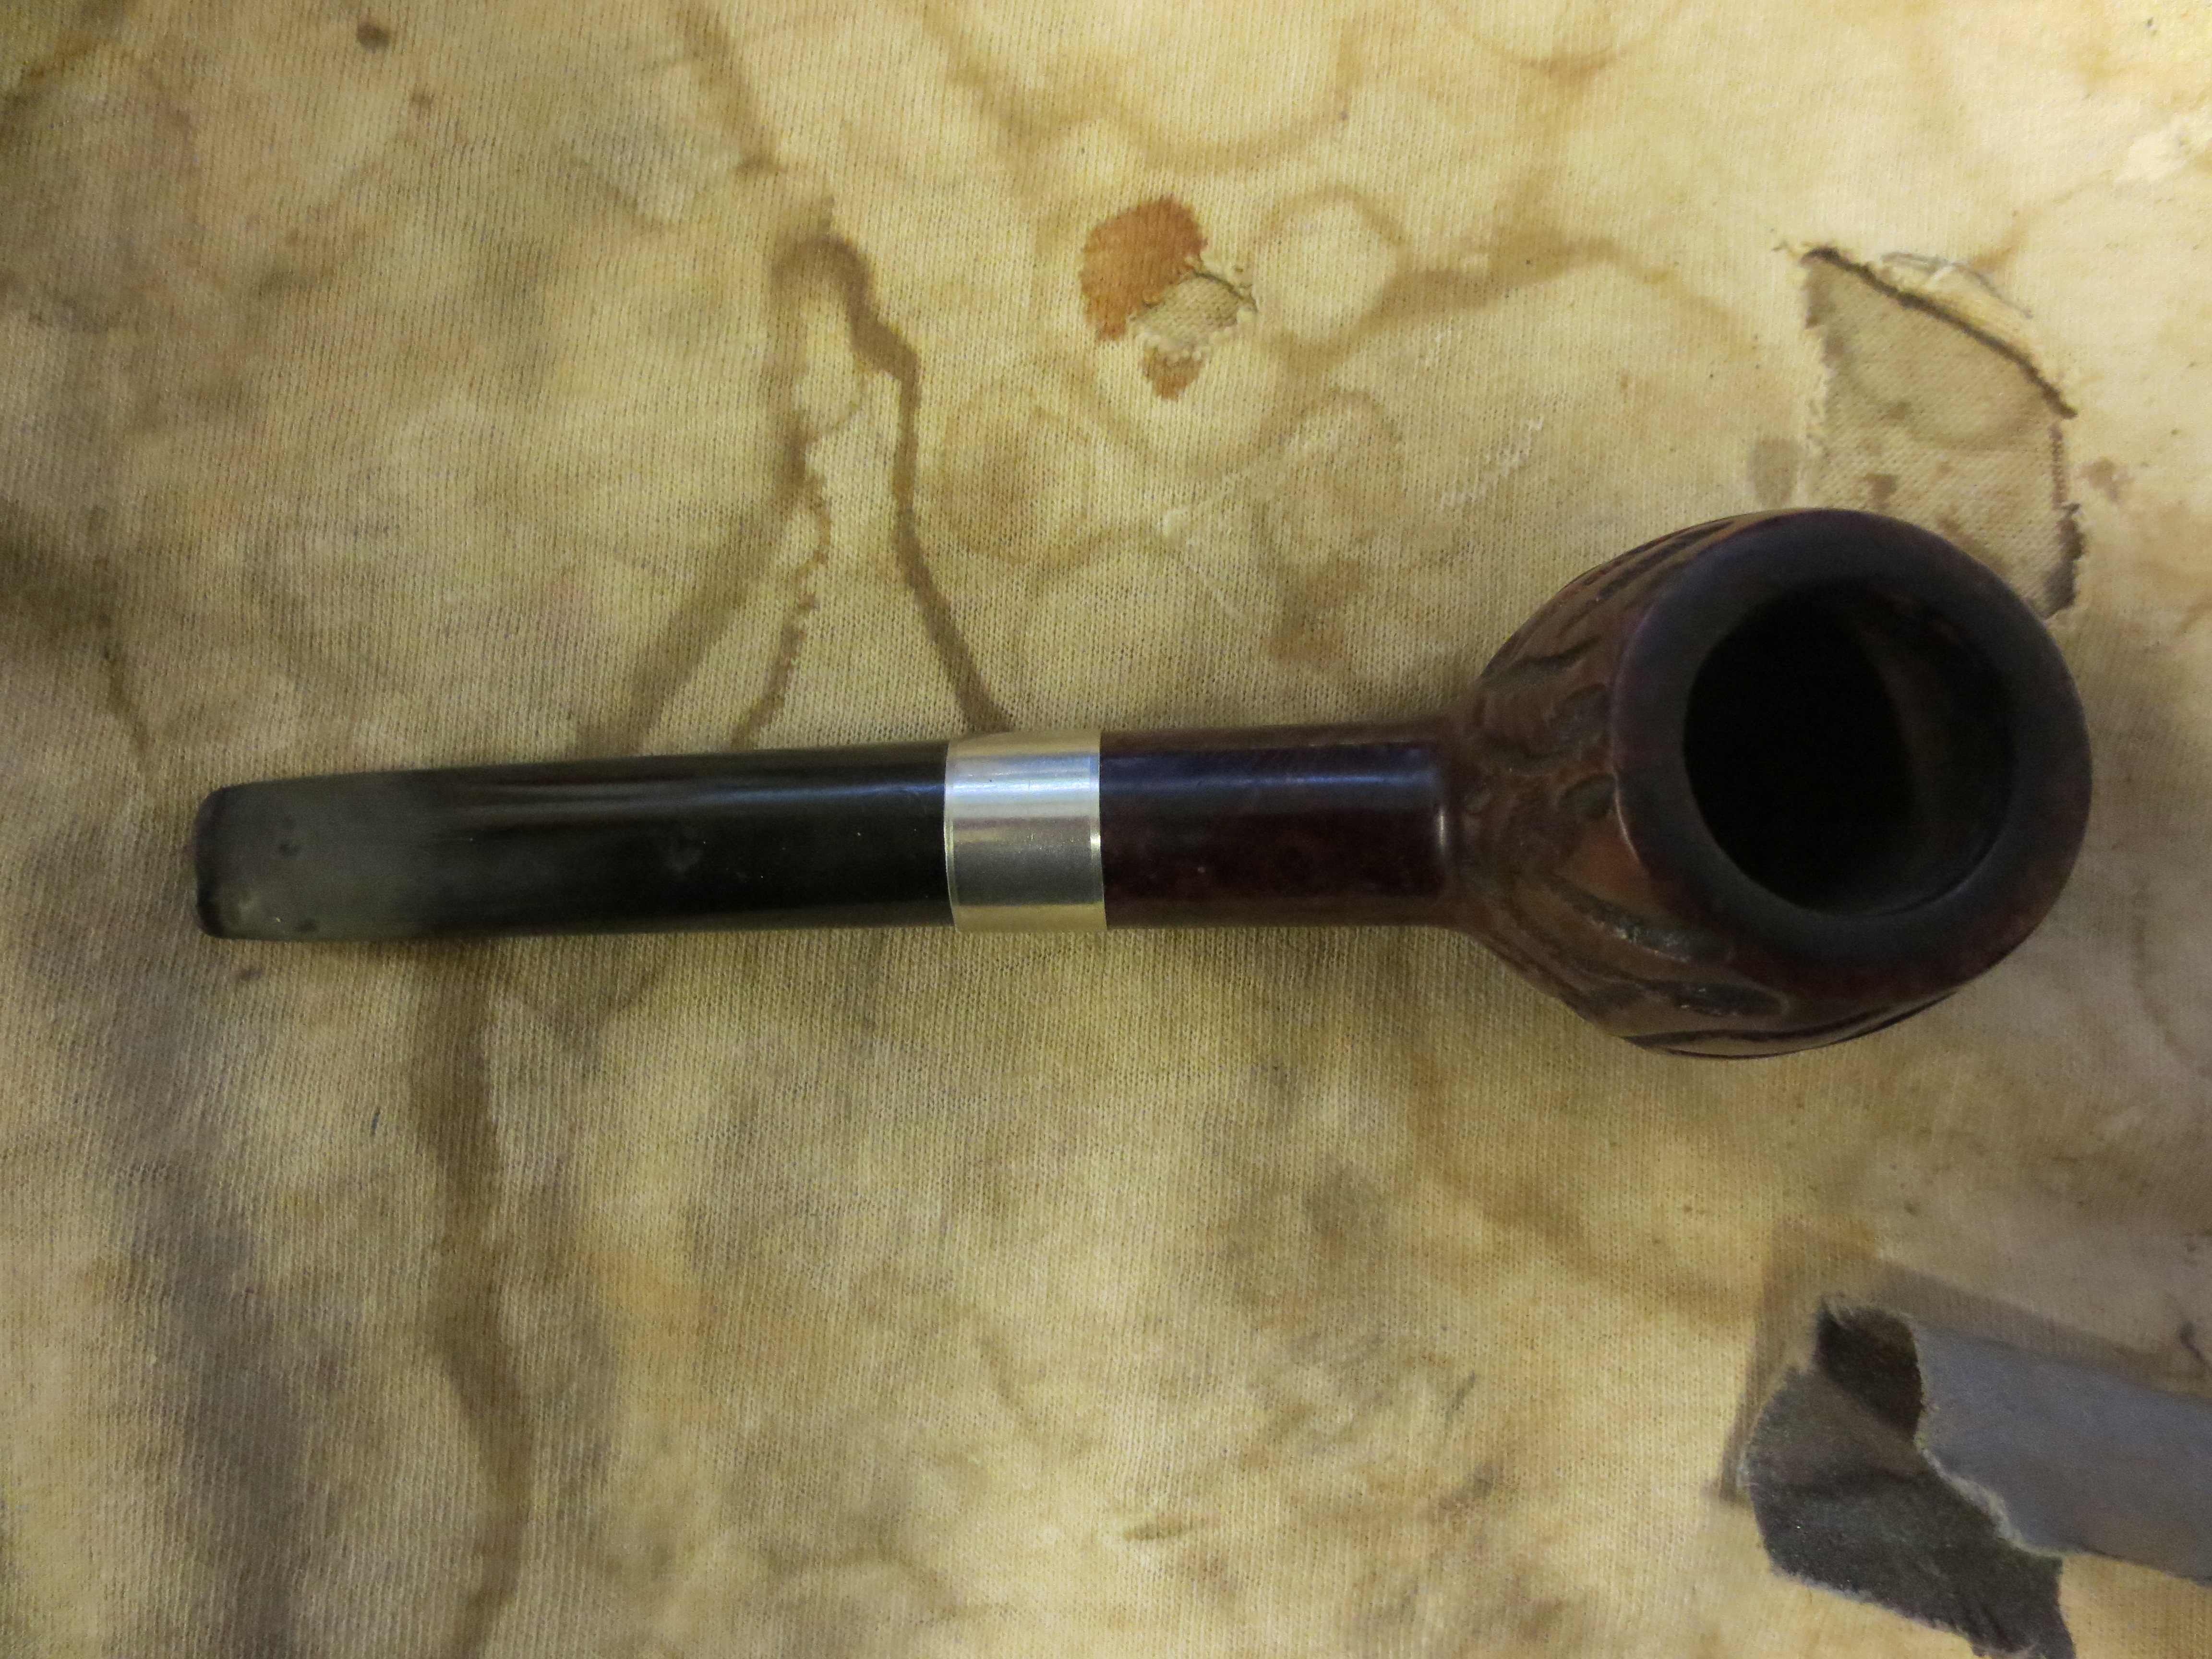
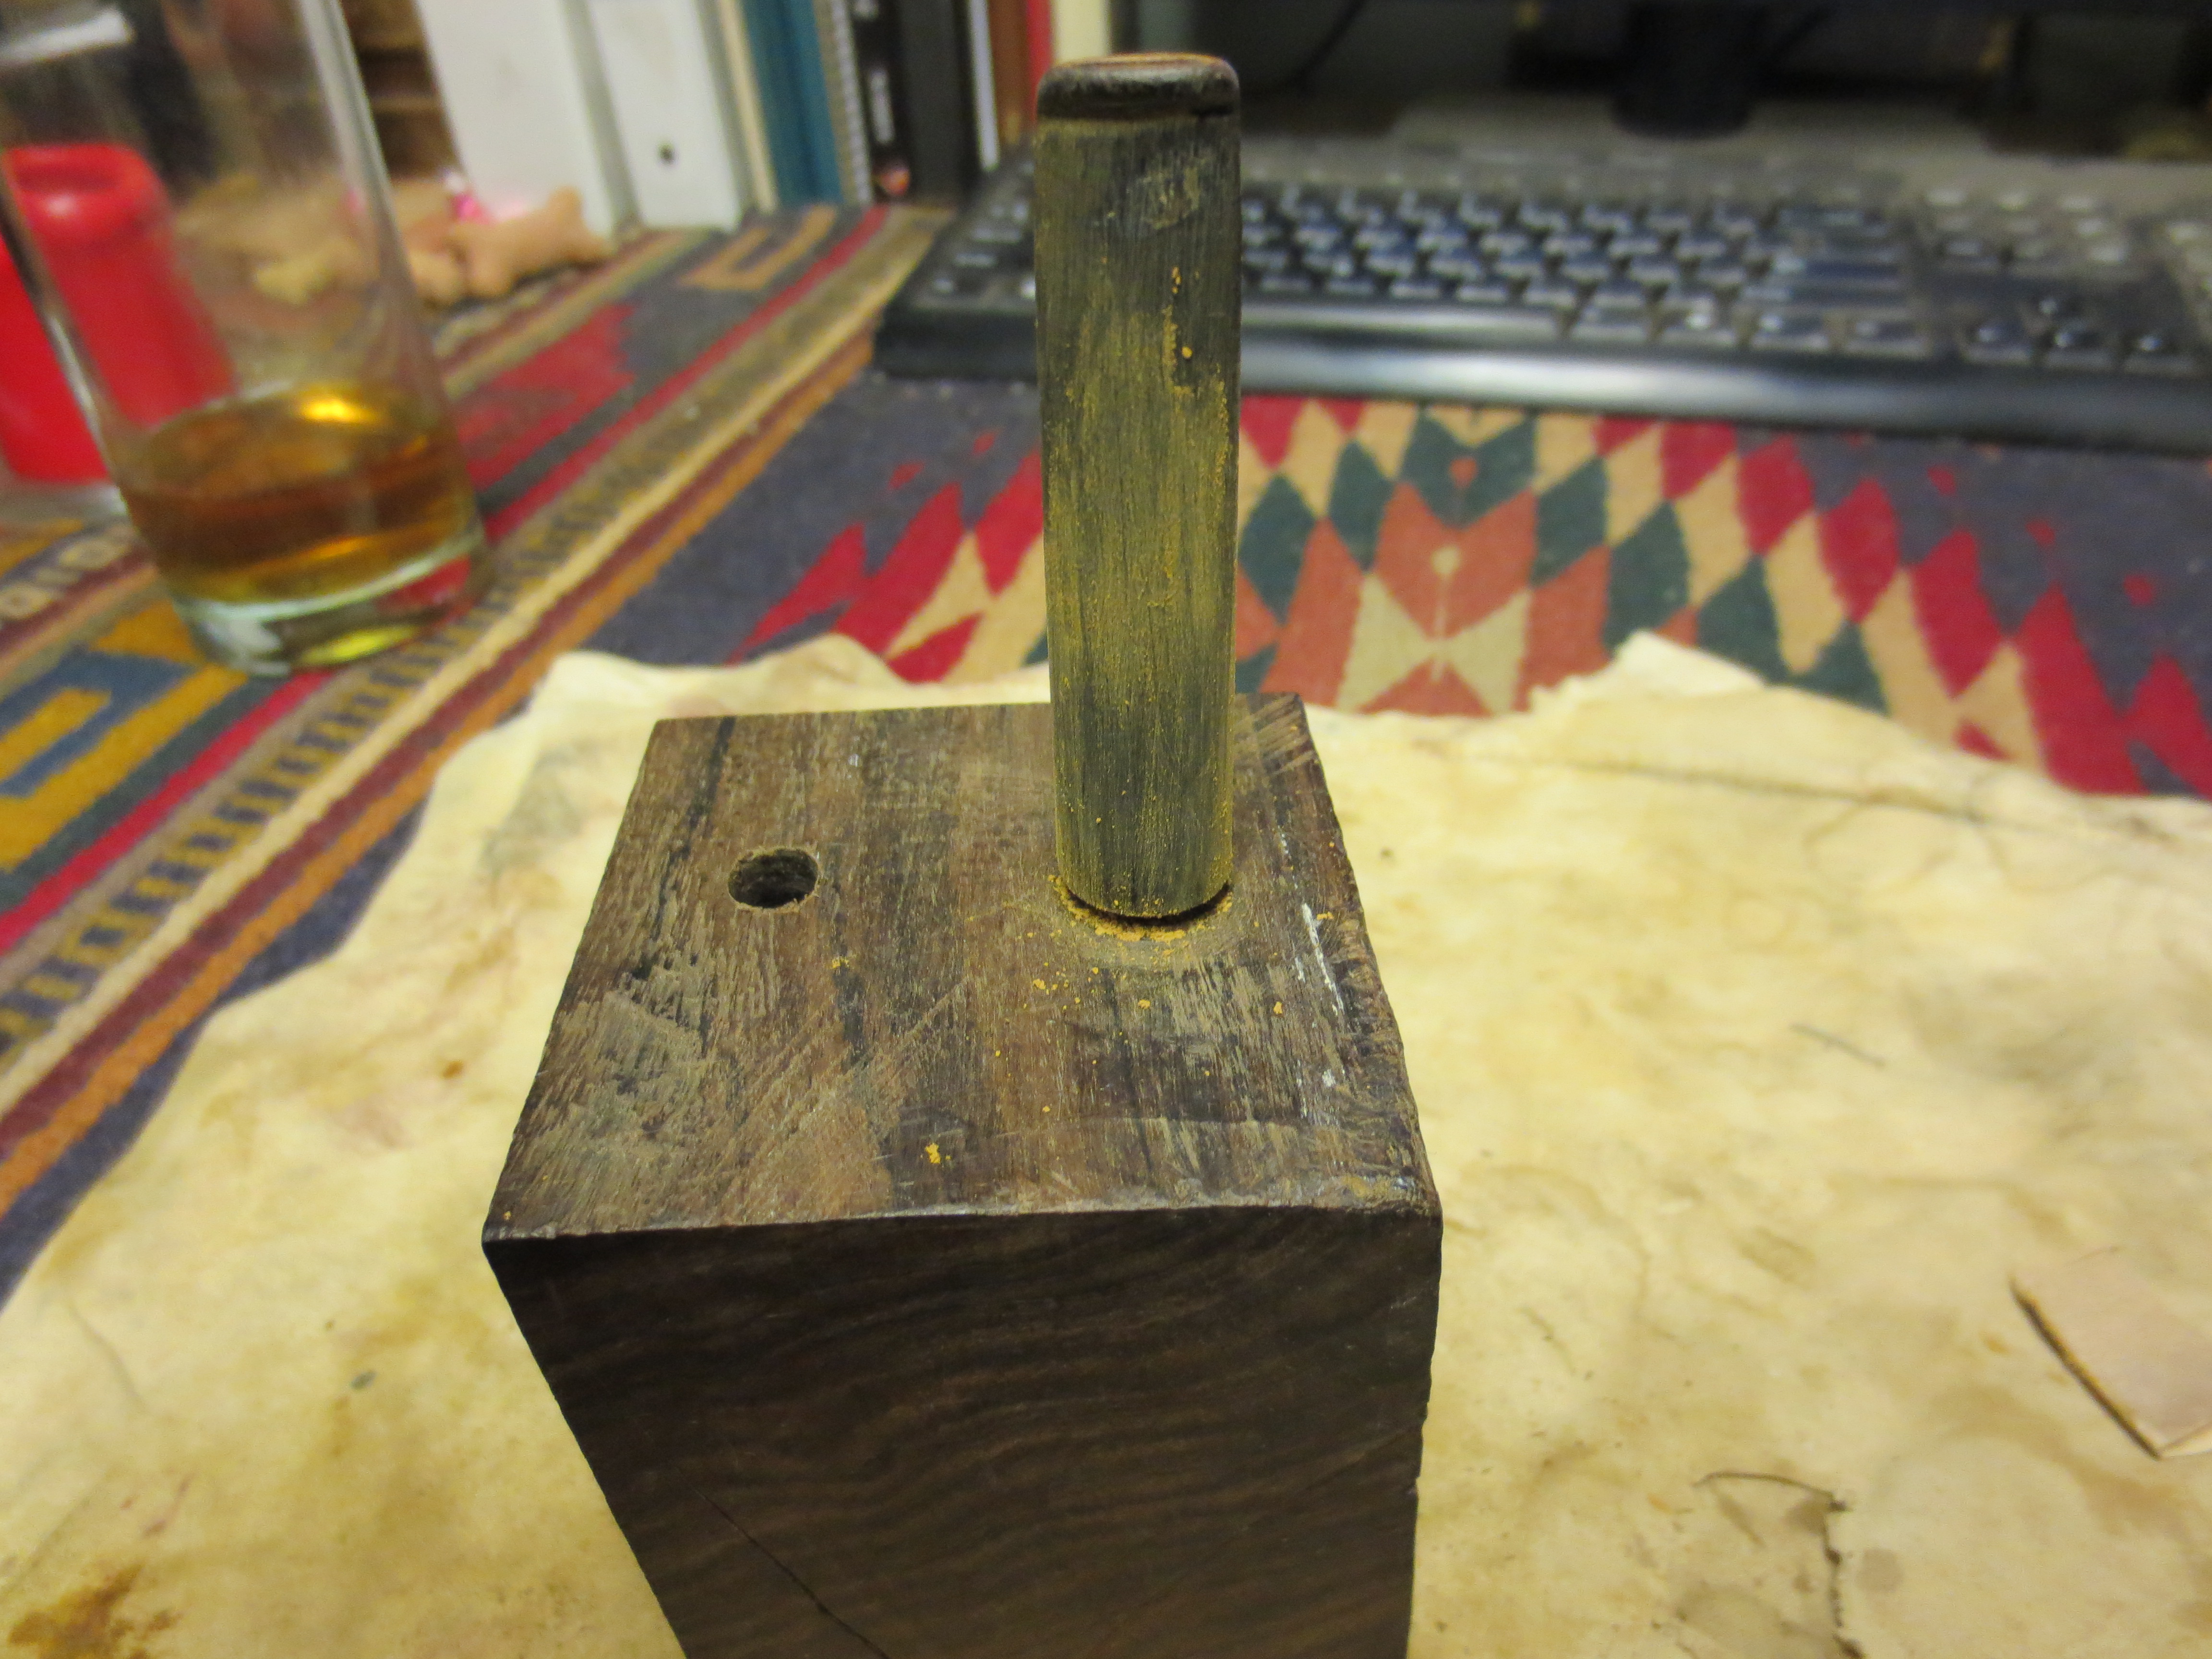
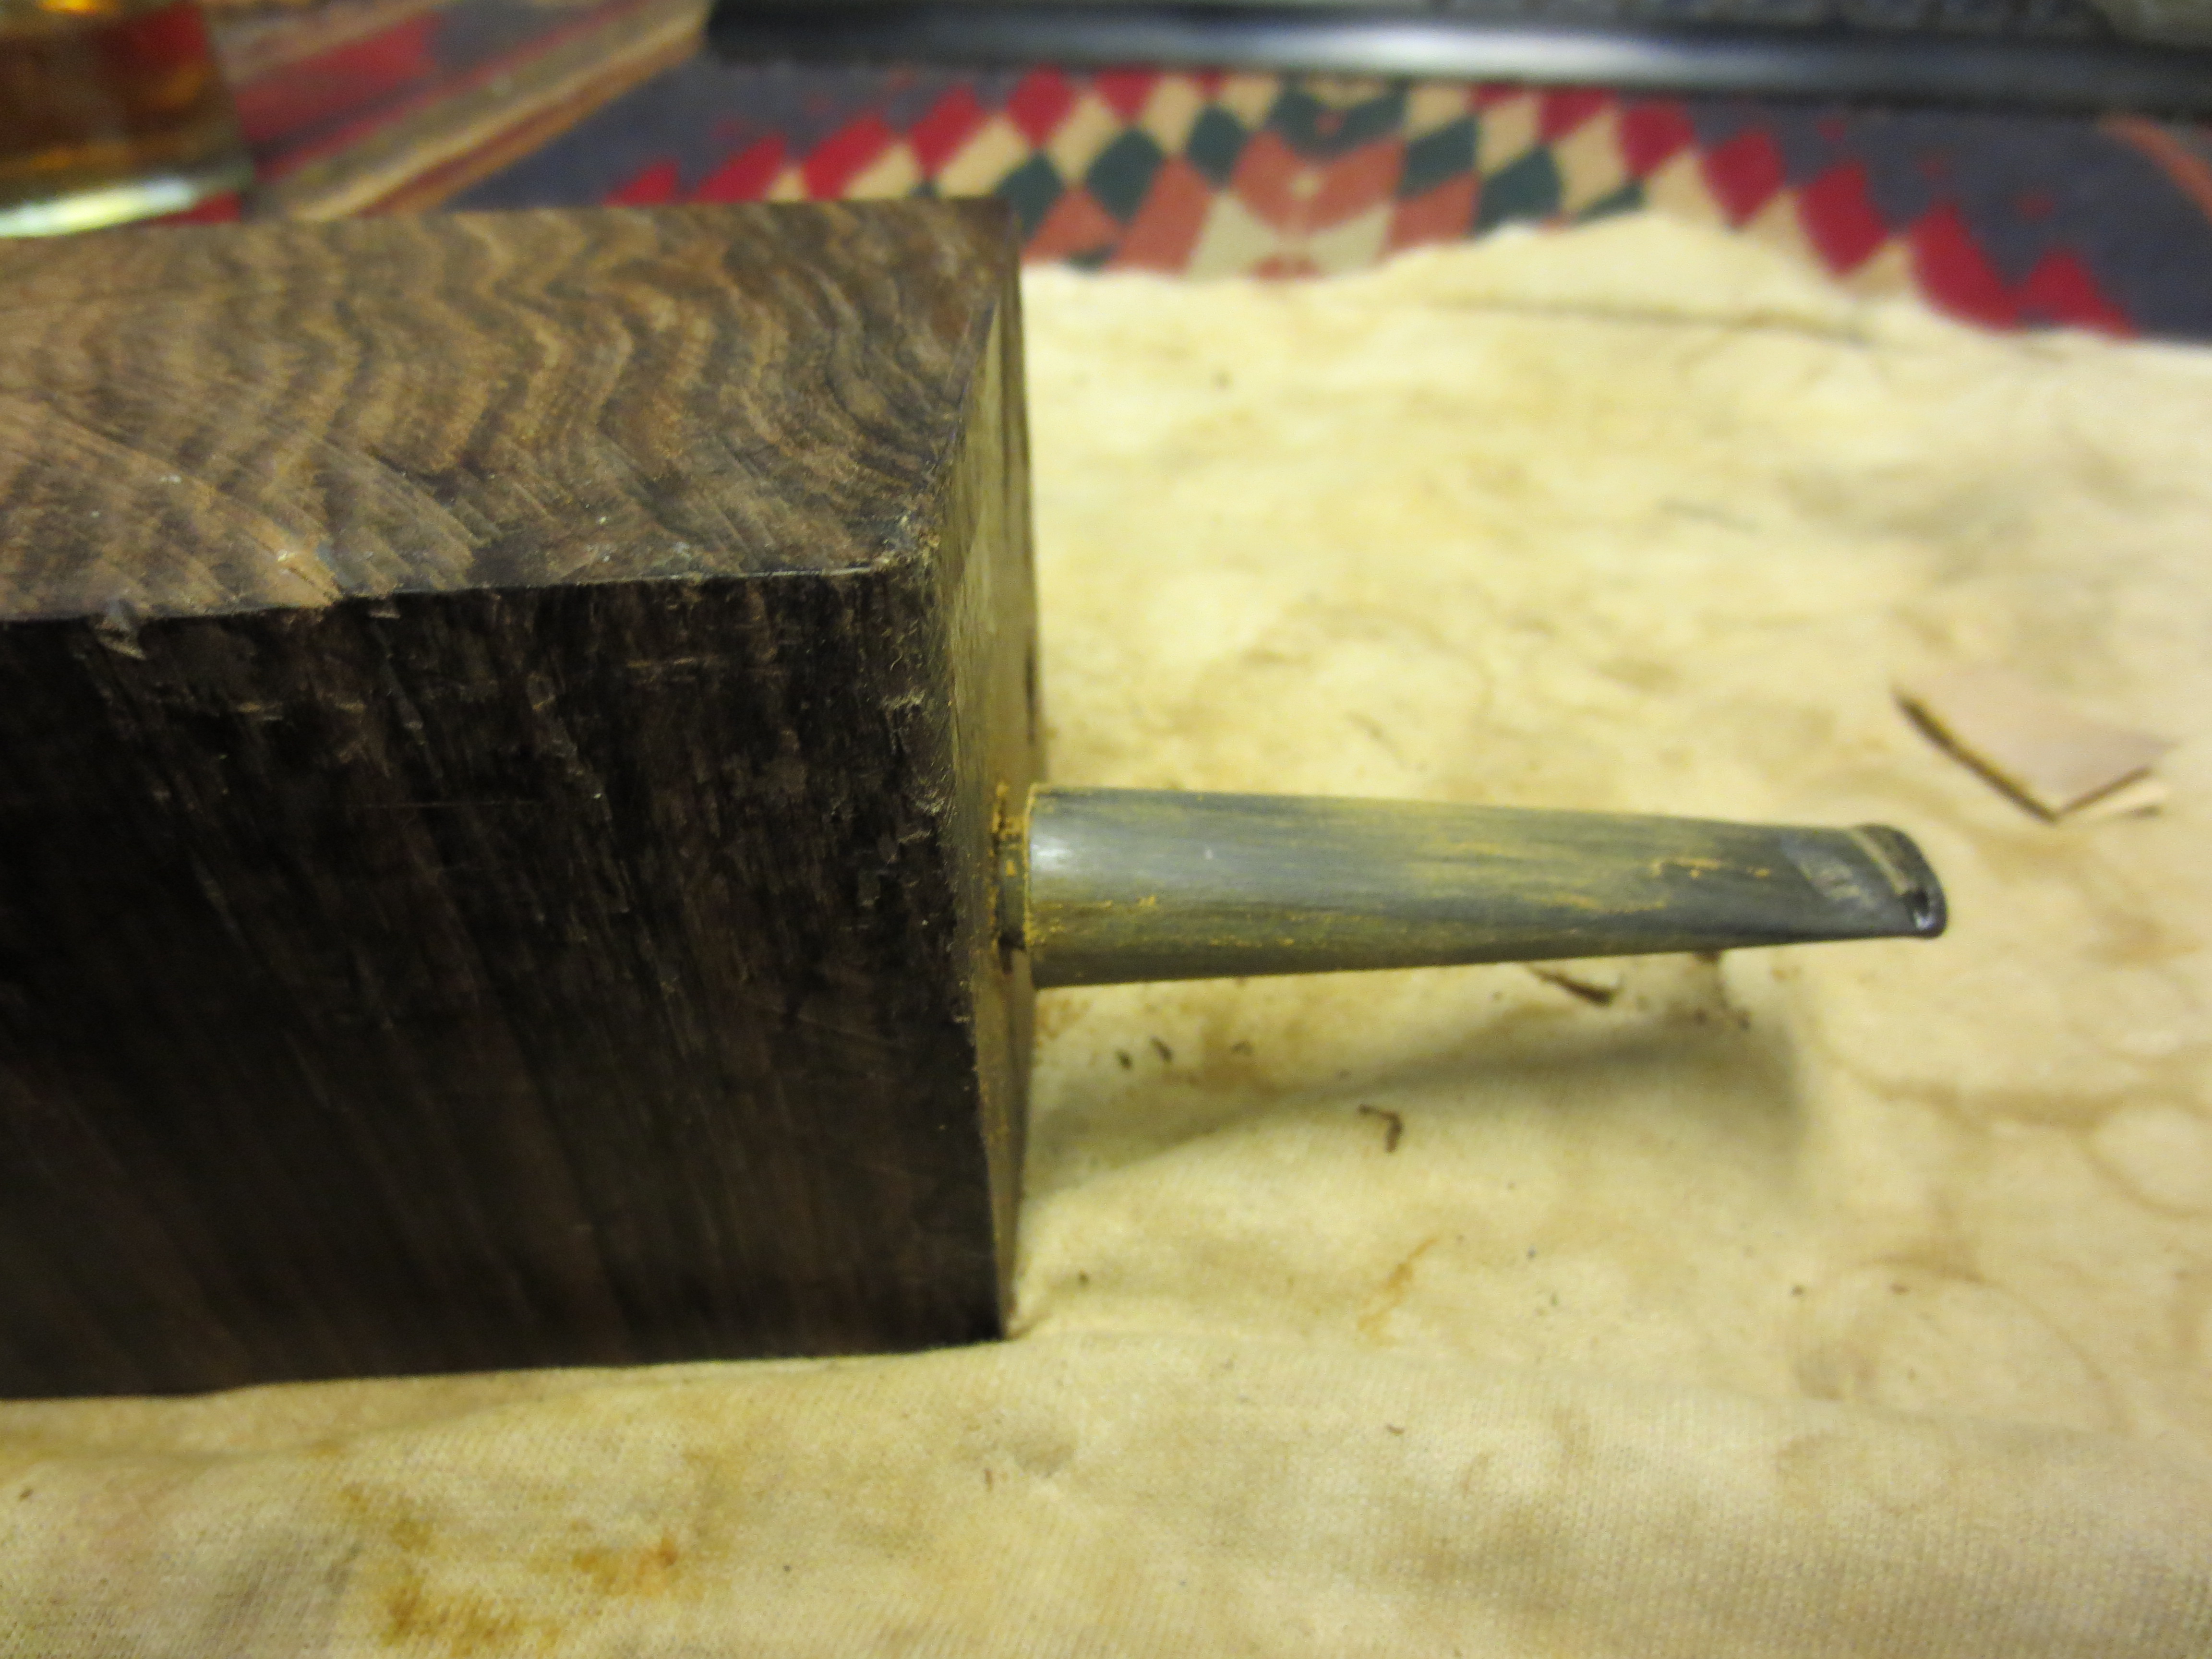
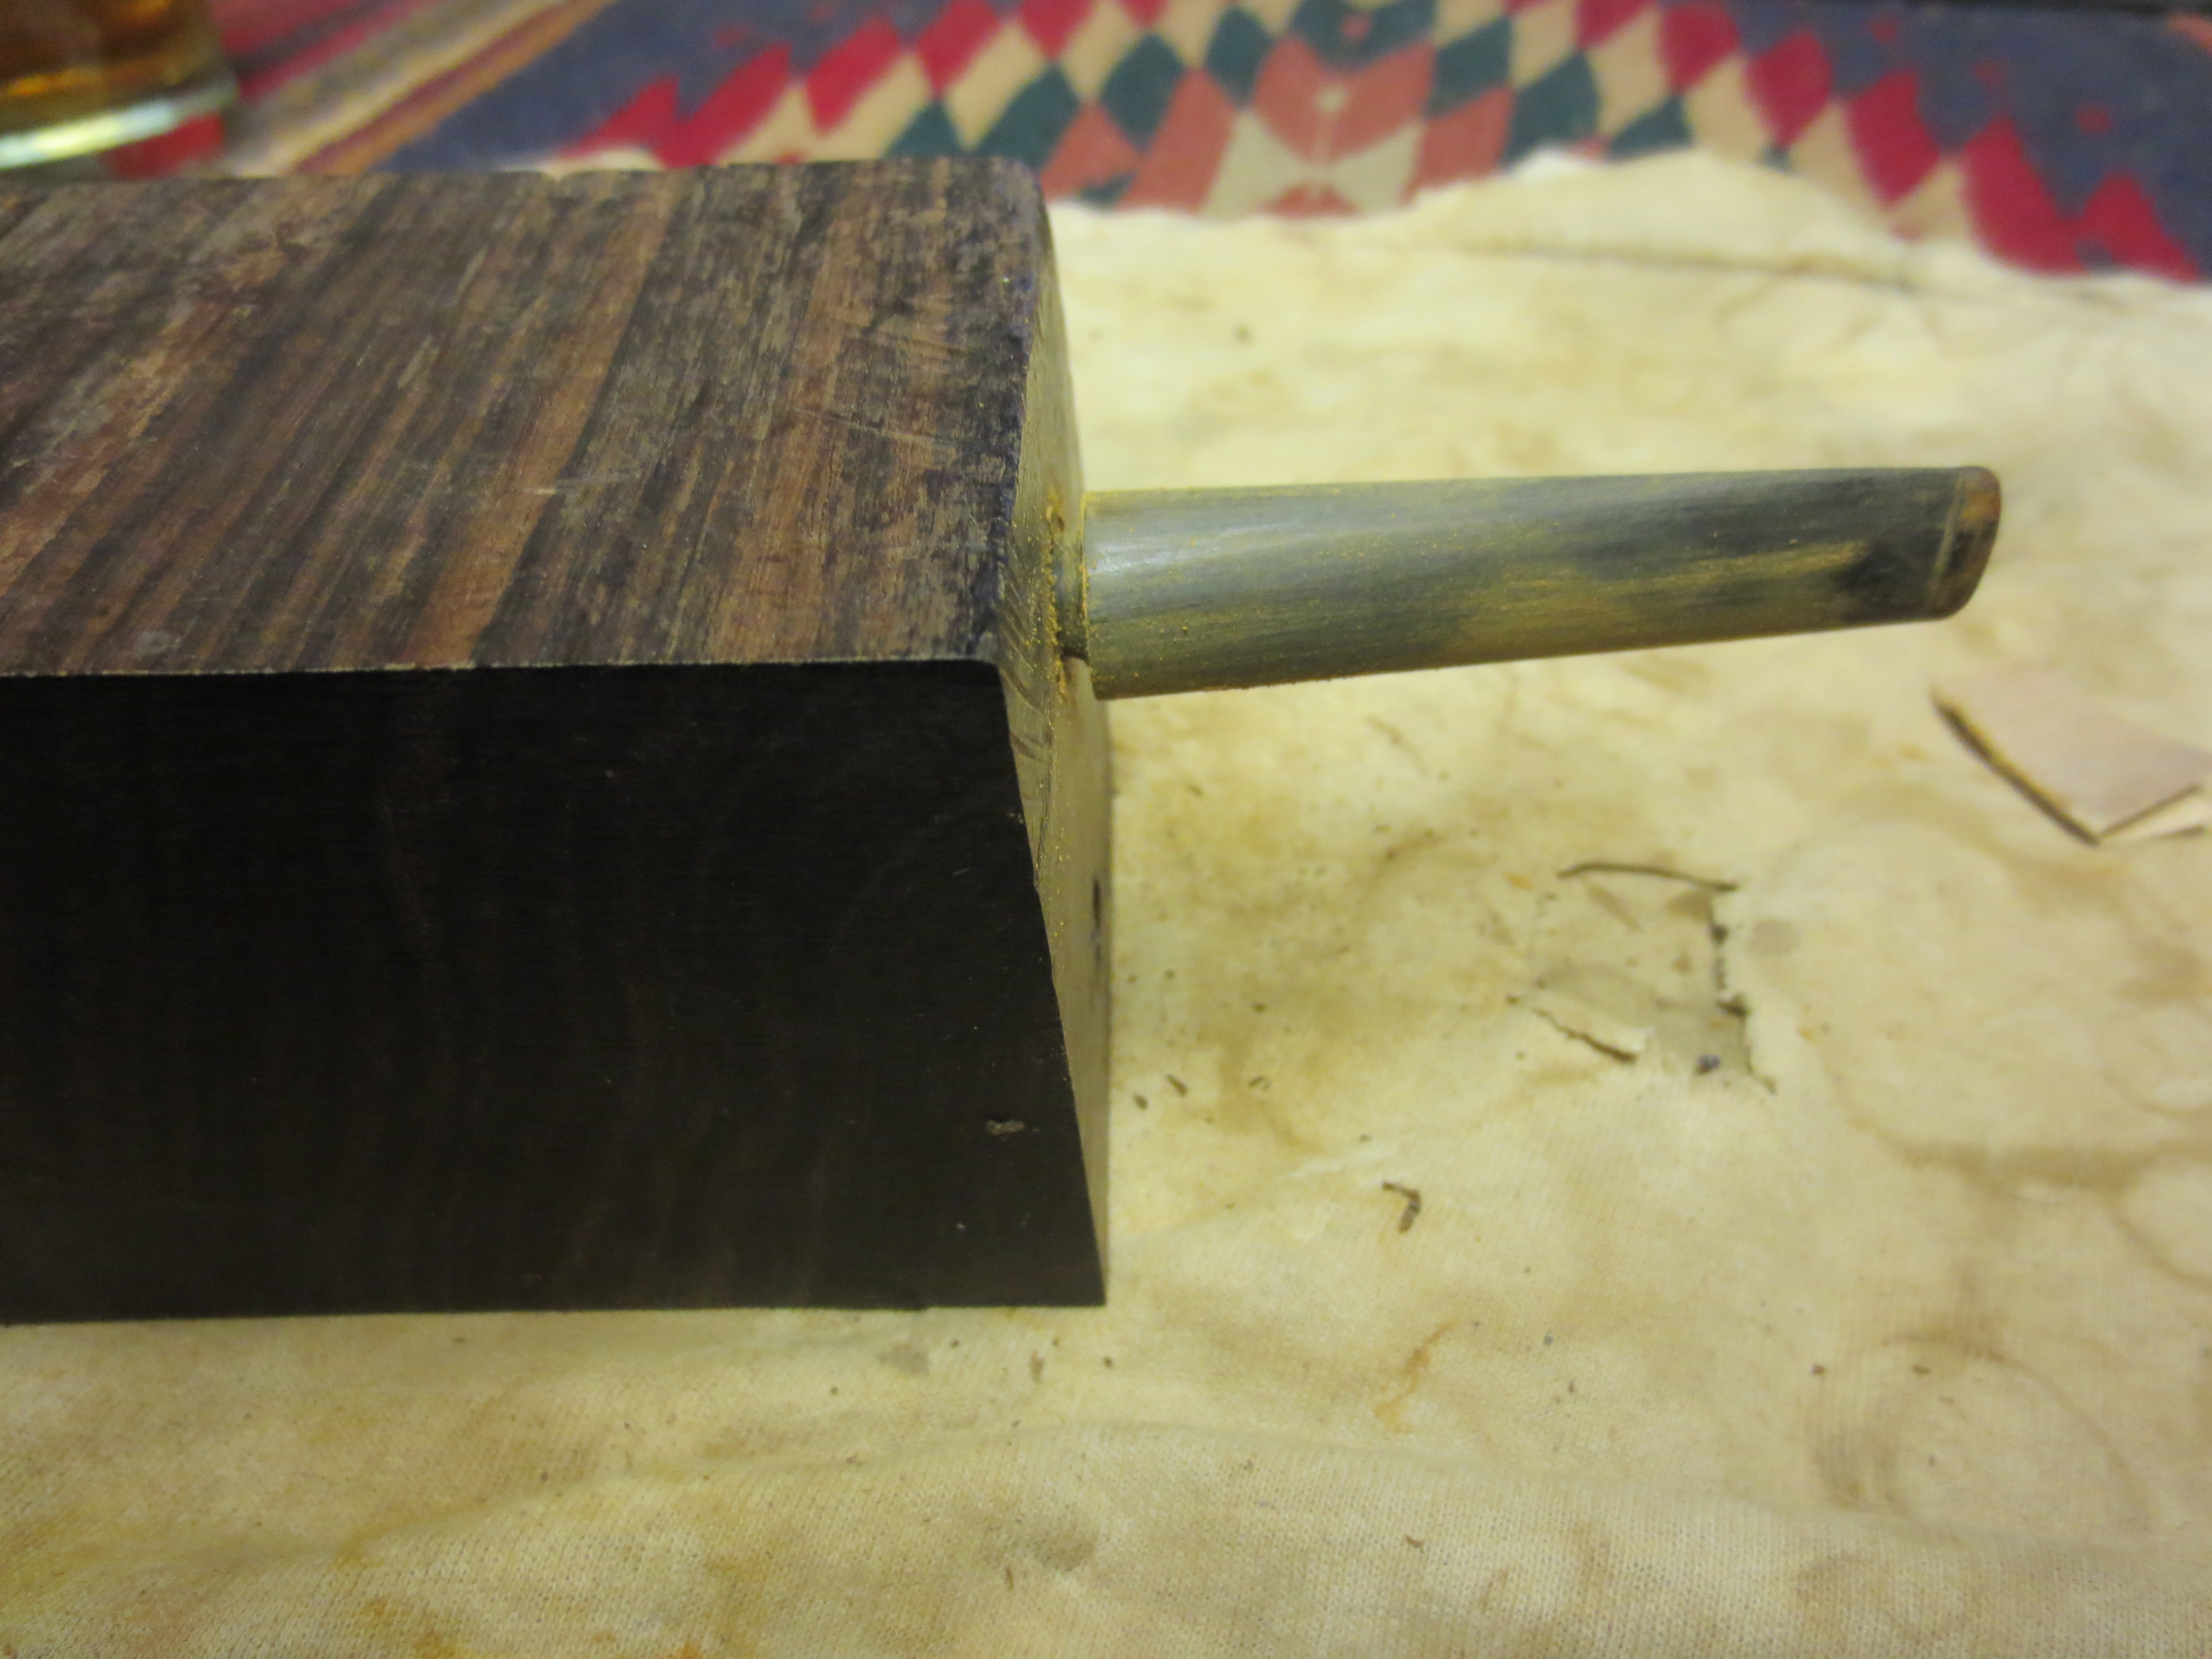
Once I had the slope correct and the button shaped I put the stem in the ebony block I had drilled with a mortise to allow me to sand the rest of the stem without rounding the shoulders of the stem. I wanted the stem shank junction to be smooth and well fit. I also wanted the oxidation removed from the stem before I patched it with the superglue. I did not want the oxidation to remain in the holes that I would patch or on the surface of the stem. I sanded it down and removed the oxidation. I spent extra time around the bite marks. I also picked out any loose debris in the marks with a dental pick and then wiped it down with alcohol to remove the dust and provide a clean surface for my patch work.

ImageImageImage

The next series of three photos show the patch in place. I use black superglue that I pick up from Stewart-Macdonald http://www.stewmac.com/shop/Glues,_adhesives/Stewart-MacDonald_Super_Glues.html I have found that it really works well. I drip it on the cleaned hole and make a bubble of superglue. This particular glue dries slowly so I do one side of the stem at a time. I let it dry for over an hour before turning it over and doing the same thing on the other side of the stem. Once I have made the patch I set the stem aside to dry overnight. I do not want to touch it or sand it until it has had that time to cure and become hard. I have tried sanding sooner but always end up patching the holes a second time because of my impatience.

ImageImageImage

Once the glue has cured and is hard it forms a small bubble of black on the surface of the stem. I sand the bubble flat to the surface and taper of the stem. I use a 320 grit sandpaper to accomplish this sanding. At this point in the process I am not looking for shininess or polish I am only trying to blend the patch into the surface of the stem. The next five photos show the process of sanding down the bubble and the look of the resulting patch on the stem. The tooth marks are gone and in their place is a black patch that with a bit more polishing and sanding with micromesh will blend into the stem well and give a new polished look and comfortable feel to the stem.

Image

The underside of the stem. Notice the patch near the button after sanding with 320 grit sandpaper. The patch on the underside is larger than the one on top but it not as deep.

Image

The bubble of black superglue on the top of the stem. The white dust on the stem is not a problem as the bubble is dry at this point and ready to sand.

Image

The top side of the stem after the initial sanding of the bubble. It is almost smooth and needs to be wet sanded with the micromesh sanding pads.

Image

Top side of the stem after the patch has been wet sanded with 1800 grit micromesh sanding pads.

Image

The top side of the stem after the patch has been wet sanded with 1800 grit micromesh sanding pads. There are still scratches that remain in the stem on both the top and the bottom that more sanding will remove. The patch will also blend in better as the stem itself begins to shine.

The next series of photos show the stem as I sand it with the various grits of micromesh sanding pads. Between the 2400 and the 3200 grit sanding pad I scrubbed the stem with Maguiar’s Scratch X2.0 to polish out some of the remaining scratches.

Image

The top side of the stem after wet sanding with 1800 grit micromesh sanding pads.

Image

The underside of the stem after wet sanding with 1800 grit micromesh pads.

Image

The top side of the stem after wet sanding with 2400 grit micromesh pads. The patch is beginning to be harder to see on the surface of the stem.

Image

The underside of the stem after wet sanding with 2400 grit micromesh pads.

Image

The top side of the stem after I polished it with the Maguiar’s Scratch x2.0. The patch is blending in very well on the top side. If you did not know where it was it would be hard to see.

Image

The underside of the stem after polishing with the Maguiar’s. The patch is also beginning to blend in very well on this side of the stem as well.

Image

The top side of the stem after I had dry sanded it with the 3200 grit micromesh pads.

Image

The underside of the stem after dry sanding with the 3200 grit micromesh pads.

Image

Topside of the stem after sanding with 3600 and 4000 grit micromesh pads. The patch is virtually hidden to the camera at this point as the stem begins to shine.

Image

Underside of the stem after sanding with 3600, 4000 grit micromesh pads.

Image

Top side of the stem after sanding with 6000, 8000 and 12,000 grit micromesh pads.

Image

The underside of the stem after sanding with 6000, 8000 and 12,000 grit micromesh.

The next series of four photos show the finished pipe after buffing with carnauba wax and a soft flannel buff to give it a shine. The pipe is restemmed, repaired and ready for it next smoke.

ImageImageImageImage


A Little Czech System Pipe Reborn


I had this little Czechoslovakian rusticated bowl in my box. I decided it was the day to work on it so I took it from the box and gave it the once over to see what needed to be done. The finish was a bit spotty, and the shiny varnish on it was peeling so I dropped it in an alcohol bath to try to break down the finish. The next three photos show the bowl after I had taken it out of the bath. While it was still wet I used a wire brush and some Everclear to scrub the surface of the bowl to remove the flaking finish and the varnish coat. I also topped the bowl to remove the damage that had been done to it from tapping it out. The fourth picture below shows the topped bowl

ImageImageImageImage

I went through my can of stems to find one that would fit. I had a nice p-lip style stem stamped WDC Wellington that came from a pipe of similar size and shape. I was able to sand it a little to make a good fit tight fit to the shank. I cleaned up the stem with micromesh sanding pads 1500-12,000 and then gave the stem a polish with Maguiar’s. I sanded it a final time with the 12,000 grit micromesh before wiping it down with Obsidian Oil. The two photos below show the finished stem.

ImageImage

I restained the bowl with dark brown aniline stain, flamed it, restained and flamed it a second time. The restained pipe is shown in the next two photos. Once it was dry I took it to the buffer and buffed the stem and the bowl with White Diamond.

ImageImage


I brought the pipe back to the work table and gave it multiple coats of the Halcyon II wax as I find it does a great job giving rusticated pipes a nice sheen. I also coated the stem with carnauba wax and hand buffed the entire pipe with a shoe shine brush. The hand buffing brought out a nice shine on the pipe.

ImageImageImageImage


Reviving a Genod Shaped like a 9242 GBD


Blog by Steve Laug

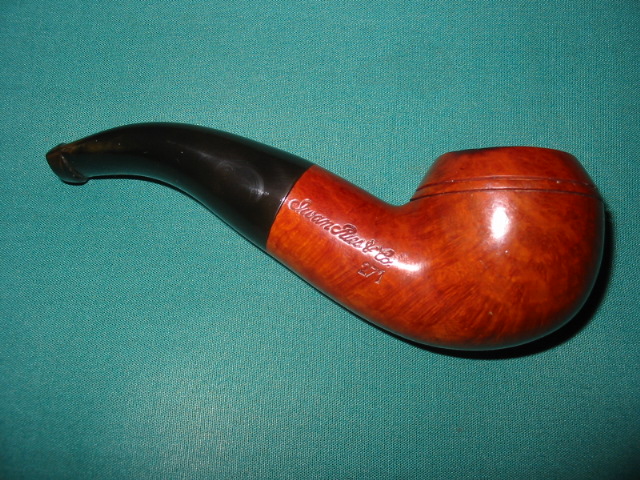
When I saw this one on EBay I immediately put in a bid that would make it mine. When it arrived this is what it looked like. The bowl was relatively clean and easy to work on. The rim had a pretty serious burn on the inside and the outside edge of the bowl on the right side. It is visible in the second photo below. The bowl was also slightly out of round due to reaming with a sharp blade. The stem was oxidized and was an uneven brown tone. There were two small tooth marks on the stem one on top near the button with a match on the underside near the button. The first picture is a bit blurry but I include it as it gives an idea of the shape of the pipe and why I compared it to a GBD 9242. This one is stamped Genod on the left side of the shank and on the right side Iwan Ries & Co (in script) over the shape 271. 
Image

Image

I cleaned the bowl and reamed it carefully to remove the carbon build up and uneven cake. I then used sand paper to smooth the inner edges of the bowl and bring it back as closely as possible to round. I topped the bowl minimally to remove the burn damage on the flat surface and minimize it on the outer edge of the bowl. For the most part it came out but left a little darkening on the surface of the rim. The right edge also has some remaining darkening and a small divot out of the edge.  I cleaned the shank with isopropyl alcohol and many pipe cleaners, cotton swabs and a shank brush. I then place the bowl in an alcohol bath to soak while I worked on the stem.

The stem is very hard vulcanite. The tooth dents are more cuts than dents and one day I may fill them with super glue but decided to leave them at this point. I sanded the stem with 400 and 600 grit wet dry sandpaper and water to remove the oxidation. It was not terribly deep so it came off very easily. I then used micromesh sanding pads from 1500-6000 grit to polish the stem. When it was finished I rubbed it down with some Obsidian Oil and set it aside to dry.

I took the bowl out of the alcohol bath and dried it off. I used some medium brown aniline stain mixed 50/50 with isopropyl alcohol to lighten and thin it. I rubbed it on with the dauber and then flamed it and buffed it. I put the stem on it before buffing and gave the entirety a buff with Tripoli and White Diamond. Once it was finished it was given multiple coats of carnauba wax.
Image

Image

Image

Image

Reworking an Imperial Treble Zulu – Stainless Steel Tenon


I picked up this older Imperial Tobacco Co pipe – a Zulu shape number 354. The shape number makes me wonder if the pipe was made by Comoy’s. Maybe someone here knows for sure. The number is missing on the Comoy’s shape number chart on Pipedia. The pipe is interesting to me for several reasons. It is the third in a group of three pipes by Imperial that came to me in an EBay lot. The first two were Two-Points and this one a Treble. I had not heard or seen this line before these came my way. The other reason is that several pipes in this lot had stainless steel tenons! The Treble has one and at first I thought it was original – the stem did not fit well as the tenon was stuck in the bowl and the stem would not seat all the way to the shank. The bowl was in pretty nasty shape. With lots of darkening and the grain virtually obscured under dirt. The rim was caked and tarred. The bowl was full of broken cake and cobwebs. The stem was gnawed with deep bite marks, the button destroyed and the tenon stuck in the shank.

I was able to remove the tenon from shank with a big pair of channel locks and some serious twisting and turning. I filed the end of the tenon and cut grooves in it so that the epoxy would have something to bite into when I pushed it into the stem. I then slid a pipe cleaner into the stem and threaded the tenon on the cleaner. When I got down to the stem I mixed some epoxy (two part mix) and painted it on the tenon. I let it set for a few moments and then pushed it into the stem. I wiped off the excess around the stem and tenon junction. I set it aside and worked on the bowl. ImageImage
I reamed the bowl and cleaned both it and the shank. Then I used a fine grit sanding pad that I have here to work on the lava on the top of the bowl. Once that was done I wiped down the bowl with isopropyl alcohol to remove the grime and the finish. The next photos show the bowl after the initial cleanup. From there I put it in the alcohol bath and went back to work on the stem. ImageImageImage

The next series of two photos show the bite marks on the stem and the state of the button. The bite marks were very deep and some were actually cuts in the stem material rather than just dents. I used my heat gun to raise the dents as much as possible but honestly they did not come up very much at all. This one would be a bit of a challenge. I used sanded the stem around the button and the dents with 240 grit sandpaper to get the oxidation off that area. I was going to use the superglue to repair these bite marks and needed a clean surface to work with. Once I had sanded the area clean I used a dental pick to pick away the brown left in the dents. I wanted to clean out the dents as much as possible and roughen the surface in the dent for a good bond with the glue. The first picture shows the top of the stem, the second shows the bottom. ImageImage

Once they were clean and ready I washed the area down with some isopropyl alcohol to remove any remaining sanding dust. Then I put drops of superglue in the holes on the underside of the stem first. Once they were dry I did the same with the dents on the top side of the stem. The three photos below show the glue in place – they appear as shiny black spots in the photos.ImageImageImage

I set the pipe stem aside to thoroughly dry and took the bowl out of the alcohol bath. I dried it off and then sanded the top of the bowl with the fine grit sanding pads that I have. The top is showing some nice grain and the tars are coming off nicely. ImageImageImage

I wiped down the bowl and rim with acetone (fingernail polish remover) to remove the remaining finish and grime. The white cotton pads in the background of the next three photos show what still remained on the bowl after the alcohol wash. I wanted to get the bowl down to bare briar so that I could refinish it and then give it a new coat of stain. My goal was to highlight the beautiful grain on this one. ImageImageImage

I guess I must get a bit bored doing the same thing or something, because I went back to the stem to sand the patches that I had made. I used emery cloth to get the patches even with the surface of the stem. The next series of three photos show the progress on cleaning up the stem and evening out the stem surface. The patches are beginning to fade and blend into the stem. ImageImageImage

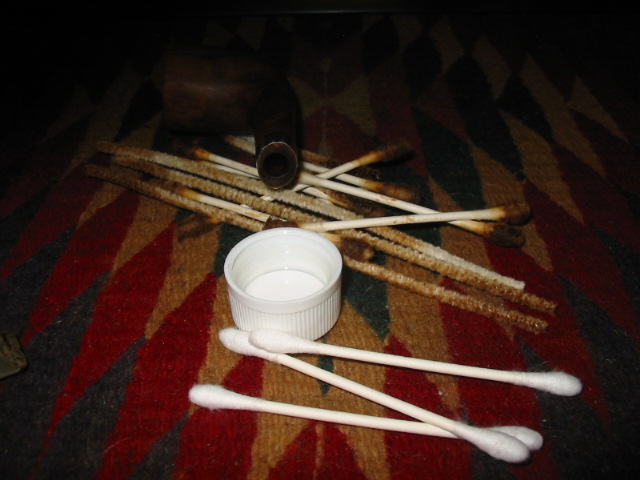
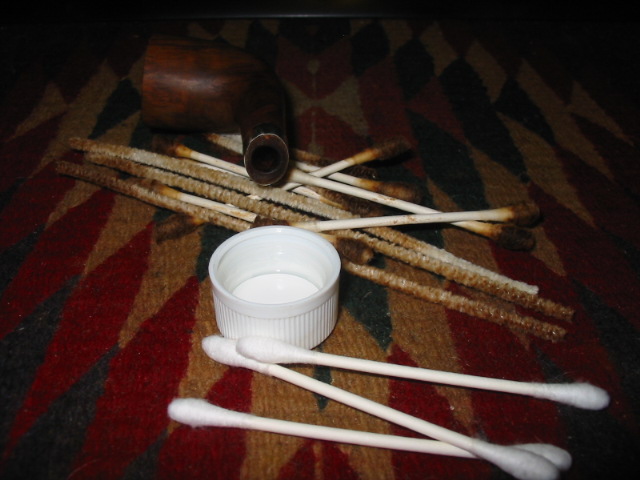
After sanding the stem I cleaned out the stem and the shank. It was a dirty process. The first picture below shows just a few of the many pipe cleaners and cotton swabs. I dip them in the cap filled with isopropyl that is pictured in the photos and swab out the stem and shank with them. ImageImage

I reinserted the stem in the shank and wiped the entirety down with an alcohol soaked cotton pad. I wanted to see where I was at with the stem and the bowl. You will notice the addition of a band in the photos below. Once I refit the stem I could see that the stainless tenon was indeed a replacement and that it was misdrilled – it was set in the stem too high making the match at the tenon impossible. I decided to work on the shank rather than pull the tenon, redrill the hole in the stem and reinsert a bigger tenon. I could still do that should I desire. I sanded the shank a little to reduce the gap between the stem and shank. Then I pressure fit a band on it to guide the stem to the proper fit. It worked well actually and the stem lines up nicely now. ImageImageImageImage

I took the next two photos to show the state of the stem patches at this point in the repair process. You can see that they are virtually invisible on the top of the stem and just slightly visible on the underside. At this point I continued to sand the stem and work at the area around the button to redefine it and to blend in the patches. I used a fine grit sanding pad and an extra fine grit pad to remove the scratches and to make the button area more defined. I then worked over the stem with the usual list of micromesh pads from 1500-6000 grit. ImageImage

I restained the bowl with an oxblood stain and buffed the entirety with White Diamond and then gave the pipe several coats of carnauba wax and buffed with a soft flannel buff to bring out the shine to the pipe. You can see from the profile shots that the button is more clearly defined and the flow of the stem looks correct from the bowl to the button. The patches on the stem have blended quite well and though still visible if you look closely are smooth and black. ImageImageImageImage

Refurbished a Peterson’s Deluxe Zulu


In one of my EBay purchases was this little Peterson’s Deluxe Zulu shape #268. To me this pipe epitomizes the Zulu shape – in other words, when I think Zulu I think of a pipe that is shaped like this. When the pipe arrived the bowl was dirty and caked (two things that I almost forget to say as they are to be expected in estate pipes and I am surprised when I find one that is not). The finish was mottled with light and dark spots where the stain had worn off. It also had some flecks of paint on the surface that are not clearly visible in the photos below. The rim was very caked and covered with tars. Fortunately there was no charring that was visible as I looked it over. The stem also had paint flecks on it and was slightly oxidized. There were tooth marks on the top and bottom of the stem that would need to be repaired.ImageImage

I reamed and cleaned the bowl and the rim of the pipe. The shank took some work with isopropyl alcohol and many pipe cleaners and a shank brush before it was clean. I wiped down the surface of the bowl with acetone to clean off the remaining finish and the paint spots. I use cotton makeup removal pads that I picked up at the store. They work great and are easier to use than just cotton bolls. Once the finish was cleaned I dropped the bowl in the alcohol bath to soak while I turned my attention to the stem.

I buffed the stem to remove the oxidation and the paint spots. I was careful to avoid the area where the stem and shank meet so as not to round the sharp edges and ruin the great fit of the two. I heated the tooth marks that needed to be lifted with my heat gun and when they had come back as far as possible I sanded the stem with 240 grit sandpaper to remove what remained. I sharpened up the edge of the button with my needle files to give it a good crisp edge. I then sanded the whole stem with 400 and 600 grit wet dry sandpaper and water. I finished the sanding and polishing process with micromesh pads from 1500 to 6000 grit. Once that was finished I laid the stem aside with a coat of Obsidian Oil and turned back to the bowl.

I took the bowl out of the alcohol bath and restained it with a medium brown aniline stain. I flamed it, let it dry and then took it to the buffer and buffed it with White Diamond. This was done and the entirety buffed and polished with carnauba wax to give it several layers of wax. The cross grain, birdseye and straight grain on this beauty are well laid out. ImageImageImageImage

Refurb – Barling Garnet Grain Lovat


One of the classic shapes that I refurbished lately was this little Barling Lovat. It is stamped Barling in script (Post Trans I believe) then London England in block text under that and a third line – Garnet Grain. The bottom of the shank is stamped with the four digit shape number – 4189. The classic lines of this little pipe, to me show what Barling could do with these shapes. The reddish stain on the Garnet Grain pipes is one of the attractive features of this line of Barlings.

This one came to me in a lot of pipes I picked up along the way and it had obviously been sitting for a long time. The bowl had cobwebs deep inside and a musty smell to it. There was a crumbling cake though it was not thick, just soft. I reamed the bowl and cleaned out the bowl and shank with the usual pile of pipe cleaners and a shank brush with lots of Isopropyl alcohol. The outside of the bowl was spattered with white paint all around and some especially ground in along the shank so I scrubbed it with an alcohol cloth and put it in the alcohol bath.

While the bowl was soaking I worked on the stem. It had tooth chatter and a few light tooth marks that needed to be lifted and sanded out. The stem was badly oxidized and also smelled musty like the bowl. I scrubbed the interior with a lot of pipe cleaners and alcohol until they came out clean. I then tacked the bite marks and chatter with 240 grit sandpaper to smooth them out and followed that with 400 and 600 grit wet dry sandpaper and water. I finished sanding the stem with my usual regimen of micromesh pads from 1500-6000 grit. Each progressively higher  grit polished the stem more. I then took it to the buffer and buffed it with Tripoli and White Diamond being careful around the area that it meets the shank. I would give it a more thorough buffing and polishing with carnauba wax once I put it back on the finished bowl.

After I finished the stem I took the bowl out of the bath and dried it off. I sanded it with micromesh 2400 to 6000 grit to polish and remove any scratching and then restained it with an oxblood aniline stain that matched the colour that it had before. Once dry I put the stem on it and took it to the buffer and gave it a light buff with White Diamond and then multiple coats of carnauba wax. It is a perfect sized little Lovat in my opinion and spots a classic shape and look. Here are some pictures of the pipe after cleaning. I forgot to take pictures before I started cleaning it. Sometimes I get into a space and just work at them before I suddenly stop and remember that I did not take photos before starting.ImageImageImage


London Made Reject – Hand Made


Blog by Steve Laug

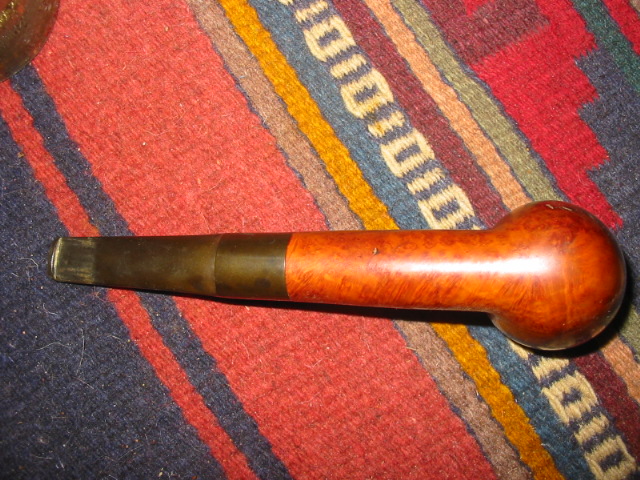
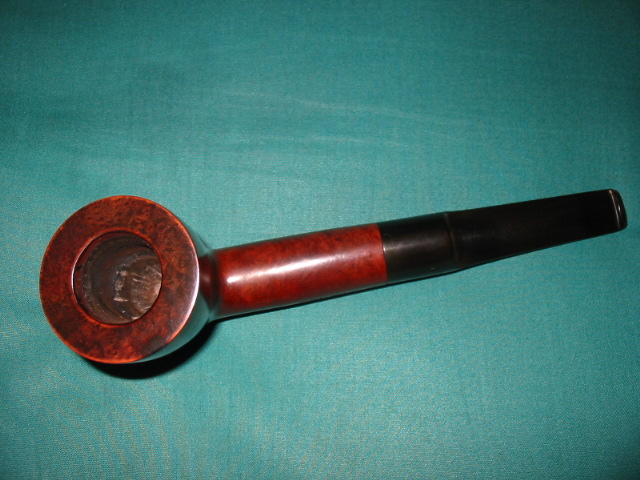
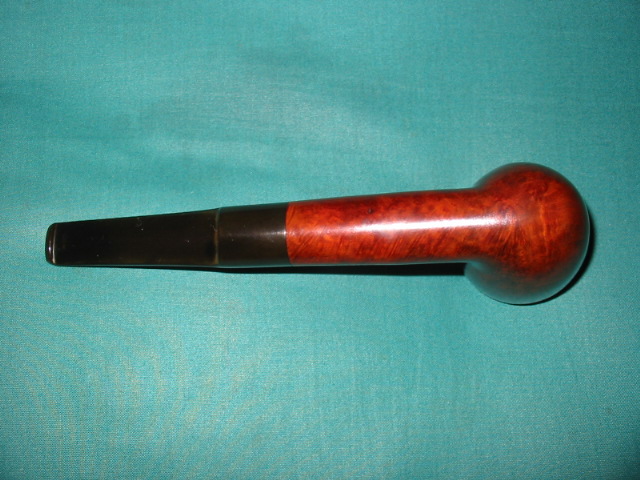
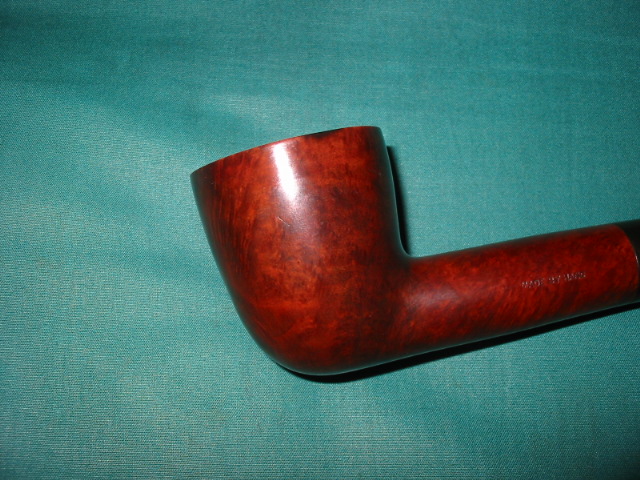
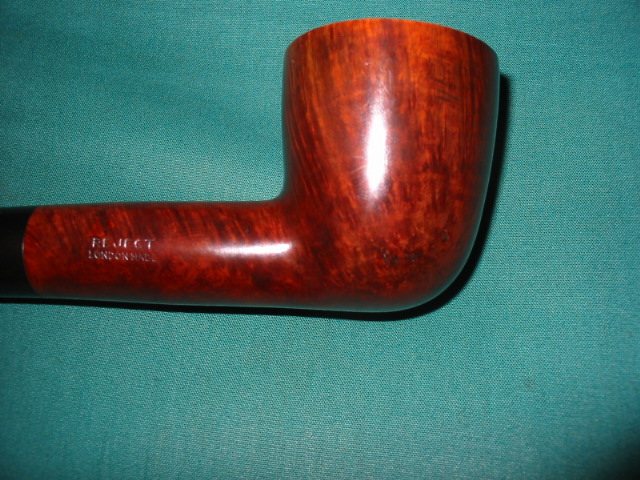
This is one big pipe. I got it in a group of pipes I bought on EBay. The others in the lot were Barlings and Bewlays. They were normal group 3 and 4 sized pipes. This one is just over 7 inches long and 2 inches tall. The outer diameter of the bowl is 1 ¾ inches and the inner diameter of the bowl is 1 inch. It presented some interesting issues that would need to be addressed in the refurbishing process. The biggest of those was a significant cigarette burn on the outer edge and the top of the rim. It was quite deep and was an actually divot in the surface of the bowl. The rim – inner edge toward the stem also was charred and tarred. The finish was actually worn and had lost most of the stain. There were some very obvious pink putty fills on the right side of the bowl near the bottom and on the top of the shank near the stem. The stem was oxidized and there was a bit of tooth chatter.

ImageImageImageImage

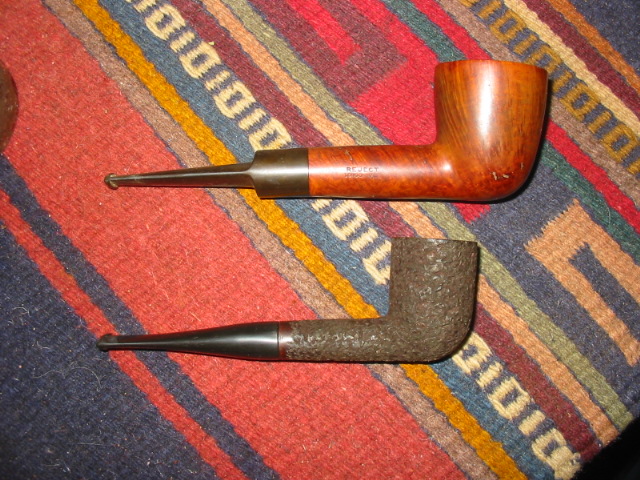
I have taken a picture of the pipe with a group 4 sized billiard to give an idea of the massive size of this old beauty. It is stamped on the left side of the shank “Made By Hand” and on the right side of the shank ‘Reject” over “London Made”.  I am pretty sure that it is a Charatan reject though I cannot be certain. What do you all think? Who is the maker? The only thing making this a reject are the few fills as it has some pretty decent grain all the way around.

Image

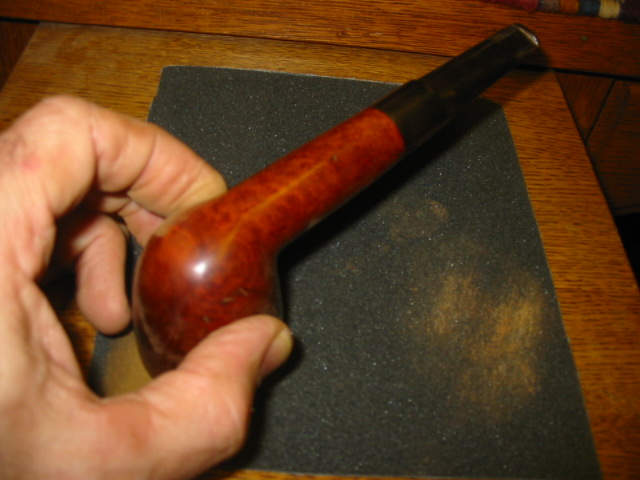
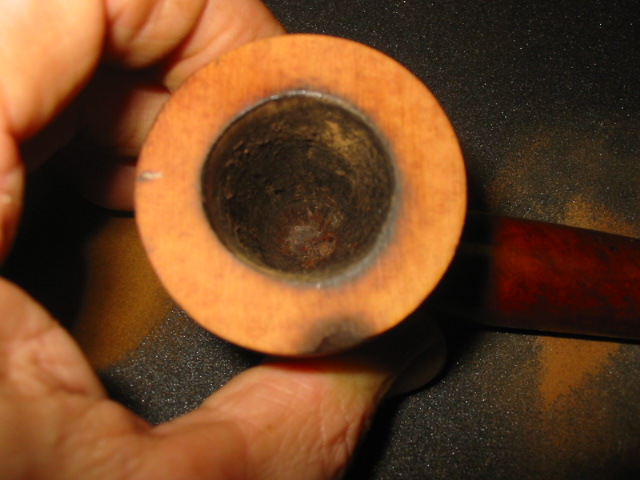
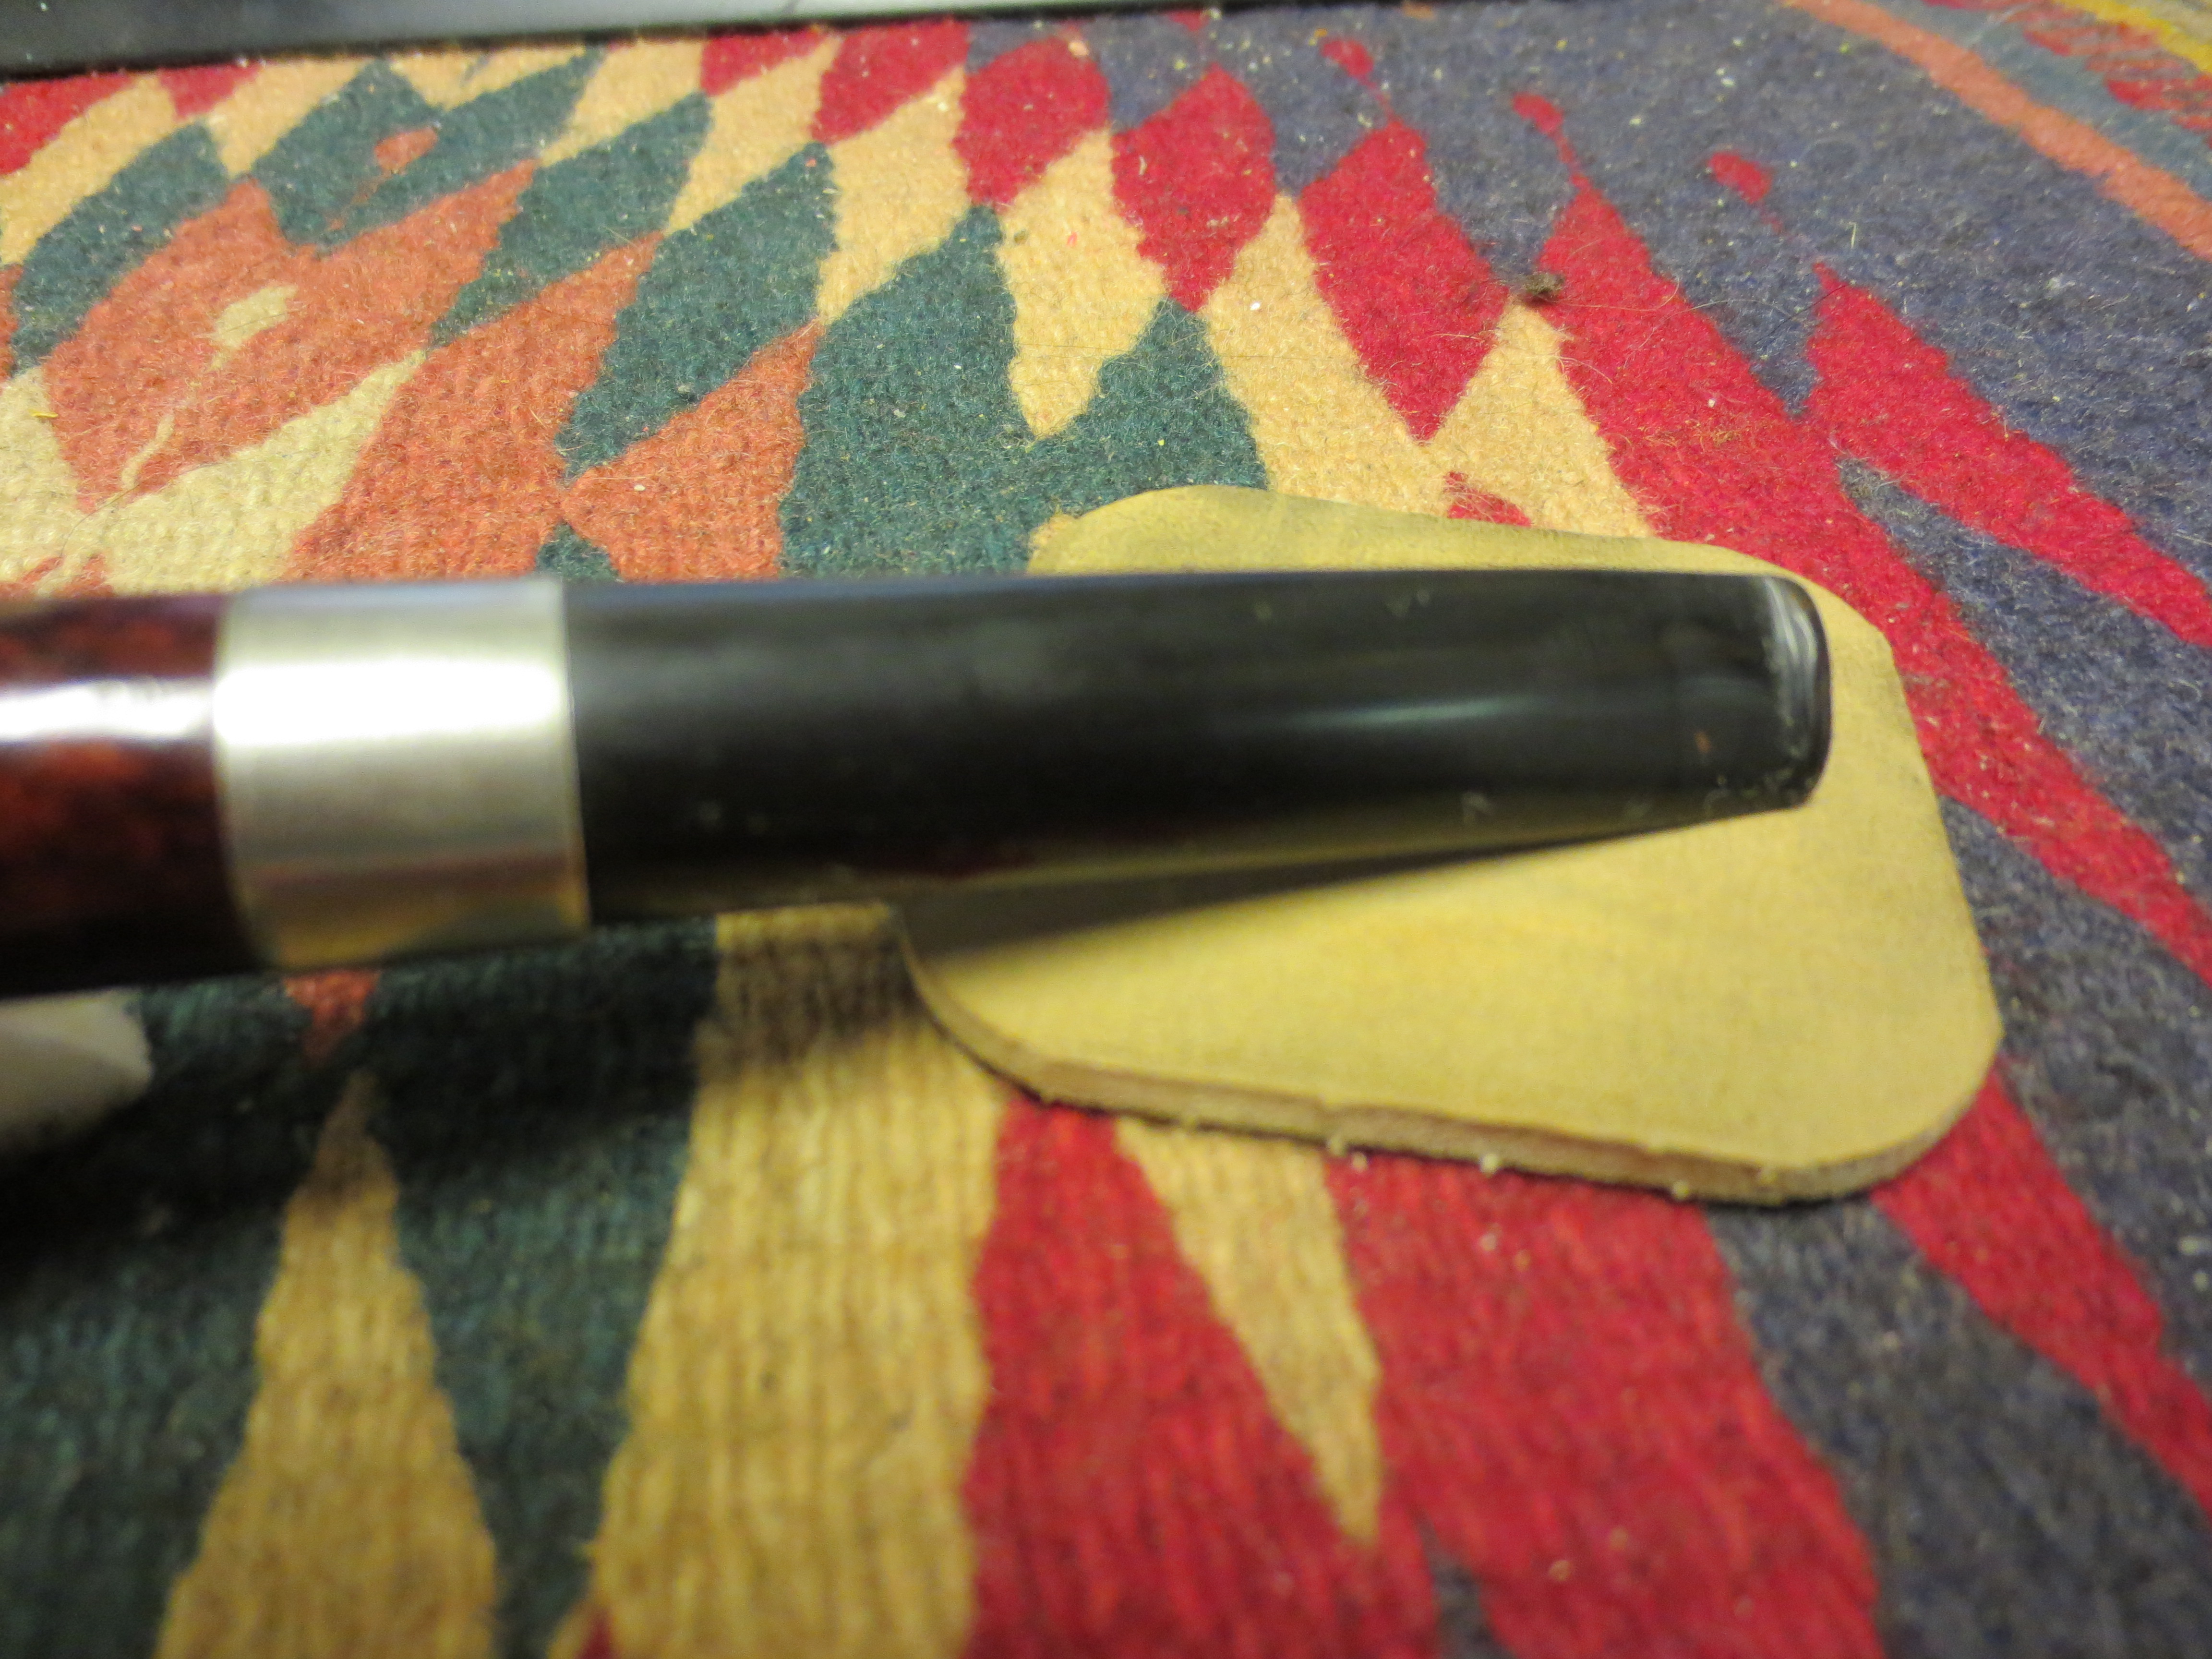
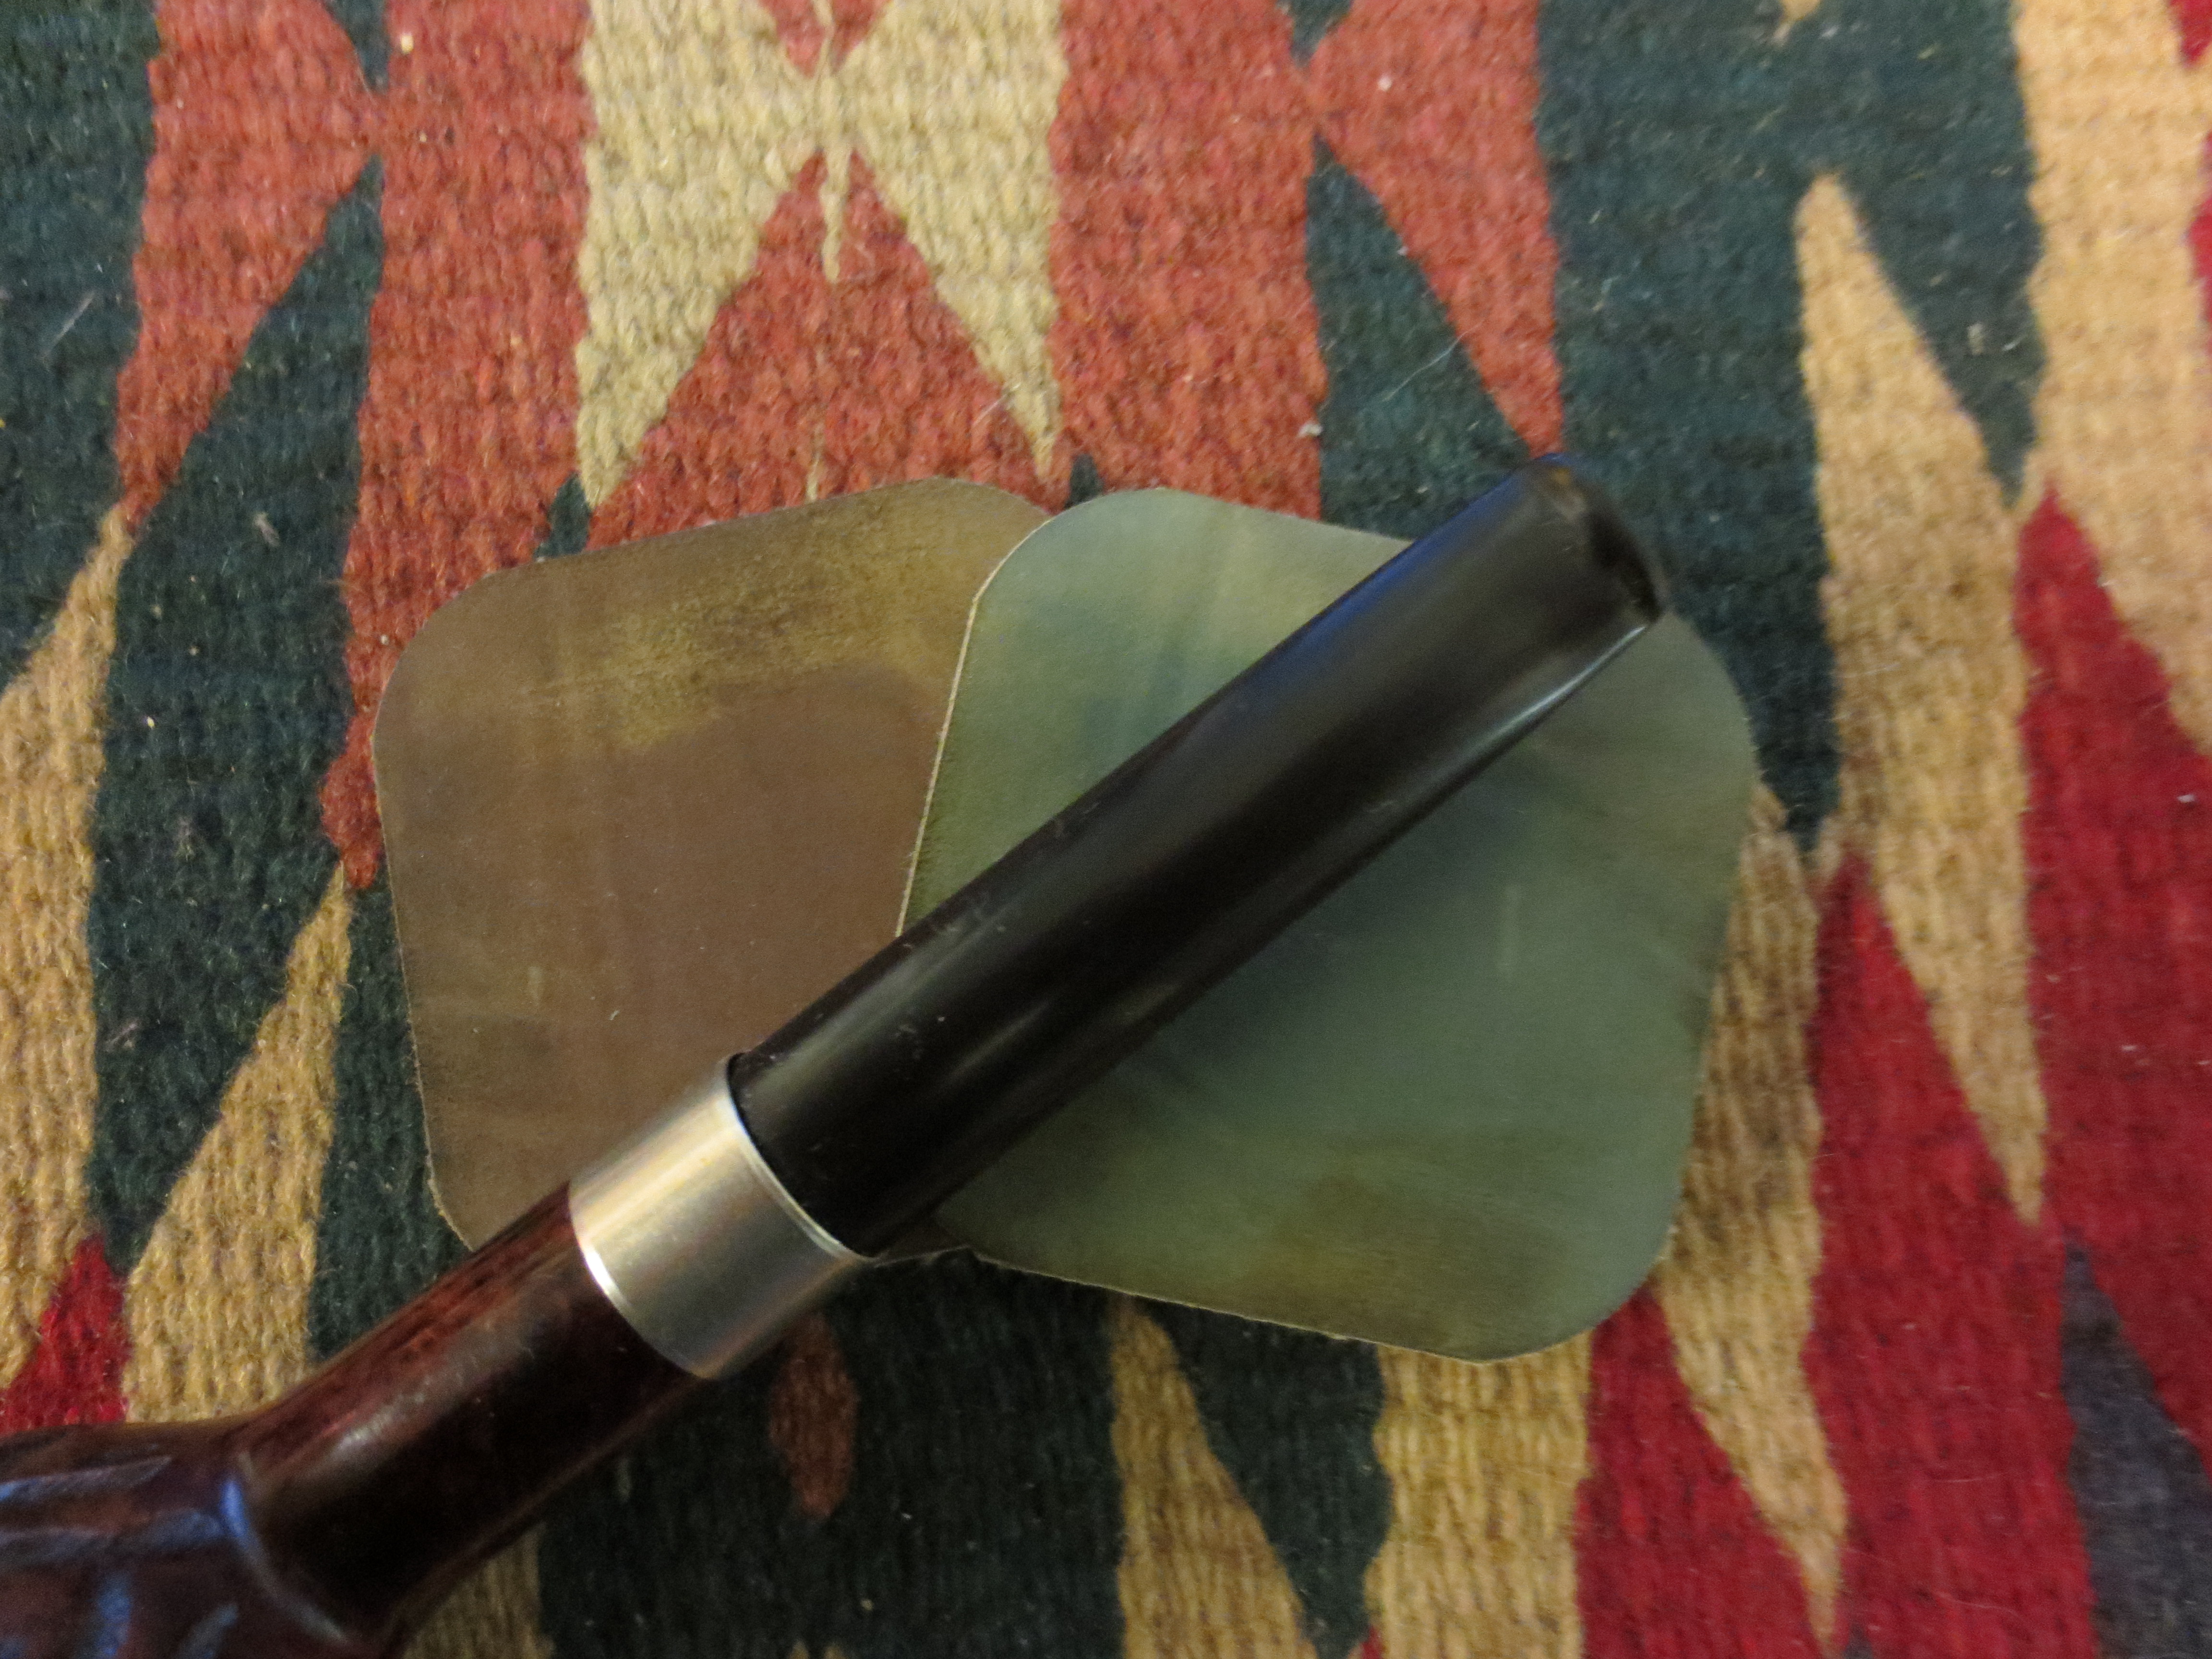
After I reamed and cleaned the pipe inside with isopropyl alcohol I decided to address the cigarette burn on the top and side of the rim. The only way to remove it was to top the pipe. The next series of four photos show the emery cloth attached to a cutting board so that I could work on the topping procedure. The first photo shows the angle of attack that I use on the bowl. I place it flat on the cloth and work it in circles on the paper. I keep the bowl rim flat on the paper to ensure that the surface does not become angled or slanted. The next three photos show the top after sanding. Each photo is sequential so that you can see the progress in removing the divot. The second photo below shows the side shot of the damage and you can see the depth of the burn. The next two show the gradual removal of the burn and the flattening out of the surface of the rim.

ImageImageImageImage

When I finished with the emery cloth I used 240 grit sandpaper to smooth out the surface and remove scratches left by the emery cloth. I used the same circular motion to sand the rim. I find that the circular motion leaves fewer scratches and also keeps the bowl flat as I work on it. The next series of three photos show the rim and side after sanding with the 240 grit sandpaper. The burn mark is now flattened out and the edge of the rim is smooth. The divot is gone. The decision I had to make at this point was whether to continue sanding to remove all of the darkening on the bowl rim or to use stains to hide it a bit and keep the profile at its current height. I opted to use the stains on the burn mark and leave it at this point. Once I had the bowl rim at this point I proceeded to use 400 and 600 grit wet dry sandpaper and then micromesh from 1500-6000 grit to smooth out the surface of the rim.

ImageImageImage

From there I decided to work on the fills. The pink putty just does not work for me. It does not take stain and it is always glaringly present in the finished pipe. The next two photos show the fills on the right side toward the bottom of the bowl and on the shank near the stem.

ImageImage

I wiped the bowl down with acetone (fingernail polish remover) to get the stain and finish removed. Then I used the dental pick to remove the fills. The next five photos show the opening up of the pits that were under the fills. I use the sharp point of the dental pick to pick away all of the putty and leave the holes open and free of debris. I also wipe the bowl down with acetone before filling them with the new patch.ImageImageImageImageImage

After wiping down the surface of the pipe and cleaning out any remaining debris in the pits or holes I filled the holes with briar dust that I had saved from sanding the rim. I packed the dust into the hole with the dental pick. I find that if I wet the end of the pick the briar dust clumps on the pick. I scrape it over the holes and then tamp them full with the briar dust. I purposely over fill them with the dust. Then I drip super glue onto the briar dust patch. In the three photos below you can see the patches after the initial sanding with a fine grit pink sanding pad. They are the dark spots on the right side of the photo and on the shank near the stem. These dark spots lessen with more sanding. The second photo also shows the state of the rim from the top shot.ImageImageImage

I heated the bowl so that I could do the contrast staining to highlight the grain. I used an artist’s brush to apply black aniline stain to the bowl. I follow the lines of the grain. I painted the bowl, shank and rim with the black stain. Then I lit it with a lighter to flame the stain and set it. Once it was dry I sanded the stain to remove the excess.Image

The next series of four photos show the bowl after the initial sanding. I had removed much of the stain. The reason I am showing these photos is to highlight how the fill on the side of the bowl and on the shank have faded into the finish of the pipe. The black stain not only highlights the grain but also blends in the fills with the contrast stain on the bowl. In the second and third photo I also wanted to show how the stain takes care of the burn mark on the bowl side and rim. It is still present in terms of the darkening but it is less visible at this point. That is what I was aiming for. From this point I took the pipe to my buffer and used Tripoli and White Diamond to buff out a bit more of the black so that it would highlight the grain but not be the overwhelmingly dark coat under the finish stain that I would later use. I also used micromesh pads from 3200 to 6000 grit to work out any of the remaining scratches on the rim and bowl surfaces.ImageImageImageImage

At this point I set the bowl aside and went to work on the stem. In the picture below you can see the variety of micromesh pads that I use to remove the oxidation. The brown dust on the pads is the oxidation that comes off with the sanding. I always have a bowl of water at the side of the table to dip the pads in and wash off the oxidation dust and grime and also to give the pads more bite when I am sanding the stem. I went back and forth through the pads and the buffer with Tripoli and White Diamond to bring the stem back to the rich black that it had originally. I always buff the stem with it back on the pipe. I do not want to risk rounding the edge at the point where it sits against the shank. Once it was shiny black and acceptable I took the pipe back to the work table to give it the final stain coat.Image
For a top coat of stain I chose oxblood coloured aniline stain. I find that the contrast between it and the black undercoat work well together. The next series of four photos show the finished pipe. The first shows the left side and what remains of the burn mark near the top of the rim. It is still present but certainly less visible and it is smooth to touch. The second photo shows the right side of the pipe and how well the stain has hidden the reworked fills on the shank and near the bottom of the bowl. If you did not know they were present you would have a hard time seeing them. The third photo shows the rim and how well the stain has hidden the burn mark and brought out the birdseye grain on the rim. The final photo shows the bottom of the bowl and is included to show the contrast stain and the graining on that part of the bowl.ImageImageImageImage

The next series of photos show closer views of the repairs that were down and how they blend in with the contrast stain. The first is the left side of the bowl and you can see the darkening of the rim where the burn mark was. It is smooth to touch and none of the profile of the pipe is affected. The second photo shows the part of the bowl where I removed the putty fills, refilled them with briar dust and superglue and then restained with the two coats of contrasting stain. The third photo shows the same repairs on the shank. The final photo is of the rim of the bowl. The birdseye grain is highlighted. In the slight glare at the top of the photo you can see the remaining mark from the burn. The black and oxblood stains minimize the visibility of the burn darkening. I finished the pipe by giving the entirety several coats of carnauba wax to give it a rich glow. The pipe is finished and ready to give many years of service to whoever becomes the next owner.

ImageImageImageImage

Refurbishing another Mystery Pipe


I picked up this pipe in an EBay lot recently. The other pipes were older Barlings and Bewlays. I know that it belonged to the same gent originally because all the stems have matching tooth marks. This guy must have had jaws of steel. His bite marks showed a repeated pattern of biting down in an identical place on each pipe. The amazing thing on this one is that though the bites were deep they did not break through the surface of the stem.

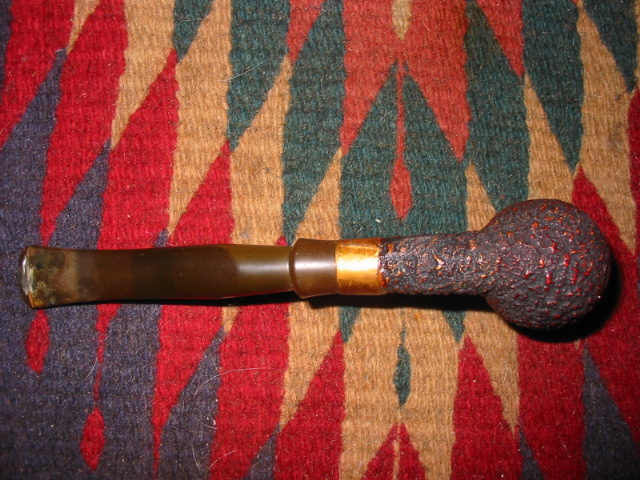
The first series of pictures below show the pipe as it came to me in the lot. Rim had some tars and cake build up. The bowl was dirty but not caked. The exterior of the pipe was also dirty but not damaged. The mystery to me is the material that this bowl is made of. It is very light weight and a bit odd. There is some resemblance to Laxley meers from the Isle of Mann. They made meers for Peterson, Nording and Barling as well as some under their own brand. I have found that those I have worked on and now own are uniformly heavy and thick bowled. This one is not that way at all. This little guy – and I say little as in 1 1/2 inch tall and a bowl outer diameter of 1 1/8 inches and bore of 3/4 inches – is somehow incredibly light weight. Think in terms of a featherweight briar and you are close. The stem is heavier than the bowl… Those are the things that leave me mystified with this one. I wonder if it is not some sort of resin????

The copper coloured band on the shank is actually copper tape. It was covered with a coating of glue to give it some resilience I would guess. The shank extension is vulcanite as is the stem. The stem is badly bitten but no bite throughs. It will take a bit of work to take care of those and to remove the deep oxidation. The tenon is also a reverse tenon. It extends from the shank like a Carey Magic Inch tenon. The stem slides over the tenon.
ImageImageImageImage

Using my dental pick as a lever I pried away the tape on the shank. I wanted to see what was underneath to know if I was dealing with a separated shank extension or what. As can be seen in the next photo it appears that the tape was merely cosmetic. The shank extension and the joint of the two parts were liberally coated with glue. It appeared to have been wood glue and it was very hard. I was able to peel away bits and pieces of the glue by picking at it with the dental pick and my finger nail. Note also the reverse tenon on the shank that I spoke of above. It is anchored in the shank and is not removable. It seems to be an integral part of the shank extension.Image

The next two photos show the junction of the shank and the shank extension with the glue removed. I used some 180 grit sandpaper to work on it and then finished with 220 and 240 grit to remove the remaining bits. The junction appeared to be sound. There were no cracks and once the glue was removed the connection was tight and smooth.ImageImage

I continued sanding the shank and extension through 400 and 600 grit wet dry sandpaper as well as the usual micromesh pads from 1500-6000 grit. The three photos below show the finished shank. You will note that the band between the bowl and the extension is also sanded clean. The glue was so built up on it that it needed to be sanded to clean away the build up.ImageImageImage

Once the bowl had reached that point I cleaned the rim with a brass tire brush to remove the tars and buildup that was in the rustication on the rim. I wiped it down with a soft alcohol dampened cloth to remove the dust and remnants after brushing. I decided to restain the rim and the band on the shank. While I was at it I also freshened the stain on the bowl. The odd thing to me was that the stain was not absorbed when I put it on the bowl. It literally sat on the surface until it was dry. To get the coverage to do any good at all involved repeated applications of stain to the band and the rim edges. If the pipe had been briar or meer the stain would have quickly absorbed into the heated surface. This is yet another piece of the mystery of this pipe. What is this material that does not accept the stain?ImageImageImage

Once the stain was dry I did not buff the pipe at all with my buffer but wiped it down with a soft cotton cloth and hand buffed it with a soft bristle shoe brush. In the pictures below you can see the finished bowl. The band and the highlights in the bowl are almost a reddish brown. It is an attractive pipe when all is said and done. You can see the inside of the bowl after I sanded it down to clean it. It appears to be a brownish colour and feels like briar to the touch and yet there is something different in the feel of it.ImageImage

From the earlier pictures above you can see the state of the stem with the bite marks on the top and bottom near the button. I used my heat gun to raise them as much as possible before sanding the stem to remove the remaining marks. The first two photos below show the stem after heating and sanding with the 240 grit sand paper. The top photo is the top side of the stem. There were four remaining marks as can be seen – three on the surface of the stem and two along side of the button edge. There was also damage to the button surface that is visible. The second photo shows the bottom side of the stem – it was a bit better after the heating than the top side. It still had two bite marks and the button was dented.ImageImage

I sanded the marks to smooth them out and then cleaned the surface of the stem with an alcohol wipe to remove the dust. The first photo below shows the spots of super glue on the surface filling the dents in the stem surface. I do not use much glue, just a spot. When it hardens it is not easily sanded so the less I use on the surface the better in my opinion. I also did a bit of work rebuilding the button edge and surface with the glue. When I am using the glue I work on one side at a time in order to have the glue set without running and making a mess of things.Image

The next two photos show the repairs to the top (first photo) and the bottom (second photo) of the stem after the initial sanding. I used an emery board that I picked up at a local department store to sand the surface at this point. It is sold in the area where they sell beauty supplies and is used for fingernails. I learned the usefulness of these by “borrowing” one from my daughters and really like the usefulness. Both photos show the patches disappearing into the surface of the stem.ImageImage

The next two photos show the patches on both the top (first photo) and the bottom (second photo) of the stem after sanding with 220 and 240 grit sandpaper. The patches are getting to the point where they are invisible. I continued sanding both sides of the stem until I was ready to work on the sheen and polish.ImageImage

From this point I sanded the stem with 400 and 600 grit wet dry sandpaper until the patches disappeared into the smooth surface of the stem. I then progressed through the usual regimen of micromesh pads from 1500-6000 grit to polish the surface. Several times in the process I took the stem to the buffer to polish it with Tripoli and White Diamond to see where I needed to do more work on the scratches. I resanded the stem until the scratches were gone – each time using the buffer in between to see the progress. Once it was completed I put it on the pipe and used White Diamond to polish the shank and stem. I coated the stem and shank extension with Obsidian Oil and rubbed it in once it had soaked in. I then gave the entirety several coats of carnauba wax. I did not wax the bowl or use the buffer on it as I wanted to maintain the appearance and cragginess of the finish. In the four photos below you can see the finished pipe. The patches are virtually invisible unless you know where to look. The surface is shiny and black. There is still a bit of oxidation that I need to remove on the stem at the shank extension but overall it is like a new pipe.ImageImageImageImage
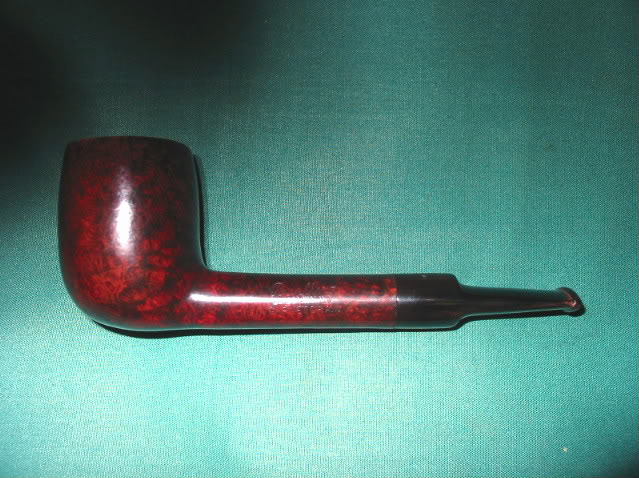
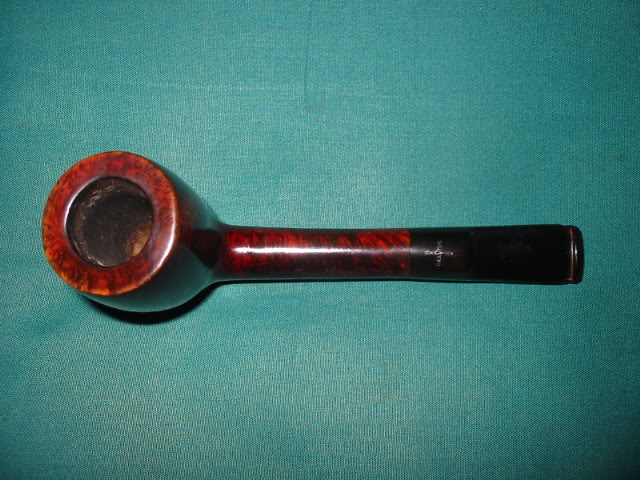
The mystery remains, what is it made of? Is it meer? Is it clay? Don’t know. I plan on smoking it later today so maybe the way it handles the heat of the burning tobacco may add some information to the mix.