Blog by Steve Laug
I have written about the first three pipes from an estate lot that I was tasked to clean up and sell in three previous blogs at https://rebornpipes.com/2016/10/25/this-favourite-gbd-marquis-752-was-a-mess-not-any-more/; https://rebornpipes.com/2016/10/26/rescuing-a-petersons-english-made-203-billiard/; https://rebornpipes.com/2016/10/27/rejuvenating-a-petersons-system-pipe-1314/. These included a GBD Marquis Author, a Peterson’s English Made 203 billiard and a Peterson’s 312 System Pipe. I am including a short version of the acquisition for those who have not read it. My friend has a pipe shop that is closing and he had some pipes that had belonged to an elderly gentleman who had died. His wife had given him the fellow’s pipes. She wanted to get them cleaned up and sold to folks who would appreciate them. Richard thought I would be interested in the story and have fun cleaning these up and selling them. There some really nice pipes in the lot – GBD’s, Comoy’s, Stanwells, Petersons, two ceramic Goudewaagen pipes, and others. There are just over 50 pipes that I will be cleaning and listing on rebornpipes.
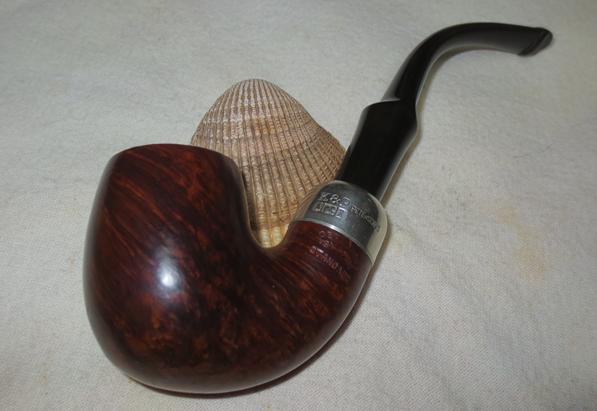
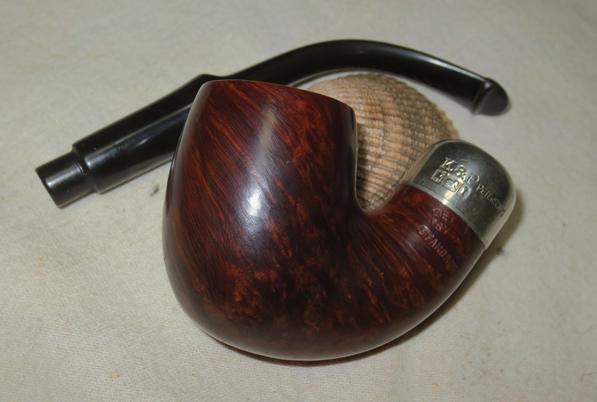
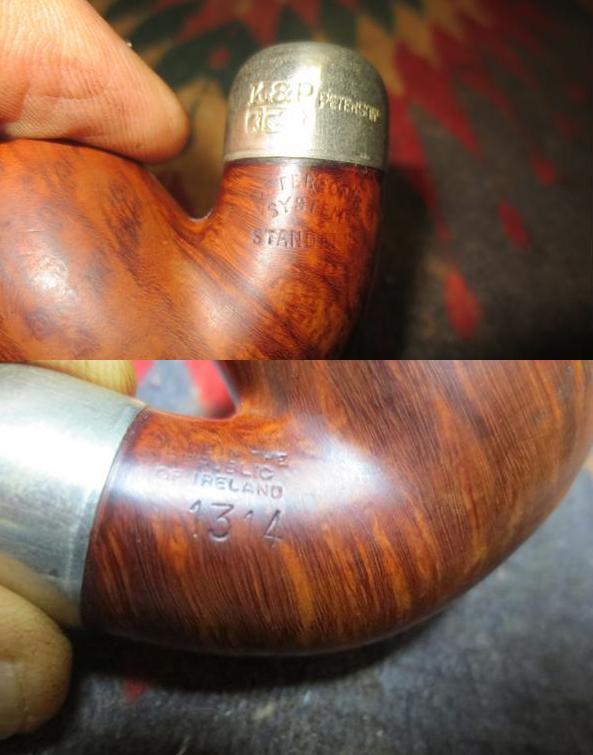
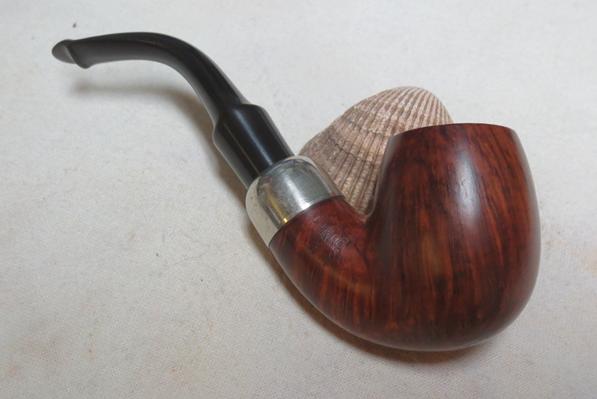
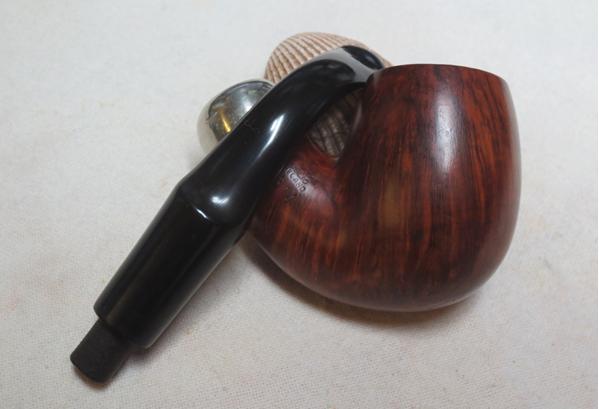
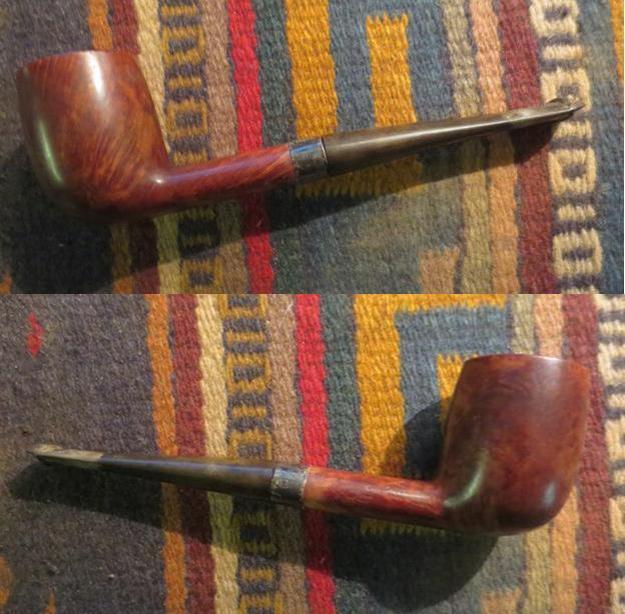
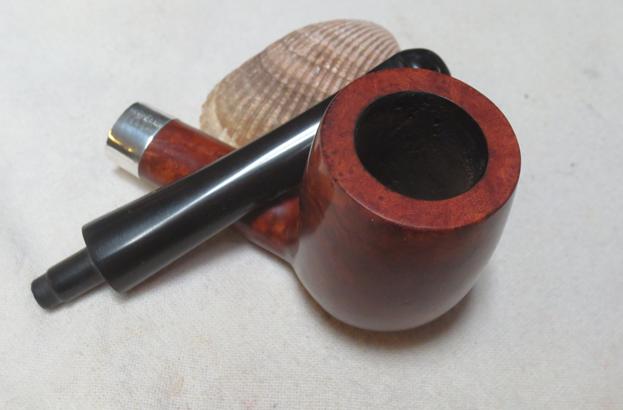
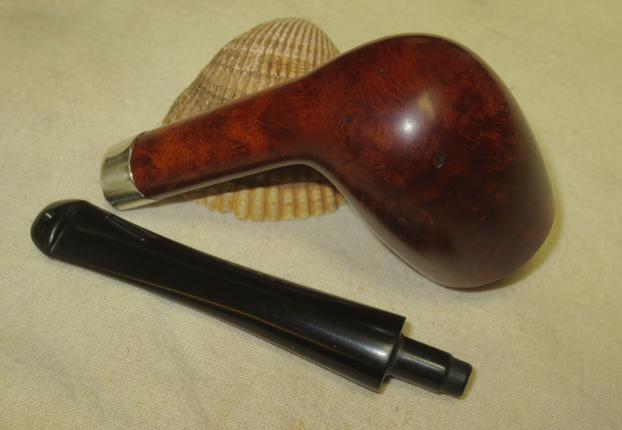
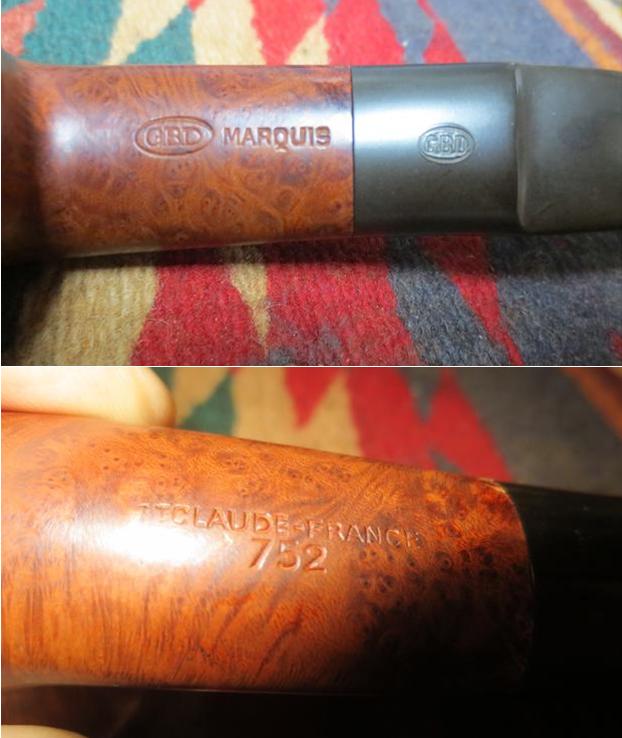
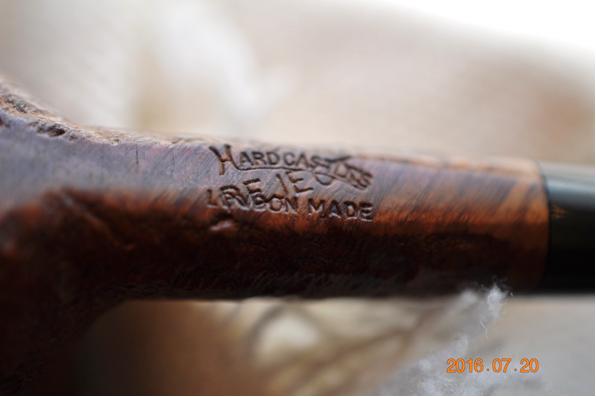
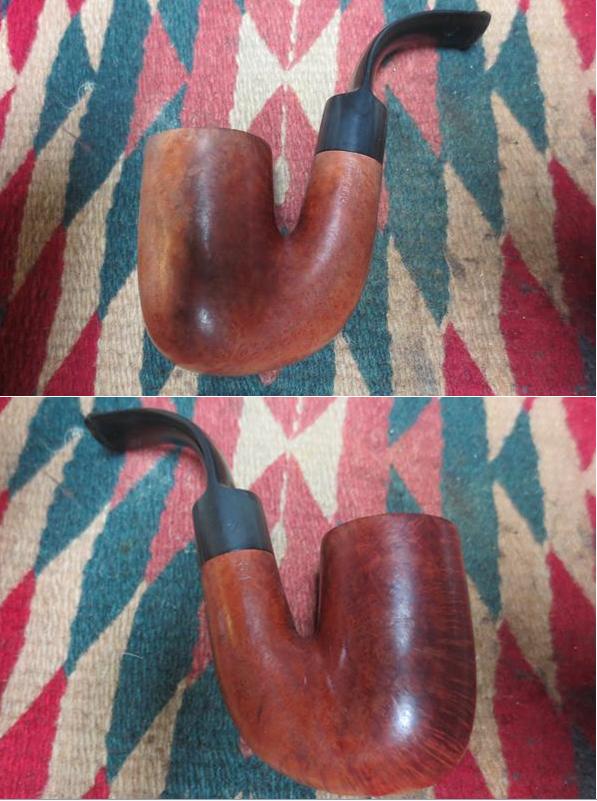
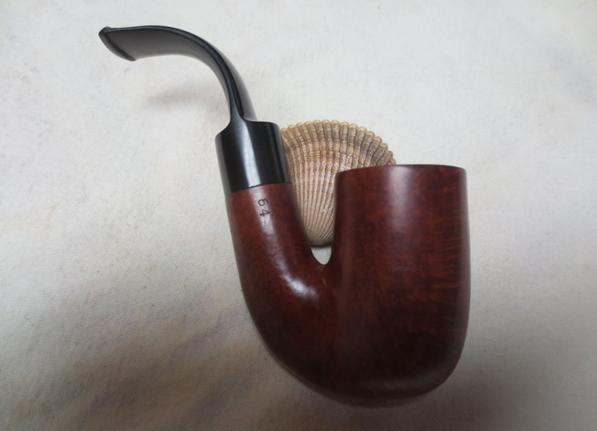
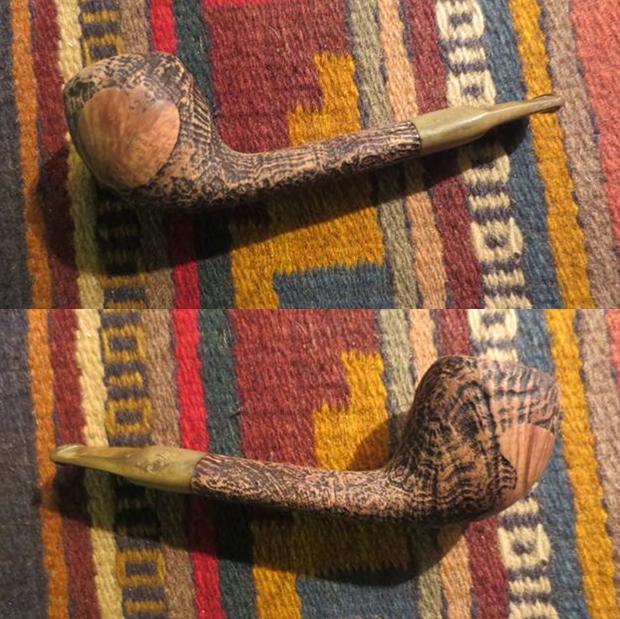
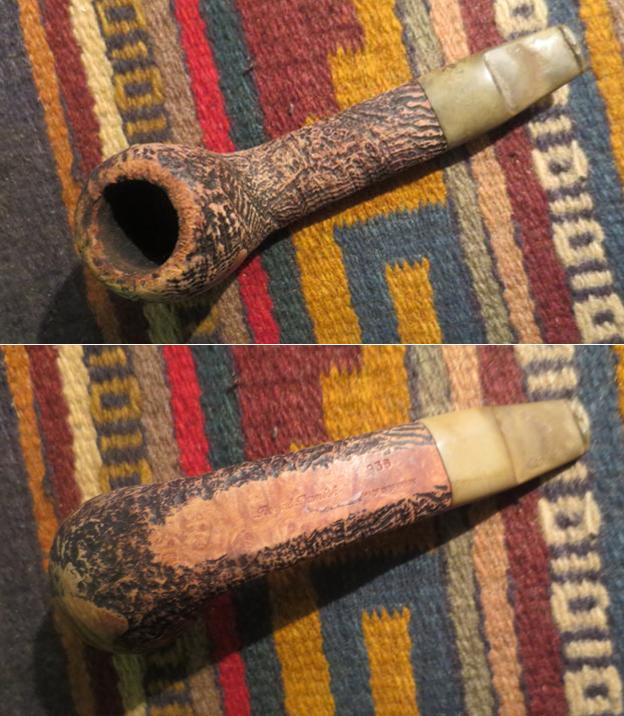
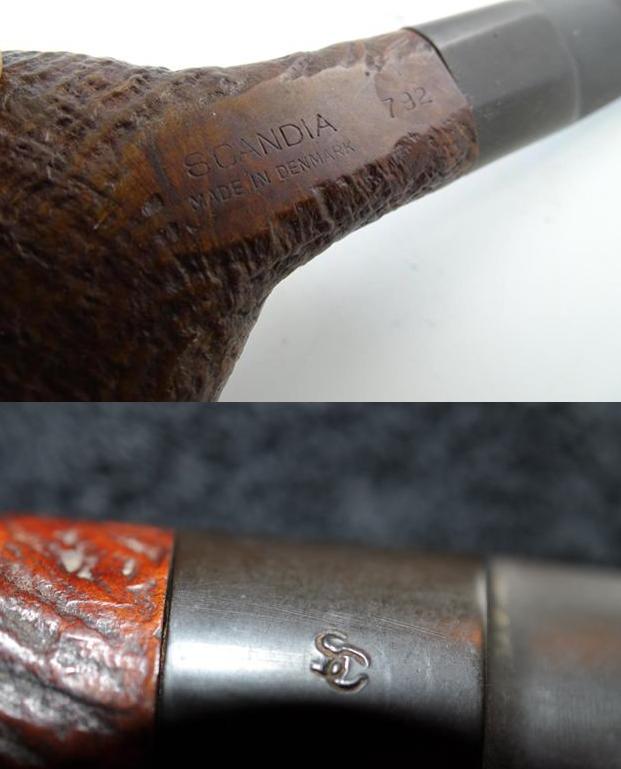
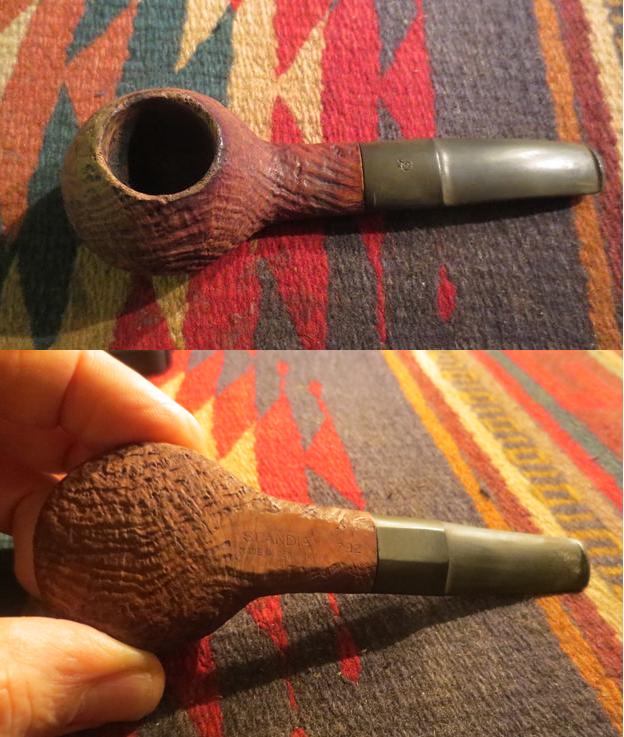
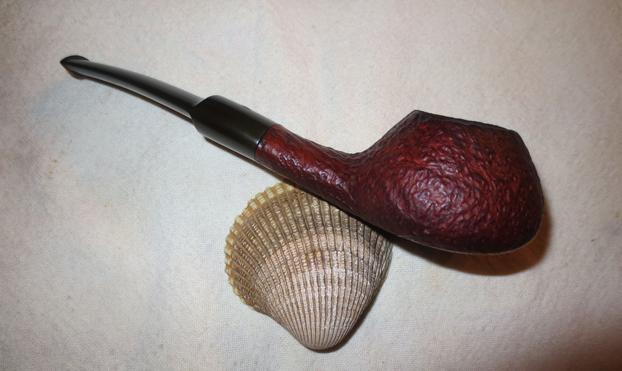
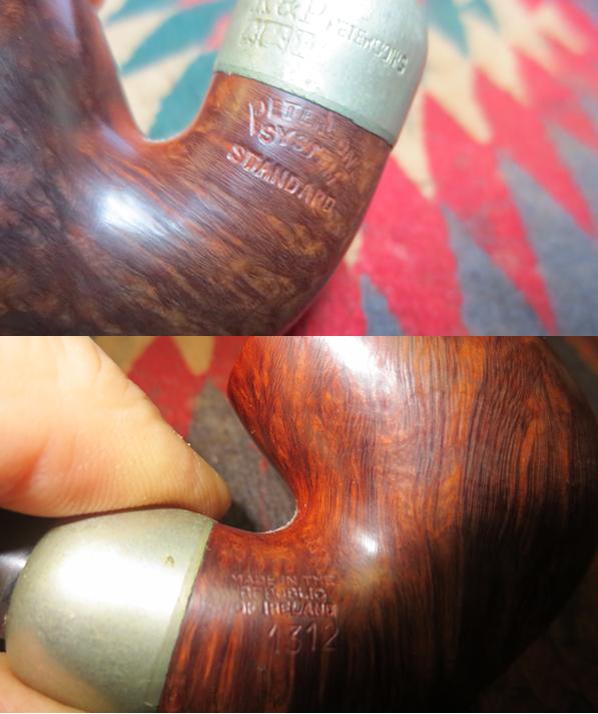
The fourth pipe I chose to work on was another Peterson’s System Pipe. It is stamped Peterson’s System Standard pipe on the left side of the shank. On the right is stamped Made in the Republic of Ireland 1312. The stamping is clear and sharp. The nickel ferrule is stamped K&P Peterson’s and has the three faux hallmarks that are for looks. The bowl is thickly caked and the rim is dirty. The finish is in decent shape with a medium brown stain over flame and straight vertical grain. The stem is oxidized with some calcification around the P-lip button. Light tooth chatter covers both the top and underside of the stem. There is no P stamping on the P-lip stem but it appears to be an original not a replacement.
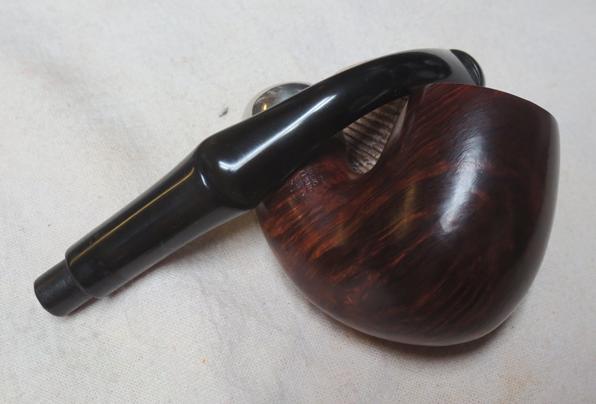
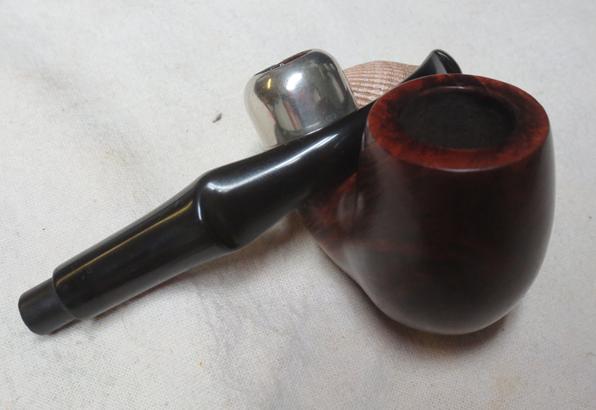
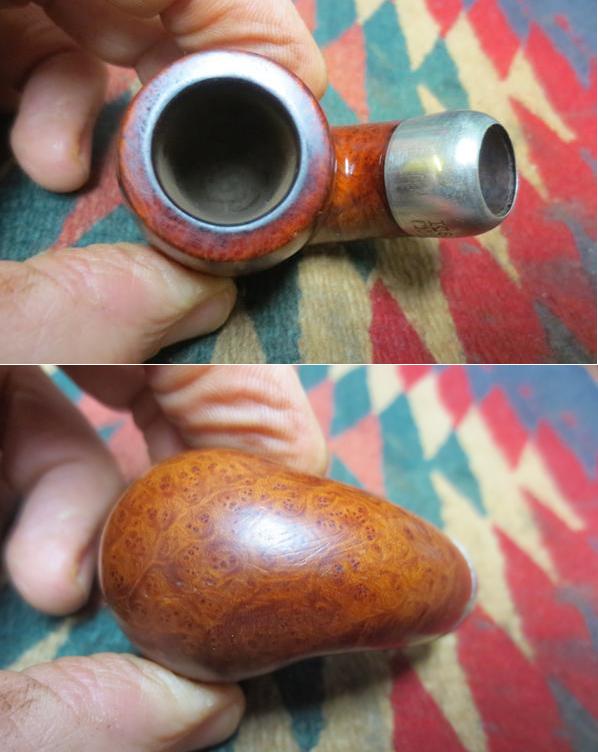
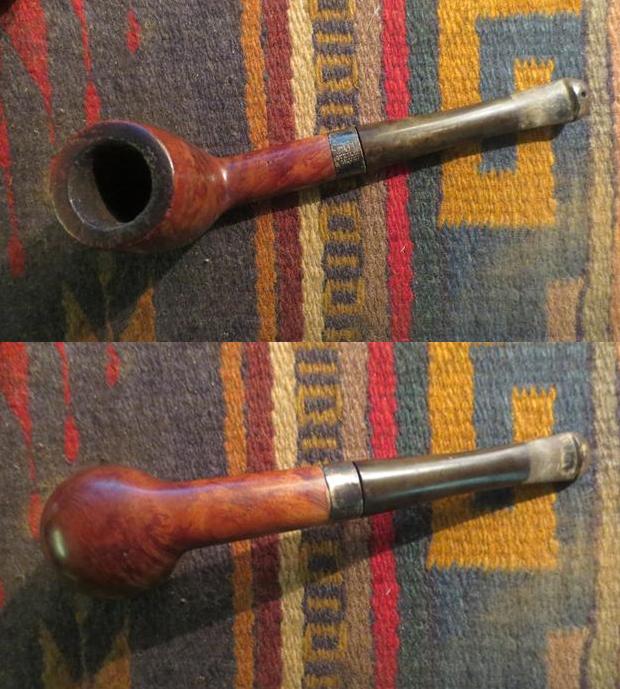
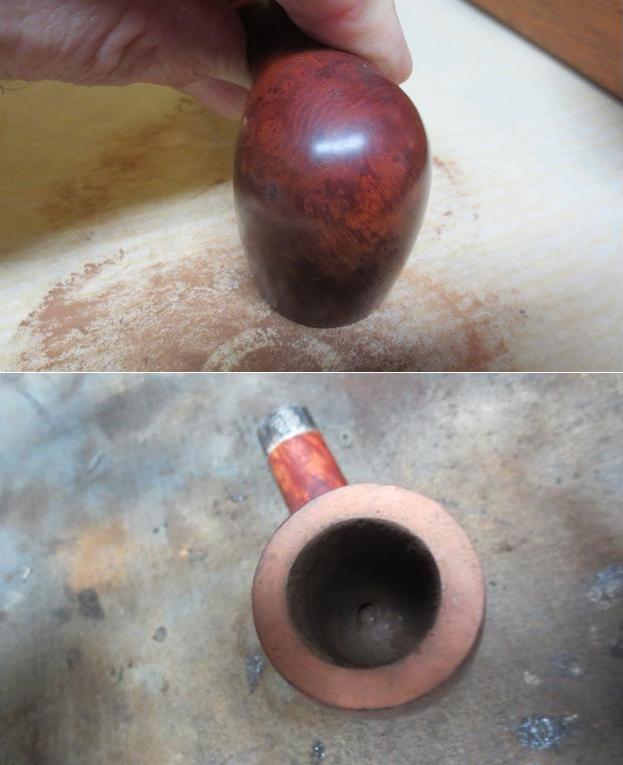
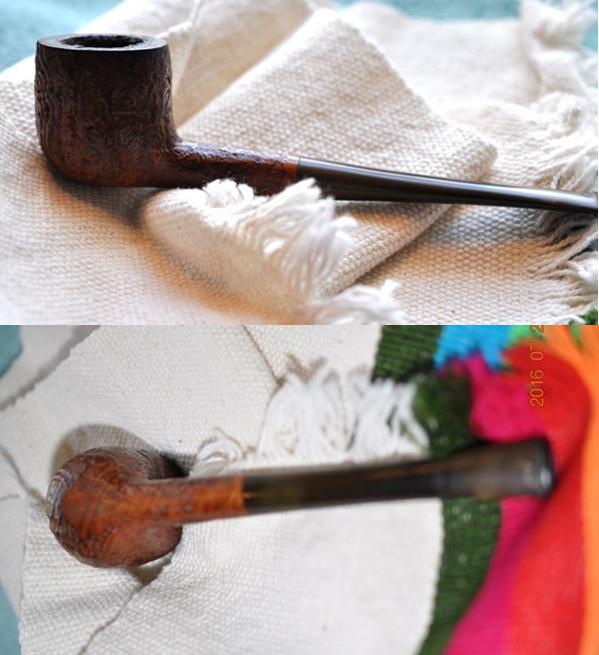
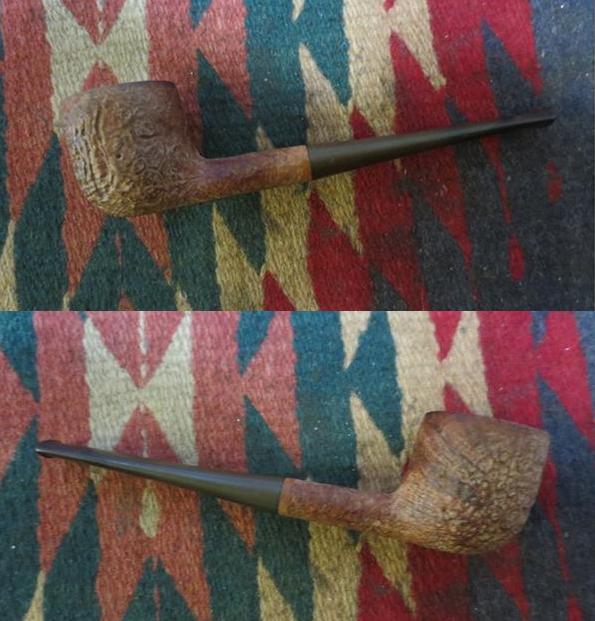
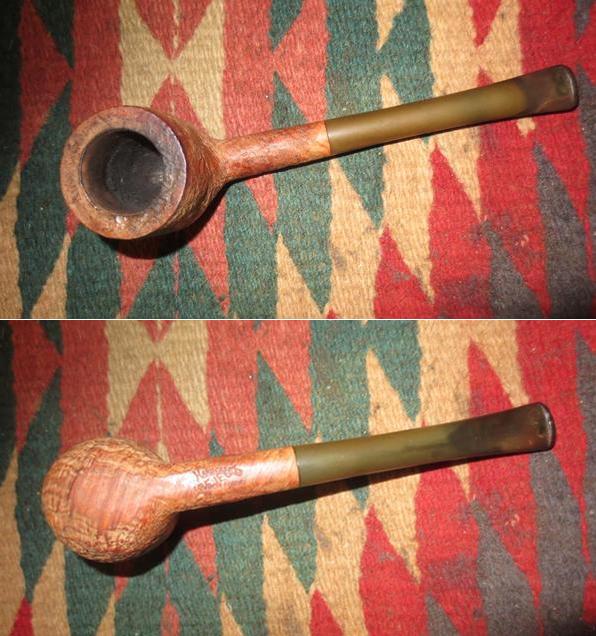
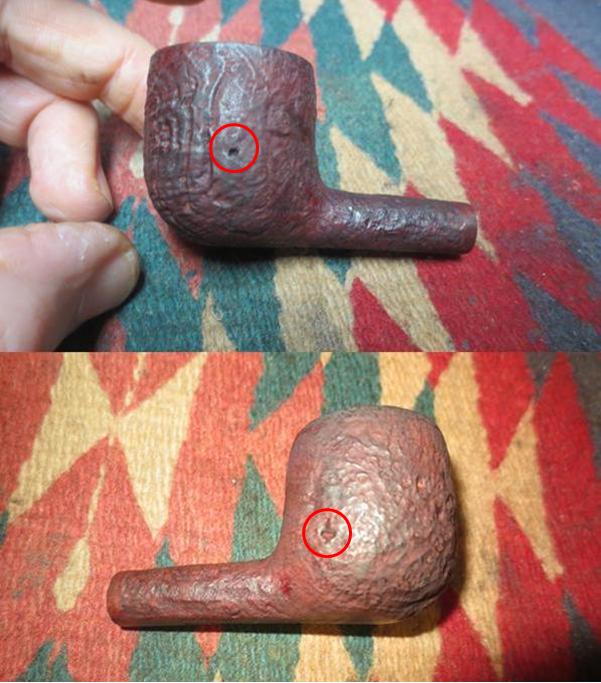
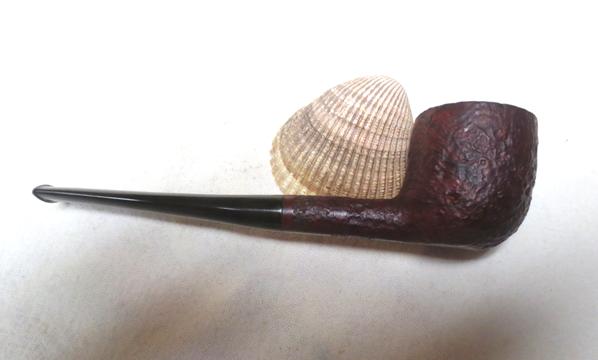
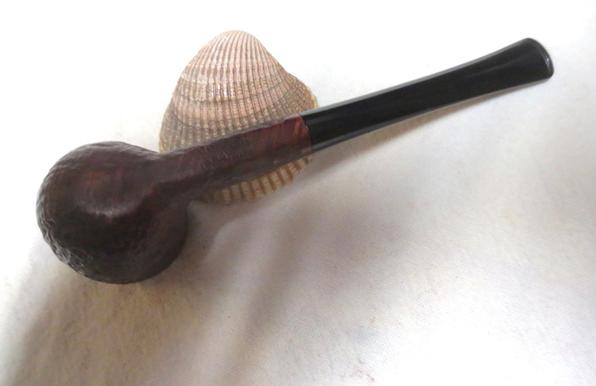
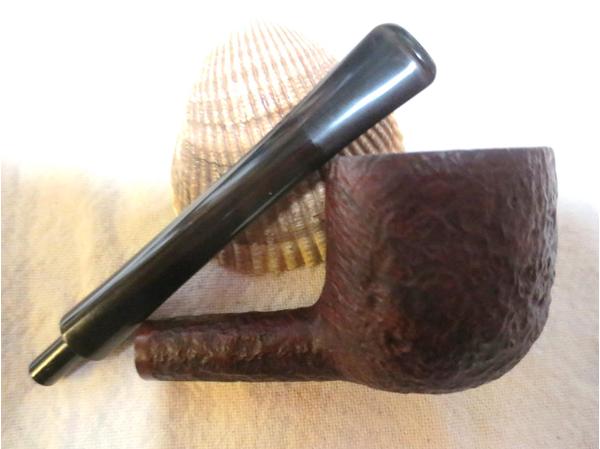
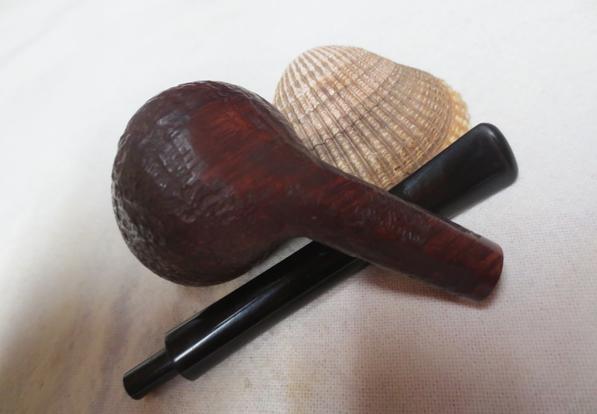
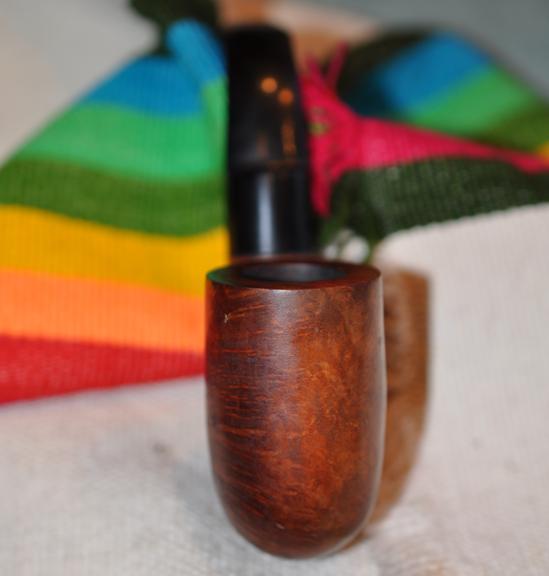
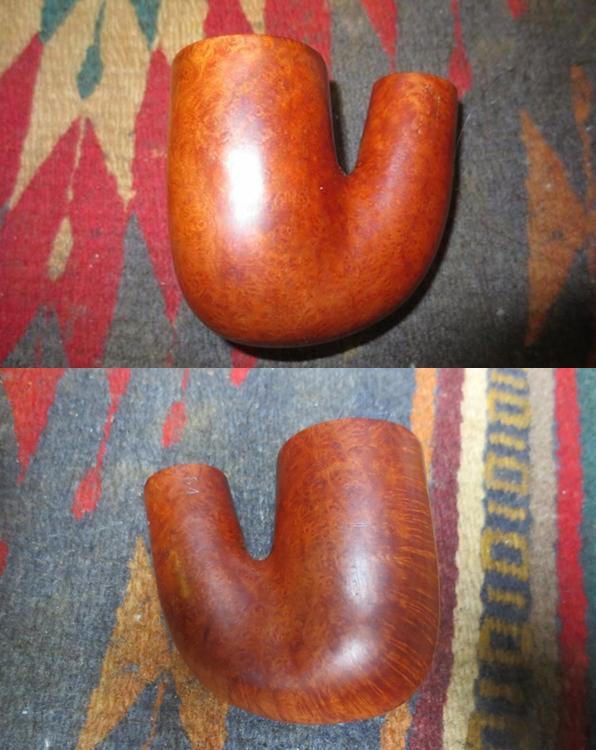
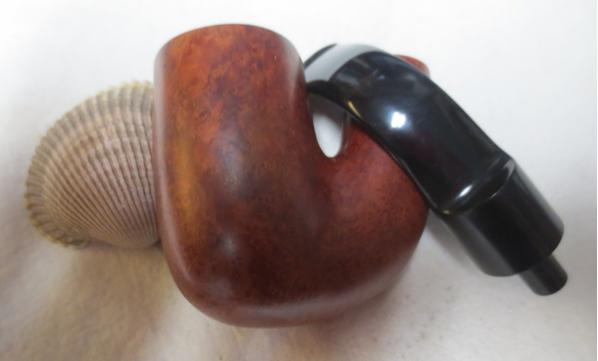
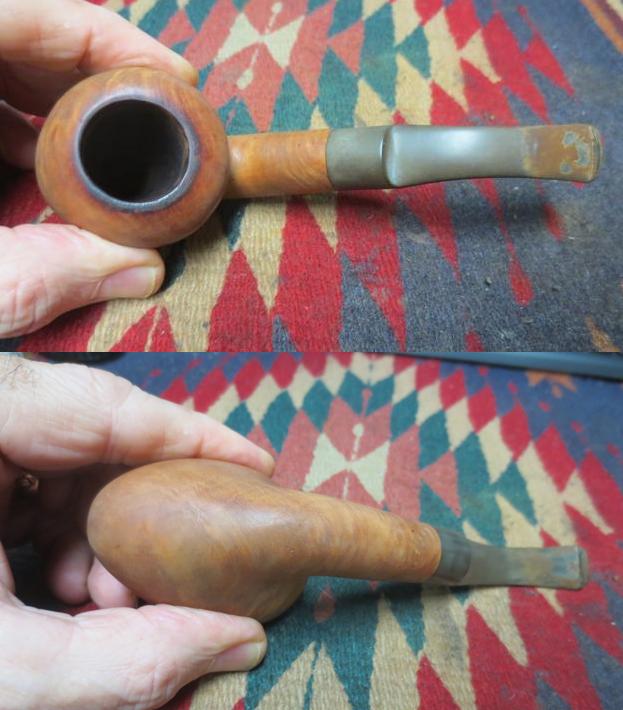
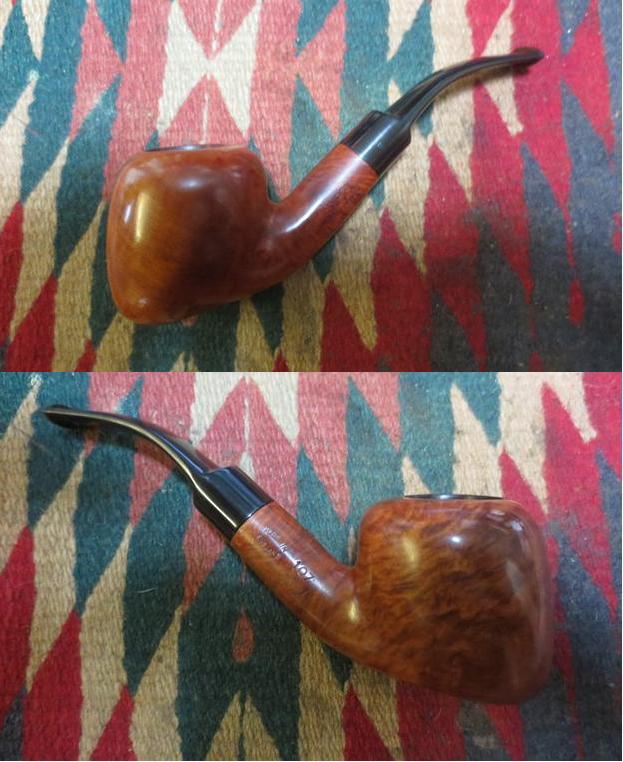
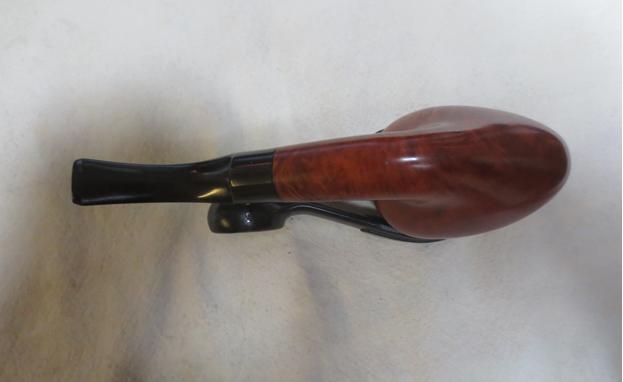
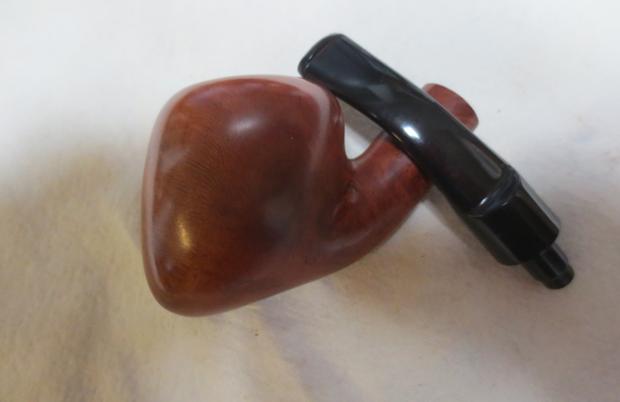
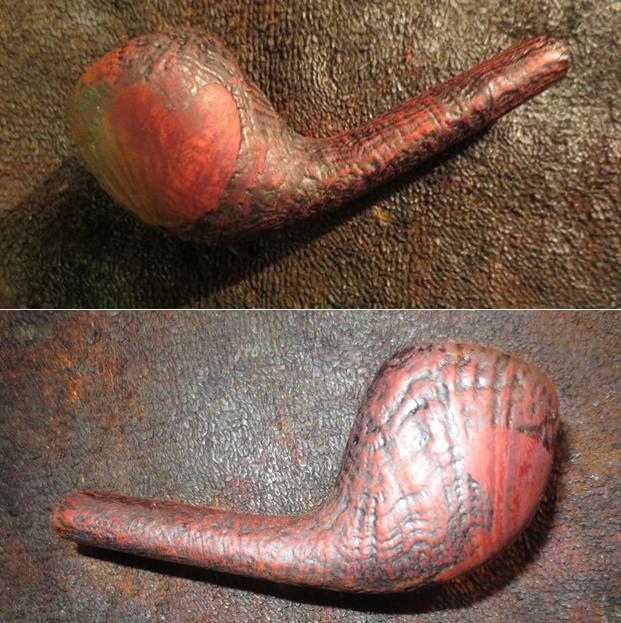
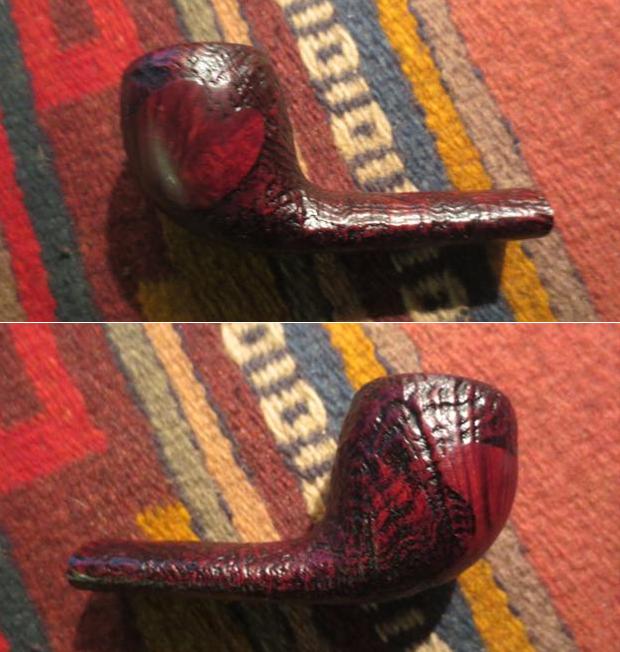
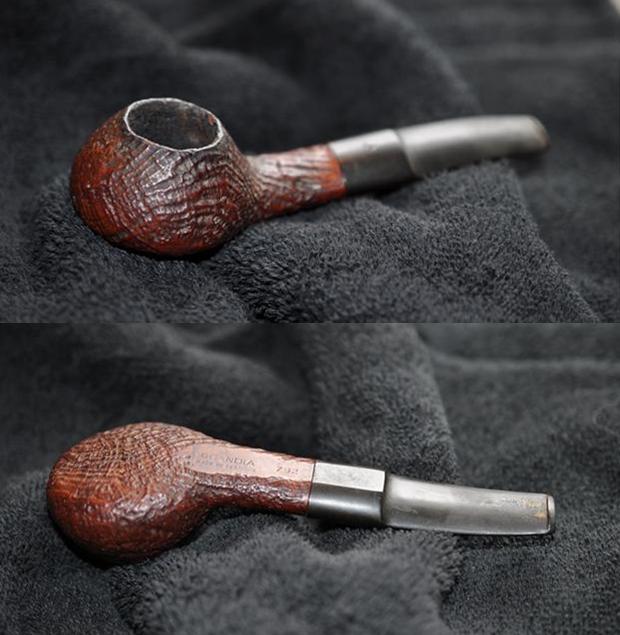
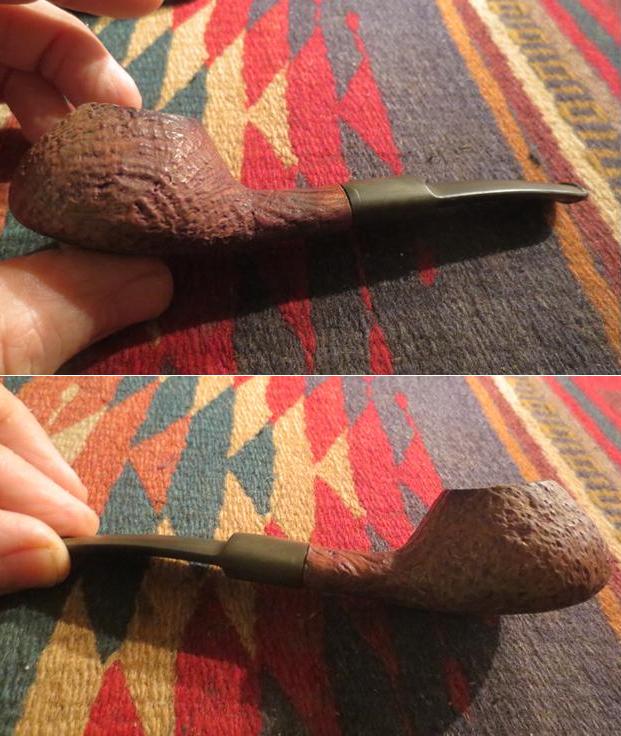
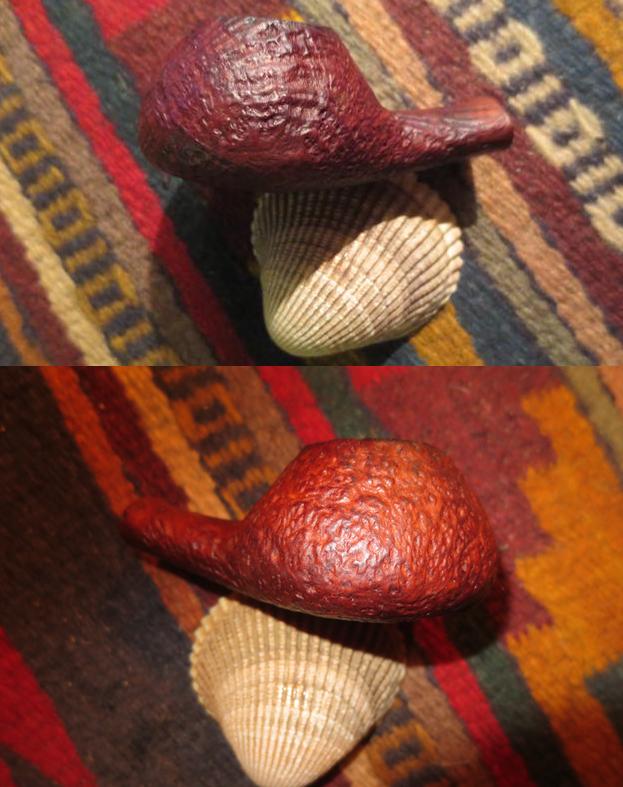
Here are some photos of the pipe when I started cleaning it. The pipe has good lines and some interesting grain underneath the grime.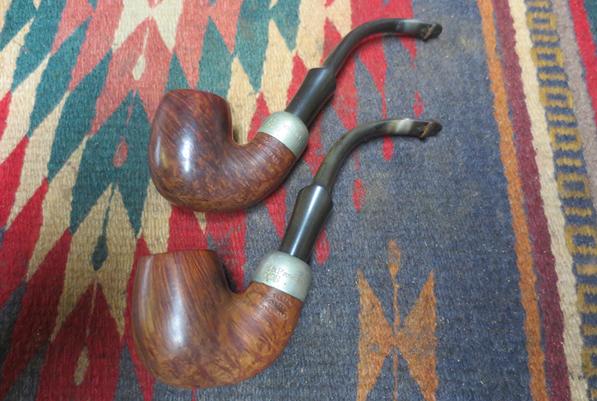

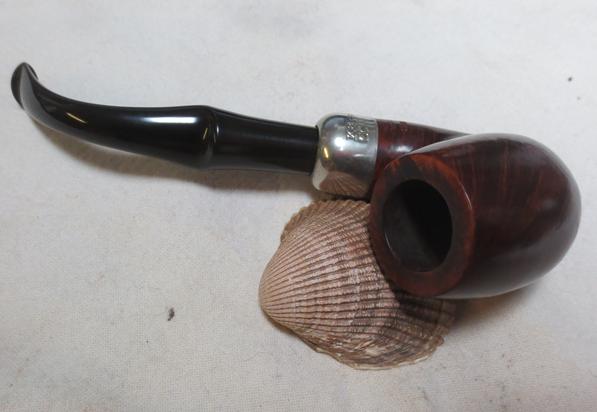
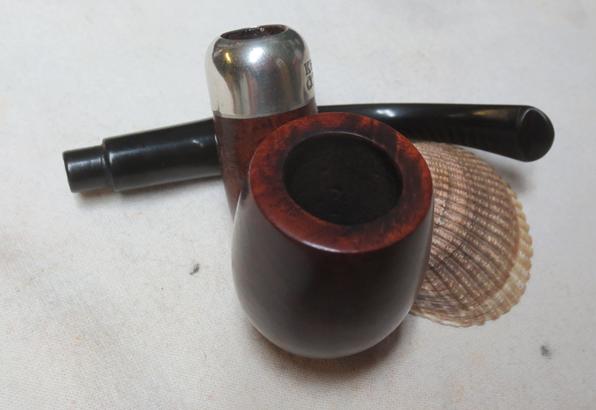
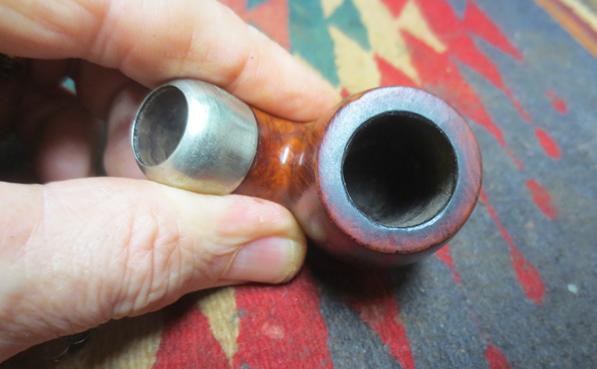
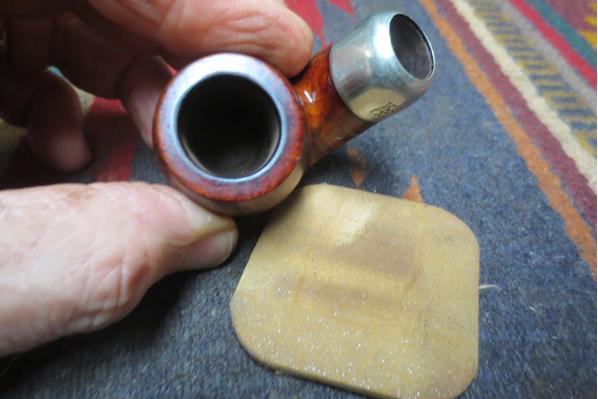
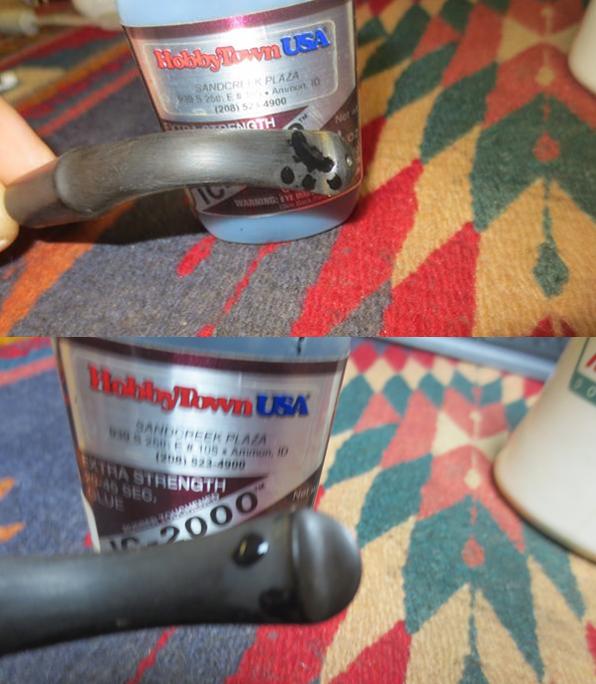
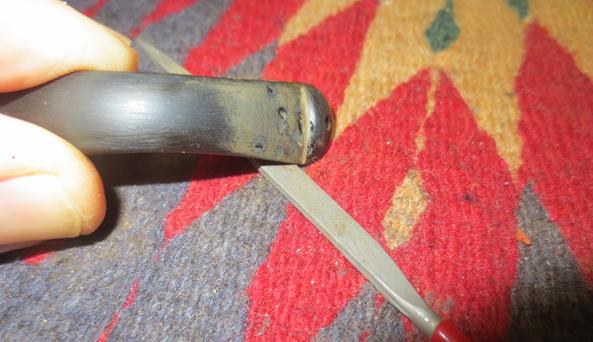
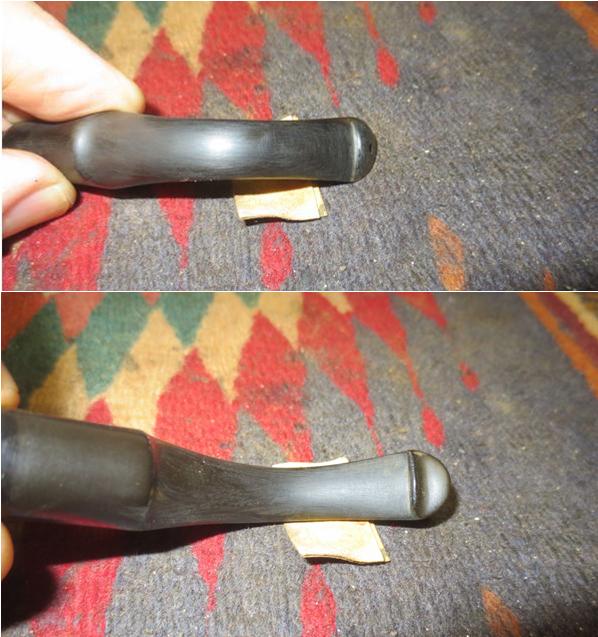
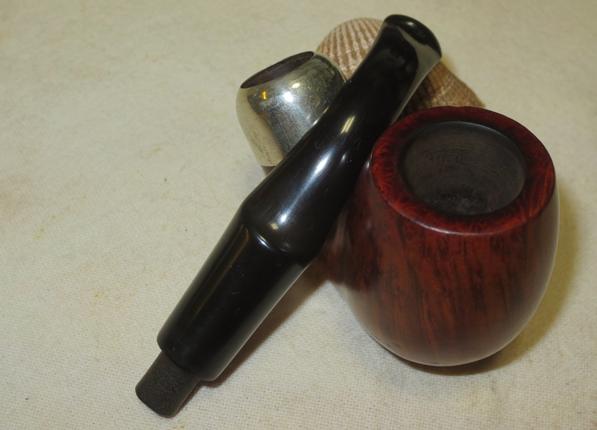
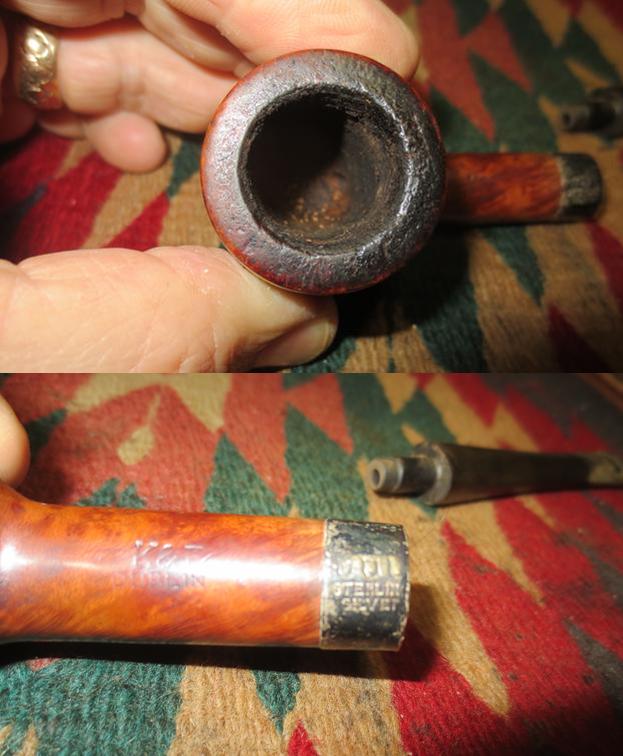
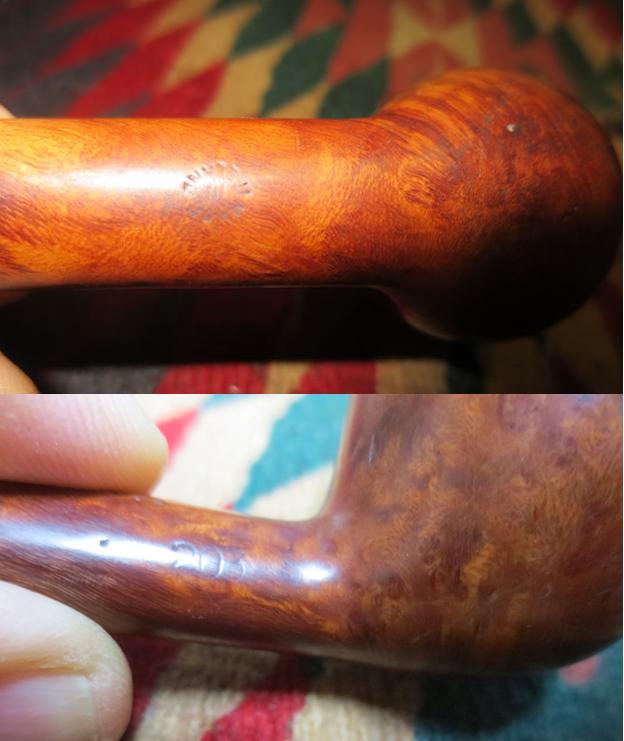
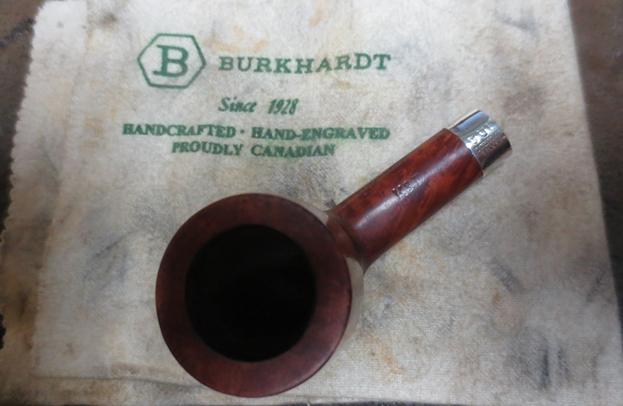
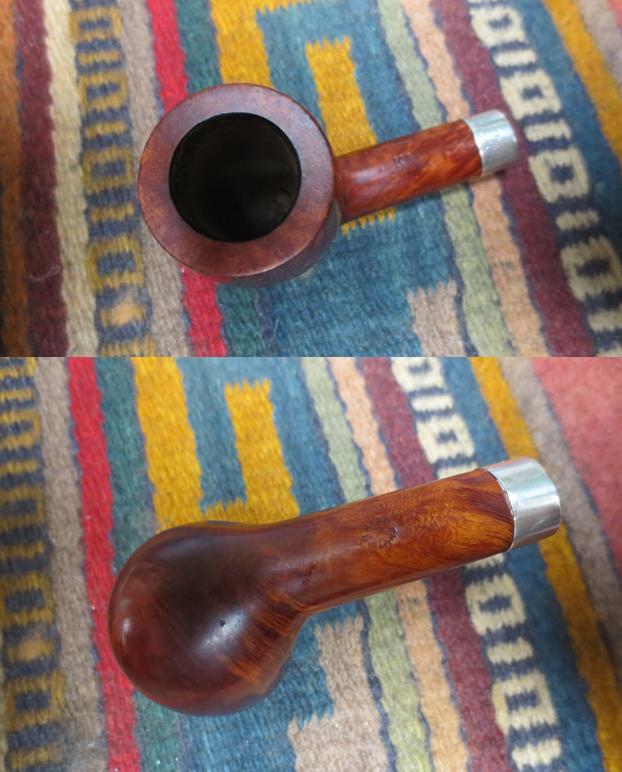
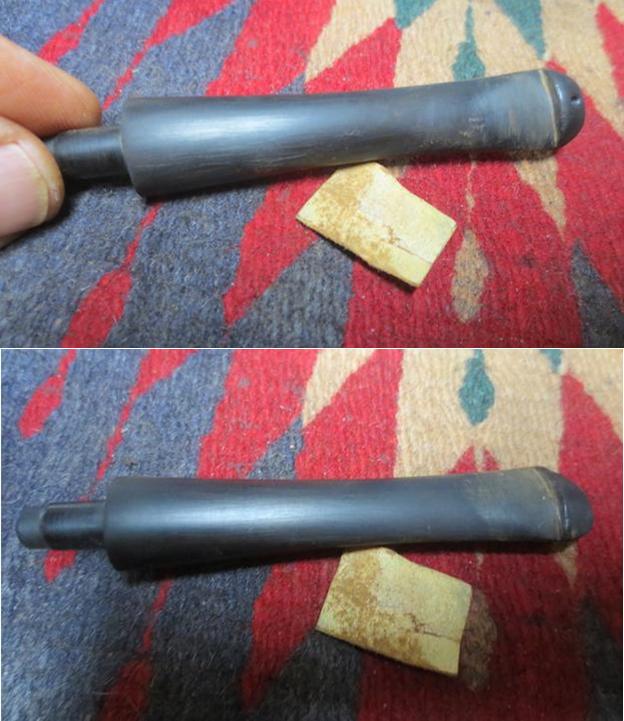
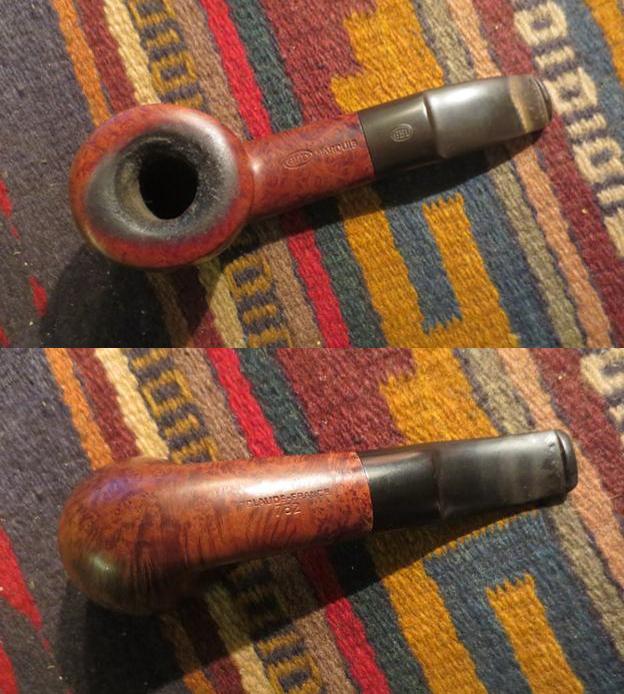
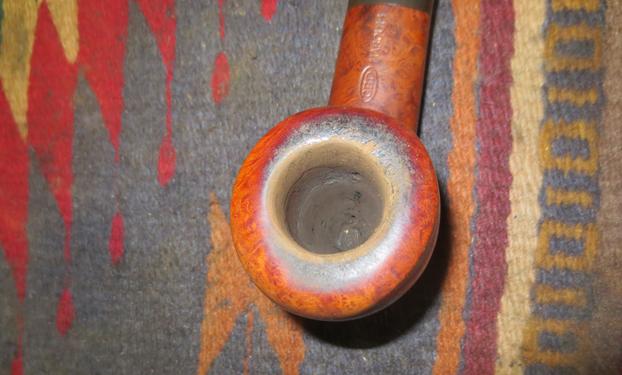
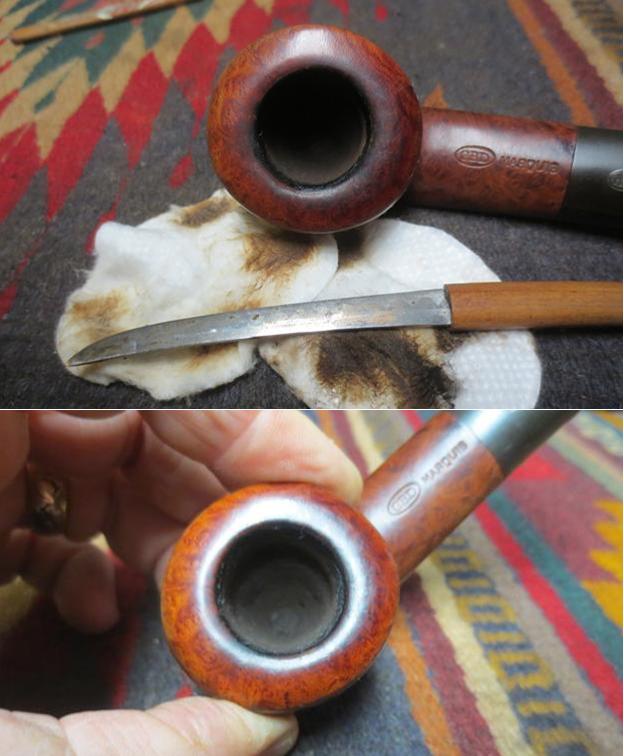
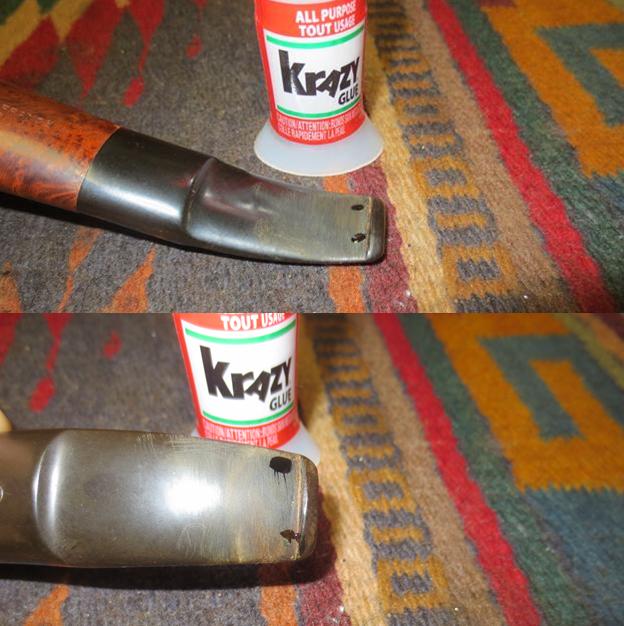
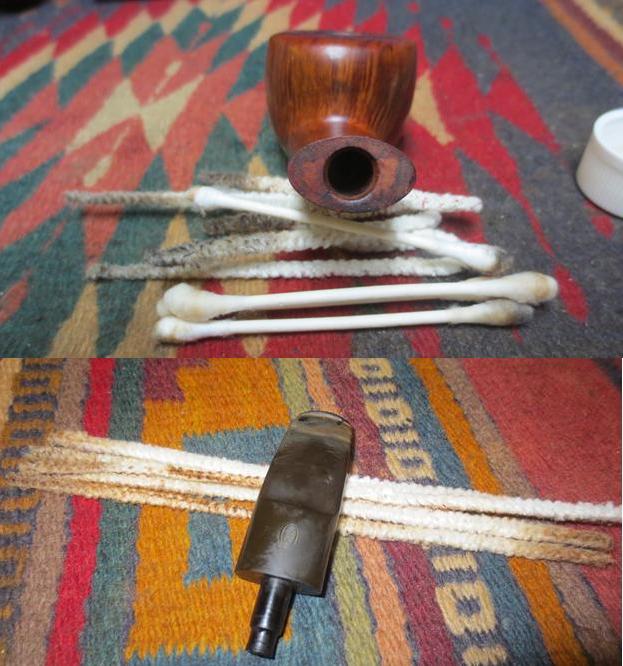
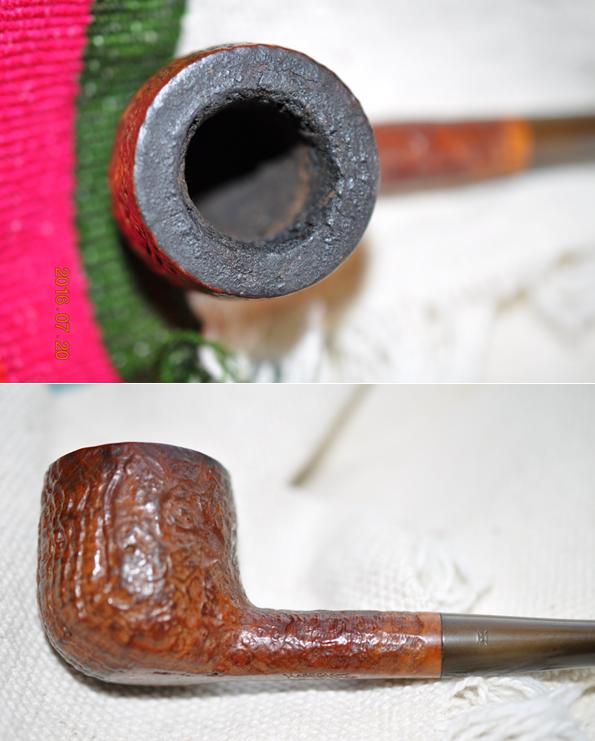
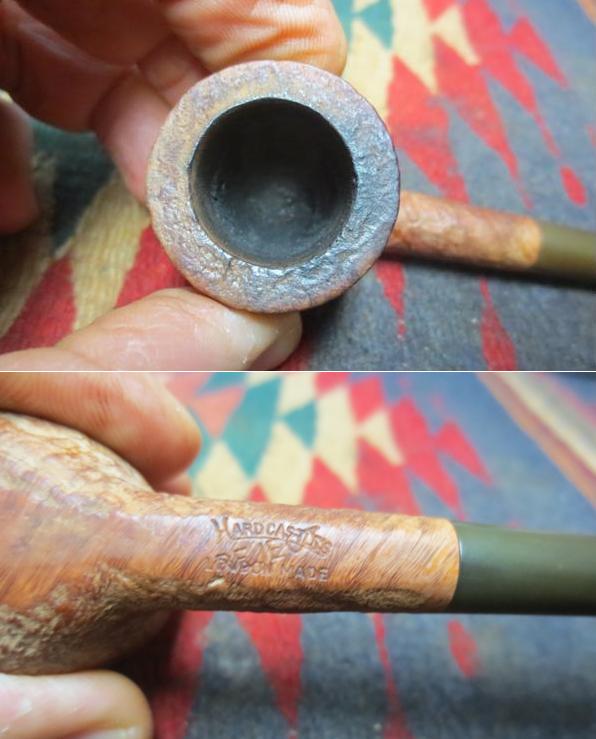
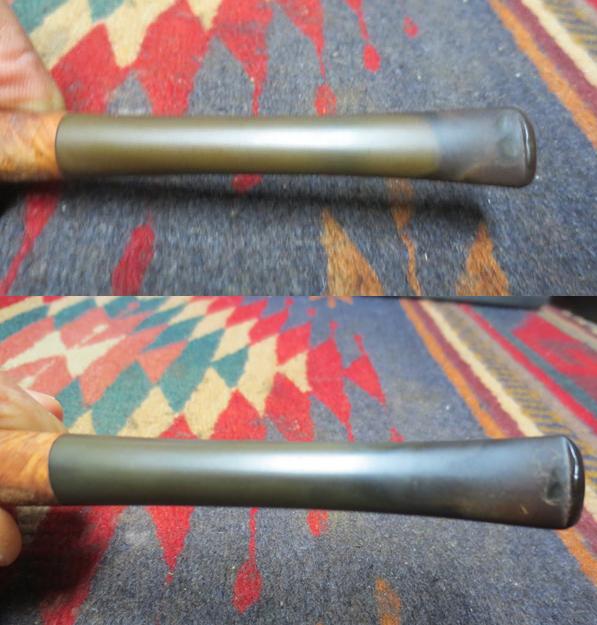
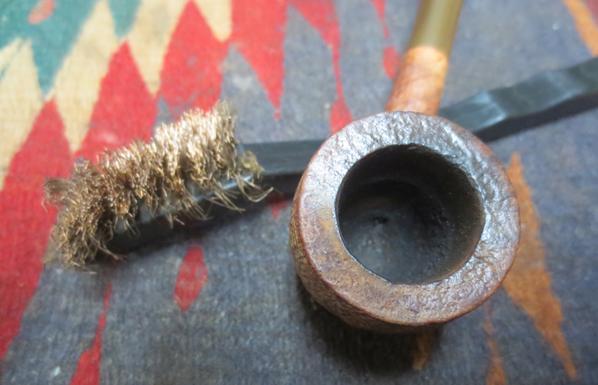
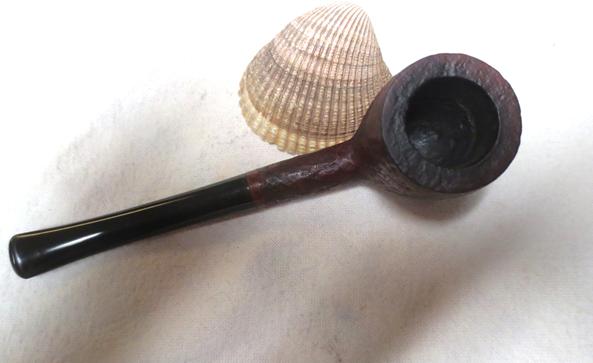
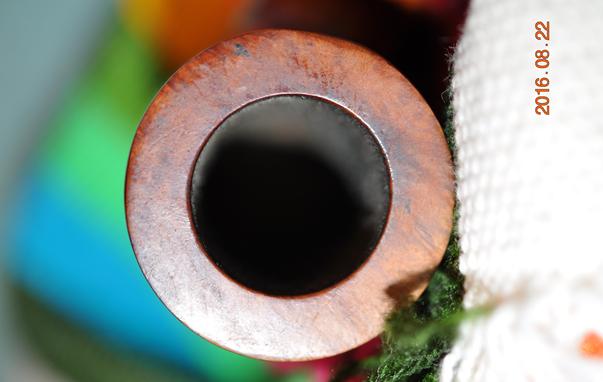
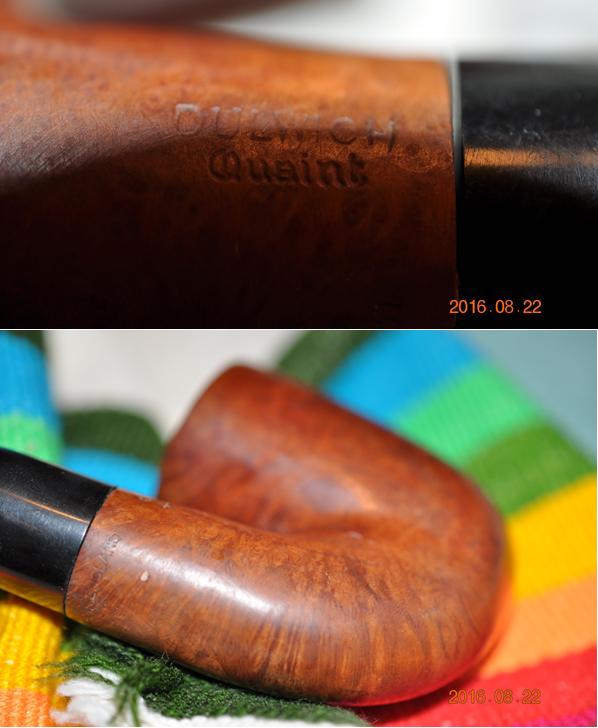
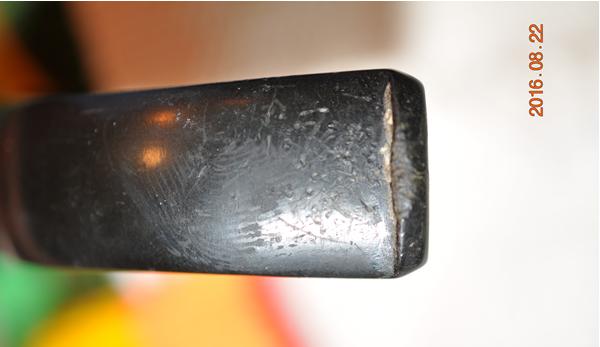
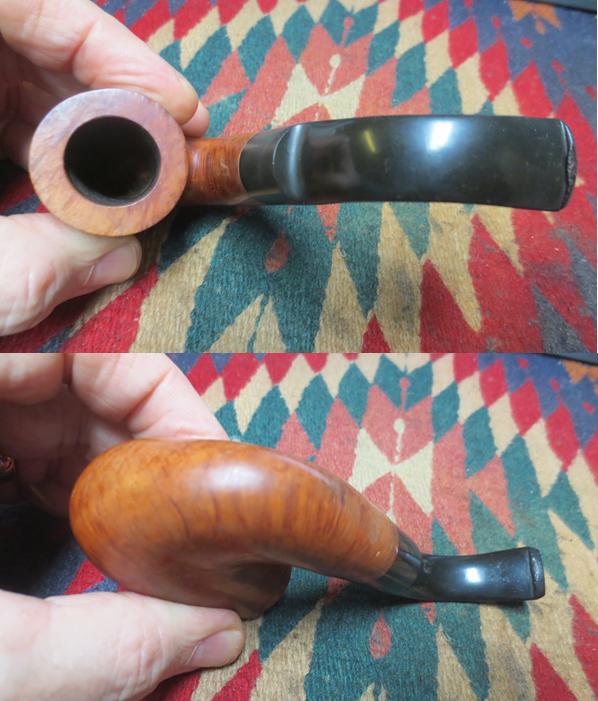
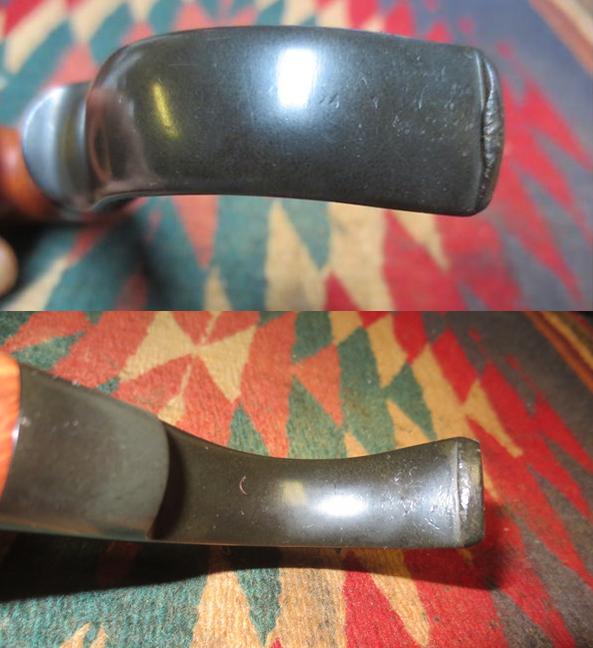
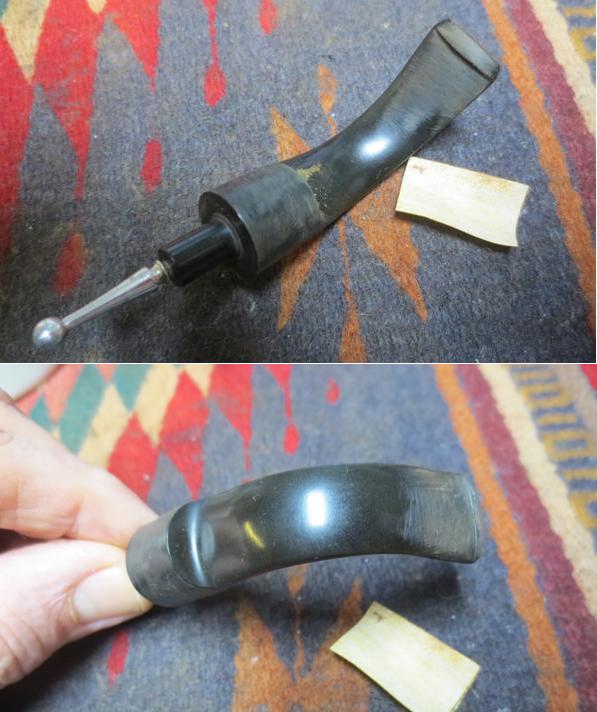
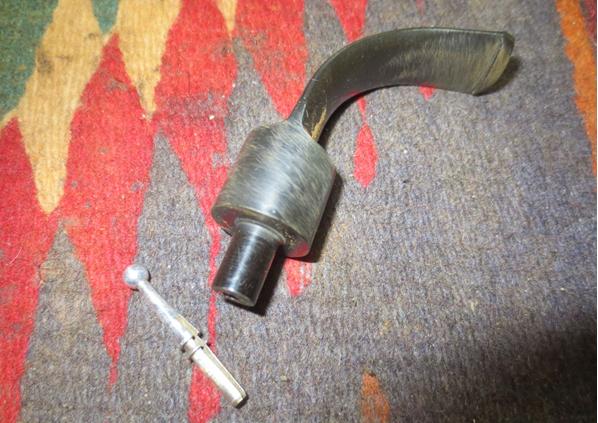
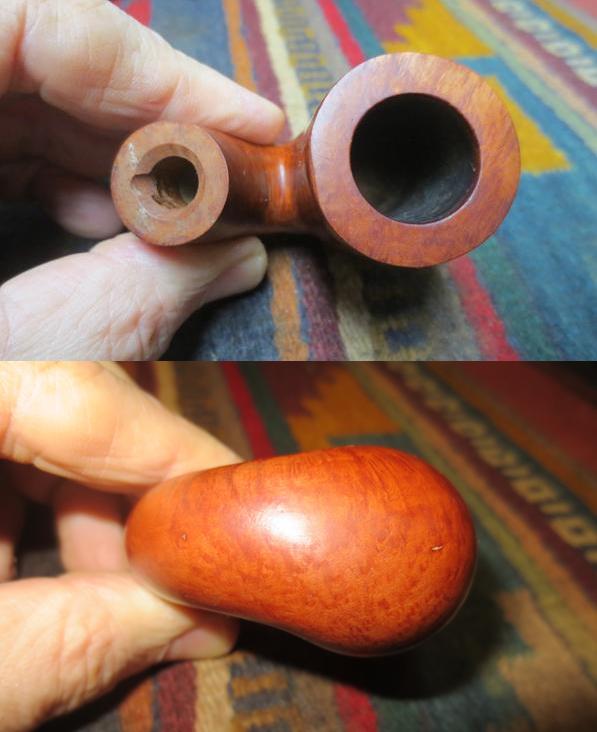
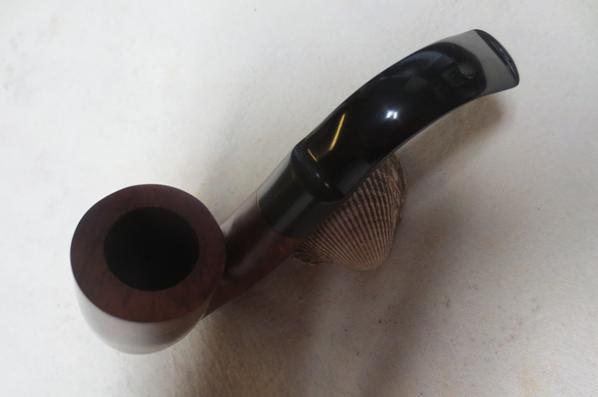
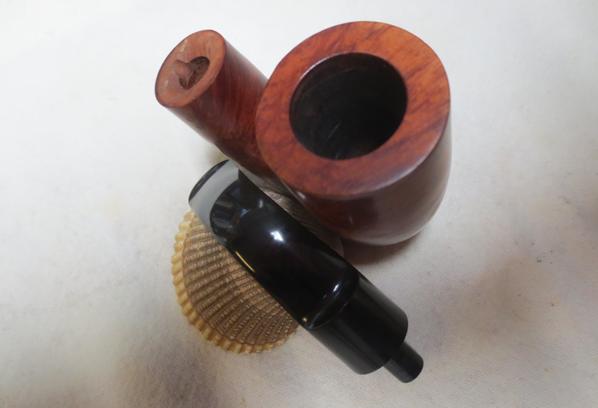
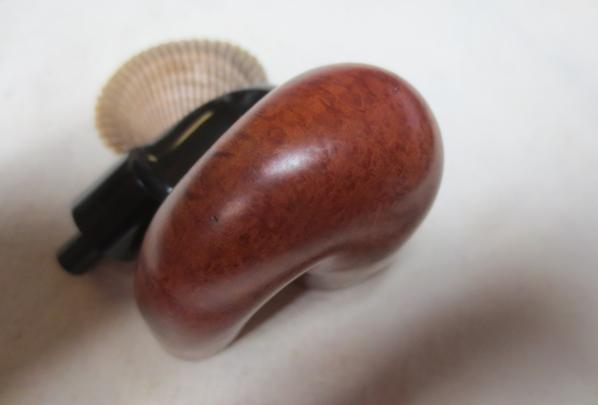
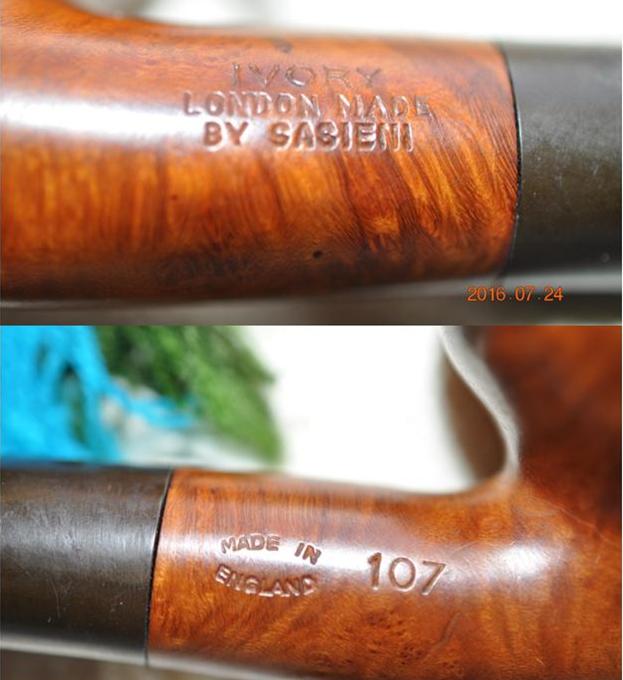
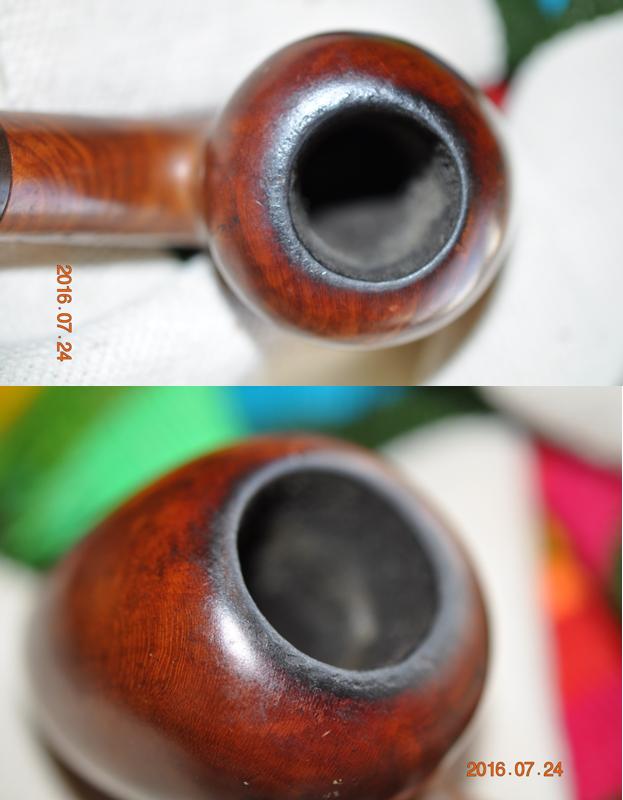
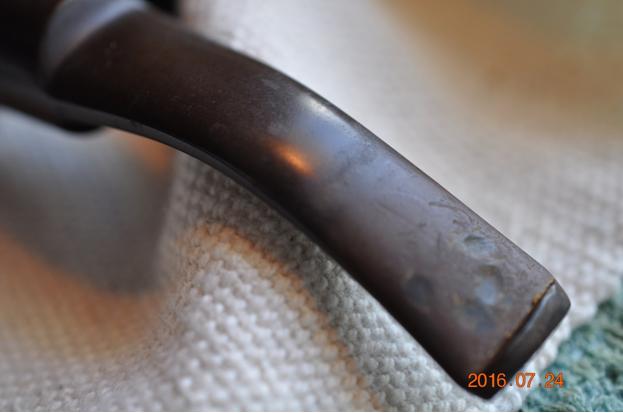
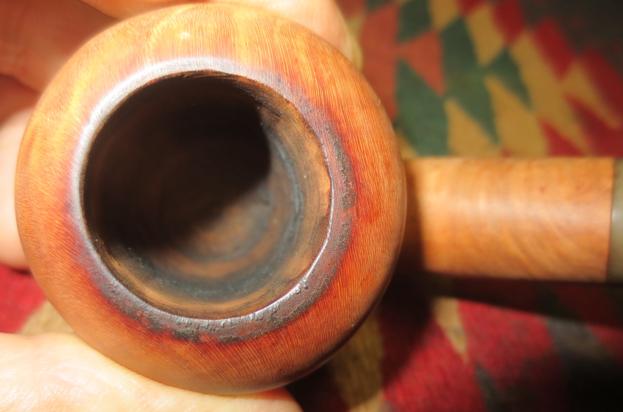
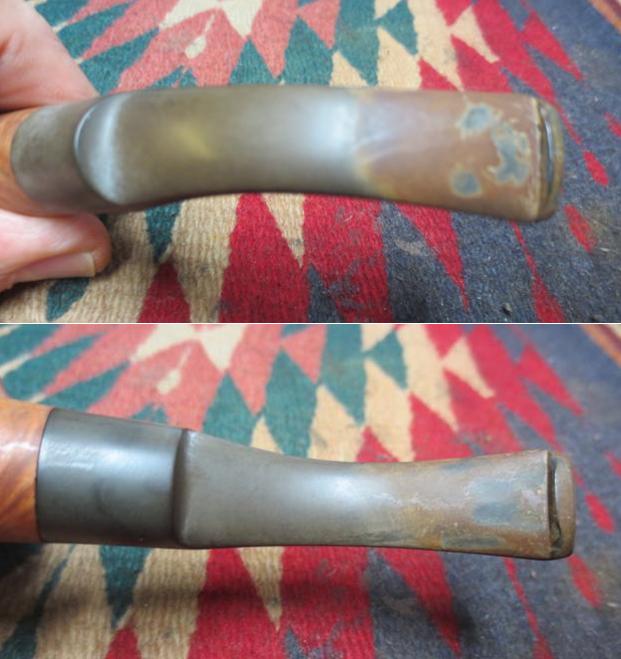
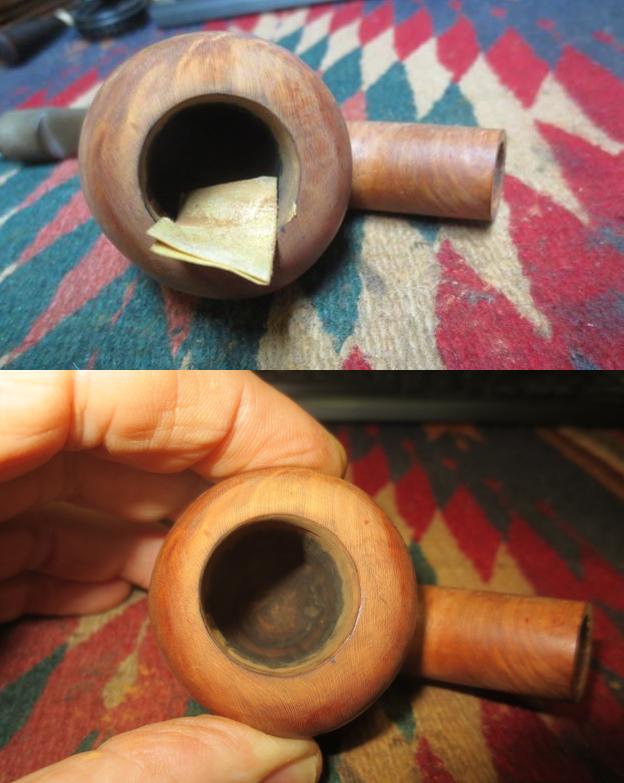
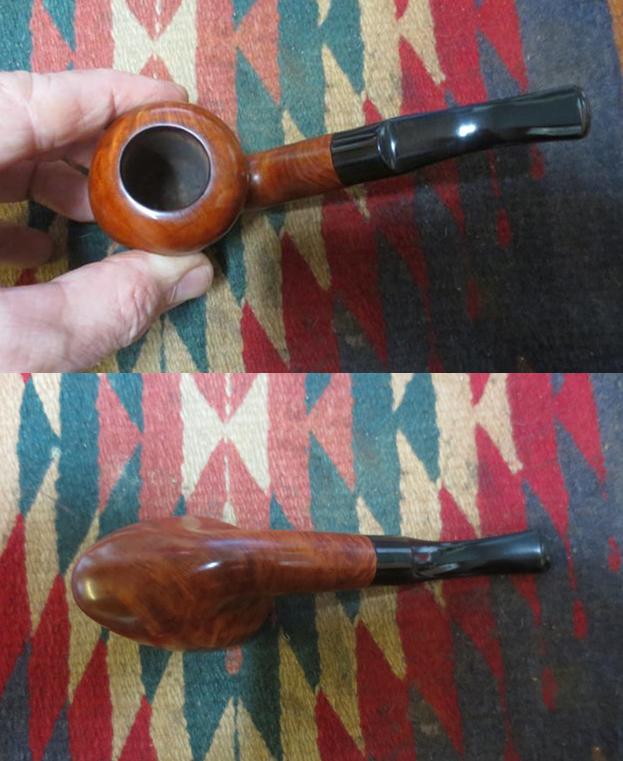
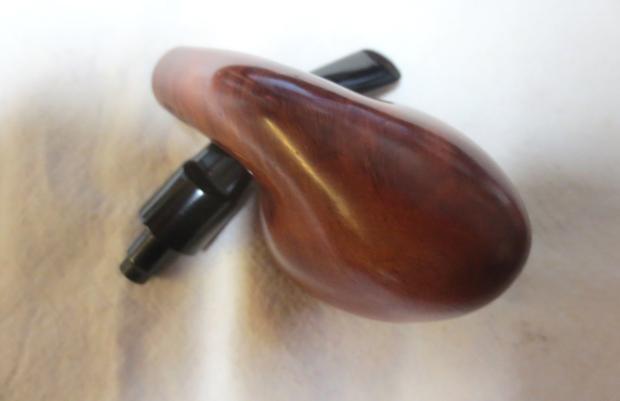
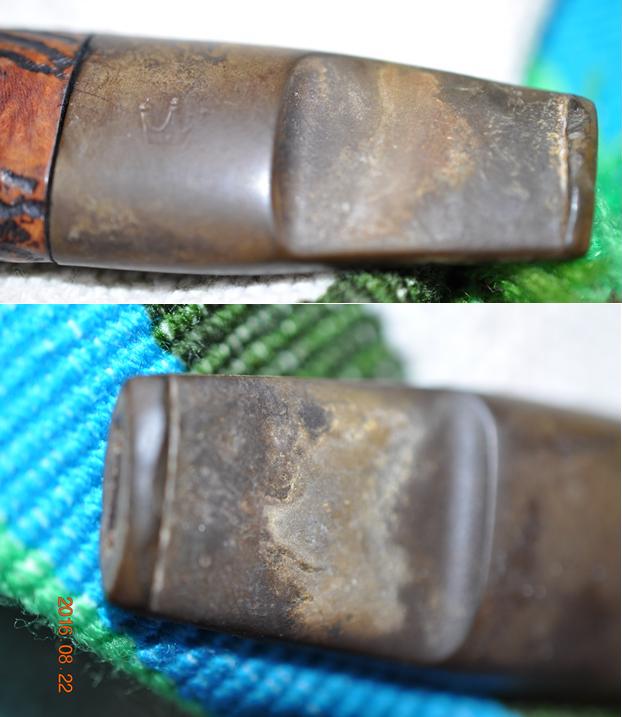
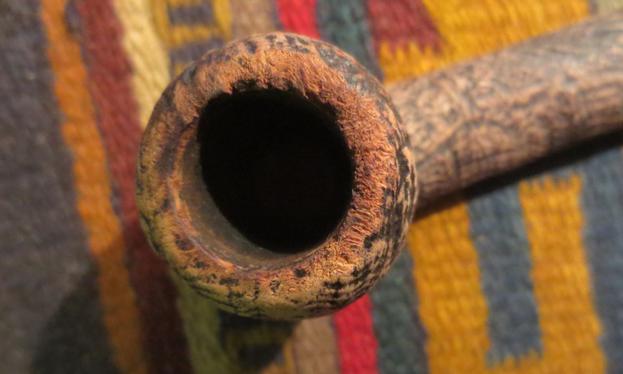
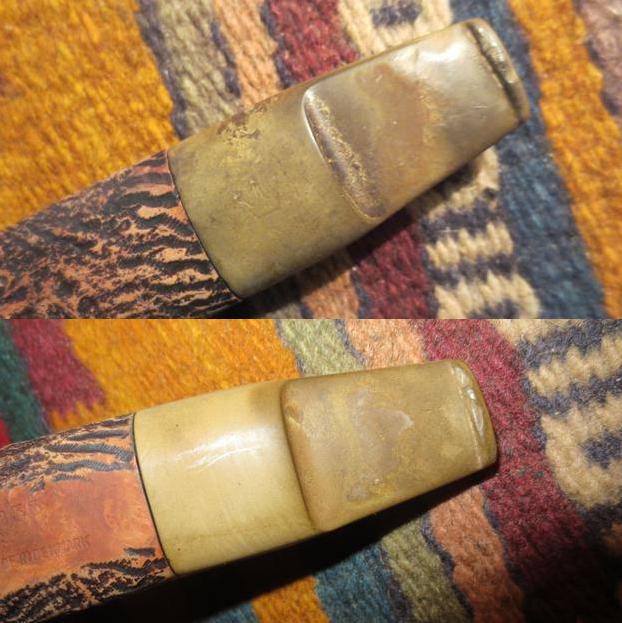
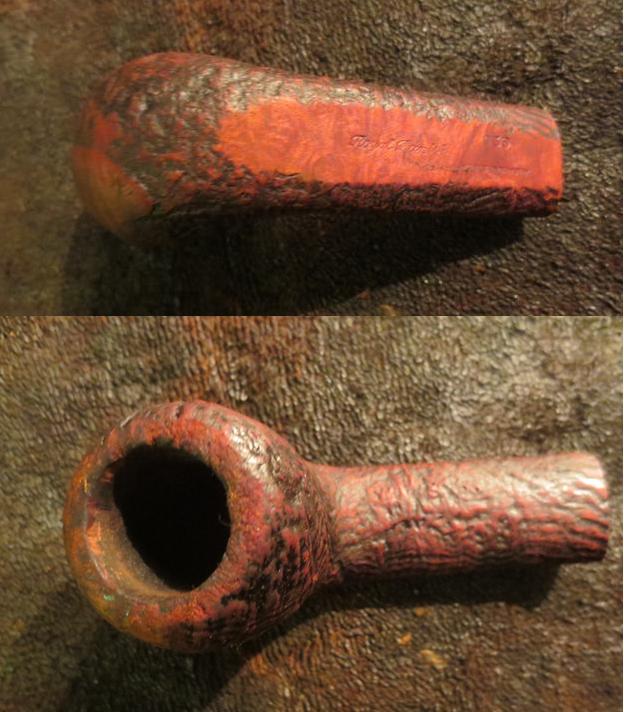
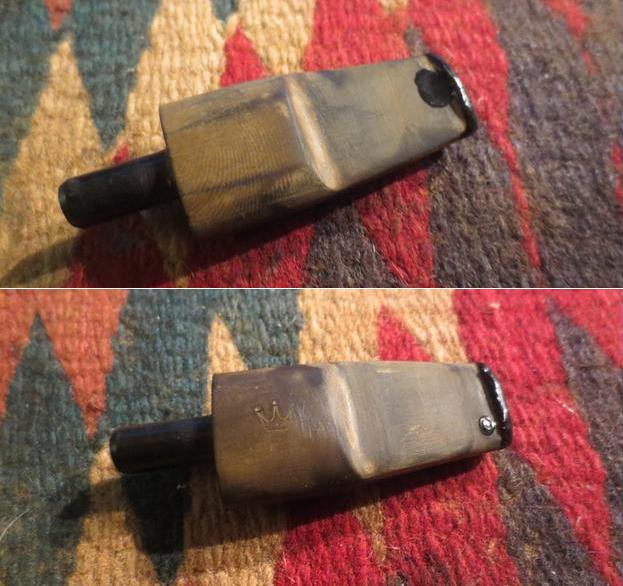
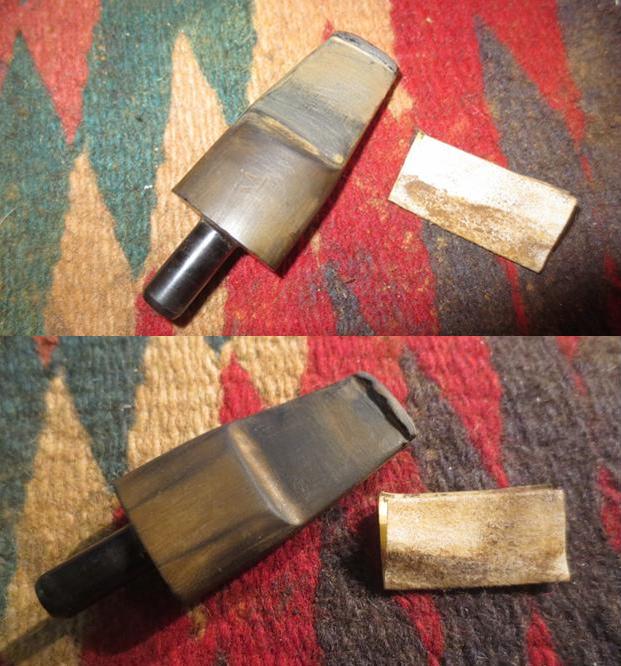
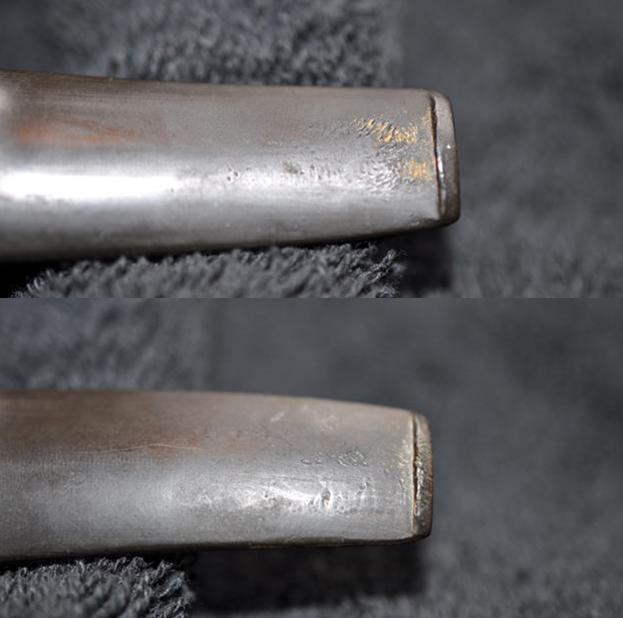
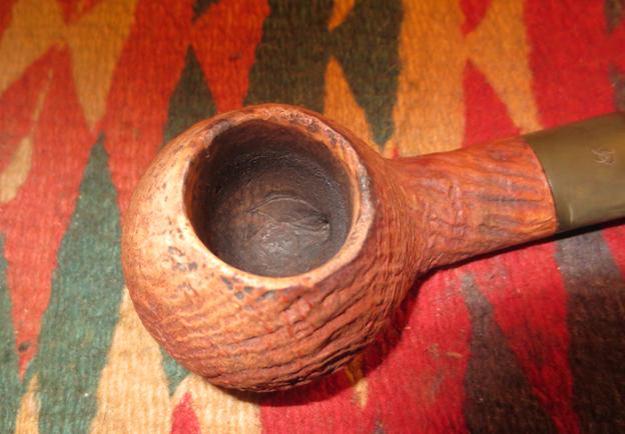
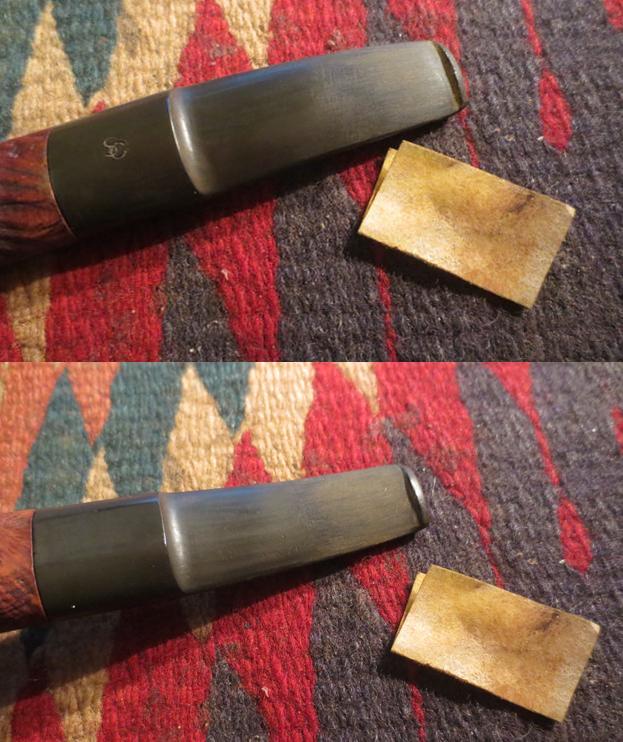
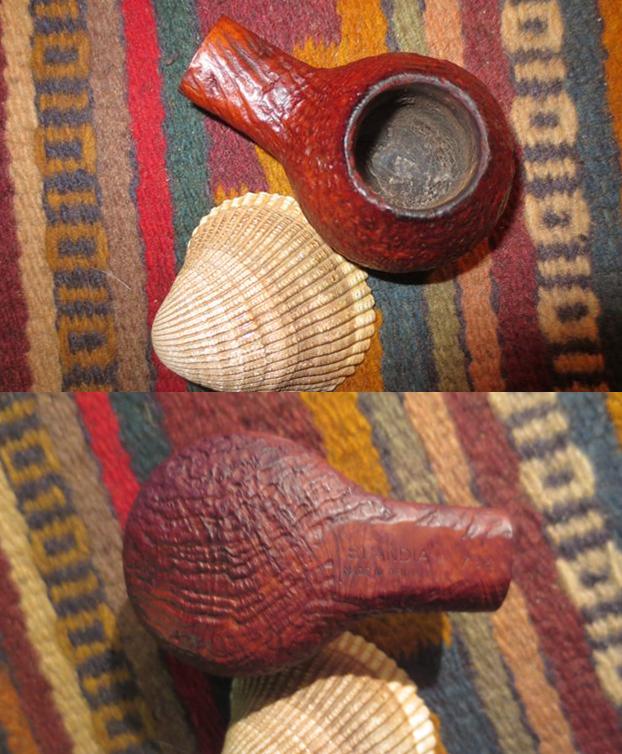
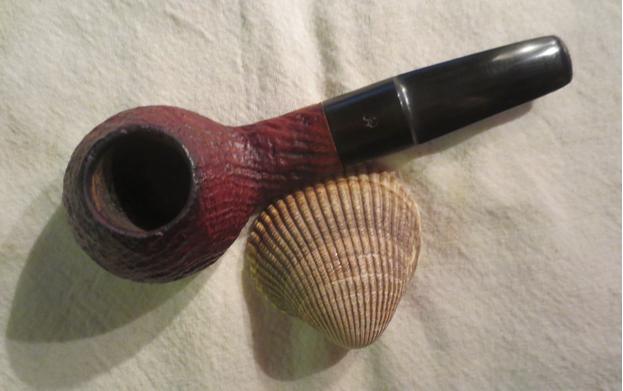
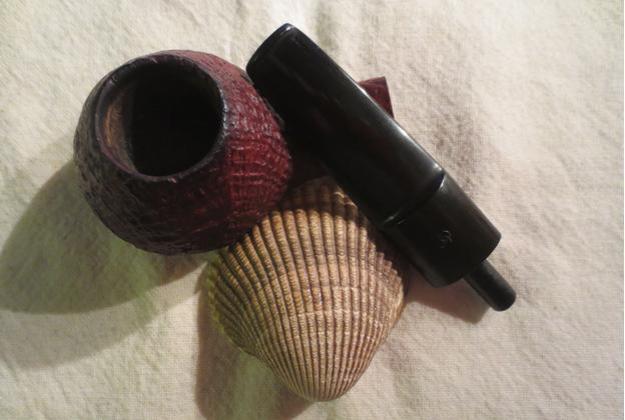
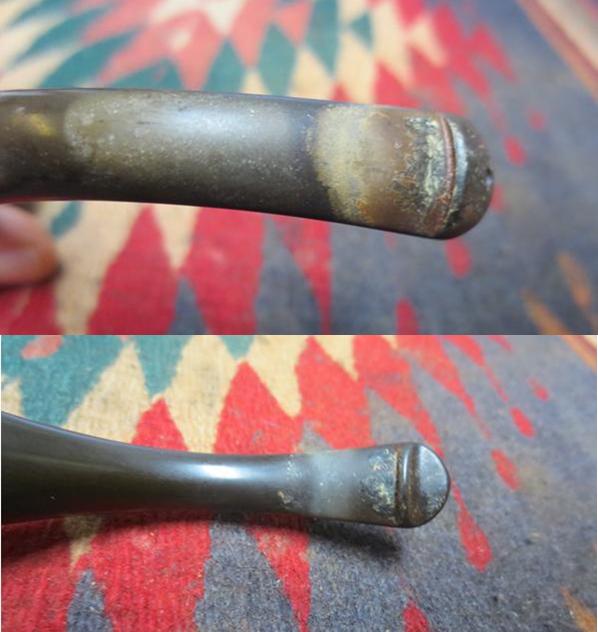
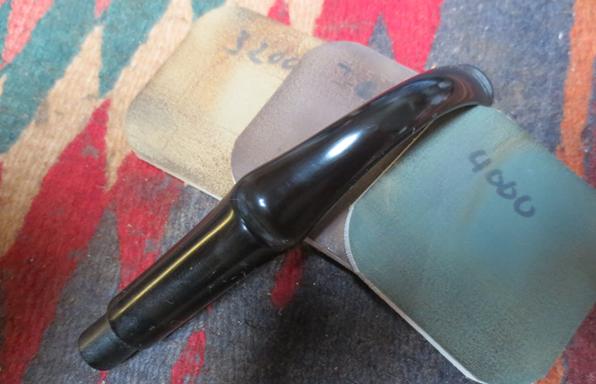
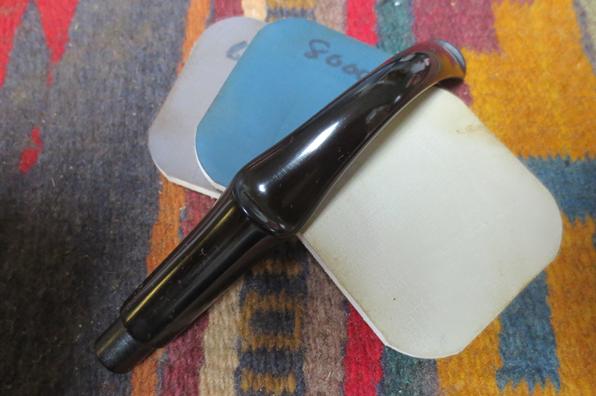
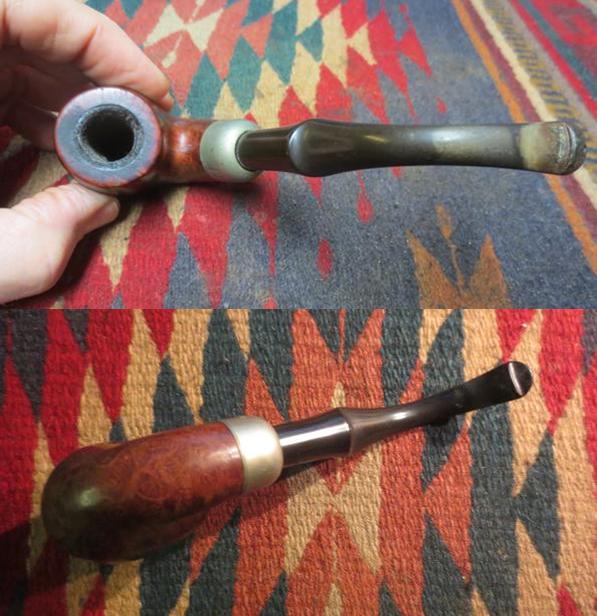 I took some close up photos of the bowl, rim, stamping and the stem to give and idea of the issues I had noted above. The first photo shows the thick cake in the bowl and the overflow onto the rim top. The next photos show the oxidized nickel ferrule on the end of the shank and the clear stamping on both sides. The last two photos in this set show the chatter and detail of the stem.
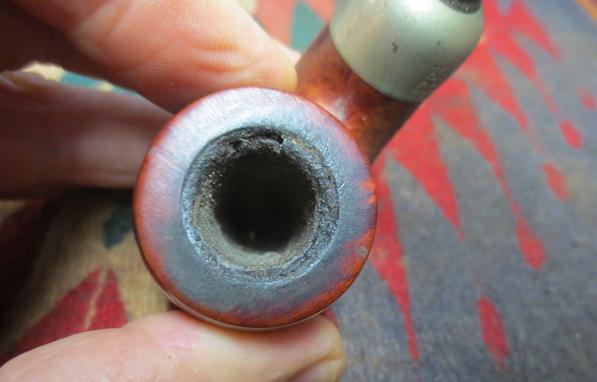
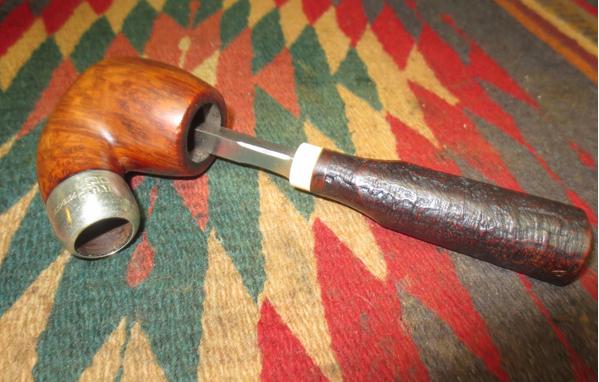
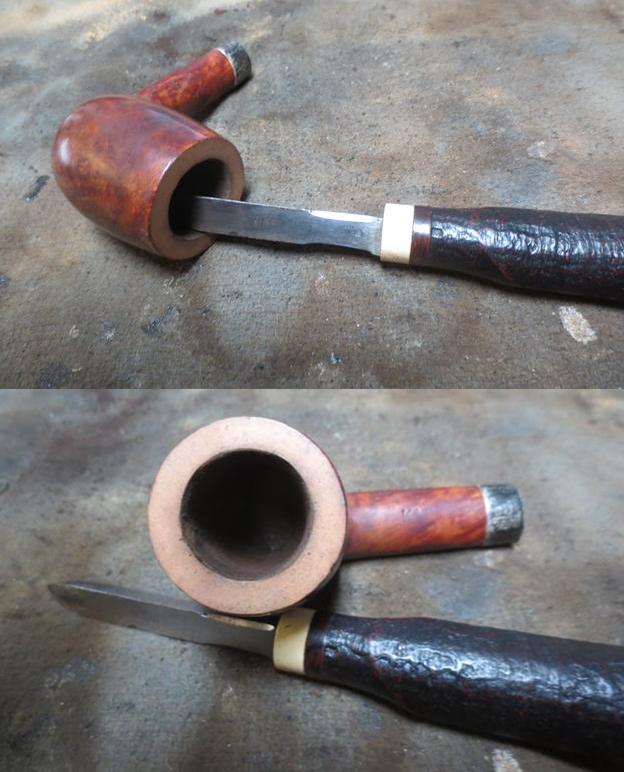
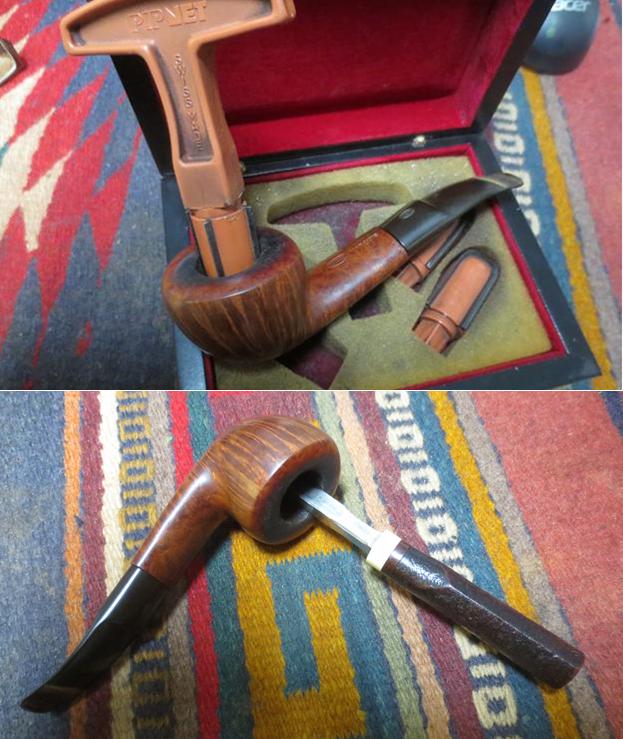
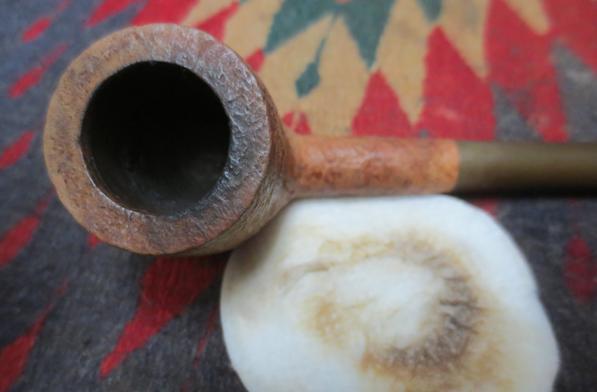
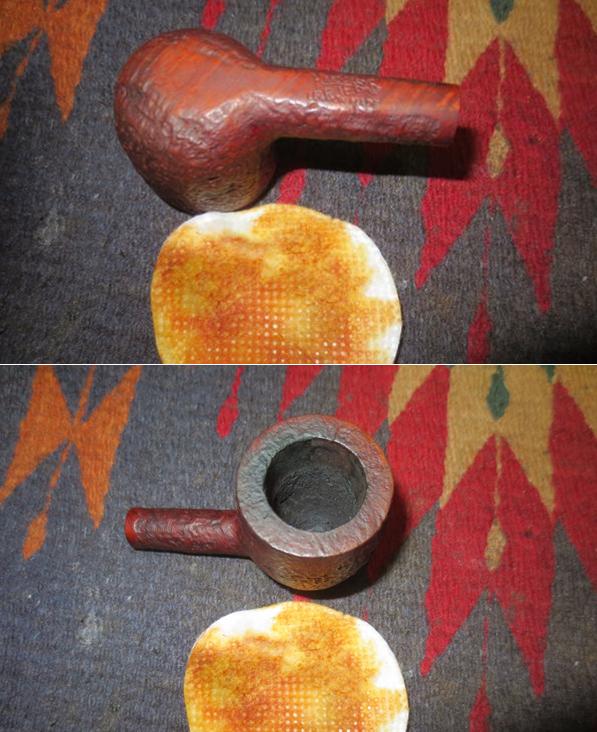
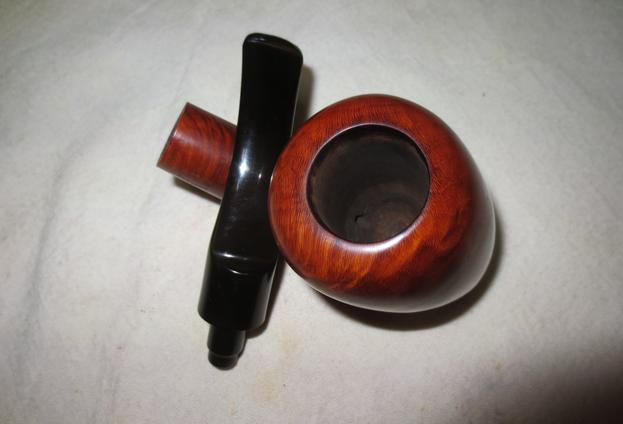
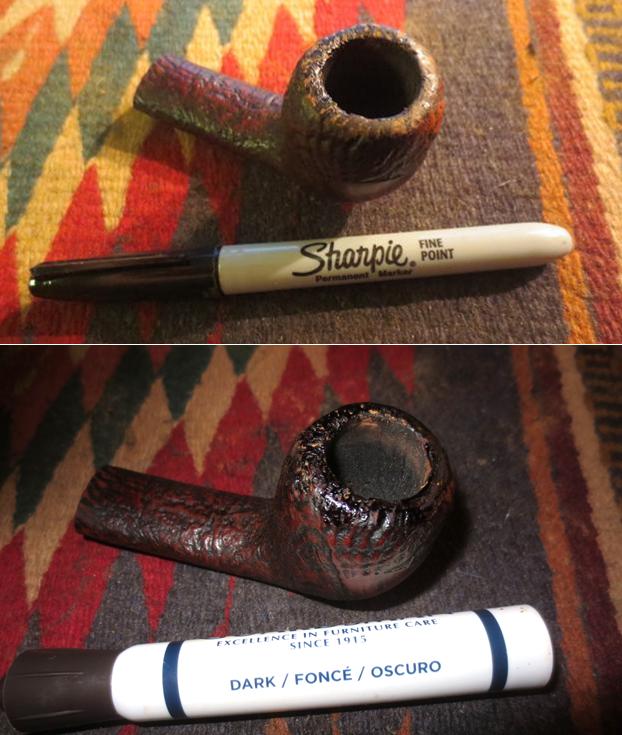
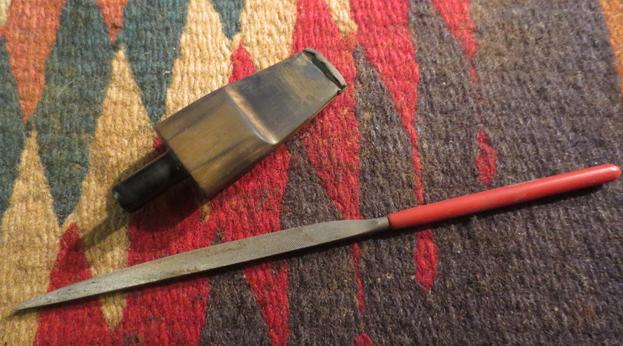
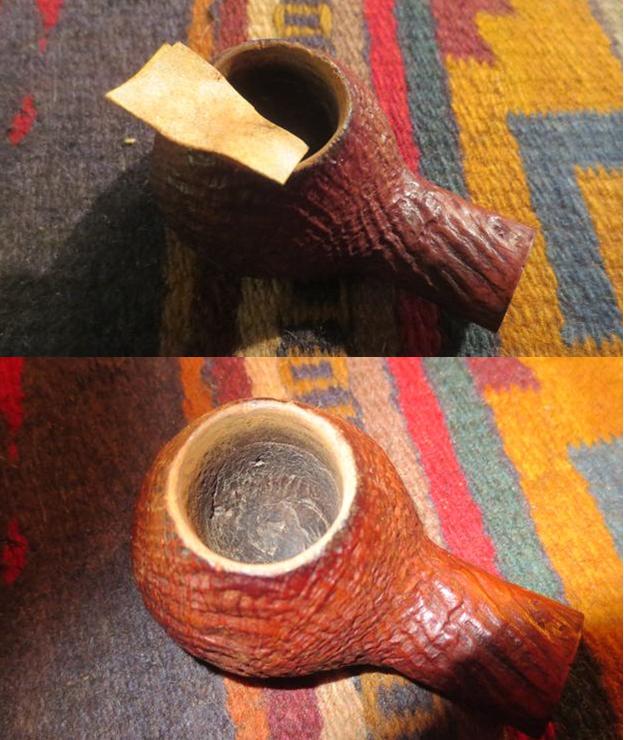
 I reamed the bowl with a PipNet reamer starting with the smallest cutting head and working up to the third cutting head. I took the cake back to bare briar. I cleaned up the inside of the bowl with the Savinelli Pipe Knife. I rolled a piece of 220 grit sandpaper around my finger and sanded out the inside of the bowl and smooth out the inner rim edge.
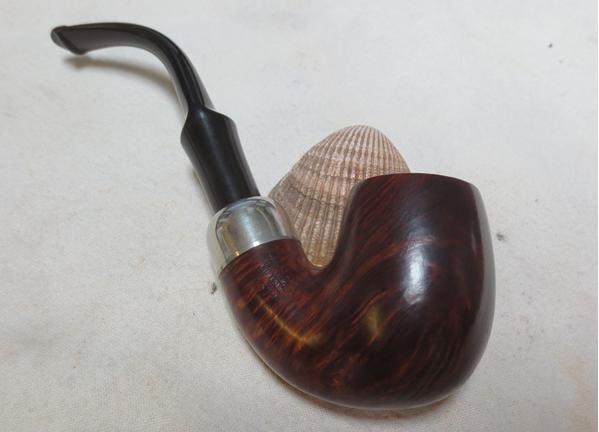
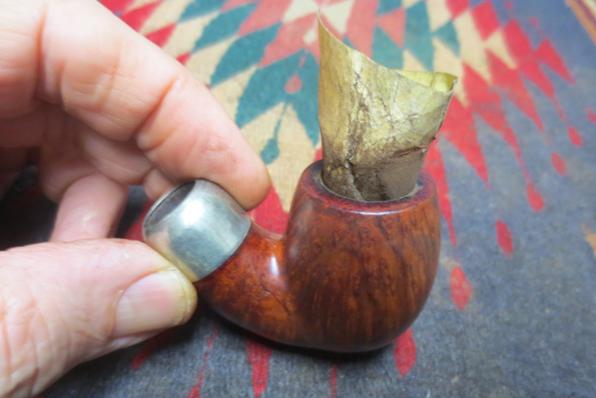
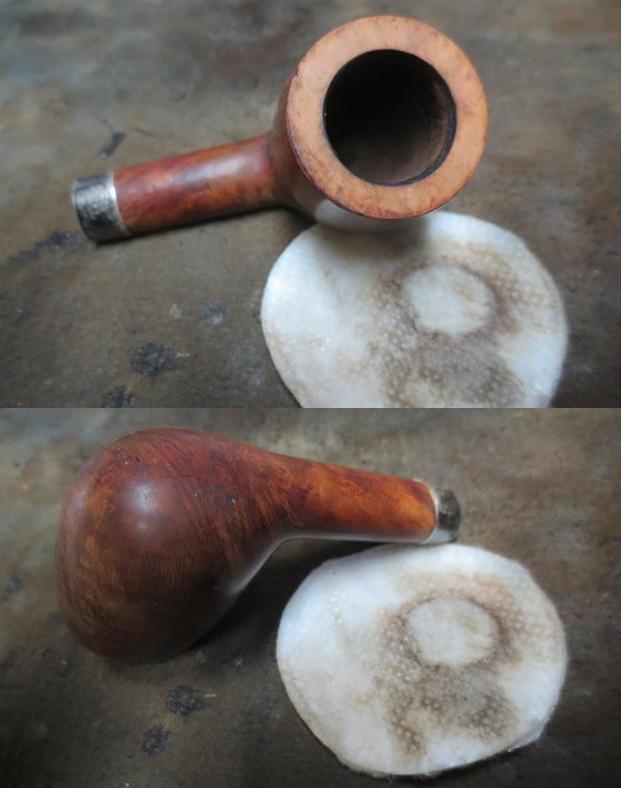
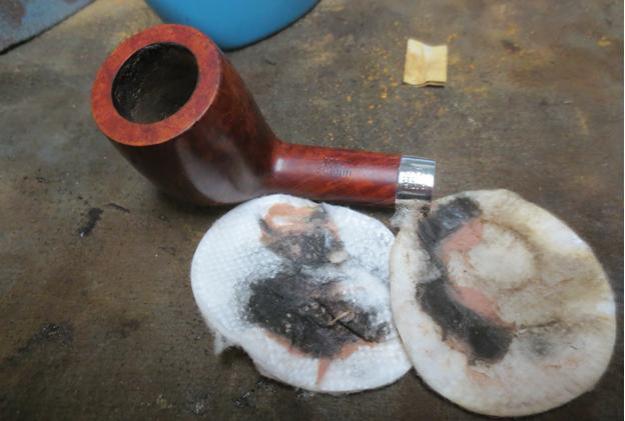
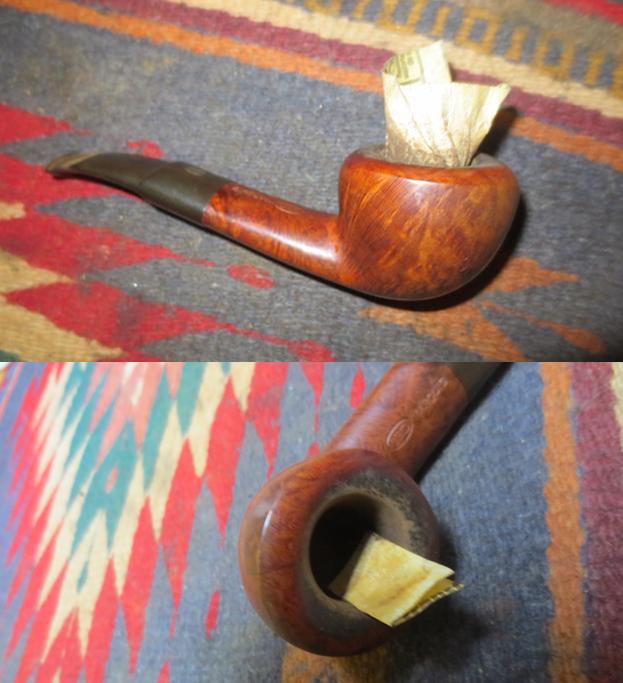
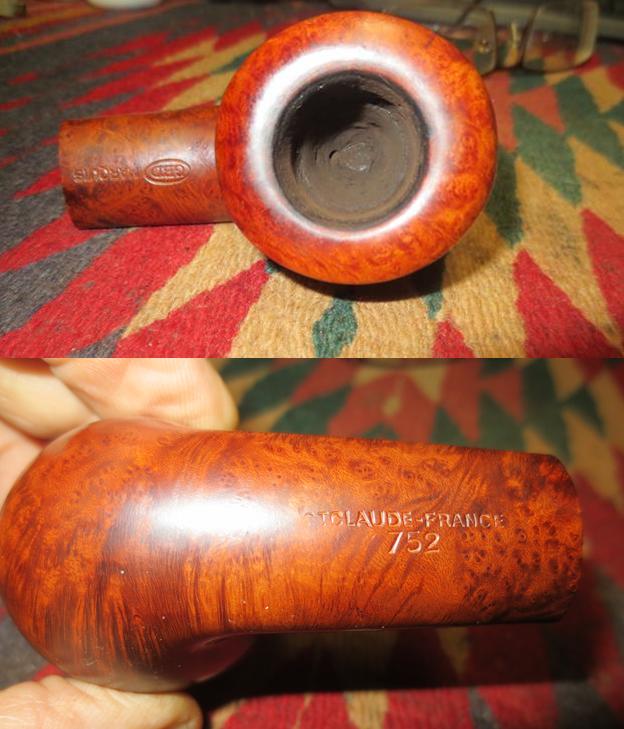
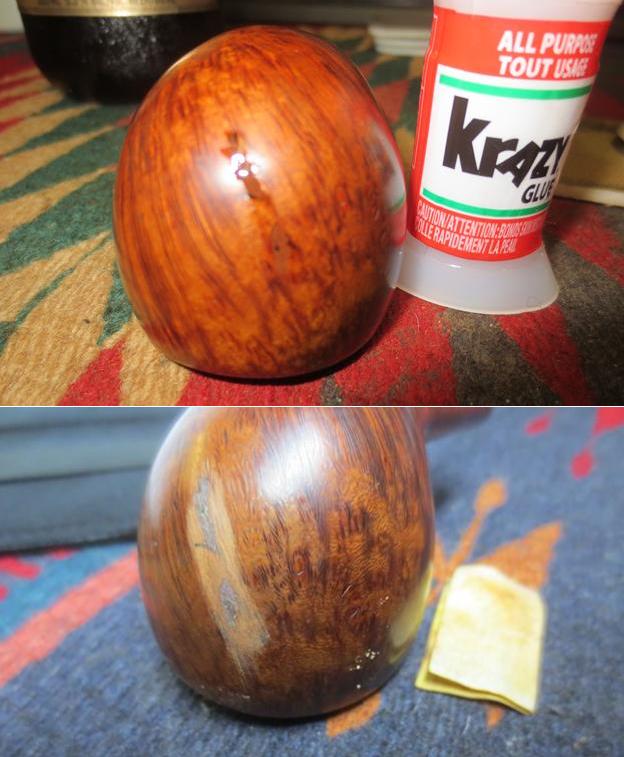
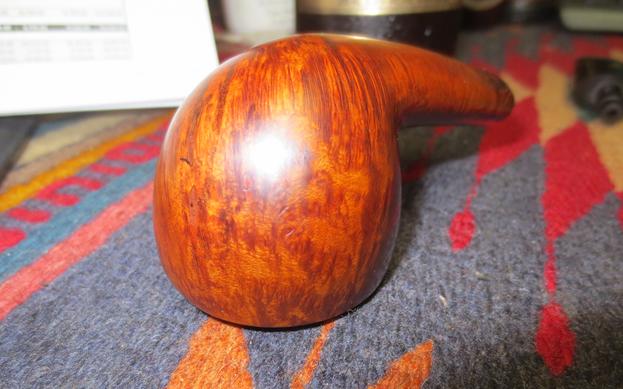
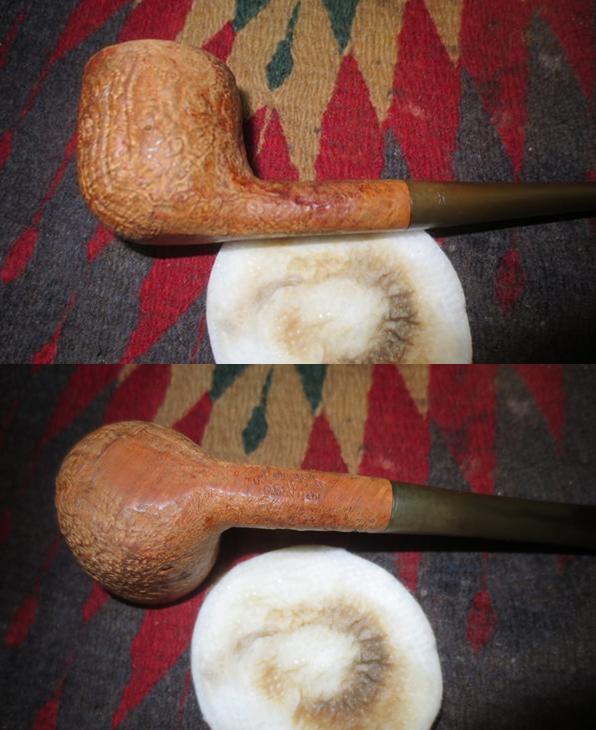
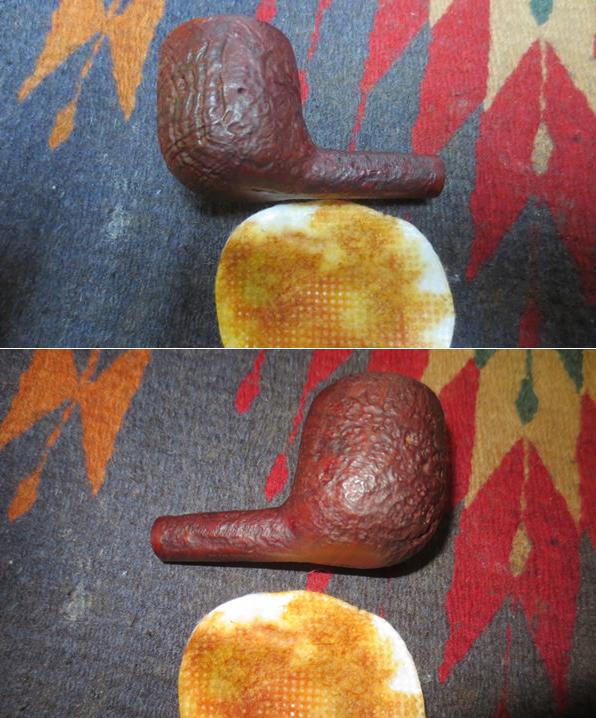
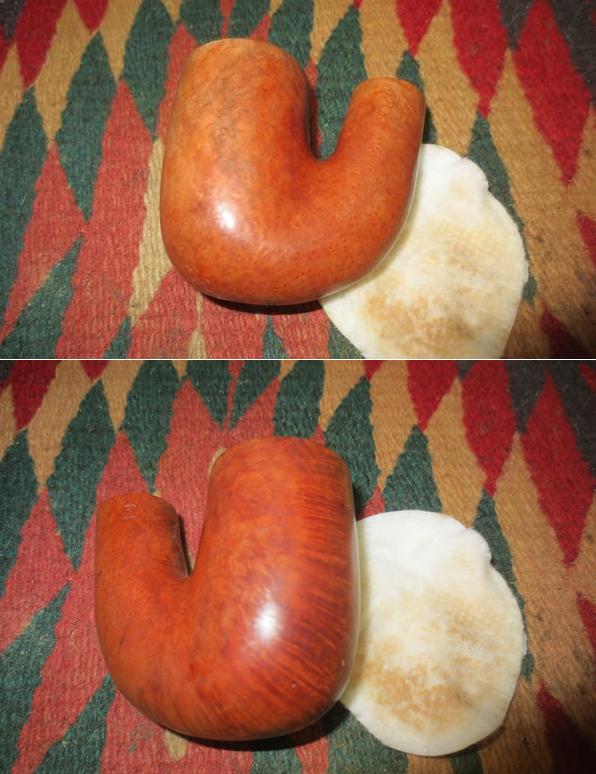
 I scrubbed the exterior of the bowl with alcohol on cotton pads to remove the grime, waxes and oils. It has some beautiful grain shining through on the cleaned briar.
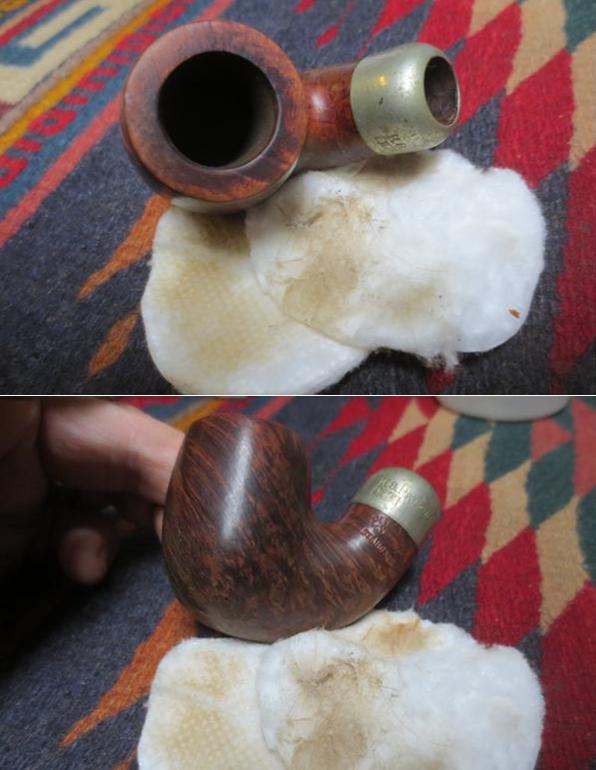
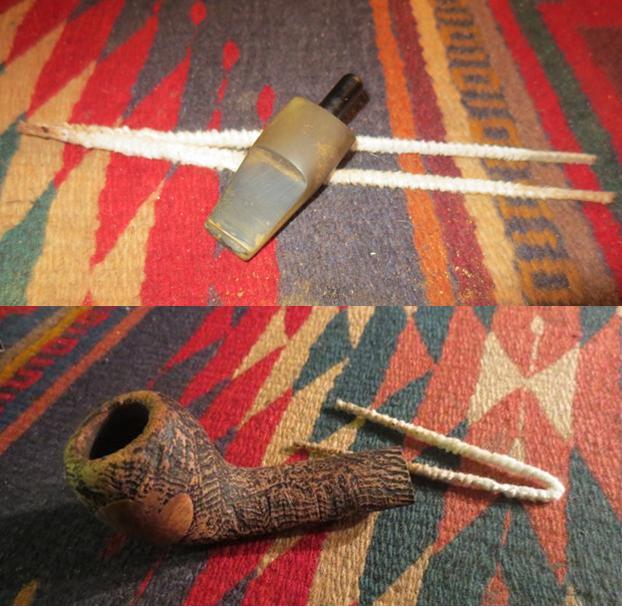
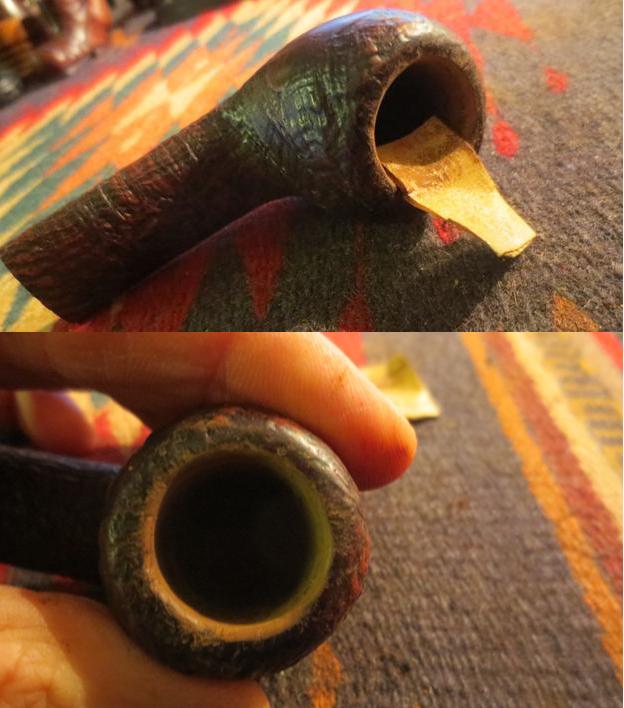
 I cleaned the interior of the mortise and the airway in the shank and stem with pipe cleaners, cotton swabs and alcohol until they were clean. I spent extra time in the trap in the bottom of the shank.
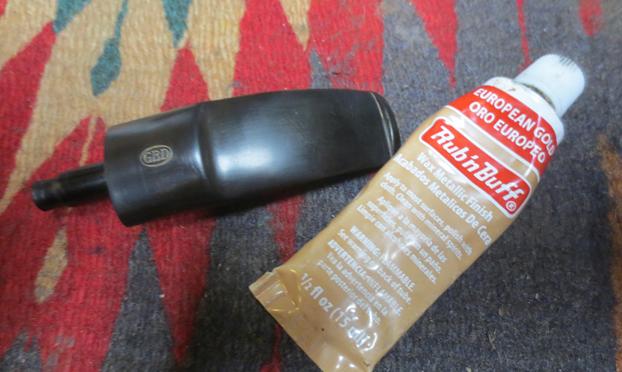
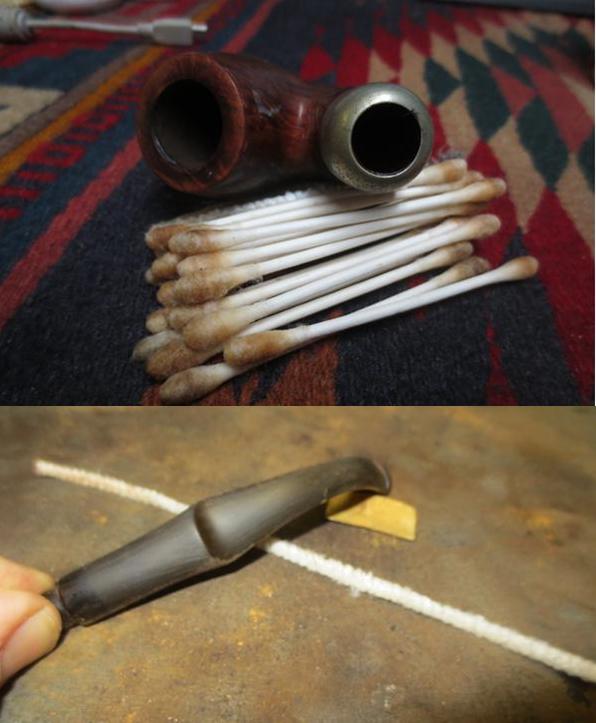 I polished the ferrule with tarnish remover and silver polish on cotton pads to remove the oxidation. The nickel really shone once the tarnish was removed.
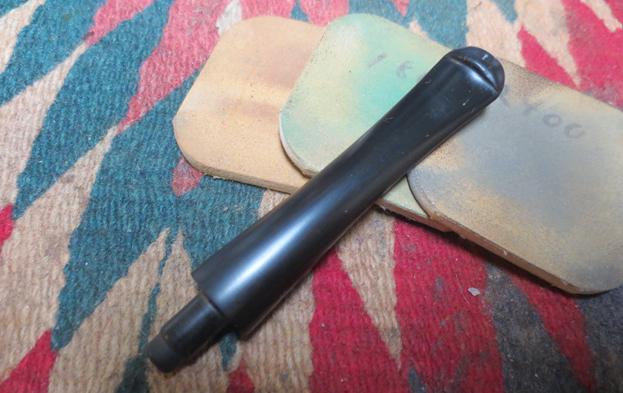
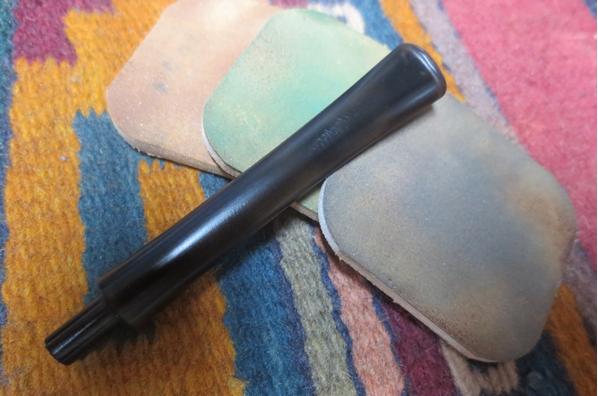
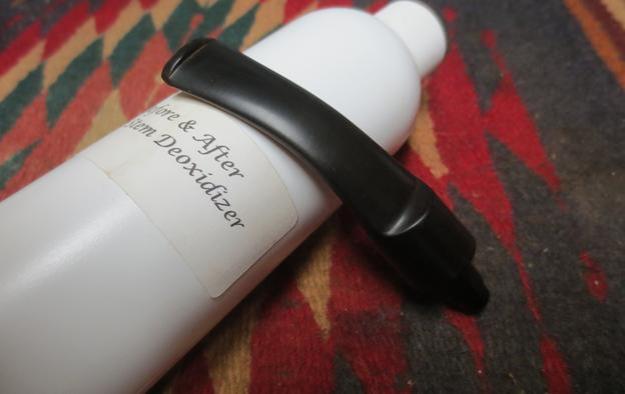
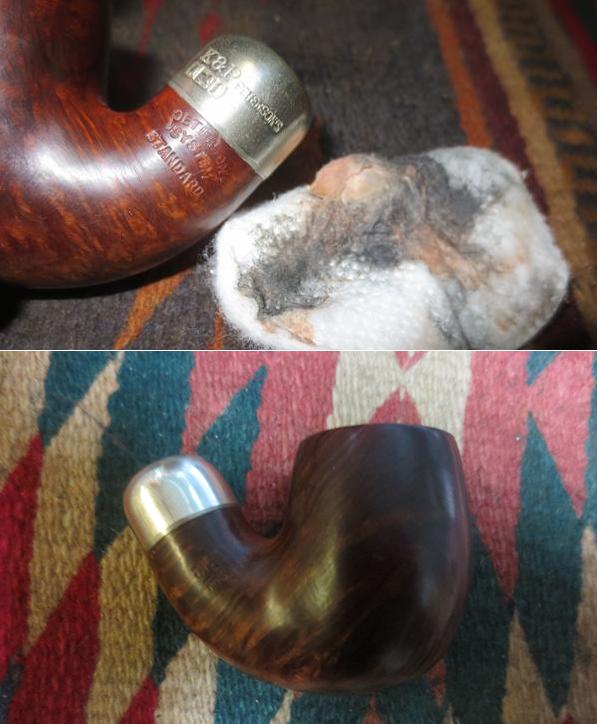 I worked on the tooth chatter, oxidation and calcification on the stem with 220 grit sandpaper until I had removed the damage and build up.
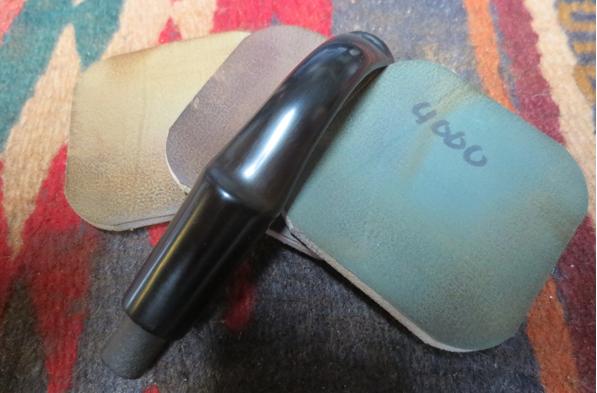
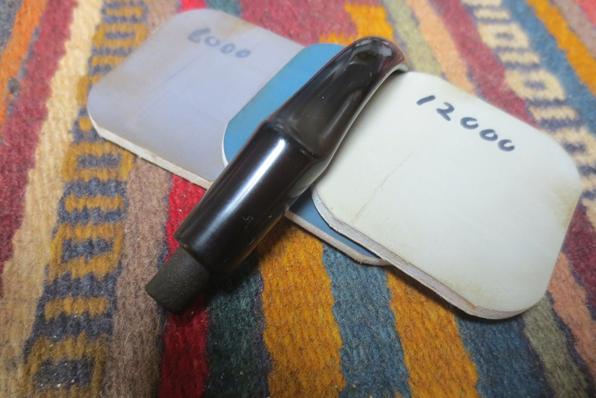
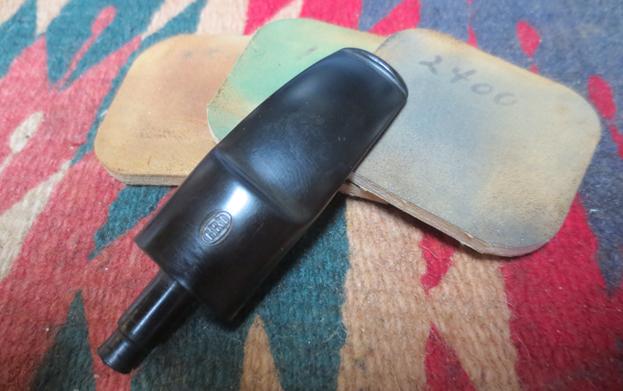
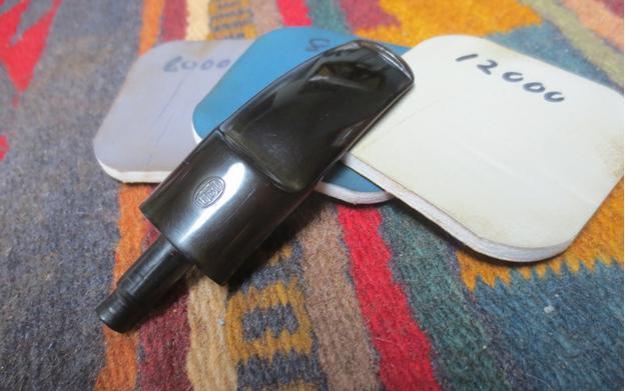
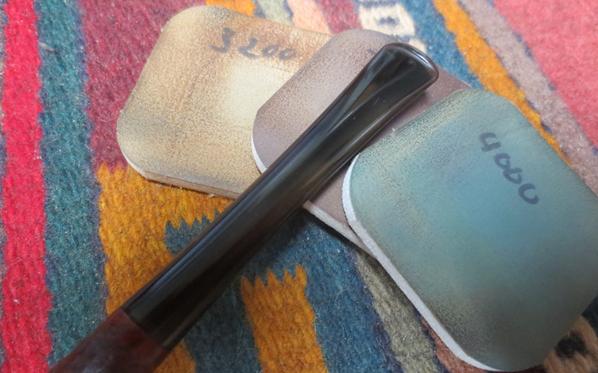
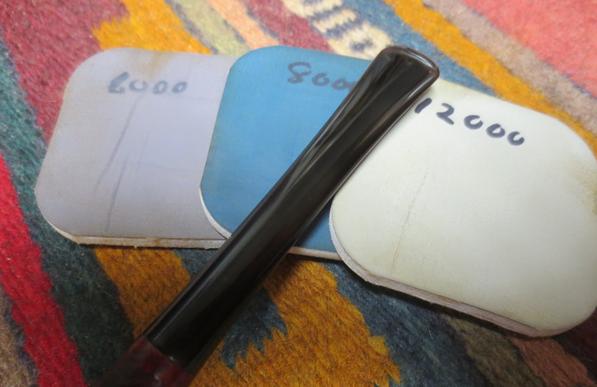
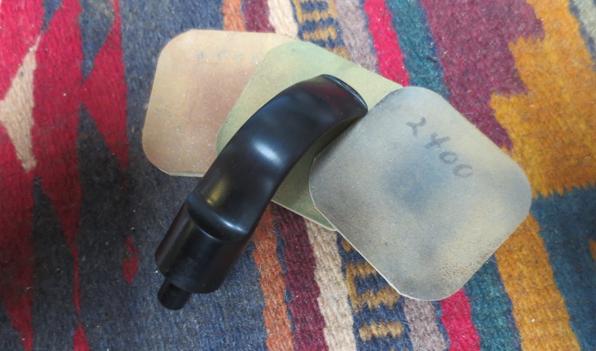
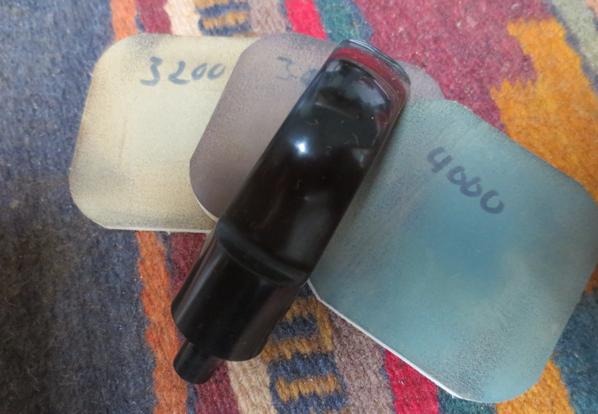
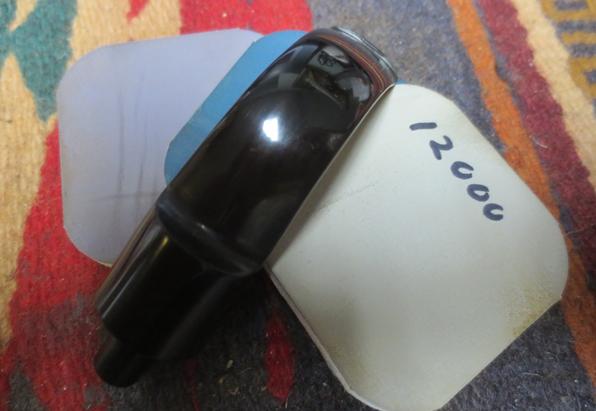
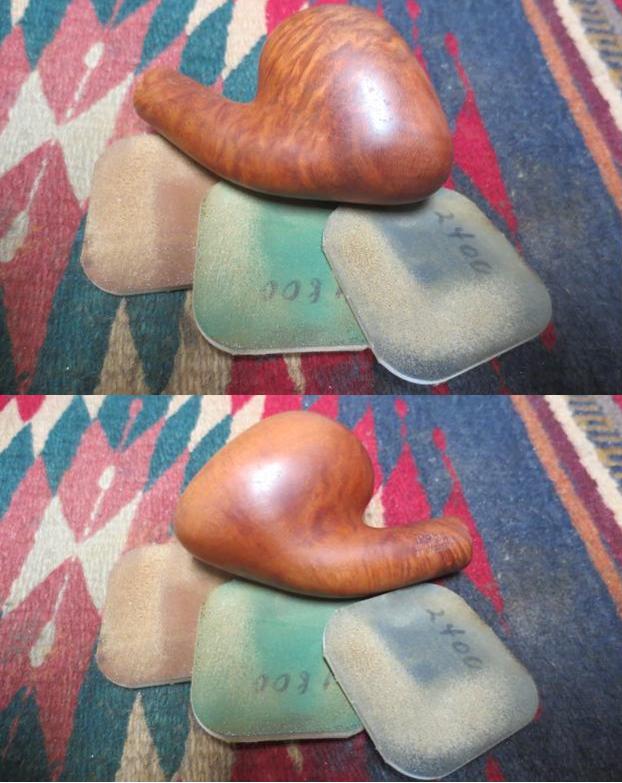
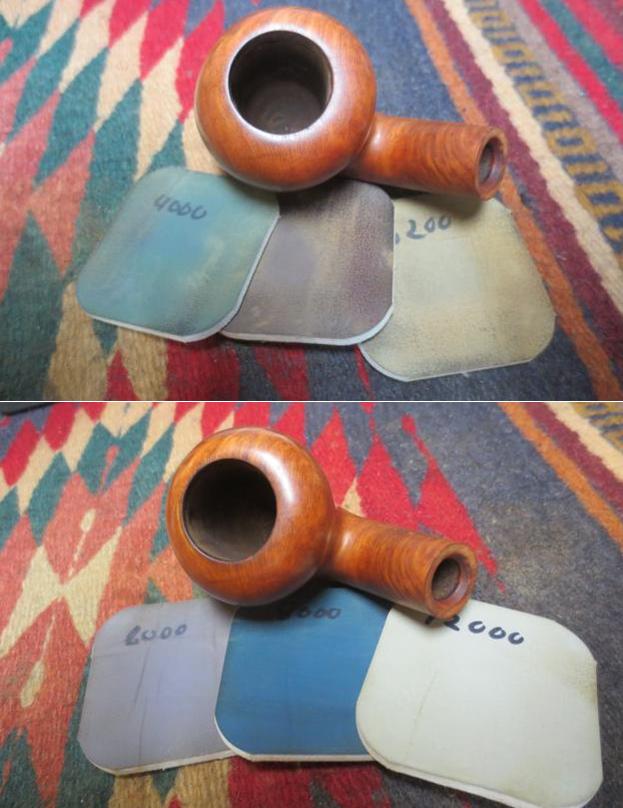
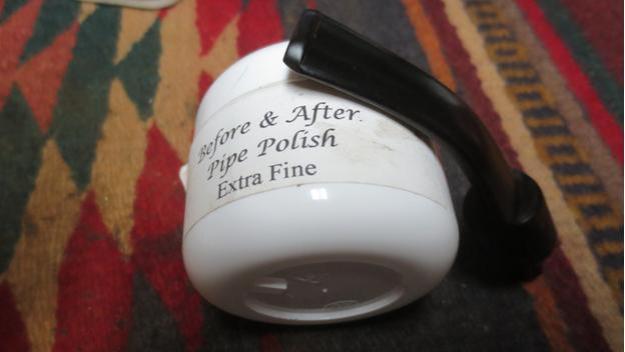
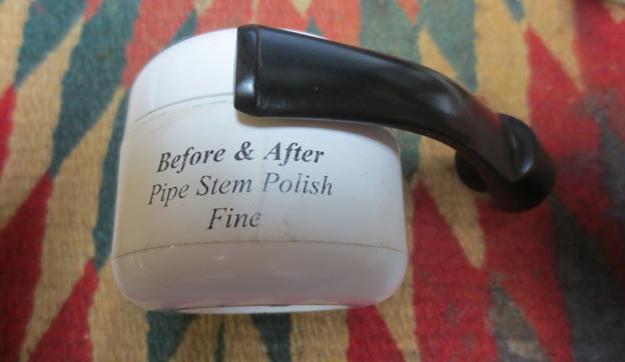
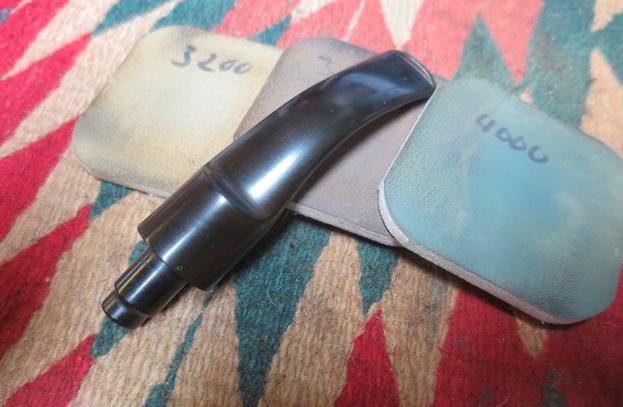
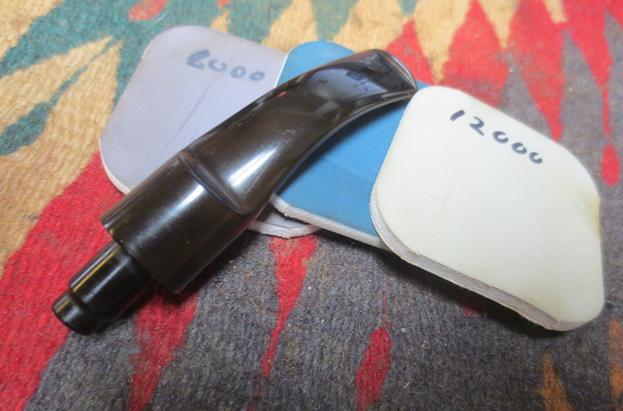
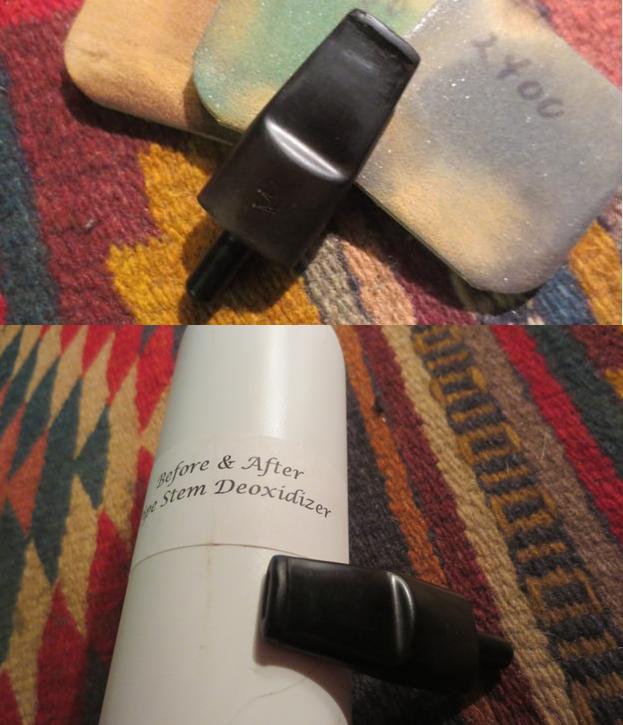
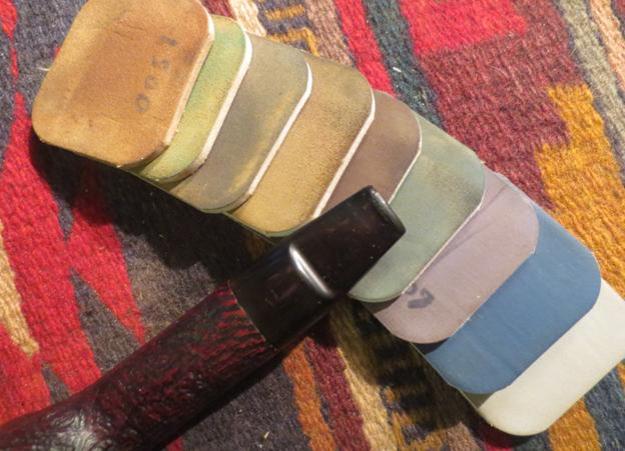
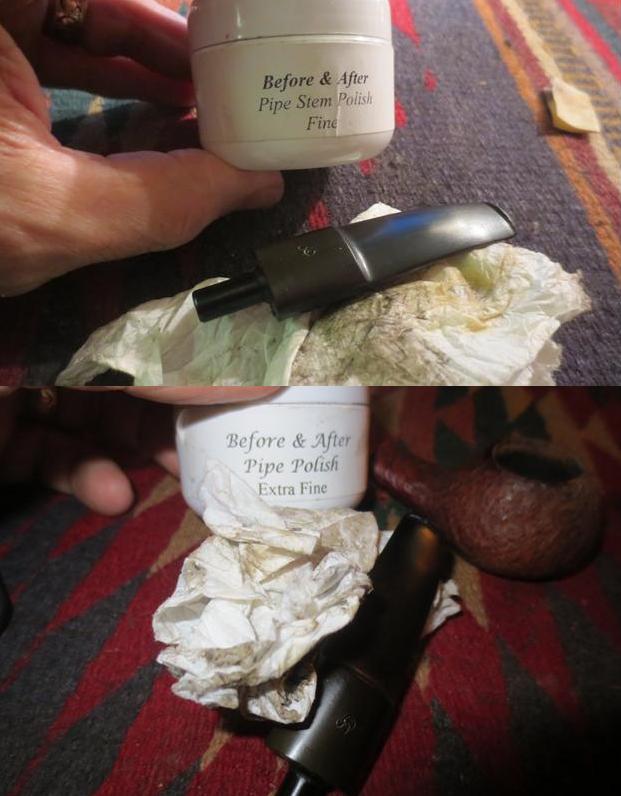
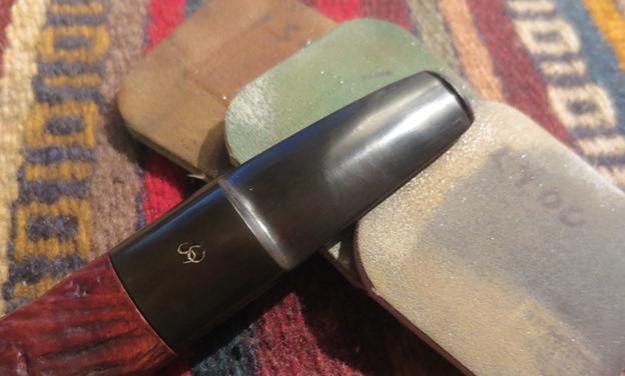
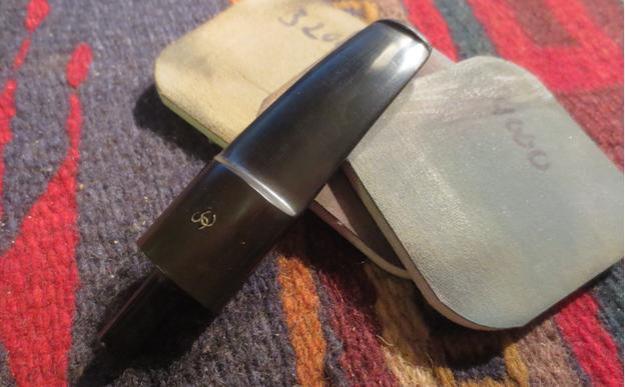
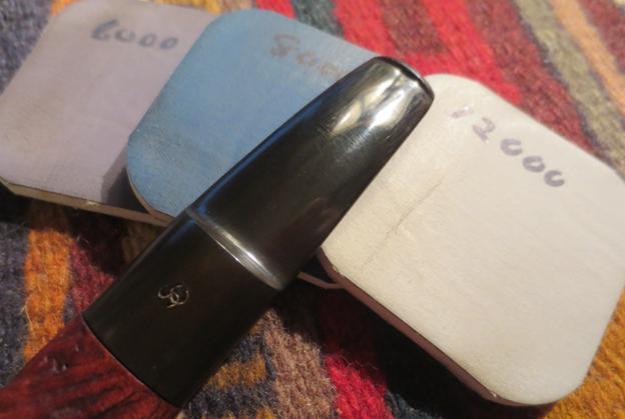
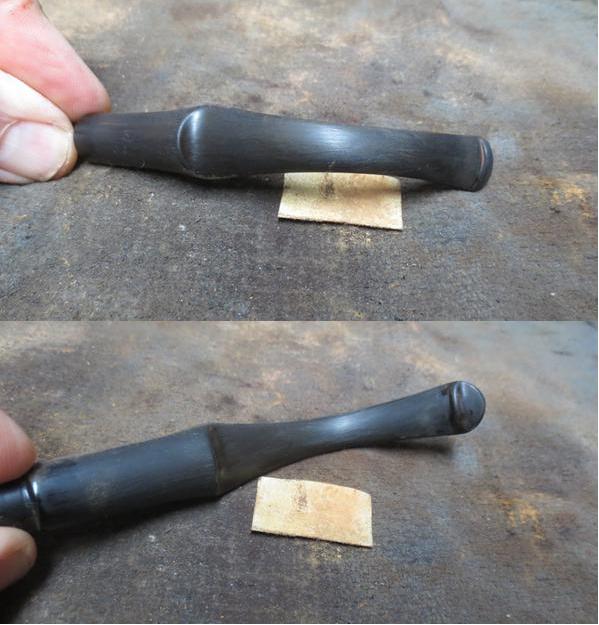 I polished the stem with micromesh sanding pads – wet sanding with 1500-1200 grit pads and dry sanding with 3200-12000 grit pads. I rubbed the stem down with Obsidian Oil after each set of three pads. After sanding with the final set I rubbed it down once again and set it aside to dry.
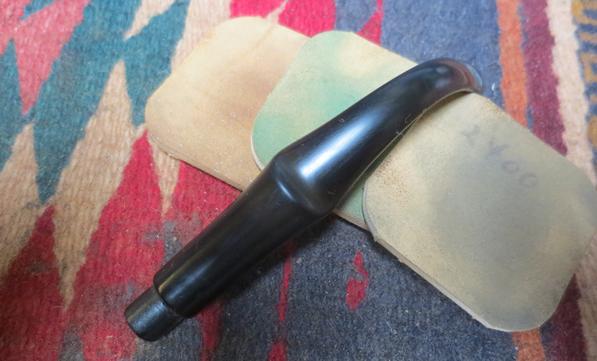
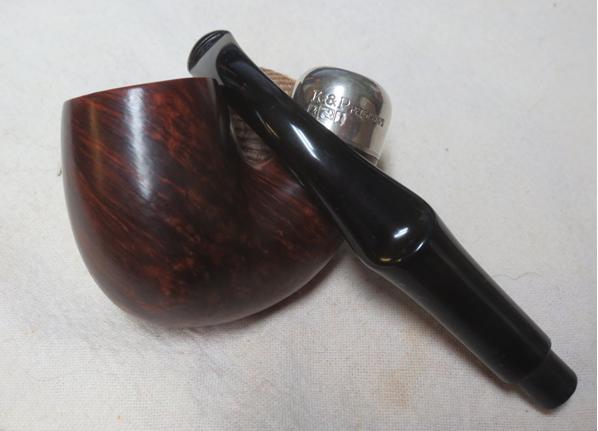
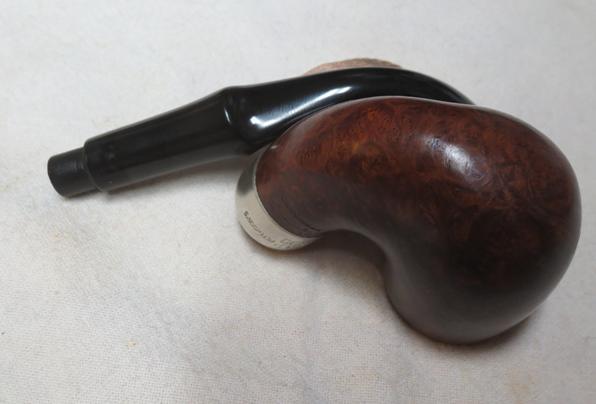
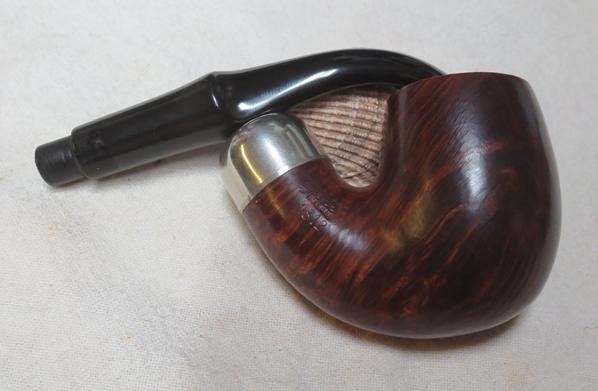
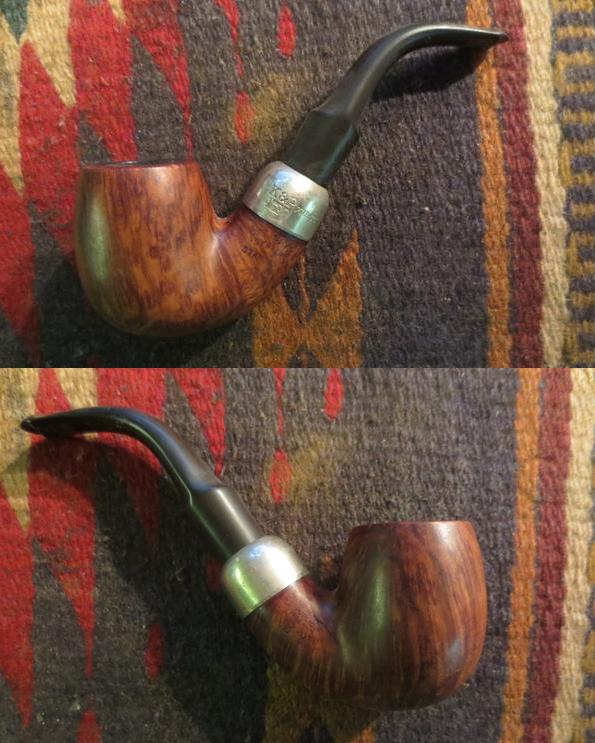
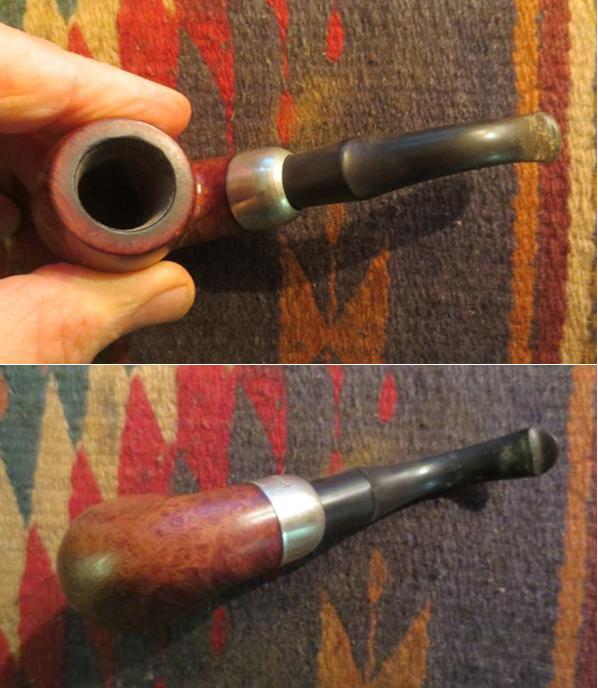
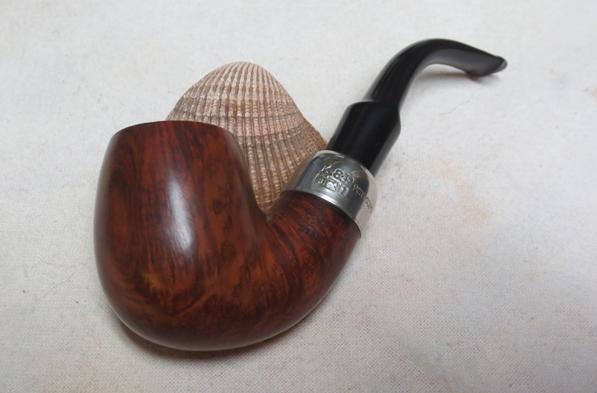
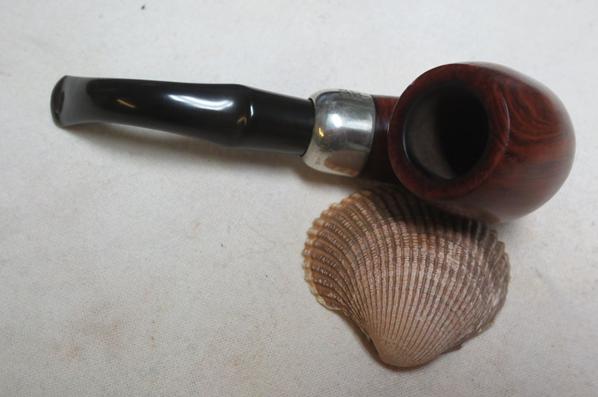
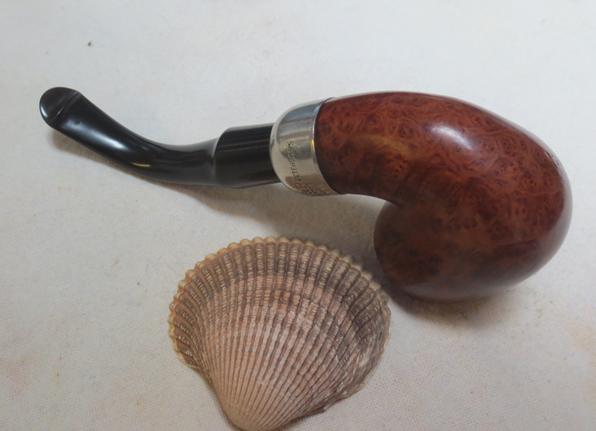
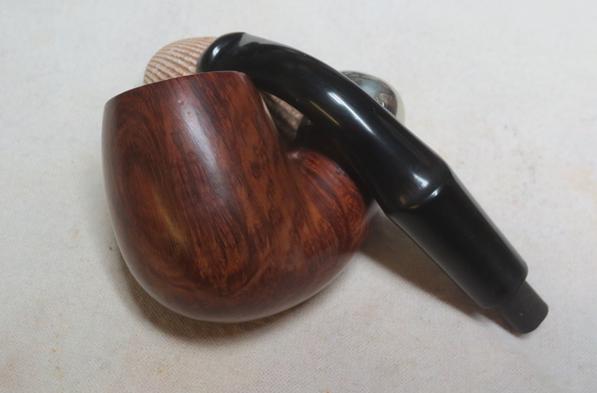
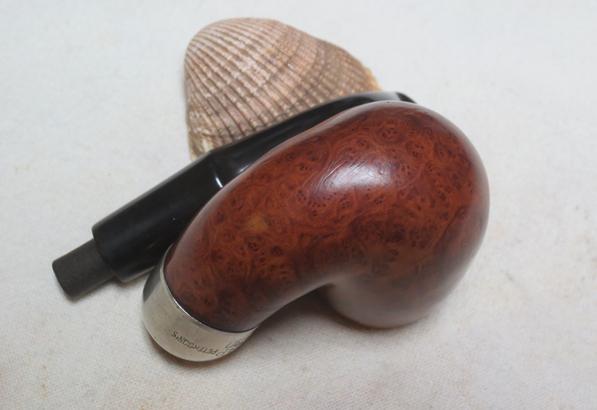
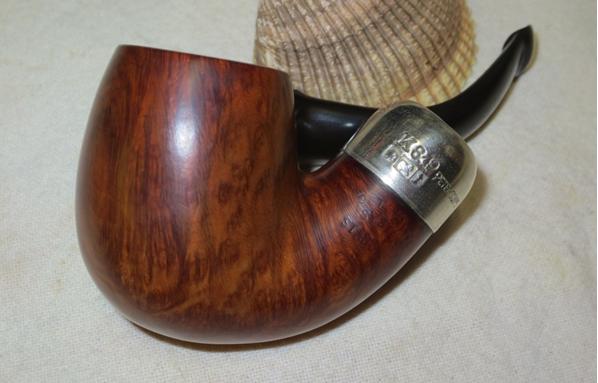
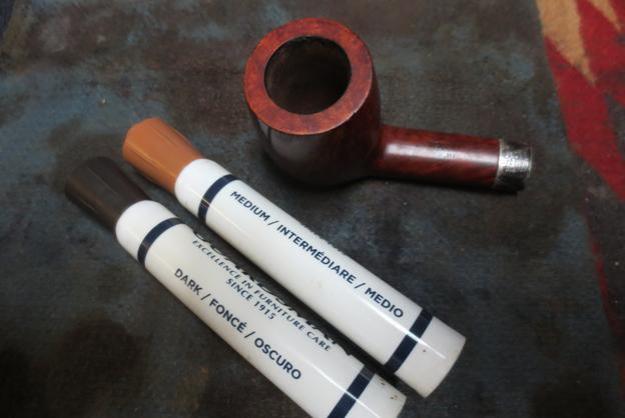
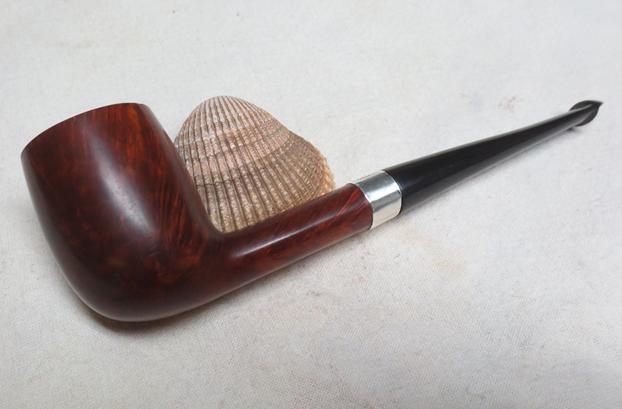
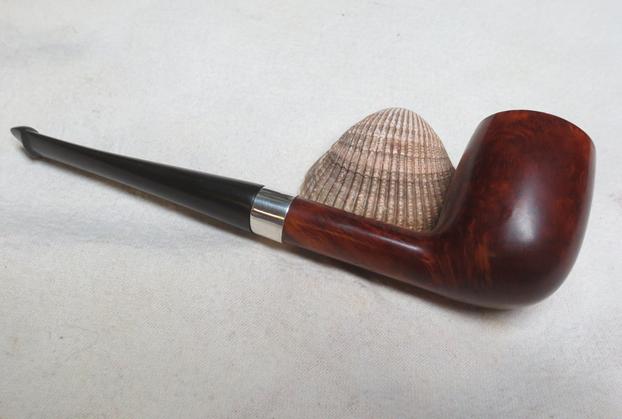
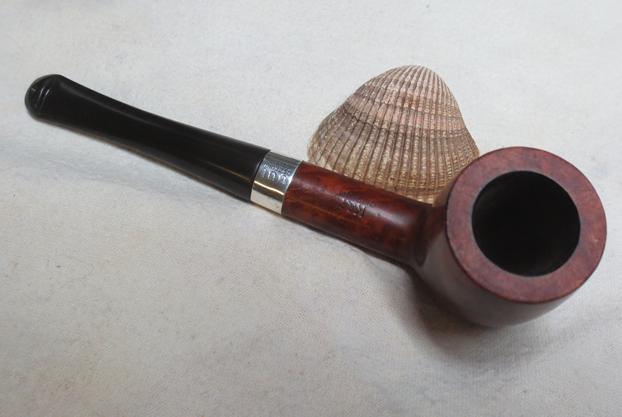
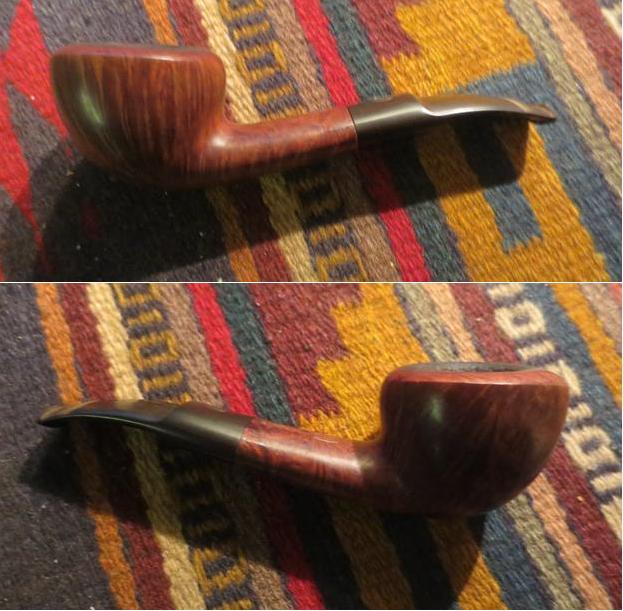
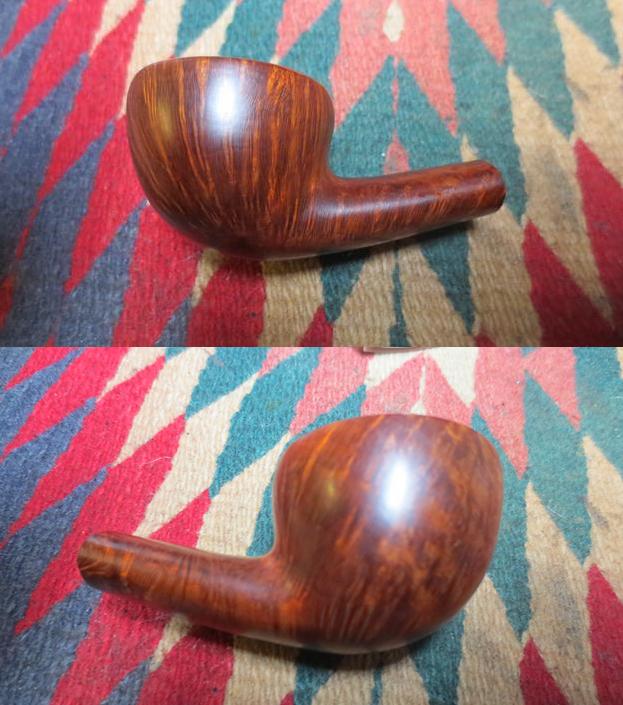
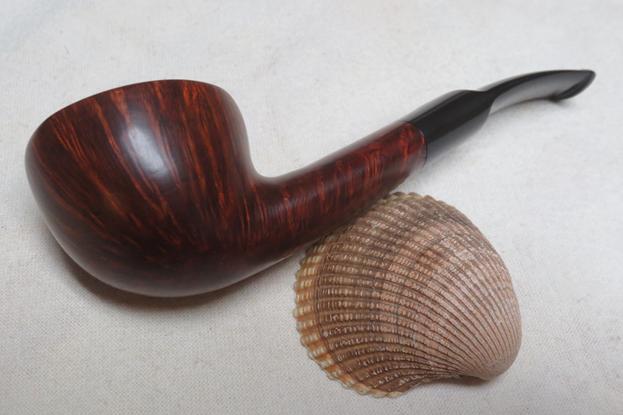
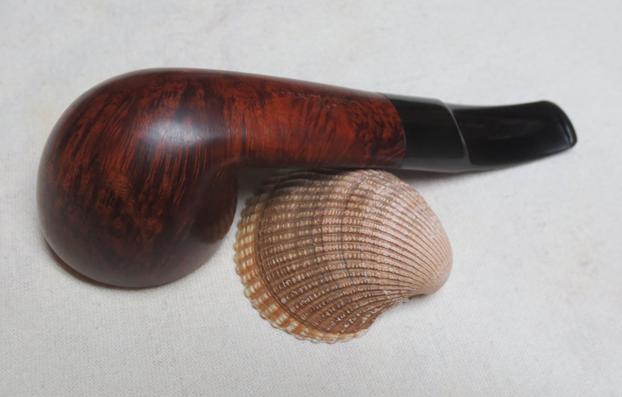
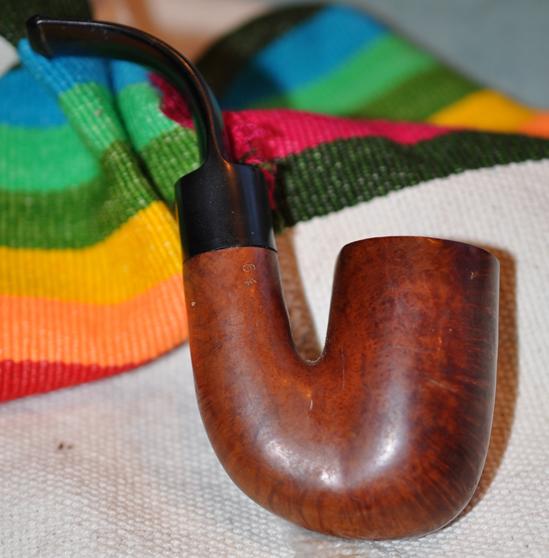
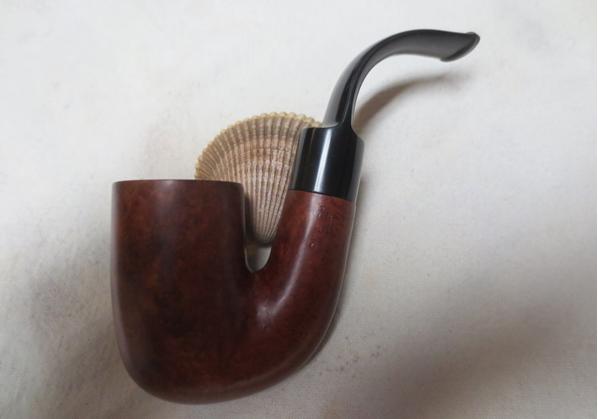
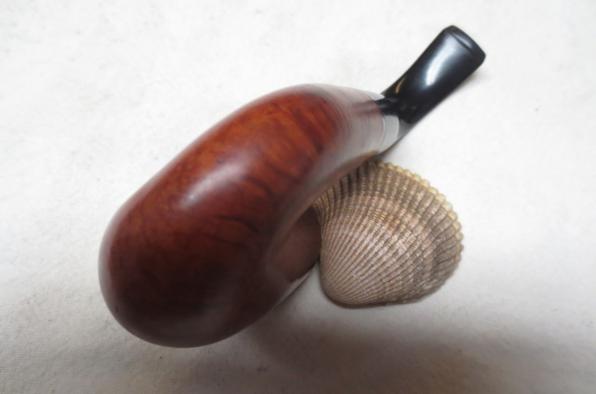
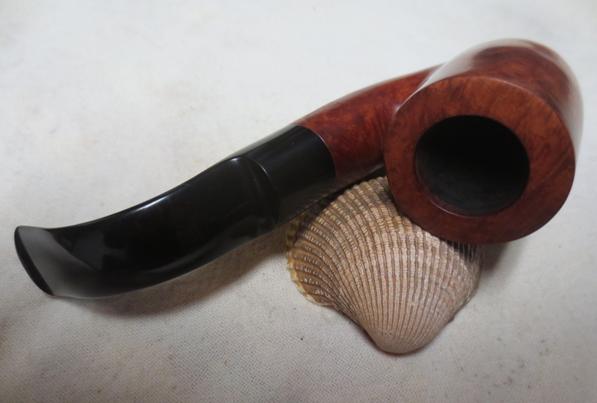
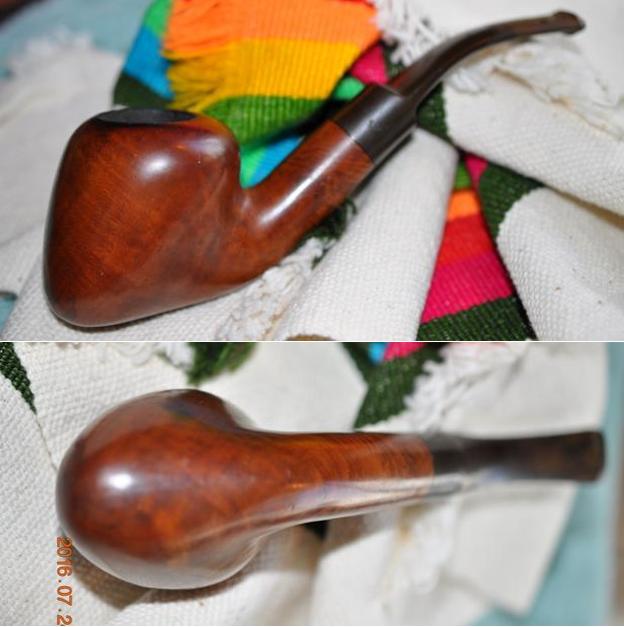
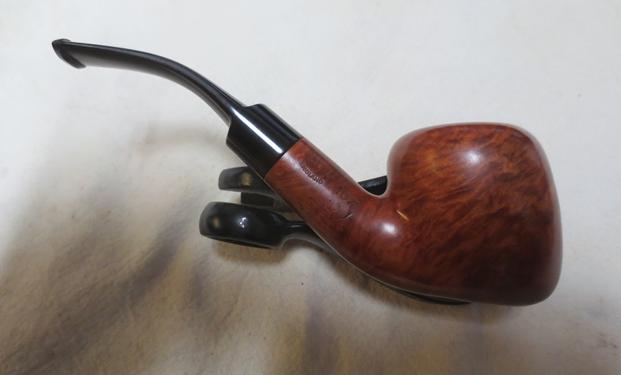
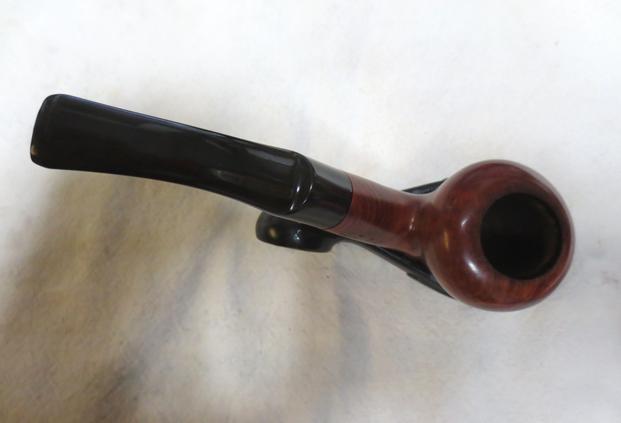
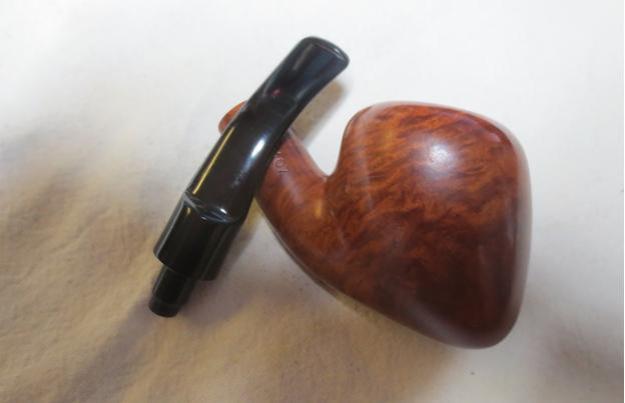
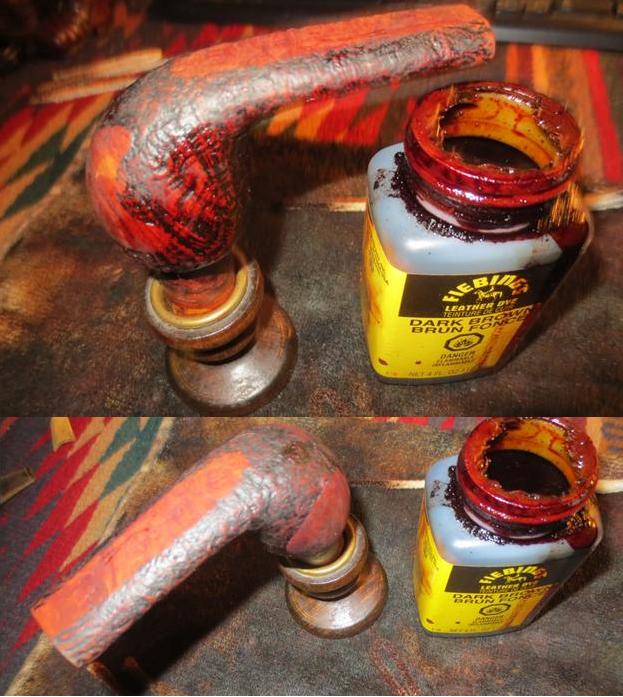
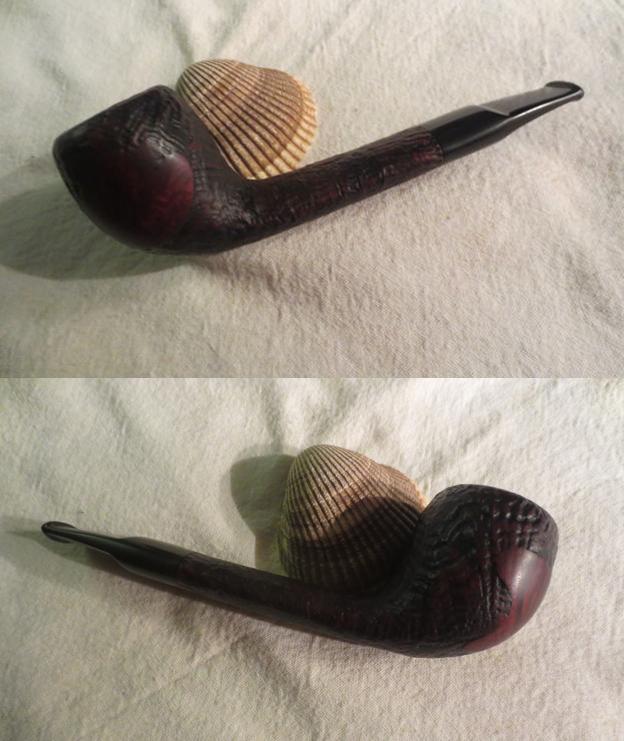
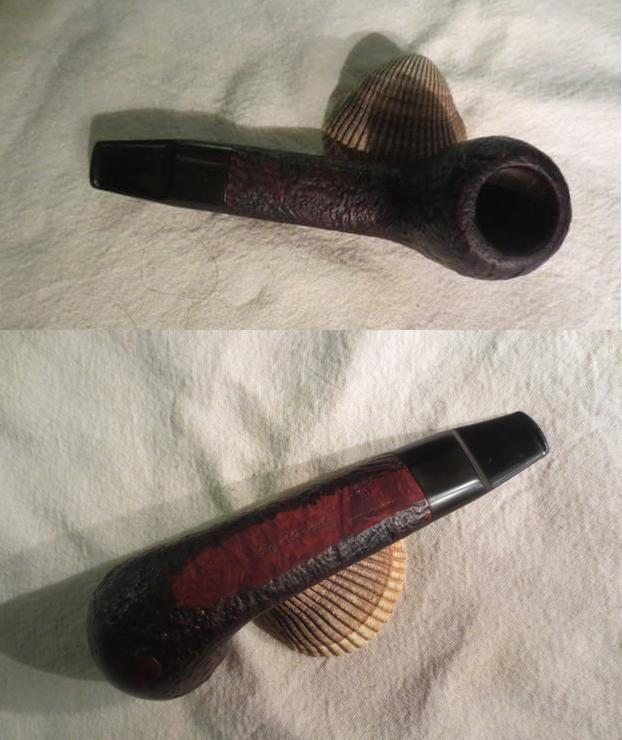
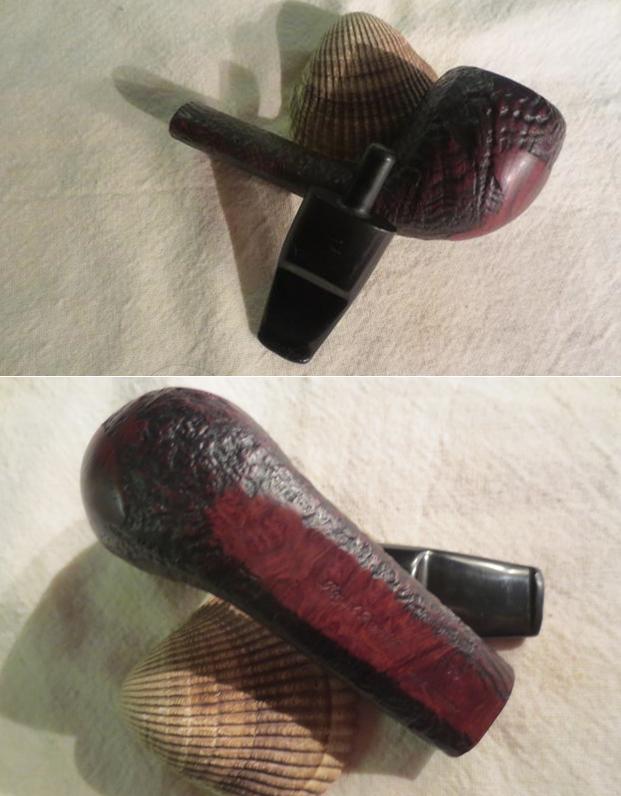
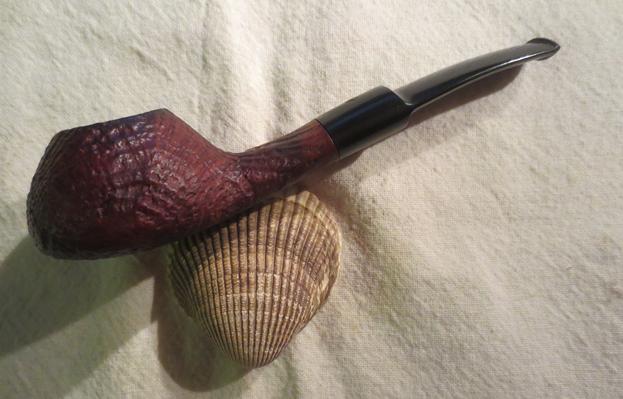
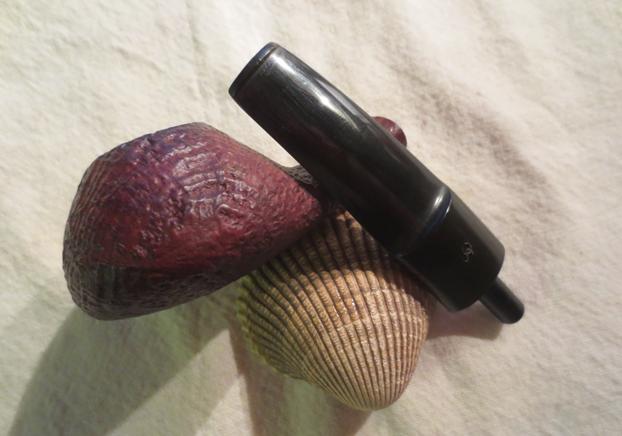
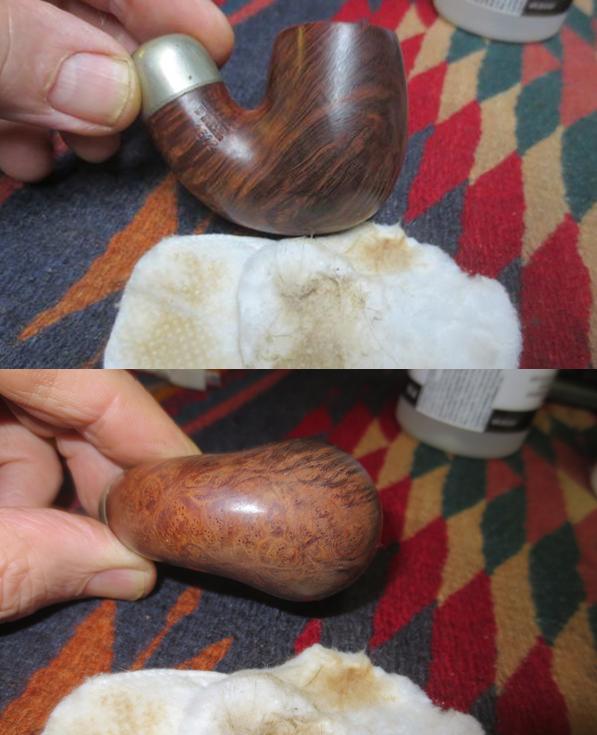
 I buffed the pipe and stem with Blue Diamond on the buffing wheel to raise the shine and polish it further. I gave the pipe multiple coats of carnauba wax and buffed it with a clean buffing pad to shine it. I finished by hand buffing the pipe with a microfibre cloth. This adds some depth to the shine. The finished pipe is shown in the photos below. This pipe is for sale along with the others that I have cleaned up from the estate. If you are interested in adding it to your collection send me an email to slaug@uniserve.com or a message on Facebook. Thanks for walking through the process with me.