by Kenneth Lieblich
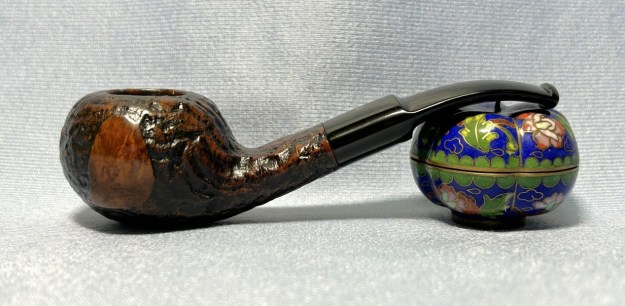
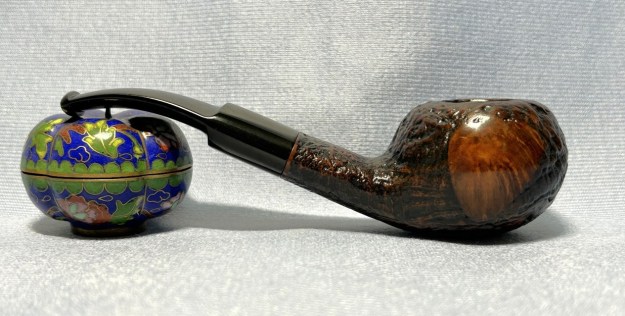
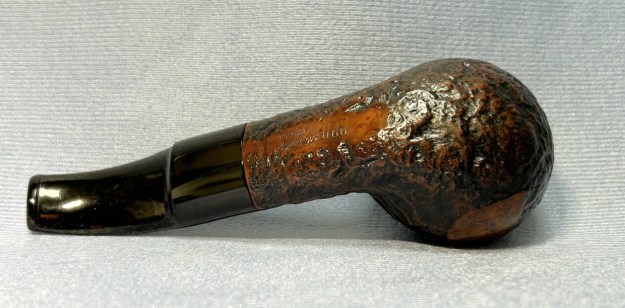
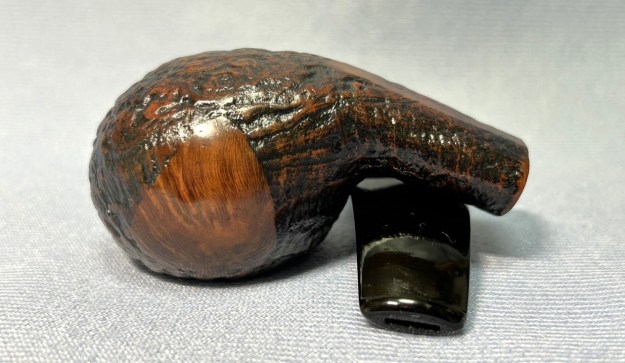
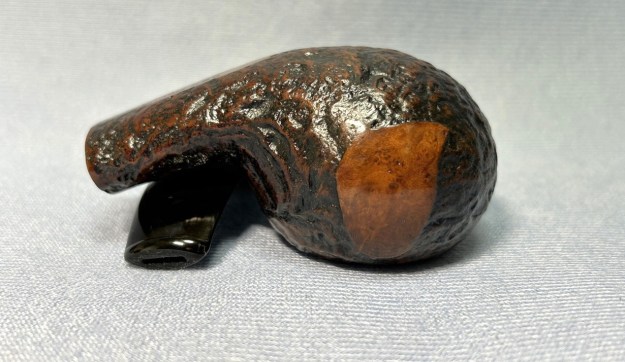
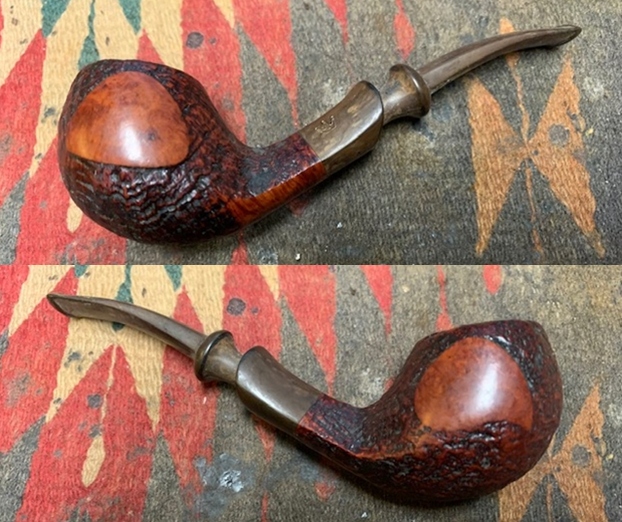
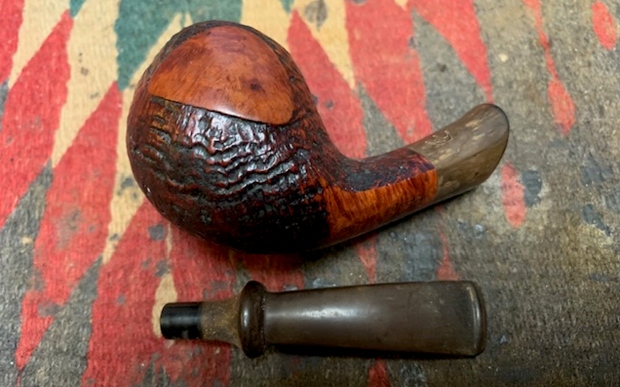
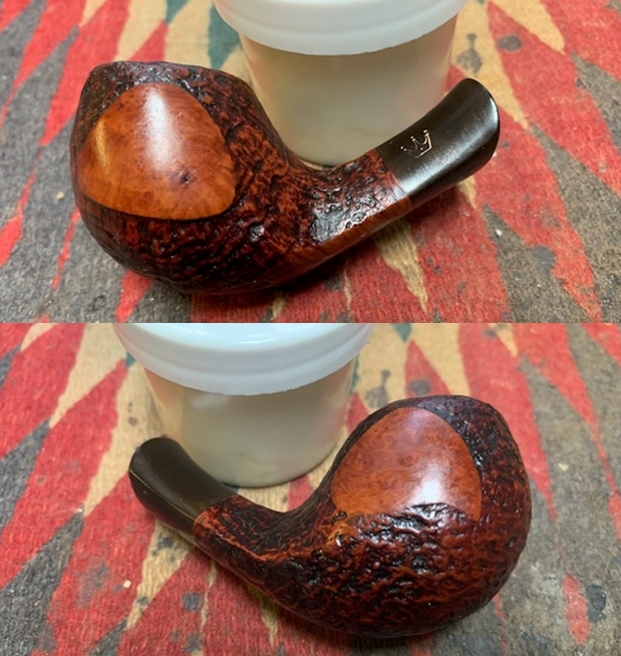
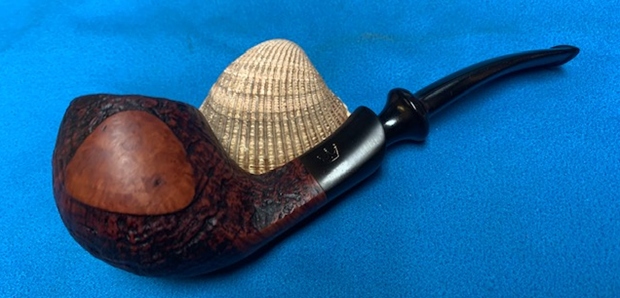
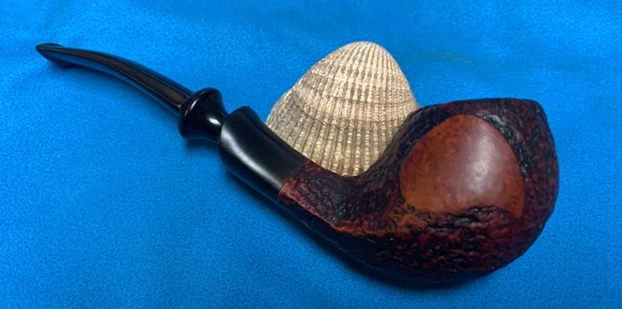
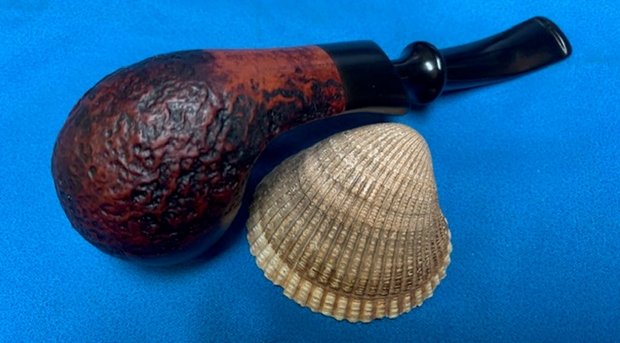
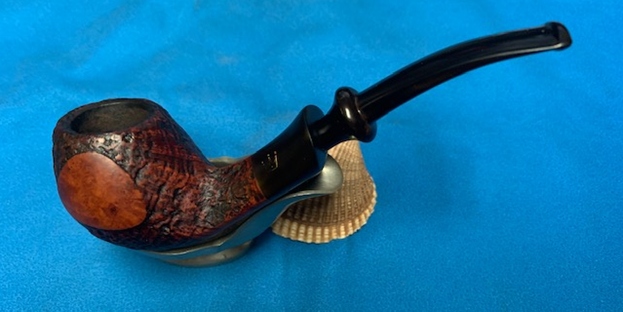
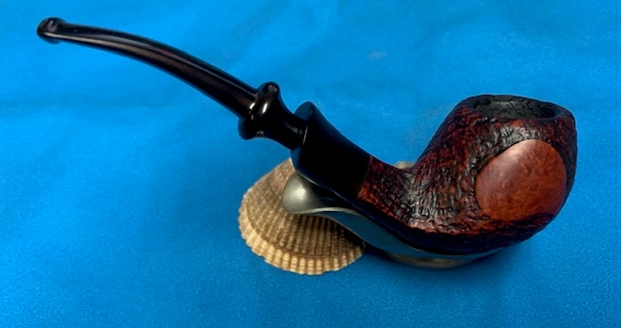
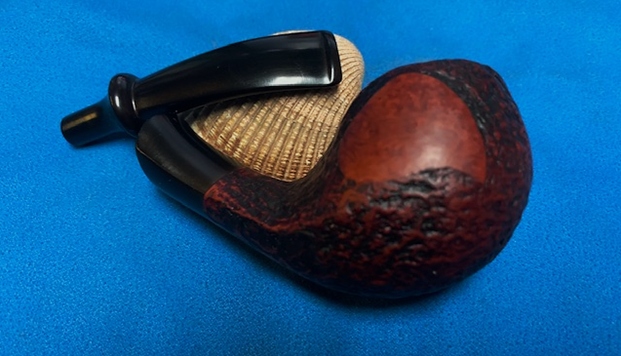
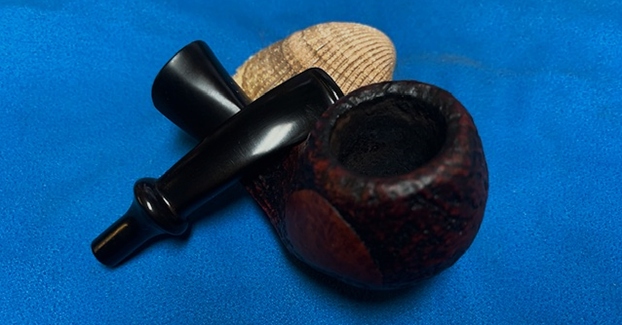
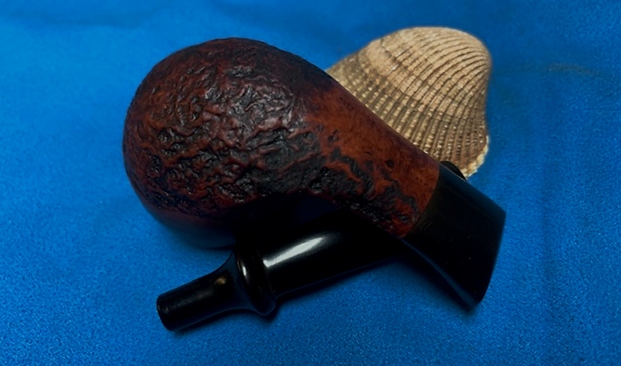
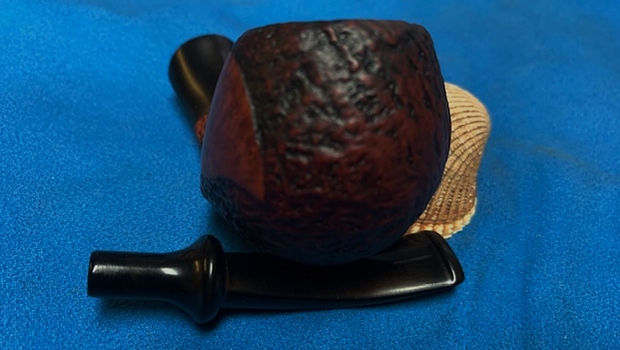
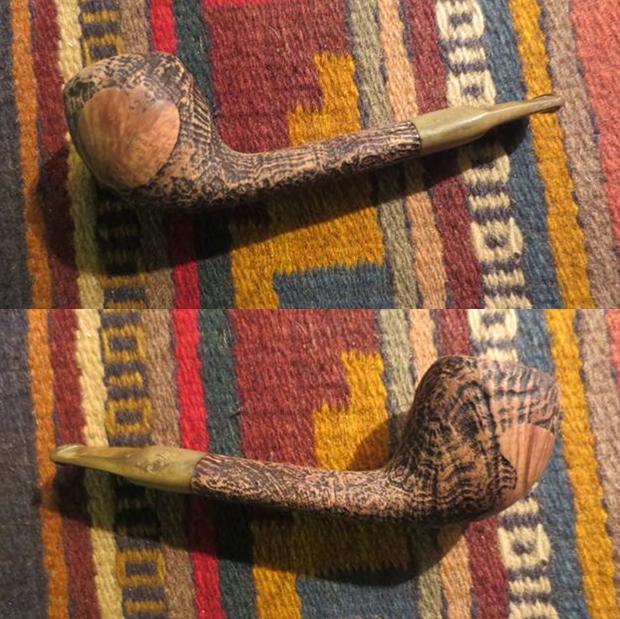
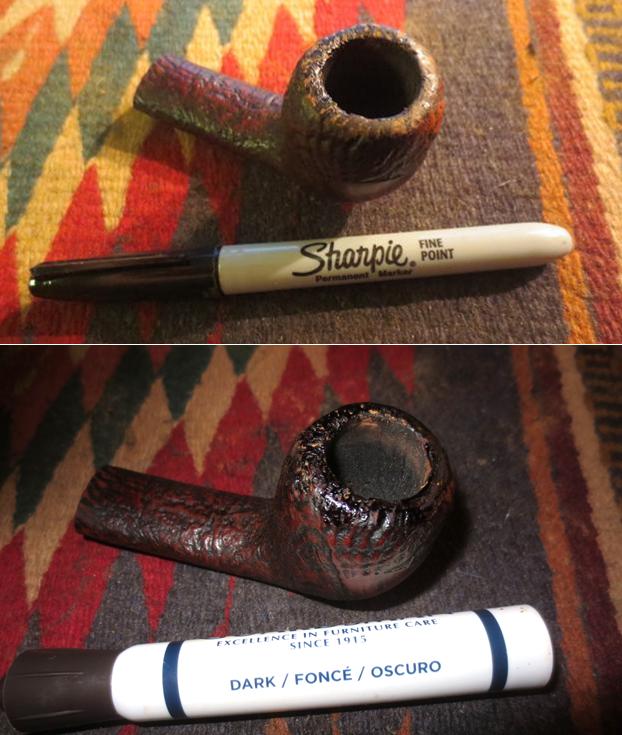
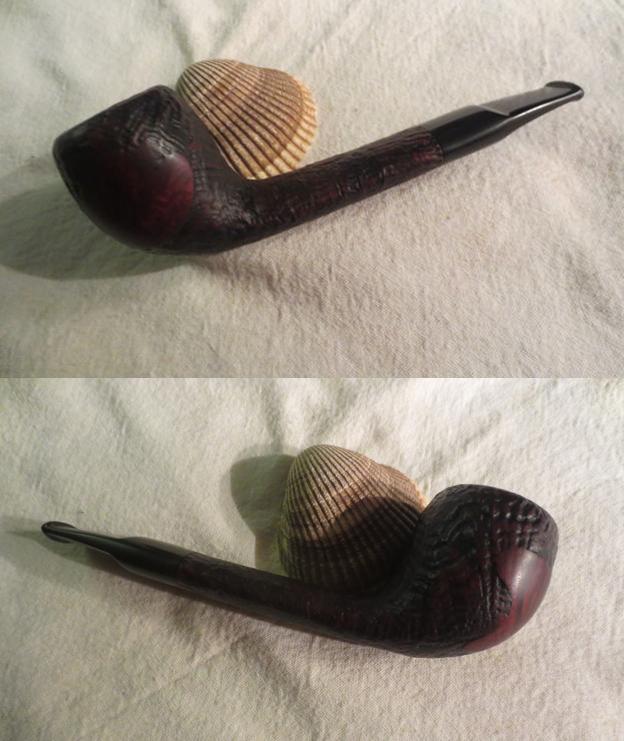
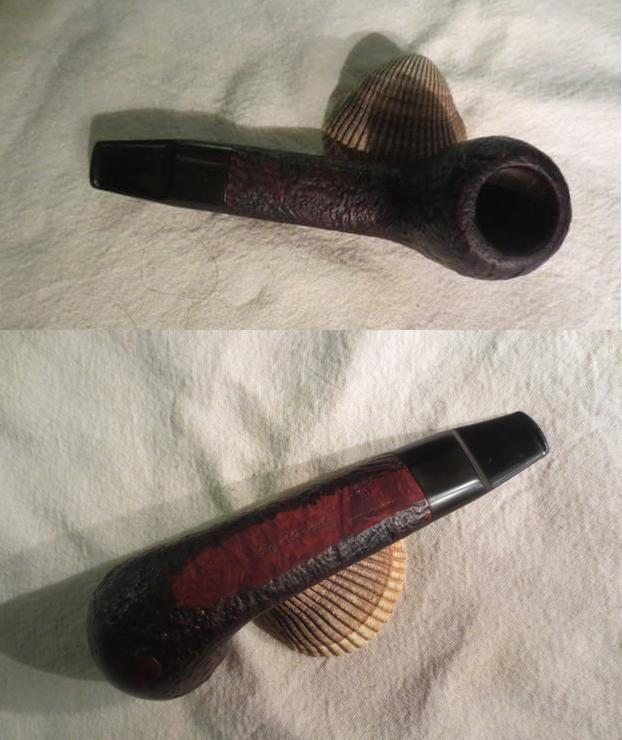
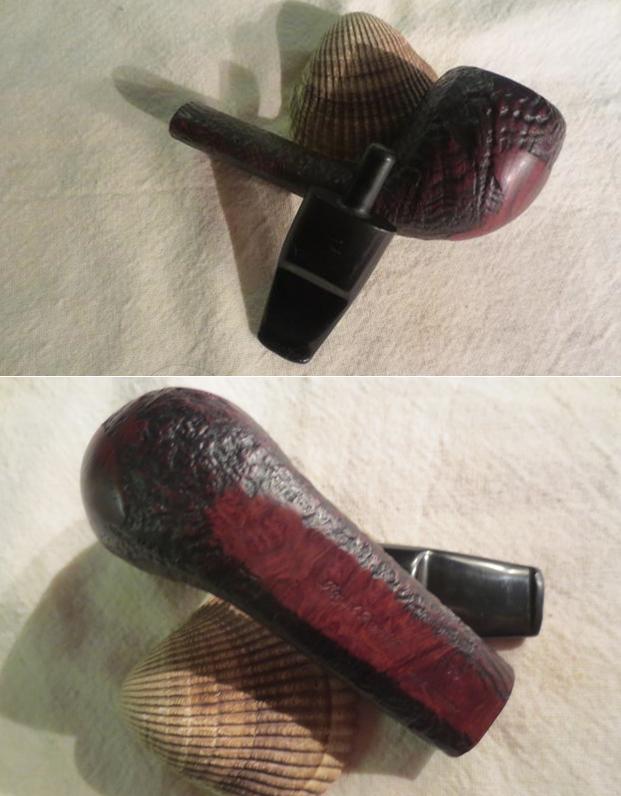
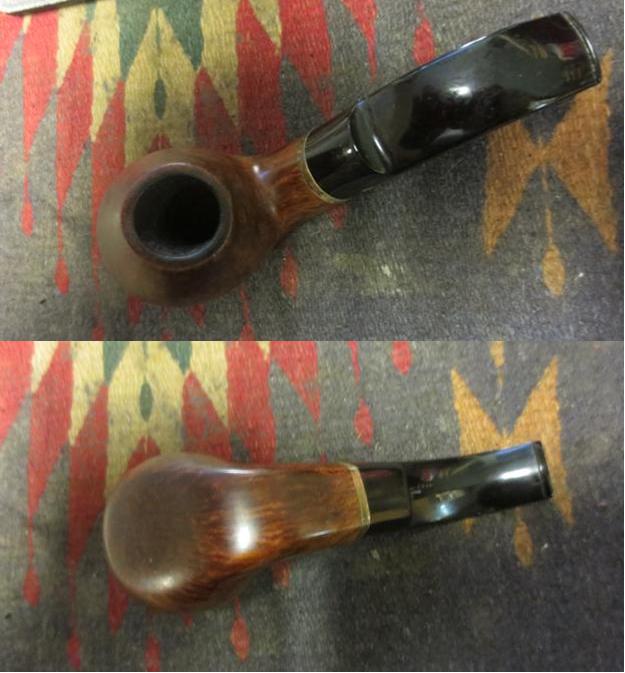
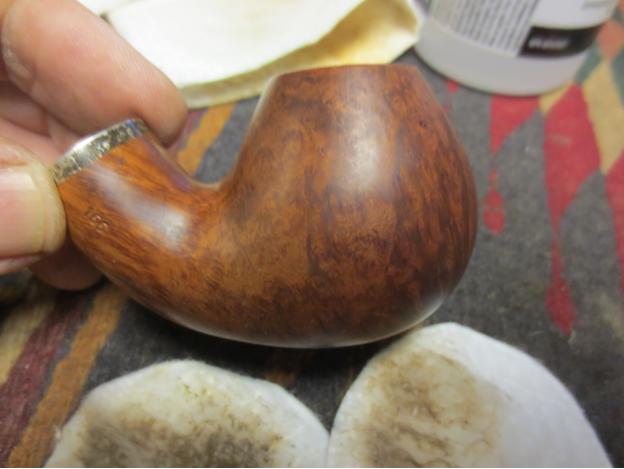
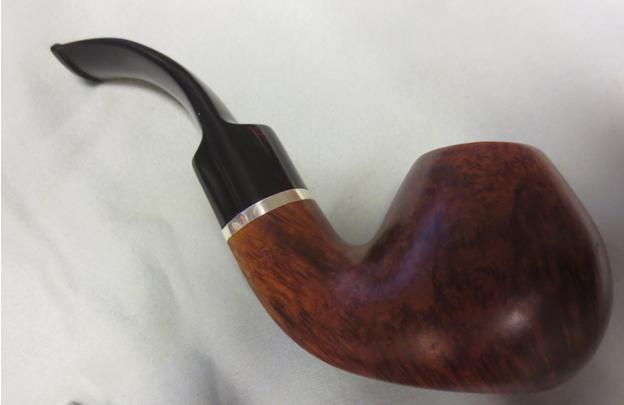
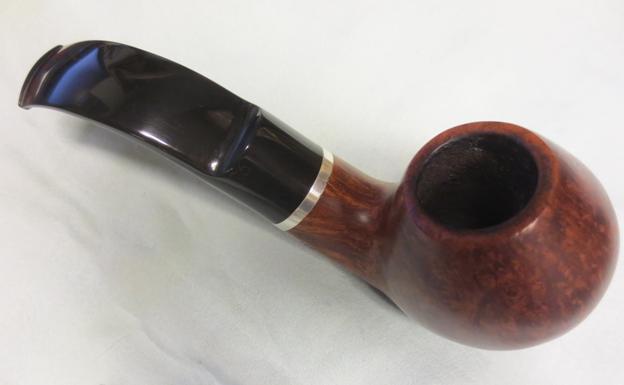
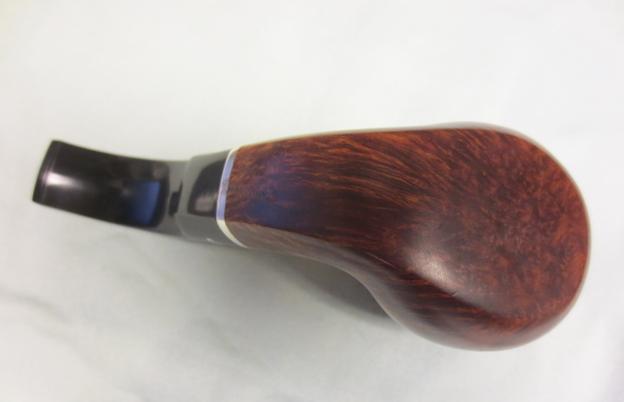
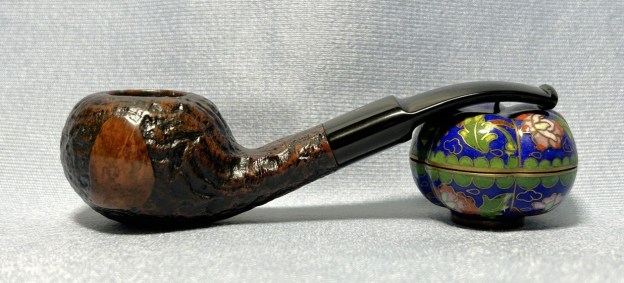
I picked this pipe up recently and was immediately charmed by it. This is a really good-looking Royal Danish 990, designed in 1951 by Sixten Ivarsson. It’s got that lovely tomato shape, with a lovely sandblast, and a lovely smooth panel on each side of the bowl. The combination of smooth and sandblasted briar is very attractive. When I got my hands on it, it was one dirty, dirty pipe. But I was sure this one was going to shine once I worked my magic on it.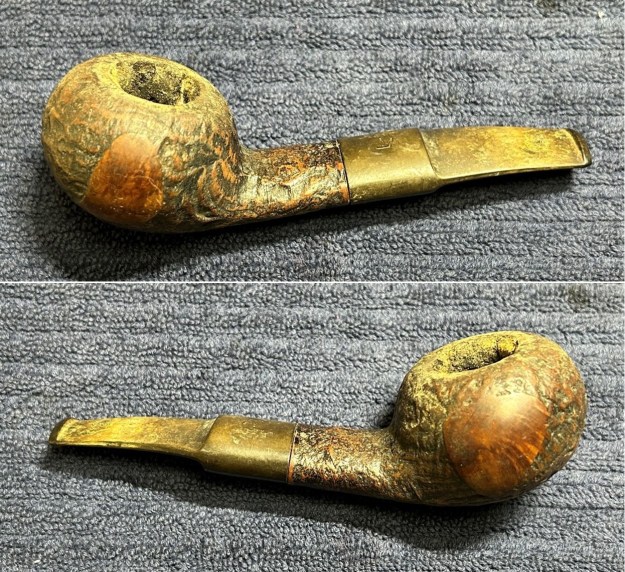
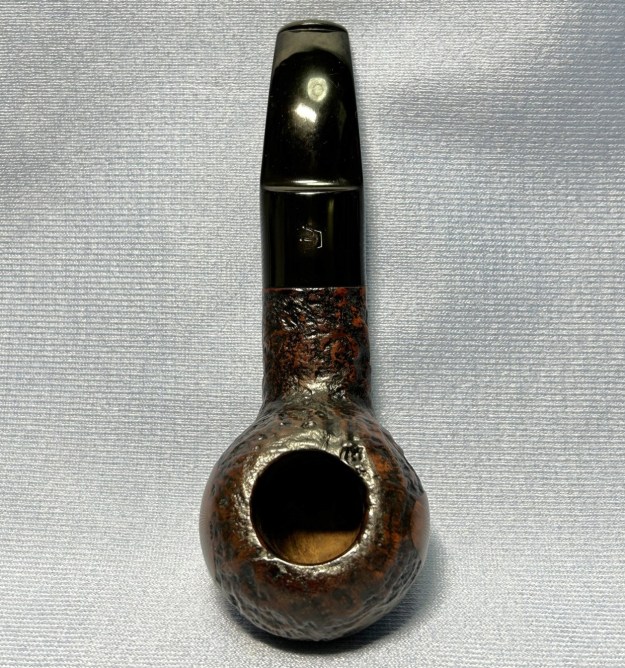
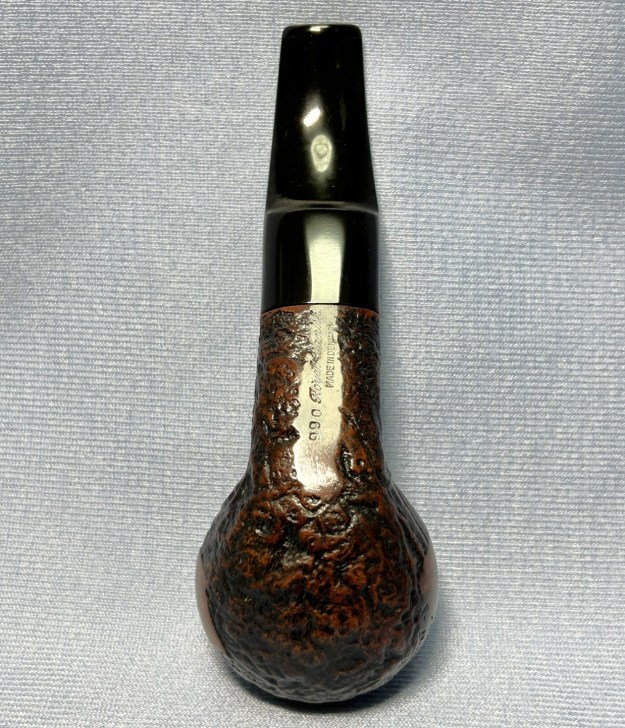
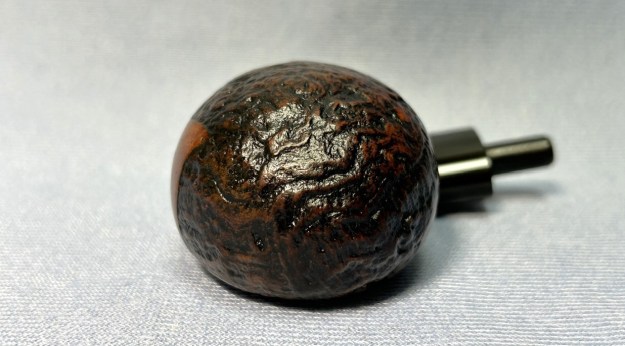
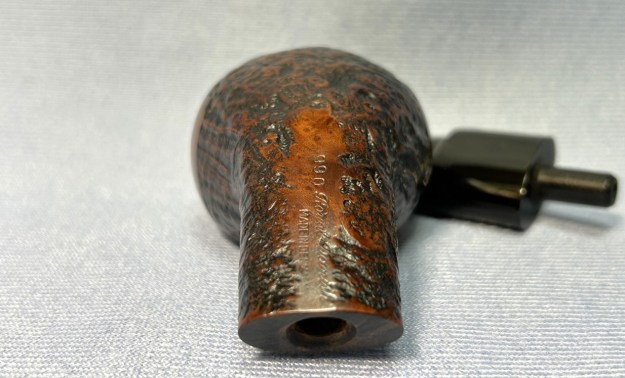
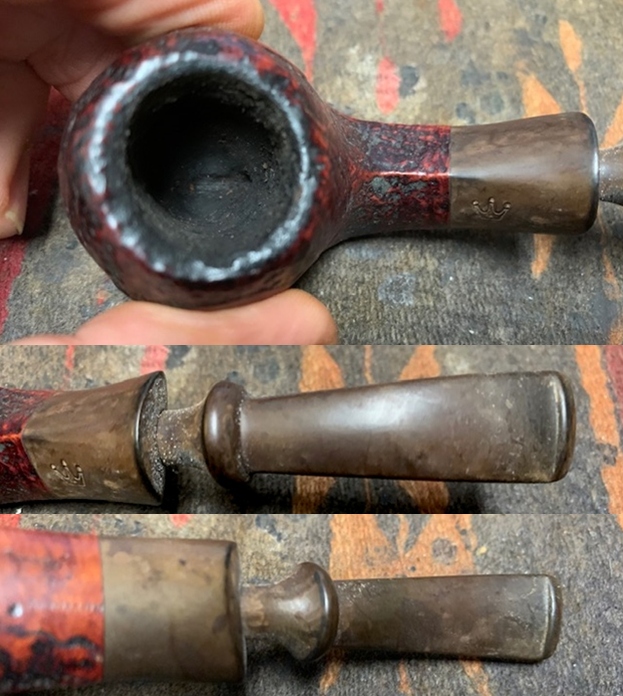
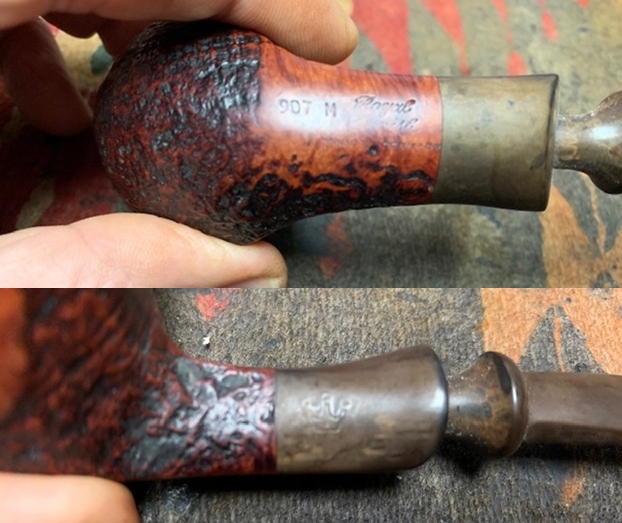
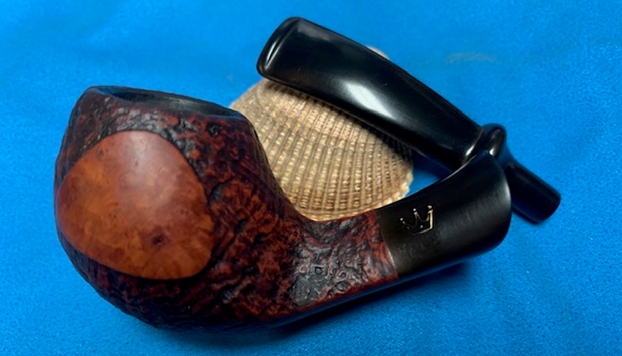
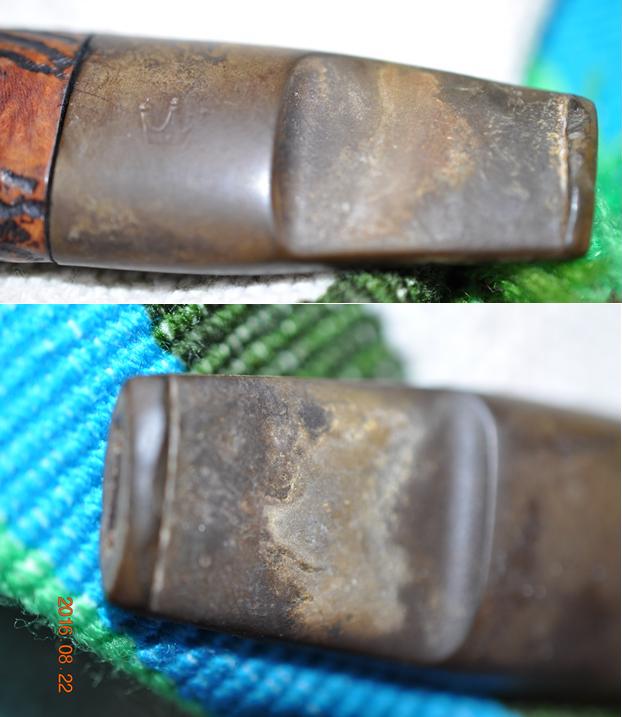
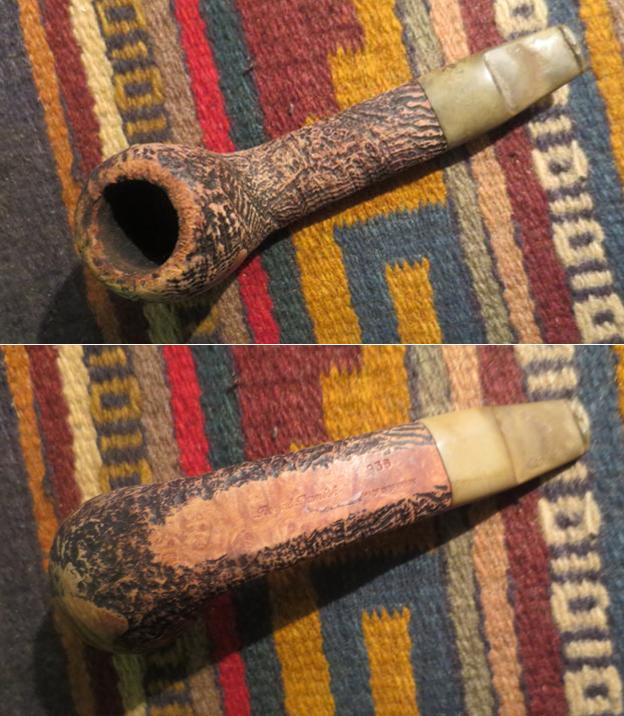
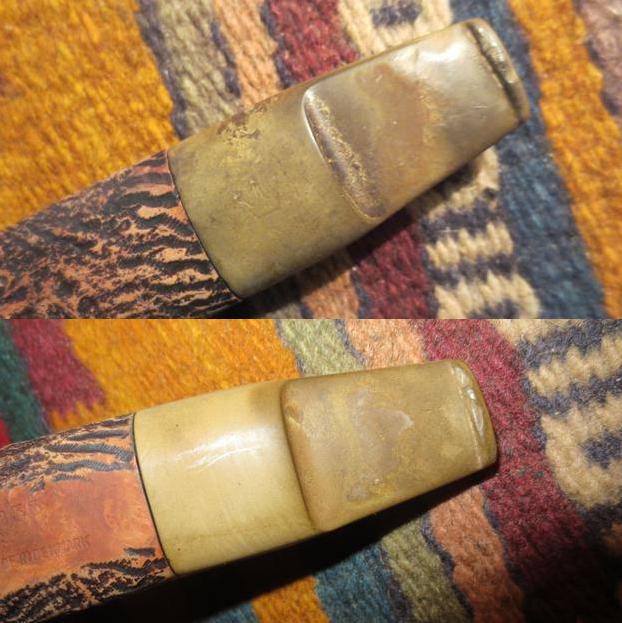
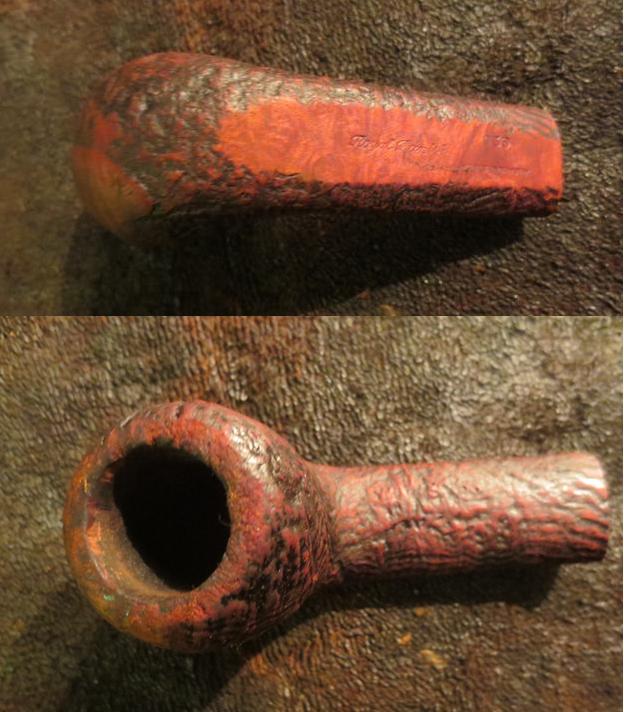
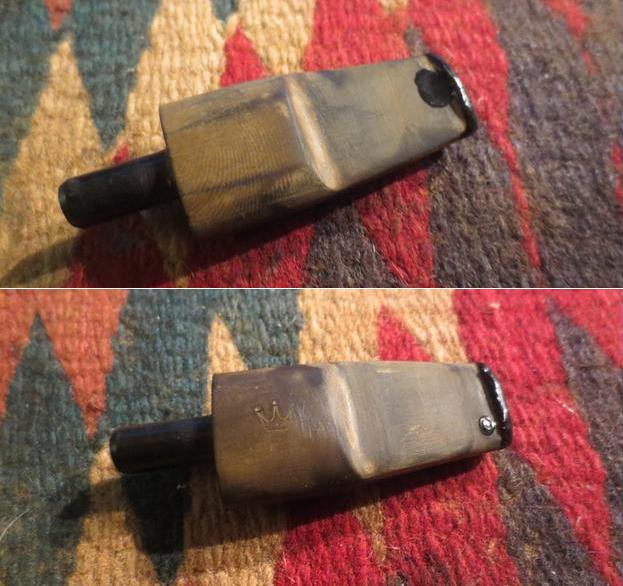
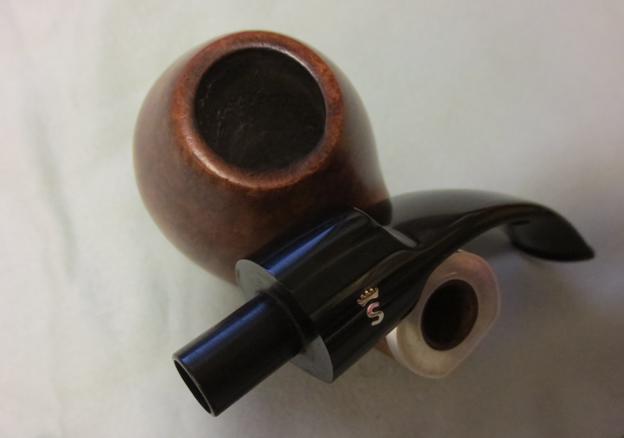
 This is a Royal Danish ball-shaped freehand with a saddle mouthpiece –that’s what the description of Stanwell pipes calls it, though I’ve called it a tomato. I learned from previous research that “Royal Danish” is a Stanwell sub-brand. As is typical of Stanwell sub-brands, the quality is immaculate and it’s not at all obvious why this wasn’t a full-blown Stanwell. This ball is a very attractive shape and it really makes an impression. The underside of the shank reads 990 Royal Danish [over] Made in Denmark and, on the stem, a lovely crown.
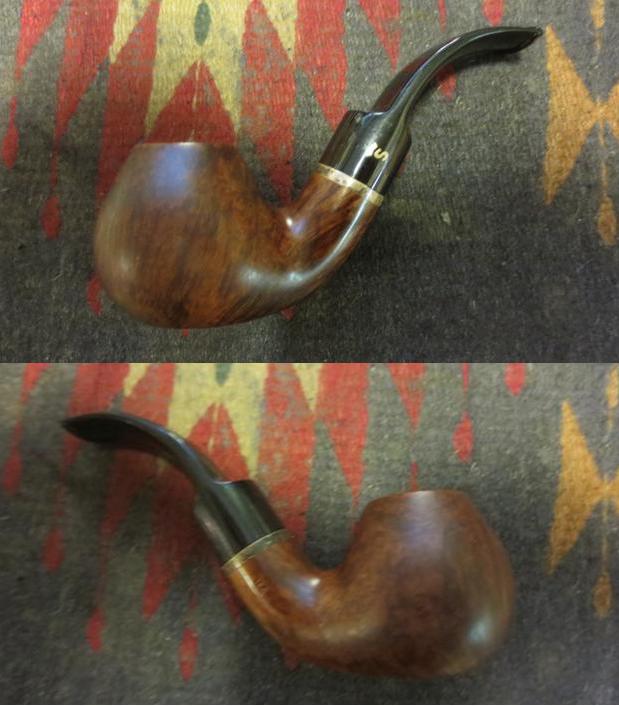
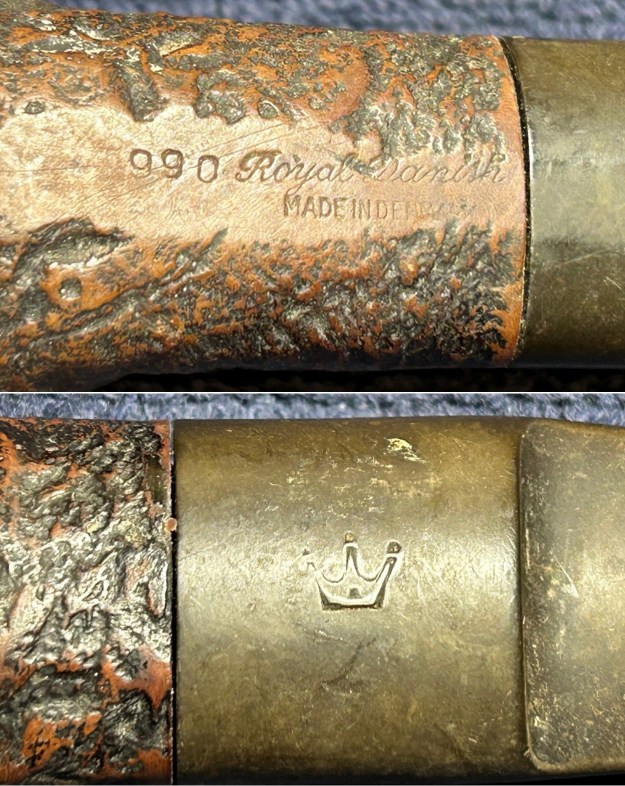 Both Pipedia and Pipephil list Royal Danish as being a Stanwell sub-brand (and not much else), as per the photo below.
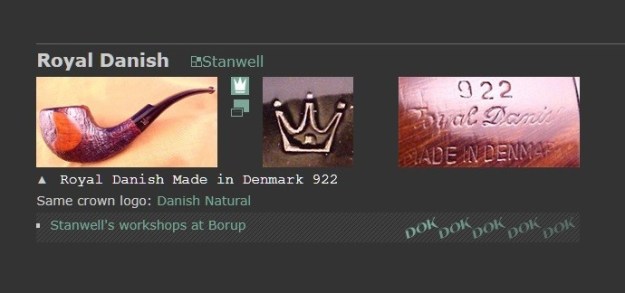 The Royal Danish line uses the same shape numbers as Stanwell, but adds a 9 in front. That’s why this pipe corresponds to Stanwell 90. Meanwhile, Pipedia has a good amount of
  nformation on the Stanwell brand and its history. I certainly recommend looking it over: https://pipedia.org/wiki/Stanwell.
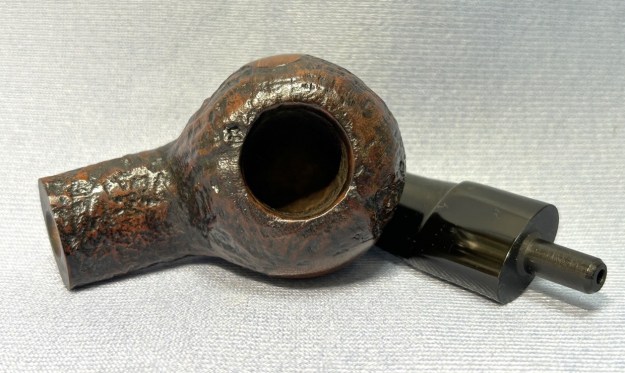
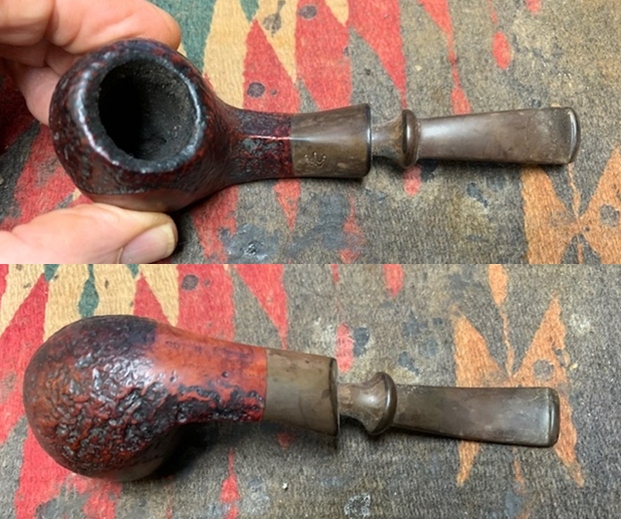
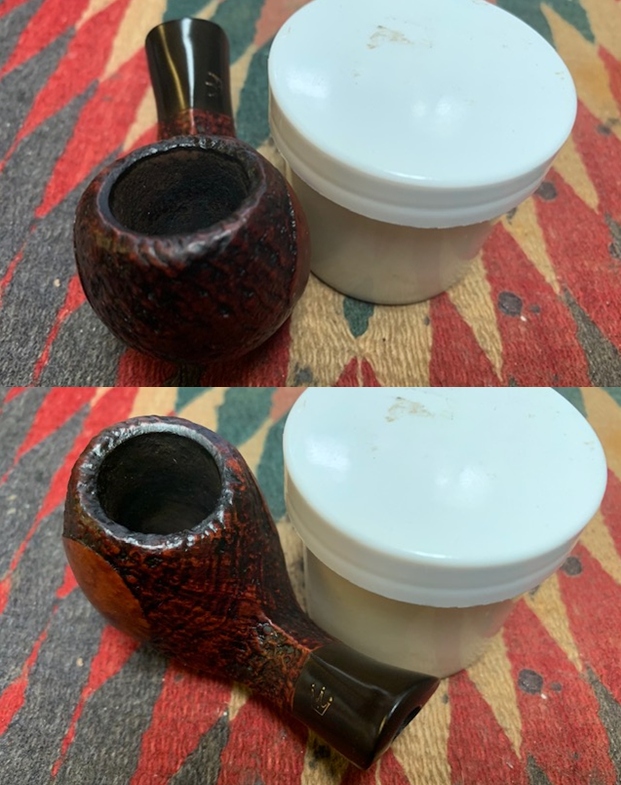
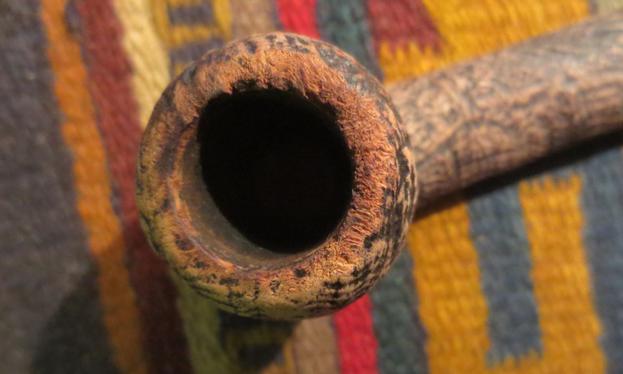
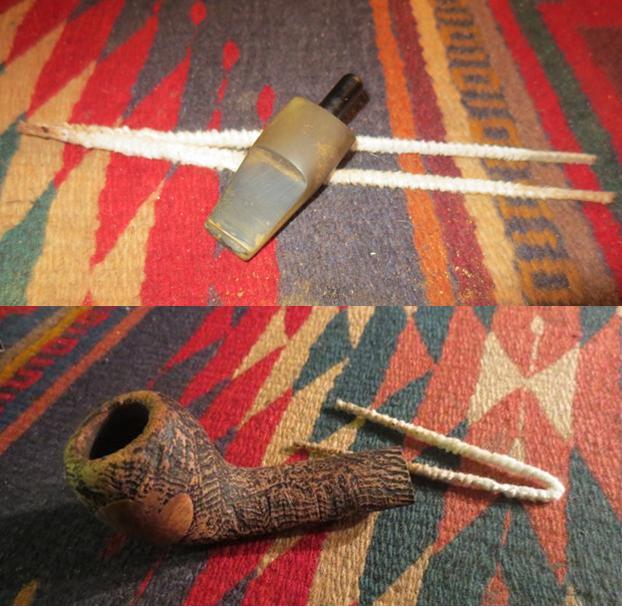
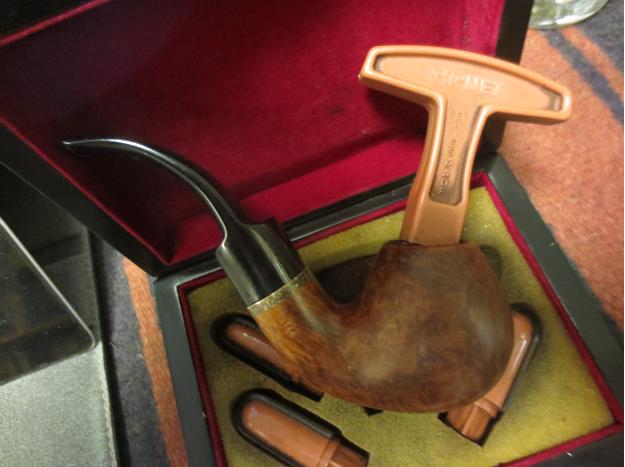
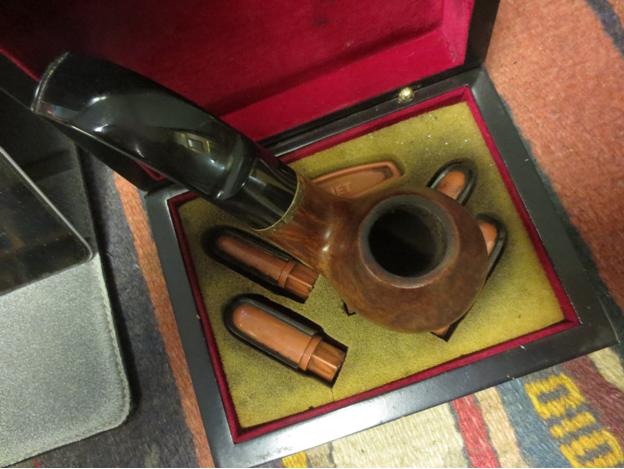
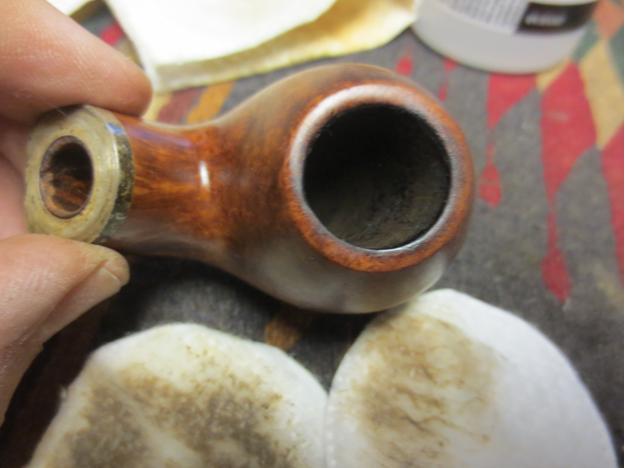
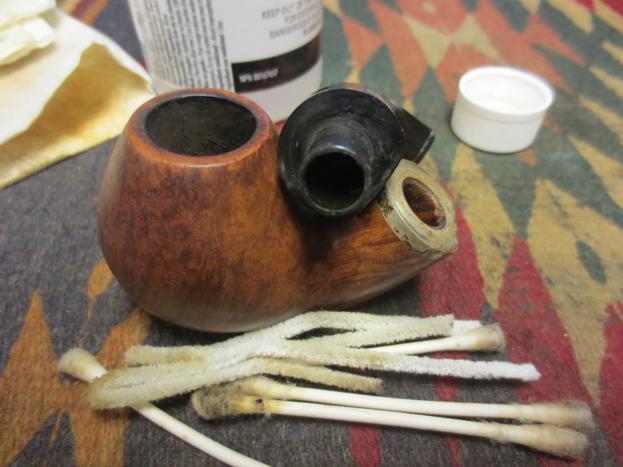
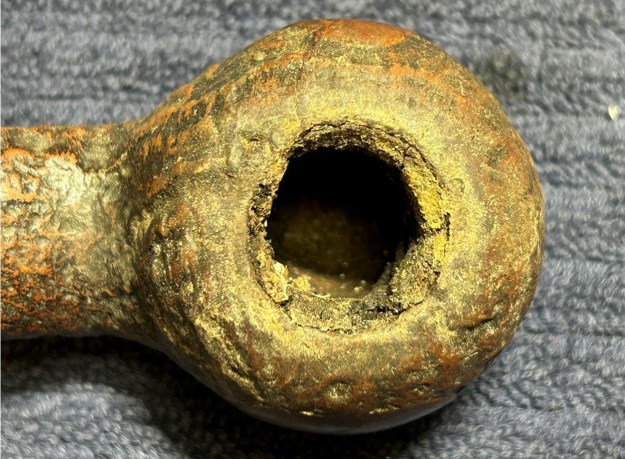
Anyway, this really is a good-looking pipe. No major issues to resolve – just a few minor ones. The stem was very dirty, and had some small dents. There was also some oxidation on the vulcanite. The stummel was sooooo dirty. Inside and outside the bowl were pretty gross. The stummel would need some considerable work to clean.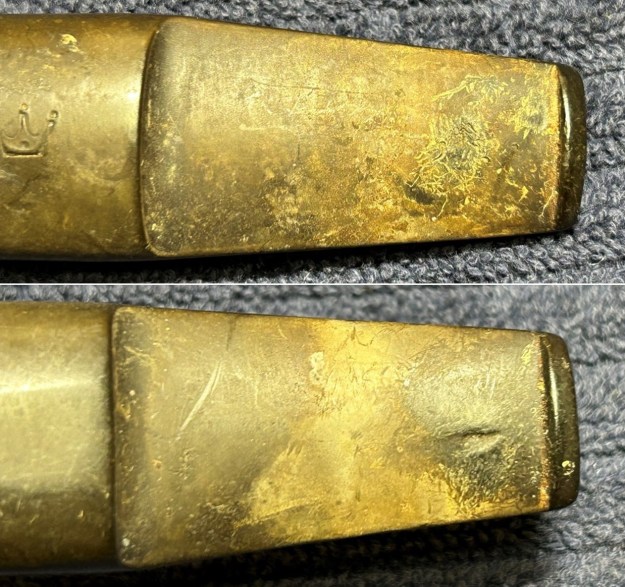
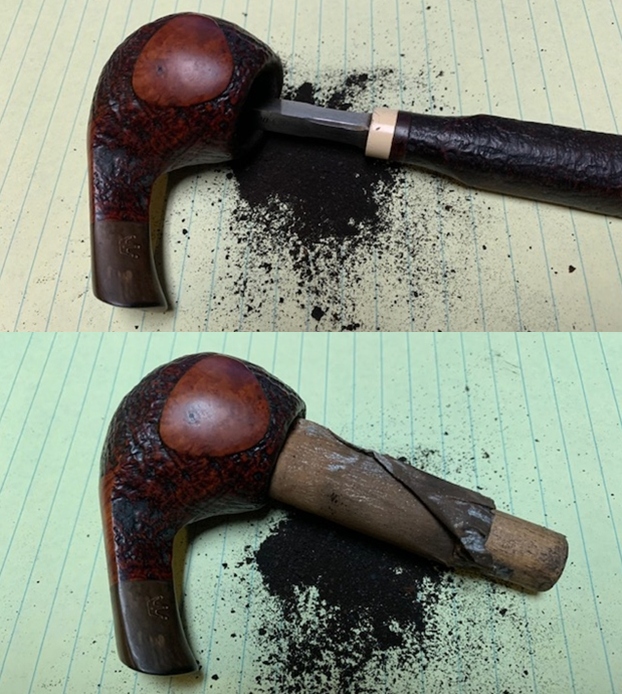
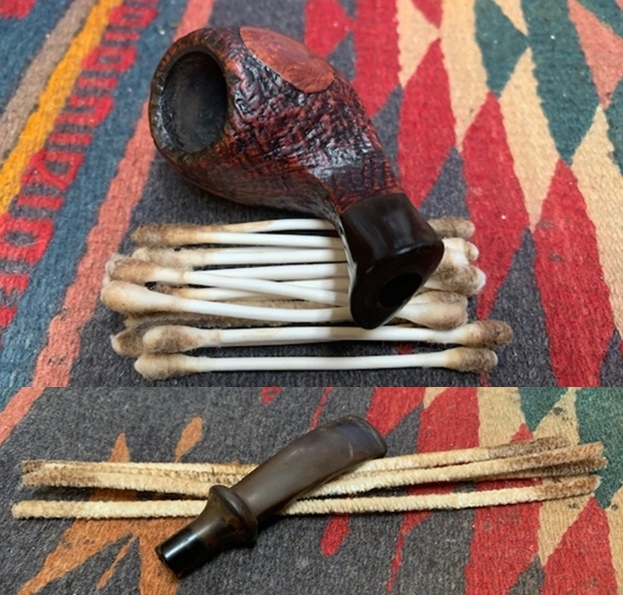
 The stem was first on my list. I wiped down the outside of the stem with oil soap on some cotton pads. I also took a BIC lighter and ‘painted’ the stem with its flame in order to lift the bite marks and dents. This worked reasonably well, but I would still need to sort out the dents. The stem was clogged enough that I actually needed to scoop out gunk from inside with a dental tool. Then, I cleaned out the insides of the stem with pipe cleaners and isopropyl alcohol.
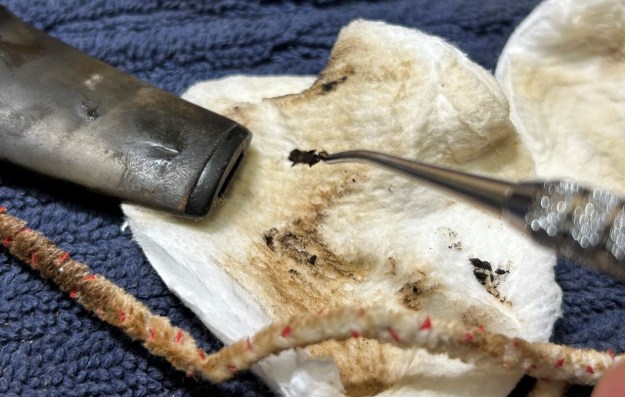
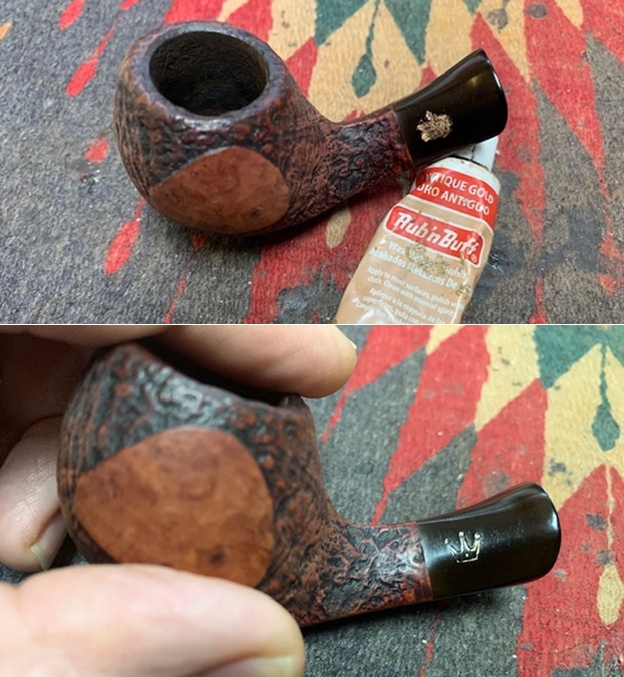
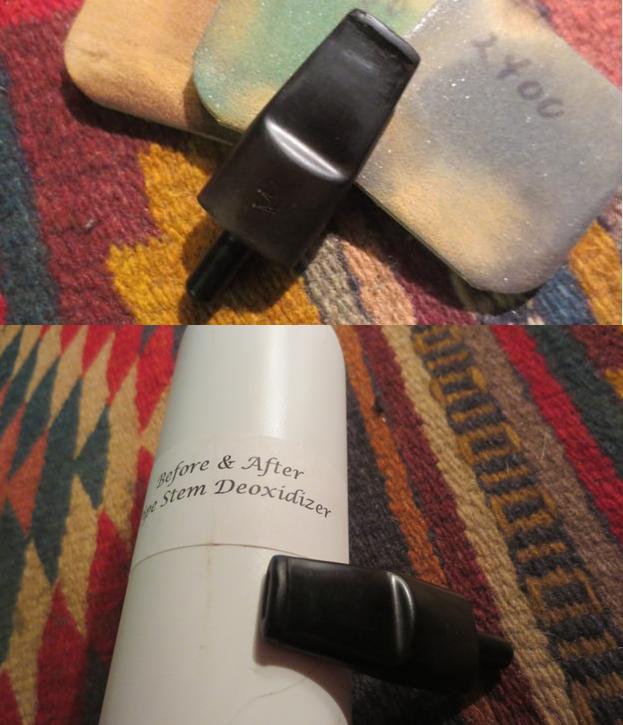
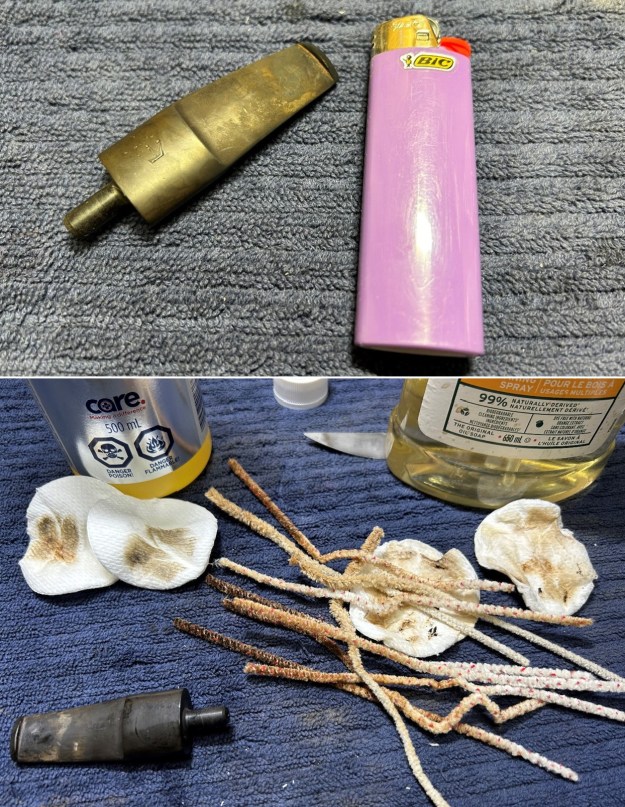 Once this process was done, I used some cleanser and cotton pads to wipe down the stem before throwing it in the oxidation remover overnight. The following day, I cleaned all of the de-oxidizing mess and again scrubbed with the cleanser on some cotton pads to remove the leftover oxidation. This worked well. I used some silver Rub’n’Buff to restore the crown logo on the stem. I painted the area carefully and let it fully set before proceeding.
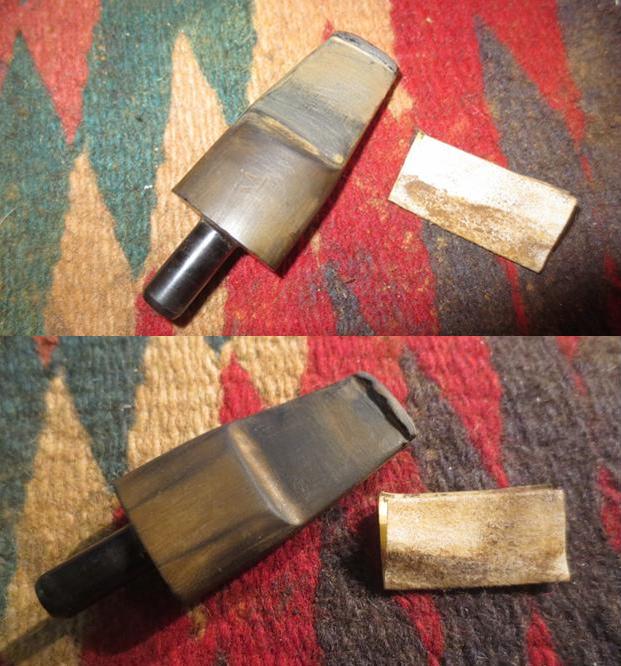
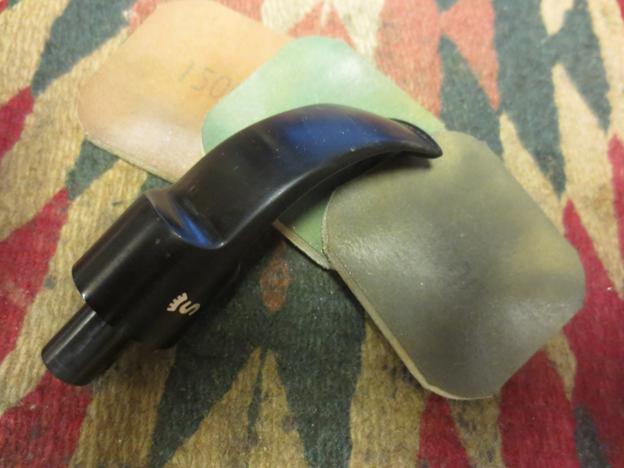
 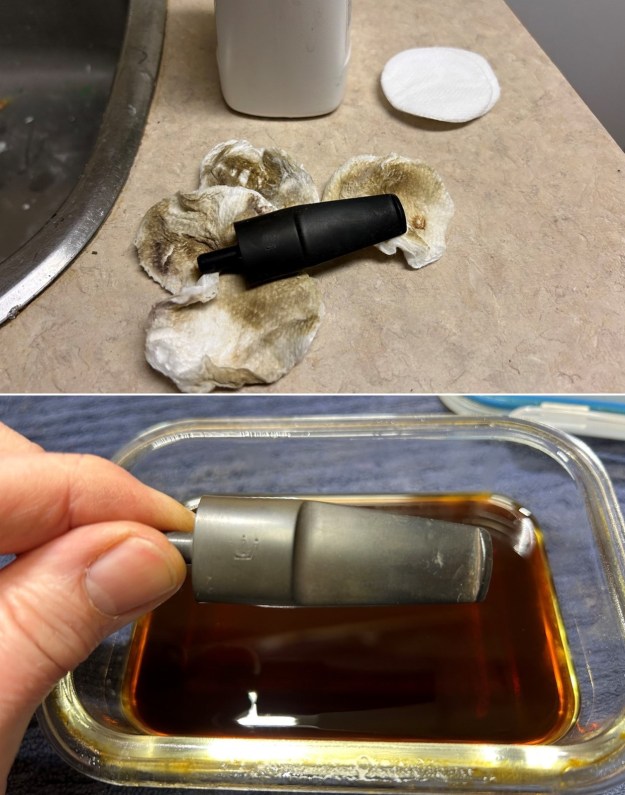 Before I moved on to the Micromesh pads, I built up the dents on the stem with black, carbon-and-rubber-infused cyanoacrylate adhesive and let them fully cure.
 At this point, I turned my attention to the bend in the stem – or, rather, the lack of bend. Over time, the stem had gradually uncurled and straightened, so that it now no longer looked quite right. To correct this, I gradually heated the stem with my heat gun and then carefully bent it bank into shape, using a large wooden dowel as my guide. Worked perfectly!
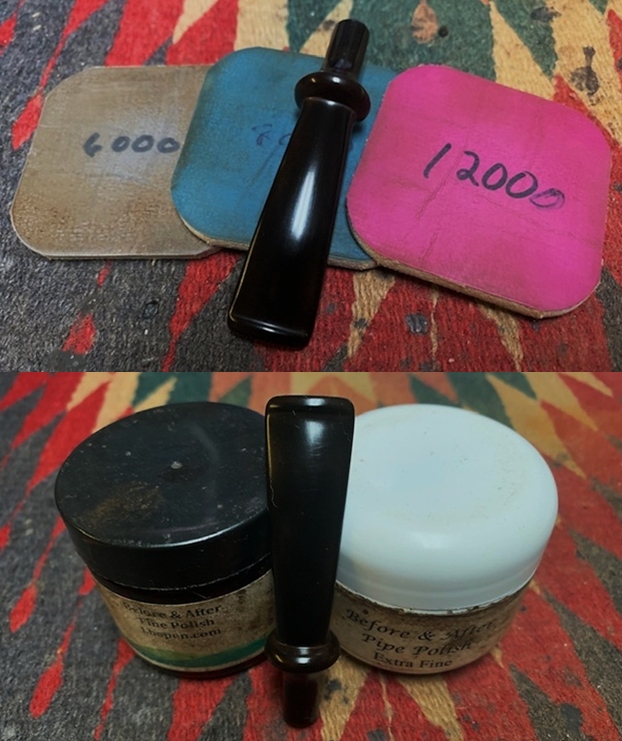
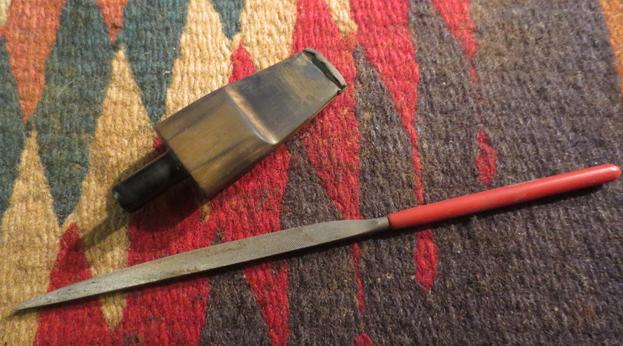
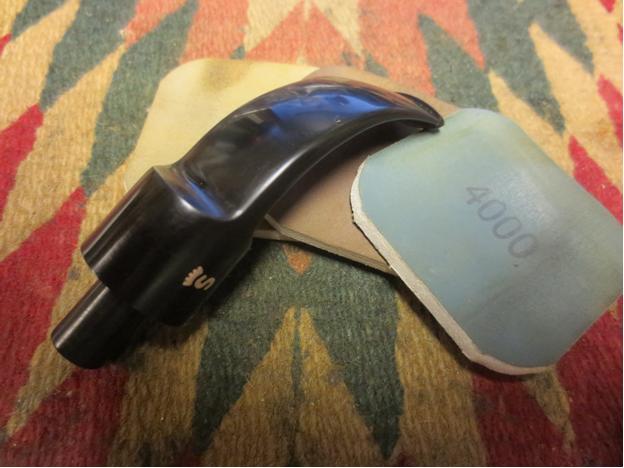
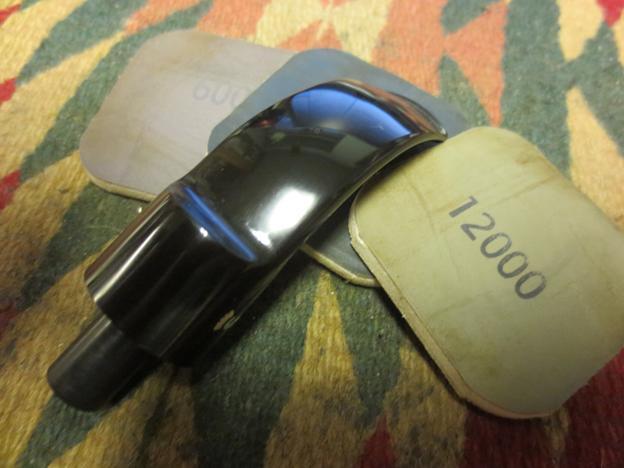
 I sanded the adhesive down with my needle files to meld seamlessly into the stem. I then used all nine Micromesh pads (1,500 through 12,000 grit) to bring out the lovely black lustre on the stem. I also used pipe stem oil in between each pad scrubbing (from 3600 on up).
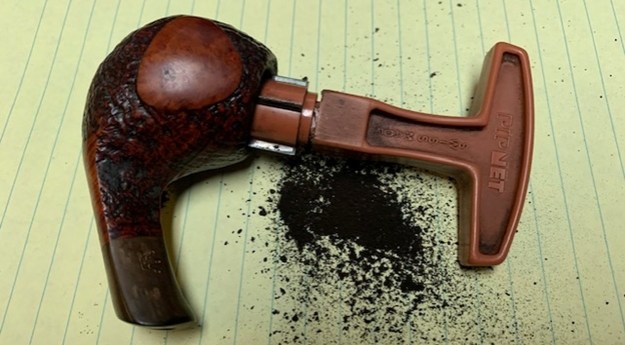
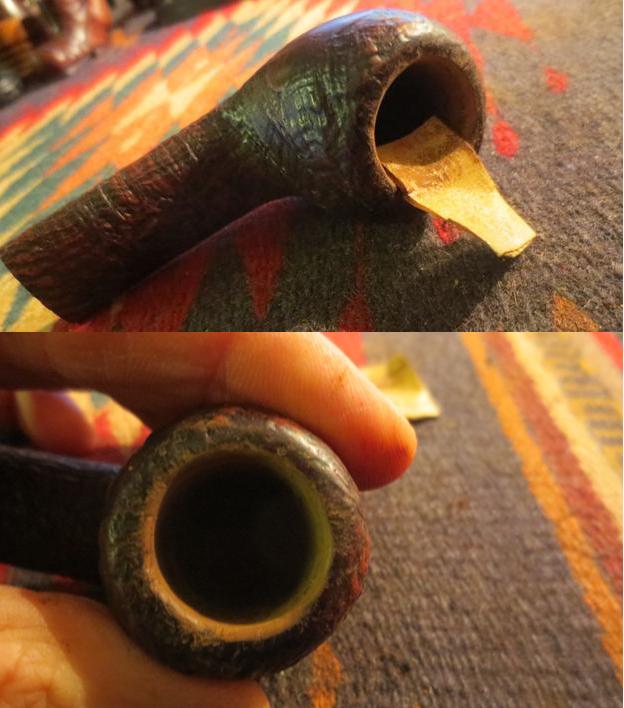
 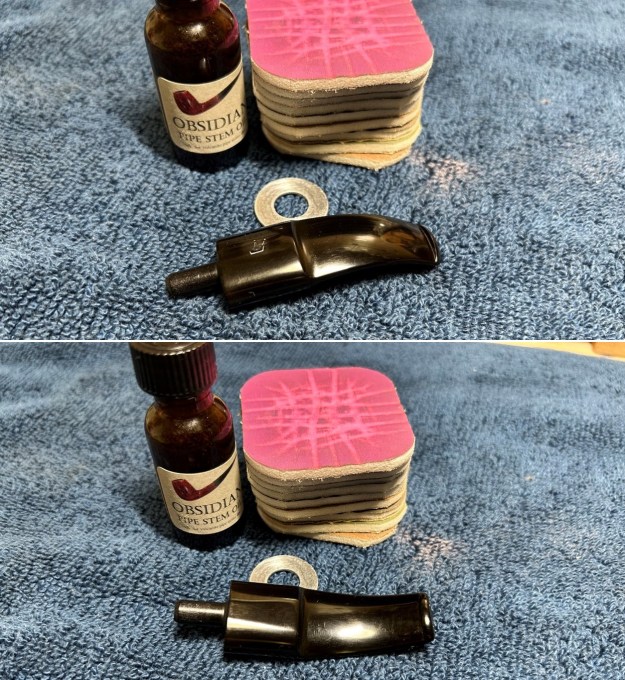 On to the stummel, and the usual cleaning procedures were in order for this pipe. I used both the PipNet reamer and some 220-grit sandpaper (taped to a dowel) to remove the enormous amounts of cake and take the bowl down to bare briar, as I wanted to ensure there were no significant flaws in the walls of the bowl. Fortunately, there were none.
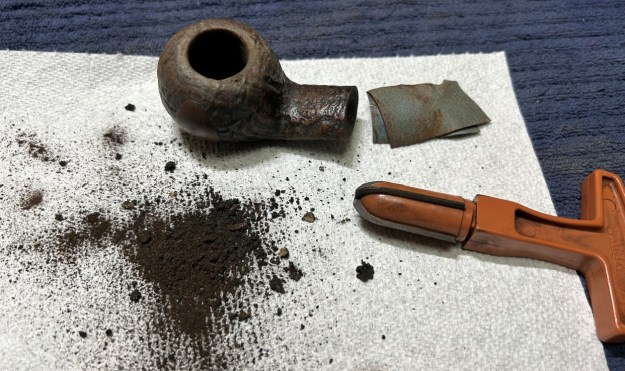 I then proceeded to clean out the insides of the shank with cotton swabs, pipe cleaners, and isopropyl alcohol. There was considerable filth inside this stummel.
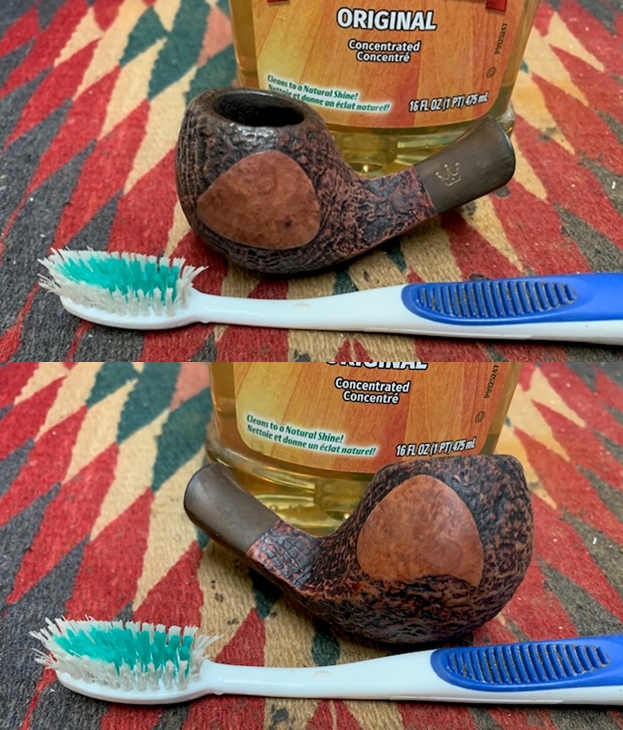
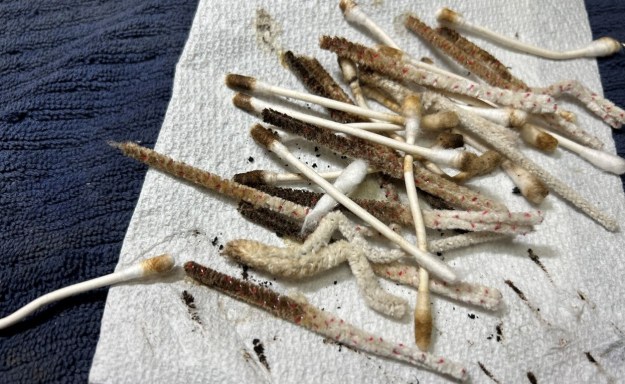 I decided to de-ghost the pipe, so I thrust cotton balls into the bowl and the shank and saturated them with 99% isopropyl alcohol. I let the stummel sit overnight. This caused any remaining oils, tars and smells to leach out into the cotton. I followed that up by cleaning the insides with some dish soap and tube brushes. The bowl was nice and clean after this. I then moved on to cleaning the outside of the stummel with oil soap, some cotton pads, and a toothbrush. That removed any latent dirt hidden in the lovely recesses of the sandblast.
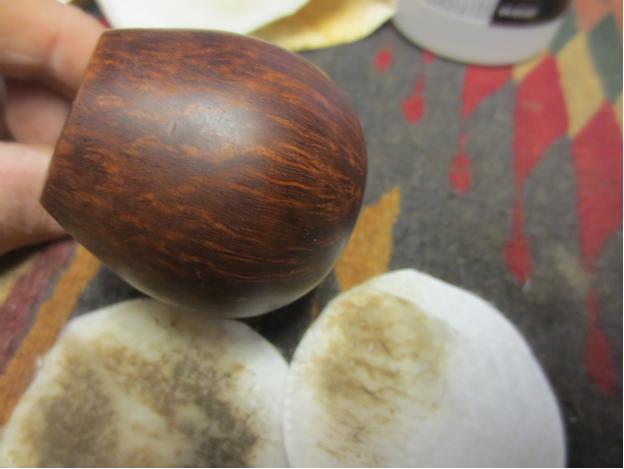
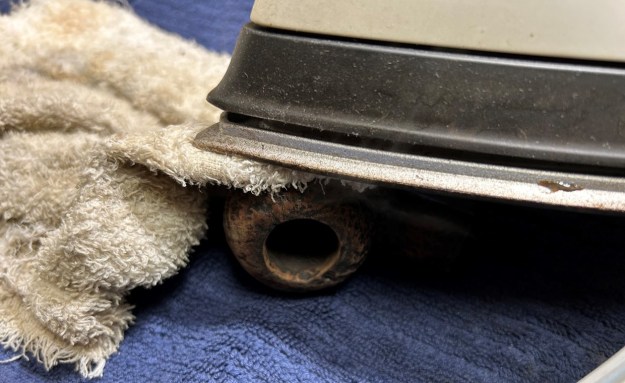
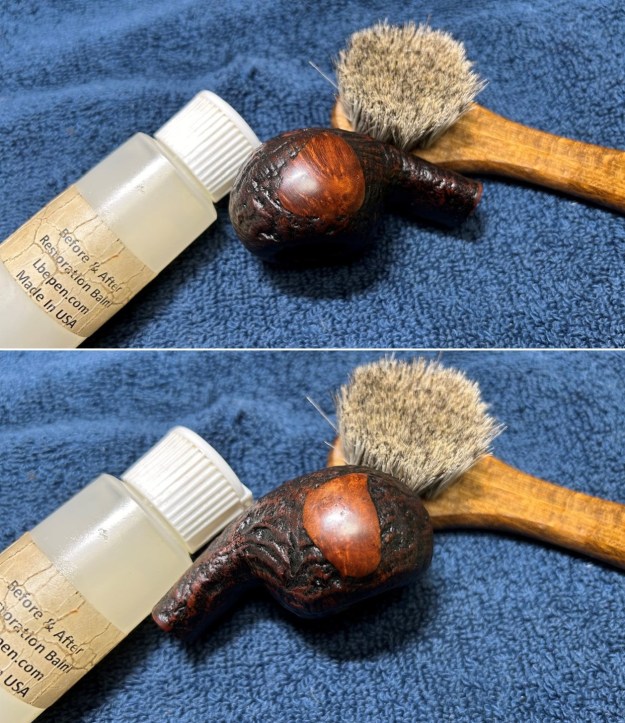
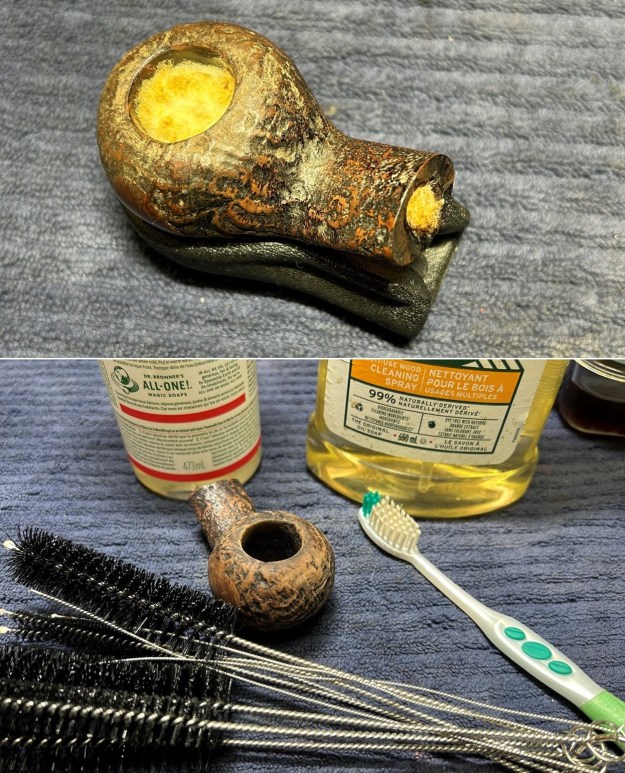 There were a few nicks on the smooth section of briar on either side of the bowl. In order to try and improve this, I took a wet piece of cotton cloth, draped over the affected area, and used a hot iron to produce steam. This steam can sometimes cause the dents to swell back into place.
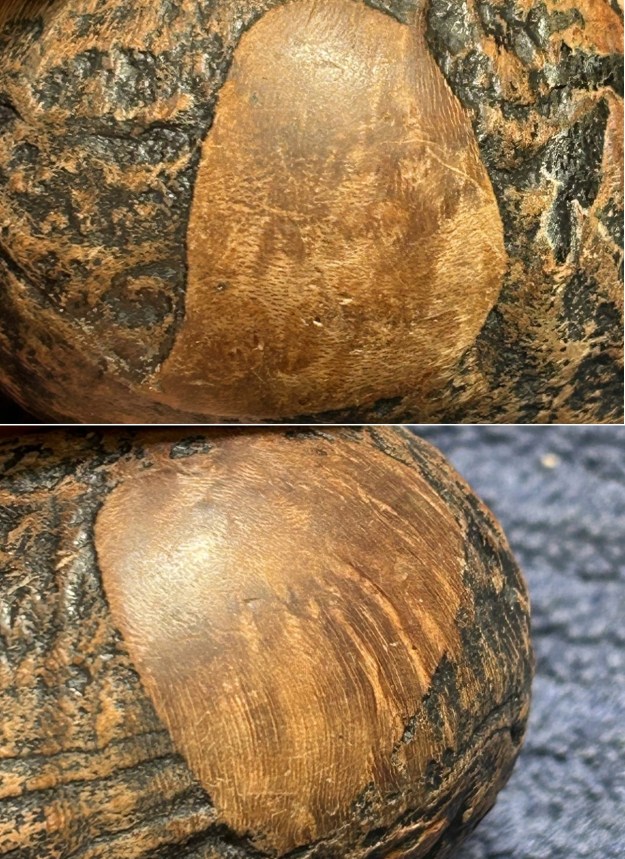
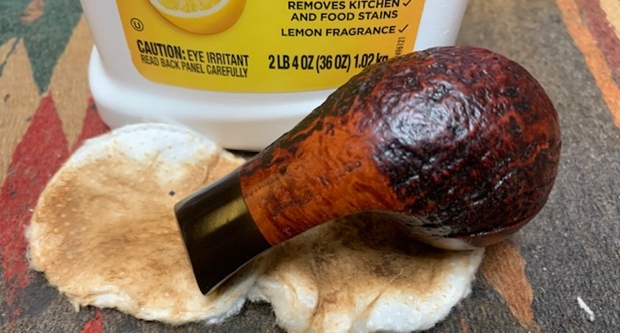
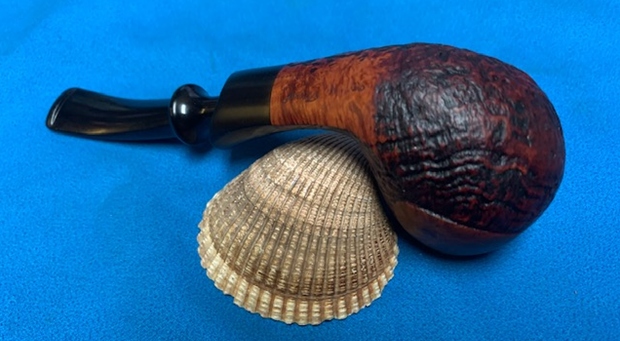
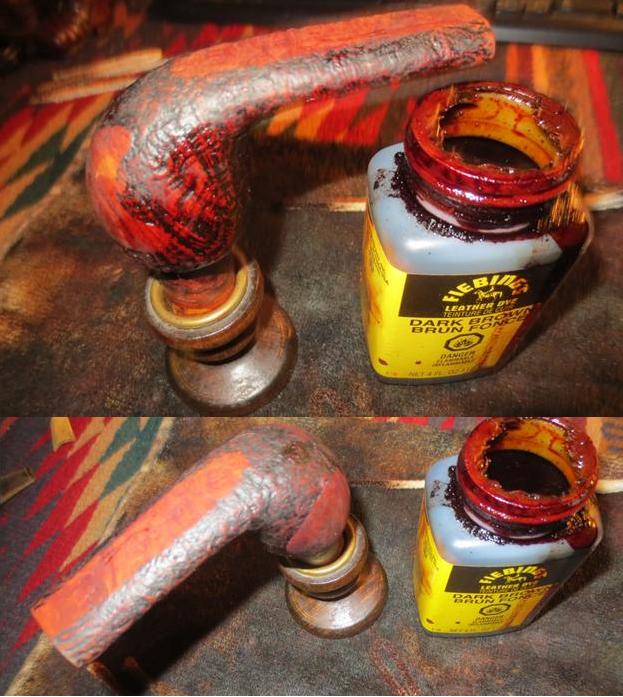
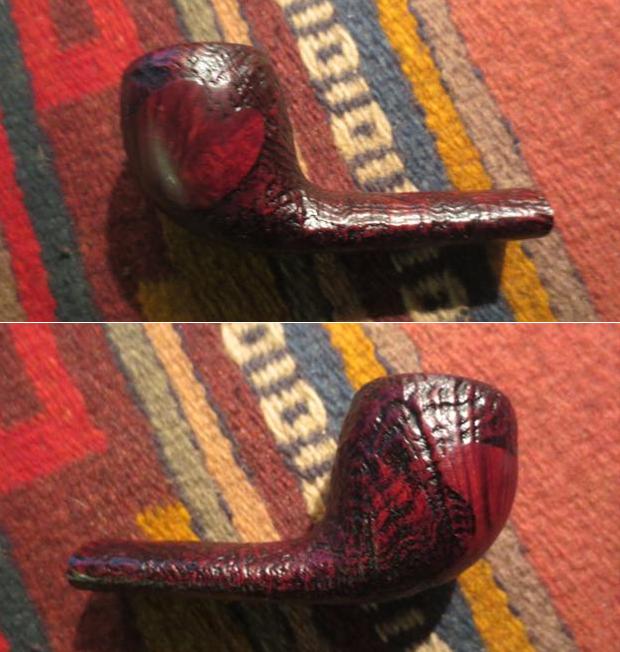
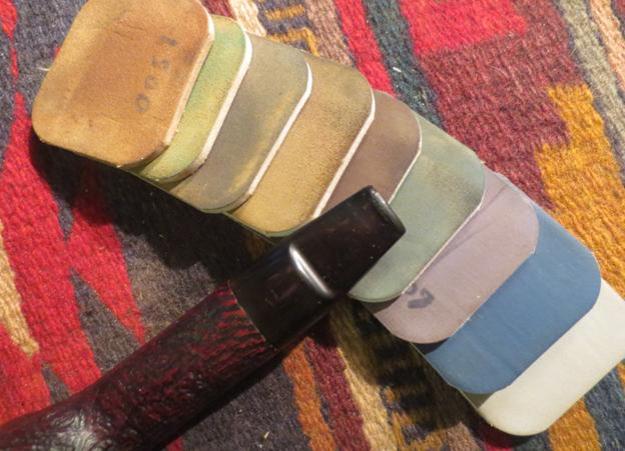
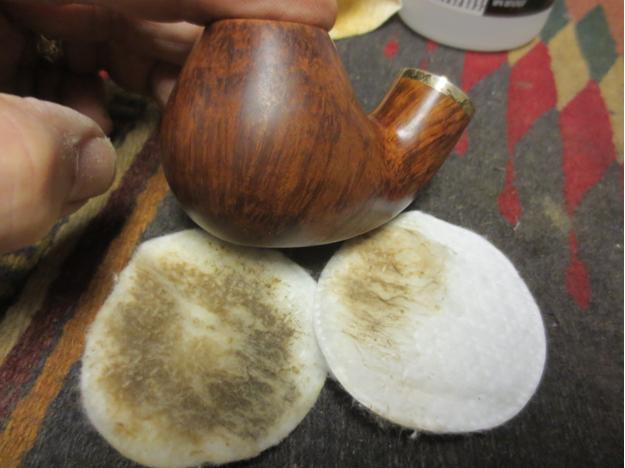
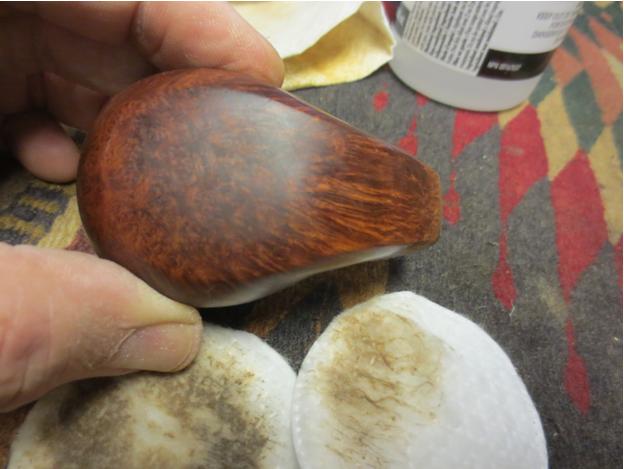
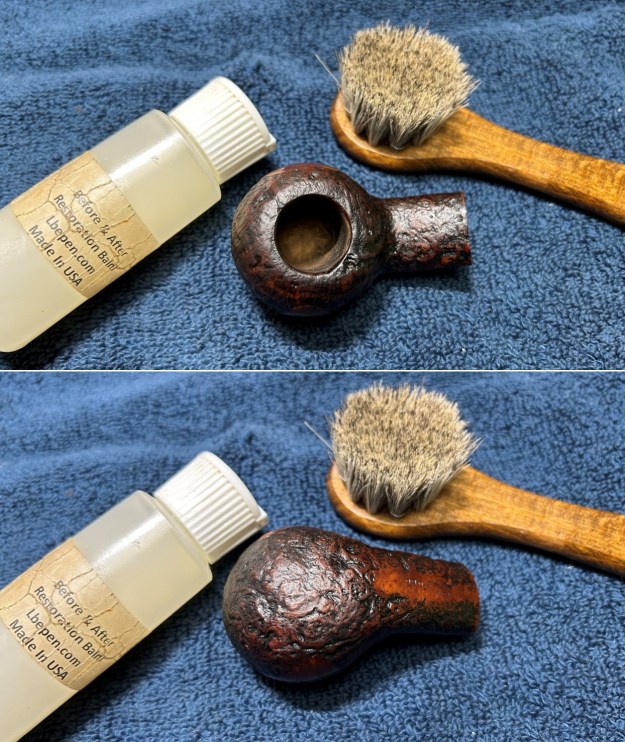
 Since this was a partial sandblast, I only needed to use the Micromesh pads on the smooth sections near the rim and shank. I applied some Before & After Restoration Balm to the wood and let it sit for 20 minutes or so. I then used a horsehair brush to ensure the balm got into those lovely sandblast grooves. The balm does wonderful things to the wood and really emphasizes how beautiful this pipe is. I’m going to be sorry to see it go.
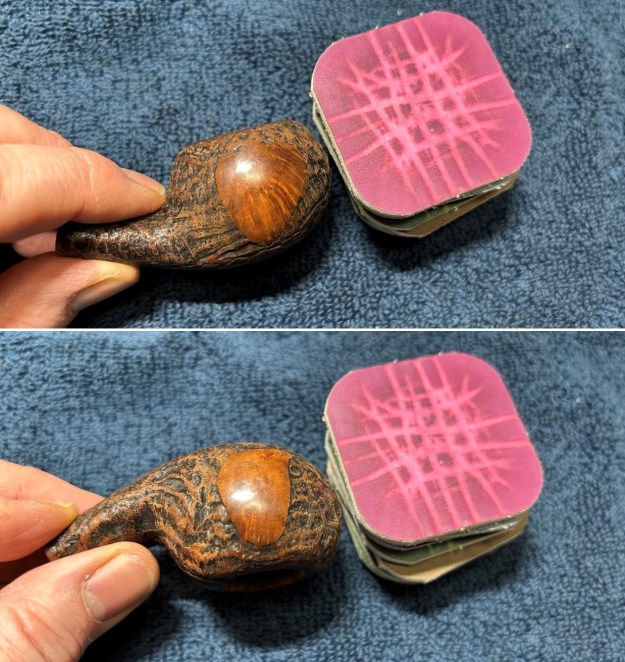
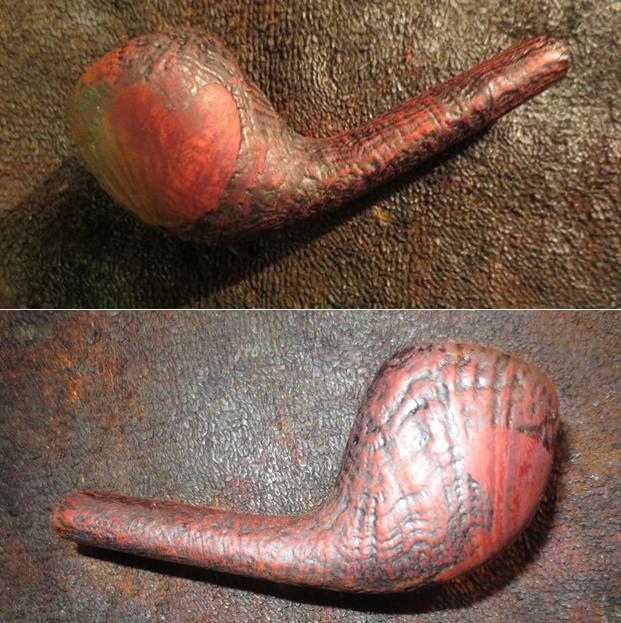
 I took the pipe to my bench polisher and gave it a thorough going-over with my buffing compound and conservator’s wax. This pipe was a delight from the start and its beauty only increased through the restoration process. This Royal Danish 990 freehand ball is elegant, light, and incredibly comfortable to hold. Finally, I am pleased to announce that this pipe is for sale! If you are interested in acquiring it for your collection, please have a look in the ‘Danish’ pipe section of the store here on Steve’s website. You can also email me directly at kenneth@knightsofthepipe.com. The approximate dimensions of the pipe are as follows: length 5 in. (127 mm); height 1½ in. (37 mm); bowl diameter 1¾ in. (44 mm); chamber diameter ¾ in. (19 mm). The weight of the pipe is 1½ oz. (46 g). I hope you enjoyed reading the story of this restoration as much as I enjoyed restoring it. If you are interested in more of my work, please follow me here on Steve’s website or send me an email. Thank you very much for reading and, as always, I welcome and encourage your comments.