Blog by Steve Laug
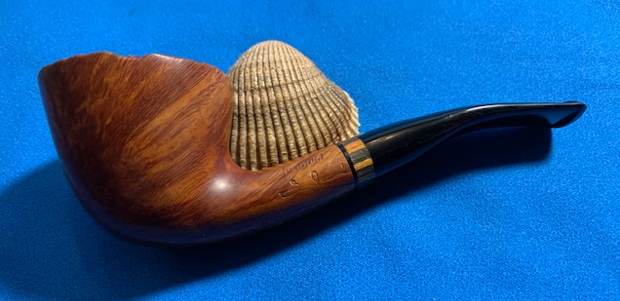
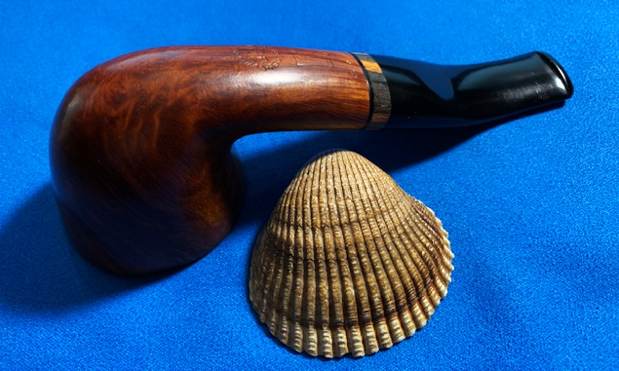
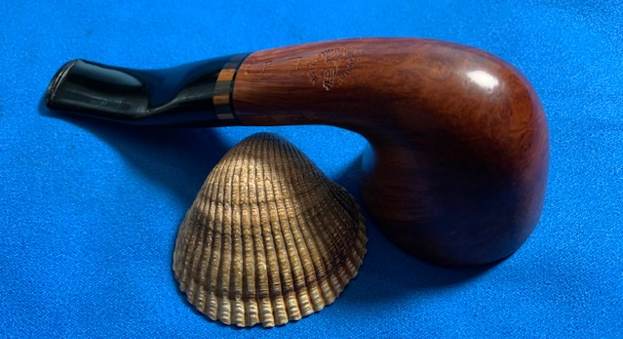
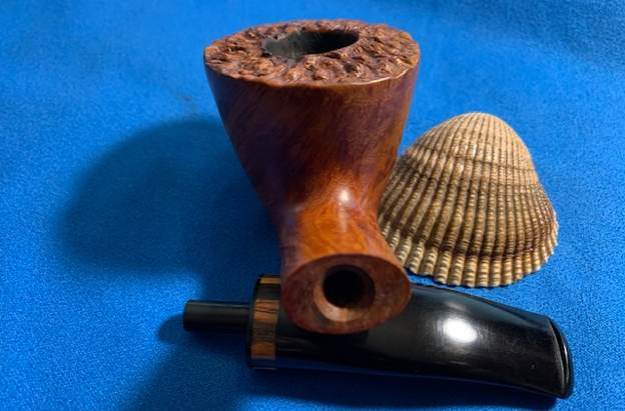
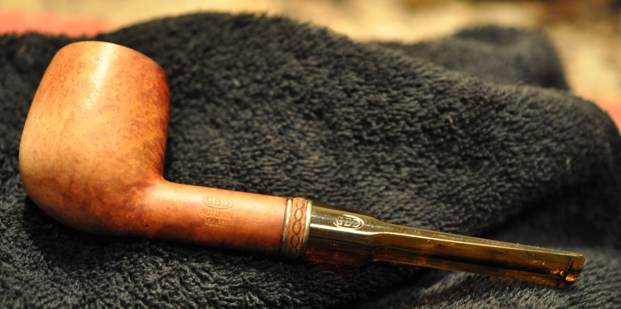
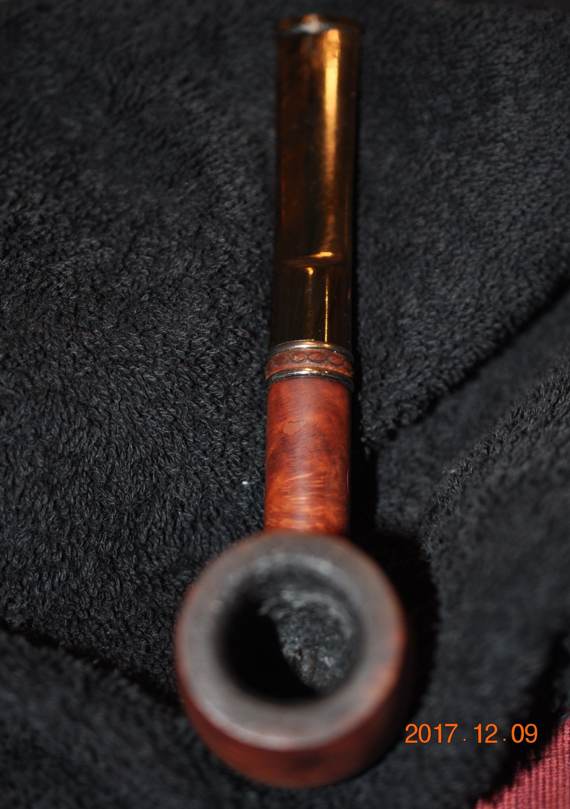
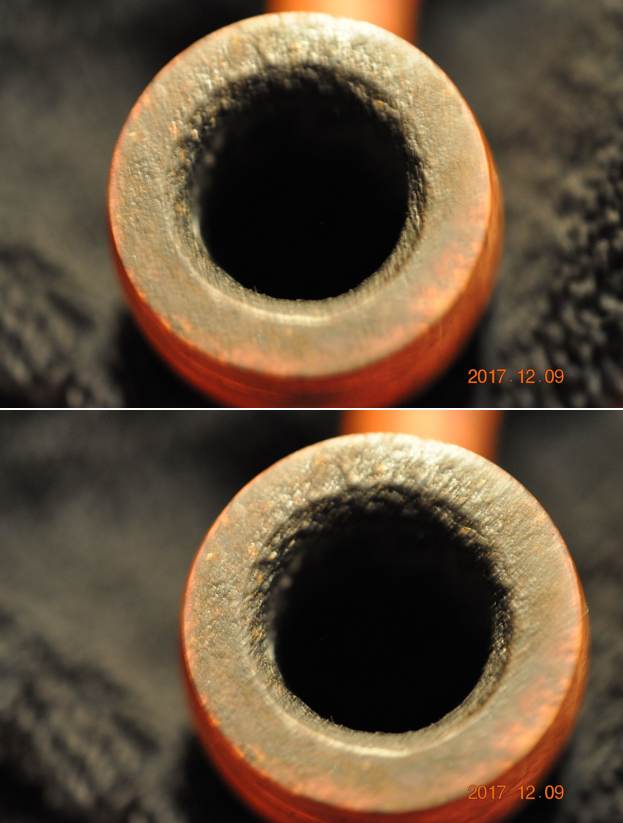
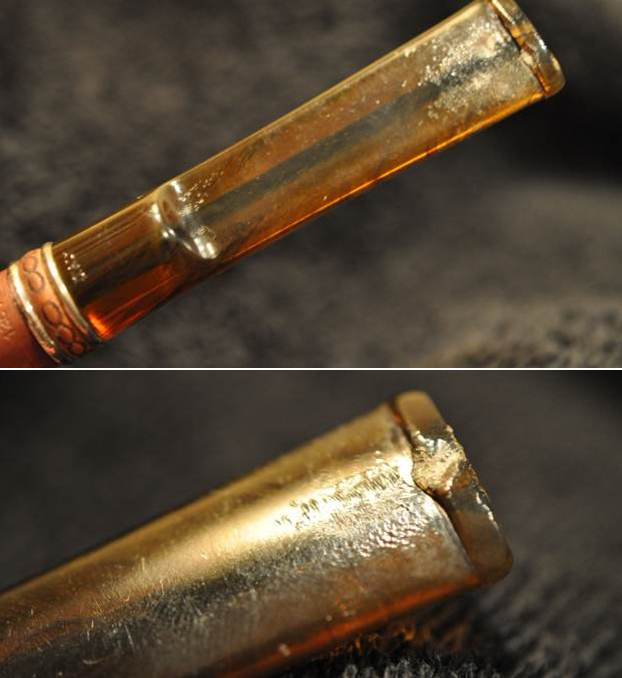
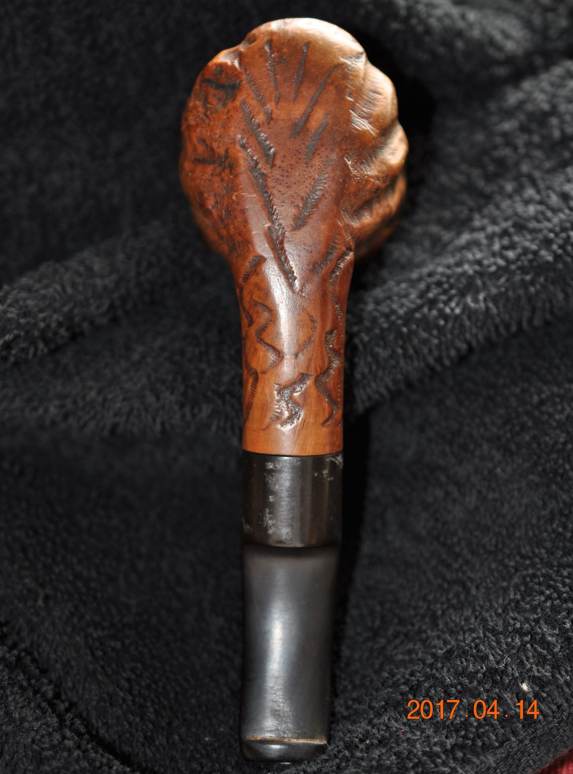
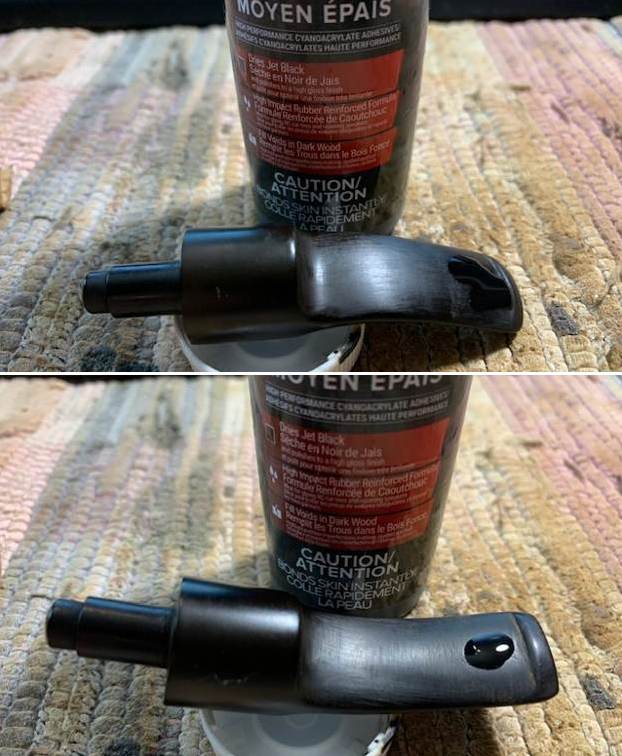
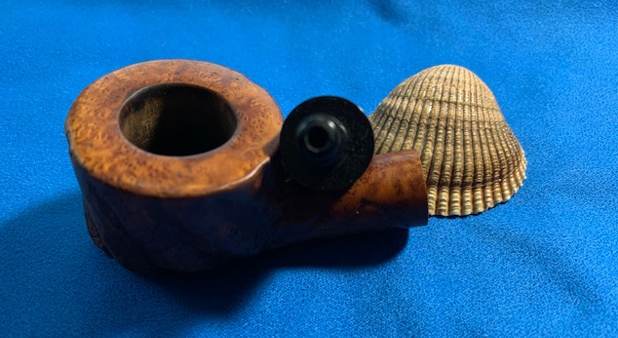
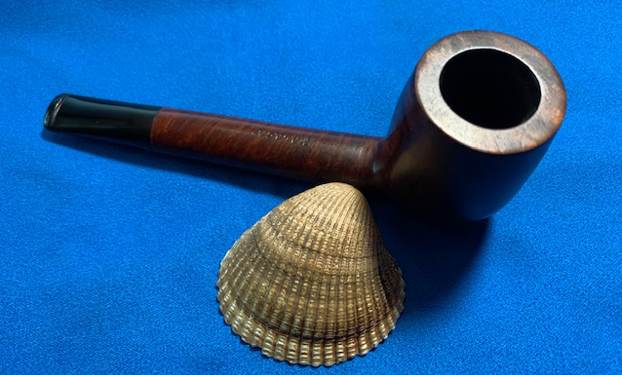
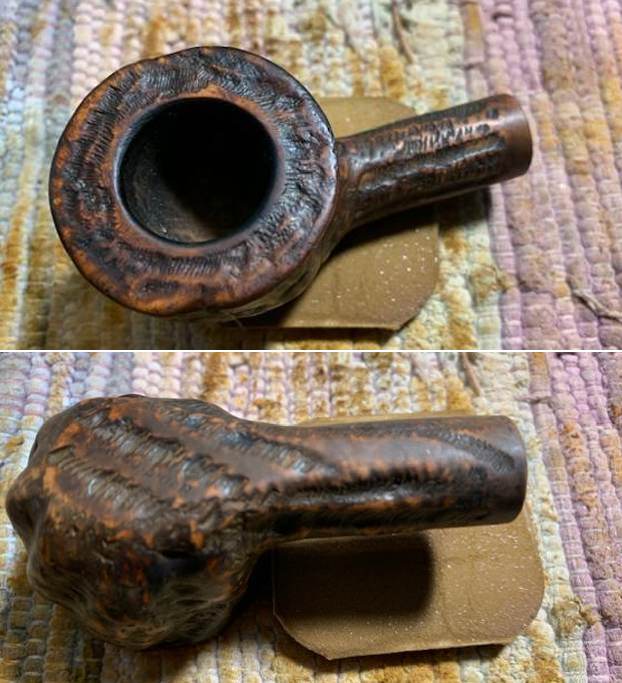
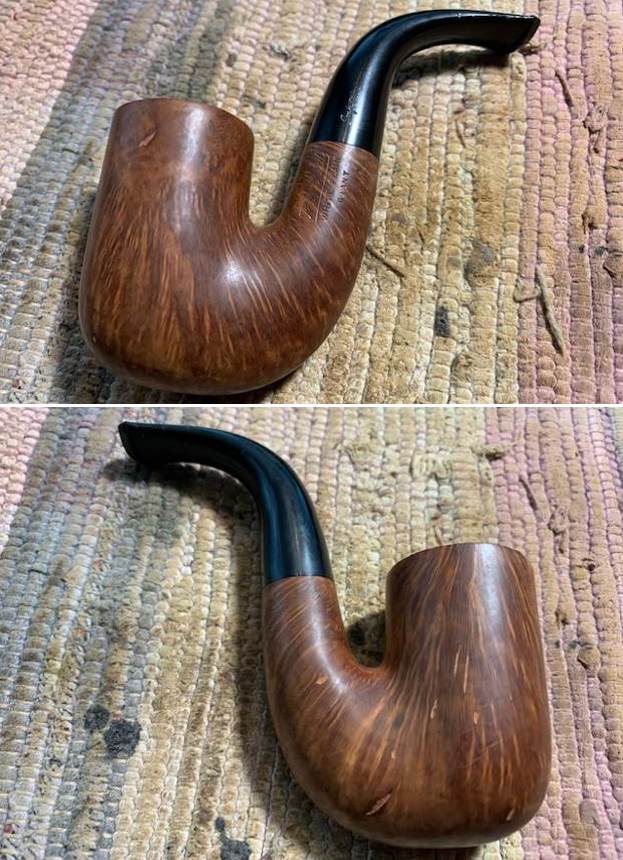
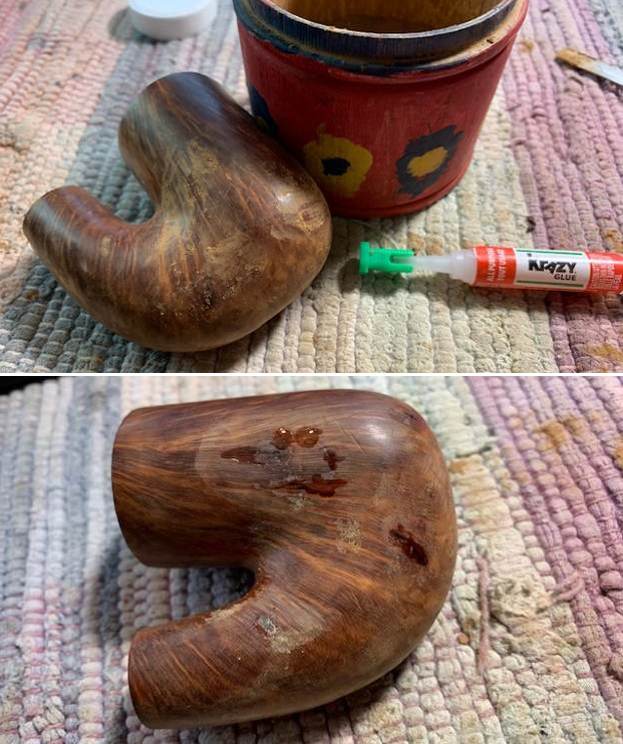
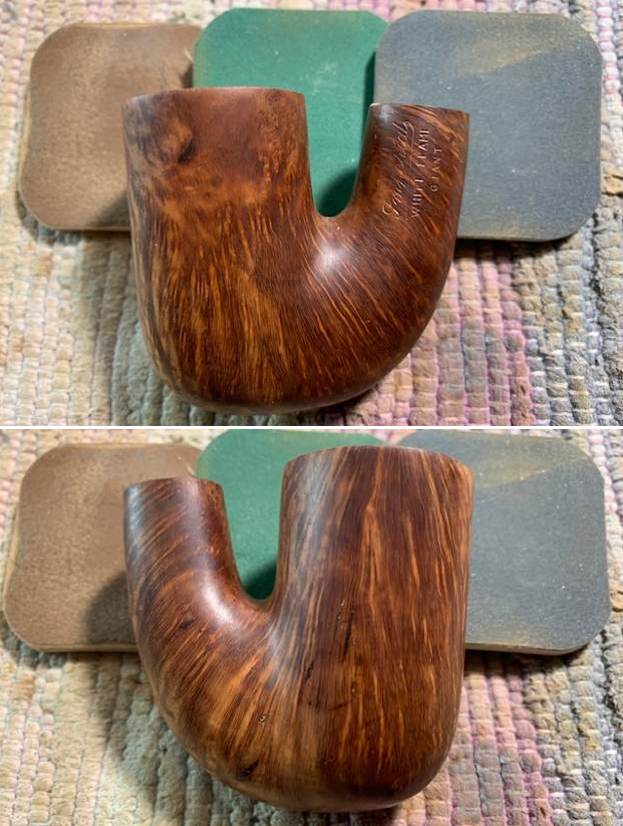
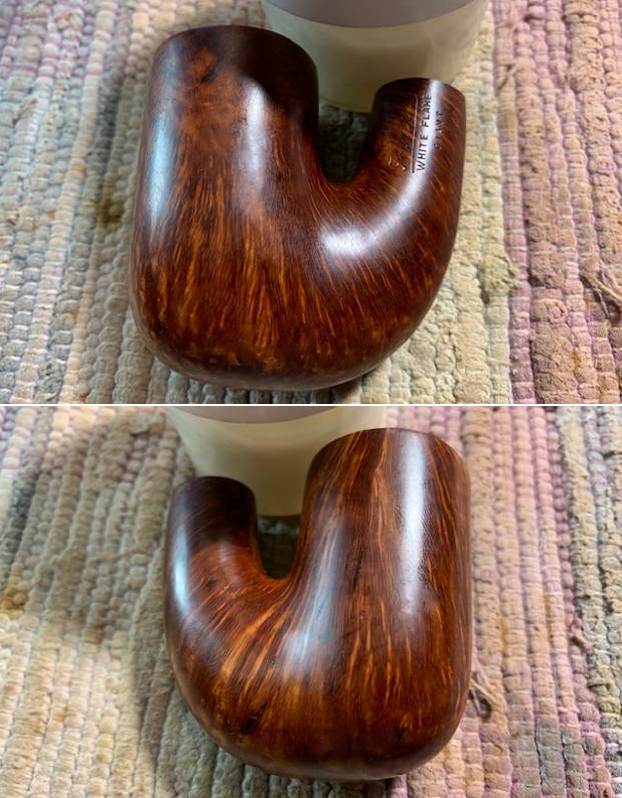
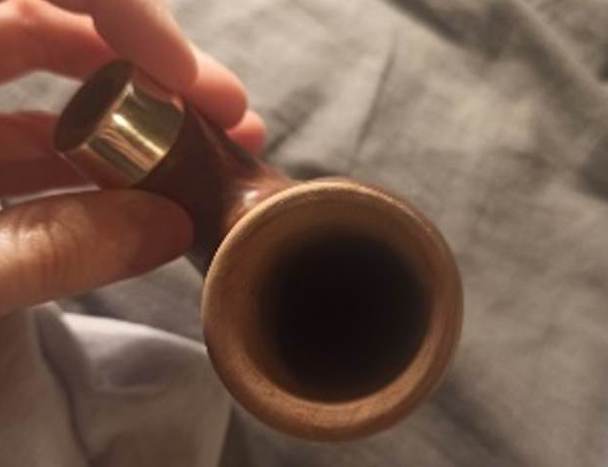
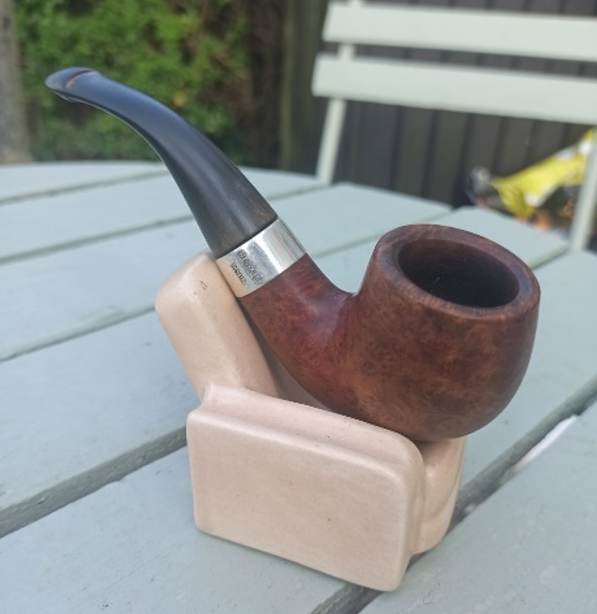
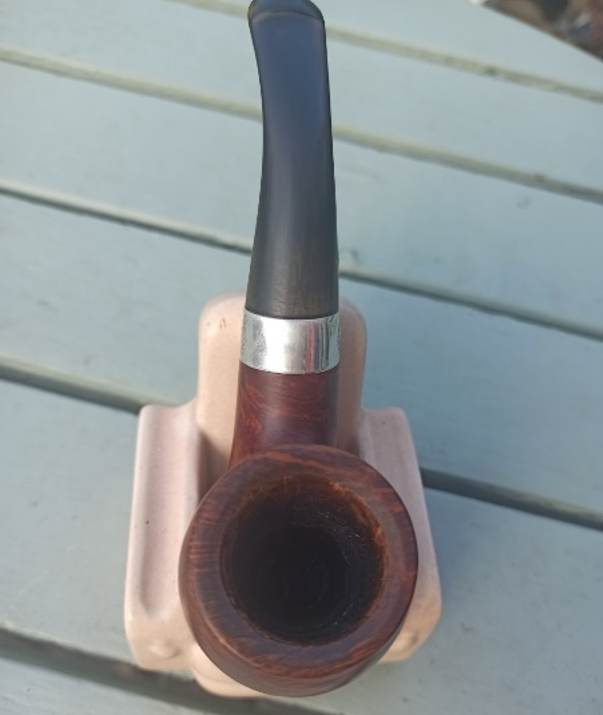
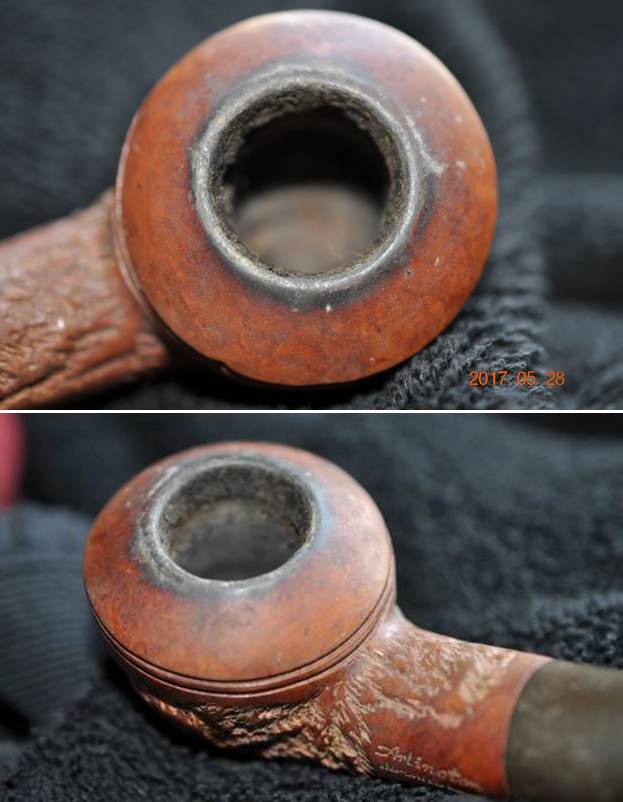
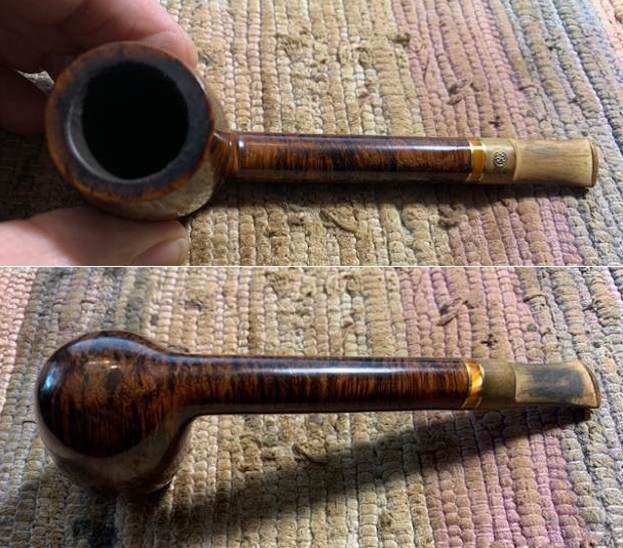
I have sold a few pipes to a fellow in Israel over the past year and he is great to work with. He has great taste in pipes and the ones he has purchased from me have been beautiful. Not long ago I received and email from him about another pipe he was interested in purchasing EBay. He sent me the link and wanted my opinion on it. It was a nice Brebbia Collection “Freehand” with a rim top carved to emulate plateau. I really liked the look and the flowing shape of the pipe and stem. The pipe appeared to be in decent condition. Not too many days after that he wrote me to say he had won it and he had it shipped to me rather than to him in Israel. We chatted back and forth about it via email and I would let him know when I received it. Here are the pictures that the seller included with the advertising. 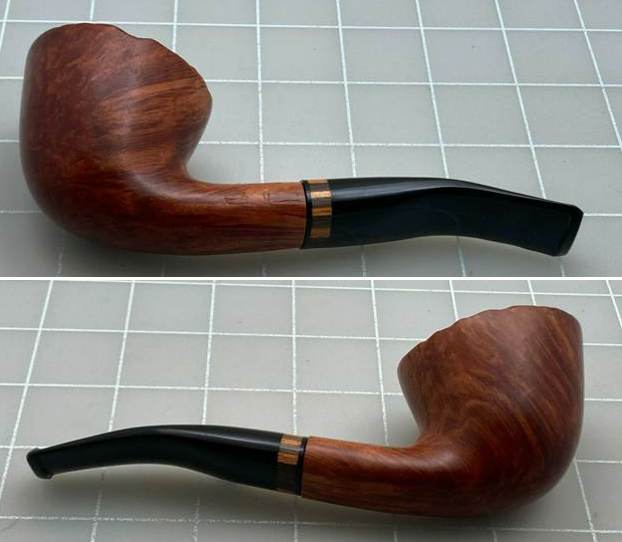 The seller took a large photo of the rim top to show the condition. You can see the cake in the bowl and darkening on the inner edge. You can also see the faux plateau (carved briar to look like it is plateau when it is not). He also included a photo of the top and underside of the stem the light tooth marks, chatter and scratches. It also has a nice inlay of various woods as a band on the shank end of the stem.
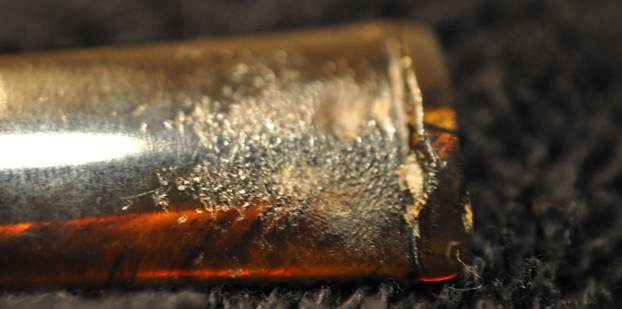
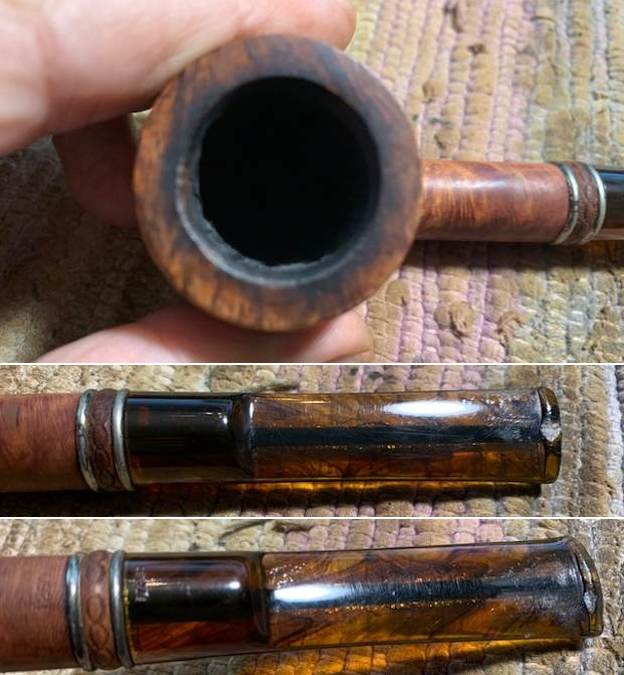
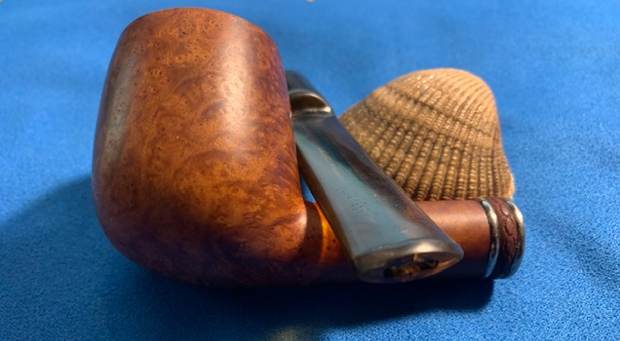
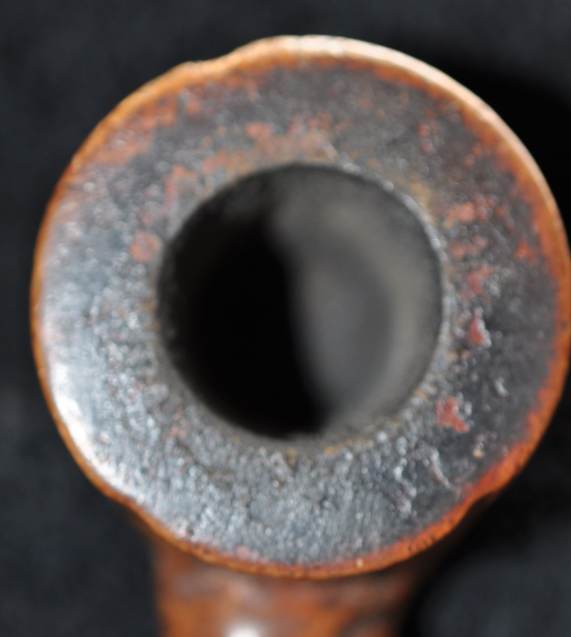
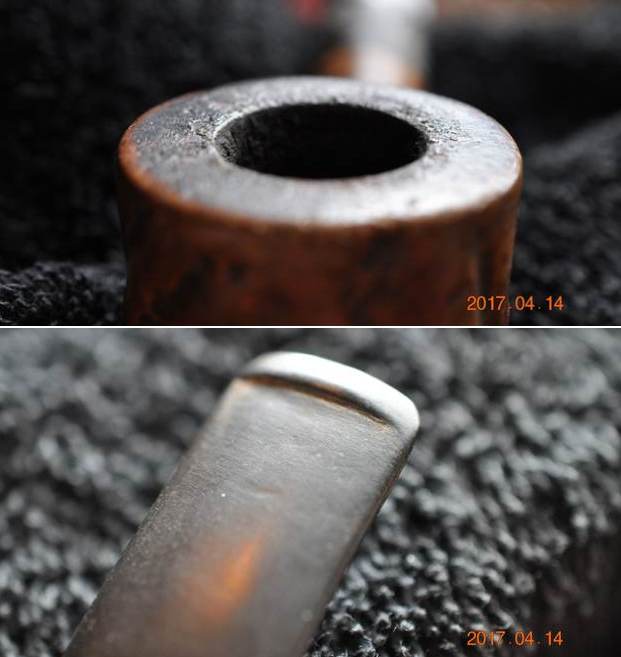
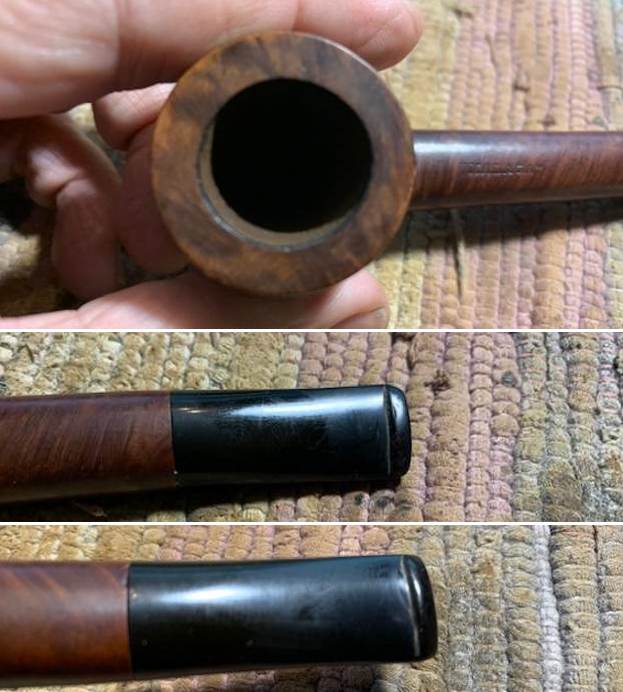
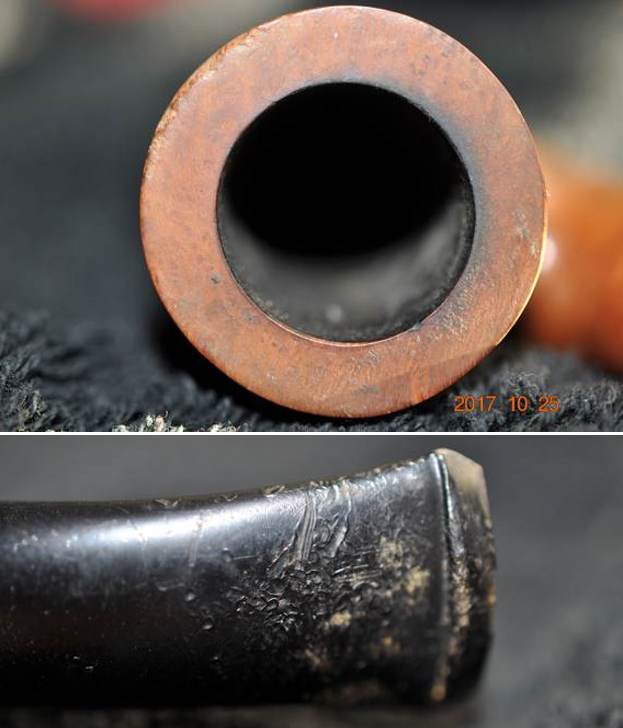
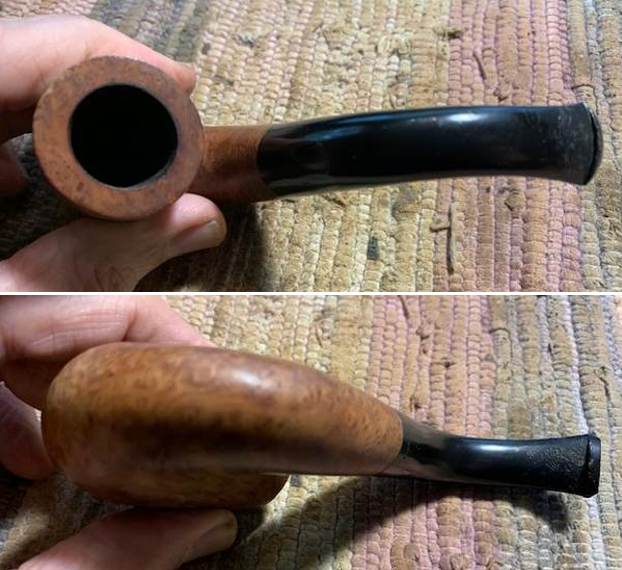
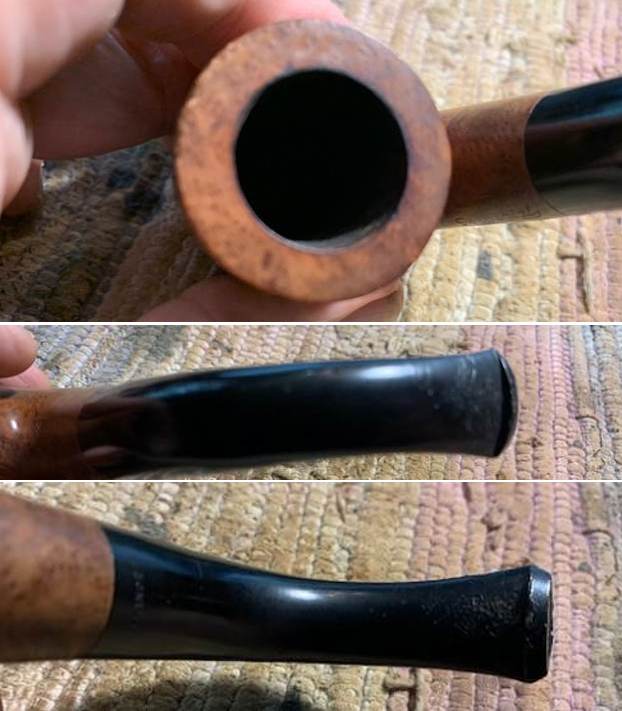
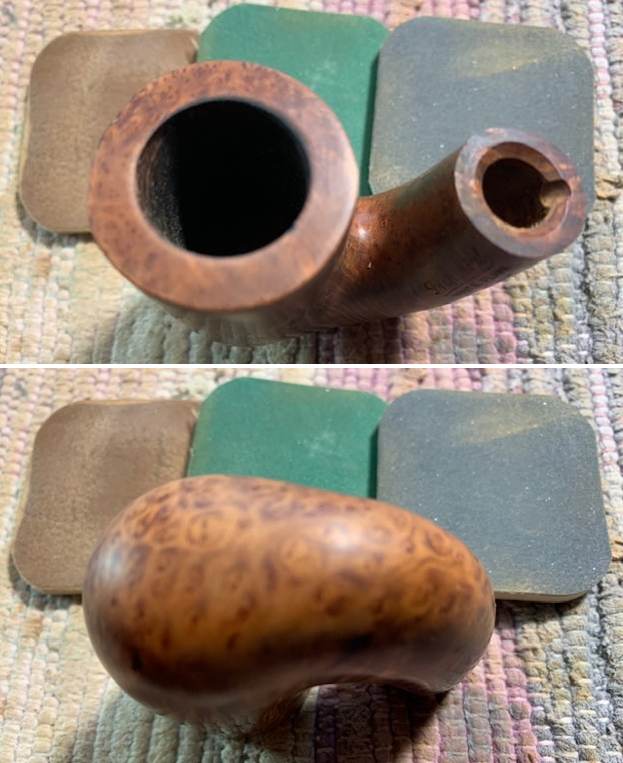
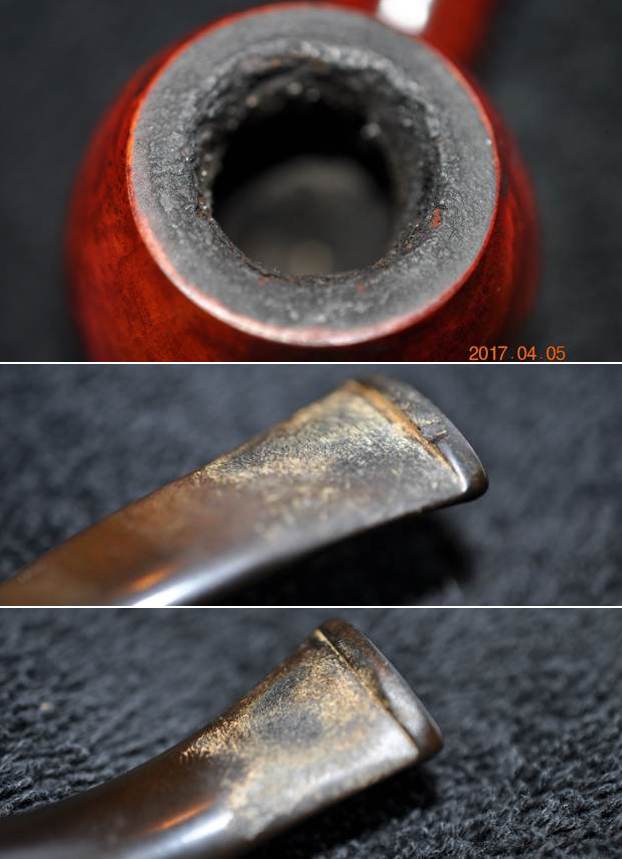
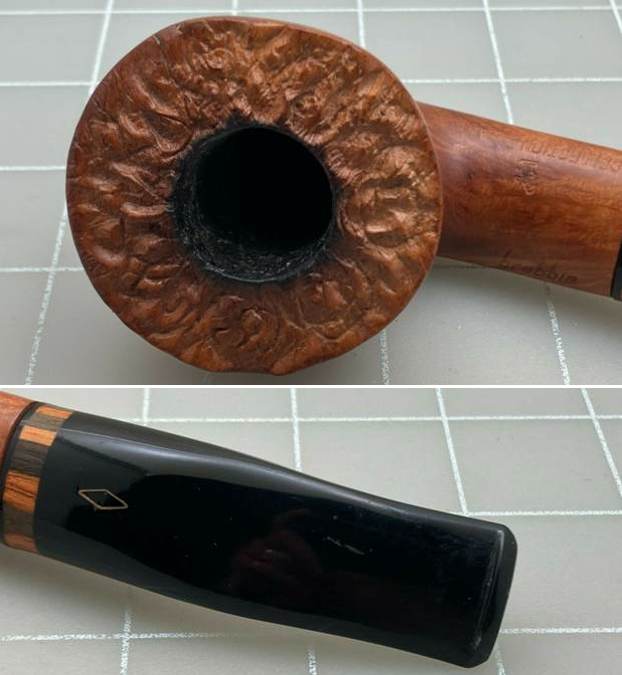
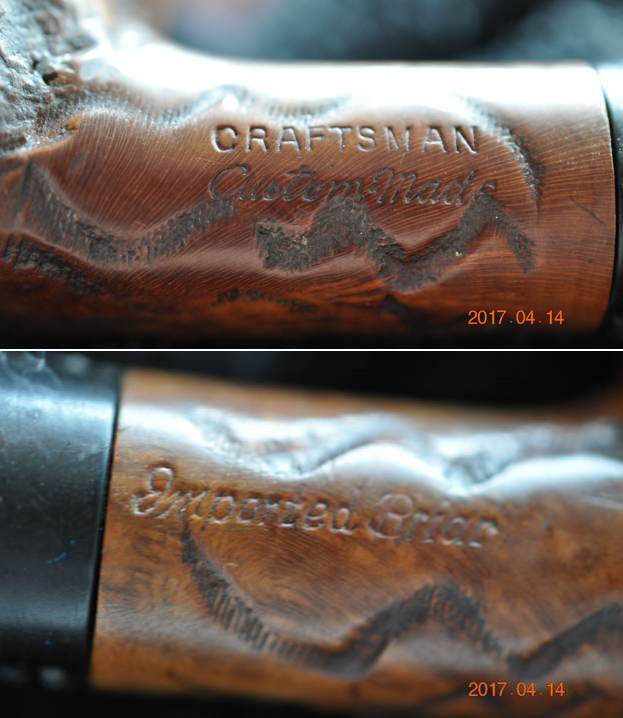
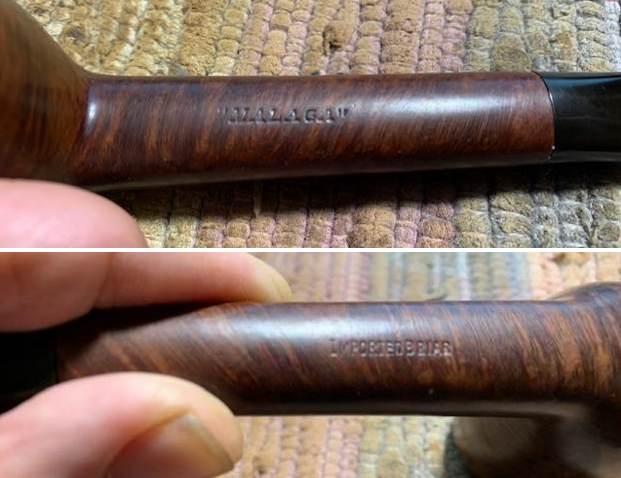
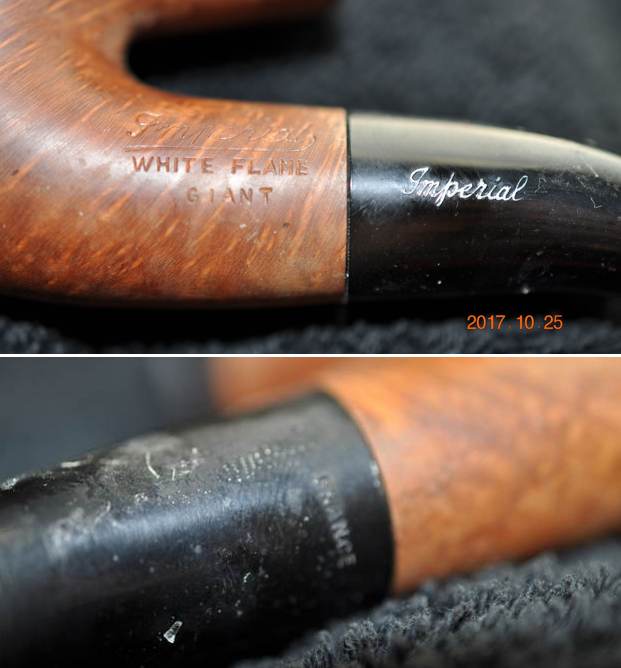
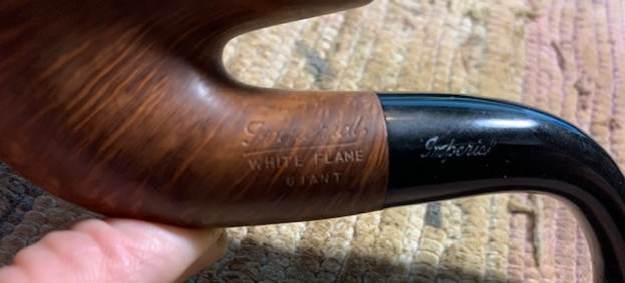
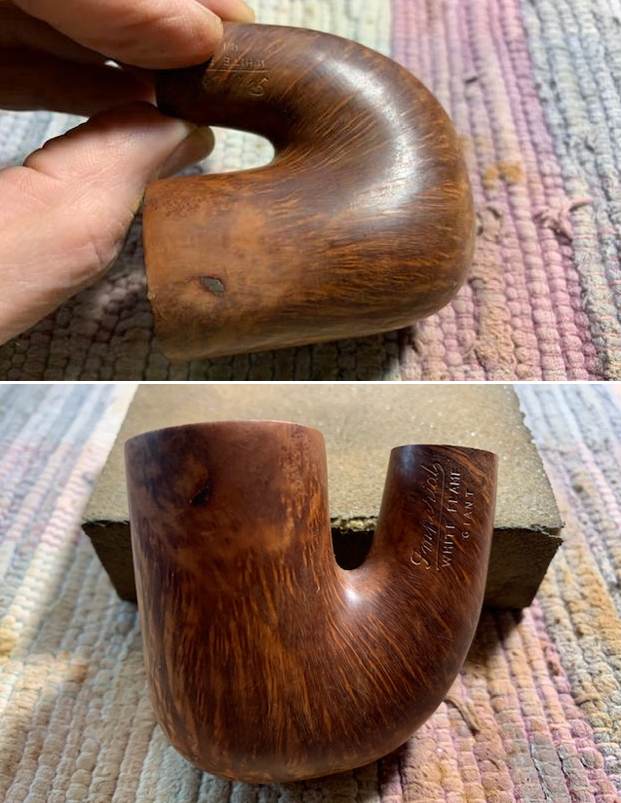
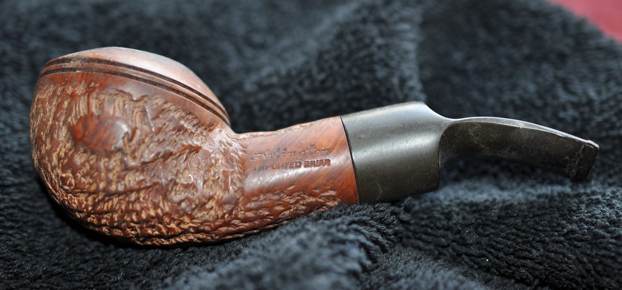
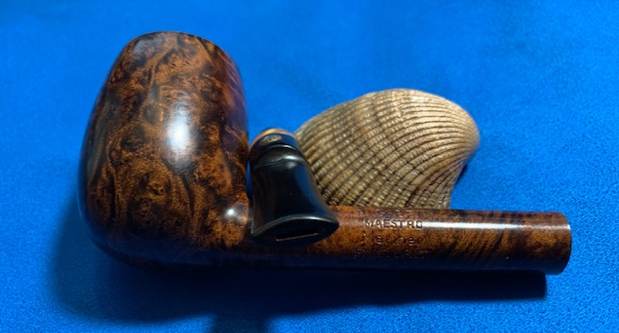
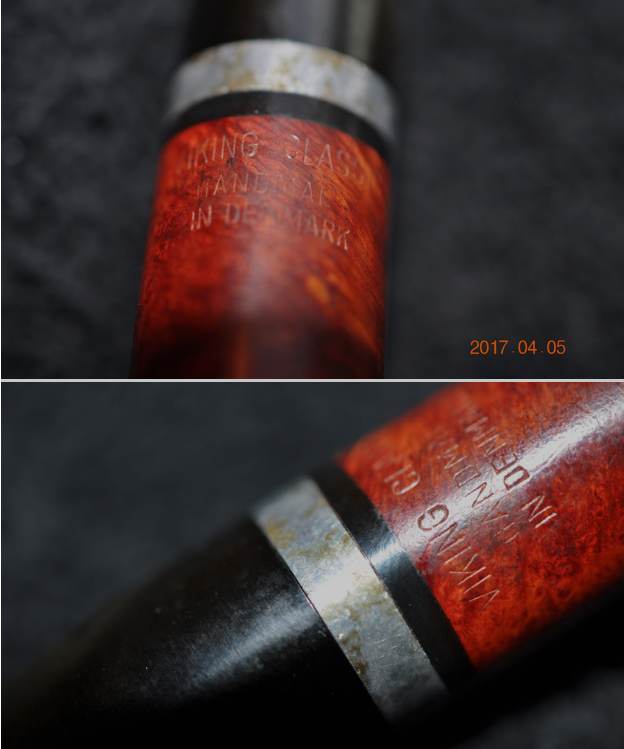
 He also took photos of the stamping on the sides of the shank. It was readable and will be described once I have the pipe in hand and can examine it.
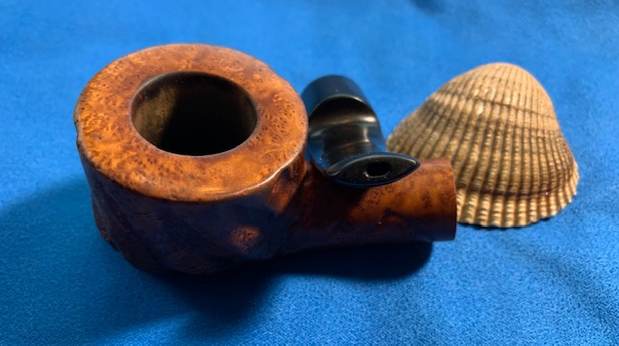
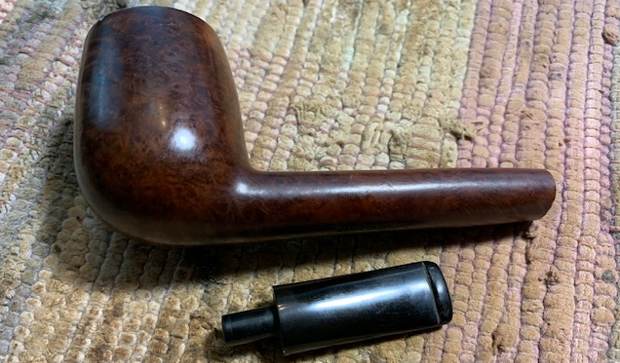
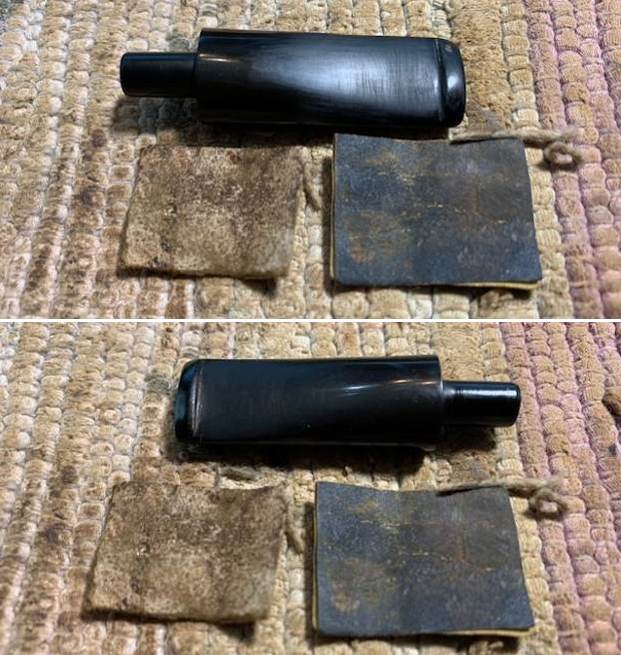
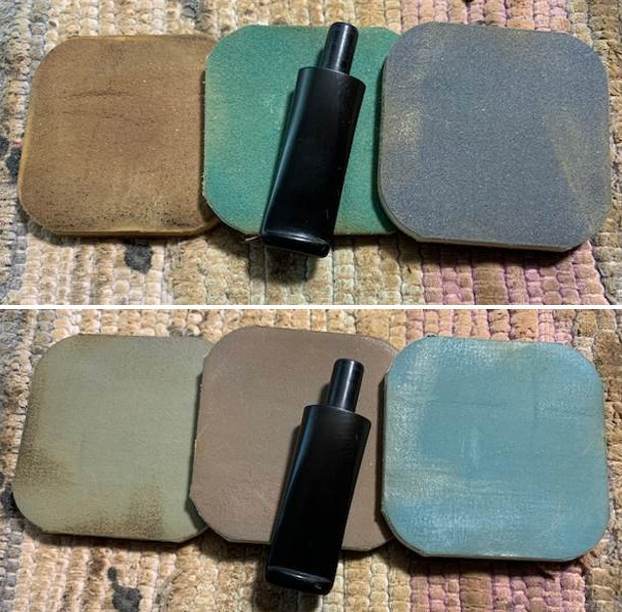
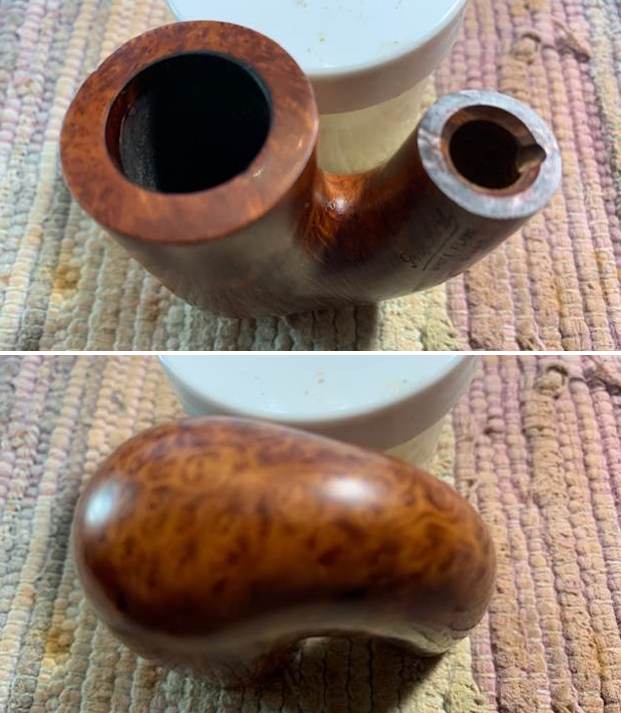
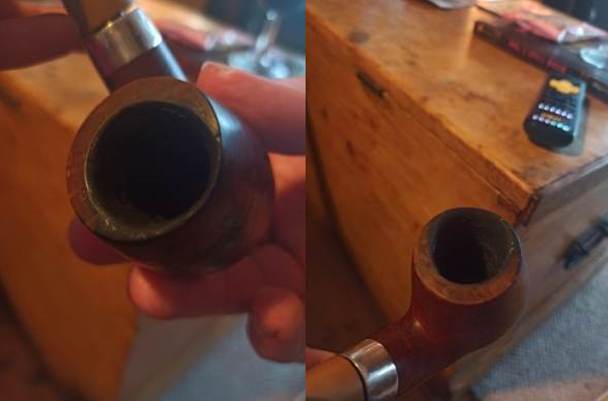
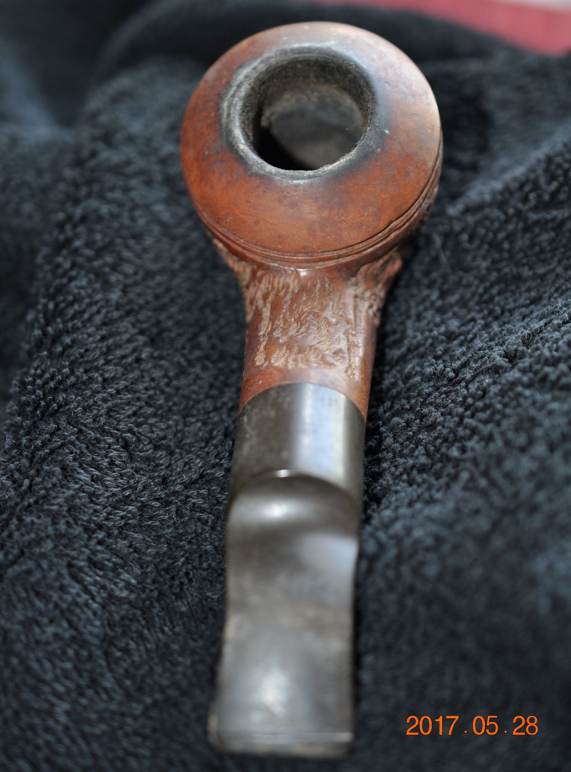
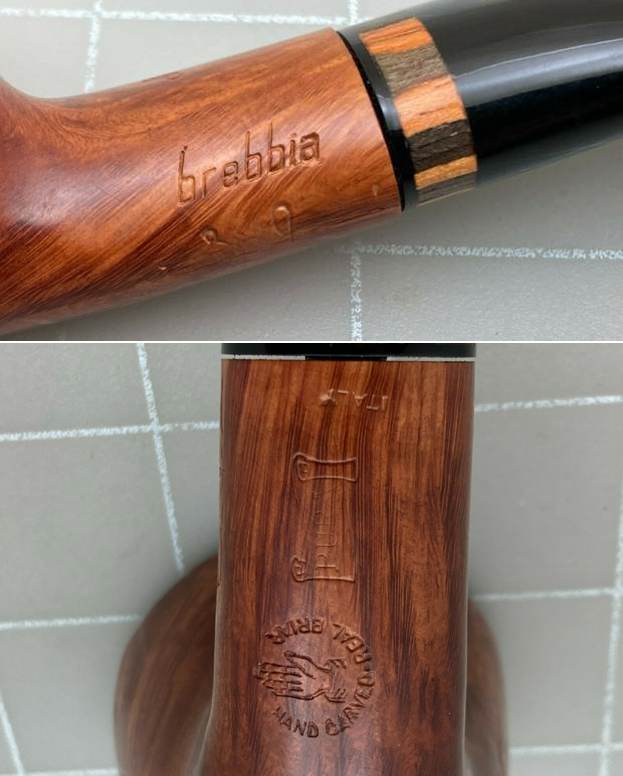 He took the stem off the shank and took a picture of the mortise and the tenon to show the condition of those parts of the pipe. It looked solid.
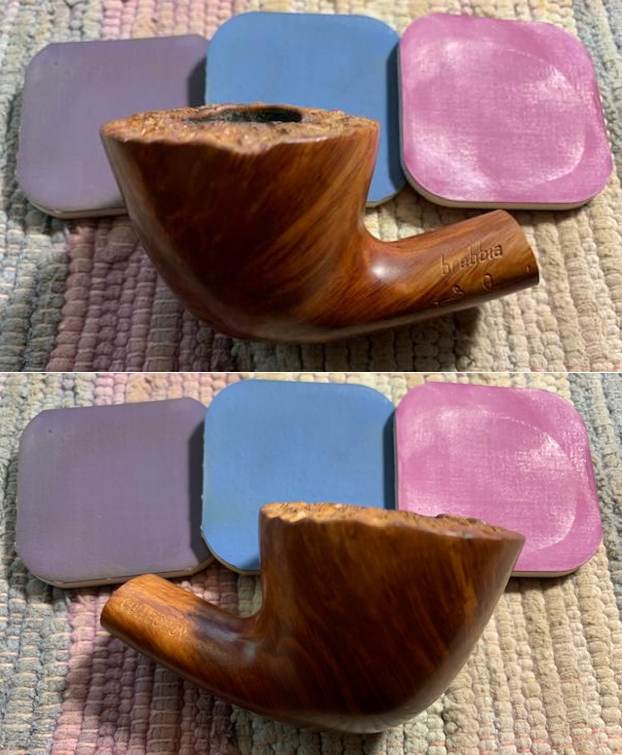
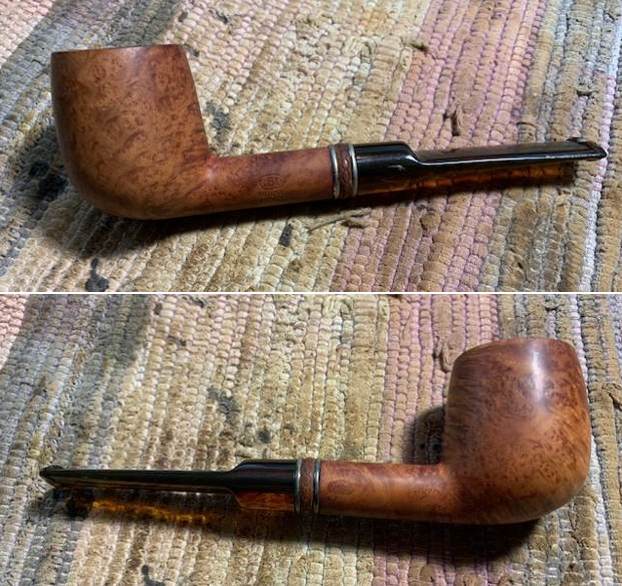
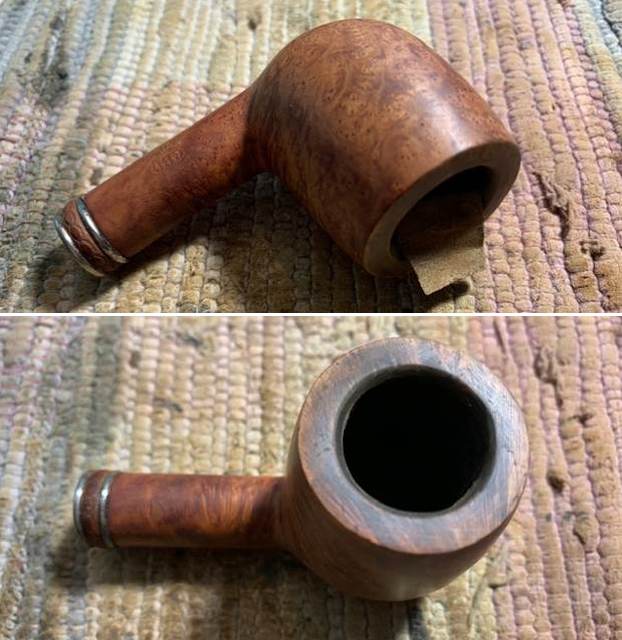
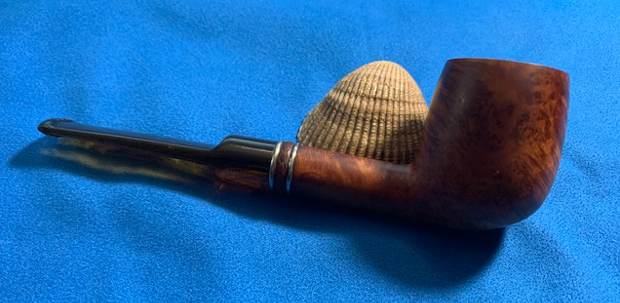
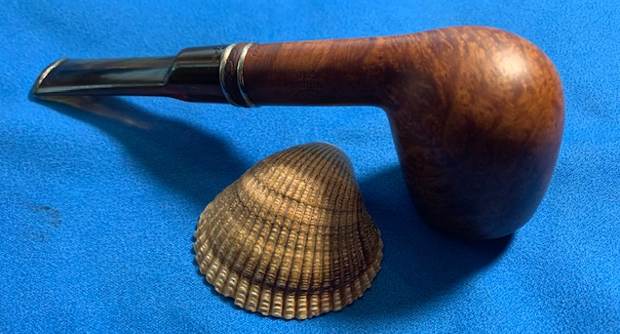
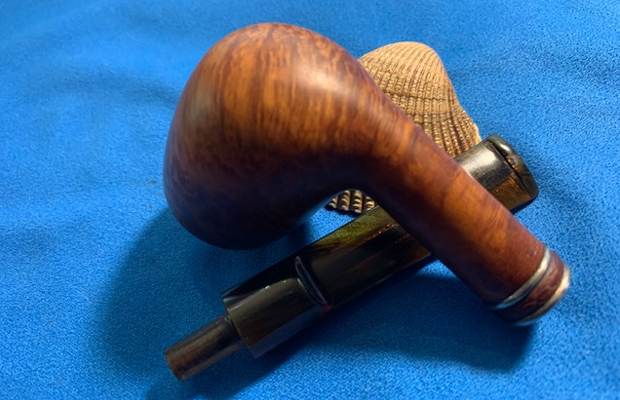
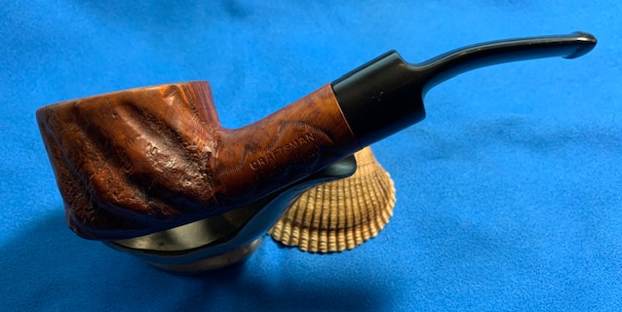
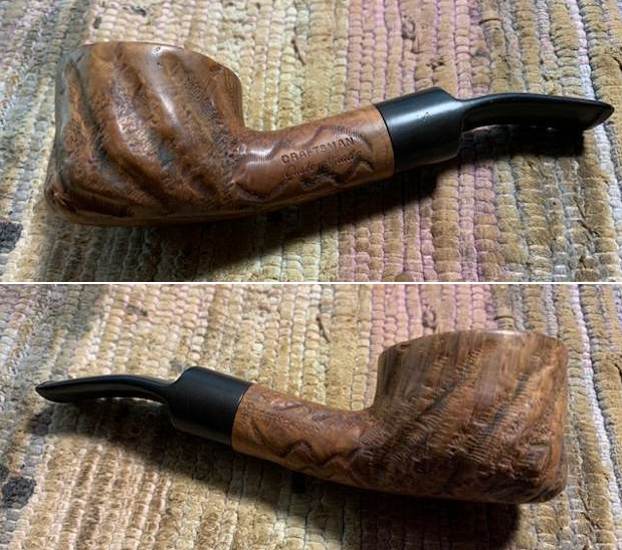
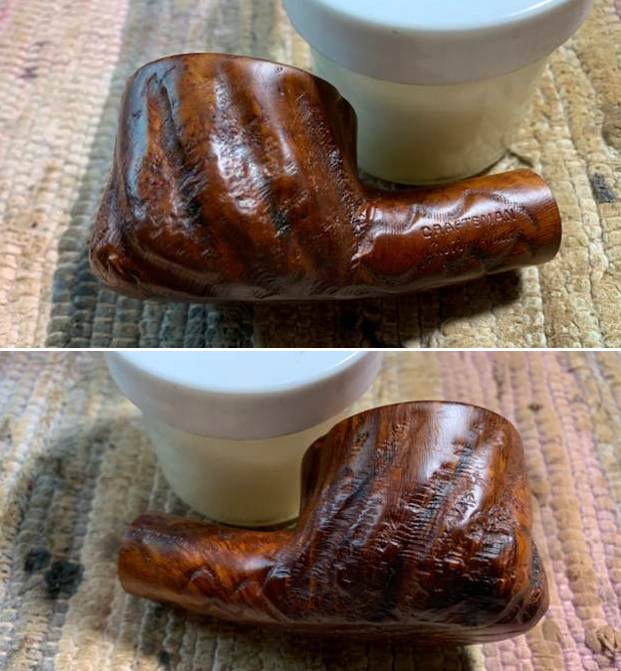
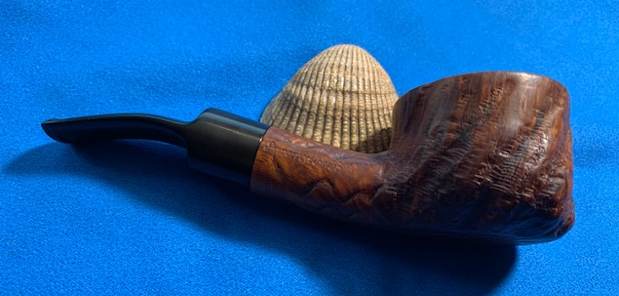
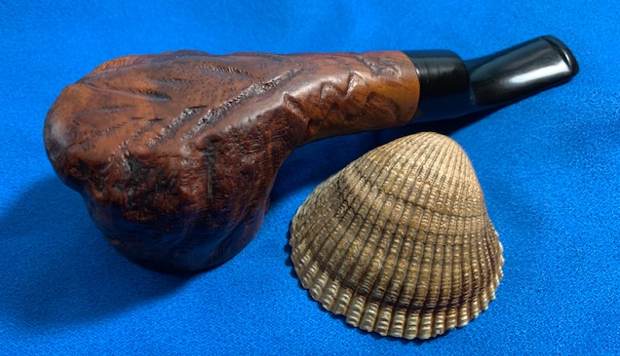
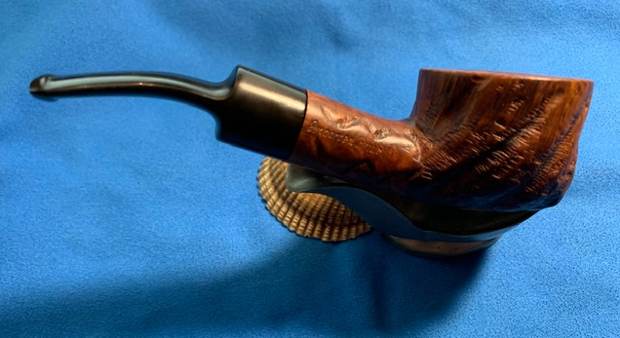
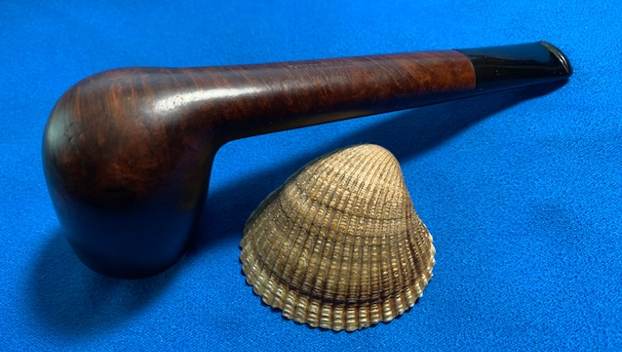
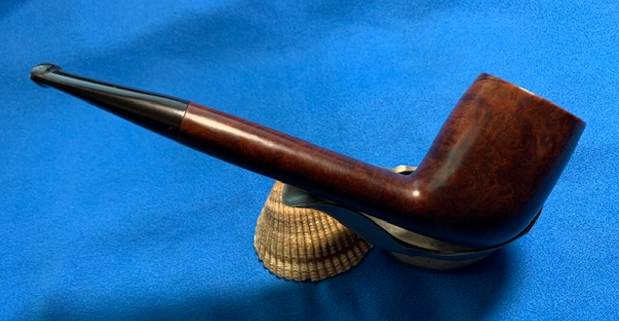
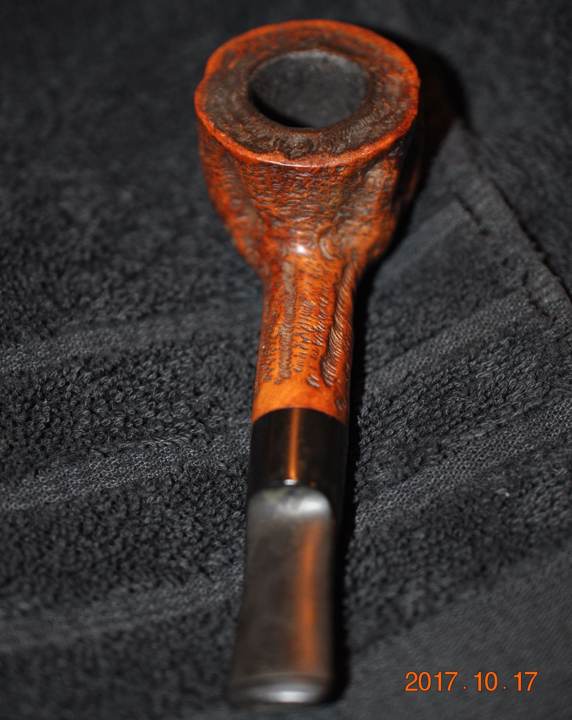
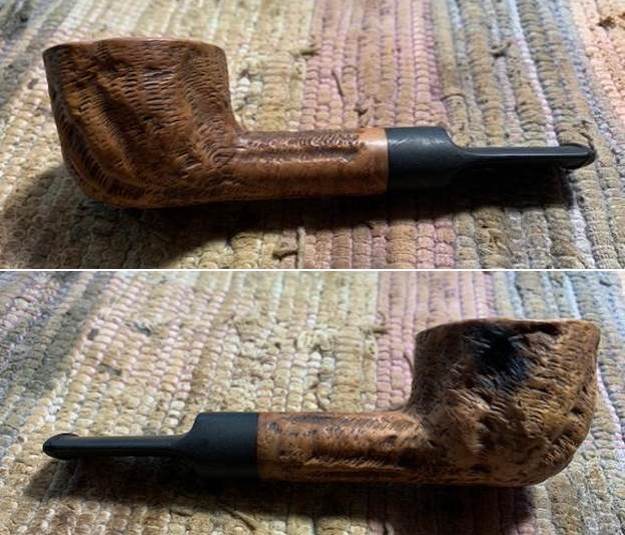
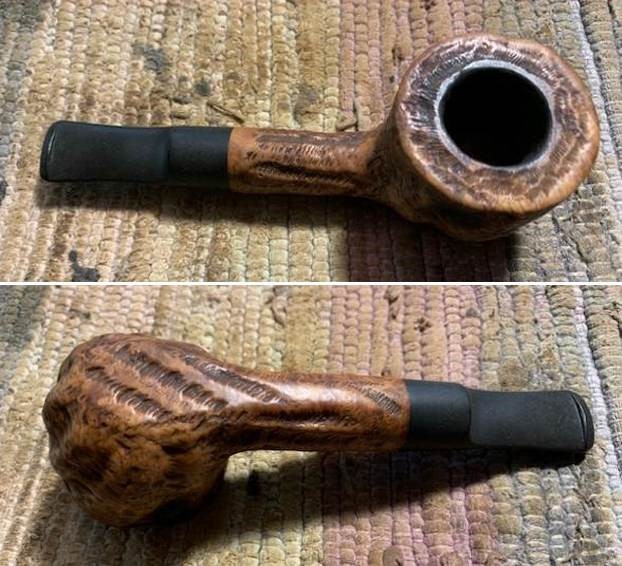
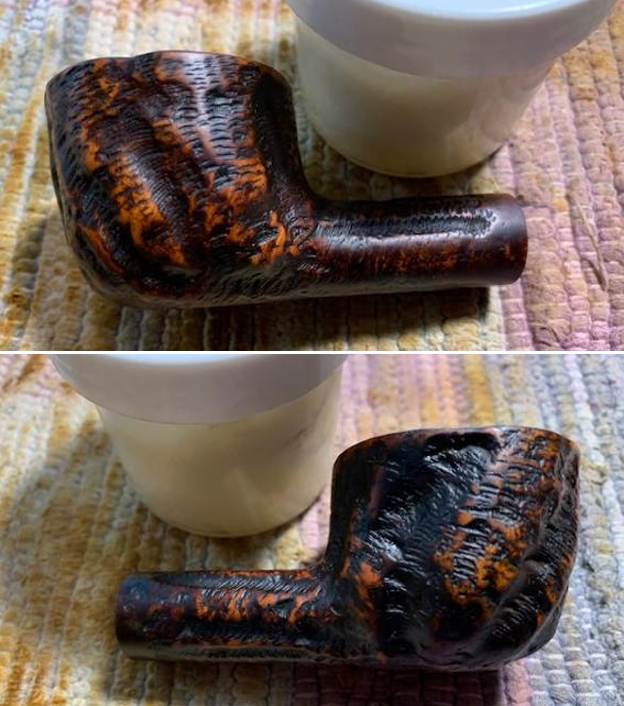
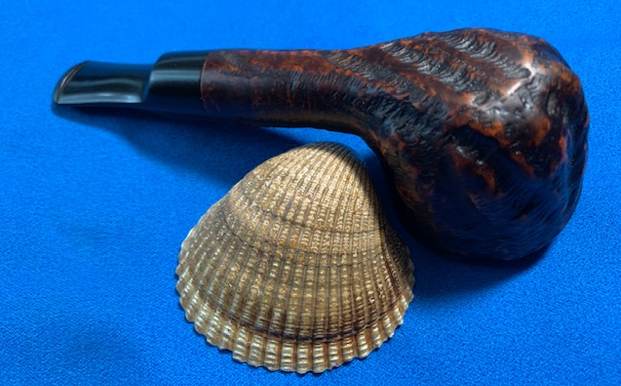
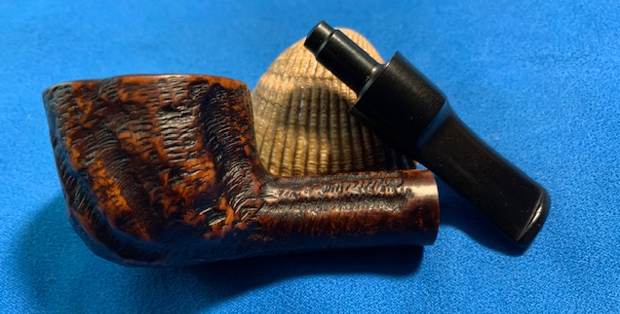
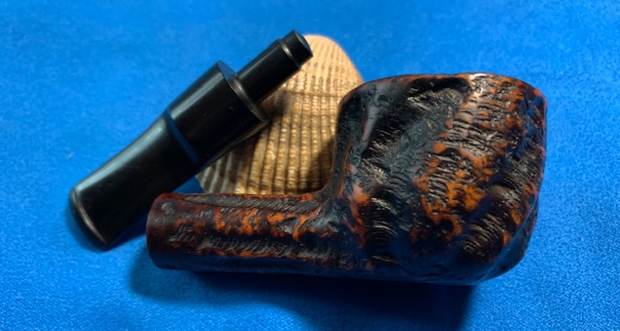
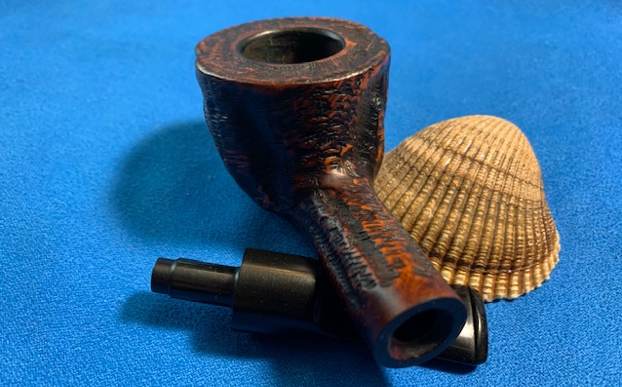
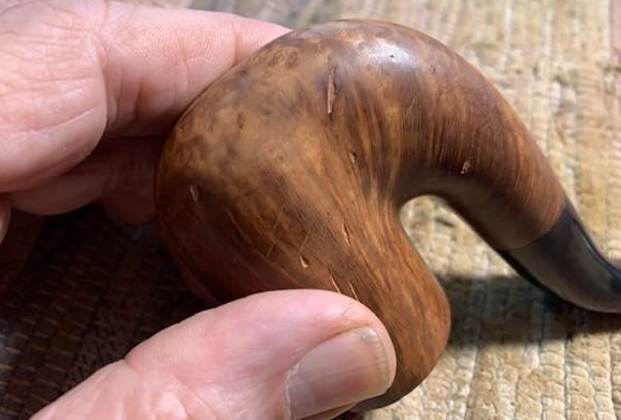
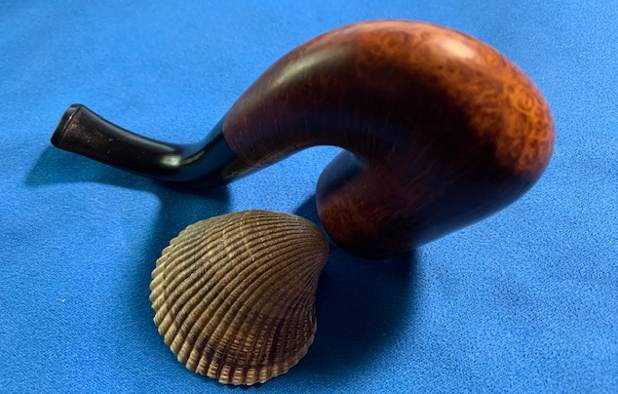
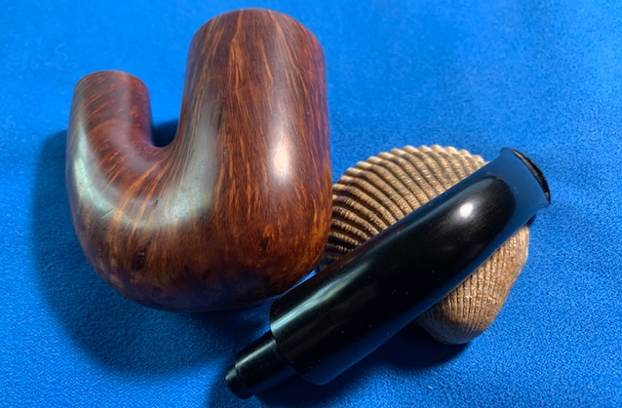
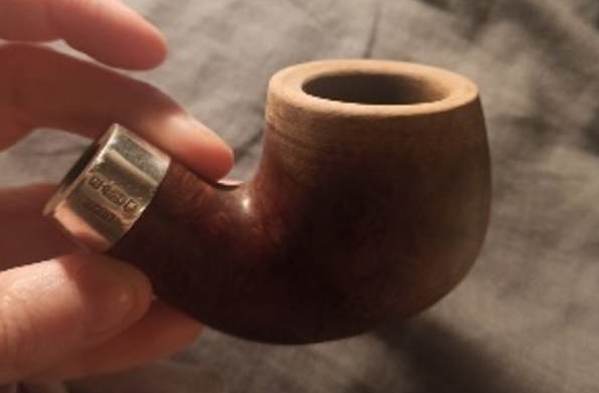
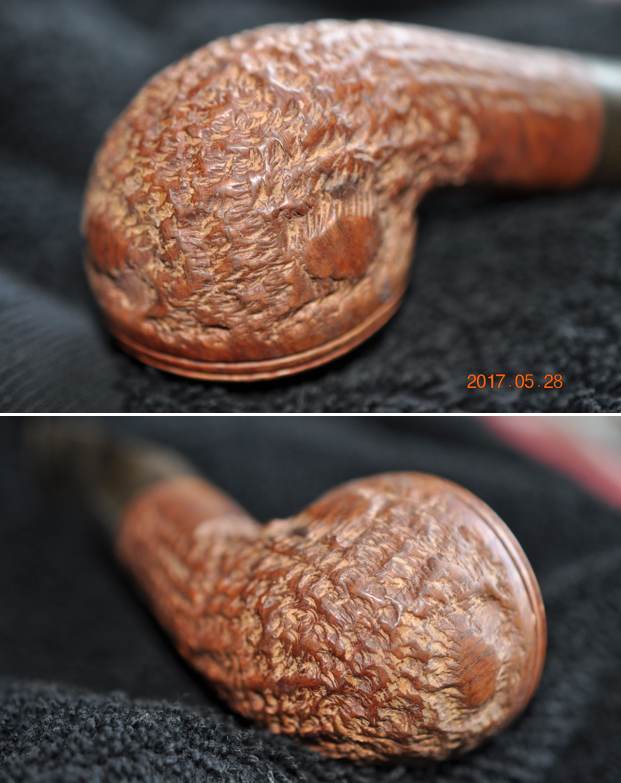
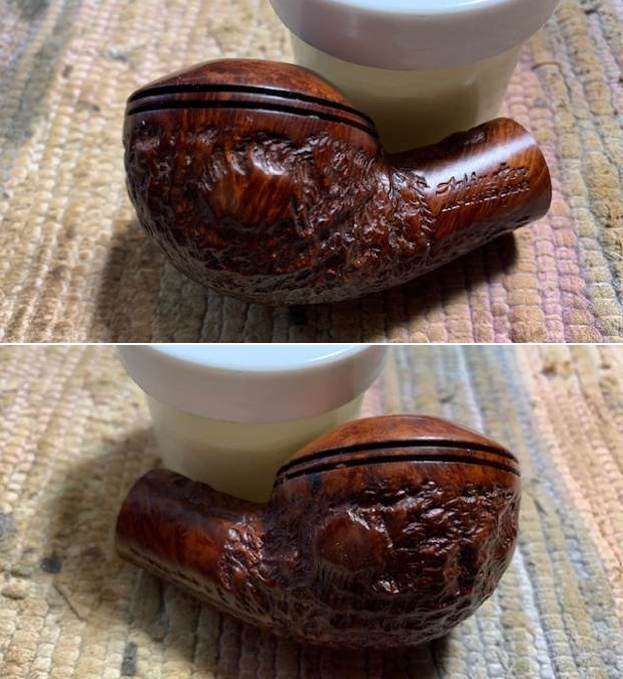
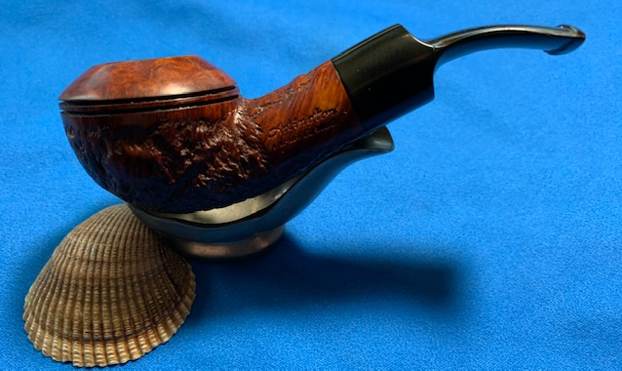
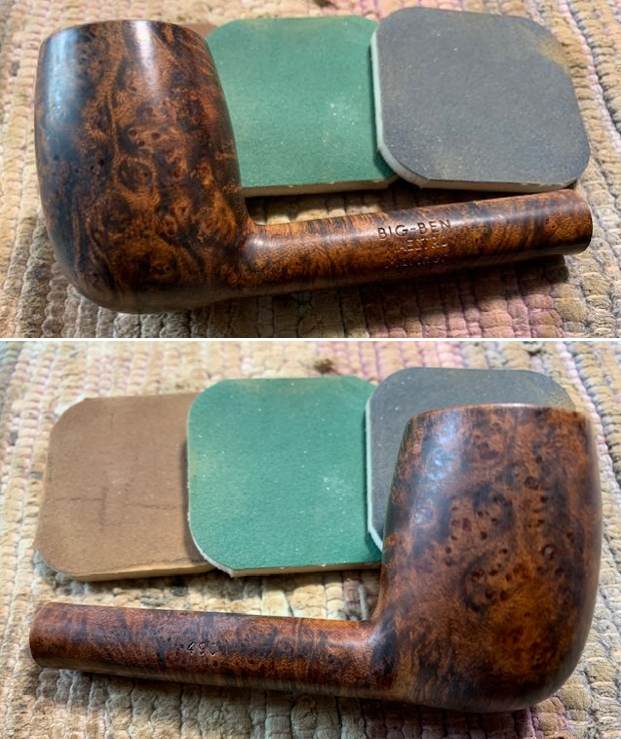
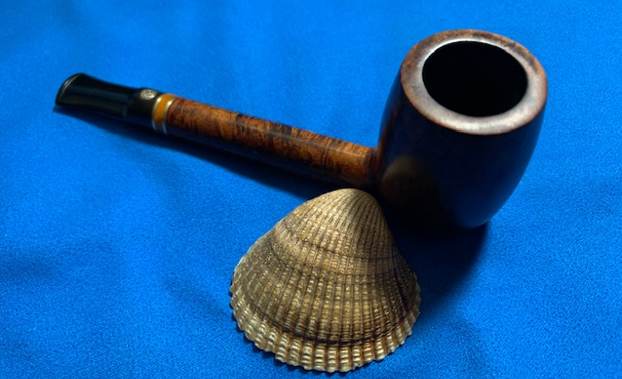
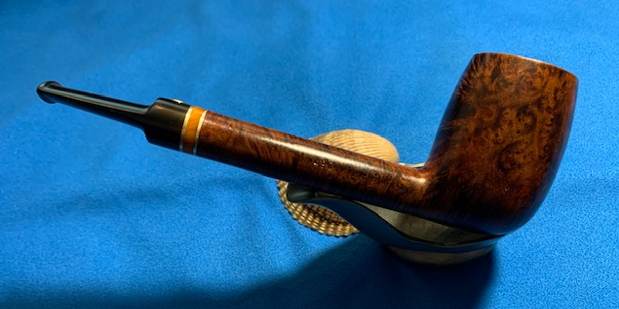
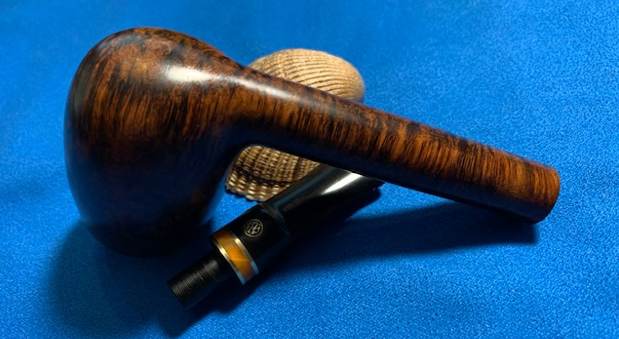
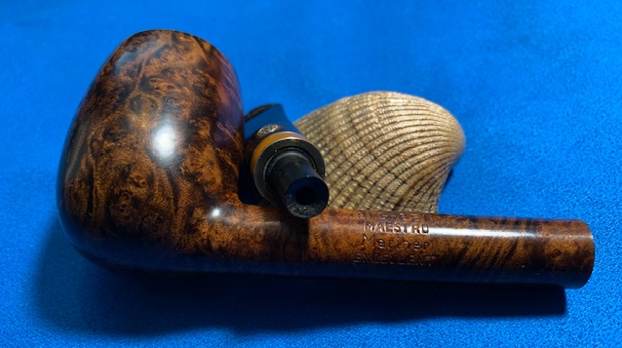
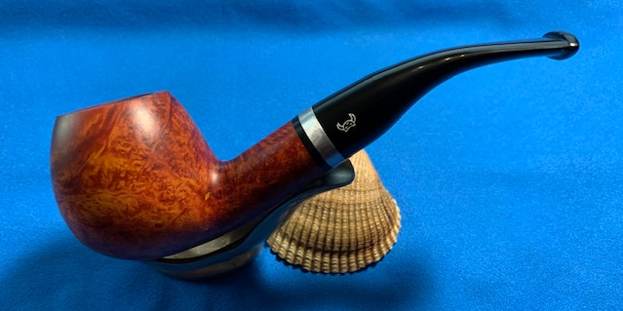
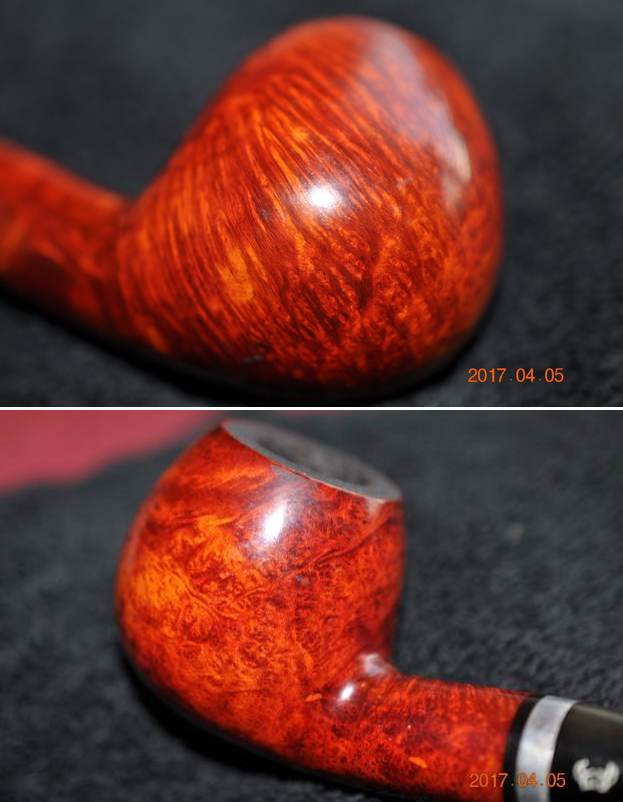
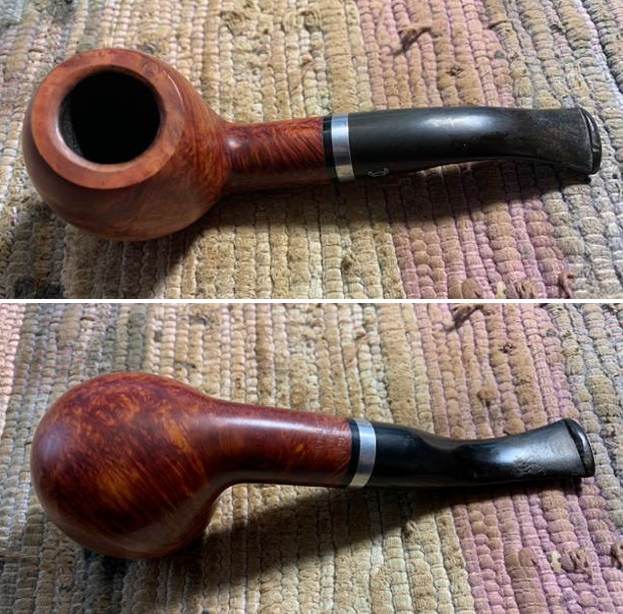
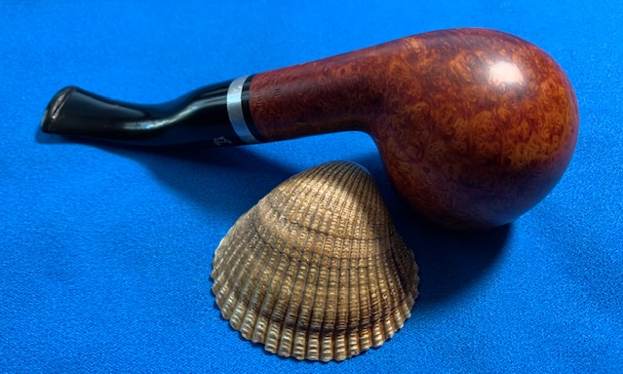
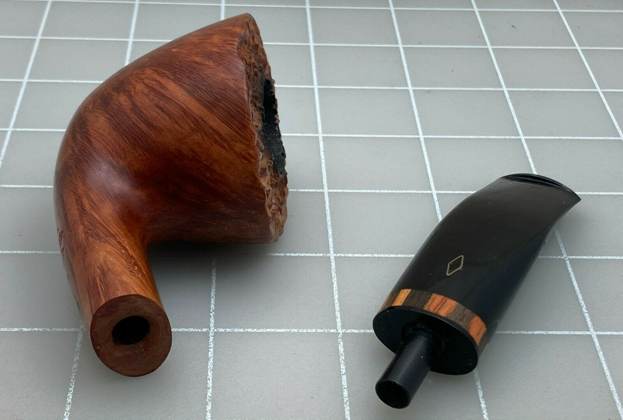 The pipe arrived this week in a well packed box from the seller. When I opened the box I examined the pipe carefully to assess both the condition of the pipe and what I needed to do with it. There was a moderate cake in the bowl with darkening on the inner edge of the rim. The rim top looked quite good. The pipe was stamped on the on the sides the shank and on the left side read Brebbia [over] the signature of Enea Buzzi. On the right side it was stamped Collection. On the underside it has the most stamping and read Hand Carved Real Briar in a circle around a Hand. To the right of that it is stamped PURA in a scroll and then ITALY at the stem shank junction. The finish was dirty but you could see some interesting grain underneath. The stem had the brass Brebbia diamond logo inlay on the top of the taper. The acrylic was dirty and there were tooth marks and chatter on the top and underside. It was going to take some work to clean up but I thought it would work out fairly well. I think the pipe would clean up amazingly well. I took some photos of the pipe before I started my work on it. I have included them below.
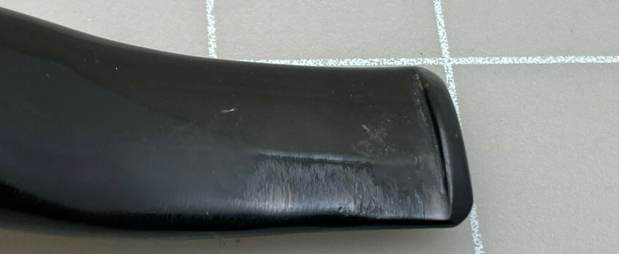
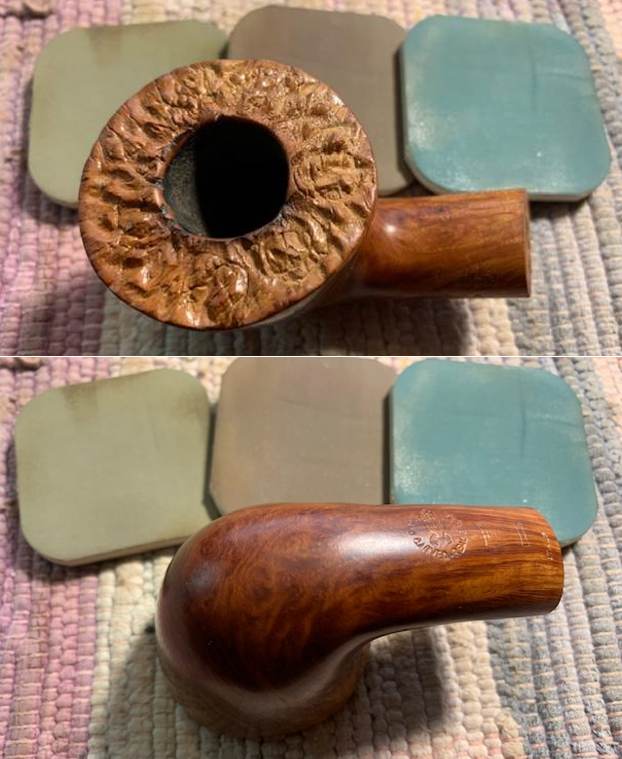
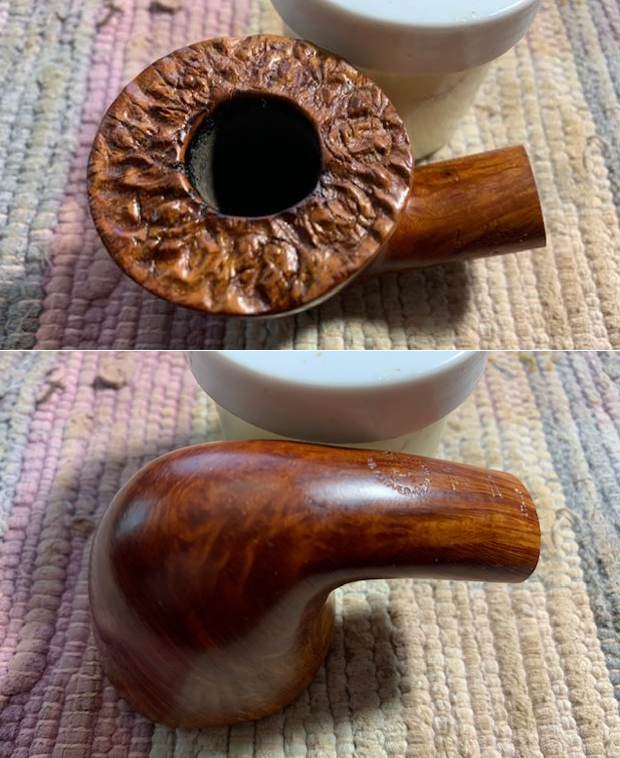
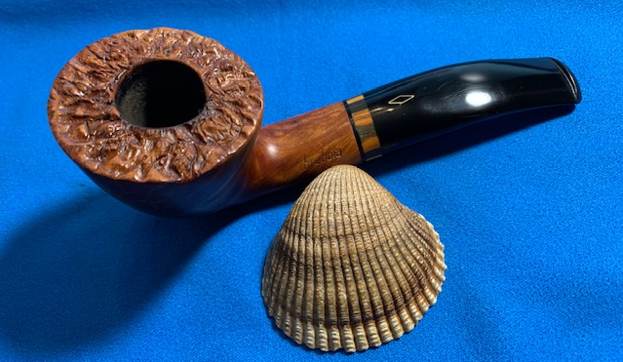
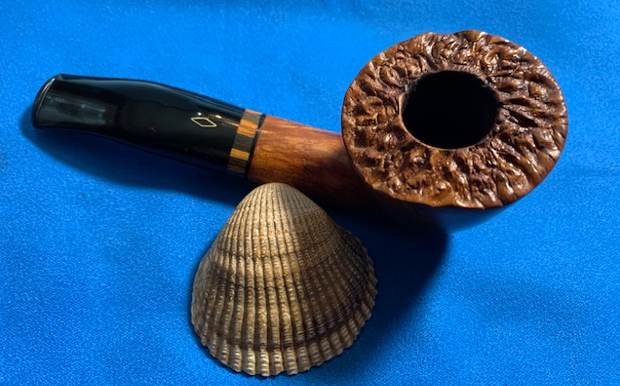
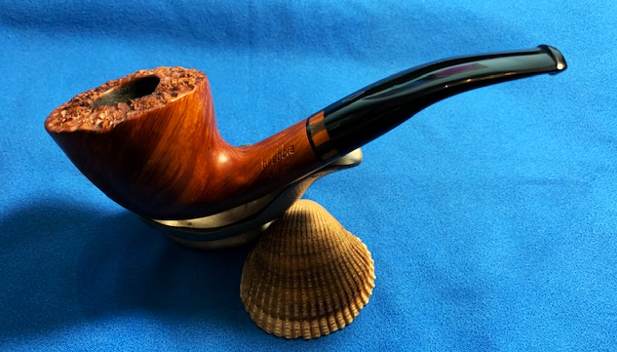
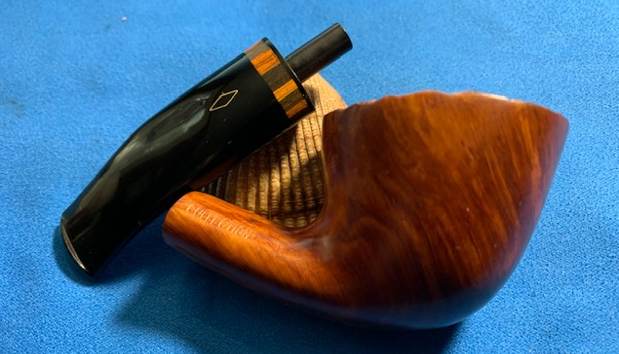
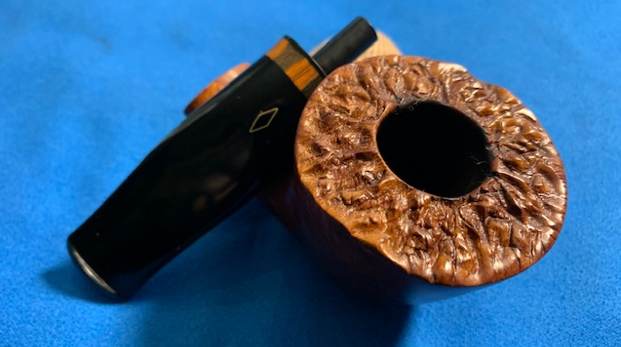
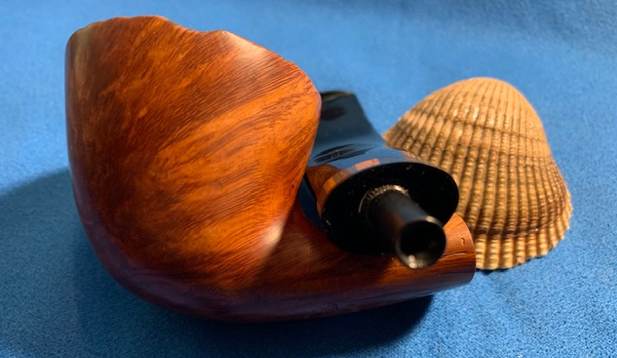
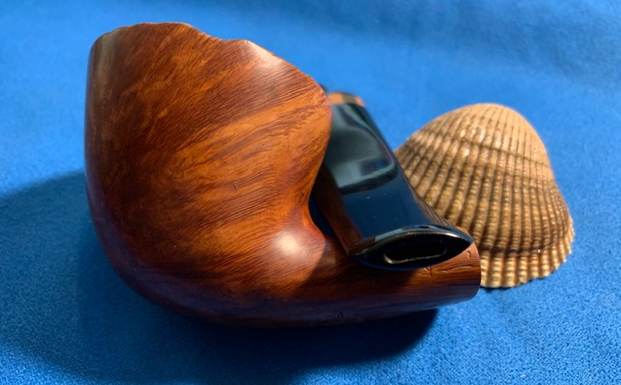
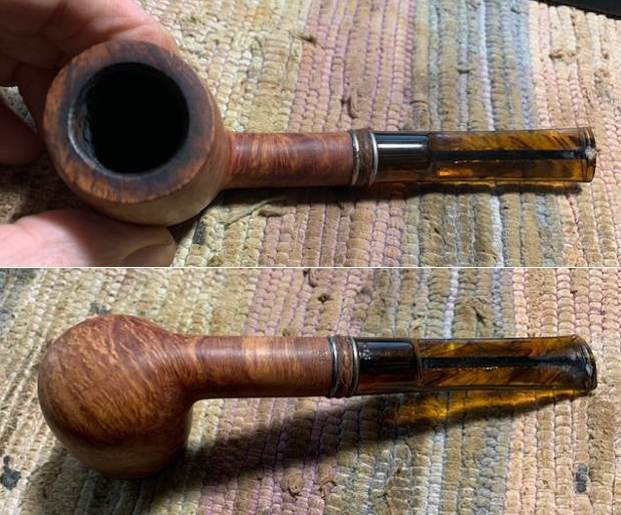
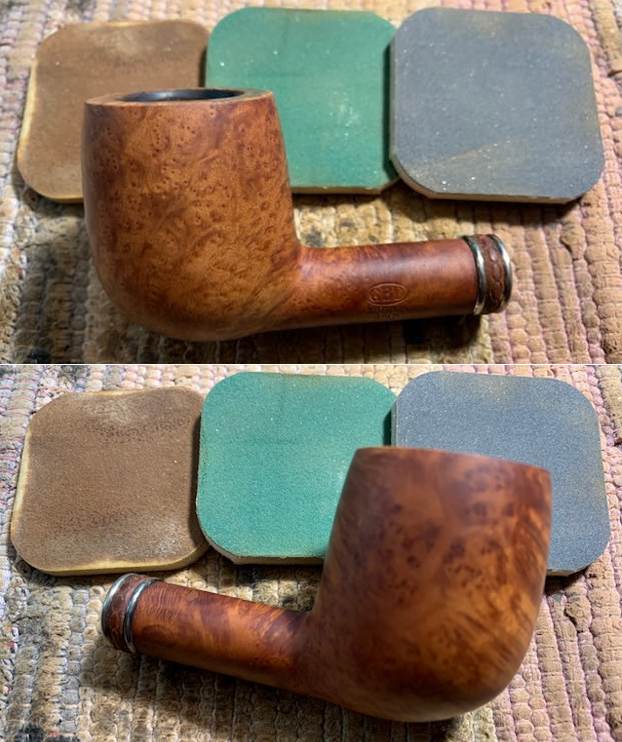
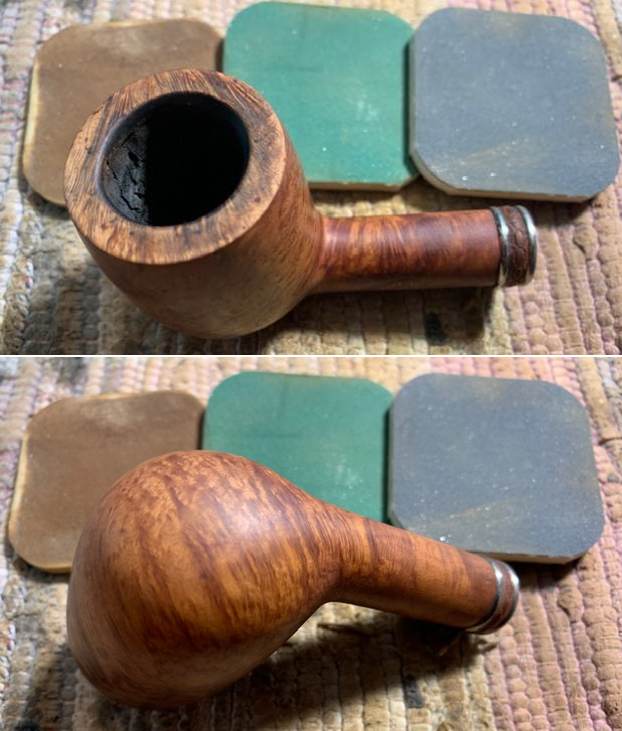
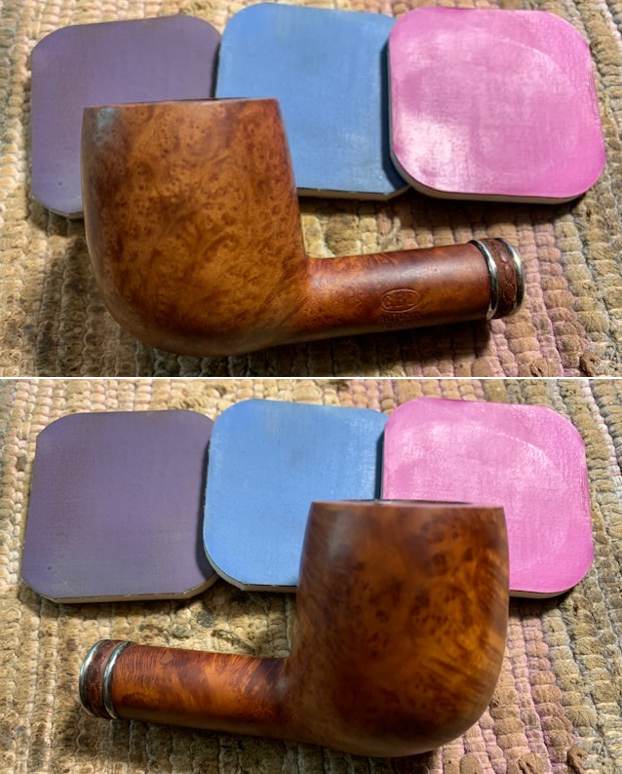
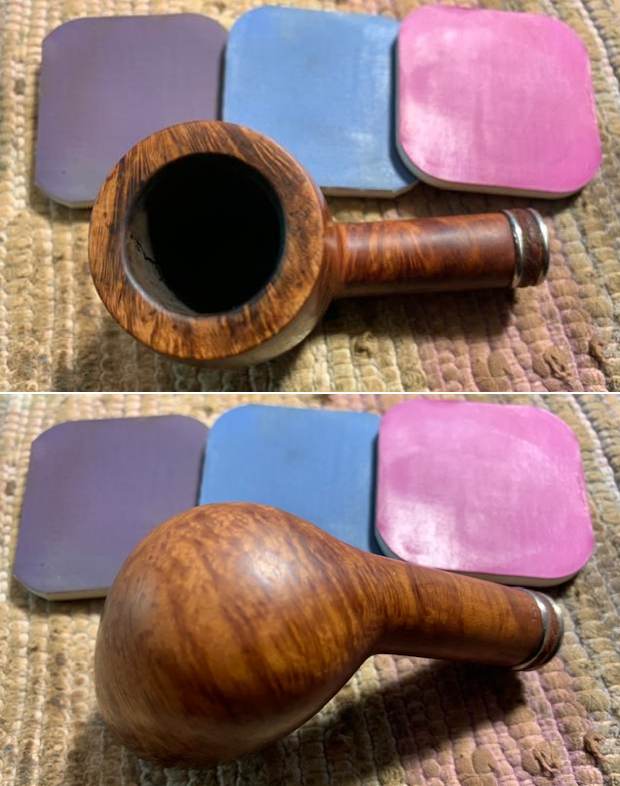
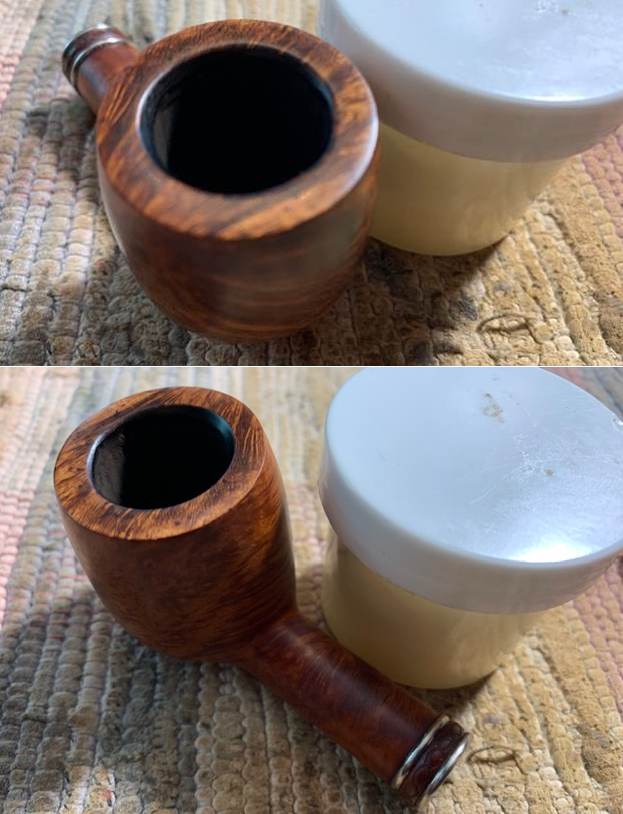
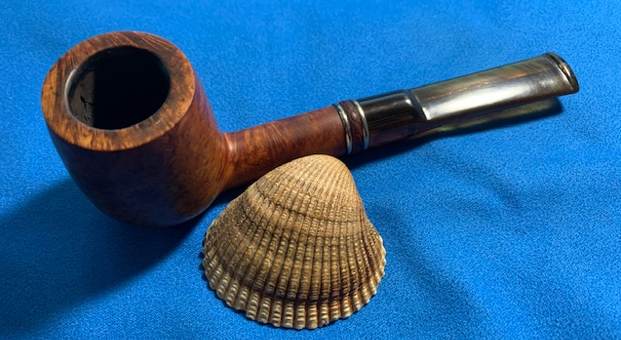
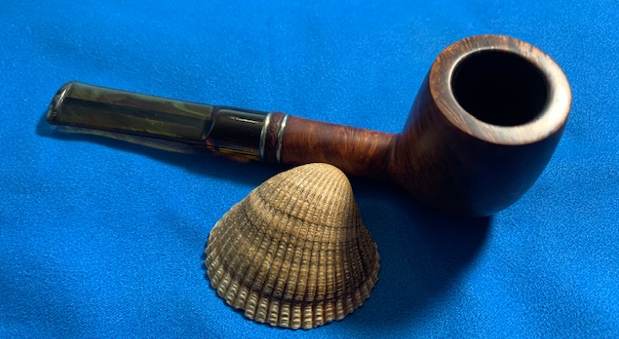
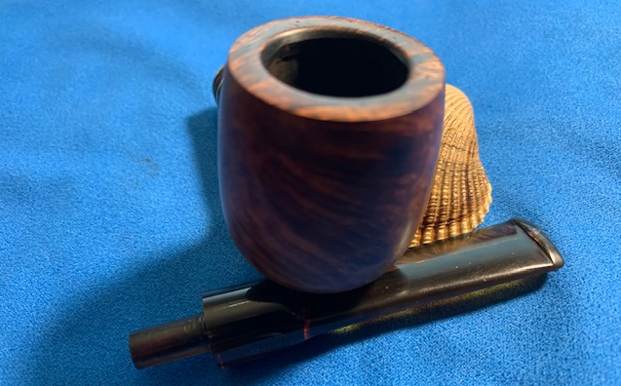
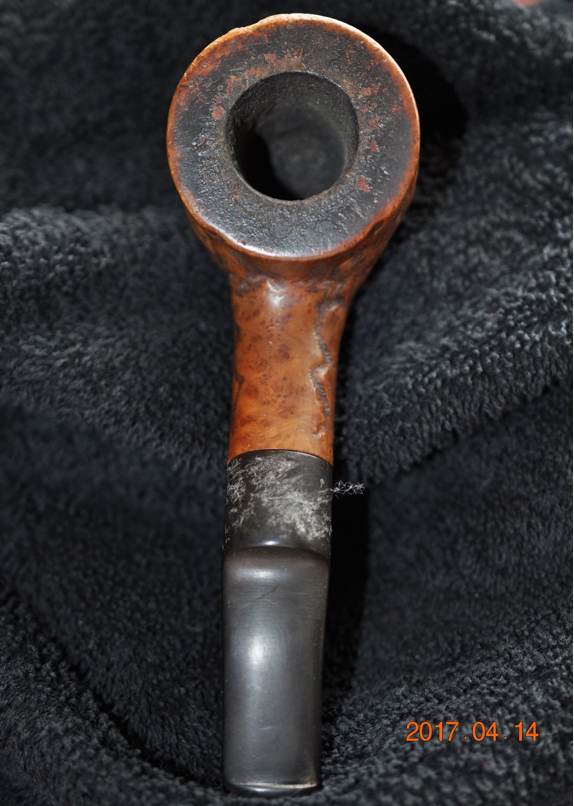
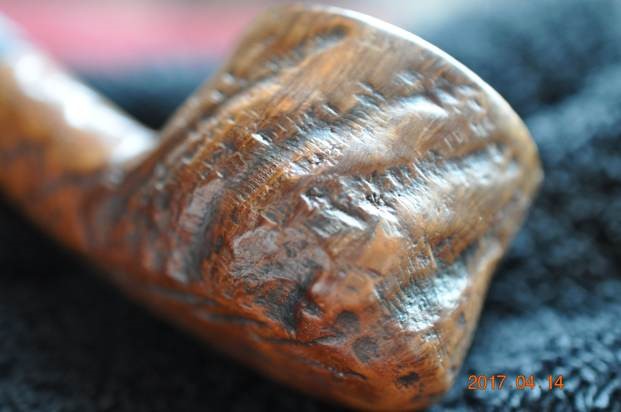
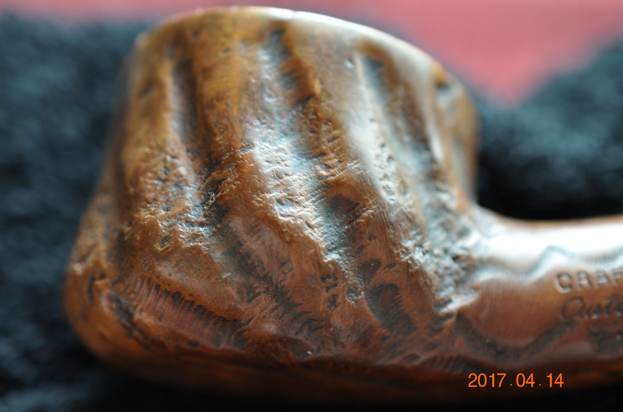
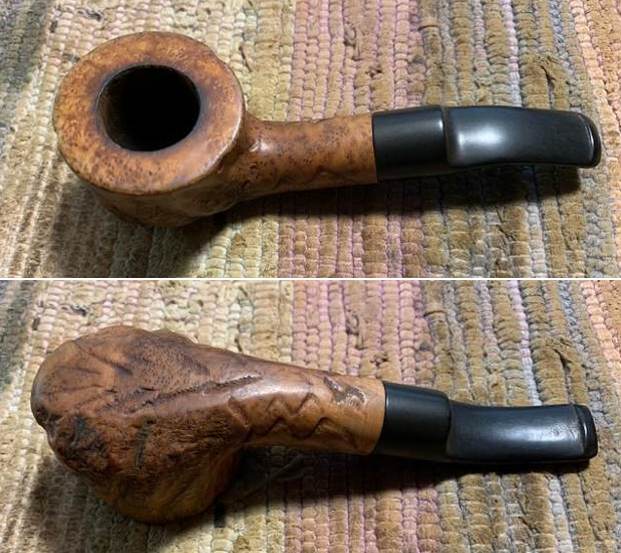
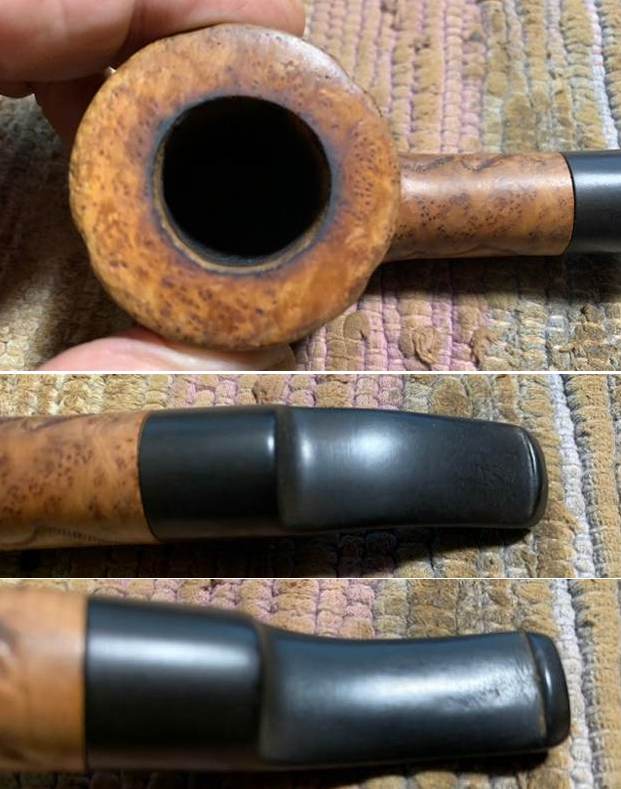
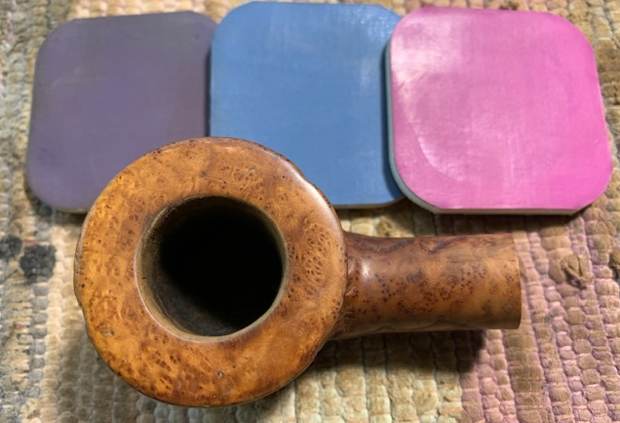
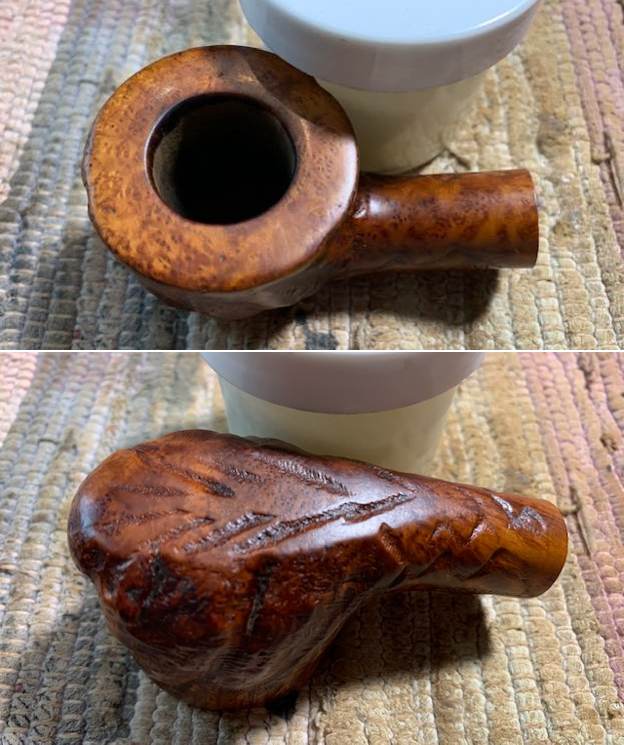
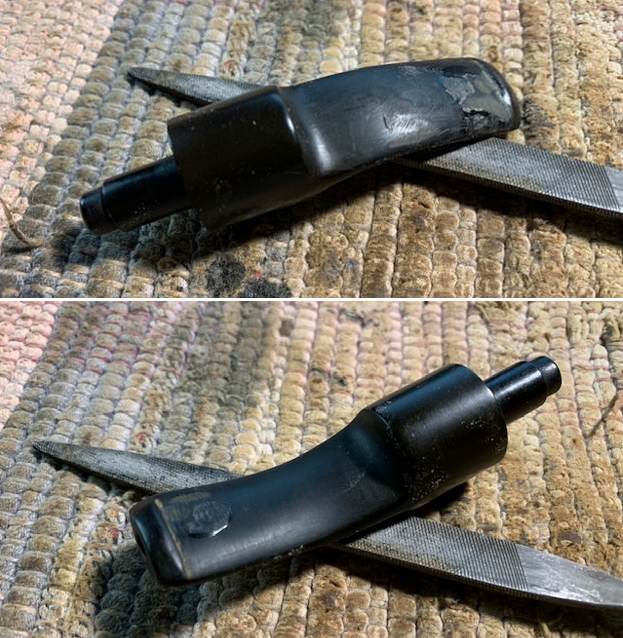
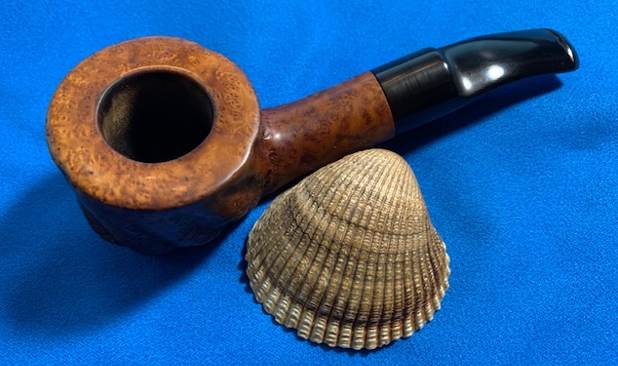
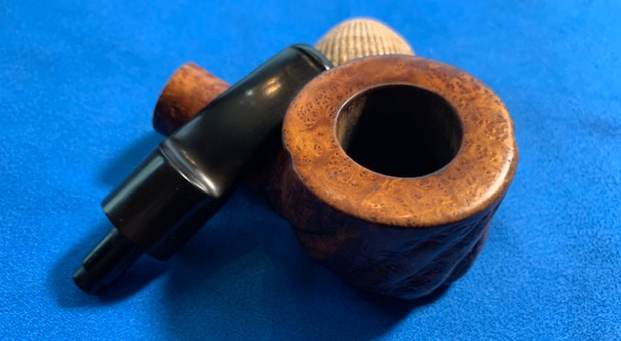
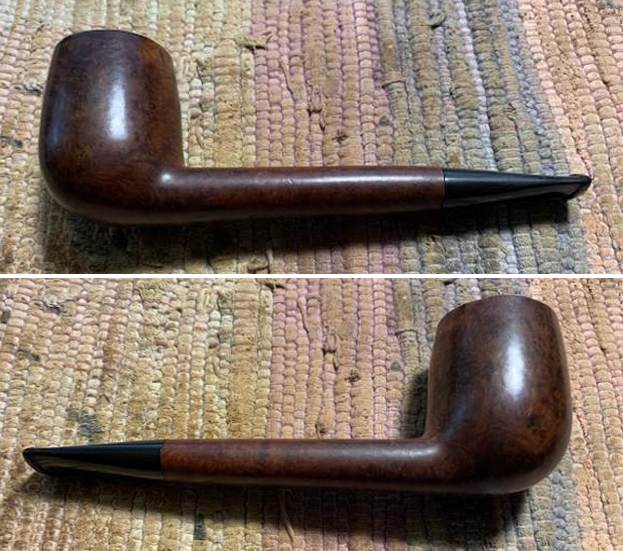
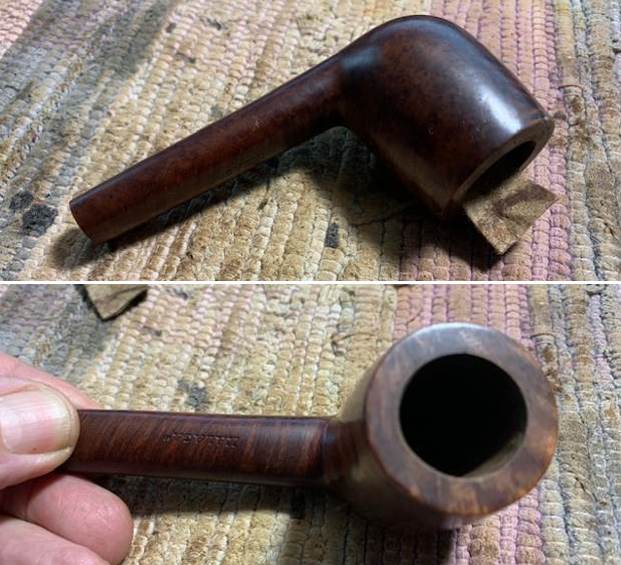
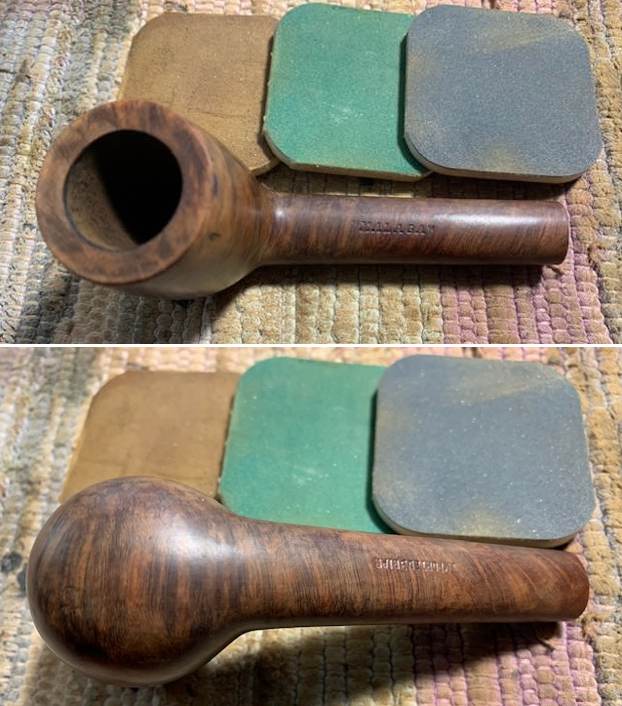
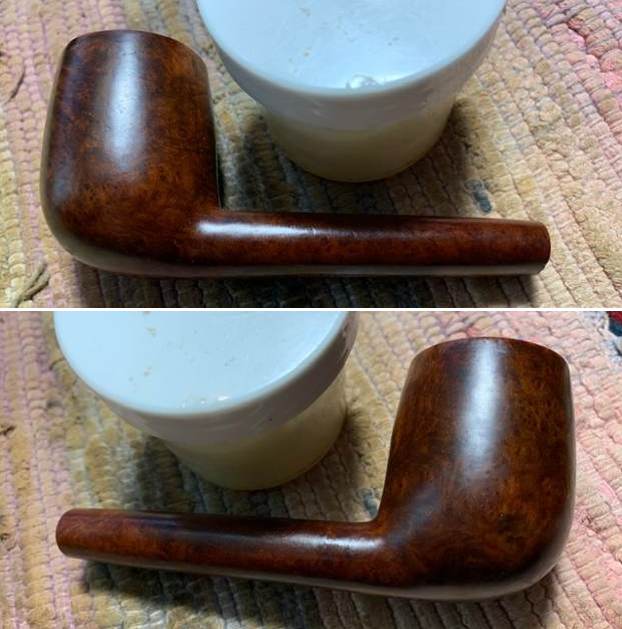
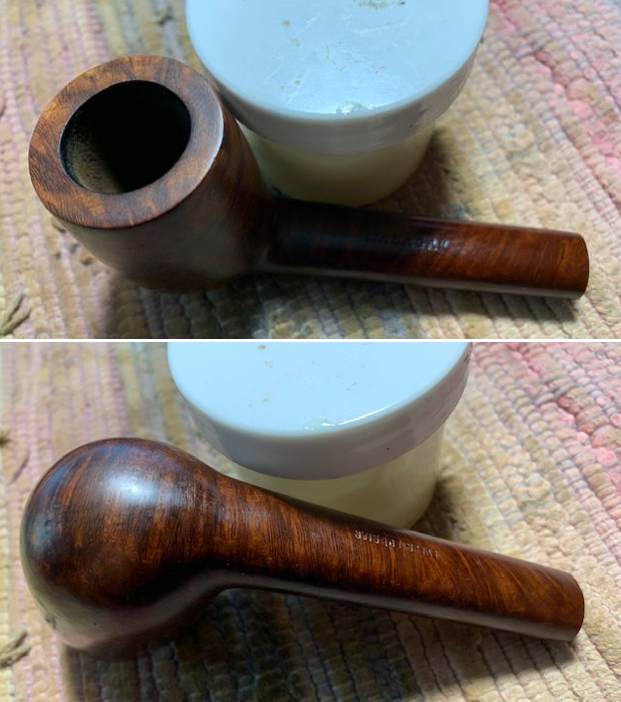
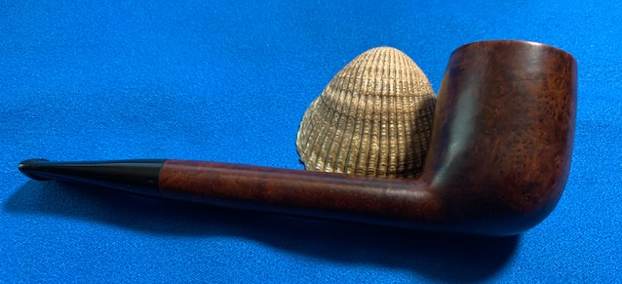
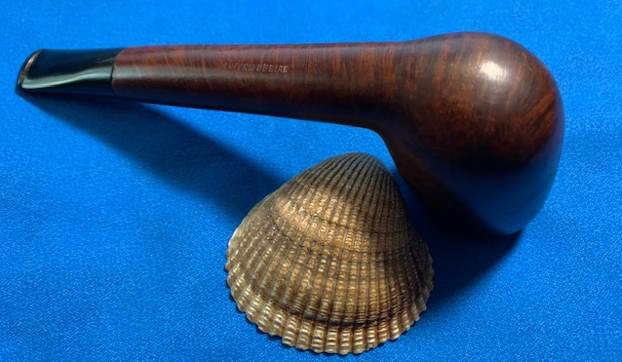
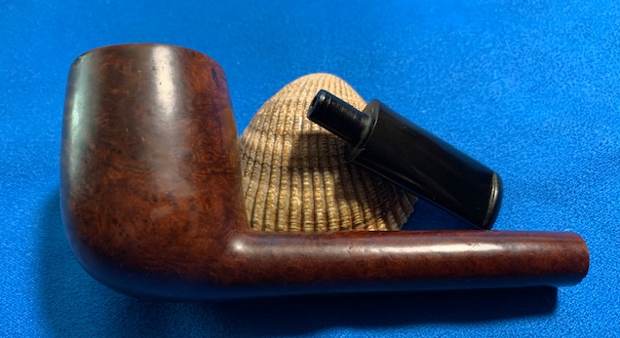
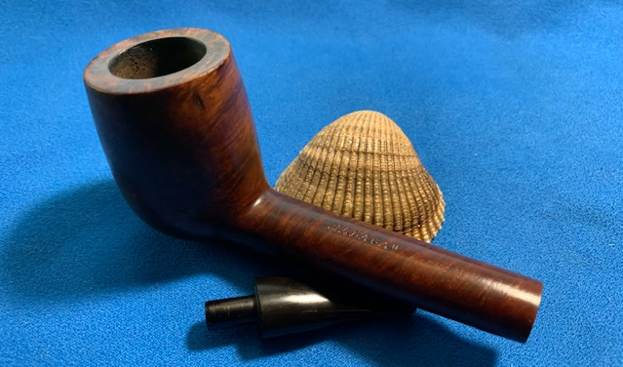
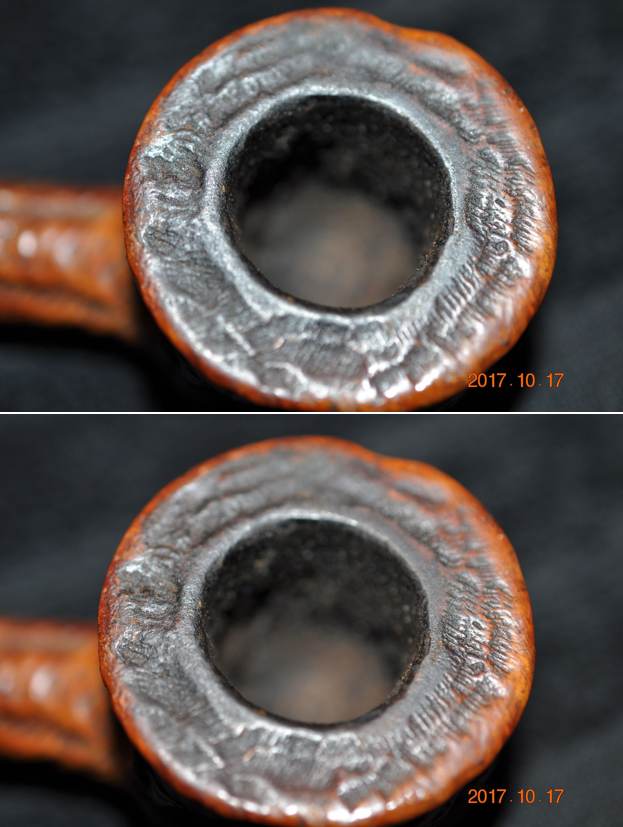
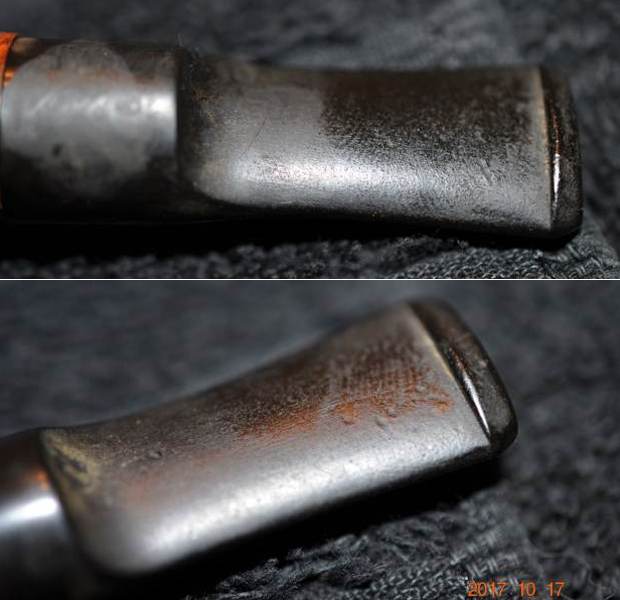
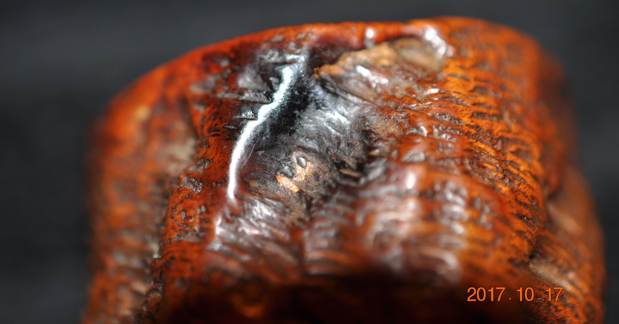
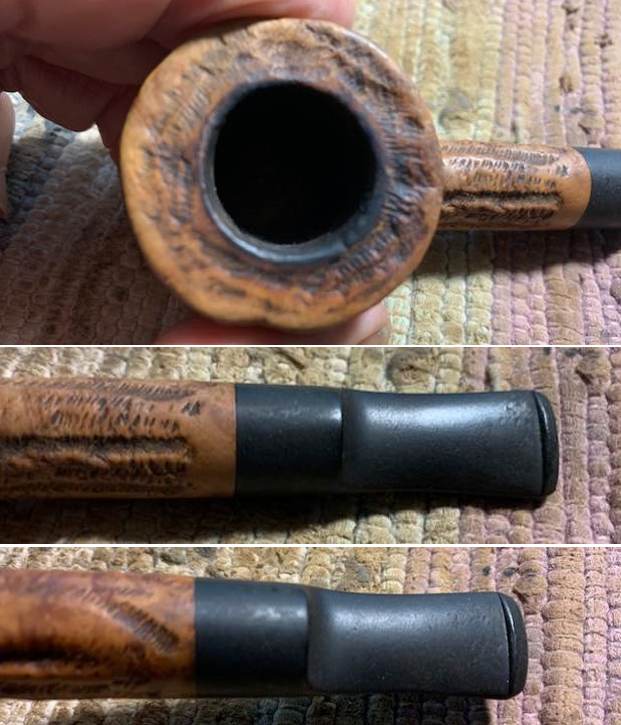
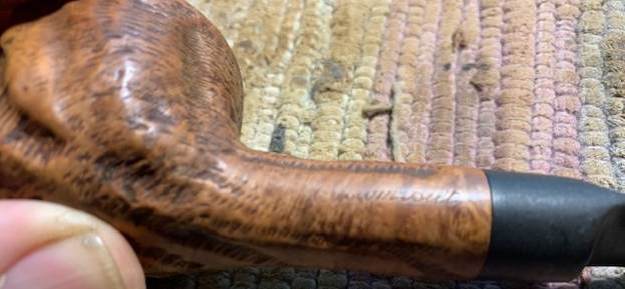
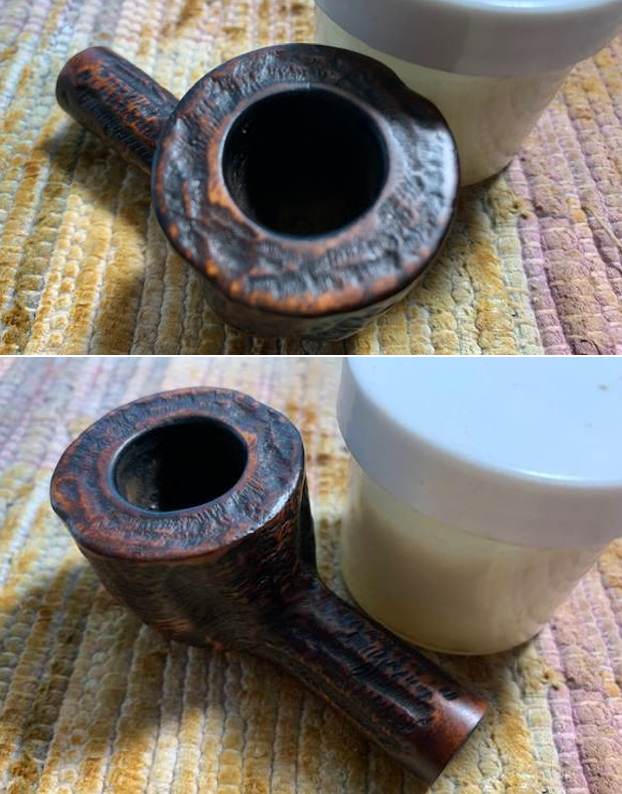
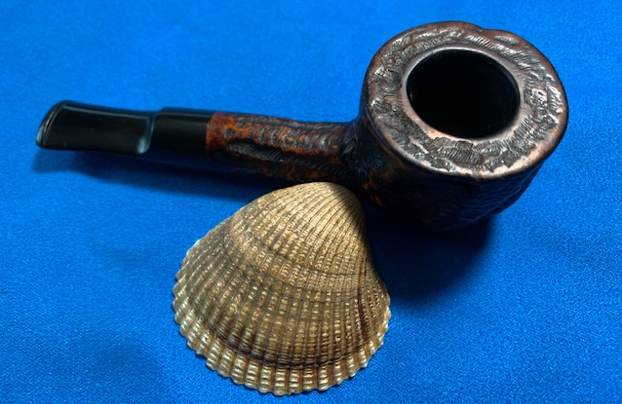
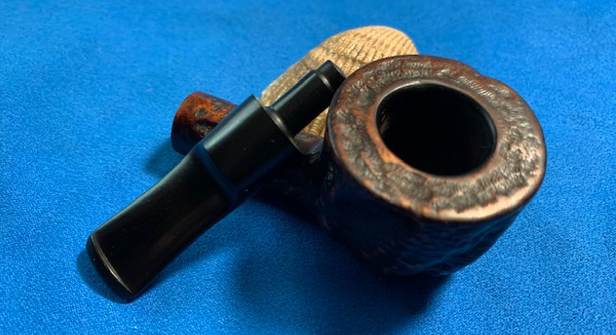
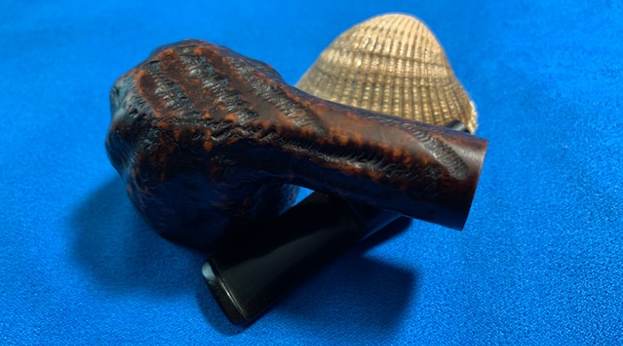
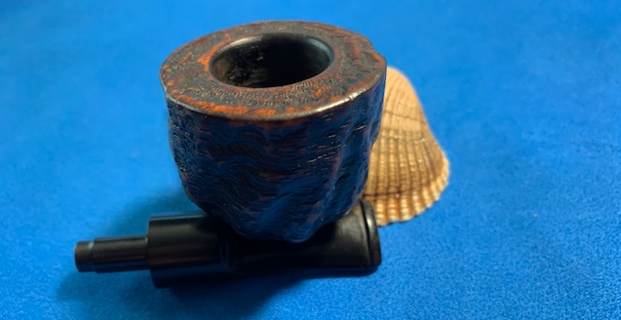
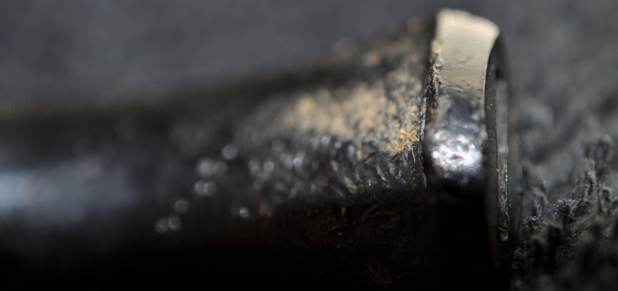
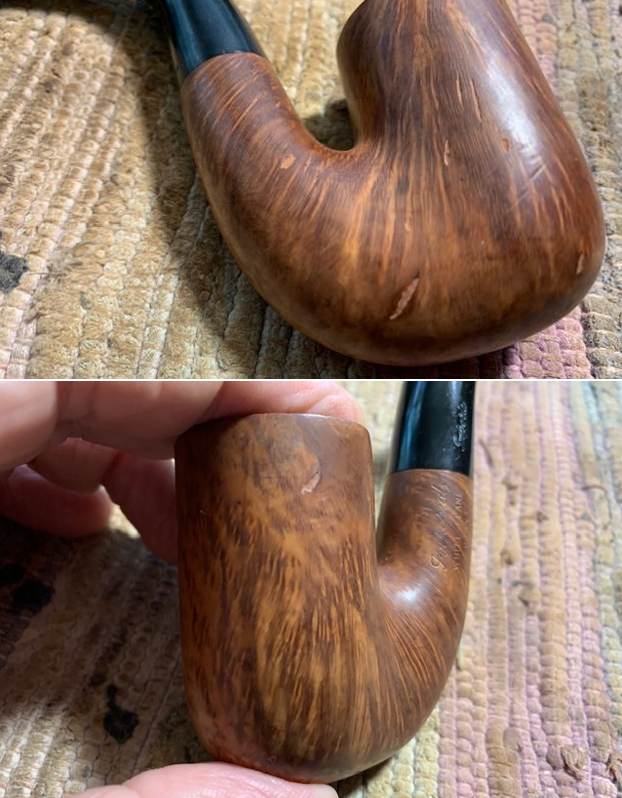
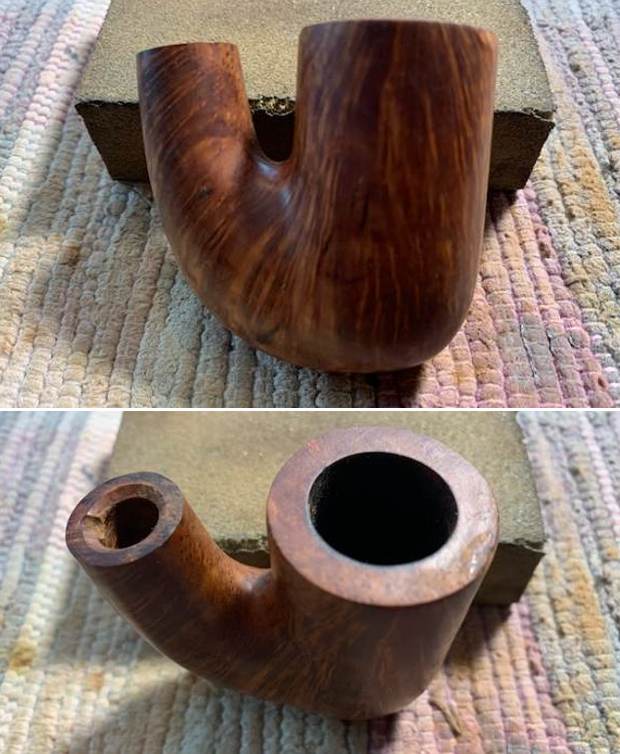
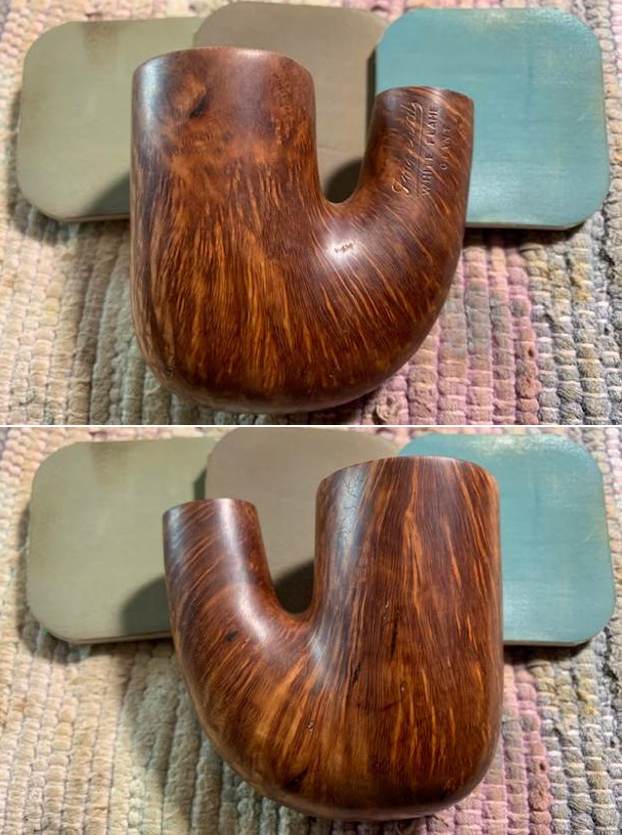
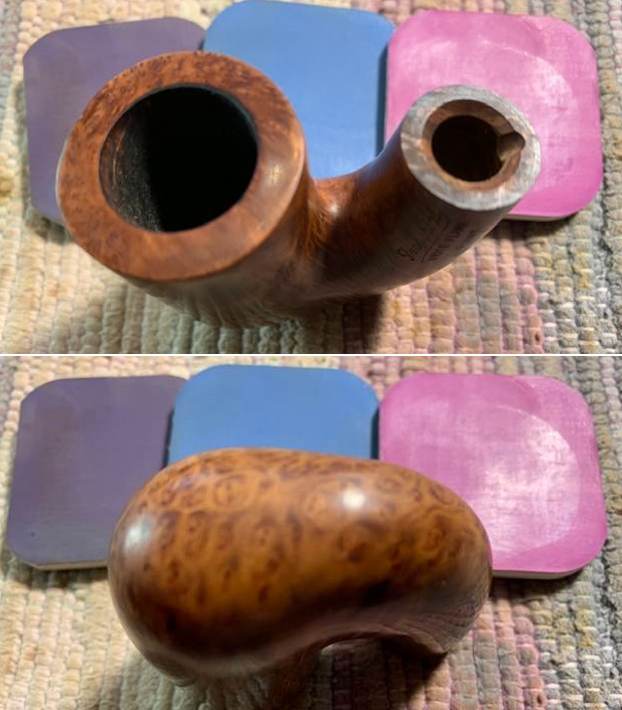
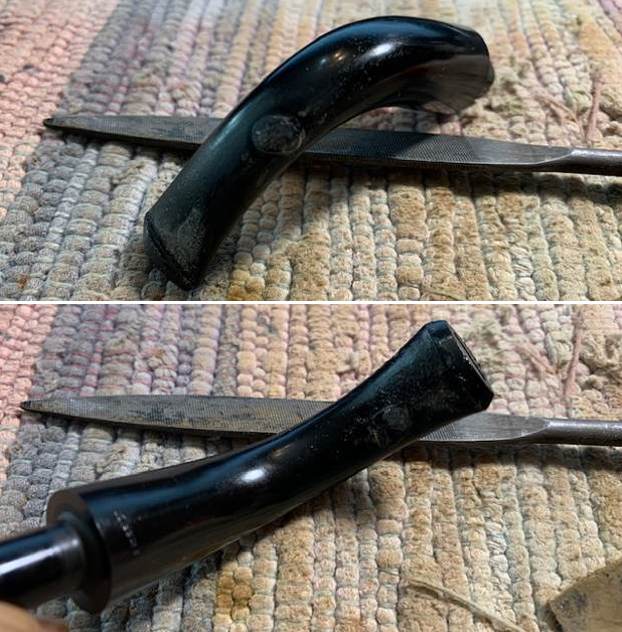
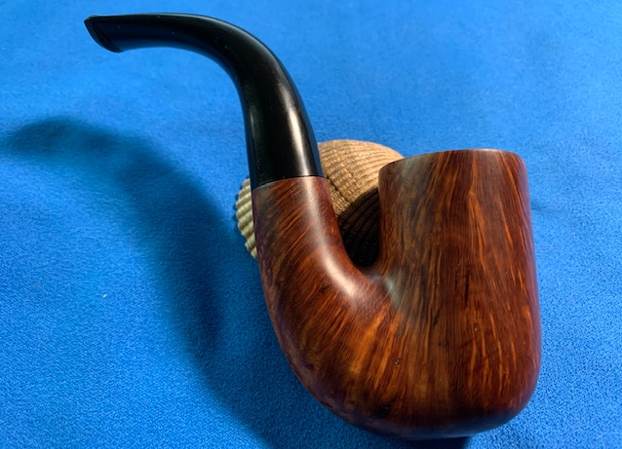
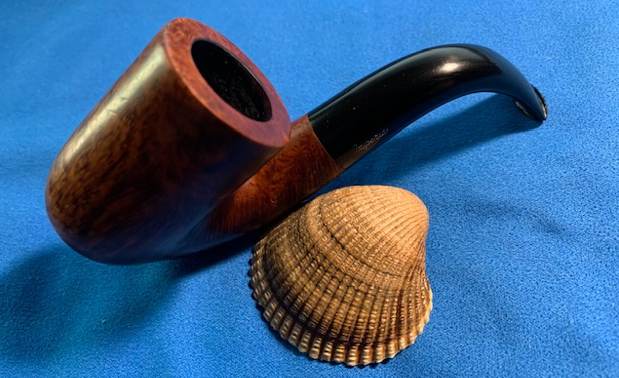
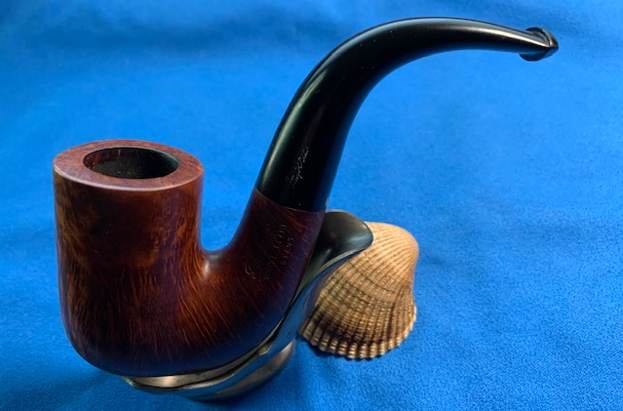
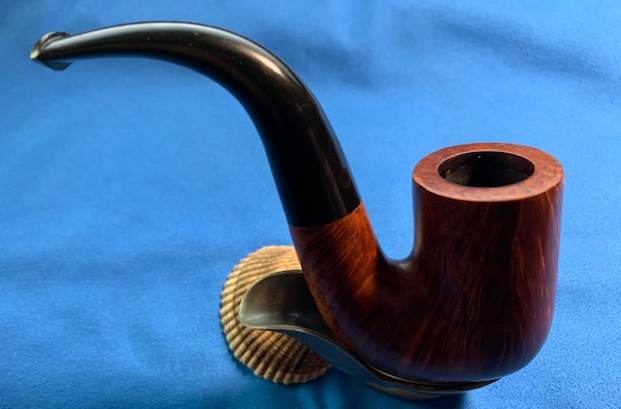
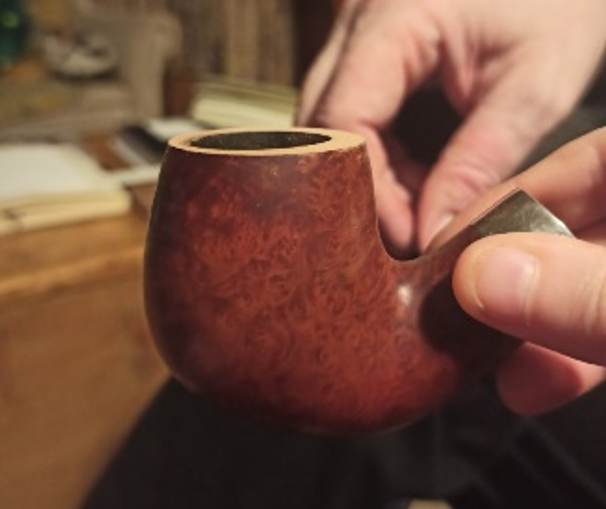
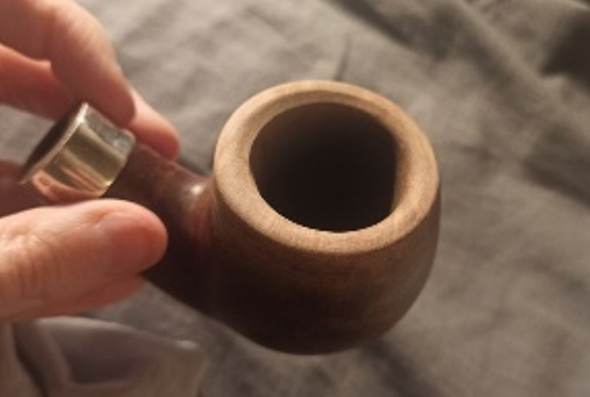
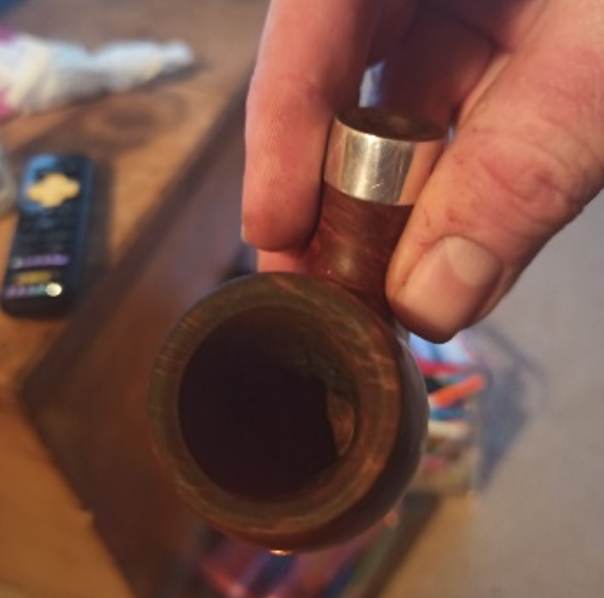
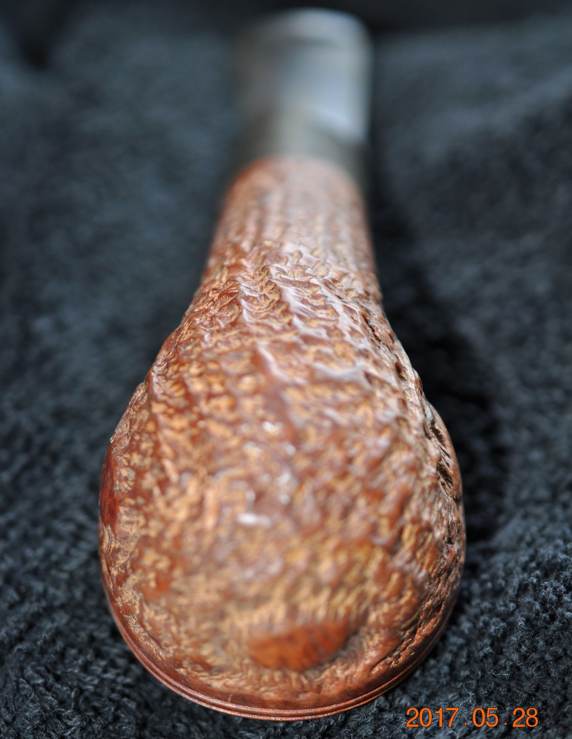
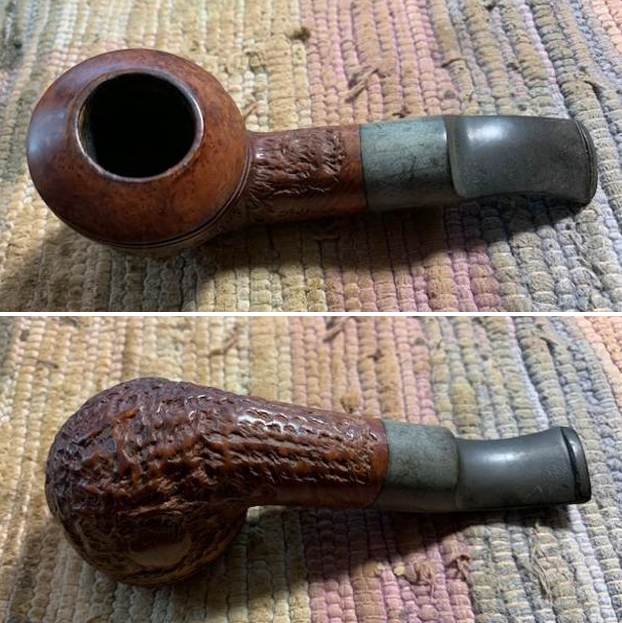
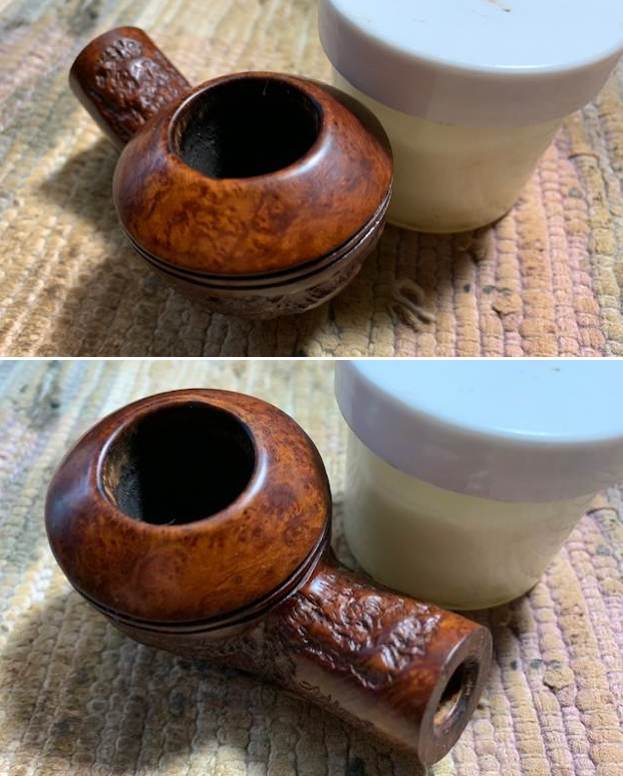
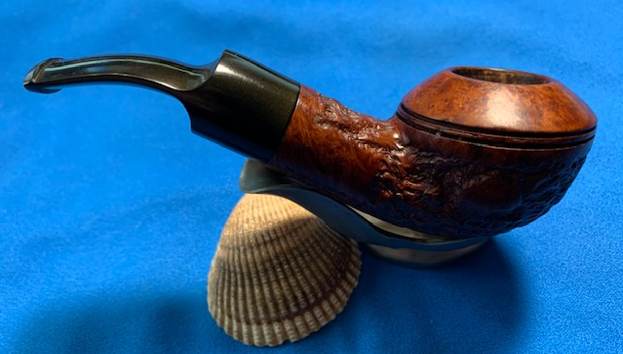
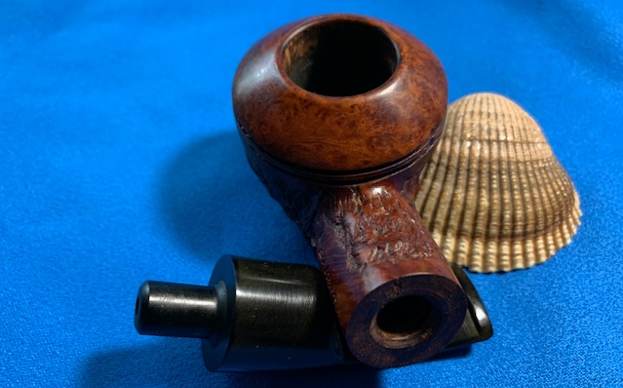
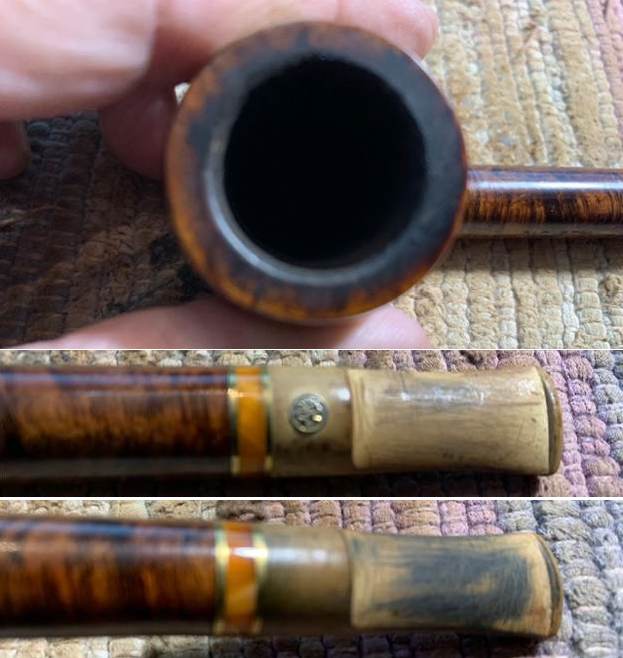
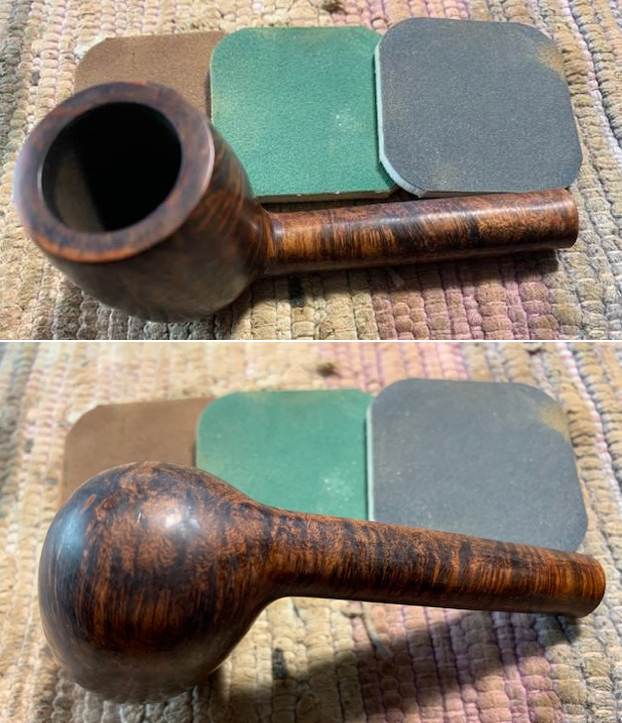
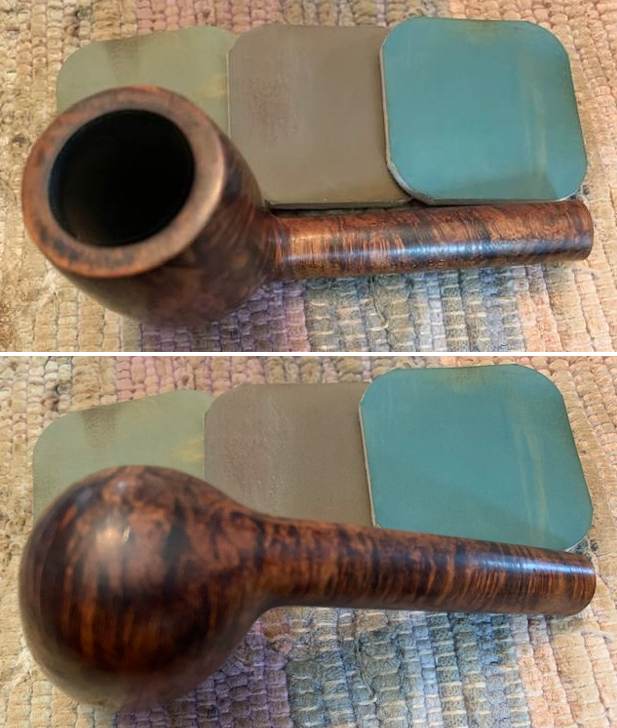
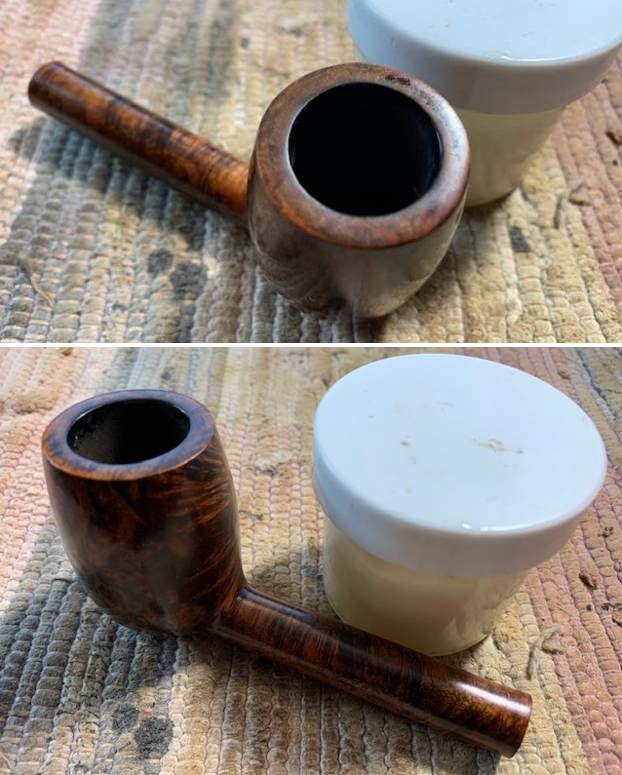
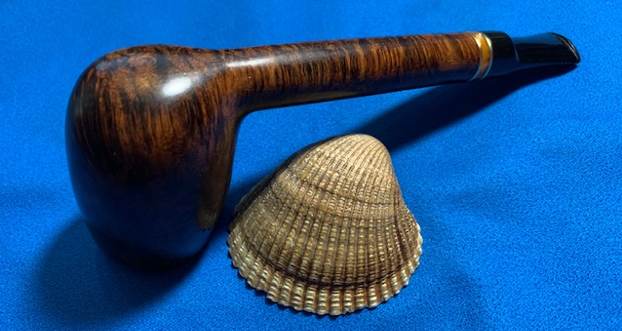
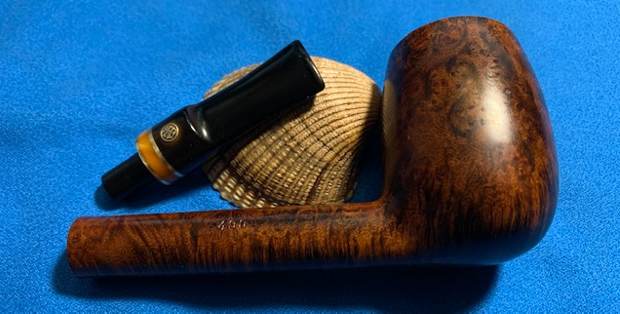
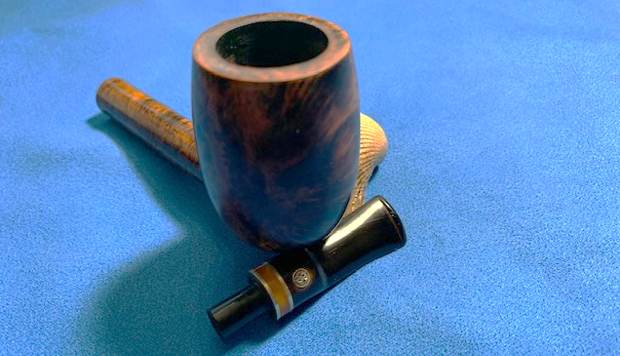
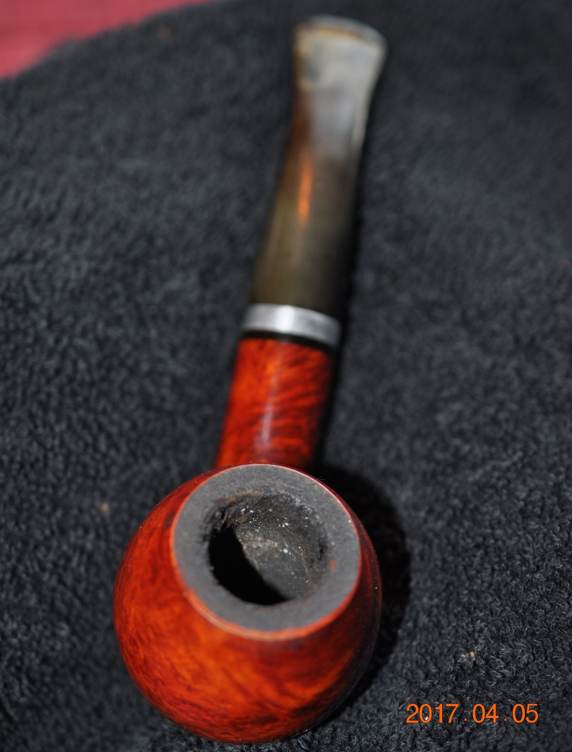
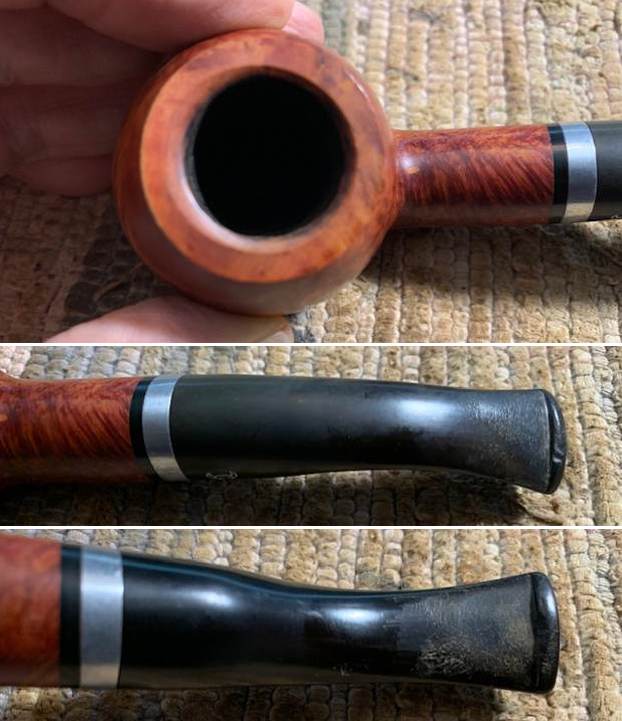
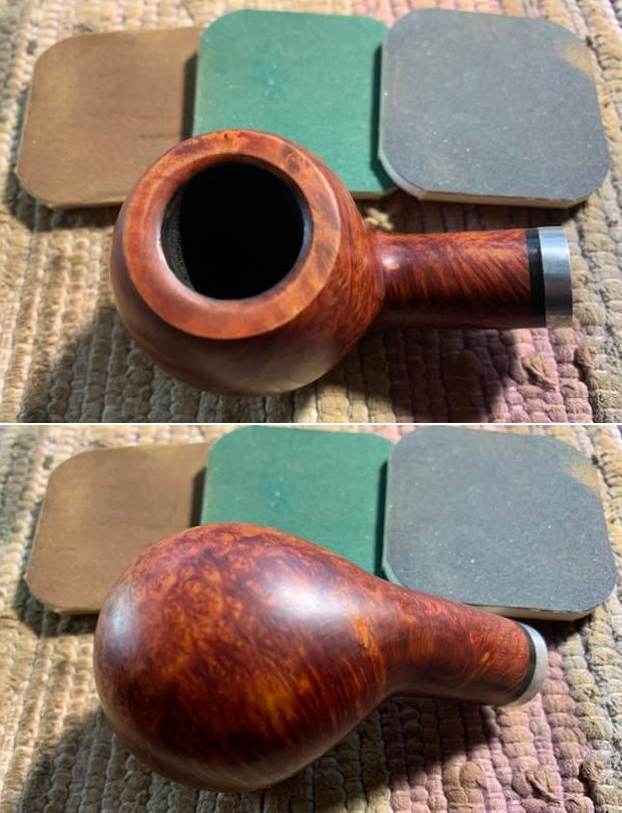
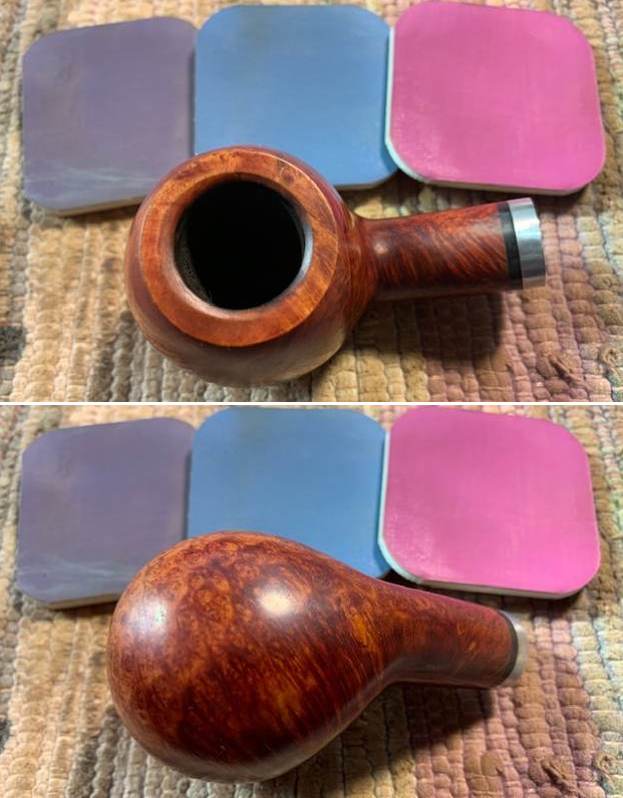
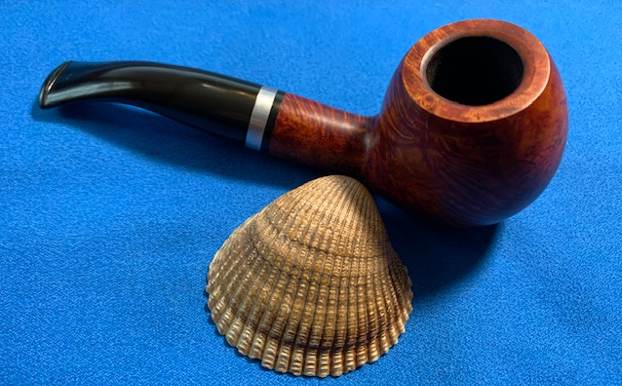
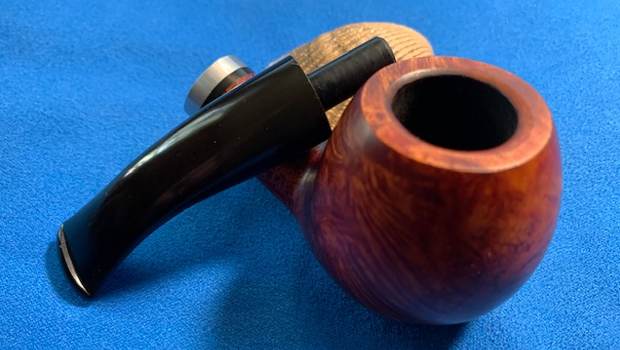
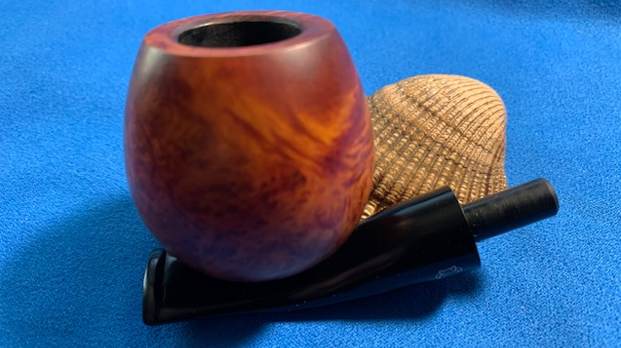
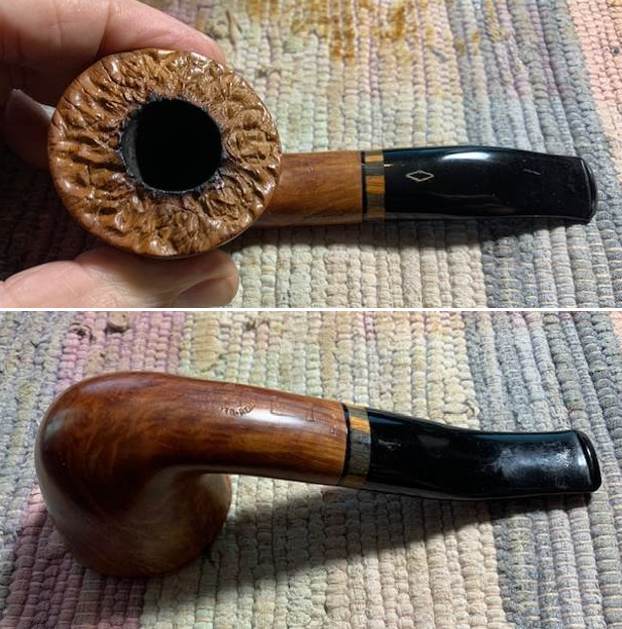 I took a photo of the bowl and rim top to show the thickness of the cake in the bowl and the darkening on the inner edges of the bowl. The faux plateau looks quite good. I took photos of the stem surface to show the condition and tooth marks and chatter on both sides ahead of the button.
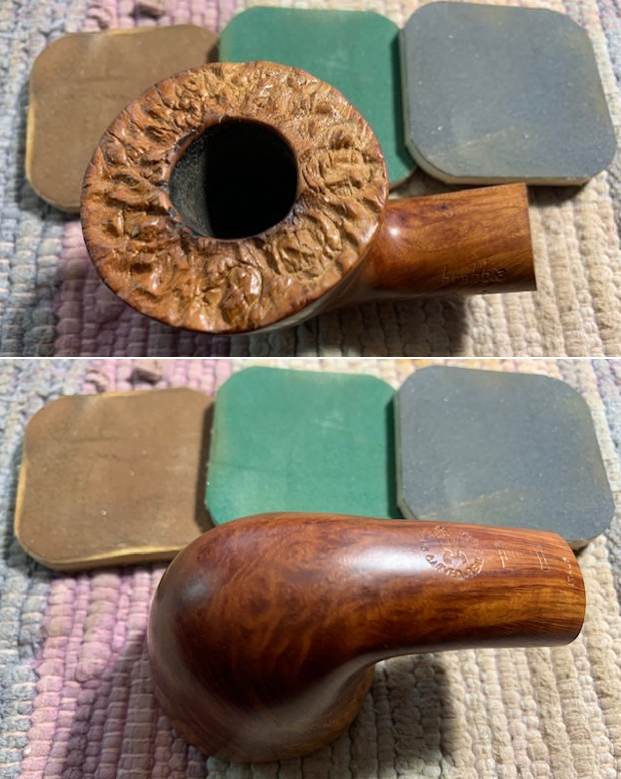
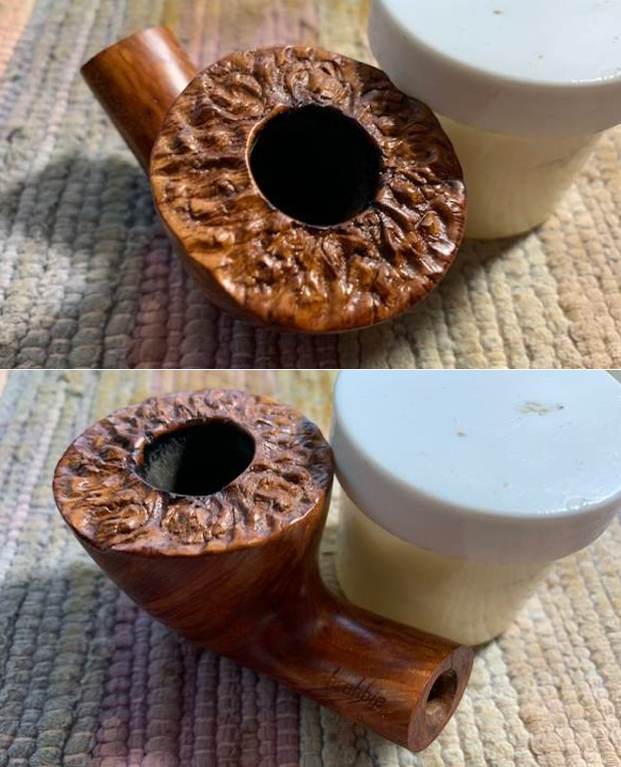
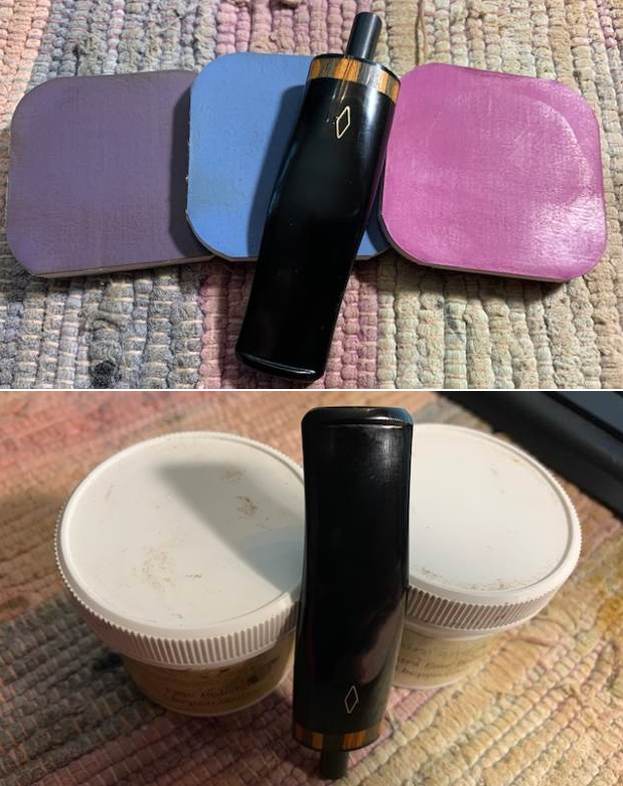
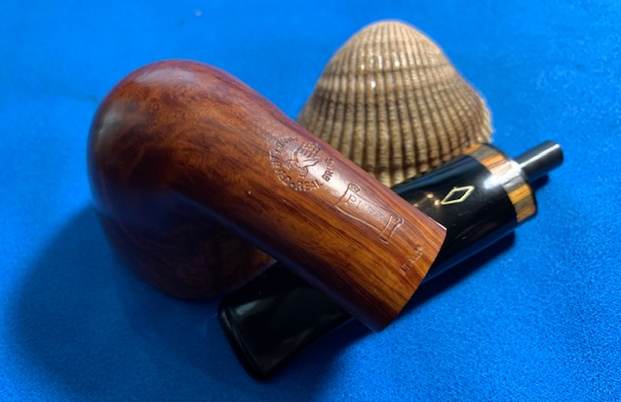
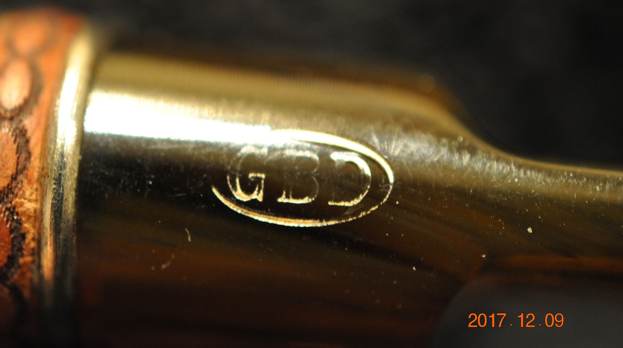
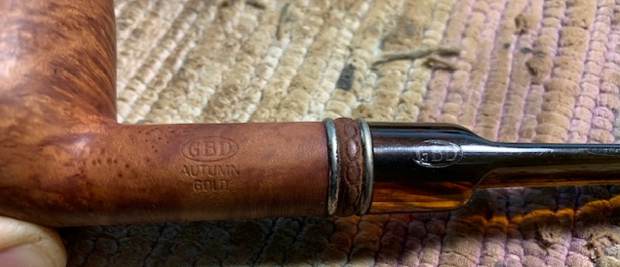
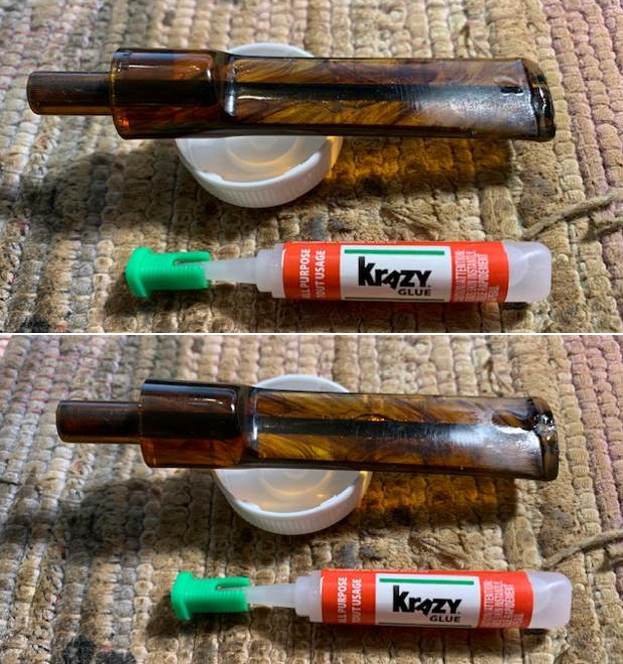
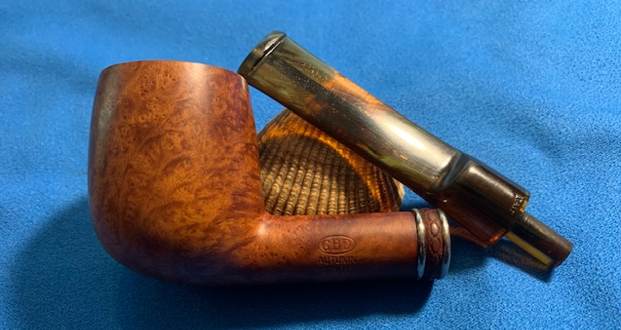
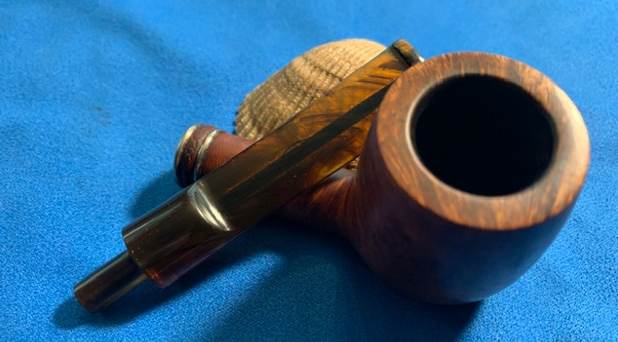
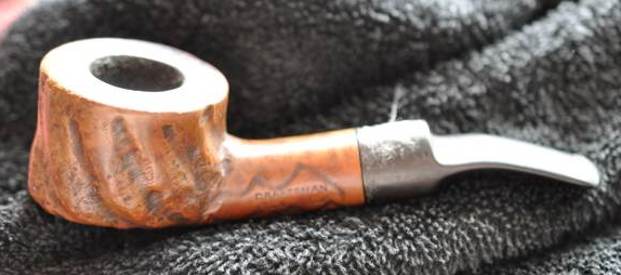
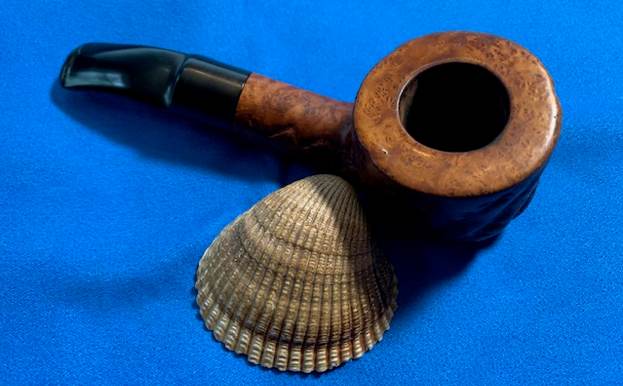
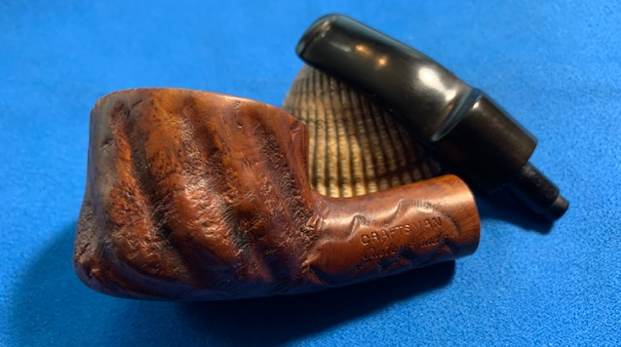
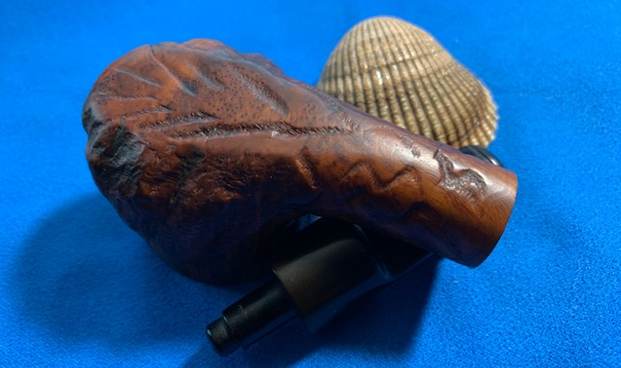
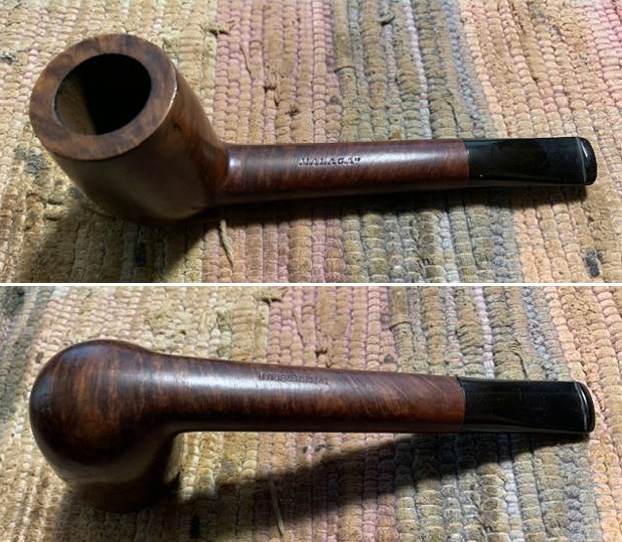
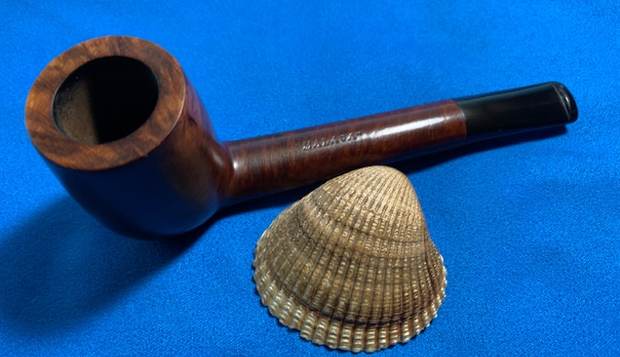
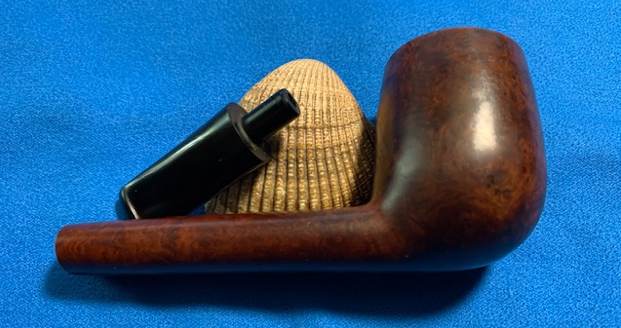
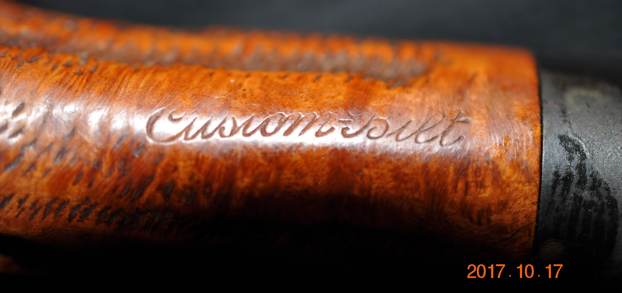
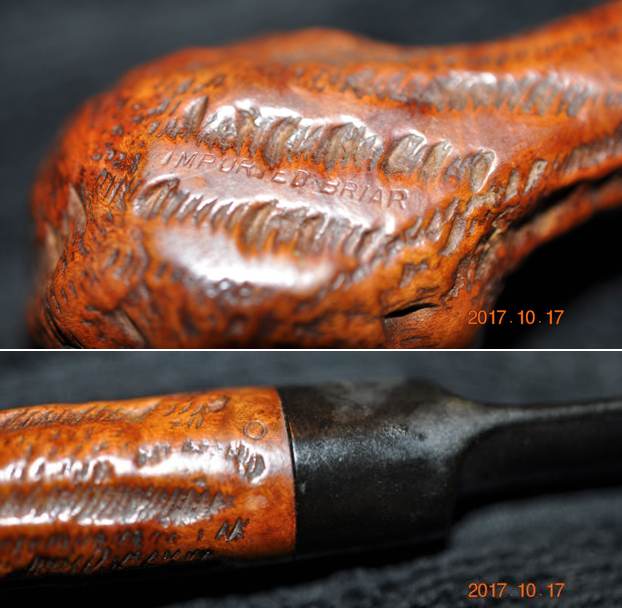
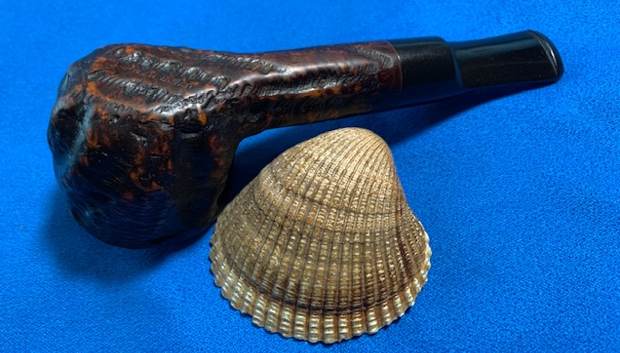
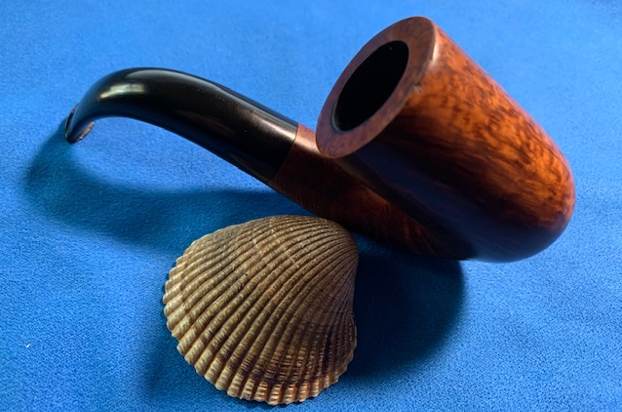
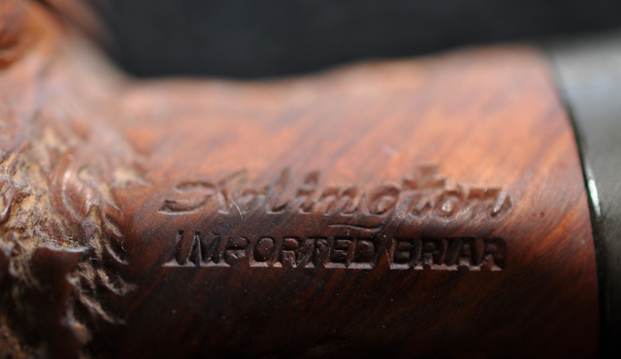
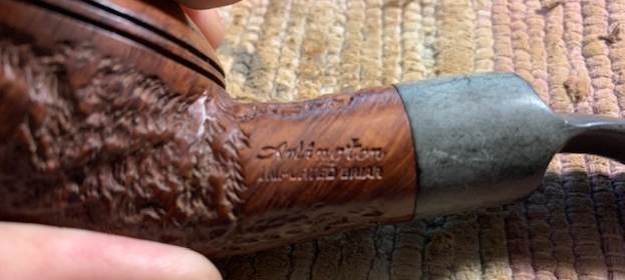
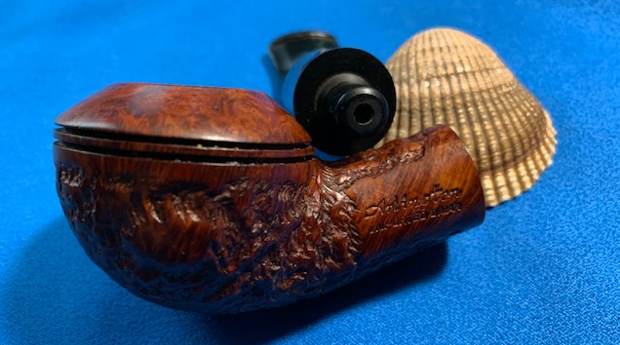
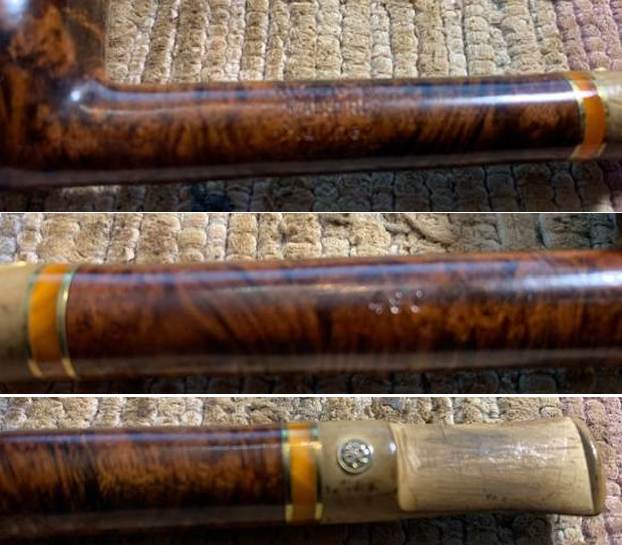
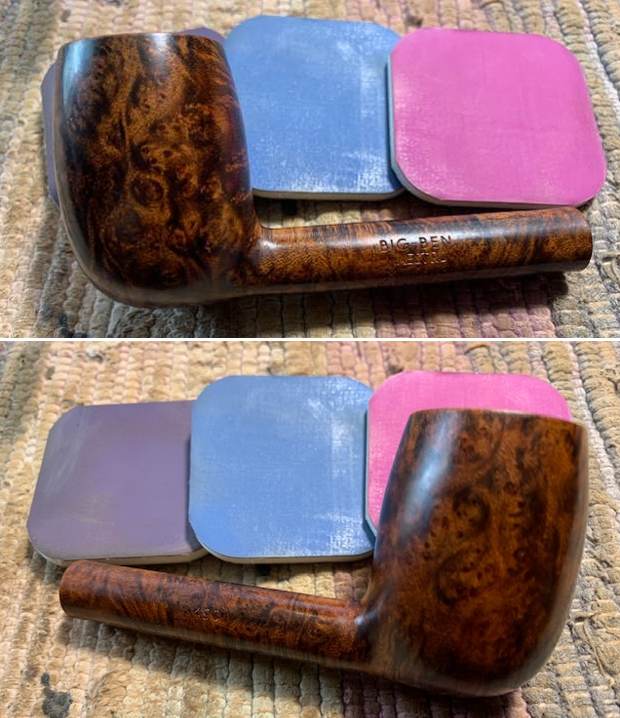
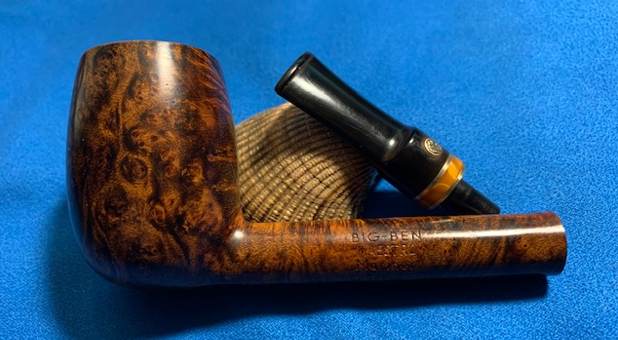
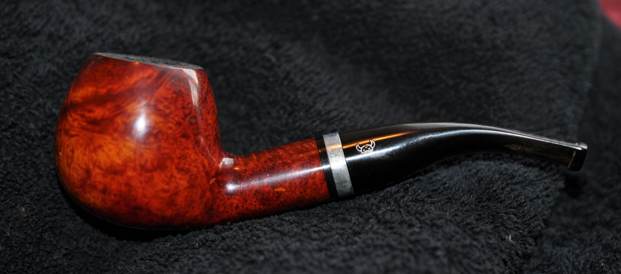
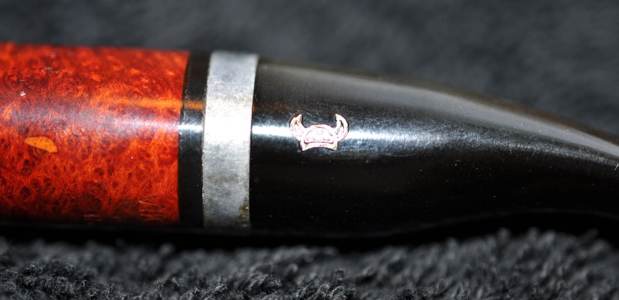
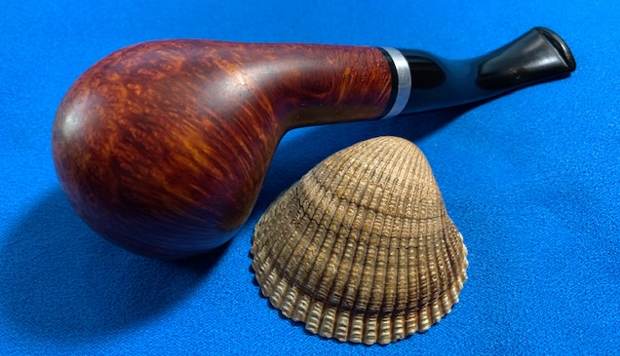
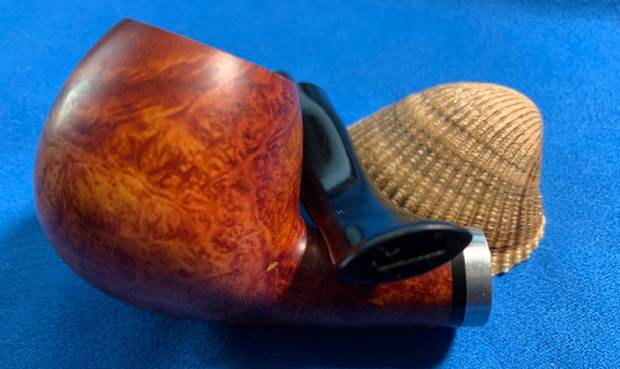
 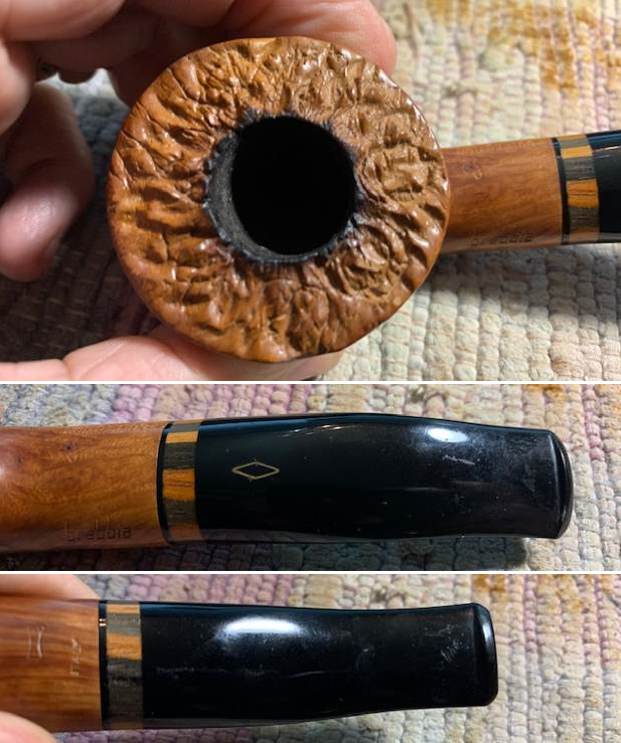 I took photos of the stamping on the shank sides. It is readable as noted above and is very clear. I took a photo of the Brebbia brass diamond logo on the stem as well. It is in excellent condition.
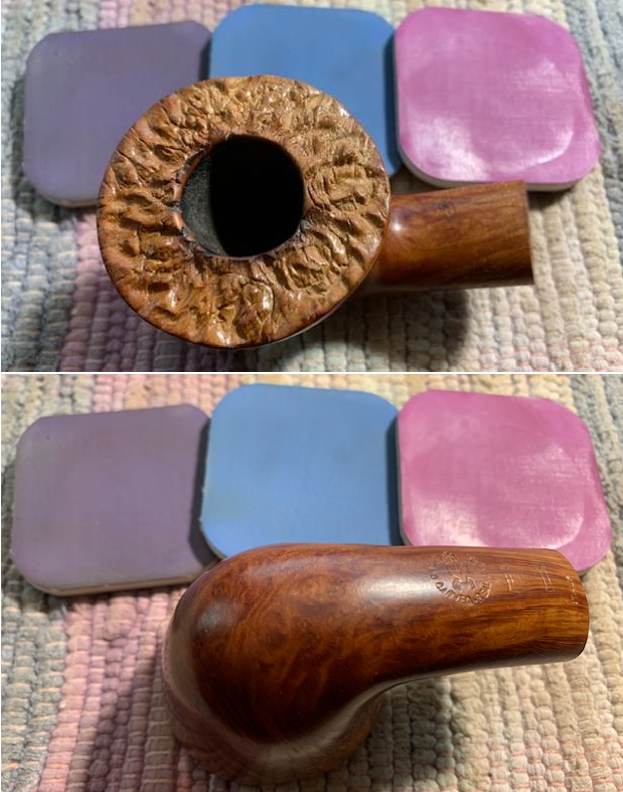
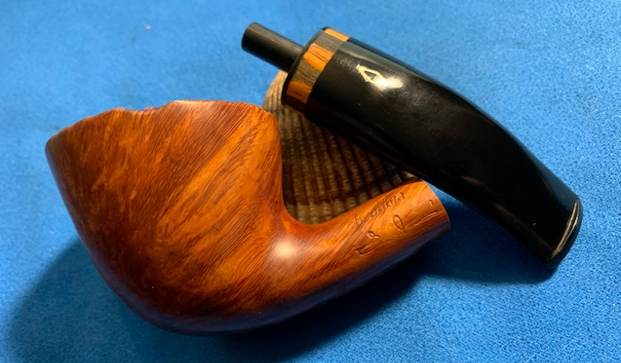
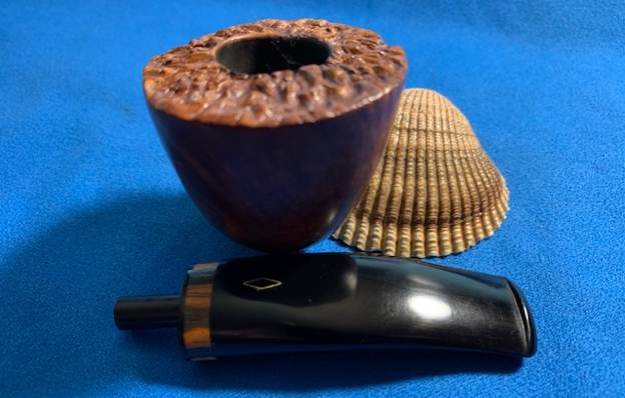
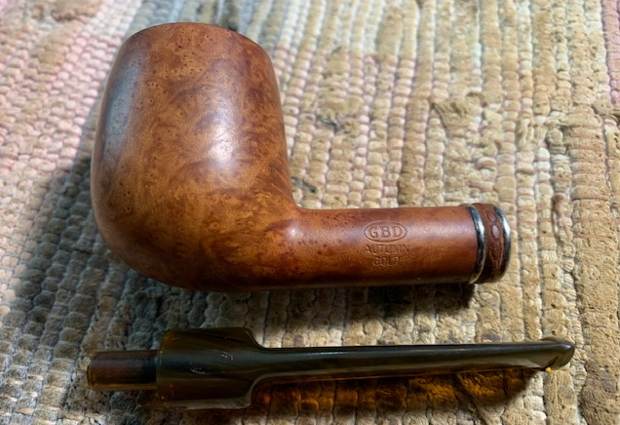
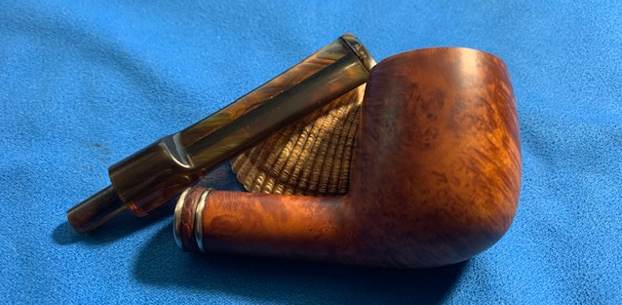
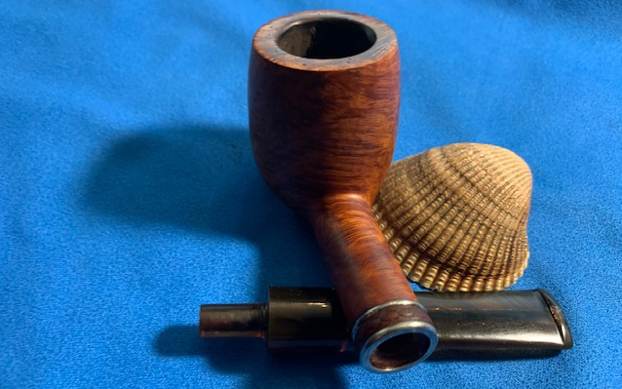
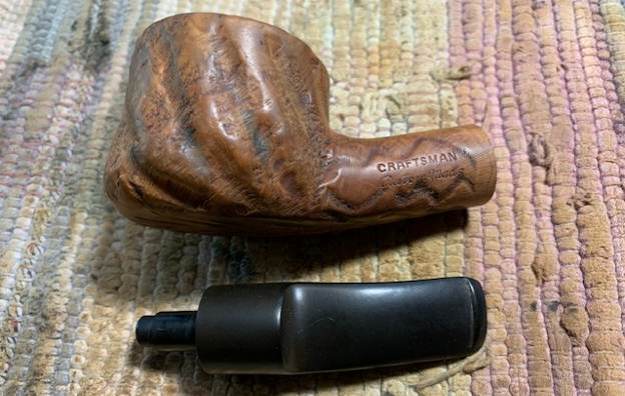
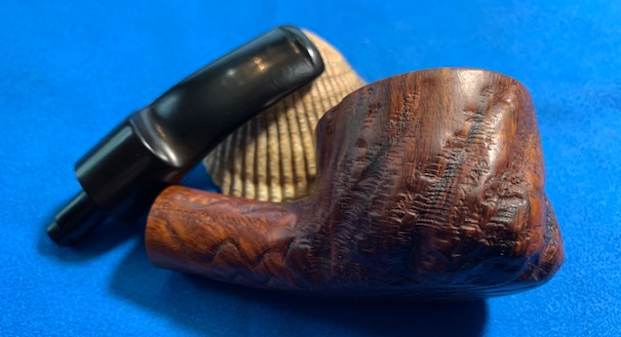
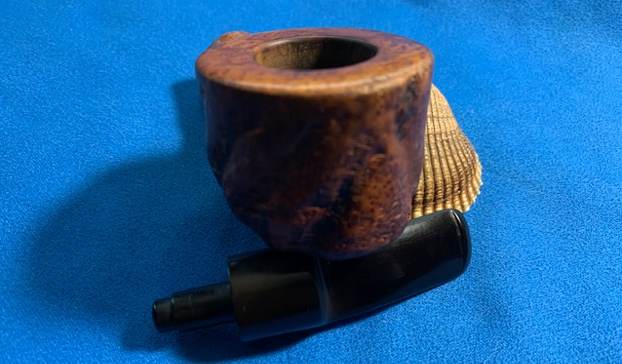
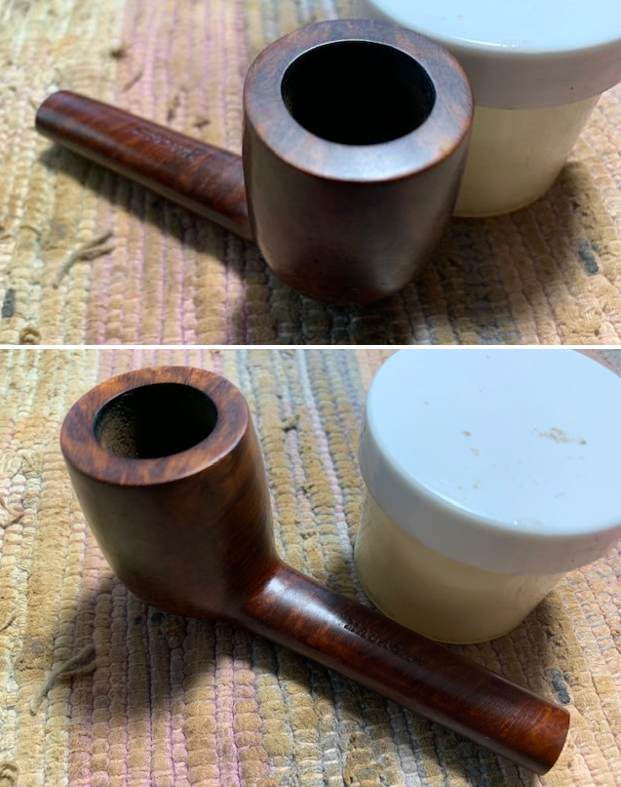
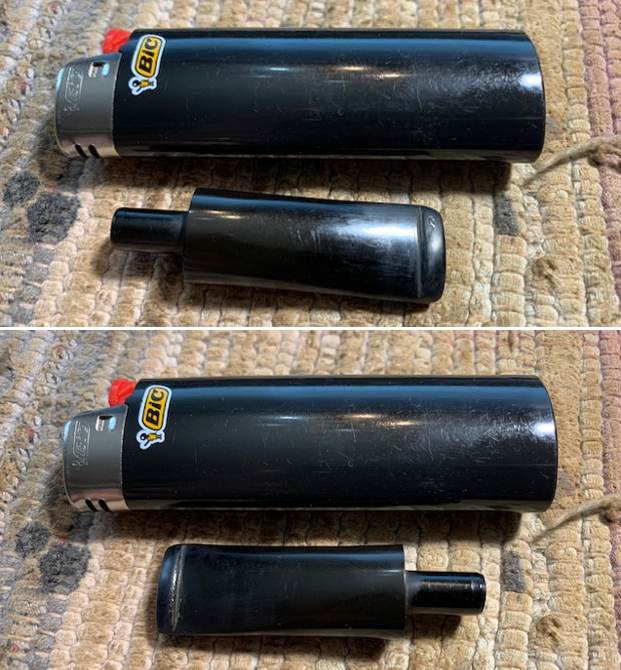
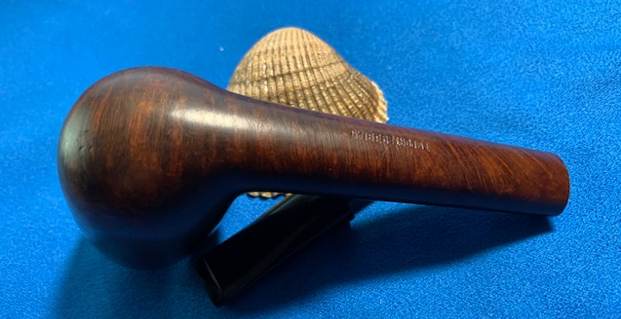
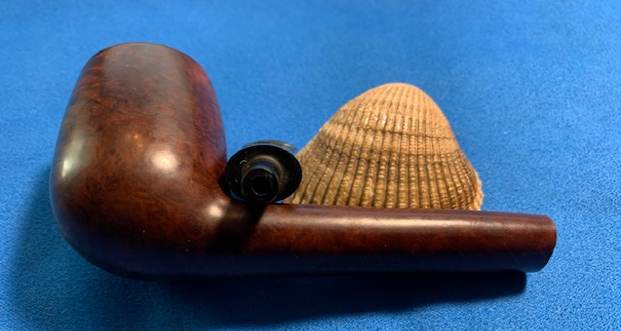
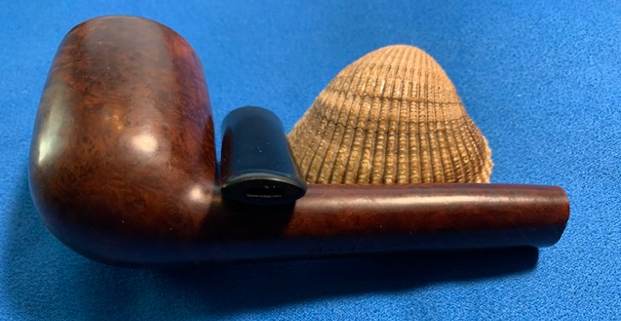
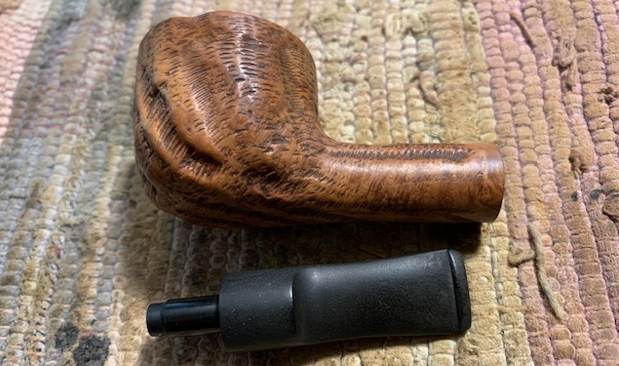
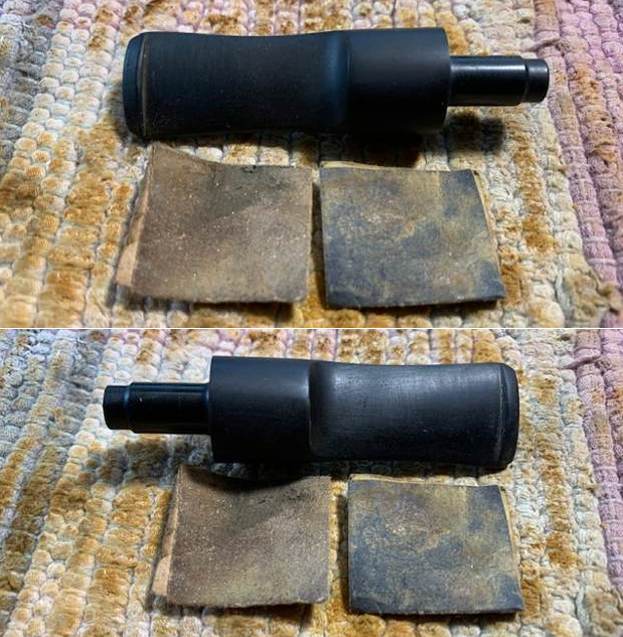
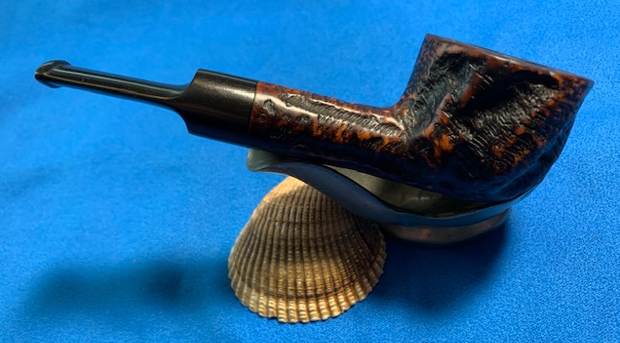
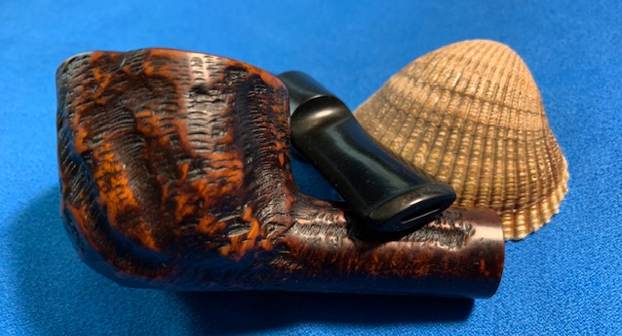
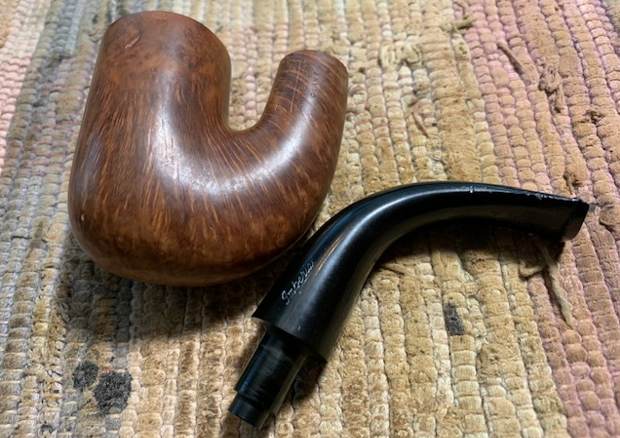
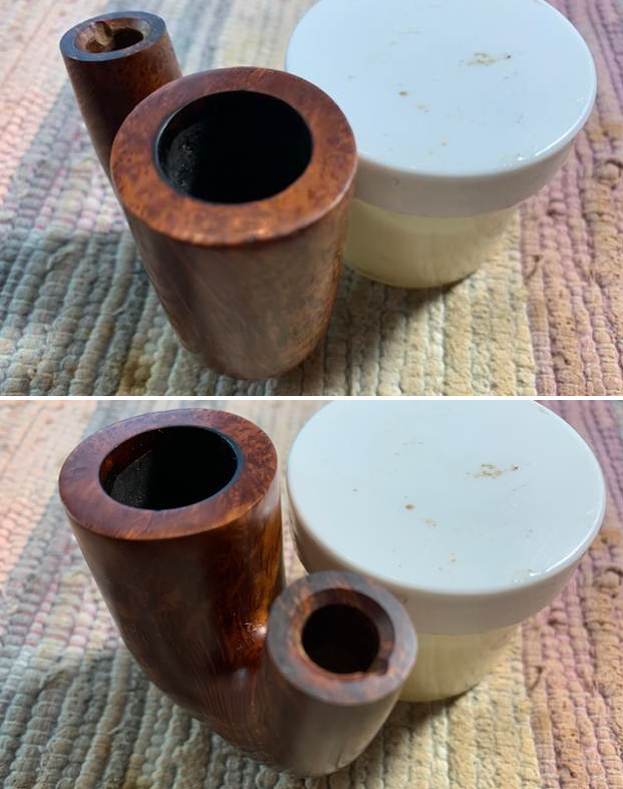
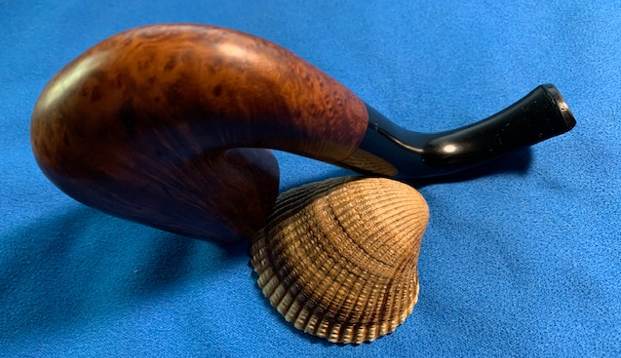
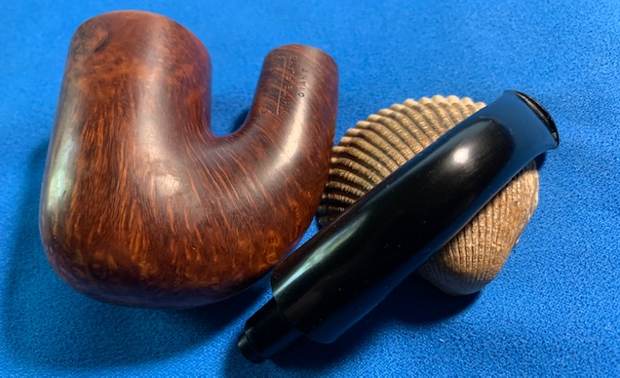
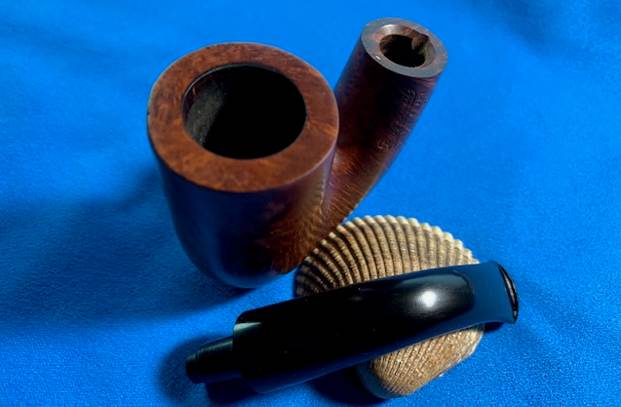
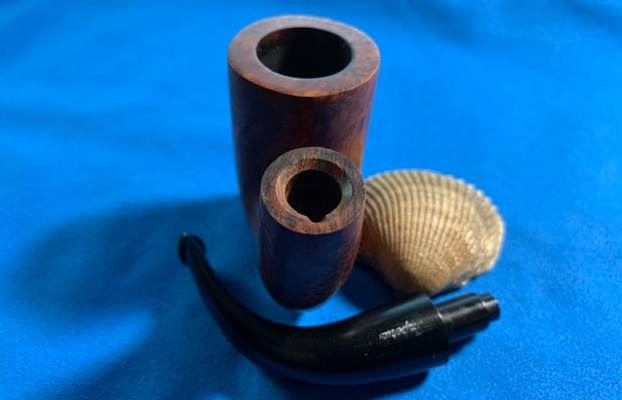
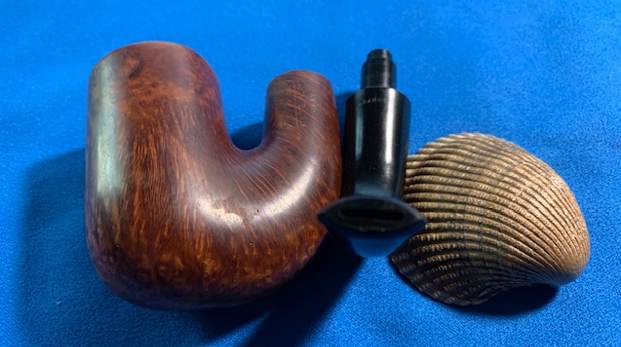
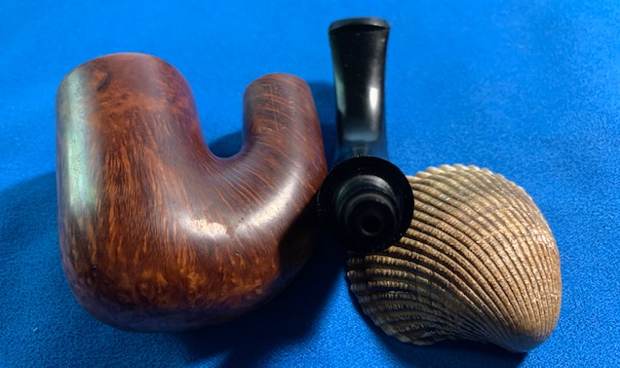
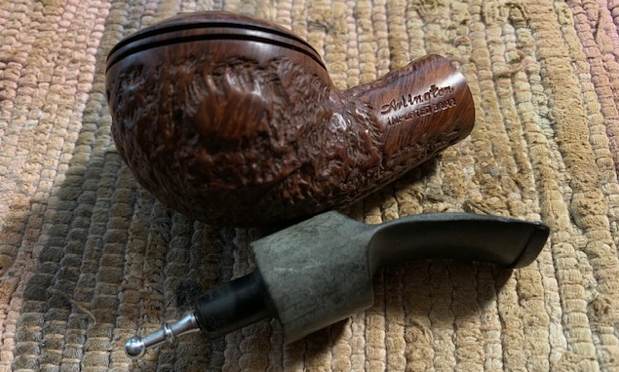
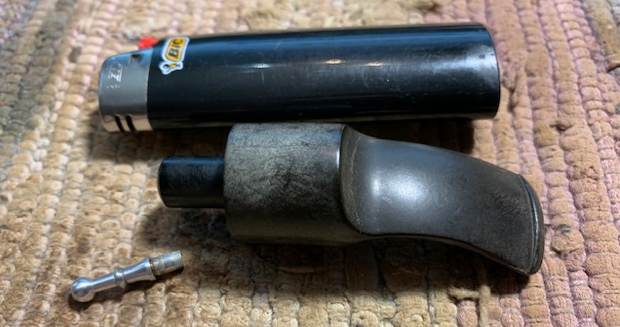
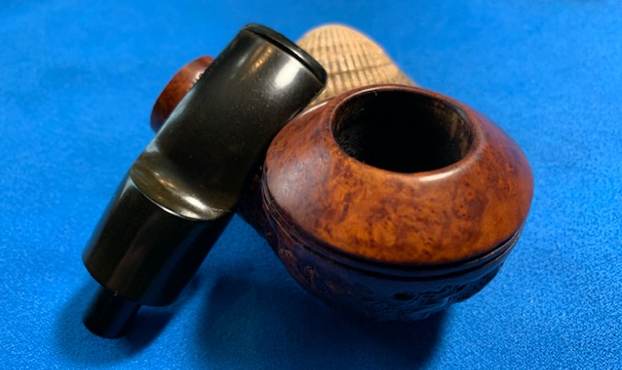
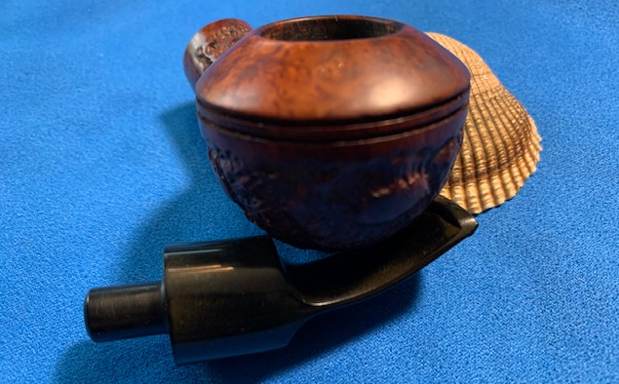
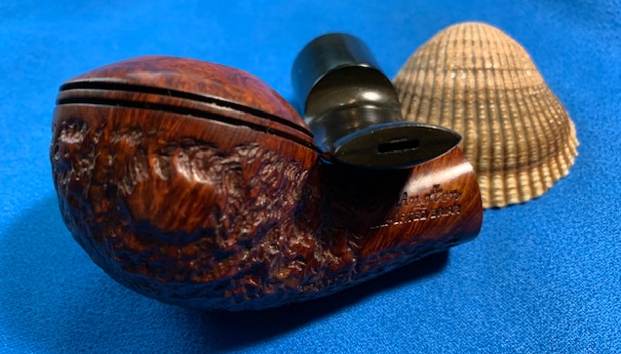
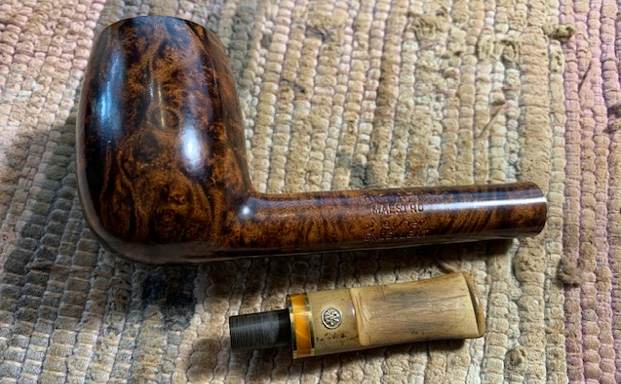
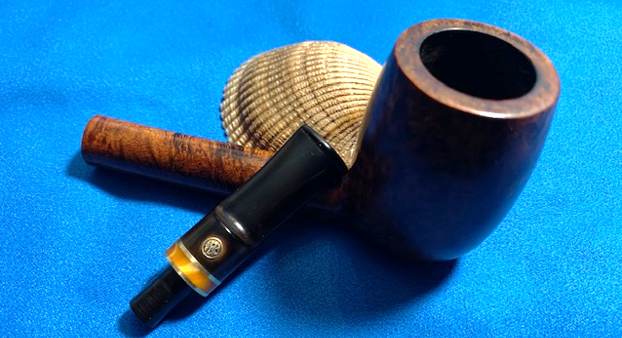
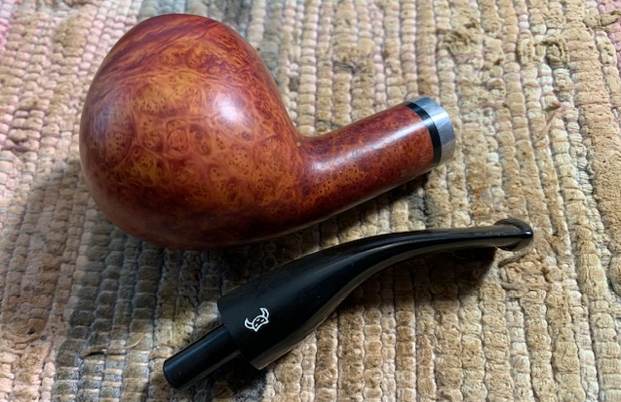
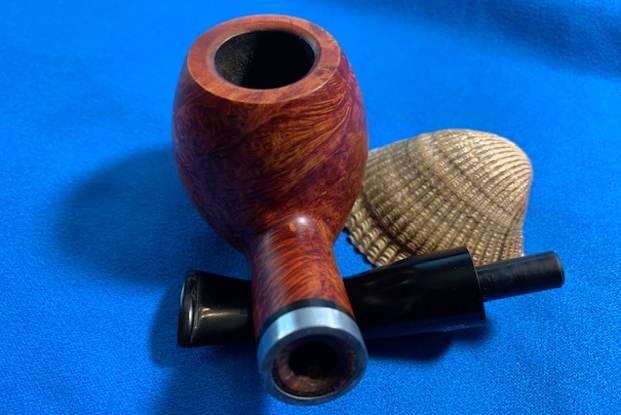
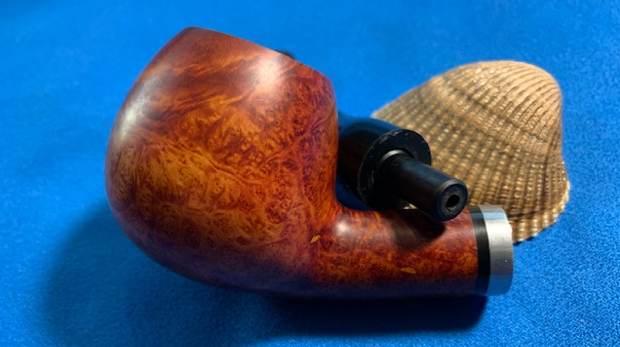
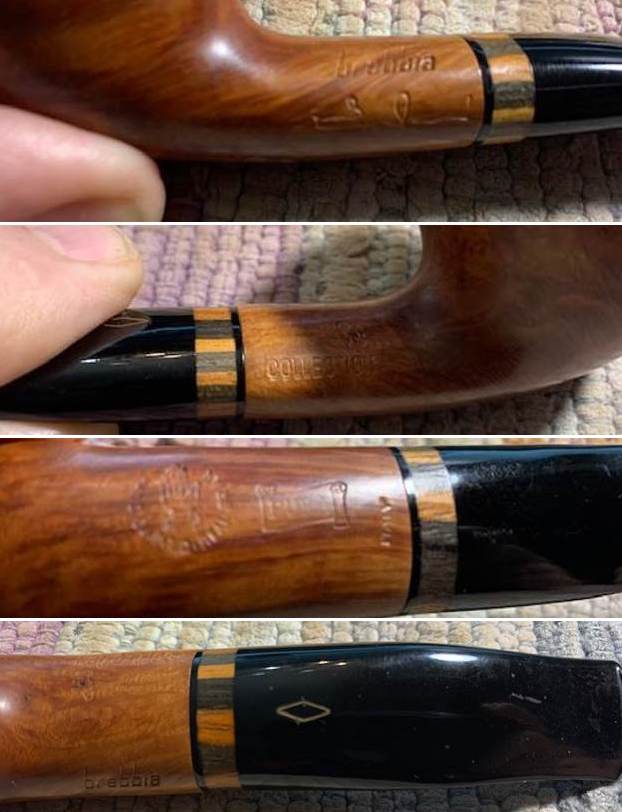 I removed the stem from the shank and took a photo of the pipe parts. It is really going to be quite a stunning piece.
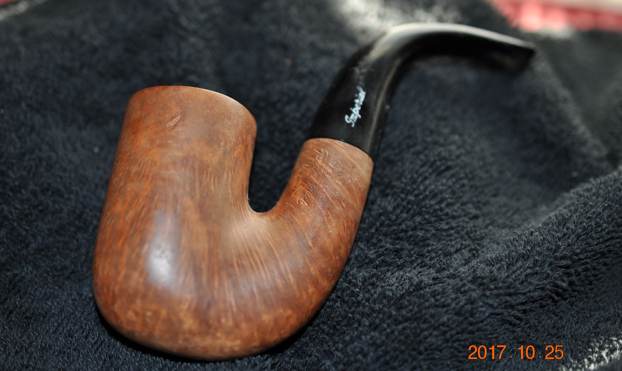
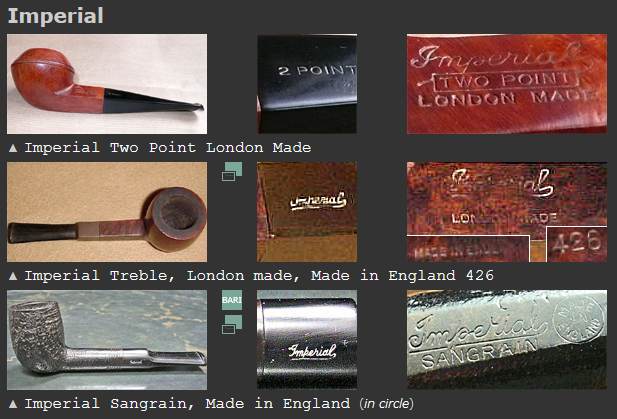
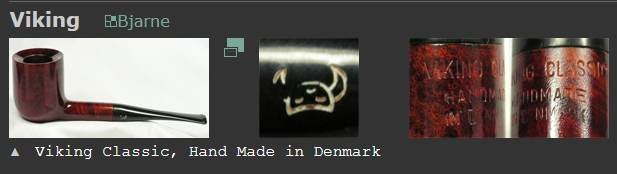
 I wanted to know more about this particular model of the company – The Brebba Collection so I turned to Pipephil first for a summary of information available (http://pipephil.eu/logos/en/logo-brebbia.html). I quote below and also have included a screen capture of the model that was pictured.
The Brebbia brand is named after the locality of Bosco Grosso di Brebbia (Prov. Varese, Reg. Lombardia). A first corporate was founded by Enea Buzzi and Achille Savinelli in 1947. They split in 1953. Buzzi ketp the factory and created the MPB brand (Maniffatura Pipe Brebbia). After 1968 the brand was shortly called “Brebbia”.
Luciano Buzzi son of Enea manages the company since the 1990s.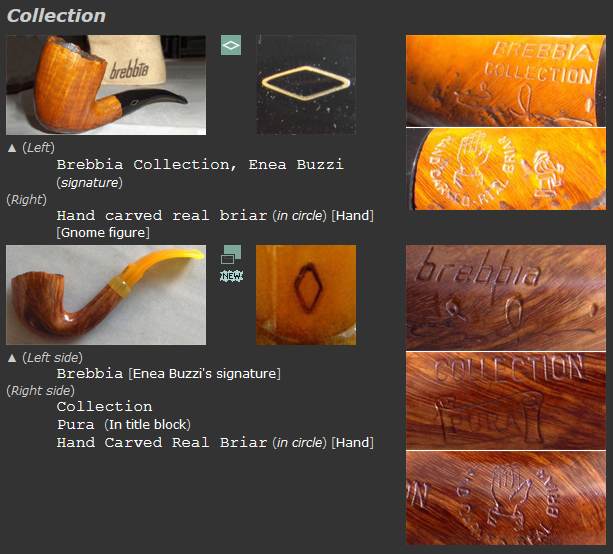 I turned then to Pipedia for more detail (https://pipedia.org/wiki/Brebbia). I quote from the article on the site. There is some interesting history there. I also have included a photo of the company provided by Doug Valitchka
Pipe Brebbia Srl, or better the M.P.B. (Manifattura Pipe Brebbia) was born in 1953 from the denouement of the association between Achille Savinelli and Enea Buzzi in 1947, where the first was employed in the marketing and the second in manufacturing of pipes under the name of Savinelli. It was made in exclusive up to 1953 and extended without further rights up to 1956.
The production, which is always careful and perfect, has continued in a traditional way for 60 years, using old lathes for the first steps, but finishing every piece by hand.
The secret of their manufacture, if we may put it this way, is the respect for the traditions with the experience acquired in several years of successful work, which could be summed up in two words: high quality.
The factory is currently managed by Enea’s son, Luciano.
For the last few decades, many of Brebbia’s pipes have been made by a number of small, otherwise independent pipe manufacturers, being marketed under the trade name Brebbia. For the northern European market, 9mm filter pipes are being produced, some of which employ VAUEN‘s Konex system (which ensures a good seat of the filter).

Courtesy of Doug Valitchka
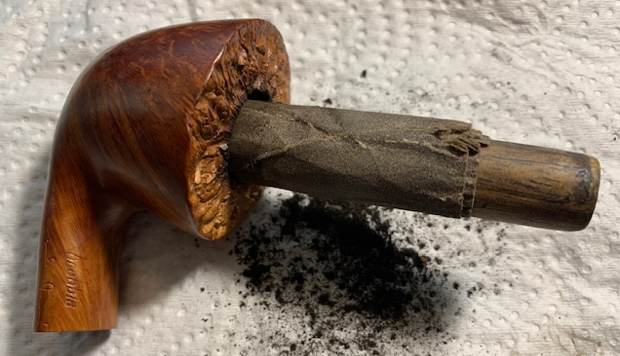
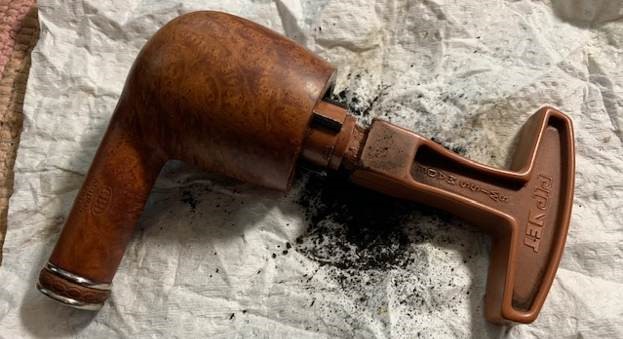
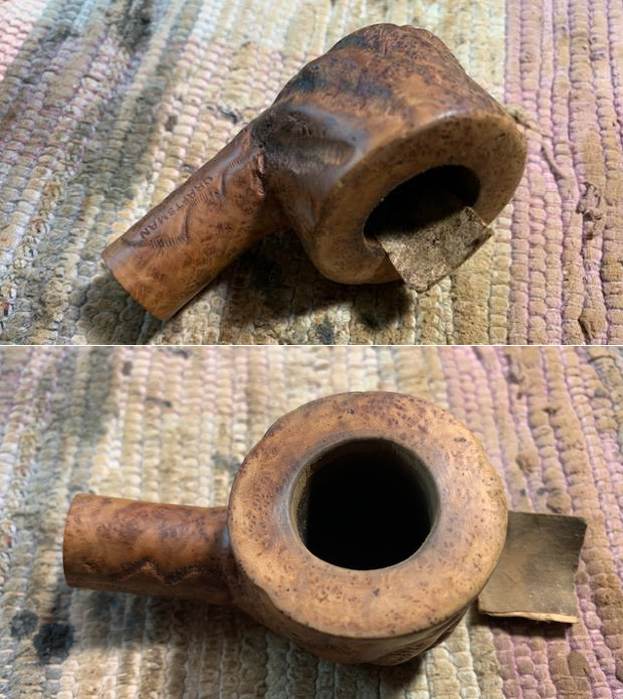
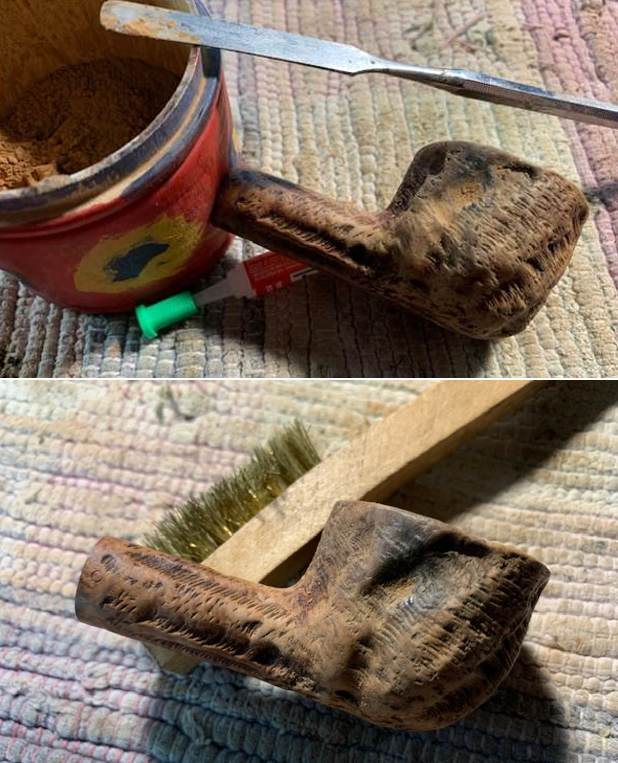
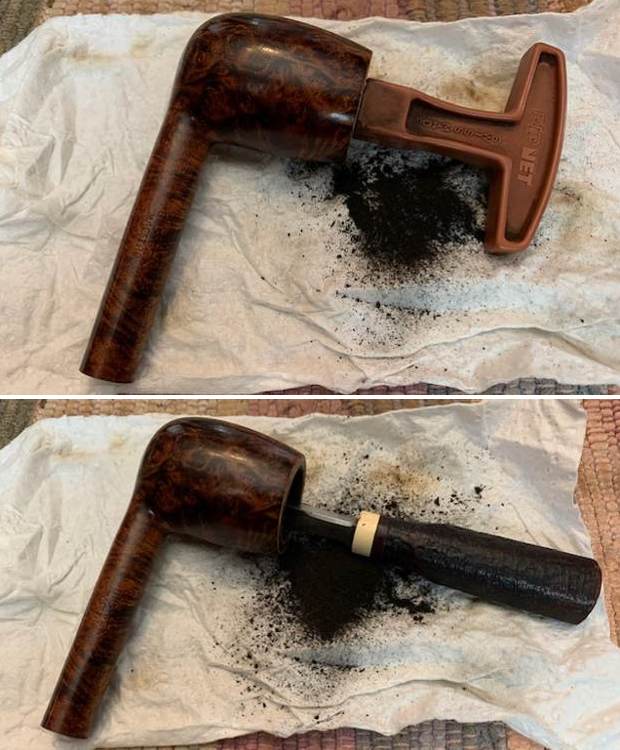
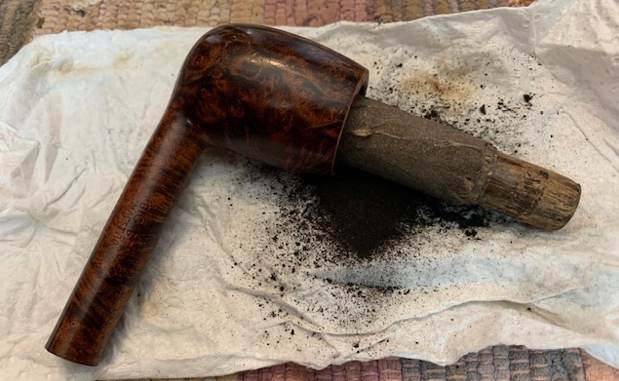
I reamed the bowl with a PipNet pipe reamer and took the cake back to bare walls. I cleaned up the reaming with a Savinelli Fitsall Pipe Knife. I sanded the bowl walls with 220 grit sandpaper wrapped around a piece of dowel. I examined the walls with a lens and they were solid and undamaged.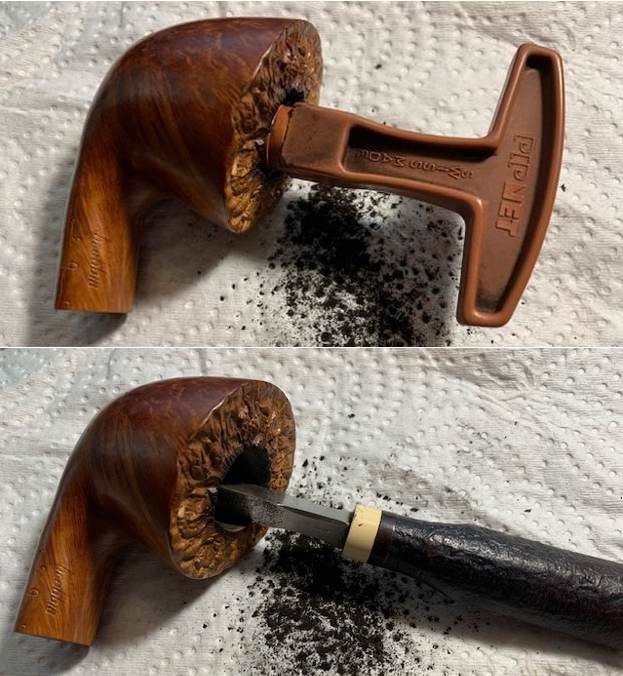
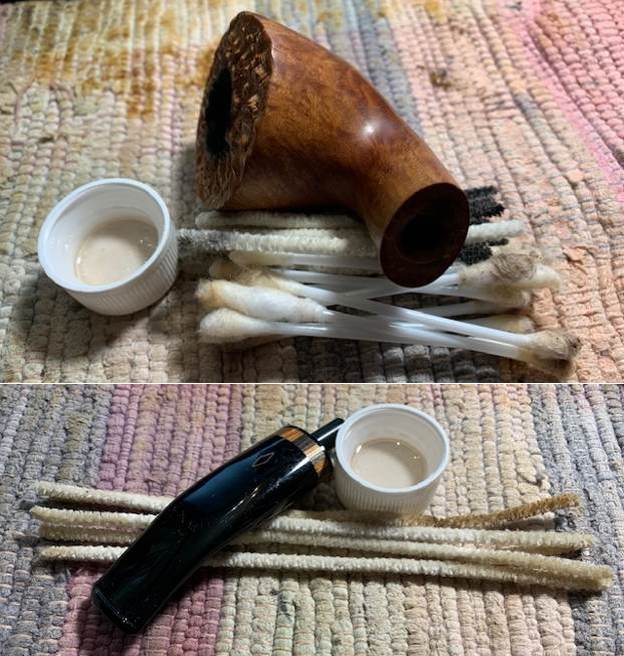
 I scraped out the tars and oils in the shank/mortise with a thin pen knife to get rid of the build up on the walls. I cleaned out the airway in the shank and the stem as well as the mortise with isopropyl alcohol, cotton swabs and pipe cleaners. It was quite dirty and now smells much better.
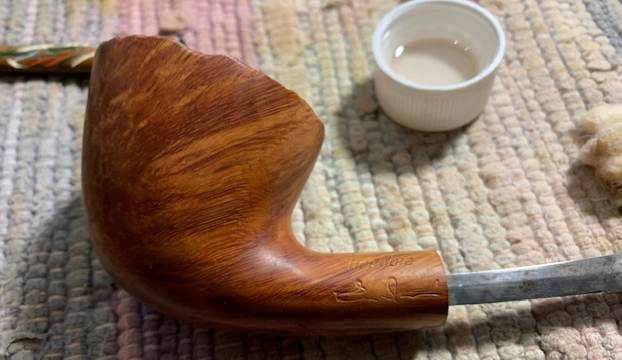
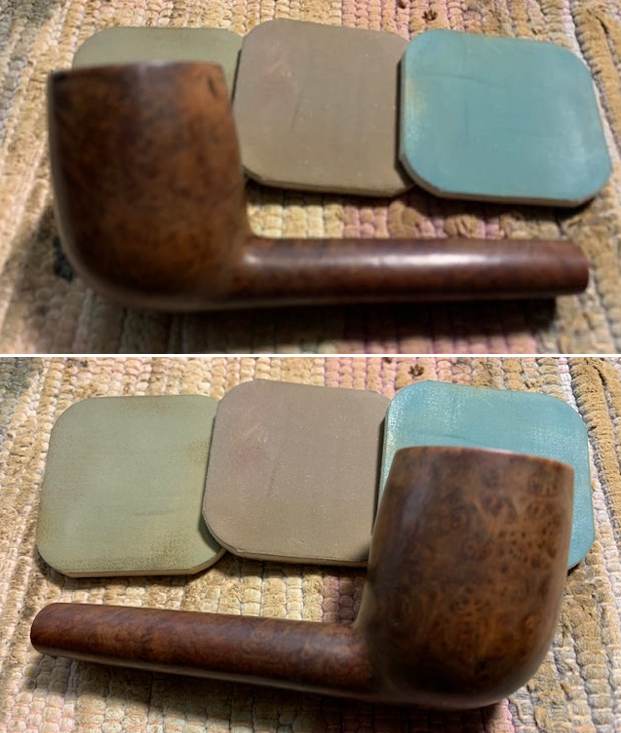
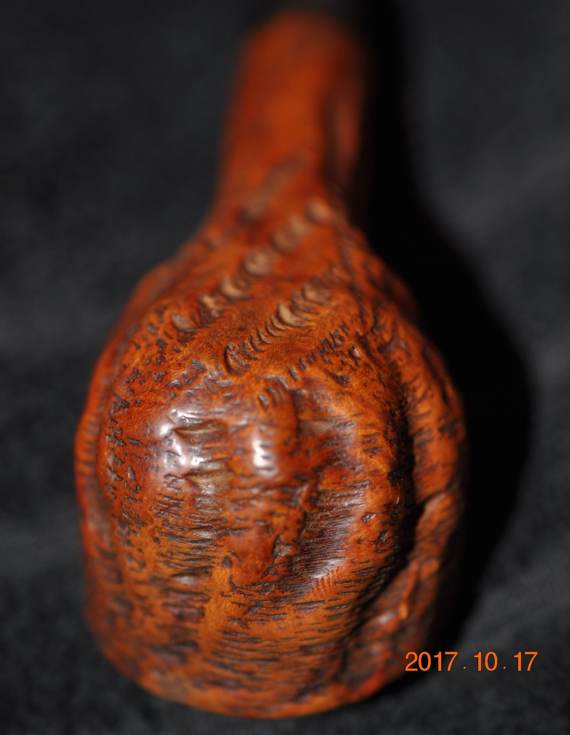
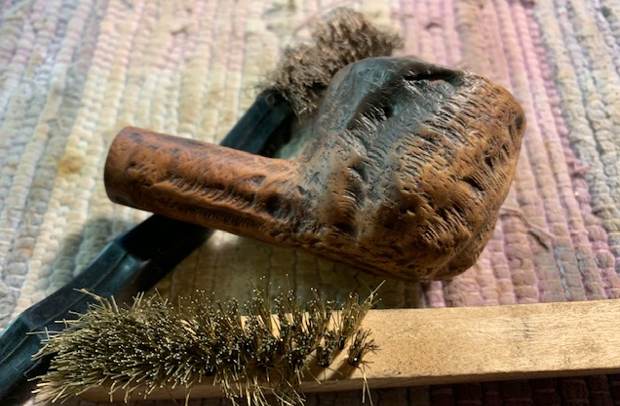
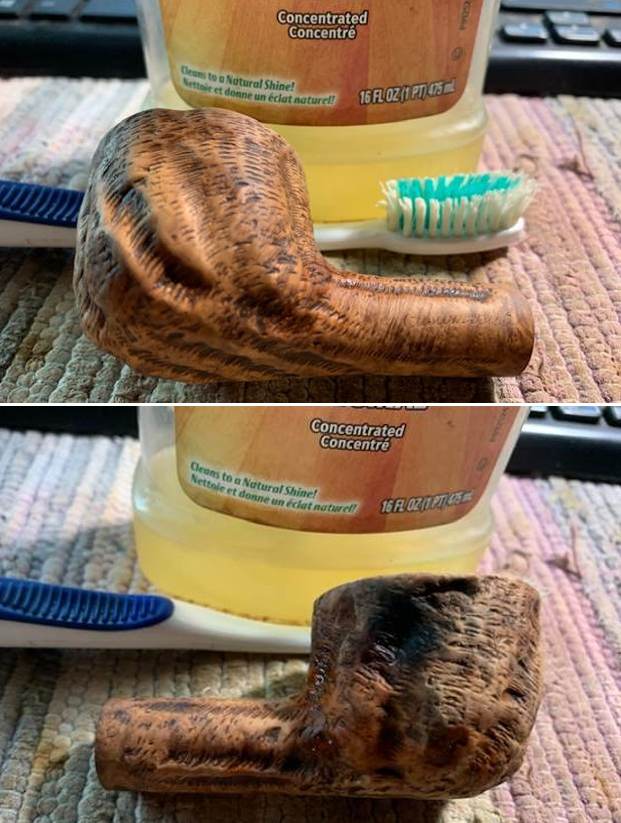
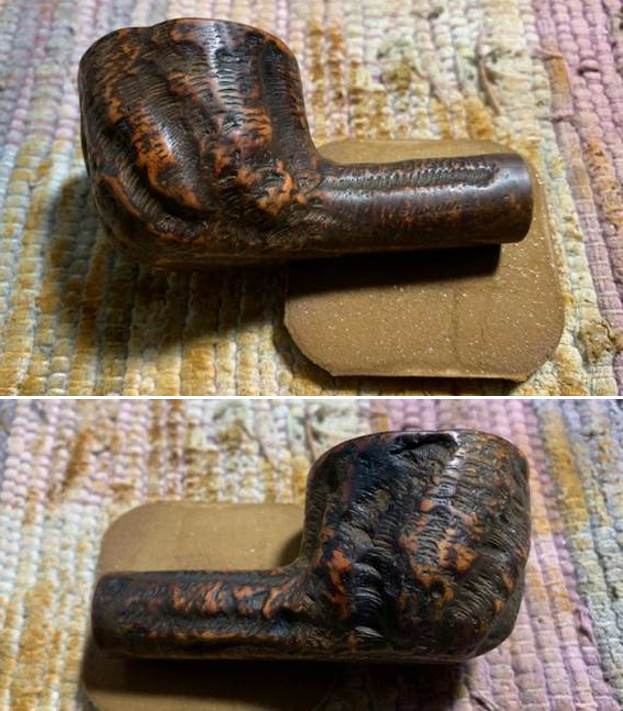
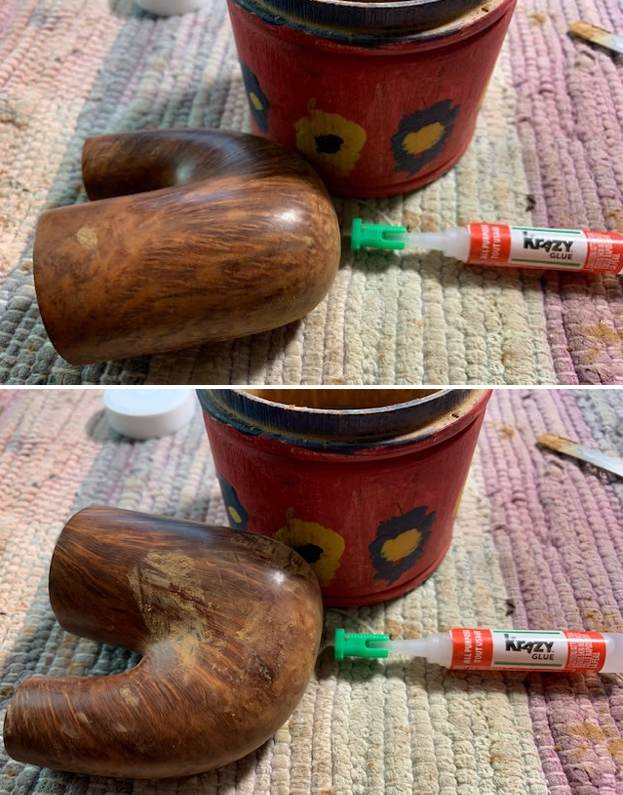
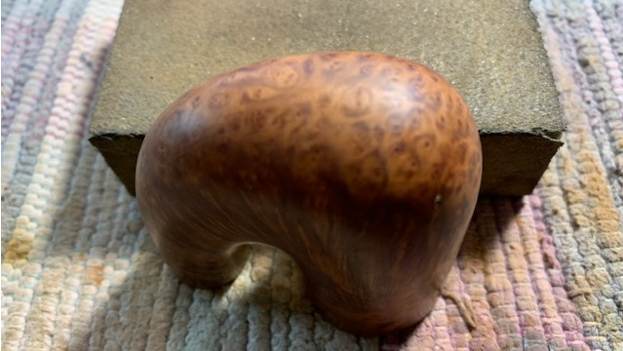
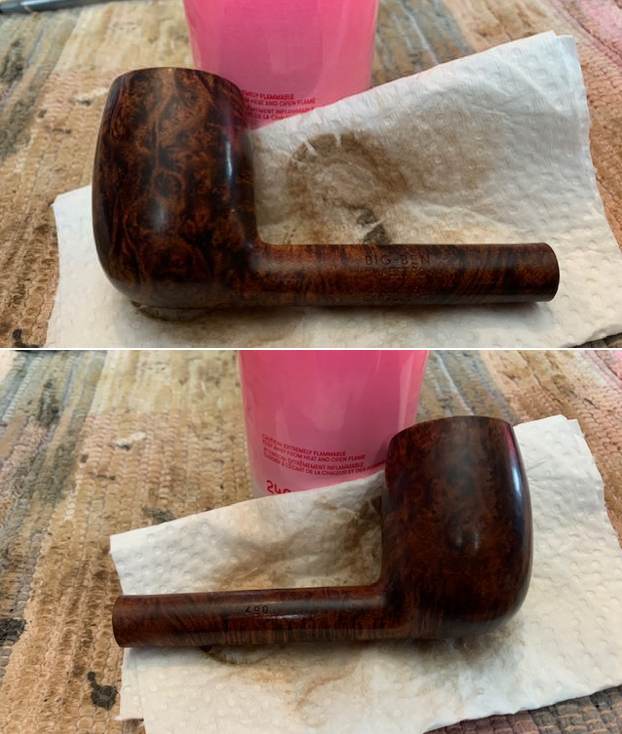
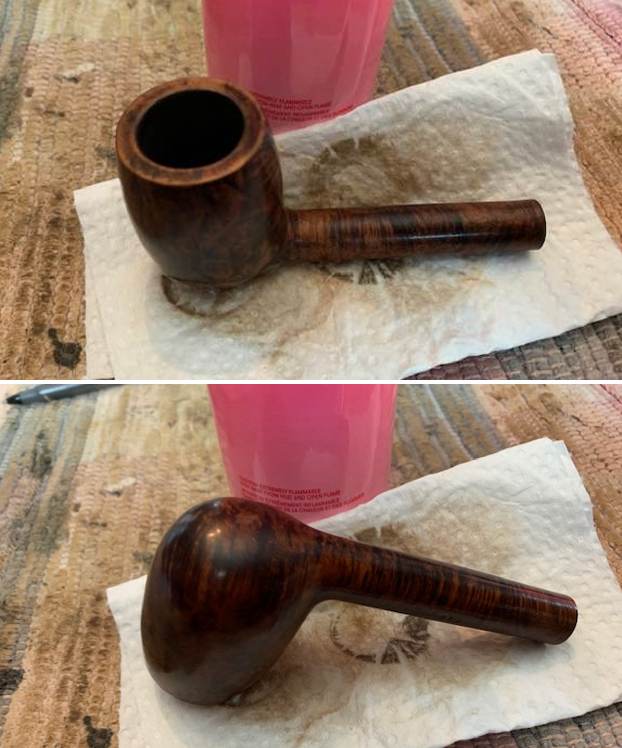
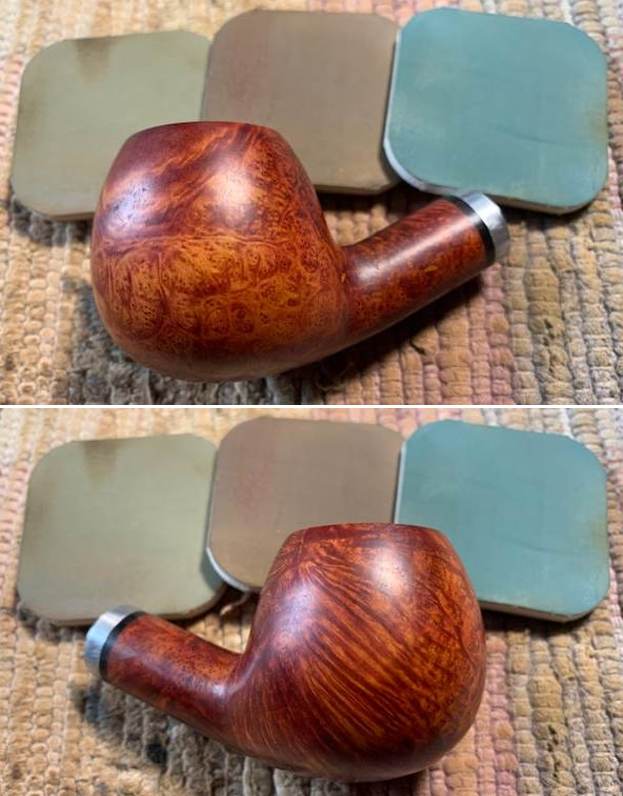
 I scrubbed the exterior of the bowl with Murphy’s Oil Soap and a tooth brush to remove the grime from the finish of the bowl and rim top. I rinsed off the bowl with warm water and then dried the bowl with a cotton cloth. The grain that came to the surface once it was clean is quite stunning.
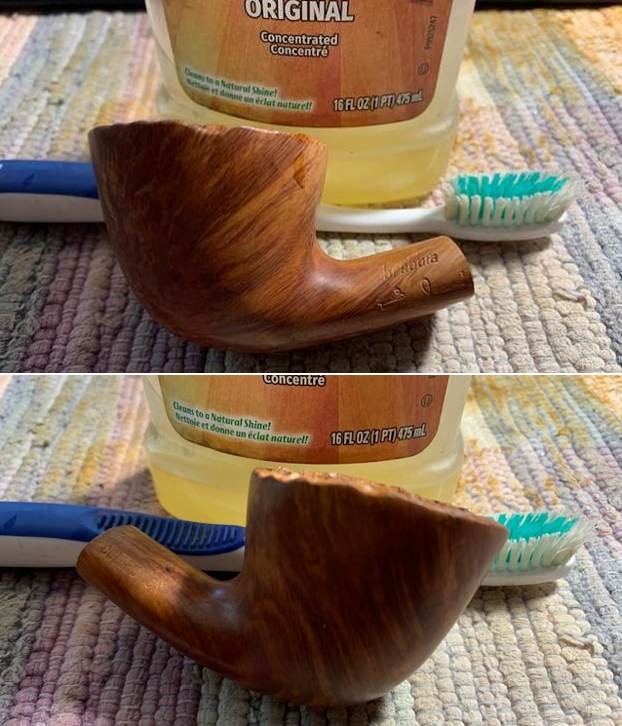
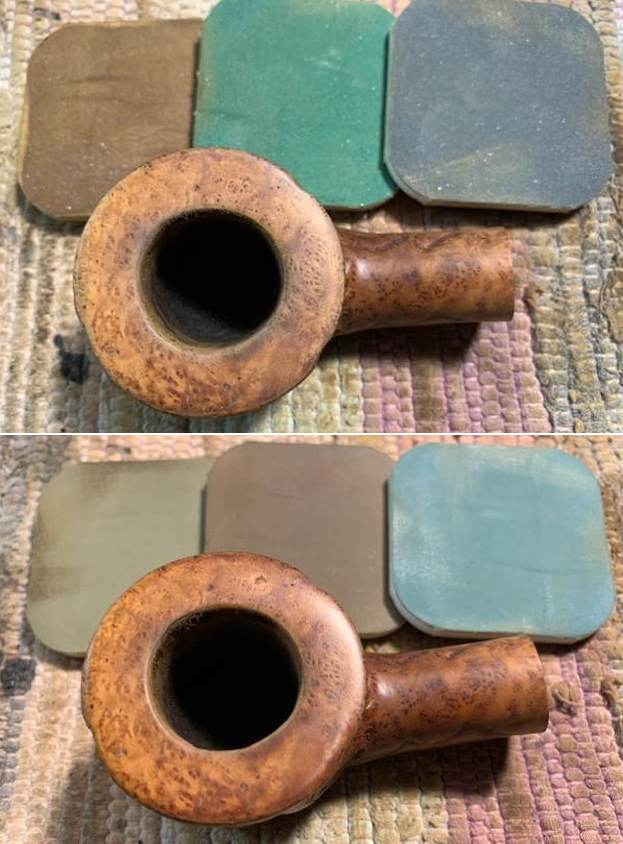
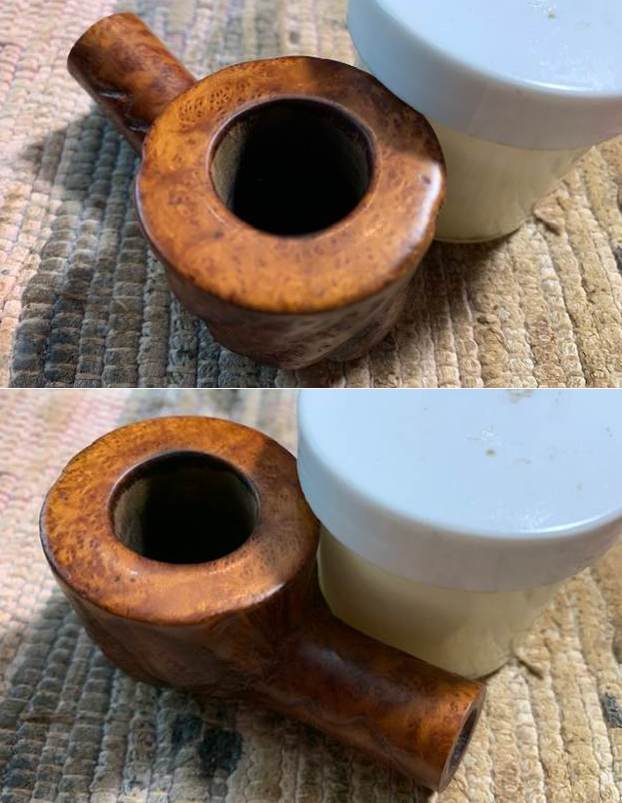
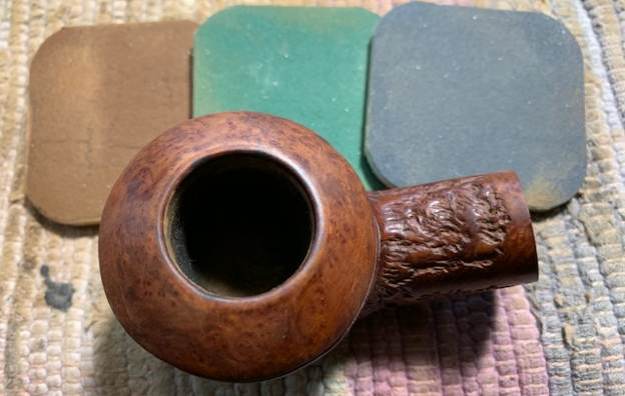
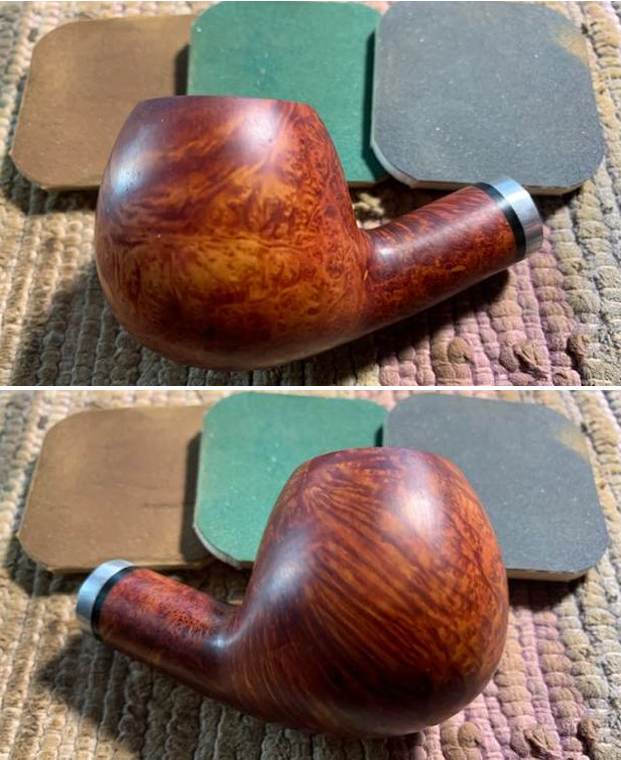
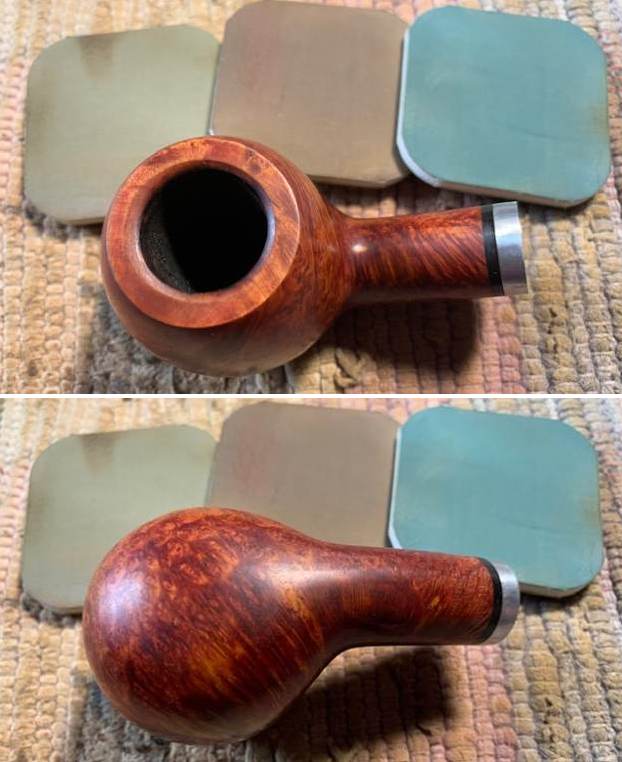
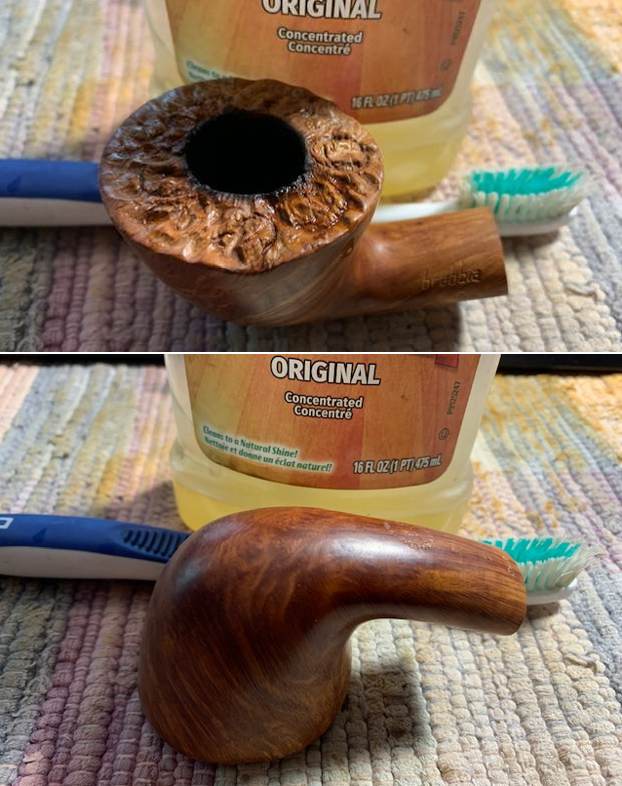 I worked over the darkening on the inside edge of the bowl and the rim top with a folded piece of 220 grit sandpaper. It began to look a lot better.
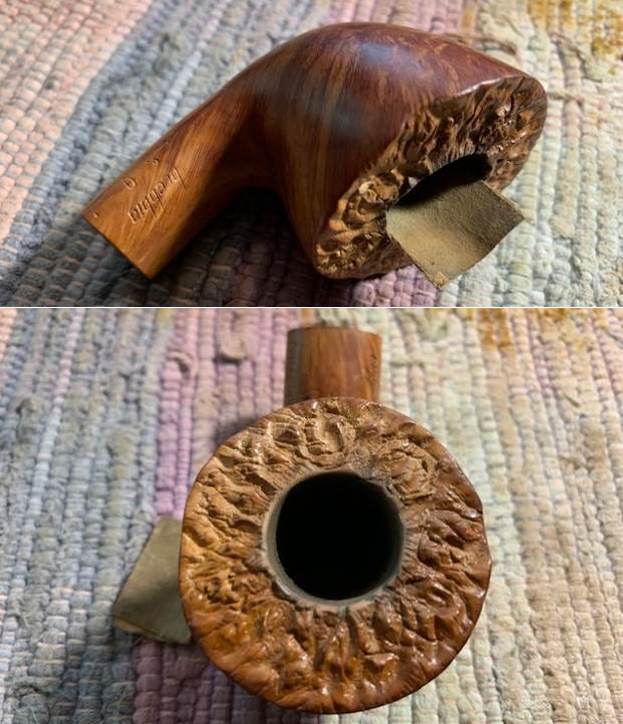 I polished the briar with micromesh sanding pads – dry sanding with 1500-12000 grit pads. After each pad I wiped the bowl down with a damp cloth to remove the sanding debris. It really took on a shine by the last three sanding pads.
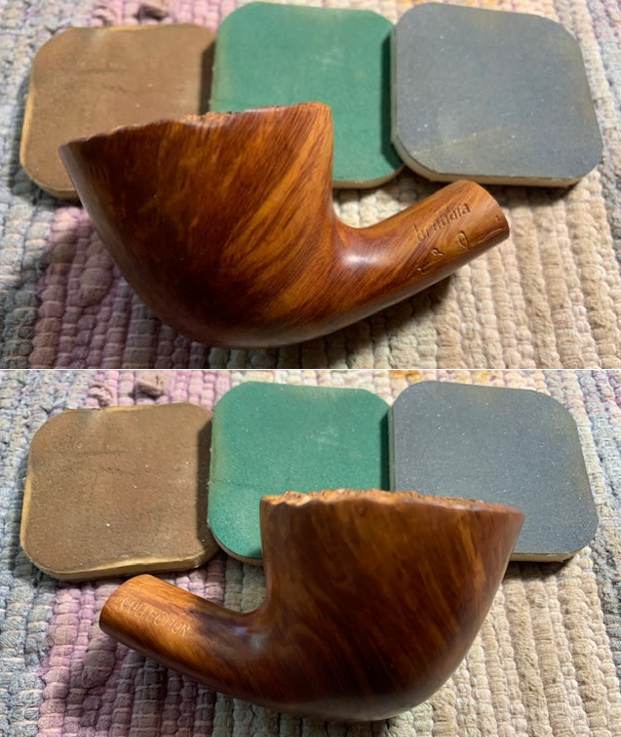
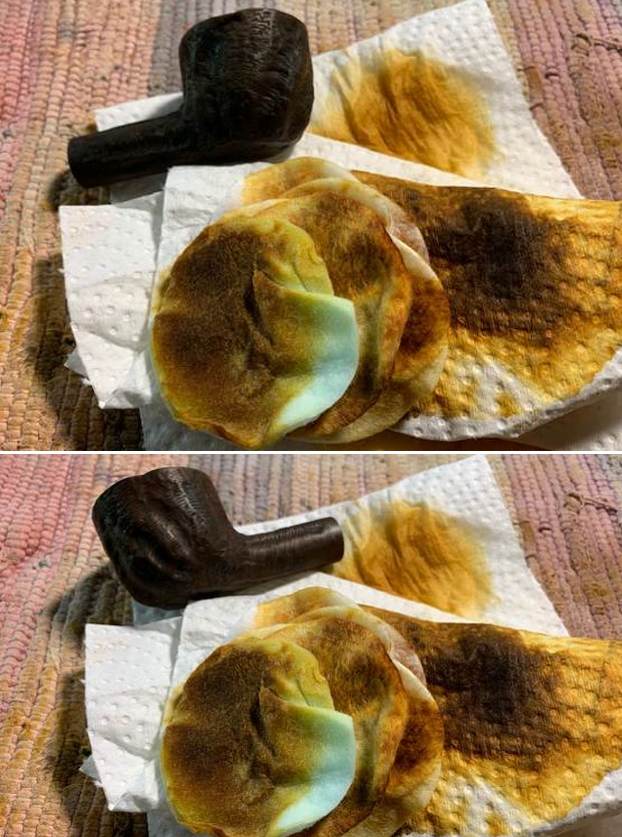
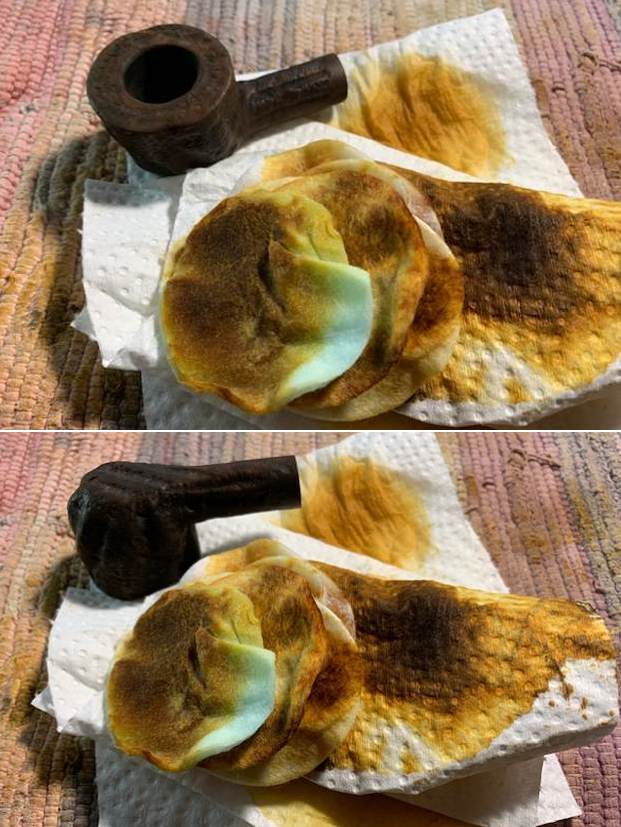
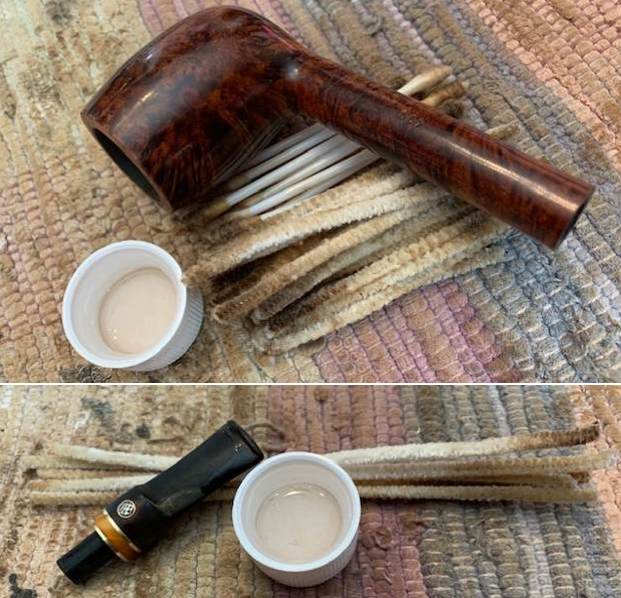
 To remove the heavy Latakia smell I stuffed the bowl with cotton bolls and filled it with 99% isopropyl alcohol. I put a cotton boll plug in the shank and set it aside to do its work. In the morning you can see that it had pull a lot of the oils out of the briar. I removed the plug and cleaned the shank one more time. The pipe smells fresh.
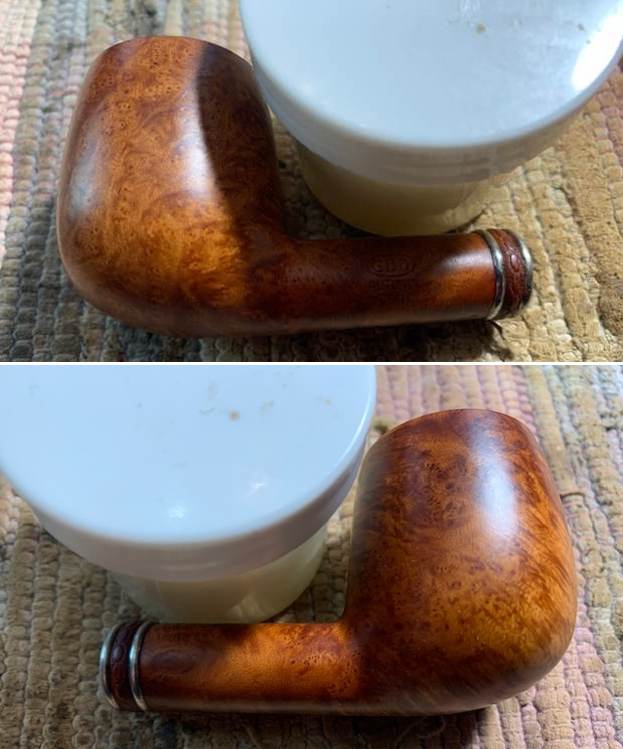
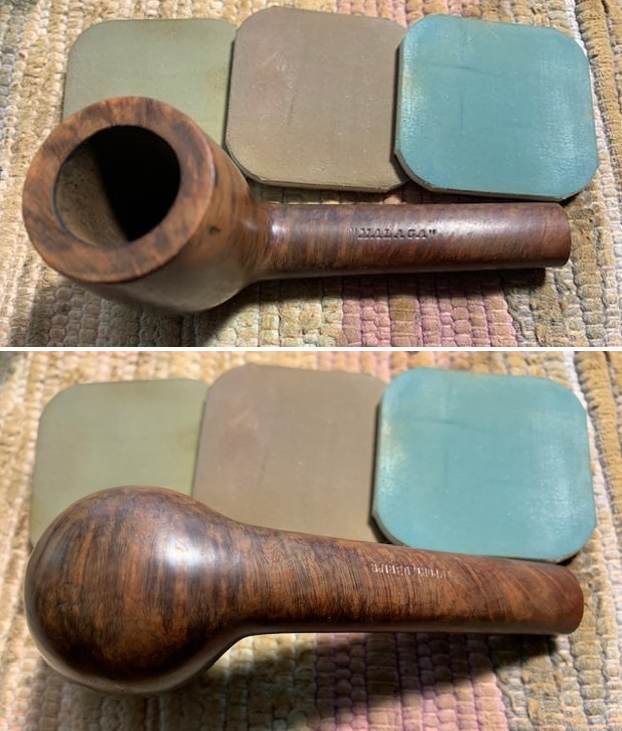
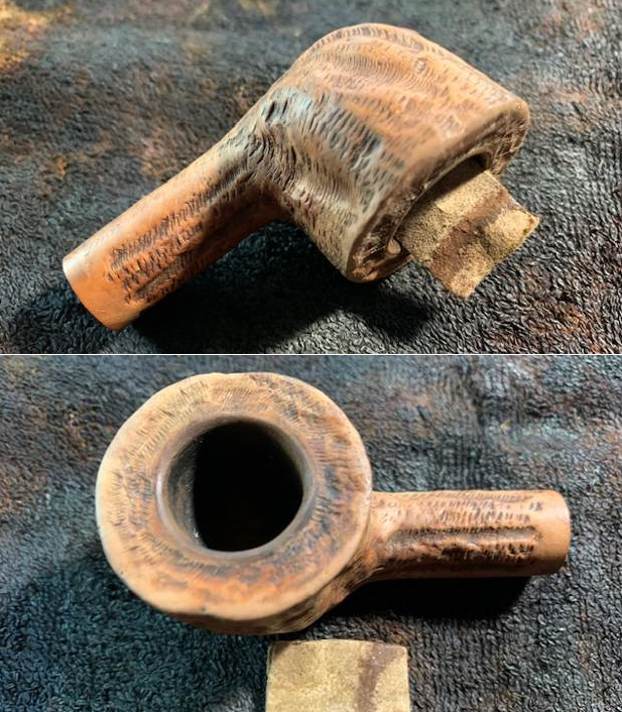
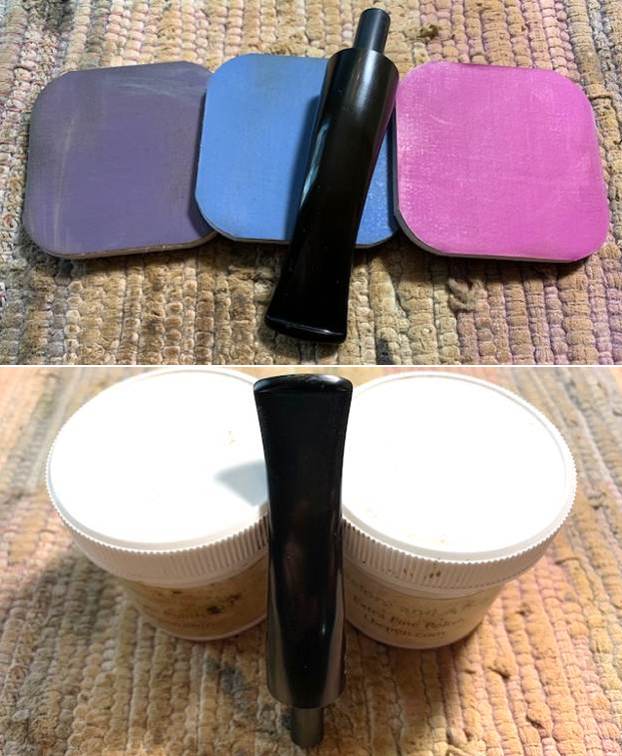
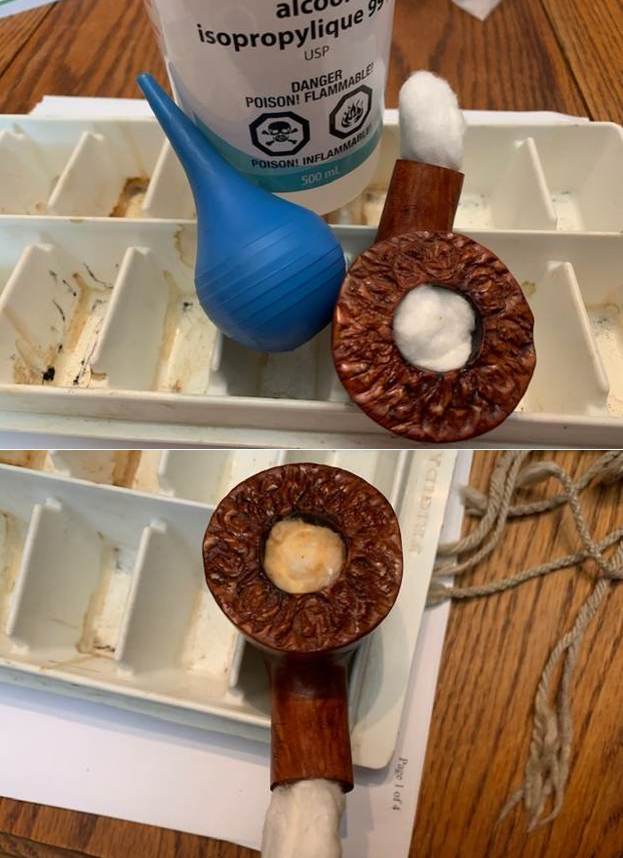 I rubbed the bowl down with Before & After Restoration Balm. I worked it into the surface of the briar where it works to clean, restore and preserve the briar. I let it do its magic for 15 minutes then buffed it off with a cotton cloth. The pipe looks incredibly good at this point in the process.
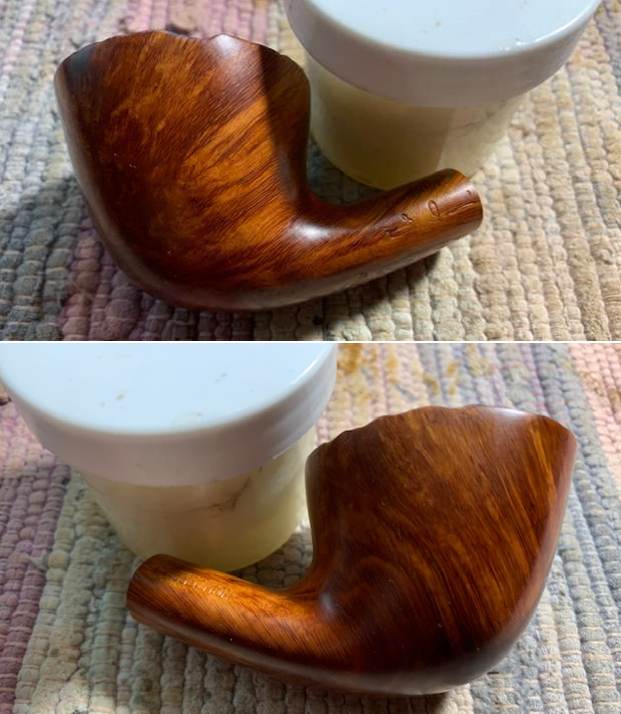
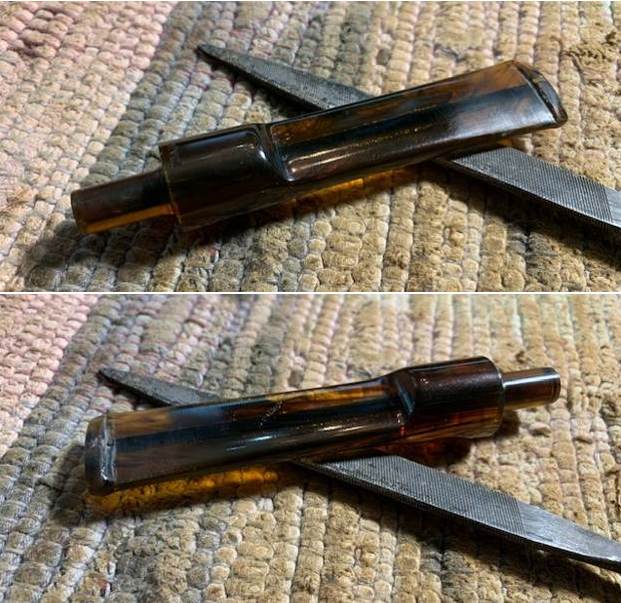
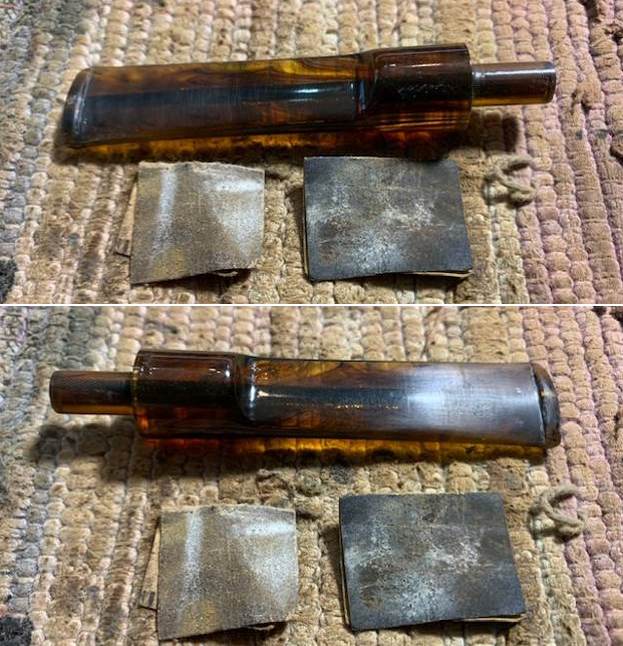
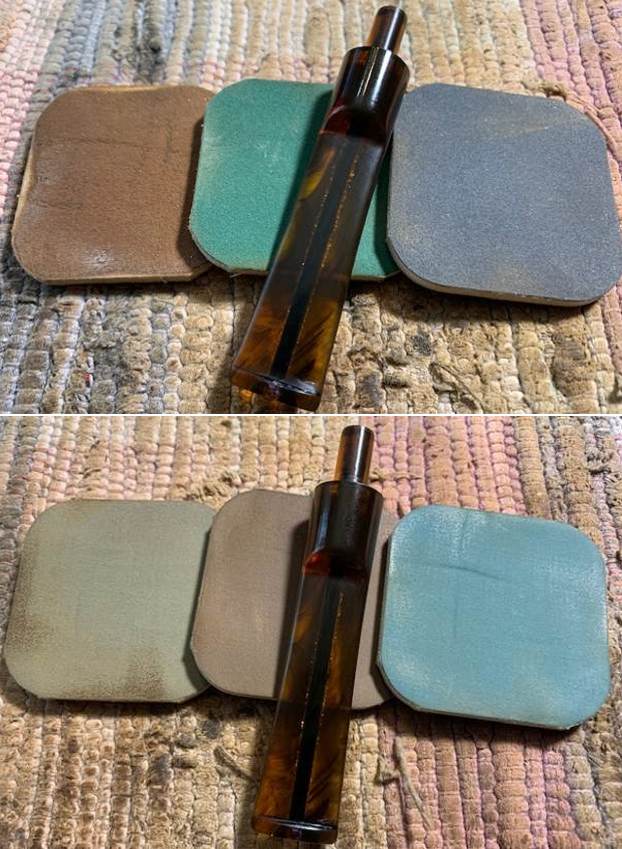
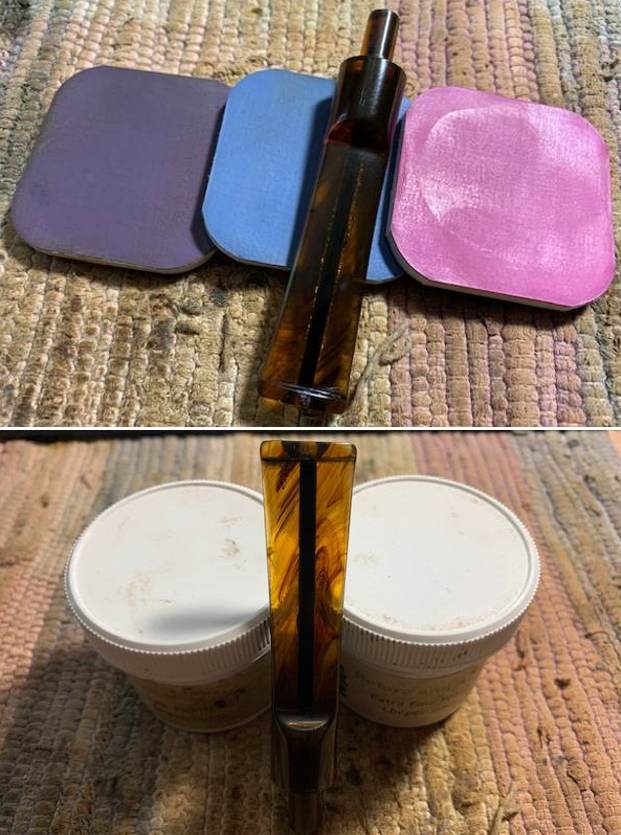
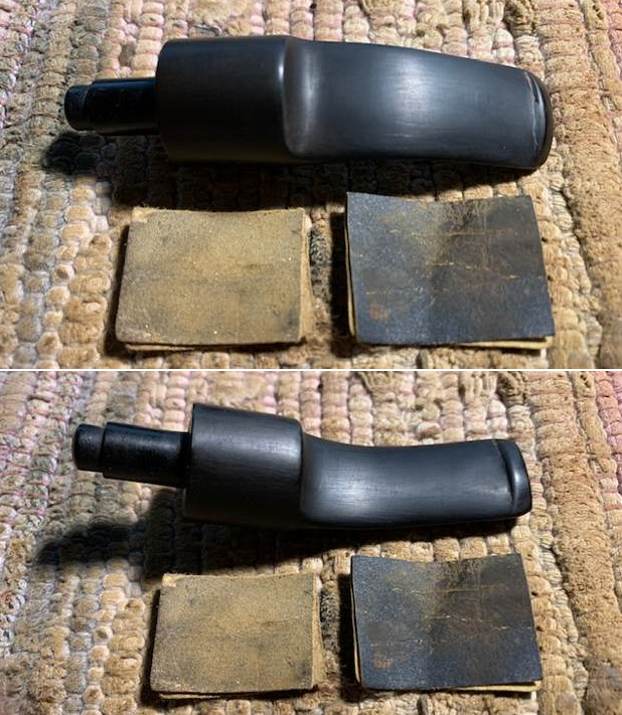
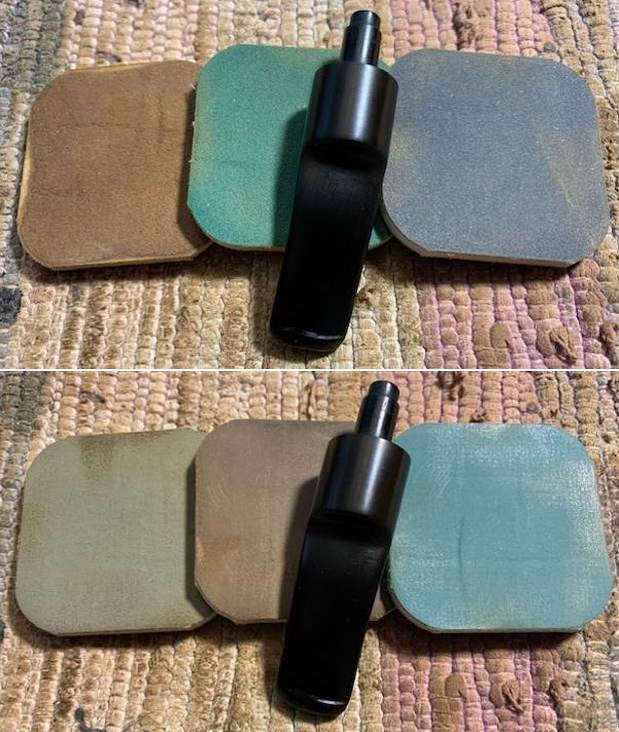
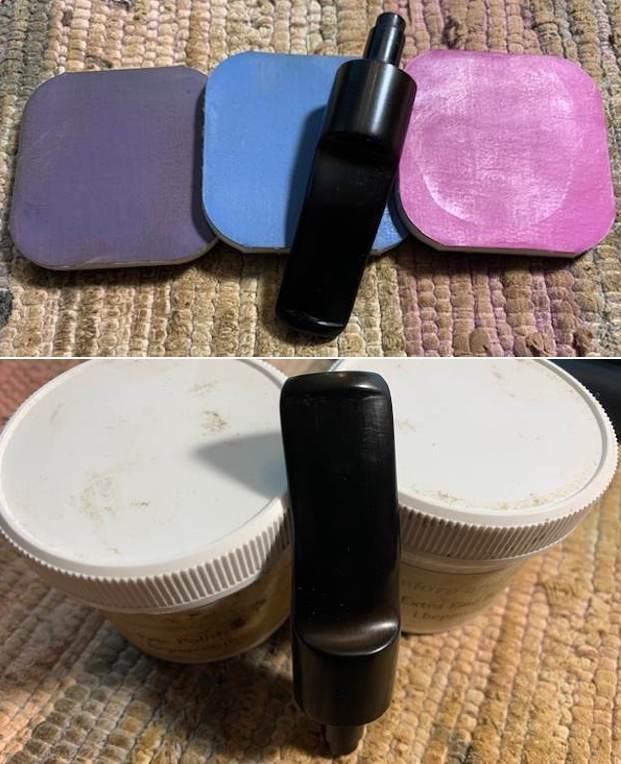
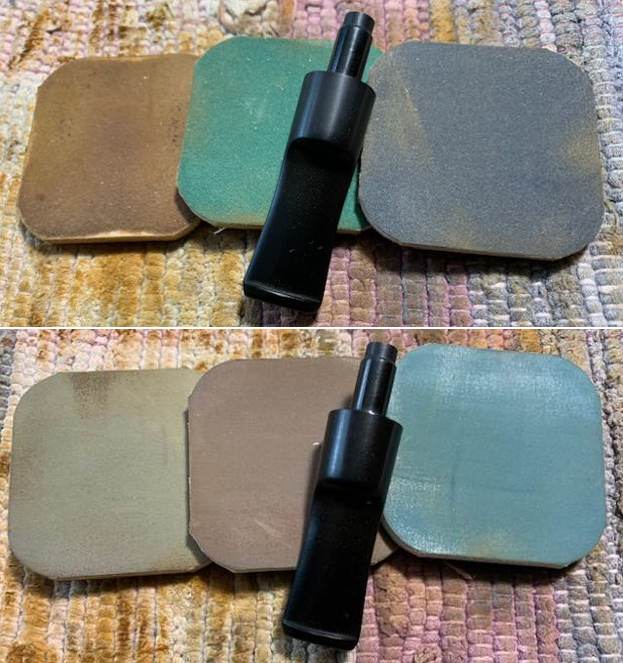
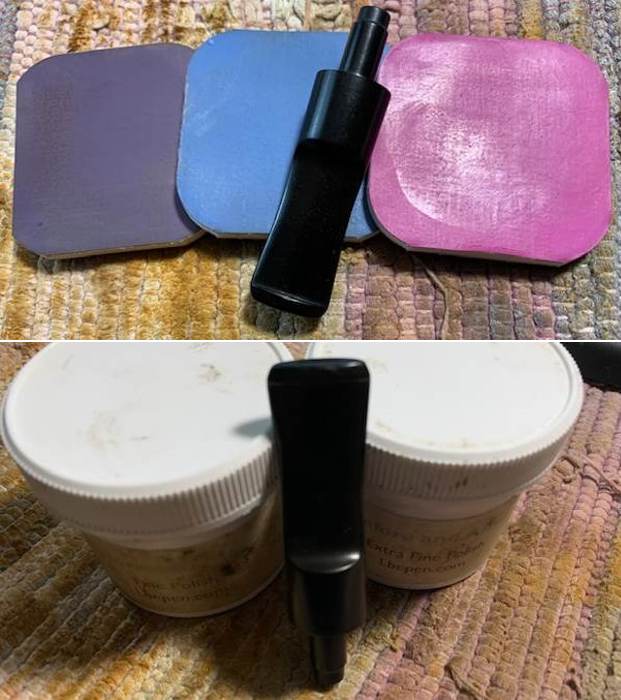
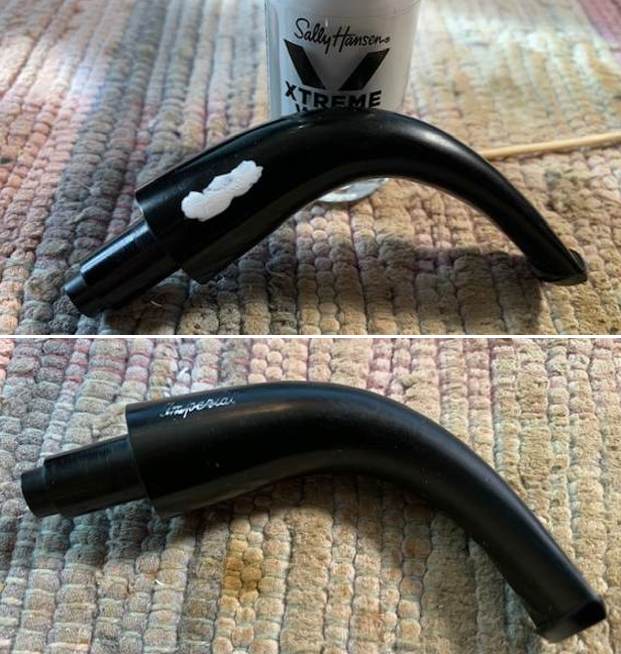
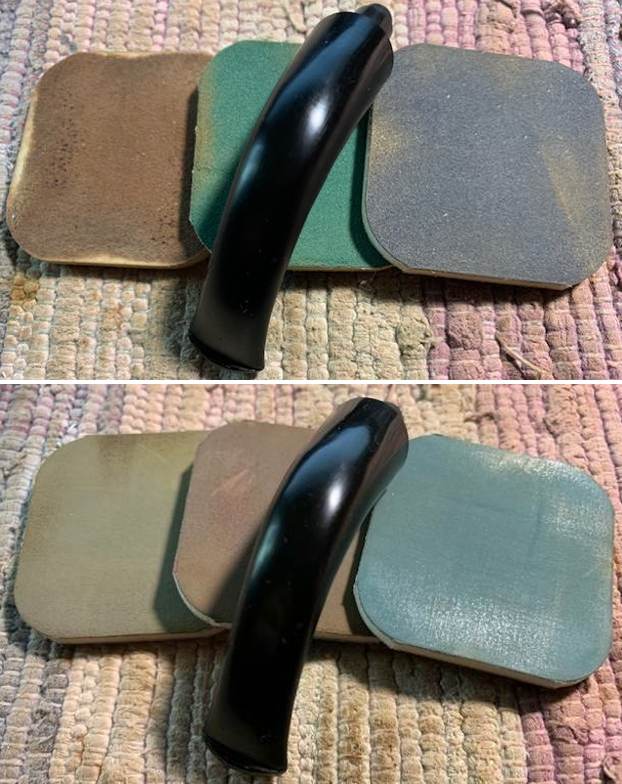
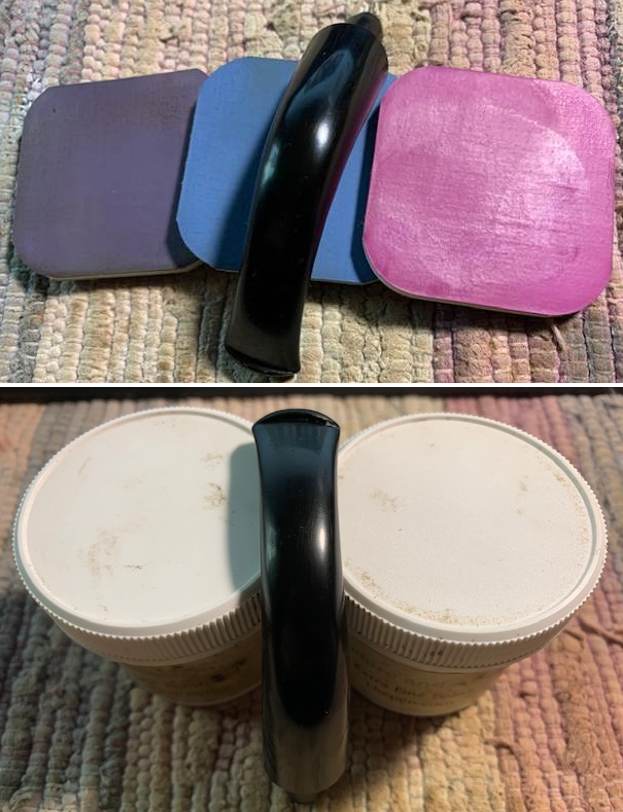
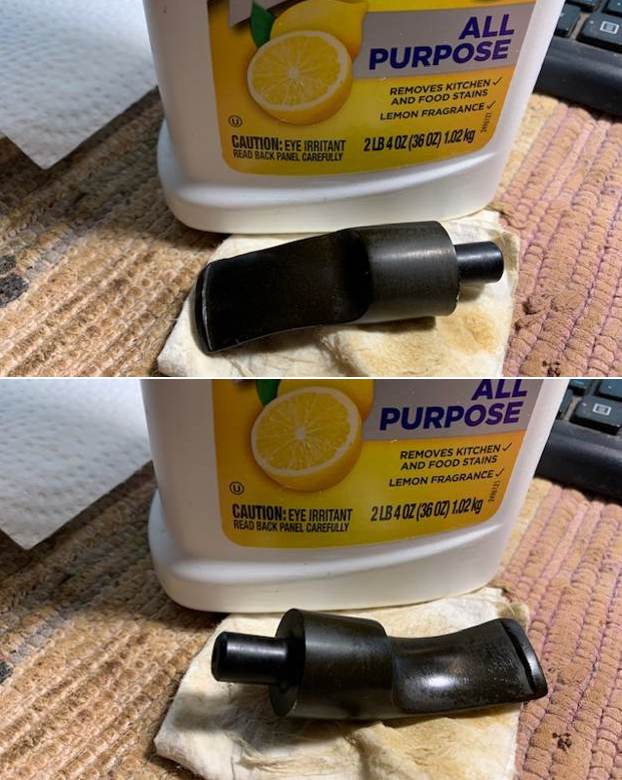
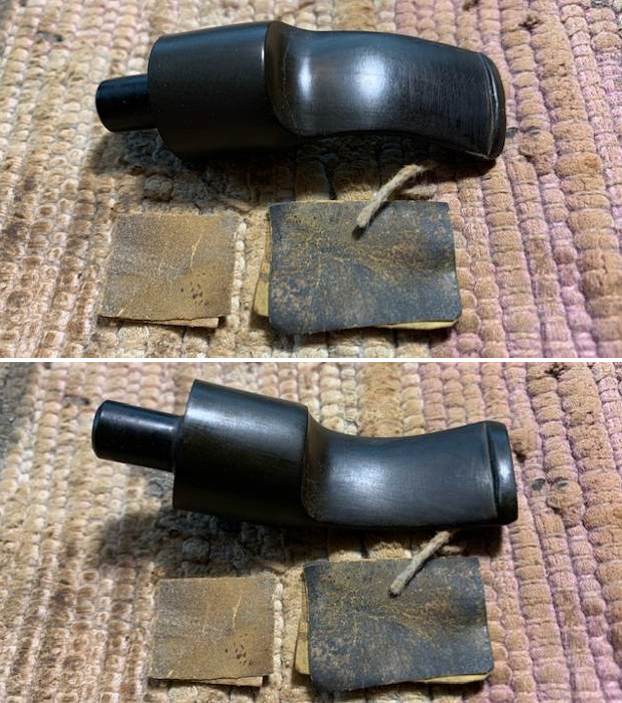
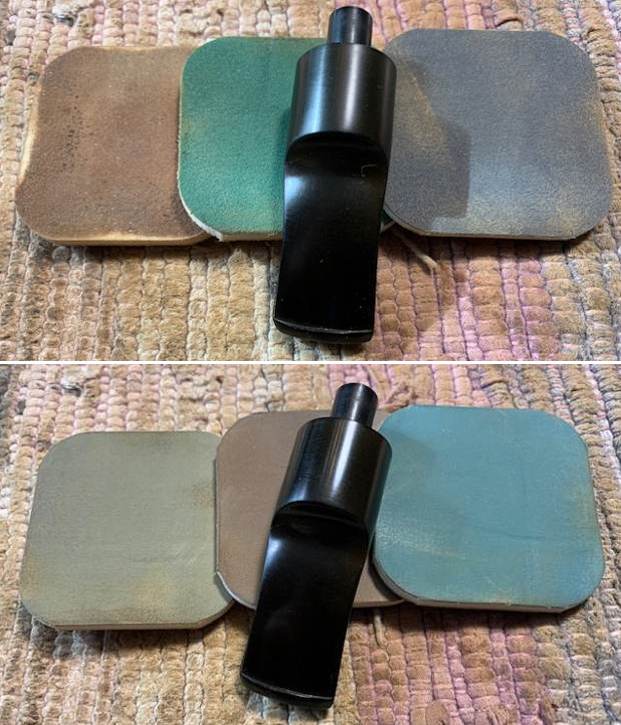
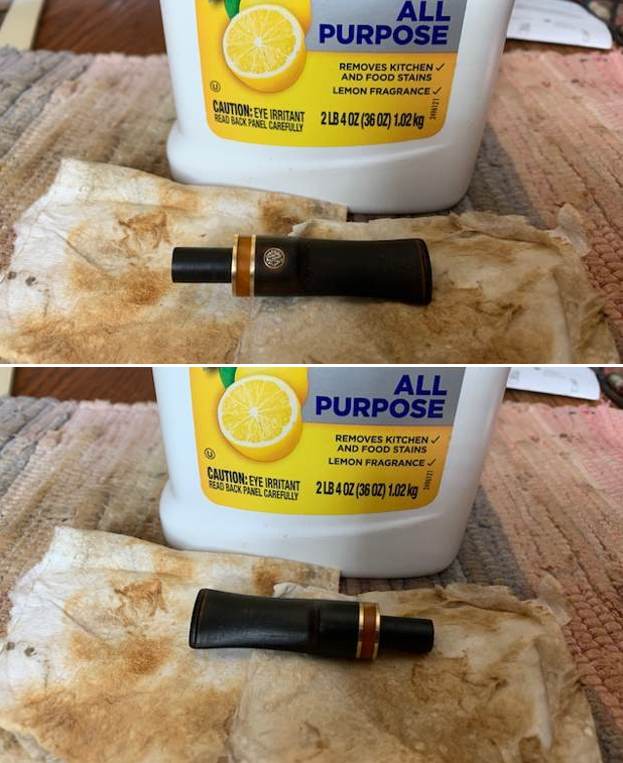
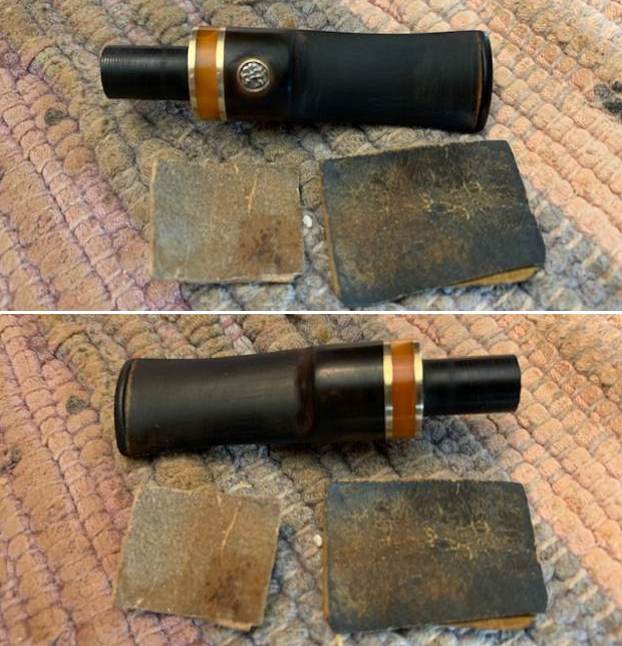
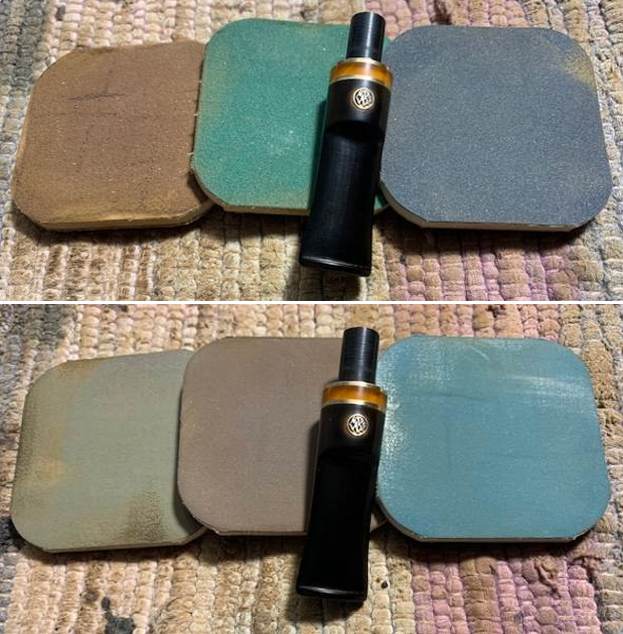
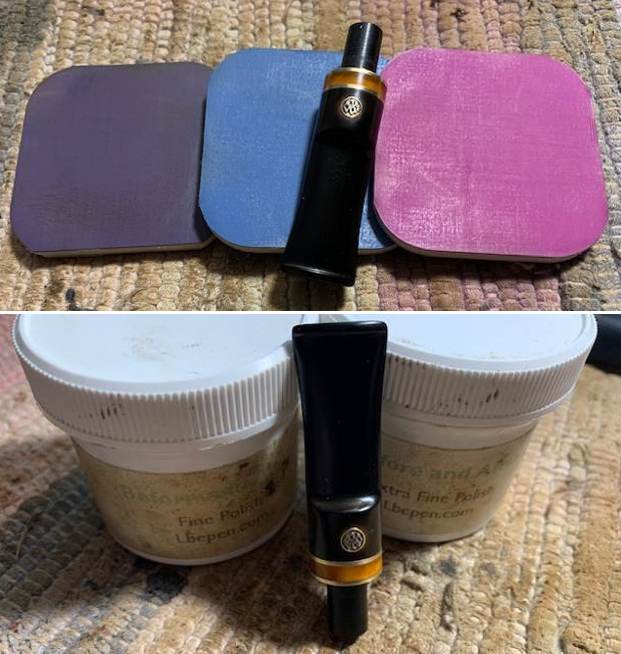
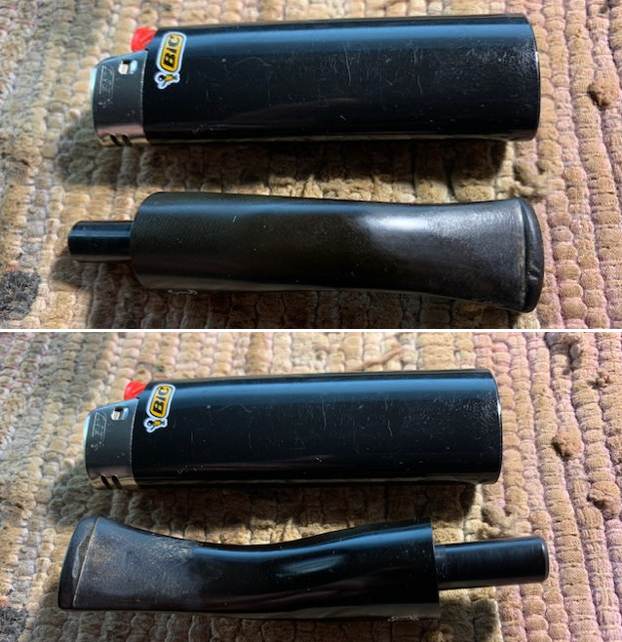
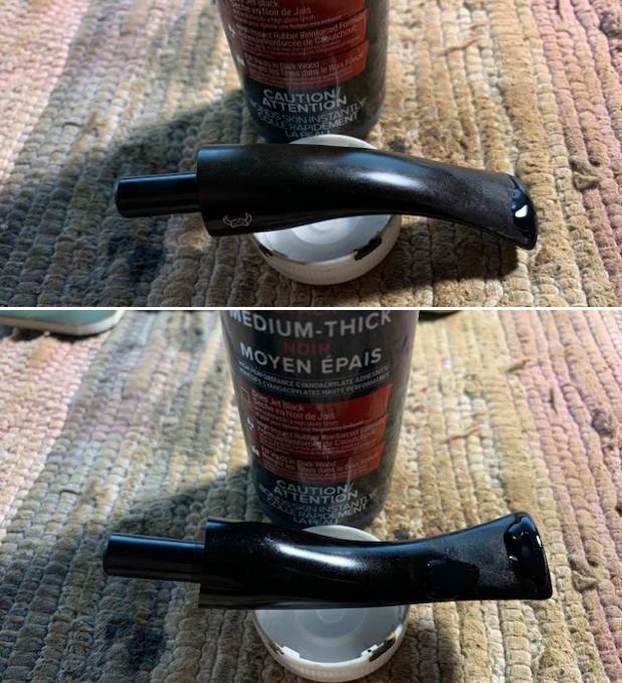
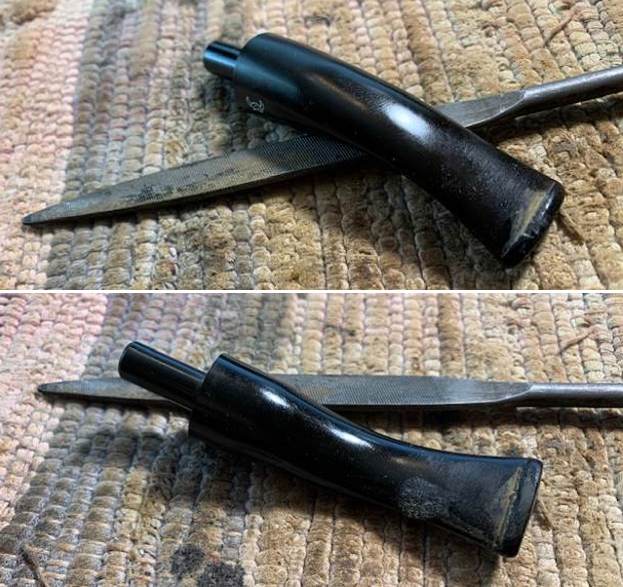
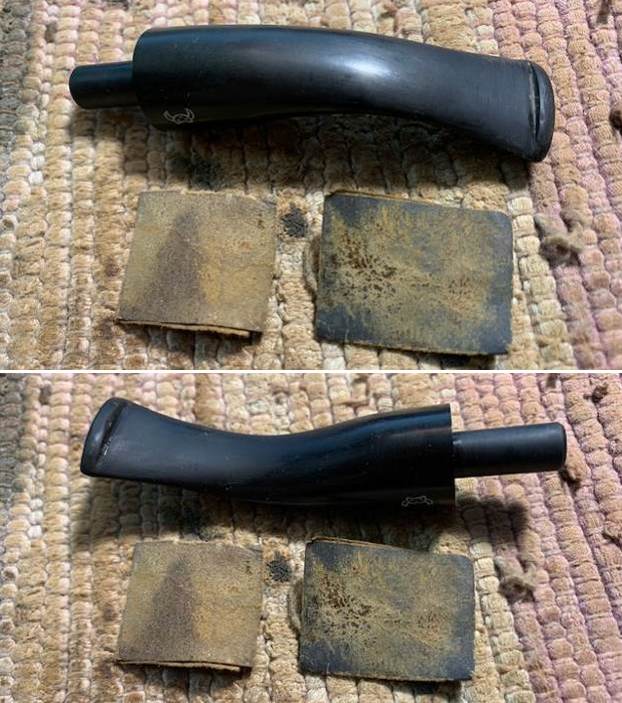
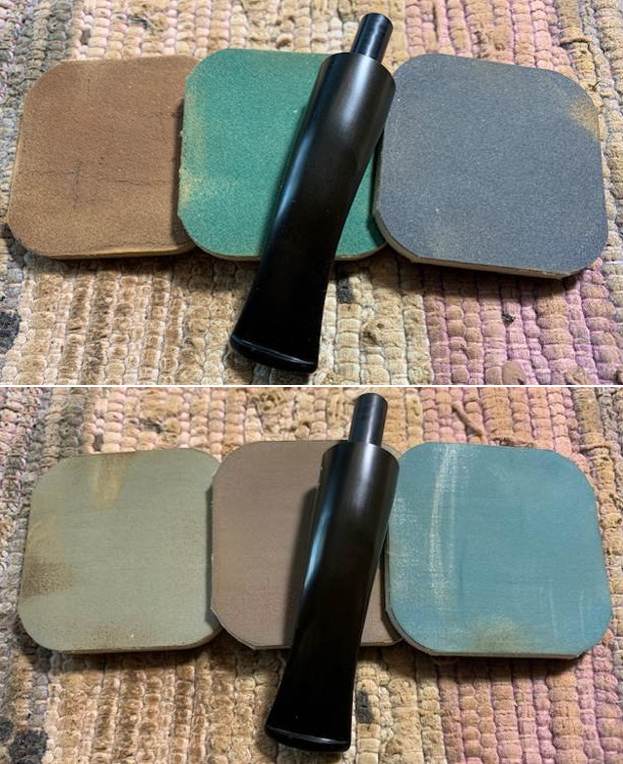
 With that the bowl had come a long way from when I started working on it. I set it aside and turned my attention to the stem. I continued to polish the stem with micromesh sanding pads – wet sanding with 1500-12000 grit sanding pads. I wiped it down after each sanding pad with Obsidian Oil. I polished it with Before & After Pipe Stem Polish – both Fine and Extra Fine and wiped it down with Obsidian Oil one more time.
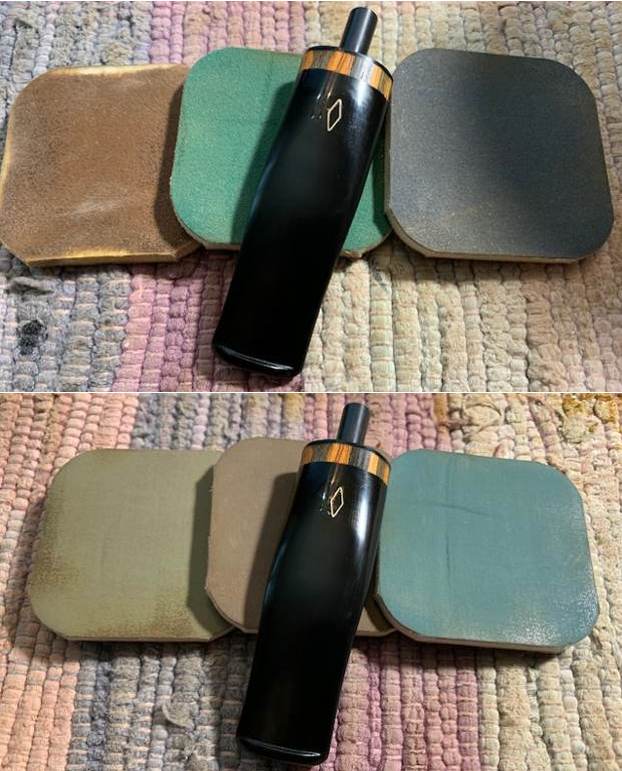
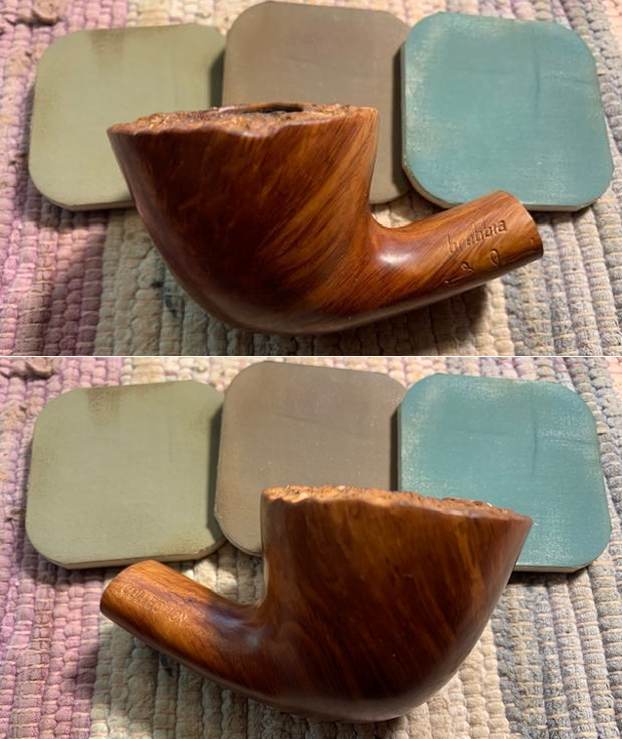
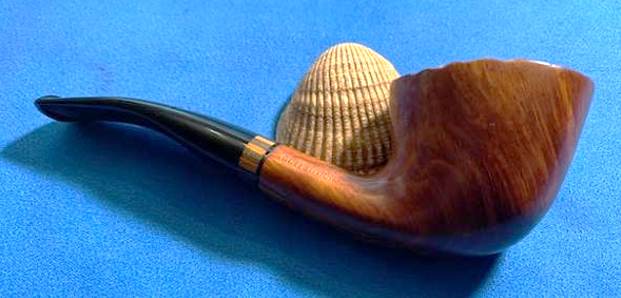
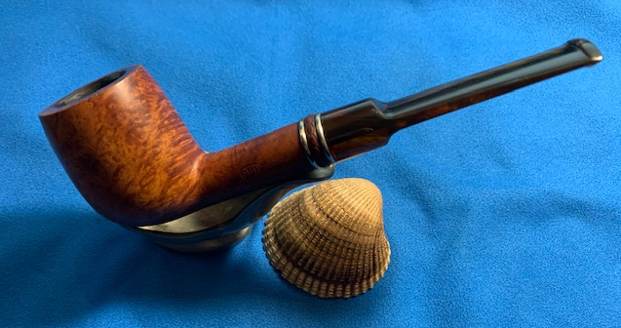
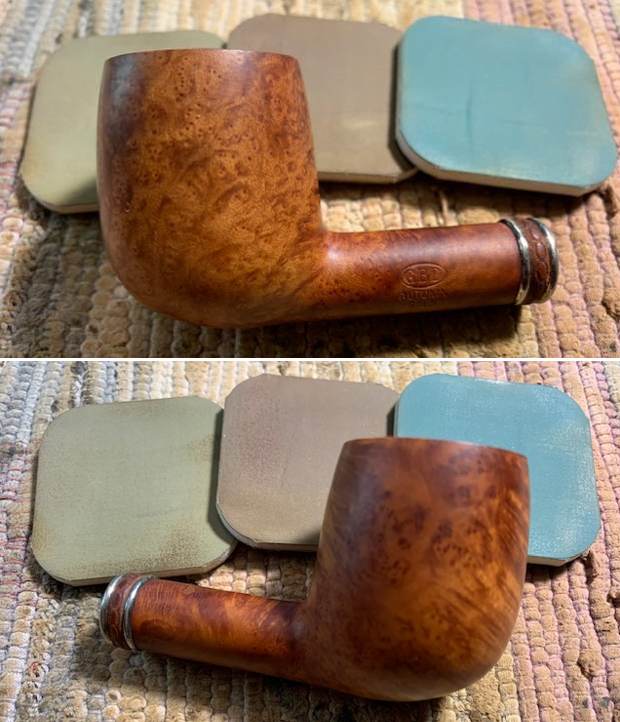
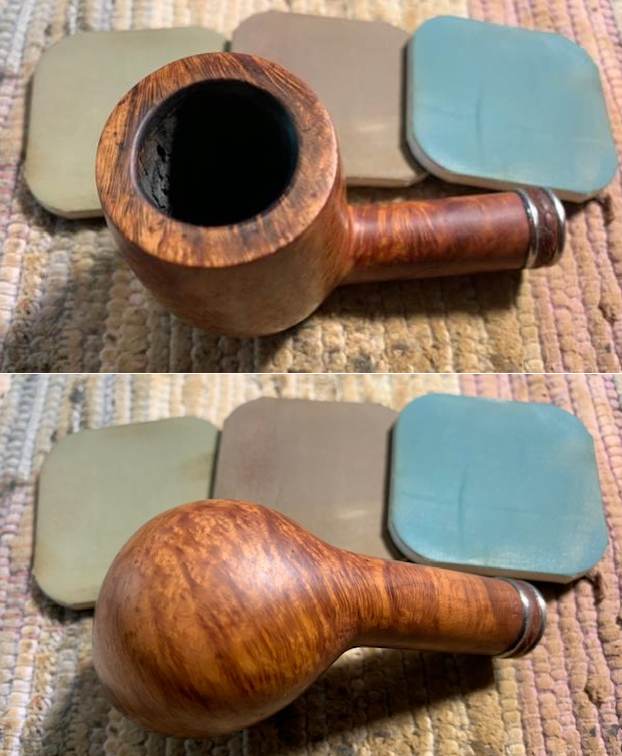
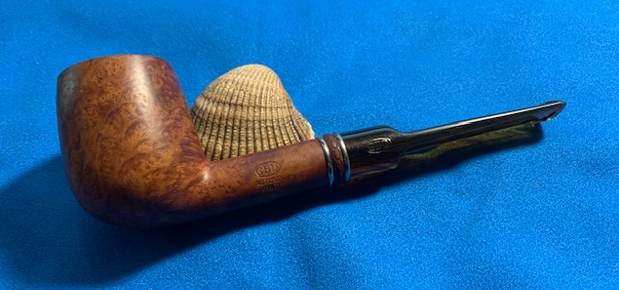
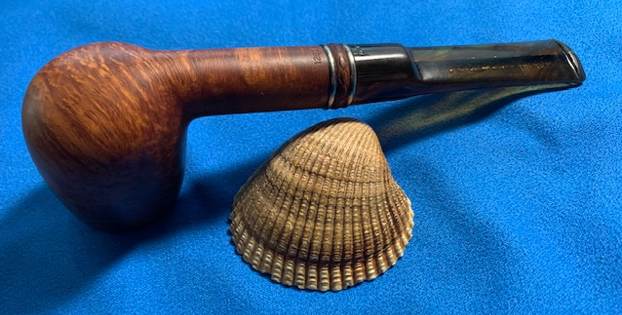
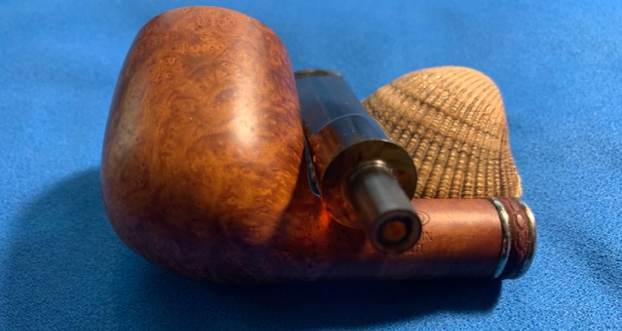
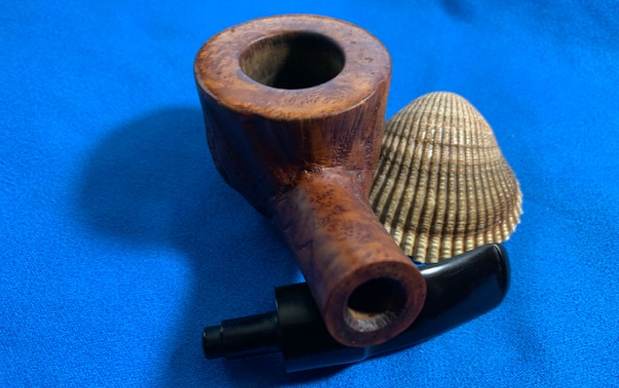
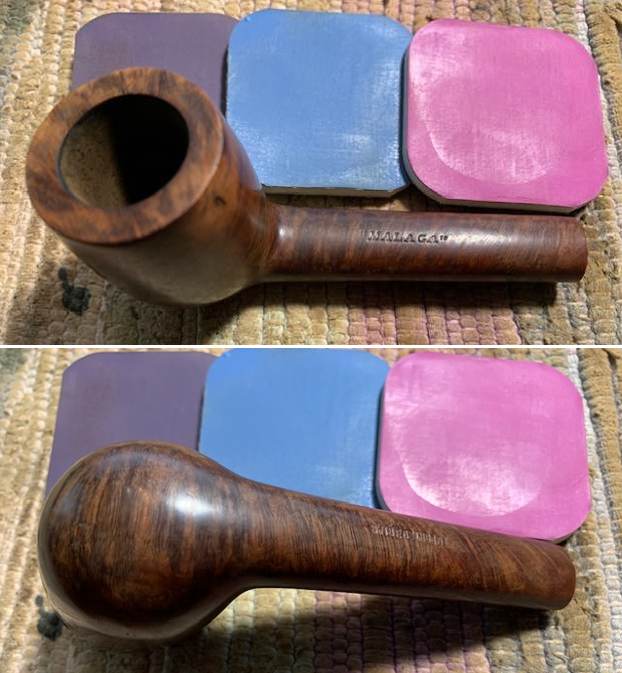
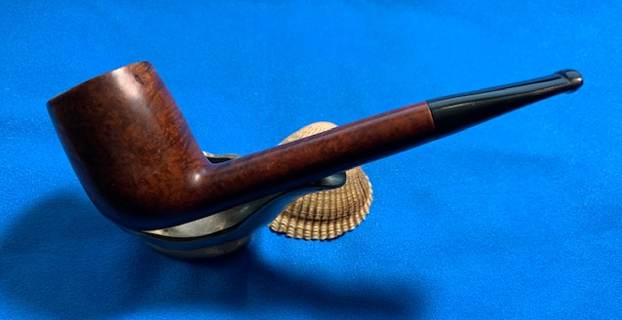
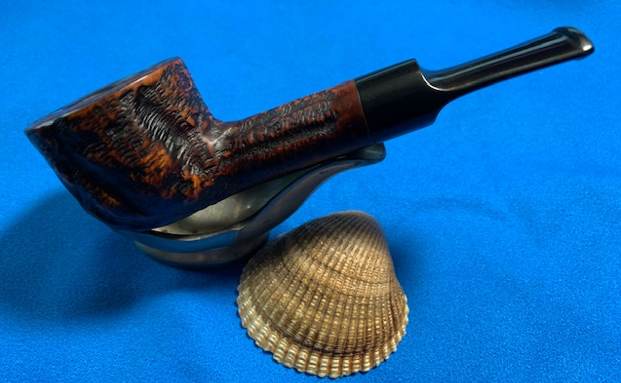
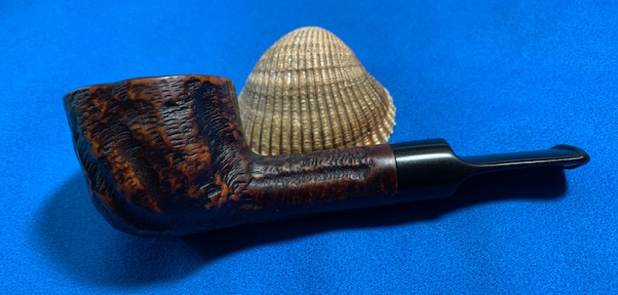
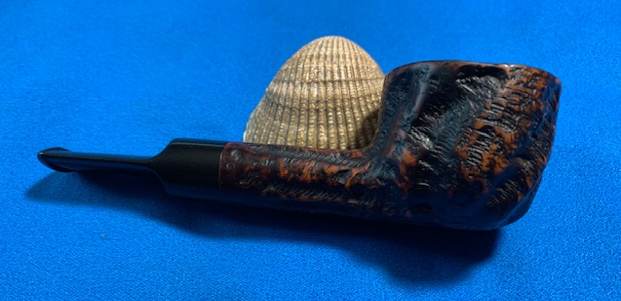
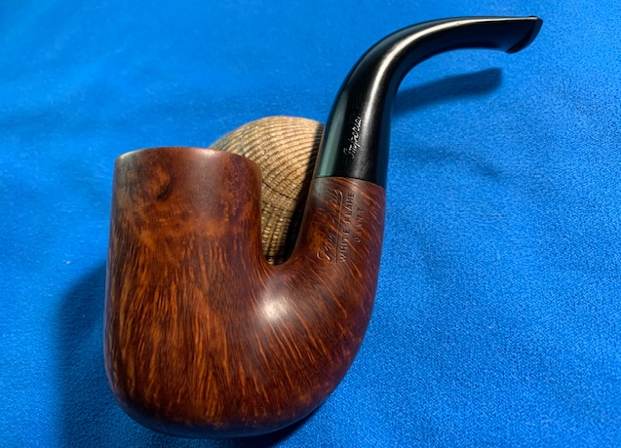
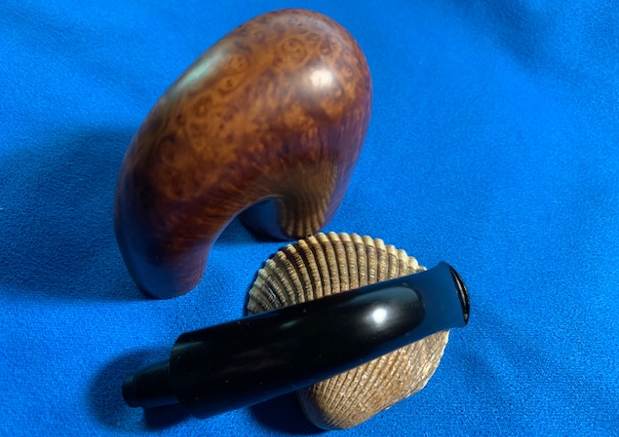
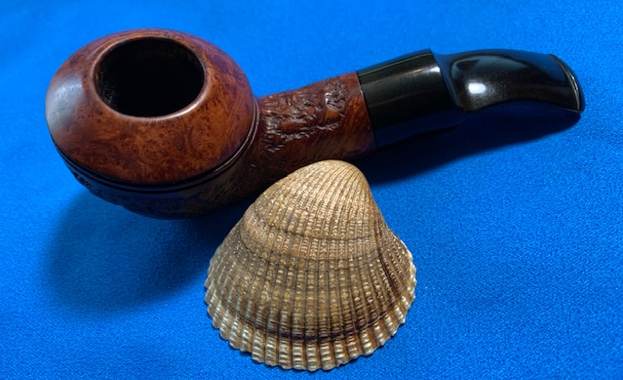
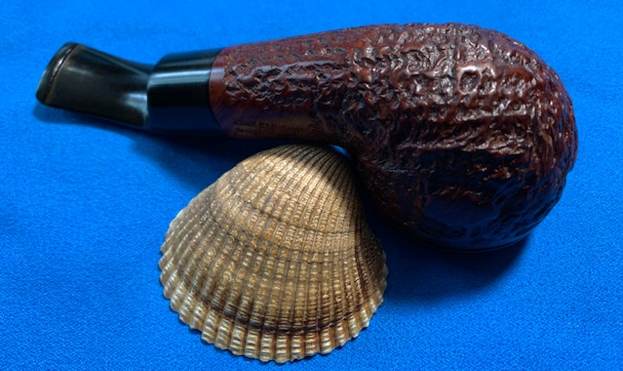
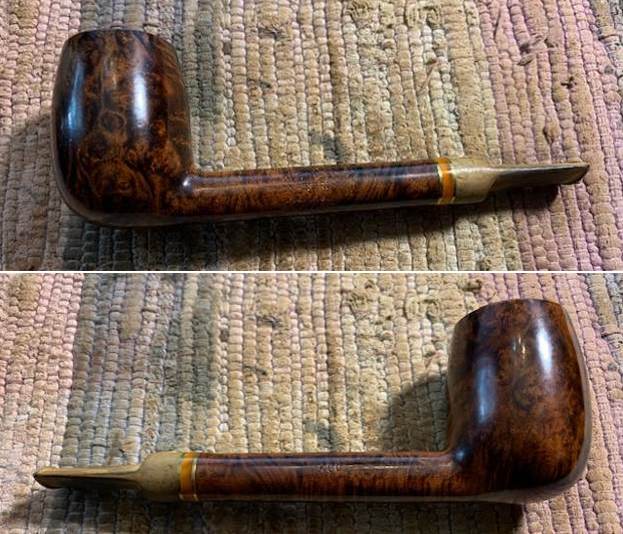
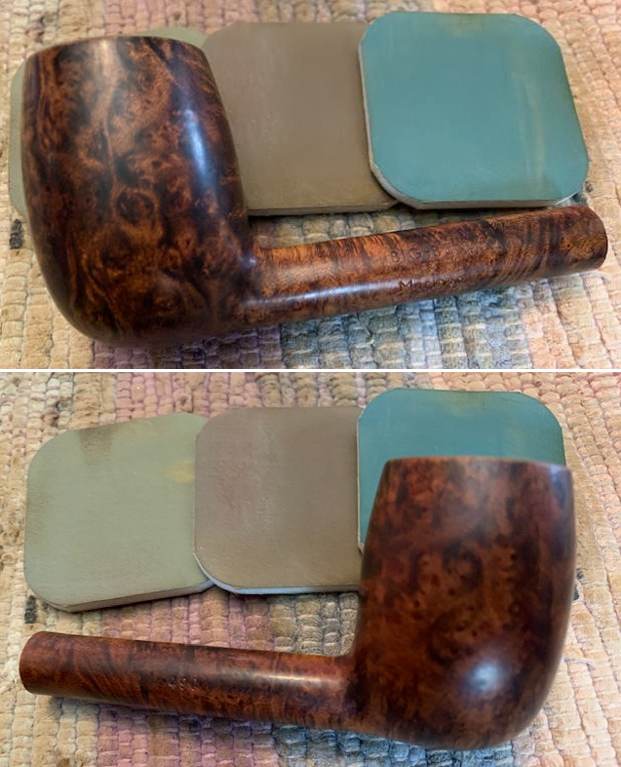
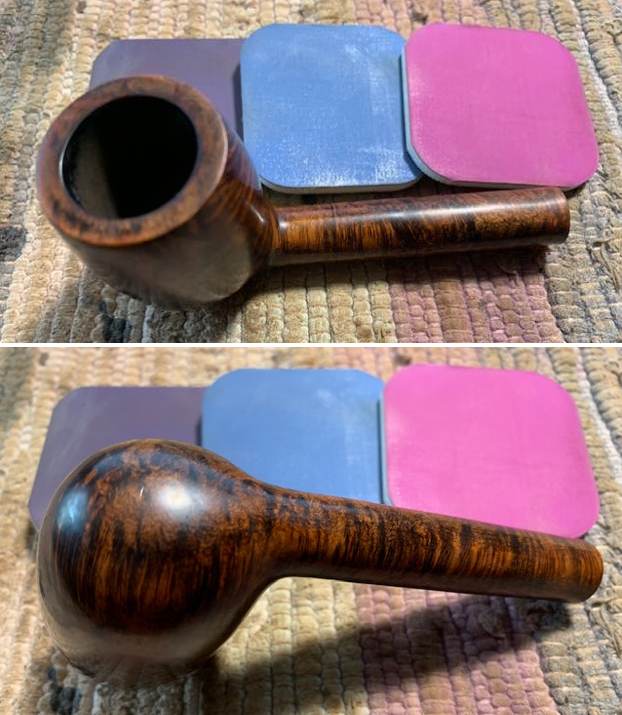
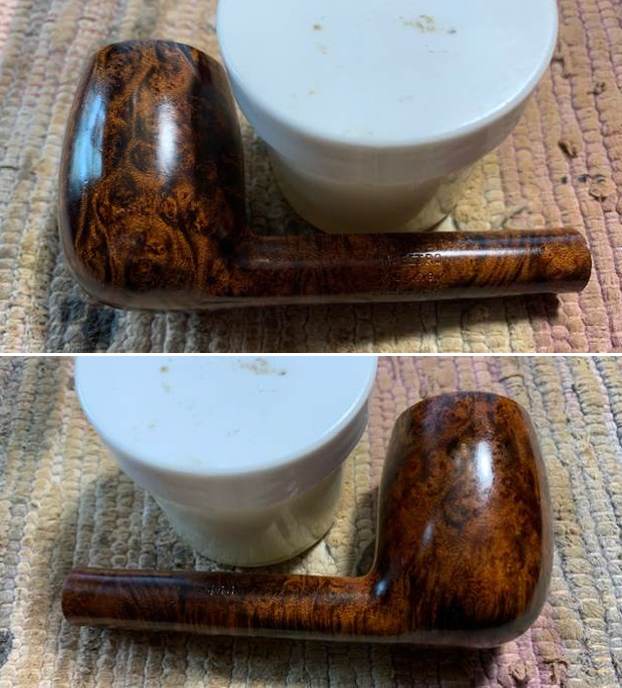
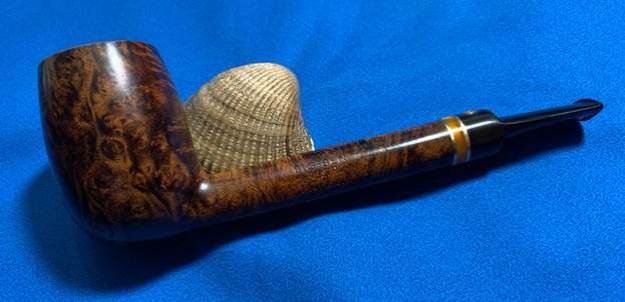
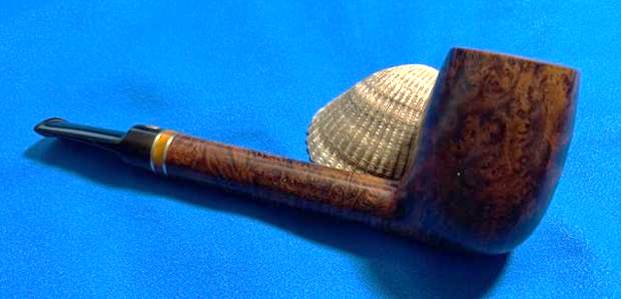
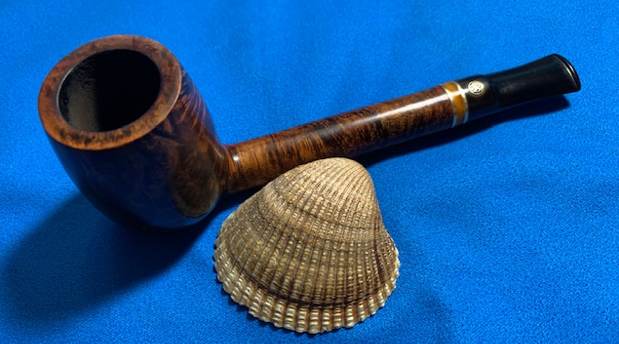
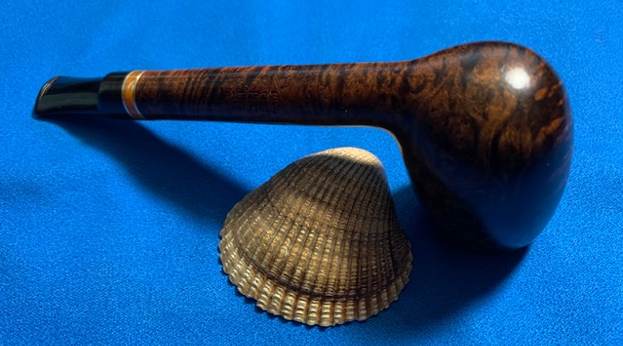
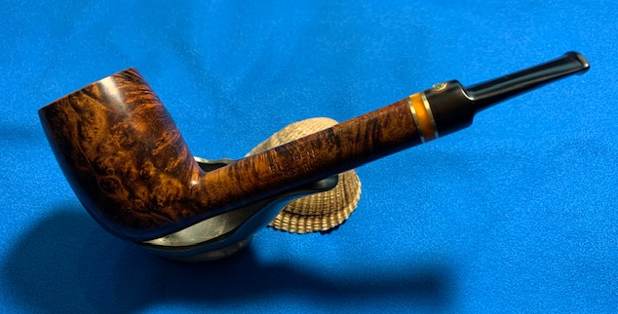
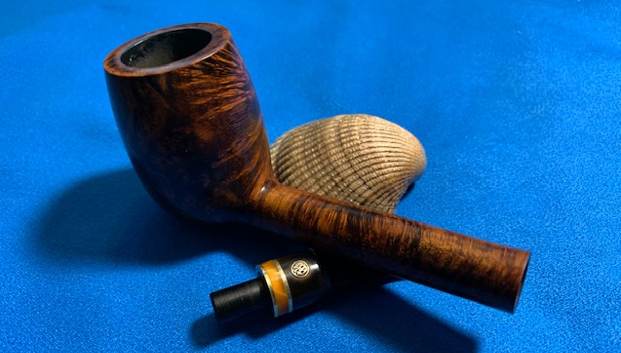
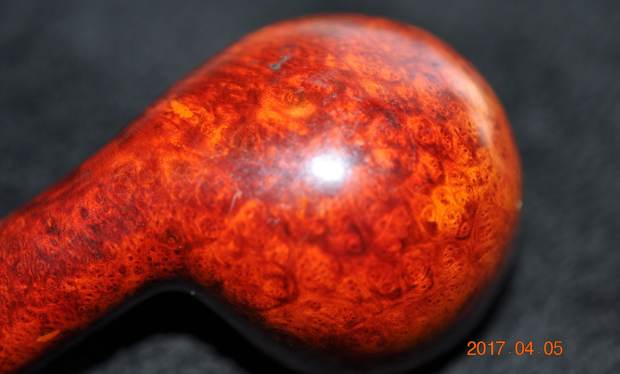
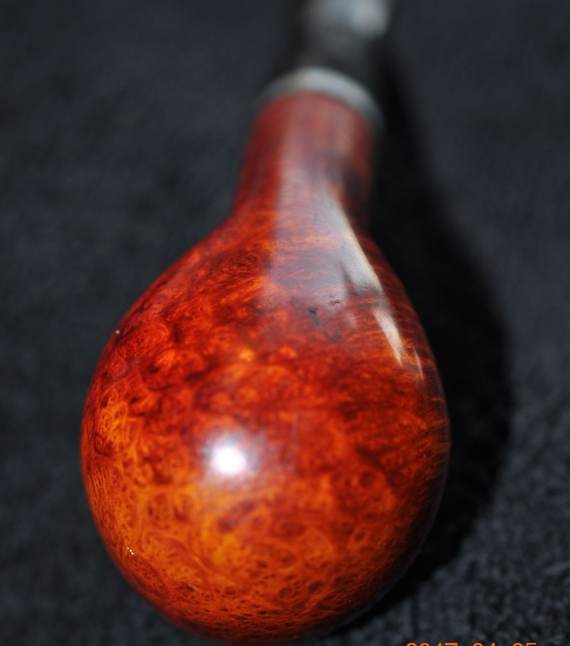
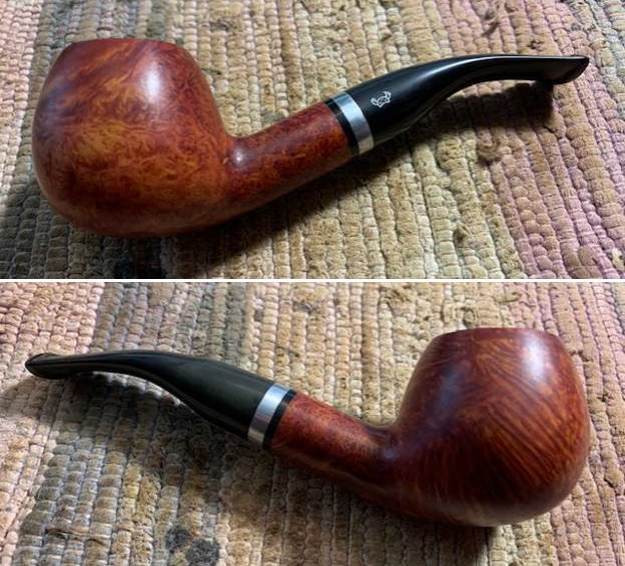
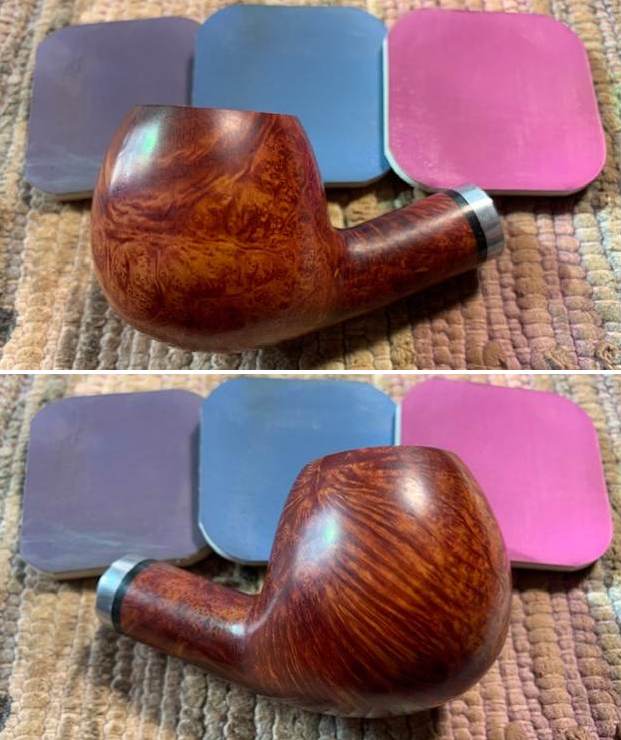
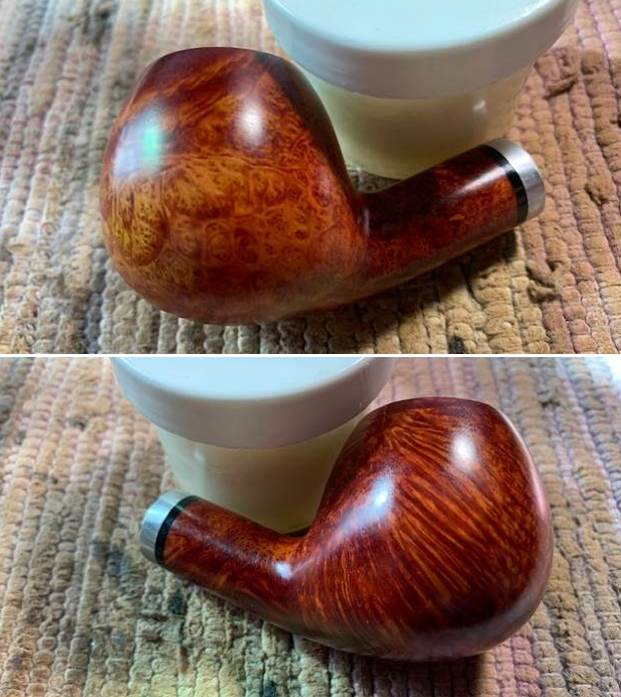
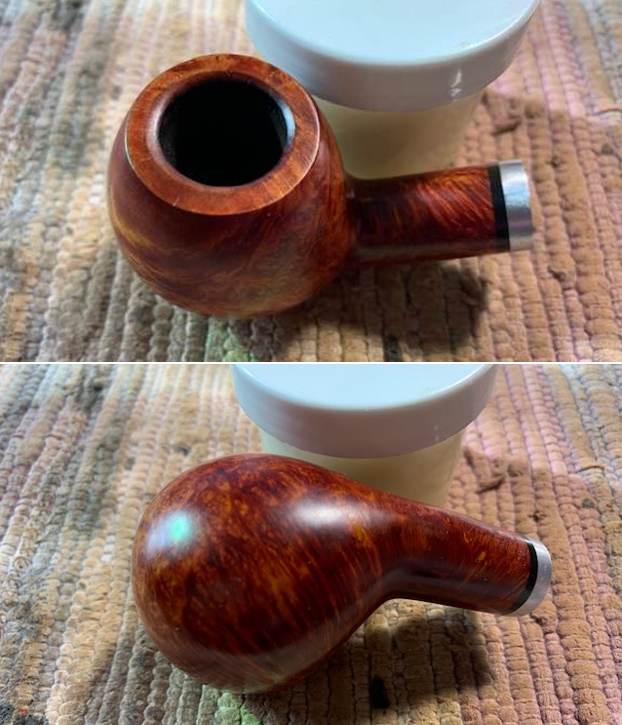
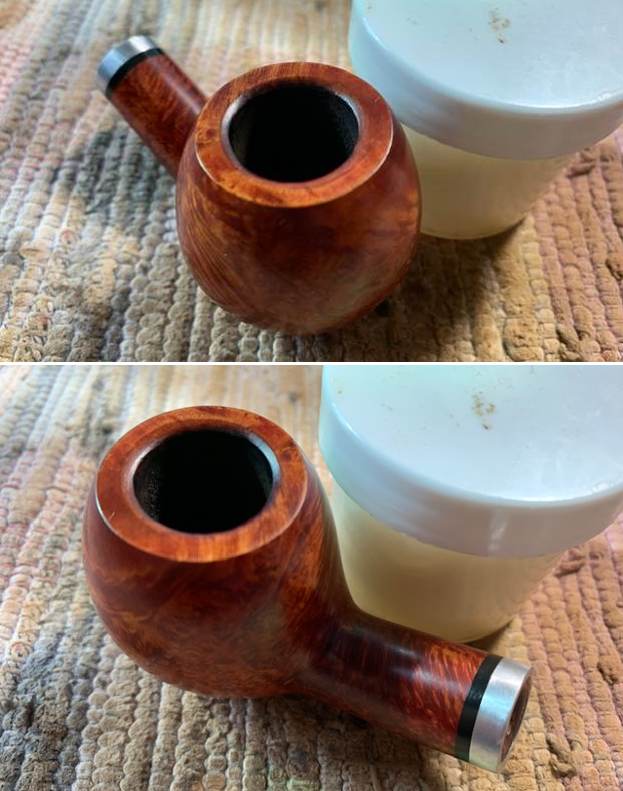
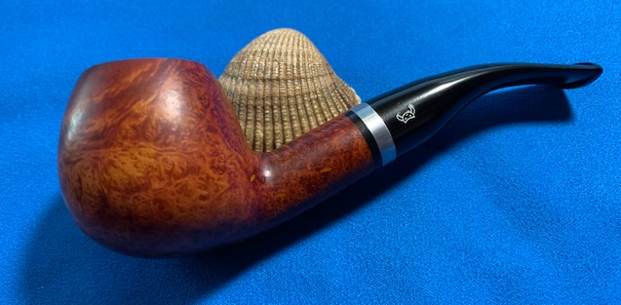
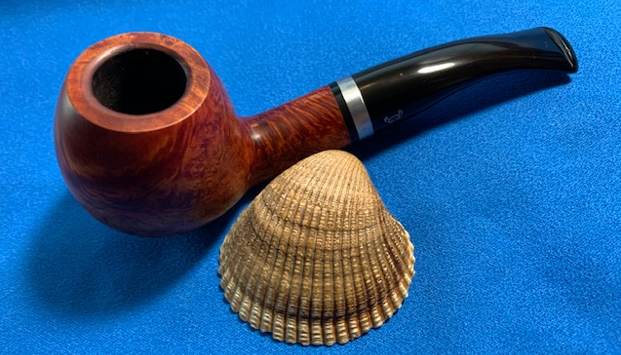
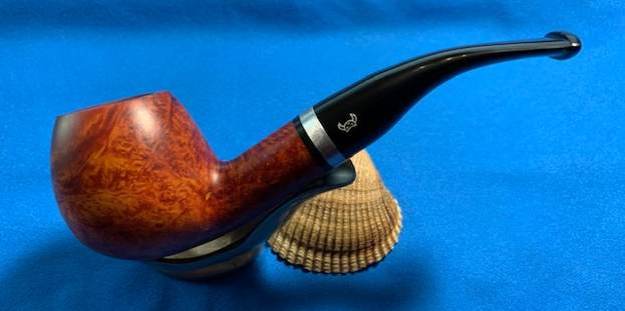
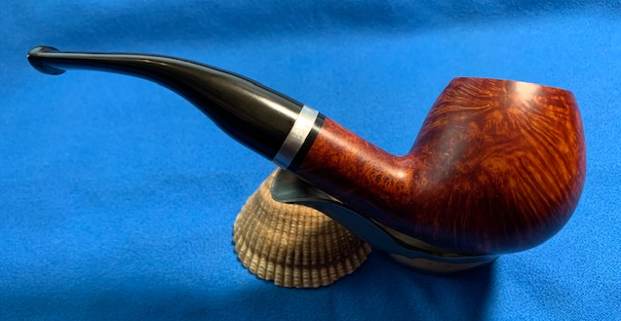
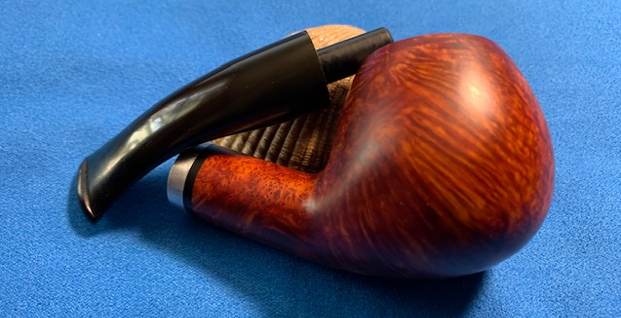
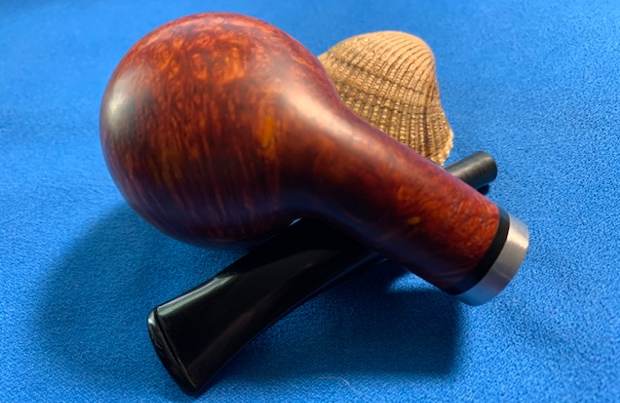
 I am excited to finish this Brebbia Enea Buzzi Collection Pura Freehand. I put the pipe back together and buffed it with Blue Diamond on the buffing wheel. I gave the bowl and the stem multiple coats of carnauba wax. I hand buffed the pipe with a clean buffing pad to raise the shine. It is fun to see what the polished bowl looks like with beautiful mixed grain all around it. The polished grain on the pipe looks great with the black vulcanite stem. This smooth Hand Carved Enea Buzzi Brebbia Collection is great looking and the pipe feels great in my hand. It is light and well balanced. Have a look at it with the photos below. The dimensions are Length: 5 ¾ inches, Height: 1 ¾ inches, Outside diameter of the bowl: 2 inches, Chamber diameter: ¾ of an inch. The weight of the pipe is 58 grams/2.05 ounces. It turned out to be a beautiful pipe. I will be packing it up and sending it to my friend in Israel. I think he will enjoy this beauty once it is in his hands. Thanks for your time reading this blog and as Paresh says each time – Stay Safe.


