Blog by Steve Laug
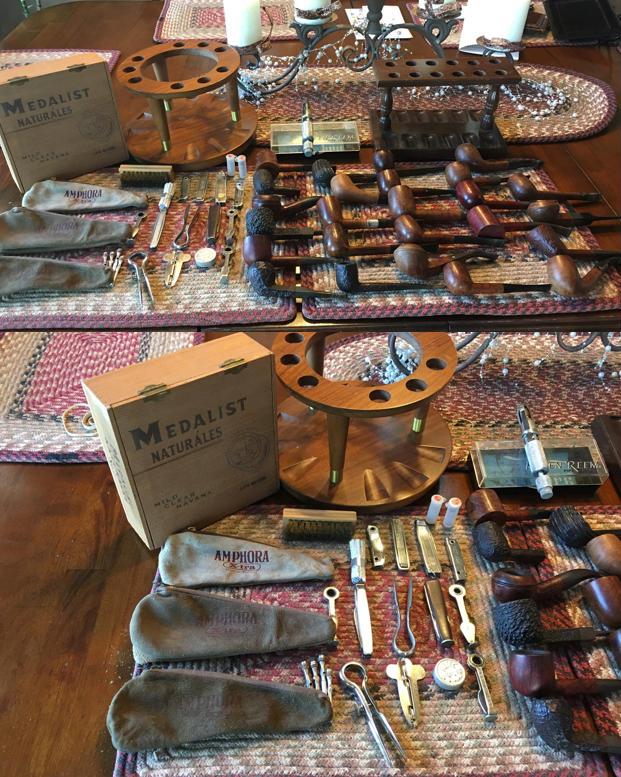
My brother Jeff found an assortment of House of Robertson pipes at an auction in Wilder, Idaho which is an area in the greater Boise, Idaho area. He picked them up for us to restore. I had forgotten that I had mentioned the brand in passing in a blog on Leonard’s Pipe Shop in Portland, Oregon. Here is the link to that blog where I mention it as one of the brands that Leonard’s sold: https://rebornpipes.com/2013/06/06/leonards-pipe-shop-portland-oregon/. It is a fascinating brand that really I had never had the privilege of seeing first hand. He cleaned them all up and on a recent trip to Idaho, I picked them up and brought them back to Canada. I took pictures of the lot of them to show the wide variety of pipes that they made in terms of both size and style. The craftsmanship is very good with the fit of the stem and shank well done and the finish both rusticated and smooth exemplary. Jeff picked up three more of the brand in Pocatello, Idaho so I will be working on more of these pipes in the future. They all have the name House of Robertson roughly hand etched on the side or underside of the shank with an engraving tool.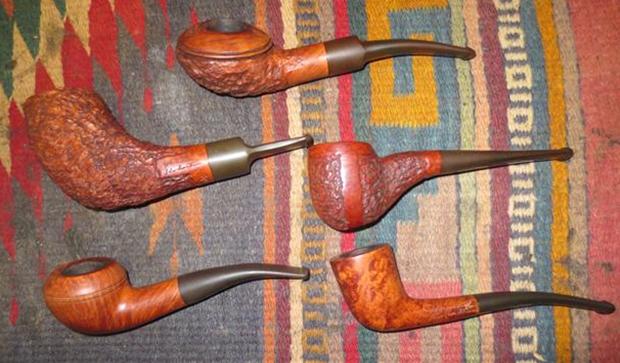
 I have posted this information on the brand on the previous House of Robertson pipes that I have worked on but I thought I would add it on this blog as well. There is very little information available and what I found on Pipedia pretty well summarizes all I could find. I include that here.
“House of Robertson” was in business for many years, but alas, closed their doors in 1999. They were located in Boise, Idaho. They are noted for making rather large and interesting pipes. Thayne Robertson was a Master Mason, AF & AM, and started the shop about 1947 and his son Jon started working there in 1970 when he finished college, along with Thayne’s daughter. Thayne and his son started making the big pipes at that time, and made them together until 1987 when Thayne passed away. Jon kept the store and his sister moved on to other things. The House of Robertson appears to have closed around 1999. https://pipedia.org/wiki/Robertson.
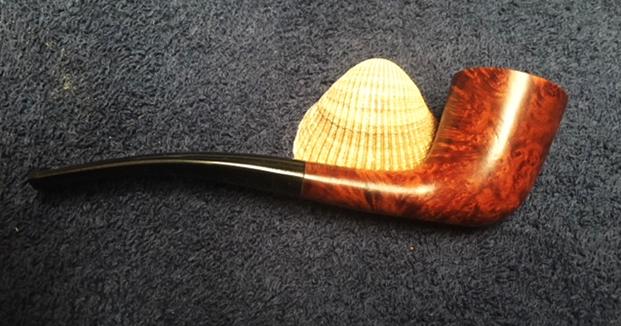
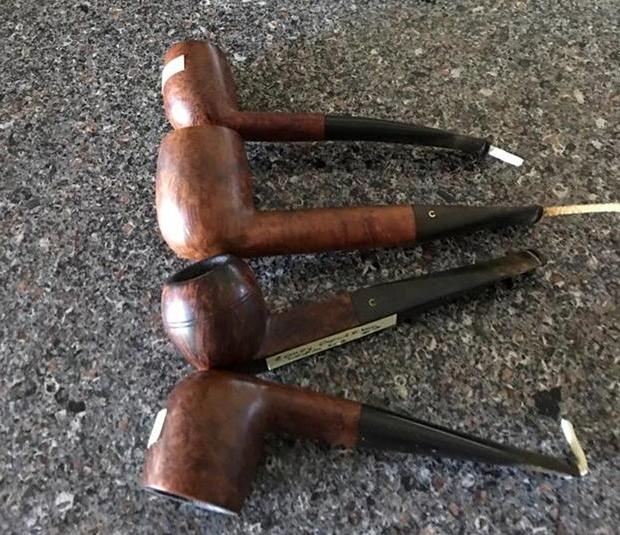
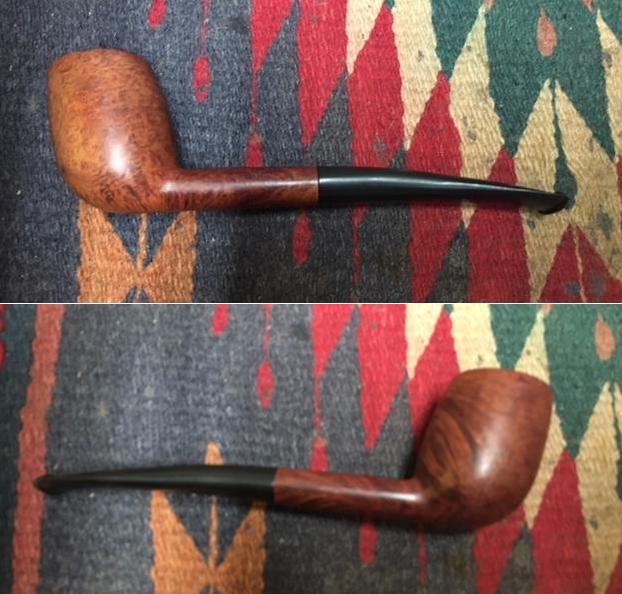
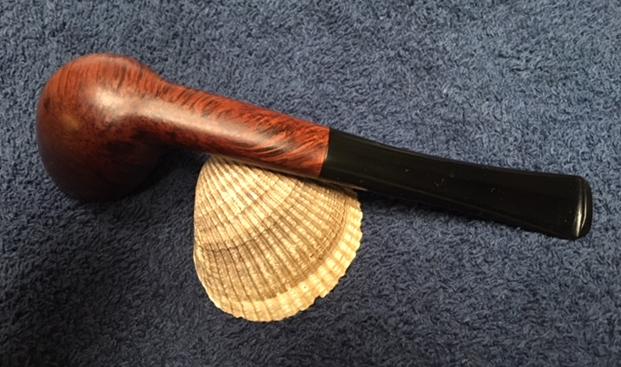
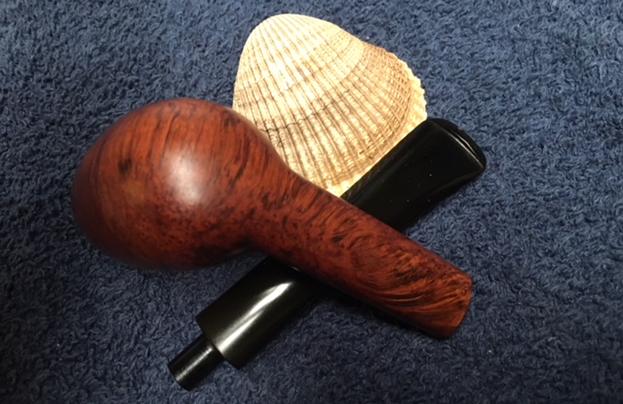
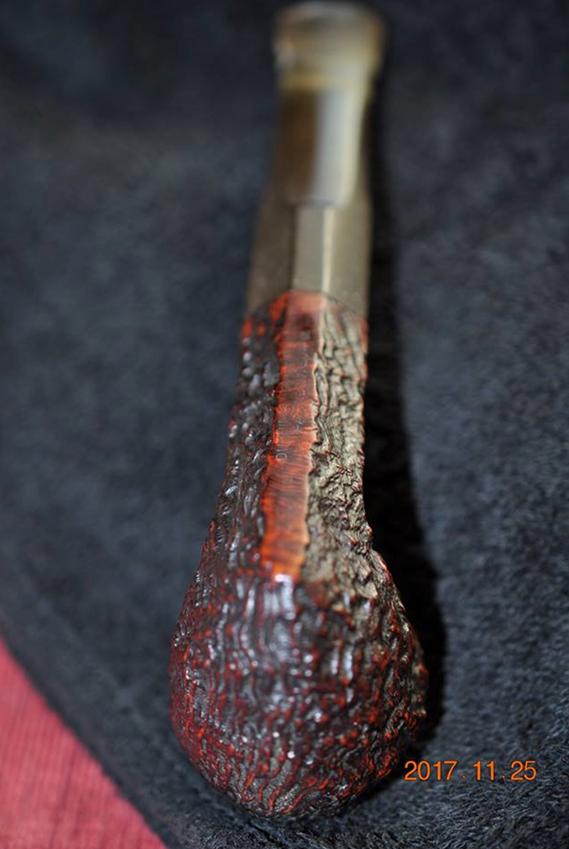
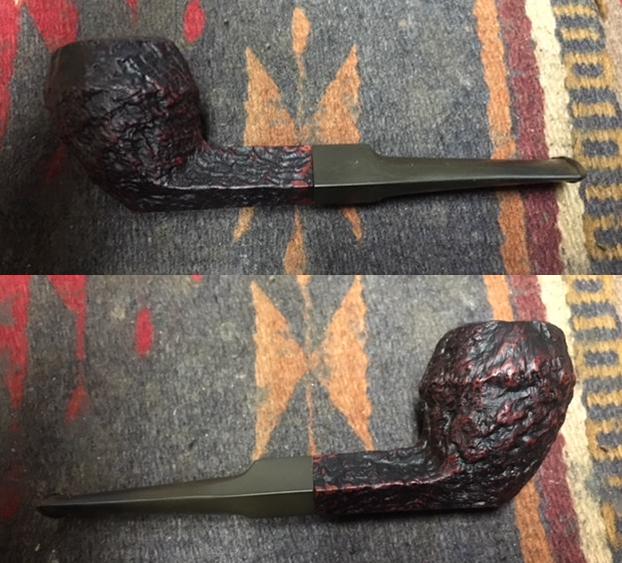
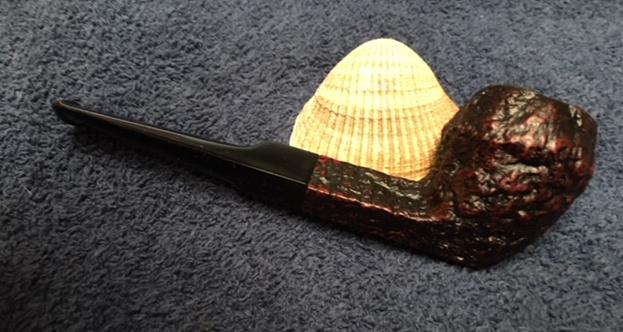
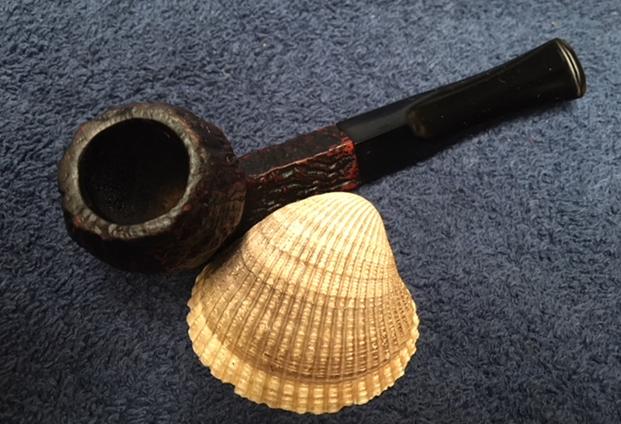
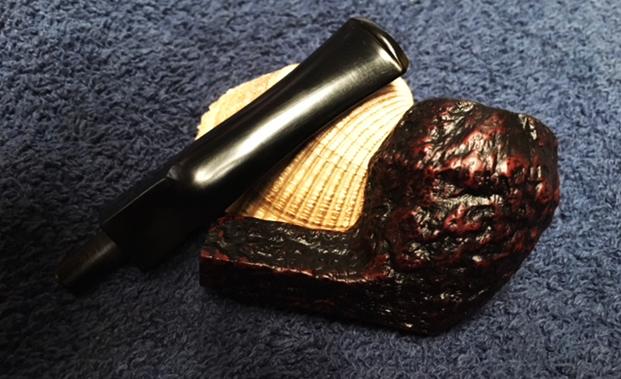
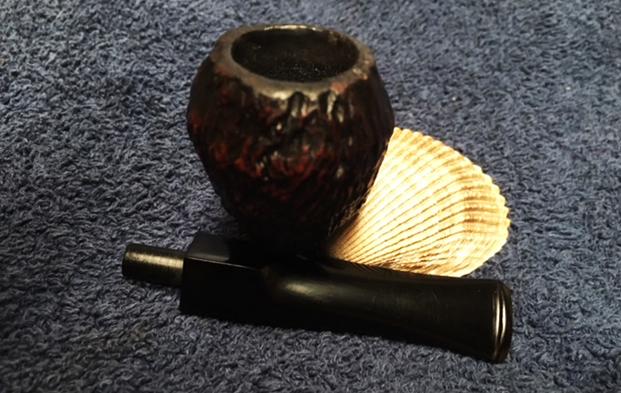
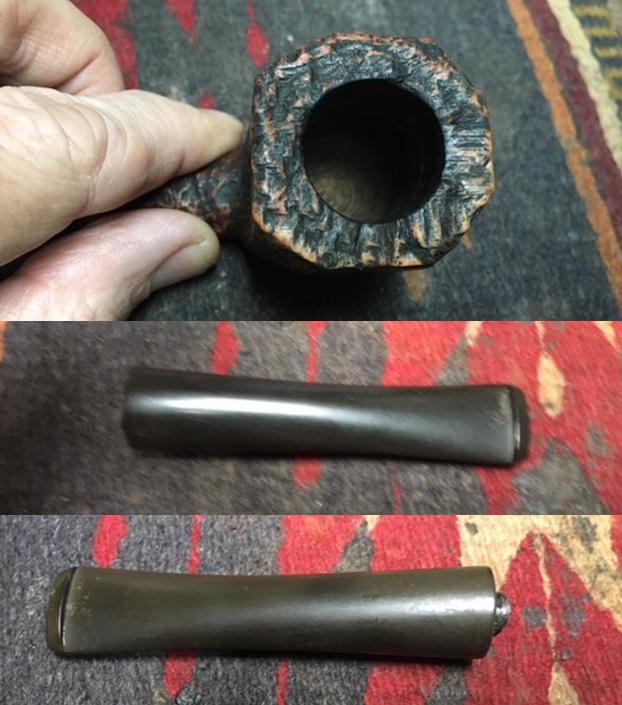
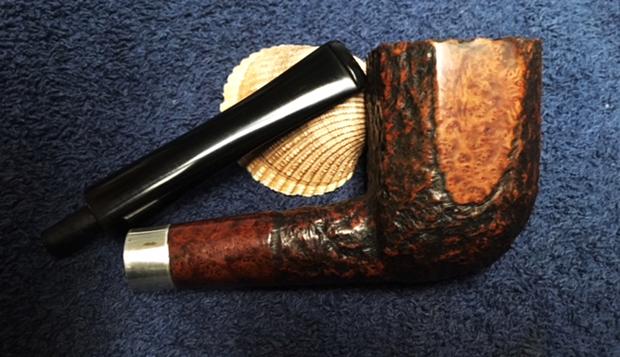
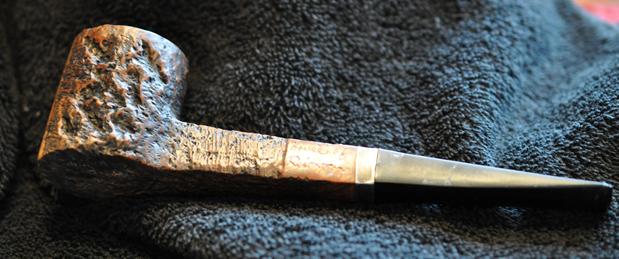
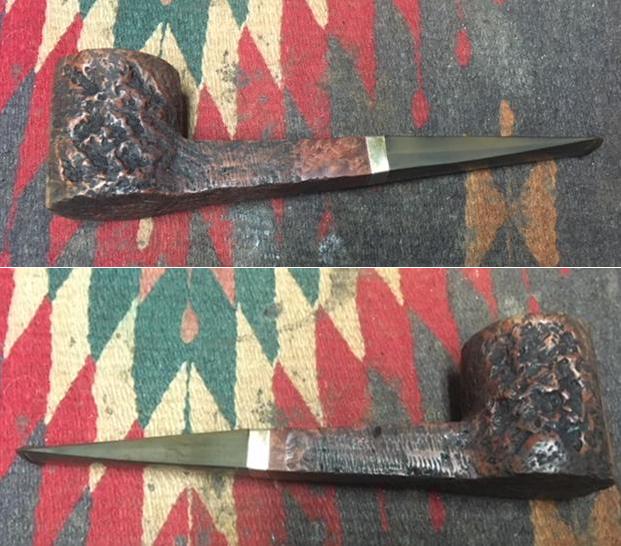
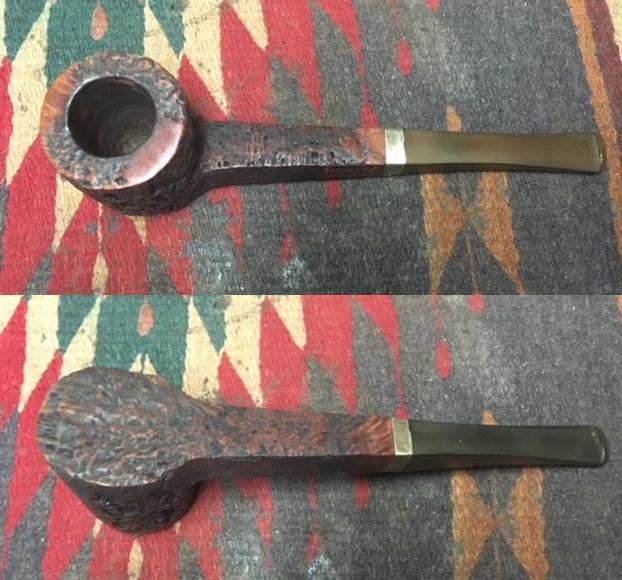
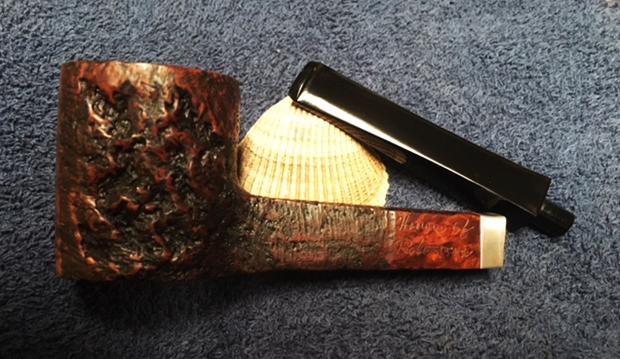
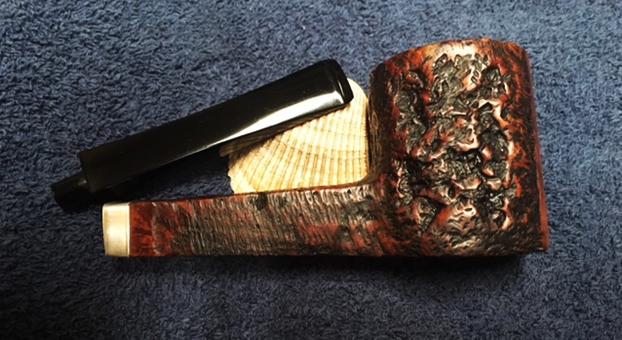
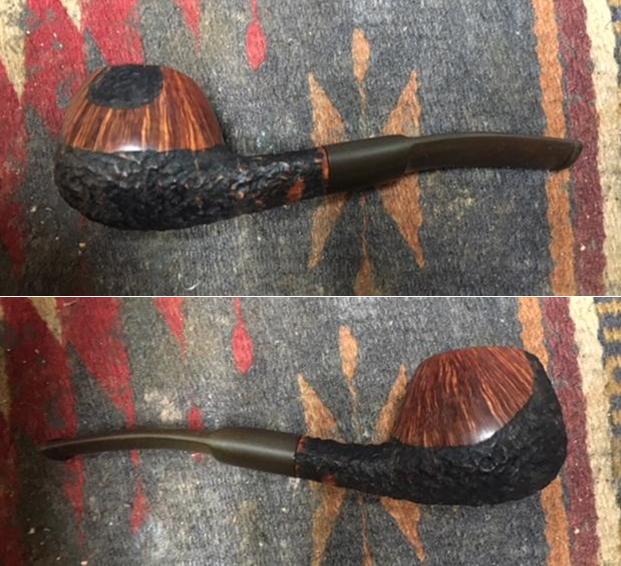
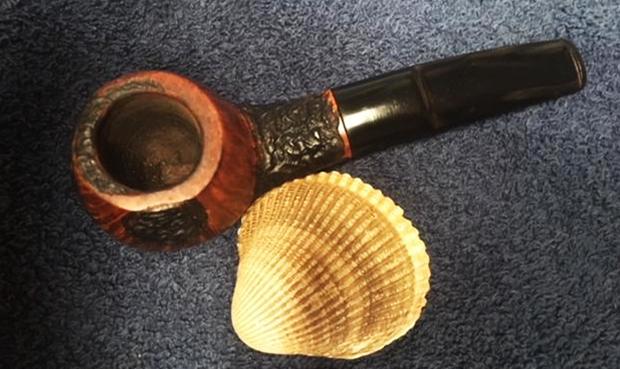
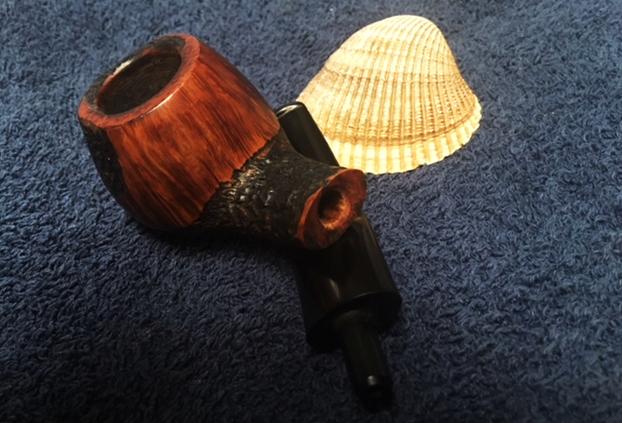
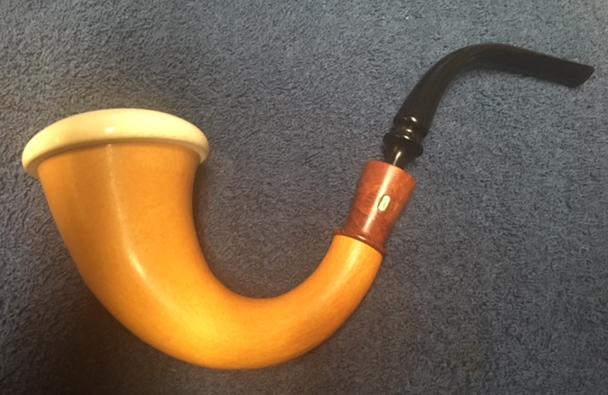
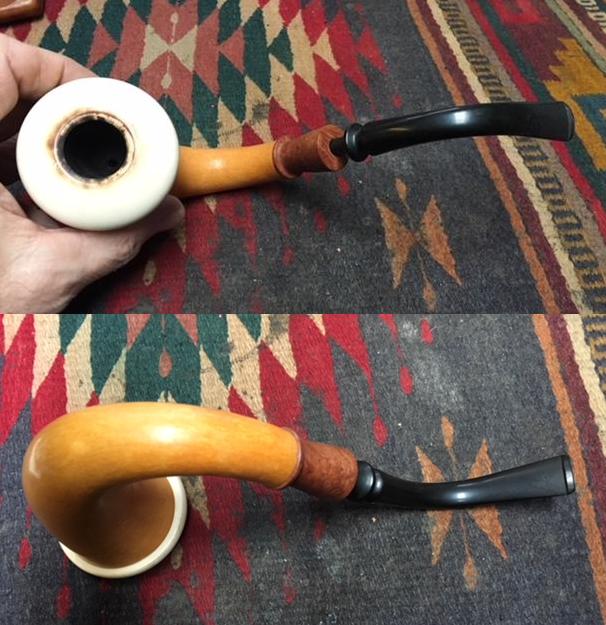
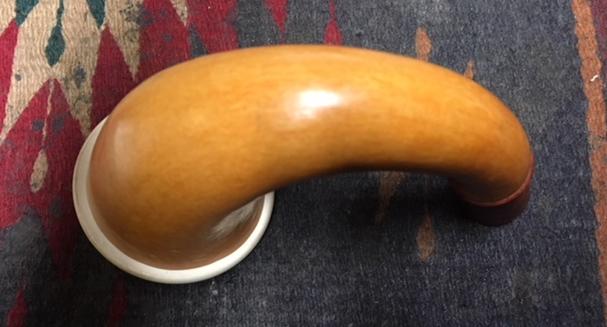
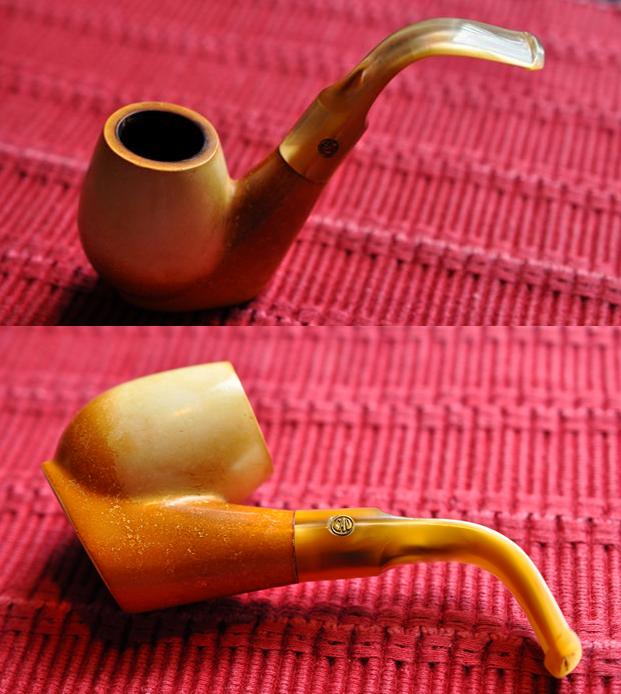
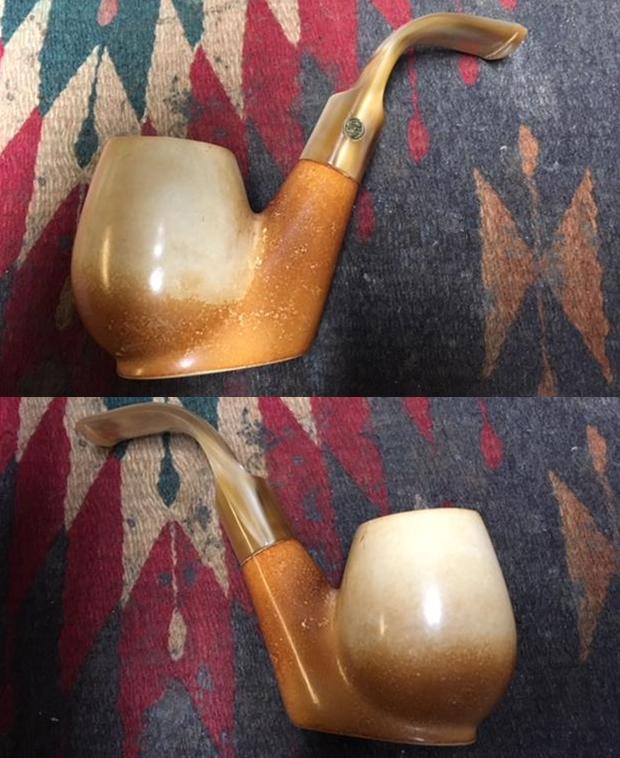
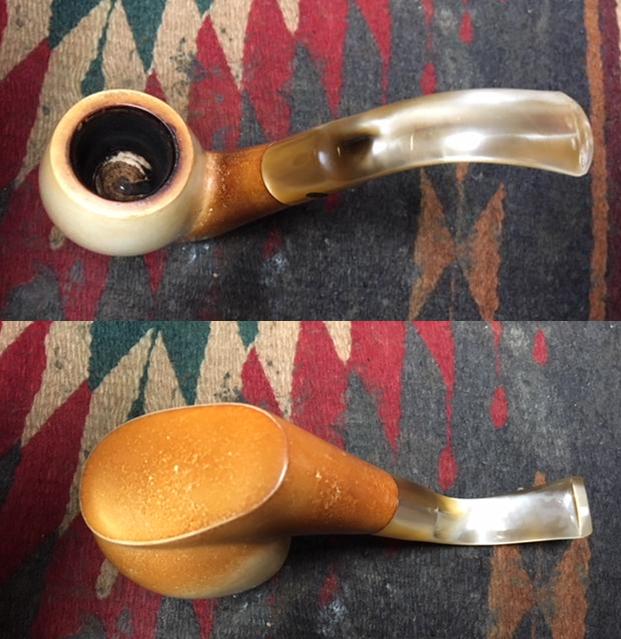
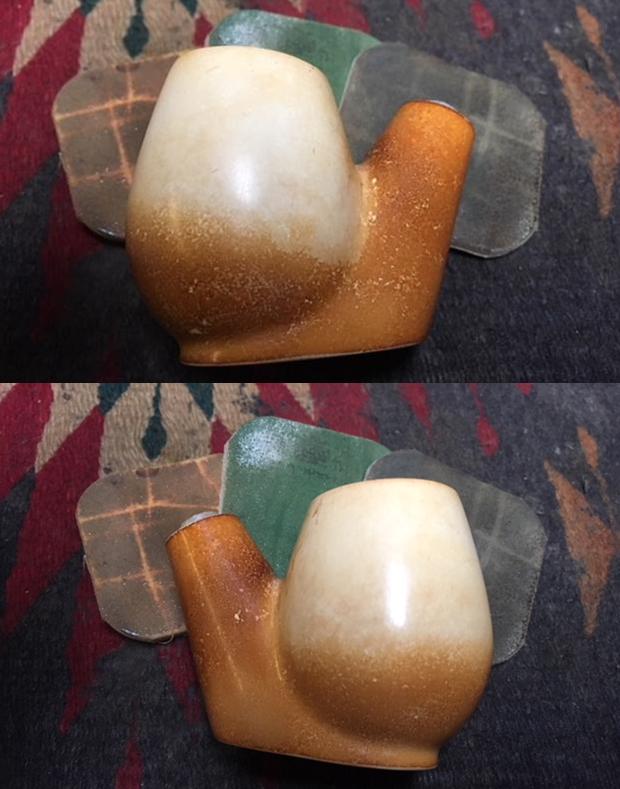
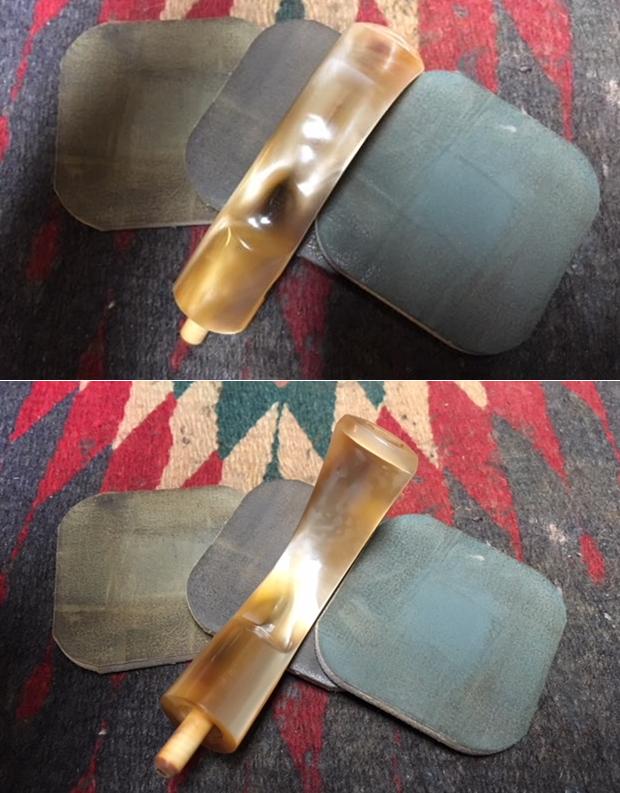
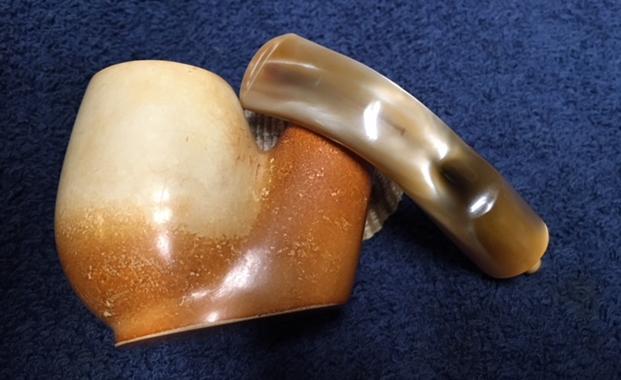
The fourth of the five pipes in this lot that I chose to work on was a smooth Zulu or Yachtsman shaped pipe. It is the pipe on the lower right in all of the above photos. It still has raw briar in the bottom third of the bowl and appears to never have been smoked to the bottom of the bowl. It is engraved with the House of Robertson signature on a smooth panel on the left side of the oval shank. The smooth finish on the pipe was dirty but showed some real promise through the grime. There was a light coat of lava that had overflowed from the cake in the bowl over the top of the rim. The cake was quite thick and was hard. Overall the pipe was in excellent condition and had some interesting grain around the bowl. The bottom of the bowl and shank has a flat panel that allows the bowl to sit upright on the desk or table. The stem was lightly oxidized but clean. The oxidation had caused some pitting on the surface. The fit of the stem to the shank was good. The vulcanite appeared to have been a pre-formed stem that was shaped to fit this pipe. Jeff took photos of the pipe before he started the cleanup.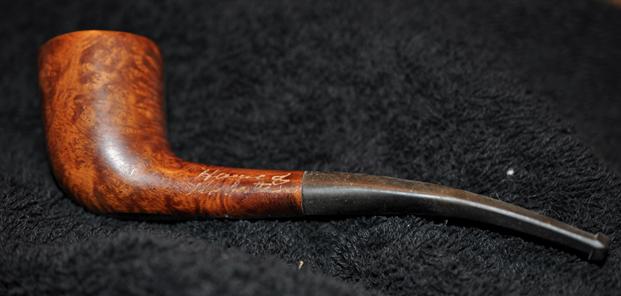
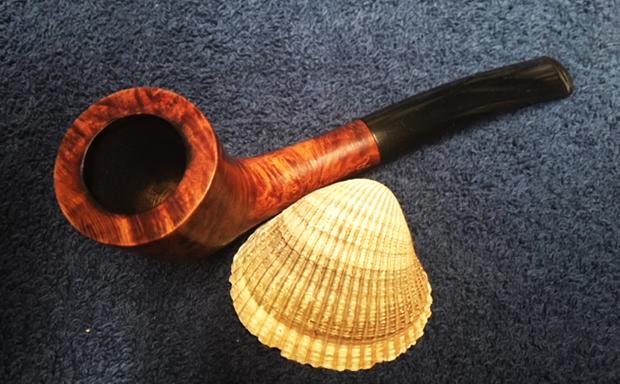
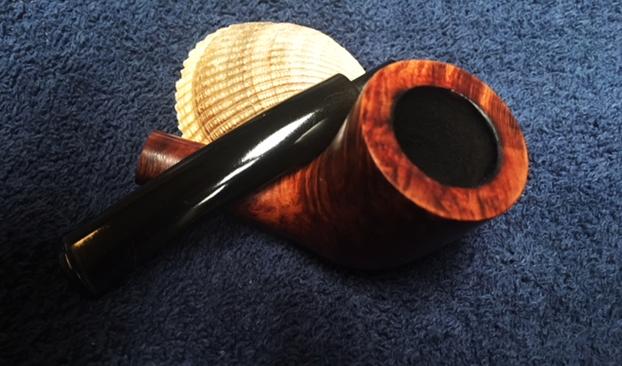
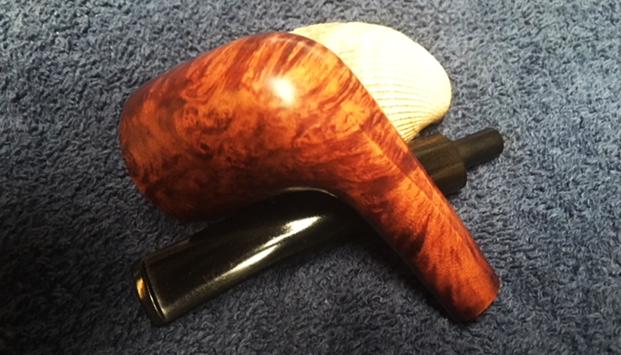
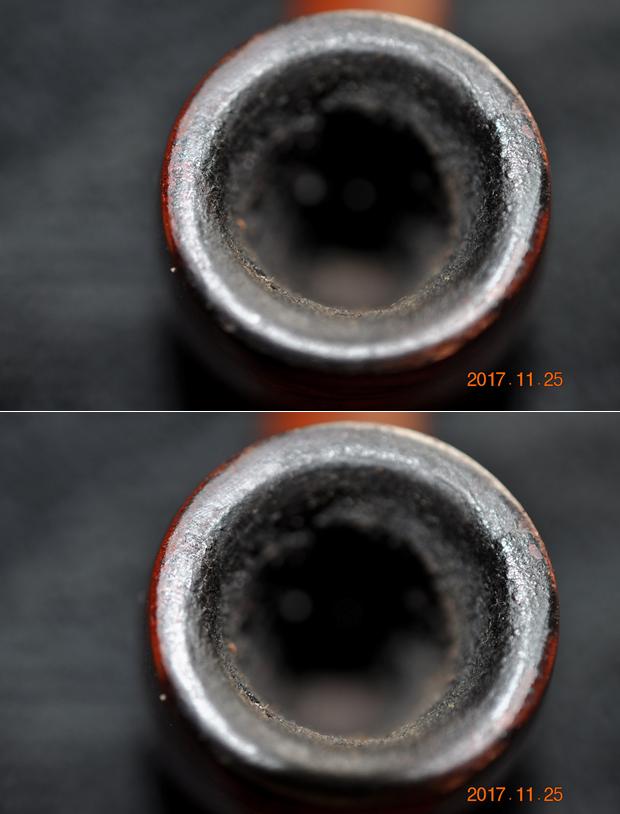
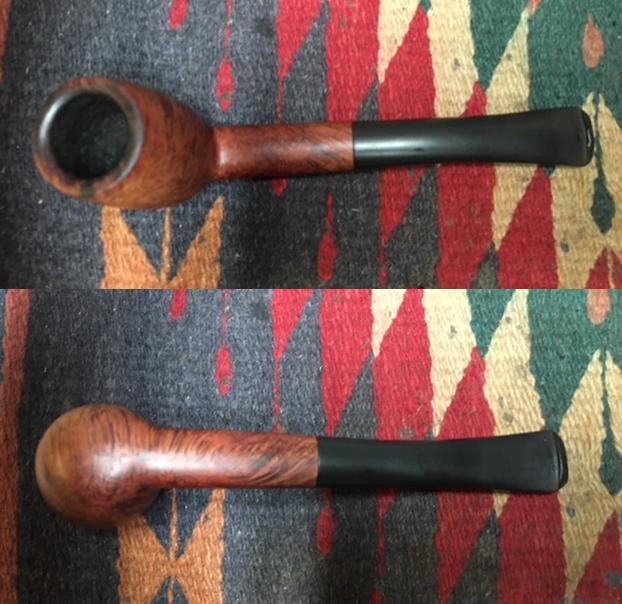
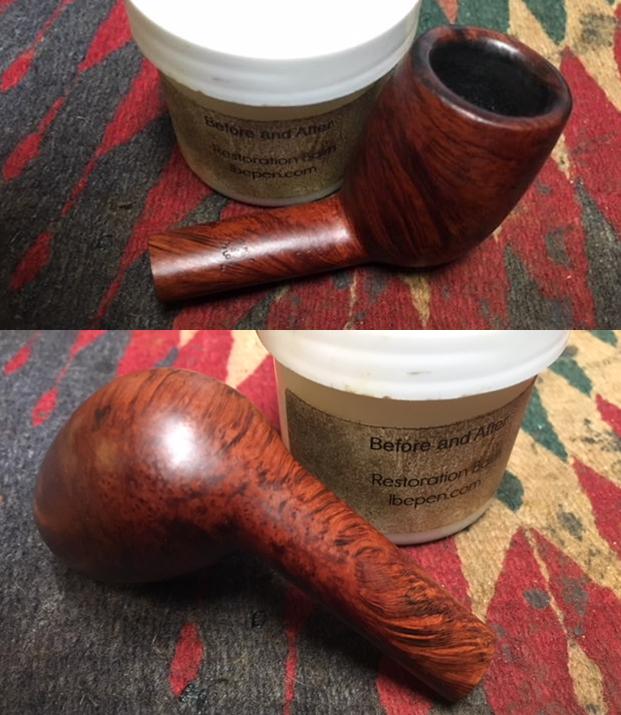
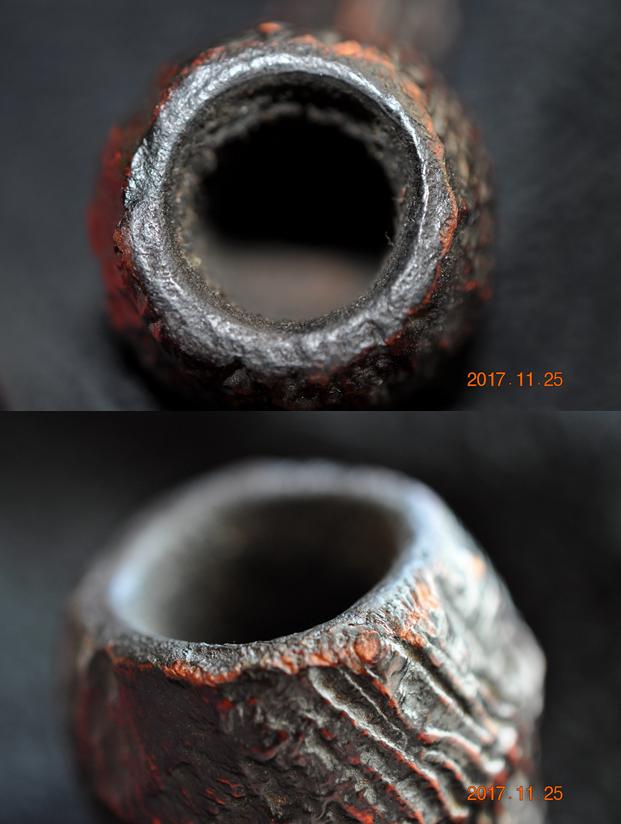
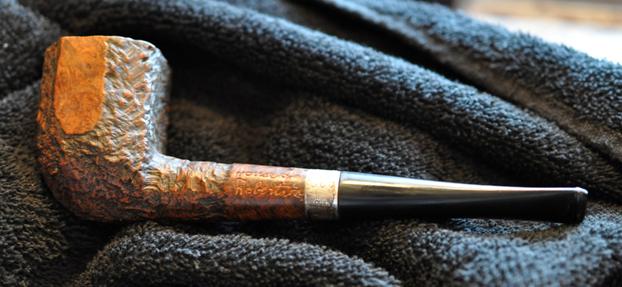
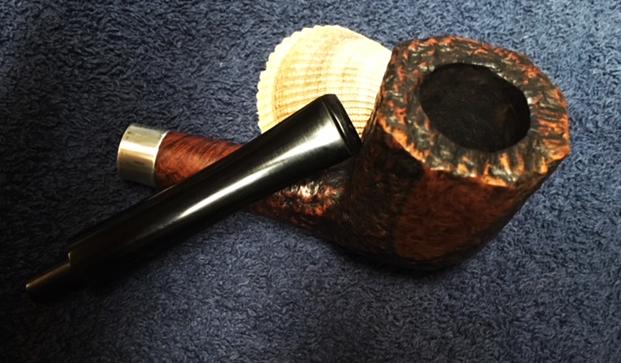
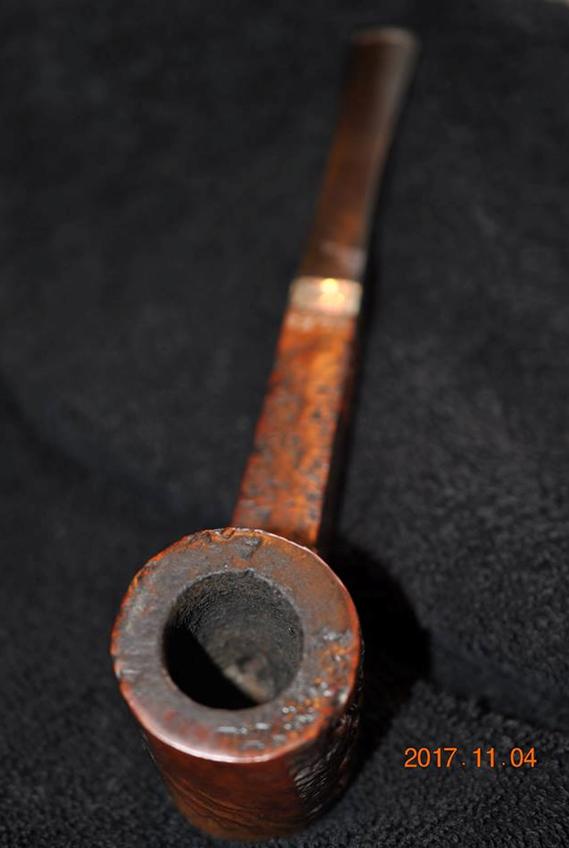
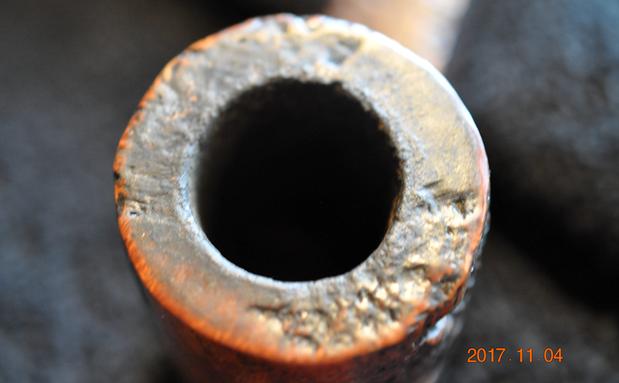
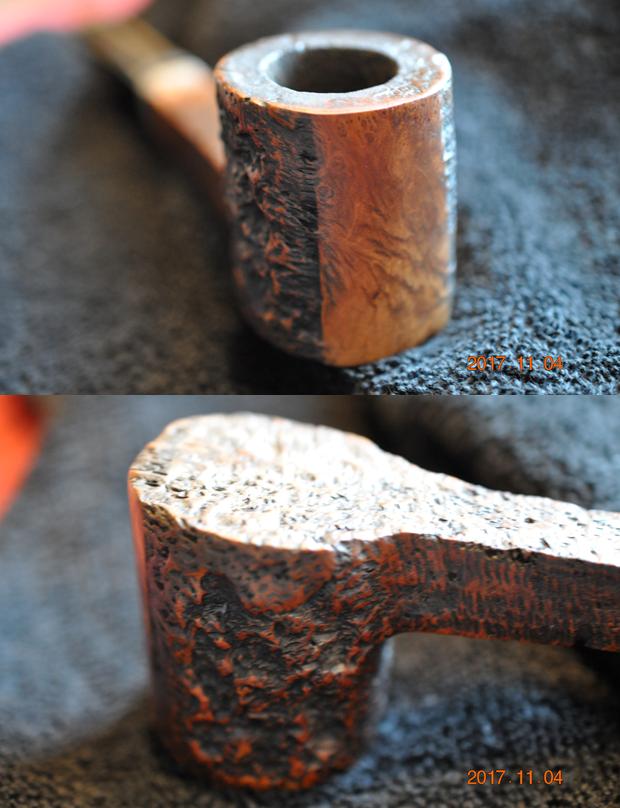
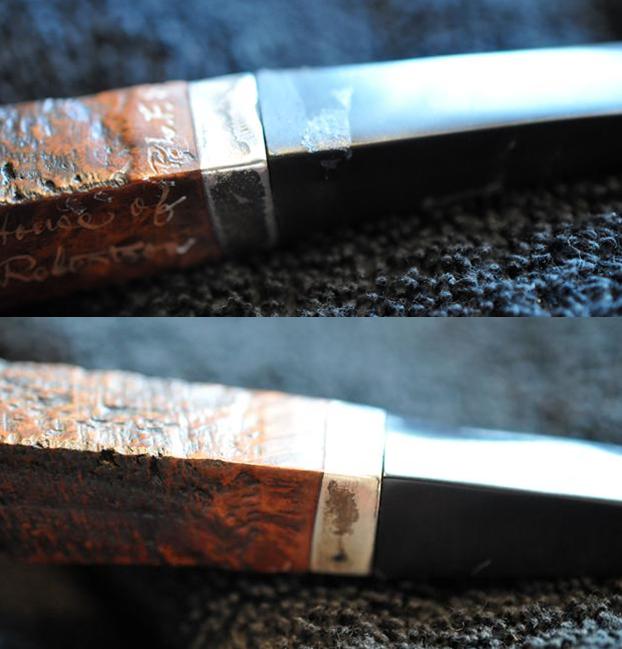
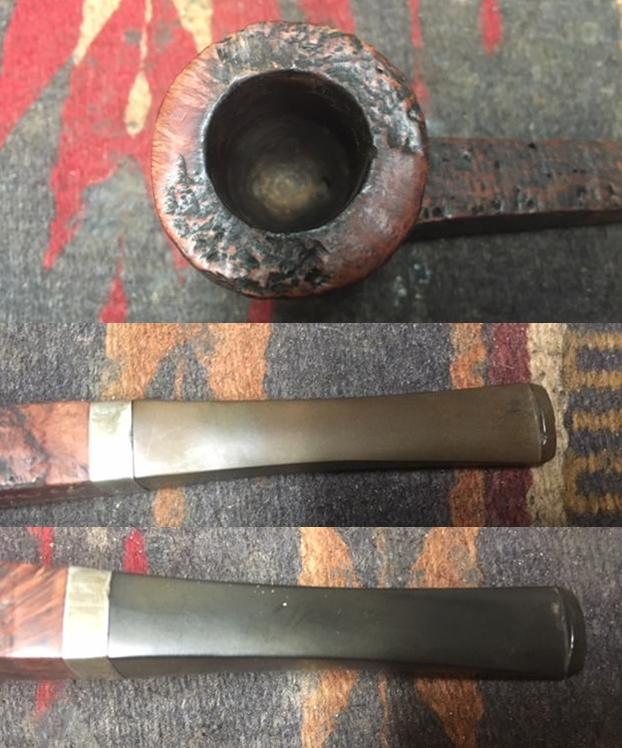
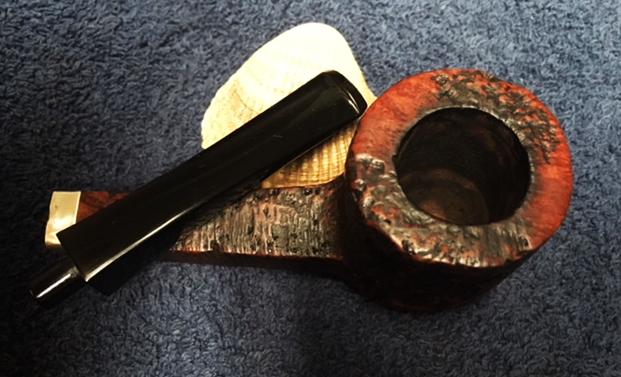
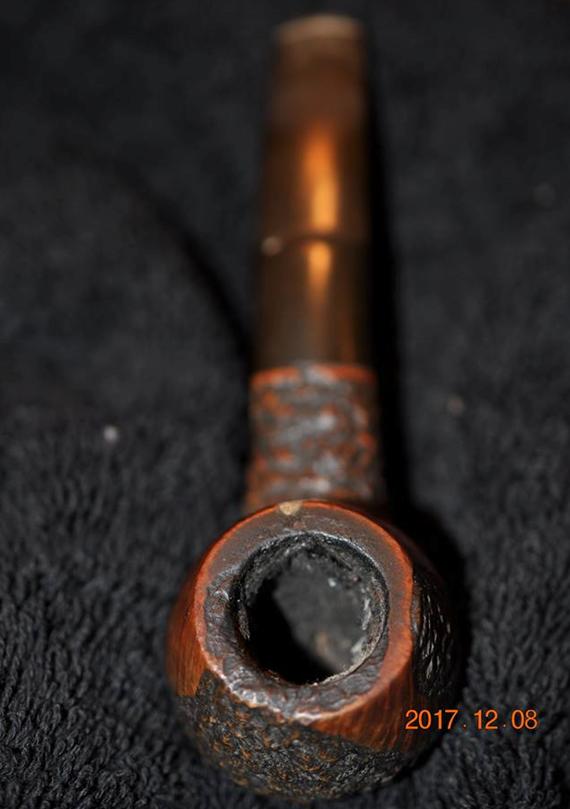
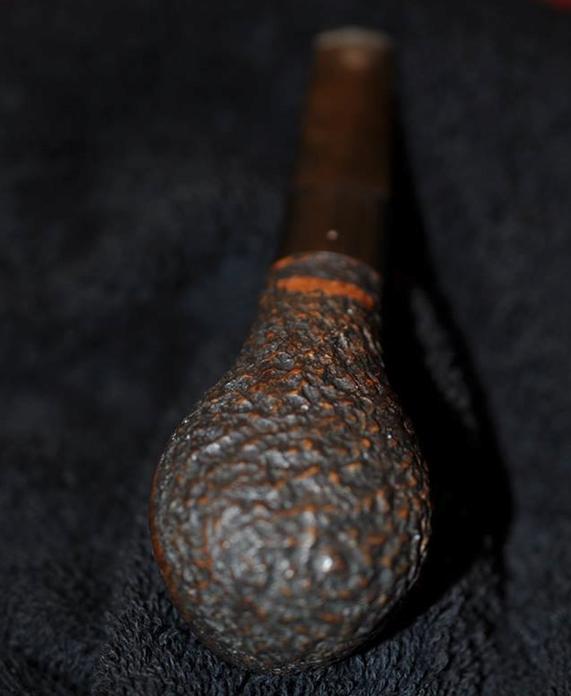
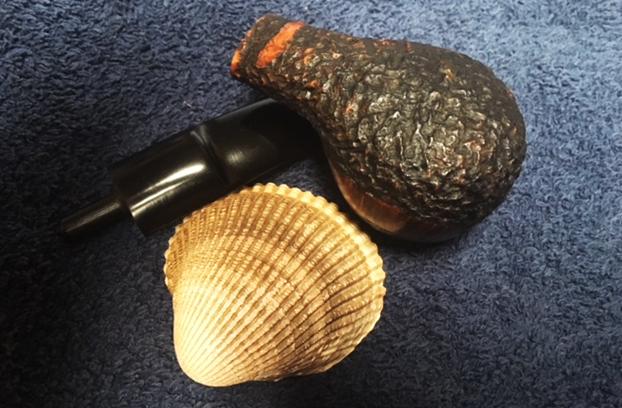
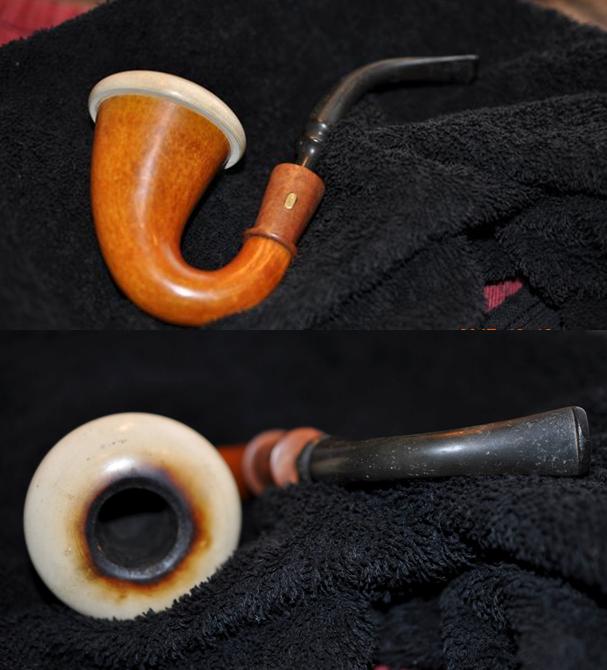
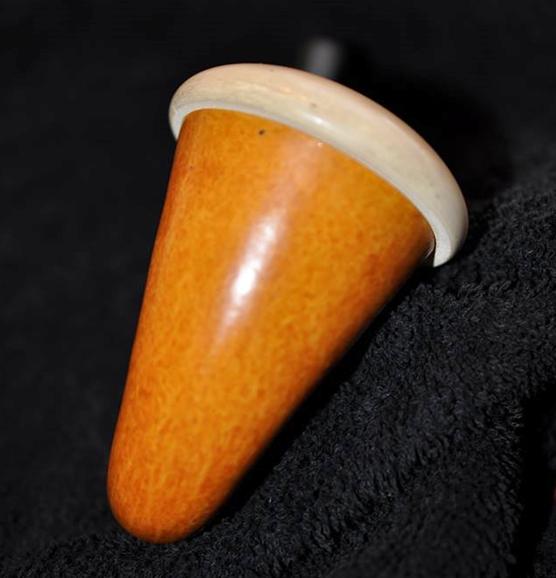
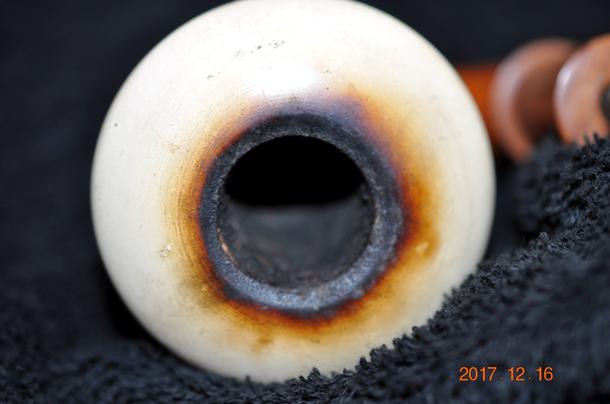
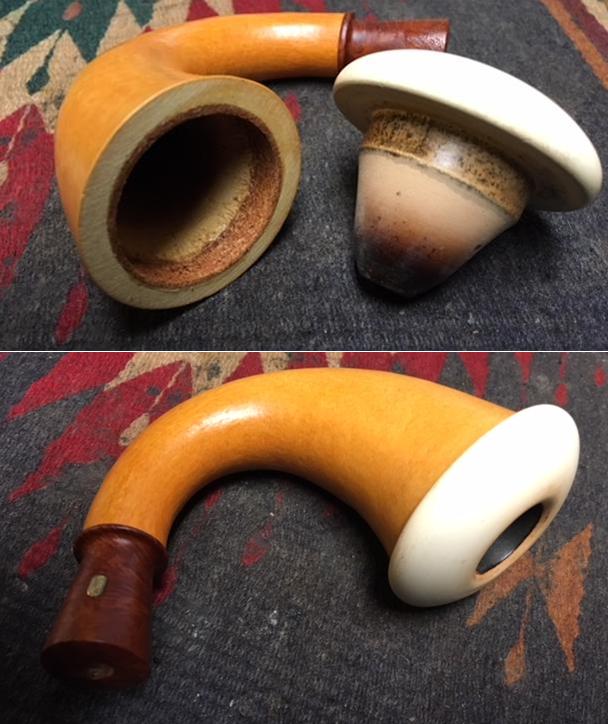
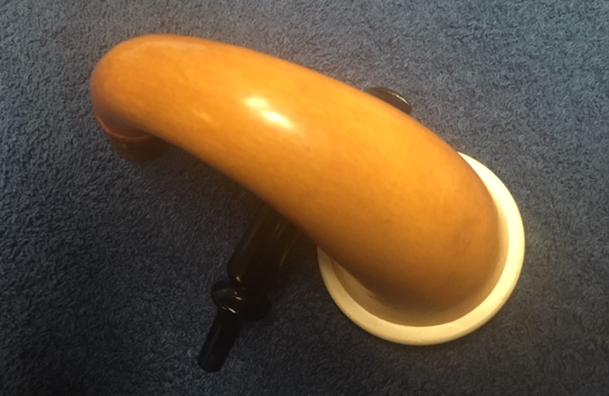
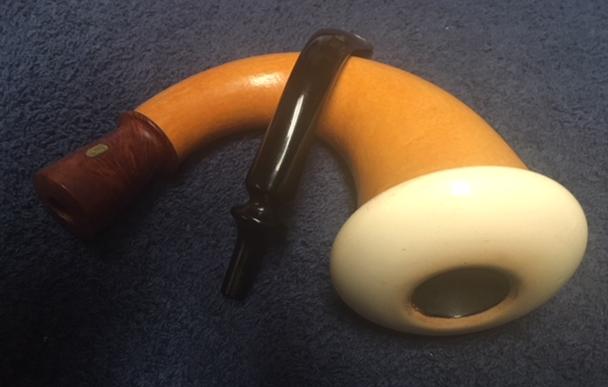
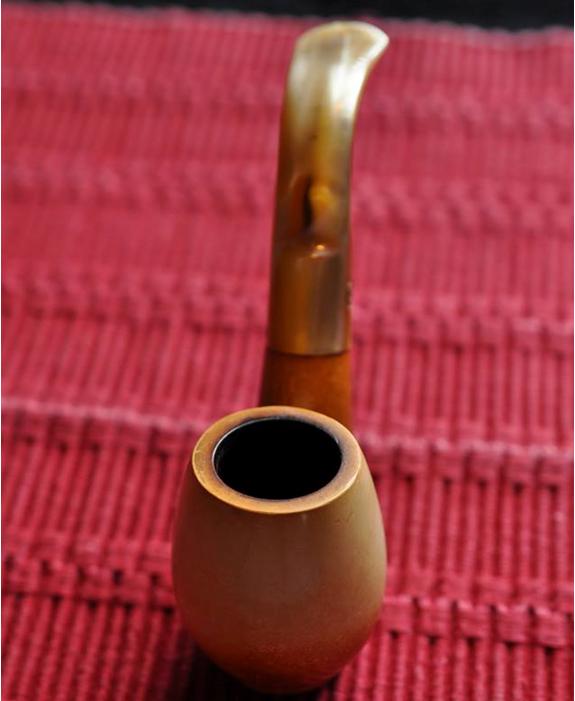
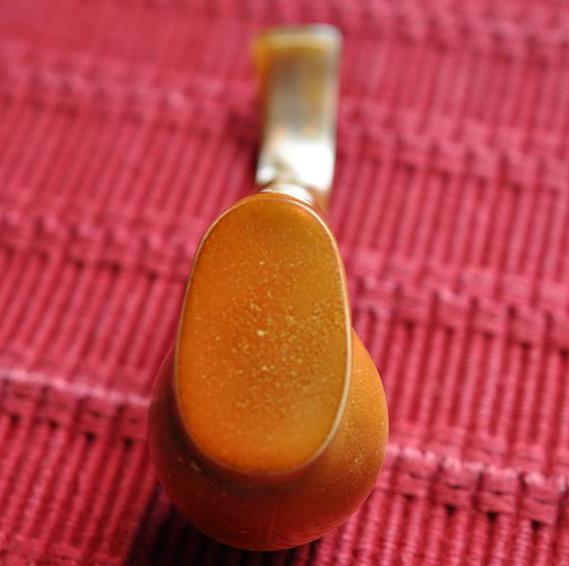
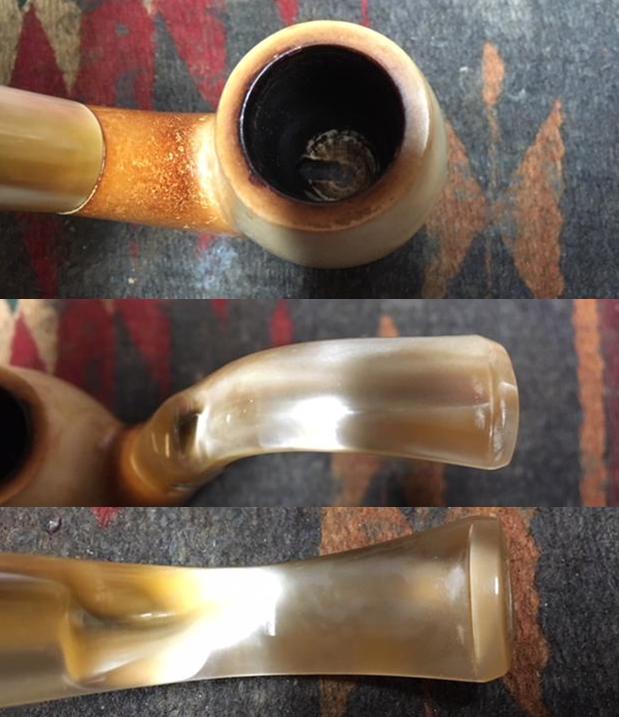
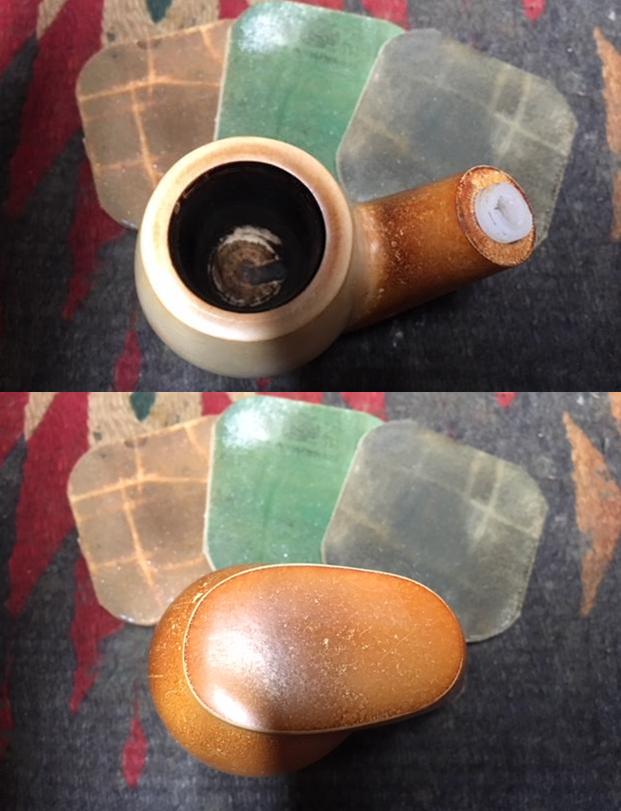
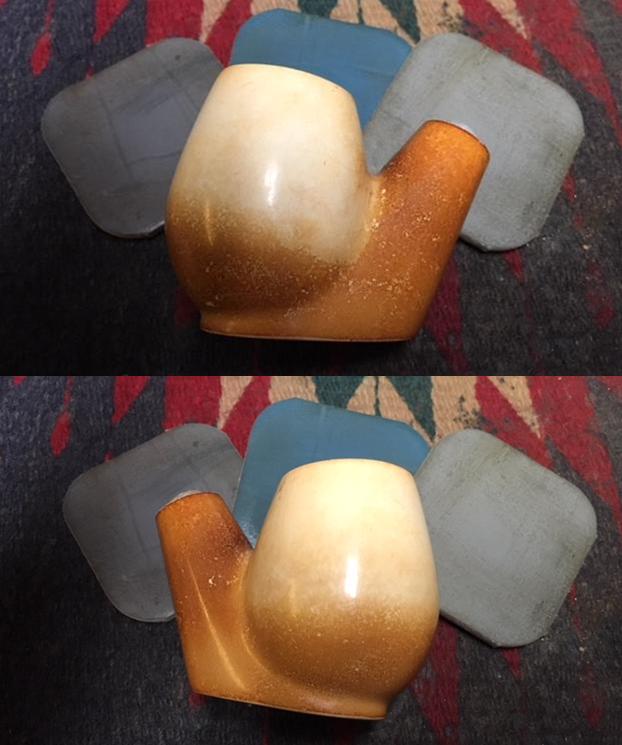
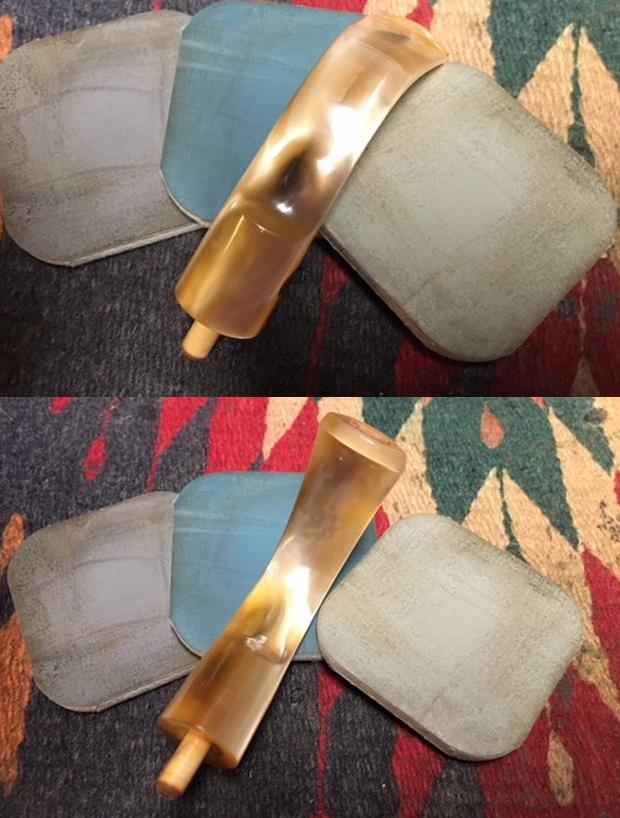
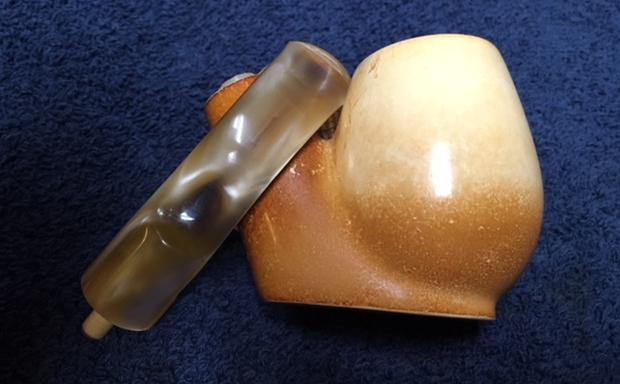
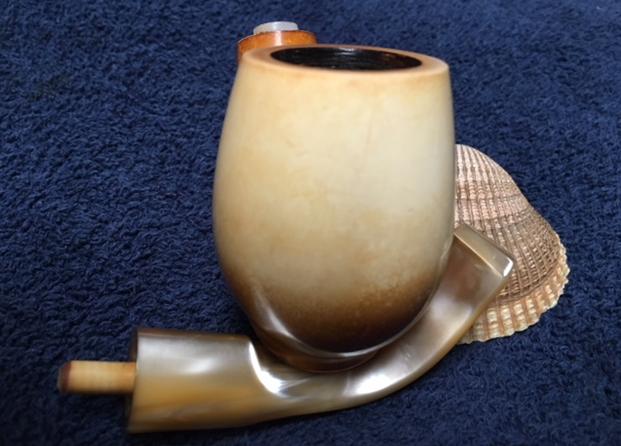
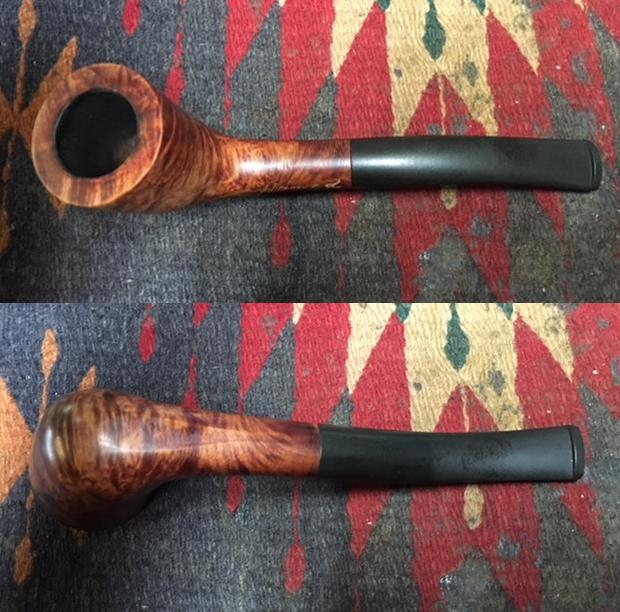
 The next close-up photos show the finish on the top and the underside of the bowl. The first photo shows the lava on the rim top and the cake in the bowl. The grain on the top of the bowl and the inner and outer edge of the rim looks really good. The next three photos show the sides and underside of the pipe.
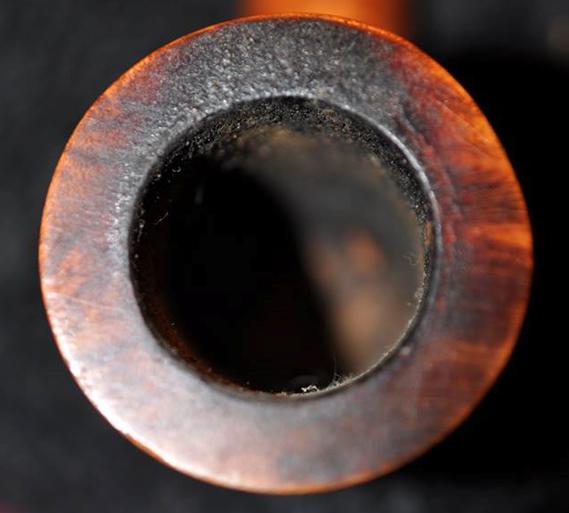
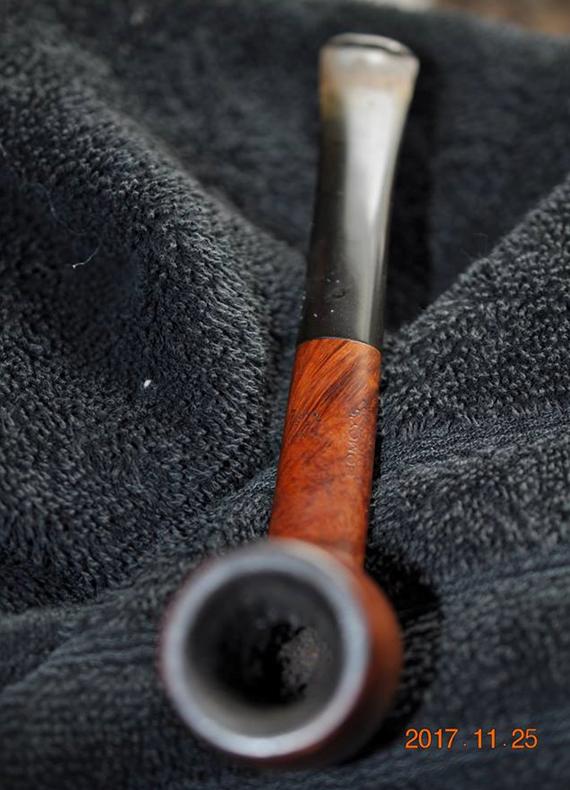
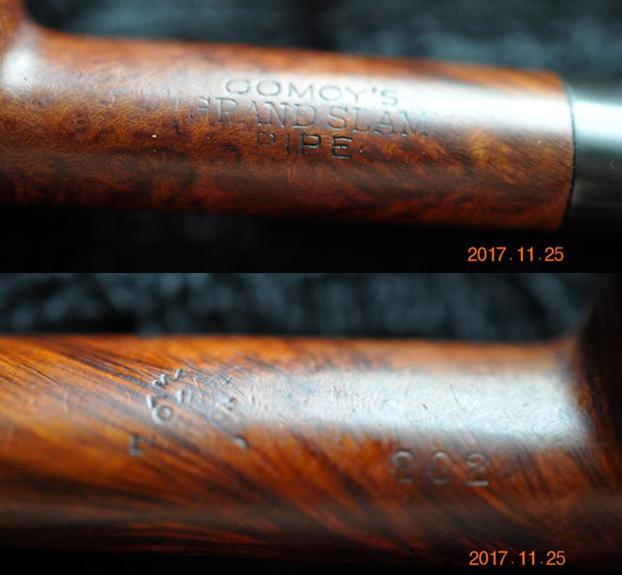
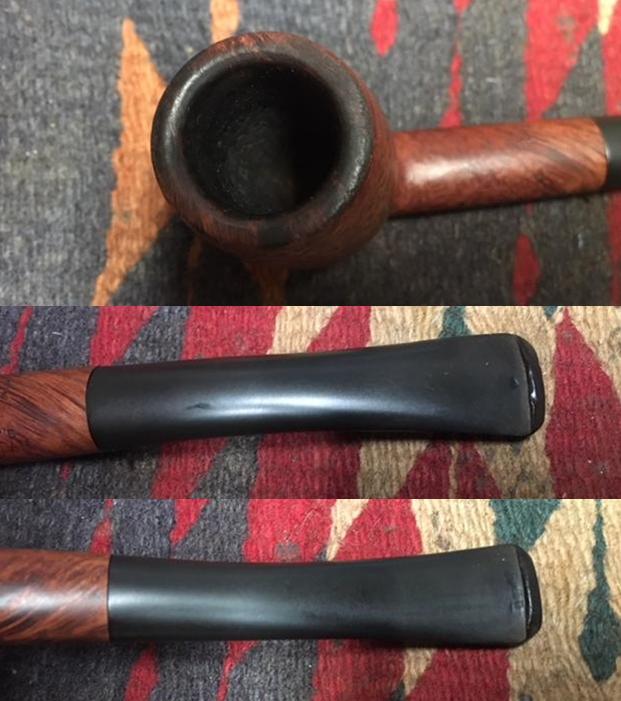
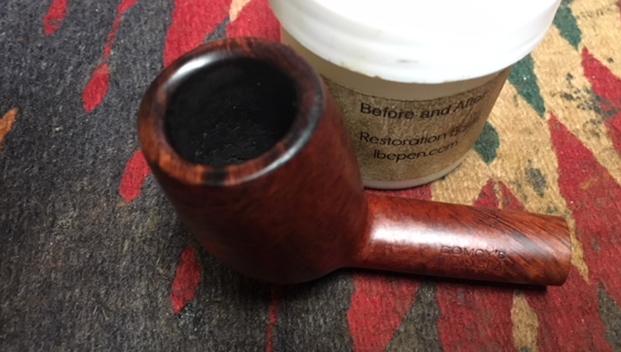
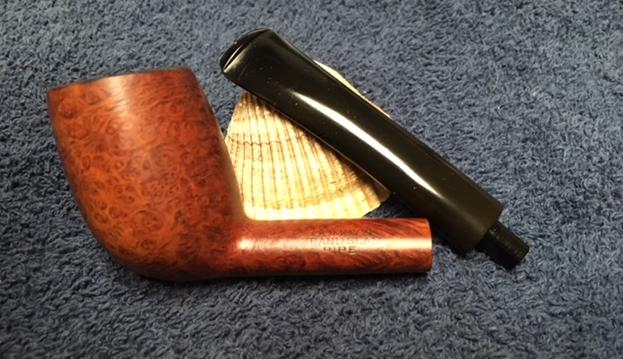
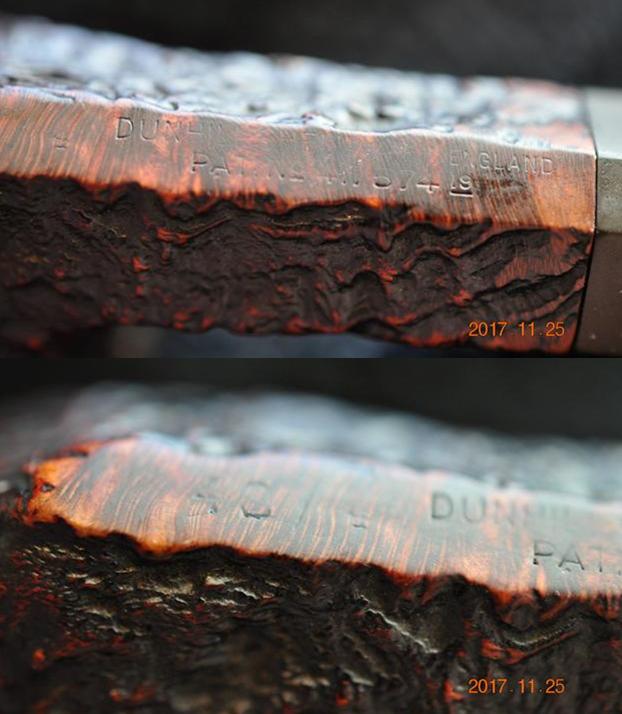
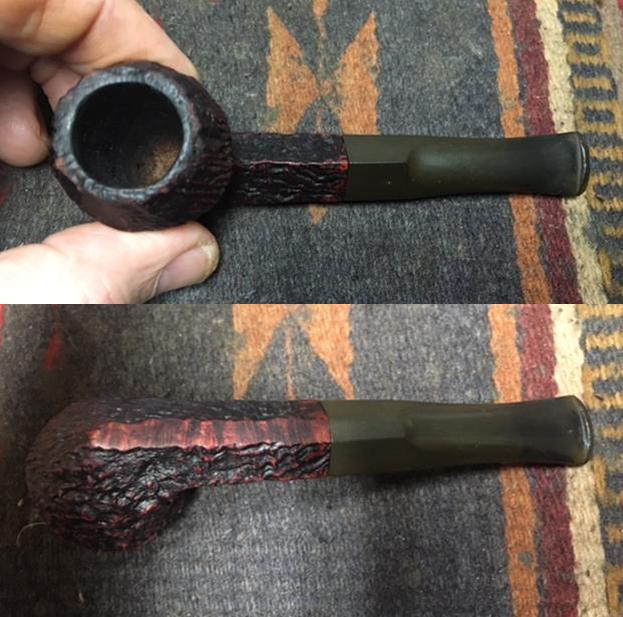
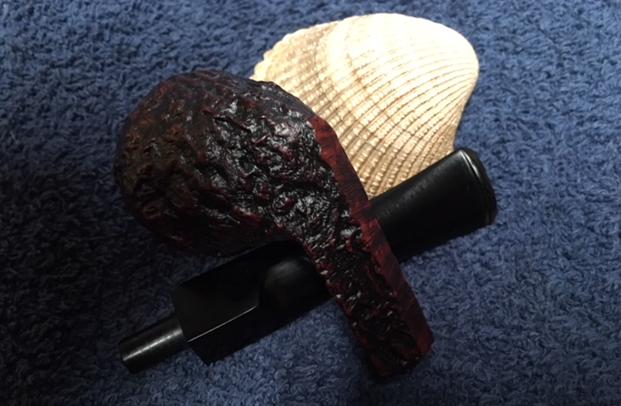
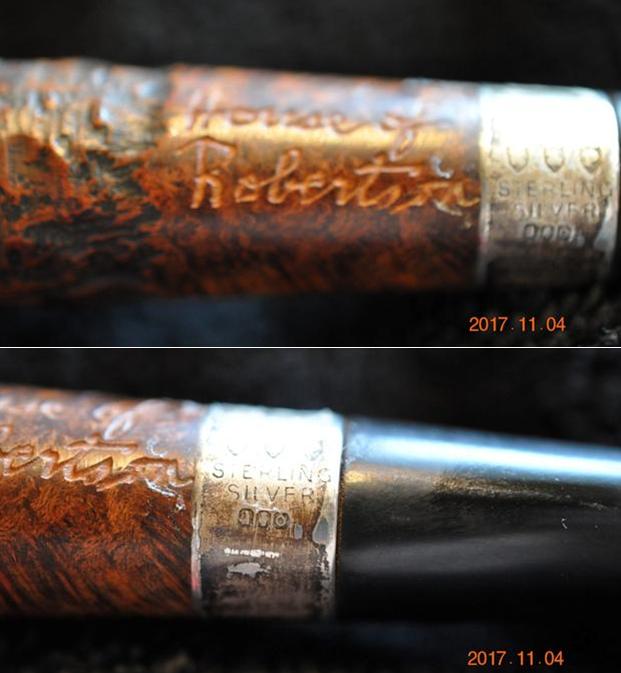
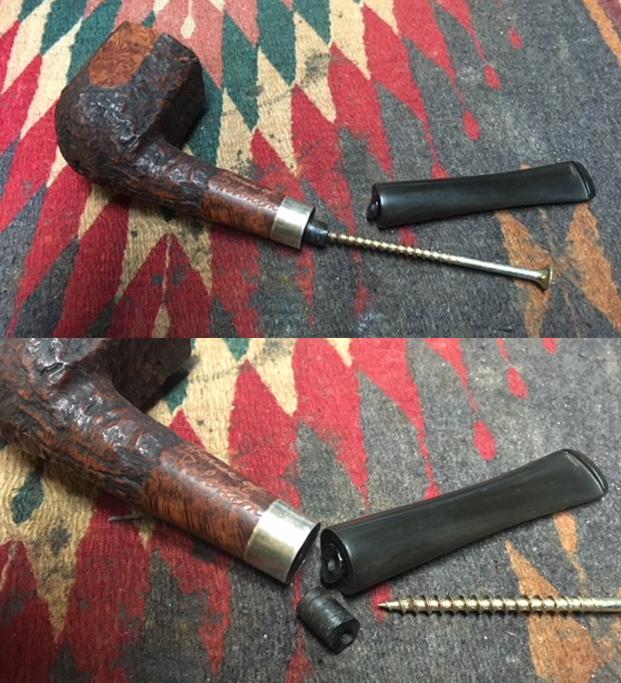
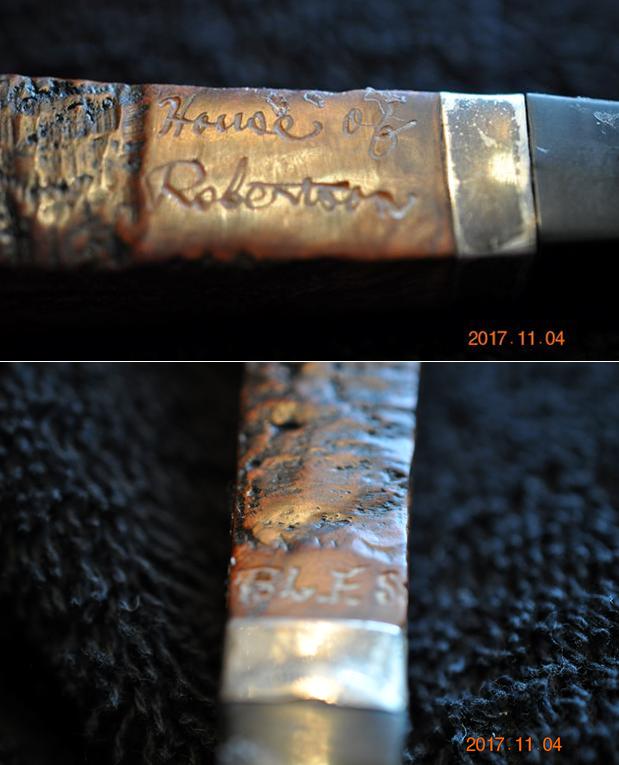
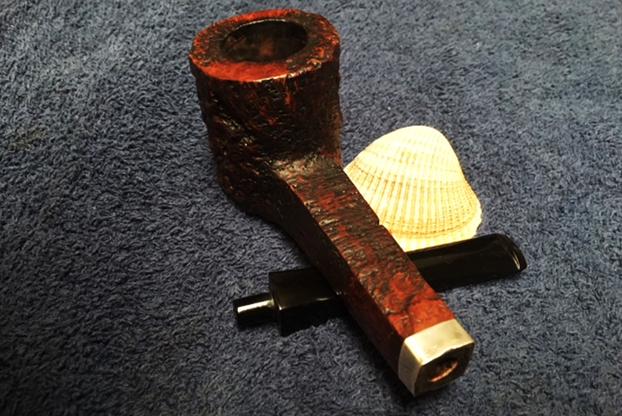
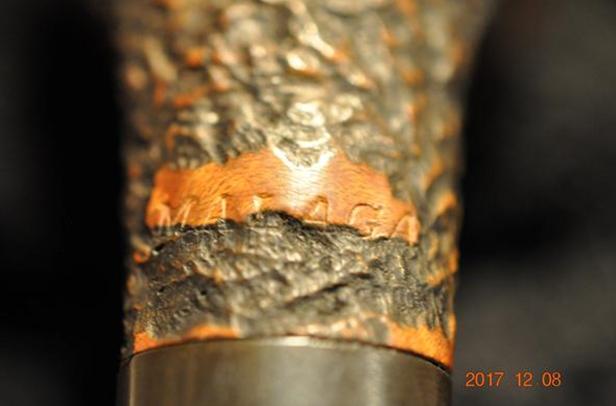
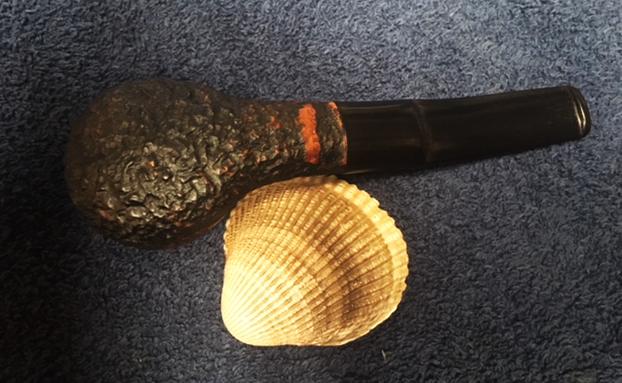
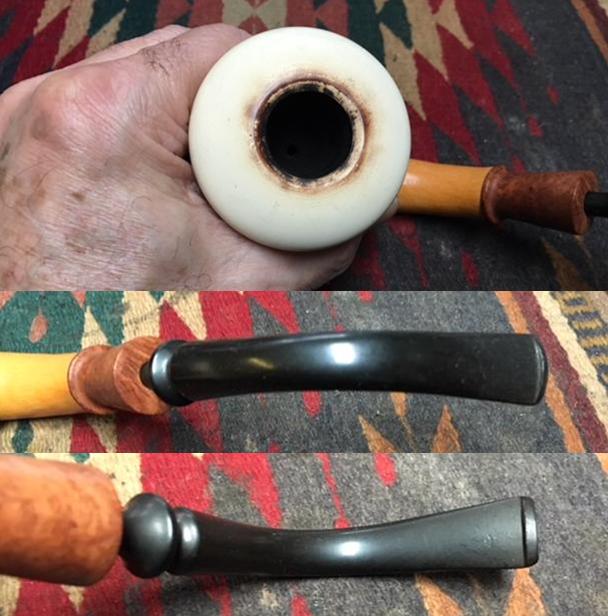
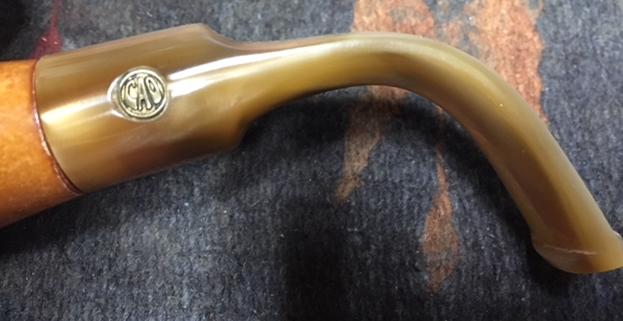
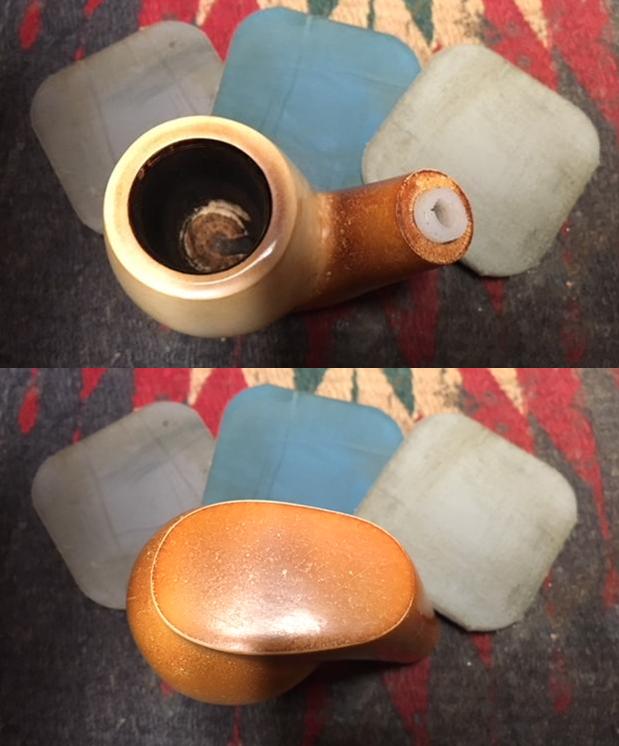
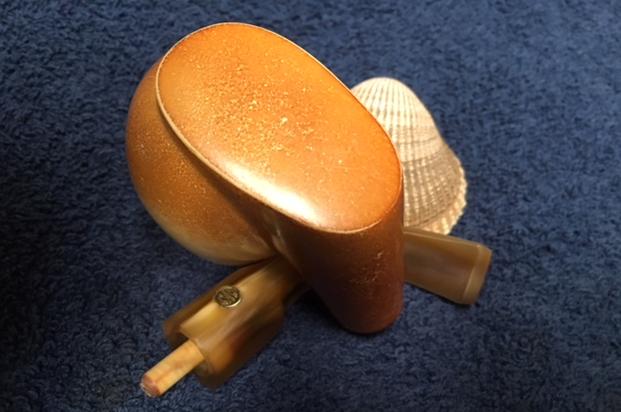
 The next photo shows the etched name on the left side of shank on the oval side of the shank. It reads House of Robertson.
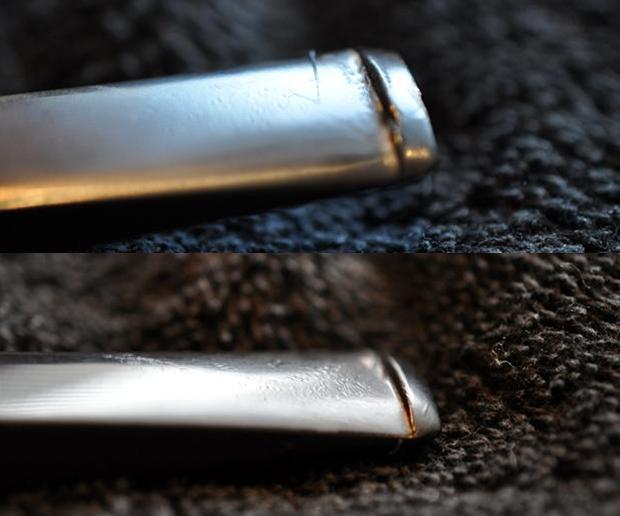
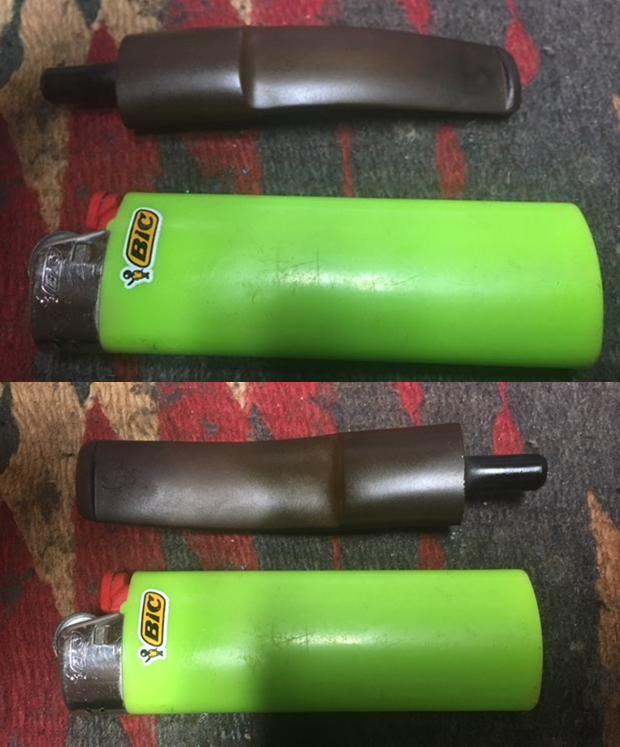
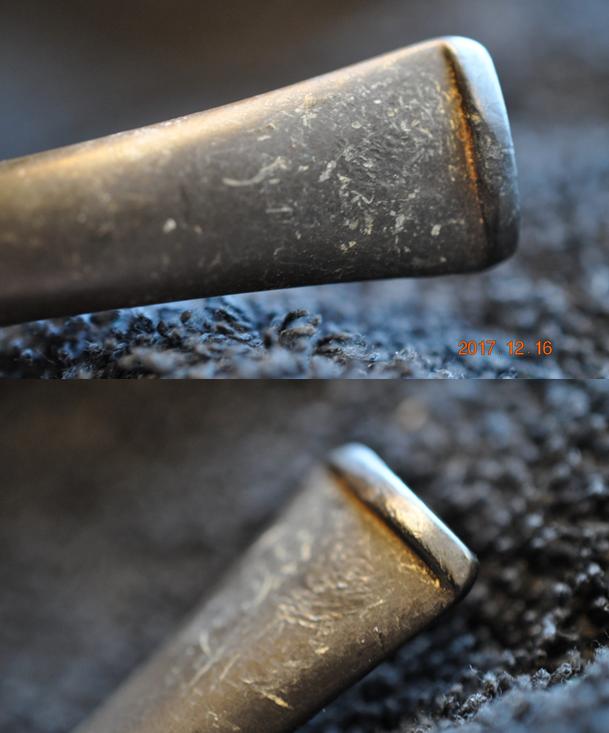
 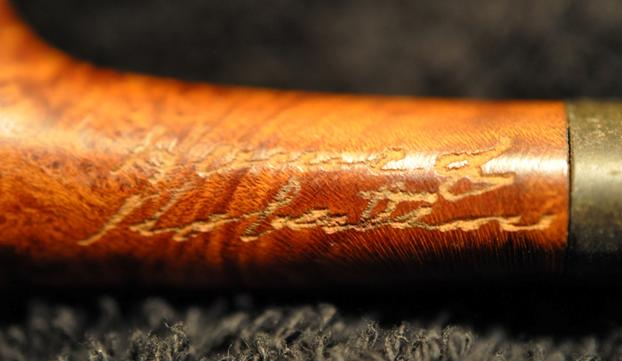 The tapered stem was oxidized and pitted from the oxidation. It was otherwise very clean and unsmoked.
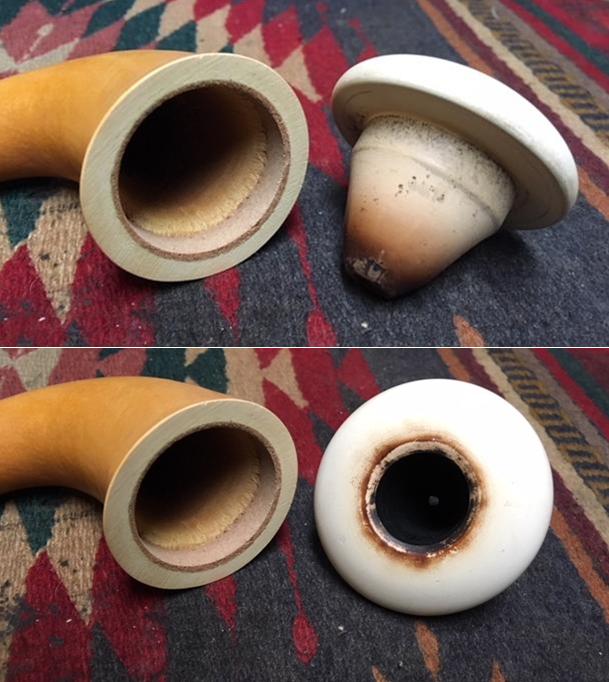
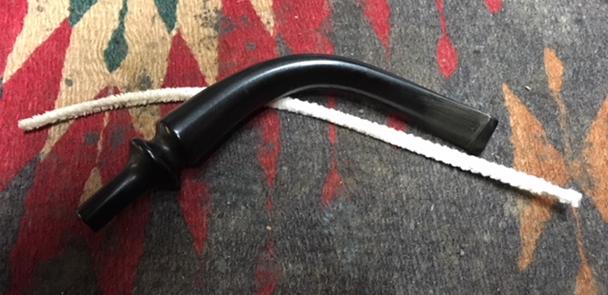
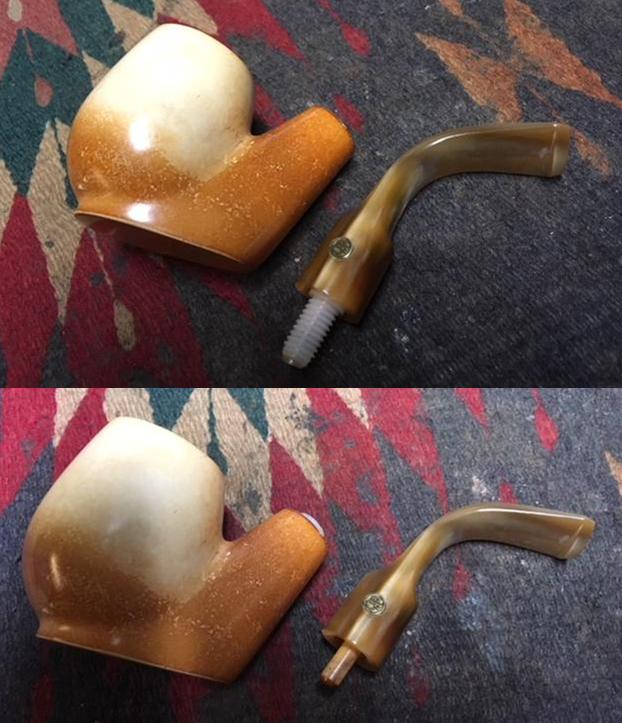
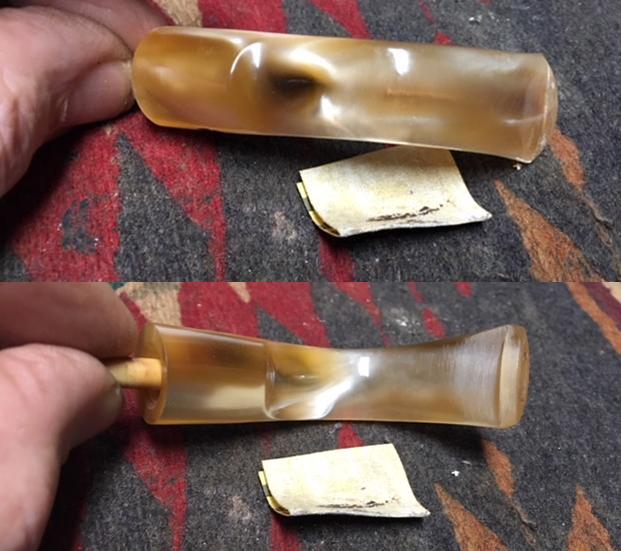
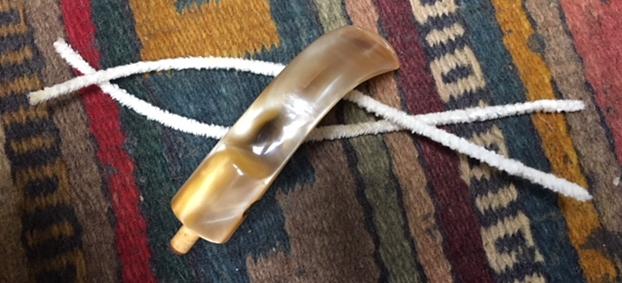
 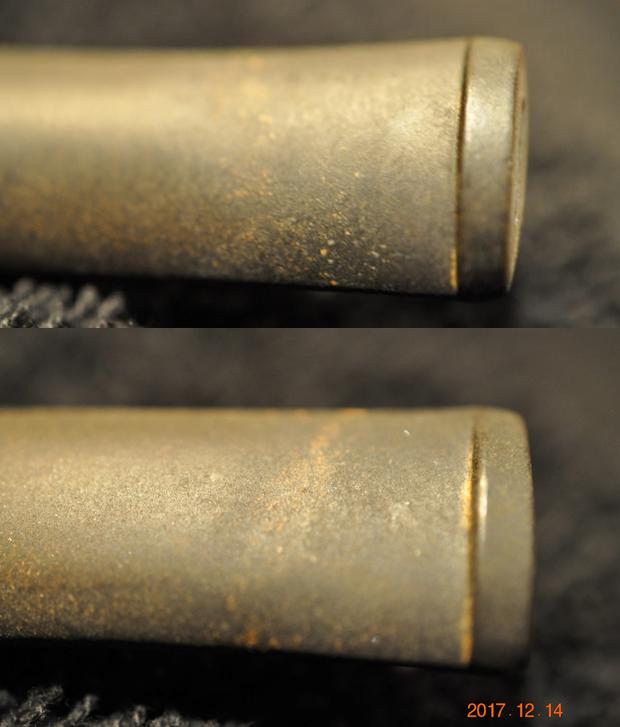 Jeff once again performed his usual stellar clean up job on the pipe leaving it pristine and without damage to the finish. He reamed the bowl with a PipNet pipe reamer and cleaned up the remnants with the Savinelli Fitsall Pipe Knife. He scrubbed out the mortise and the airway in the shank and the stem with alcohol, cotton swabs and pipe cleaners. He scrubbed the exterior of the bowl, rim and shank with a tooth brush and Murphy’s Oil Soap to remove the grime of the smooth finish on the bowl and shank. He rinsed it under running water. He dried it off with a soft cloth. Once the dust and debris were removed the finish looked very good. I took photos of the pipe to show its condition before I started my work on it.
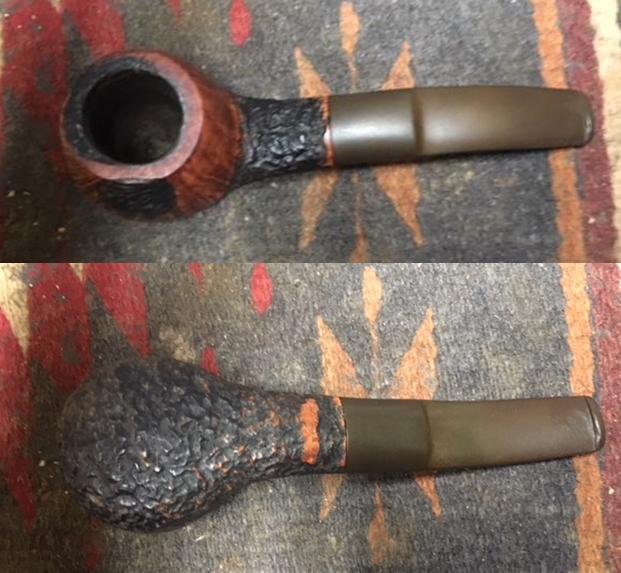
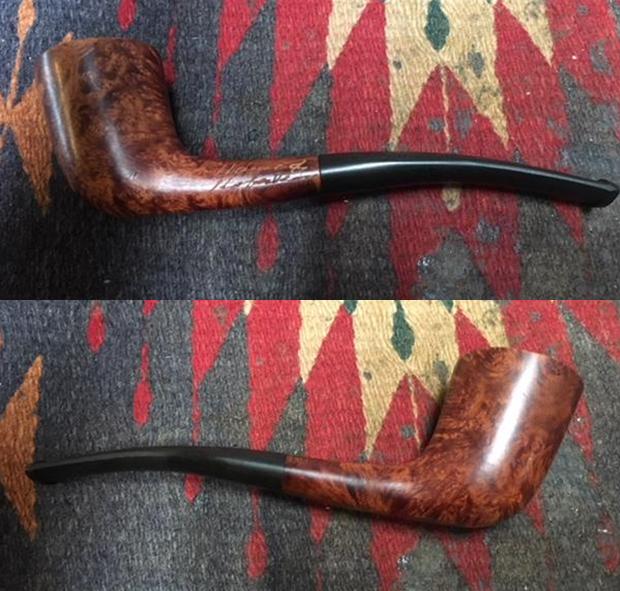
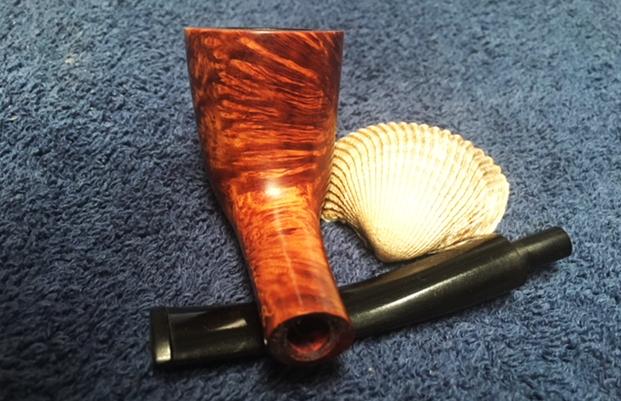
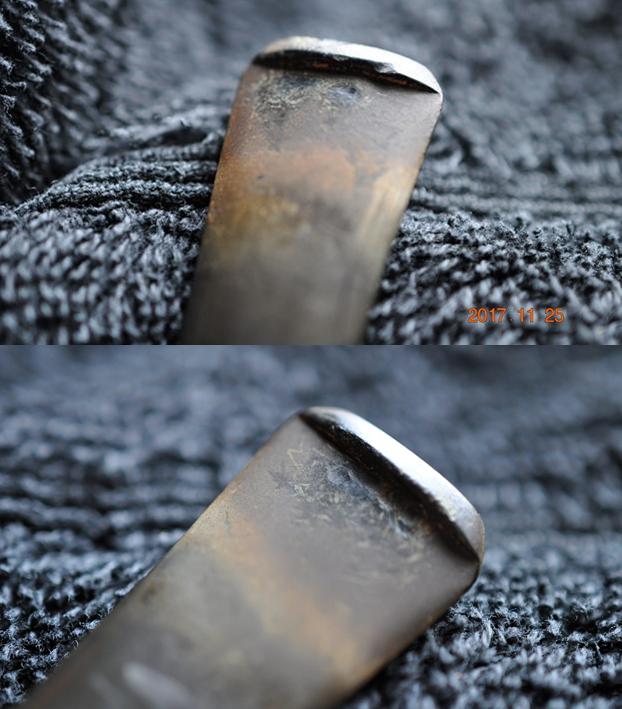
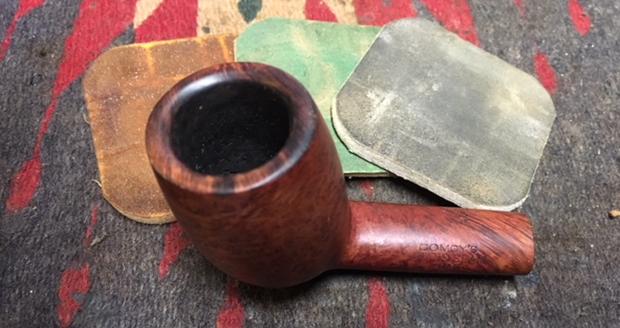
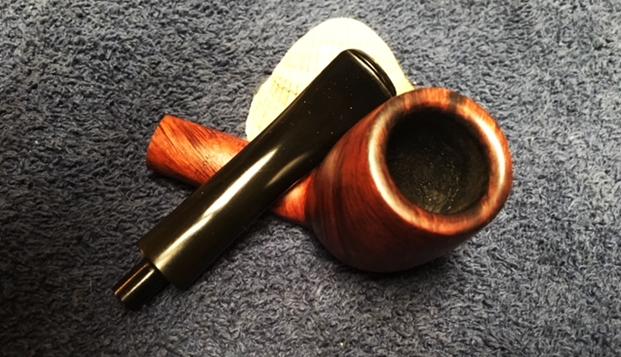
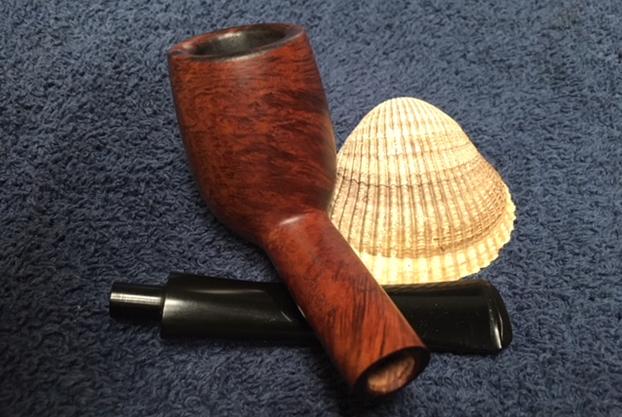
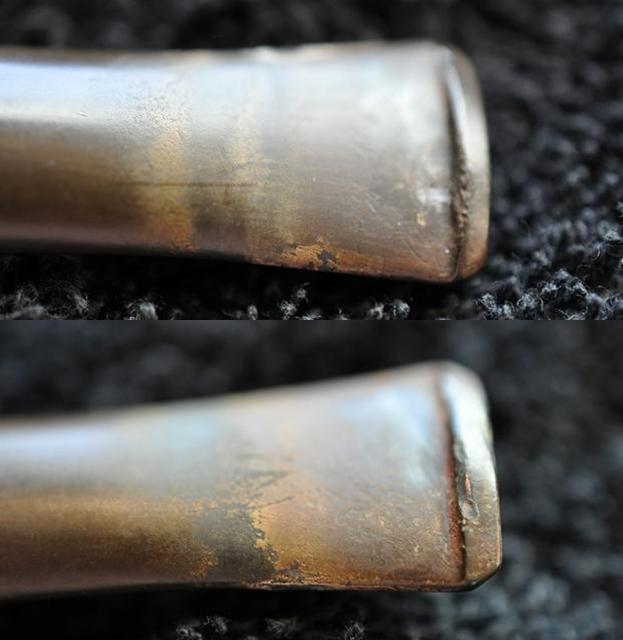
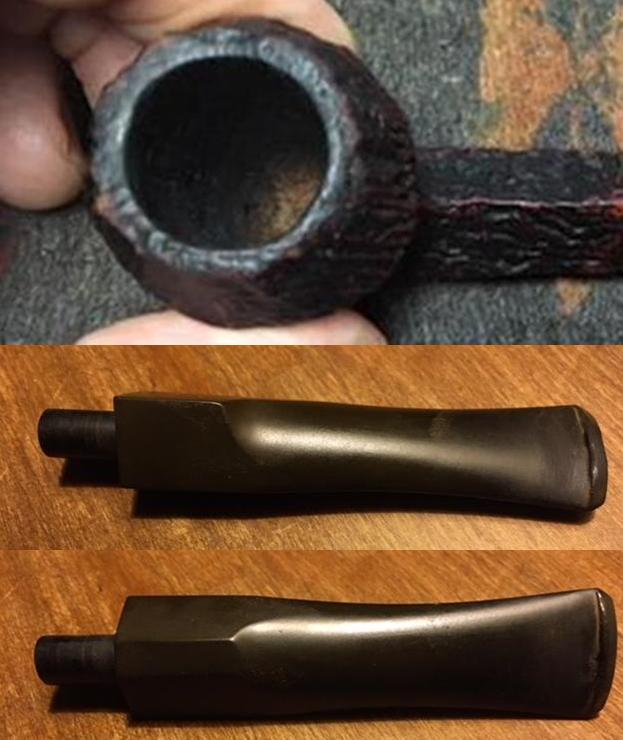
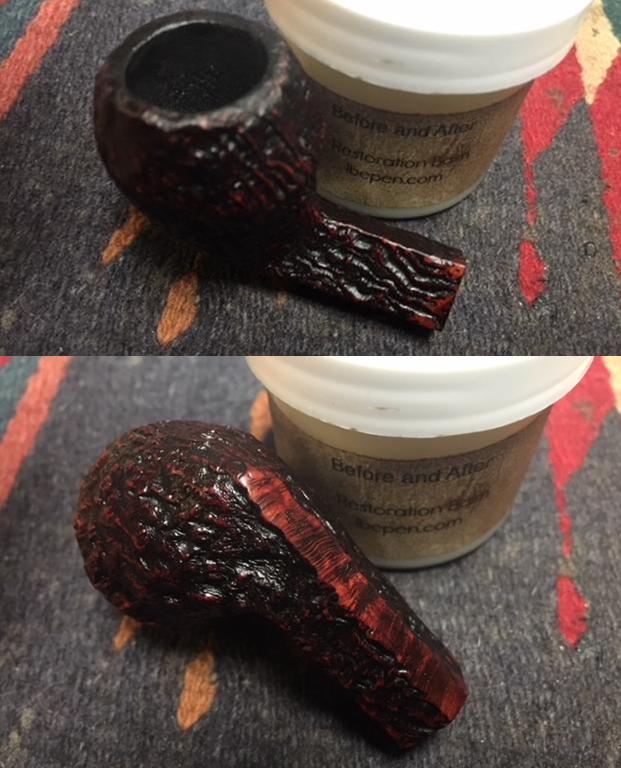
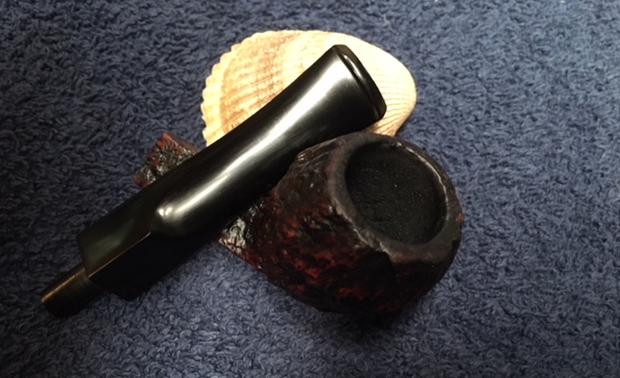
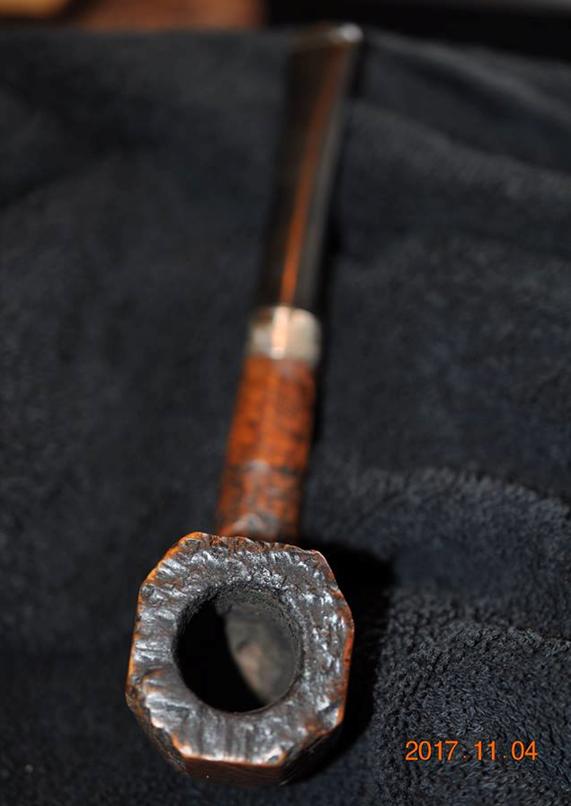
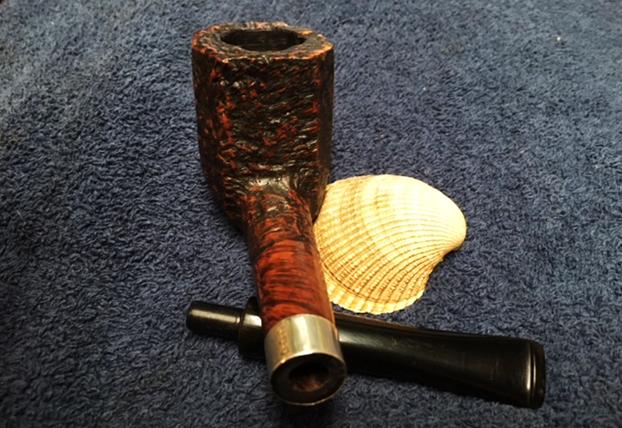
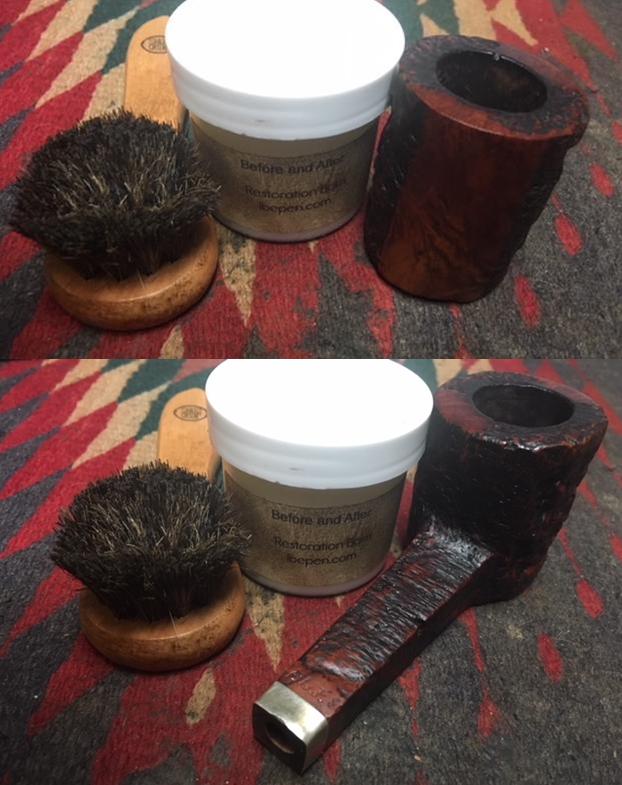
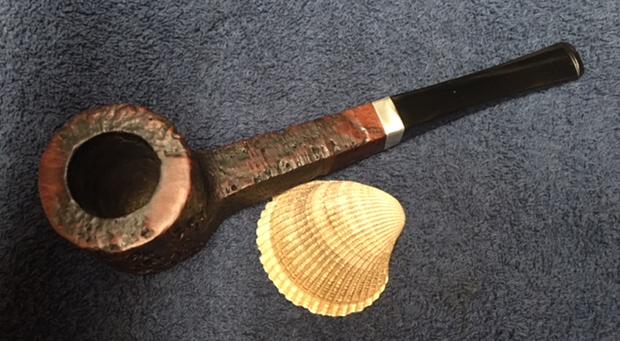
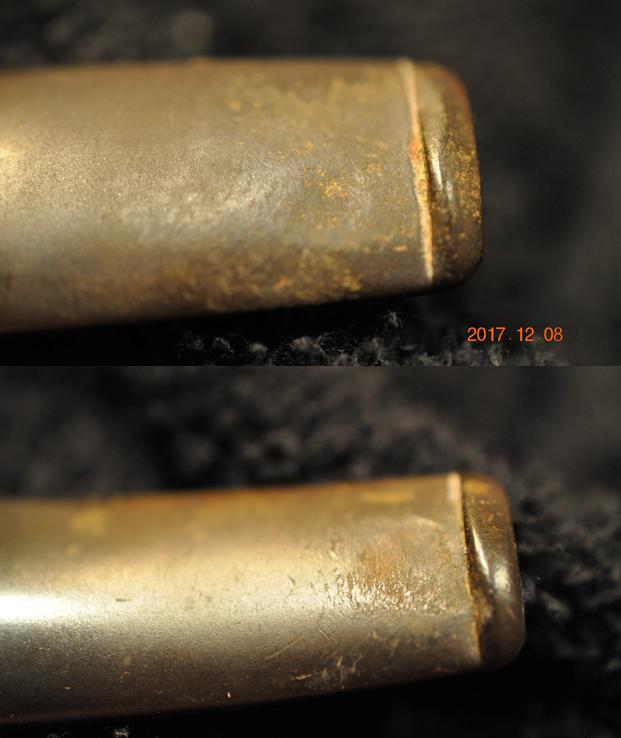
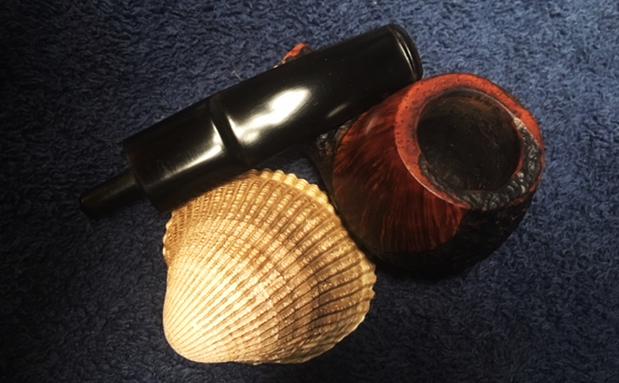
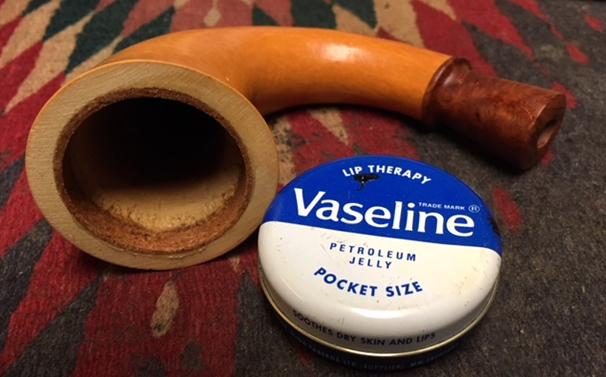
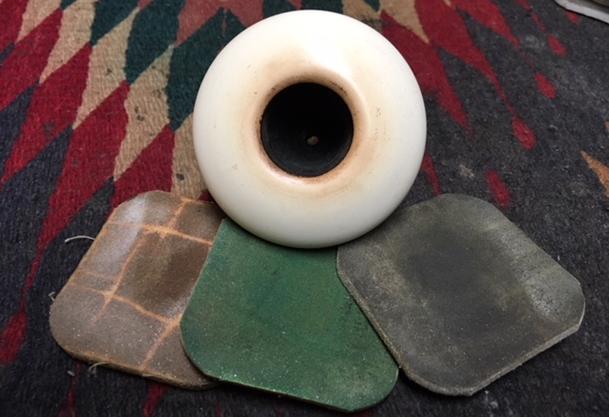
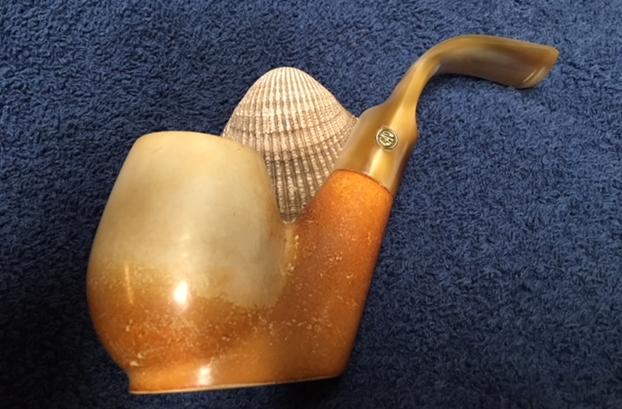
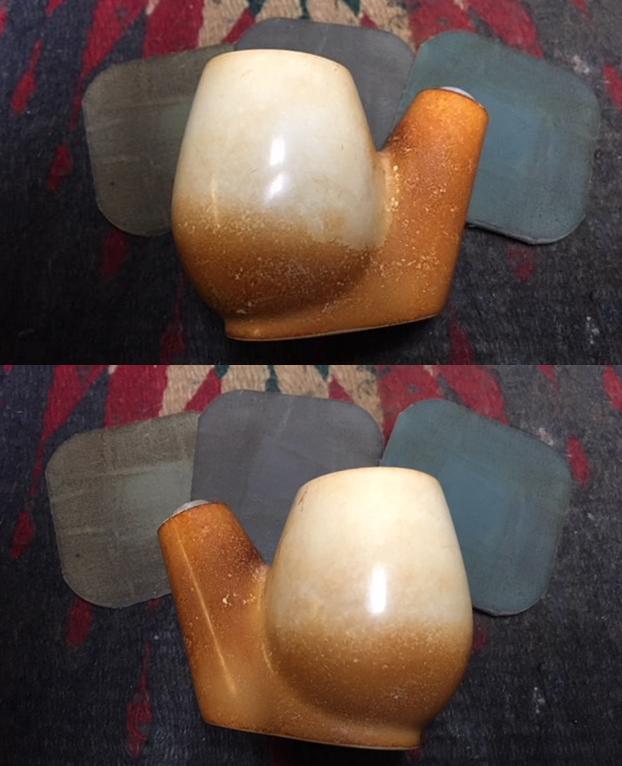
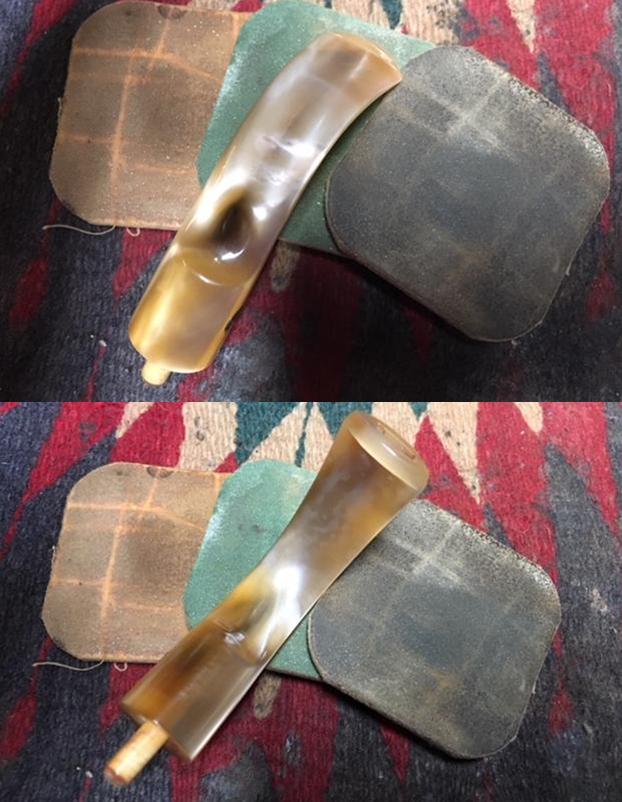
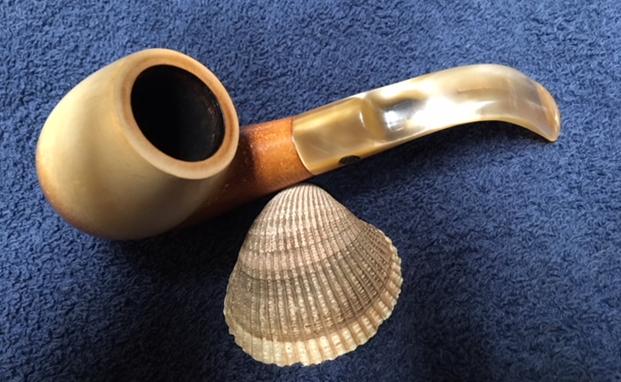
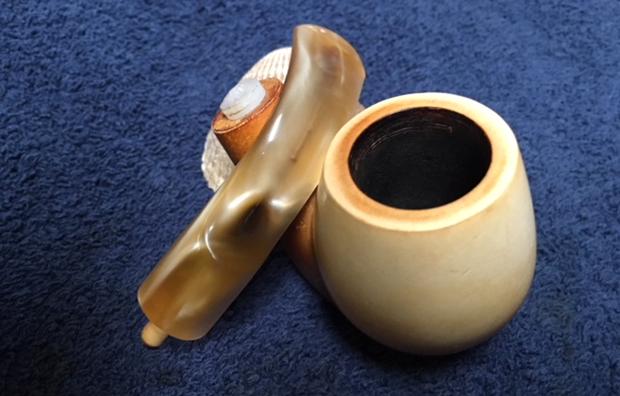
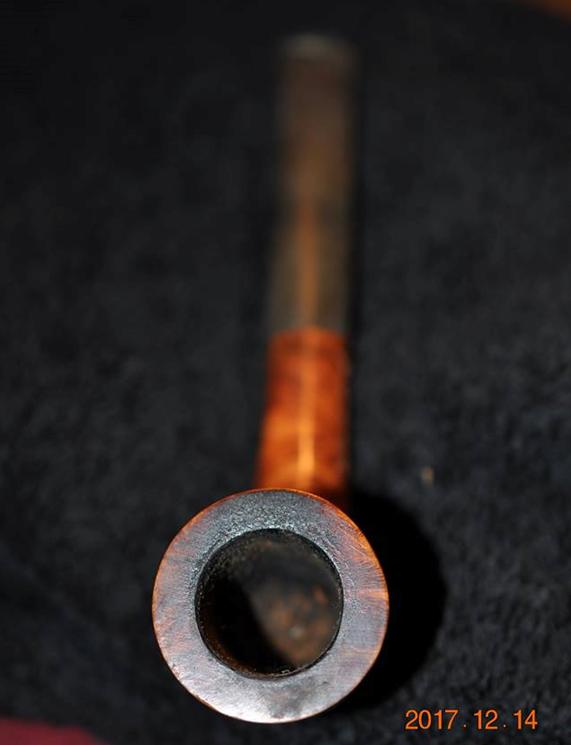
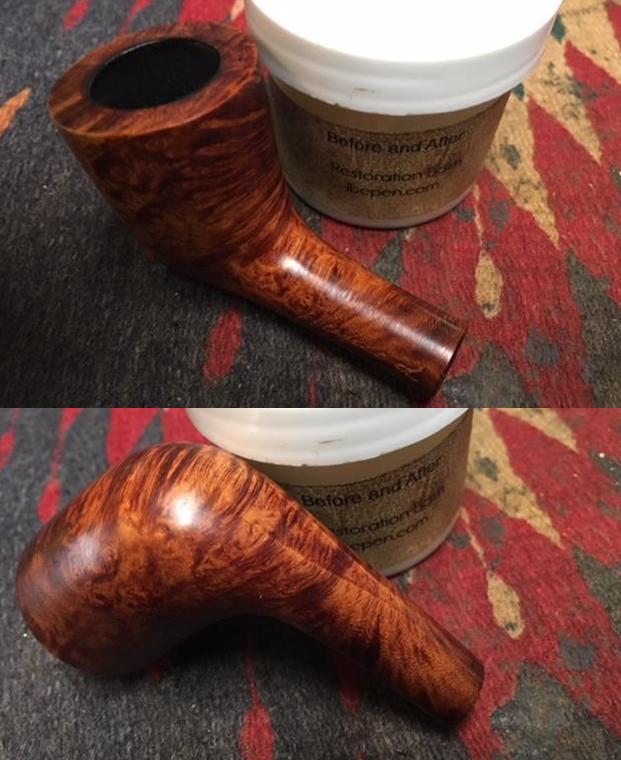
 I took a photo of the bowl and rim top to show the condition of the pipe. The bowl was quite clean in the bottom third of the bowl – the briar was not darkened but was still raw briar. The rim itself was very clean with none of the dark lava and very little darkening along the edges. The inner and outer edge of the rim was very clean. The photos of the stem show that it was clean but oxidized on both sides and pitted in the surface of the vulcanite.
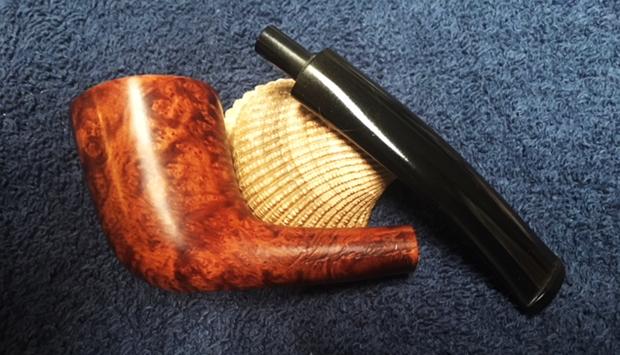
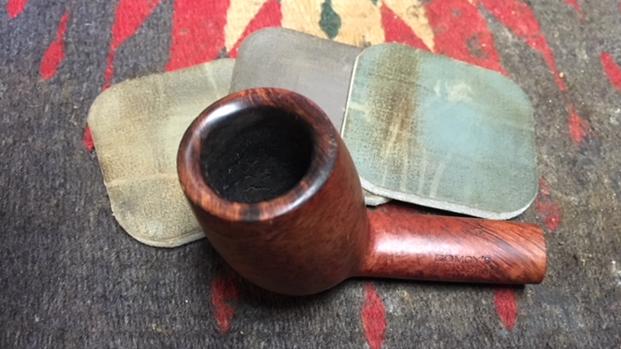
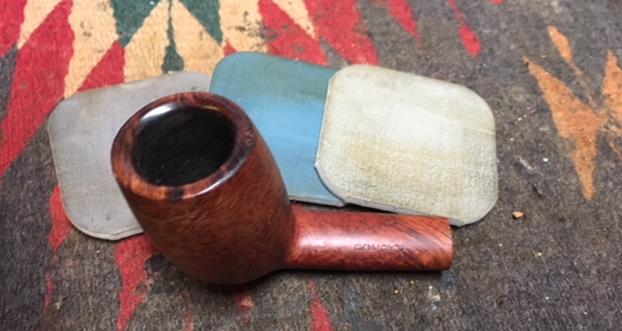
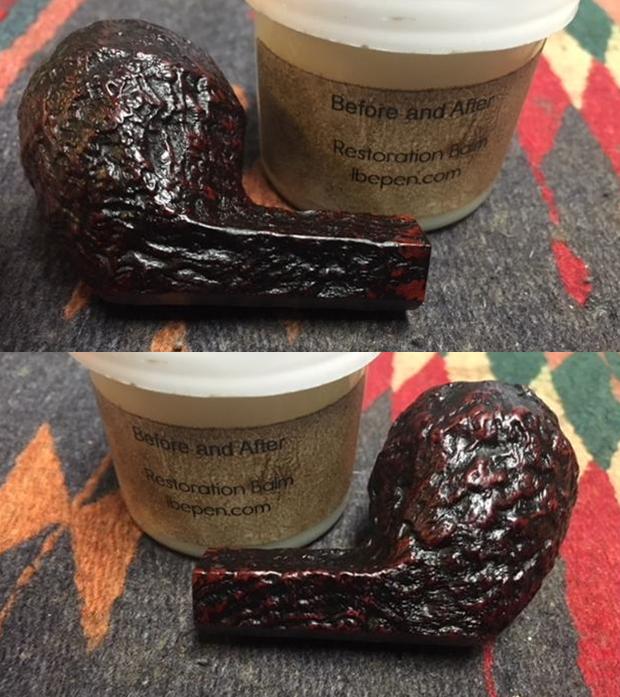
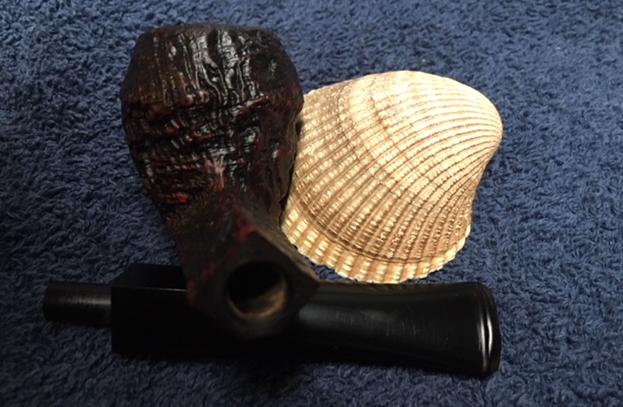
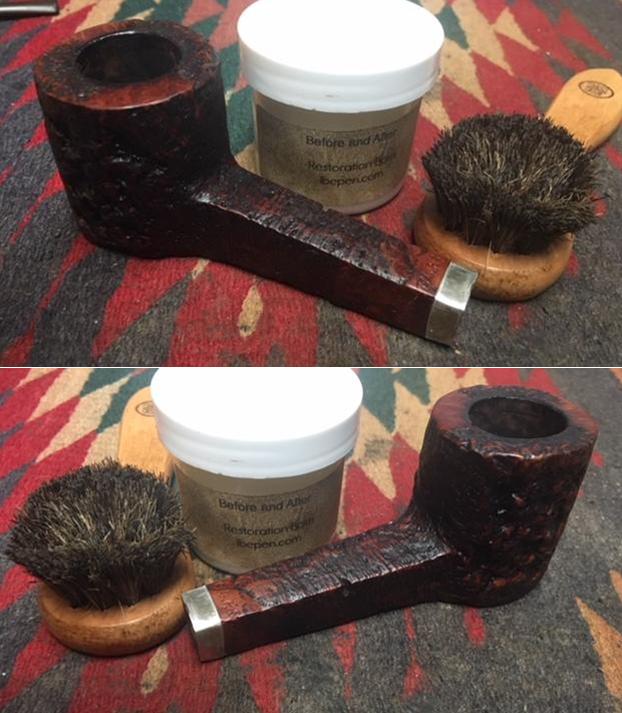
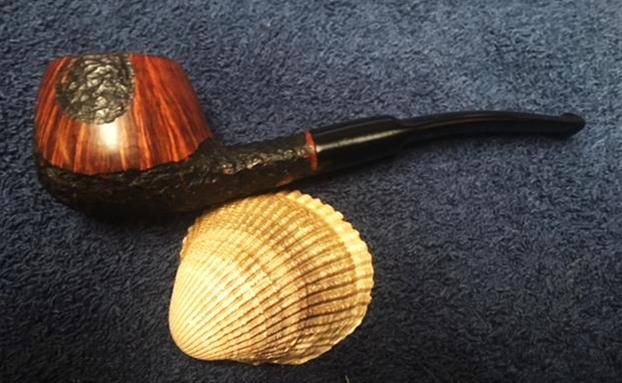
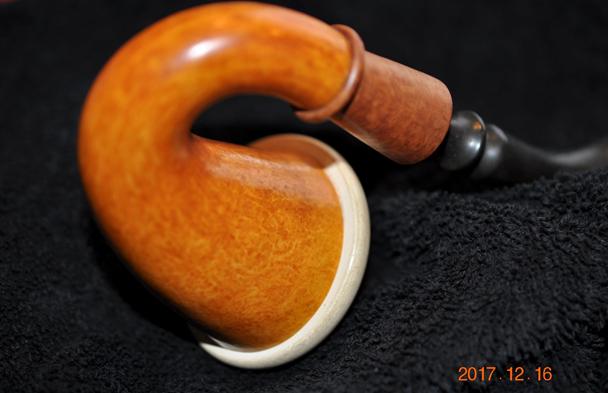
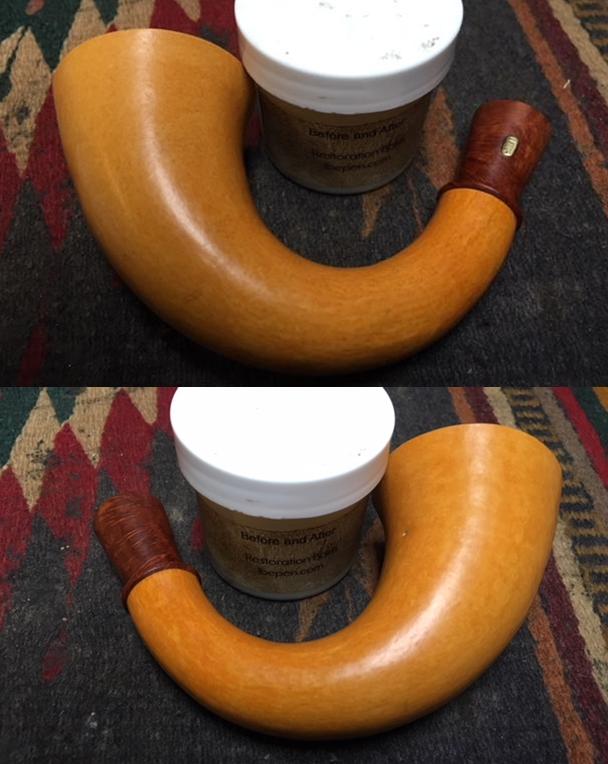
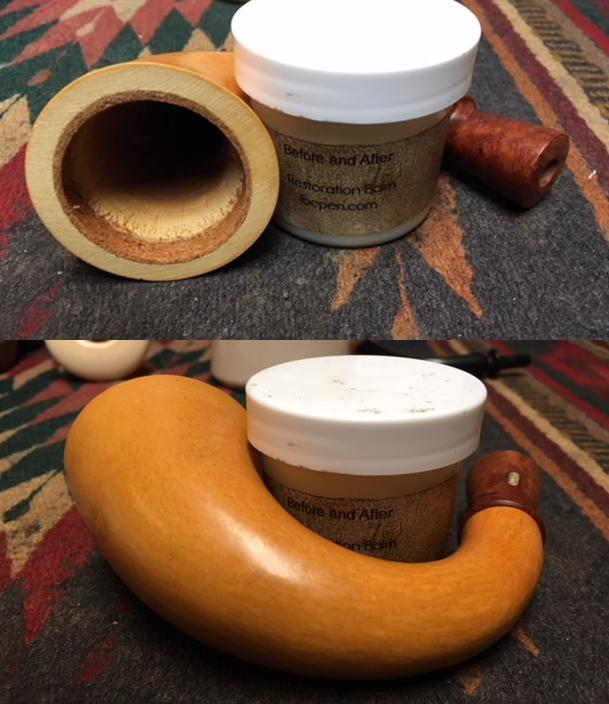
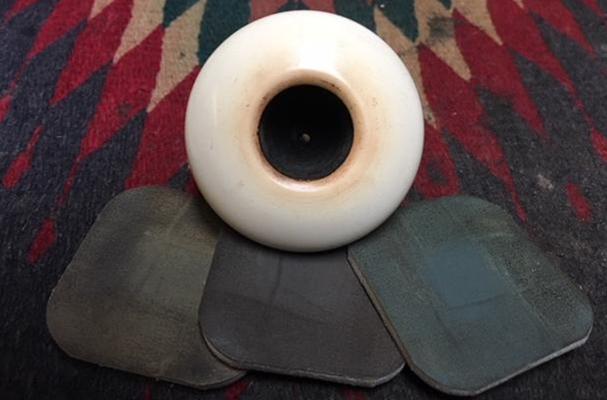
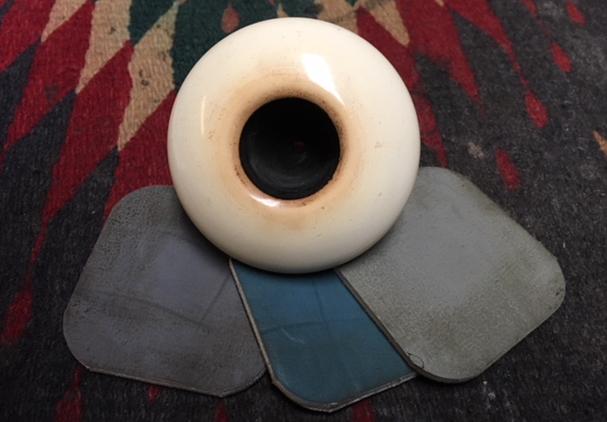
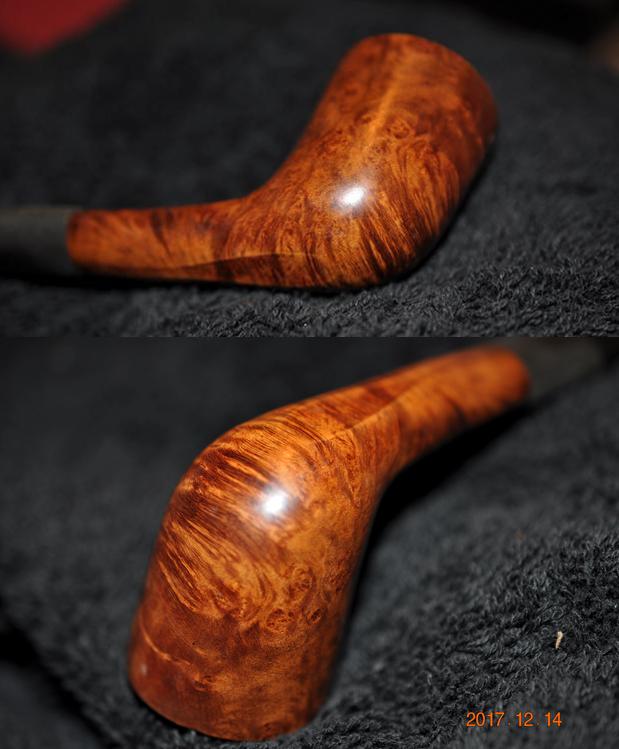
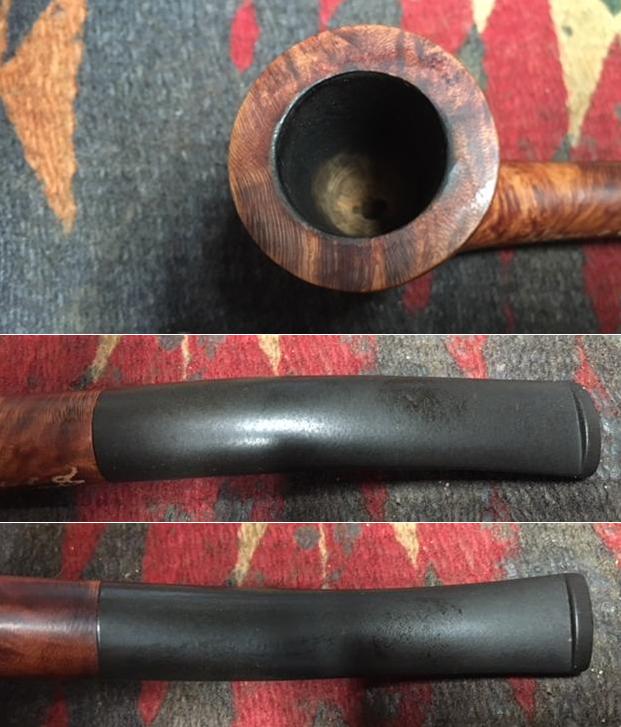 I rubbed the bowl down with Before & After Restoration Balm to deep clean the finish, enliven and protect the briar. I hand rubbed it with my fingers, worked it into the finish with a horsehair shoe brush. I wiped it off with a soft cloth. I buffed the bowl with a horsehair shoe brush to polish it. It really began to have a deep shine in the briar. I took some photos of the bowl at this point to mark the progress in the restoration. The birdseye grain stands out on the two sides and the cross grain stands out on the rim top, the front and back of the bowl and the top and underside of the shank.
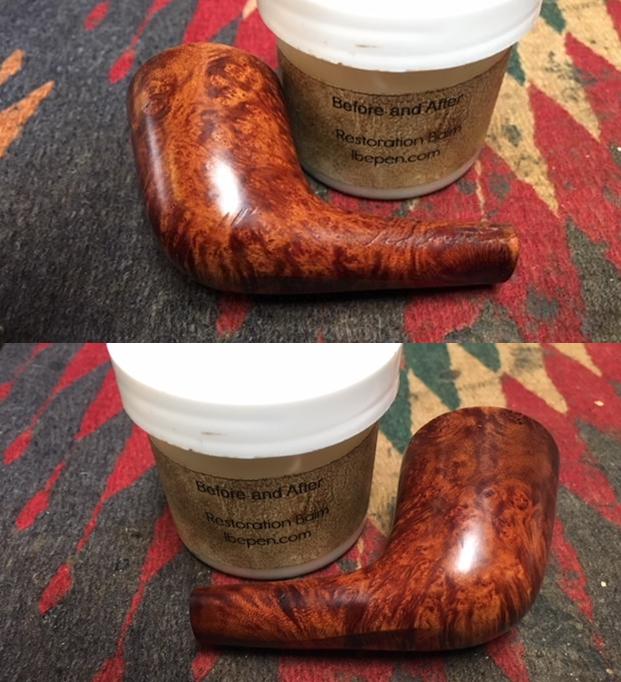
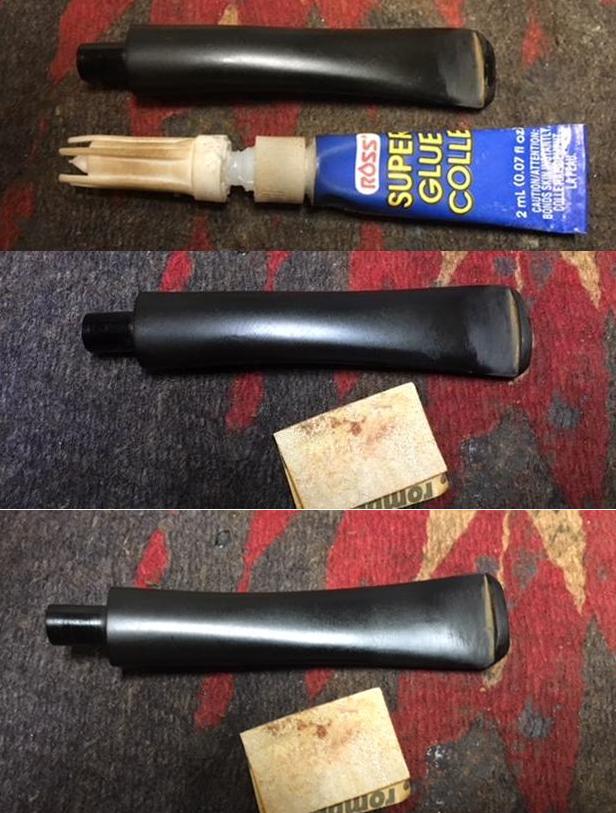
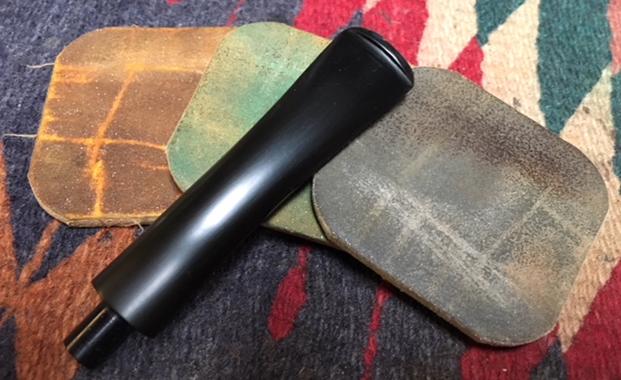
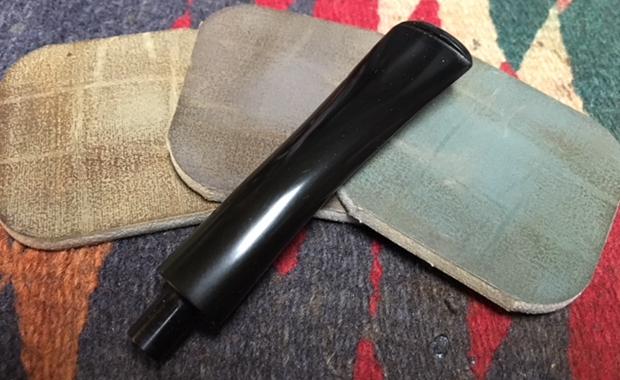
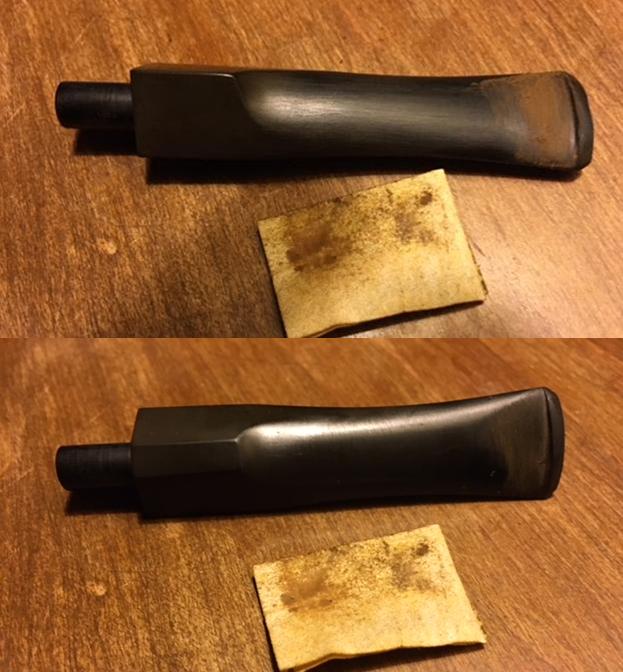
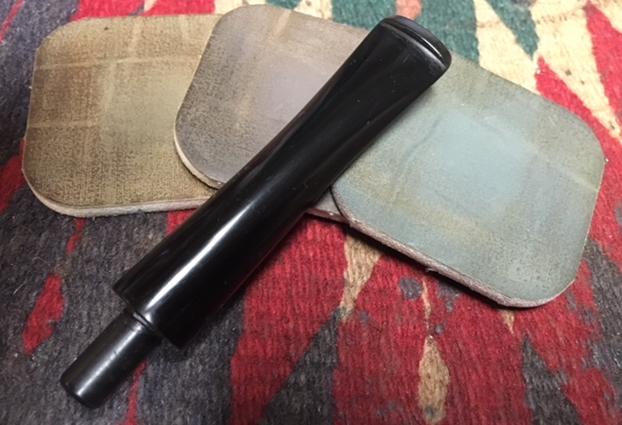
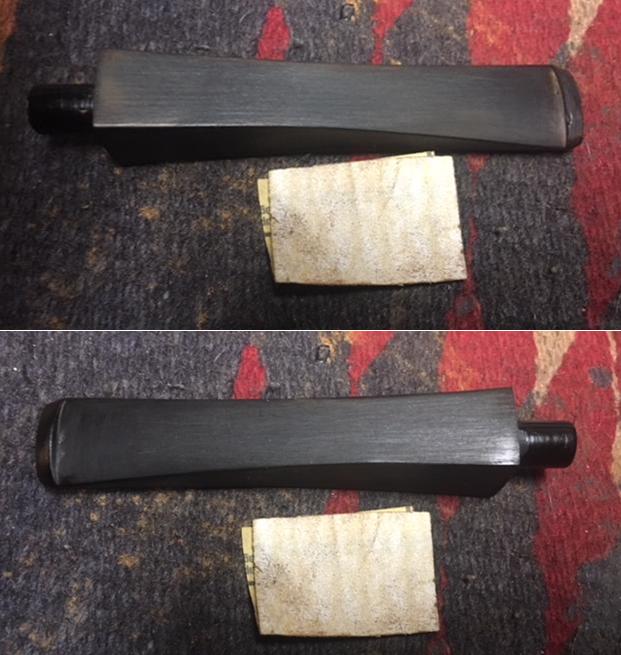
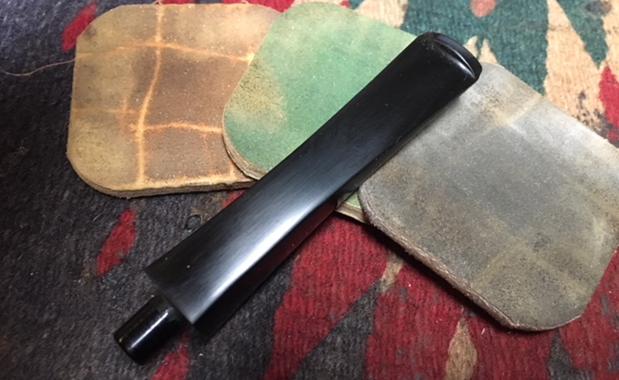
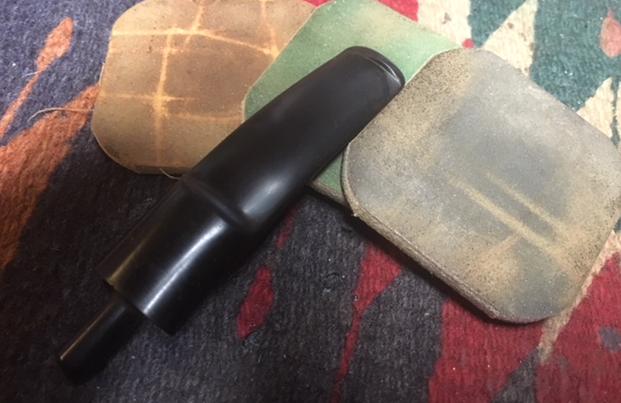
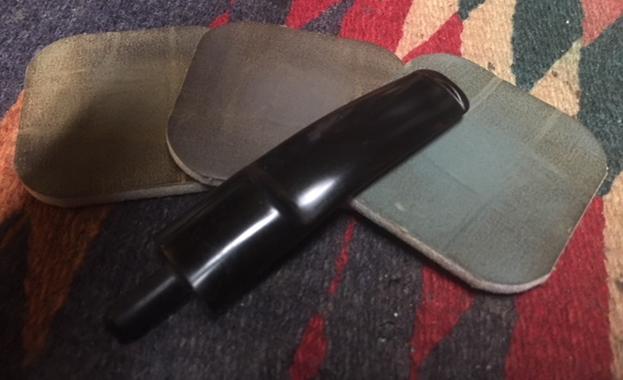
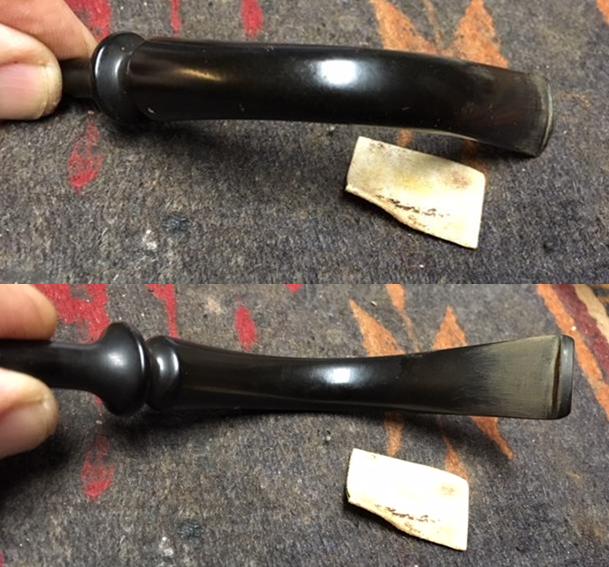
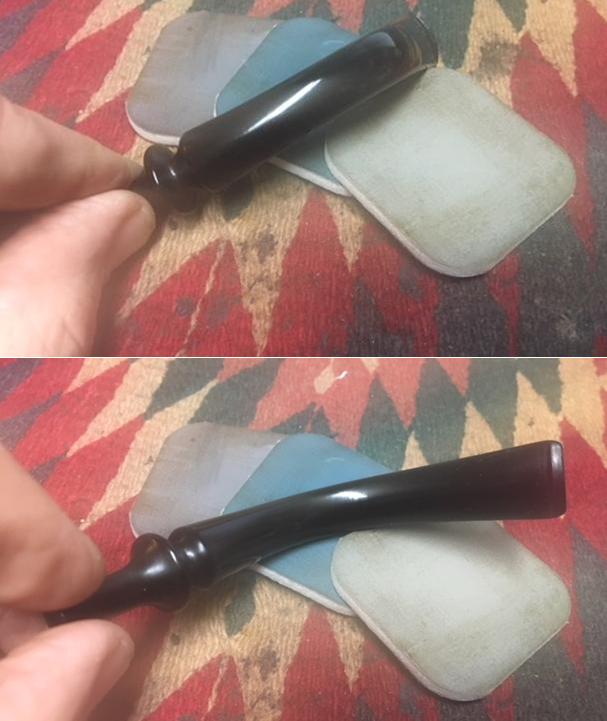
 I sanded the stem with 220 grit sandpaper to remove the oxidation on both sides of the tapered stem.
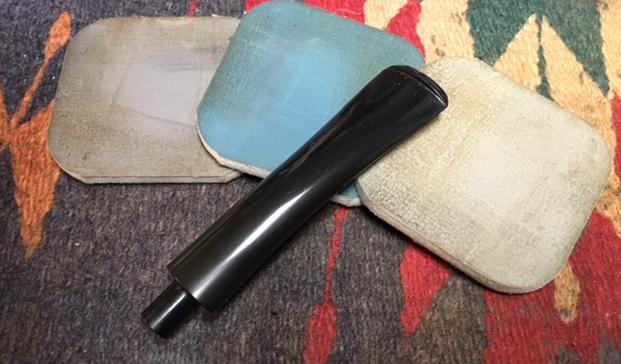
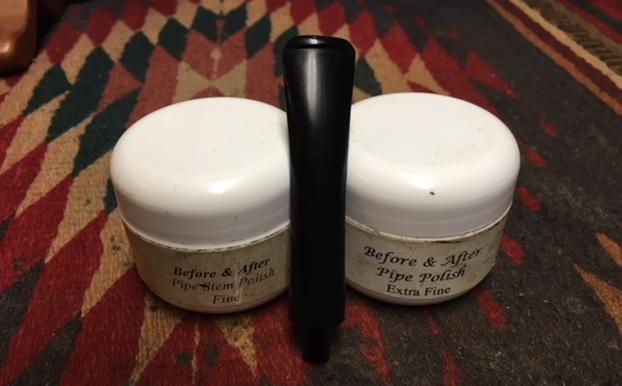
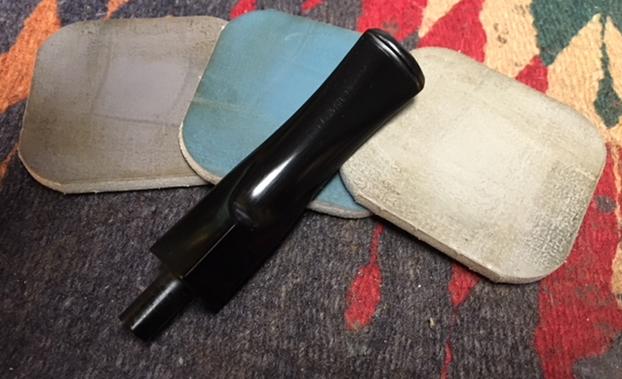
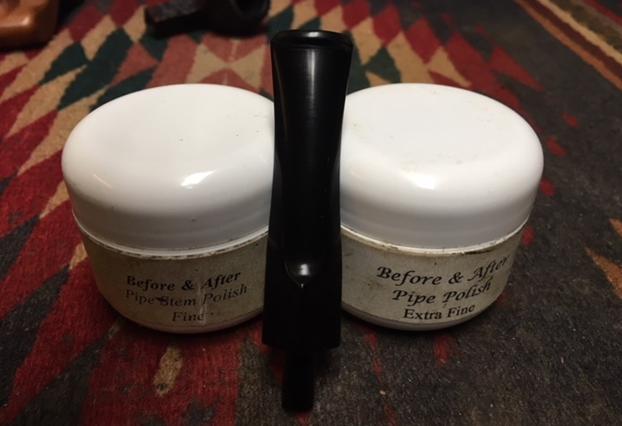
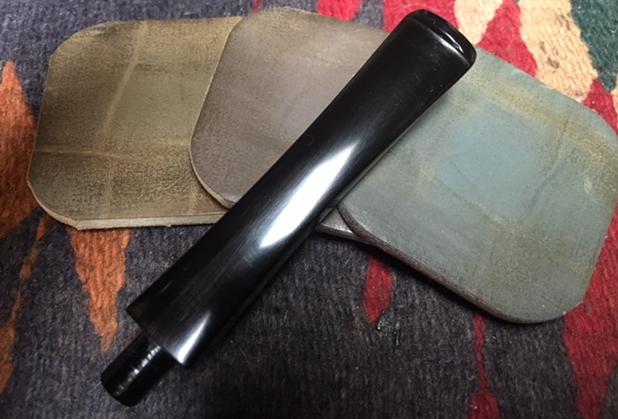
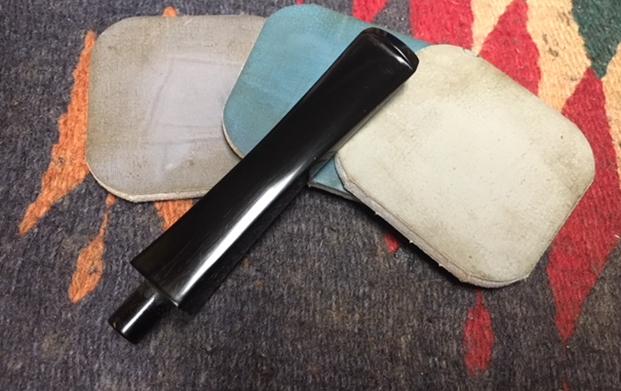
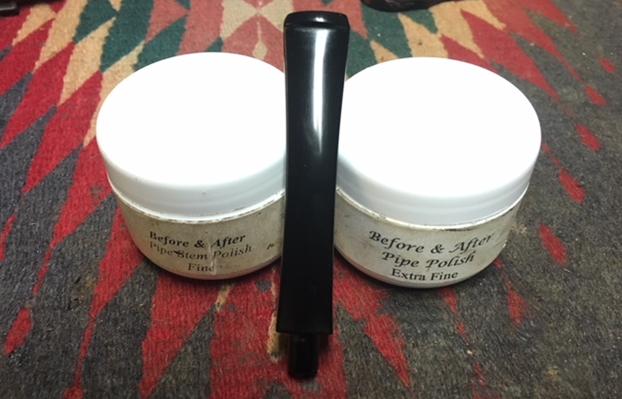
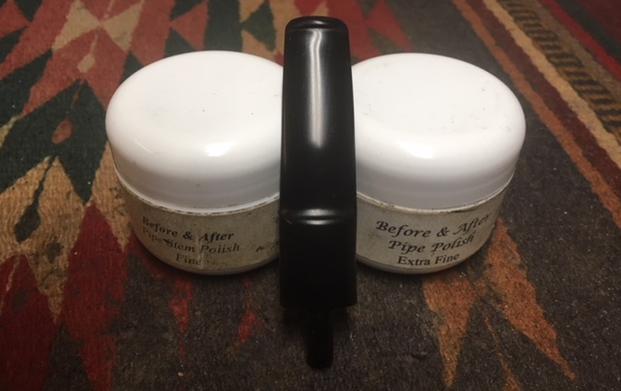
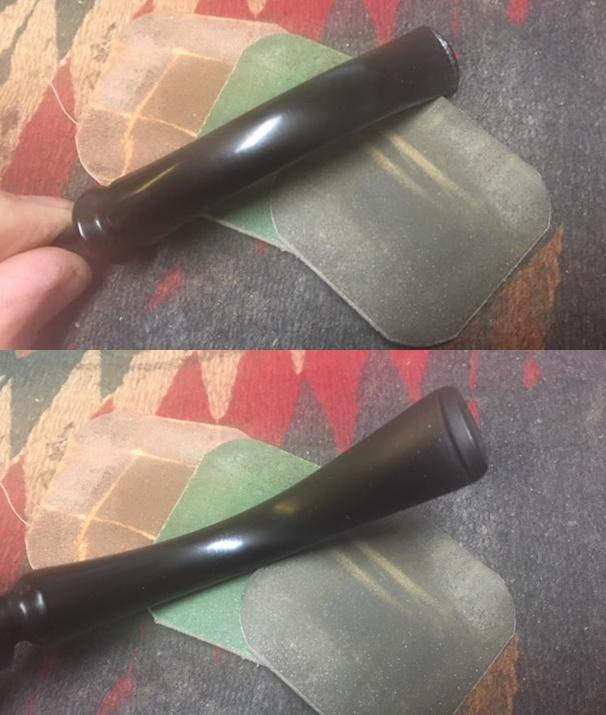
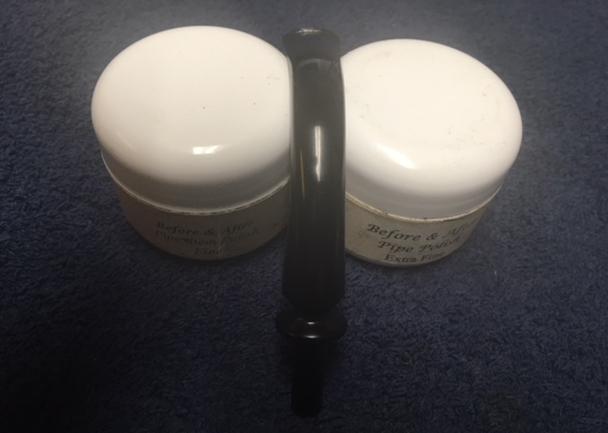
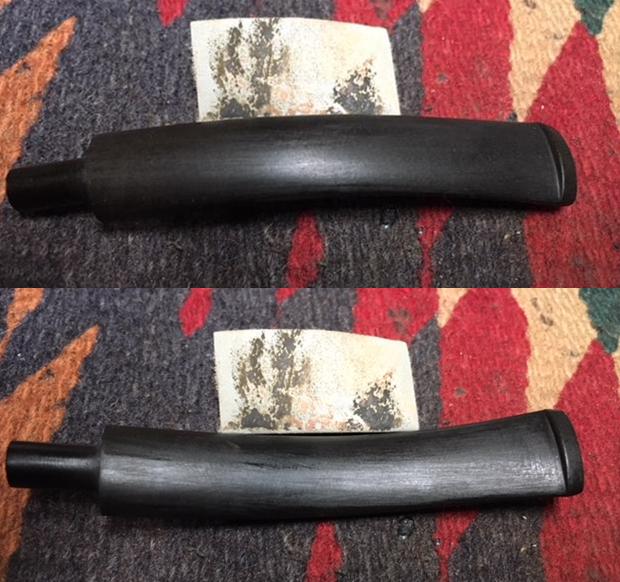 I polished out the sanding scratches and marks in the vulcanite with micromesh sanding pads – wet sanding it with 1500-2400 grit pads and dry sanding it with 3200-4000 grit pads. I wiped the stem down with Obsidian Oil after each sanding pad. I buffed the stem with Blue Diamond on the buffing wheel. I brought it back to the table and sanded it with the final three 6000-12000 grit pads. I polished it further with Before & After Pipe Polish –using both the Fine and Extra Fine Polishes. I gave it a rubdown with Obsidian Oil one last time and set it aside to dry.

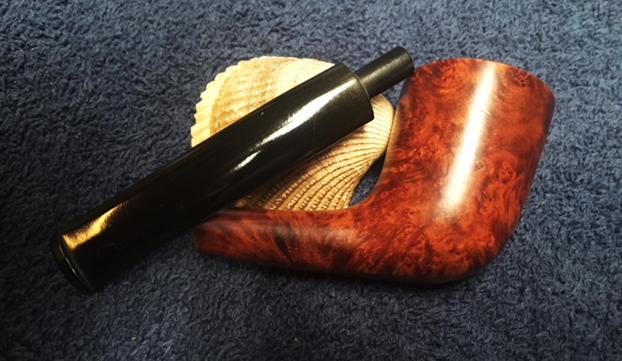
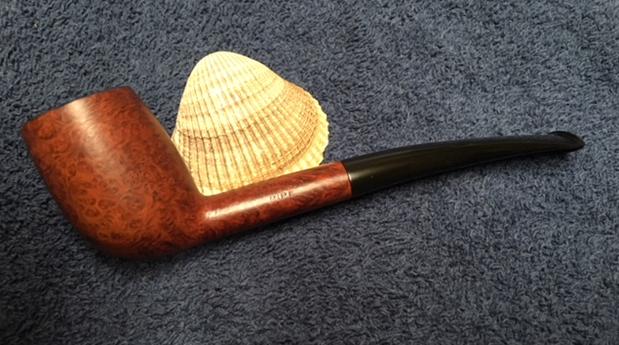
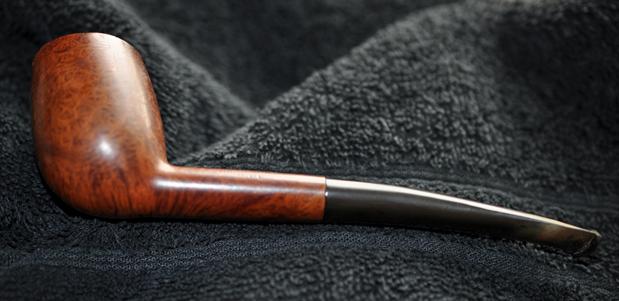
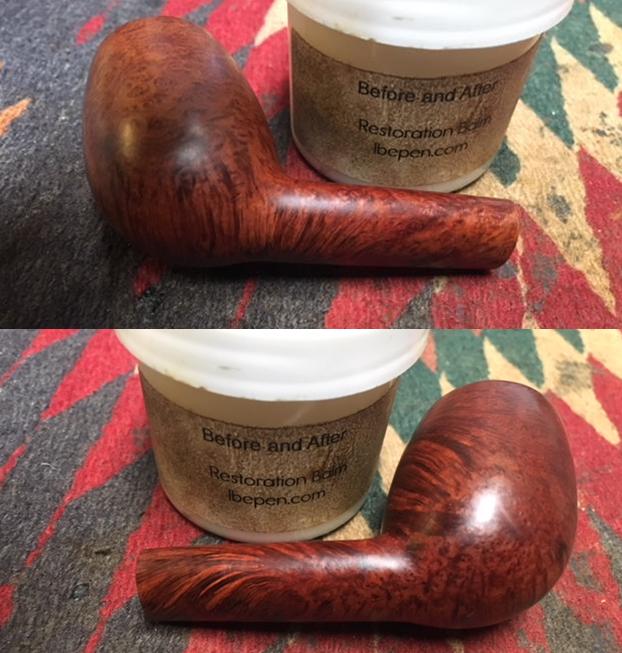
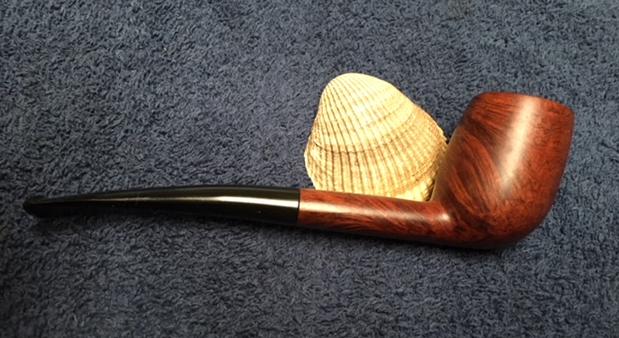
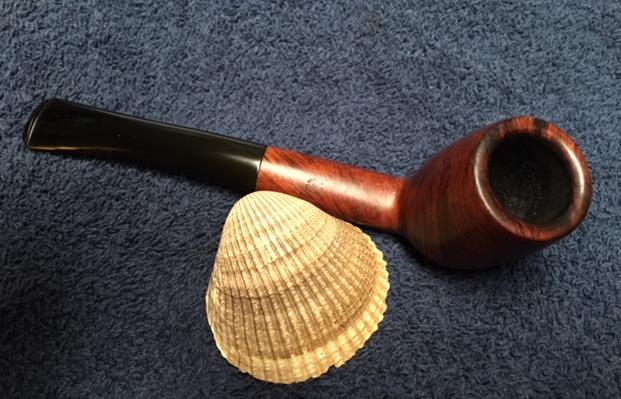
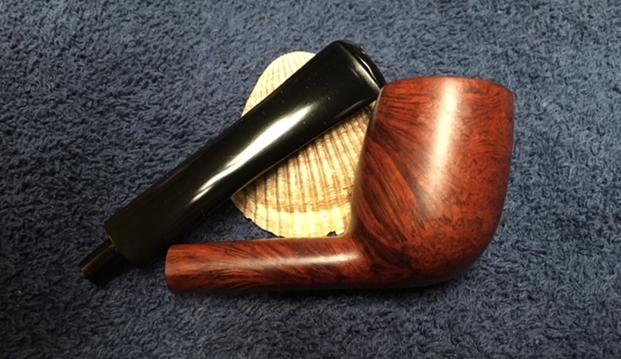
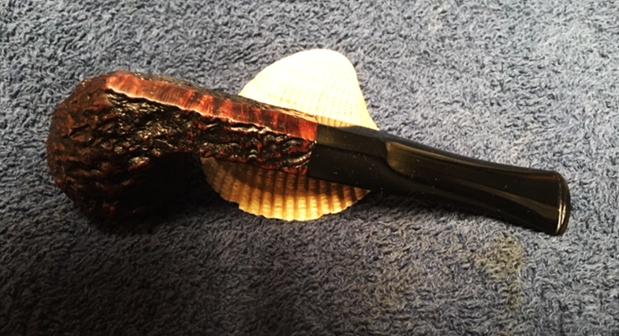
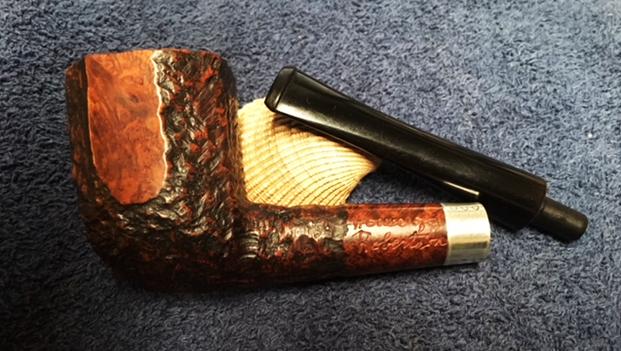
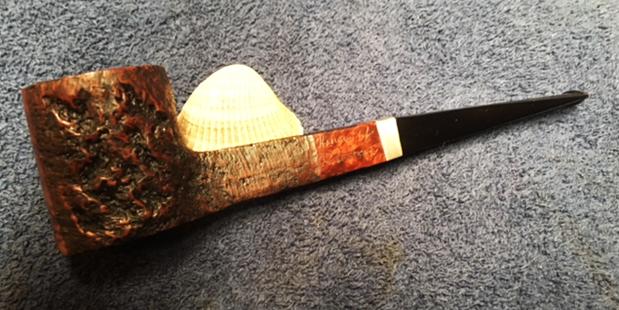
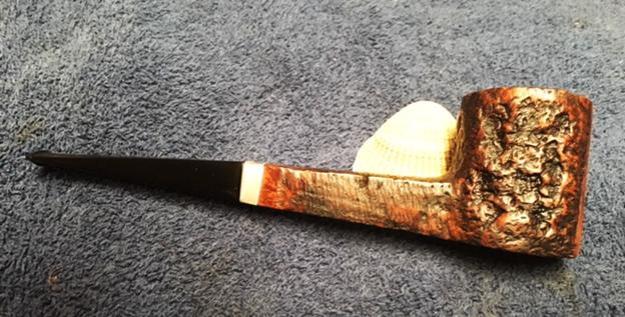
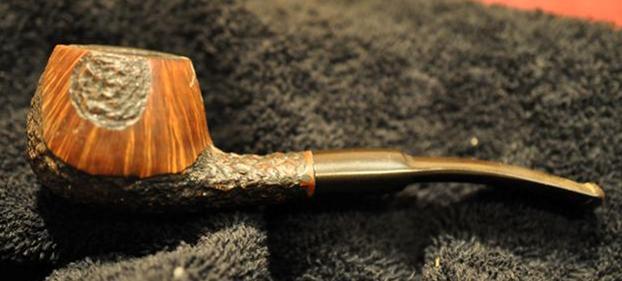
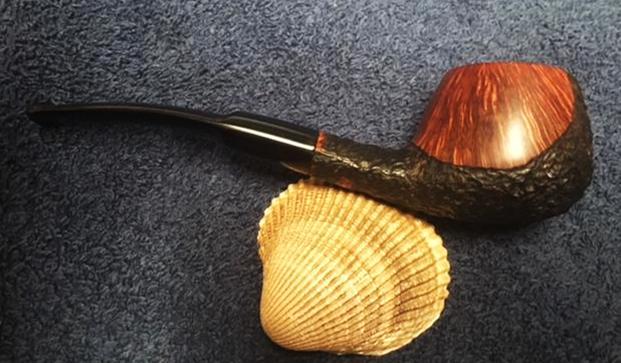
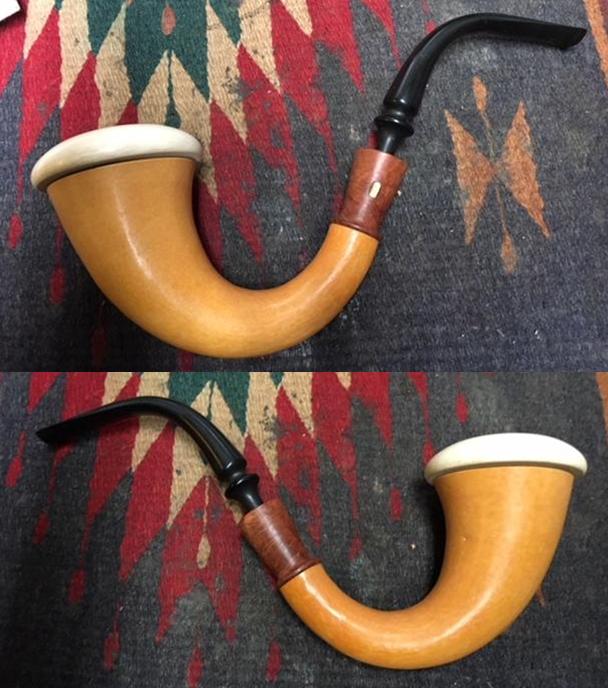
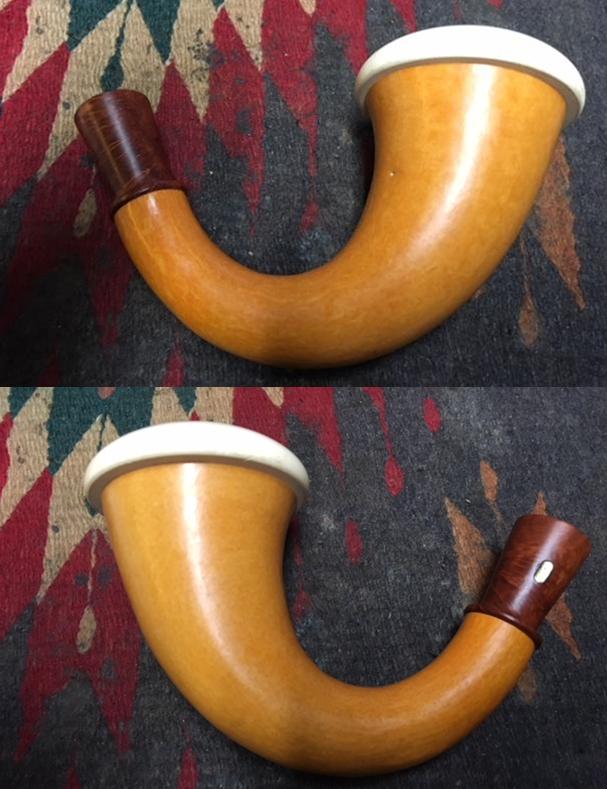
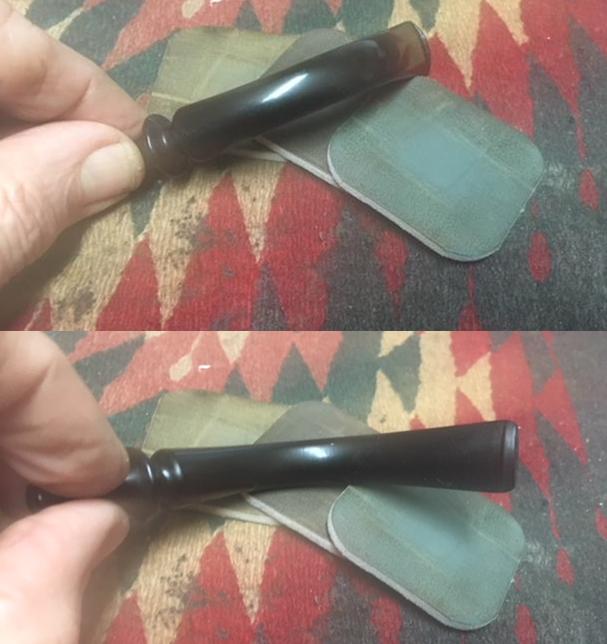
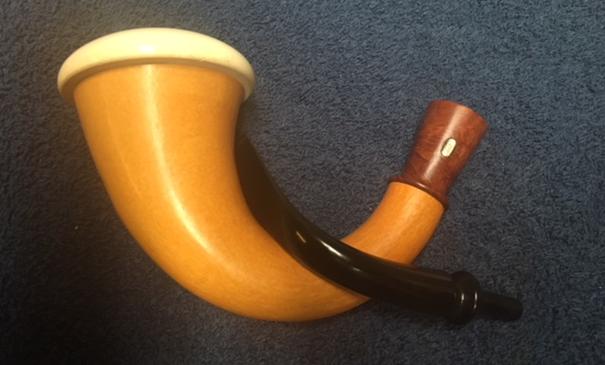
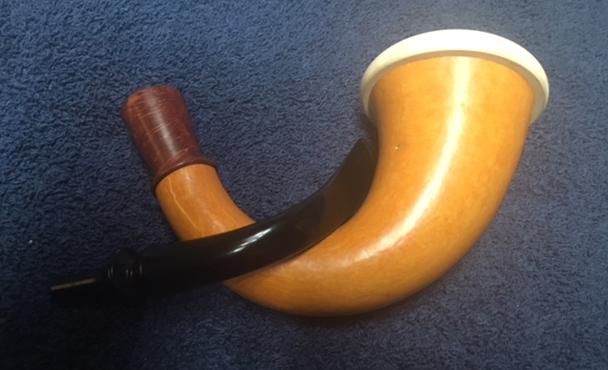
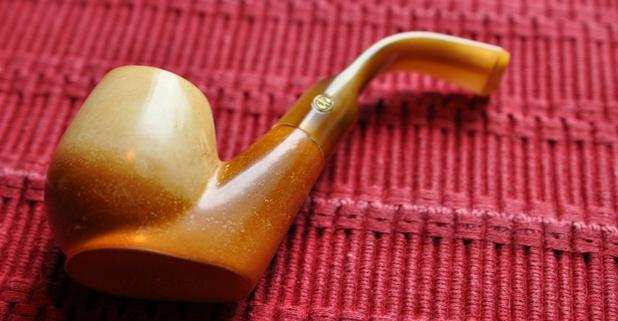
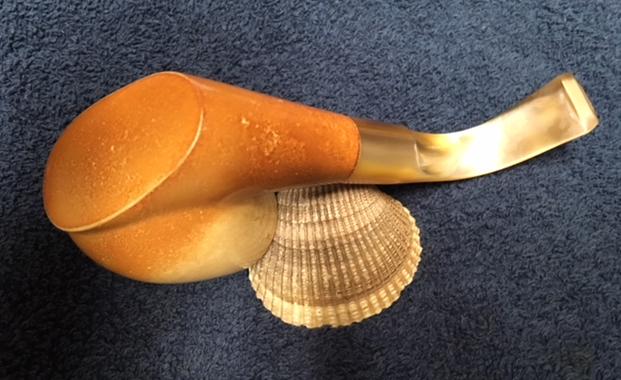
 I put the stem back on the bowl and worked the pipe over on the buffing wheel using Blue Diamond to lightly polish the stem. I buffed the bowl and stem to raise the shine on the briar and on the vulcanite. I gave the bowl and stem multiple coats of carnauba wax. I buffed the entire pipe with a clean buffing pad to raise the shine. I hand buffed it with a microfiber cloth to deepen the shine. The finished pipe is shown in the photos below. The medium brown stain on the smooth finish of the Zulu shaped bowl works well with the rich black of the vulcanite stem. The polishing of the stem left this a beautiful and interesting looking pipe. The dimensions of the pipe are: Length: 6 inches, Height: 1 3/4 inches, Outside Diameter: 1 3/8 inches, Diameter of the chamber: 3/4 inches. This one will be going on the rebornpipes store shortly if you want to add it to your collection. Why not take this opportunity to add a House of Robertson pipe to your rack. Thanks for looking.