Blog by Steve Laug
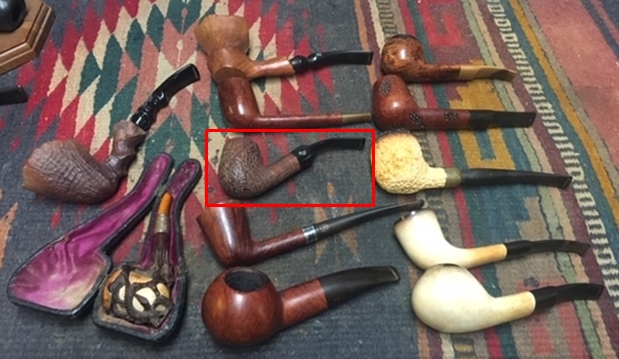
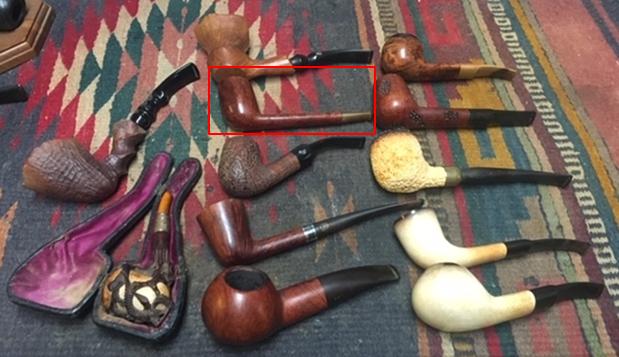
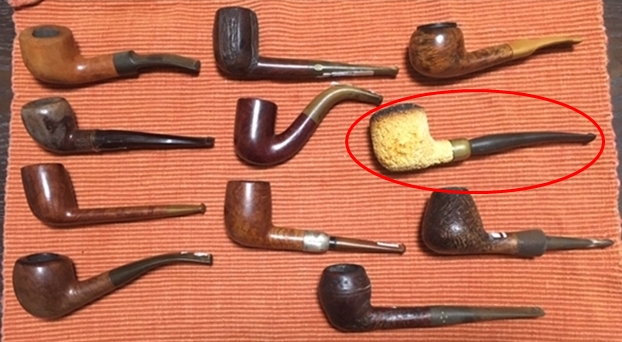
This is another of the Malaga pipes from George Koch’s estate that Alex added to the box of pipes I had set aside for him. There are quite a few of them to work on so I go back to them quite regularly to work on one of them. The next Malaga is a shape I would define as a bent billiard. It has some great cross and birdseye grain and a tapered vulcanite stem. The grain around the bowl and shank combined with the stem make it a stunning pipe. It is one of the many Malaga pipes that came to my brother and me in several shipments of pipes from George’s daughter Kathy. When Jeff got each box the pipes were well wrapped and packed. Jeff unwrapped them and took the following photo to give an idea of the volume of the pipes that we purchased. This Malaga came in mixed in a box of pipes much like the one below.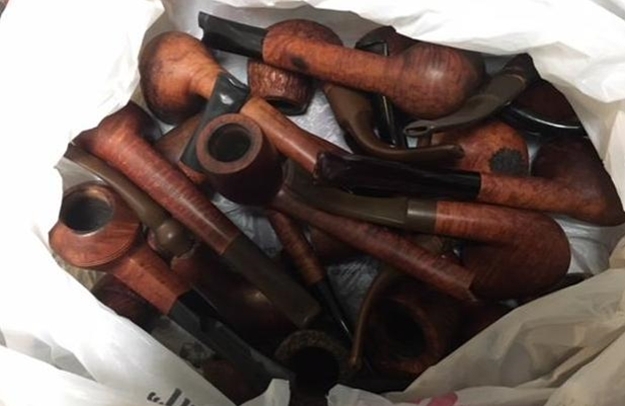 In each of the previous blogs that I have written on the restoration of George’s pipes I have told his story. If you have followed the restorations you will have read the information and the background piece that Kathy did on her father. Here is a link to one of the previous blogs on his Malaga pipes where I included her tribute in full (https://rebornpipes.com/2019/01/26/back-to-kathys-dads-pipes-restoring-a-%c2%bc-bent-malaga-author/). You can also read the bio on her Dad, George Koch. It is an interesting read and one that shows just how far our pipe collecting passion can go when we find a brand of pipes that we enjoy. I am going to only include the portion on the Malagas at this point. If you wish to read the rest follow the link above.
 Kathy writes…We lived in Livonia, and that’s where his love for Malaga pipes began. After a few years he returned to Allis Chalmers and we moved back to Springfield. I remember that when we went back to Michigan to visit friends, Dad had to go to the Malaga store and acquire a few new pipes. Many a year I wrote to Malaga and they picked out a pipe for me to purchase that I could give Dad for a Christmas or birthday present. He was always pleased. His favorites were the straight stemmed medium sized bowl pipes, but he liked them all.
He had some other pipes, but the Malagas were his favorites. I remember him smoking them sitting in his easy chair after work, with feet up on the ledge by the fire burning in the fireplace. Growing up it was my job to clean them and he liked the inner bowl and stem coated with Watkins vanilla, leaving a little of that liquid in the bowl to soak in when I put them back on the rack…I’m very happy they are being restored by you and your brother and hope they find homes who enjoy them as much as Dad did. Thank-you for your care and interest. — Kathy, the oldest daughter
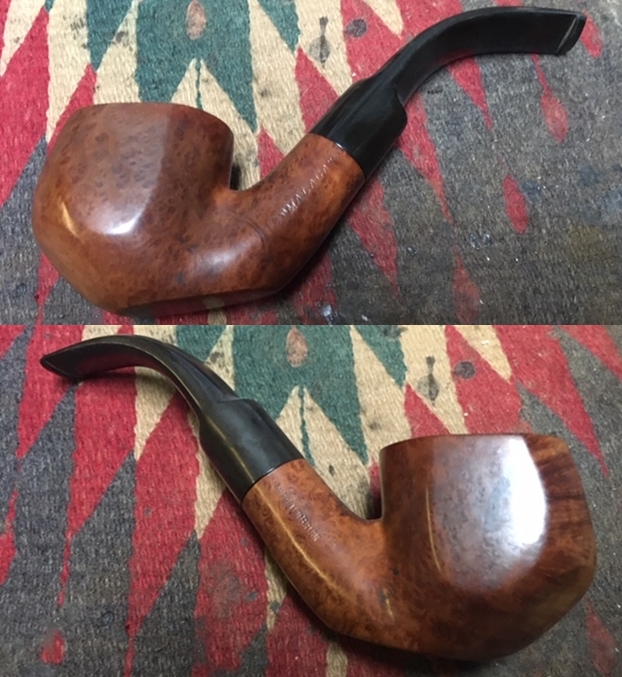
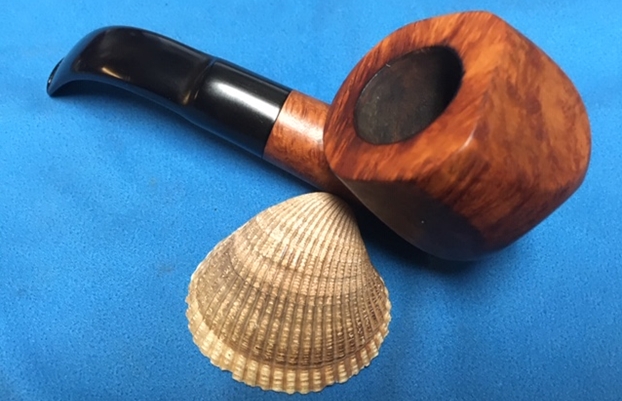
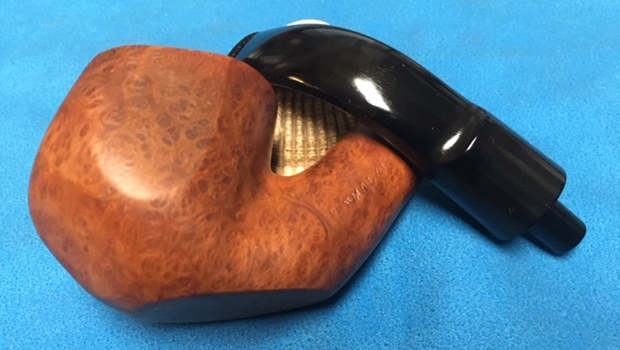
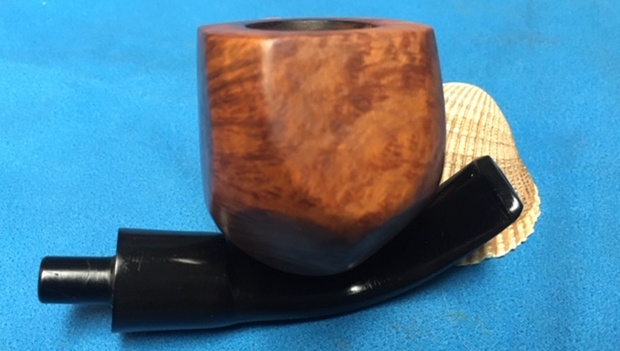
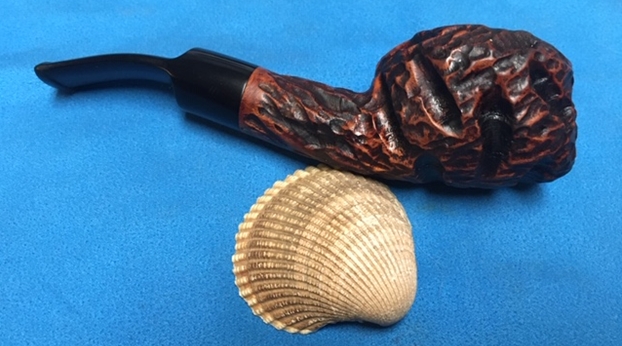
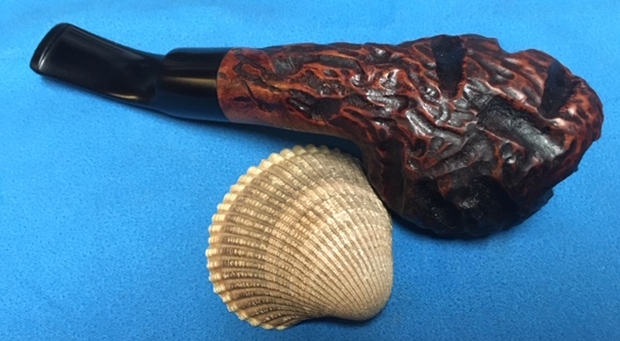
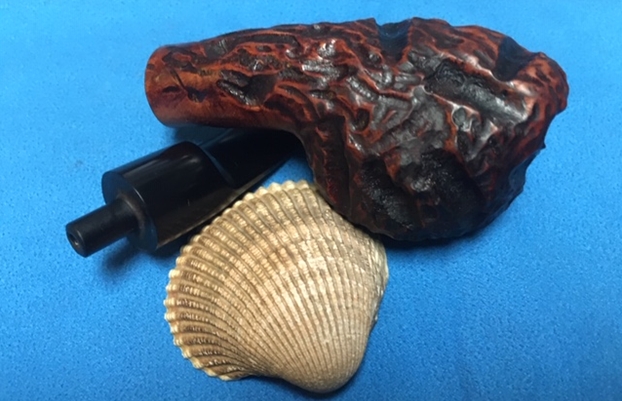
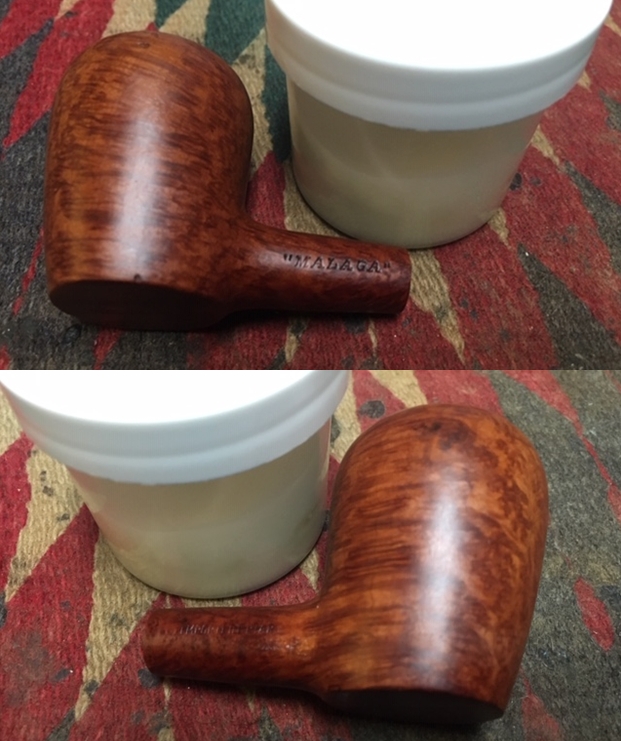
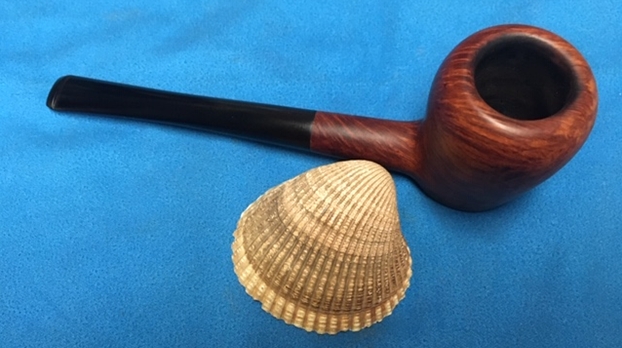
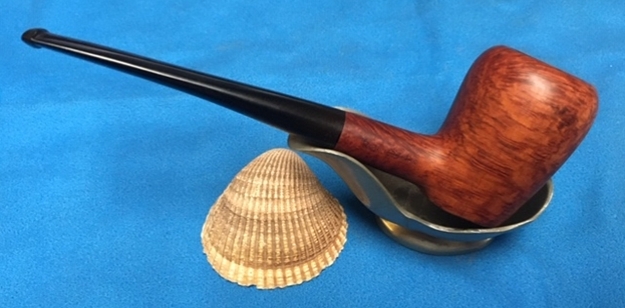
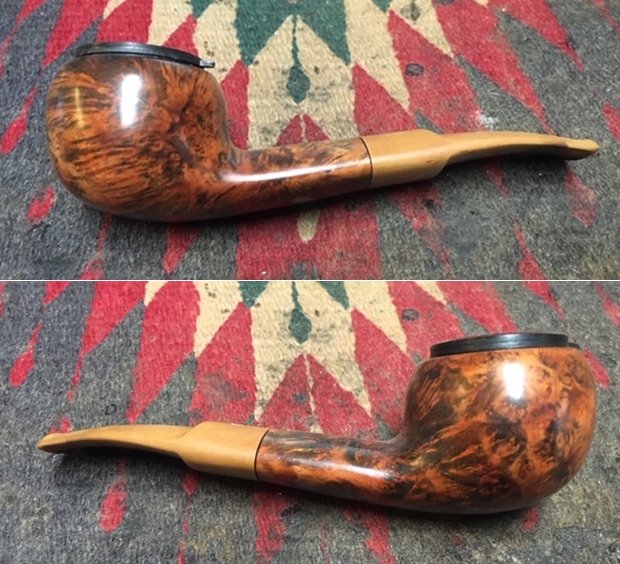
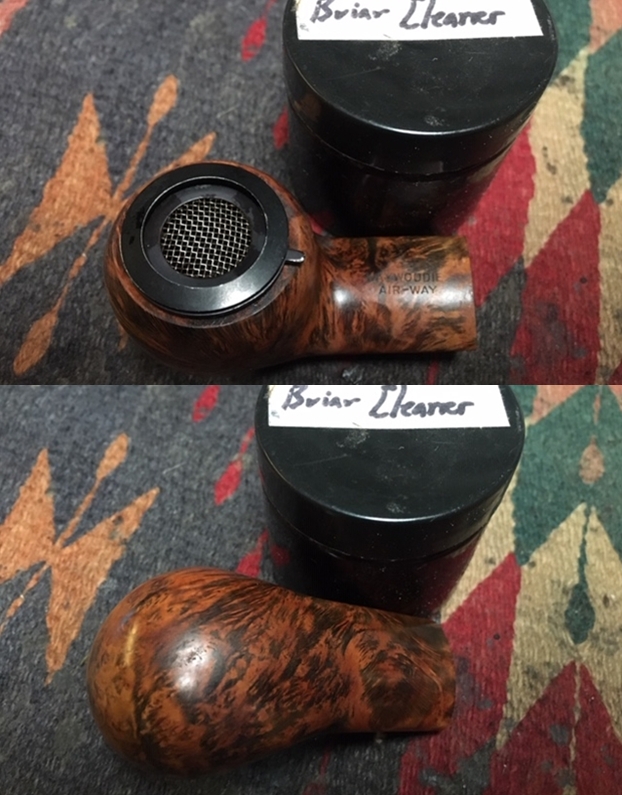
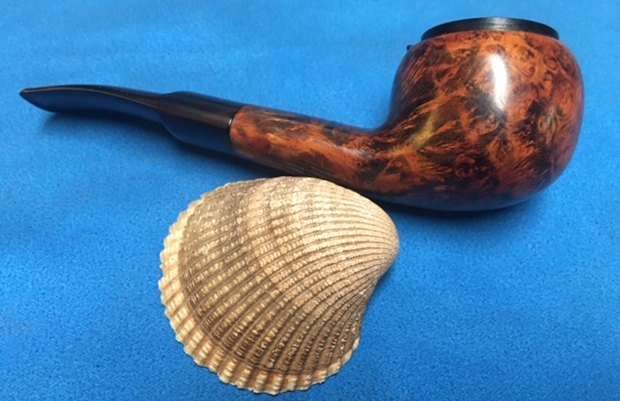
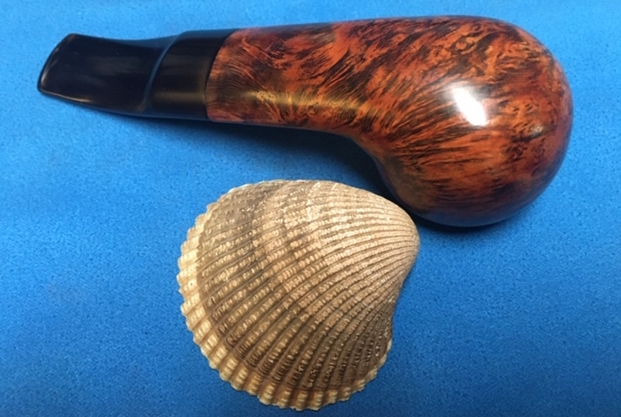
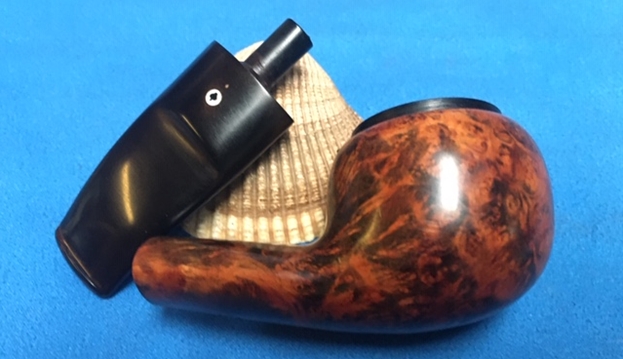
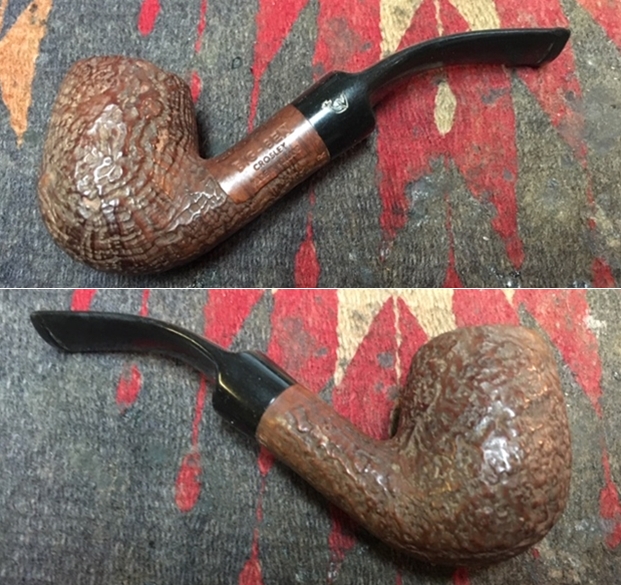
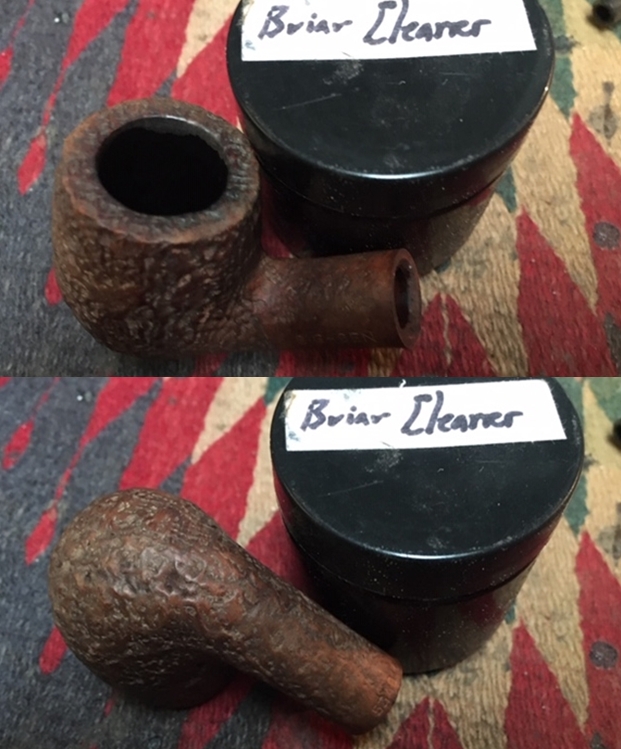
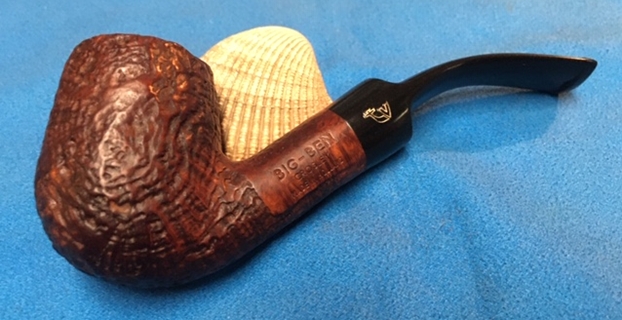
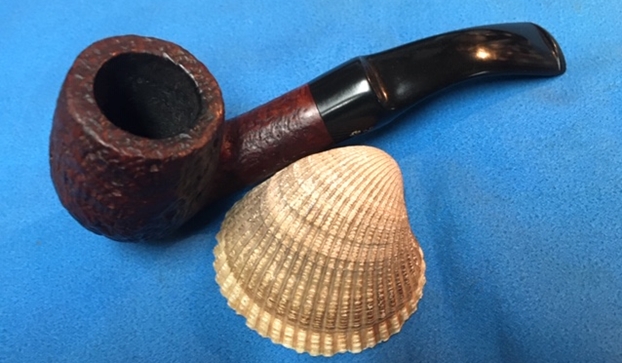
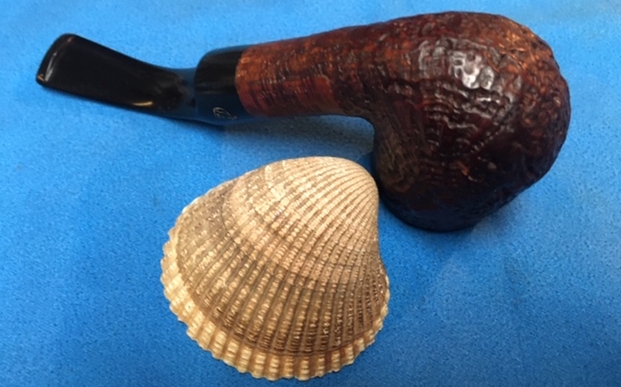
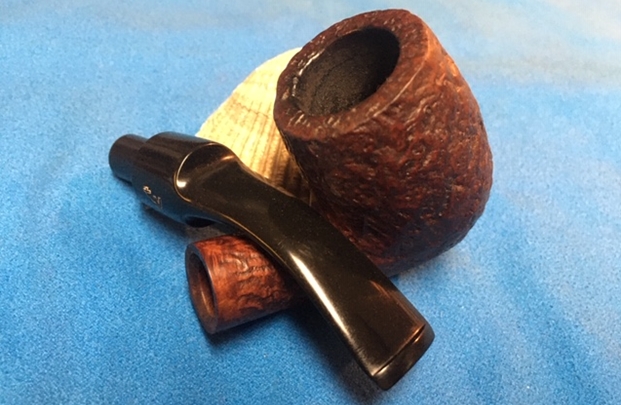
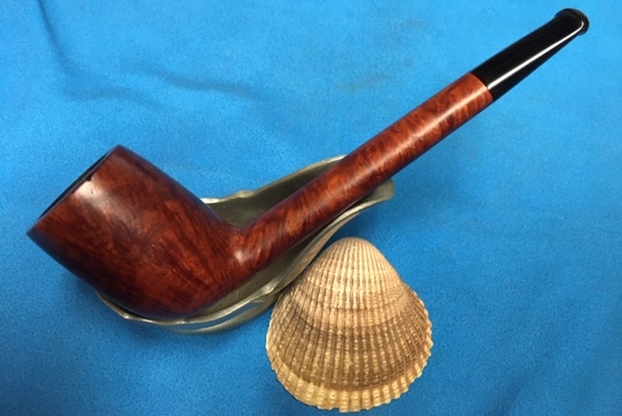
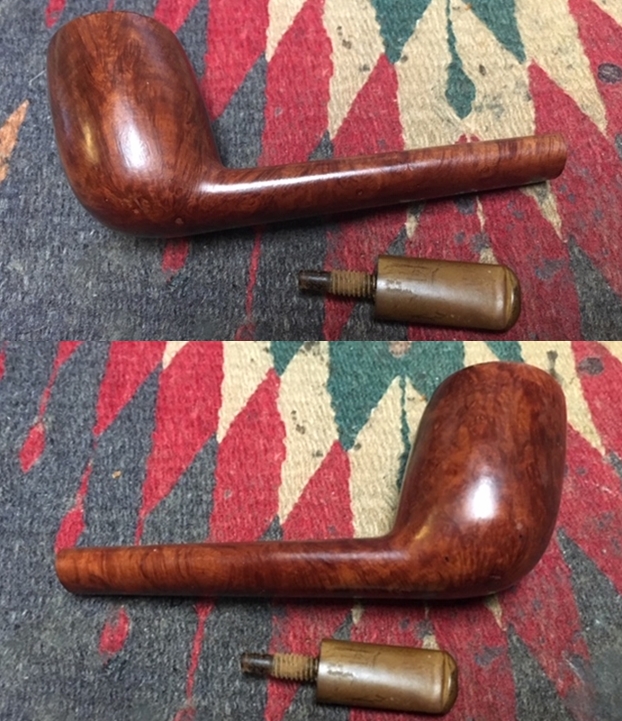
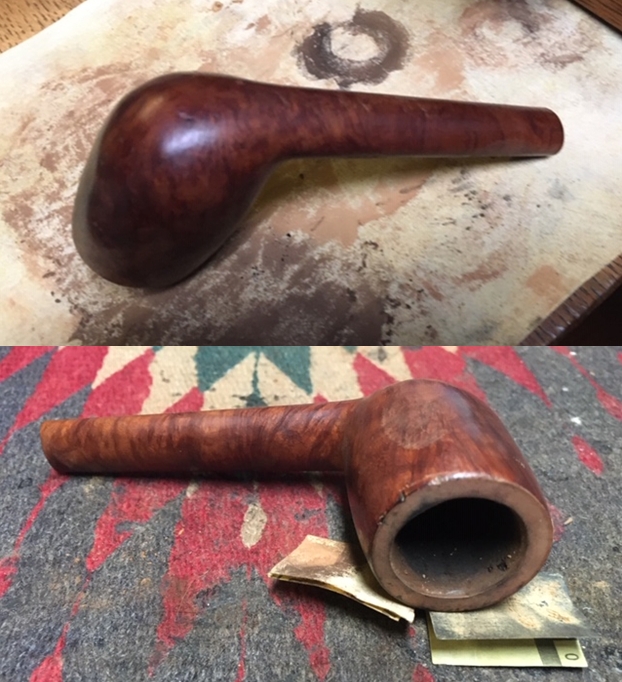
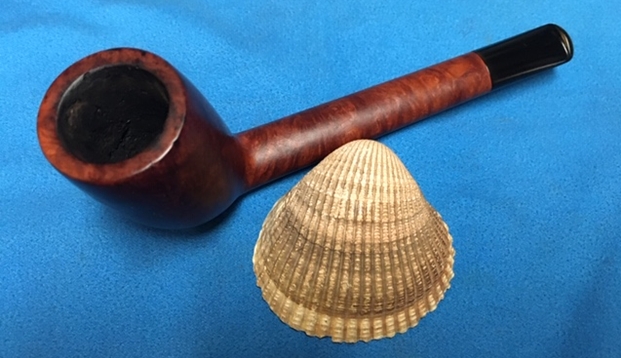
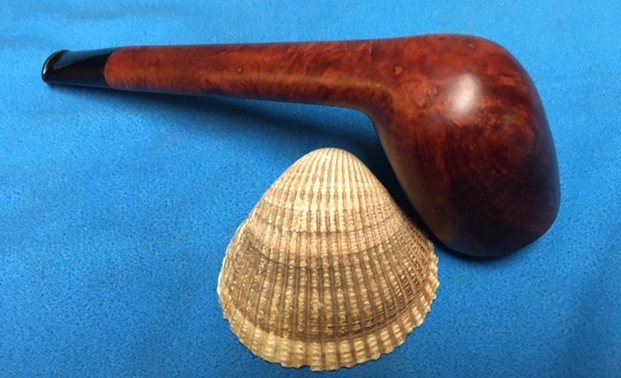
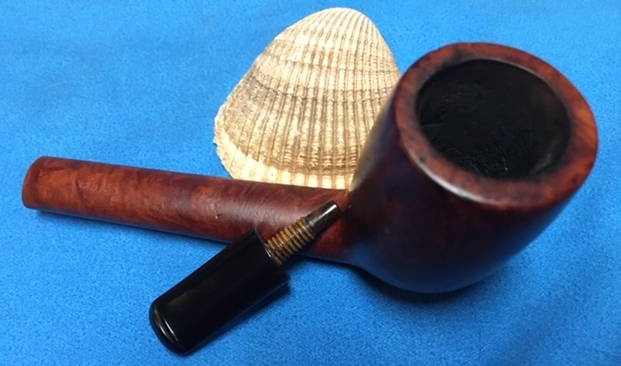
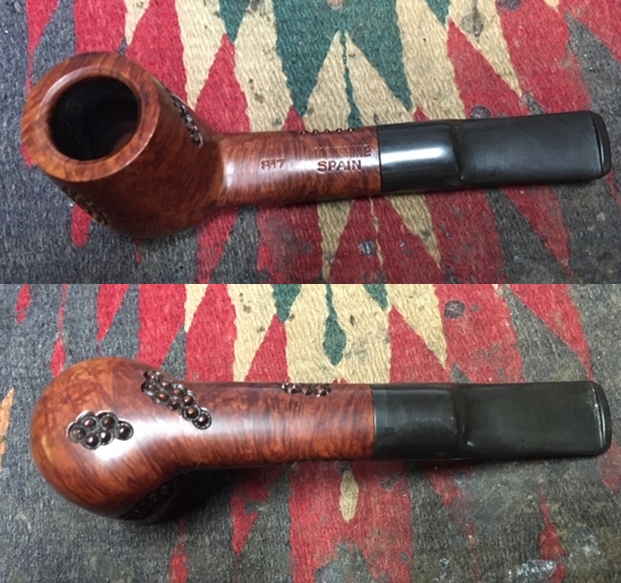
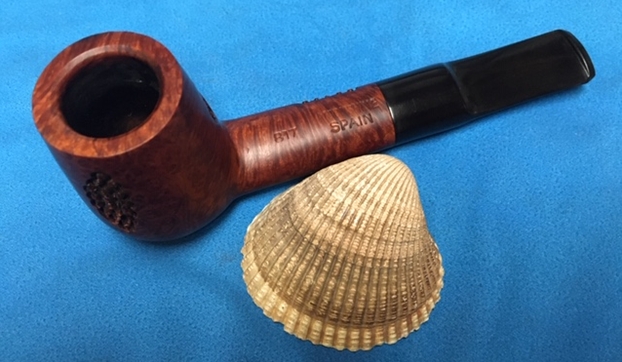
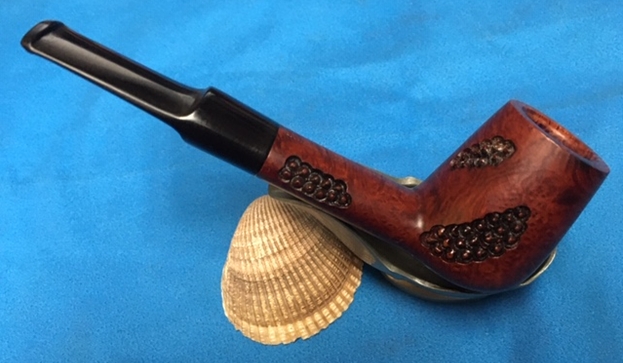
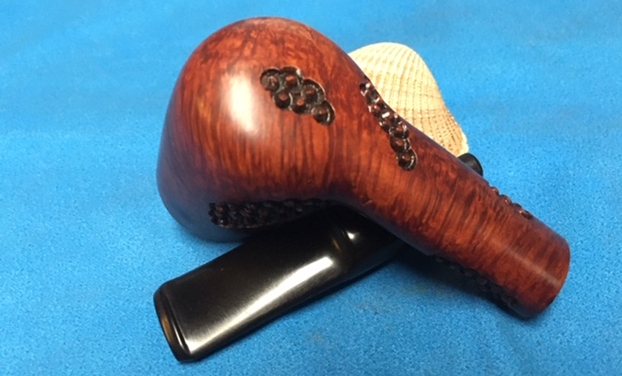
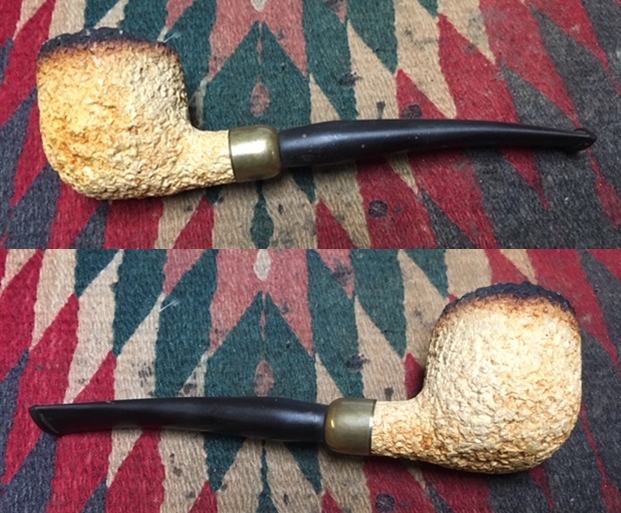
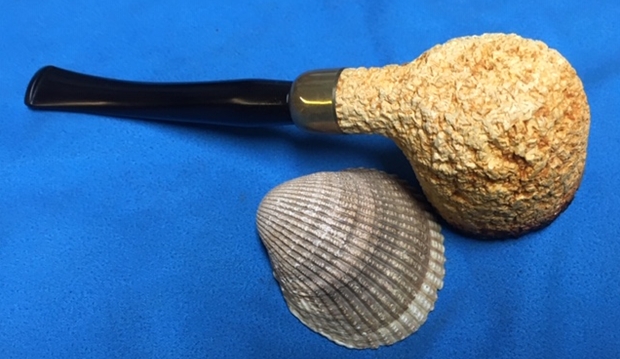
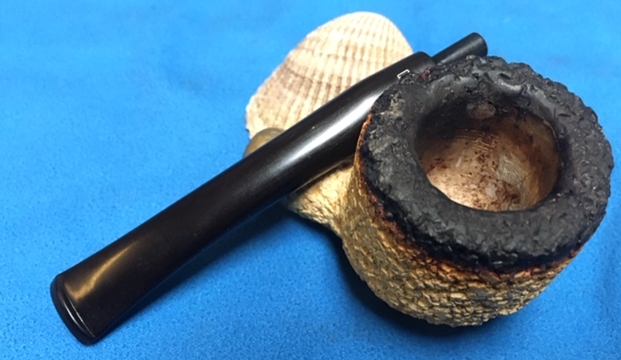
The next “Malaga” Bent Billiard on the table is another classic bent shape. The carver did a great job of shaping the pipe to follow the grain on the briar. The bowl, round shank and bent tapered vulcanite stem look very good. The bowl had a thick cake that overflowed with lava onto the rim and there was significant burn damage on the top front inner of the bowl. The sides of the bowl and shank are very dirty with grime and oils from prolonged use. The stamping on the left side of the shank read “MALAGA” and on the right side it read Imported Briar. The vulcanite stem had tooth dents and chatter on the top and the underside of the stem. The button was worn almost smooth Jeff took these photos before he started the cleanup work on the pipe.
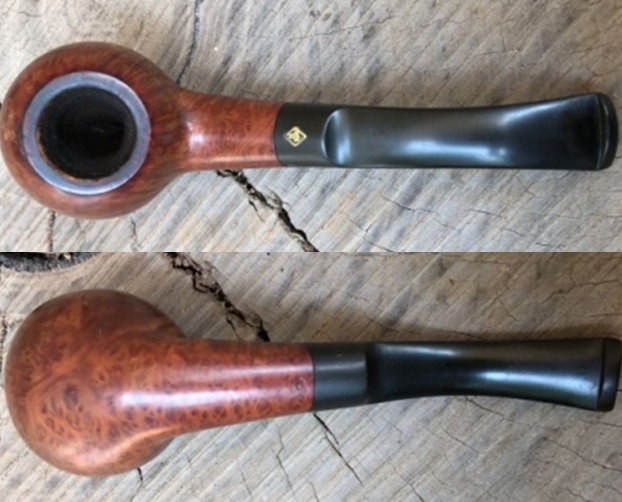
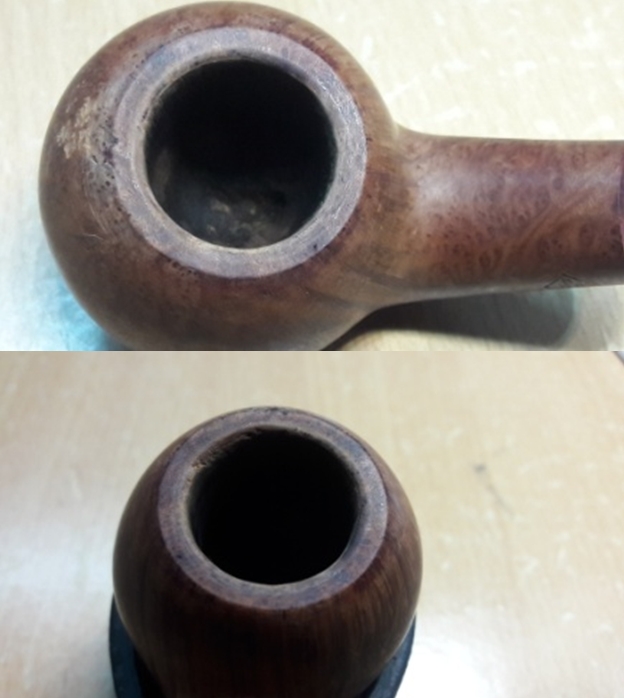
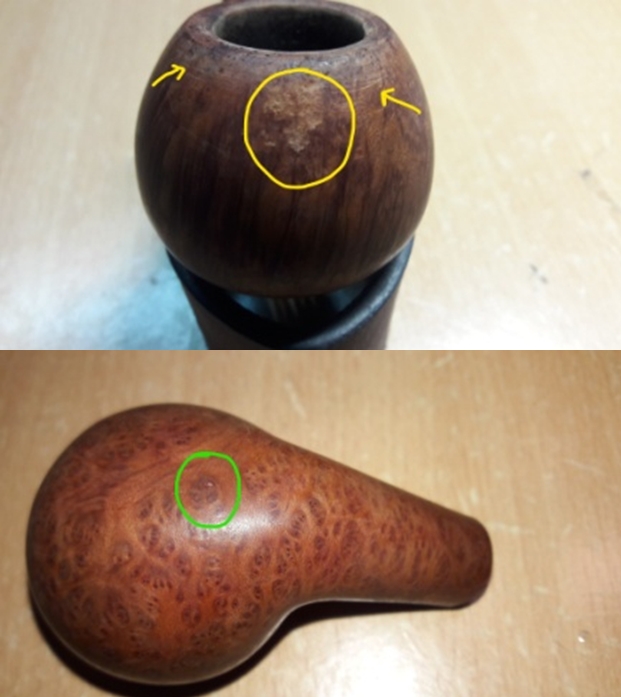
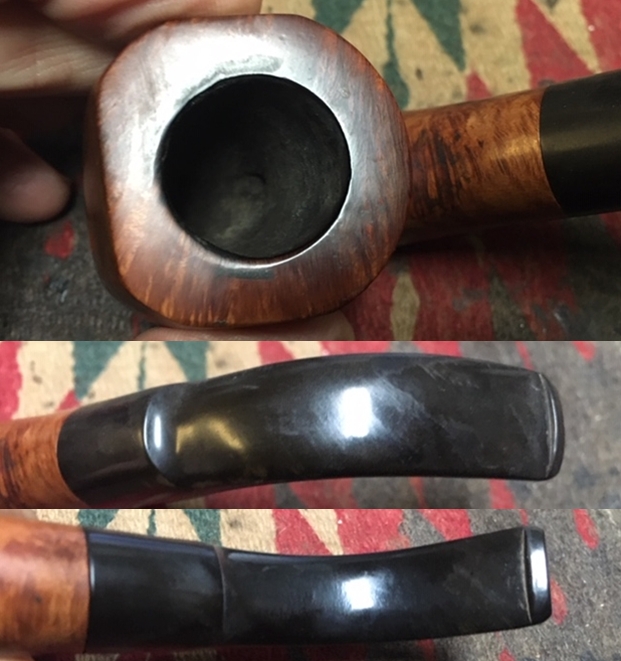
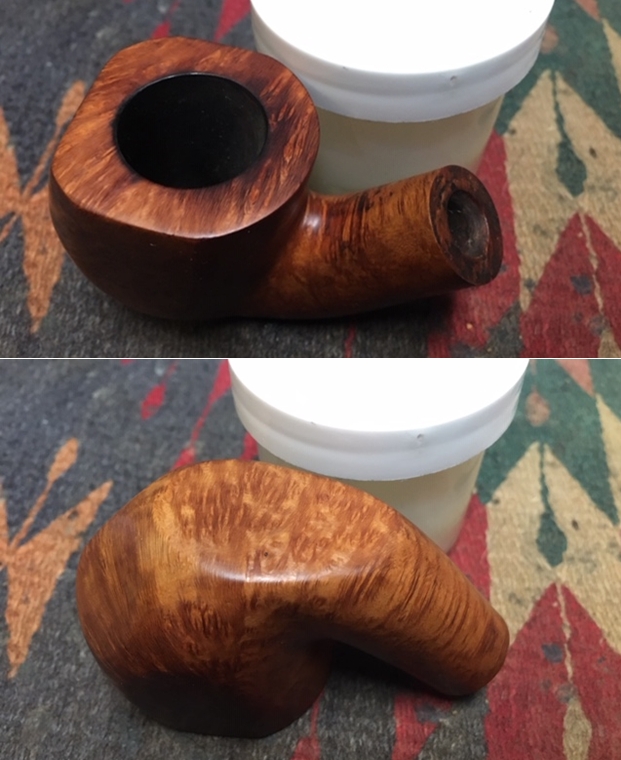
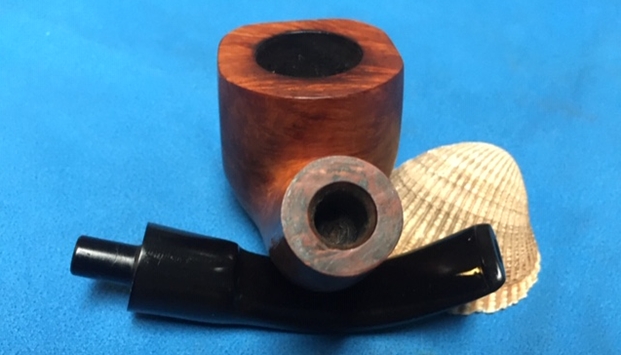
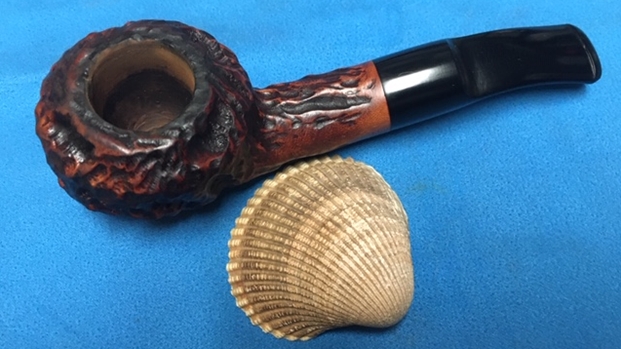
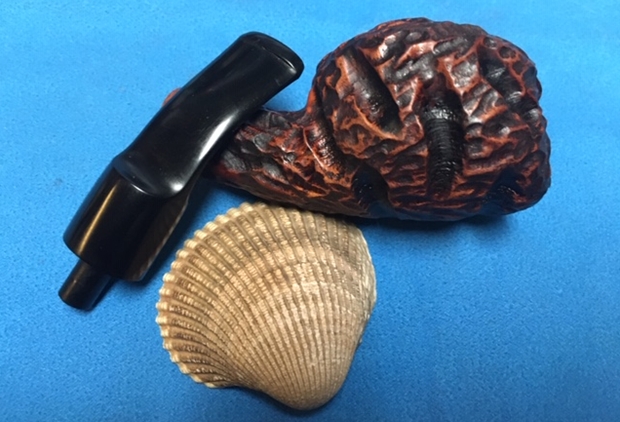
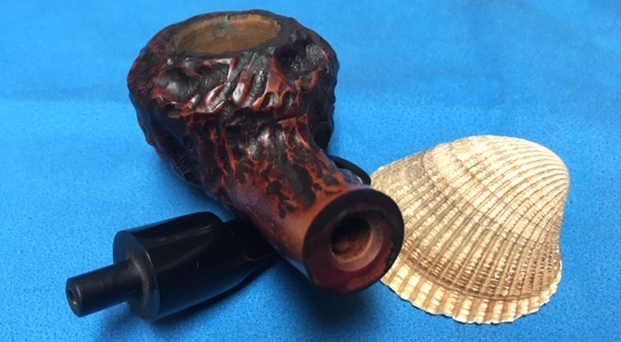
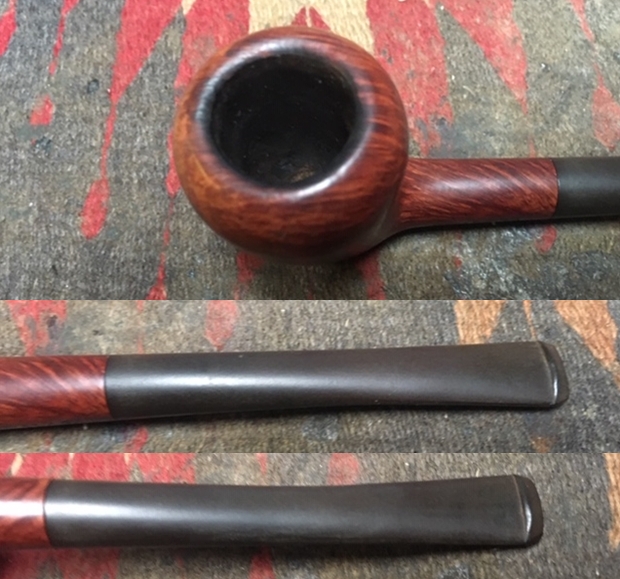
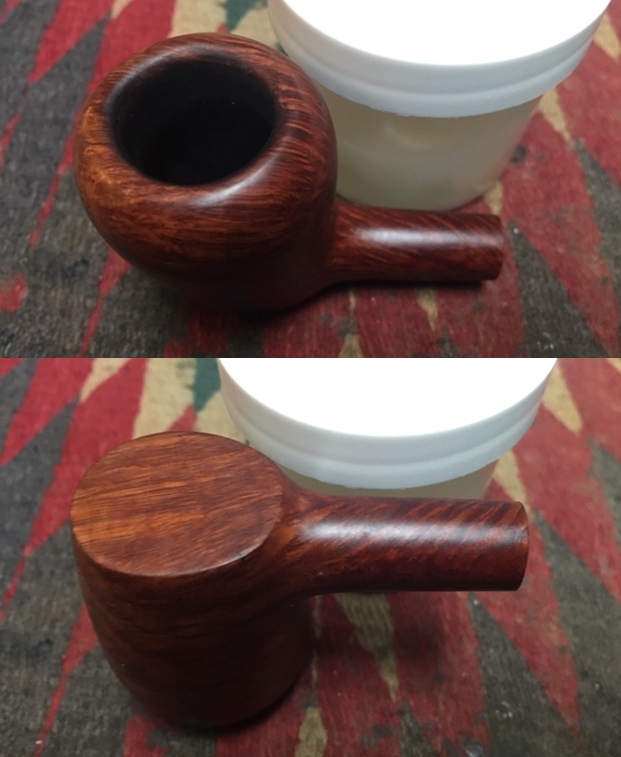
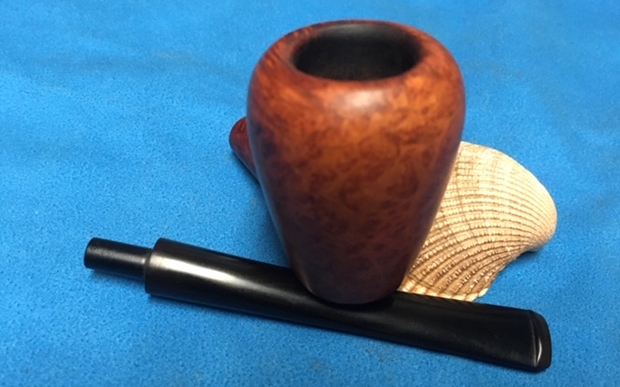
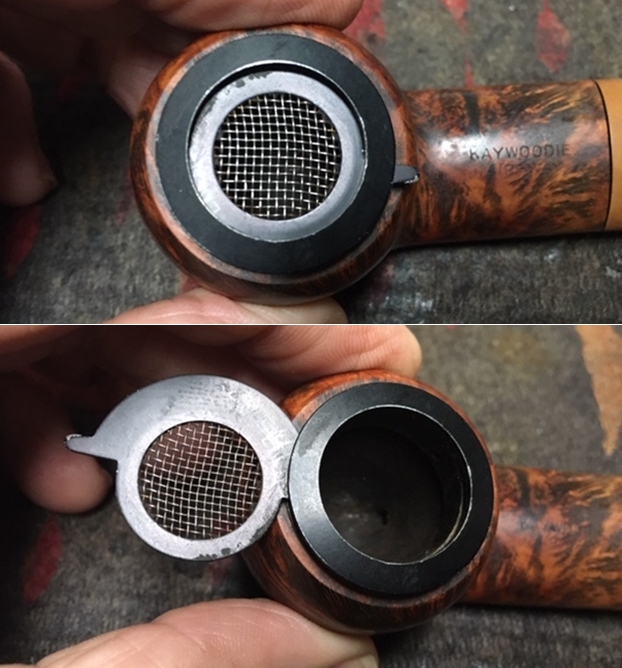
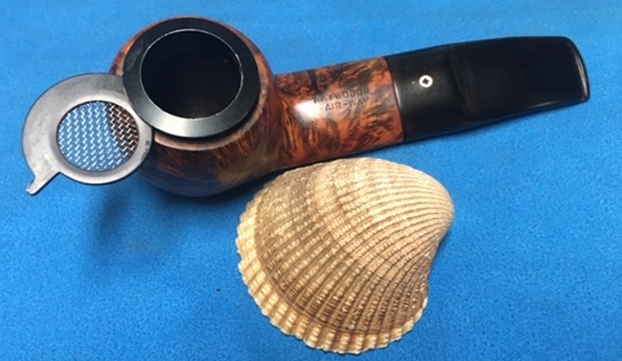
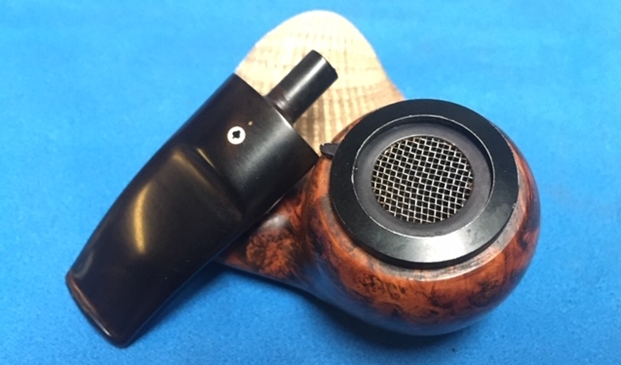
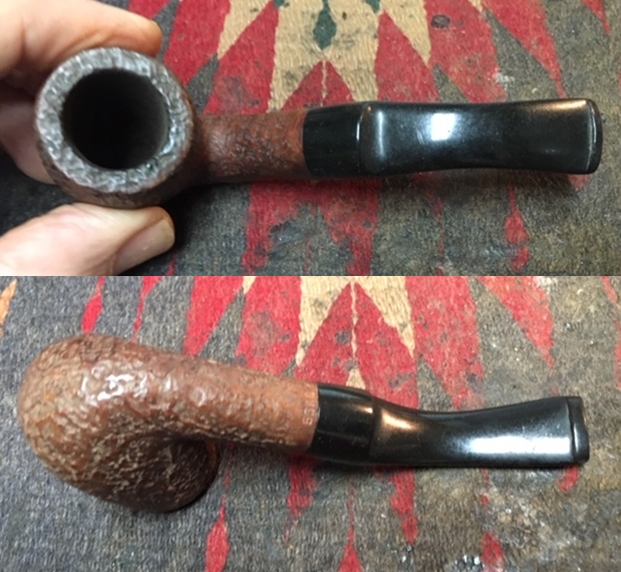
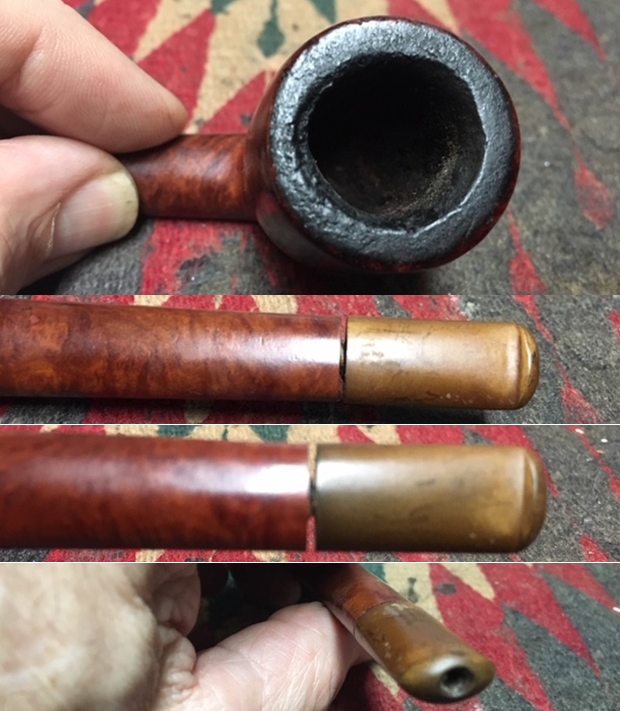
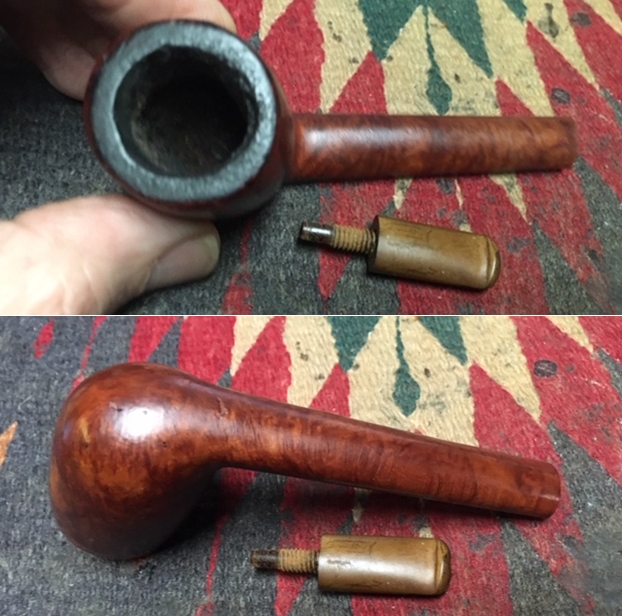
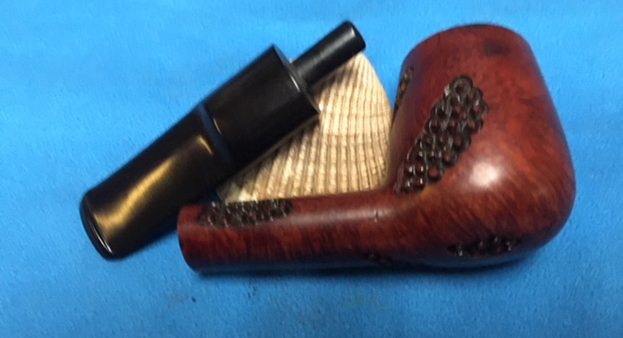
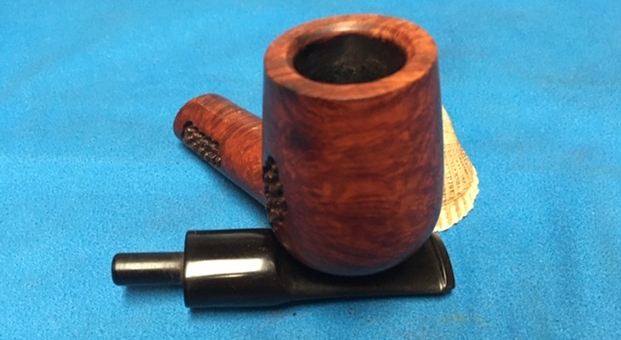
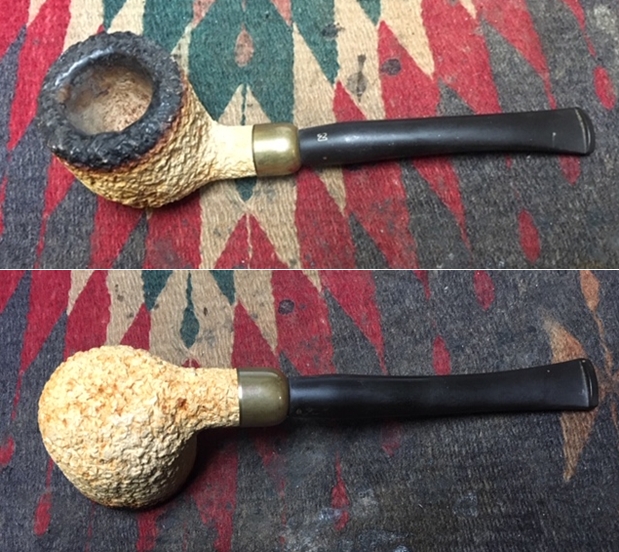
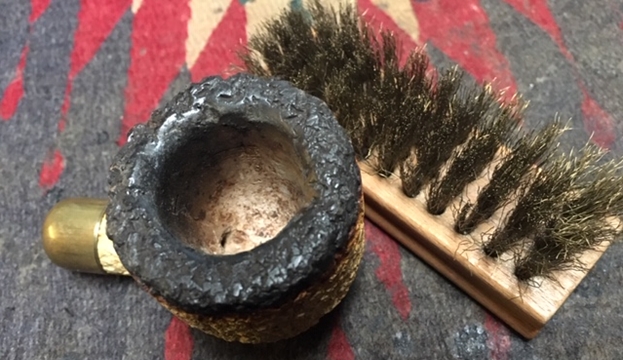
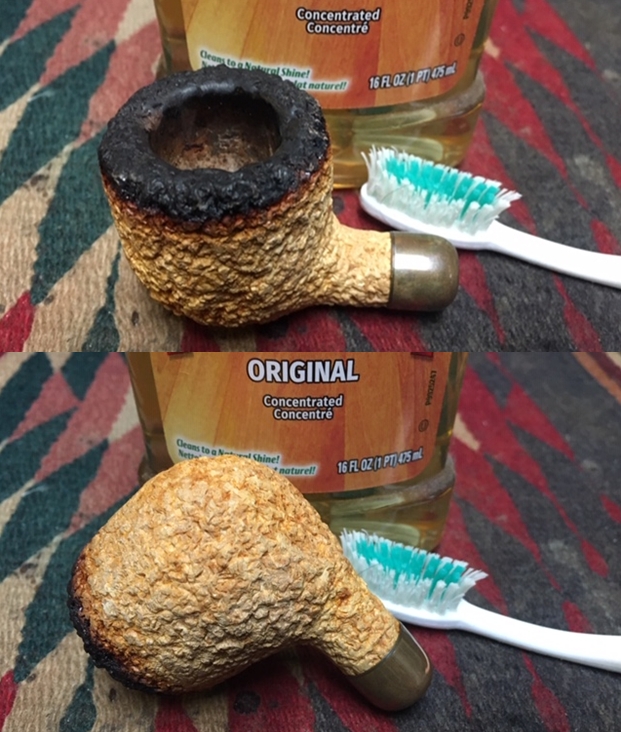
 Jeff took a close up photo of the bowl and rim to capture the condition of the pipe before he started his cleanup work. The rim top had some lava overflow and darkening on the back of the bowl and some serious burn damage to the inner edge on the bowl front. The burn marks appeared to be quite deep on the inner edge on the right front side of the grimy pipe.
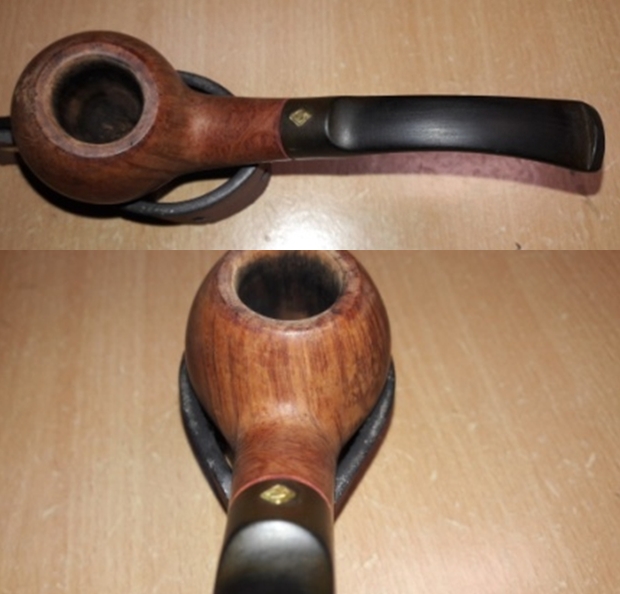
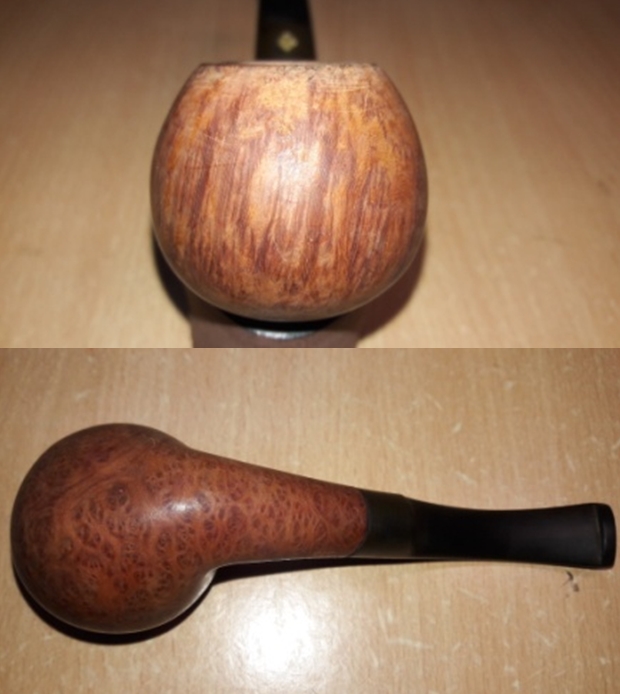
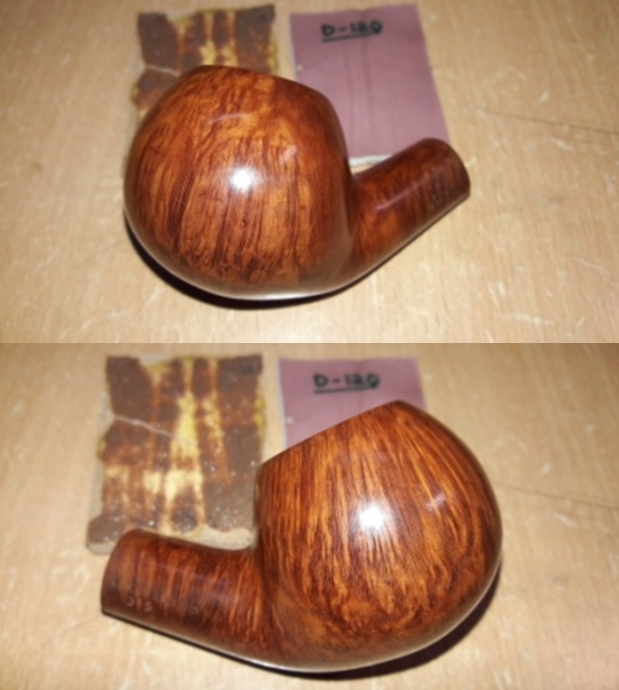
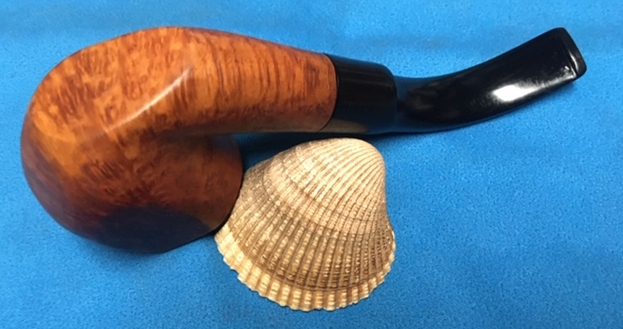
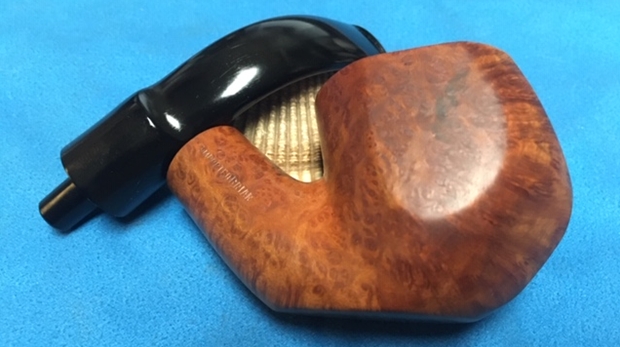
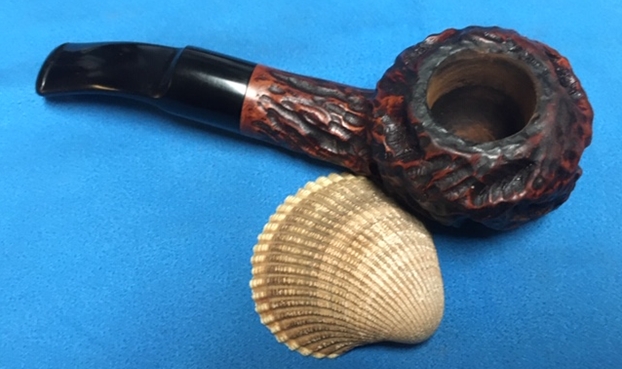
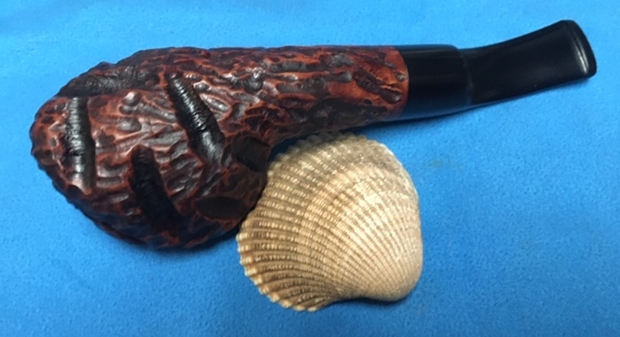
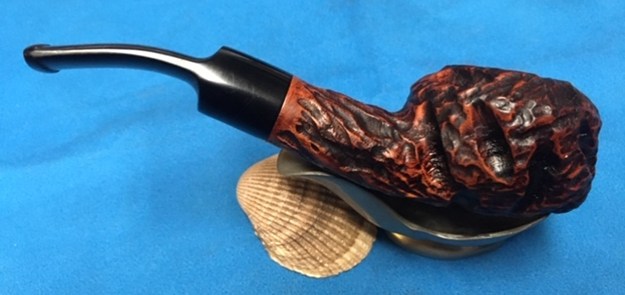
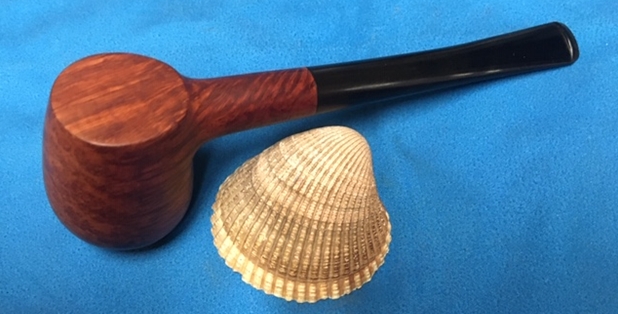
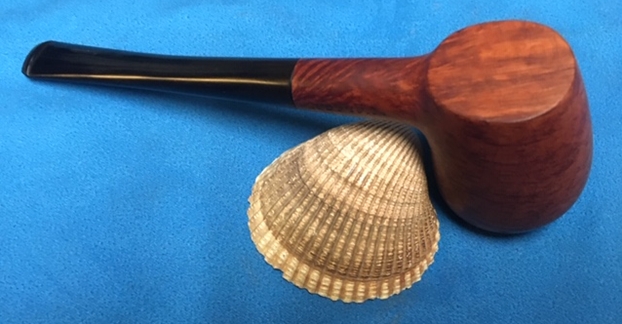
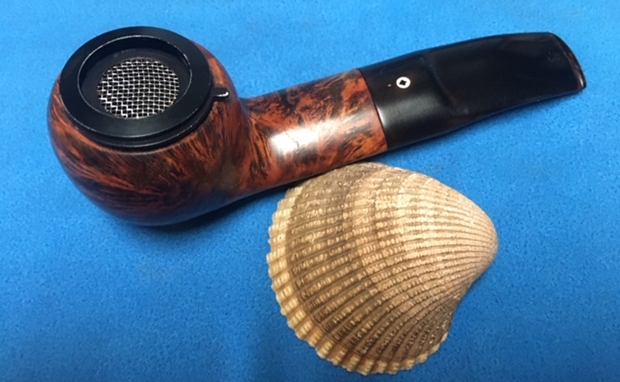
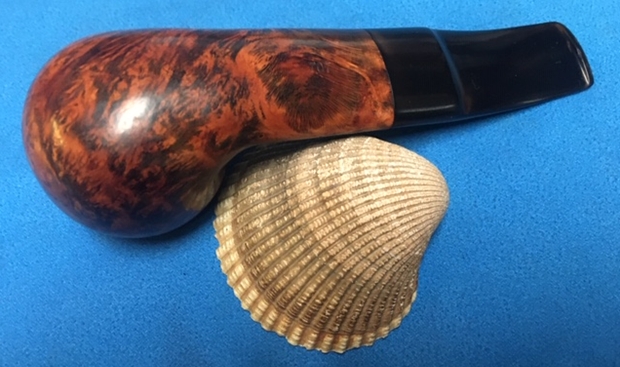
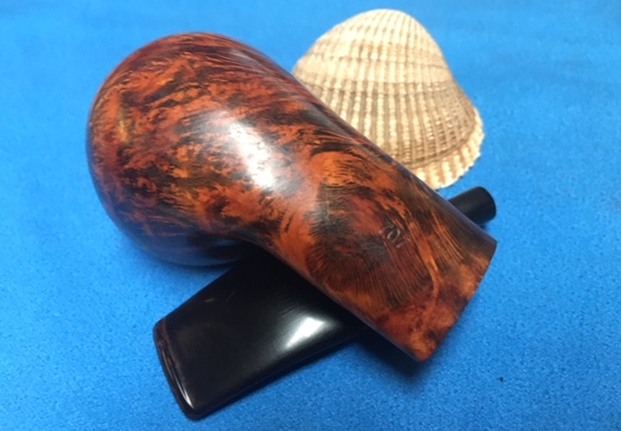
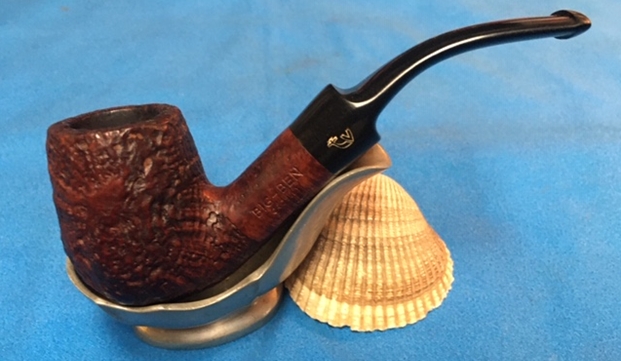
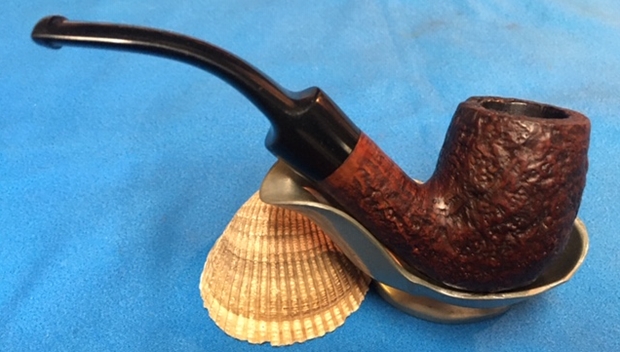
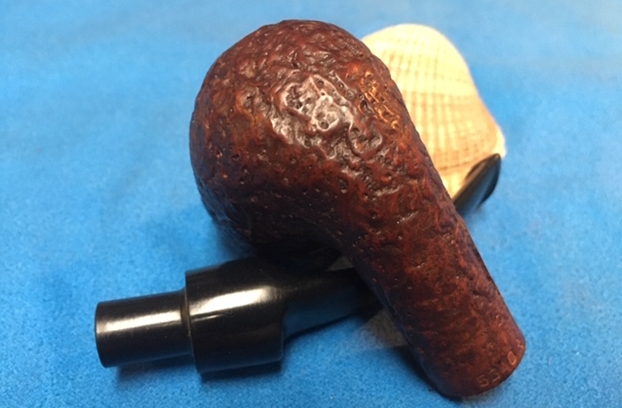
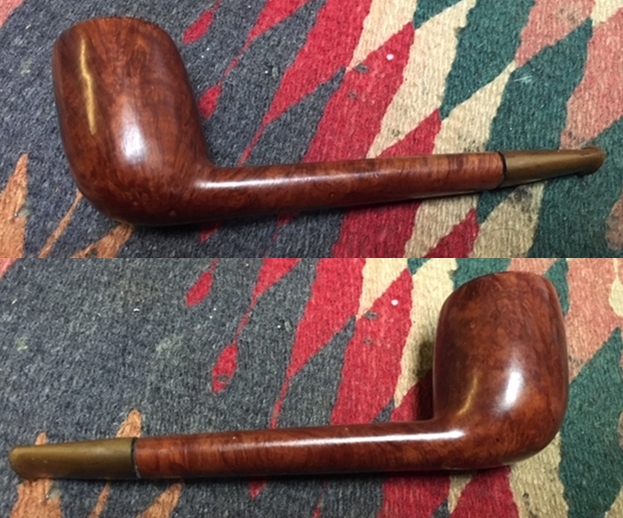
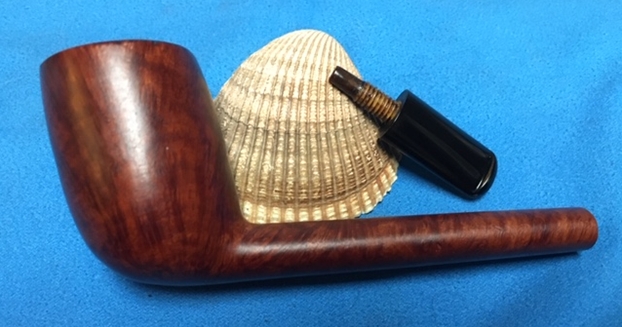
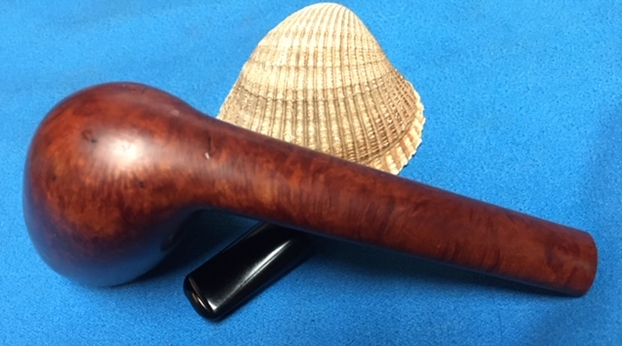
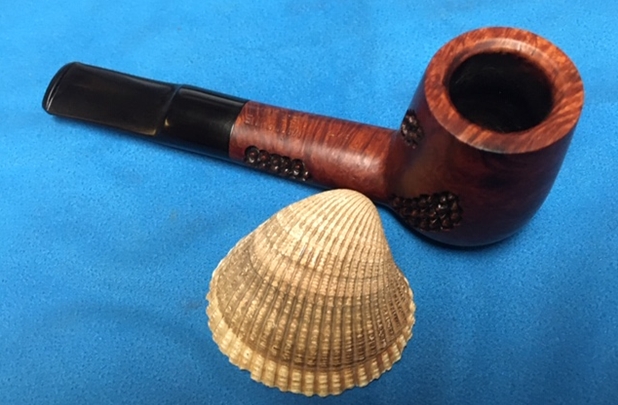
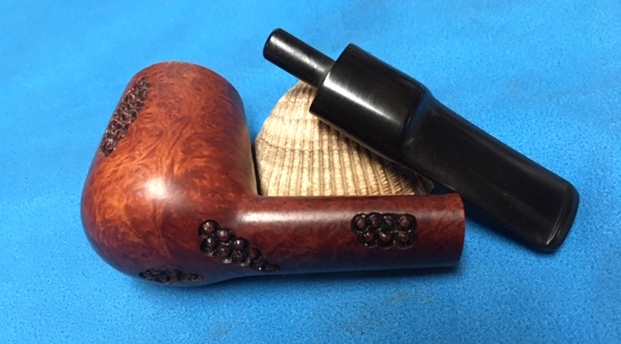
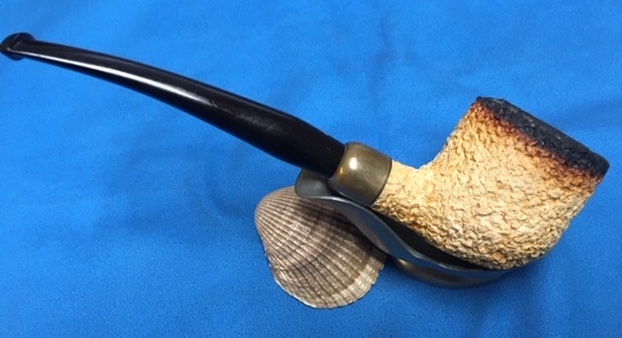
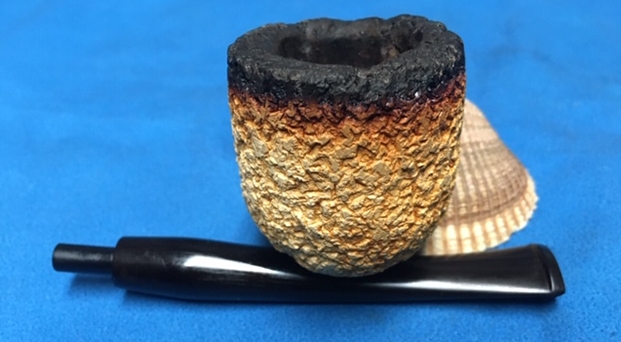
 He also took photos of the sides and bottom of the bowl and shank to show the beautiful grain around the bowl. The photos show the general condition of the bowl and wear on the finish. It is very dirty but this is another beautiful pipe.
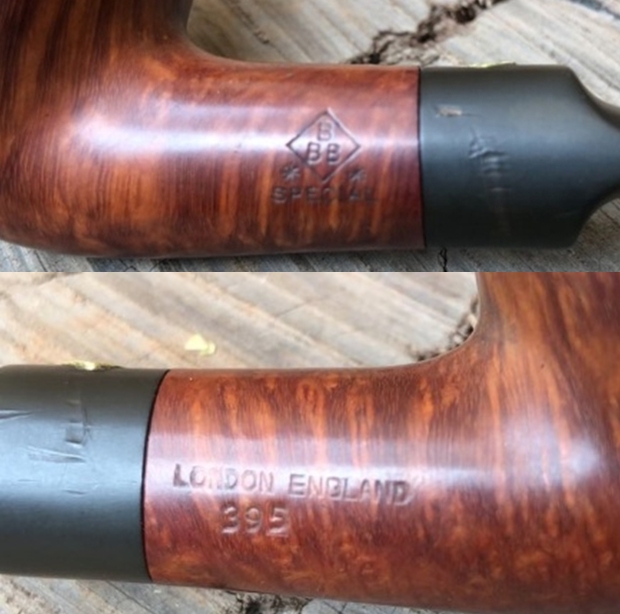
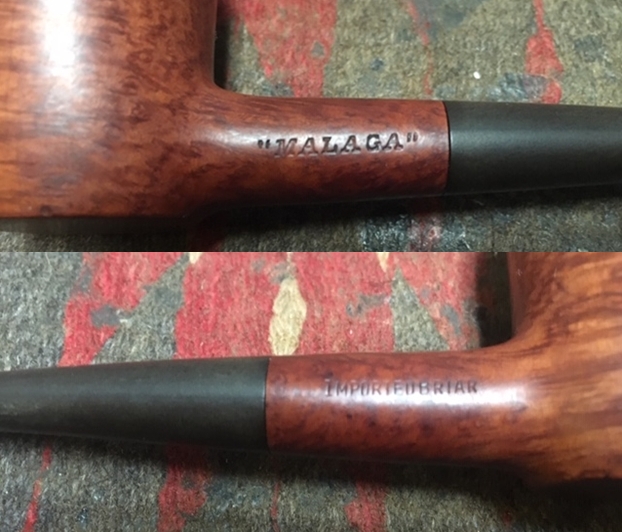
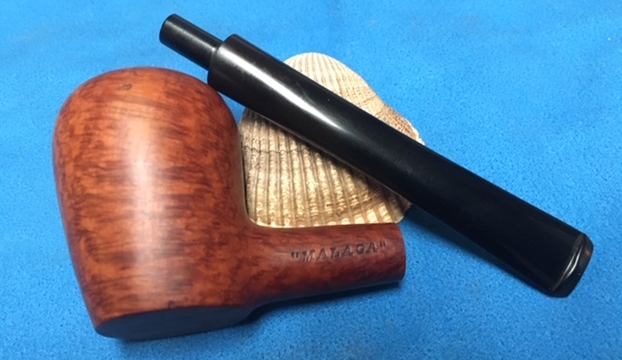
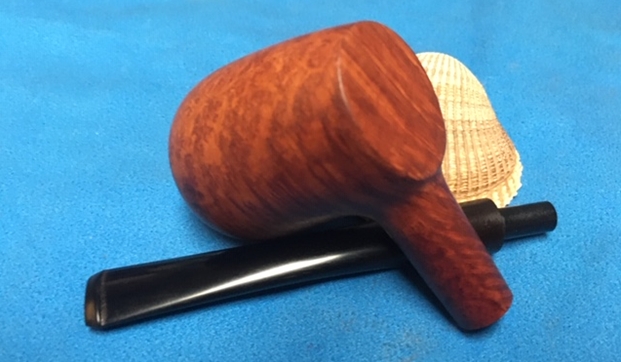
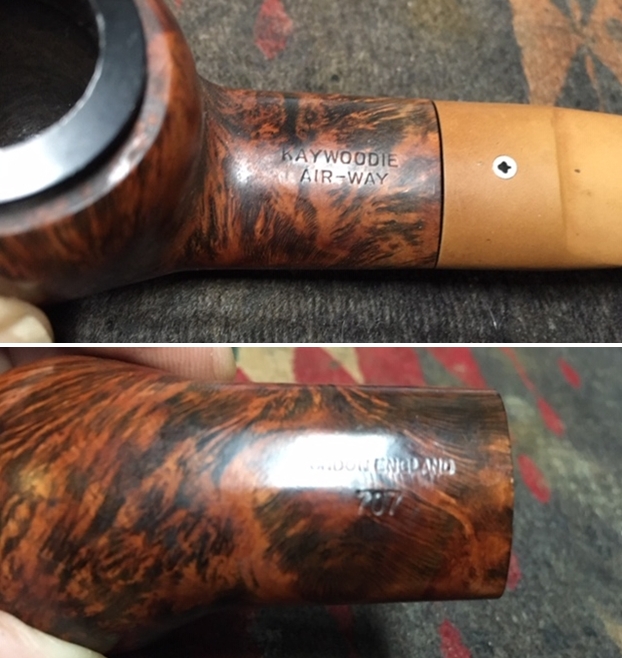
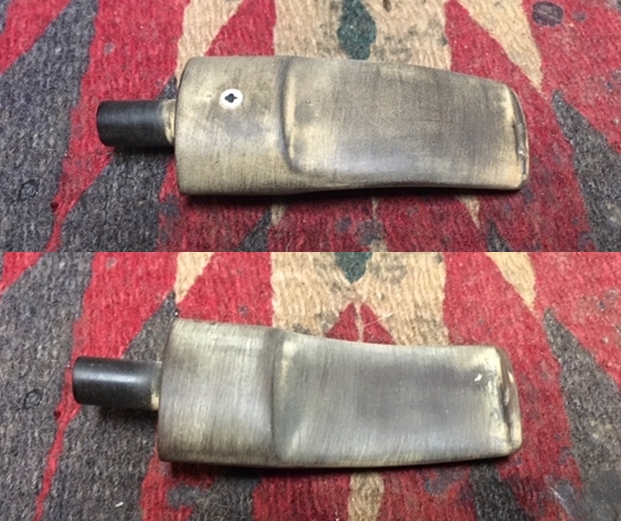
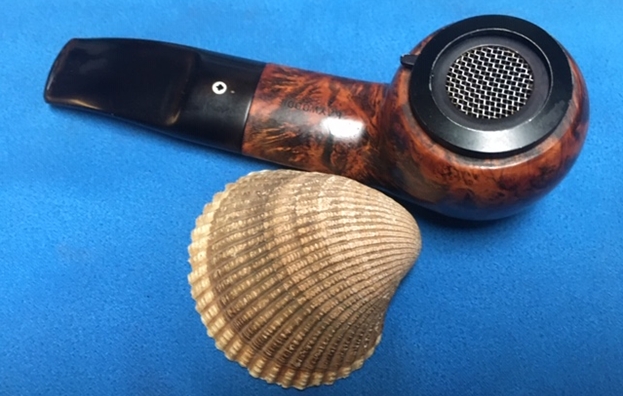
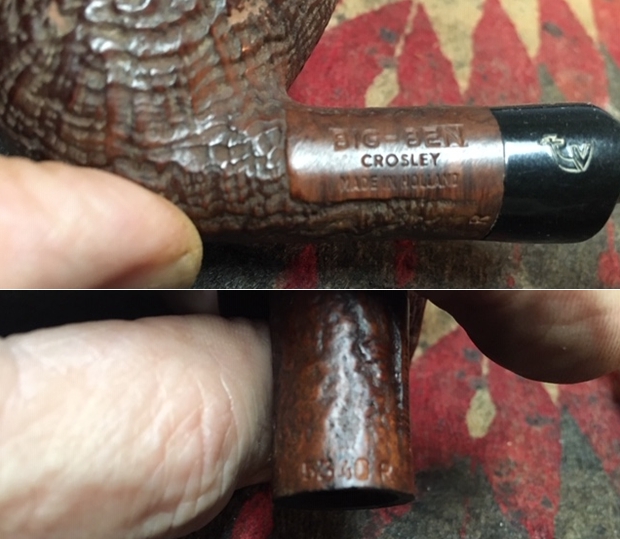
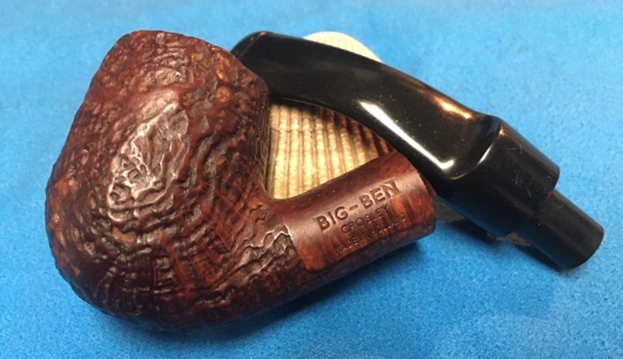
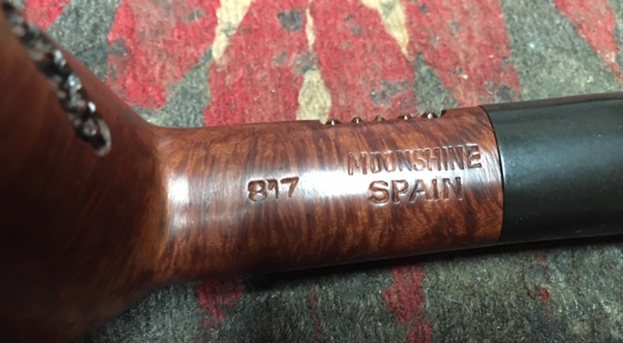
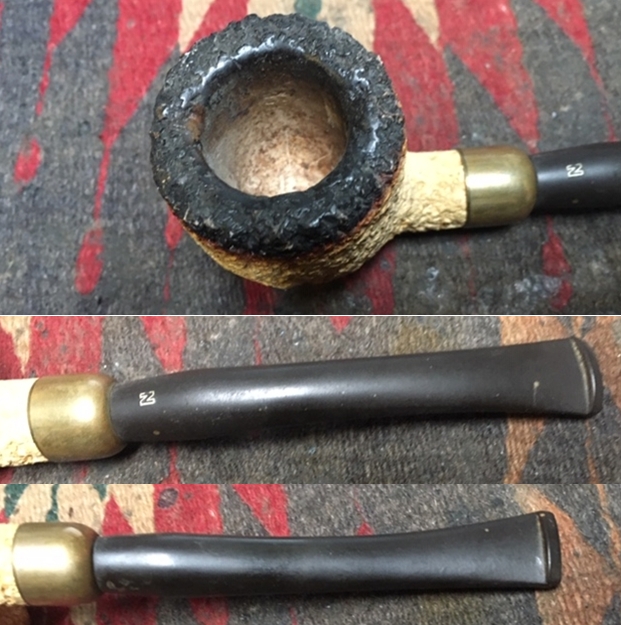
 Jeff took a photo to capture the stamping on the shank. The photos show the stamping “MALAGA” on the left side of the shank and Imported Briar on the right side. The stamping is very readable.
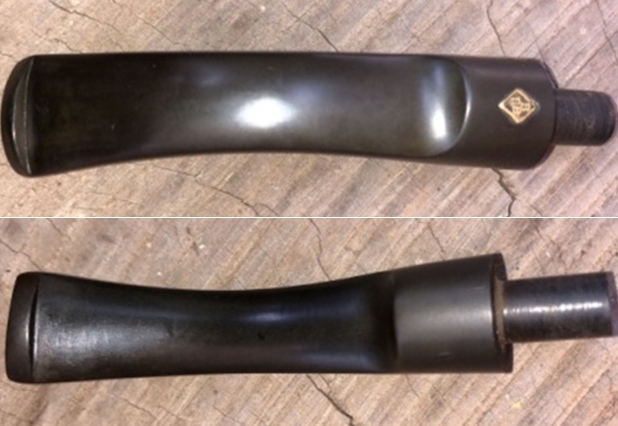
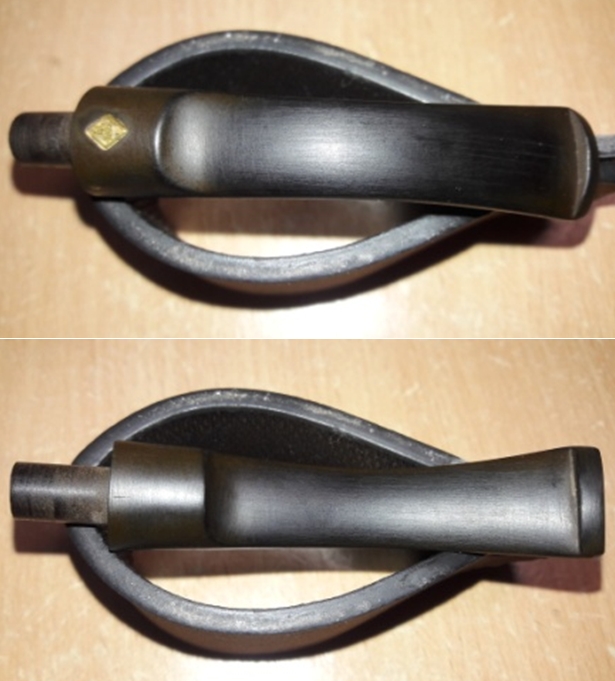
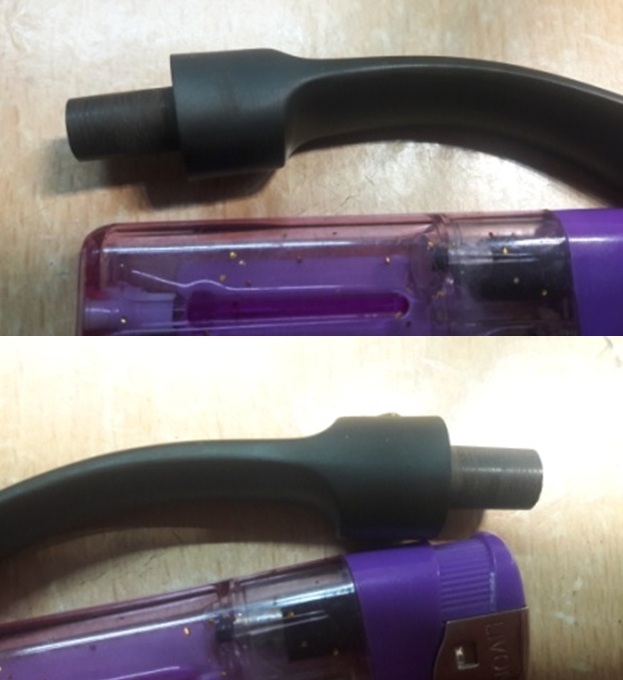
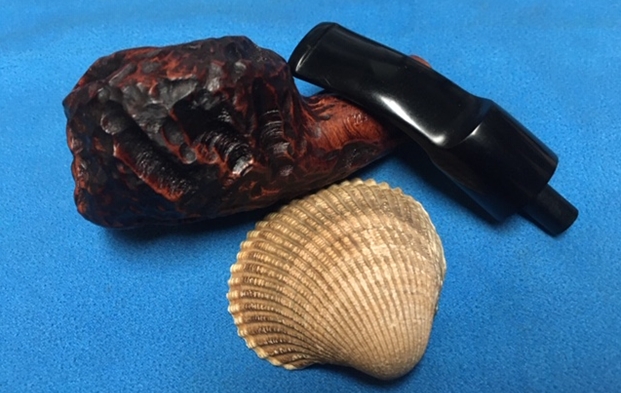
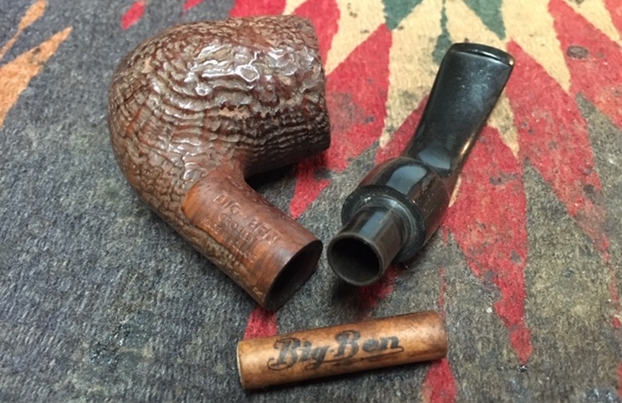
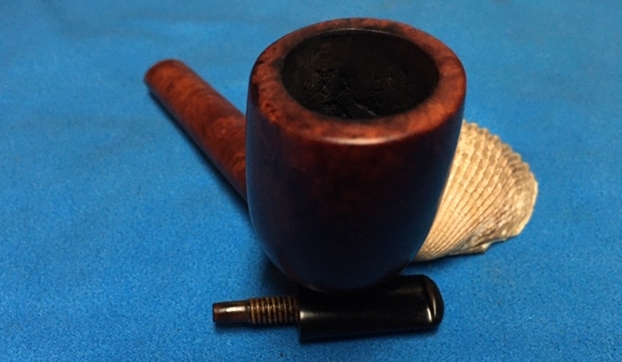
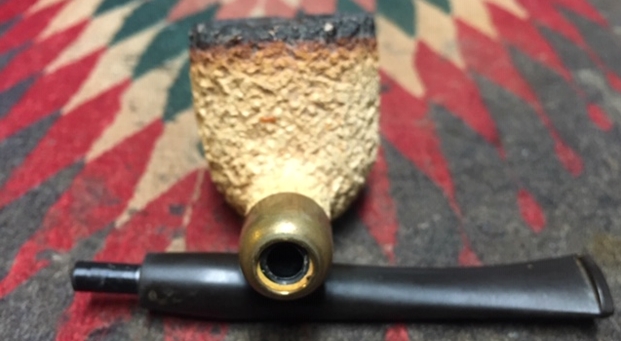
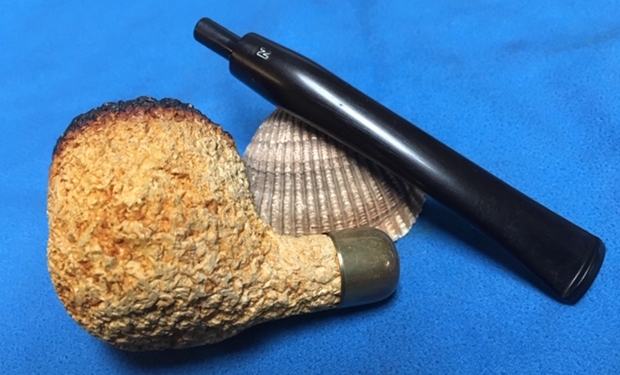
 The next photos show the stem surface. There is oxidation and calcification on the stem. There are tooth marks and chatter on both sides near the button and wear on the button surface and edges. The button surfaces and edges are worn and almost smooth.
 I am also including the link to a blog that I wrote that gives some of the history of the Malaga brand and the Malaga Pipe Shop in Royal Oak, Michigan in the USA. I have written an earlier blog to give a little history of the Malaga Brand and the pipemaker, George Khoubesser. Here is the link – https://rebornpipes.com/tag/malaga-pipes/.That blog also includes links to a catalogue and the history of the pipemaker George Khoubesser. Follow the link to get a feel for the brand and the pipemaker.
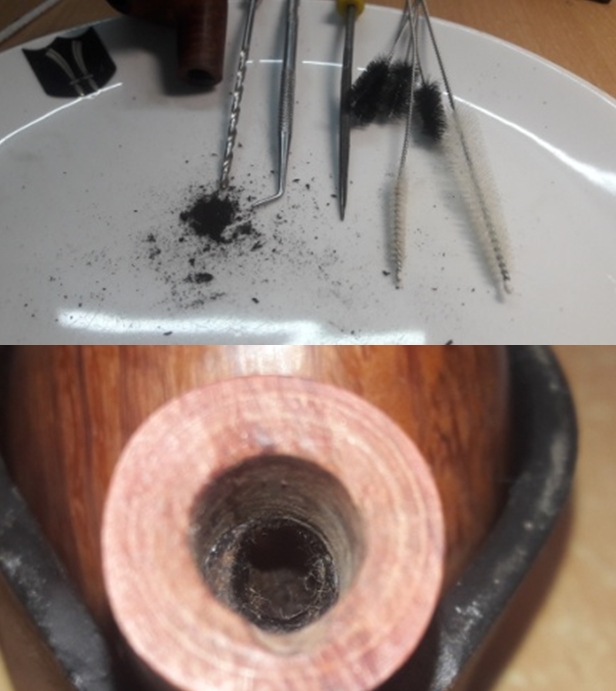
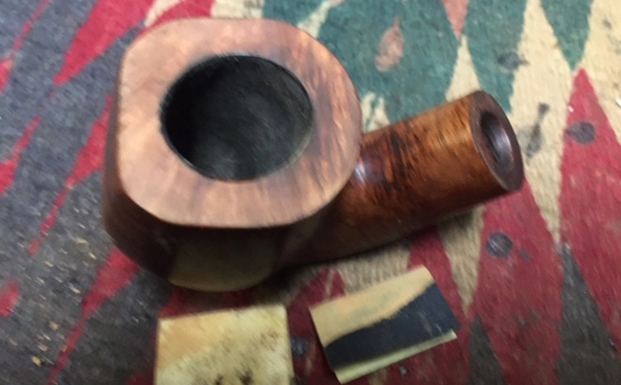
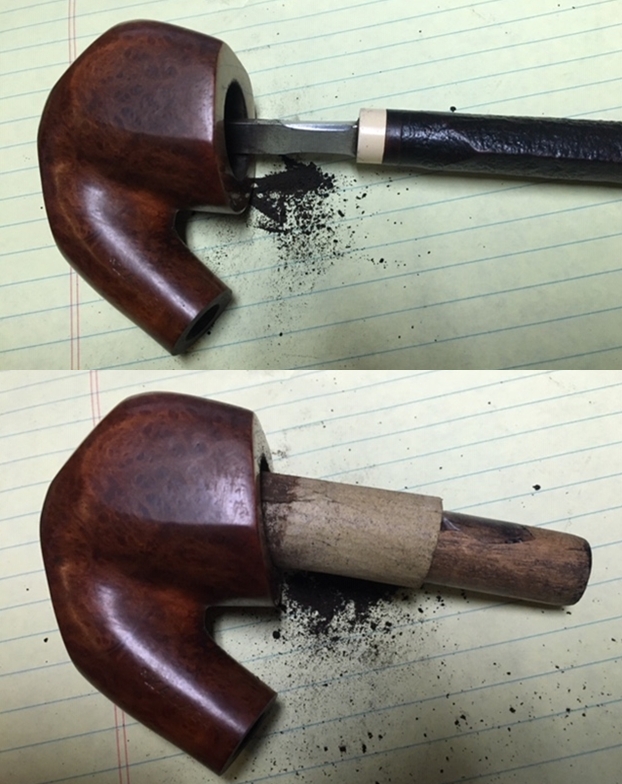
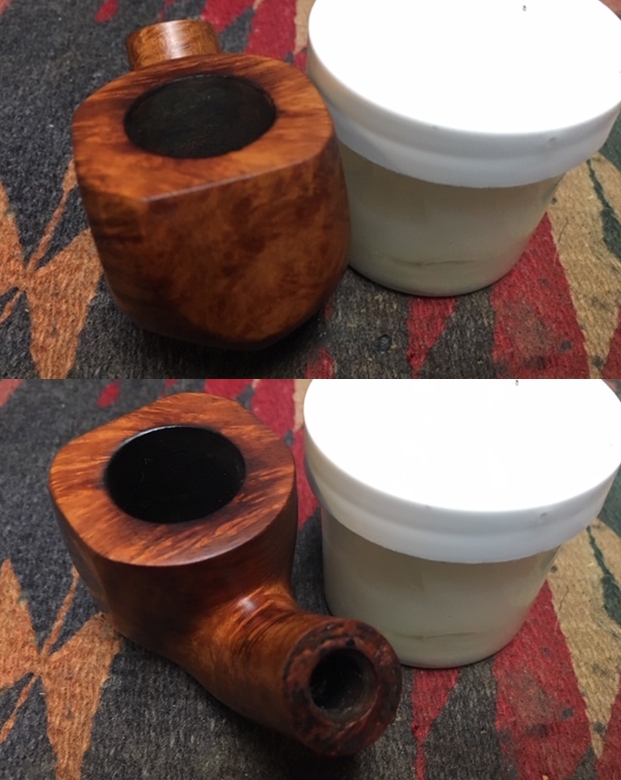
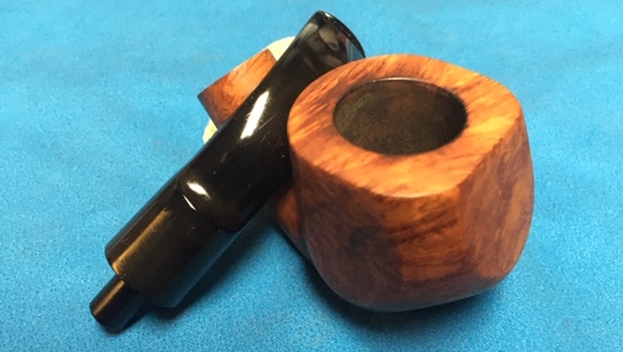
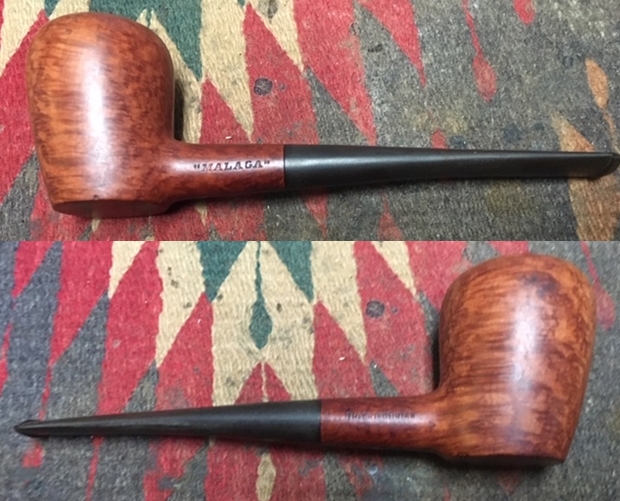
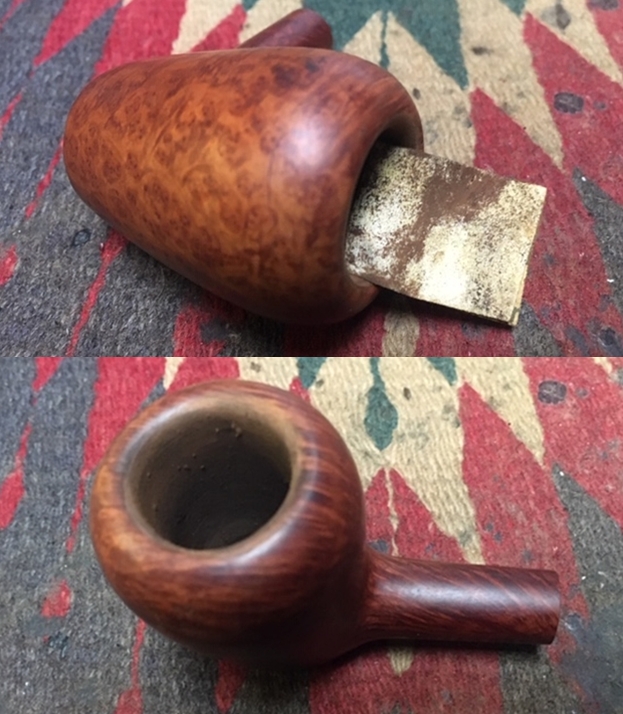
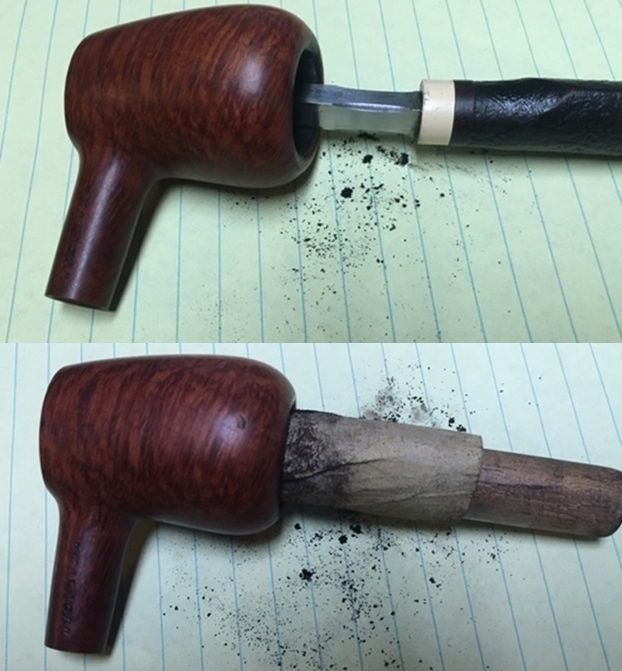
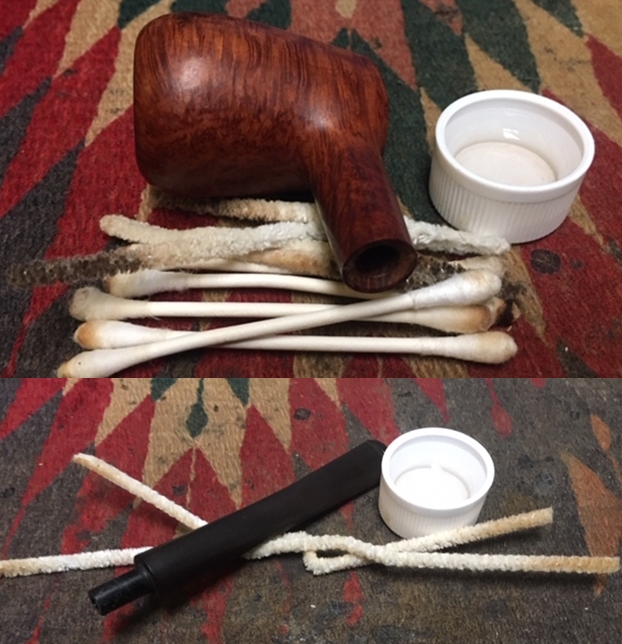
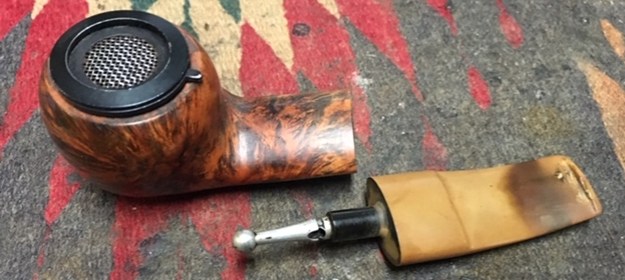
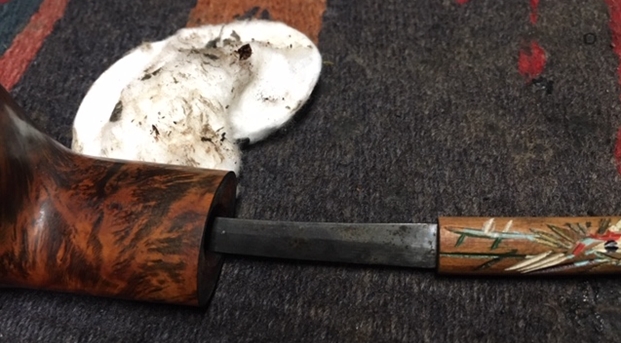
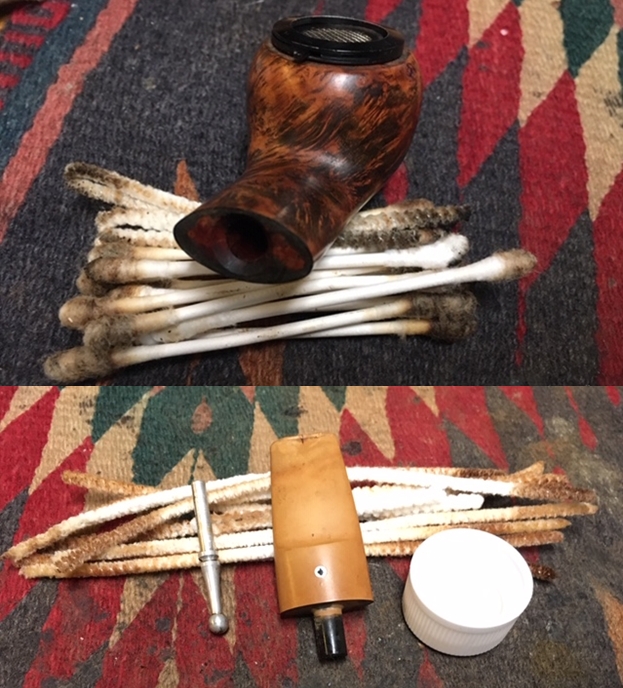
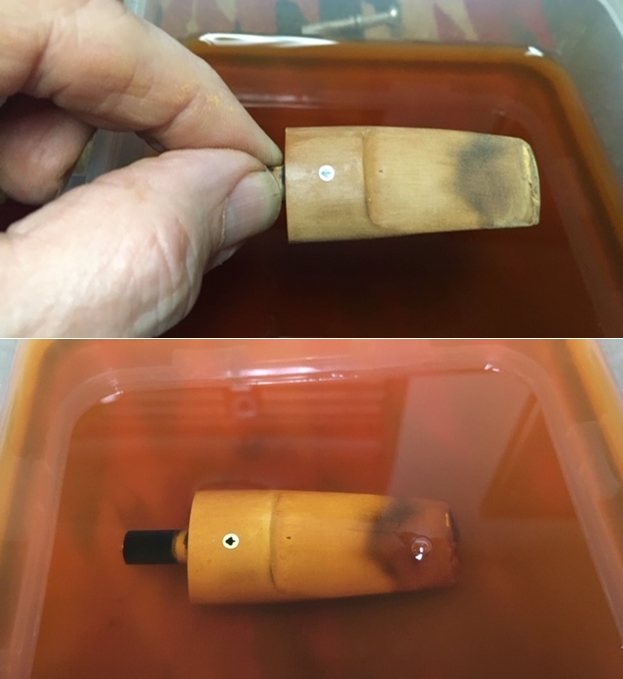
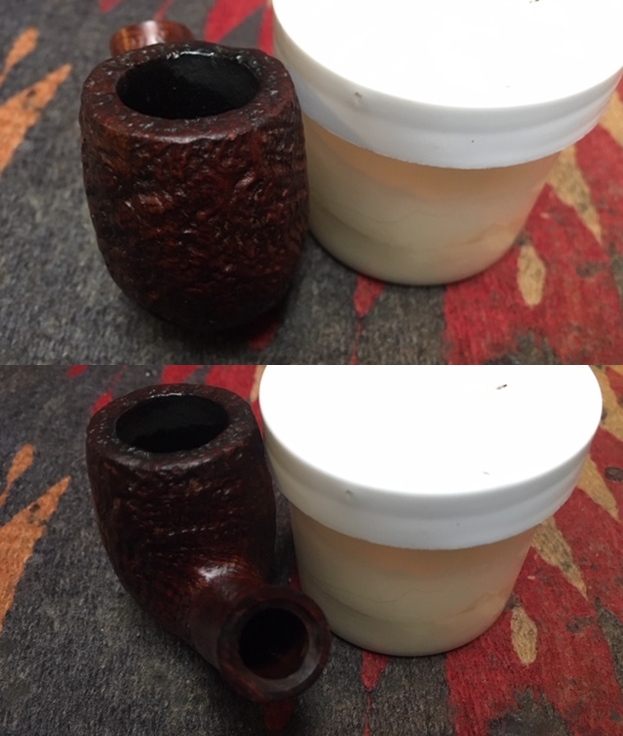
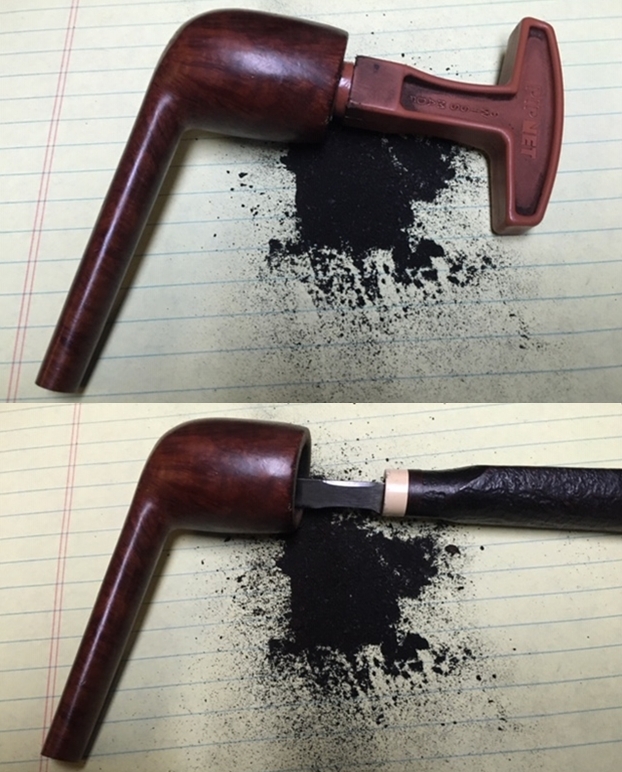
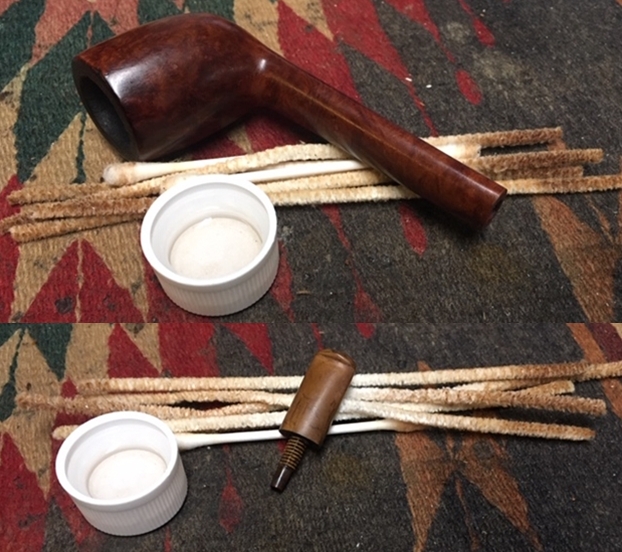
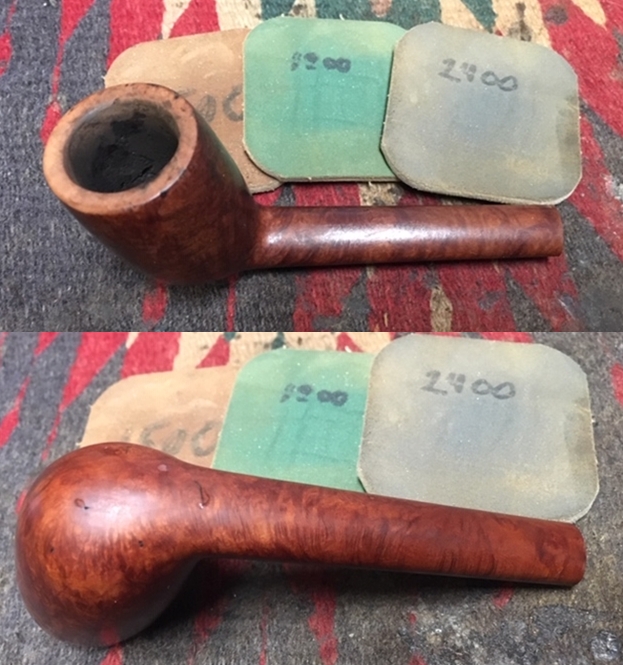
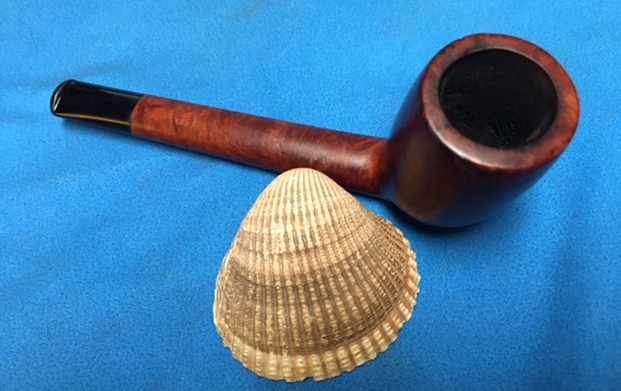
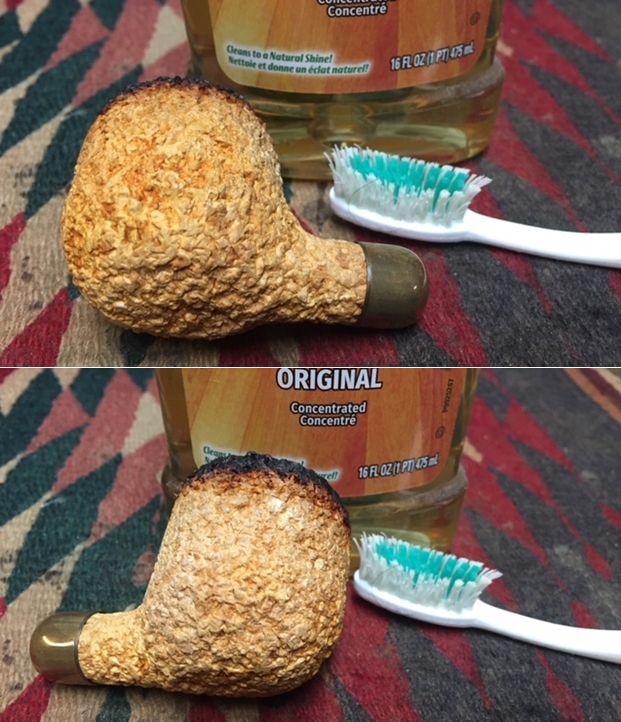
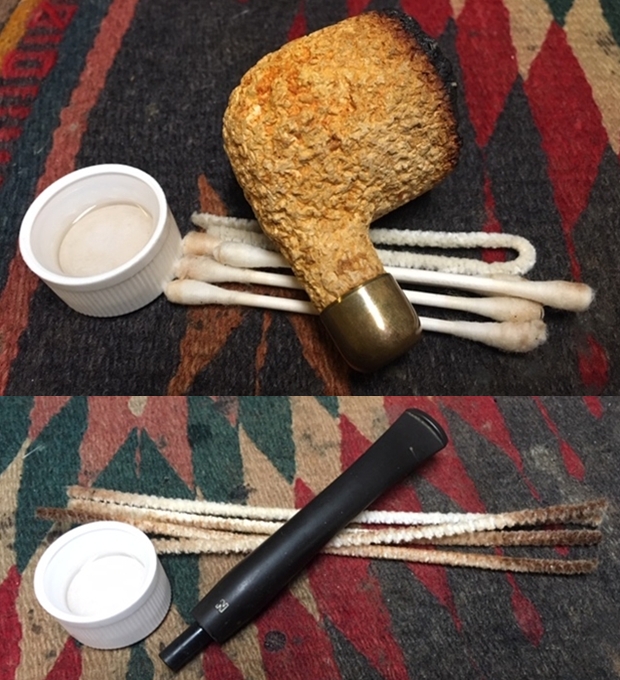
Jeff reamed the bowl with a PipNet pipe reamer and followed up with a Savinelli Fitsall pipe knife to remove the cake. He scrubbed out the mortise and the airway in the shank and the stem with alcohol, cotton swabs and pipe cleaners. He scrubbed the exterior of the bowl, rim, shank and stem with a tooth brush and Murphy’s Oil Soap to remove the oils and tars on the rim and the grime on the finish of the bowl. He rinsed it under running water. He dried it off with a soft cloth. He was able to remove the lava build up on the rim top and the flat surface of the rim looked very good. The inner edge of the rim has some serious burn damage on the front right side. The outer edge looked very good. He soaked the stem in Before & After Deoxidizer and rinsed it with hot water. I took photos of the pipe to show its condition before I started my work on it. 
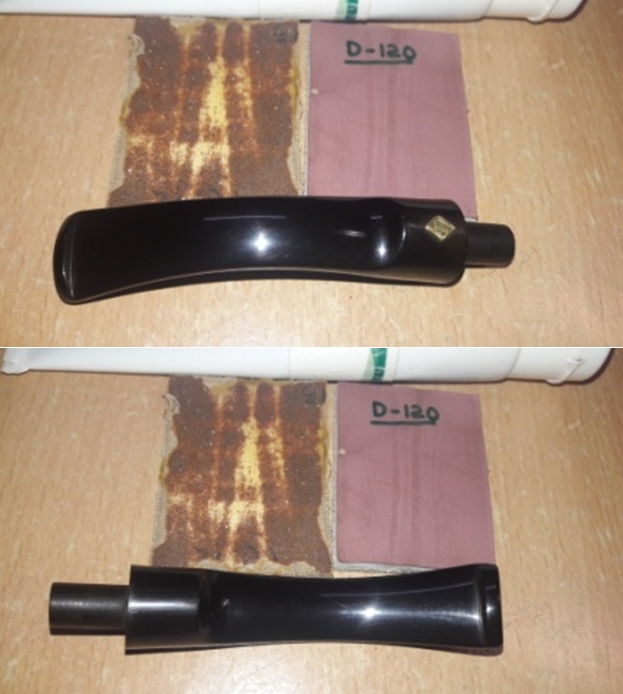
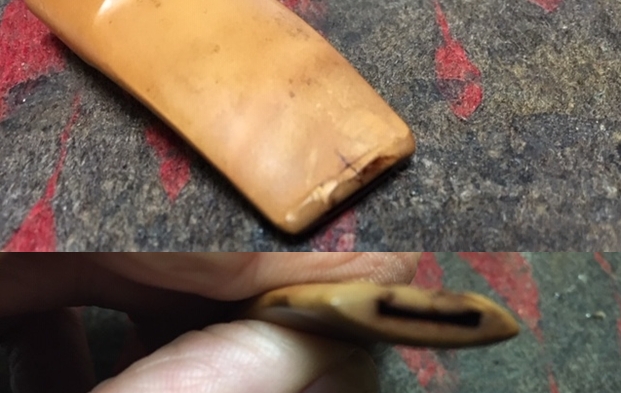
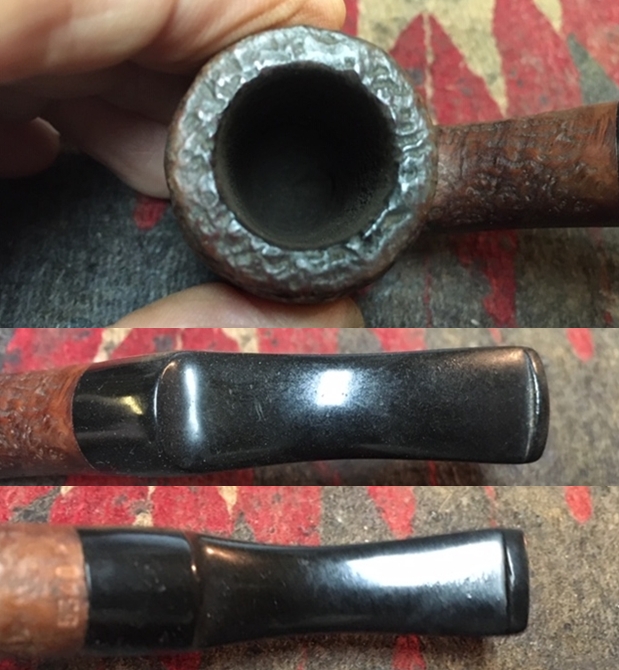
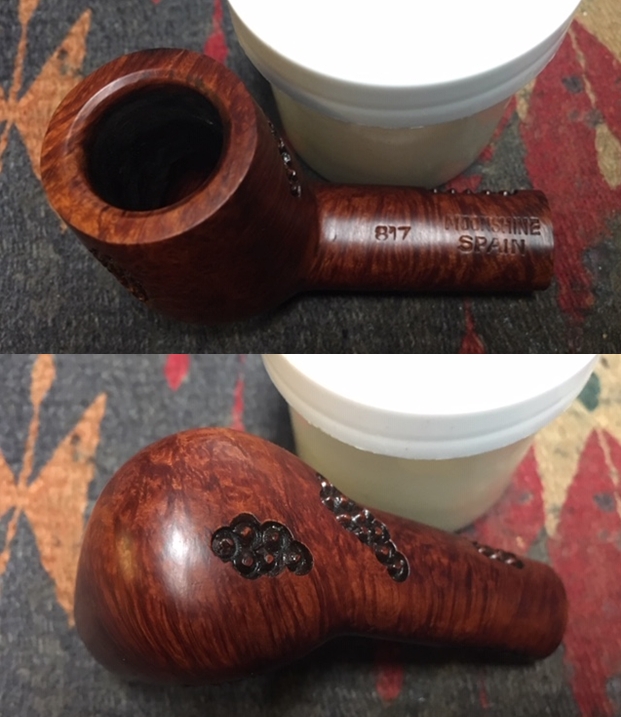
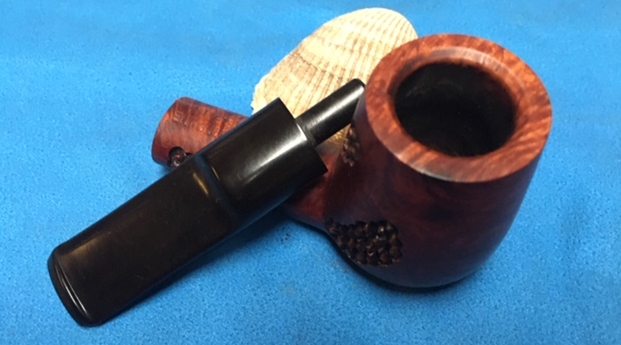
 I took close up photos of the bowl and rim top as well as the stem. You can see the condition of the rim top and bowl in the first photo. Jeff was able to remove all of the tar and oils but you can now see the damage on the inside rim edge. The edge is out of round. There is a burn mark that extends across the front and the back edge of the rim top at that point. The vulcanite stem had tooth chatter on both sides near and on the button surface there was also a large deep bite mark on the underside of the stem.
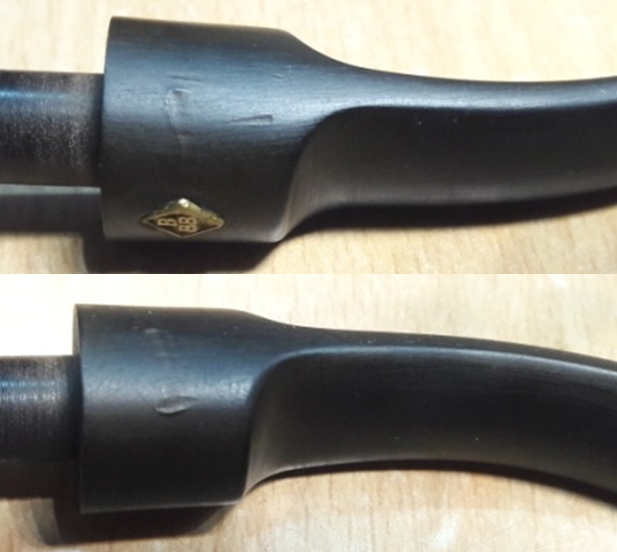
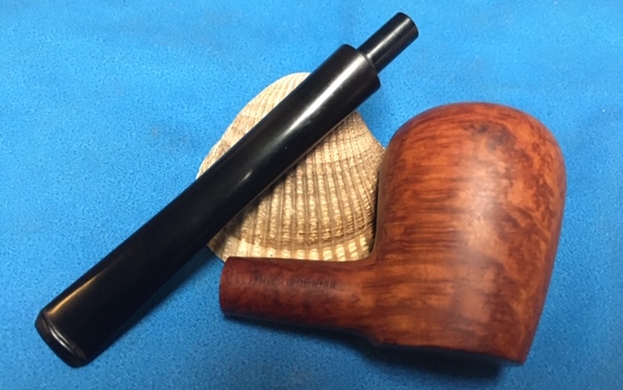
 I took a photo of the stamping on the shank to show how good the condition is. It shows the “MALAGA” stamp on the left side and Imported Briar on the right side. The stamping is very legible.
 I decided to address the rim top first. I topped the bowl on a topping board with 220 grit sandpaper. I wanted to remove the damage on the top front edge and remove the darkening all the way around the inner edge of the bowl. I took a close up photo the rim top before I started to give a clear picture of the condition of the pipe.
 I used a folded piece of 220 grit sandpaper to clean up the damage on the right rear inner edge of the bowl. I gave the inner edge a slight bevel to repair the damage. I polished the edge with 400 grit wet dry sandpaper. The rim top and edges really looked better.
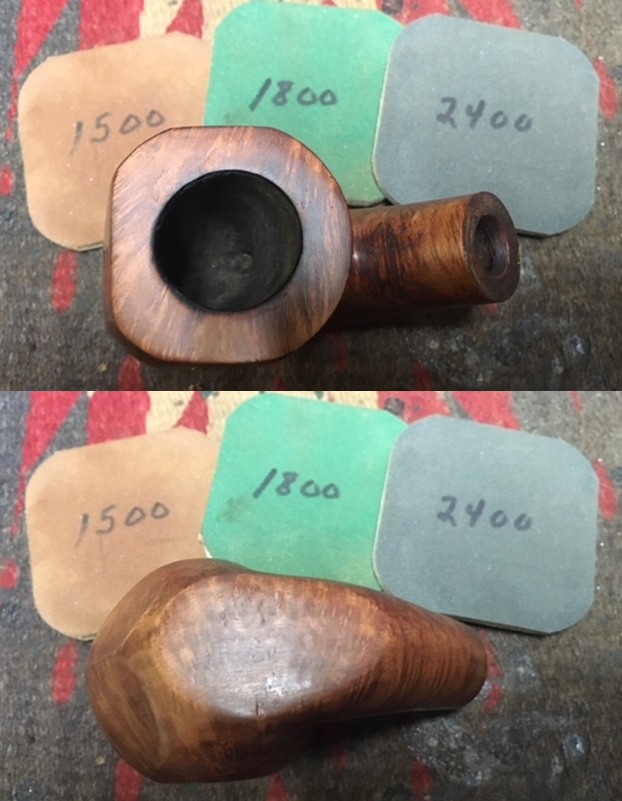
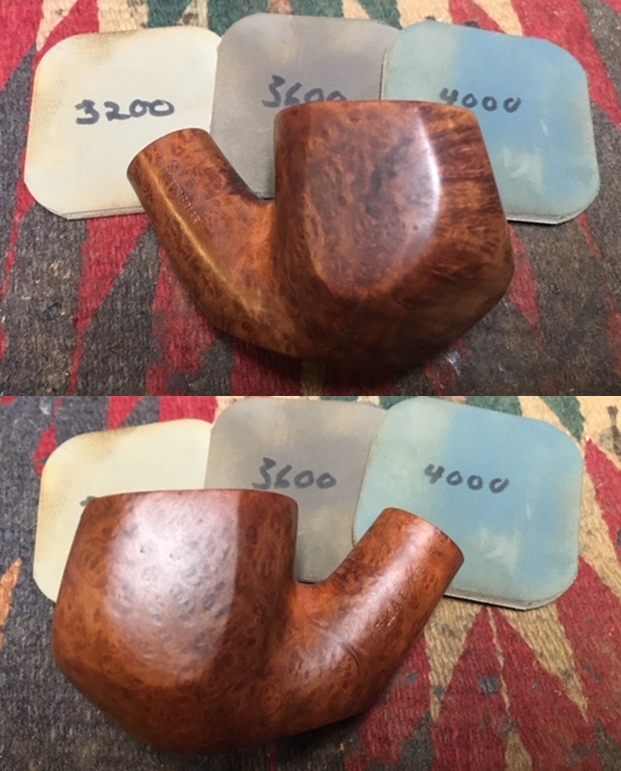
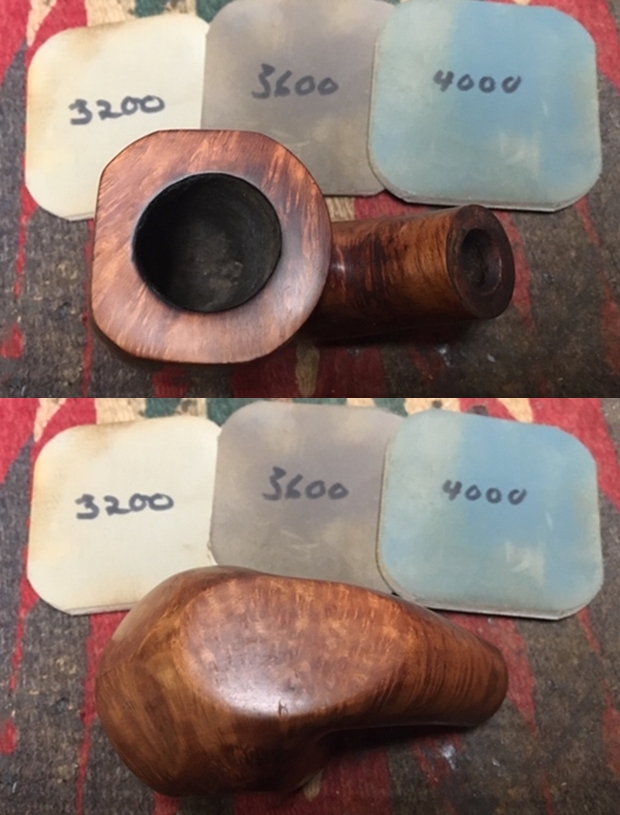
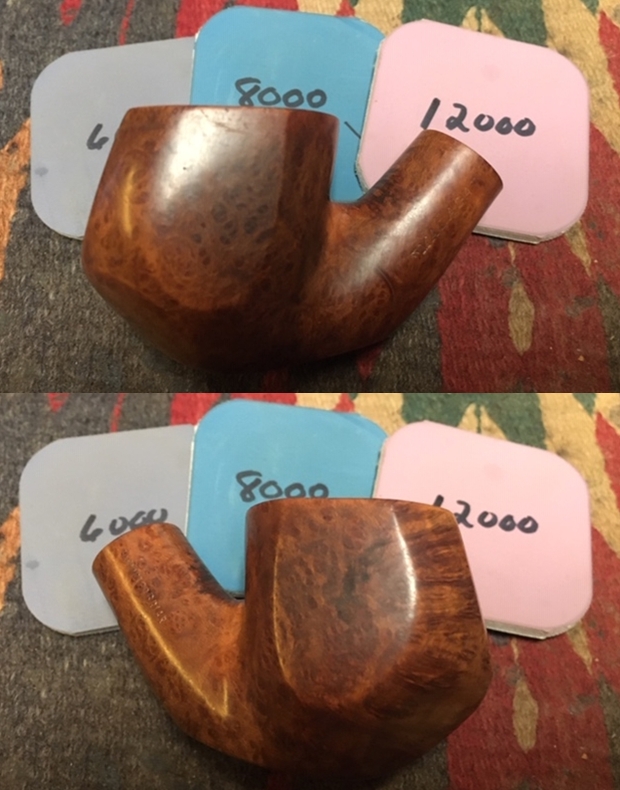
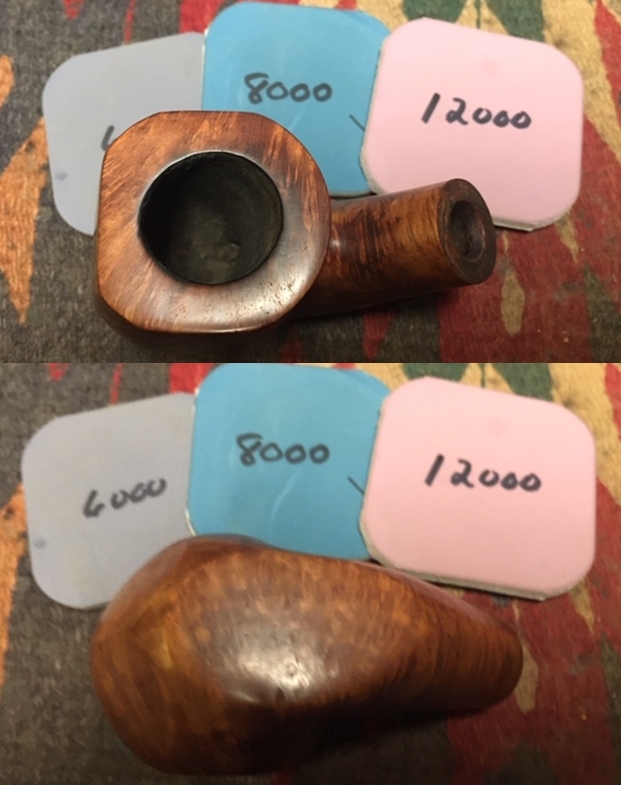
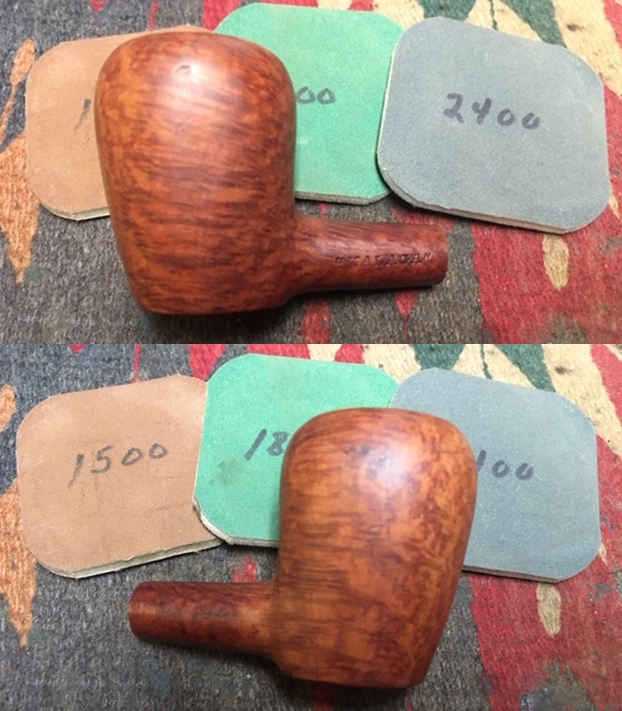
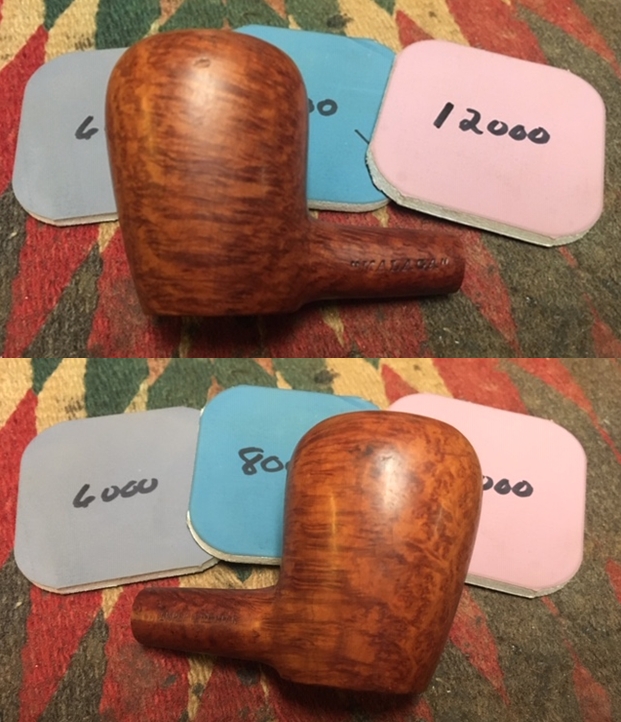
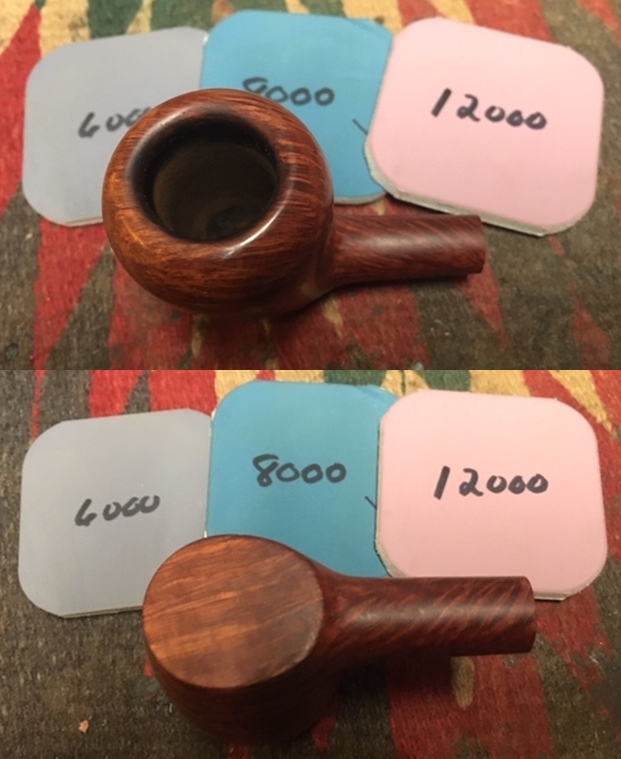
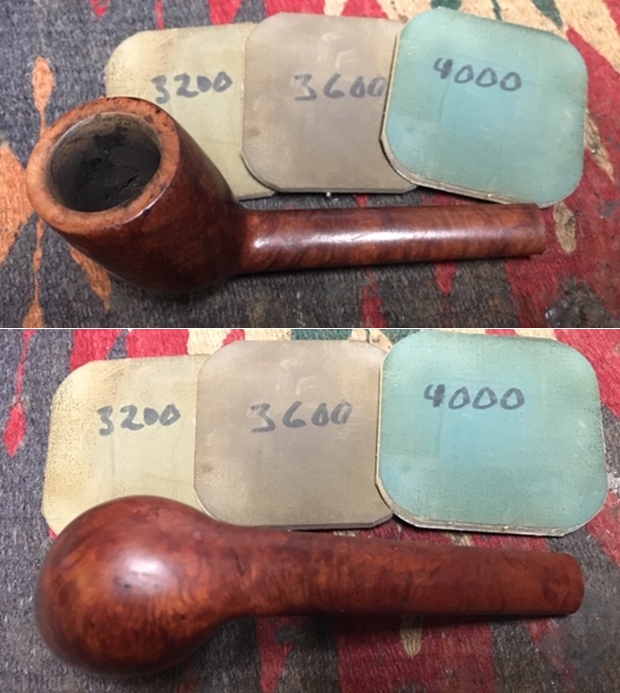
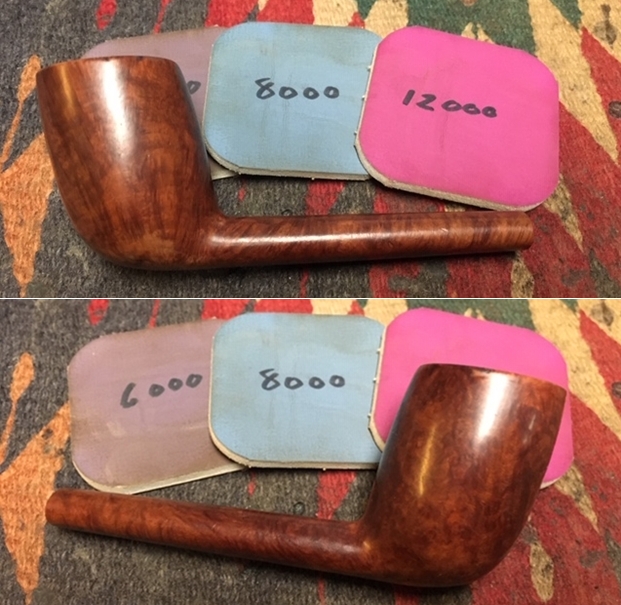
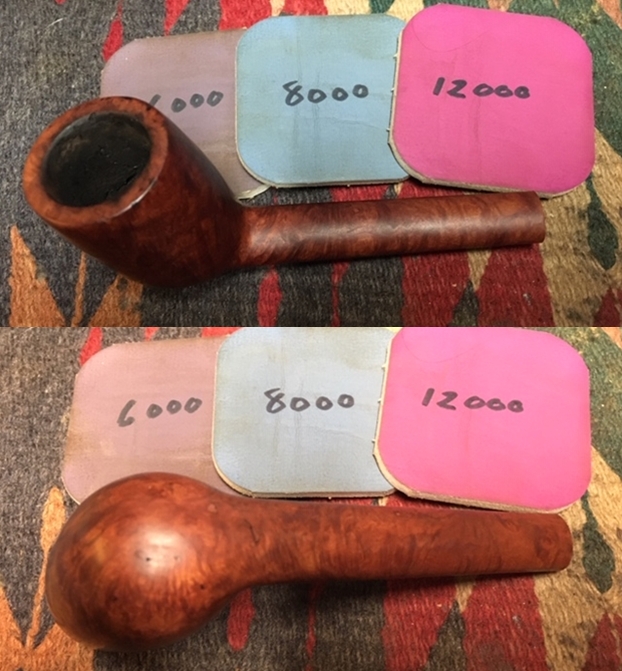
 I polished the rim top and the briar with micromesh sanding pads. I wet sanded the bowl with 1500-12000 grit sanding pads. I wiped the bowl down after each pad with a damp cloth to remove the sanding dust.


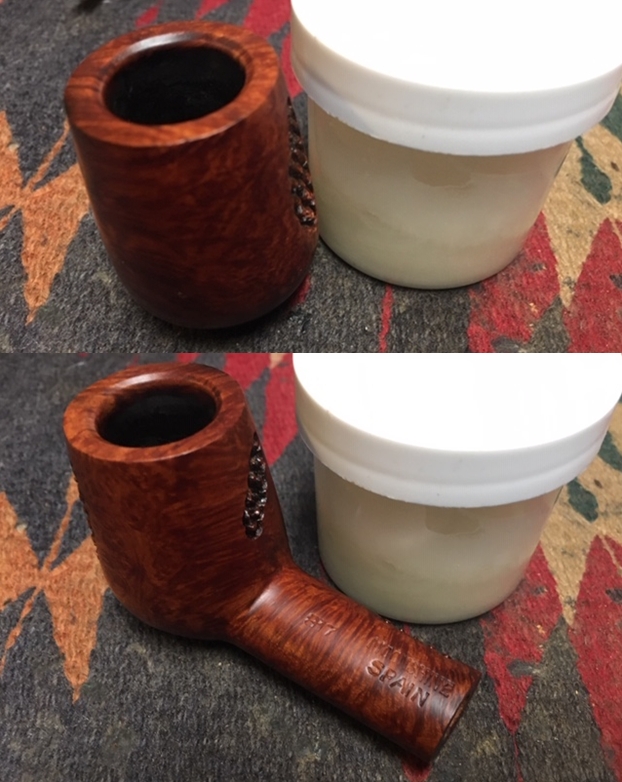
 I restained the rim top and edges with an Oak Stain Pen. I was able to blend it into the rest of the bowl.
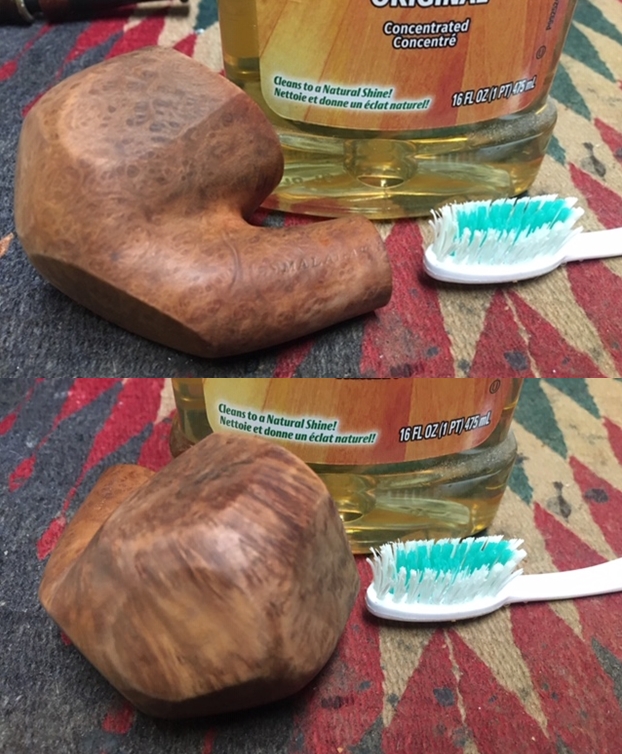
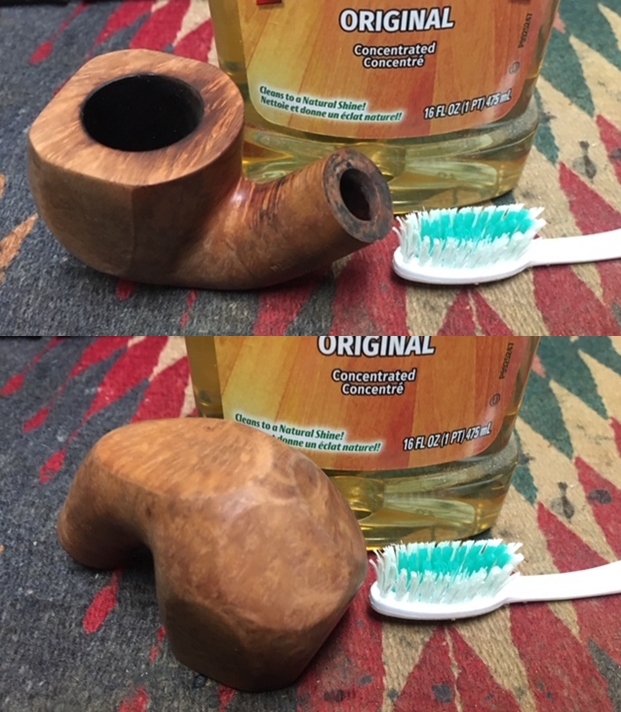
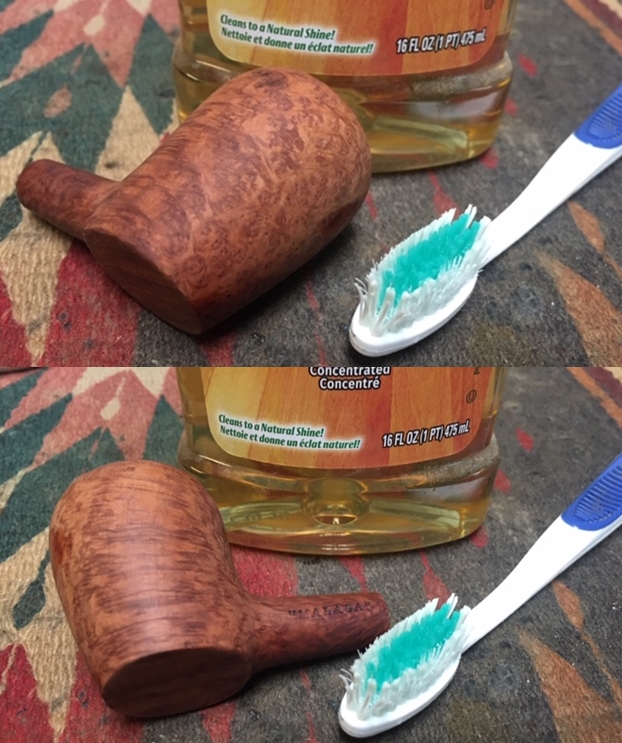
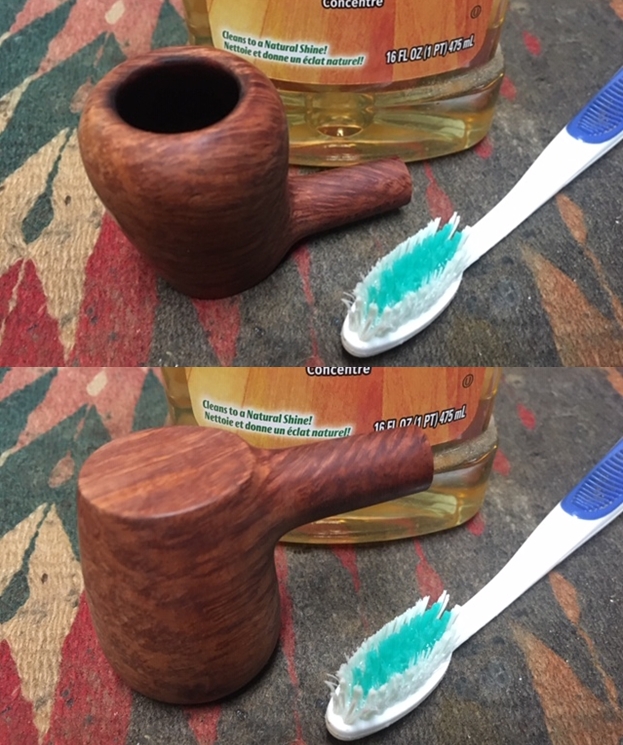
  I scrubbed the briar with Murphy’s Oil Soap and a tooth brush. I rubbed it into the surface of the briar with my finger tips and let it sit for a few minutes then scrubbed it off with a tooth brush and running water. I dried it off with a soft cloth.
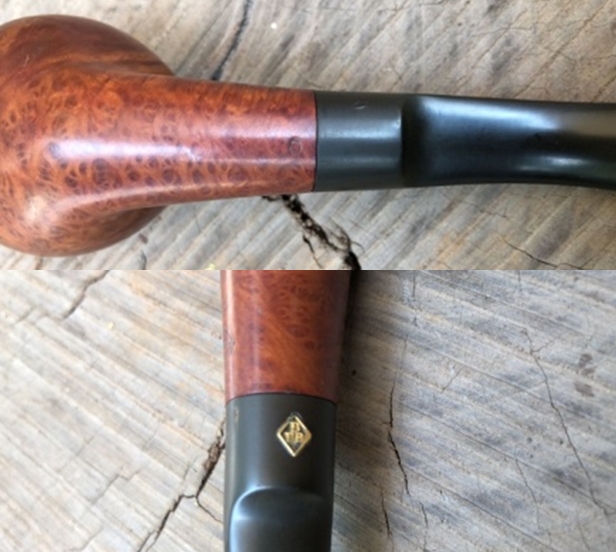
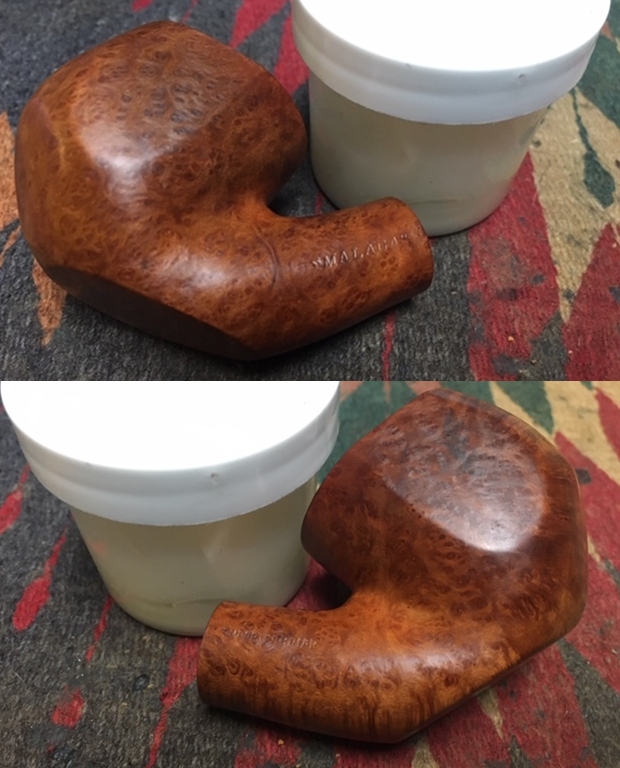
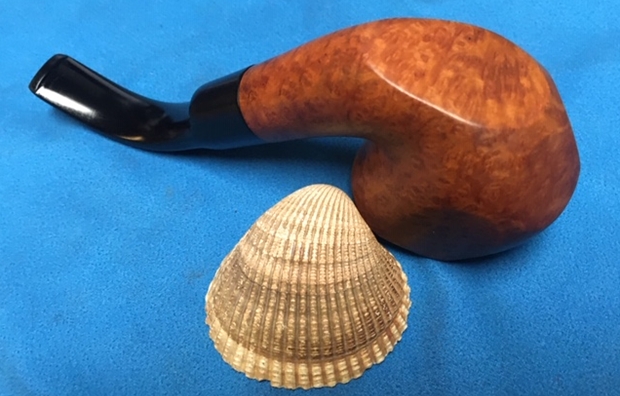
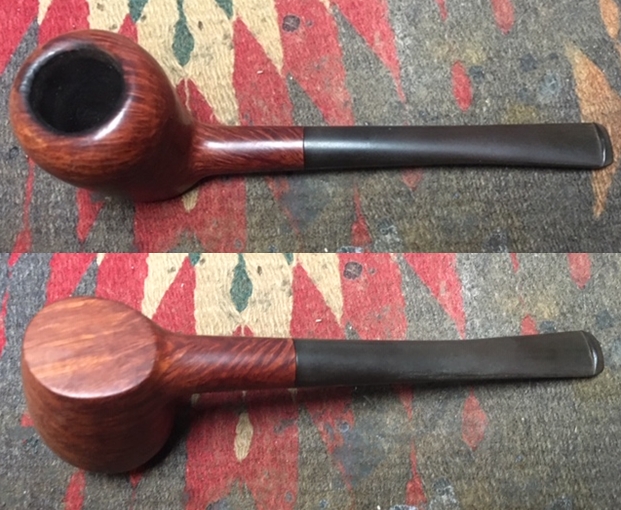
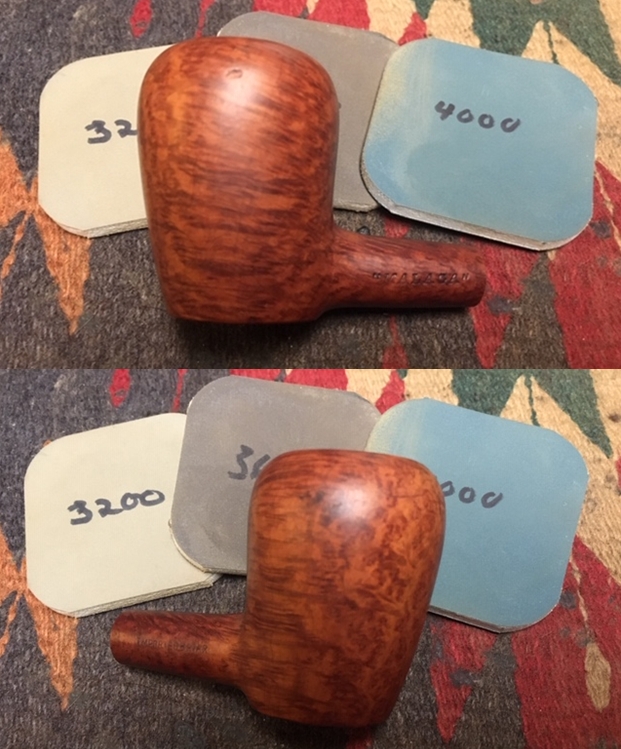
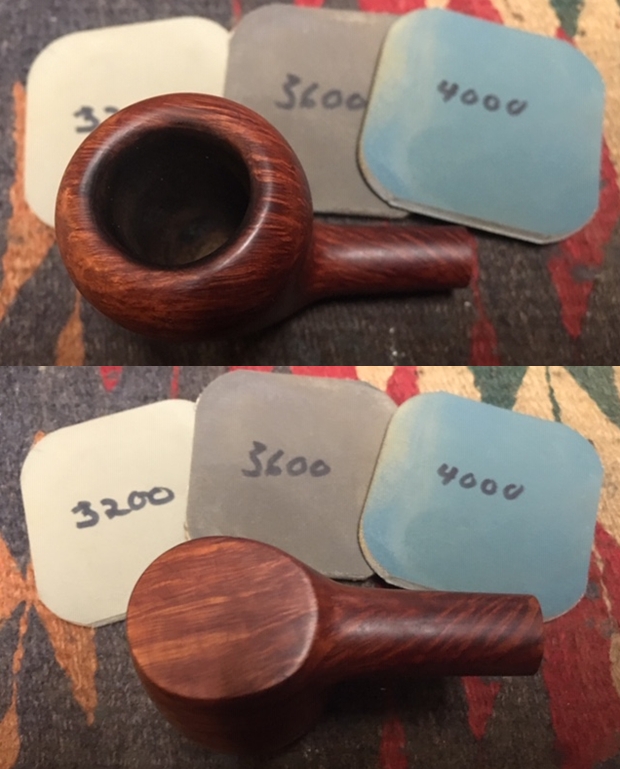
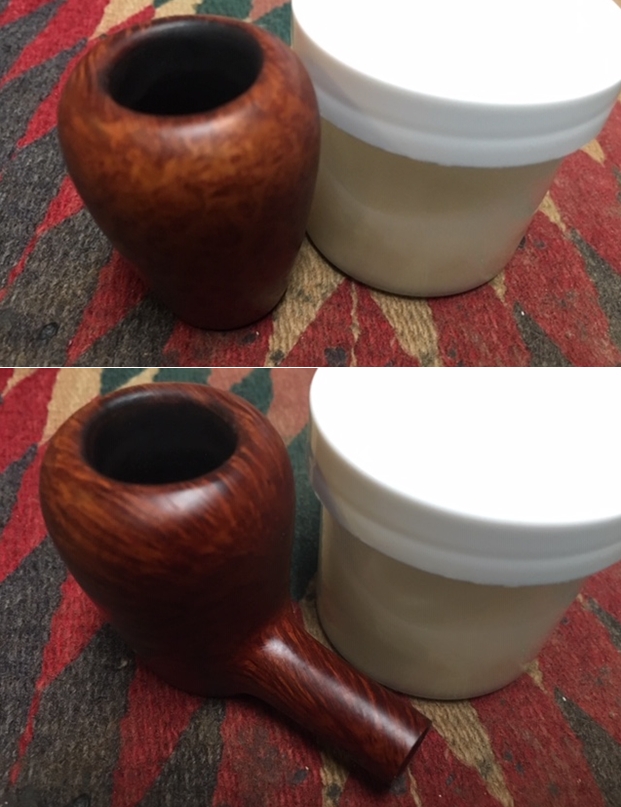
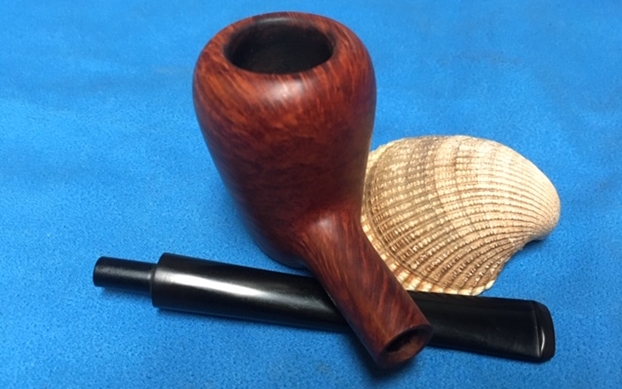
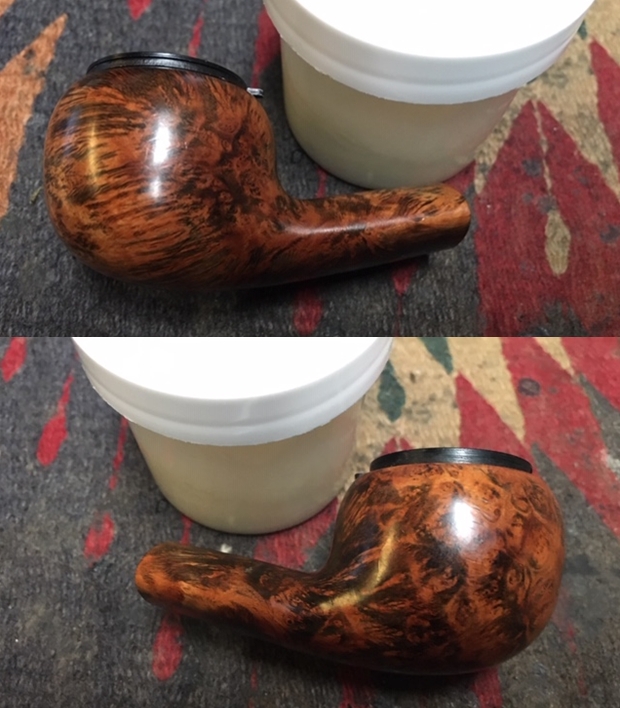
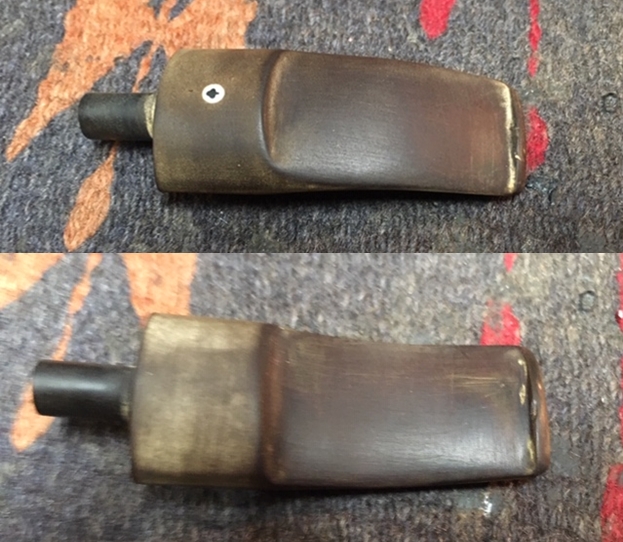
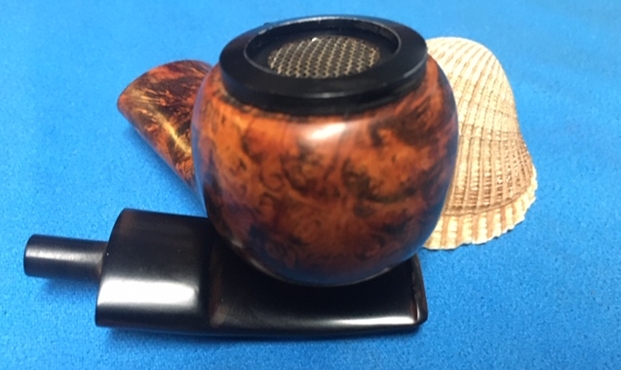
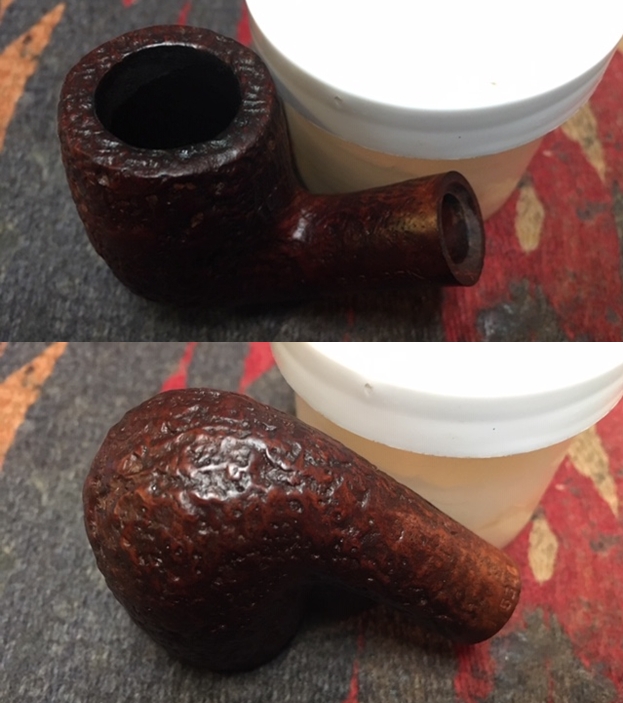
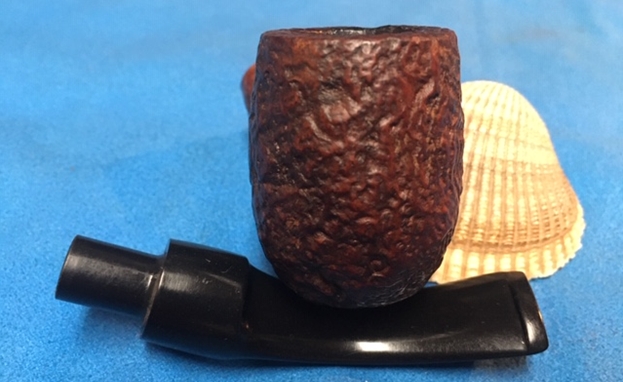
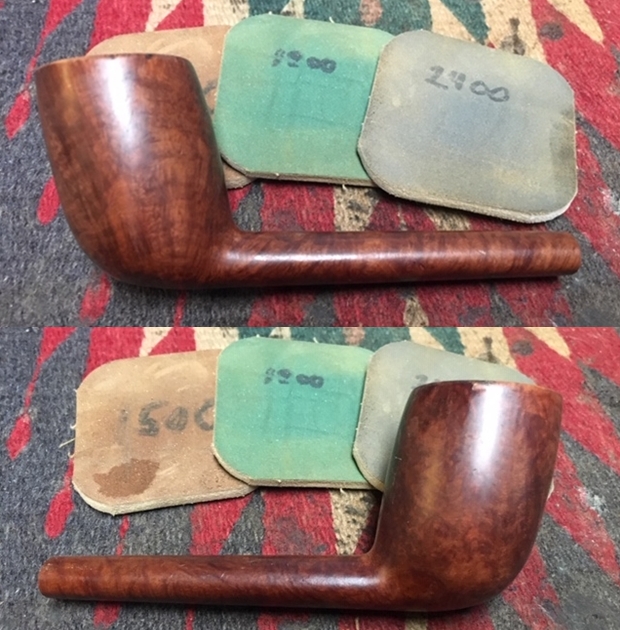
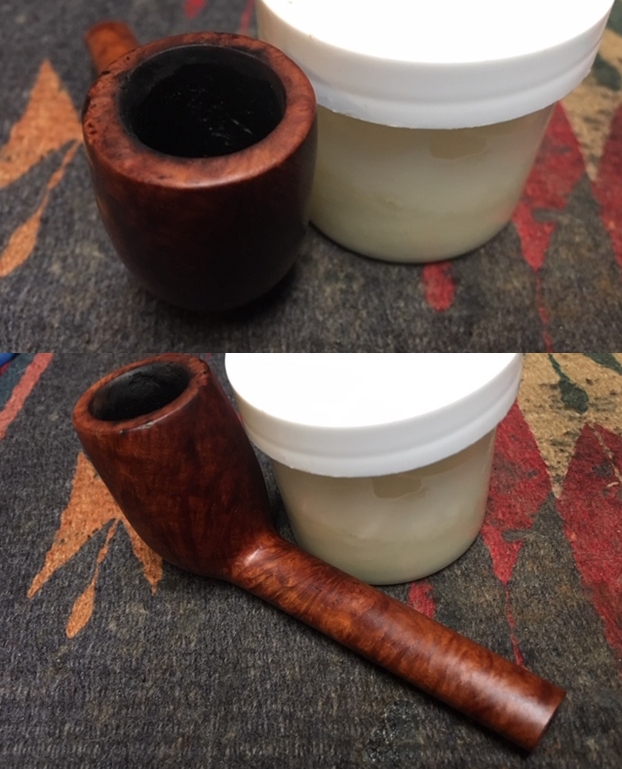
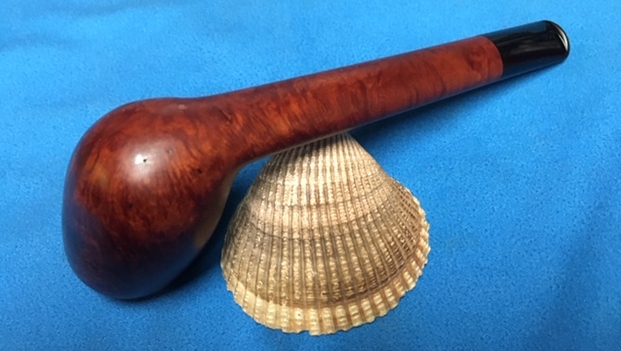
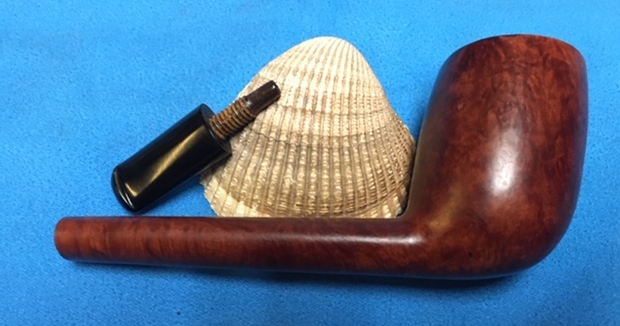
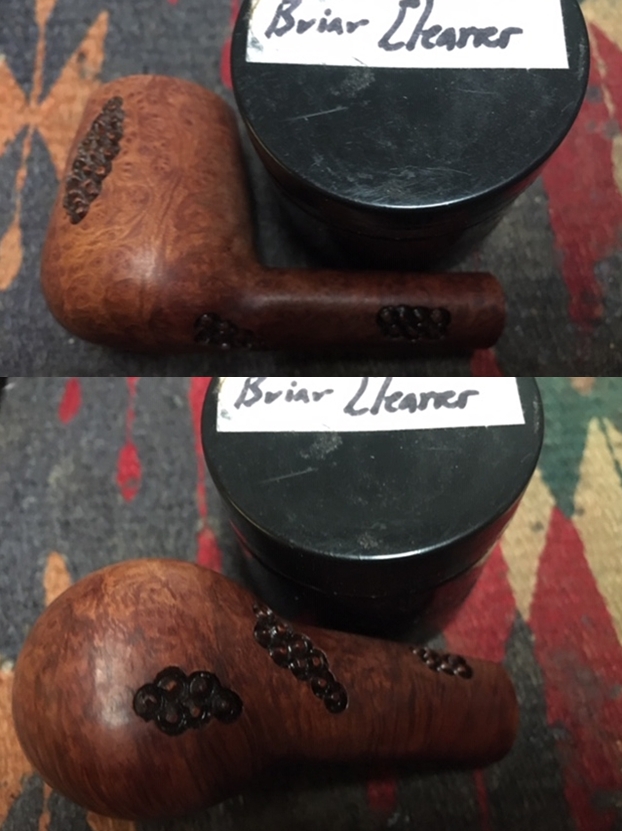
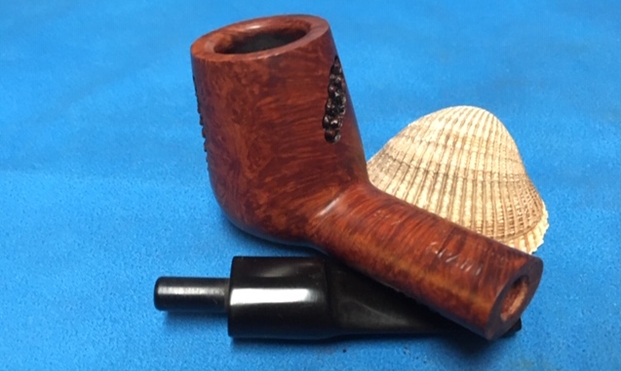
 I worked some Before & After Restoration Balm into the surface of the briar with my fingertips to clean, enliven and protect it. I let the balm sit for a little while and then buffed with a cotton cloth to raise the shine. The following photos show the bowl at this point in the restoration process. I am very happy with the results.

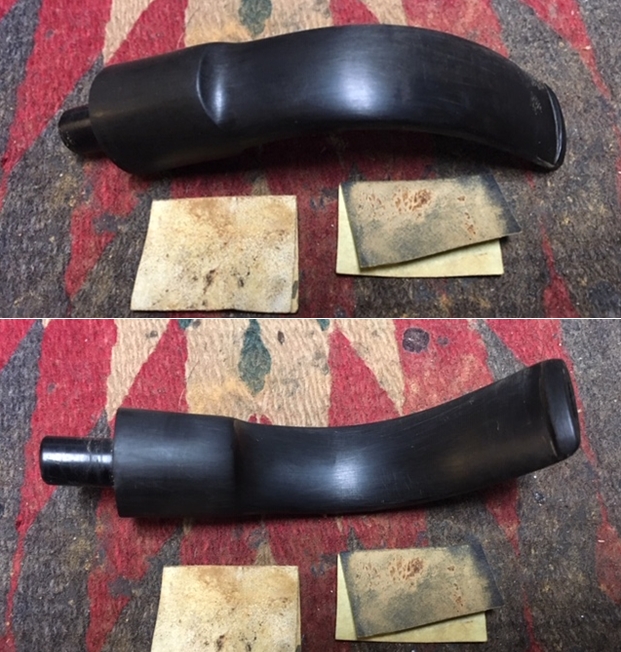
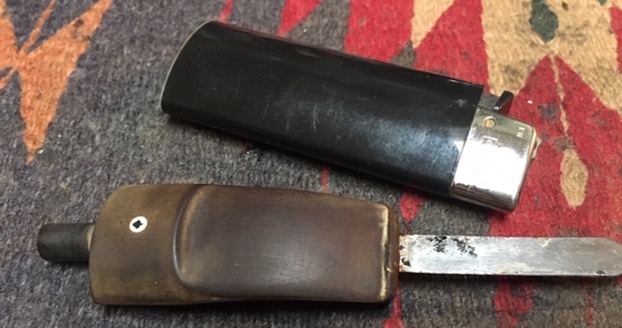
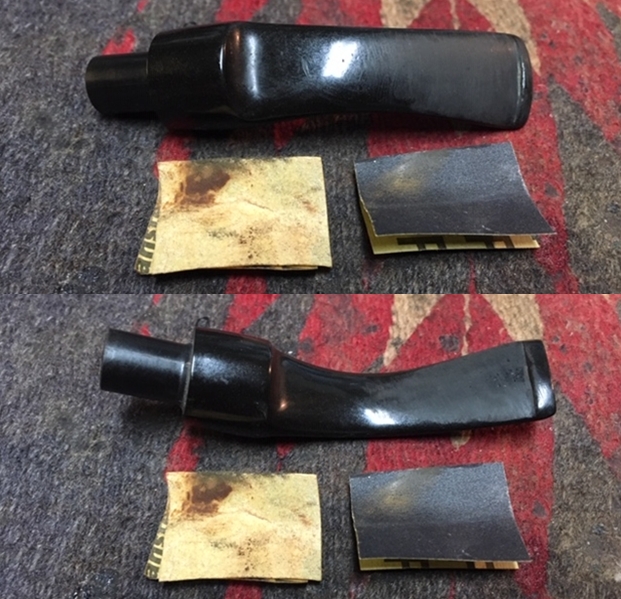
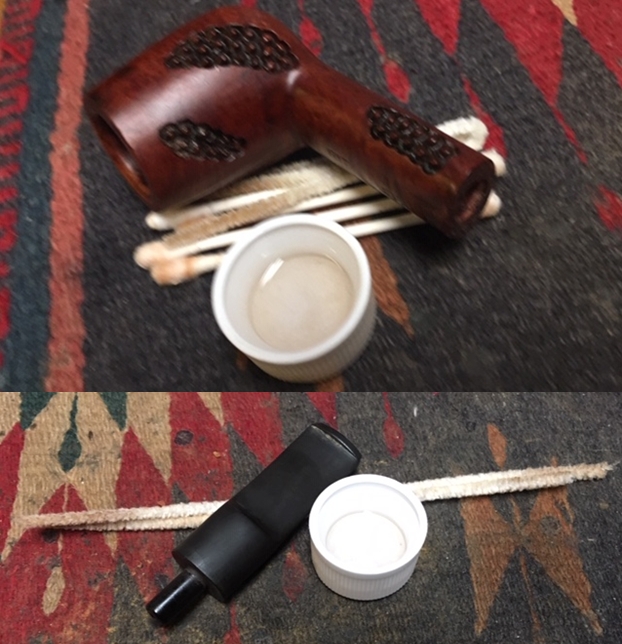
 I turned to the stem to address the issues on the surface of both sides at the button. I used a needle file to recut the edges of the button. They had been chewed to the point of no edge remaining so I used the file to cut it and sharpen the edges. I smoothed out the top and bottom surfaces of the button on both sides.
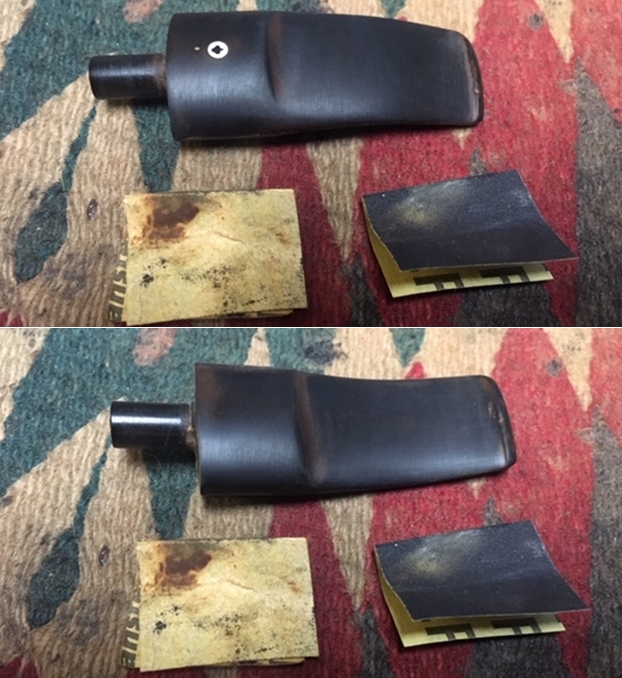
 Once I had the button edge reshaped I decided to address the tooth marks and dents in the button and just ahead of the button. I “painted” the surface of the stem with the flame of a lighter to lift the tooth chatter and marks. The light marks on the top side disappeared quickly and the larger indentation on the underside lifted until the remaining small marks could be dealt with by sanding the stem.
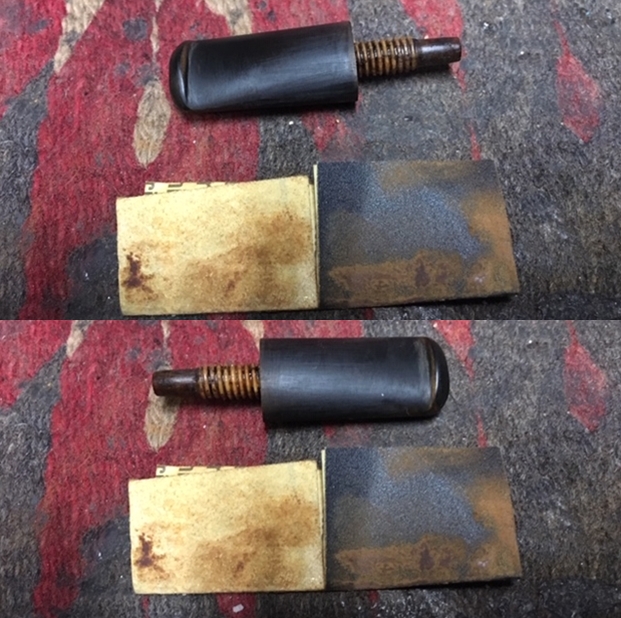
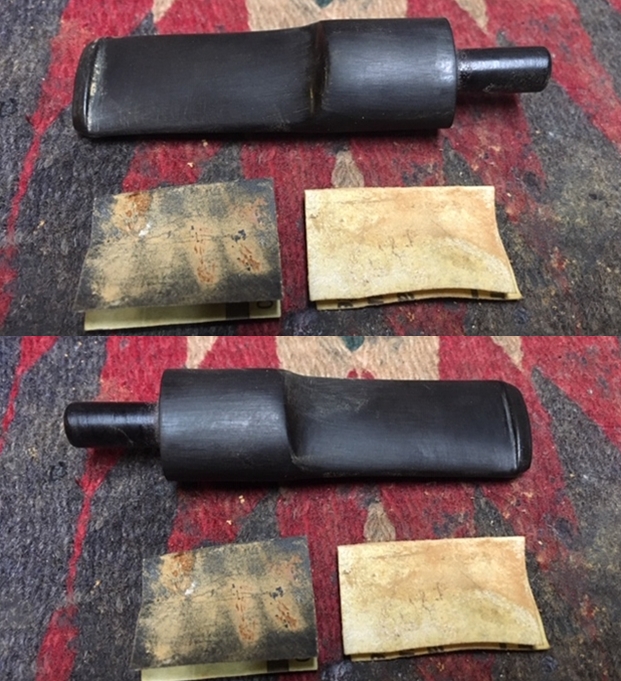
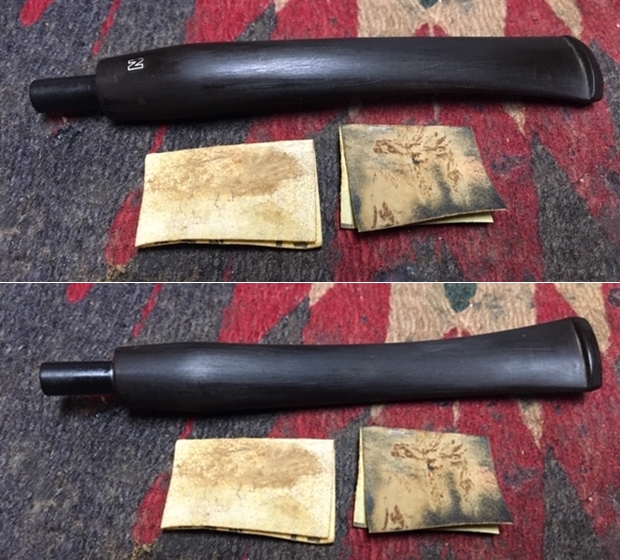
 I sanded both sides smooth with 220 grit sandpaper to remove the deep oxidation on the surfaces. I finished this initial polishing with 400 grit sandpaper to smooth out the scratches in the stem surface. As I sanded and reshaped the button and stem surface the stem began to look very good.
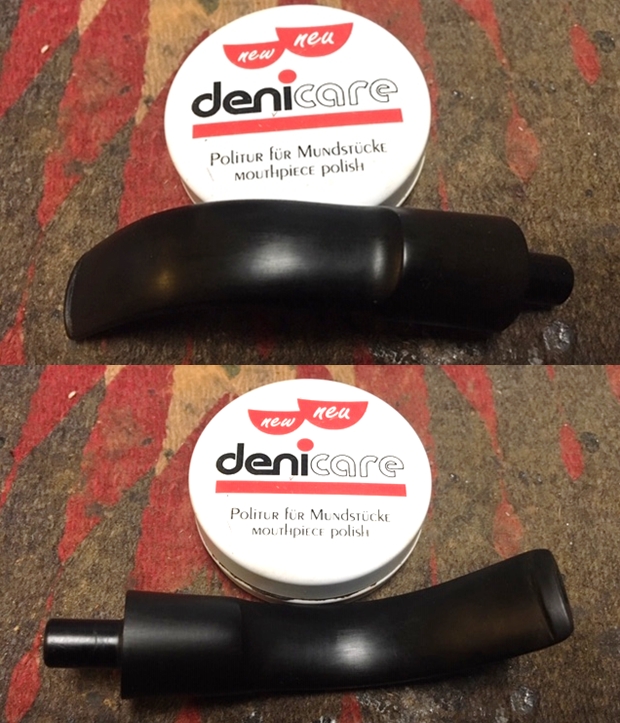
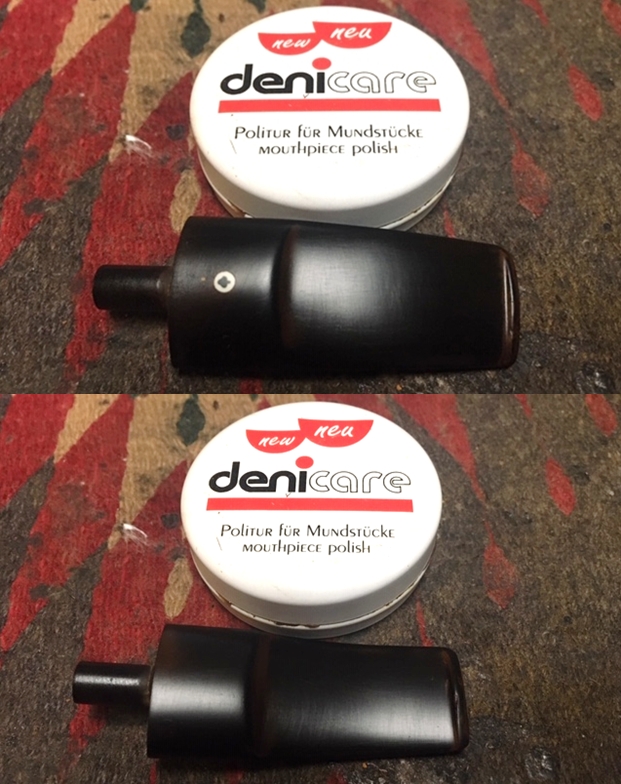
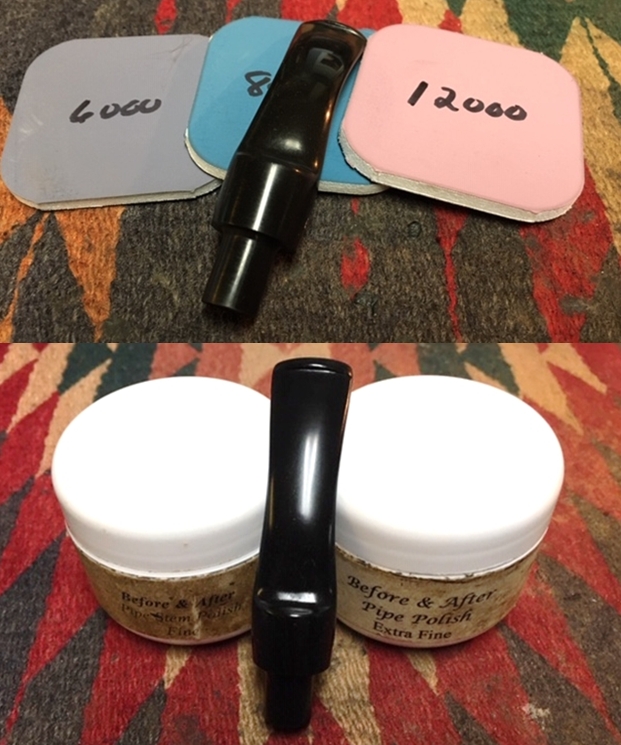
  I polished the stem with Denicare Mouthpiece Polish from a tin of it I have in the drawer here. It is a gritty red paste that I rub on with my finger tips and work into the surface of the stem and button and buff off with a cotton pad. It gives me a bit of a head start on the polishing work plus I have a tin to use up!
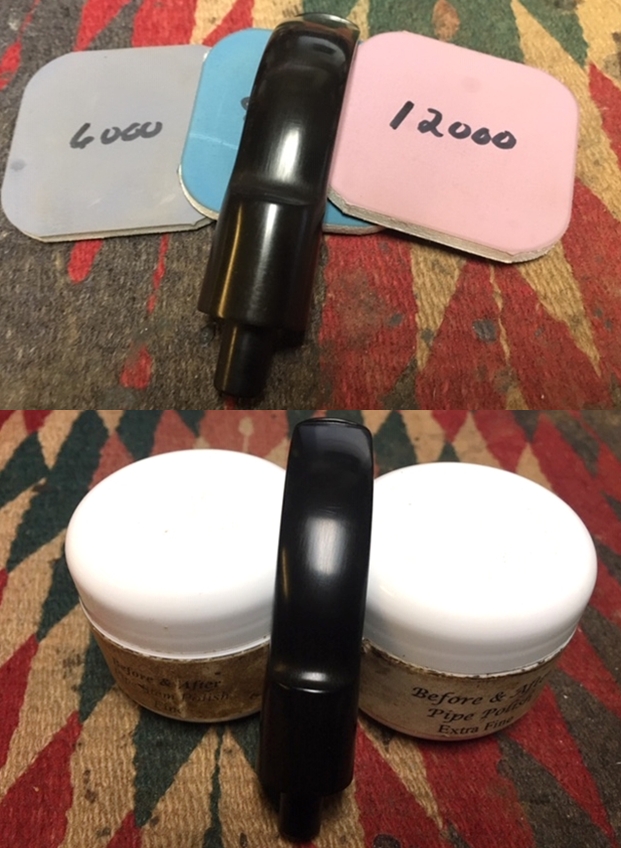
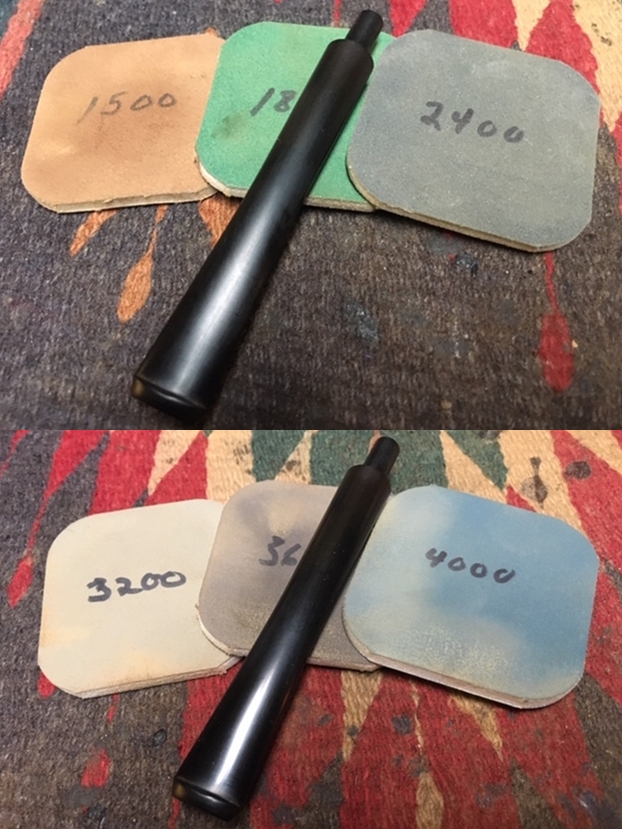
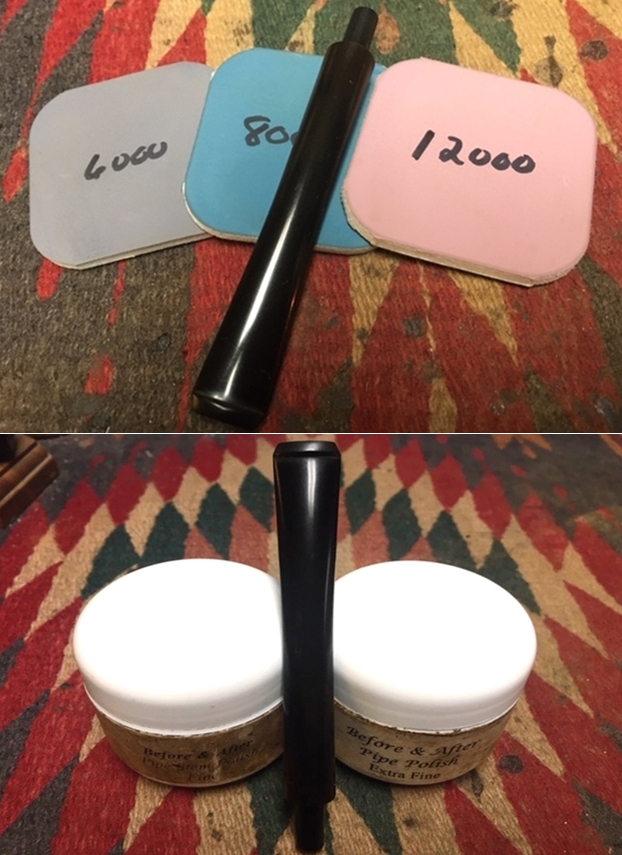
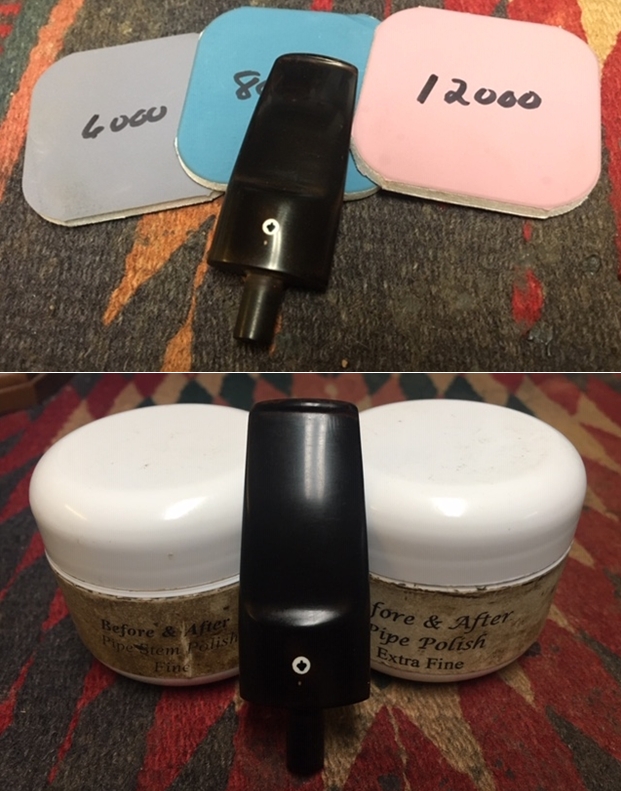
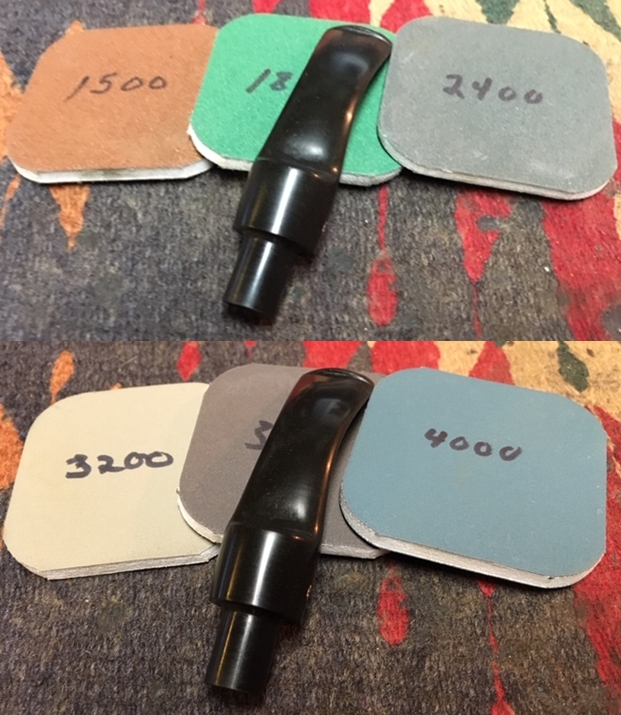
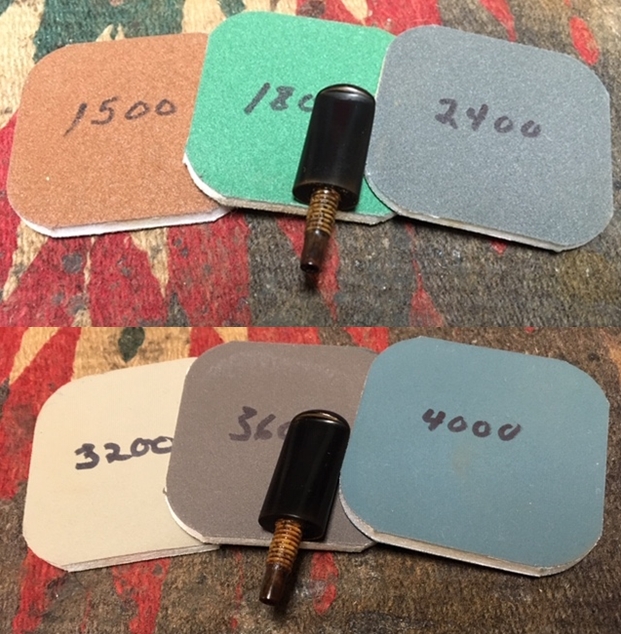
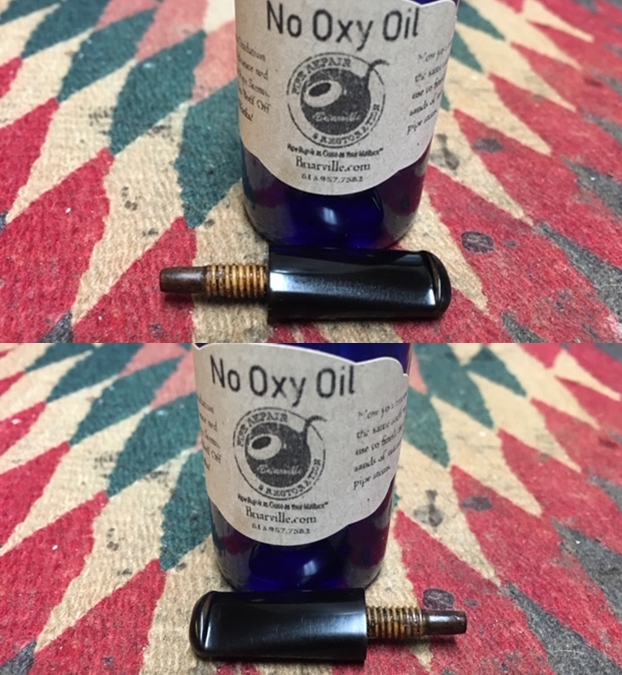
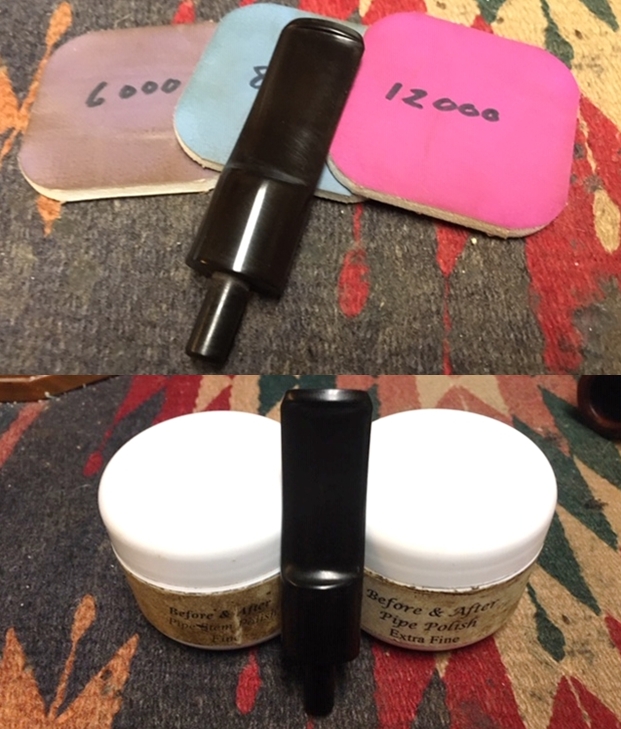
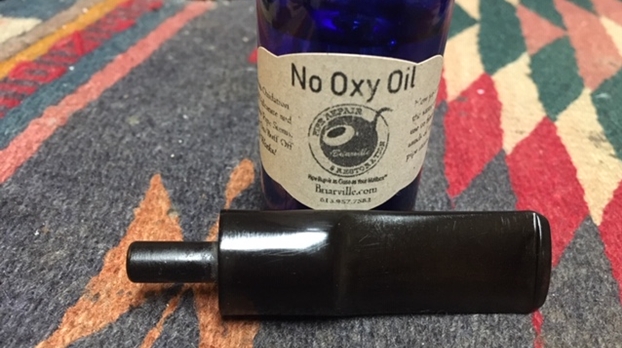
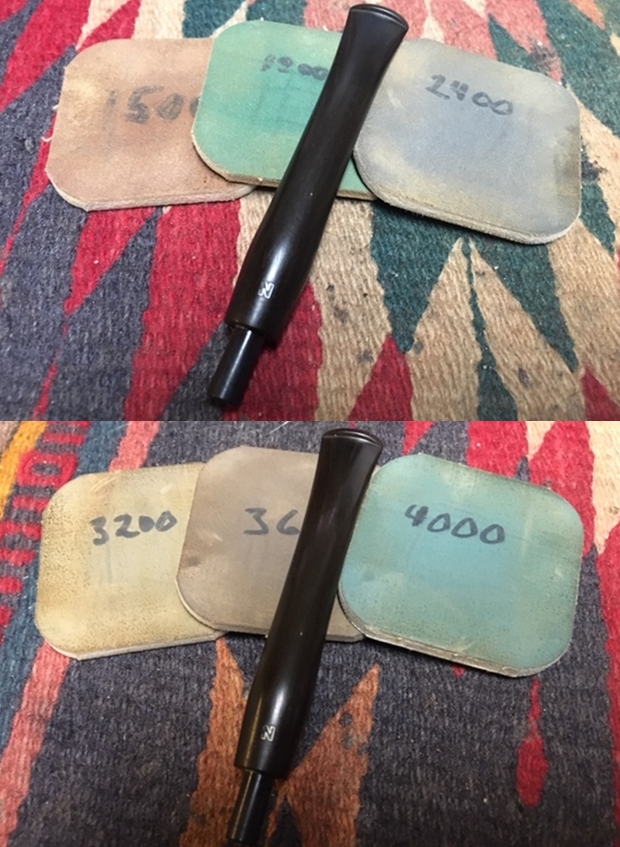
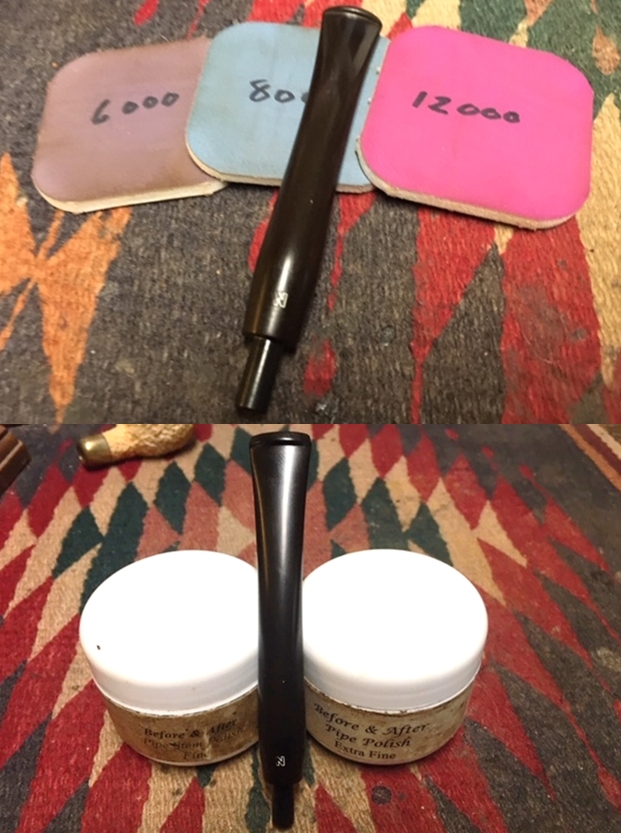
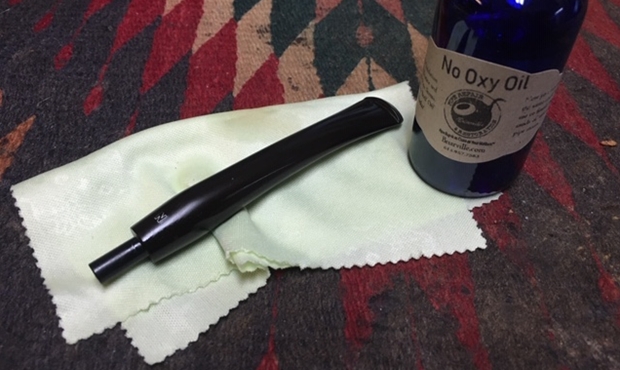
 I polished the stem with micromesh sanding pads – wet sanding with 1500-12000 grit sanding pads. I wiped it down after each sanding pad Obsidian Oil. I finished by polishing it with Before & After Pipe Stem Polish both fine and extra Fine and then wiped it down with a final coat of Obsidian Oil.
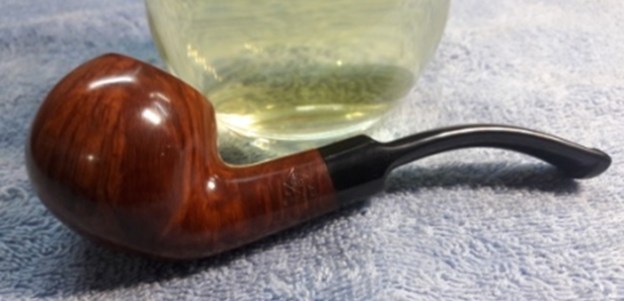
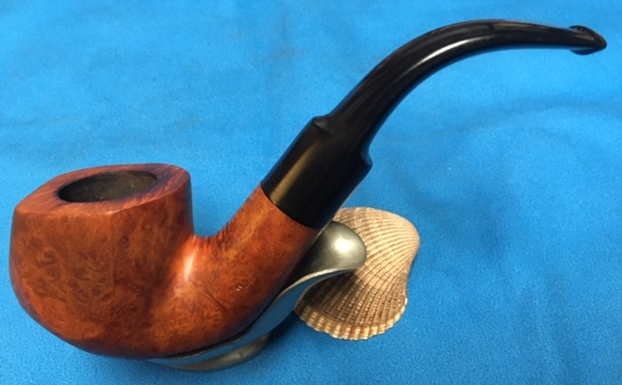
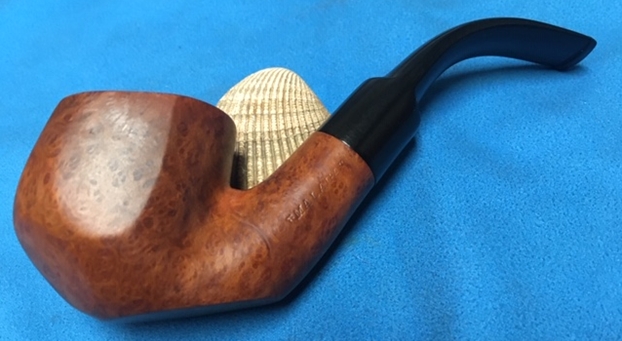
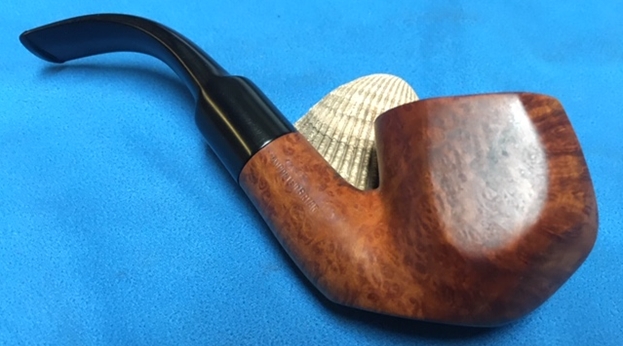
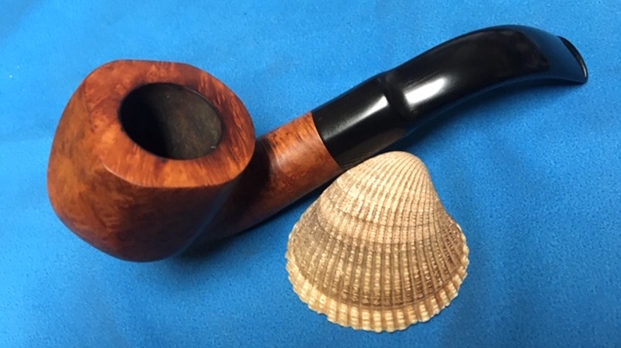
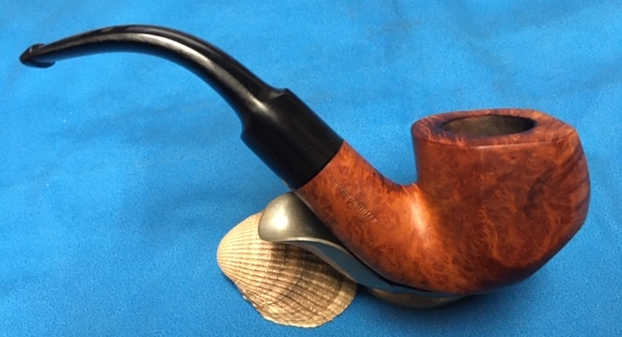
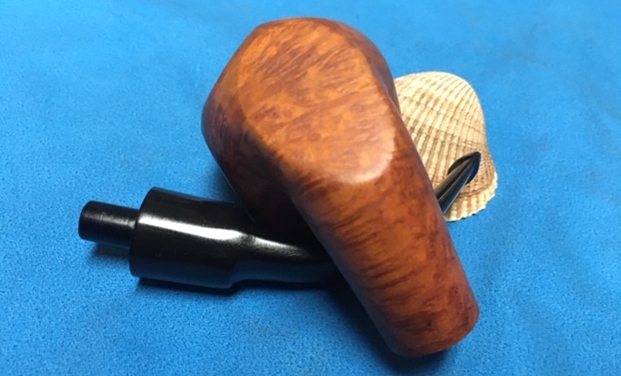
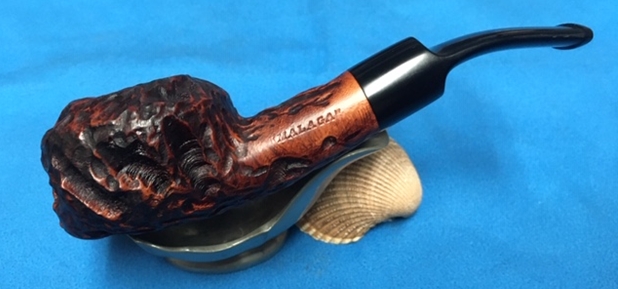
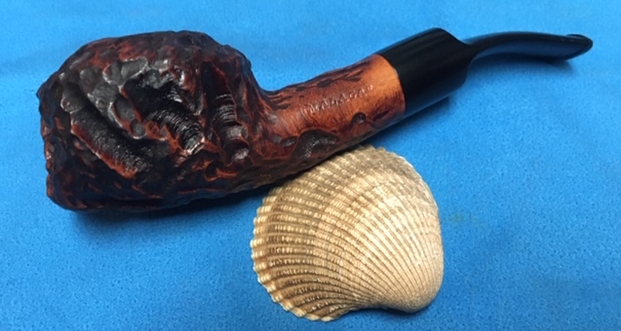
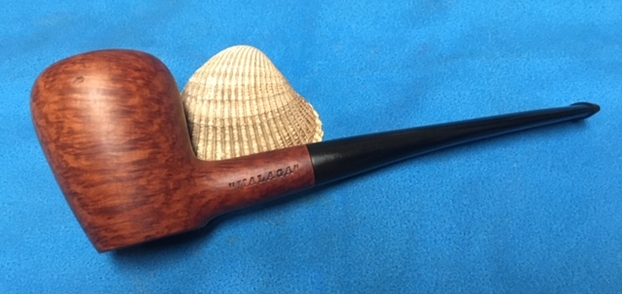
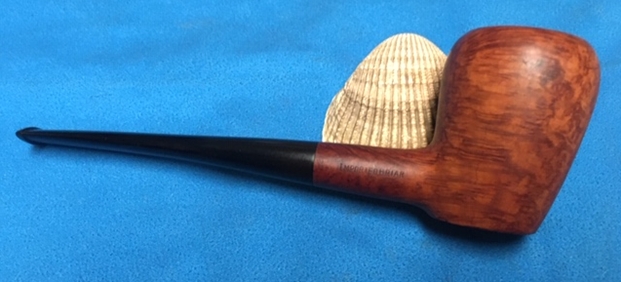
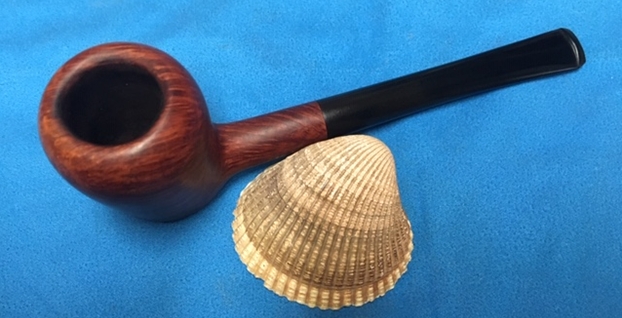
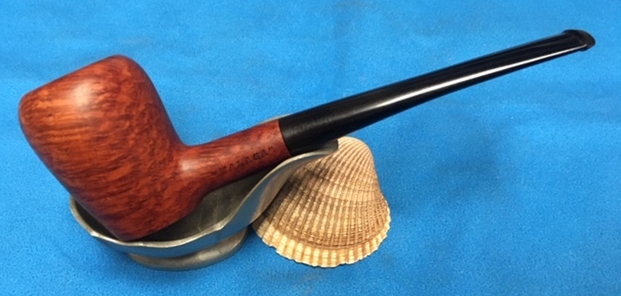
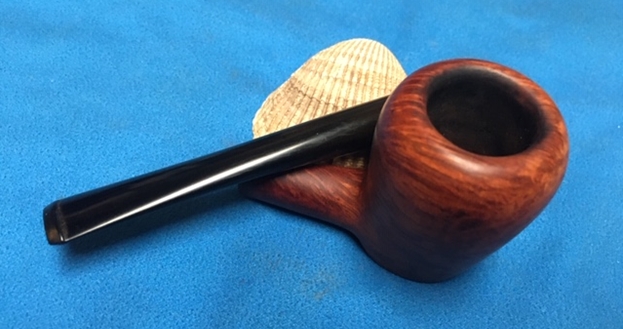
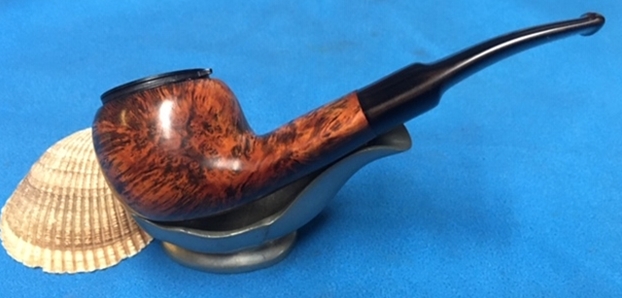
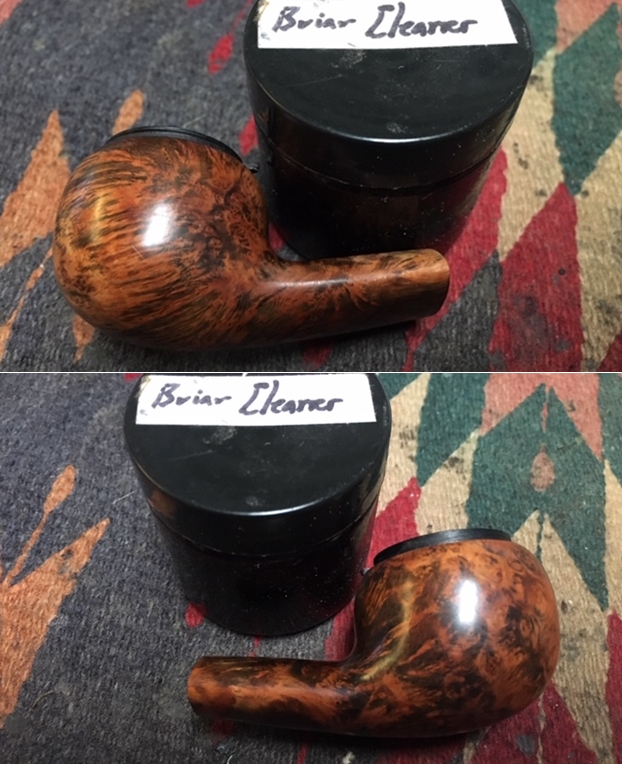
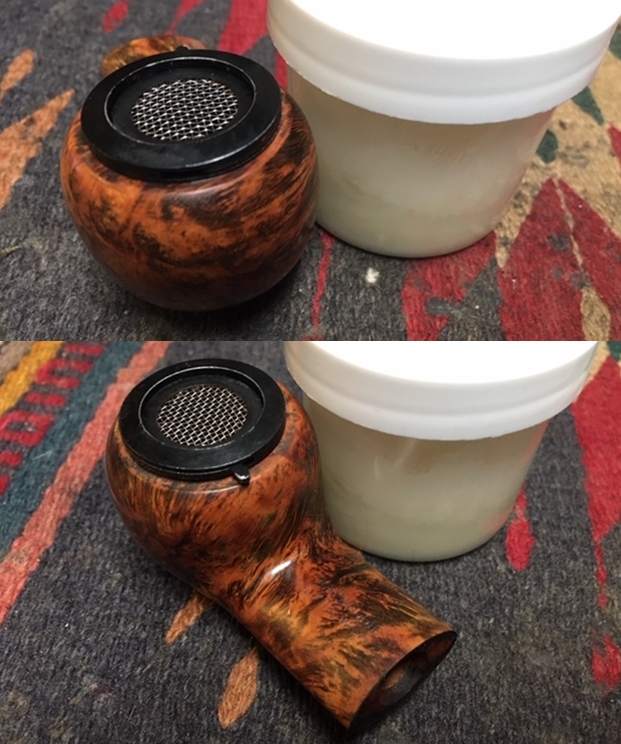
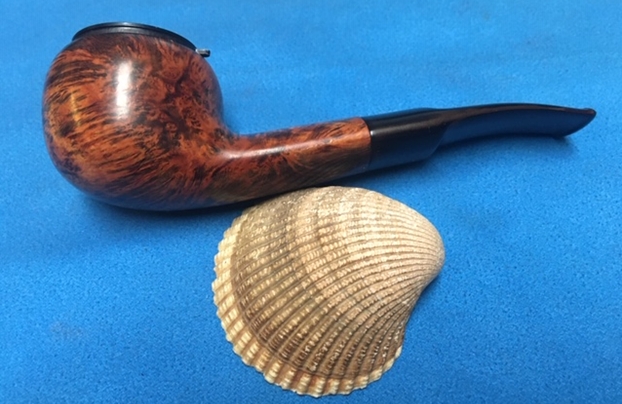
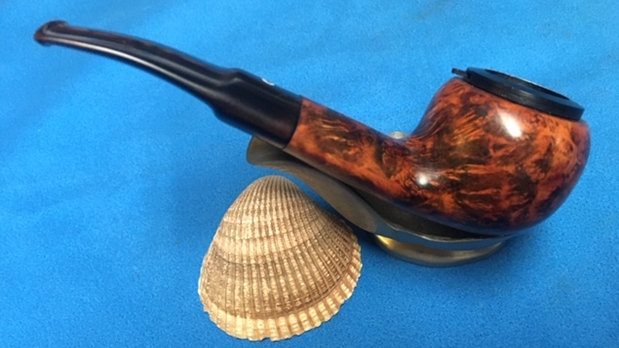
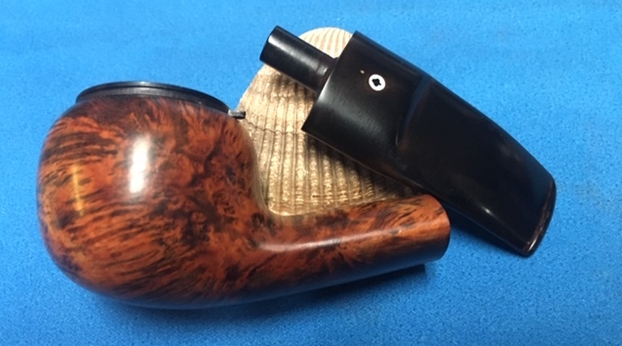
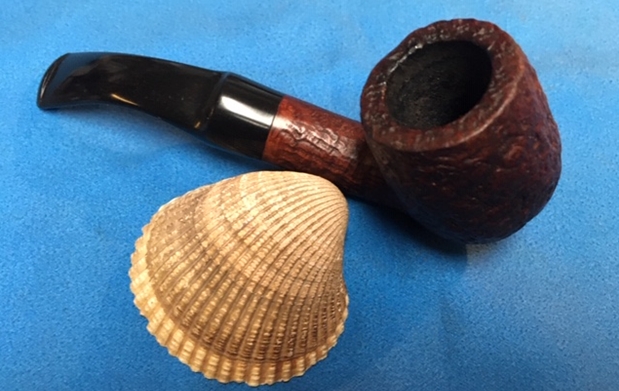
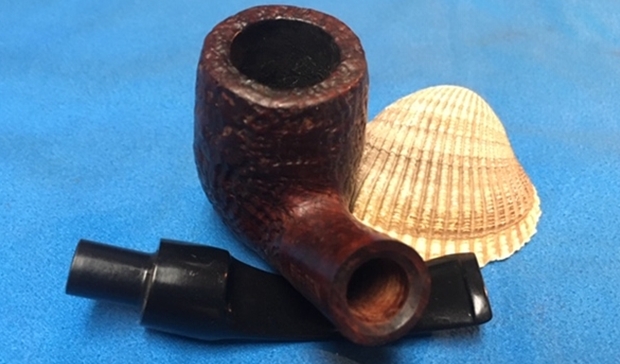
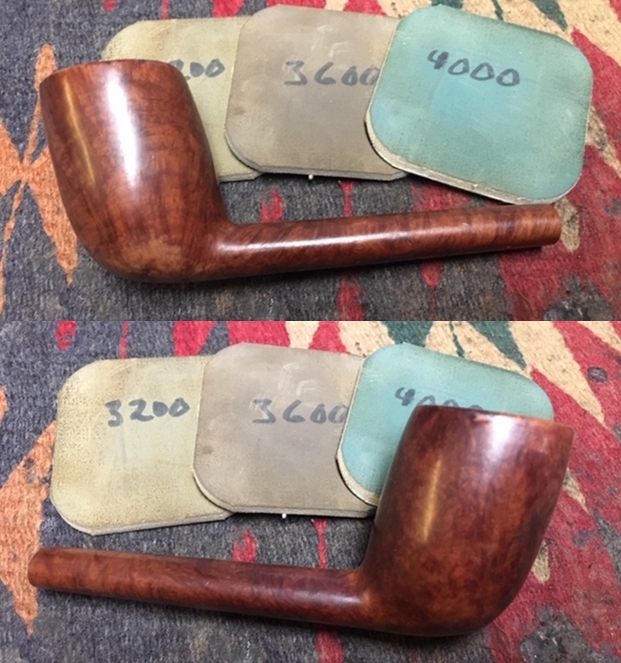
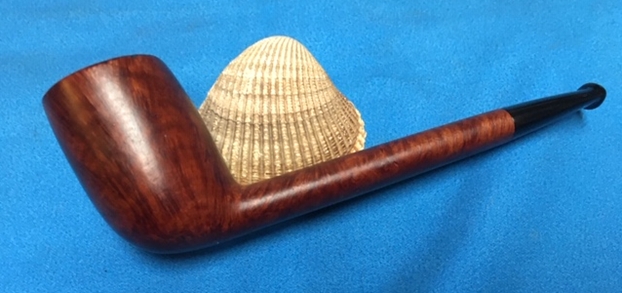
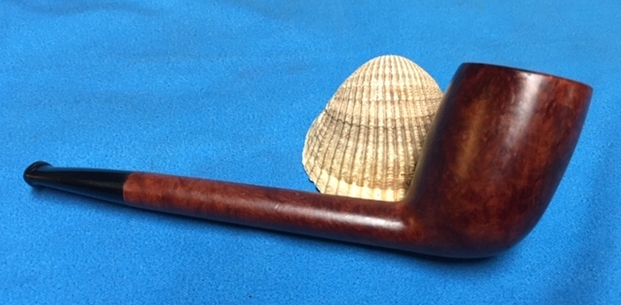
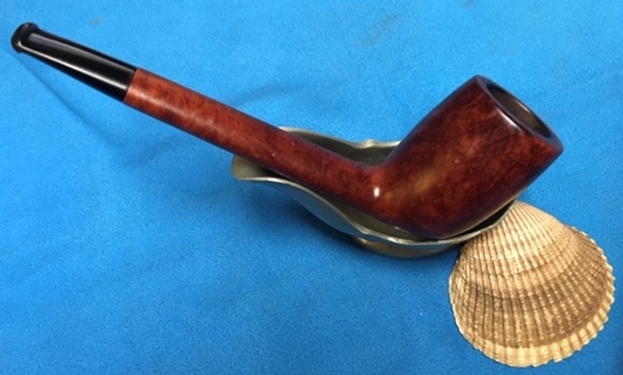
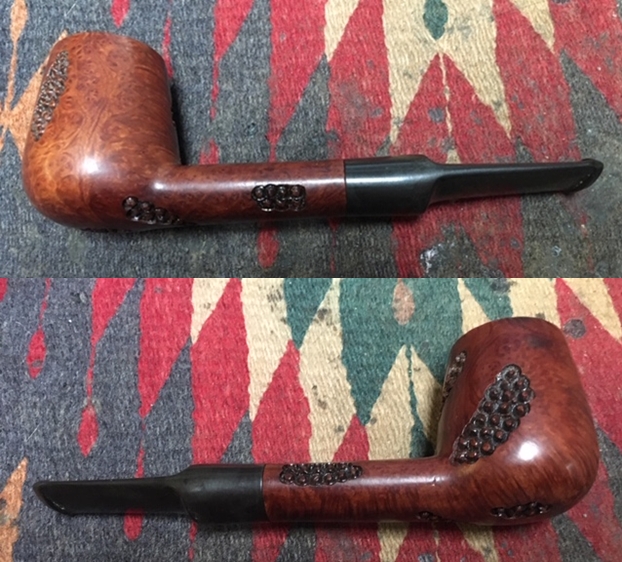
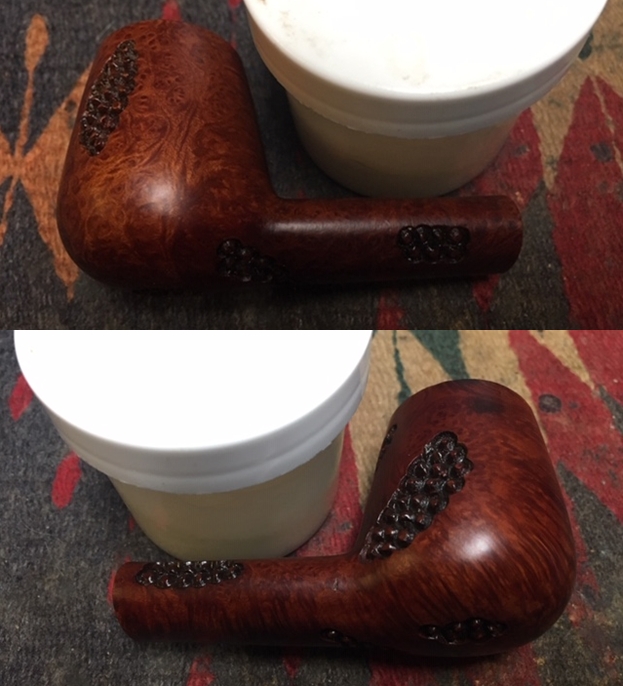
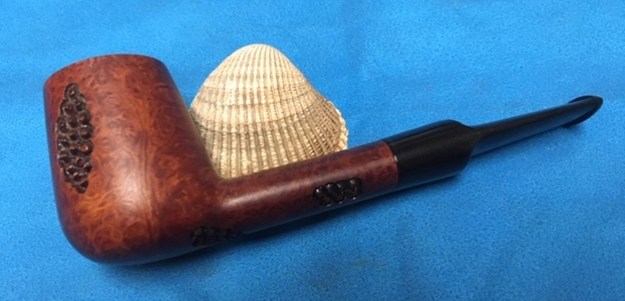
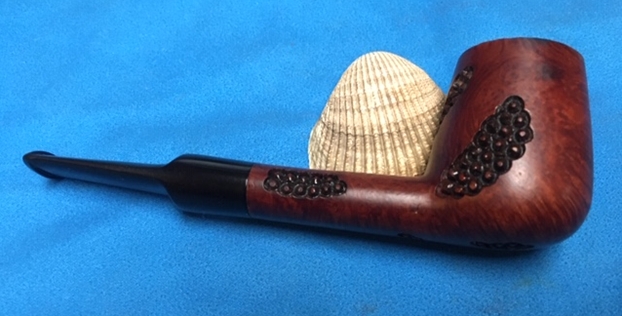
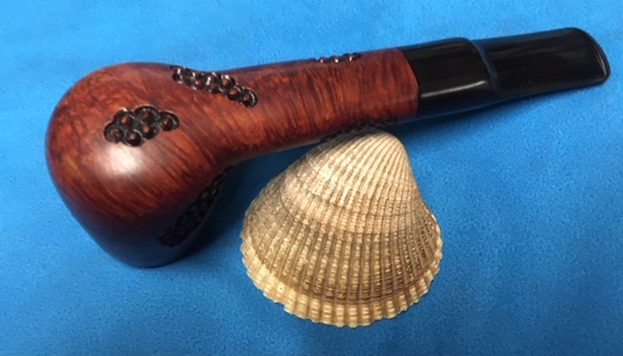
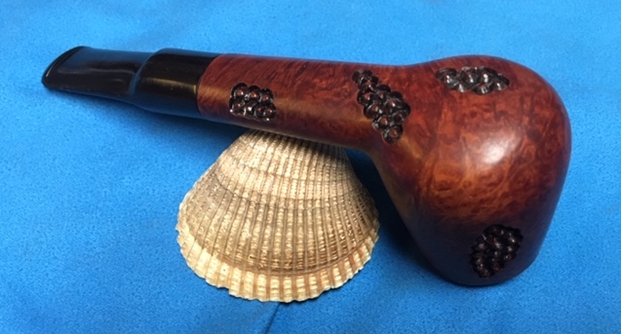
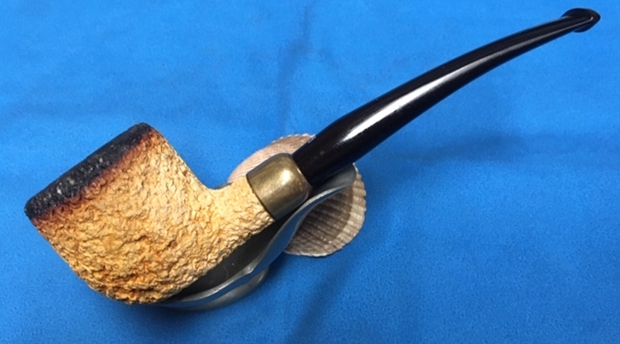
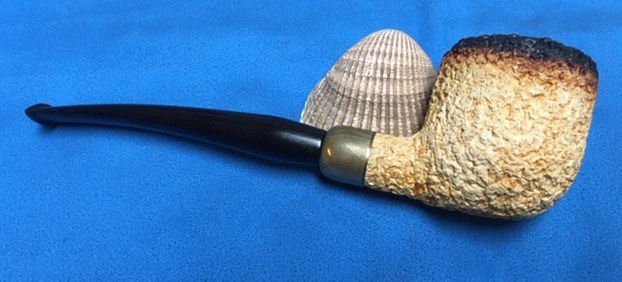
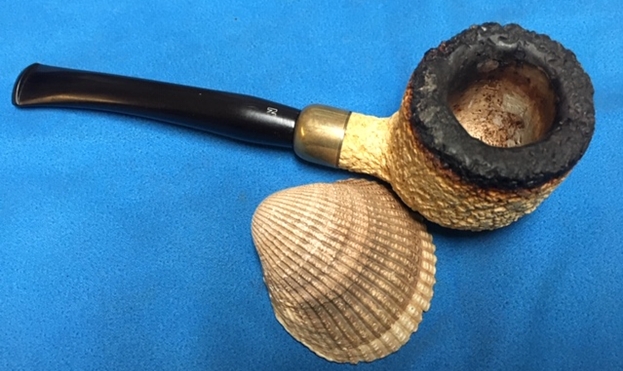
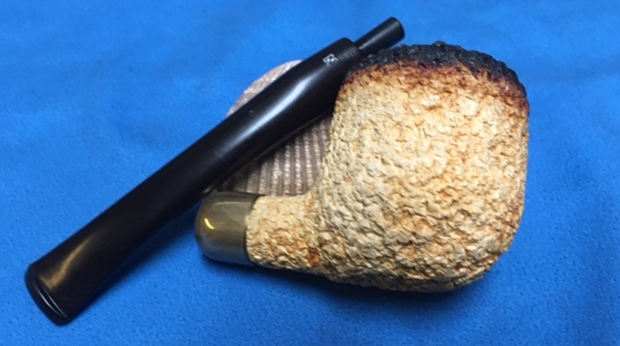
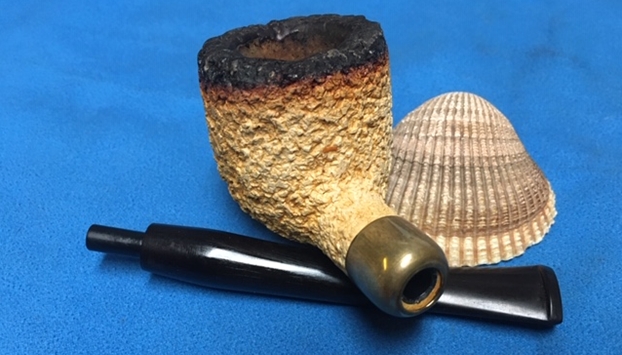
 This is another, slightly larger Malaga Bent Billiard with a vulcanite tapered stem. It has a great grain around the bowl and the carver really maximized that with the shape of the pipe. Everything about the pipe – the shape of the bowl, the beveled rim top and the cut of the briar work well to highlight the grain around the bowl sides. I polished stem and the bowl with Blue Diamond polish on the buffing wheel and the grain just popped and came alive. I gave the bowl and the stem multiple coats of carnauba wax. I buffed the pipe with a clean buffing pad to raise the shine. I hand buffed it with a microfiber cloth to deepen the shine. The pipe polished up pretty nicely. The grain took on life with the buffing. The rich oil cured colour works well with the polished vulcanite stem. The finished pipe has a rich look that is quite catching. Have a look at it with the photos below. The shape, finish and flow of the pipe and stem are very well done. The dimensions are Length: 6 inches, Height: 2 inches, Outside diameter of the bowl: 1 ¼ inches, Chamber diameter: ¾ of an inch. I will be adding the pipe to the finished Malaga pipes that I have set aside for Alex. I am glad that he is carrying on the trust for George Koch. Thanks for walking through the restoration with me as I worked over another one of Kathy’s Dad’s Pipes.