Tag Archives: Eric Nording pipes

Cleaning up a Strange Mixed Finish Nording Bent Billiard


Blog by Steve Laug

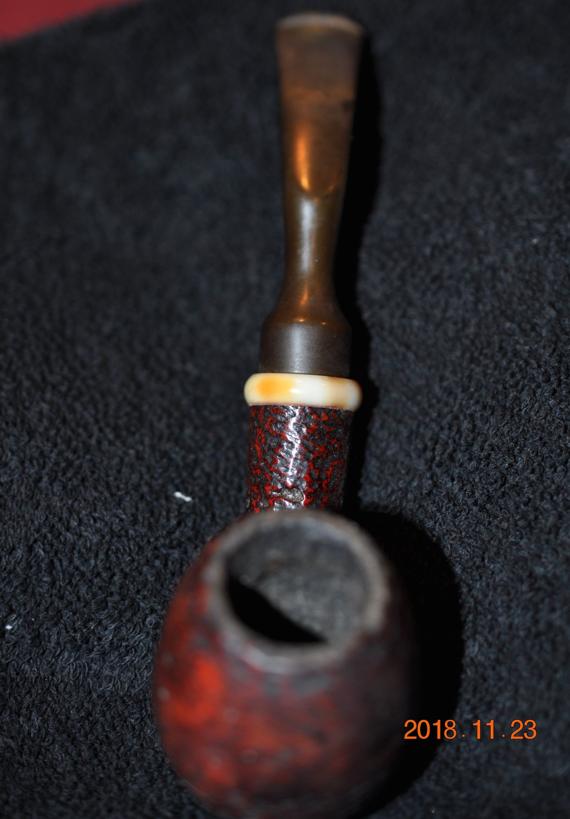
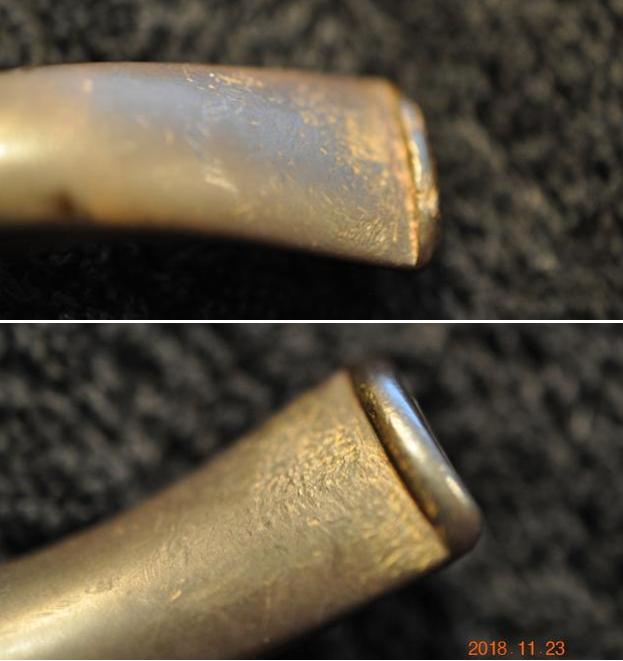
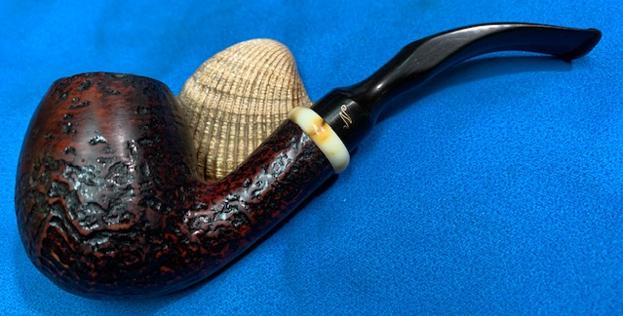
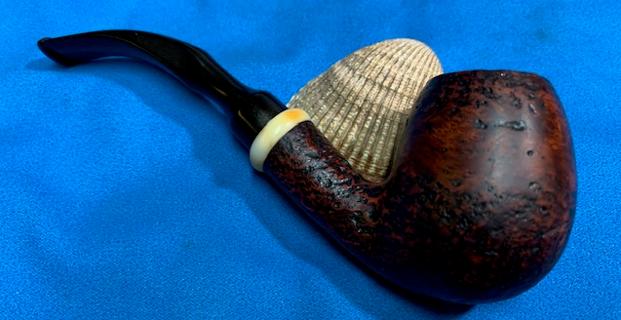
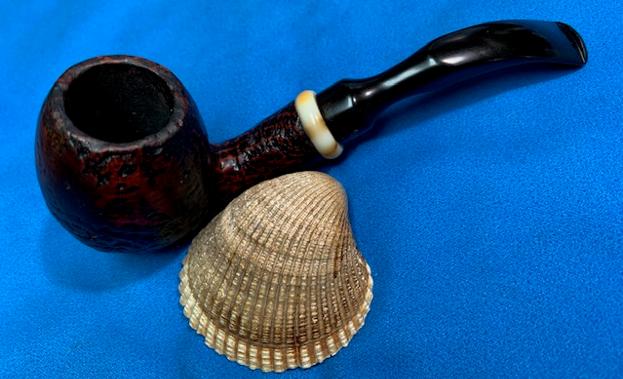
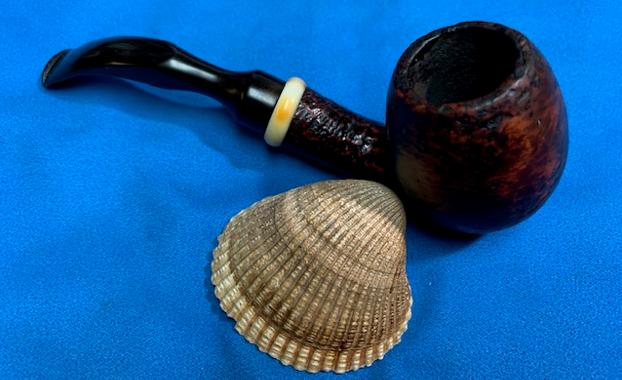
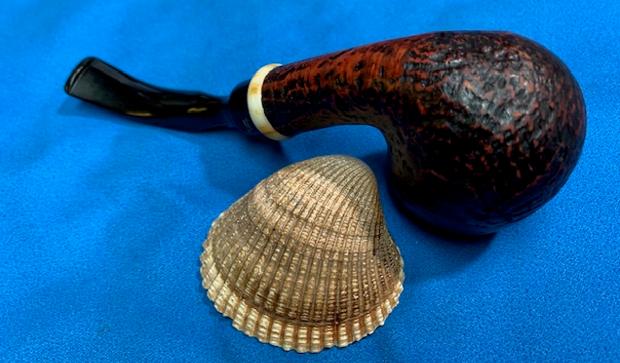
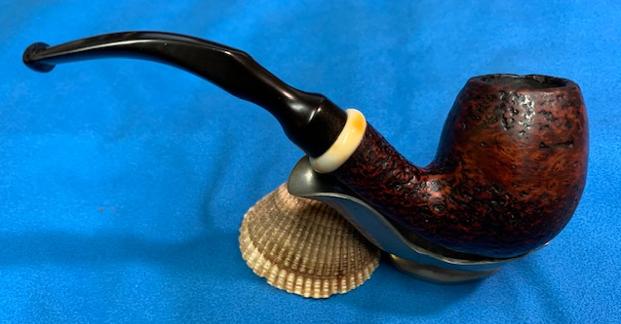
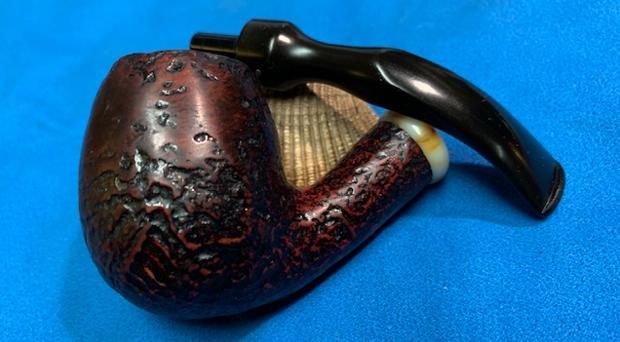
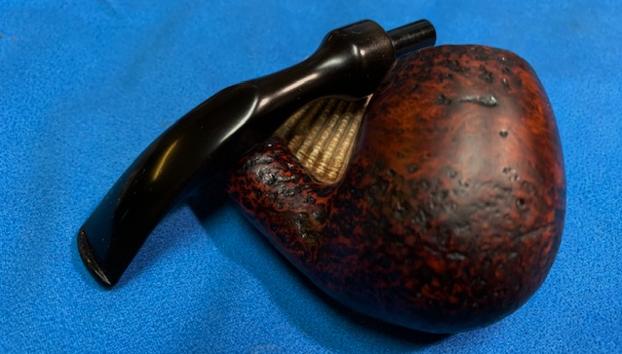
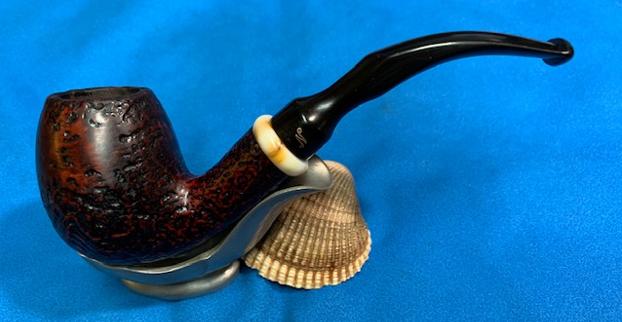
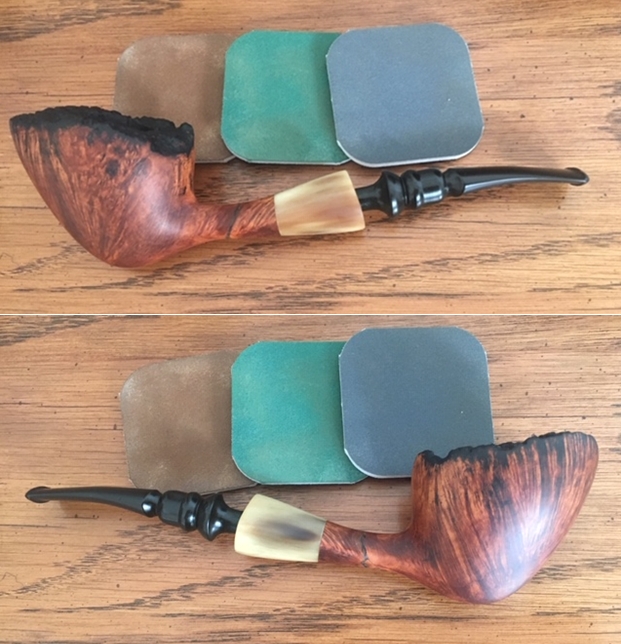
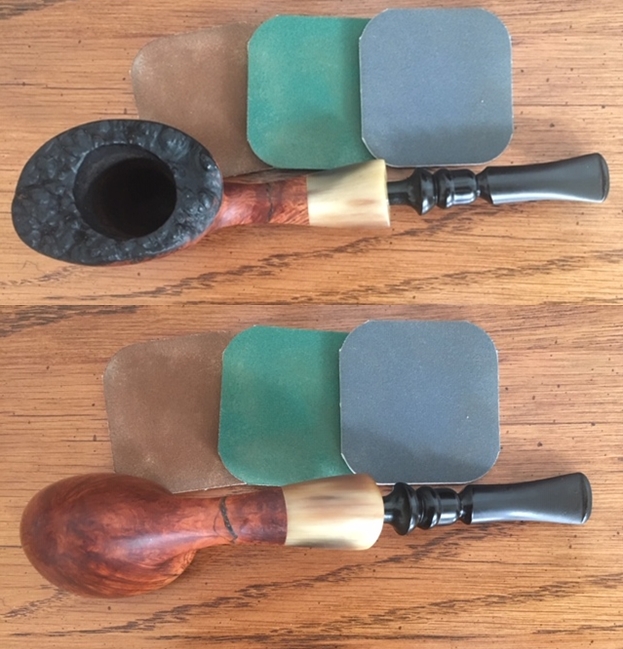
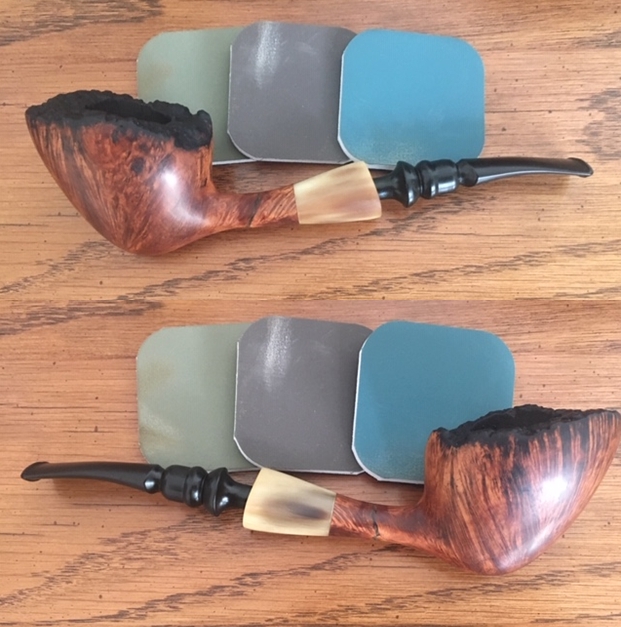
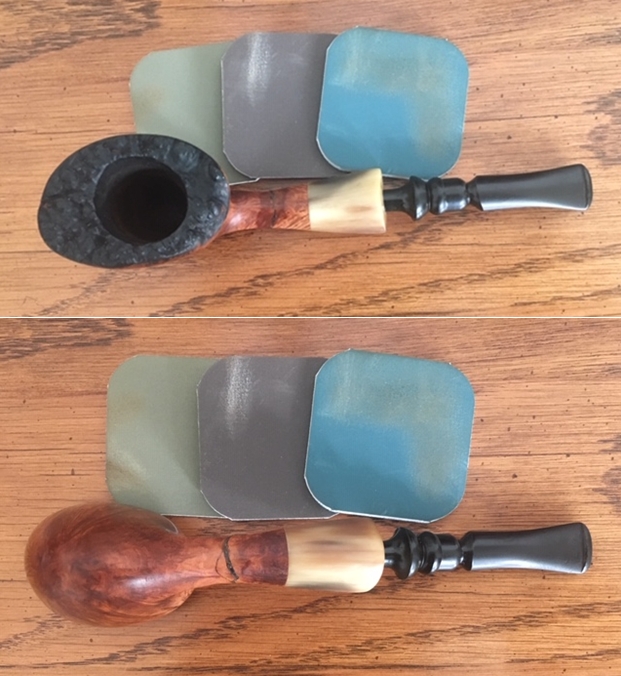
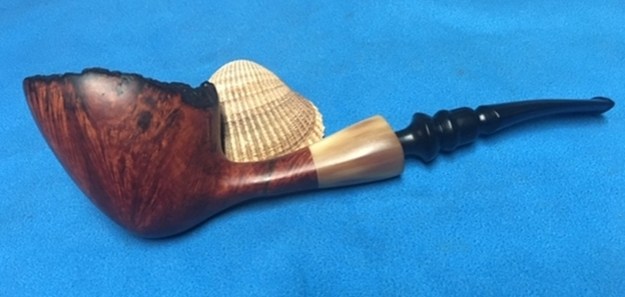
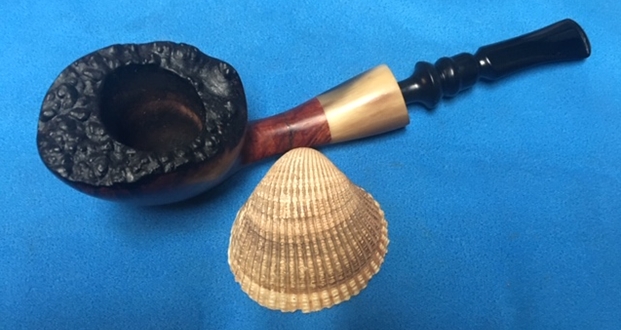
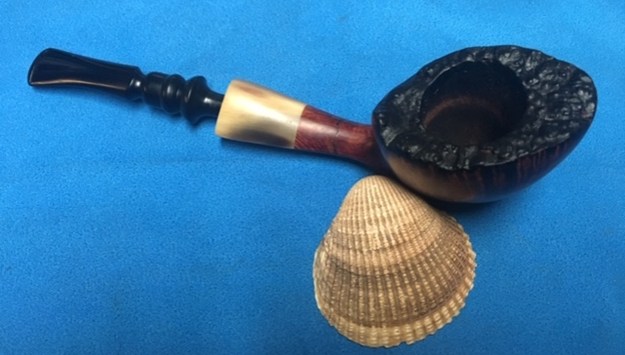
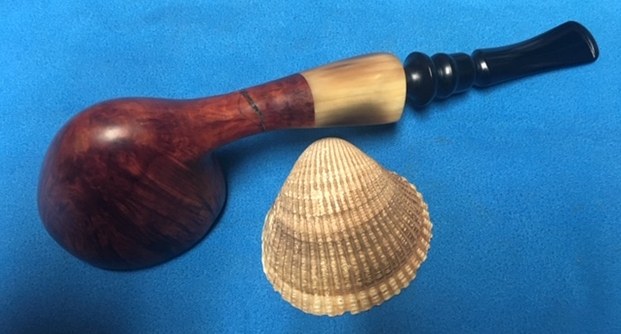
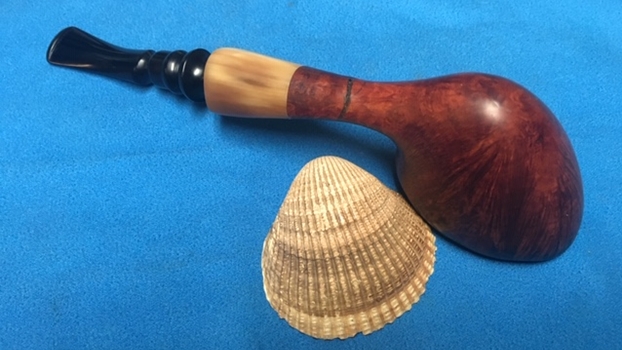
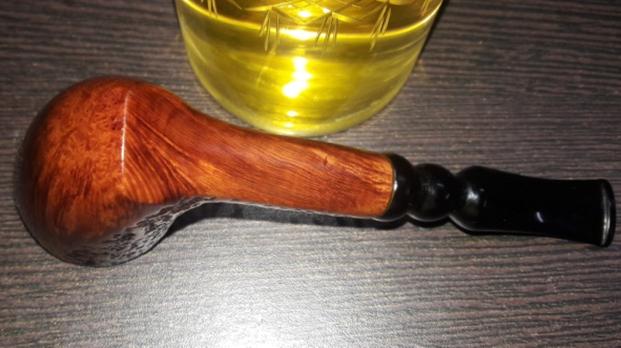
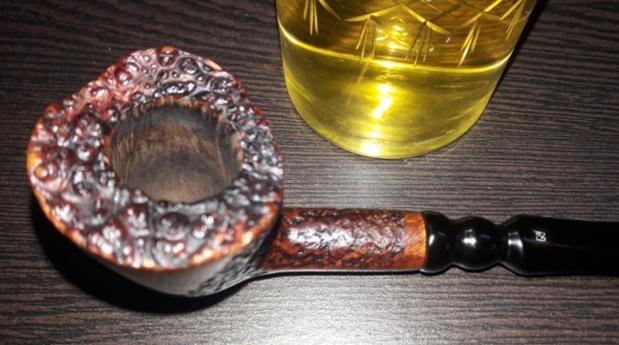
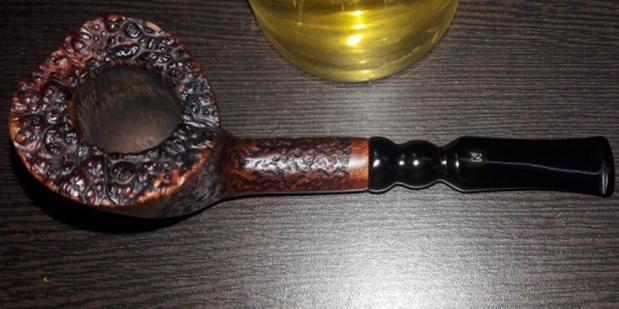
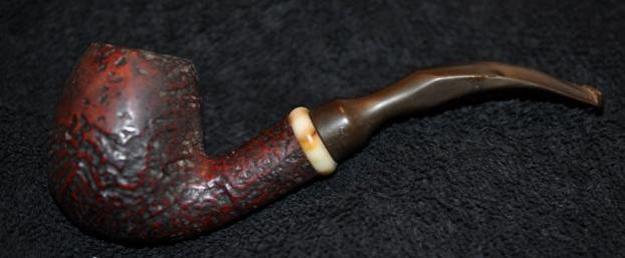
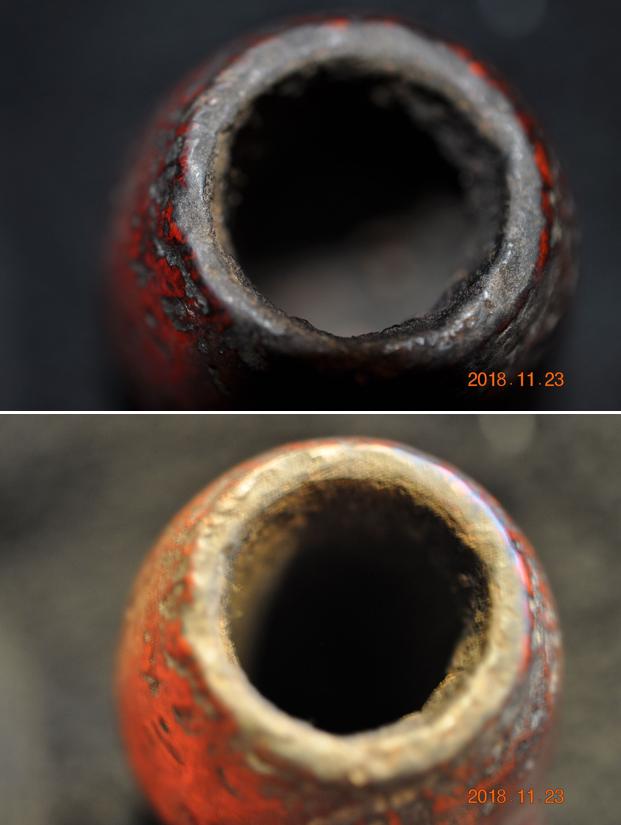
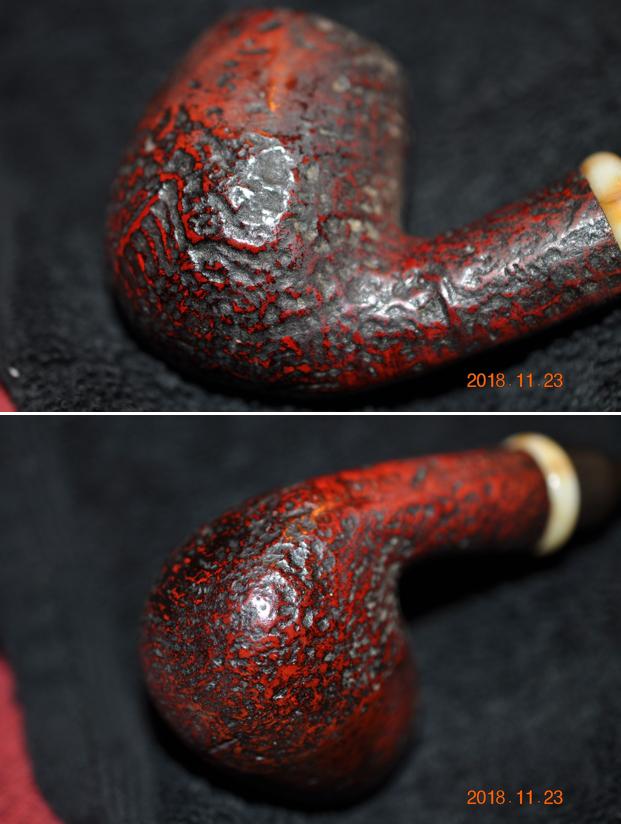
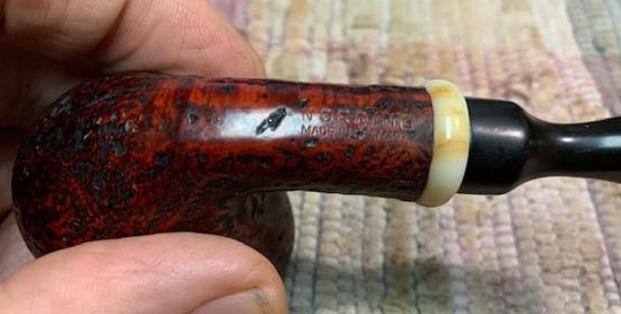
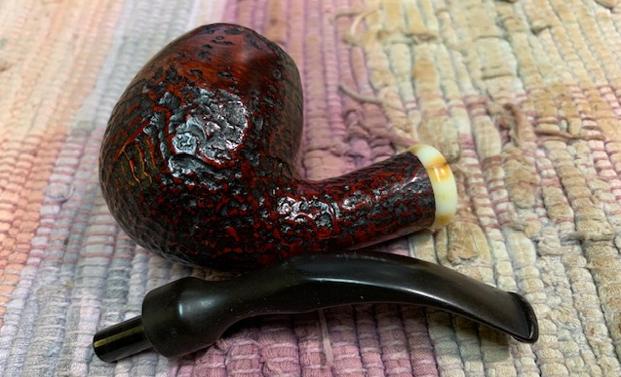
The next pipe on the table is one that Jeff picked up from an auction in Bridgton, Maine, USA in November of 2018 for so it has been sitting here for a long time. It is a very different looking bent Billiard with a faux horn shank ring. The stem is a fancy saddle that looks very good. The stamping on the underside of the shank read Nording [over] Made in Denmark. It was sandblasted on the lower half of the bowl and the entire shank. There is a smooth band around the top half of the bowl on the front and both sides. But it is not totally smooth as it appears that the sandblast was sanded in that area. It is unique for sure and oddly attractive. There was a lot of grime and grit ground into the finish of the bowl. There was a heavy cake in the bowl  and a heavy overflow of lava on the sandblast rim top. The fit of the stem in the shank was smooth and flawless. The faux horn shank ring was quite stunning. On the left side of the saddle the “N” logo had been stamped. It was clear and readable but did not have the white colour in it. The stem was vulcanite and it was oxidized, calcified and had some wear on both sides near the button.  Jeff took photos of the bowl and rim top to show the cake in the bowl. The sandblast rim top showed thick coat of lava that filled in the rim top and hopefully protected the edges from damage. He took photos of the top and underside of the stem showing the tooth chatter, scratching, oxidation and calcification on the stem surface and wear on the edges of the button. Jeff took photos of the sides and heel of the bowl to show the condition of the finish. You can see the well done shape and the interesting grain pattern under the sandblast. Even under the dirt and debris of the years it looked very good.The stamping is clear and readable as noted above. The honey coloured finish even looks good under the grime and the pipe really is a Grand Luxe!I turned first to Pipephil to get a quick review of the brand (http://pipephil.eu/logos/en/logo-n2.html). The pipe was carved by Erik Nording. Nording is a prolific carver who continues to make pipes and sell them globally. The  screen capture below shows a Nording with stamping like the one I am working on.I then turned to Pipedia to have a look at the history of the Nording brand and see if there were any pipes like the one in hand (https://pipedia.org/wiki/N%C3%B8rding). The history was worth a read, though there were no photos of the pipe that I had.
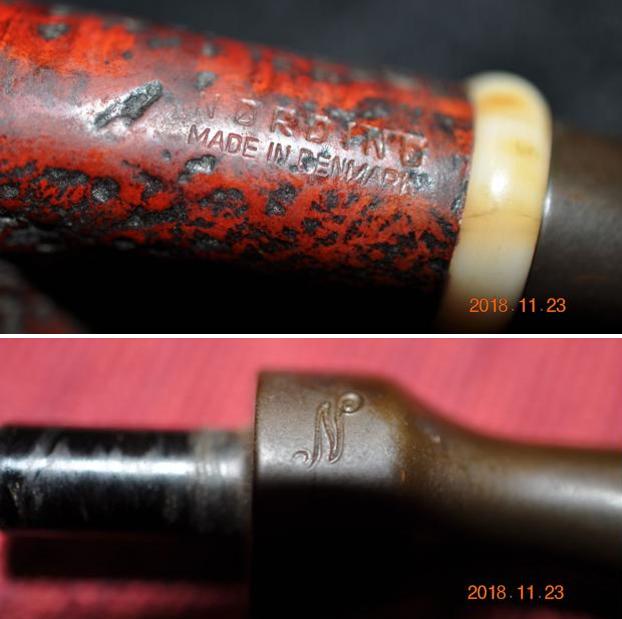
With the information I learned in the above articles I had the background on the pipe. Now it was time to work on it.

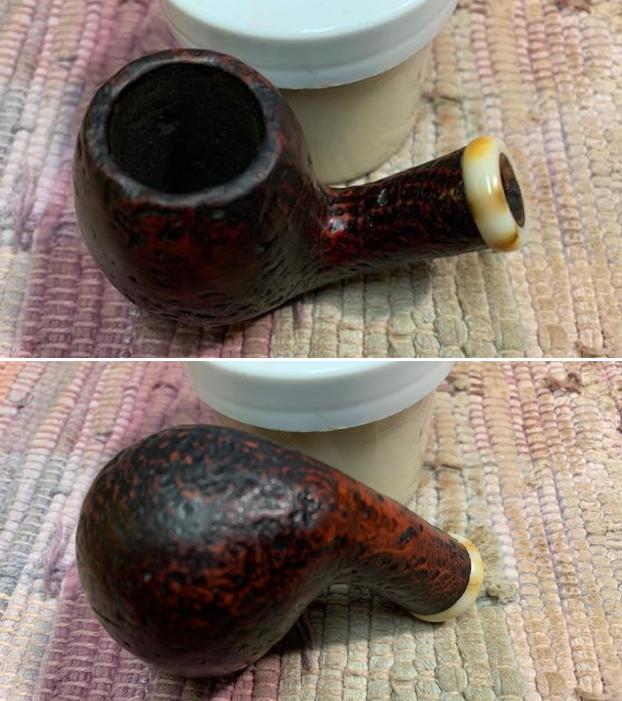
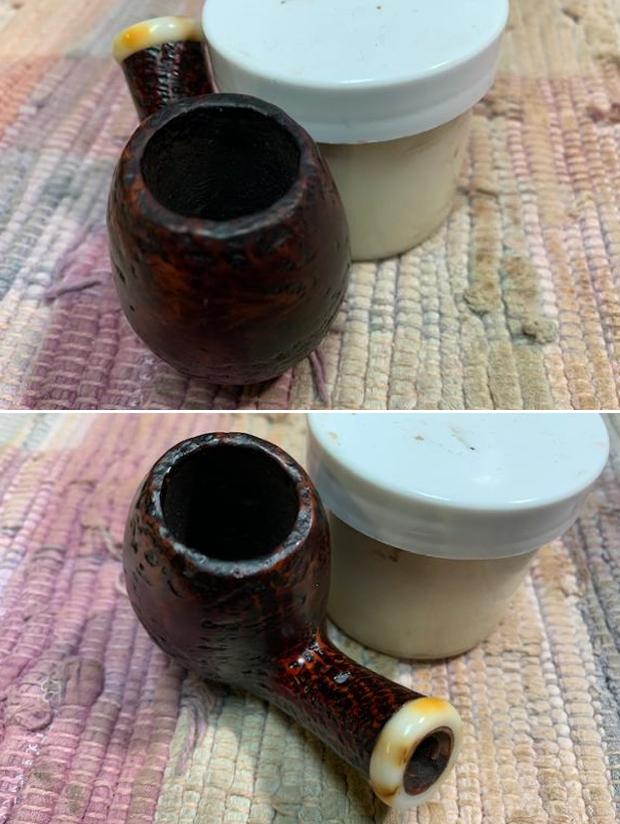
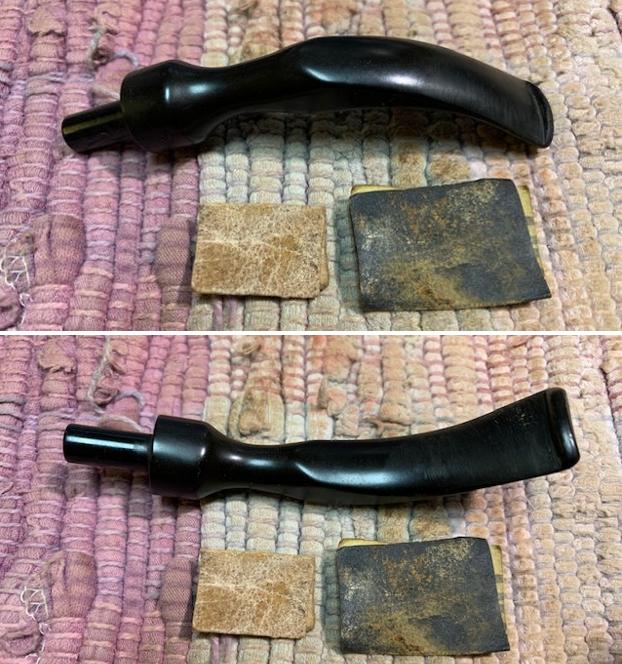
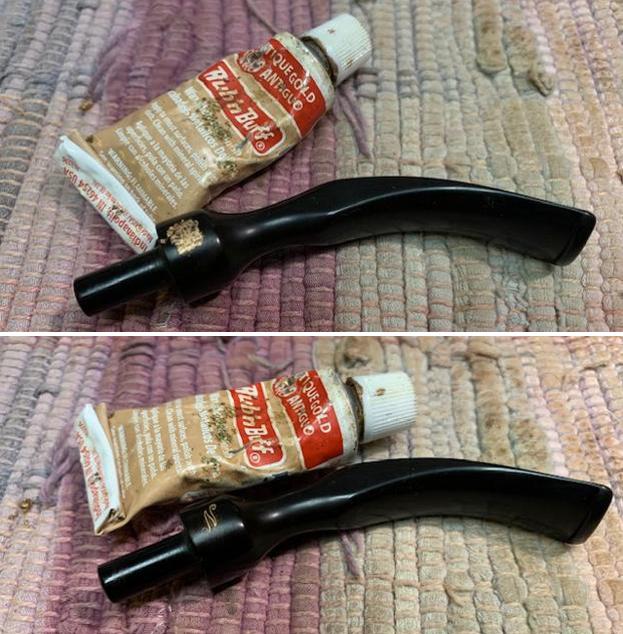
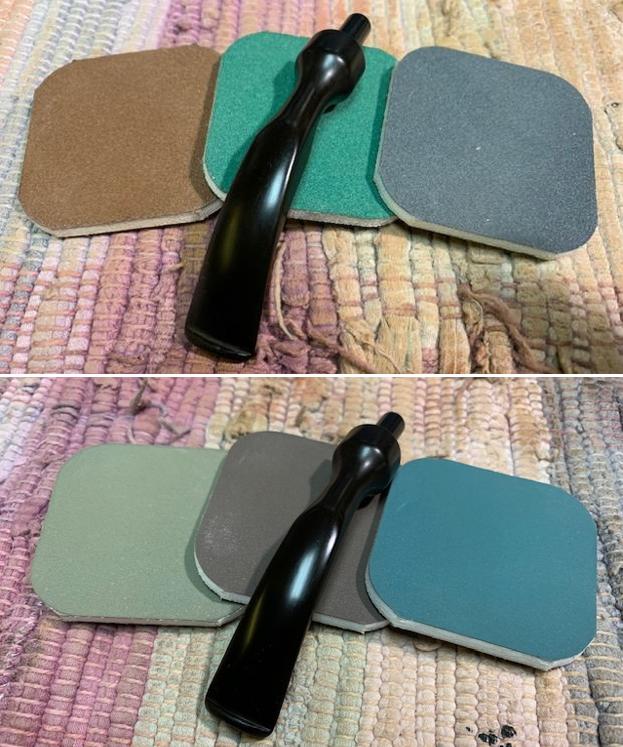
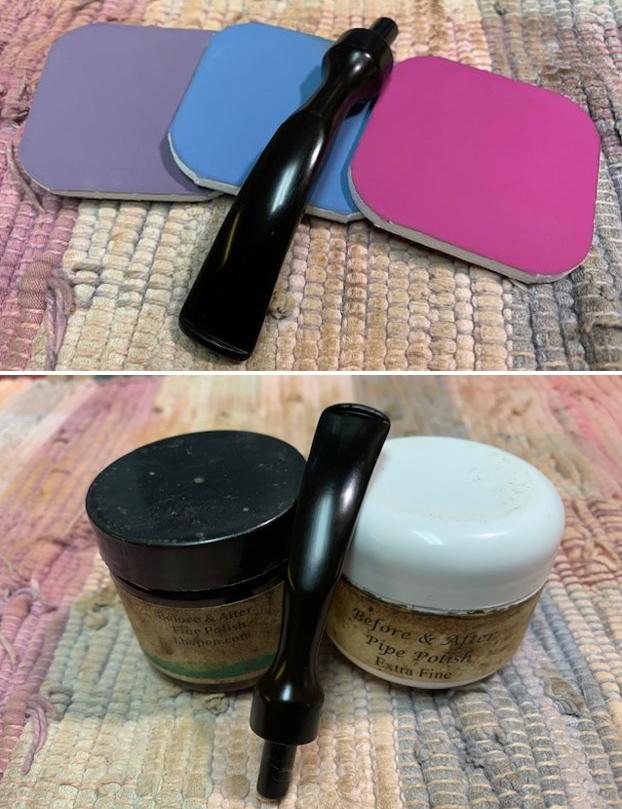
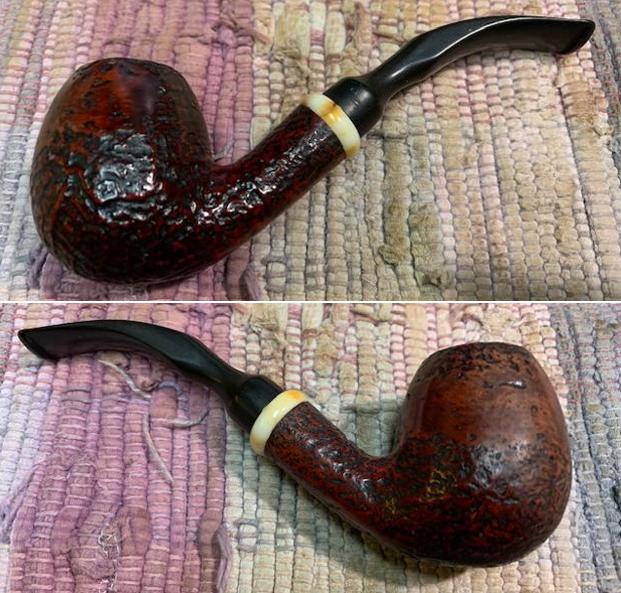
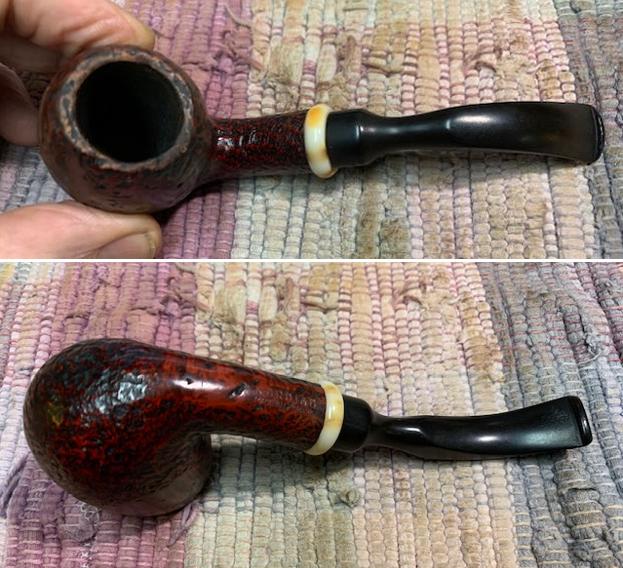
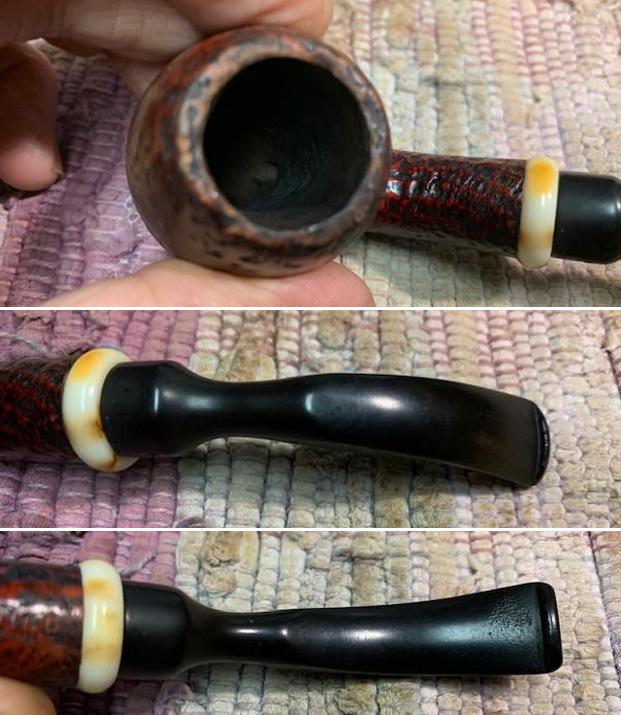
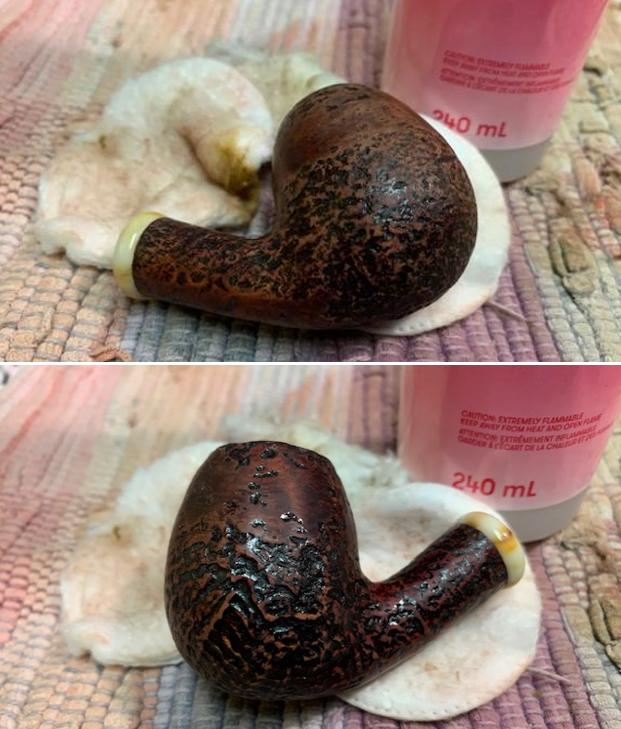
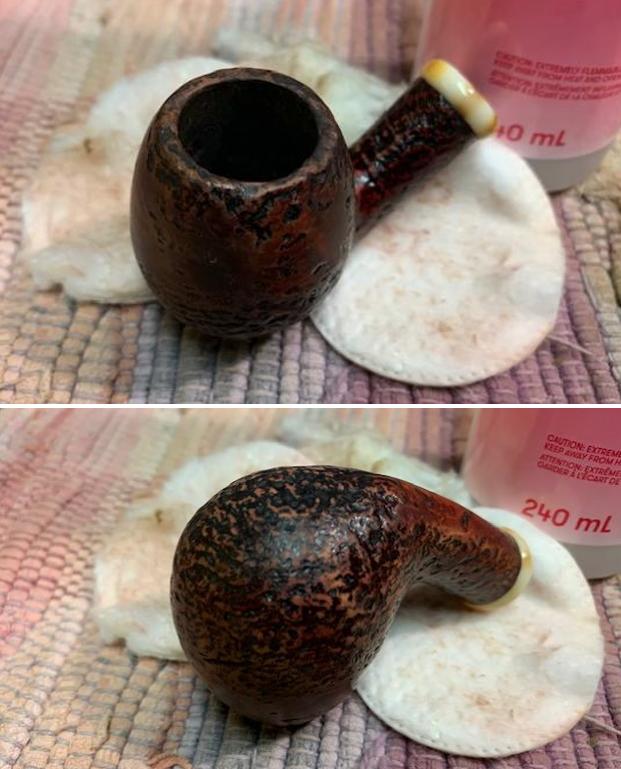
I am really happy to have Jeff’s help on cleaning up the pipes that we pick up along the way. He reamed the bowl with a PipNet pipe reamer and cleaned up the reaming with a Savinelli Fitsall Pipe Knife. He scrubbed out the internals with alcohol, pipe cleaners and cotton swabs until the pipe was clean. He scrubbed the exterior of the bowl with Murphy’s Oil Soap and a tooth brush to remove the grime and grit on the briar and the lava on the rim top. The finish looks much better and the rim top was actually very visible and it looked good. There were also remnants of varnish or shellac on the exterior of the bowl (more on the right than front and left side).  Jeff scrubbed the stem with Soft Scrub All Purpose Cleaner to remove the majority of the grime. When the pipe arrived here in Vancouver it looked very good. I took some close up photos of the rim top and the stem surface. The rim top looked very good and the sandblast on the finish was worn but clean. I took close up photos of the stem to show the condition of the surface and button. The stem was very clean with tooth chatter on both sides near the button. I took a photo of the stamping on the underside of the shank You can see that it is stamped as noted above. It is clear and readable.  I took the pipe apart and took a photo of the pipe. It is a good looking pipe and has some great grain on the bowl and shank. I decided to start my restoration work on this one by working to remove the varnish coat. I rubbed the bowl down with acetone on cotton pads to remove the finish. It did not work very well. So I sanded the finish lightly with 1500 grit micromesh sanding pads to break the shiny top coat on the briar. I then wiped it down again with acetone and was happy with the results. I worked some Before & After Restoration Balm into the surface of the briar with my fingertips and a horsehair shoe brush to clean, enliven and protect the briar. I let the balm sit for 15 minutes and then buffed with a cotton cloth to raise the shine. The photos show the bowl at this point in the restoration process.     With that done the bowl was finished other than the final buffing. I set it aside and turned my attention to the stem. I looked at the worn areas on the stem and decided to sand them out with 220 grit sandpaper and start polishing it with 400 grit wet dry sandpaper. I touched up the N stamp with Rub’n Buff Antique Gold. I rubbed it onto the surface and into the N with a toothpick. I buffed it off with a soft cloth and the look is very good.I polished the stem with 1500-12000 grit sanding pads. I wiped it down after each sanding pad with Obsidian Oil. I polished it with Before & After Pipe Stem Polish – both Fine and Extra Fine. It is fun to come to end of the restoration of the Nording Mixed Finish Danish Bent Billiard. It turned out to be a nice looking pipe. The finish came alive with the work I had done on it. I put the pipe back together and buffed it with Blue Diamond on the buffing wheel. I gave the bowl and the stem multiple coats of carnauba wax. I hand buffed the pipe with a clean buffing pad to raise the shine. It is fun to see what the polished bowl looks like with the polished shank ring and black vulcanite saddle stem. It really was beautiful. This Nording made Bent Billiard is nice looking and the pipe feels great in my hand. It is light and well balanced. Have a look at it with the photos below. The dimensions are Length: 5 ½ inches, Height: 2 inches, Outside diameter of the bowl: 1 inch, Chamber diameter: ¾ of an inch. The weight of the pipe is 52grams/1.83ounces. It is a beautiful pipe that I will soon put on the rebornpipes store in the Danish Pipe Makers section. If you are interested in adding it to your collection let me know. Thanks to each of you who are reading this blog. Remember we are not pipe owners; we are pipemen and women who hold our pipes in trust until they pass on into the trust of the next pipeman or woman.
 

Cleaning up a Nording Rusticated Meerschaum Pot Made on the Isle of Man


Blog by Steve Laug

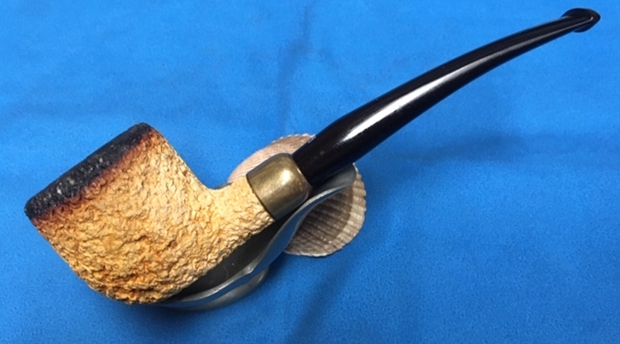
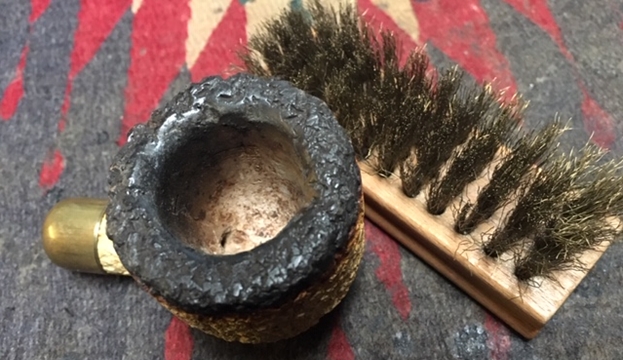
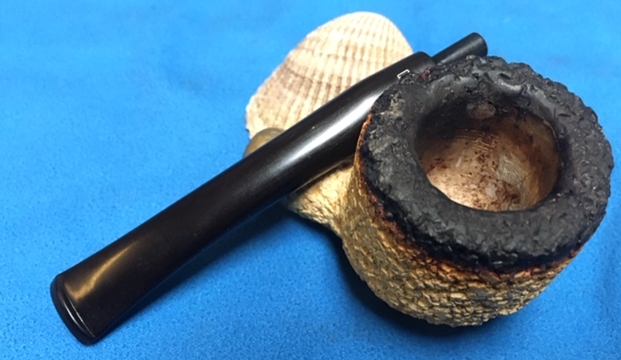
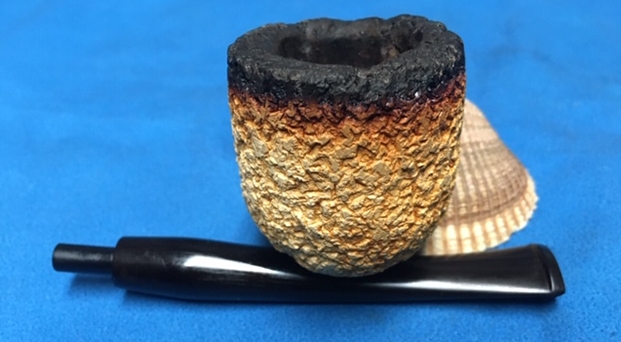
The next pipe on the table is another one of the pipes that Jeff and I picked up on our recent Alberta trip. It is the second pipe down on the far right column in the photo below. It is a rusticated Eric Nording Meerschaum Pot with a tapered bit. I have circled it in red in the photo below to make its identification easier.The pipe has a rustic finish on the bowl with a flumed rim top and down the top edges of the bowl. The bowl itself has already picked up some colour/patina or perhaps it came that way. There is an unmarked brass ferrule on the shank end. The shank itself is lined with a Delrin tube – this together with the ferrule add strength to the shank. The pipe had been lightly smoked with the bottom two thirds of the bowl raw meerschaum. There is some darkening around the top third of the bowl. The pipe smelled like tobacco but was unidentifiable as to type. The stem was vulcanite and had an N stamped on the top of the tapered stem. The tapered stem is shaped to give the appearance of a military bit. It has an integral tenon in the vulcanite stem. I took photos of the pipe before I did the cleanup. I took close up photos of the bowl and rim top as well as the stem surface. You can see the condition of the rim top and bowl in the first photo. There was some lava overflow on the rim top on the left and rear of the bowl. There were also some nicks around the inner edge of the bowl and some on the rim top. There was a thin cake on the top third of the bowl. The stem showed some tooth chatter on both sides near and on the button surface.I took a photo of the shank end to show the Delrin lining in the mortise.Eric Nording distributed meerschaum pipes with his logo on the stem that were made for him by Manxman Pipes Ltd on the Isle of Man. I have included a screen capture of the listing for  these meerschaums on the PipePhil site (http://www.pipephil.eu/logos/en/logo-n2.html).I also scrubbed the rim top plateau with a wire brush to knock of the lava that was built up there. It did not take too much work to clean up the rustication on the rim top.I scrubbed the meerschaum with Murphy’s Oil Soap and a tooth brush. I worked to remove the remaining lava and minimize the darkening. I rinsed it under warm running water. The photos show the rim top after scrubbing. It looked much better at this point. With the outside cleaned and shining I moved on to clean up the inside airways and mortise in the shank and the stem. I scrubbed out the mortise and the airway in the shank and the stem with alcohol, cotton swabs and pipe cleaners.    I set the cleaned bowl aside and turned my attention to the stem. I sanded out the tooth chatter with 220 grit sandpaper and started to polish it with a folded piece of 400 wet dry sandpaper. Once it was finished it began to shine.I polished the stem with micromesh sanding pads – wet sanding with 1500-12000 grit sanding pads. I wiped it down after each sanding pad with some Obsidian Oil. I finished polishing it with Before & After Pipe Stem Polish – both Fine and Extra Fine and buffed it off with a cotton cloth. When I finished I gave a coat of a new product that Briarville Pipe Repair released called No Oxy Oil. It is rubbed down with the oil and the soft cloth that came with it. I am going to be experimenting with it for a while now. This is a Nording Meerschaum rusticated pot made by Manx Meerschaum on the Isle of Man. It has an interesting tactile finish with a flumed rim top and extending down the rim sides. It has a great look and feel. The shape fits well in the hand with the rustication giving the pipe a nice tactile sense when held. I polished stem and the bowl with Blue Diamond polish on the buffing wheel. I gave the bowl and the stem multiple coats of carnauba wax. I buffed the pipe with a clean buffing pad to raise the shine. I hand buffed it with a microfiber cloth to deepen the shine. The pipe polished up pretty nicely. The rich combination of the yellowed, rusticated meerschaum  and the polished vulcanite stem work well together. I like the finished look of this Nording Meerschaum pipe. Have a look at it with the photos below. The shape, finish and flow of the pipe and stem are very well done. The dimensions are Length: 6 inches, Height: 1 7/8 inches, Outside diameter of the bowl: 1 ½ inches, Chamber diameter: 7/8 of an inch. This Isle of Man Meerschaum pot is a real beauty. Thanks for walking through the restoration with me as I worked over another beautiful pipe.

New Life for a Broken Nording Danmark F Freehand


Blog by Steve Laug

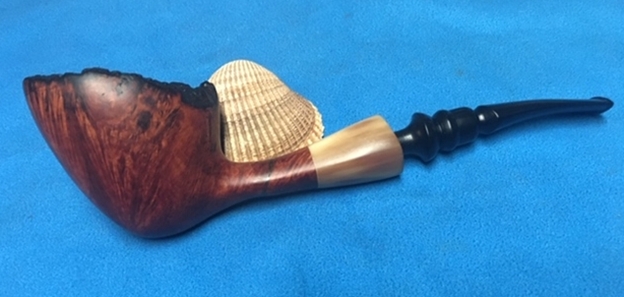
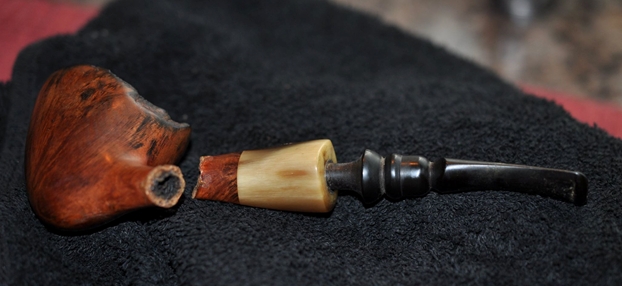
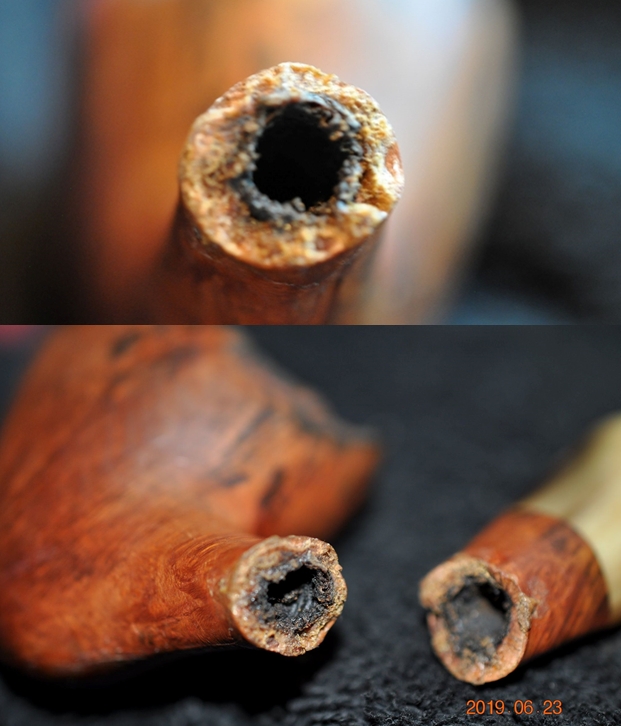
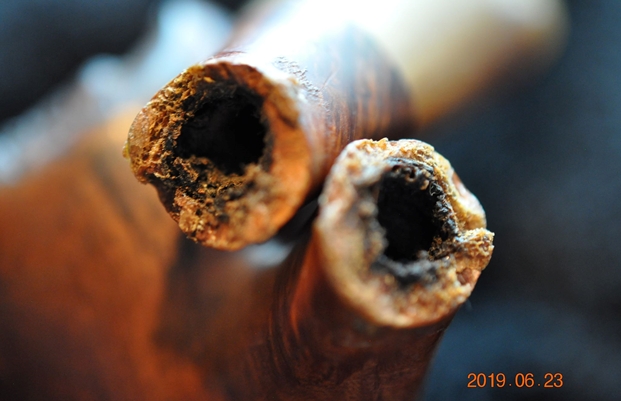
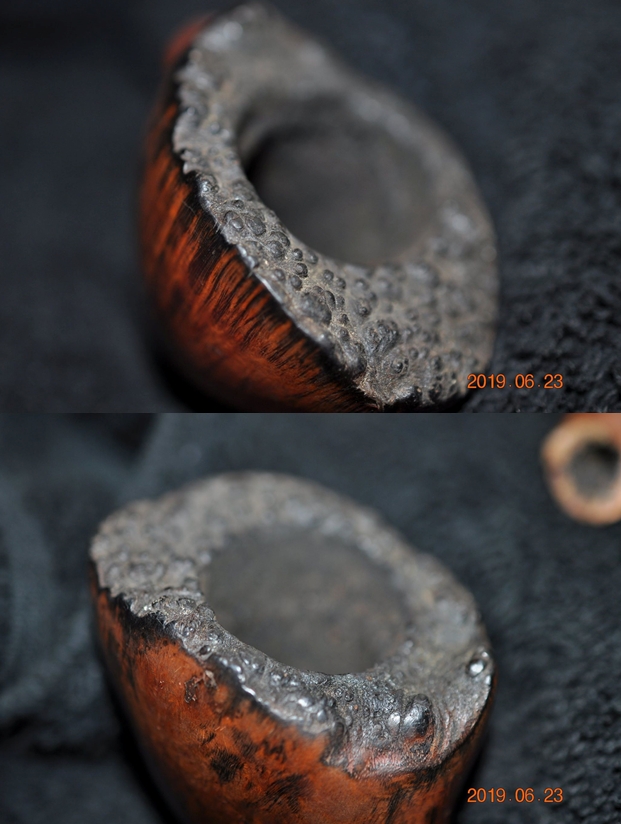
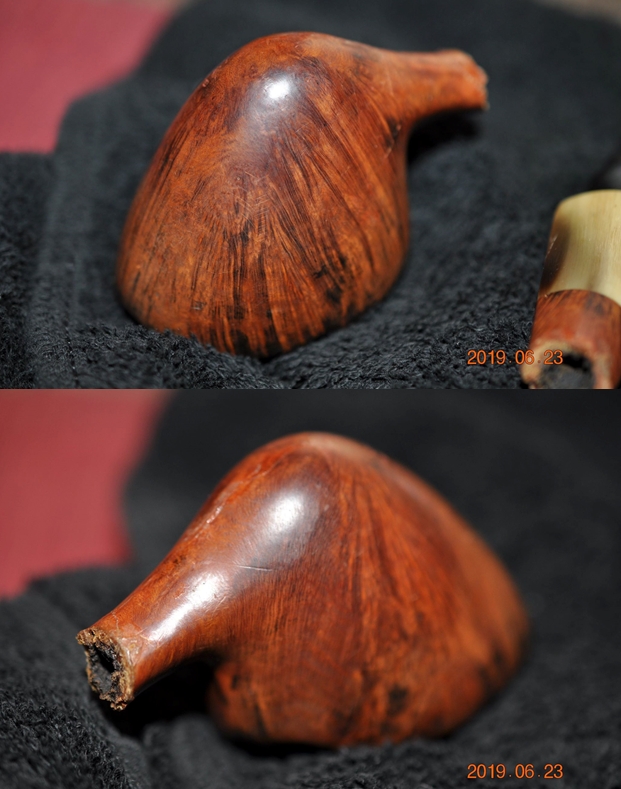
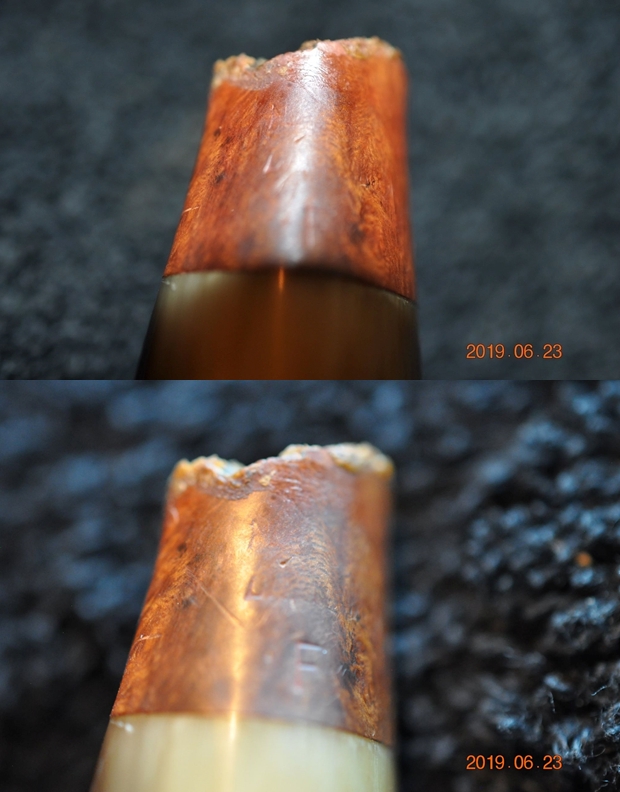
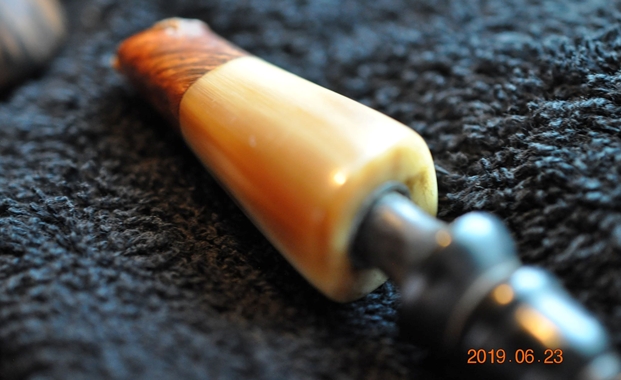
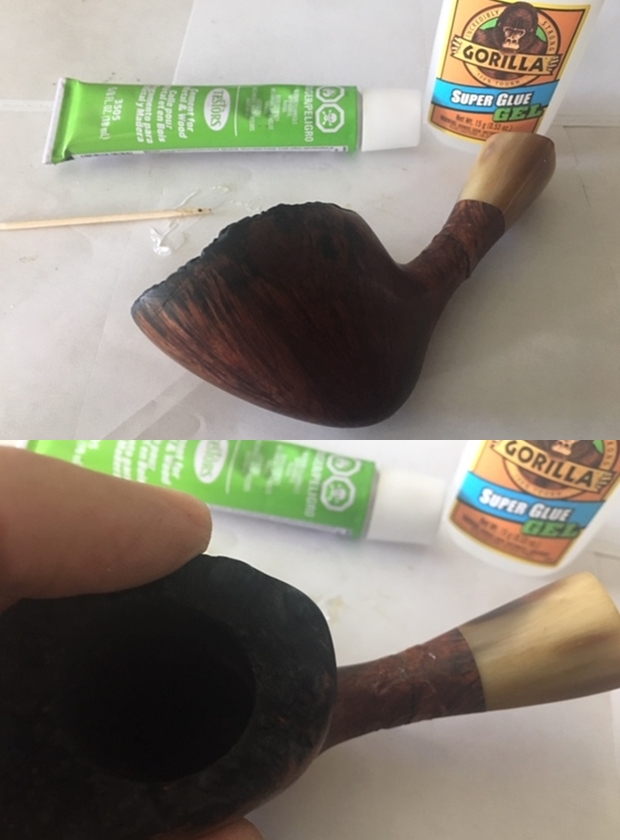
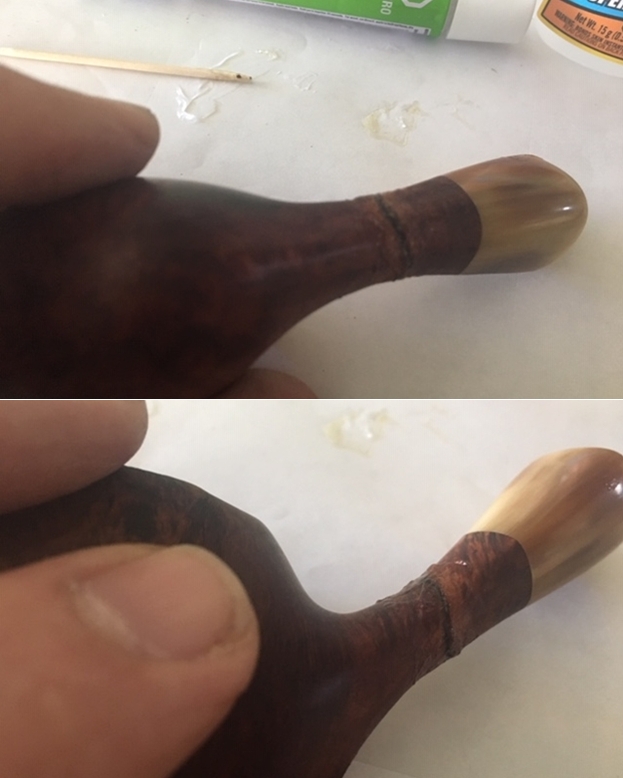
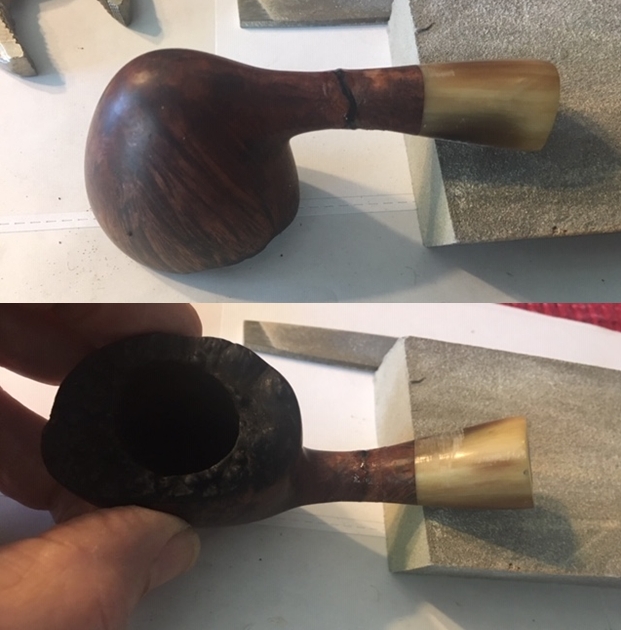
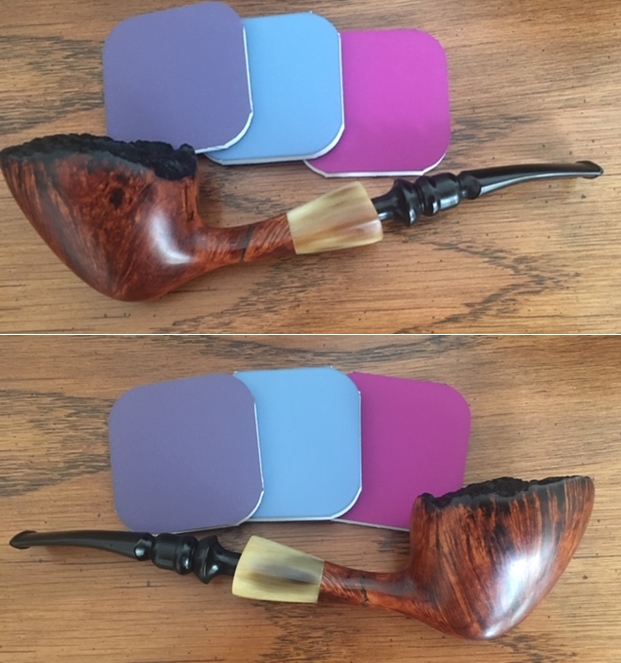
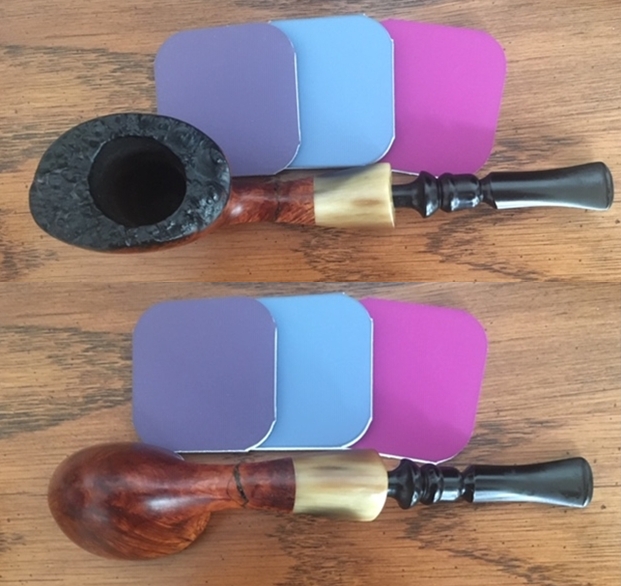
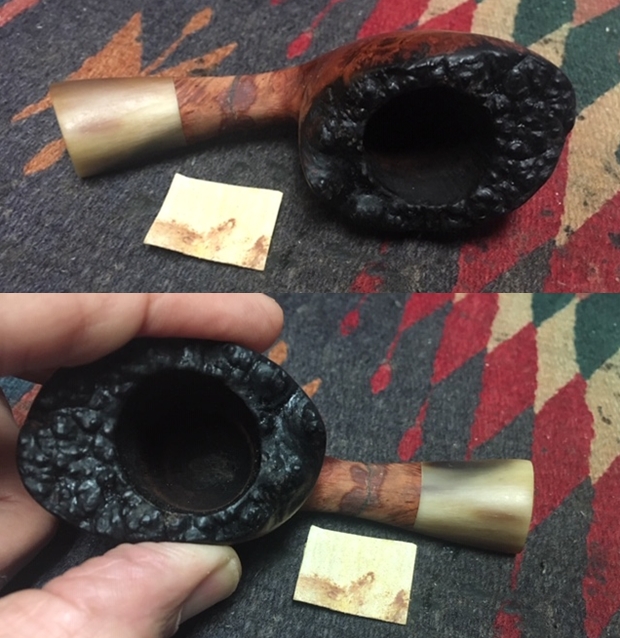
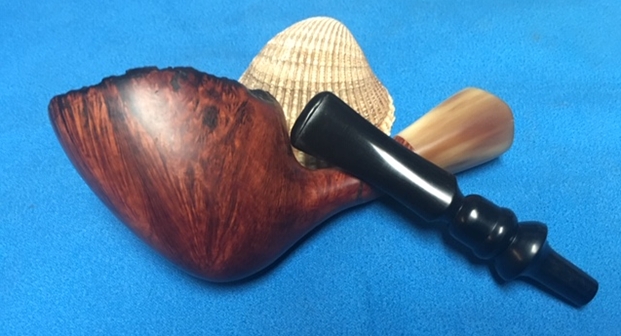
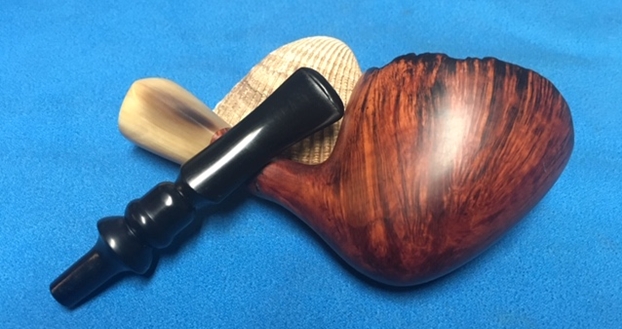
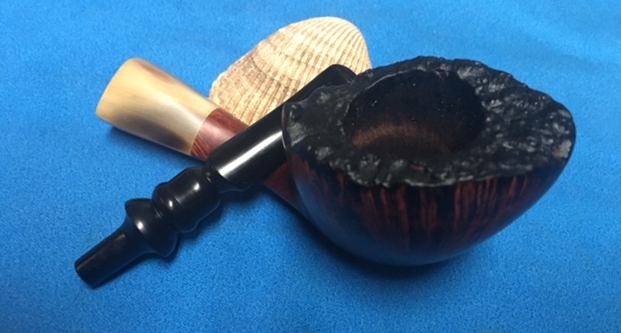
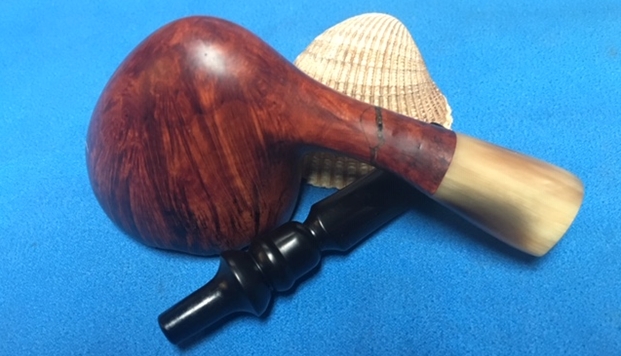
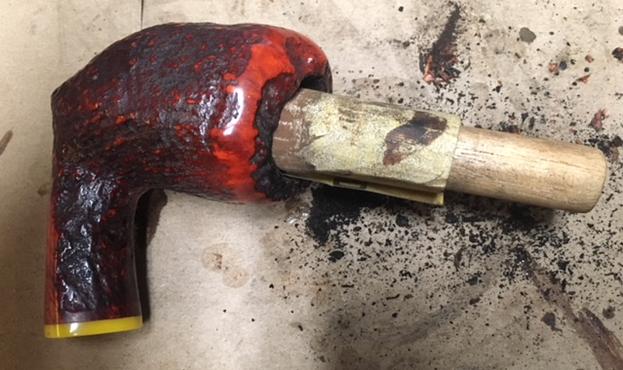
In one of the bags of parts Jeff purchased there was a bowl and there was a piece of shank with a stem in place. We took all the parts out of the bag and were able to see that these two parts actually went together. The shank piece is stamped on the underside as follows: F over NORDING over DANMARK near the horn extension/shank union. The bowl shape follows the grain of the block of briar very well. The break in the shank was not a clean one – it was a mess. The inside of the airway was plugged with lava and tar. Someone had tried to repair the two parts by gluing them together with epoxy. As expected the repair did not hold. Jeff took photos of the pieces to show the extent of the damage to the pipe – it really was a stunning pipe originally. The shank was thin but the briar was thick enough. The nice piece of striated horn that made a shank extension was in excellent condition. There was a steel tube in the end of the horn where the stem sat in place to protect it from splitting when the stem was repeatedly inserted. The turned fancy stem was in good condition with some tooth marks on both sides but otherwise it was undamaged. There was a thick cake in the bowl and a heavy overflow of lava on the rim top.The next series of photos shows the two parts of the shank and the thick buildup of tars and oils in the shank interior and the broken briar around the shank. The next photos show the rim top and the thick cake in the bowl and the lava build up on the plateau top. The valleys and high spots are almost filled smooth with lava.Jeff also took photos of the sides and heel of the bowl to show the grain on the pipe. The finish is very dirty but the grain is quite beautiful. There are nicks and dents in the briar.The stamping on the shank portion of the broken pipe is readable but worn. The joint between the shank and the horn extension is very good – solid. The metal tube in the shank end provided the internal strength to hold this joint tight. It is interesting to note that the shank broke just ahead of the tube inside the shank. The stem appeared to be in good condition. The button was worn with tooth marks on the topside. There was some oxidation and wear on the surface near the button.Jeff reamed the bowl and cleaned up the plateau top with Murphy’s Oil Soap and a tooth brush. He scrubbed it until it was clean. He cleaned out the inside of the two parts of the shank with pipe cleaners, cotton swabs and alcohol until the airway was clear. He cleaned up the broken ends of the shank with a tooth brush and the soap. He rinsed off the bowl and shank and the airway with warm water. He dried it off and set it aside. He cleaned up the stem and let it soak in a bath of Before & After stem deoxidizer. He took it out of the bath and rinsed it off and cleaned out the airway with pipe cleaners and alcohol. When I arrived he showed me the parts. They were incredibly clean. I was excited to get started on the repair of the broken shank… so much so that I forgot to take pictures of the cleaned up parts of the pipe.

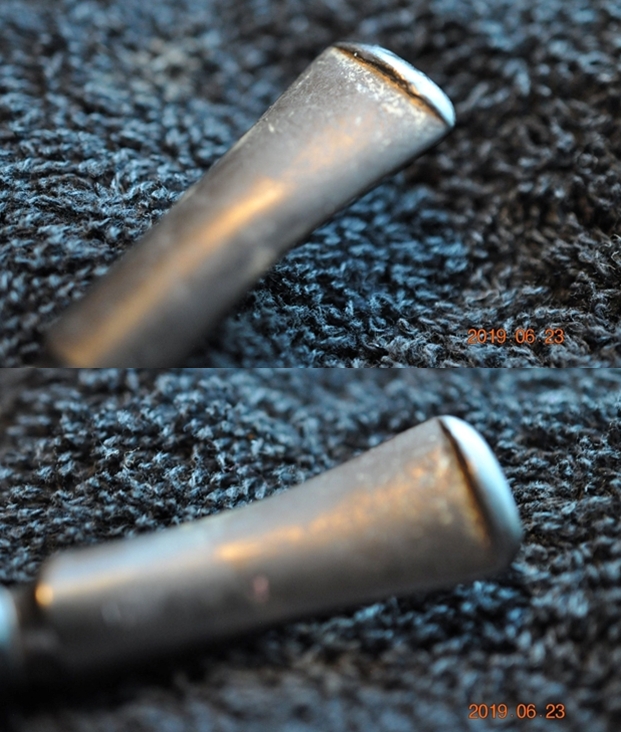
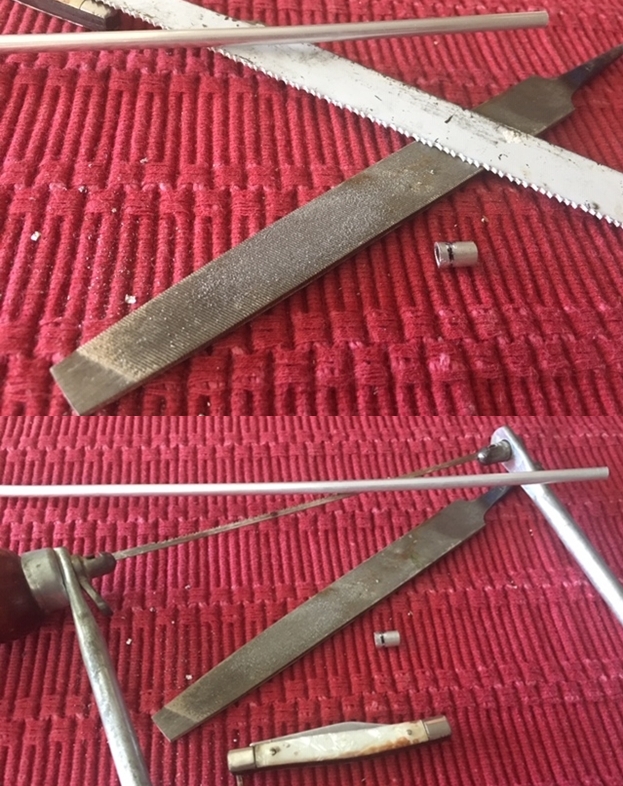
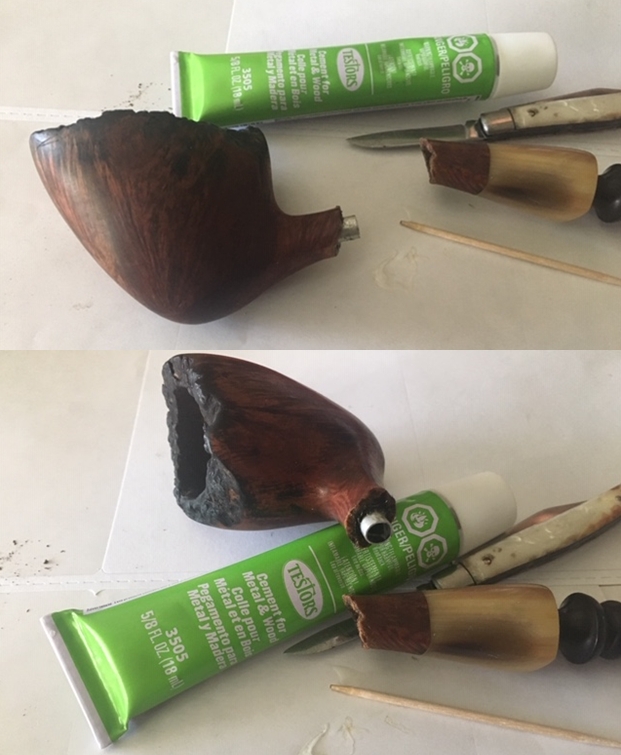
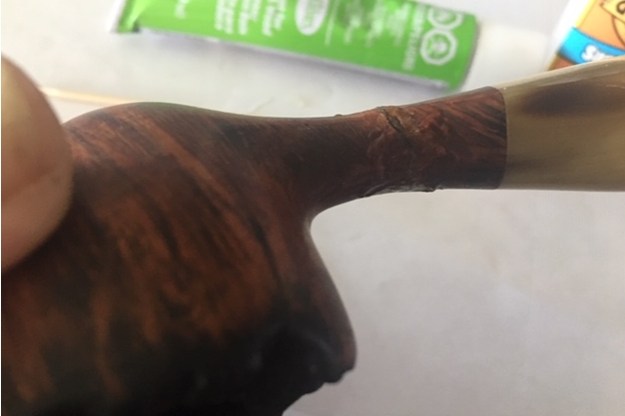
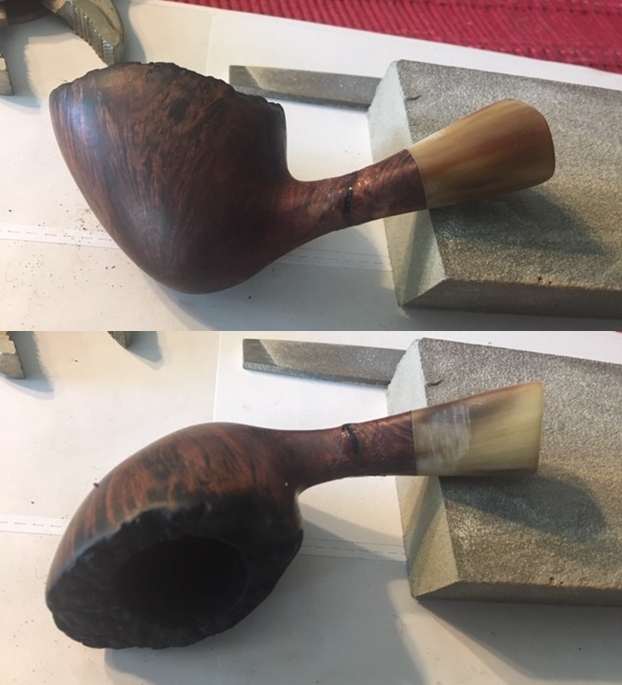
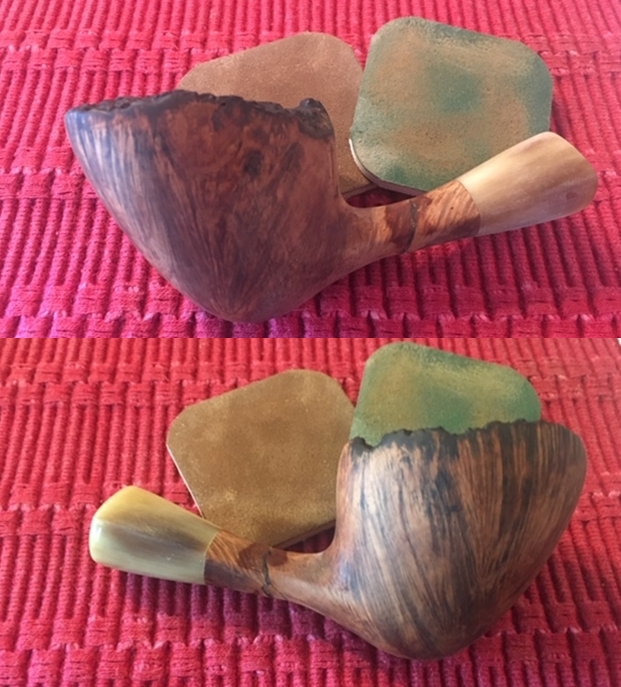
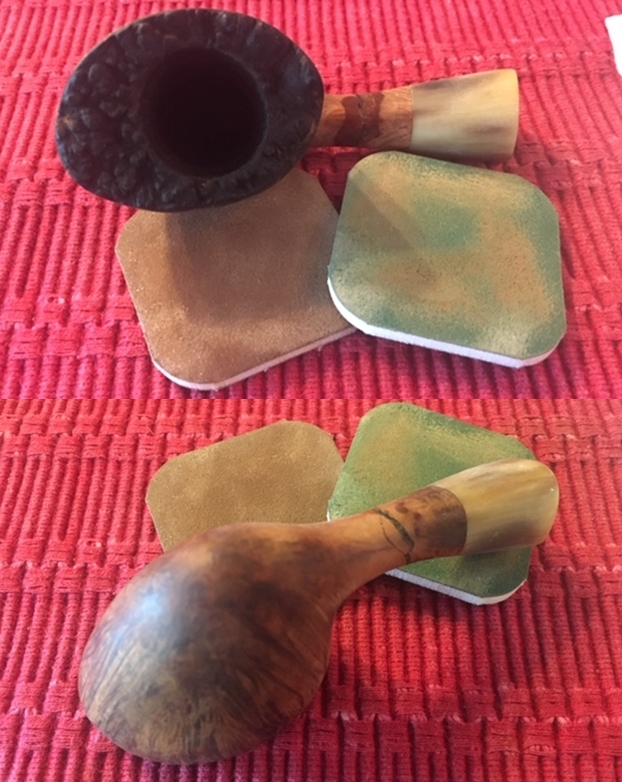
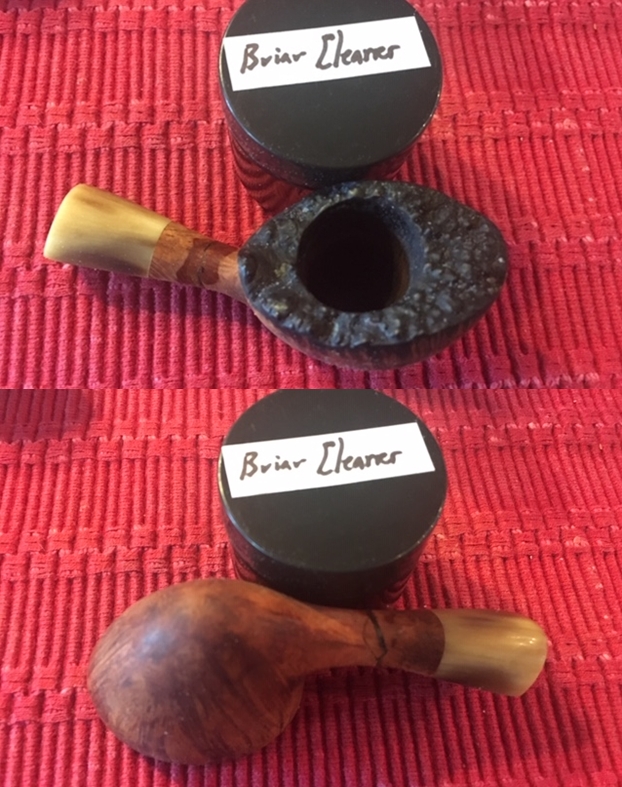
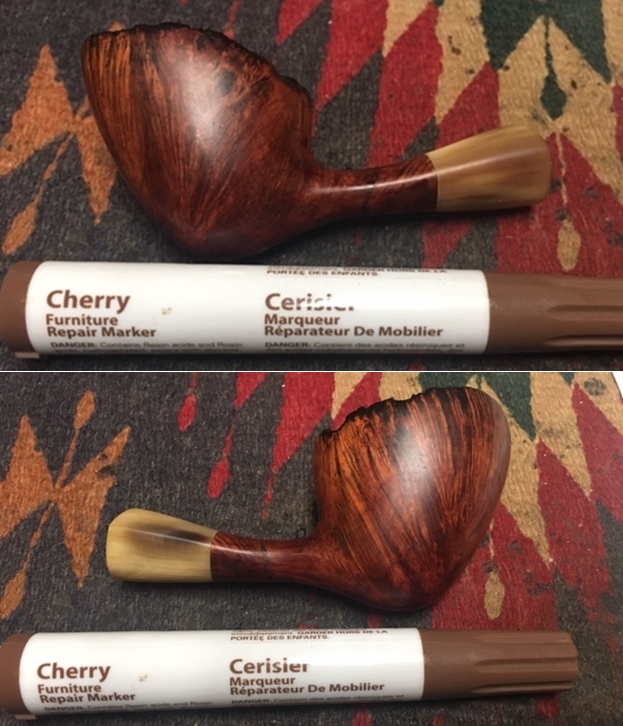
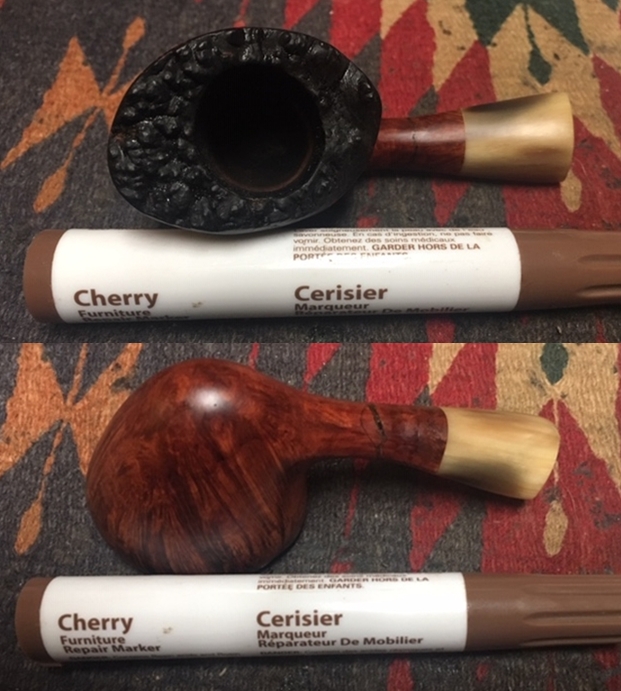
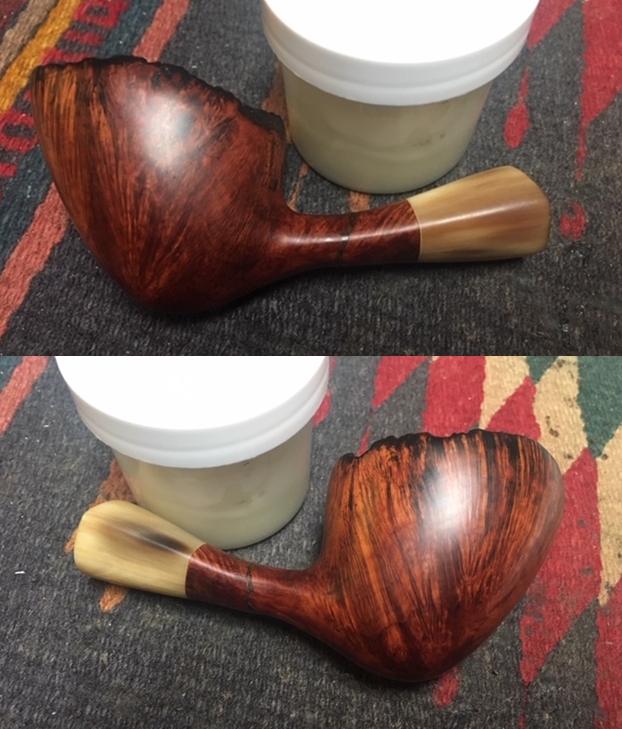
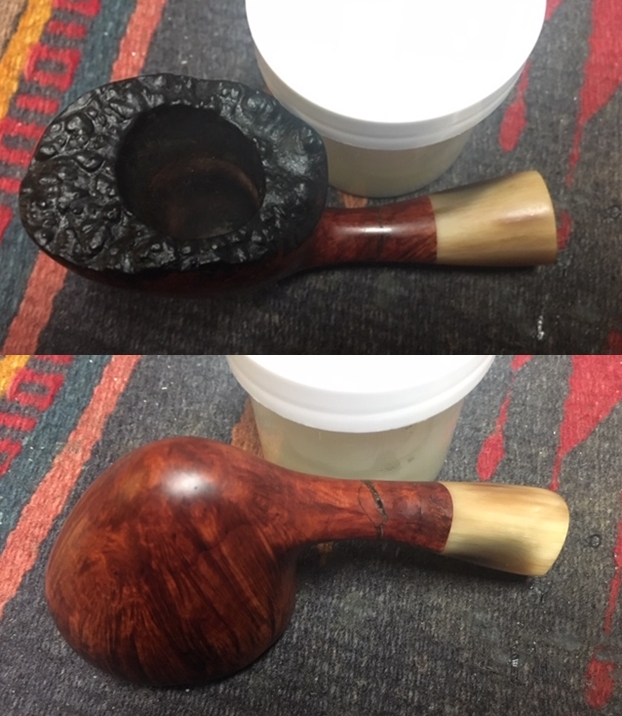
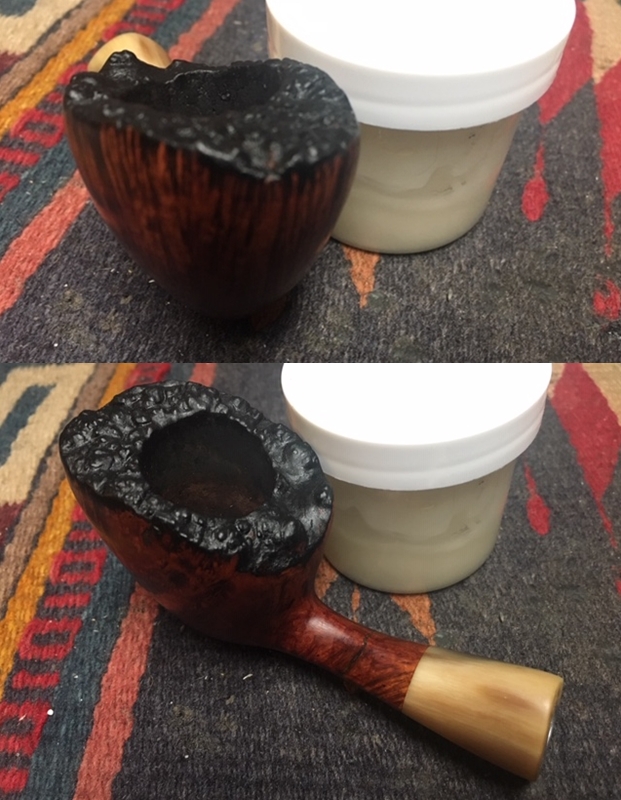
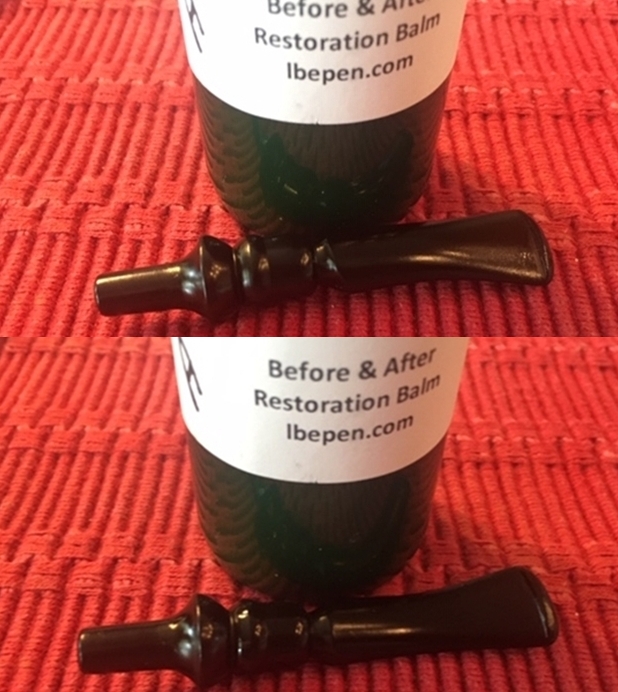
I picked up some tubing at Hobby Lobby and cut off a piece that was close to the length I needed to join the two parts of the shank together. I used a Sawsall blade and a hacksaw to cut a length from the tube. I used a metal rasp to flatten the end of the piece of tube and shorten it enough to fit into the two parts of the shank. I used the small blade on a pocket knife to open up the airway in the bowl end of the shank and to flare the end of the tube in the stem end of the shank.I used the hacksaw to rough up the surface of the tube so the glue would have a surface to bond to between the briar and the tube. I used some Testor’s Metal and Wood Glue to insert the tube into the bowl end of the shank. I used a tooth pick to press the glue into the area around the tube. I filled in the remainder of the gap with clear Gorilla glue.I used the tooth pick to put Gorilla Glue on the open ends of each piece of the shank. I coated the tube with some glue as well. I aligned the two parts and pressed the pieces together. I held them tightly in place until the glue set and the two parts were bound together. I filled in the repaired area with Gorilla Glue to smooth out the repair. I set the bowl aside to let the repair cure. Once the glue had cured and the shank was solid, I smoothed out the repair a medium and fine sanding block. I sanded the repaired area and glue with 1500 and 1800 grit micromesh sanding pads to remove the excess glue. I smoothed out the finish. I decided to use Mark Hoover’s Briar Cleaner at this point in the process to clean off the briar. It works to remove the dust and debris in the briar and leaving behind a clean piece of briar. I polished the bowl and horn shank extension with micromesh sanding pads – wetsanding with 1500-12000 grit sanding pads. I took photos of the pipe at this point in the process. It is a nice looking pipe for sure. At this point in the process I brought the pipe back to Vancouver. I sanded the repaired area with a folded piece of 220 grit sandpaper to blend it into the surrounding briar. I wanted to remove some of the darkened area around the repair so that I could polish it further and restain the shank to match the rest of the pipe.I polished the repaired area with micromesh sanding pads – wet sanding with 1500-2400 grit pads to polish out the sanding scratches. I polished it further with 3200-12000 grit pads. Once it was smooth I stained it with a Cherry stain pen to blend it into the rest of the pipe. The photos tell the story of the repair. I rubbed the bowl and shank down with Before & After Restoration Balm. I worked it into the briar and set it aside to dry. Once the Balm had been doing its work for a while I buffed it down with a microfiber cloth. The Balm cleaned, protected and enlivened the briar. The repaired shank was looking very good at this point in the process. I cleaned the pipe stem with a new version of Mark Hoover’s Before & After Restoration Balm that he had designed to work well on both the briar bowls and the vulcanite stems. I rubbed it into the surface of the stem with my fingertips and buffed it off with a microfibre cloth. I polished the stem with microfibre pads – wetsanding with 1500-12000 grit pads. I wiped it off with Obsidian Oil after each sanding pad. After the 12000 grit pad I polished it with Before & After Fine Polish and gave it a final coat of Obsidian Oil. I put the stem back on the pipe and took the pipe to the buffer. I carefully buffed the bowl and stem with Blue Diamond to polish the briar and the vulcanite. I wanted to get a shine but not risk damaging the pipe by having it fly off the wheel. Blue Diamond does a great job on the smaller scratches that remain in both briar and vulcanite. I gave the bowl and the stem several coats of carnauba wax and buffed the pipe with a clean buffing pad to raise the shine. I hand buffed it with a microfiber cloth to deepen the shine. The pipe polished up really nicely with a great contrasting stain look to the briar. The finished pipe is shown in the photos below. This is a beautiful Eric Nording F Freehand – the fancy turned stem and the horn shank extension give the pipe a great look. The polished black vulcanite stem looks really good with the rich browns standing out in the grain and the blacks of the plateau rim. The dimensions of the pipe are Length: 7 inches, Height: 2 inches, Outside diameter of the bowl: 1 ½ inches wide and 2 inches long, Chamber diameter: 7/8 of an inch. This pipe is truly a rebornpipe. The shank repair and inside tube that binds it together should last a long time. Thanks for walking with me through the repair and the restoration of this beauty!

Restoring a Nording “Pick Axe” Freehand Pipe


Blog by Paresh Deshpande

I had just finished restoring a 1940s-1960s Kaywoodie Bent Billiard with a 4 holed stinger, also from my grandfather’s collection. I am always fascinated by “Free Hand” pipes. I feel these freehand shapes let the creativity and imaginations of a carver run riot without the bindings of the exacting demands of a classical shapes and finish.

Over a period of time, I have collected a number of freehand pipes during my not-so-long journey in to the pipe world and have realized that these freehand pipes invariably have a nice hand fit, sitting snugly in to the hands of the smoker with a nice heft to them. The most fascinating aspect of a freehand, I feel, is the carver’s desire to highlight the grains in the briar block and shape the pipe accordingly to highlight these grains.

I was fortunate to come across four estate freehand pipes, one Soren, one Ben Wade Spiral, one Nording #4 and one Nording Pick Axe shaped pipe. I discussed with my mentor and guide, Mr. Steve Laug, and after his approval on the aspects of collectability and the price point at which they were available, I purchased them about a year back!!!! Since then, these were waiting for me to work on and now that I feel slightly more confident in doing justice to these lovely pipes, I decided to work on them. The first of these pipes that is now on my work table is the Nording Pick Axe shaped freehand.

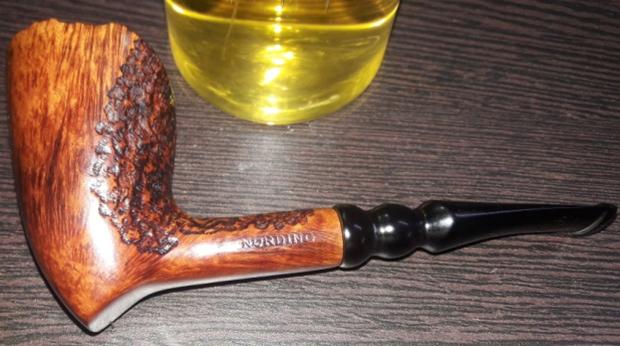
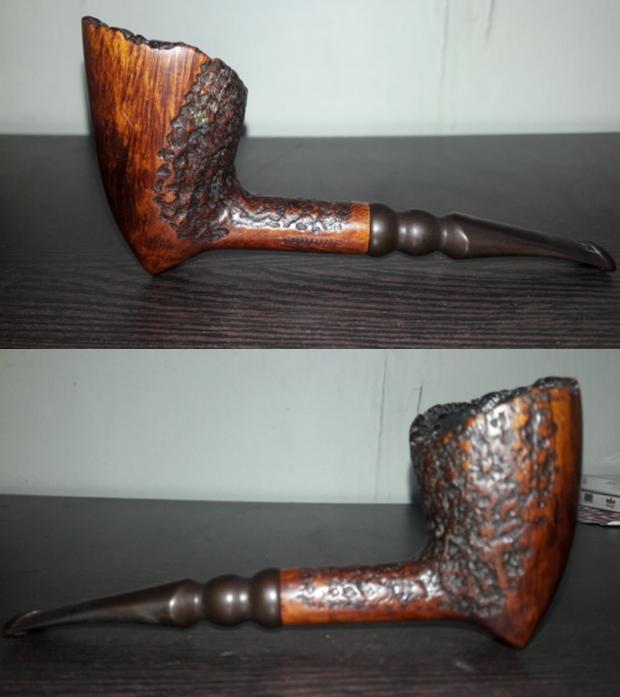
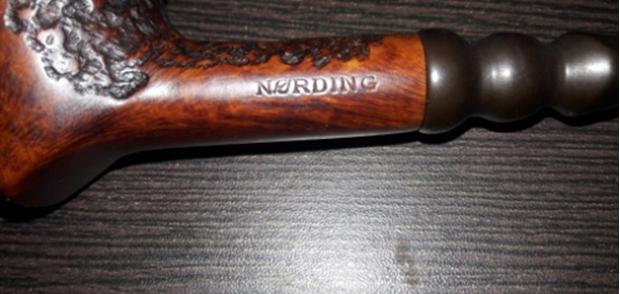
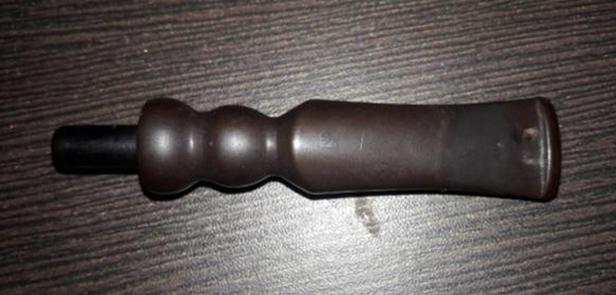
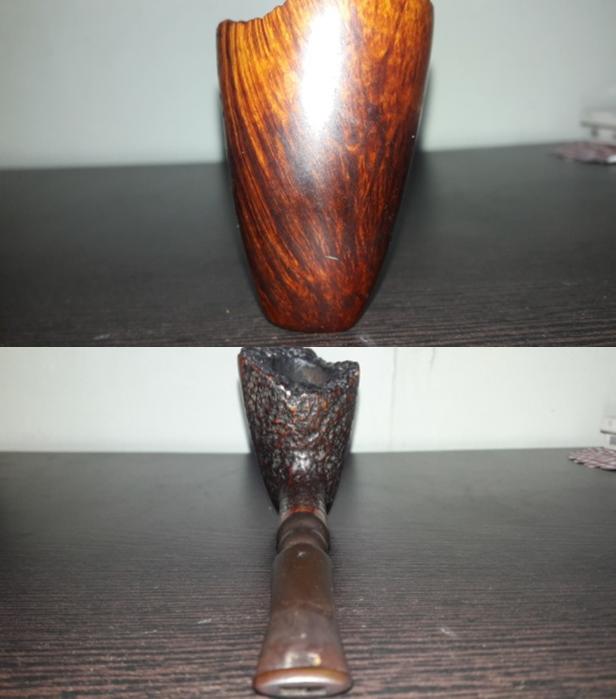
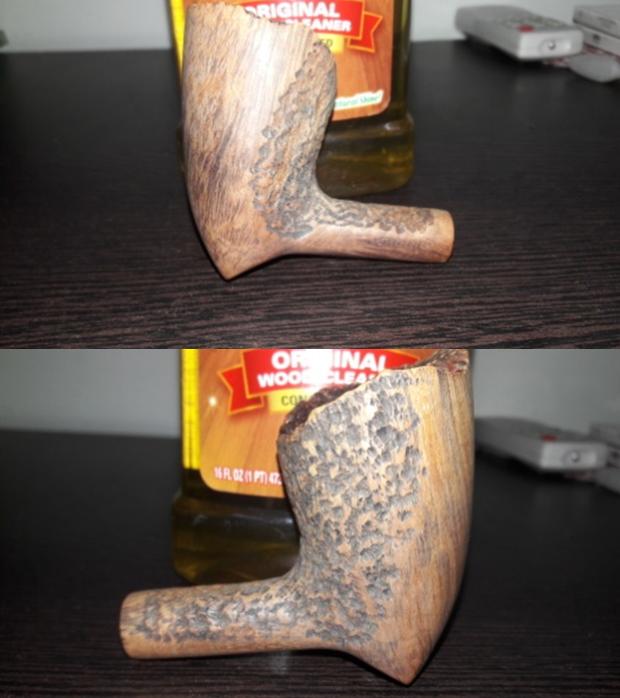
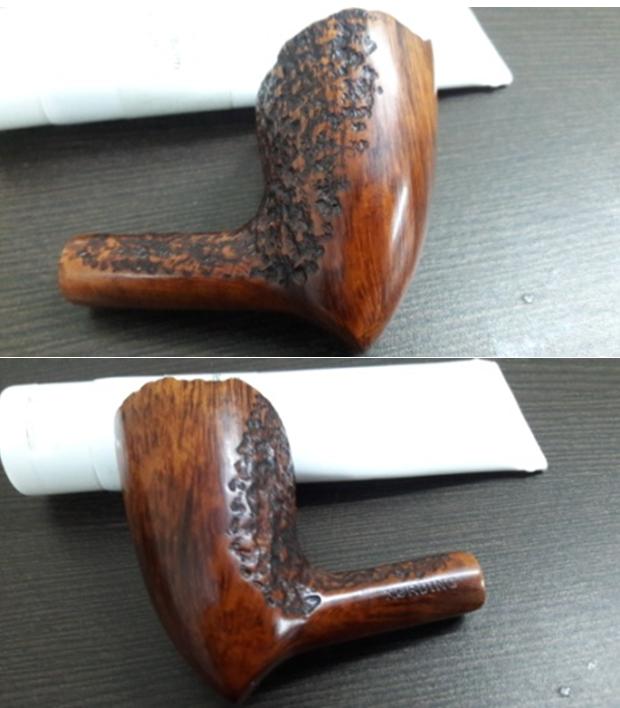
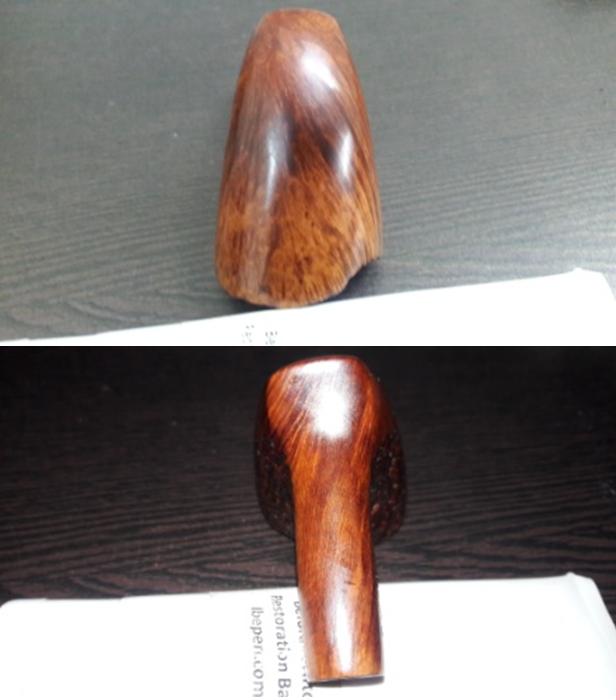
This beautiful pipe has the classical pick-axe shape with a plateau rim top. The stummel has a smooth surface with densely flame grains extending from the mid way on right side and extending mid way on left side while the remaining surface on the stummel has beautiful rustication. The smooth portions extend to the sides such that when held in the palm, all the fingers are holding the stummel along the smooth surface and one can admire the fine delicate rustications on the back while sipping your favorite tobacco. Blissful!!!!!!!!! Similarly, the top surface of the shank is rusticated extending half way through on either side while the bottom is smooth with straight grains extending from the tip of the axe towards the end of the shank.  The only stamping, “NORDING” in block capital letters, is seen on the smooth portion of the shank. The stamping is clear, crisp and easily readable. The fancy stem has a slight bent towards the lip and helps the pipe to balance straight on a table. There is the letter “N” in block capital letter, stamped on the top surface. But it is faint and hidden under the heavy oxidation.I searched the internet for detailed information on Nording pipes and this pipe shape in particular shape. Though I did not find anything particularly about this pipe, it was interesting to read how young Mr. Nording got in to the business of pipe making. It makes for a very interesting read. We must not forget to thank one Mr. Skovbo, who had a major contribution in introducing Mr. Nording in to this business!!!!!!  I have a couple of SON pipes in my grandfather’s collection which I will restore at a later date since I now know about the historical importance of these pipes!!!!!!!!!!! Here is the link for easy reference of those interested: https://pipedia.org/wiki/Nørding 

INITIAL VISUAL INSPECTION
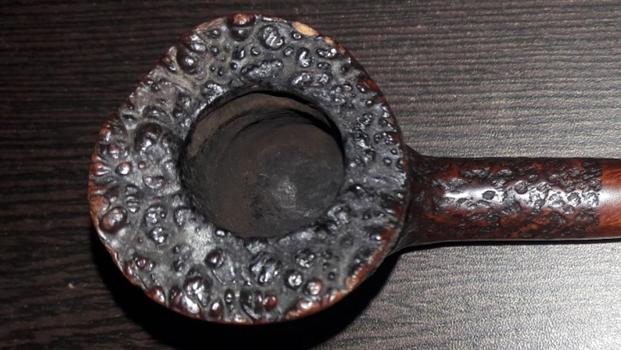
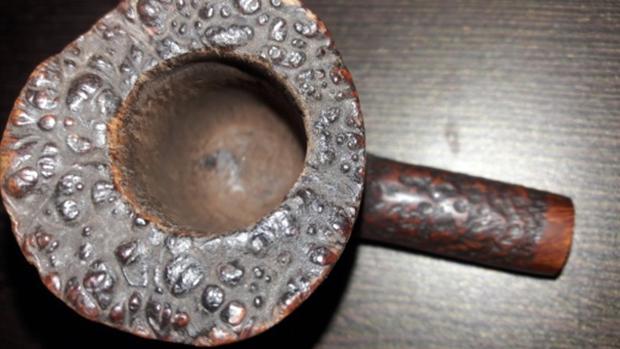
The stummel is covered in dust, oils and grime giving a dull and lackluster appearance to the bowl. The rustications on the back of the stummel are, likewise, filled with dust, dirt and grime. This will need to be thoroughly cleaned. On close scrutiny, I saw some minor superficial dents and dings on the smooth surface. Will I address it or keep it as it is as a characteristic feature of this pipe’s past life? Hell yes, I will address it!!!!! I want it to be as perfect as I can make it for its next innings with me!!!!!! The chamber is clean with a very uneven and thin layer of cake. The plateau rim top is covered with overflow of lava. The inner rim edge is crisp, even and intact. The chamber is odorless and dry to the touch. The inner wall condition of the chamber will be ascertained once the chamber has been completely reamed. However, I foresee no issues at all as the bowl feels solid to the touch.The fancy stem is heavily oxidized with tooth chatter and bite marks on both surfaces and some calcification can be seen towards the lip. There is a significant damage to the lip end in the form of a bite through hole on the upper surface and some deep bite marks on both upper and lower surface of the stem. The airway in the stem is slightly blocked. These issues will have to be addressed. On close observation, the upper surface of the stem bears the stamp “N” in block capital letter. However, this stamp is very faint and covered in thick layer of oxidation. I will attempt to restore and save this stamp.The shank, mortise and the airway is relatively clean and will only need to be sanitized.THE PROCESS
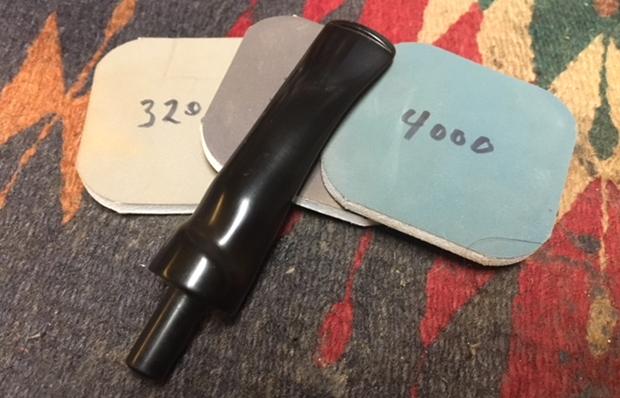
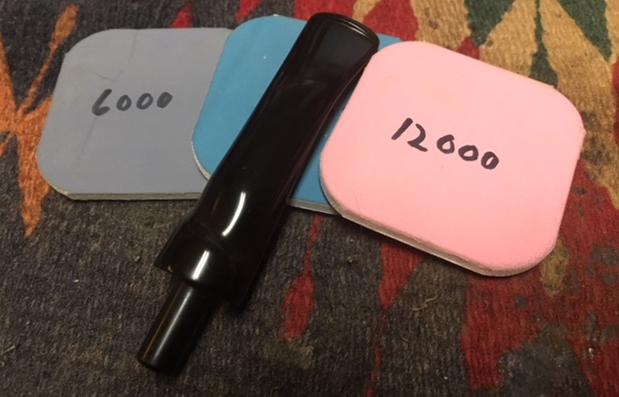
The first step that I usually follow is the reaming of the bowl. However, in this project, since the only significant damage appreciated is to the stem and would be a time consuming process to repair, I started this restoration by addressing the stem first by sanding the stem surface with a 220 grit sand paper followed by 1500 grit micromesh pad. This serves two purposes. Firstly, it evens out the surface for a fresh fill during stem repairs and secondly, I have experienced that any fill in a stem repair turns distinctly brown after micromesh sanding if the oxidation from the stem surface was not removed prior to the application of the fill. Once I was through with the sanding, I wiped the stem clean with cotton pad dipped in isopropyl alcohol. This was followed by flaming both the surfaces of the stem with a Bic lighter, concentrating more around the hole on the upper surface and the deeper bite marks on the lower surface. This helps in raising all the tooth chatter and dents to the surface.I inserted a pipe cleaner coated with Vaseline in to the stem airway before applying the fill. This helps in preventing the fill from entering and blocking the airway. I prepared a mixture of superglue and activated charcoal and applied it as evenly as possible over the hole and deep bite marks and set it aside to cure for 48 hours since the climate here is very wet and humid. While the glue was curing, I worked on the stummel, reaming out the cake with a Kleen Reem reamer, followed by a pipe reaming knife that I had fabricated. I brought the cake down to the bare briar. To further remove any traces of old cake and smooth the inner walls of the chamber, I sanded the inner wall surface with a 220 grit sand paper. As observed during initial visual inspection, I had decided to remove all the dents and dings in the stummel. I cleaned the stummel with Murphy’s oil soap, paying special attention to the plateau rim which was scrubbed with 000 grade steel wool to remove all the overflow of lava. Thereafter I sanded the smooth surfaces of the bowl with a 220 grit sand paper. Once all the dings and dents were evened out and the surface made smooth, this was followed by micromesh polishing pads, wet sanding with 1500 to 2400 grit pads. Again, I wiped the bowl with a moist cotton cloth after each pad. Thankfully there were no fills in the stummel. Once I was through with the wet sanding pads, I used the 3200 to 12000 grit pads to dry sand the stummel to a nice shine. I set the stummel aside to let it dry out naturally. I rubbed some “Before and After Restoration” balm deeply in to the stummel with my fingers. This balm helps in rejuvenating and protecting the briar wood. The immediate and incredible transformation that takes place is a worthy reward for all the efforts!!! The mixed grain can now be clearly appreciated. I let the balm be absorbed by the briar for about 15-20 minutes and then polished it with a soft cotton cloth. The bowl now looks fresh and attractive with the grains popping out any which way you look at the briar. Turning my attention to the stem, using a flat head needle file I sanded out all the fills to match the surface of the stem. I further matched the fills by sanding it with a 220 grit sand paper. I had to spot fill clear superglue into small fills which were exposed during the sanding and repeat the entire process twice. To finish the stem I went through the complete set of micromesh pads, wet sanding with 1500 to 2400 pads and dry sanding with 3200 to 12000 grit pads. I wiped the stem with a cotton swab dipped in alcohol after each pad and rubbed olive oil into the stem after every three pads. The stem looks crisp, shiny and like new. Having addressed the “appearance” aspects of this beauty, I turned my attention to the “performance” aspects to ensure that this beauty smokes as well as it looks. I thoroughly cleaned the shank internals using shank brush, pipe cleaners, qtips and isopropyl alcohol. The stem airway was cleaned using regular pipe cleaners and also bristled ones dipped in alcohol. The airway is now clean and the draw is full and open.To complete the restoration, I rubbed a minute quantity of PARAGON WAX on the smooth stummel and the stem and HALCYON WAX II on the rusticated surface. After a few seconds, using muscle power and a microfiber cloth, I polished the entire pipe to a lovely shine. The finished pipe is shown below. This one shall soon find a place in my rotation. Thank you for your valuable time spent in reading this chronicle of my journey.

New Life for a Nording A Freehand


Blog by Steve Laug

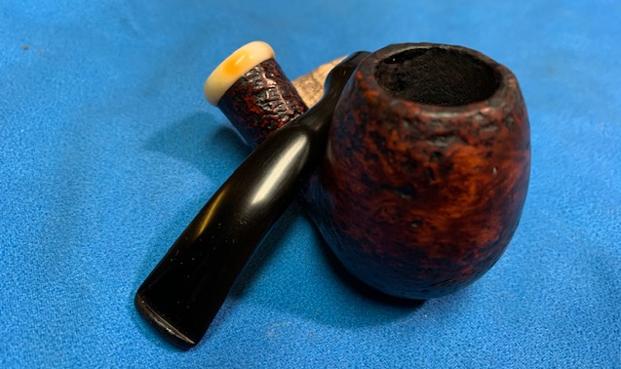
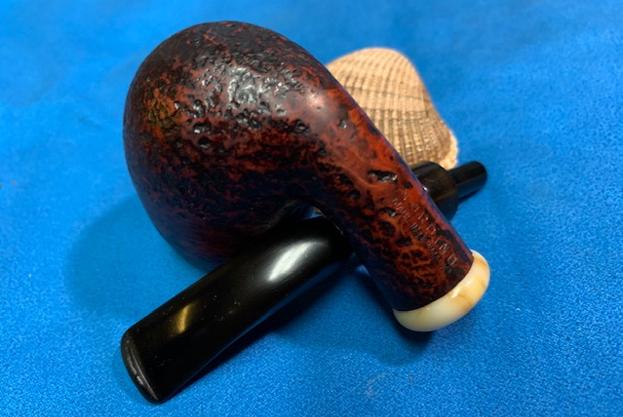
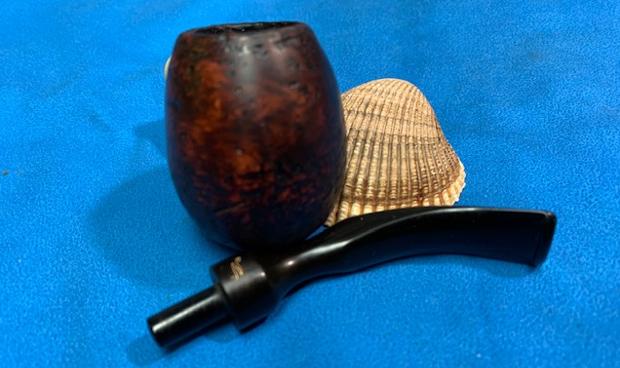
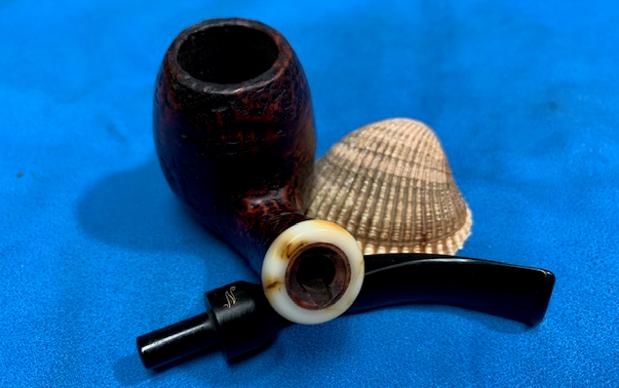
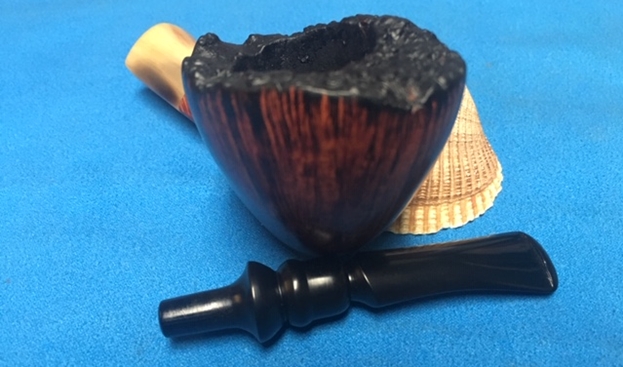
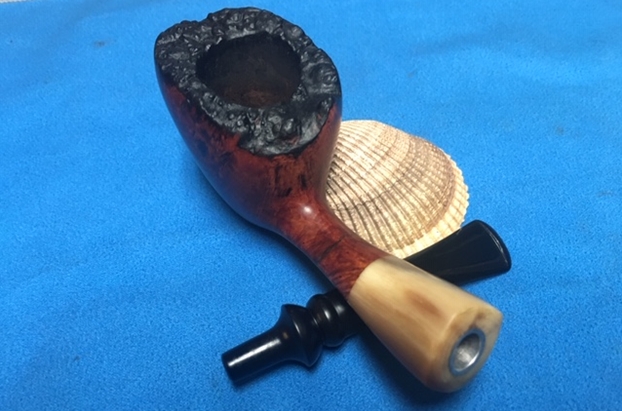
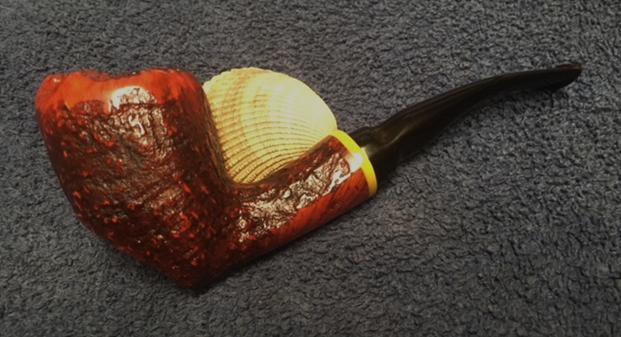
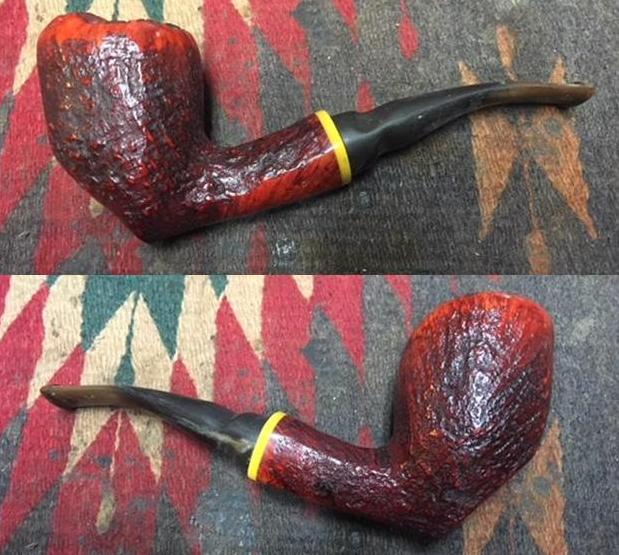
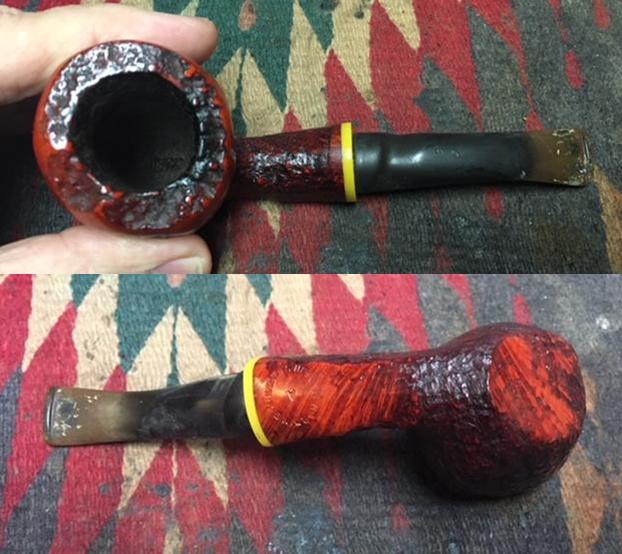
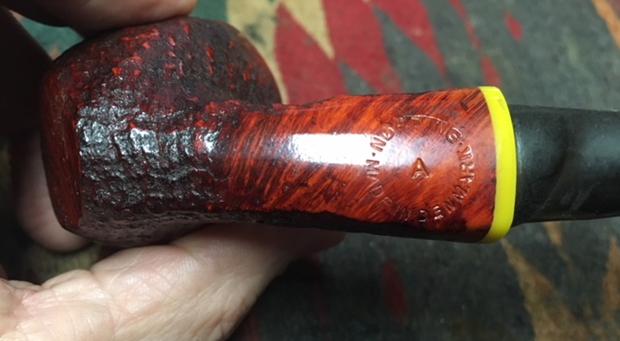
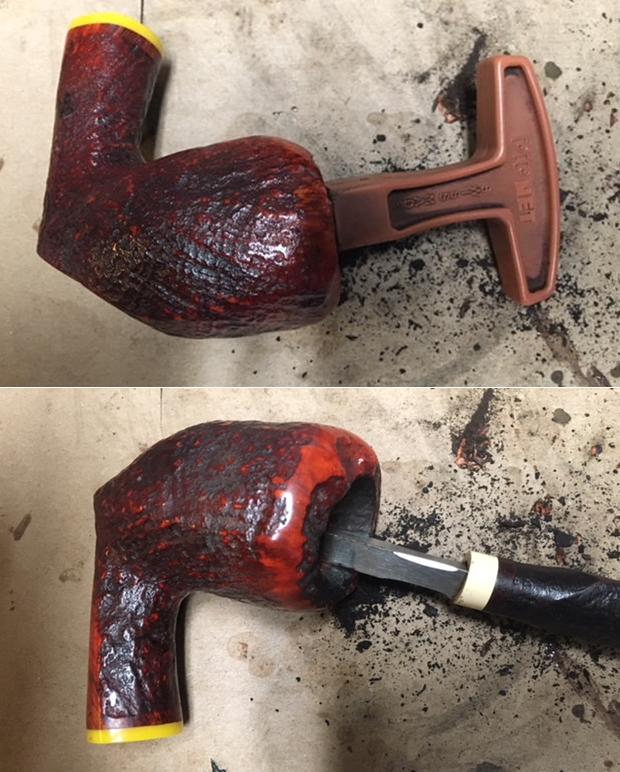
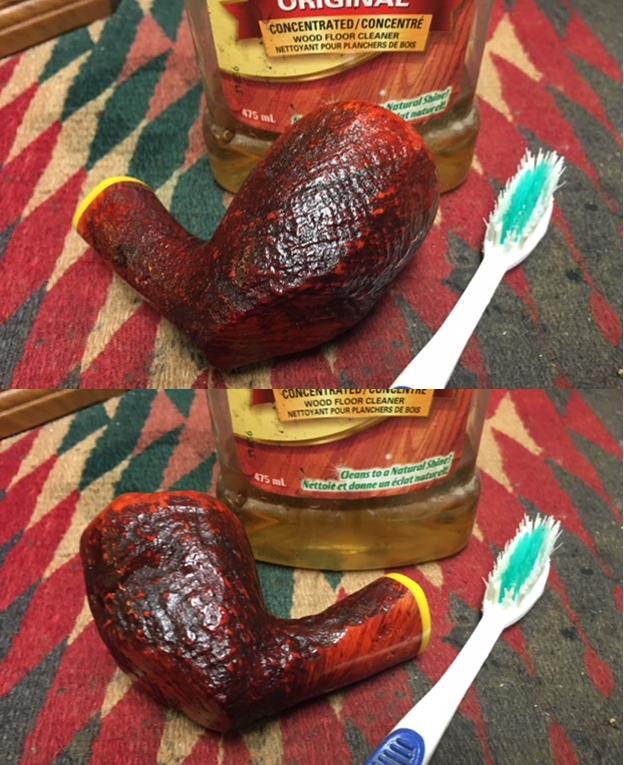
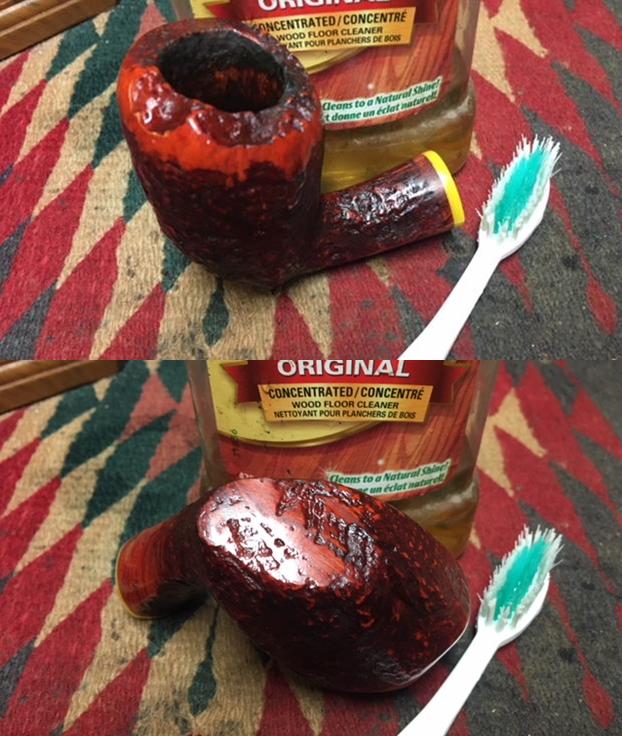
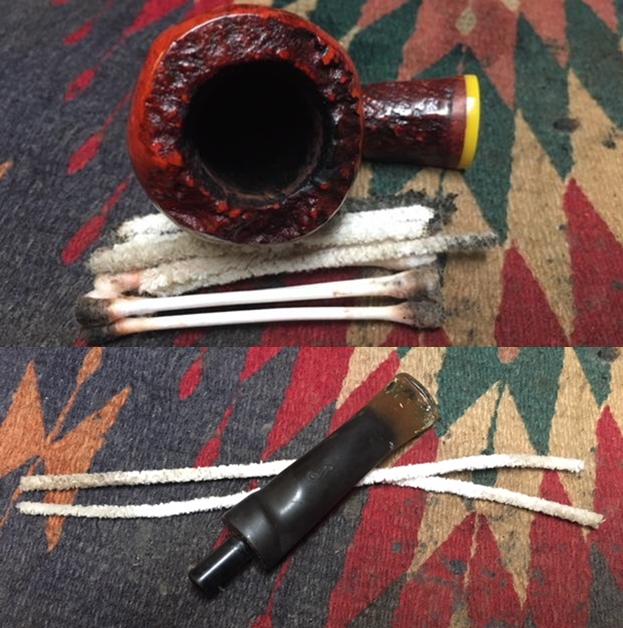
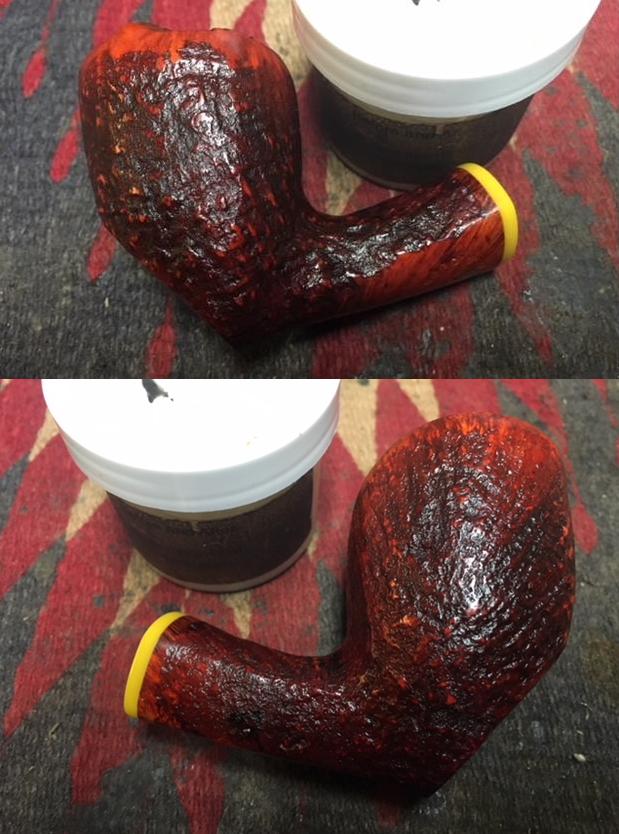
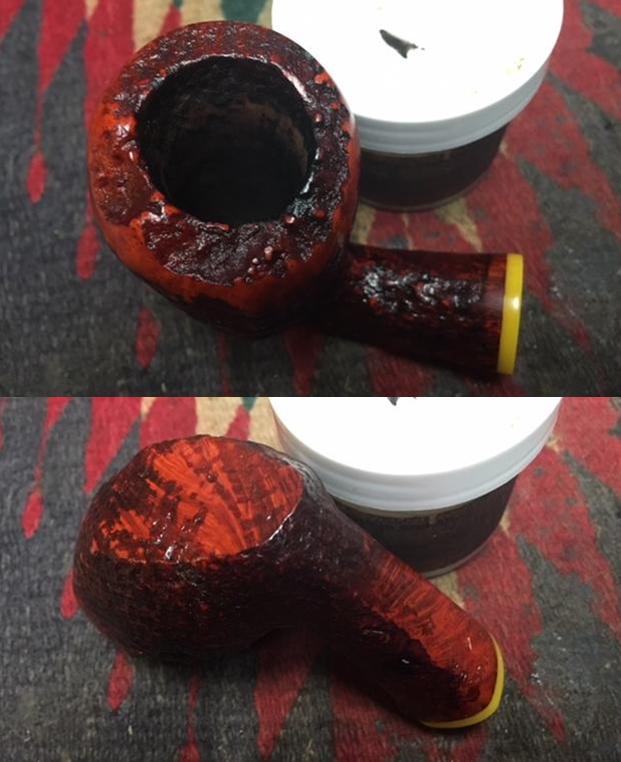
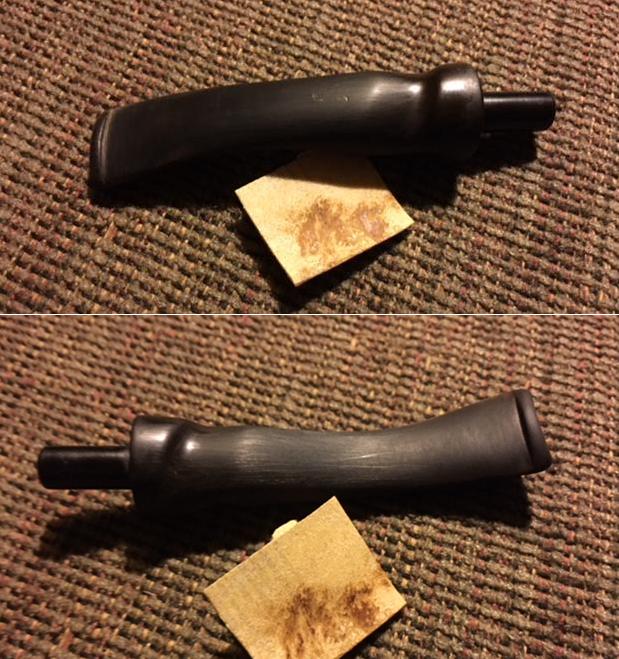
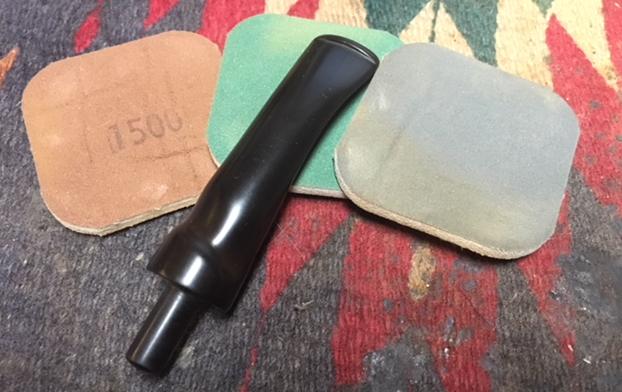
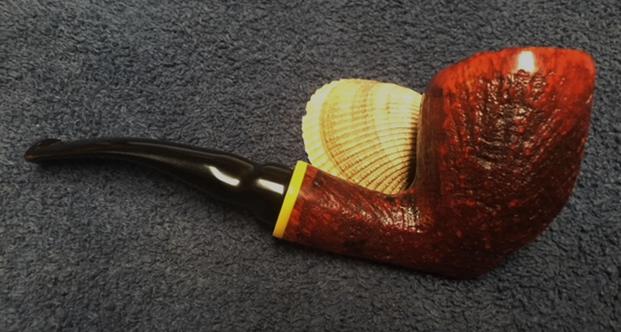
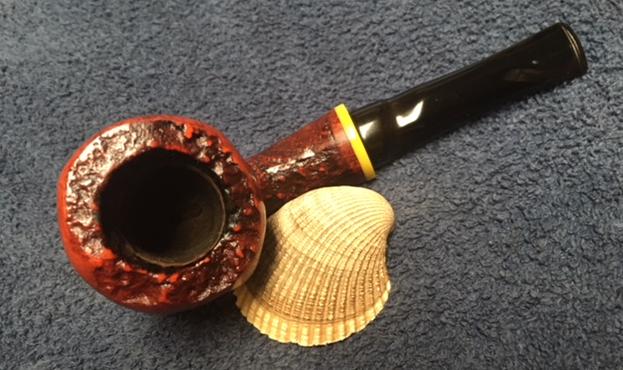
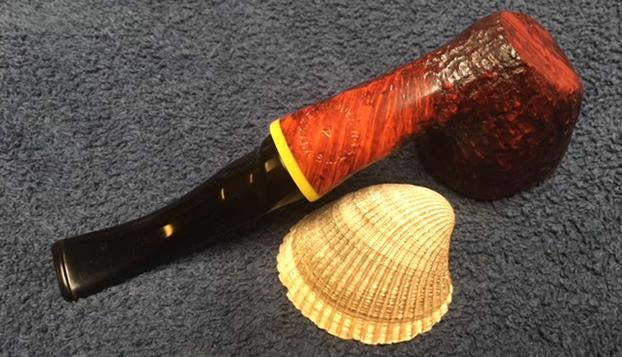
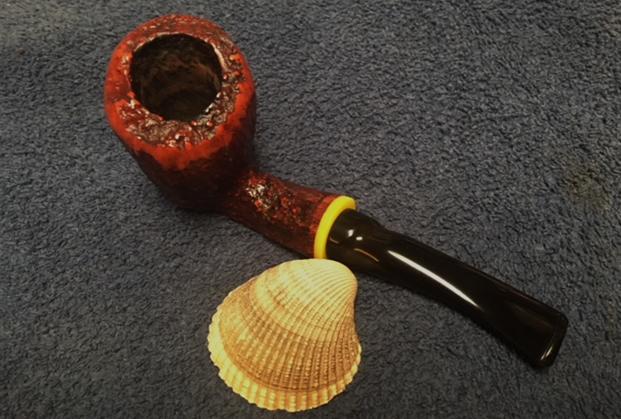
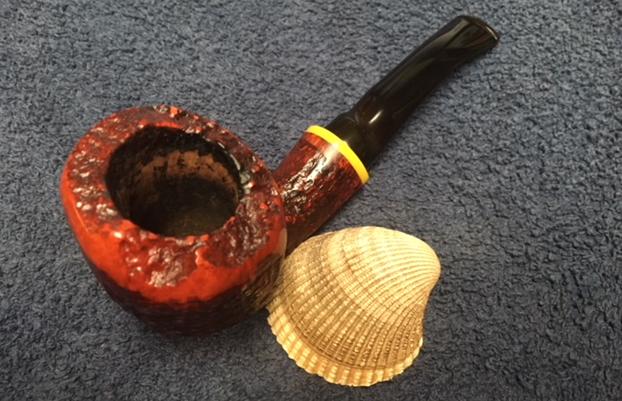
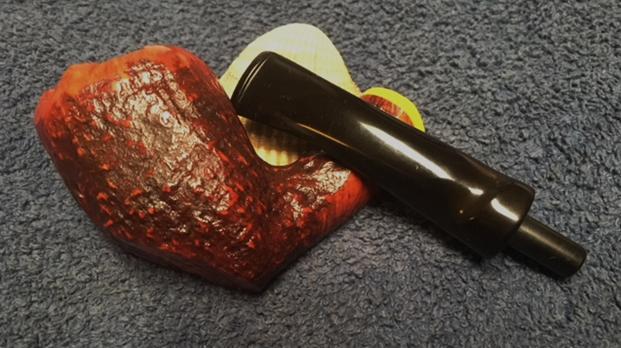
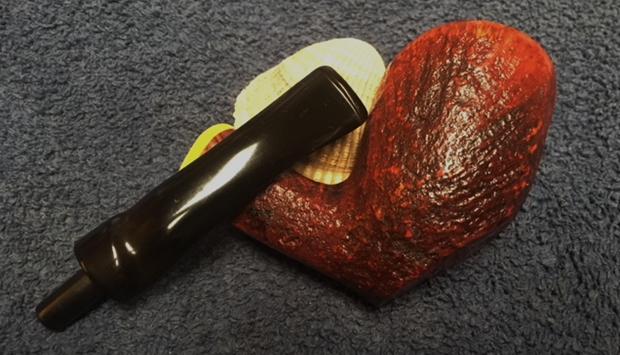
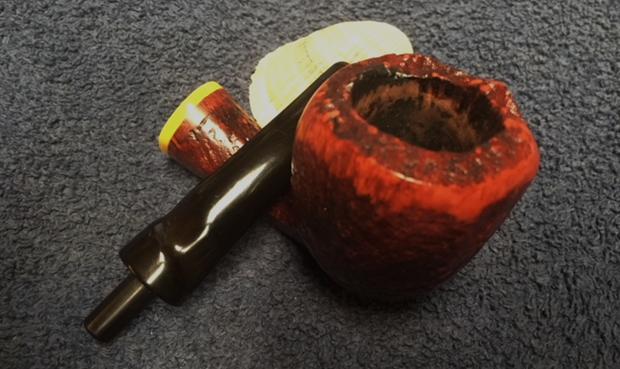
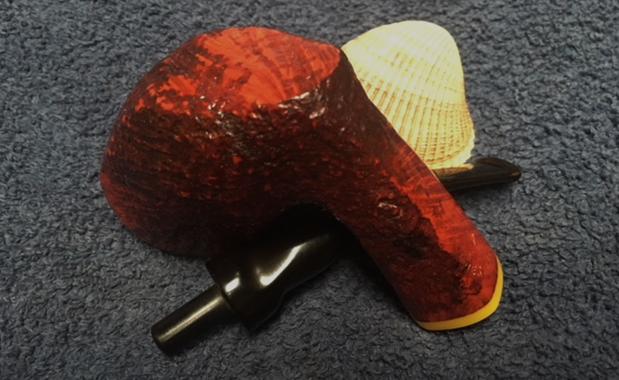
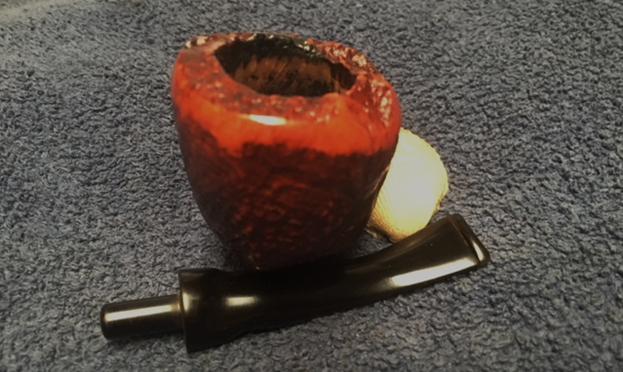
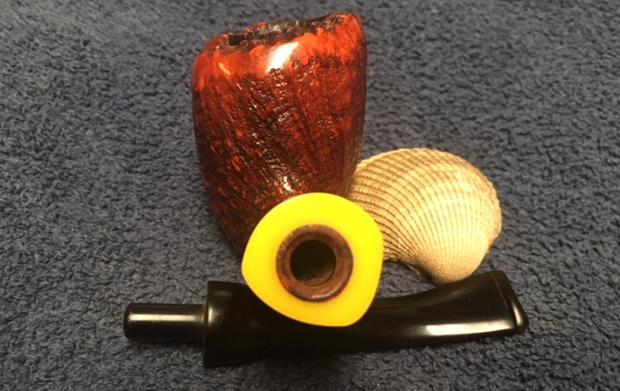
I don’t remember where this pipe came from but it showed a lot of promise. It is stamped Nording Made in Denmark in a circle with an “A” in the center of the circle on the underside of the shank. The bowl is sandblasted around the bowl and shank. The stamping is on the smooth panel on the underside of the shank. There is a smooth ring of briar on the shank just ahead of the yellow acrylic ring. The ring is asymmetrical like the shank. The rim top is a combination of smooth briar curving upward to plateau on the rim top. The stem was vulcanite and was oxidized and had some calcification on each side of the stem for the first inch ahead of the button. I think that at some point in its life before it came to me it had a rubber Softee bit on the stem to protect it from tooth marks and chatter. It had done its job and there were no tooth marks or chatter on the surface of the stem. I took the following photos of the pipe before I worked on it. I took some close up photos of the rim top and the stem to show the condition it was in when I started the cleanup. The plateau on the rim was dirty with dust and tars in the grooves of the plateau. The grooves of the sandblast were also dusty and dirty. The inside of the bowl appeared to be in good condition under the thin cake. The close up photos of the stem shows the oxidation and calcification on the surface. On the second photo, the top side of the stem you can see the faint remnants of the Nording signature N. There is very little of the stamping left in the vulcanite. The vulcanite stem has an interesting spiral look that gives a sense of whimsy to the pipe that will become more apparent after the polishing.I took a photo of the underside of the shank – you can see the circular Nording Made in Denmark encircling a capital “A”. The yellow acrylic shank extension.I reamed the bowl with a PipNet reamer using the second and third cutting heads to take the cake back to bare briar. I cleaned up the remnants of cake in the bowl with a Savinelli Fitsall Pipe Knife. I finished the cleaning of the inside of the bowl with 200 grit sandpaper wrapped around a piece of dowel. I turned it in the bowl until the bowl was smooth and clean. I scrubbed the exterior of the bowl with a tooth brush and Murphy’s Oil Soap. I scrubbed the plateau rim top with a brass bristle brush to remove the tars and oil in the grooves. I rinsed the bowl with warm water in the sink while scrubbing the finish with the tooth brush to remove the dust and grime. I took photos of the pipe after cleaning. It was starting to look very good. I scrubbed out the mortise and the airway in the shank and stem with pipe cleaners, cotton swabs and alcohol. Once the grime was removed the pipe smelled good and looked good.I rubbed some Before & After Restoration Balm into the surface of the briar to enliven, clean and preserve it. I rubbed it in with my fingertips working it into the briar. I worked it into the plateau rim and the sandblast on the sides of the shank and the bowl. I buffed it into the finish with a horsehair shoe brush. I set it aside for a little while to let the balm do its work. I buffed it off with a cotton cloth and a shoe brush. The photos below show the pipe at this point in the restoration process. I set the bowl aside and turned my attention to the stem. I sanded the oxidation and the calcification on the stem with 220 grit sandpaper. I was able to remove the oxidation and the calcification and the stem actually began to look really good.I polished the stem using micromesh sanding pads – wet sanding with 1500-2400 grit pads and then buffing on the wheel with red Tripoli. I dry sanded the stem with 3200-12000 grit pads to further polish it. After each pad I wiped it down with Obsidian Oil to protect and enliven the stem. When I finished with the final pad I gave it the stem another coat of oil and set it aside to dry. This interesting mixed finish Freehand is a classic Nording. Everything about the shape, style, and the craftsmanship of the stem say Nording. The Nording Made In Denmark stamp with the “A” in the middle gives the grade of the pipe. I am not sure where it fits in the Nording hierarchy but it is a well-made pipe. The shape of the pipe takes full advantage of the sandblast grain on the briar. The mix of grains – straight, flame and birdseye all work together to give the sandblast finish a beautiful look from any direction it is viewed. The reddish colour of the bowl and shank with the bright yellow acrylic shank work together well with the polished black of the vulcanite stem. I buffed the bowl and the stem with Blue Diamond polish to raise the shine on the briar and the vulcanite. I was careful to not buff the stamping and damage it. I gave the bowl and the stem multiple coats of carnauba wax. I buffed the entire pipe with a clean buffing pad to raise the shine. I hand buffed it with a microfiber cloth to deepen the shine. The finished pipe is shown in the photos below. The dimensions of the pipe are: Length: 6 inches, Height: 2 1/4 inches, Outside Diameter: 1 3/4 inches, Diameter of the chamber: 7/8 of an inch. It is an interesting pipe and should make a great addition to anyone’s rack. Thanks for walking through the restoration with me.