
Blog by Steve Laug
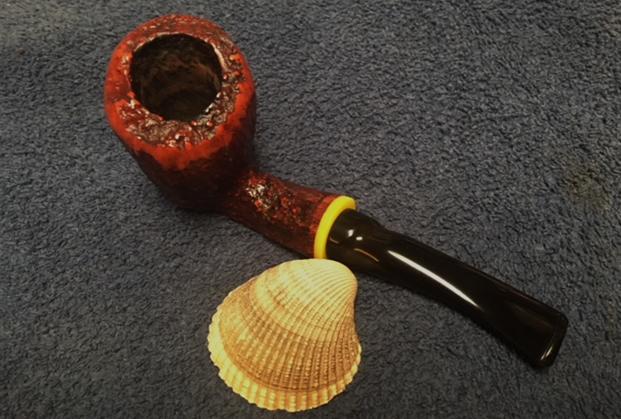
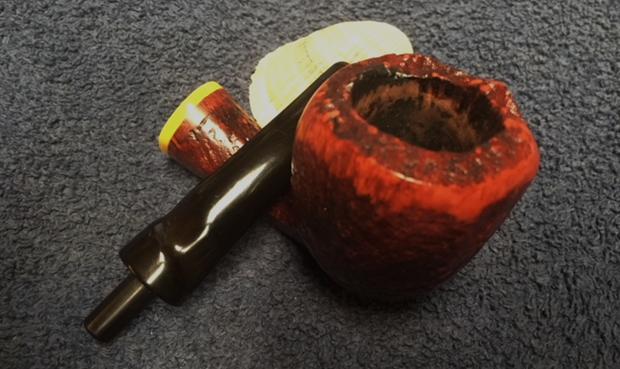
I don’t remember where this pipe came from but it showed a lot of promise. It is stamped Nording Made in Denmark in a circle with an “A” in the center of the circle on the underside of the shank. The bowl is sandblasted around the bowl and shank. The stamping is on the smooth panel on the underside of the shank. There is a smooth ring of briar on the shank just ahead of the yellow acrylic ring. The ring is asymmetrical like the shank. The rim top is a combination of smooth briar curving upward to plateau on the rim top. The stem was vulcanite and was oxidized and had some calcification on each side of the stem for the first inch ahead of the button. I think that at some point in its life before it came to me it had a rubber Softee bit on the stem to protect it from tooth marks and chatter. It had done its job and there were no tooth marks or chatter on the surface of the stem. I took the following photos of the pipe before I worked on it.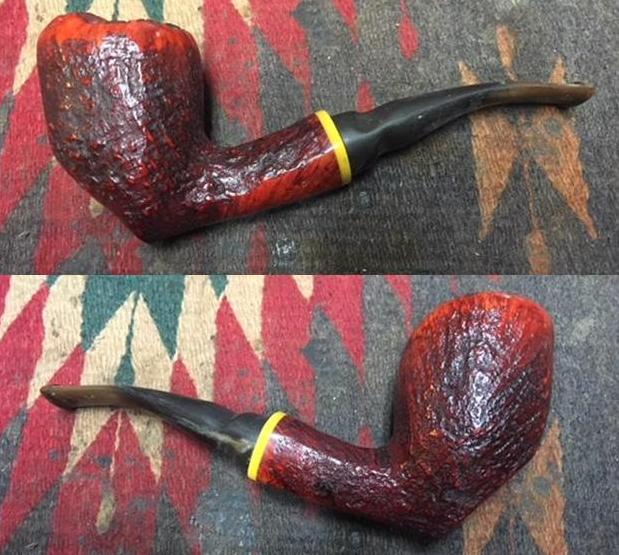
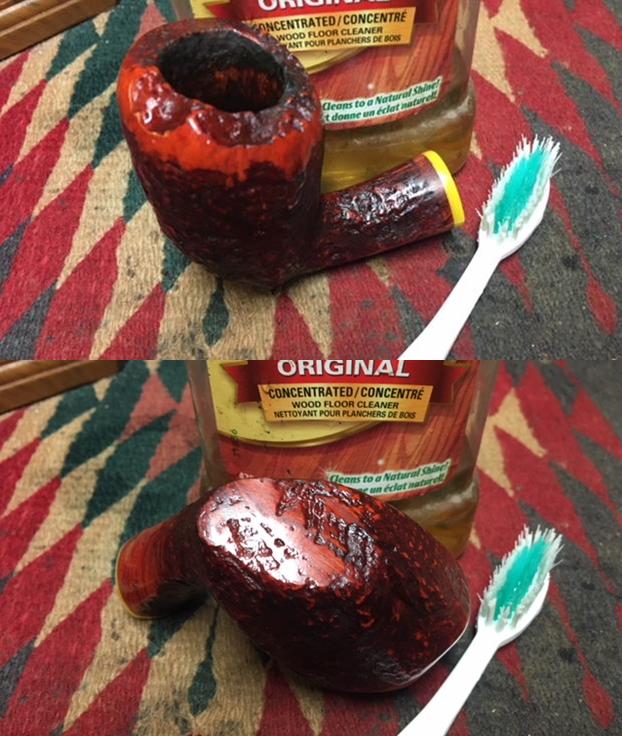
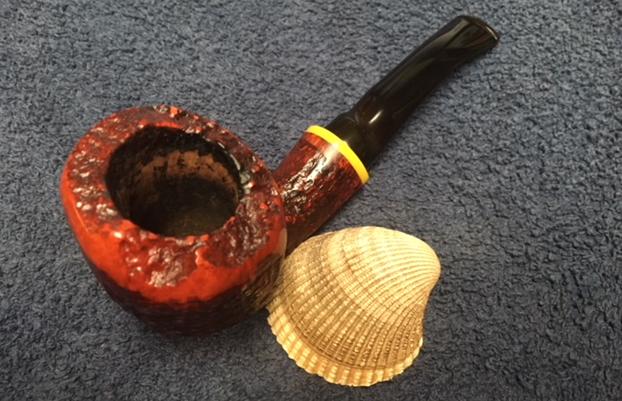
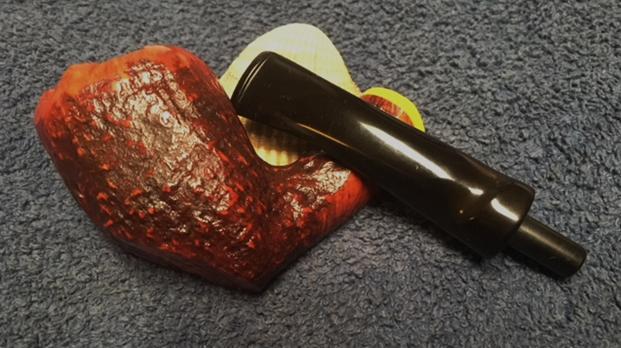
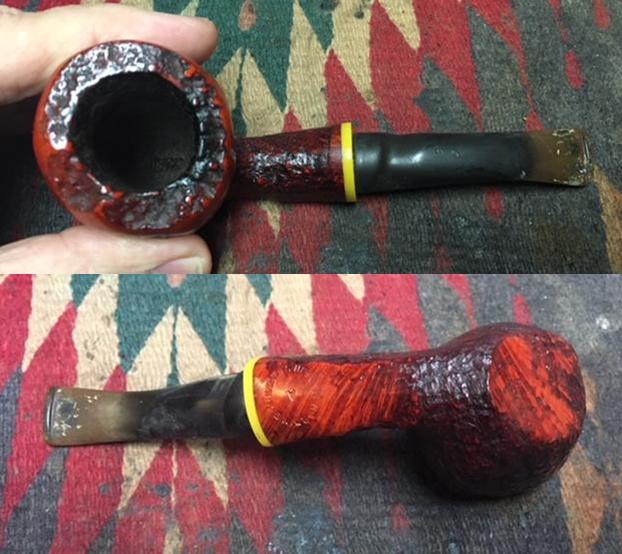 I took some close up photos of the rim top and the stem to show the condition it was in when I started the cleanup. The plateau on the rim was dirty with dust and tars in the grooves of the plateau. The grooves of the sandblast were also dusty and dirty. The inside of the bowl appeared to be in good condition under the thin cake. The close up photos of the stem shows the oxidation and calcification on the surface. On the second photo, the top side of the stem you can see the faint remnants of the Nording signature N. There is very little of the stamping left in the vulcanite. The vulcanite stem has an interesting spiral look that gives a sense of whimsy to the pipe that will become more apparent after the polishing.
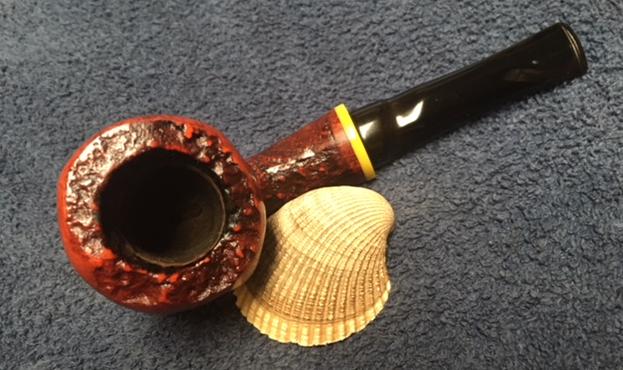
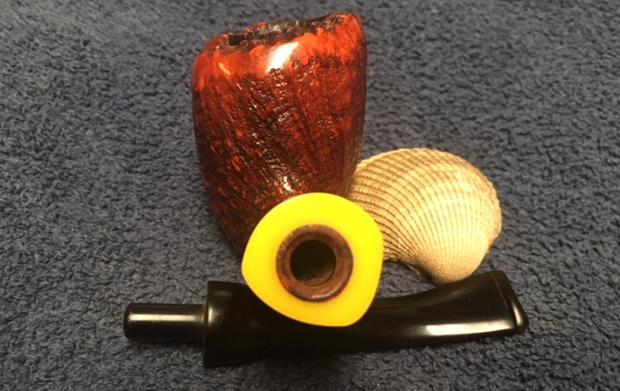
 I took a photo of the underside of the shank – you can see the circular Nording Made in Denmark encircling a capital “A”. The yellow acrylic shank extension.
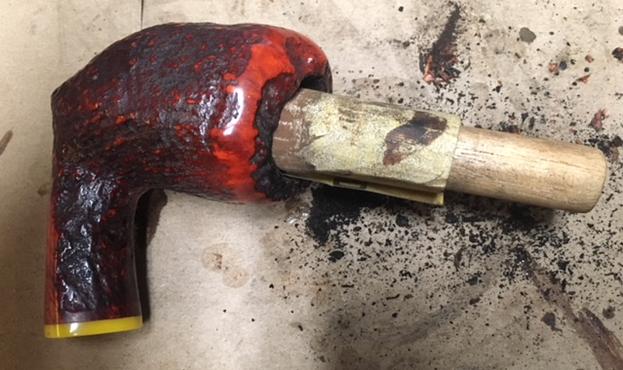
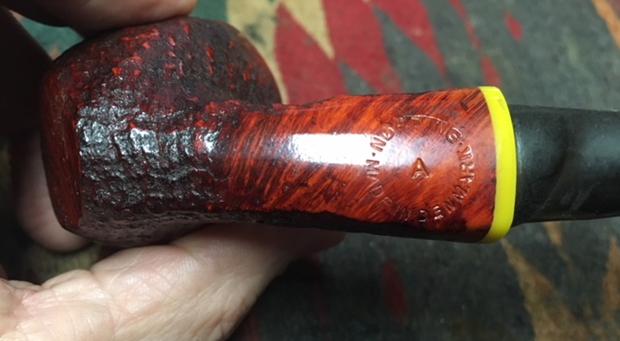 I reamed the bowl with a PipNet reamer using the second and third cutting heads to take the cake back to bare briar. I cleaned up the remnants of cake in the bowl with a Savinelli Fitsall Pipe Knife. I finished the cleaning of the inside of the bowl with 200 grit sandpaper wrapped around a piece of dowel. I turned it in the bowl until the bowl was smooth and clean.
 I scrubbed the exterior of the bowl with a tooth brush and Murphy’s Oil Soap. I scrubbed the plateau rim top with a brass bristle brush to remove the tars and oil in the grooves. I rinsed the bowl with warm water in the sink while scrubbing the finish with the tooth brush to remove the dust and grime. I took photos of the pipe after cleaning. It was starting to look very good.
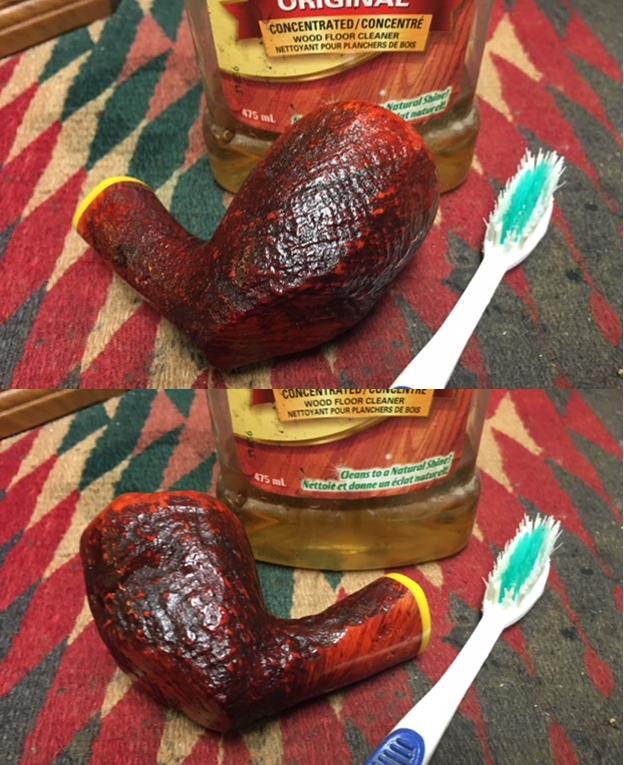
 I scrubbed out the mortise and the airway in the shank and stem with pipe cleaners, cotton swabs and alcohol. Once the grime was removed the pipe smelled good and looked good.
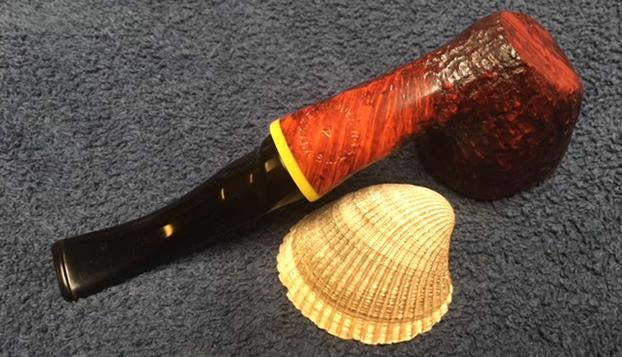
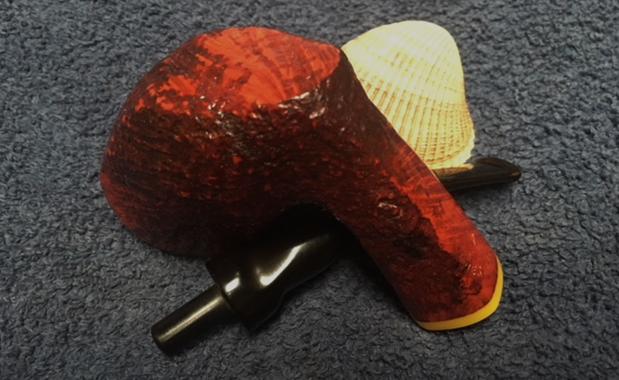
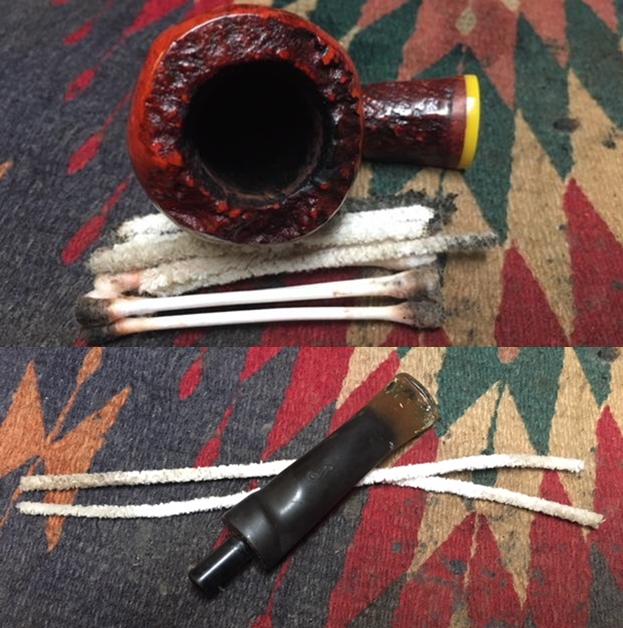 I rubbed some Before & After Restoration Balm into the surface of the briar to enliven, clean and preserve it. I rubbed it in with my fingertips working it into the briar. I worked it into the plateau rim and the sandblast on the sides of the shank and the bowl. I buffed it into the finish with a horsehair shoe brush. I set it aside for a little while to let the balm do its work. I buffed it off with a cotton cloth and a shoe brush. The photos below show the pipe at this point in the restoration process.
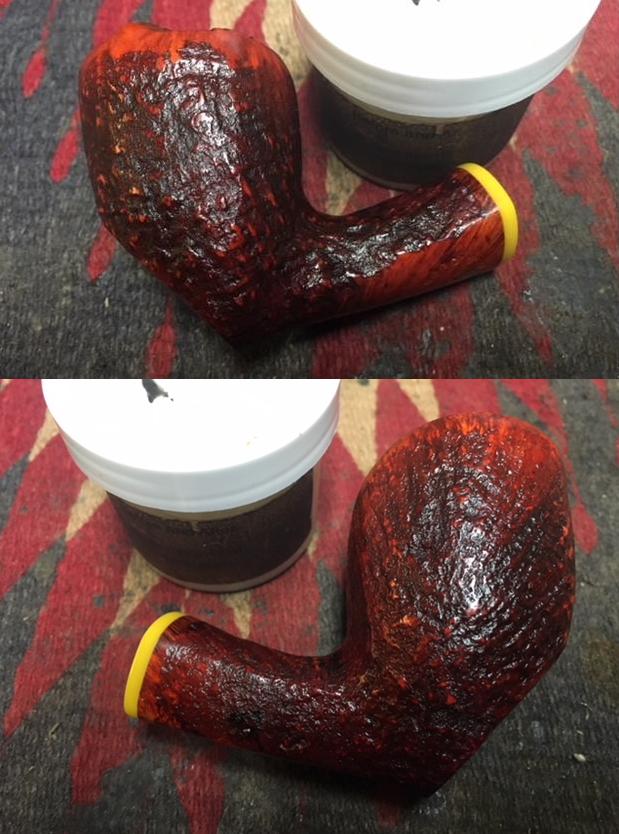
 I set the bowl aside and turned my attention to the stem. I sanded the oxidation and the calcification on the stem with 220 grit sandpaper. I was able to remove the oxidation and the calcification and the stem actually began to look really good.
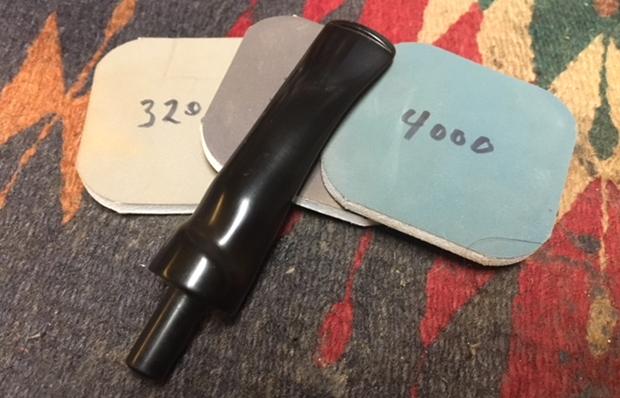
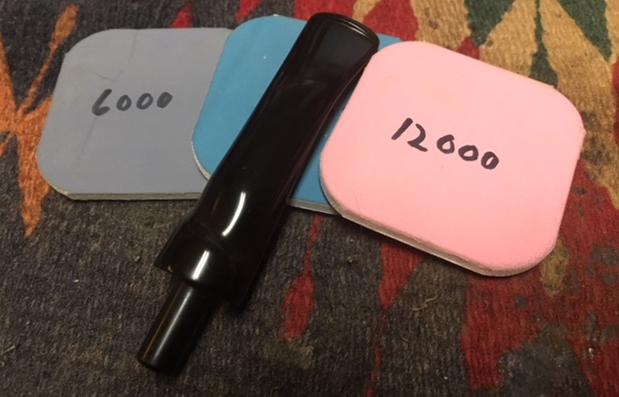
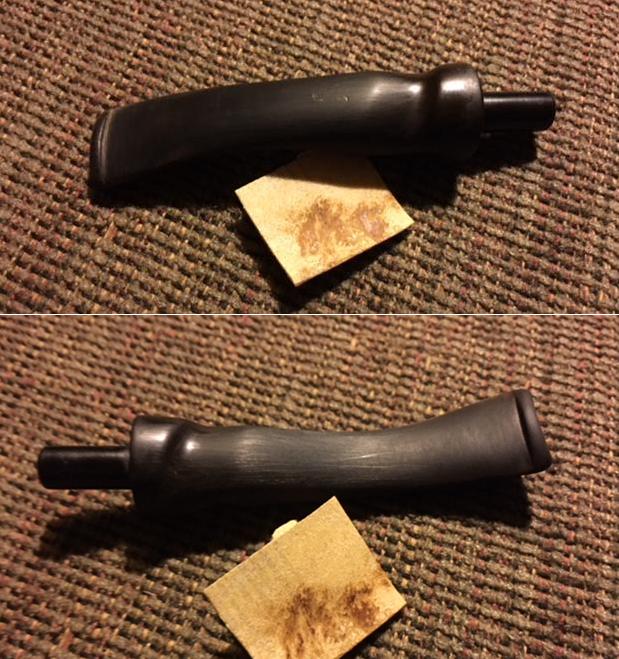 I polished the stem using micromesh sanding pads – wet sanding with 1500-2400 grit pads and then buffing on the wheel with red Tripoli. I dry sanded the stem with 3200-12000 grit pads to further polish it. After each pad I wiped it down with Obsidian Oil to protect and enliven the stem. When I finished with the final pad I gave it the stem another coat of oil and set it aside to dry.
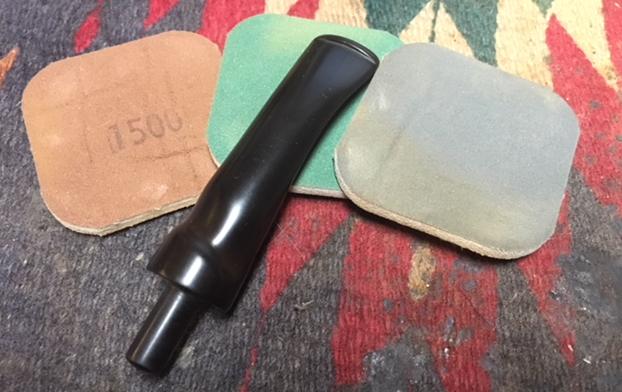
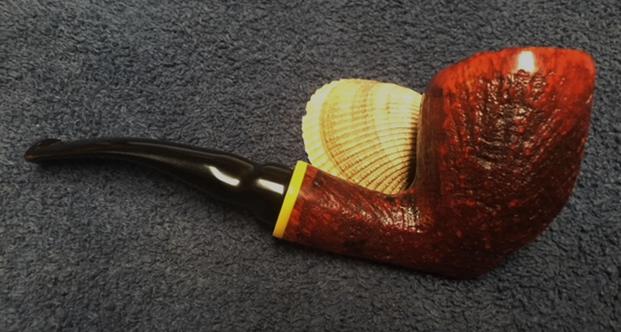
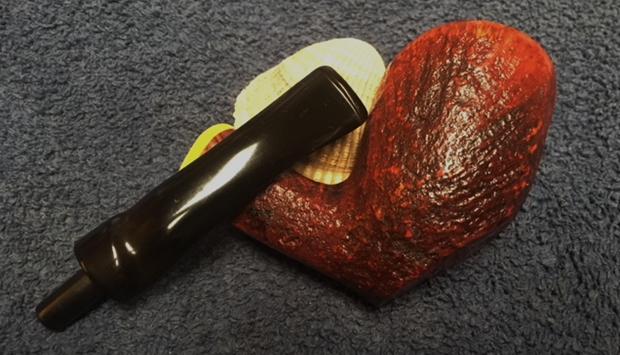
 This interesting mixed finish Freehand is a classic Nording. Everything about the shape, style, and the craftsmanship of the stem say Nording. The Nording Made In Denmark stamp with the “A” in the middle gives the grade of the pipe. I am not sure where it fits in the Nording hierarchy but it is a well-made pipe. The shape of the pipe takes full advantage of the sandblast grain on the briar. The mix of grains – straight, flame and birdseye all work together to give the sandblast finish a beautiful look from any direction it is viewed. The reddish colour of the bowl and shank with the bright yellow acrylic shank work together well with the polished black of the vulcanite stem. I buffed the bowl and the stem with Blue Diamond polish to raise the shine on the briar and the vulcanite. I was careful to not buff the stamping and damage it. I gave the bowl and the stem multiple coats of carnauba wax. I buffed the entire pipe with a clean buffing pad to raise the shine. I hand buffed it with a microfiber cloth to deepen the shine. The finished pipe is shown in the photos below. The dimensions of the pipe are: Length: 6 inches, Height: 2 1/4 inches, Outside Diameter: 1 3/4 inches, Diameter of the chamber: 7/8 of an inch. It is an interesting pipe and should make a great addition to anyone’s rack. Thanks for walking through the restoration with me.
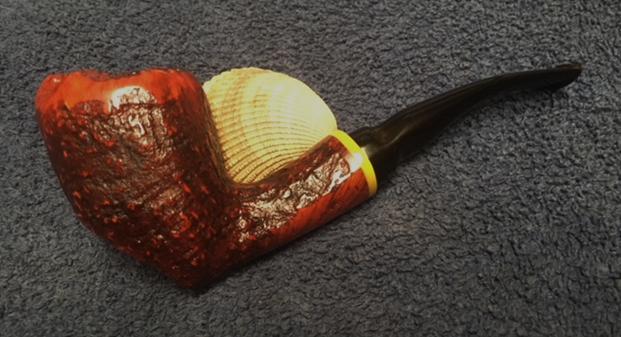


Nice job, Steve. Attractive Freehand.
LikeLike