Blog by Steve Laug
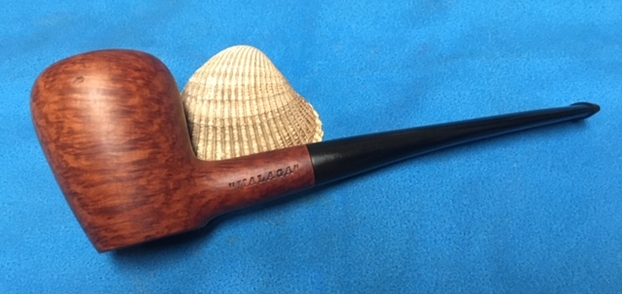
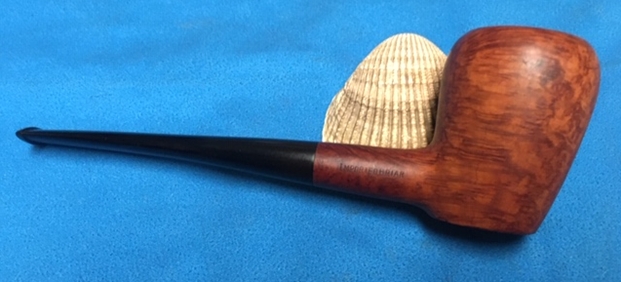
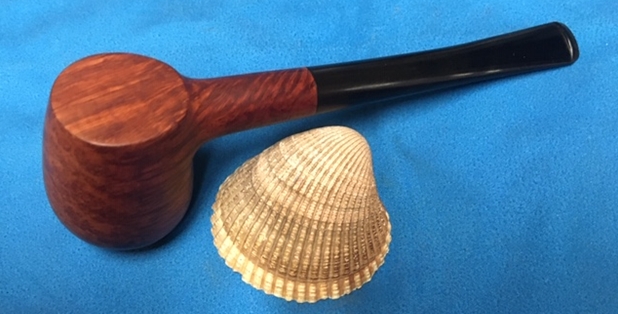
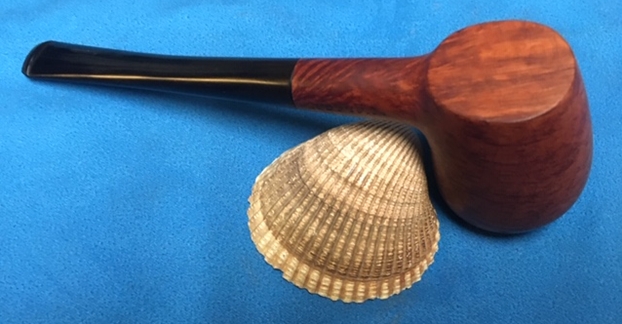
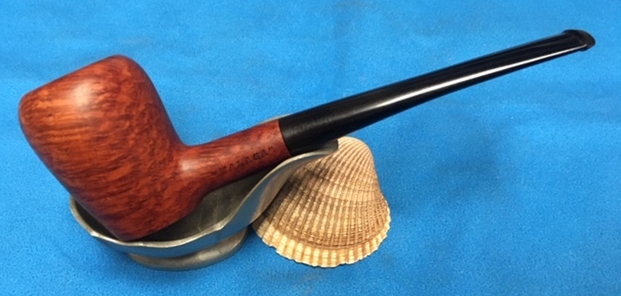
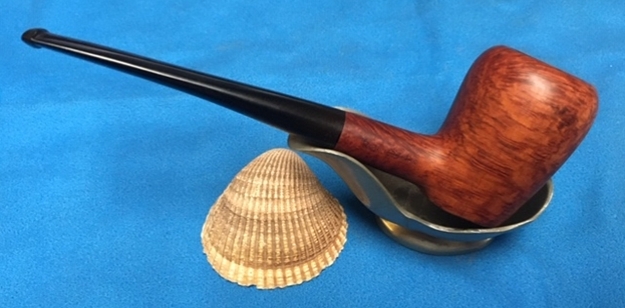
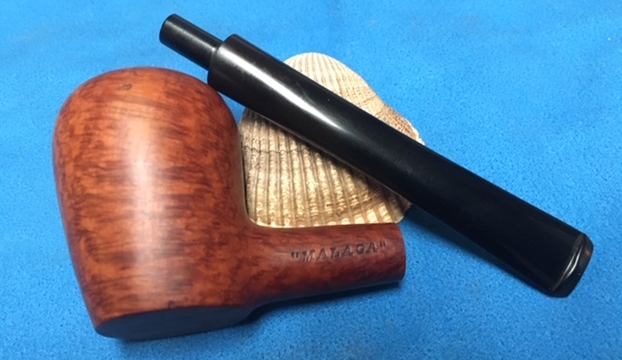
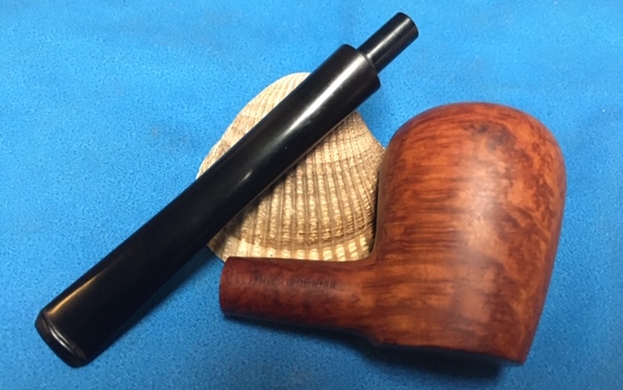
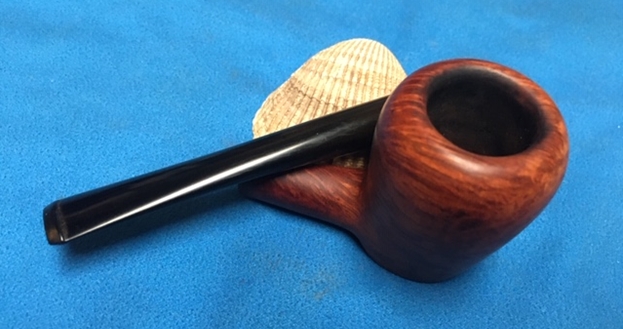
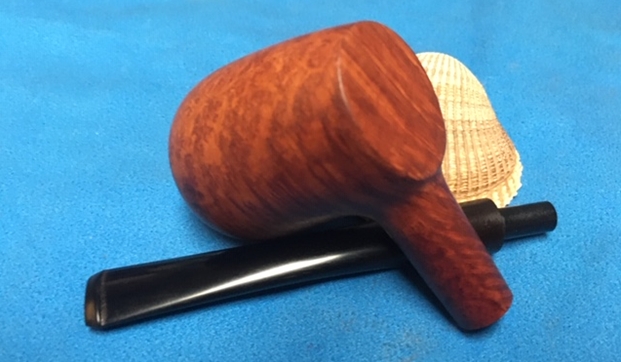
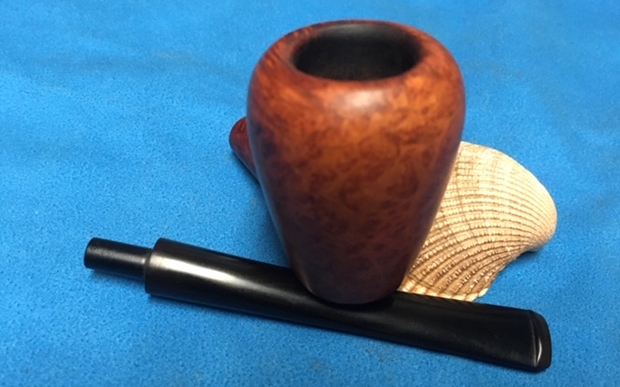
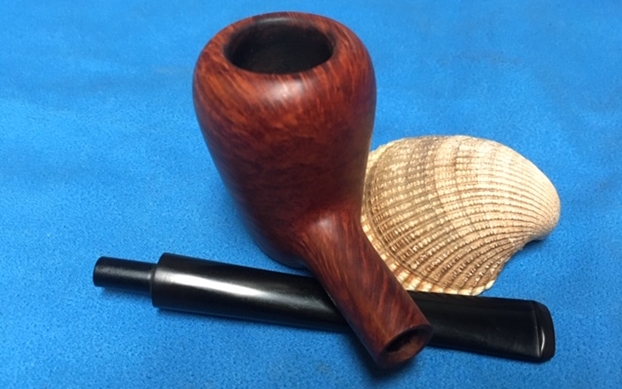
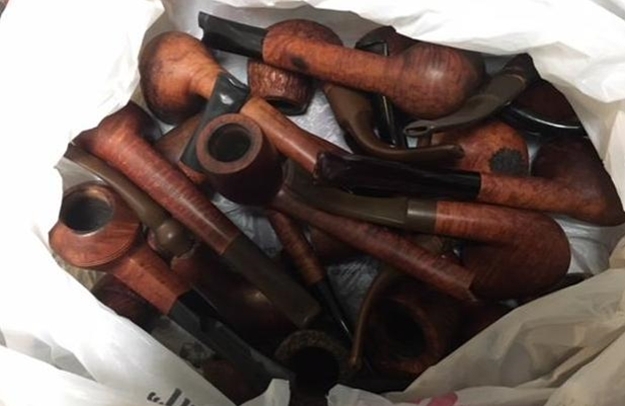
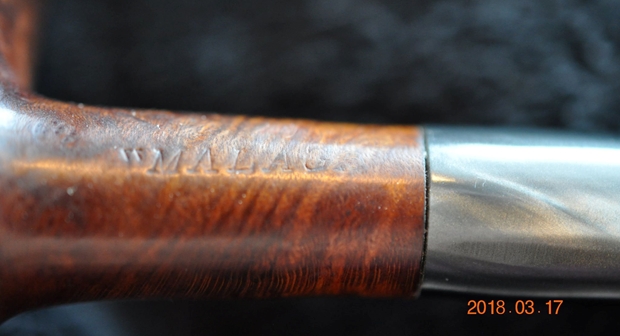
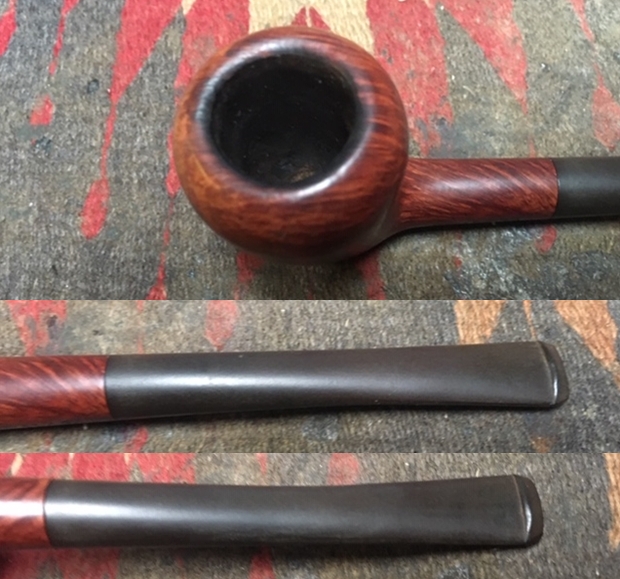
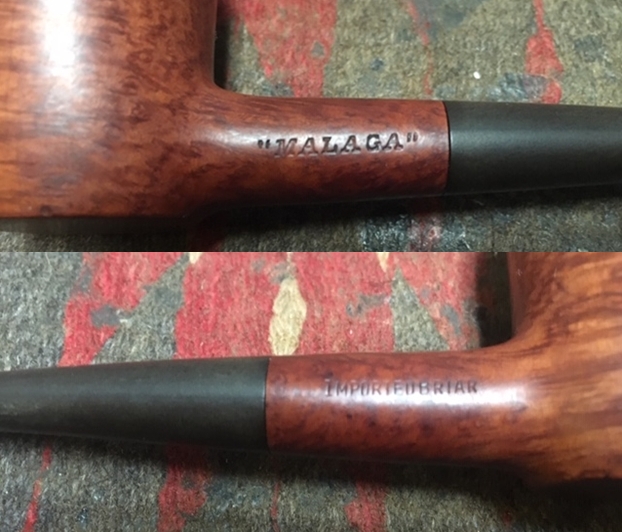
I have been working on a lot of different estate pipes and selling them for different families. I am continuing to work on the Malaga pipes that Alex put aside for restoration. He also brought other pipes to add to his box. I have a box of pipes from Alex that I am always working away at. He periodically drops more Malaga pipes into his box. There are quite a few of them to work on so I decided work on a few of them. The next one of these was another Malaga pipe. It is a beautiful Poker Sitter that is almost pear shaped. It has a very tight grain pattern around the bowl – cross grain on the sides and birdseye on the front and back of the bowl. It also has a tapered vulcanite stem. The pipe was dirty and caked when arrived. The rim top has a little lava and some darkening on the top rear edge of the bowl. The bowl had a thin cake in it that was hard and dense. The exterior of the bowl and shank are dirty with grime and oils from prolonged use. The stamping on the left side of the shank read “MALAGA” and on the right side it read Imported Briar. The vulcanite stem was in great condition and had tooth chatter on the top and the underside of the stem. I took photos of the pipe before I started the cleanup work. 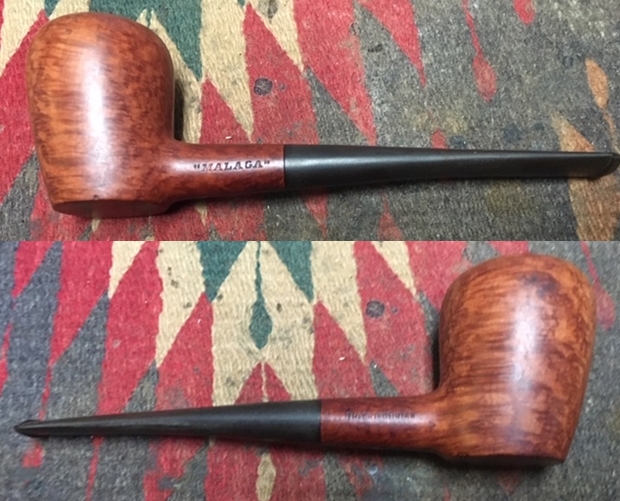
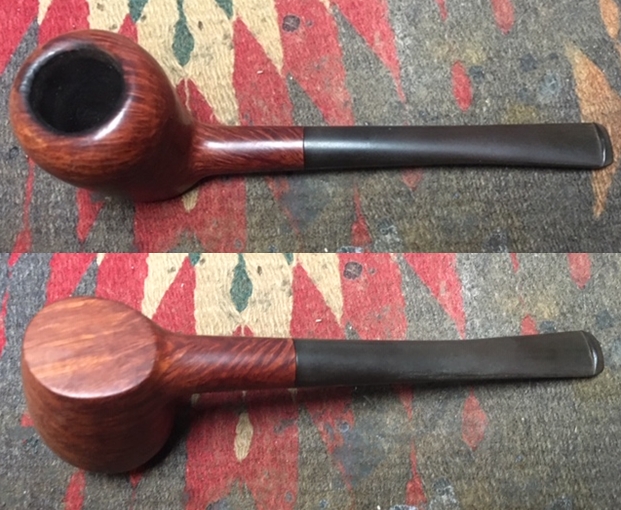 I took close up photos of the bowl and rim to capture the condition of the pipe before I started my cleanup work. The rim top had some light lava and darkening on the front and back edge. The inner edge was slightly bevel and was darkened. Other than being so dirty it was in great condition. There was a light hard cake in the bowl interior. The stem was dirty and there was tooth chatter on the top and underside near the button. The stem was also lightly oxidized.
 I took a photo to capture the stamping on the shank. The first photo shows the stamping “MALAGA” on the left side of the shank is very readable. The second photo shows the stamping Imported Briar on the right side.
 If this is the first of the Malaga restorations that you have read about then you should know the backstory of the brand. I am including the link to a blog that I wrote that gives some of the history of the Malaga brand and the Malaga Pipe Shop in Royal Oak, Michigan in the USA. I have written an earlier blog to give a little history of the Malaga Brand and the pipemaker, George Khoubesser. Here is the link – https://rebornpipes.com/tag/malaga-pipes/.That blog also includes links to a catalogue and the history of the pipemaker George Khoubesser. Follow the link to get a feel for the brand and the pipemaker.
I decided to start with the issues with the rim top first. I wiped down the rim top of the bowl with a damp cotton pad to remove the tars and lava. I used a folded piece of 220 grit sandpaper to smooth out the burn damage and the darkening on the bevel.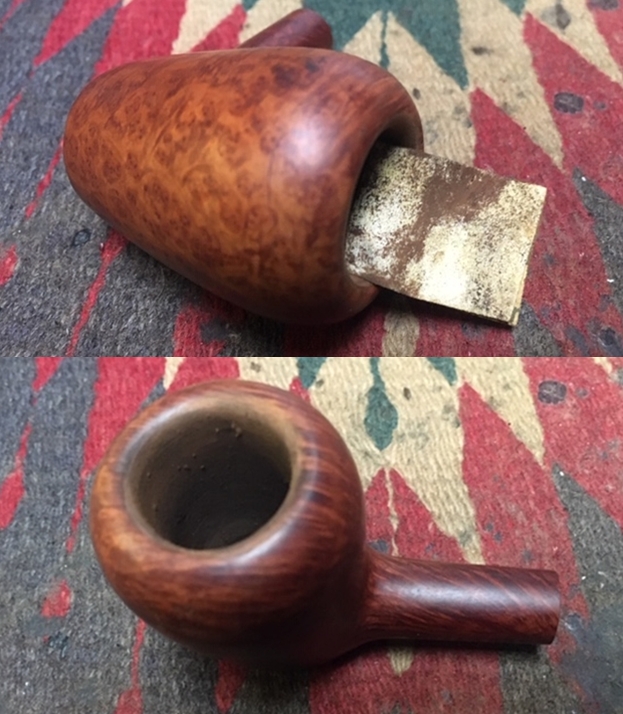 I followed Jeff and my regular regimen for cleaning estates. I reamed the light cake in the bowl with a Savinelli Fitsall pipe knife to remove the cake. I sanded the bowl with 220 grit sandpaper wrapped around a piece of dowel to smooth out the inside walls of the bowl.
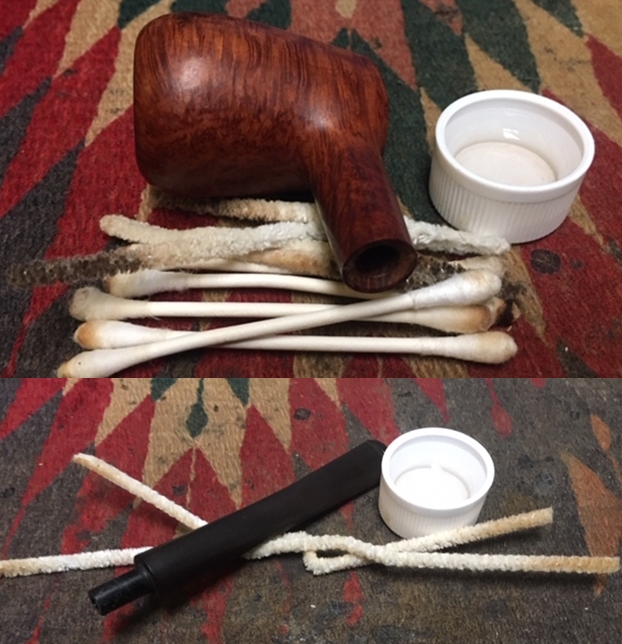
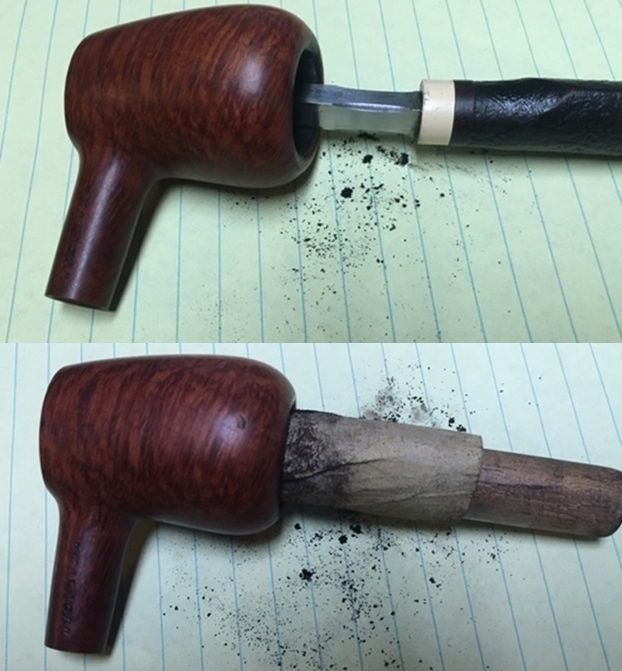 I scrubbed out the mortise and the airway in the shank and the stem with alcohol, cotton swabs and pipe cleaners.
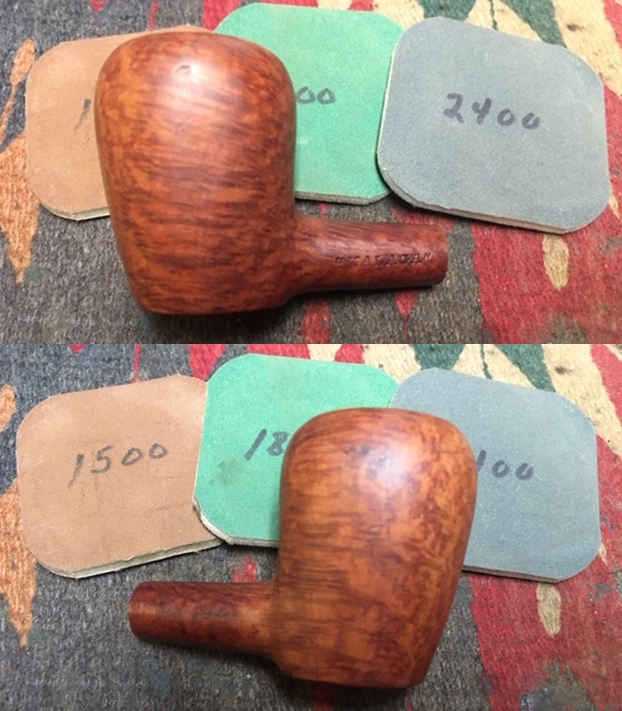
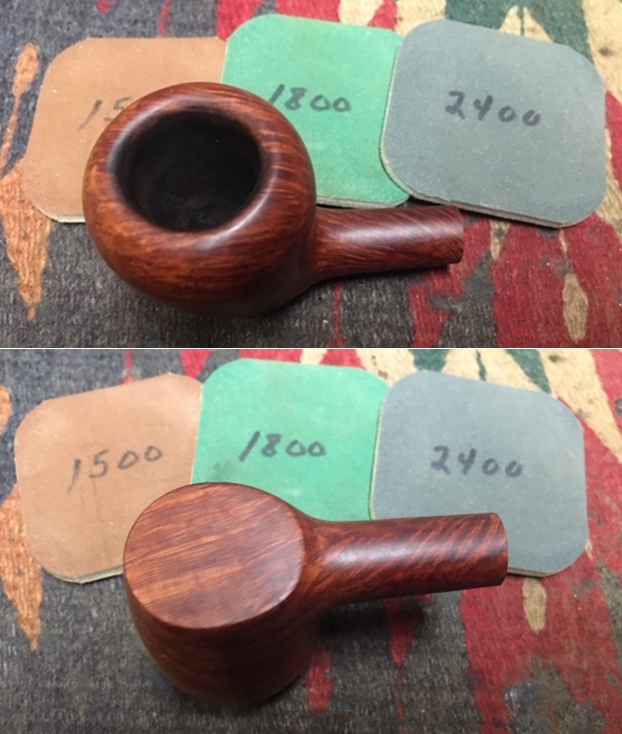
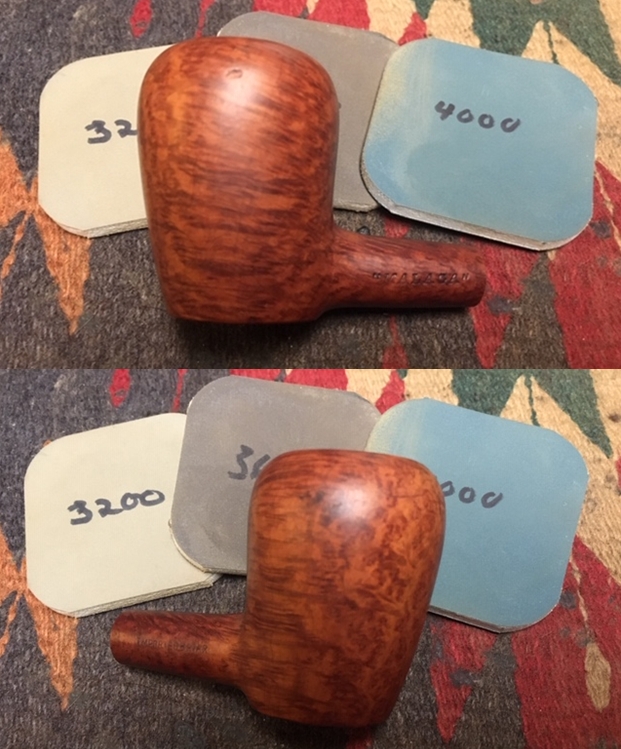
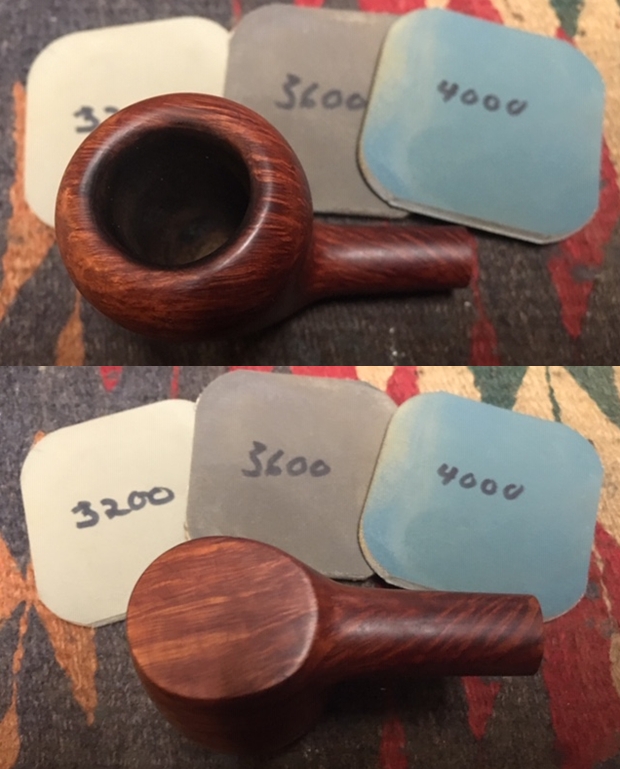
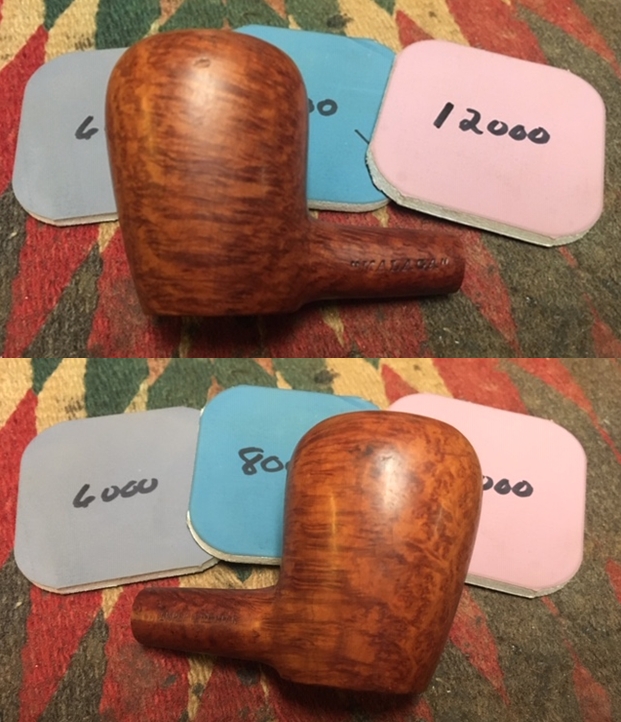
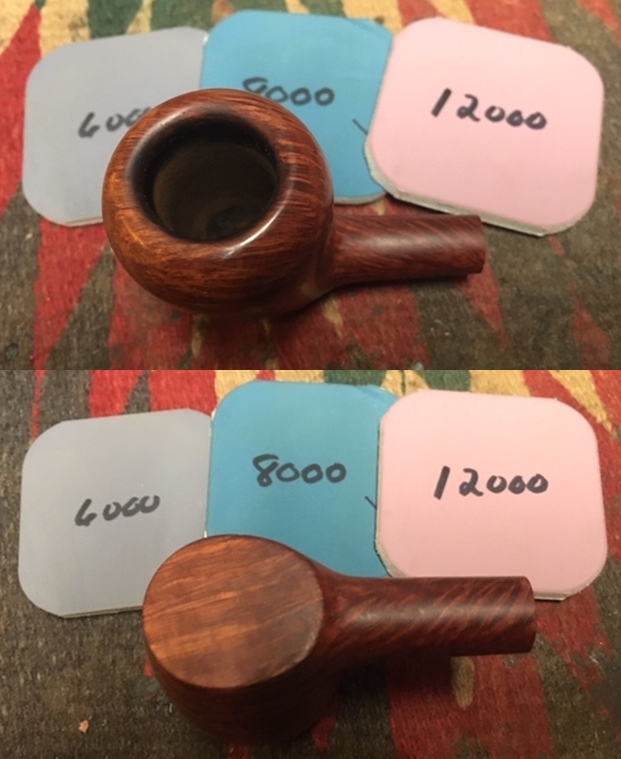
 I polished the briar with micromesh sanding pads – 1500-12000 grit pads. I wiped the bowl down after each sanding pad with a damp cloth to wipe of the dust.
 I scrubbed the briar with Murphy’s Oil Soap with a tooth brush. I scrubbed it off with running water to remove the soap and the grime on the bowl. I dried it off with a soft cloth.
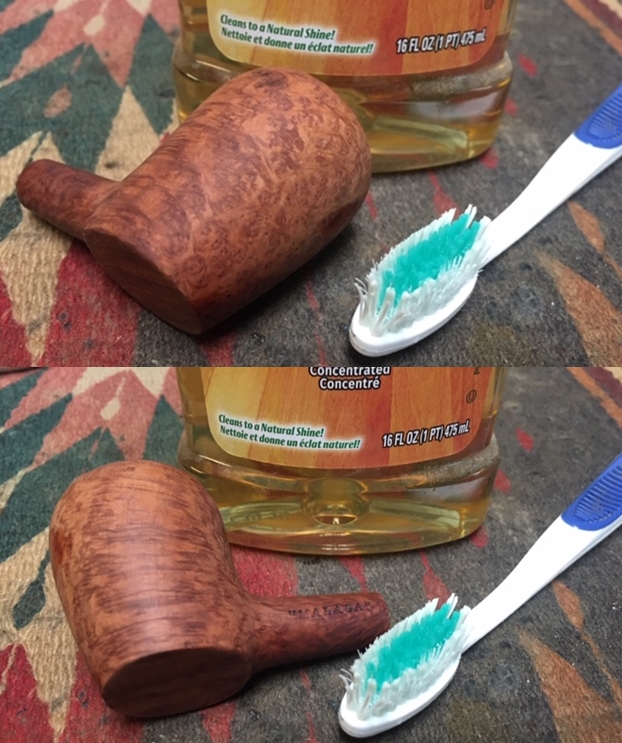
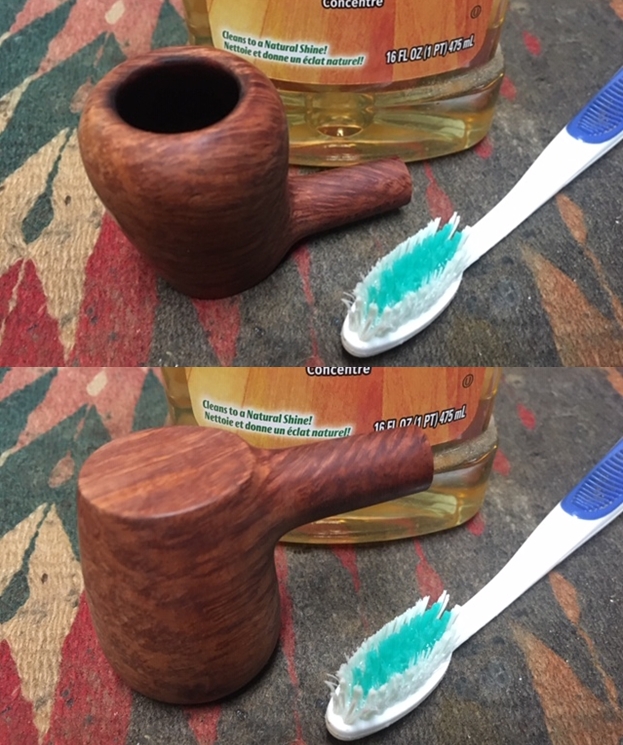 I worked some Before & After Restoration Balm into the surface of the briar with my fingertips and a horsehair shoe brush to clean, enliven and protect it. I let the balm sit for a little while and then buffed with a cotton cloth to raise the shine. The photos show the bowl at this point in the restoration process.
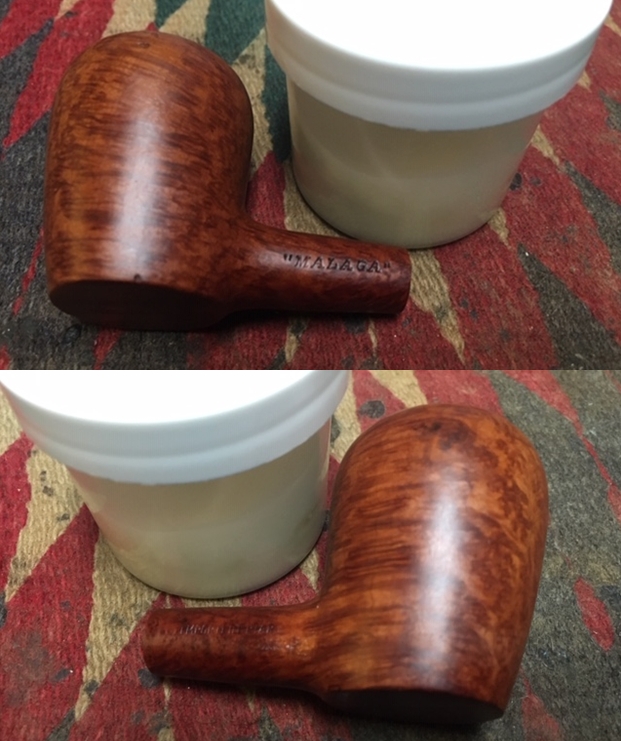
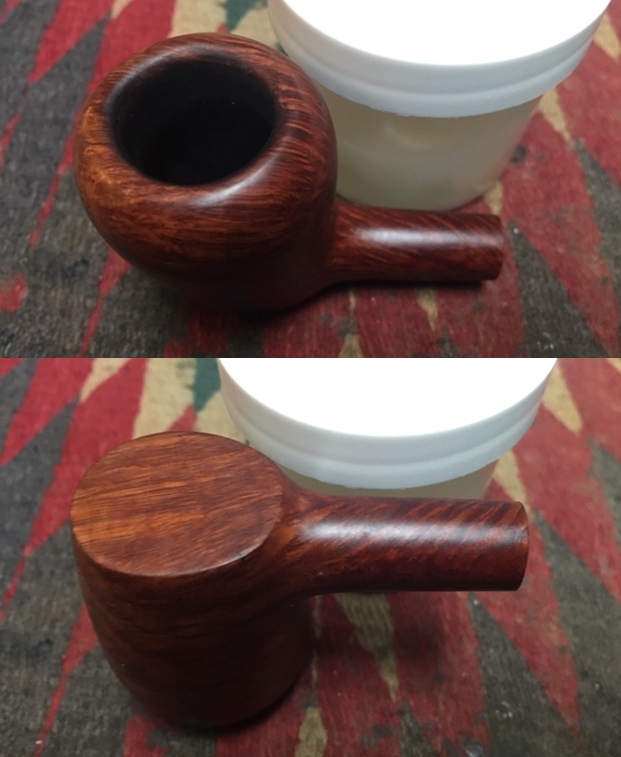
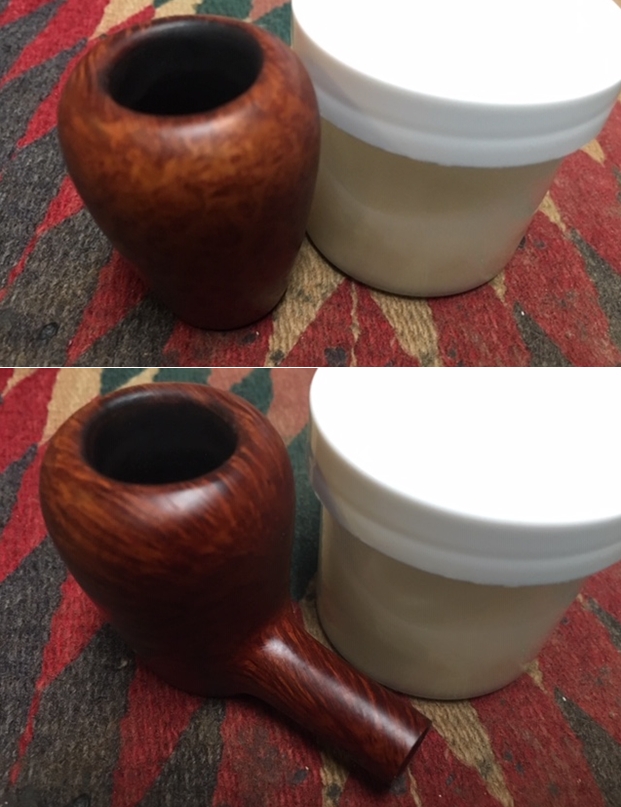 I set the bowl aside and turned my attention to the stem. I sanded out the tooth chatter with 220 grit sand paper and started to polish it with a folded piece of 400 wet dry sandpaper. Once it was finished it the tooth chatter and oxidation was gone and it began to shine.
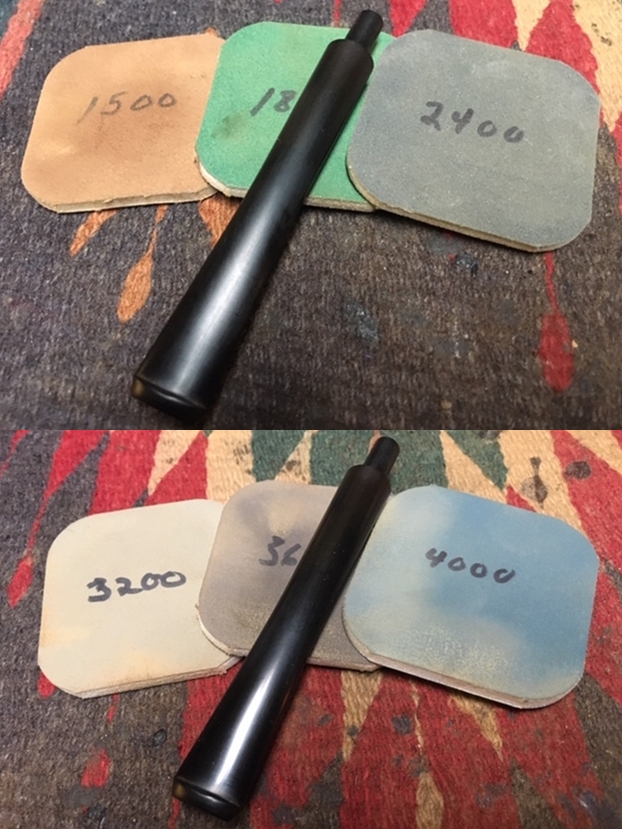
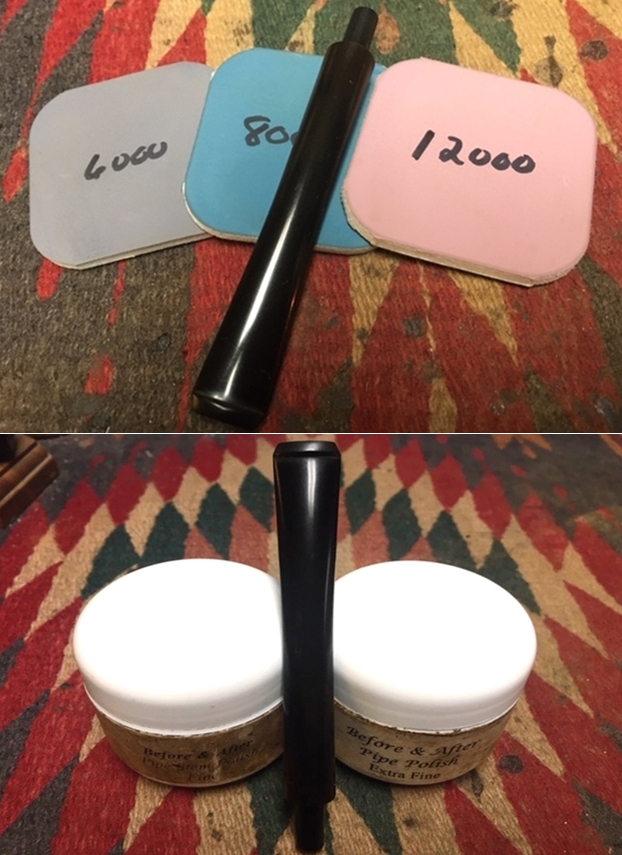
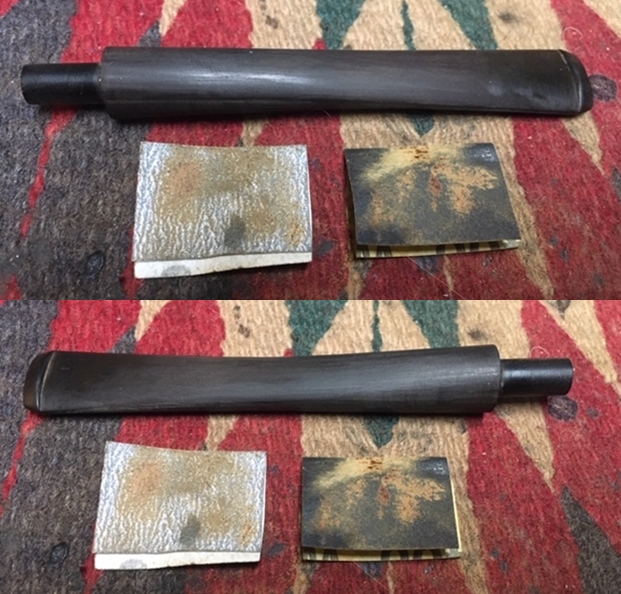 I polished the stem with micromesh sanding pads – wet sanding with 1500-12000 grit sanding pads. I wiped it down after each sanding pad with Obsidian Oil. I polished it with Before & After Pipe Stem Polish – both Fine and Extra Fine and buffed it off with a final coat of Obsidian Oil.
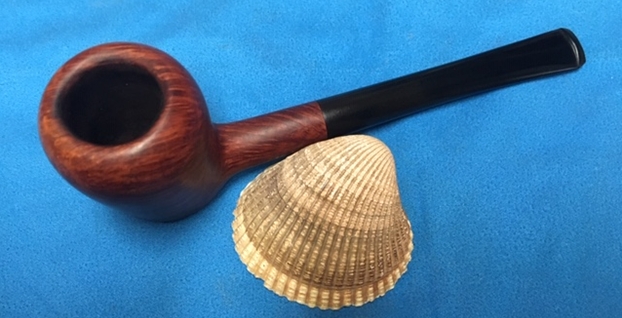
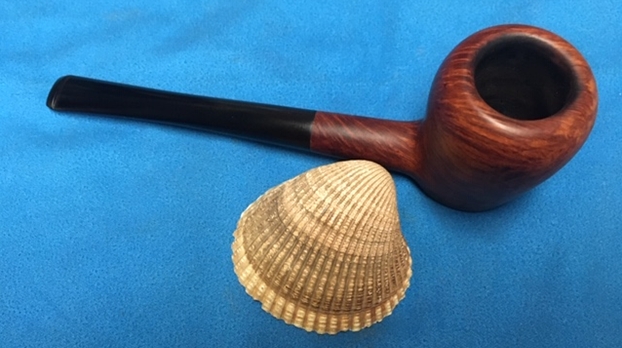
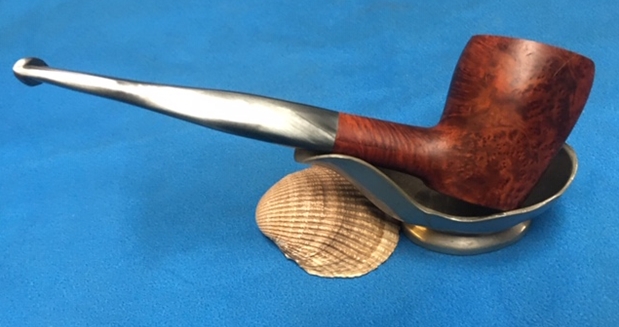
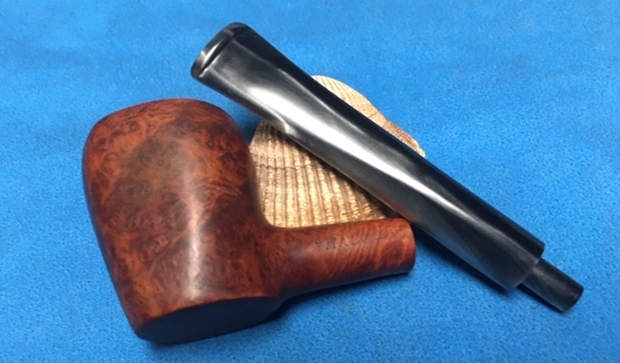
 This is a beautiful “Malaga” Imported Briar Poker Sitter with a tapered black vulcanite stem. It has a great look and feel. The shape fits well in the hand and sits on the desk when you are resting. The grain makes it a real beauty. I polished stem and the bowl with Blue Diamond polish on the buffing wheel. I gave the bowl and the stem multiple coats of carnauba wax. I buffed the pipe with a clean buffing pad to raise the shine. I hand buffed it with a microfiber cloth to deepen the shine. The pipe polished up pretty nicely. The rich oil cured briar took on life with the buffing. The rich brown colour of the briar works well with the polished vulcanite stem. The finished pipe has a rich look that is quite catching. Have a look at it with the photos below. The shape, finish and flow of the pipe and stem are very well done. The dimensions are Length: 6 inches, Height: 2 inches, Outside diameter of the bowl: 1 ½ inches, Chamber diameter: ¾ of an inch. I will be adding the pipe to the finished Malaga pipes that I have set aside for Alex. This will be a great addition to his collection of Malaga pipes. Thanks for walking through the restoration with me as I worked over another Malaga.