Blog by Steve Laug
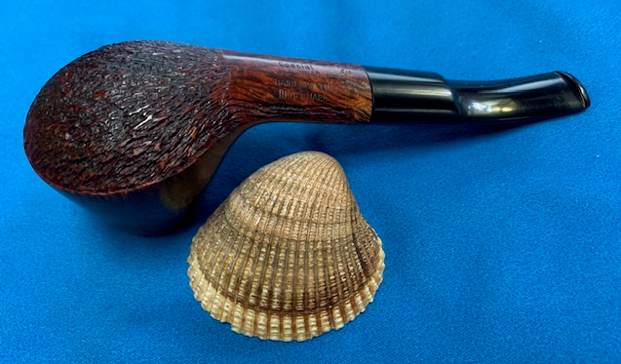
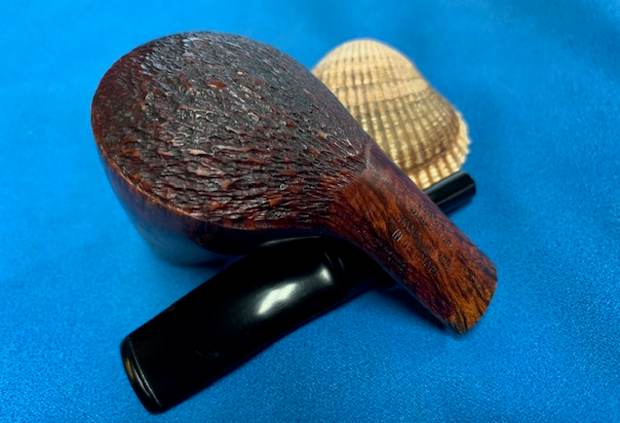
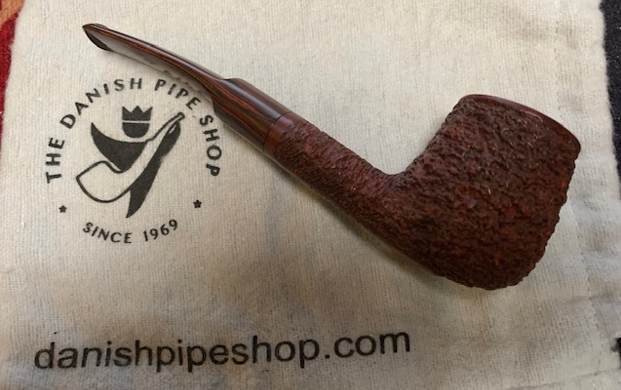
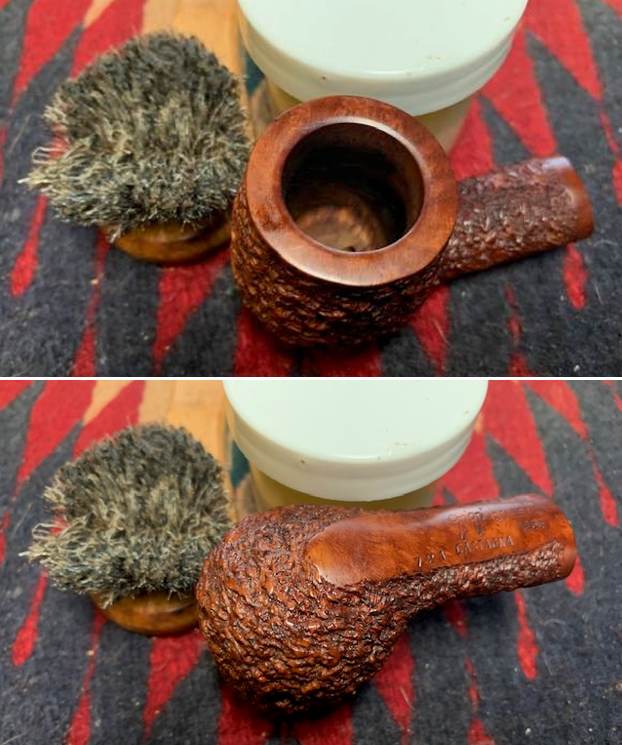
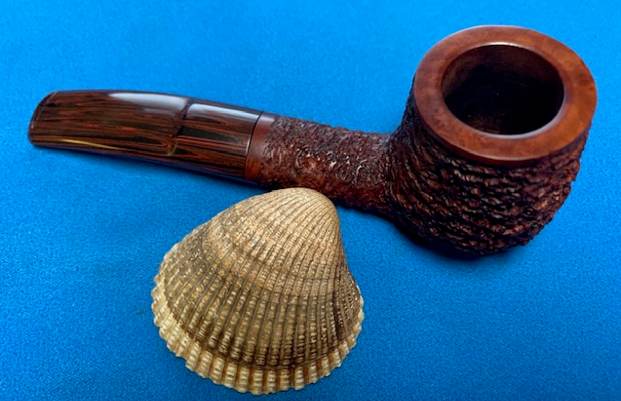
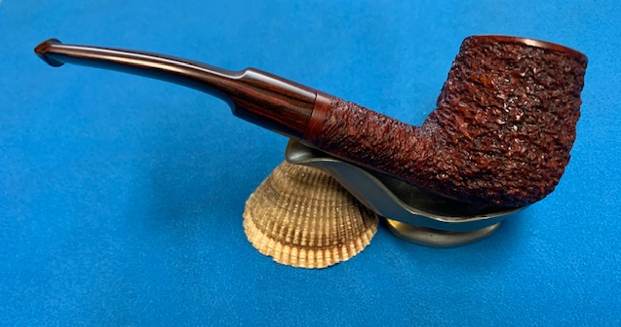
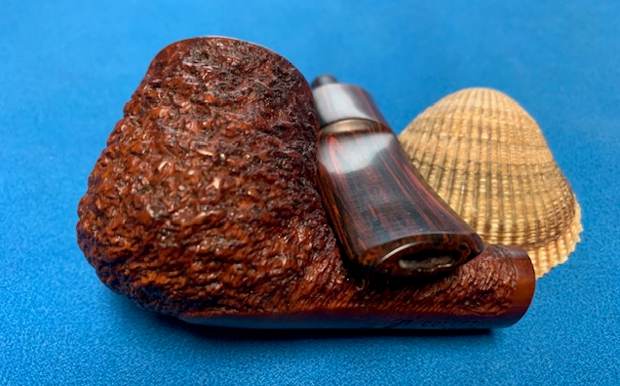
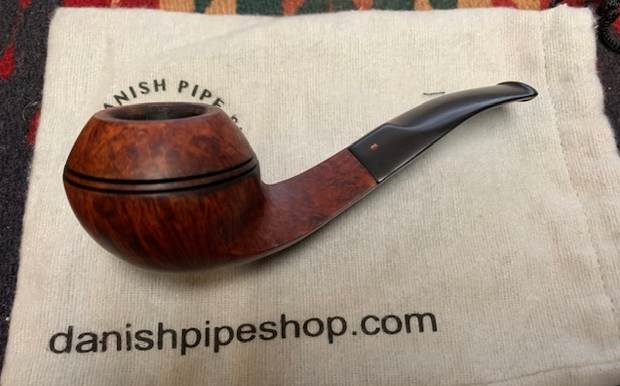
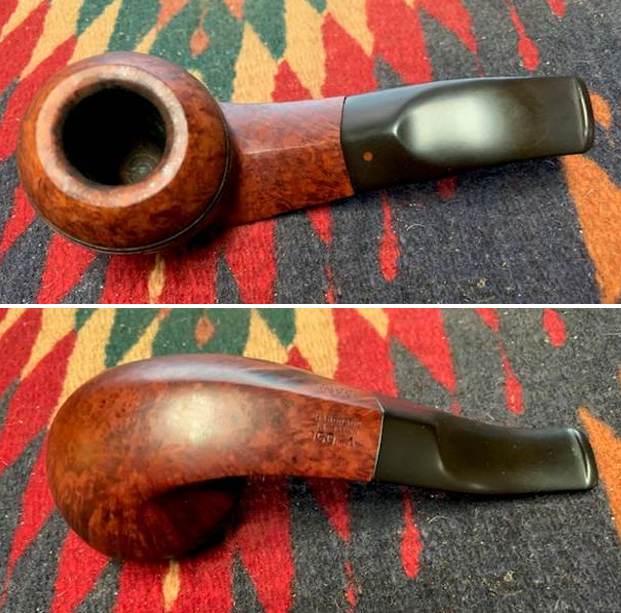
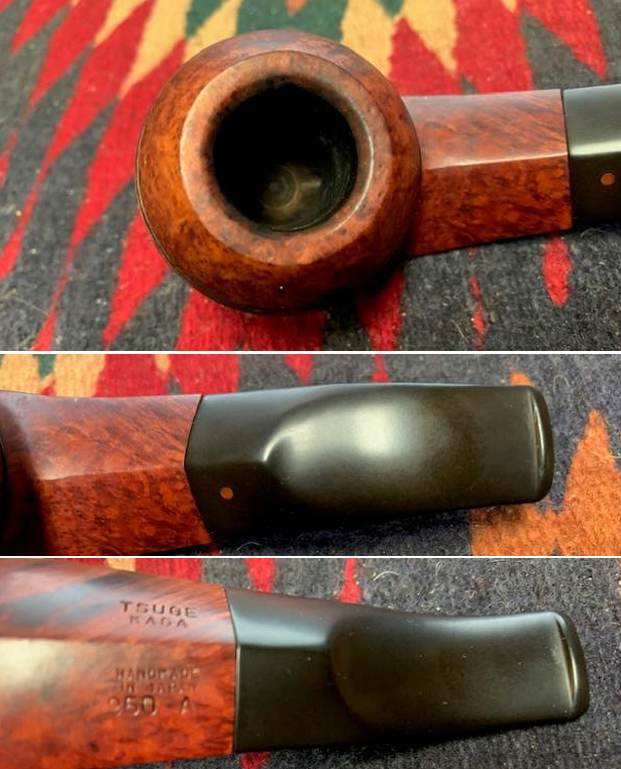
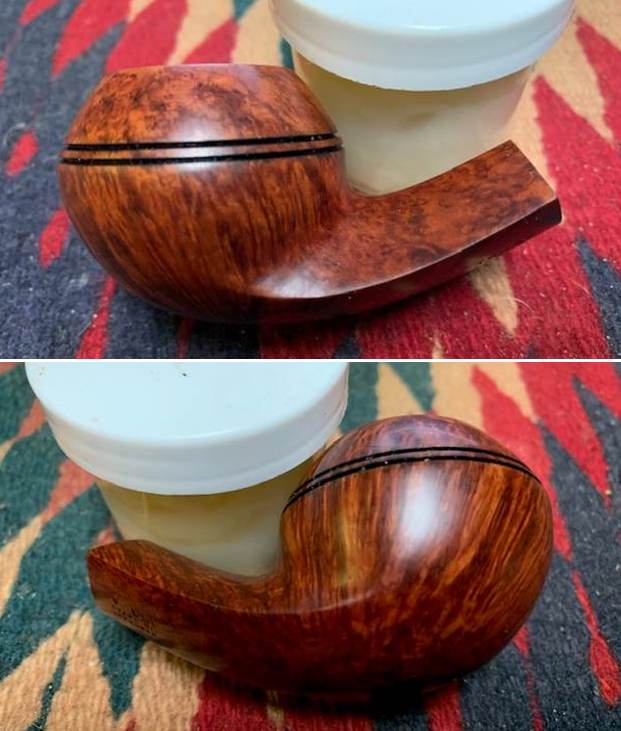
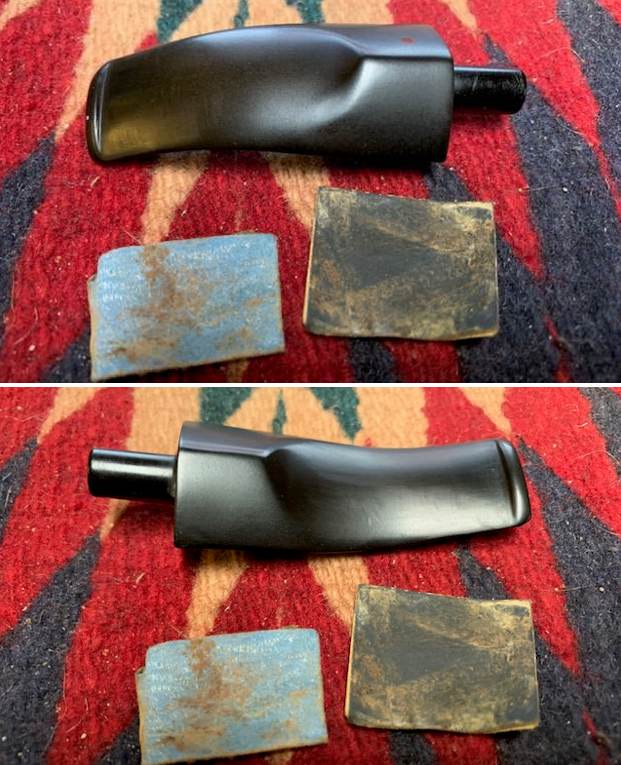
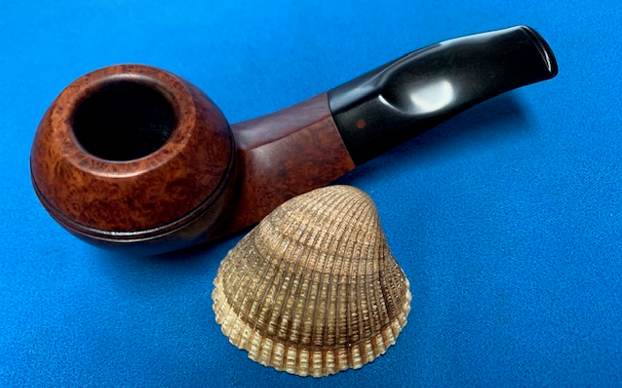
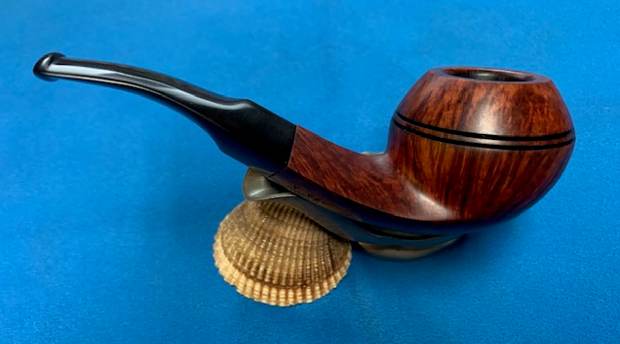
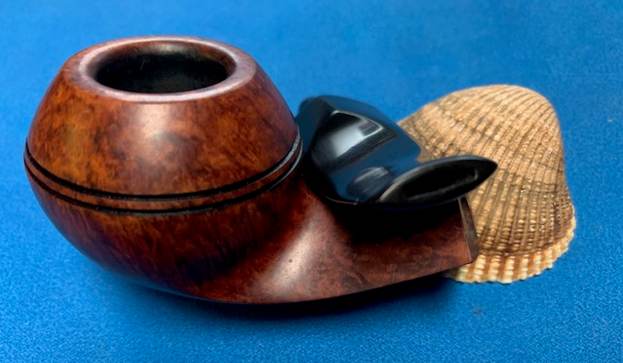
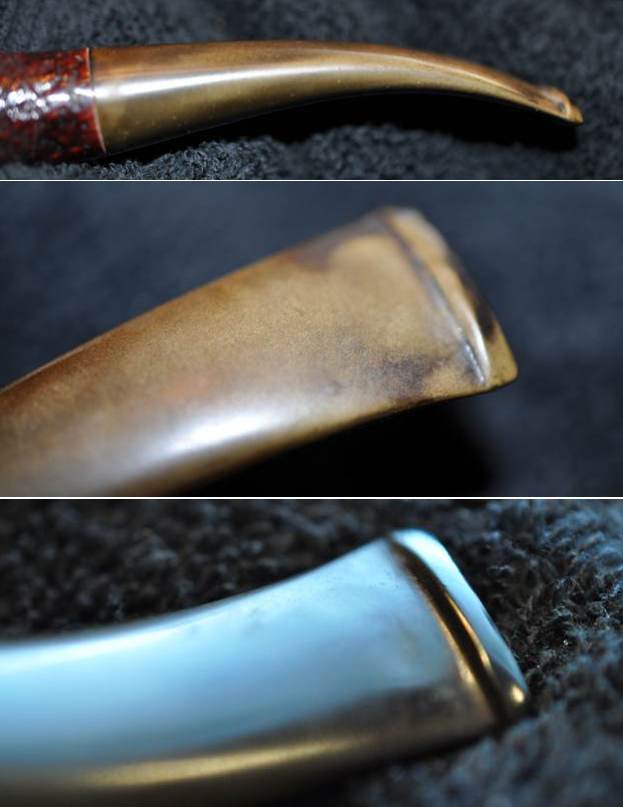
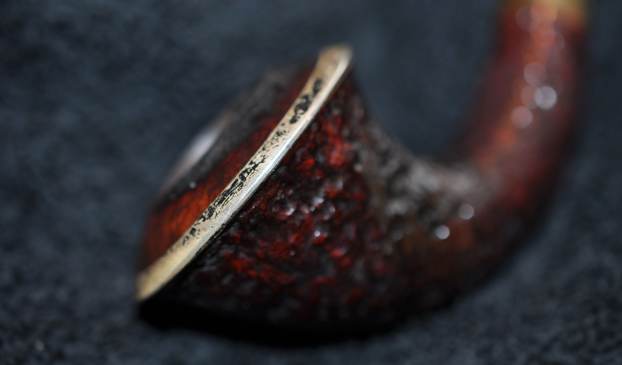
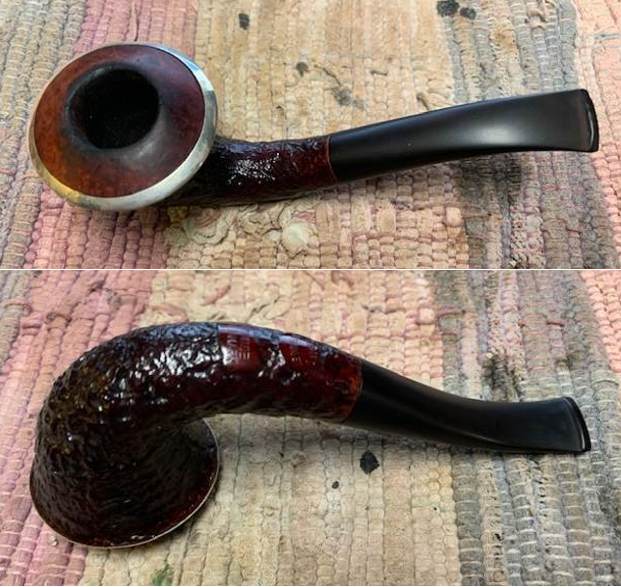
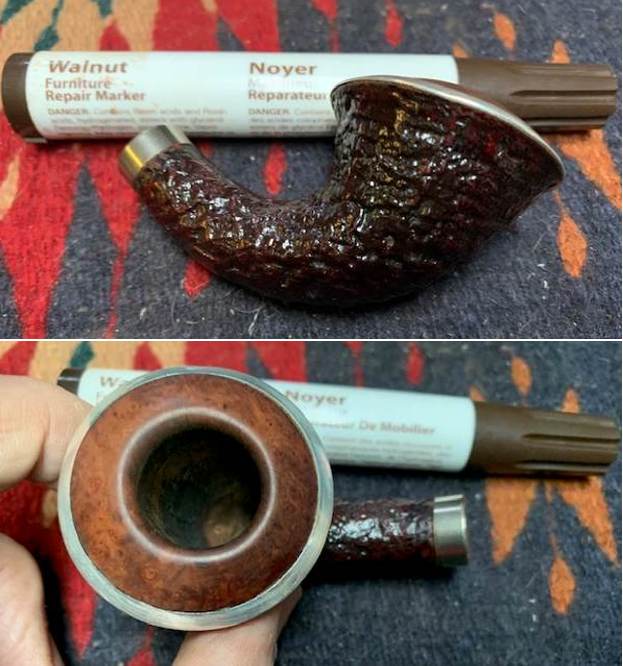
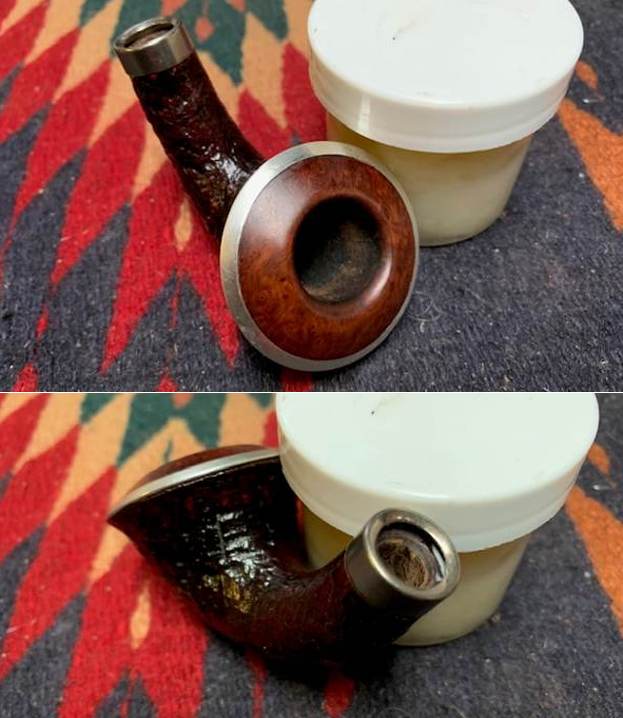
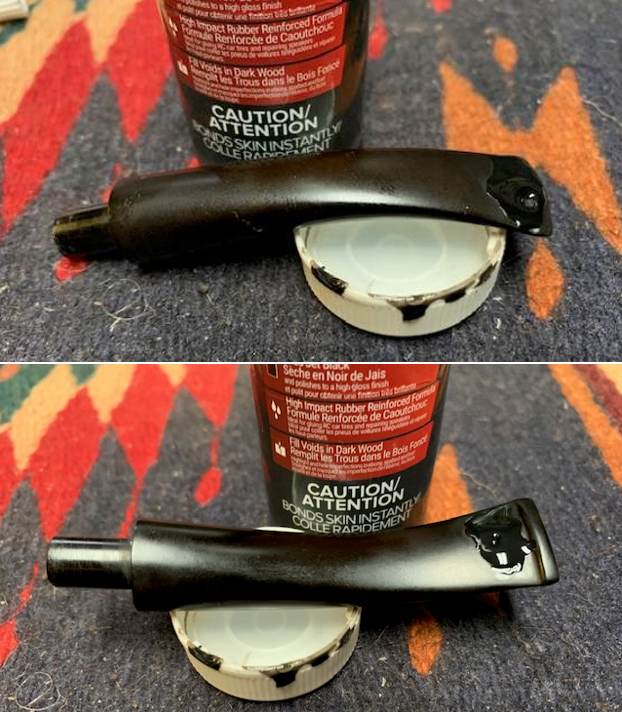
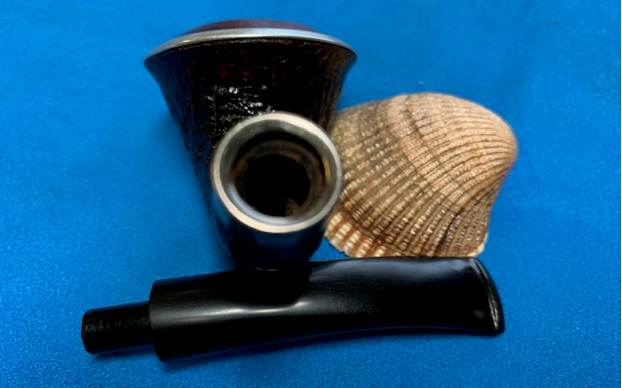
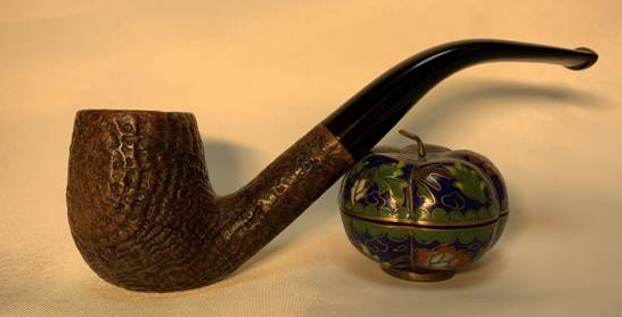
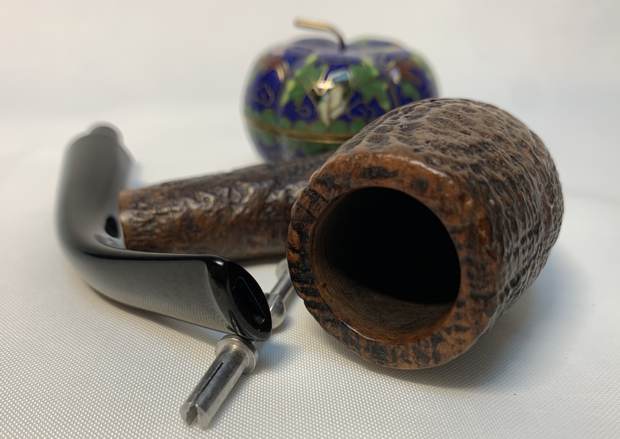
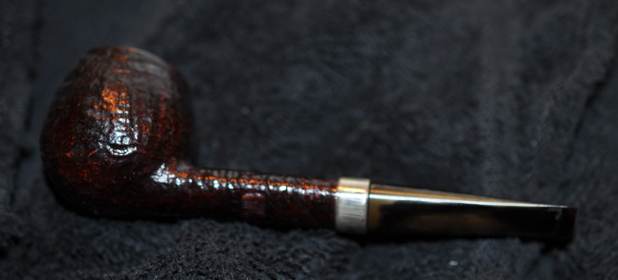
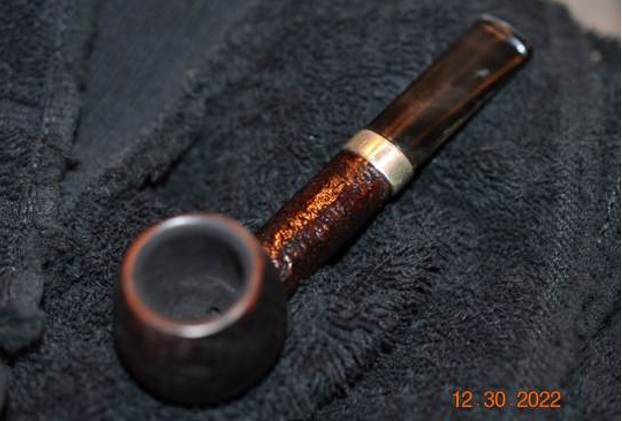
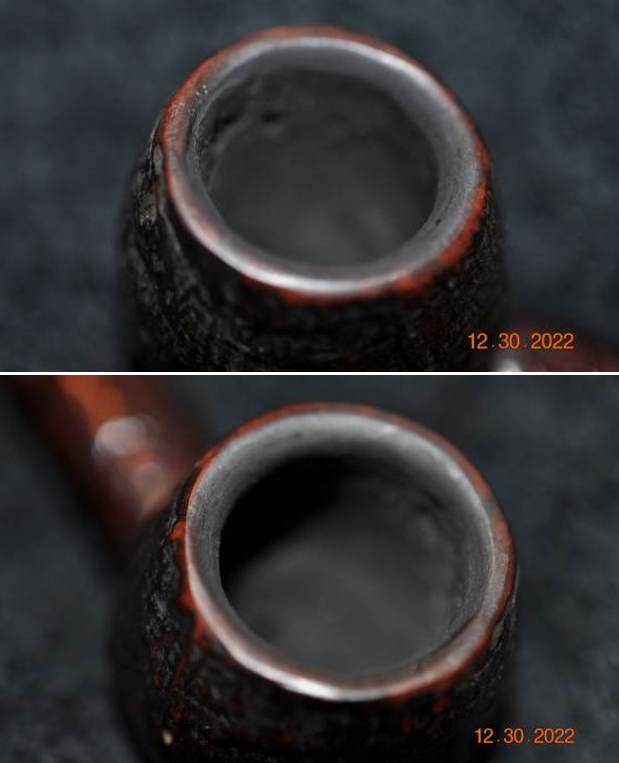
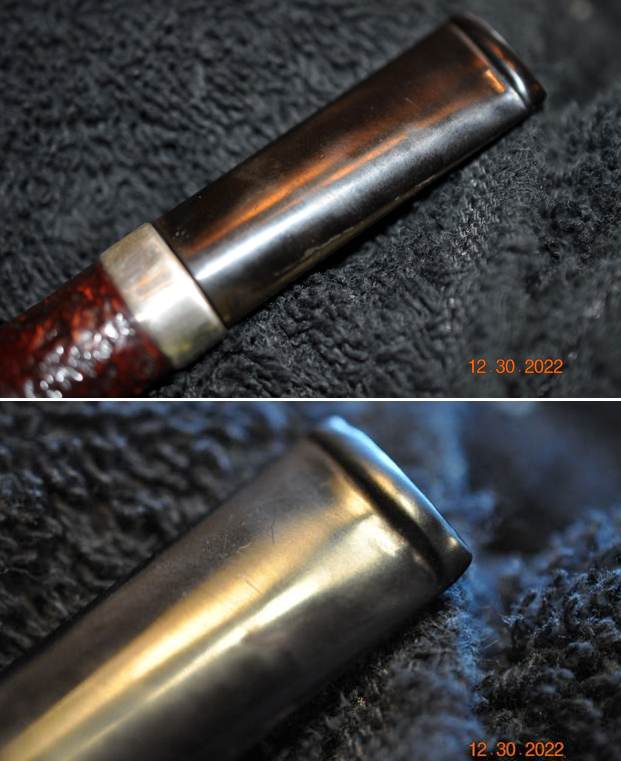
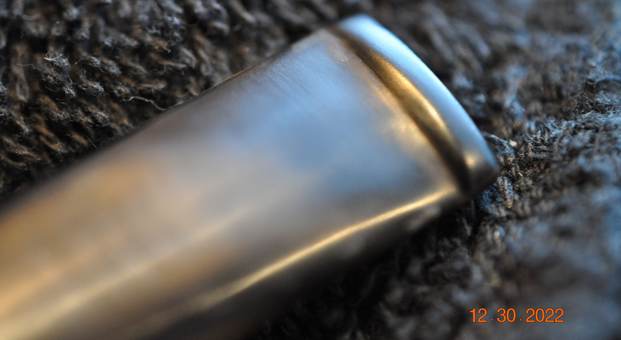
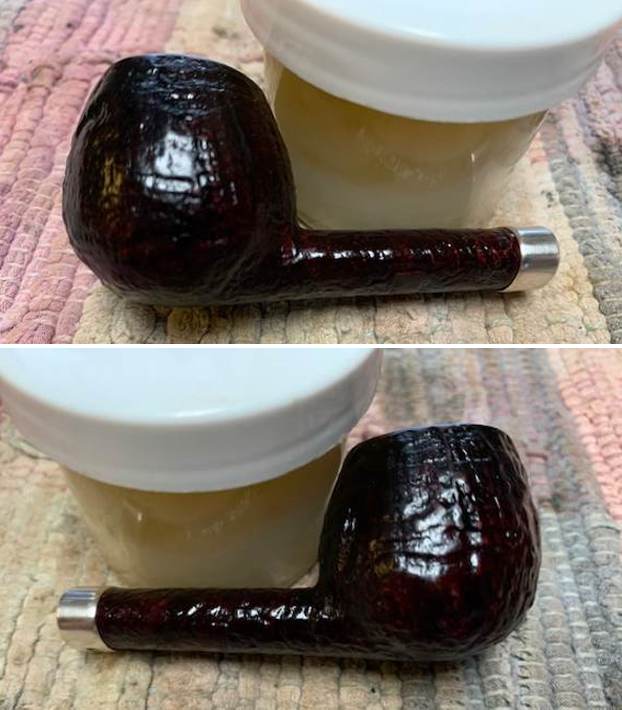
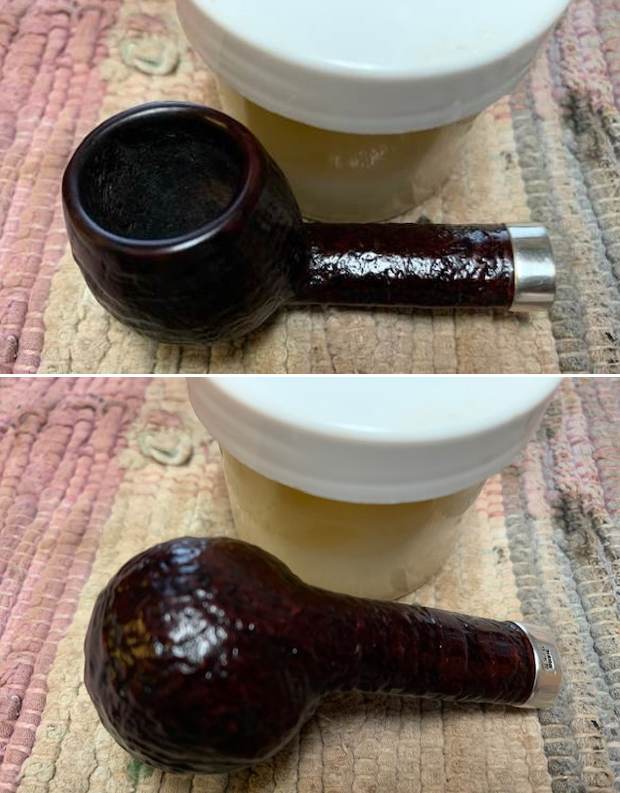
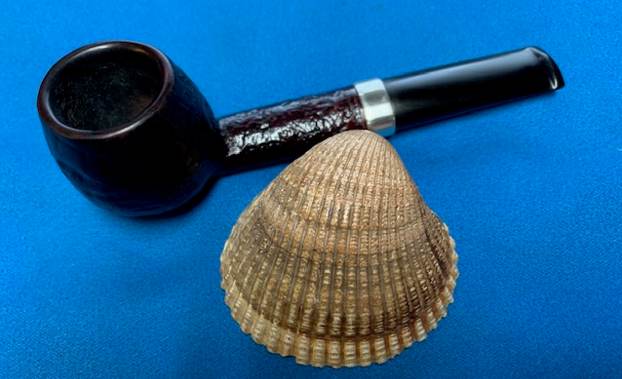
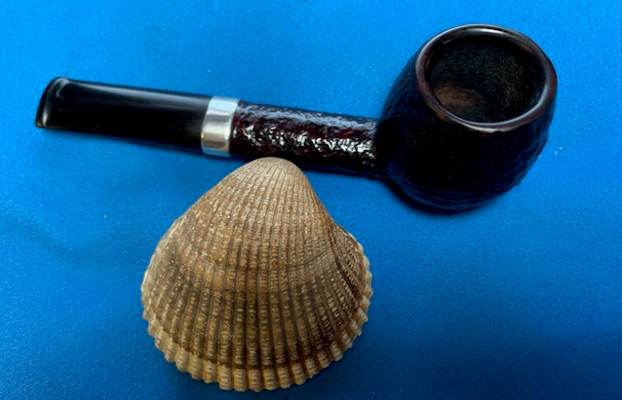
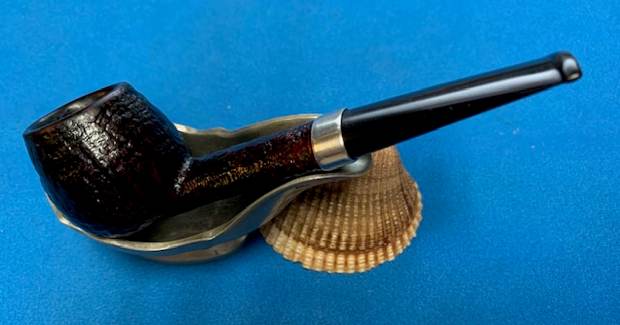
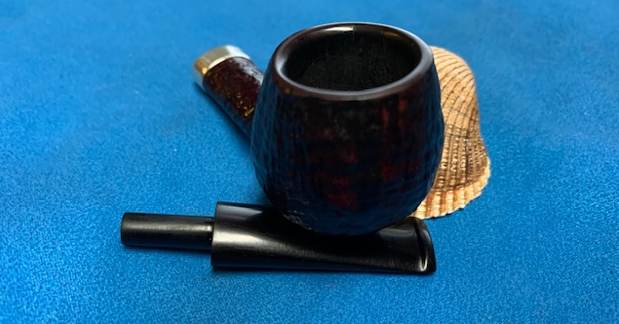
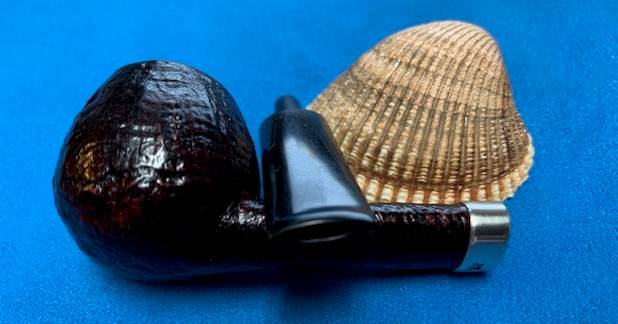
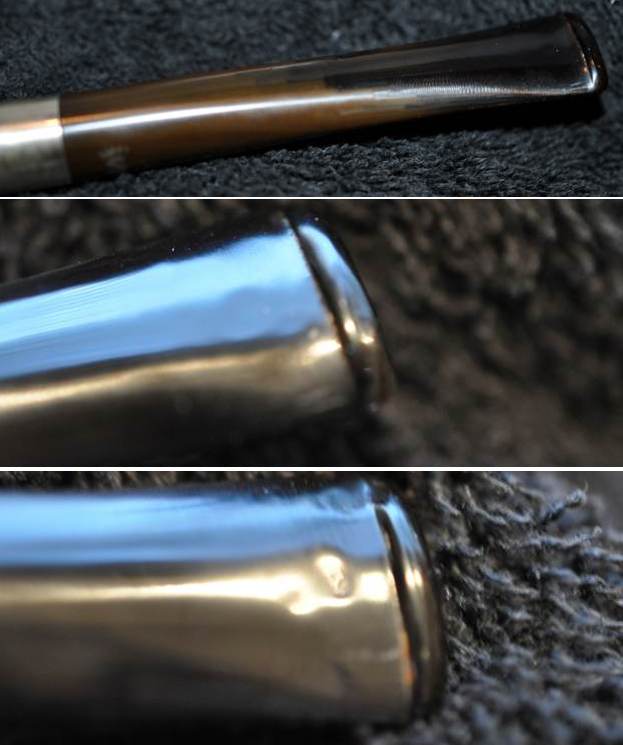
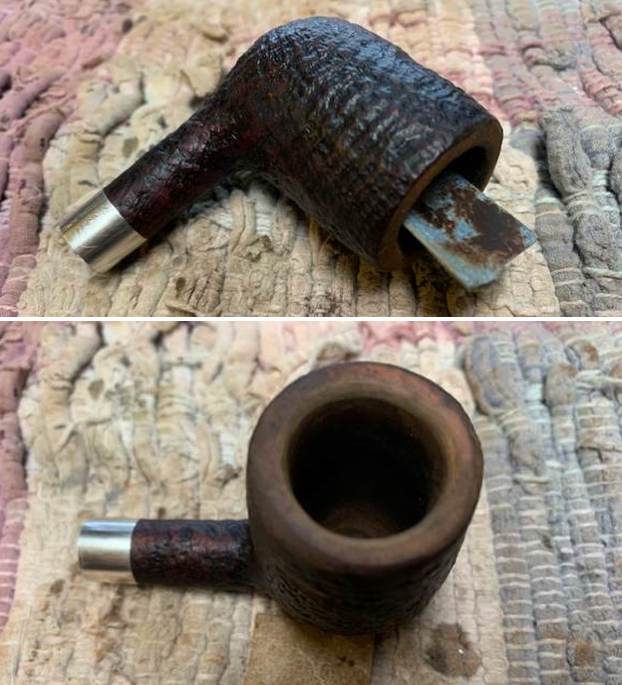
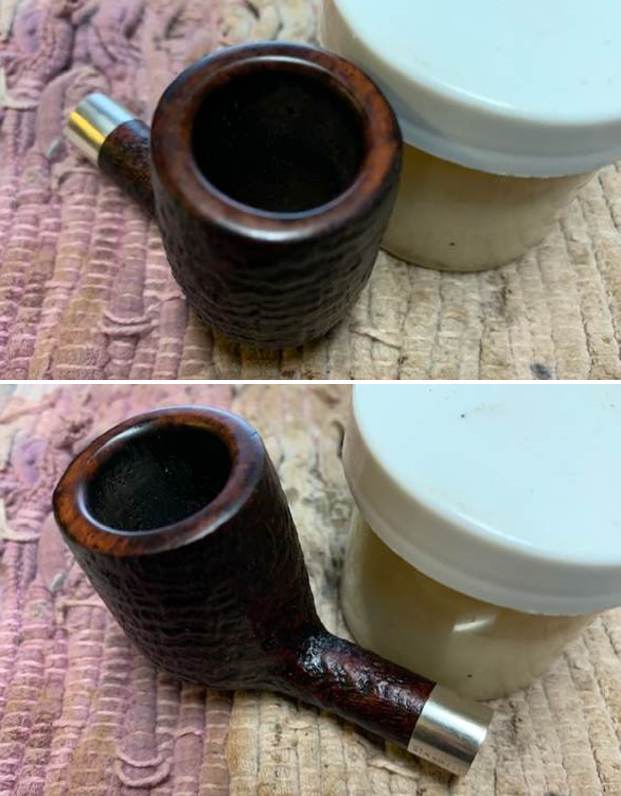
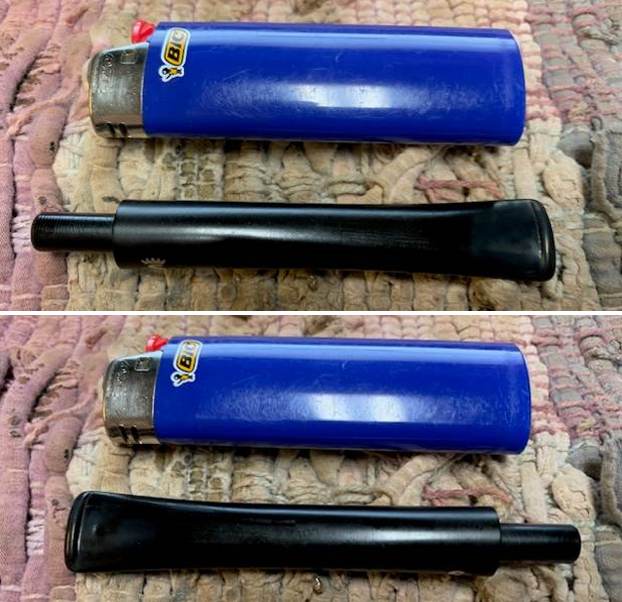
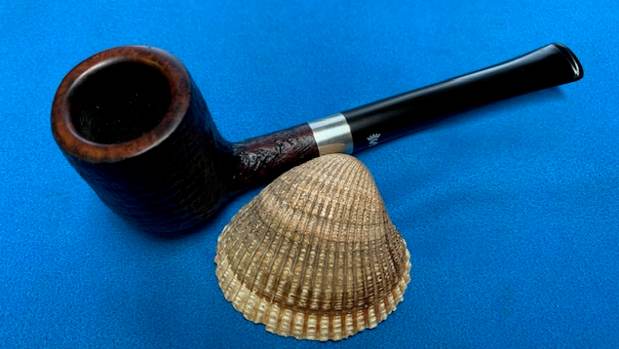
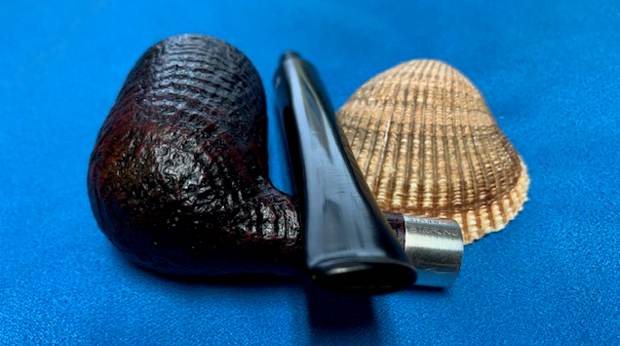
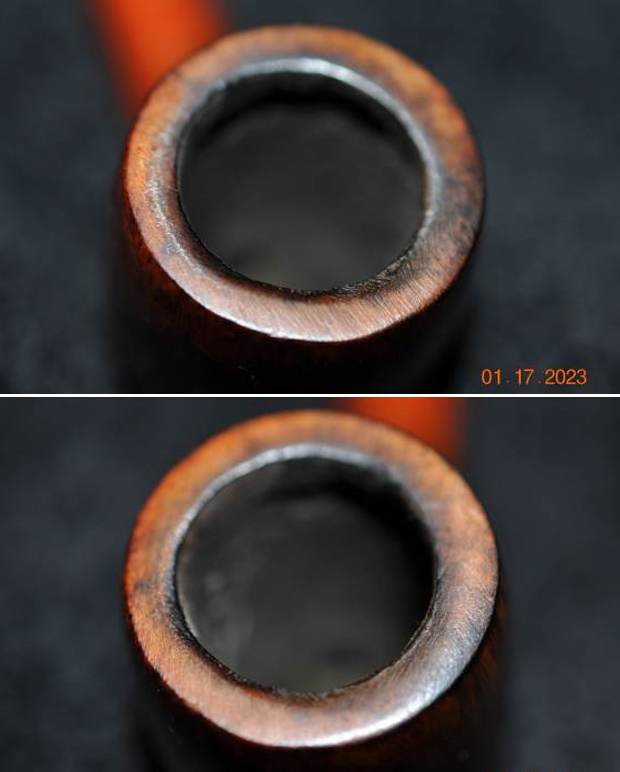
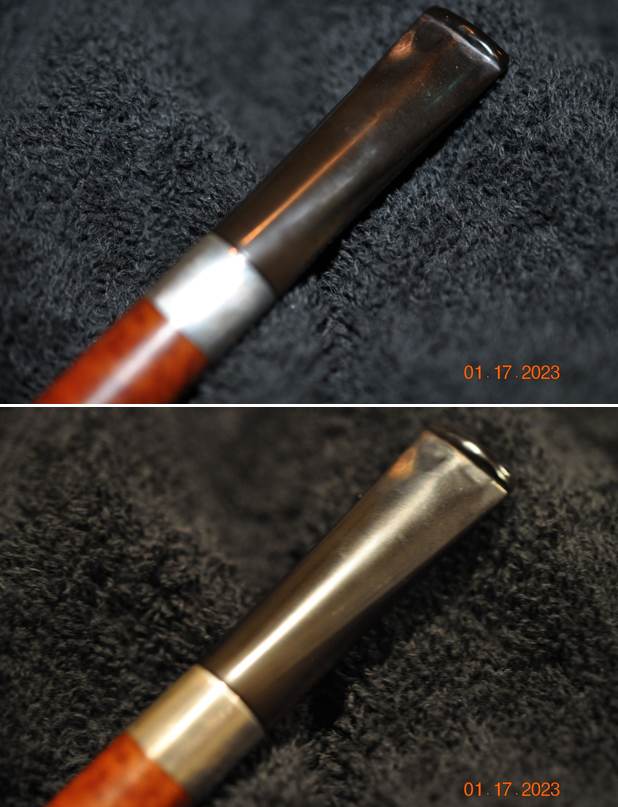
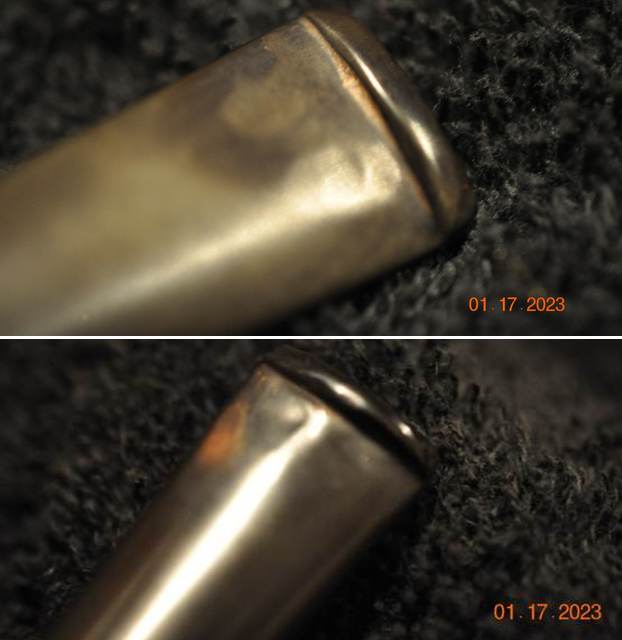
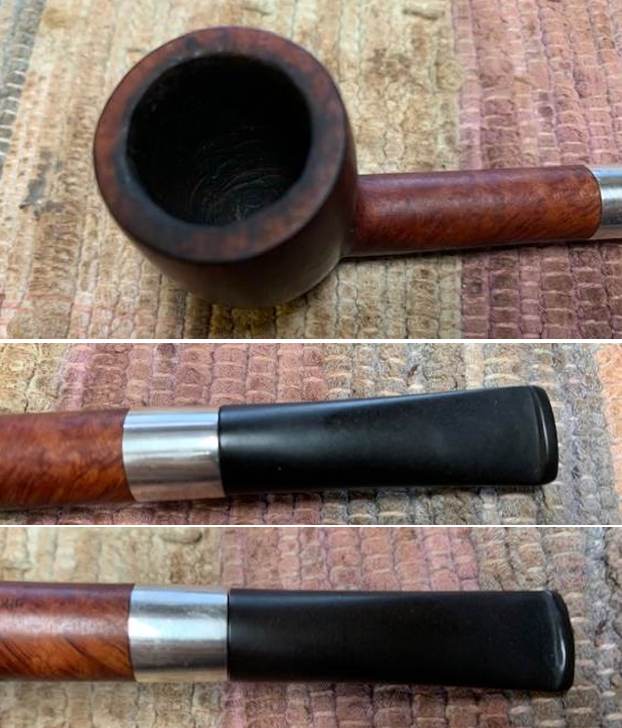
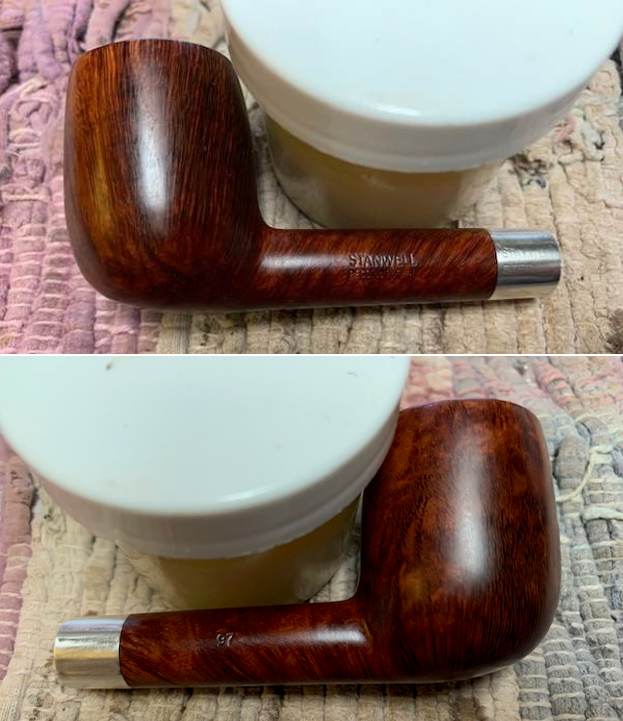
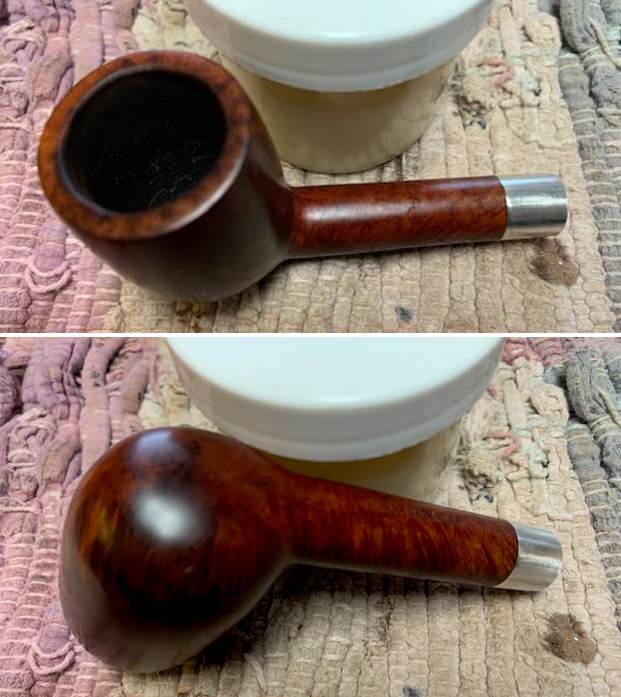
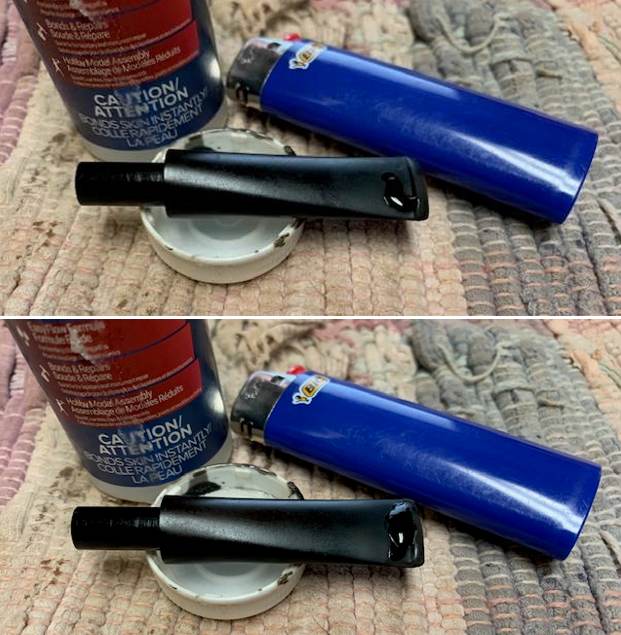
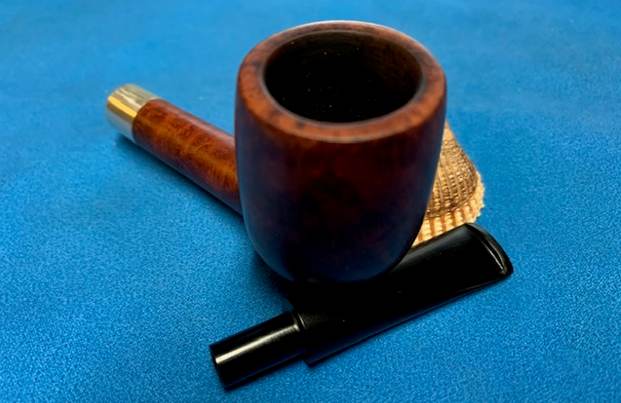
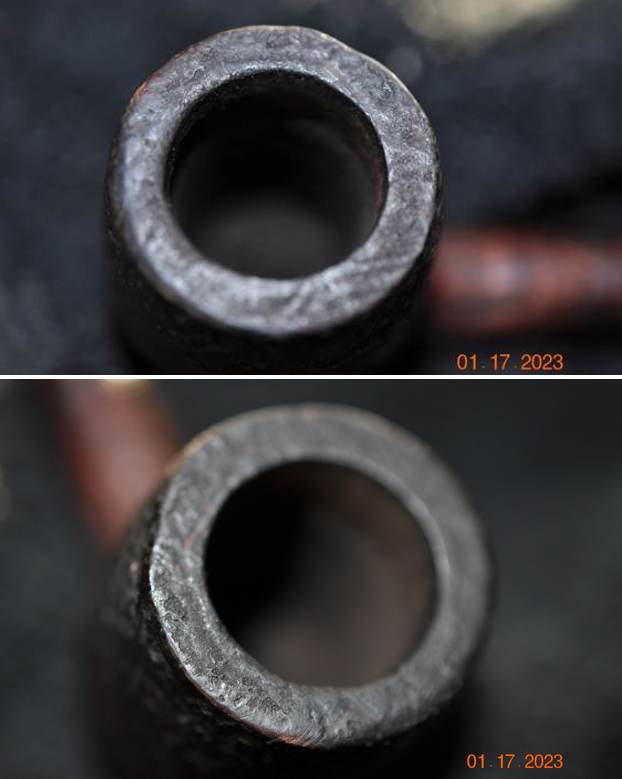
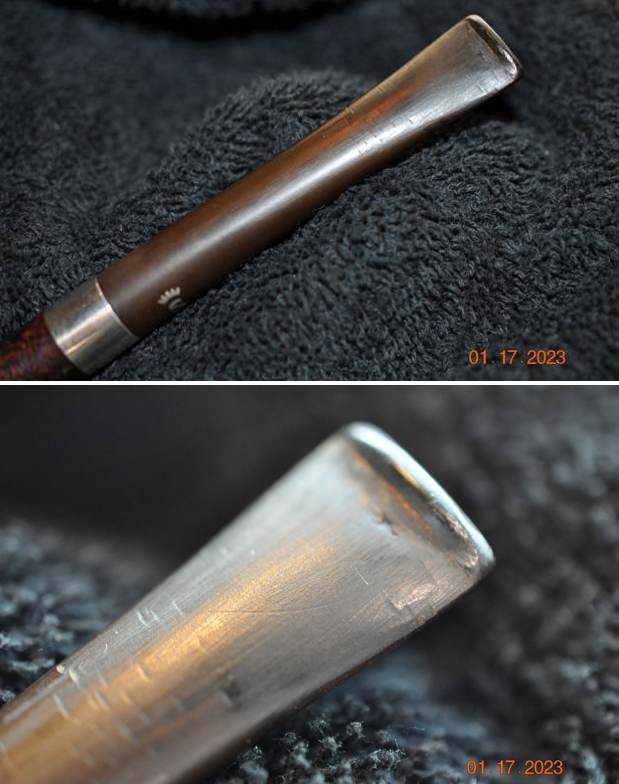
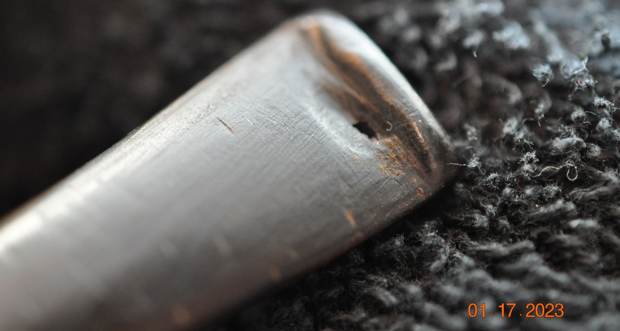
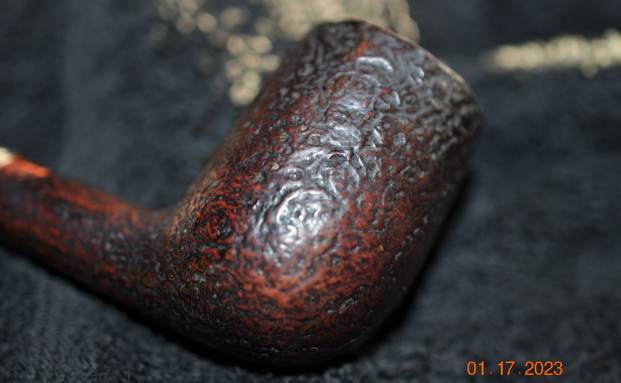
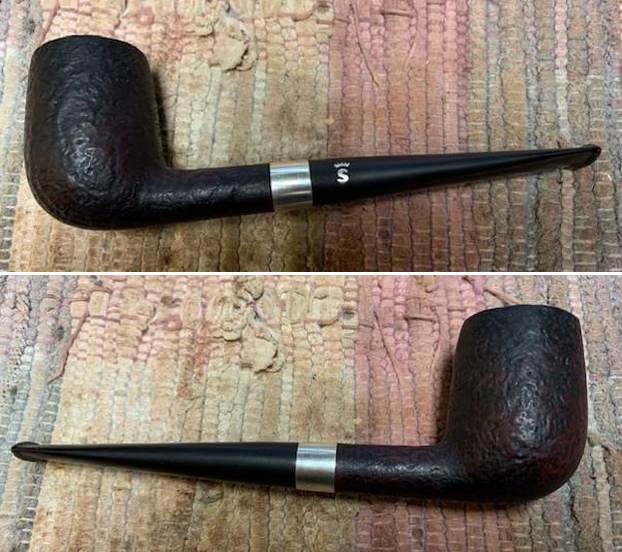
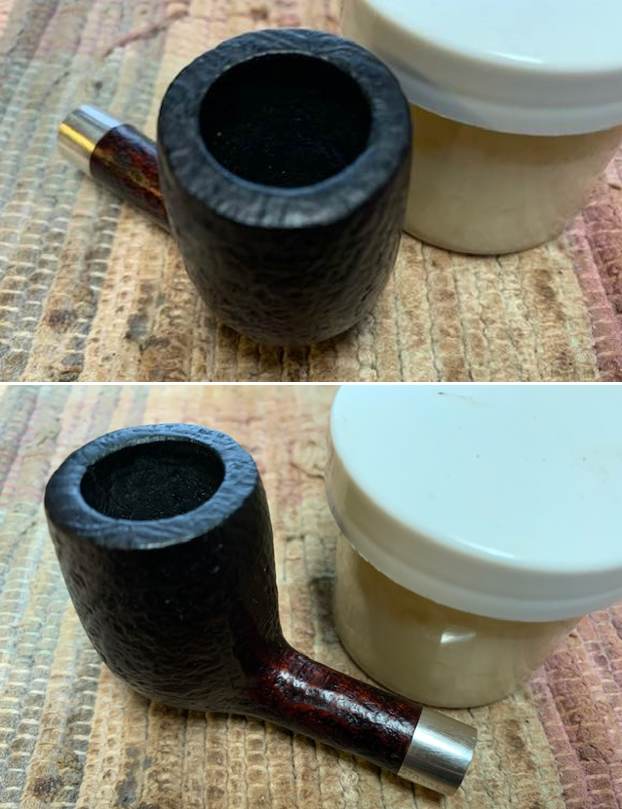
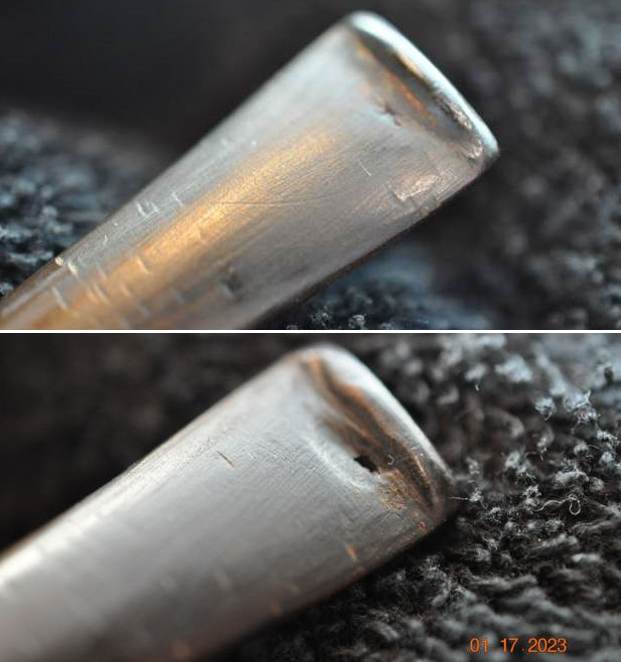
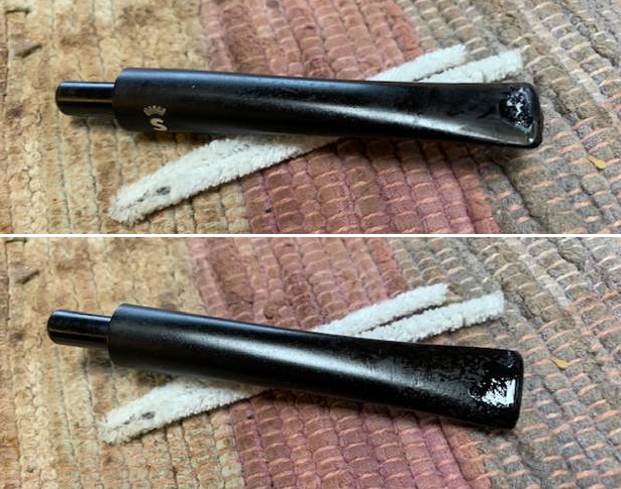
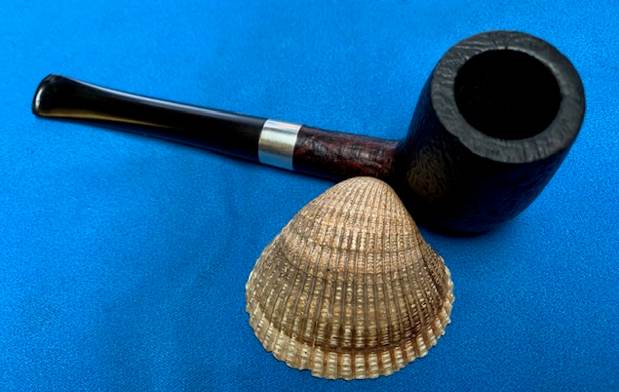
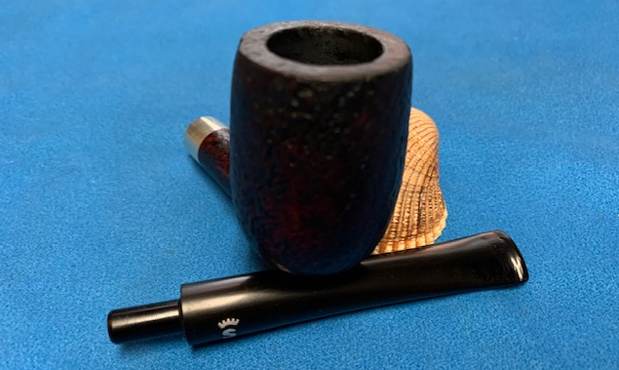
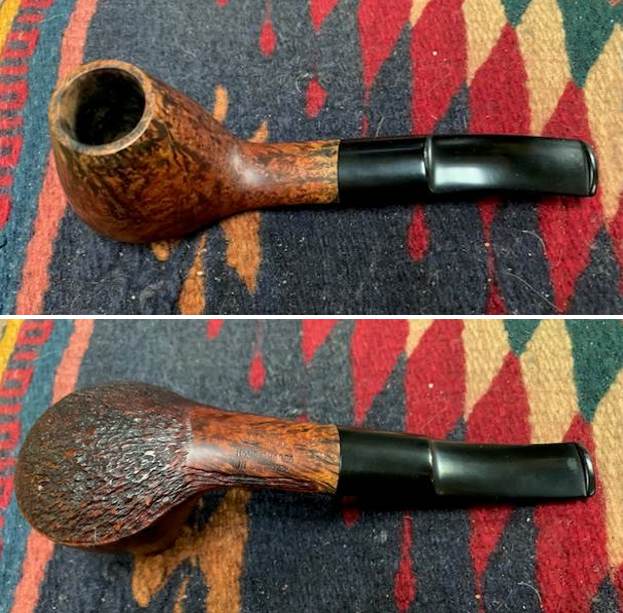
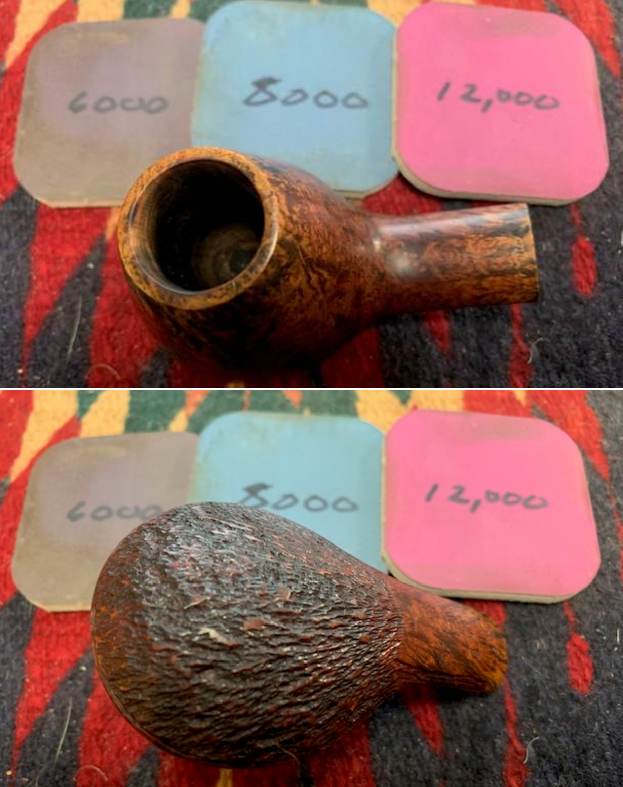
The next pipe was another interesting pipe that surprised both Jeff and me when it came in a lot of pipes that we bought it from the fellow in Copenhagen, Denmark on January 26, 2023. This one is the first of the Faaborg pipes we have picked up from him. It is a great looking Volcano with a rusticated heel. The rustication goes up the edges on the underside of the shank in a thin line framing the area where it is stamped. The pipe is stamped on the underside of the shank and reads Faaborg [over] Special [over] Old Briar [over] Hand Shaped [over] In Denmark. To the right of that stamping at the stem/shank joint is stamped the shape number 36. The bowl had a thick cake and some lava overflow on the smooth rim top. The inner and outer edges of the thin rim top appeared undamaged. The finish was dirty and on the rusticated base was dusty and grimy in the grooves of the rustication. The vulcanite saddle stem was lightly oxidized and dirty and had some tooth chatter and marks on both sides ahead of the button. Jeff took these photos of the pipe before he started his cleanup work. He took photos of the rim and bowl to show the condition of the bowl and rim top. You can see the thick cake in the bowl and the lava on the rim top. He also took photos of the stem surfaces to show its overall condition when it arrived. It was lightly oxidized and dirty and had light tooth marks and chatter on both sides.
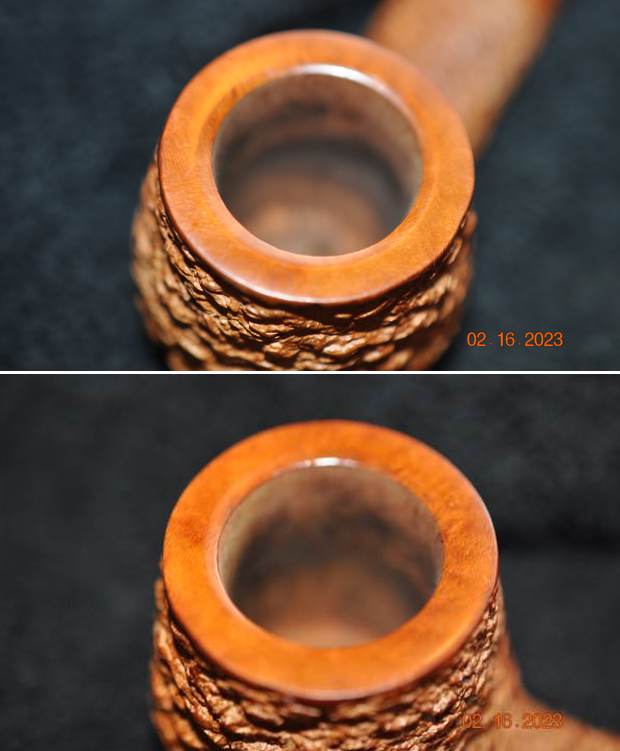
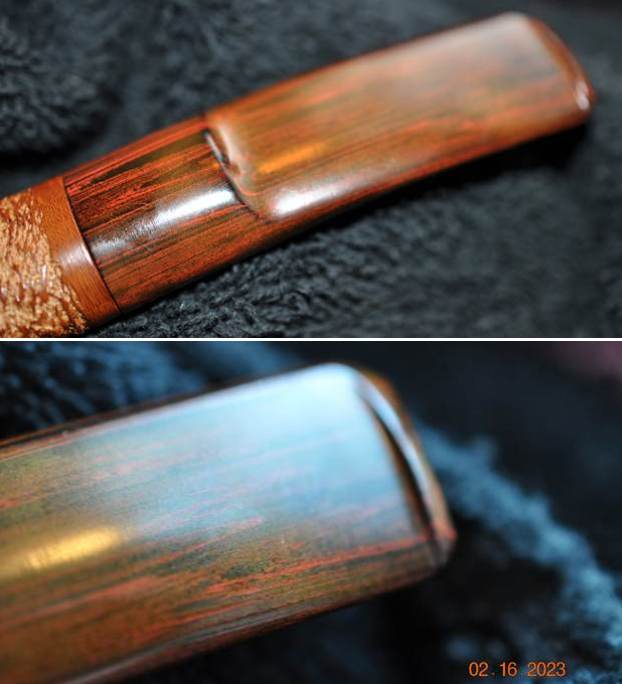
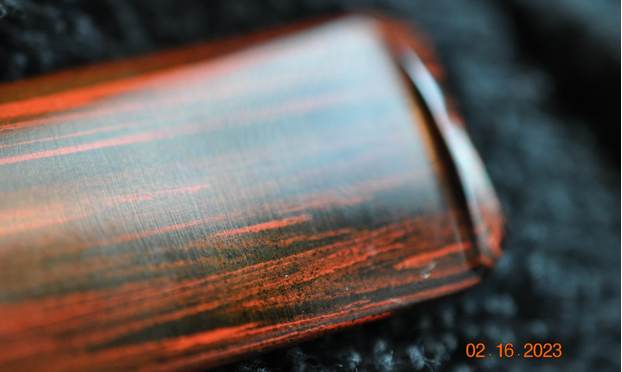
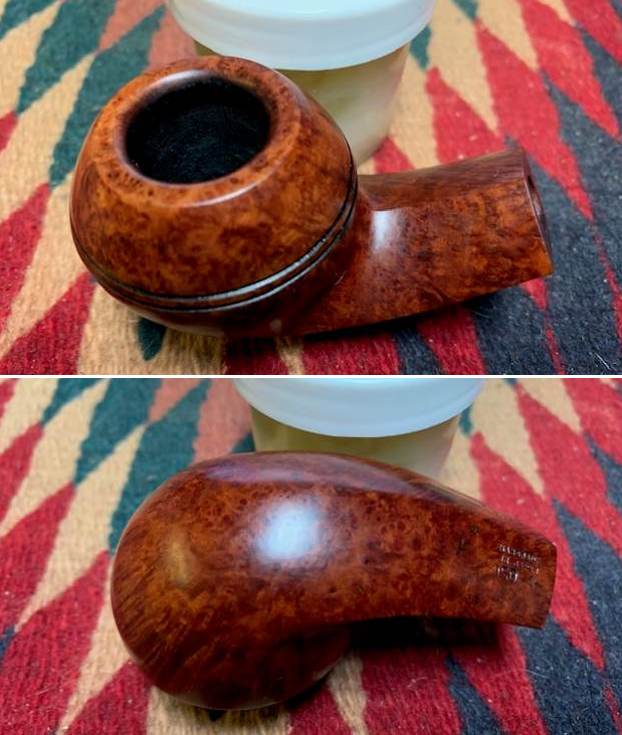
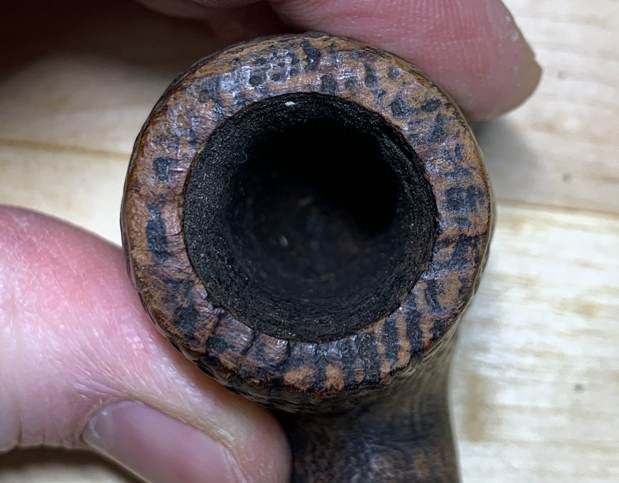
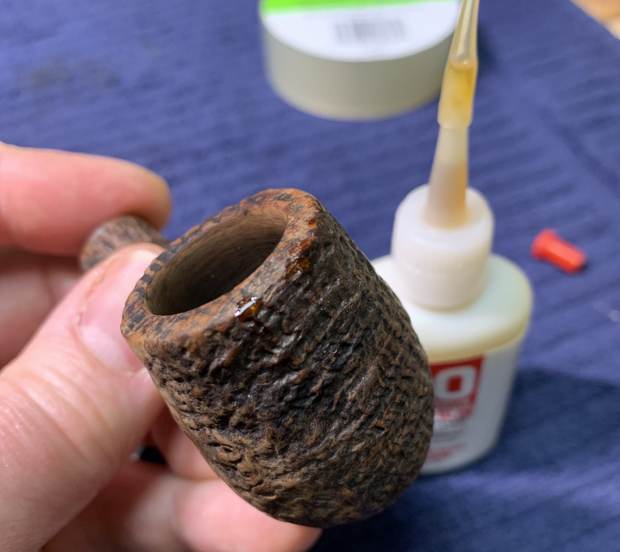
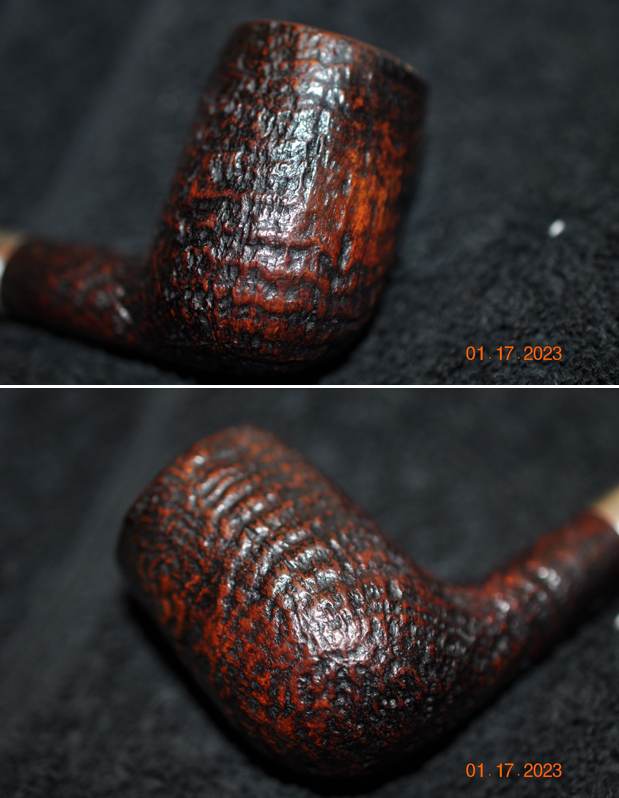
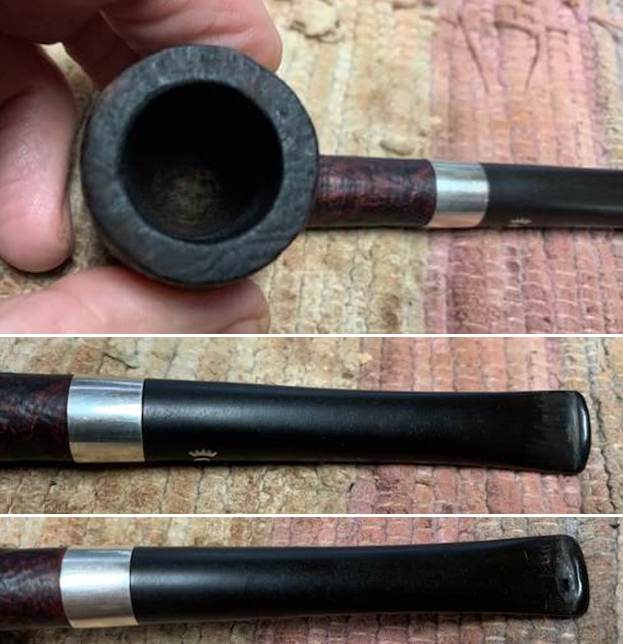
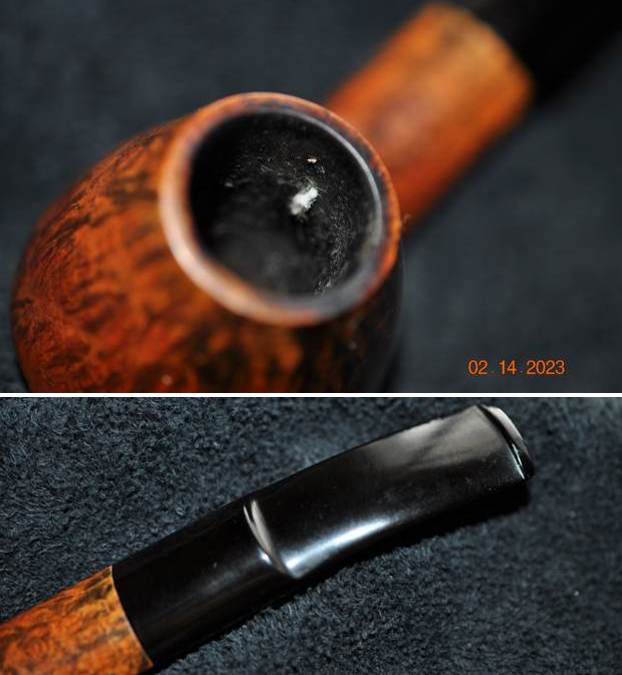
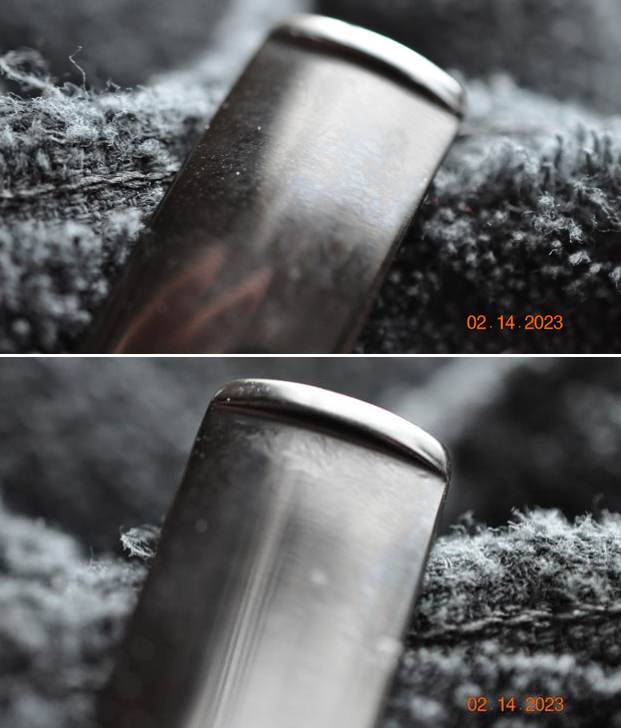
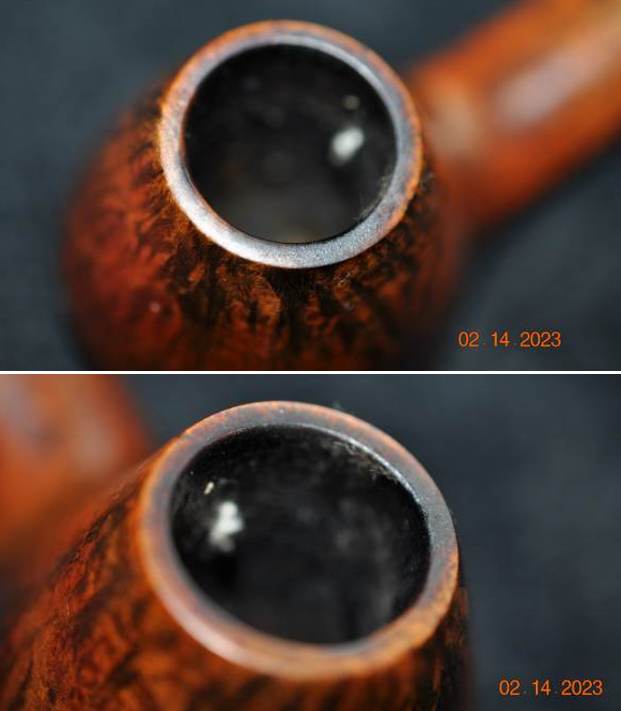
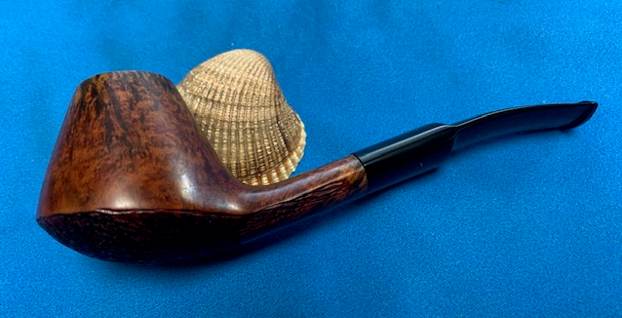
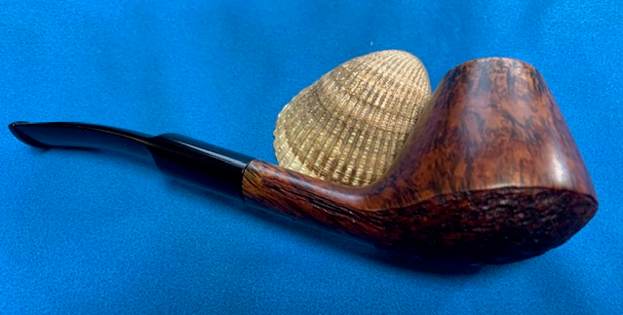
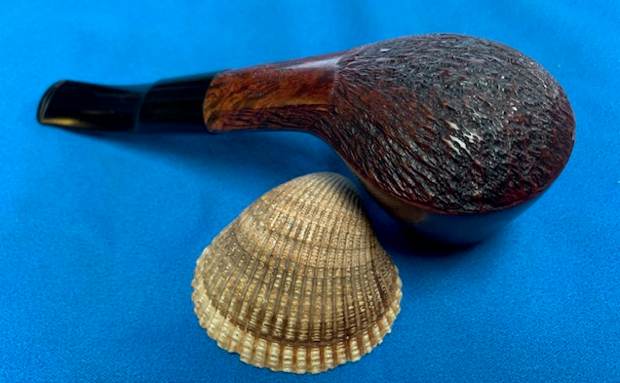
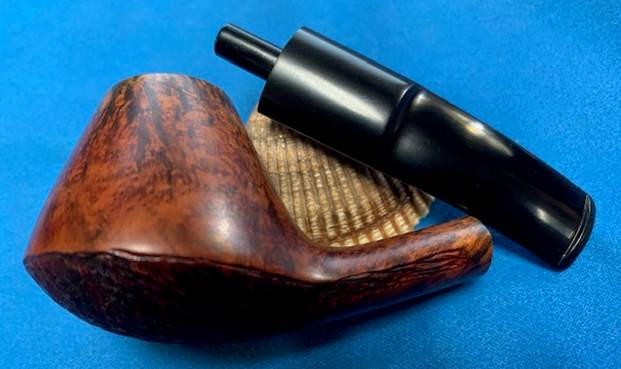
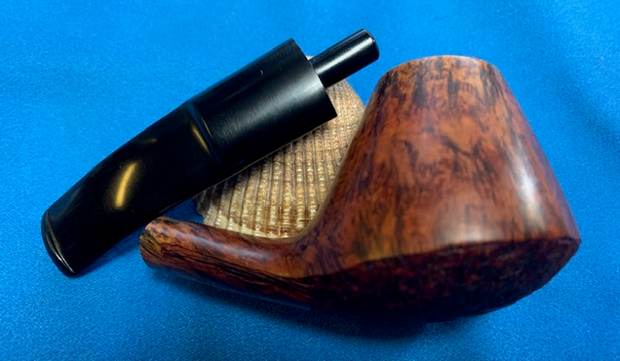
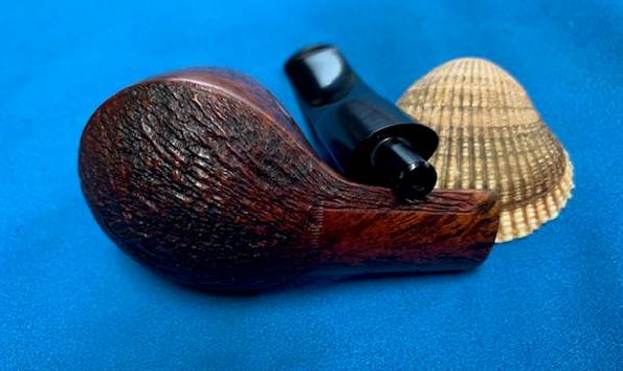
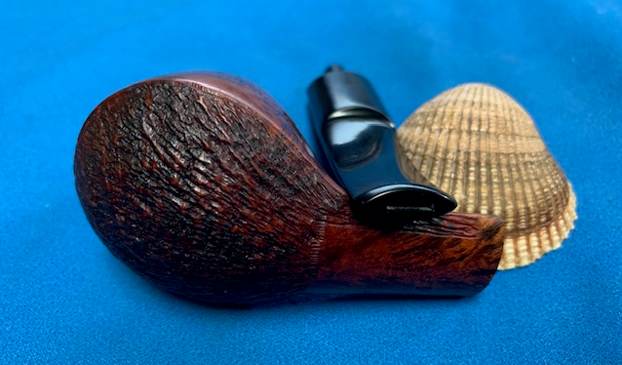
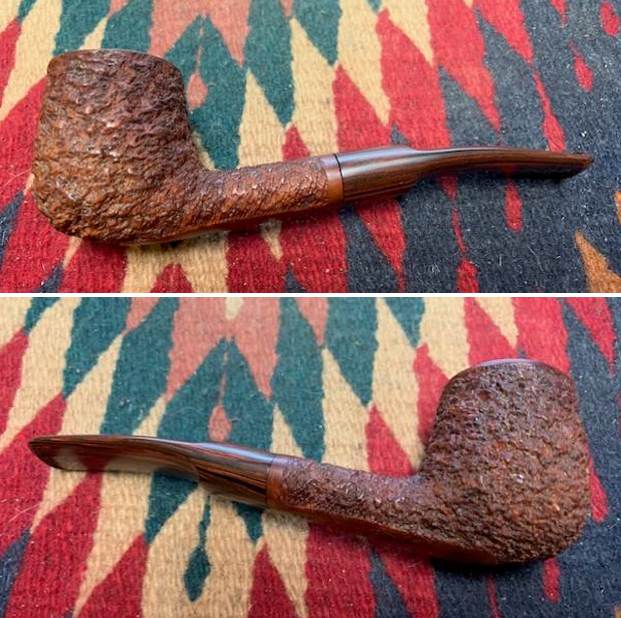
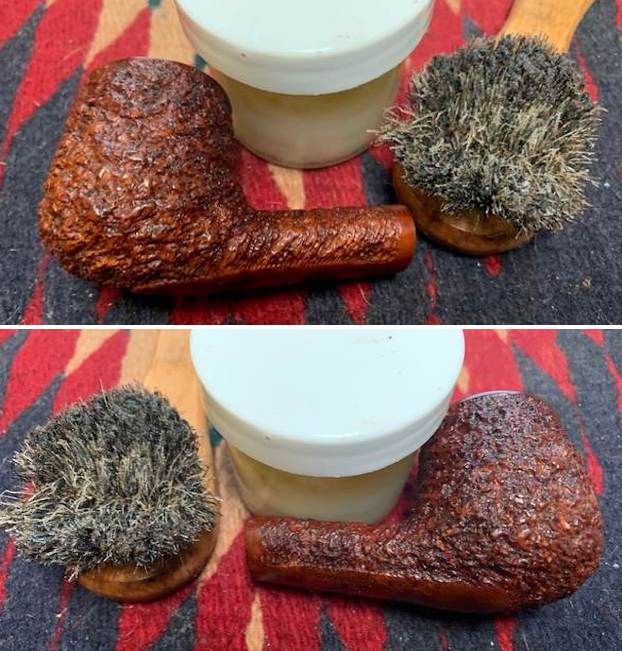
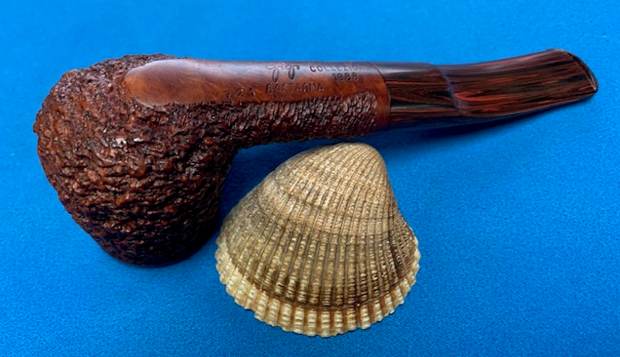
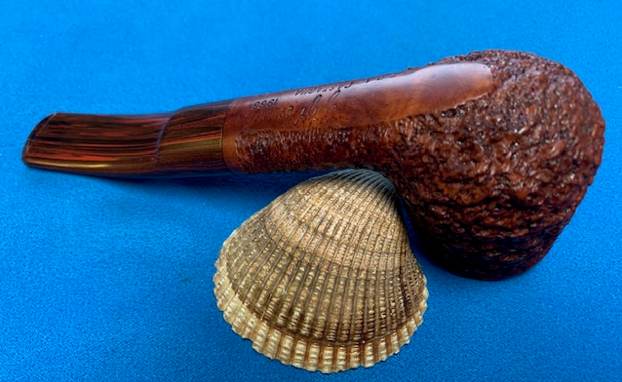
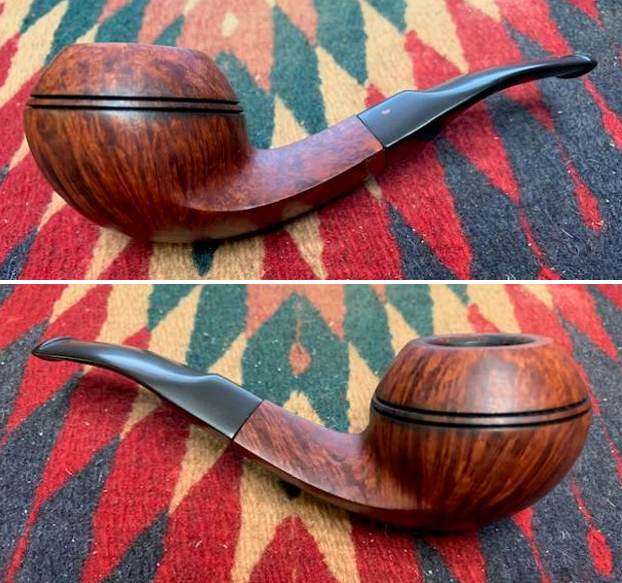
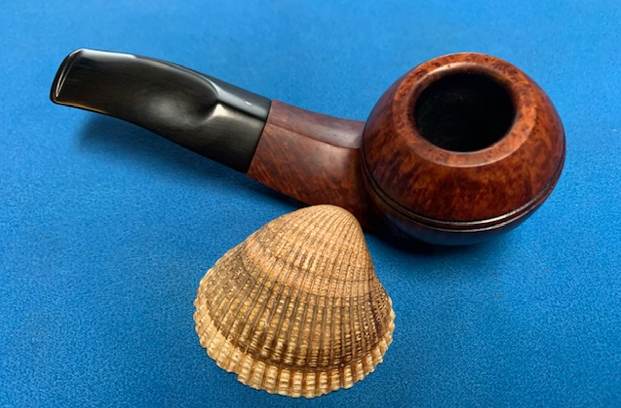
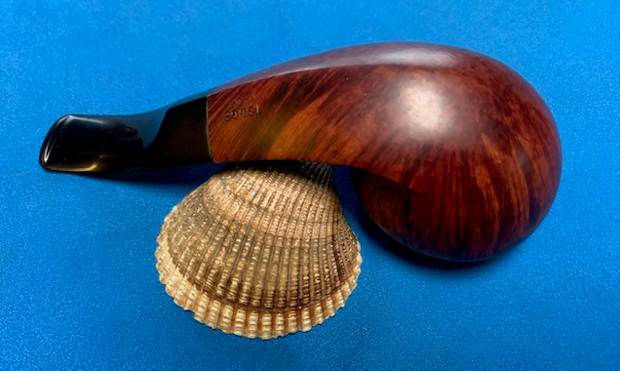
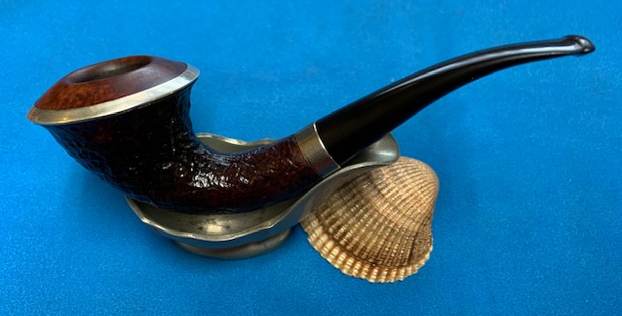
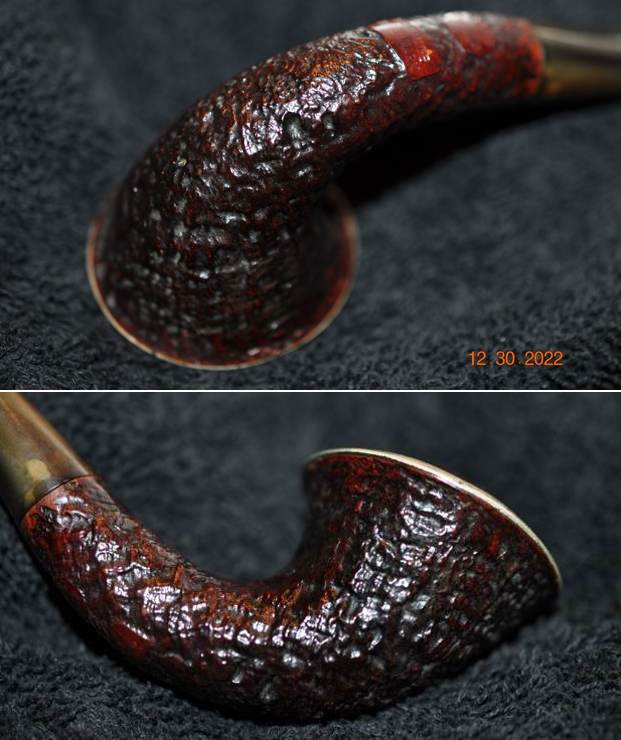
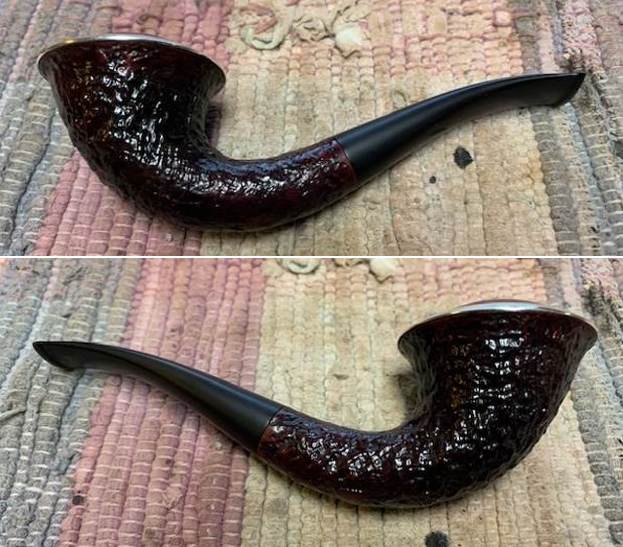
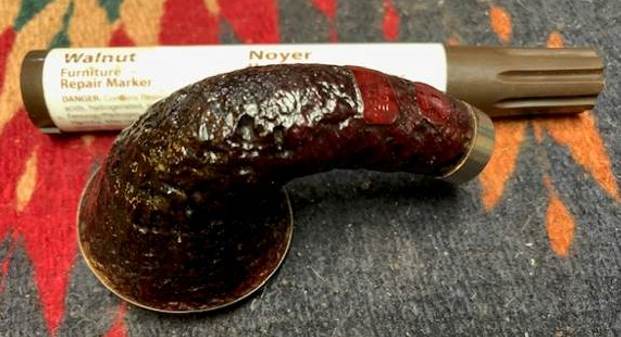
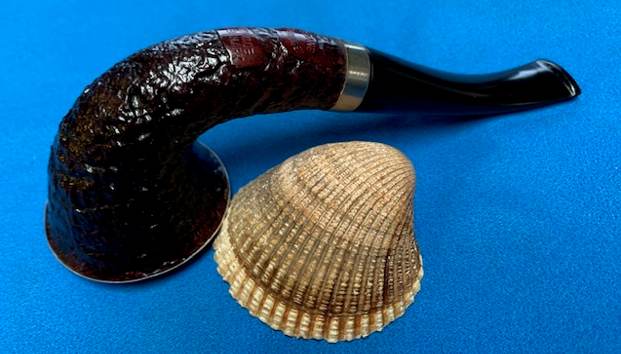
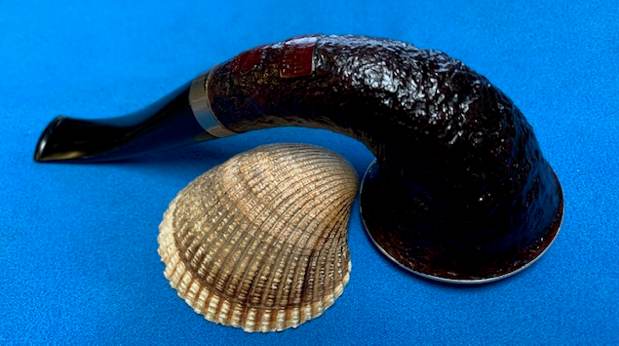
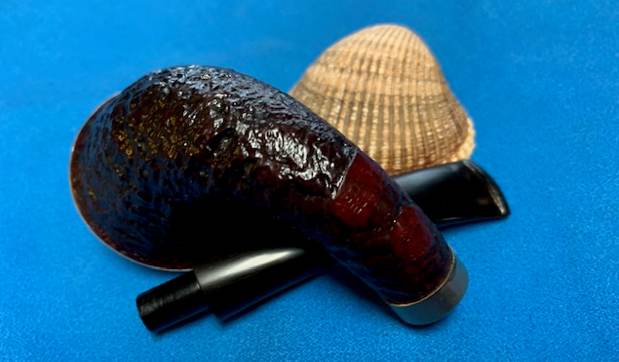
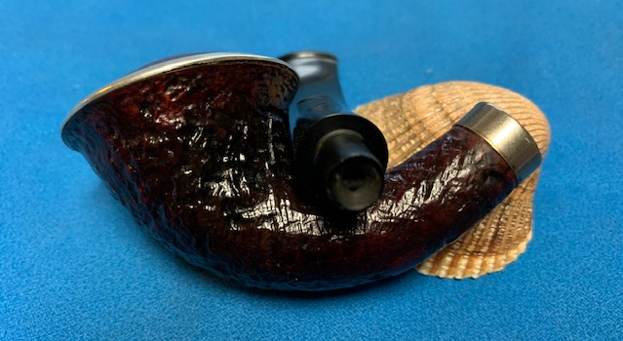
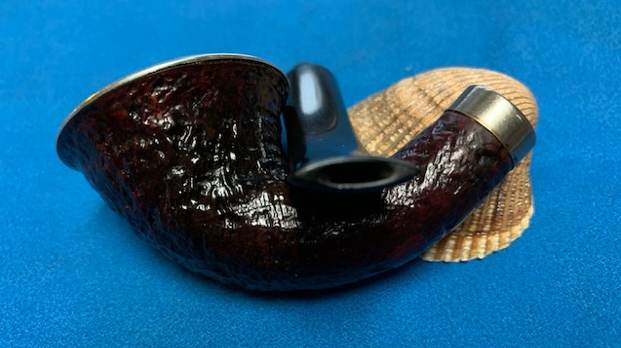
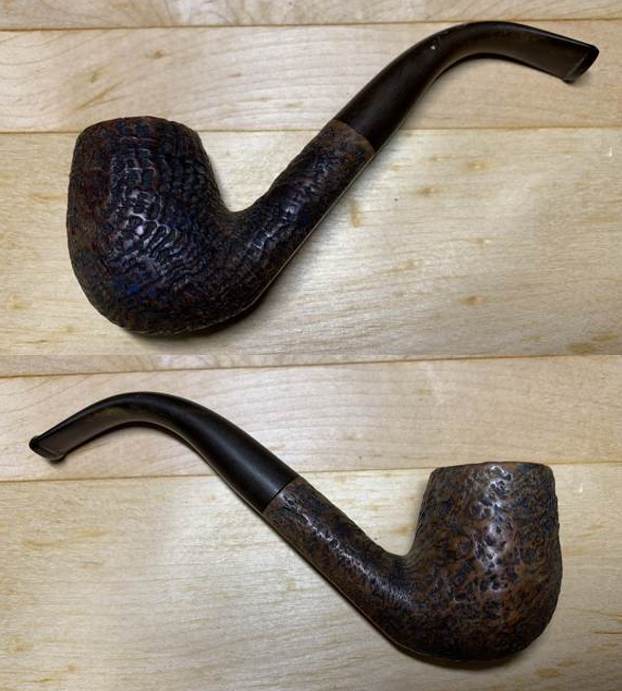
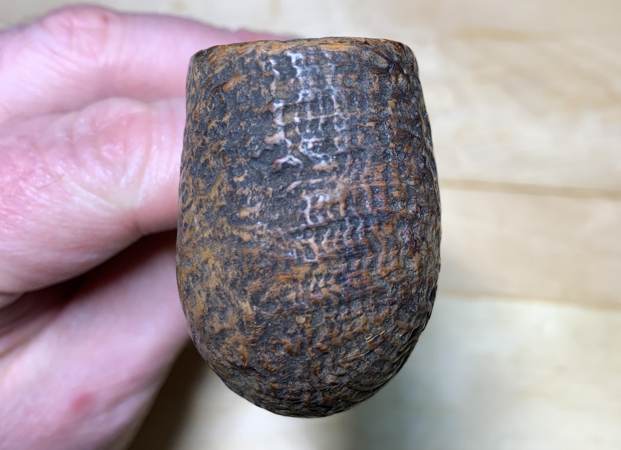
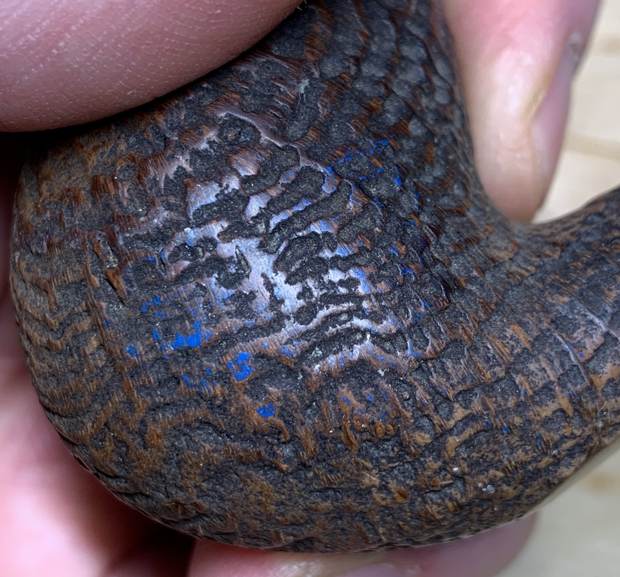
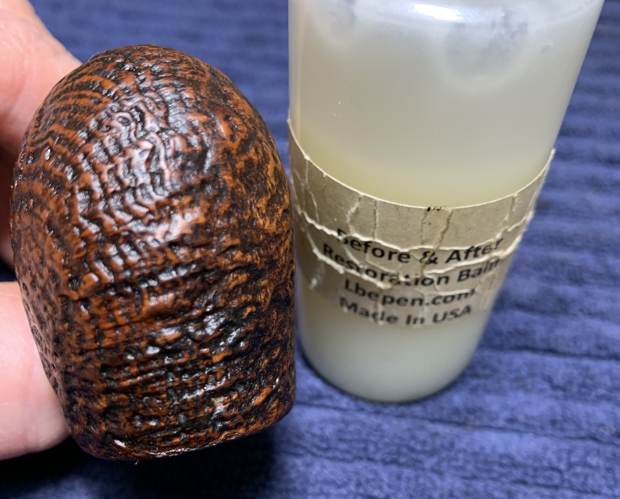
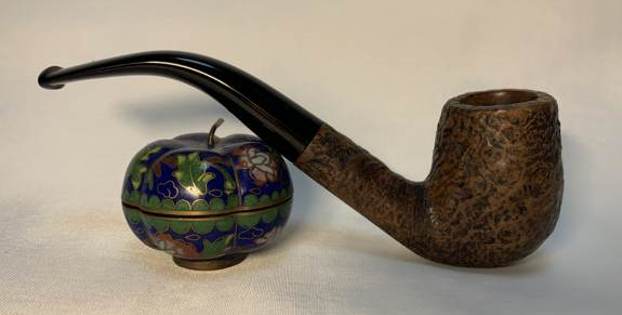
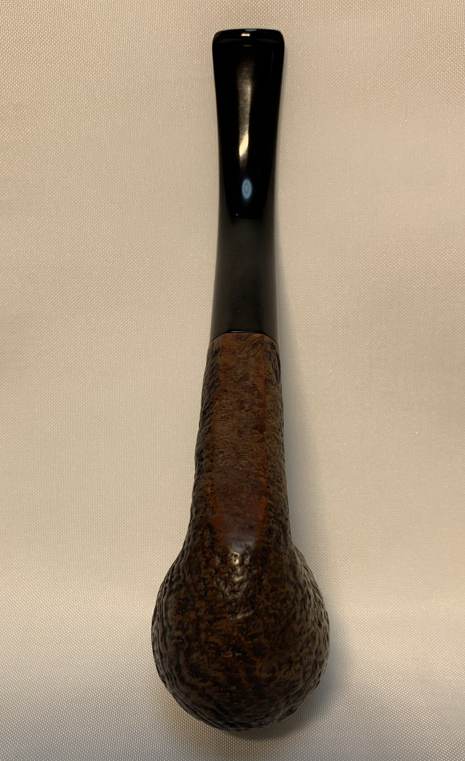
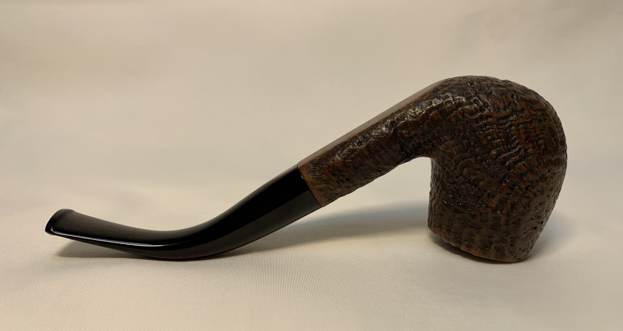
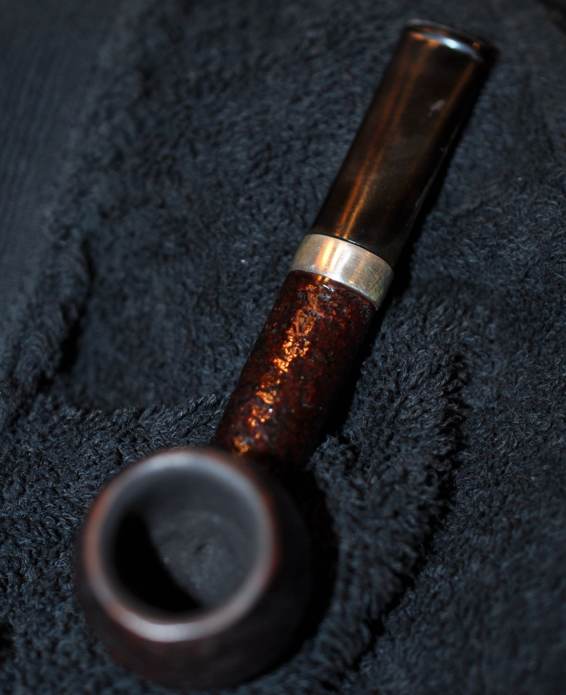
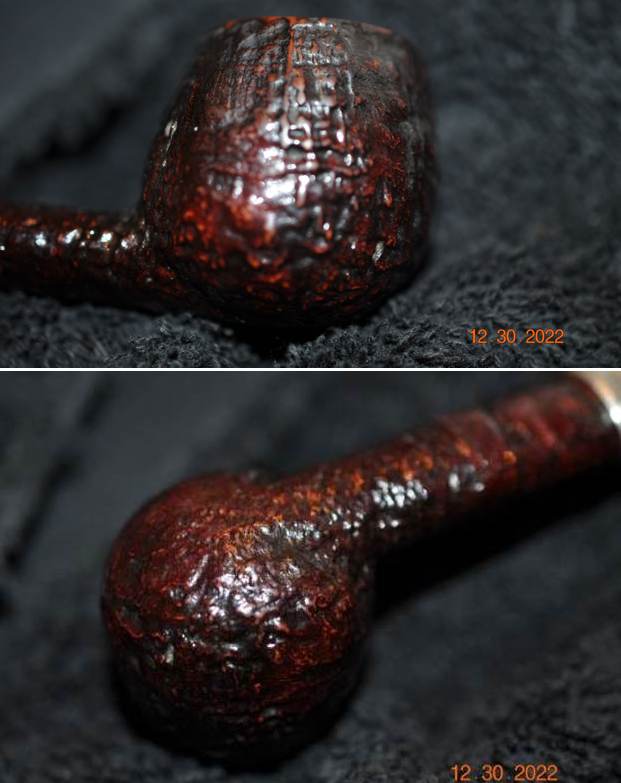
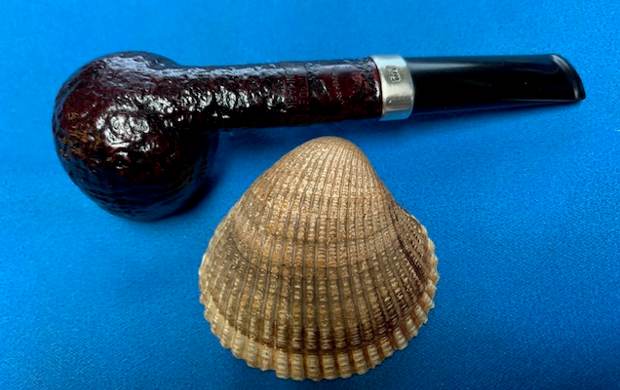
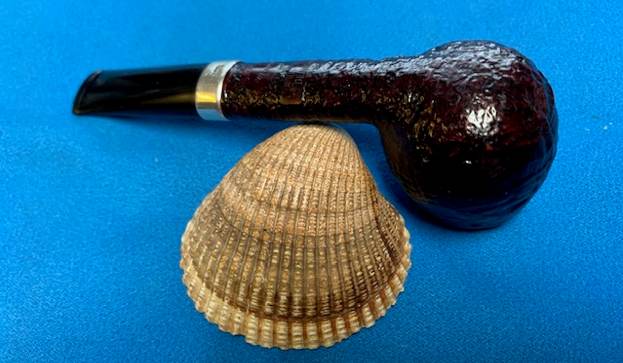
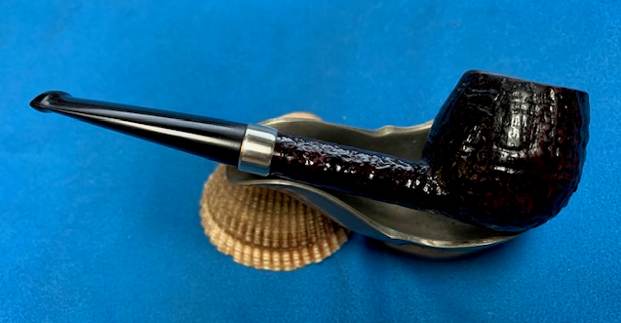
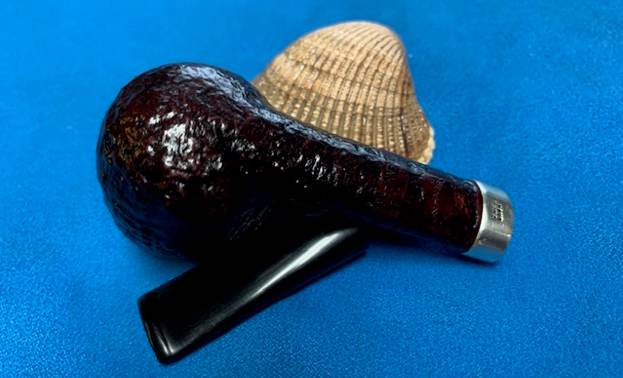
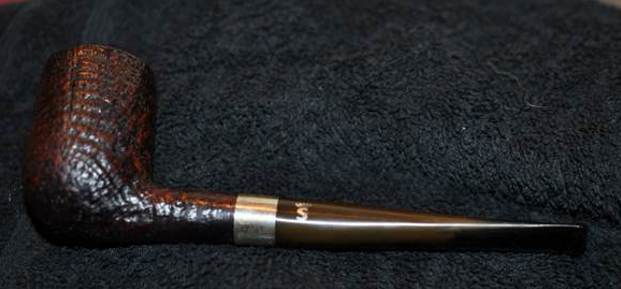
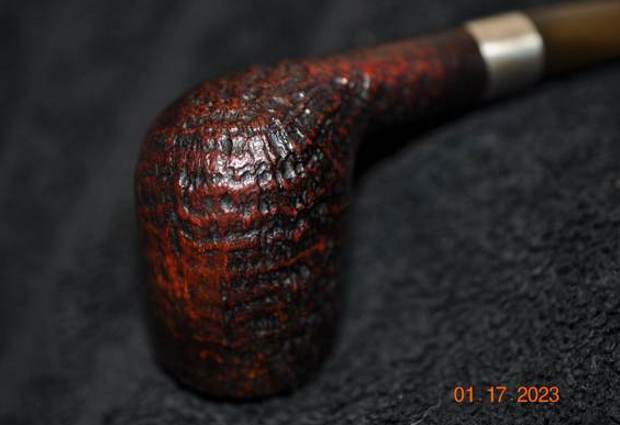
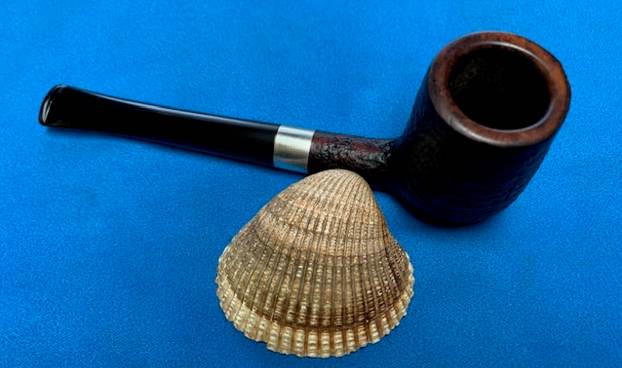
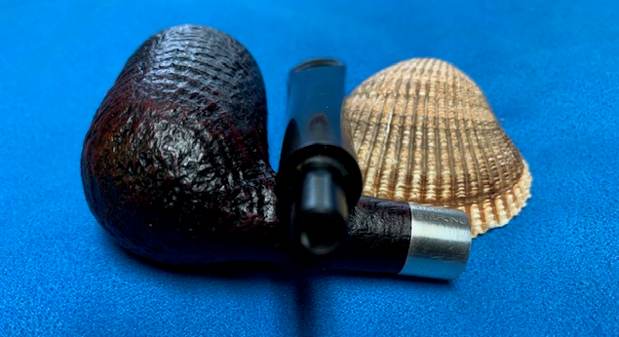
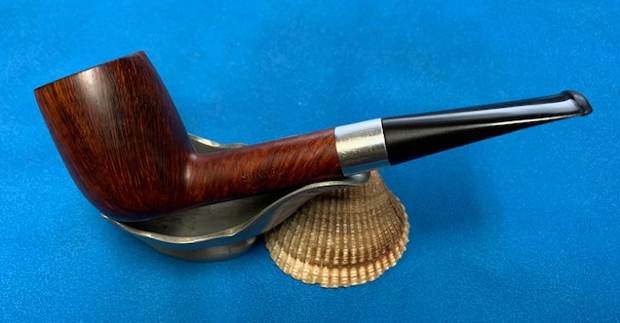
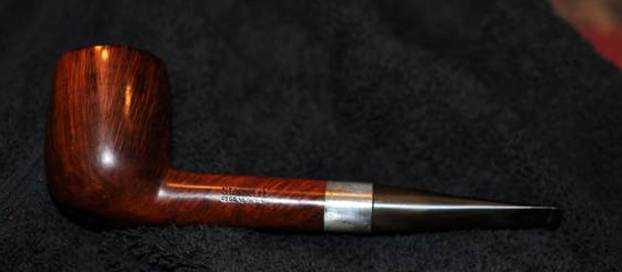
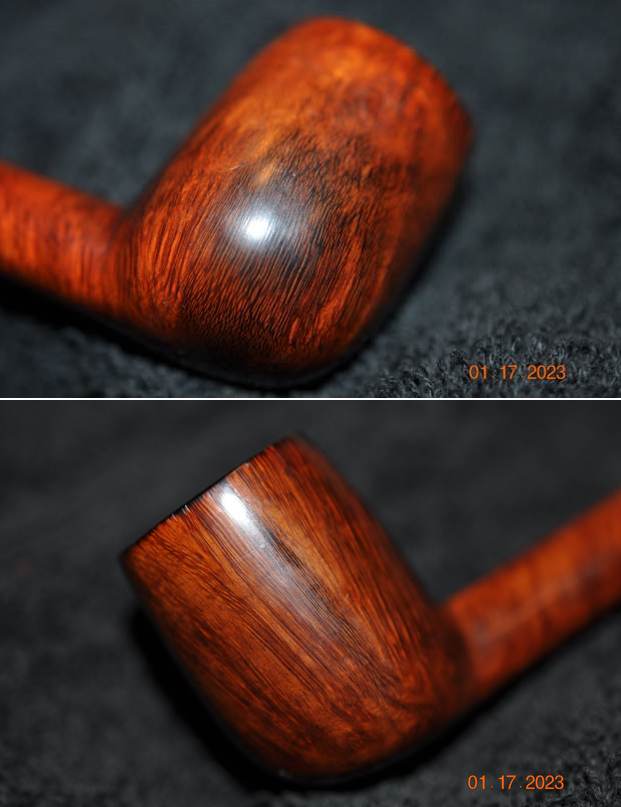
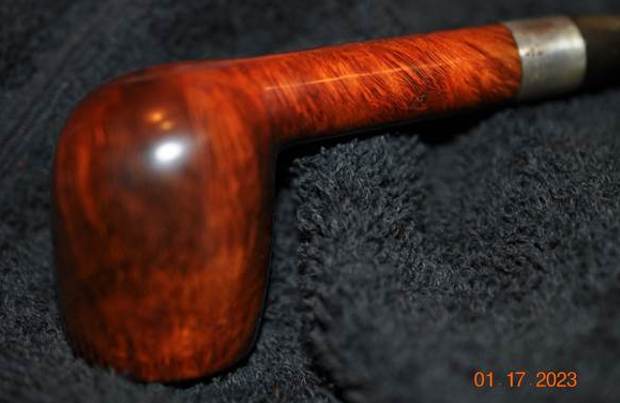
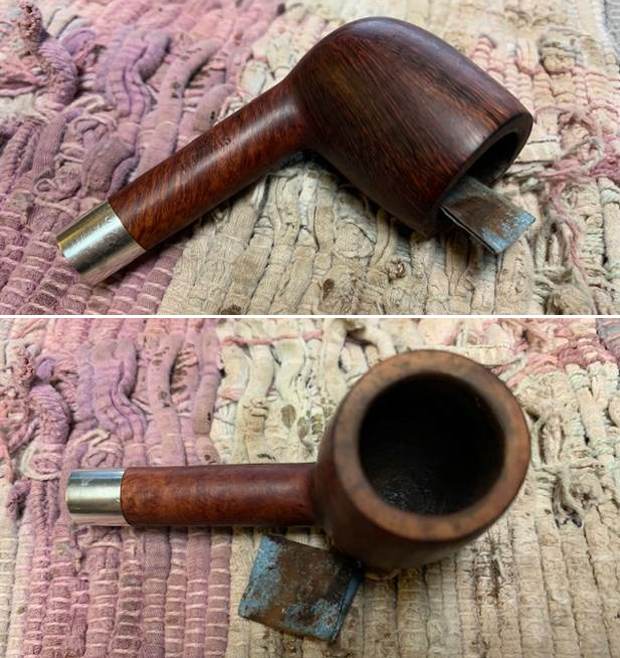
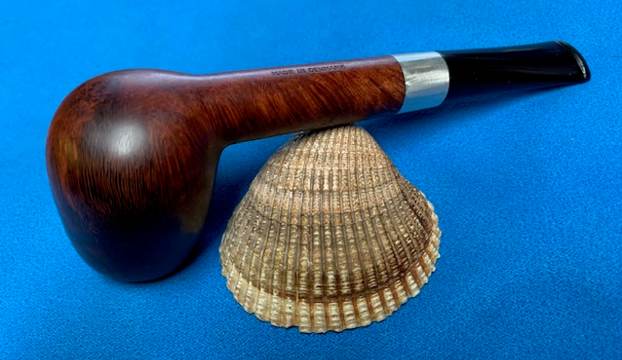
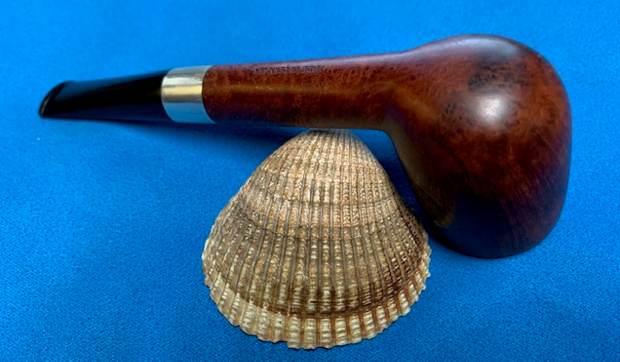
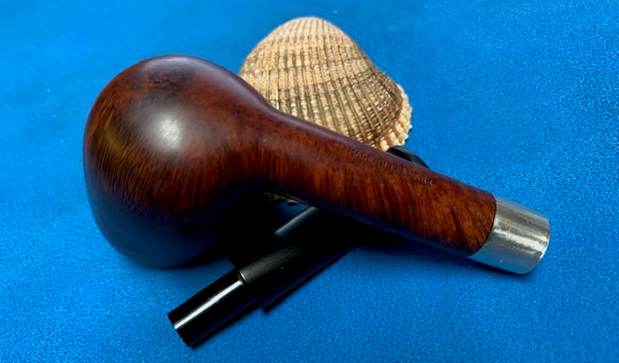
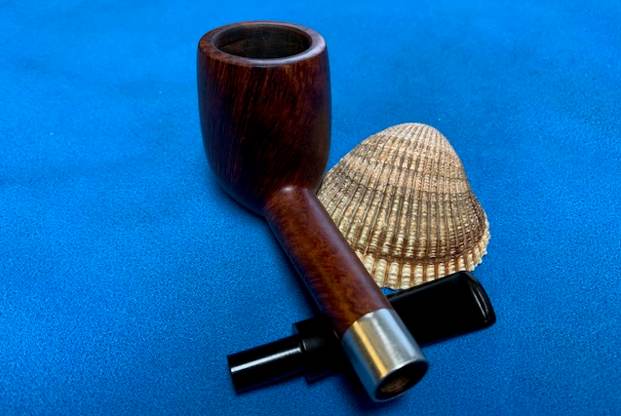
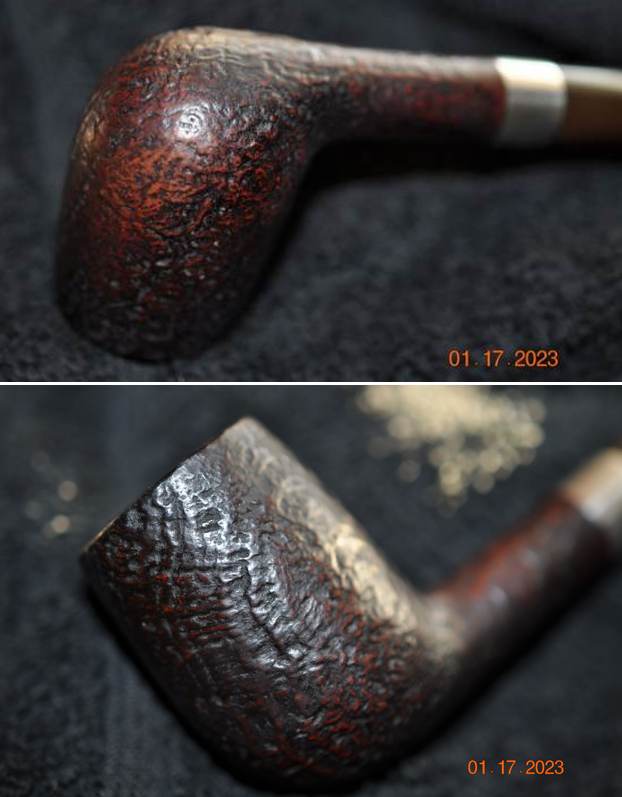
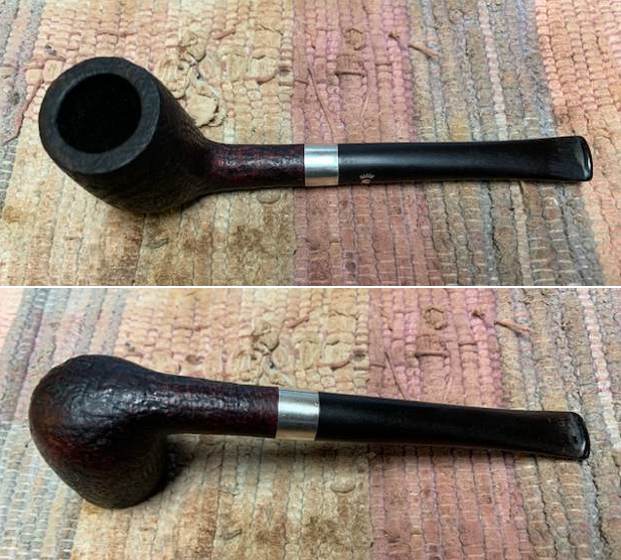
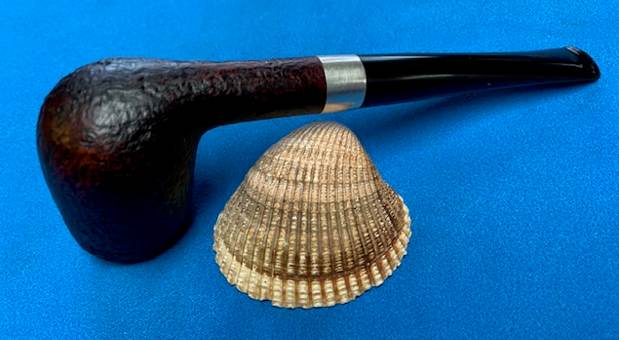
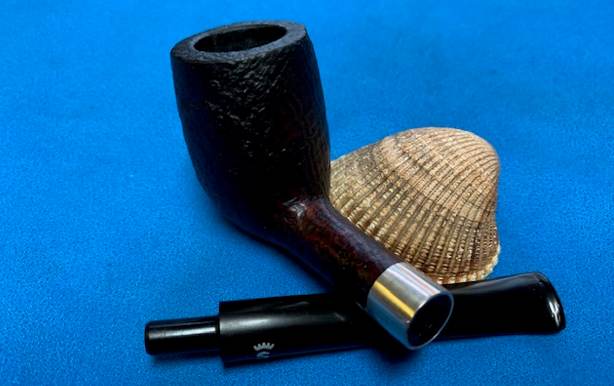
 The photos of the sides and heel of the bowl show the beautiful grain around the bowl and shank sides. The rich brown stain adds depth to the finish.
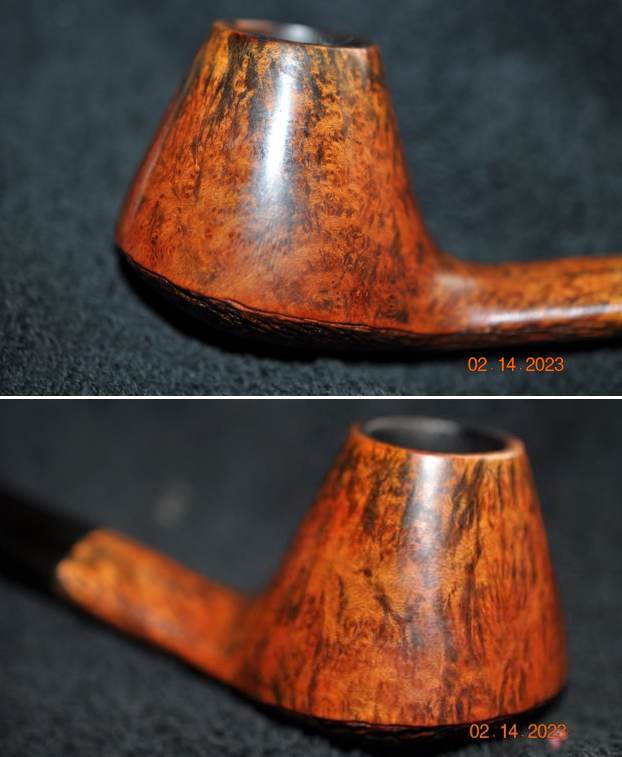
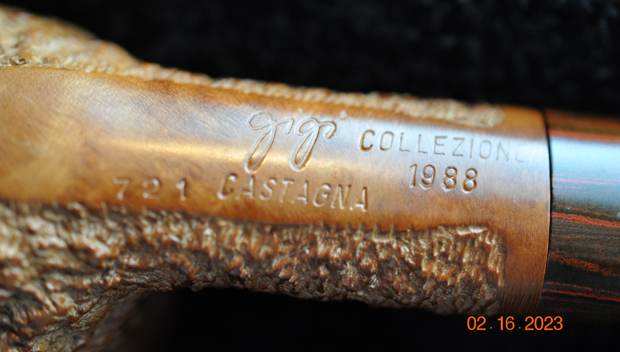
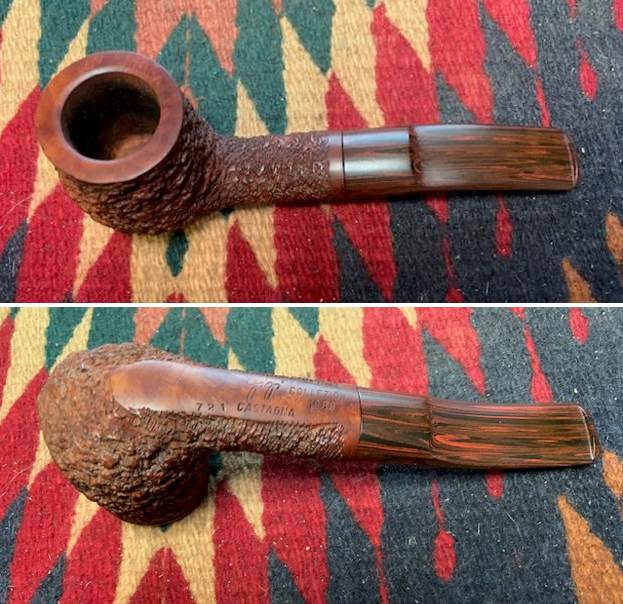
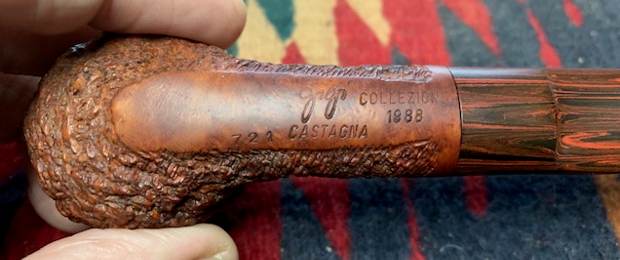
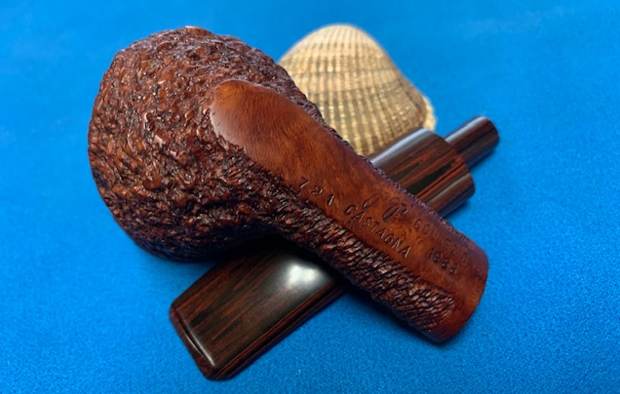
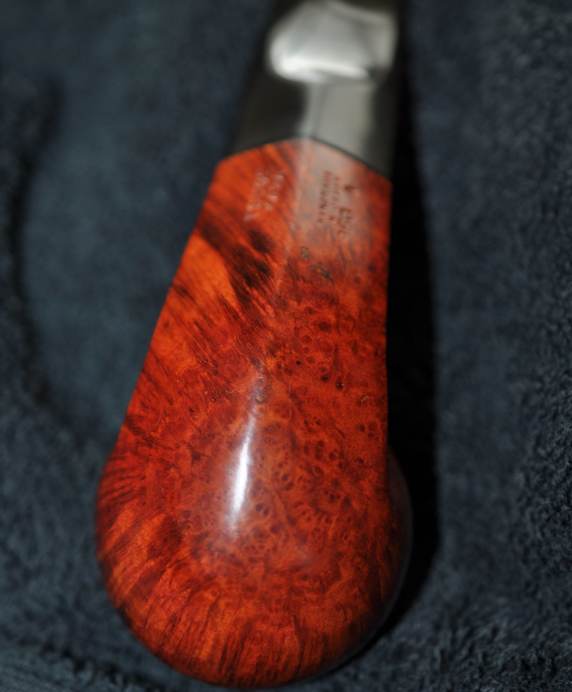
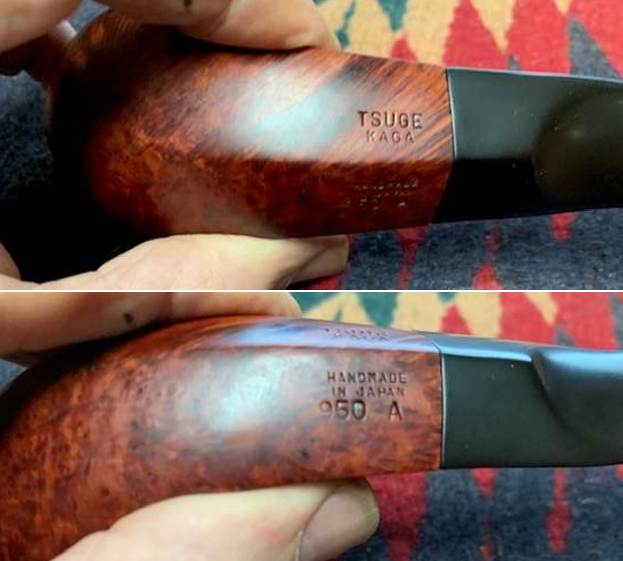
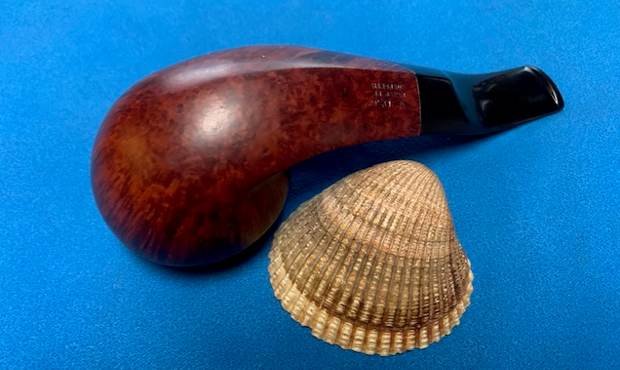
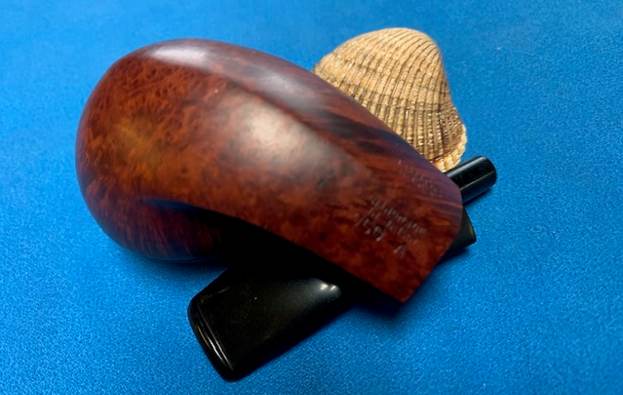
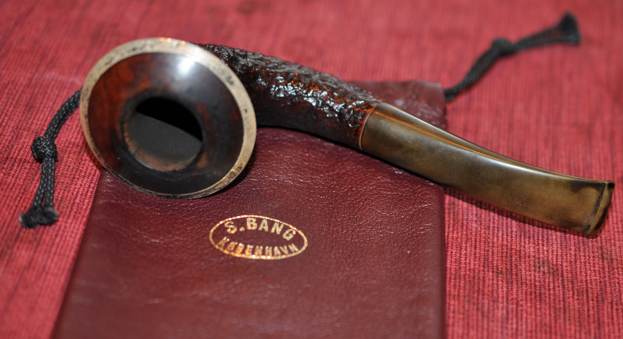
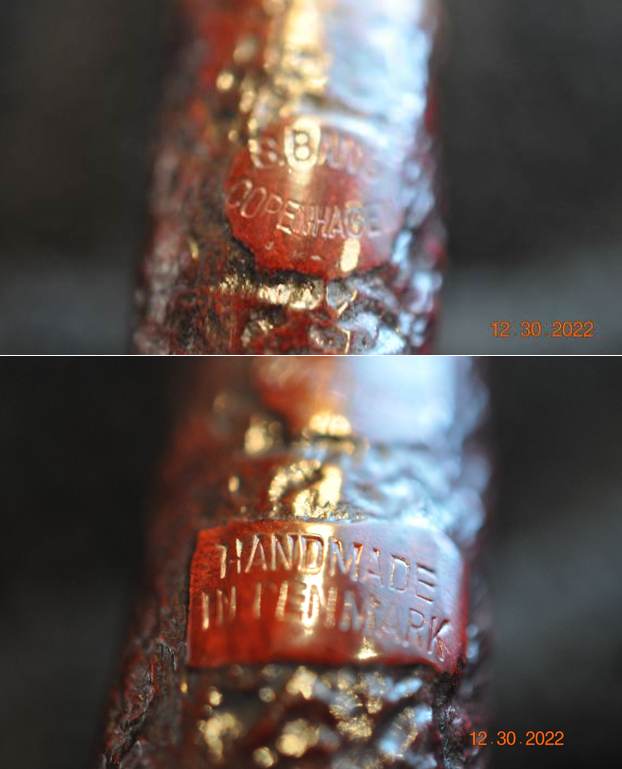
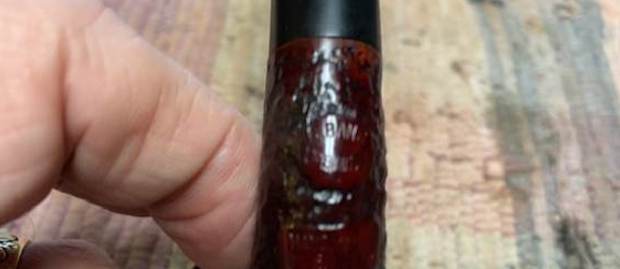
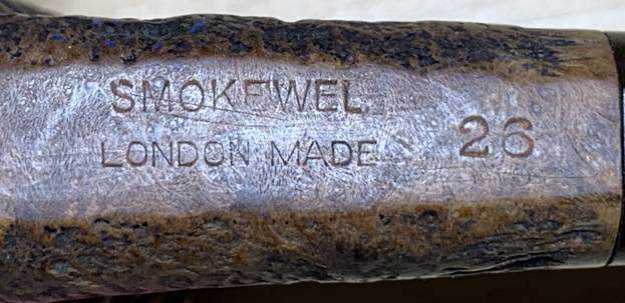
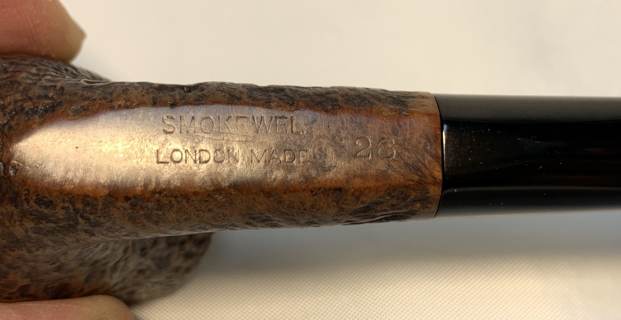
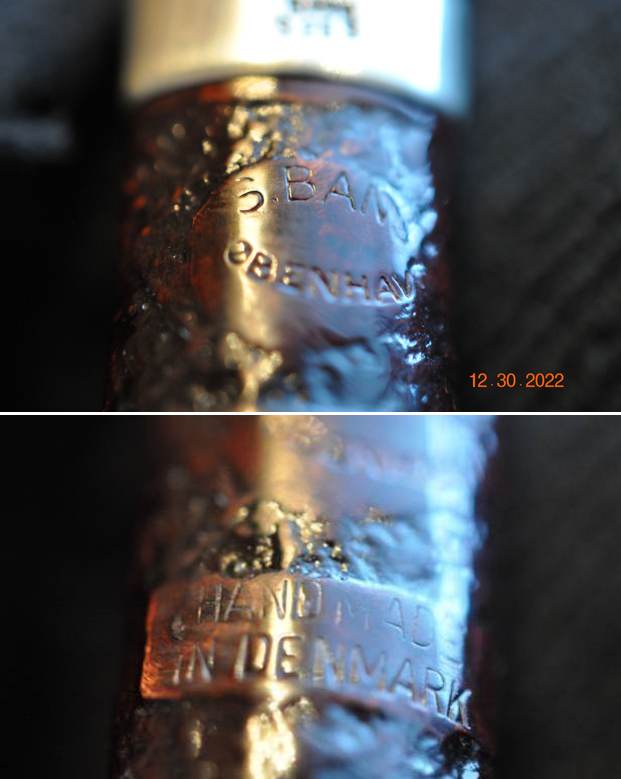
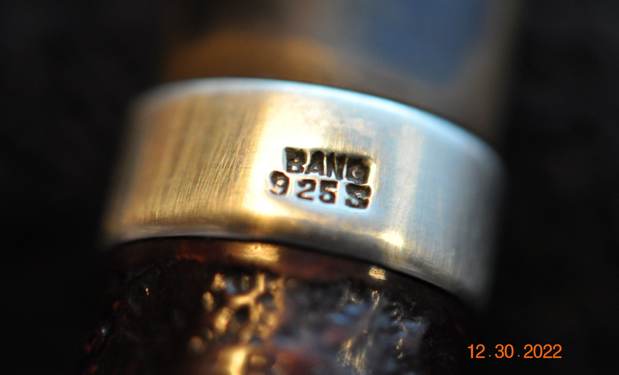
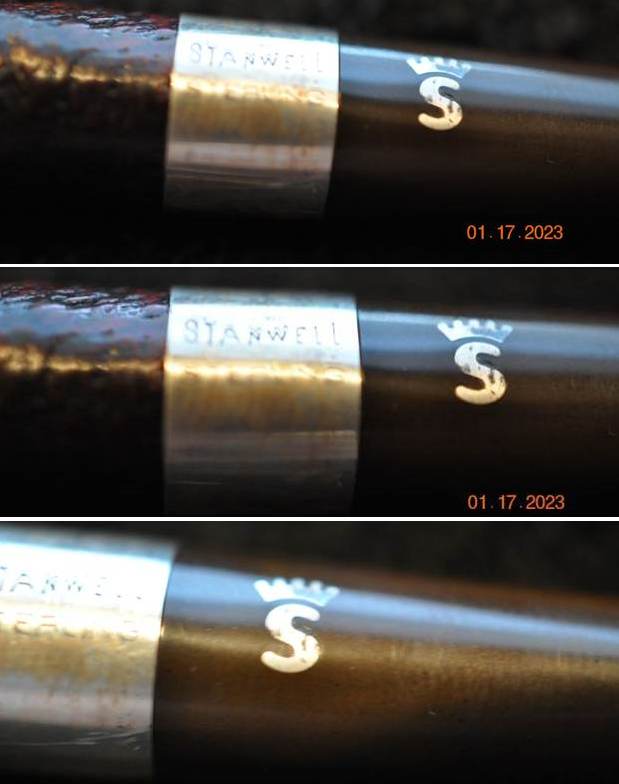
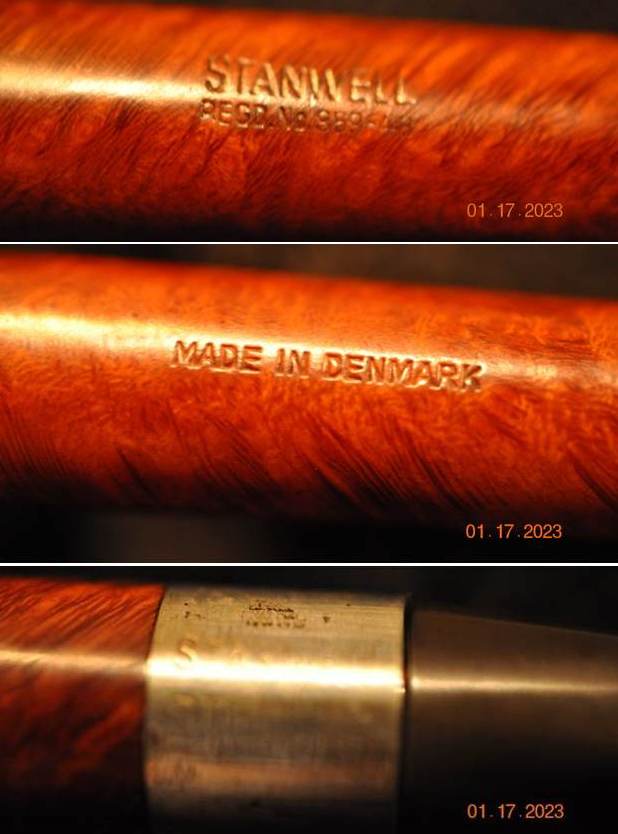
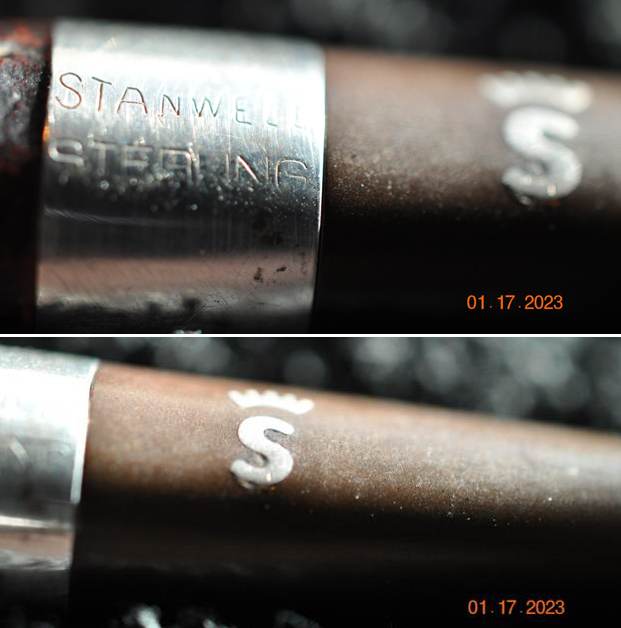
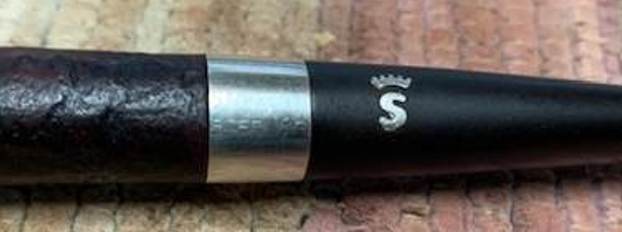
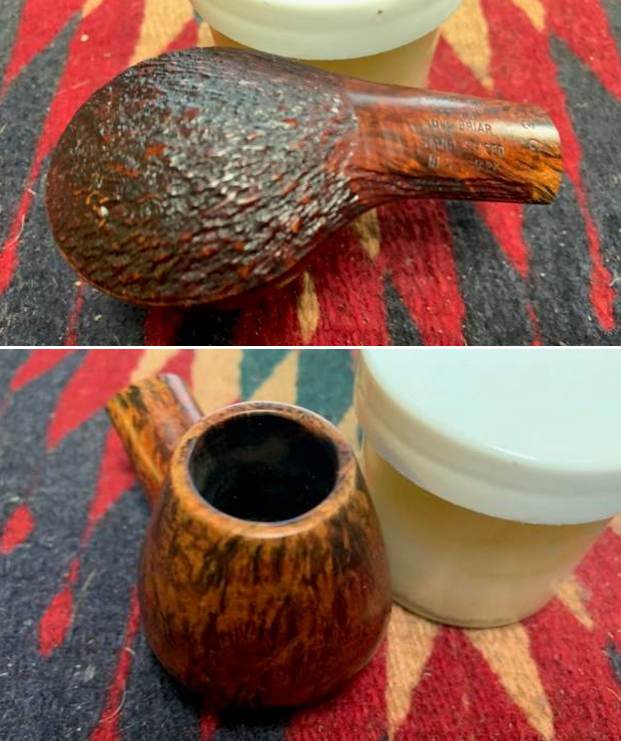
 He also took photos of the stamping on the underside of the oval shank. The stamping was clear and read as noted above.
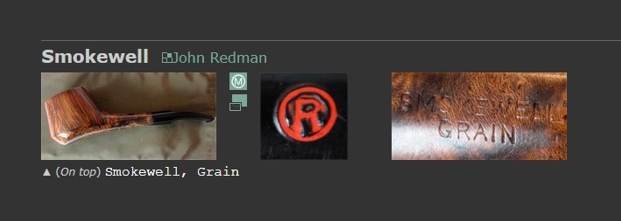
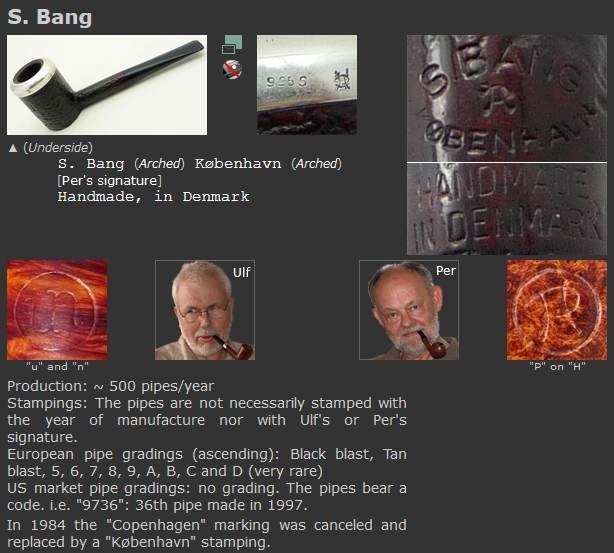
  I turned to Pipephil’s site to see what I could learn about the Faaborg brand and the carver who had made the pipe (http://www.pipephil.eu/logos/en/logo-v2.html). I have included a screen capture of the pertinent section from the site and have added the sidebar information below the photo.
  Artisan: Viggo Nielsen (1927 – †2009) starts making pipes during WWII. He establishes his own Bari factory in 1948. The business is sold to a German tobacco manufacturer in 1978 and from this period on he starts the “Faaborg Pipe” (Fåborg Pibe) with his two sons Jørgen Nielsen and Kai Nielsen. The “Jewel of Denmark” stamping is reserved for perfect pipes (flawless straight grain).
As I had vaguely remembered the pipe was identified with Viggo Nielsen (Bari) and his two sons Jorgen and Kai (both famous carvers in their own right). I knew that the pipe was made after 1978 when he sold Bari and started the Faaborg Pipe.
I turned to Pipedia to see if I could gain a bit more information on the brand as it generally has a great digest of the history of the brand and maker (https://pipedia.org/wiki/Faaborg_Pipe). I quote the article in full below:
In 1978 Viggo Nielsen sold his previous business to a German tobacco manufacturer and he began making the Faaborg Pipe together with his two sons Jørgen Nielsen and Kai Nielsen. Even when Viggo had reached the age of retirement, he could not quite leave his workshop and he still made about 100 pipes a year, some of them based on the famous “Fåborg Pibe” but also a few “Jewels of Denmark”, until he passed away.
The name “Jewel of Denmark” was reserved for the very few 100% perfect blocks with no stains and with straight grain and birds eye, and is still used by his son Kai, who continues making pipes in the workshop they shared together in the latter years of Viggo’s life.
The Faaborg Pibe is sculptured by hand, from the best materials. Each piece of briar was carefully selected and seasoned before shaping began. By following the structure and the fine grains of the briar root the pipes were formed to become the pride of any particular pipe owner. They offered both sandblasted and smooth finishes.
There was also a catalogue included on the site and I have included the description of the brand from that catalogue below in the screen capture.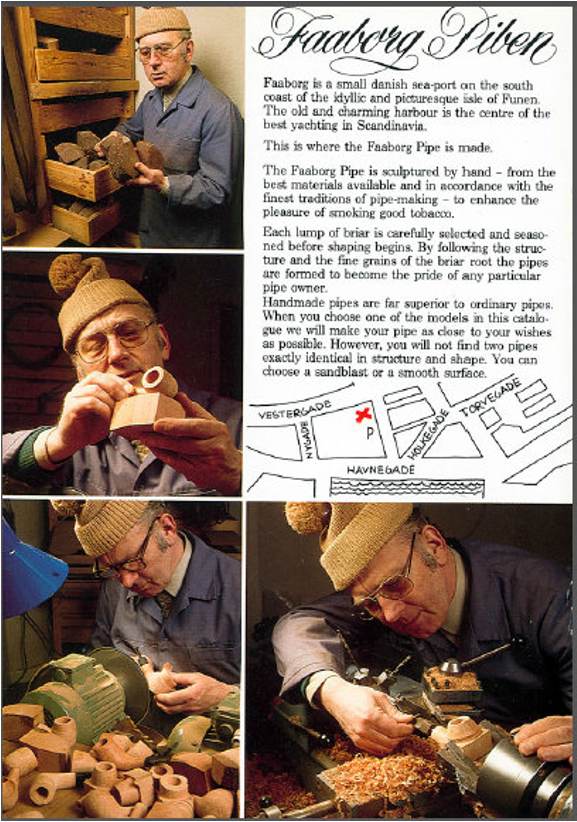 What I learned is that the pipe was made post 1978 (as noted above) and was hand shaped from quality materials by Viggo Nielsen and his sons. He only made about 100 pipes per year so there are not too many. Now it was time to work on the pipe.
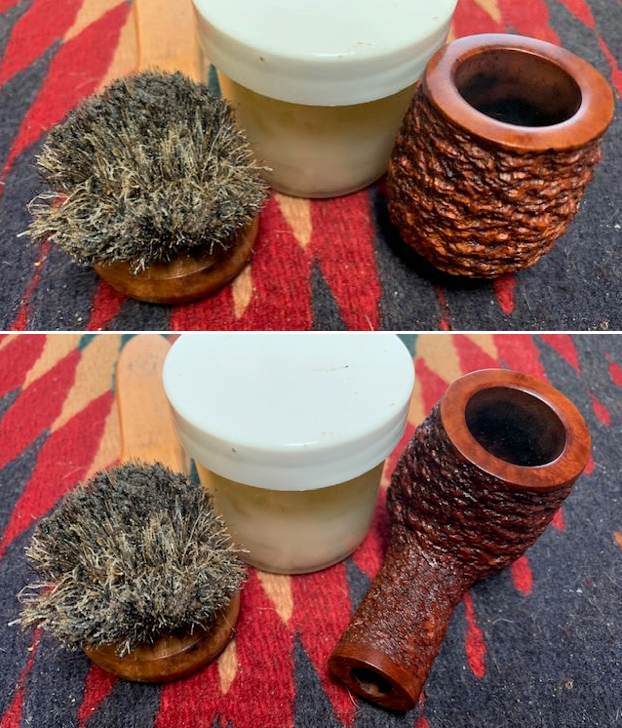
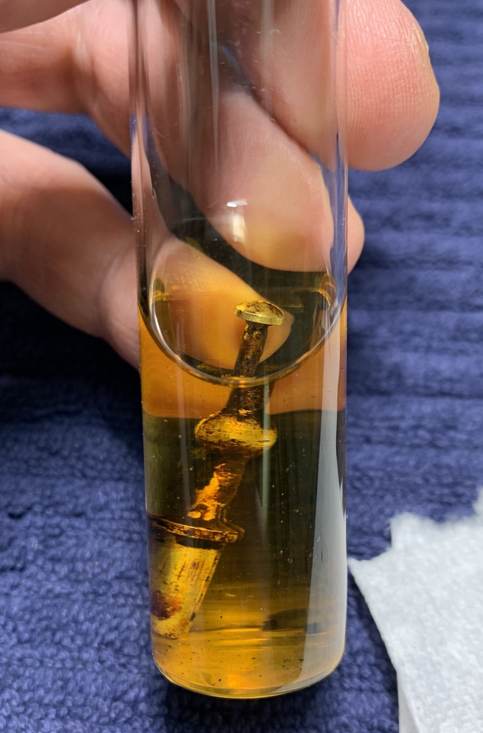
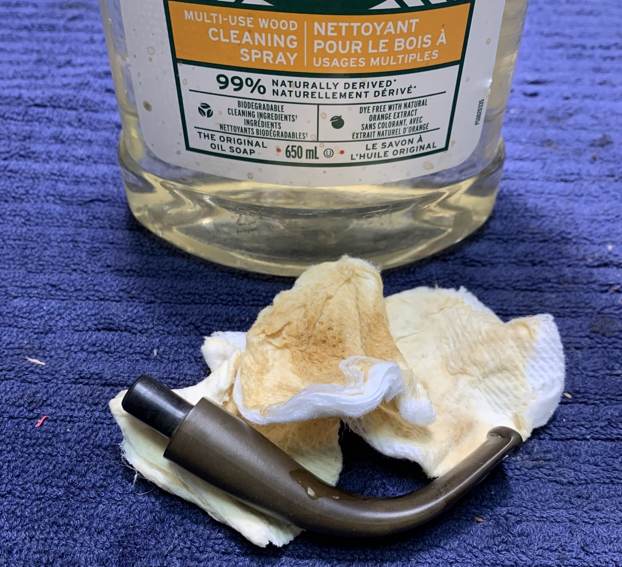
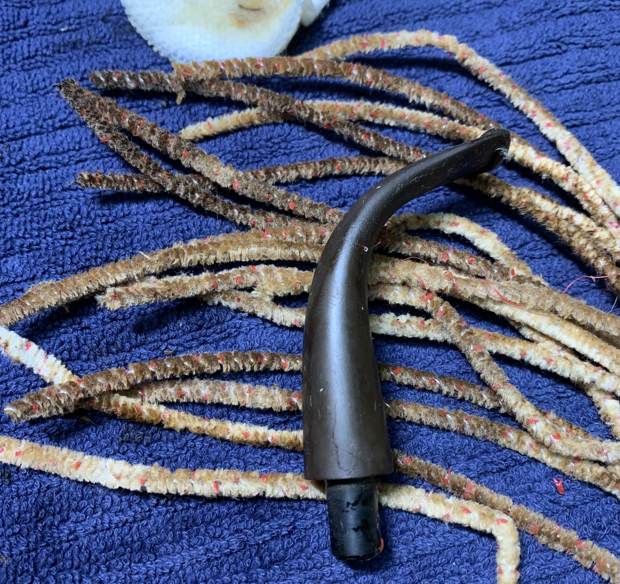
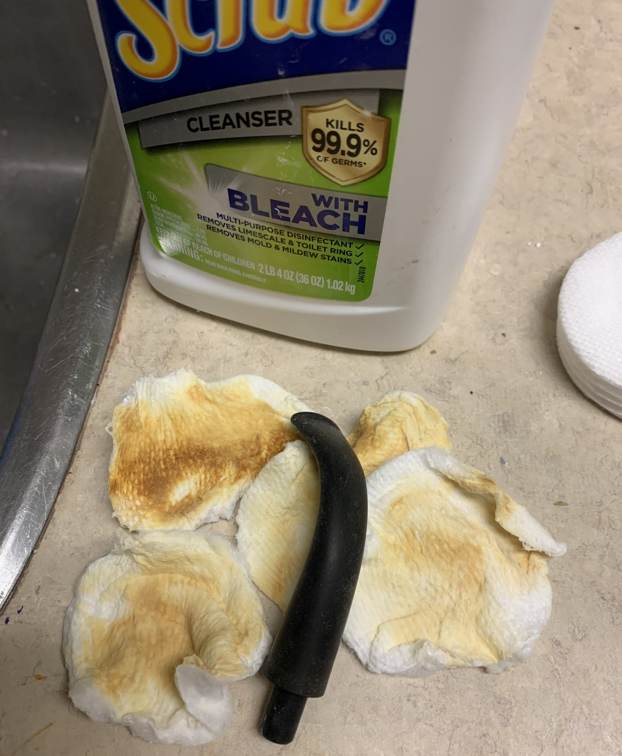
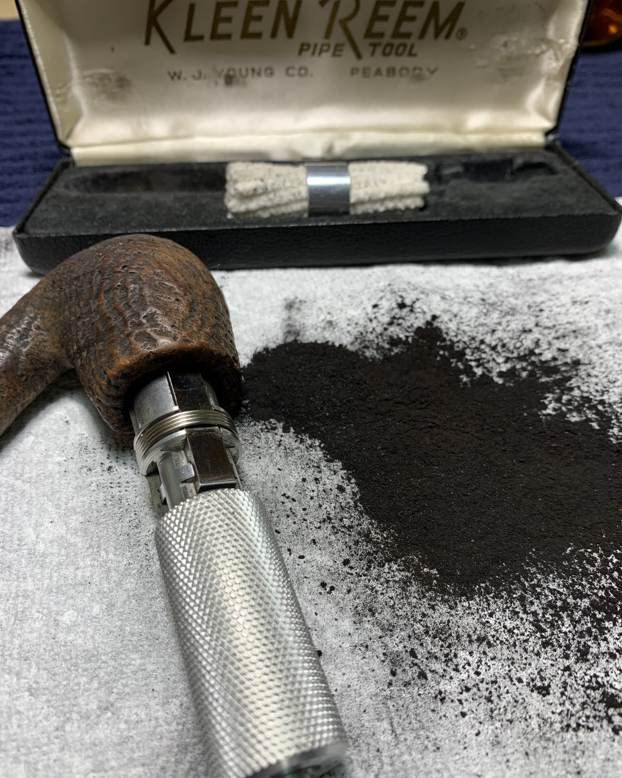
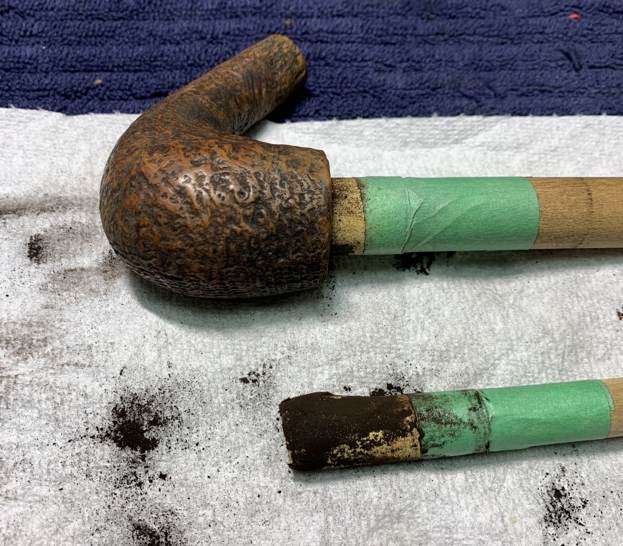
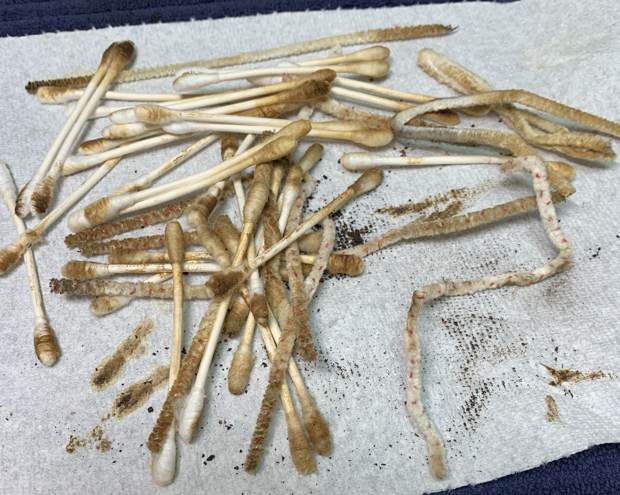
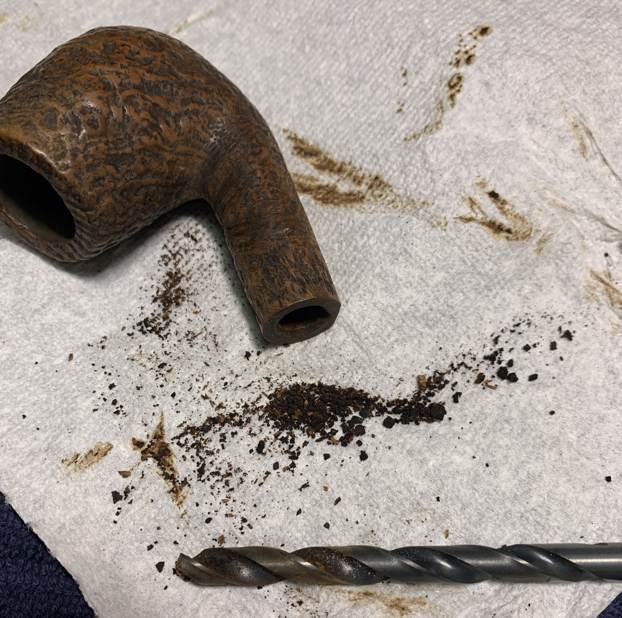
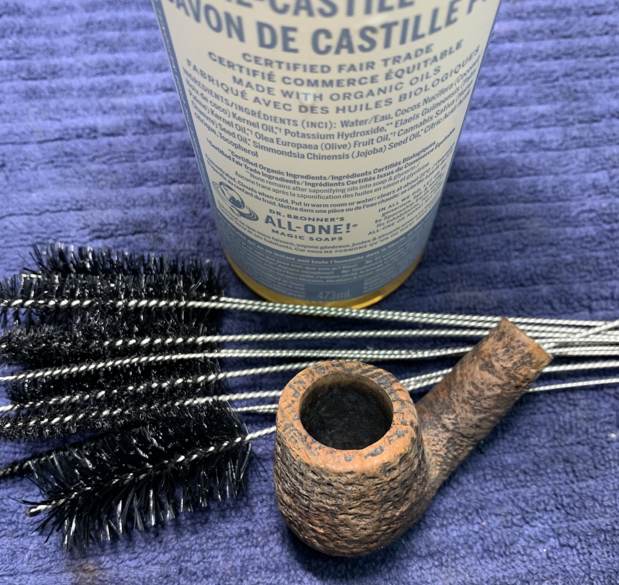
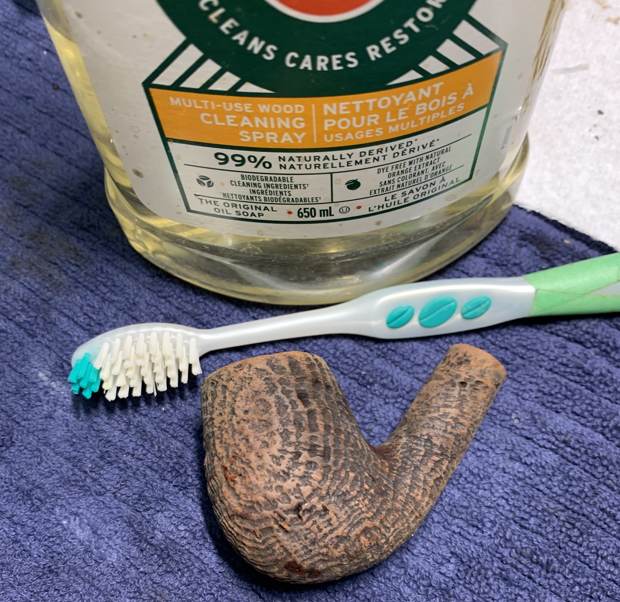
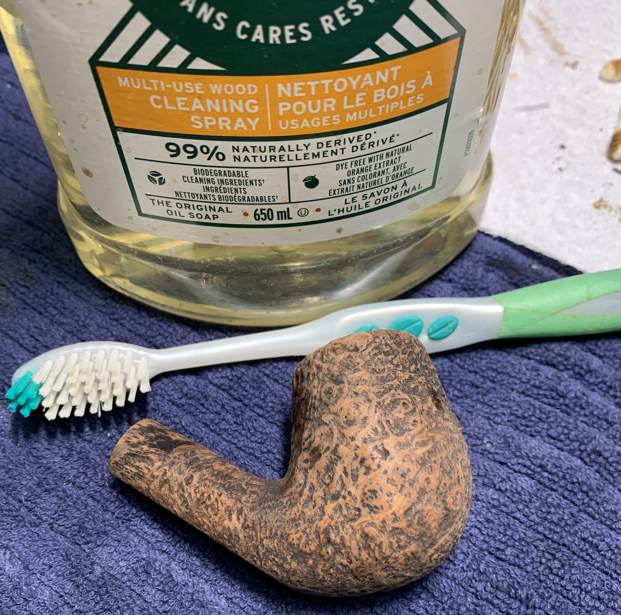
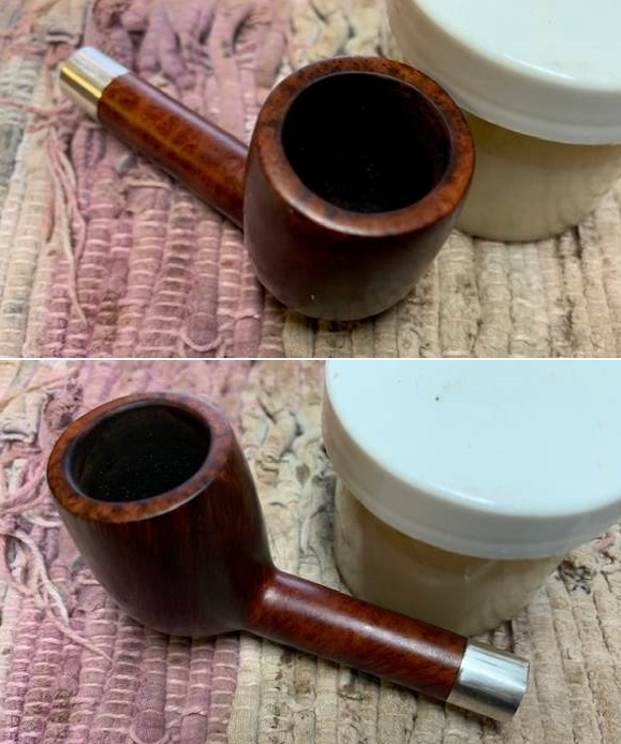
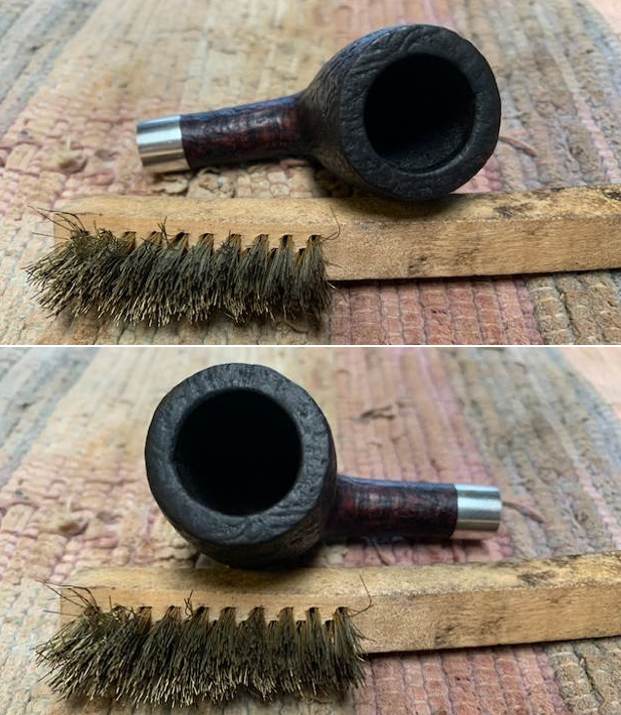
Jeff cleaned up the pipe for me. He reamed the bowl with a PipNet pipe reamer and cleaned it up with a Savinelli Fitsall Pipe Knife. He scrubbed the exterior with Murphy’s Oil Soap and a tooth brush to clean off the grime and dust off the finish. The cleaning had removed the debris and left the pipe looking very good. He cleaned up the internals of the shank, mortise and stem with pipe cleaners, cotton swabs and alcohol to remove any remnant of oils and tars in the lightly used pipe. He soaked the stem in Before & After Deoxidizer and was able to remove much of the oxidation, calcification. When it arrived here in Vancouver it was a clean pipe and I knew what I had to work with. I took photos of it before I started my part of the restoration.
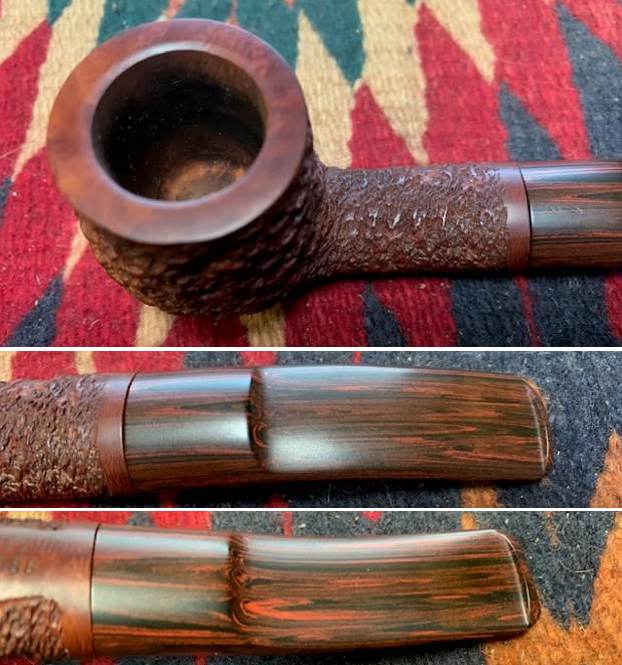
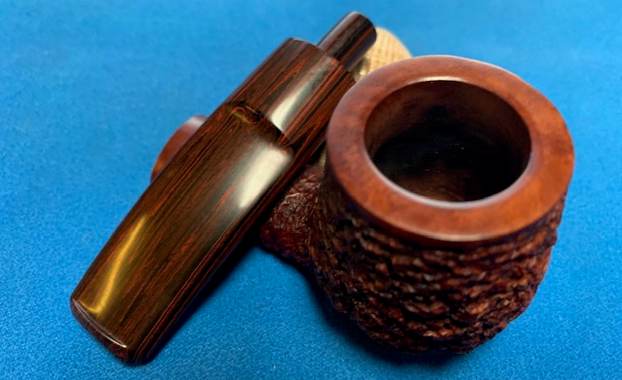
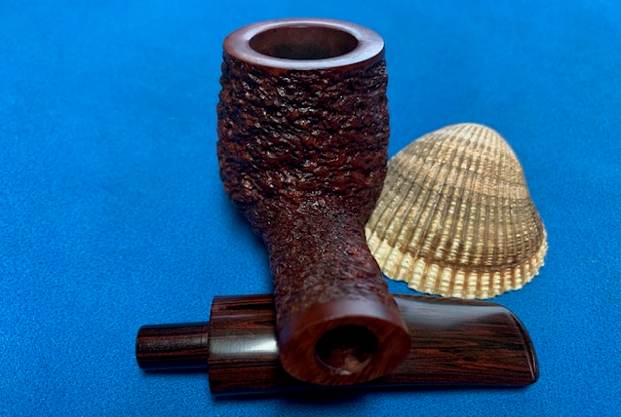
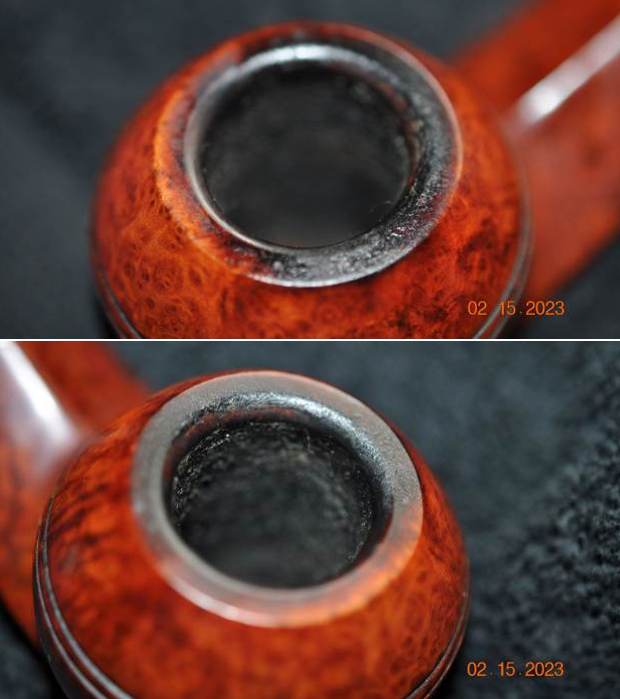
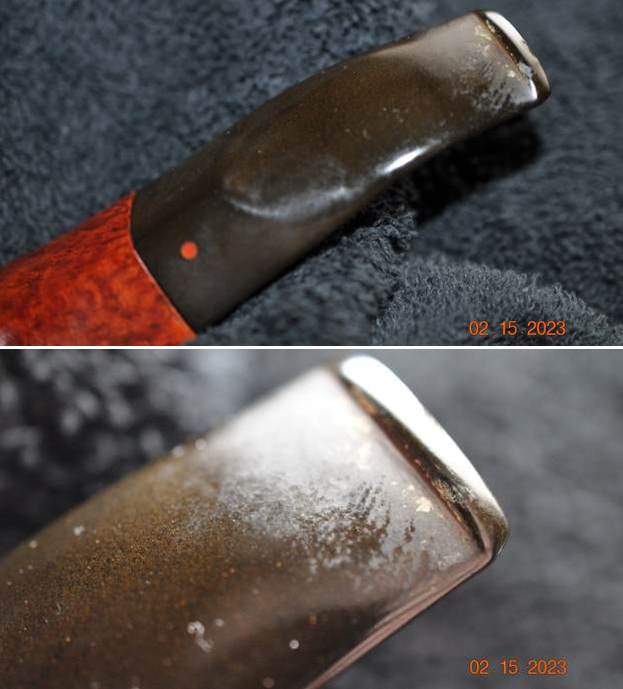
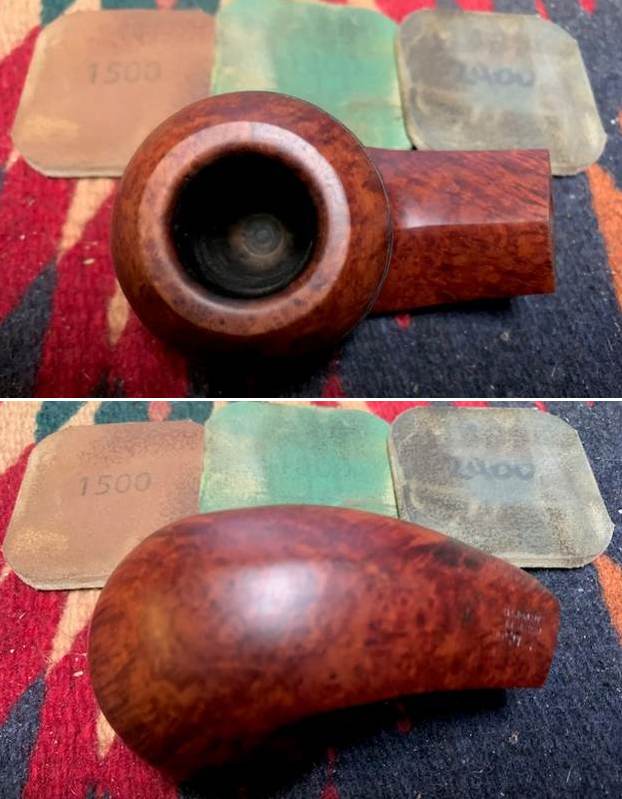
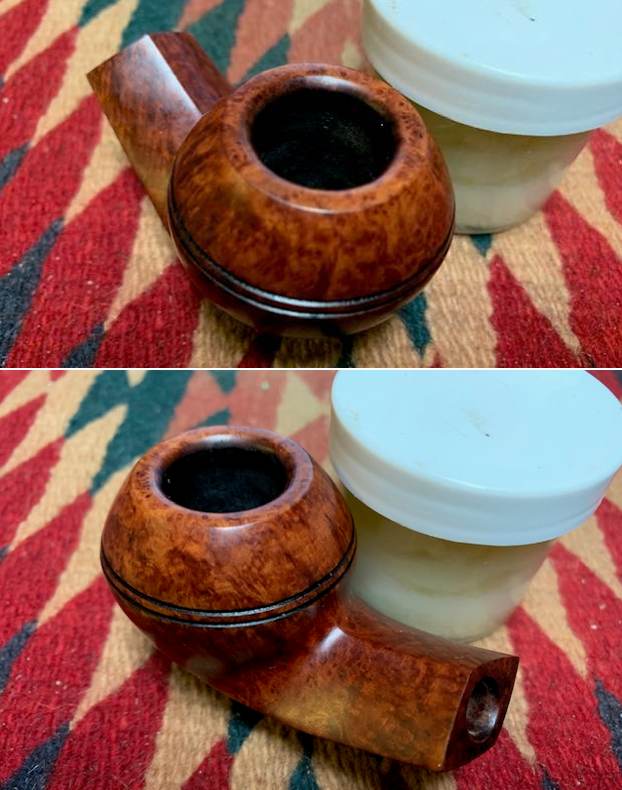
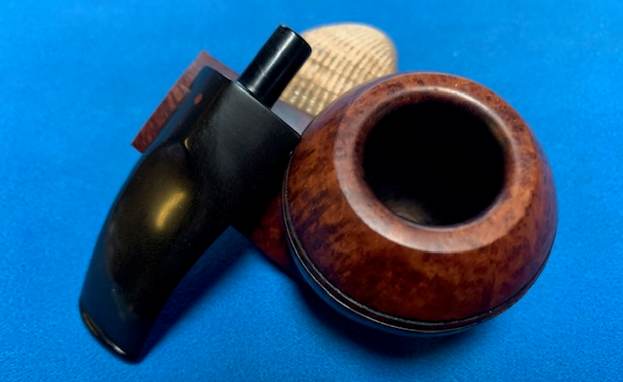
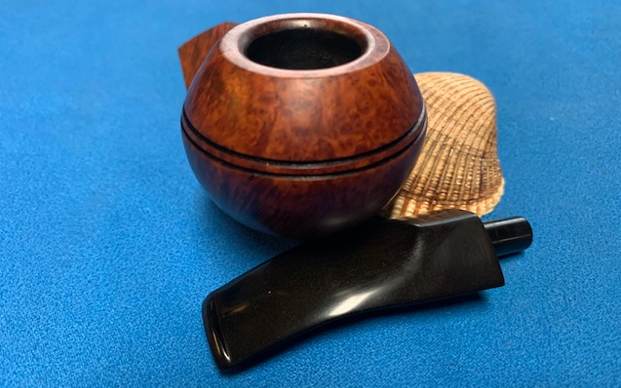
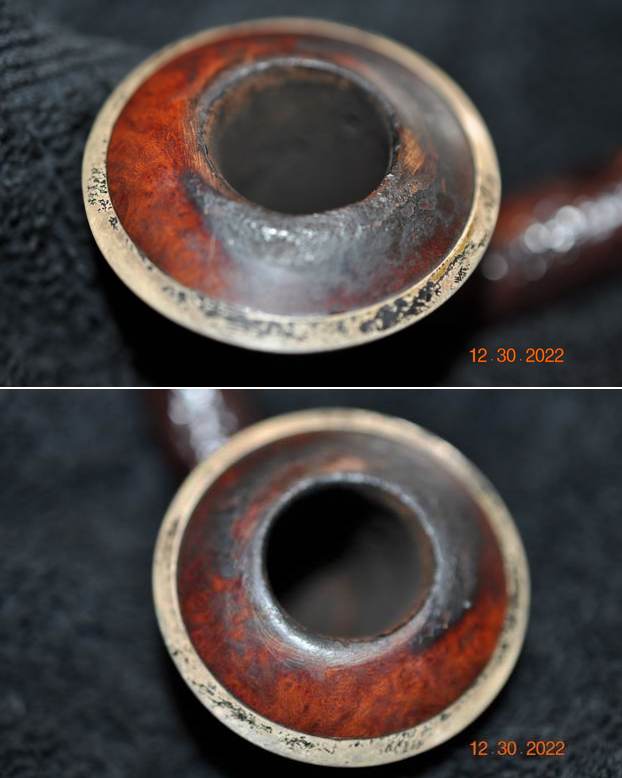
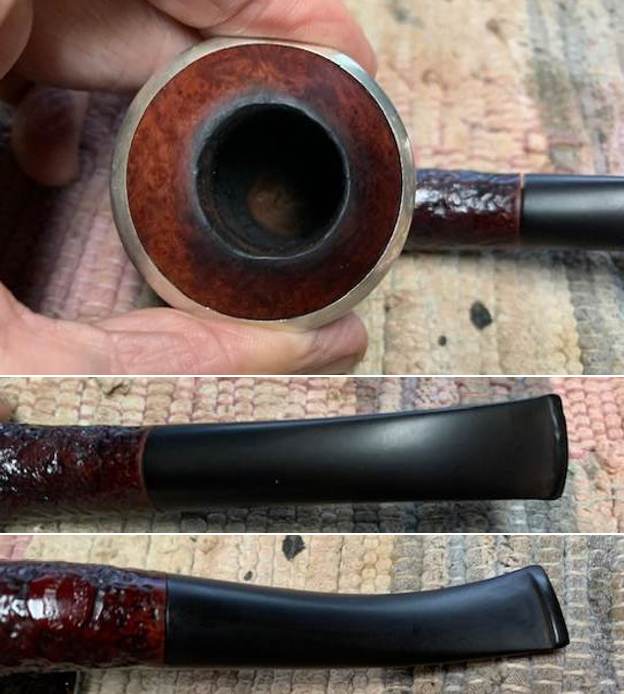
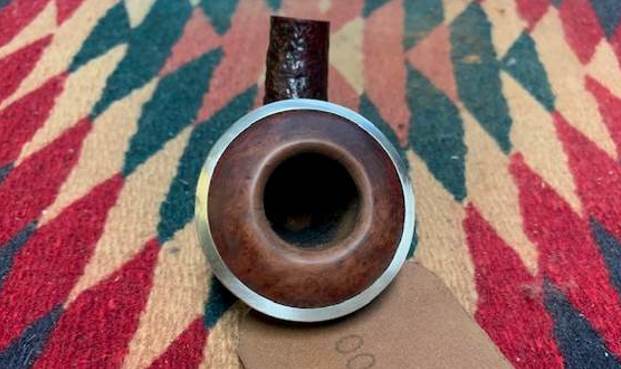
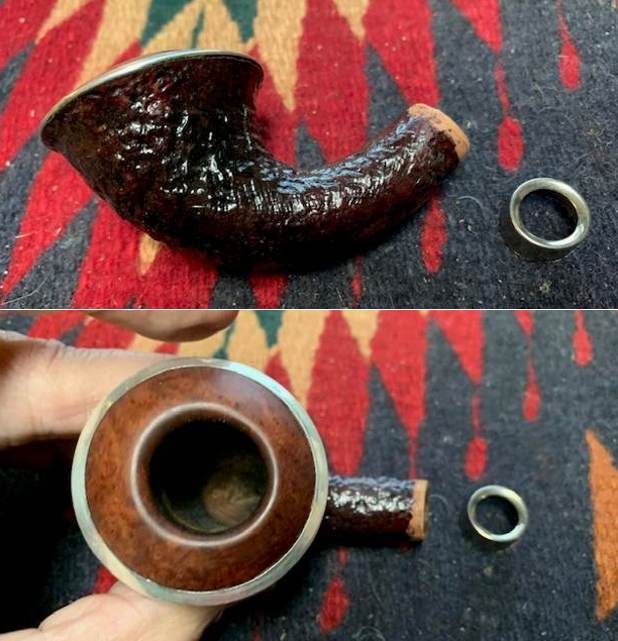
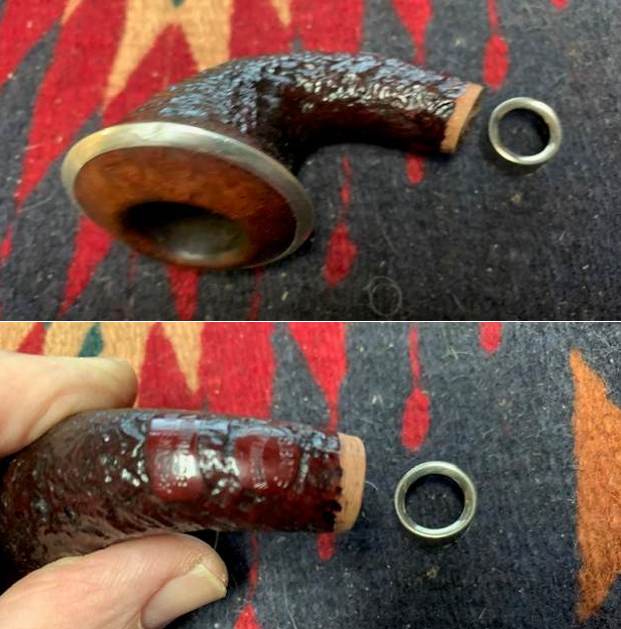
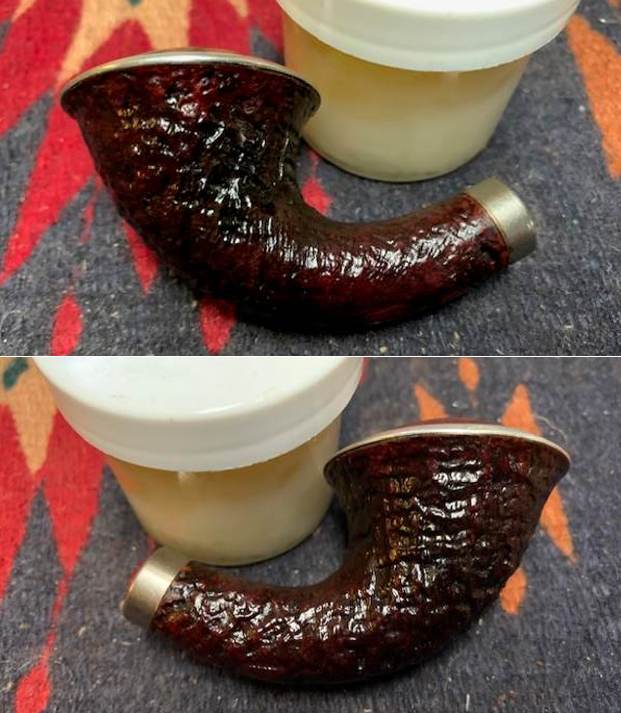
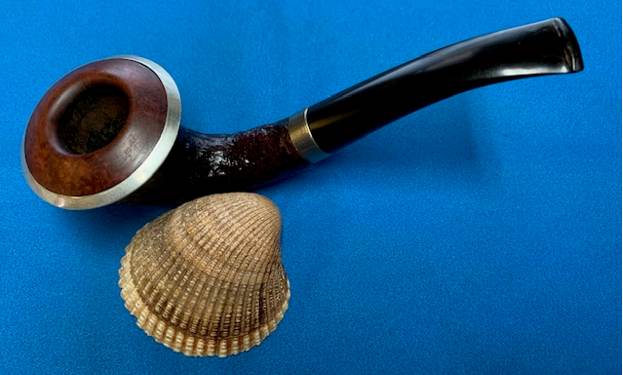
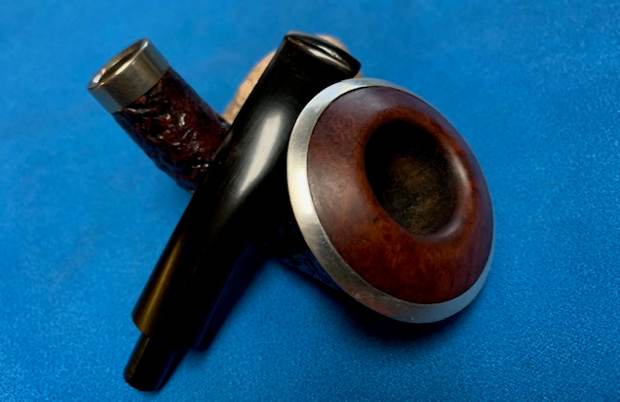
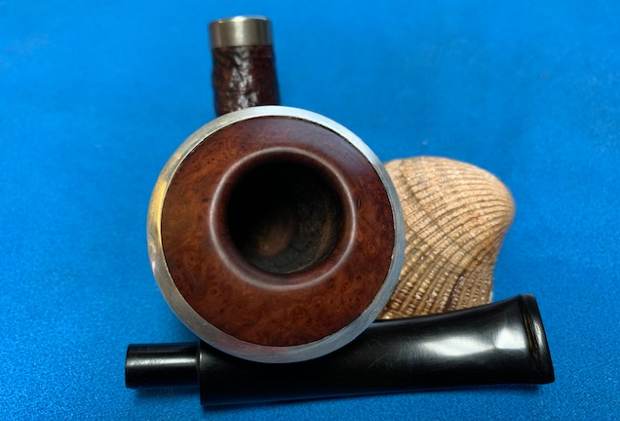
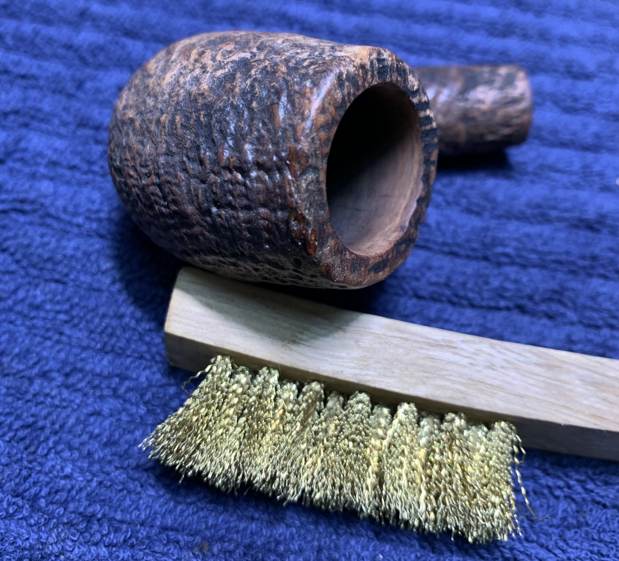
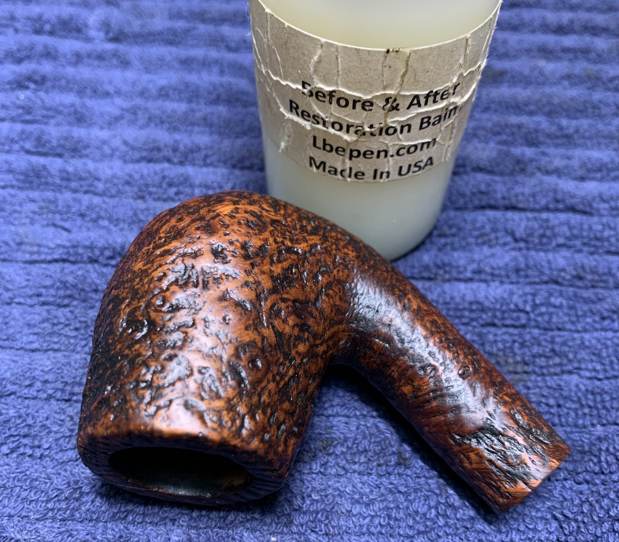
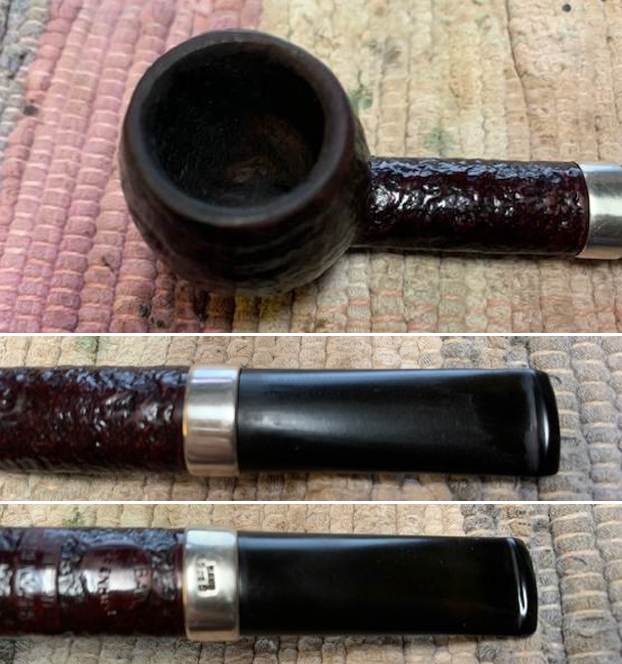
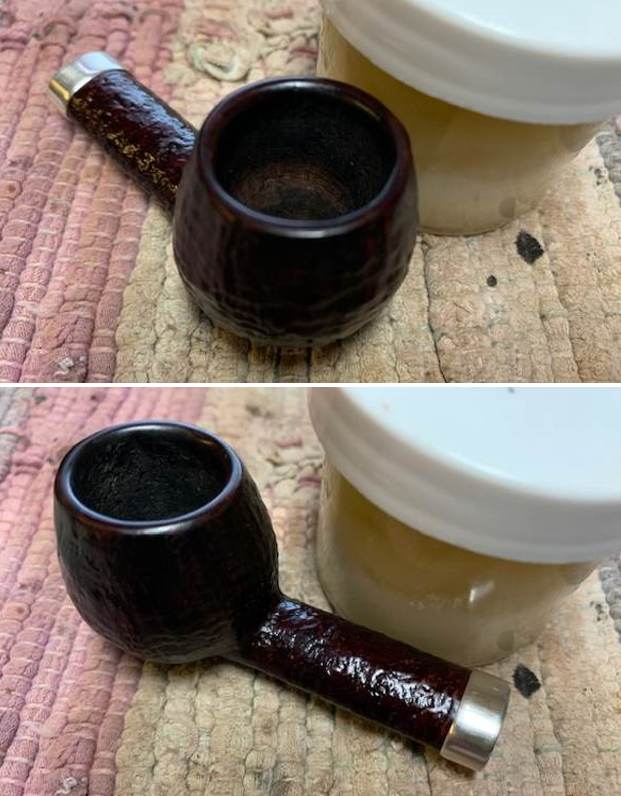
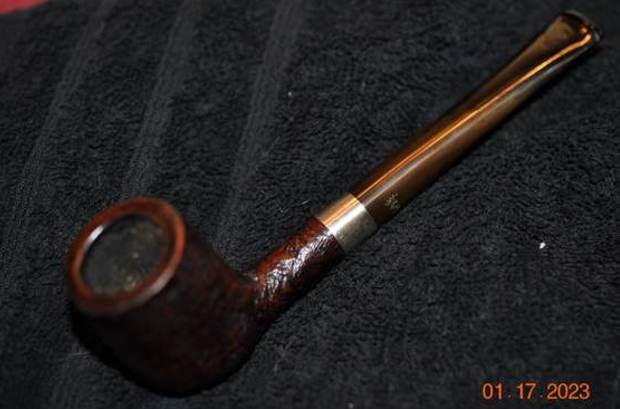
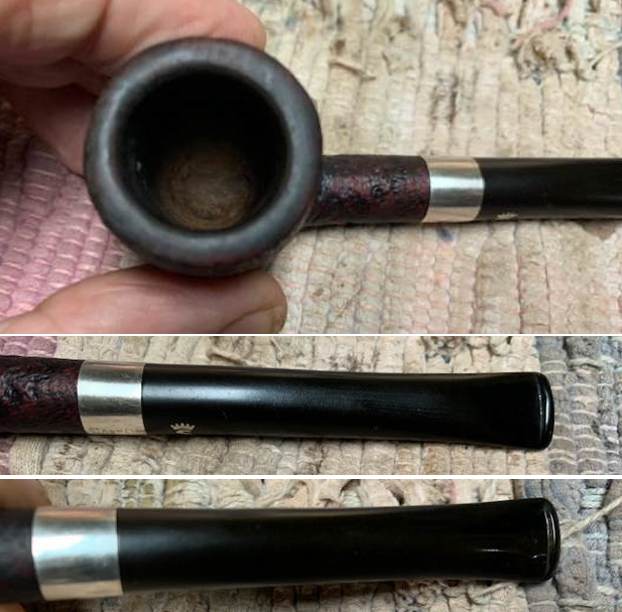
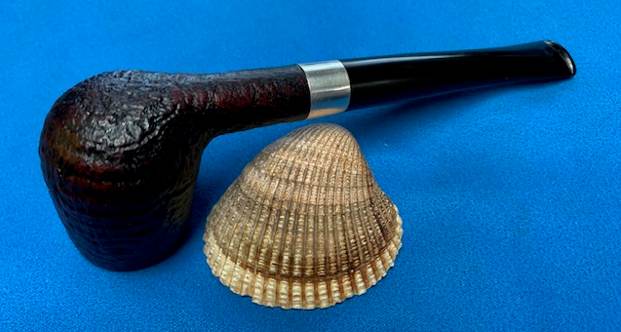
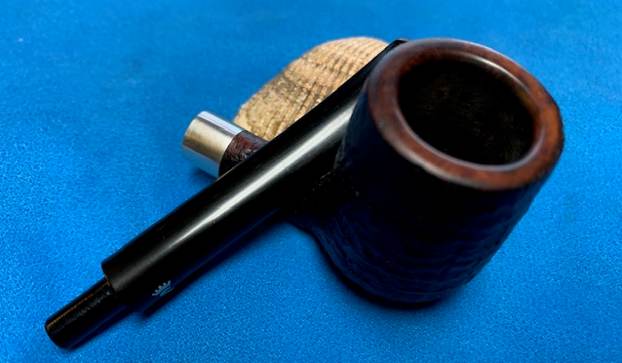
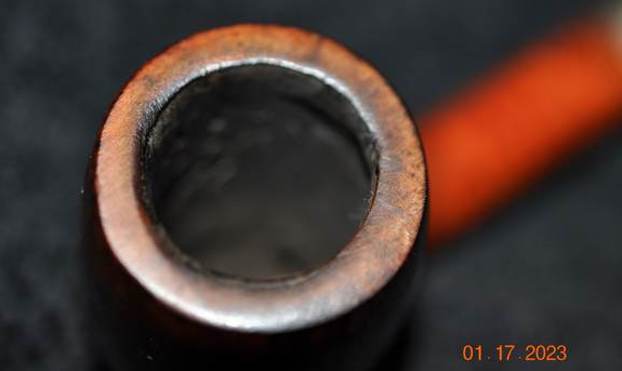
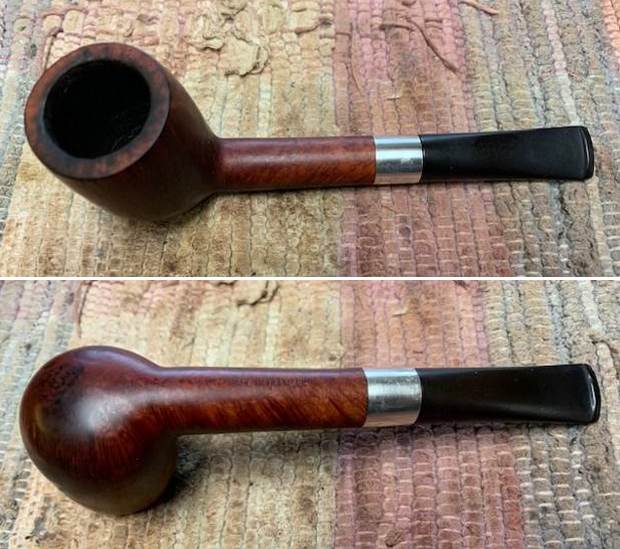
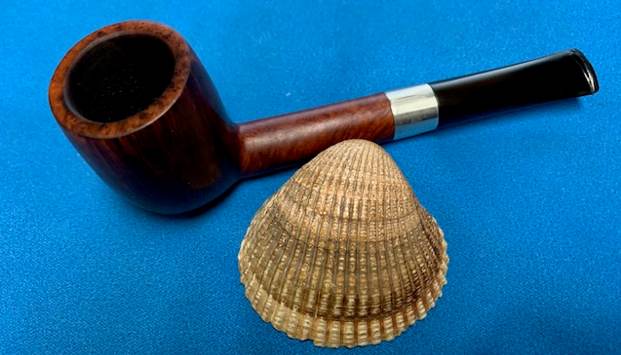
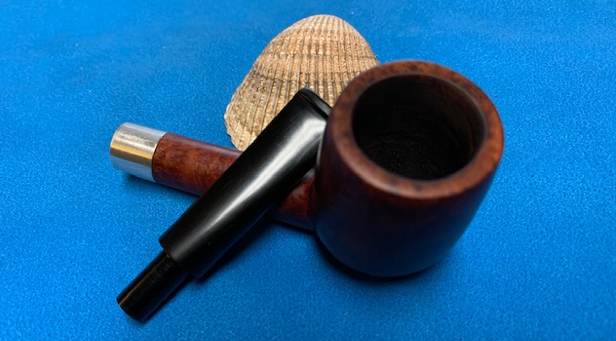
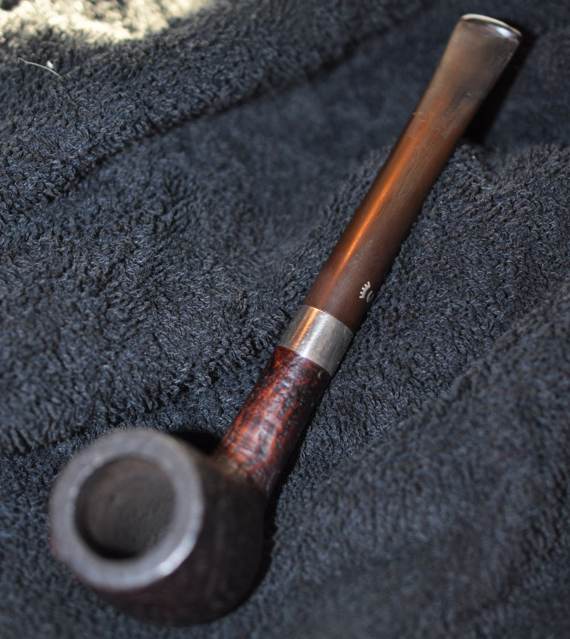
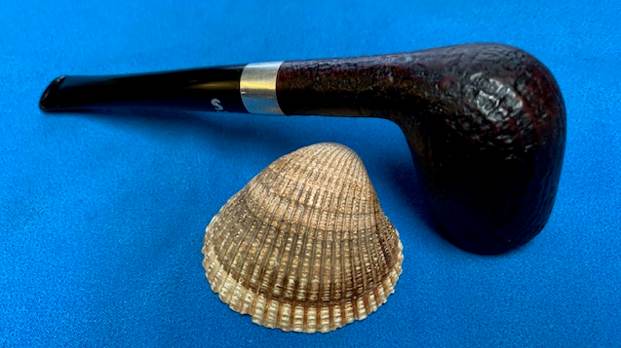
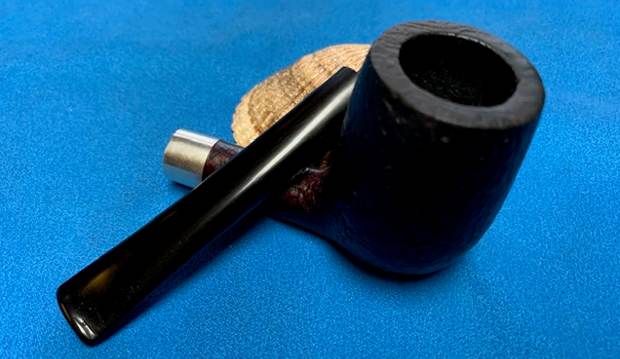
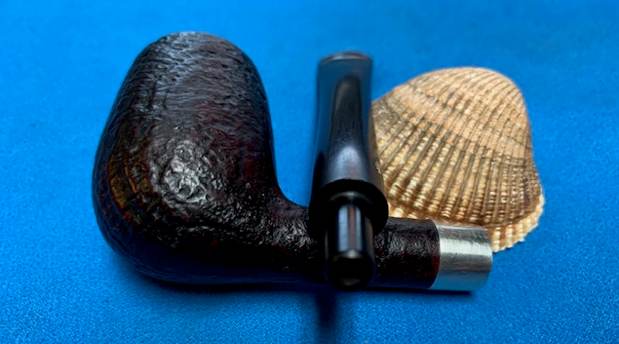
 I took a photo of the rim top and the stem to show their condition once it arrived in Canada. Jeff was able to clean up the rim and bowl sides as shown in the photos below. He was also able to get rid of the grime and grit in the surface of the briar.
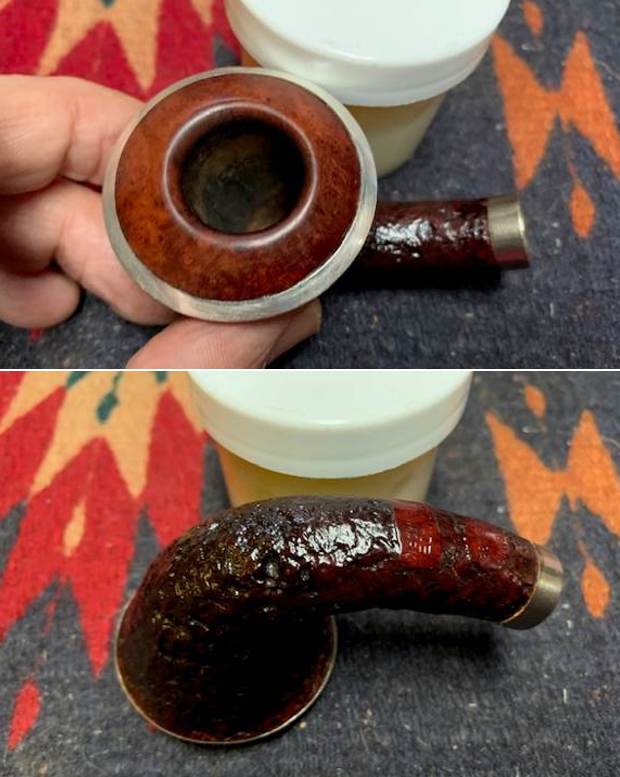
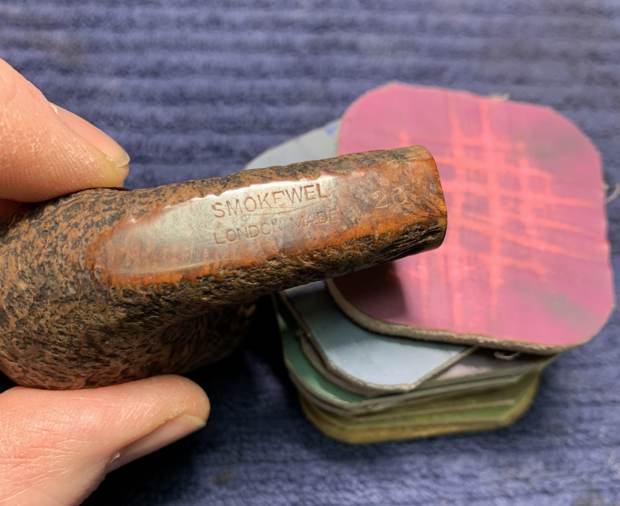
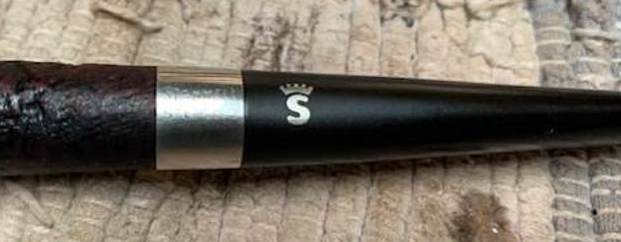
 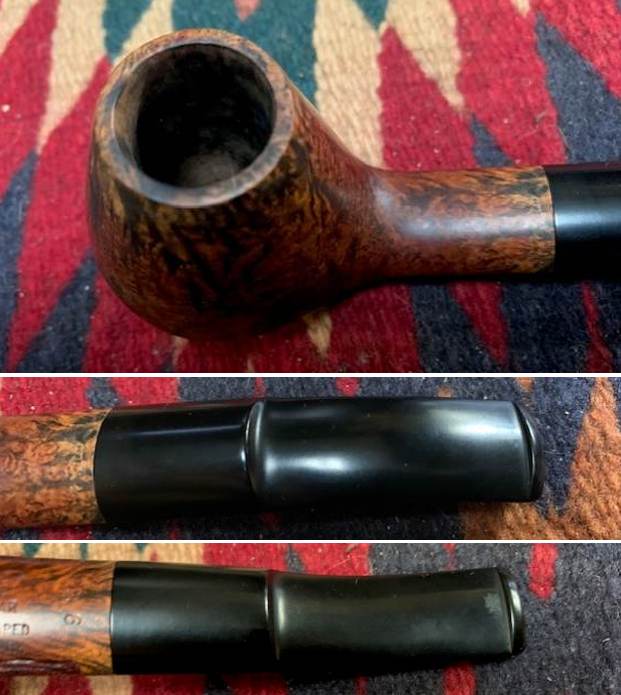 I took a photo of the stamping on the underside of the shank. It reads as noted above.
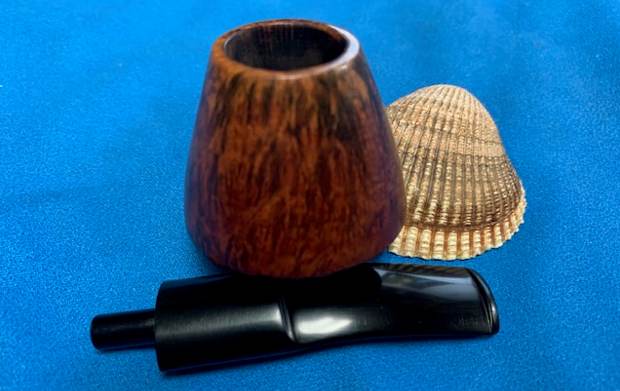
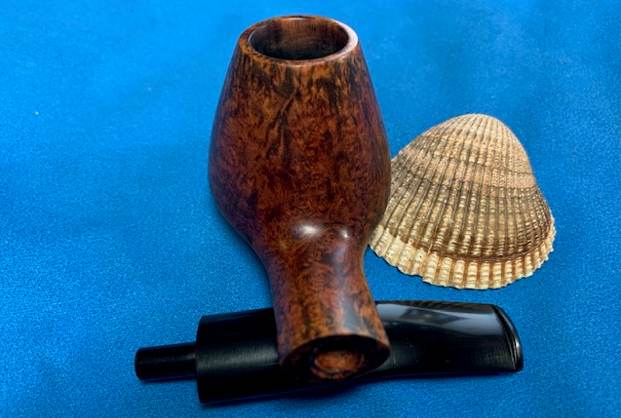
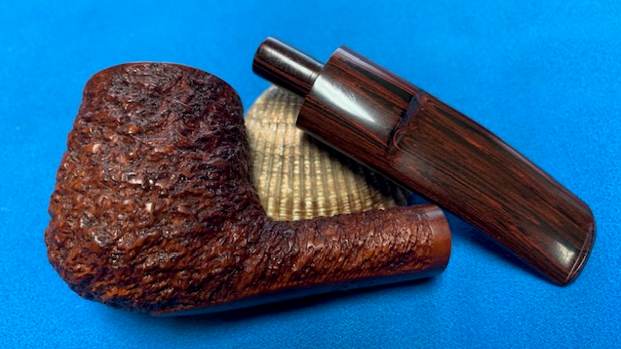
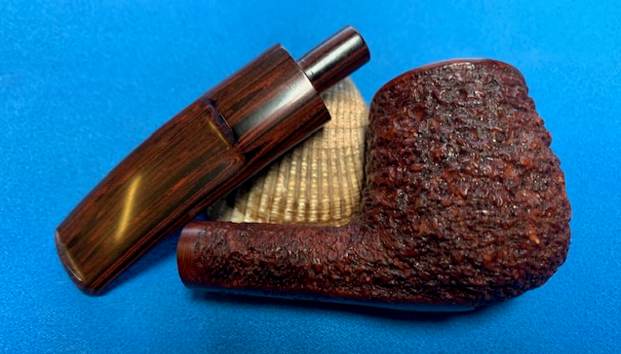
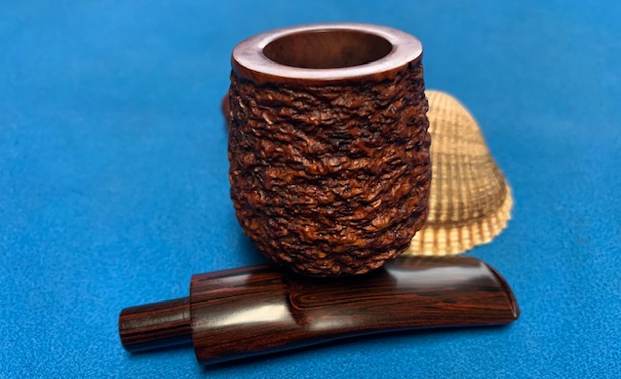
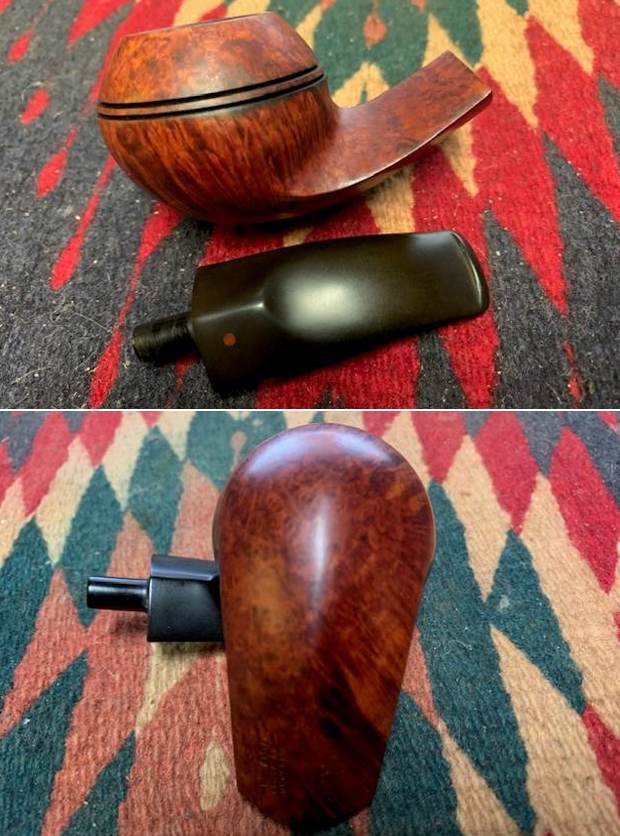
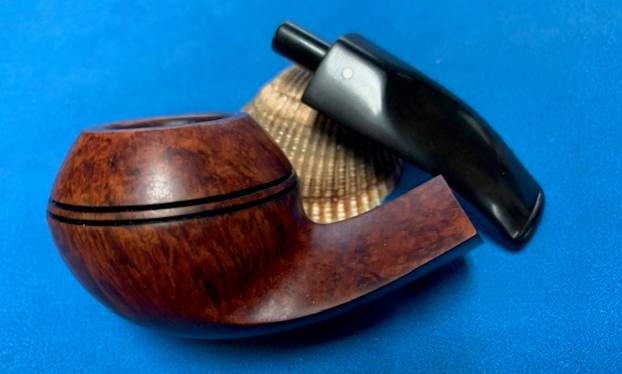
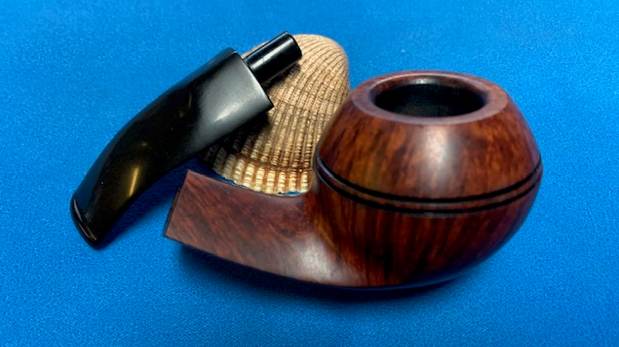
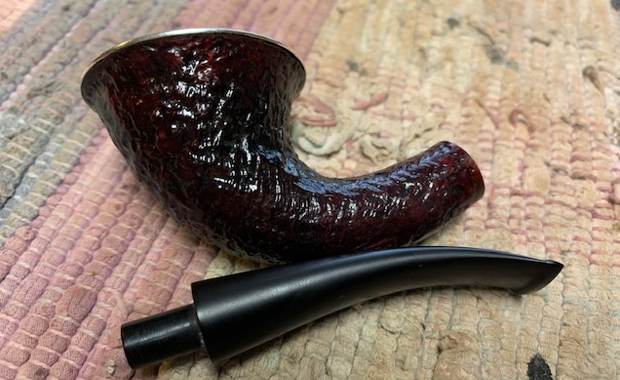
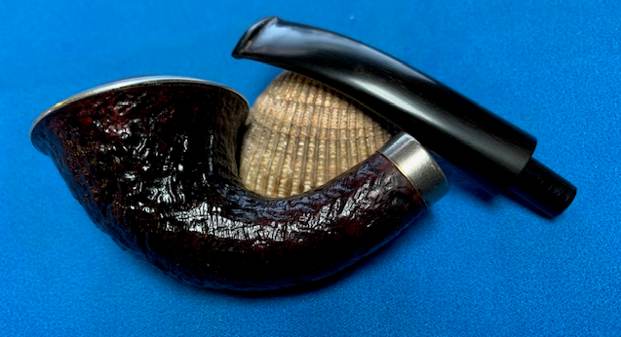
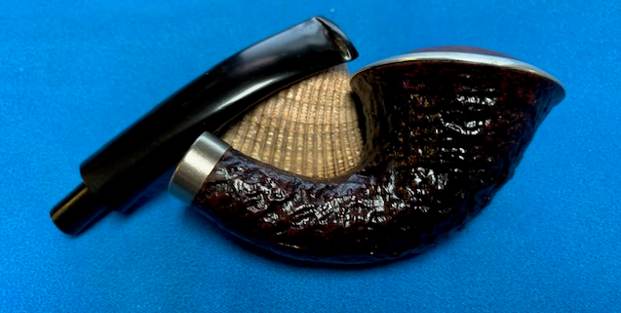
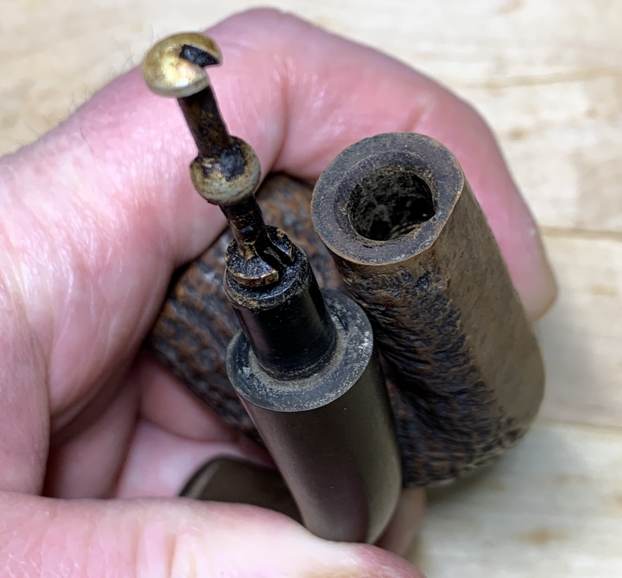
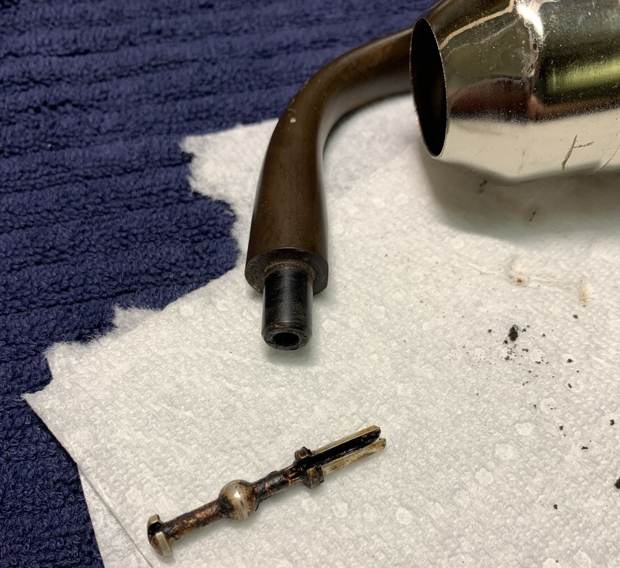
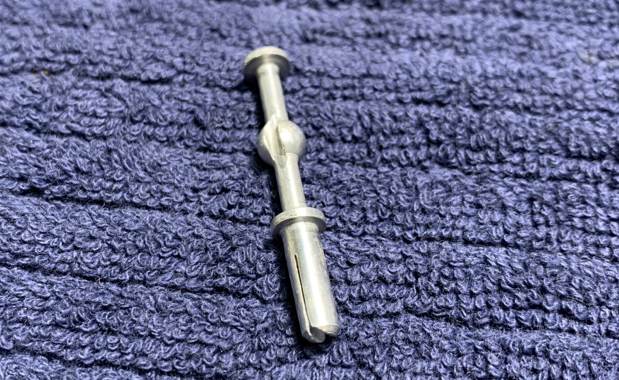
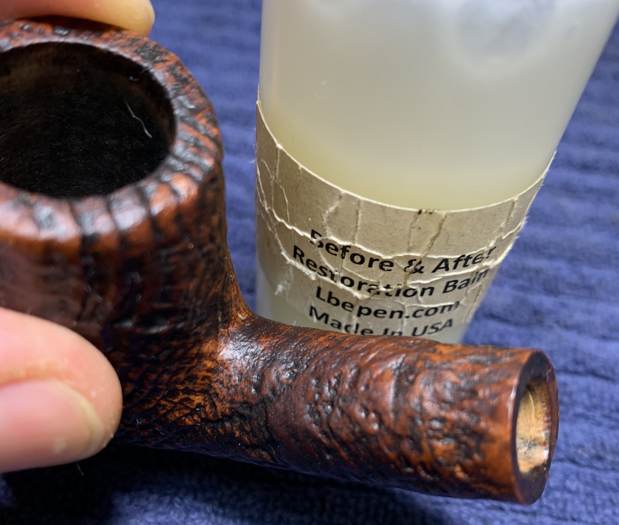
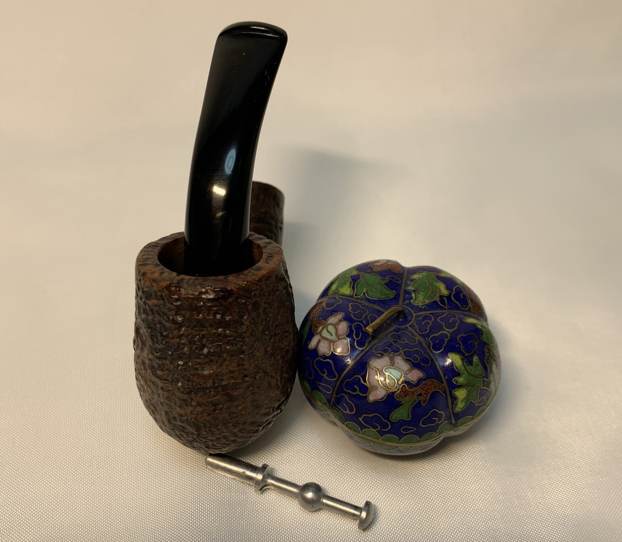
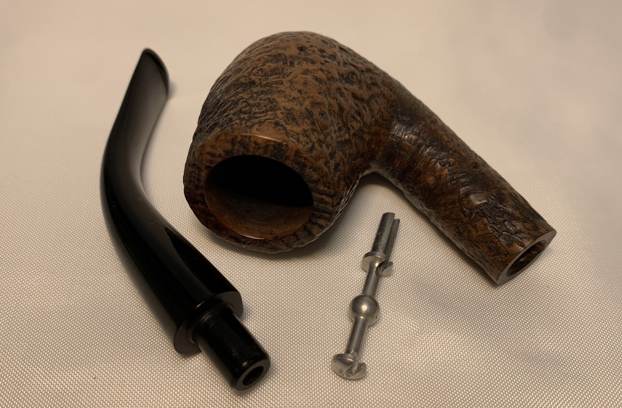
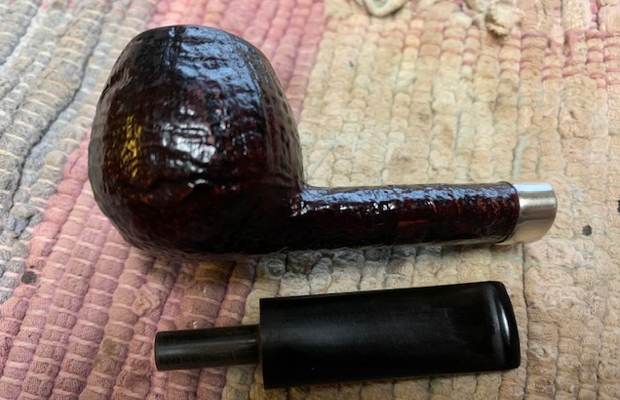
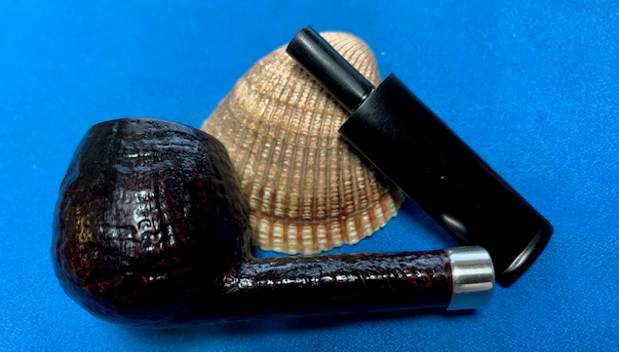
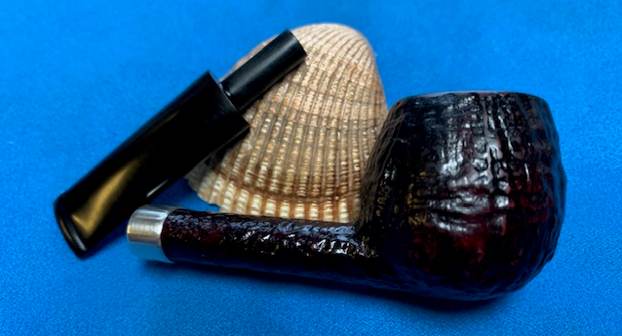
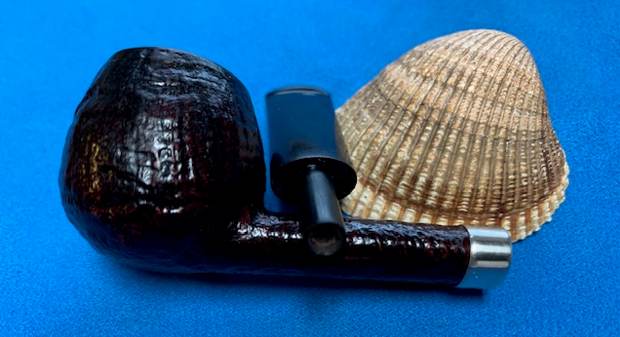
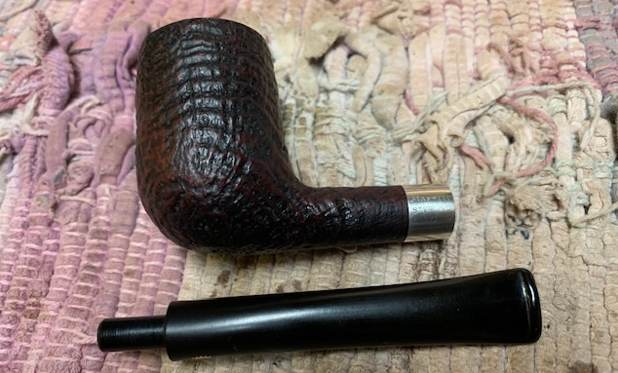
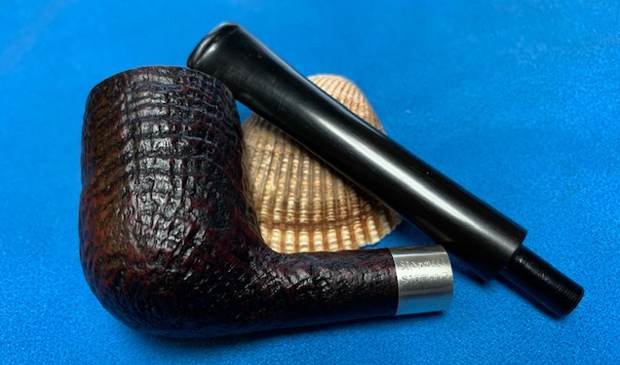
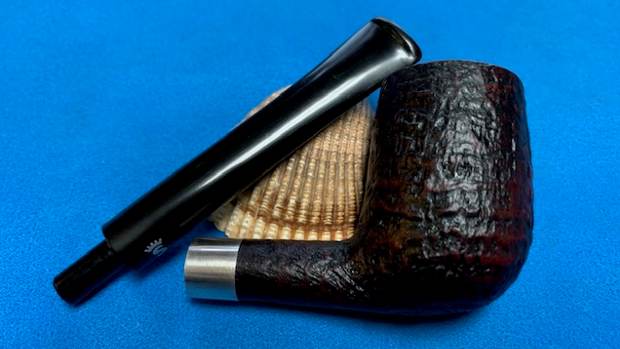
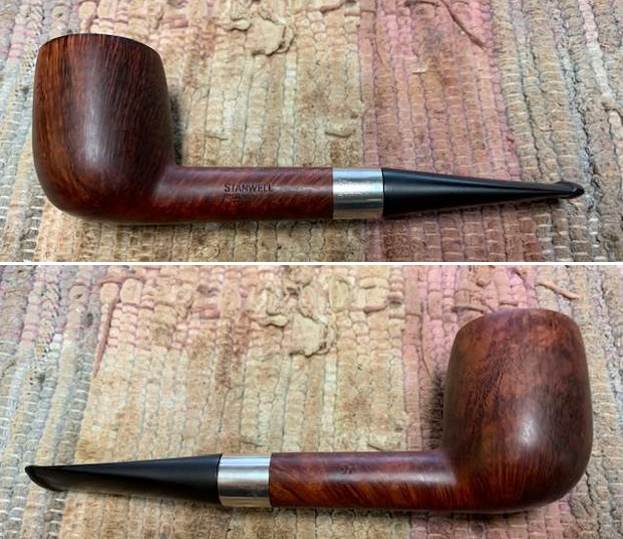
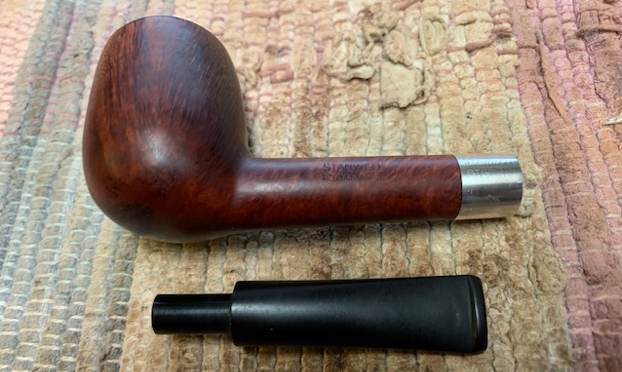
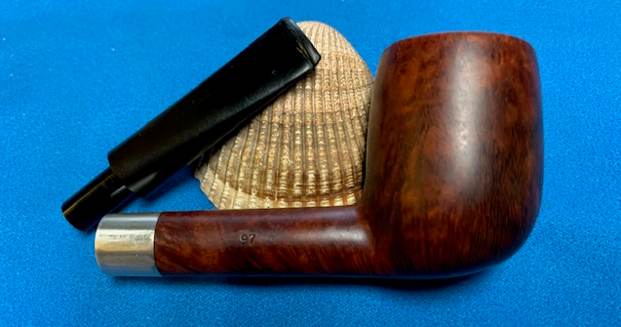
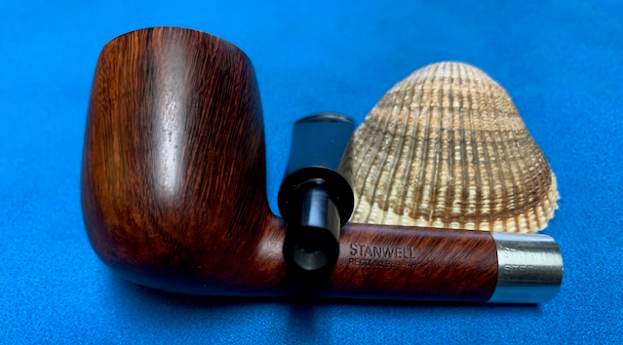
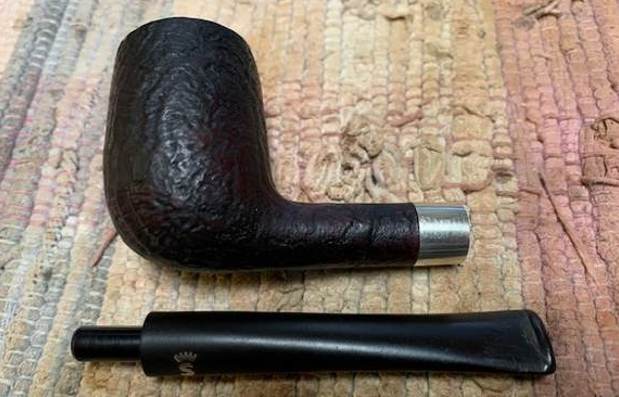
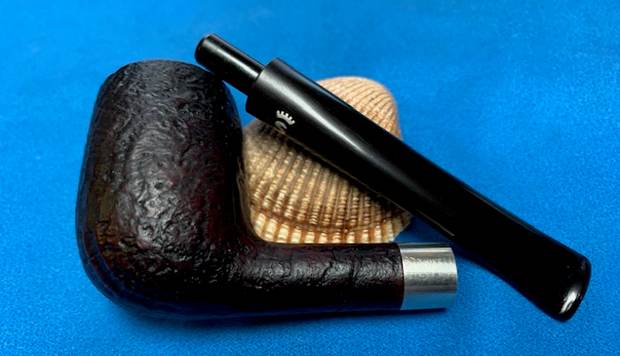
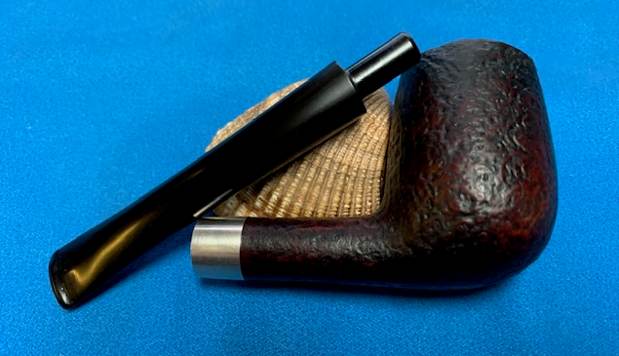
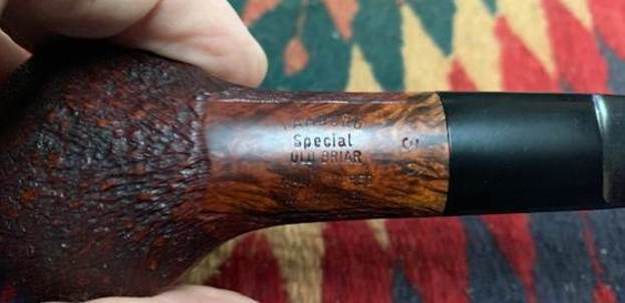 I removed the stem from the shank and took a photo of the parts to give a sense of what the pipe looks like. It is a proportionally pleasing pipe with classic dimensions and an oval shank with a vulcanite stem.
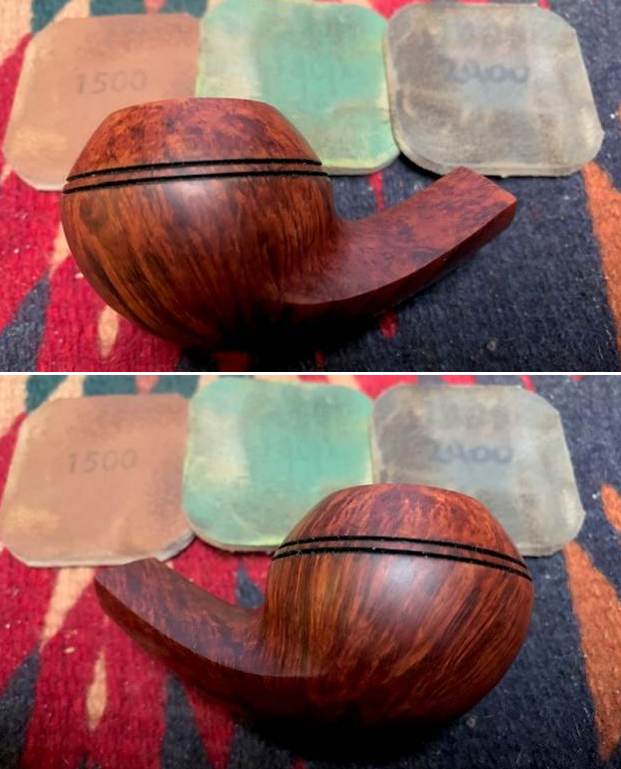
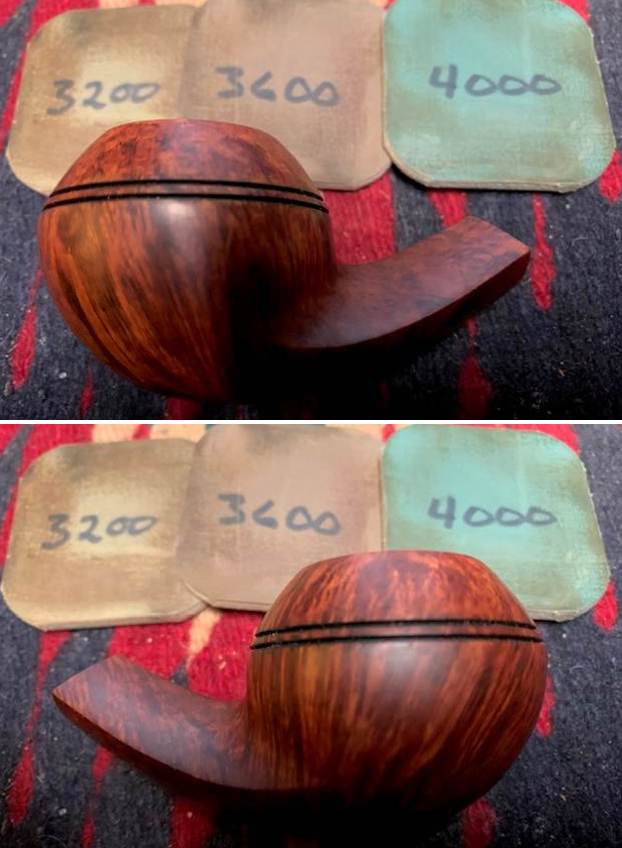
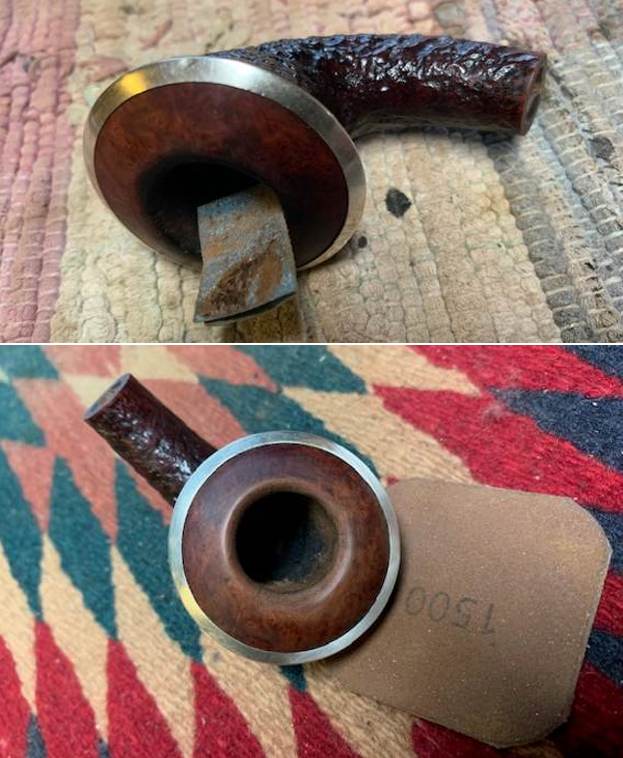
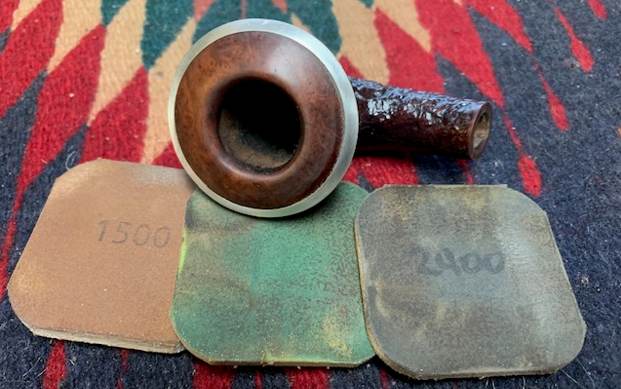
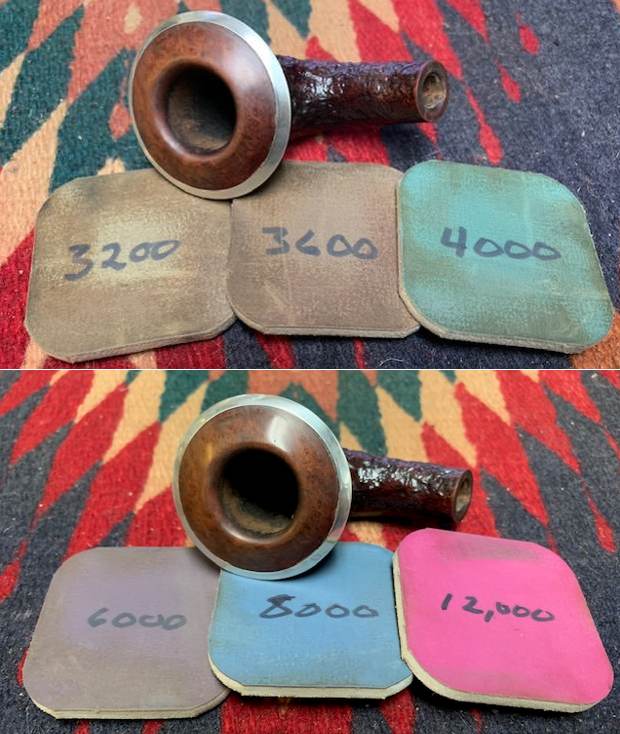
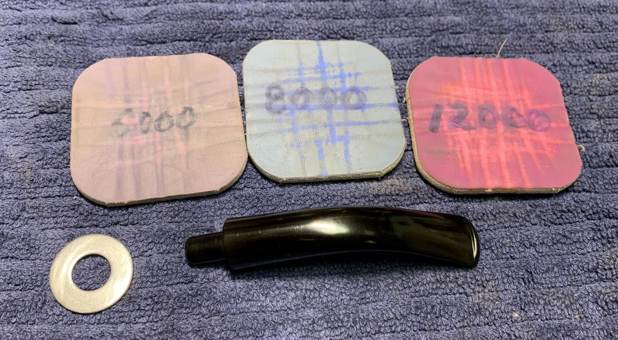
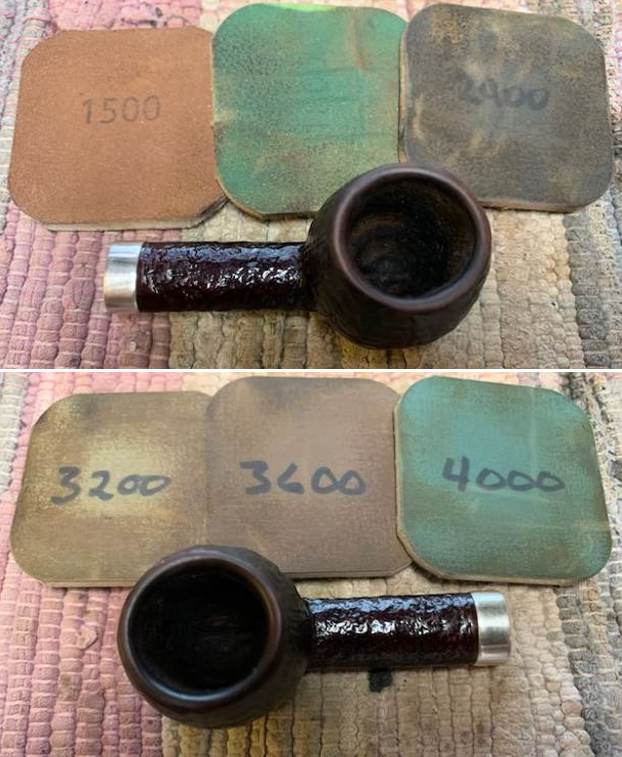
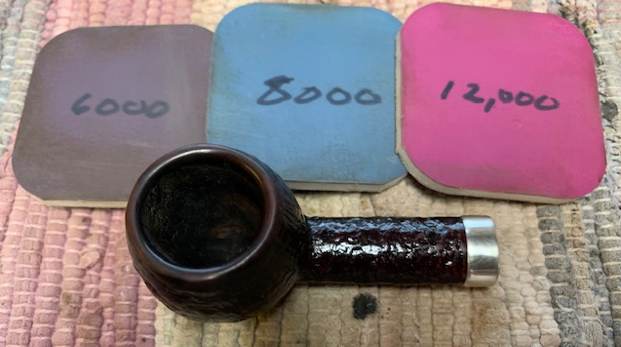
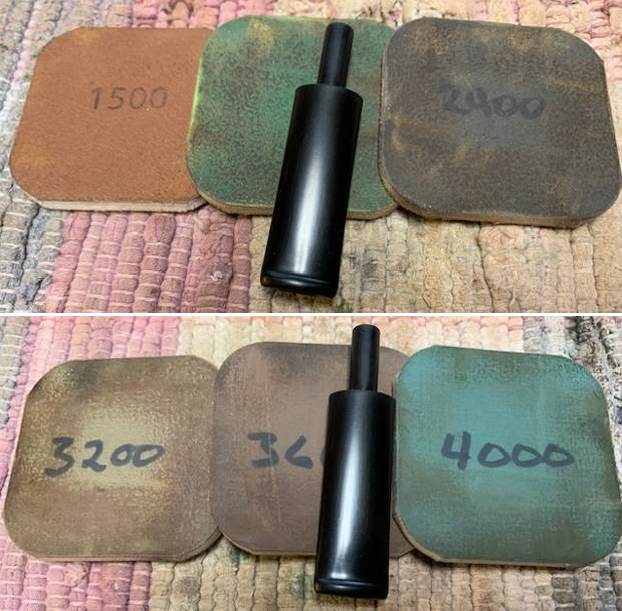
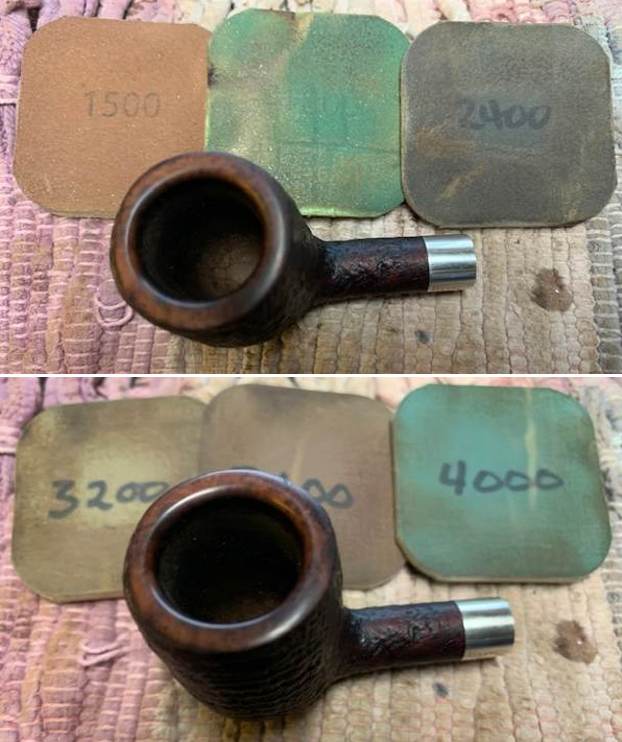
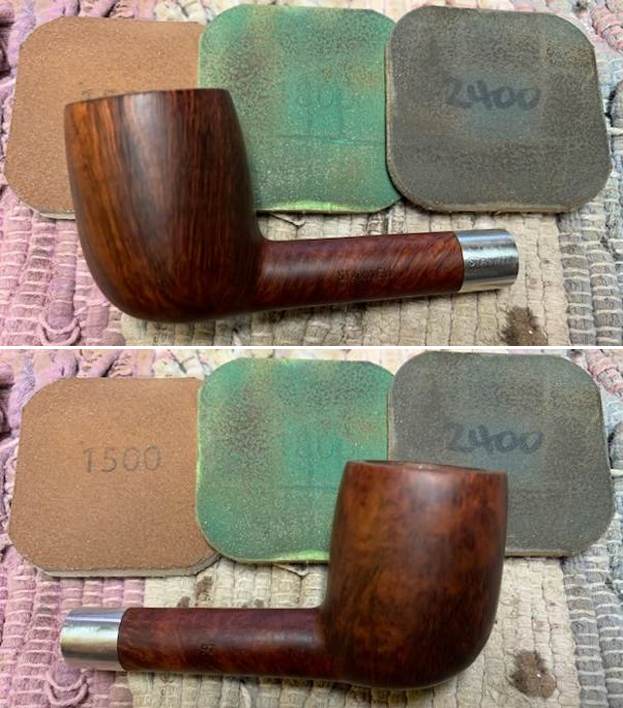
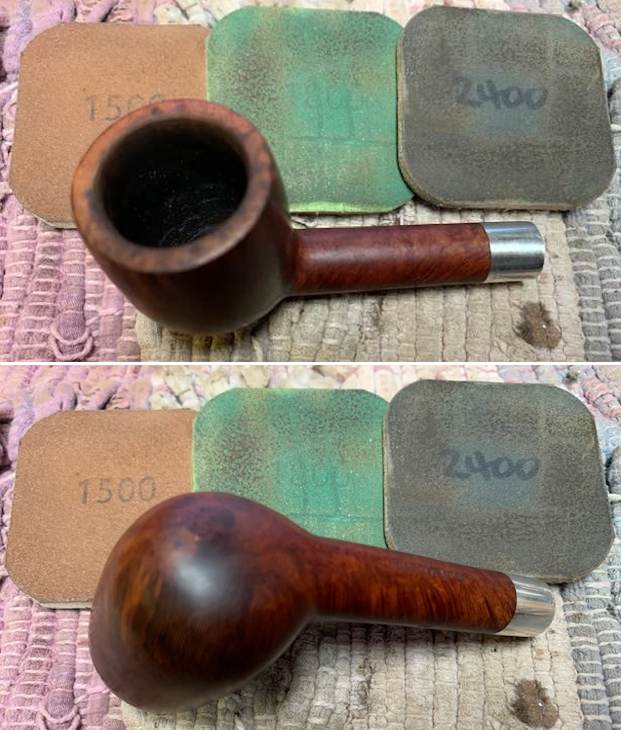
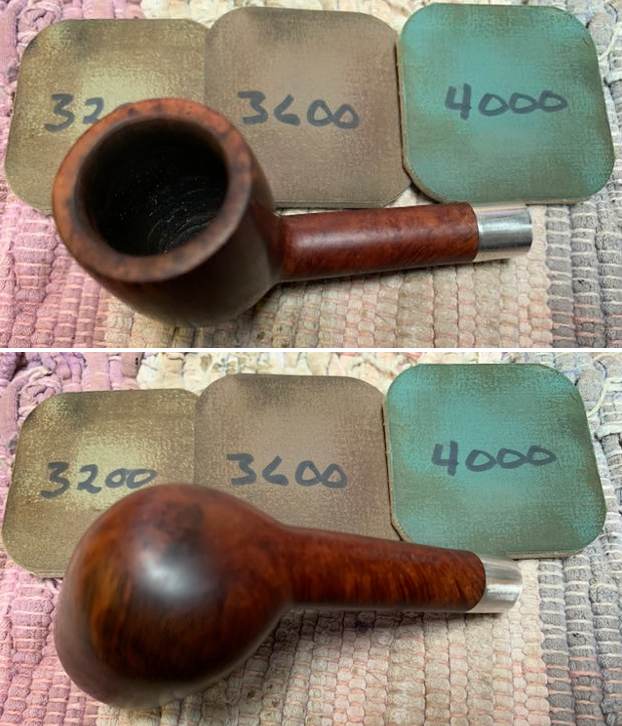
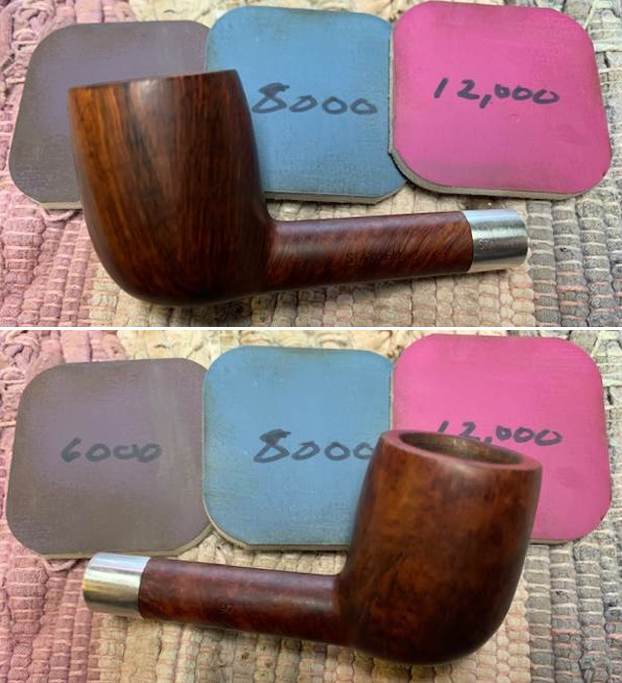
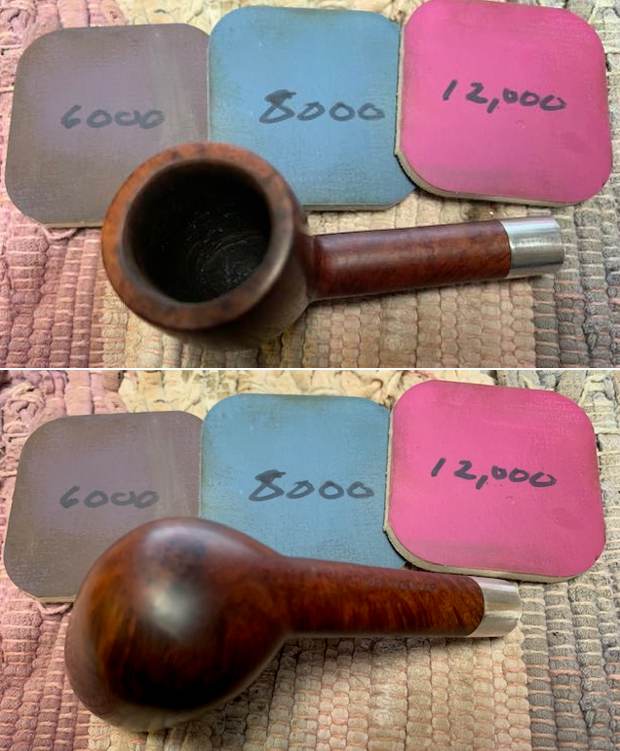
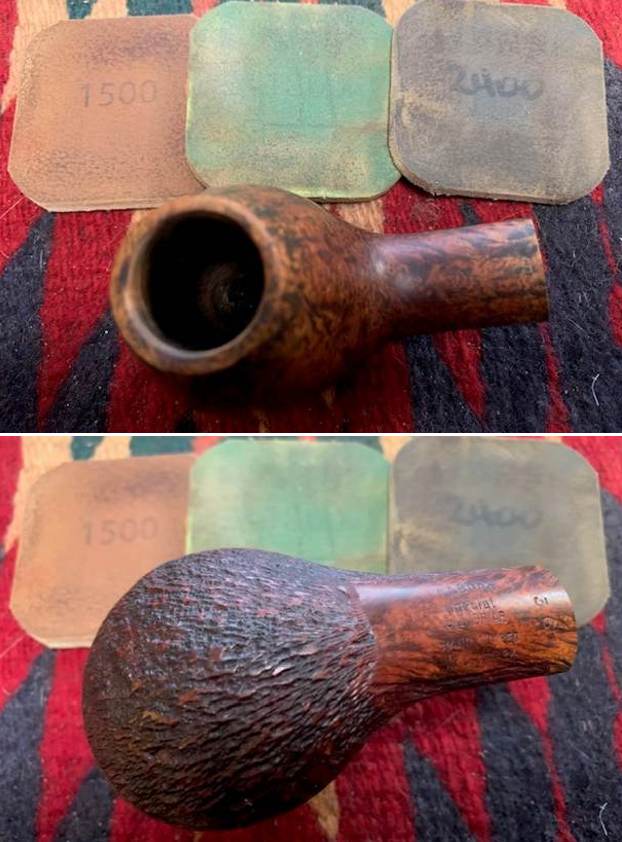
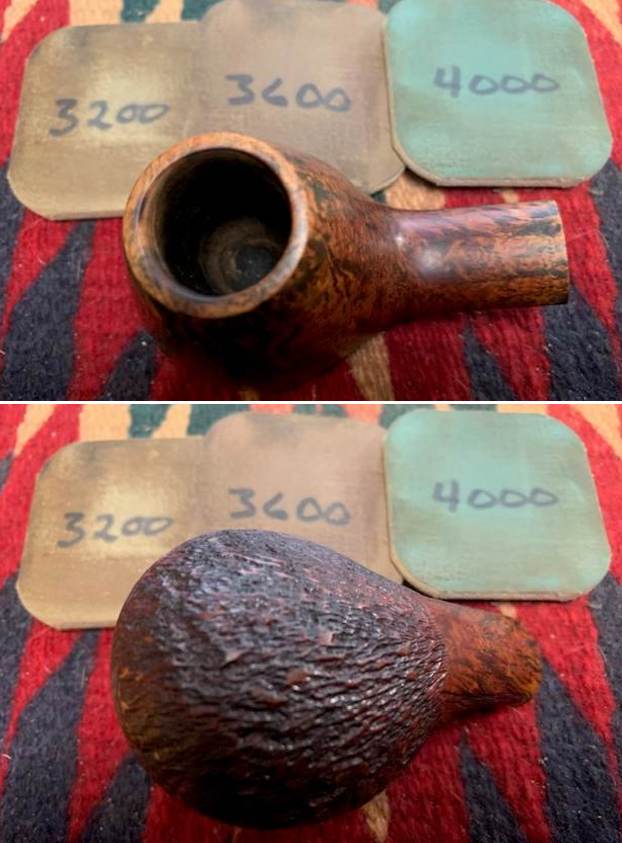
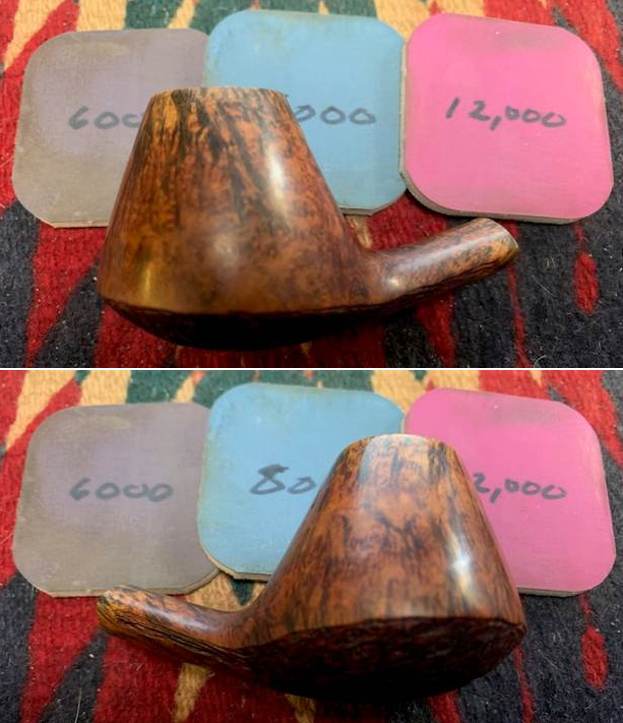
 I started my work on the pipe by polishing the briar with micromesh sanding pads – dry sanding with 1500-12000 grit pads. I wiped it down after each sanding pad with a damp cloth to remove the sanding debris.
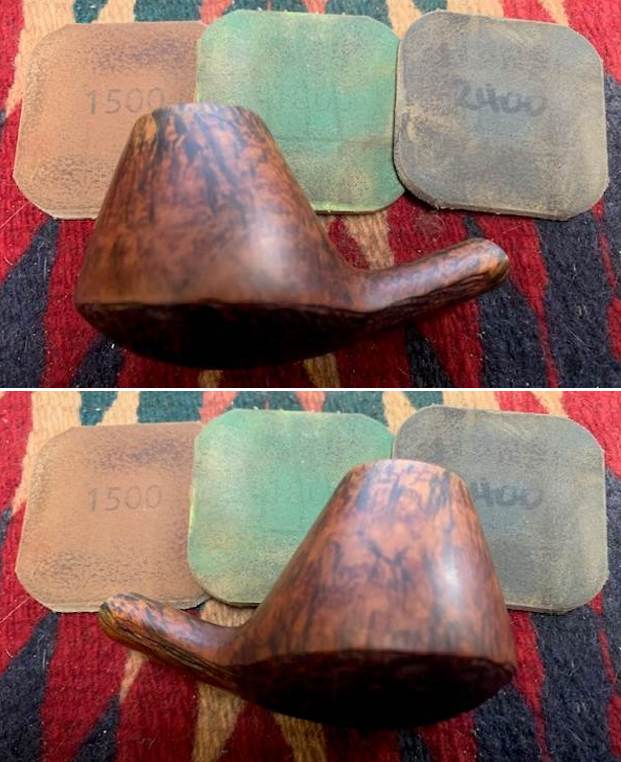

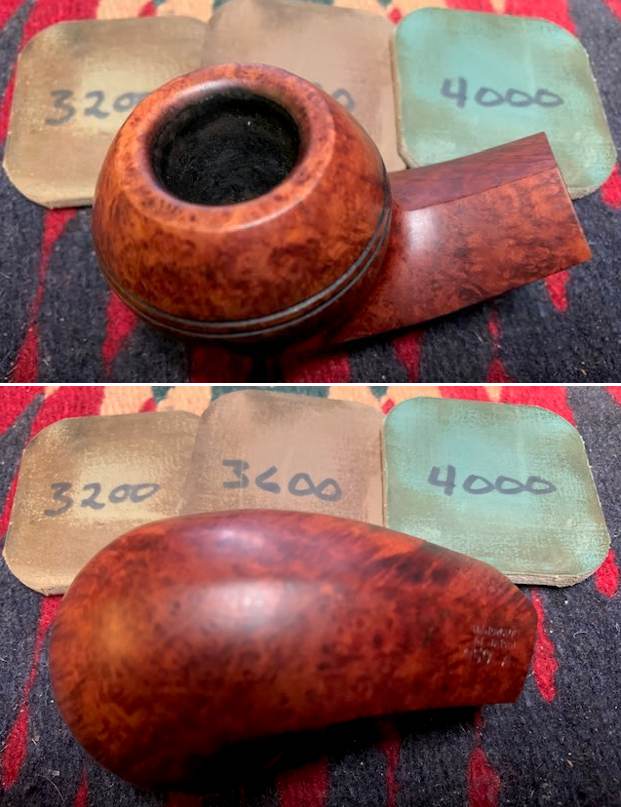
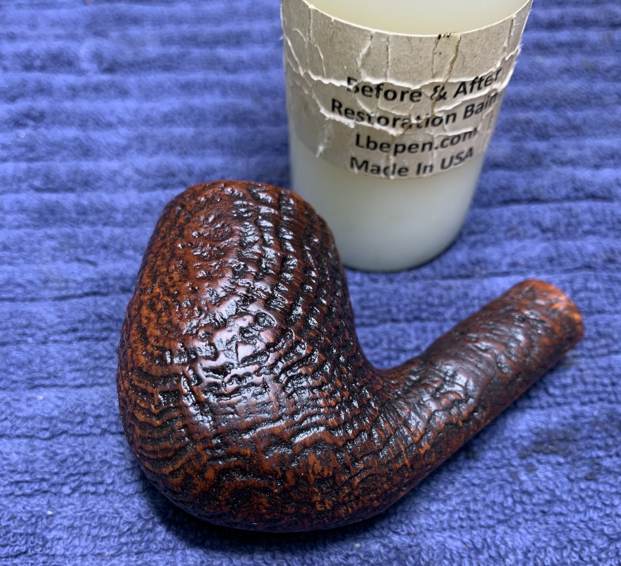
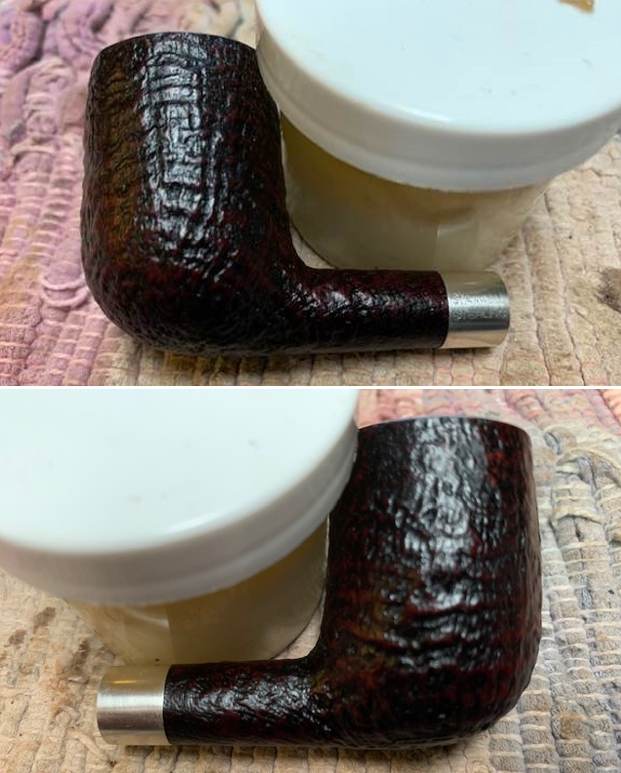
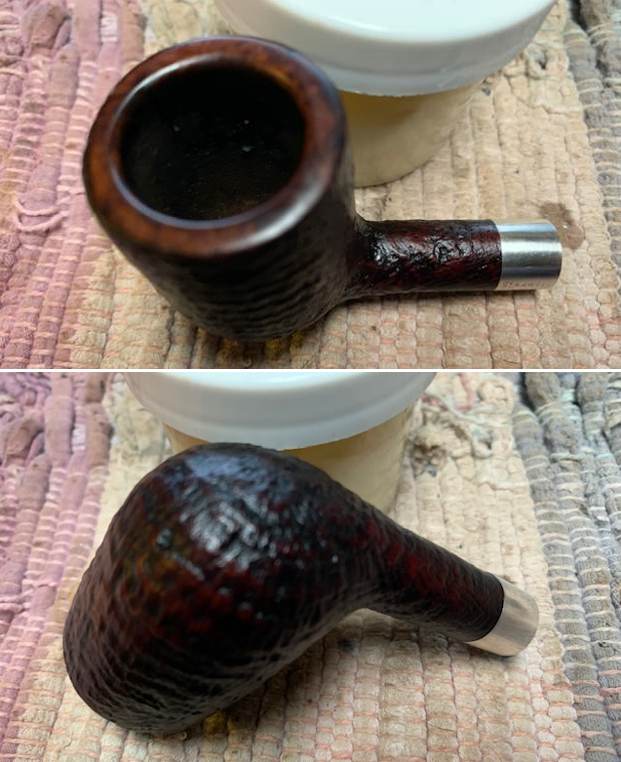
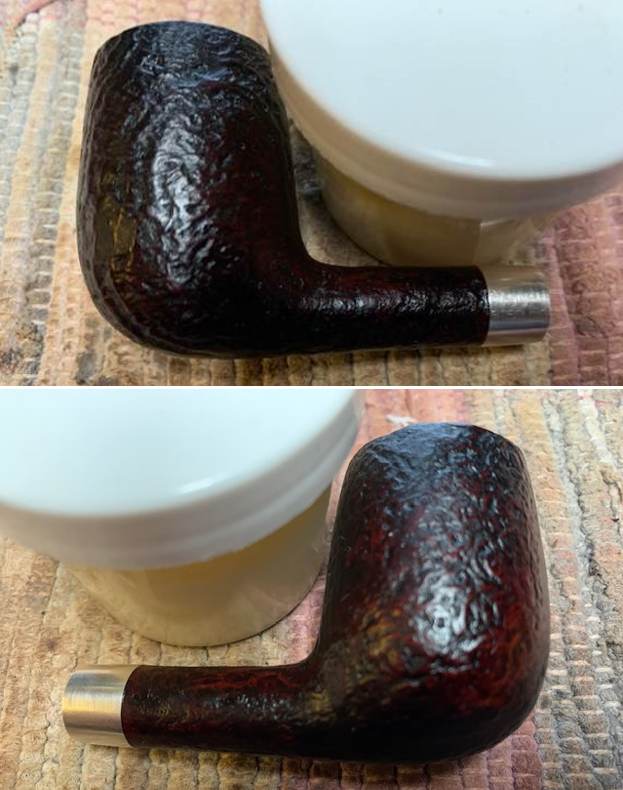
 I rubbed the bowl and shank down with Before & After Restoration Balm to deep clean them. The product works to clean, enliven and protect the briar. I worked it in with my fingers to get it deep in the briar. I let it sit for 10 minutes then I wiped it off and buffed it with a soft cloth. The briar really began to have a rich shine.
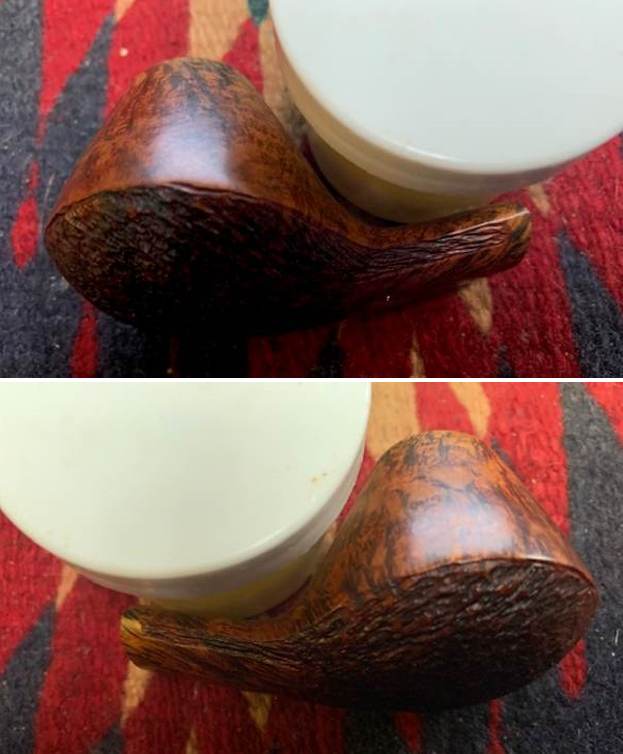

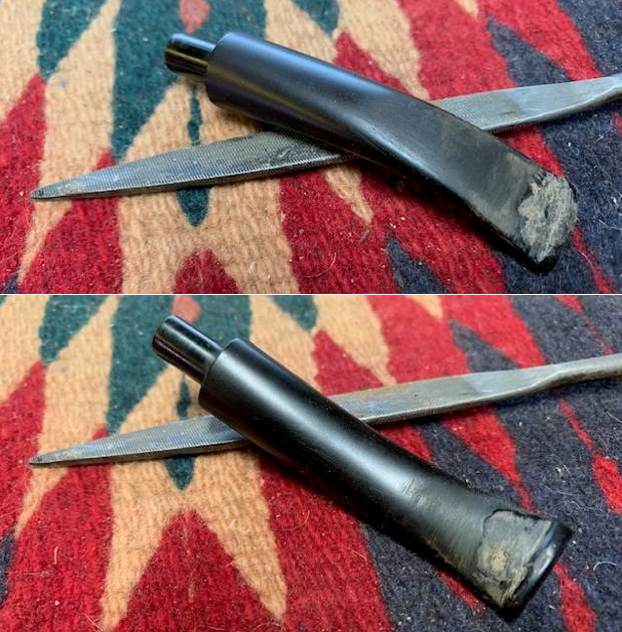
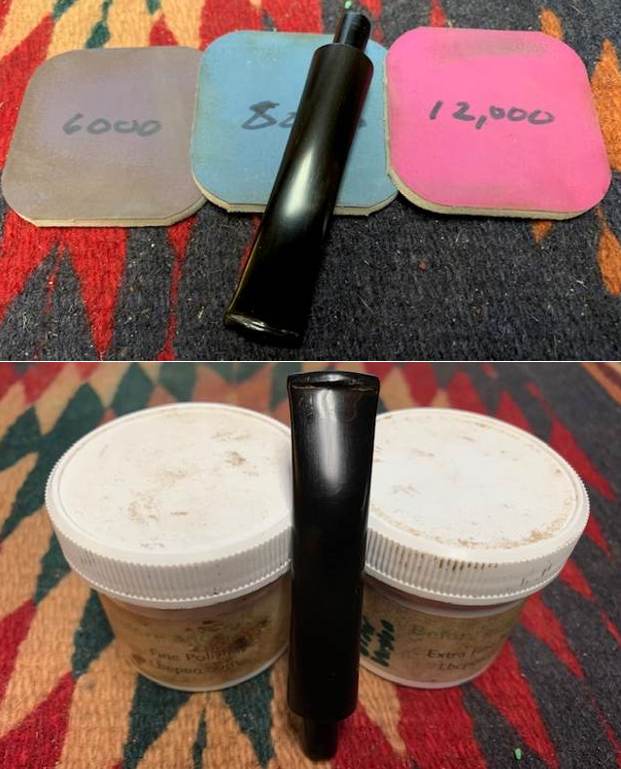
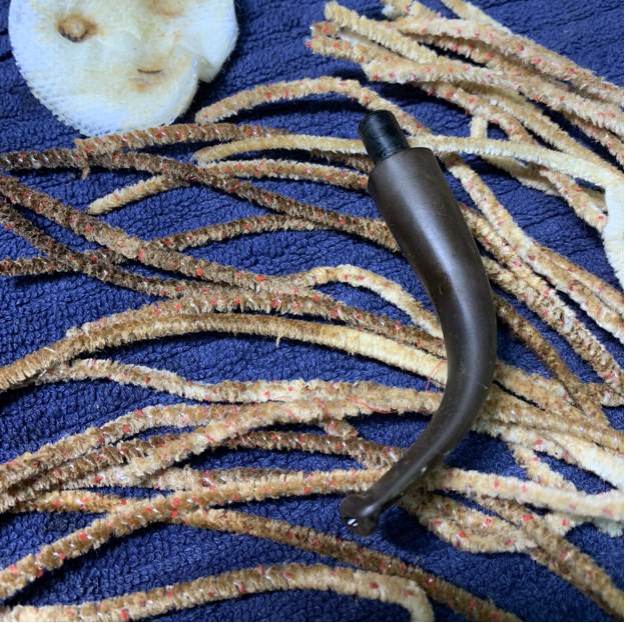
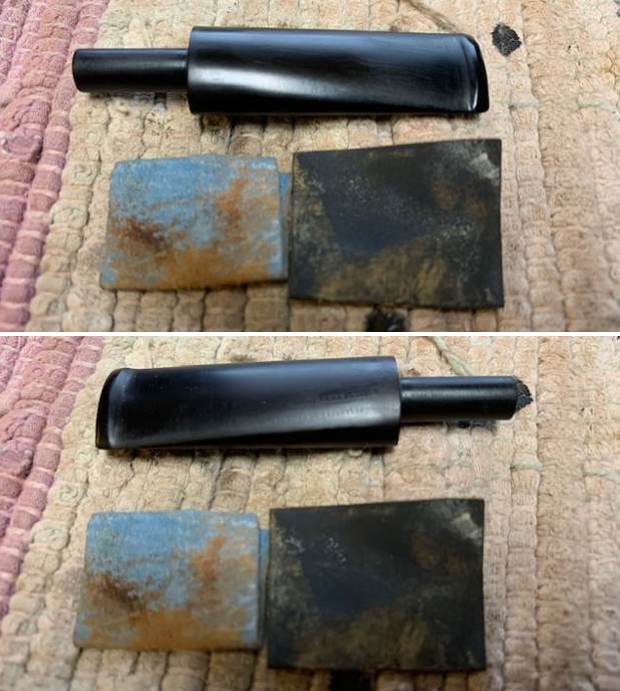
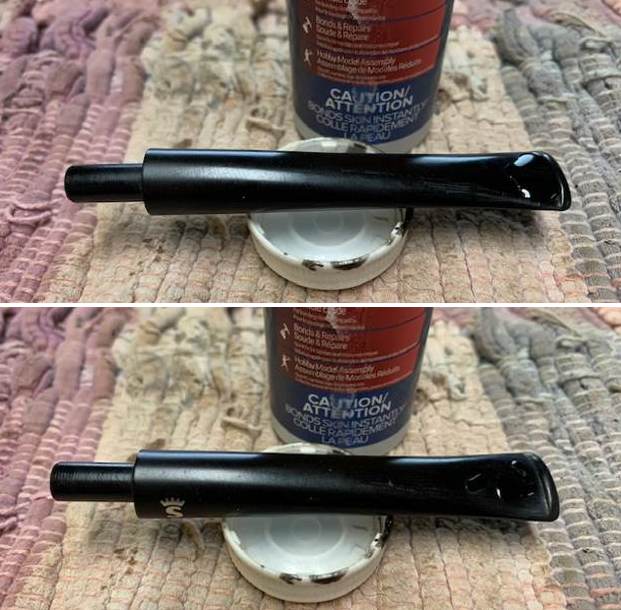
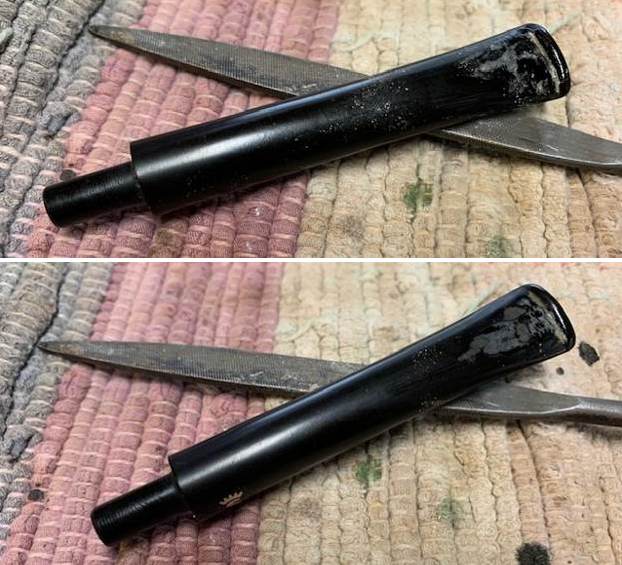
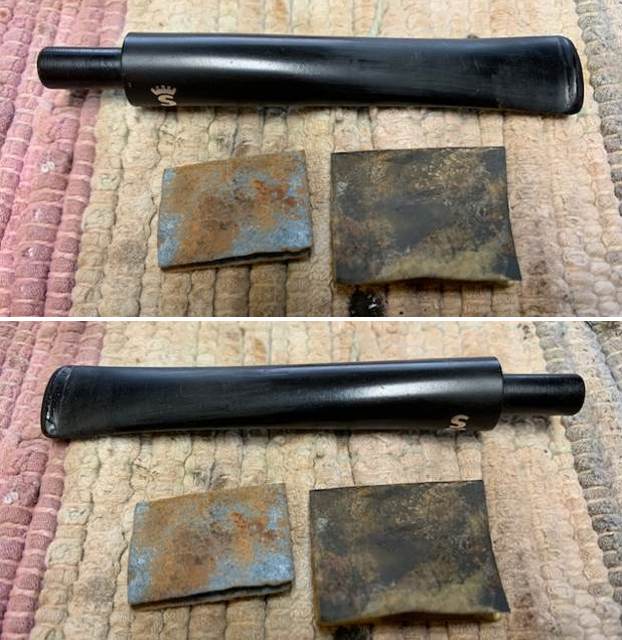
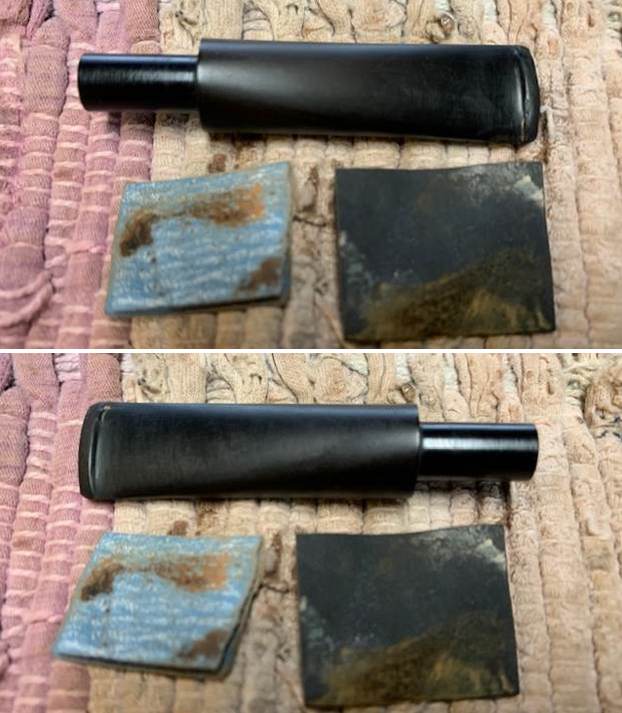
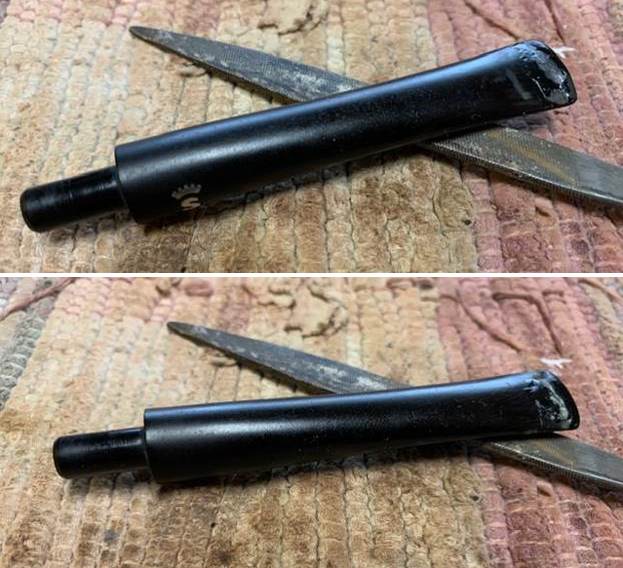
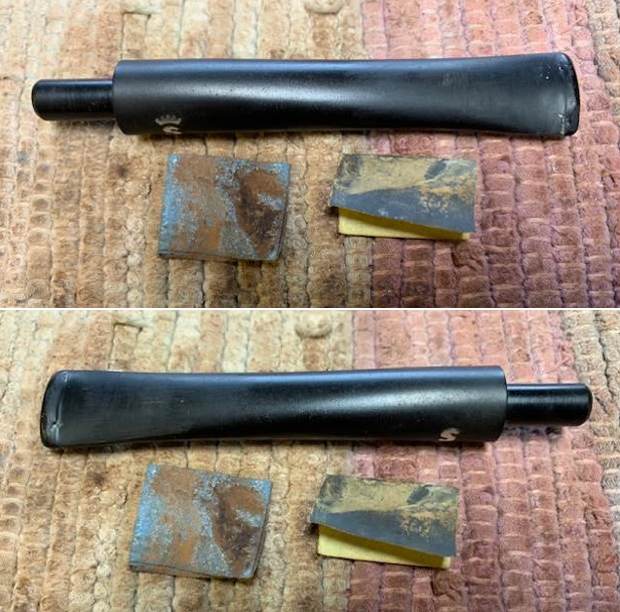
 I set aside the bowl and turned my attention to the stem. I smoothed out the tooth marks and chatter on both sides of the stem with 220 grit sandpaper and started polishing it with 400 grit wet dry sandpaper.
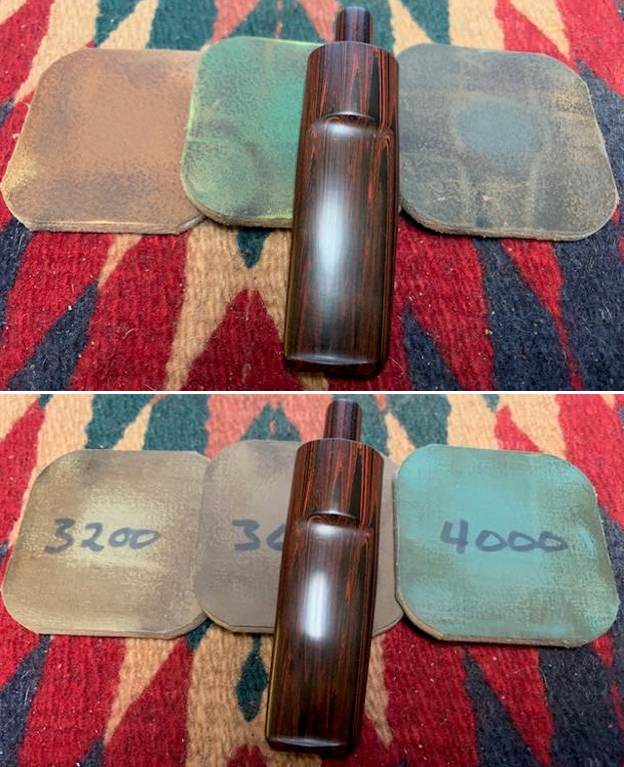
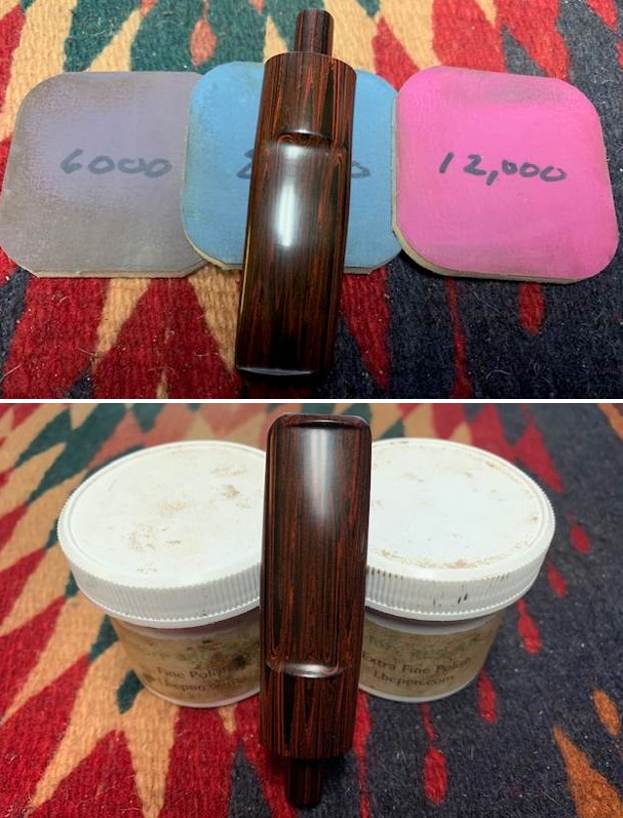
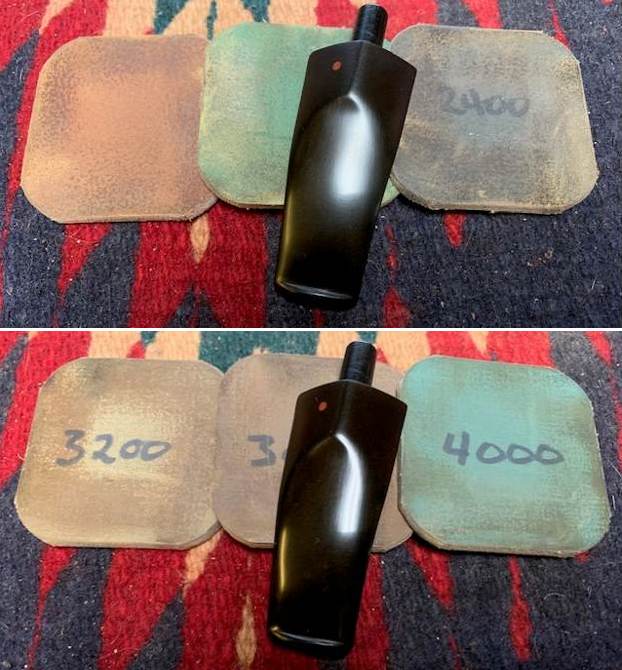
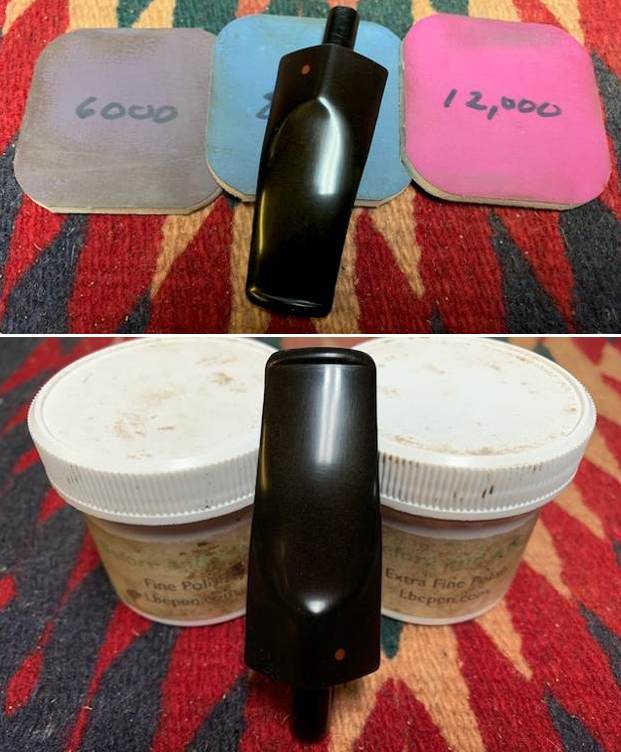
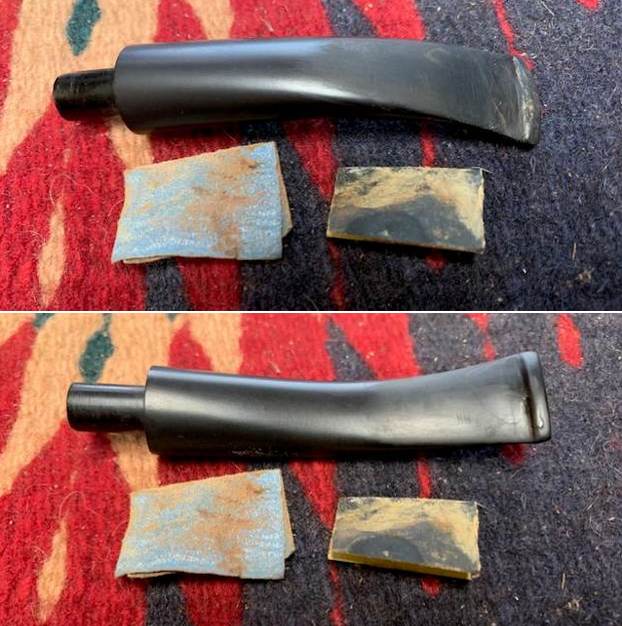
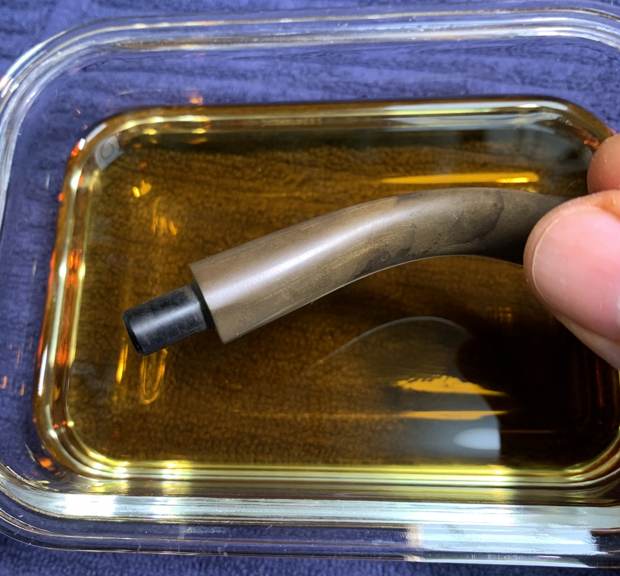
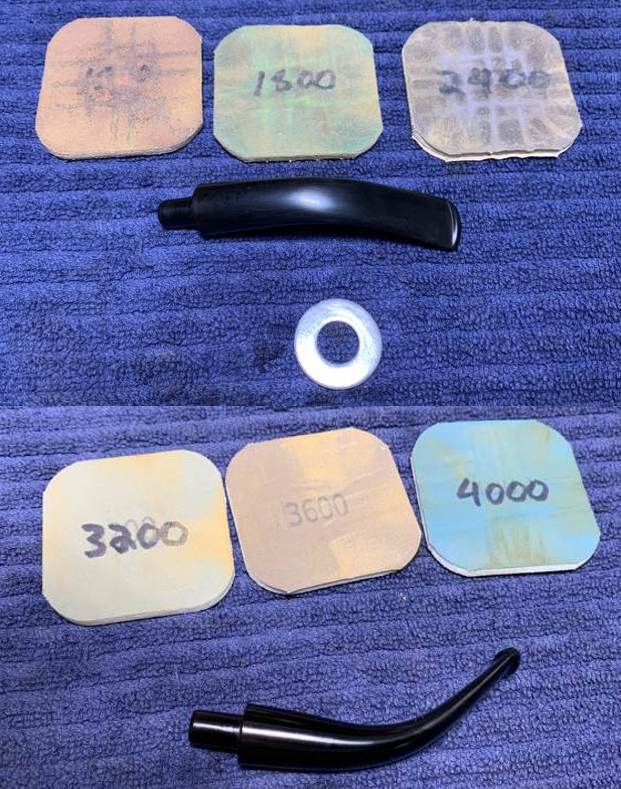
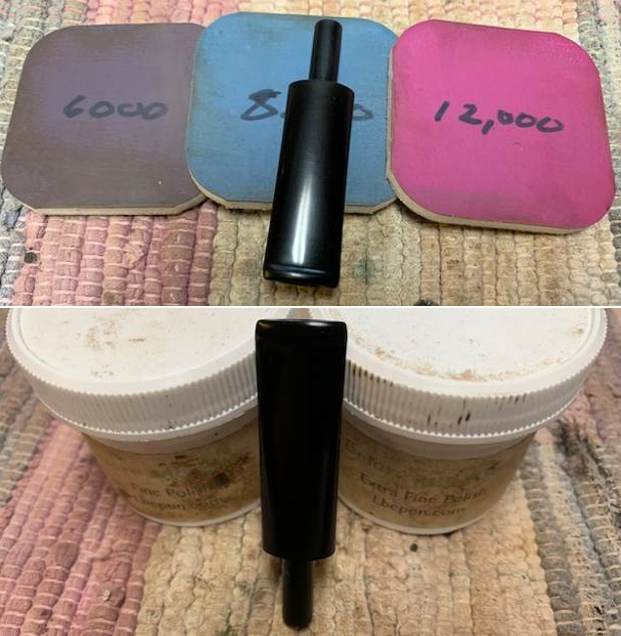
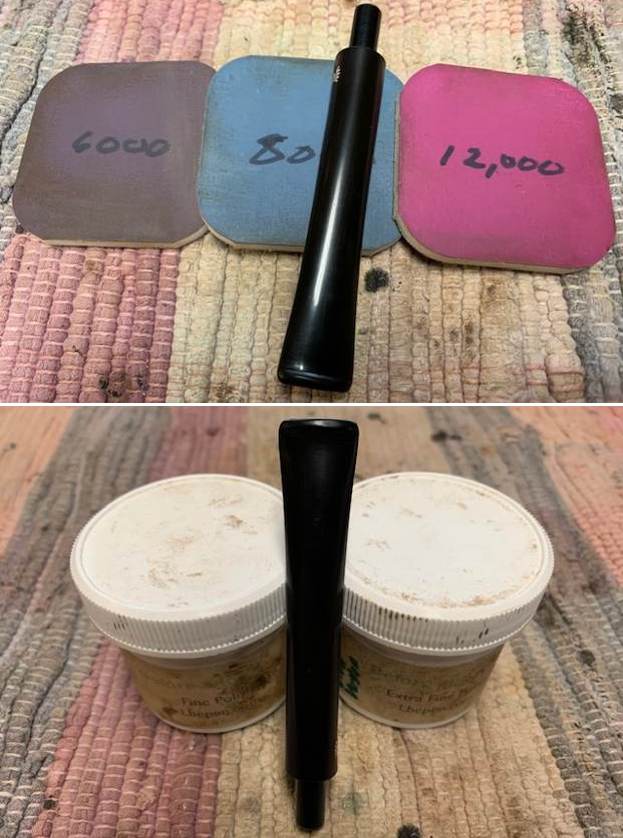
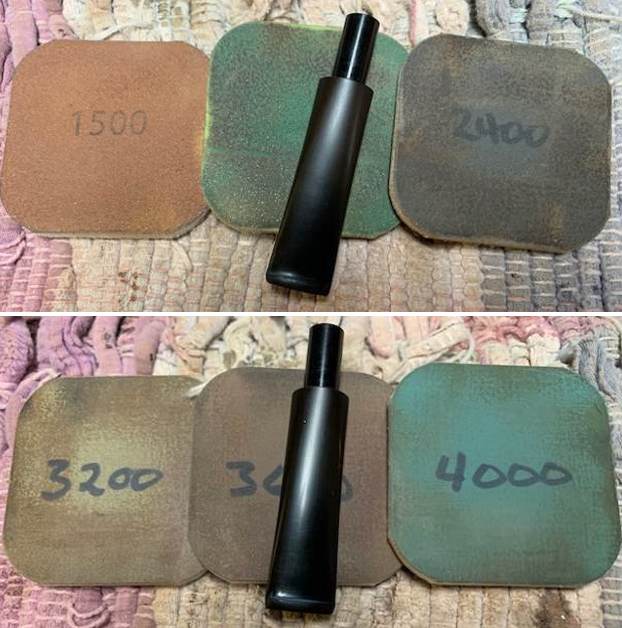
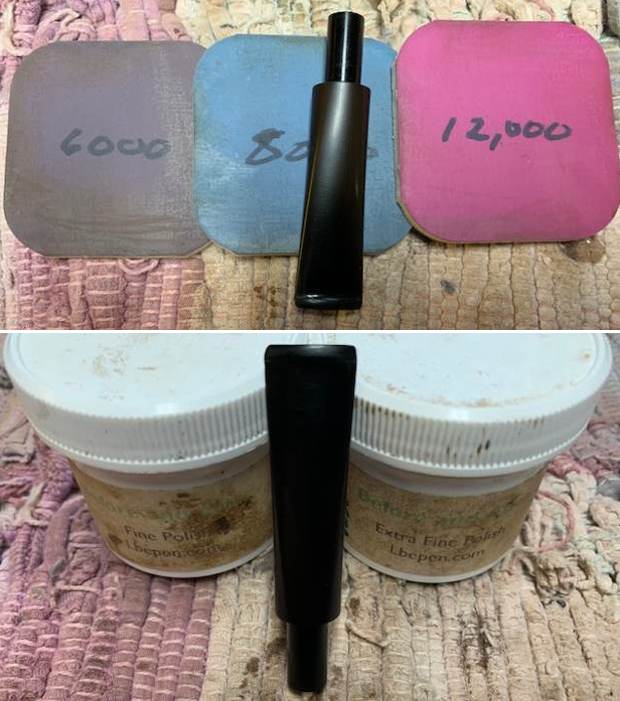
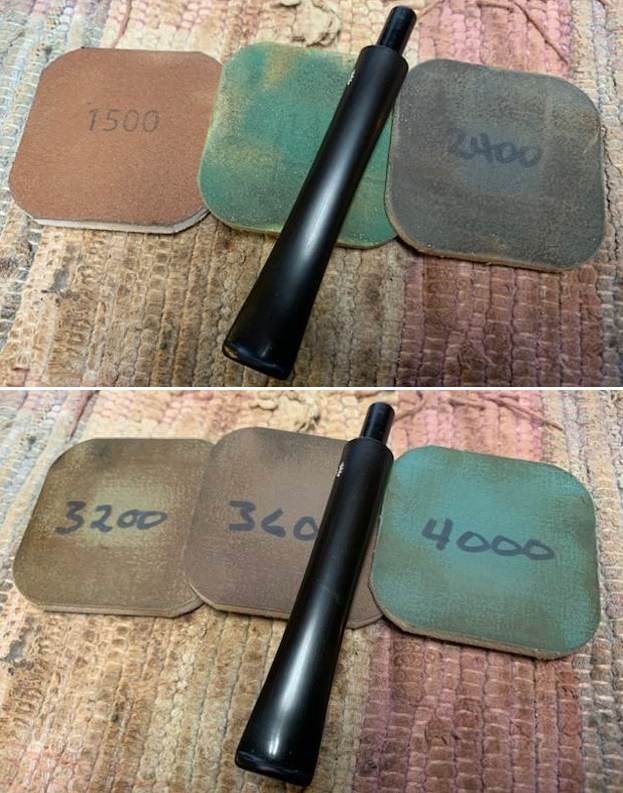
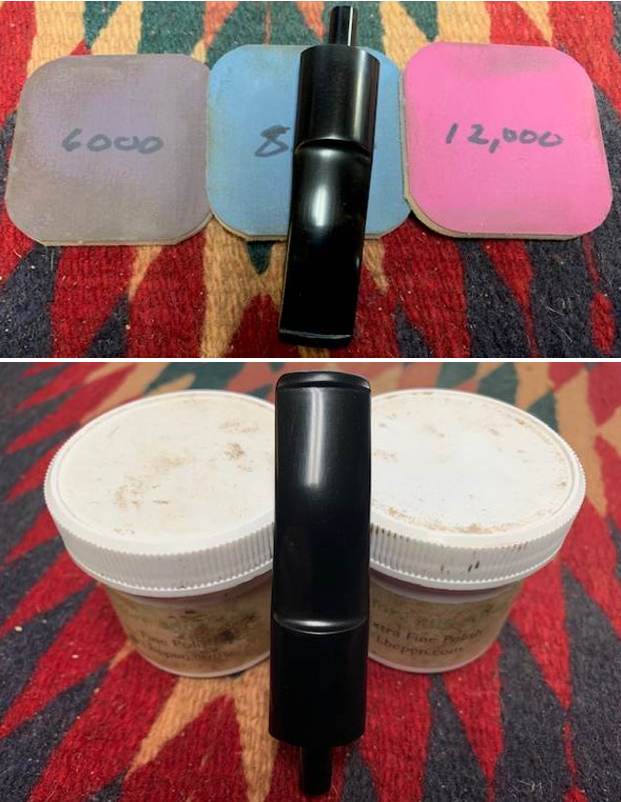
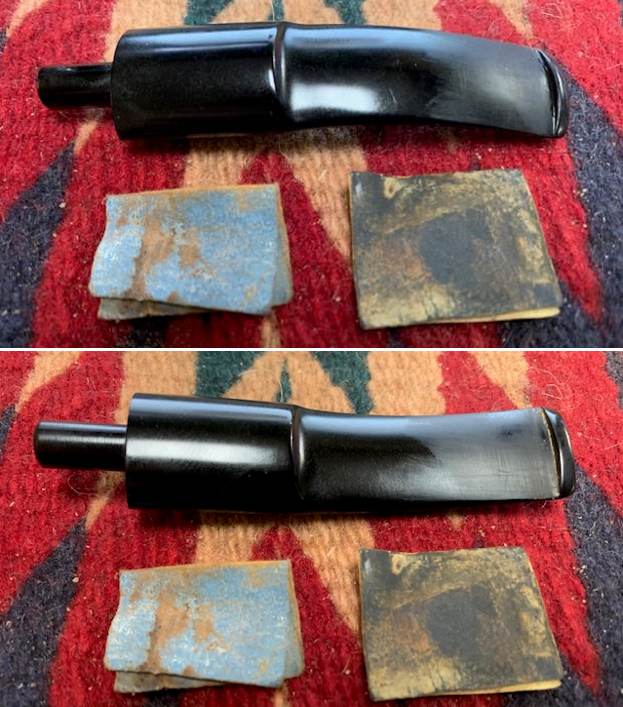 I polished the stem with micromesh sanding pads – dry sanding with 1500-12000 grit pads. I wiped the stem down after each pad with a damp cloth to remove the sanding dust. I gave it a further polish with Before & After Stem Polish – both Fine and Extra Fine. I finished by wiping the stem down with a final coat of Obsidian Oil and set it aside to dry.
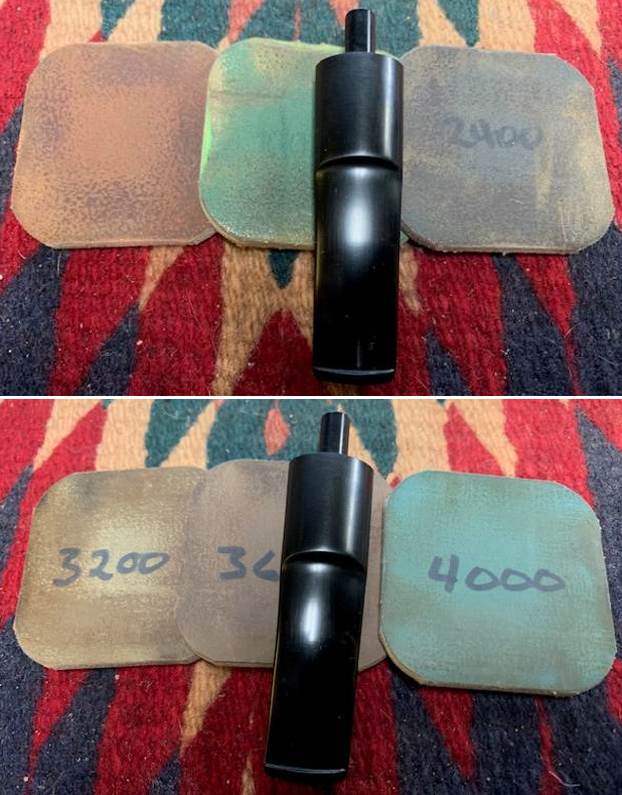
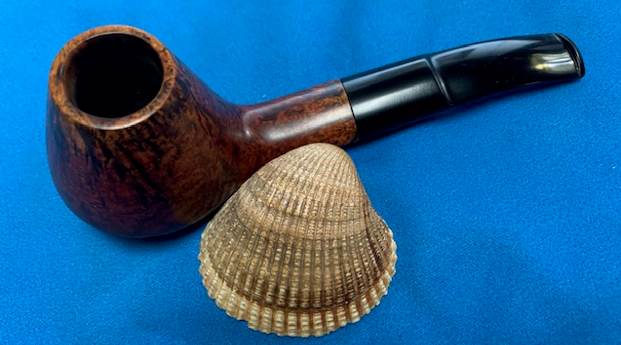
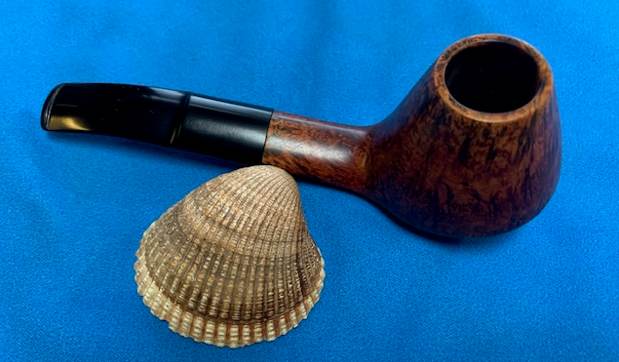
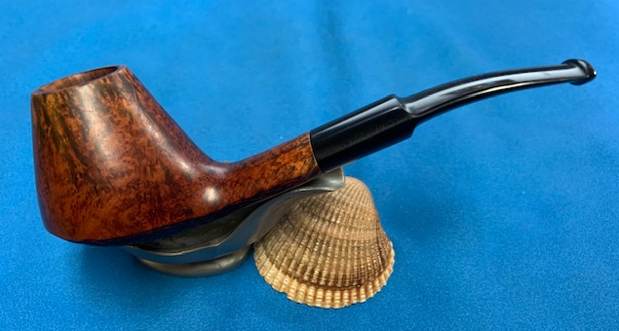
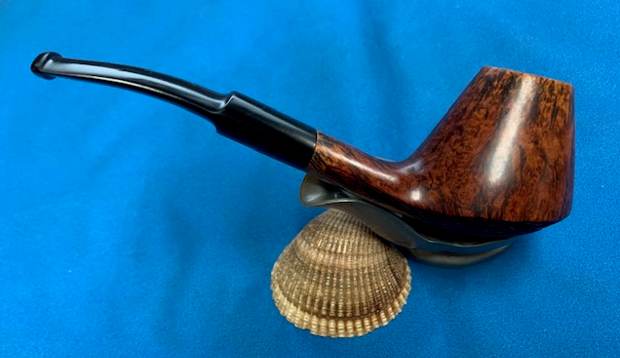
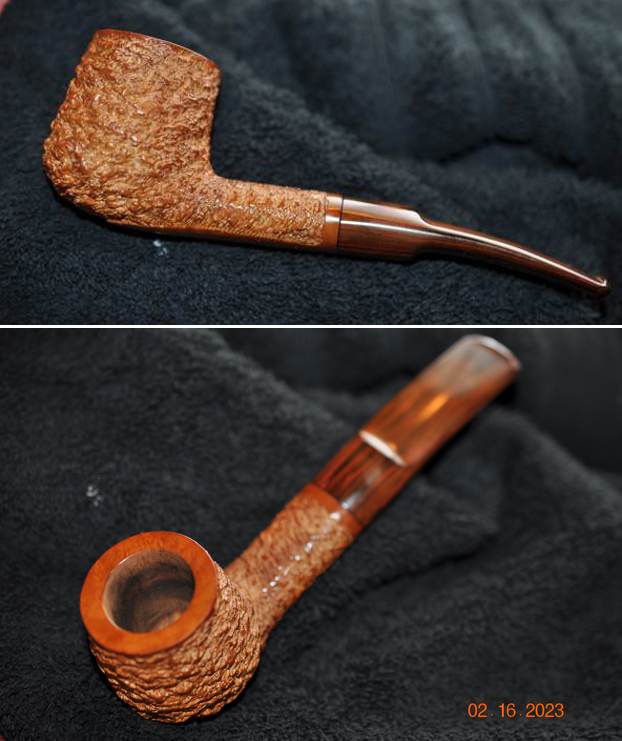
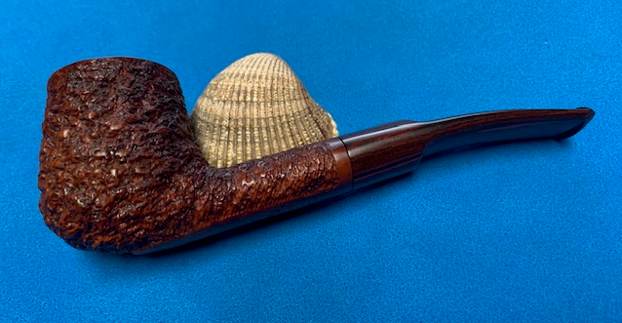
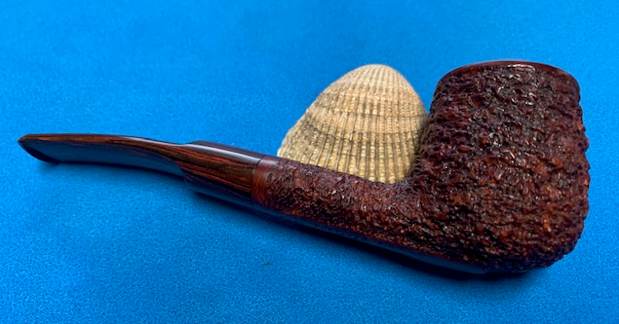
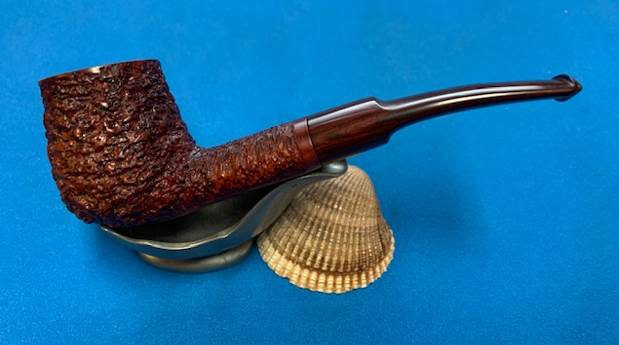
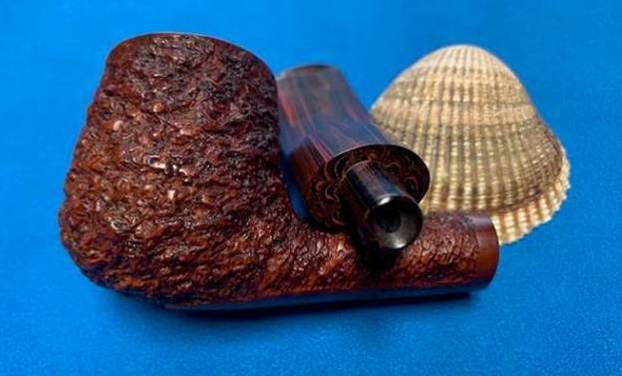
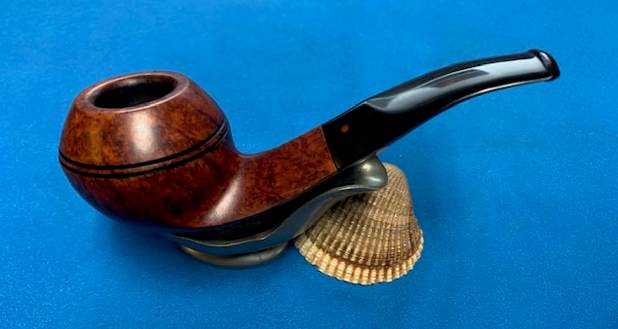
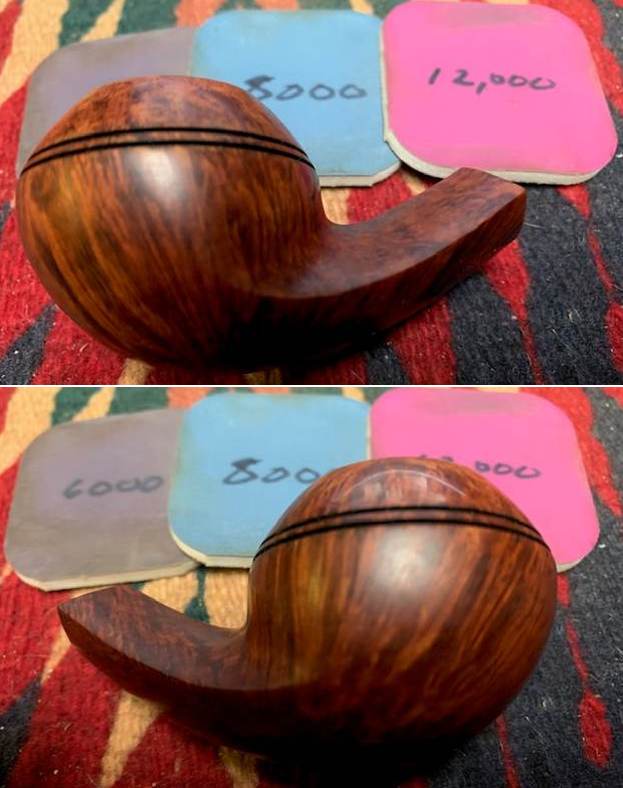
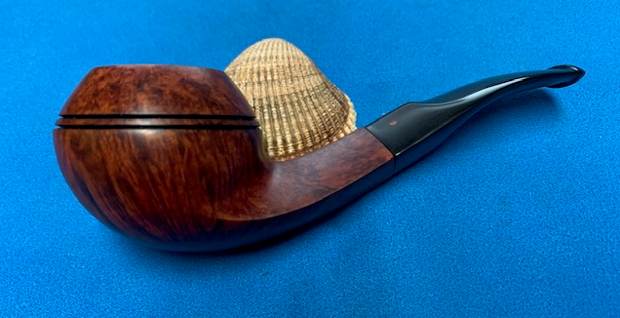
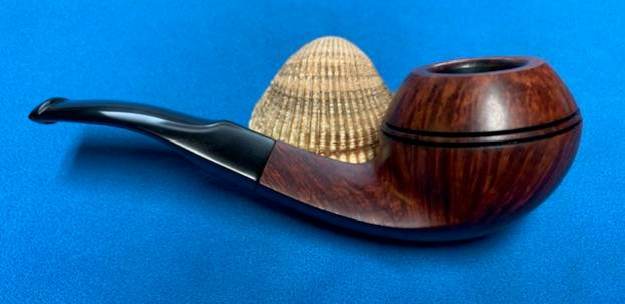
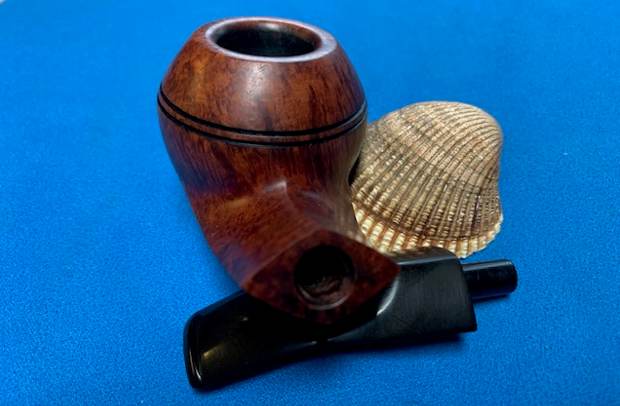
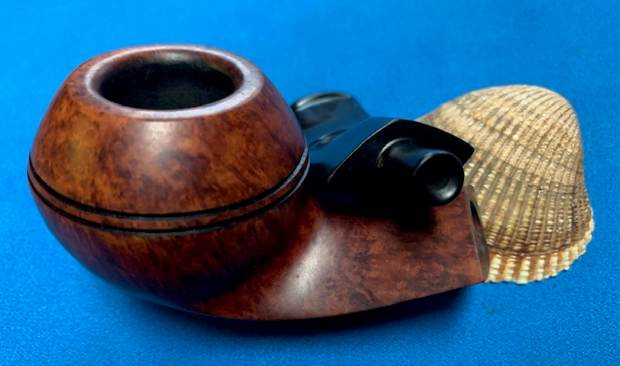
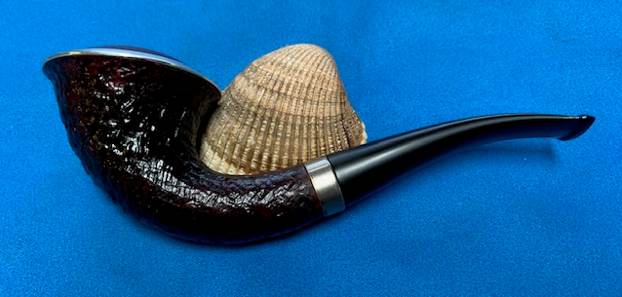
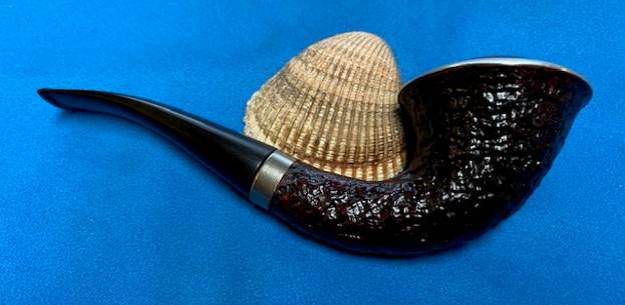
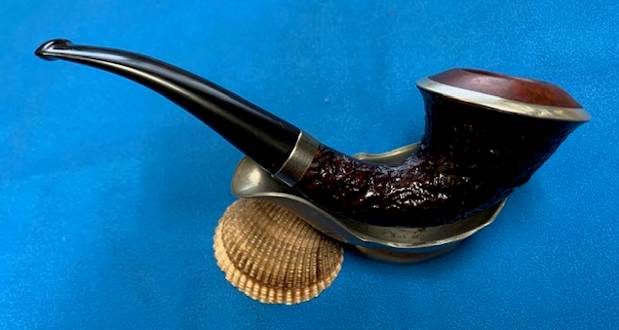
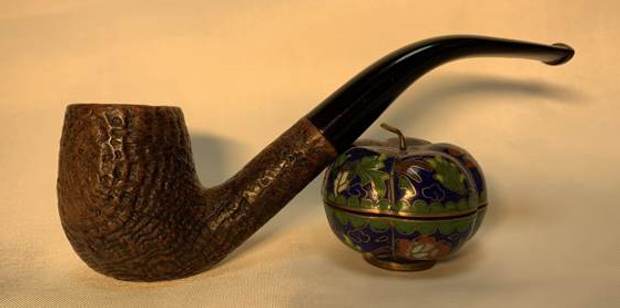
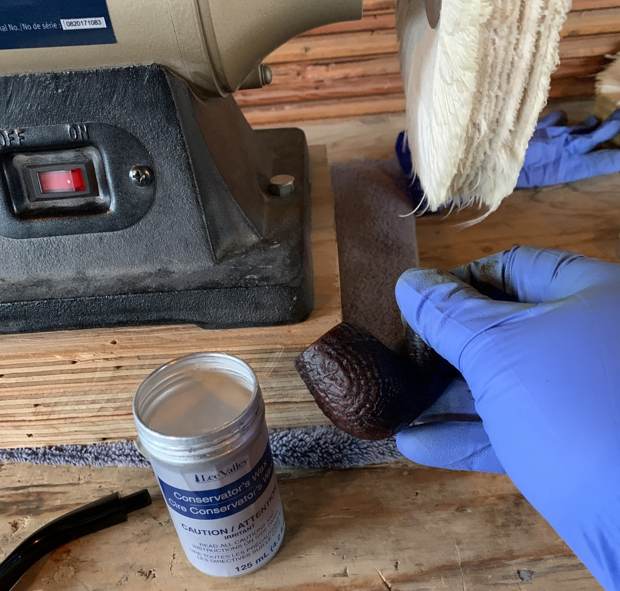
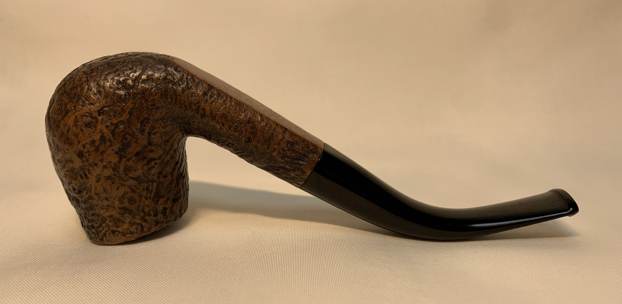
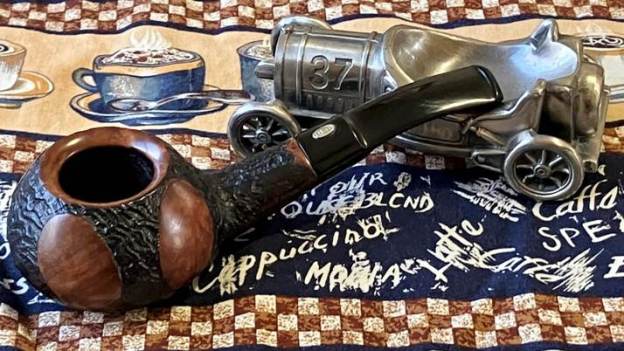
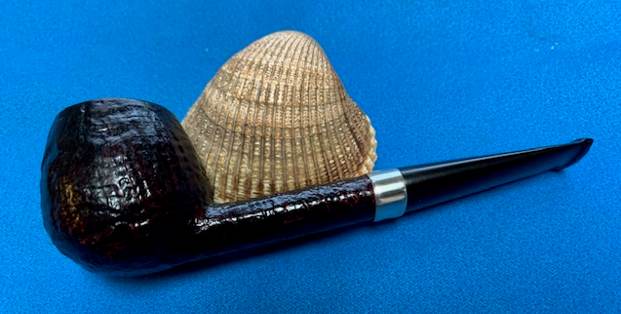
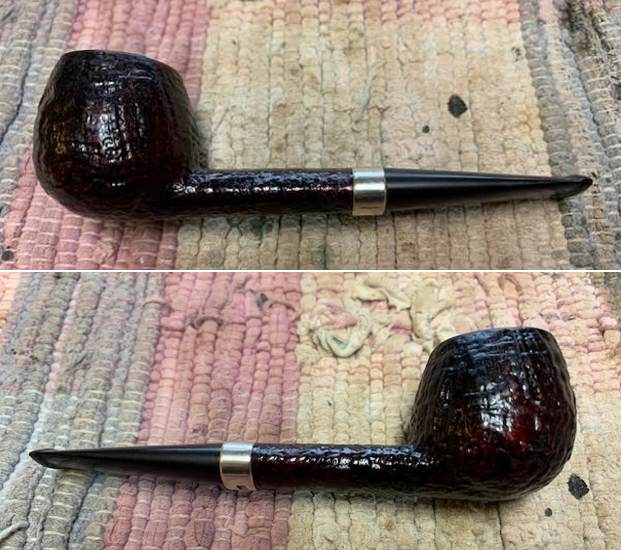
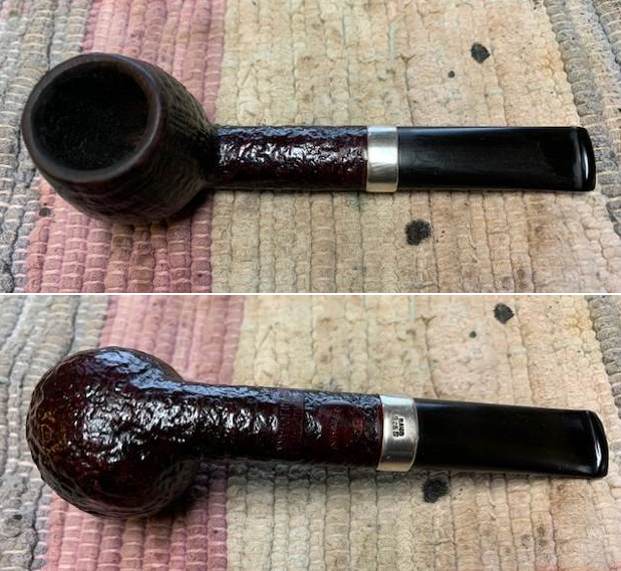
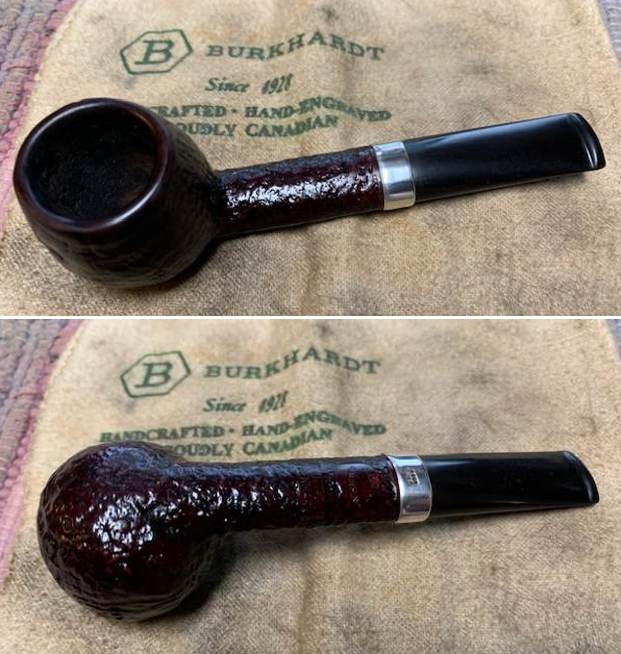
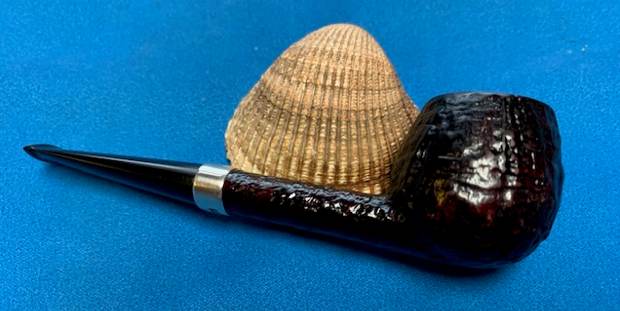
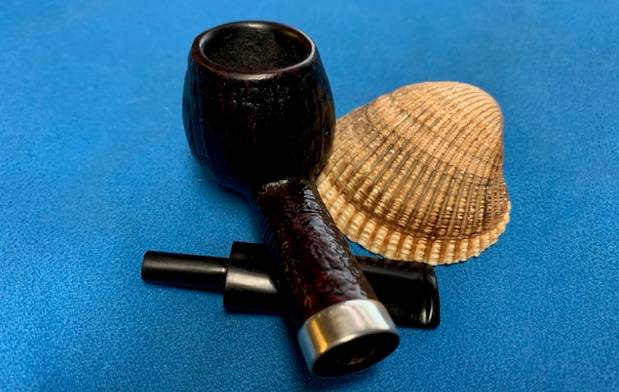
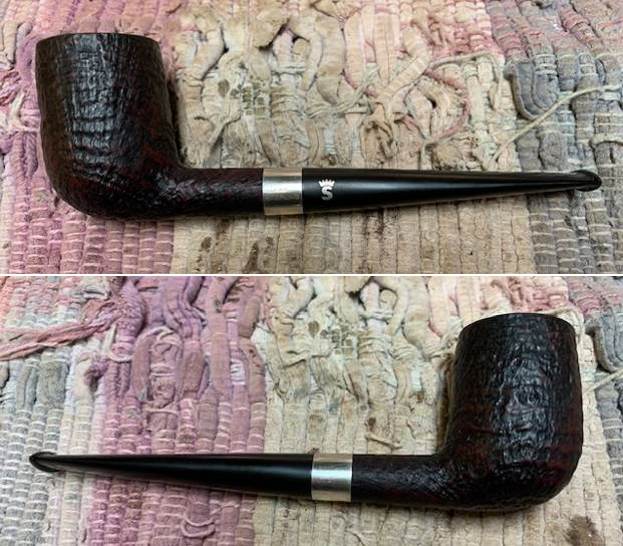
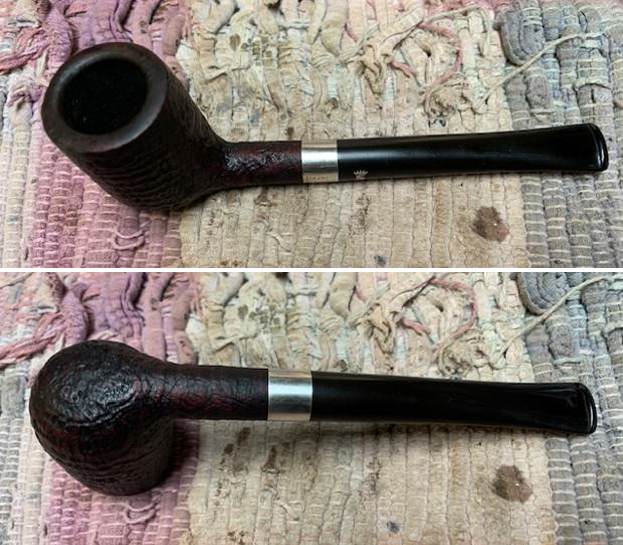
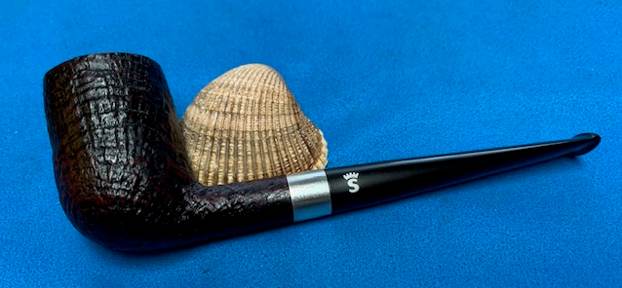
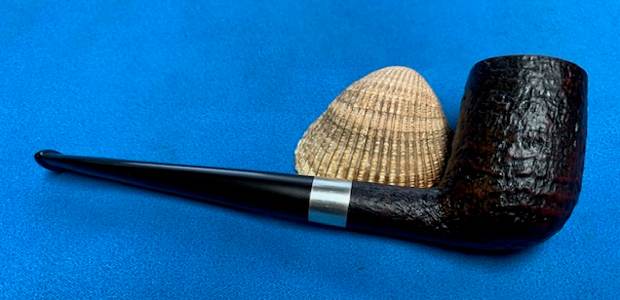
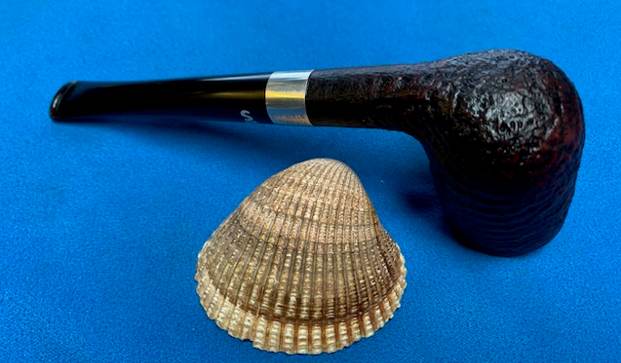
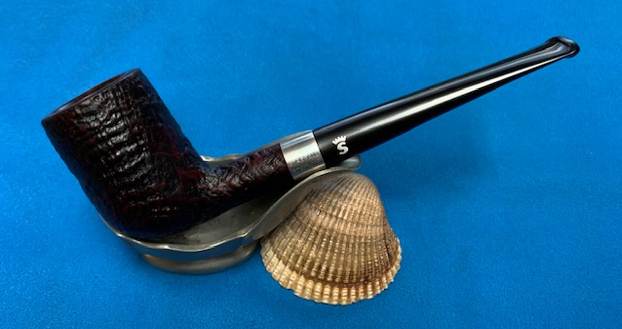
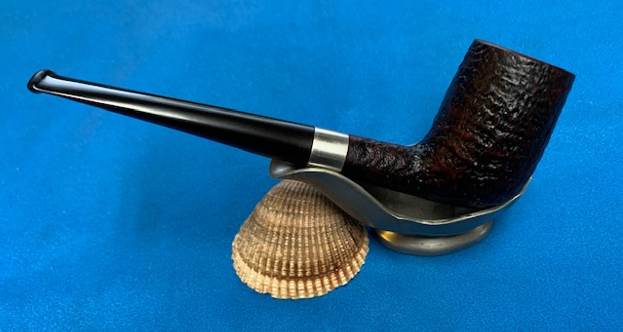
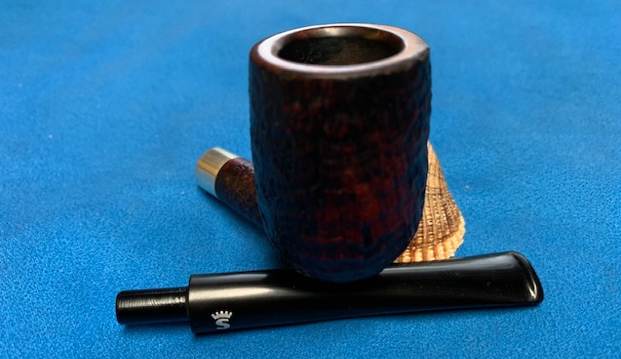
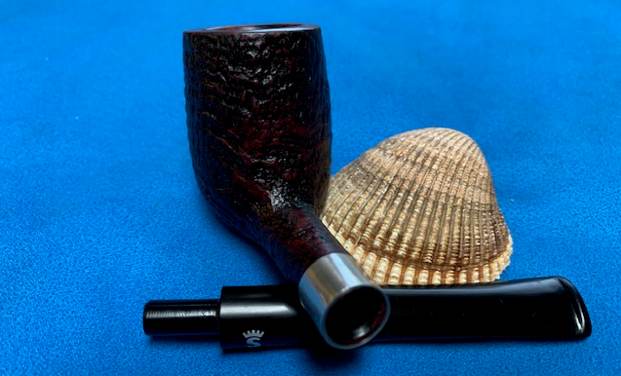
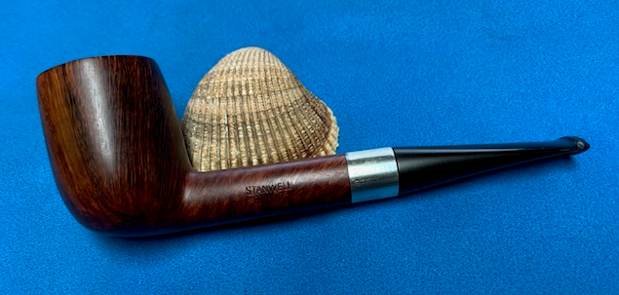
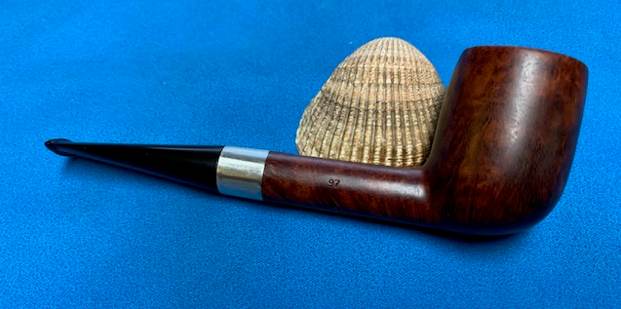
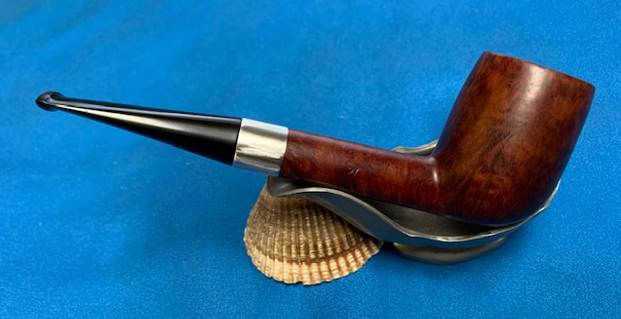
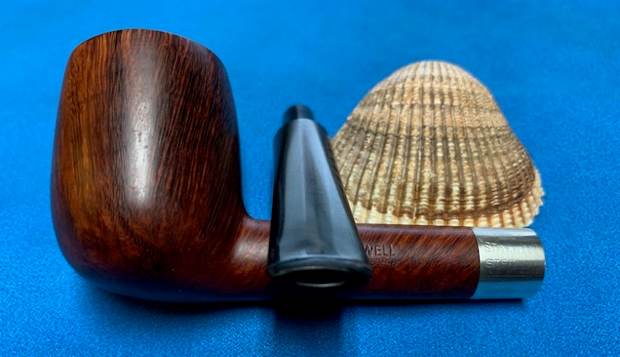
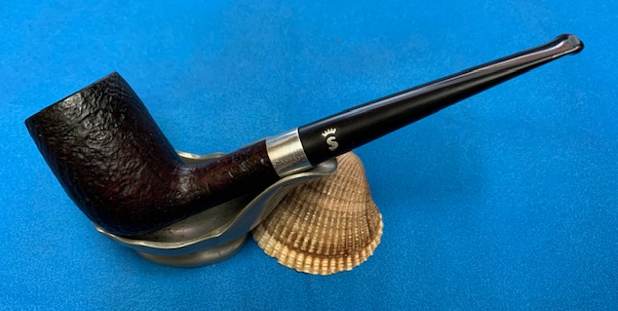
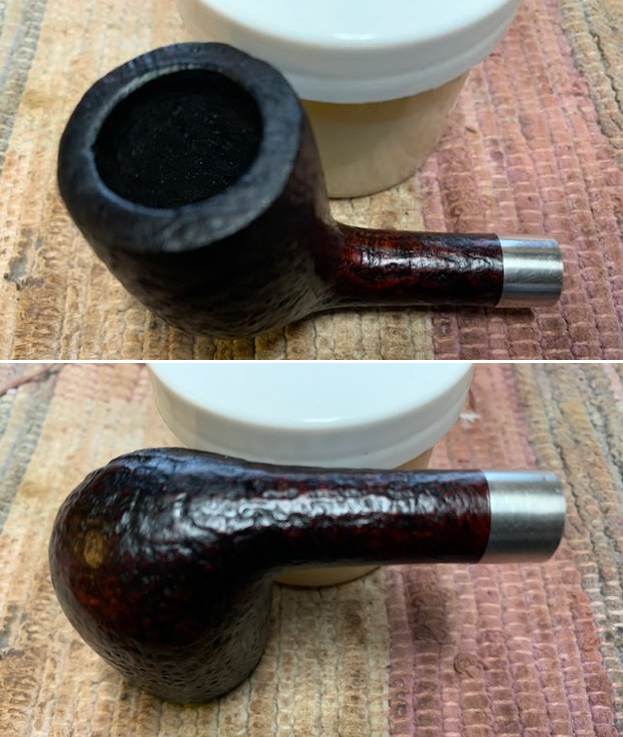
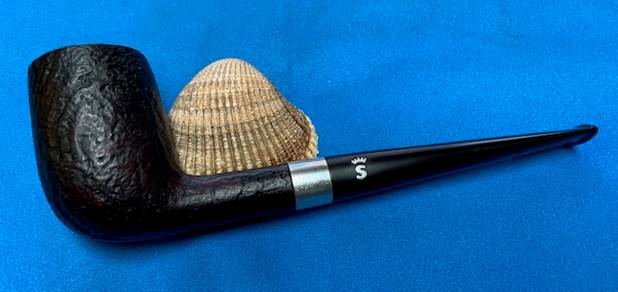
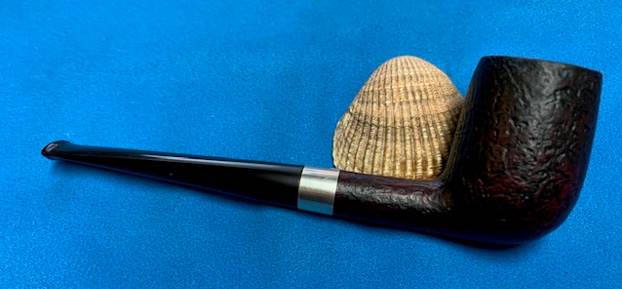
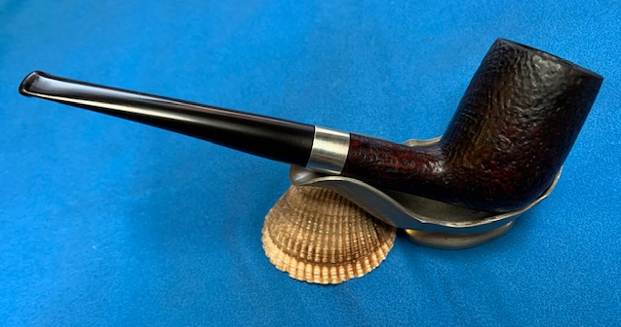
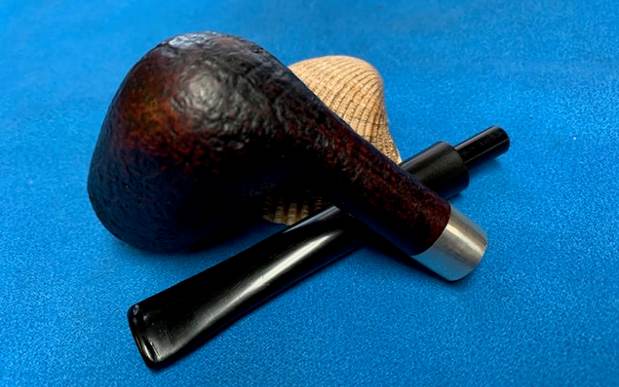
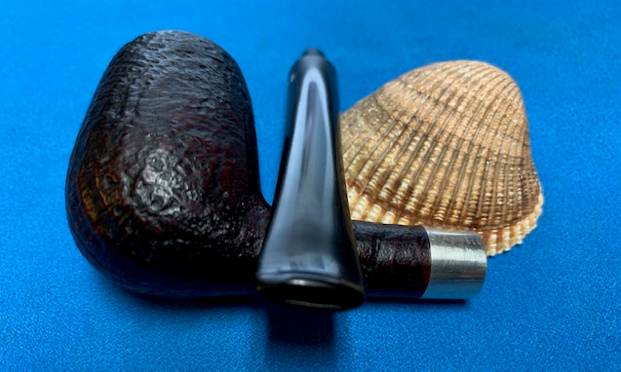
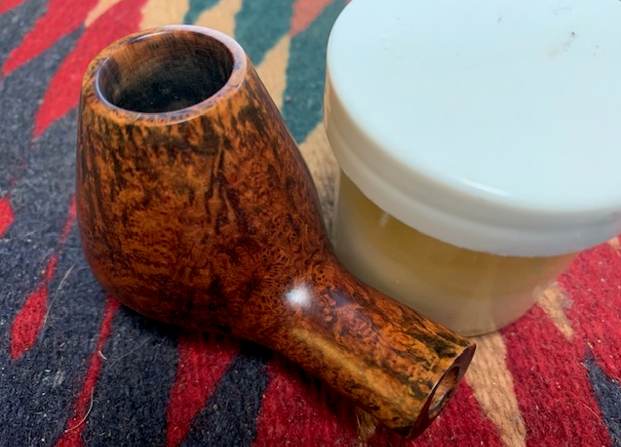
 I put the vulcanite stem back on the Faaborg Special Old Briar Hand Shaped 36 Volcano and took the pipe to the buffer. I buffed the bowl and stem with Blue Diamond to lightly buff the briar and the vulcanite. Blue Diamond does a great job on the smaller scratches that remain in both. I gave the bowl and the stem several coats of carnauba wax and buffed the pipe with a clean buffing pad to raise the shine. I hand buffed it with a microfiber cloth to deepen the shine. I am amazed at how well it turned out. The finished pipe is shown in the photos below. This is a beautiful Viggo Nielsen Hand Shaped Faaborg Special Old Briar Volcano – the vulcante saddle stem and the grain combine to give this Brandy pipe a great look. The polished vulcanite stem looks really good with the deeply grain shining through on the bowl and shank. The dimensions of the pipe are Length: 5 ¾ inches, Height: 1 ¾ inches, Outside diameter of the bowl: 1 inch, Chamber diameter: ¾ of an inch. The weight of the pipe is 1.87 ounces/53 grams. This beautiful pipe will soon be added to the rebornpipes store in the Pipes By Danish Pipemakers section of the store. Thanks for walking through the restoration with me on this beauty!