Blog by Kenneth Lieblich
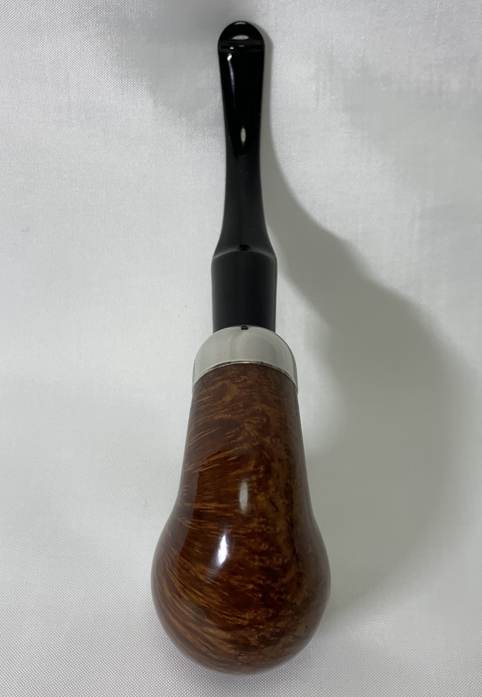
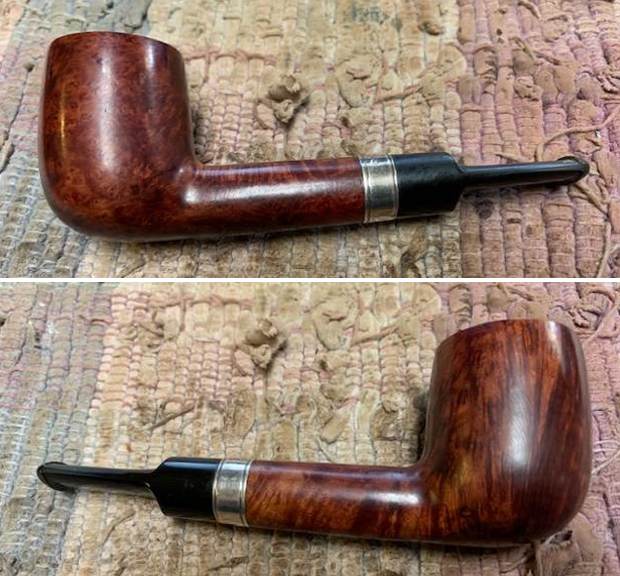
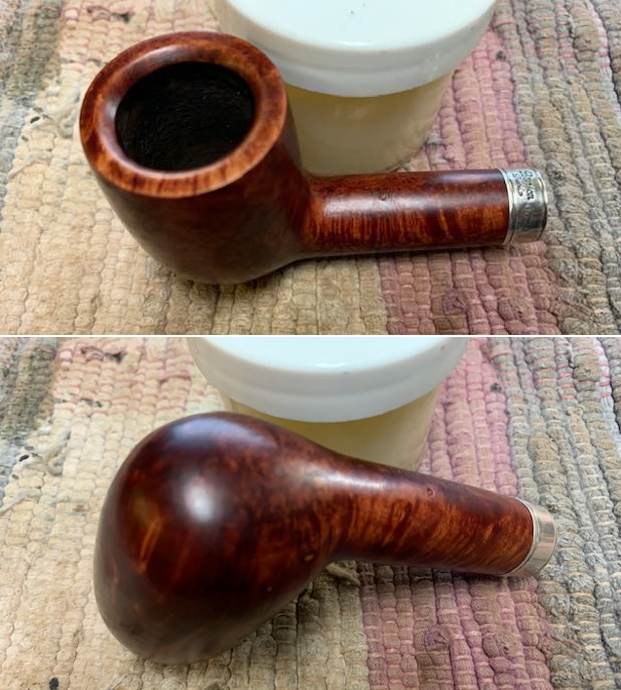
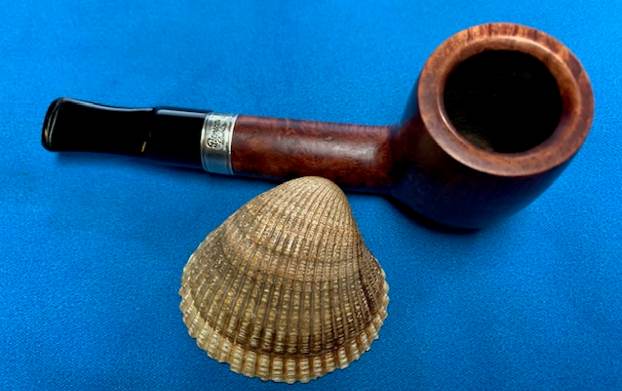
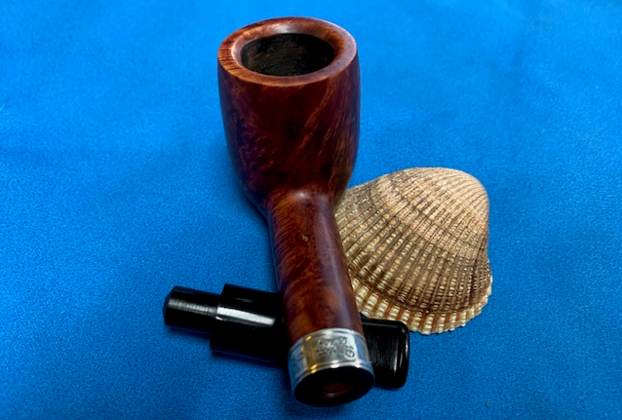
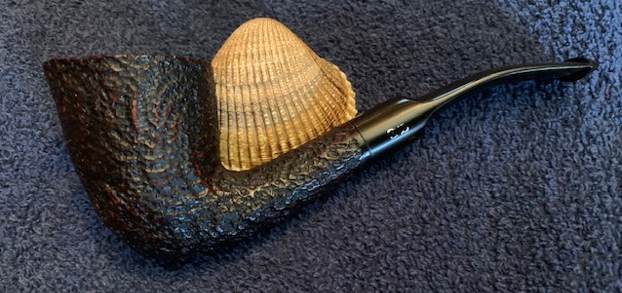
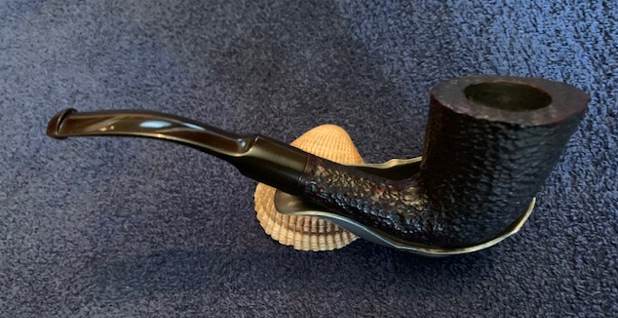
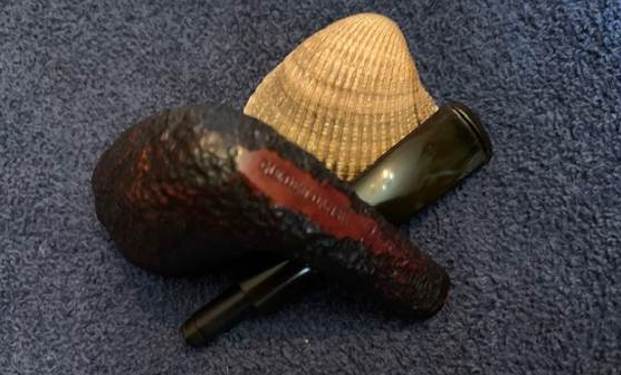
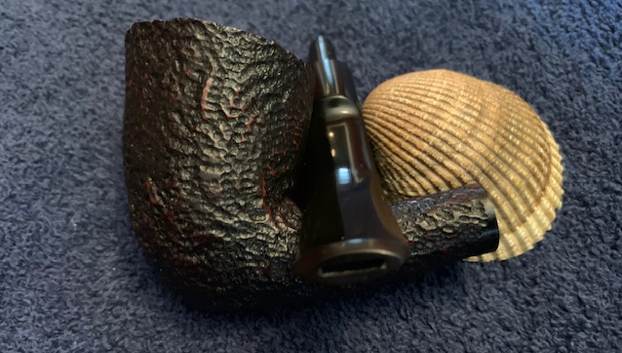
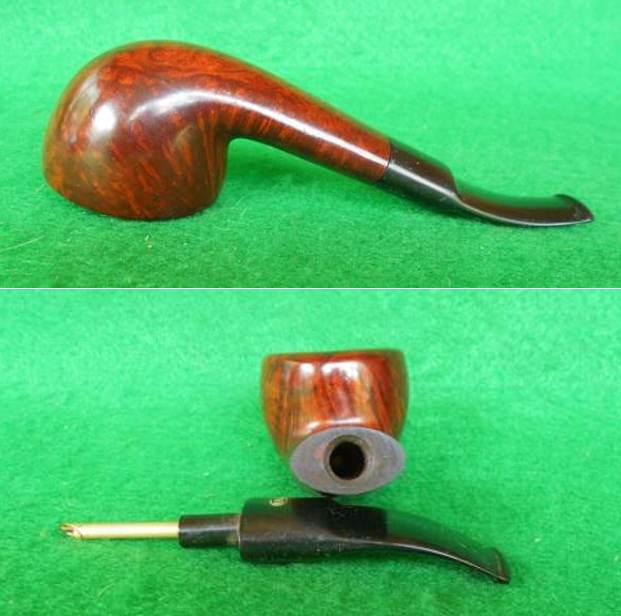
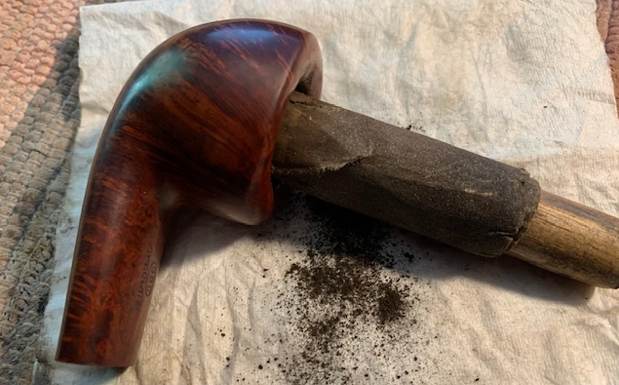
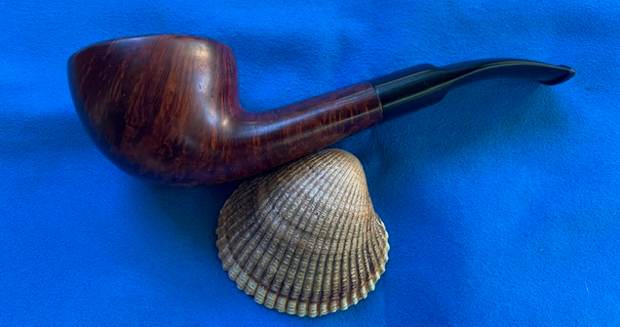
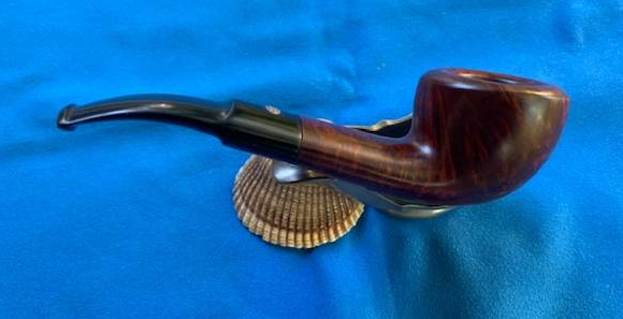
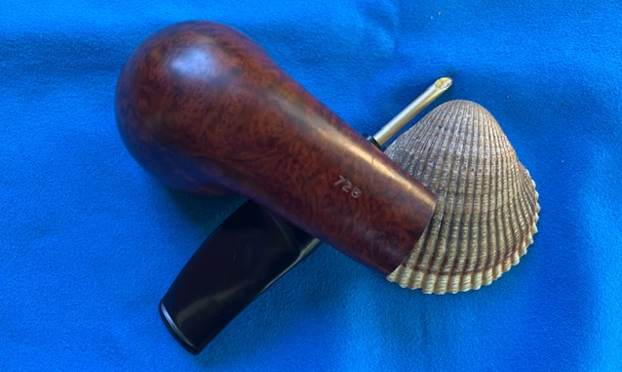
What a handsome pipe! I found this republic-era Peterson Standard System 307 at a local antique fair and I was charmed by it right away. It’s quite a large pipe and the look of it gives one a feeling of confidence. It is satisfying and comfortable in the hand. Despite its rather shabby appearance when I found it, the pipe held great promise – and I was sure that I could tease out its beauty with a little TLC.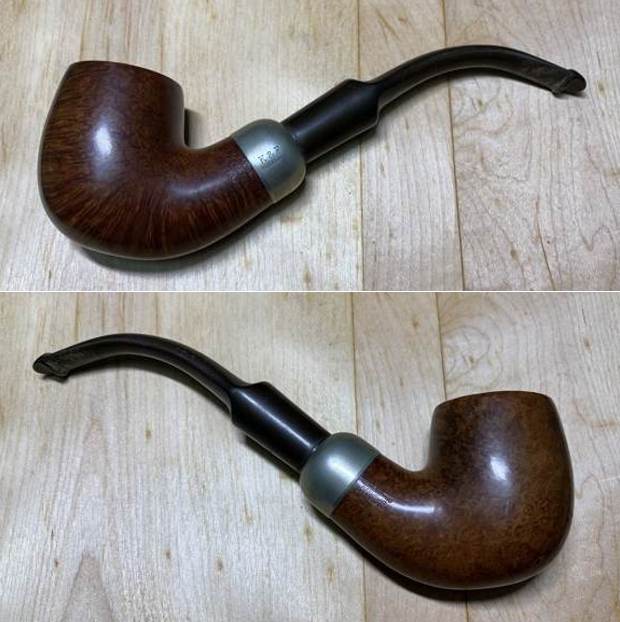
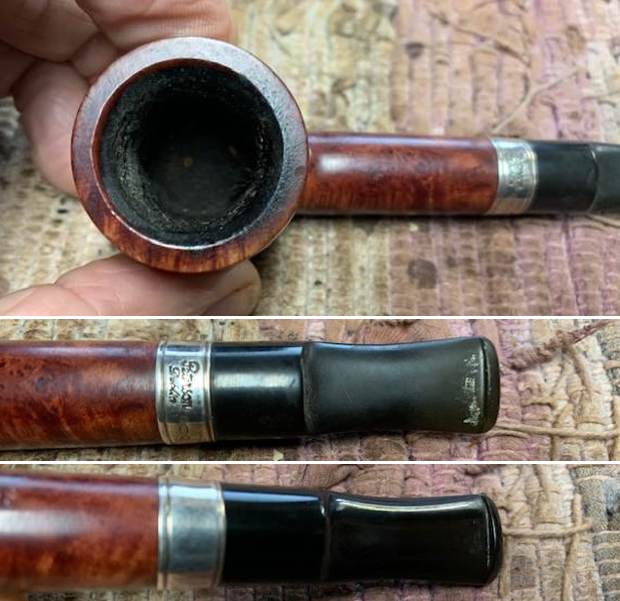
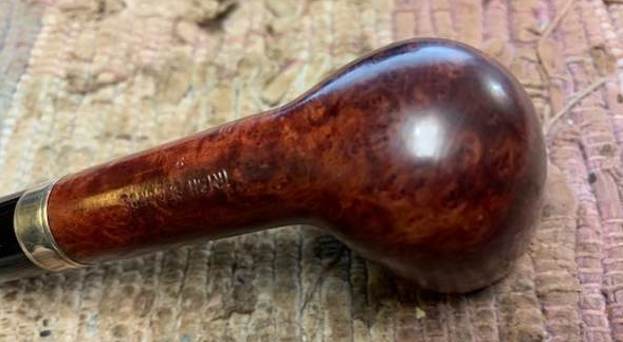
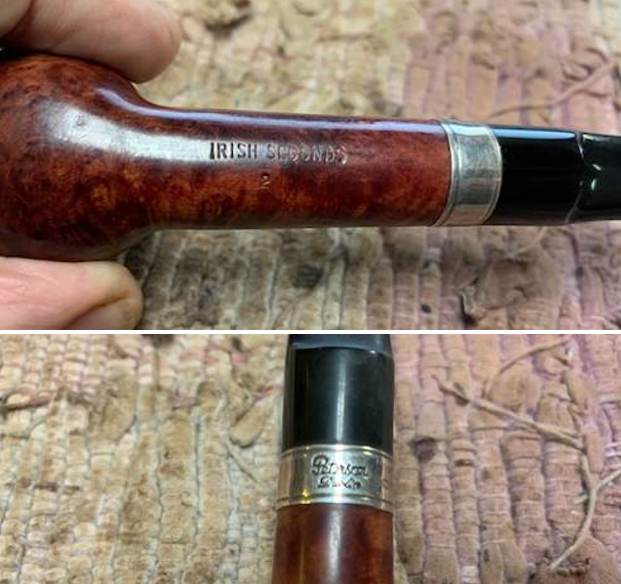
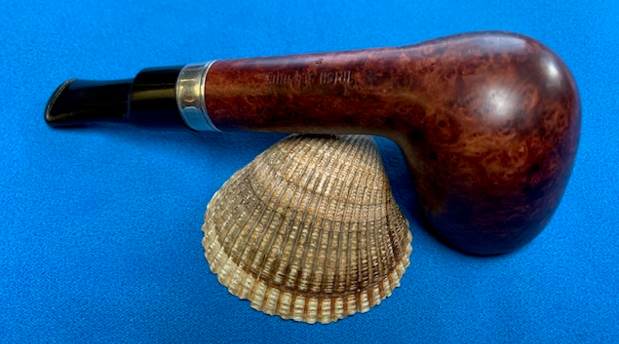
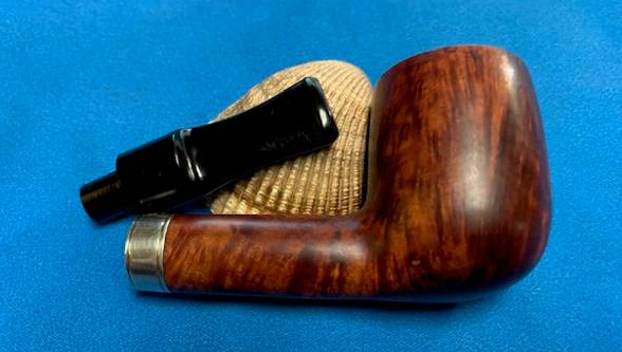
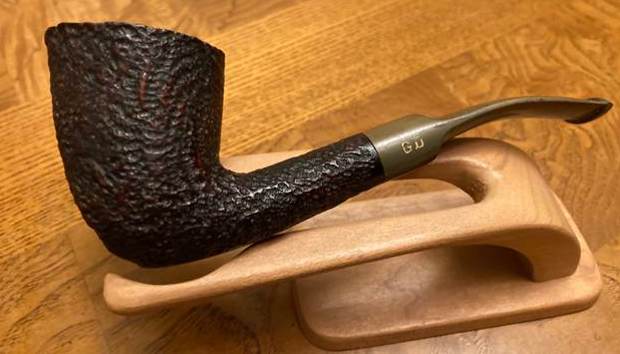
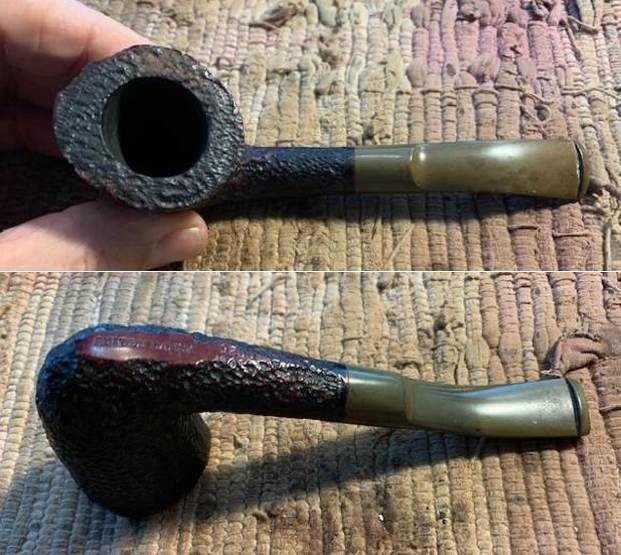
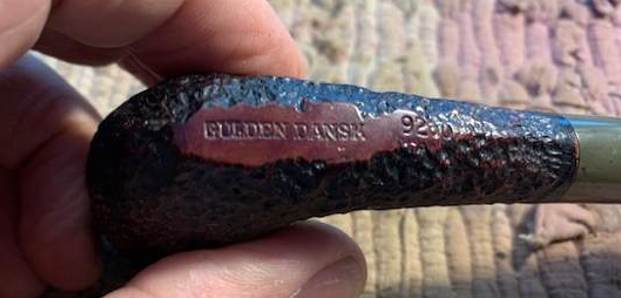
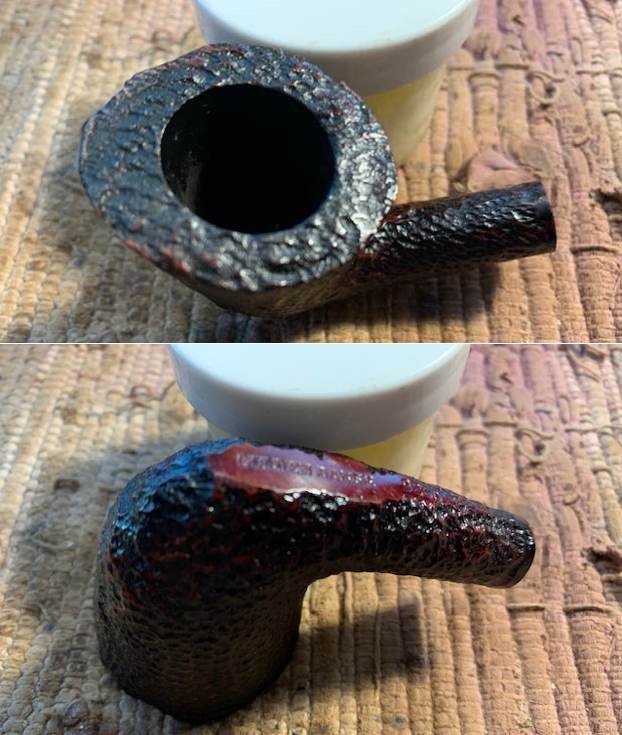
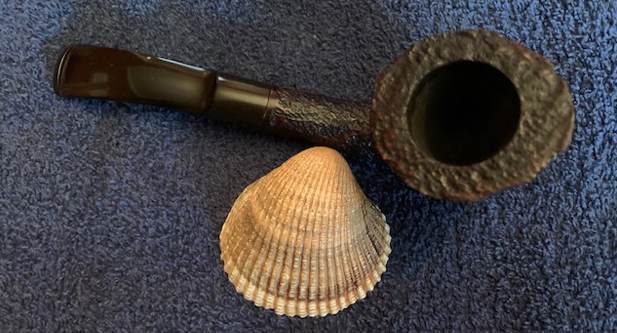
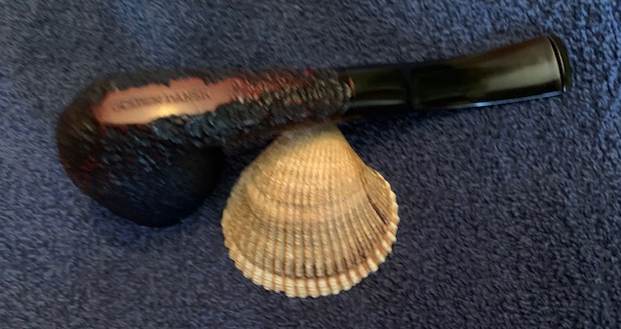
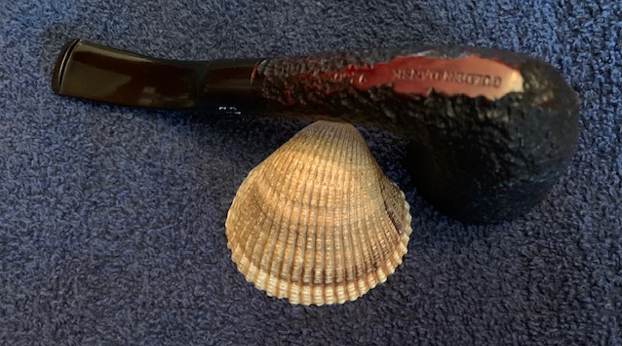
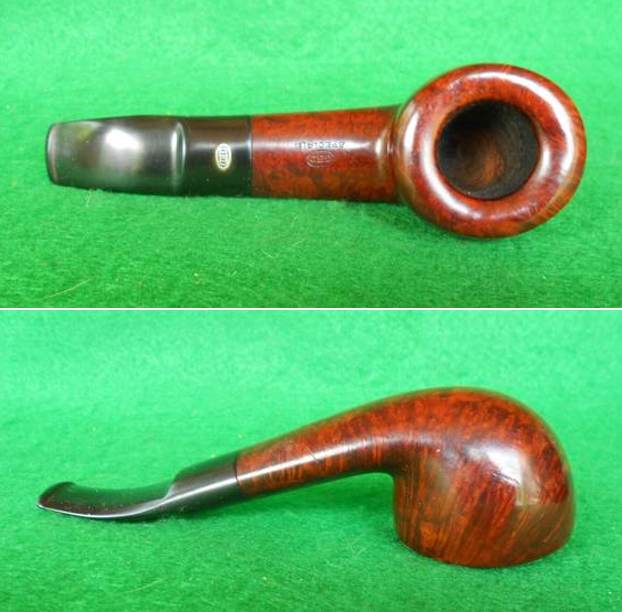
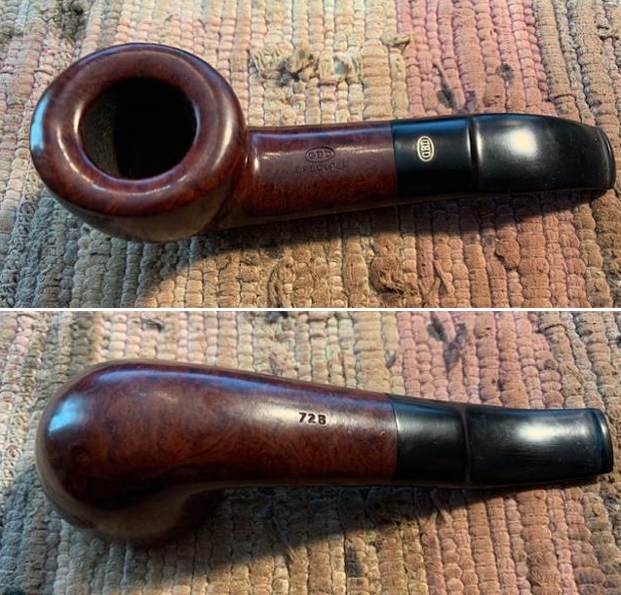
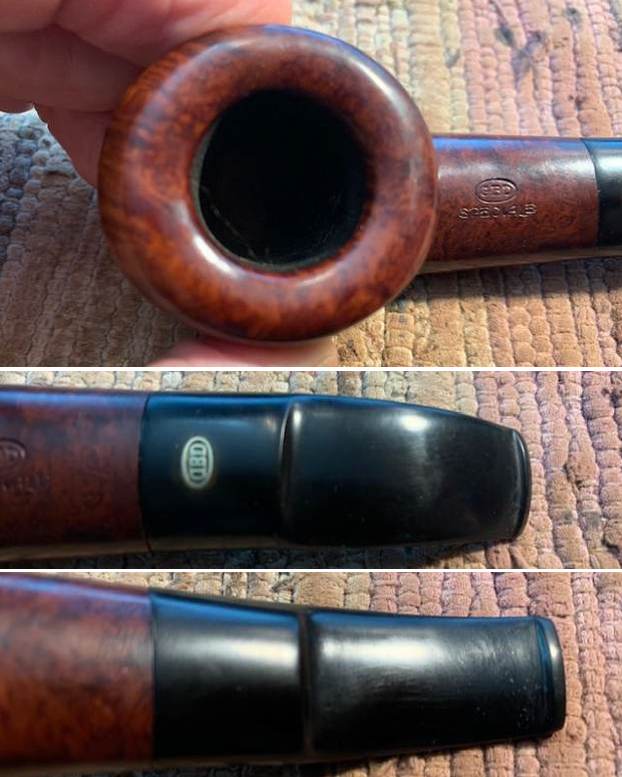
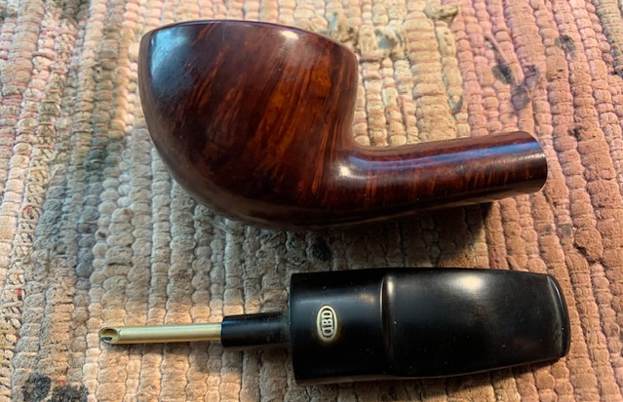
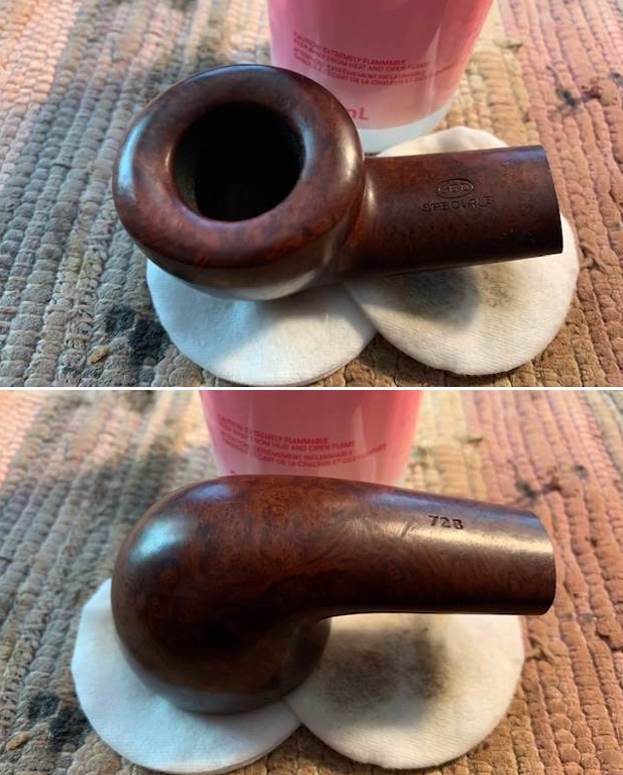
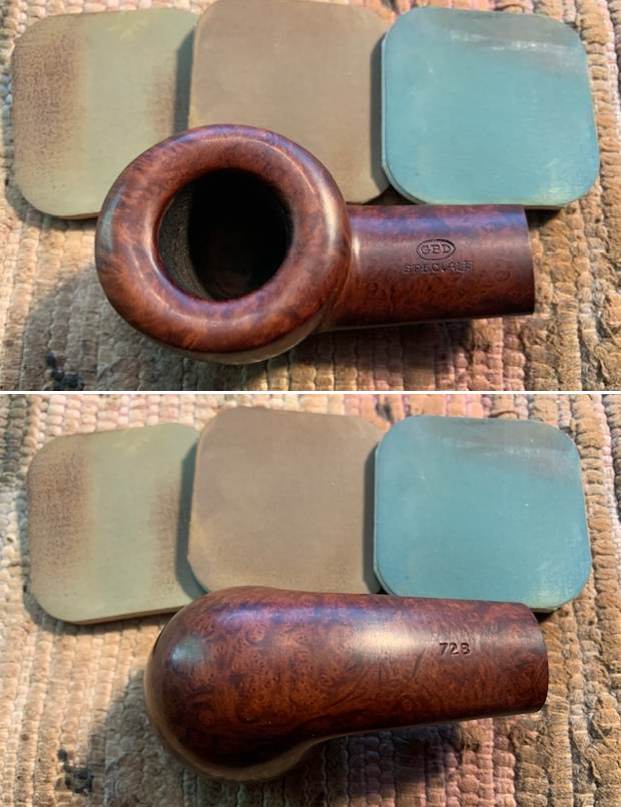
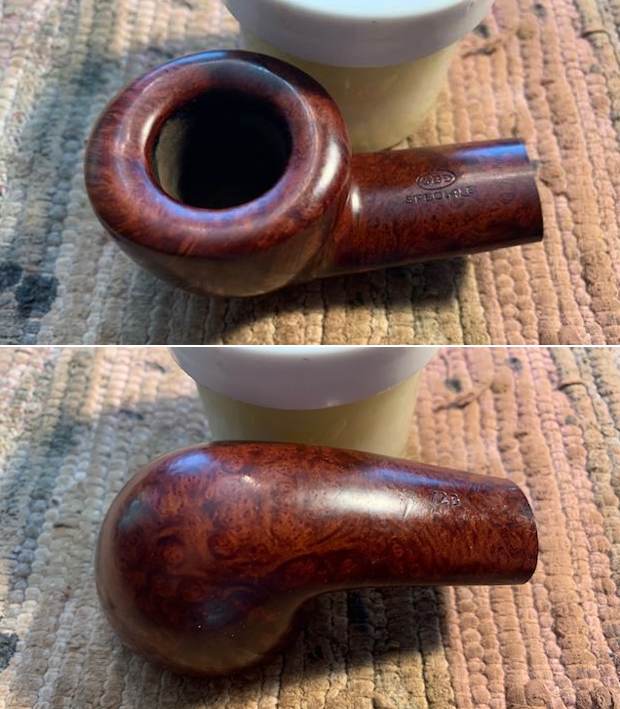
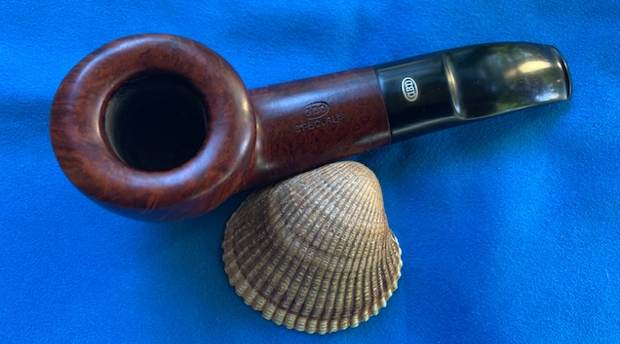
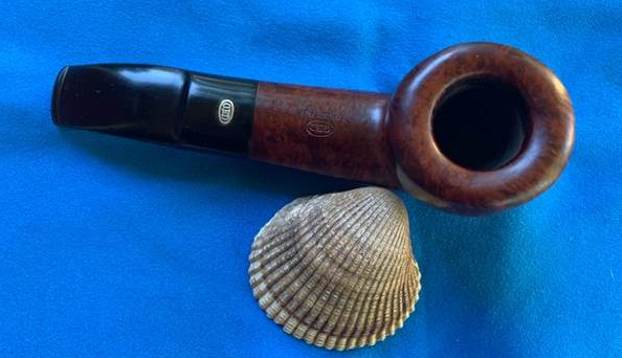
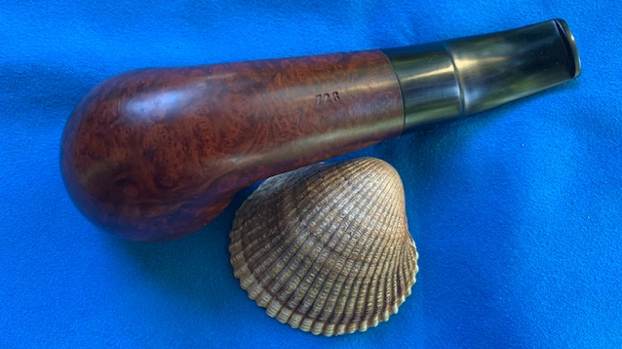
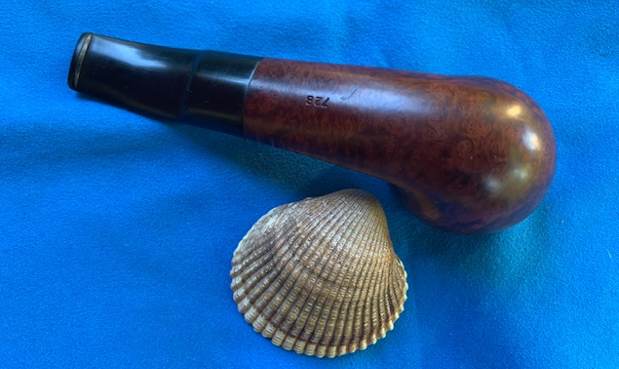
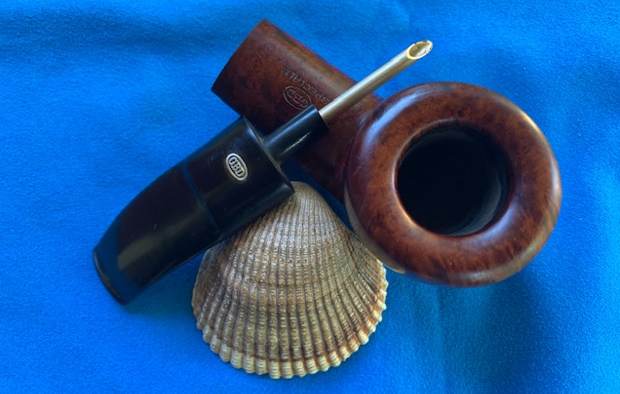
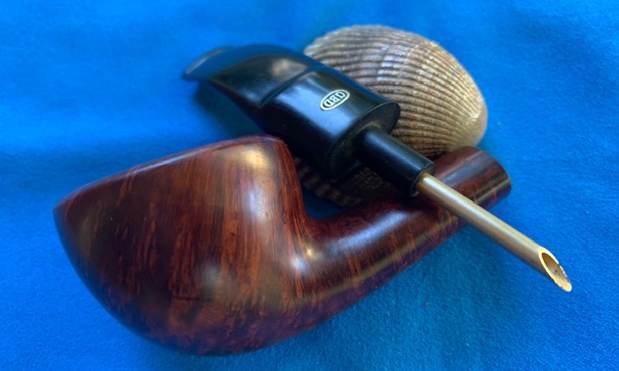
 Let’s have a closer look. This Peterson 307 pipe has the classic “System” look: bent shape, nickel mount, and tapered, army-style stem. Of course, it also had the traditional Peterson P-lip stem. The markings on the left side of the shank are Peterson’s [over] System [over] Standard. The right side of the shank showed Made in the [over] Republic [over] of Ireland [over] 307. The nickel mount on the shank had K&P [over] Petersons. There were no markings on the stem.

 The Peterson System pipes are well-storied among Peterson collectors/admirers. I took the opportunity to read the article on Pipedia, specifically about the System pipes, by Jim Lilley. There is lots of good information there and I encourage you to read it: https://pipedia.org/wiki/A_closer_look_at_the_famous_Peterson_Standard_System_Pipe
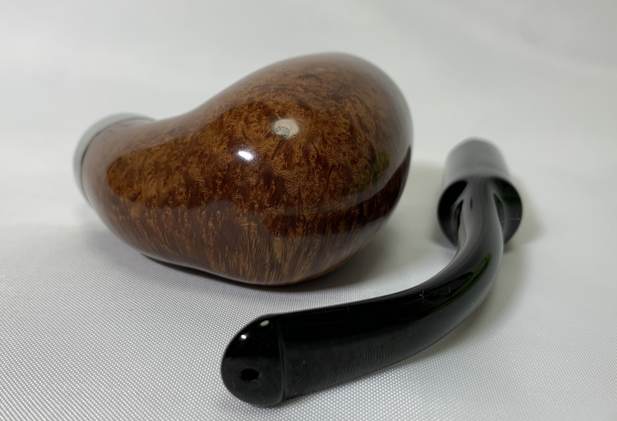
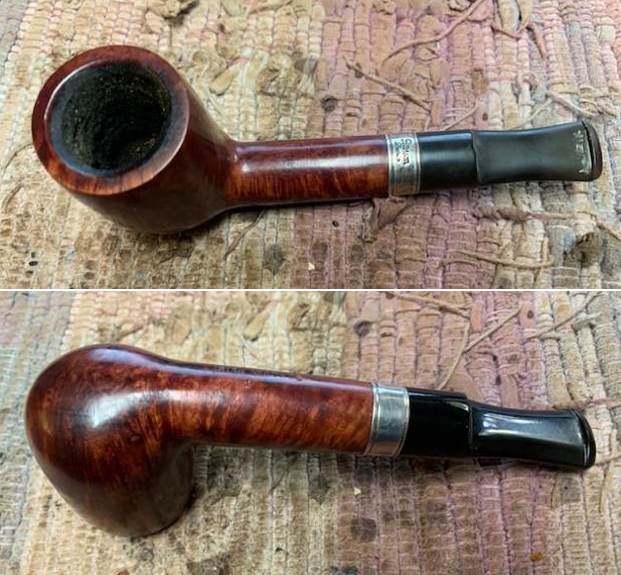
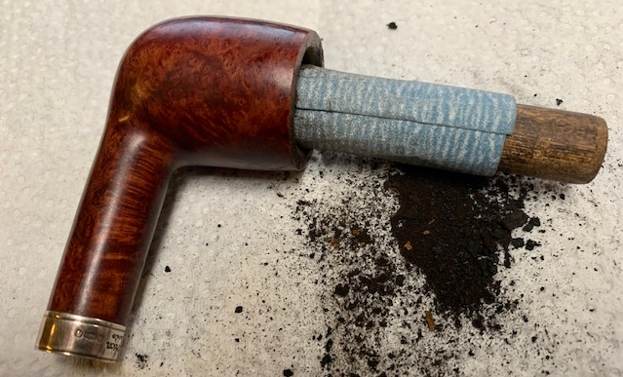
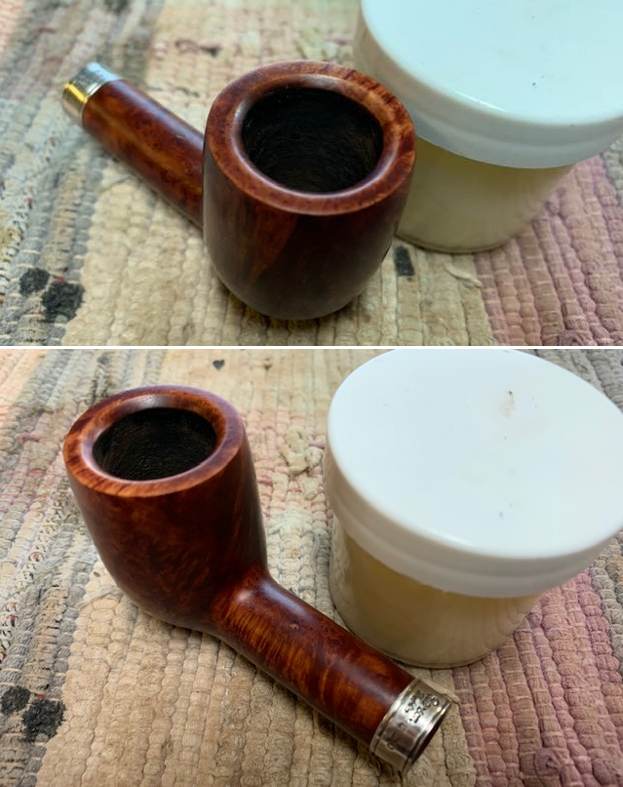
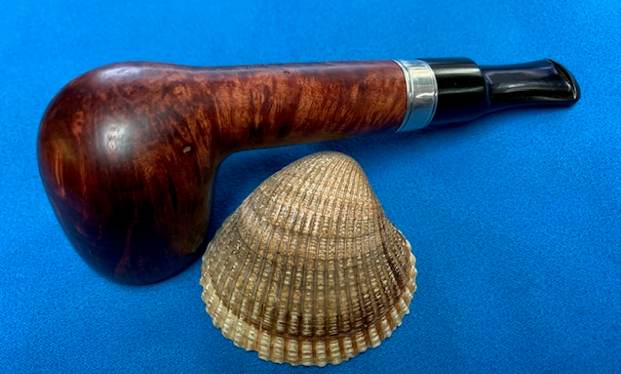
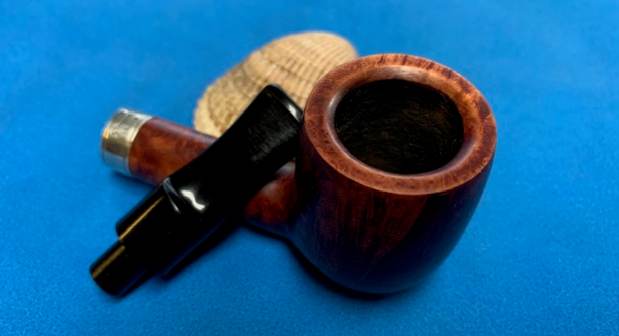
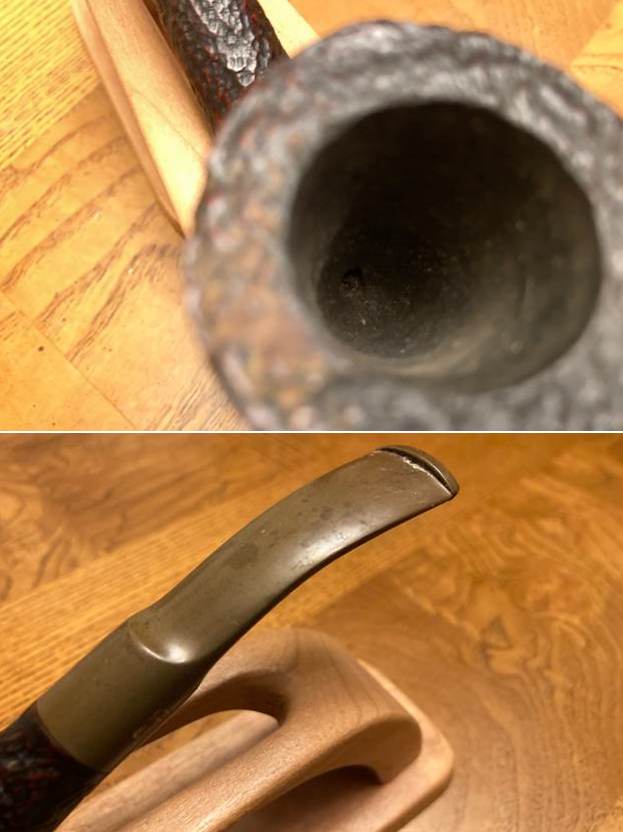
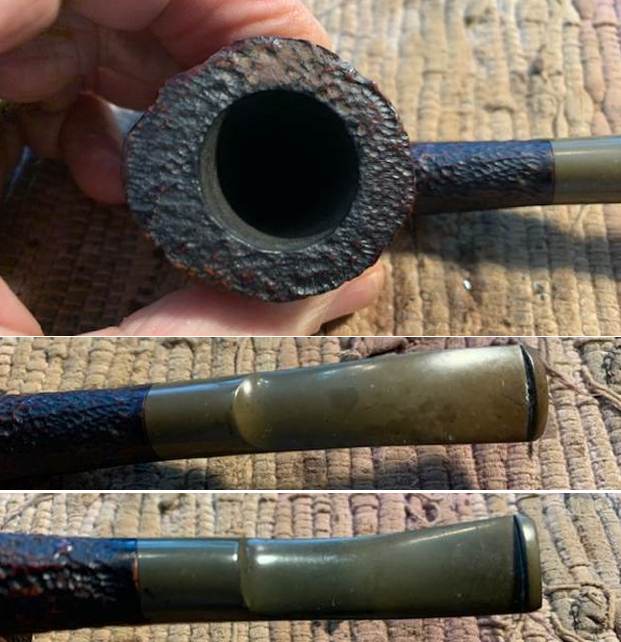
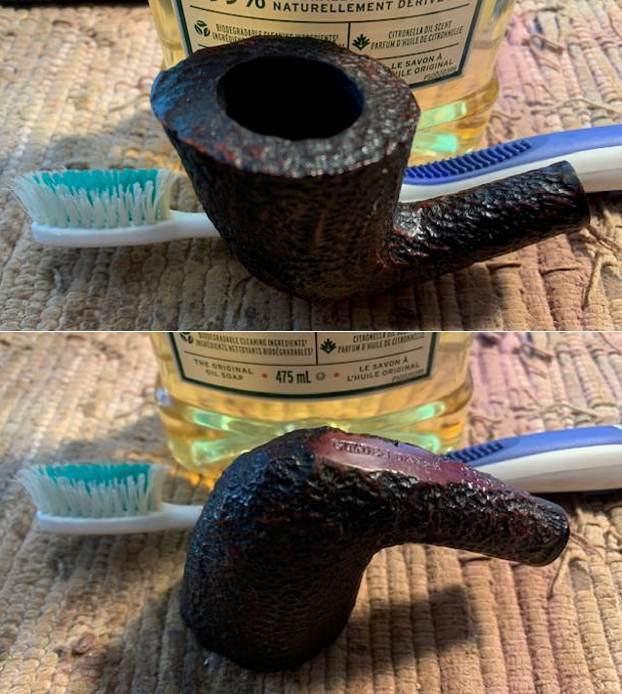
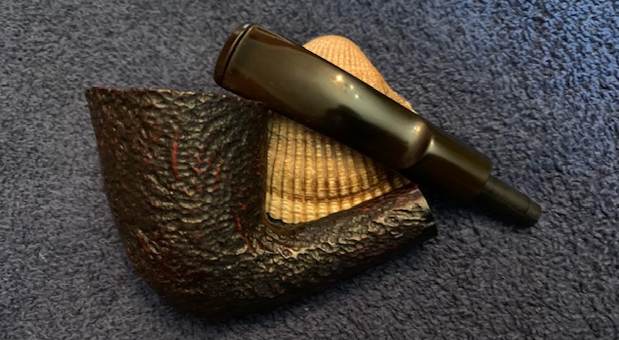
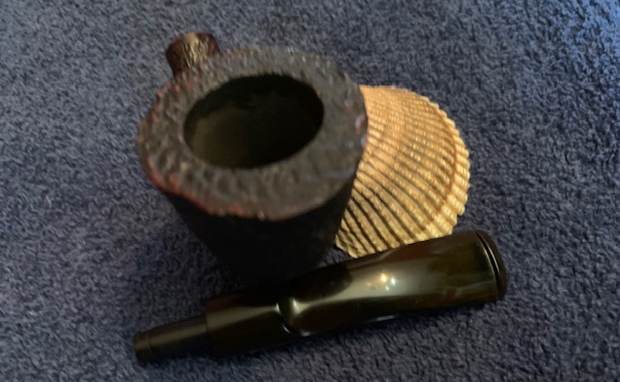
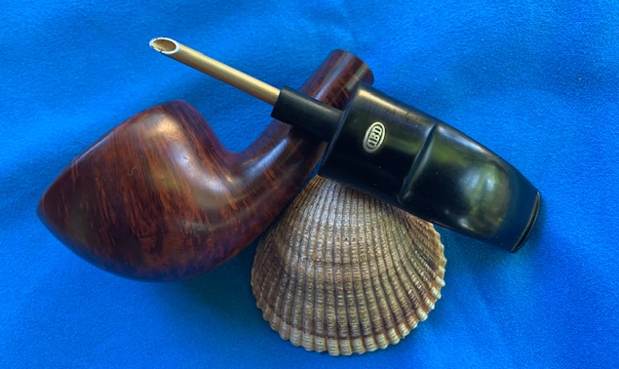
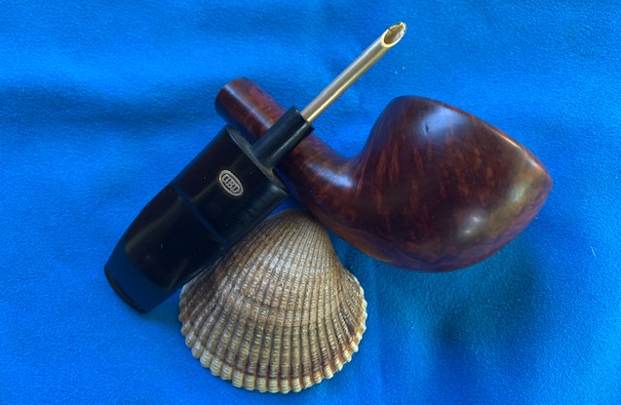
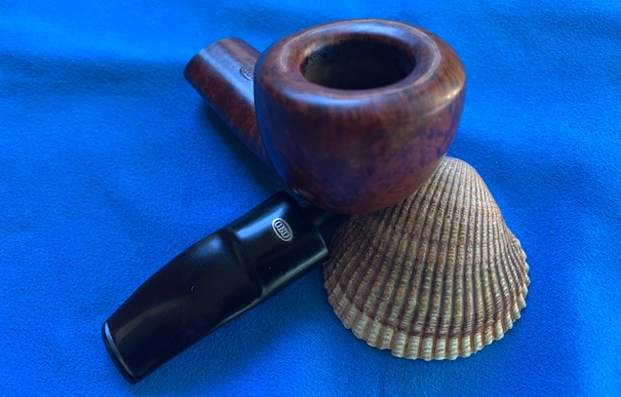
 On to the pipe itself: the stem was in average condition – not especially dirty, but it had been well used. It had some notable dents, though. There was some damage to the top side of the P-lip and a tooth dent on the underside of the mouthpiece. I also noticed (but failed to photograph) that there were significant scratches at the shank-end of the stem, where I assume the stem had rubbed against the nickel mount on the shank. The bowl was moderately dirty and had quite a bit of lava which concealed some burn marks, and there was plenty of cake. Aside from some small fills, the outside of the bowl was fine. The nickel mount was in good shape – no dents or scratches of note – but it was dull and needed some polishing.

 To work! The stem was first on my list. I wiped the outside down with Murphy’s Oil Soap on some cotton pads. I also took a BIC lighter and ‘painted’ the stem with its flame to lift the few bite marks and dents. Sadly, however, this did not do much. Then I cleaned out the inside with pipe cleaners and isopropyl alcohol.
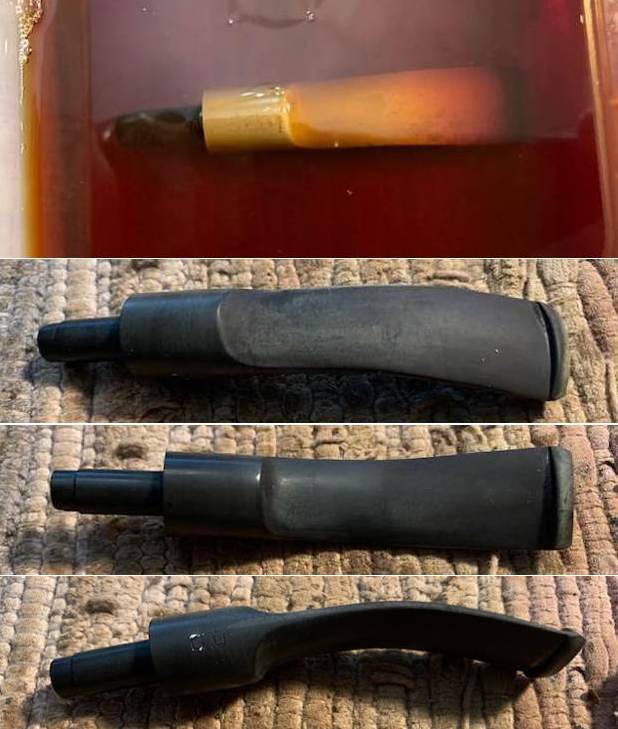
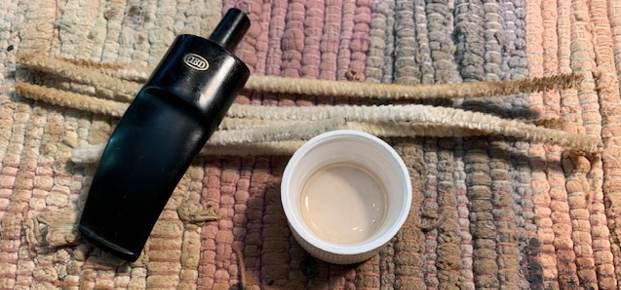
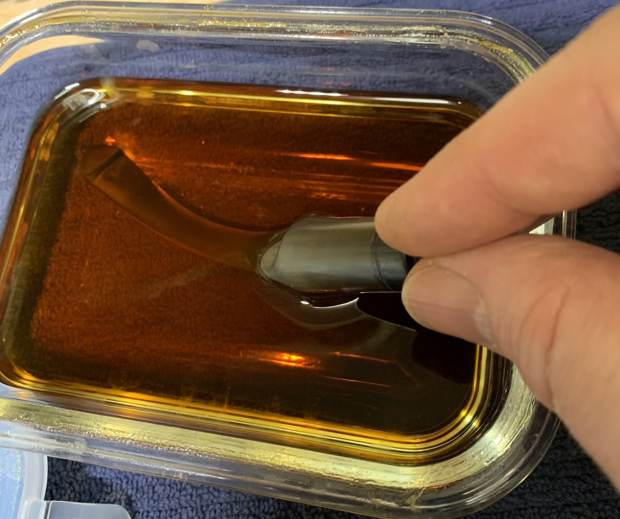
 I used some SoftScrub on the outside of the stem to remove some oxidation. Then, the stem went for an overnight soak in the Pipe Stem Oxidation Remover. The following day, I cleaned the de-oxidizing mess off with alcohol, pipe cleaners, et cetera. The oxidation had migrated to the surface and would be fairly straightforward to remove. I scrubbed again with SoftScrub on some cotton pads to remove the leftover oxidation.
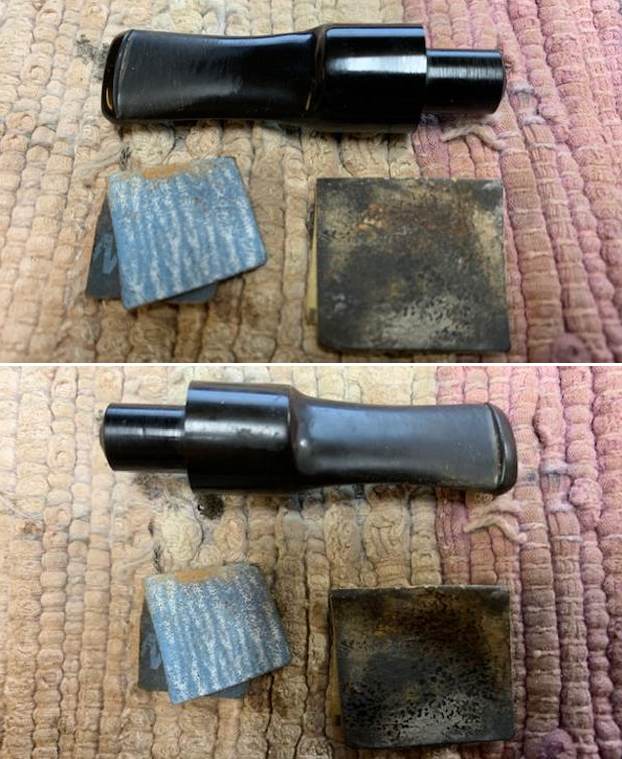
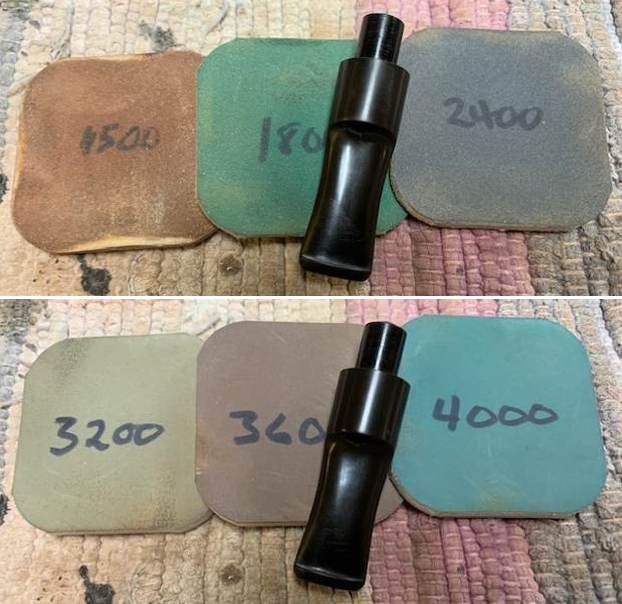
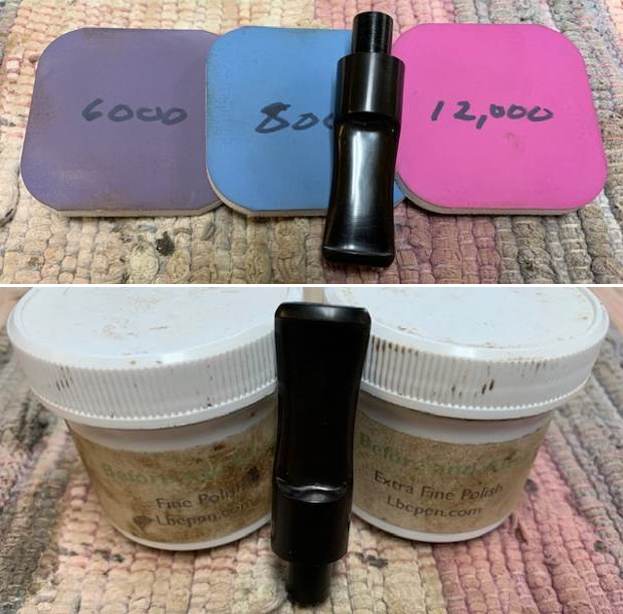
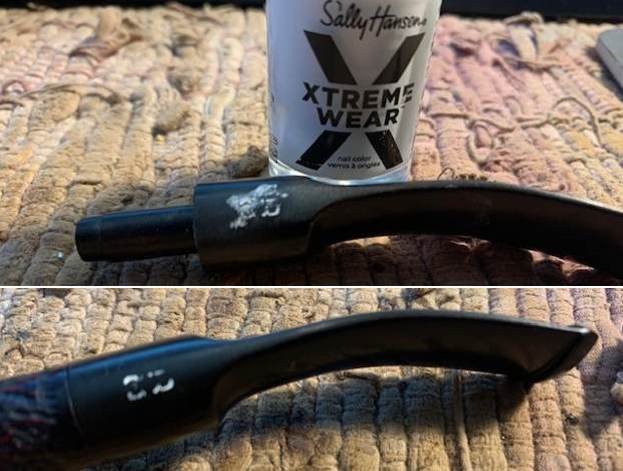
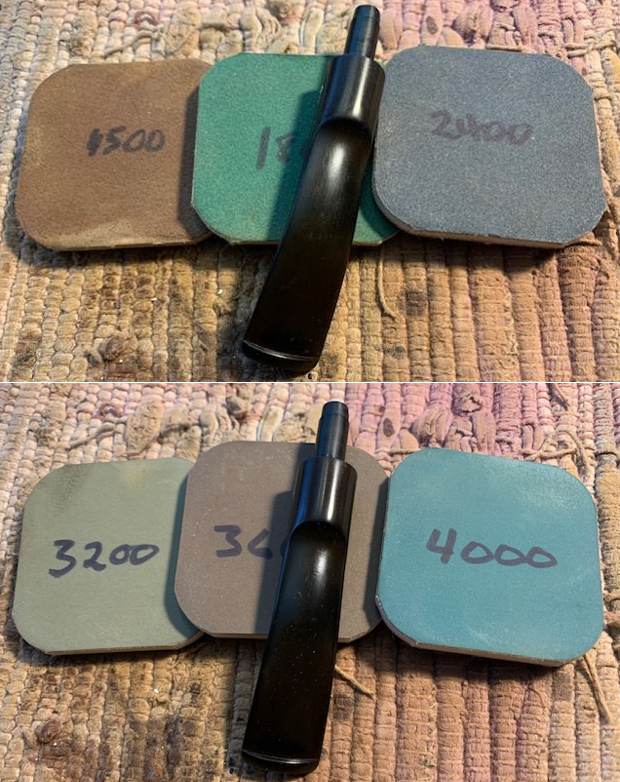
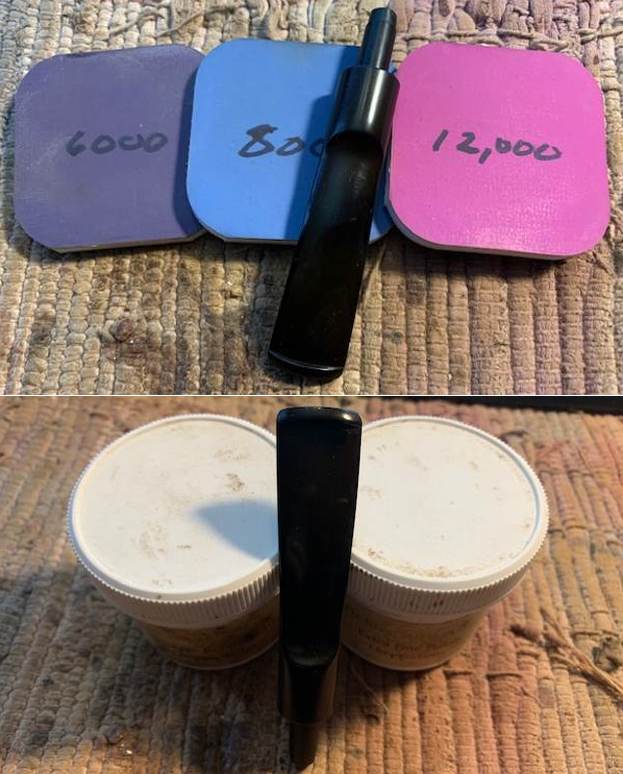
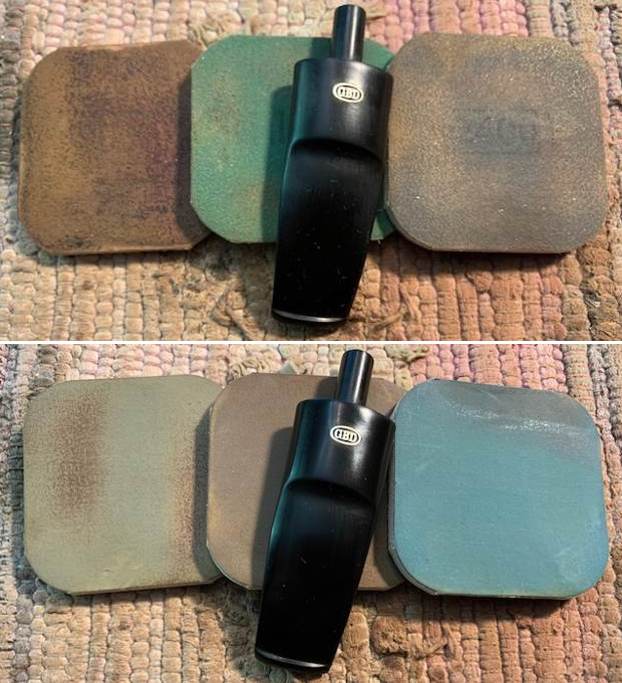
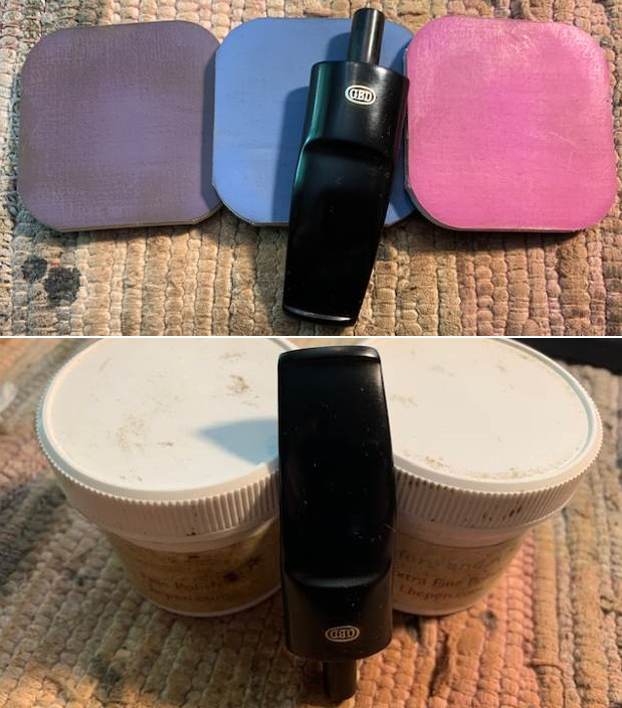
 I built up the dents on the stem with black cyanoacrylate adhesive and let them cure. I then sanded the adhesive down – first with a small file – then with 220-, 400-, and 600-grit sandpapers to meld seamlessly into the stem. I then used all nine Micromesh pads (1,500 through 12,000 grit) to polish it and highlight the black lustre on the stem. I also used Obsidian Pipe Stem Oil in between each pad scrubbing.

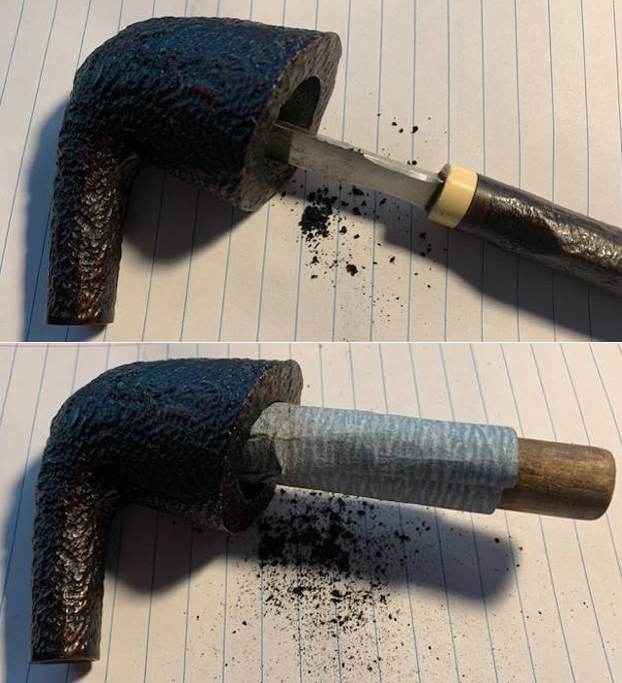
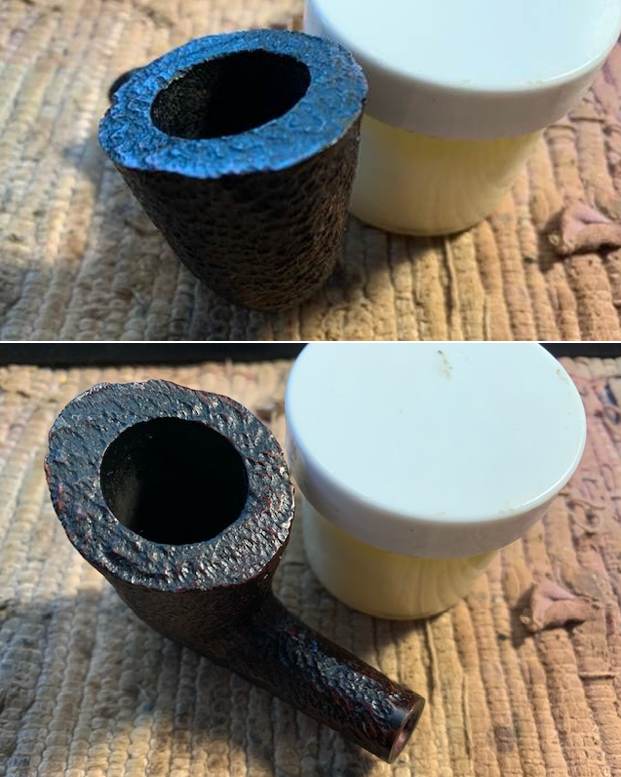
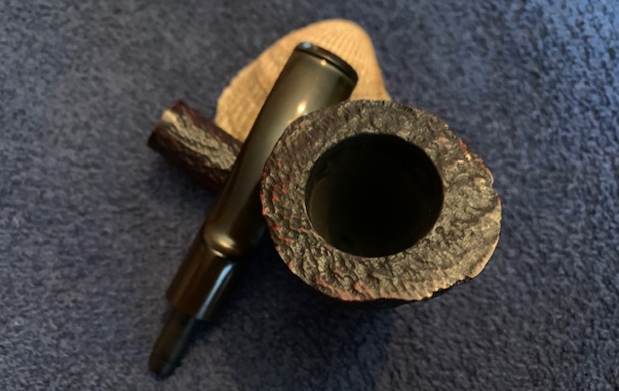
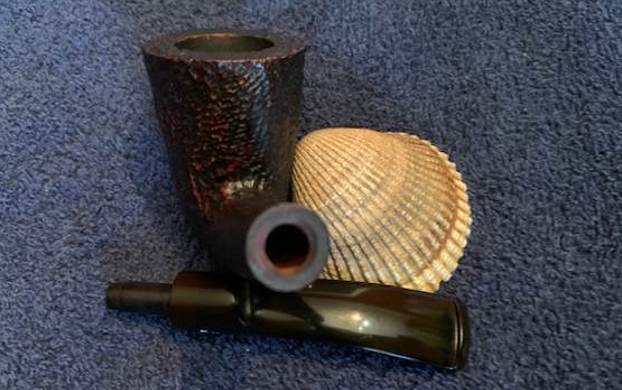
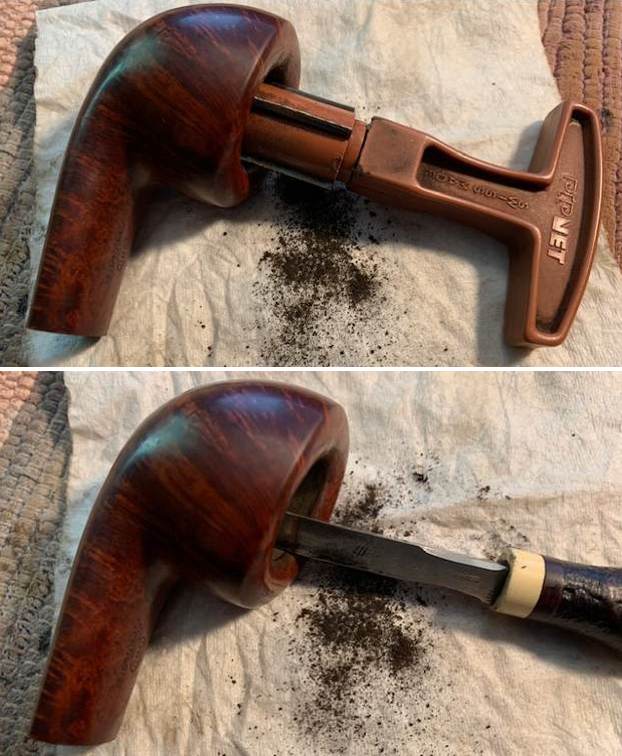
 Moving on to the stummel, I first decided to ream out the bowl. I used both the PipNet Reamer and the KleenReem to remove the built-up cake and followed that with 220-grit sandpaper taped to a dowel to eliminate as much as possible. I took the chamber down to bare briar to ensure there were no hidden flaws in the wall. Fortunately, there were none.
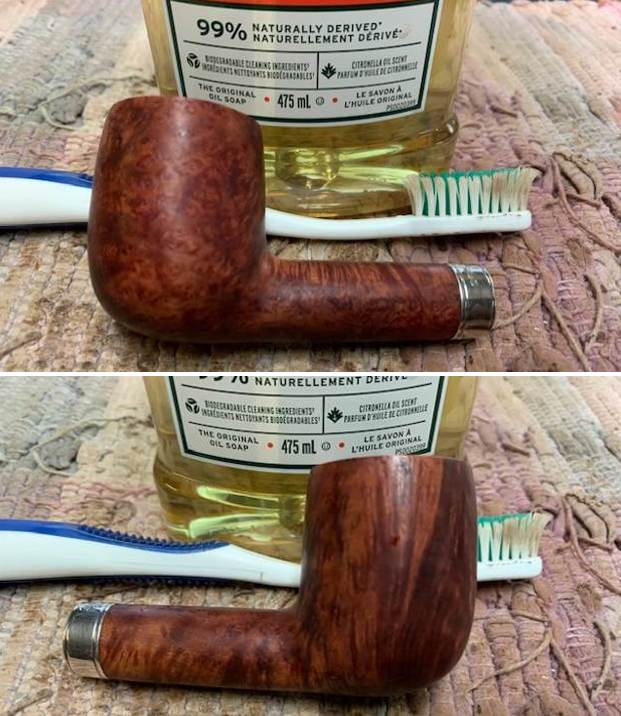
 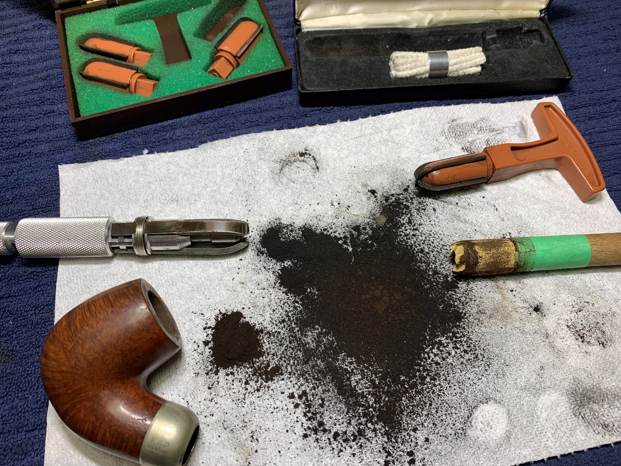 I used cotton rounds and some Murphy’s Oil Soap to scrub the outside of the stummel and a toothbrush with Murphy’s for the lava on the pipe’s rim.
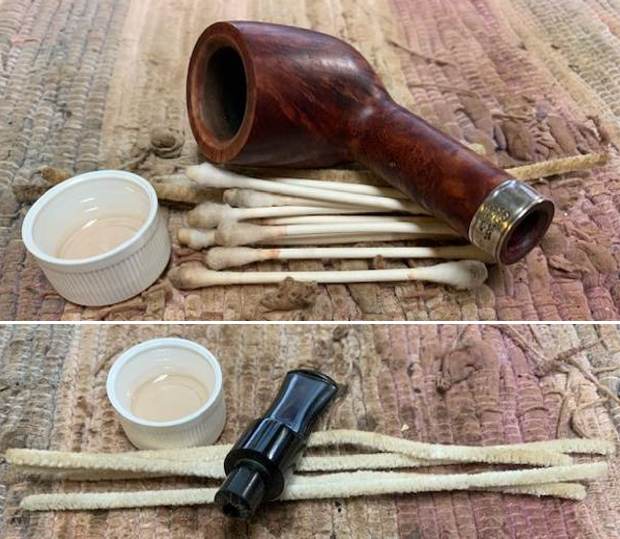
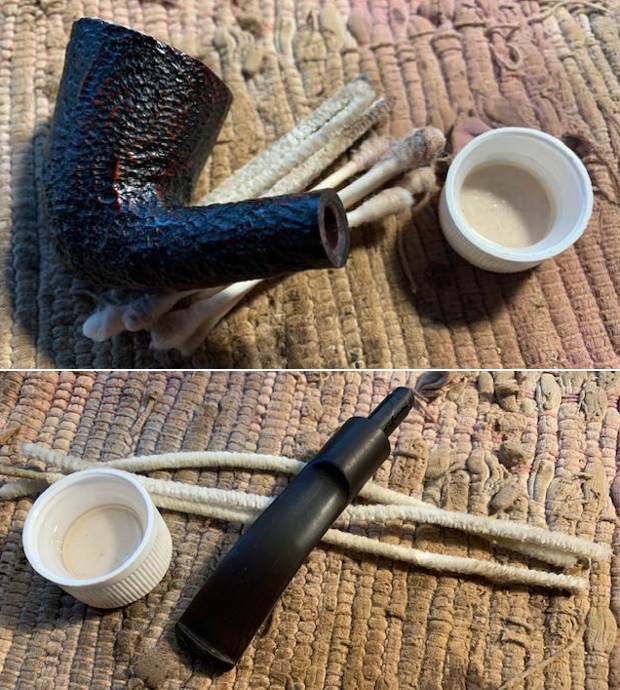
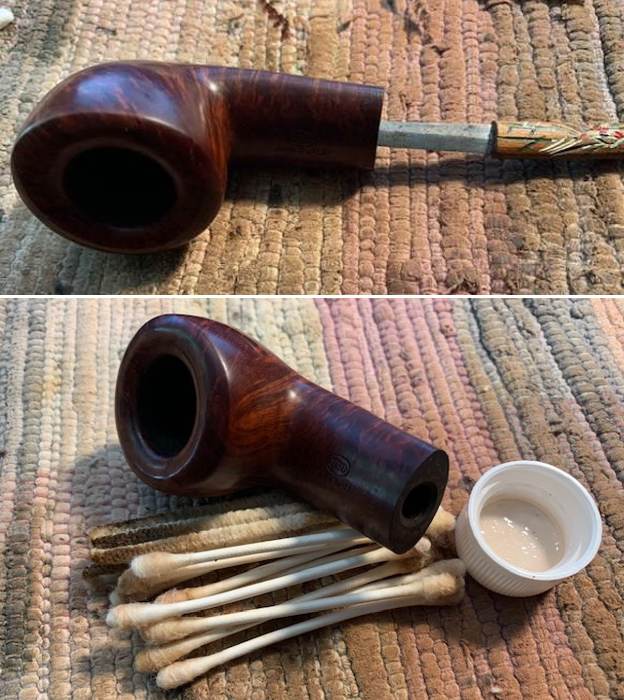
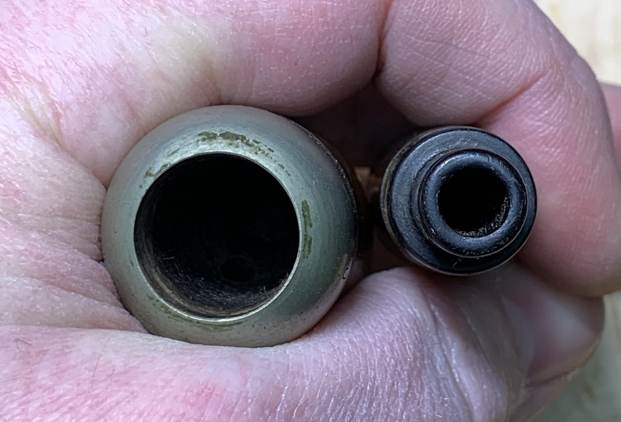
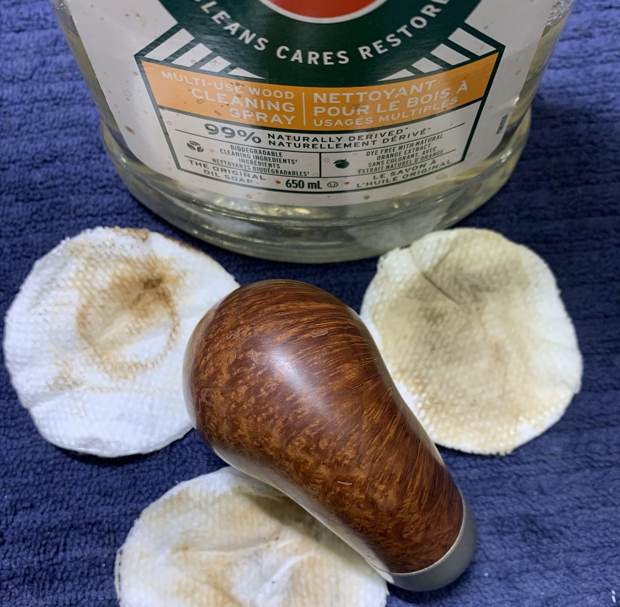 I then proceeded to clean out the insides of the shank with Q-tips, pipe cleaners, and lemon-infused isopropyl alcohol. There was quite a bit of filth inside this stummel, and it took a fair amount of cotton to get it clean. I followed that up by cleaning the insides with some dish soap and tube brushes.
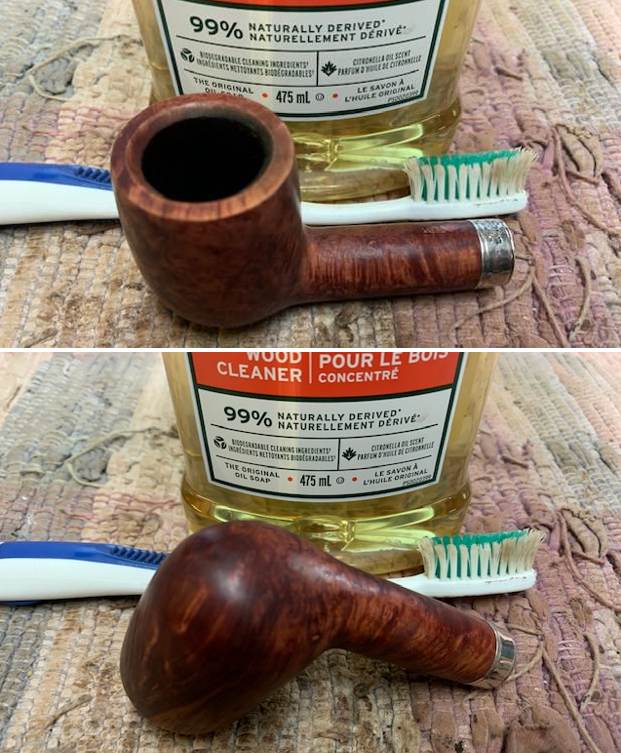
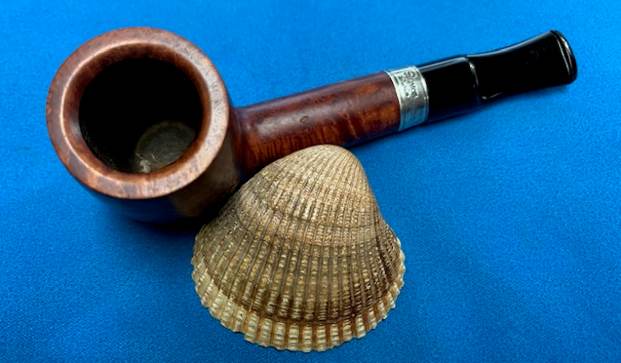
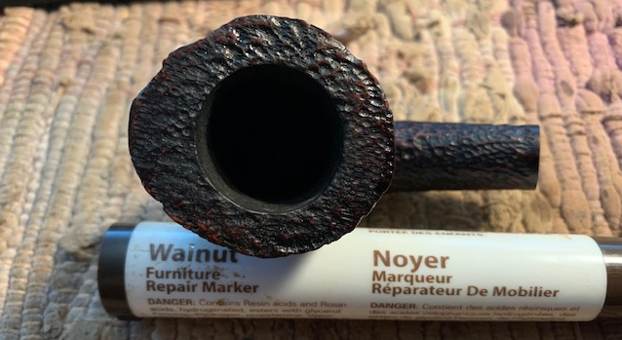
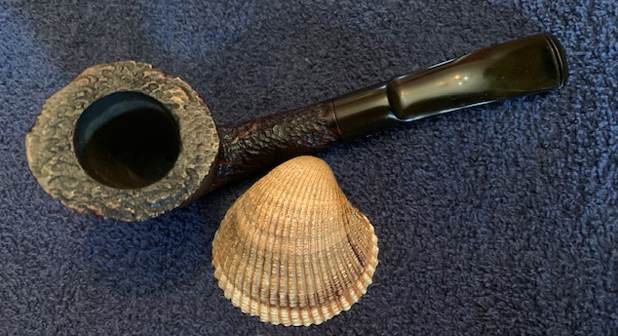
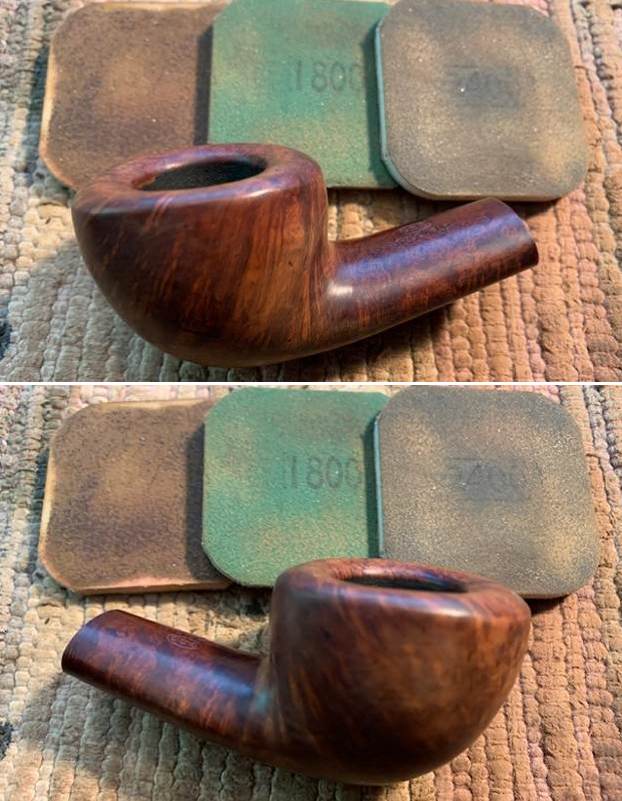
 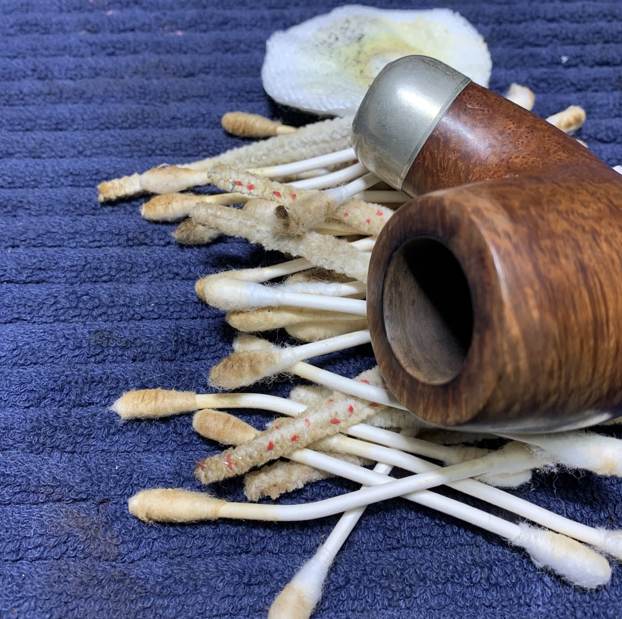 Now I could address the burn on the rim. I used a piece of tool steel to gently scrape away the burn residue, but I didn’t get the results I hoped for. So, I “topped” the pipe – that is, I gently and evenly sanded the rim on a piece of 220-grit sandpaper. This effectively removed the damage without altering the look of the pipe.
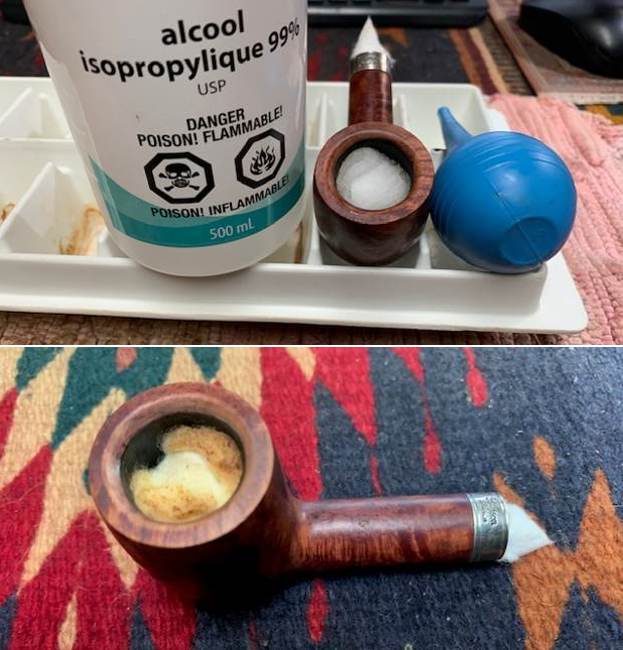
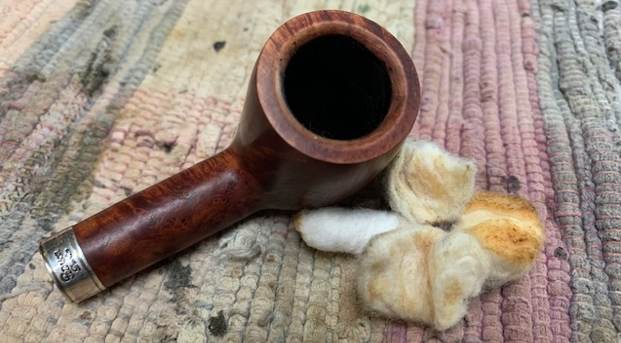
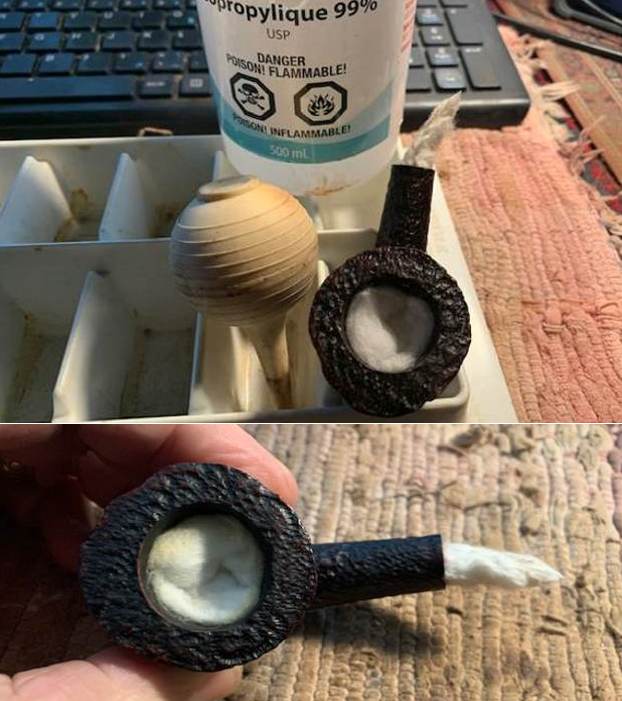
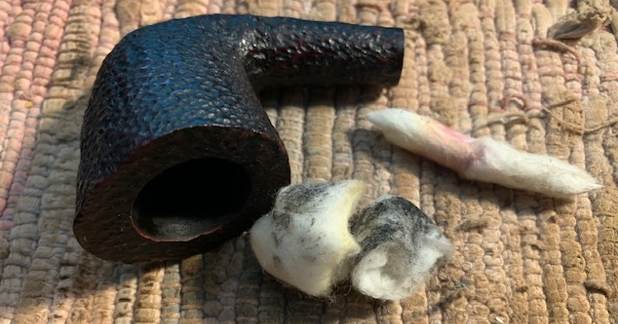
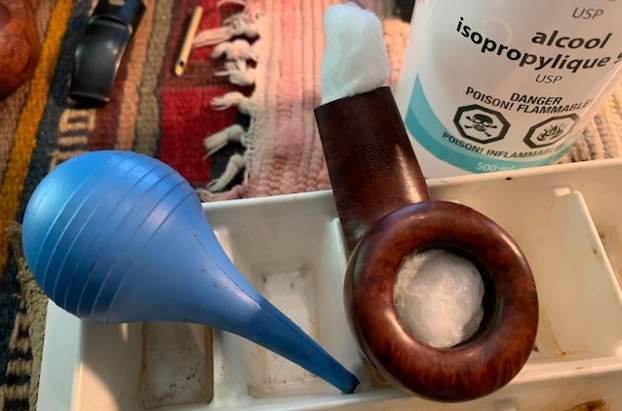
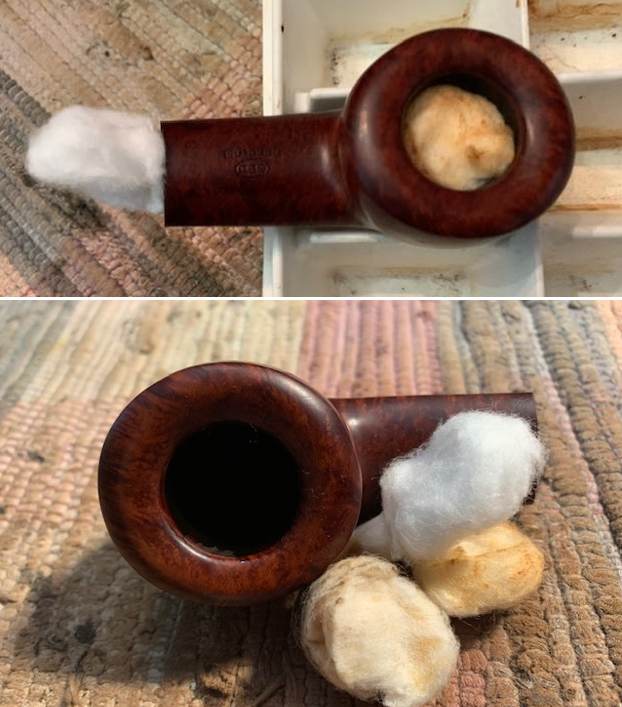
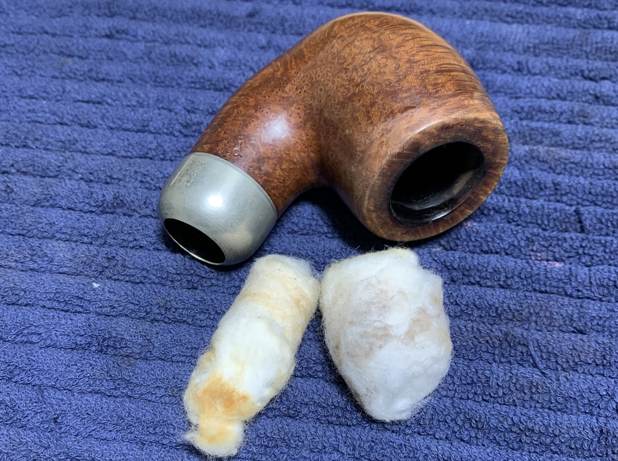
 I decided to de-ghost the pipe in order to remove any lingering smells of the past. I thrust cotton balls into the bowl and the shank and saturated them with 99% isopropyl alcohol. I let the stummel sit overnight. This caused any remaining oils, tars and smells to leach out into the cotton. The bowl was nice and clean after this.
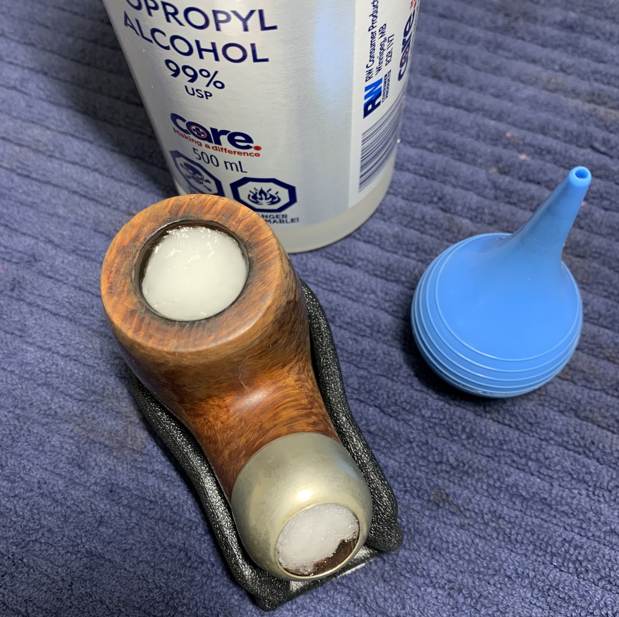
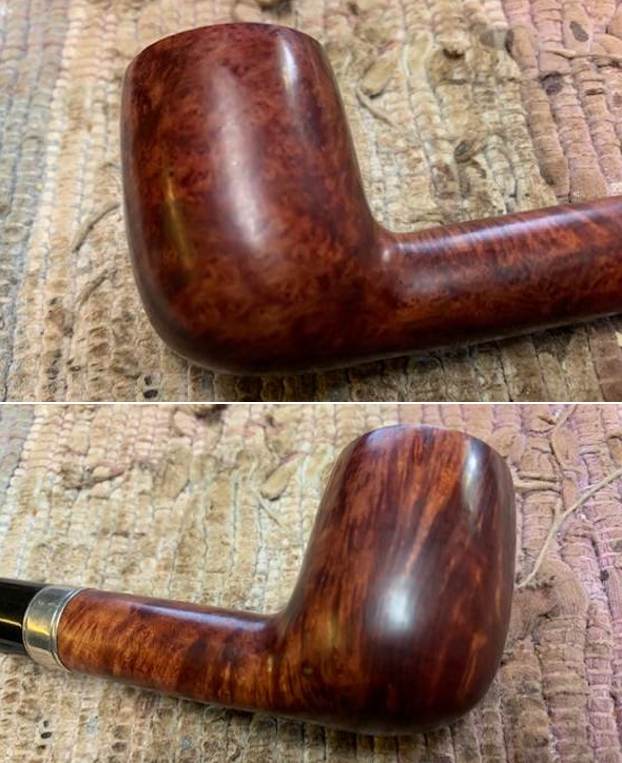
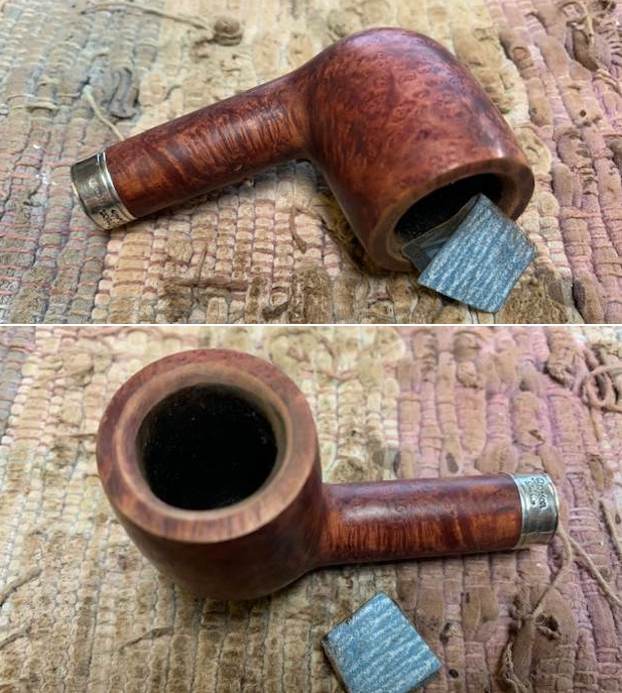
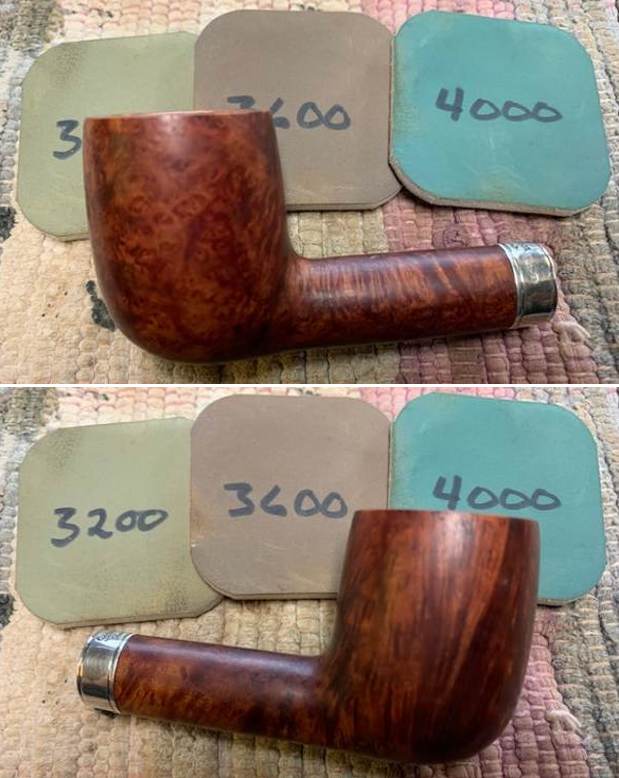
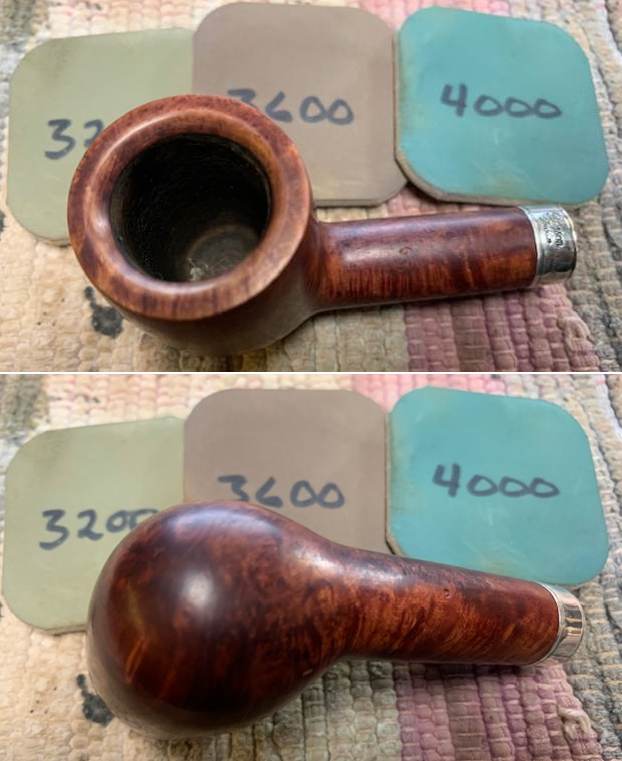
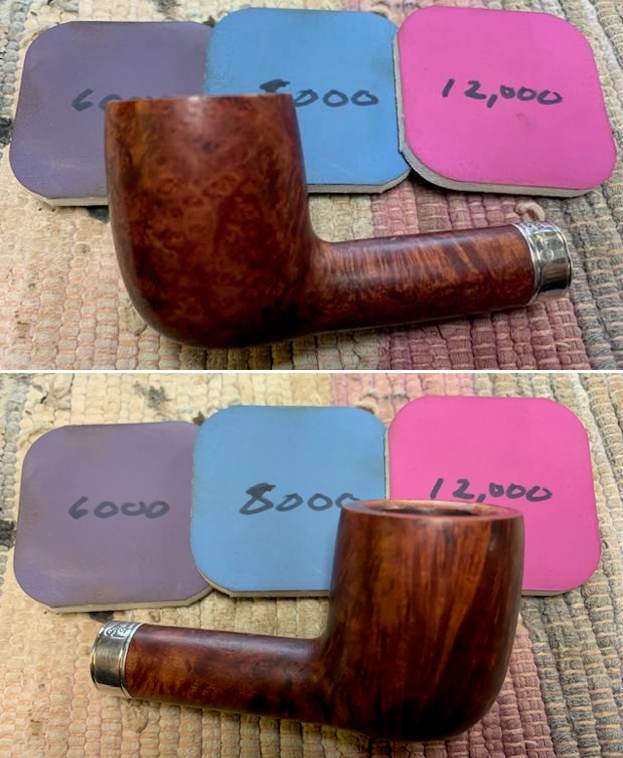
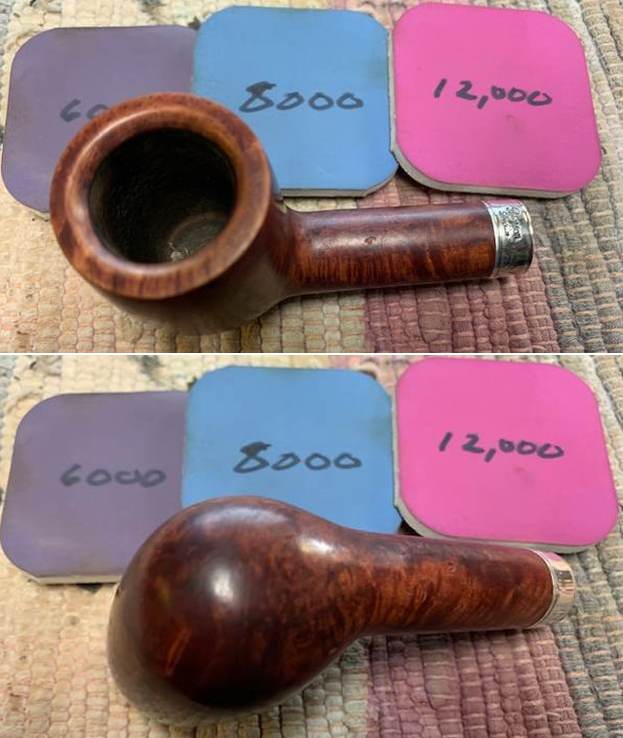
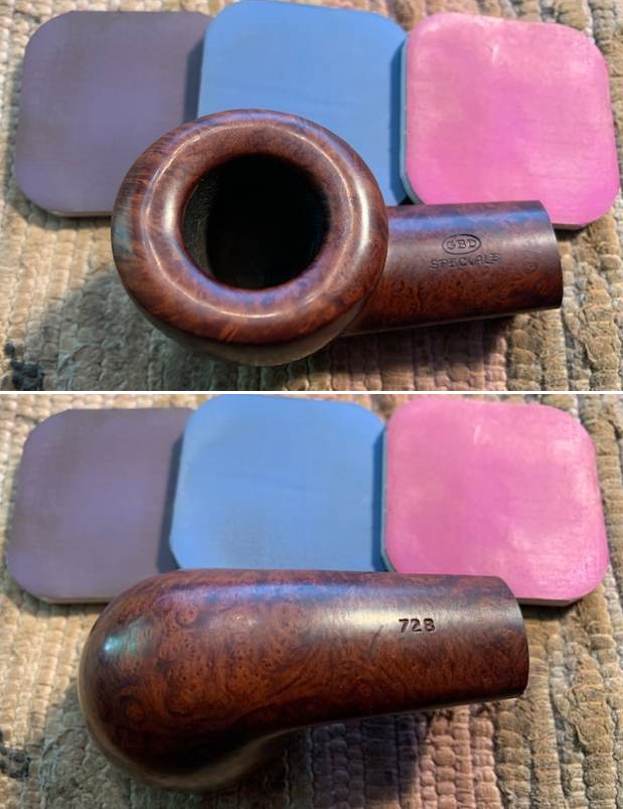
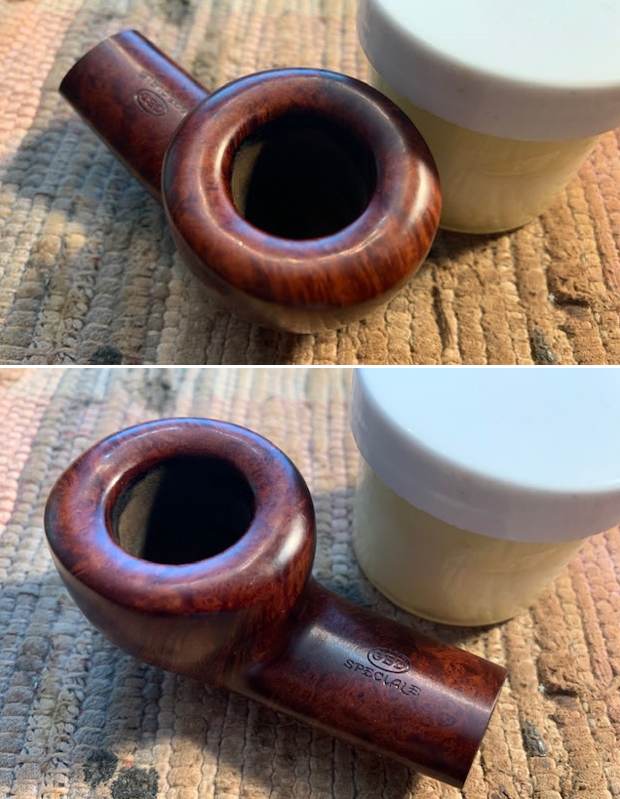
 Now it was time to address the tiny fills on the bowl. I repaired them with a mixture of briar dust and cyanoacrylate adhesive. This ensures a strong repair and one that looks similar to the surrounding wood. As you can see, I made a mess to begin with, but I sanded the repair down with a file and 200- and 400-grit sandpaper until it was level with the surrounding briar. Then, I used all nine Micromesh pads (1,500 through 12,000 grit) on the stummel to finish it off. This included buffing up the nickel mount to a beautiful shine!

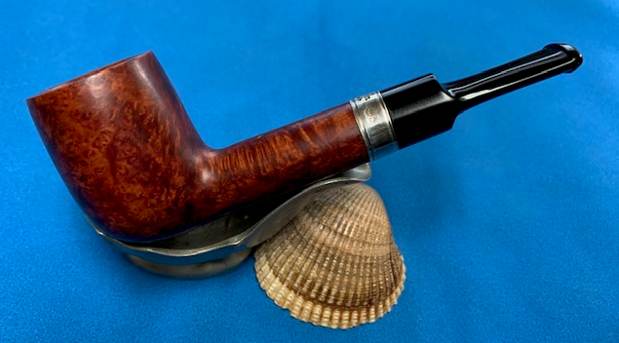
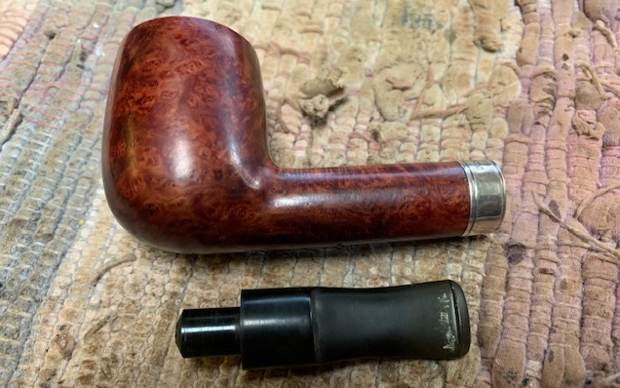
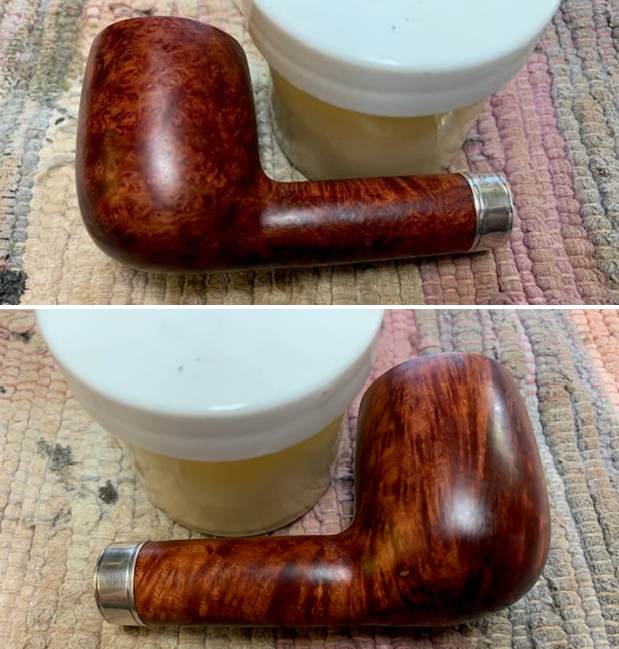
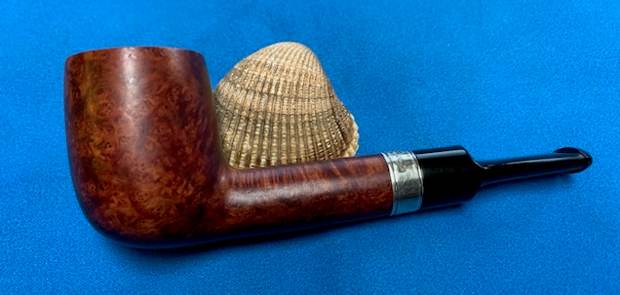
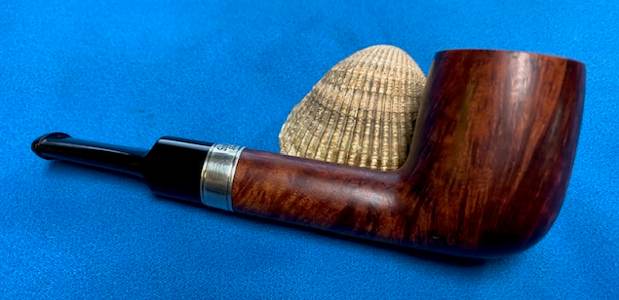
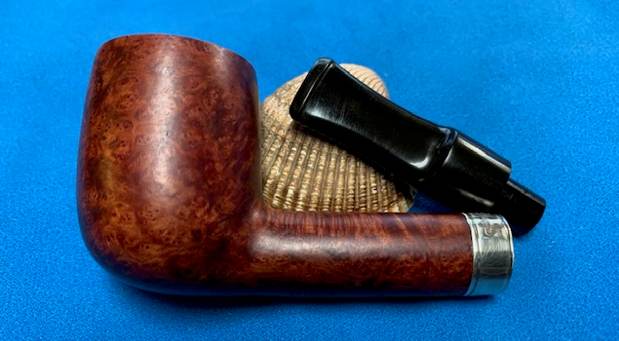
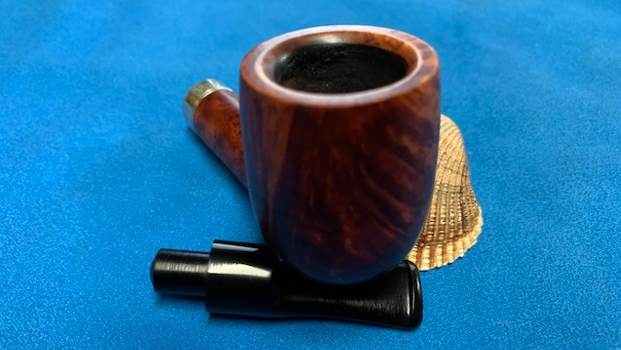
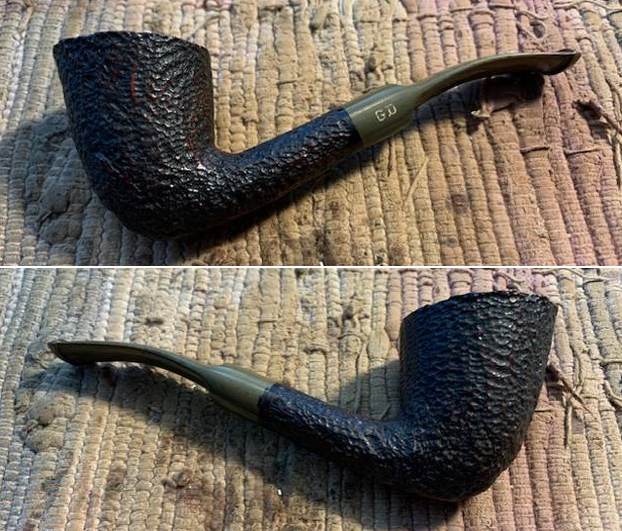
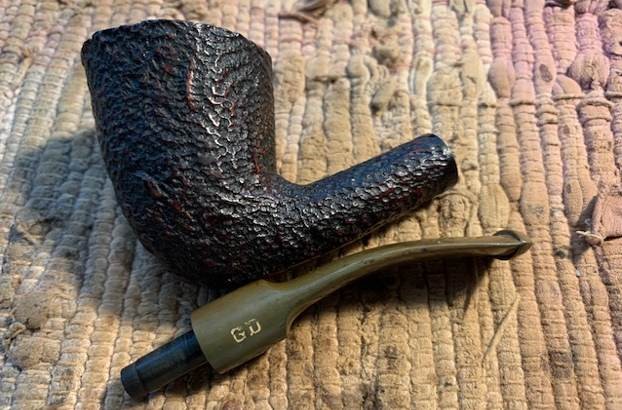
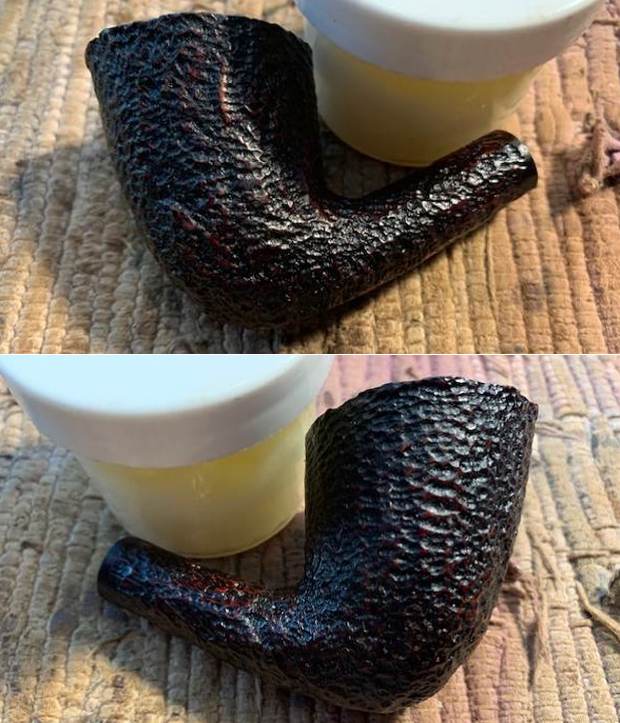
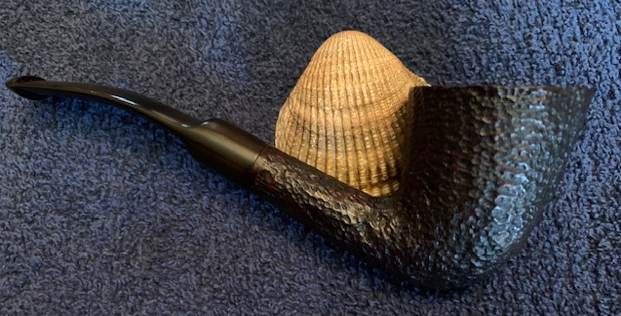
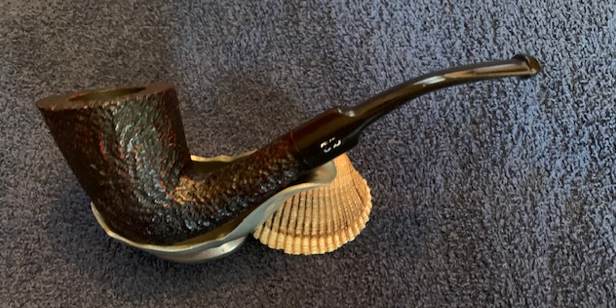
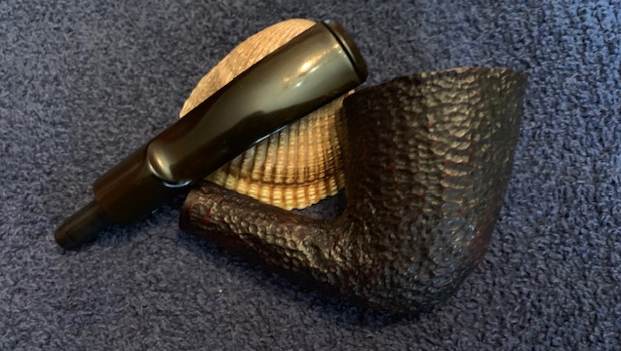
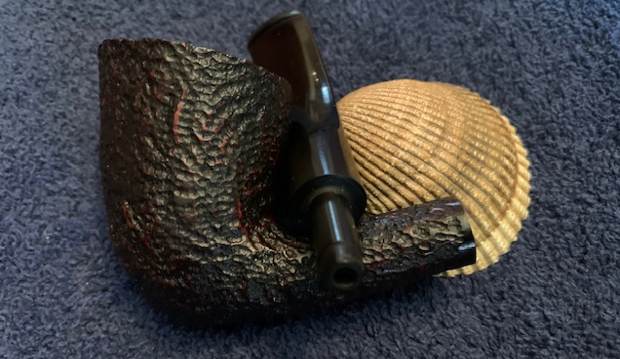
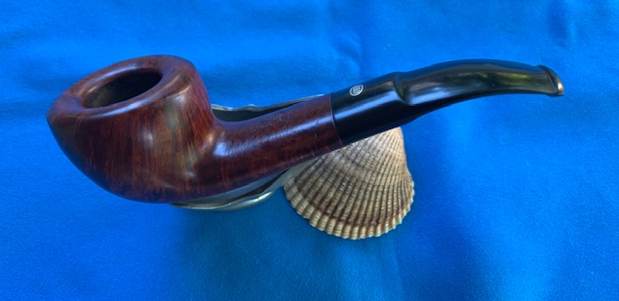
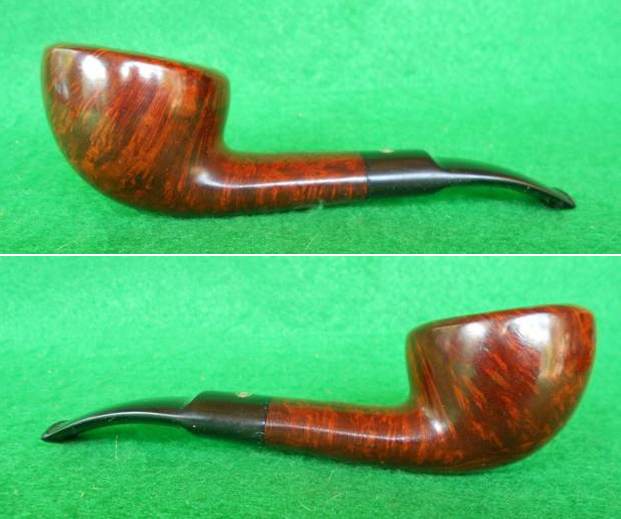
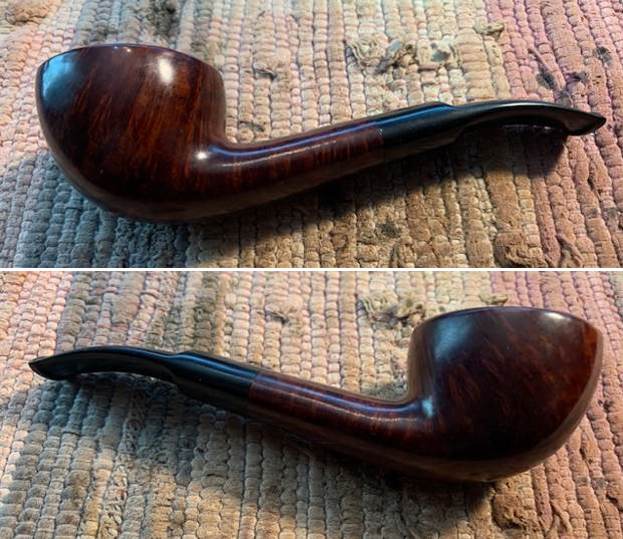
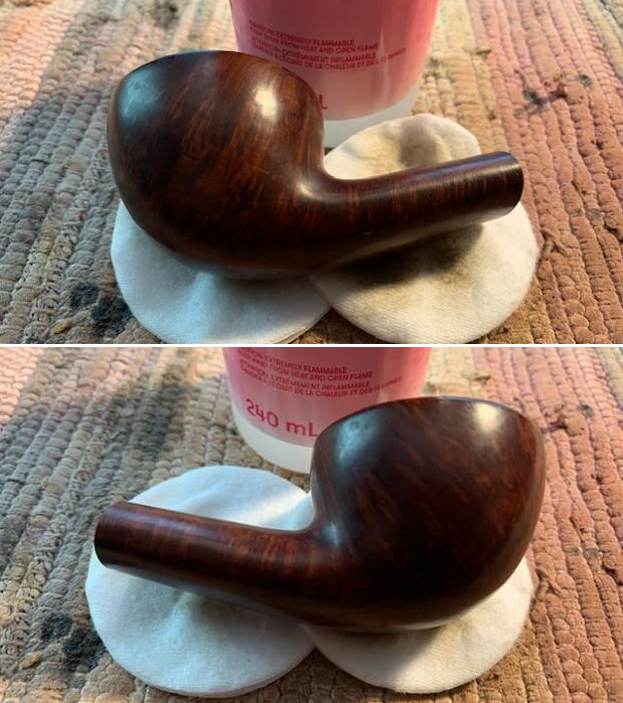
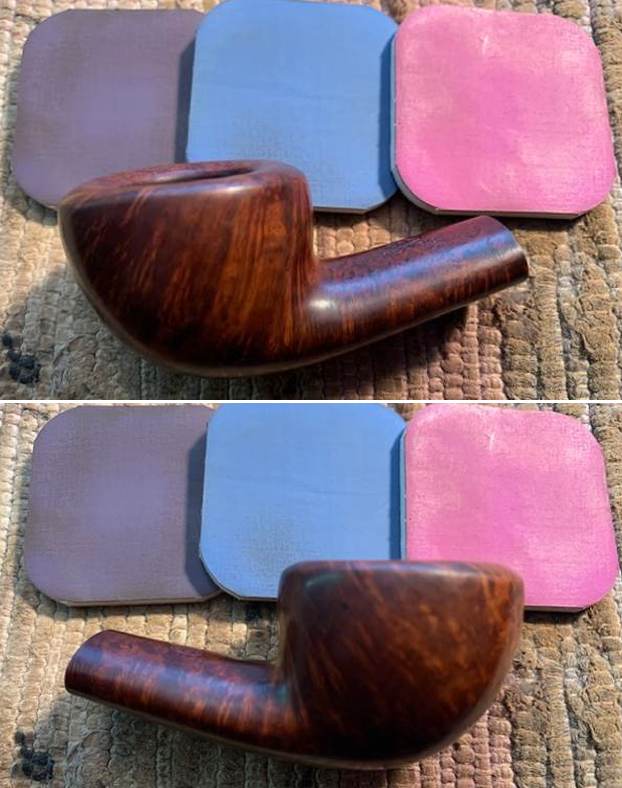
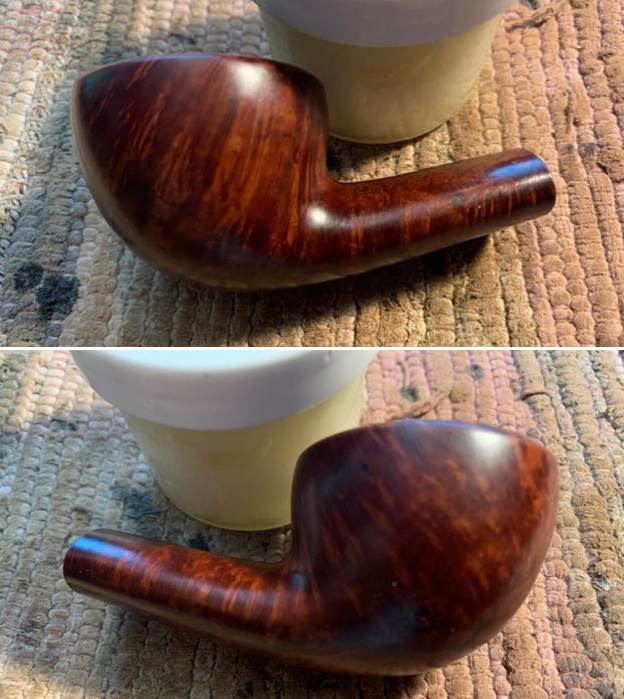
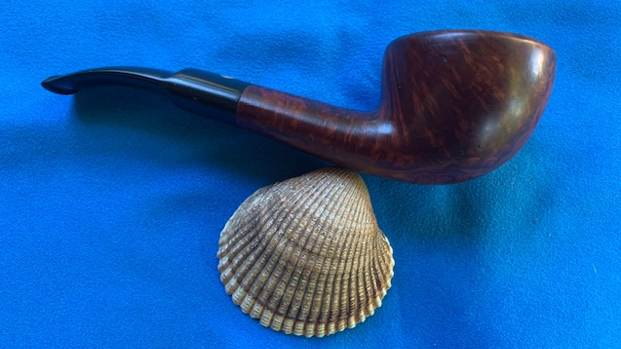
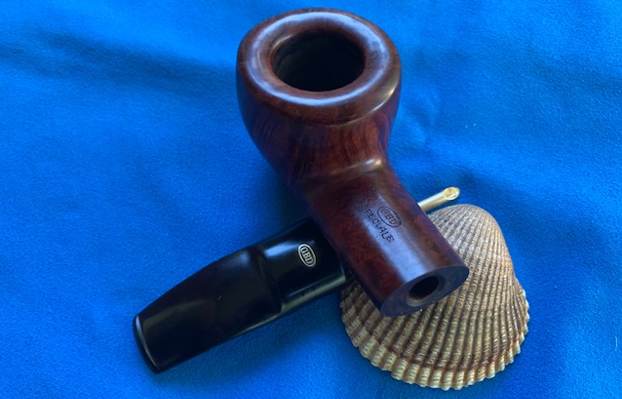
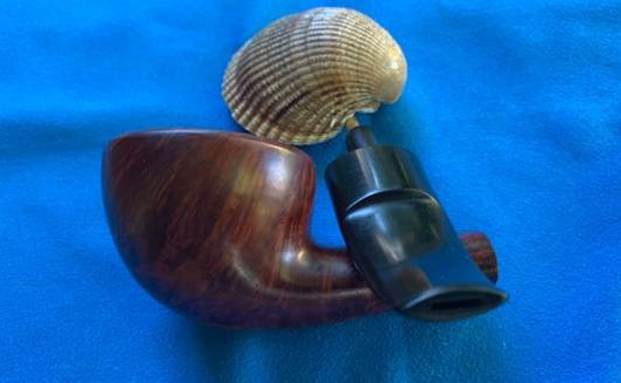
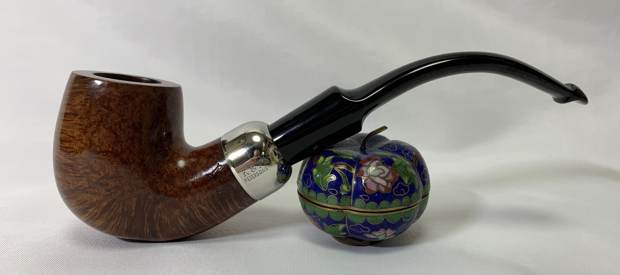
 Off to the bench polisher! A dose of White Diamond and a few coats of carnauba wax were just what this pipe needed. Boy-oh-boy, this is one good-looking pipe! I’m pleased with the results.
 This Peterson Standard System 307 looks fantastic again and is ready to be enjoyed by its next owner. I am pleased to announce that this pipe is for sale! If you are interested in acquiring it for your collection, please have a look in the Ireland pipe section of the store here on Steve’s website. You can also email me directly at kenneth@knightsofthepipe.com. The approximate dimensions of the pipe are as follows: length 6¼ in. (158 mm); height 2 in. (51 mm); bowl diameter 1⅝ in. (41 mm); chamber diameter ¾ in. (20 mm). The weight of the pipe is 2½ oz. (72 g). I hope you enjoyed reading the story of this pipe’s restoration as much as I did restoring it. If you are interested in more of my work, please follow me here on Steve’s website or send me an email. Thank you very much for reading and, as always, I welcome and encourage your comments.