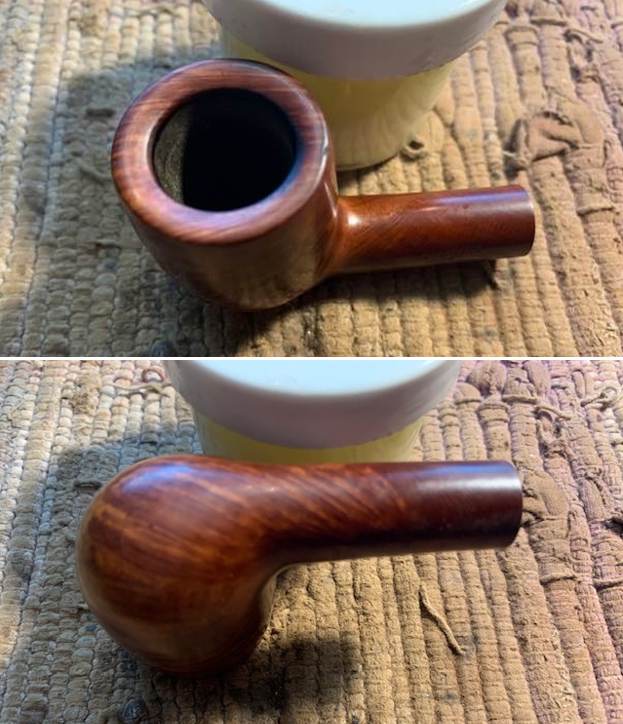
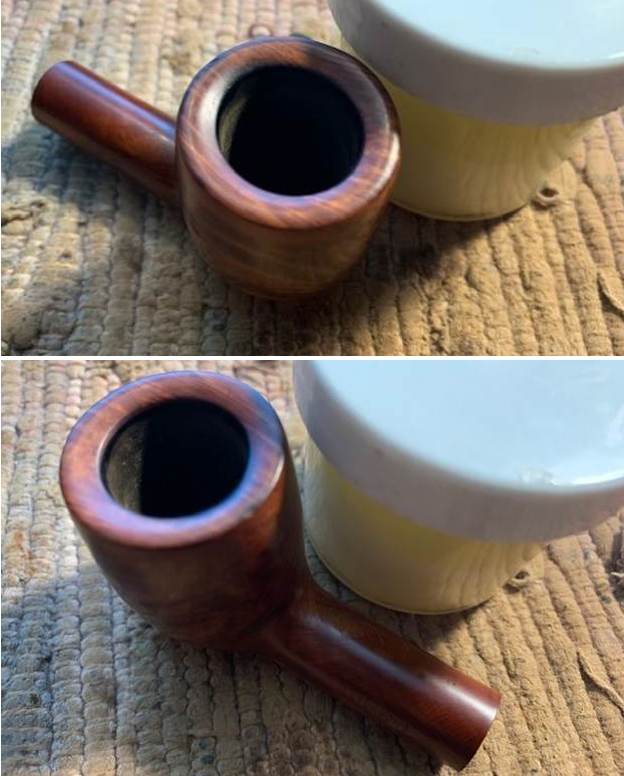
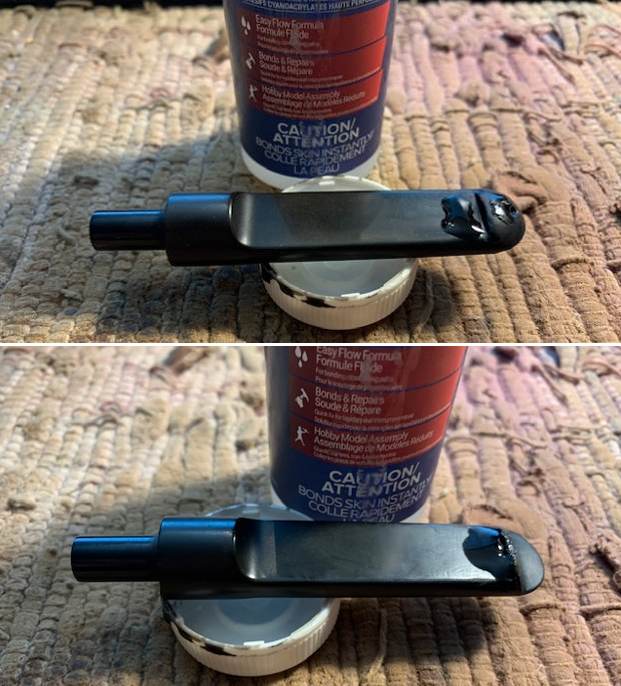
Tag Archives: Reshaping an out of round bowl

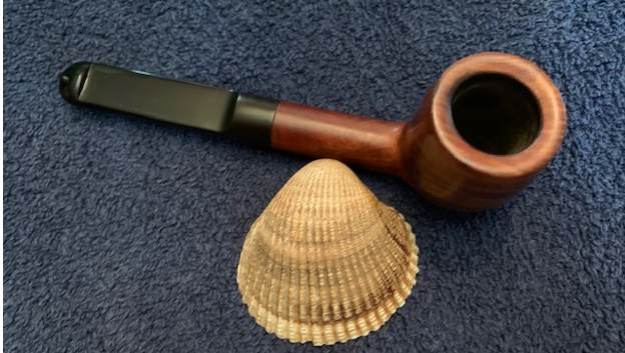
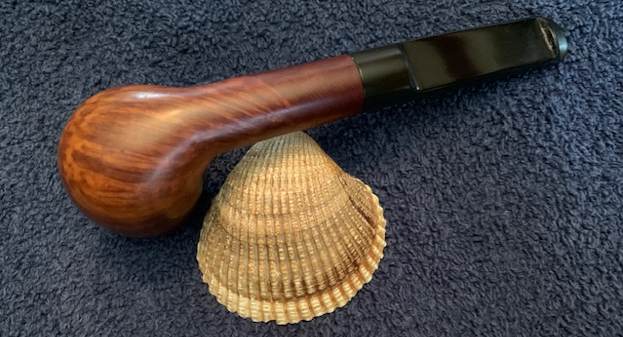
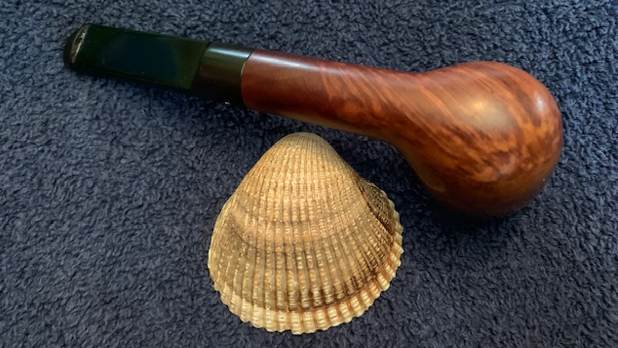
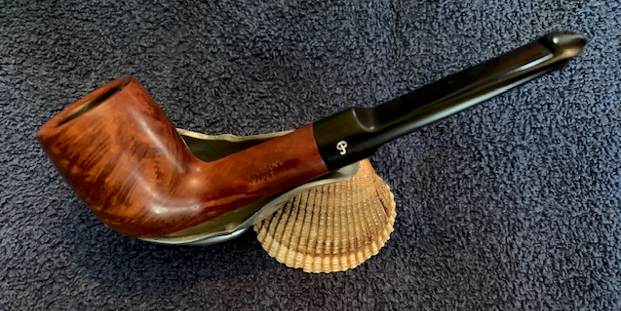
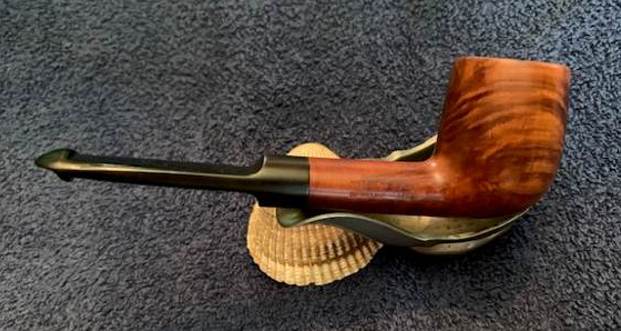
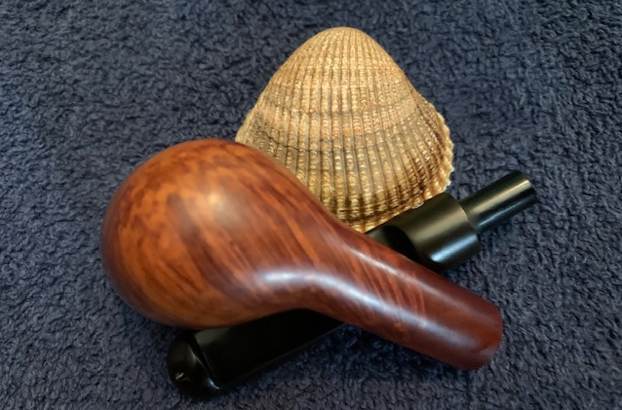
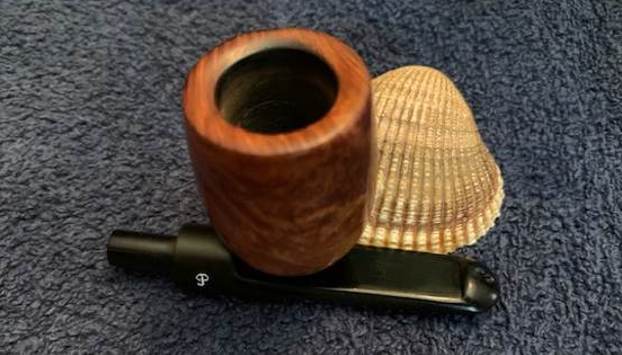
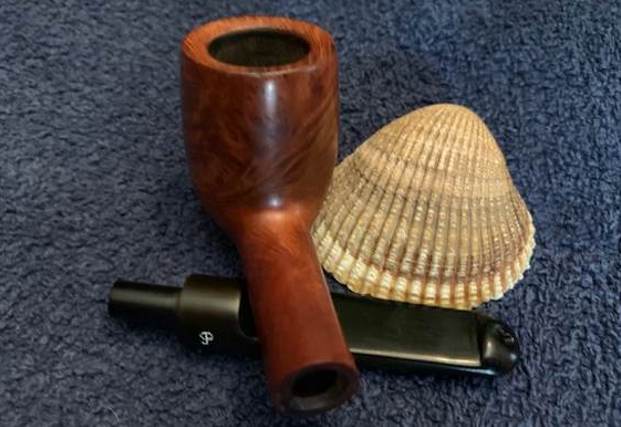
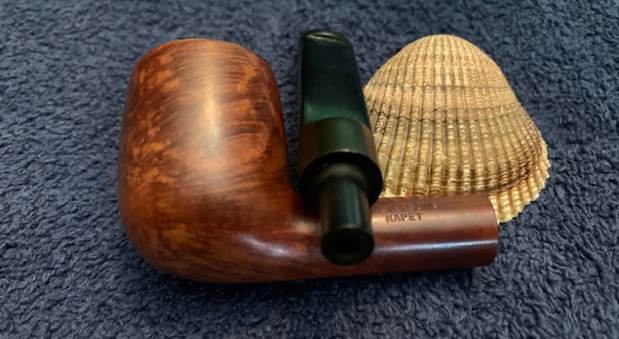
Rebirthing a Lovely Late Republic Era Peterson’s Kapet 14S Saddle Stem Billiard


Blog by Steve Laug

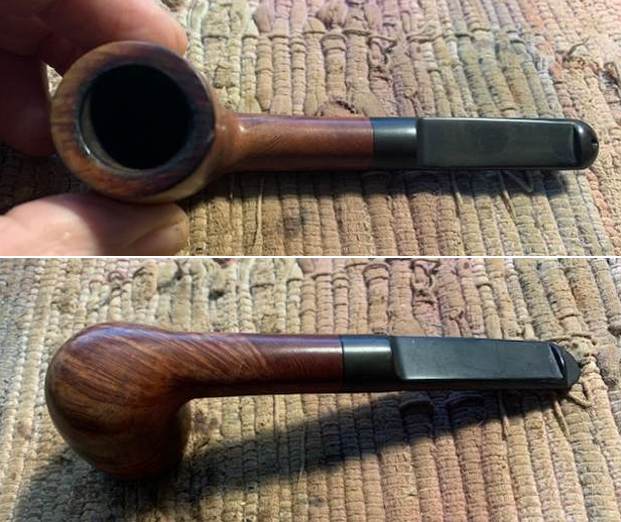
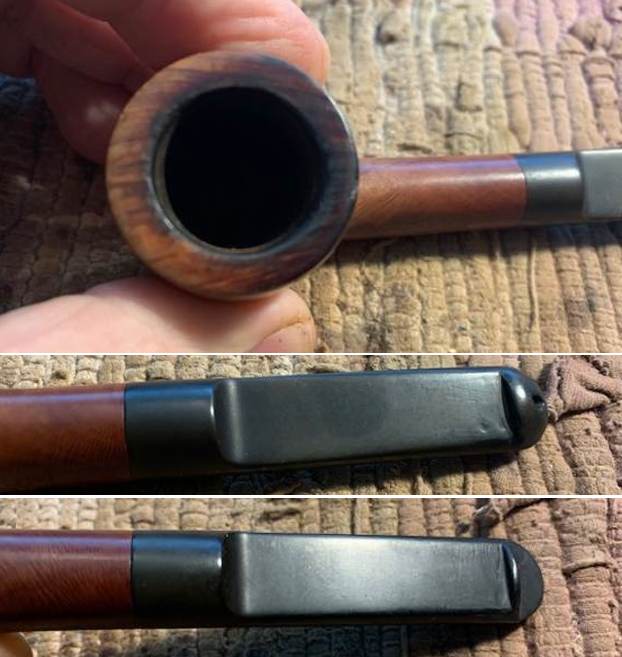
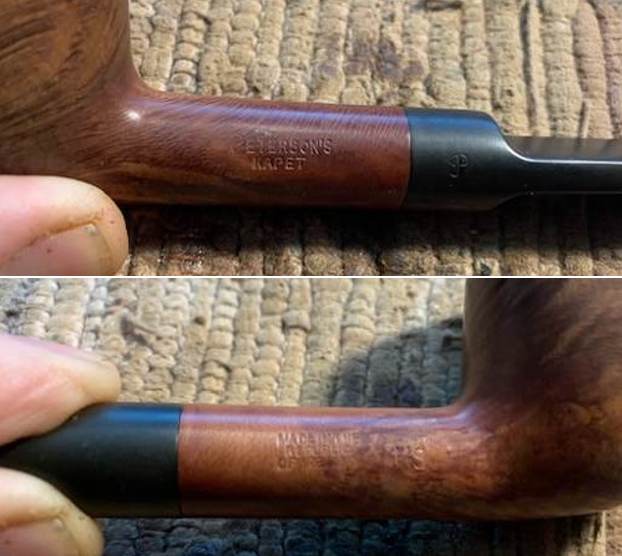
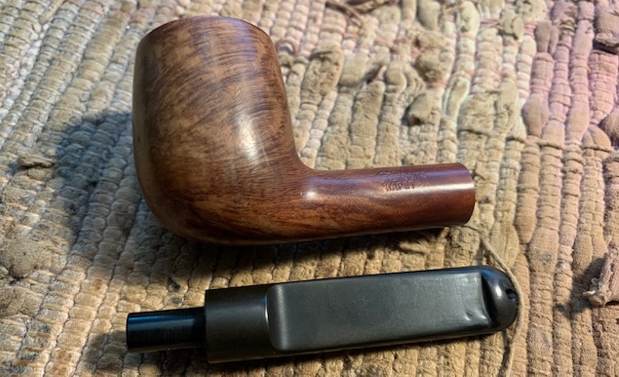
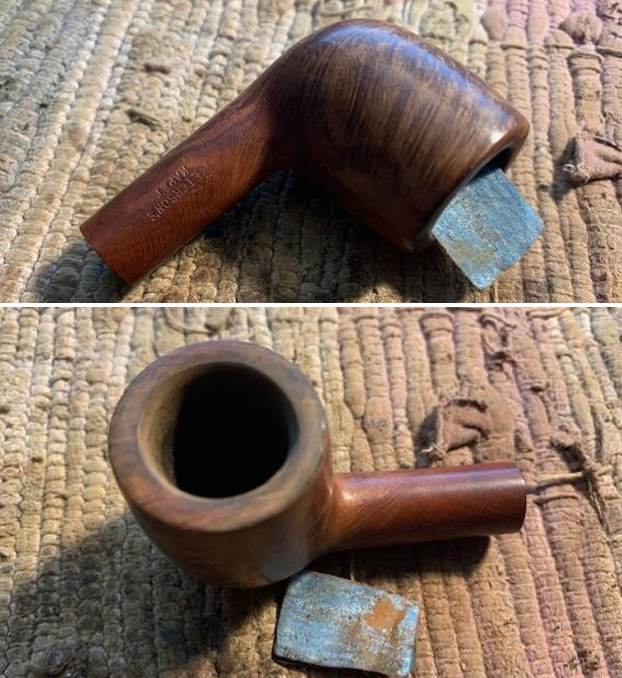
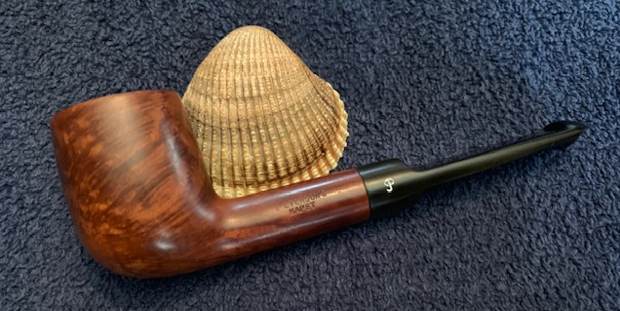
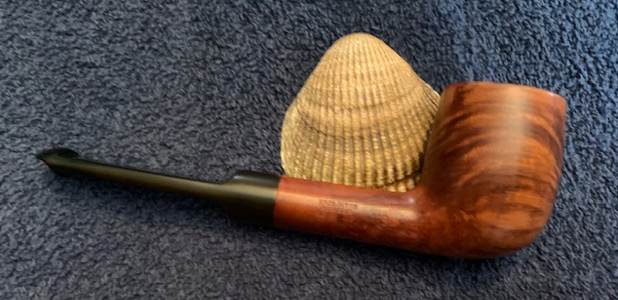
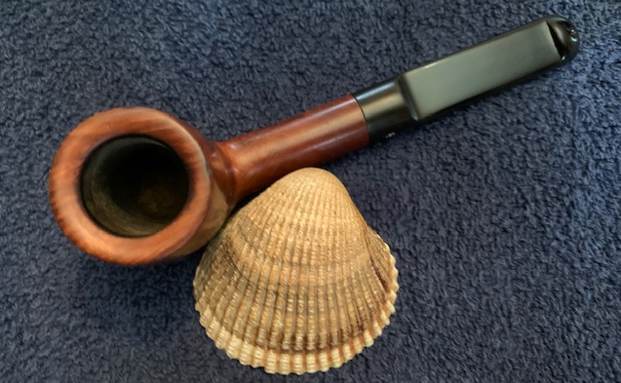
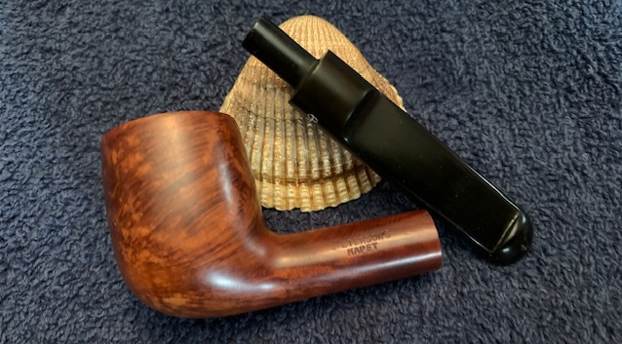
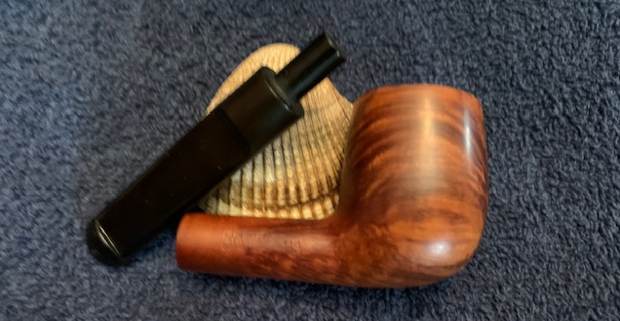
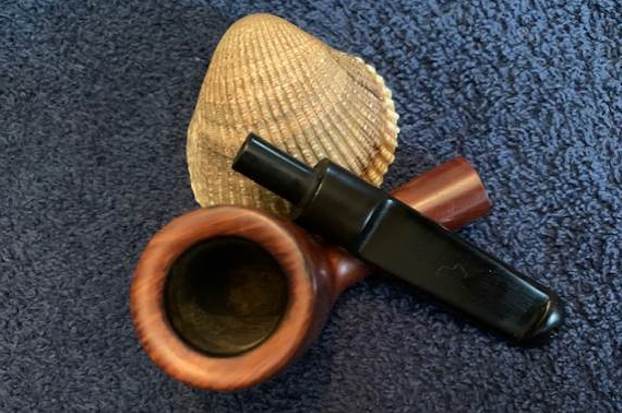
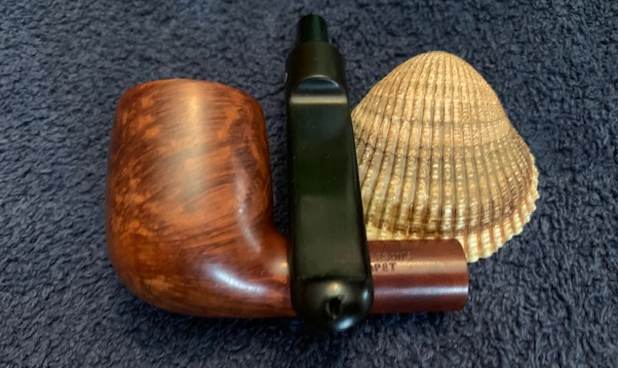
The next pipe I have chosen is a smooth Peterson’s pipe, a straight, saddle stem Billiard. It was also incredibly dirty. This Billiard is a real beauty under the grime with some great grain around the bowl. The grime was ground into the finish on the bowl sides. The contrast of the brown stains gave the grain a sense of depth. It was stamped on the left side of the shank and read Peterson’s [over] Kapet. The right side had the shape number 14S stamped near the bowl. Centered on the right side of the shank is stamped Made in the Republic of Ireland (in three lines). Neither Jeff nor I remember where we got the pipe or when. So we have no photos of the pipe before clean up. Judging from the damage on the rim top and edges I would guess it had been a mess. The stem had tooth marks and some oxidation. But Jeff had done a great job cleaning up the pipe as usual. He reamed the pipe with a PipNet reamer and cut back the cake back to the bare briar. He cleaned up the walls with a Savinelli Fitsall Pipe Knife. He scrubbed the interior of the bowl and shank with pipe cleaners, cotton swabs and alcohol to remove the tars and oils. He scrubbed the exterior of the pipe with Murphy’s Oil Soap and a tooth brush to remove the grime from the finish. He worked on the rim top lava and darkening with the soap and tooth brush. He scrubbed the inside of the stem with alcohol and pipe cleaners. He scrubbed the exterior with Soft Scrub and then soaked it in Before & After Deoxidizer. He washed it off with warm water to remove the Deoxidizer. The pipe looked far better when it arrived. I took some close up photos of the rim top and also of the stem surface. I wanted to show how well it had cleaned up. The rim top photo looks good but there is some burn damage on the inner edge at the back of the bowl and all around the inner edge there is darkening. I also took close up photos of the stem to show the light tooth marks and chatter on the surface near the button. I took photos of the stamping on the sides of the shank. You can see that it is stamped as noted above. It is clear and readable. He took photos of the stamping on the sides of the shank. It is clear and readable and reads as noted above. I took the pipe apart and took a photo of the pipe. It is a good looking pipe and has some great cross grain on the sides of the bowl. I am including the link to the Pipedia’s article on Peterson pipes. It is a great read in terms of the history of the brand (https://pipedia.org/wiki/Peterson). There was a short note toward the bottom of the page about the series. It is definitely referring to the newer line that came out later. I quote:
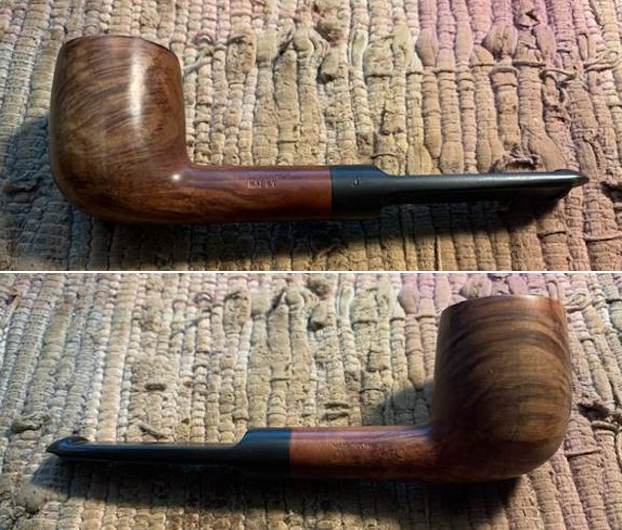
I turned to Pipedia (https://pipedia.org/wiki/Peterson) to first pin down a date that the pipe was made. I knew that the Made in Ireland stamp would give me that. I quote:

As usual when trying to get accurate facts in regard to Peterson history, something will jump up and get in the way. They are missing many of their records. The following is the best that we can do for a guide to the myriad markings during the period 1922 – 1949. Prior to 1920 it was rare for a country of origin to be stamped on the pipe, just Peterson’s Dublin on the band. After 1921/22, if it is stamped “MADE IN IRELAND” and the “Made in” is stacked over “Ireland” or “MADE IN EIRE” or several other forms, it was made between 1922 and 1938. A considerable number of Peterson pipes were stamped “Irish Free State”. From about 1930 to 1949, most of the pipes (those which were stamped) were stamped “Made in Ireland”.” If the stamp reads “MADE IN IRELAND” in a circle, the pipe was made between 1939 and 1948. These are all “Pre-Republic” pipes. I can tell you that the mark “Irish Free State” was adopted in 1922; and replaced by “Eire” in 1937 and then by “Republic of Ireland” in 1949.

That gave me a date for the pipe – it was made between 1922 and 1938 as can be proved by the Made in Ireland stamp on the right side of the shank.

I turned to “The Peterson Pipe” by Mark Irwin and Gary Malmberg to get some background on the Kapet line. On page 305 it had the following information.

Kapet (1925-87) Line first described in 1925 brochure and featured in occasional catalogs through ’87. Early specimens will be stamped IRISH over FREE STATE. Described in 1937 catalog as available in dark plum or natural finish. Featured an aluminum “inner tube” or stinger until ’45. Mid-century specimens may be stamped MADE IN over IRELAND. Specimens from 1970 on may have mounts with hallmarks.

I knew that I was dealing with a Late Republic Era Kapet. Now it was time to work on the pipe.

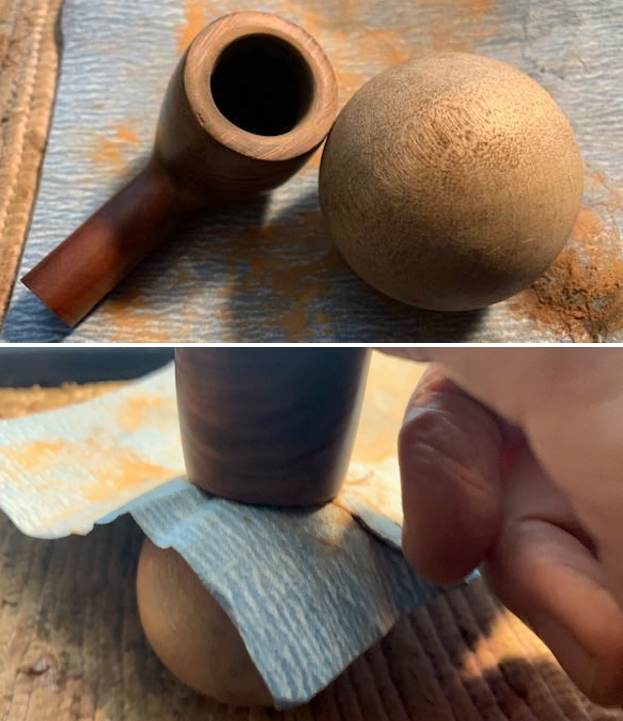
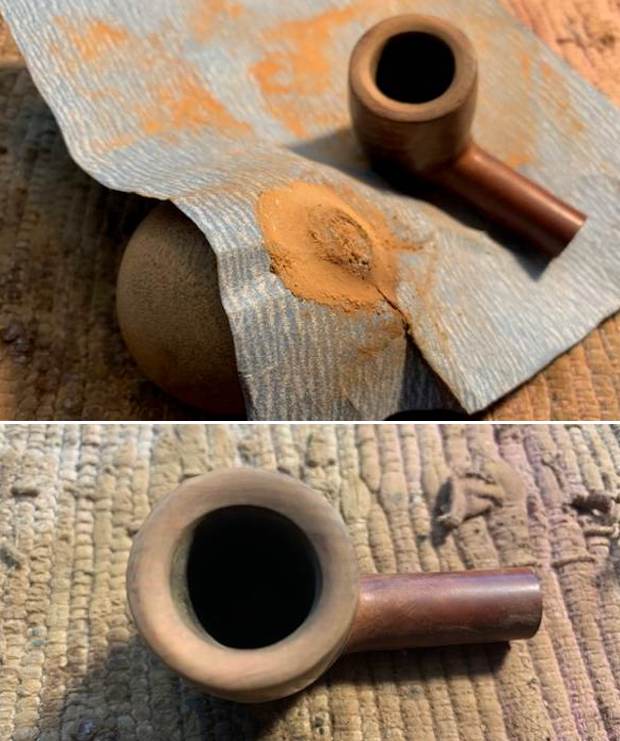
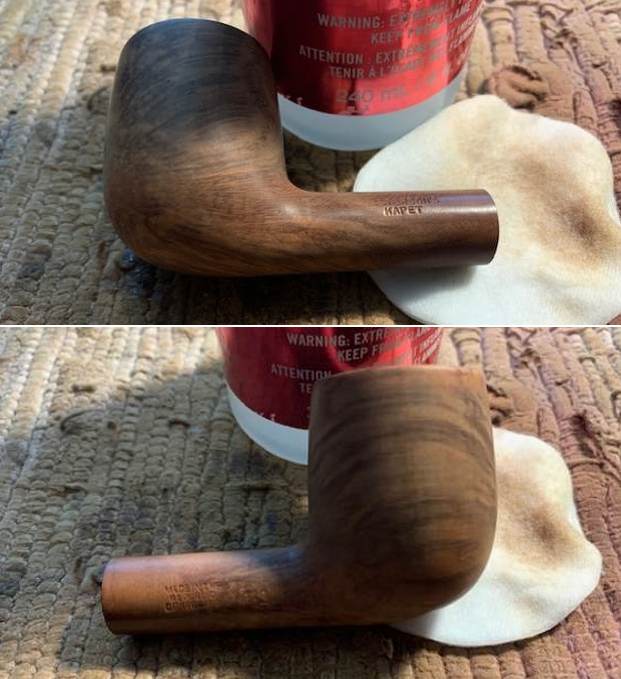
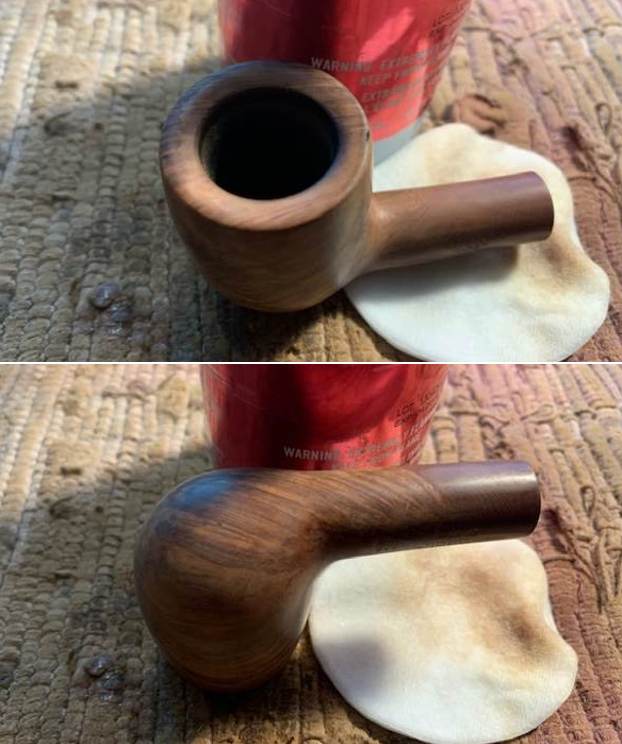
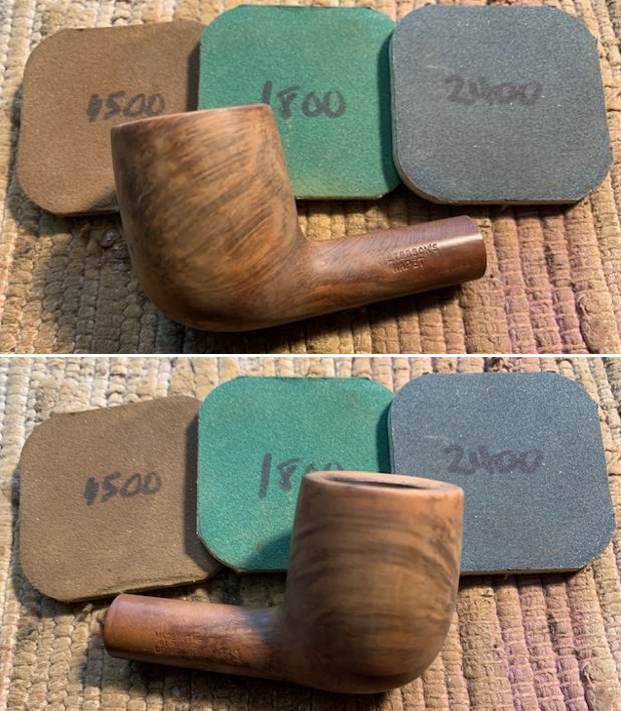
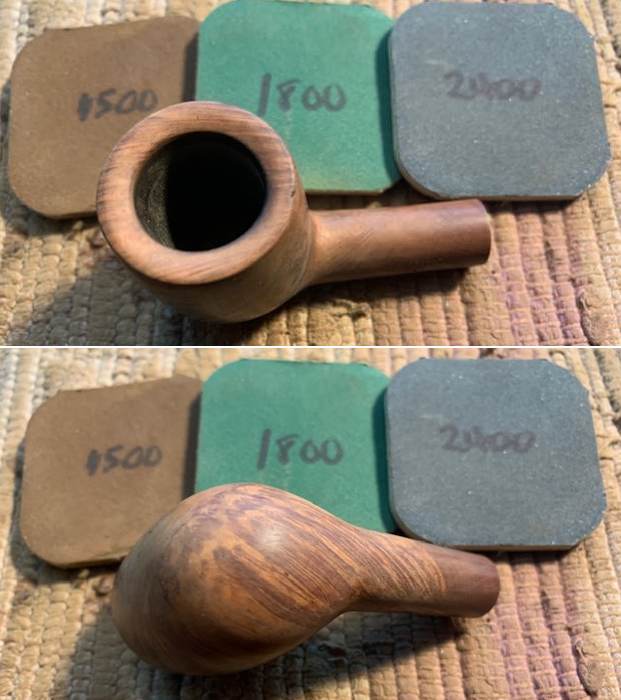
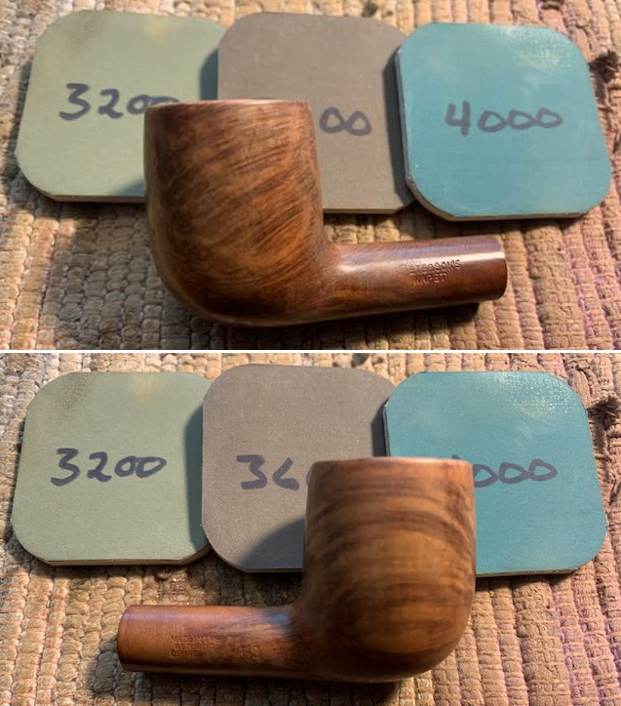
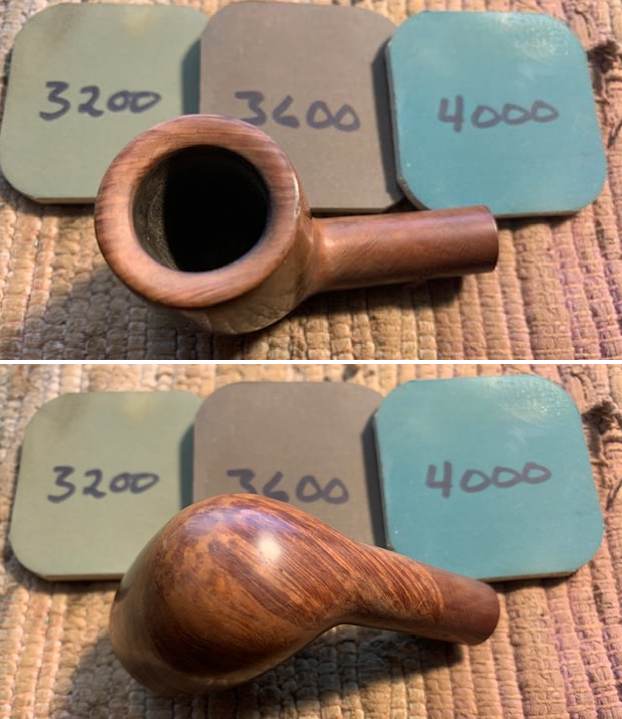
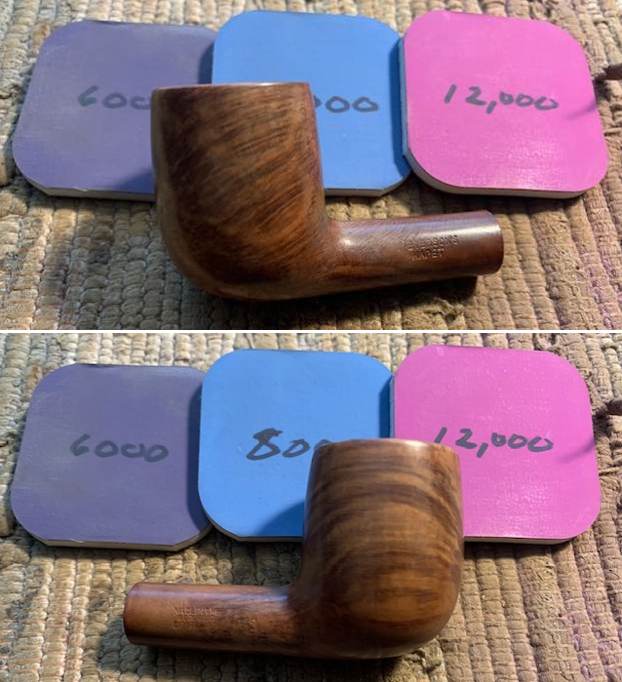
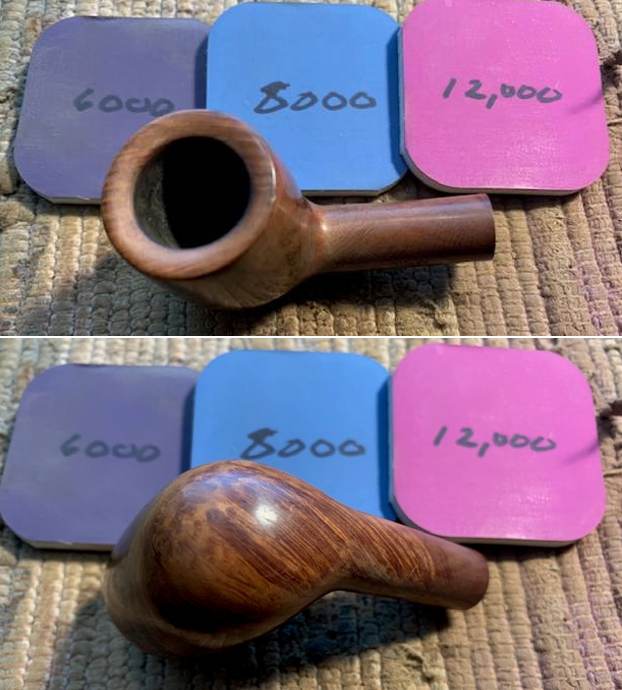
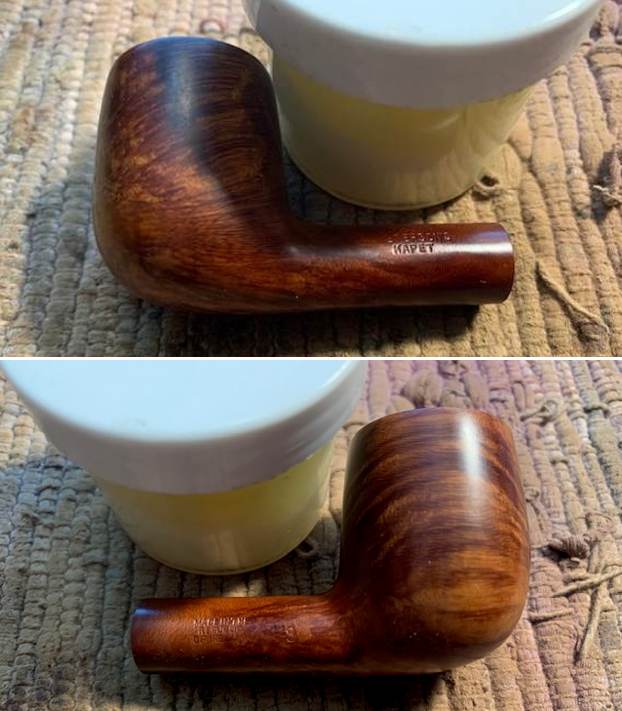
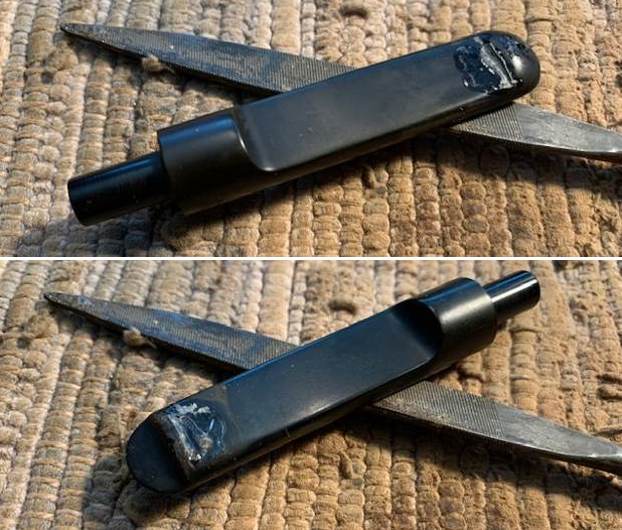
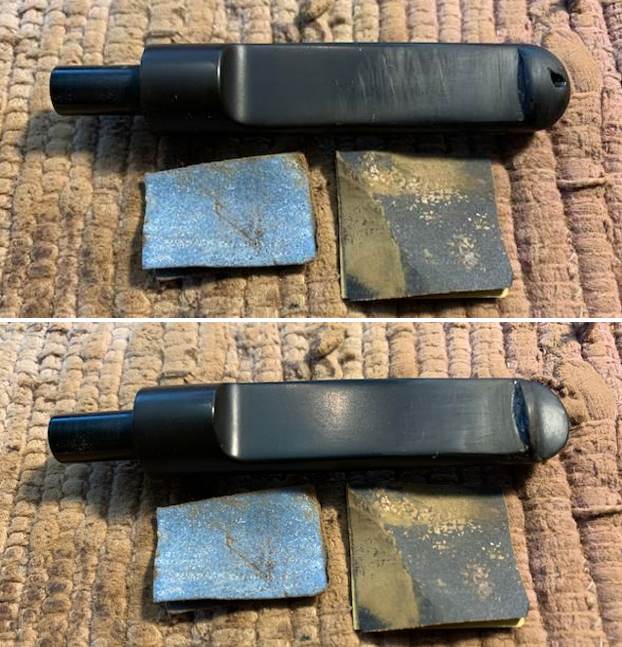
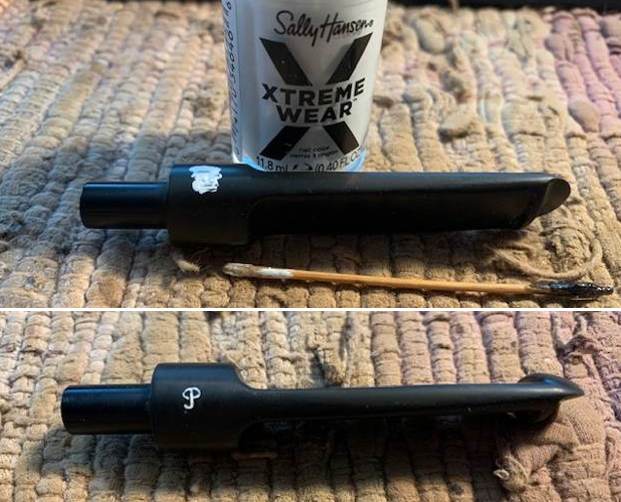
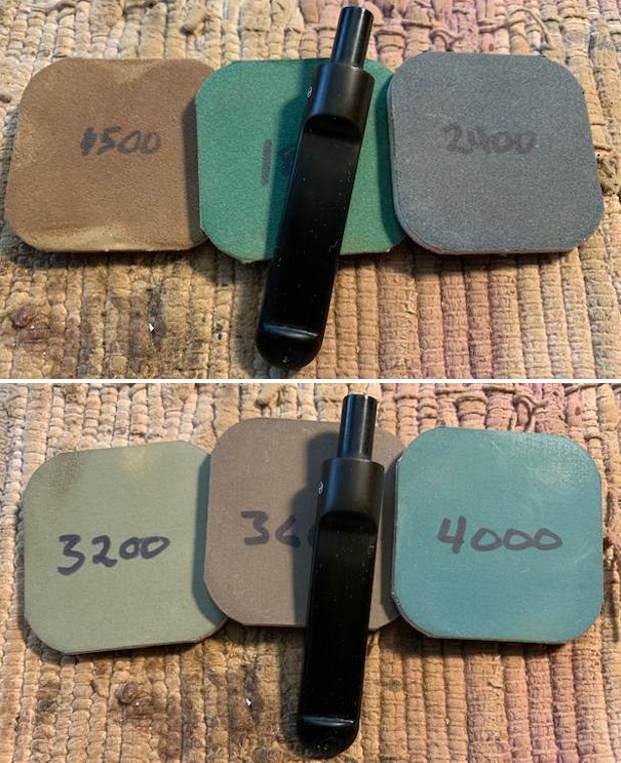
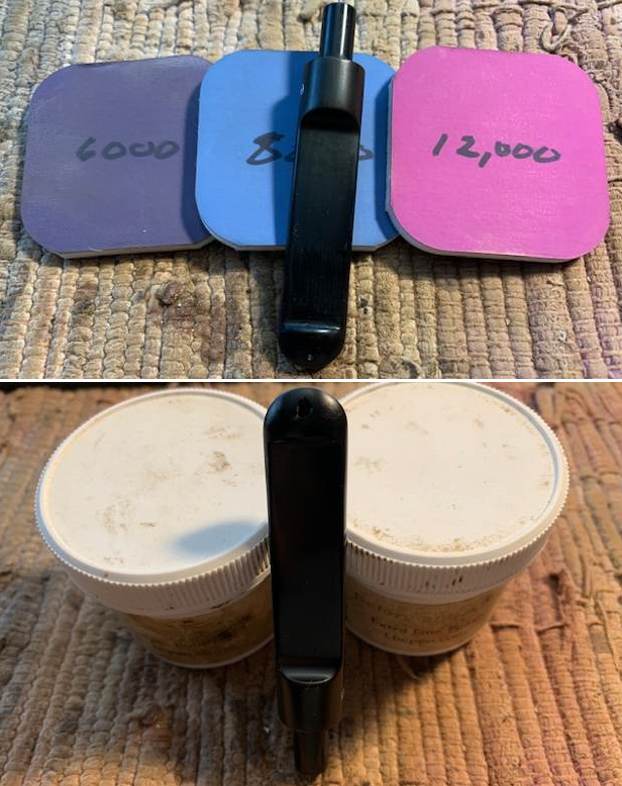
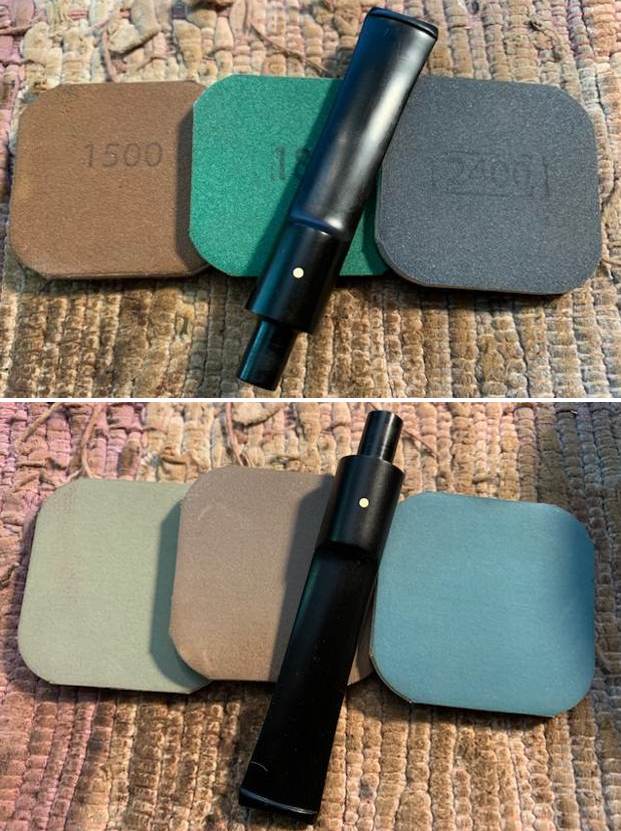
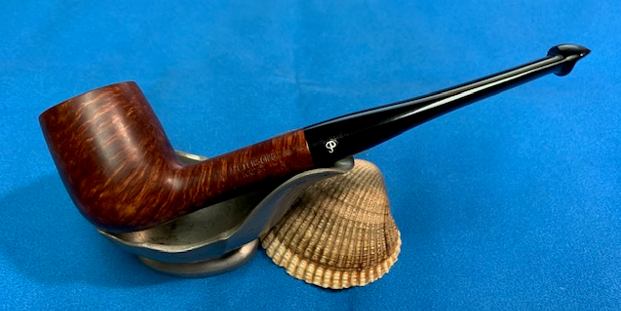
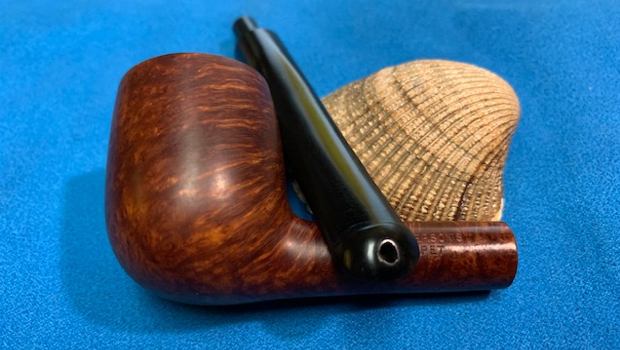
I decided to address the rim top damage first. I used a folded piece of 220 grit sandpaper to give the edge a slight bevel to further minimize the damage to the rim. I then used a piece of sandpaper and a wooden ball to even the bevel and give the rim a uniform look. I think that it is definitely better once I finished. I wiped down the bowl and rim top with acetone on a cotton pad to remove the spotty finish on the bowl and make blending in the sanded rim top simpler. I polished the briar rim top and edges along with the rest of the briar with micromesh sanding pads –dry sanding with 1500-12000 grit pads and using a damp cloth after each pad. I worked some Before & After Restoration Balm into the surface of the briar with my fingertips to clean, enliven and protect the briar. I let the balm sit for 15 minutes and then buffed with a cotton cloth to raise the shine. The photos show the bowl at this point in the restoration process. I set the bowl aside and turned my attention to the stem. I “painted” the tooth marks with the flame of a lighter to lift them. They came up significantly. I filled in the tooth marks that remained on both sides with clear super glue. I let the repairs cure. Once they had cured I recut the edge and flattened the repairs with a flat file. I sanded them with 220 grit sandpaper. I started the polishing with 400 grit wet dry sandpaper. I wiped it down with some Obsidian Oil. I touched up the “P” stamp on the stem with an acrylic white fingernail polish. I worked it into the stamp with a toothpick. I let it sit for a few minutes then scraped off the excess.I polished the stem with micromesh sanding pads – wet sanding with 1500-12000 grit sanding pads. I wiped it down after each sanding pad with Obsidian Oil. I polished it with Before & After Pipe Stem Polish – both Fine and Extra Fine. I am always excited to finish a restoration and this Peterson’s Kapet 14S Saddle Stem Billiard is no exception. I put the pipe back together and buffed it with Blue Diamond on the buffing wheel. I gave the bowl and stem multiple coats of carnauba wax. I hand buffed the pipe with a clean buffing pad to raise the shine and hand buffed it with a microfibre cloth to deepen the shine. It is fun to see what the polished bowl looks like with the polished black vulcanite stem. This Classic looking Peterson’s Kapet 14S Billiard feels great in my hand. It is light and well balanced. Have a look at it with the photos below. The dimensions are Length: 5 ½ inches, Height: 1 ½ inches, Outside diameter of the bowl: 1 ¼ inches, Chamber diameter: ¾ of an inch. The weight of the pipe is 30 grams/1.09 ounces. It is a beautiful pipe and one that will be on the Irish Pipe Makers Section of the rebornpipes store soon. If you are interested in adding it to your collection let me know. Thanks for walking through the restoration with me as I worked over this pipe. Thanks to each of you who are reading this blog.

Restoring a 1967 Dunhill Shell Briar 659F/T 4S Saddle Stem Billiard


Blog by Steve Laug

The next pipe on the table is a Dunhill Group 4 Shell Briar Saddle Stem Billiard that is proportionally well done. It has a three digit the shape number that I will define below. Jeff and I purchased a group of pipes on 04/26/2022 from a woman who contacted us from Cleveland, Ohio, USA. They had belonged to her husband’s father. We spent time chatting with her and arrived at a price and she sent the pipes to Jeff. It included 28+ pipes including this one.

This Dunhill Billiard is stamped on the underside and reads 659F/T followed by Dunhill over Shell Briar followed by Made in England7 (two lines). A circle 4 followed by S is stamped on the flat underside of the saddle stem. The numbers and stamping tell me that the pipe is a Shell Briar and the size is a Group 4. The F/T refers to the Fish Tail style stem. The finish was very dirty with spots of grime and debris stuck on it. The bowl had a thick cake in the bowl and heavy lava overflowing onto the rim top. The rim top and inner edge appeared to have some damage. The stem had calcification, oxidation and tooth marks and chatter on both sides ahead of the button. The button itself appeared to be in good condition. Jeff took photos of the pipe before he started his clean up work on it.He took photos of the bowl and rim top to show the condition. You can see the thick cake in the bowl and rim top and edges. The lava is so thick that is hard to know what the edges and top look like underneath. The sandblast on the rim top is also completely filled in with tar and lava. The stem was heavily oxidized, calcified and has tooth marks and chatter on both sides ahead of the button. Overall the pipe is a real mess. Jeff took photos of the sandblast finish around the bowl sides and heel. It was nice looking if you can see through the grime ground into the rugged, deep blast. He took photos of the stamping on the underside of the bowl, shank and stem. The stamping is readable but filthy. It reads as noted above.Now it was time to begin to work on the stamping on the pipe. Pipedia had some great information on the Shell Briar finish and dates and how the finish was made (https://pipedia.org/wiki/Dunhill#Bruyere). The first quote below give the short version of the finish. I quote from both below.

Shell – A deep craggy sandblast with a black stain finish (usually made using Algerian briar) – the color of the stain used has varied over the years. Although there is some doubt as to them being the first to sandblast pipes, Dunhill’s Shell pipes, and the sandblasting techniques developed to create them are considered one of Dunhill’s greatest and most lasting contributions to the art of pipe making.

The documented history of Dunhill’s inception of the Shell is largely limited to patent applications — there are no catalog pages or advertisements promoting blasted pipes at the time. The preliminary work on the English patent (No. 1484/17) was submitted on October 13, 1917. The patent submission was completed half a year later, on April 12, 1918, followed by the granting of the English patent on October 14, 1918. This was less than a month before the end of The Great War on November 11th.

In 1986 Dunhill released a line of premium Shell finish pipes – “RING GRAIN”. These are high-quality straight grain pipes which are sandblasted. Initially only Ring Grain, but now in two different finishes. In 1995 the “Shilling” was introduced with Cumberland finish – it is an extremely rare series. These pipes exhibit a deeper blast characteristic of that of the 1930’s – mid-1960’s (and the limited ‘deep blast’ pipes of the early 1980s) and show a fine graining pattern. These are considered the best new Dunhills by many enthusiasts today and are very rare. The finish is sometimes described as tasting like vanilla at first, with the taste becoming more normal or good as the pipe breaks in.

With that information clear for me I wanted to identify the shape number and try to pin that down (https://pipedia.org/wiki/Dunhill_Shape_Chart). I turned to the section on the older 3 digit Shape Numbers and read it. I quote it below.

3-digit system – A 3-digit system (“Interim”) was developed that showed a logical approach to identify pipes in terms of size, mouthpiece, and shape, with the 1st digit being the size, the 2nd digit the mouthpiece, and the 3rd digit the shape, i.e. the old “85” became a “321” which was a group 3 Apple with taper mouthpiece. This was soon to be replaced by a more detailed, formal 4- and 5-digit system around 1978.

This interim numbering system is a bit confusing as the next paragraph and picture will illustrate. It says that the first digit is the size which in this case should have been a 6 but the pipe is stamped with a size 4 number. The second digit is supposed to point to the mouthpiece which is not clear to me. The third digit refers to the shape but again that is not clear. The paragraph below states that the shape number 577 has no special meaning accept for it being the model for that particular pipe.

The first image on the right, (with the shape number 577)  falls into this system, so 577 has no special meaning apart from describing/ being the model for that particular pipe shape (in this case a specific group 2 Billiard with saddle mouthpiece). Around 1973, with the introduction of computers, new categories were introduced that indicated size, mouthpiece, and shape. As for the “T”, in 1952 a full-size “T” was added after the circled group size stamp to further describe the Tanshell finish (in 1953 the “T” was reduced to about half the size). So this pipe dates from 1952.

With the information on the 3 digit stamp not making clear enough the meaning of the number I turned to another link on Pipedia (https://pipedia.org/wiki/Dunhill_Shapes_List) to a shape list that Eric Boehm put together for Dunhills. It is amazing to see the sheer number of variations on the Billiard shape. I copied the three of the three digit numbers in the list as it includes the shape 659 Billiard.

Billiards:

659 Billiard, saddle bit 4 5½” 1950, 1969 3

660 Billiard, saddle bit 4 5½” 1950, 1969 3

710 Billiard, tapered bit 4 5½” 1950, 1969 3

659F/T Billiard with a saddle bit. (This is the pipe I am working on. It is a tapered bit Billiard with an F/T or Fish Tail bit.)

I turned next to dating the pipe. There is a 7 following the D in ENGLAND on the right side of the shank. I turned to the dating chart on Pipephil to pin down the date on this twin (http://pipephil.eu/logos/en/dunhill/cledat-en1a.html). I did a screen capture of Part 2 of the Dunhill Dating Key and included it below. I drew a red box around the section dating this pipe. It is clear that the pipe was made after 1954 so that is why I went to Part 2. Once again, because the year suffix is a 7 that is the same size and on line with D in England that tells me that the pipe was made in 1960+7 for a date of 1967.Armed with that information I turned to work on the pipe itself. Before he sent it to me, Jeff had done an amazing job cleaning the pipe. It almost looked like a different pipe after his work. He reamed the pipe with a PipNet pipe reamer and removed the rest of it with a Savinelli Fitsall Pipe Knife. He scrubbed the bowl with undiluted Murphy’s Oil Soap with a tooth brush. He rinsed it under running warm water to remove the soap and grime. He cleaned out the inside of the shank and the airway in the stem with isopropyl alcohol, cotton swabs and pipe cleaners. He soaked the stem in Briarville’s Pipe Stem Deoxidizer and then rinsed it off with warm water. He scrubbed the stem with Soft Scrub and a tooth brush and rinsed it off with warm water. It looked amazing when I took it out of the package of pipes he shipped me. I took photos of the pipe before I started my part of the restoration work. The rim top was cleaner and the inner edge of the bowl looked rough. There was burn damage all the way around but heavier on the front and the back of the bowl on the top and inner edge. The bowl was slightly out of round. The stem surface looked good with the oxidation gone and light but visible tooth chatter on either side of the stem.  I took a photo of the stamping on the underside of the shank and the saddle portion of the stem. It is clear and readable as noted above.I took the stem off the shank and took a photo of the parts of the pipe. The overall look of the pipe is quite nice.I started my portion of the work on this pipe by addressing the damage to the inner edge of the bowl. I used a folded piece of 220 grit sandpaper to smooth out the edge and give it a slight bevel to deal with the chipping and cutting on the inner edge. It cleaned up remarkably well. With polishing and buffing it would look even better.I used an Walnut Stain Pen to restain the rim top and the inner bevel of the rim edge. Once it dried I buffed it with a cotton cloth and the match was very good. It looked much better with the work on the rim edge.The bowl looked very good at this point so I rubbed it down with Before & After Restoration Balm. I worked it into the surface of the bowl and shank with my fingertips and a horse hair shoe brush to clean, enliven and protect the briar. I let the balm sit for about 10-15 minutes and buffed with a cotton cloth to raise the shine. I set the bowl aside and turned my attention to the stem. I “painted” the surface of the vulcanite stem with the flame of the lighter. I was able to lift almost all of the tooth marks and chatter except one on the top side that I needed to fill in with drop of clear CA glue. I sanded the repair and the remaining tooth chatter with 220 grit sandpaper. I started polishing the stem with 400 grit wet dry sandpaper to start the polishing.I polished the vulcanite stem with micromesh sanding pads – dry sanding with 1500-12000 grit pads. I wiped it down with Obsidian Oil after each sanding pad. I used Before & After Pipe Polish – both Fine and Extra Fine to further polish the stem and gave it a final coat of Obsidian Oil to finish it. This Deeply Sandblasted Dunhill Shell Briar 659F/T Saddle Stem 4S is a great looking pipe now that it has been restored. The rich Shell Briar sandblast finish that highlights the grain and works well with the polished vulcanite stem. I put the stem back on the bowl and carefully buffed the pipe with Blue Diamond on the buffing wheel using a light touch on the briar. I gave the bowl and the stem multiple coats of carnauba wax on the buffing wheel and followed that by buffing the entire pipe with a clean buffing pad. I hand buffed the pipe with a microfiber cloth to deepen the shine. The finished Dunhill Shell Briar Saddle Stem Billiard is a Group 4 size pipe that will be a great smoker. Give the finished pipe a look in the photos below. The dimensions of the pipe are Length: 5 ½ inches, Height: 1 ¾ inches, Outside diameter of the bowl: 1 ¼ inches, Chamber diameter: ¾ of an inch. The weight of the pipe is 34 grams/1.20 ounces. I will be adding the pipe to the British Pipemakers Section of the rebornpipes store shortly. If you are interested in adding it to your collection be sure to let me know. I take a moment to remind myself and each of us that we are trustees of pipes that will outlive us and the lives of many other pipe men and women who carry on the trust of their care and use. Thanks for reading this blog and my reflections on the pipe while I worked on it.

Rebirthing a Lovely Republic Era Peterson’s Kapet 25 Billiard


Blog by Steve Laug

The next pipe I have chosen is a smooth Peterson’s pipe, a straight Billiard. It was also incredibly dirty. This Billiard is a real beauty under the grime with some great grain around the bowl. The grime was ground into the finish on the bowl sides. The contrast of the brown stains gave the grain a sense of depth. It was stamped on the left side of the shank and read Peterson’s [over] Kapet. The right side had the shape number 25 stamped near the bowl. Centered on the right side of the shank is stamped Made in the Republic of Ireland (in three lines). There was a moderate cake in the bowl and a light overflow of lava on the inner edge of the rim at the back. There was also burn damage on the inner edge of the rim at the back of the bowl. The stem was lightly oxidized, calcified and had light tooth marks, chatter on the top and underside near the button. There is a P stamped on the left side of the taper. It was in great condition. Jeff took photos of the pipe before his cleanup work. They tell the story and give a glimpse of the promise that we see in this pipe. Jeff took photos of the rim top and stem to show the general condition of the pipe. The bowl is moderately caked and the rim top has some lava and you can see the burn damage on the back inner edge. The photos of the stem show that it was oxidized and has light tooth marks on the top and underside near the button. Jeff took a photo of the bowl sides and heel to show the grain that was around this bowl. It is a nice looking pipe.      He took photos of the stamping on the sides of the shank. It is clear and readable and reads as noted above.   I turned to “The Peterson Pipe” by Mark Irwin and Gary Malmberg to get some background on the Kapet line. On page 305 it had the following information.

Kapet (1925-87) Line first described in 1925 brochure and featured in occasional catalogs through ’87. Early specimens will be stamped IRISH over FREE STATE. Described in 1937 catalog as available in dark plum or natural finish. Featured an aluminum “inner tube” or stinger until ’45. Mid-century specimens may be stamped MADE IN over IRELAND. Specimens from 1970 on may have mounts with hallmarks.

I knew that I was dealing with a Republic Era Kapet. Now it was time to work on the pipe.

Jeff had done a great job cleaning up the pipe as usual. He reamed the pipe with a PipNet reamer and cut back the cake back to the bare briar. He cleaned up the walls with a Savinelli Fitsall Pipe Knife. He scrubbed the interior of the bowl and shank with pipe cleaners, cotton swabs and alcohol to remove the tars and oils. He scrubbed the exterior of the pipe with Murphy’s Oil Soap and a tooth brush to remove the grime from the finish. He worked on the rim top lava and darkening with the soap and tooth brush. He scrubbed the inside of the stem with alcohol and pipe cleaners. He scrubbed the exterior with Soft Scrub and then soaked it in Before & After Deoxidizer. He washed it off with warm water to remove the Deoxidizer. The pipe looked far better when it arrived.  I took some close up photos of the rim top and also of the stem surface. I wanted to show how well it had cleaned up. The rim top photo looks good but there is some burn damage on the inner edge at the back of the bowl and all around the inner edge there is darkening. I also took close up photos of the stem to show the light tooth marks and chatter on the surface near the button. I took photos of the stamping on the sides of the shank. You can see that it is stamped as noted above. It is clear and readable.     I took the pipe apart and took a photo of the pipe. It is a good looking pipe and has some great cross grain on the sides of the bowl.I decided to address the rim top damage first. I lightly topped the bowl on a topping board with 220 grit sandpaper to minimize the damage to the top and inner edge of the bowl. I then used a folded piece of 220 grit sandpaper to give the edge a slight bevel to further minimize the damage to the rim. I think that it is definitely better once I finished. I polished the briar rim top and edges along with the rest of the briar with micromesh sanding pads –dry sanding with 1500-12000 grit pads and using a damp cloth after each pad.       I combined a Mahogany and a Cherry stain pen to restain the rim top to match the rest of the bowl. It would match even better once it was buffed and polished.I worked some Before & After Restoration Balm into the surface of the briar with my fingertips to clean, enliven and protect the briar. I let the balm sit for 15 minutes and then buffed with a cotton cloth to raise the shine. The photos show the bowl at this point in the restoration process. I set the bowl aside and turned my attention to the stem. I filled in the tooth marks on the underside of the stem with clear super glue. I let the repairs cure. Once they had cured I sanded the repairs on the underside and the chatter on the topside with 220 grit sandpaper. I started the polishing with 400 grit wet dry sandpaper. I wiped it down with some Obsidian Oil.I touched up the “P” stamp on the stem with an acrylic white fingernail polish. I worked it into the stamp with a toothpick. I let it sit for a few minutes then scraped off the excess. I polished the stem with micromesh sanding pads – wet sanding with 1500-12000 grit sanding pads. I wiped it down after each sanding pad with Obsidian Oil. I polished it with Before & After Pipe Stem Polish – both Fine and Extra Fine. I am always excited to finish a restoration and this Peterson’s Kapet 25 Billiard is no exception. I put the pipe back together and buffed it with Blue Diamond on the buffing wheel. I gave the bowl and stem multiple coats of carnauba wax. I hand buffed the pipe with a clean buffing pad to raise the shine and hand buffed it with a microfibre cloth to deepen the shine. It is fun to see what the polished bowl looks like with the polished black vulcanite stem. This Classic looking Peterson’s Kapet Billiard feels great in my hand. It is light and well balanced. Have a look at it with the photos below. The dimensions are Length: 5 ½ inches, Height: 1 ½ inches, Outside diameter of the bowl: 1 1/8 inches, Chamber diameter: ¾ of an inch. The weight of the pipe is 26 grams/.92 oz. It is a beautiful pipe and one that will be on the Irish Pipe Makers section of the rebornpipes store soon. If you are interested in adding it to your collection let me know. Thanks for walking through the restoration with me as I worked over this pipe. Thanks to each of you who are reading this blog.