Blog by Steve Laug
Over the years that I have been working on pipe restoration I have found that when working on badly damaged stems I have 4 basic choices on how to deal with the damage. They are stated in the form of a simple list below but each one will have to be detailed out to understand the implications of the choice.
1. Cut it off
2. Build it up
3. Splice it
4. Replace it
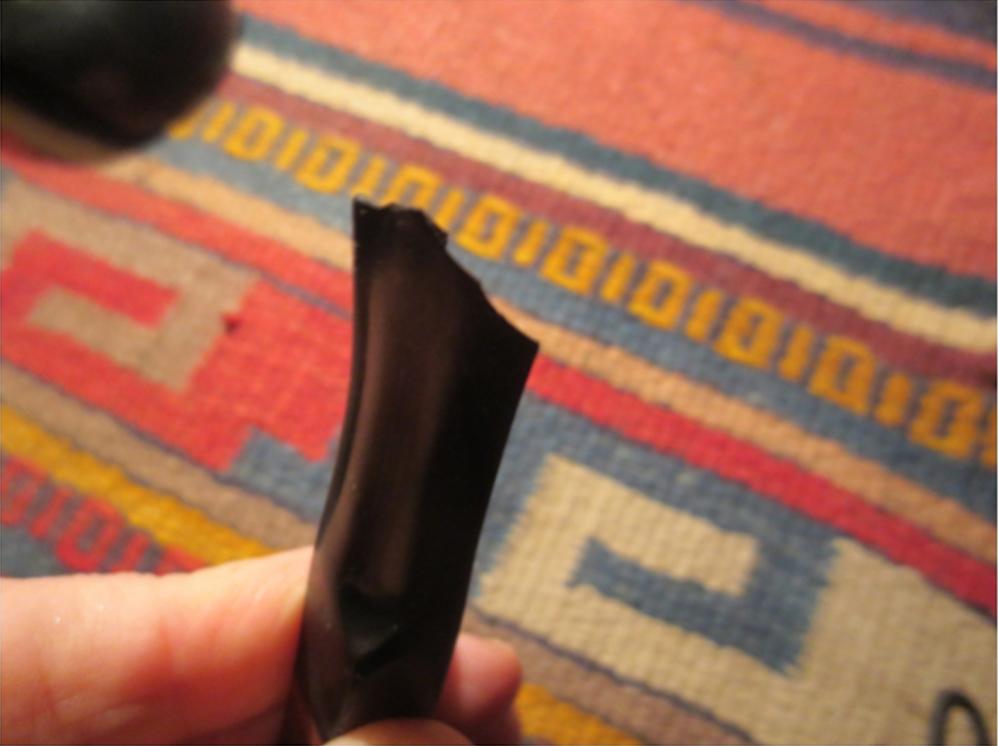
Choice #1 – Cut it off
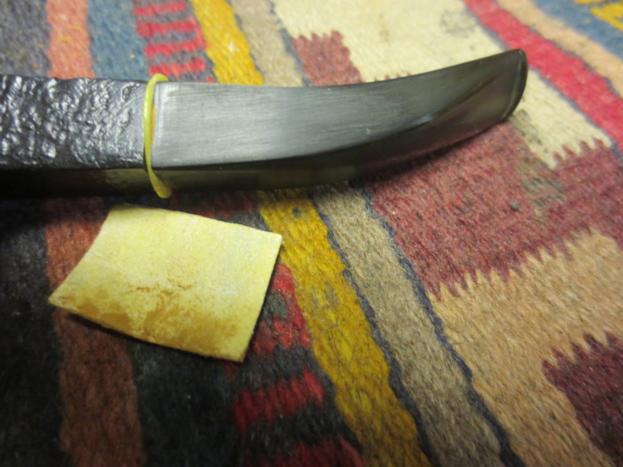
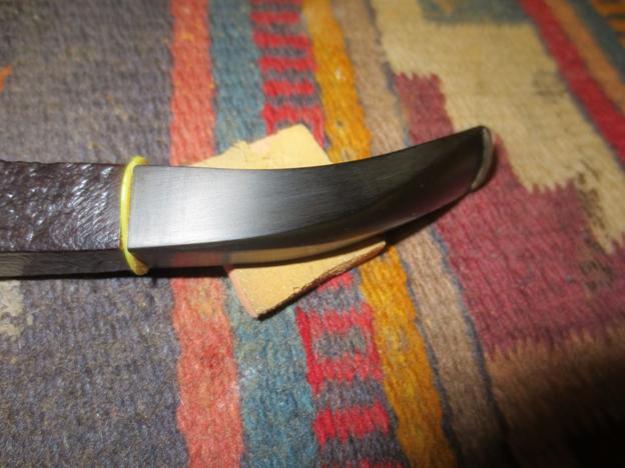
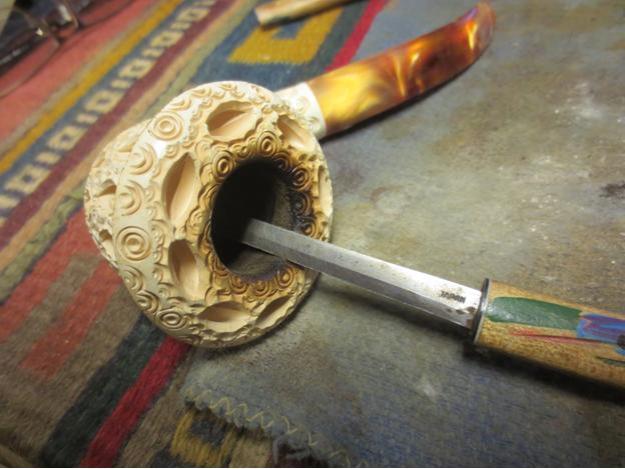
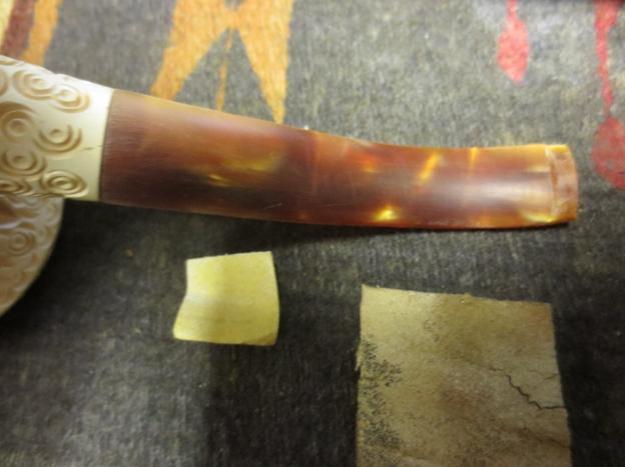
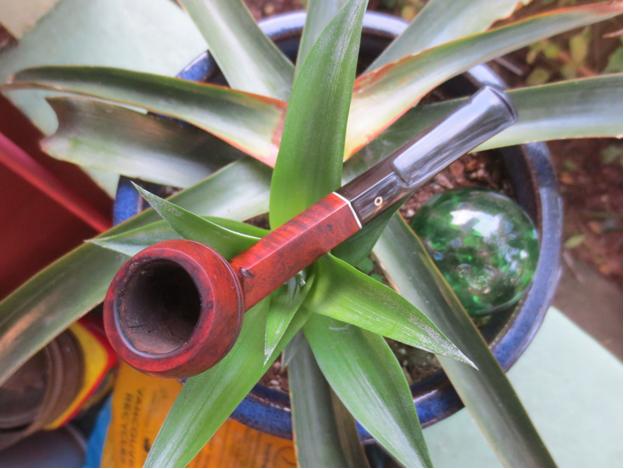
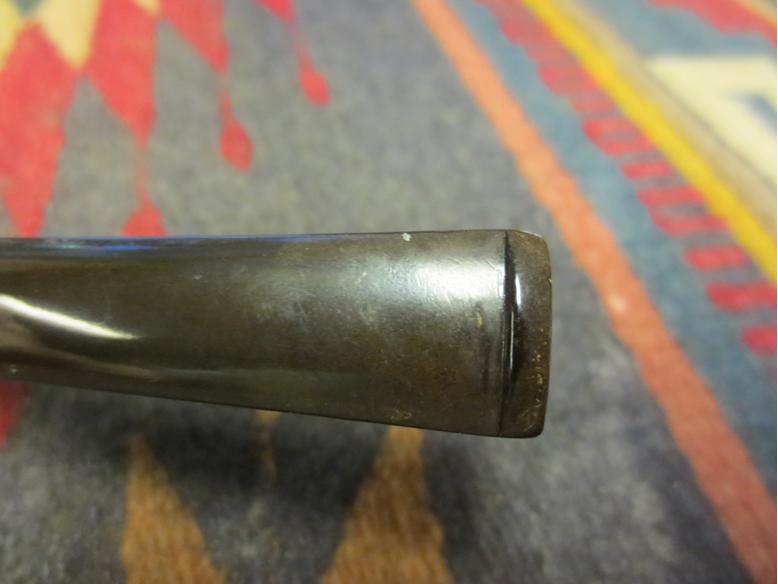
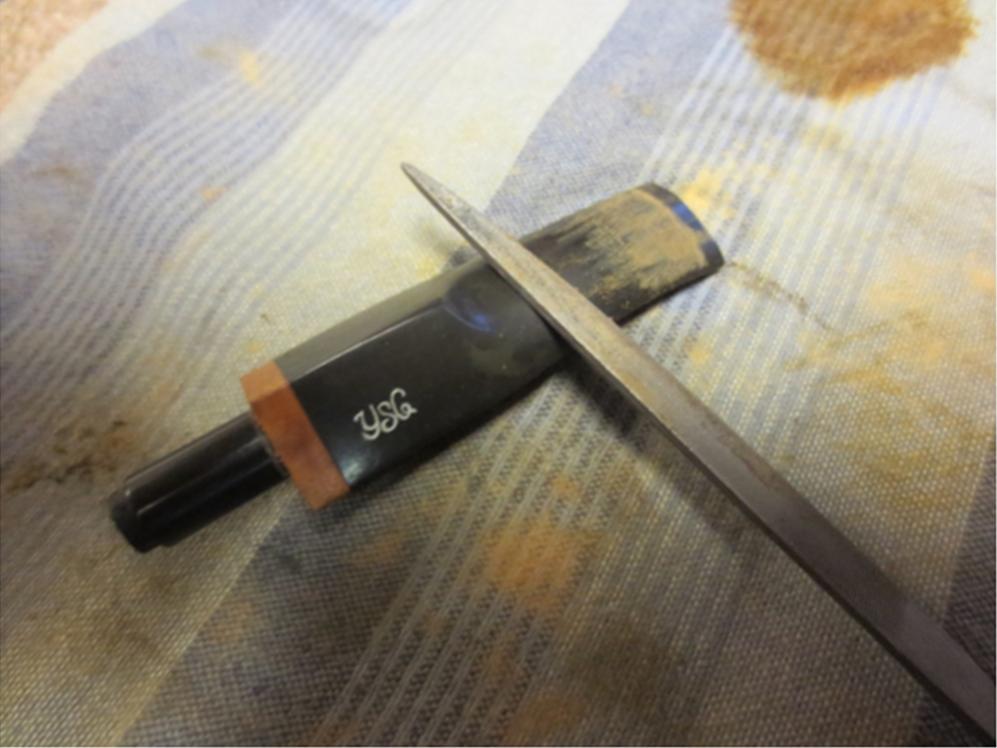
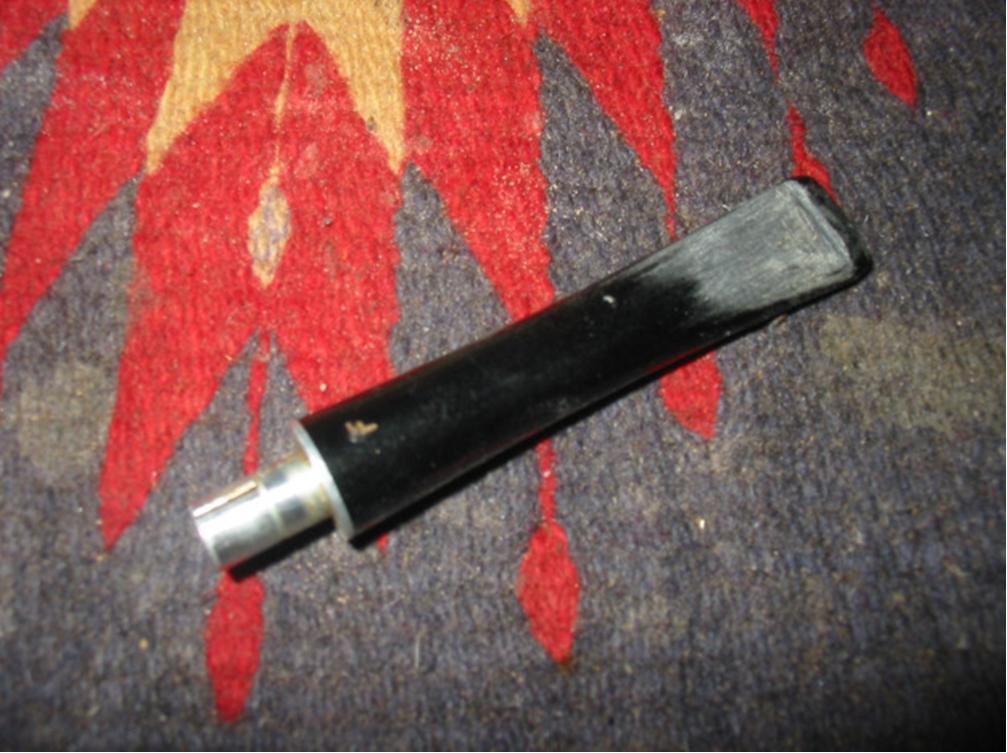
This sounds pretty brutal but it really is a pretty easy repair to work on the chewed stem. I generally see how far back I have to go to get enough stem material on the top and bottom of the stem to shape a new button. Once I have a pretty clear idea of that I put a piece of cellophane tape on the stem to get an idea of how it will look with that bit of stem removed. Sometimes the new stem length just does not work. If it is too short it is awkward. If not then it can be reworked and still look acceptable. I have even cut back badly broken billiard stems and crafted a Lovat shaped pipe that looked really good. The decision is yours and cannot be reversed without making a new stem for the pipe.
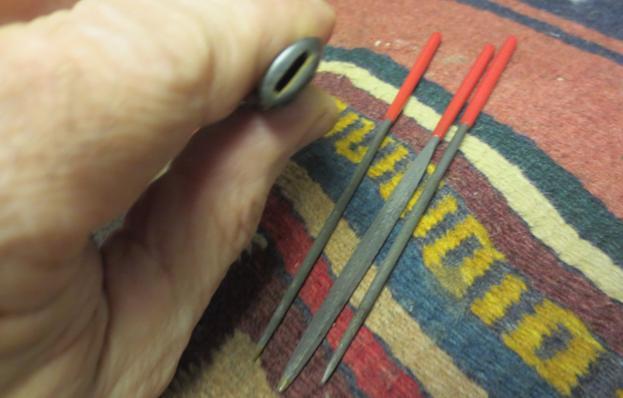
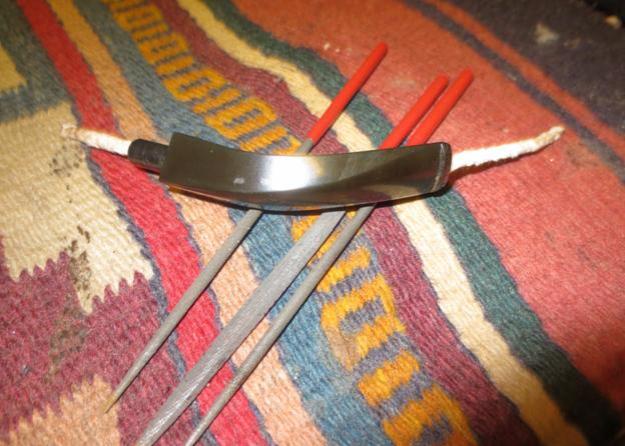
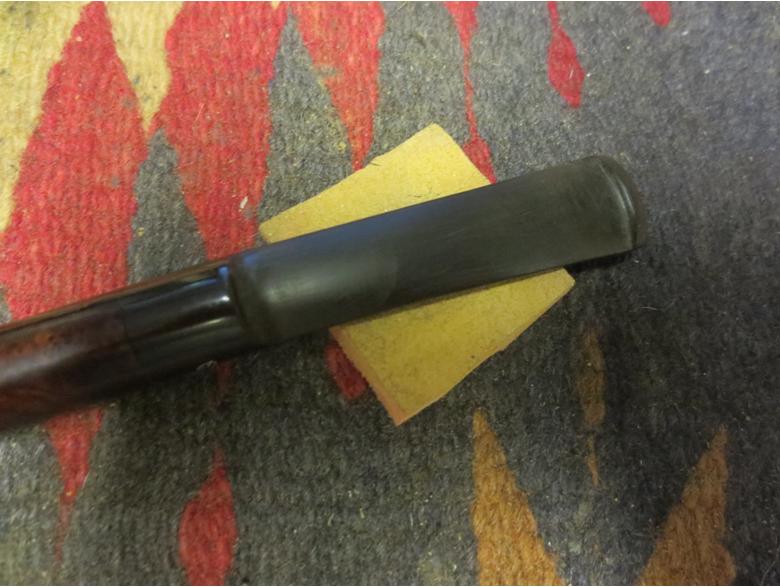
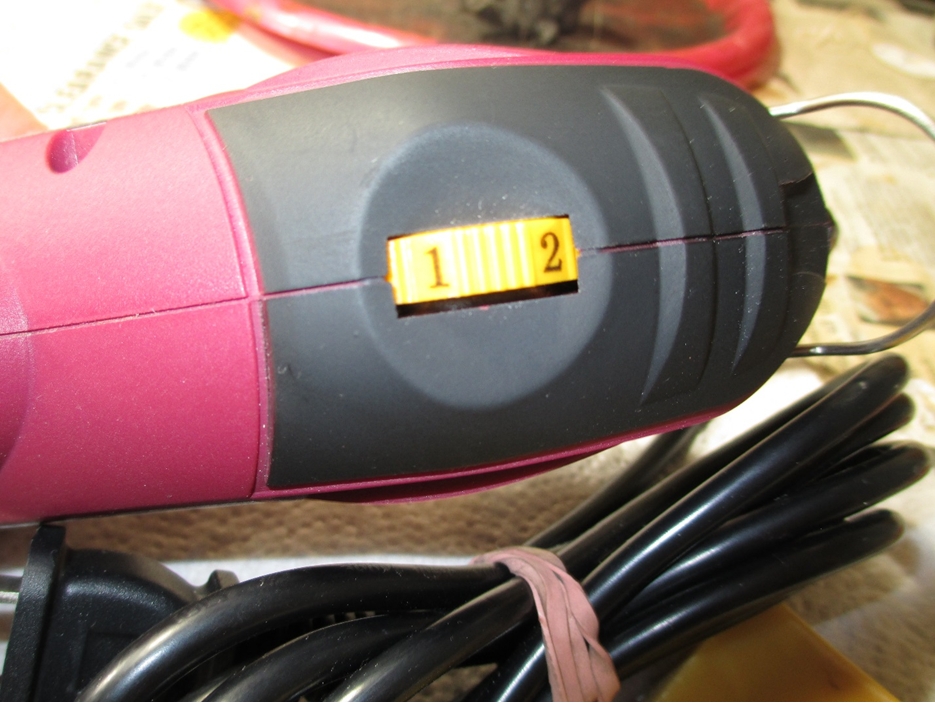
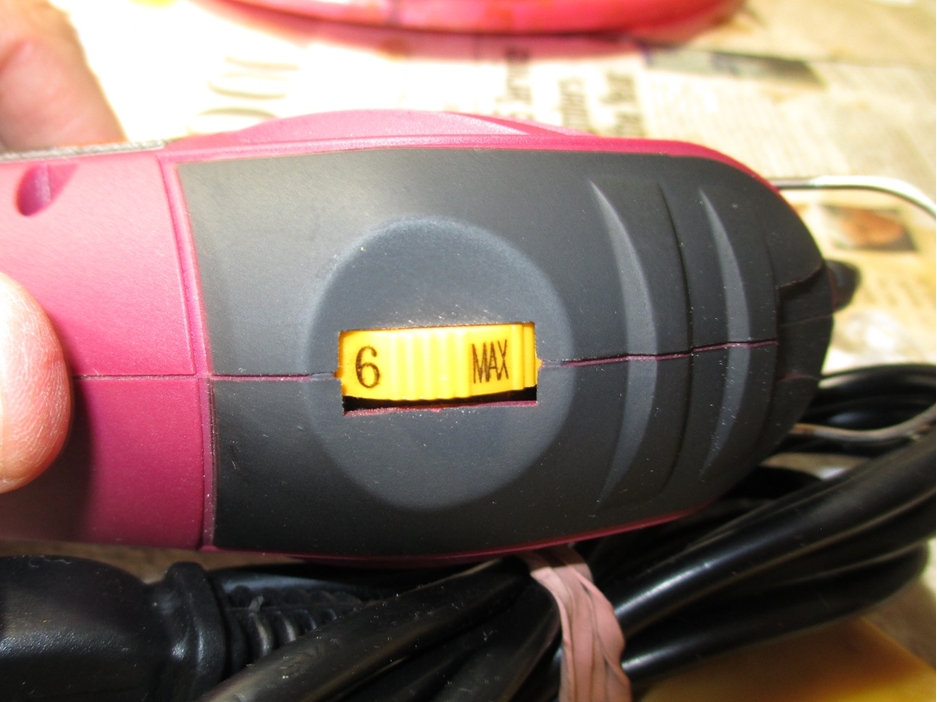
The process is quite simple. Once I have marked the part of the stem I plan to remove I use a Dremel with a sanding drum to remove the damaged portion. It works quite quickly. The only caution is to keep the line straight as you are removing the broken part of the stem. This line is not only the horizontal one across the surface of the stem but also the vertical one looking at the pipe from the end. Others use a coping saw or hacksaw to remove the broken area. I prefer a Dremel. With the end removed the stem is ready for reshaping. I use needle files to cut a new button on the stem. I do that by filing a straight line across the top and bottom of the stem making sure that they align.

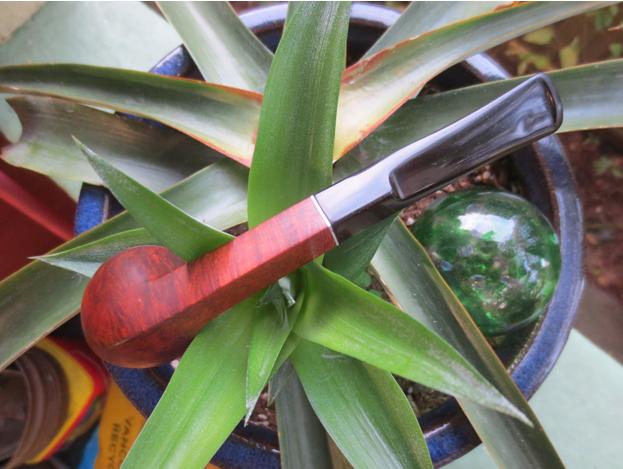
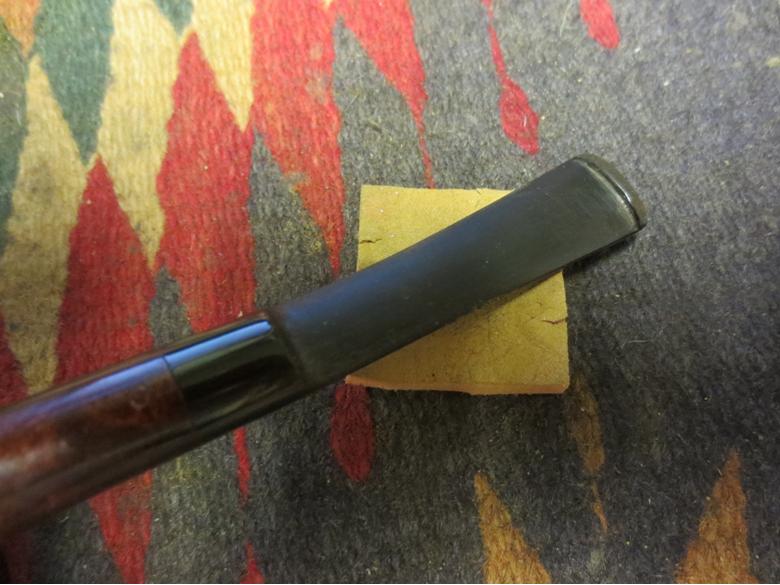
 Once the new button line is in place I use a flat needle file to file back the slope of the stem to the button line. I am careful not to go to deep but judge depth by the amount of material above the opening in the stem end. Once I have the slope set and the button more defined I use the flat needle file to clean up and define the edge of the button. I want a good sharp edge on the inside of the button to catch behind the teeth. I use 220 grit sandpaper to clean up the slope and smooth out the file marks.
 When I get the stem shaped the way I want it I then move on to the shaping of the button. I like a button that is shaped like an oval that tapers outward to the edges on both sides. I sand and file and file and sand to shape it. When I have the shape correct I also slope the button backward toward the airway on the stem end. I generally am working the button to look as much as possible like the one that was originally on the stem. I use pictures of the stem from the internet or from the camera that I took to get the look just right.
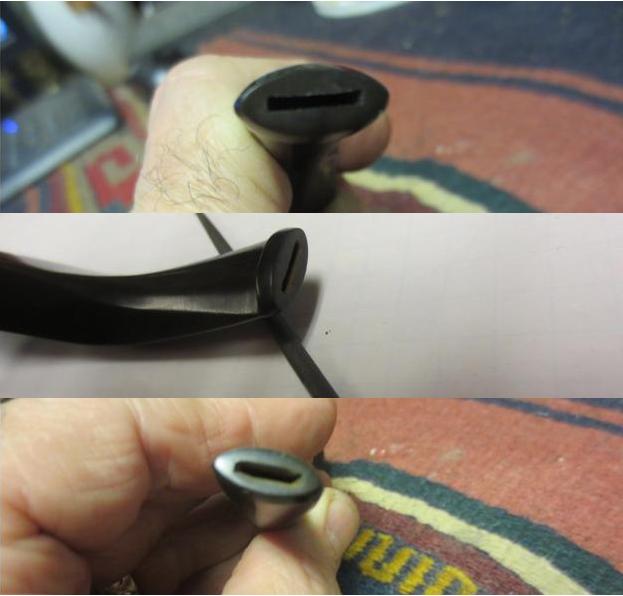
 After the button is shaped I work on the airway in the end of the button. I want it to be a slot. I use the needle files to open the airway. I flair it from the opening like a Y. The idea is to create an opening that is funnel shaped. I start with a flat file and work toward a round and an oval needle file I shape the ends of the slot to match the shape of the button as much as possible. When I finally have the slot open I fold a piece of sandpaper and work on the inside of the slot to smooth out the file marks.

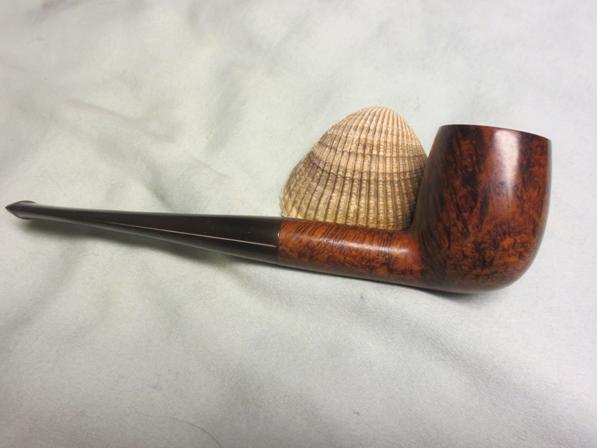
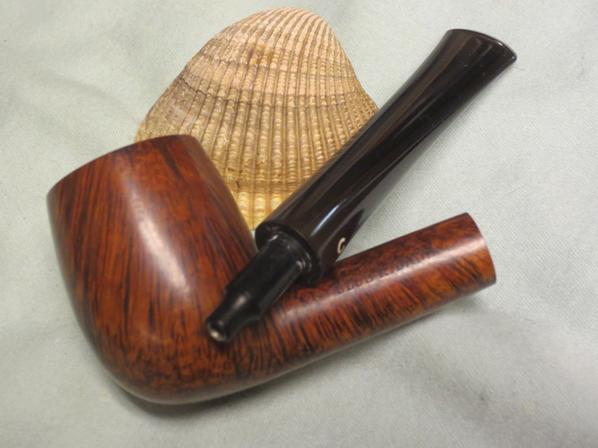
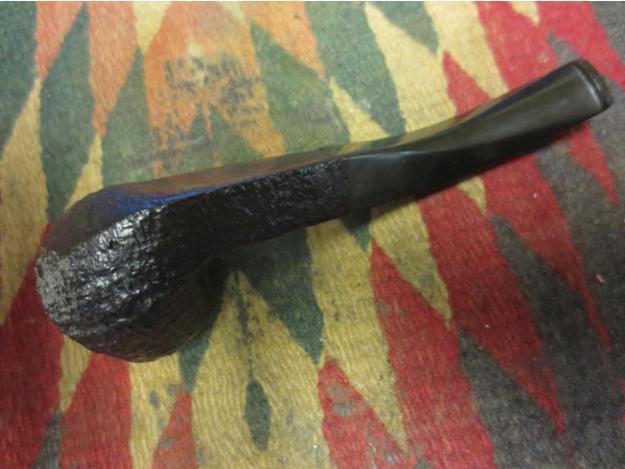
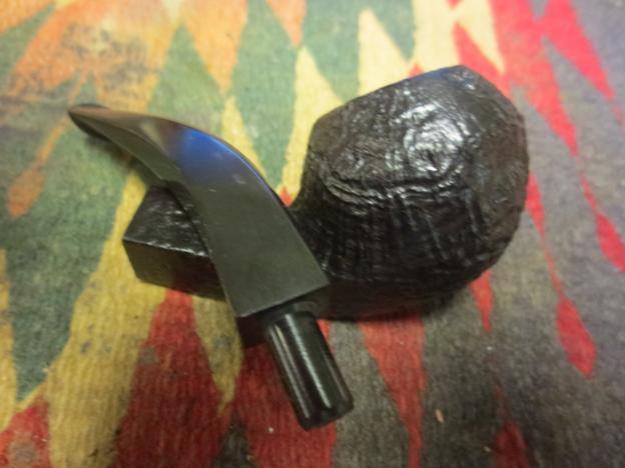
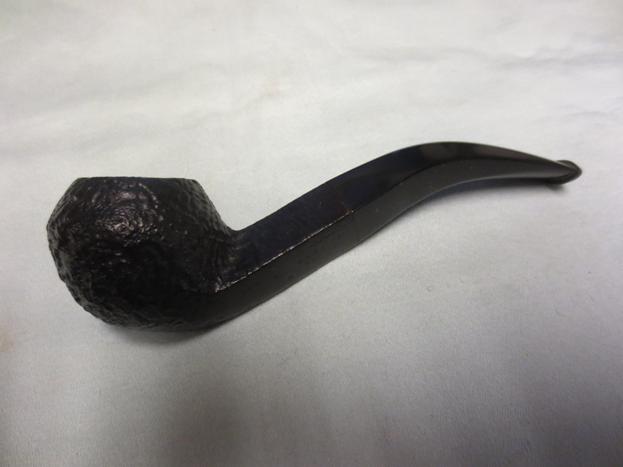
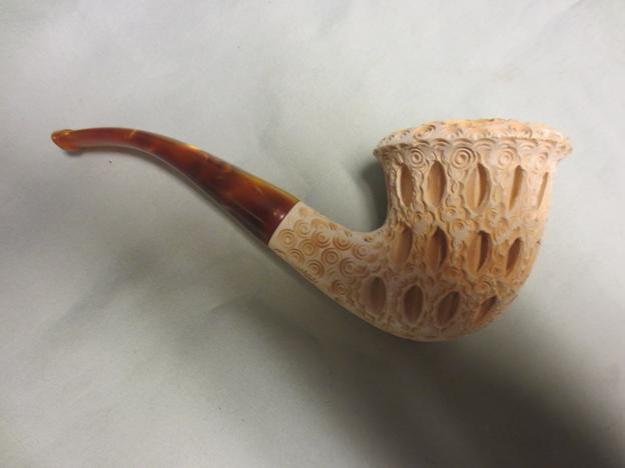
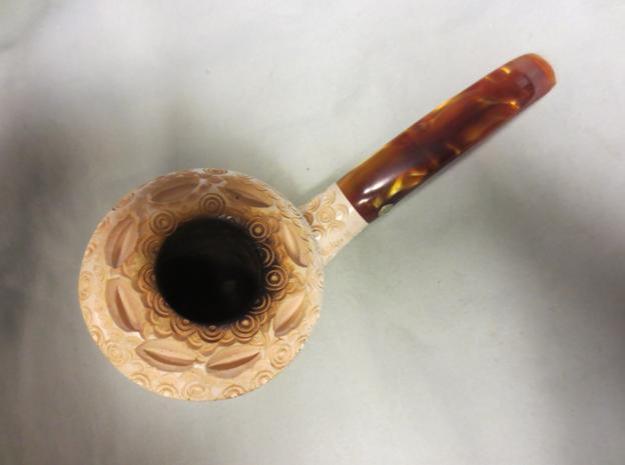
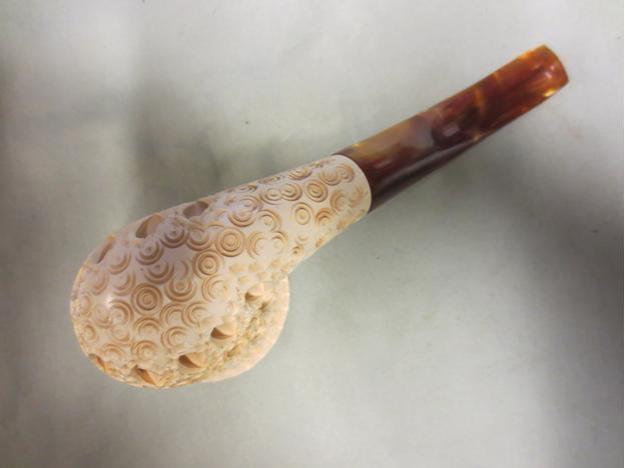
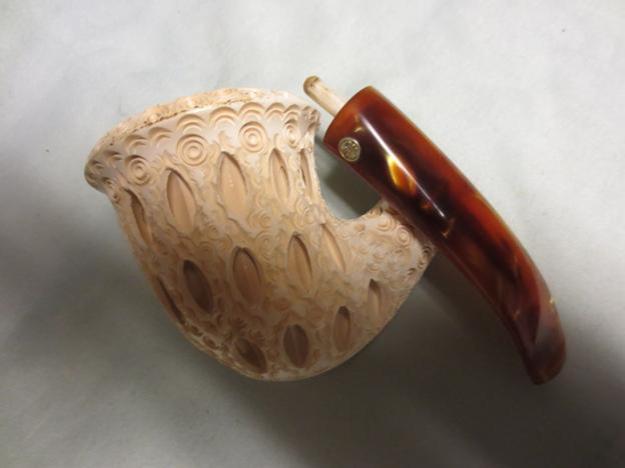
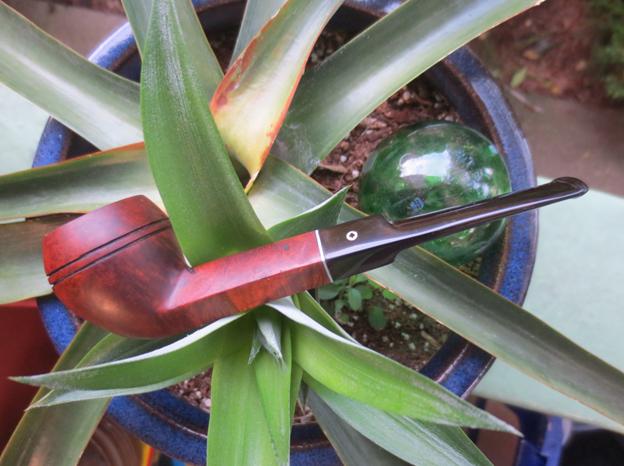
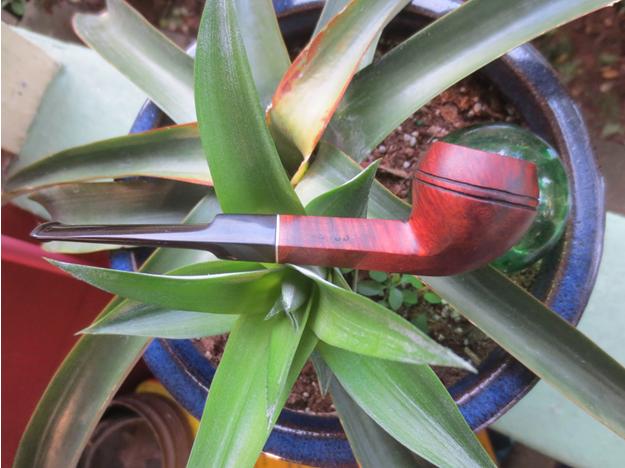
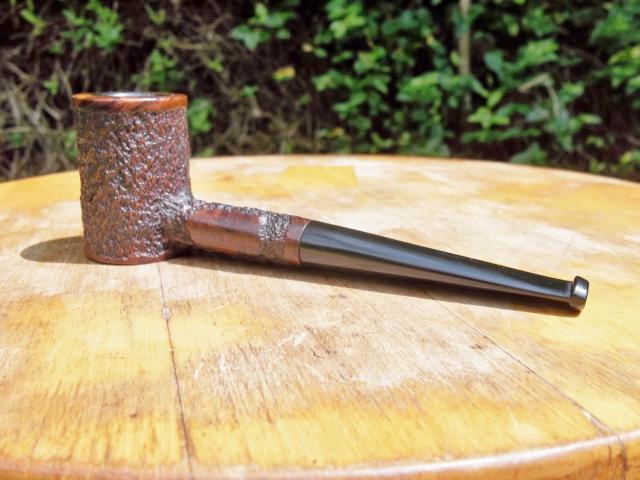
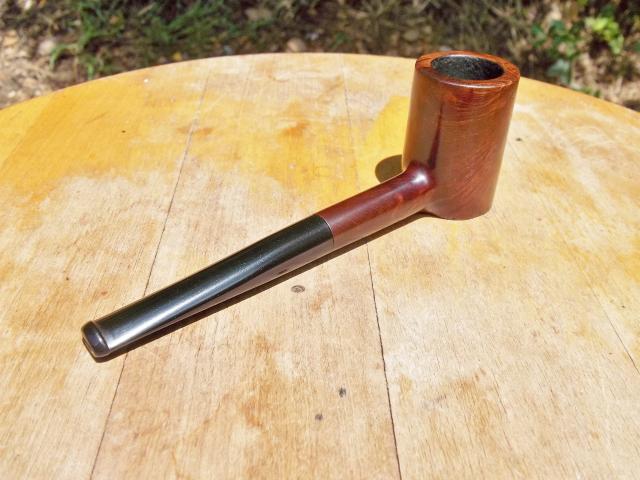
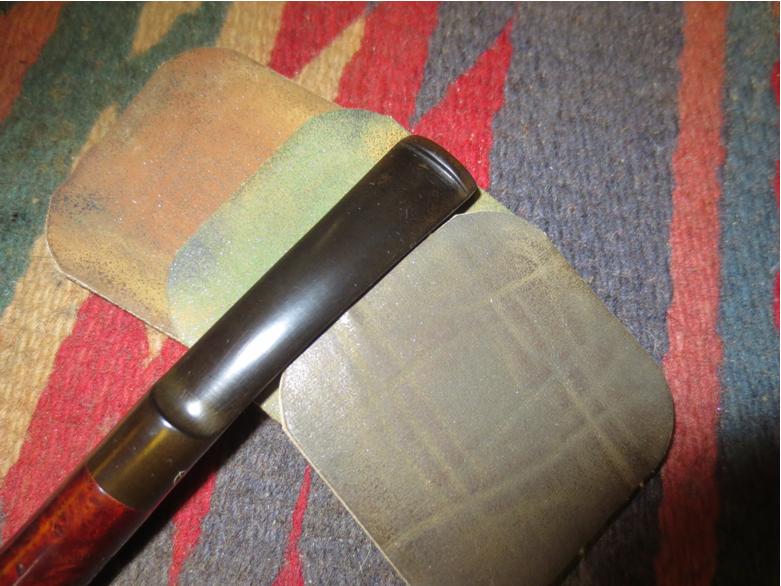
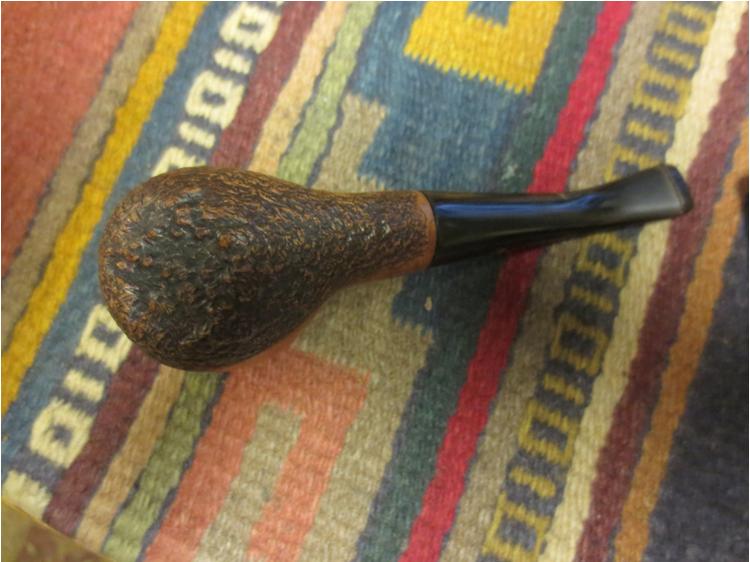
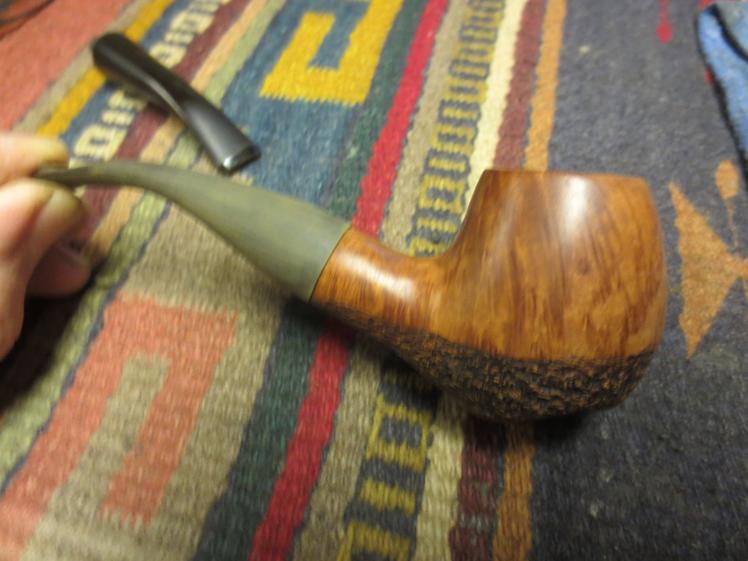
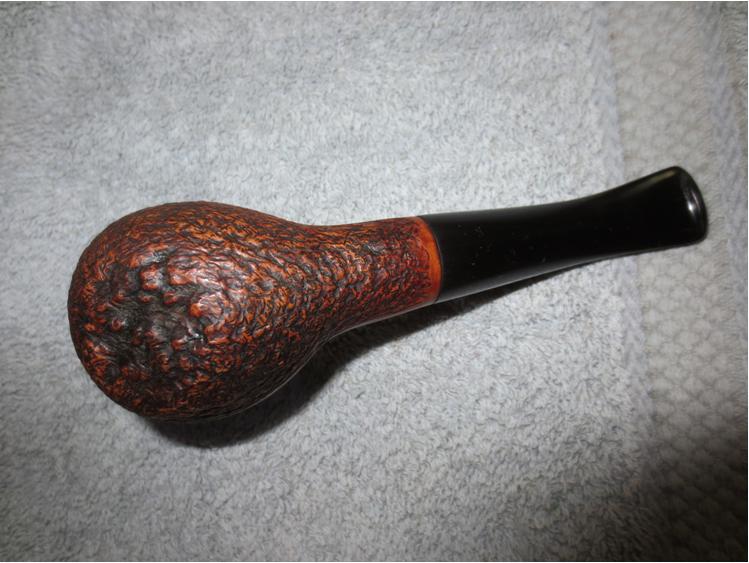
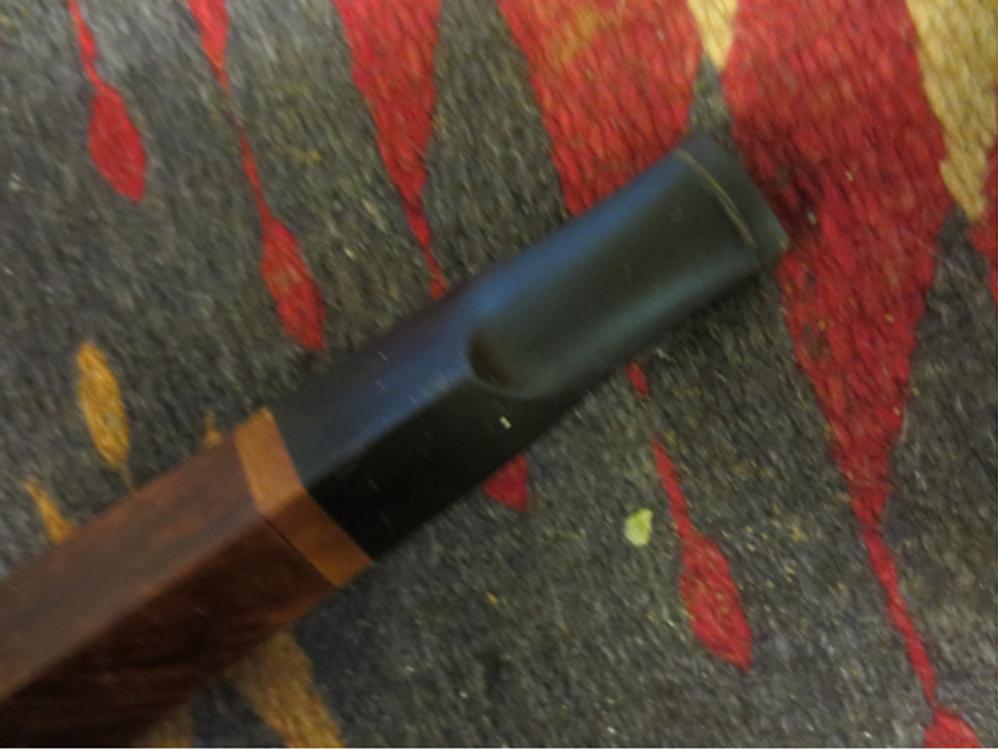
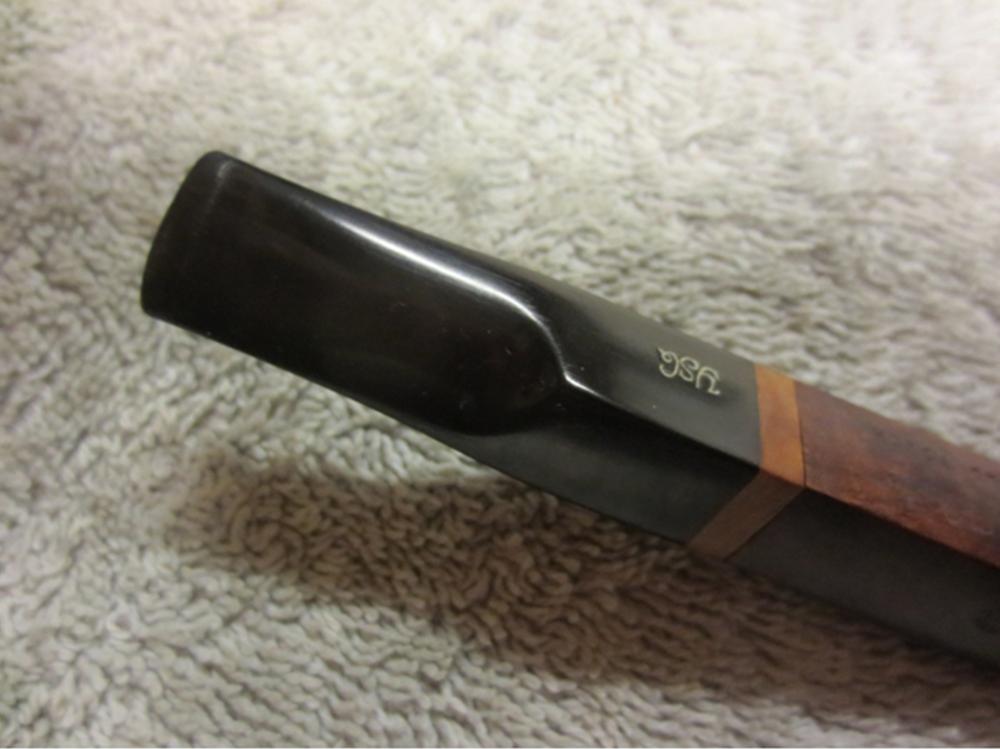
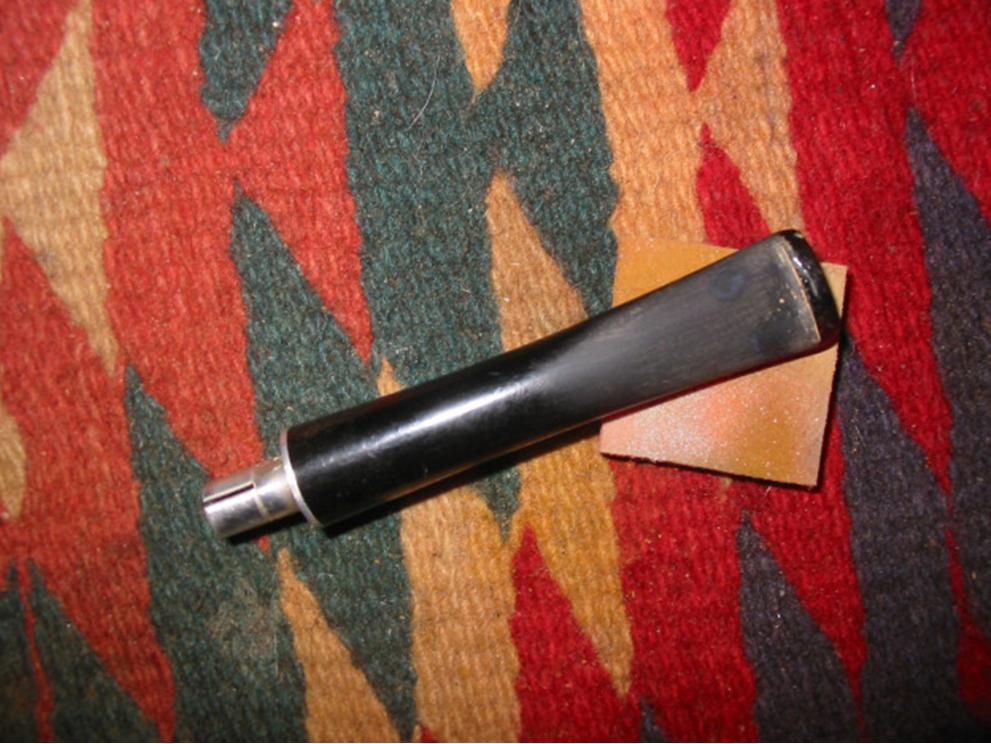
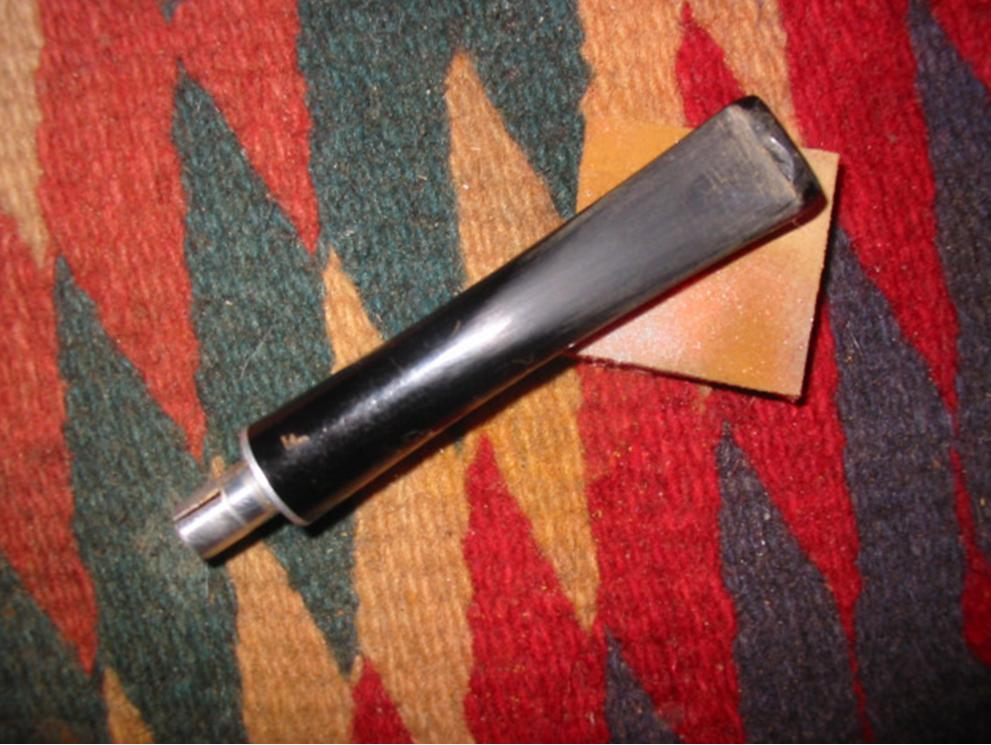
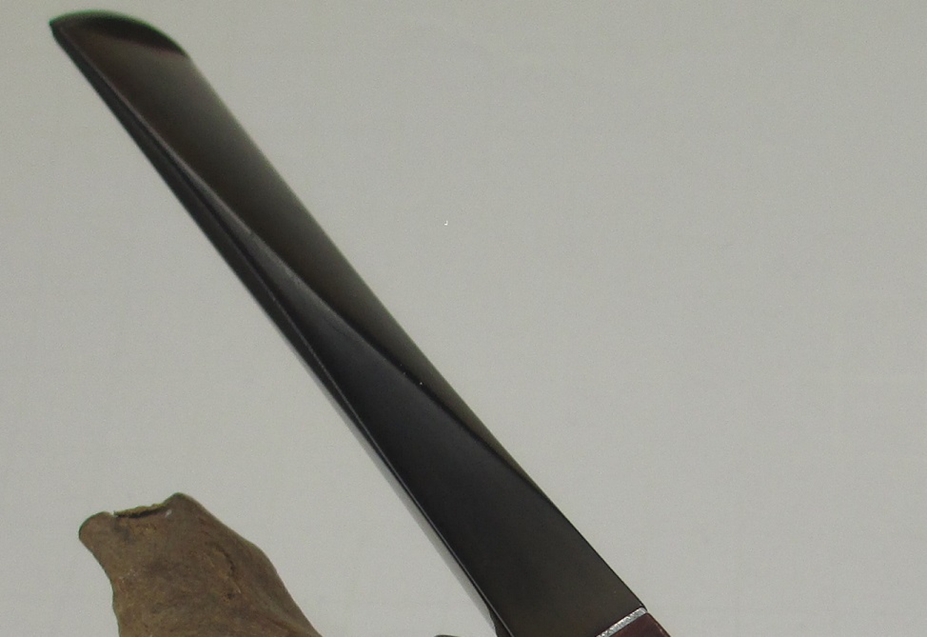
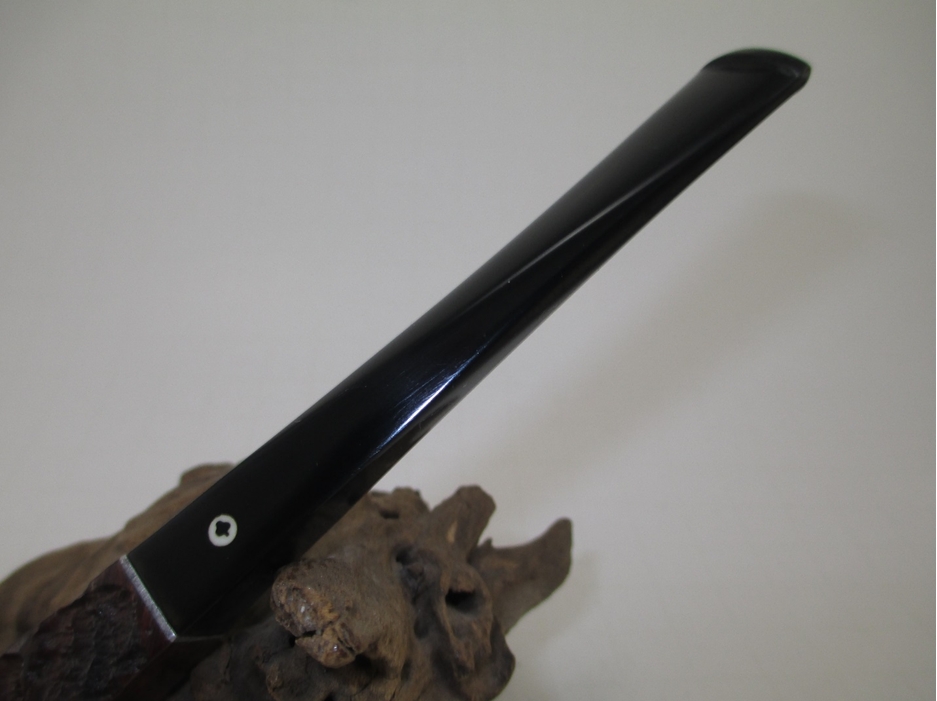
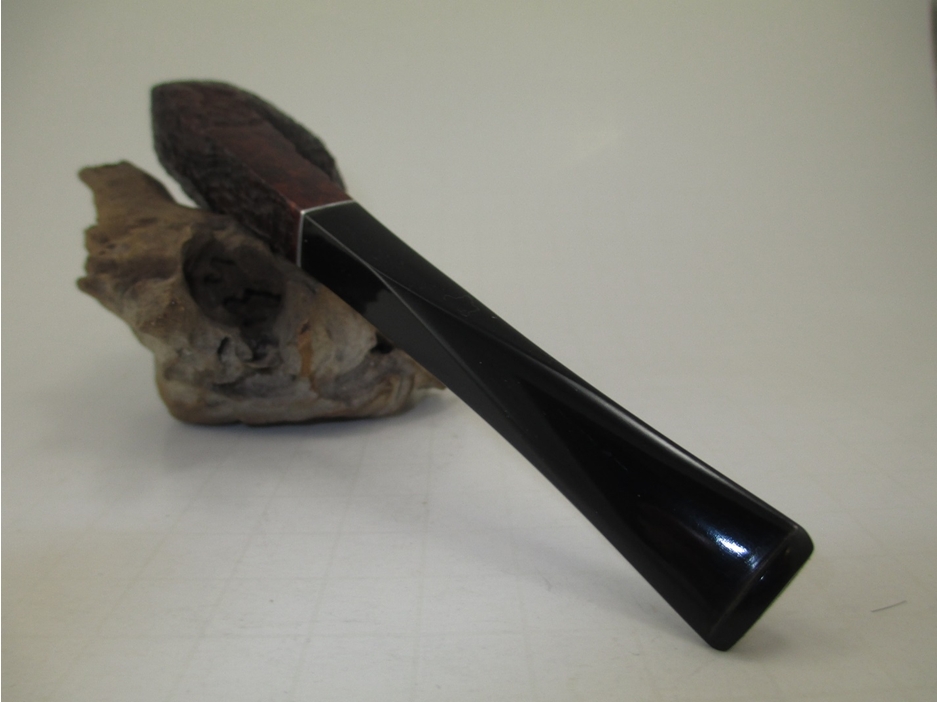
 I finish by sanding the stem with micromesh sanding pads and polishing it to give it a shine. Here are some photos of the finished stem.

Choice #2 – Build it up
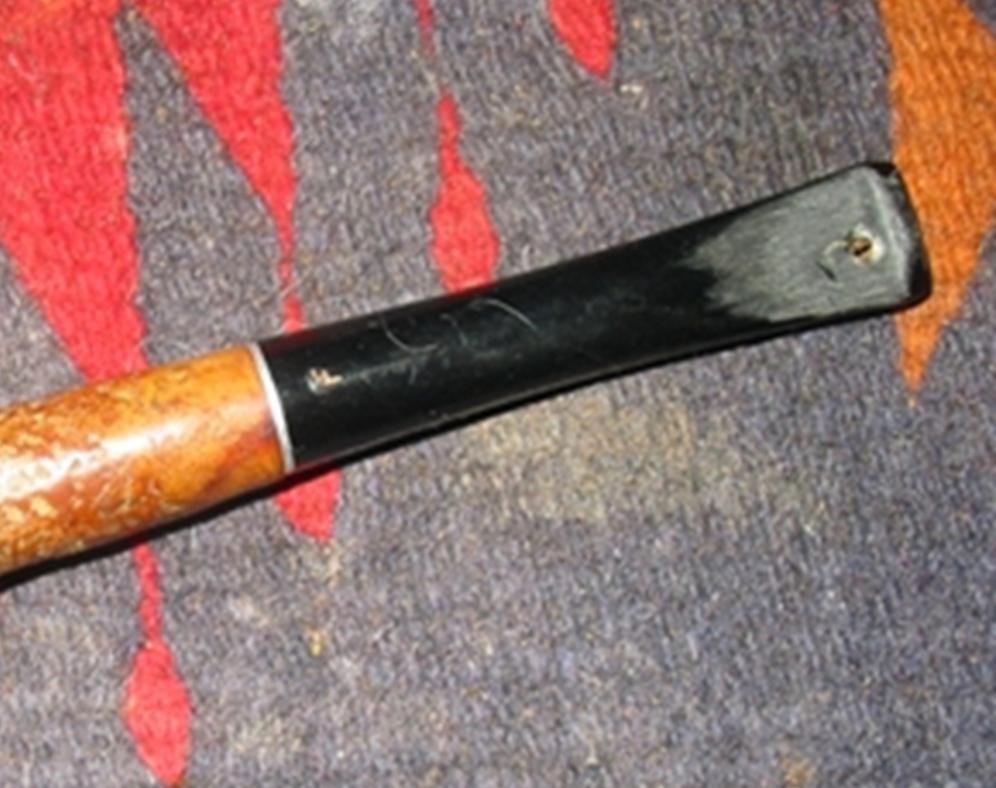
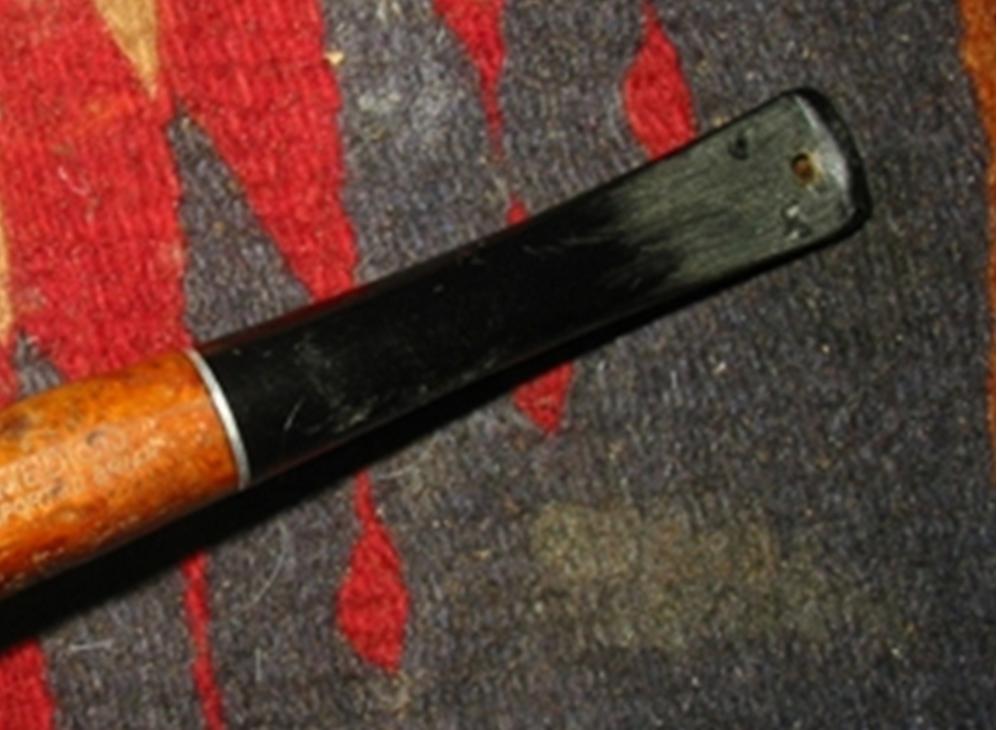
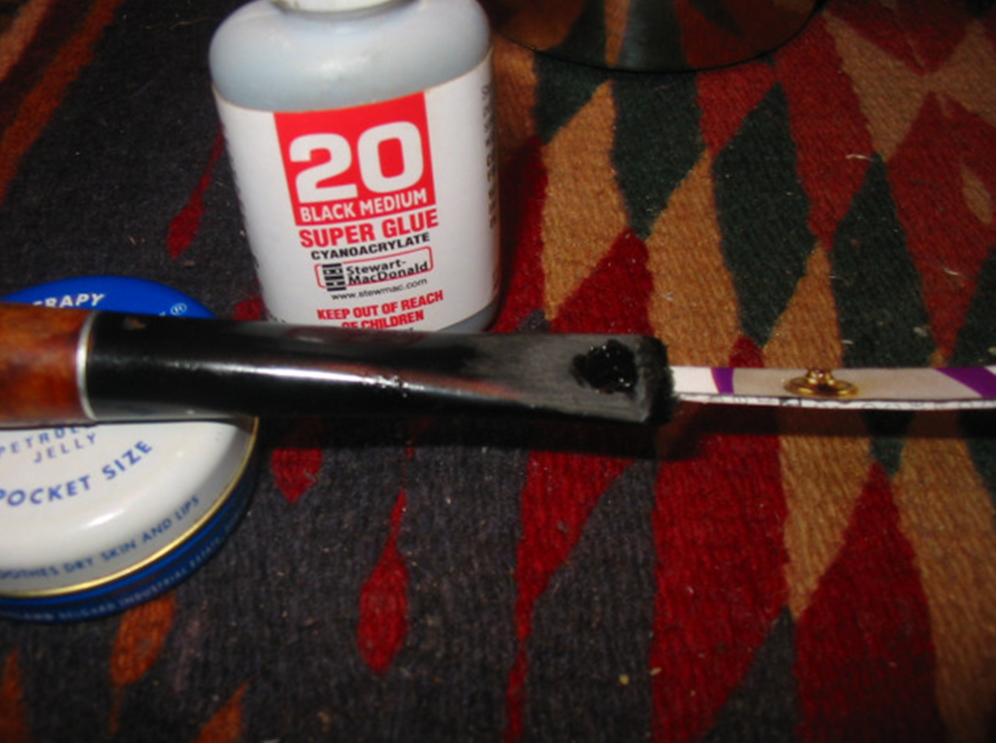
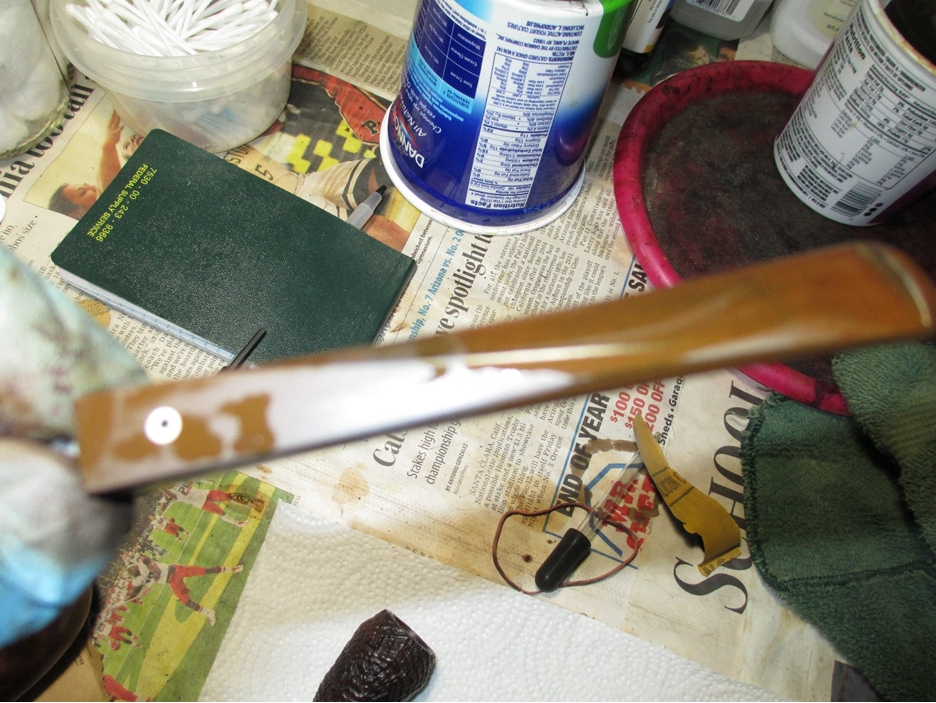
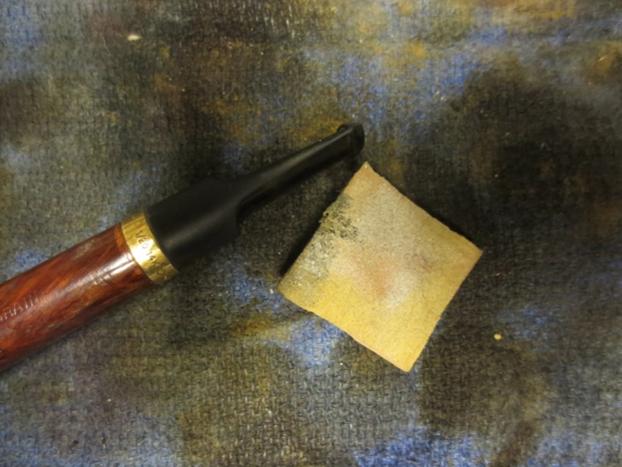
I have used this method quite a bit with variations. I have used it repair bite marks and bite throughs on stem. The basic procedure is to clean up the affected area on the stem with alcohol and sandpaper to prepare it for the buildup. I leave the area slightly roughened to give the repair something to grab on to. Once all loose debris, sanding dust and oxidation is removed you are ready to begin the patch. The stem I am using to illustrate the process had holes on both sides of the stem and both were large. Alongside both sides there were also many tooth dents that needed to be addressed as well. In this case those dents would provide a strong base for what would be a large patch.
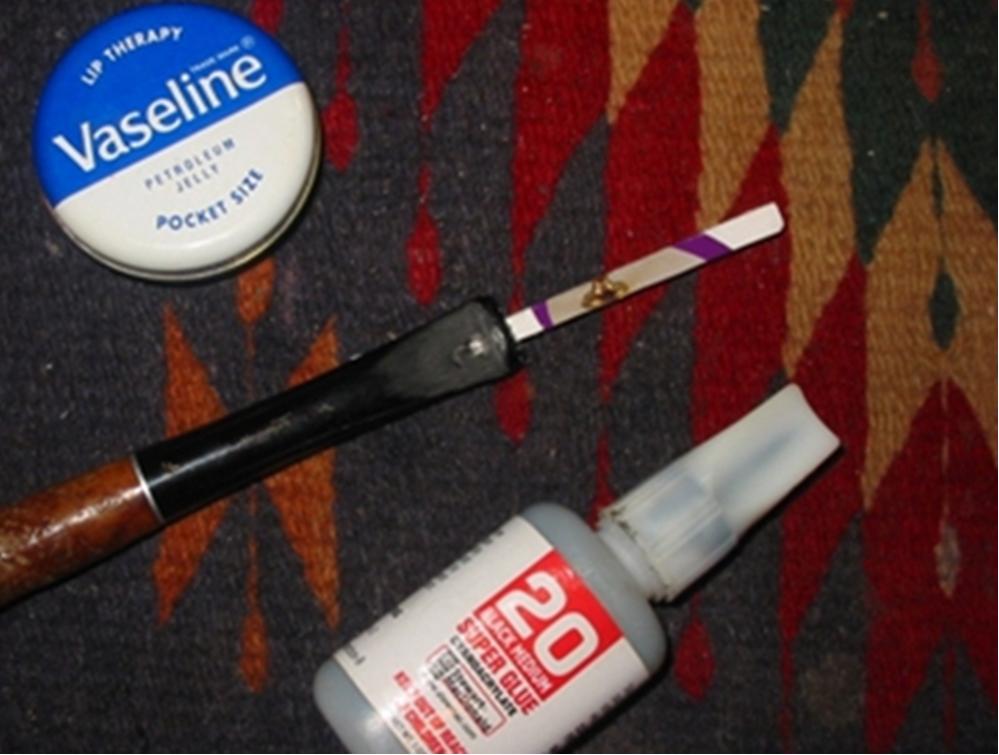
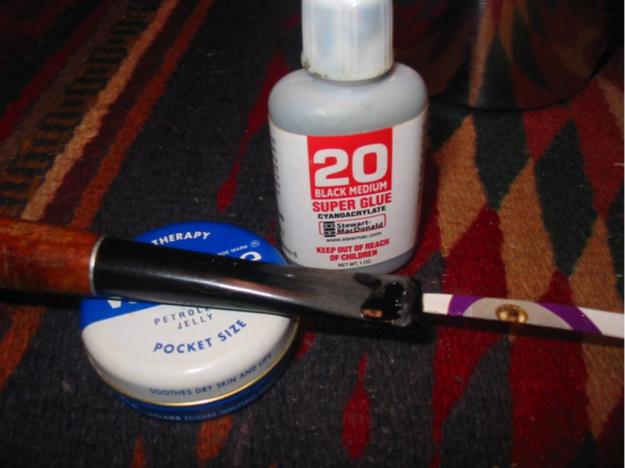
 I grease a piece of folded paper or a nail file with Vaseline and insert it into the slot on the stem. I want to have a slick base for the glue to sit against but not fasten to. I also do not want to close off the airway and this method has worked well for me for many years.
 With the folded paper inserted it is time to begin to build up the repair. I use medium viscosity black super glue that I get from Stewart MacDonald online. I build up the edges of the repair first. Some folks will use an accelerator at this point to speed up the process. I have also done so but find that the glue is more brittle and I have had patches fail after using it. So I have learned to “patiently” wait for the glue to harden. Others mix in fine charcoal powder or grit with the superglue and feel that it gives a stronger patch. I have done that as well but did not choose to use that on this stem repair.
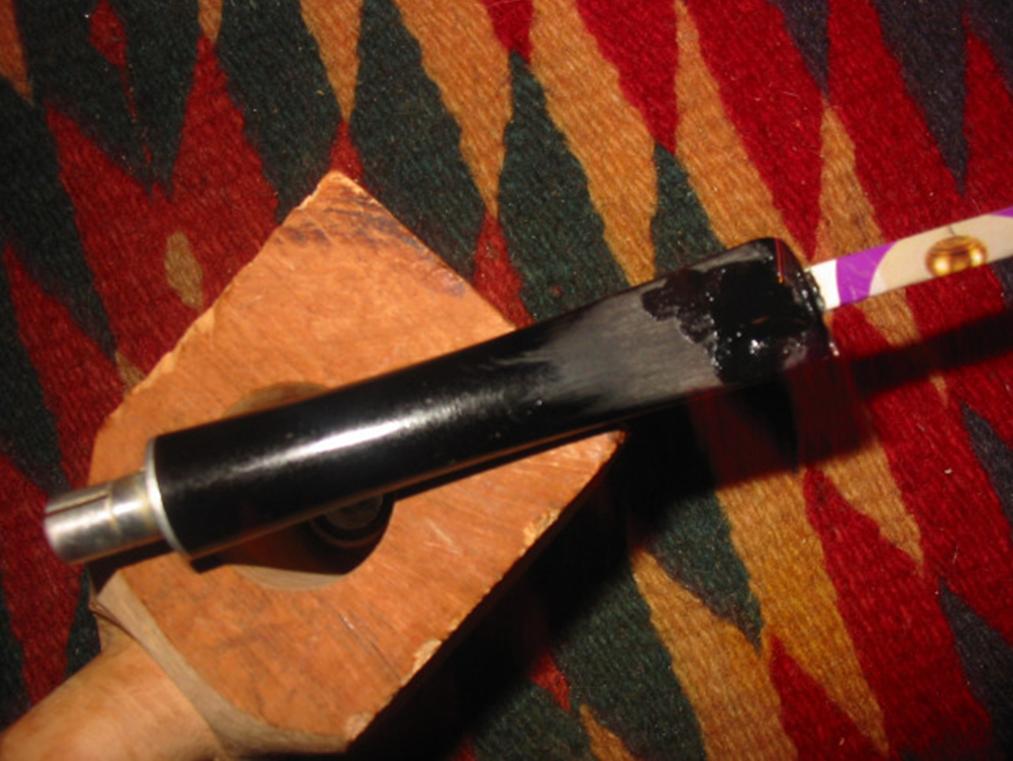
 As the first layer of glue dried I continued to build the patch inward to the middle and thicken it as well. The process took several days and included at least four layers of glue.
 Once the last layer of the patch was finished I set the pipe aside to cure for several days. When it was dry I sanded it with 180 grit sandpaper and then 220 grit sandpaper to level out the patch and the surrounding stem.
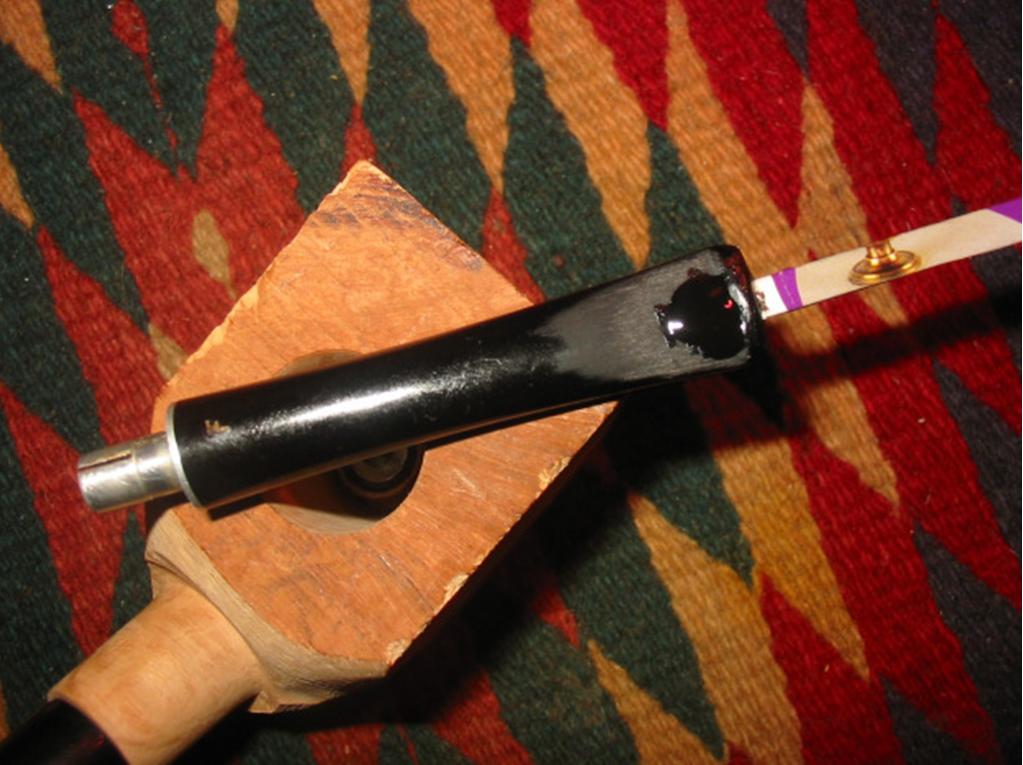
 I used needle files to sharpen and define the edge of the button. I sanded it with a medium and a fine grit sanding sponge. The patches show up still in the surface of the stem as a slightly different colour but once the stem is sanded with micromesh they begin to disappear.


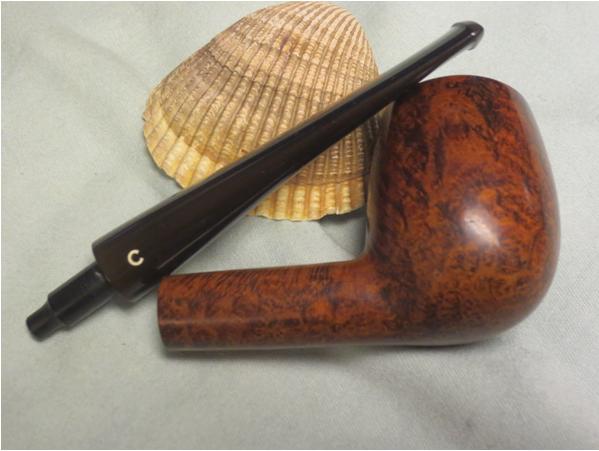
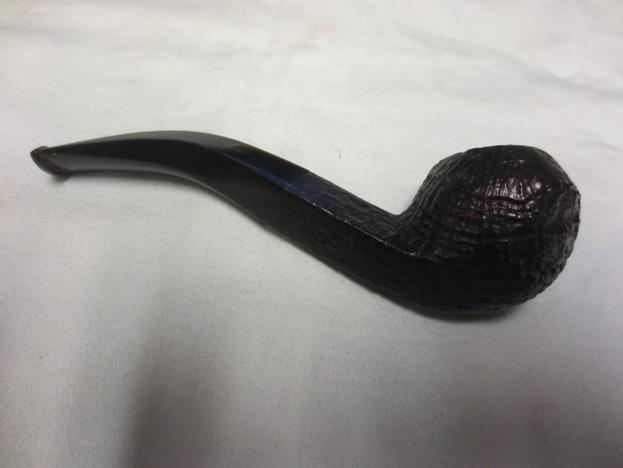
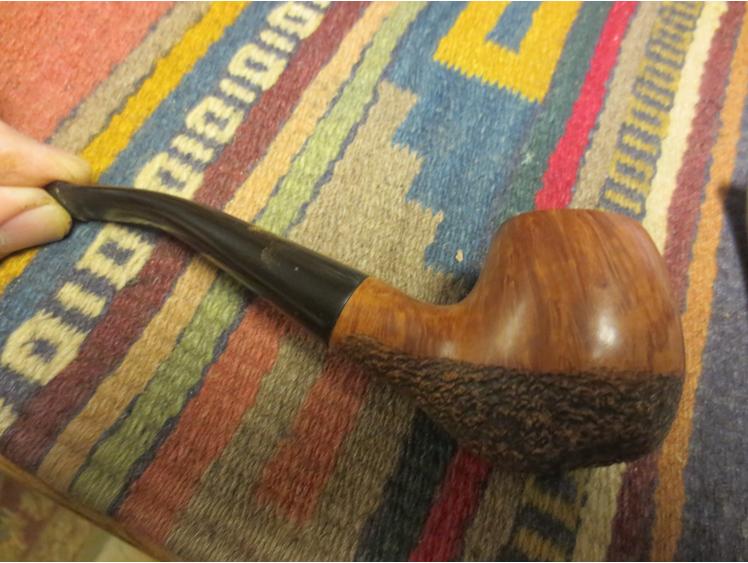
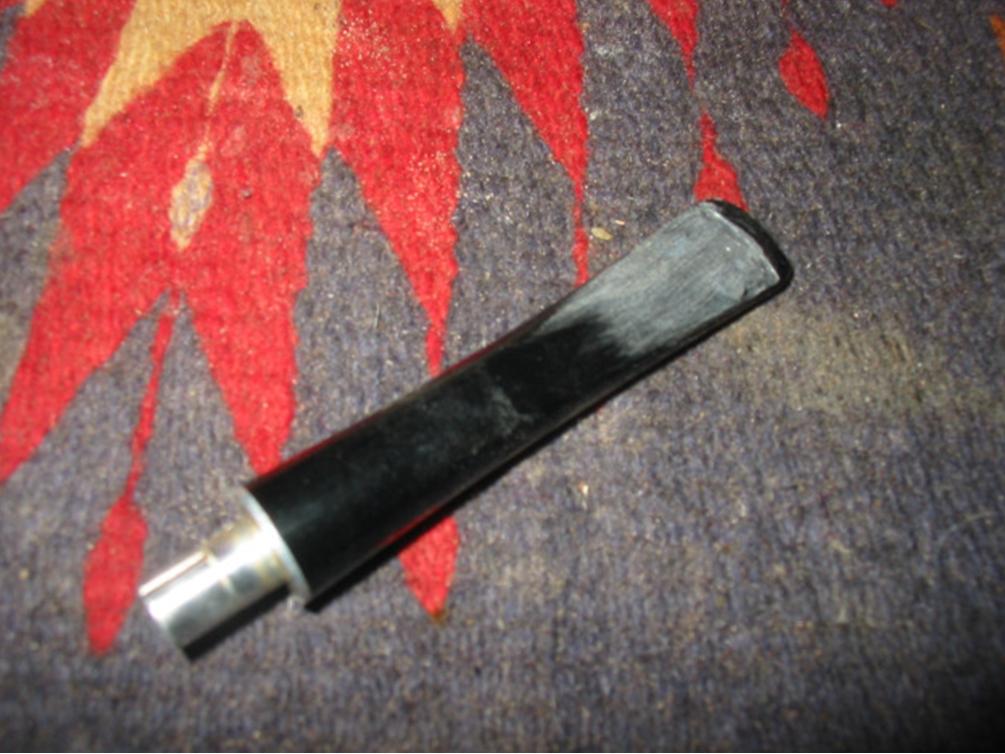
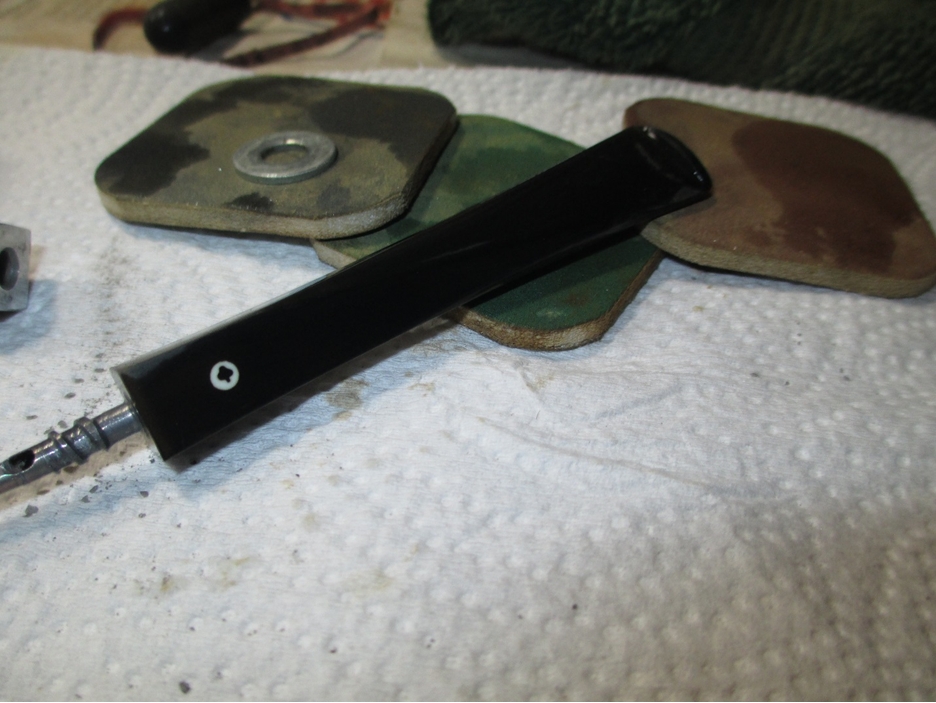
 The finished stem looks like new.
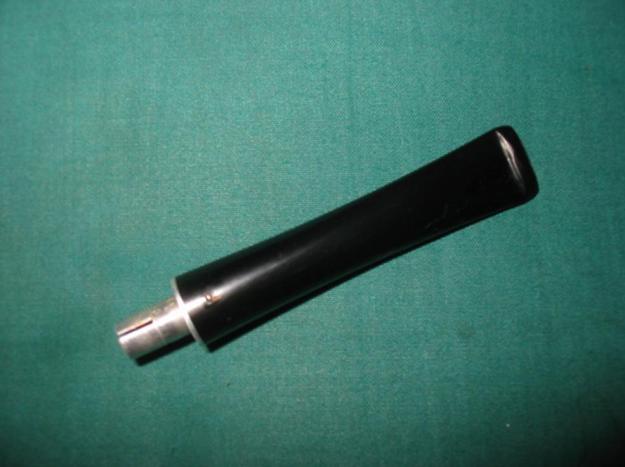

Choice #3 – Splice it
On the blog, Jacek Rochacki has written of splicing a repair and reshaping the stem. I am inserting his procedure at this point to explain the choice he uses.
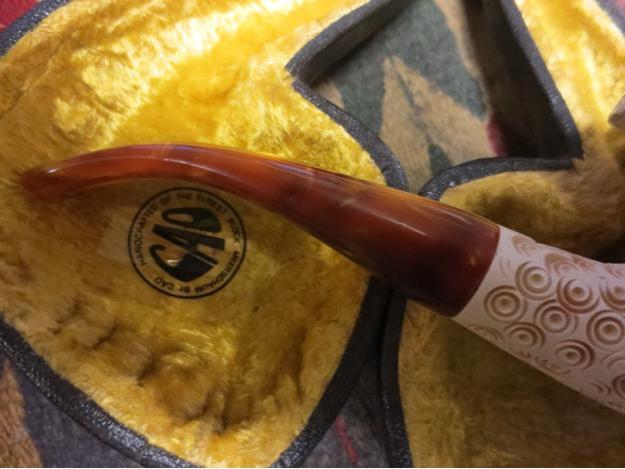
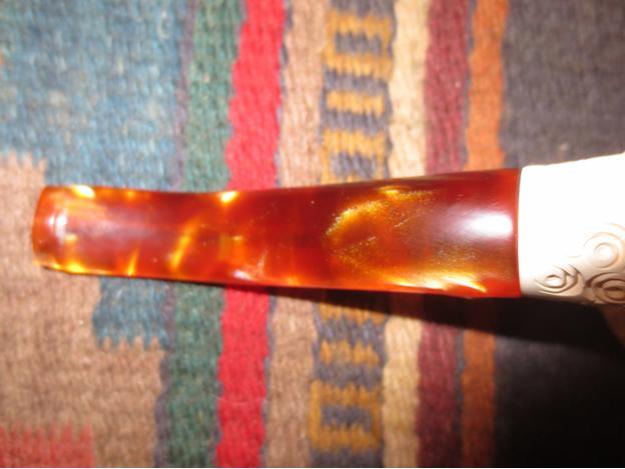
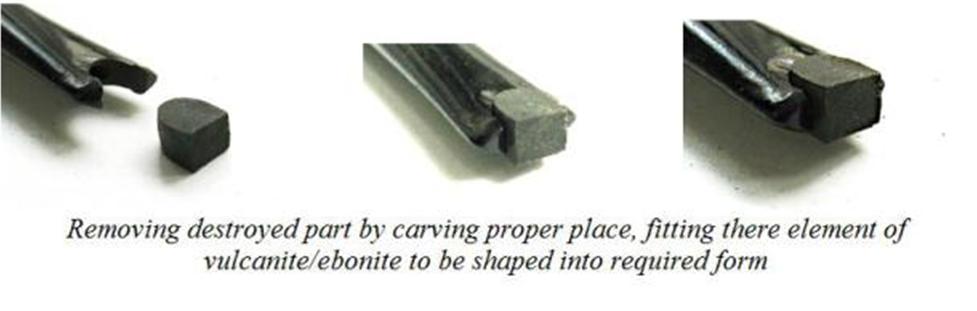
Instead of cutting/removing the damaged part and carving the lip/button of what is left, I would proceed in different way. Keeping in mind my wish of keeping original dimension, proportions, form, I would try to reconstruct damaged stem/mouthpiece as following:
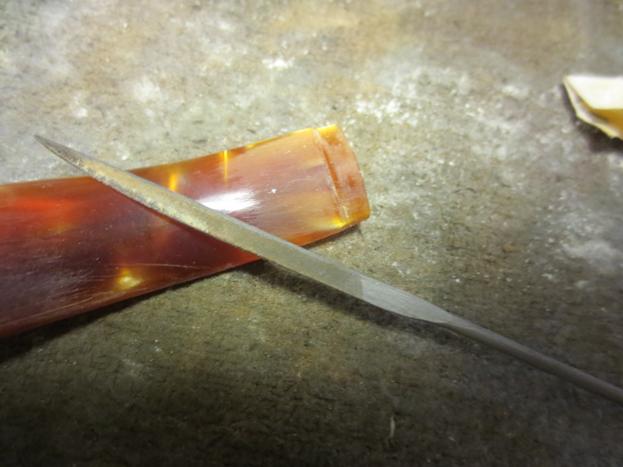
By using sharp cutting tools – engravers/burins, scrapers or in case of better equipped “workshop corner” – cutters, like those used by jewelers for stone settings, or even a sharp pocket knife, a frame saw and needle files I would work on the damaged area making it a proper shape a piece of the same material carved that I will later shape/carve to fit what is missing. The words “making it of proper shape”, may be a subject for another longer text. But as sort of inspiration may be the different ways dentists use to “elaborate” holes in teeth so that the filling will be kept securely in place. In a stem the situation is easier as we have good binding glues and are binding together the same kind of materials – vulcanite/ebonite to vulcanite/ebonite.
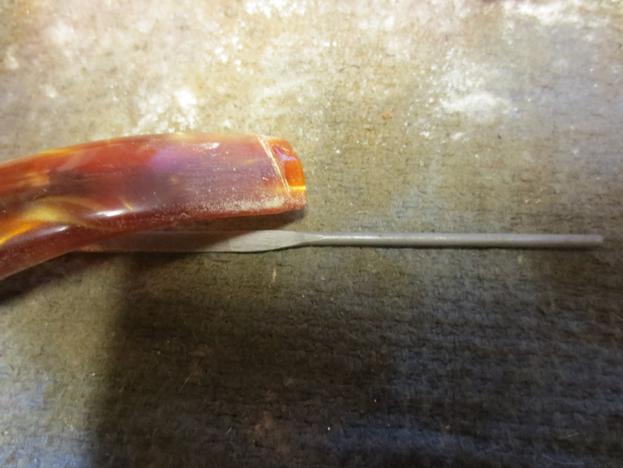
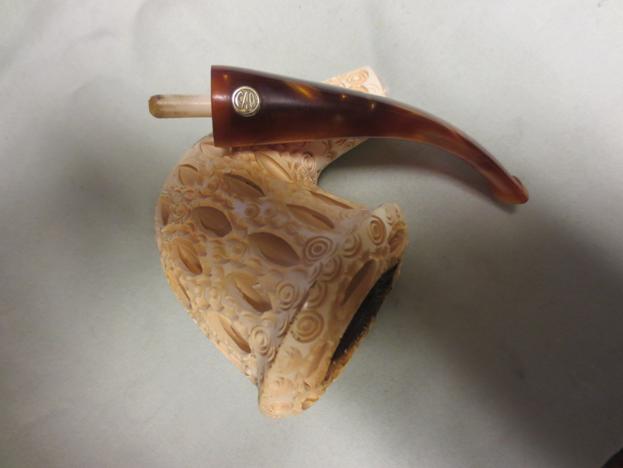
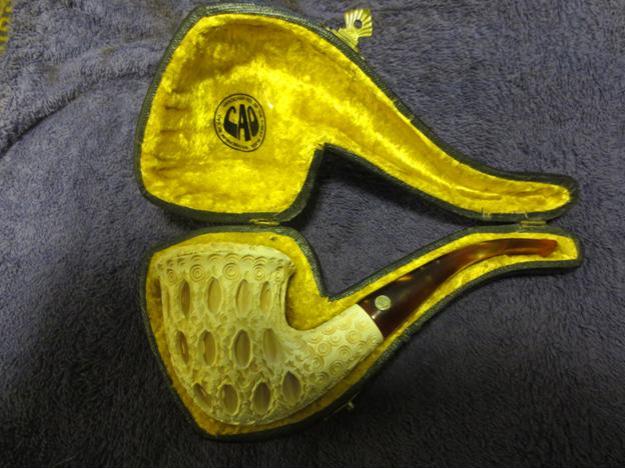
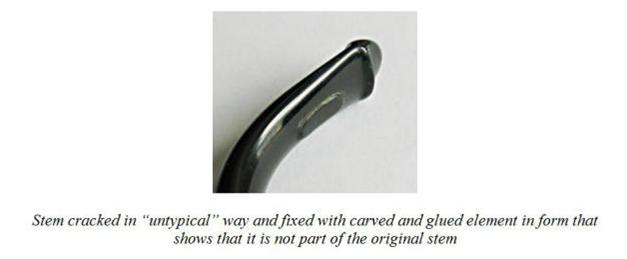
When the newly carved material is fixed into the missing area with glue, I work with files and drill bits to achieve desired missing shape. Then I proceed with finishing techniques. Let us look at the pictures:

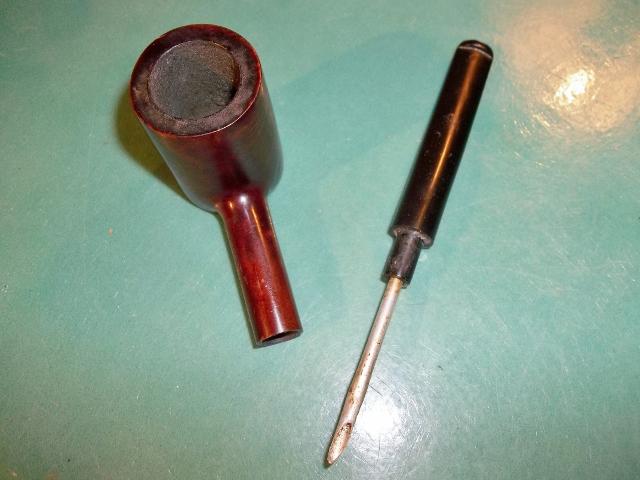
 Others have actually cut off the broken portion of the stem after matching it to a similar style and shaped stem. The also cut off the replacement stem so that the undamaged areas match perfectly. A small stainless steel tube can be used to join the two pieces of stem together and black superglue can be used to hold it together and to fill in the joint of the two stems. Once the glue has cured then the repair can be sanded and blended together so that it does not show at all.
Choice #4 – Replace it
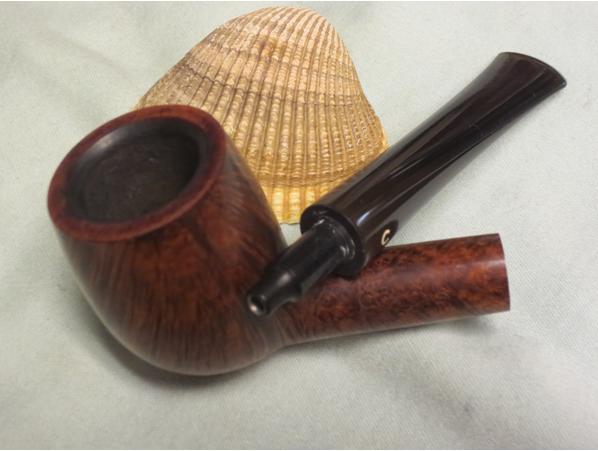
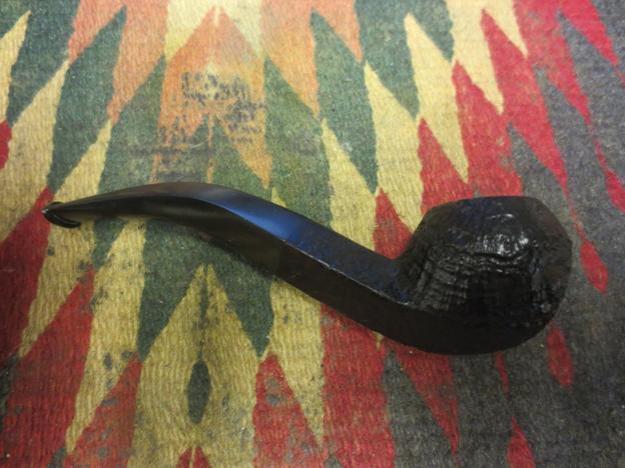
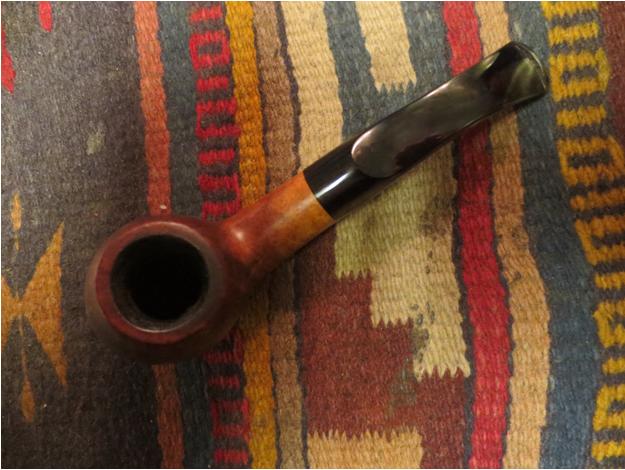
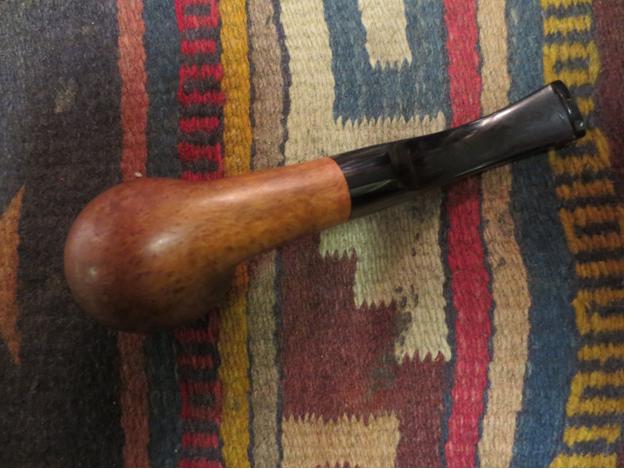
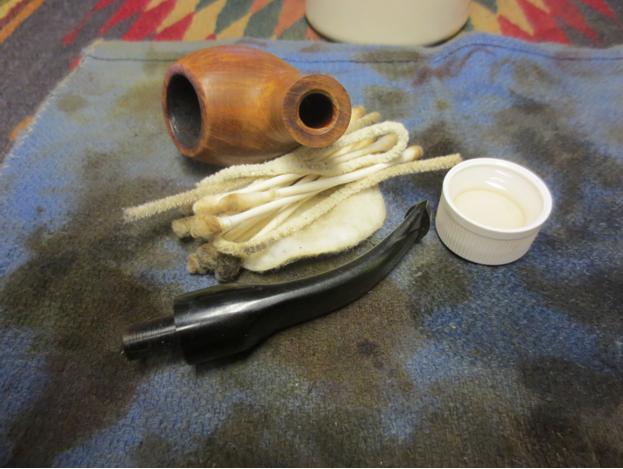
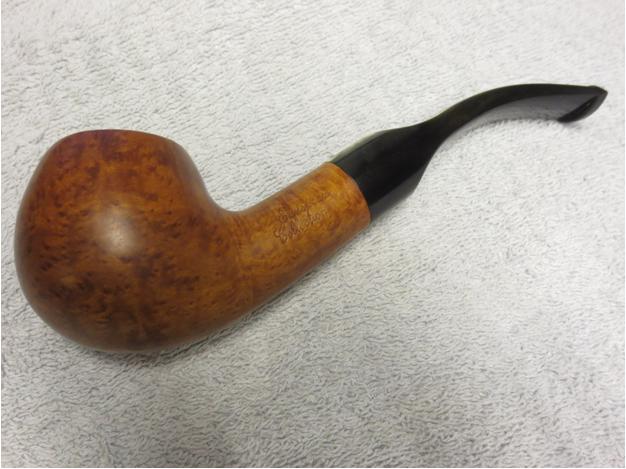
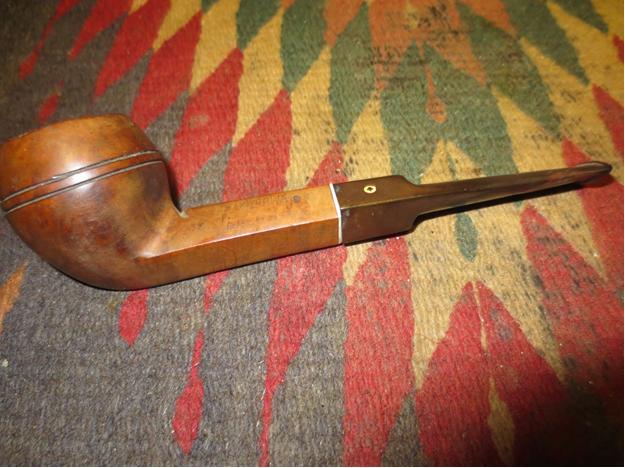
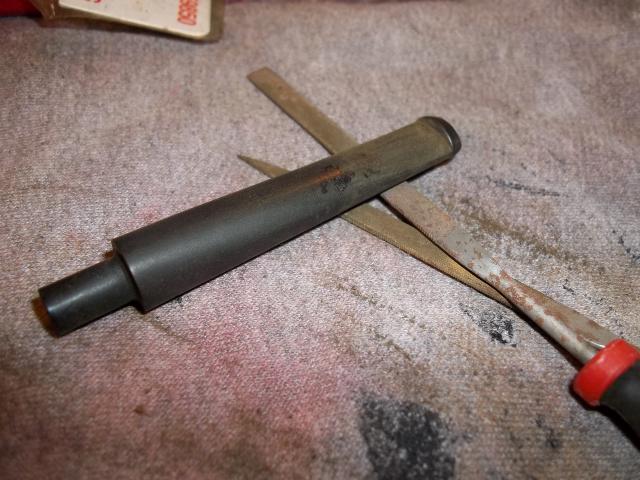
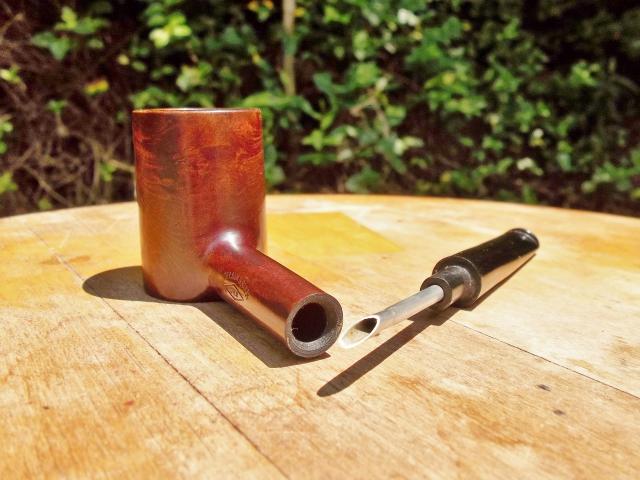
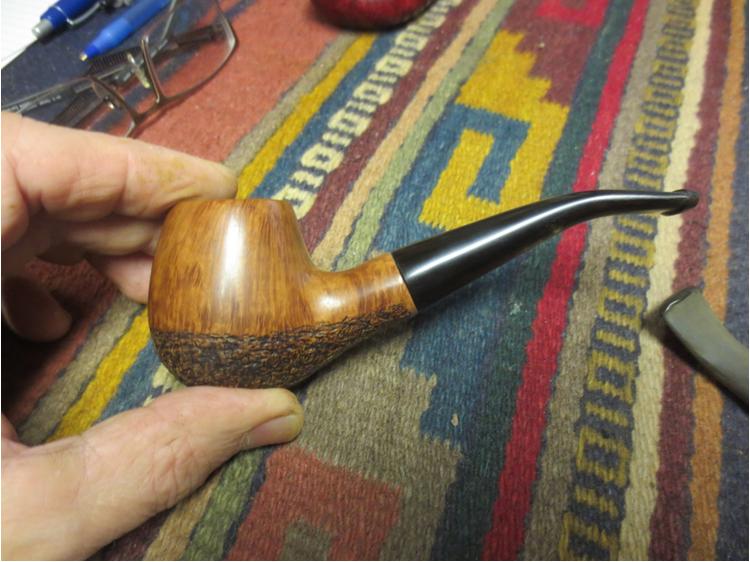
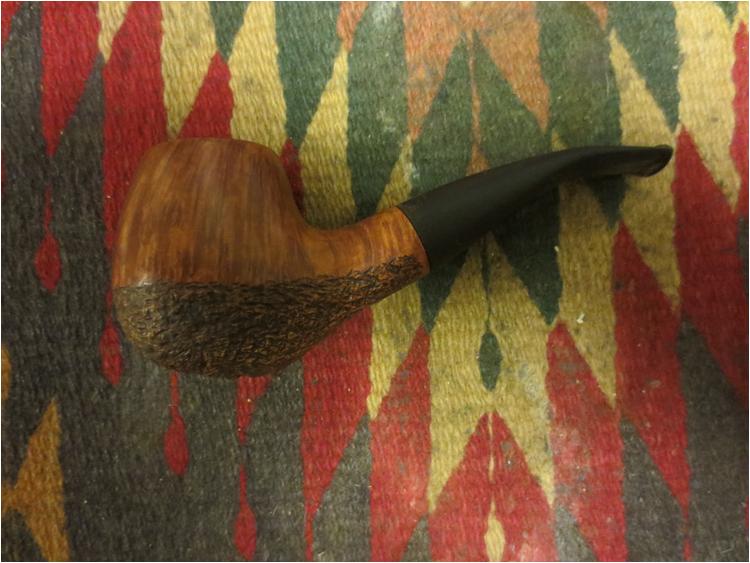
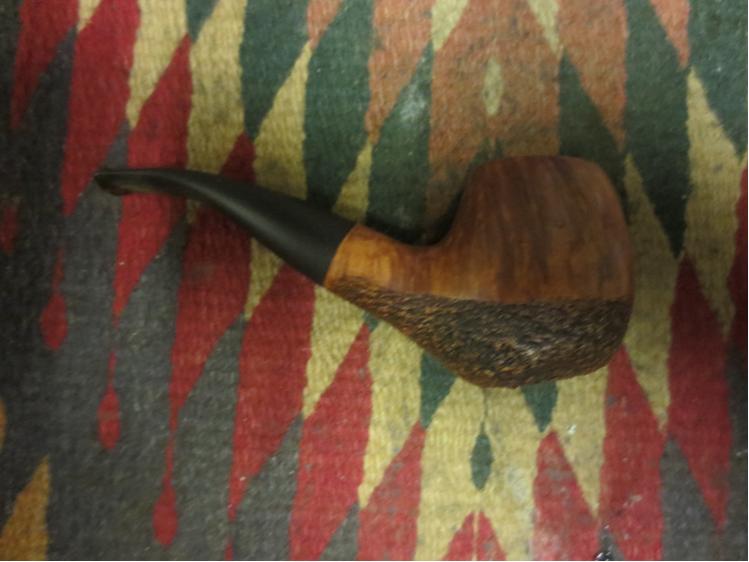
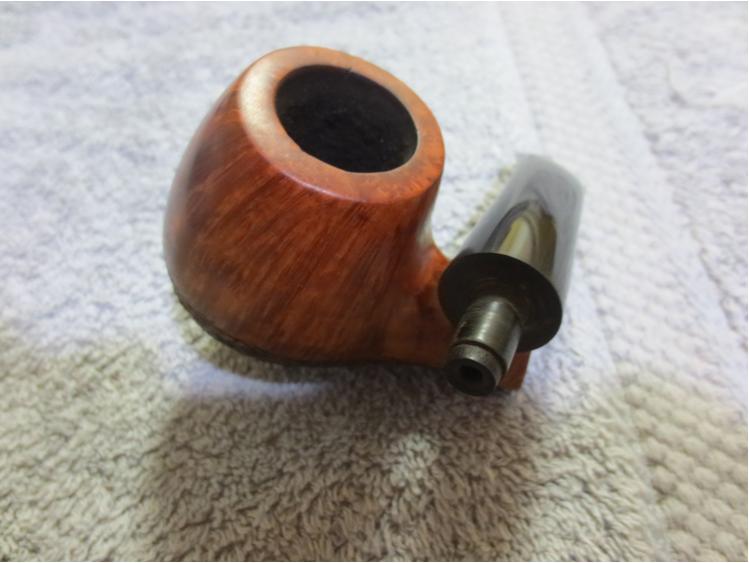
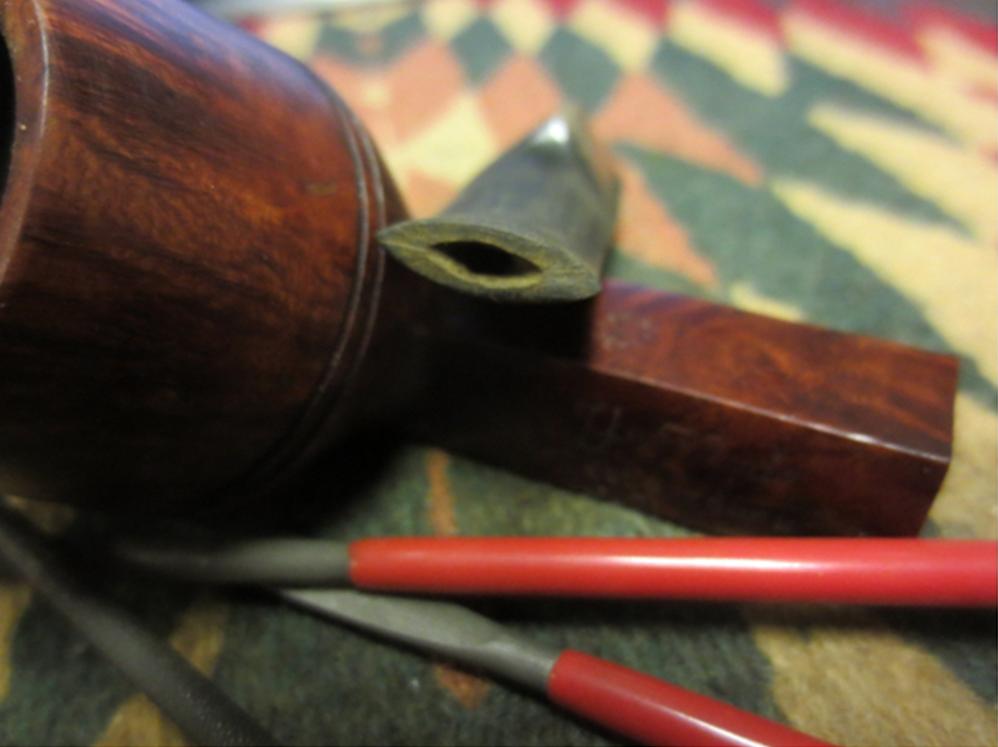
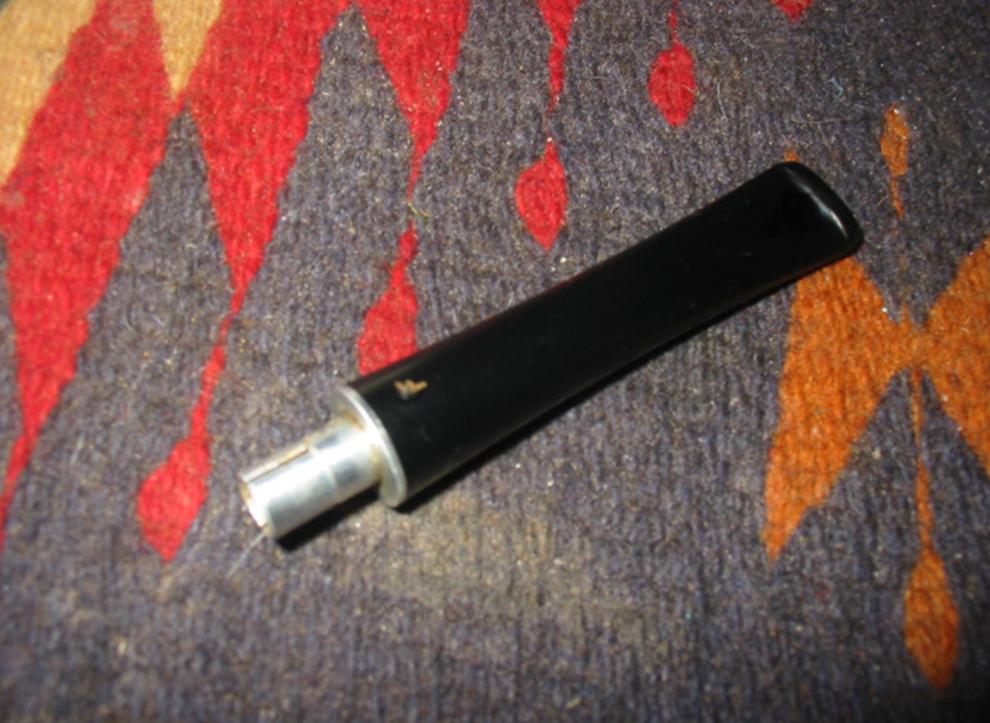
The fourth option is to fit a replacement stem on the pipe or make one from vulcanite or Lucite rod stock. I do not have a lathe so I usually use precast stems and do a lot of shaping and fitting and improvements on the blank. The photos below show a new stem that I fit to a Lovat pipe for a friend. I used an old saddle stem that I had here so I did not need to use a precast one. This one just needed adjustment and fiddling to make it work well.
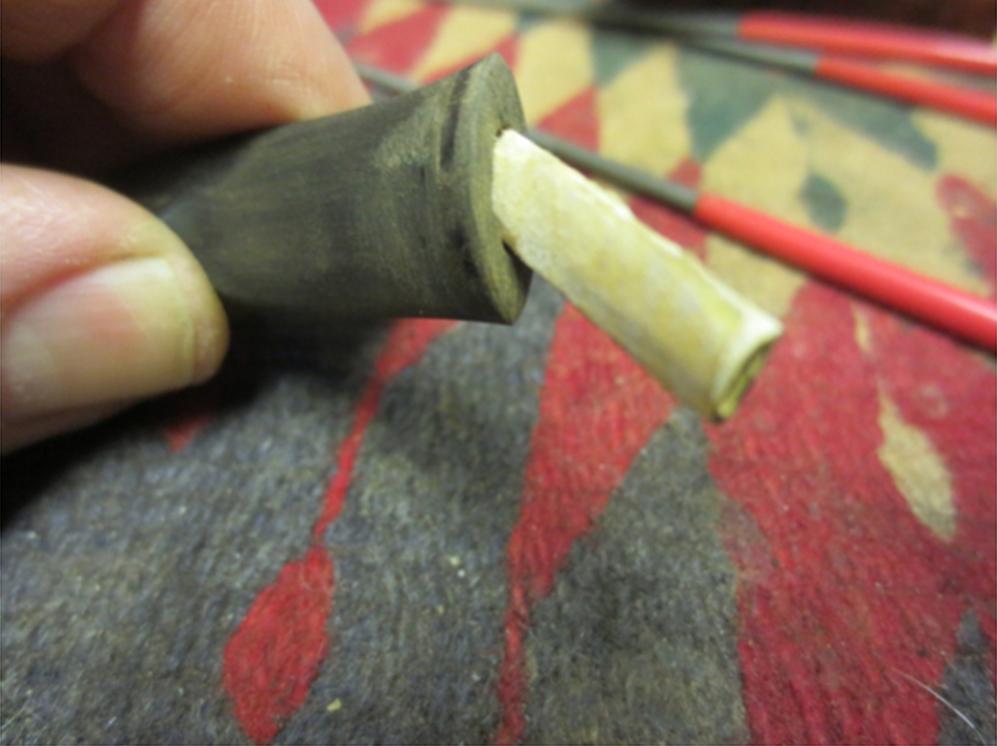
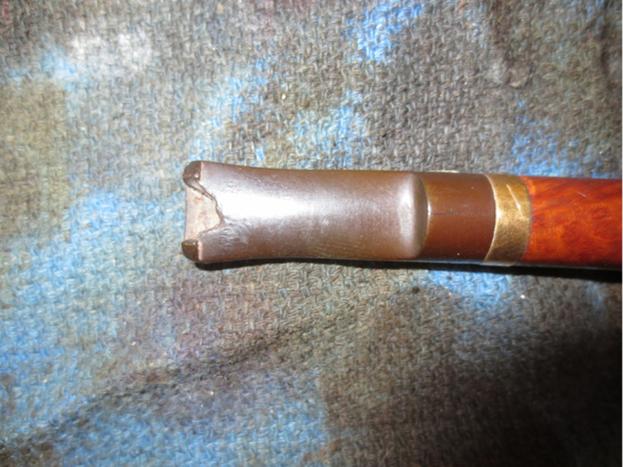
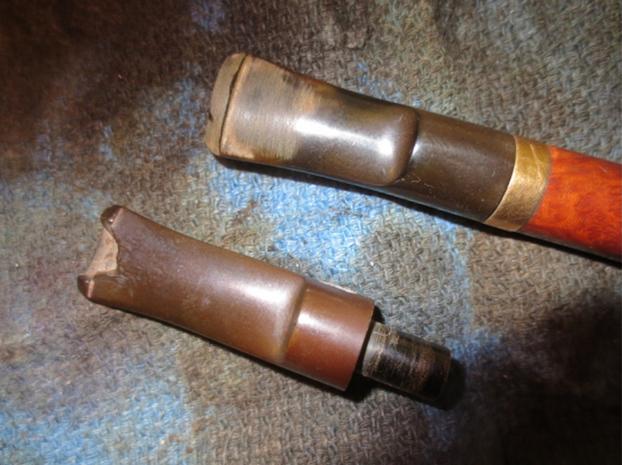
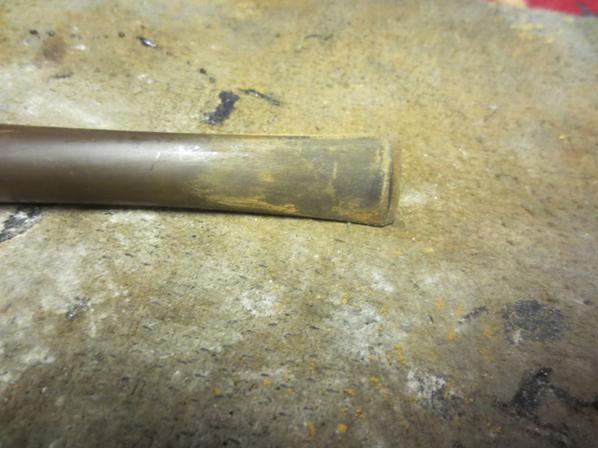
The original stem had a large bite out of the end of it the underside next to the button. I choose a stem that is similar in shape and style that was the same length. It had a slightly larger saddle portion on the stem but I liked the look of it and figured it would work. I turned the tenon down slightly to make for a snug fit in the mortise.
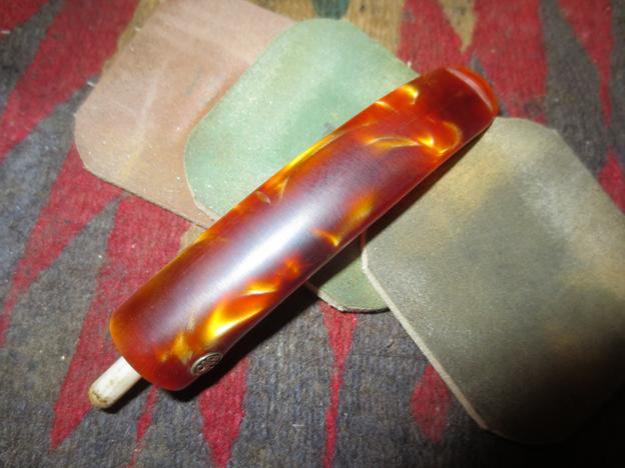
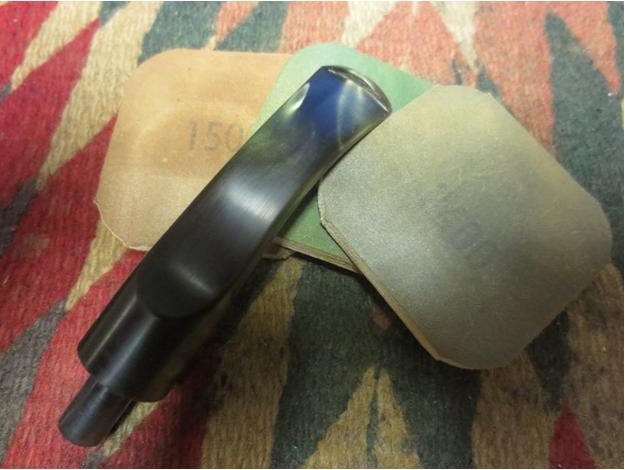
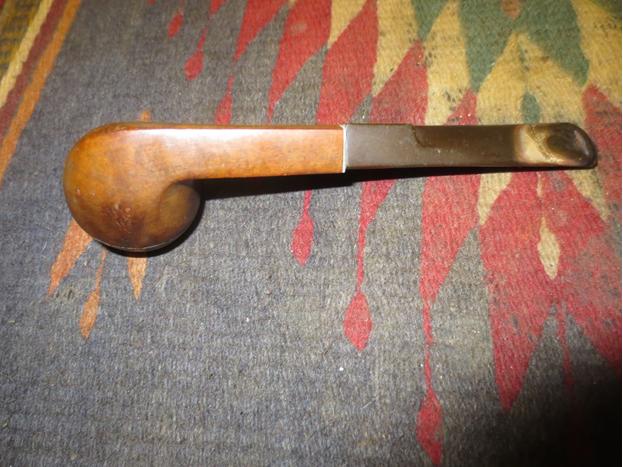
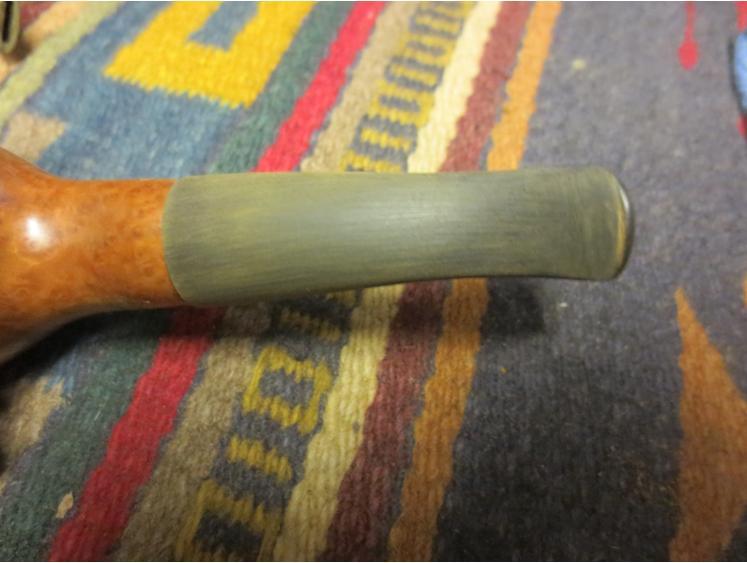
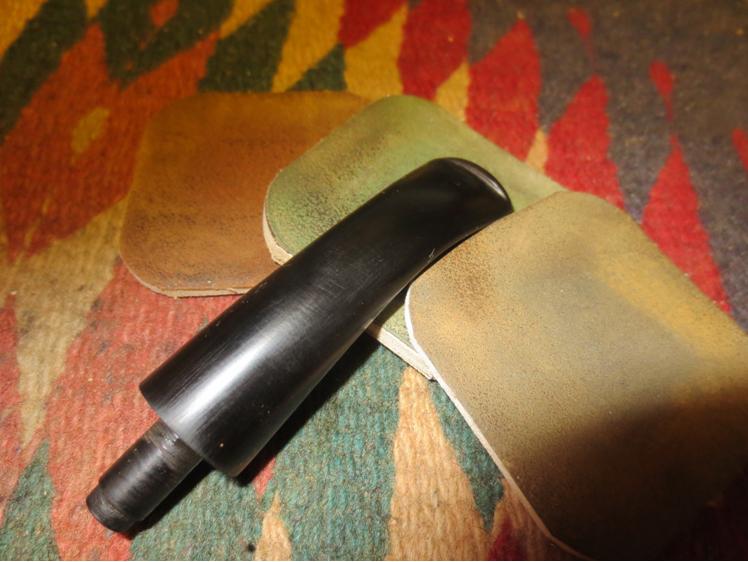
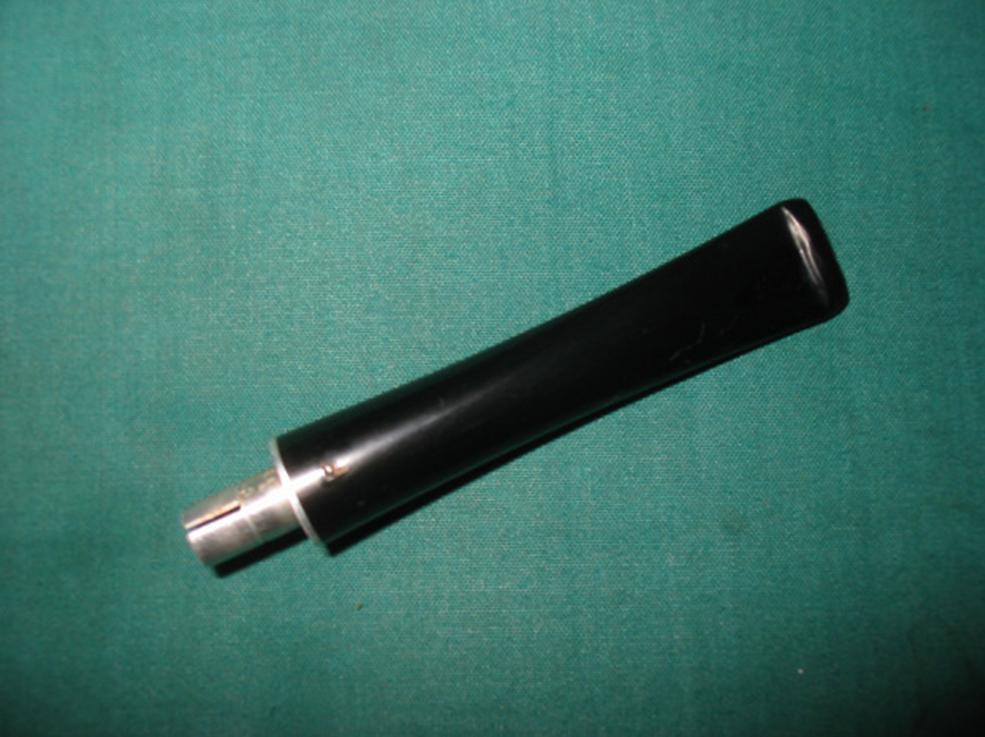
 In this case I sanded the stem down to remove the oxidation from the surface and also to remove the slight tooth marks and tooth chatter that was there.
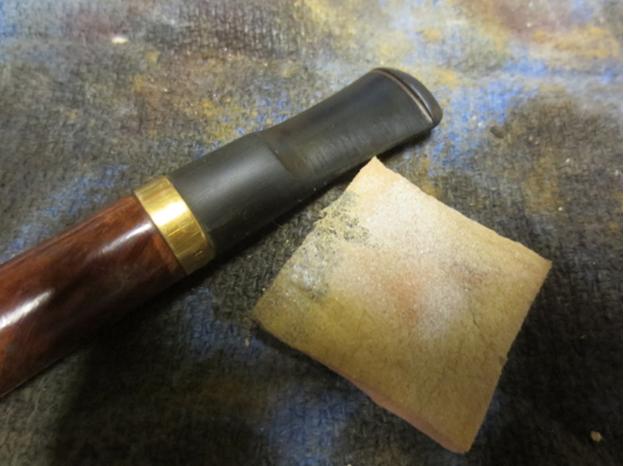
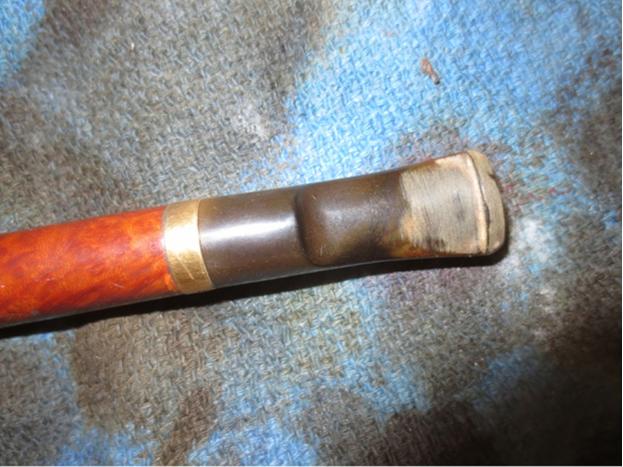
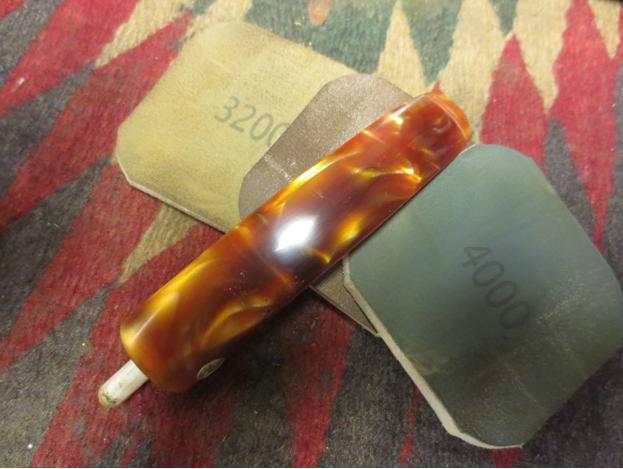
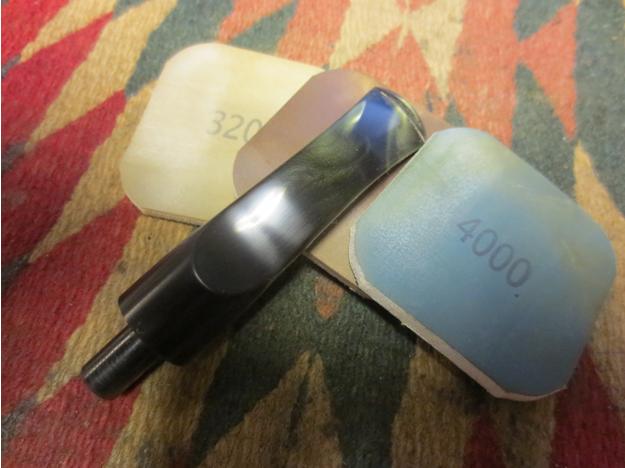
 After sanding with the 220 grit sandpaper I used a medium and a fine grit sanding sponge to clean up the stem further and remove scratches.
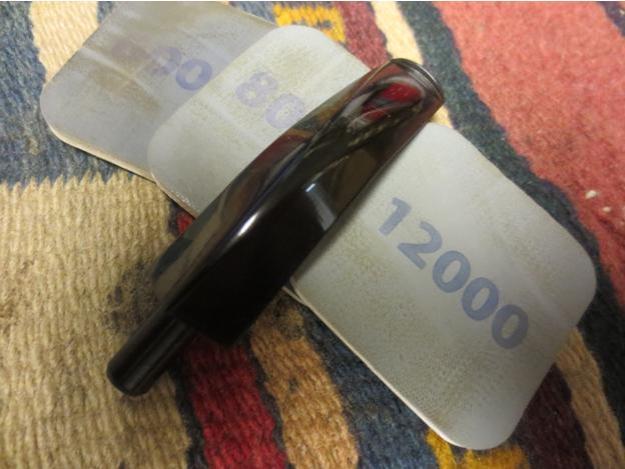
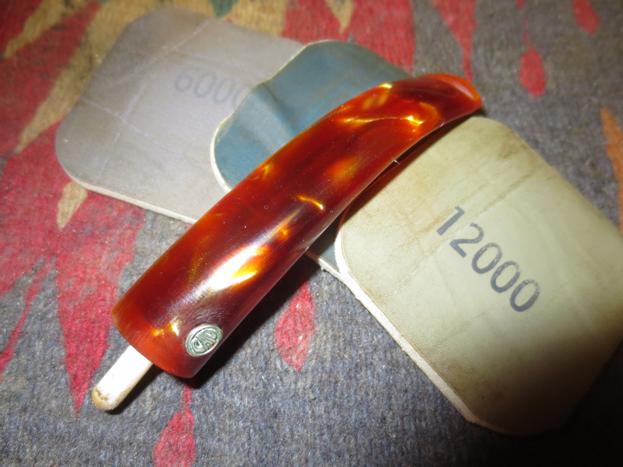
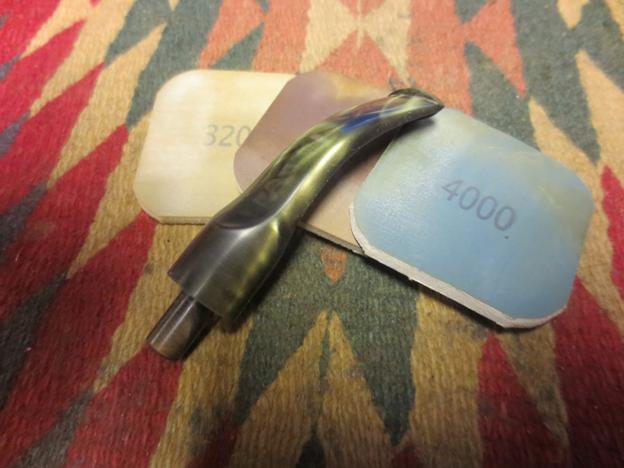
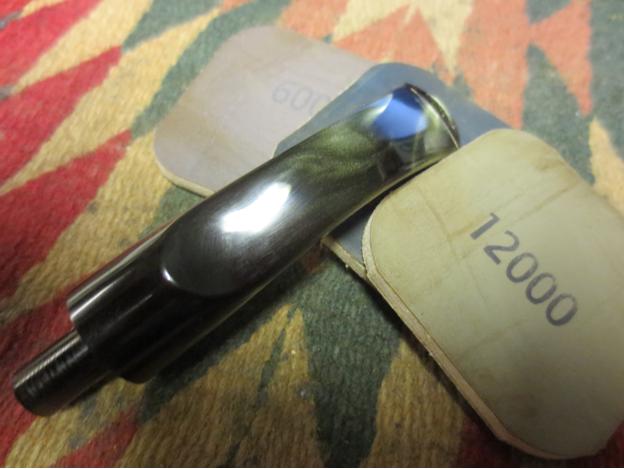
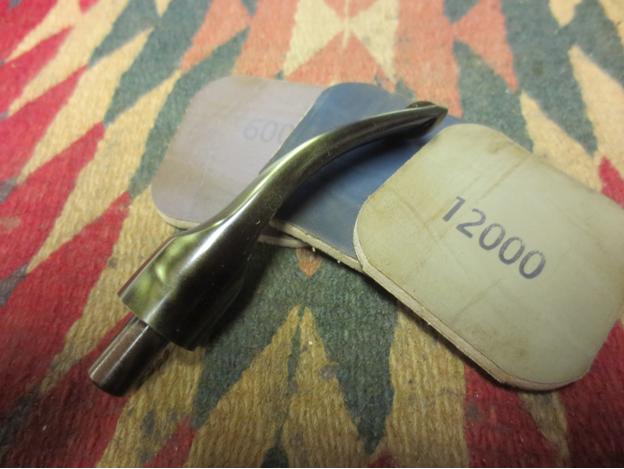
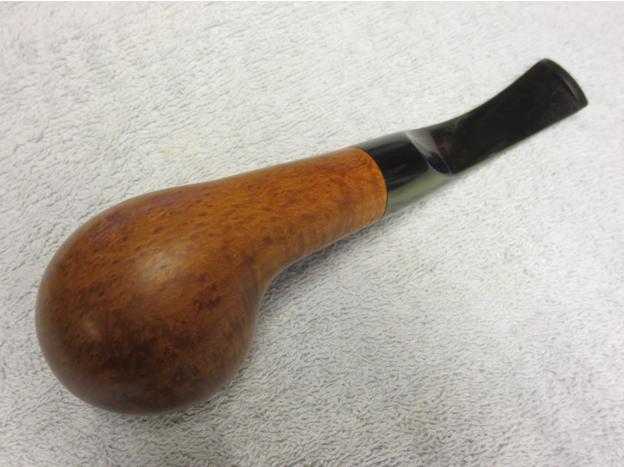
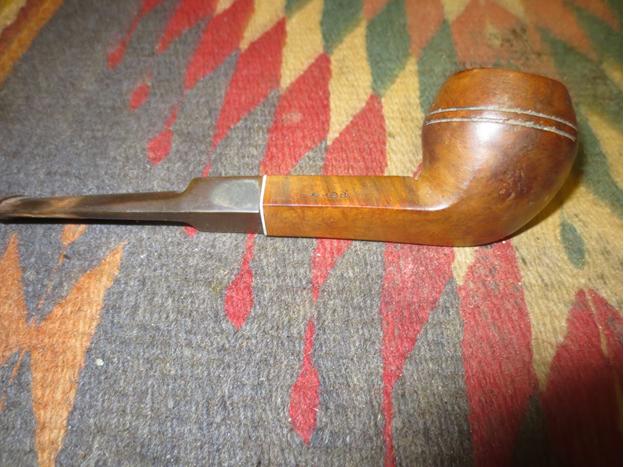
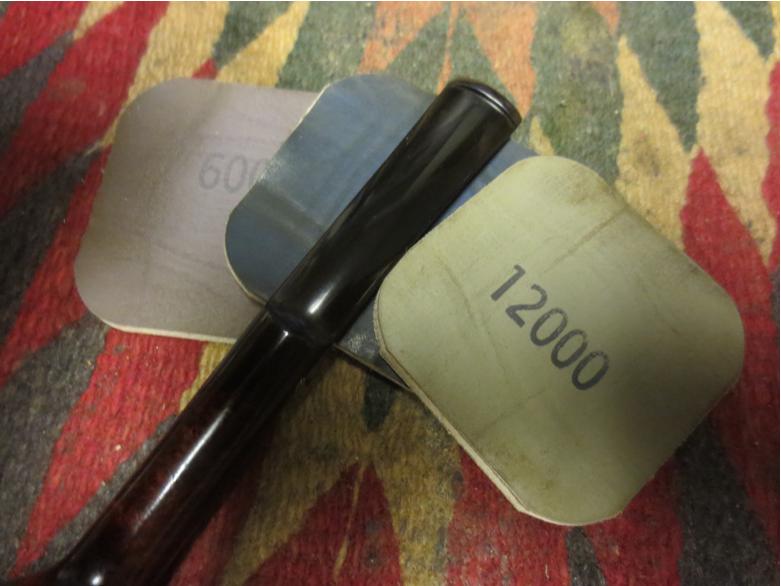
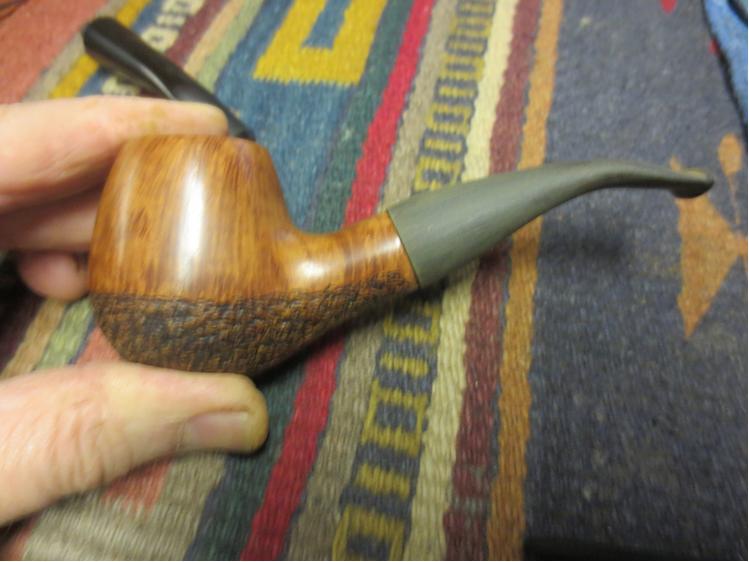
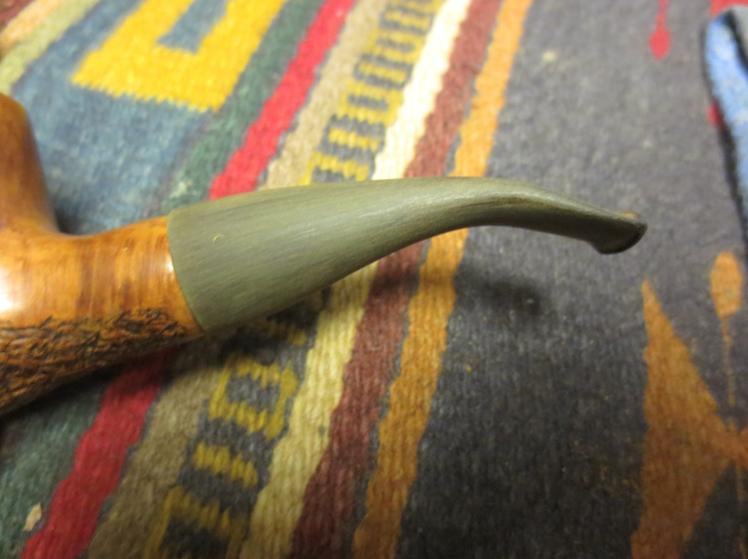
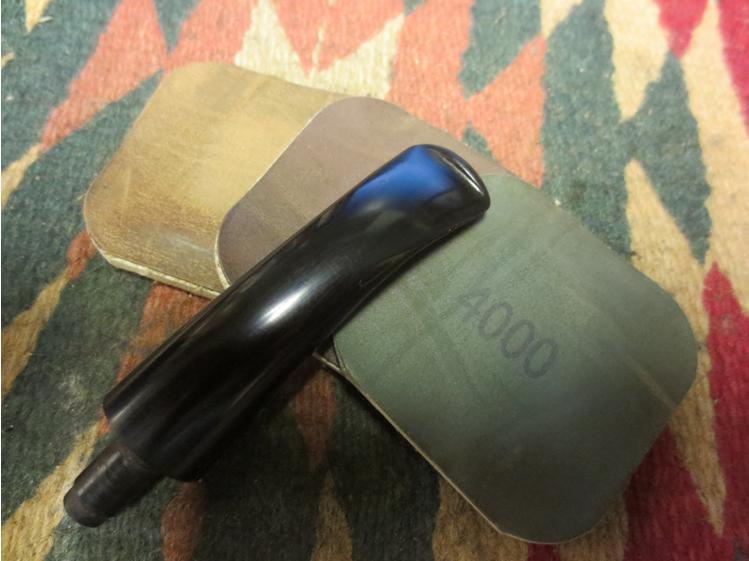
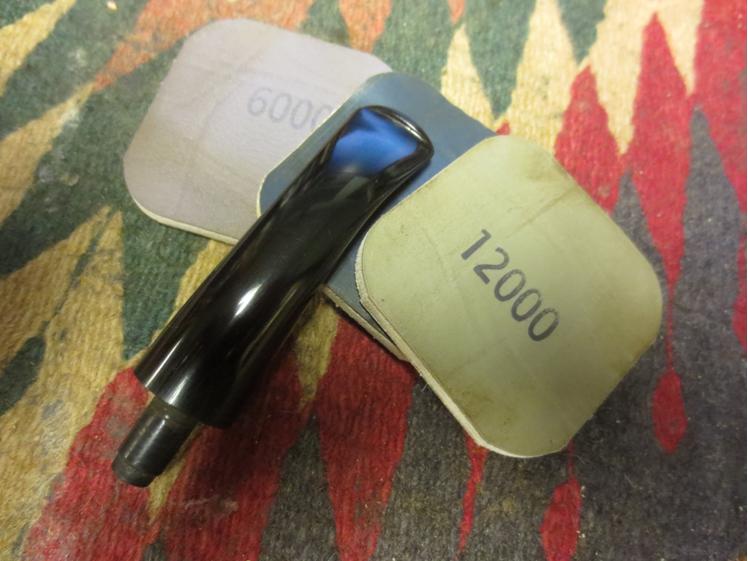
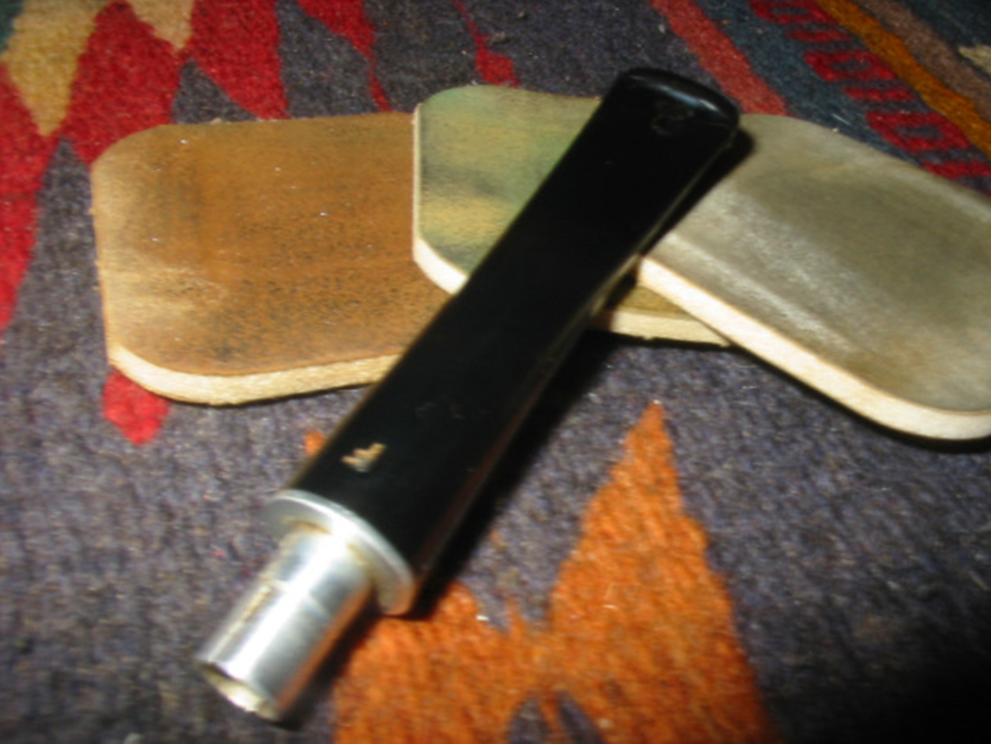
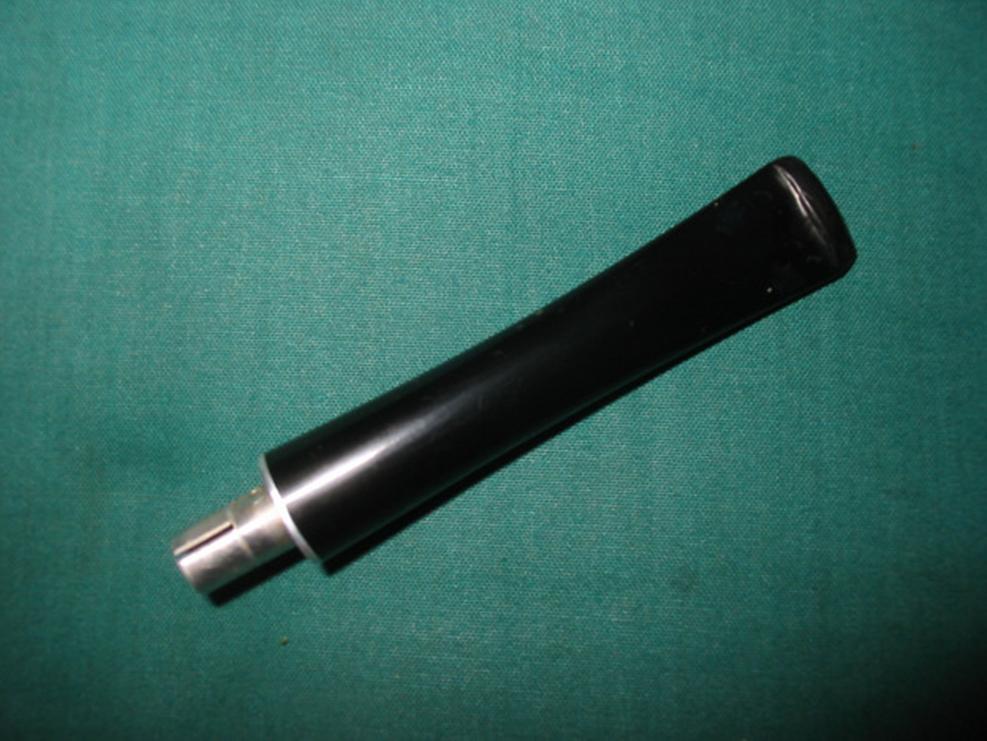
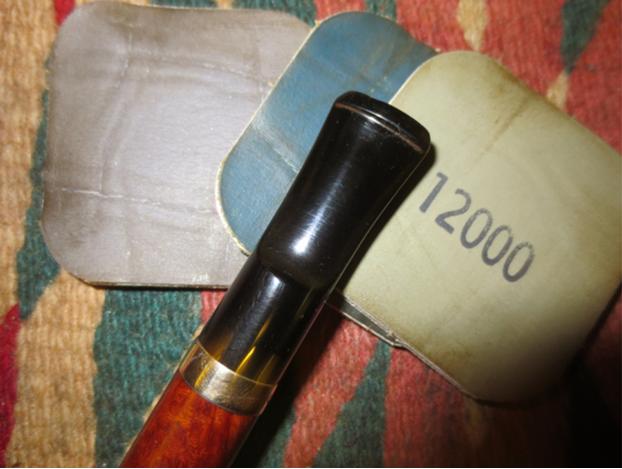
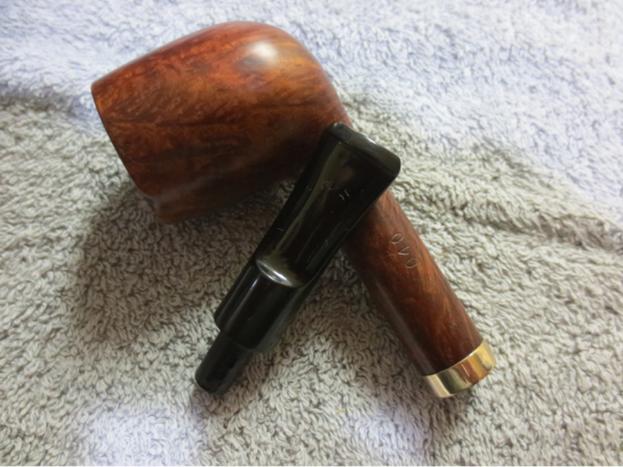
 I sand the finished stem with micromesh sanding pads to polish it.
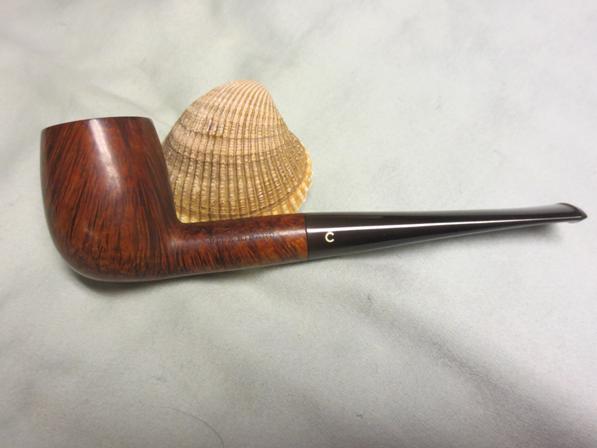
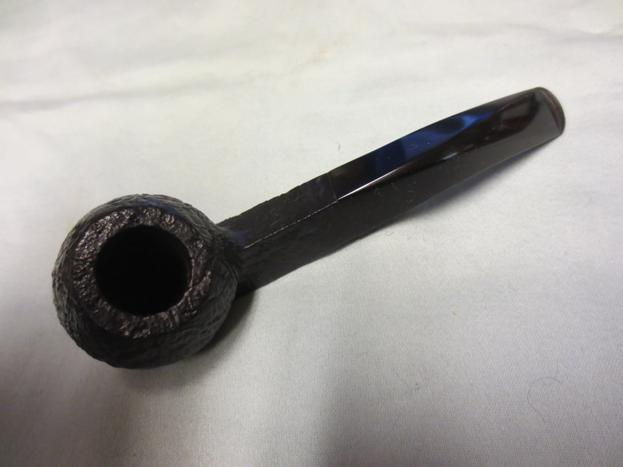
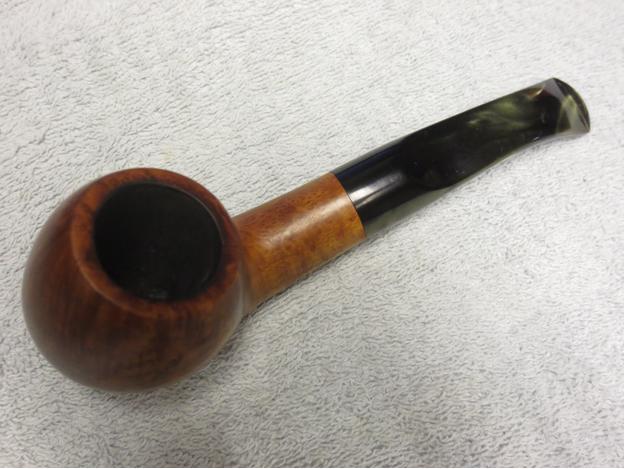
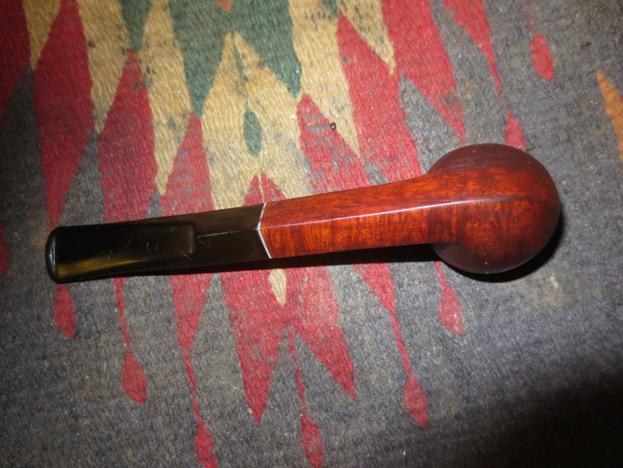
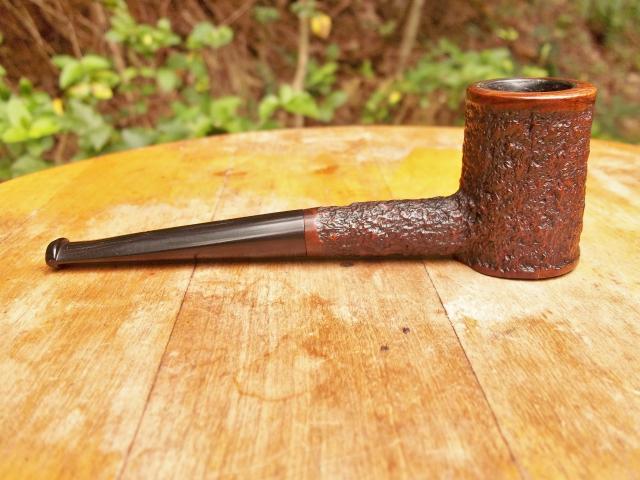
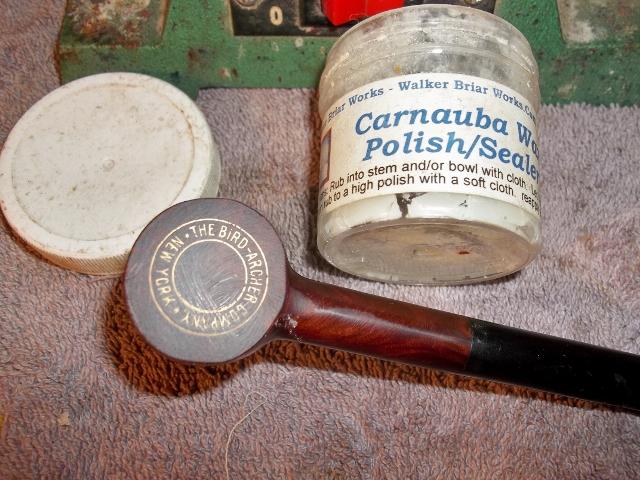
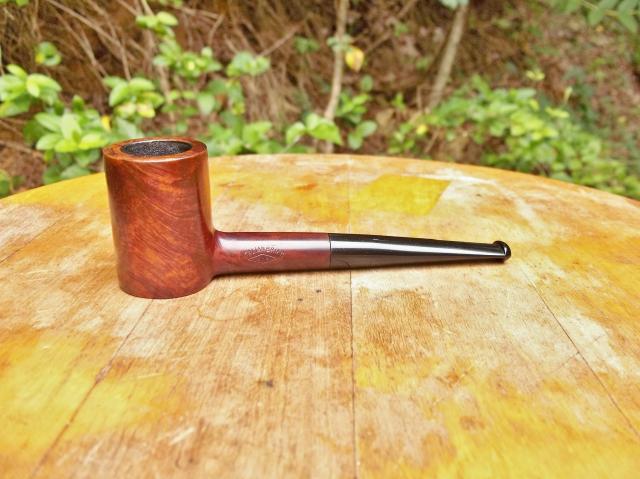
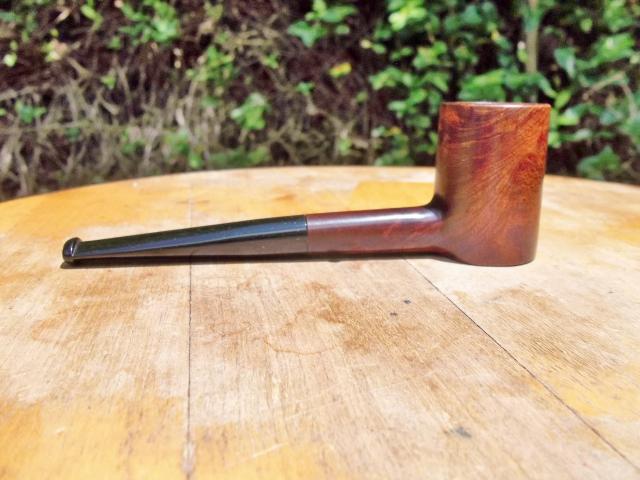
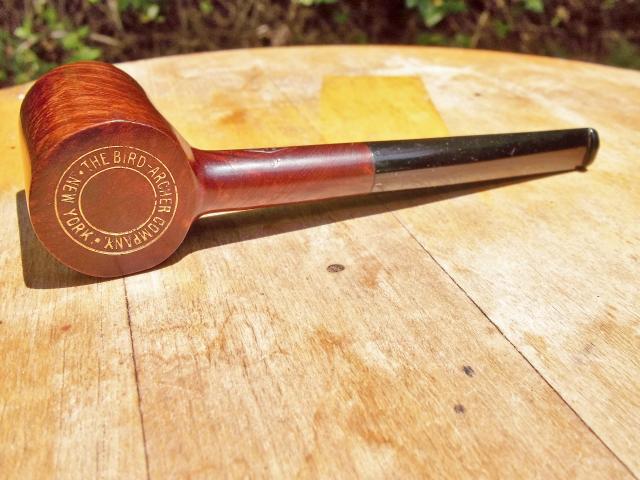
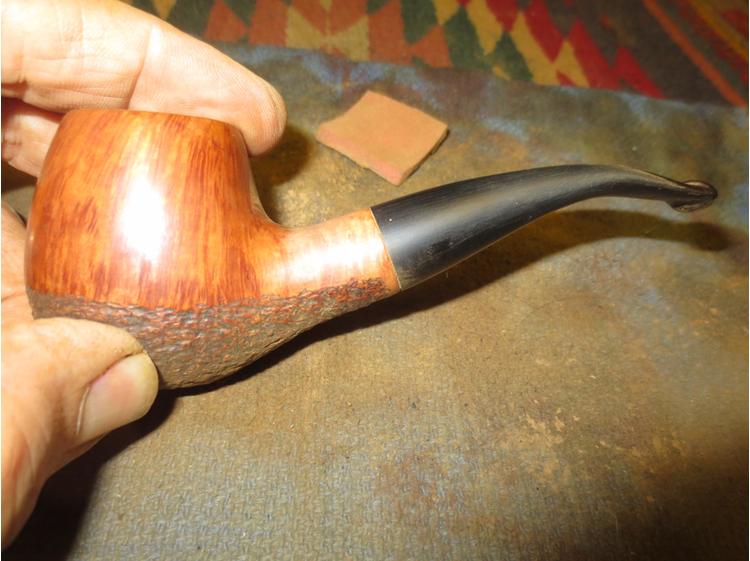
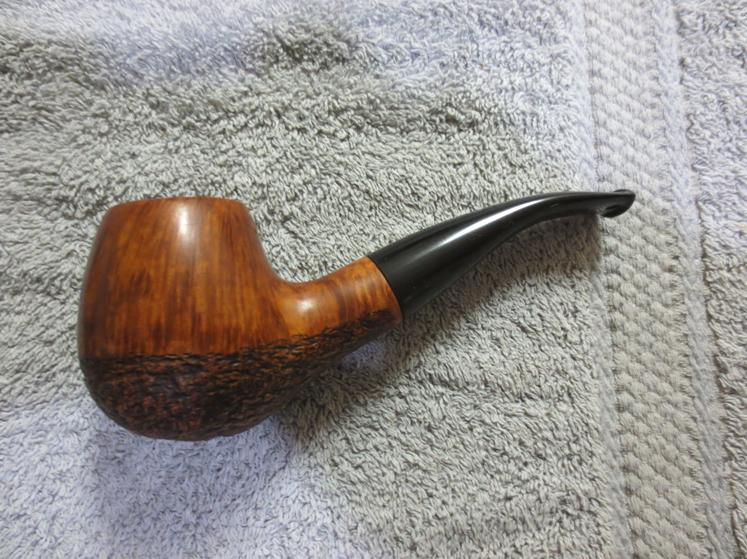
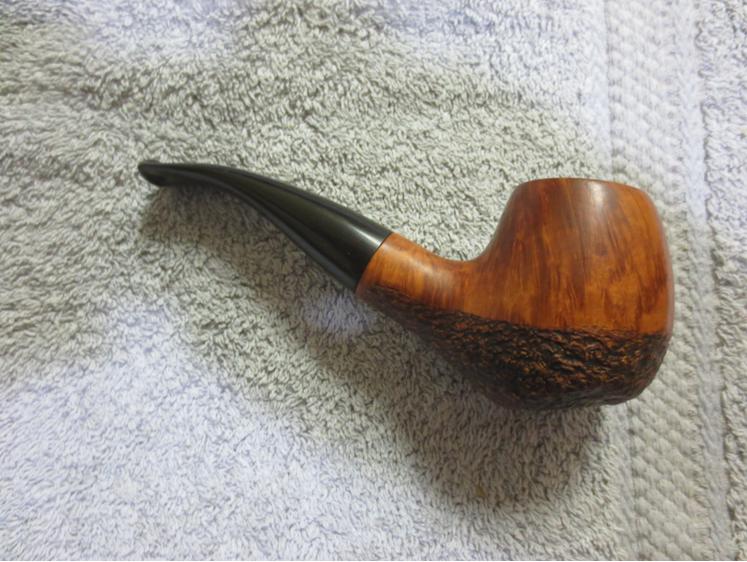
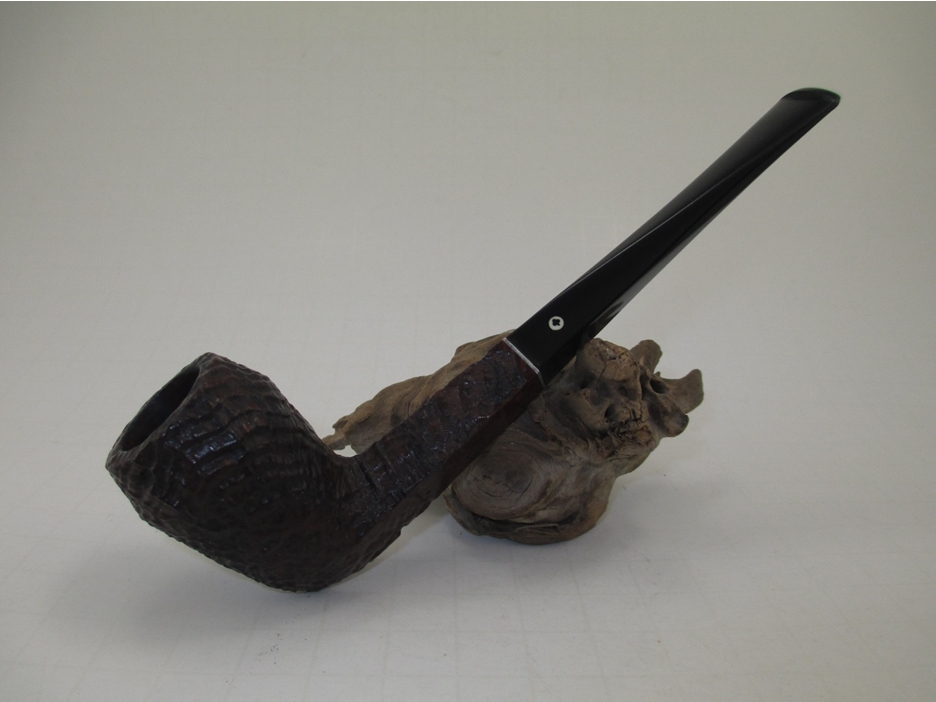
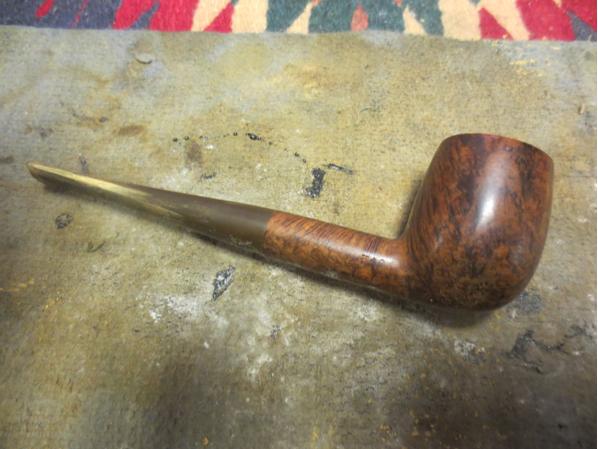
 After sanding with the 12000 grit pads I buffed it with Blue Diamond Plastic Polish and then with carnauba wax and a soft flannel buffing pad. The finished stem is shown below.
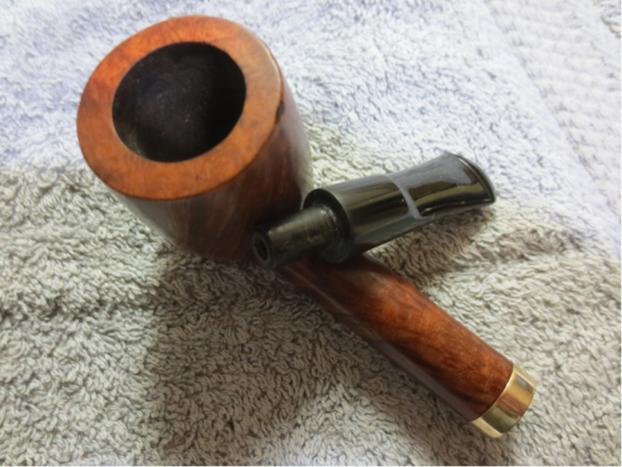
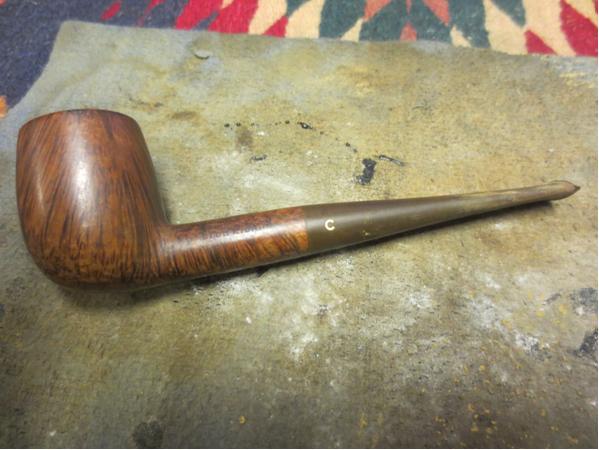
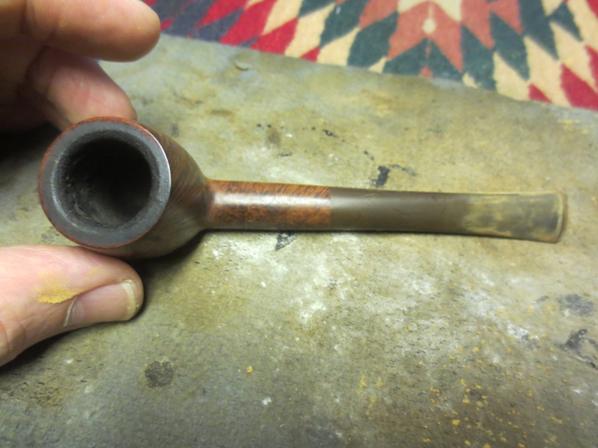
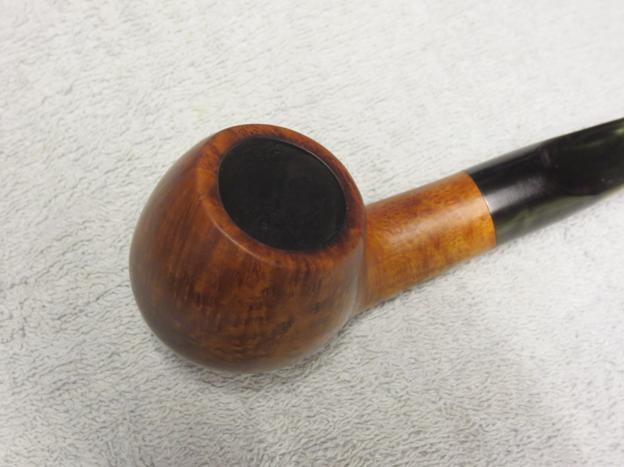
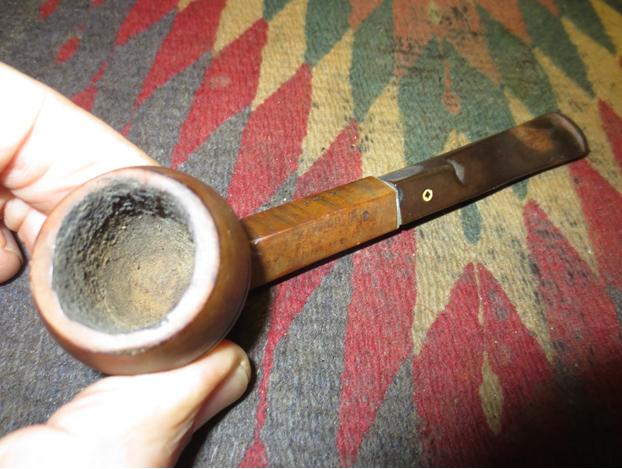
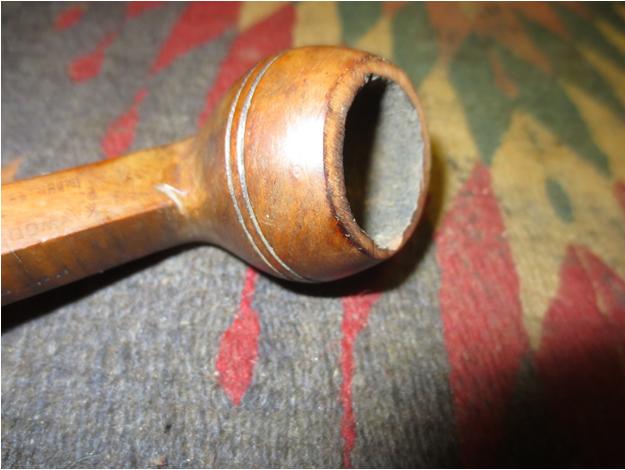
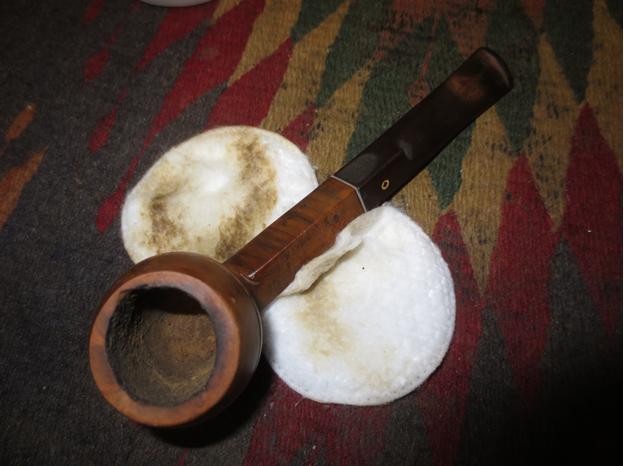
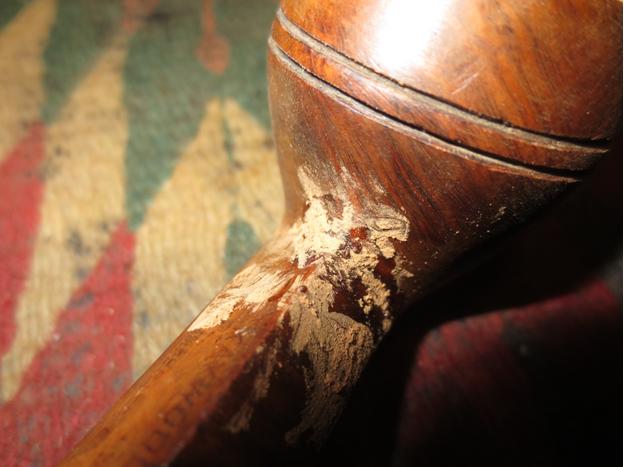
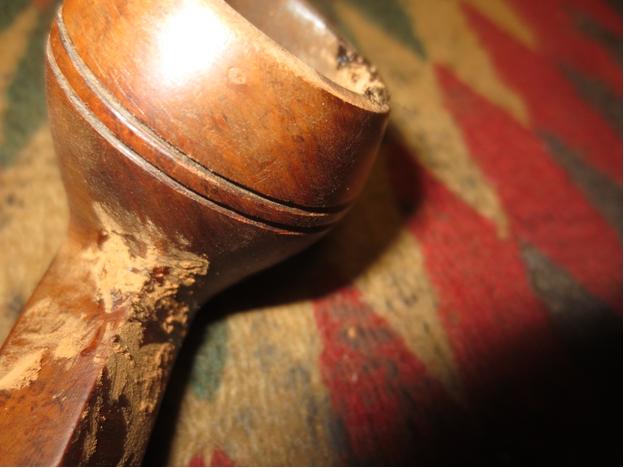
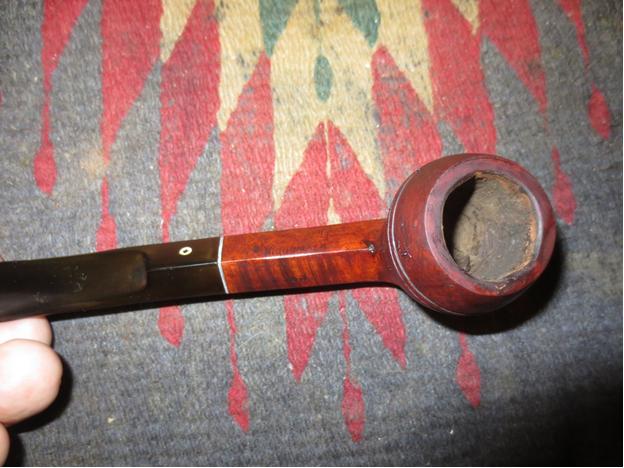
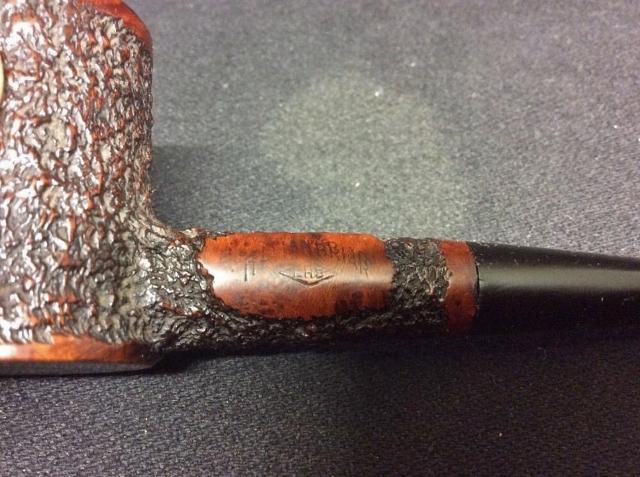
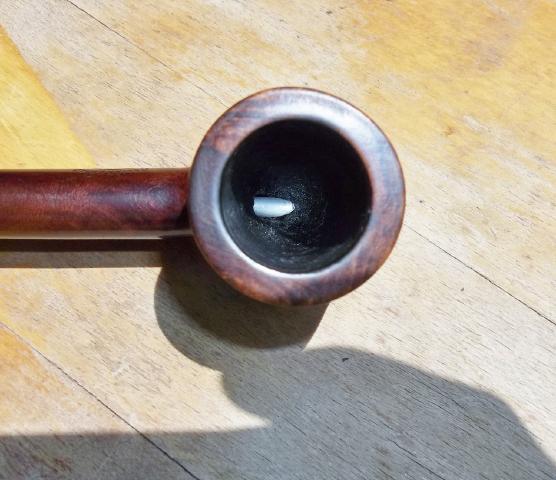
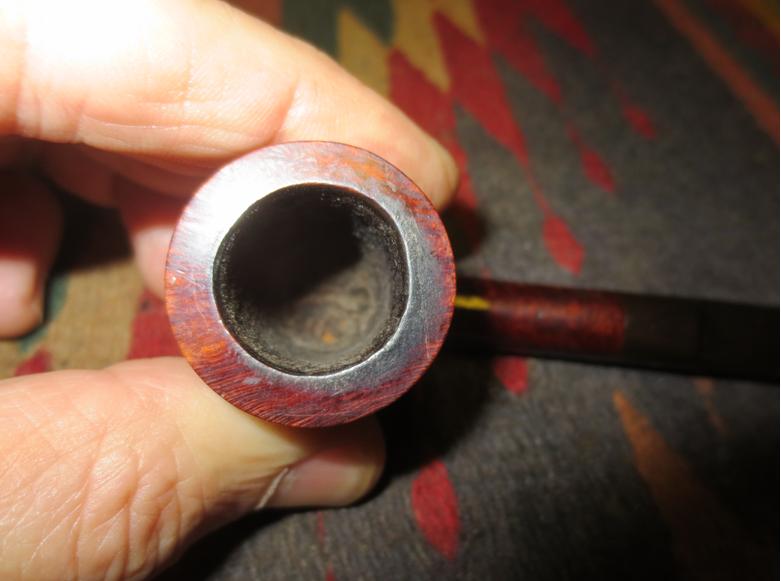
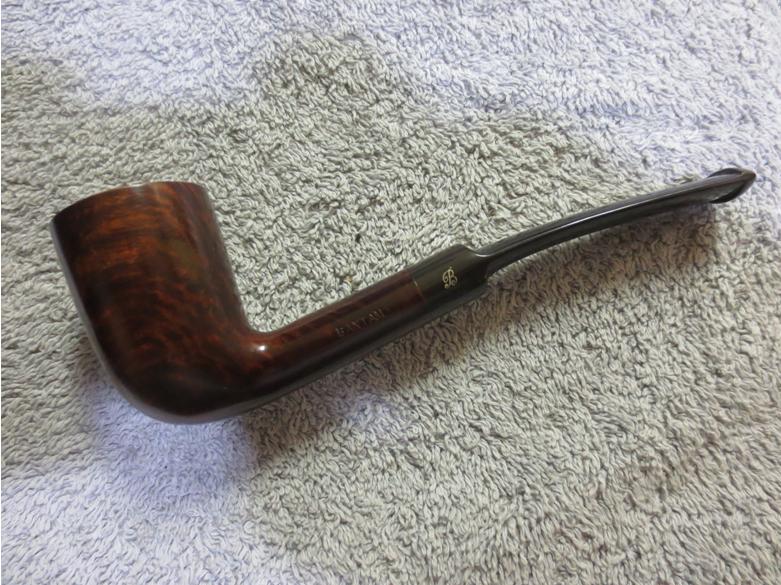
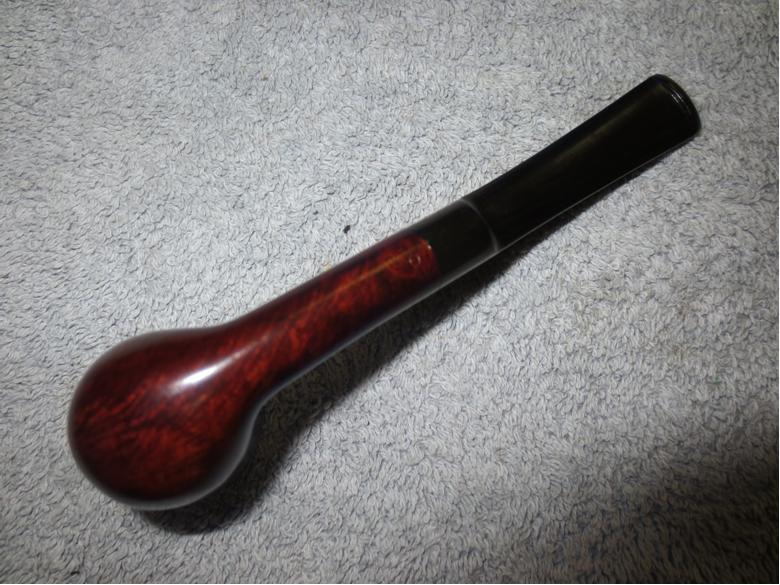
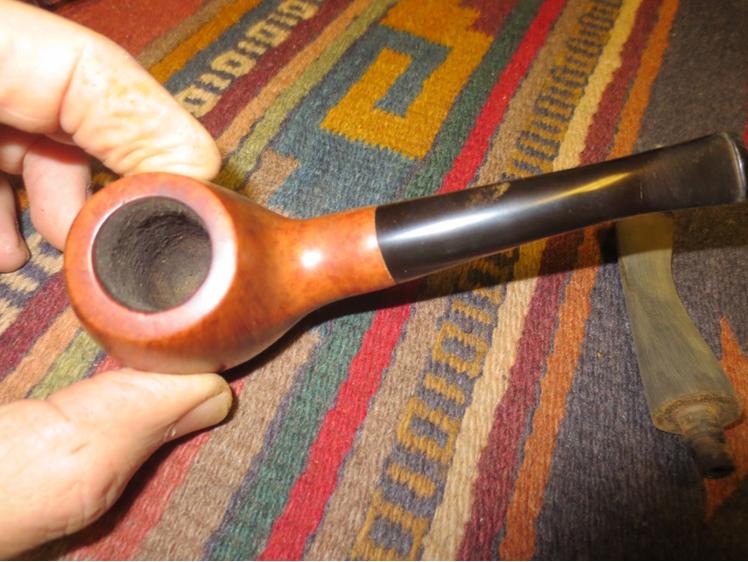
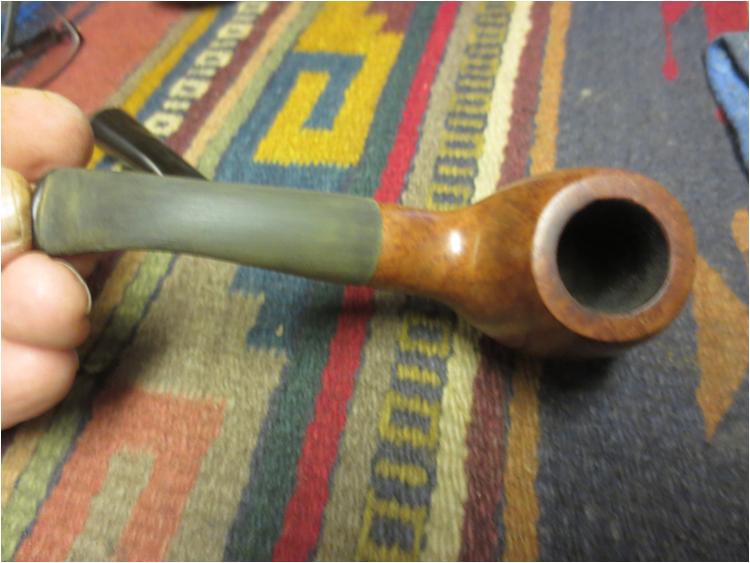
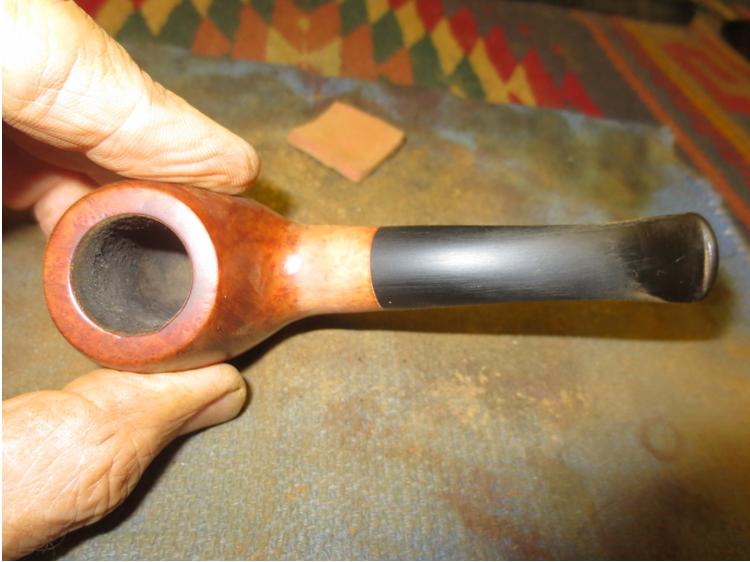
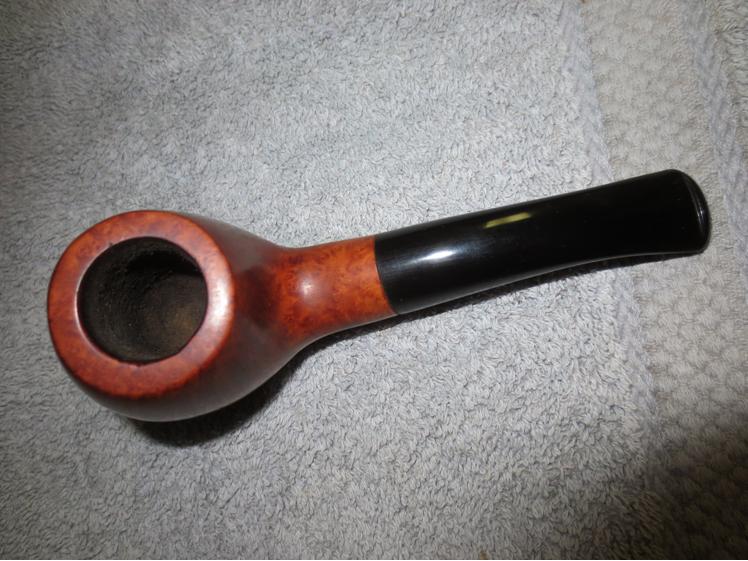
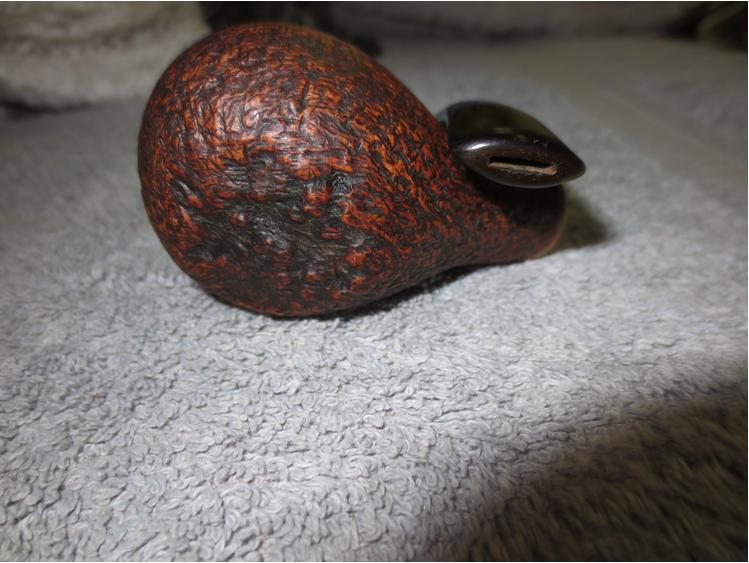
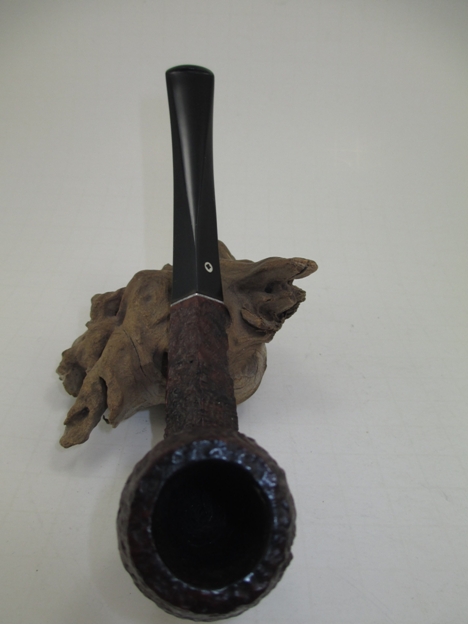
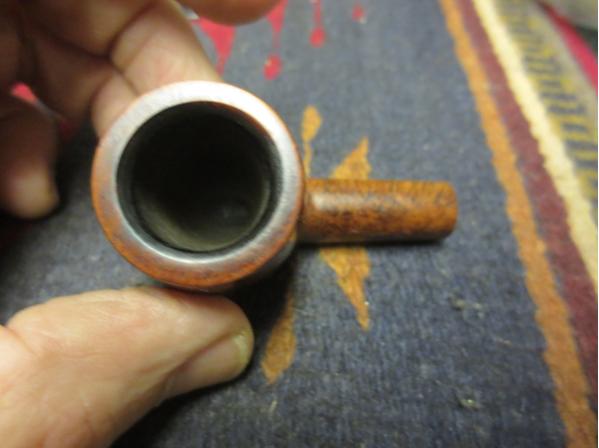
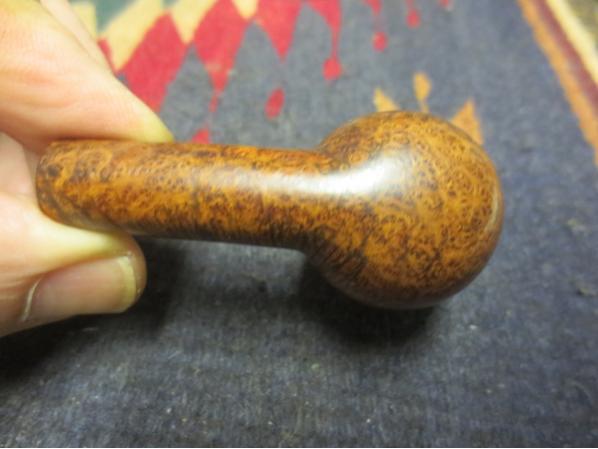
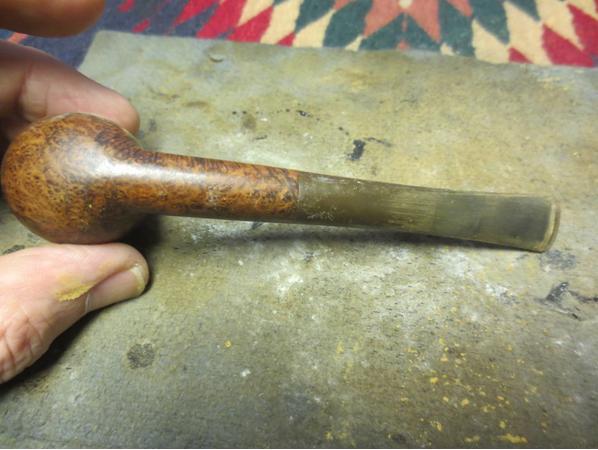 I took some close up photos of the rim and the stem to give a better idea of the condition of the pipe.
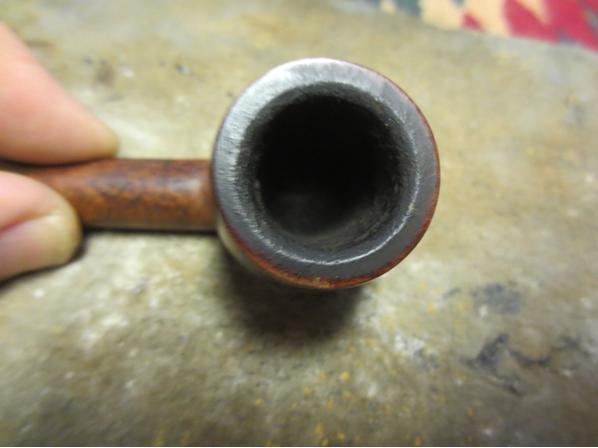
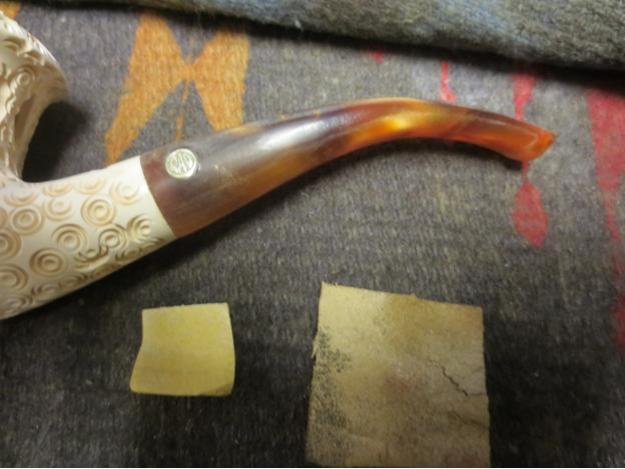
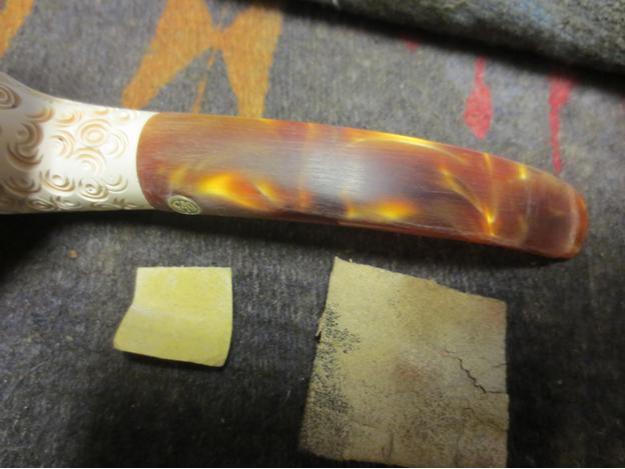
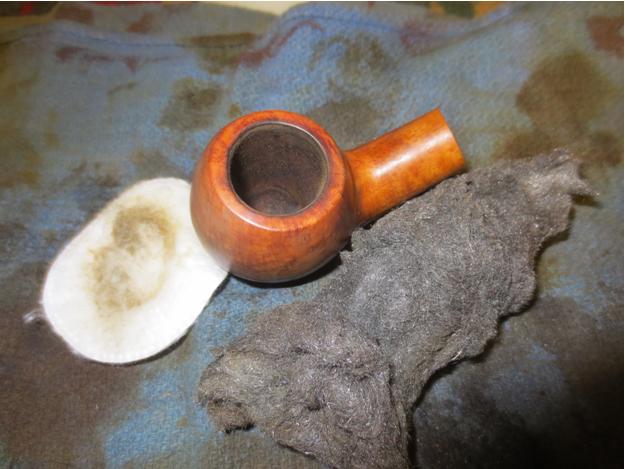
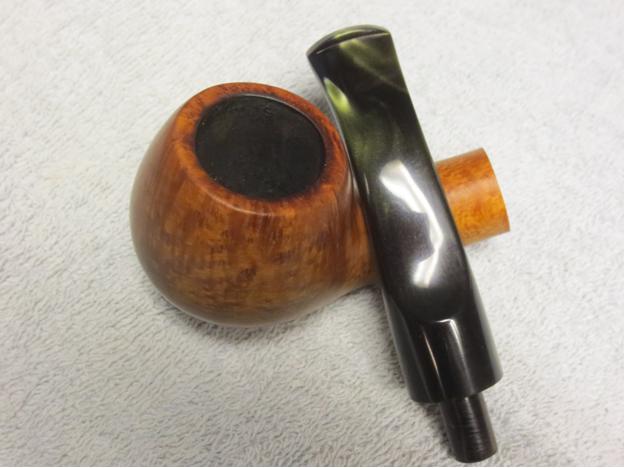
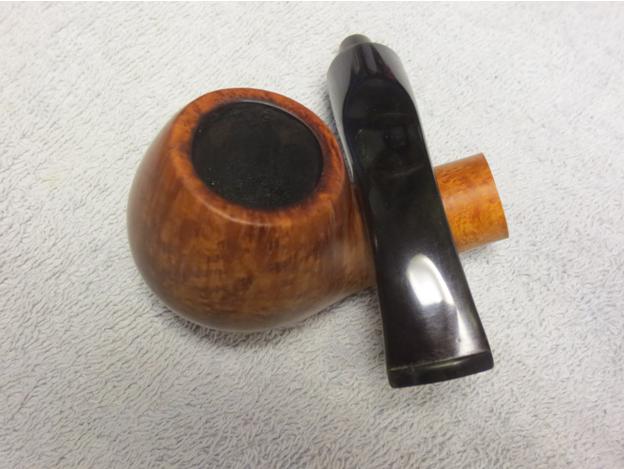
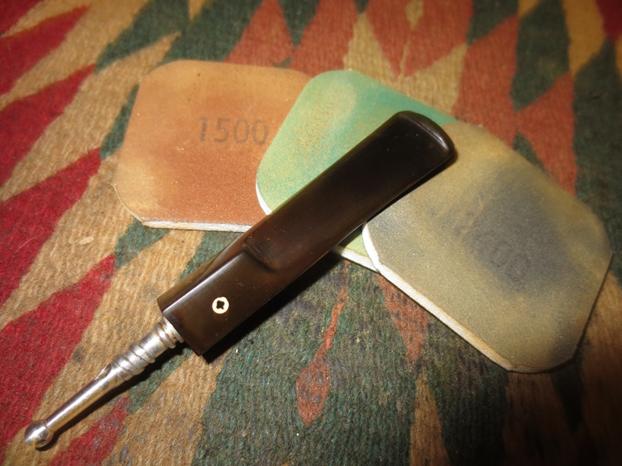
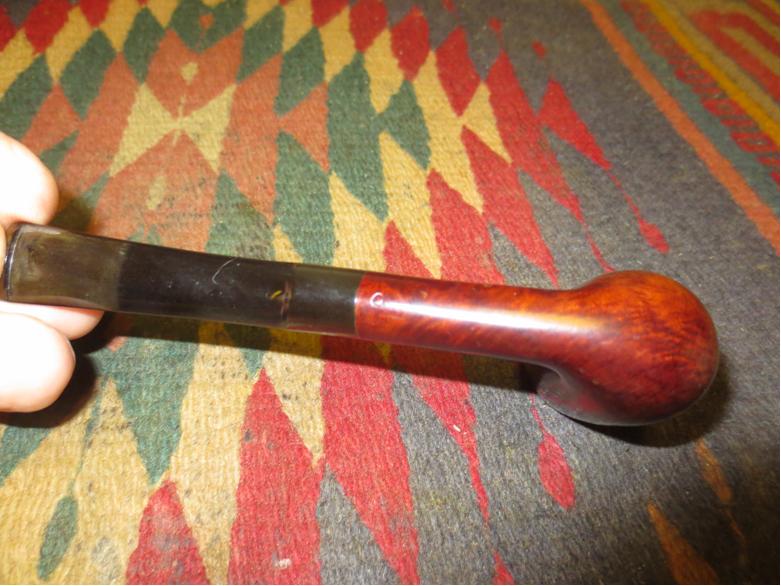
 I decided on a minimalist approach to cleaning this stem. I did not want to remove too much of the surface of the vulcanite or change the fit to the shank in any way. I scrubbed the stem with Meguiar’s Scratch X2.0, a plastic polishing compound. The second photo below shows the stem after one application of the polish.
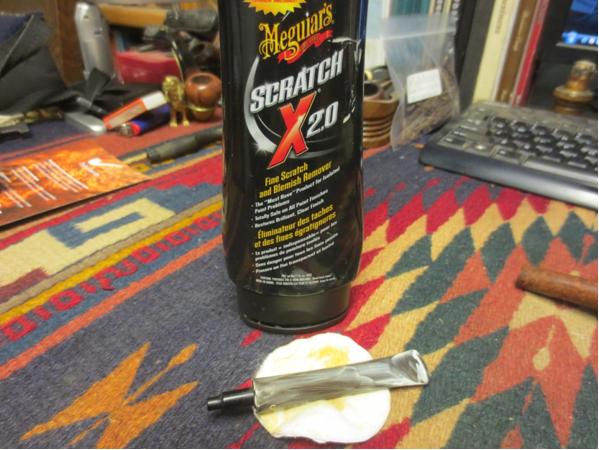
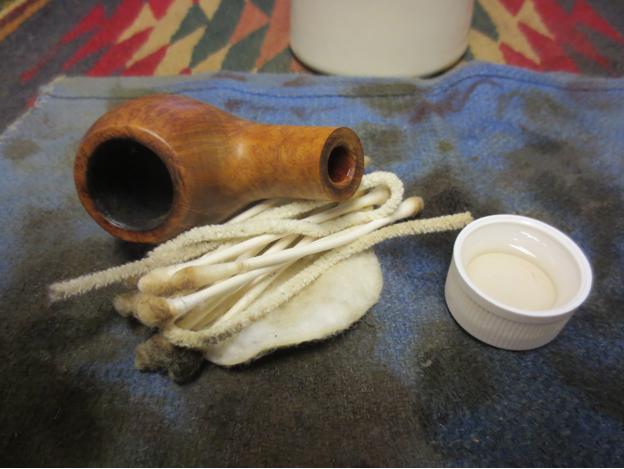
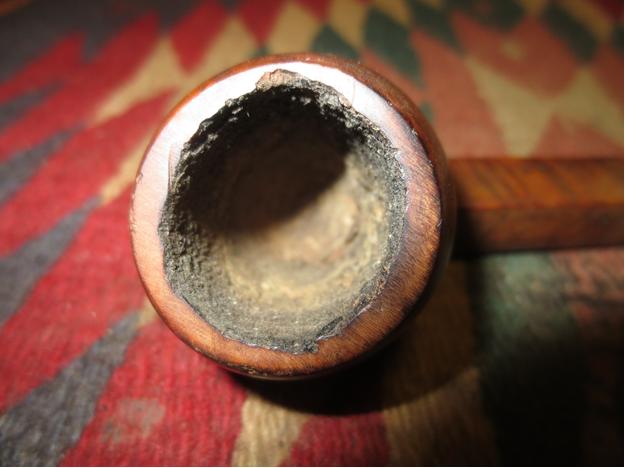
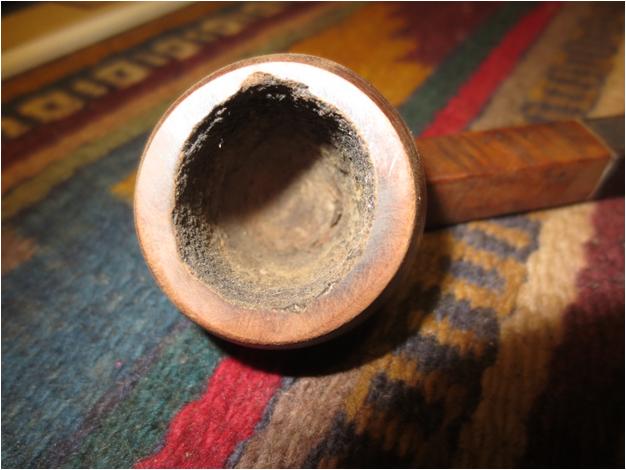
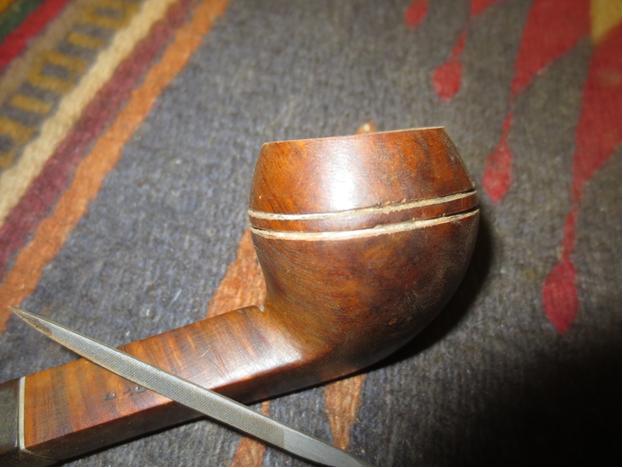
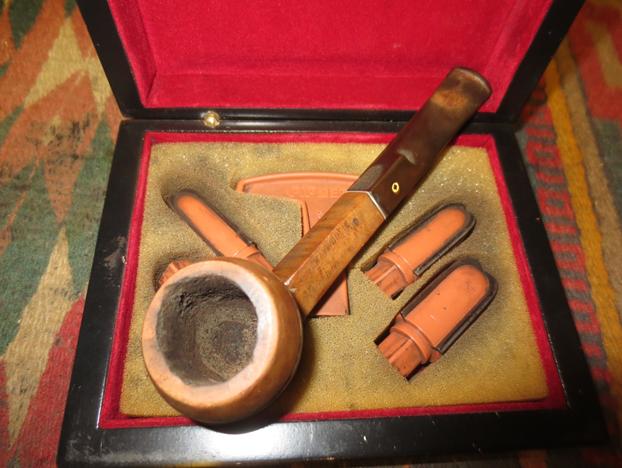
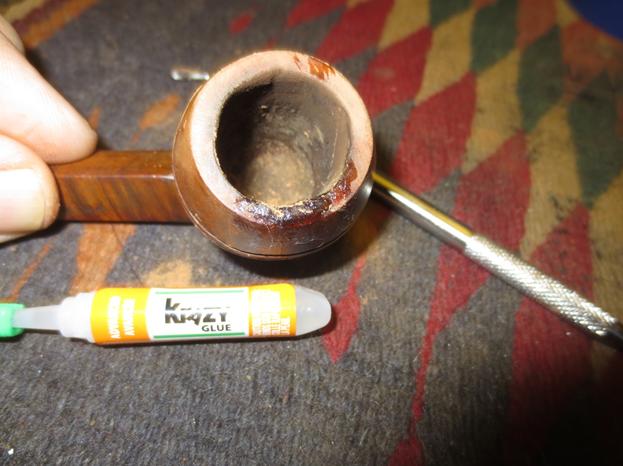
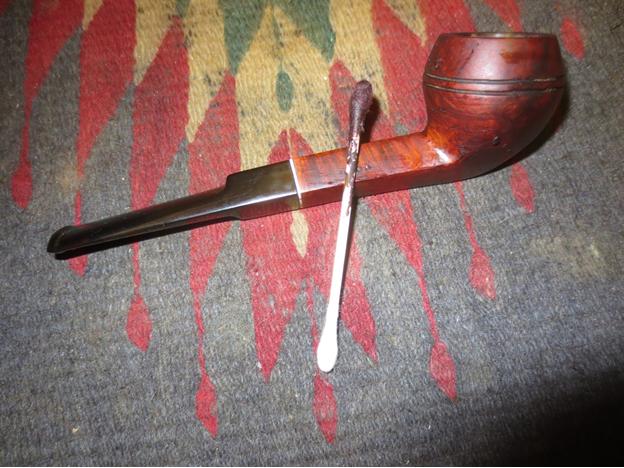
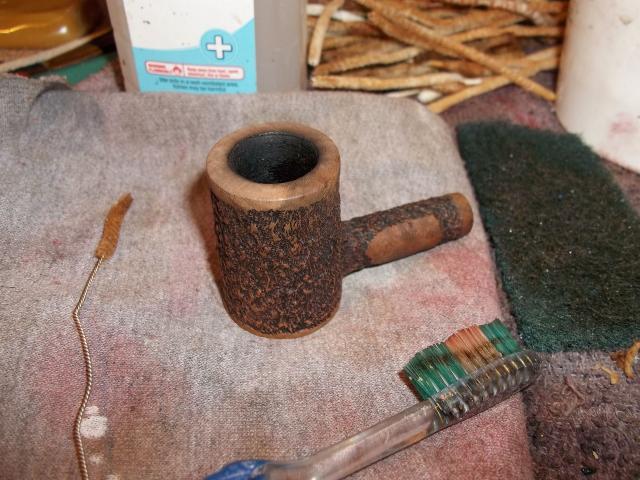
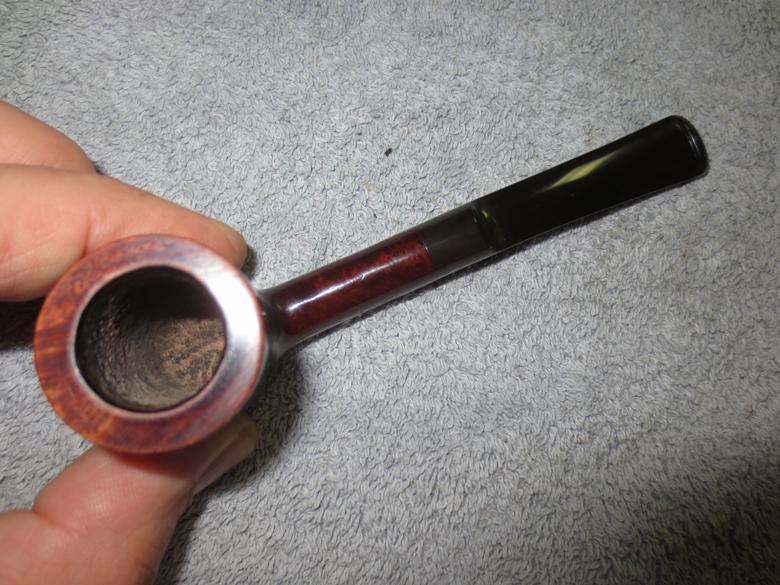
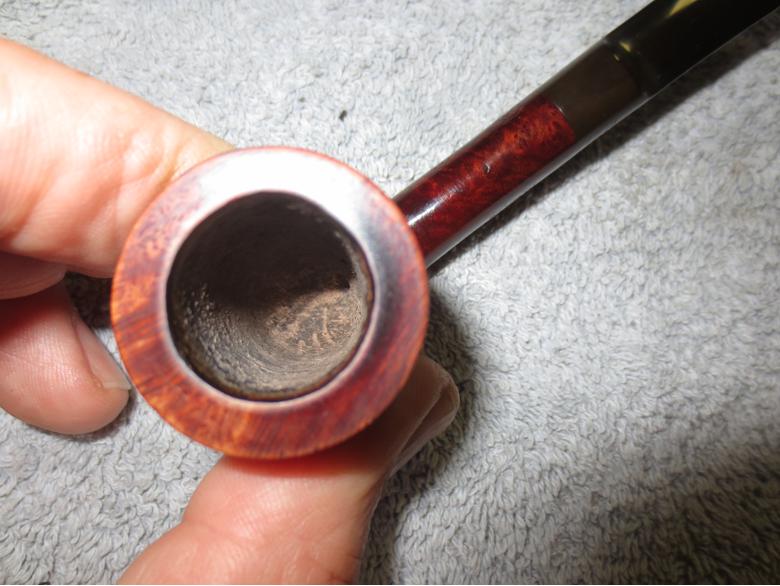
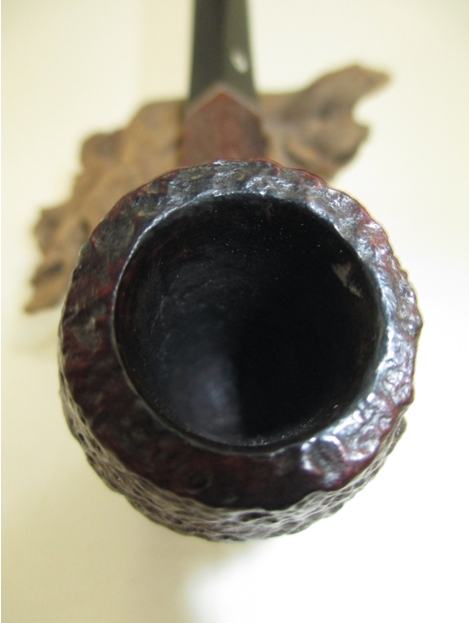
 I used the Savinelli Pipe Knife to clean out the uneven cake from the bowl.
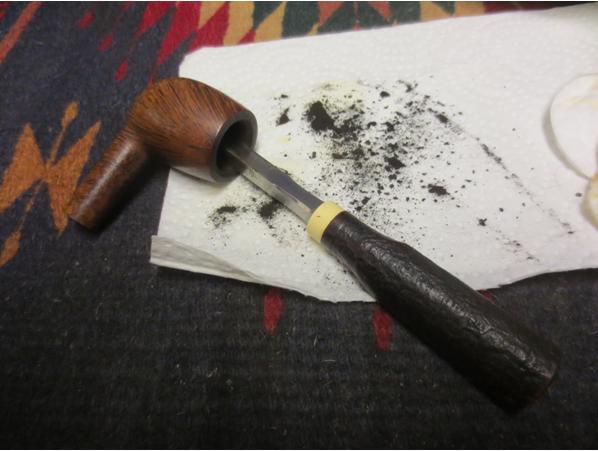 I cleaned out the shank with pipe cleaners, cotton swabs and alcohol until it was fresh. I did the same with the stem.
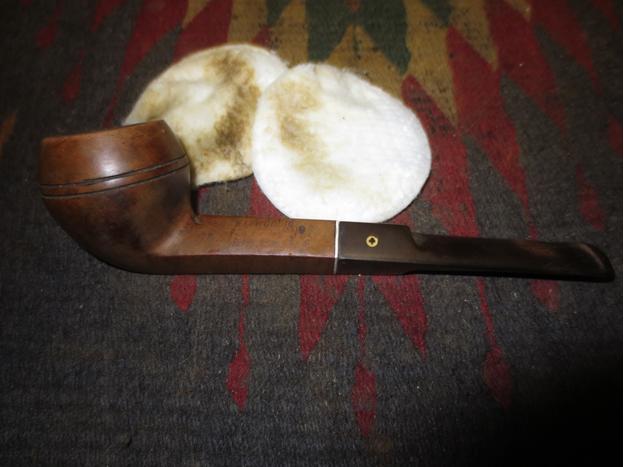
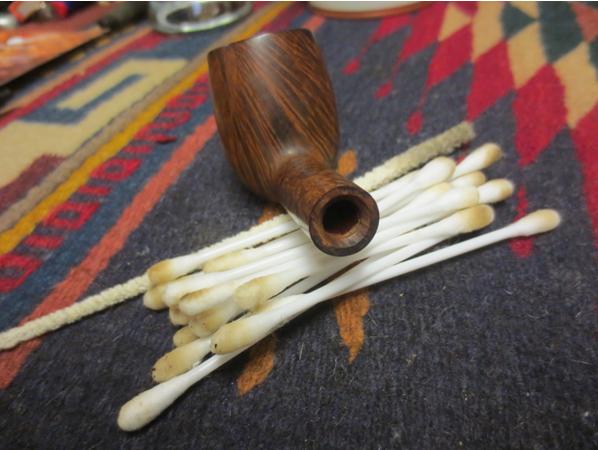 I scrubbed the rim with saliva on cotton pads to remove the lava build up without damaging the finish. It took some elbow grease but I was able to remove all of the grime.
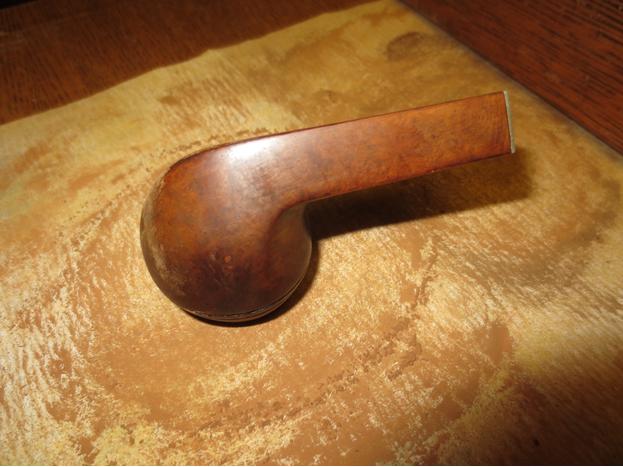
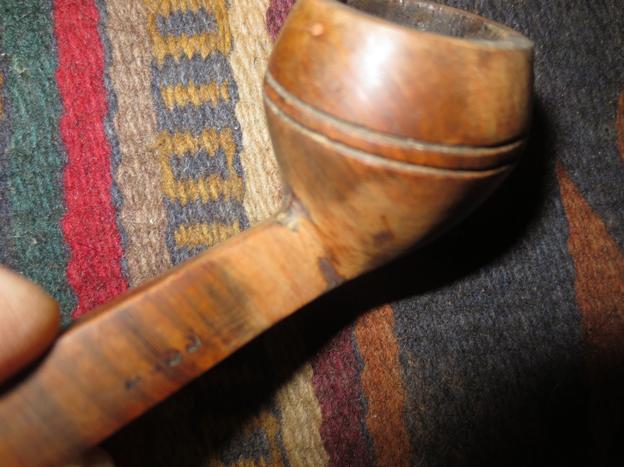
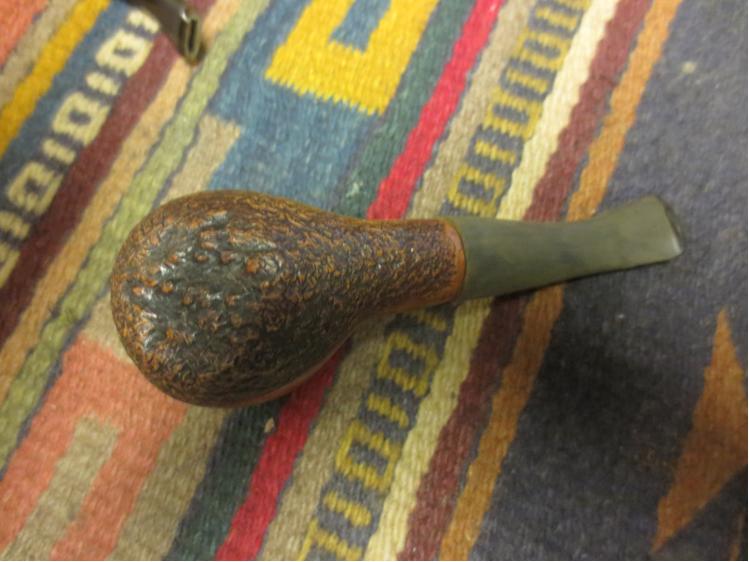
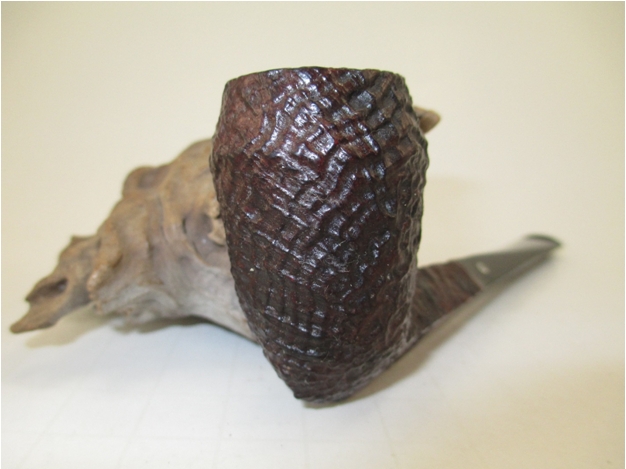
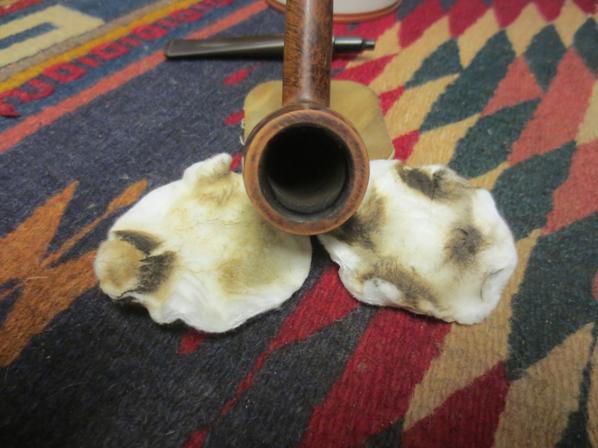 I gently cleaned off the briar with Murphy’s Oil Soap to remove the grime and make the grain stand out once again. I use the soap undiluted and in this case very sparingly. I applied it with a cotton pad and quickly wiped off the surface. I did not want to remove the stain just clean the surface. The photos below show the bowl after the scrubbing.
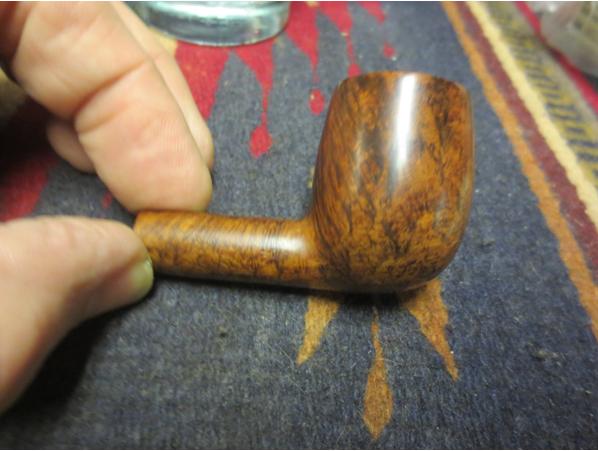
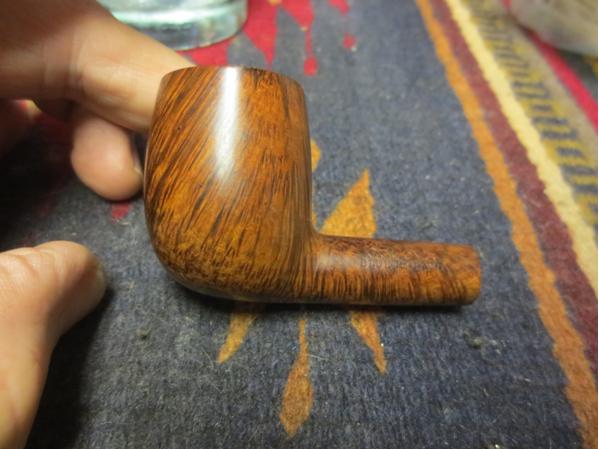
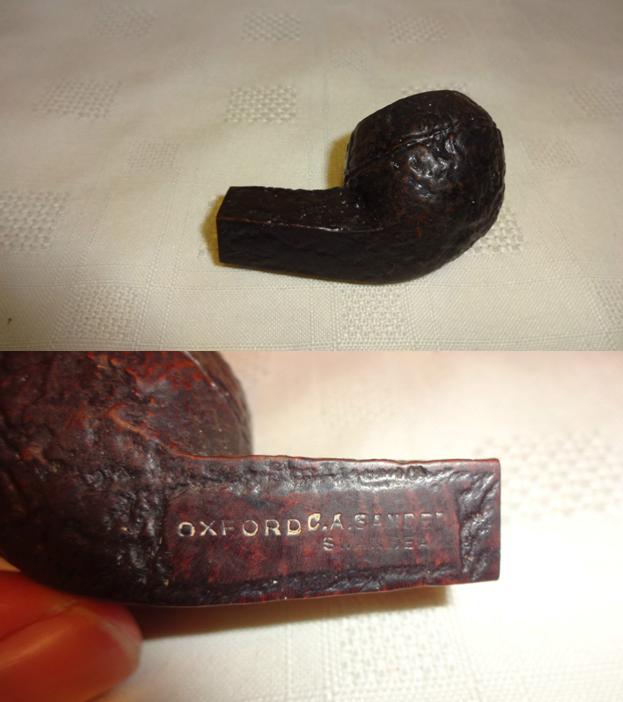
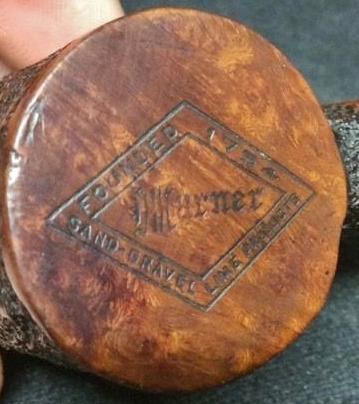
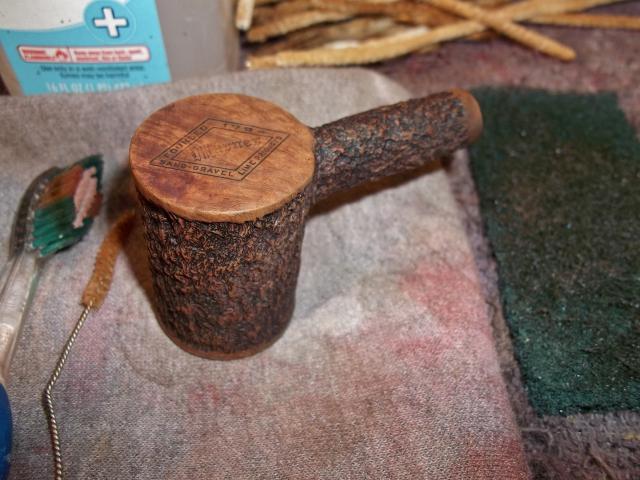
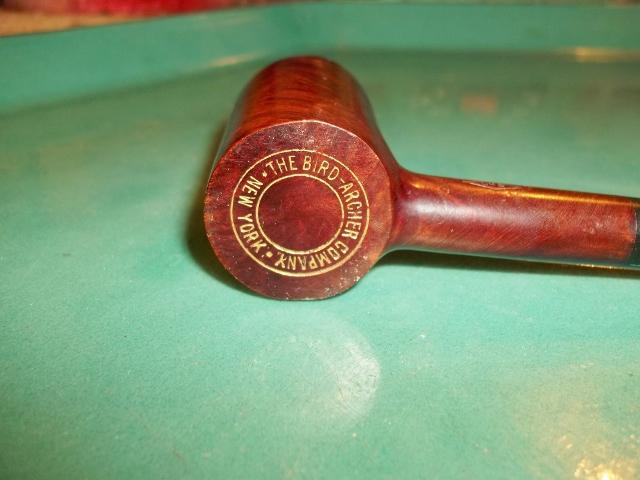
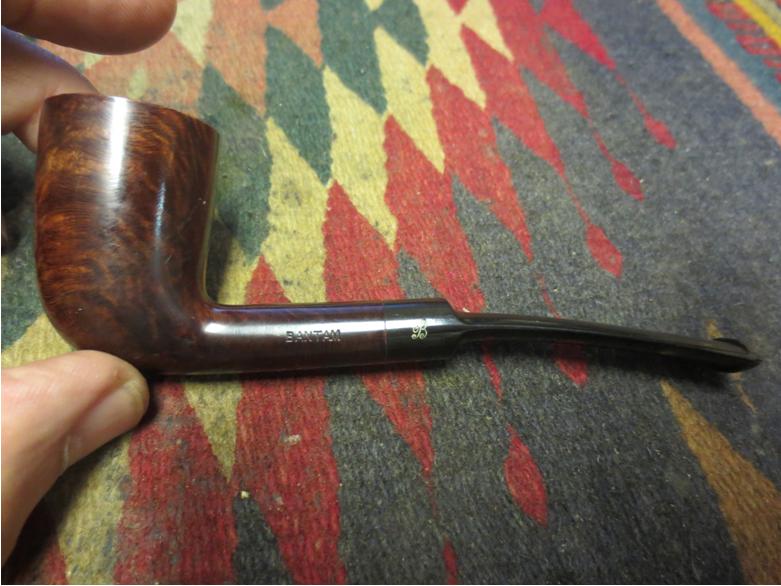
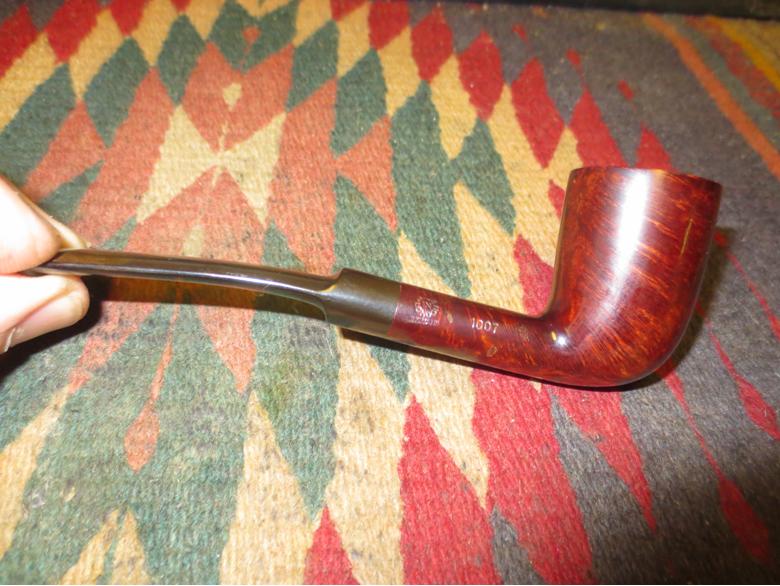
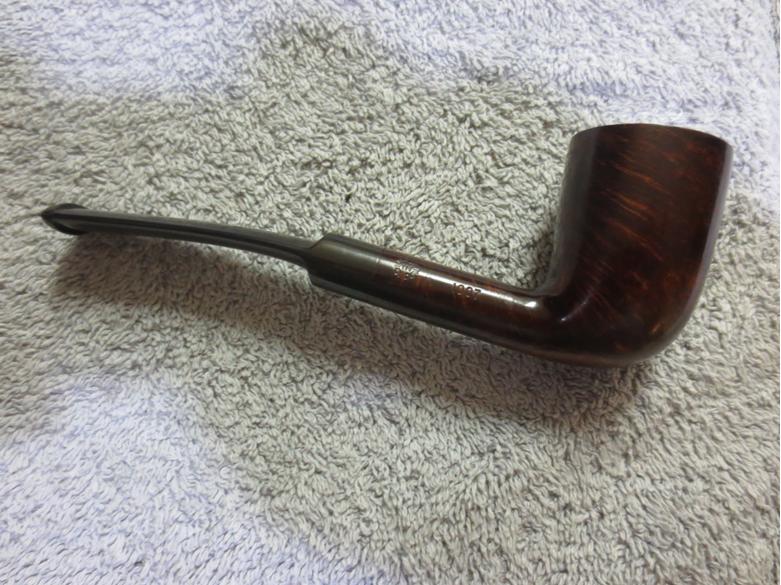
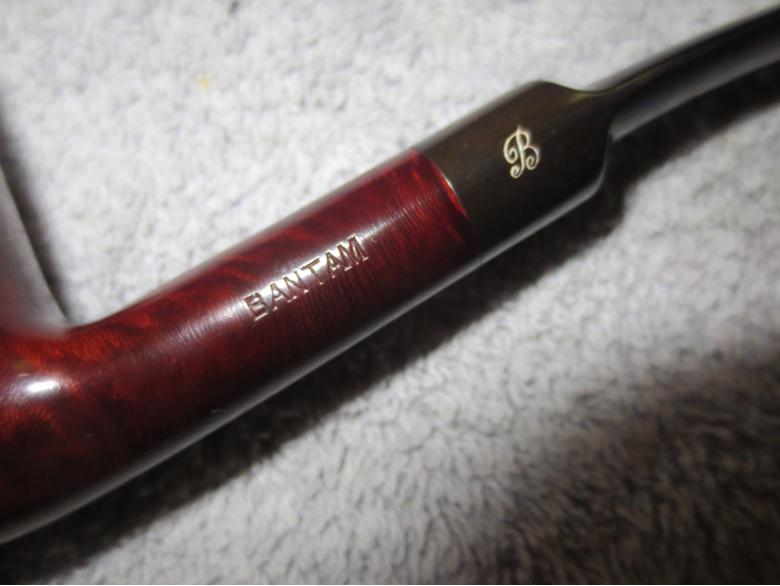
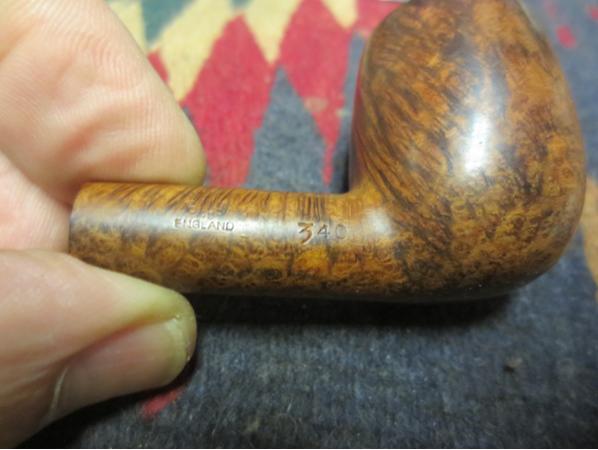
 With the bowl clean I took some photos of the stamping on the shank. The first photo shows the left side of the shank with the Blue Riband stamping. It is sharp and clear. The second shows the right side of the shank with the Made in London stamp and the shape number.
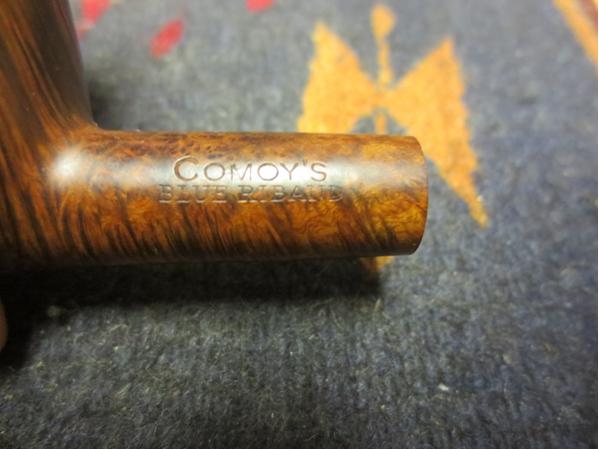
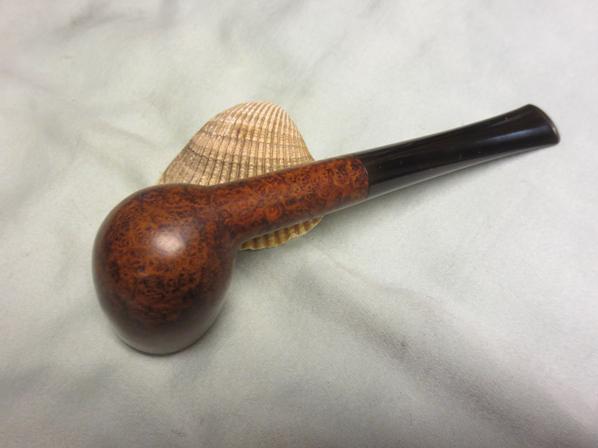
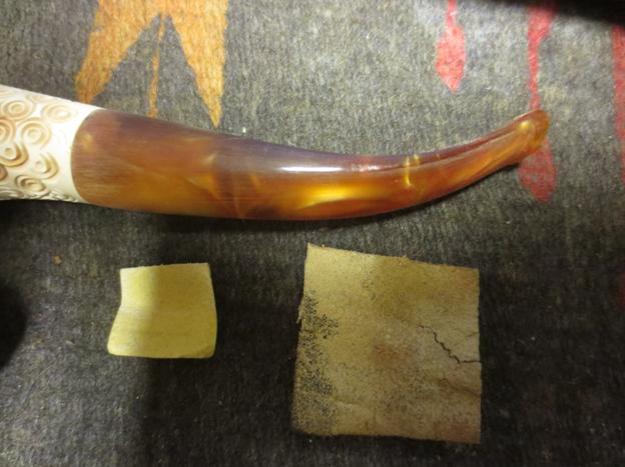
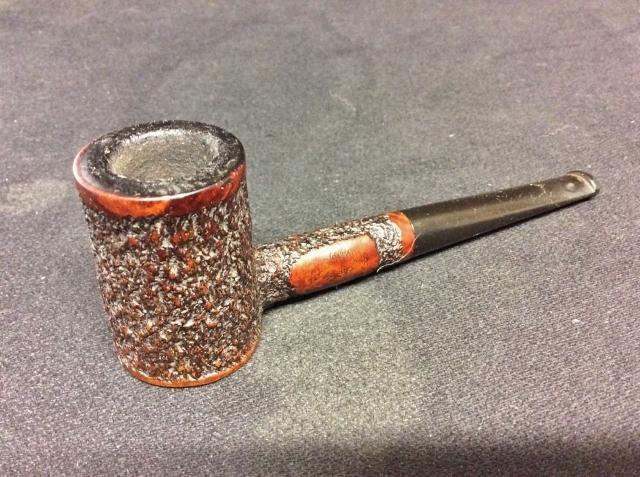
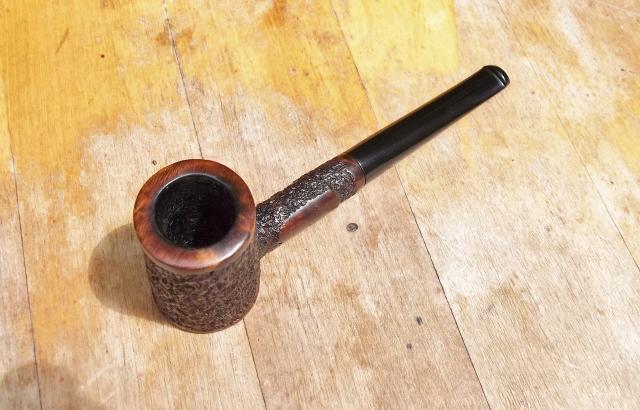
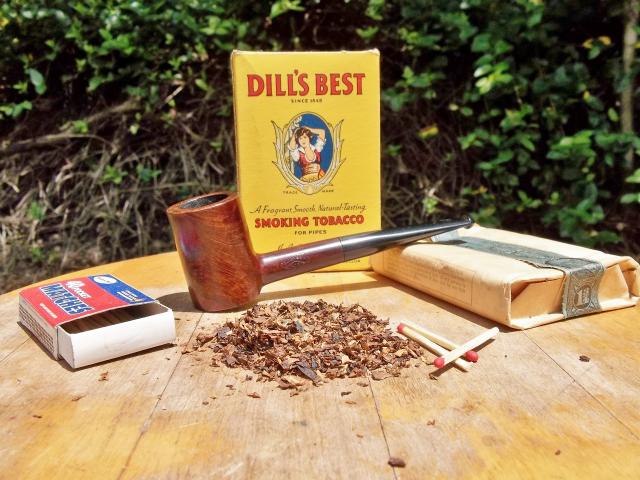
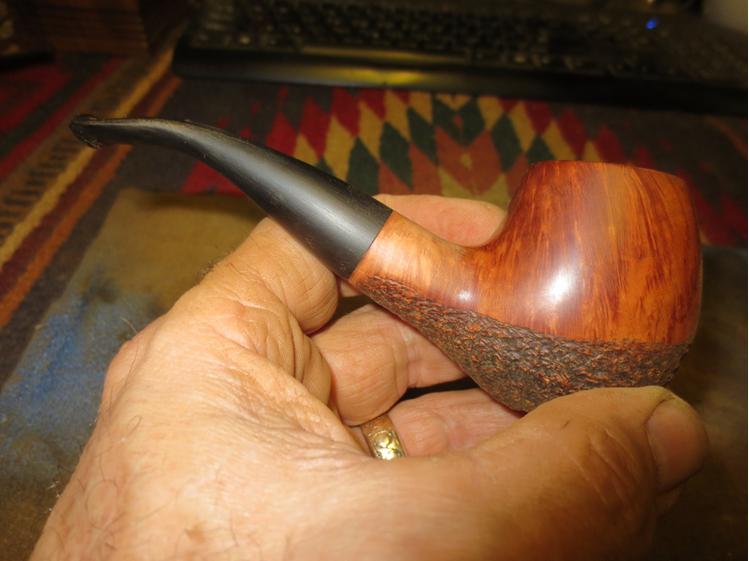
 I continued to scrub the stem with the Meguiars polish until the vulcanite began to shine with a rich black glow. I sanded it with 1500-12000 grit micromesh sanding pads and rubbed it down with Obsidian Oil. It took a lot of elbow grease but it worked and the stem shone. I buffed the bowl and stem with Blue Diamond and then gave the full pipe multiple coats of carnauba wax. I buffed with a clean buffing pad and then by hand with a microfibre cloth. The finished pipe is shown in the photos below. I mailed it out to my friend in Texas and look forward to hearing what he thinks of the pipe now. Thanks for looking.