Blog by Steve Laug
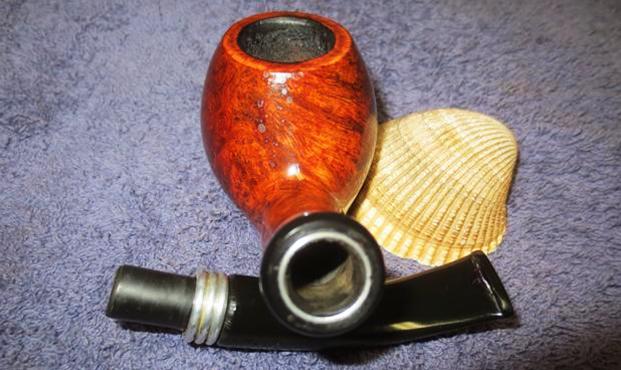
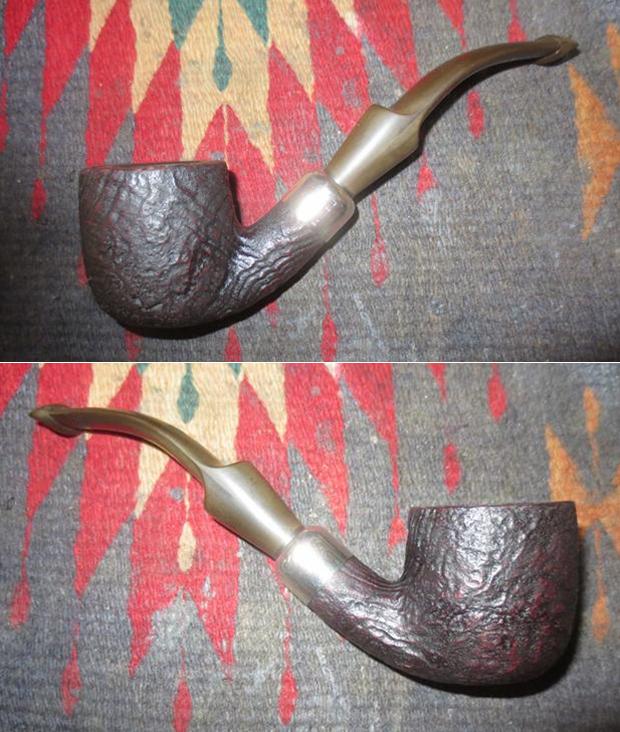
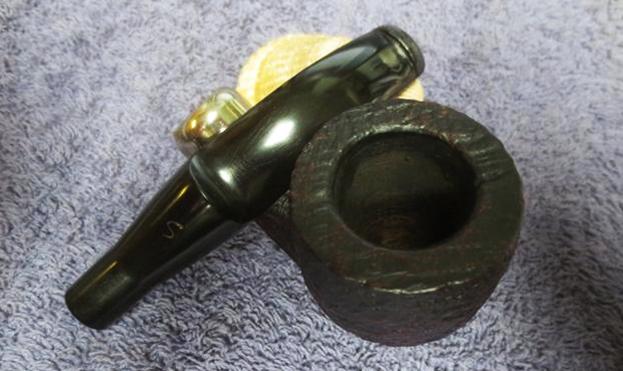
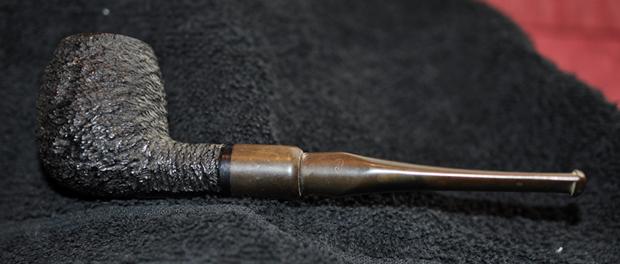
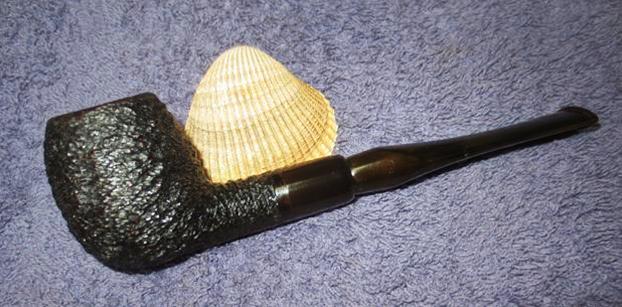
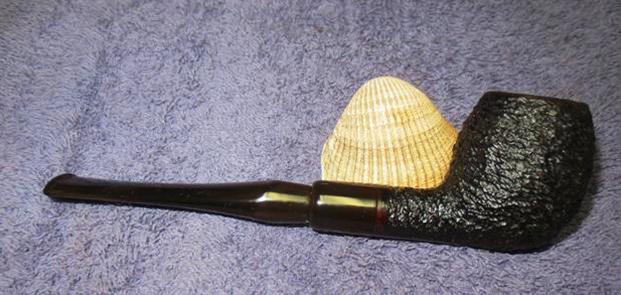
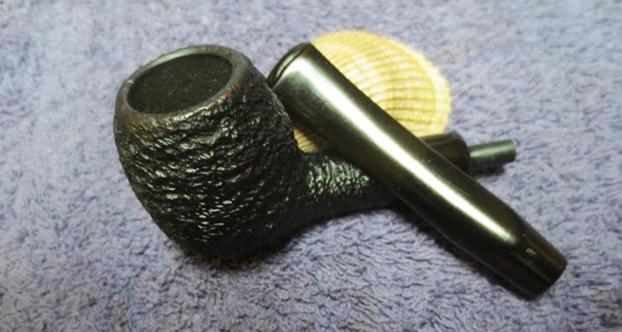
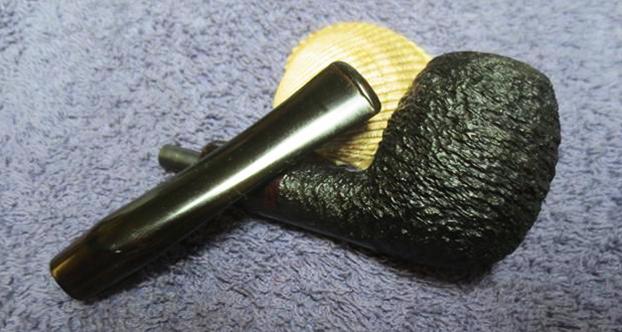
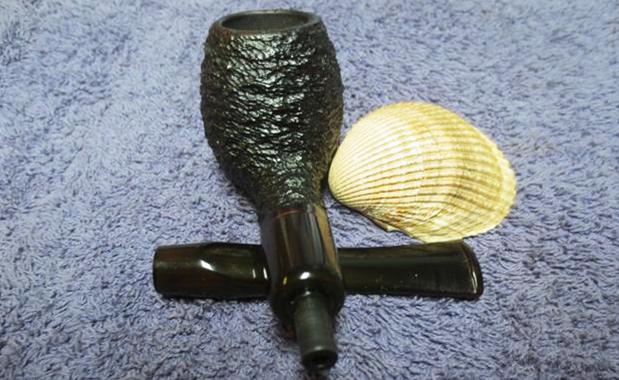
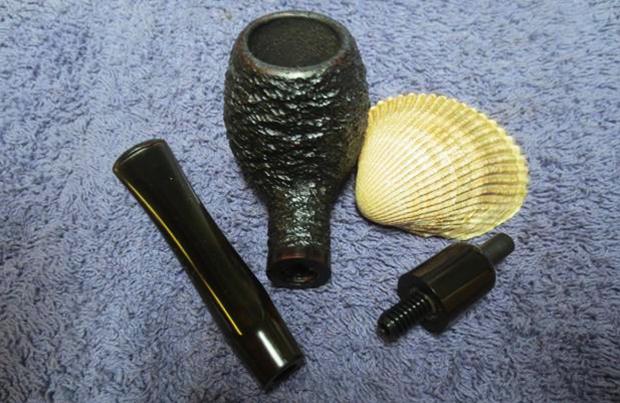
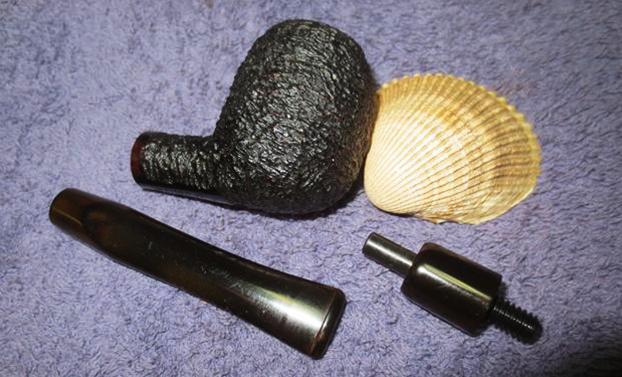
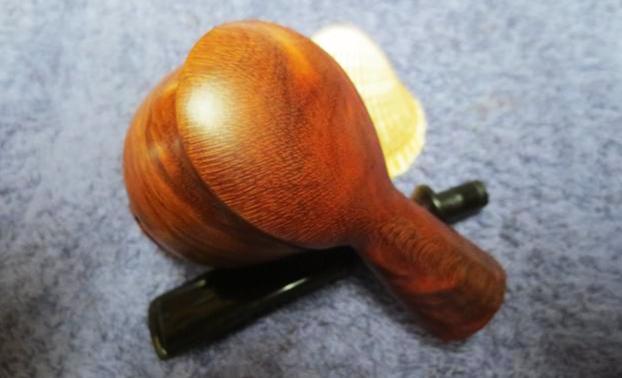
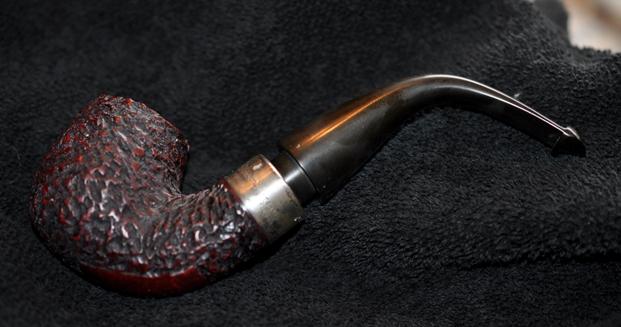
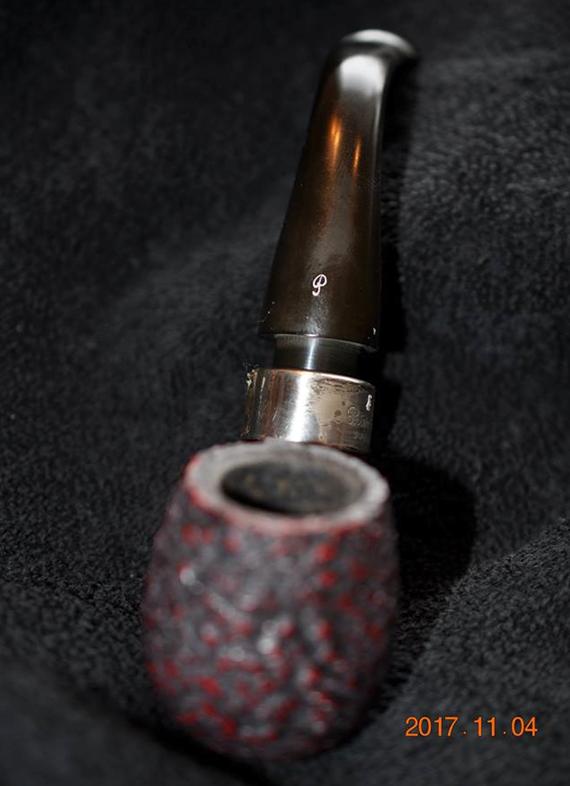
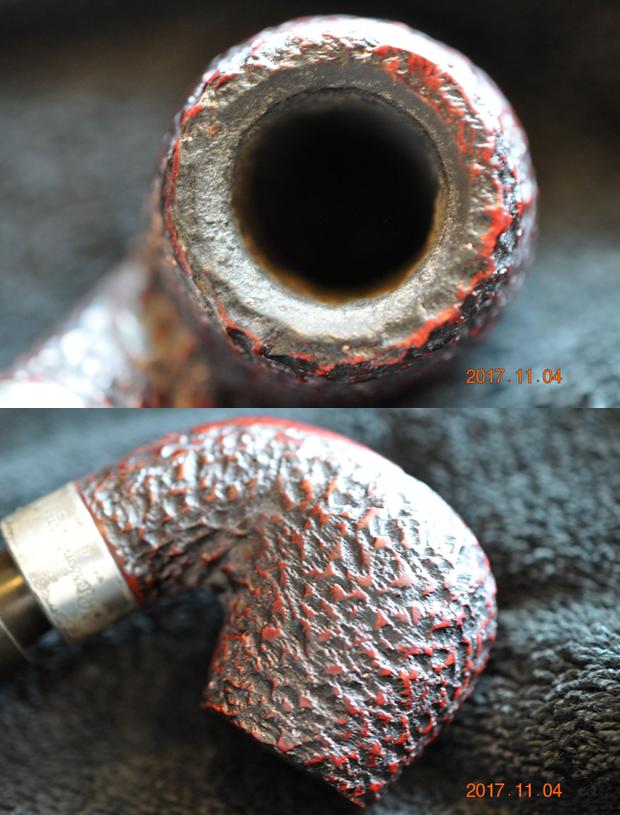
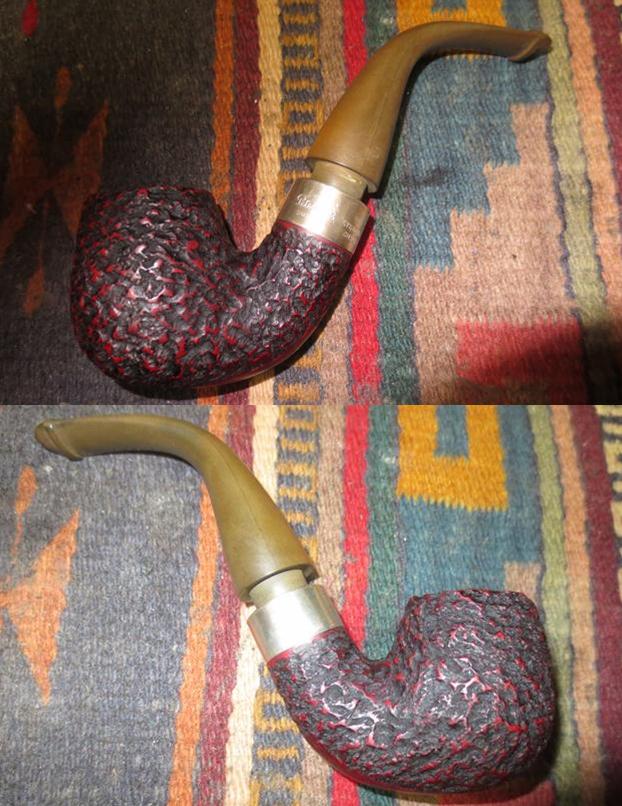
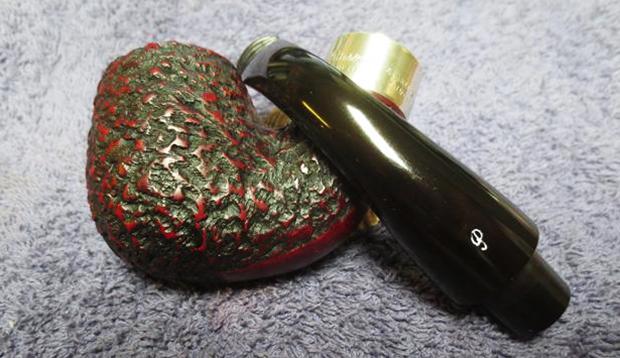
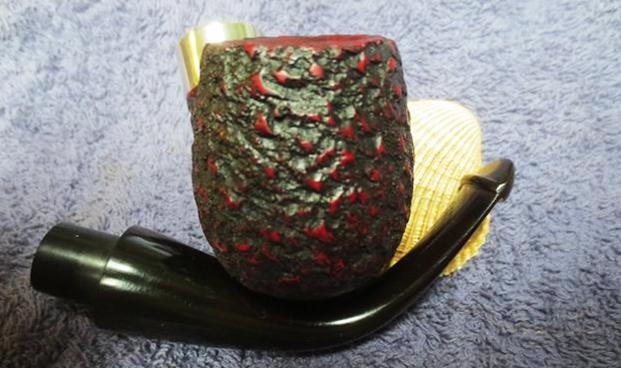
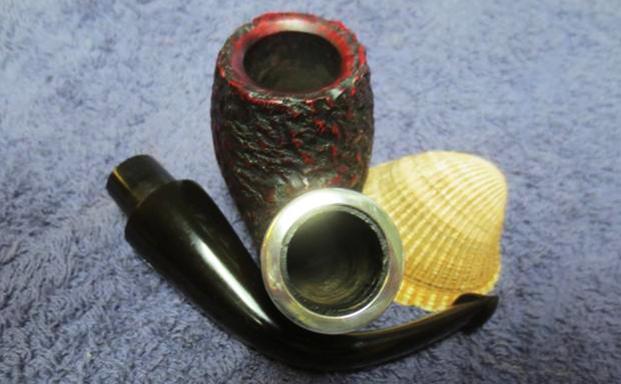
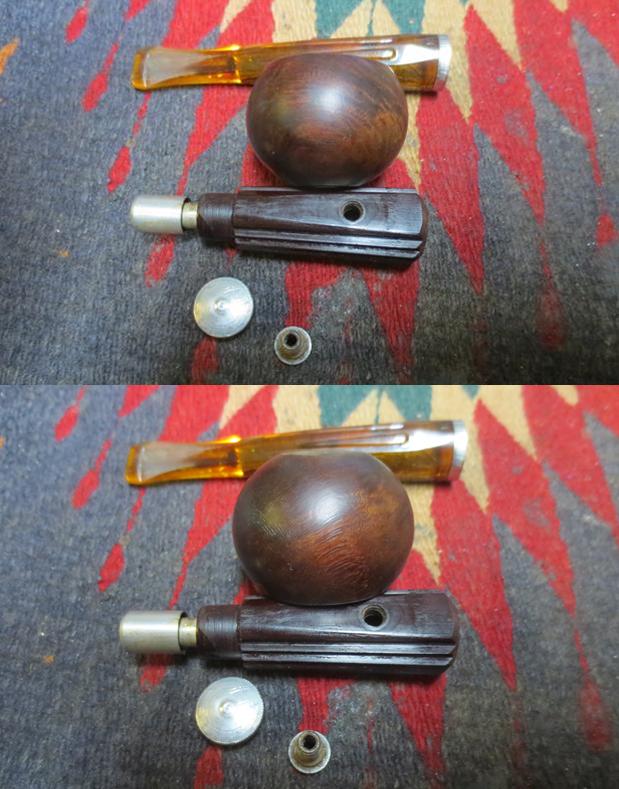
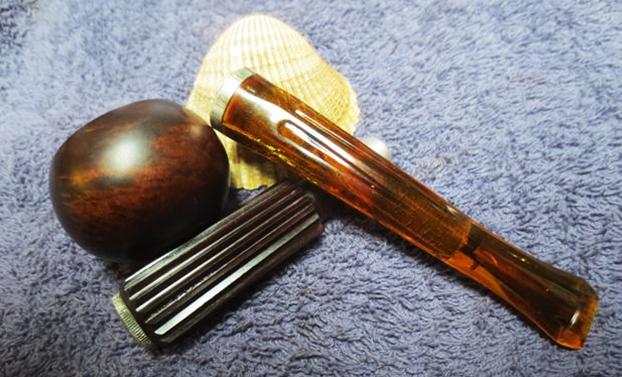
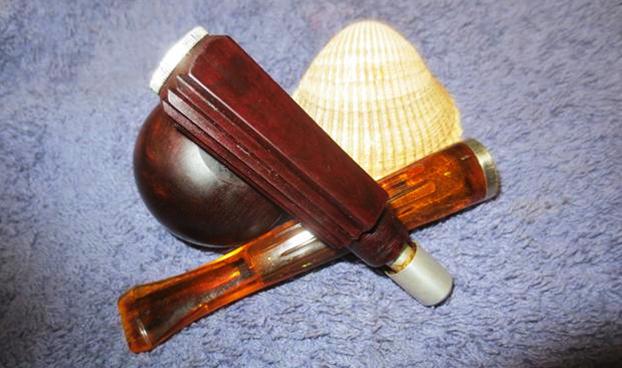
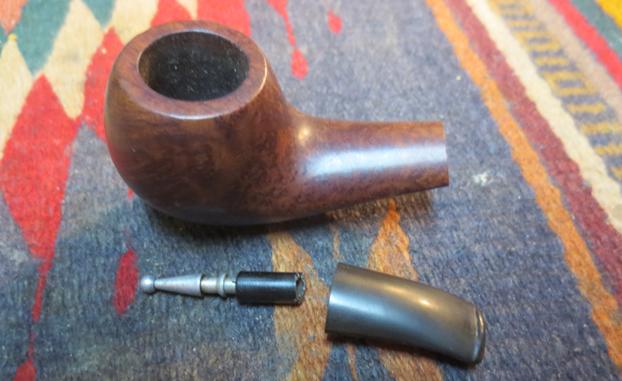
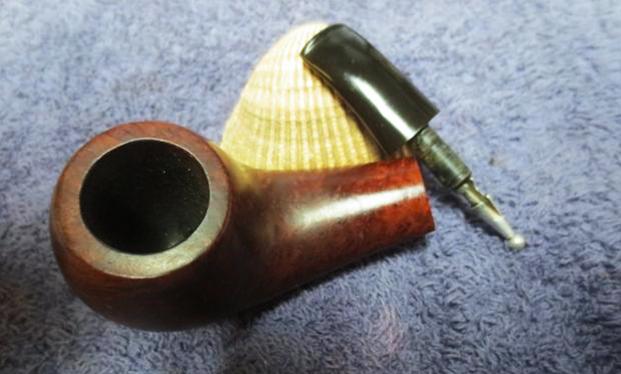
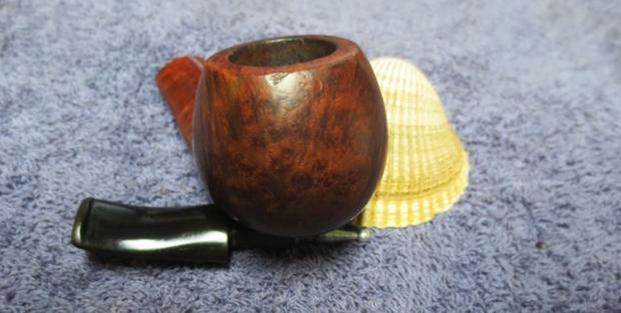
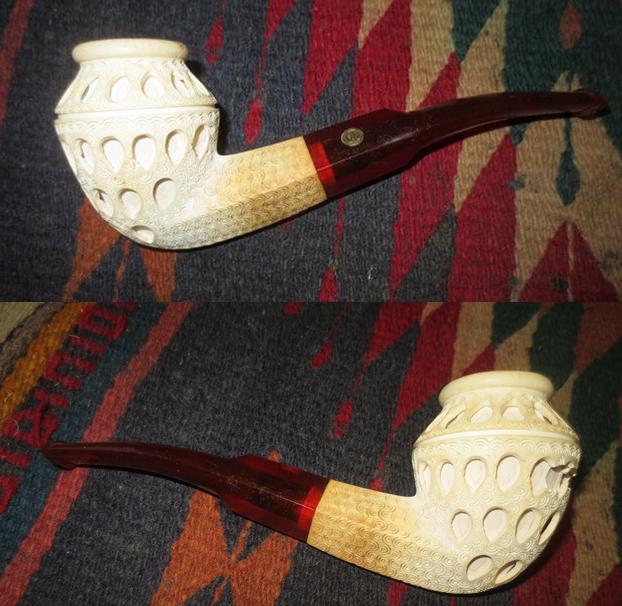
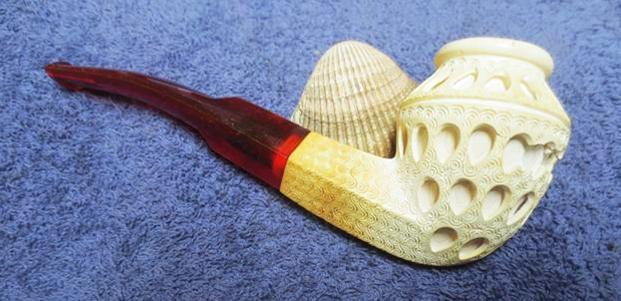
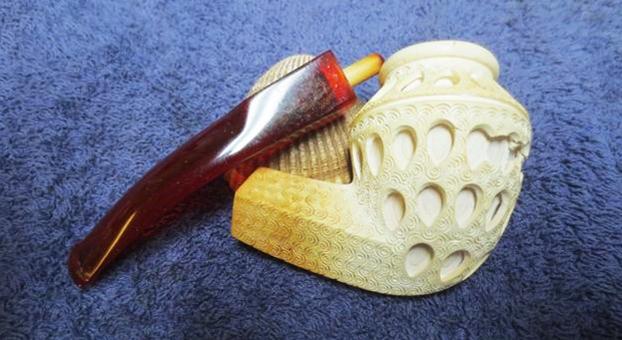
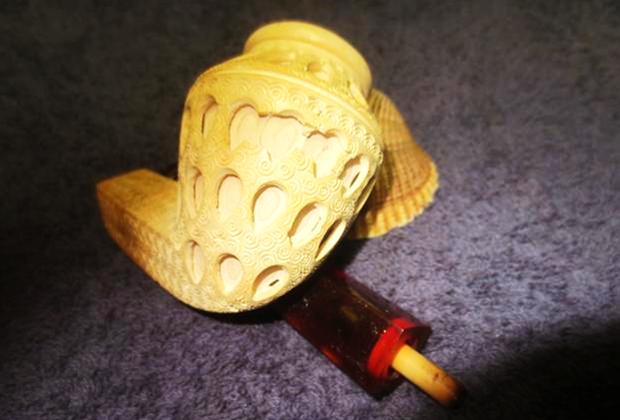
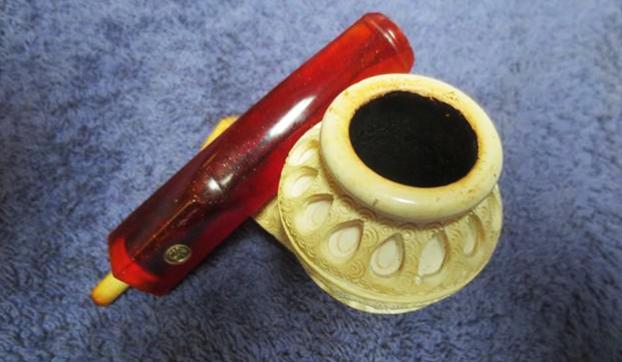
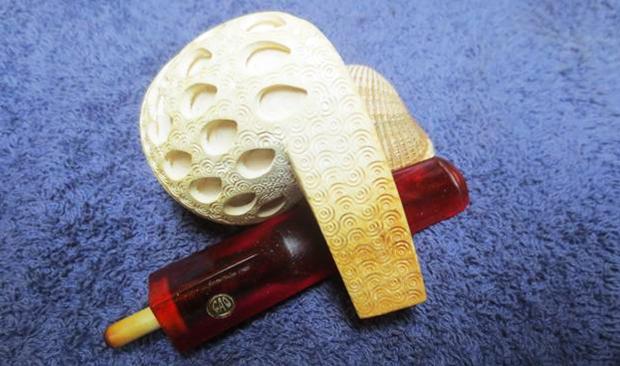
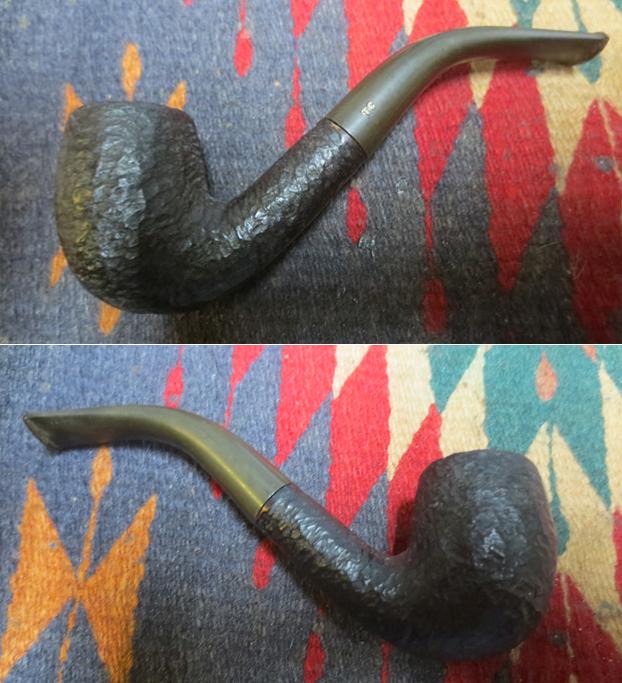
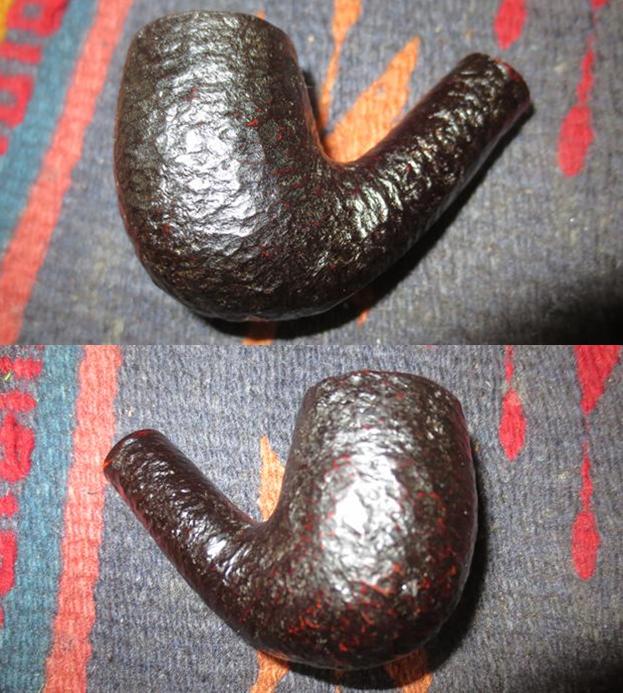
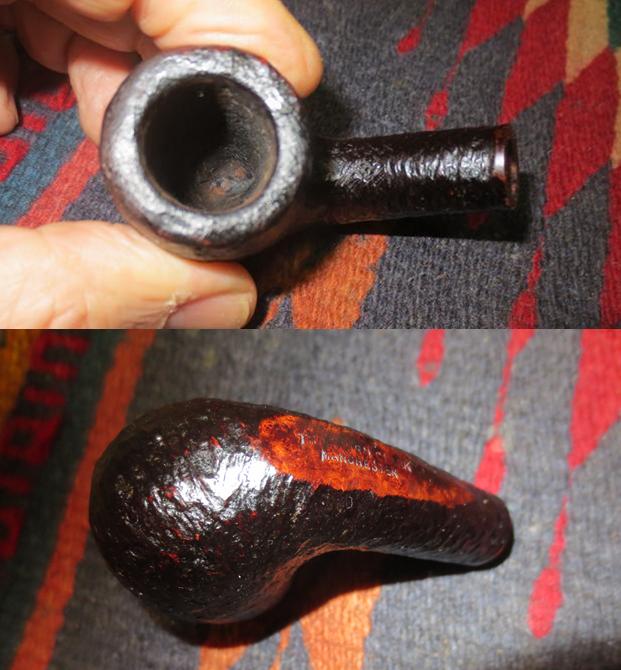
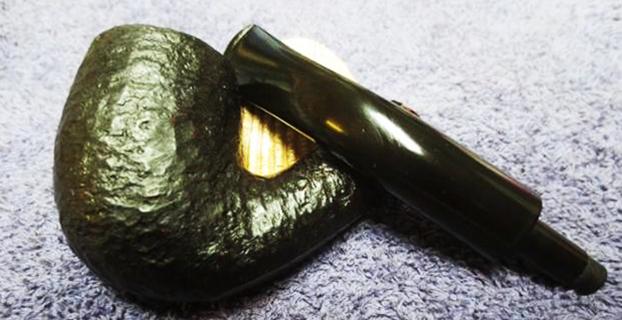
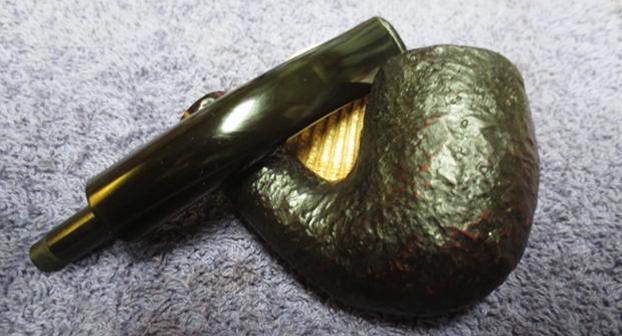
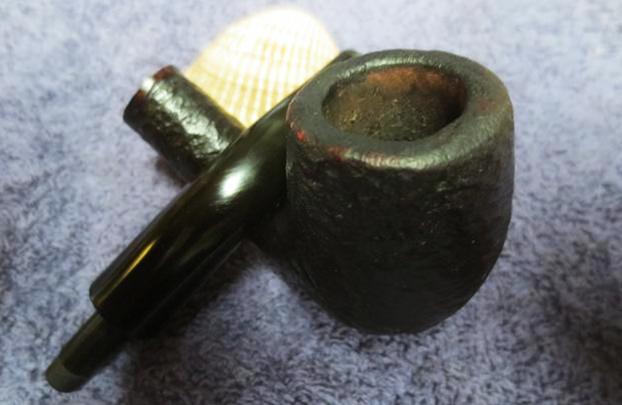
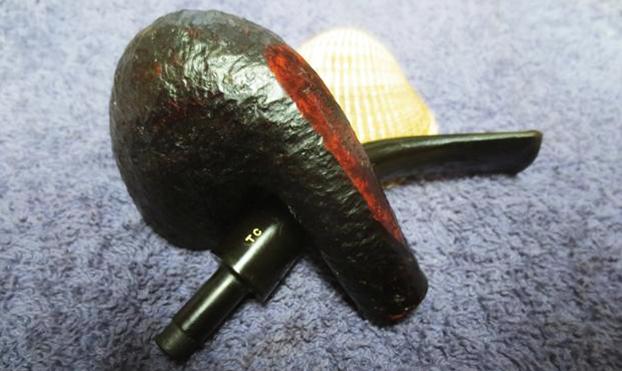
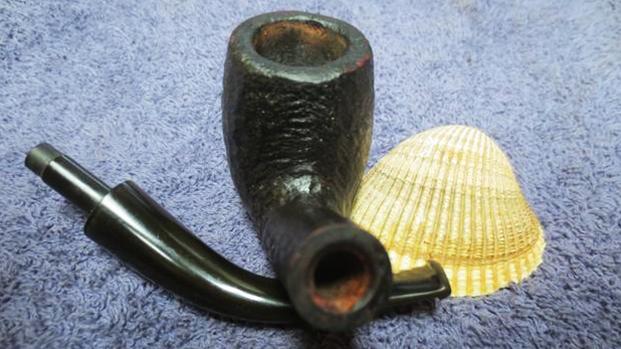
I have always liked the look of the Dr. Grabow Omega pipes. I have worked on quite a few over the years and have found them well made. The briar is a mixed grain pattern usually but the look of the classic shape and the feel in the hand is quite nice. The style of the stem mimics the Peterson P-Lip but up close it is very different. The airway exits not on the top of the button as in a P-Lip but out the end as in a standard fish tail stem. This old timer was no exception so when Jeff sent it I was interested in what it would look like after his cleanup. The bowl was structurally sound but the finish was worn and tired looking with a lot of scratches all around the sides and bottom of the bowl. The bowl had a thick cake that had flowed over the top. The rim was coated in lava and it was beat up. It had a lot of small holes in it like it had been knocked out on concrete and the outer front edge of the bowl was roughened and rounded over. The inner edge of the bowl looked like it was undamaged. The nickel ferrule was oxidized and scratched. The stem had some tooth marks on the top and underside near the button and was oxidized. Jeff took photos of the pipe to show its condition before he started his cleanup work.
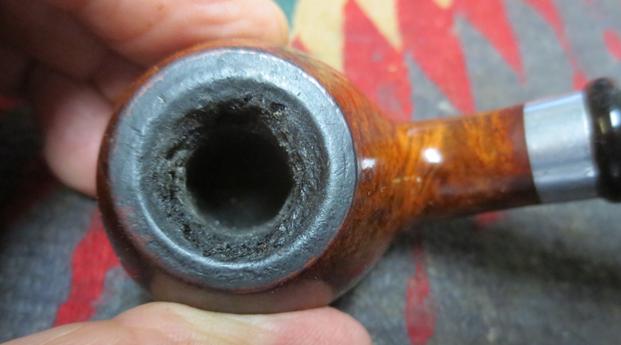
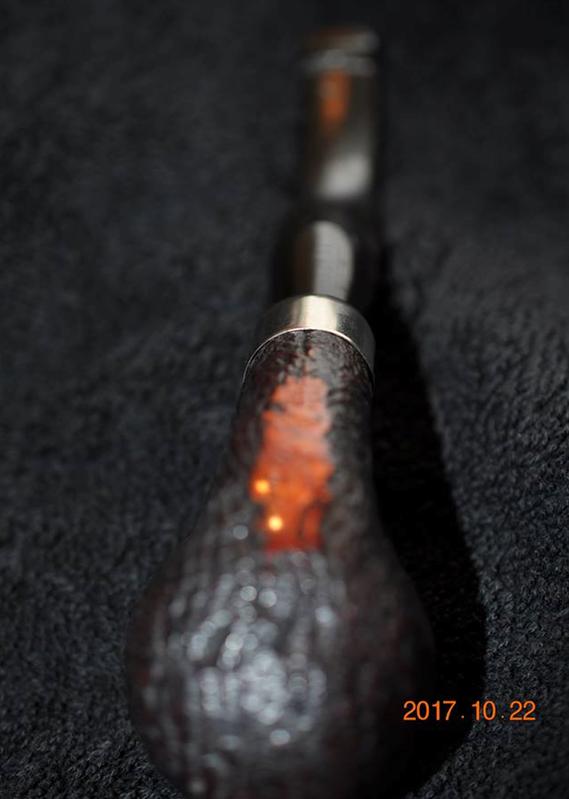
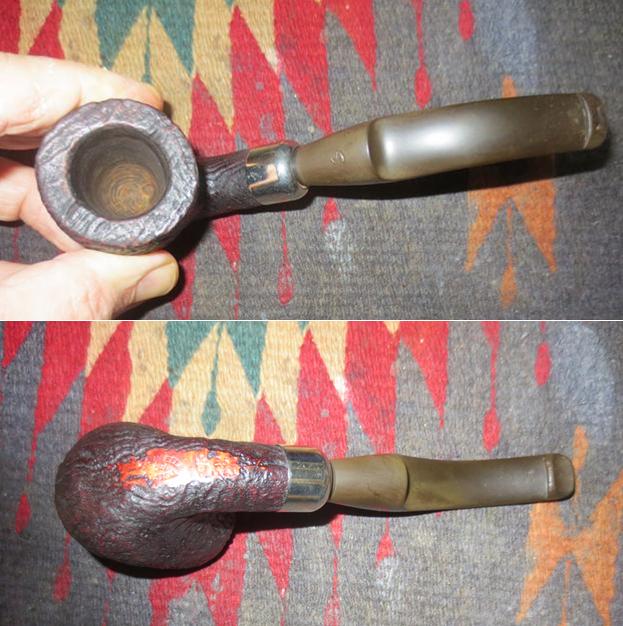
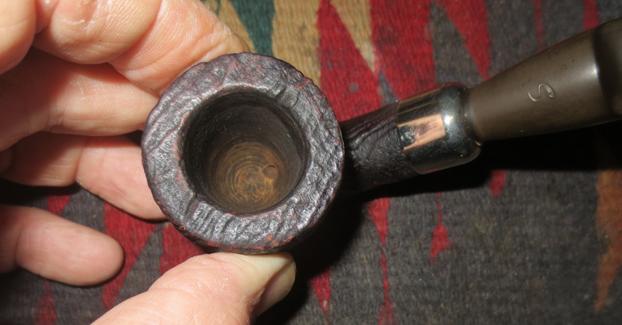
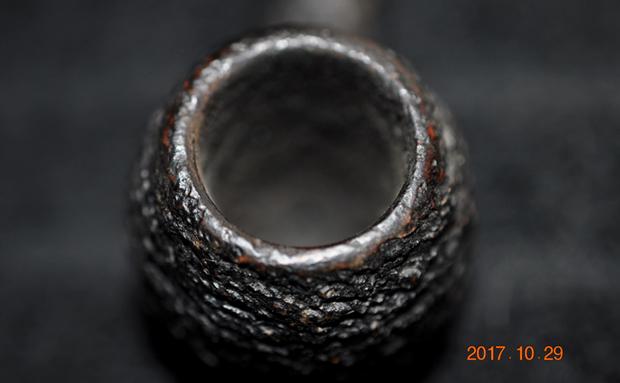
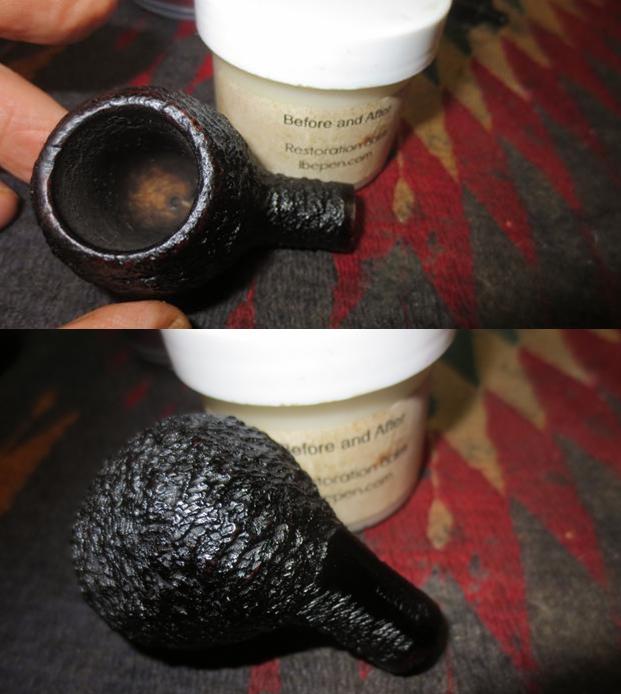
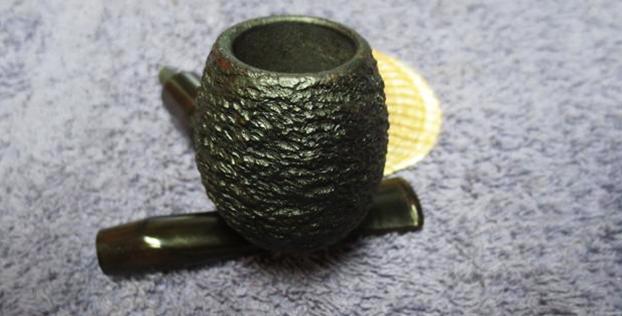
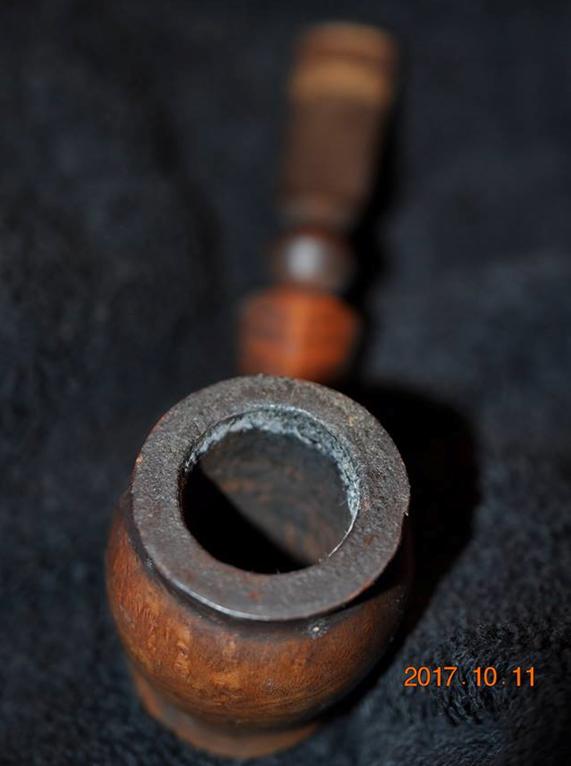
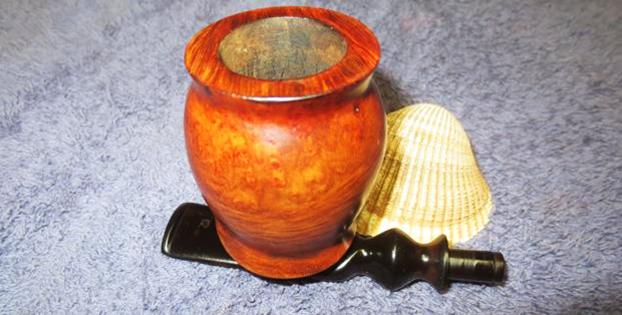
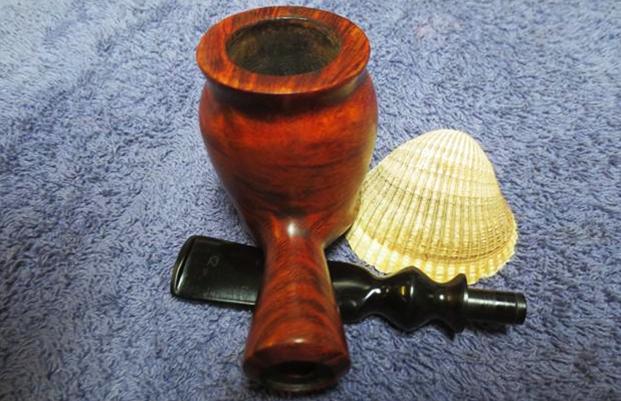
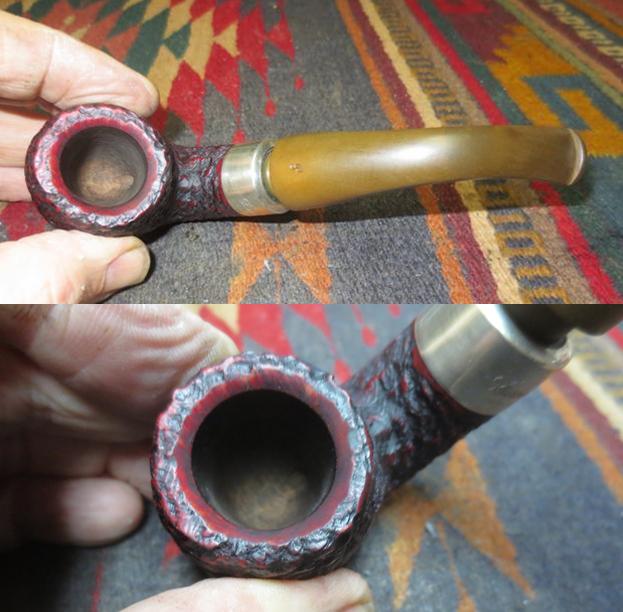
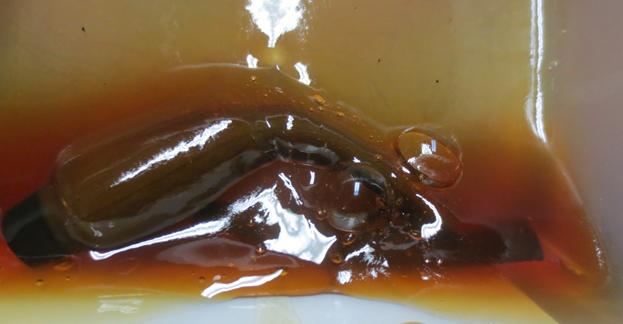
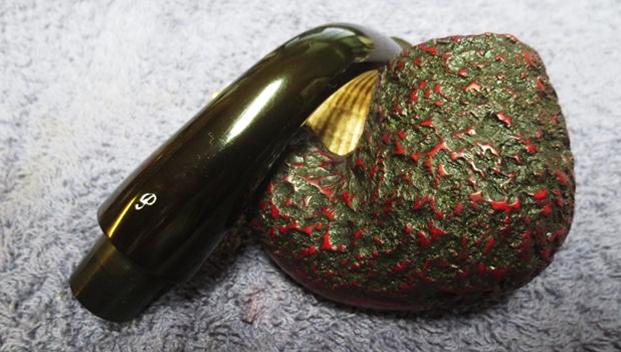
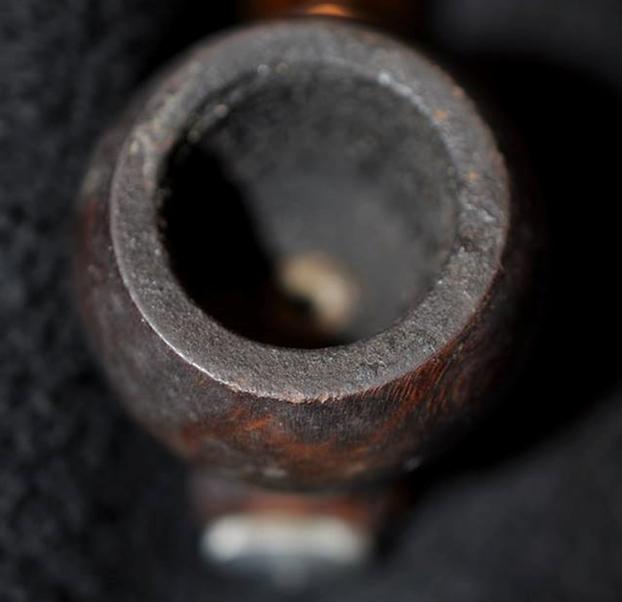
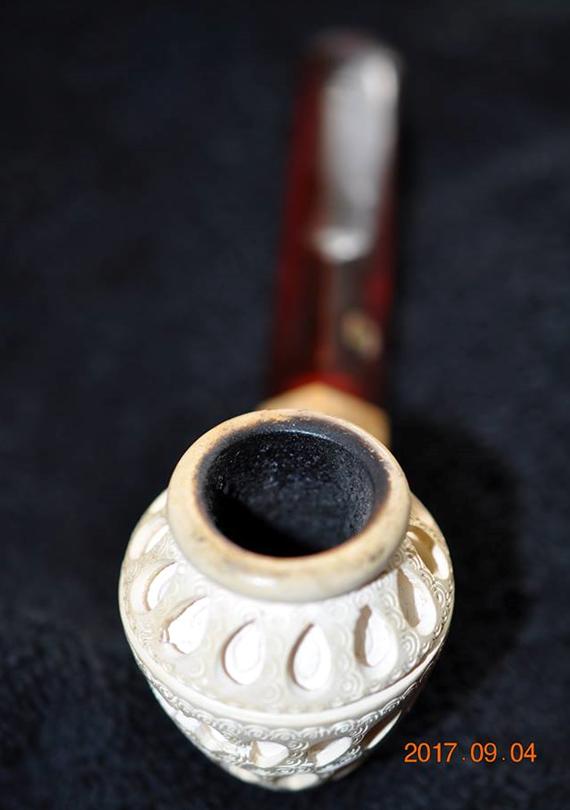
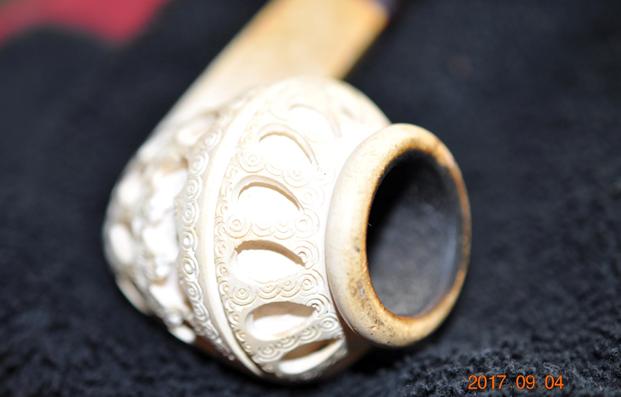
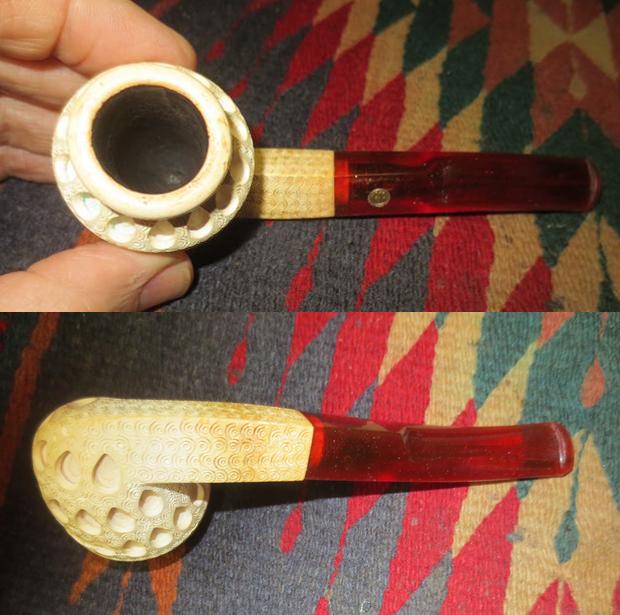
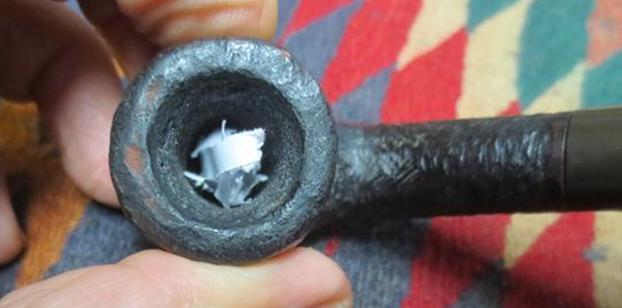
 The next photo shows the cake in the bowl and the condition of the lava overflow on the rim top. You can see that it is quite thick. You can also see the rough condition of the outer edge of the bowl.
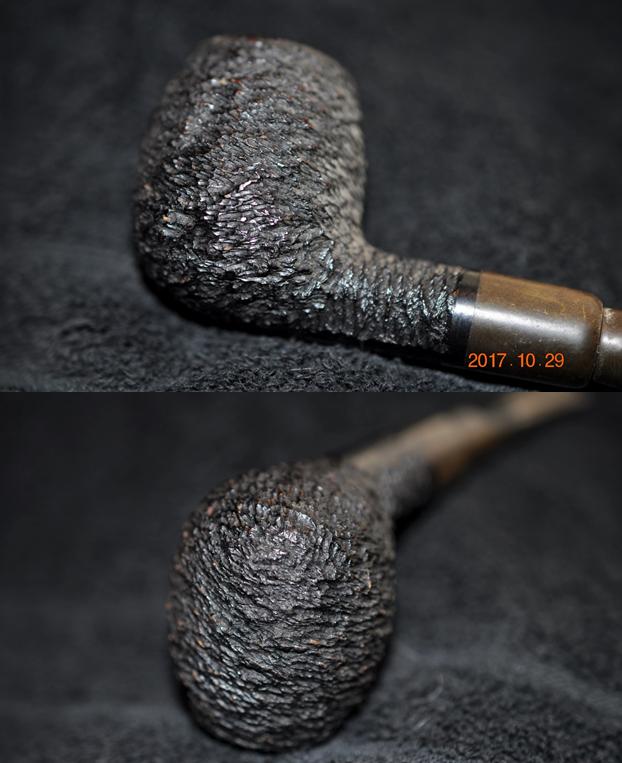
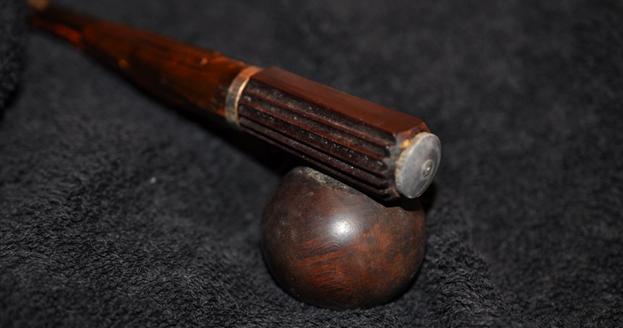
 Jeff took several photos of the bowl from various angles to show the general condition of the finish. There were scratches and nicks but none of them look too deep in the briar. The finish also appears to be very dirty and the varnish coat that is usually present seems worn and tired looking on the sides and bottom of the bowl.
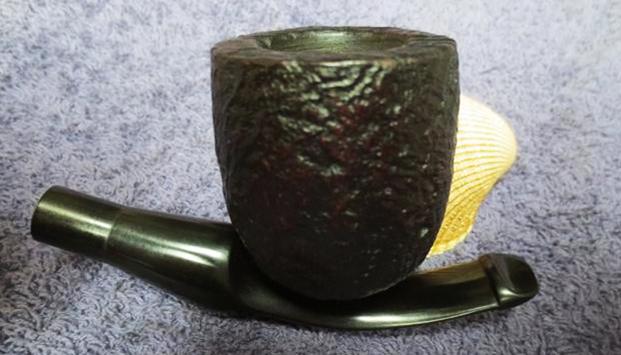
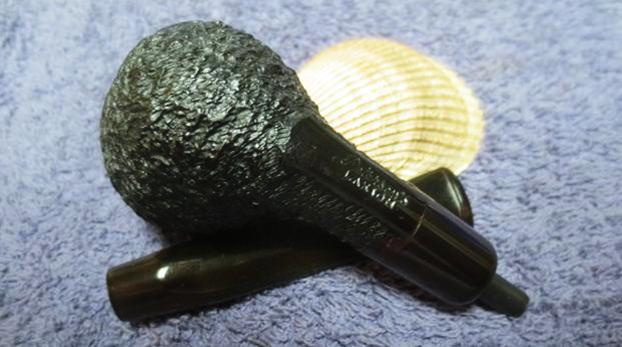
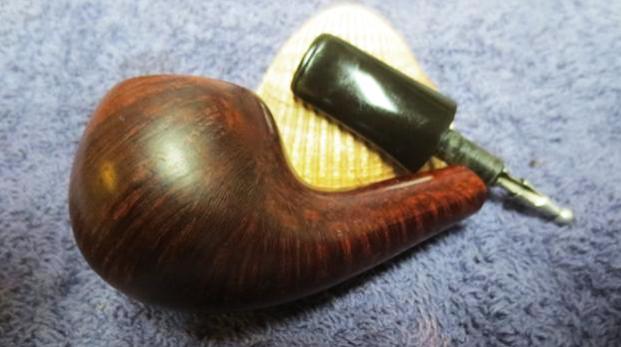
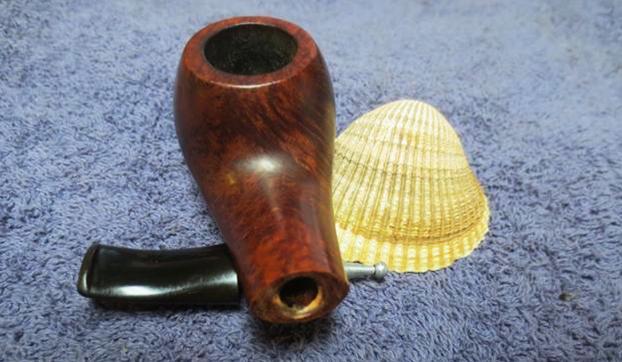
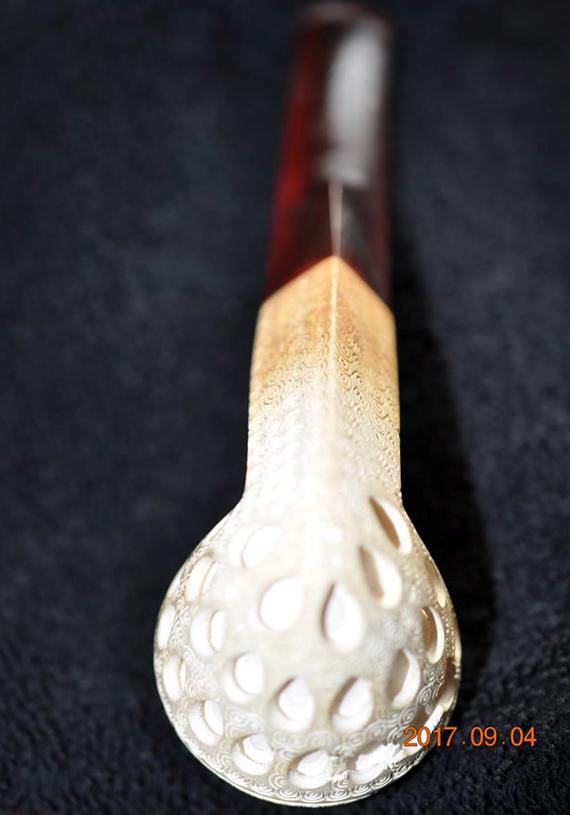
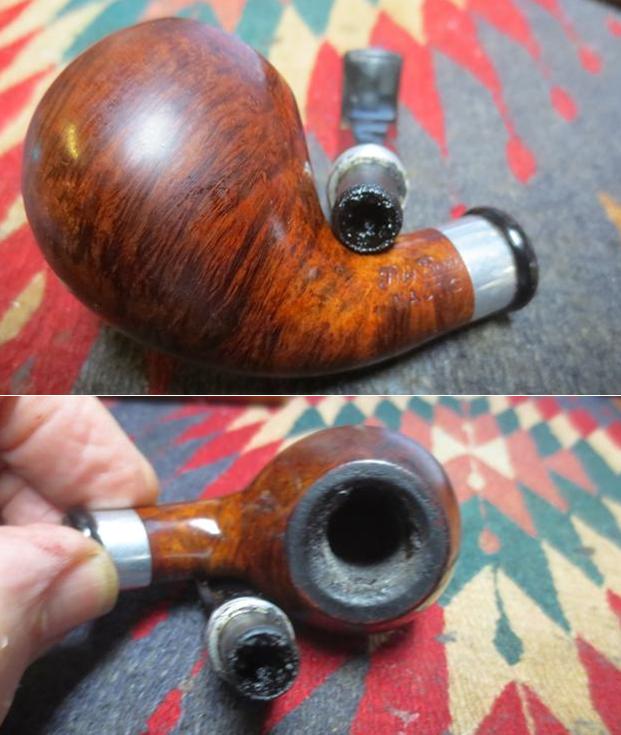
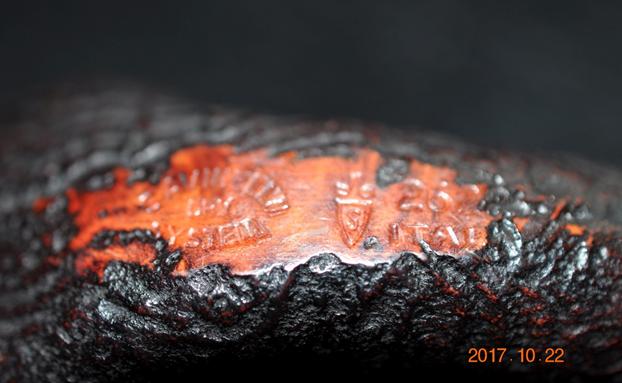
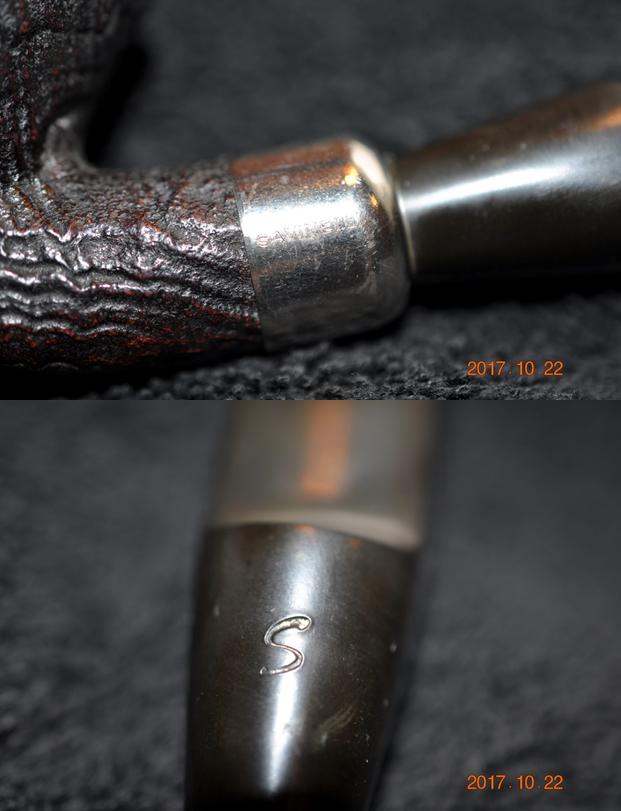
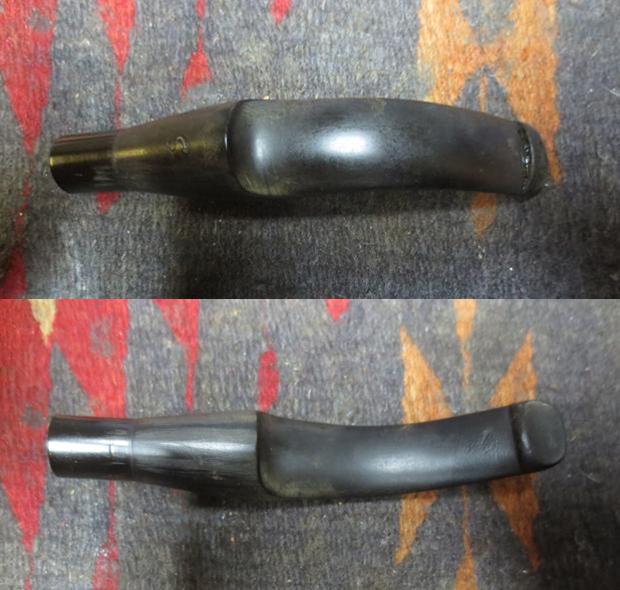
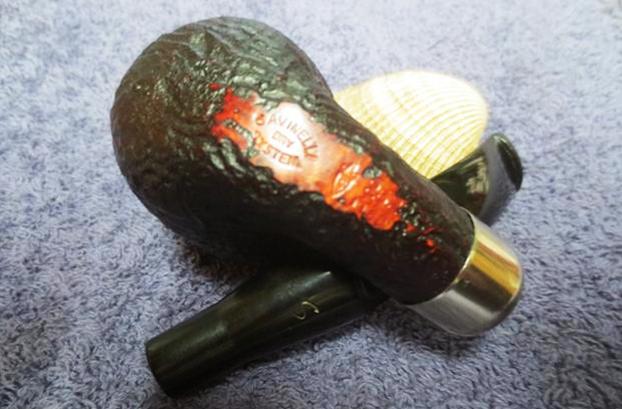
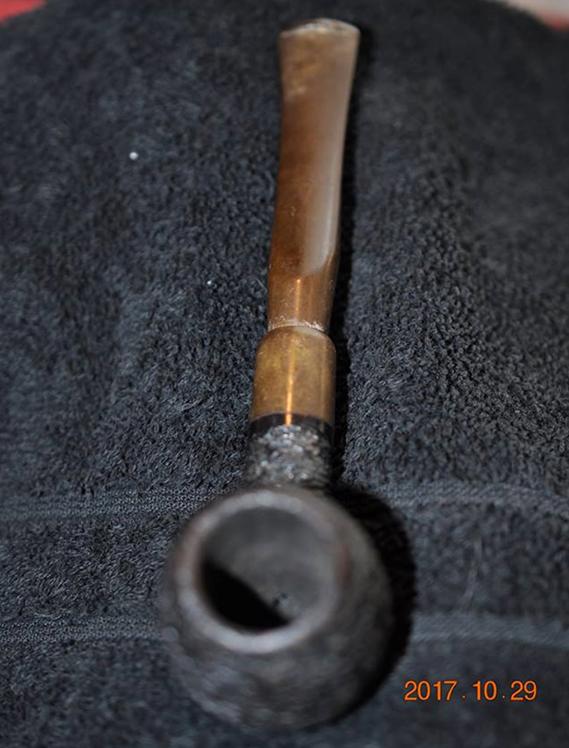
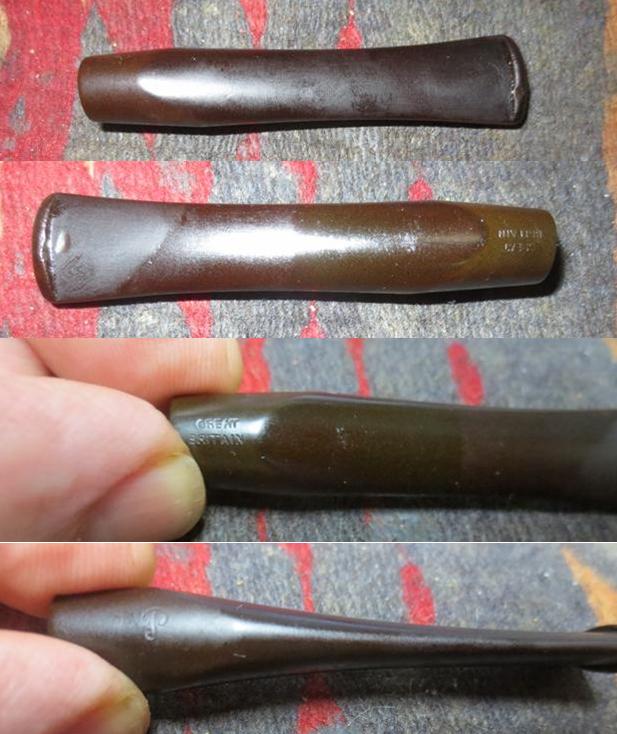
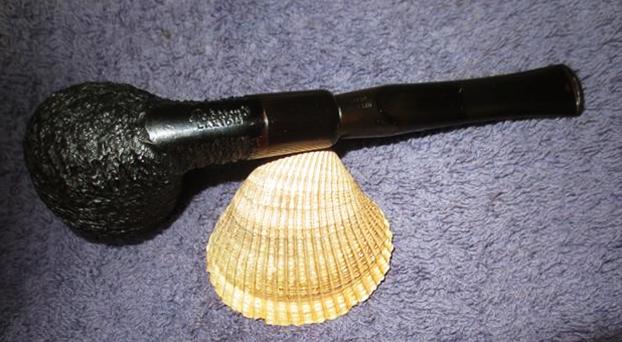
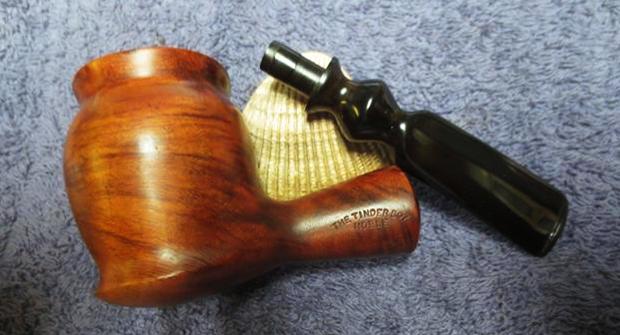
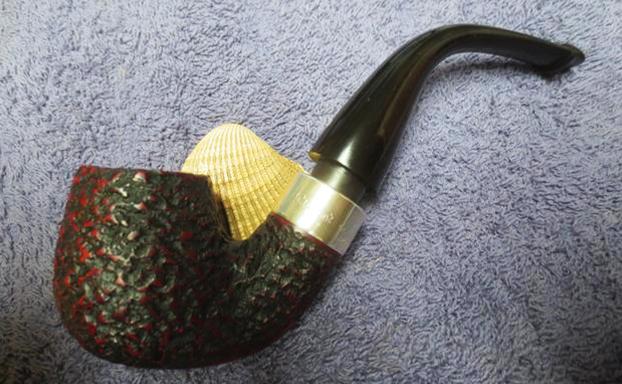
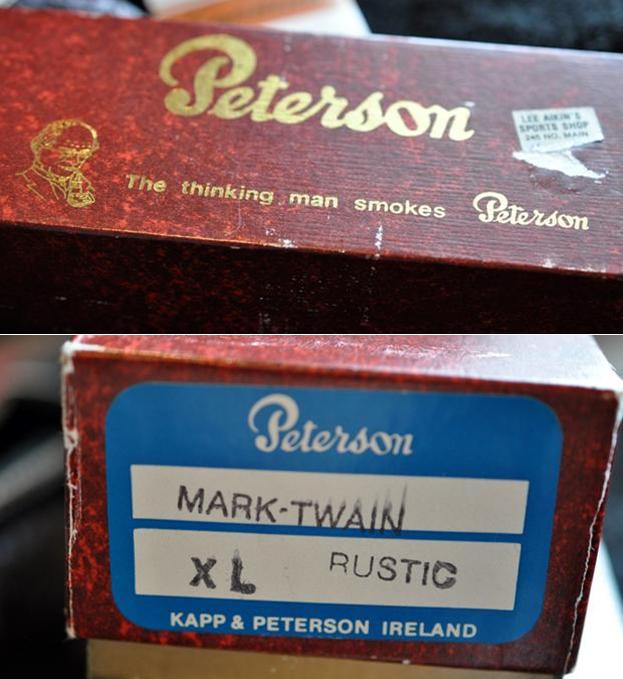
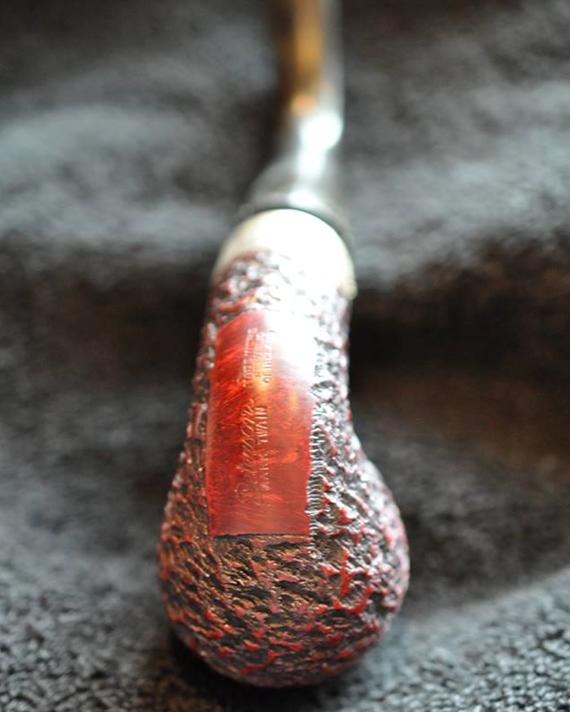
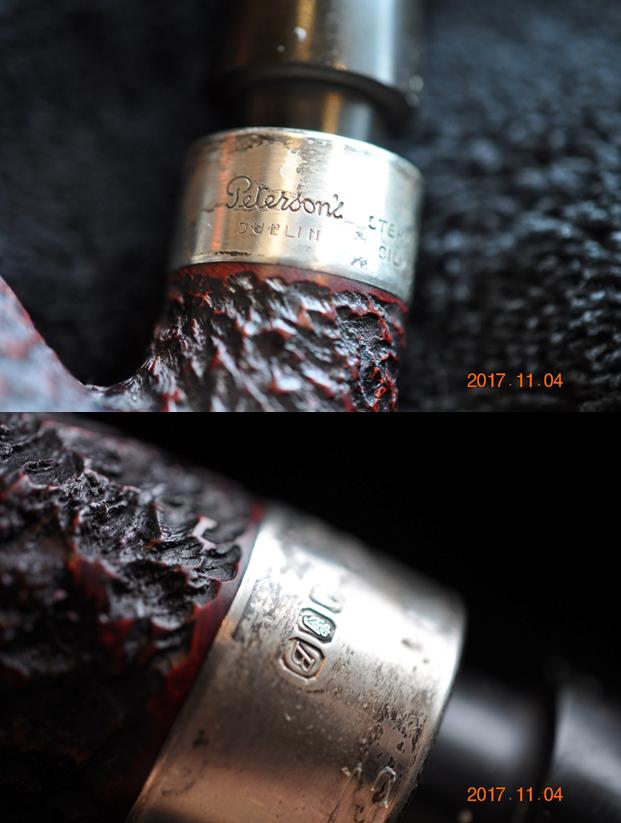
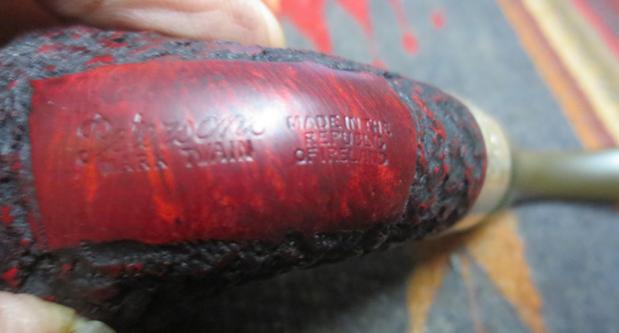
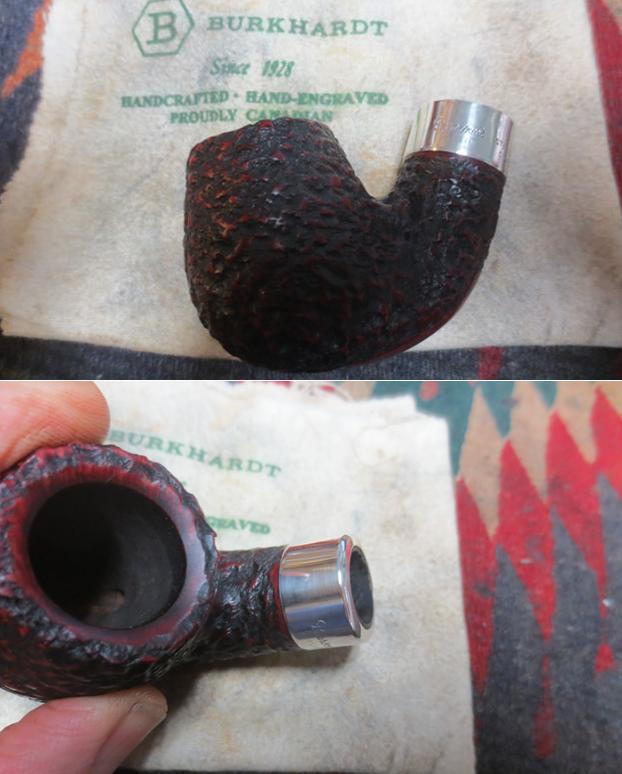
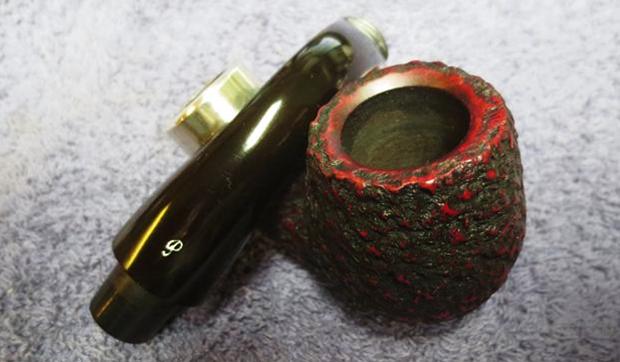
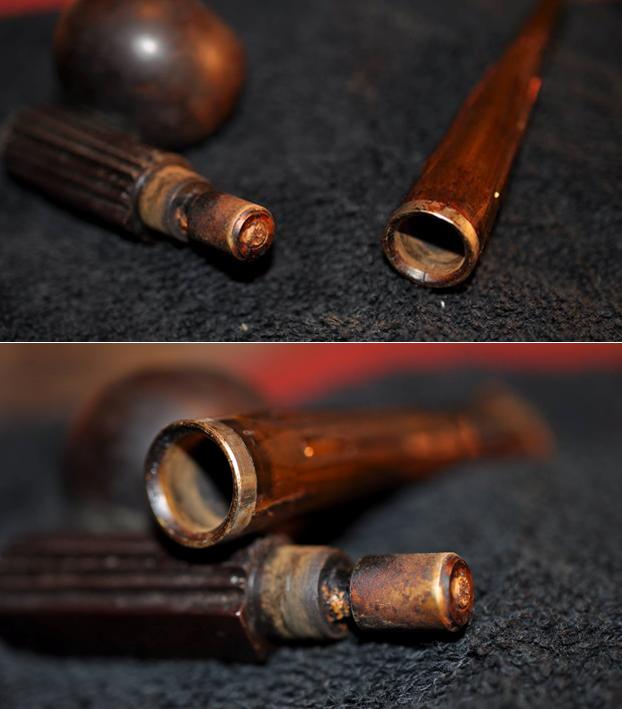
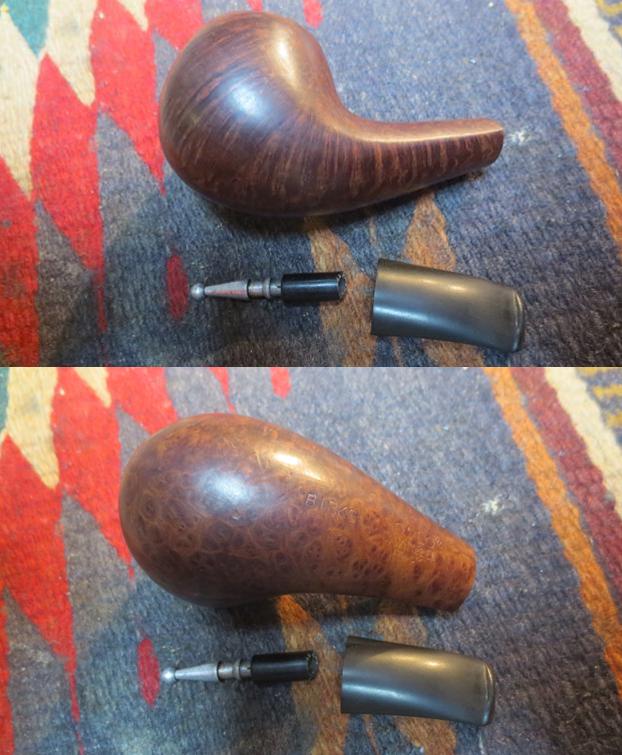
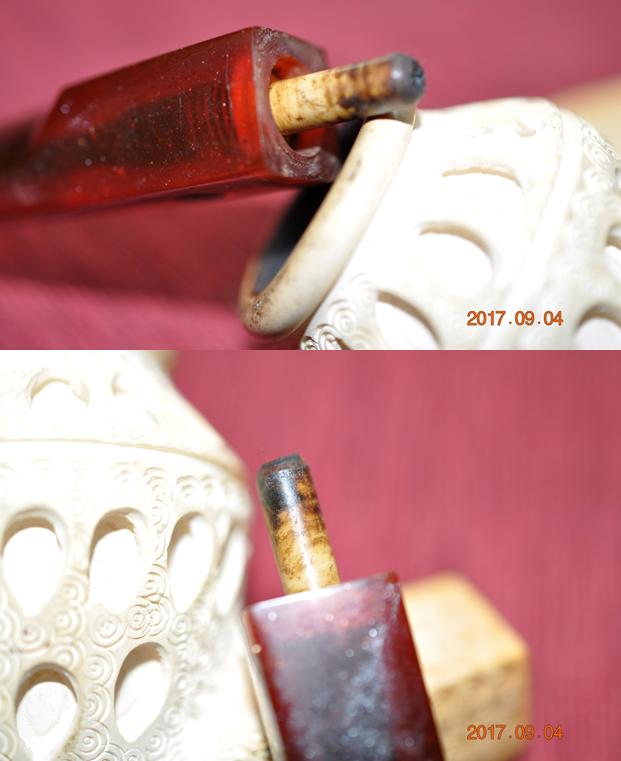
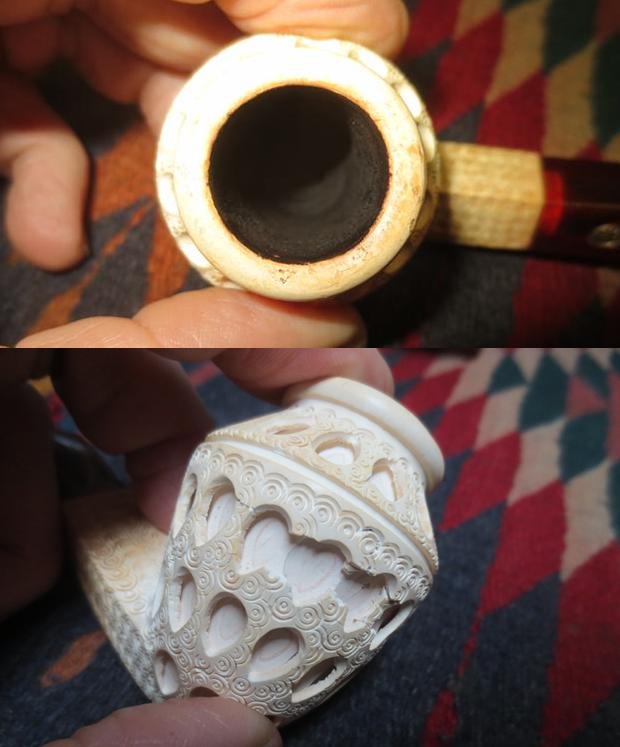
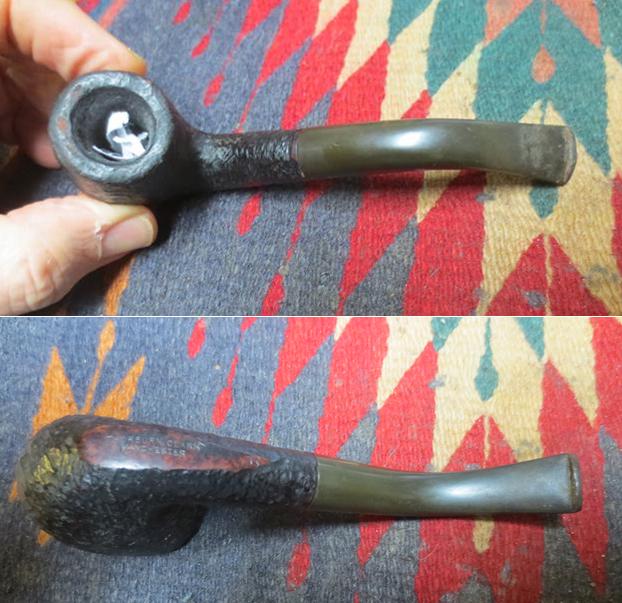
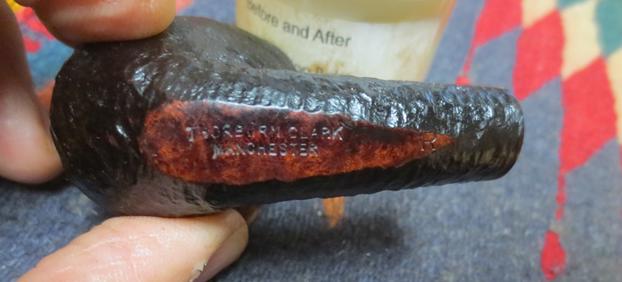
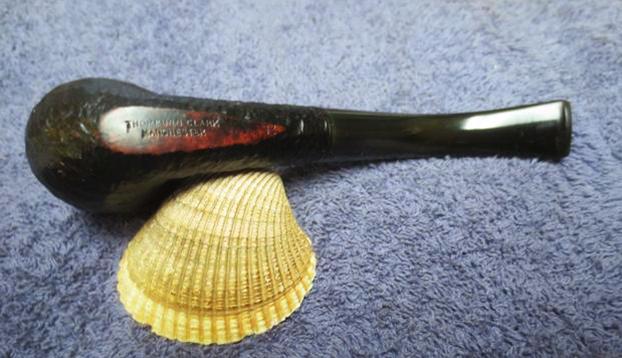
 The next two photos not only show the stamping on the shank but also the buildup of tars and grime around the edges of the ferrule. It is almost as if the shank was weeping under the ferrule. The stamping is worn but readable. It is stamped OMEGA over Dr. Grabow on the left side of the shank and on the right Imported Briar.
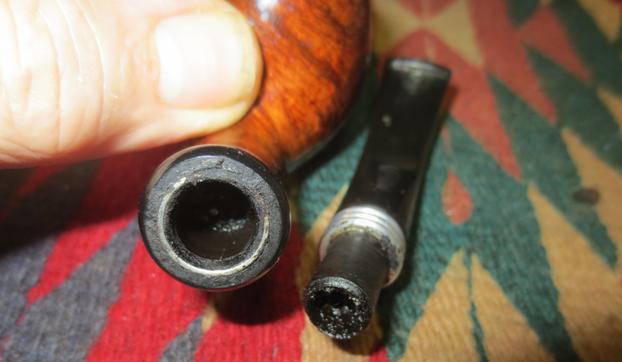
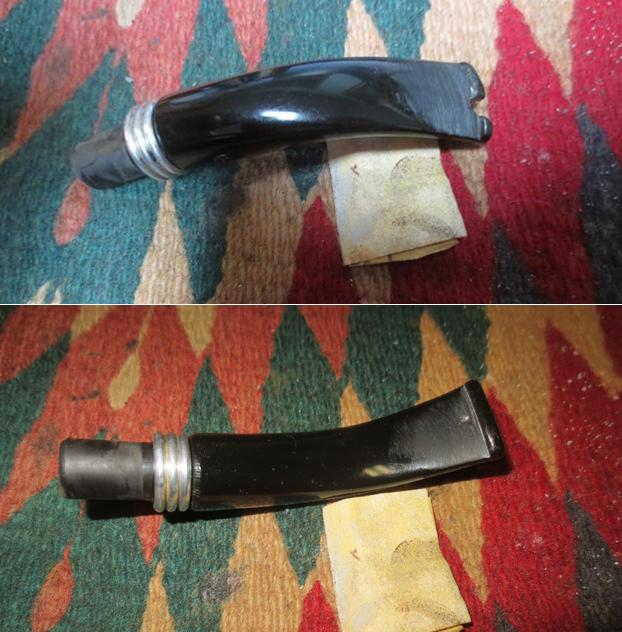
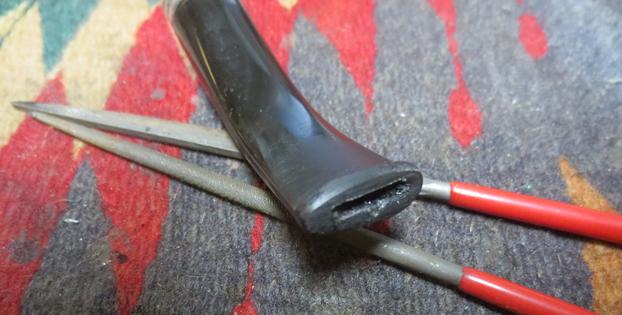
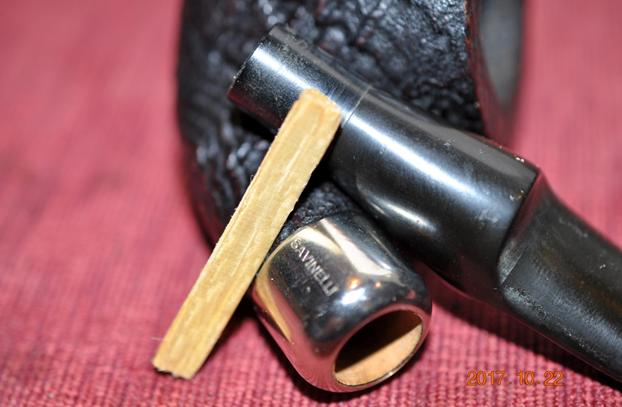
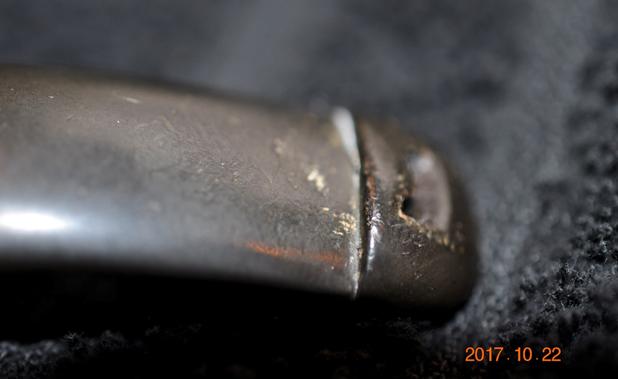
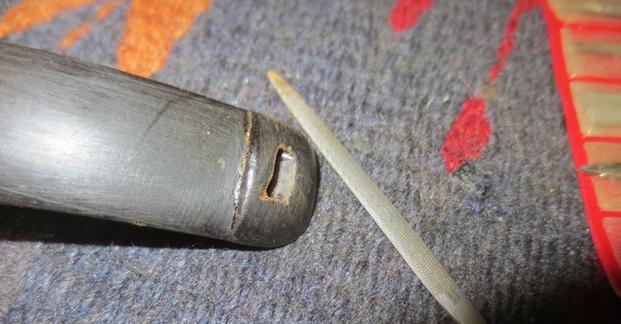
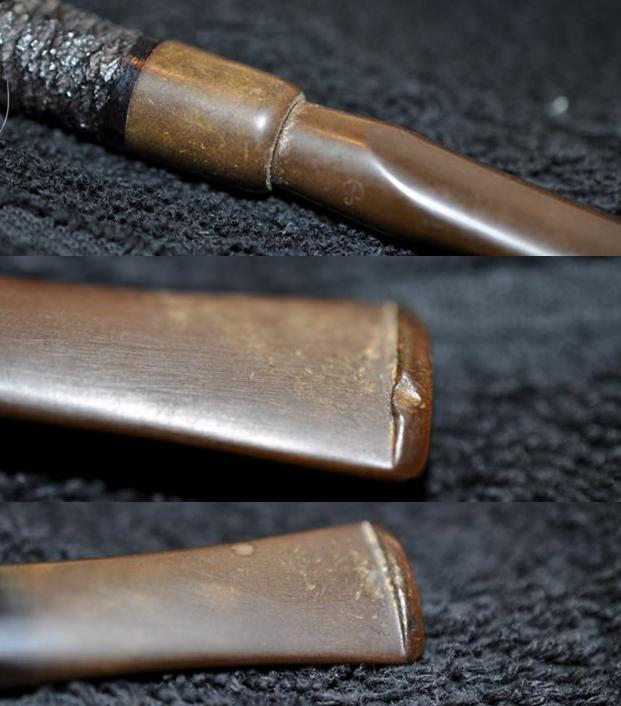
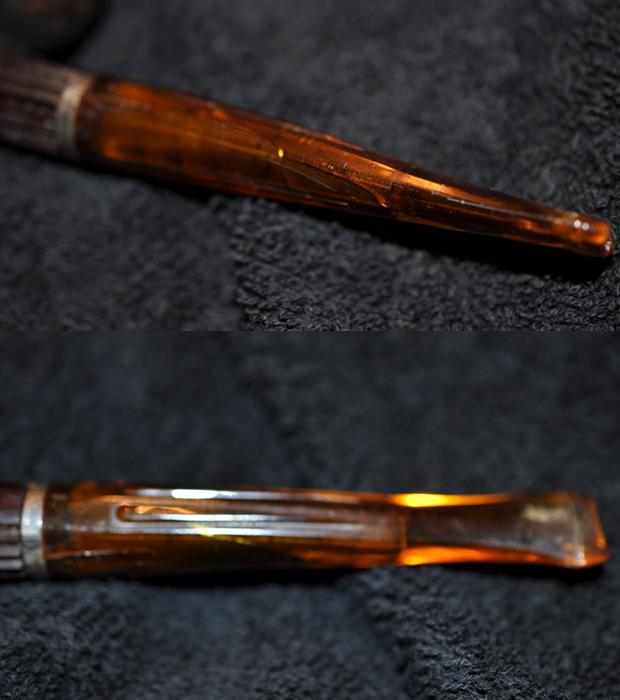
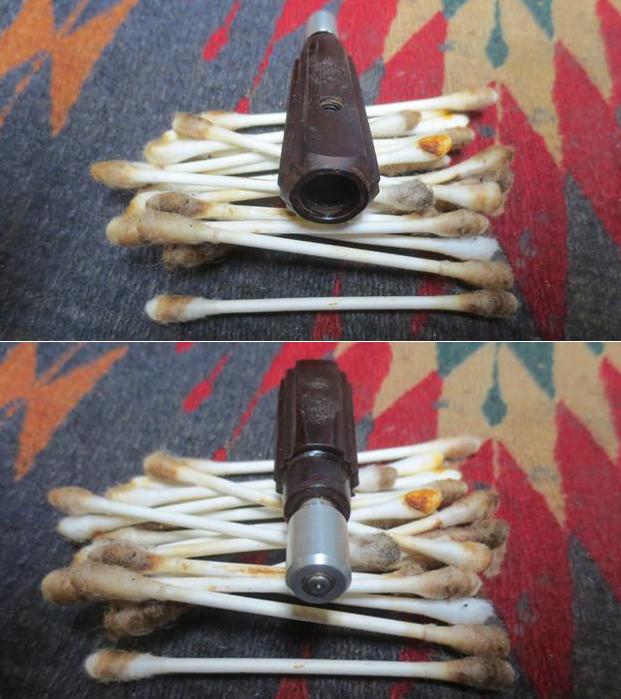
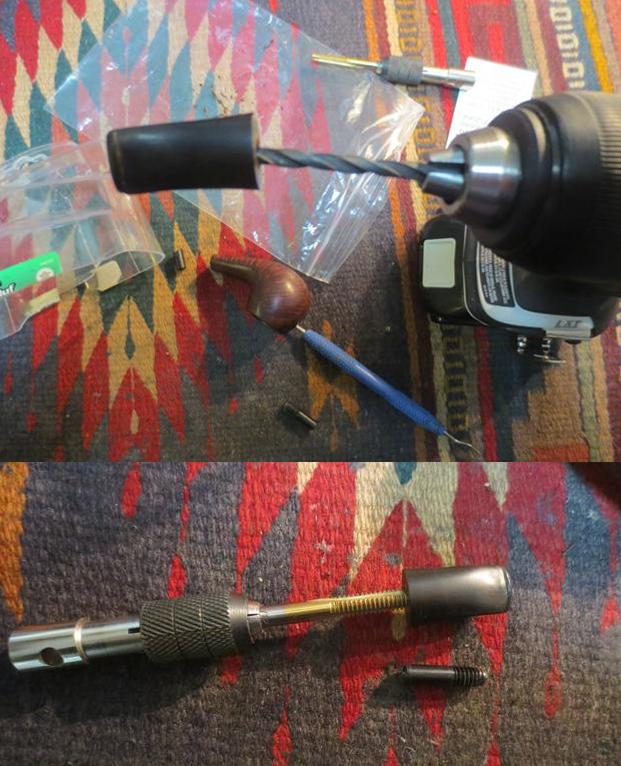
 When Jeff took the pipe apart it appeared that the seller had put a newer Grabow Paper Filter in the shank of the pipe to make the pipe appear to have been cleaned. The next three photos show the condition of the tenon end of the stem and the filter. The oxidation on the stem is also visible in the photos below.
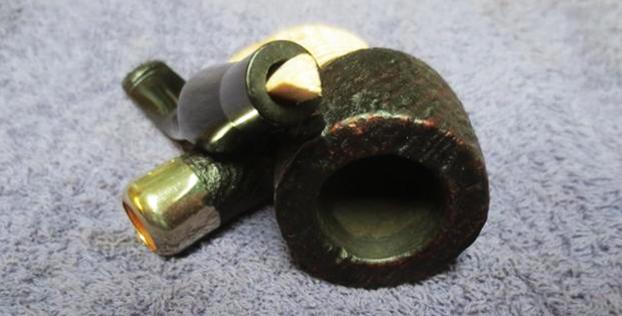
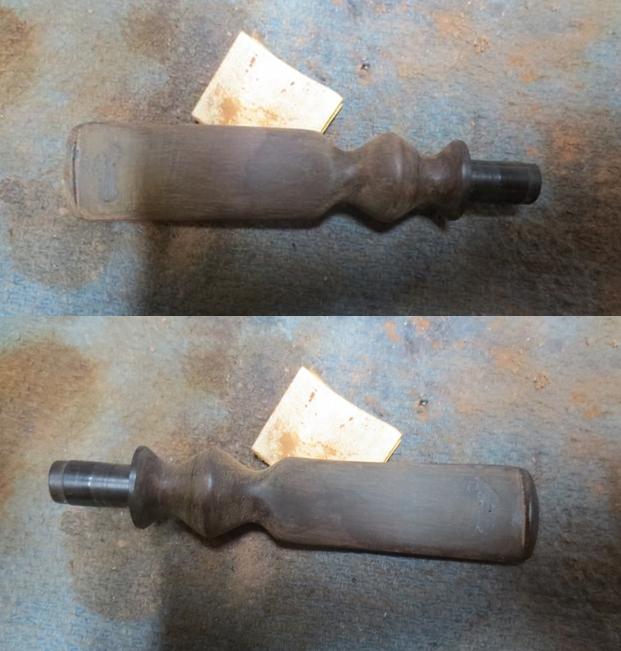
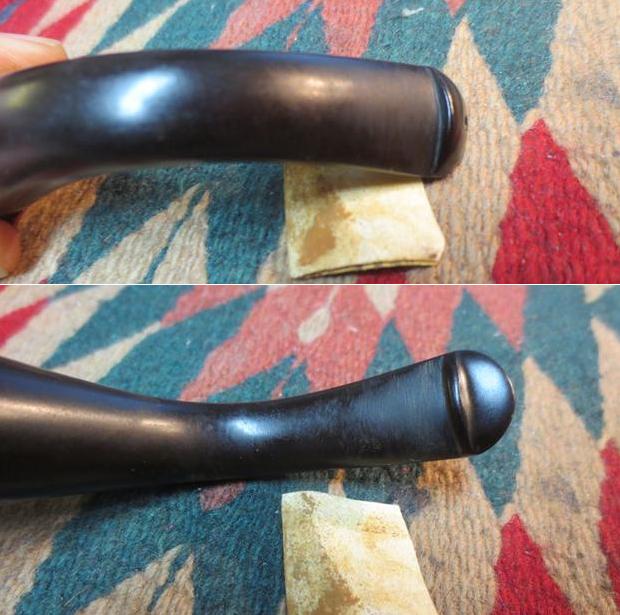
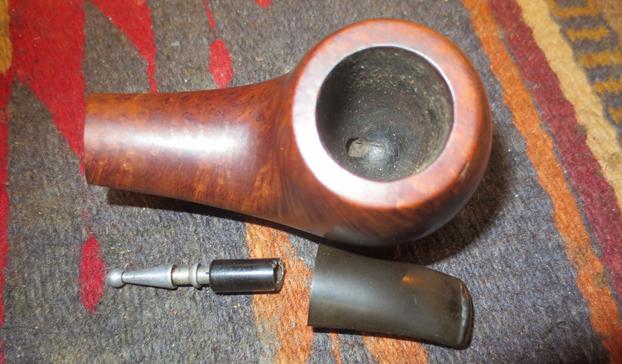
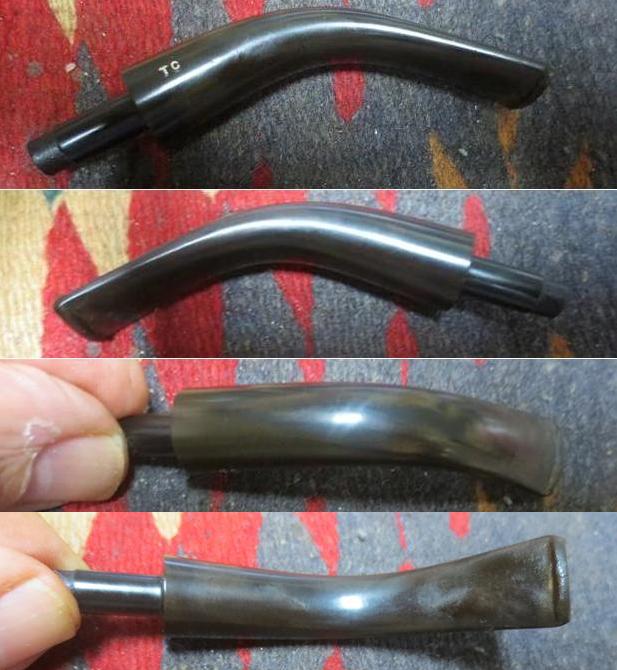
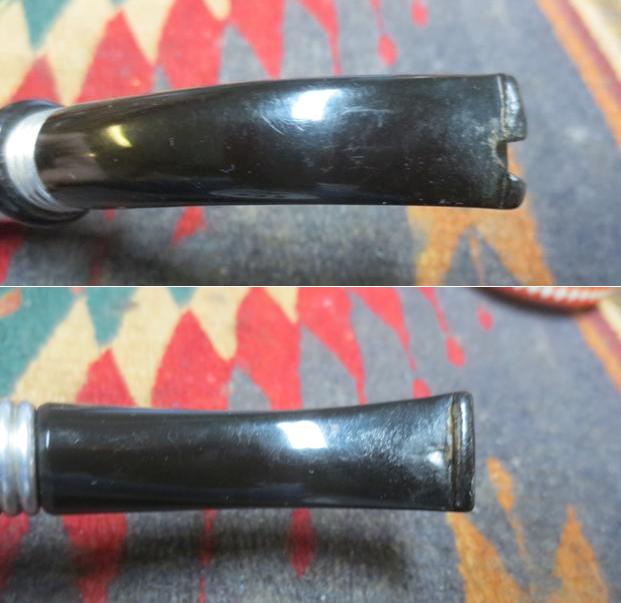
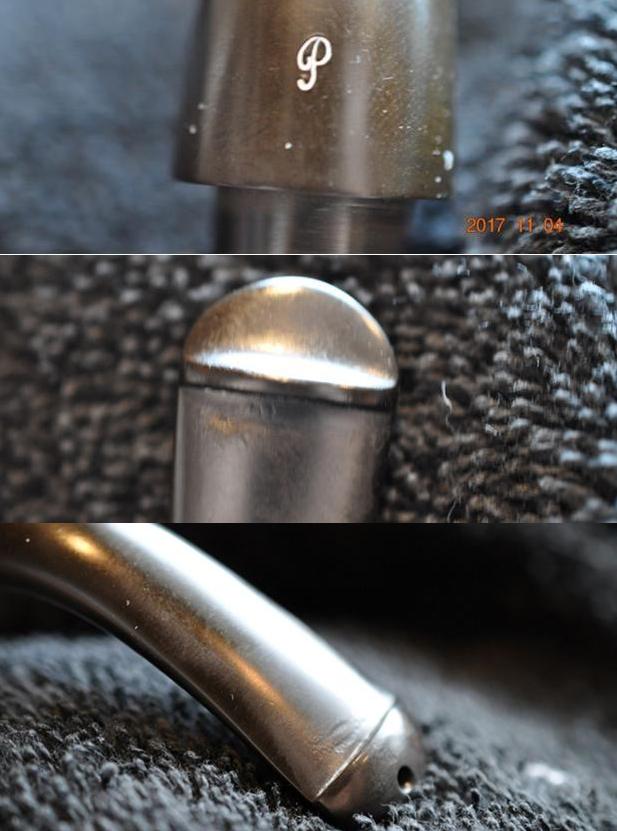
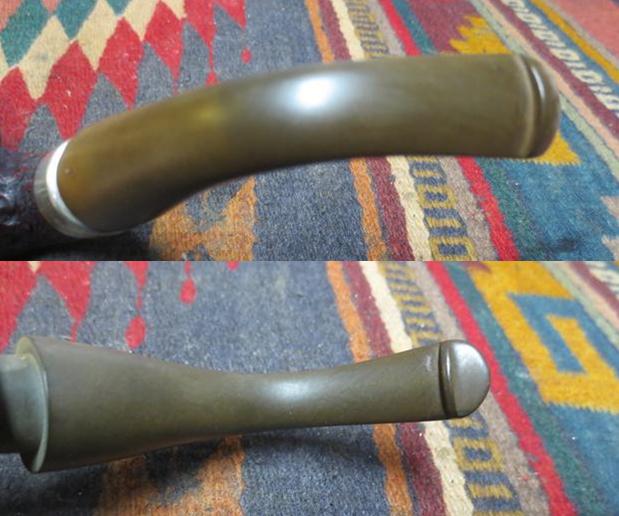
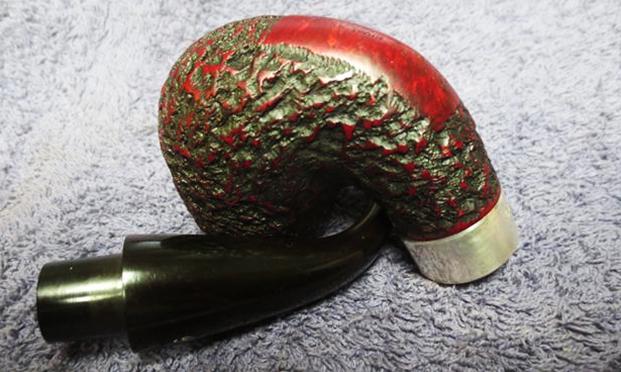
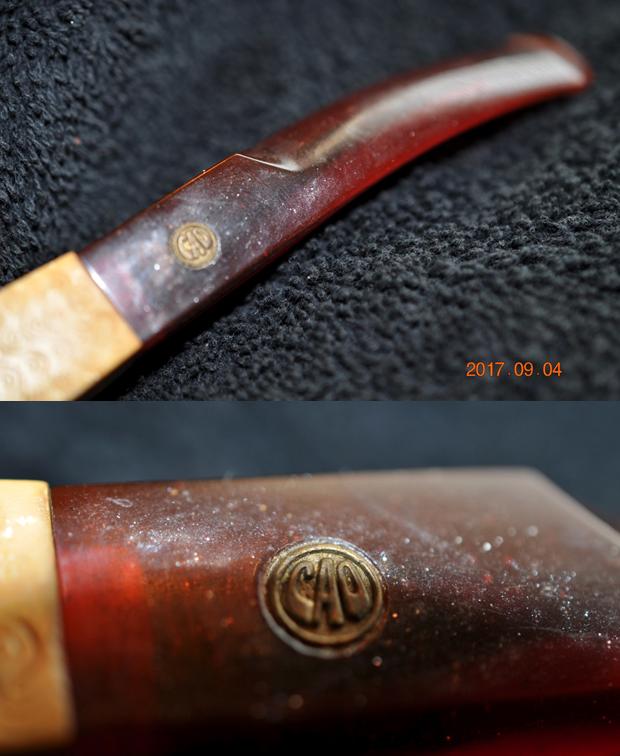
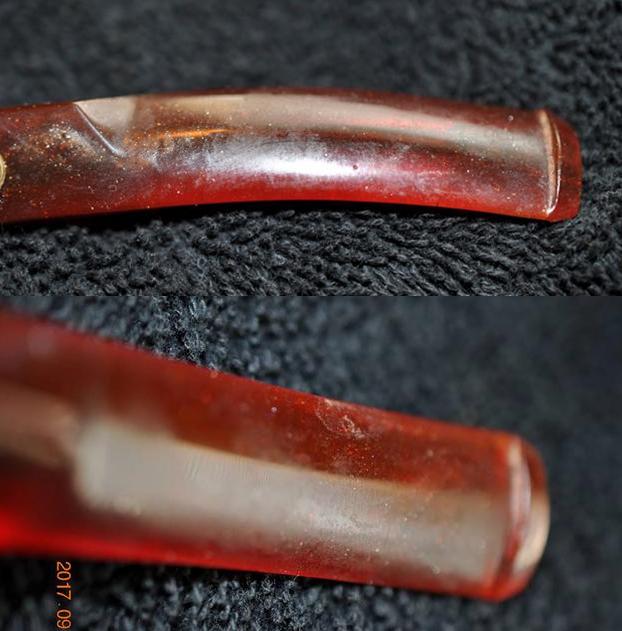
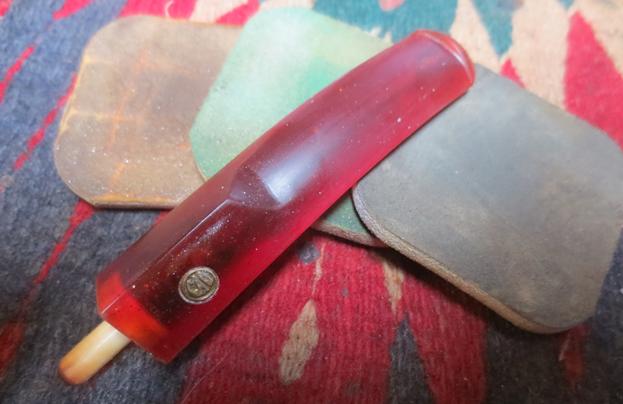
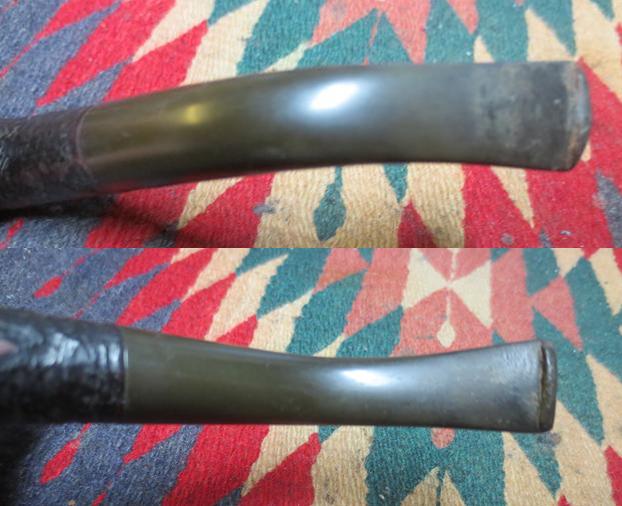
 The stem was scratched and worn but the Grabow Spade logo was in good condition on the left side of the shank. The top and underside of the stem had some deep tooth marks around the button and the sharp edge of the top of the button was quite worn and damaged.
 I did some searching to find out a bit of history about the Omega. I found that it was first released around 1975 and was a copy of a well pipe imported from Italy. It has continued to be offered for sale in their catalogues.
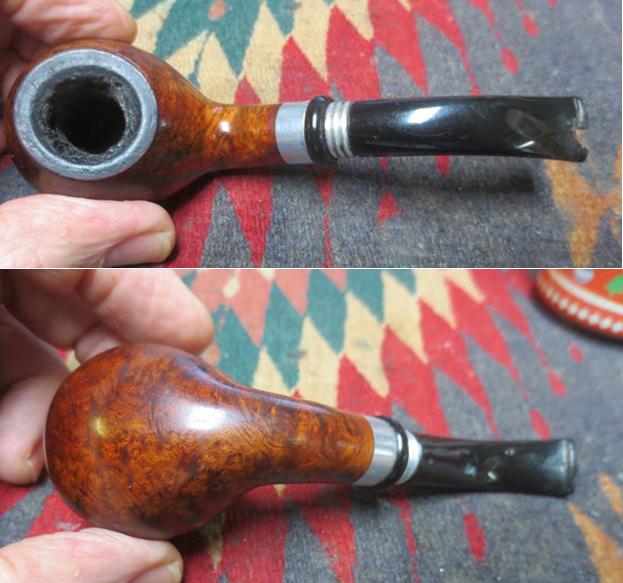
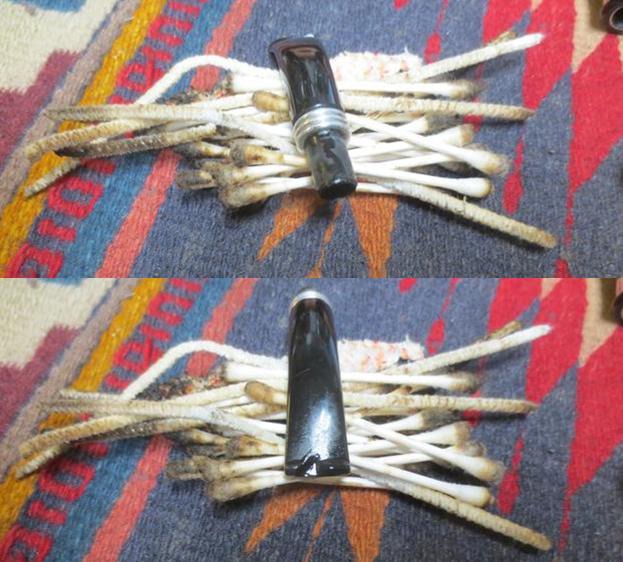
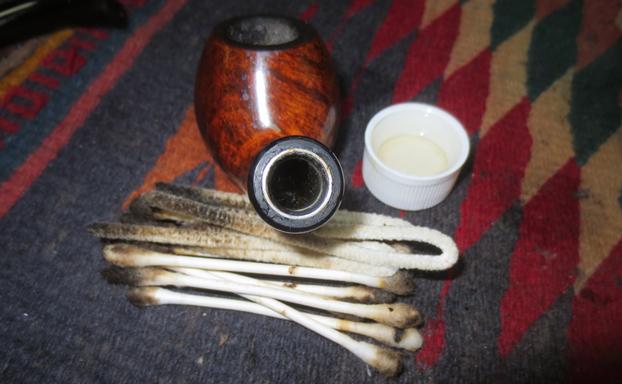
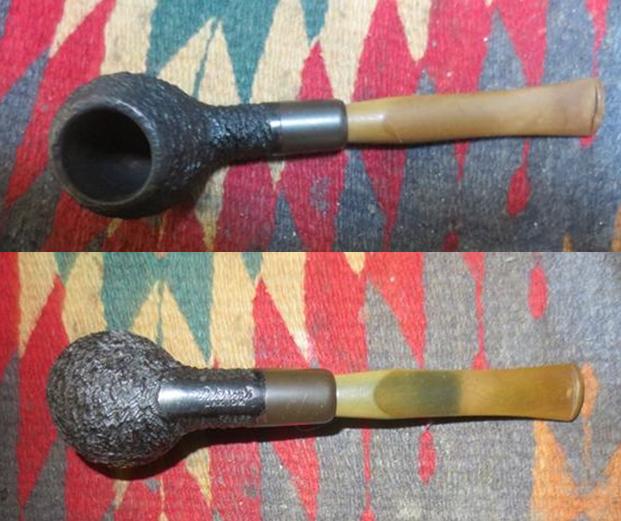
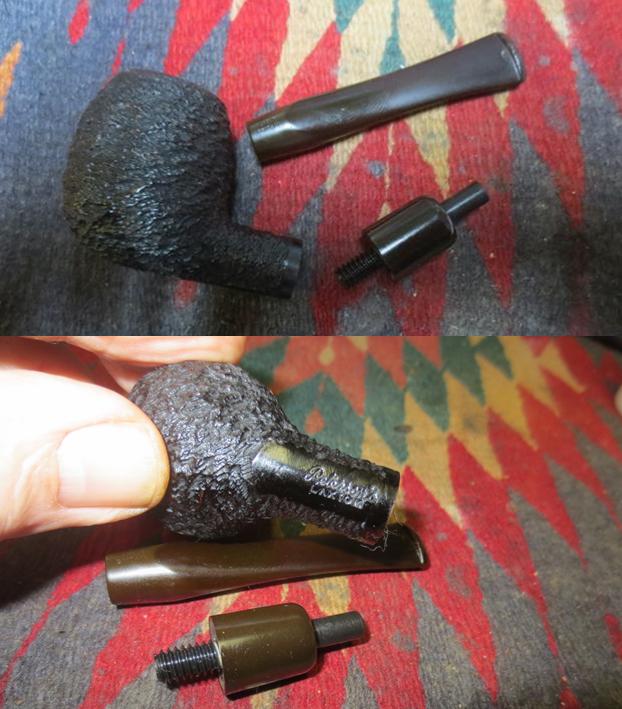
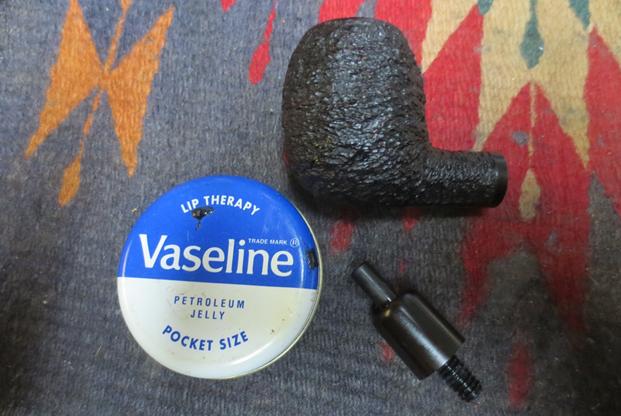
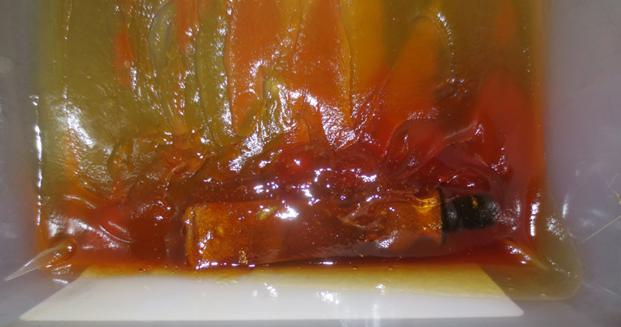
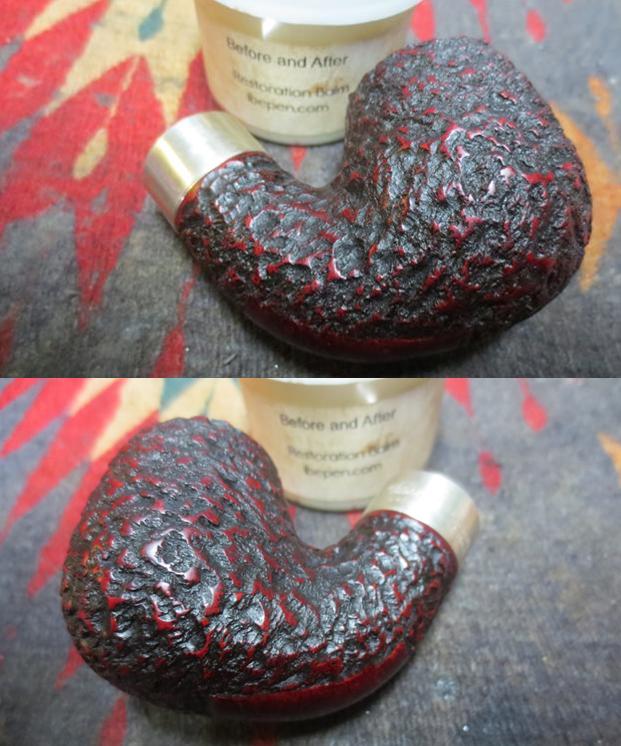
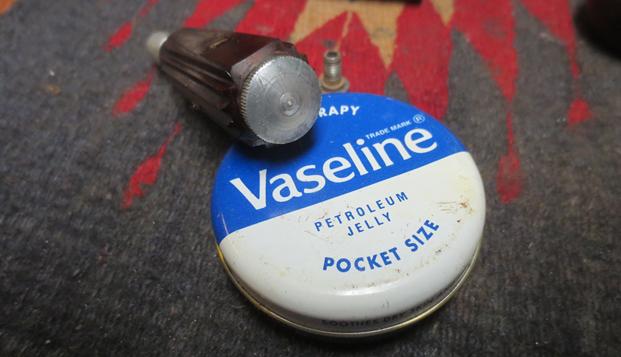
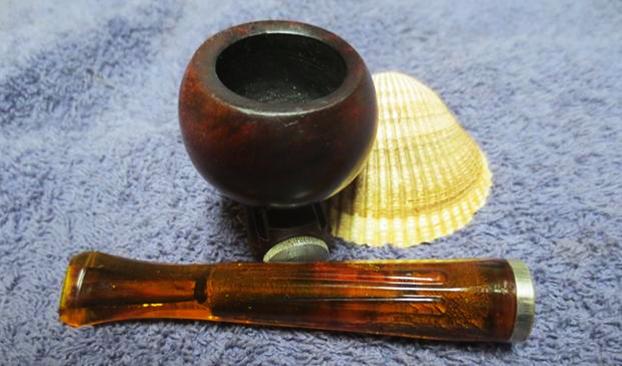
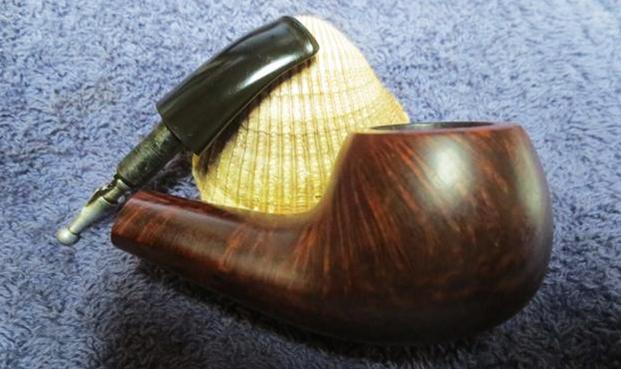
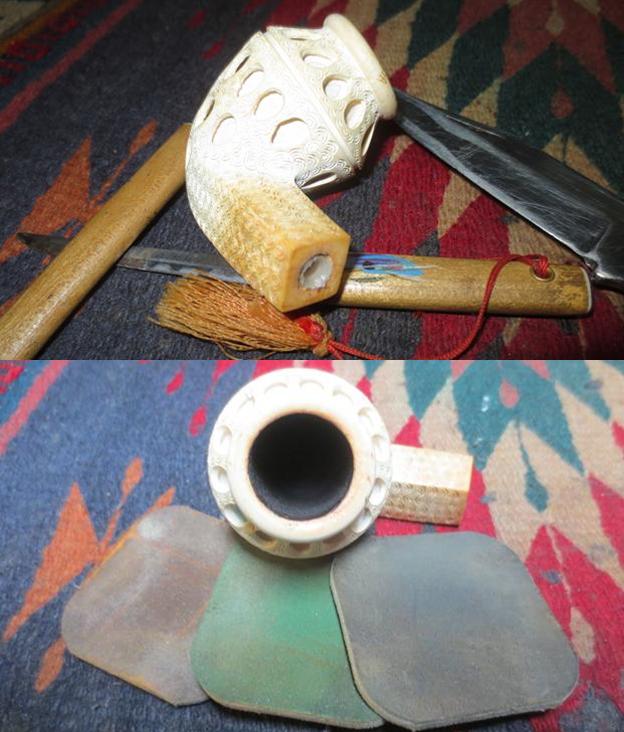
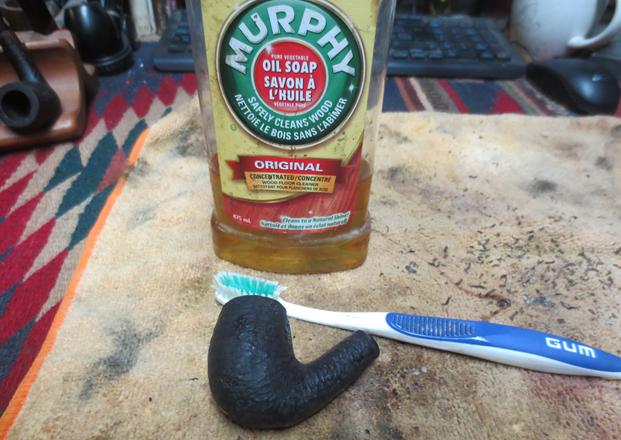
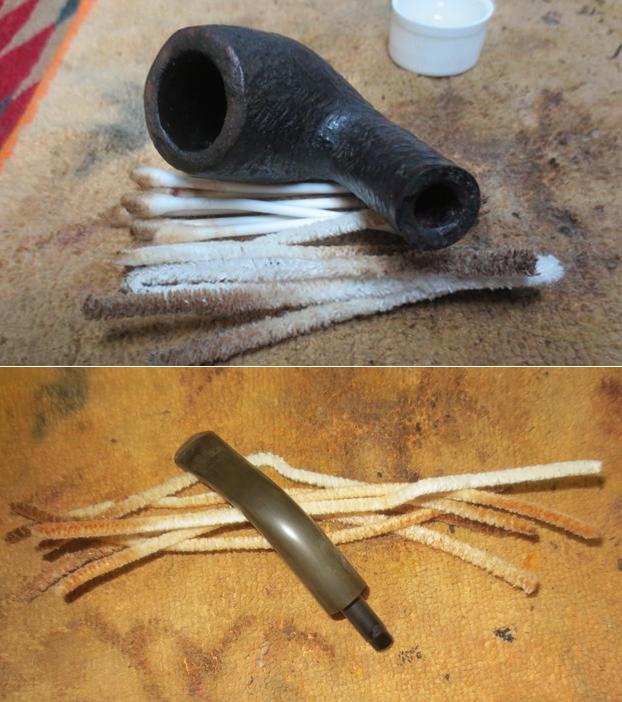
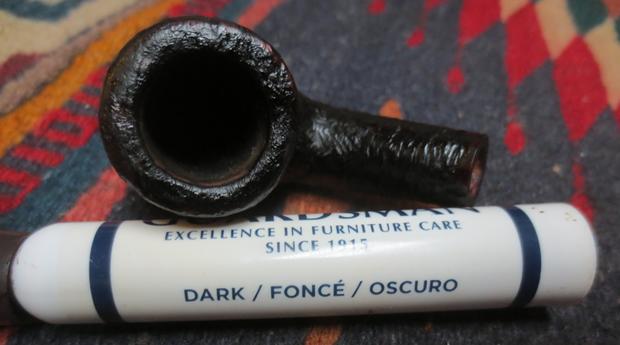
Jeff did a thorough cleanup on the bowl and stem. He reamed the bowl back to bare briar with a PipNet pipe reamer and cleaned up the remnants with a Savinelli Fitsall reamer. He cleaned the internals with alcohol, pipe cleaners and cotton swabs – scrubbing out the mortise as it was very dirty. He scrubbed the exterior of the pipe with Murphy’s Oil soap and a tooth brush and was able to remove all of the tars and oils built up on the briar. He was able to remove all of the tars and lava on the rim top and left it looking very clean. The damage on the rim top and outer edge was clean and visible. He soaked the stem in an Oxyclean bath to raise the oxidation to the surface of the vulcanite. When it arrived I took some photos of it to show how it looked before I did the restoration. 
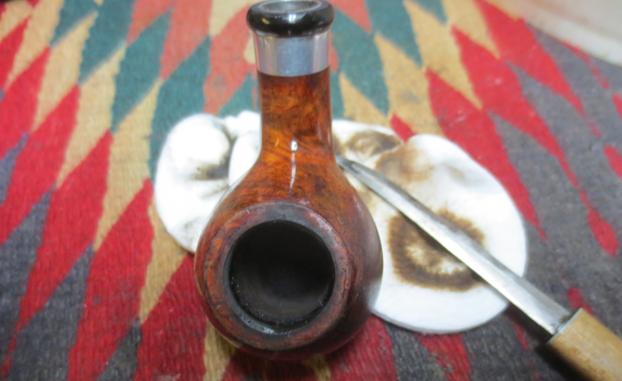
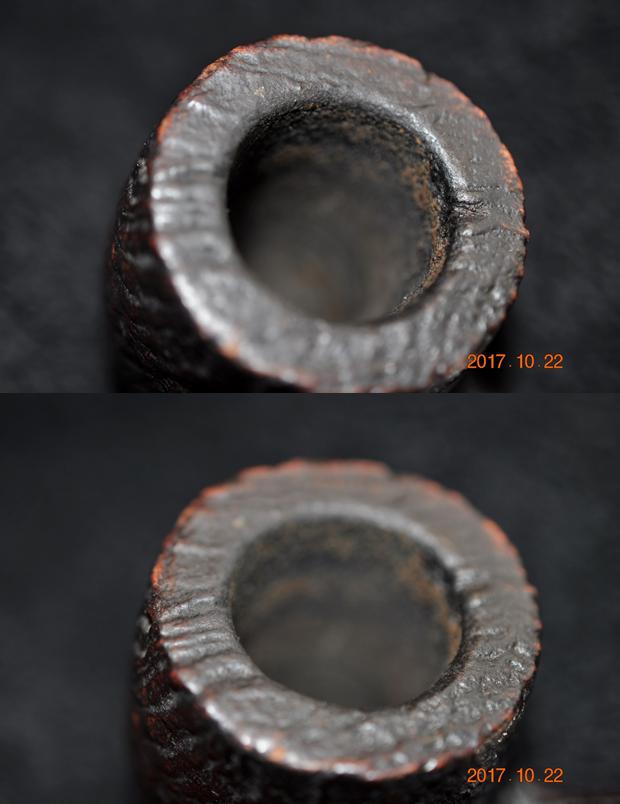
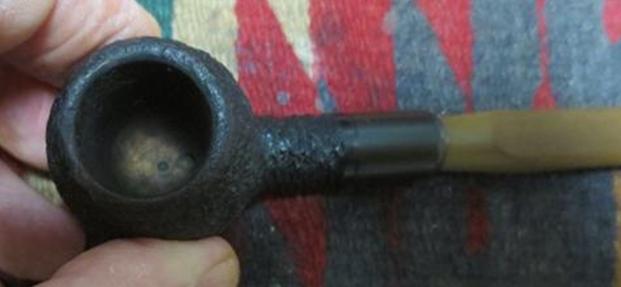
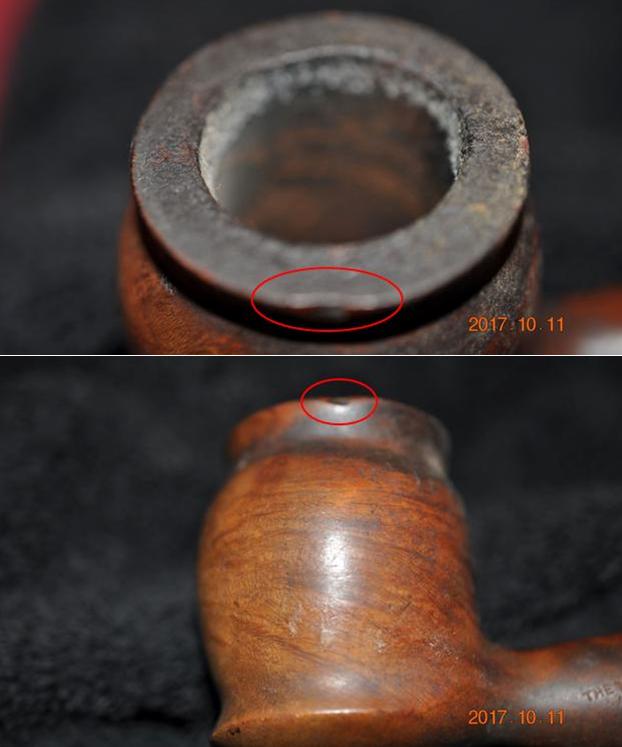
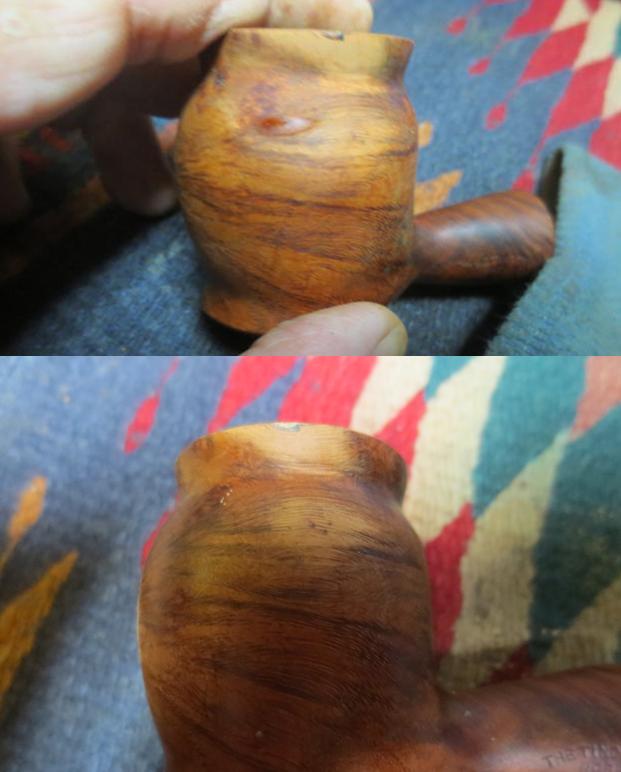
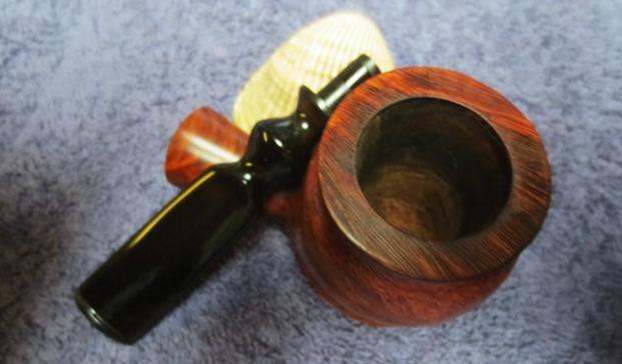
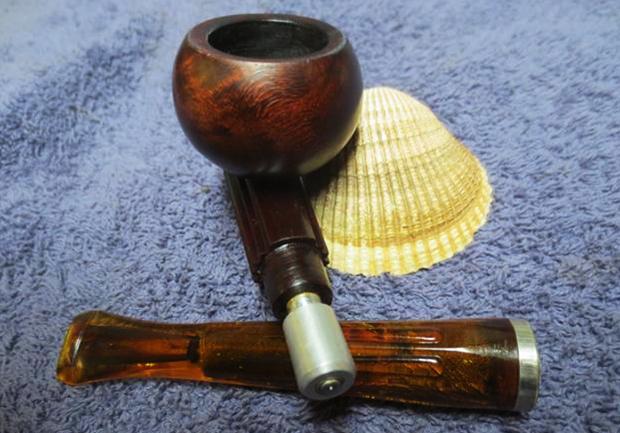
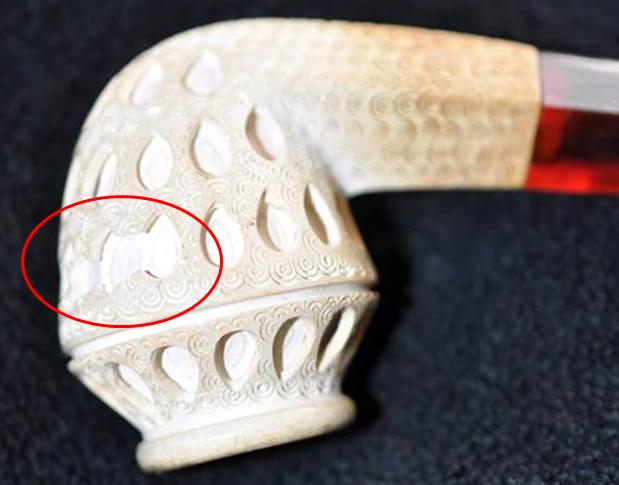
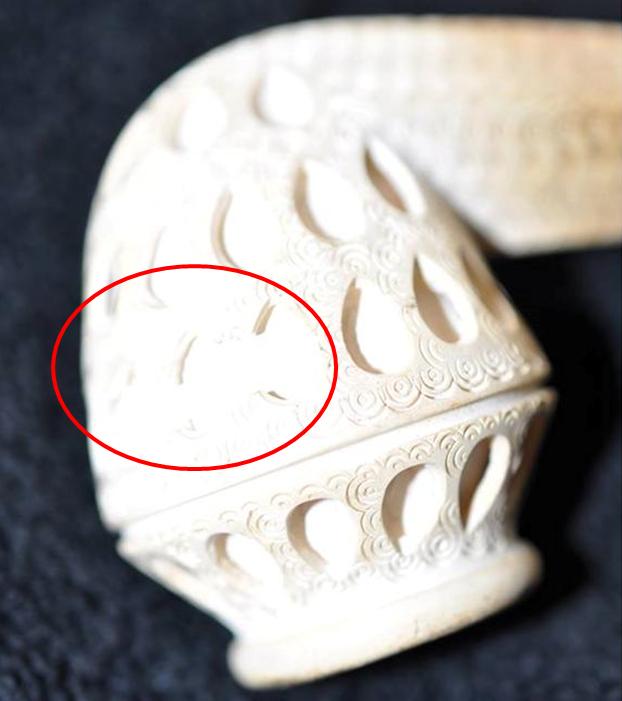
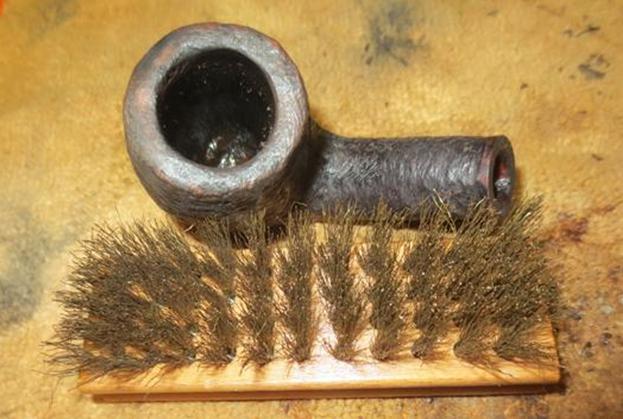
 Jeff was able to remove the thick lava coat from the rim and revealed what I thought would be underneath the thick coat. The rim top was speckled with tiny dents and marks and the outer edge was damaged all the way around the bowl. There was a little damage on the inner edge on the right side of the bowl.
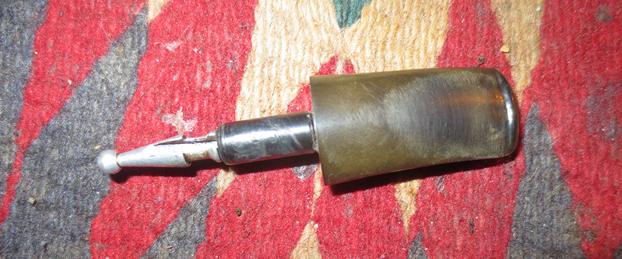
 The Oxyclean soak had really raised the oxidation to the surface. The stem was clean but heavily oxidized when it arrived.
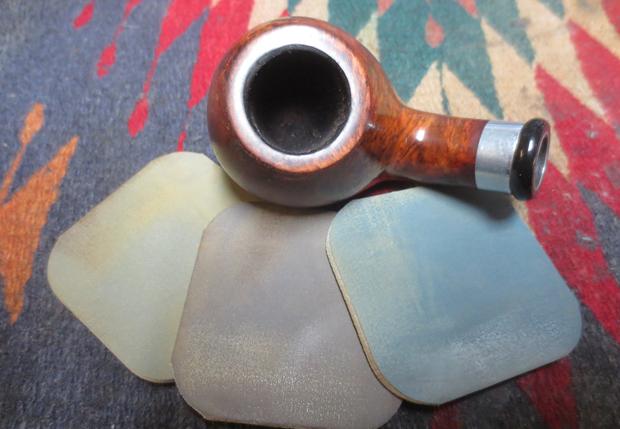
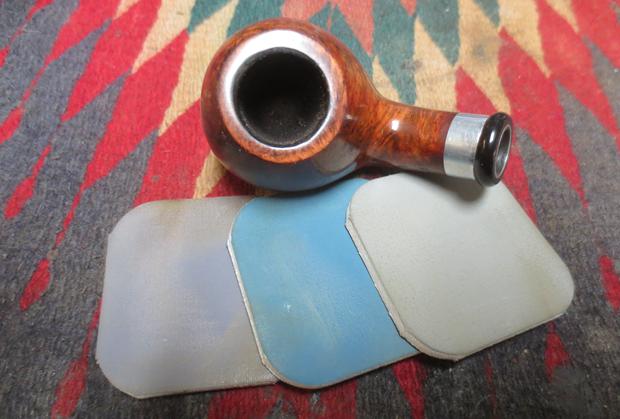
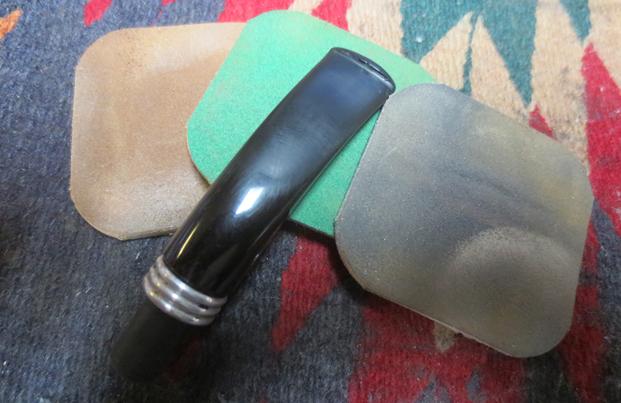
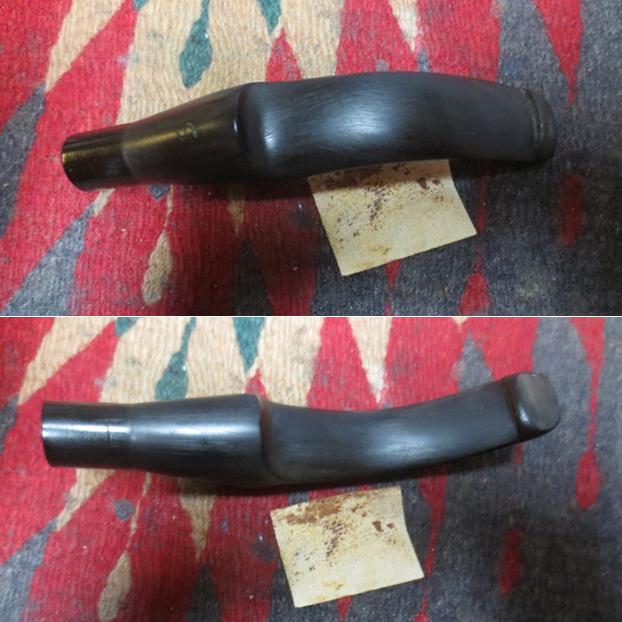
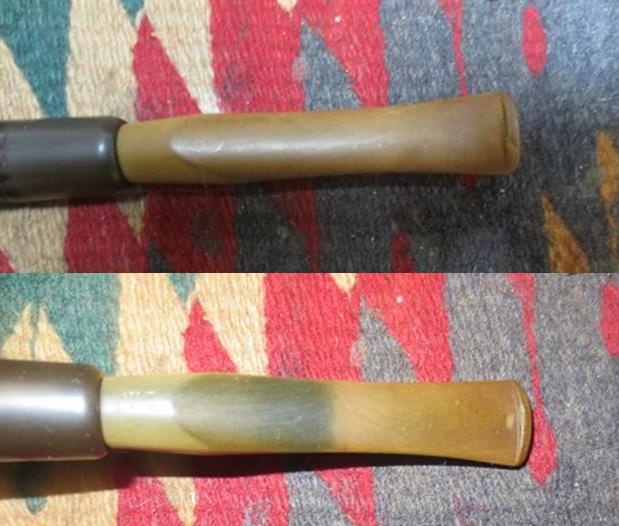
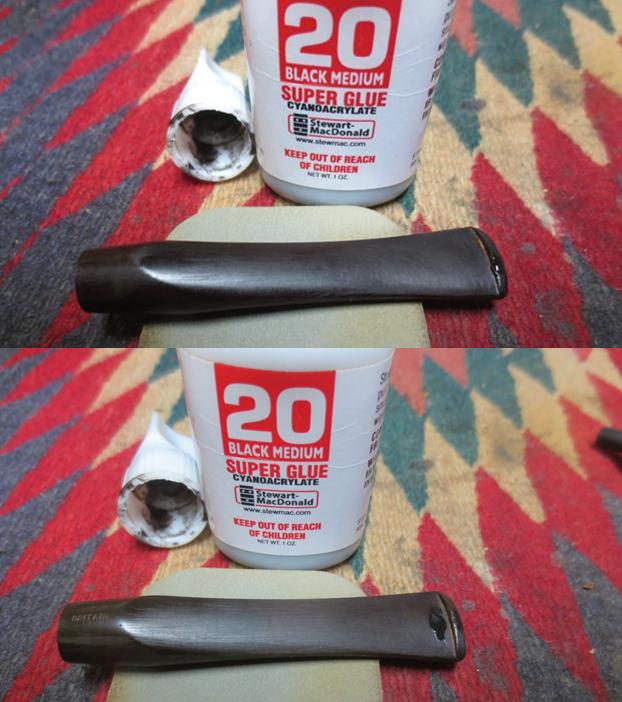
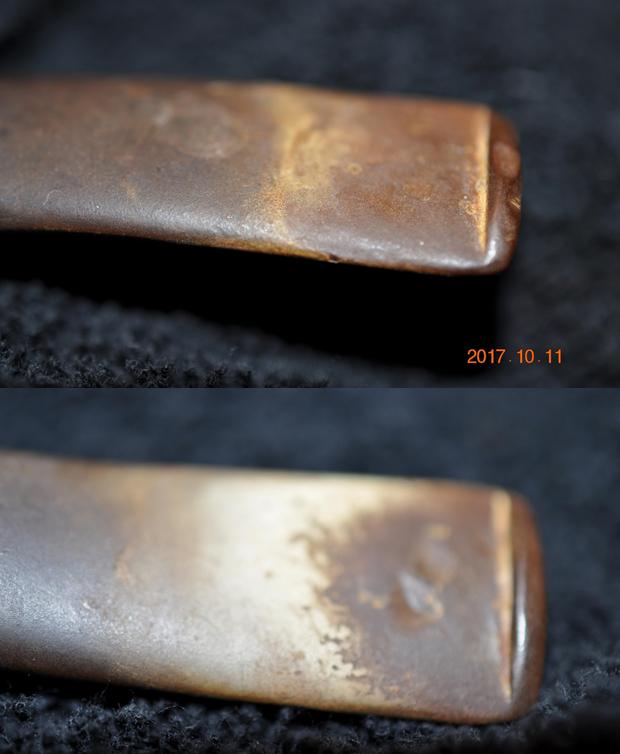
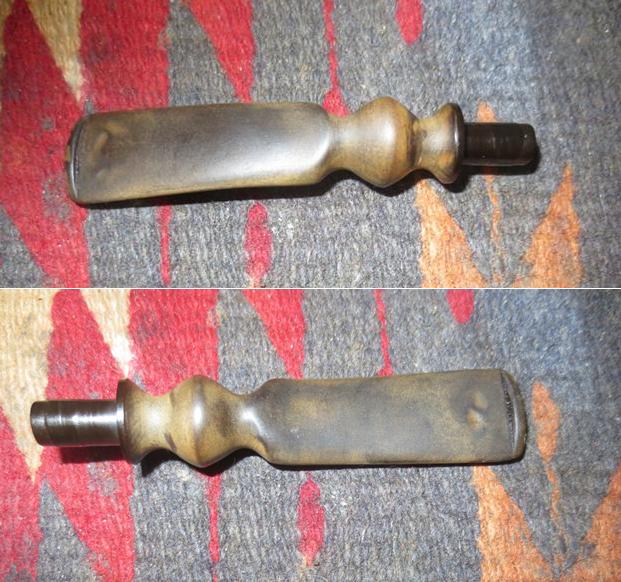
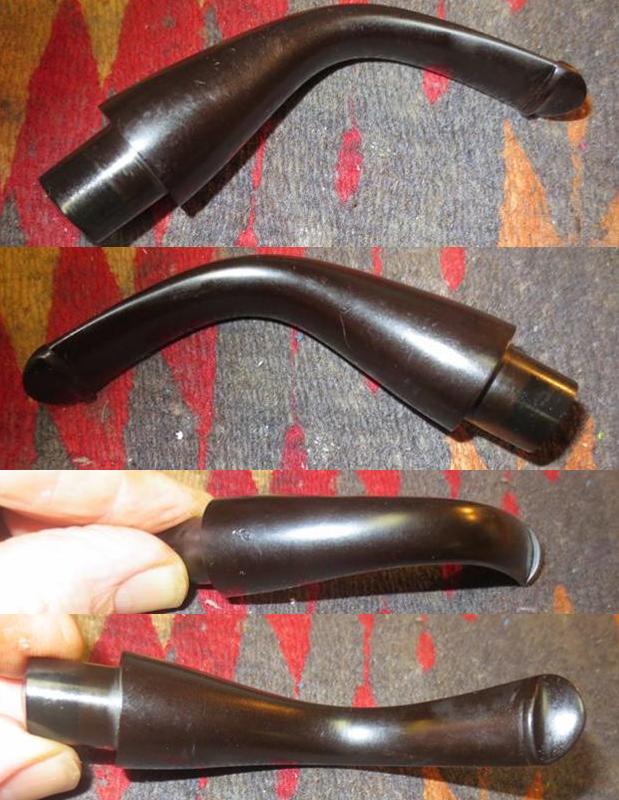
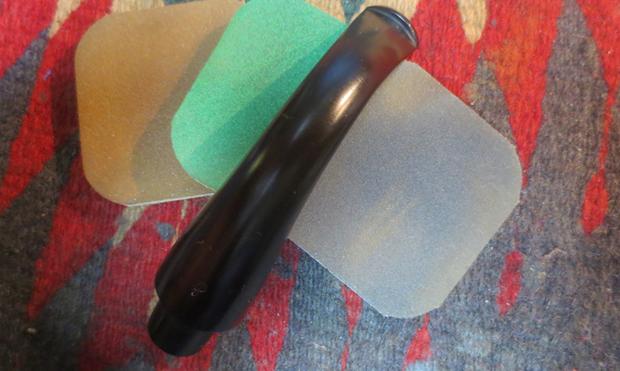
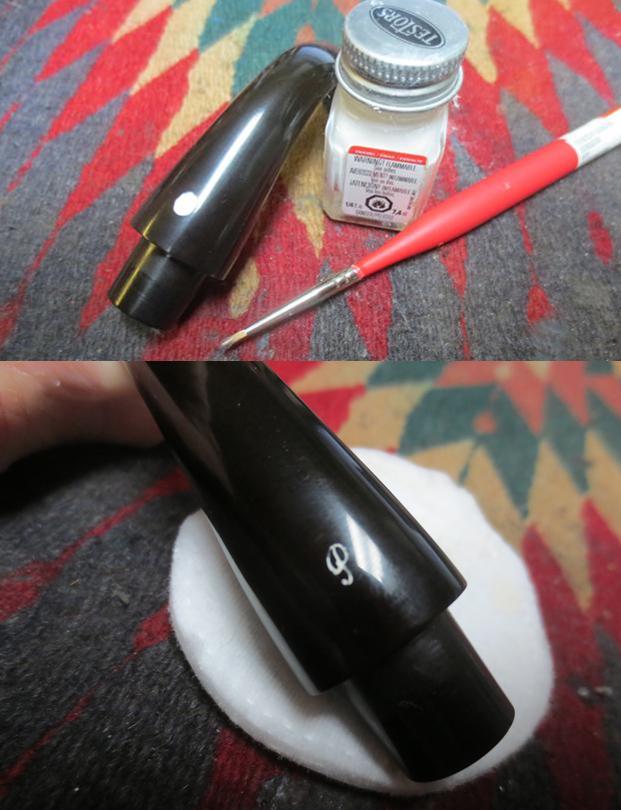
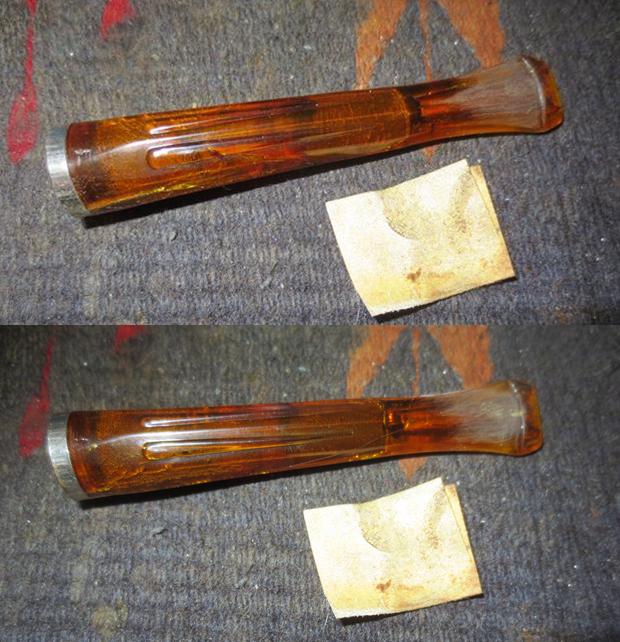
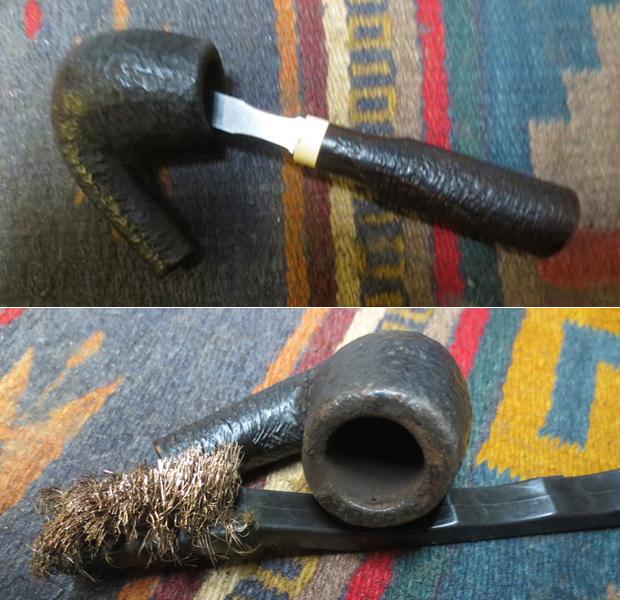
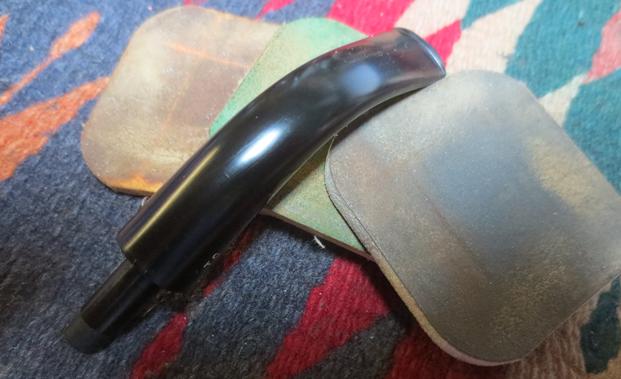
 Because the was so oxidized after the soak in Oxyclean, I put it in a bath of Before & After Pipe Stem Deoxidizer to soak overnight and work on the vulcanite oxidation. In the morning I removed the stem from the deoxidizer and wiped off the excess deoxidizer from the surface of the stem with a paper towel. I cleaned out the airway in the stem with pipe cleaners and alcohol to remove any remnants of the bath from that part of the stem. The photos below show the stem after the soak and rub down. The oxidation looked much more manageable and what remained would be easily dealt with. The tooth chatter on the top and underside of the stem is hard to see in the photos, but it is present.
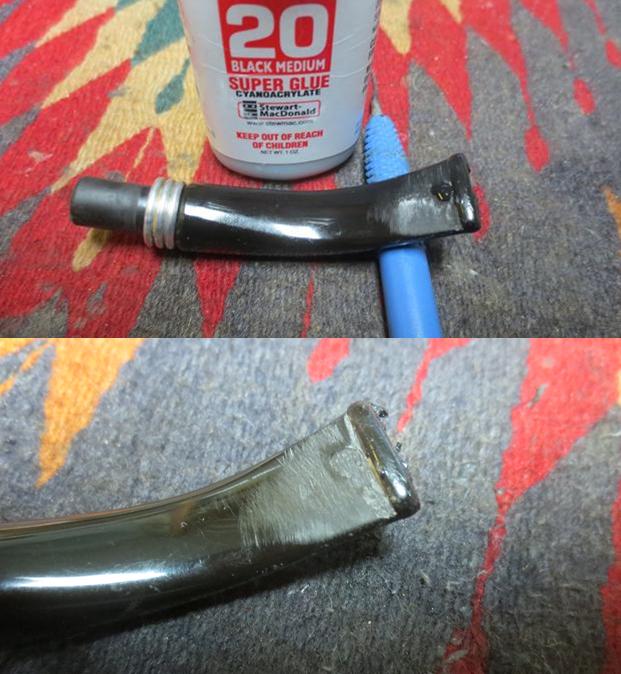
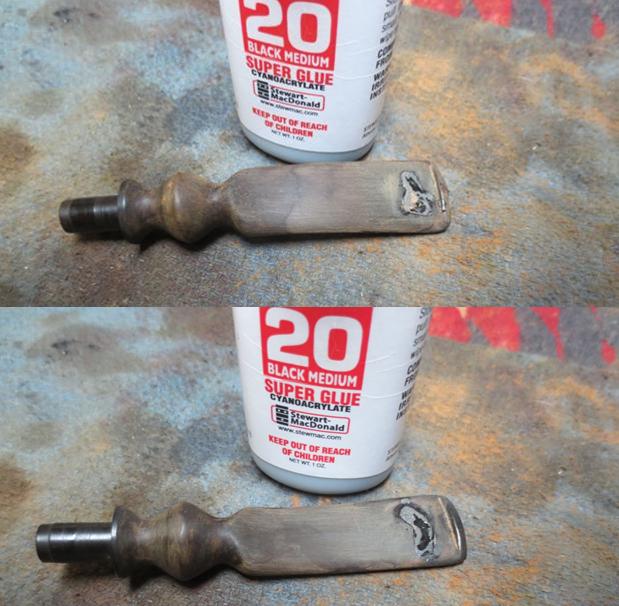
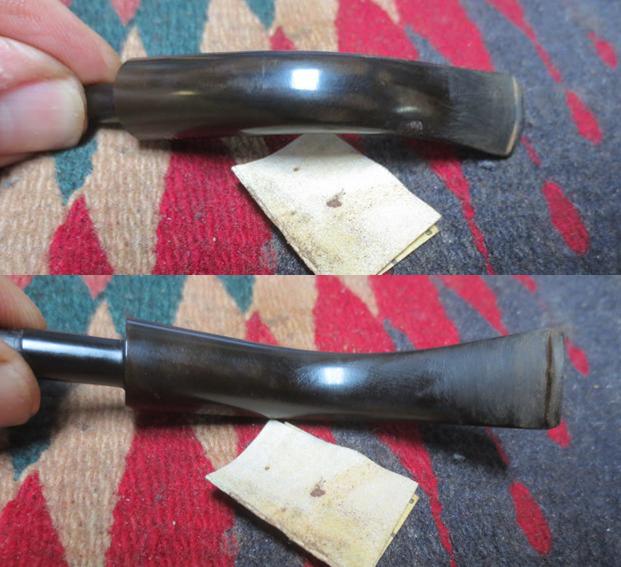
 I sanded the stem with 220 grit sandpaper to remove the tooth chatter and minimize the tooth marks on both sides of the stem. I reshaped the button with the sandpaper and a needle file. I sanded the rest of the stem to break up the remaining oxidation.
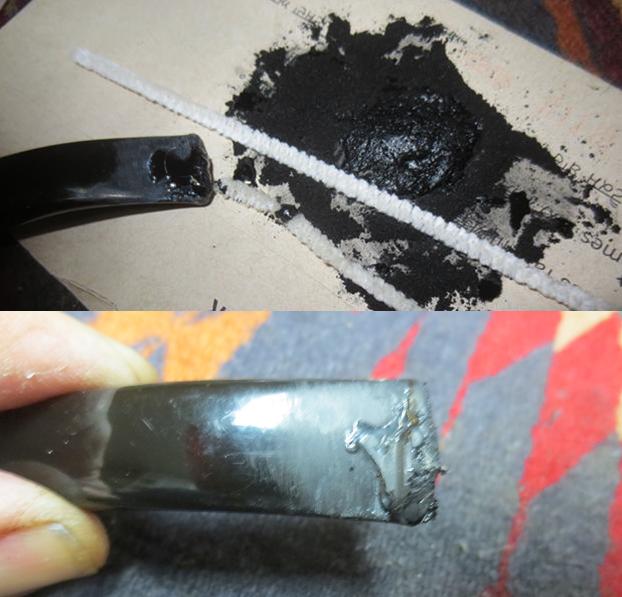
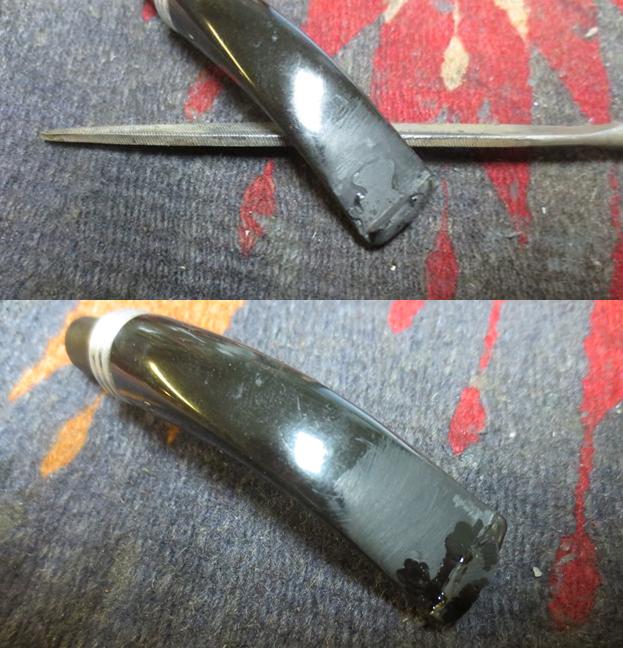
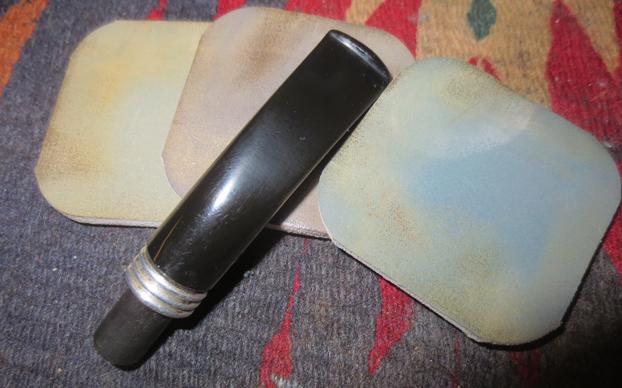
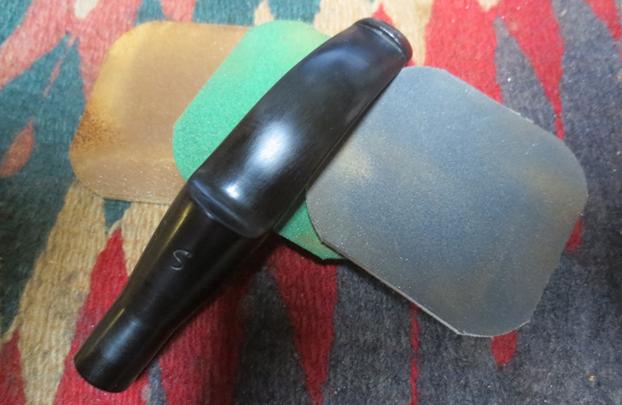
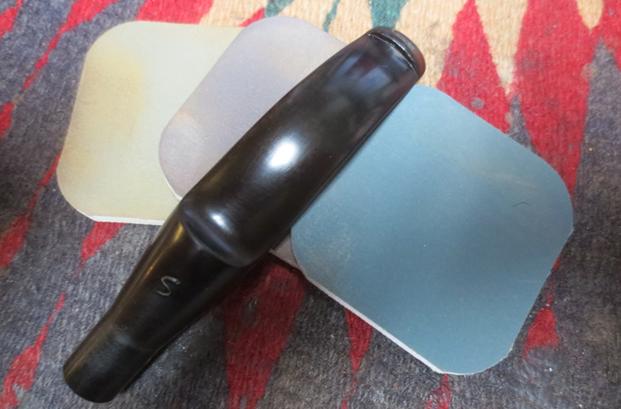
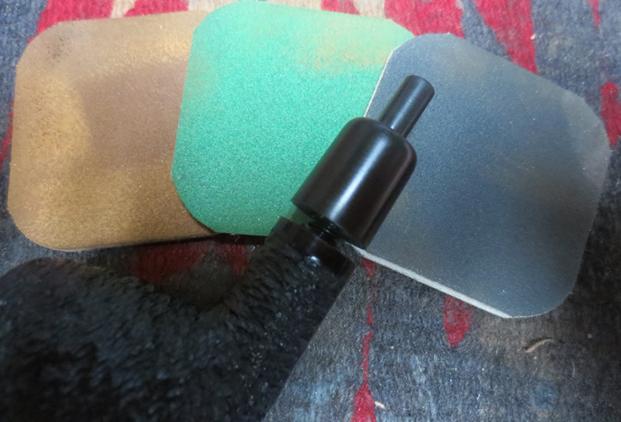
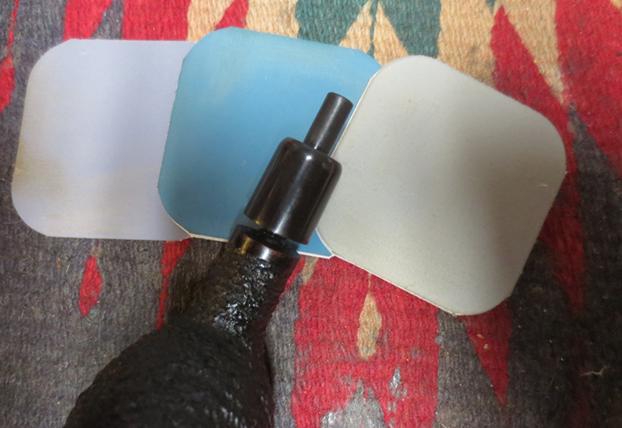
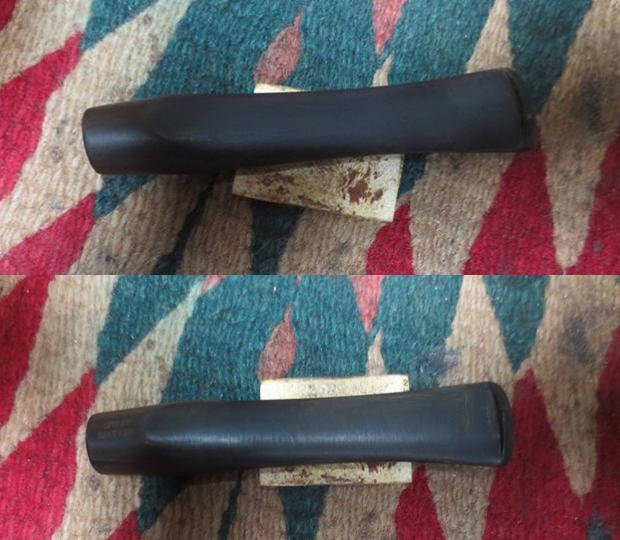
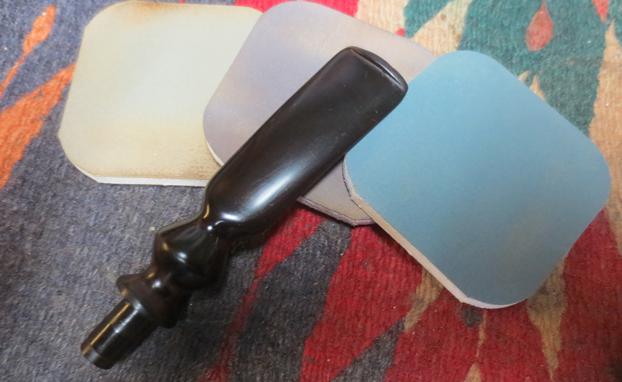
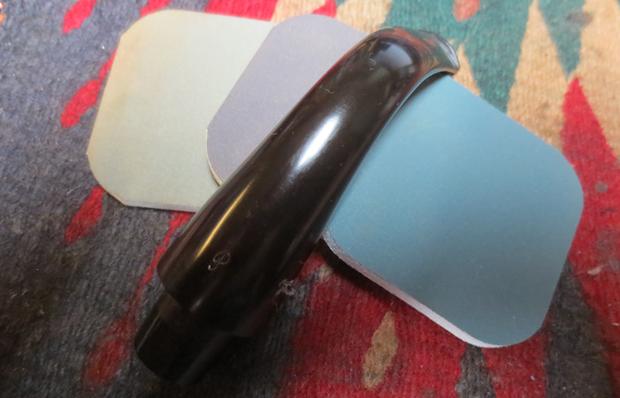
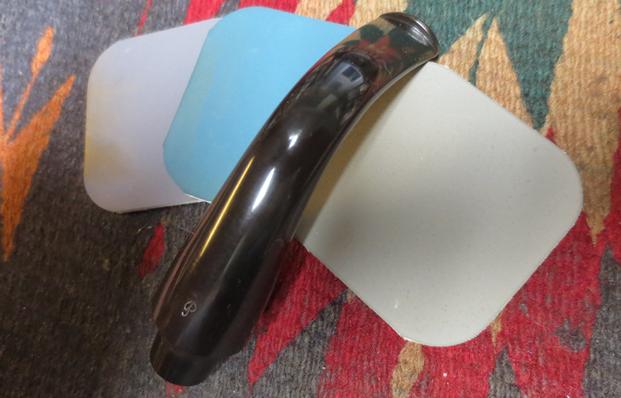
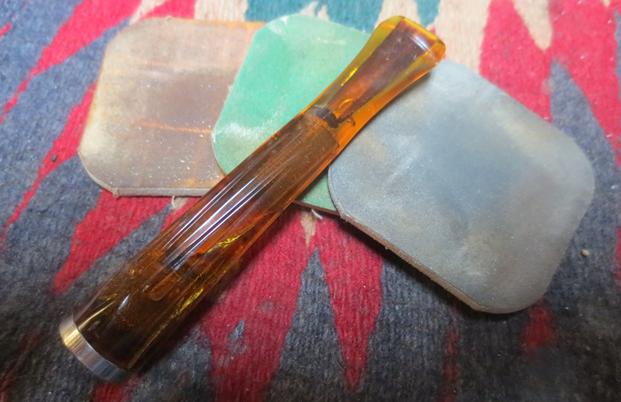
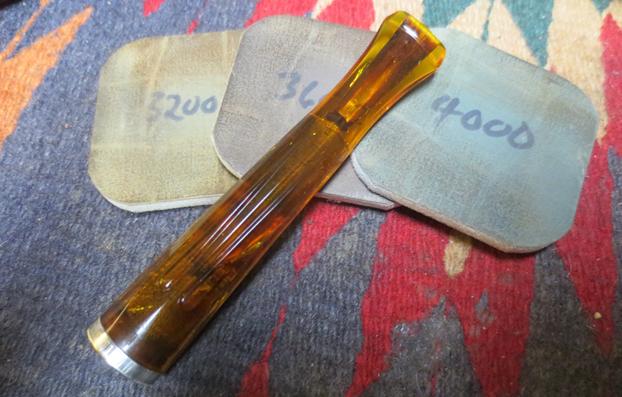
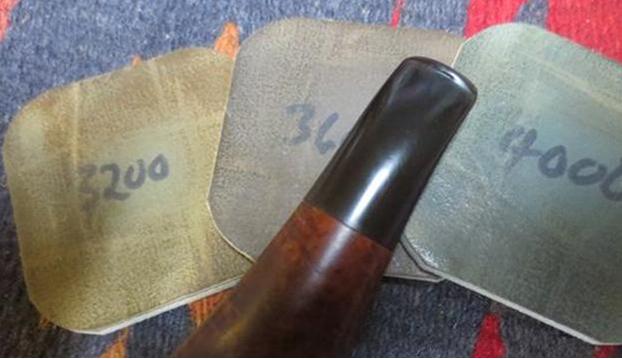
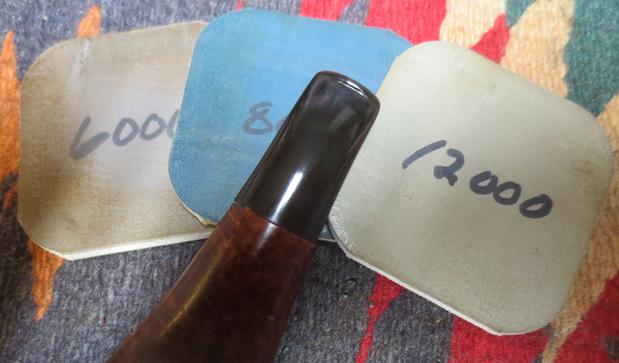
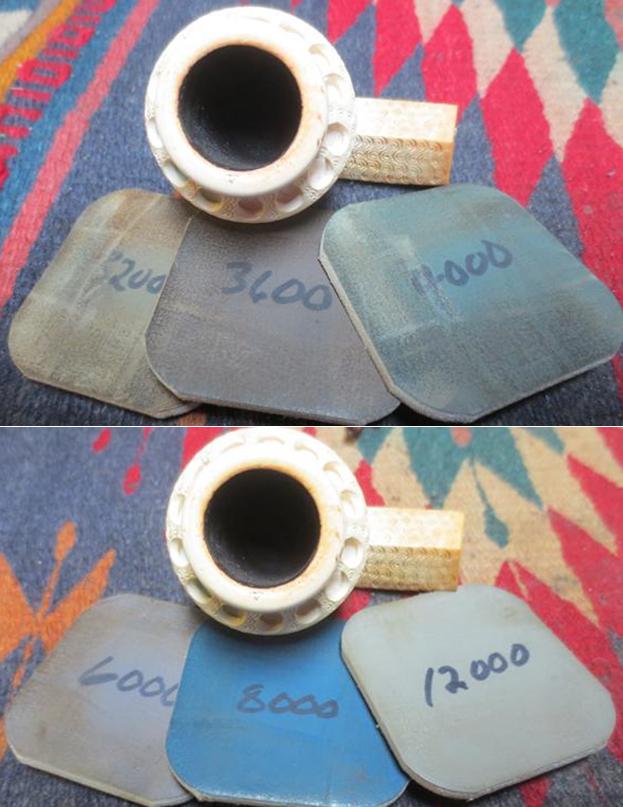
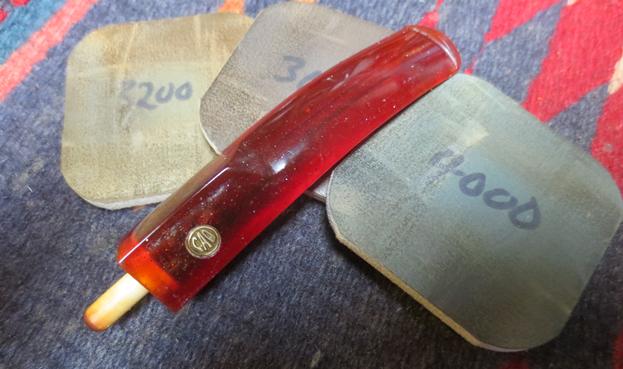
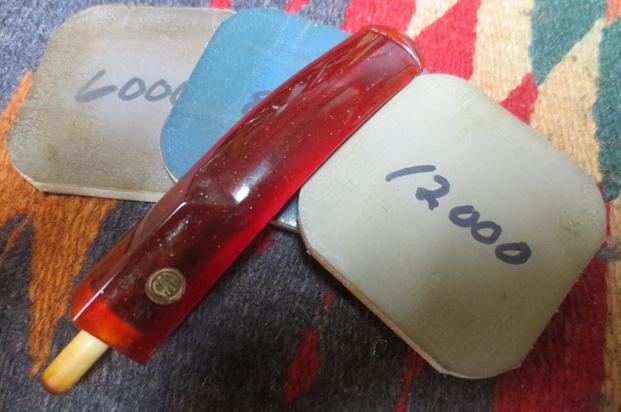
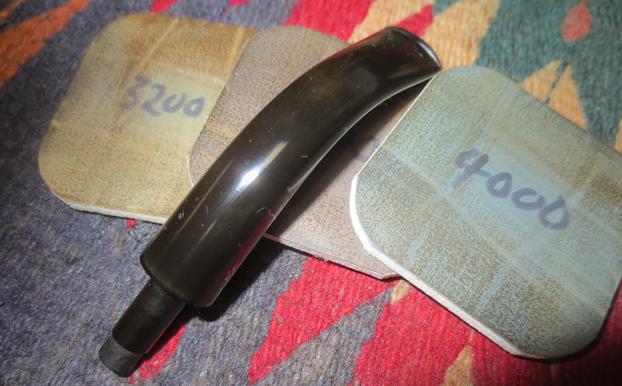
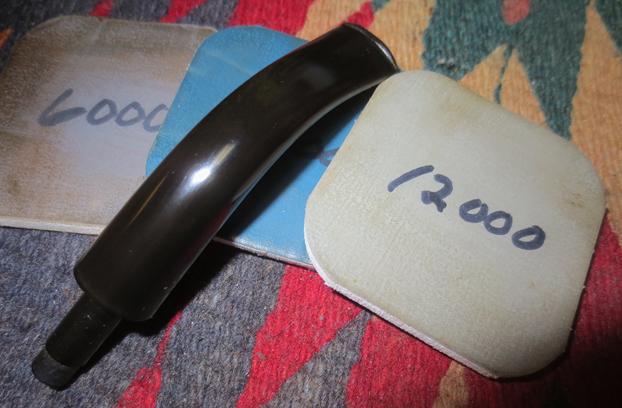
 I polished out the sanding scratches and marks in the vulcanite with micromesh sanding pads – wet sanding it with 1500-2400 grit pads and dry sanding it with 3200-4000 grit pads. I wiped the stem down with Obsidian Oil after each sanding pad. I buffed the stem with Blue Diamond on the buffing wheel being careful around the spade logo insert as they can easily be damaged. I brought it back to the table and sanded it with the final three 6000-12000 grit pads. After the final pad I gave it a final coat of oil and set it aside to dry.

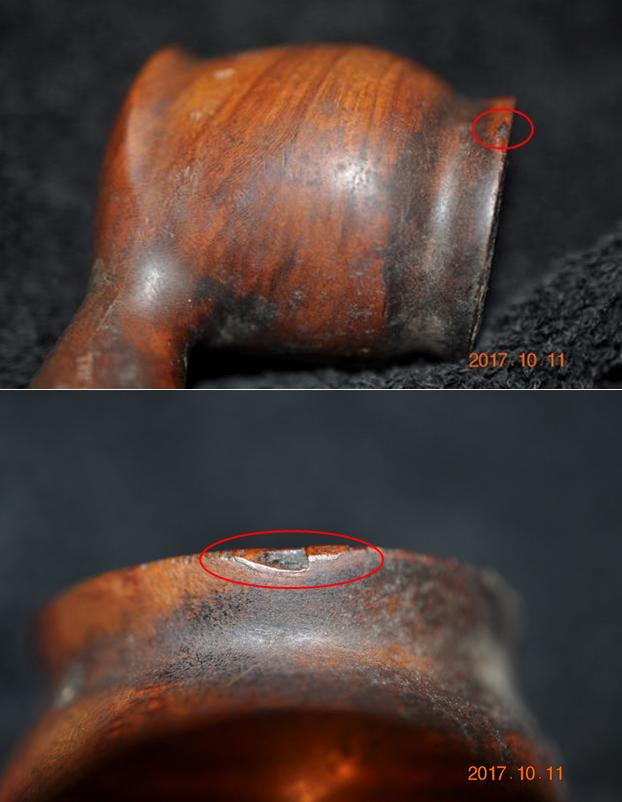
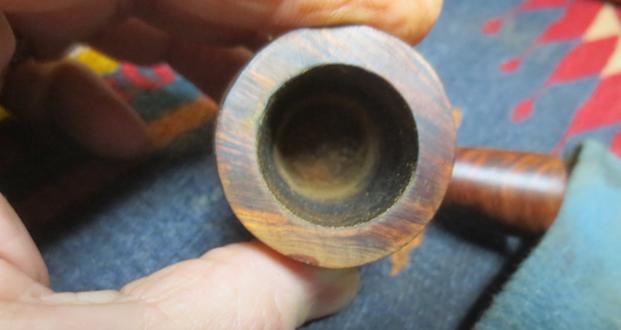
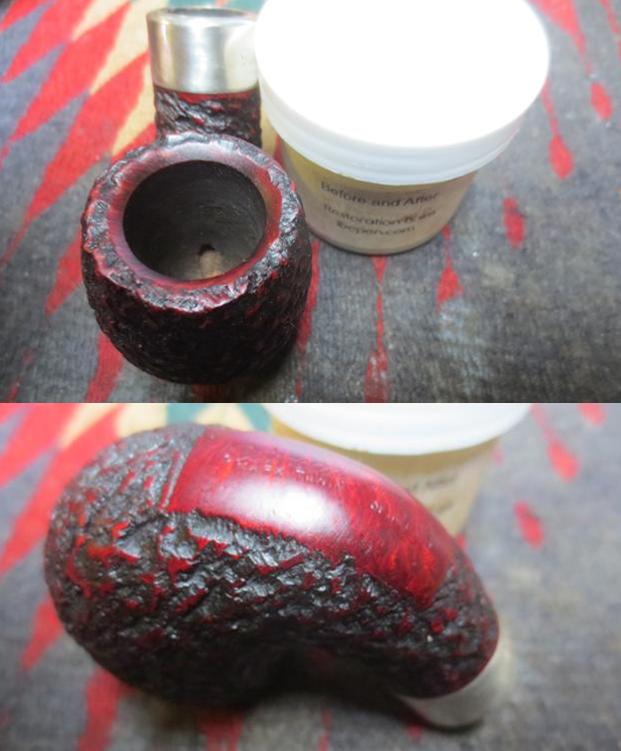
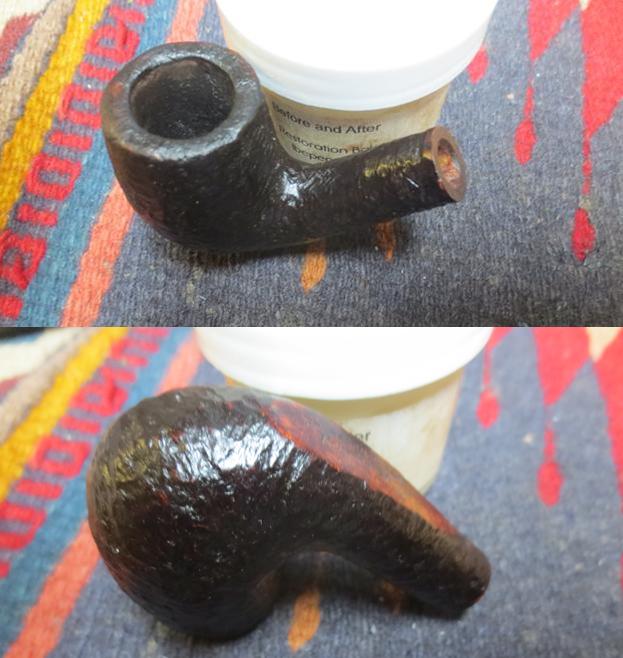
 The outer edge of the rim was damaged all around the bowl but the worst damage was on the front edge. You can see the roughness of the rim edge in the next photo. With the small pin prick holes on the rim top and the damage on the inner edge of the right side of the bowl I decided to top the bowl. I top a pipe on a topping board with 220 grit sandpaper and work the bowl over the sandpaper holding the rim flat against the topping board and working the bowl to evenly sand the bowl top smooth and remove the damage.
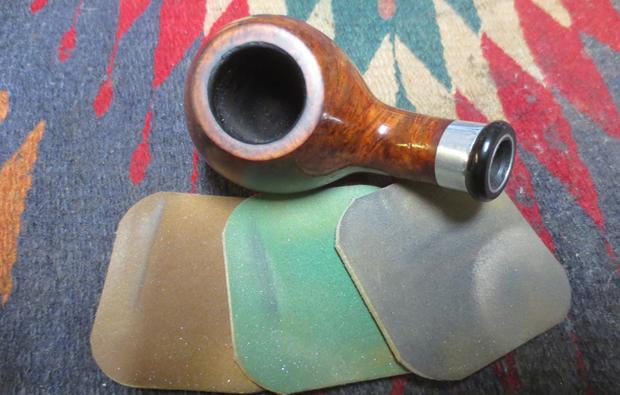
 Once the rim edges were almost smooth I used a folded piece of sandpaper to smooth out the outer edge of the bowl all the way around the bowl. I polished the rim top with micromesh sanding pads – wet sanding with 1500-2400 grit pads and dry sanding with 3200-12000 grit pads. I wiped the rim down after each pad with a damp cotton pad. When I finished the polishing I wiped it down a final time.

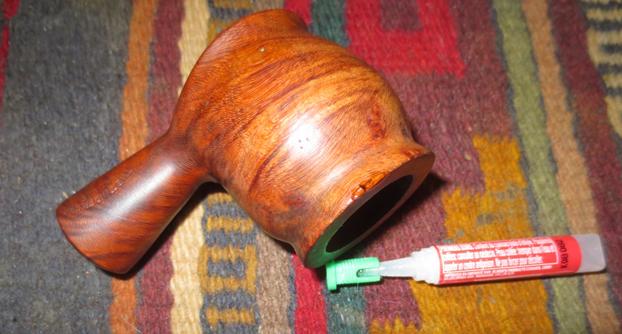
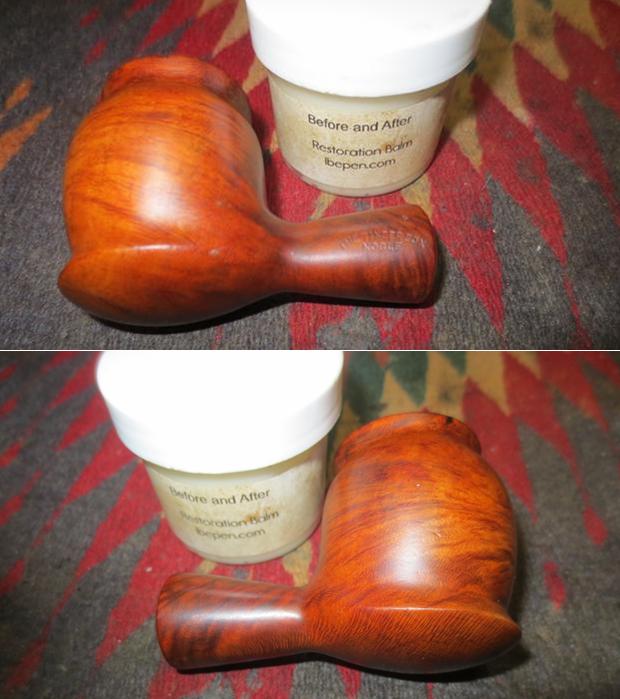
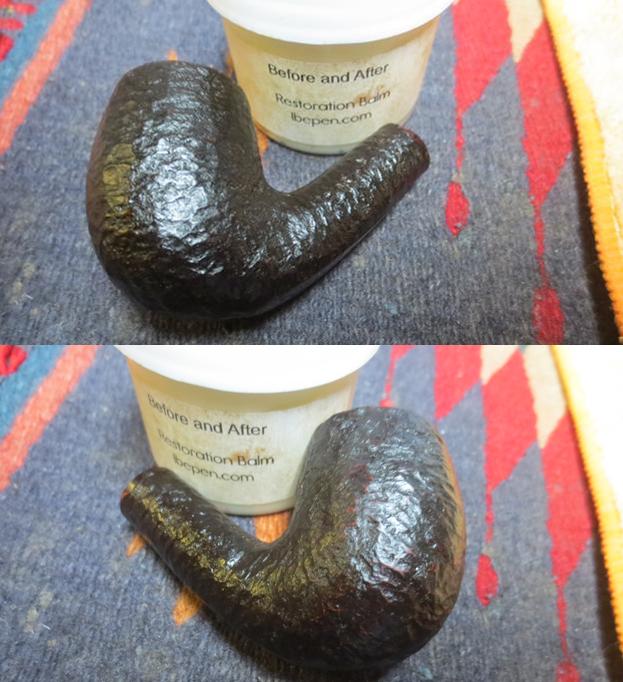
 I blended some light and medium brown stain from a stain pen to restain the rim top and edges to match the colour of the rest of the bowl. The blend works well in trying to get this particular shade of brown. I hand buffed the stain to polish it and blend the colours together.
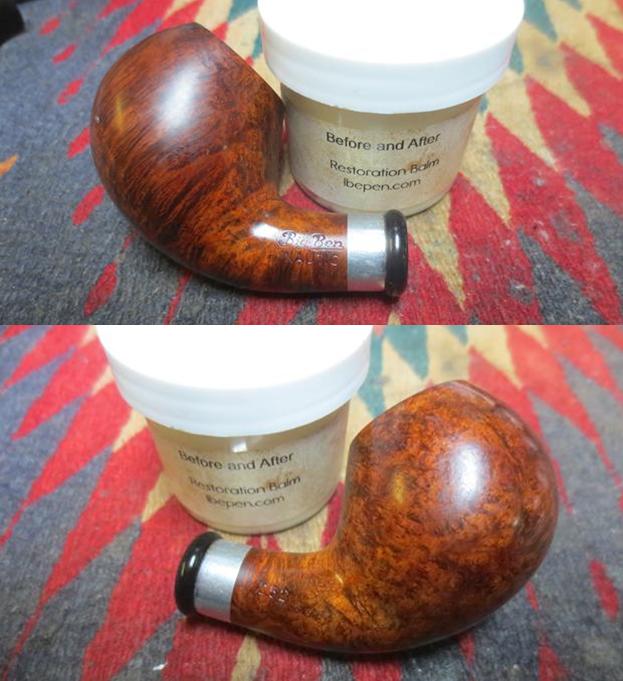
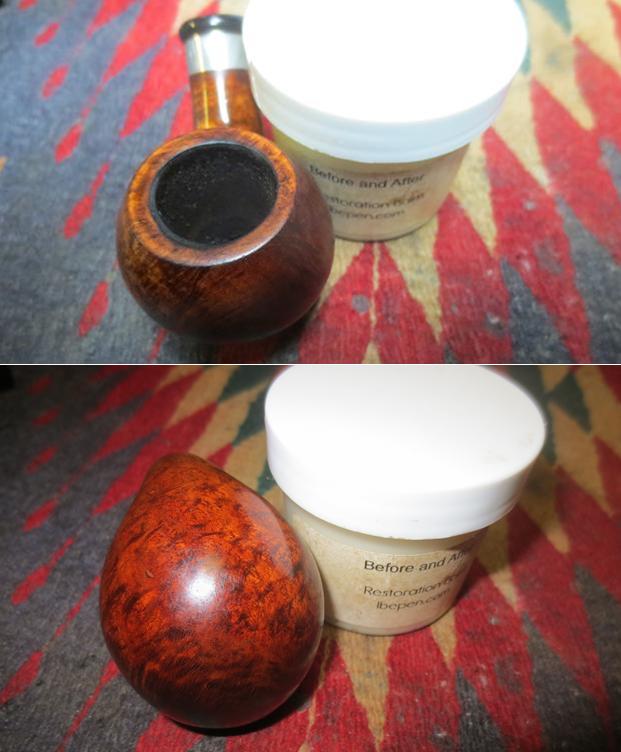
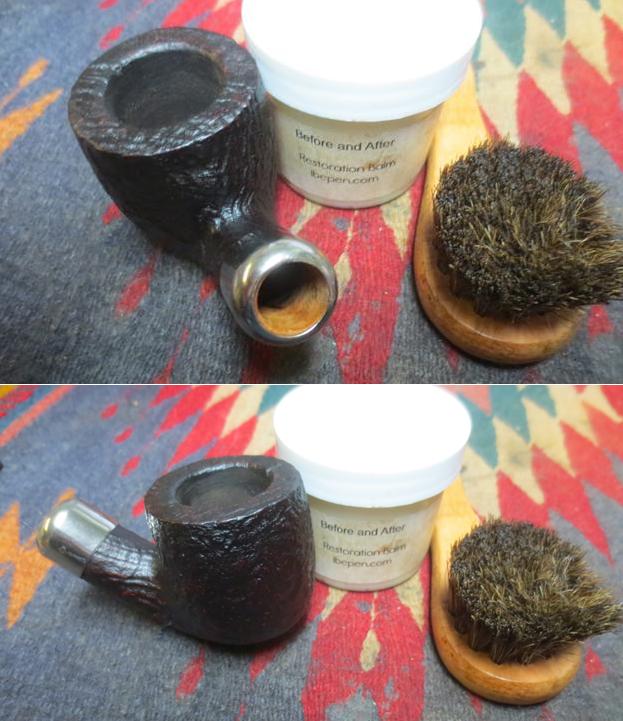
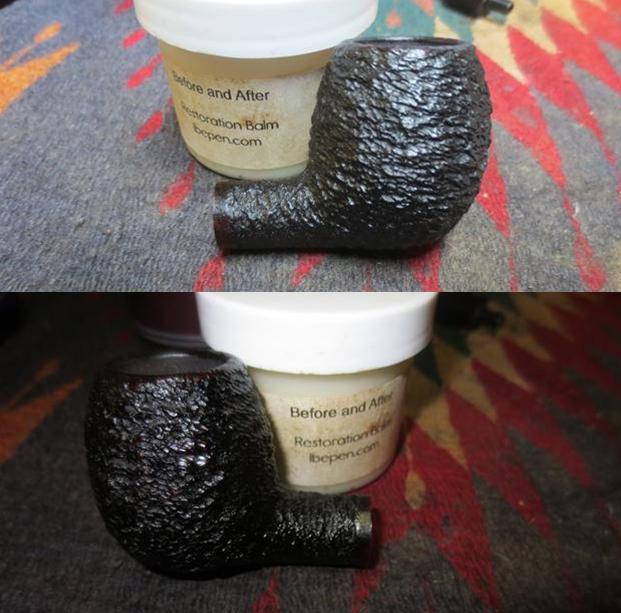
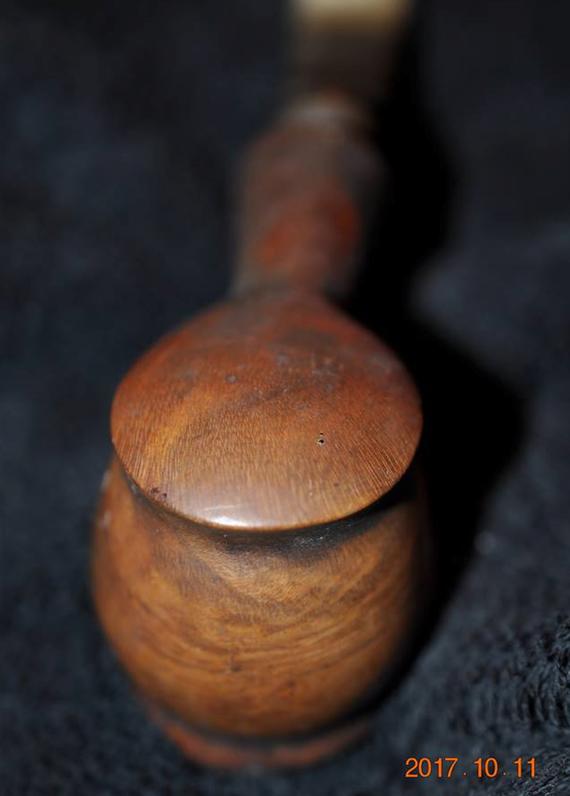
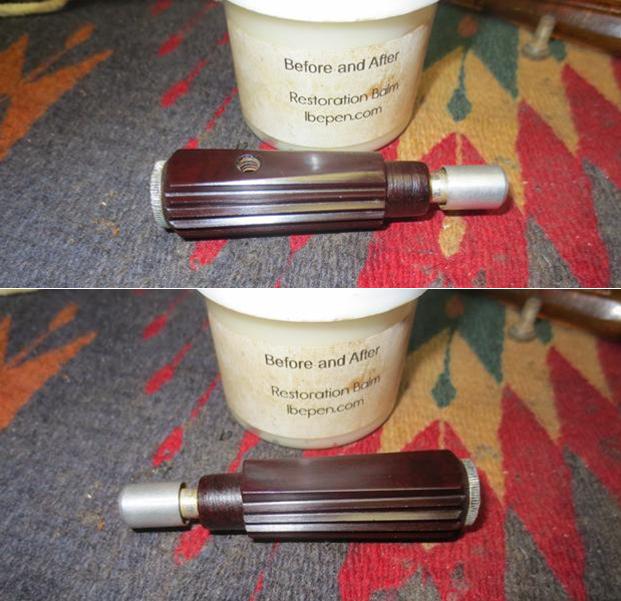
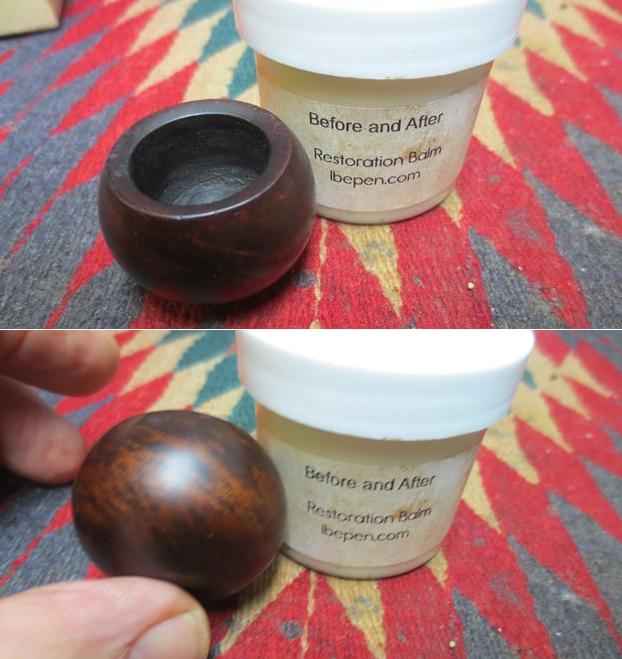
 I rubbed the bowl down with Before & After Restoration Balm to deep clean the smooth finish, enliven and protect the briar. I hand rubbed it with my fingers and wiped it off with a soft cloth. I buffed the bowl with Blue Diamond on the wheel to polish it. It really began to have a deep shine in the briar. I took some photos of the bowl at this point to mark the progress in the restoration. I decided to leave the small nicks in the bowl surface as marks of character rather than damage the original finish by sanding them all out.
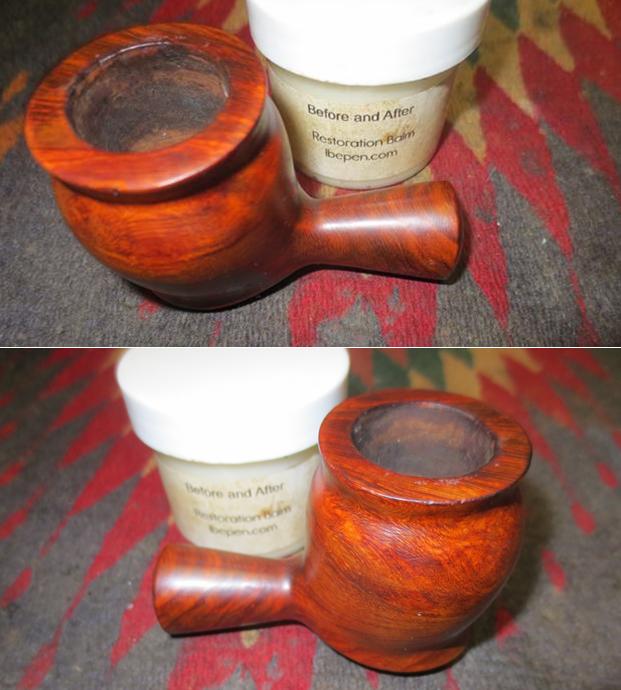
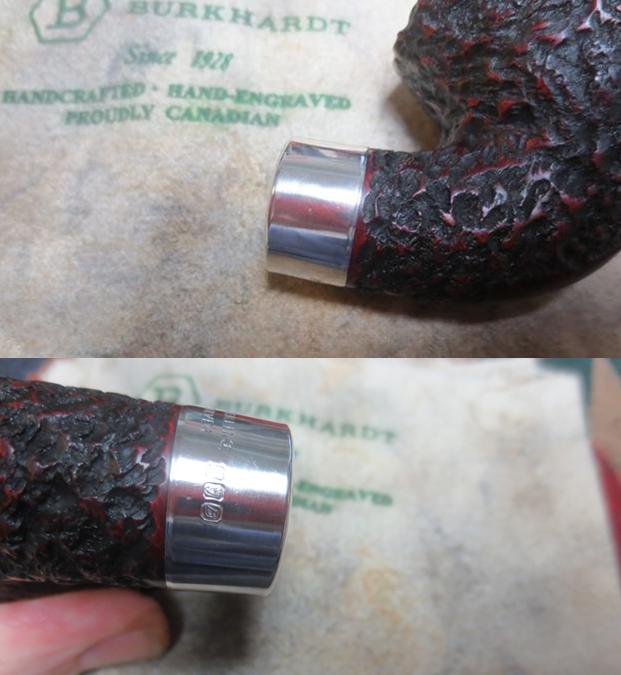
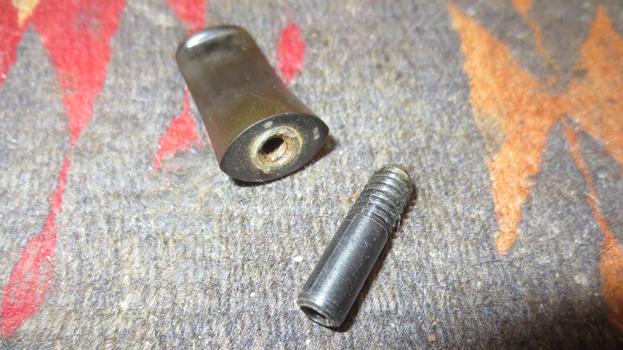
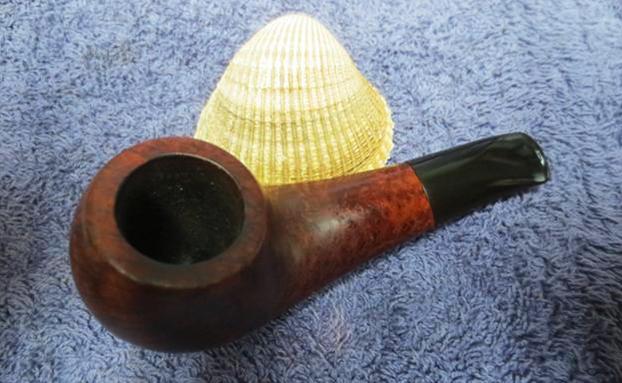
 I cleaned and polished the nickel ferrule with micromesh sanding pads. I was careful in sanding the nickel in that the dust from the metal can discolour the briar and make more work. I was happy with the finished end cap.

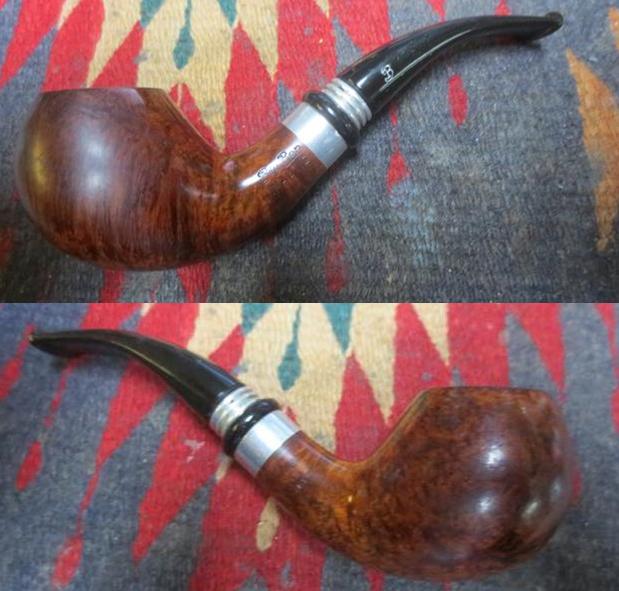
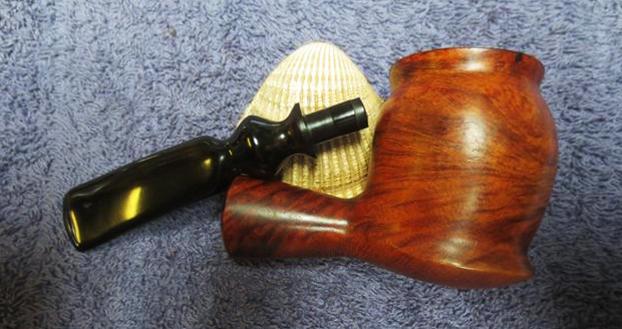
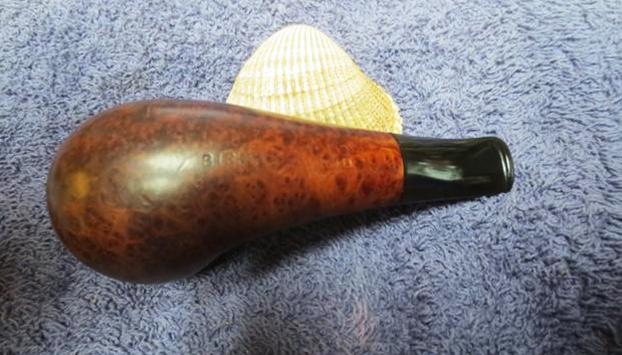
 I buffed the briar on the wheel with Blue Diamond to polish it more. I was careful around the already light stamping. I hand buffed the bowl and ferrule with a microfiber cloth and took photos of the bowl at this point.
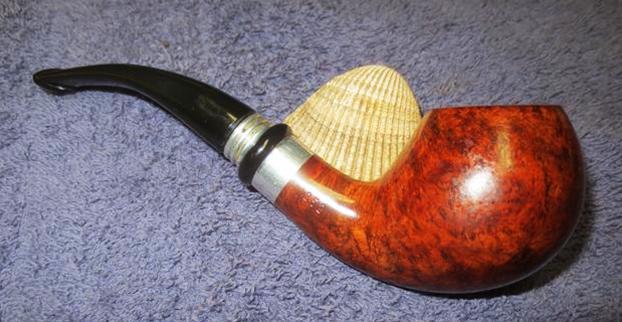
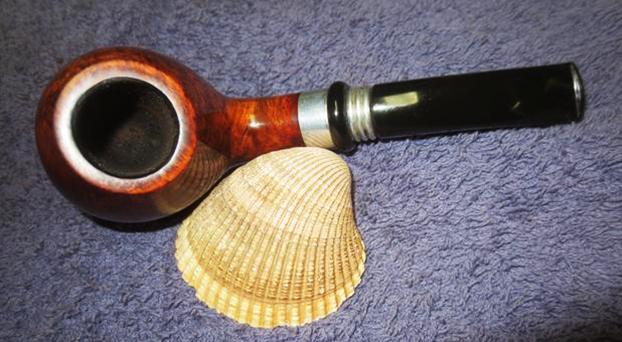
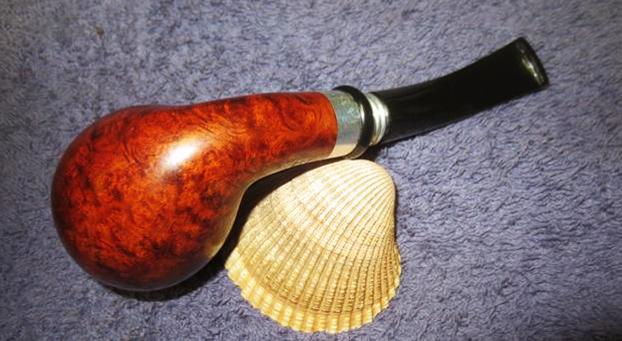
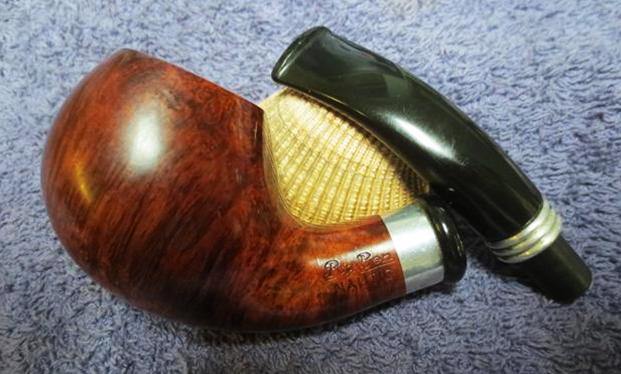
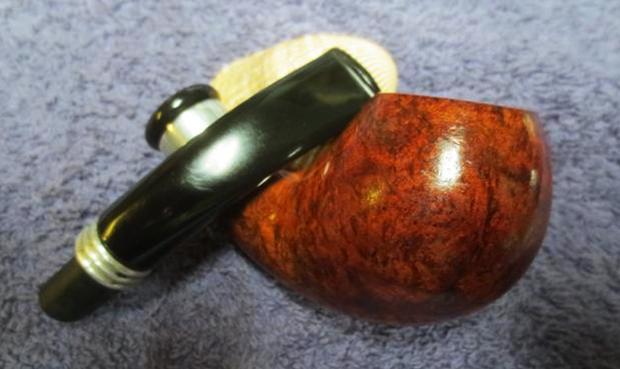
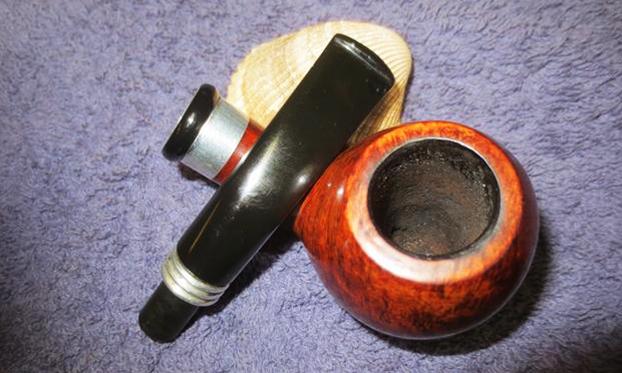
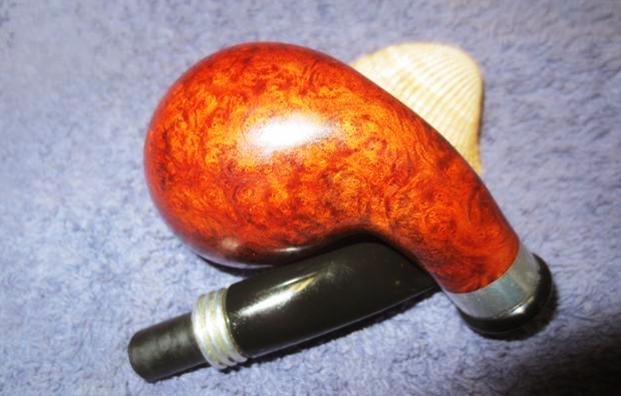
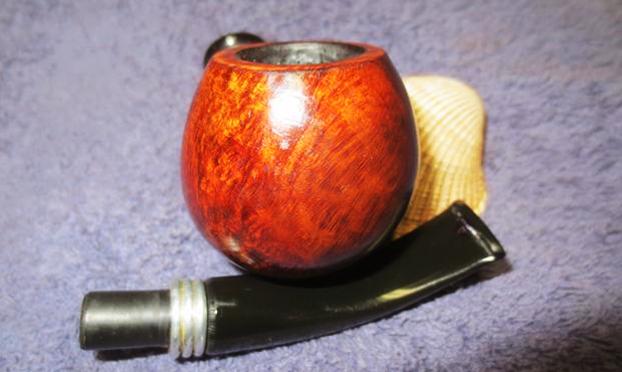
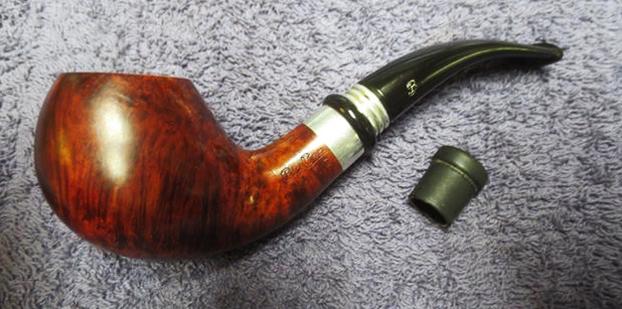
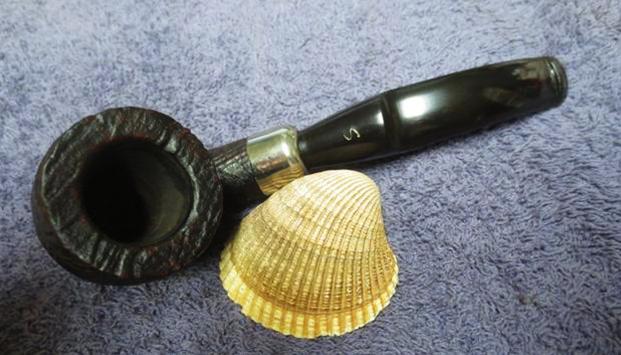
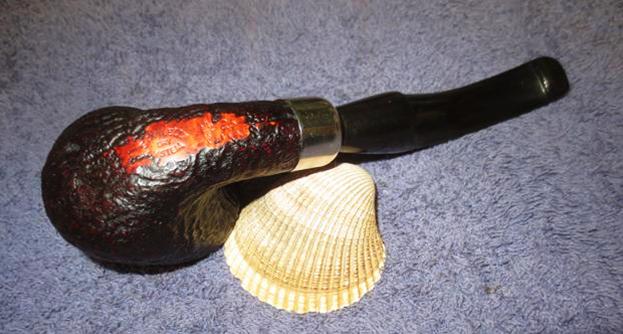
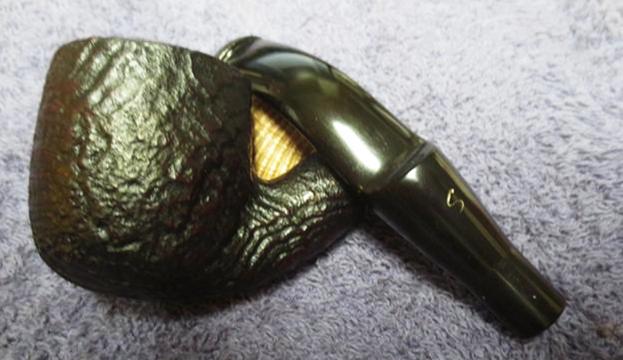
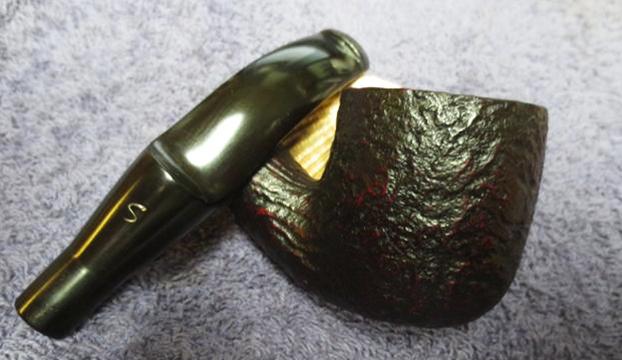
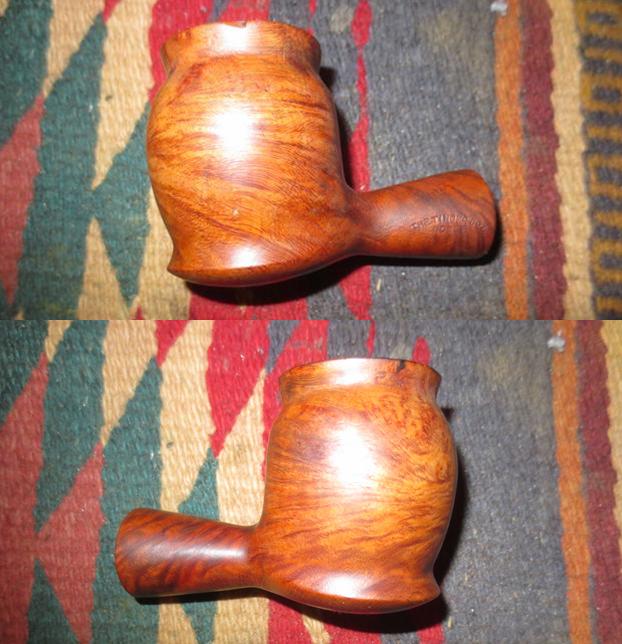
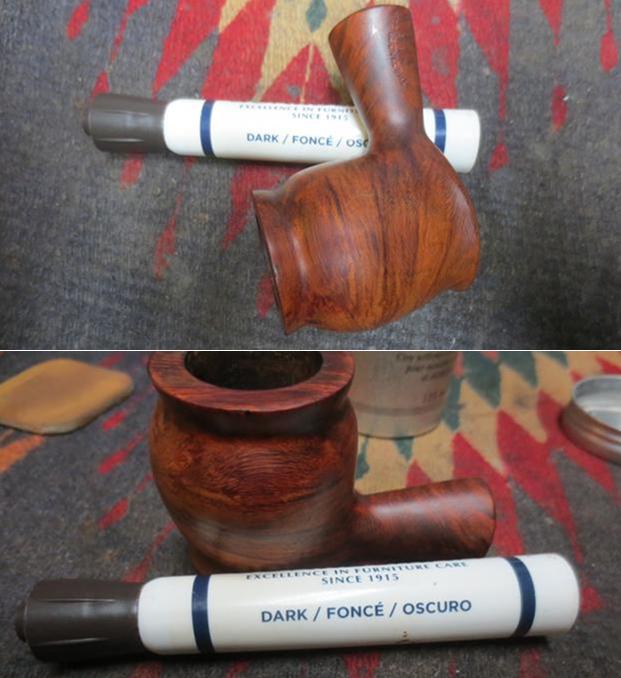
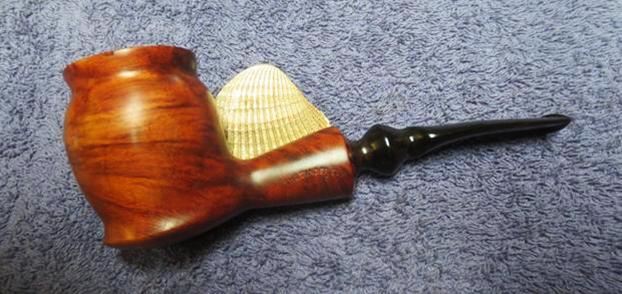
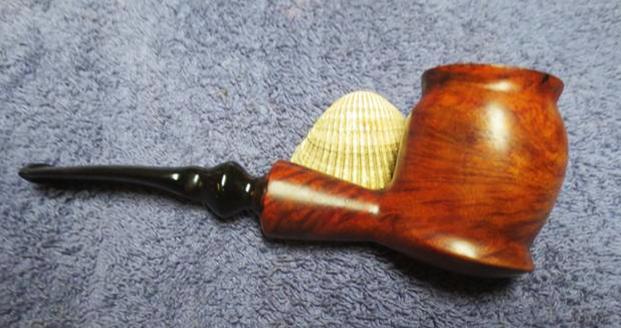
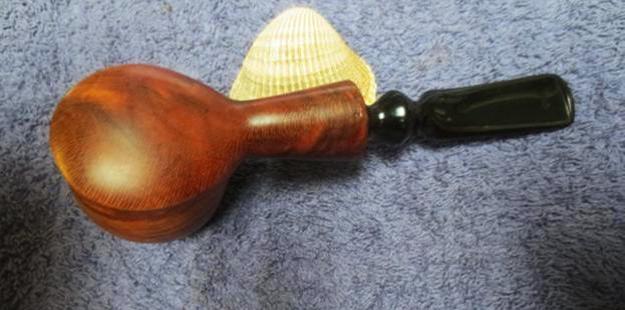
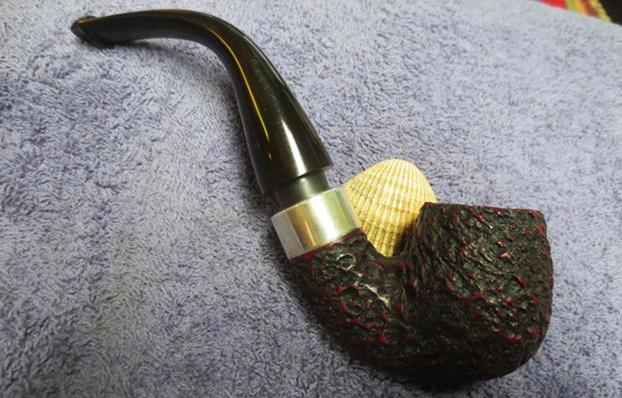
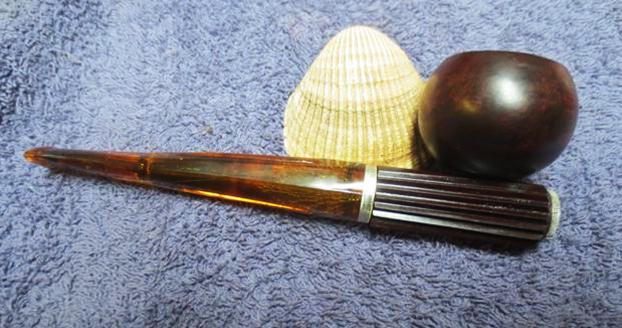
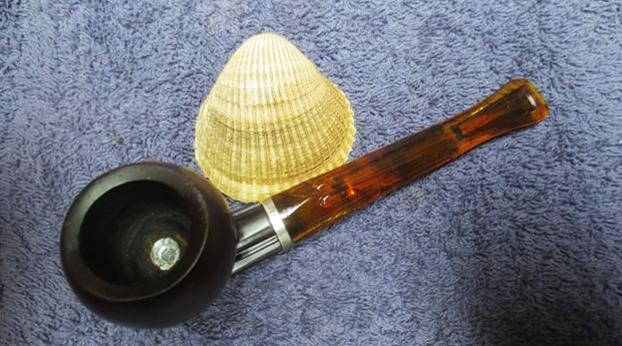
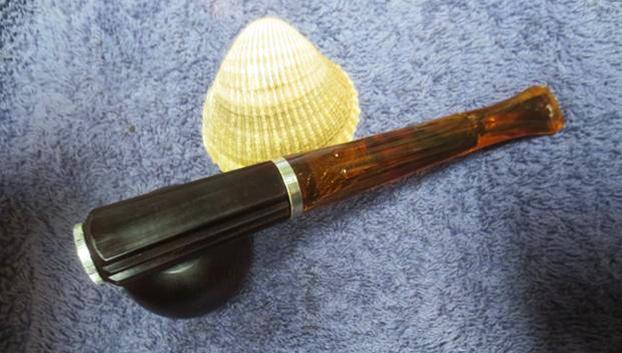
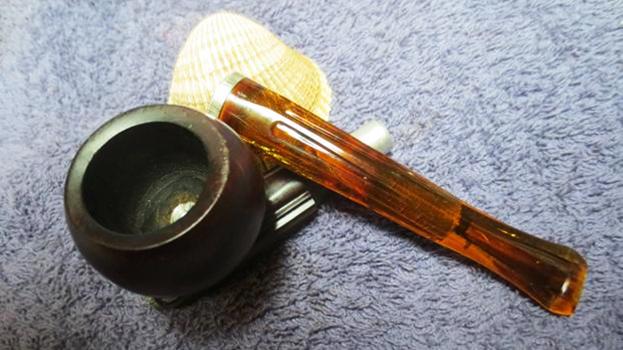
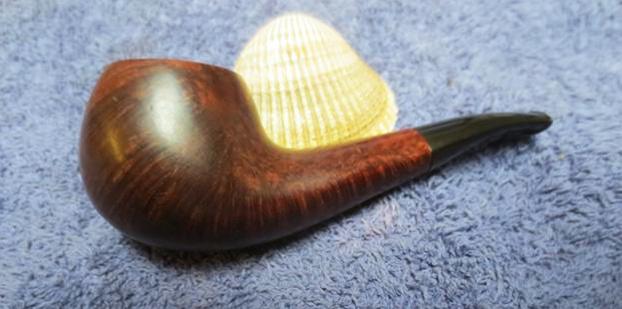
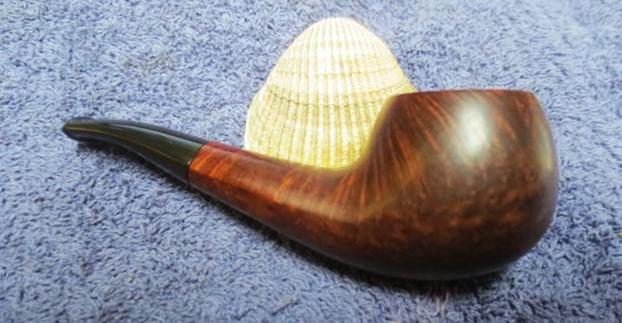
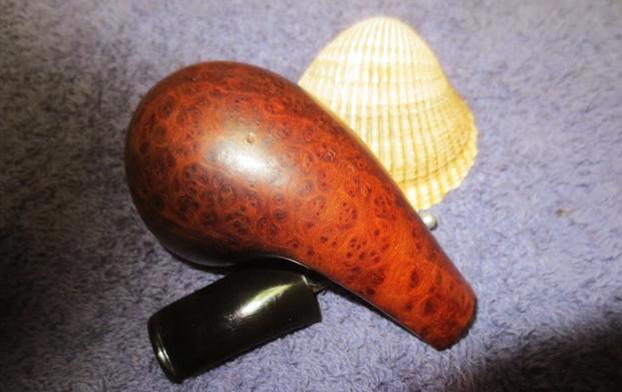
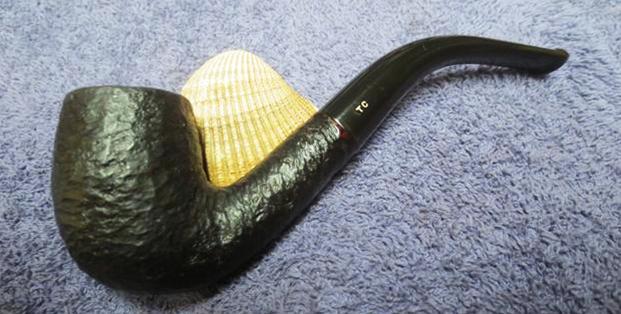
 I put the stem back on the bowl and worked the pipe over on the buffing wheel using Blue Diamond to polish the bowl and shank. I buffed the stem to raise the gloss on the vulcanite. I gave the bowl and stem multiple coats of carnauba wax. I buffed the entire pipe with a clean buffing pad to raise the shine. I hand buffed it with a microfiber cloth to deepen the shine. The finished pipe is shown in the photos below. The dark to medium brown stain on the billiard shaped bowl works well with the polished nickel ferrule and the rich black of the vulcanite stem. This old Omega pipe has some interesting grain and has lots of life in it to add your own story to the ongoing saga of the briar. The dimensions of the pipe are: Length: 6 inches, Height: 1 3/4 inches, Diameter of the bowl: 1 1/4 inches, Diameter of the chamber: 5/8 inches. I will be adding this one to the rebornpipes store shortly if you are interested in adding it to your collection. It will make a fine addition to the rack. If you are interested email me at slaug@uniserve.com or send me a message on Facebook. Thanks for looking.