Blog by Steve Laug
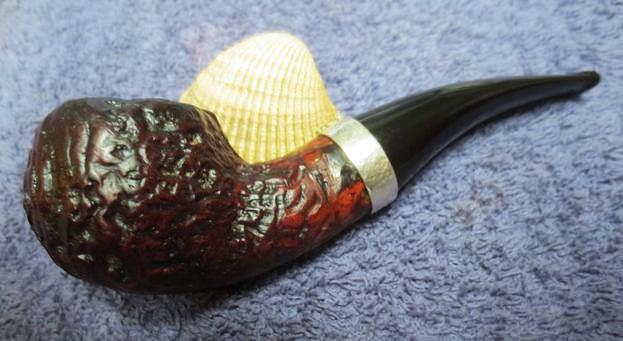
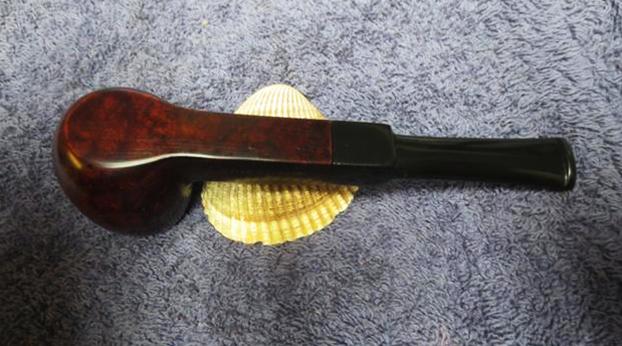
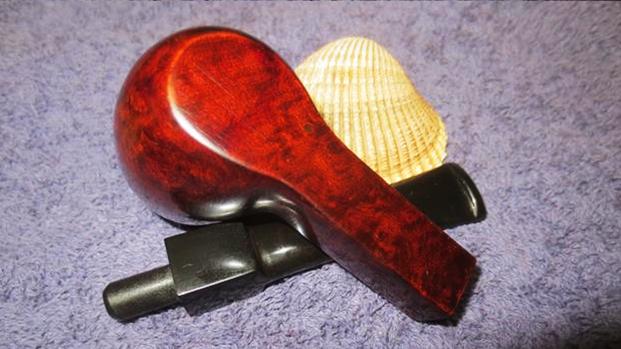
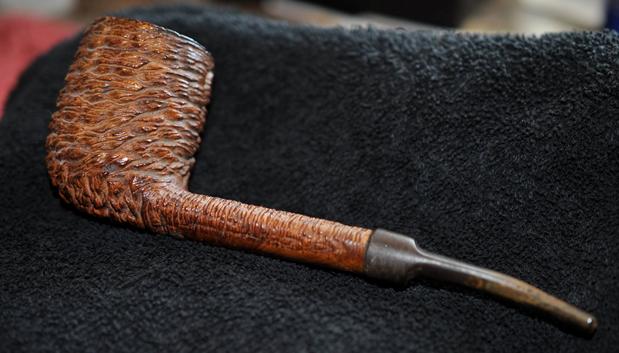
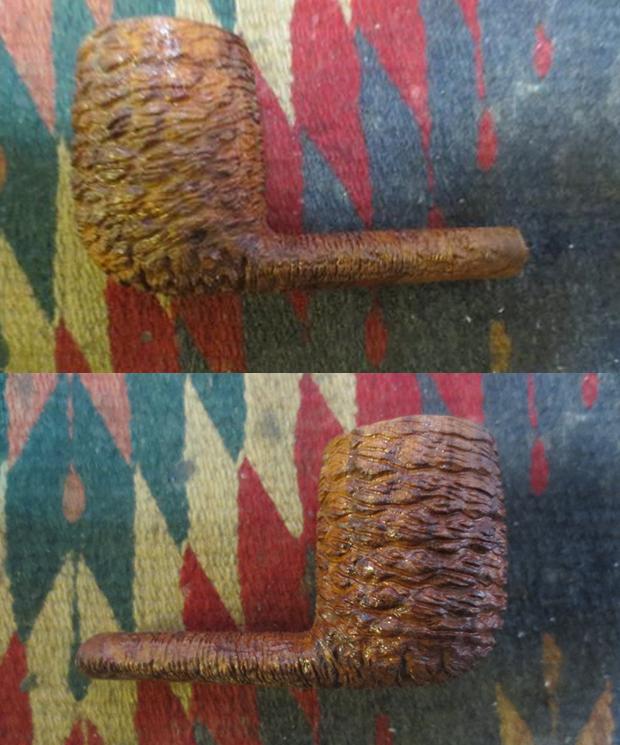
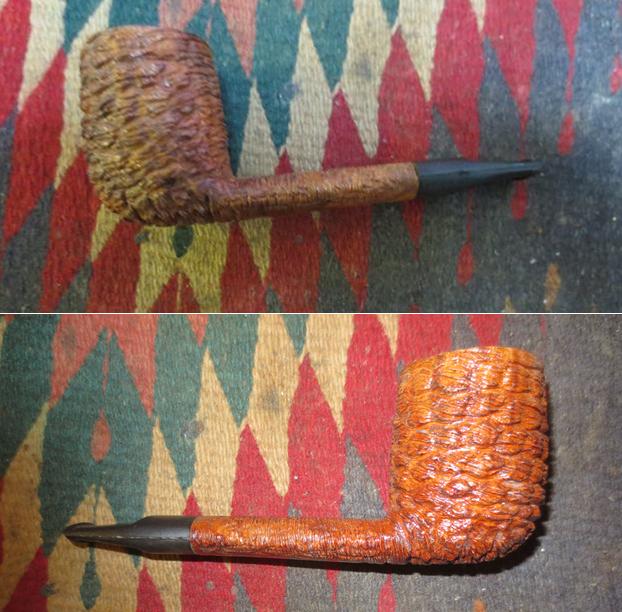
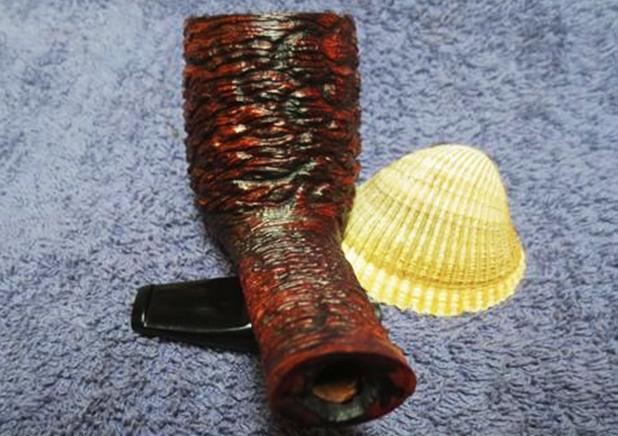
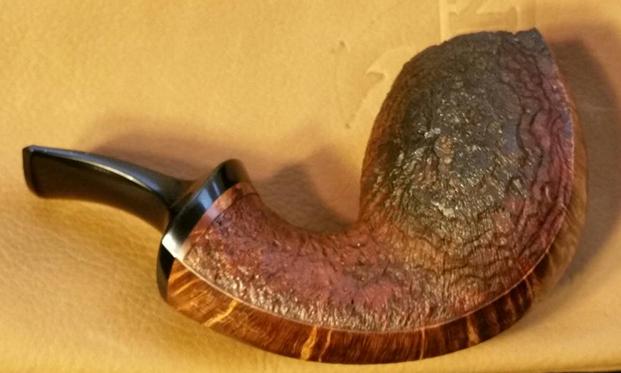
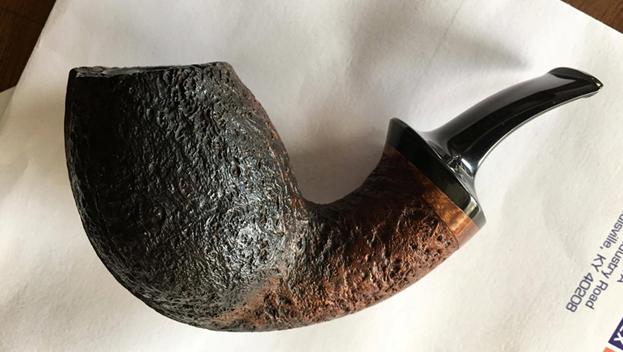
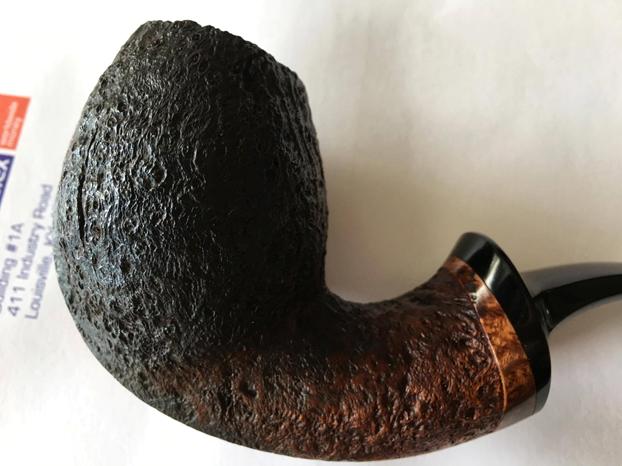
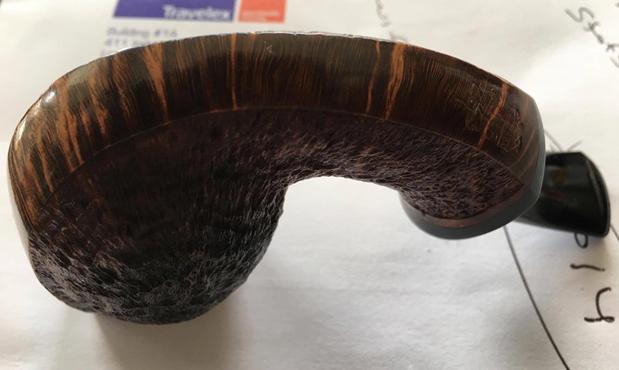
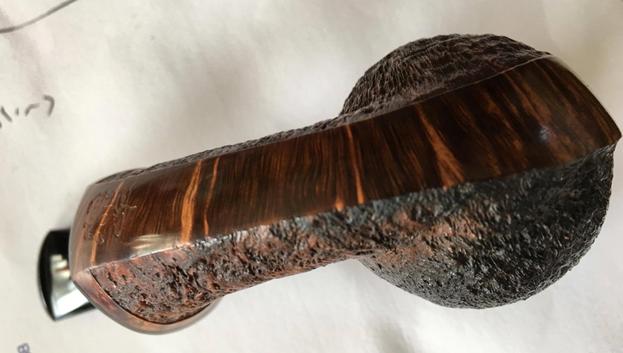
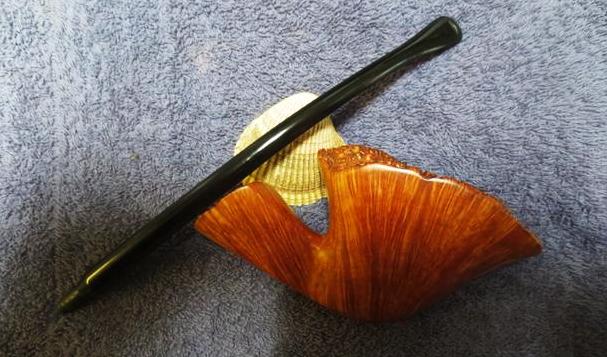
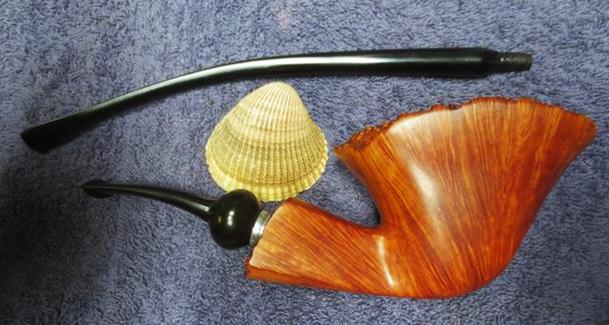
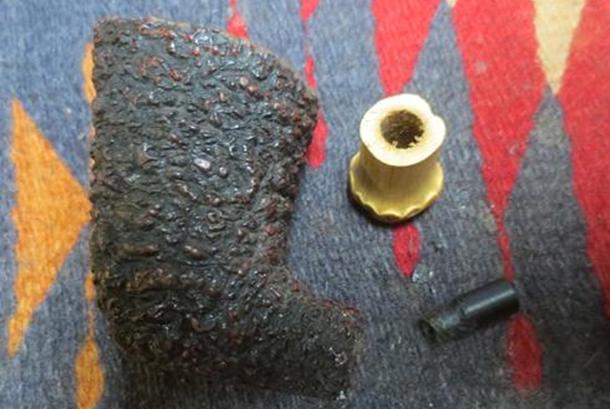
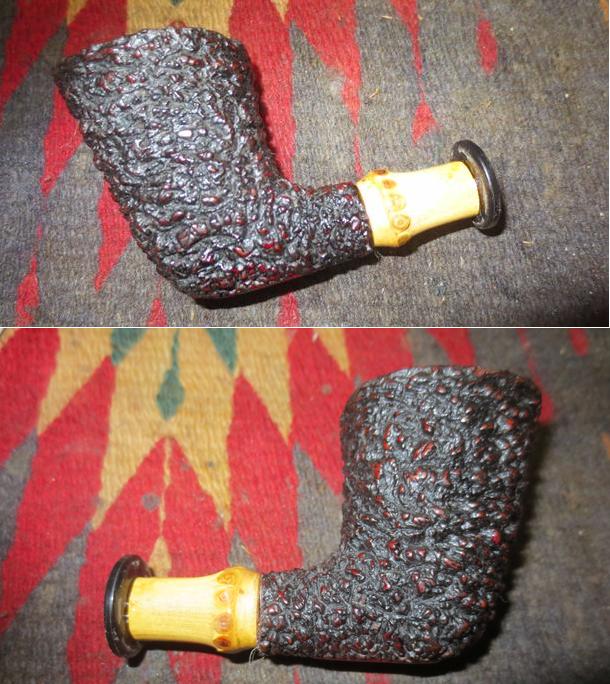
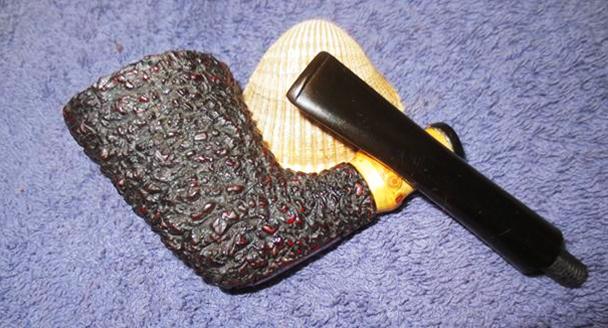
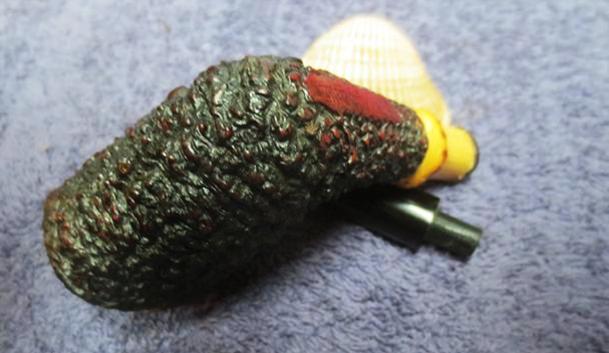
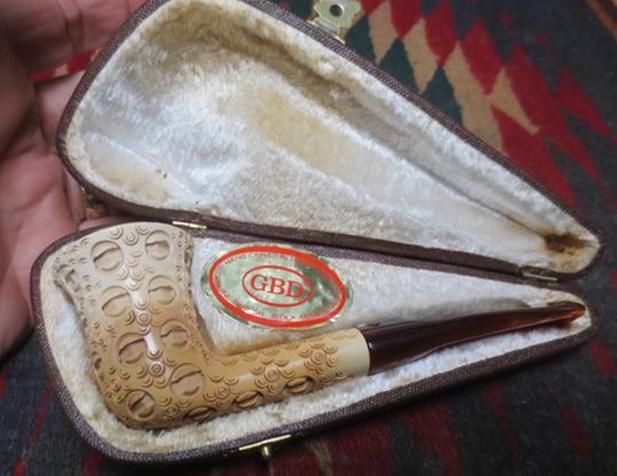
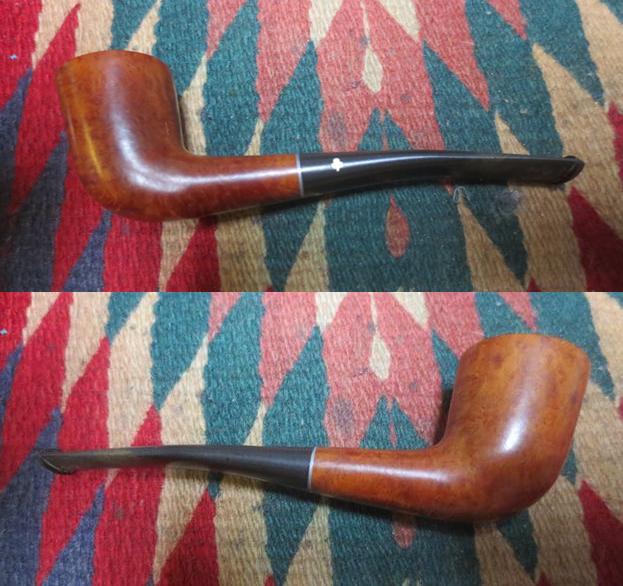
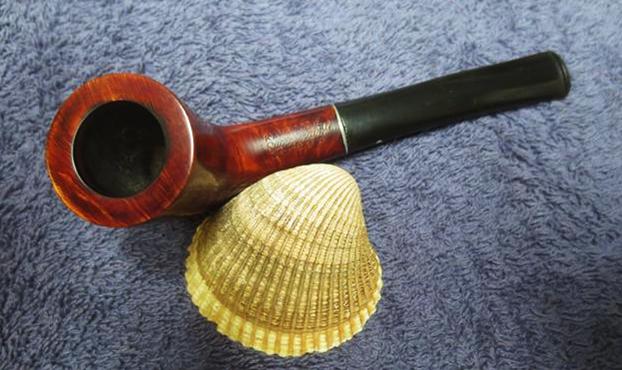
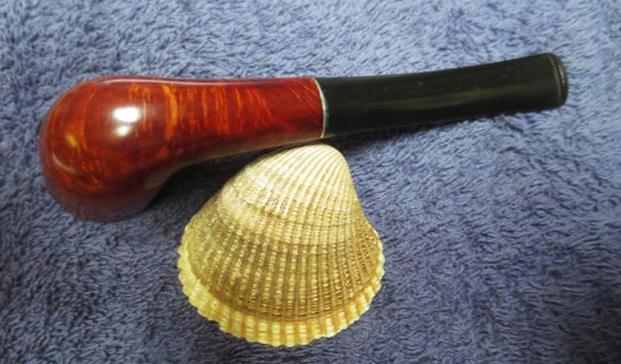
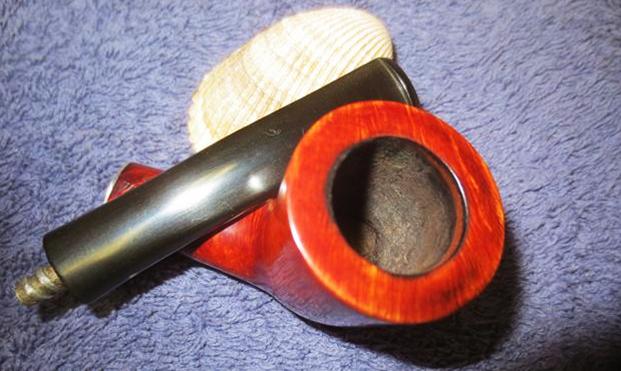
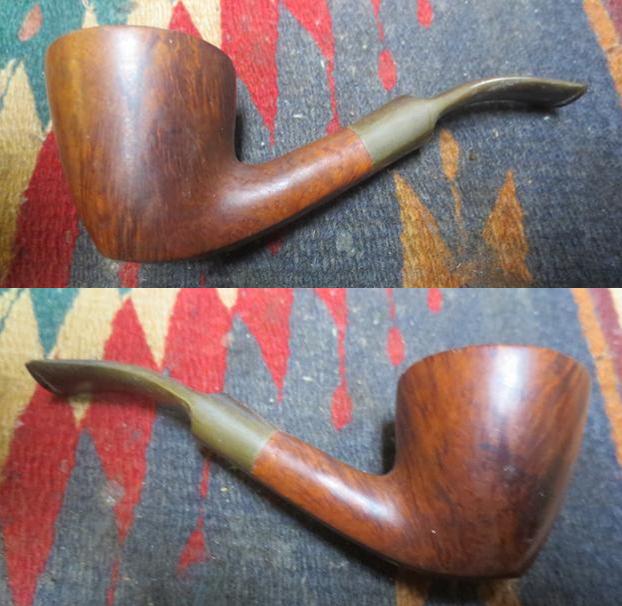
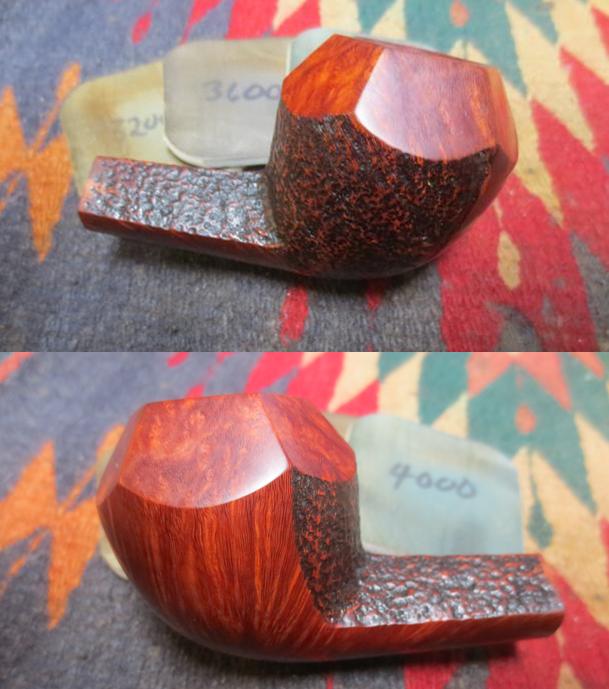
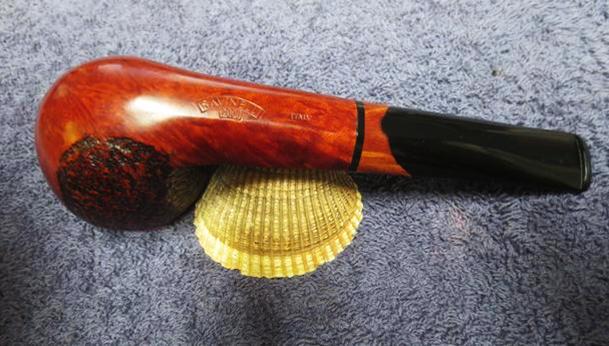
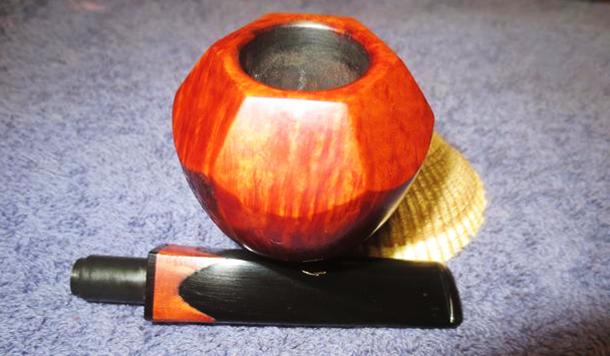
After finishing up the little MLC Redmanol French Briar bent billiard and dealing with many issues in the restoration I needed something different and something a bit less labour intensive. My brother had included a beautiful Savninelli straight Bulldog in the box he just sent me. It was a 6mm filter pipe made especially for the Savinelli triangular shaped balsa filter. It has a mix of finishes on the bowl and shank. It is predominantly smooth with a section that is sandblasted on the back part of the bowl wrapping part way around the right side and on the top side of the shank. The blast is nicely done and is rich looking. The grain on the rest of the bowl and shank is mixed straight, flame and birdseye. The stem has a thin band of acrylic between an insert of briar and the acrylic stem. The stem and shank are diamond shaped on the top and round on the underside. The stem provides a striking contrast with the rest of the pipe and matches the dark stain in the sandblast portion of the bowl. My brother took the following photos of the pipe before he started cleaning it.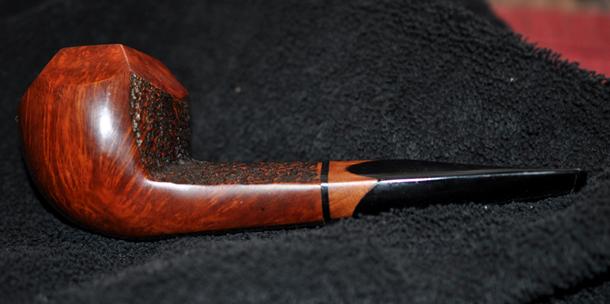 The pipe was in pretty good shape when it arrived at my brother’s place in Idaho. It had been smoked and had a thin cake in the bowl and some light lava on the inner edge of the bowl and the rim top. There were some light scratches in the briar but the finish was quite clean. The stem was in good shape though there was some light tooth chatter on both sides of the stem near the button.
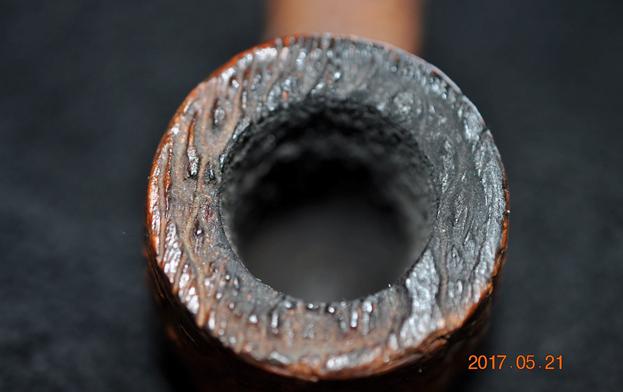
 I wanted to know more about this particular line of Savinelli pipes so I did a quick search and found the following link that had a great deal of information on it that I found helpful. The linkis: http://www.smokeshopmag.com/0600/pipe.htm. I quote in full from the site because I could not have summarized the information any better. The pipe is one of the Y2K Limited Edition Pipes from Savinelli.
Each year, Italian pipe manufacturer Savinelli produces a limited production Collection Pipe – its so-called “pipe of the year.” Only 500 units are manufactured.
The 2000 Collection Pipe, the 16th in the series which extends back to 1985, has a flat bottom allowing the pipe to sit upright, referred to as a ‘sitter.’ Each comes with a pack of balsa inserts, an informational leaflet, and a presentation package. Suggested retail is $220.
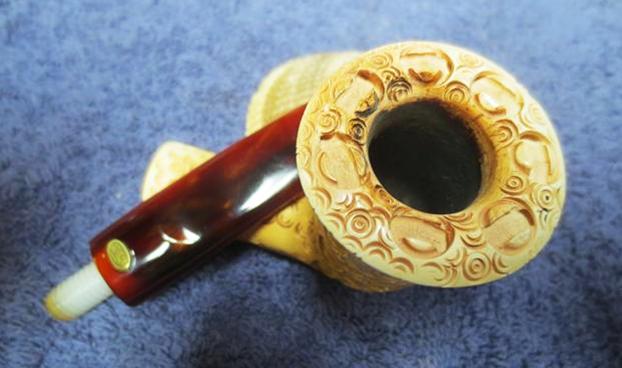
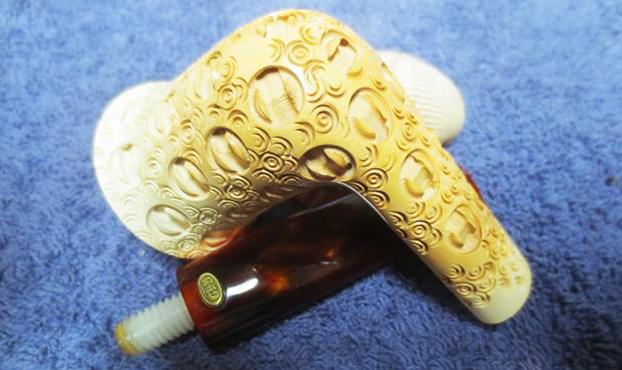
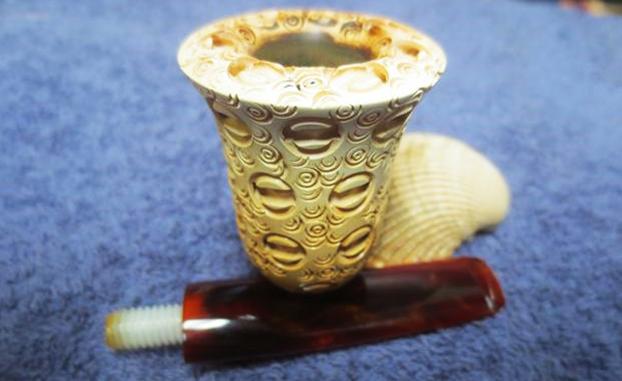
This year, Savinelli is also offering a special limited edition Millennium Series, known as the Year 2000 Pipe. “We have developed a product possessing charismatic lines and an alluring design not previously seen in a pipe,” the company says of the unique six-sided, faceted bowl.
The pipe is available in five finishes.
All smooth, l ight natural finish.
All smooth, two-tone finish.
All smooth, deep walnut finish.
Part smooth, part sandblast.
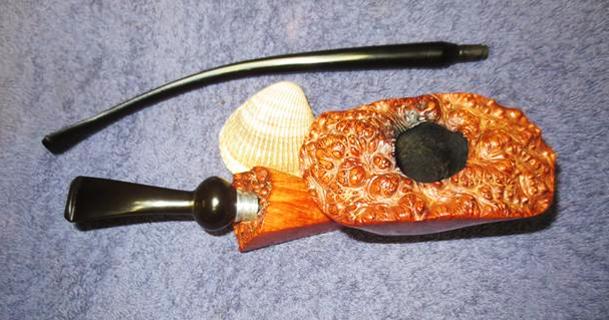
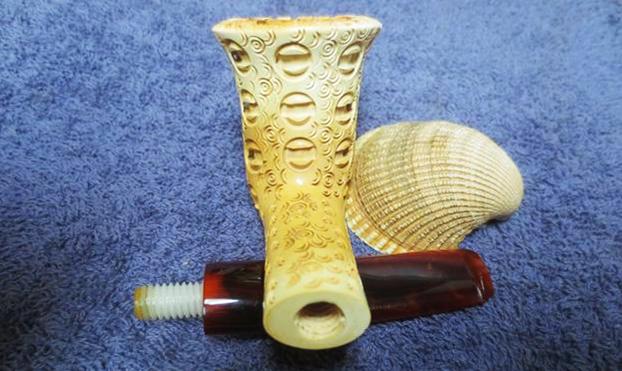
All hand carved bowl and shank with a smooth top.
Like all Savinelli pipes, materials are selected from top quality plateaux briar and seasoned naturally for many years. Only ecological finishes and waxes are used, allowing the pipe surfaces to breathe.
Each of the five Year 2000 pipes is available together in the Year 2000 VIP Set, which also includes an additional Smooth Red finish R version with a Savinelli VIP Case.
They were available through Savinelli Pipes, Inc., PO Box 526, Morrisville, NC 27560, Tel.: (919) 481-05111, Fax: (919) 481-1948.
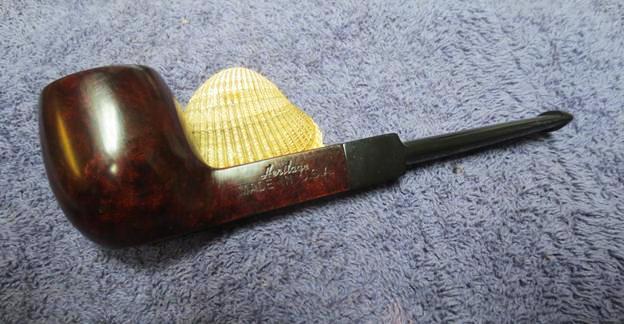
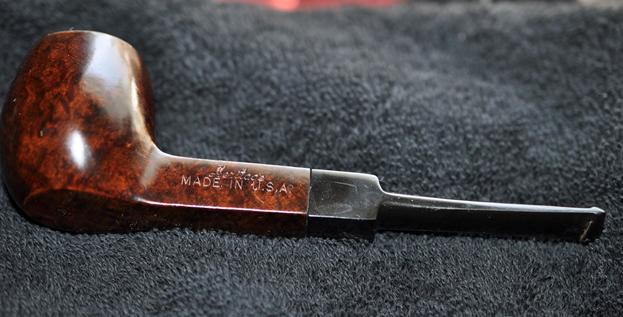
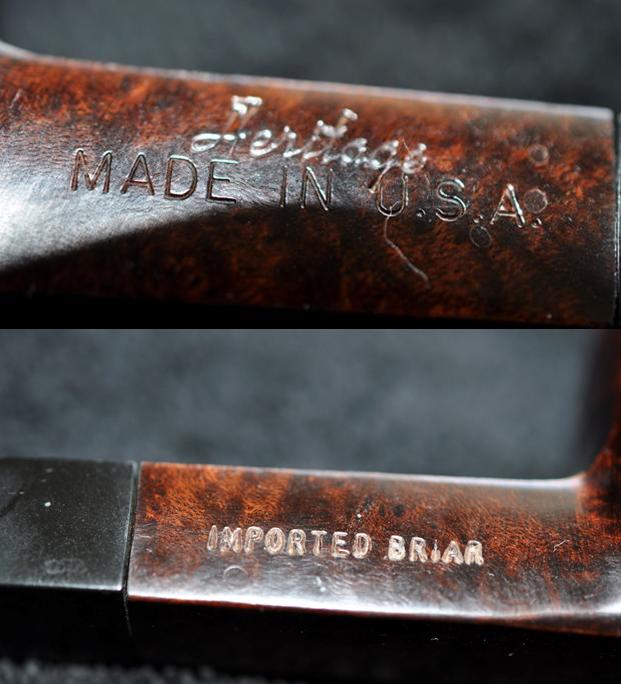
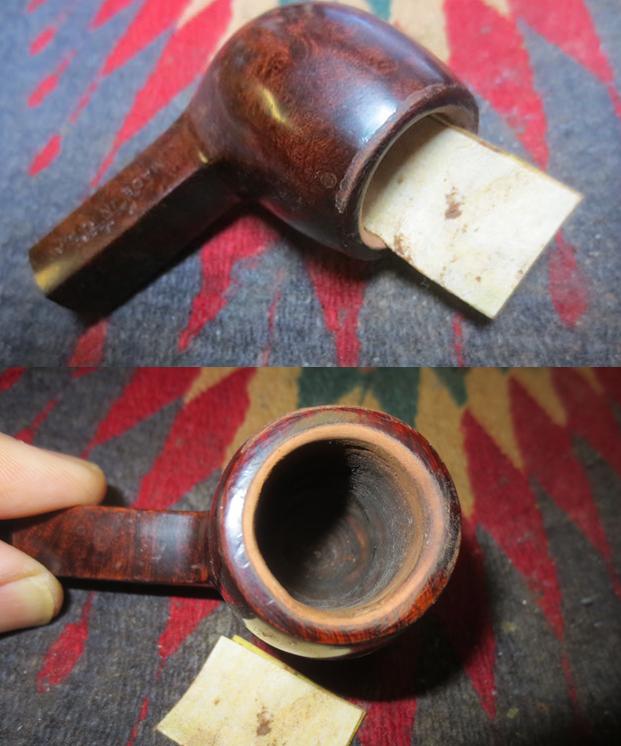
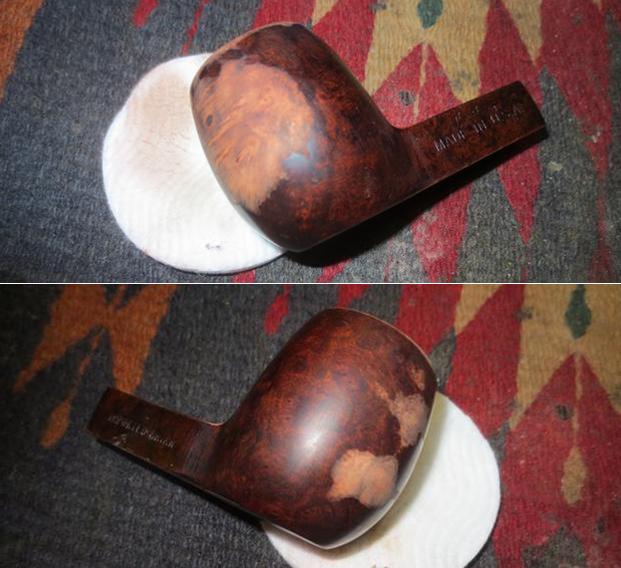
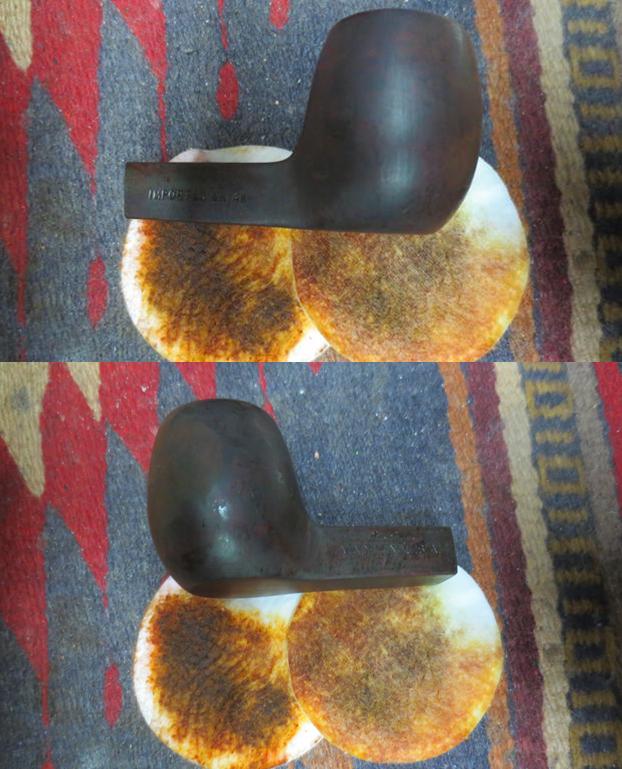
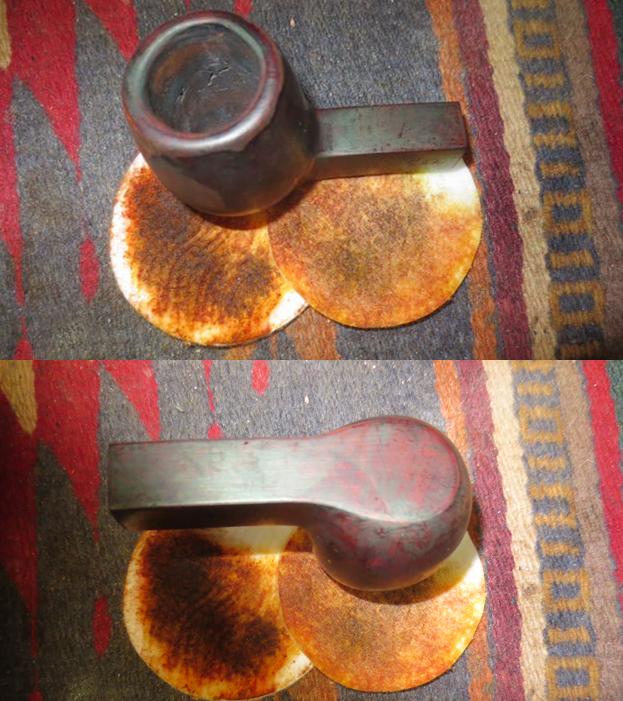
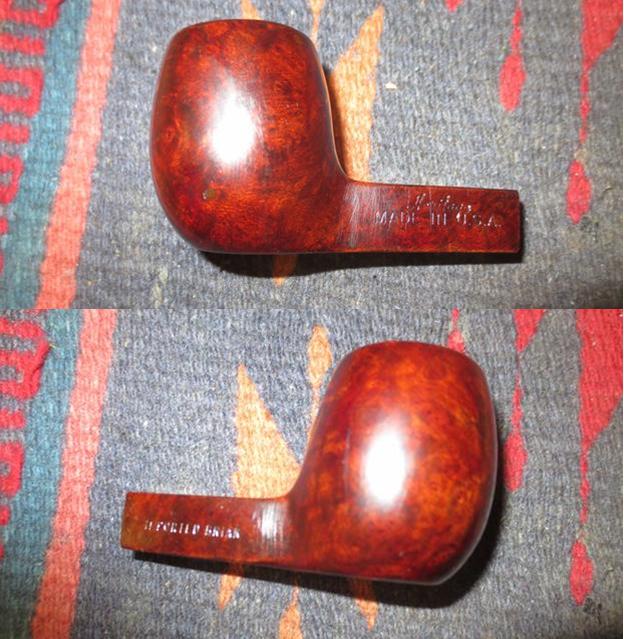
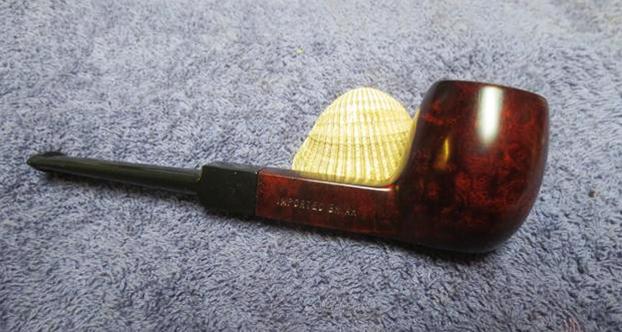
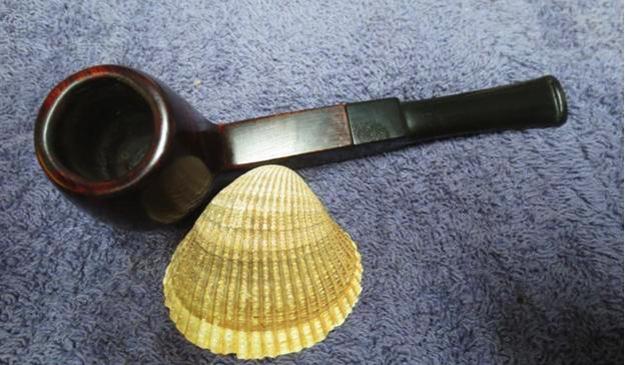
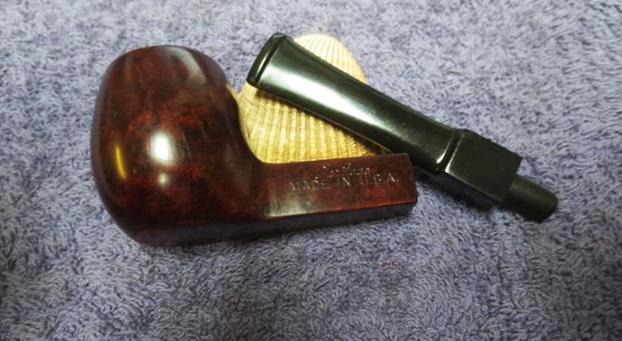
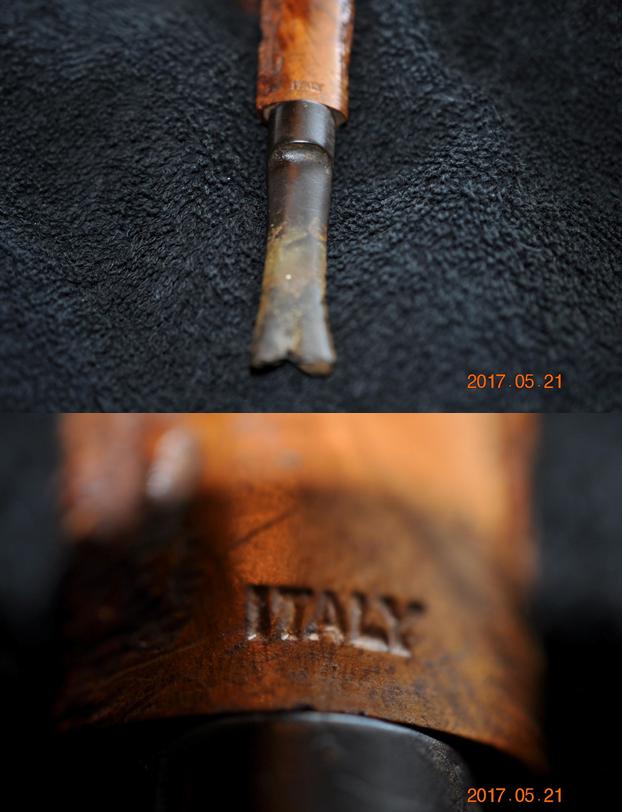
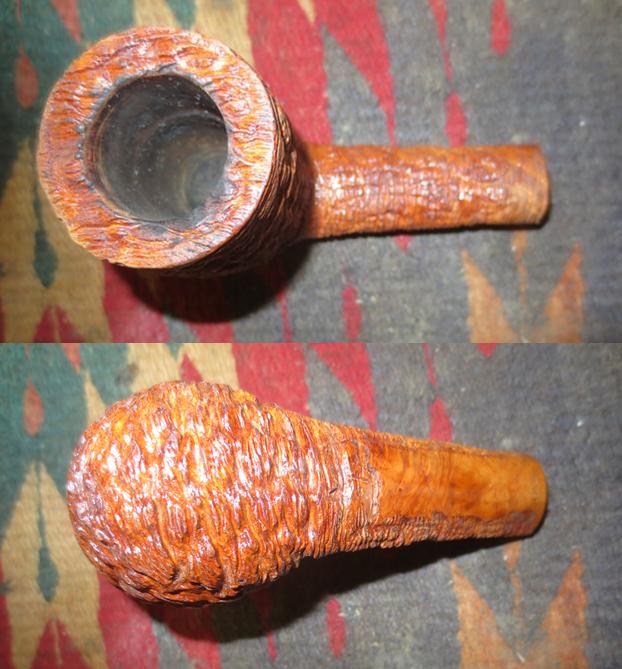
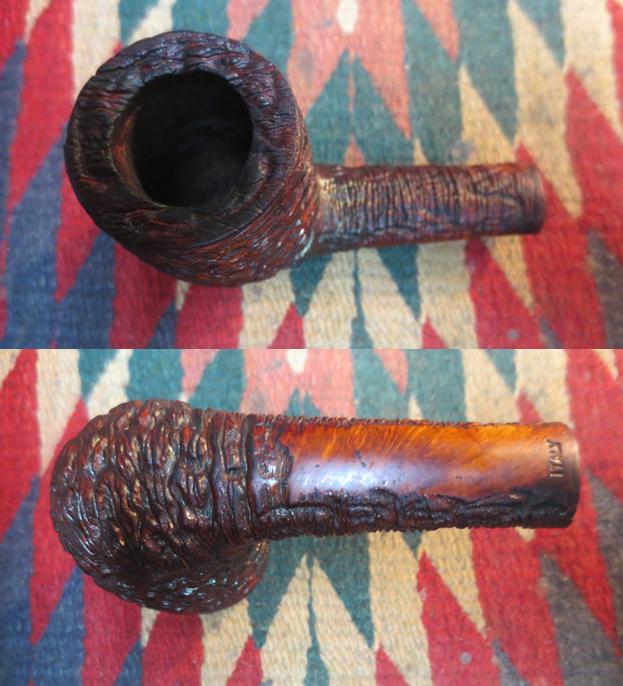
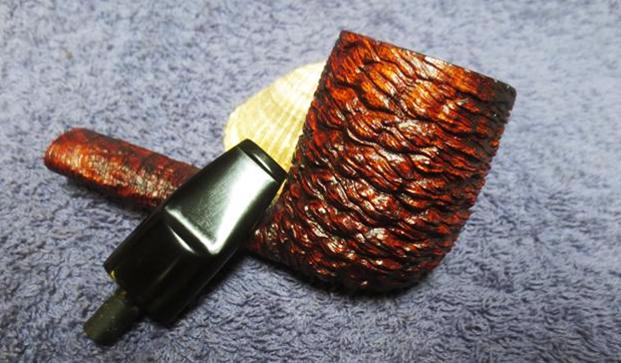
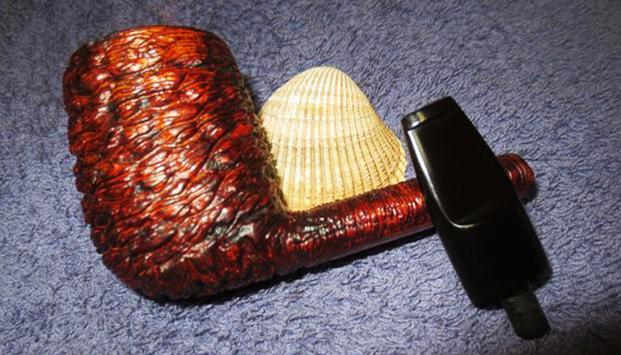
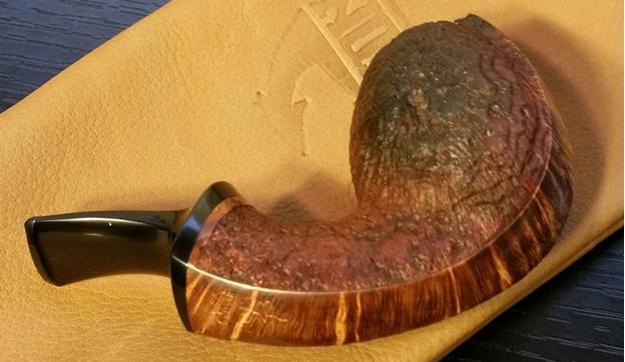
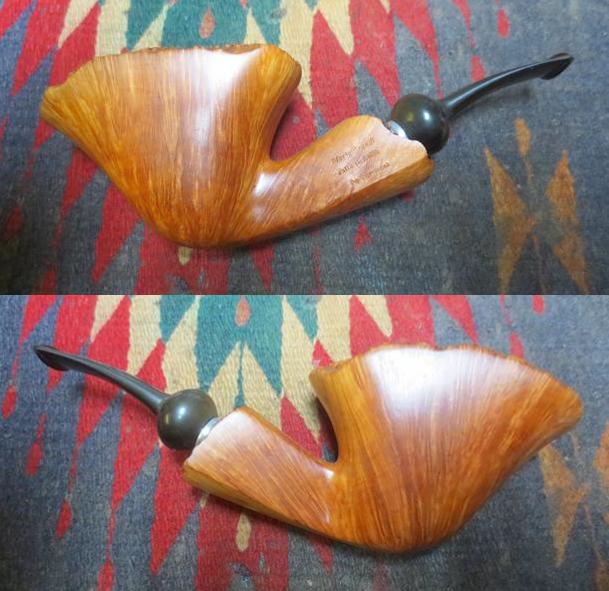
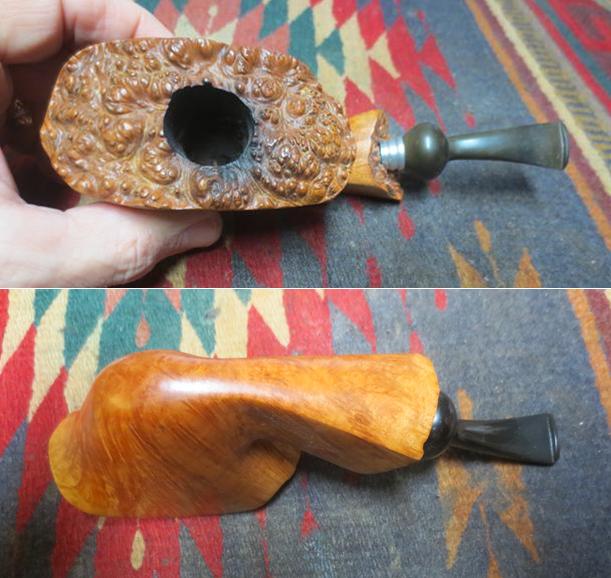
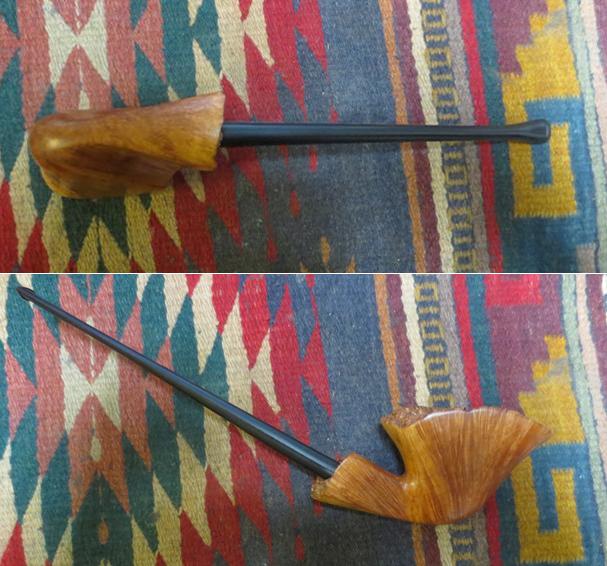
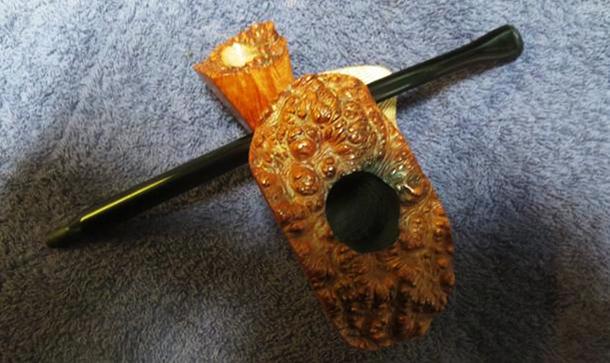
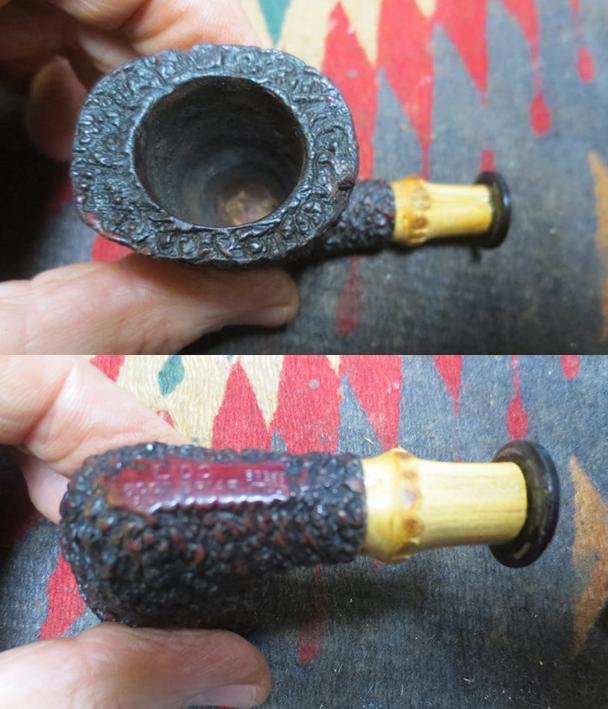
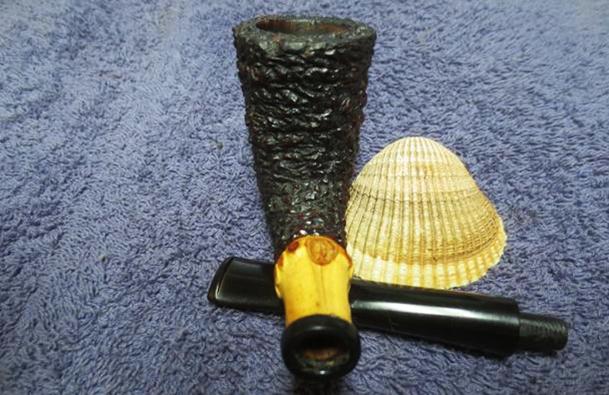
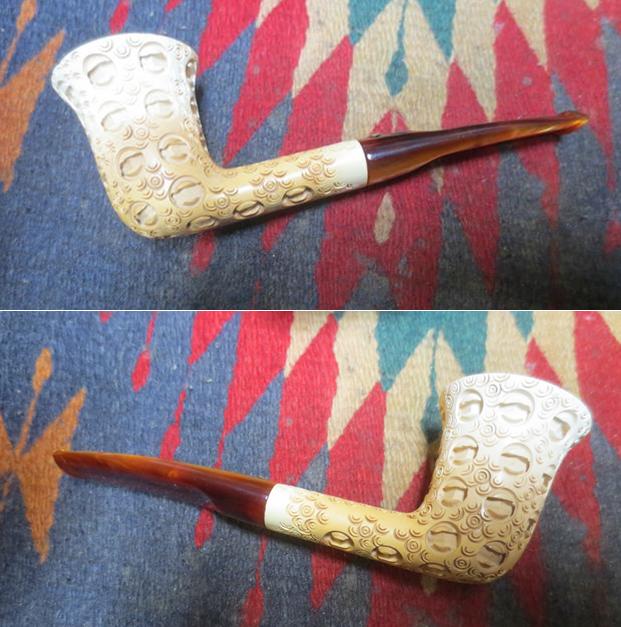
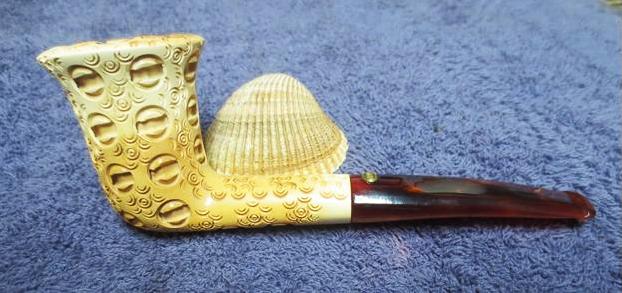
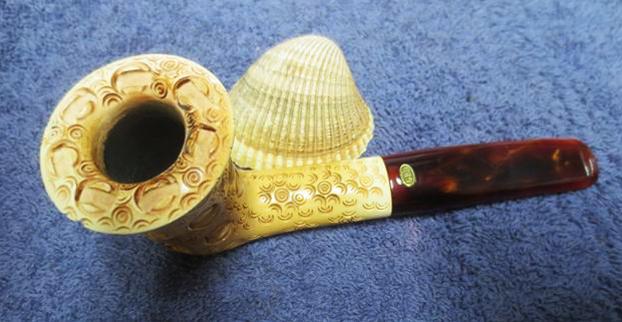
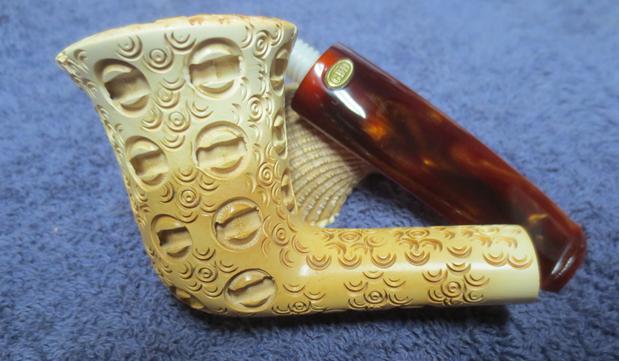
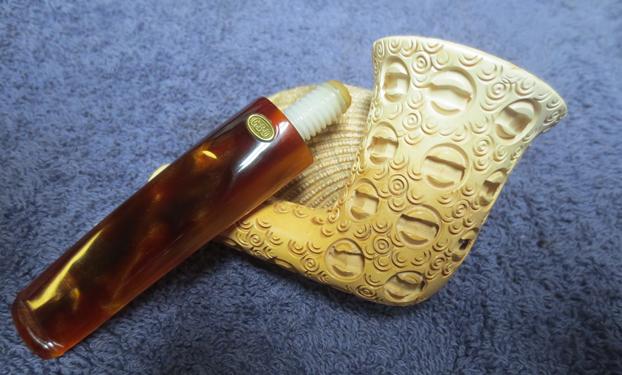
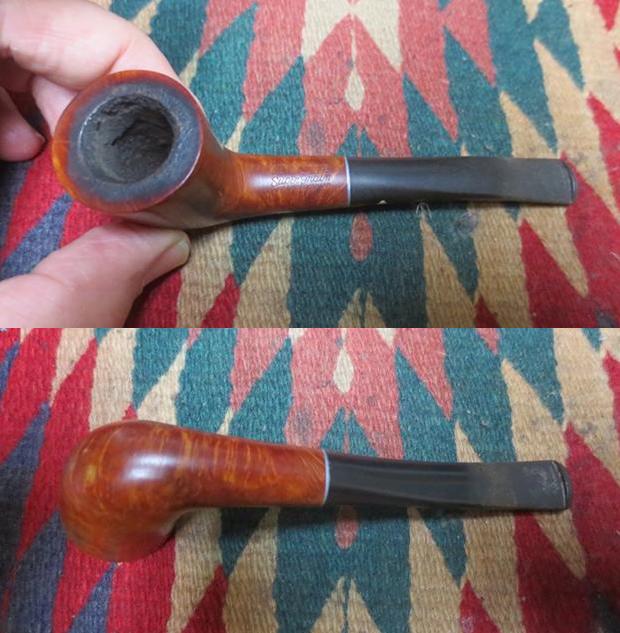
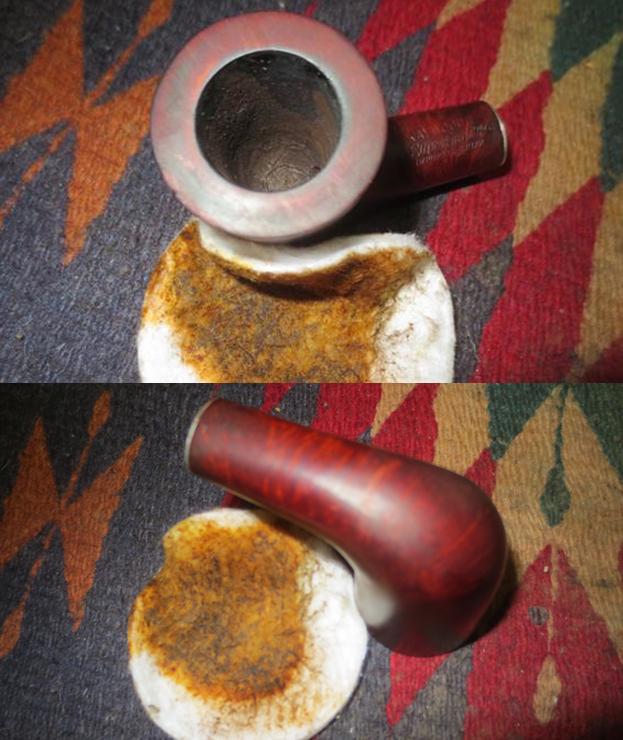
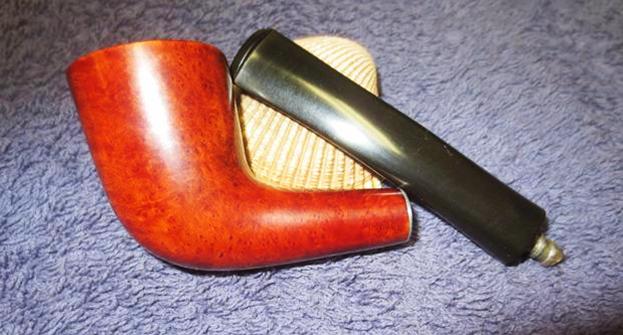
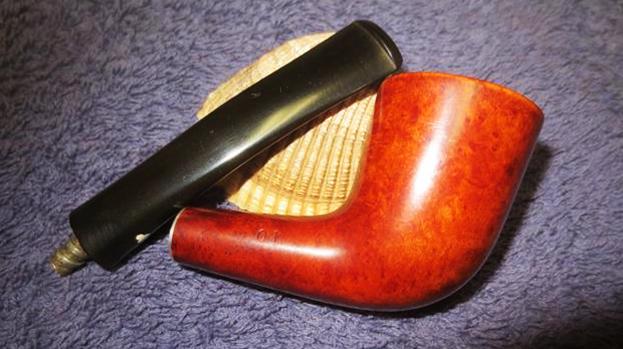
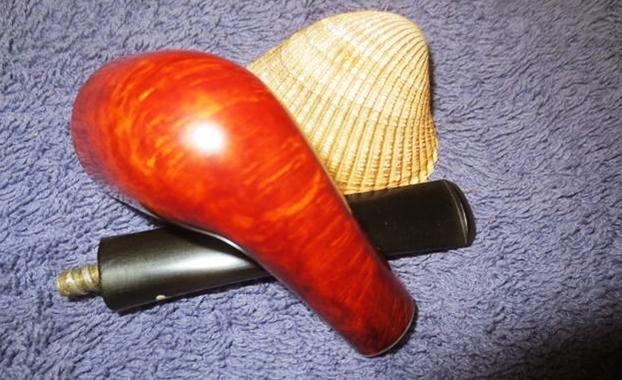
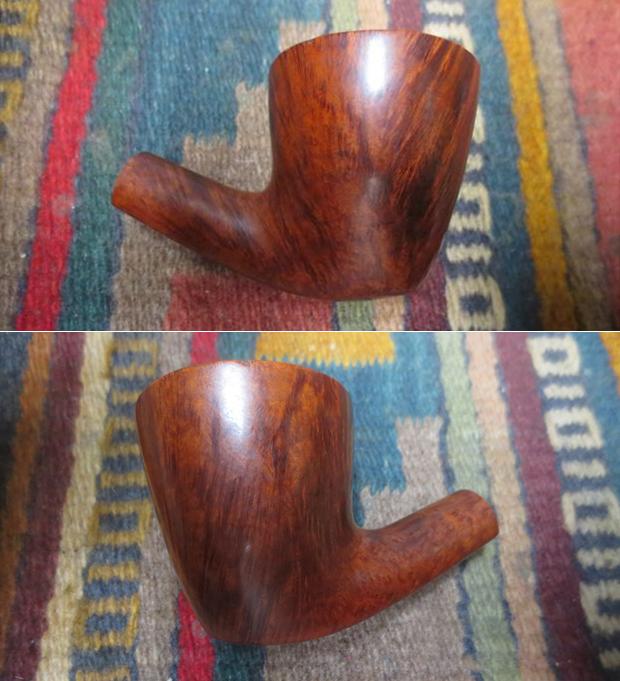
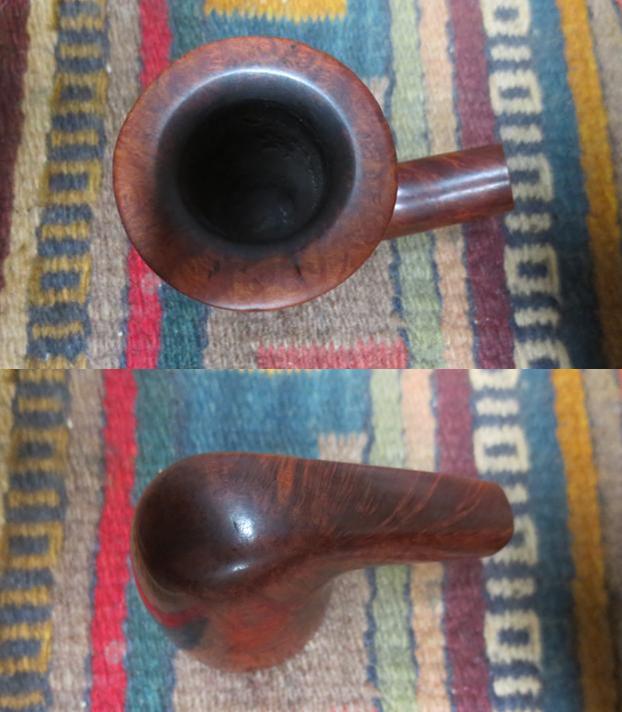
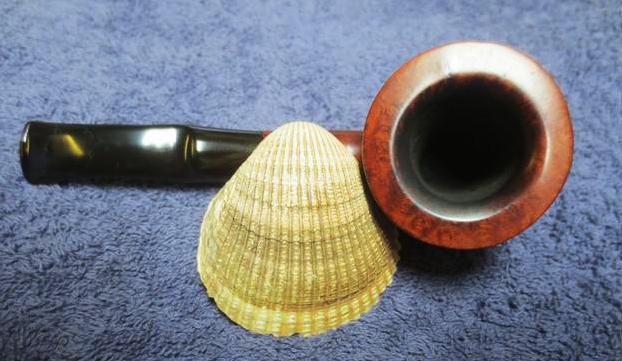
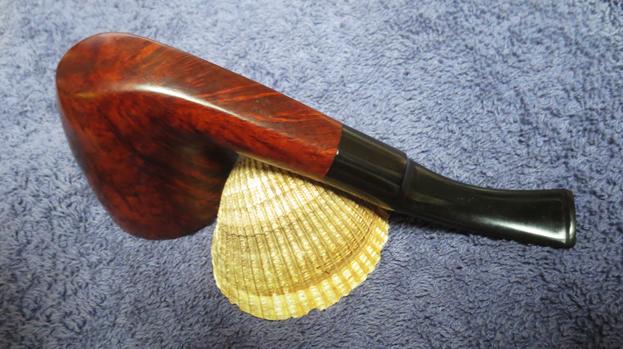
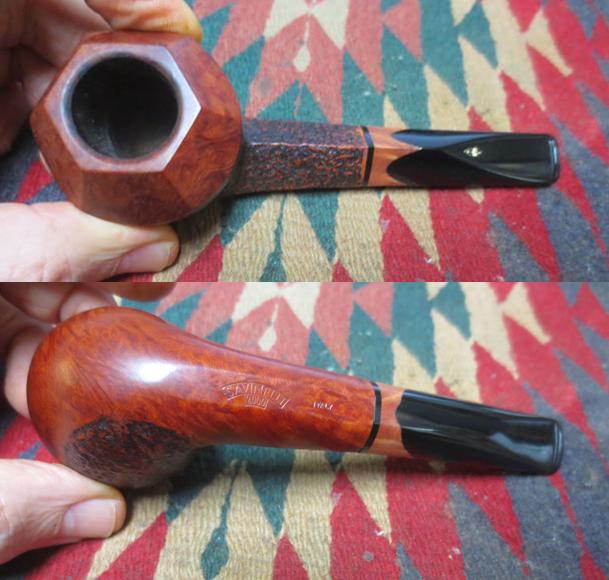
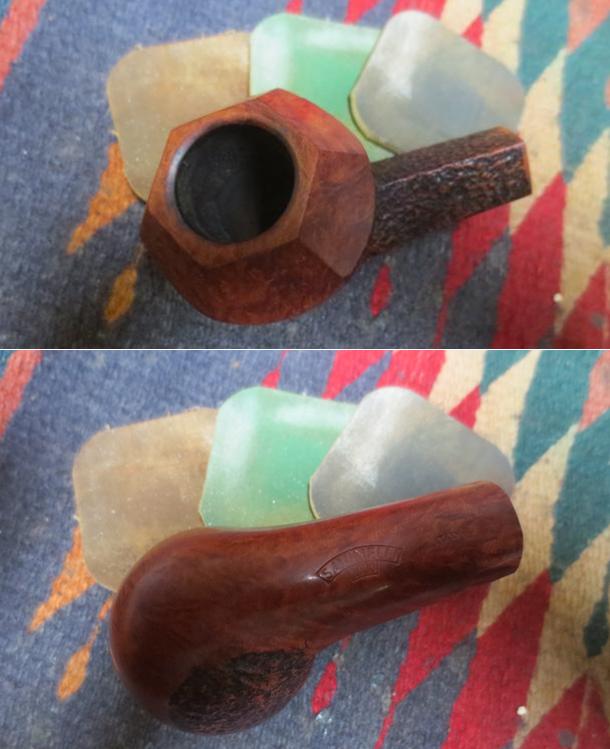
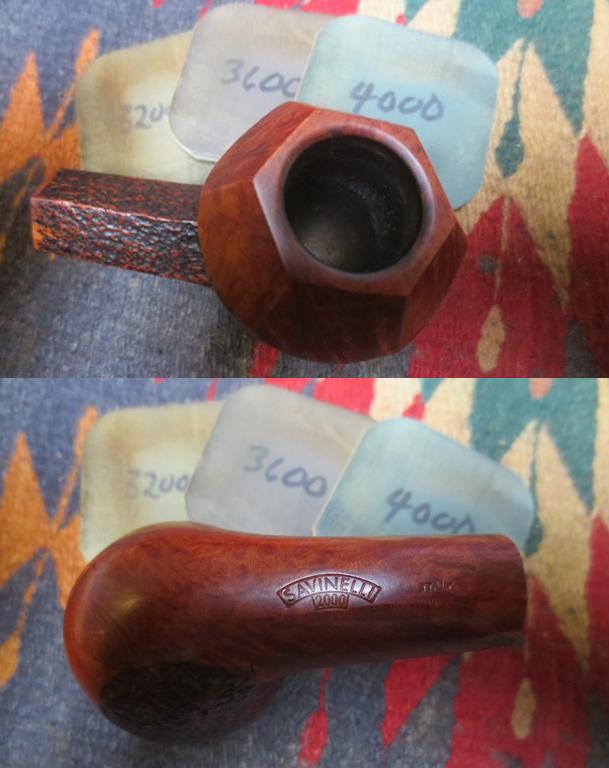
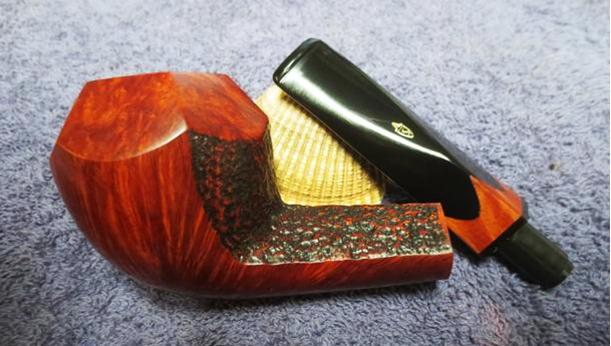
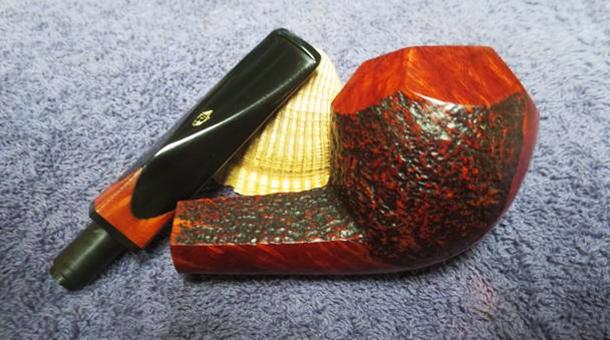
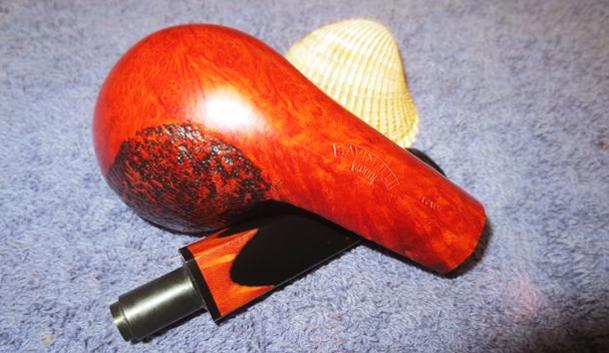
I really liked the look of the pipe. The fact that it was one of 500 pipes made that year made it interesting. It was not numbered so there was no way of knowing what number of the 500 this pipe was but that was ok. The finish on it is quite stunning and Jeff included some photos of the pipe from various angles. The last photo in the next set of four shows the stamping on the underside of the shank. It reads Savinelli in its classic banner over 2000 with Italy stamp to the right of it.
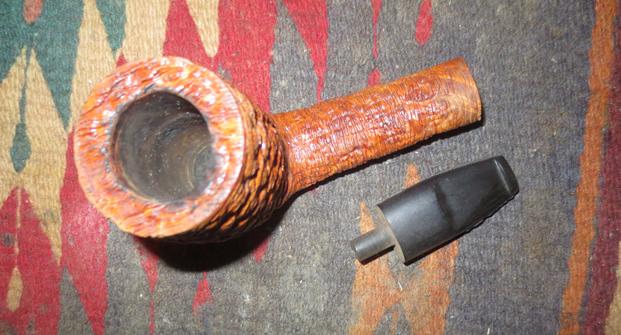
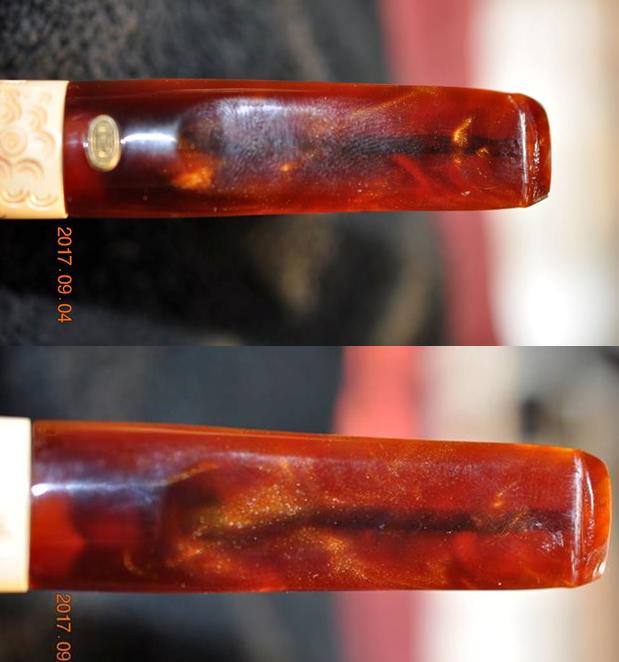
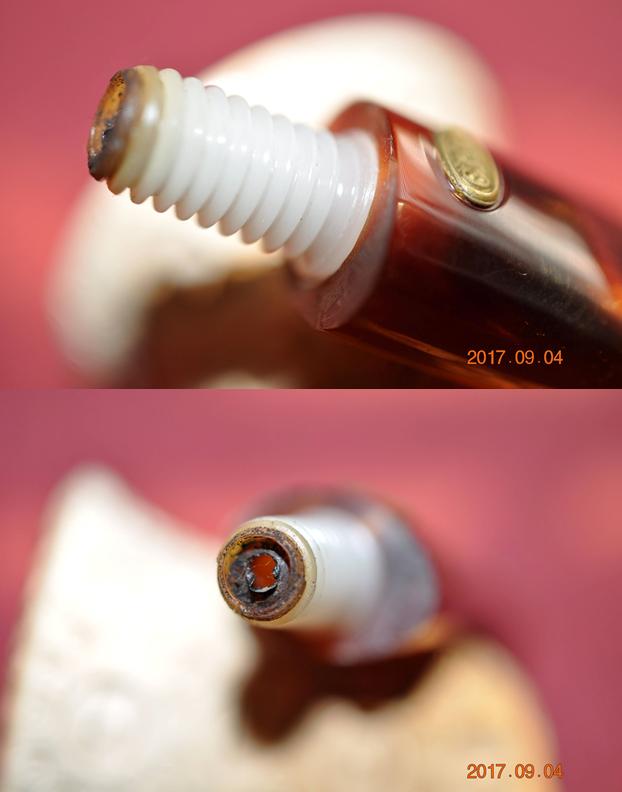
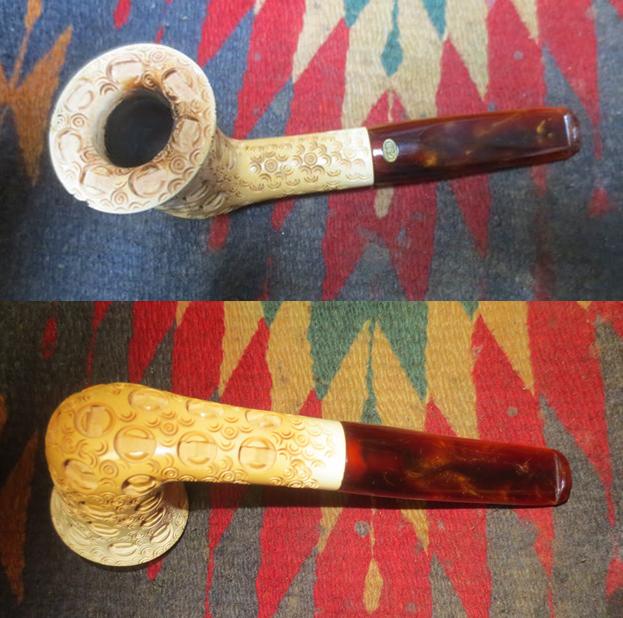
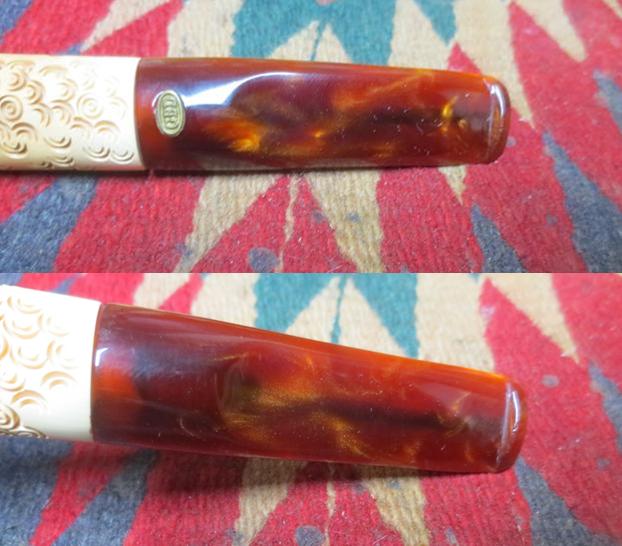
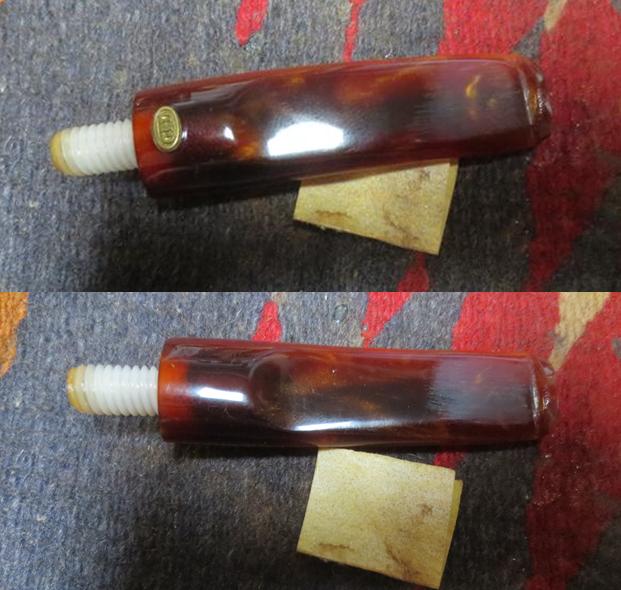
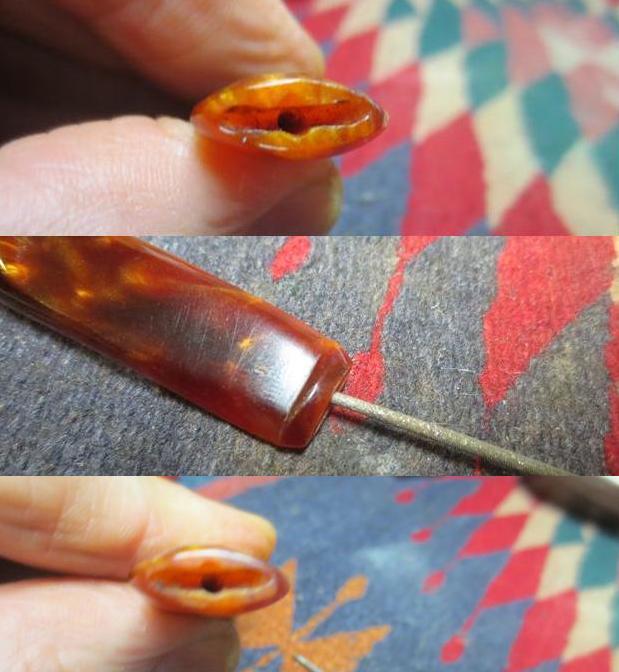
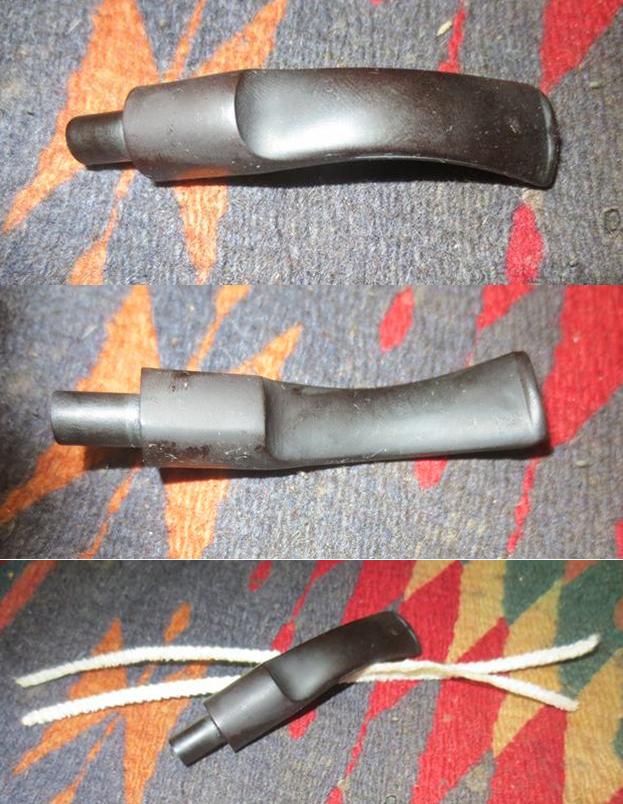
 The stem shows the combination of acrylic and briar that was done before the stem was cut and shaped. It is kind of an arched cut away stem – diamond shaped tapering back to the button on the top and rounded on the underside. There is some light tooth chatter as noted above on both sides of the stem at the button. The gold Savinelli crest is stamped in the top of the stem as it tapers back to the button. The crest is in excellent condition.
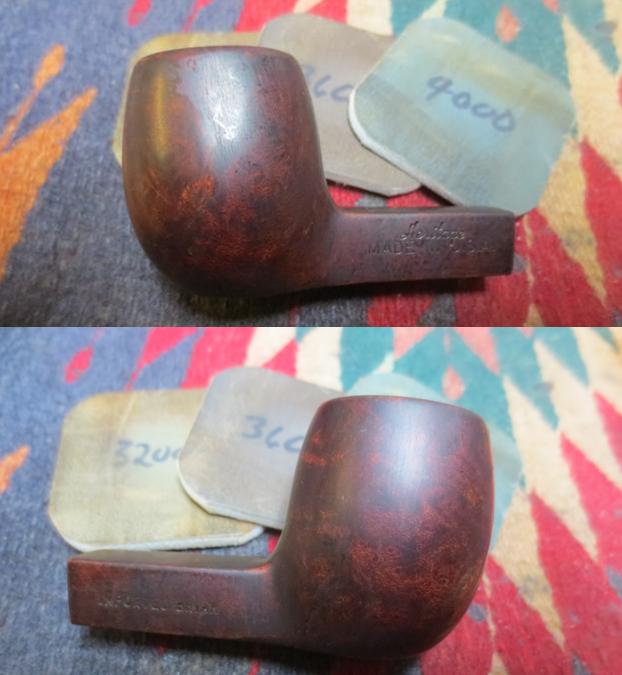
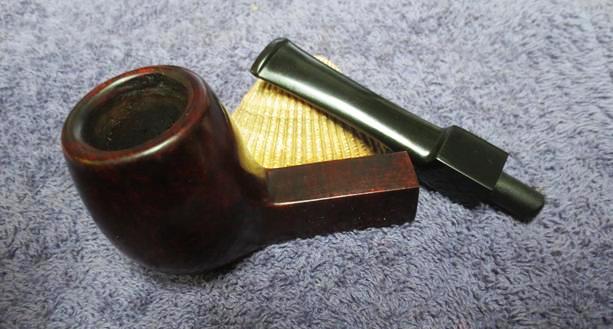
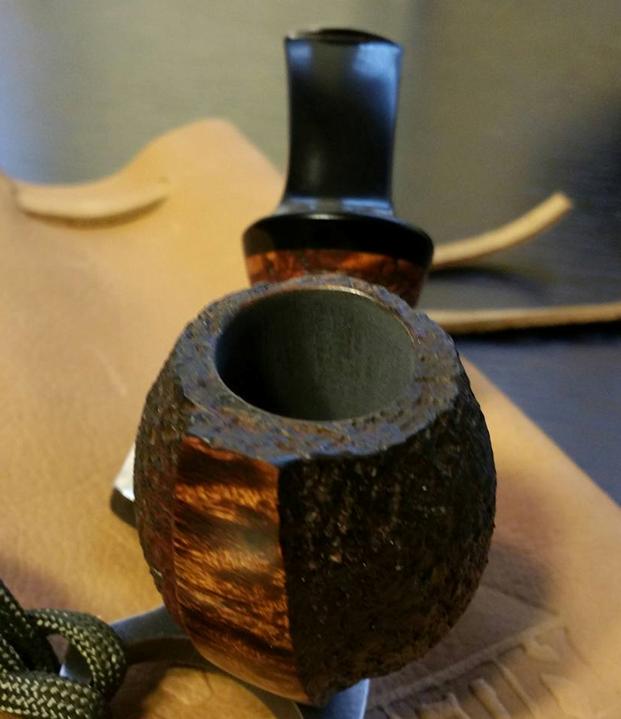
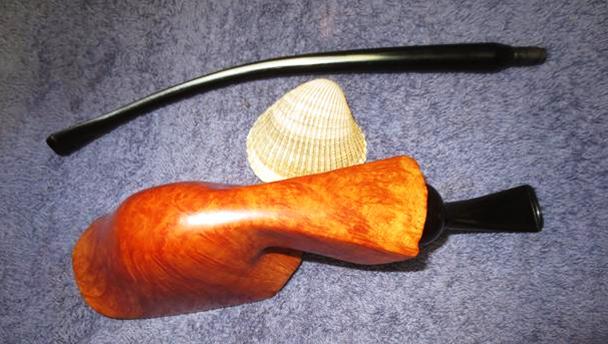
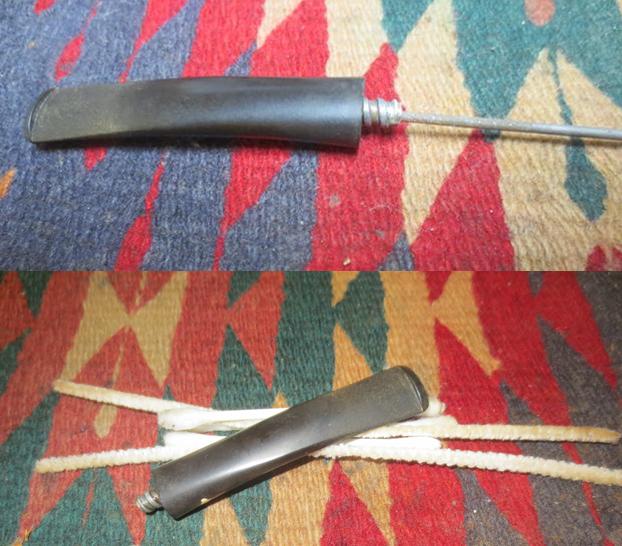
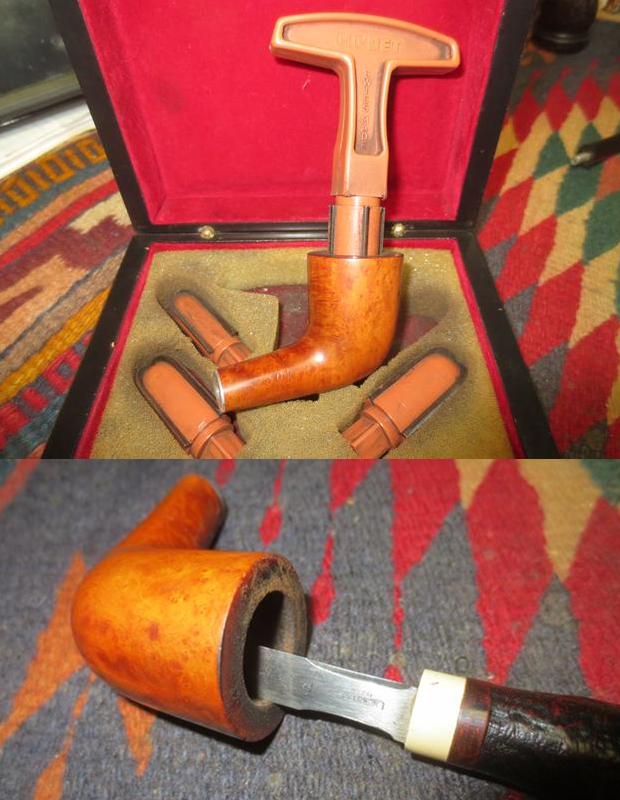
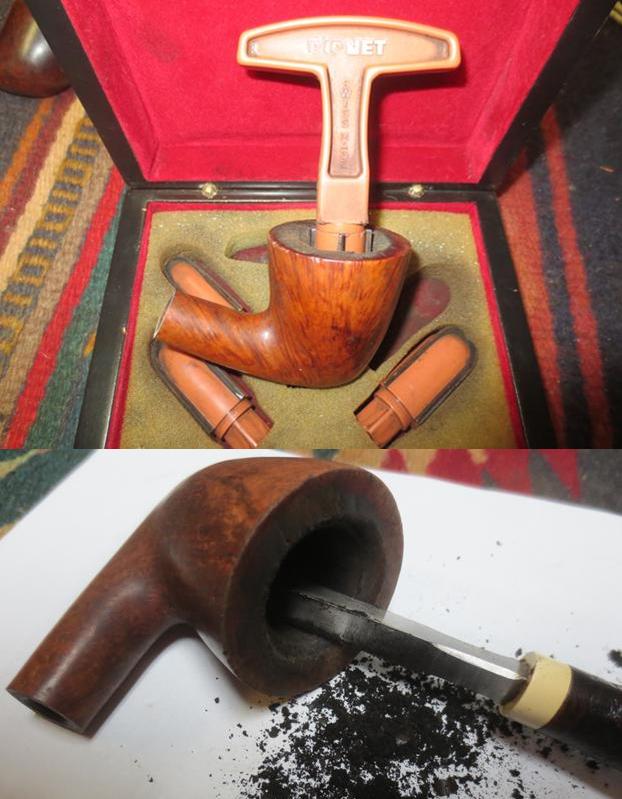
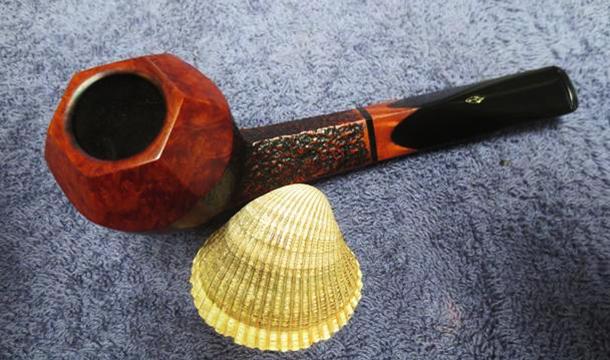
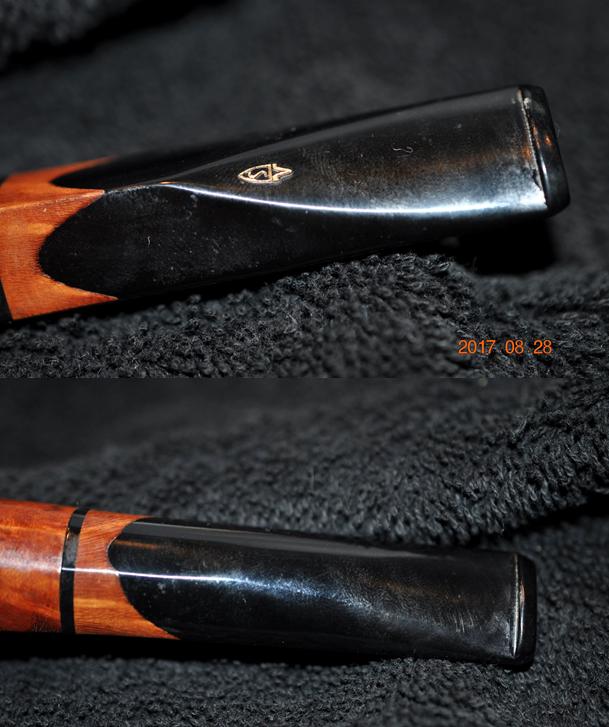 This one was also a bit easier for Jeff in terms of the cleanup. He was no less thorough, nor did he very his process. He reamed the cake back to the walls of the bowl with a Pipnet reamer and cleaned it up with a Savinelli Fitsall pipe knife (somehow fitting on this pipe). He scrubbed the exterior carefully with Murphy’s Oil Soap and rinsed it off. He cleaned the exterior of the stem the same way and rinsed it. He cleaned out the internals with alcohol, pipe cleaners and cotton swabs until they were spotless. The pipe was really clean and would take polishing but little else to bring it back to top form. I took some photos of the pipe when I got it to record what it looked like before I did my refurbishing work.
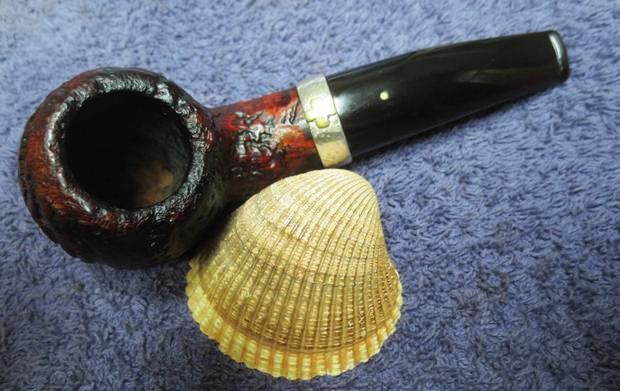
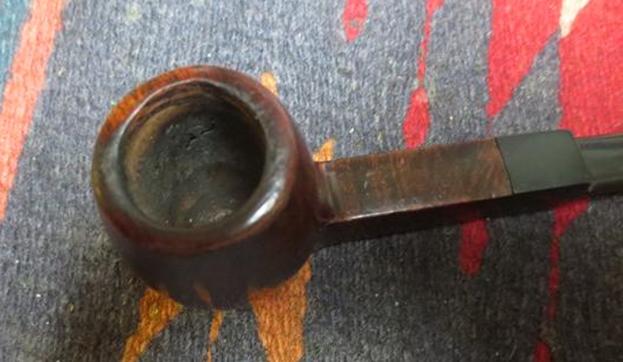
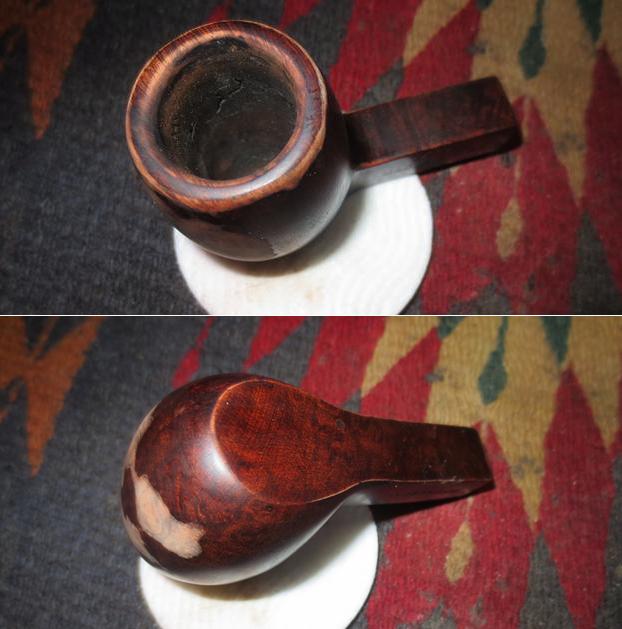
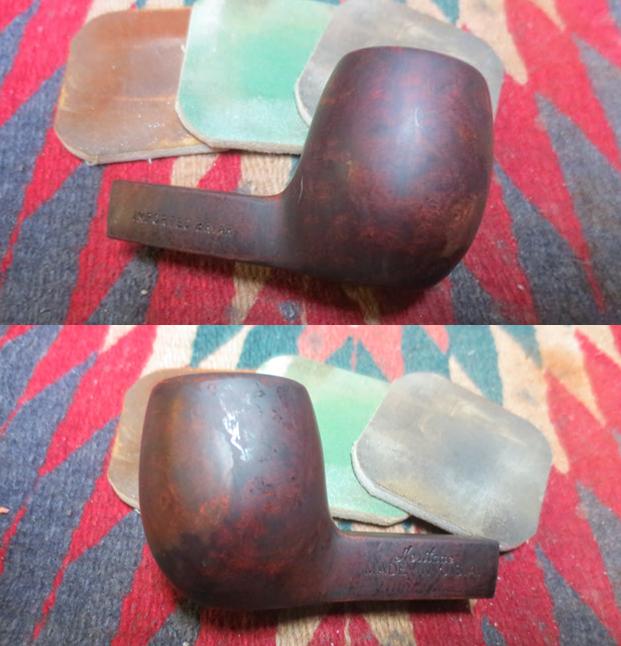
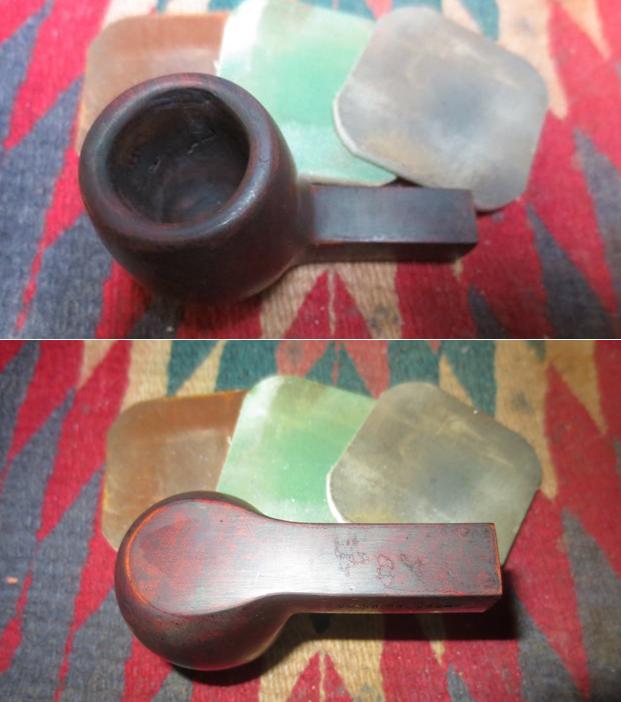
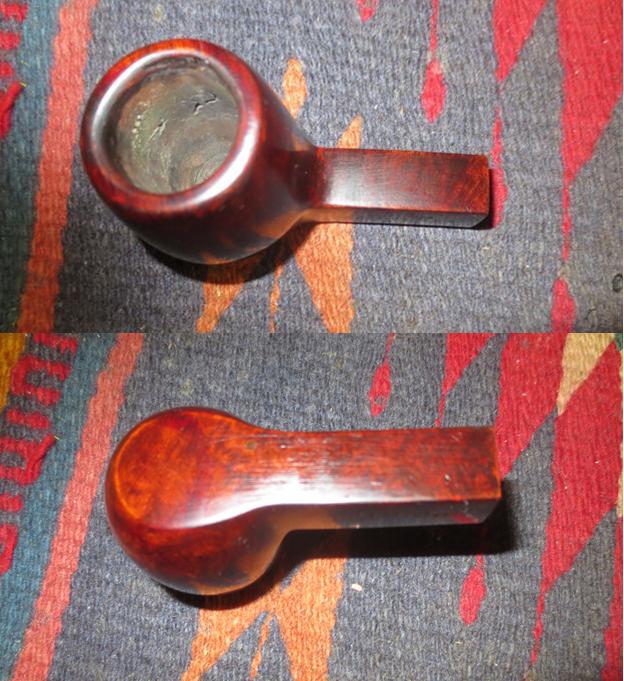
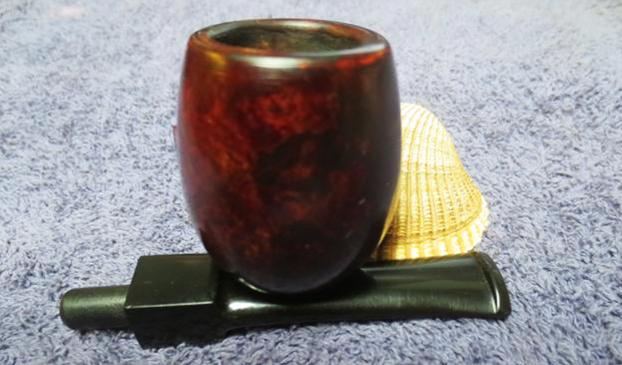
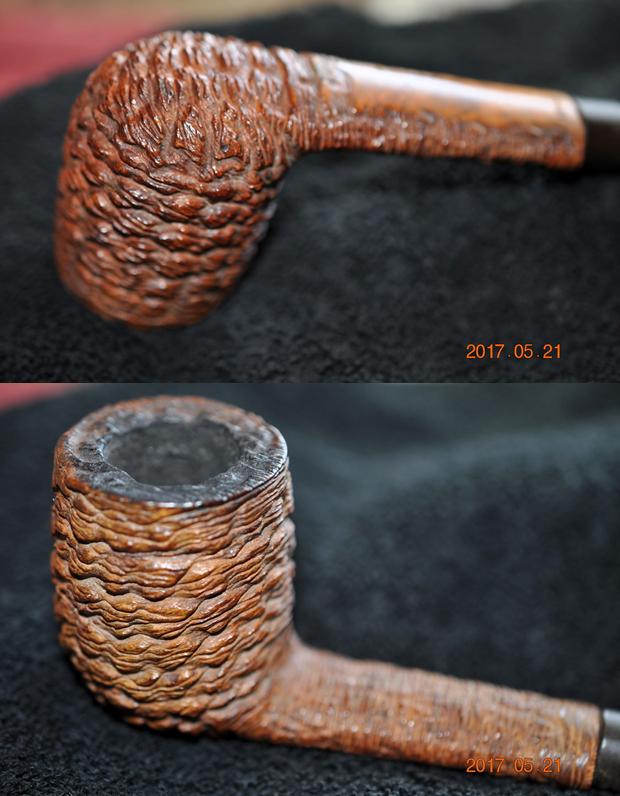
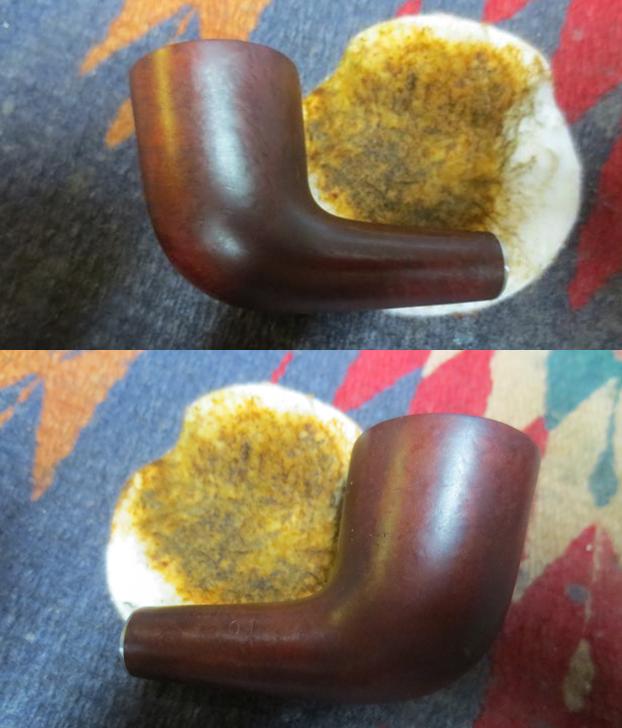
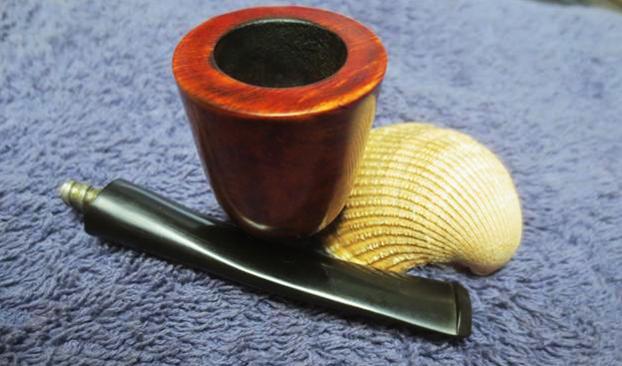
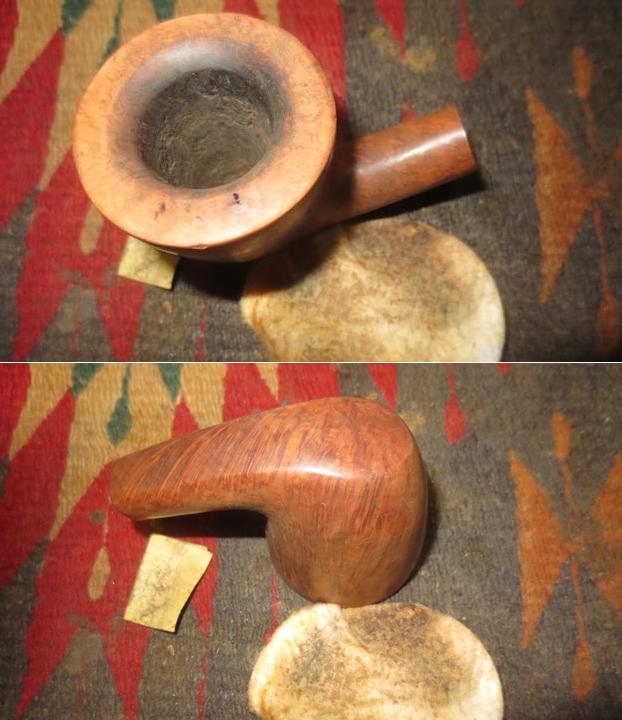
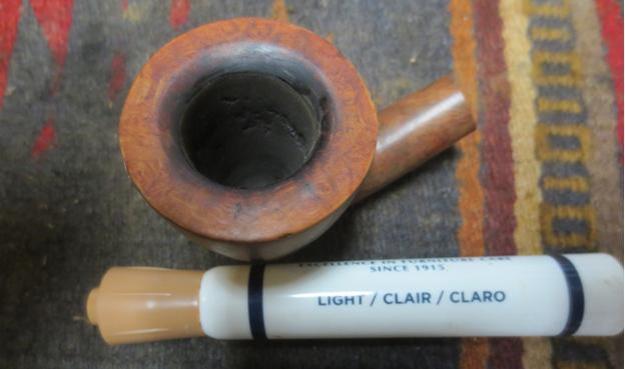
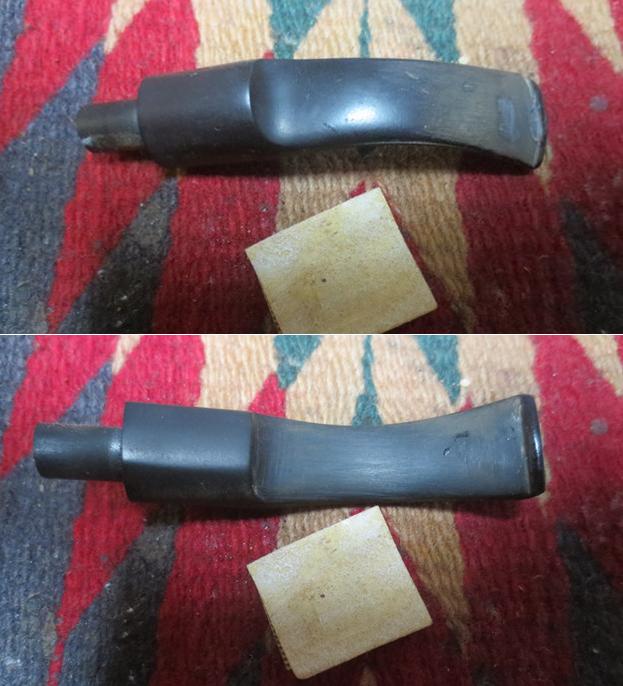
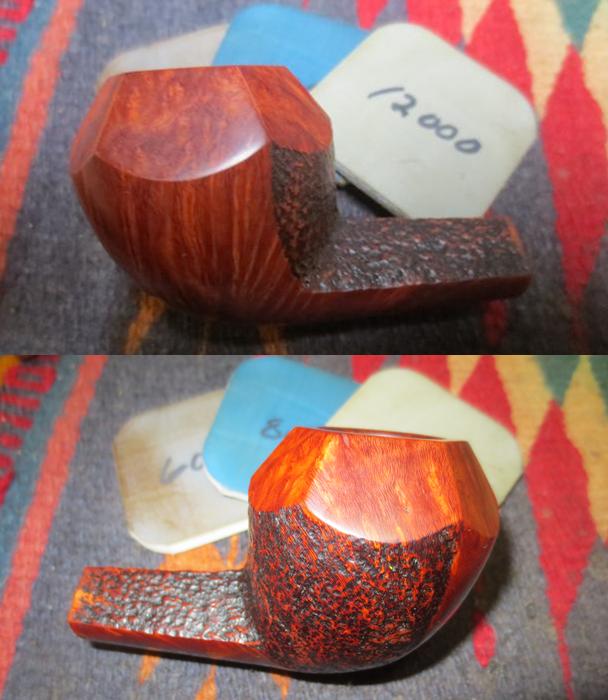
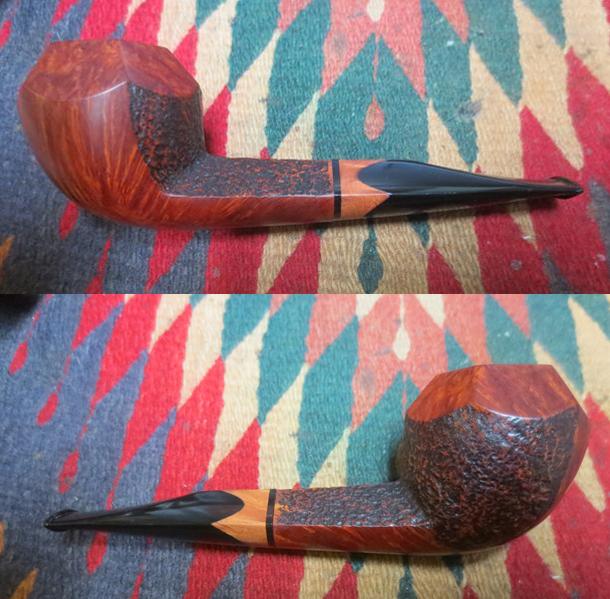
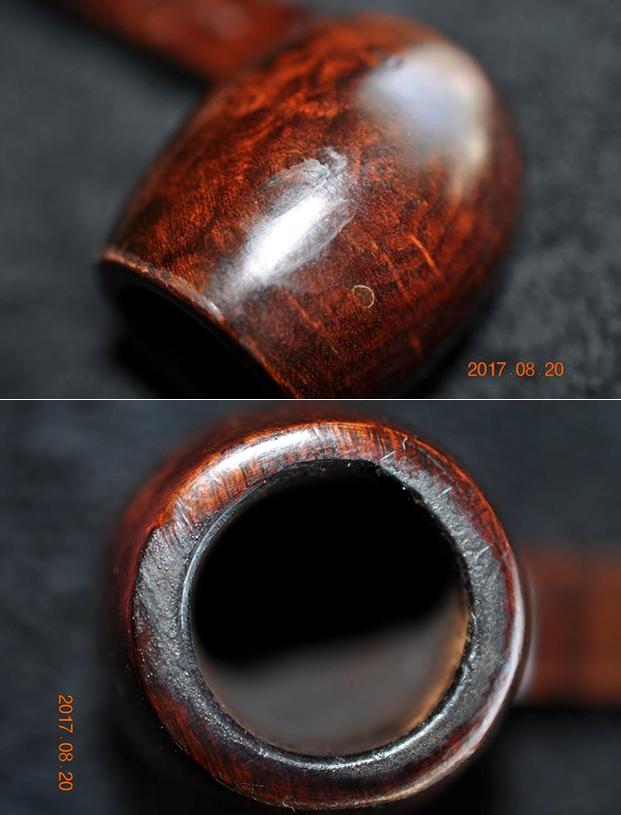
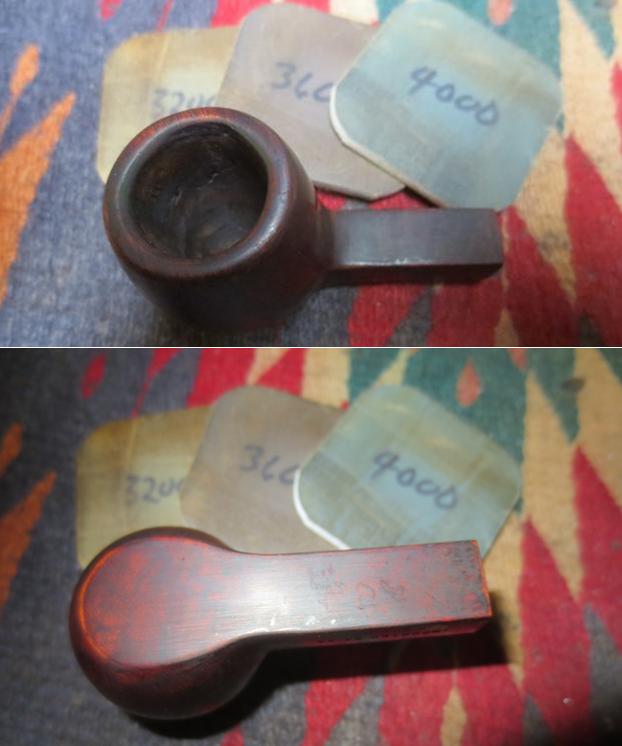
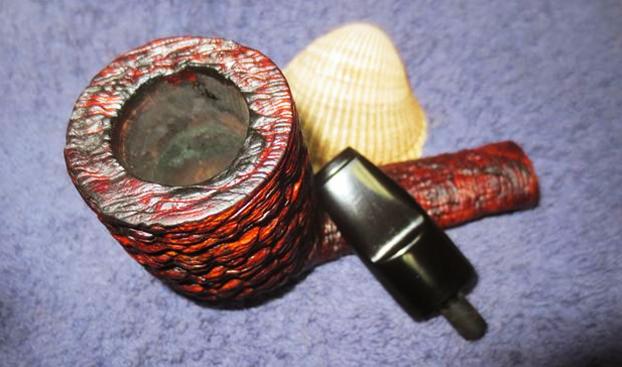
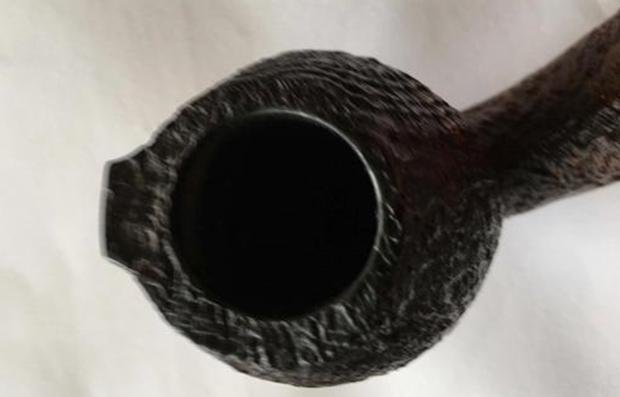
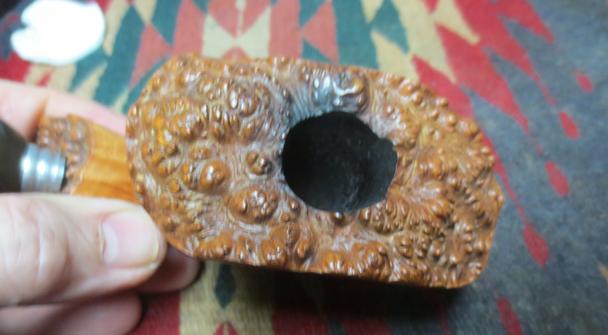
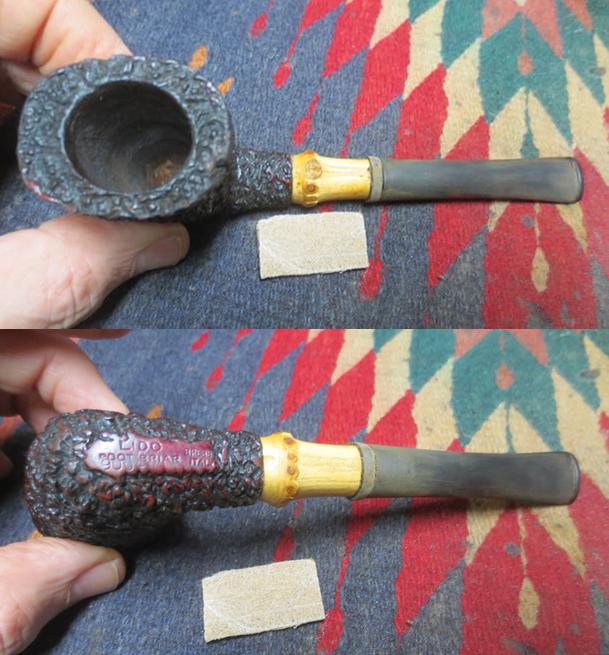
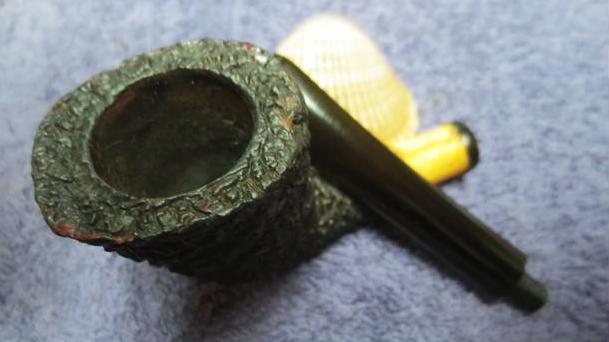
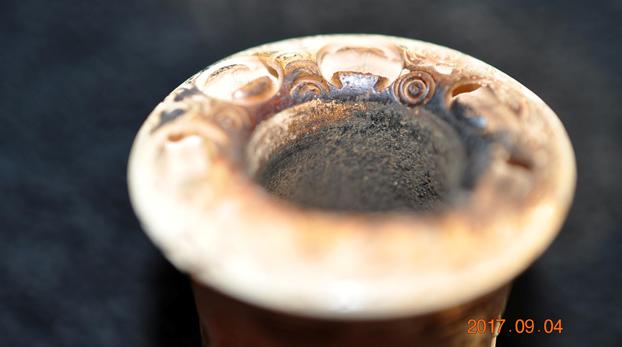
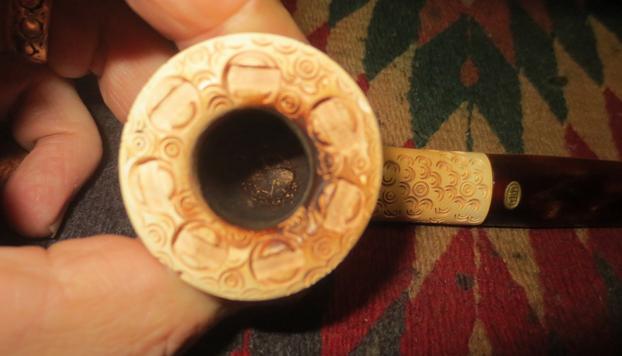
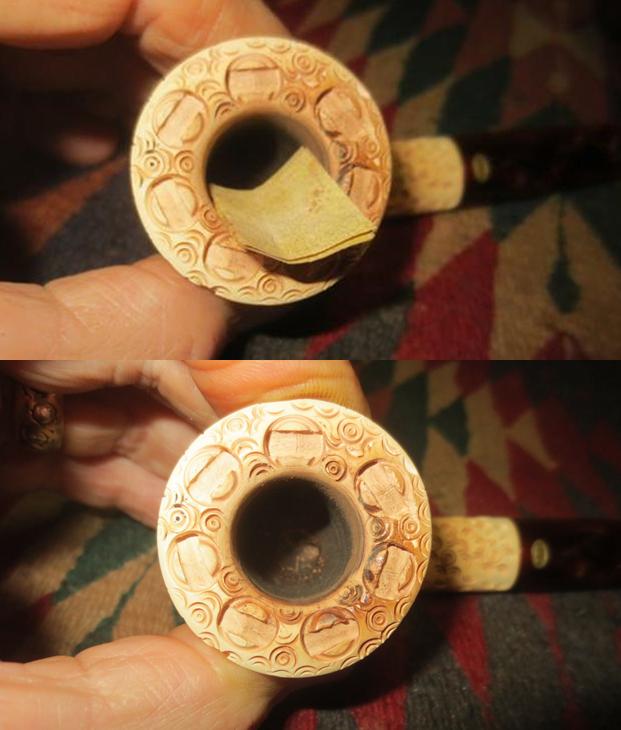
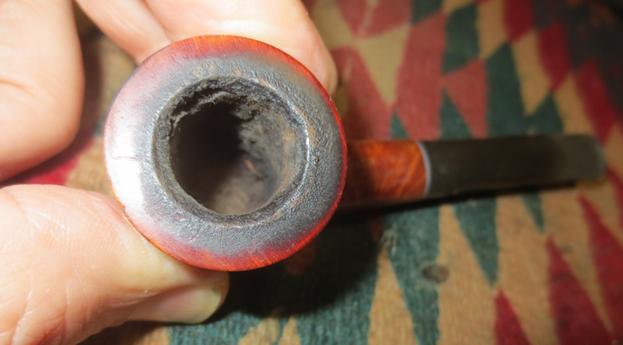
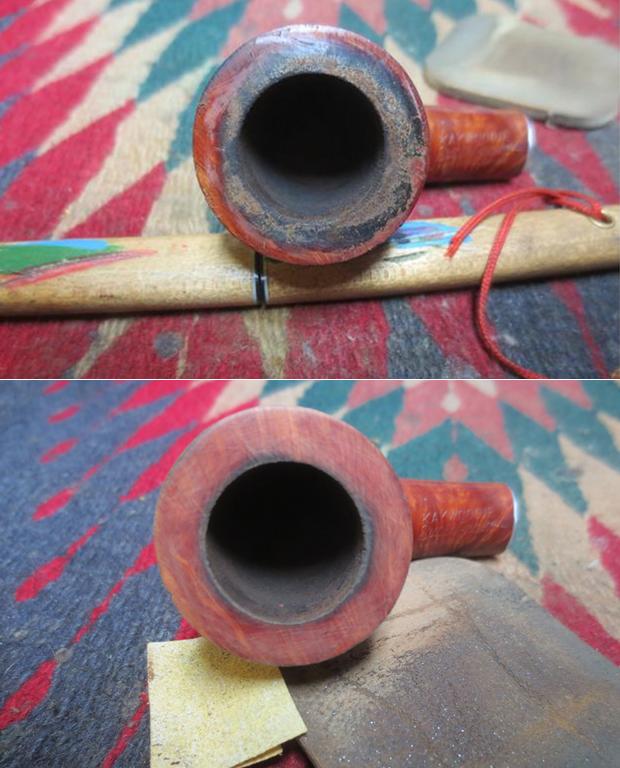
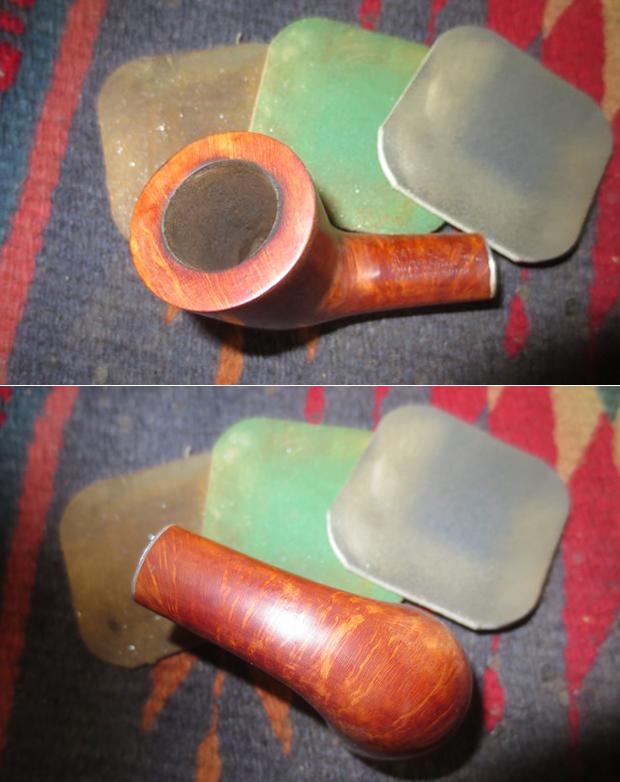
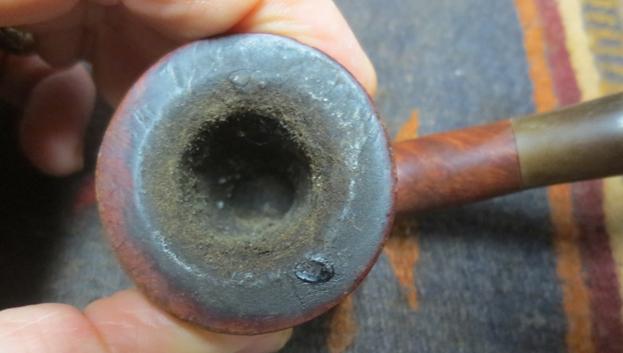
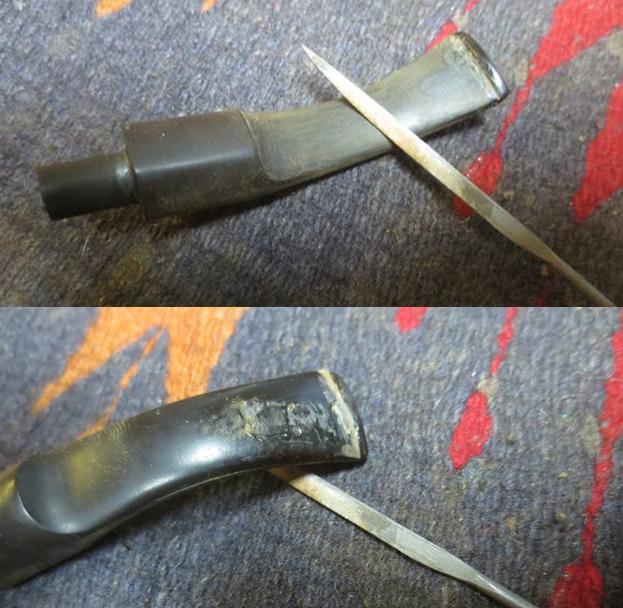
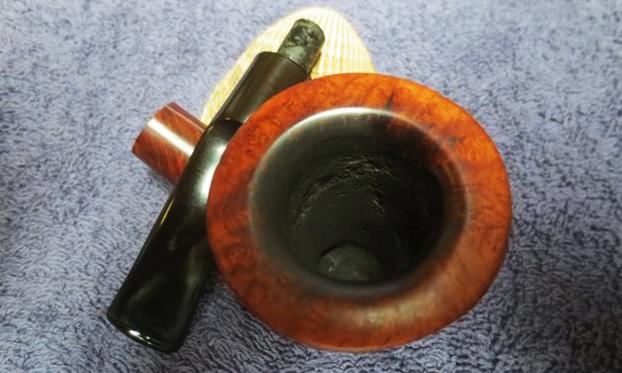
 The top is very clean, though there is some darkening on the inner beveled edge of the rim that would need to be removed.
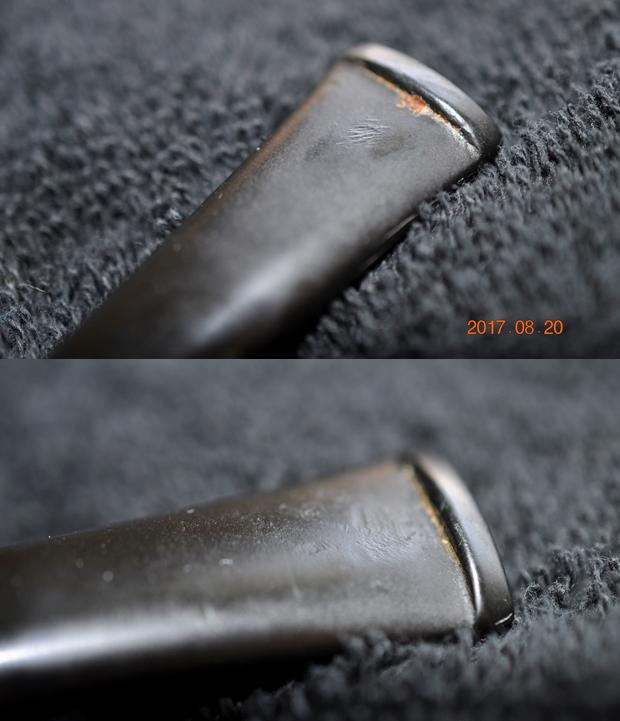
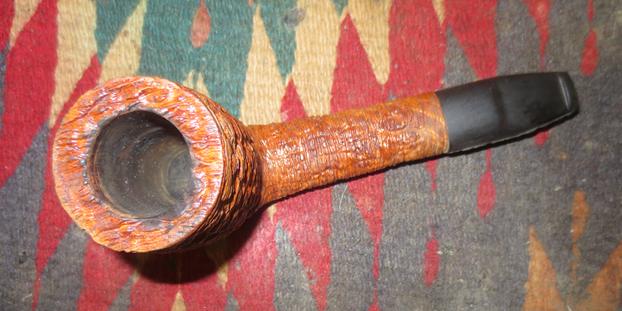
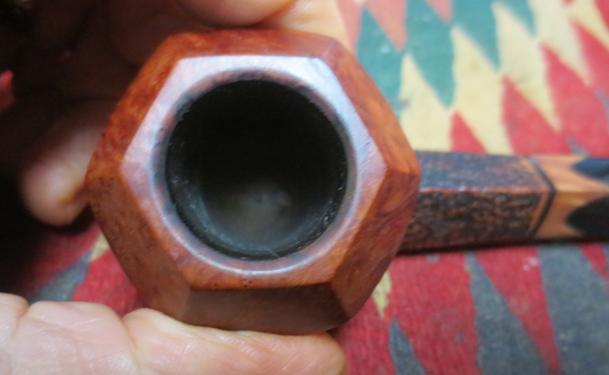 The stem looked very good. He seemed to have been able to remove the tooth chatter on both sides. It would only need to be polished with micromesh and buffed to bring back the deep acrylic shine.
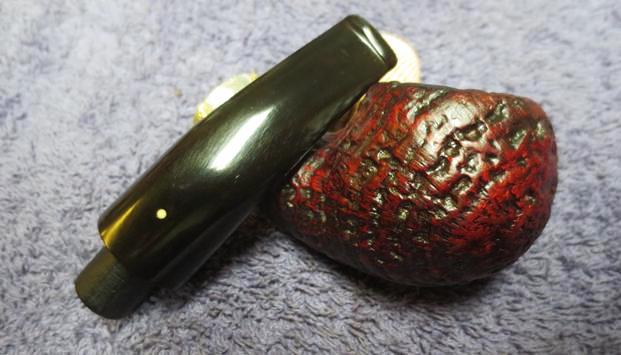
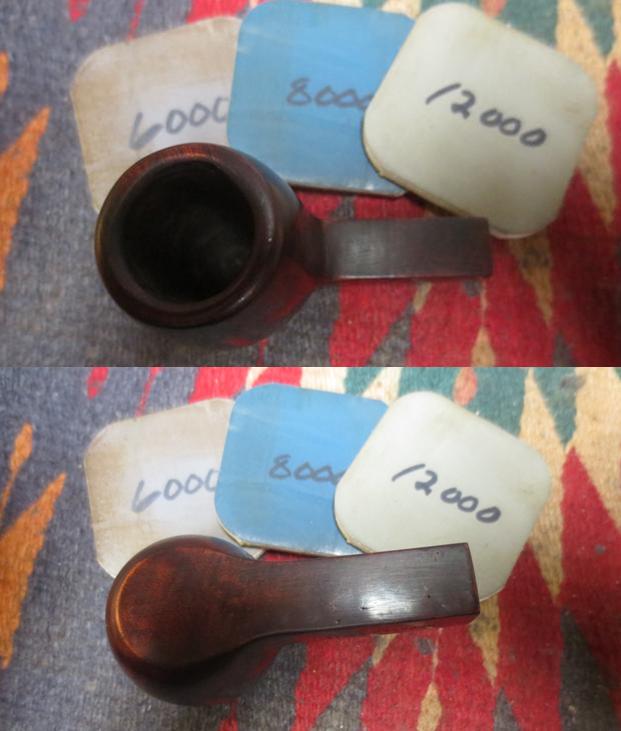
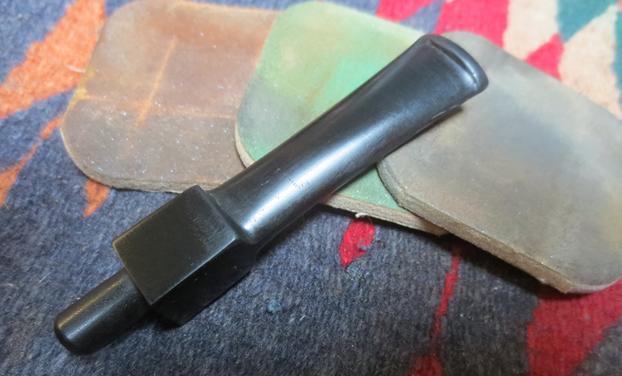
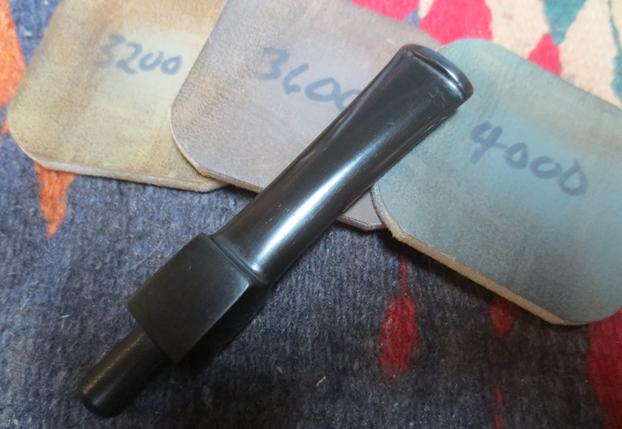
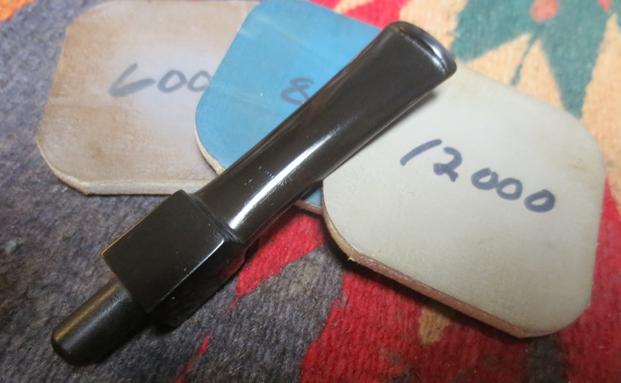
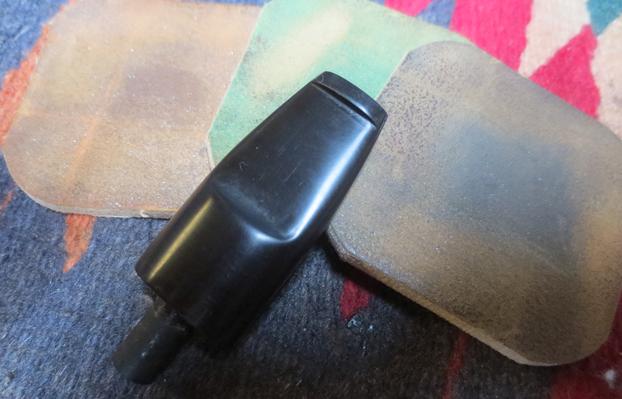
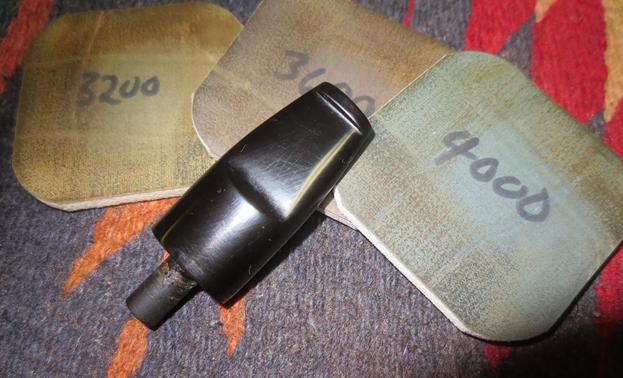
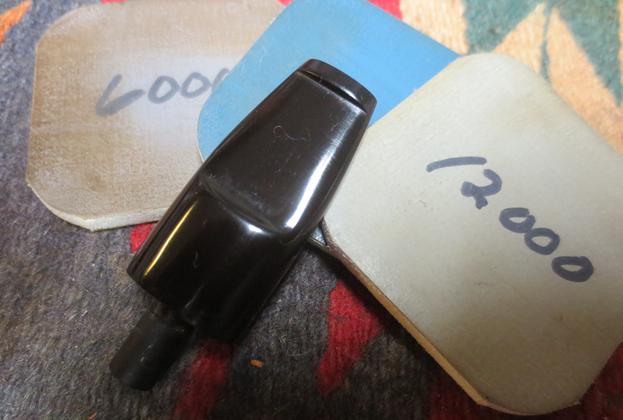
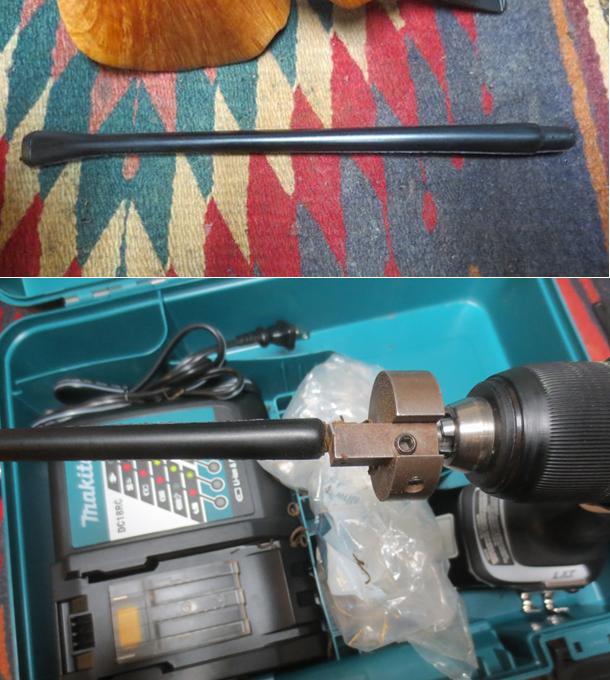
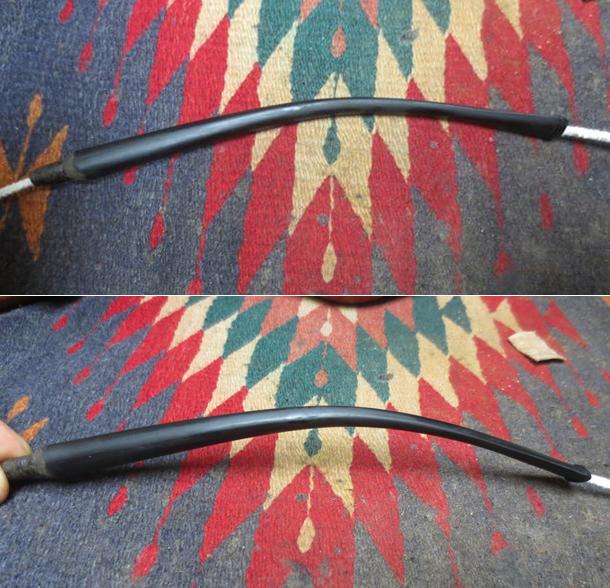
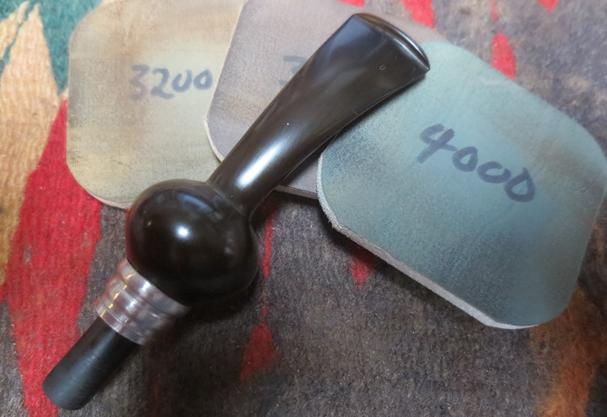
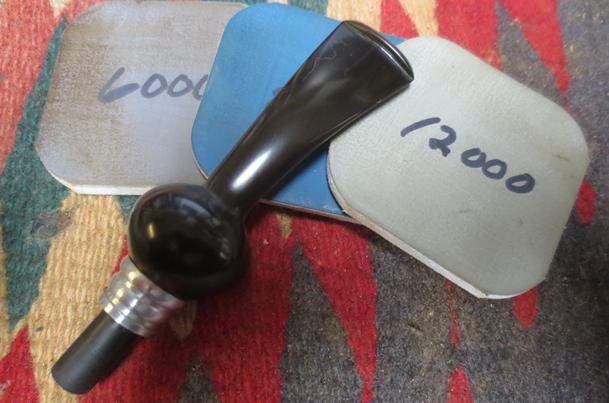
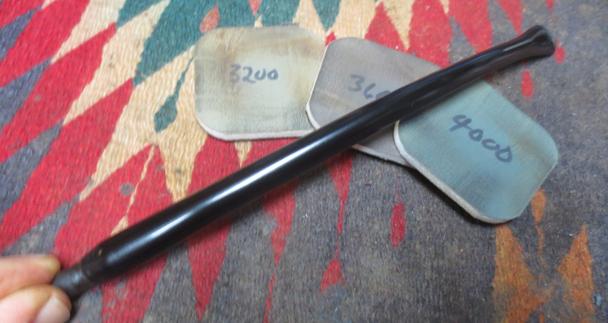
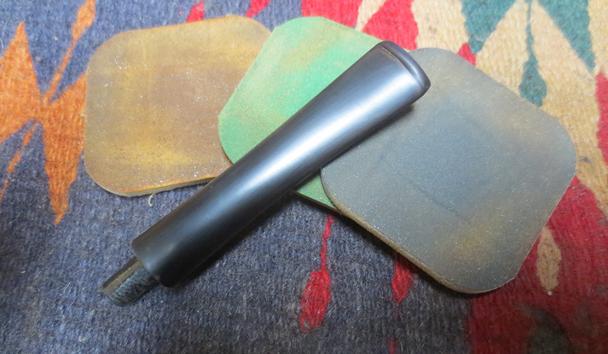
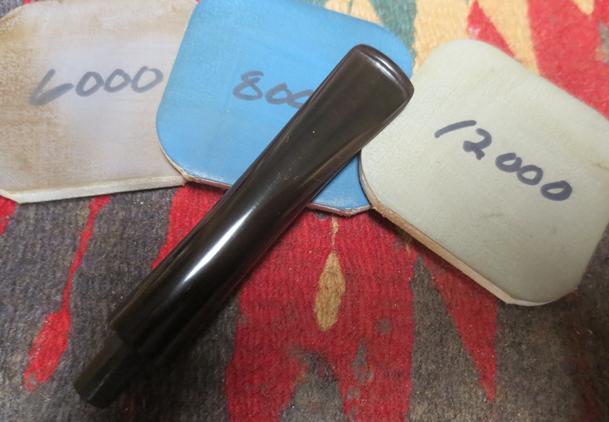
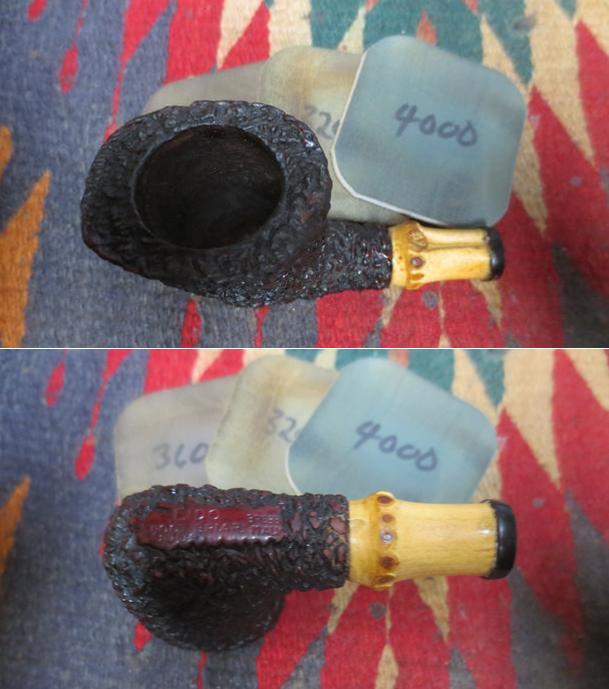
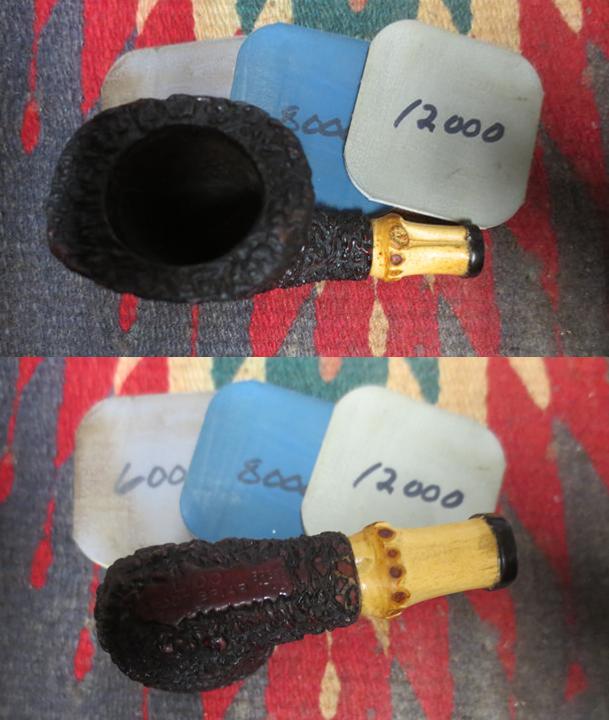
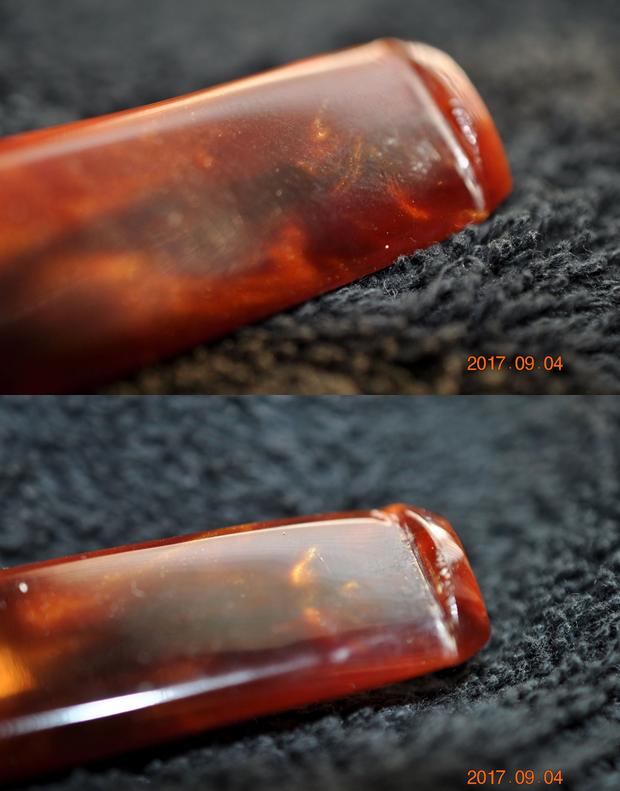
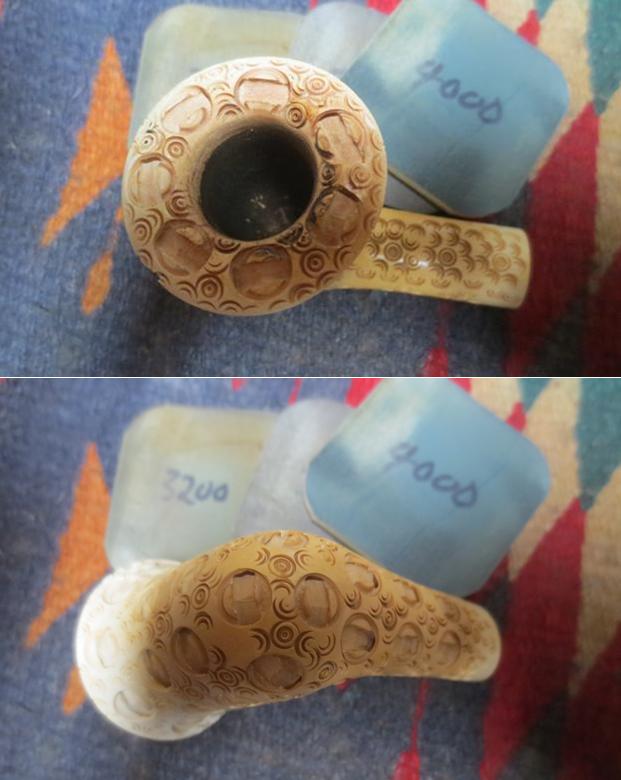
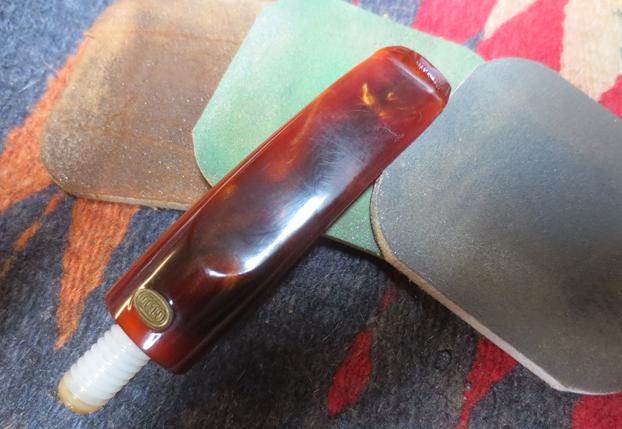
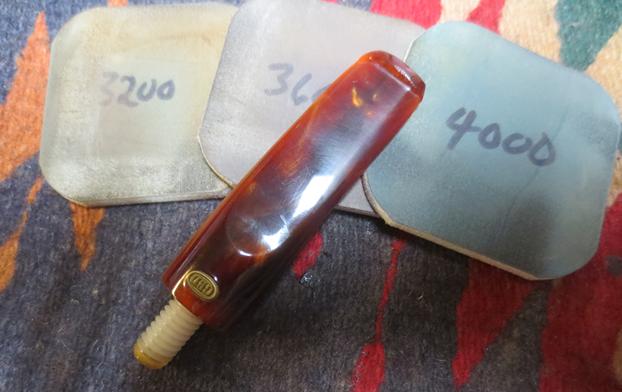
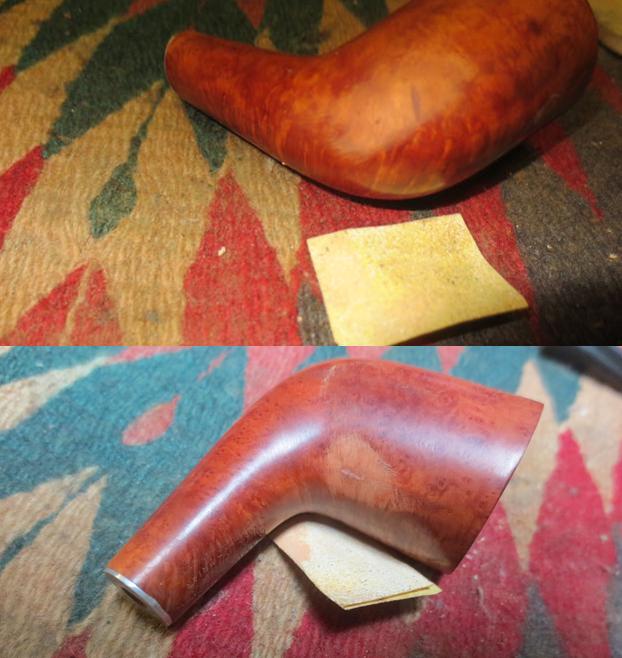
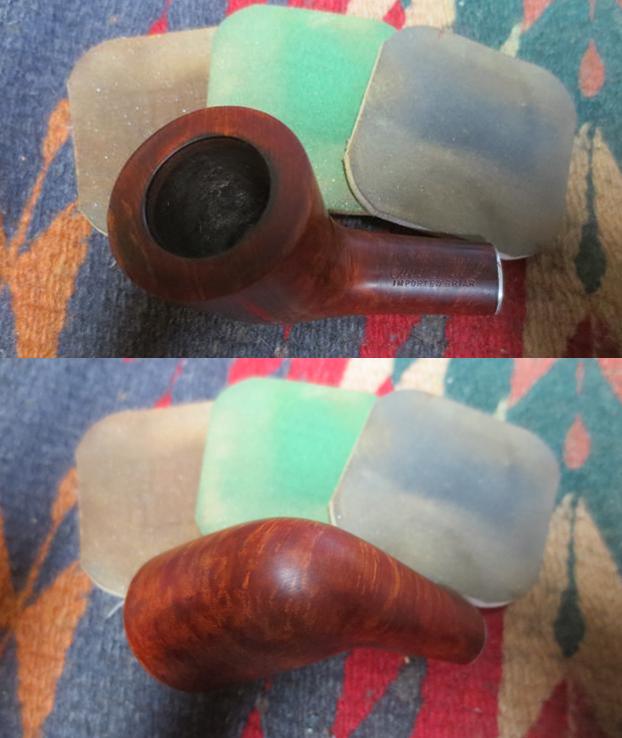
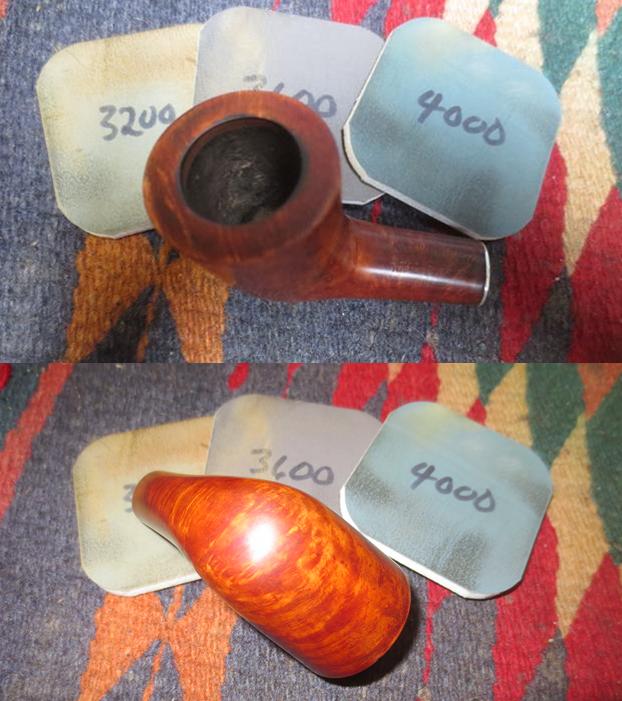
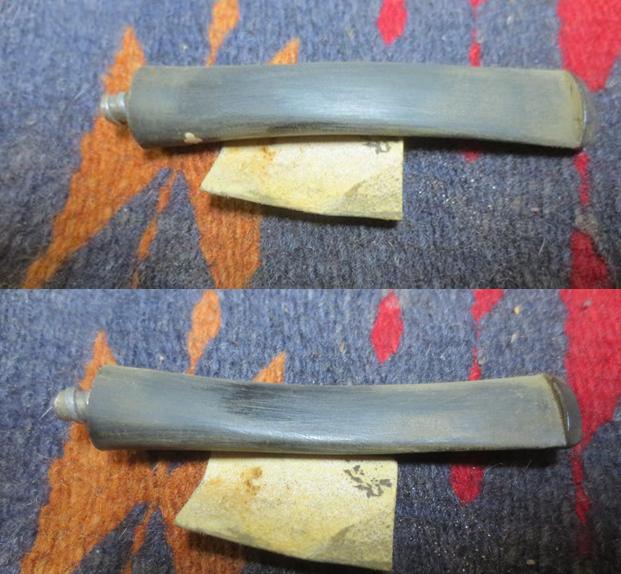
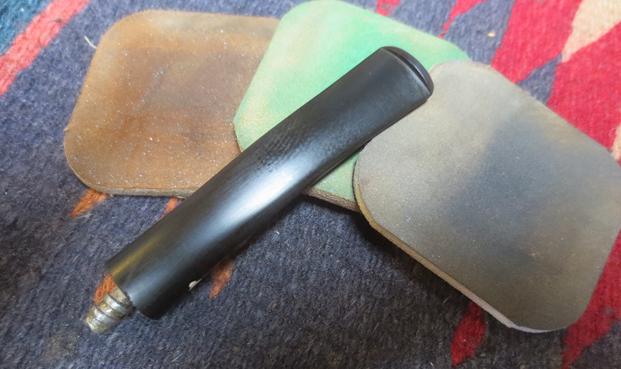
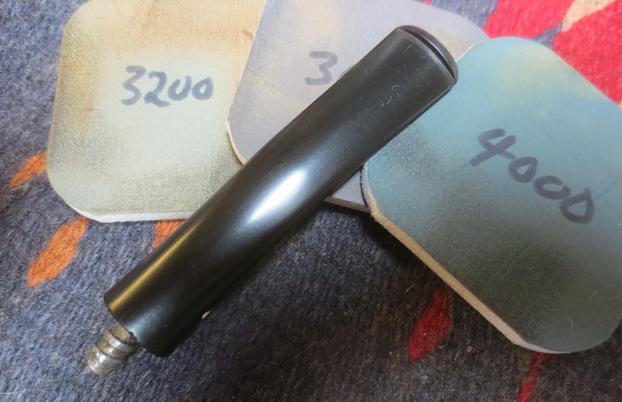
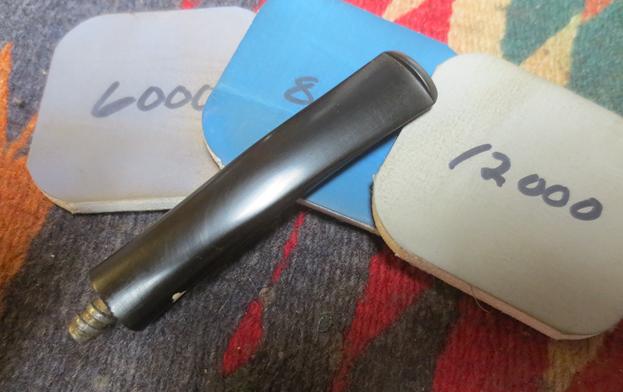
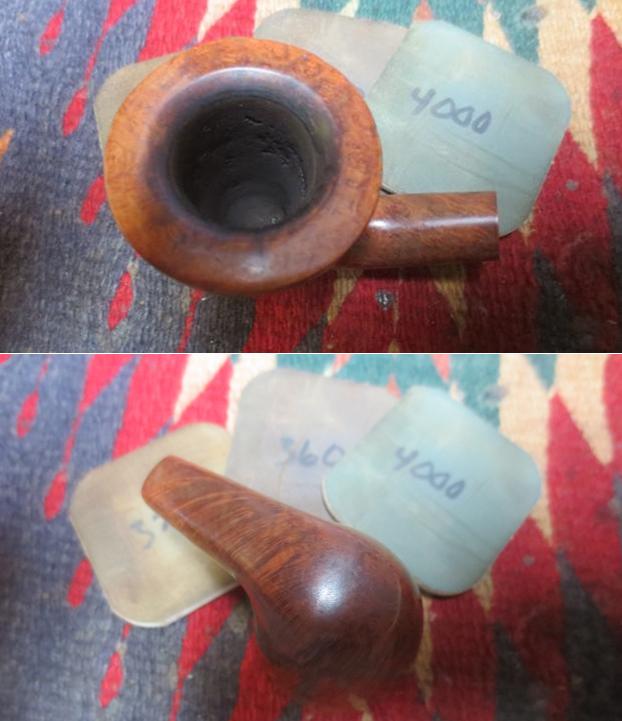
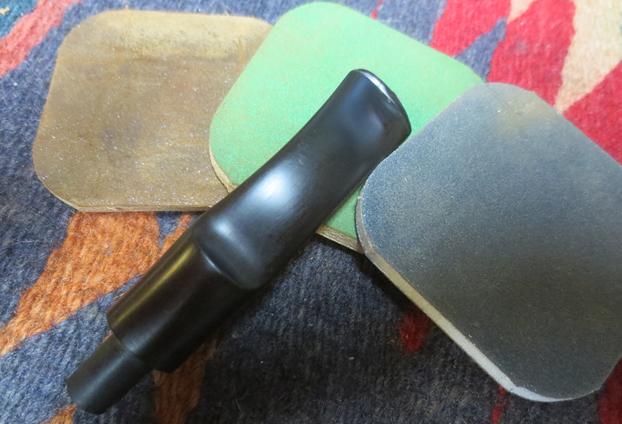
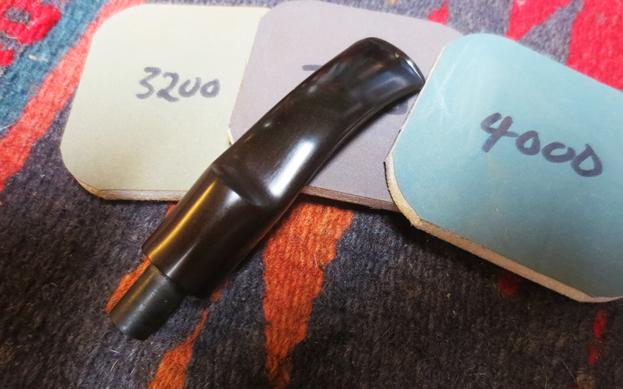
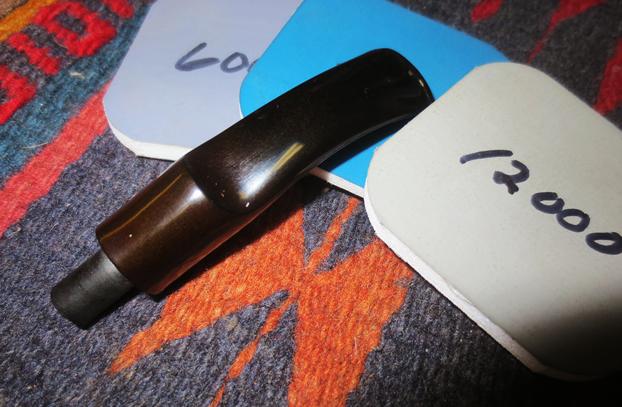
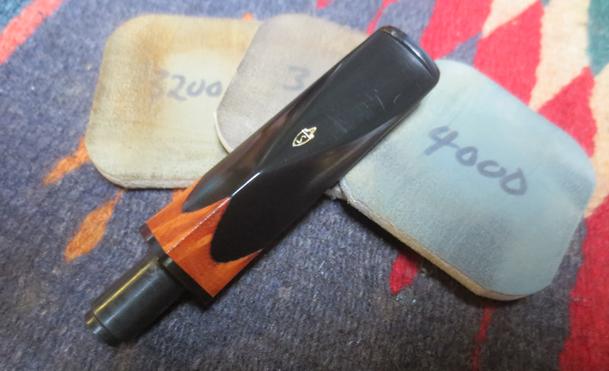
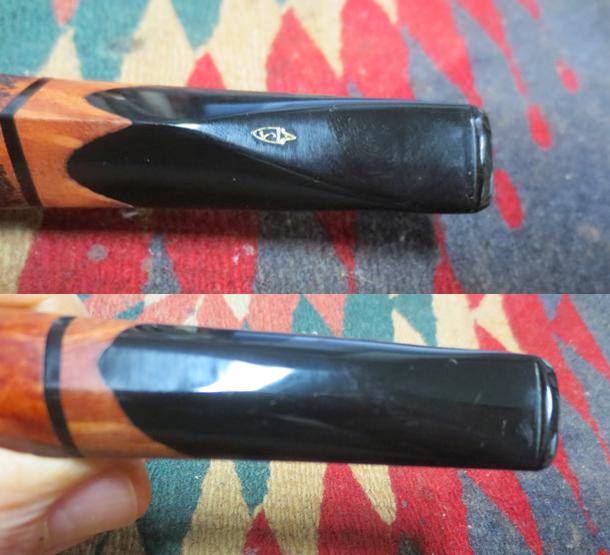 I polished the stem with micromesh sanding pads – wet sanding it with 1500-2400 grit pads and dry sanding it with 3200-12000 grit pads. I rubbed the stem down with Obsidian Oil after each pad to give traction to the next pad and help me polish it. After the final pad I wiped it down with a damp cloth. The next series of photos show the development of the shine on the rubber stem.
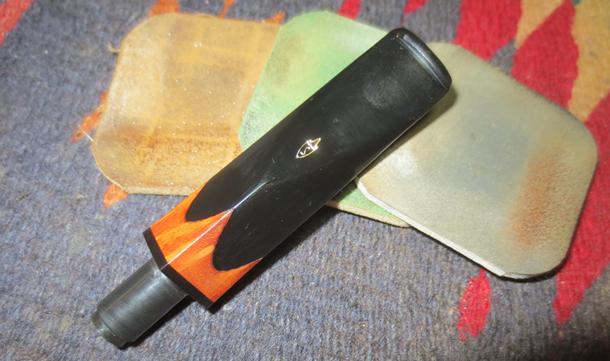
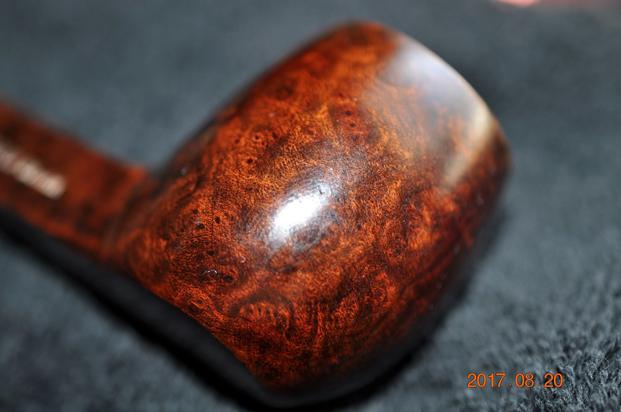
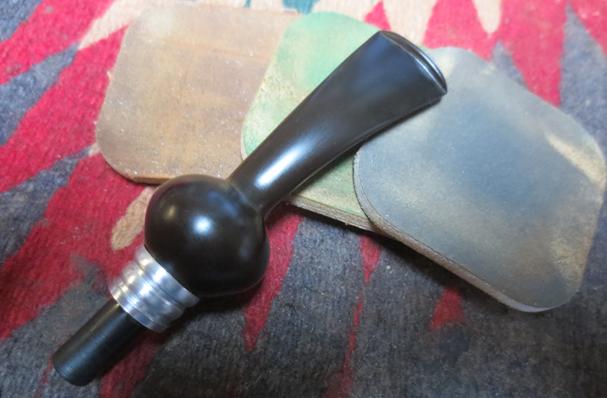
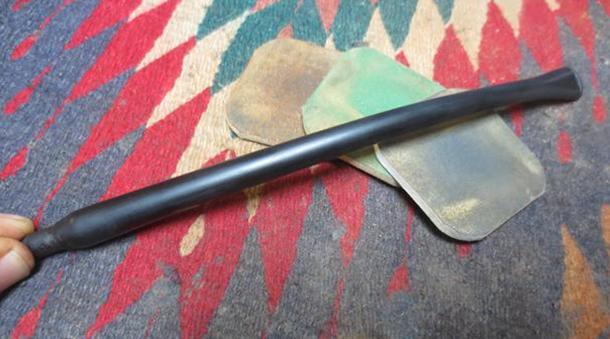
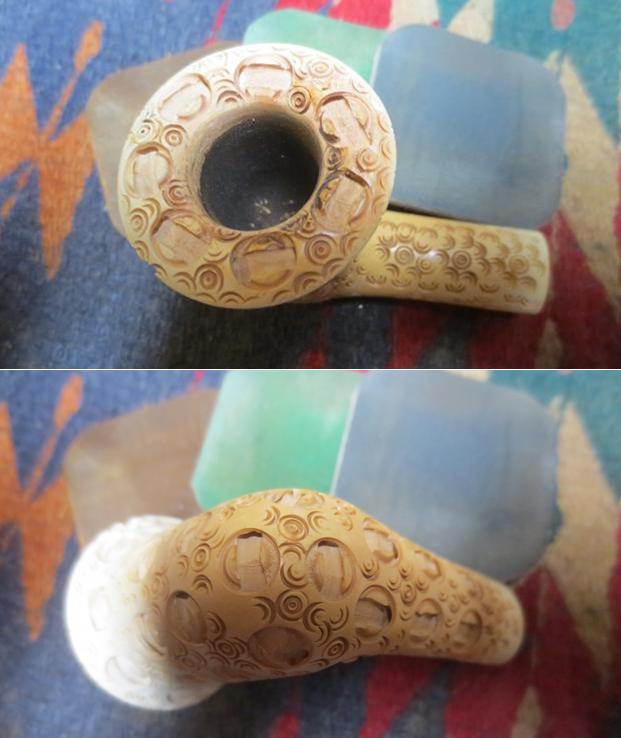
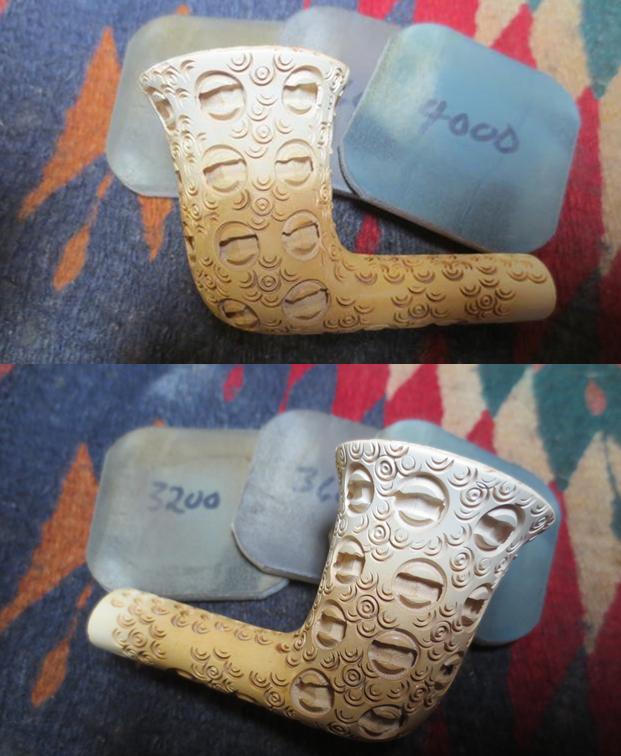
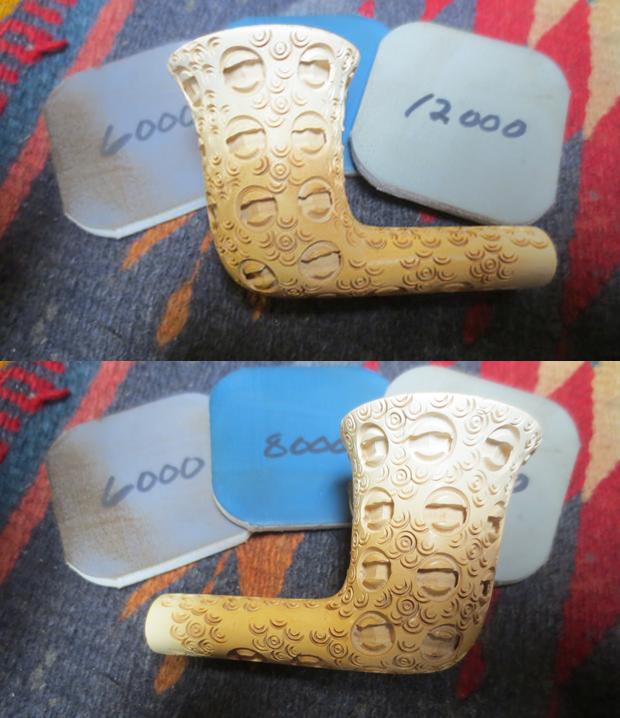
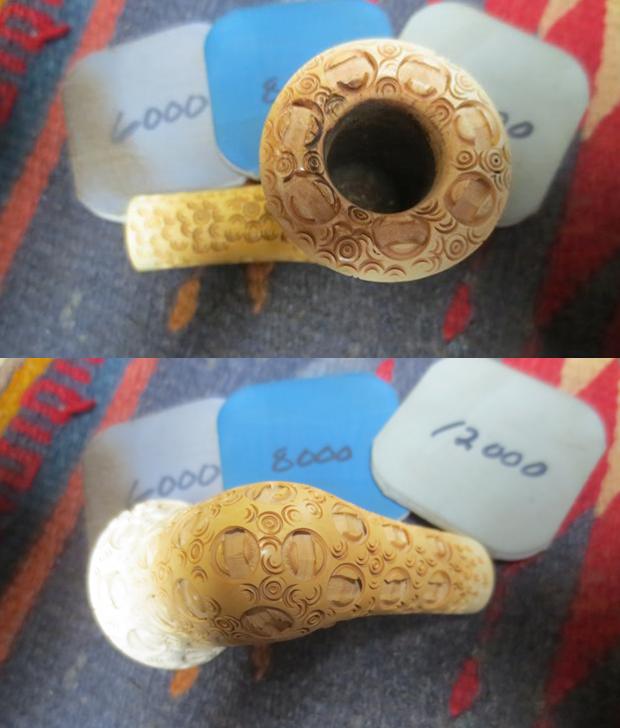
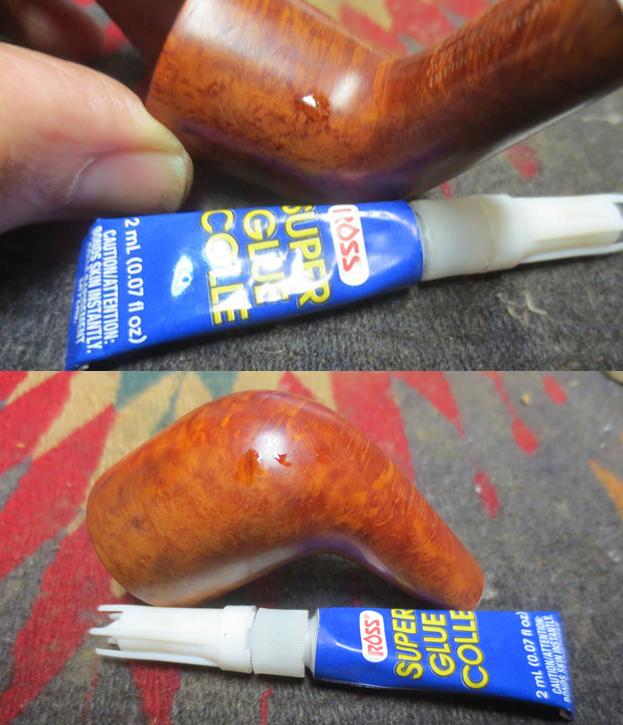
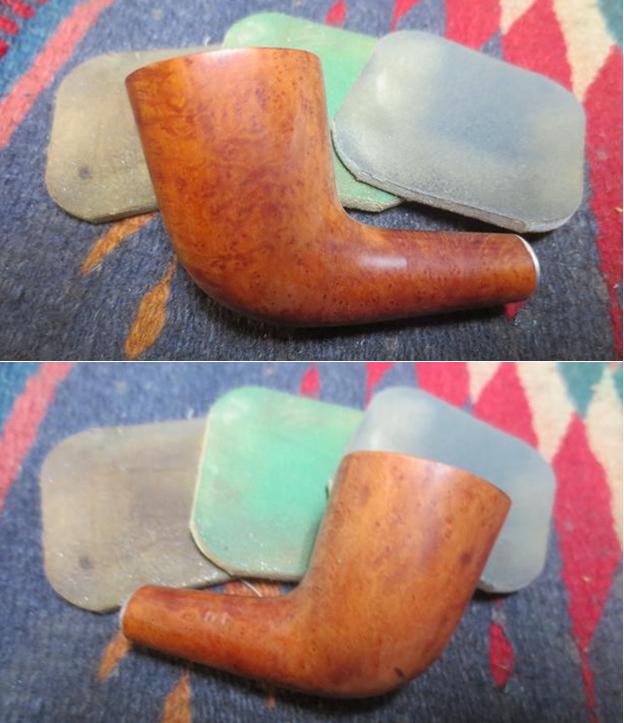
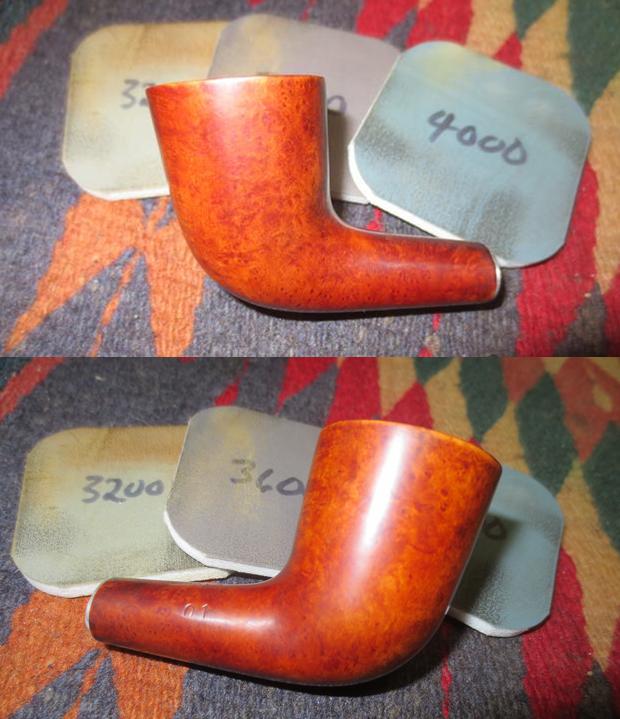
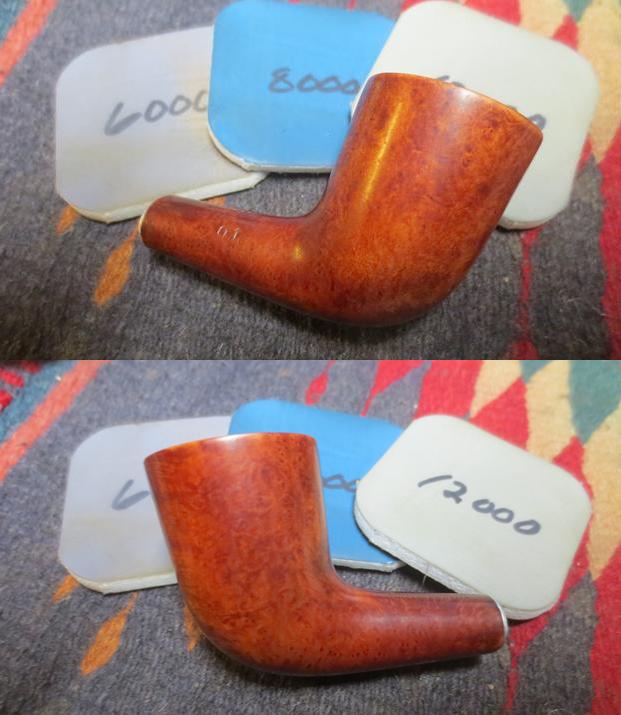
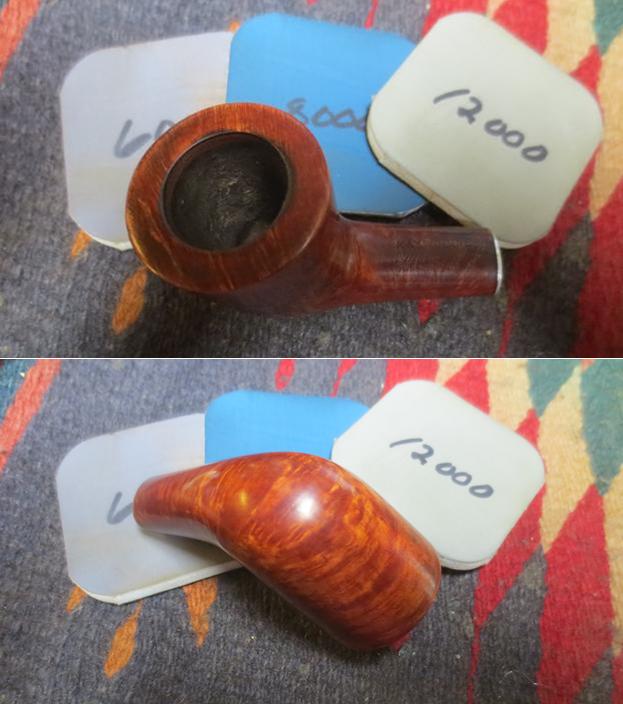
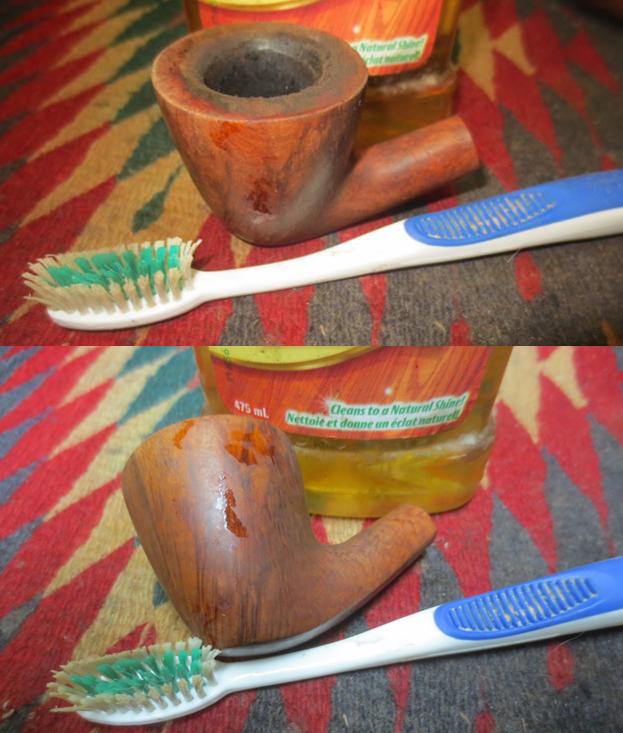
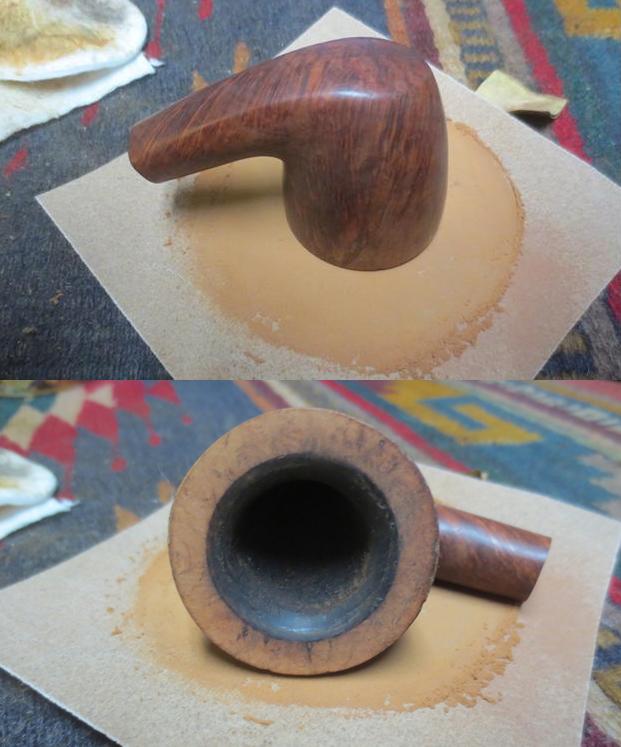
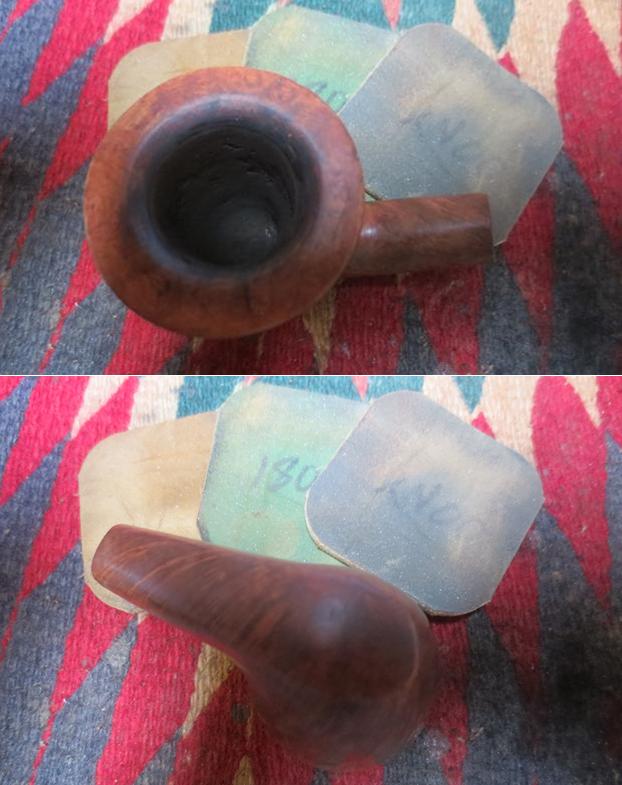
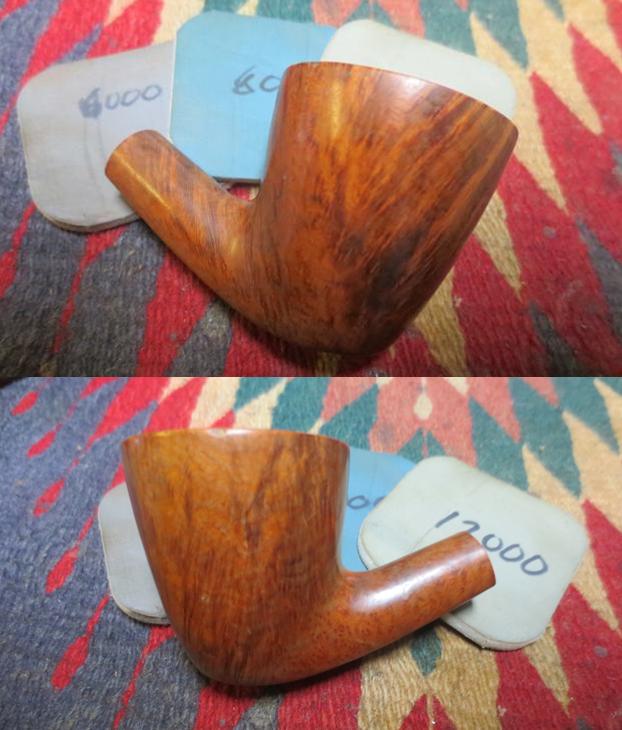
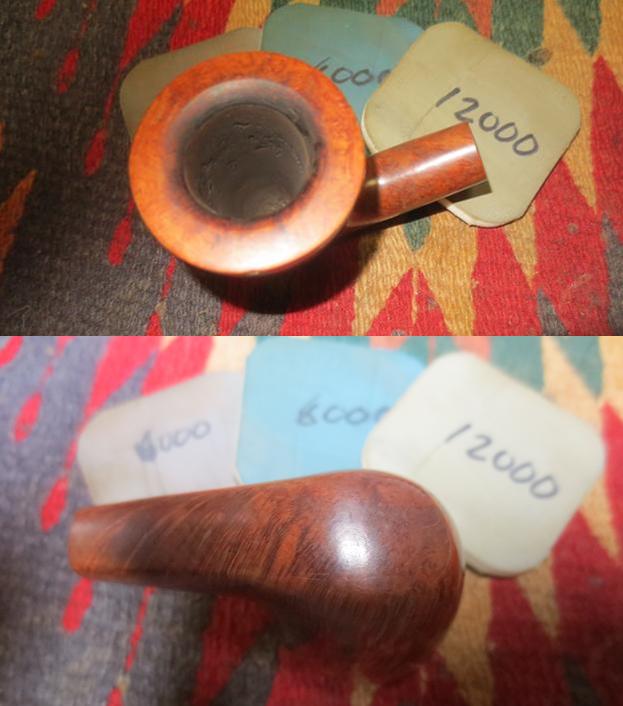
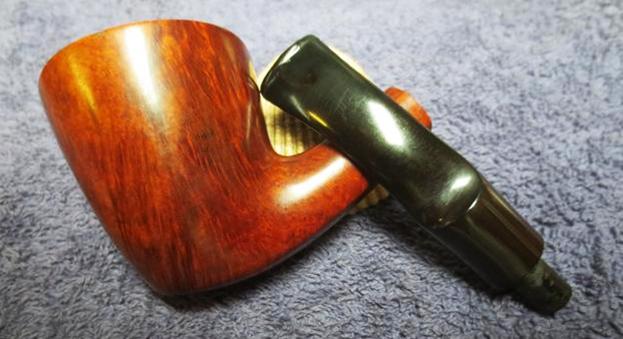
 I lightly buffed the bowl with Blue Diamond to polish it a bit and see where I needed to do some work before the final buff. I hand polished the briar with micromesh sanding pads – wet sanding with 1500-2400 grit pads and dry sanding with 3200-12000 grit pads. I worked on the beveled inner edge of the bowl to clean it up some more. I wiped the bowl down with a damp cloth after each pad. I hand buffed it with a microfibre cloth after the 12000 grit pad. The pictures below show the progress of the polishing on the briar.
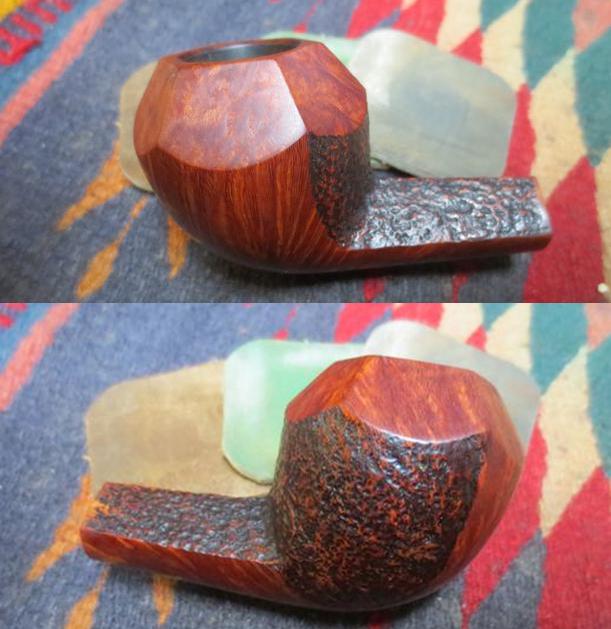
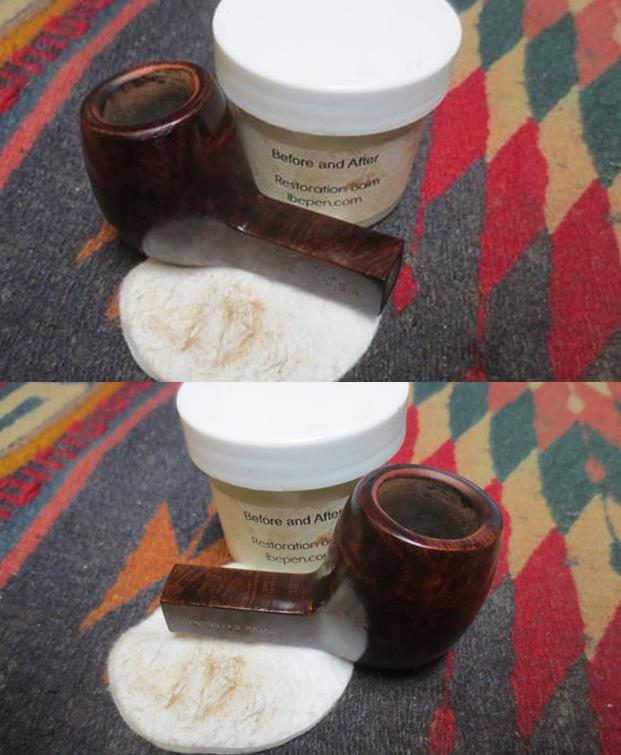
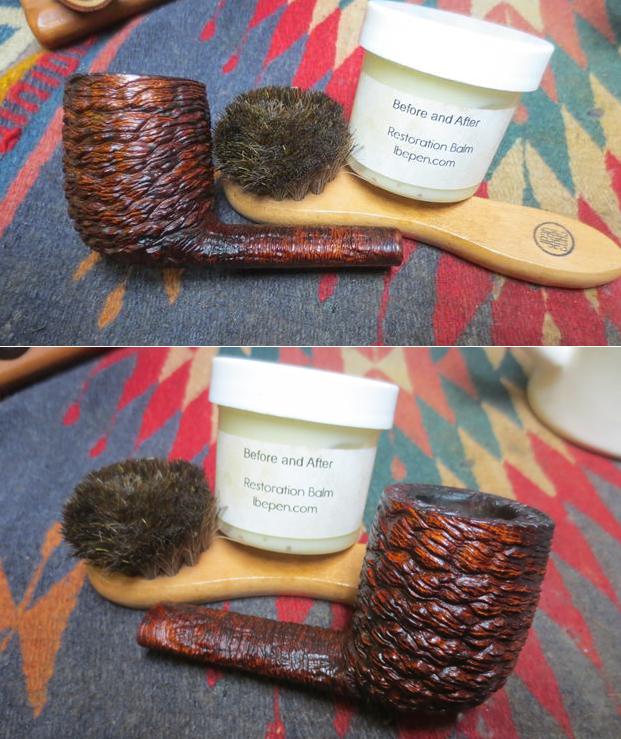
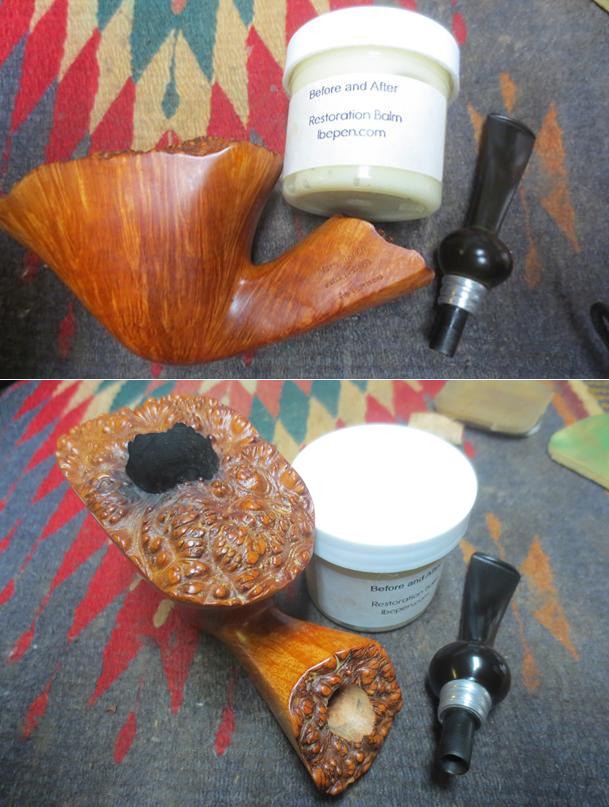
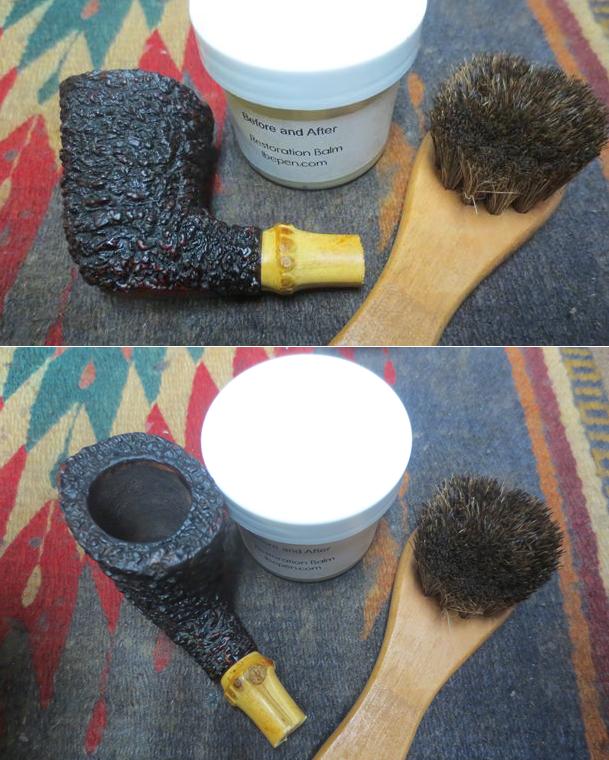
 I am experimenting with a new product from Mark Hoover – the creator of the Before & After Pipe Stem Deoxider and polishes. It is a Restoration Balm that can be used on briar or stems – whether vulcanite, acrylic or horn. He said it was made to pull the dirt off of the briar as well as polish it. He added some anti-oxidants to keep the briar from getting damaged from both UV rays and water. This is the first pipe I have used it on the briar. Earlier I used it on a horn stem and was really impressed by the life it gave back to the horn. I will keep using it for a while and see how it works in a variety of settings.
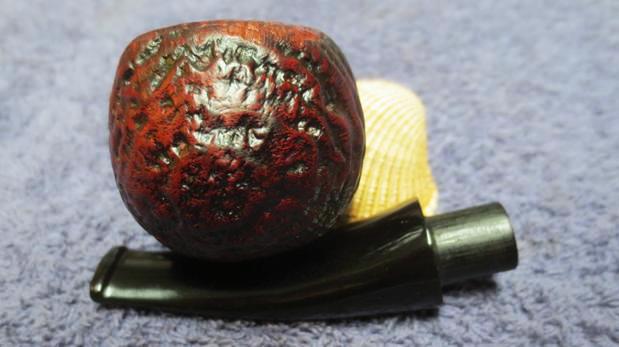
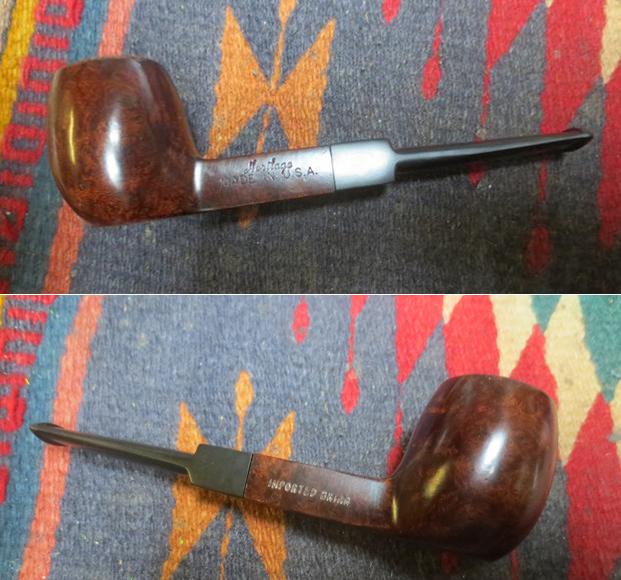
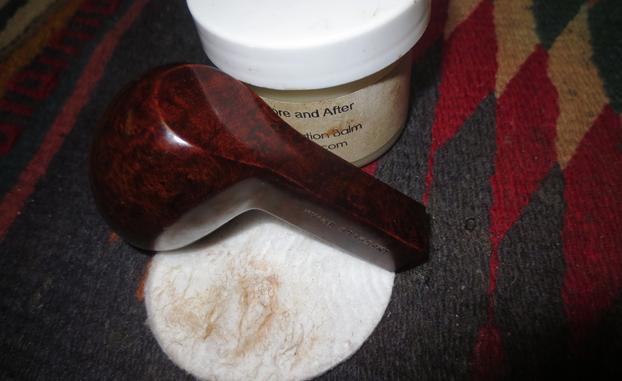
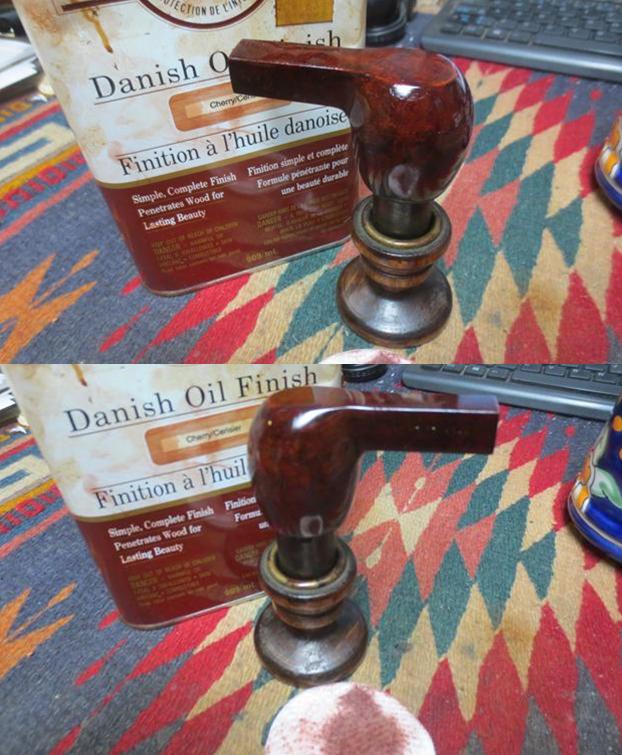
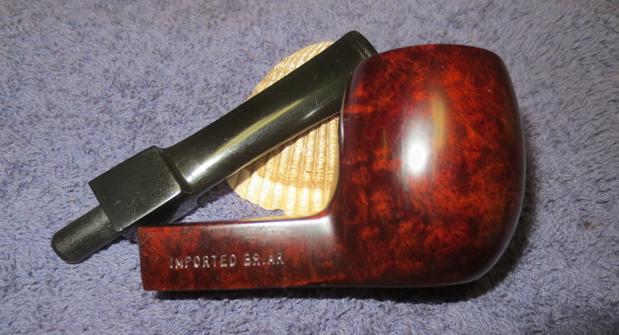
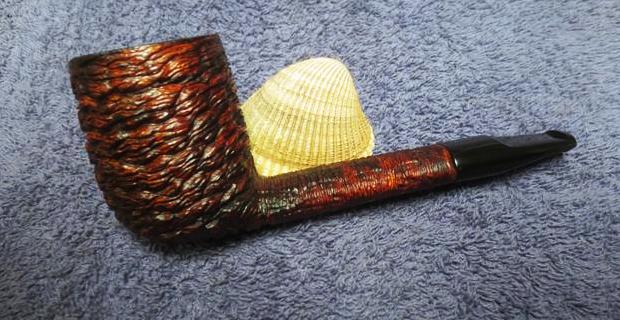
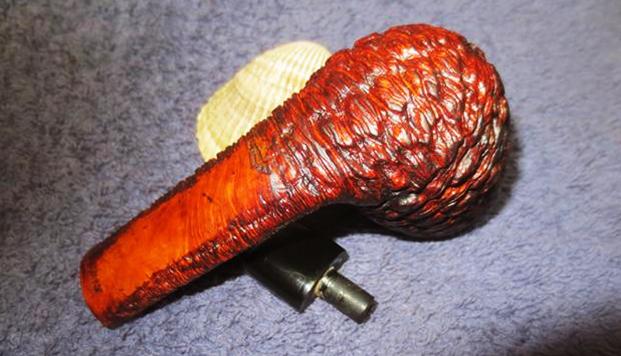
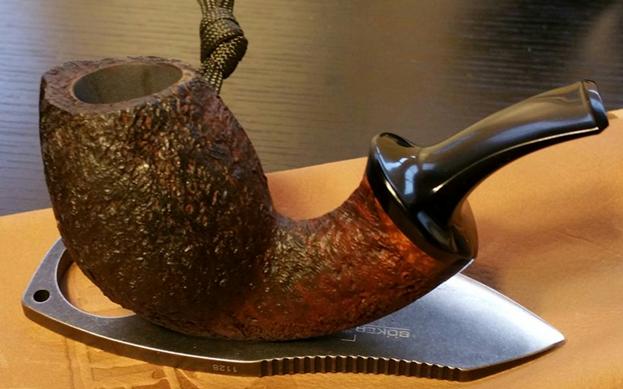
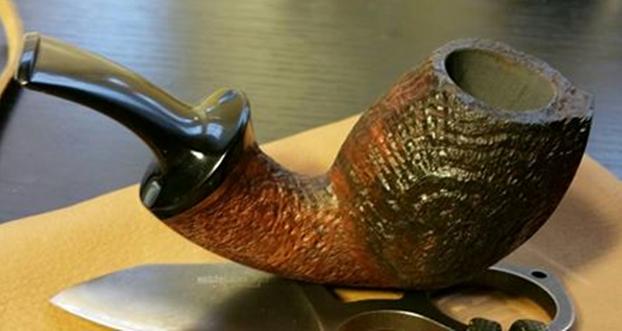
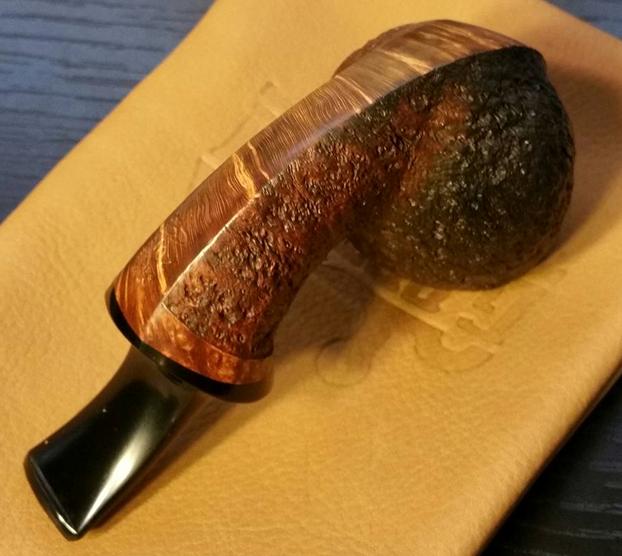
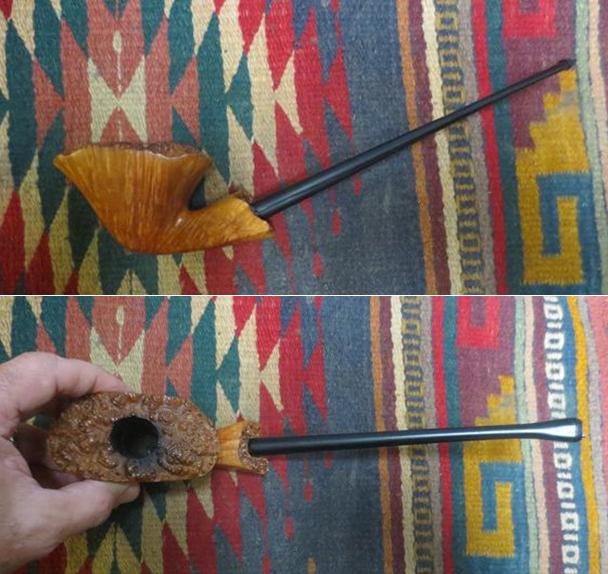
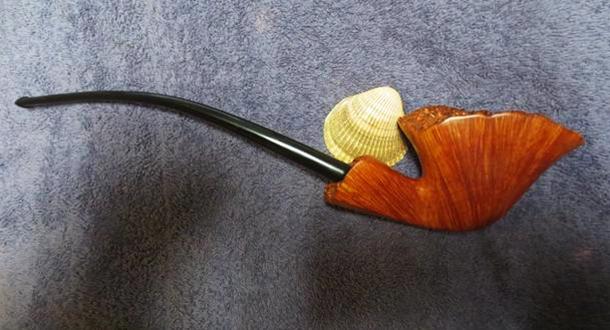
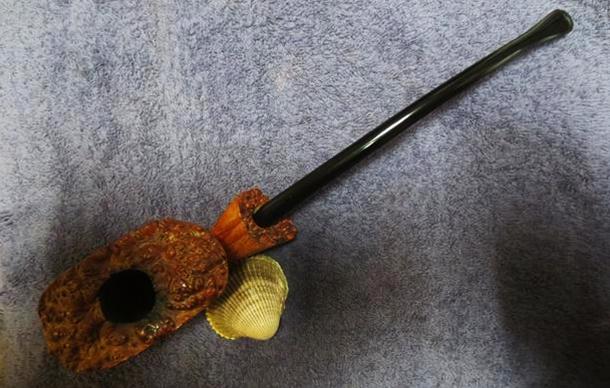
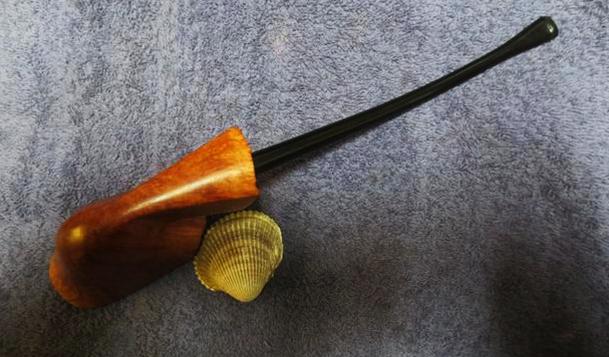
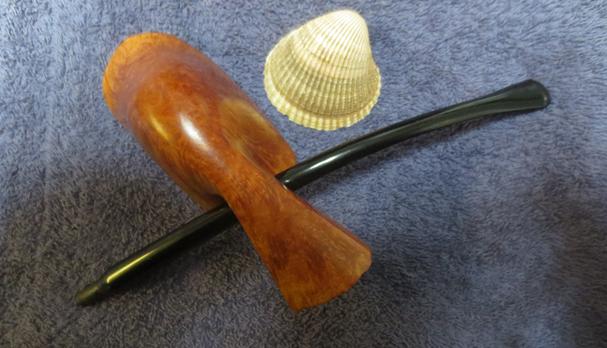
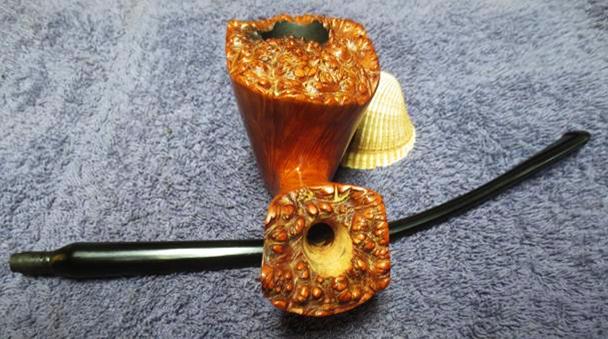
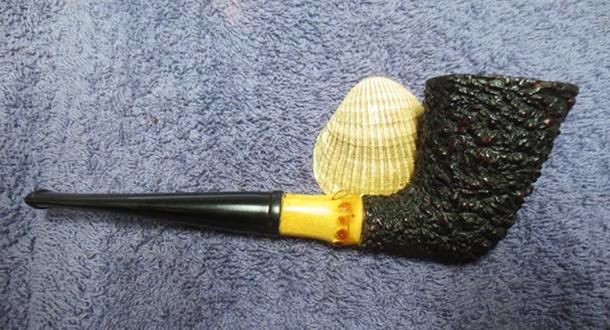
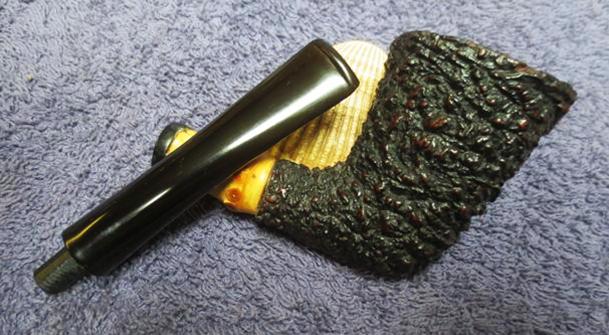
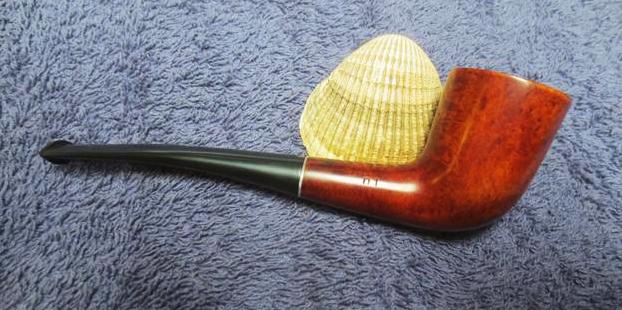
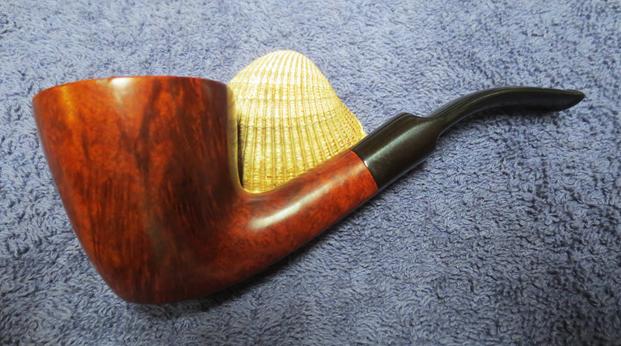
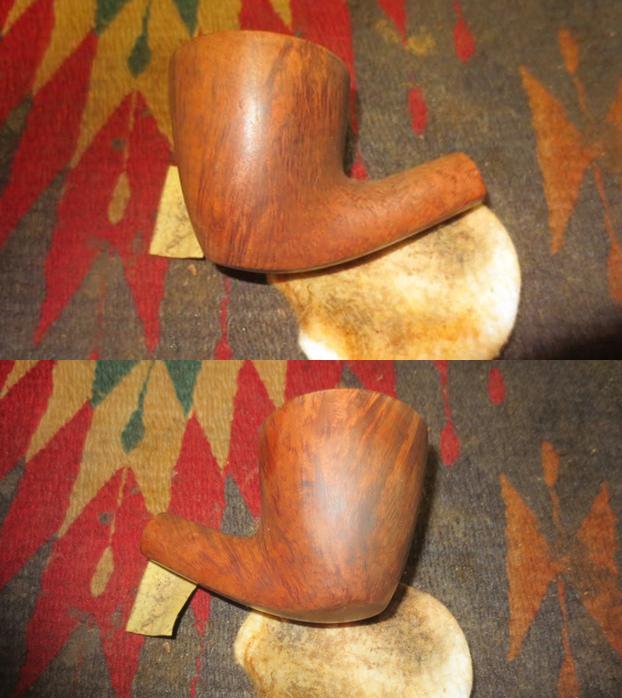
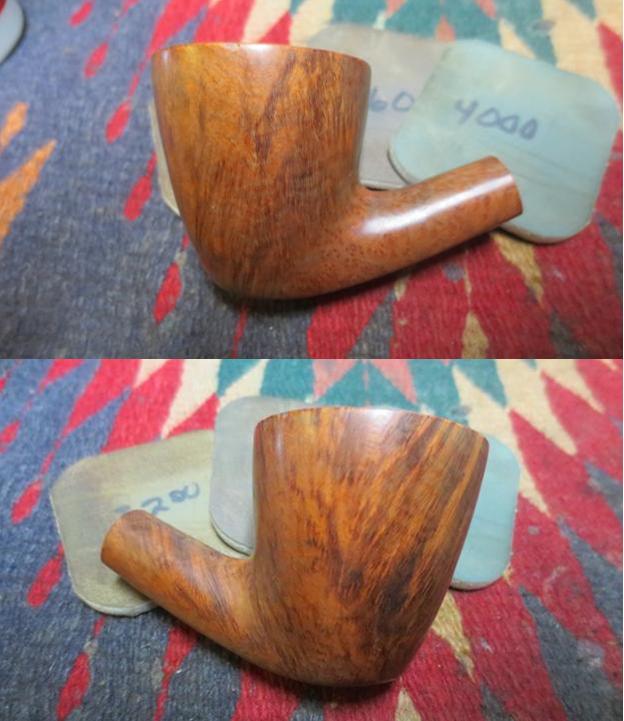
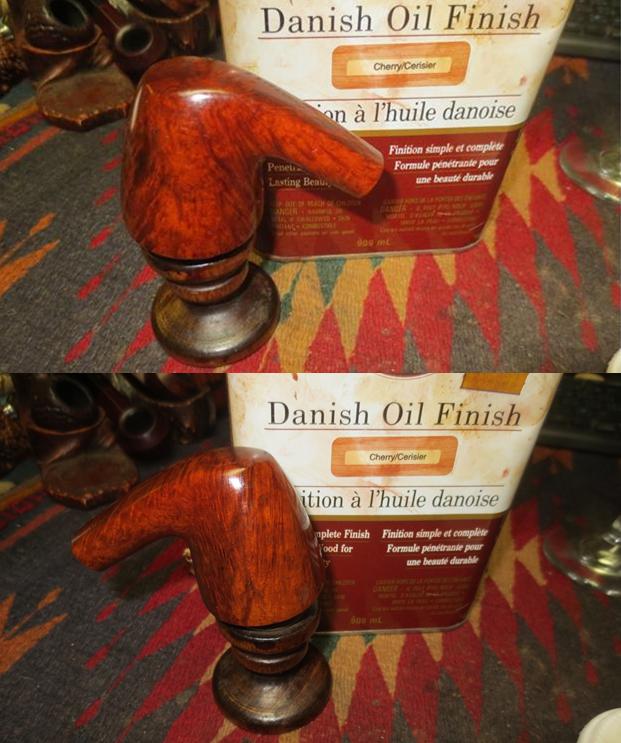
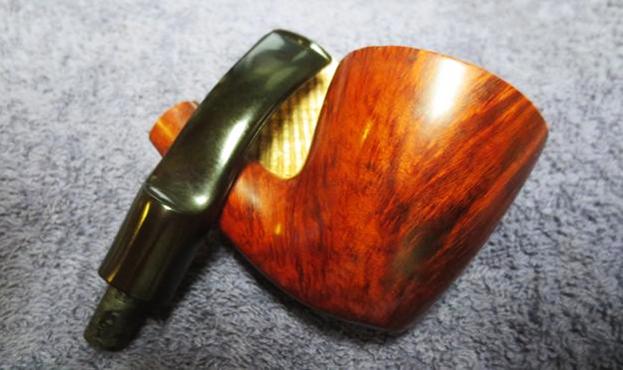
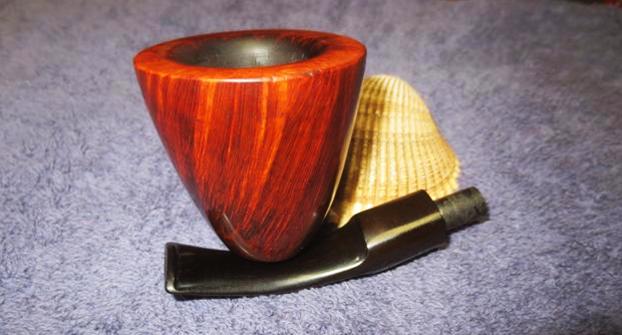
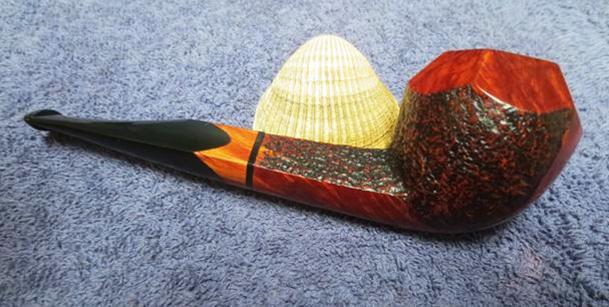
 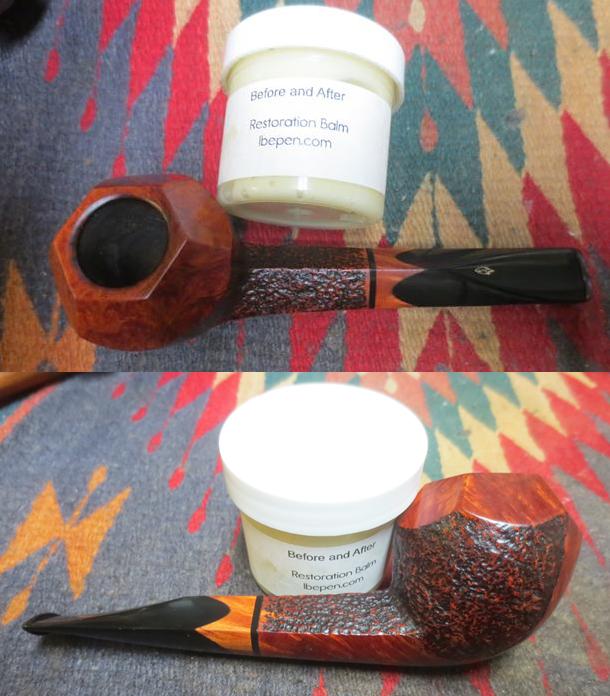 I put the stem back on the bowl and buffed it with Blue Diamond on the buffing wheel to polish the briar. I used a soft touch on the sandblasted areas as I did not want to flatten them or fill in the grooves with polishing compound. I gave the stem and the smooth portions of the bowl multiple coats of carnauba wax and I gave the sandblasted areas several coats of Conservator’s Wax. I buffed it with a clean buffing pad to raise a shine. I hand buffed it with a microfiber cloth to deepen the shine. The handmade briar and acrylic stem and the combination of the dark stain in the sand blast and medium brown stain on the smooth portions of the bowl work well together to present a beautiful pipe. The pipe looks fresh and new. The dimensions of this pipe are Length: 6 inches, Height: 2 inches, Bowl diameter: 1 ¾ inches, Chamber diameter: ¾ inches. The finished pipe is shown in the photos below. I will soon be adding it to the rebornpipes store if you are interested in adding to your collection. It is a beauty and will serve someone very well. Email me at slaug@uniserve.com or send me a message on Facebook.Thanks for looking.
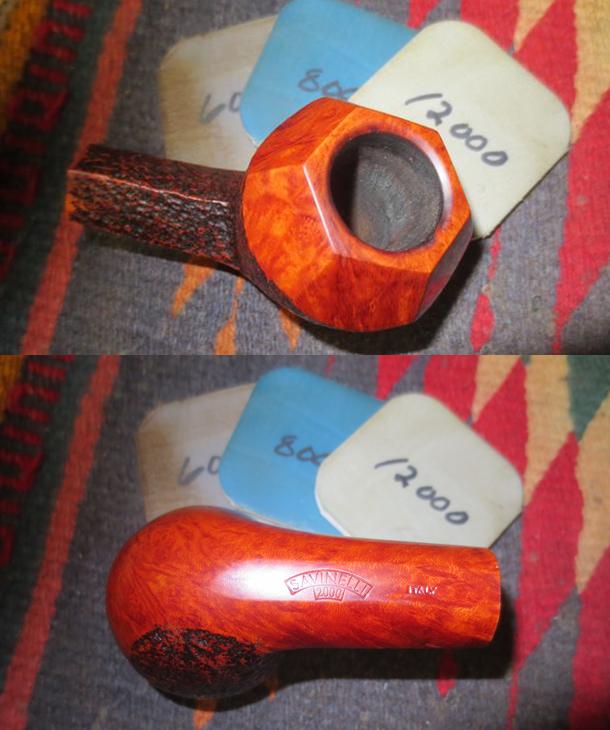
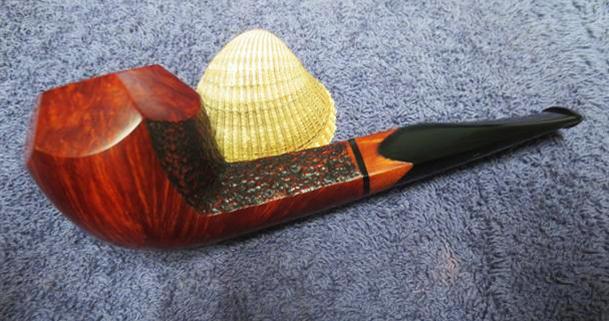


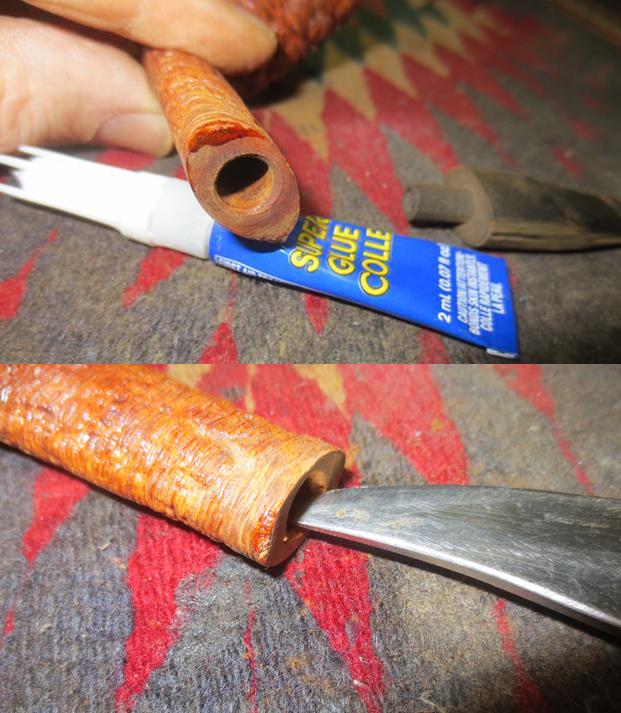
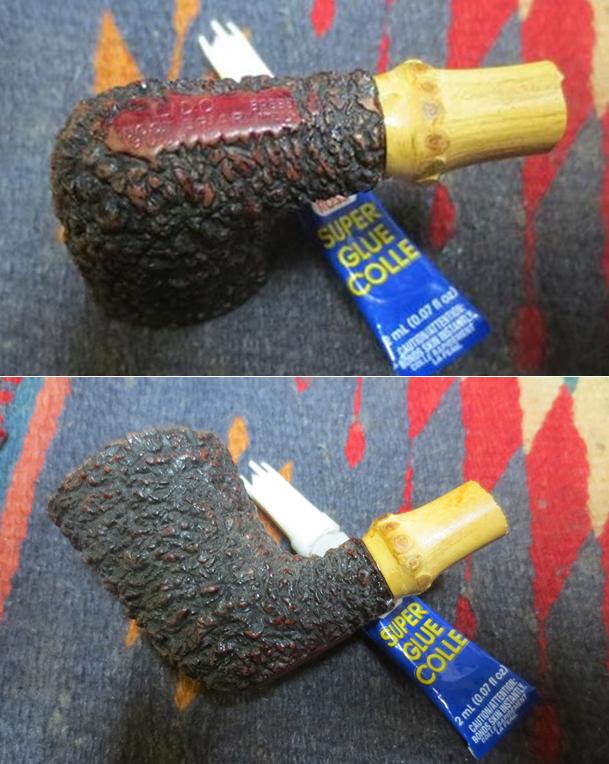
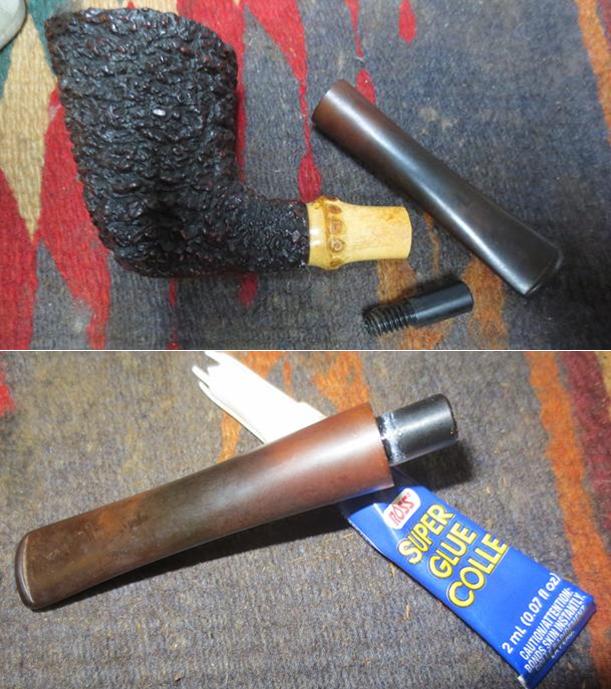
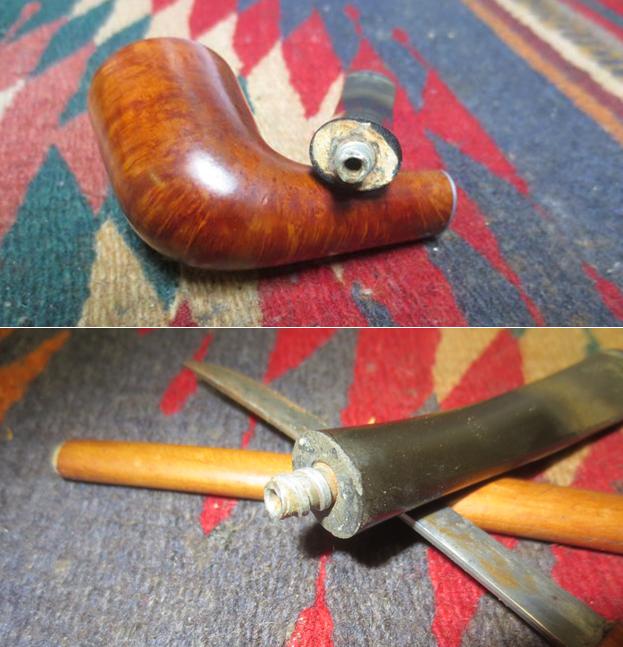
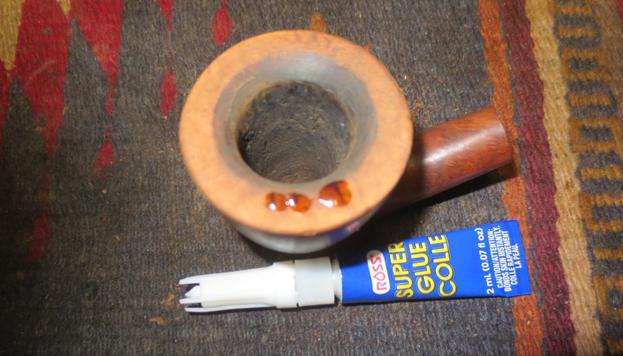
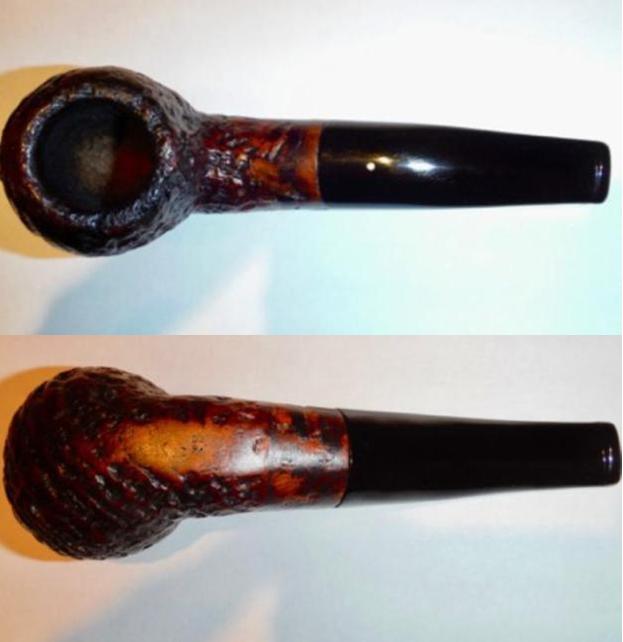 Henry and I corresponded and I made him an offer for the pipe. We dickered back and forth and he surprised me recently by giving it to me. He sent it to me with the old split band included. I am pretty certain that the band was not original to the pipe and was added in an earlier repair. I spoke with several jewelers to see if I could find someone to solder the band and repair it. None of them were willing to take a risk with the thin metal. I ordered several gold bands from Vermont Freehand to see if I could find a replacement band but none of them were large enough to fit. I was looking for a thinner band to fit the shank and still leave the briar exposed as much as possible. I found a thinner band in my box of bands that looked like it might work. It was hammered silver and had a brass cross (gold coloured) on the top of the band. I slipped it on the shank to see what it would look like and took the following photo.
 I liked the look of the new band so I heated it and pressed it onto the end of the shank. I pressed it down on a hard board until it was even with the end of the shank.
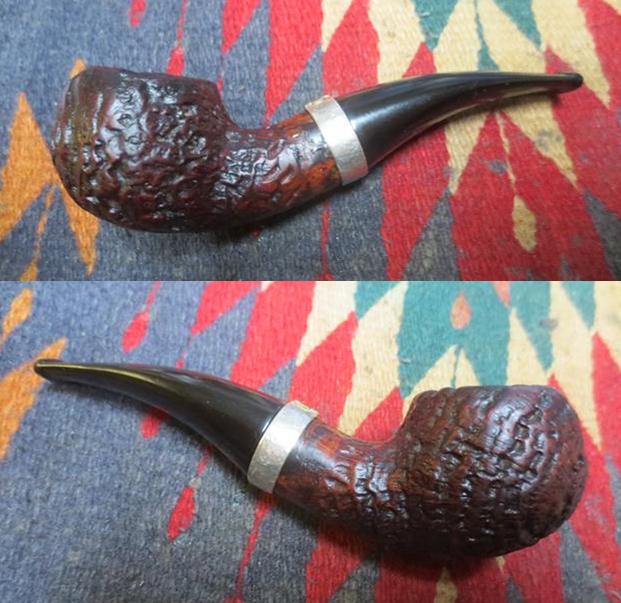
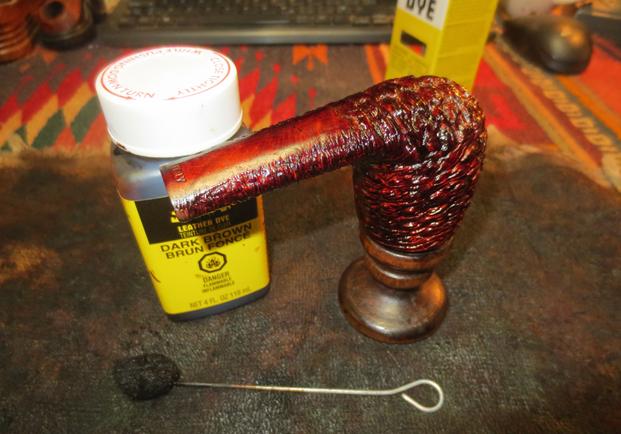
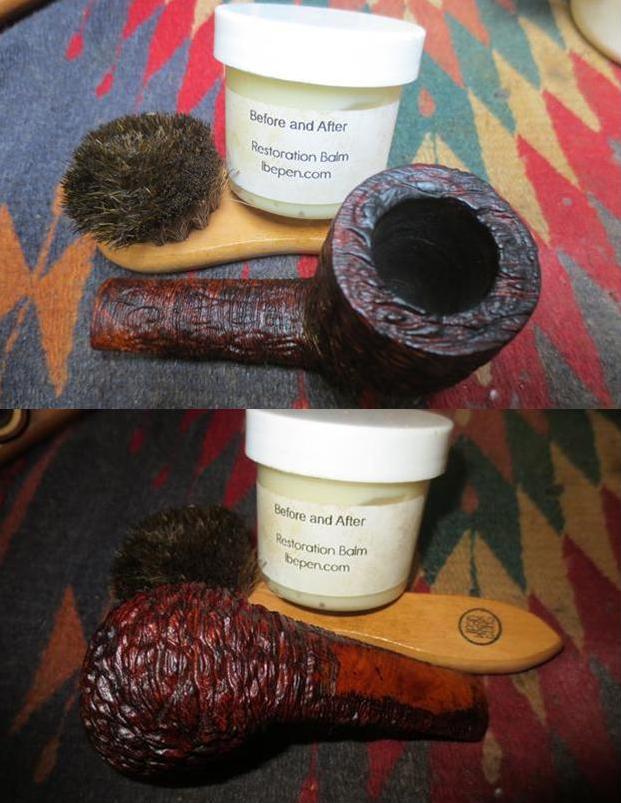
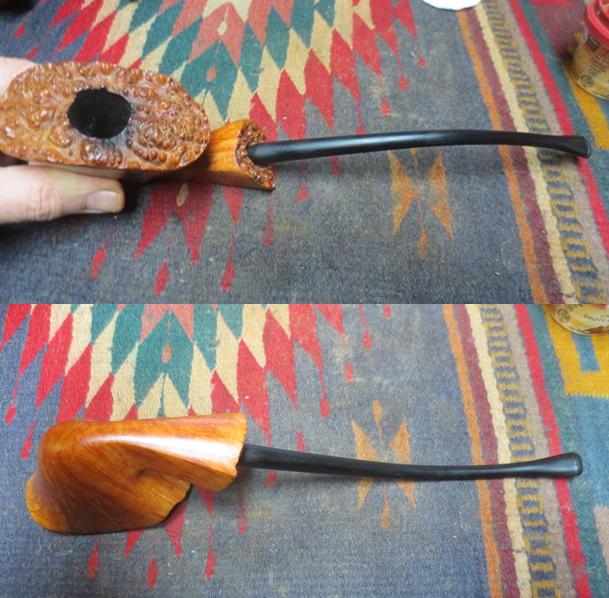
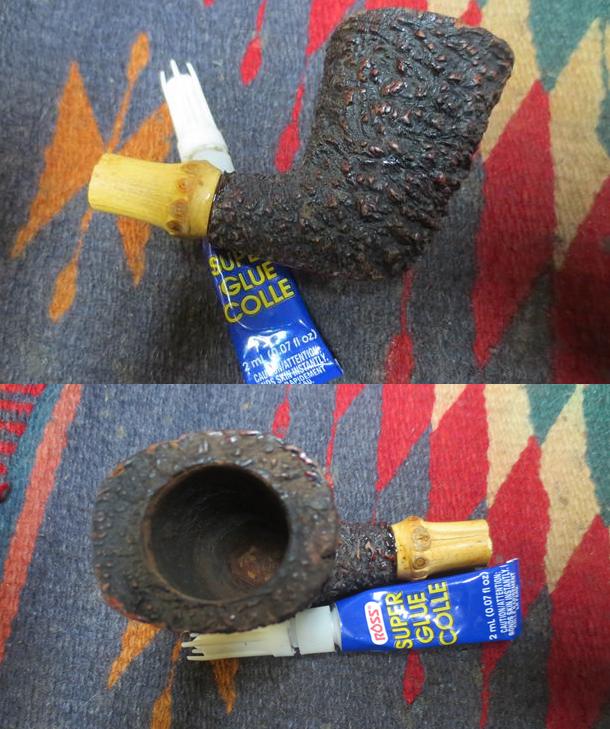
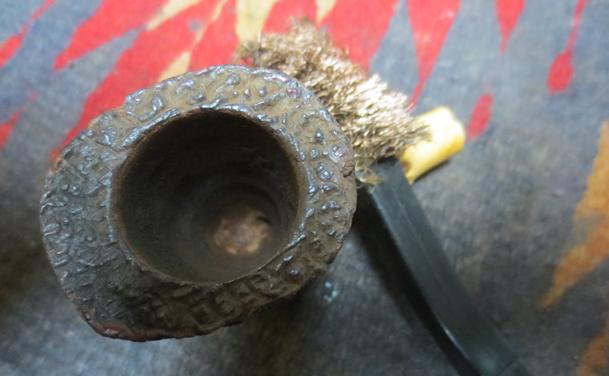
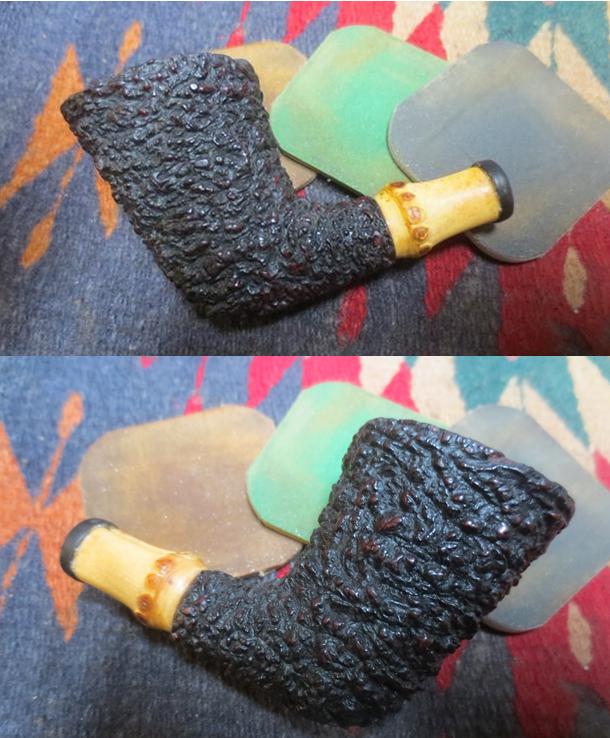
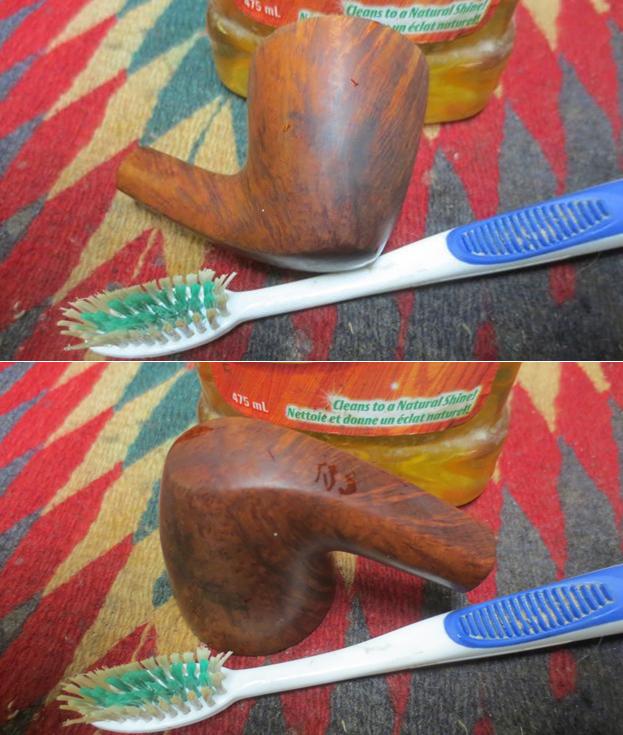
 I scrubbed the surface of the briar with Before & After Restoration Balm to clean off the surface of the briar to preserve and deep cleanse the crevices and high spots of the rugged patent era sandblast. I applied it to the briar with my finger and rubbed it into the briar. I scrubbed it with a tooth brush to get it deep in the grooves. I buffed the bowl with a soft cloth and then buffed it with a shoe brush to raise a shine.
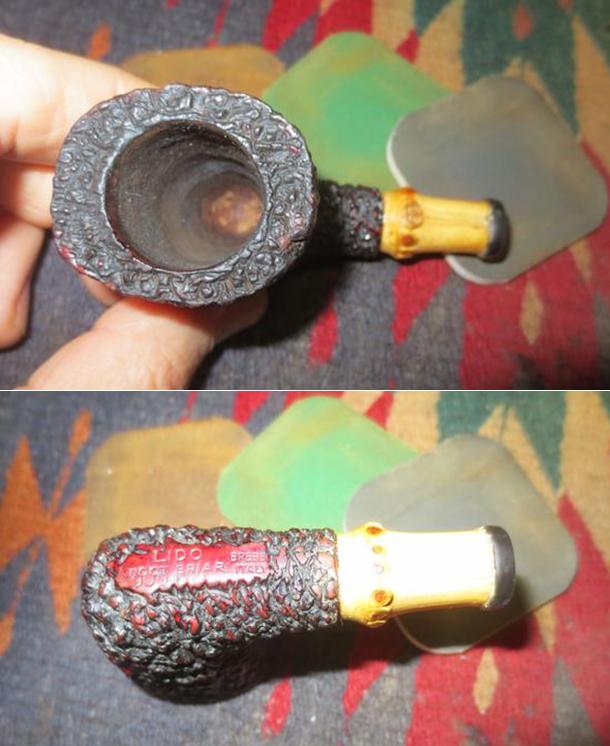
 The next two photos show the end of the shank with the band pressed on the shank until the edge was flat against the shank end.
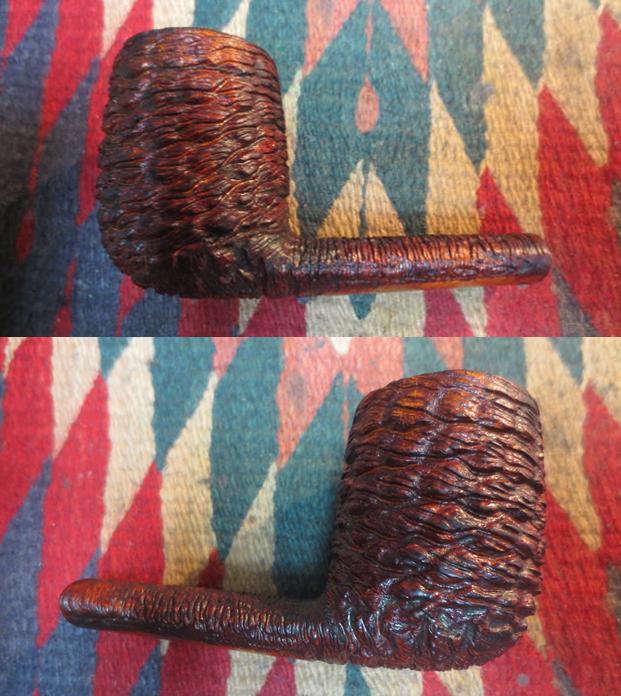
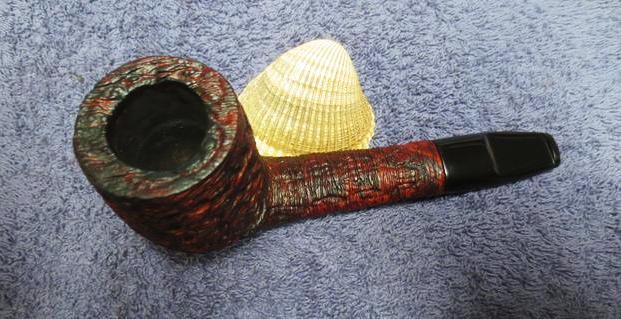
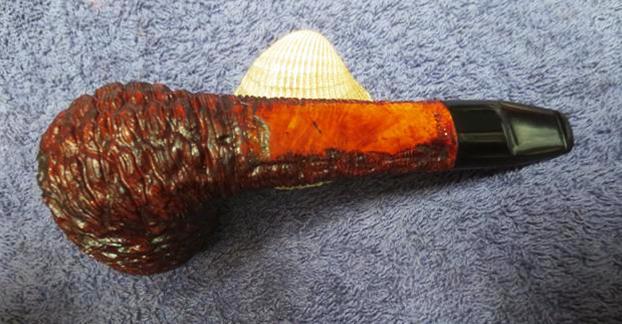
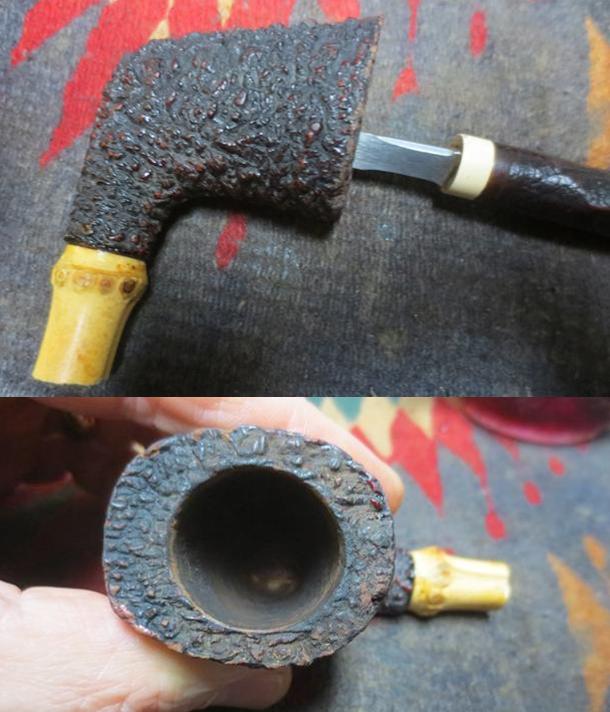
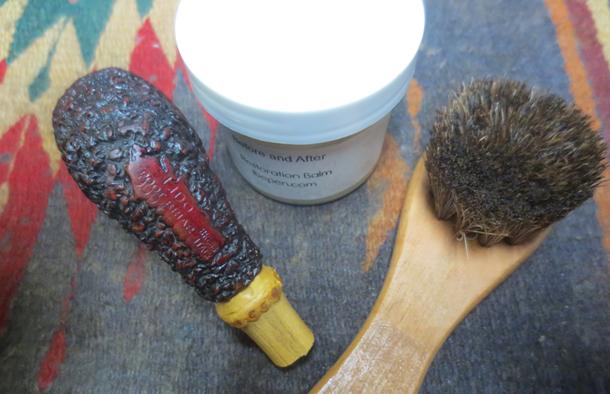
 I put the stem back on the shank and buffed the pipe with Blue Diamond on the buffing wheel. I used a light touch on the sandblast bowl. The finish came alive with the Balm and I gave the pipe several coats of Conservator’s Wax and buffed it with the shoe brush. I gave the stem multiple coats of carnauba wax. I buffed with a clean buffing pad to raise the shine and then hand buffed it with a microfiber cloth. I buffed the band on the shank with a silver polishing cloth to raise the shine and polish it. The hammered finish on the band and the brass cross on the top of the band works really well with the old sandblast. The finished pipe is shown in the photos below. The new band looks good on the pipe and gives it a classic look with a personal touch of class. Thanks for looking.