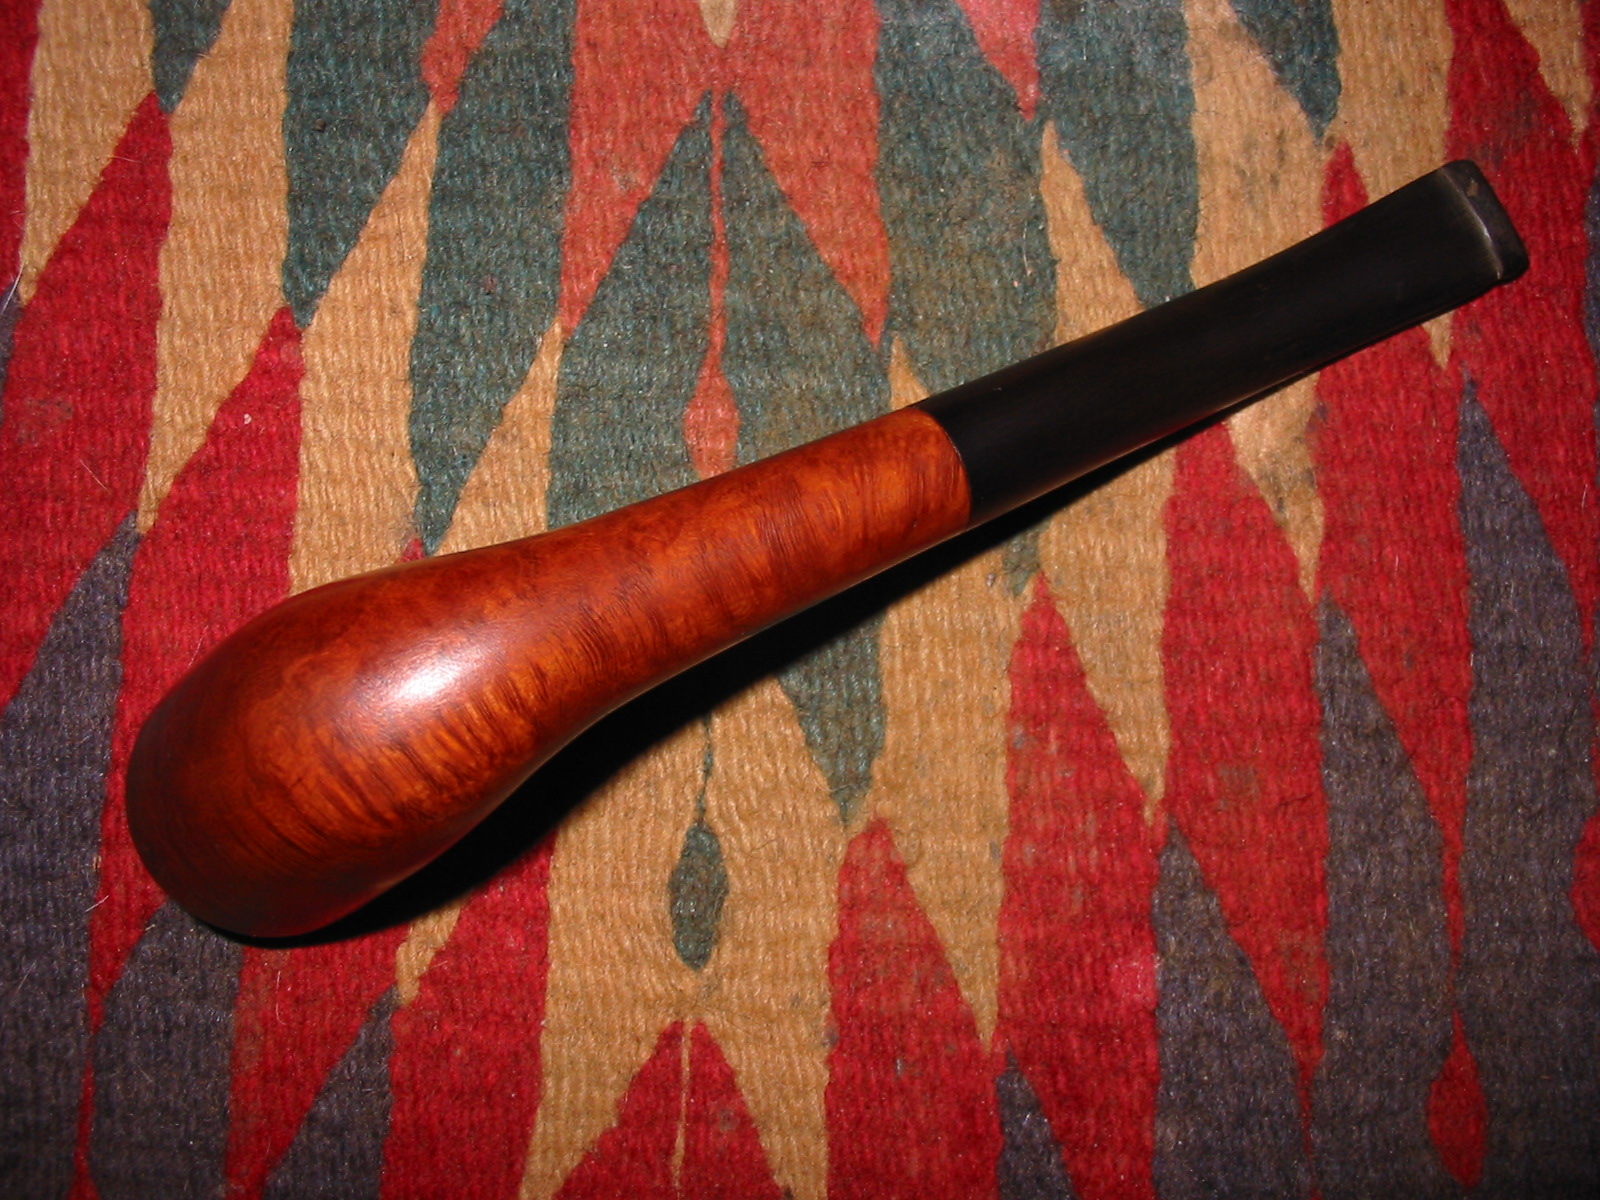
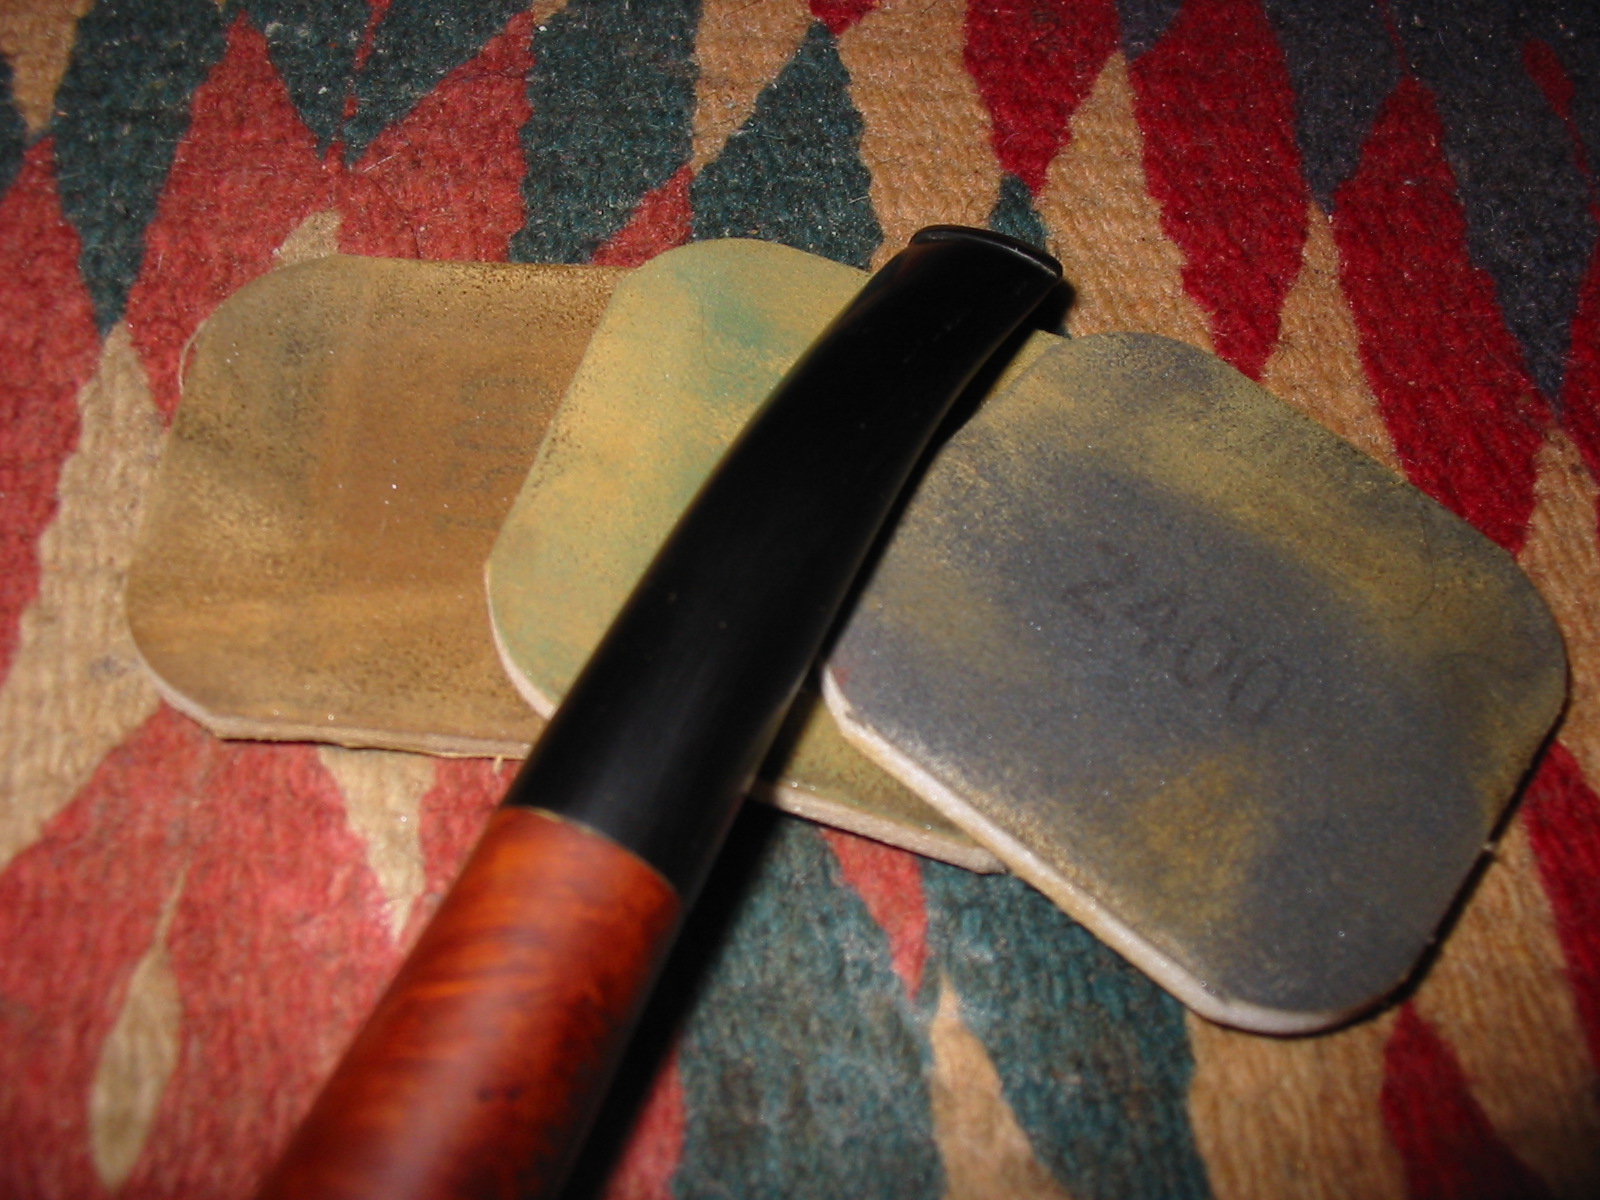
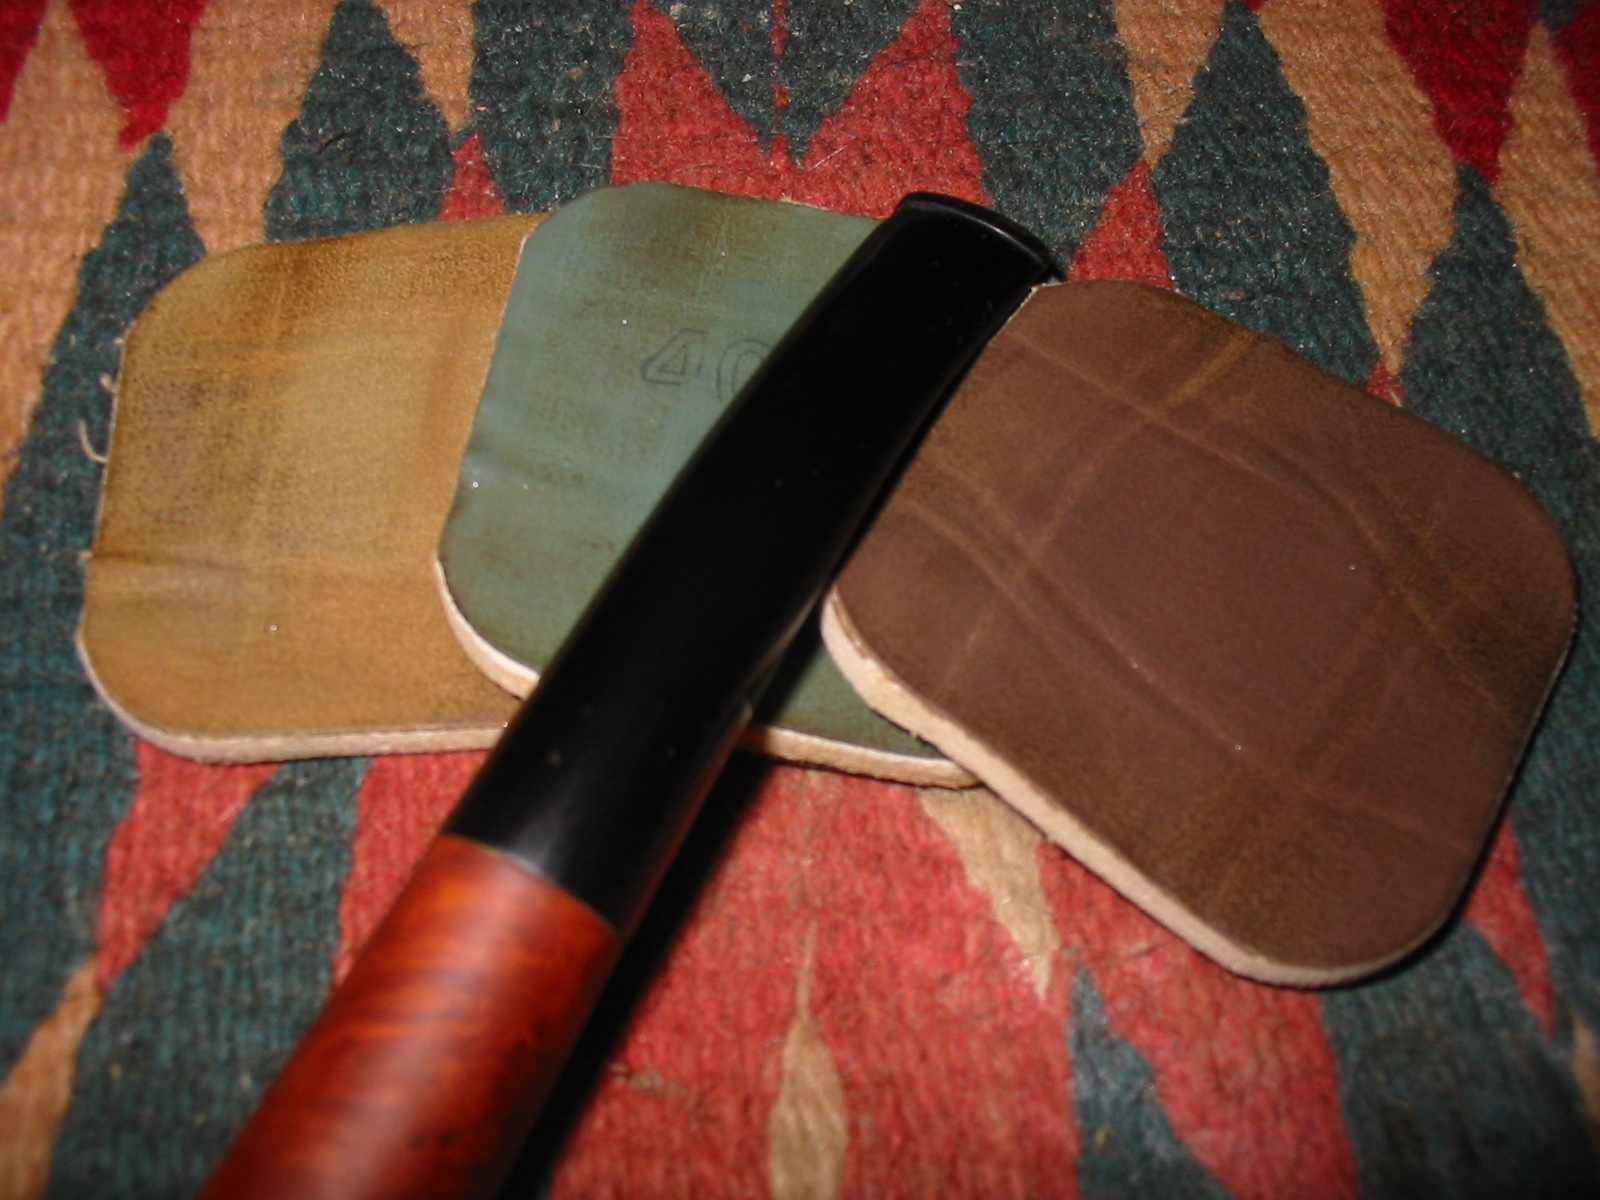
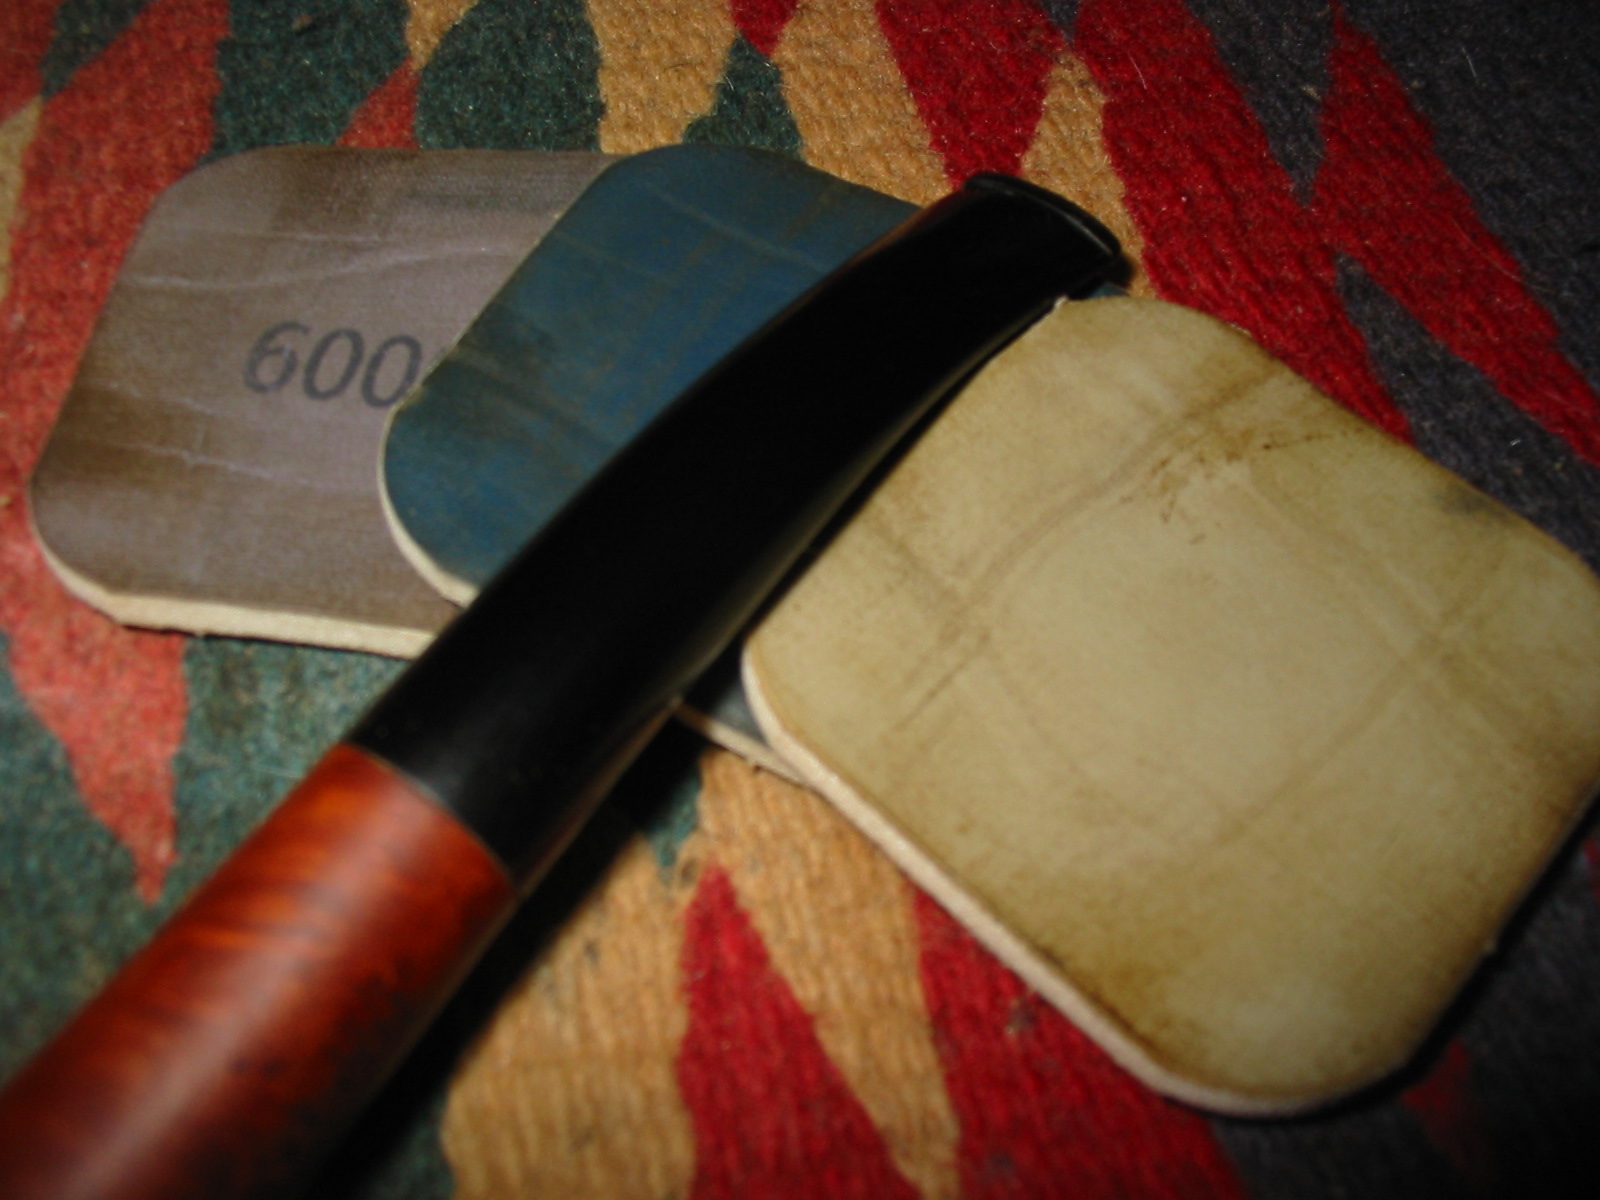
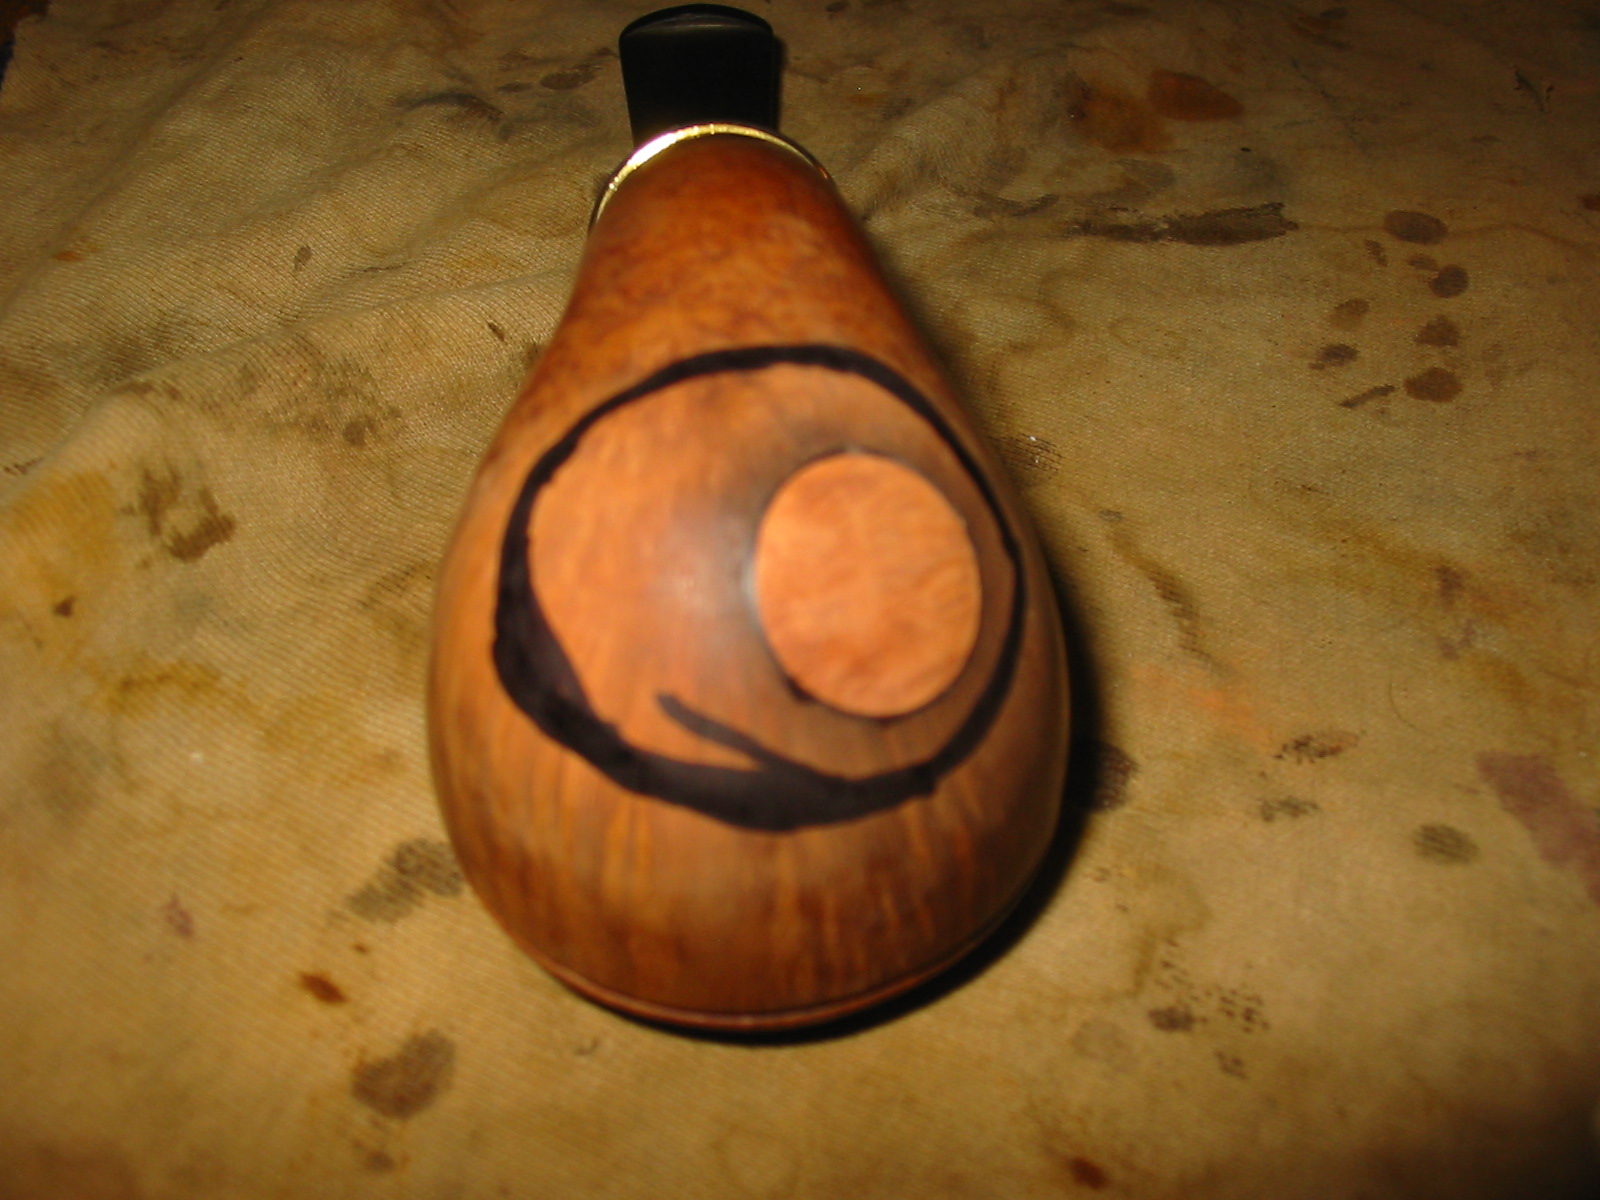
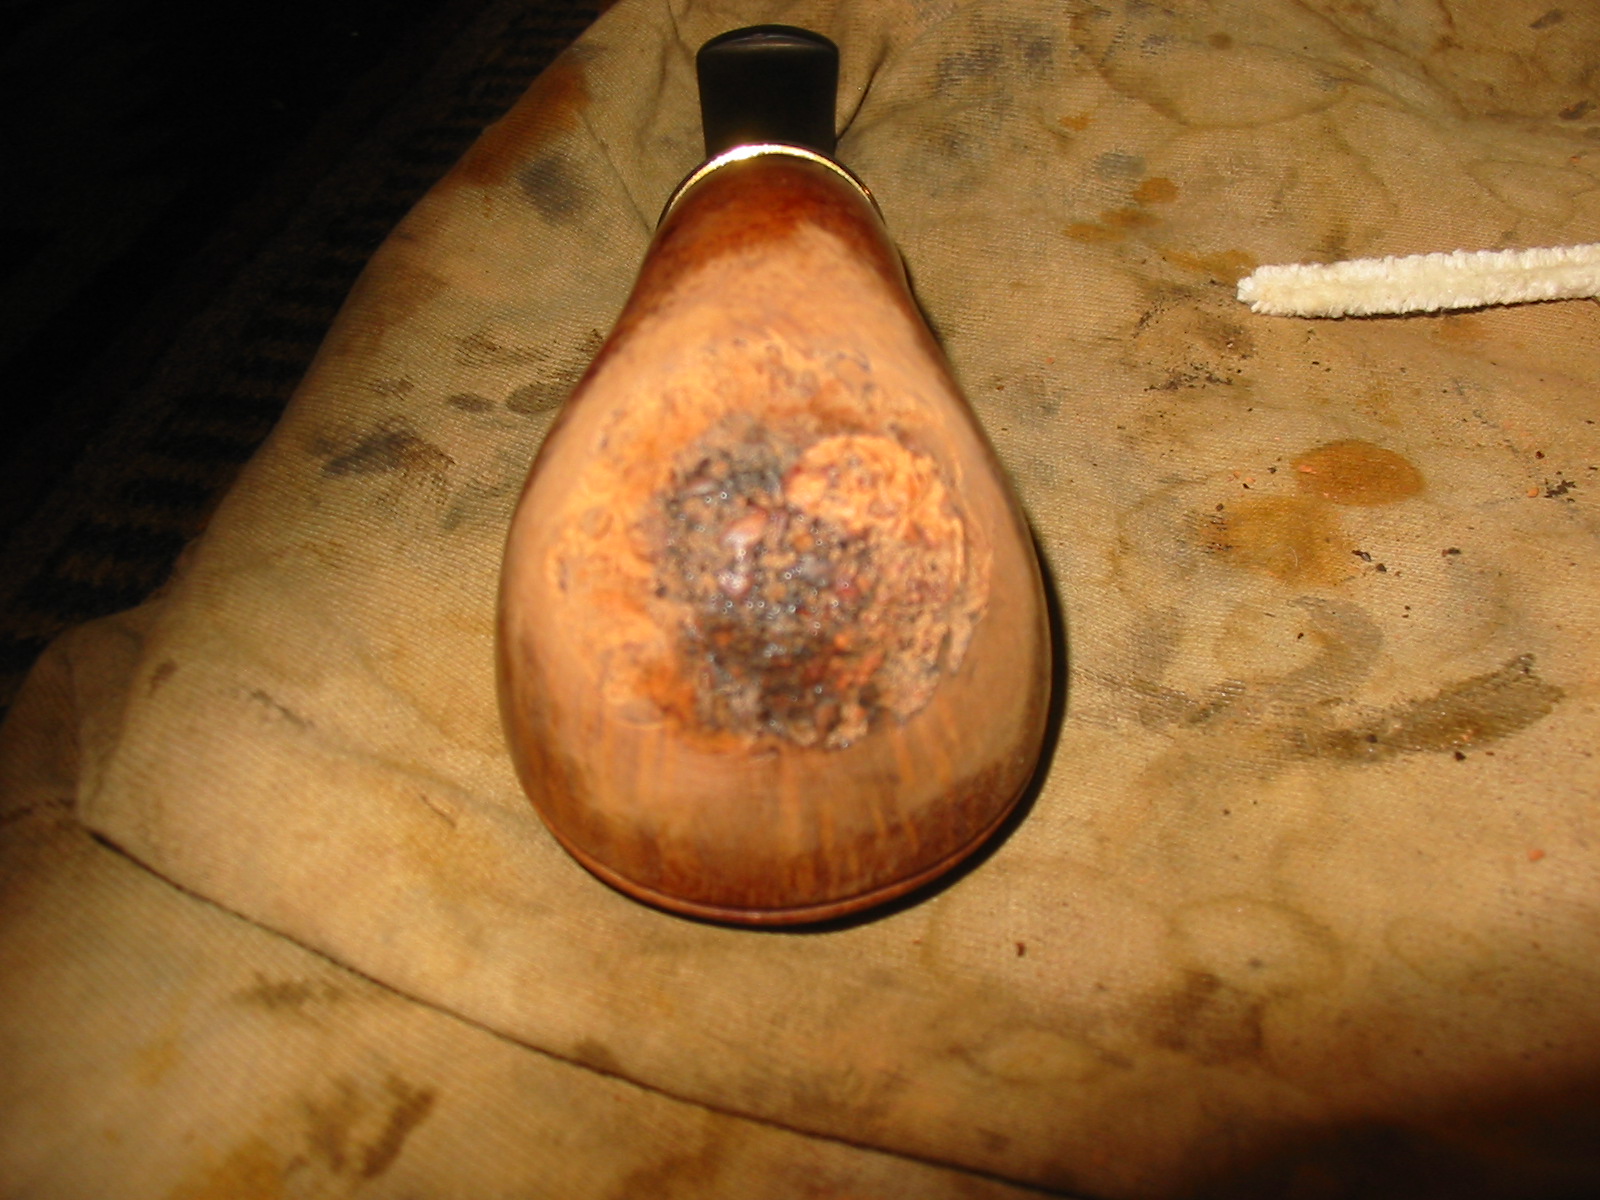
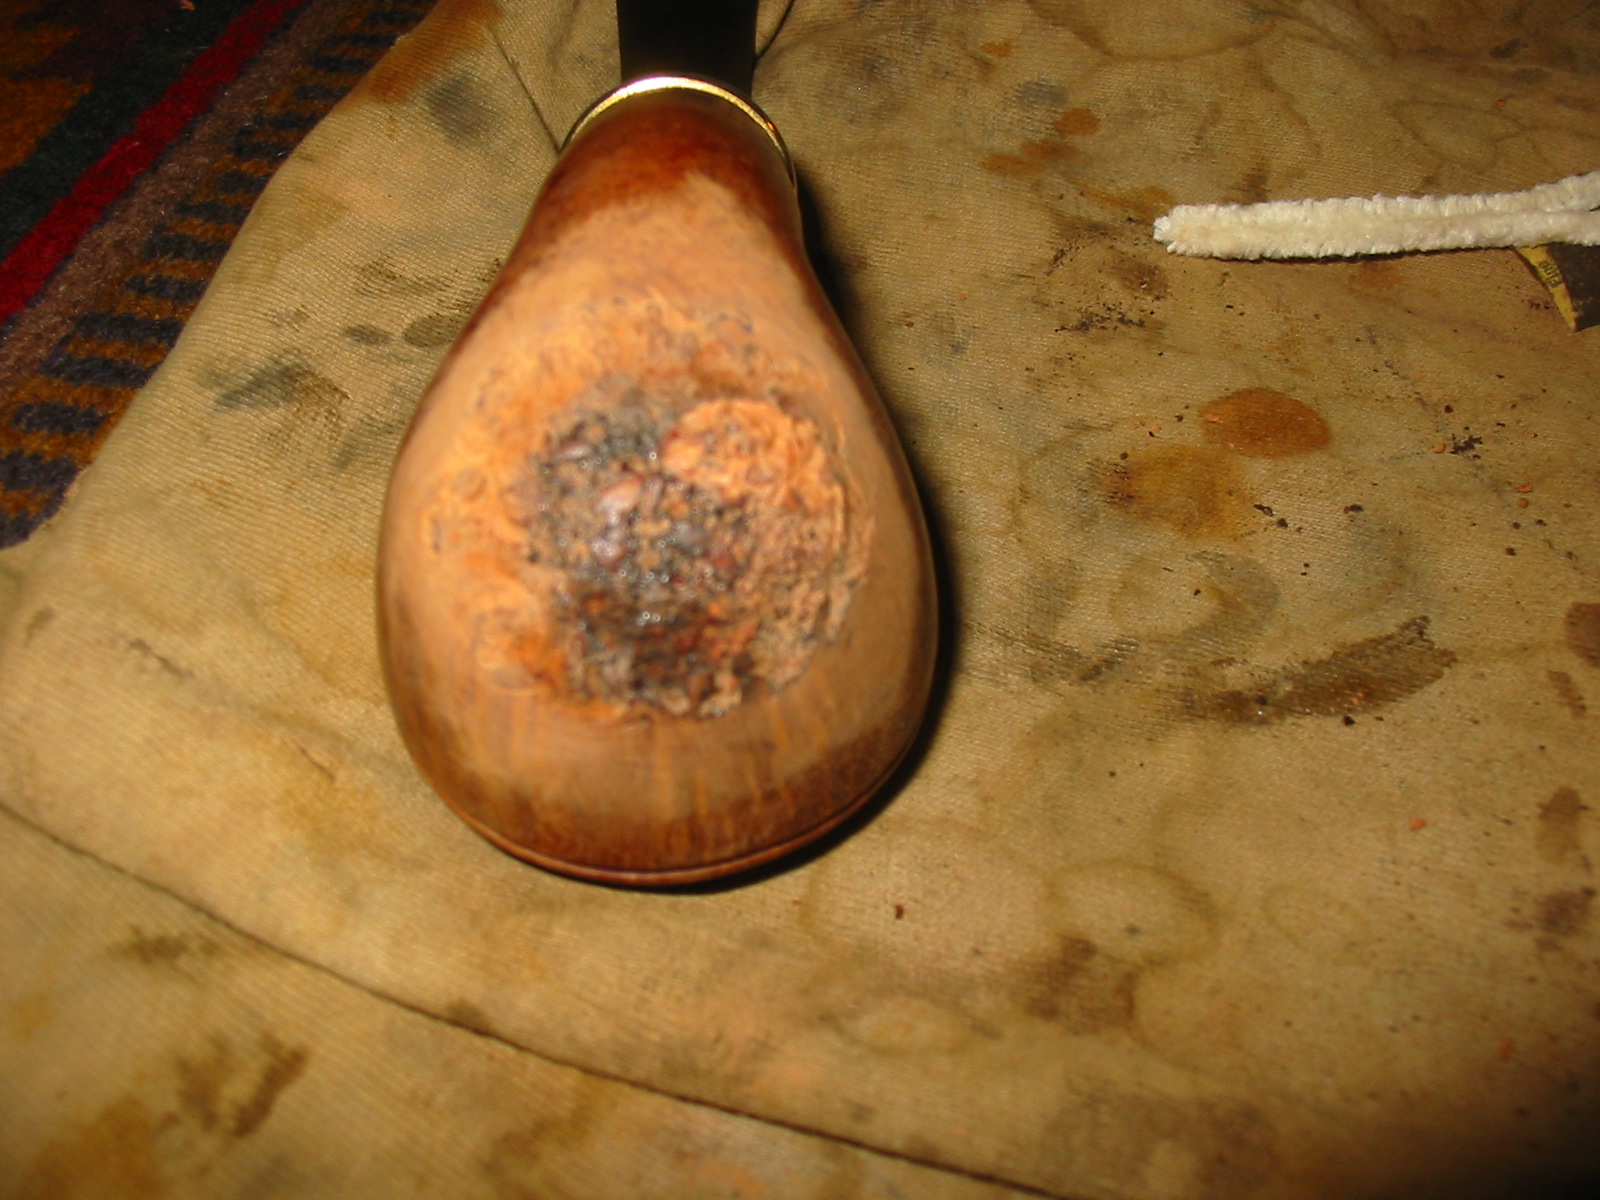
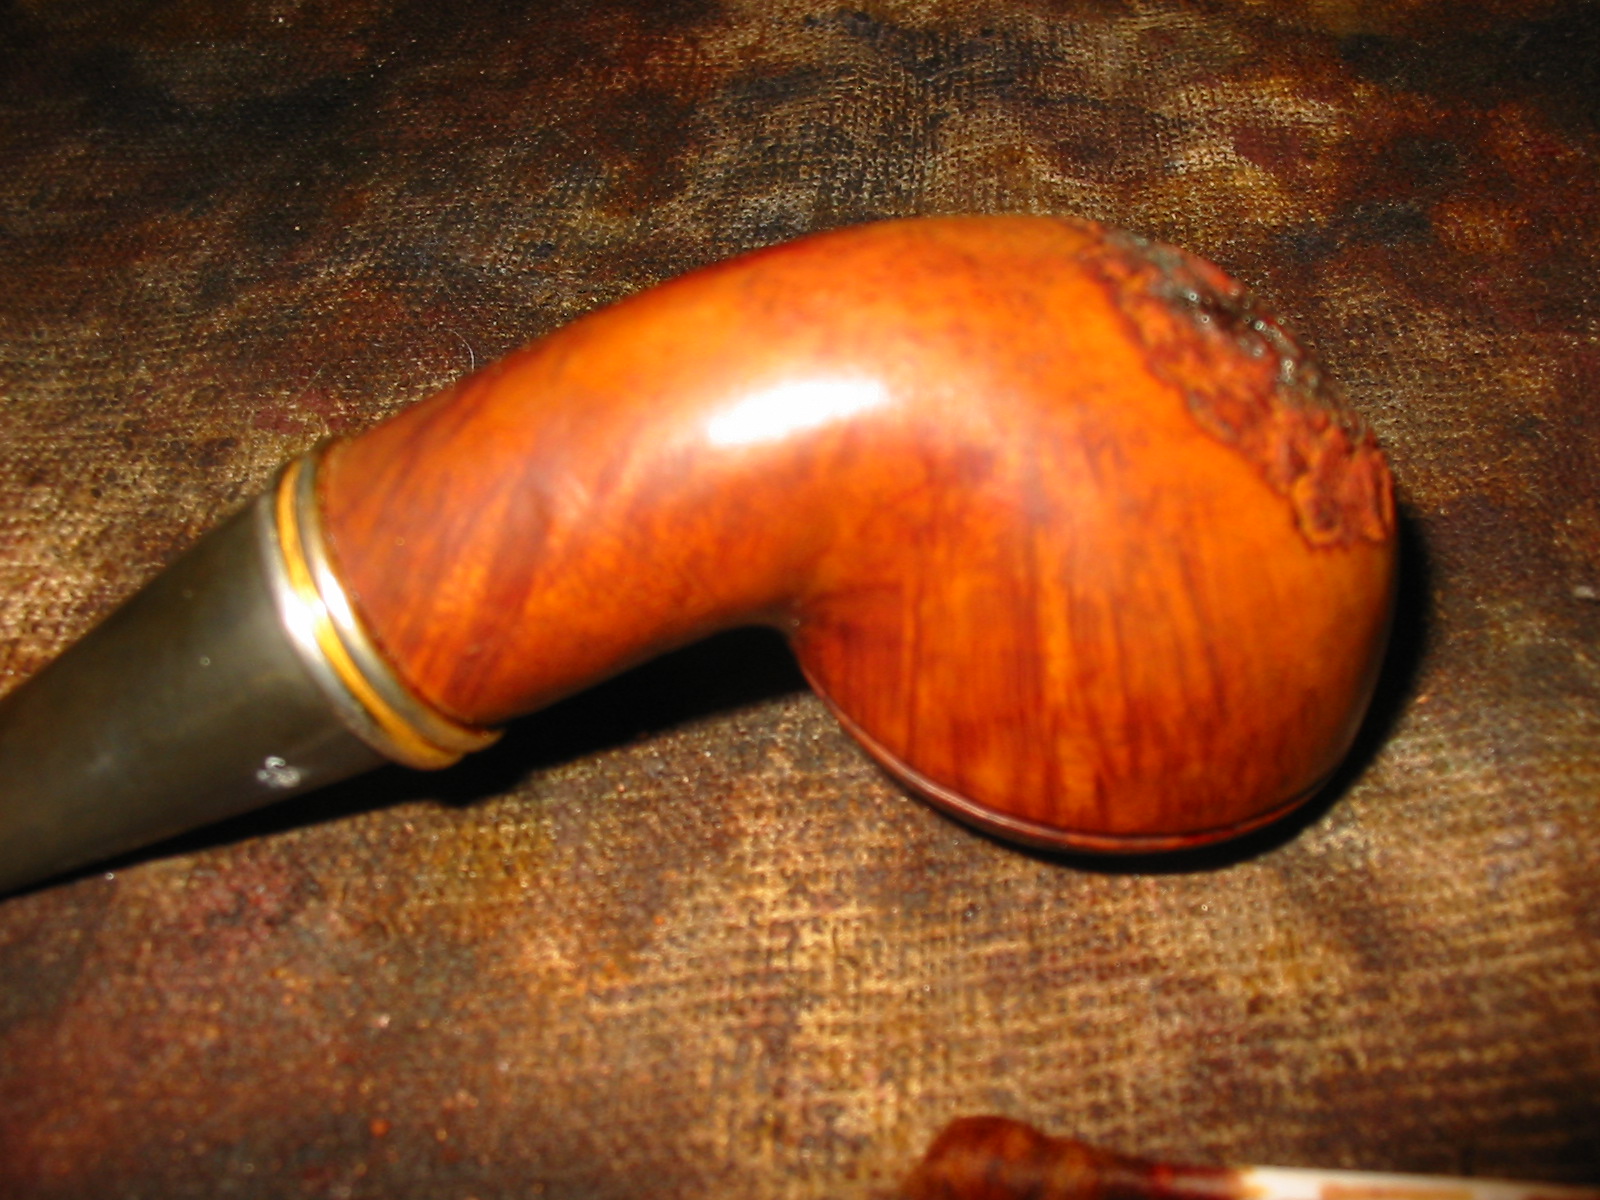
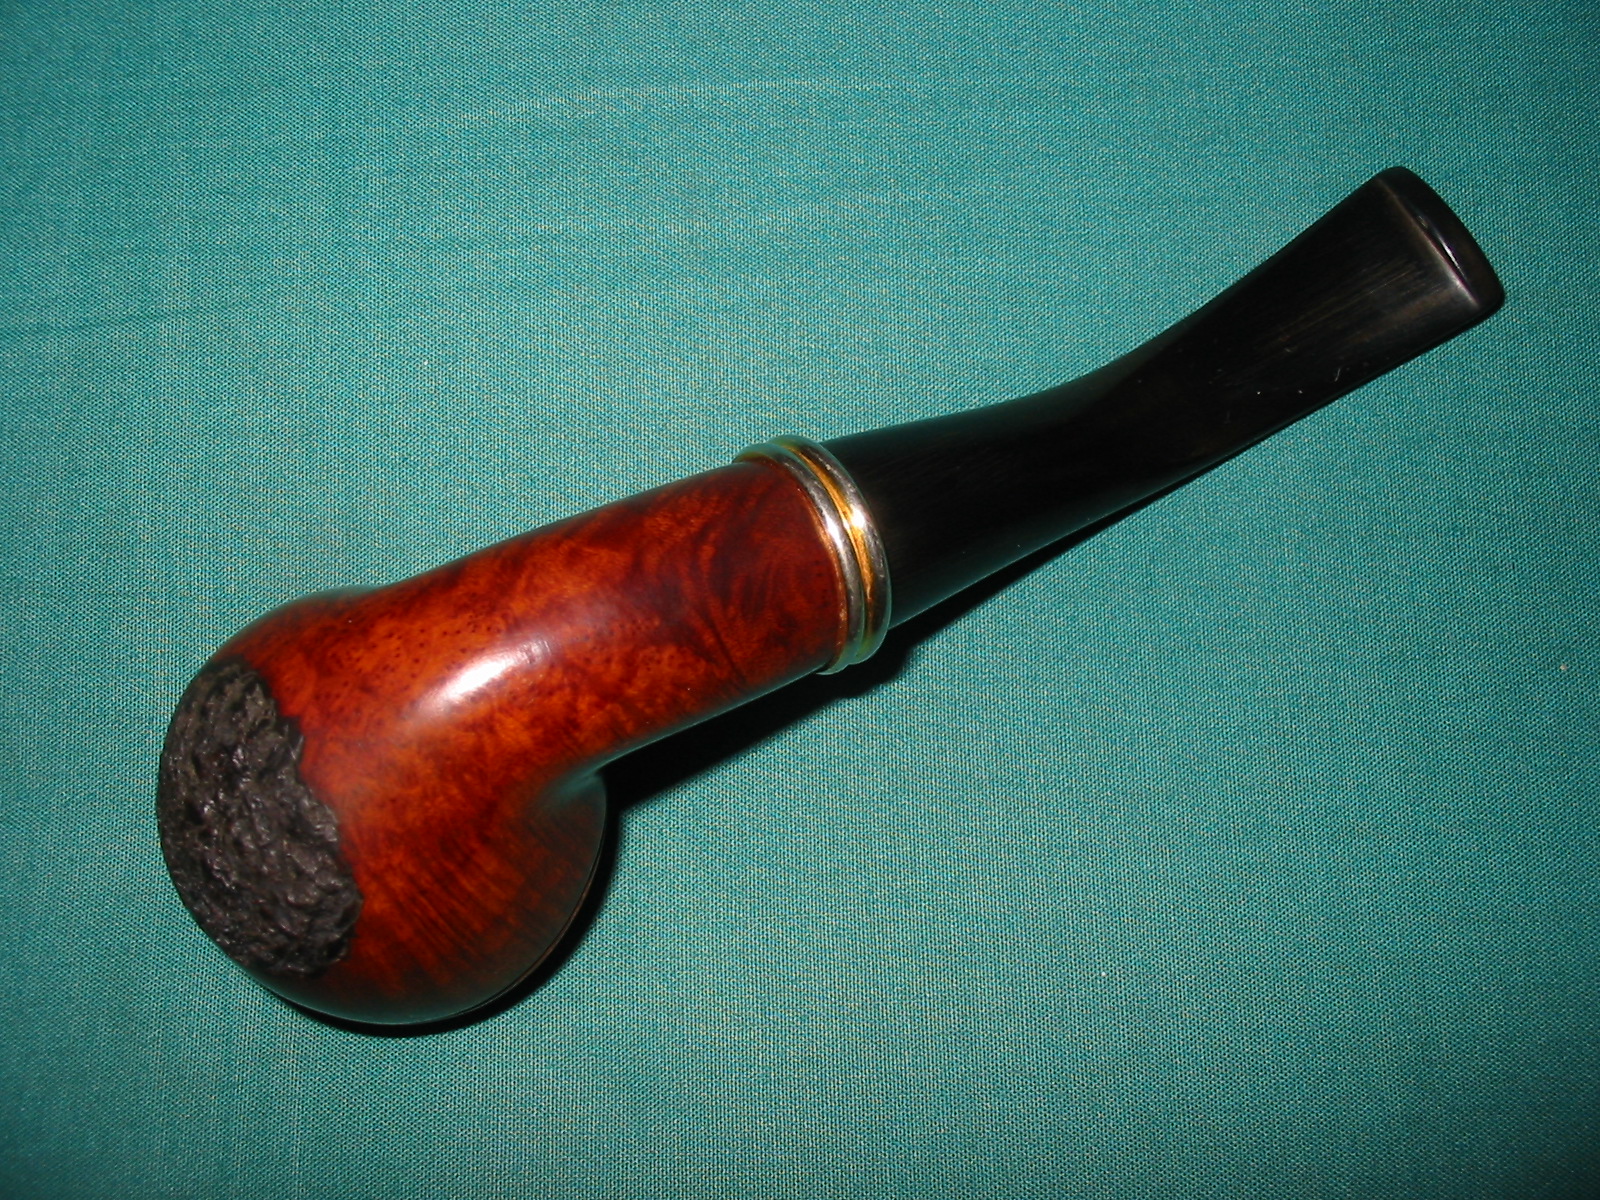
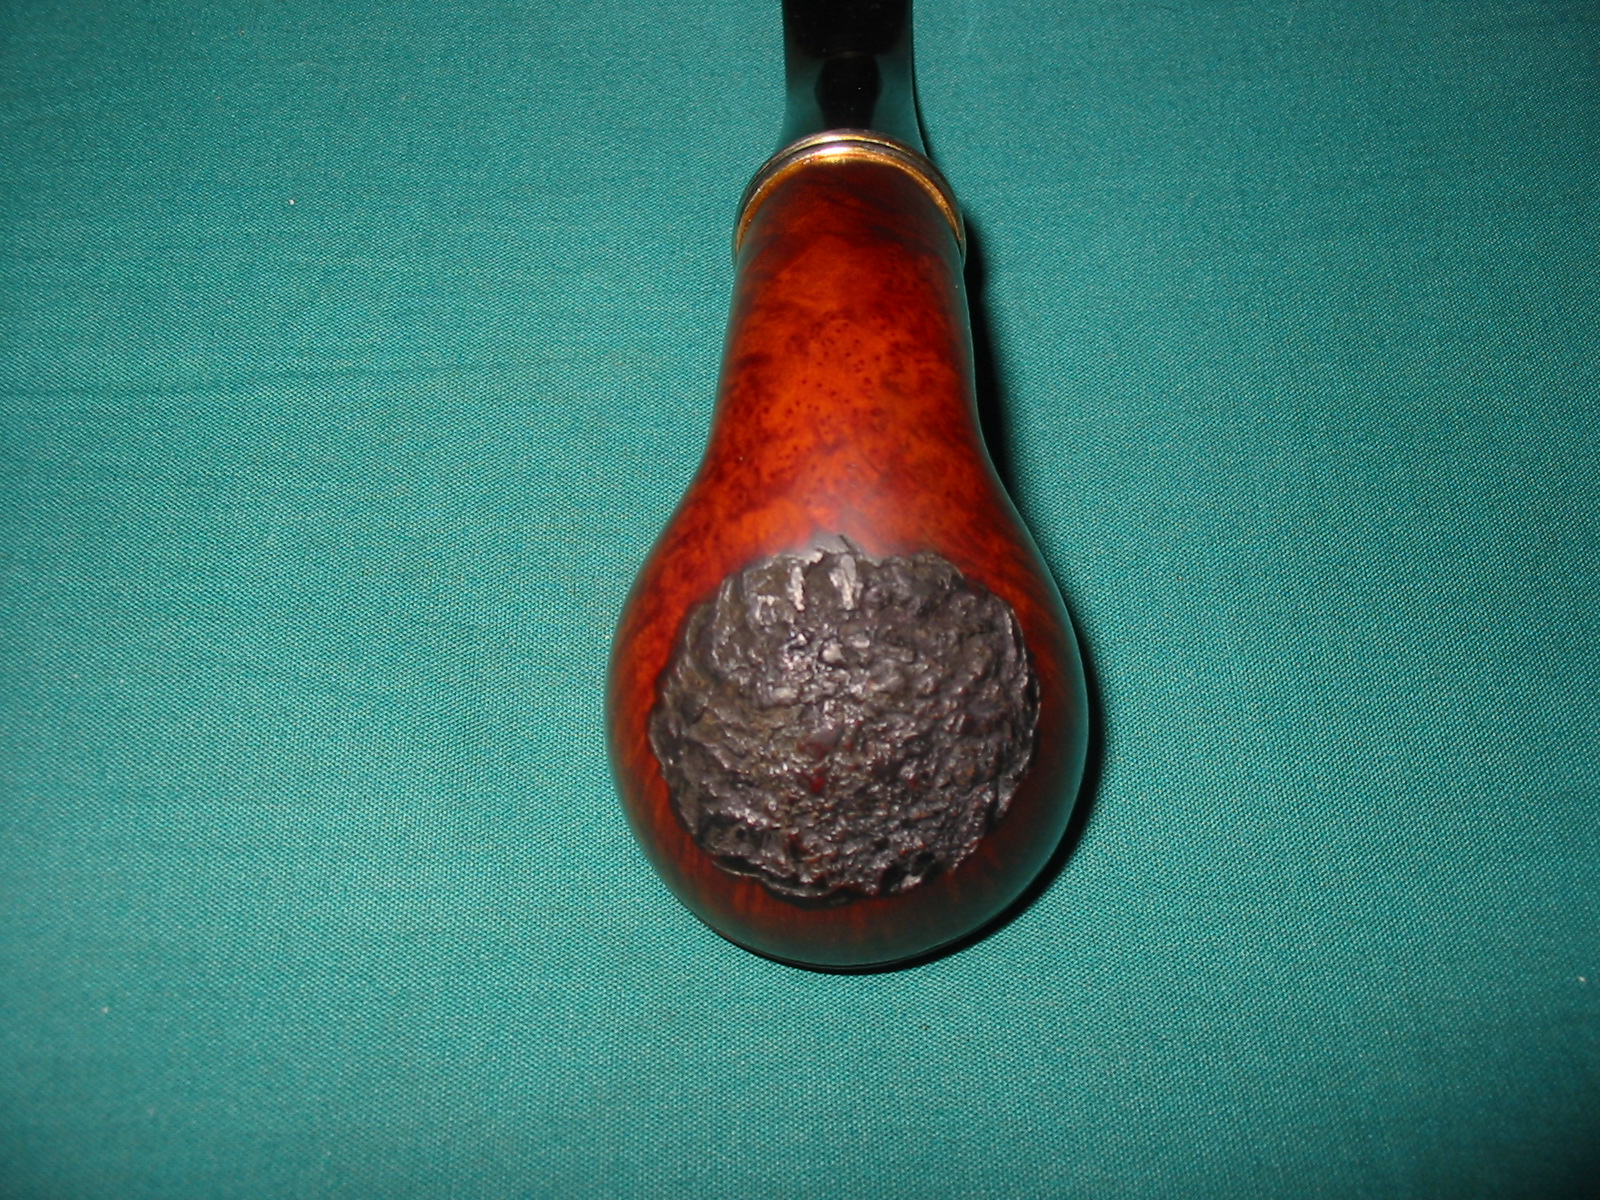
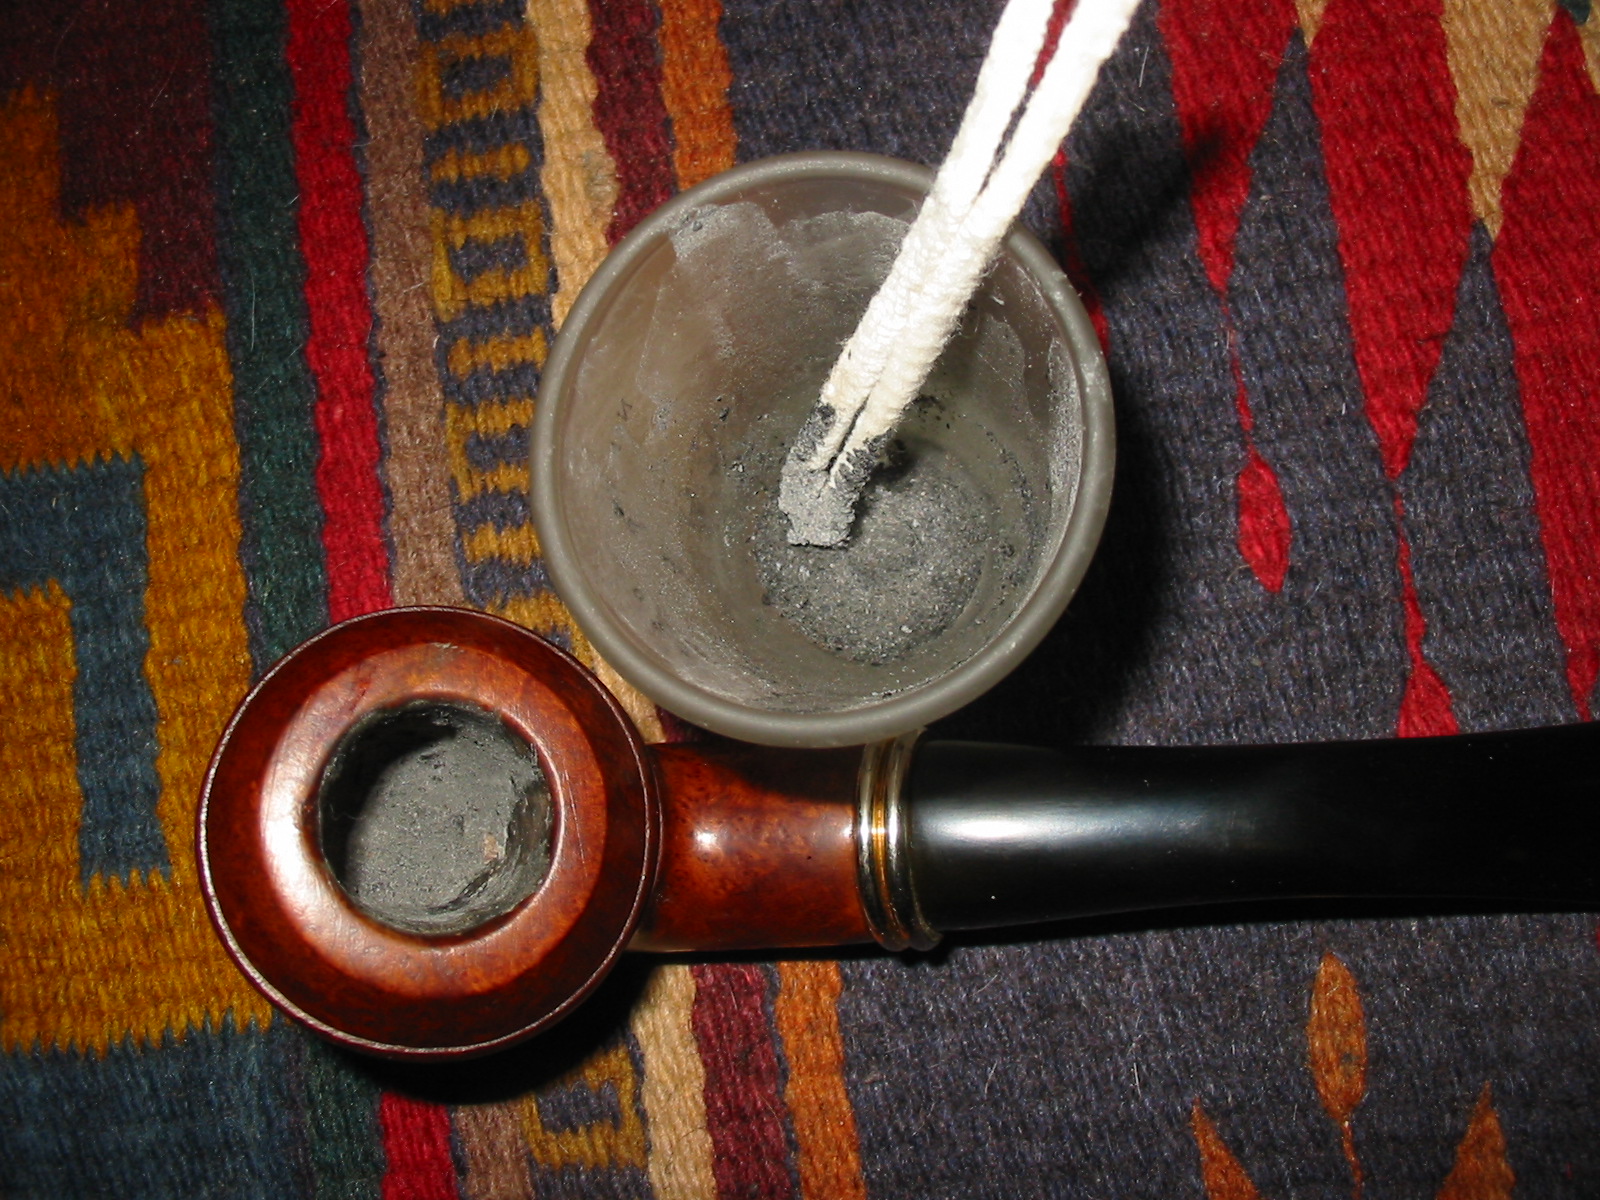
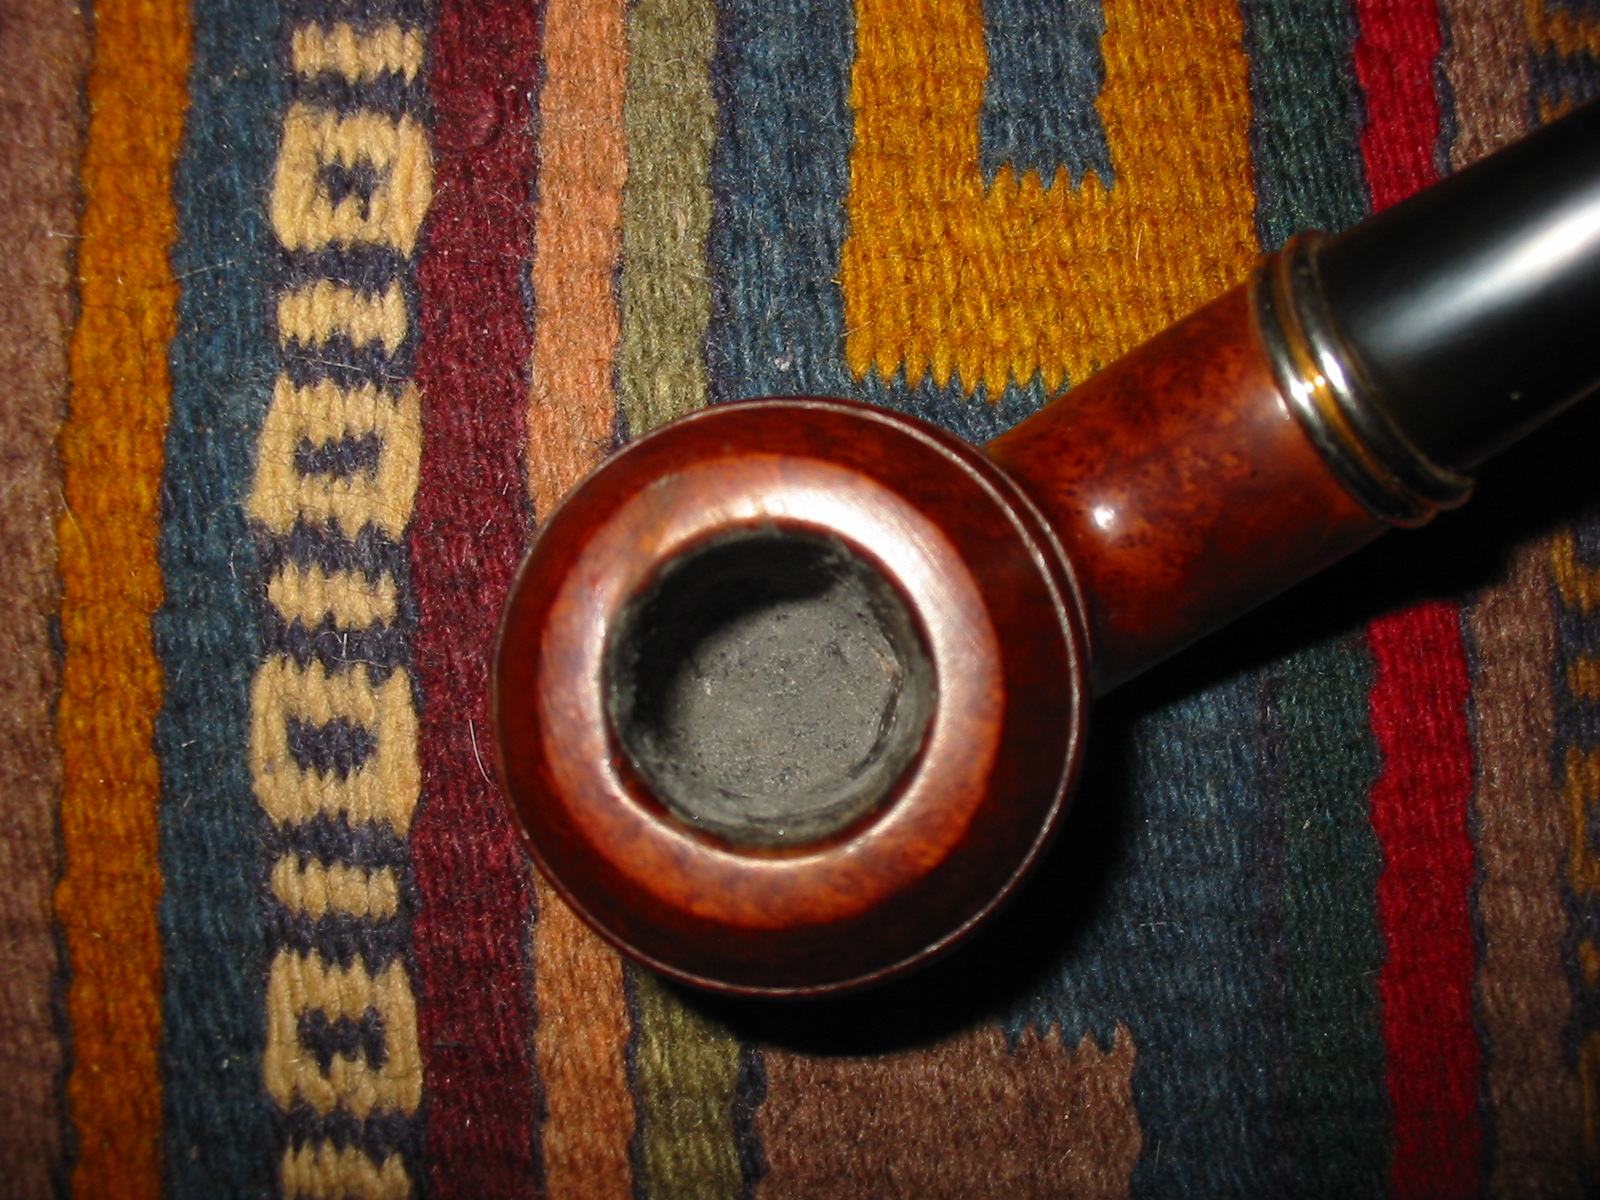
Tag Archives: micromesh sanding pads

Restoring a Briarmeer Rhodesian 175 ED that was Made in Canada


Blog by Steve Laug

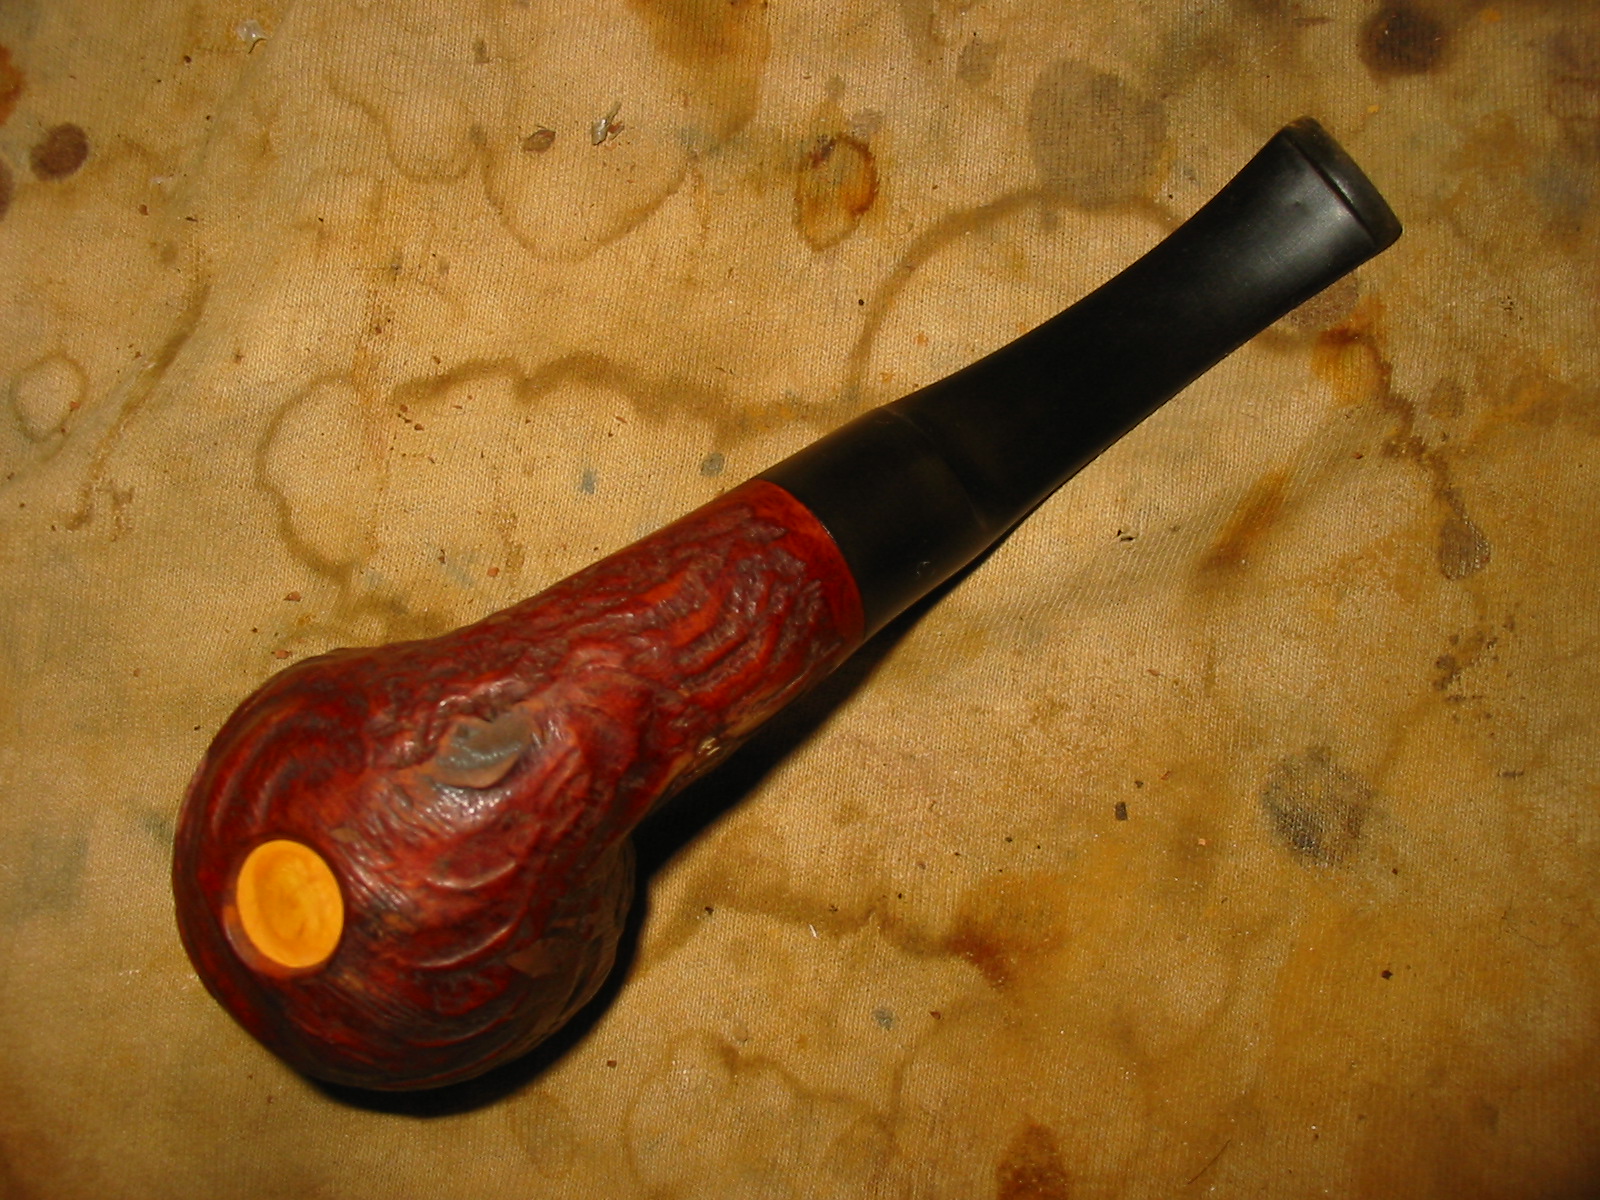
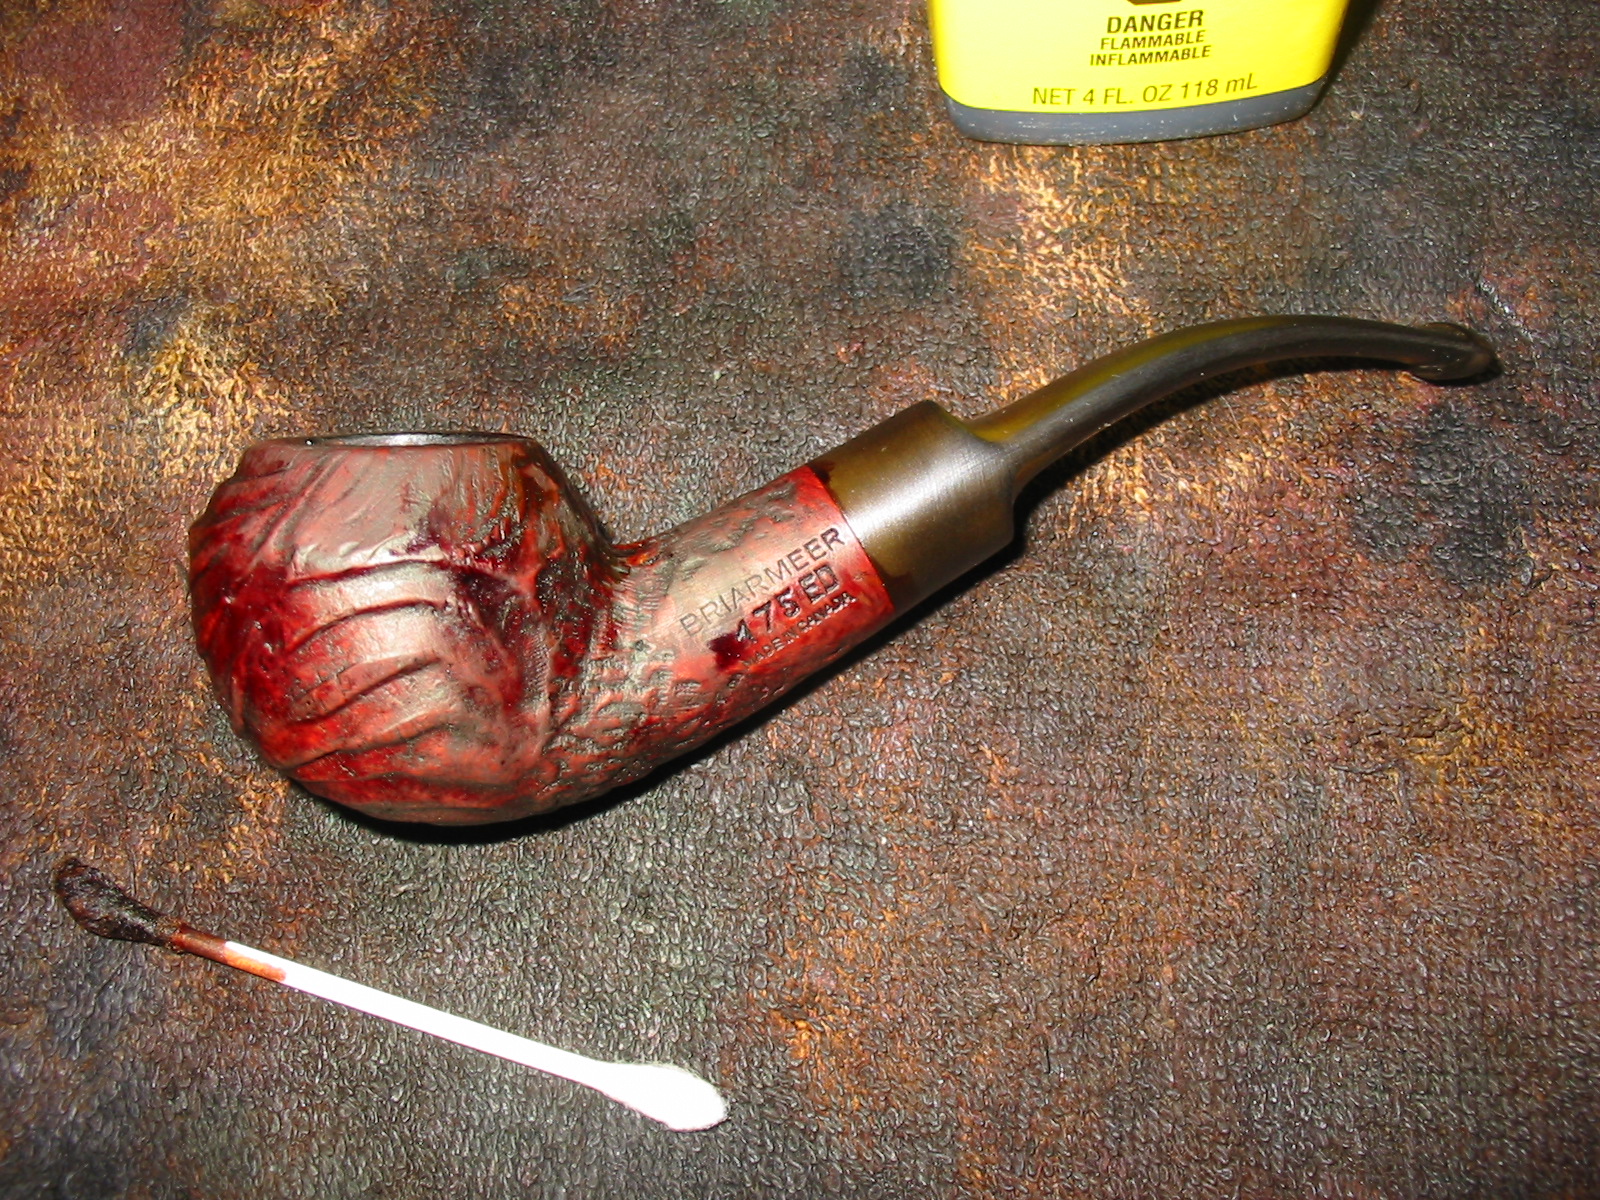
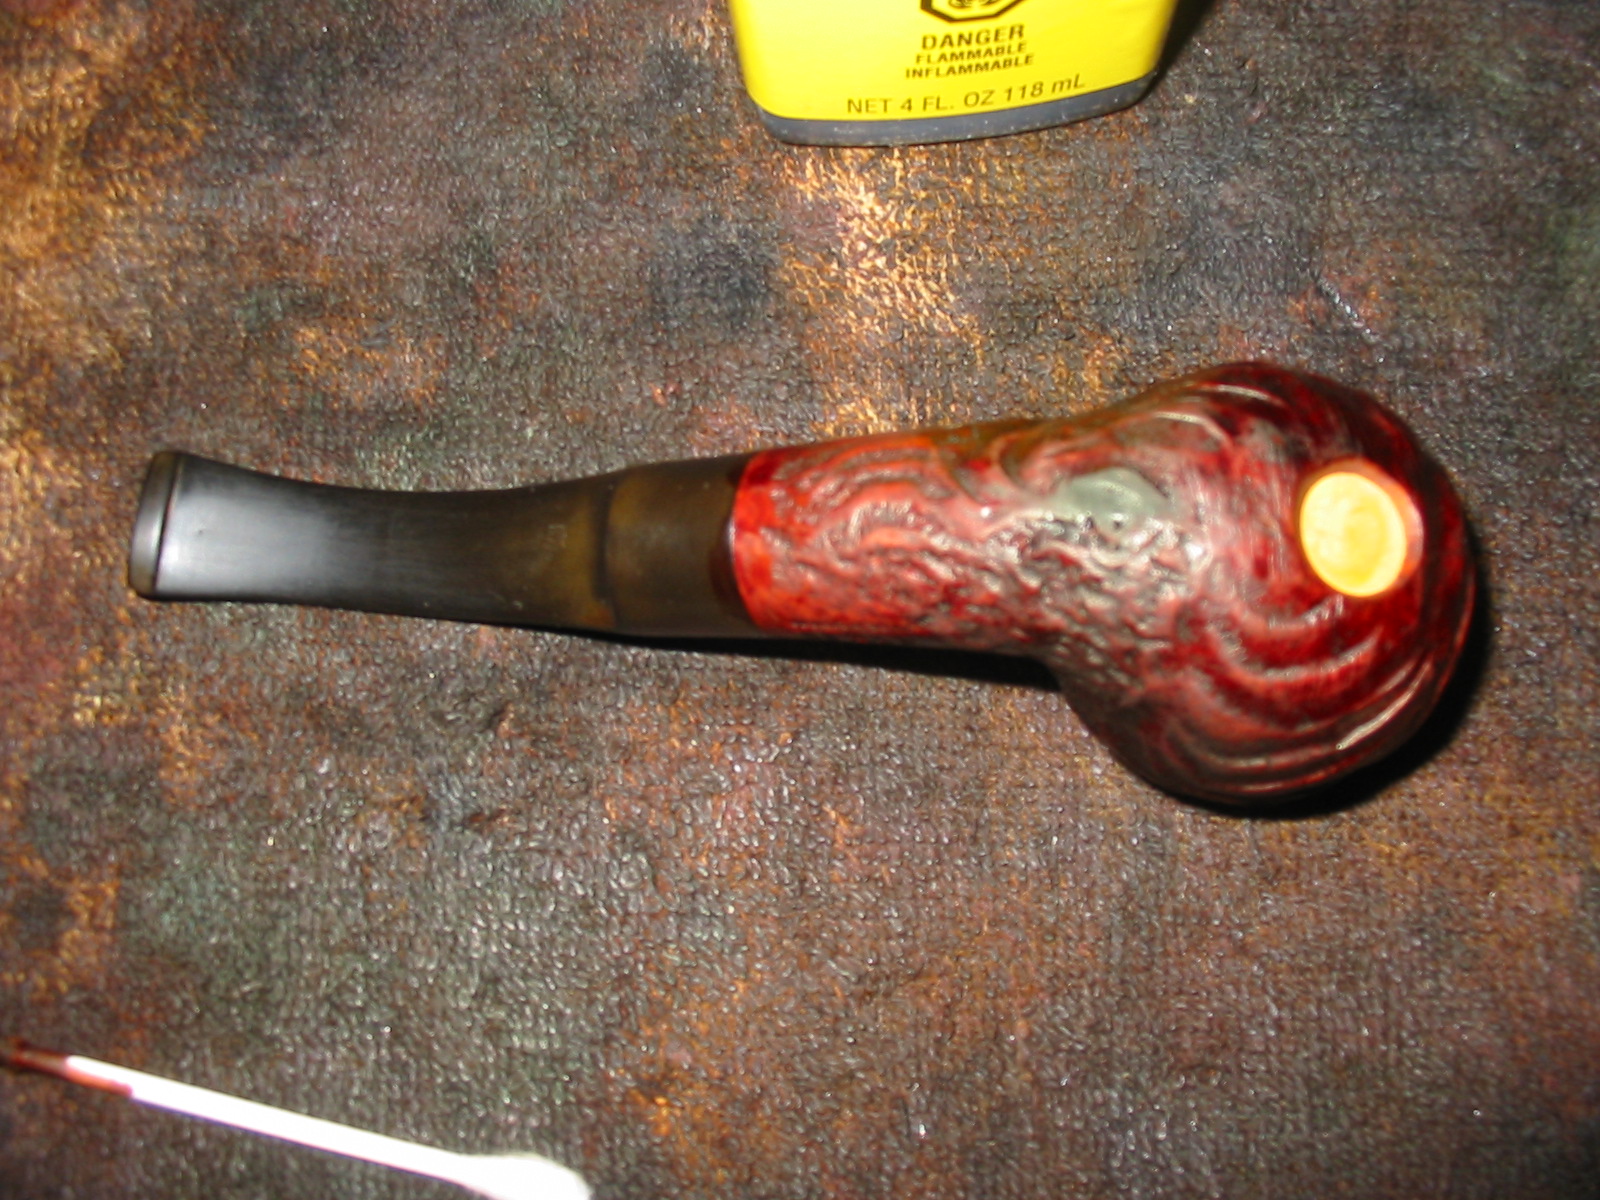
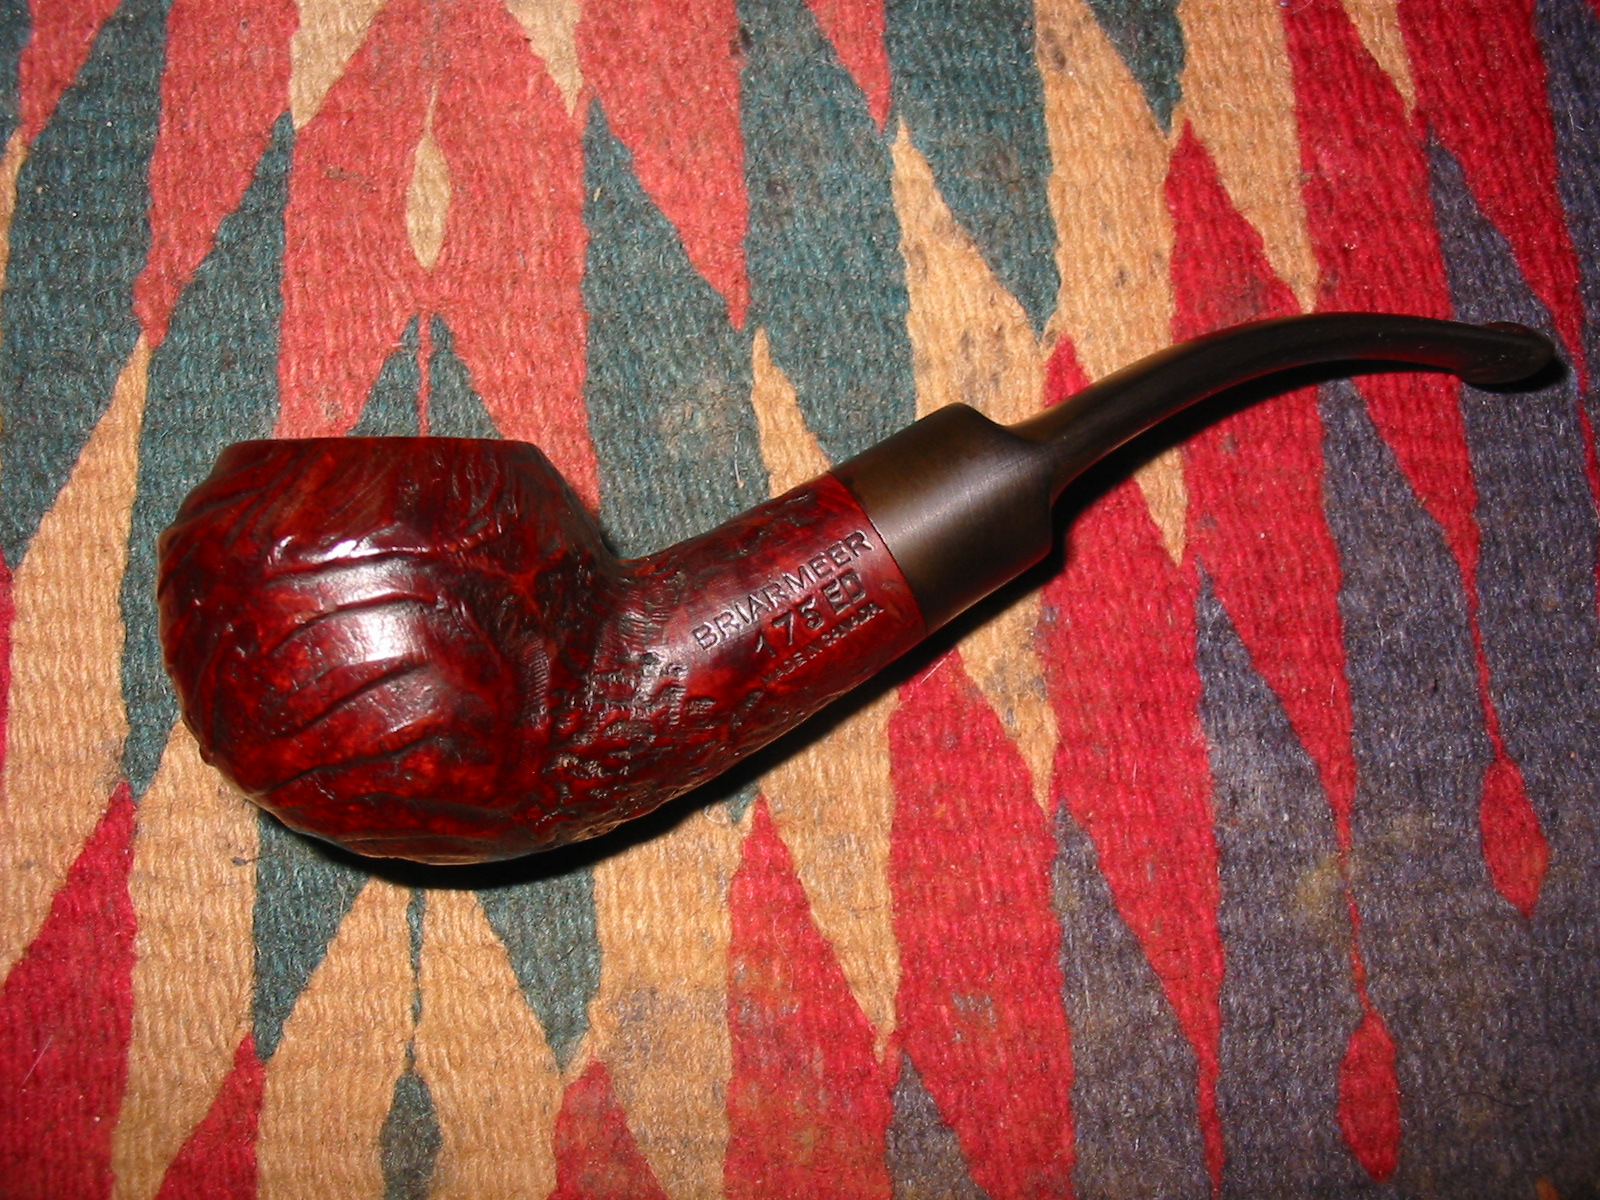
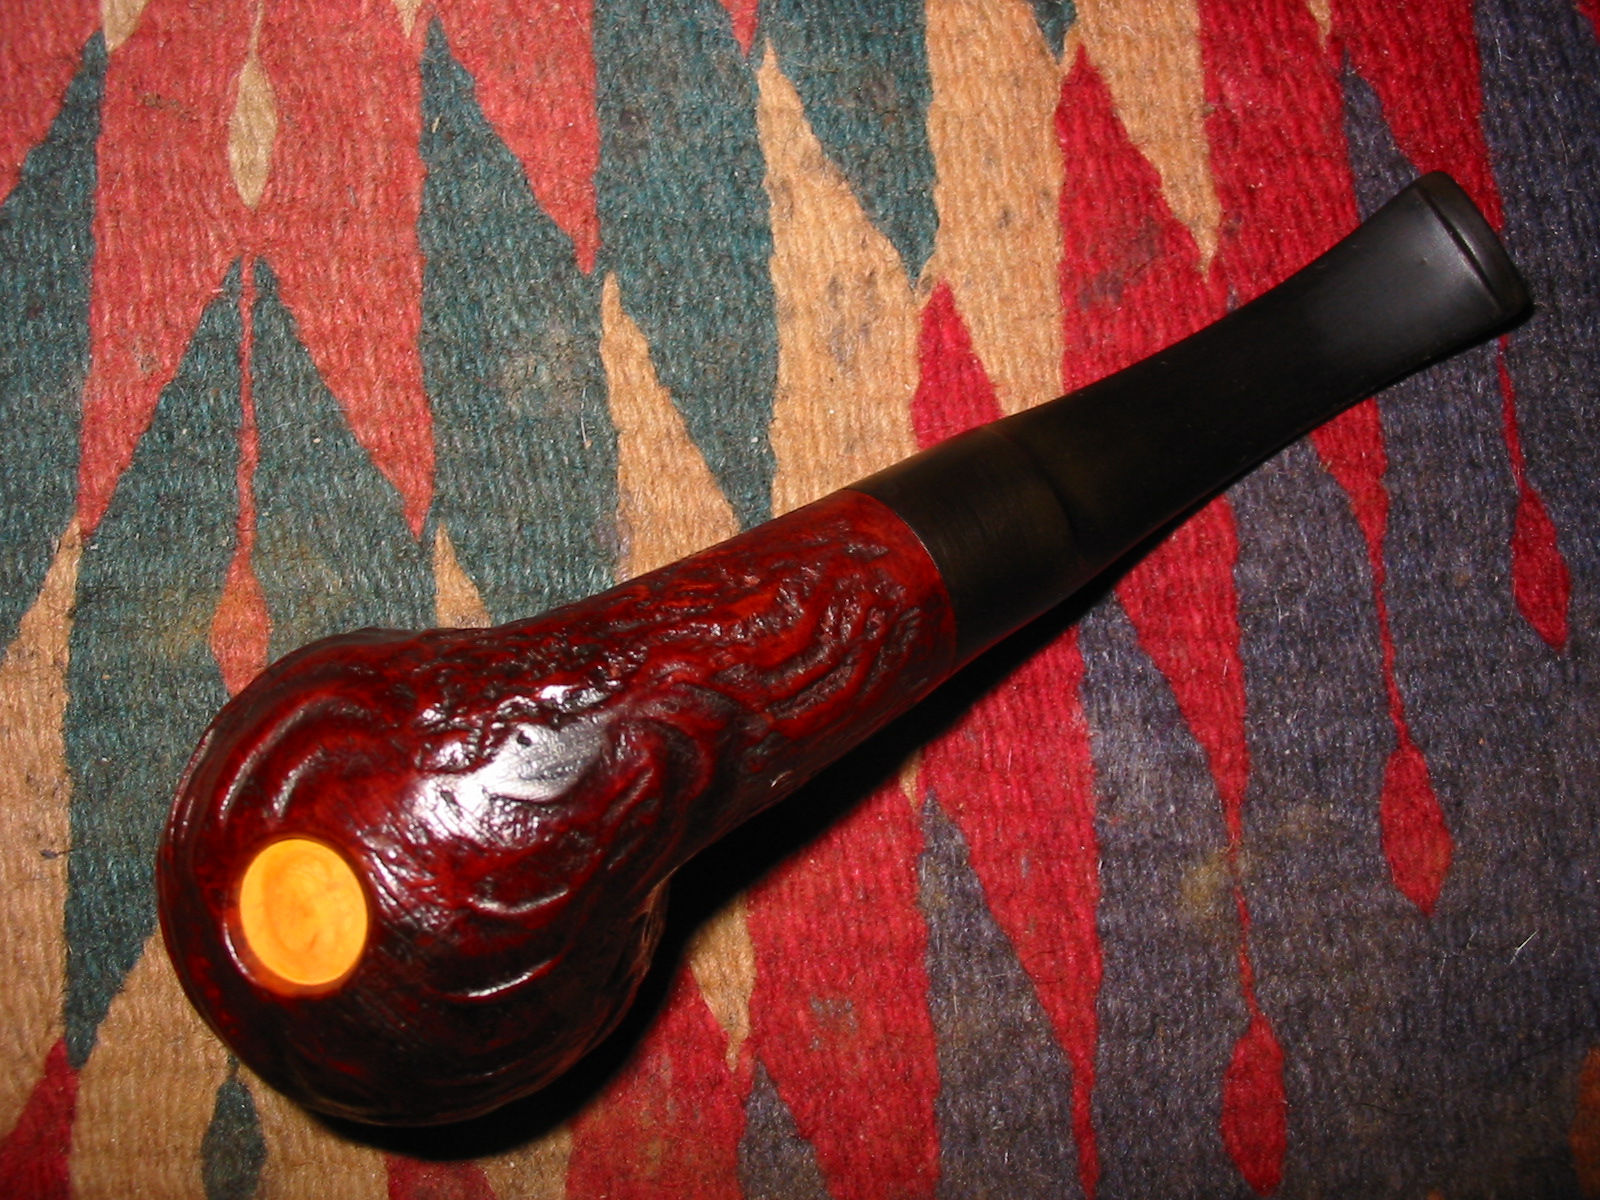
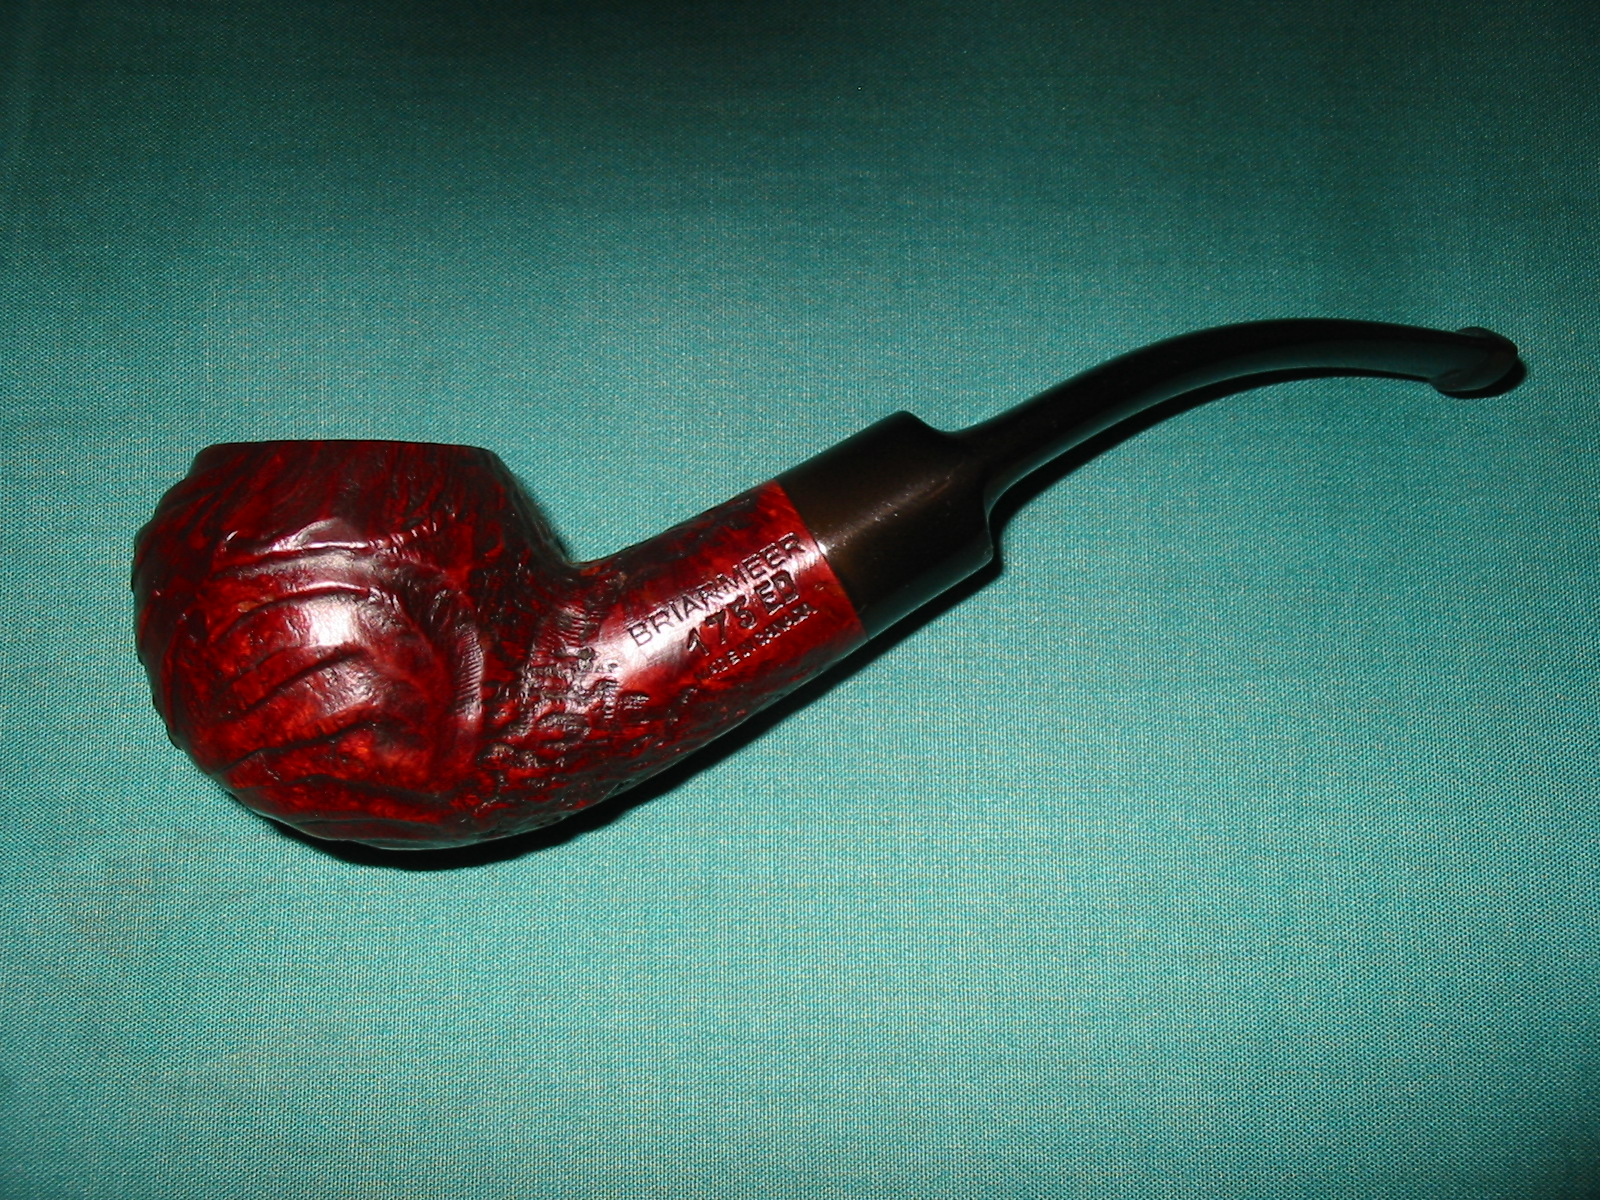
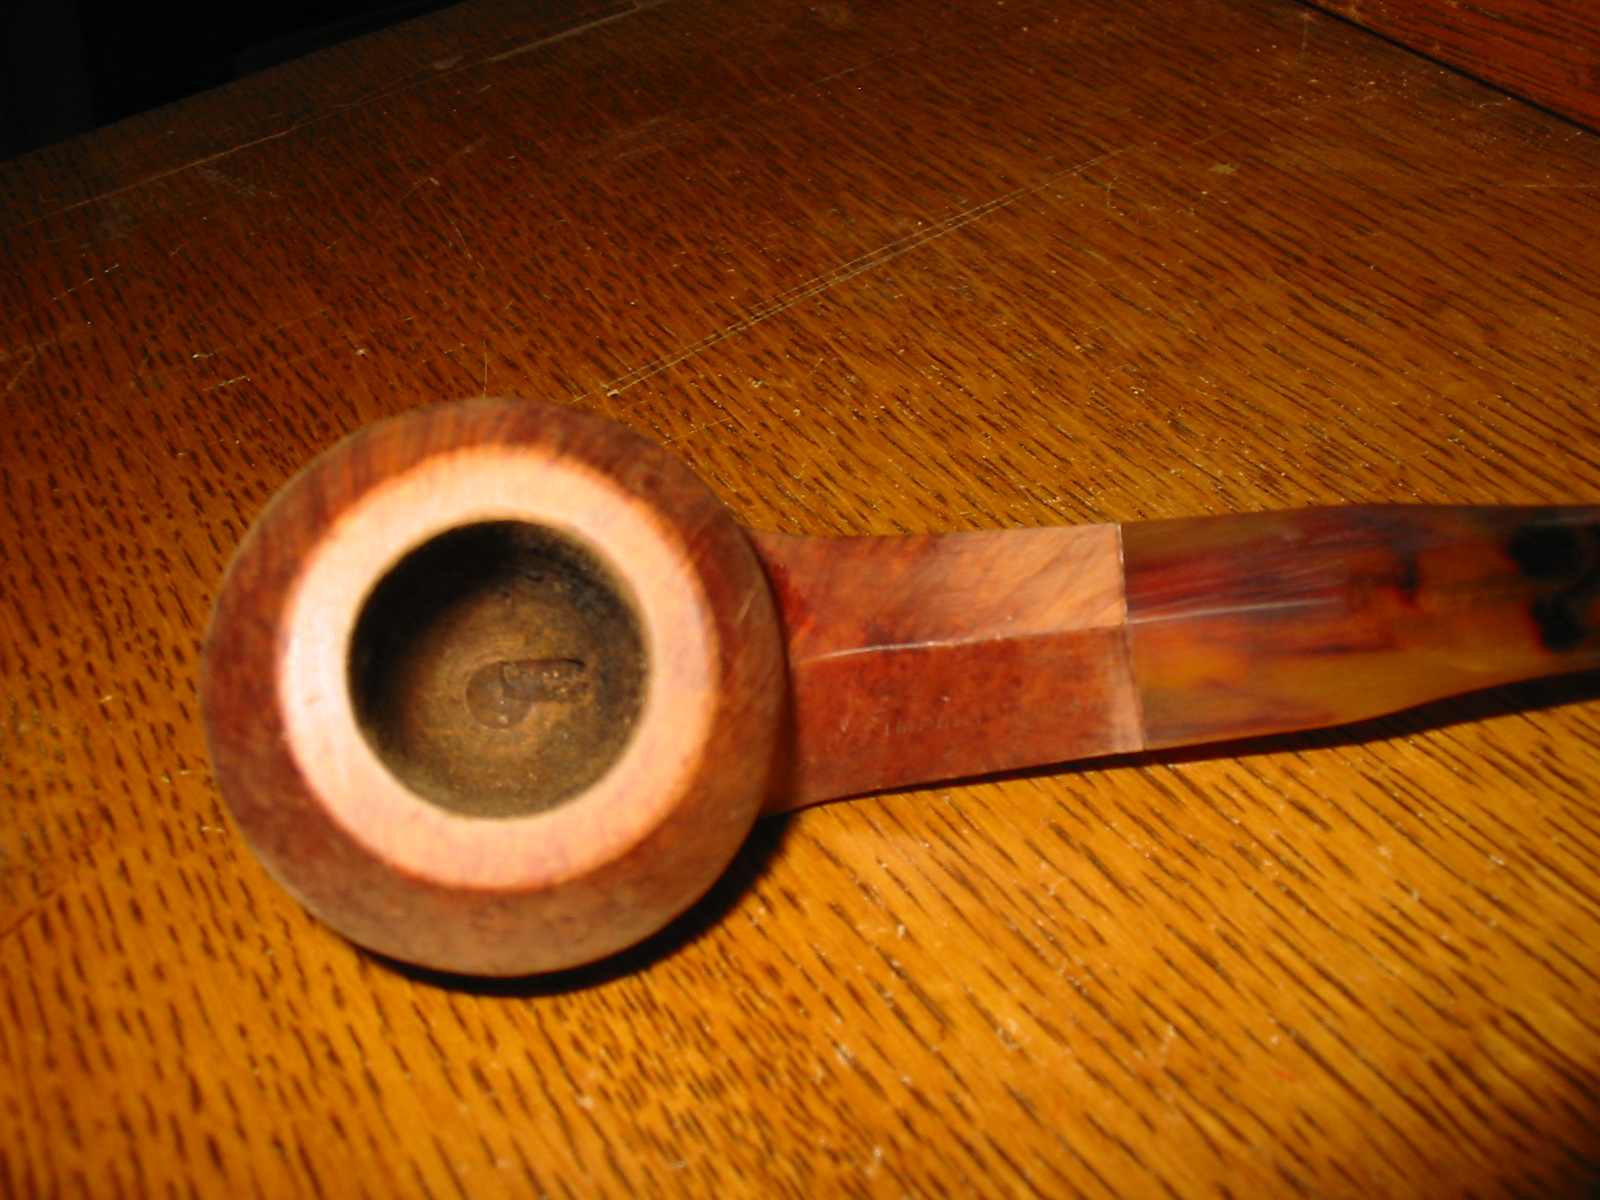
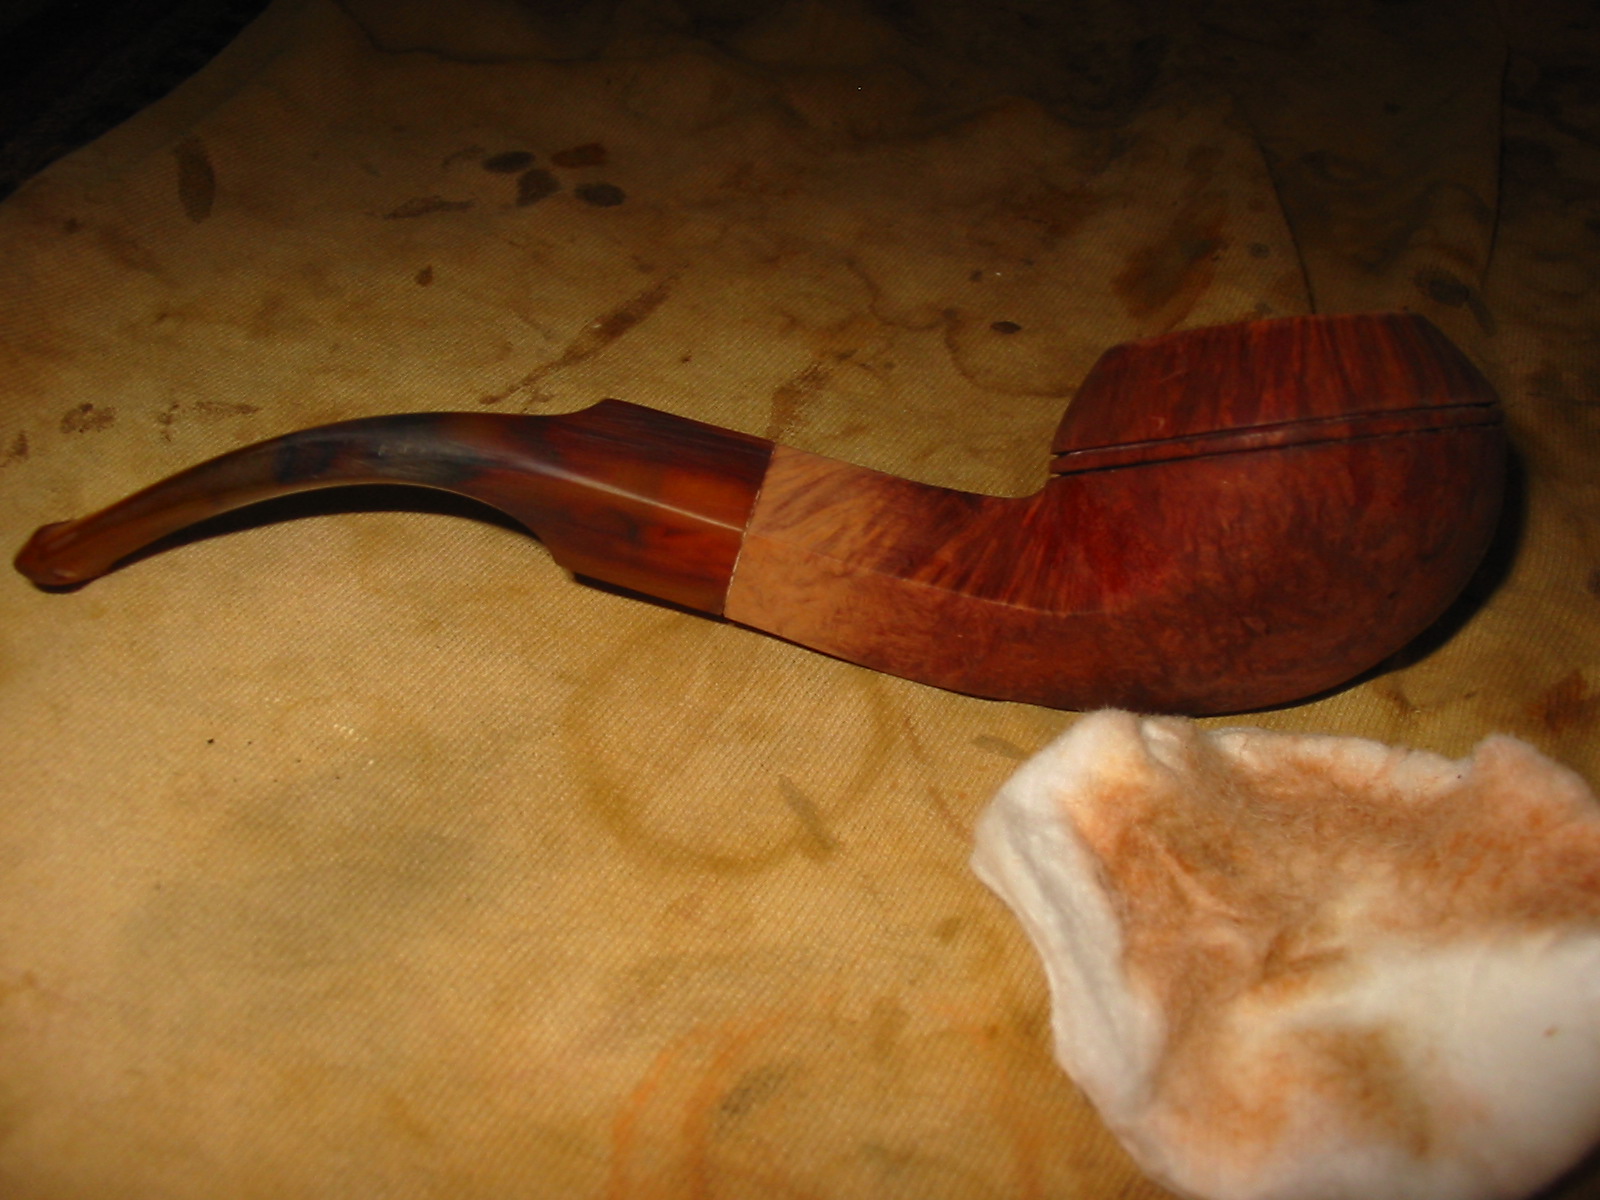
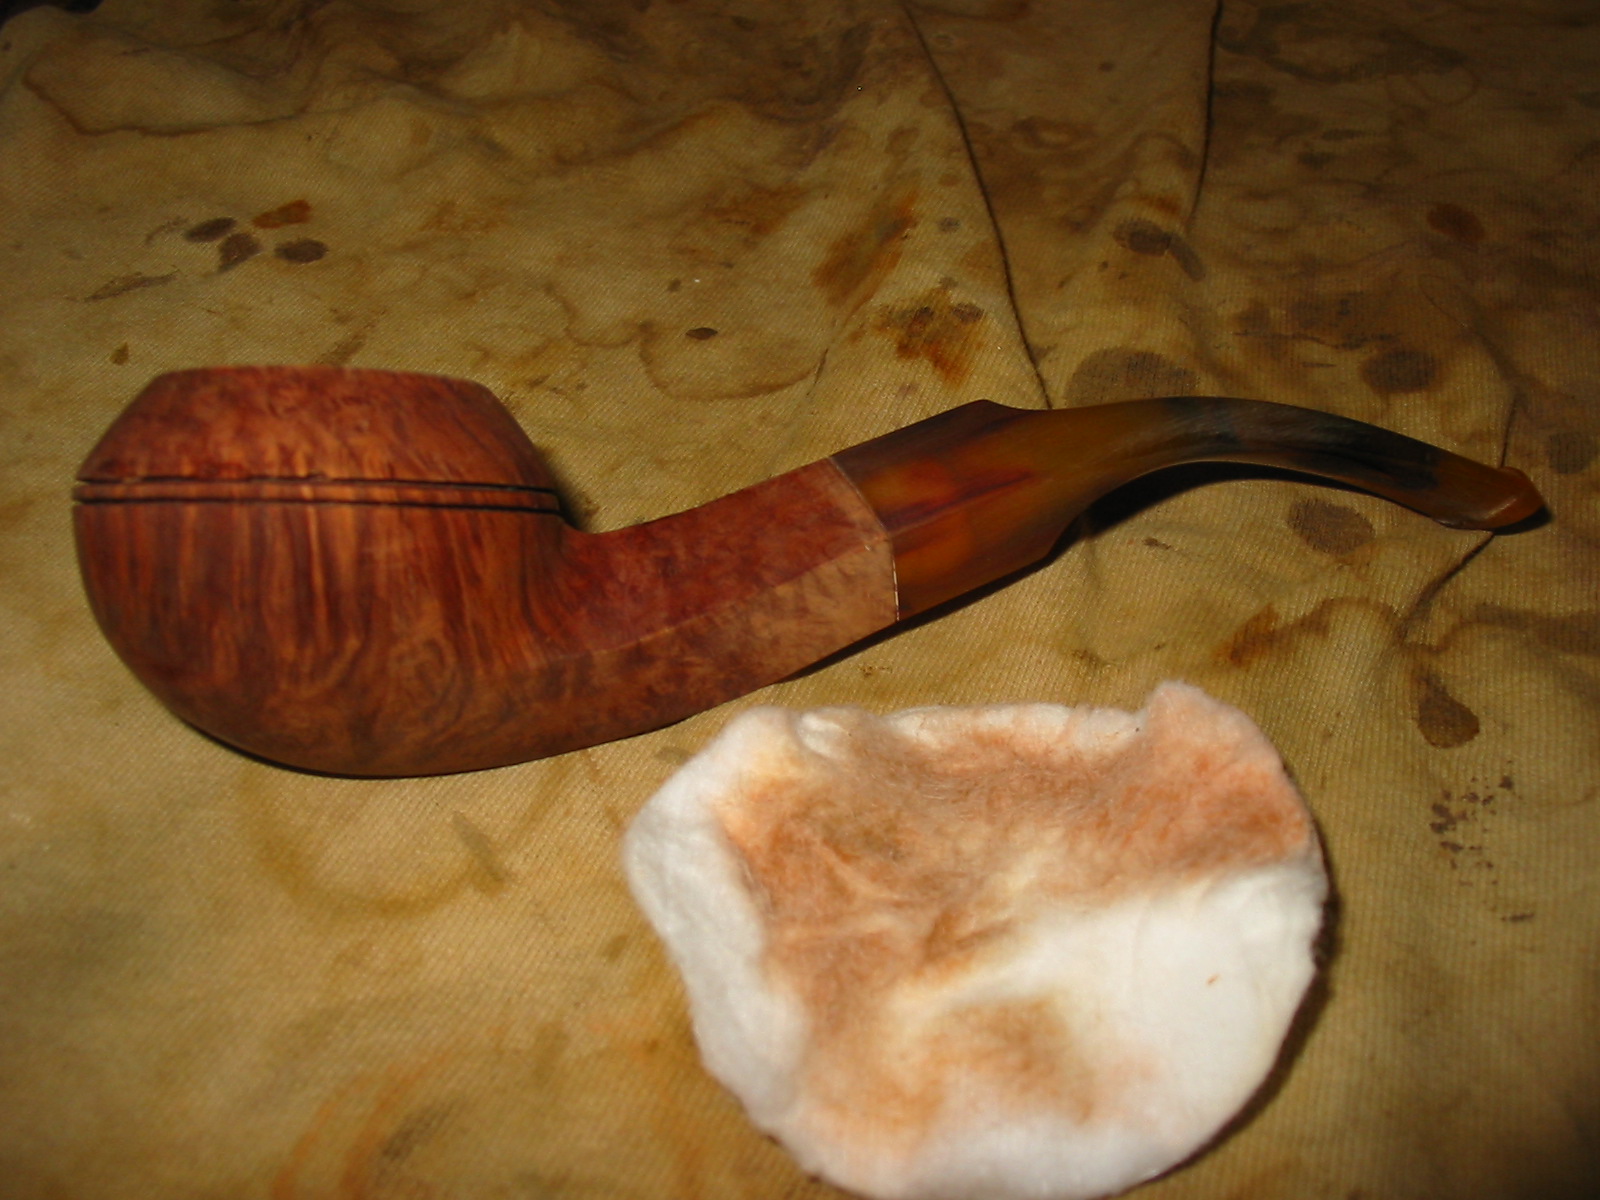
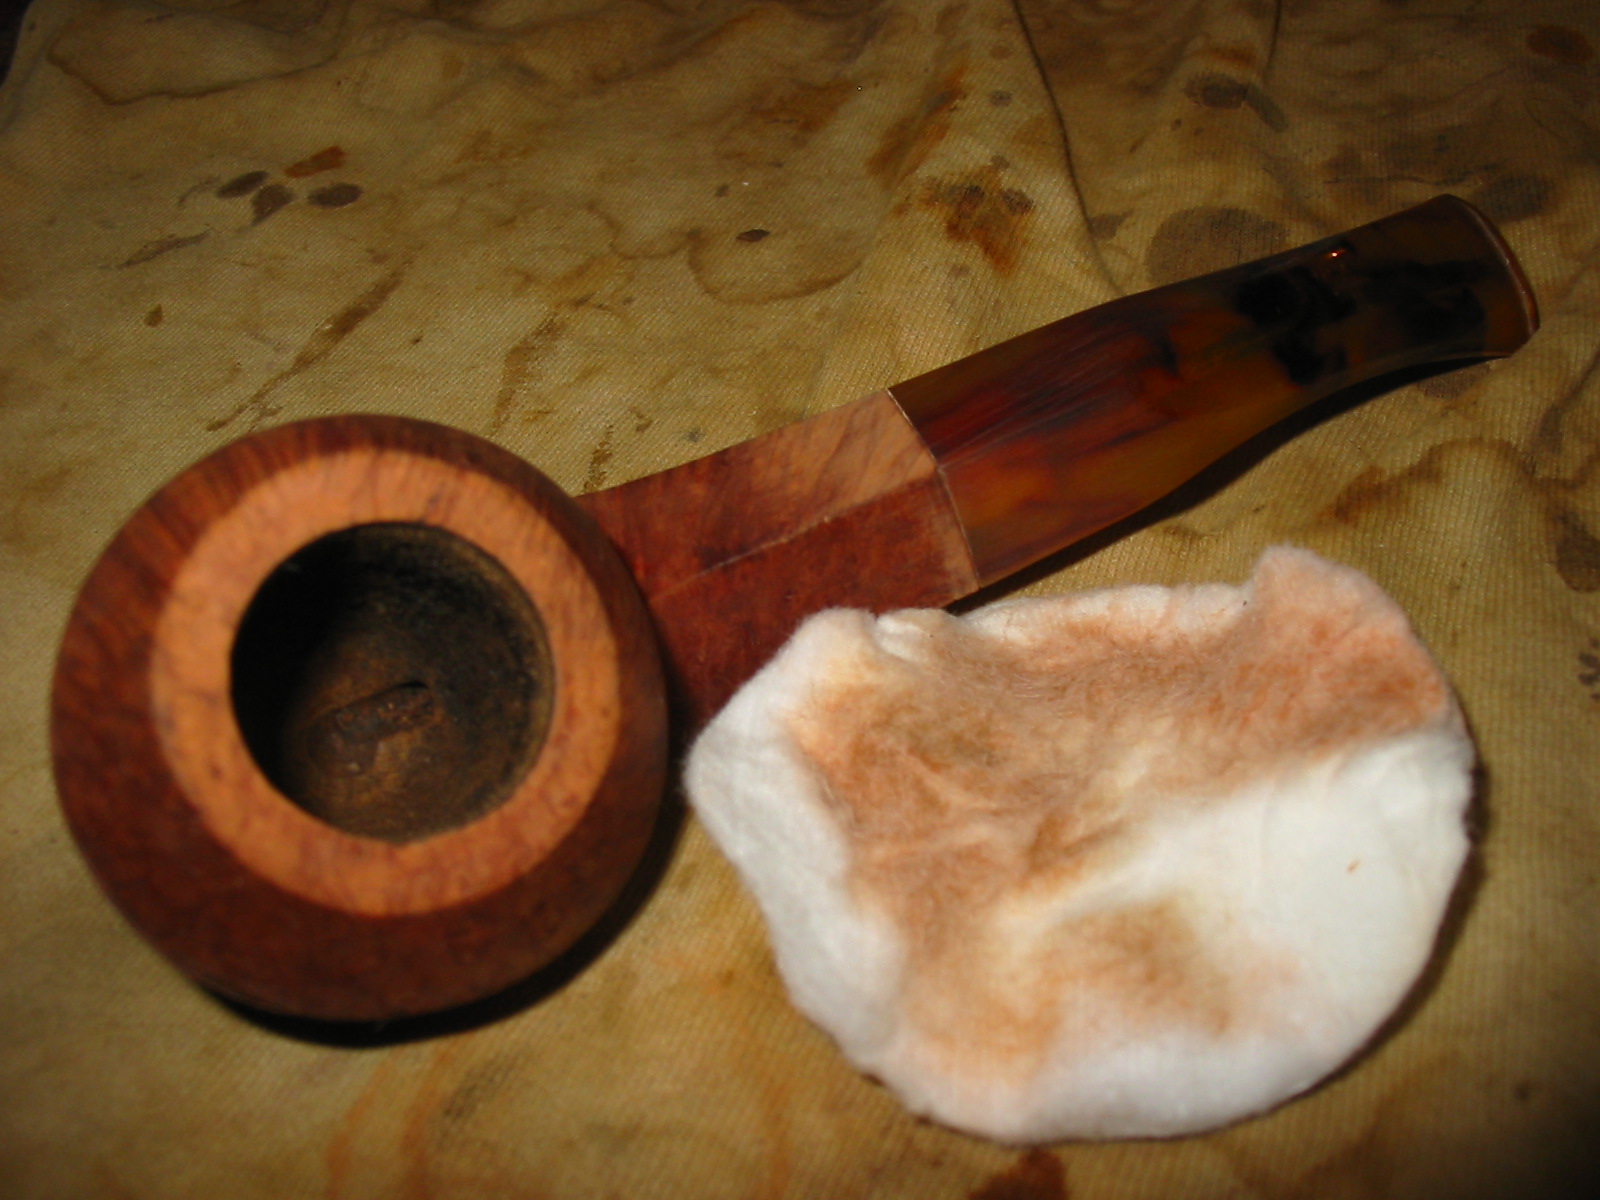
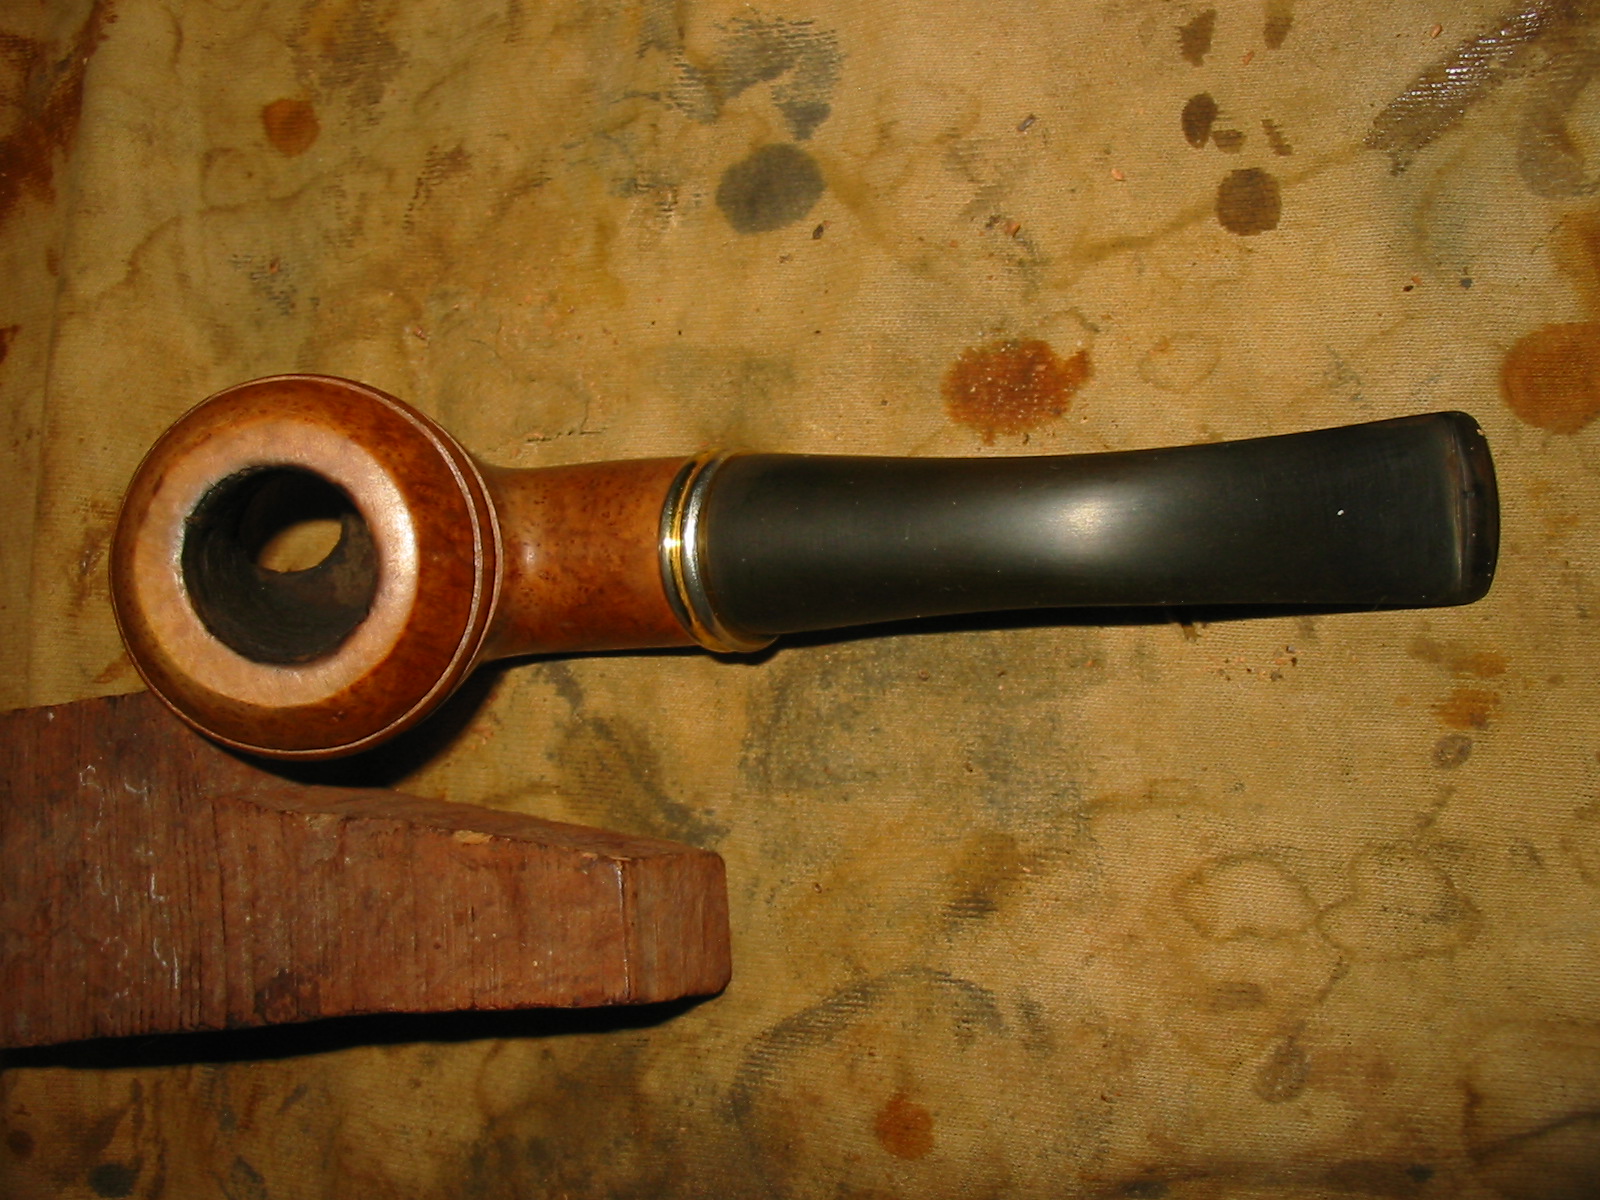
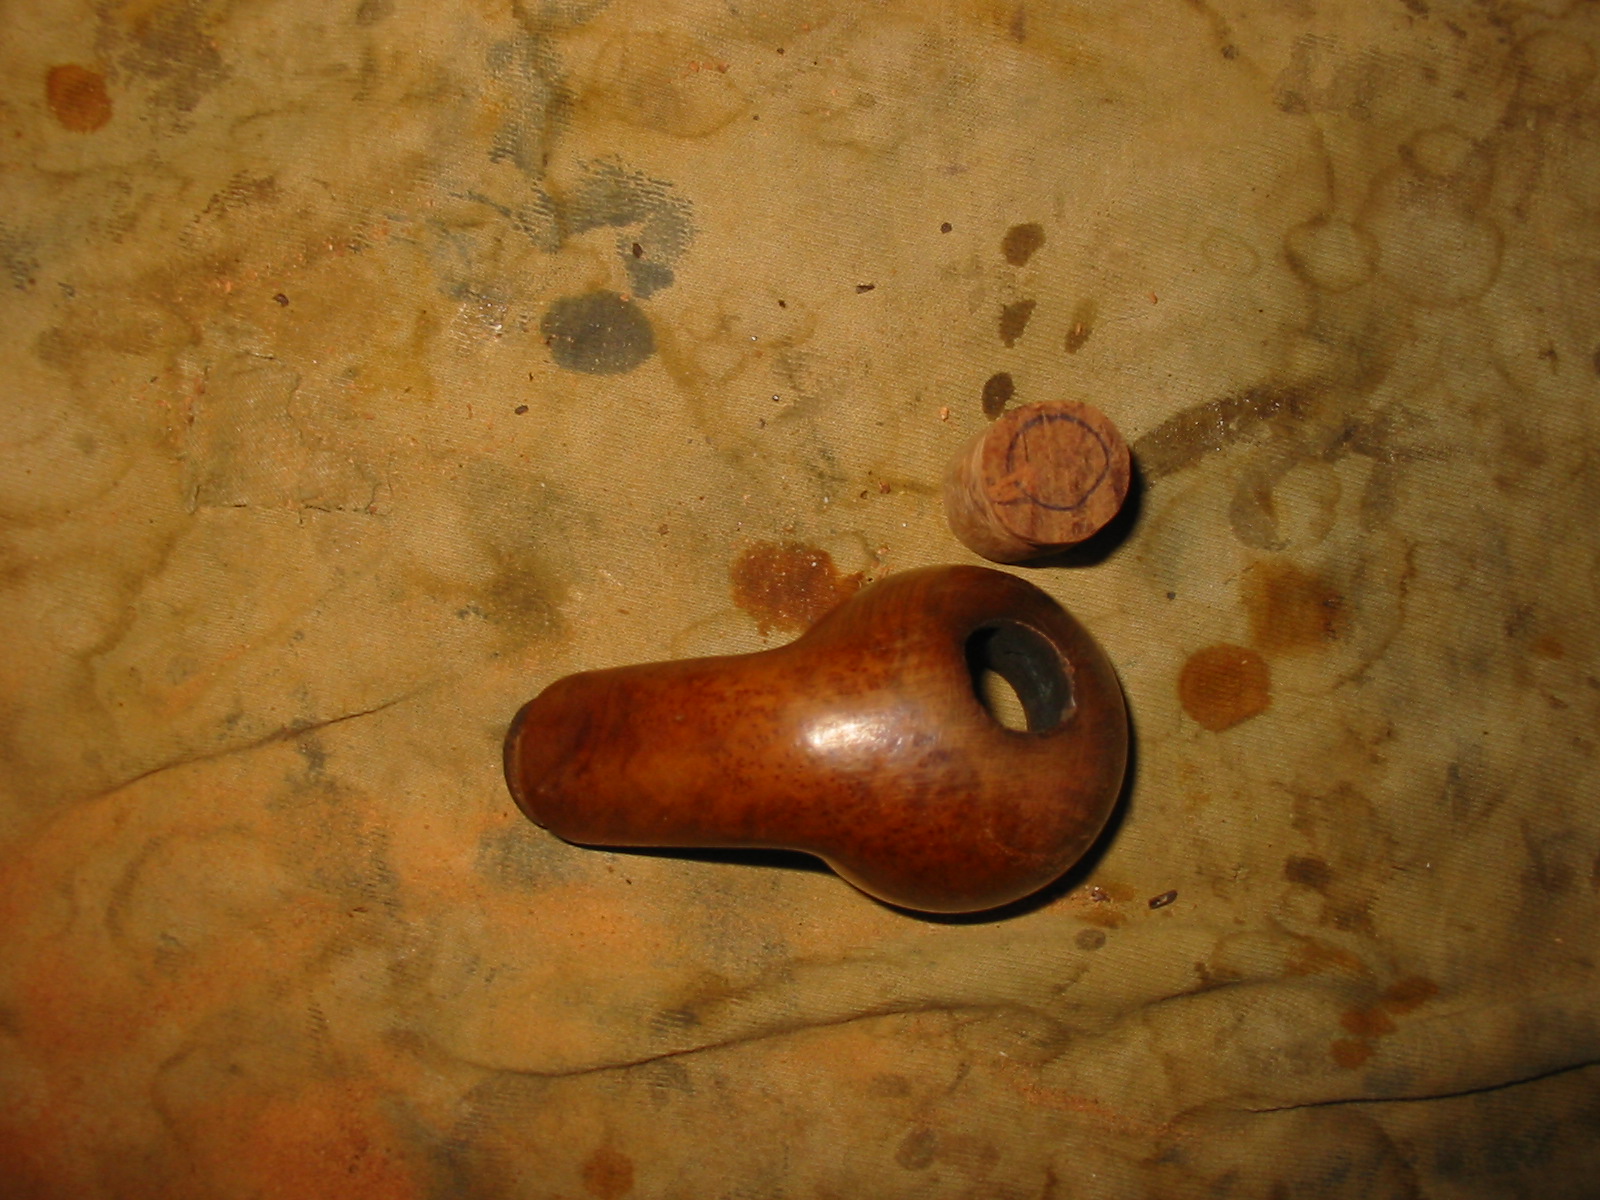
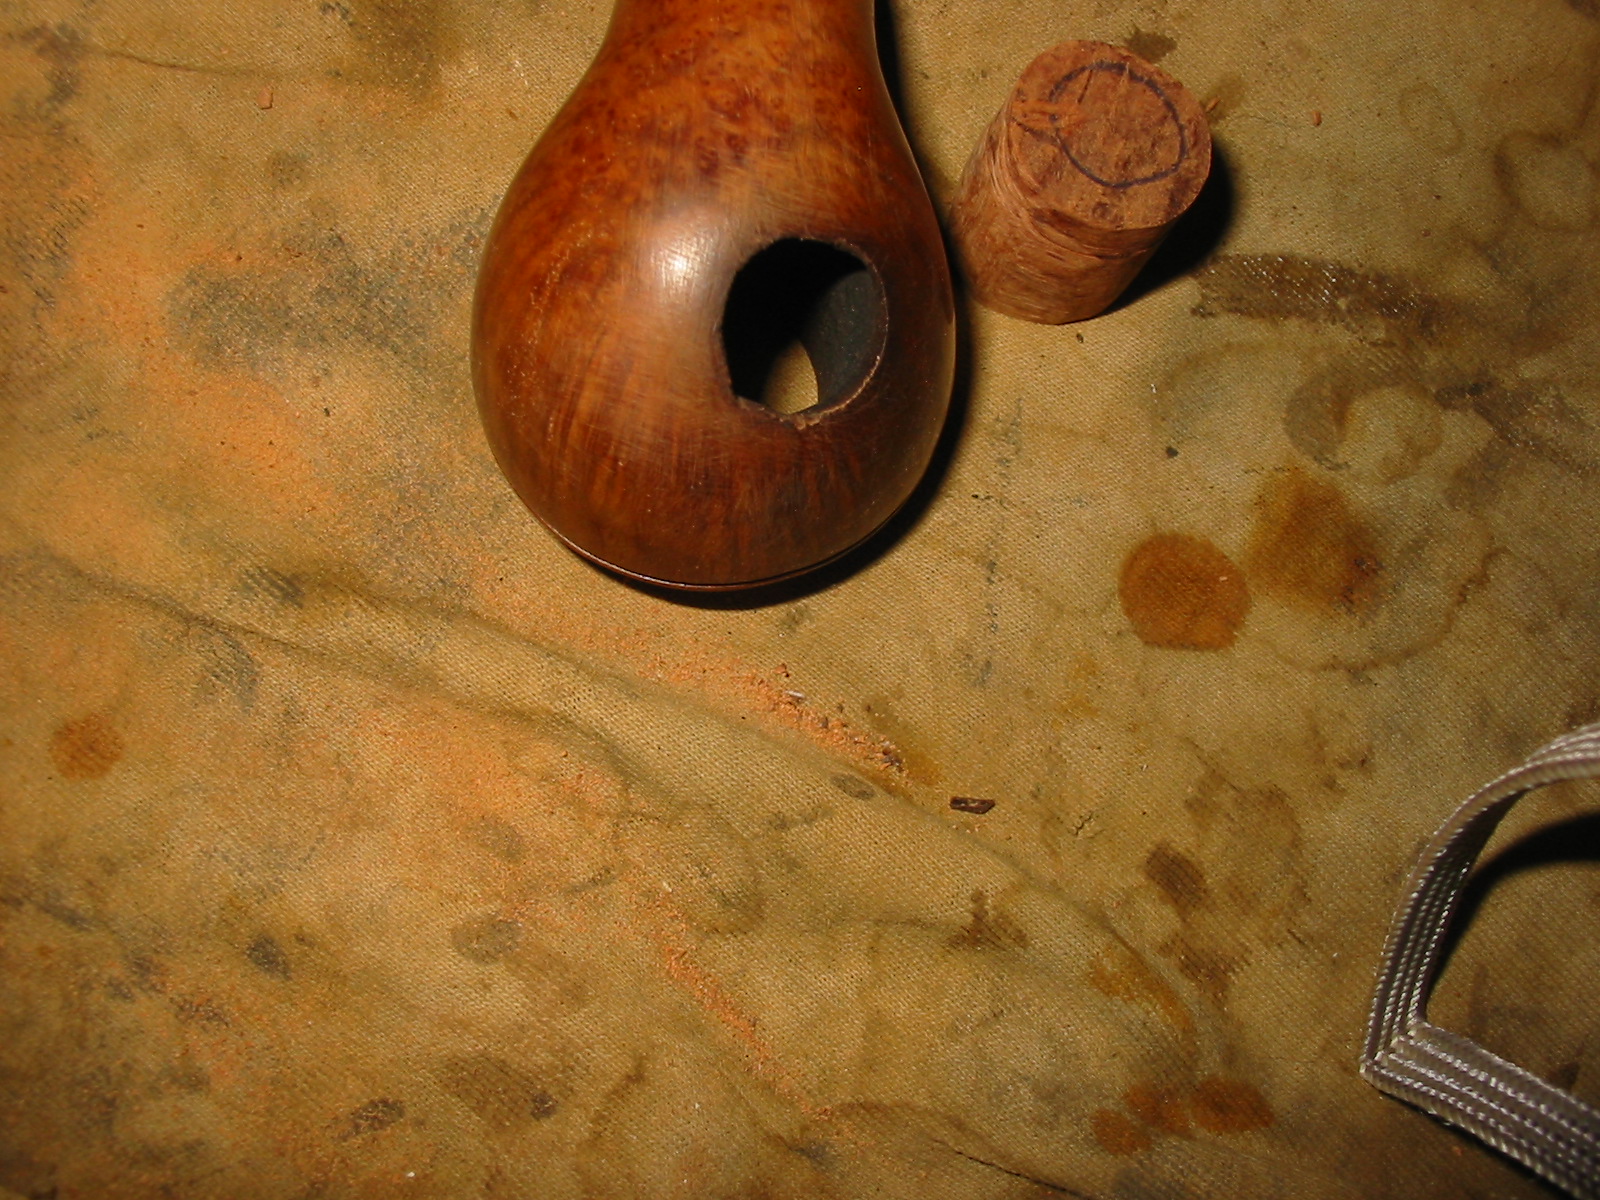
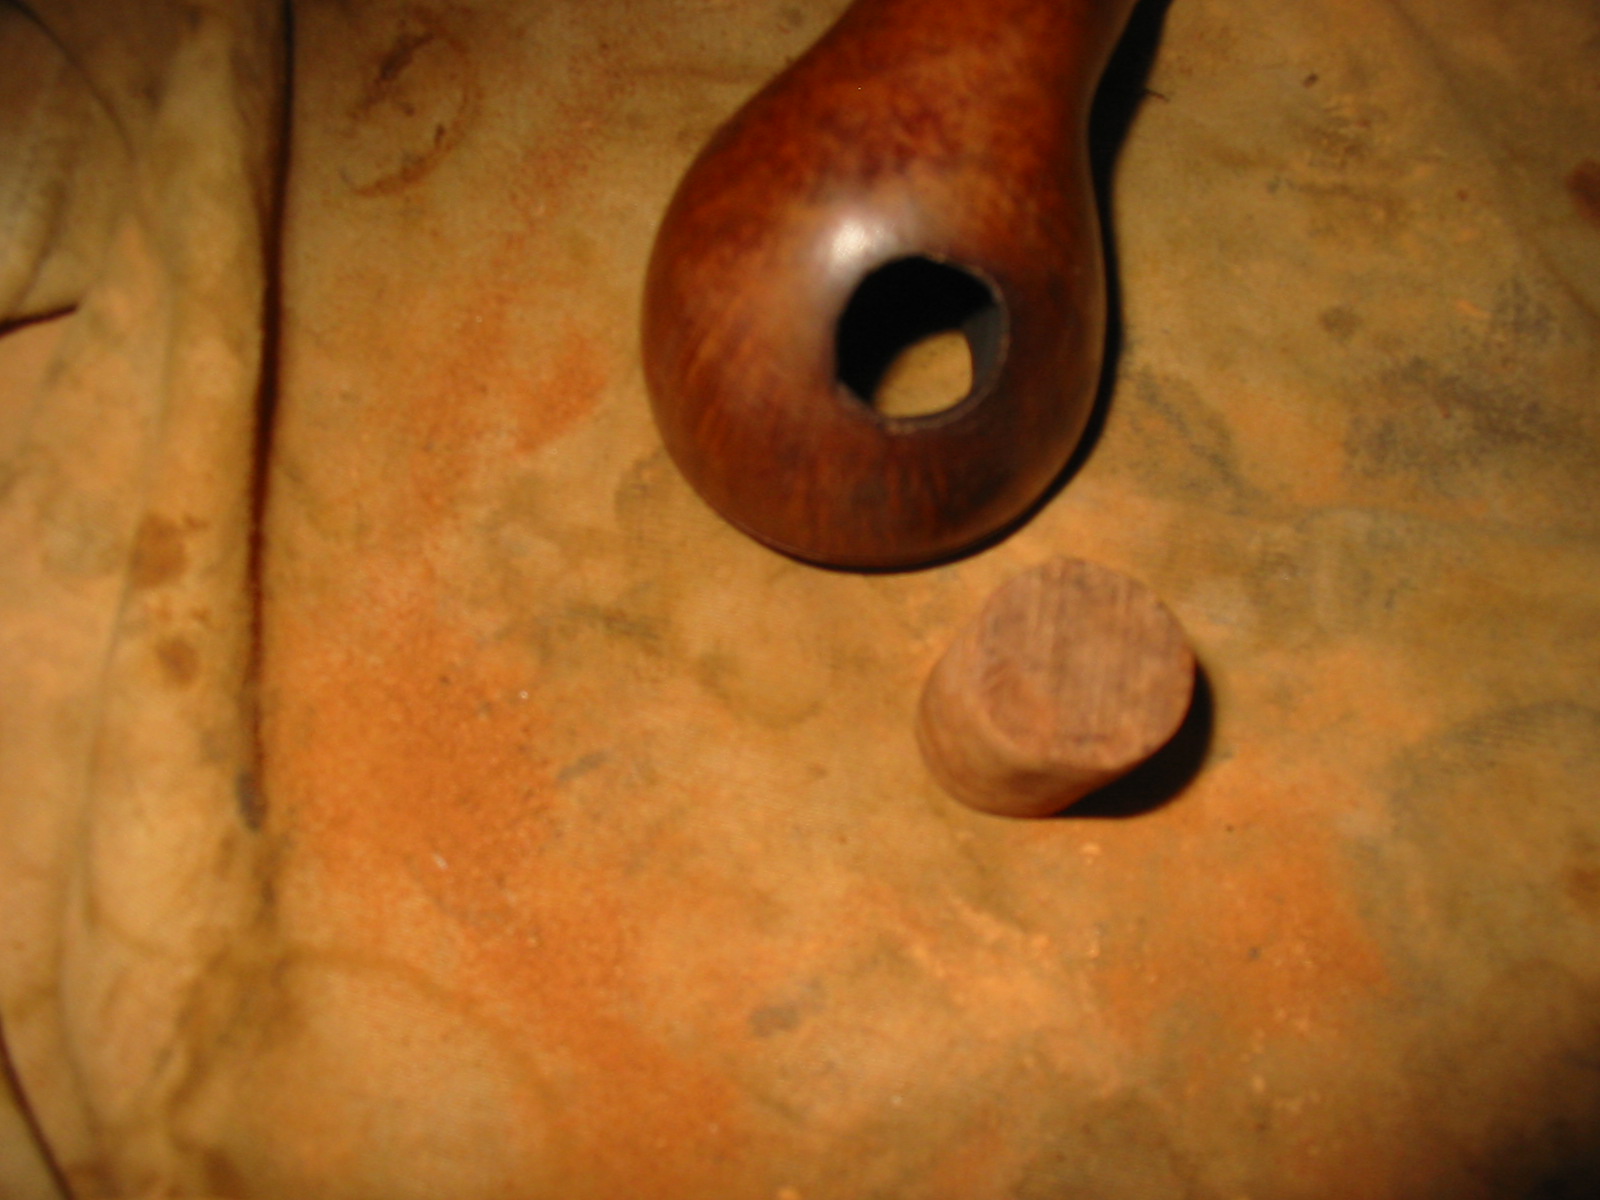
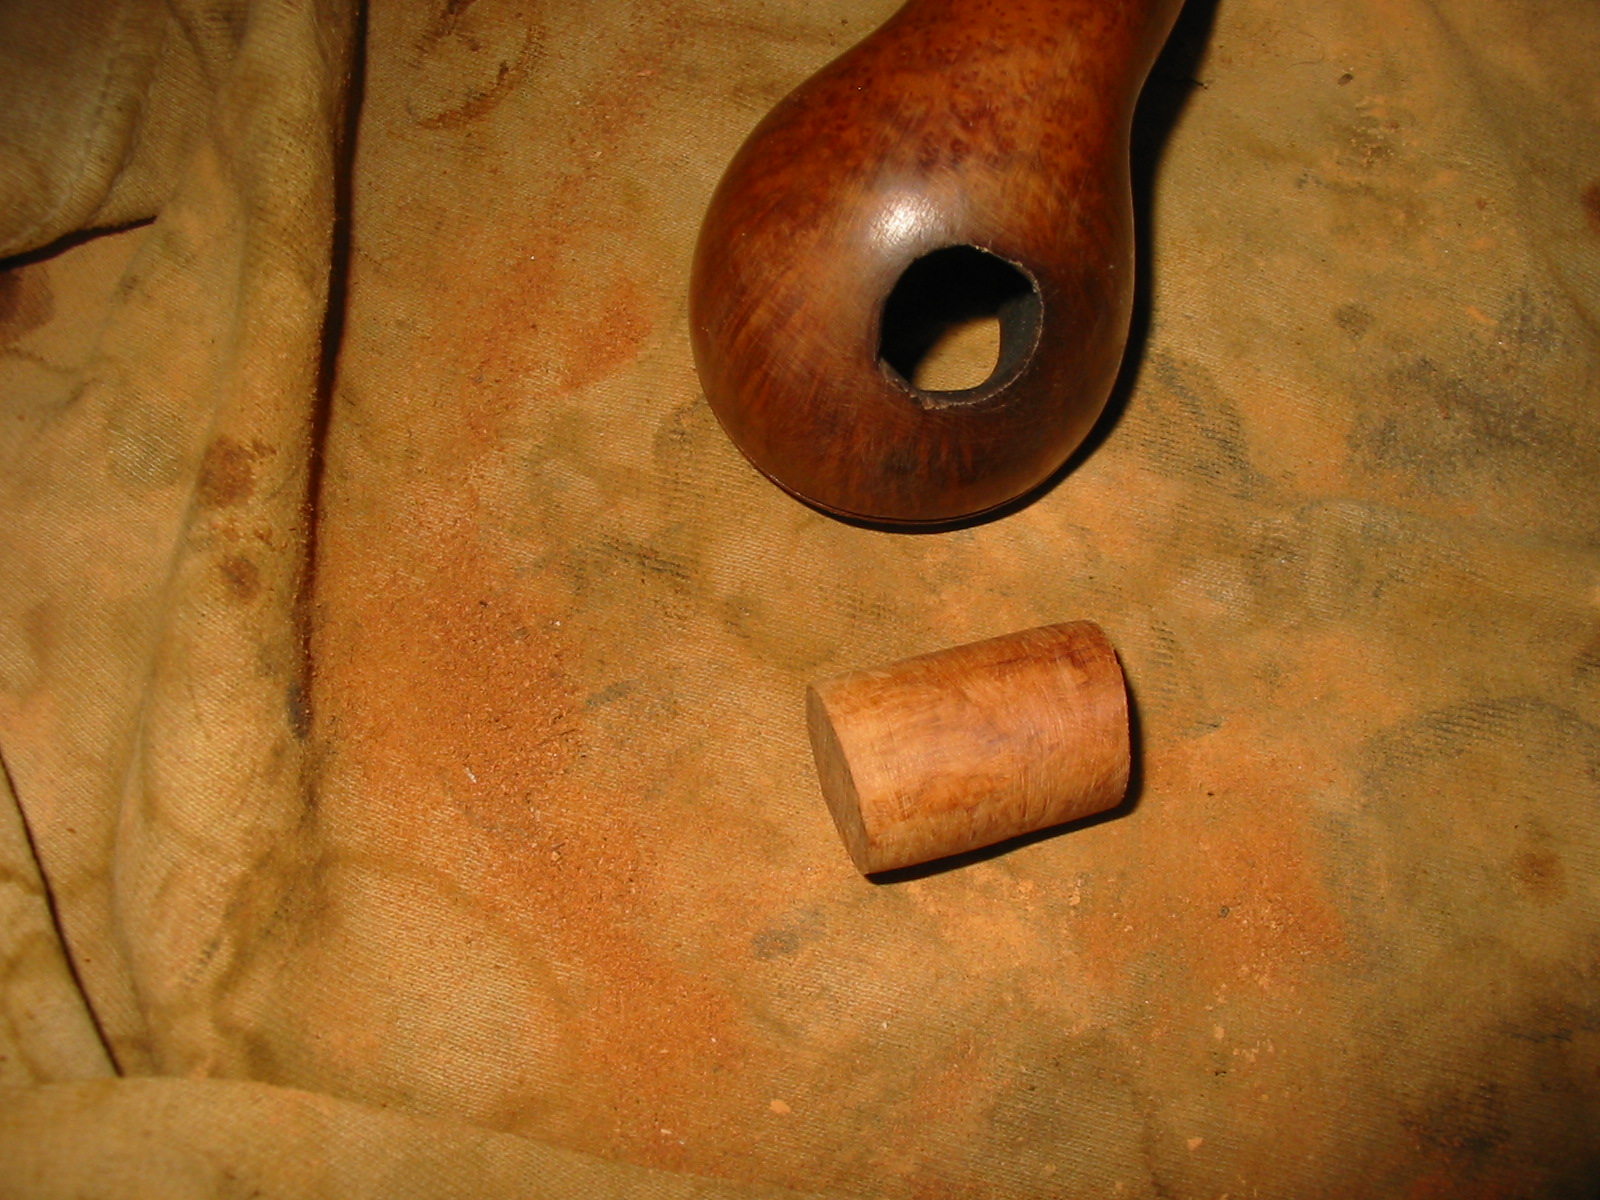
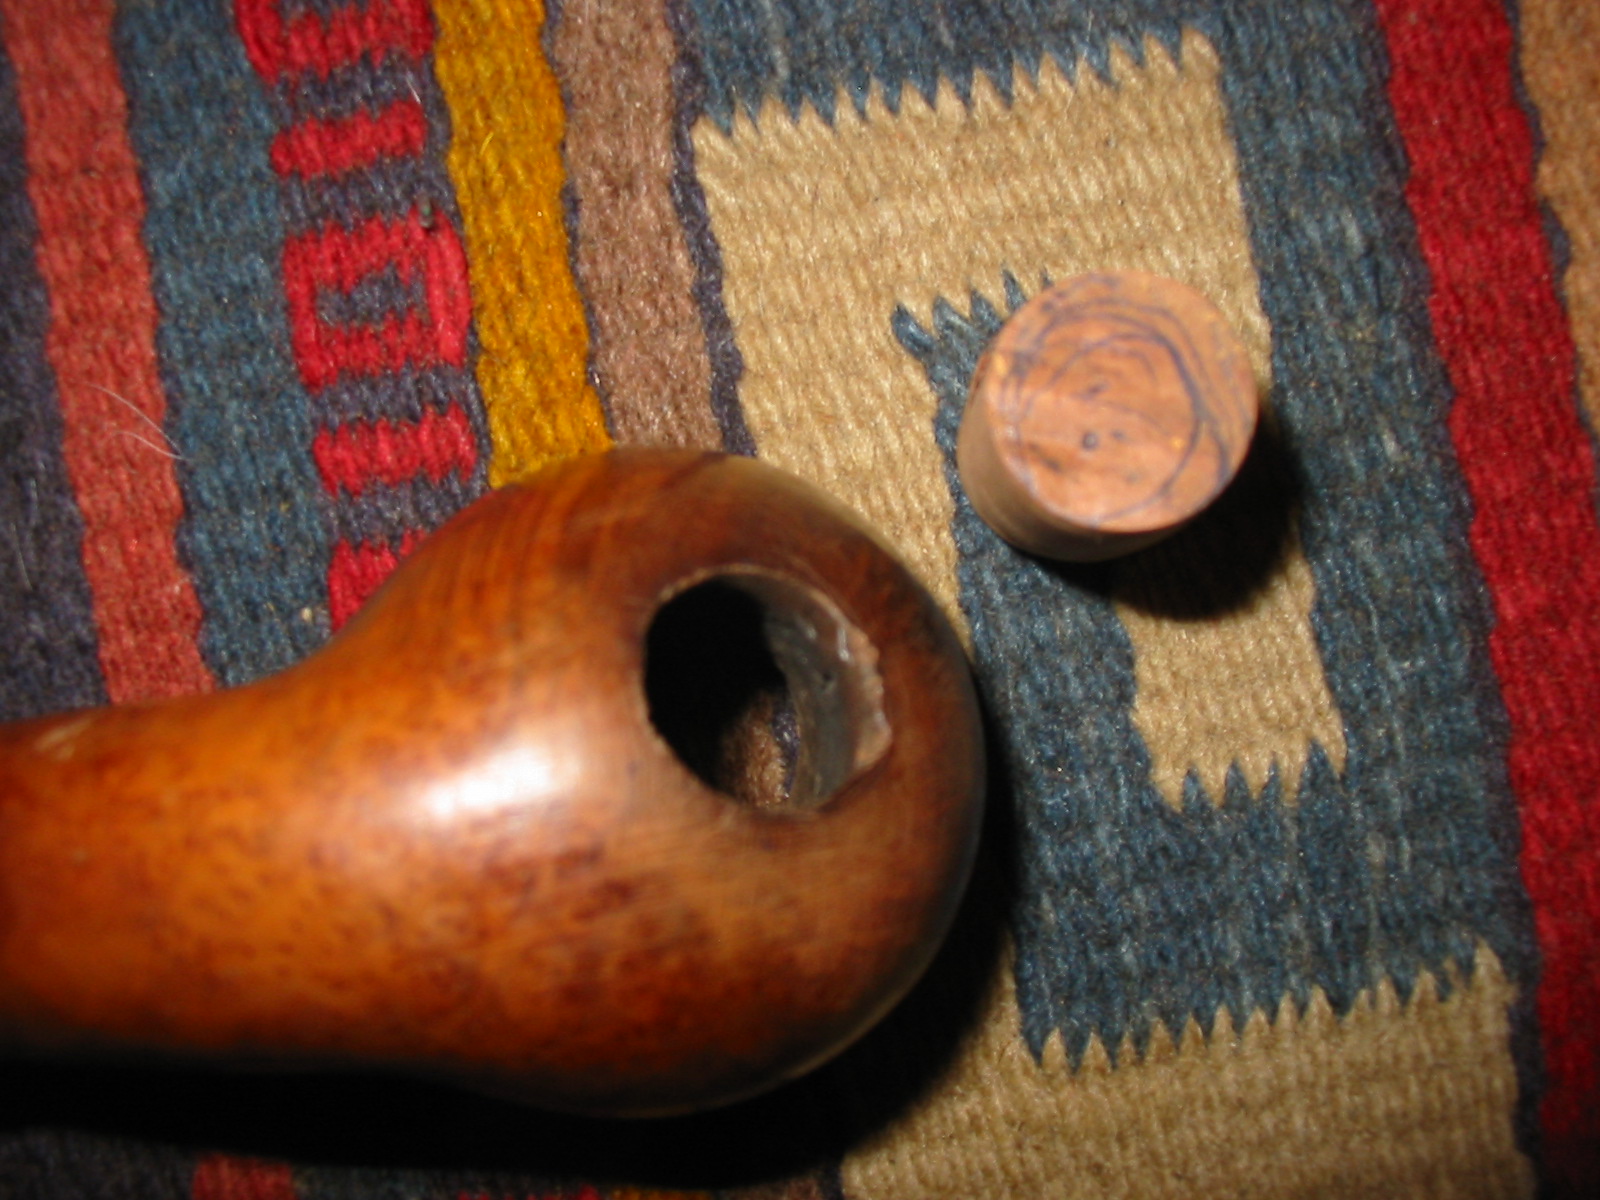
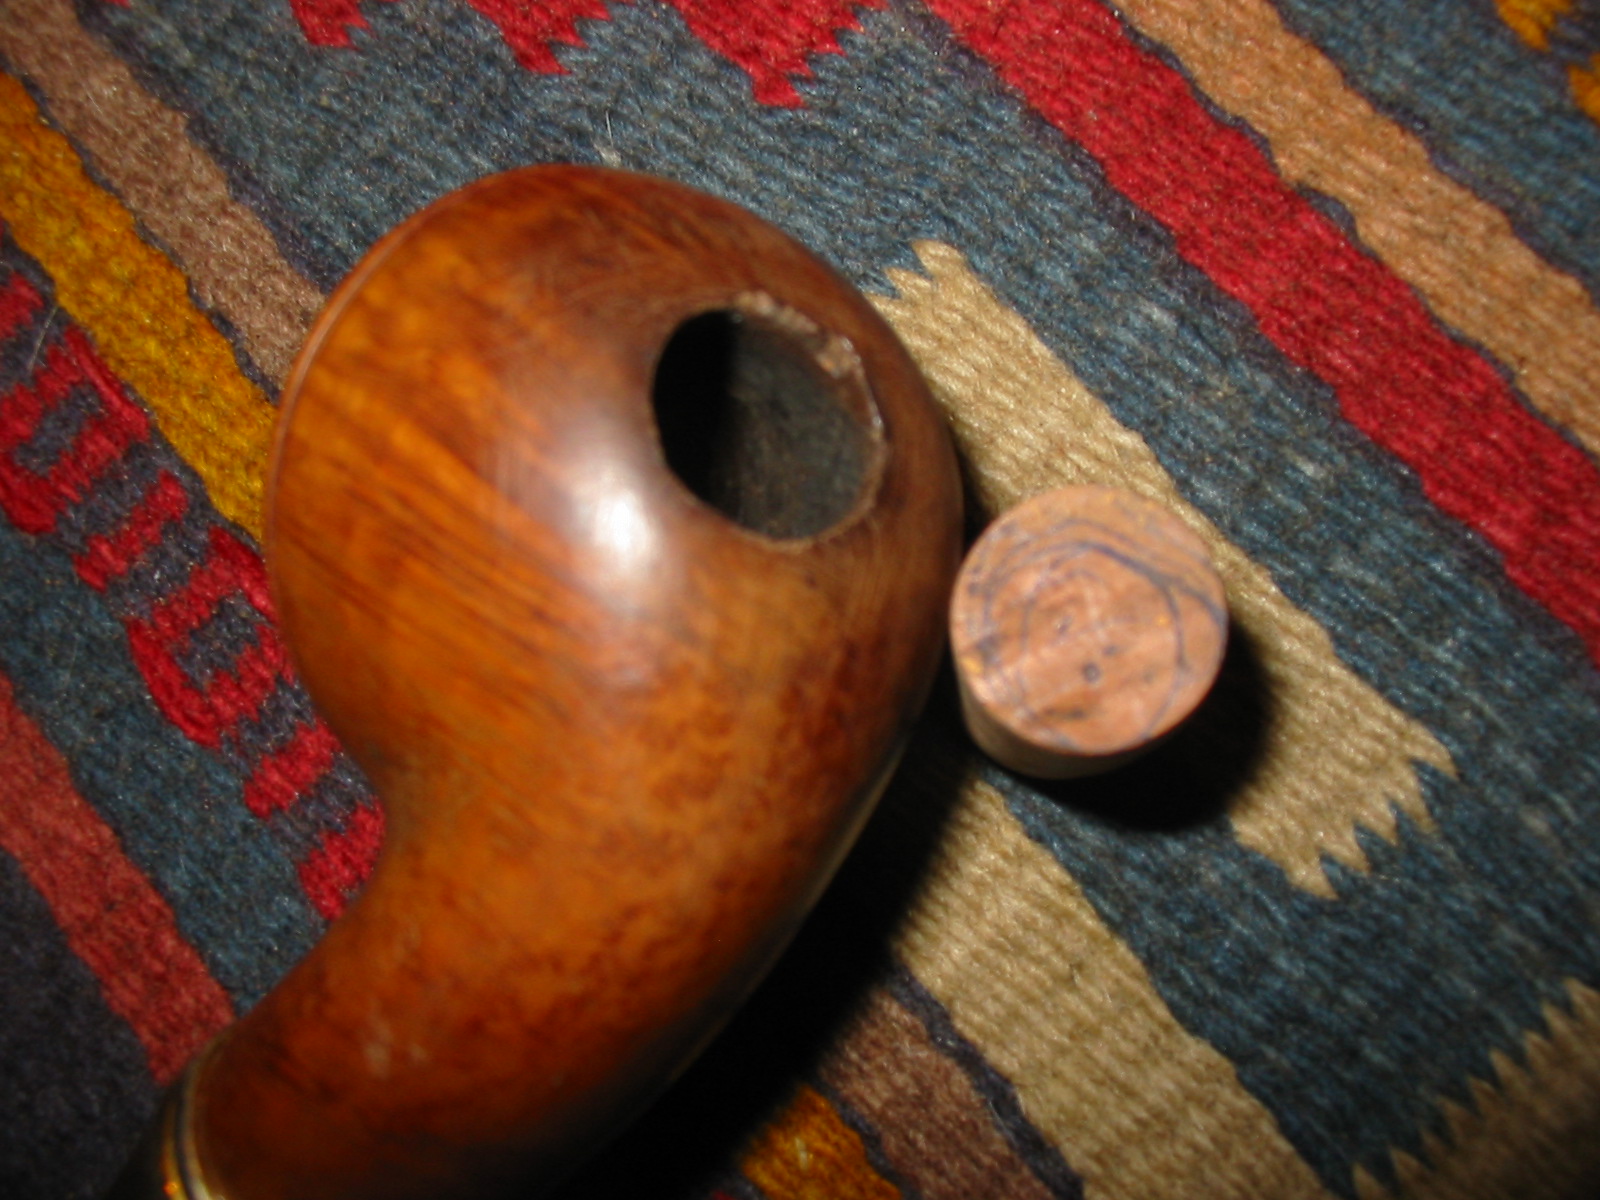
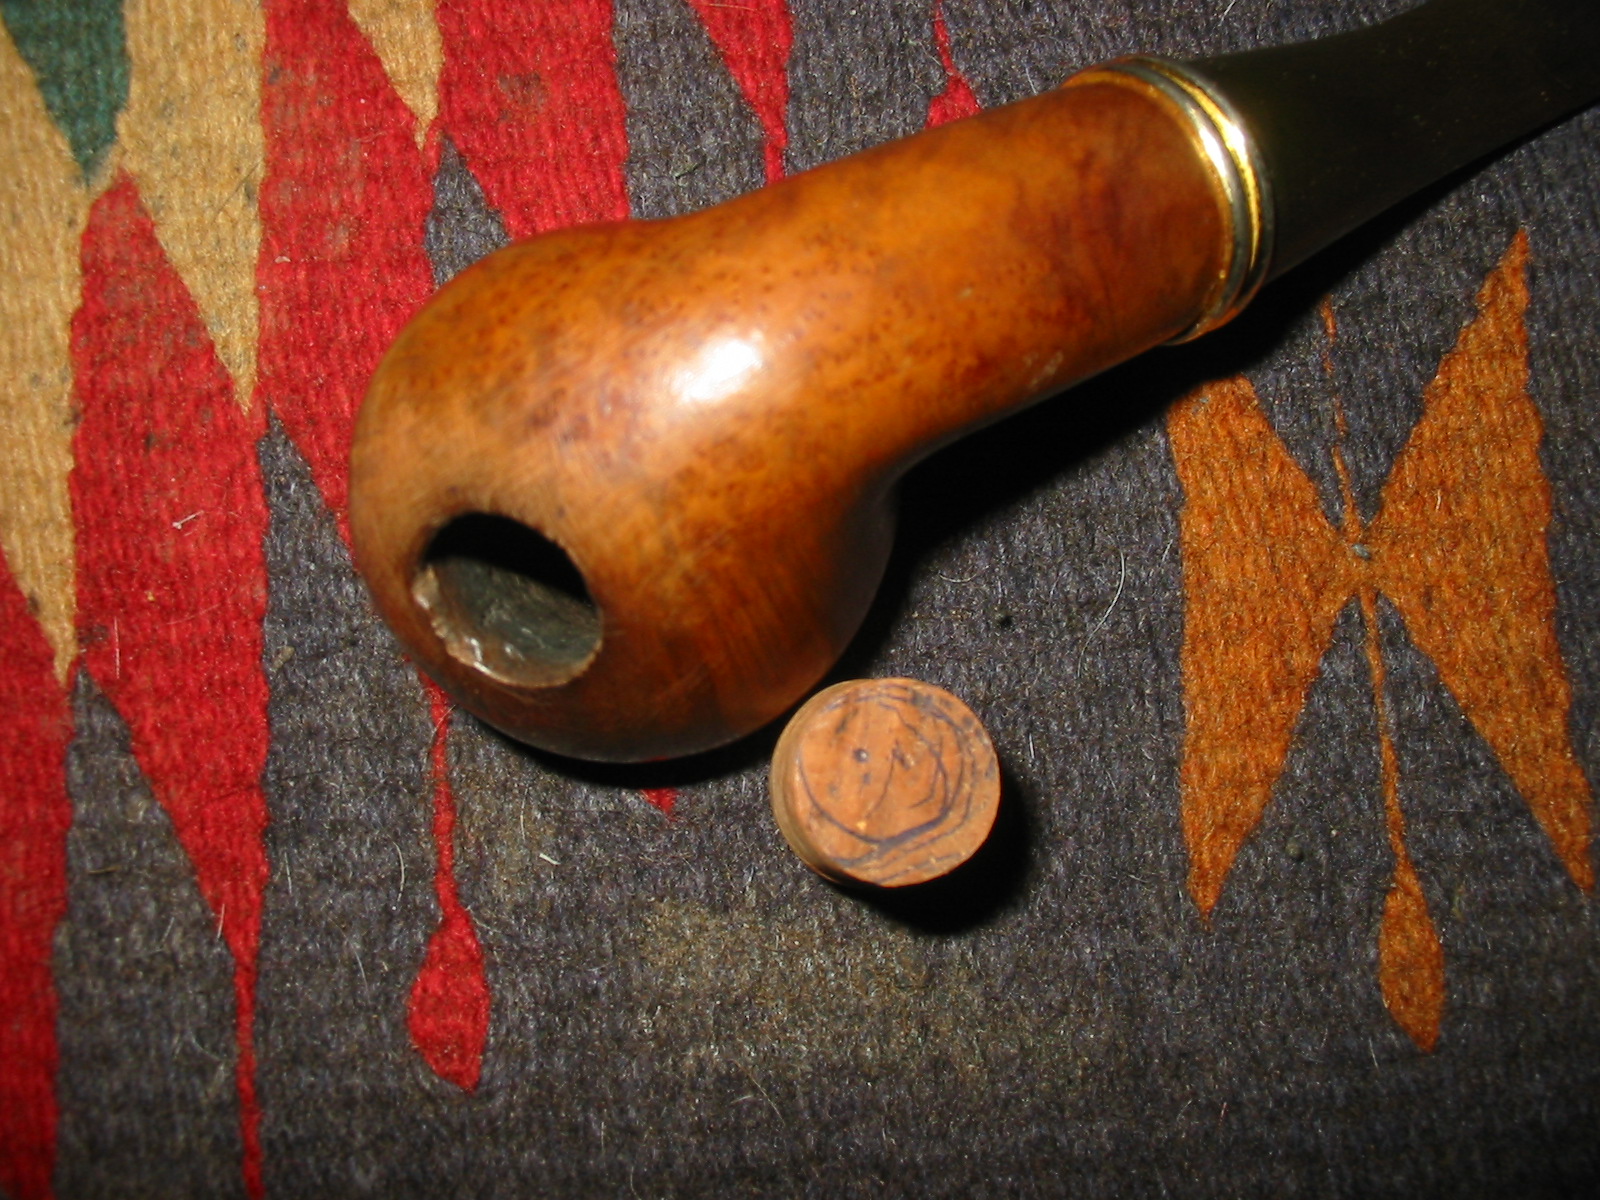
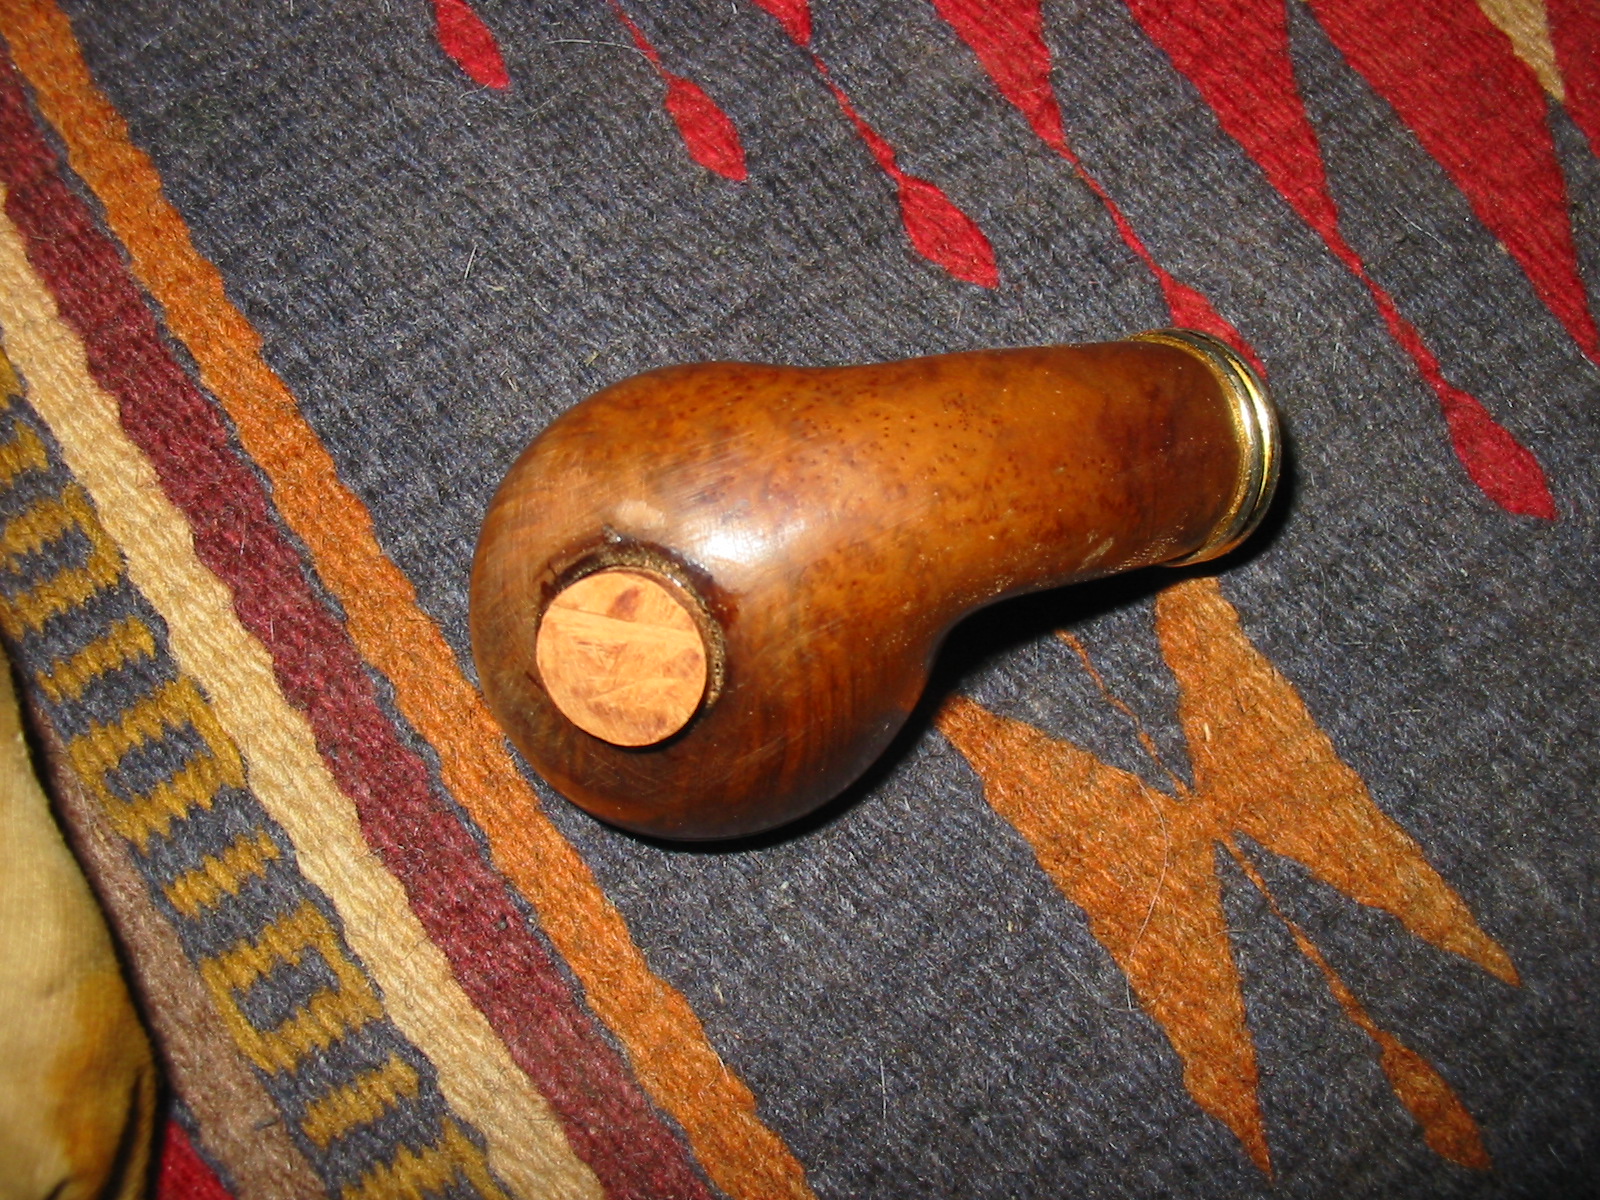
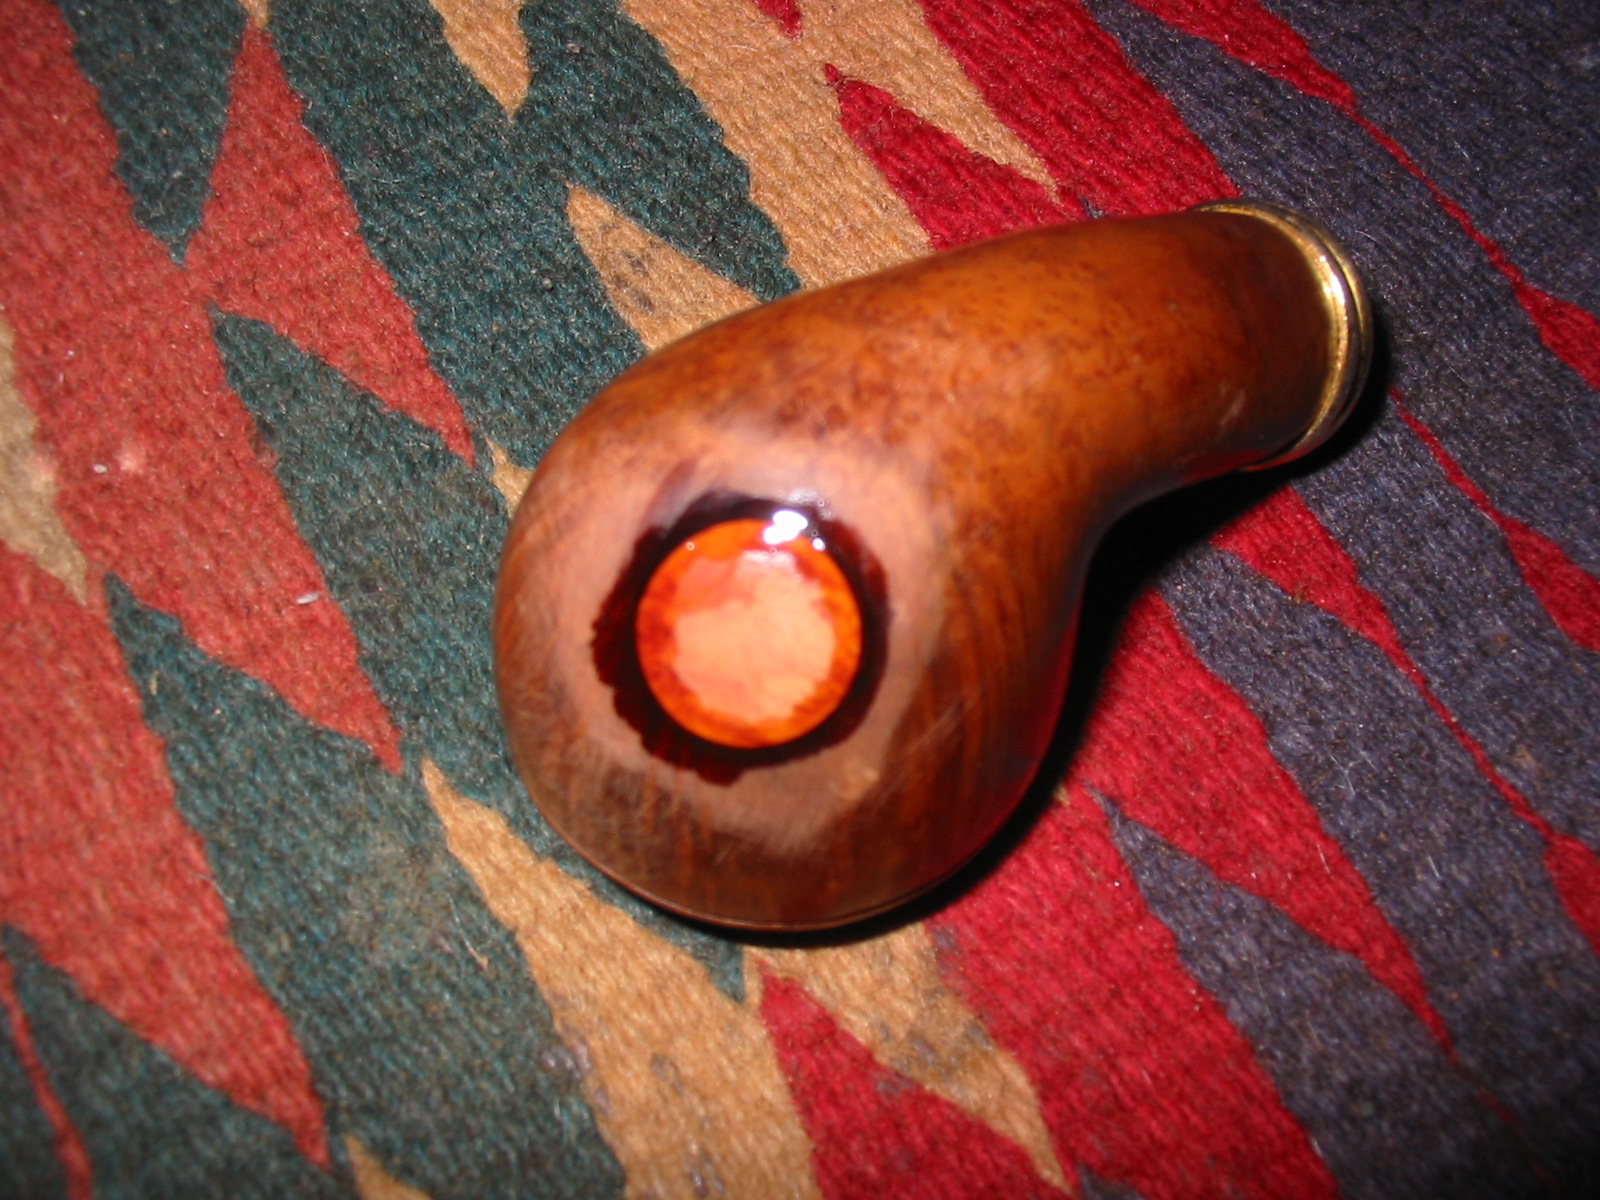
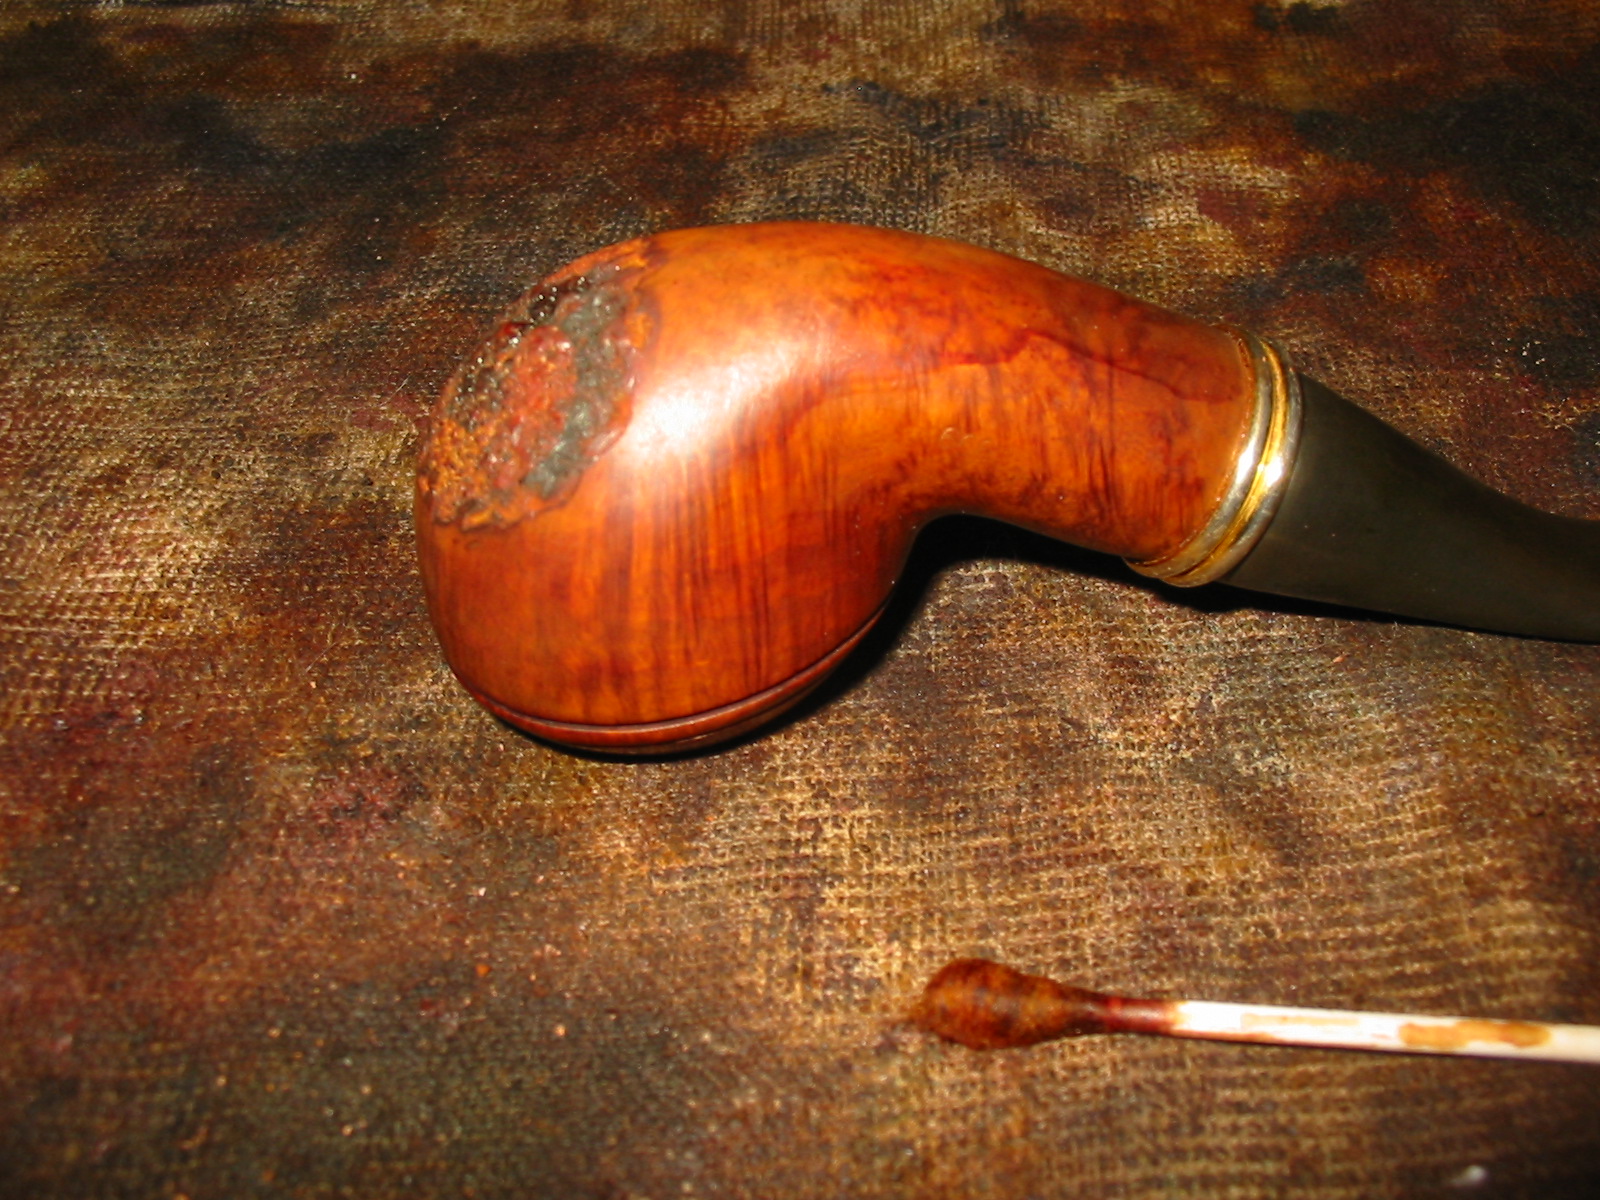
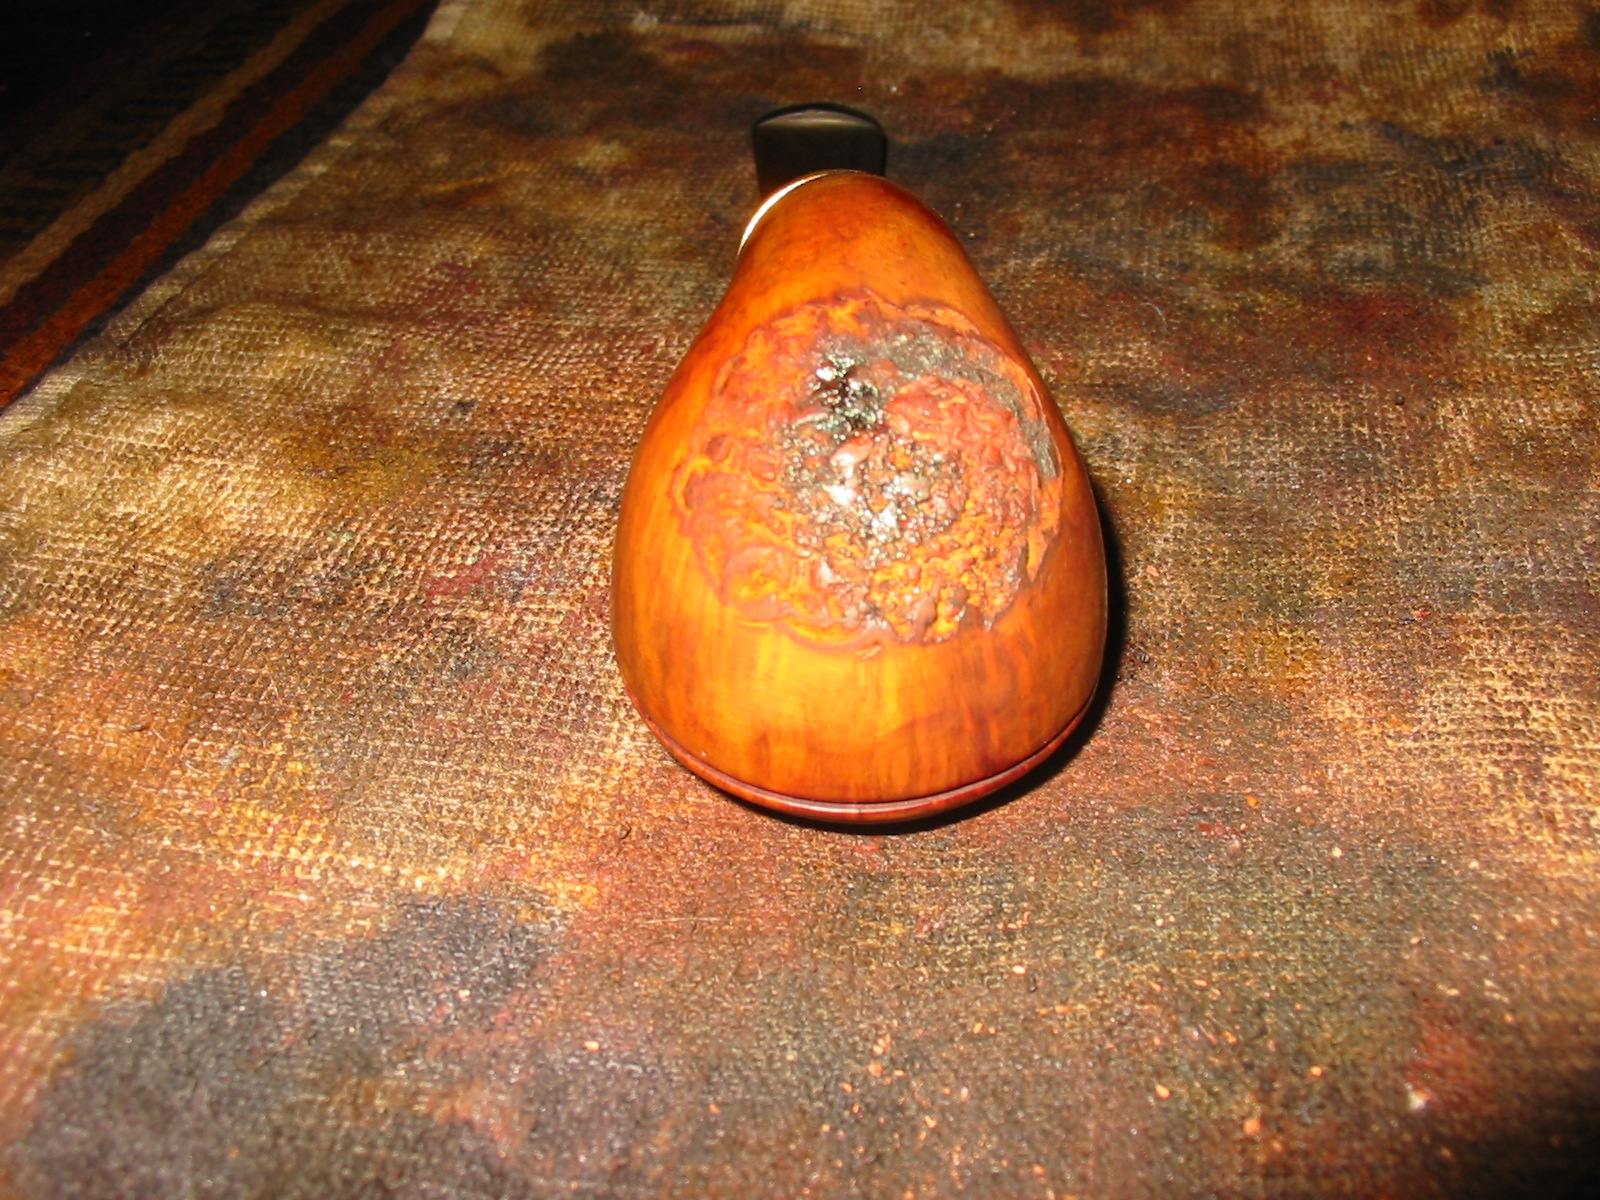
I received an email from Andrew saying that he had a pipe he wanted to send my way. It was my kind of shape – a Rhodesian. He said that it was an odd pipe in that on the bottom of the bowl it had a slightly inset circular divot. The round inset was almost like a poorly made plug on the bottom of the bowl, or one that had shrunken with time. He thought that it would be a great challenge for me to do a repair on it. The stamping on the pipe shank was Briarmeer 175 ED Canada.
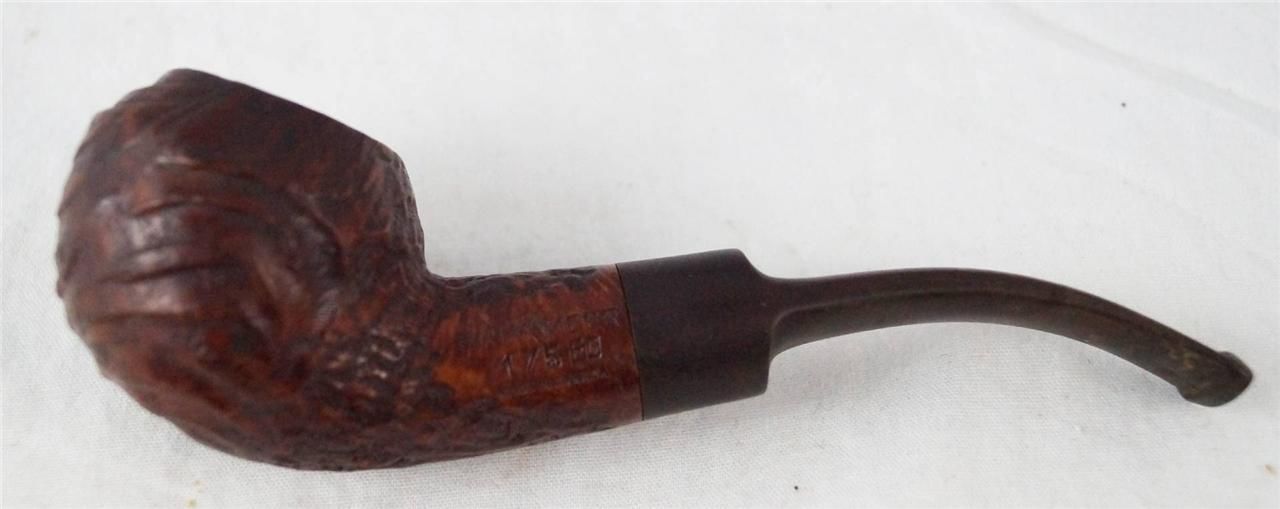
Briarmeer1

The brand was one I had not heard of before. And since I am in Canada I wanted to try to figure out where the pipe was made and what the plug was about. The name seemed to suggest that it was a meerlined pipe or at least included meerschaum in some form or fashion. Yet when I emailed Andrew about it he replied that there was no meerschaum lining present in the bowl. Instead it was just a nice looking briar pipe with the strange, misfit looking round plug on the bottom of the bowl.

This would require some research to see what I could find out. I went online and searched for any information that I could find regarding the brand. I wrote to the trademark attorney who was listed as the representative of the brand and received a very cryptic answer that was not helpful at all. I did learn however that Briarmeer pipes were made by Briarmeer Pipes Limited, 226 Park Street, Brockville, Ontario. The business was no longer present at that address and did not show up in any Brockville Business Directories available online or through the Yellow Pages .I searched the Canadian, American and British patent sites hoping to find a patent registration for the pipe but was not able to find one. I found a trademark registration document from the US patent office that showed that the brand or trademark was registered in the US in 1973. The document pictured below gives that information as well as the Canadian Registration Number 180,805 and that it was registered in Canada on January 21, 1972.
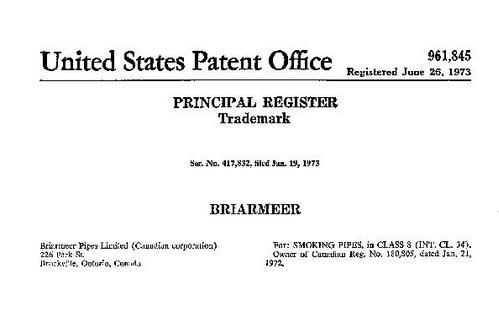
Briarmeer US Trademark patent

Using these registration numbers I searched both the Canadian and US patent records but could find no patent information available. From the public records it appears that the Briarmeer Company went out of business sometime in the late1980’s or early 1990’s and the name became public domain.

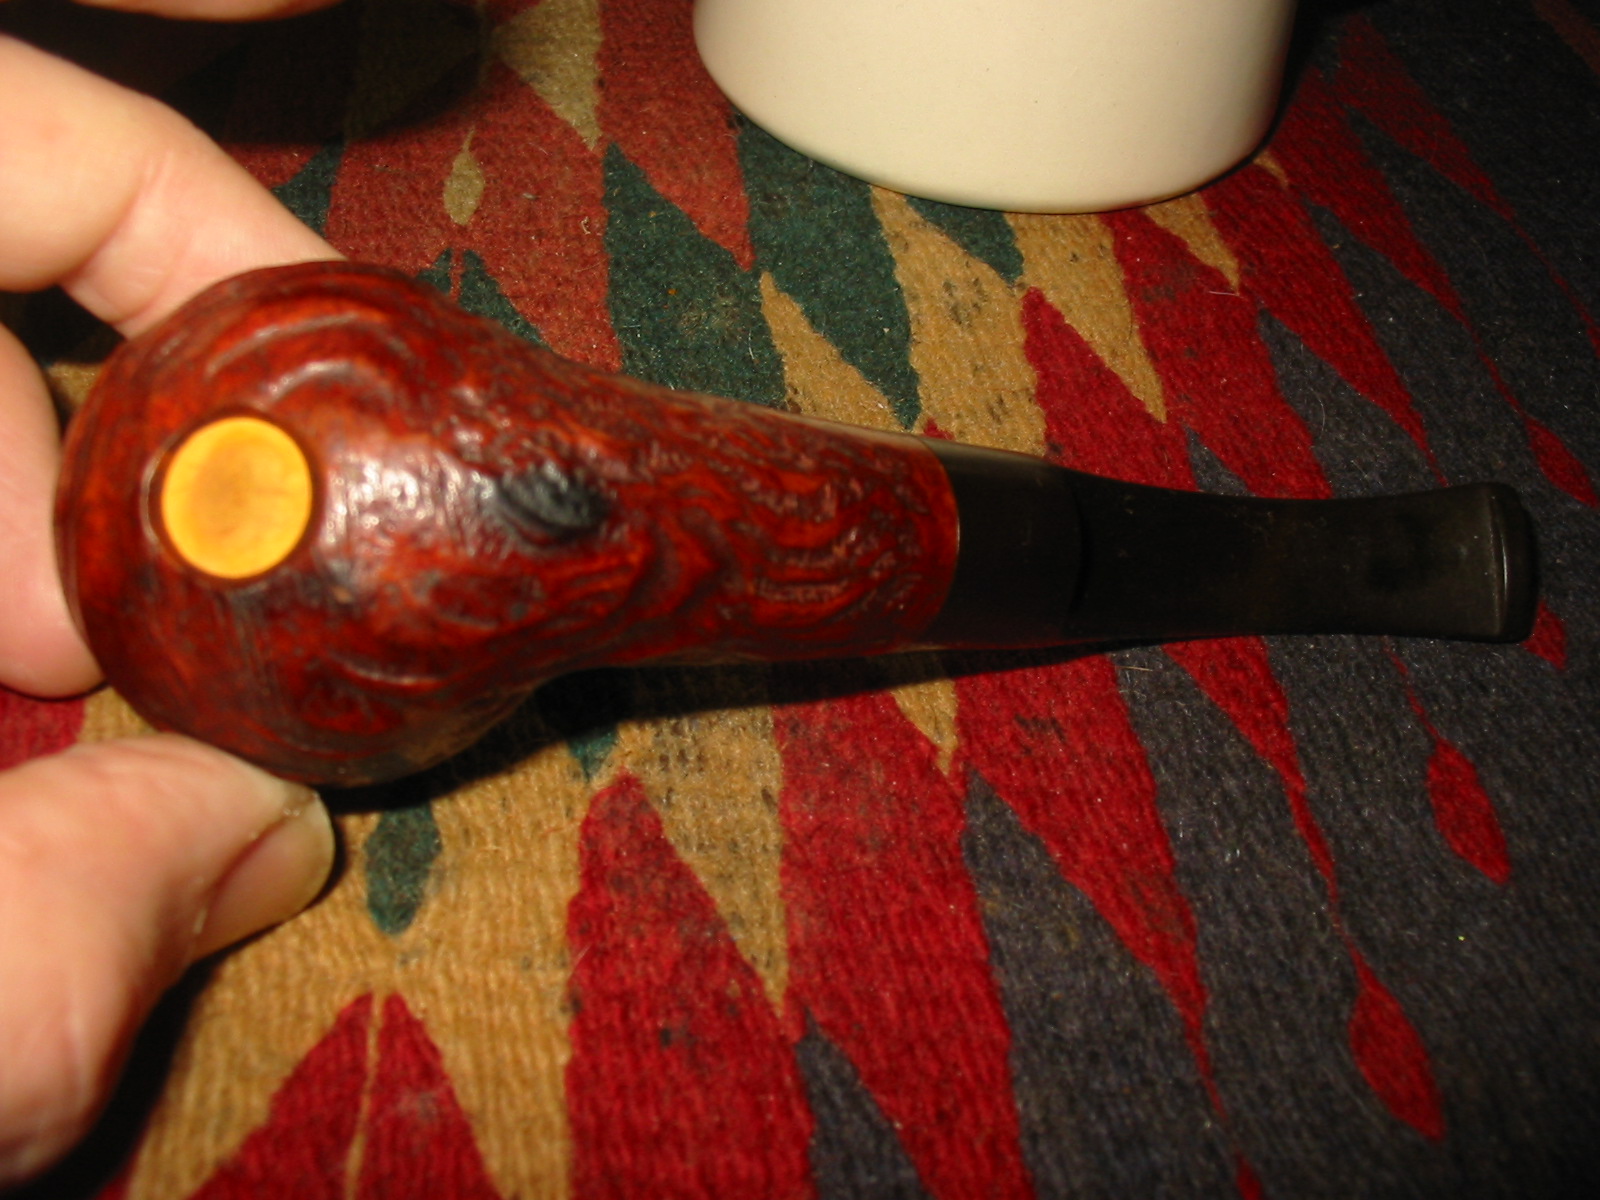
I was able to find out through further digging that the pipe is a variation on what Kaywoodiedid with its famous Carburetor.Kaywoodie had drilled a hole in the bottom of the bowl and inserted a metal airhole to introduce air into the bottom of the bowl to enhance burning of the tobacco. In the Briarmeer the drilled out area in the bottom of the bowl was significantly larger.It had been drilled out and a meerschaum disk inserted in the resultant hole. The draw hole was to be perfectly centered at the bottom of the bowl. From what I could find out the idea of using the meerschaum insert came to a Canadian engineer about 30+ years ago. He reasoned that the meerschaum bottom of the bowl would allow for a drier and cooler smoke while the briar would be sturdier than the meerschaum for the walls of the bowl.Now I knew what the inset on the bottom of the bowl was and where the Meer portion of the Briarmeer name came from.

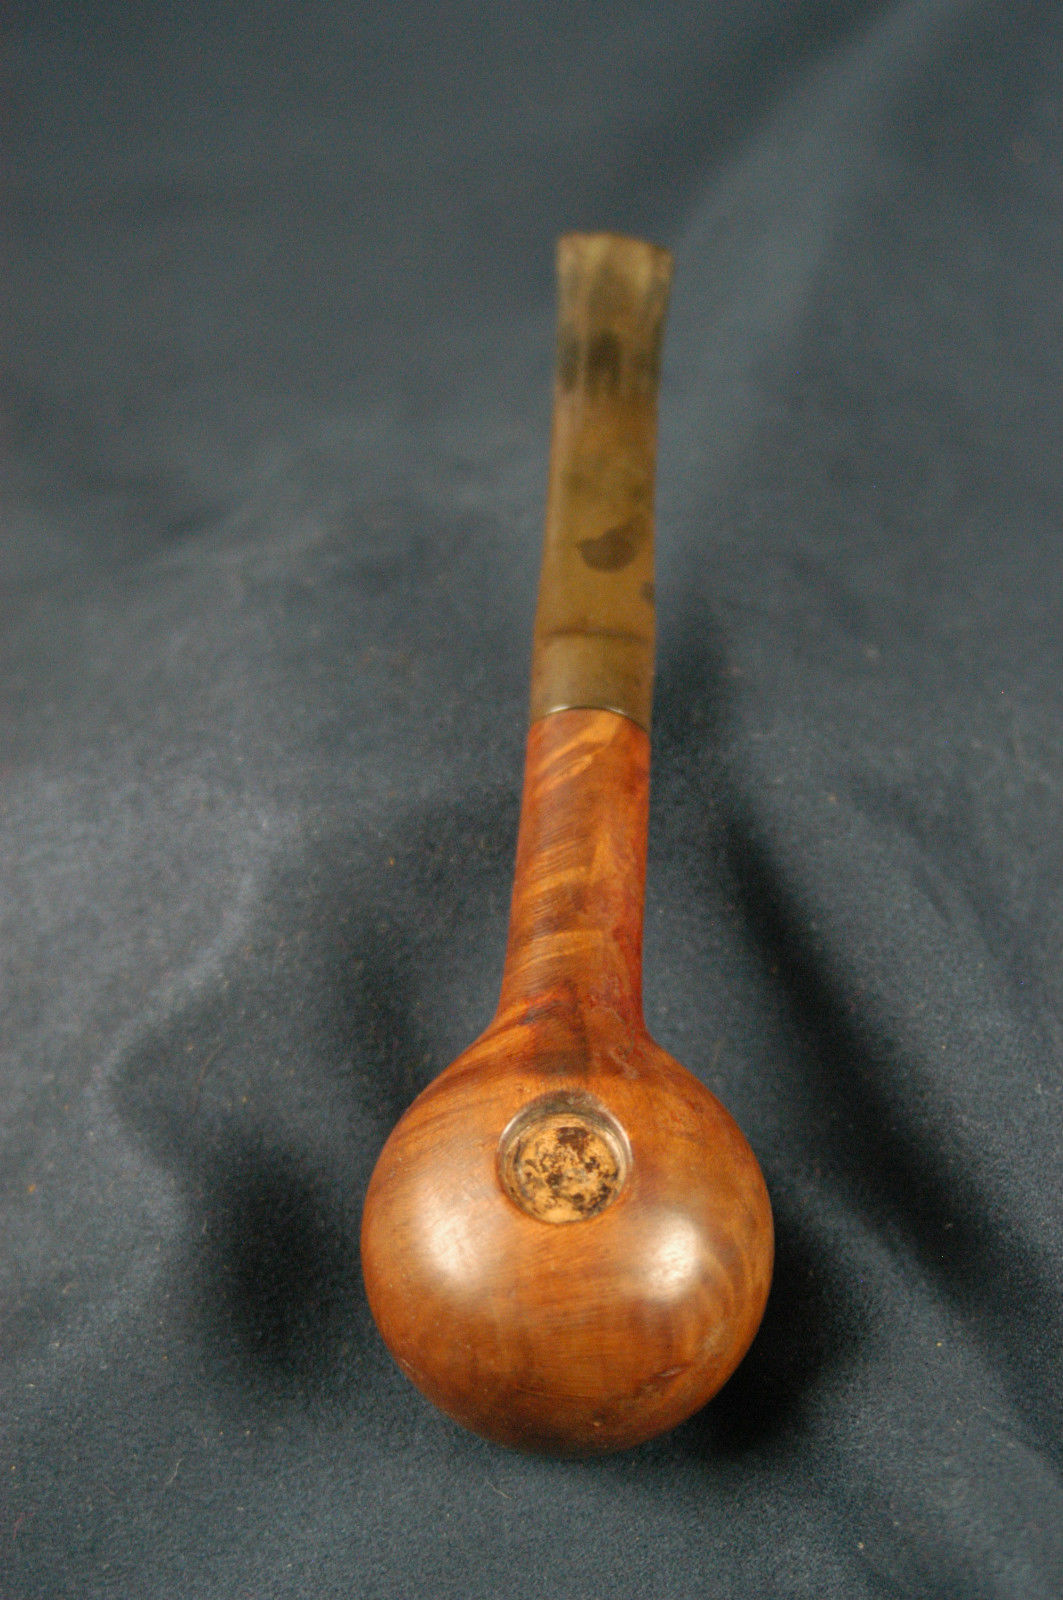
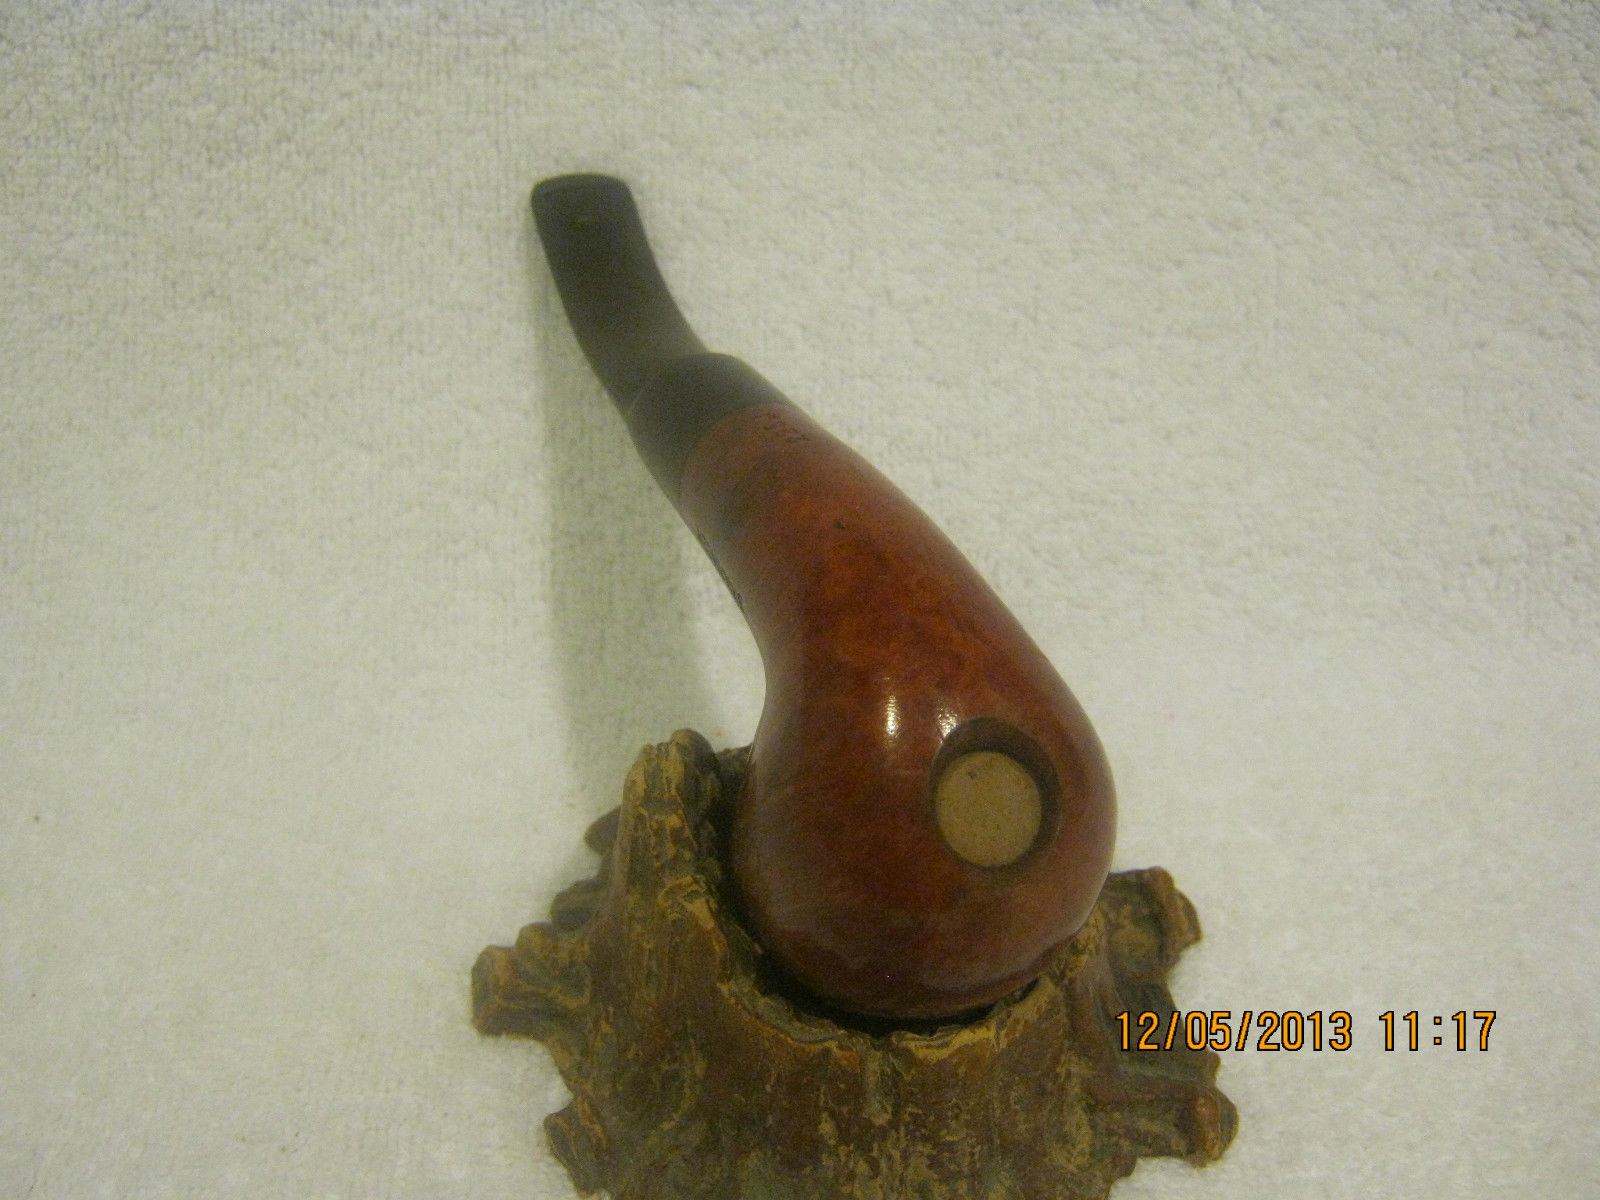
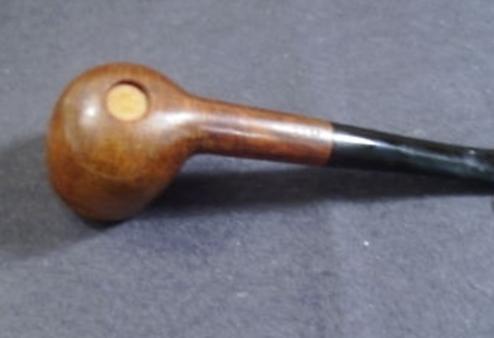
I decided to see if I could hunt down some photos of the pipe. I had not noticed them before and did not figure I would find many available. I was wrong. I found quite a few clear photos online that showed the novel meerschaum insert with clarity. In all of the photos it was clear that the insert sits inset into the bottom of the bowl and there is a variance in the external bowl bottom and the depth of the inset meerschaum disk. I have included four of the photos I found to show the insert in the exterior bowl bottom. Some of the photos show a new and unsmoked pipe and other show an estate pipe. All have the pipes show the same variation in the depth of the bottom of the bowl and the depth of the meerschaum disk.
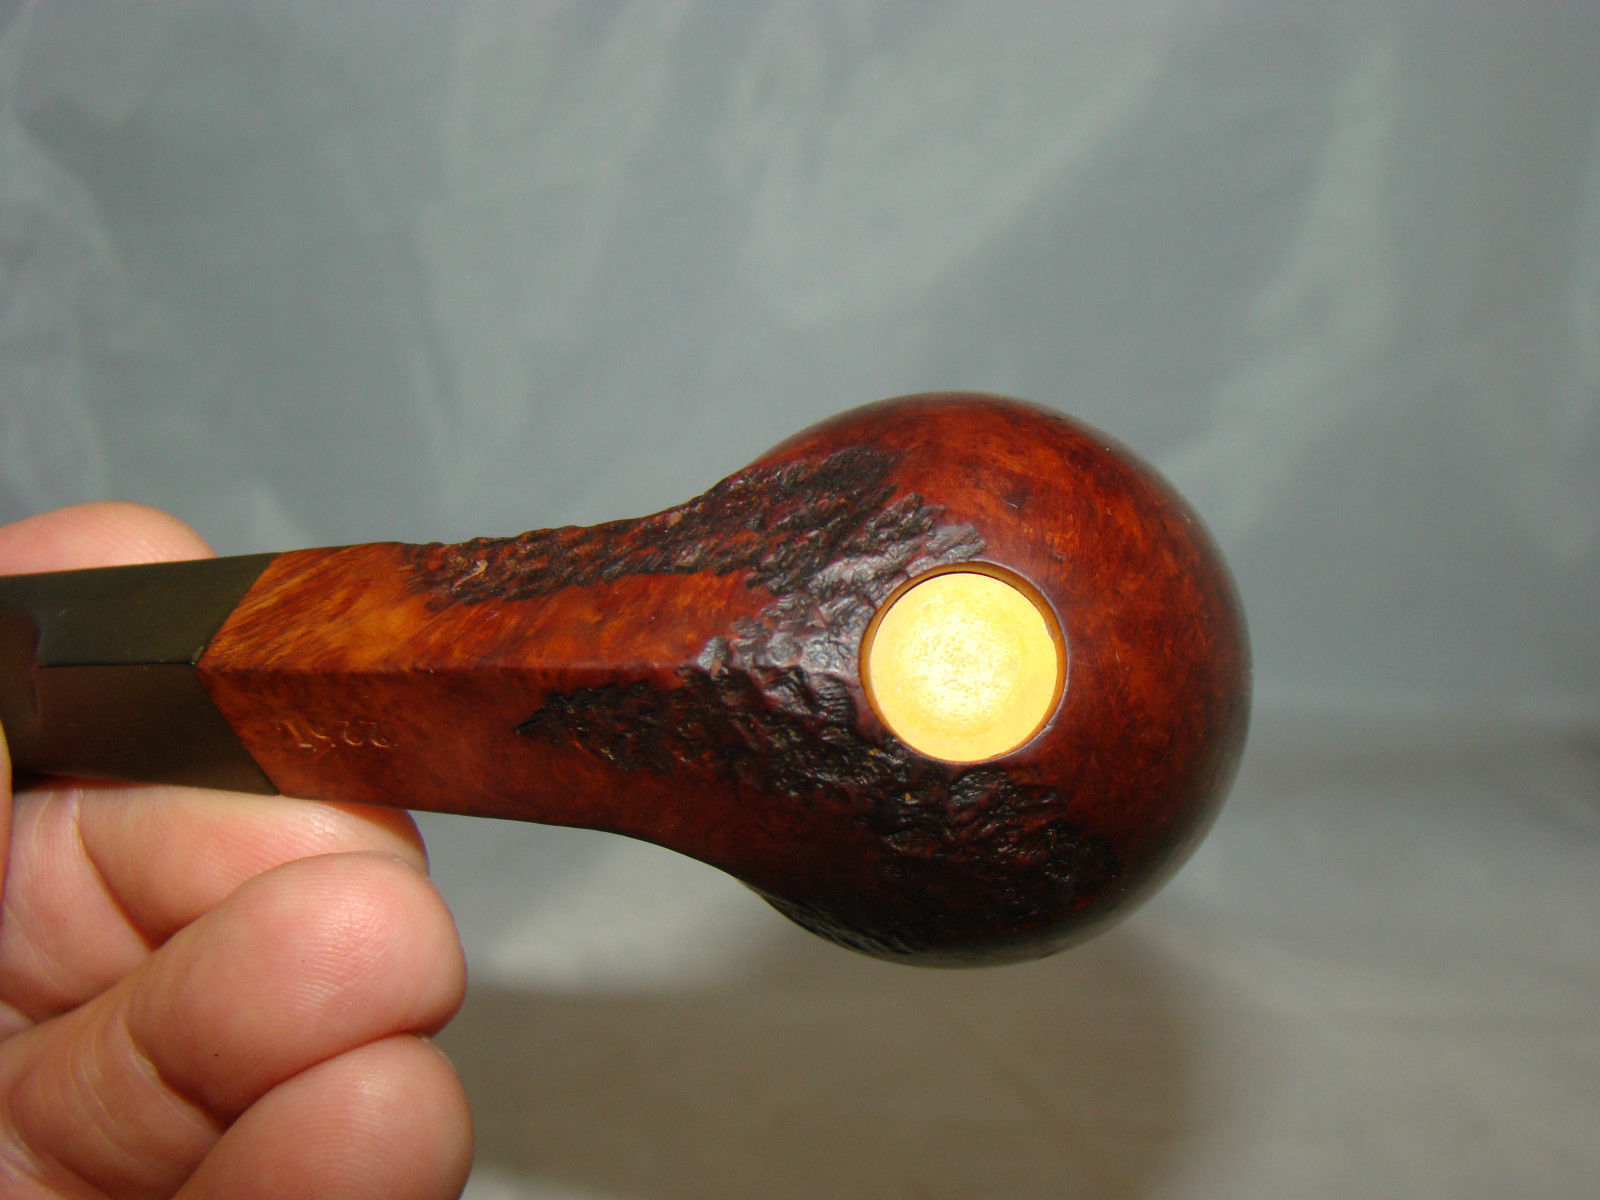
Briarmeer6

Briarmeer8

Briarmeer3

Briarmeer pipe bottom

I also learned that the American Company, Briarcraft who made the Smokemaster pipe also made a pipe with called the Briarmeer Acadian. The Briarcraft version of the pipe was a meerschaum lined pipe and was stamped with the Briarcraft logo, a B in a diamond on the shank and on the stem.However, the pipe I was gifted was not a meerschaum lined briar and it did not have the B stamp on either the shank or the stem. The stem appears to be original and the stamping on the shank clearly says that the pipe is Canadian made.

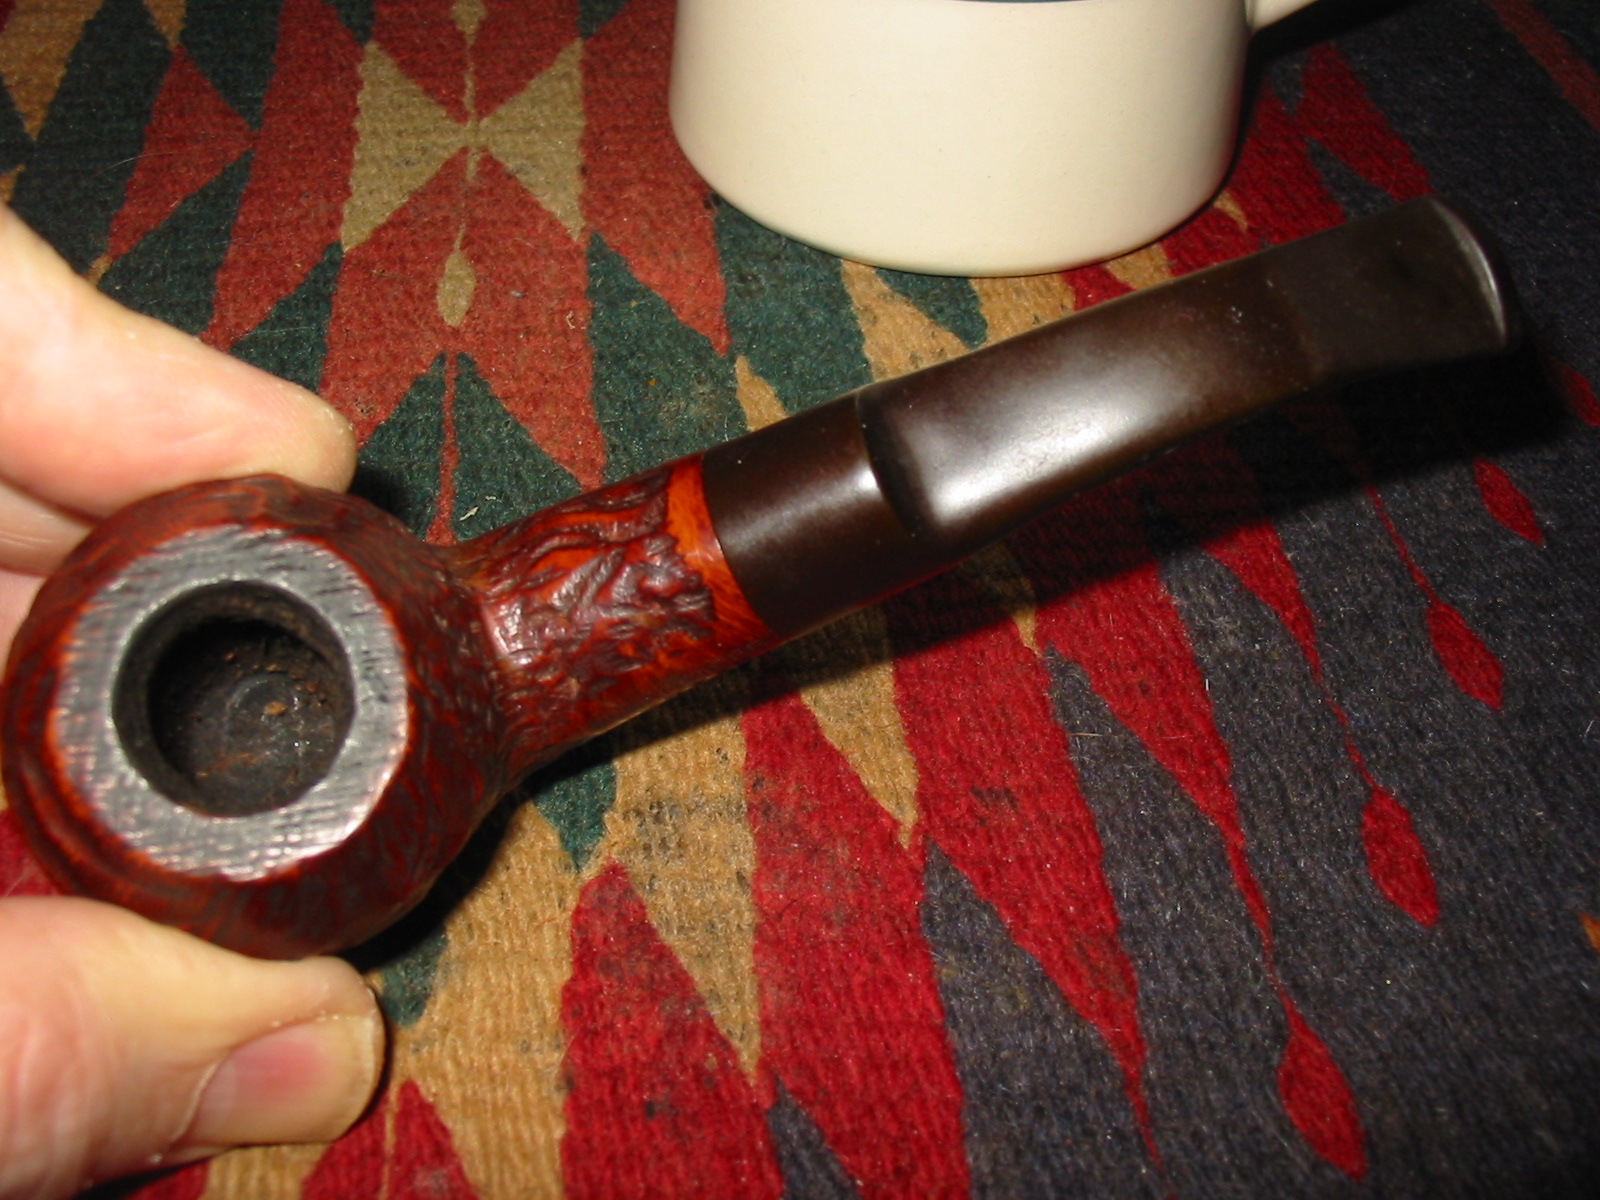
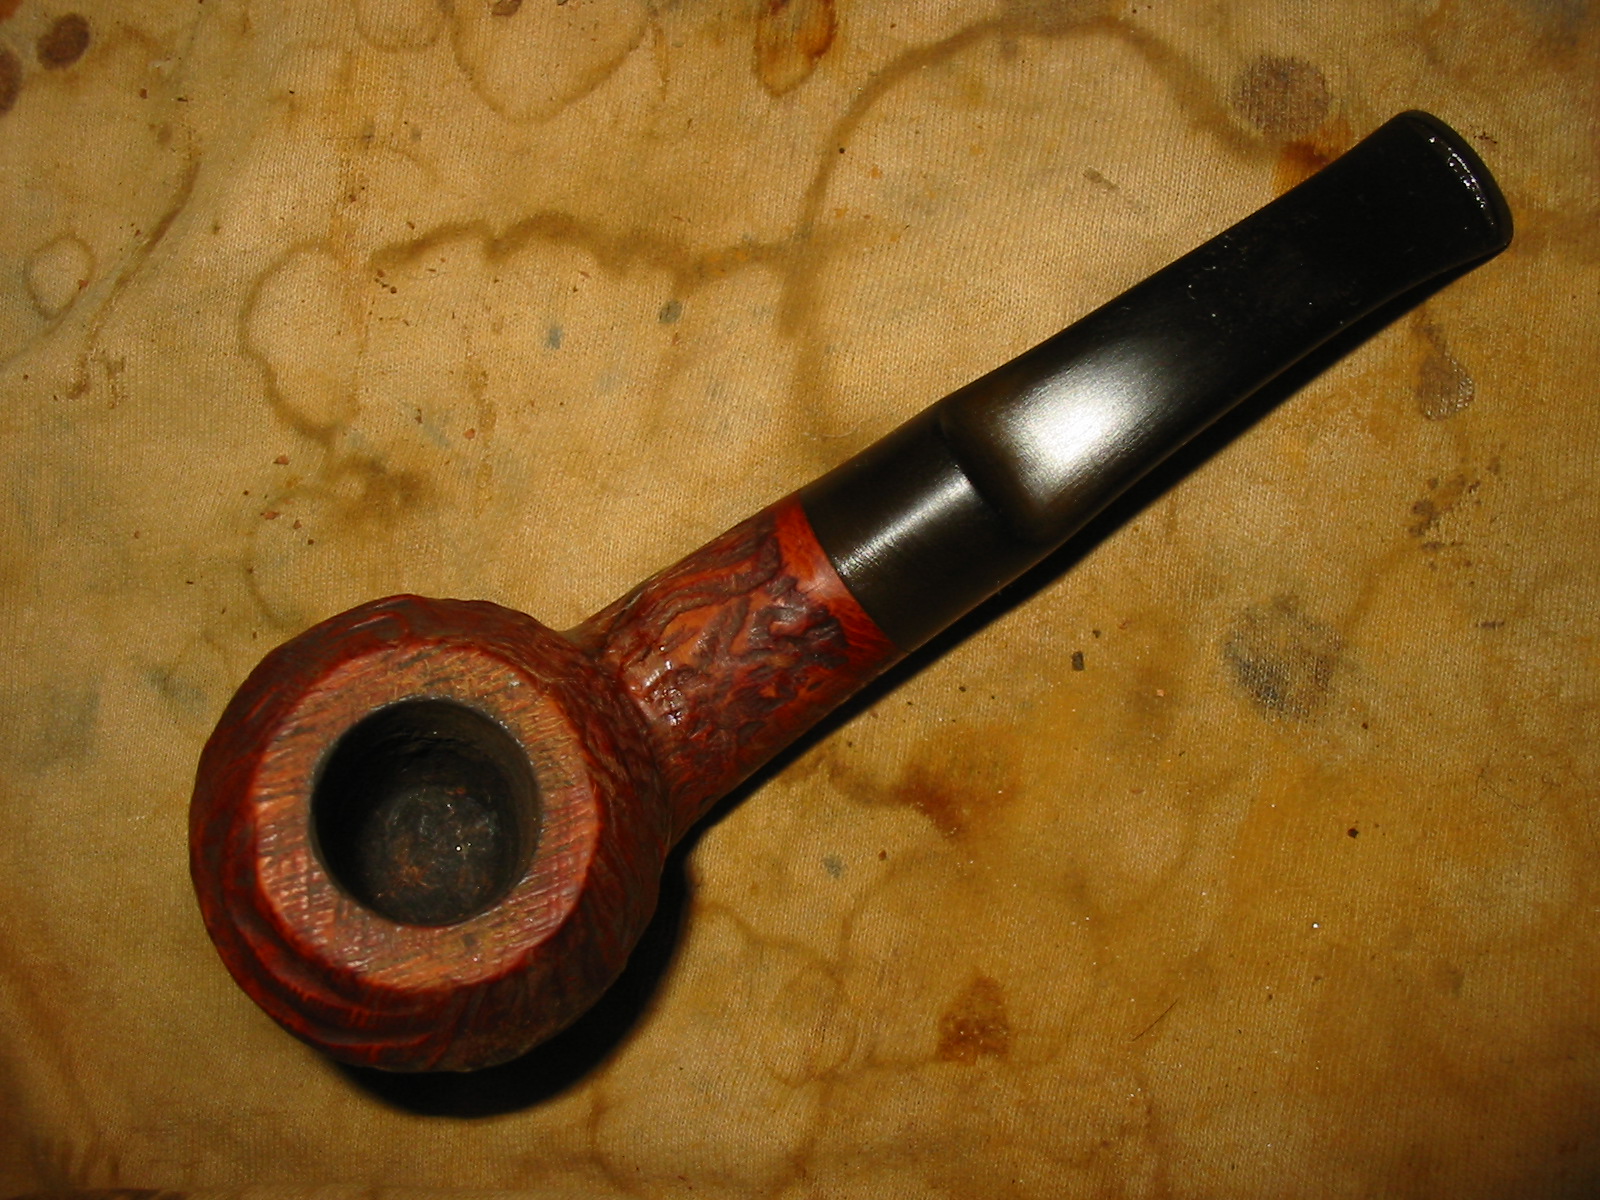
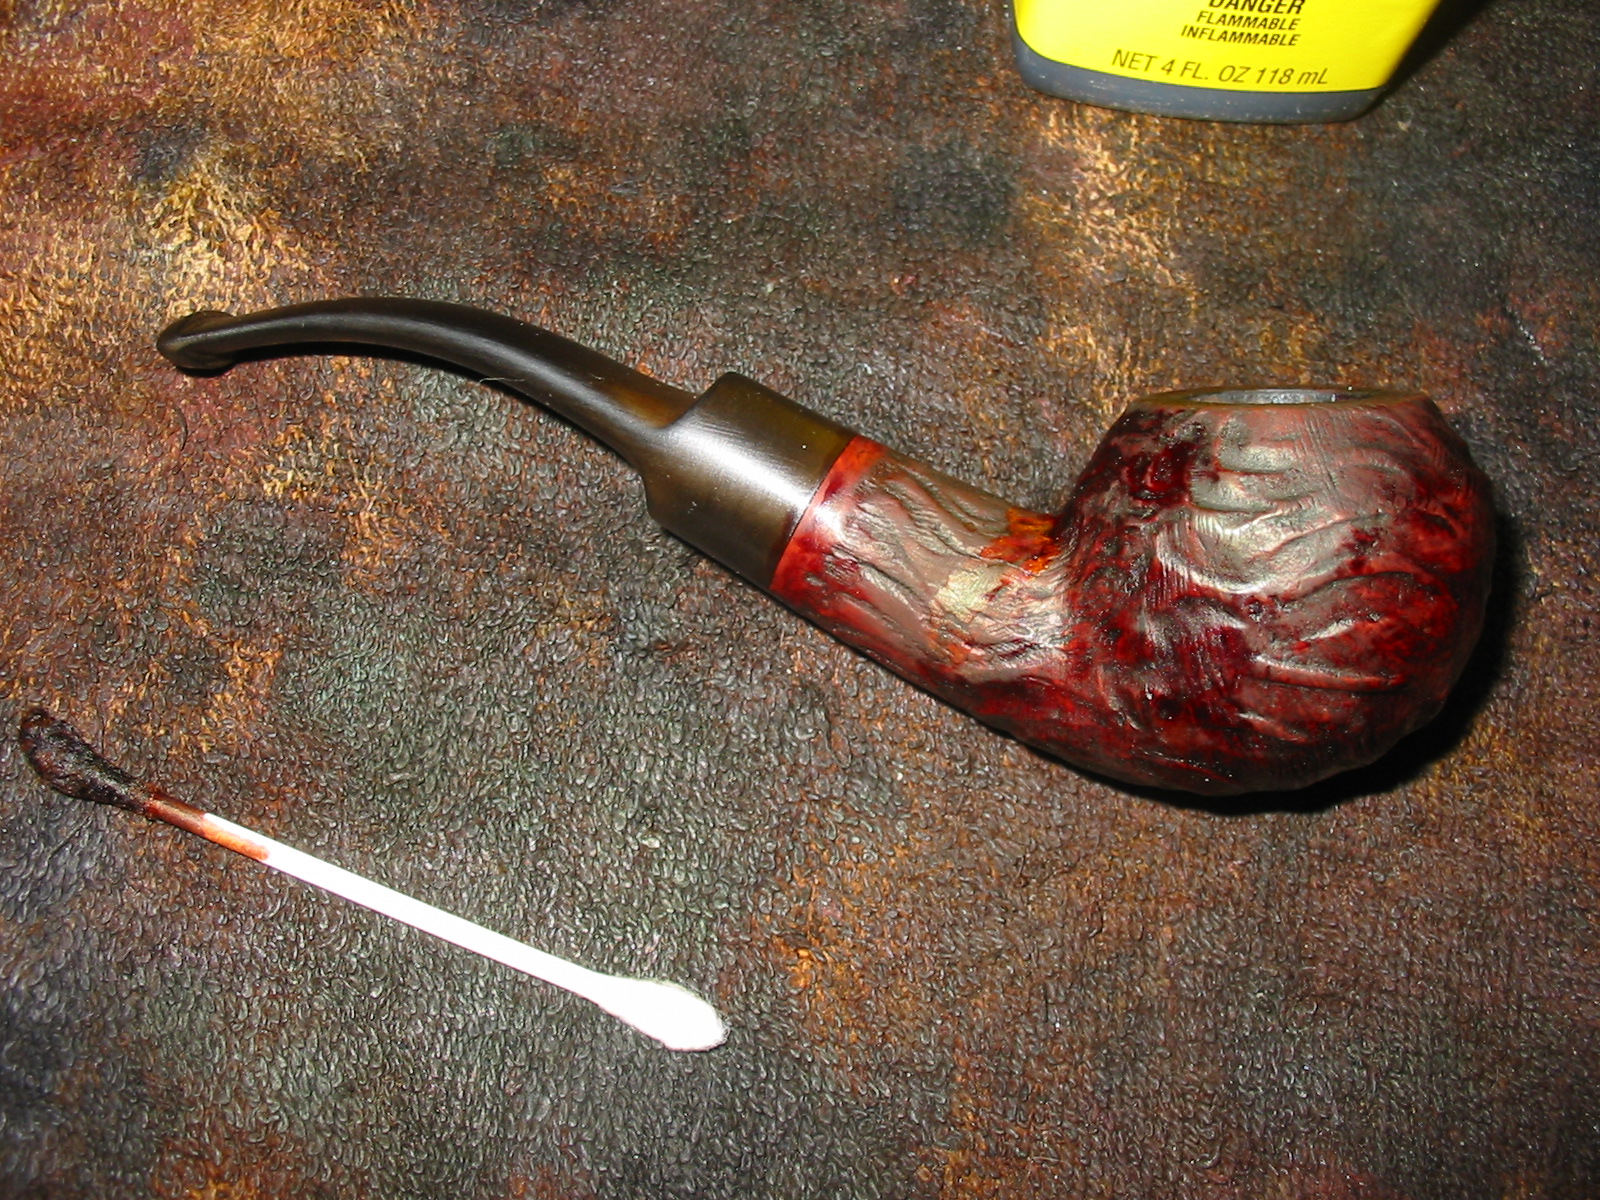
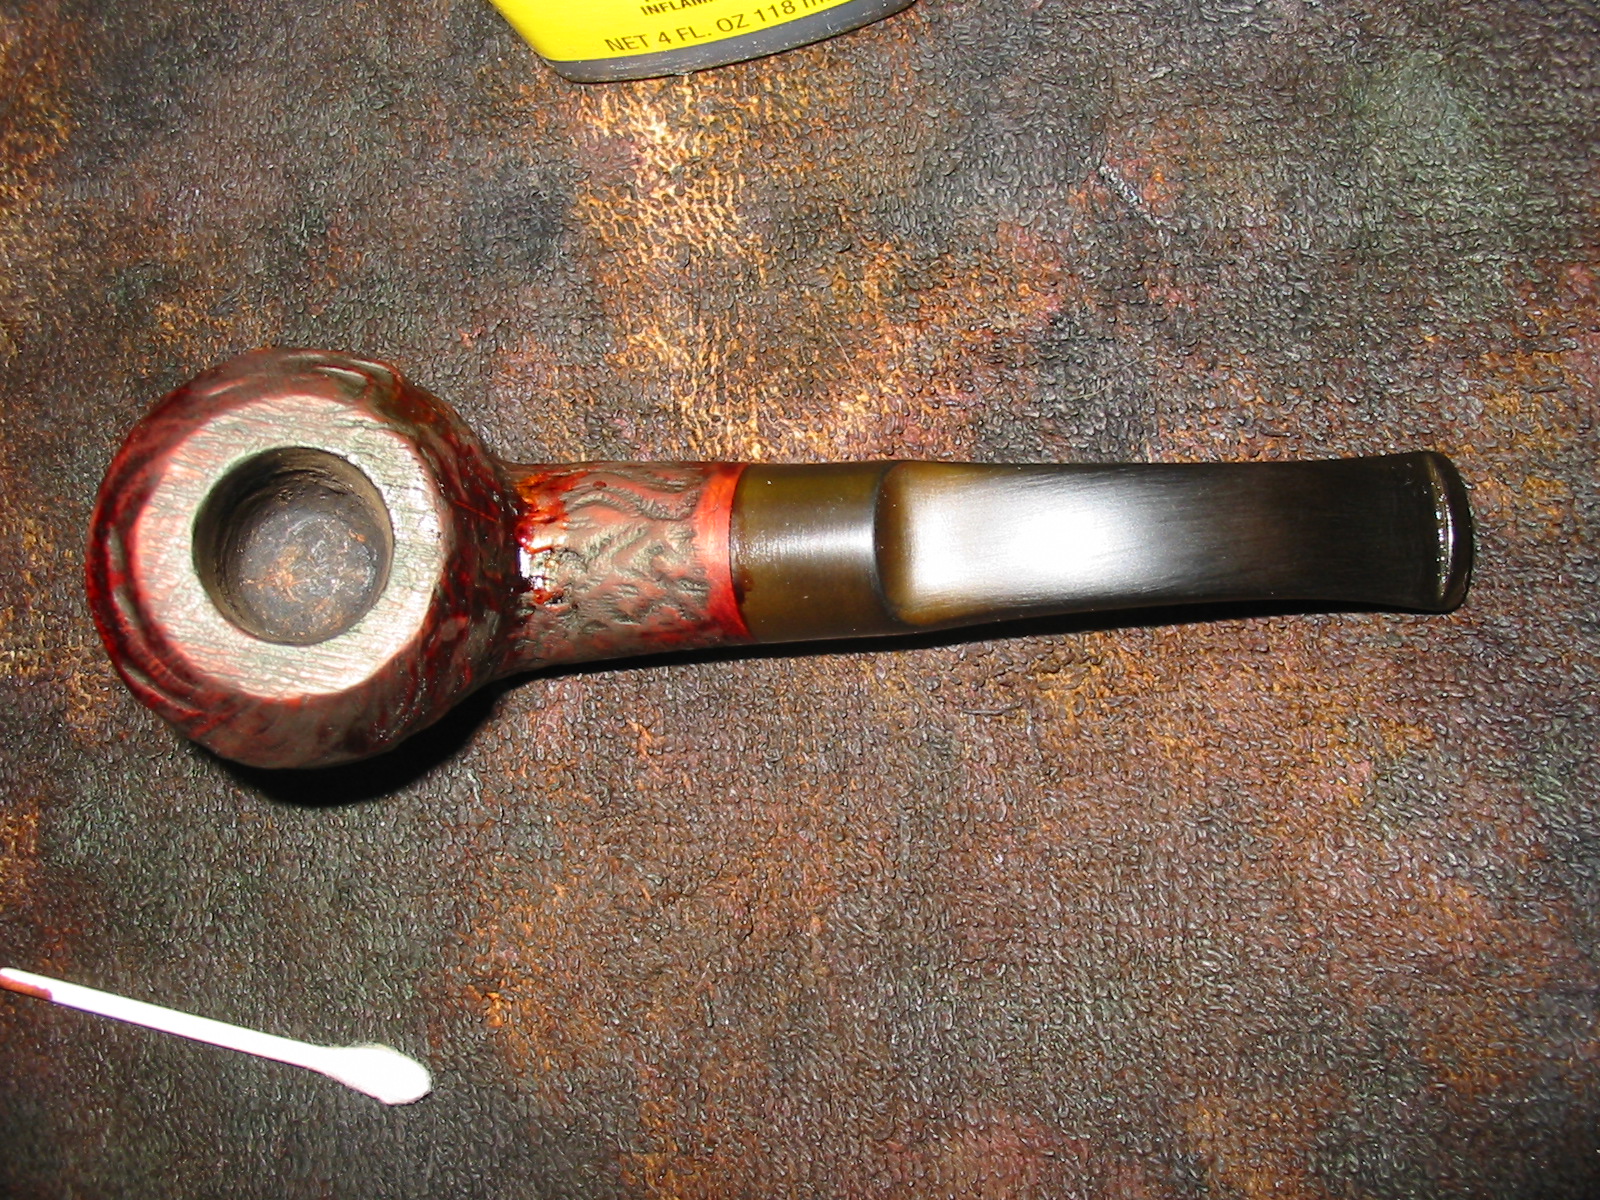
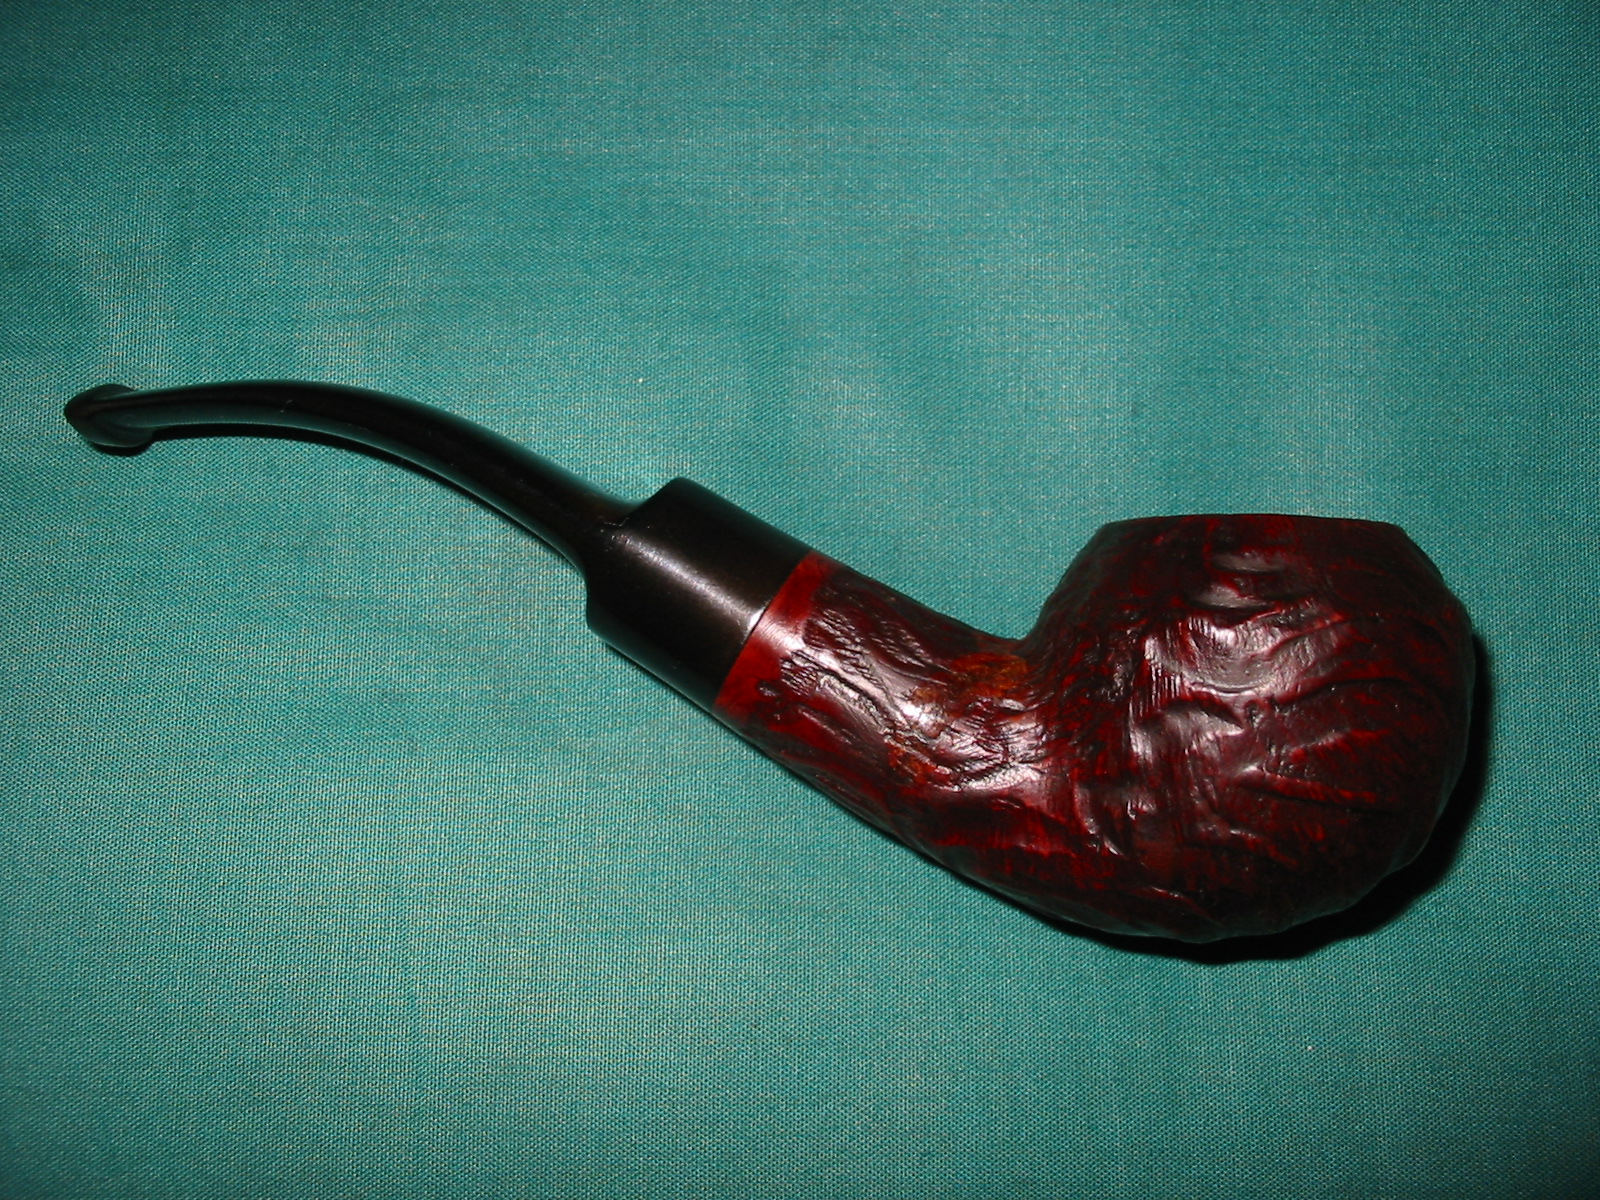
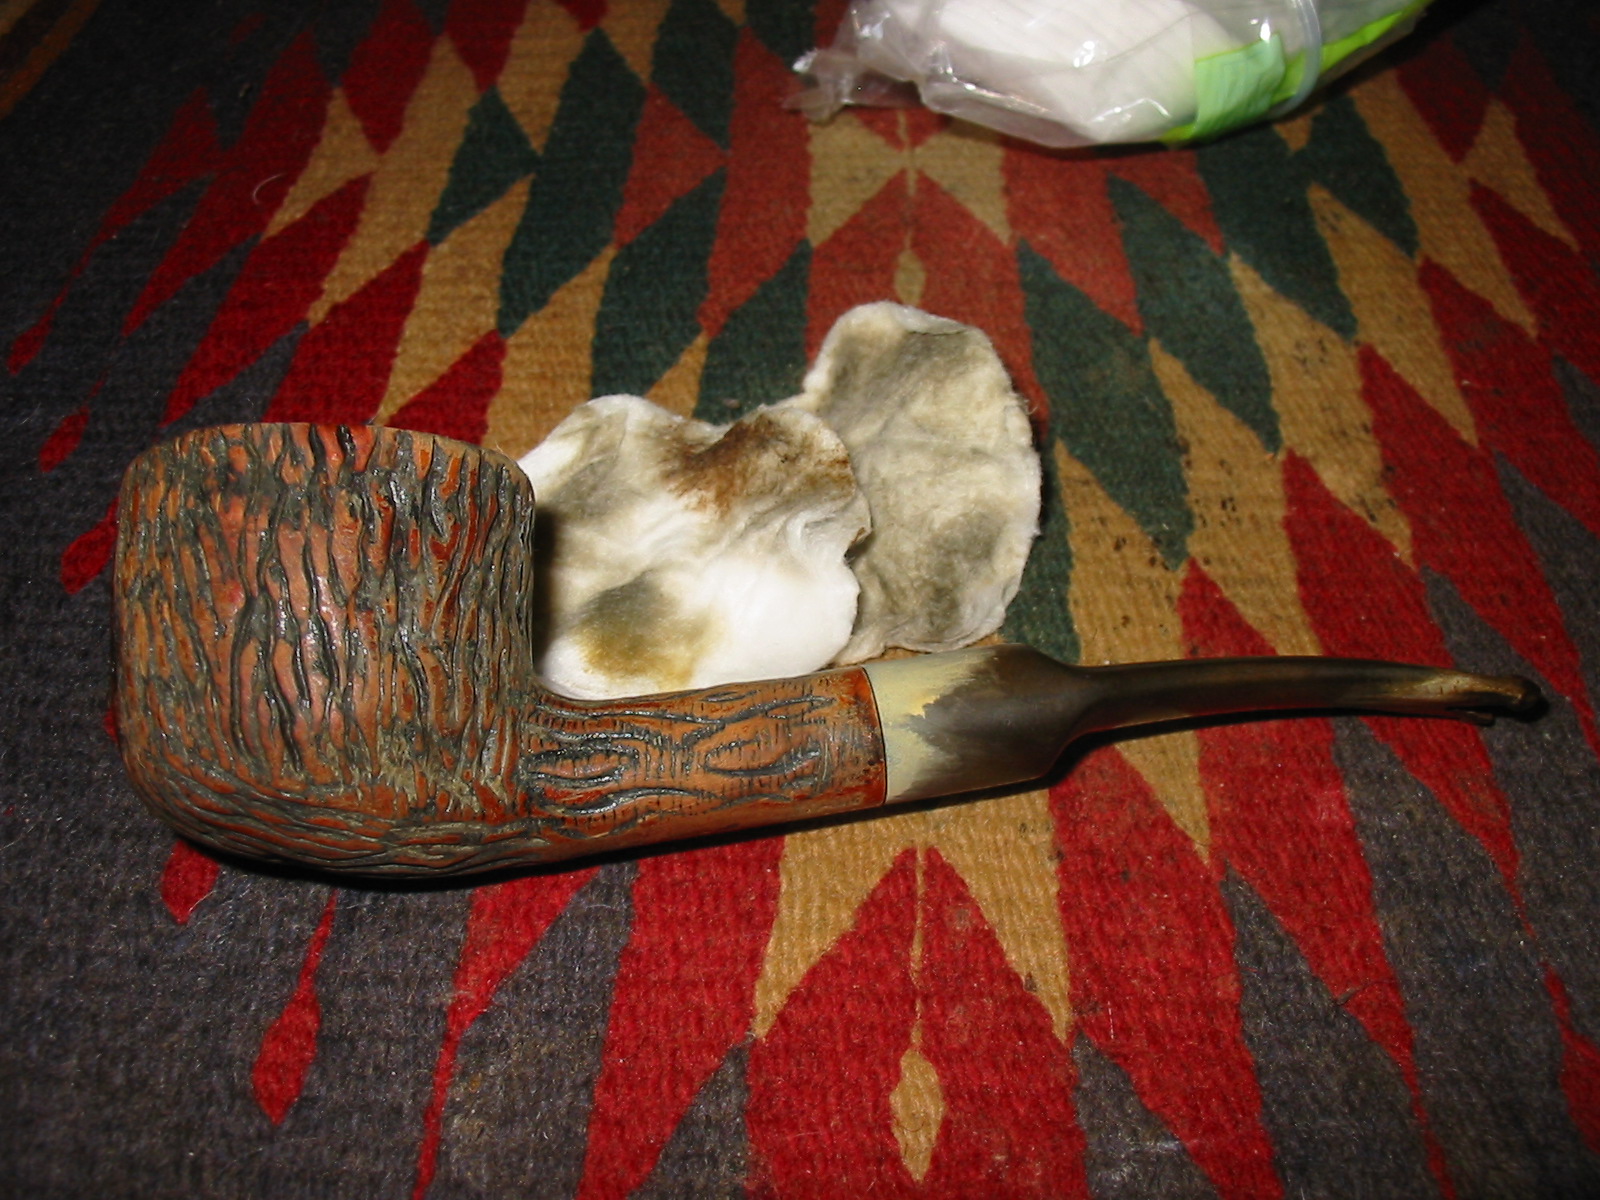
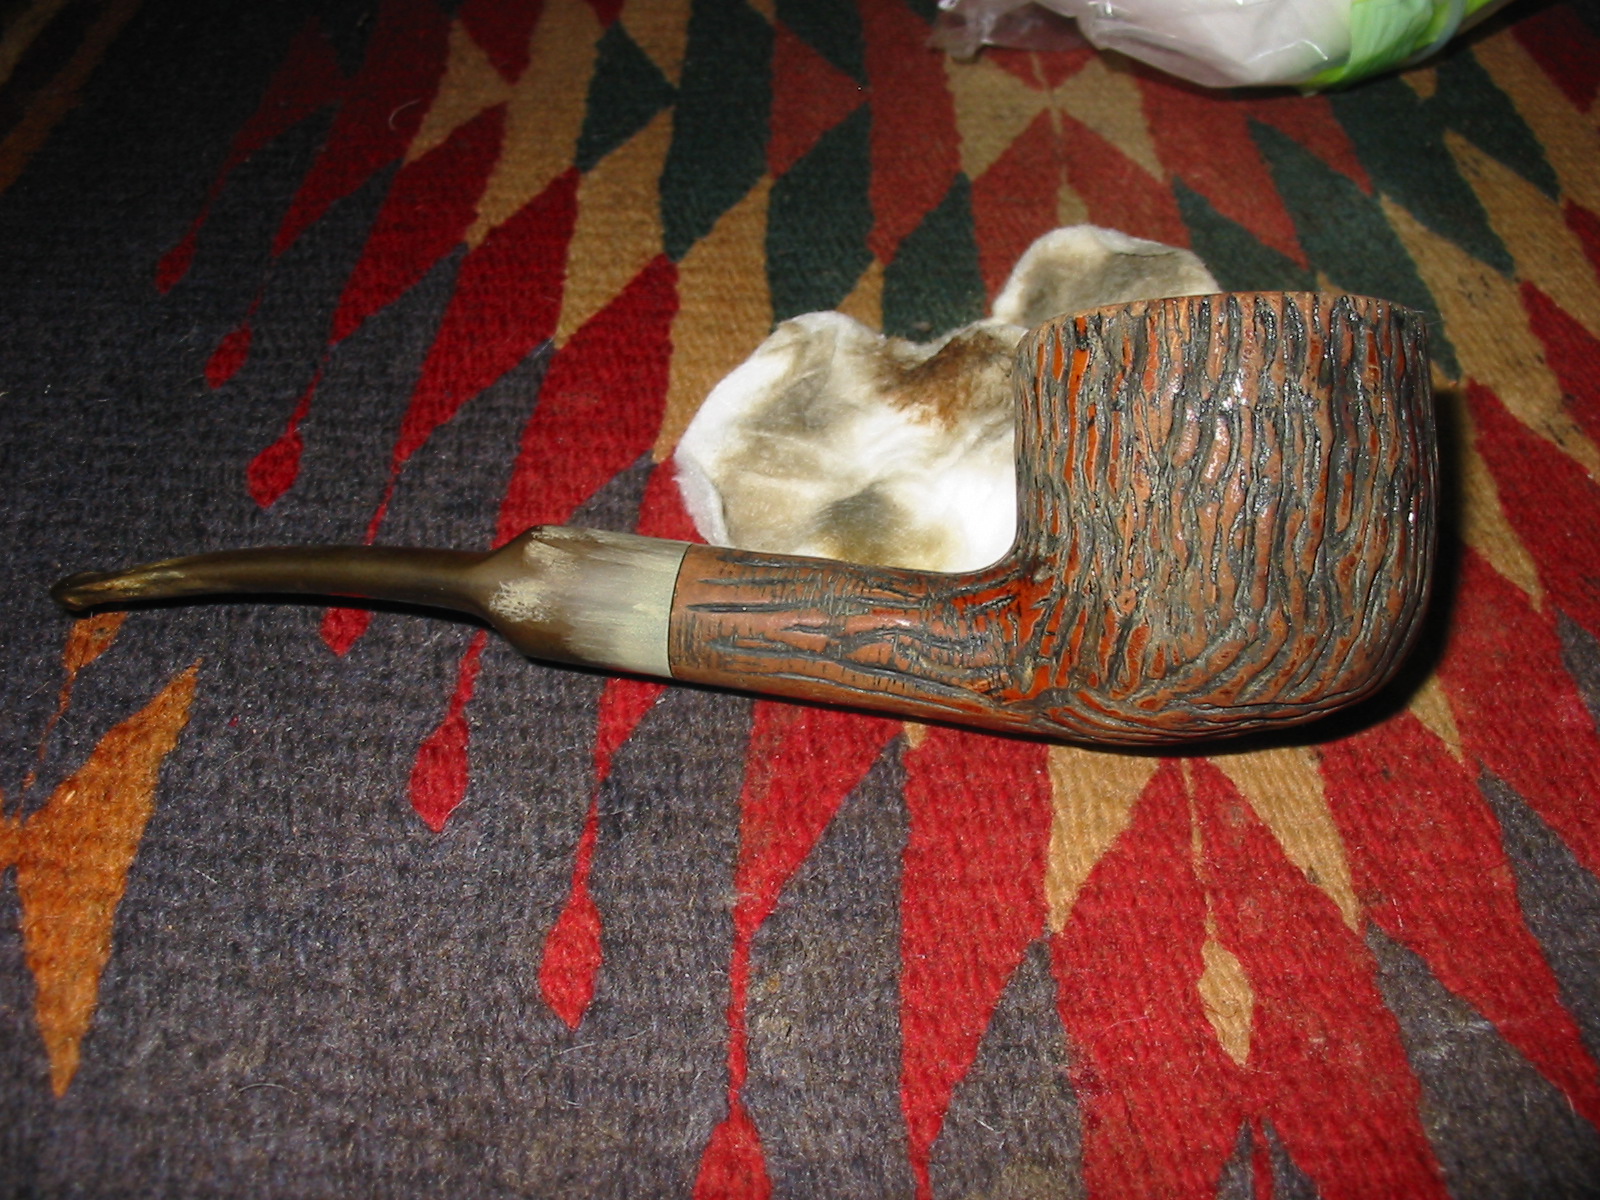
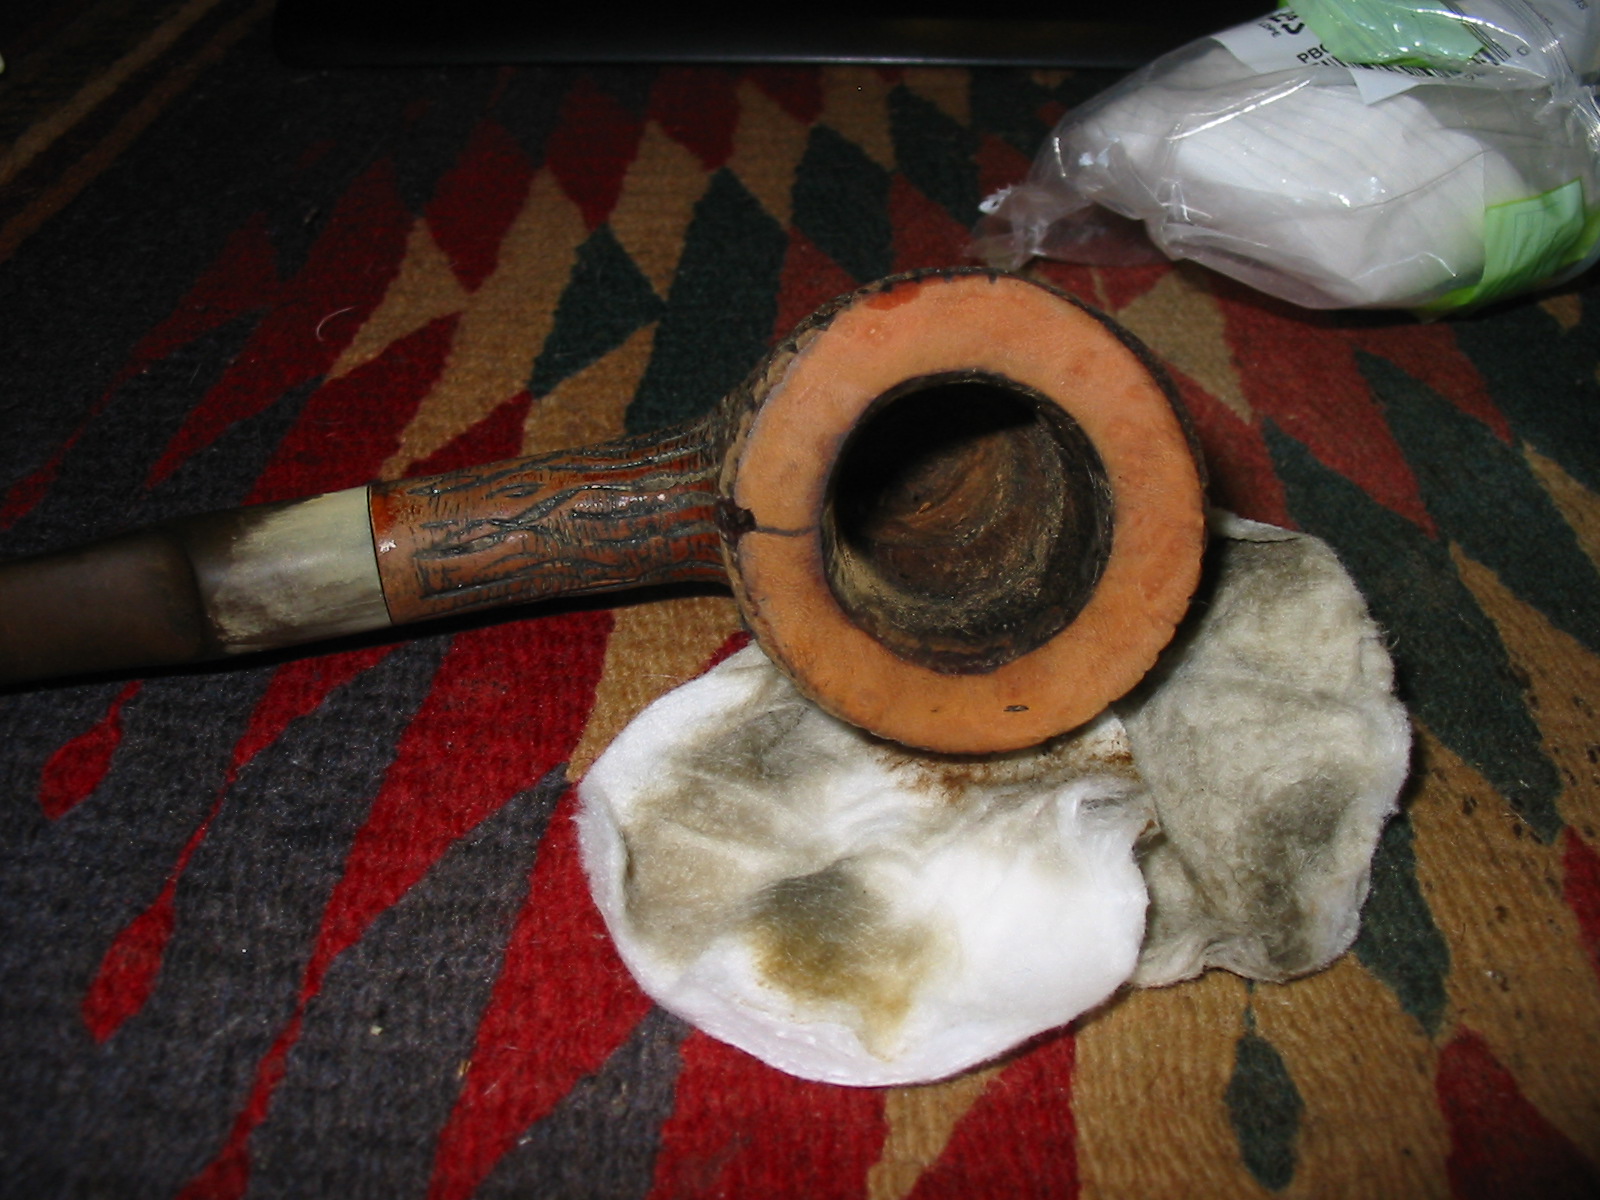
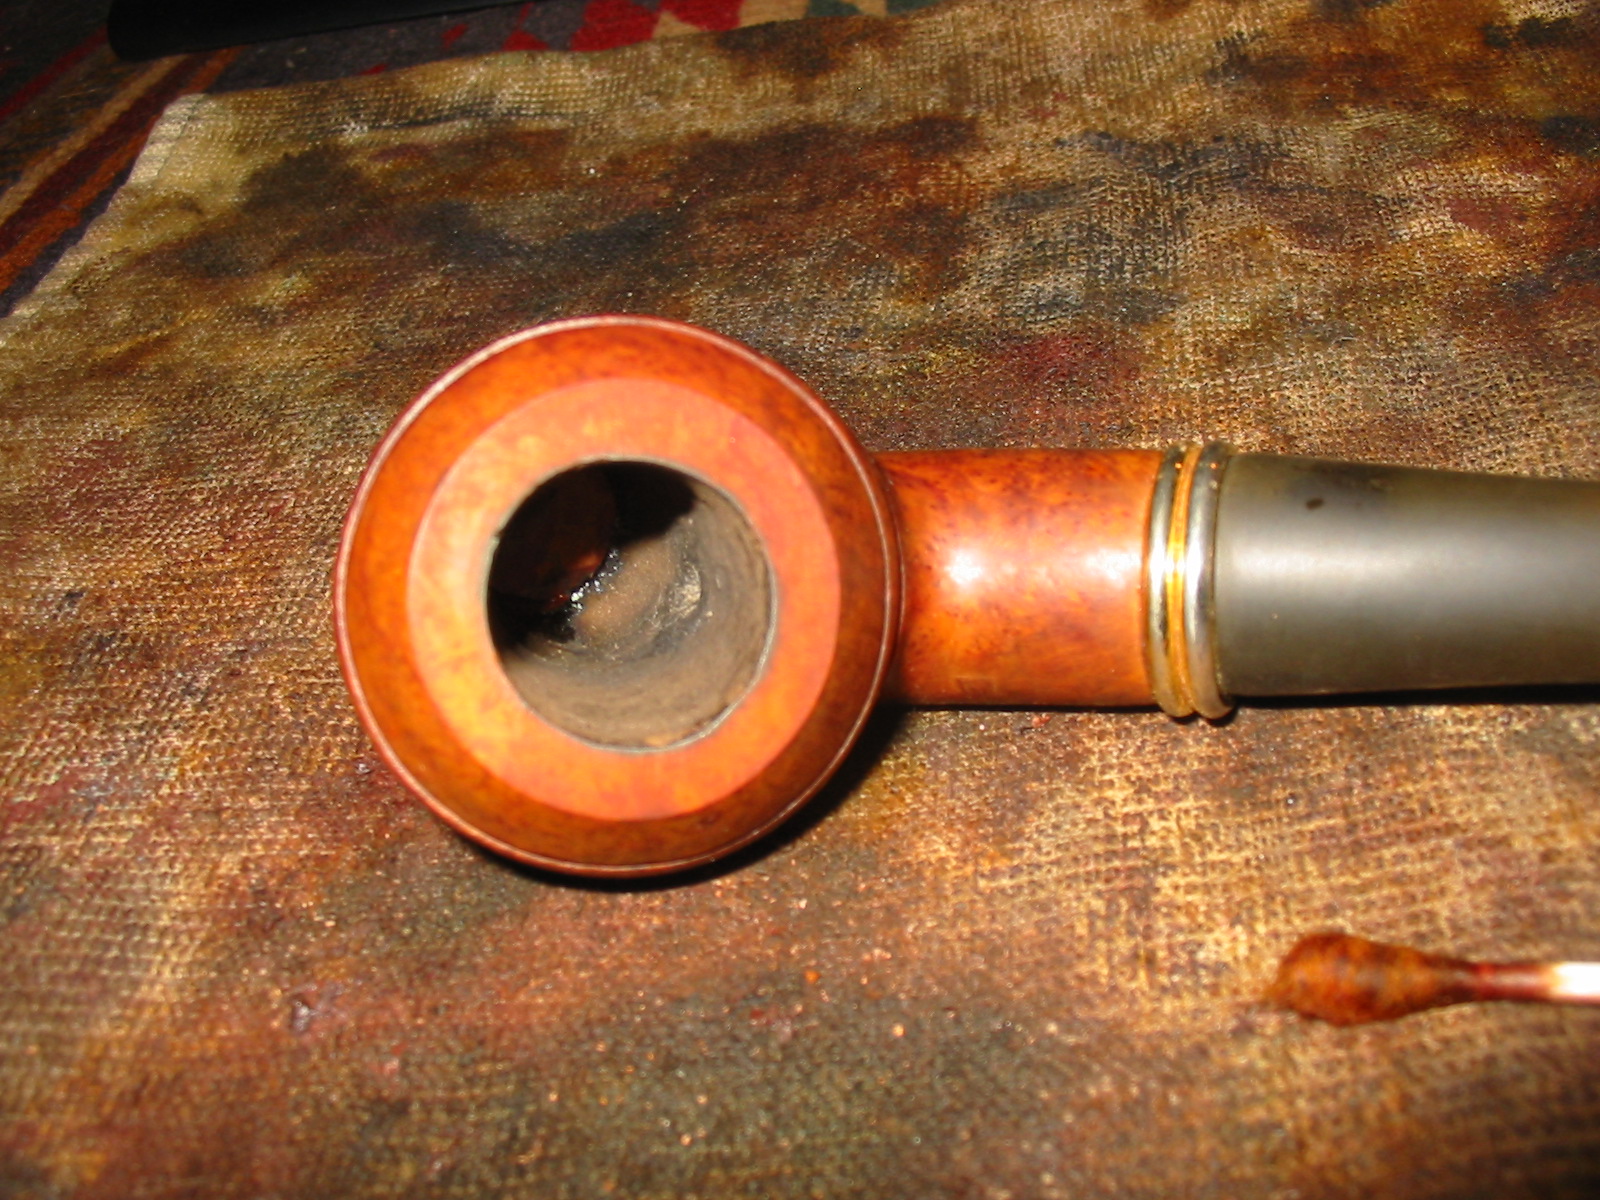
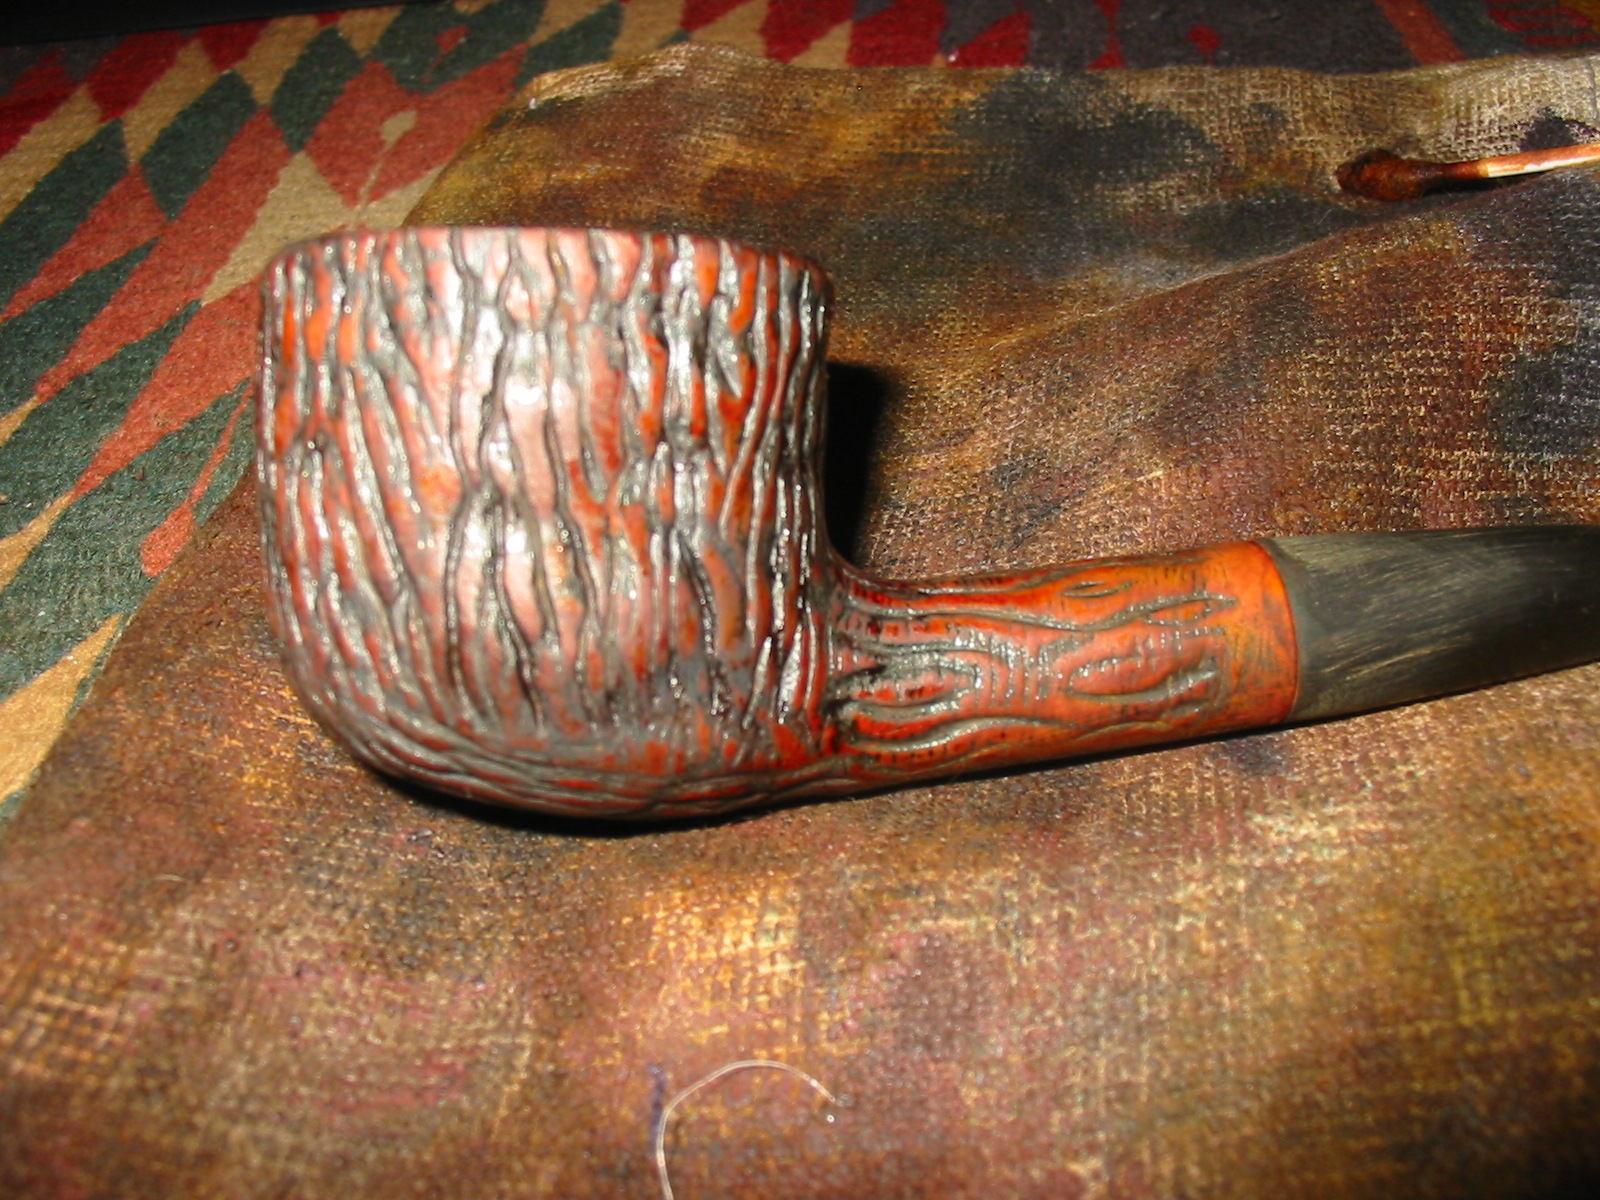
The pipe from Andrew arrived and it was indeed one of my favourite shapes. The finish was a little dirty and the rim had some carbon build up. The stem was oxidized and had some tooth marks on the underside of the stem near the button. There was also a darkened spot like a burn mark on the underside of the shank near the insert. There were several fills in the grooves of the rustication but I was fairly certain that when I restained the pipe they would be hidden. The meerschaum insert looked to be in very good shape from the outside of the bowl. Inside was caked with a fair amount of carbon and the insert was not visible looking into the bowl.
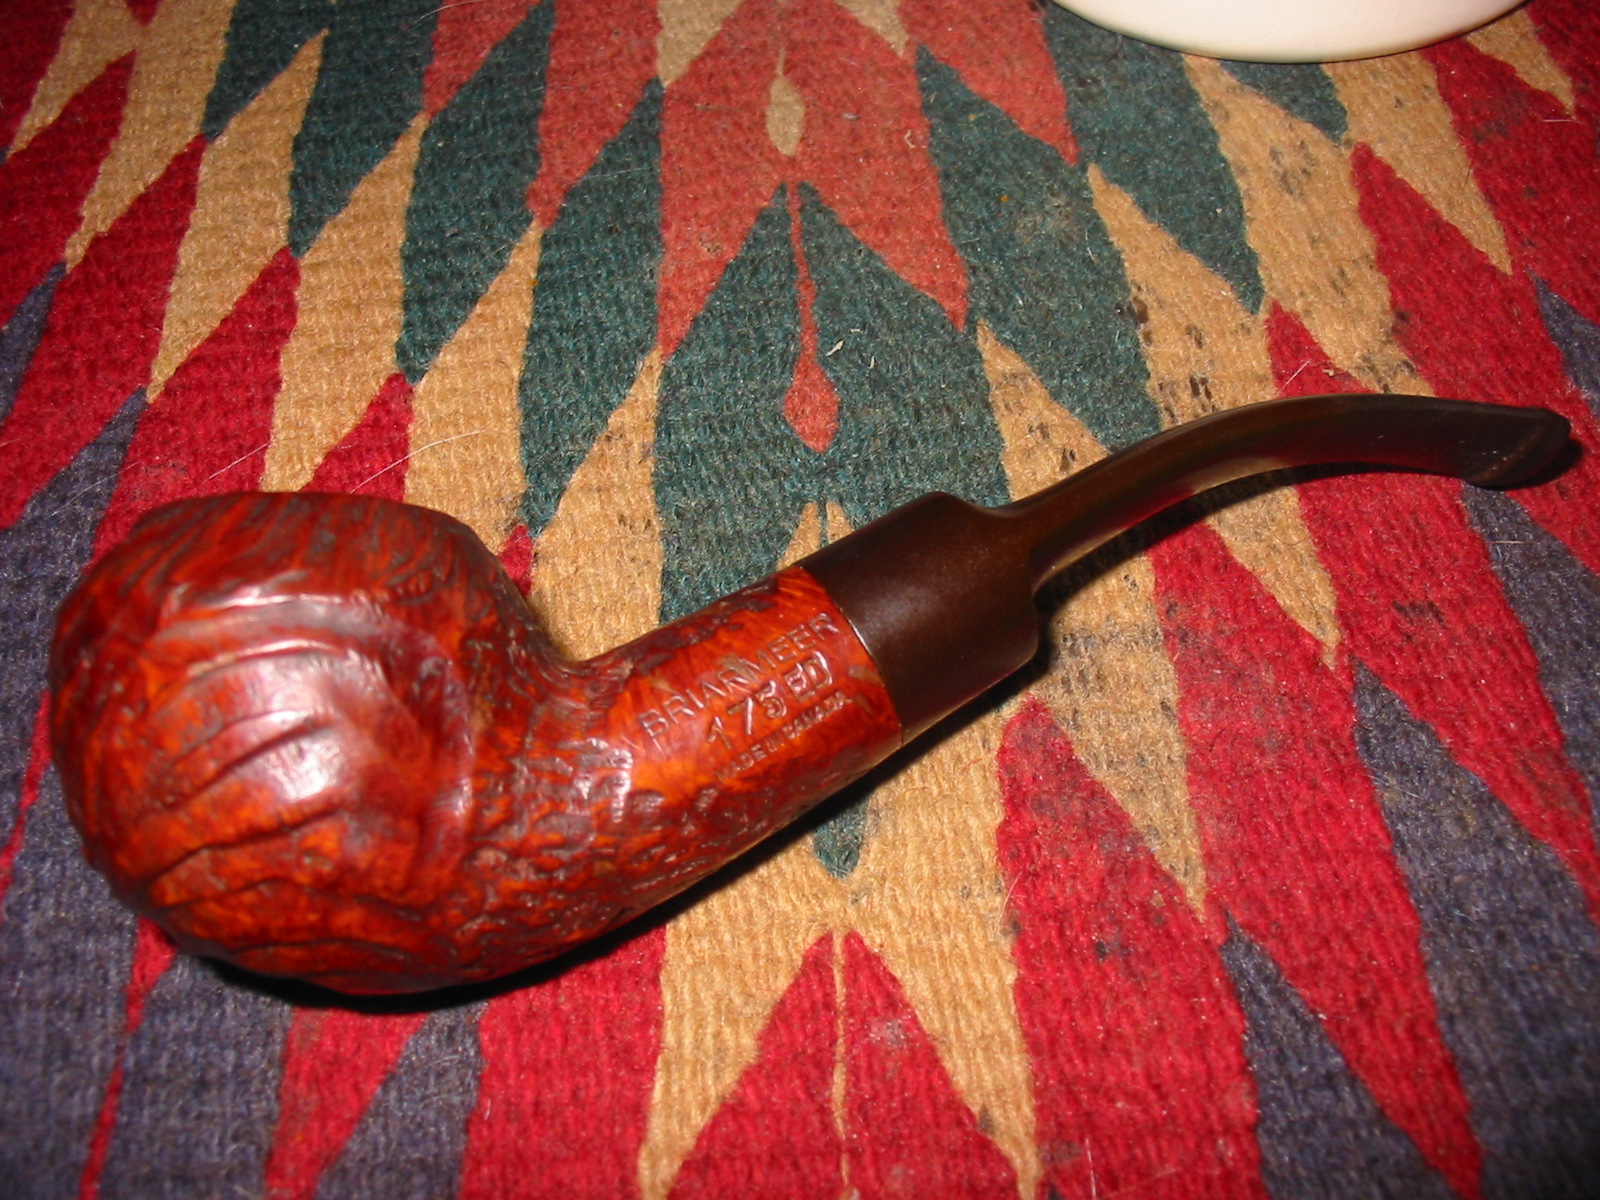
IMG_5192

IMG_5193

IMG_5194

IMG_5195
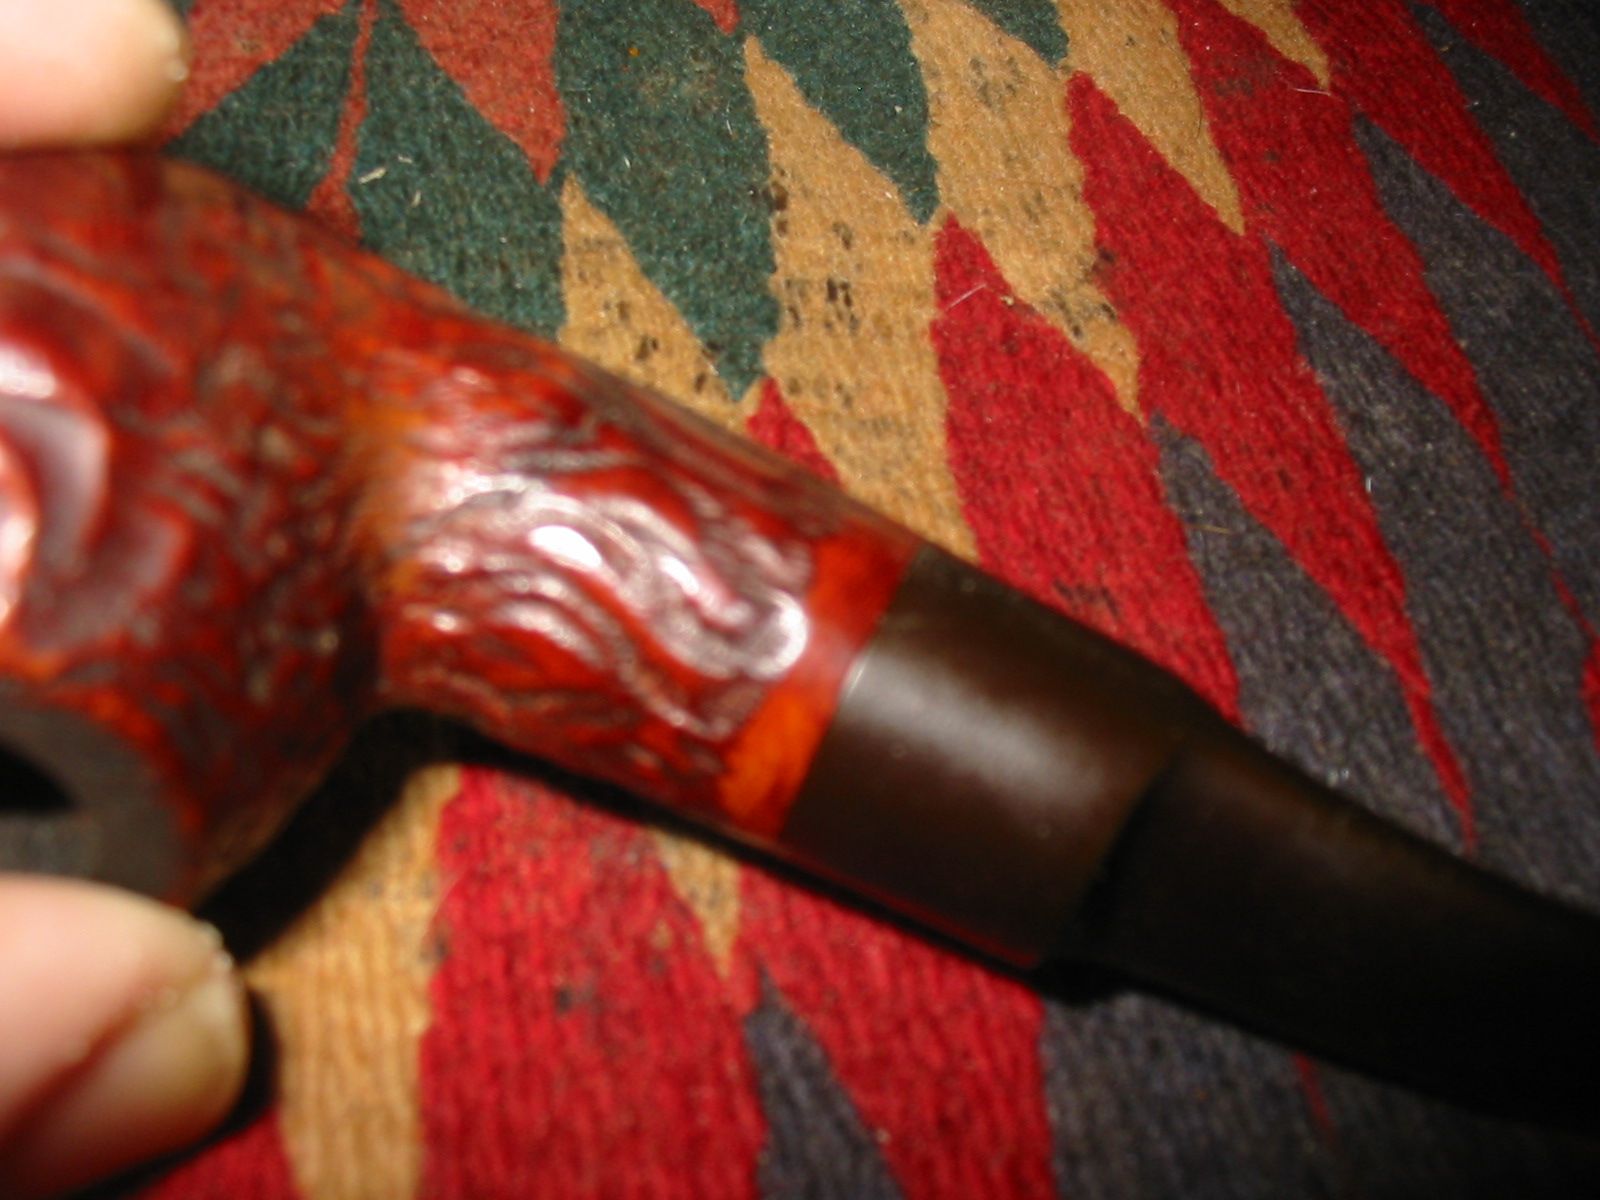
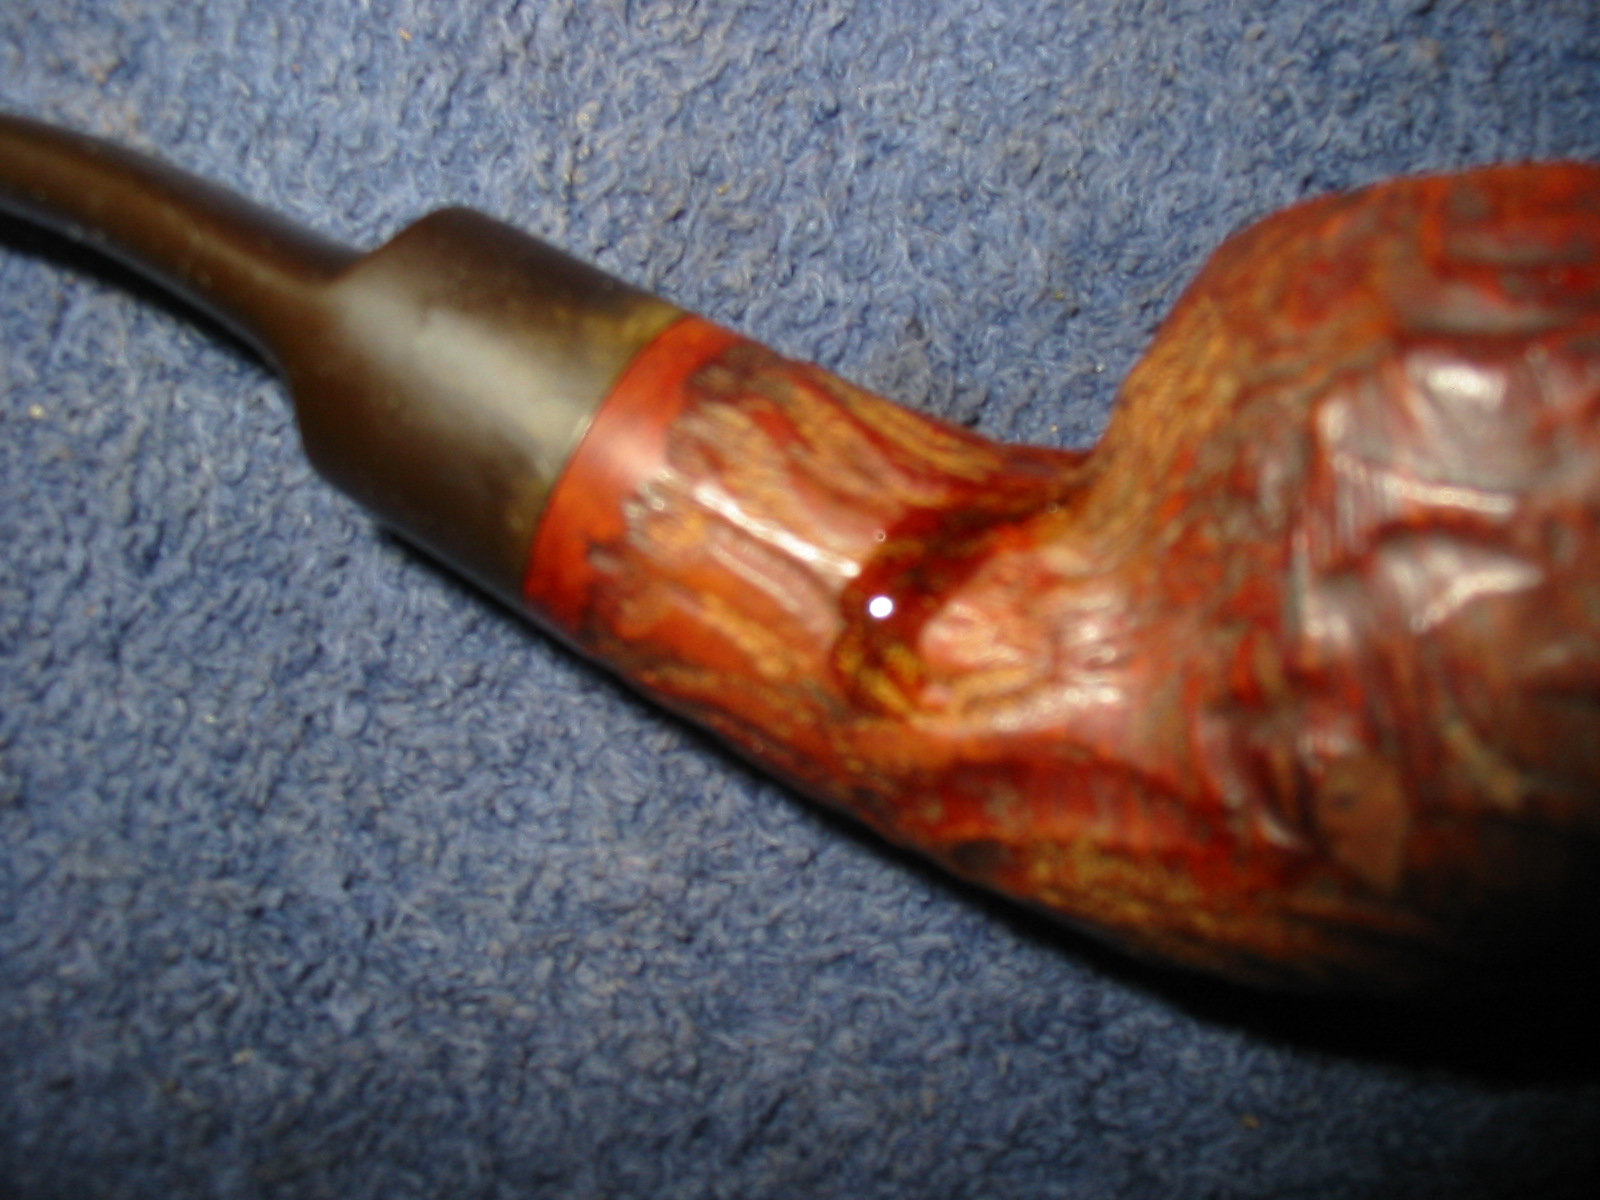
Upon closer examination it was evident that there was a crack in the shank on the right side that ran at an angle from mid-shank toward the back of the bowl shank union. The crack did not start on the bottom of the shank but rather started midway up on the right side of the shank and ended near the top middle of the shank. It was very clear under a lens that it was present. The next two photos, though slightly out of focus show the crack. It runs across the rustication pattern mid-shank.
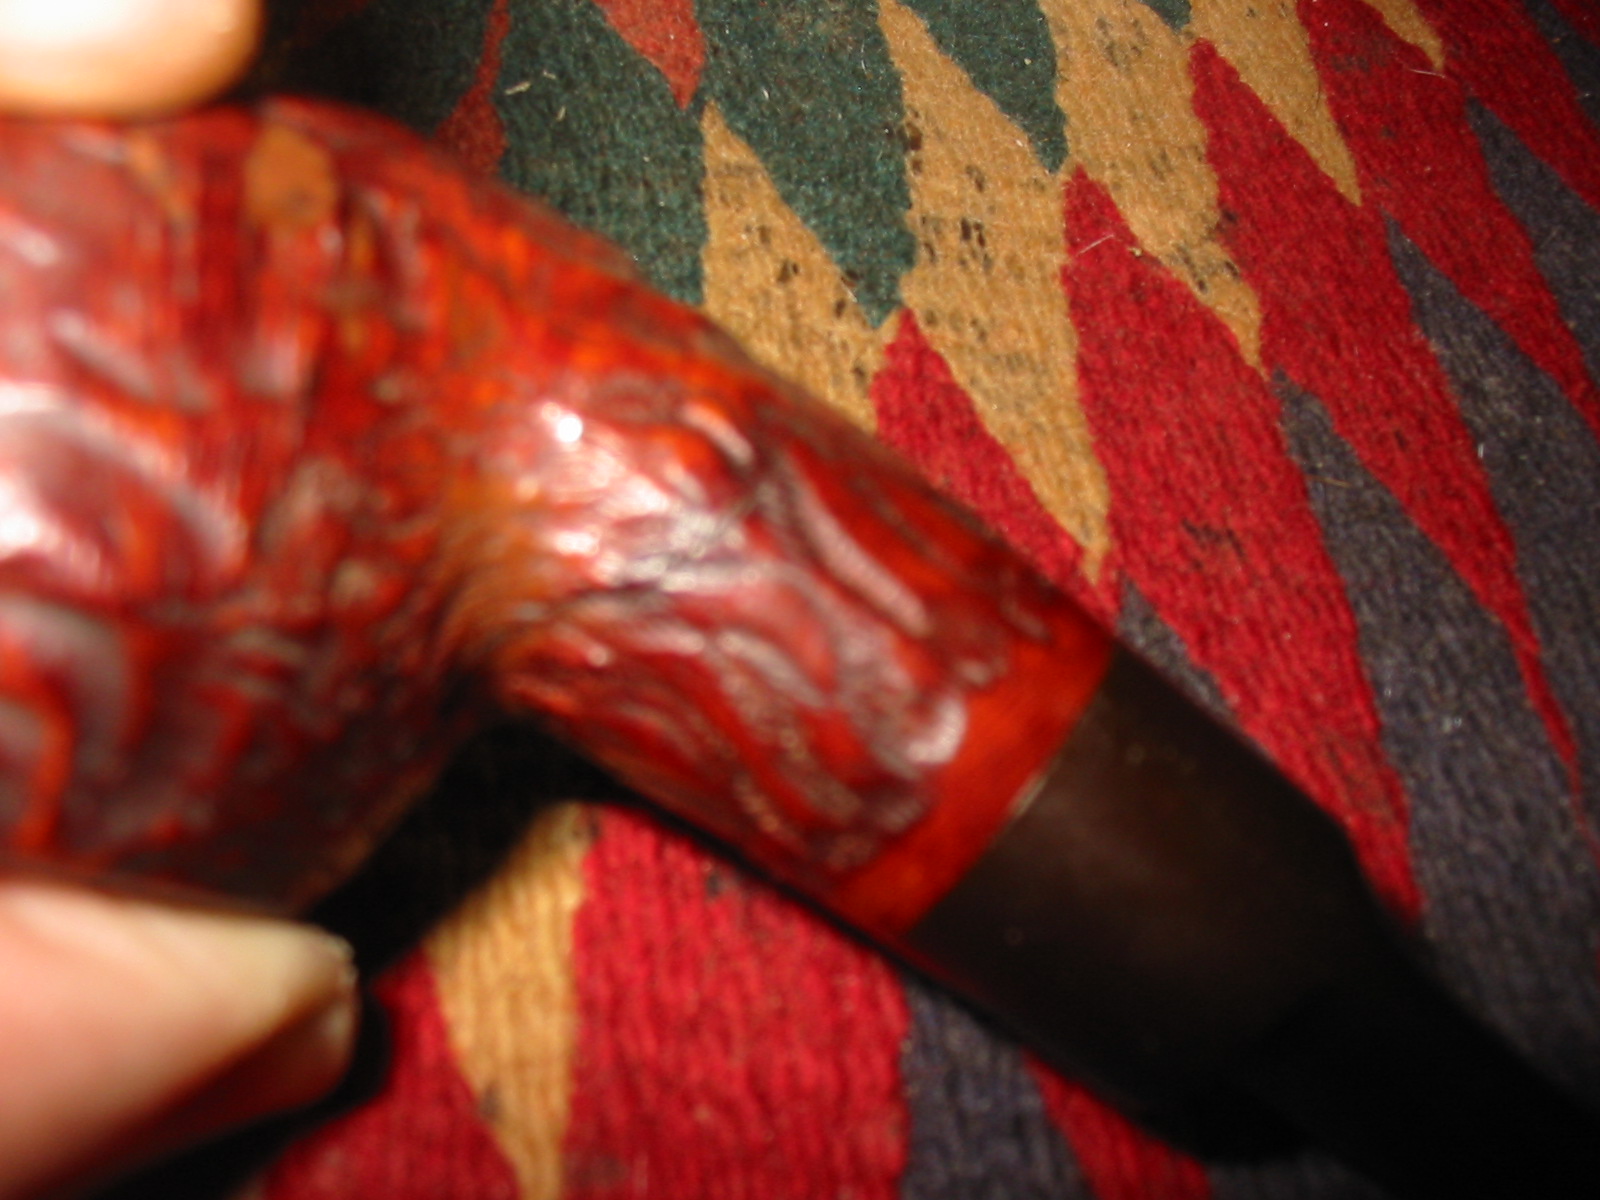
IMG_5196

IMG_5197

I cleaned out the crack with a dental pick to remove the buildup of grime that filled it. The grime was evident through the lens. Once I had it clean when I viewed it through the lens I used superglue to repair the crack. Fortunately the crack did not go all the way into the airway. I checked the inside of the airway with a penlight and it was smooth and flawless. The repair externally would remove the visible damage.
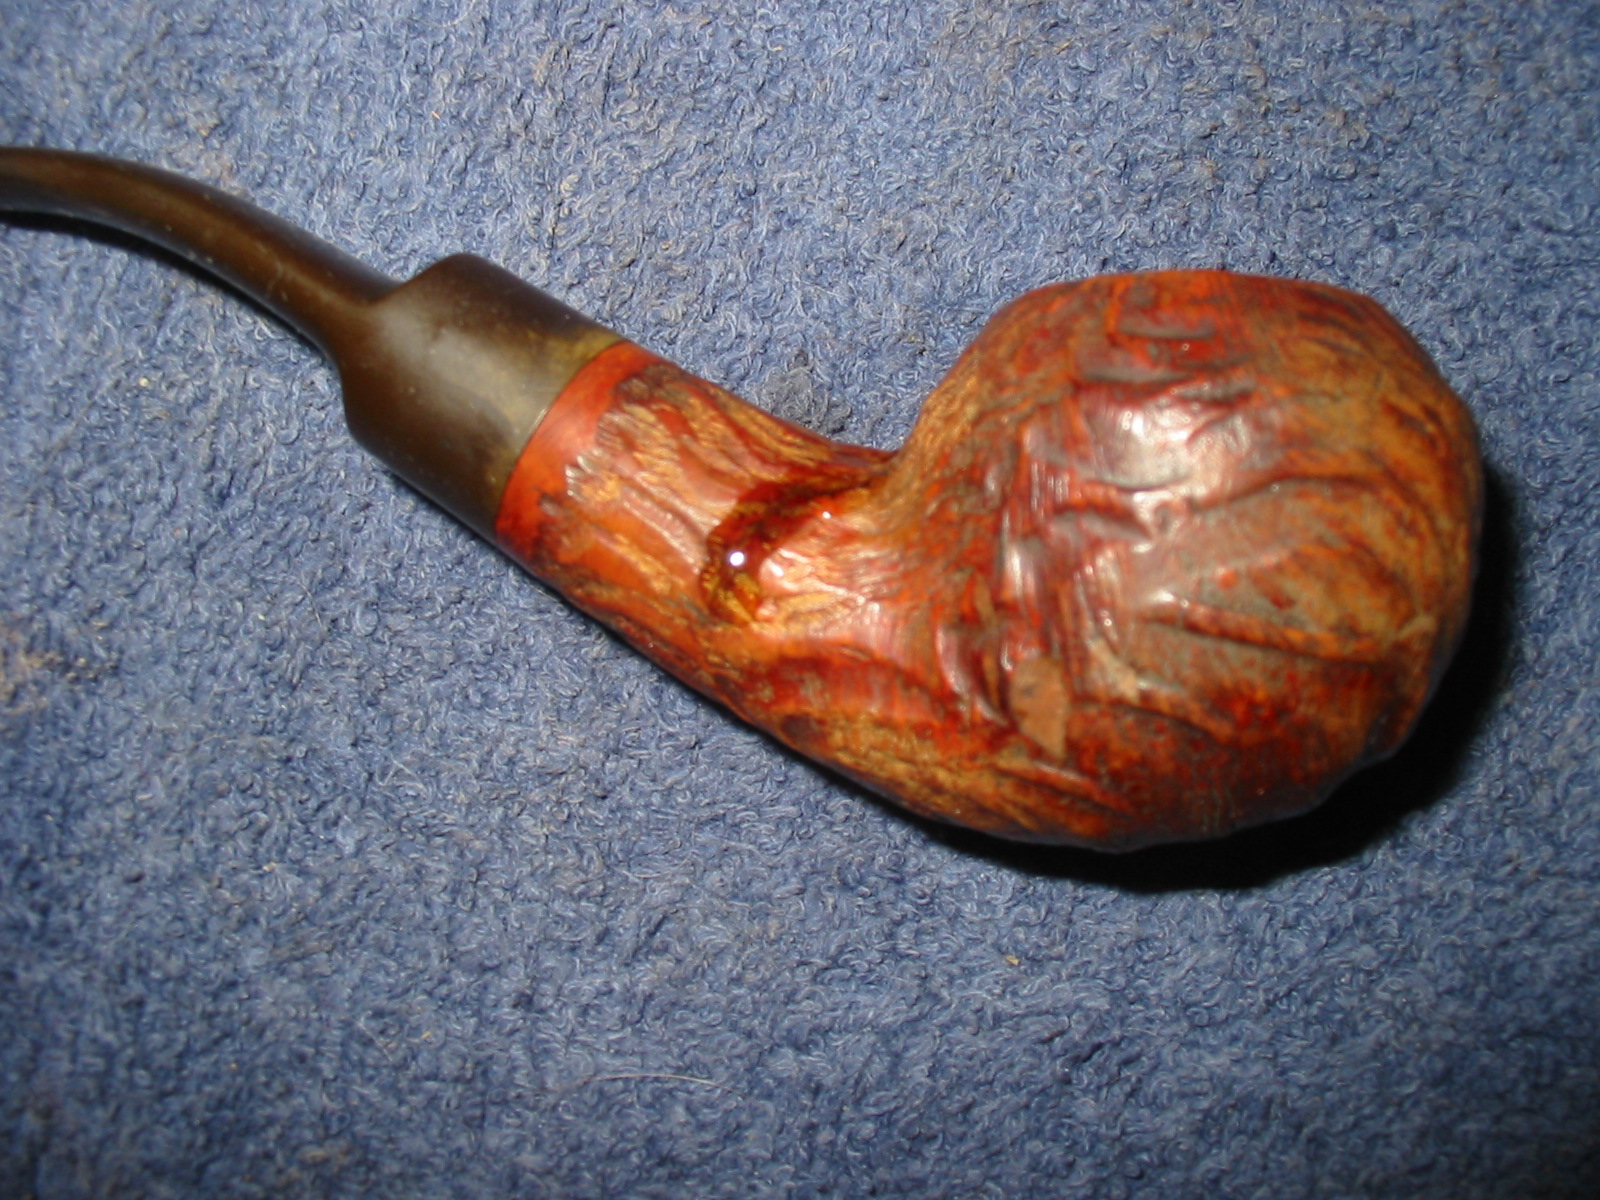
IMG_5218

IMG_5219

I left the superglue to cure overnight and in the morning used the dental pick to clean out the grooves of the rustication and sanded the smooth portions of the briar surface with 220 grit sandpaper and then medium and fine grit sanding sponges. The photo below shows the repair after sanding and shaping.
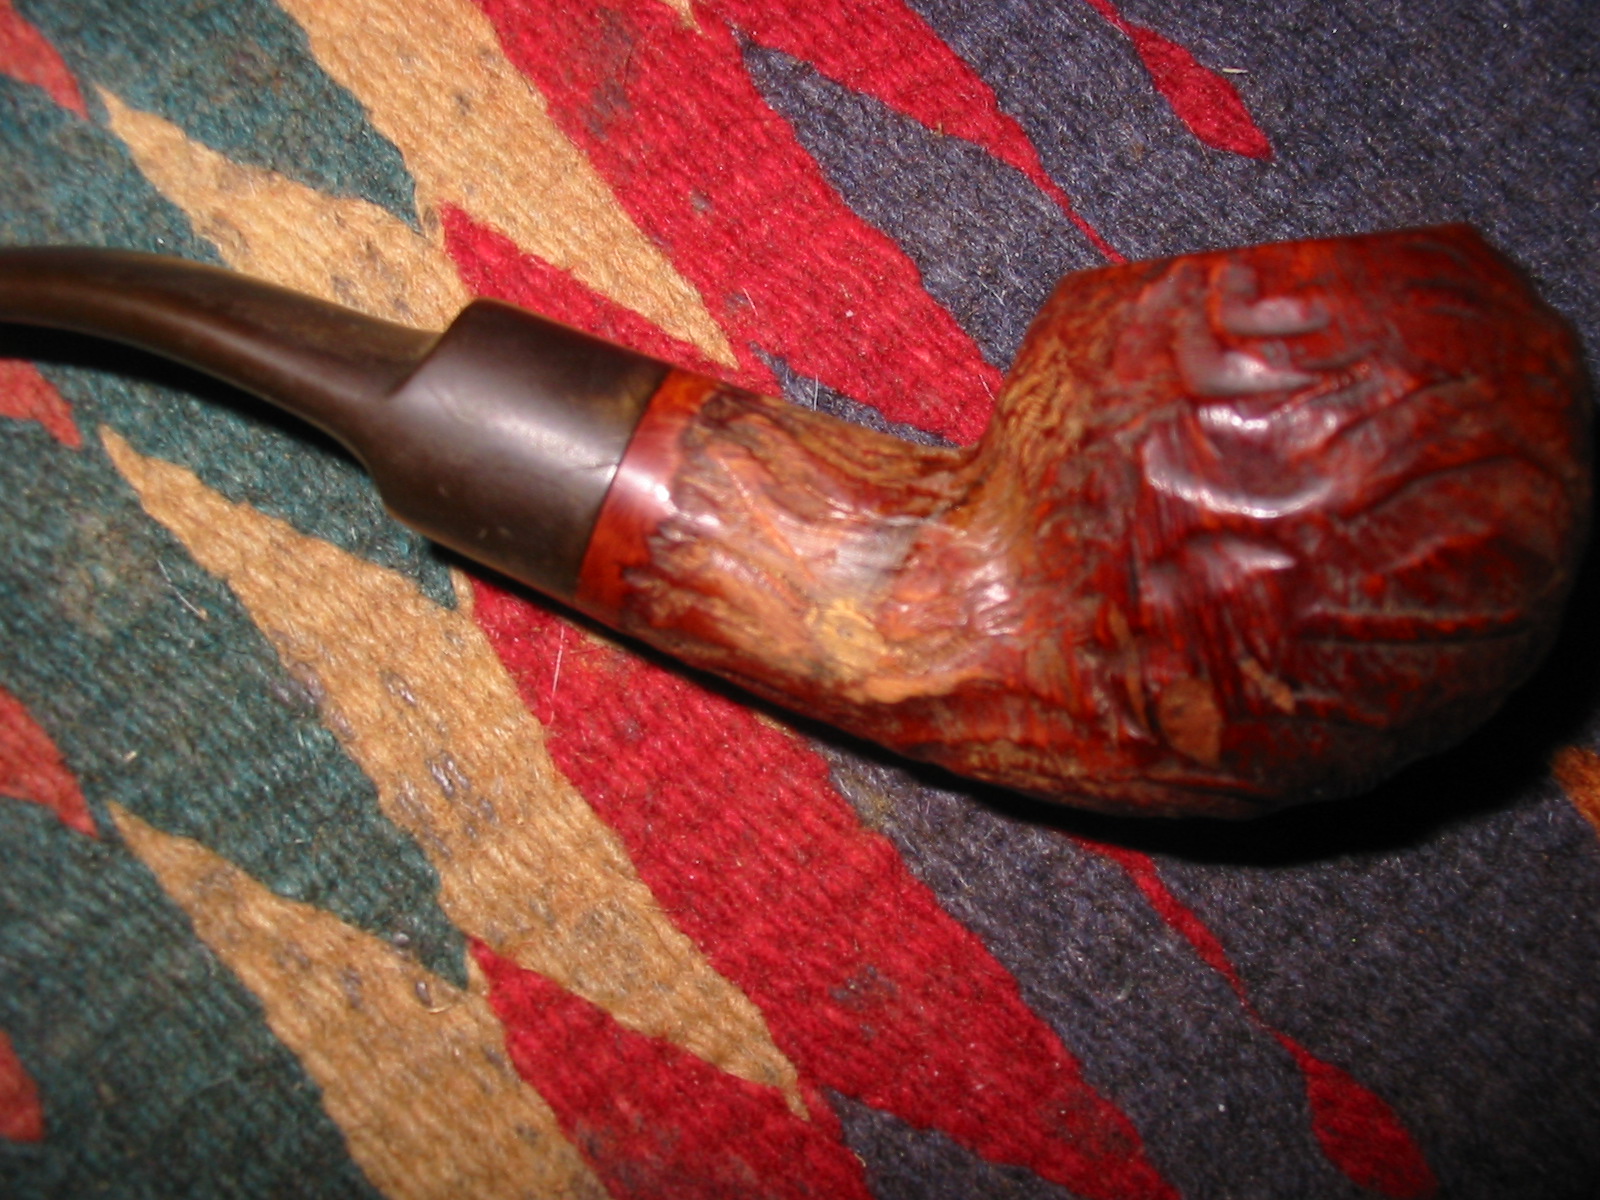
IMG_5227

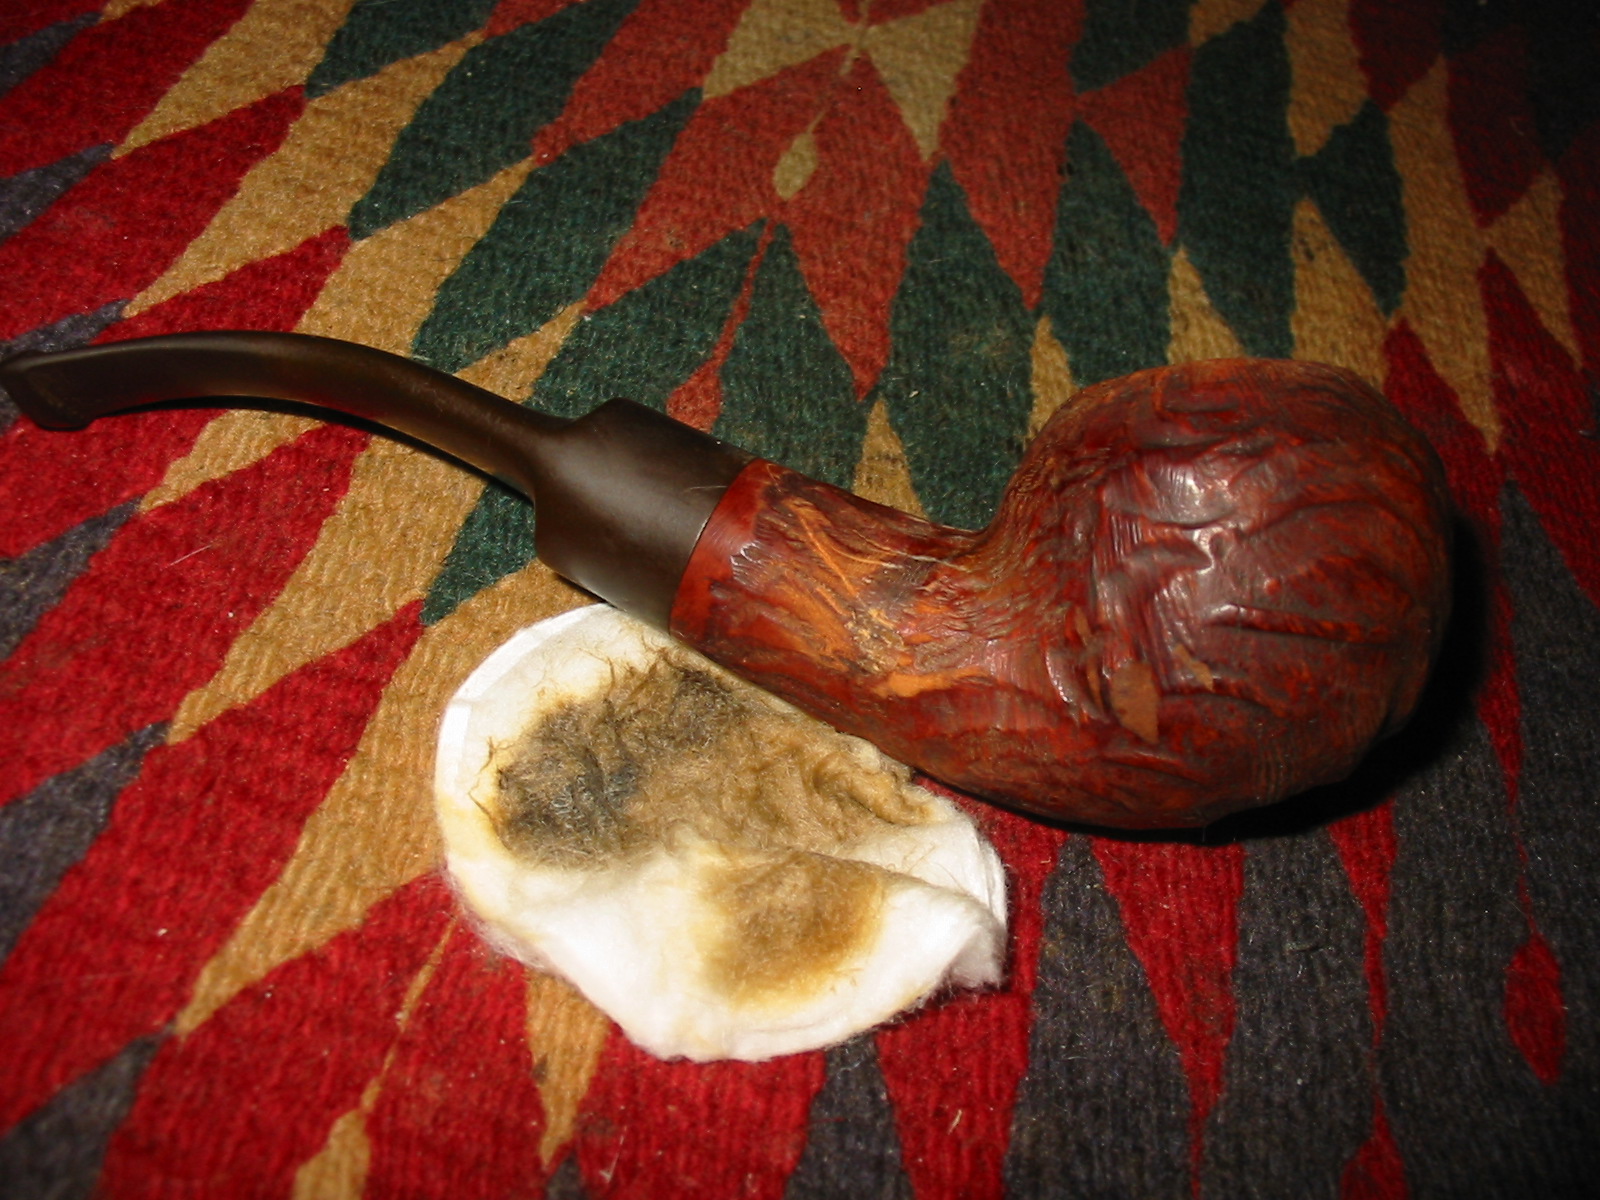
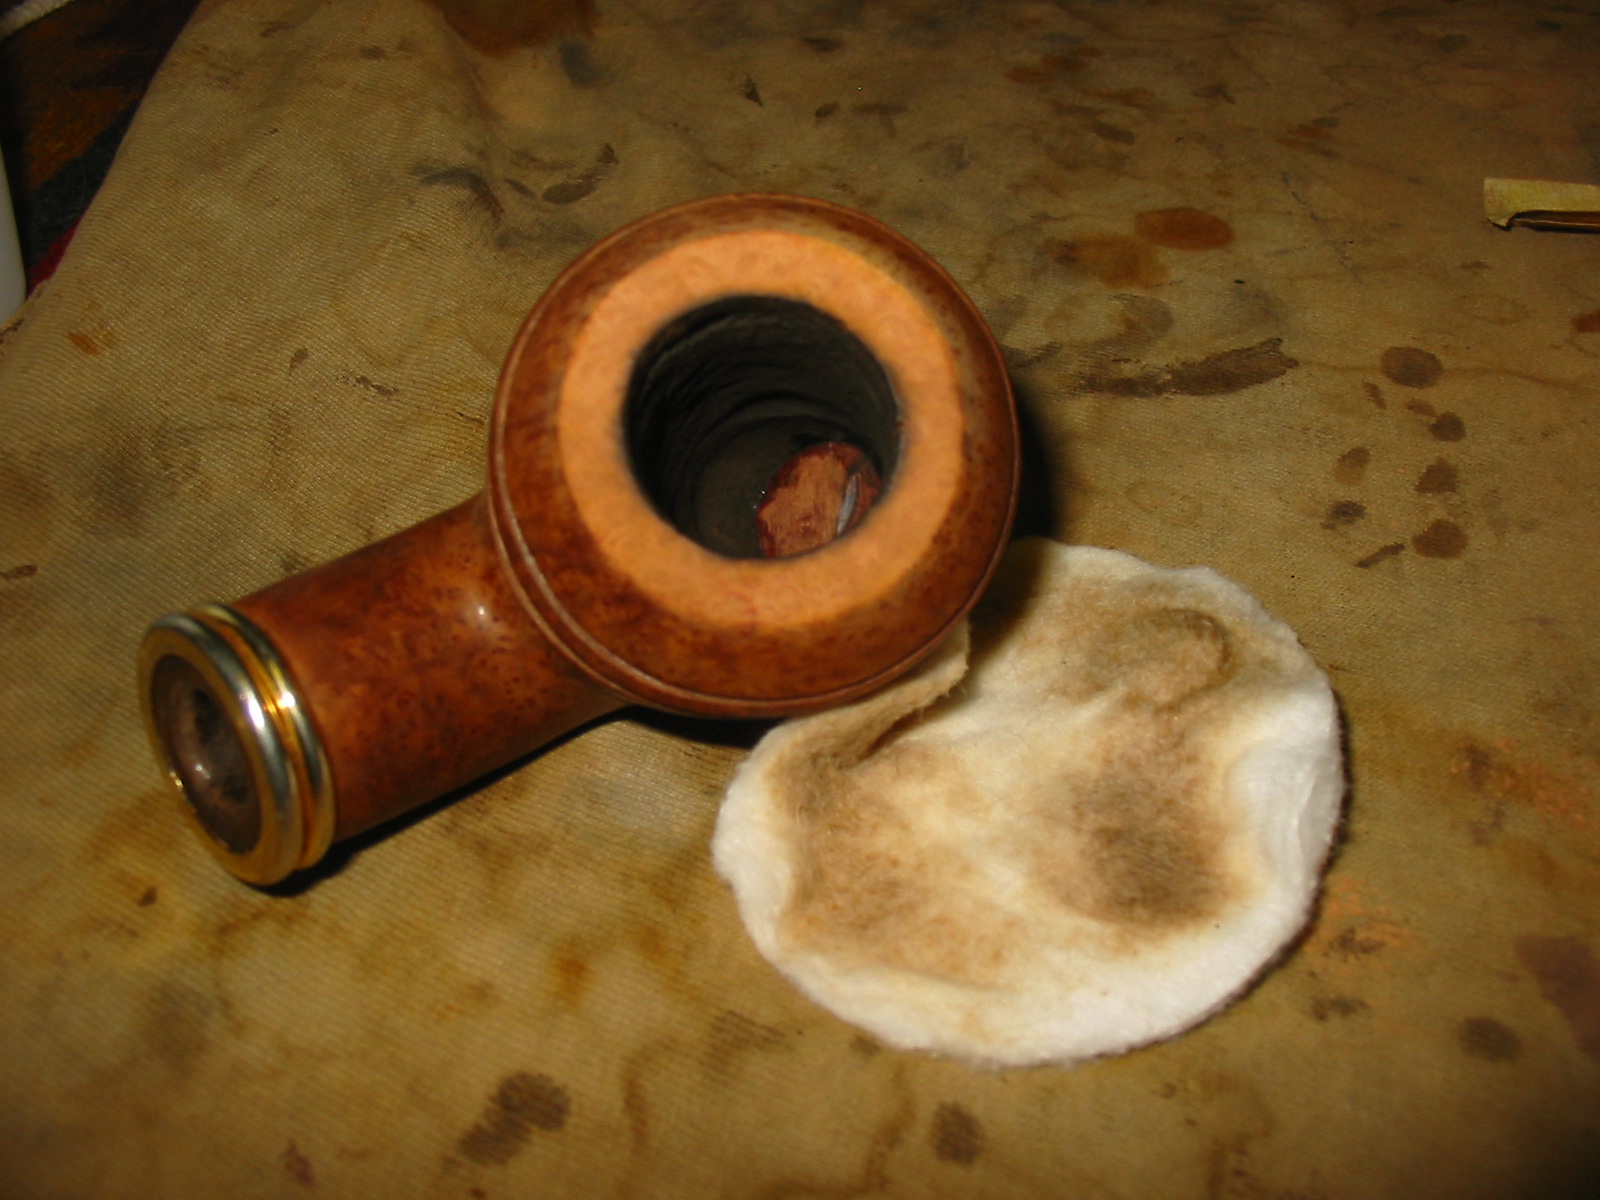
I wiped the surface of the bowl down with acetone on cotton pads to remove the damaged finish and enable me to blend in the patch when I restained the pipe. I scrubbed the rusticated rim of the bowl with the pads as well and was able to remove the carbon build up.
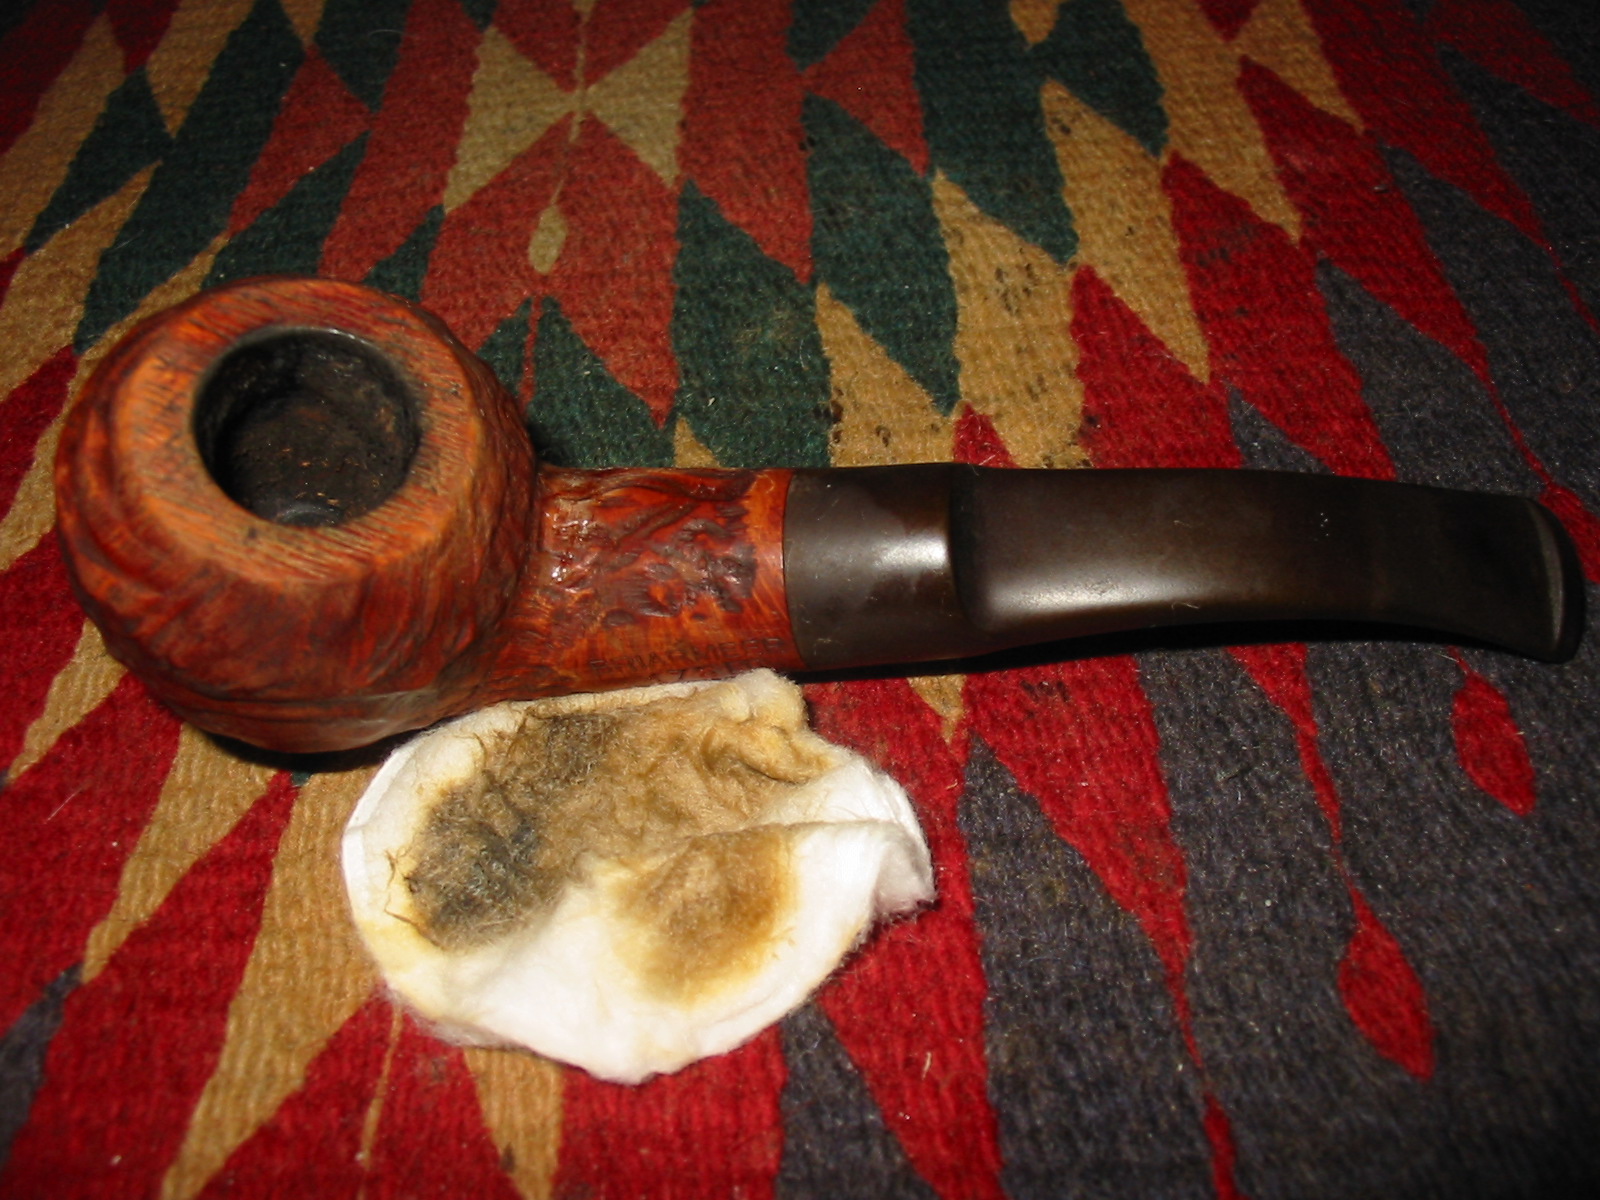
IMG_5228

IMG_5229

IMG_5230

I sanded the darkened area (burn?) on the bottom of the bowl to lighten it in preparation for staining. I wiped that area down with acetone on cotton pads afterward.
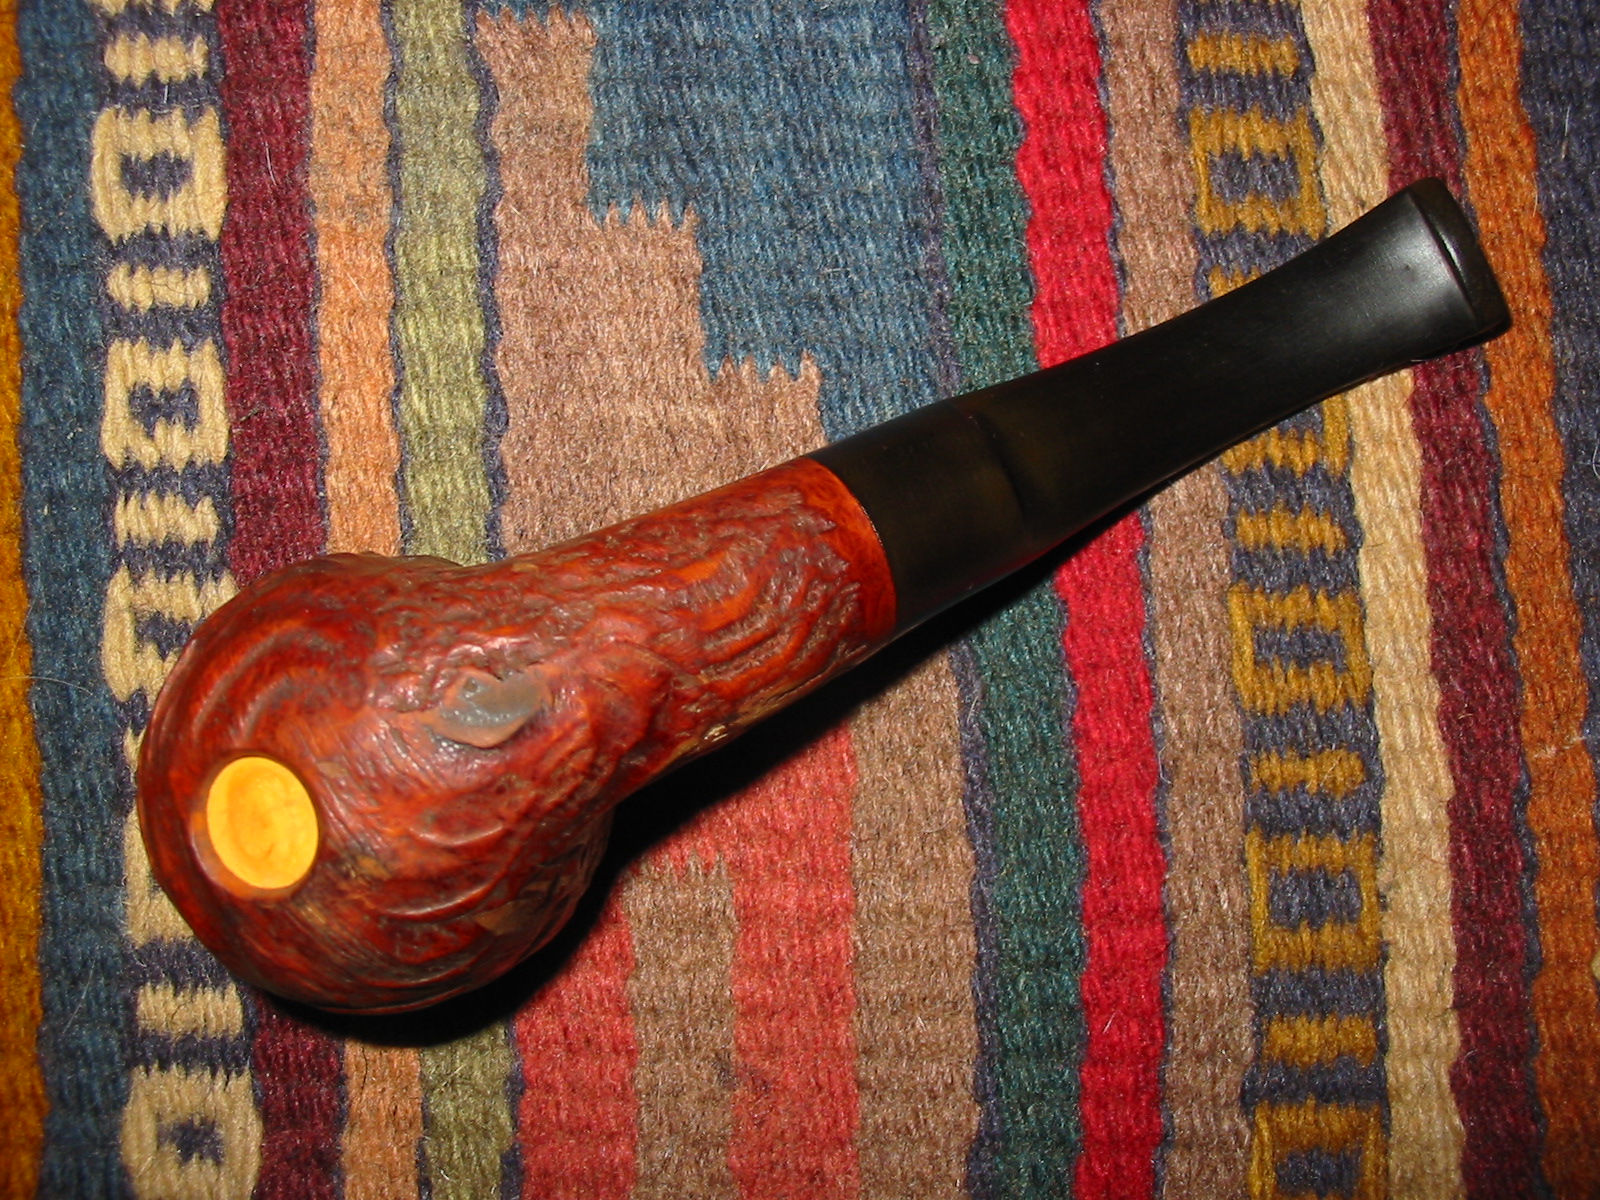
IMG_5231

I sanded the stem with 220 grit sandpaper and a medium and fine grit sanding sponge to remove the oxidation. I sanded the tooth marks on the underside of the stem near the button and was able to remove them.
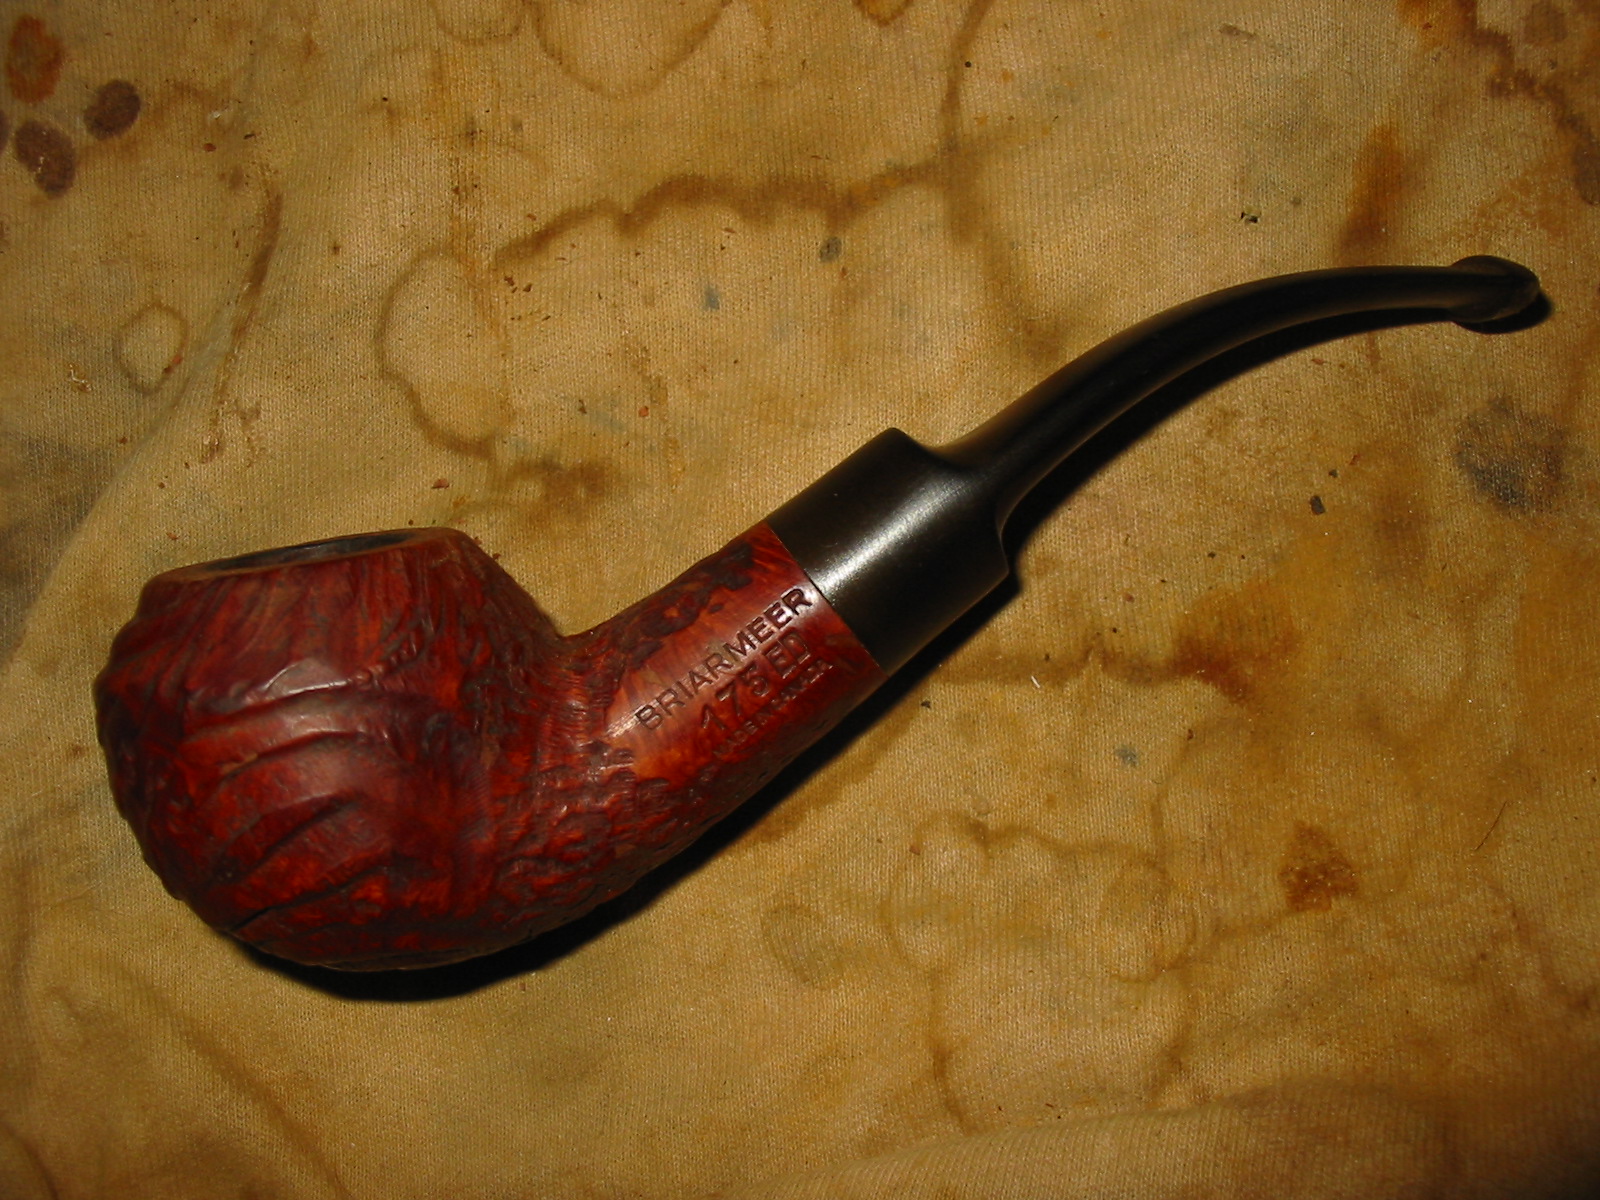
IMG_5233

IMG_5234

IMG_5235

IMG_5236

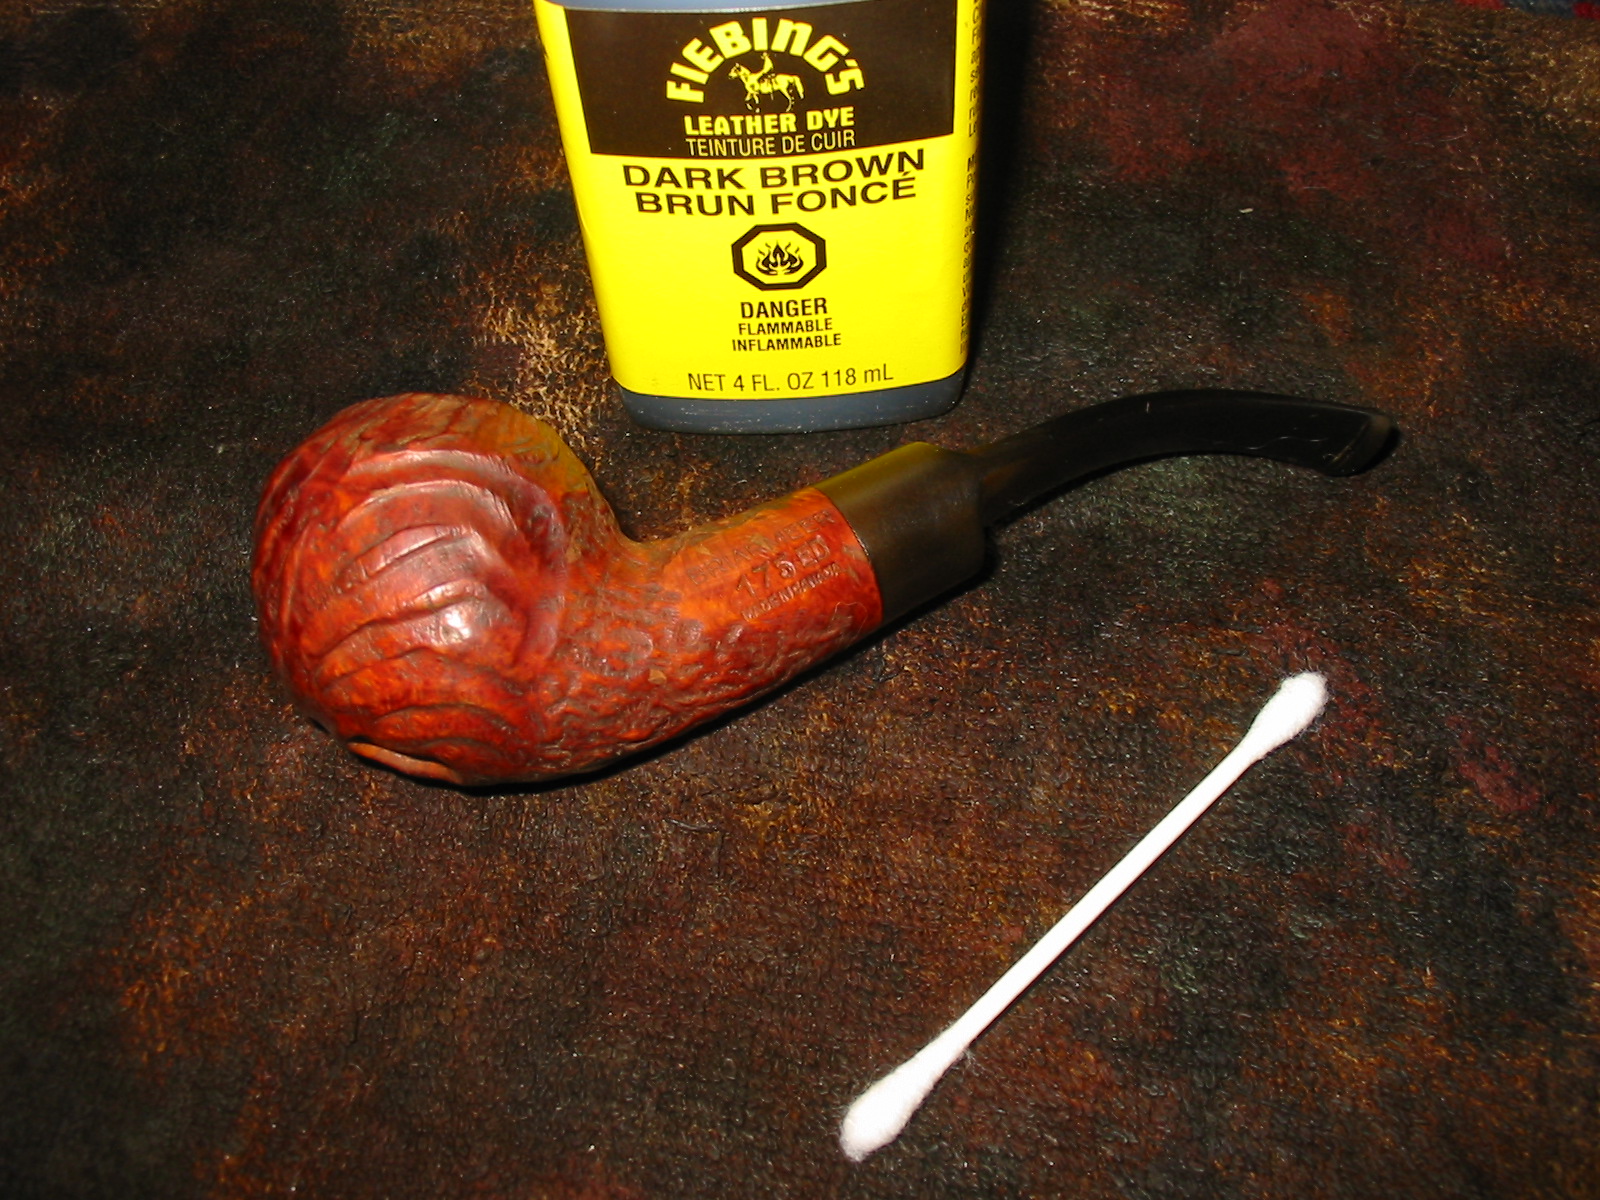
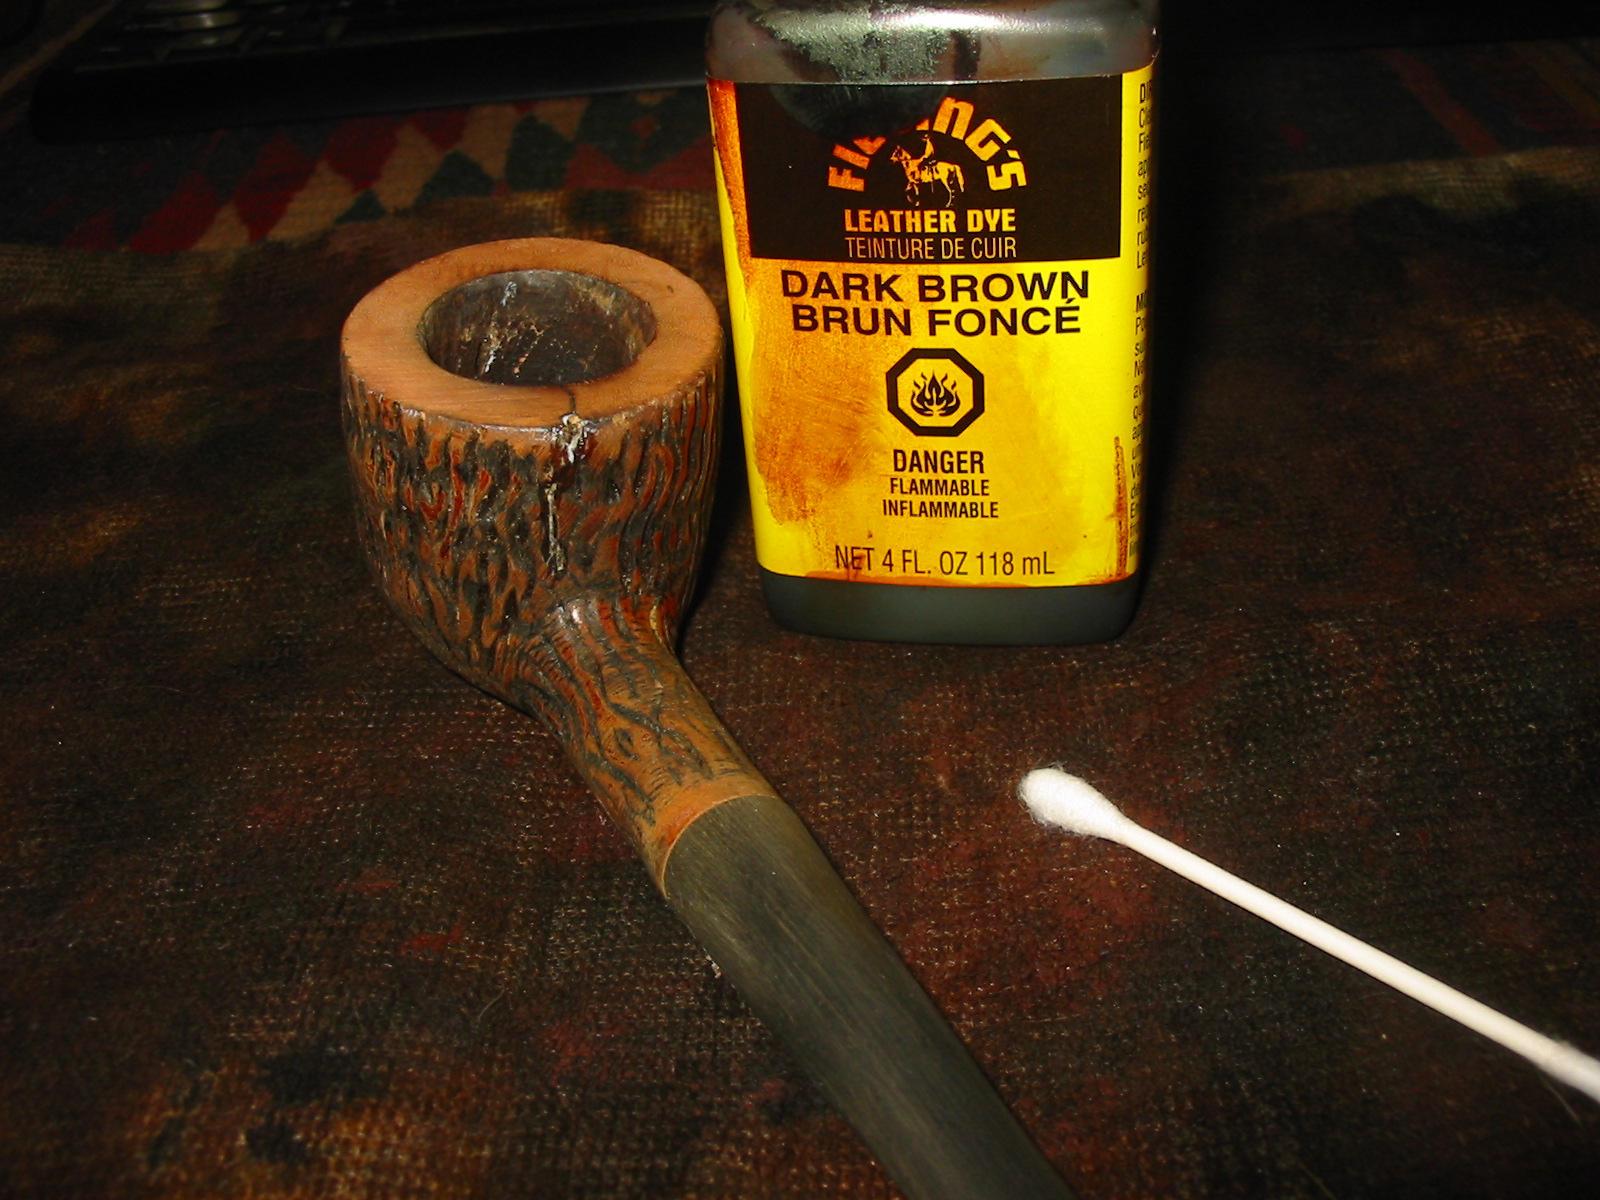
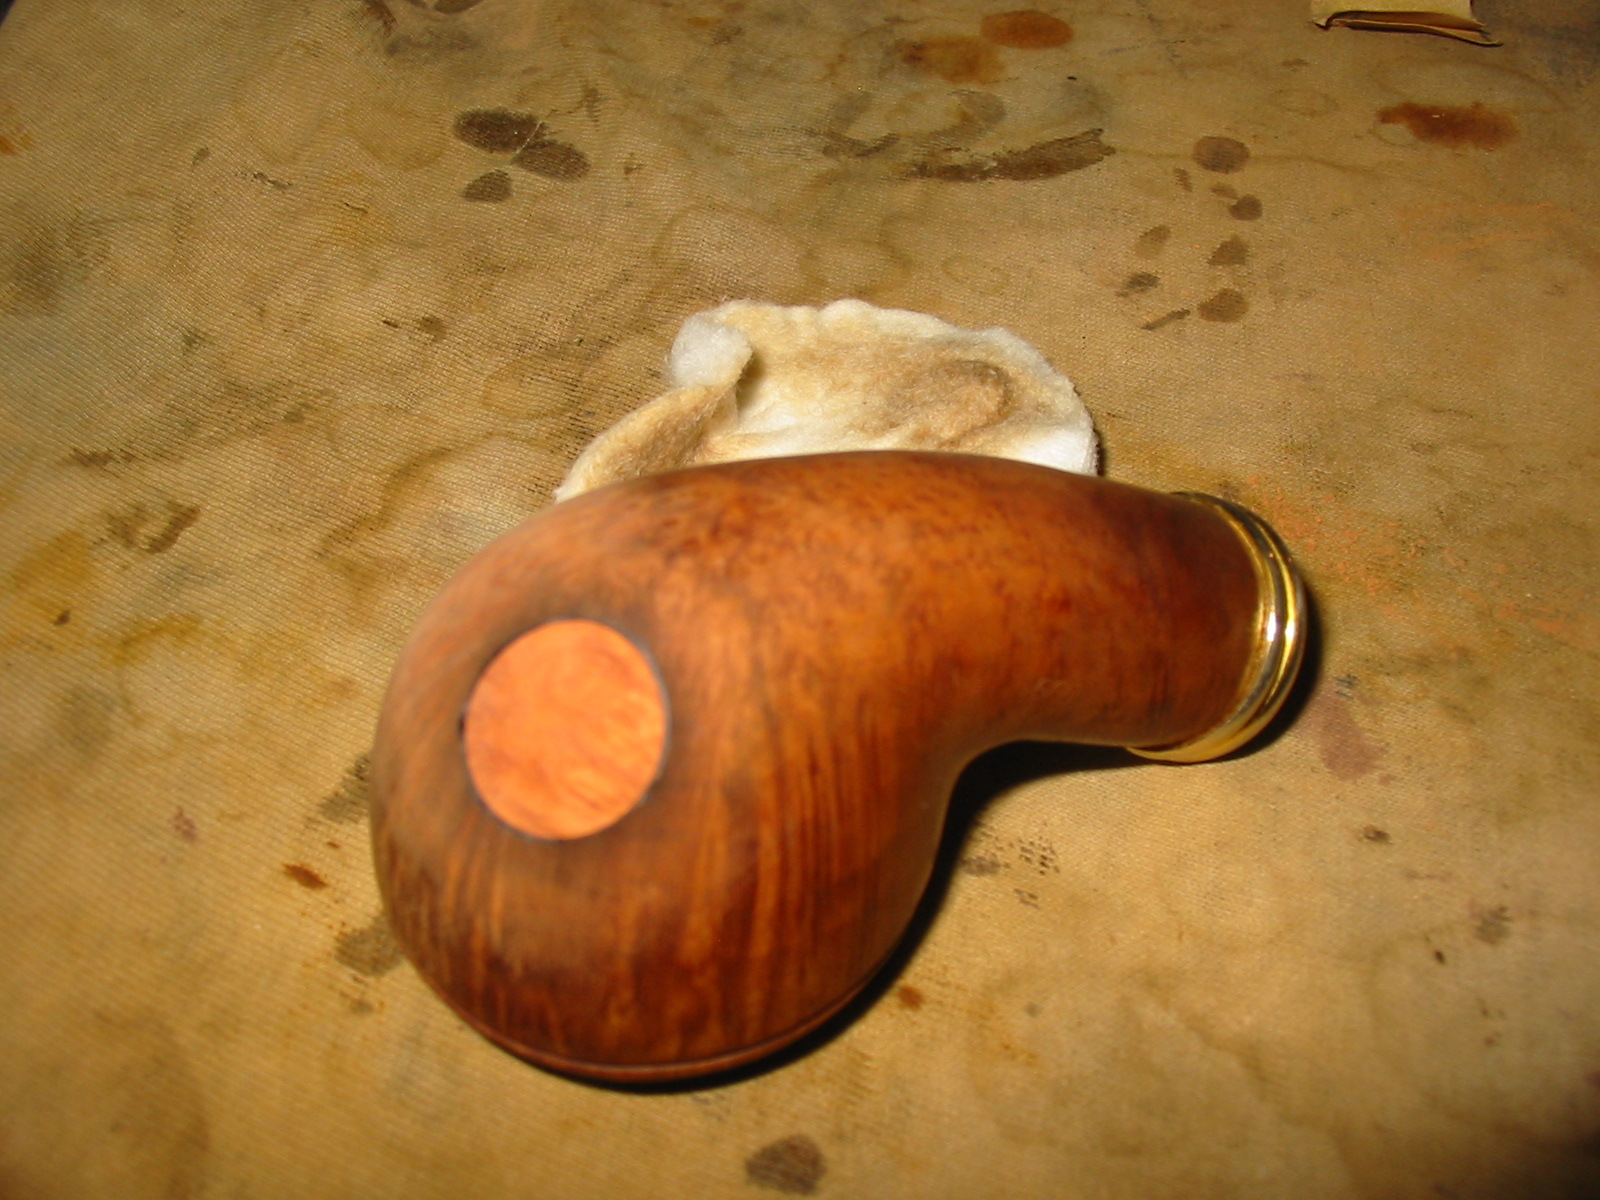
I wiped the bowl down a final time with acetone, being careful not to scrub the insert with it. Once it was cleaned off I stained it with a dark brown aniline stain applied with a cotton swab. I avoided the meerschaum insert as I did not want to have the stain penetrate the meerschaum. I flamed the stain and reapplied it. I flamed it again and reapplied it again. After the final flaming of the bowl I set it aside to dry.
IMG_5238

IMG_5239

IMG_5240

IMG_5241

IMG_5243

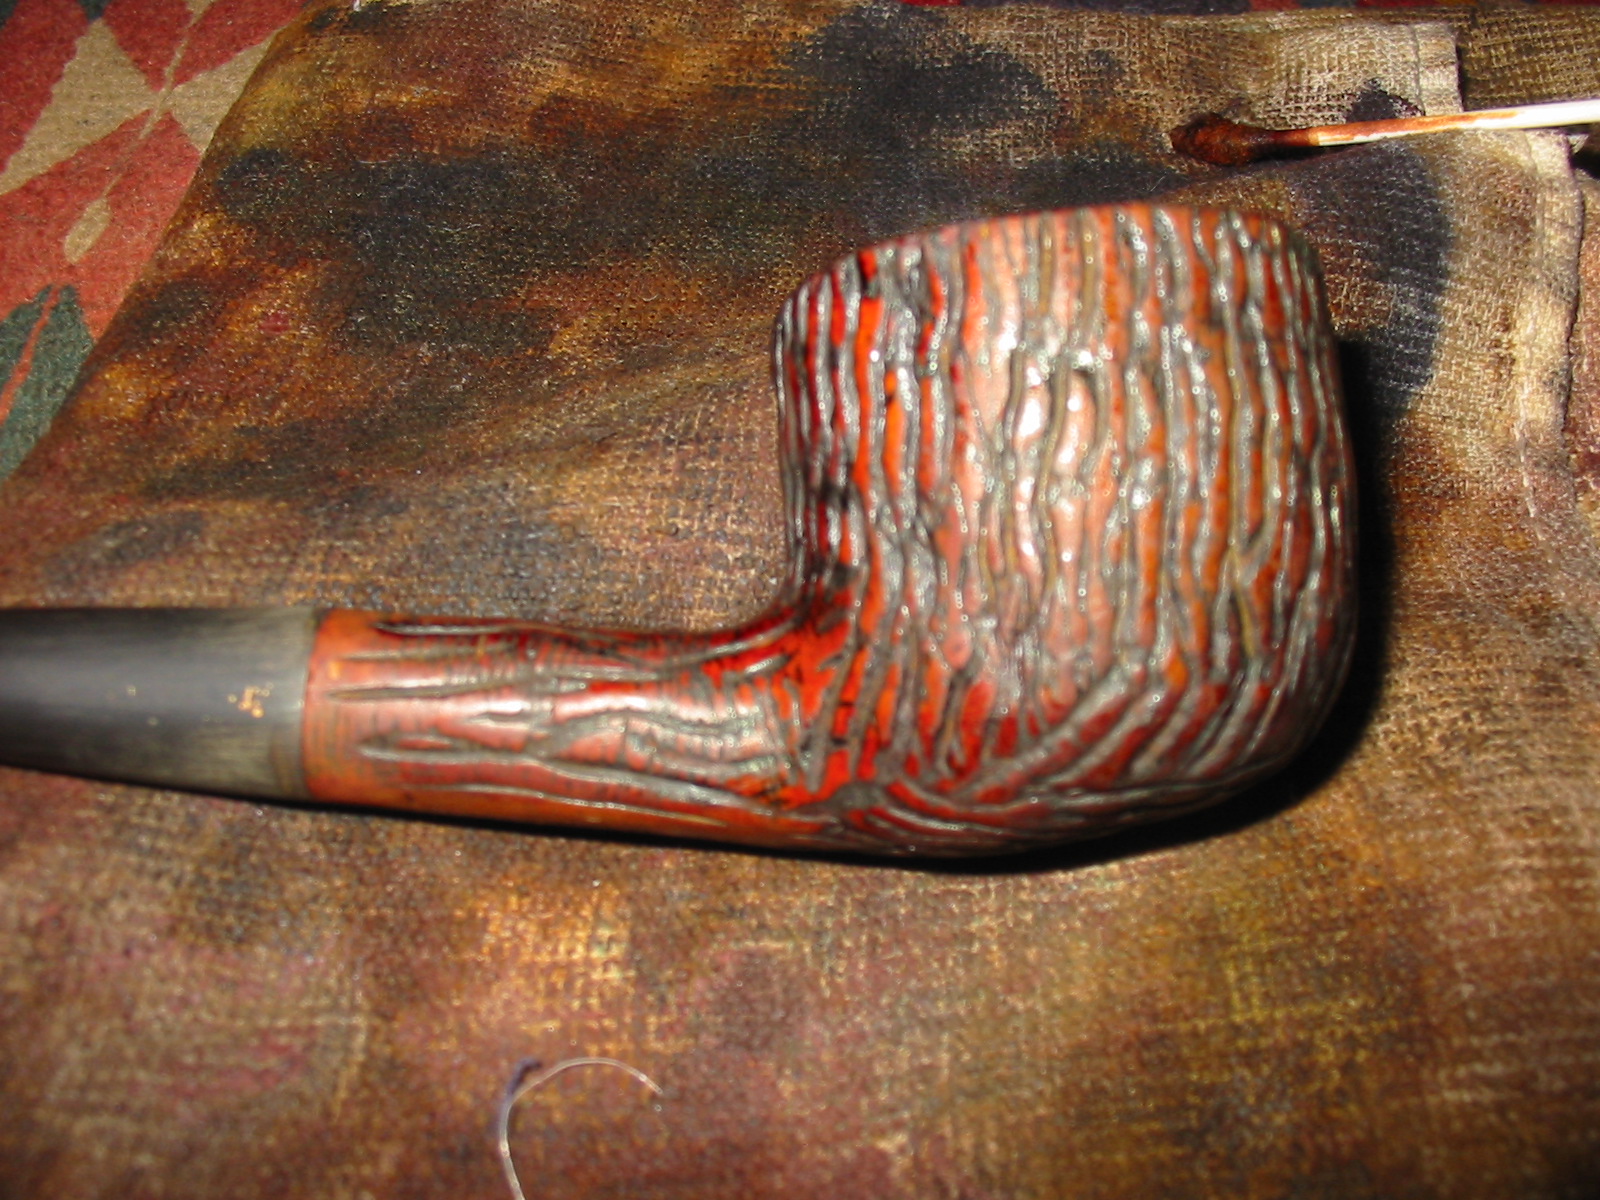
When the stain had dried I buffed it with White Diamond on the buffer to even out the stain and give it a shine. I also applied a coat of Halcyon II wax to the rusticated surface and hand buffed the bowl with a shoe brush. The next four photos show the bowl after the buffing and waxing.
IMG_5244

IMG_5245

IMG_5246

IMG_5247

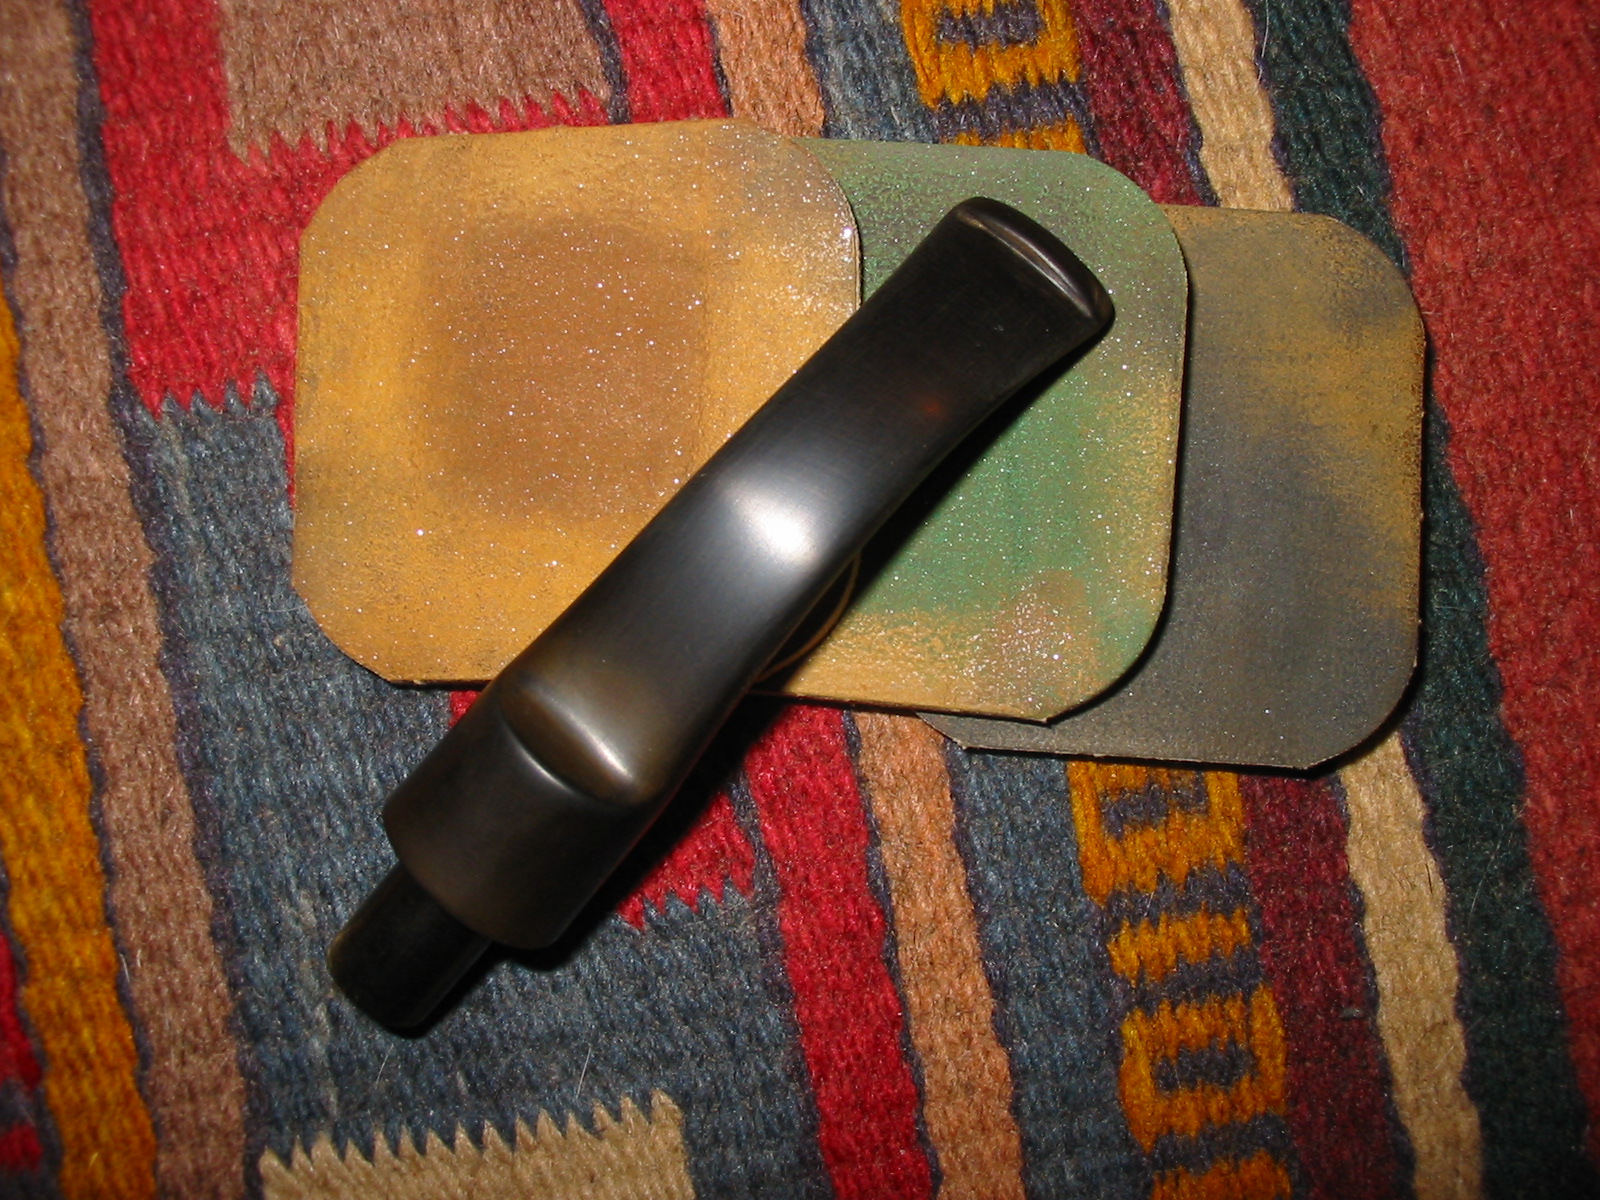
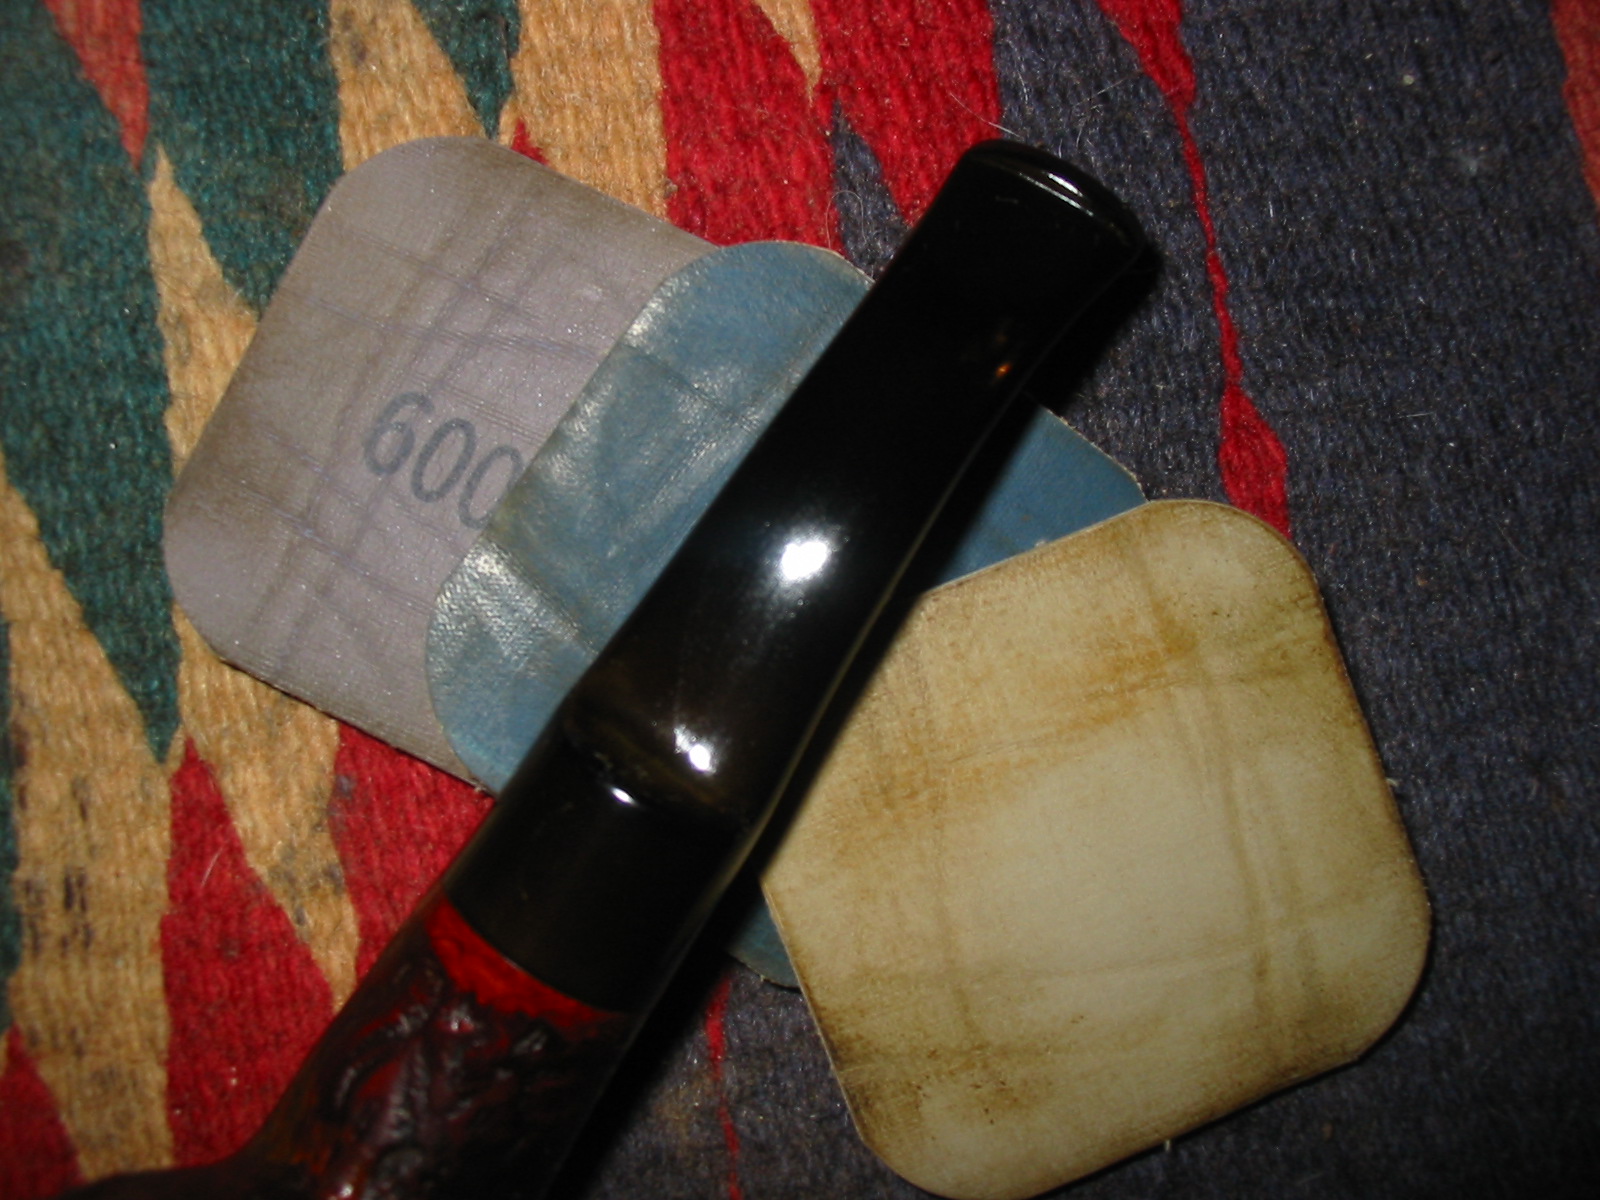
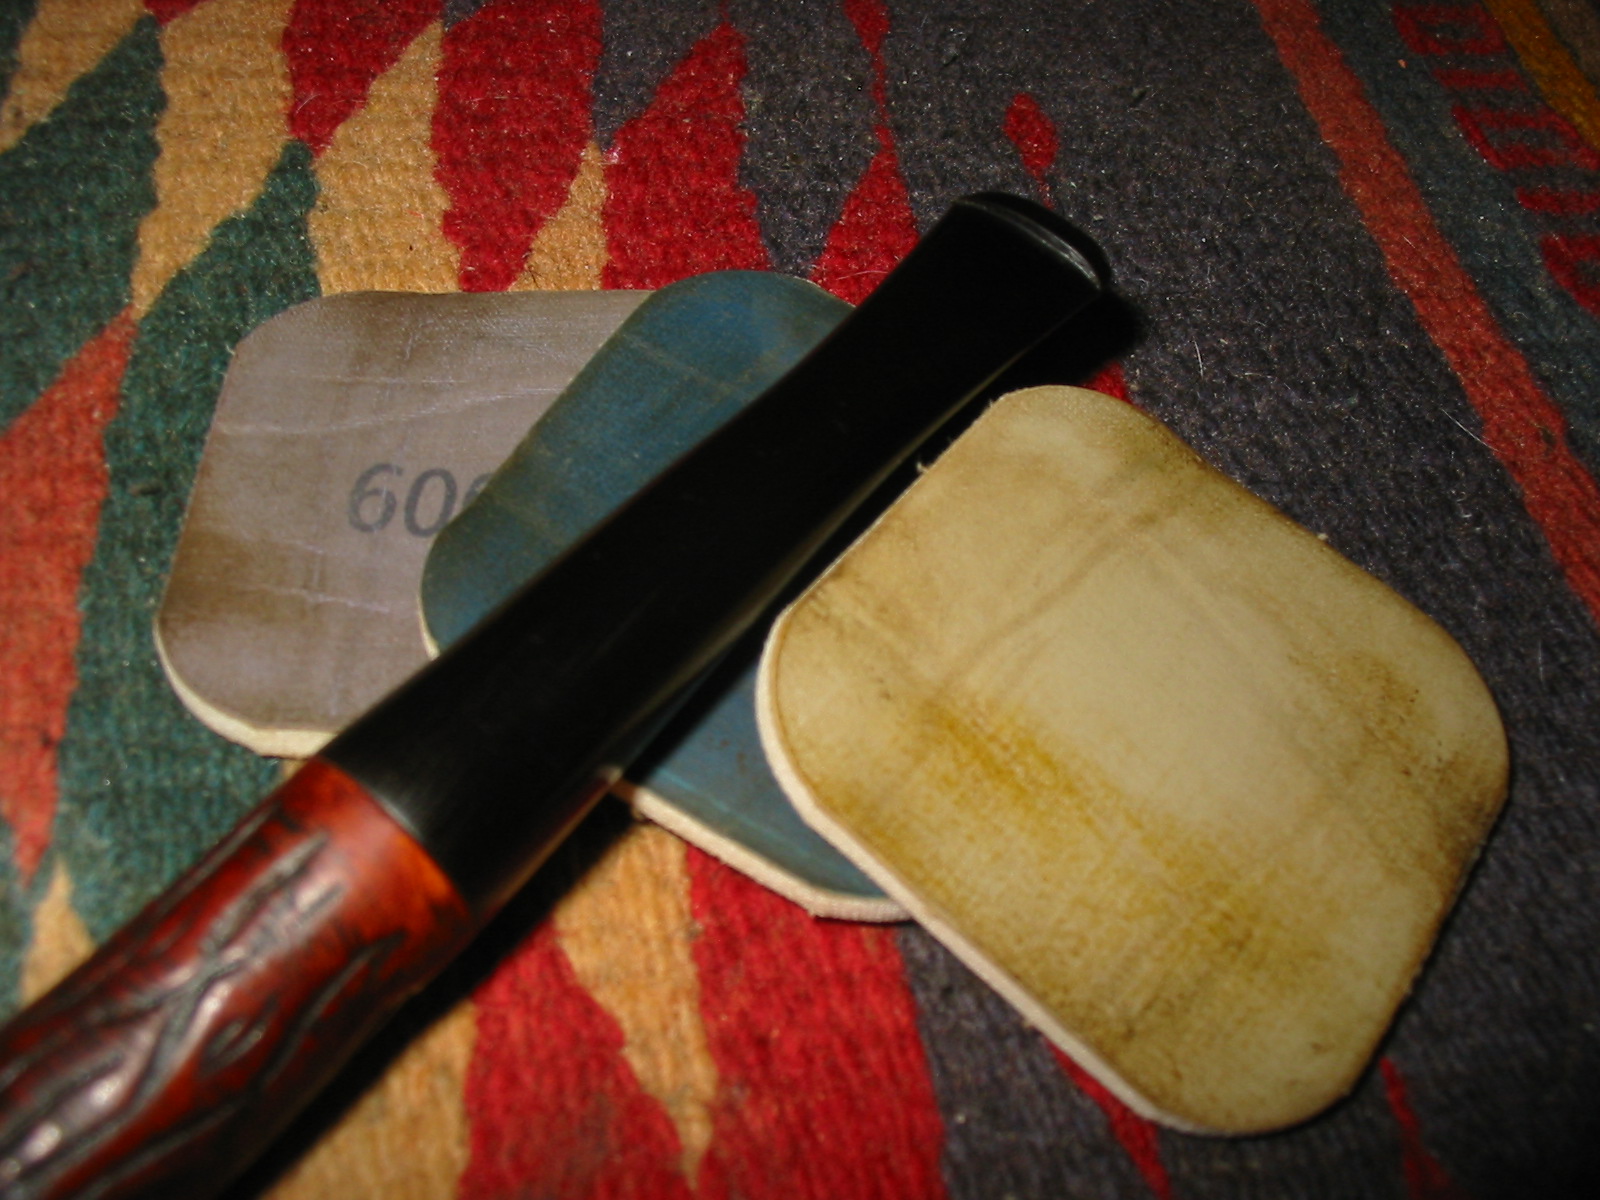
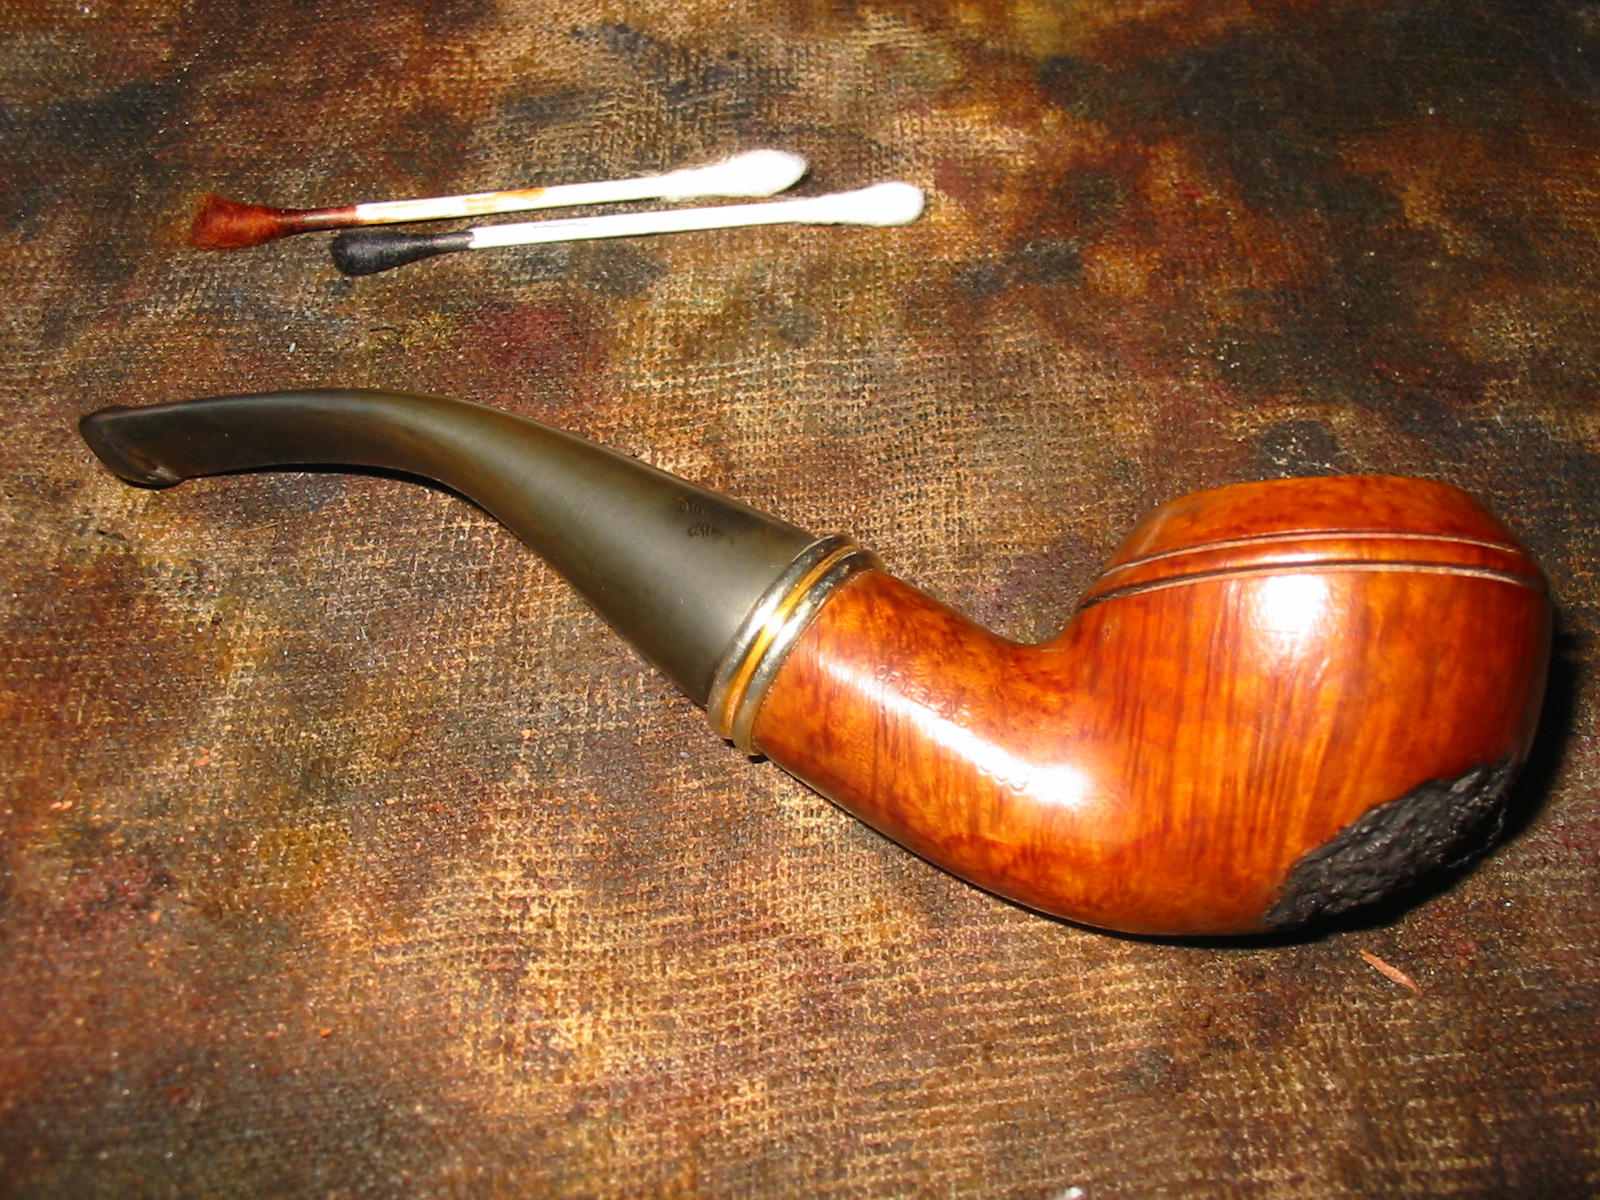
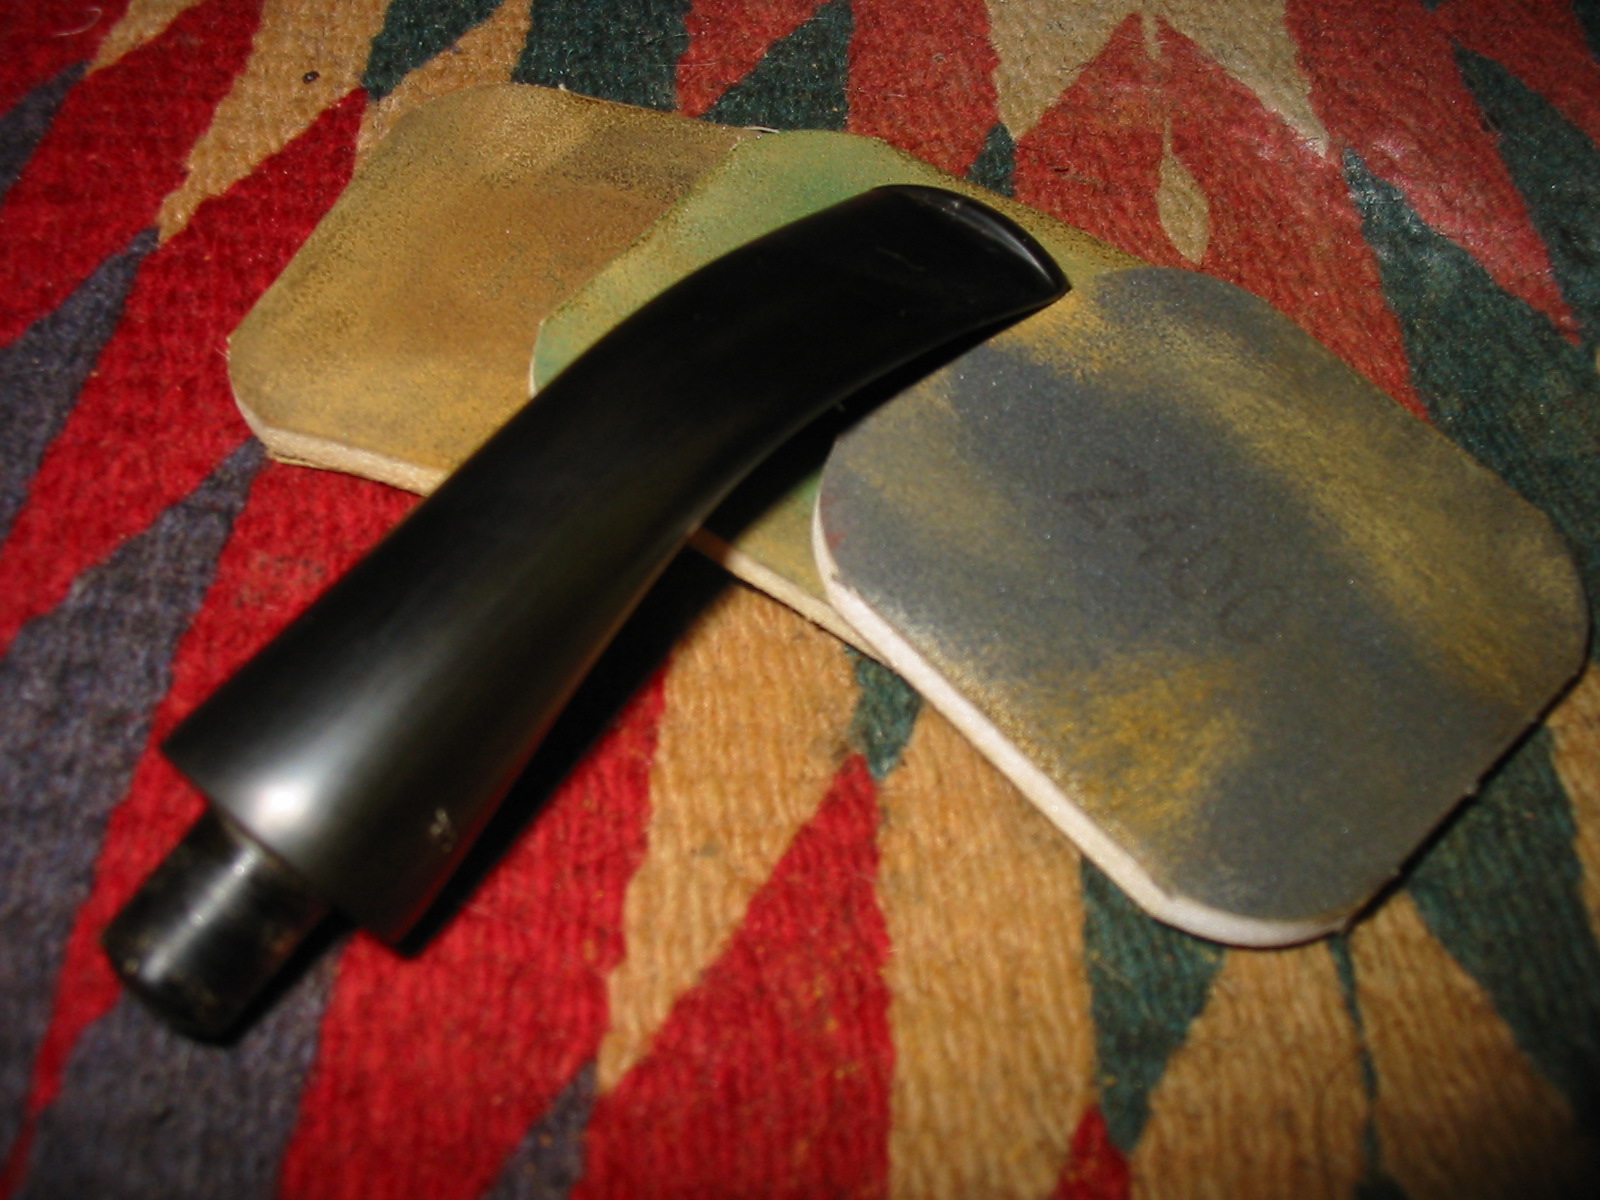
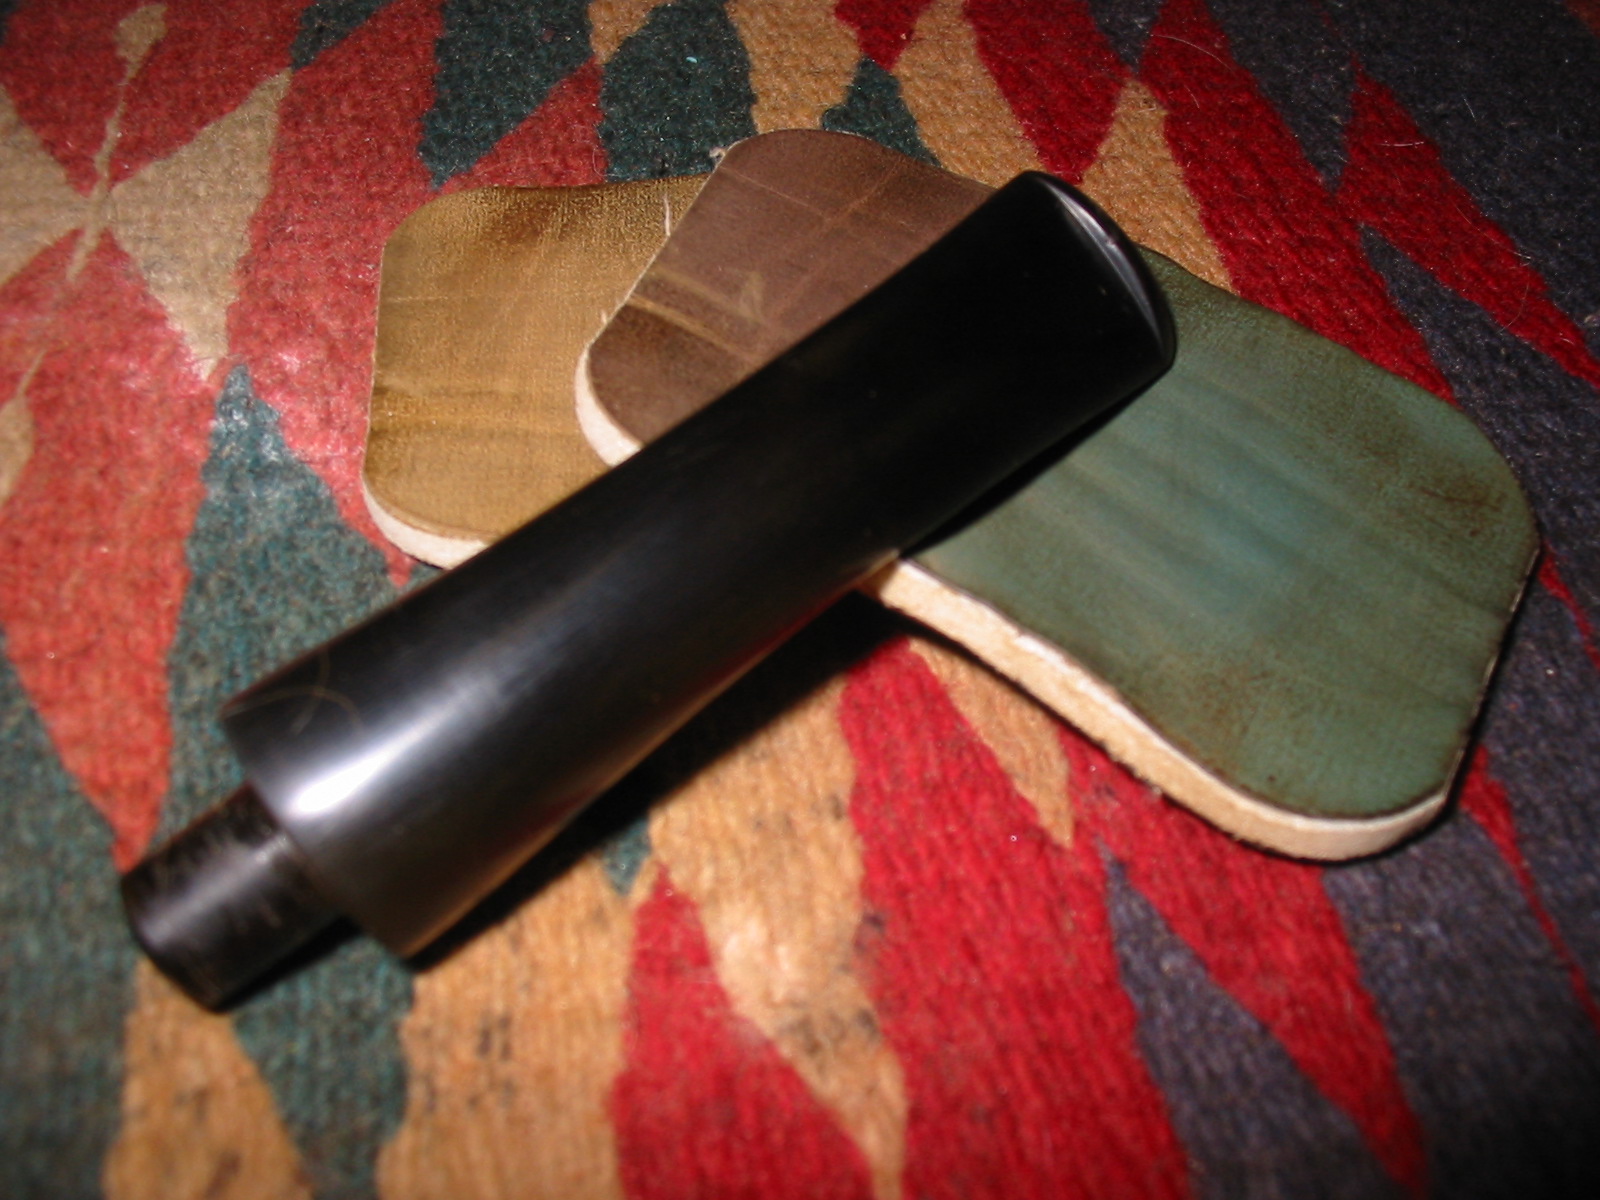
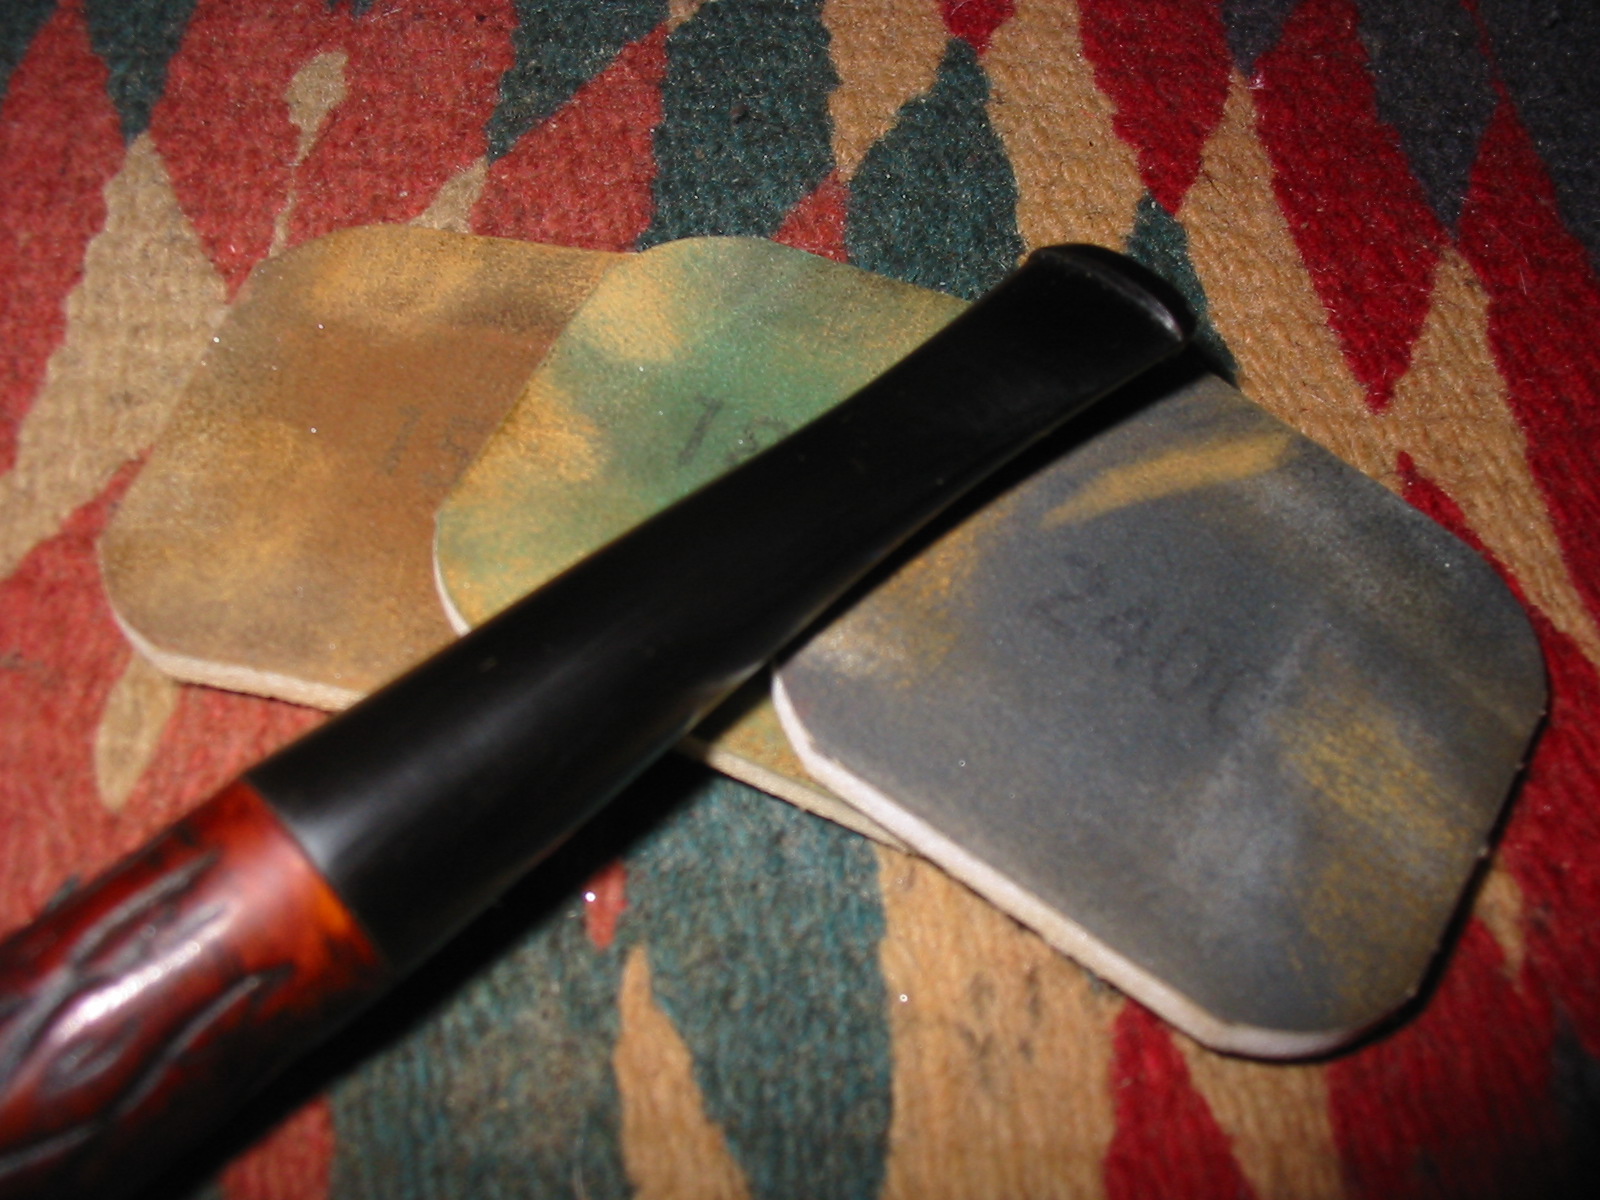
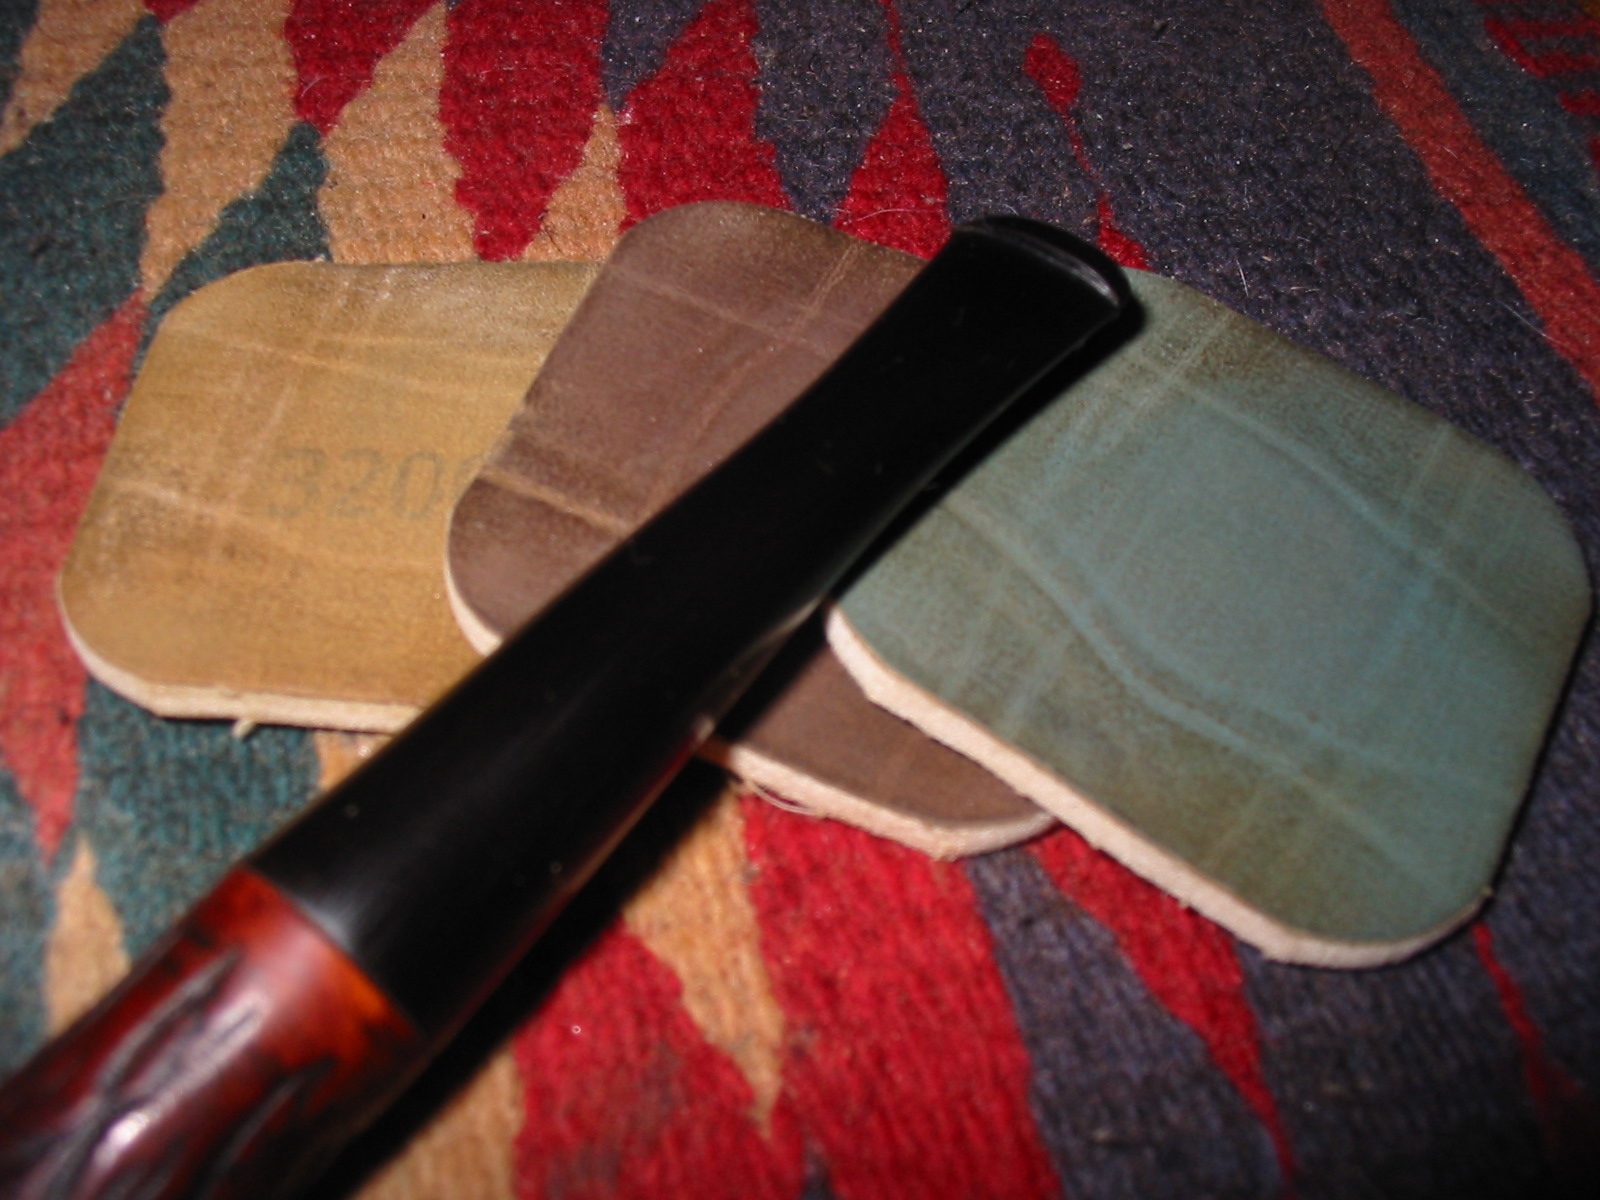
I worked on the stem with my usual group of micromesh sanding pads – wet sanding with 1500-2400 grit pads. I then buffed the stem with red Tripoli and White Diamond before going back to the work table and dry sanding with 3200-12,000 grit micromesh pads. I rubbed the stem down with Obsidian Oil and let it soak into the vulcanite.
IMG_5248

IMG_5249

IMG_5250

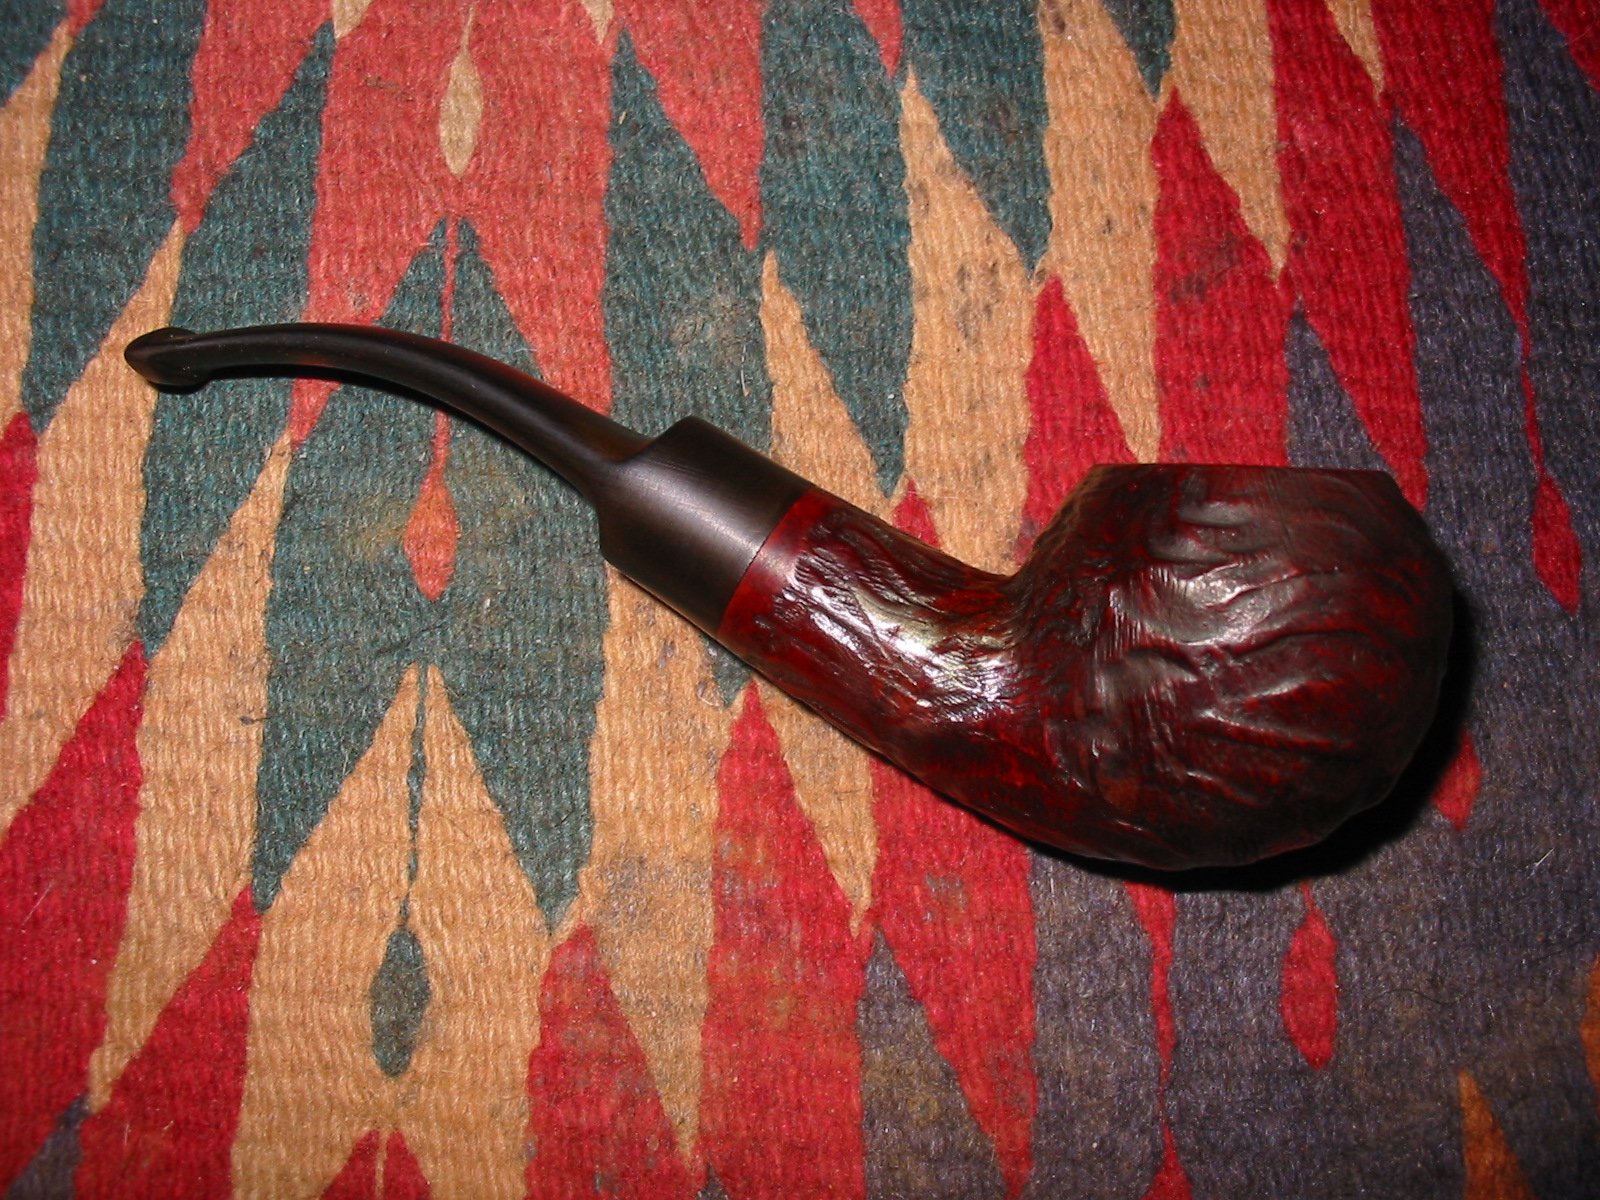
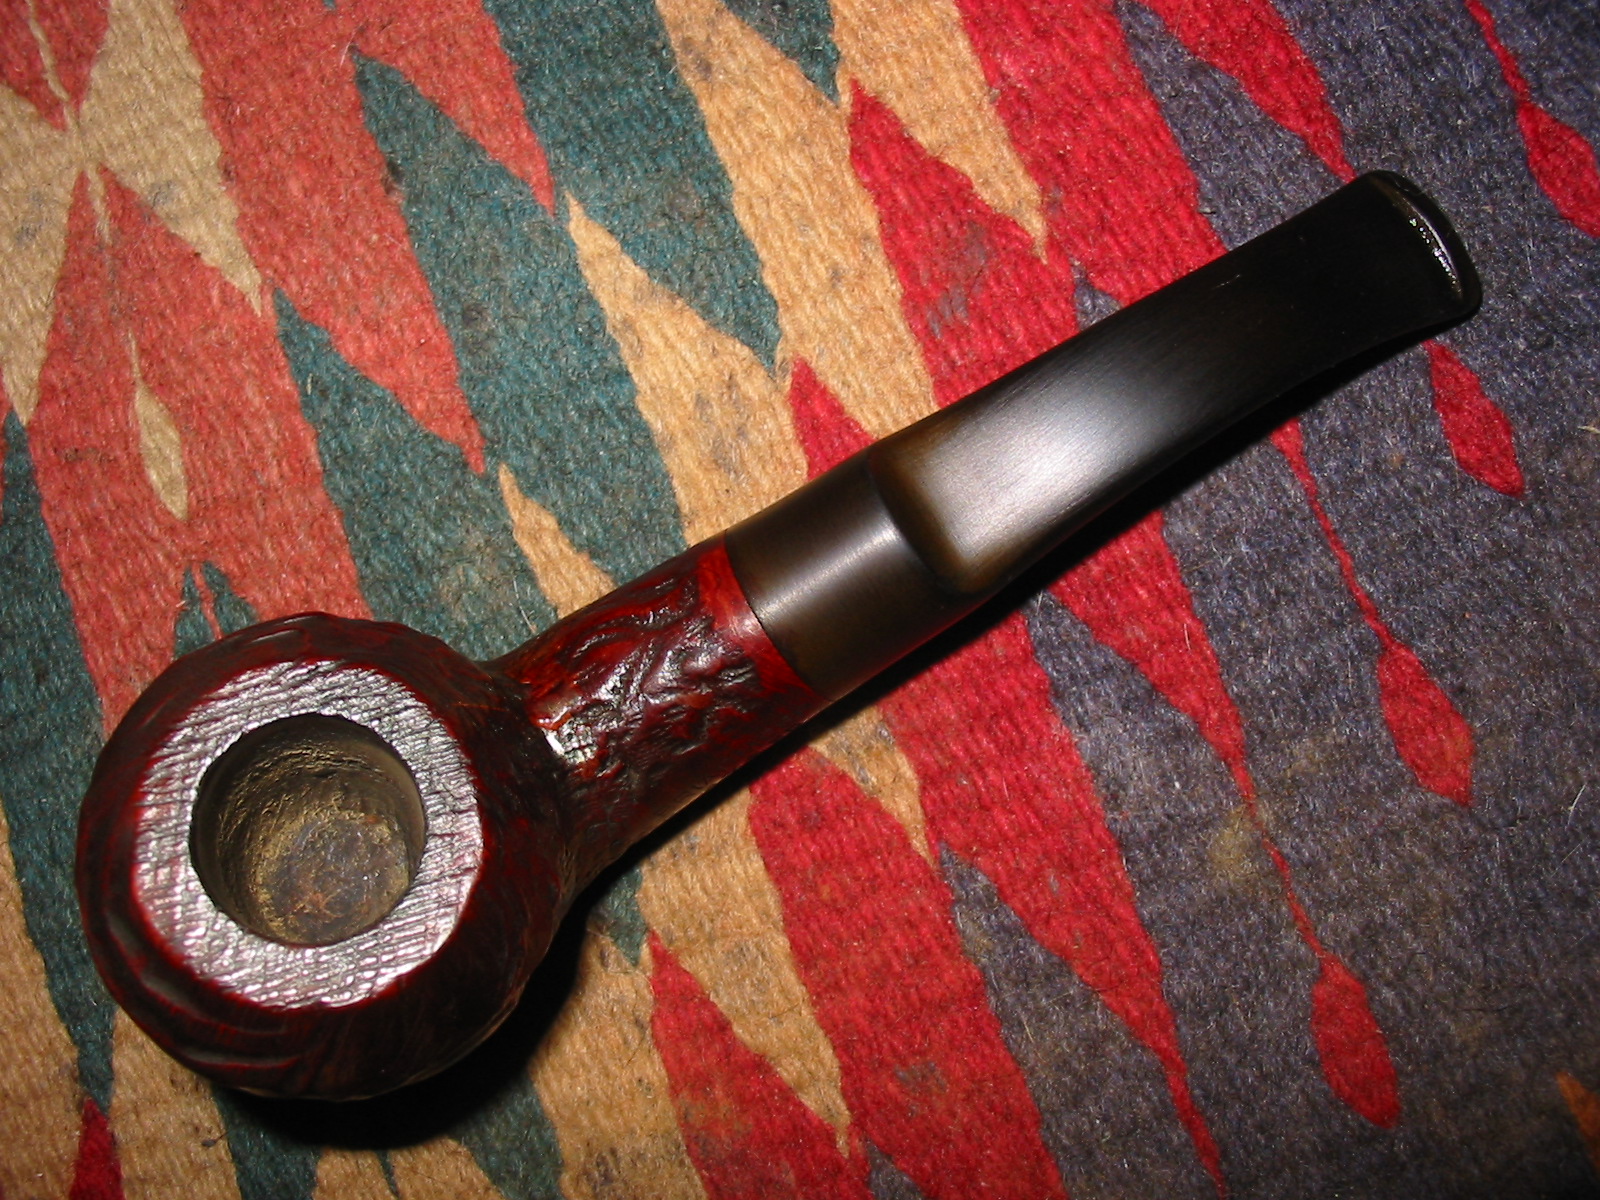
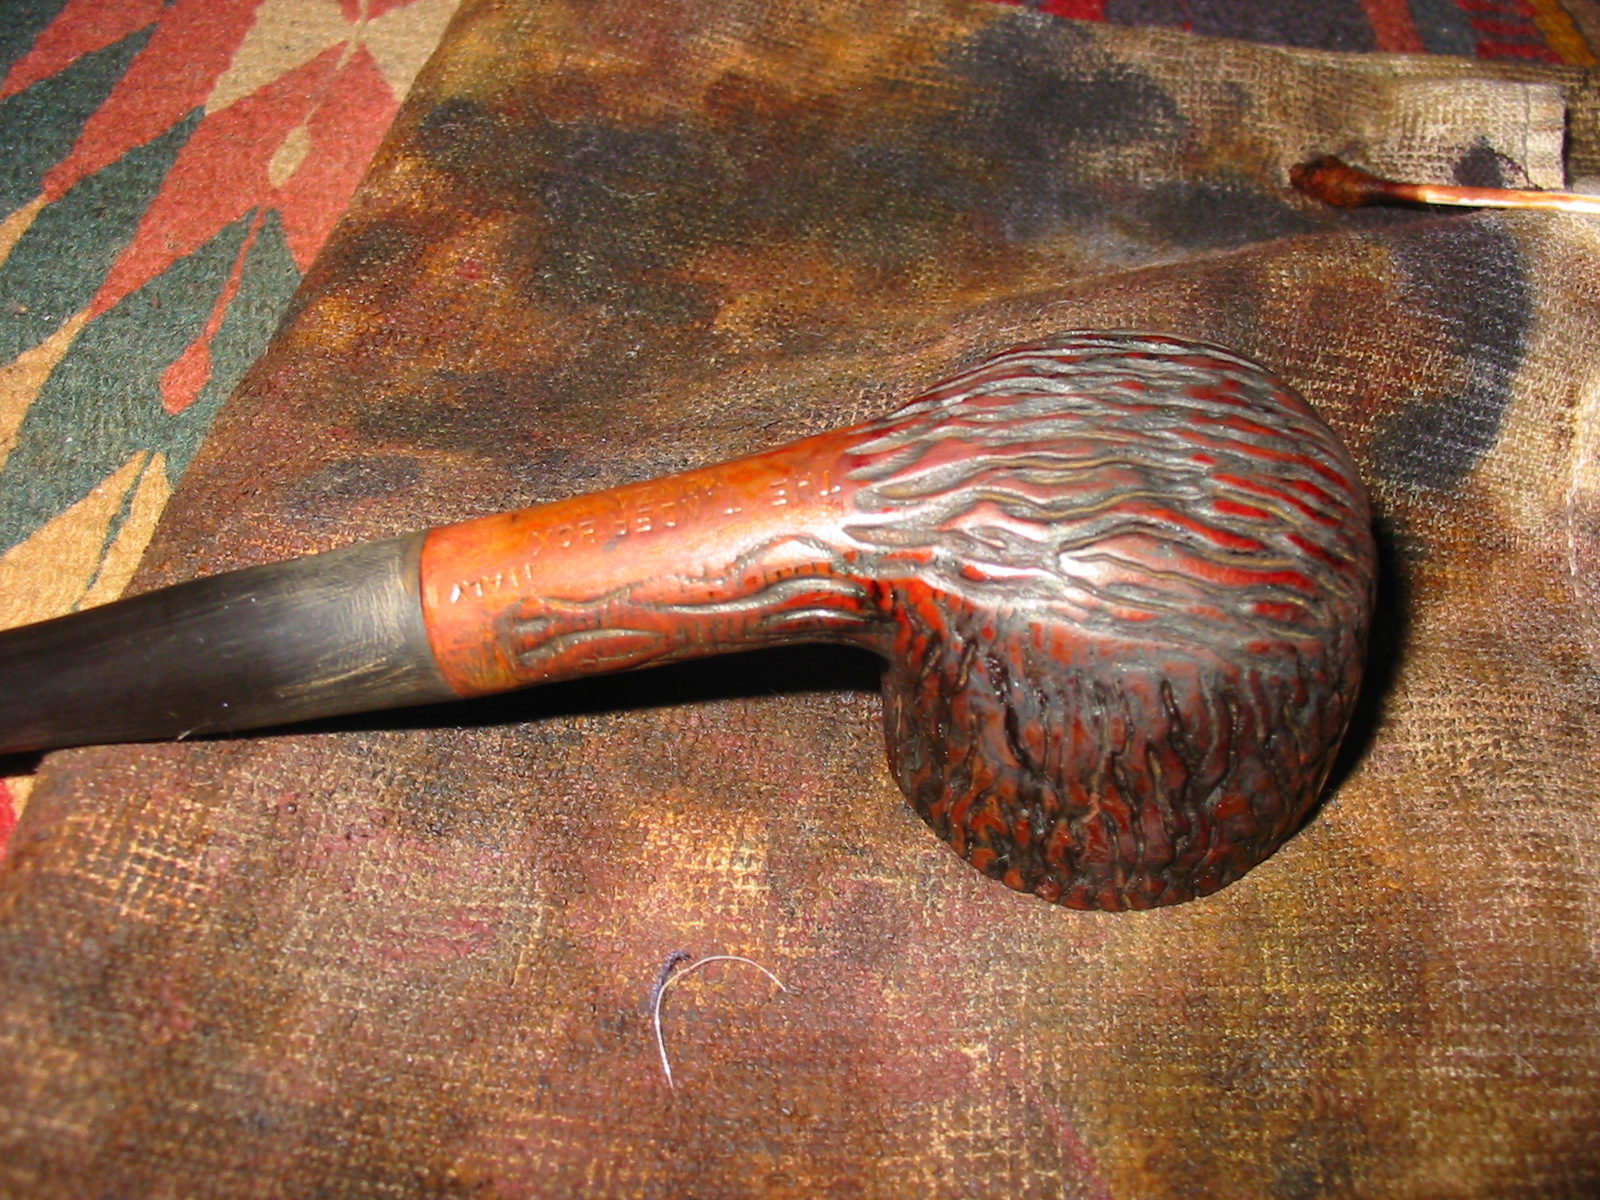
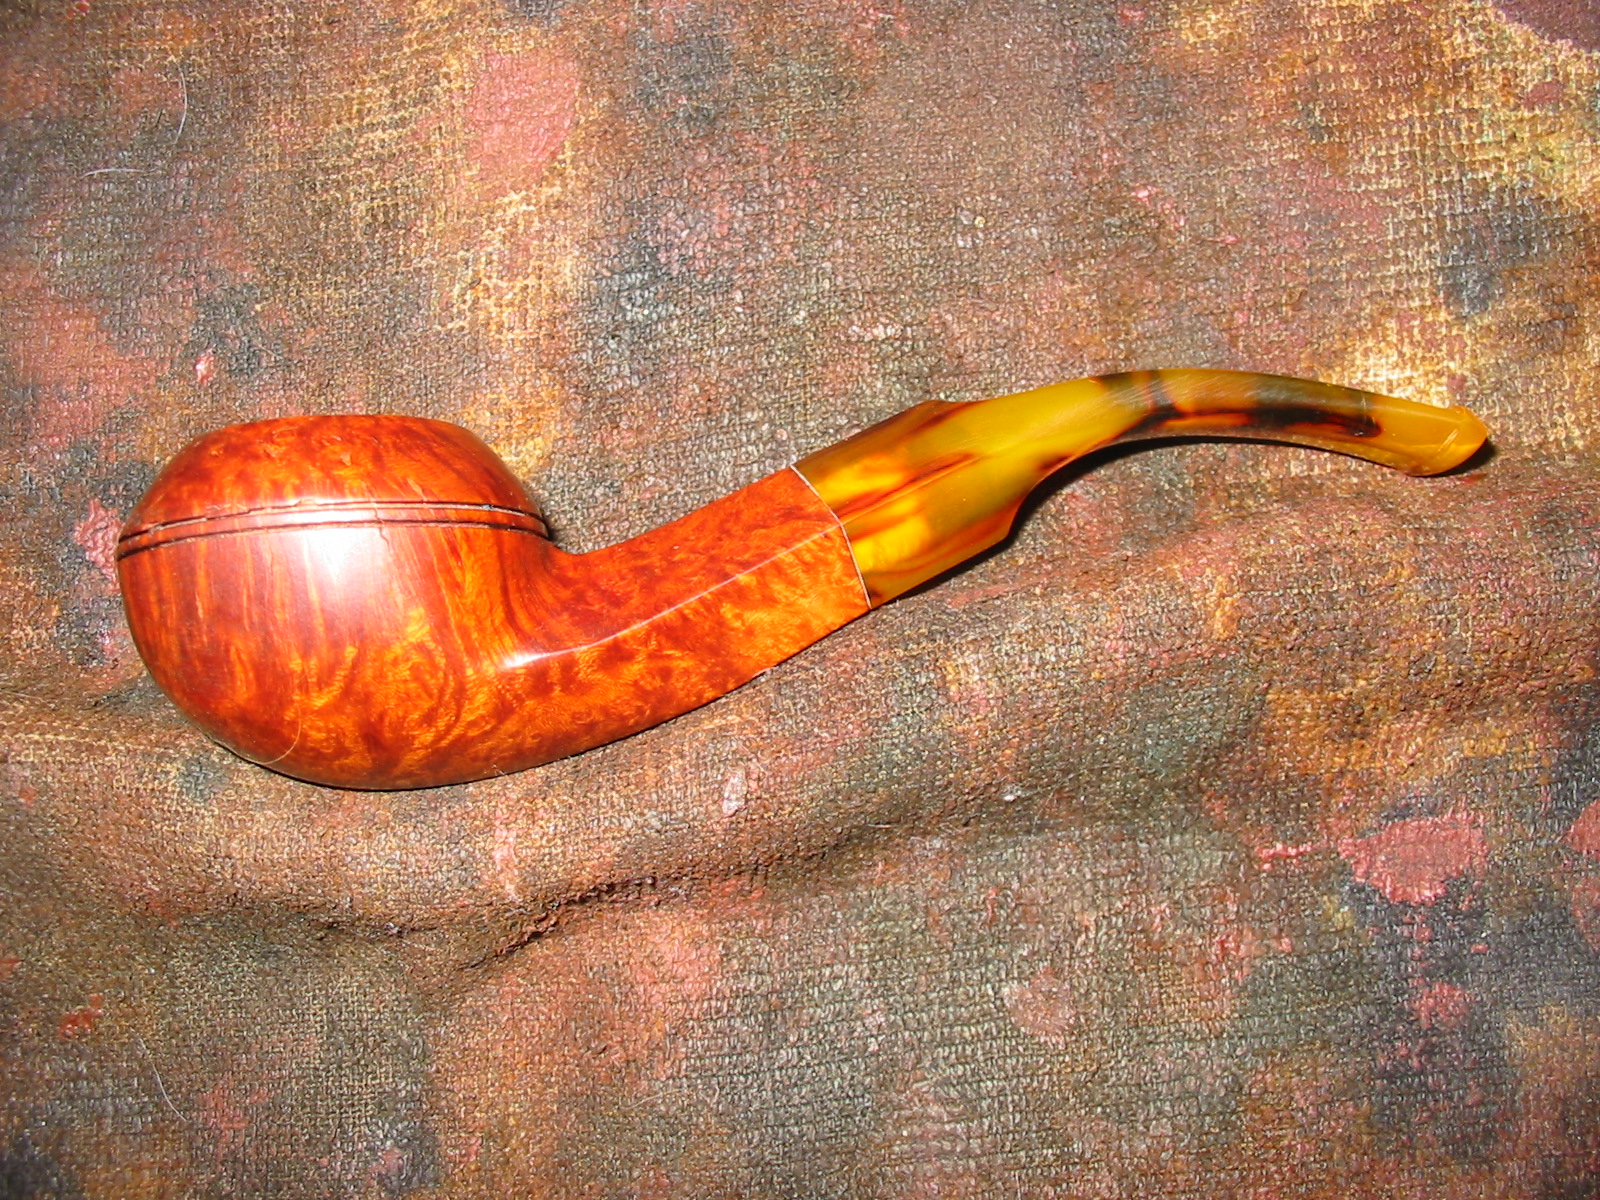
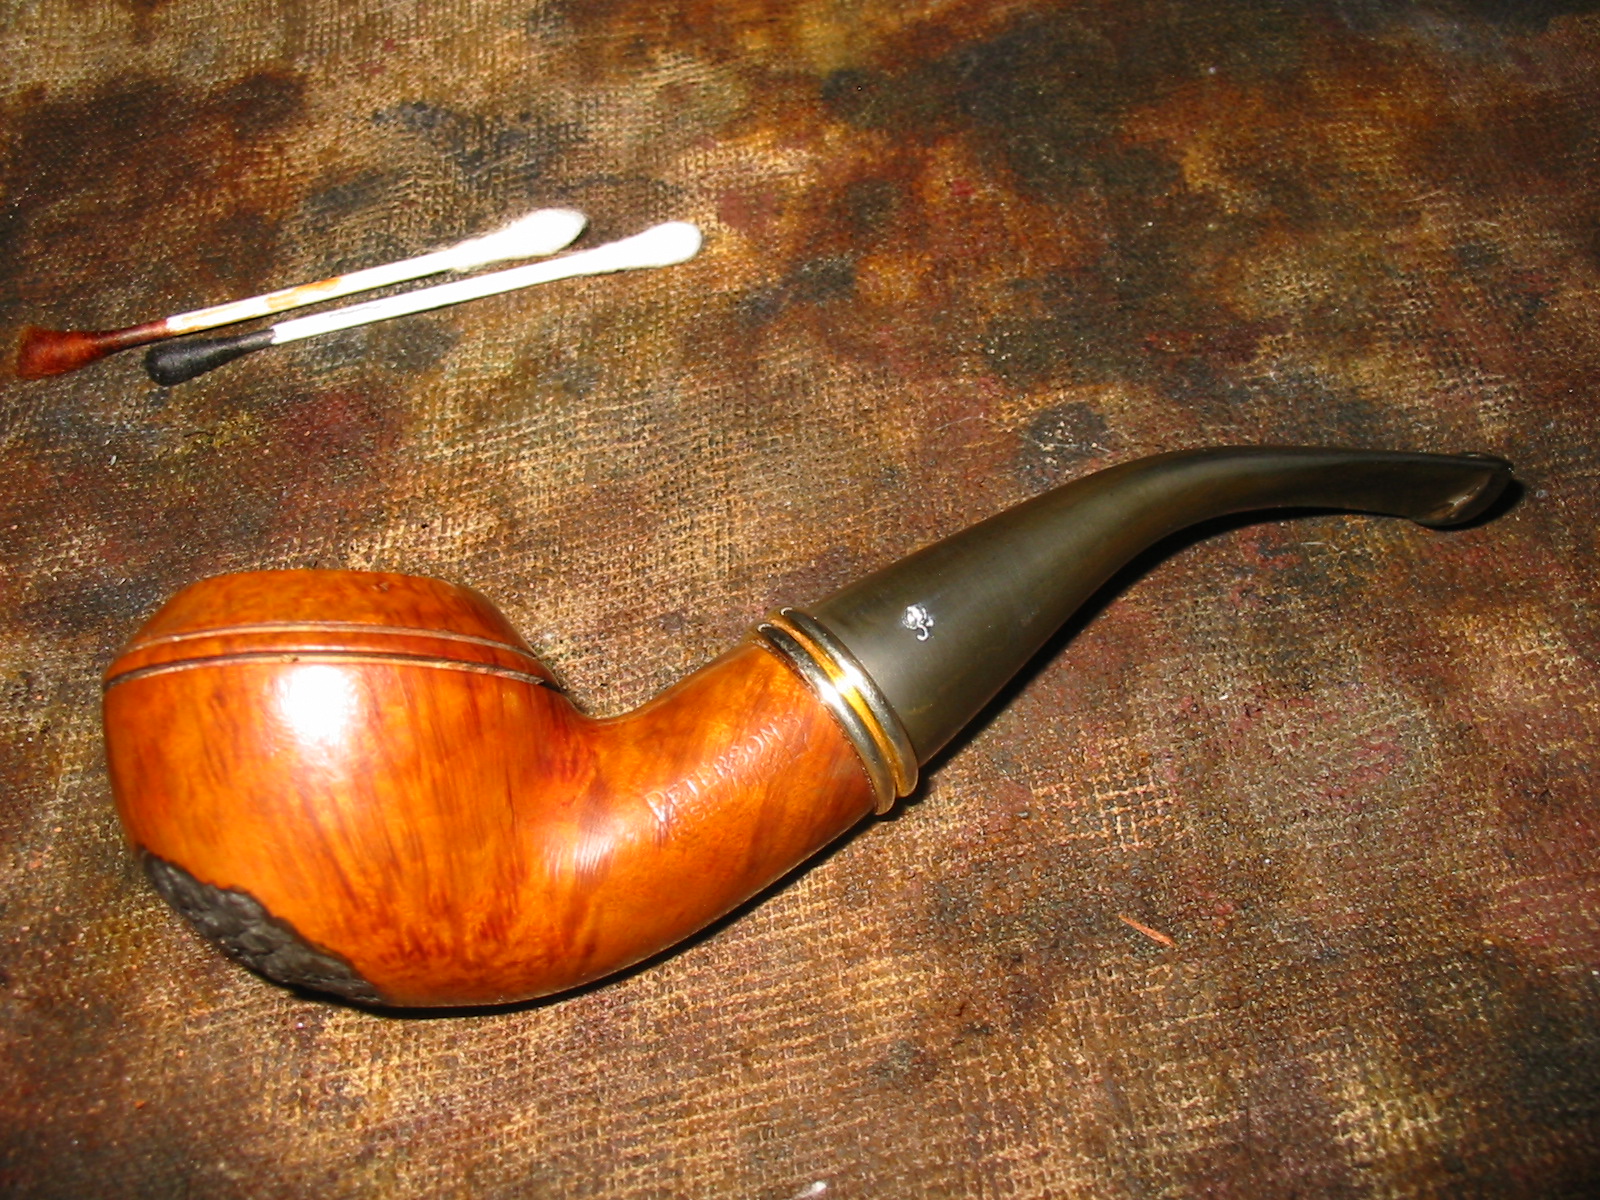
I buffed the finished pipe with White Diamond and then gave it multiple coats of carnauba wax. The finished pipe is shown in the photos below. The meerschaum disk inset into the bottom of the bowl is an interesting touch. I look forward to loading up a bowl and giving it a test run very soon. At the very least this is a great piece of tobacciana that still leaves a bit of mystery unsolved.
IMG_5251

IMG_5252

IMG_5253

IMG_5254

Restoring a Second Lumberman Deluxe Canadian by Comoys


Blog by Steve Laug

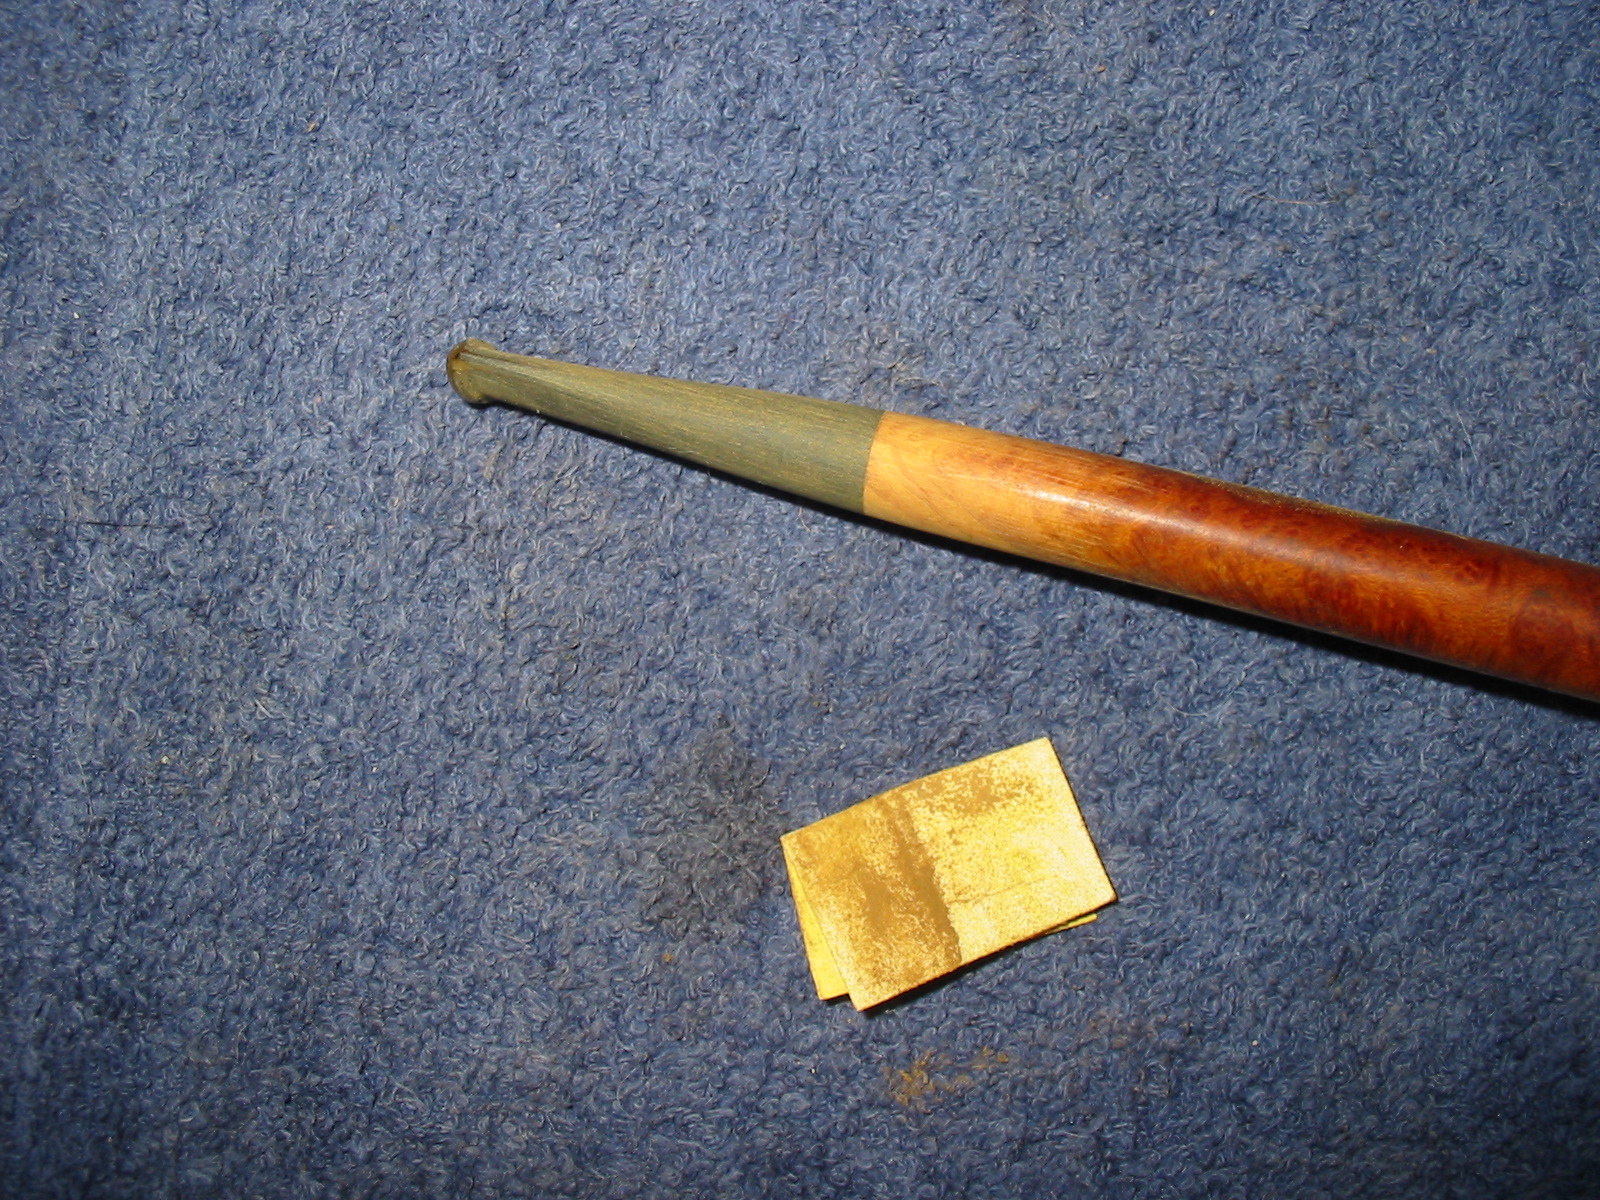
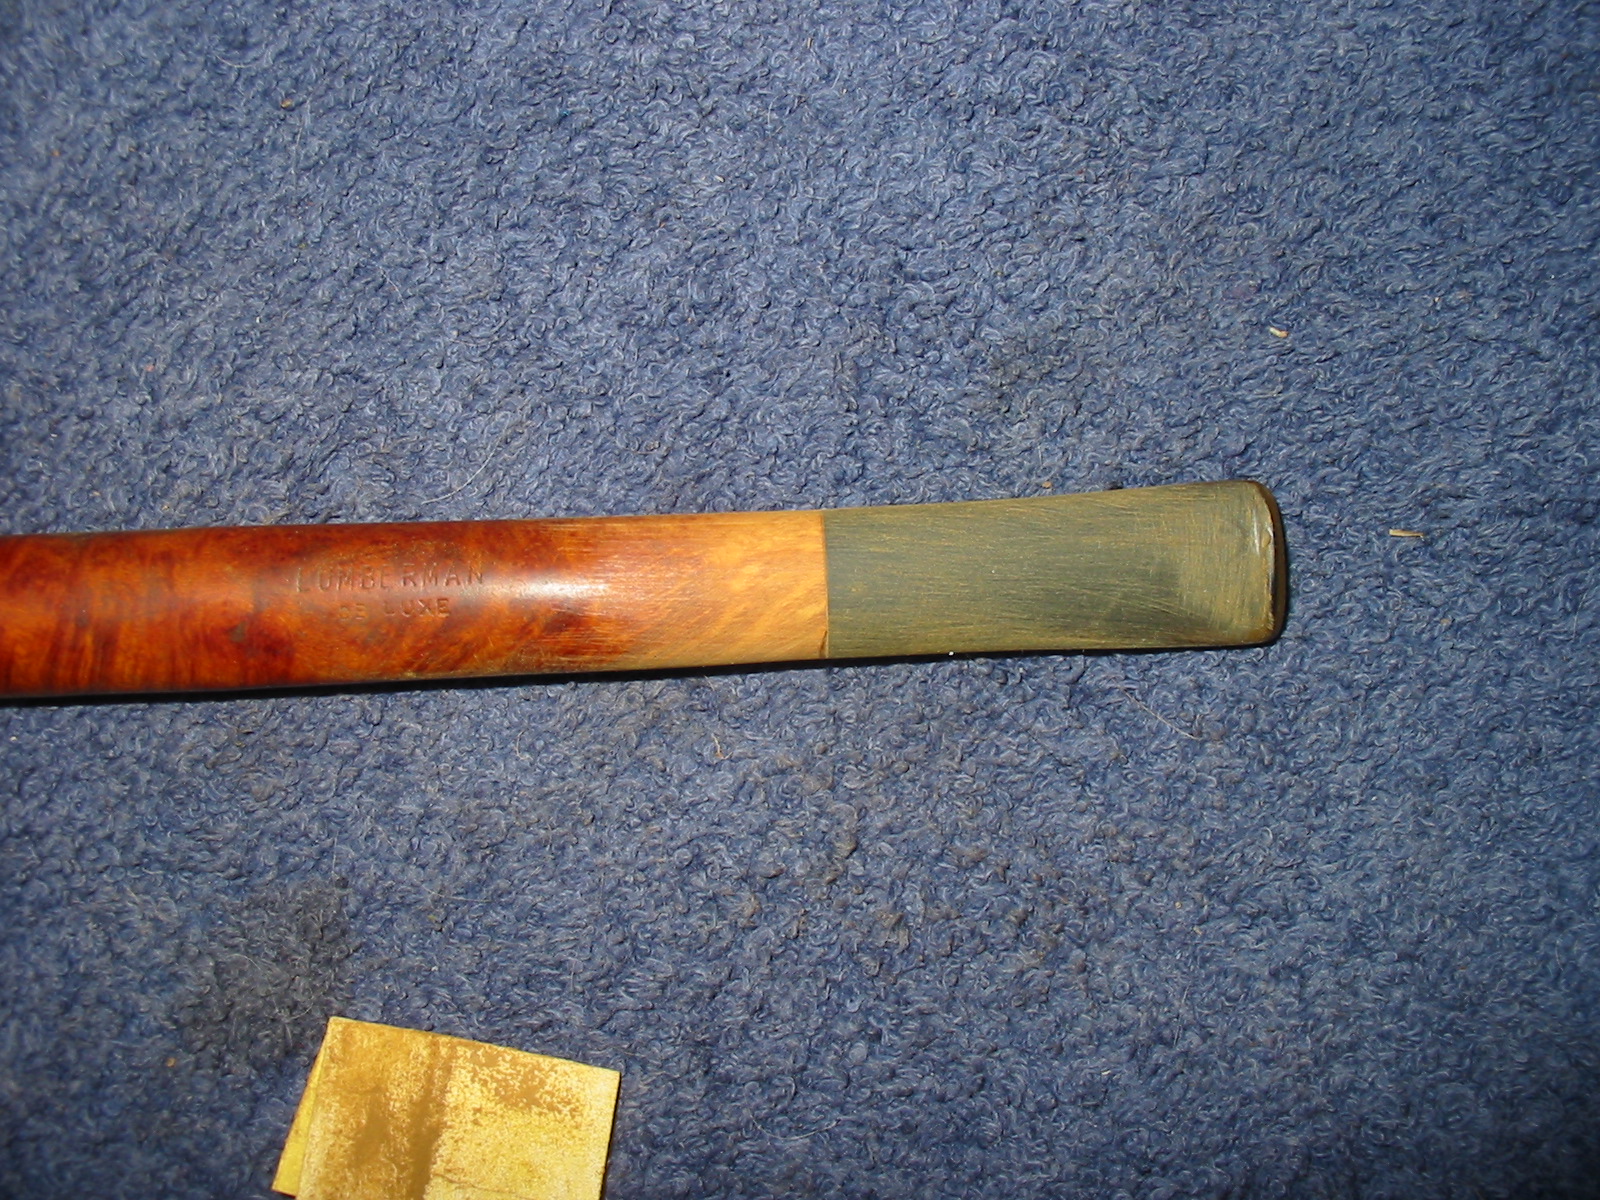
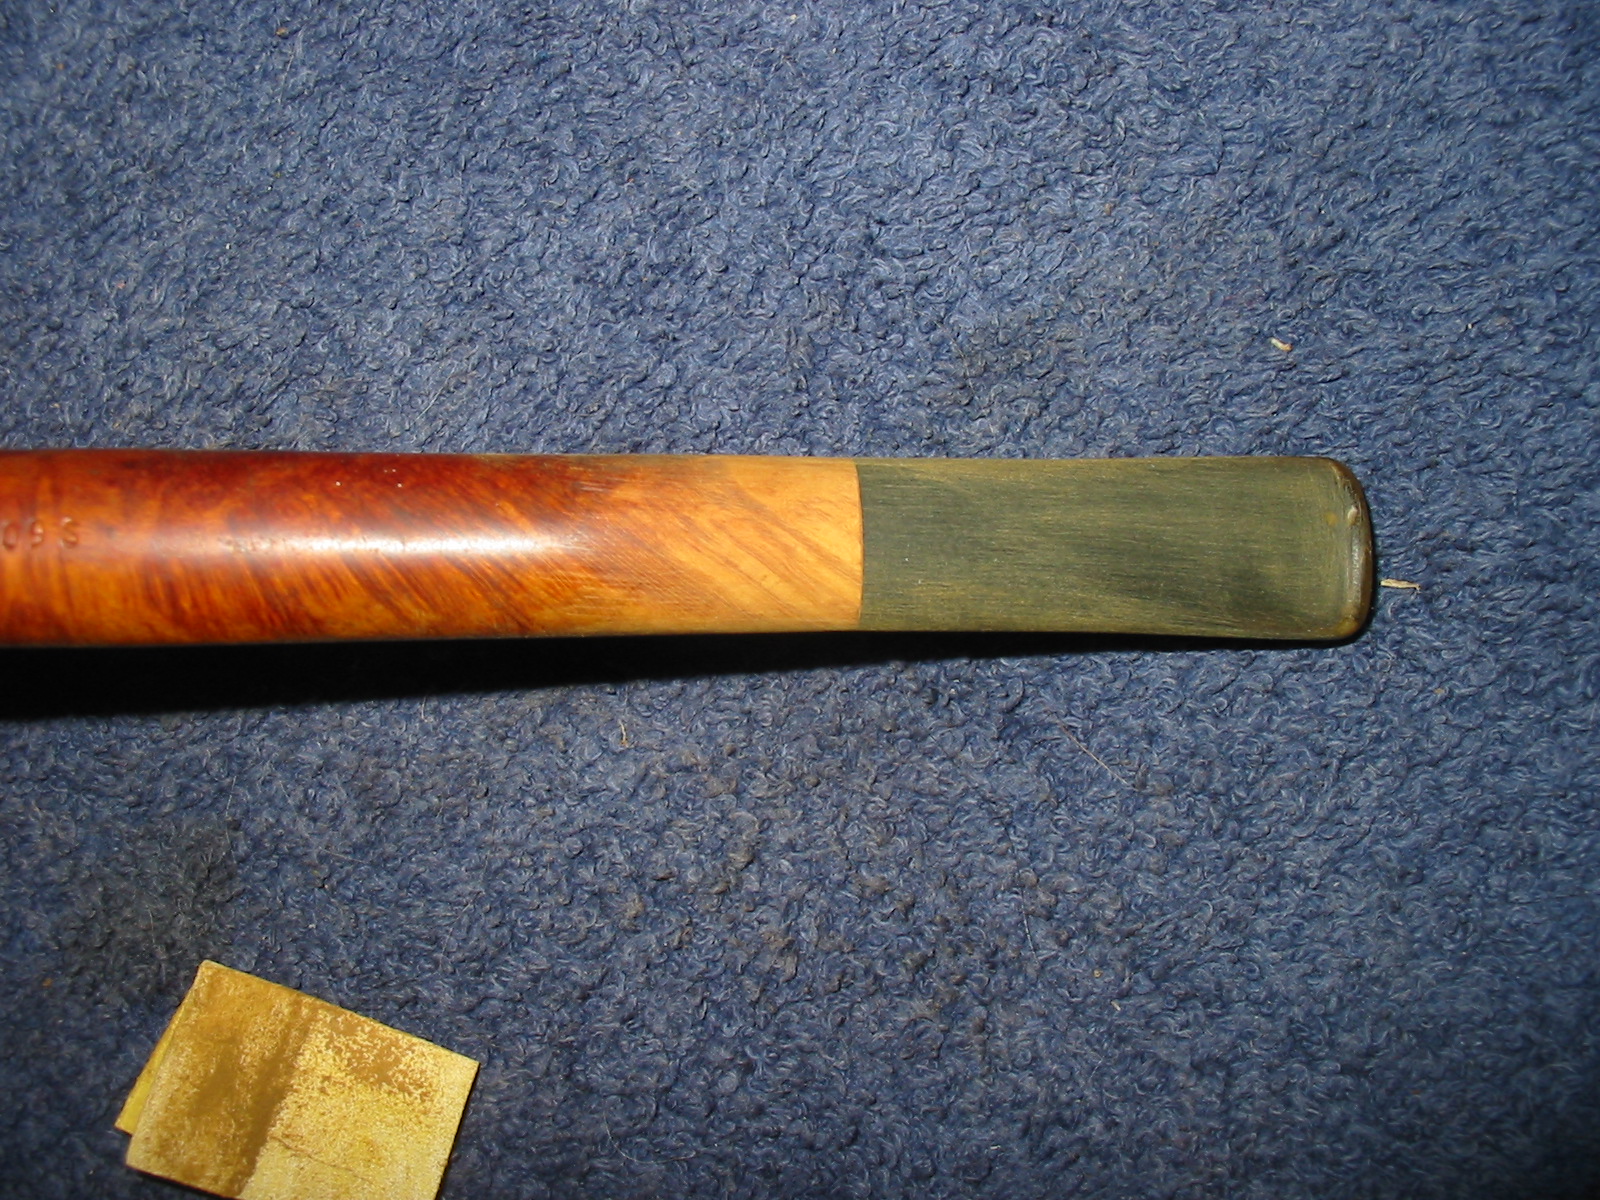
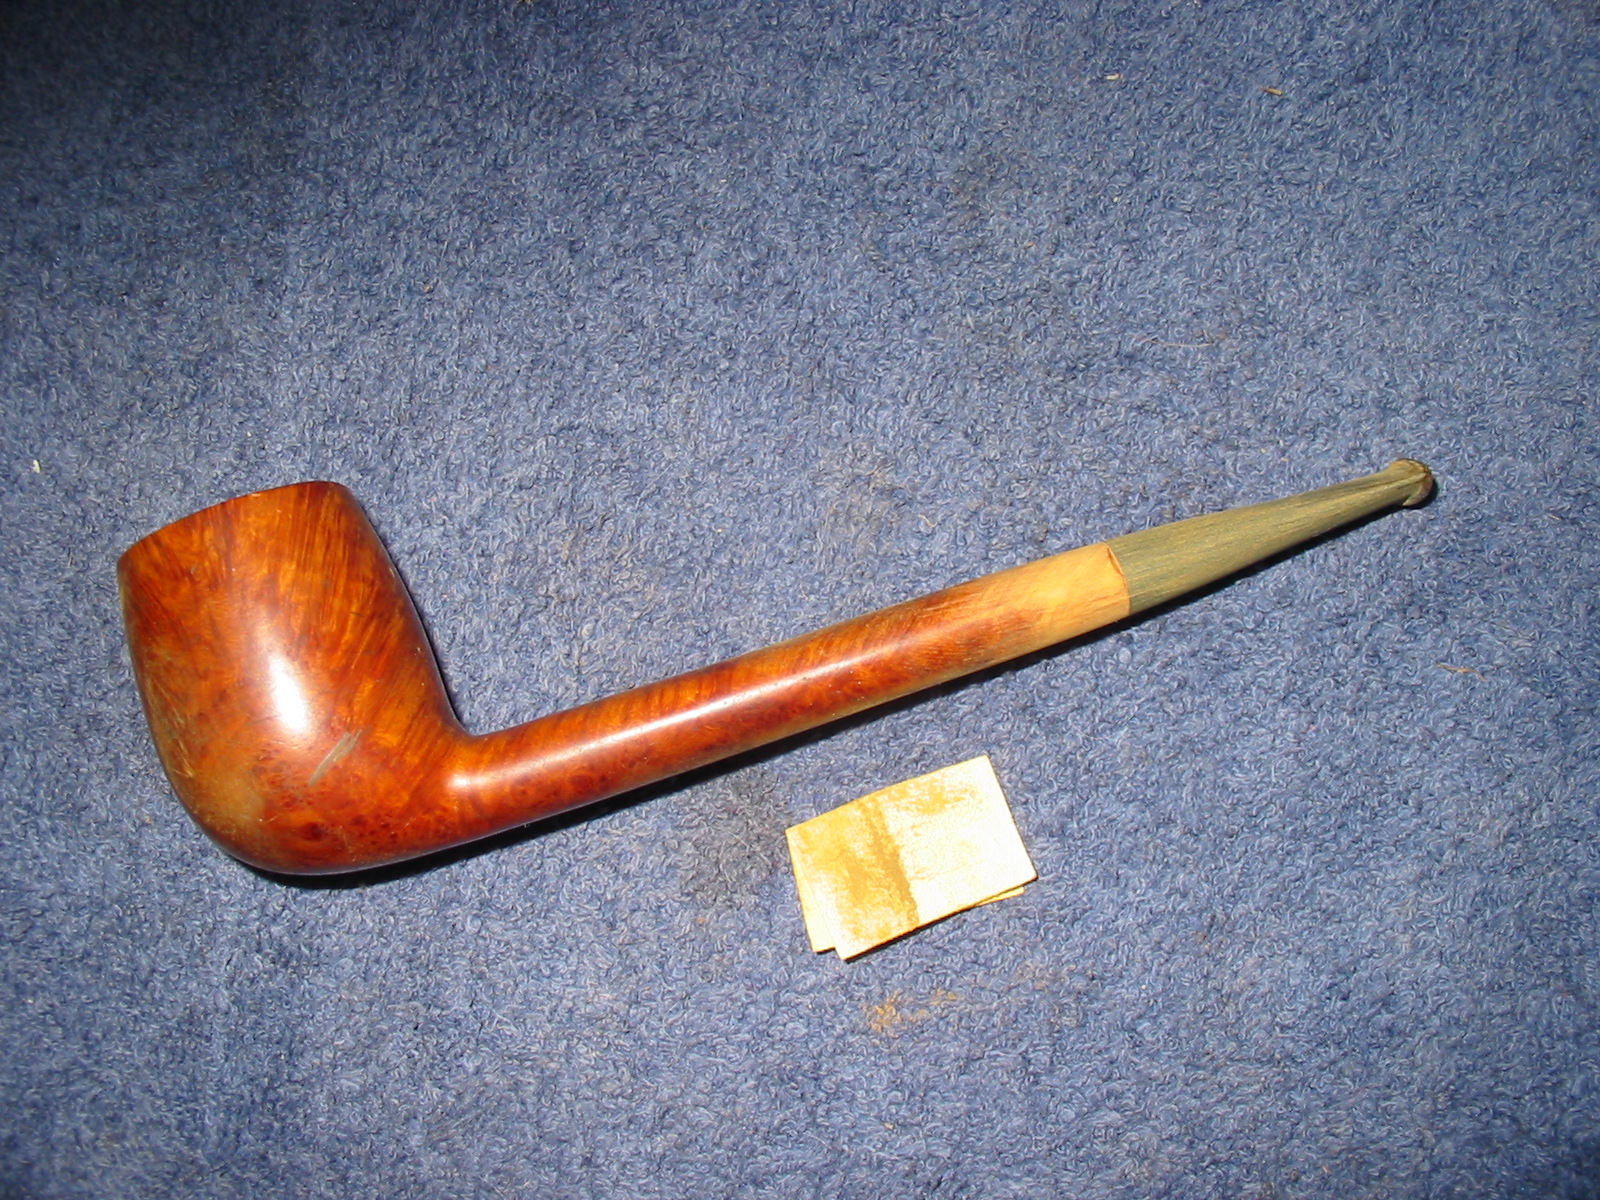
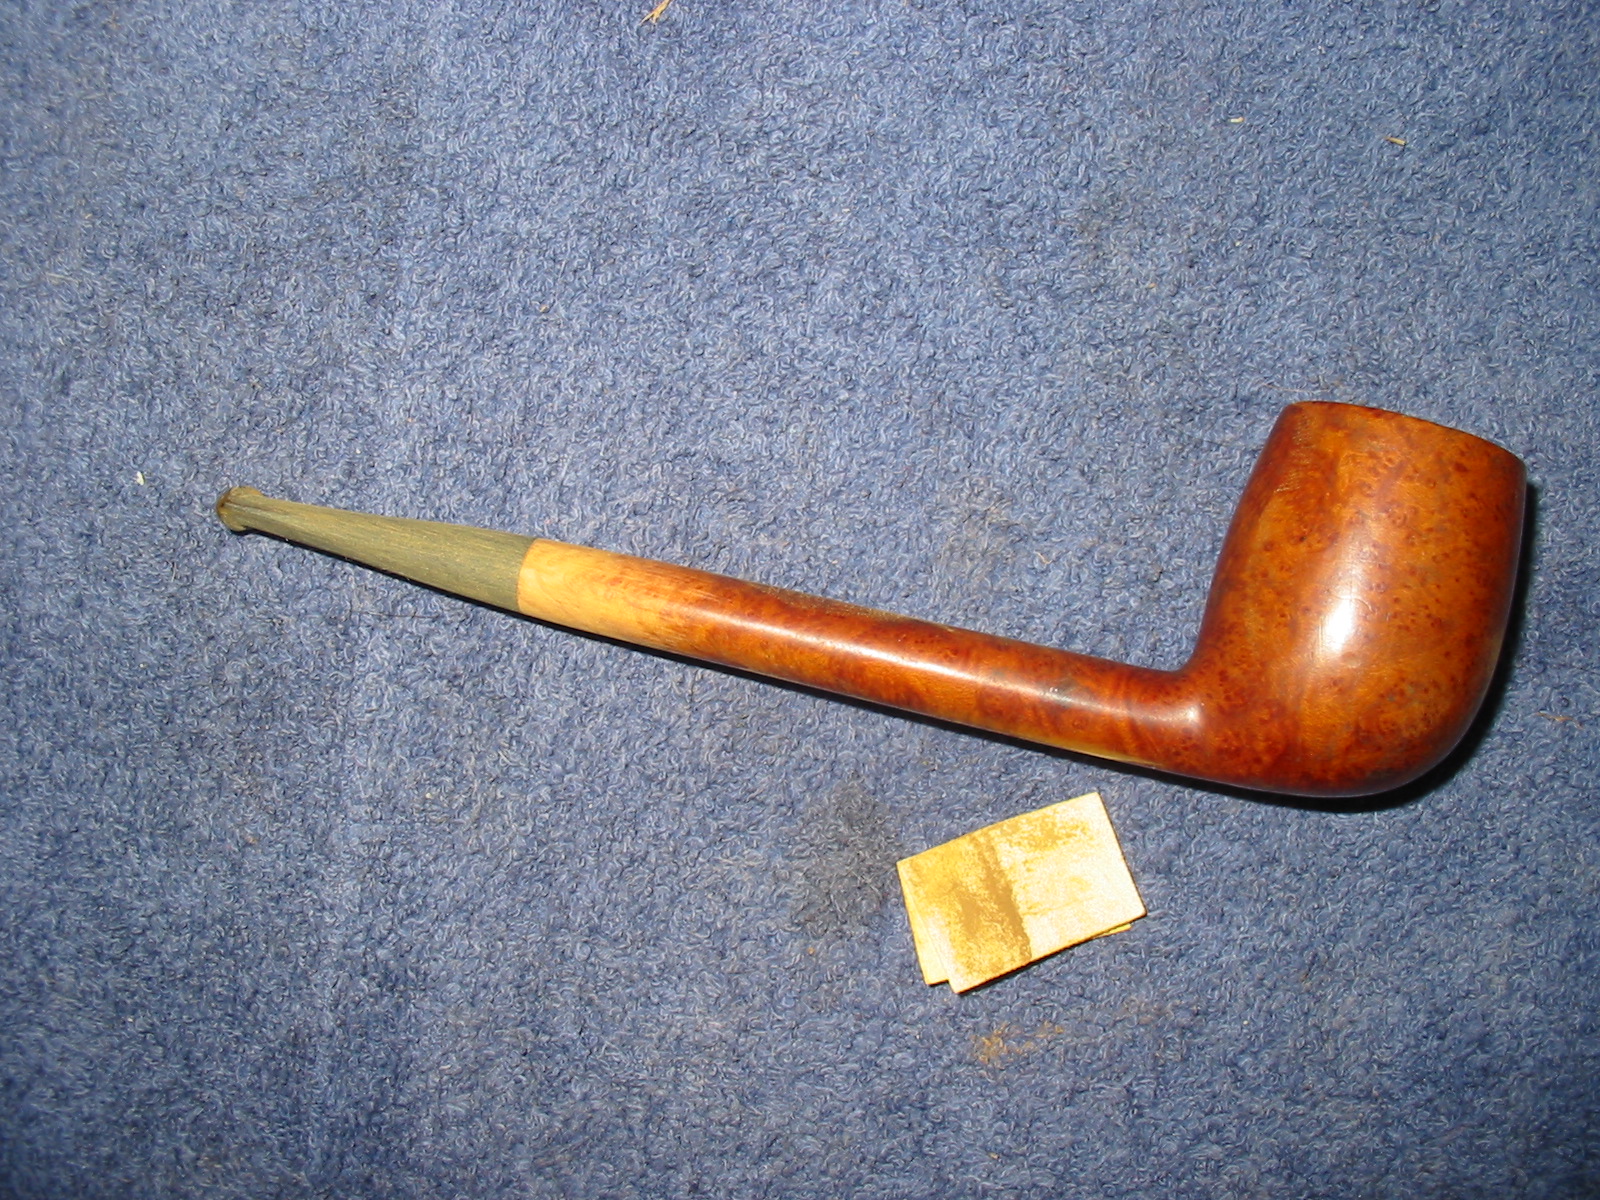
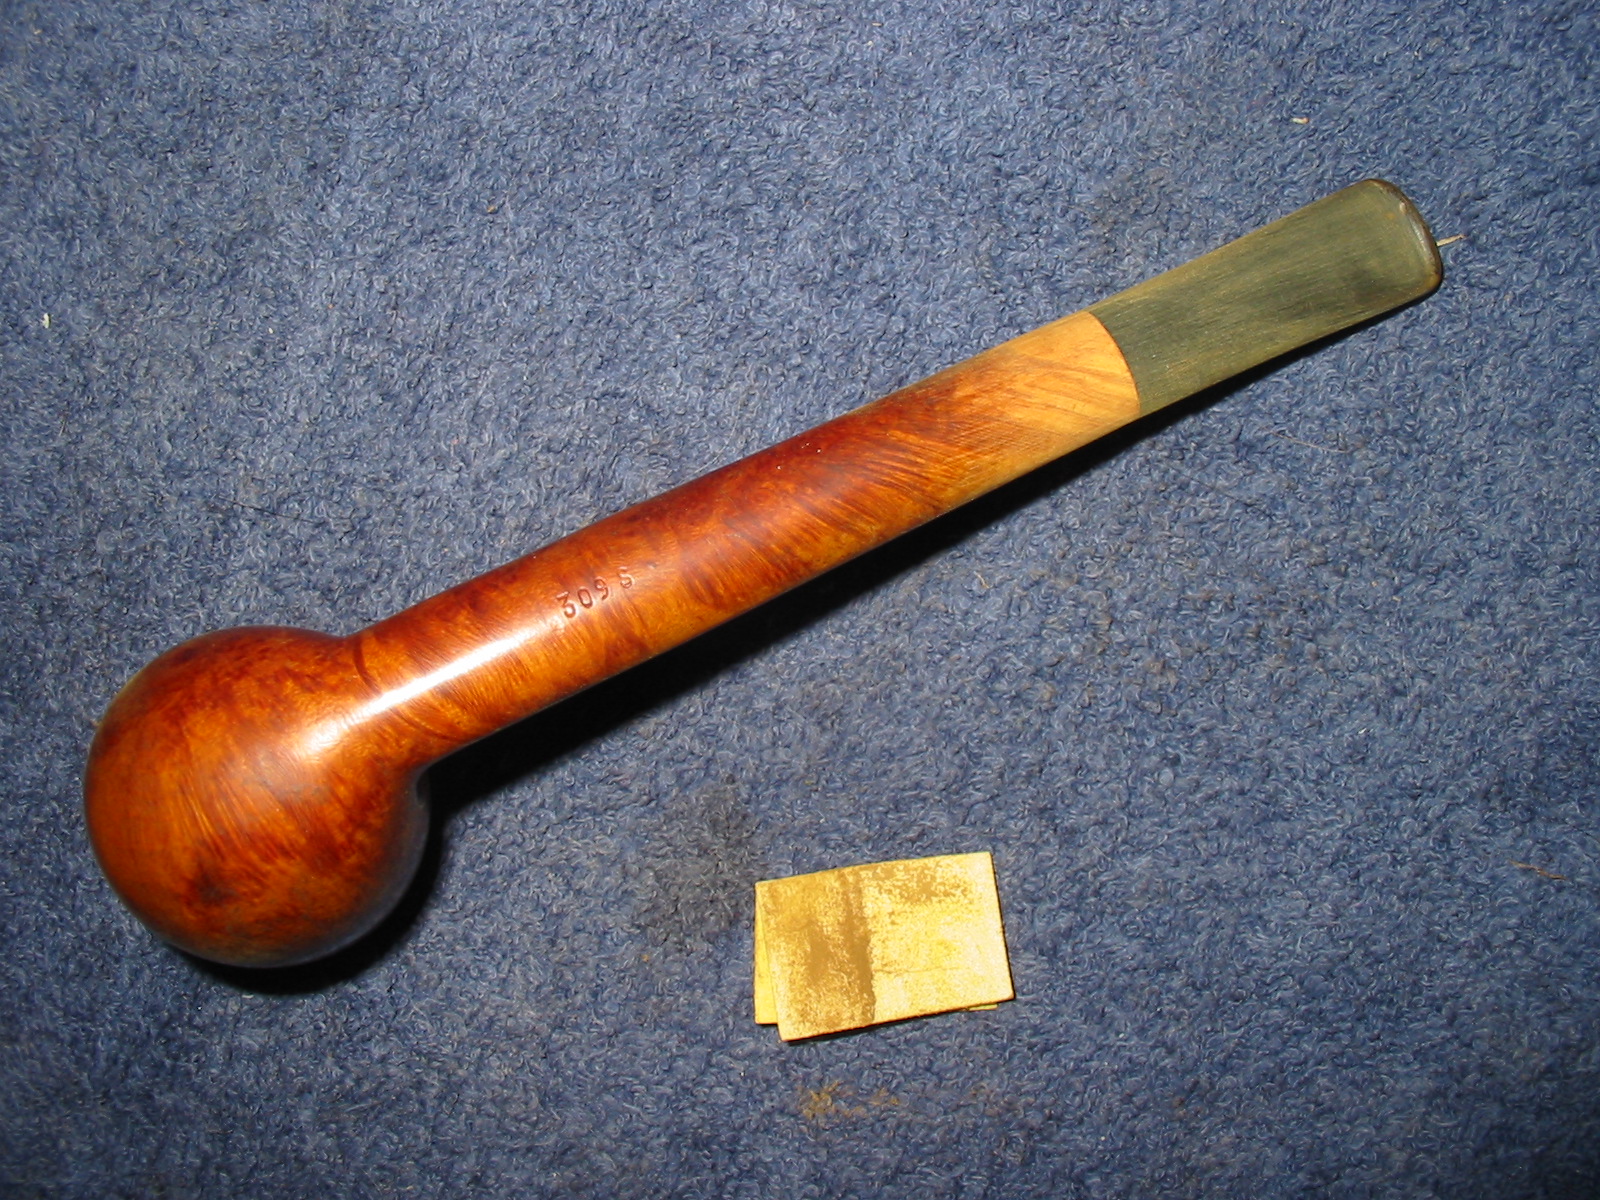
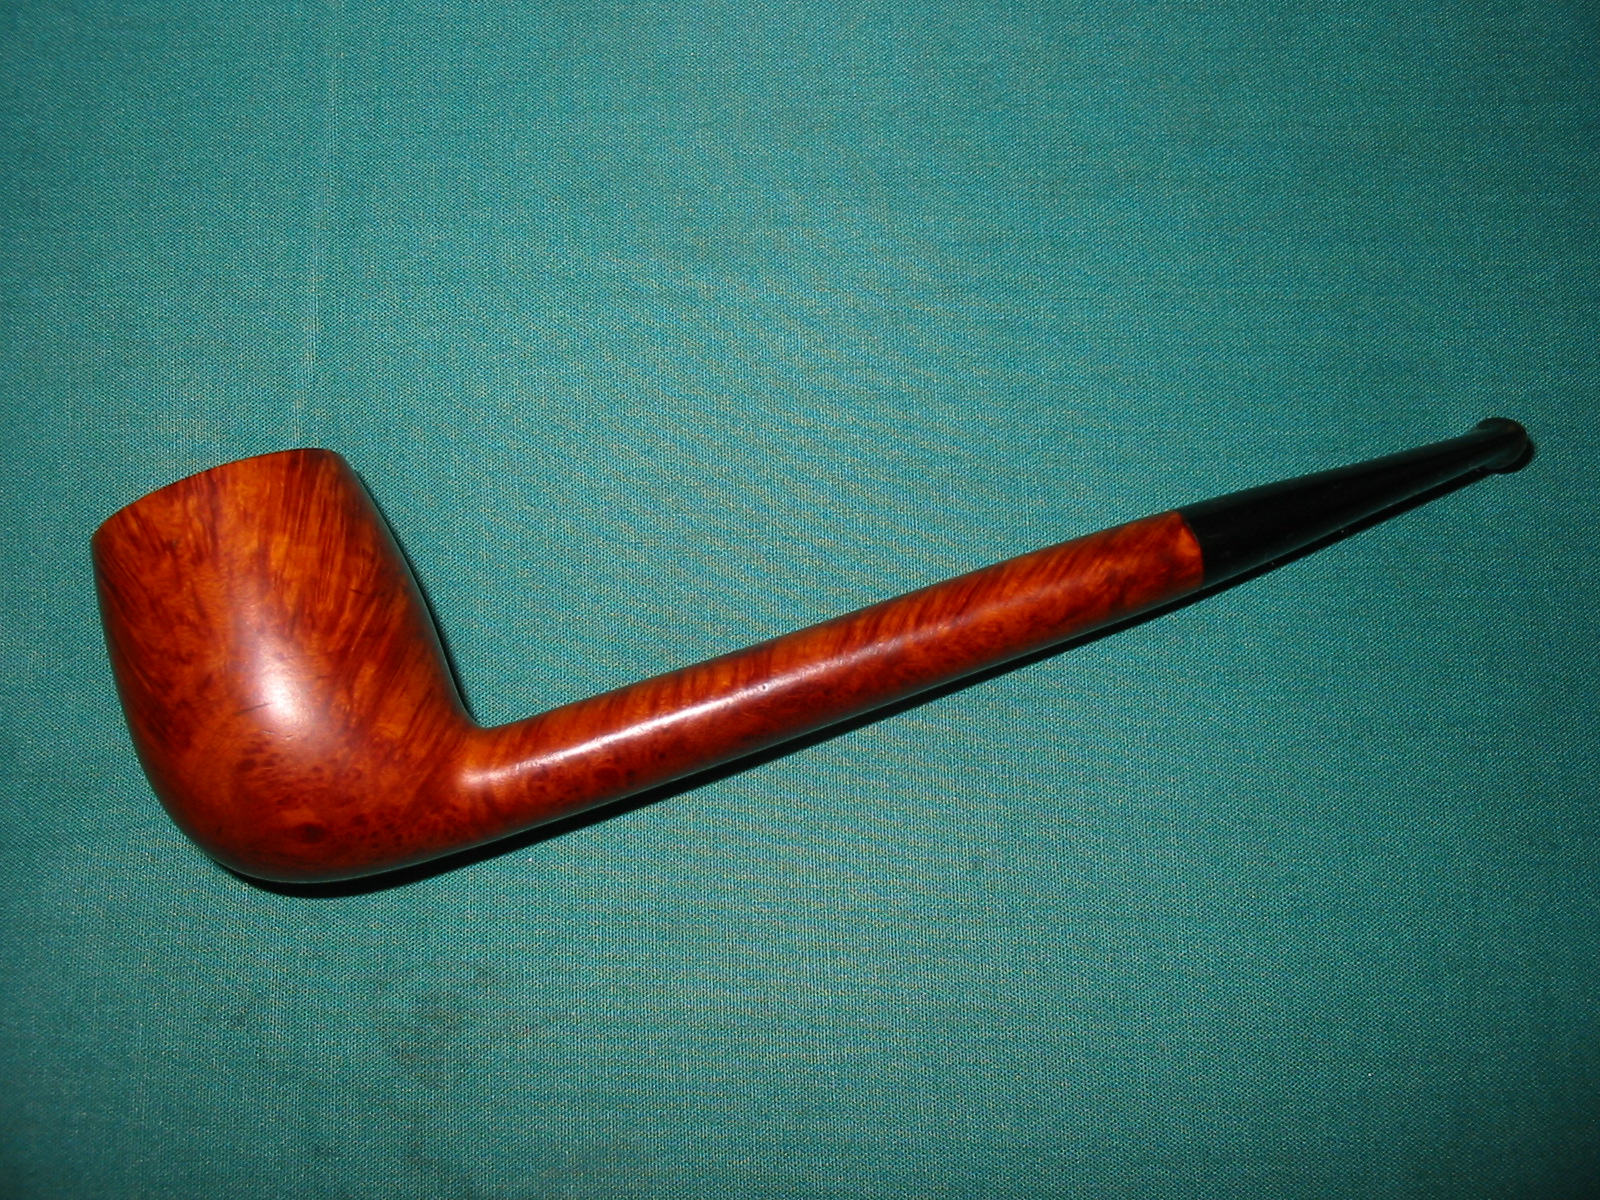
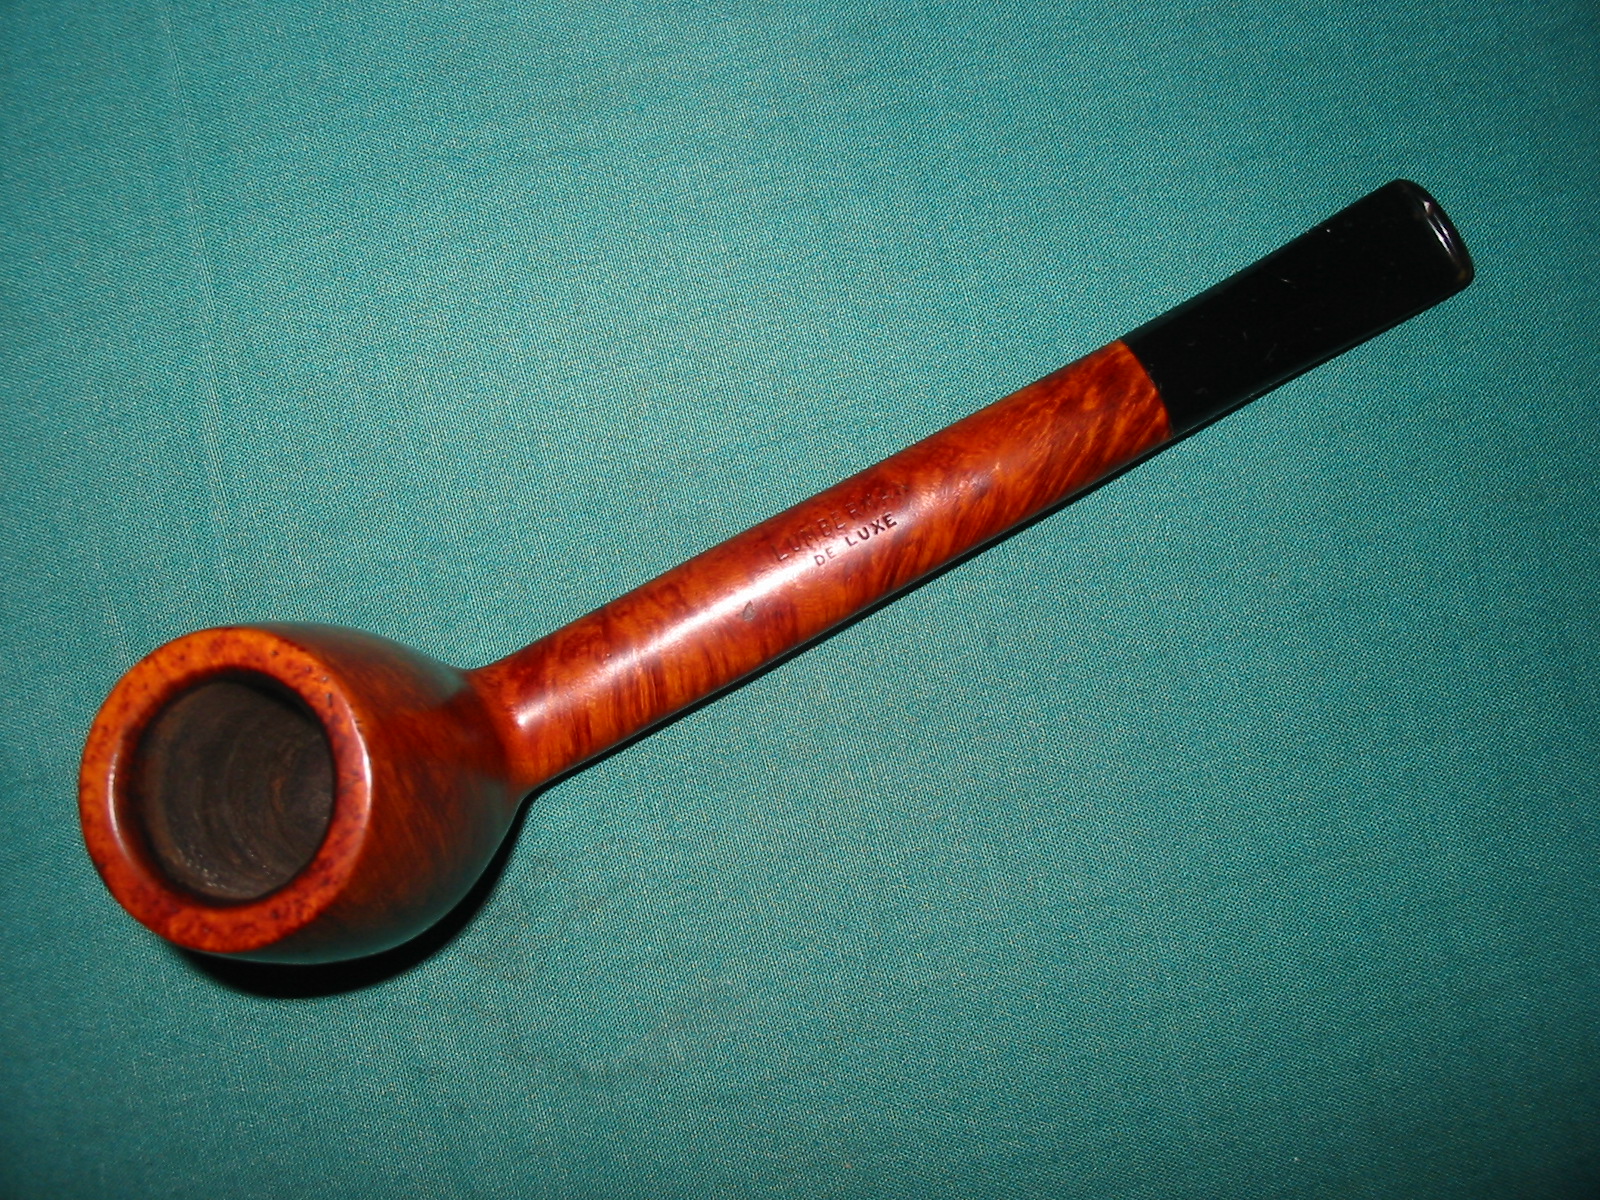
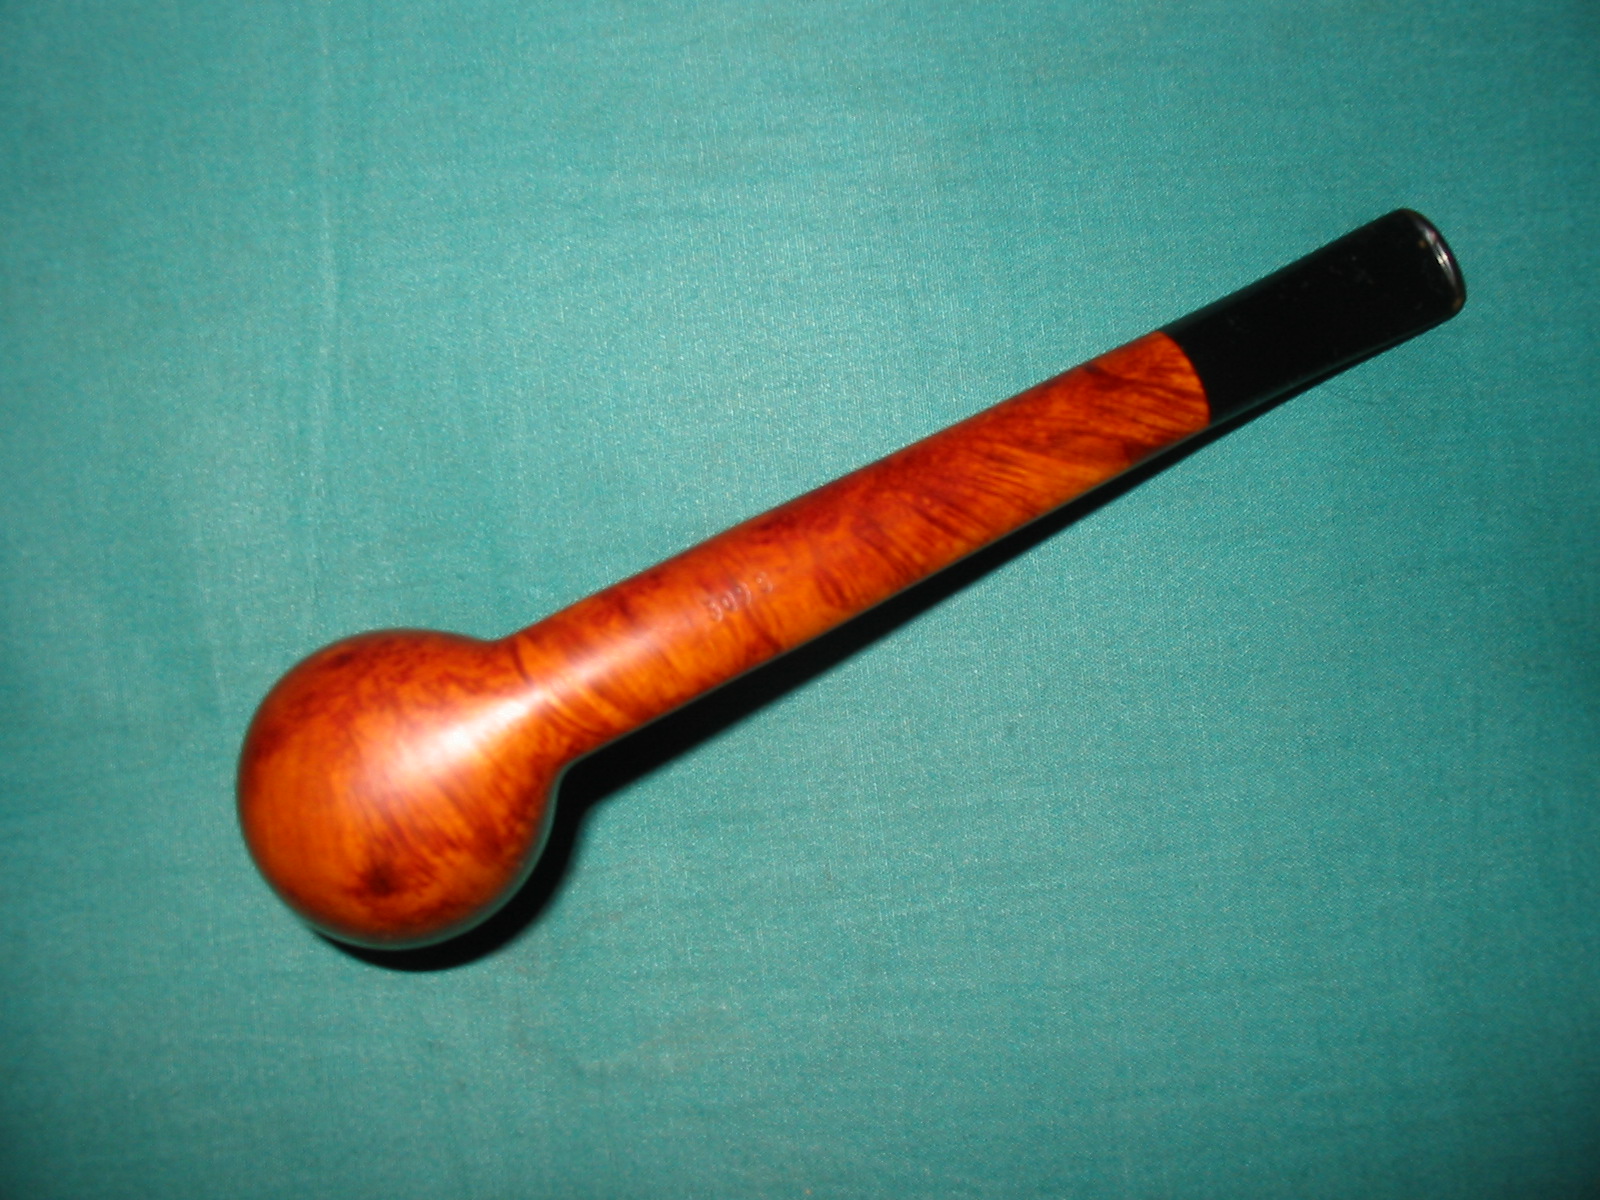
Andrew had a second LUMBERMAN DELUXE that he mentioned to me in a previous email when he sent me the other Lumberman to restem. He graciously gave the second one to me. In the photo below it is the one with the stem. It is slightly larger than the first one and also slightly longer as can be seen from the photo. It is stamped LUMBERMAN over DELUXE on top of the shank and on the underside there is no Made and London circle stamp. It is only stamped 309S. The pipe was in very good shape. There were no cracks in the long shank. There was one small sand pit in the top near the stamping. The bowl was slightly caked and the rim had some carbon buildup and many tiny pin pricks in the surface of the rim. The finish was dirty and had several sticky spots on the sides of the bowl. It was a gummy spot that seemed like the residue left behind by a price sticker. The stem was larger in diameter that the shank. It extended beyond the edge of the shank on both sides of the stem and also slightly on the bottom edge. The top edge fit well. There were also two tooth marks – one on top and on matching on the bottom of the stem near the button.
lumbermans

Before seeing these two pipes I had not heard of the Lumberman brand so Andrew had sent along some information that he had found on the web regarding the brand. He had gleaned the information from a Mr. Can EBay listing. In the previous blog post on the first LUMBERMAN I included Andrew’s information. I am also including it now as a quick reminder of the provenance of the brand. That posting read as follows:

“This Collectible Briar pipe is unique, extremely rare Comoy’s 309XL – a classic Canadian Shape. It has the arched Comoy’s nomenclature stamped over Deluxe (just as it appeared in the early 1930’s) both of which were stamped over Lumberman. For anyone already familiar with the stamping of Comoy Canadians that is enough to recognize that this is a rare and collectible Comoy.”

“During its history, Comoy’s has had three distinct sets of nomenclature, though they became somewhat blended in later years. The earliest Comoy nomenclature either had no Comoy stamping or a scripted, signature like forward leaning Comoy’s beneath which were featured names instead of shape numbers. Few of those names (Like Leman, Naval, Adelaide, and so on) are recognized even by the most ardent collectors. Then after World War I when Comoy began introducing what is sometimes called their Old Nomenclature (featuring the Prima, as the Top of the line with other lines like the Old Bruyere, Grand Slam, Lions Head, Lumberman, Lumberman Special and so forth) and arched Comoy’s stamping was used. In the 1930’s the Prima gave way to the Deluxe as the top of the line Comoy. Then just before World War II newer nomenclature started to appear (like Blue Riband, Specimen Straight Grain, and so on) and the Deluxe was replaced by the Royal Comoy. That New Nomenclature expanded dramatically after the War and blended with the modern nomenclature today.”

“The use of the arched Comoy’s ended with World War II and was replaced after the War with a straight line Comoy’s (along with the now famous country of origin stamping of a circular “Made In London” over a straight line “England”.”

“Prior to World War II with manufacturing facilities in both France and England, Comoy had pipes made in both locations. Most were easily identifiable by their country of origin stamping. There were several versions of Comoy’s Lumberman made in France and/or England. (They might have been the dame pipe but with different nomenclature.) “The Lumberman” and “The Lumberman Special were made in both factories. But none had the arched Comoy’s stamping.”

“After WWII Comoy’s reintroduced the Deluxe, discontinued the arched Comoy’s and continued various versions of the Lumberman. Perhaps Comoy’s best graded Lumberman was stamped Lumberman Deluxe – but it had no Comoy stamping. Lumberman was always stamped over Deluxe.”

“Normally Comoy offered to Canadian sizes designated by shape numbers 296 and 309. The difference was in the length of the Canadians. The 309 shape was Comoy’s longest Canadian and the 296 was shorter. However, the extra long Canadians were upgraded with the additional stamping of XL and the very longest were sometimes stamped XXL. Either upgrade was rare.” – The above was taken from correspondence Andrew included when he sent the pipe to me.

The previous blog post can be found at this link: https://rebornpipes.wordpress.com/2014/01/29/repairing-and-restoring-a-lumberman-deluxe-canadian-by-comoys/

The difference between this pipe and the previous one was that the stamping on the underside of the pipe lacked the Comoy’s circle Made in London stamp and also bore the shape designation of 309 but instead of X or XL it is stamped “S”. It is larger than the previous LUMBERMAN but the stamping appears to be a bit of an anomaly.

The next series of photos show the pipe as it appeared when I received it from Andrew. There was slight oxidation on the stem and the stem was larger as noted above.
IMG_5199

IMG_5200

IMG_5201

IMG_5202

I took several close-up photos to show the fit of the stem and how the sides and the bottom edge of the stem was larger than the diameter of the shank.
IMG_5203

IMG_5204

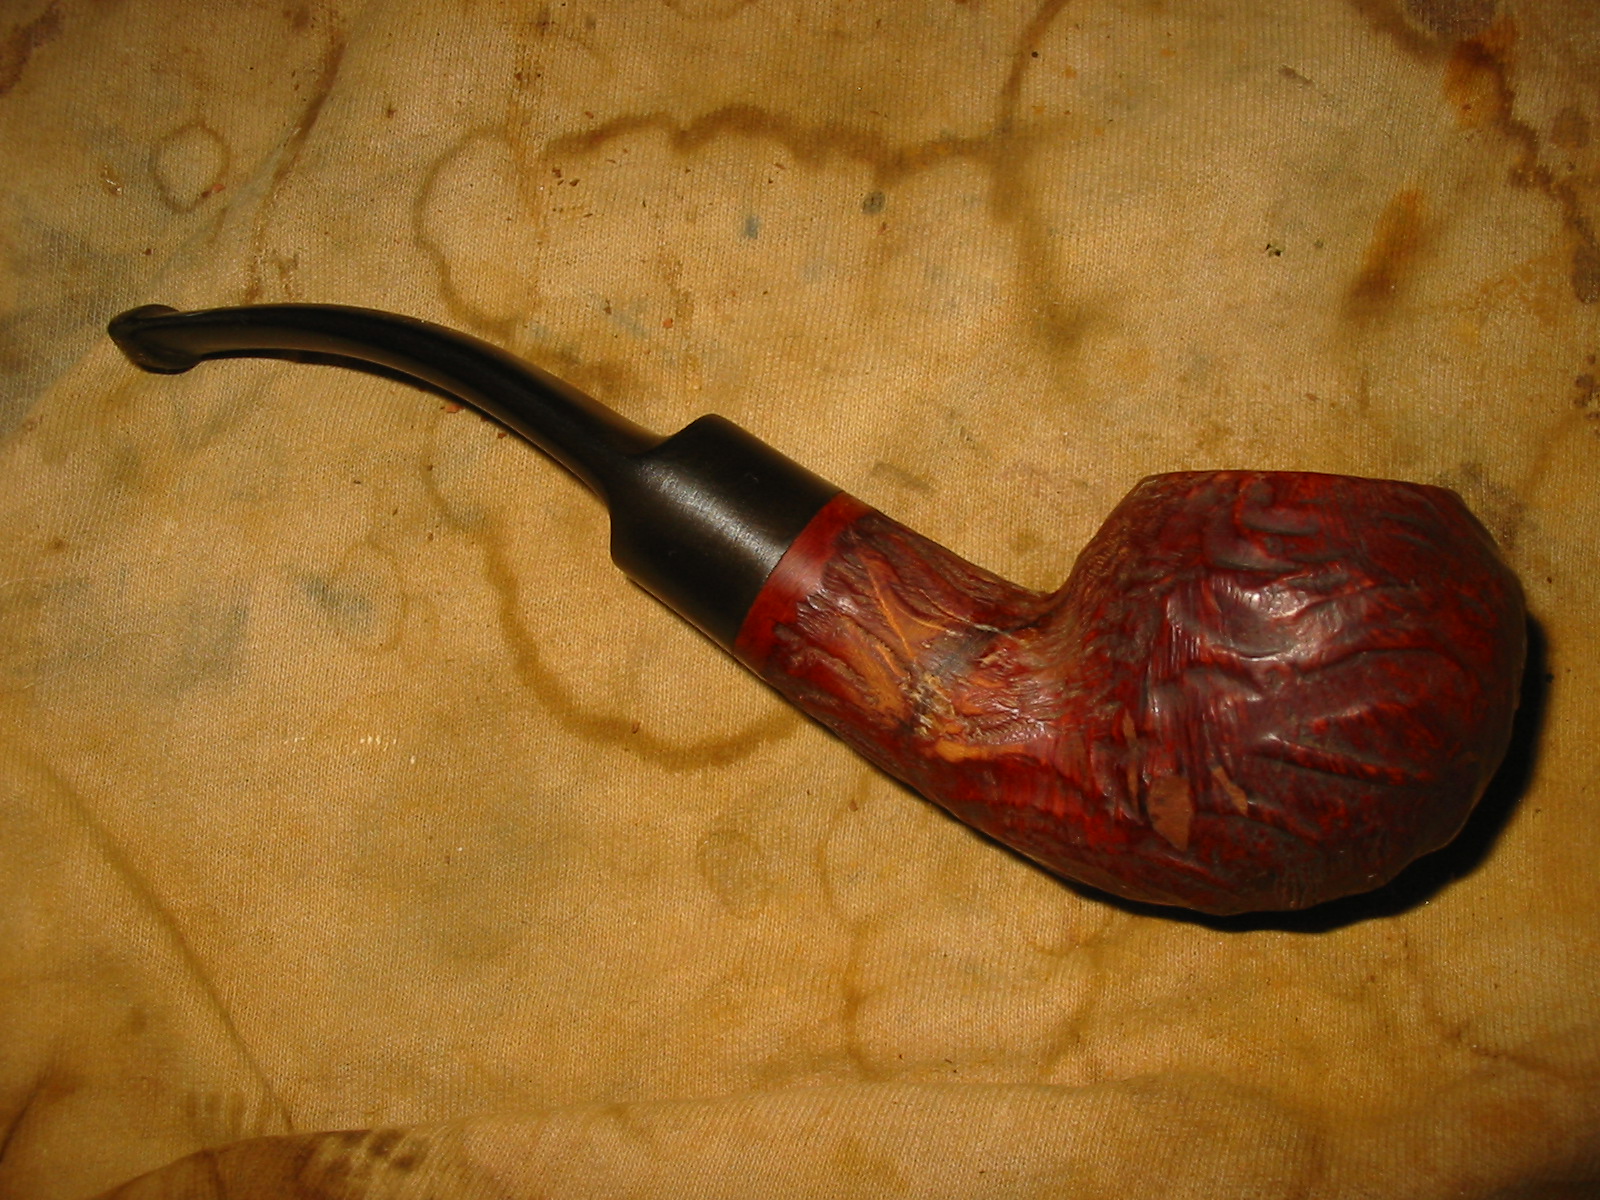
I refit the stem and sanded the sides of the stem until it matched the shank. I also sanded the shank lightly in order to make a smooth transition between the two. I used 220 grit sandpaper to take off the excess vulcanite and bring the stem in line with the shank. At the same time I sanded the tooth marks on the top and bottom of the stem at the button and was able to remove them.
IMG_5206

IMG_5207

IMG_5210

IMG_5212

I sanded the stem and shank with a medium and a fine grit sanding sponge and then a fine grit sanding block. The refit stem is shown in the next series of four photos.
IMG_5205

IMG_5208

IMG_5209

IMG_5211

I wiped the bowl and shank down with acetone and clean the stem and shank with isopropyl alcohol and pipe cleaners. I reamed the bowl with a PipNet reamer to take the slight cake back to the wood and even the buildup on the walls. It seemed to have a slight ridge of cake mid-bowl and I wanted the walls clean so that I could build up my own cake.
IMG_5213

IMG_5214

IMG_5215

IMG_5216

I sanded the stem down with medium and fine grit sanding sponges and then used my usual array of micromesh sanding pads. I wet sanded with the 1500-2400 grit pads and dry sanded with the 3200-12,000 grit pads.
IMG_5220

IMG_5221

IMG_5222

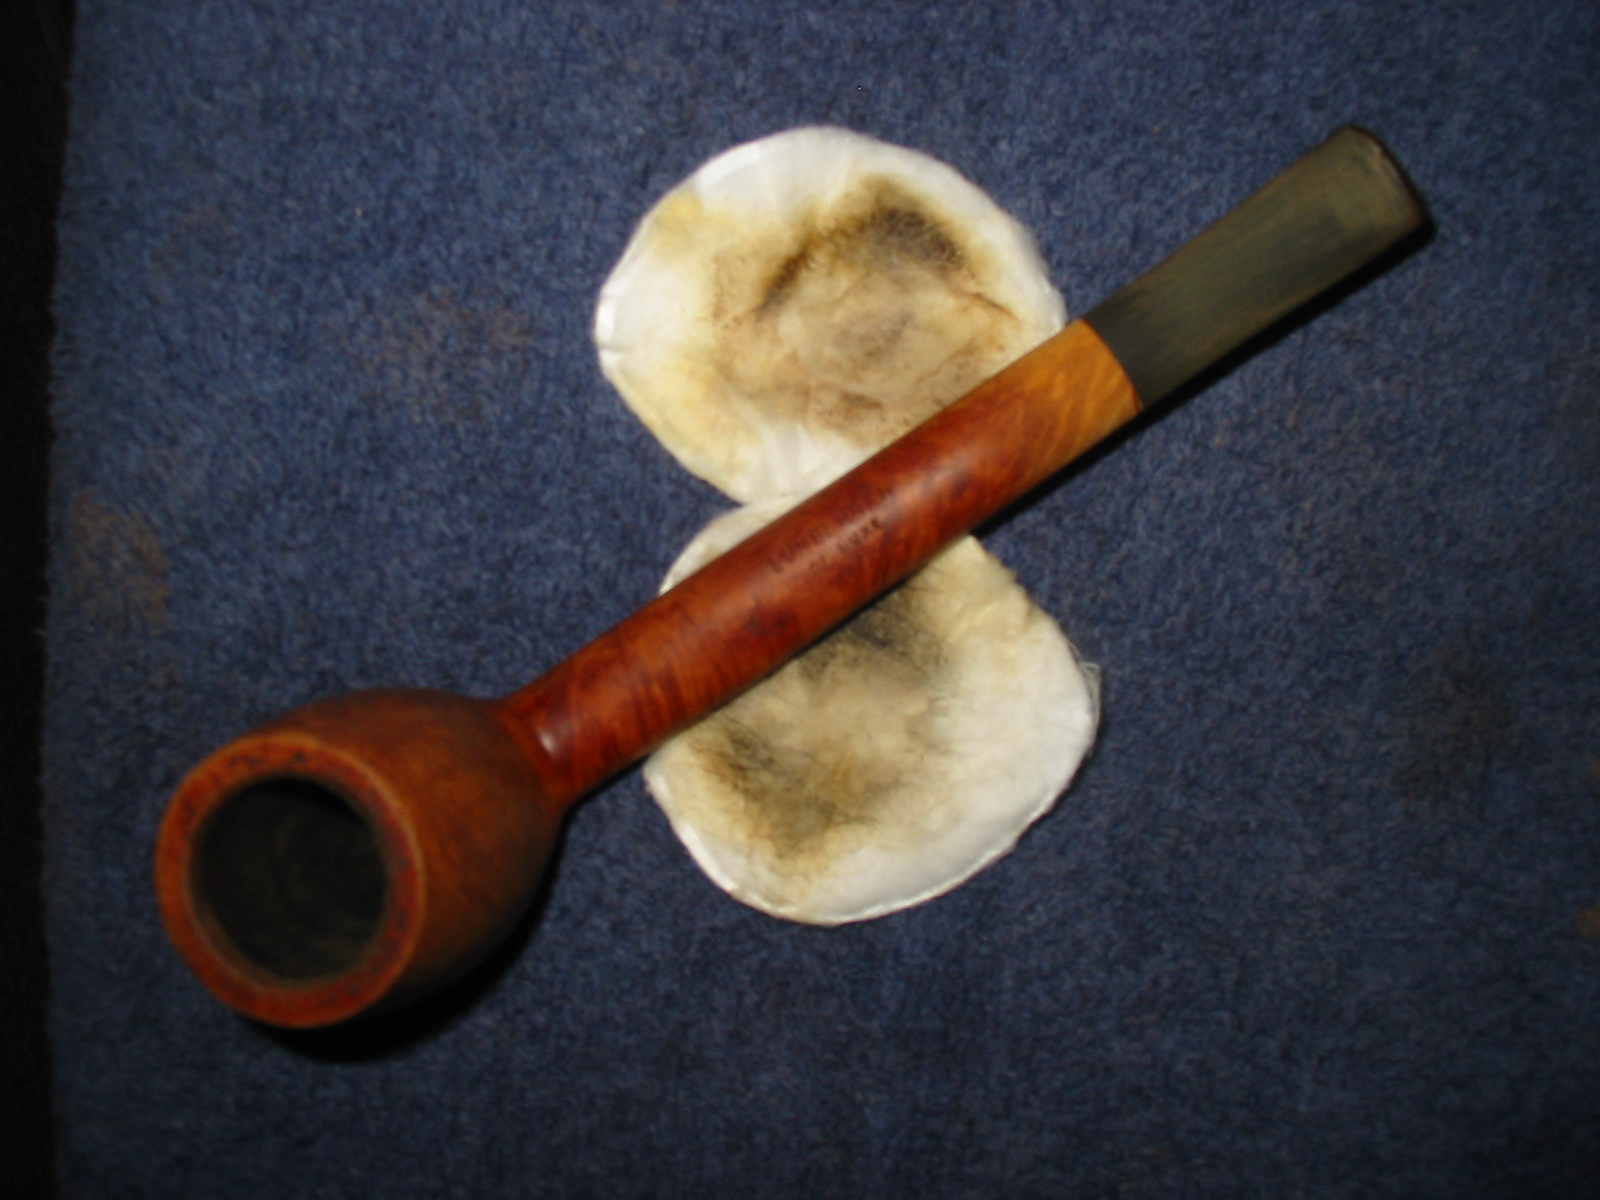
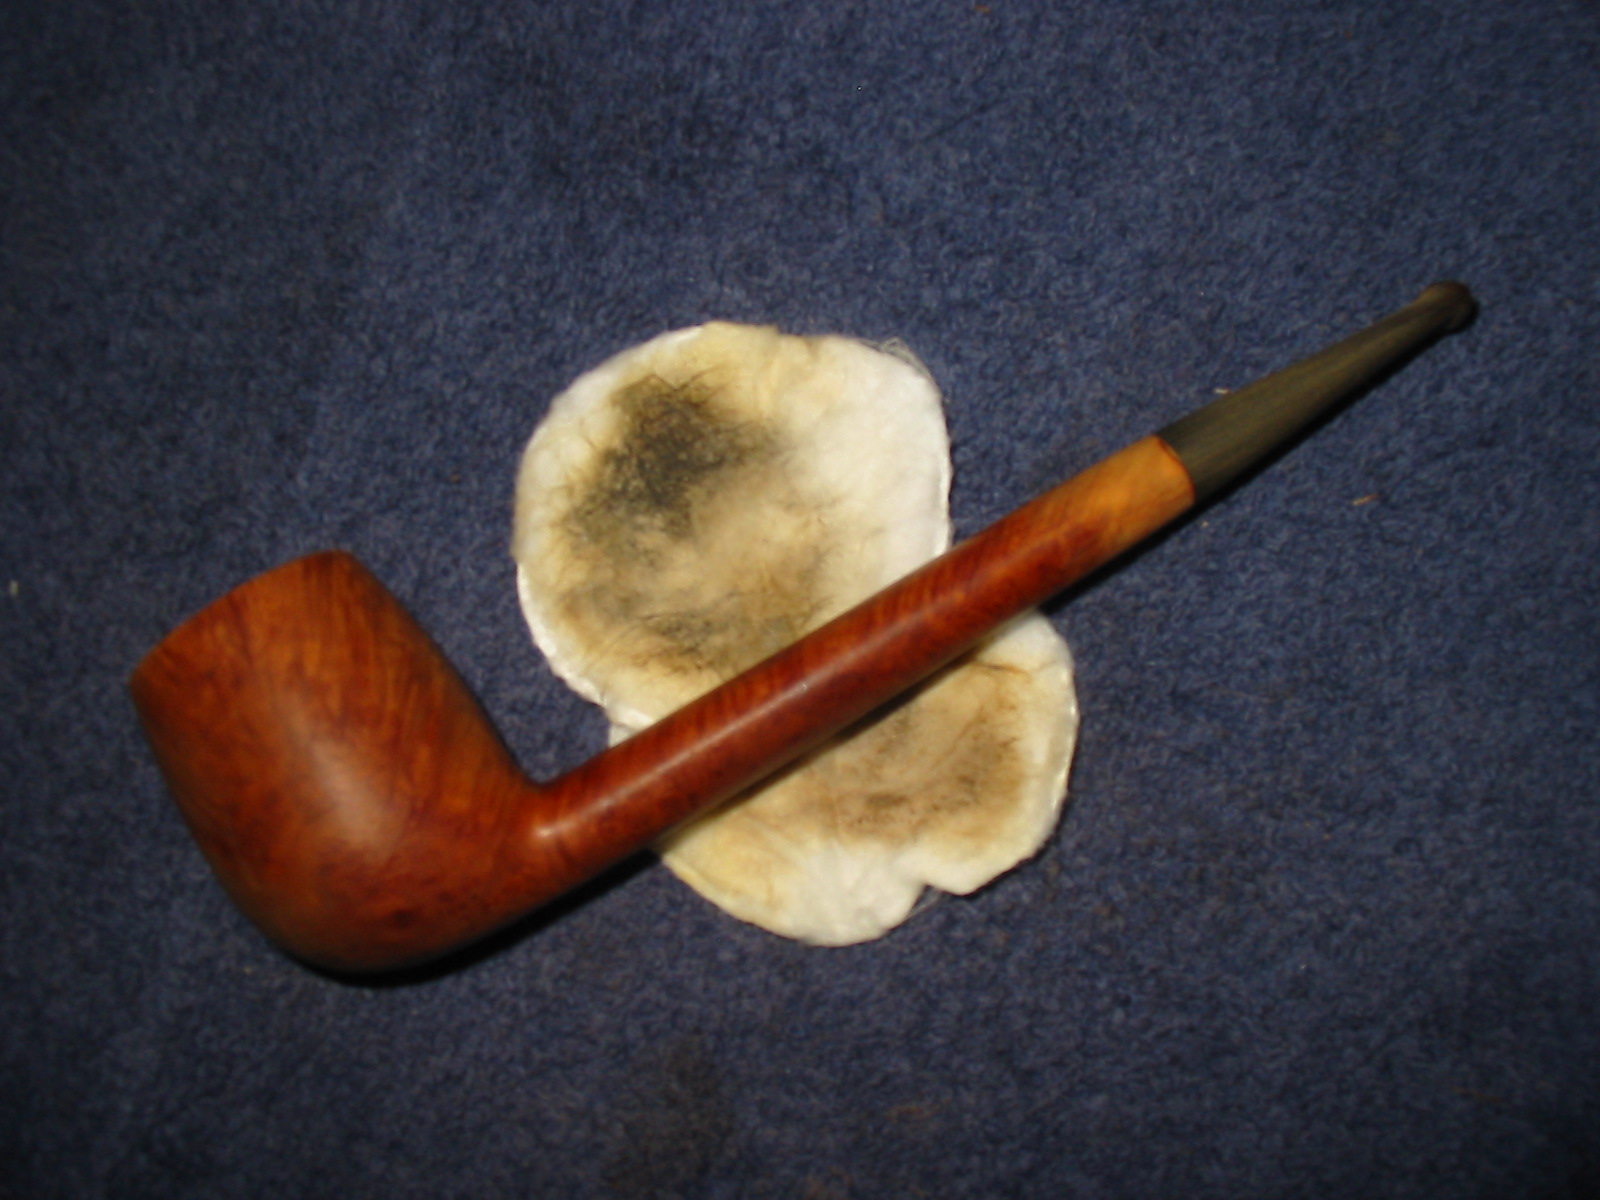
I rubbed the bowl down with a light coat of olive oil and the stem down with Obsidian Oil. Once it had been absorbed in both places I took the pipe to the buffer and buffed it with White Diamond on the wheel. I gave bowl and stem multiple coats of carnauba wax and then buffed the pipe with a clean flannel buff to give it a finish shine. The finished pipe is shown in the photos below. The fit of the stem matches the lines of the pipe and the oiled finish gives the pipe a look that is fresh and new. It is ready for its new maiden voyage.
IMG_5223

IMG_5224

IMG_5225

IMG_5226

ADDENDUM – I am copying this from the responses below so that it gets more readership.

Here is the info from the link Jacek supplied. Very helpful additional information. Thanks Jacek.
As many realize, Comoy is one of the oldest London Pipemakers with production started in France in 1825. Francois Comoy started making smoking pipes with his brothers in St. Claude, France in 1825. His son, Louis, took over the company and in 1848 helped guide it into the era of power-driven machines beginning what Comoy called a “Century of Progress.” His son, Henri, followed in the footsteps of his father and grandfather and moved Comoy’s to Clerkenwell in the City of London in 1879, and thus began “Comoy’s of London.” And his son, Louis, was the last family member to run the company.

During its’ history, Comoy’s has had three distinct sets of nomenclature, though they became somewhat blended in later years. The earliest Comoy Nomenclature either had no ”Comoy” stamping or a scripted, signature-like (forward leaning) “Comoy’s” beneath which were featured names instead of shape numbers. Few of those names (like the “Leman”, “Naval”, “Adelaide” and so on) are recognized even by the most ardent Comoy collectors. Then after World War I when Comoy began introducing what is sometimes called their “Old Nomenclature” (featuring the “Prima” as “Top-of-the-Line” with other lines like the “Old Bruyere,” “Grand Slam,” “Lions Head,” “LUMBERMAN,” “LUMBERMAN SPECIAL,” and so forth) an ARCHED “COMOY’S” stamping was used. In the 1930s the Prima gave way to the “DE LUXE” as the “Top-of-the-Line” Comoy. Then, just before World War II newer nomenclature started to appear (like “Blue Riband,” “Specimen Straight Grain,” and so on) and the “DE LUXE” was replaced by the “Royal Comoy”. That “New Nomenclature” expanded dramatically after the War and blended with the modern nomenclature of today.

The use of the ARCHED “COMOY’S” ended with World War II and was replaced after the War with a straight line “Comoy’s” (along with the now famous Country of Origin stamping of a circular “Made in London” over a straight line “England”).

Prior to World War II with manufacturing facilities in both France and England, Comoy had pipes made in both locations. Most were easily identifiable by their Country of Origin stamping. There were several versions of Comoy’s “LUMBERMAN” made in France and/or England. (They might have been the same Pipe but with different nomenclature.) “THE LUMBERMAN,” and “THE LUMBERMAN SPECIAL” were made in both factories. But NONE had the ARCHED “COMOY’S” stamping!

After World War II, Comoy reintroduced the “DE LUXE,” discontinued the ARCHED “COMOY’S” and continued various versions of the “LUMBERMAN”! Perhaps Comoy’s” best” graded “LUMBERMAN” was stamped “LUMBERMAN DE LUXE” – – – but it had no “Comoy” stamping. ”LUMBERMAN” was always stamped over “DE LUXE”!!!

Now look at the stamping on this Comoy Canadian – – – the ARCHED “COMOY’S” is stamped OVER “DE LUXE” (just as it would have been on a “Top-of-the-Line” Comoy’s De Luxe” in the early 1930s! In addition, that stamping is OVER “LUMBERMAN”!!! This Canadian is the only one I have ever seen with such stamping(s)!!!

Comoy offered truly elegant Canadians that were always perfectly shaped, light weight and fitted with “wafer thin” mouthpieces that are easy to hold in the mouth. Of course, they came in different lengths and finishes.

Normally, Comoy offered two Canadian sizes designated by Shape Numbers 296 and 309. The difference in the length of the Canadians. The “309” Shape was Comoy’s LONGEST CANADIAN, and the “296” was shorter. However, EXTRA LONG Canadians were ”upgraded” with the additional stamping of “XL” (creating a “309 XL”) and the very longest were sometimes stamped “XXL”!!! Either upgrade was rare, and this exceptional Canadian is stamped “309 XL”!!!

So looking at the title of this description one would expect to see a long, sleek Canadian of special length. It is not! It is a mere 6 3/8” LONG which is barely longer than average for most pipe makers!

The grain is not exceptional nor is the size (although the Bowl is a large Dunhill Group 4/5 Size which is larger than most “average” Canadians). But the Pipe has a HAND RUSTICATED RING around the Rim as well as a small HAND RUSTICATED “ARROWHEAD” or “TRIANGLE” on the bottom of the Shank! Both are unusual for any Comoy and ensure that this Canadian is UNIQUE (if only because no two rustications are identical).

Combining these features, you are looking at an EXCEPTIONALLY RARE, UNIQUE COMOY “LUMBERMAN”!!!

We cannot be certain of a date for this Comoy. It is an ARCHED “COMOY’S” over “DE LUXE” which dates it from the early 1930s. It is also a “LUMBERMAN” with a COMOY’s 3-PIECE “C” LOGO in the Mouthpiece dating it to the post-World War II timeframe; and it has the newer Country of Origin stamping which did not exist before World War II. So it would seem that this Comoy Lumberman/Canadian most likelydates from the late 1940’s which would seem to be the most reasonable time for such a Pipe to appear.

As the pictures reflect, this Canadian remains in PRISTINE CONDITION! The STRONG NOMENCLATURE confirms that! There are NO chips, dents or scratches to detract from the exterior finish. NO varnish, lacquer or shellac has been used to improve the appearance of the Pipe for the pictures (and temporarily fill scratches and toothmarks). And, NO coating has been applied to the inside of the Bowl to hide cracks, heat fissures or even burnouts. The Pipe shines as it did when it left the factory in London over 60 Years Ago!!!

This Canadian measures 6 3/8″ LONG with a Bowl 2″ TALL!!! The nomenclature is crisp and clear: “COMOY’S [arched and over] DE LUXE, LUMBERMAN, MADE IN LONDON [in a circle and over] ENGLAND, 309 XL”. The Famous Comoy’s 3-Piece White “C” Logo is inlaid in the Bit. So what you are viewing is an EXCEPTIONALLY RARE, and COLLECTIBLE COMOY CANADIAN!!! The fact that it is in PRISTINE CONDITION with particularly STRONG NOMENCLATURE makes it worthy of consideration by those desirous of accumulating a special Comoy collection!

Repairing and Restemming an Older Unsmoked Paneled Dublin


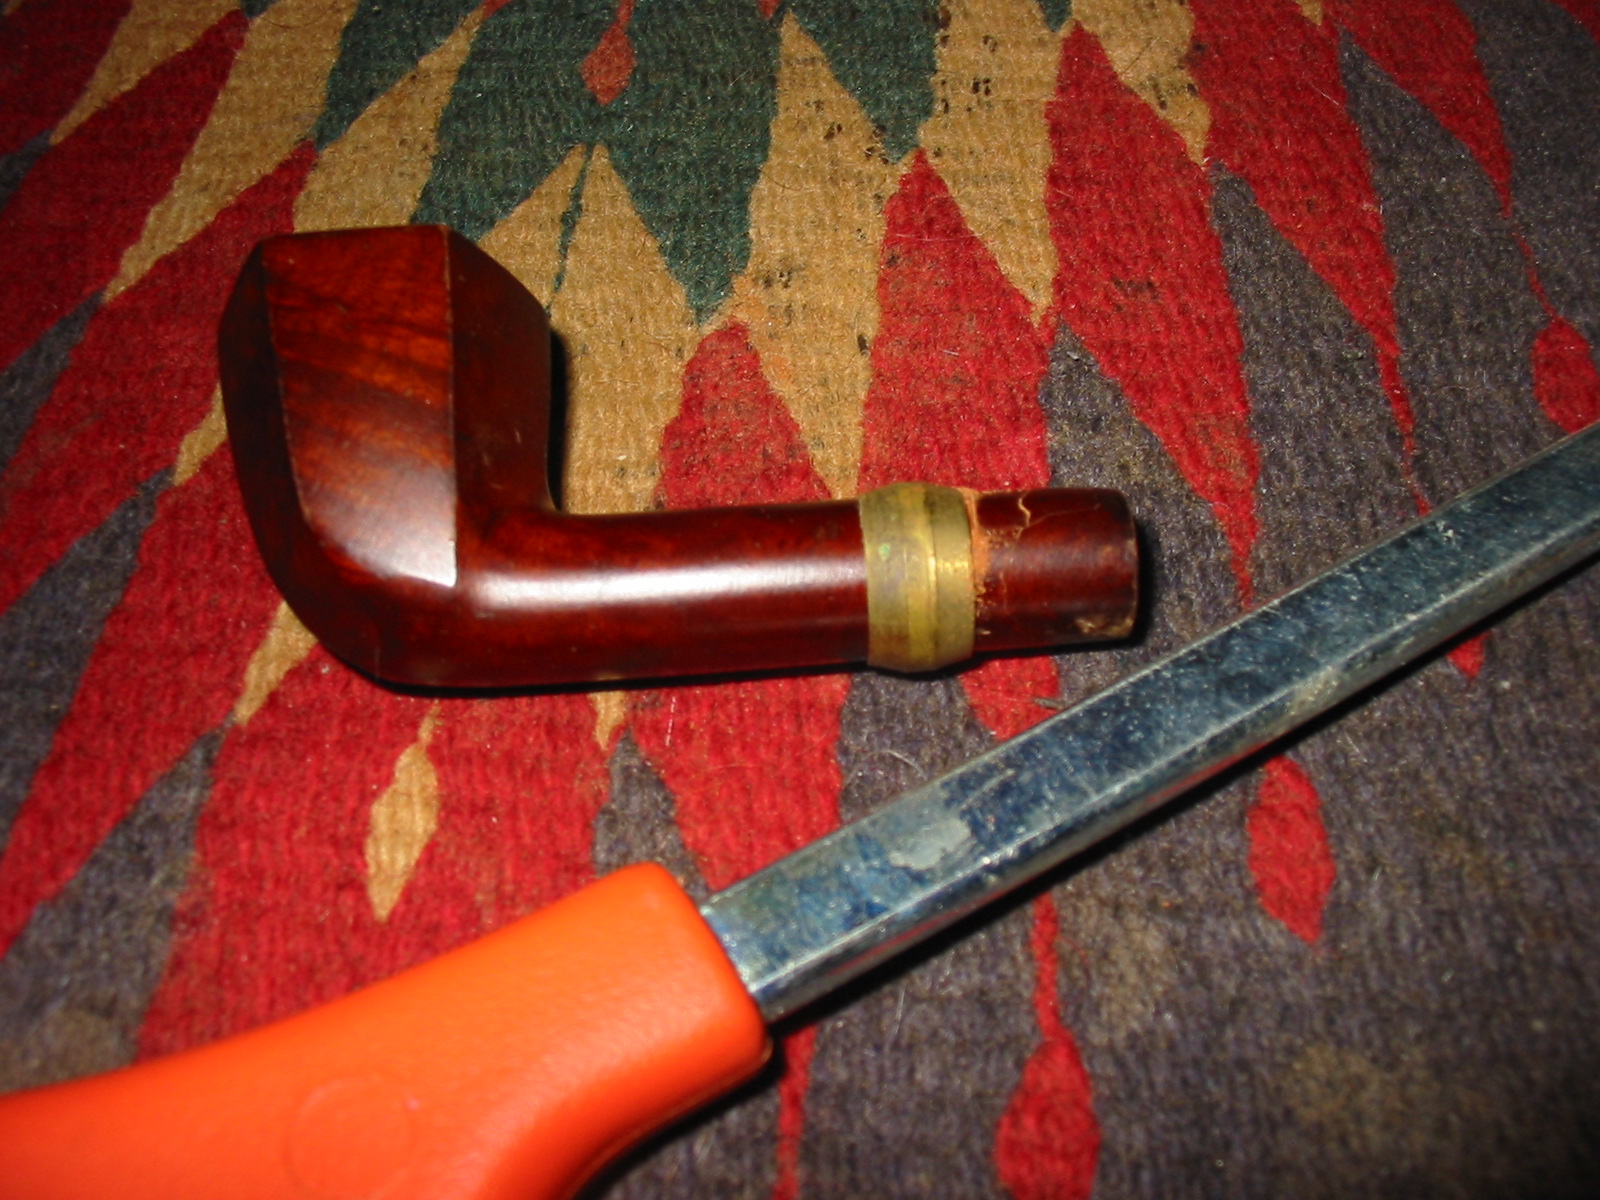
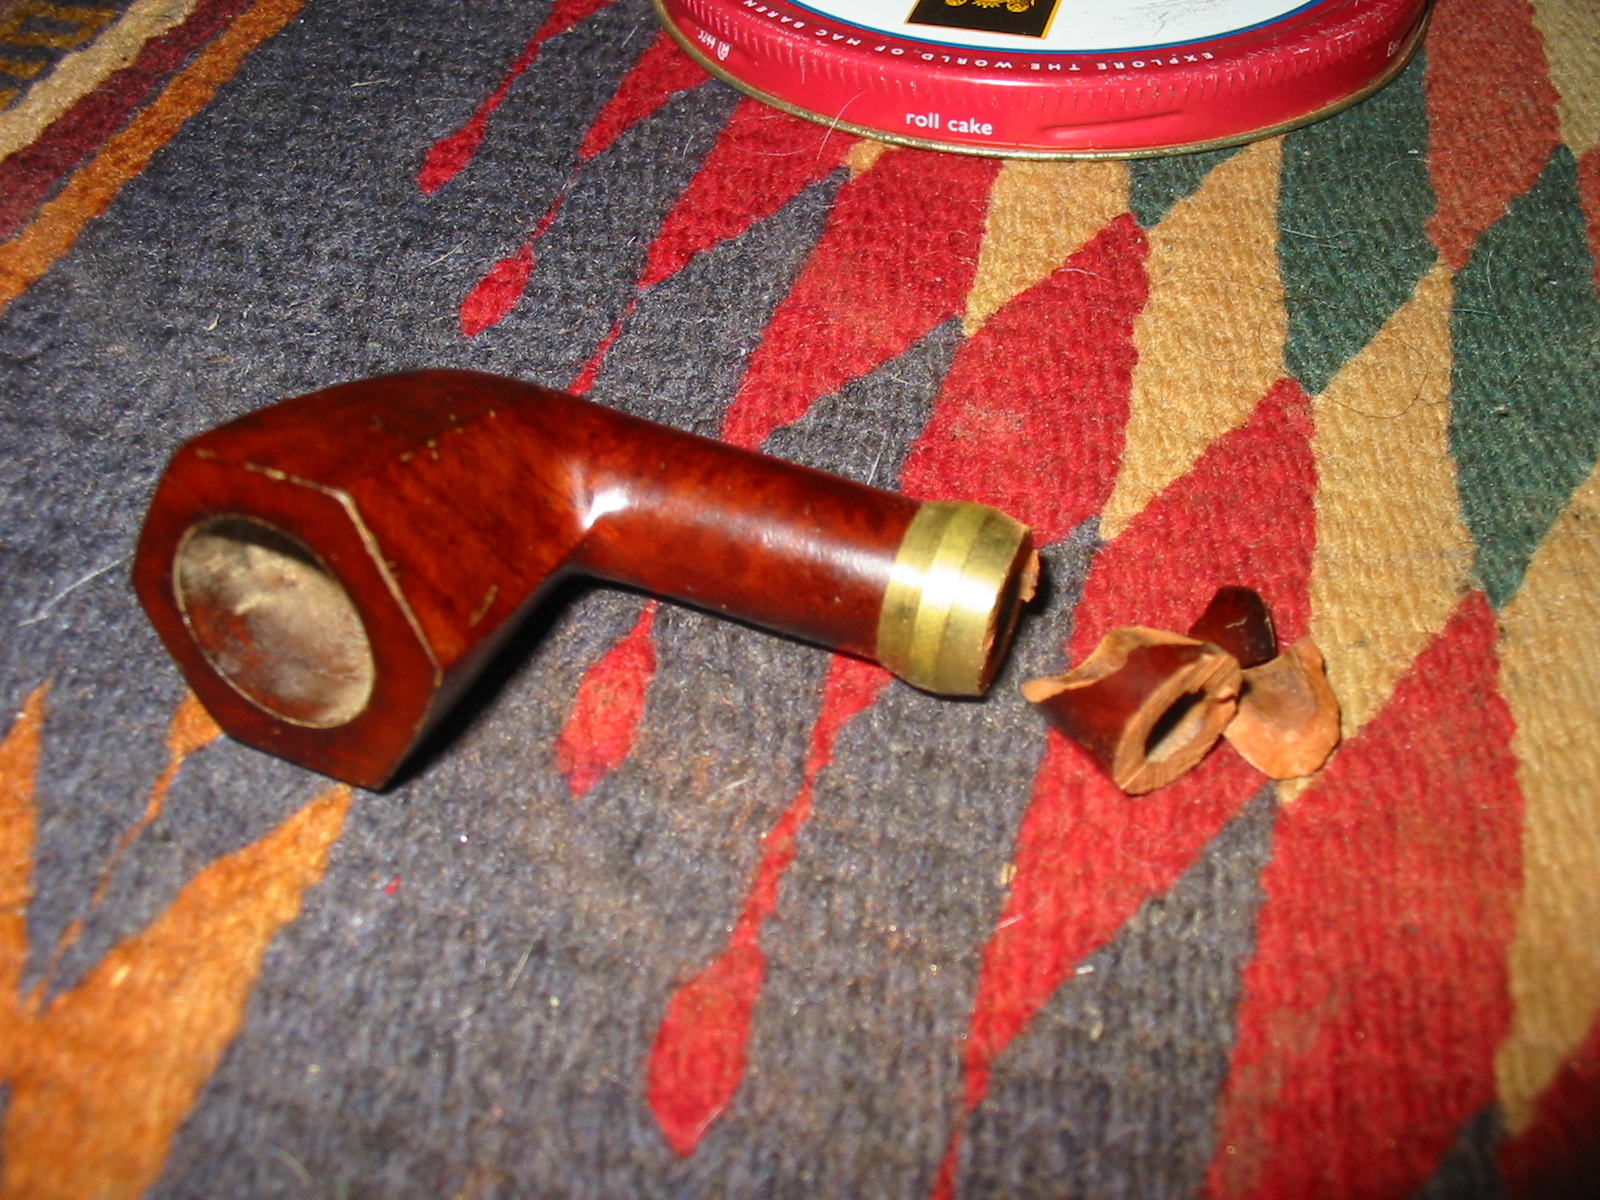
This paneled Dublin came to me from Mark Domingues in a package that he sent. I think he sent it for possible briar to be used in the repair of the Peterson Irish Whiskey 999 that I worked on. The shank was quite badly cracked but otherwise this small pipe had not been smoked. The shank and the bowl were absolutely clean and unsmoked! All that sat in the bottom of the bowl was dust. The pipe is quite small as can be seen from my finger and thumb in the photo below. The finish was quite good, just a few small places on the edges of the panels that had rub spots on them. The shank was long so I looked at my options in repairing and restemming it. It was an older unsmoked pipe so it would have been a shame to pitch it in the bin. I could either band it or shorten the shank and then fit the stem.
IMG_5146

The next two photos, though slightly out of focus show the crack in the shank. I opened it up with a dental pick to show the extent of the damage.
IMG_5147

IMG_5148

After looking at the extent of the damage and weighing my options I chose to shorten the length of the shank. It had a deep set mortise so that would not be a problem. If I needed to I could drill it more deeply but time would tell. I decided to use a brass fitting on the shank to give me a straight line to saw. I have seen too many shank shortenings that have come out crooked so I figured a guide would keep the line straight. I used a hack saw with a fine blade to saw off the broken portion.
IMG_5149

IMG_5150

IMG_5151

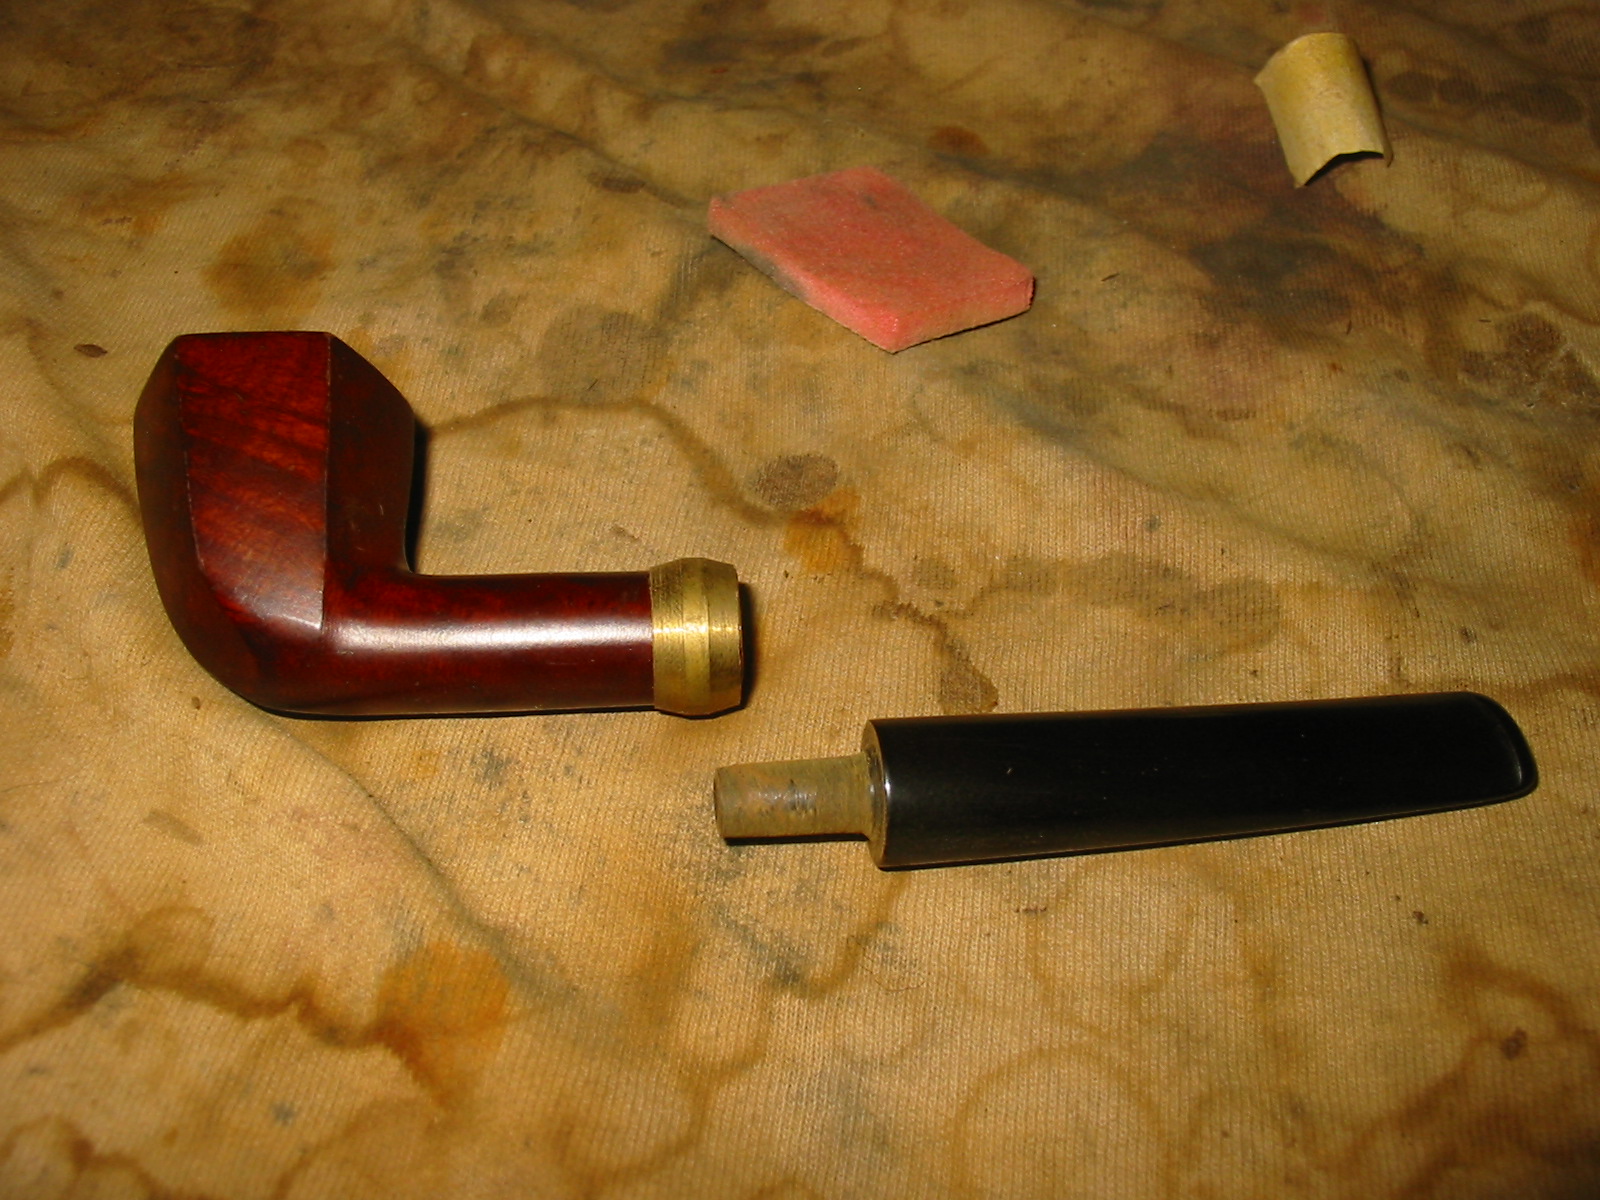
I used a Dremel to smooth out the end of the shank and remove the small pieces that stayed behind when the cut went through. I left the brass band in place while I sanded the end of the shank. I used a knife with a sharp blade to bevel the inner edge of the end of the mortise to receive the tenon and stem more closely. I liked the look of the brass pressure fitting so I decided to leave it as a band. I glued it in place with wood glue. I used a Dremel to trim off some of the excess on the tenon of the stem from my can and then followed up with a folded piece of 220 grit sandpaper until the tenon fit snugly in the shank.
IMG_5152

IMG_5153

IMG_5154

IMG_5155

IMG_5156

I sanded the stem with 220 grit sandpaper followed by a medium grit and fine grit sanding sponge to remove the scratches and shape the stem at the end next to the band. I also used the Dremel to remove the ridges on the brass pressure fitting and give it a more rounded appearance. I sanded the band with the sandpaper and sanding sponges as well.
IMG_5157

IMG_5158

IMG_5159

IMG_5160

I finished sanding the stem with the micromesh sanding pads to polish it and give it a deep sheen. I wet sanded with 1500-2400 grit pads and dry sanded with 3200-12,000 grit pads. I rubbed the stem down with Obsidian Oil and when it was dry buffed it with White Diamond.
IMG_5161

IMG_5162

IMG_5163

To touch up the rubbed areas on the ridges of the panels I stained the entire bowl with a dark brown aniline stain. I applied with cotton swabs and then flamed it. I hand rubbed the bowl with a soft cotton cloth.
IMG_5164

IMG_5165

IMG_5166

IMG_5167

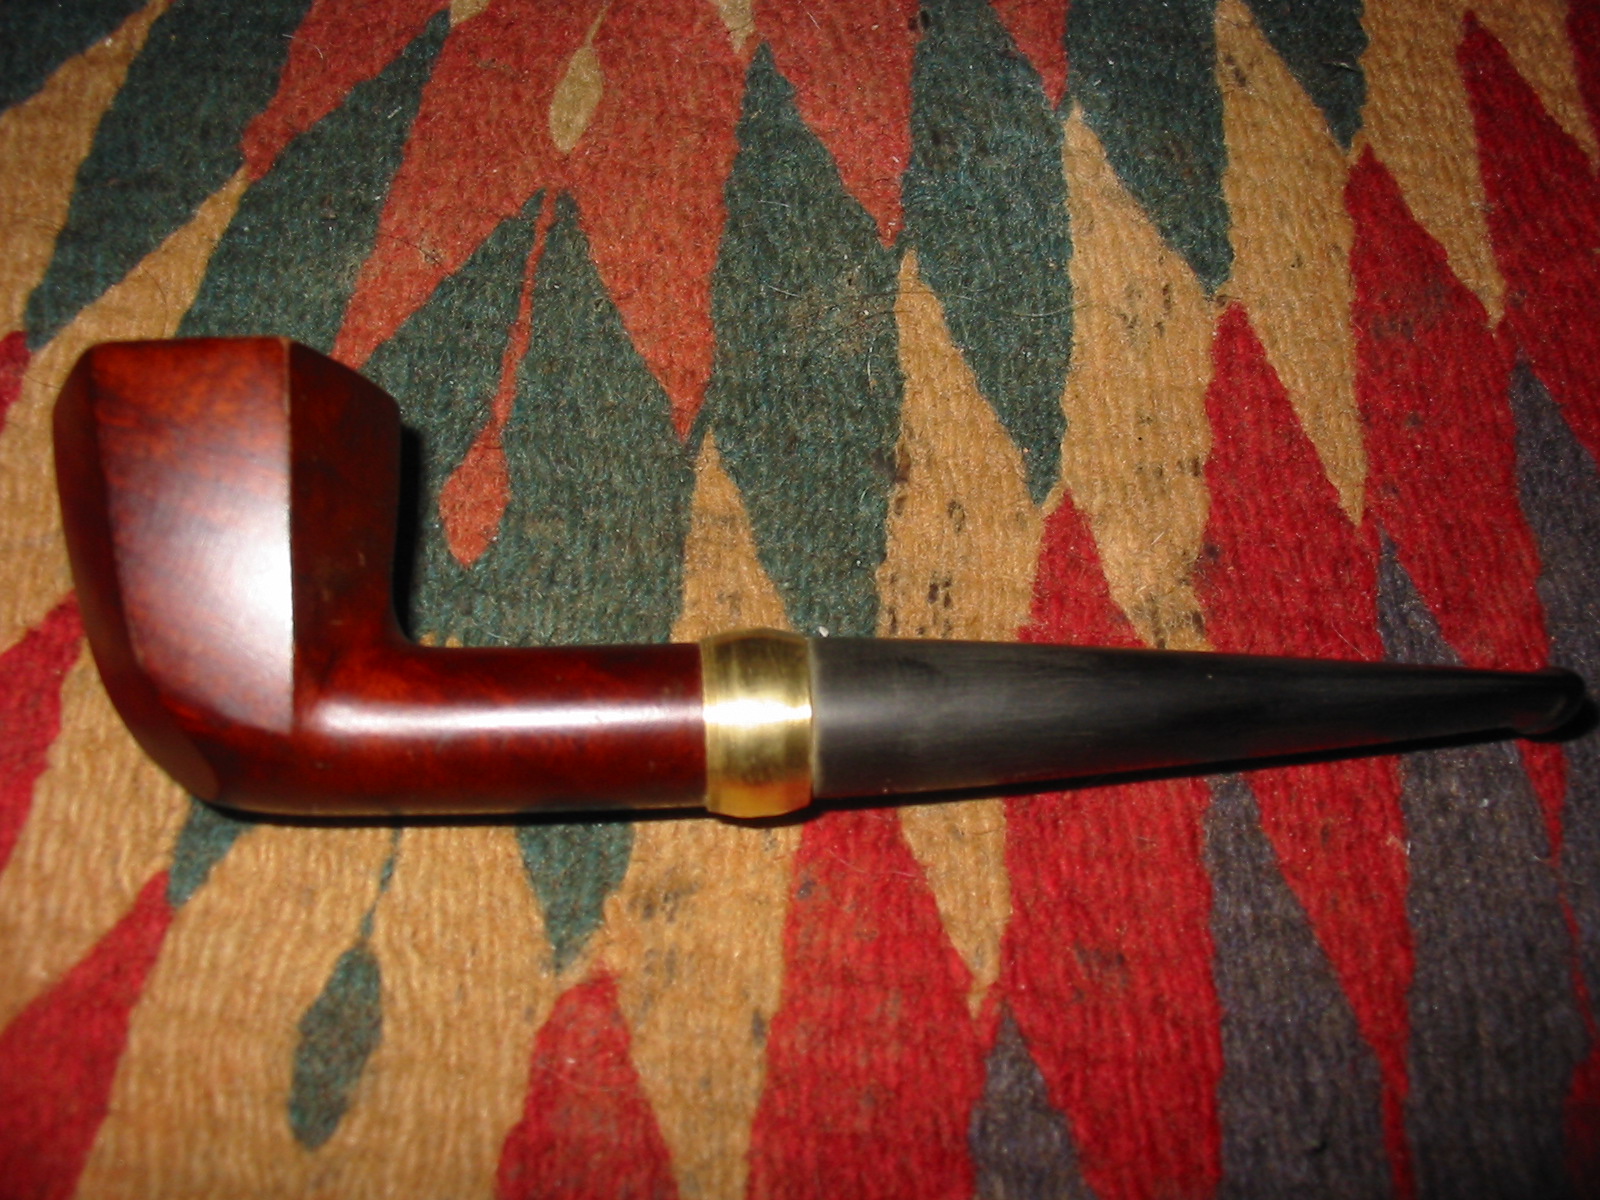
I took the pipe to the buffer and buffed the stem and bowl with White Diamond. I avoided the band at this point as it leaves behind a black residue when buffed. I removed the stem and buffed the band with Red Tripoli and then lightly buffed it with White Diamond. I gave the entire pipe multiple coats of carnauba wax and buffed to a shine with a clean flannel buff. The finished pipe is shown below. It is ready for that long awaited inaugural bowl of tobacco. I am not sure what I will use to christen this new bowl but once the head cold I have leaves I have several in mind.
IMG_5168

IMG_5169

IMG_5170

IMG_5171

A Kaywoodie Reworked, with a Little Mystery!


Blog by Greg Wolford

This year has not been a banner one, so far, for me personally. The harsh weather, an accident, and a failure of one of my orthotics has had me mostly sidelined since the first of the year. My workshop is downstairs, in the garage, and it isn’t exactly the warmest, most comfortable place to work in the temperatures we’ve had, not to mention the difficulty of actually getting myself up and down the stairs … but I digress … so I’ve been able to do very little work on either of my hobbies so far in 2014.

Last week my wife had a little pity on me and allowed me to bring a few necessary tools and supplies up to the kitchen so I could work on a few old pipes; leather work is out of the question until the temperature and my body cooperate. I think she knew I was getting a bit restless, not being able to get into any of my projects. When I said she “allowed” it, she corrected me with “I didn’t say you could do that” but she didn’t send it all back down to the shop either, so I take that as permission I told her! LOL

Now, I must admit that my photographs, when I remember to take them (that’s a preview hint that I haven’t remembered as often as I should have), aren’t as good as I would like but I don’t have as good a set-up as I normally do. So, I ask you to bear with me on the quality and quantity of them.

Sometime back I acquired an older Kaywoodie model 33. It is an apple shape with a rounded bowl-top. The pipe was in pretty good condition other than the front edge was damaged from being knocked-out and the bottom of the stem had been bitten off. because of the stem damage I put off working on this pipe for months; I wanted to save the stem but didn’t have the black super glue yet, which I planned on using, to do the job. Here are a couple of photos (all I could find) of it before I started working on it.

Kaywoodie Apple (10) Kaywoodie Apple (11) Kaywoodie Apple (13)

Unfortunately all I can find are some photos that I used it as a “prop” in and one of the underside of the stem. You can see the pipe itself wasn’t too bad but the stem was another story.

Initially I tried to patch the chip with black super glue; I tried this three times: the first attempt the pipe cleaner I was using as a plug absorbed all the glue and the other two times, using different materials for the plug, the patch failed. It turned out that the chip was just too large for me to patch well so I decided to cut it off and file a new button since there seemed to be plenty of room to work with on this stem.

I used a hacksaw on a small frame to remove just behind the bite through. When I looked at the air hole I noticed two things, neither good: first I had closed off the airway accidentally with the glue and second the air hole wasn’t drilled center. I fixed the glue-plug problem quickly by drilling out the hardened glue with a pin vice and then picking out the small fragments that were left. One problem down – now onto forming a new button and slot.

I used various needle files to shape the new button, being timid about not getting it too thin. I recently bought a new set of Kobalt needle files, a big upgrade from my old ones, and found that this (only my second or third time making a whole new button and transition) went much smoother and faster than in the past. I also used the files and a bit of sandpaper to open and funnel the slot, again I was a bit timid in not going too thin; I have done that once and suffered a cracked bit afterward. This is a fair representation of what I ended up with:

Kaywoodie Apple (8)

Once I had the stem to my satisfaction I turned to the stummel.

I had at some time past already reamed the bowl lightly, it had very little cake, and cleaned the shank and stem. I now began by cleaning the stummel with acetone wetted cotton pads to remove the old finish and dirt. After the acetone I moved on to some alcohol wetted pads to lighten up the grime on the bowl top. When it was sufficiently clean I decided to use some 400 grit sandpaper to lightly smooth the edge damage. I didn’t know it at the time – because I failed to look first, a fault I have all too often – but the rim was supposed to be rounded. Luckily I liked the general look of the rounded top and thought it might be the way it was supposed to be so I wanted to keep it rather than topping the entire bowl. I personally like, in general, the less sharp lines on a bowl top so this was an easy choice – one that turned out to be a good one as well.

Once I had reduced the damage to the rim and front, keeping the shape as close to original/symmetrical as I could, I moved to micro mesh pads to sand and polish the bowl top. After getting through the first two grades I thought the entire pipe would look nice just polished with the micro mesh. At this point I reassembled the pipe and began to look for nomenclature to avoid during my polishing; this is when I discovered my “mystery”.

On the bottom of the stem, a origianl Kaywoodie, three-hole stinger with white clover logo, I saw something I had never seen before: there was stamping on the vulcanite “D-2”. This immediately intrigued me; I knew I would have to find out more about that … but lets’ wait a paragraph or two on that.

Kaywoodie Apple (9)

I polished the entire pipe with all of the micro mesh grits in order from 1500 – 12000, avoiding all of the stamping, including on the stem. I wet sanded the stem (only) through 4000, then polished the stem with plastic polish, before finishing the entire pipe through 12000 grit. I then applied Halcyon II wax to the entire pipe and hand buffed it. I was really pretty pleased with the results, considering I didn’t have access to my buffer and this was, more or less, my first experience with the Halcyon wax.

Kaywoodie Apple (2) Kaywoodie Apple (3) Kaywoodie Apple (5)Kaywoodie Apple (4)Kaywoodie Apple (6) Kaywoodie Apple (7) 

I missed some file marks on the stem, and the “bits” near the bit; I figure when I can properly buff the pipe I will get those taken care of, as well as put a better shine on it with some carnauba wax. But until then I am enjoying this old gal just as she is!

The stem still has oxidation near that stamping, which I began to research after I finished the work on the pipe. None of the other Kaywoodies I have, or have ever had, have any stamping on their stems like this one does. I scoured the ‘net and asked as many folks as I could think of to no avail … well, almost none. I am a member of the Kaywoodie Pipes Group on Facebook and one of the members there is Bill Fuerbach is as well. He saw my question that I posted about the stamping in that group and replied as follows:

Hey guys. I’ve seen this also on some older Kaywoodie stems. unfortunately at this time I don’t know what the significance is. :(:(

So unfortunately there is not yet an answer to what the stamping means or its significance is – and the mystery remains …  If by chance anyone what reads this knows the answer I would really appreciate it is you would leave a comment with the answers!

Edit

I received an email from Chris at PipePages about this question. He said in his personal opinion, and that it is only a guess, that it could be a factory replacement stem and the number was a style/guide for the repairman to know which stem to use. Although it is only a shot-in-the-dark type of guess, it seems like a plausible answer to me.

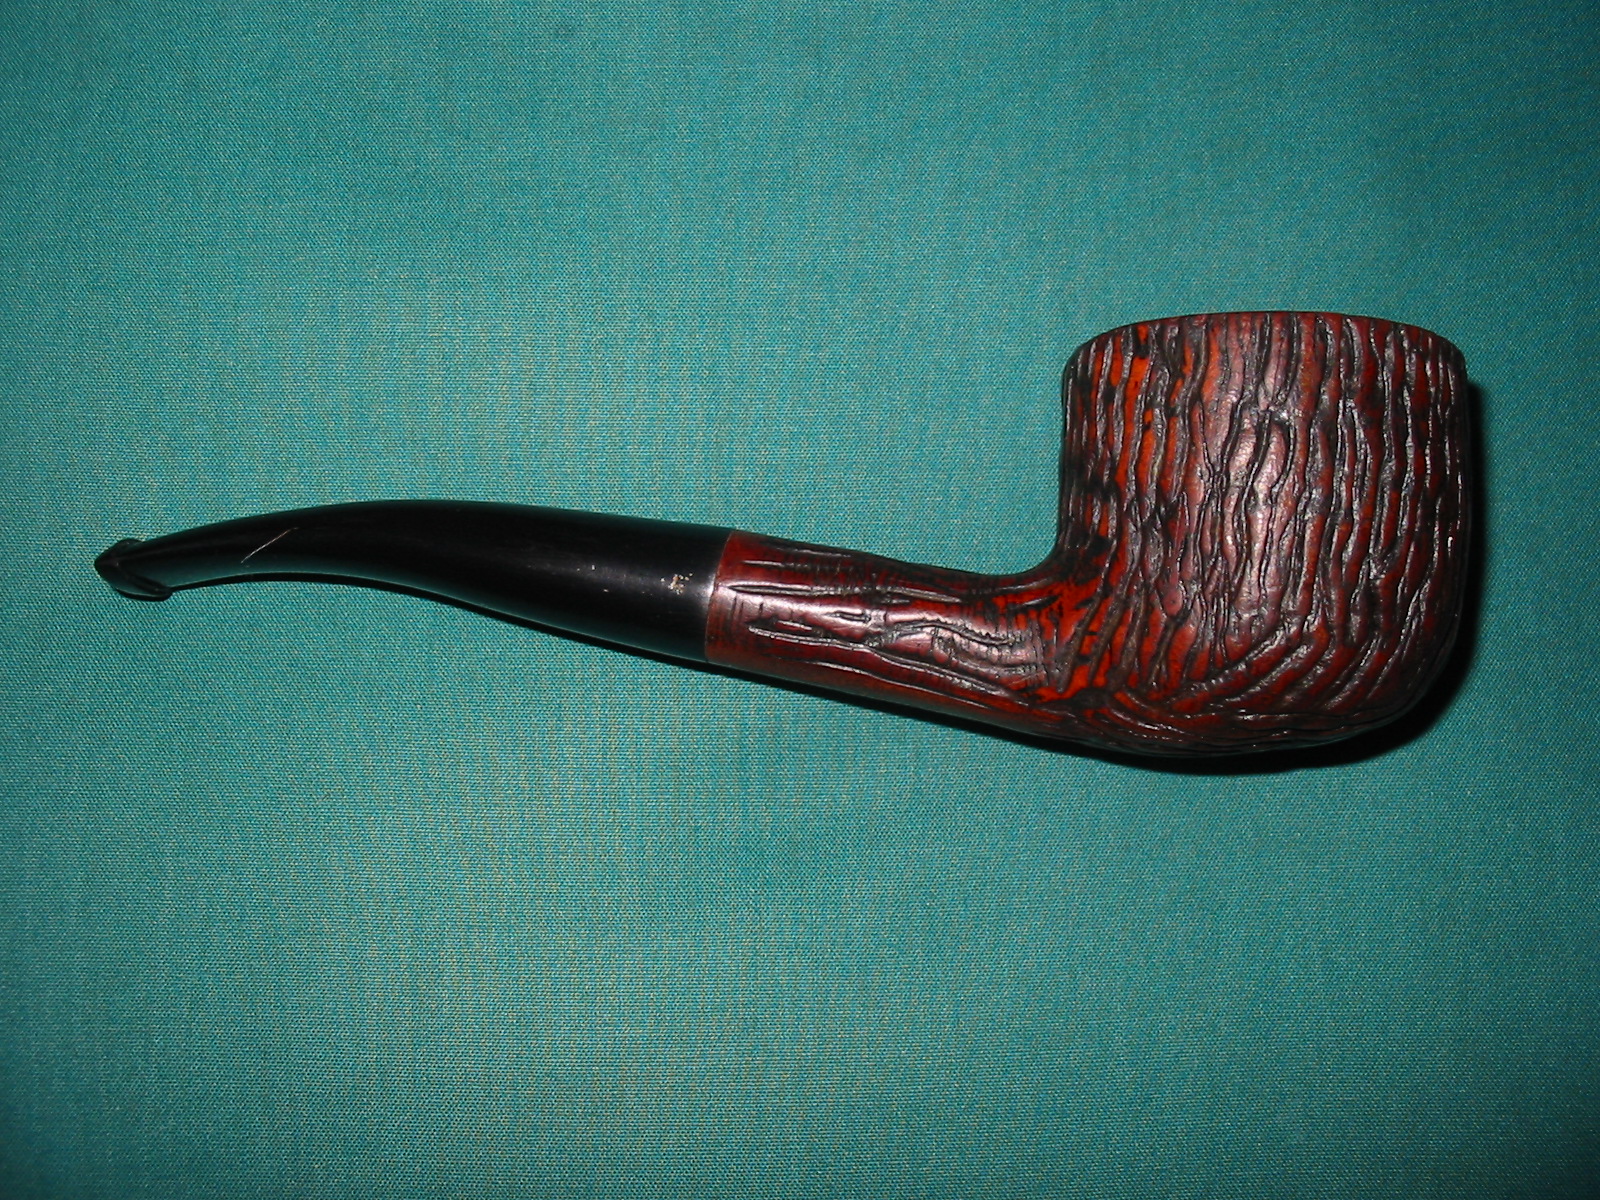
Repairing a Tinderbox Monza that Easily Could Have Been Firewood


Blog by Steve Laug

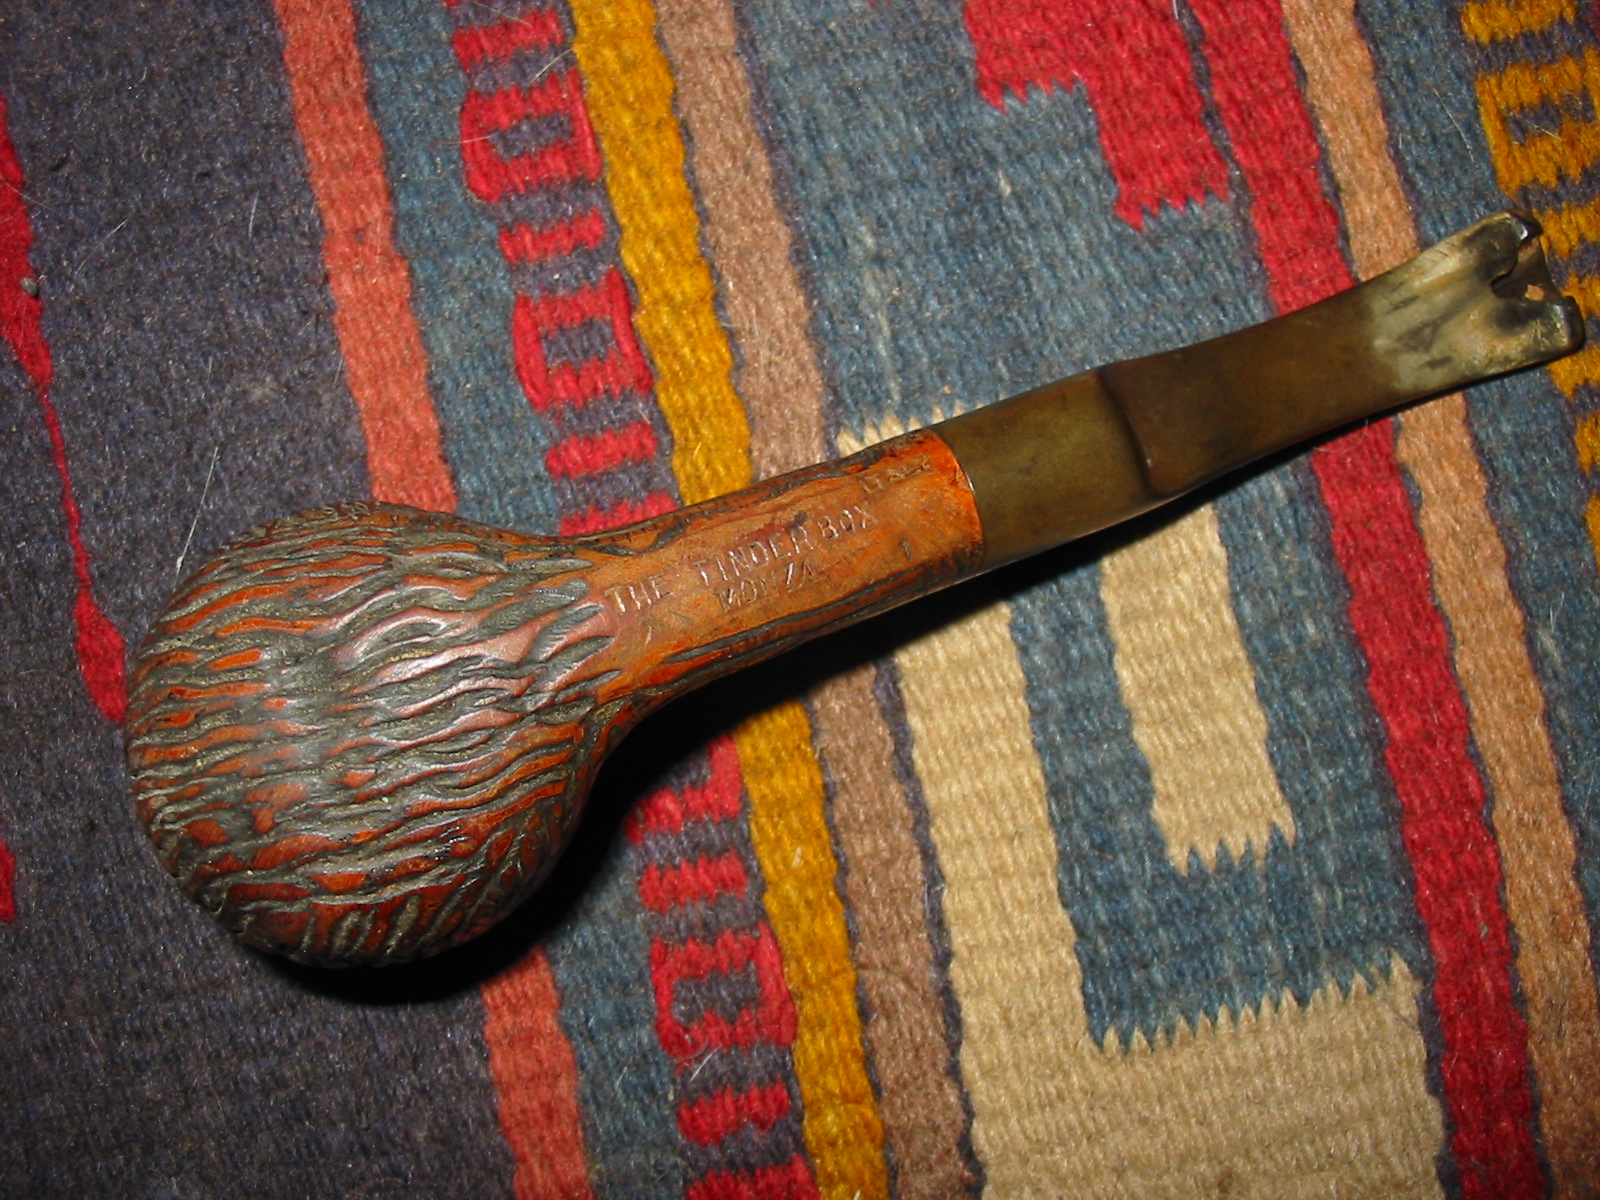
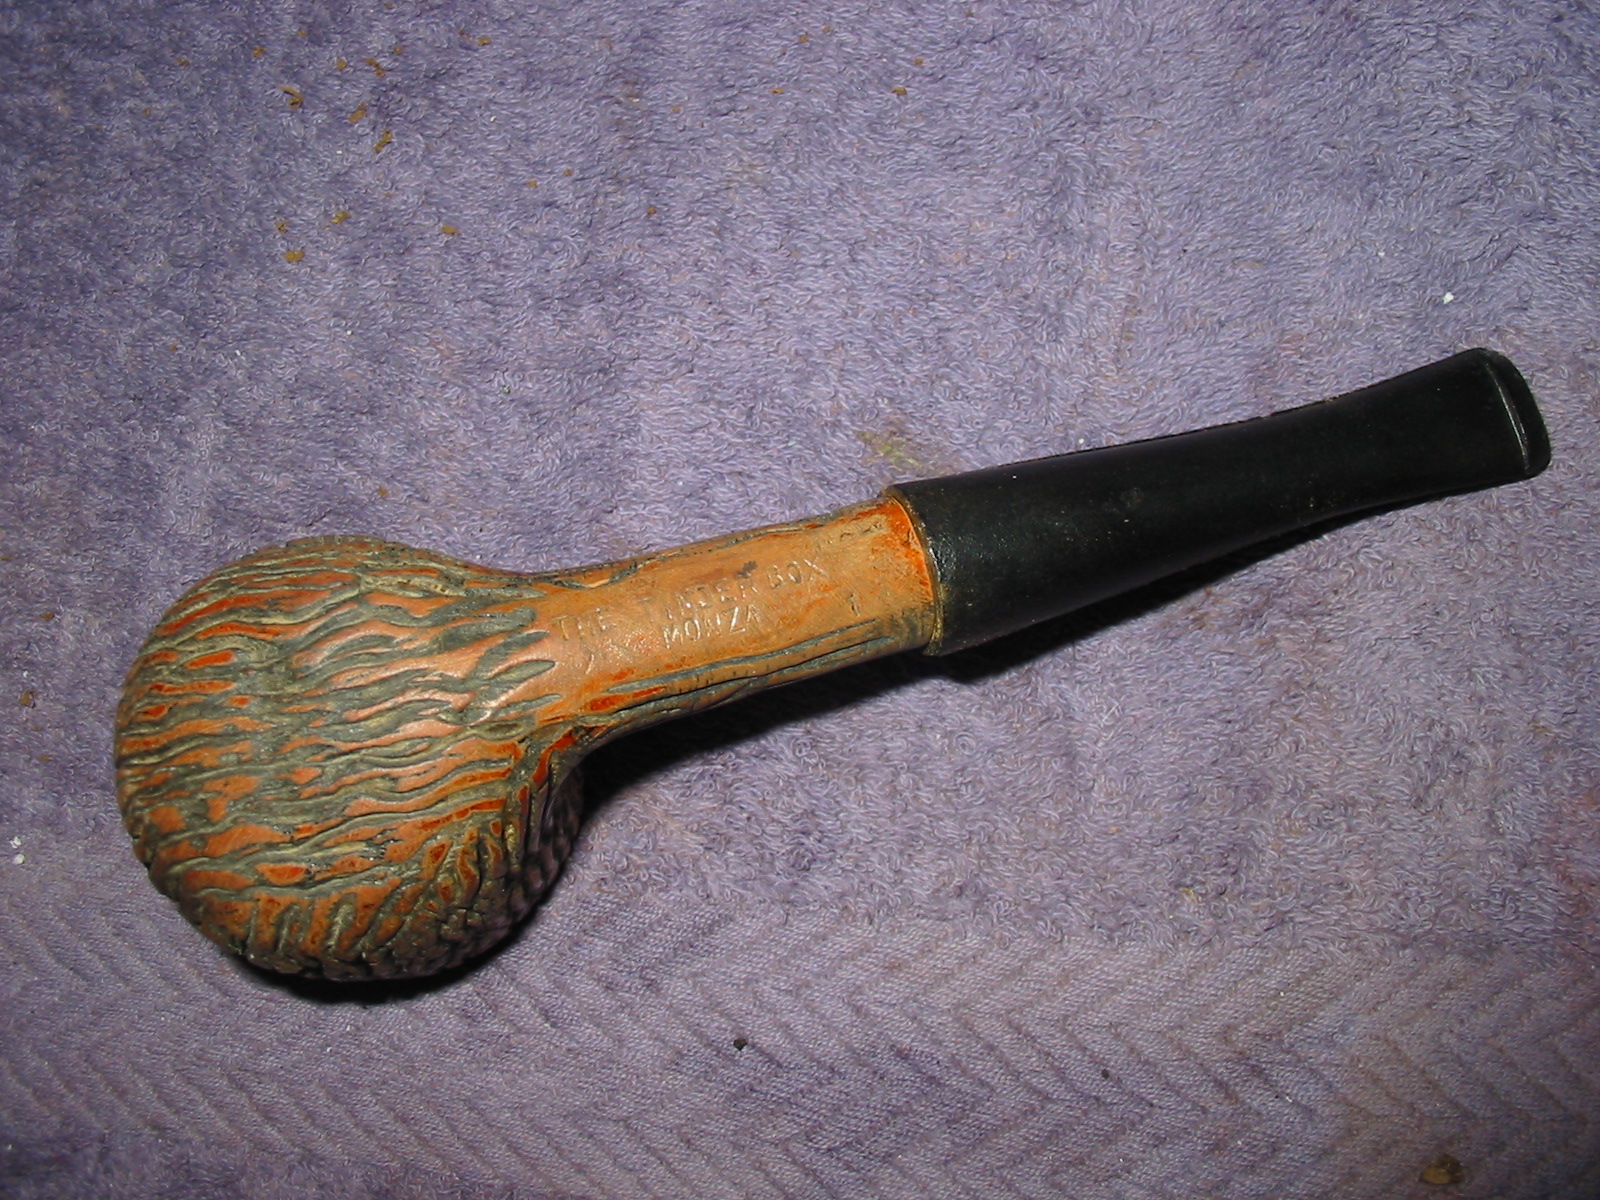
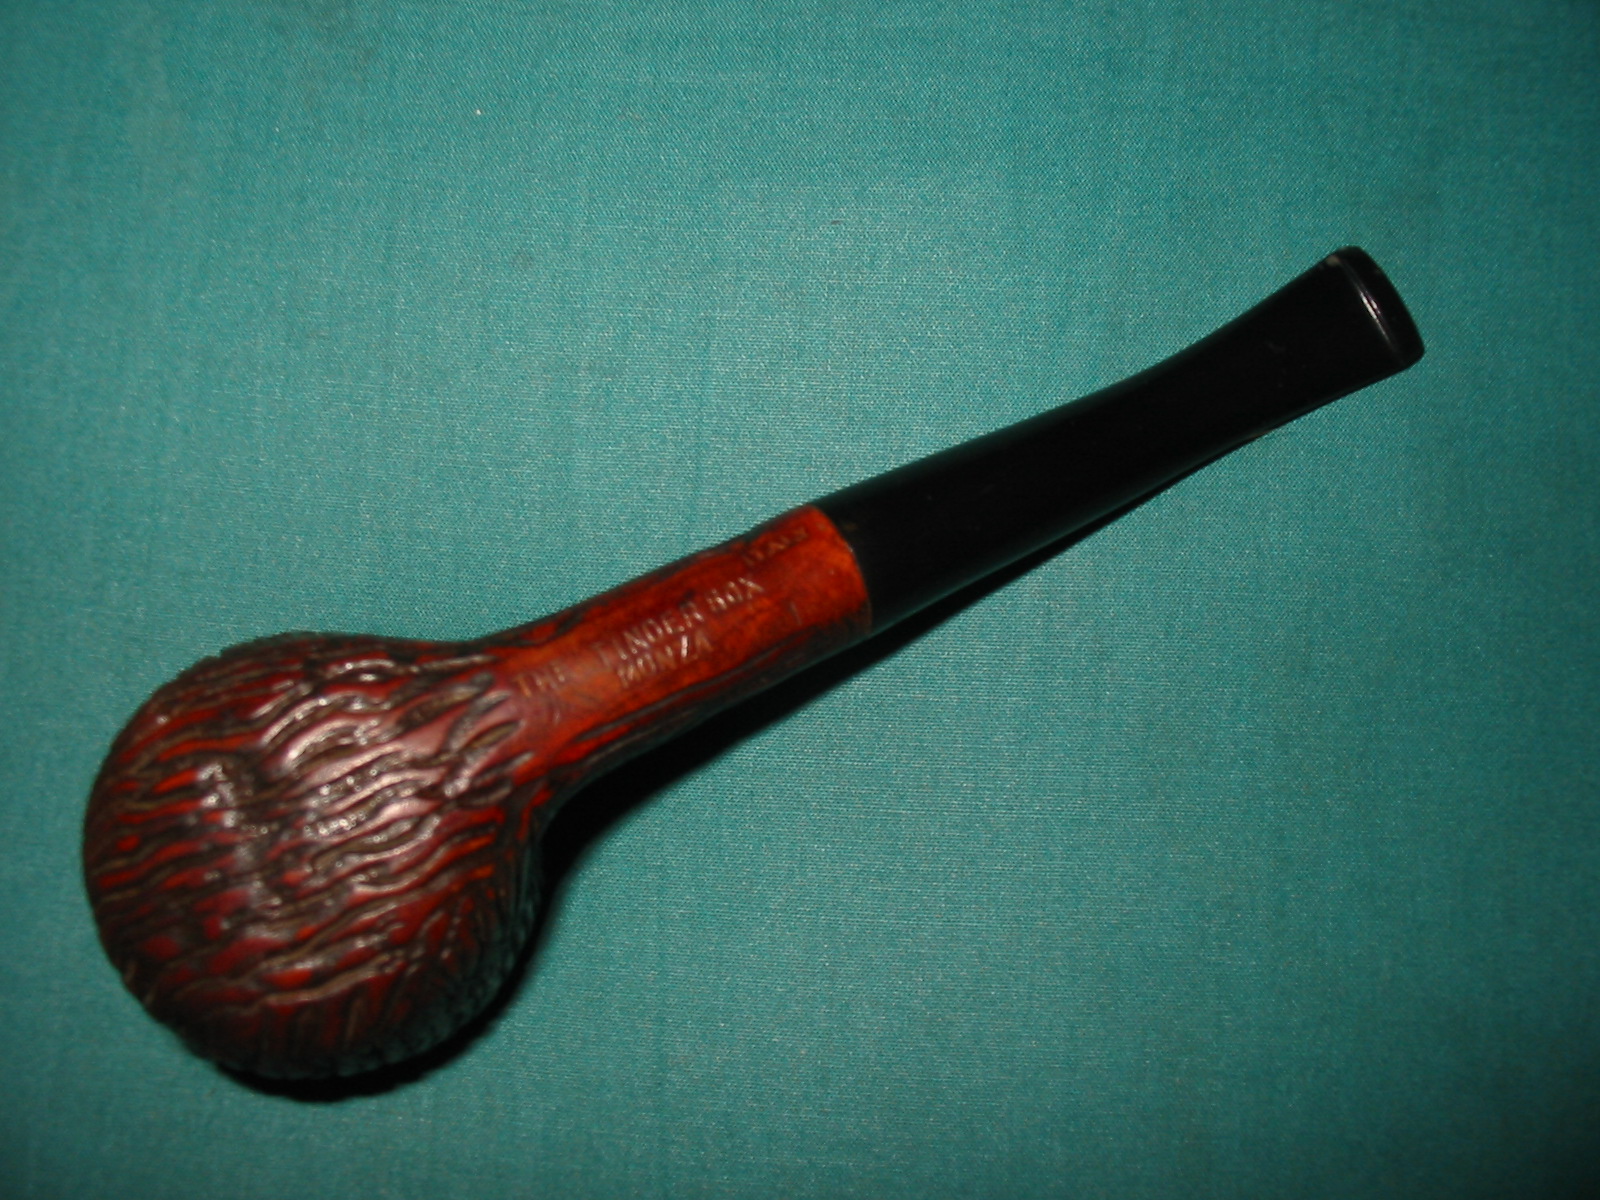
The pipe I repaired today was the one I wrote about earlier entitled When is a Pipe Not Worth Repairing https://rebornpipes.wordpress.com/2014/02/10/when-is-a-pipe-not-worth-repairing/ It was stamped Tinderbox Monza and according to a 1974 catalogue on Chris Keene’s site it originally sold for $15. It could be purchased in a matte finish smooth or a hand rusticated version. The shapes were varied and the sizes also varied. I have repaired one other pipe that had the same rustication but no stamping on it so I would imagine it also is a Monza. Monza pipes were made by Lorenzo for Tinderbox. They were a house line of Italian made affordable pipes during the 70’s.

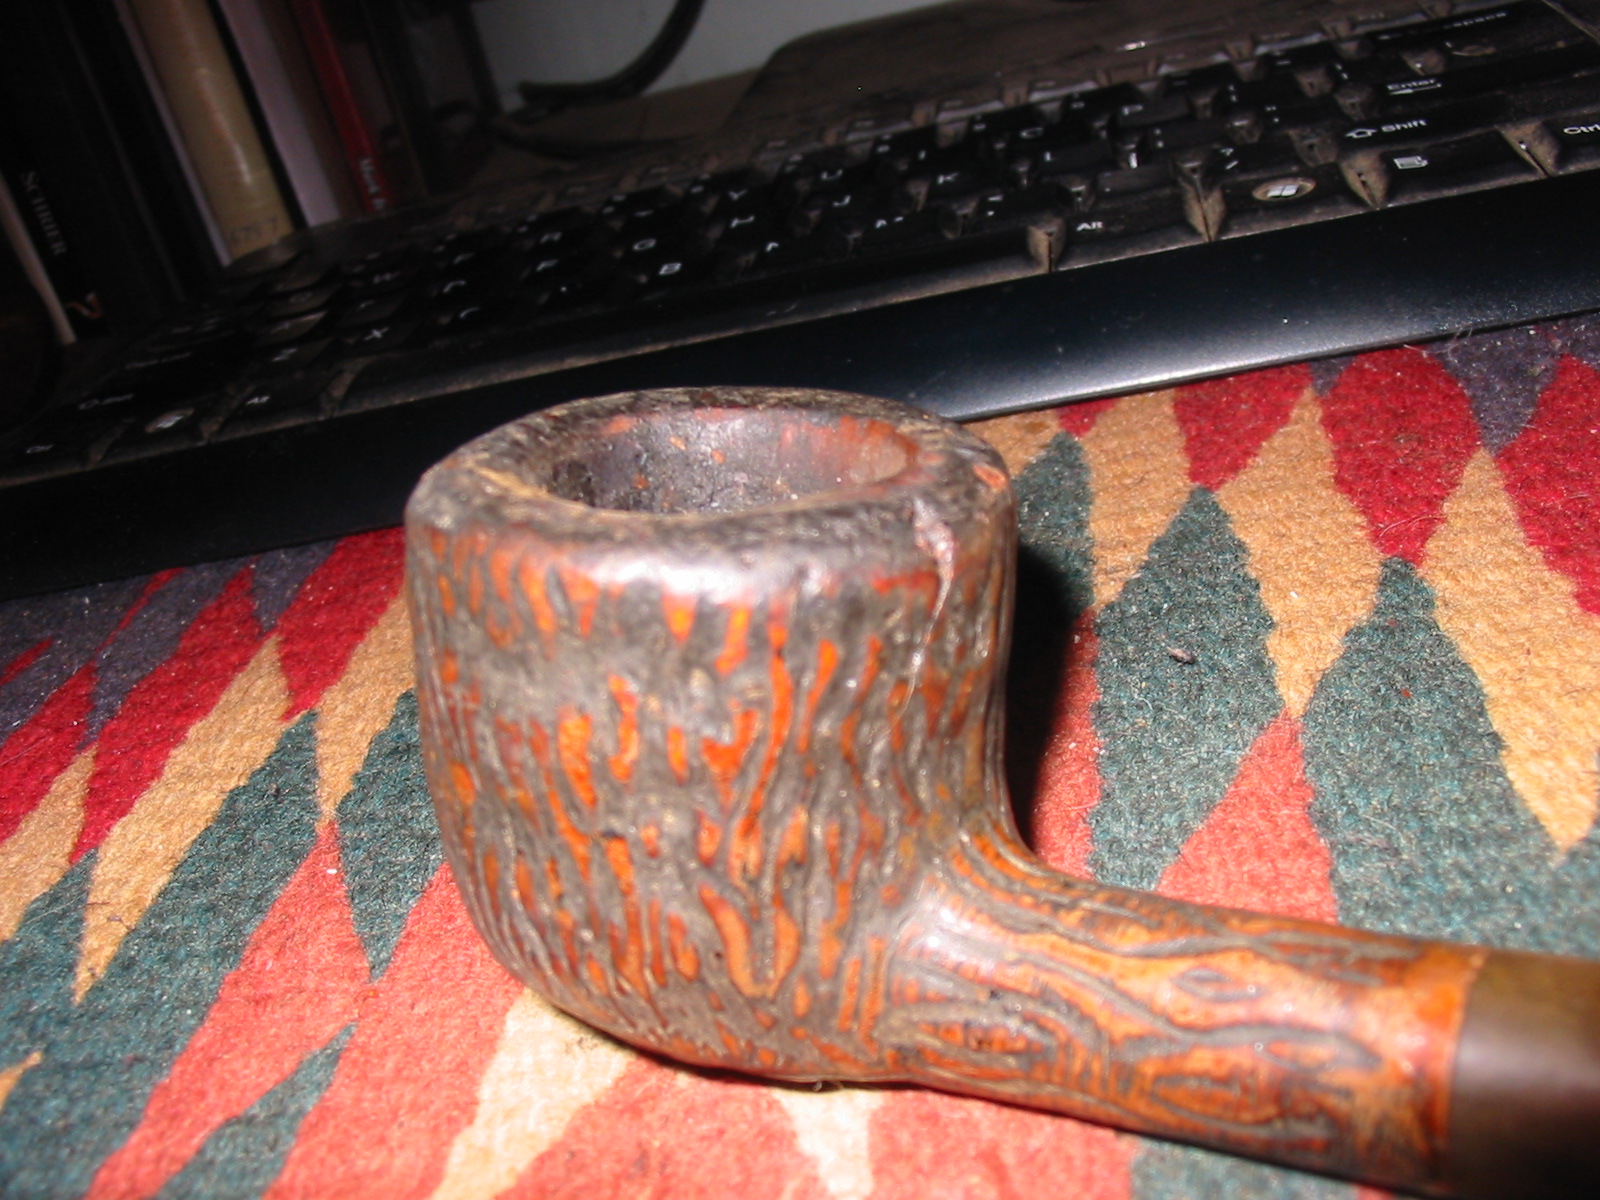
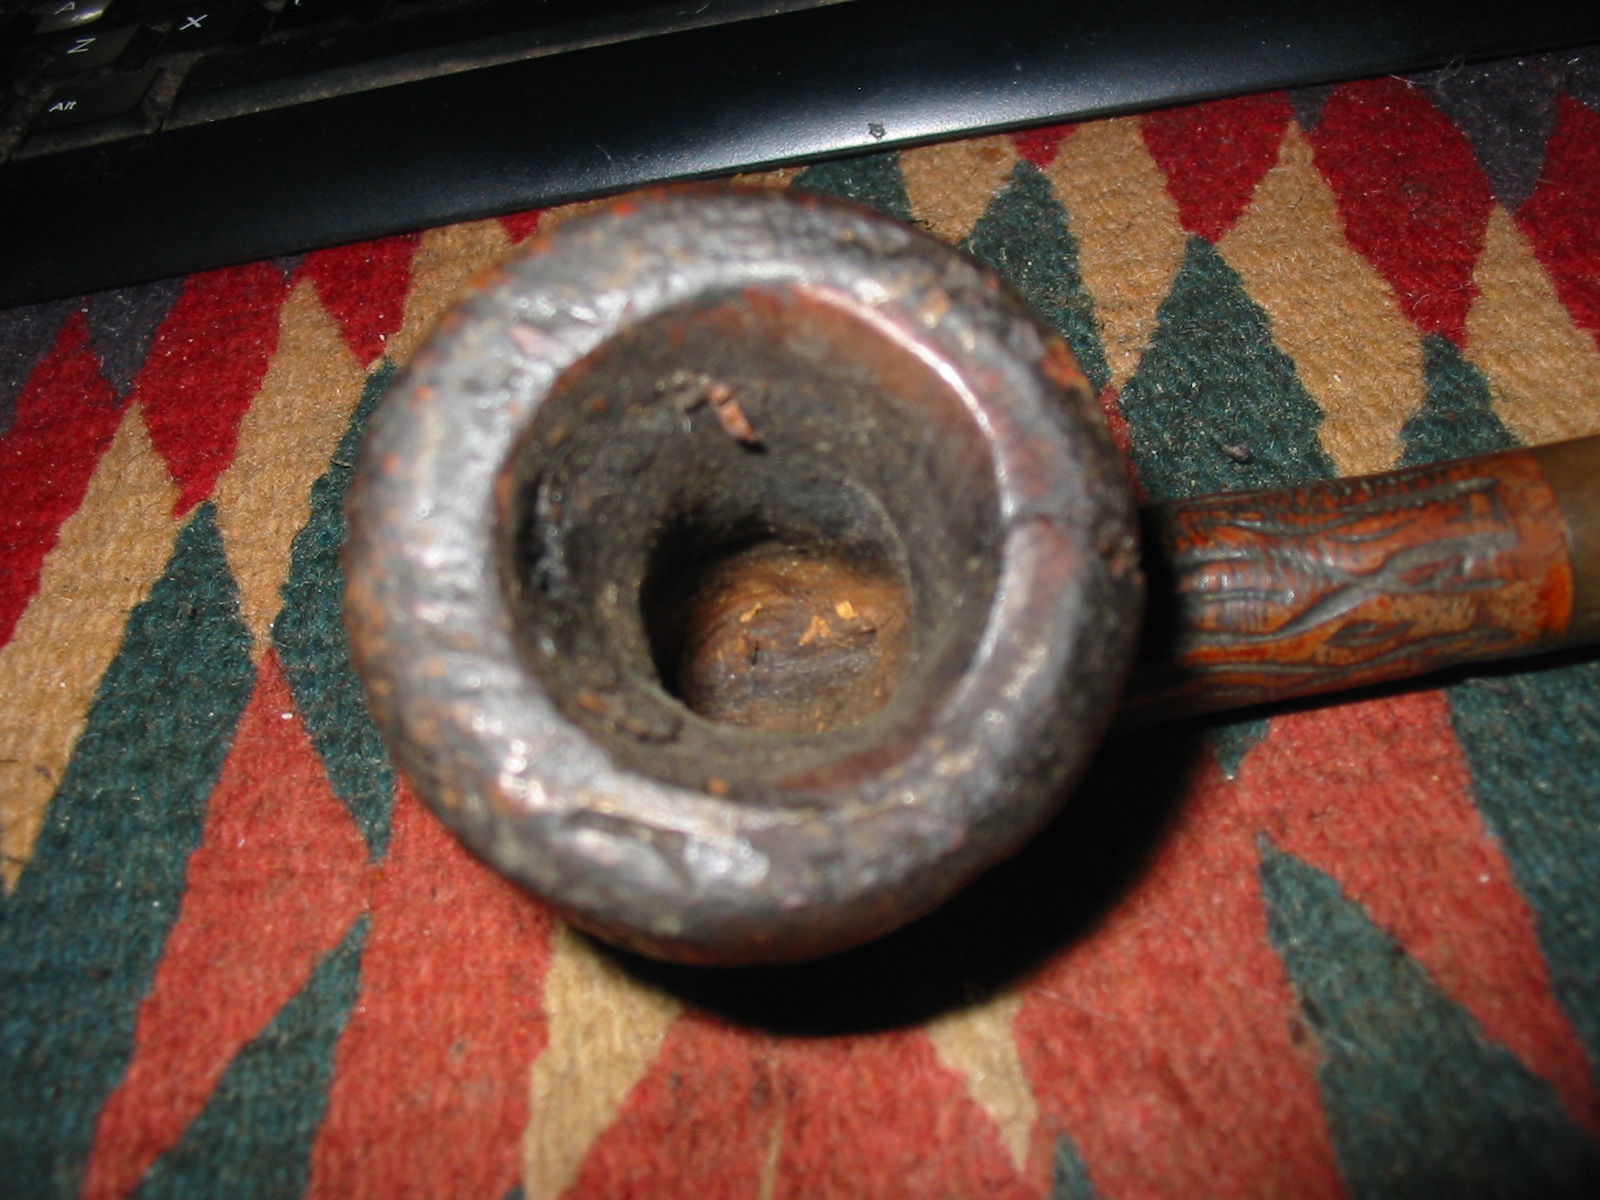
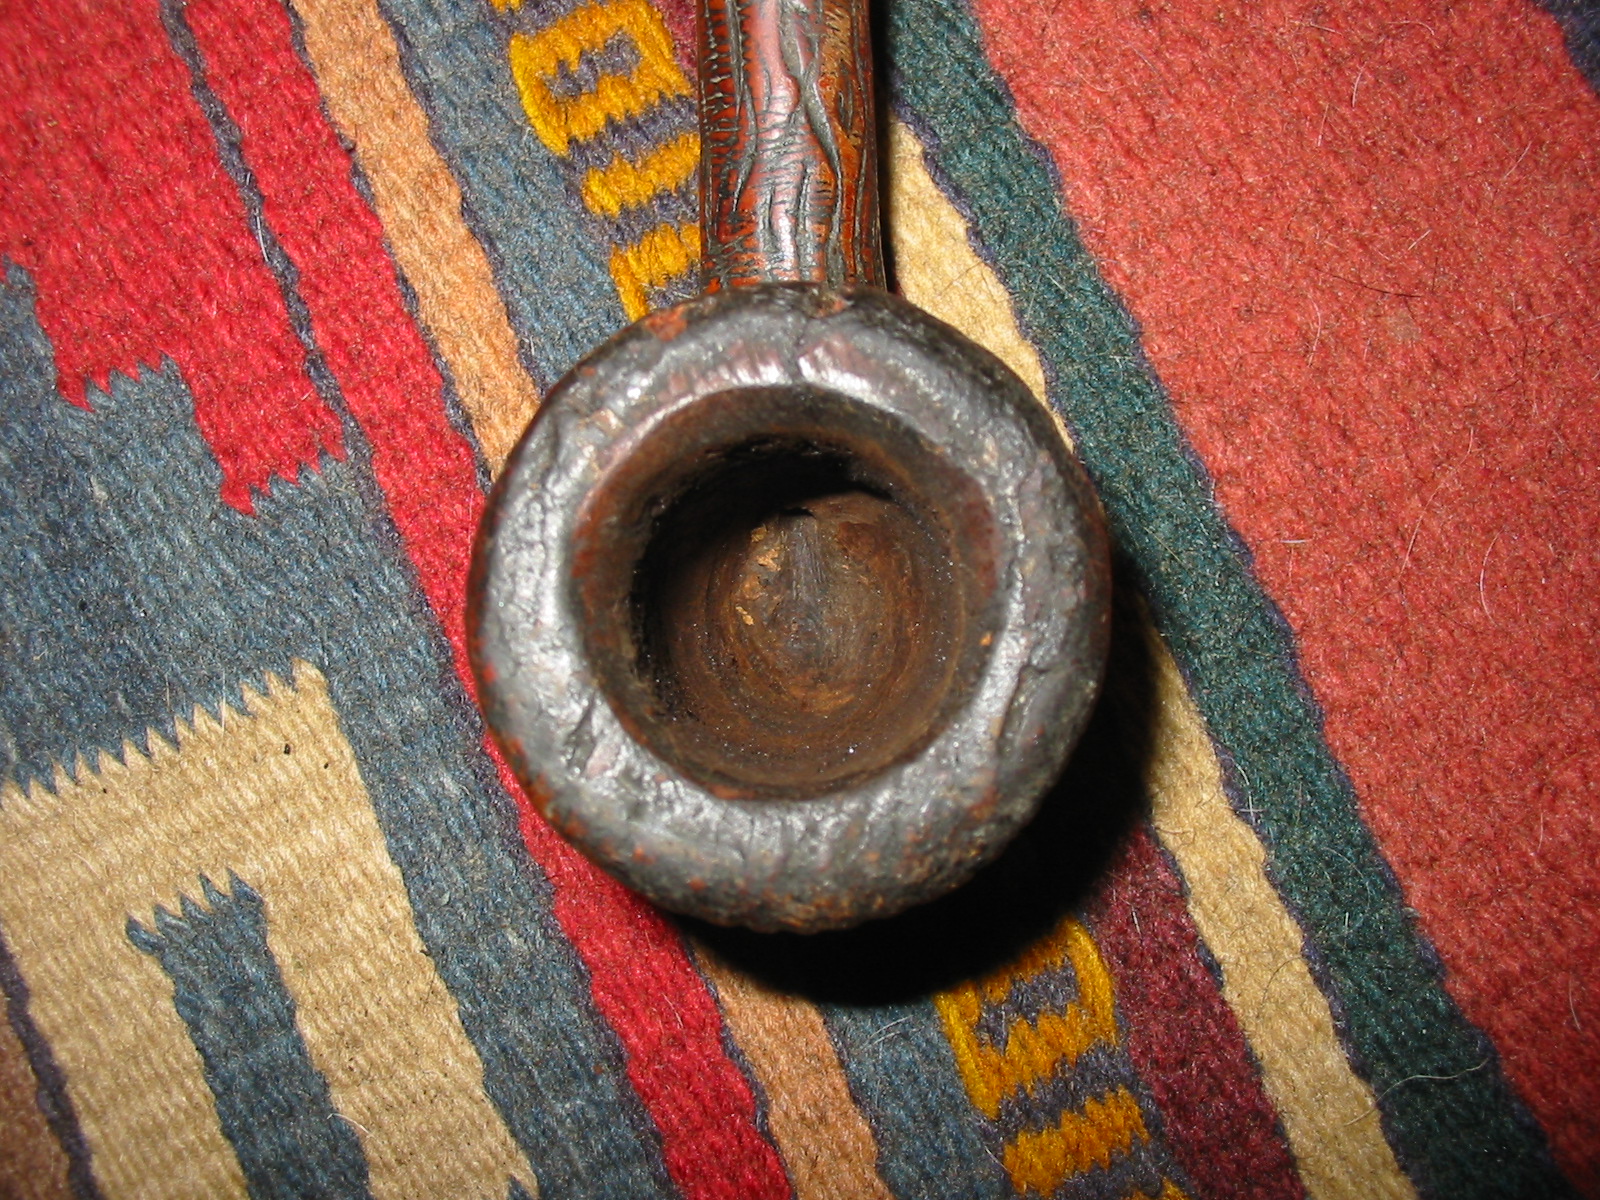
This particular Monza had seen better days. I described it in my earlier essay as being virtually ready for the scrap heap. The bowl was badly caked and the one inch diameter bowl had been reduced to a hole small enough that I could barely squeeze my little finger in the bowl. The top portion of the cake had been carved or hacked away with a knife and the bottom portion had also been hacked away. This left a solid girdle of carbon cake around the middle of the bowl. The bottom of the bowl had been gouged at and the right side of the bottom had a huge “smile” carved in it. The rim had been hammered into rough shape so that the outer edge was ruined. The lava build up on the rim was very thick and it totally covered striated rustication that had been present when the pot was new.

The stem was chewed and carved with a huge chunk out of the underside making it non-repairable. The stem had then been covered with a softy bit and left to calcify on the stem. The pipe was a mess. Once I removed the stem I could see that the airway had been left immaculate. There were no tars, no oils, no dirt – it literally shined it was so clean. The inside of the stem was the same. This pipe had been cared for in a functional way and probably smoked to death by the original purchaser. It was the clean airway that tempted me to give this pipe a remake. It must have been someone’s favourite pipe for him to go to the extremes that this pipe had seen in terms of treatment. Every action the fellow carried out on this pipe only made sense in a utilitarian sense of prolonging the purpose the pipe was made for.
IMG_5028

IMG_5029

IMG_5030

IMG_5031

The outer edge of the rim on the back of the bowl had a chunk missing and a crack running down the outside of the bowl. It also ran on the top of the rim and had yet to break through on the inside of the bowl. The crack ran down along one of the striations carved in the bowl for about ½ inch. It was not very deep once it moved away from the chip at the top edge of the bowl.
IMG_5032

The close up photo below shows the cake that forms a ridge around the centre of the bowl. The top had been carved away and the below the ring of cake it had also been carved away. The bowl bottom visible on the top of the photo below shows the gouge that had been carved on that side of the bottom. The other side remained intact and hard.
IMG_5033

The front edge of the bowl had been hammered hard or scraped against something and the outer edge was worn and rough feeling.
IMG_5034

I reamed the bowl with the largest PipNet reamer cutting head in the set and was able to scrape the cake back to the wood. I wanted to see if the walls of the bowl were charred or burned. I further scraped it with a knife blade and found that the walls were solid under the cake. The wood did not have burned or charred portions.
IMG_5035

The stem was ruined as can be seen in the photo below. The bottom side was missing a large triangular shaped chunk that went almost from side to side. I thought about cutting off the end and reshaping the button but the damage was extensive and the previous owner had carved the airway in the broken portion so the material left behind on the top and bottom of the stem was scored and very thin. I would need to fit and shape a new stem.
IMG_5036

I picked at the surface of the rim with the dental pick and could see it was not going to work so I topped the bowl. I decided to make a smooth rim to match the smooth band on the shank and the bottom of the shank. They would set each other off well when the pipe was restained. I set up my topping board and a piece of 220 grit sandpaper and twisted the bowl into the sandpaper until I had removed the damaged portion of the rim. The crack on the surface looked as if it had been filled already with some sort of glue and it was solid. This is visible in the photos below.
IMG_5037

IMG_5038

IMG_5039

IMG_5040

Once the bowl was topped I dropped it in the alcohol bath to soak and loosen the grit and grime that filled all of the rustication on the sides of the bowl. It was a sticky and tarry mess and I wanted to soften it. I soaked it for about an hour and then scrubbed it with a brass tire brush. I picked out all of the grooves with the dental pick and then put it back in the alcohol bath for yet another hour. Once it came out of the bath I scrubbed a final time with the brush and then picked out any remaining grit in the grooves. I then wiped the bowl down with acetone on cotton pads to remove the softened finish and the remaining grime.
IMG_5041

IMG_5042

IMG_5043

I used super glue and briar dust to fill the divot/chip on the outer edge of the bowl and make it less ragged looking.
IMG_5044

I found an old stem blank in my can of blanks that would work with the pipe. It was not a saddle stem like the original one but it would work well. It was considerably larger in diameter than the shank of the pipe so not only would I need to use the PIMO tenon turner to fit it in the shank but I would also need to remove the excess vulcanite and match it to the shank.
IMG_5045

IMG_5046

IMG_5047

IMG_5048

IMG_5049

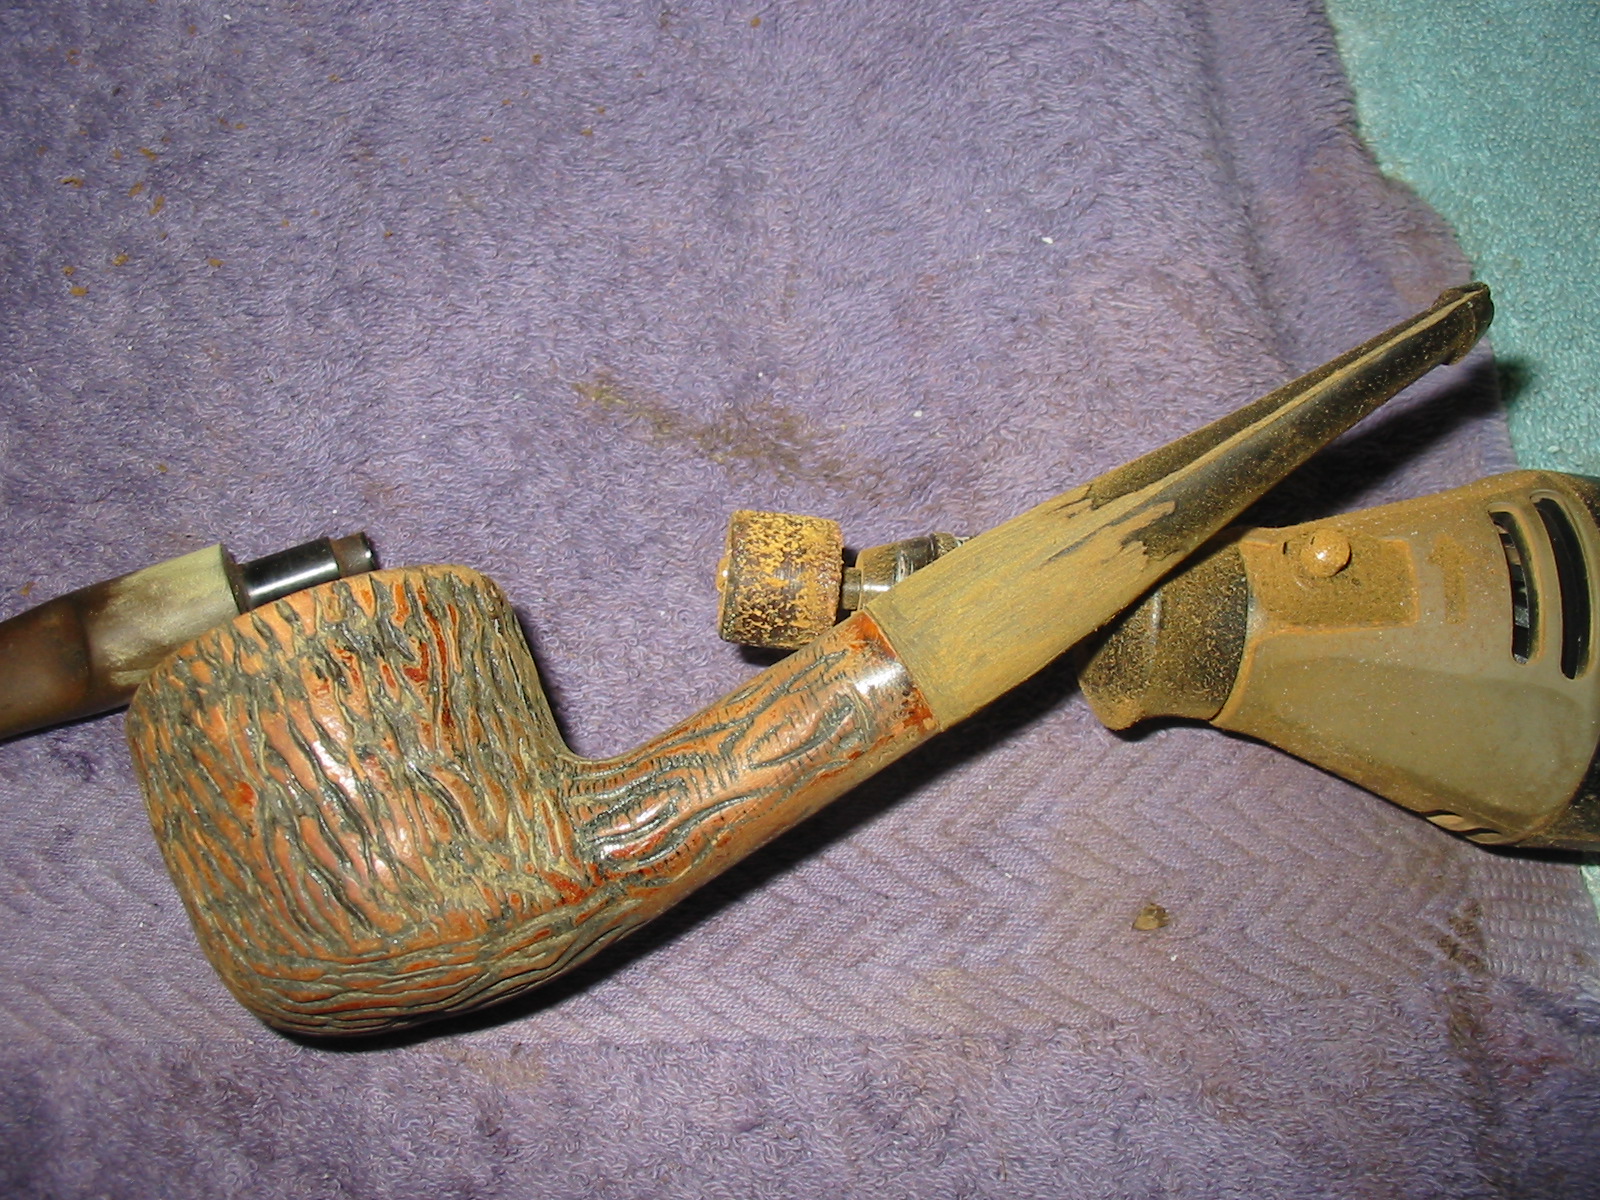
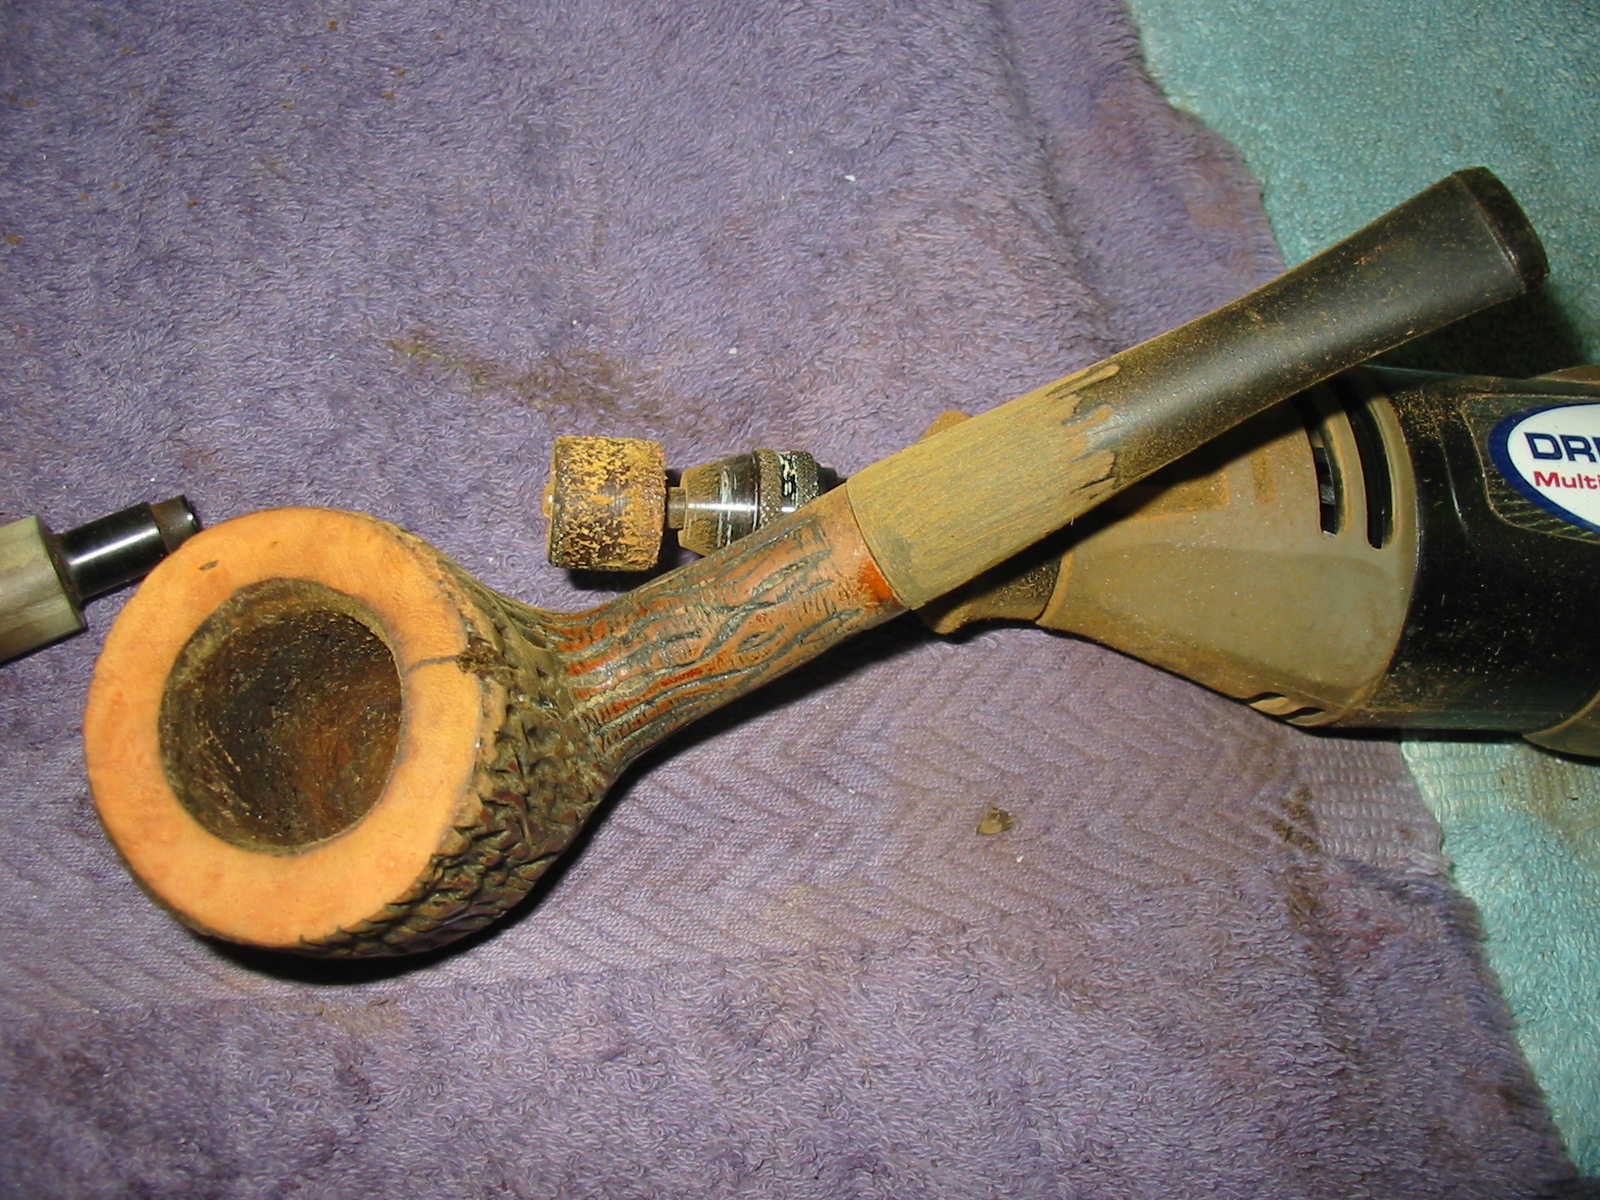
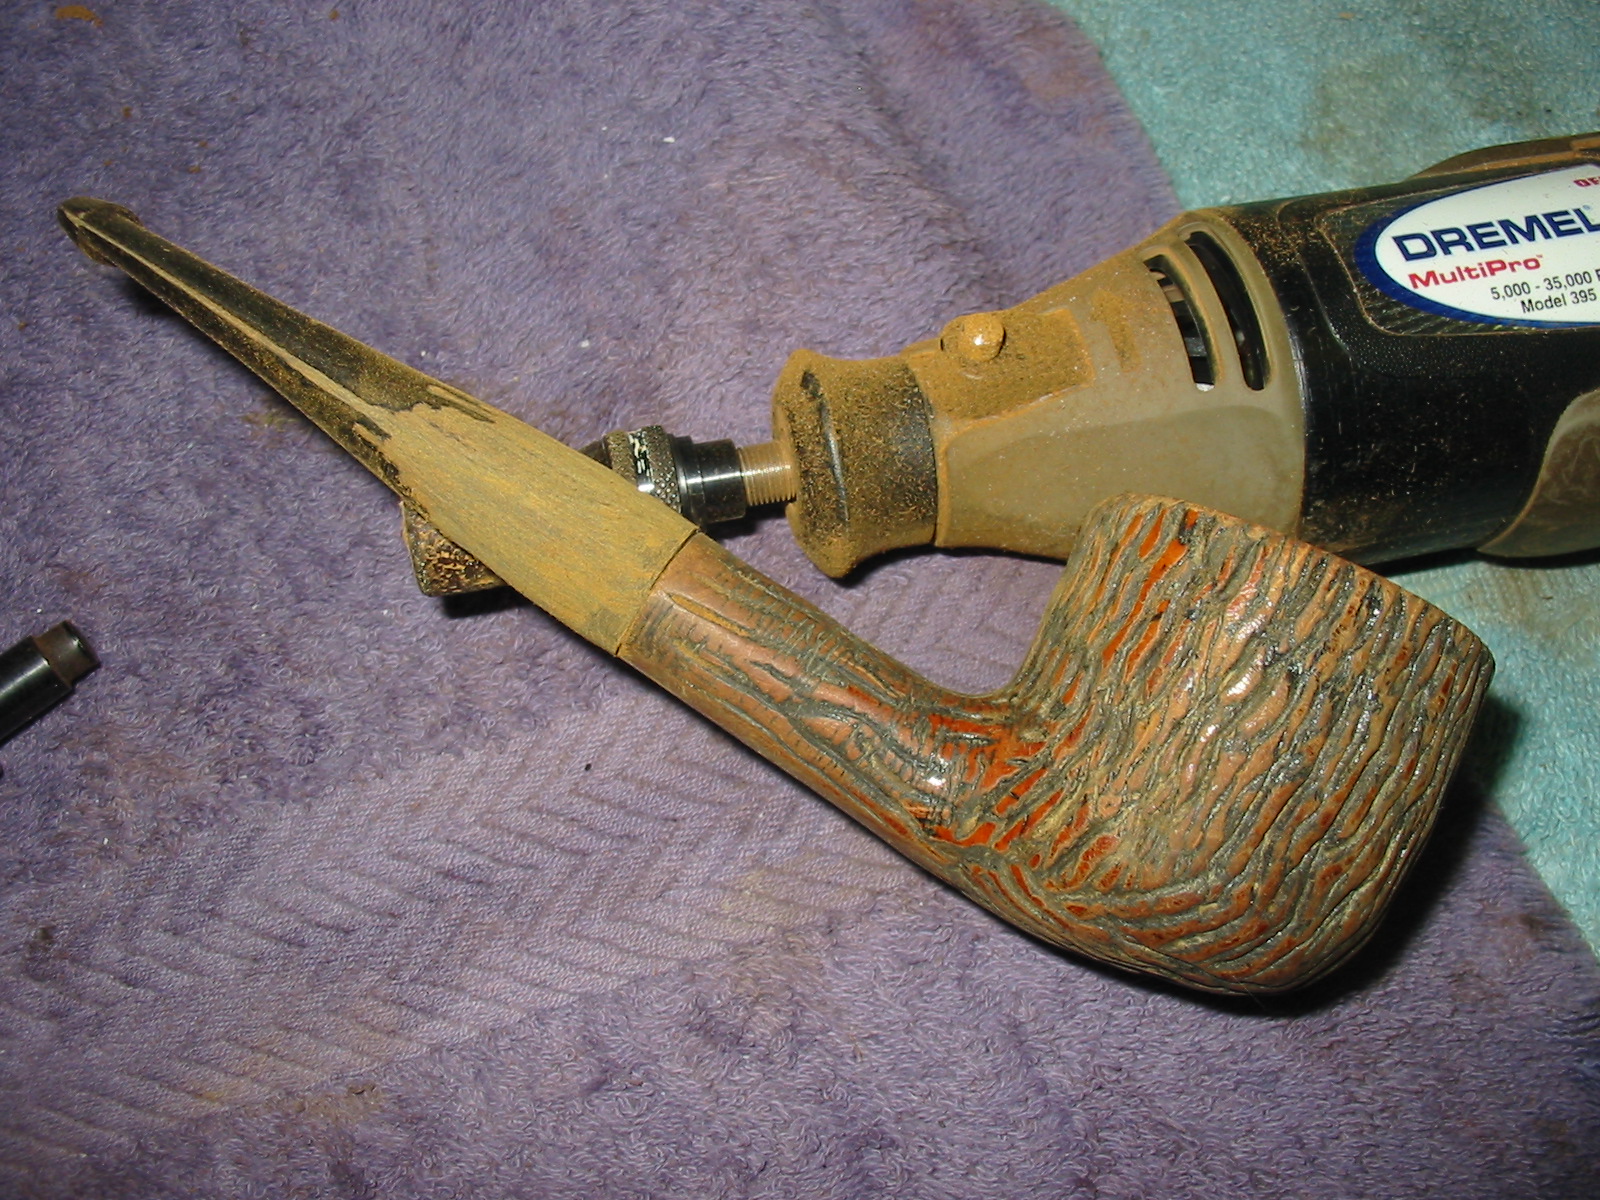
I used the Dremel with the larger sanding drum that comes with the set to cut back the vulcanite and shape the stem. This takes time and a steady hand to keep it from nicking the briar and causing more damage than help.
IMG_5050

IMG_5051

IMG_5052

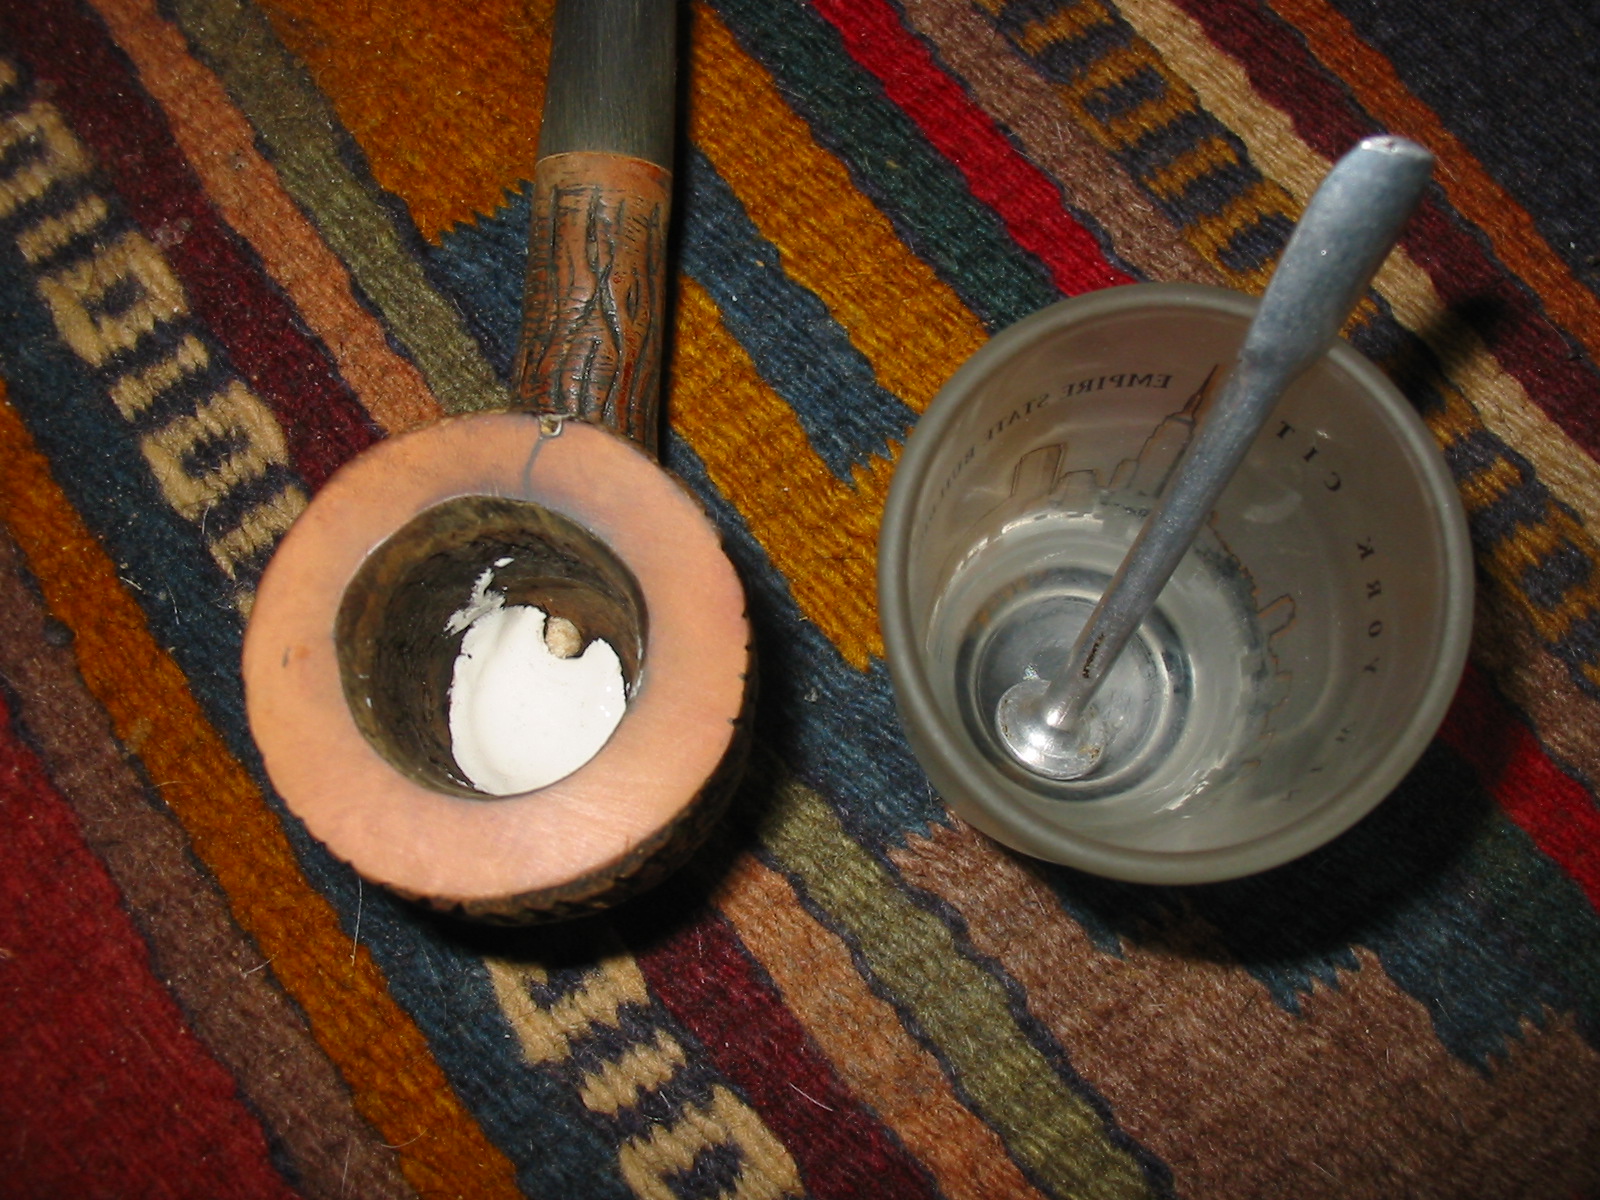
Once I had the stem close to the diameter of the shank I took it back to the work table and hand sanded it with 220 grit sandpaper to finish the fit. I sanded it until the transition between the shank and the stem was seamless. My fingers needed a break from sanding at this point so I decided to repair the gouged out bottom half of the bowl. I inserted a pipe cleaner in the airway to keep any of the plaster mix getting into the airway. Then I mixed up some plaster of Paris in a shot glass and used the spoon end of a pipe nail to put it in place in the bottom of the bowl. I tamped it with the tamper head of the nail and smooth it out.
IMG_5054

When the plaster had set I stained the bowl with a dark brown aniline stain mixed 2:1 with isopropyl alcohol. I wanted the dark stain in the striations to come through the stain coat and give some contrast to the coloration of the bowl. I applied the stain with a cotton swab, flamed it and reapplied and reflamed it until the coverage was even across the bowl. I worked to get the rim and the smooth portions of the shank to match in colour.
IMG_5055

IMG_5056

IMG_5057

IMG_5059

I sanded the stem with a medium and a fine grit sanding sponge to remove the scratches left behind by the 220 grit sandpaper. I followed that by sanding with micromesh sanding pads – wet sanding with 1500-2400 grit pads and dry sanding with 3200-12,000 grit pads. I rubbed the stem down with Obsidian Oil when I had finished and then buffed it with White Diamond.
IMG_5060

IMG_5061

IMG_5063

The vulcanite stem blank I used was an older one and must have come out during the war years. I had read that in those times there was often piece of metal found in the vulcanite of the stem material. This particular stem had a nice bunch of it on the right side of the stem near the shank. It almost looks like the remnants of a stamp on the stem but it is not. It appeared as I sanded the stem down to fit the shank. The photo below shows it about midway between the top and bottom of the stem near the shank junction. The glare of the flash highlights it as well.
IMG_5071

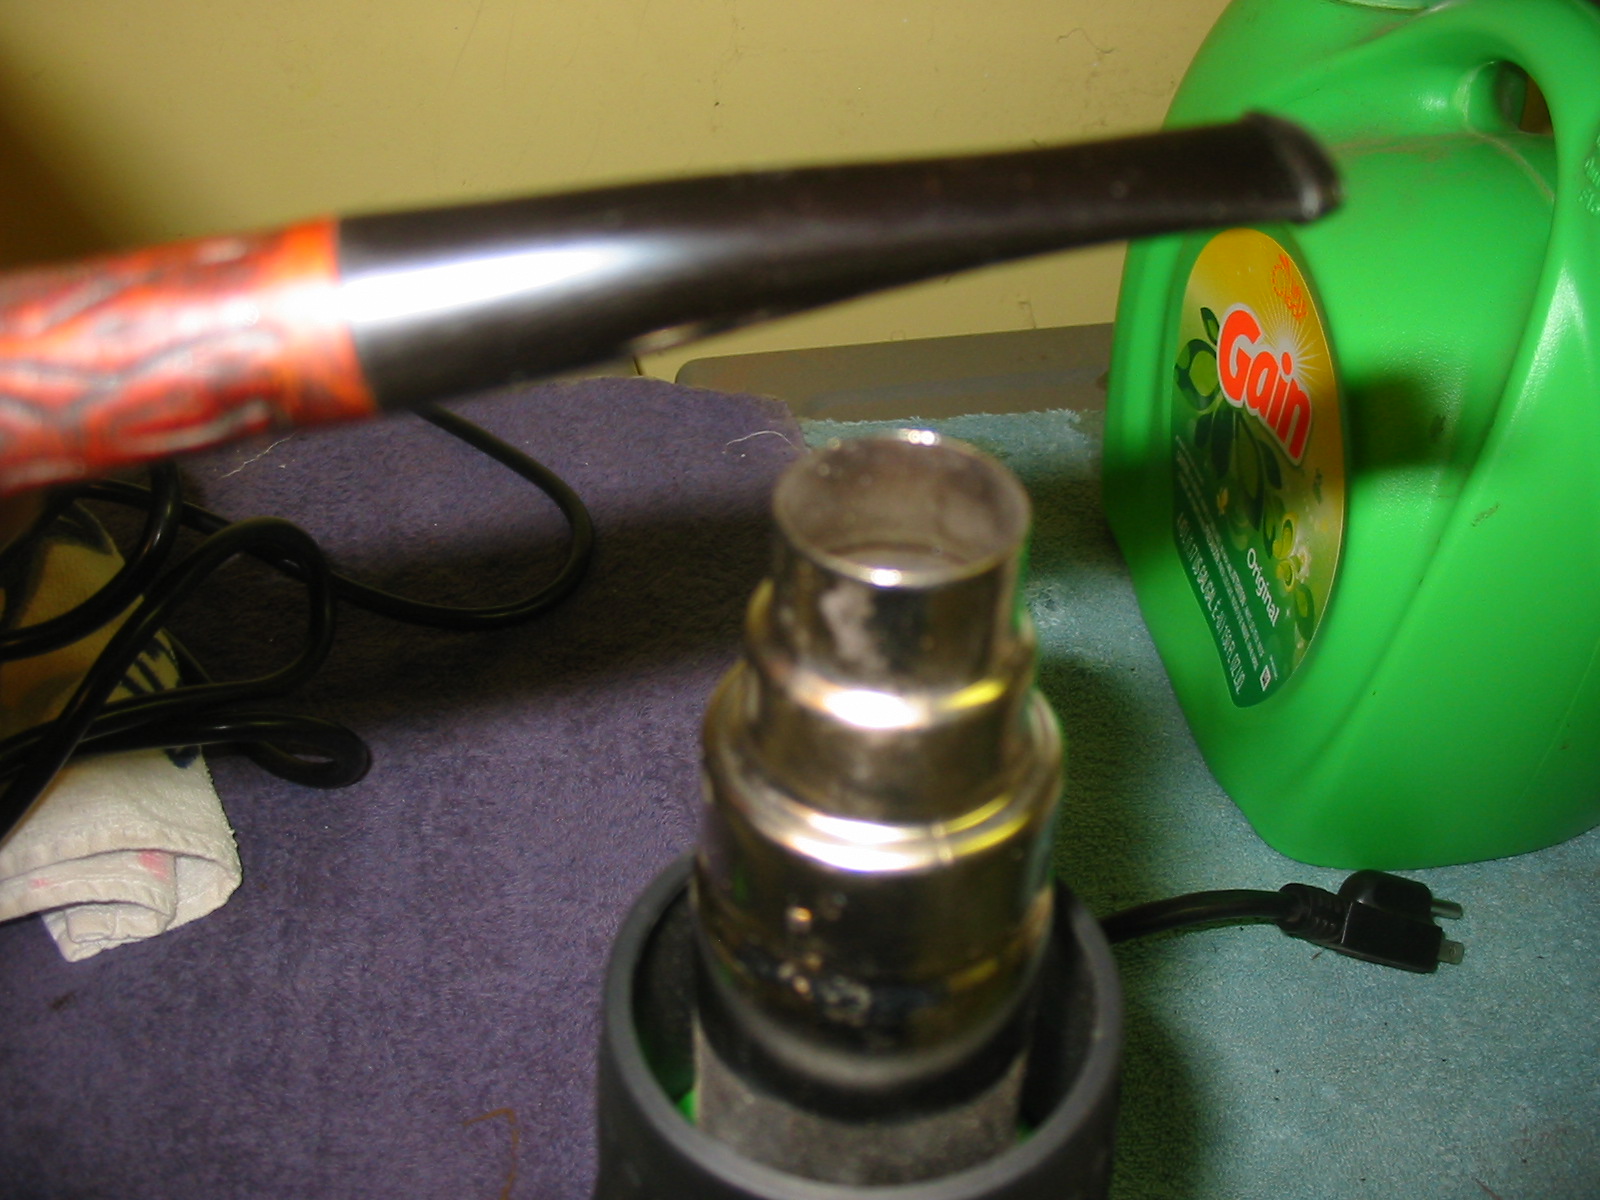
With the stem polished and ready and the pipe stained it was time to bend the stem. I used a heat gun to heat up the stem until it was pliable and then bent it over the round handle of a chisel that I had on the workbench. I used the original stem as a pattern to determine how far to bend the stem.
IMG_5064

IMG_5065

IMG_5066

I rubbed the stem down with Obsidian Oil a final time and then buffed the pipe and stem with White Diamond to give it a shine. I then gave the stem multiple coats of carnauba wax and applied the wax to the bowl with a light touch on the buffing wheel. I finished with a buff with a soft flannel buffing wheel. The finished pipe is shown in the pictures below. I think it will last a few more years and yet again deliver a good smoke. In fact I would not be surprised at all if it does not last longer than I will.
IMG_5067

IMG_5068

IMG_5069

IMG_5070

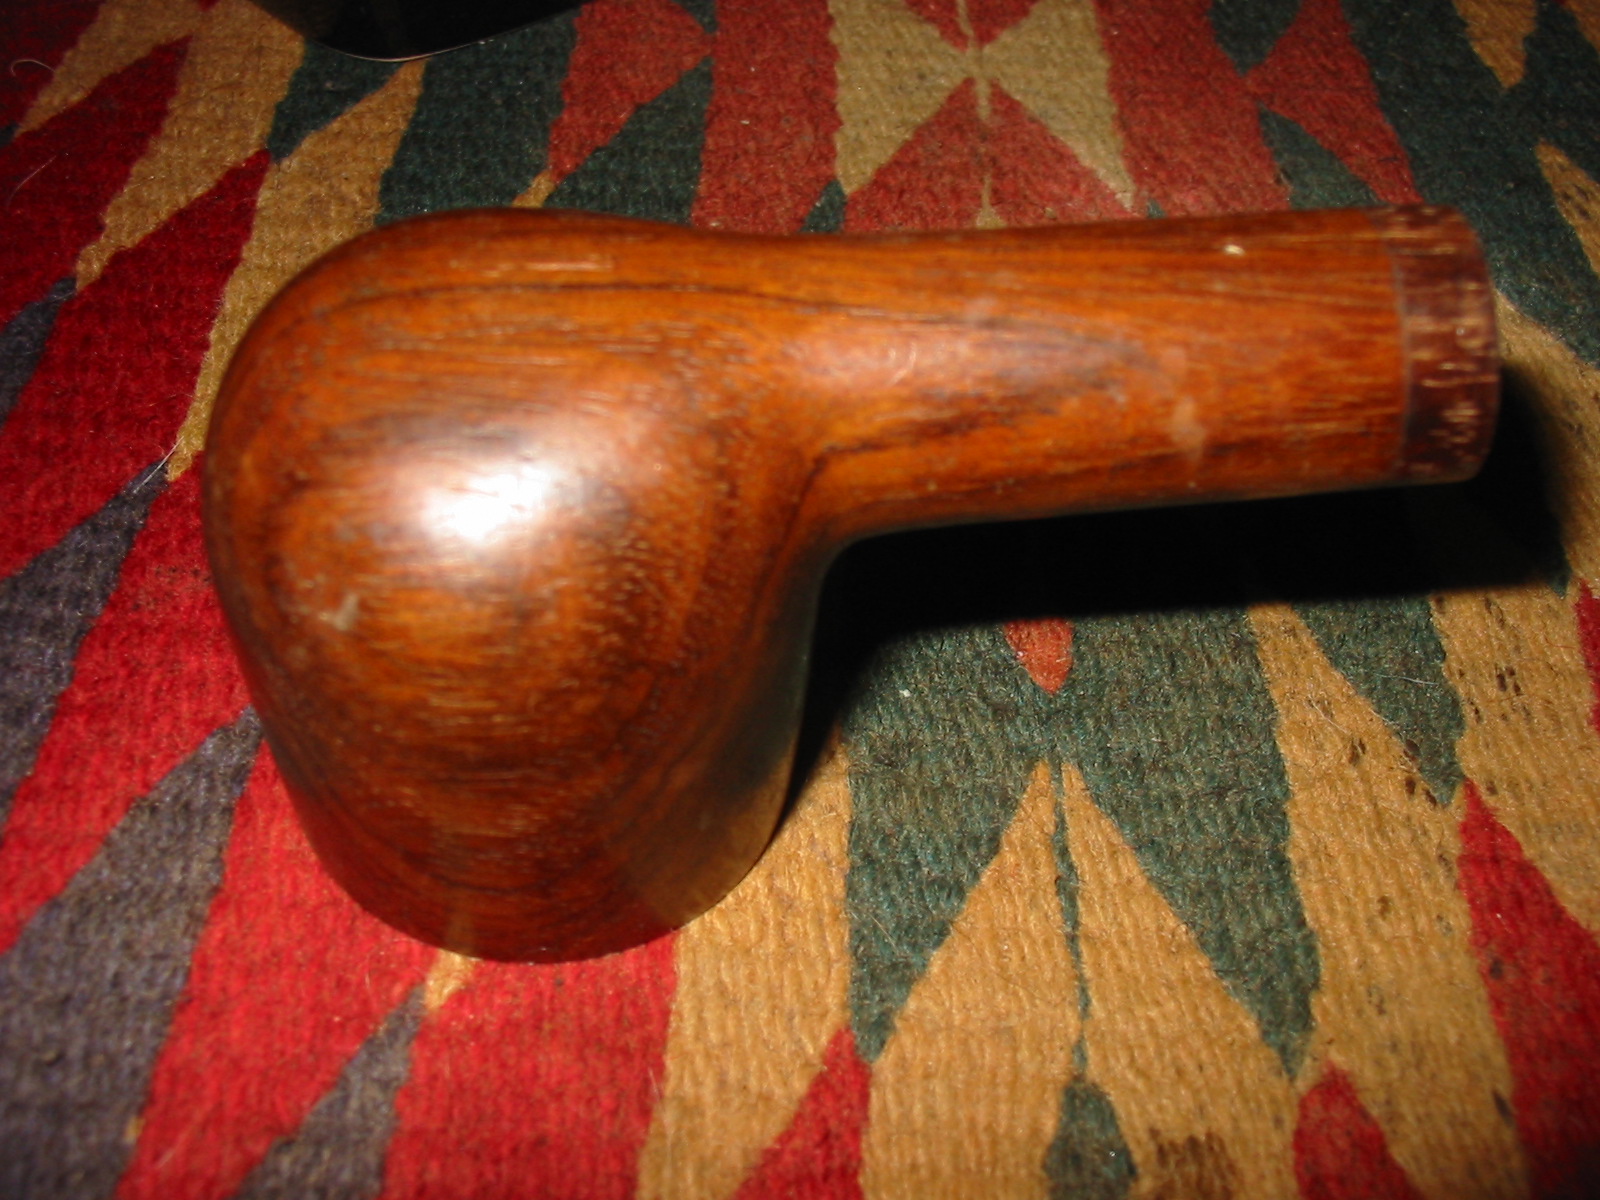
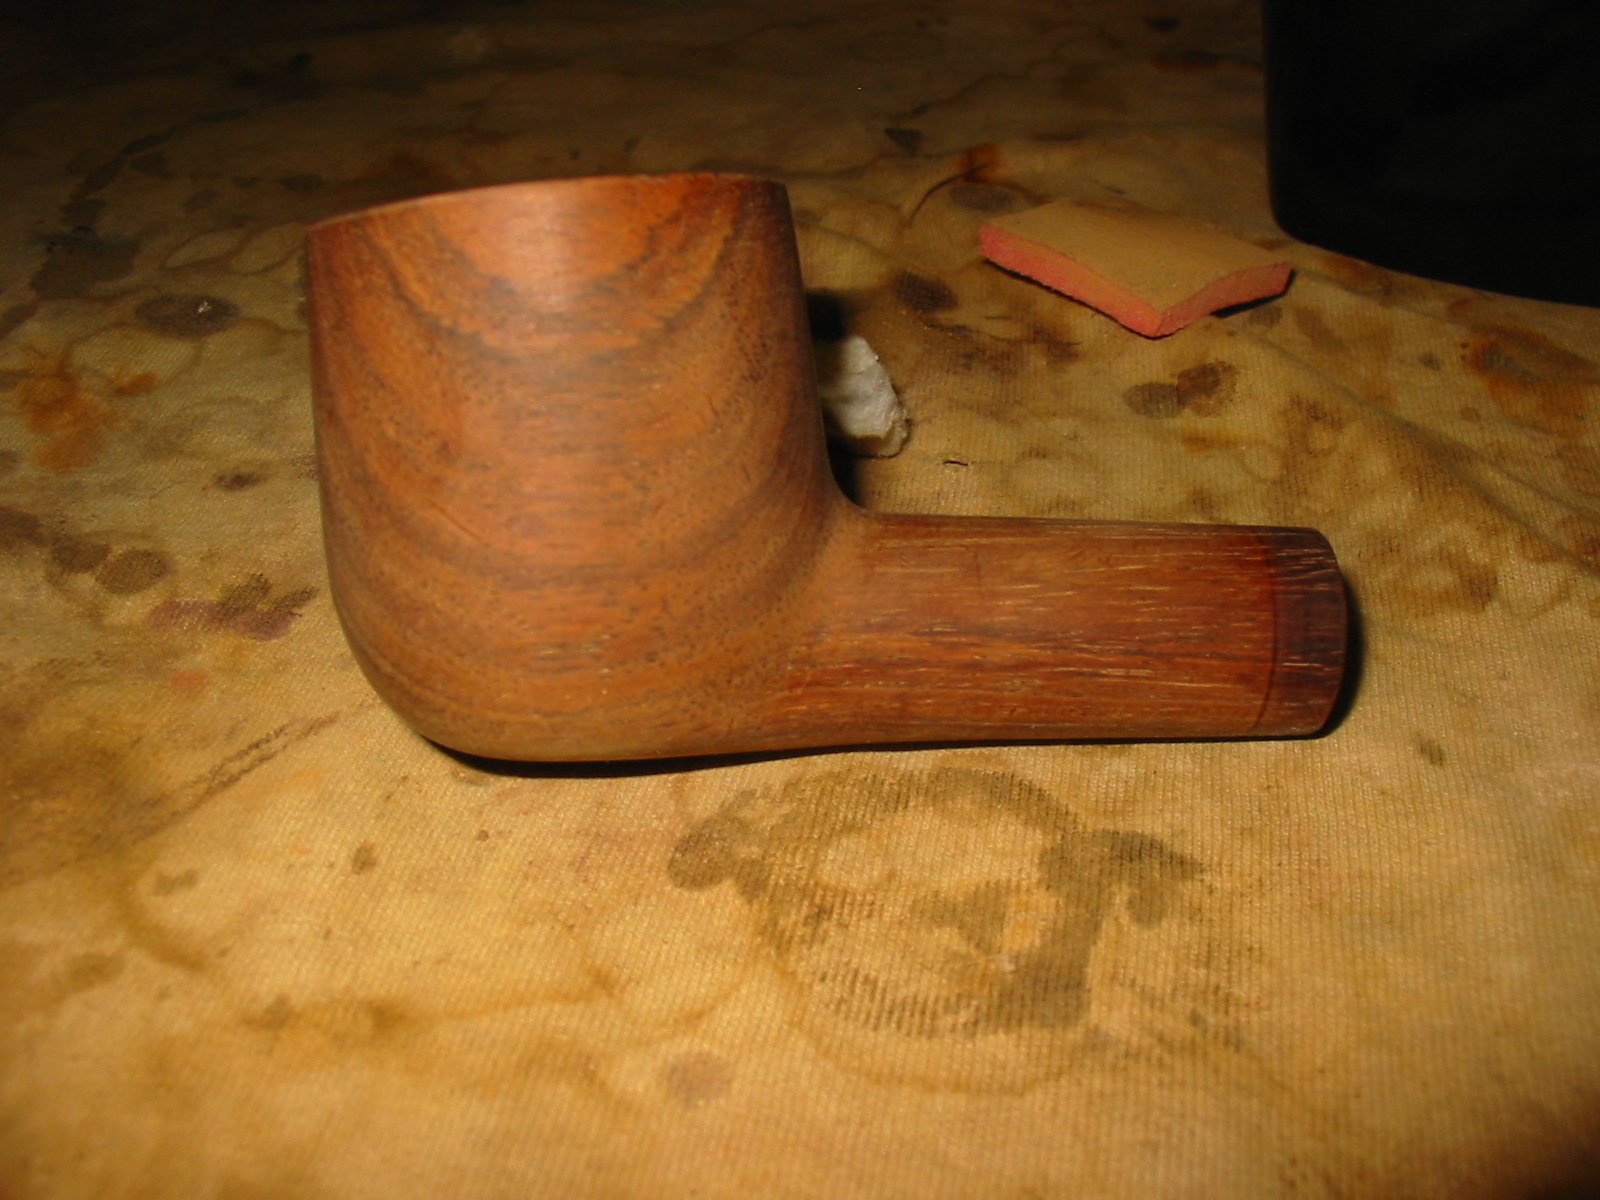
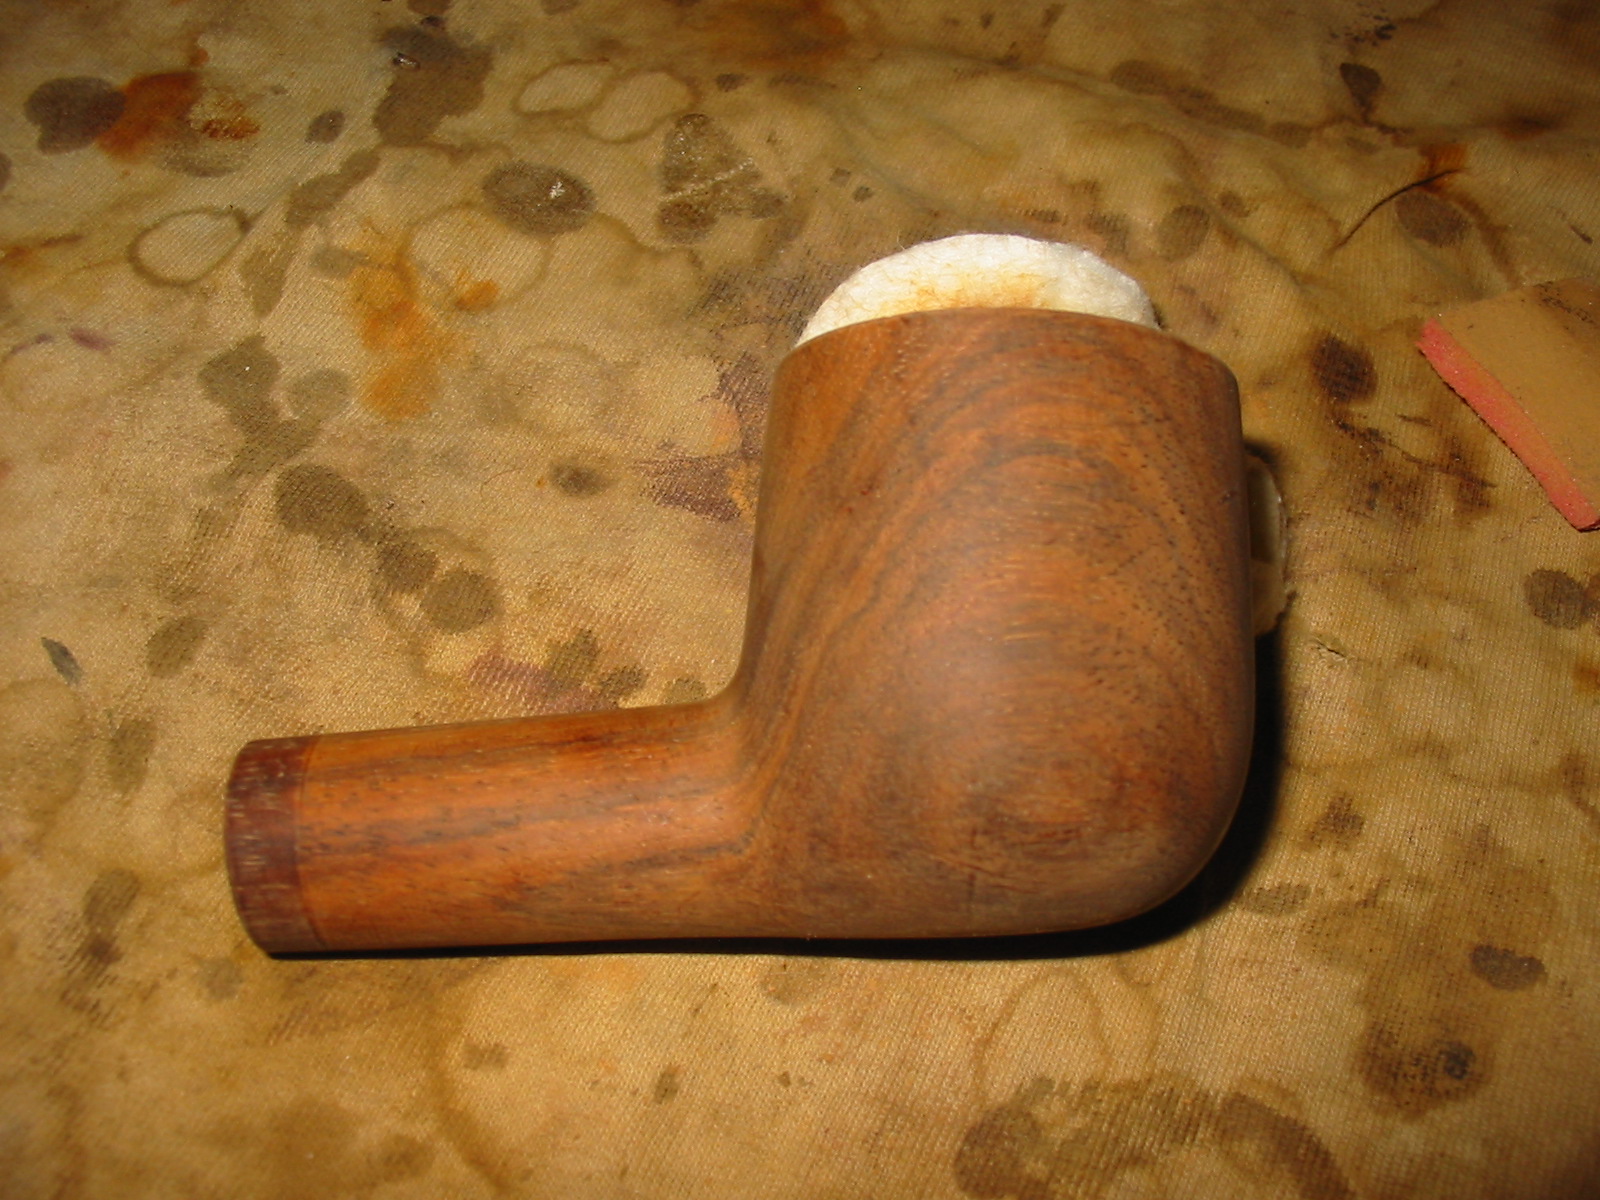
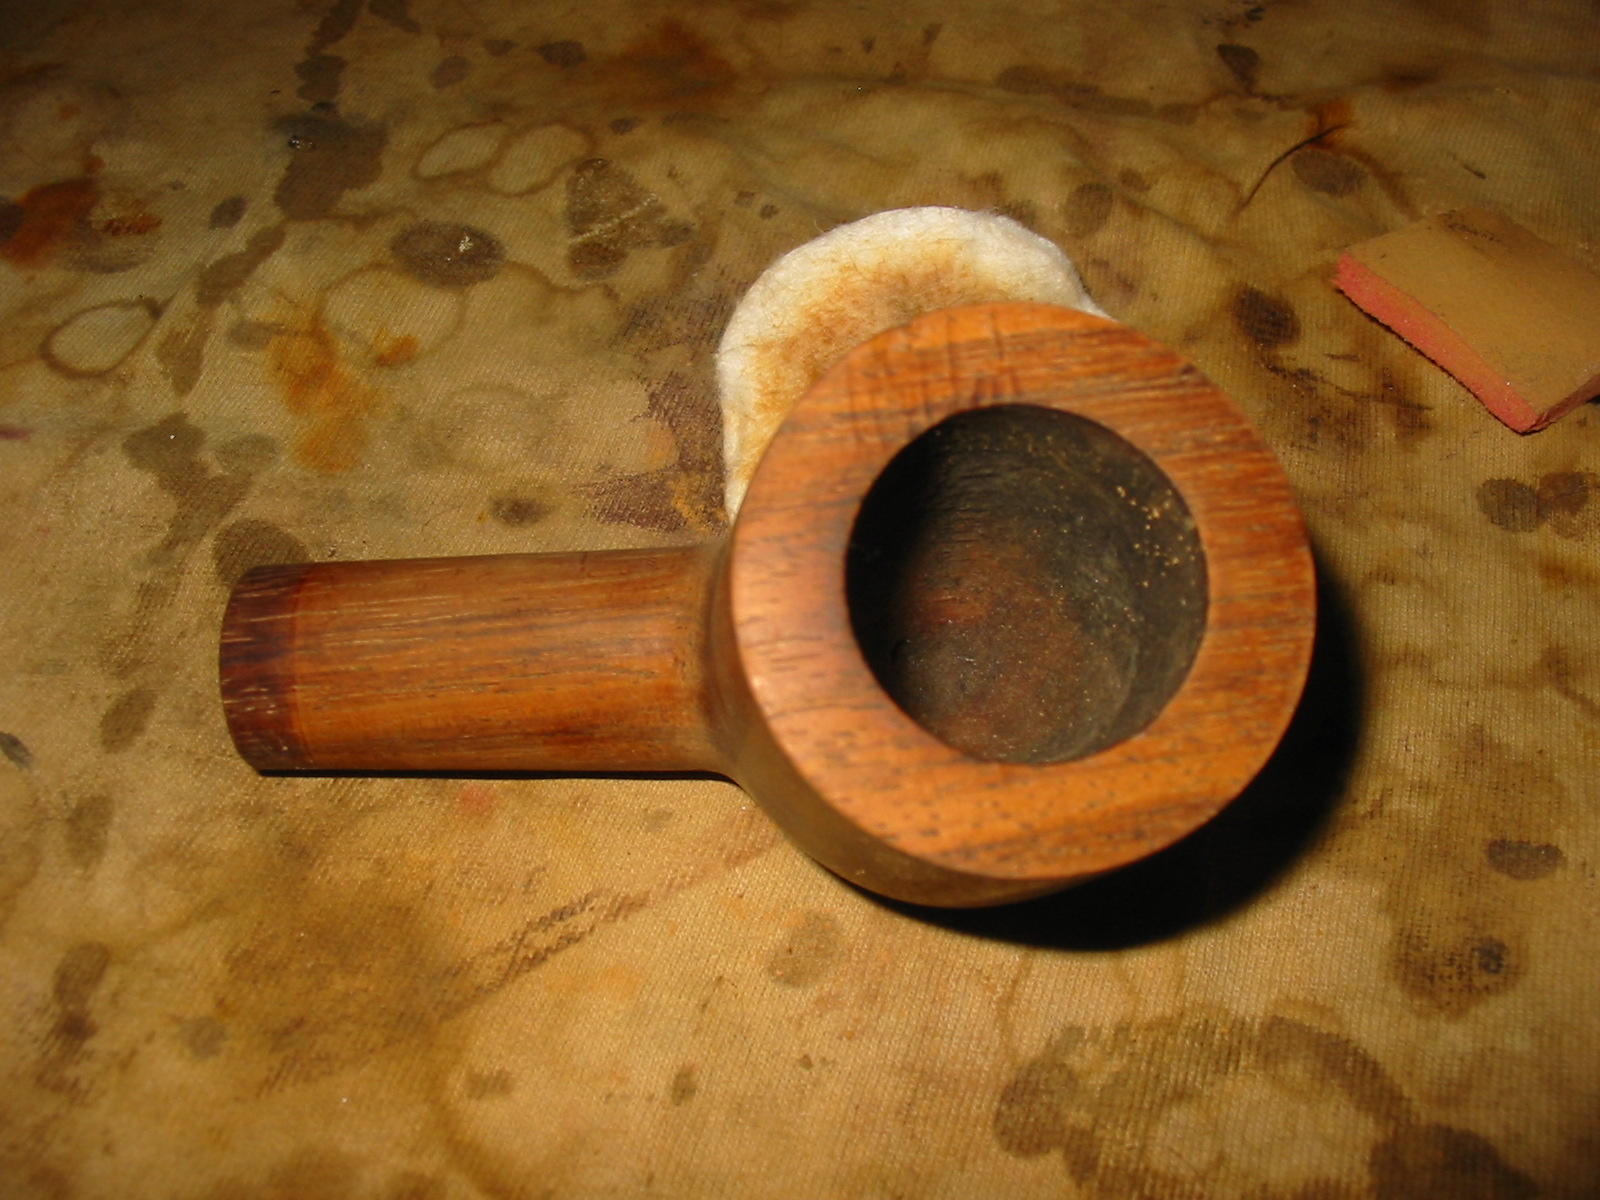
Alternative Woods: Refurbishing and Restemming a Black Walnut Pot


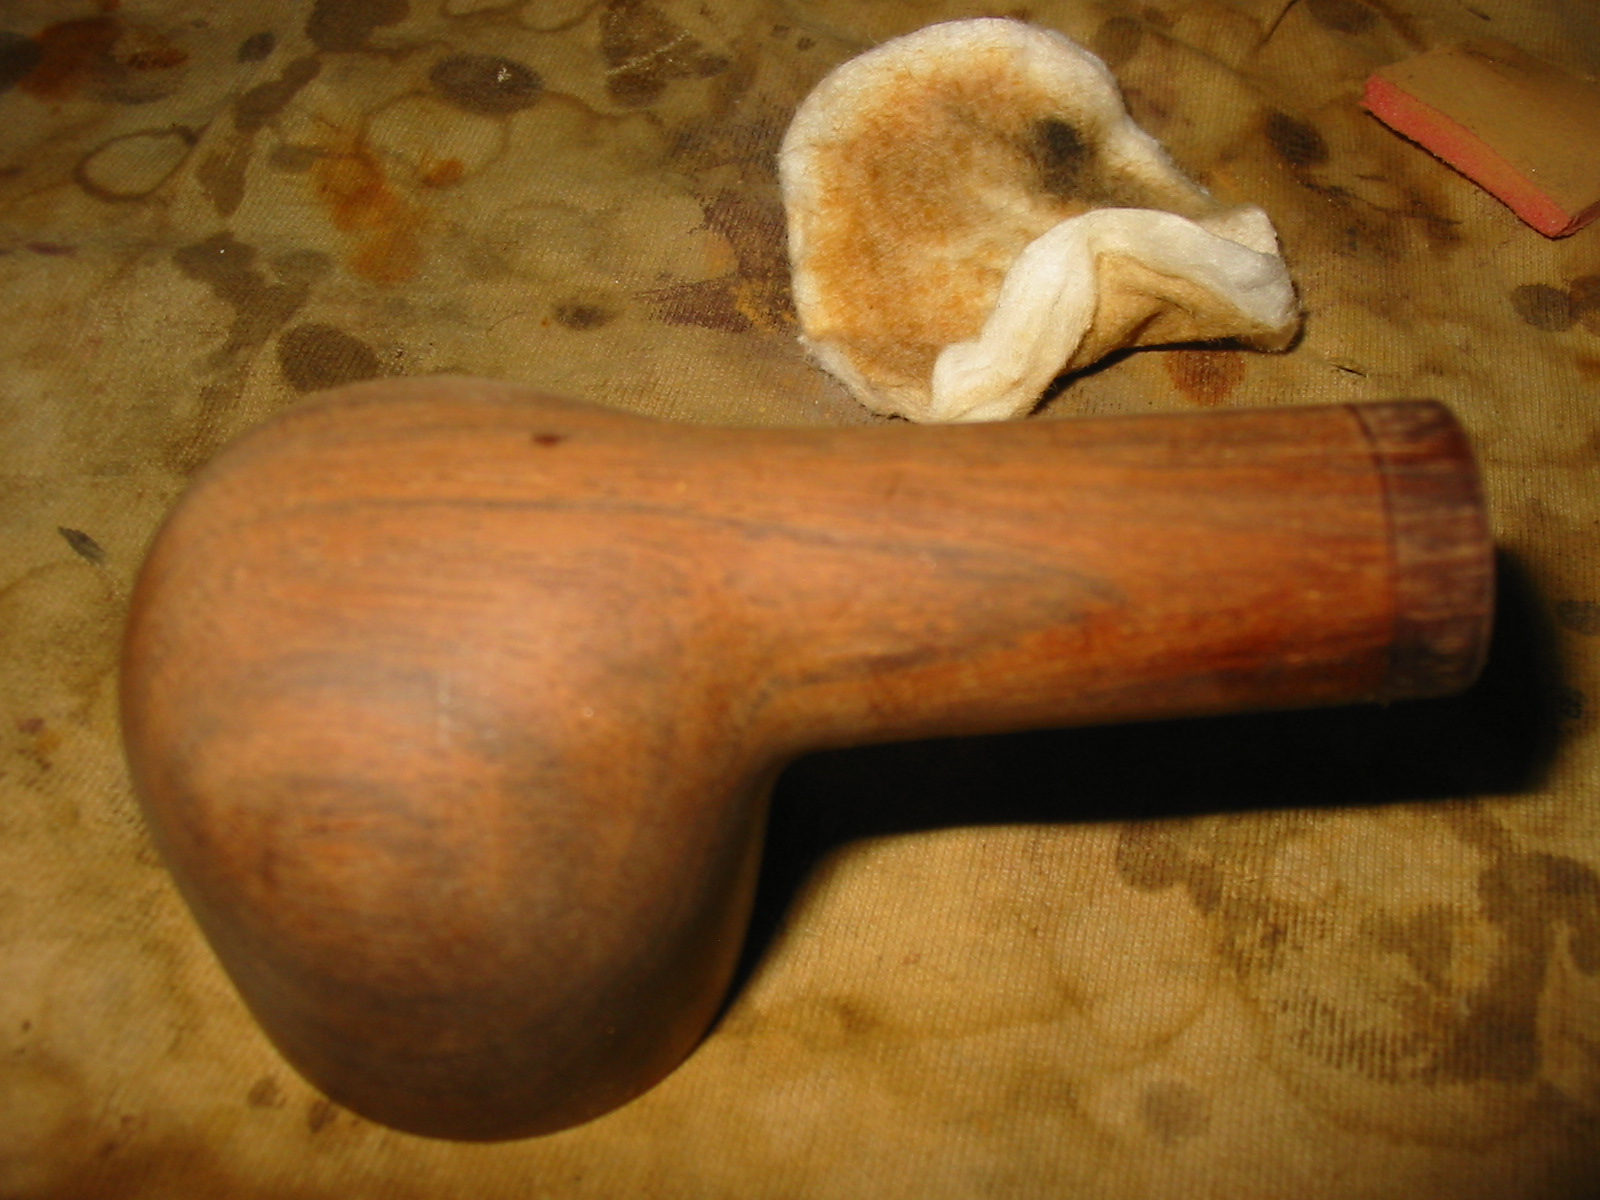
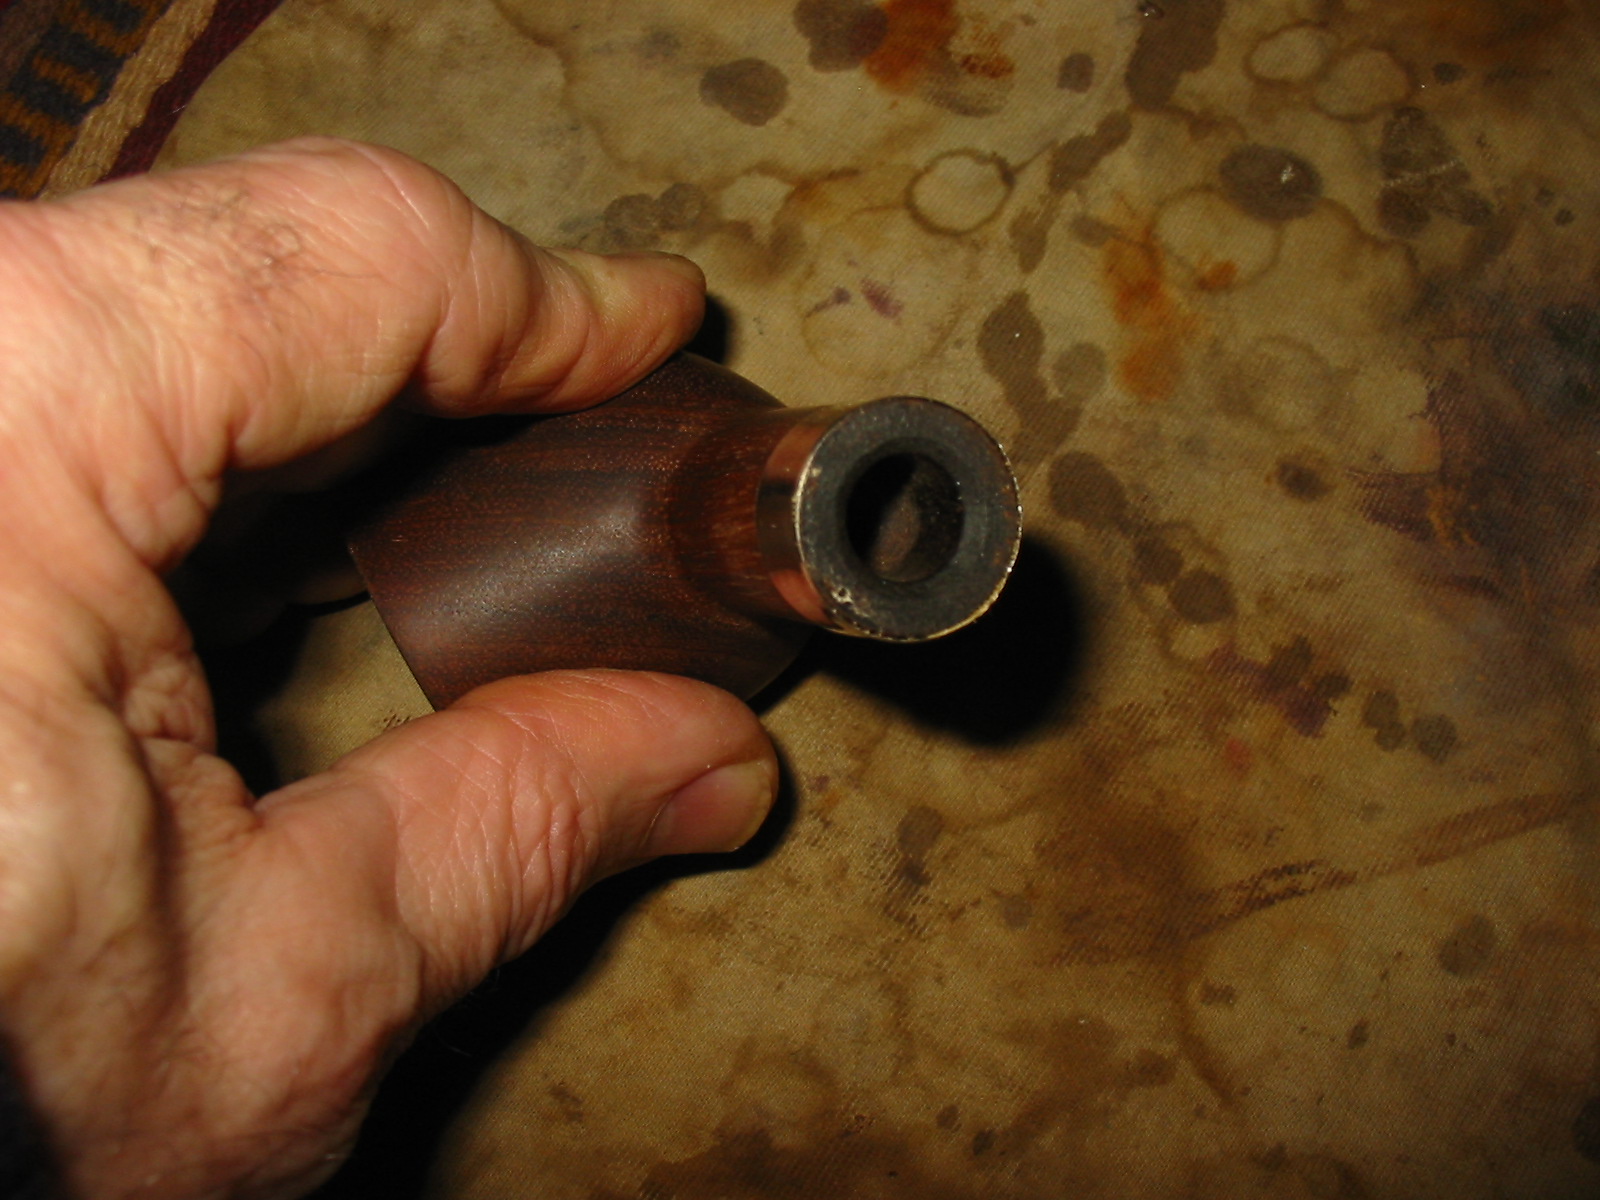
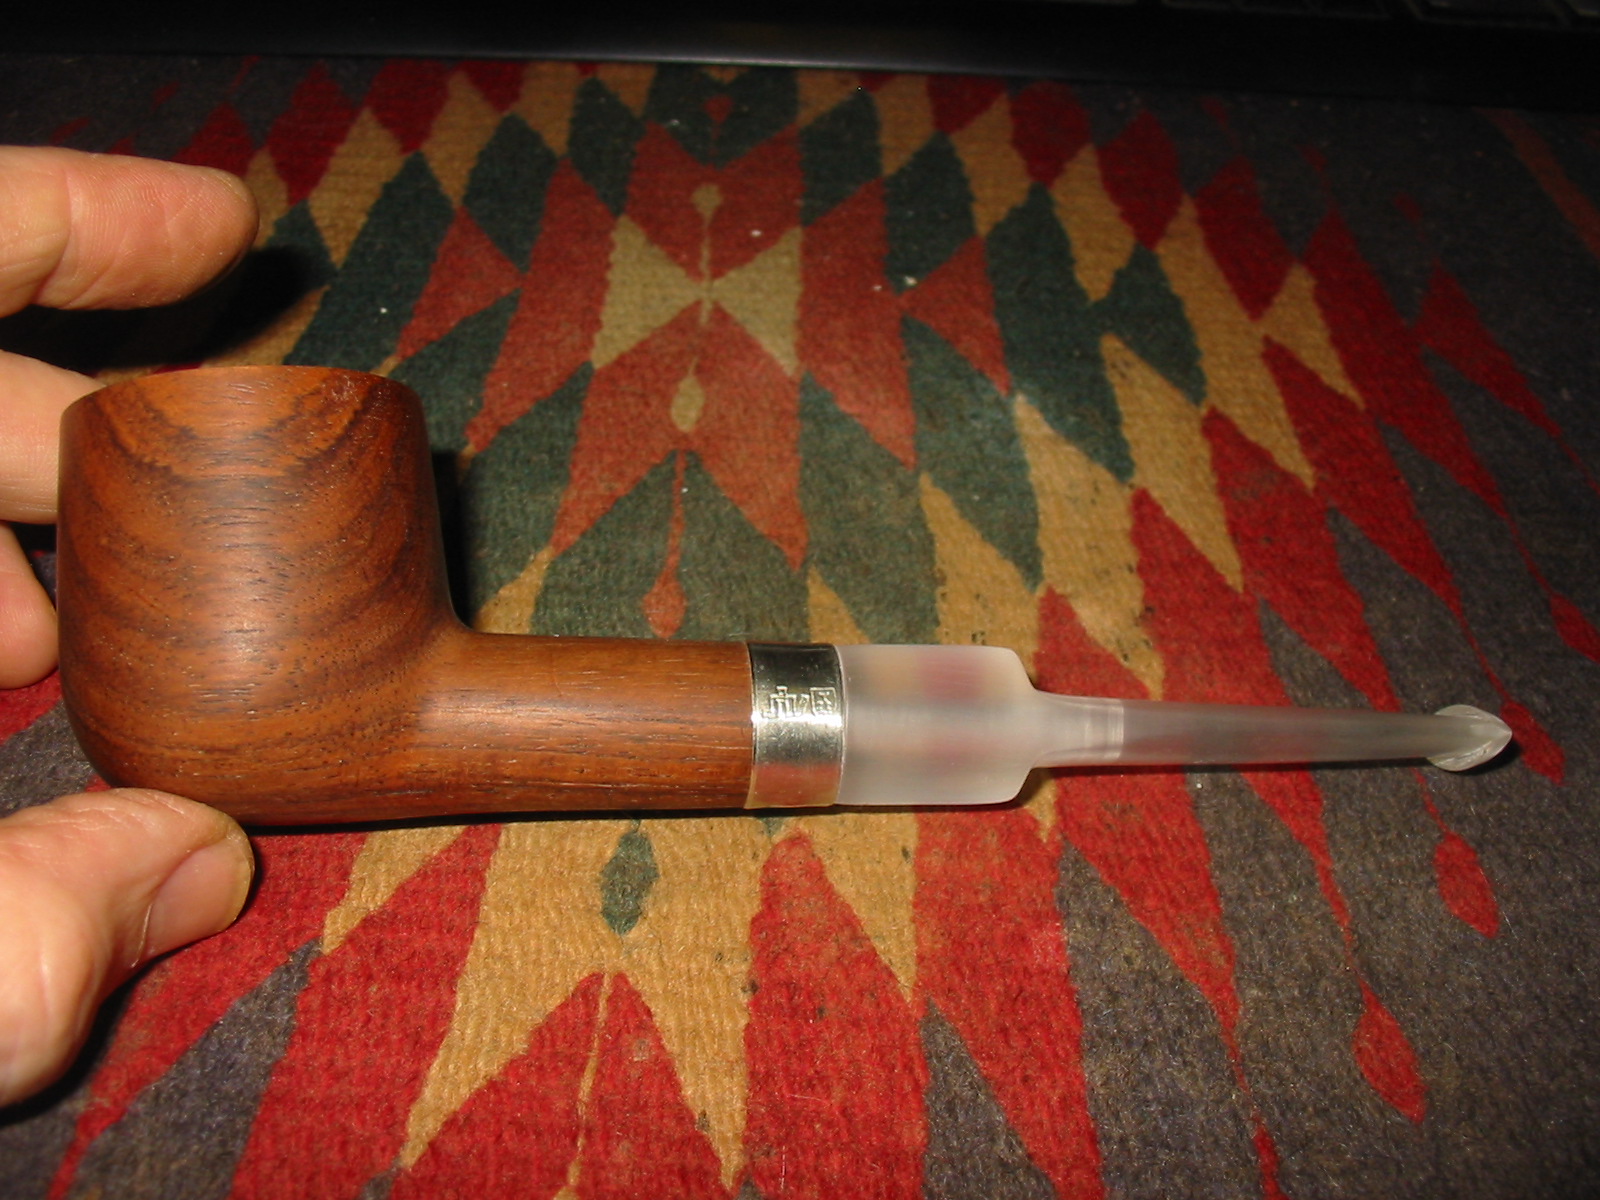
I received this pipe bowl as a gift from a friend in exchange for some work I did on one of his pipes. I took it out of the box and put it in the refurbishing box without giving it much of a look. Today I took it out of the box and looked it over. It is well made; the airway is drilled straight and comes out the bottom of the bowl. The drilling is accurate and clean. The mortise is smooth and clean. The bowl has been smoked very little as the bottom half is still fresh wood. The shank is clean and there are no tars. The wood is clean with a few dings and dents. There seems to be a slight finish on the bowl – varnish or something. It also appeared to have a band on the shank originally as there is a stain from the metal on the end of the shank. It came to me without a stem. Today I will take care of that.
IMG_4987

IMG_4988

IMG_4989

IMG_4990

I wiped down the bowl with acetone and cotton pads to remove the finish and sanded it with a medium grit sanding sponge. I wiped and sanded until the finish was gone from the bowl and then wiped it down a final time. The smell of the sanding dust as well as the grain told me that I was dealing with a well made walnut, probably black walnut pipe. This one would clean up very nicely.
IMG_4991

IMG_4992

IMG_4993

IMG_4994

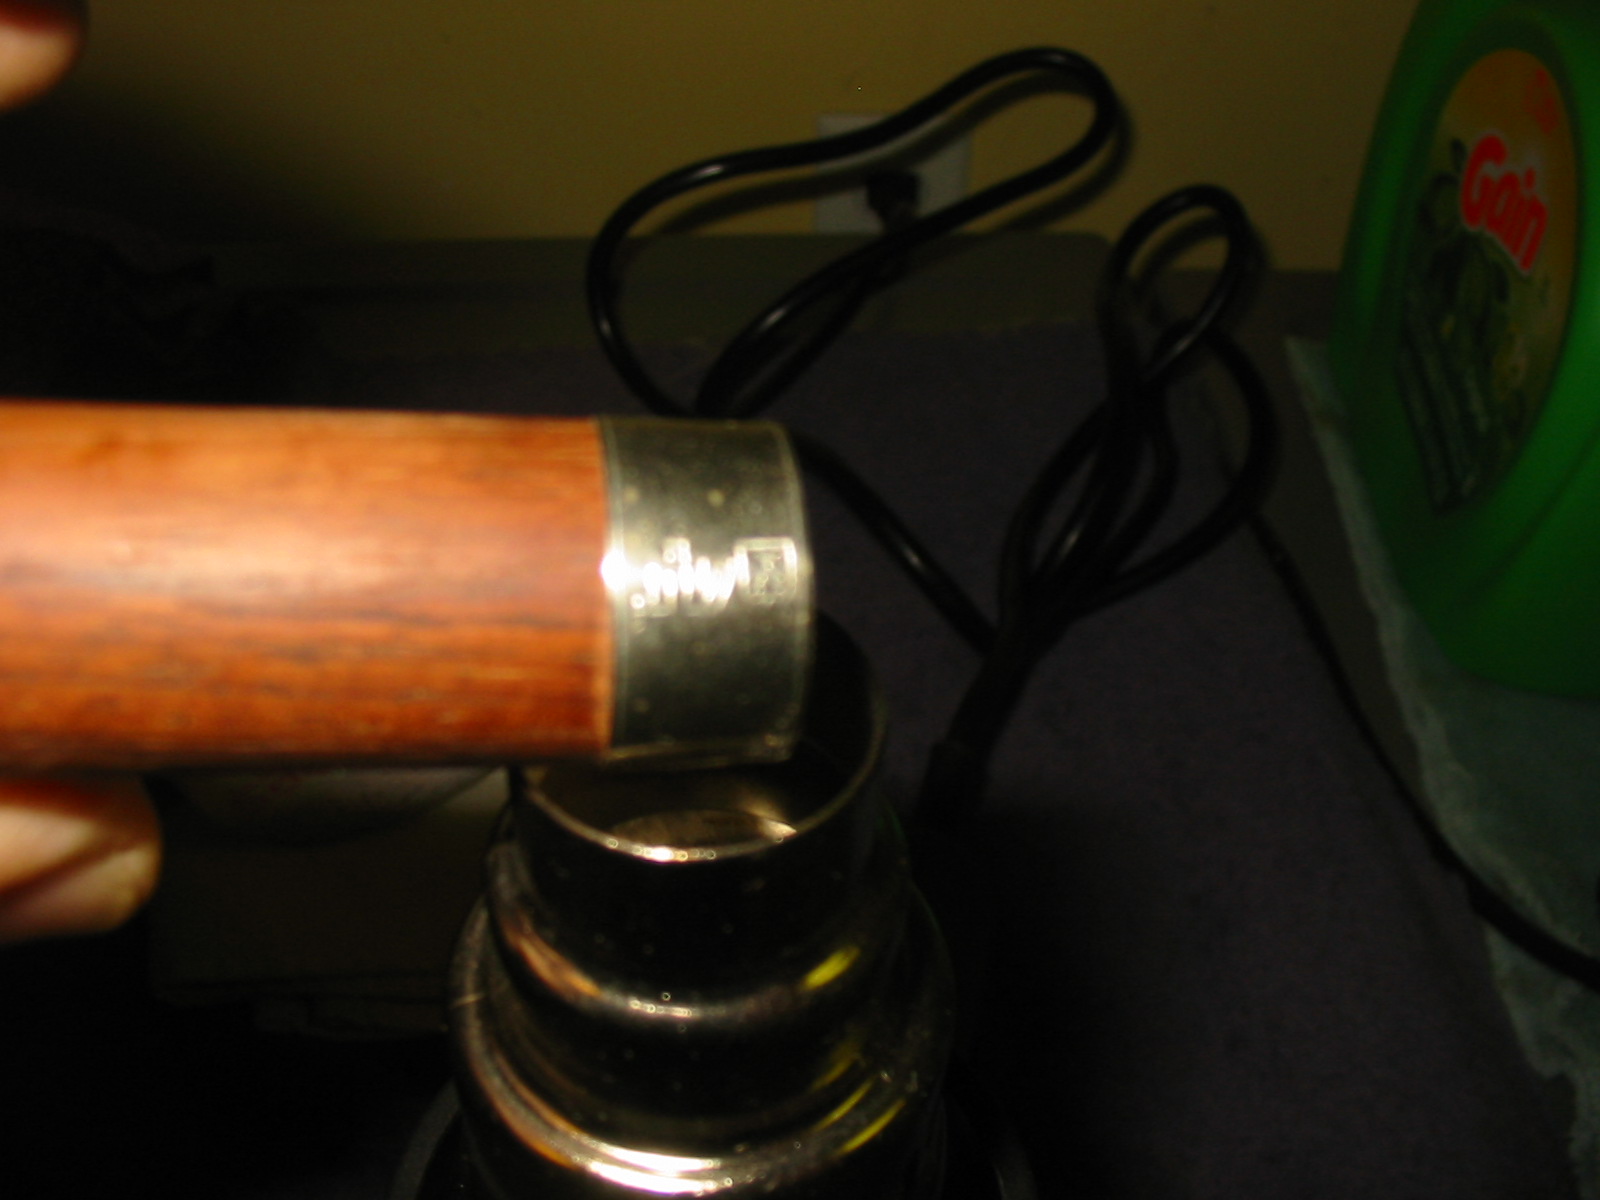
Since I could not remove the stain left behind by the previous band I decided to reband the pipe. I found a nickel band in my band collection that would be a perfect fit. I heated it with the heat gun and the pressed it into place on the shank. I cleaned up the shank end of the pipe once the band was in place and widened the bevel on the inside end of the mortise to fit the new stem that I would fit for the pipe.
IMG_4995

IMG_4996

IMG_4997

IMG_4998

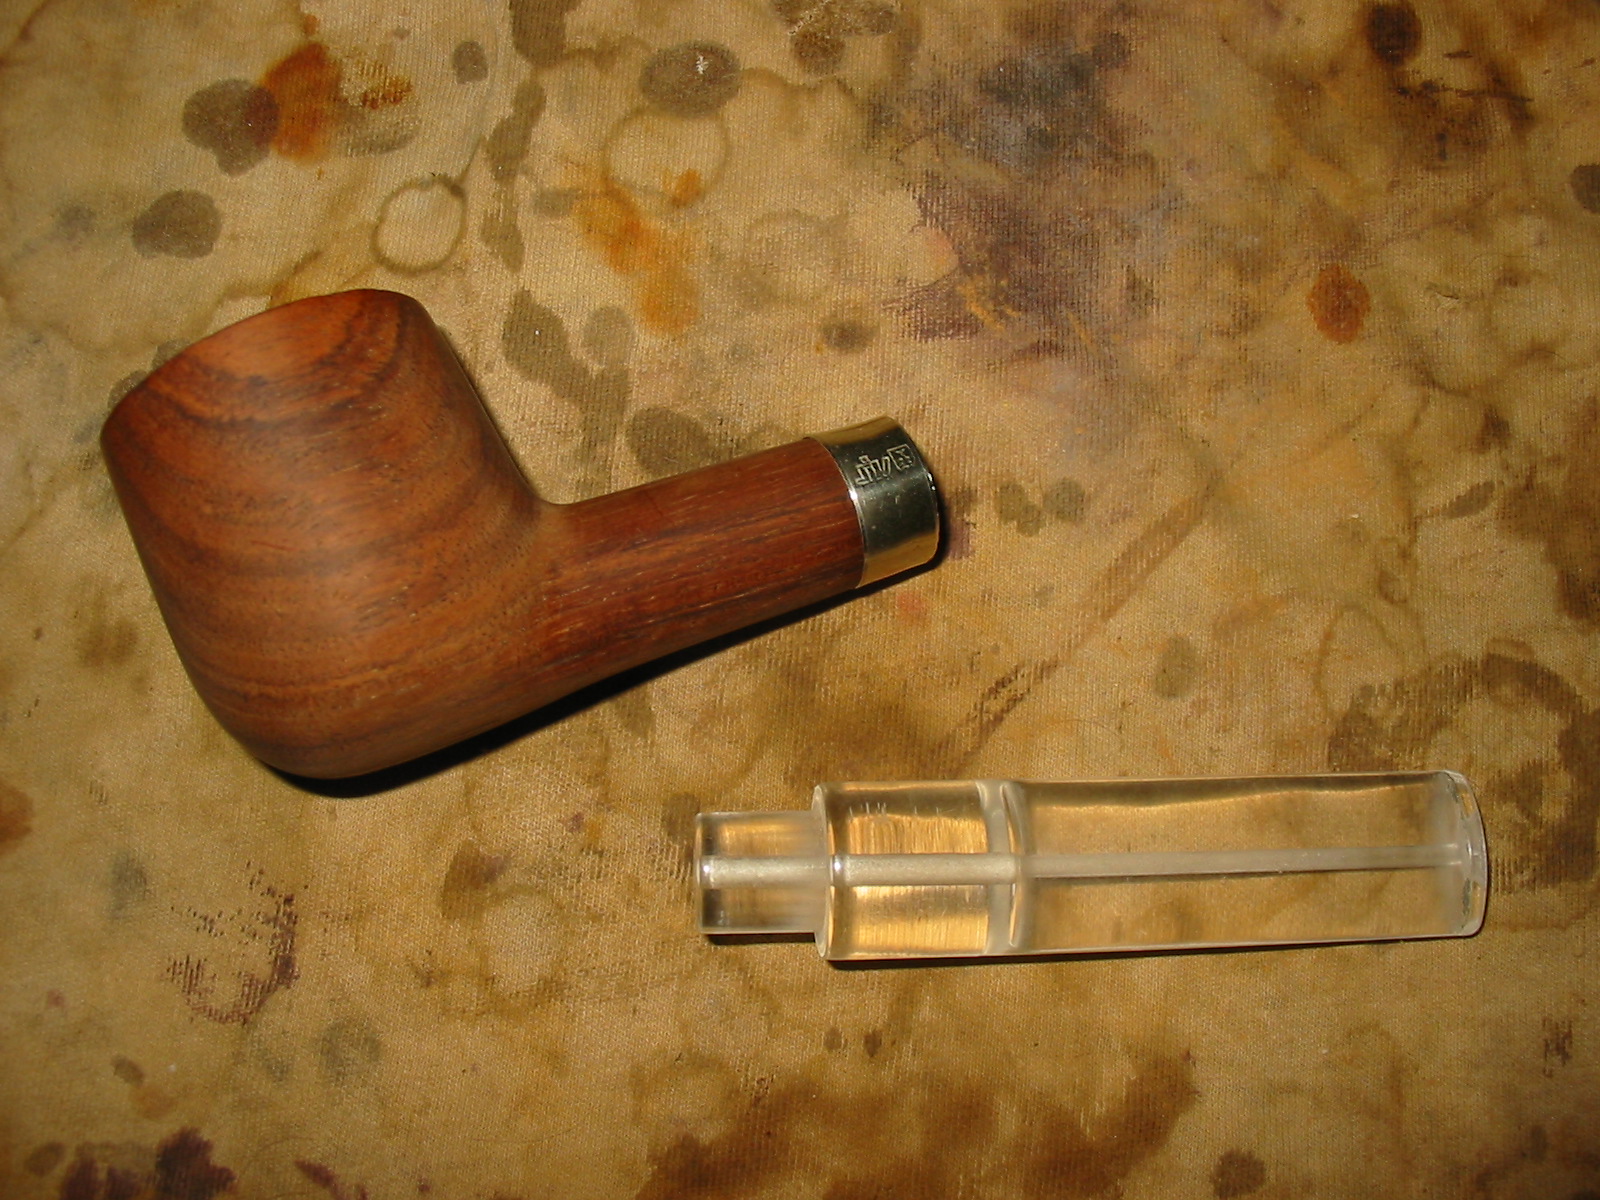
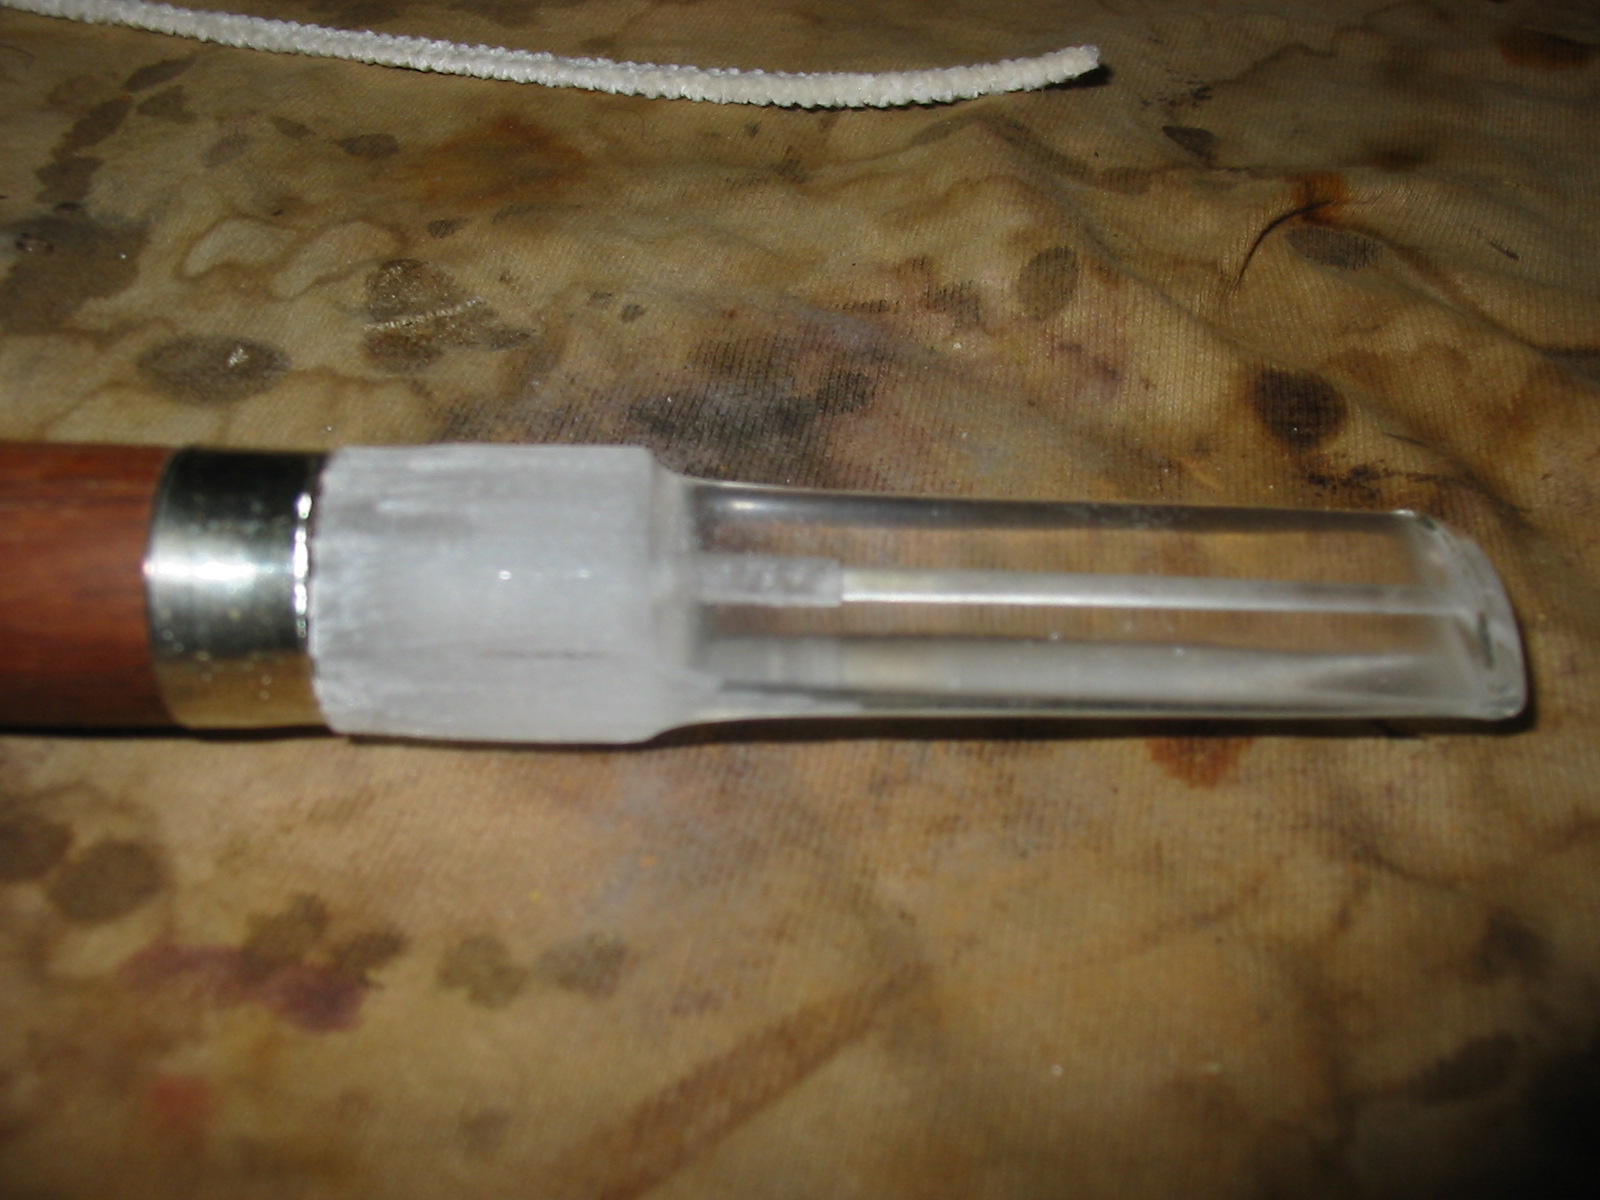
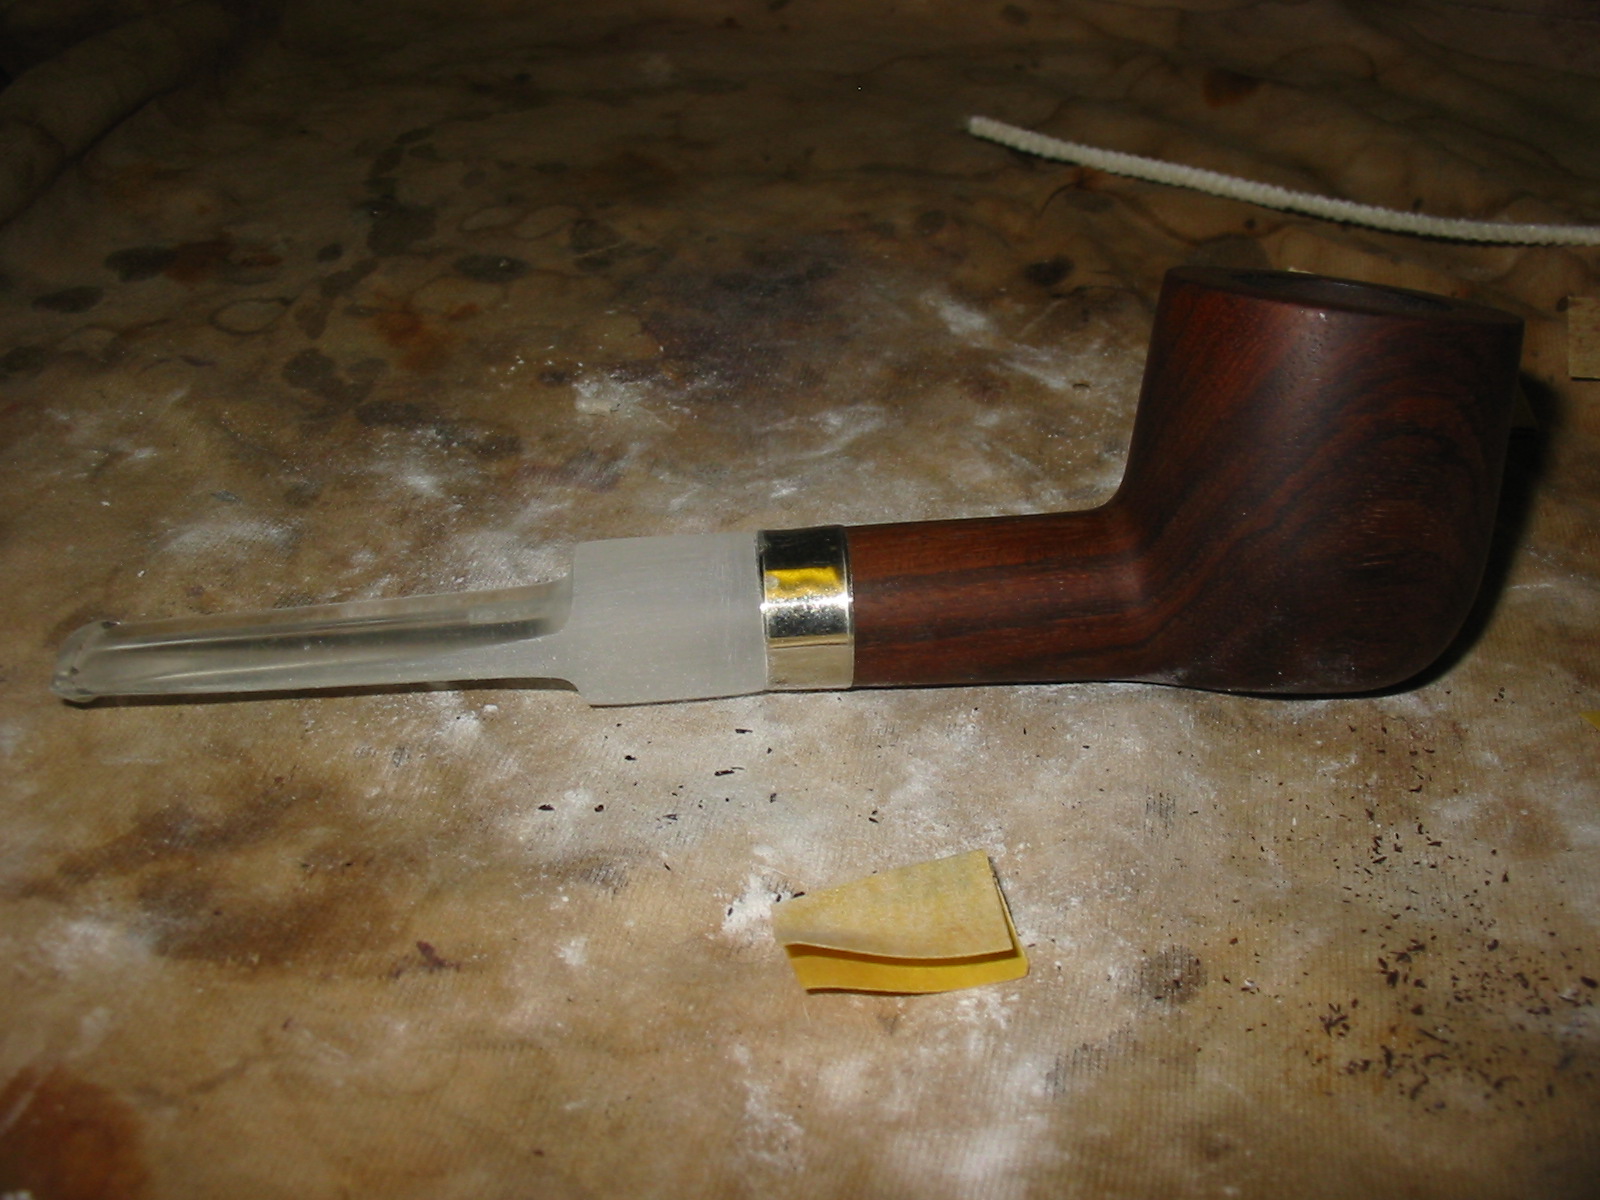
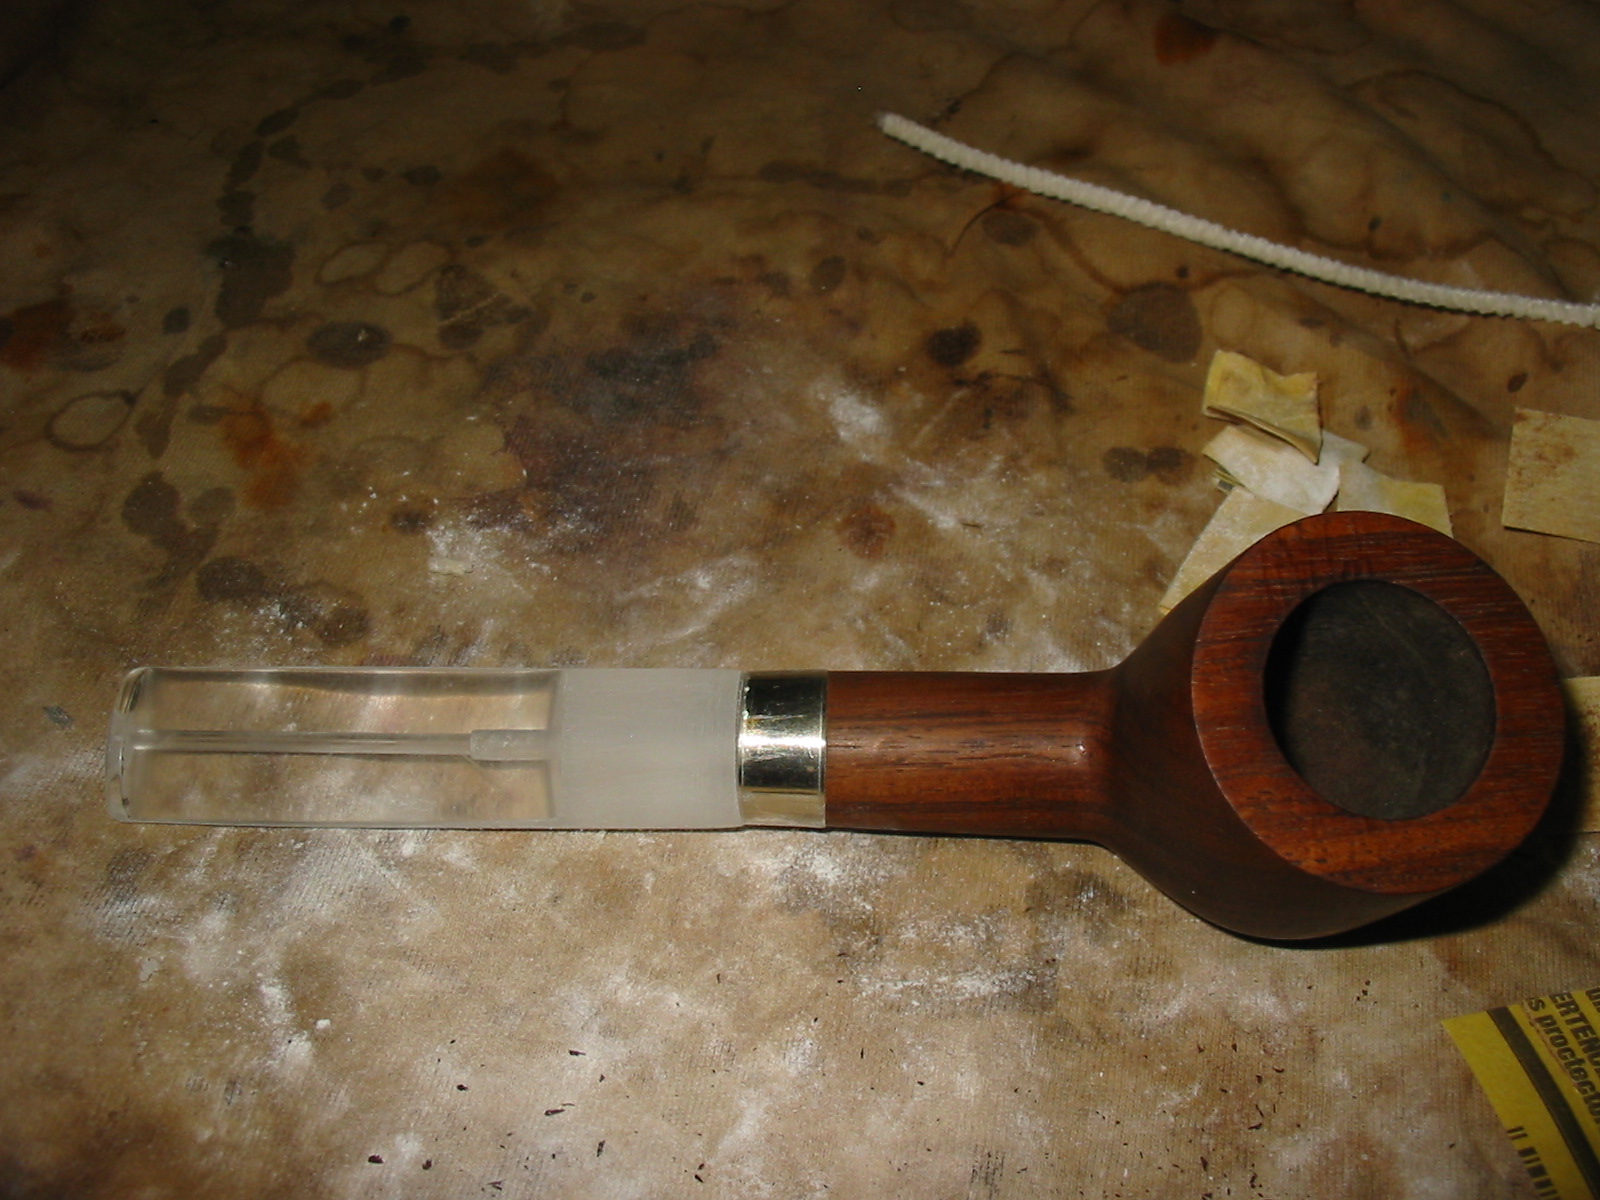
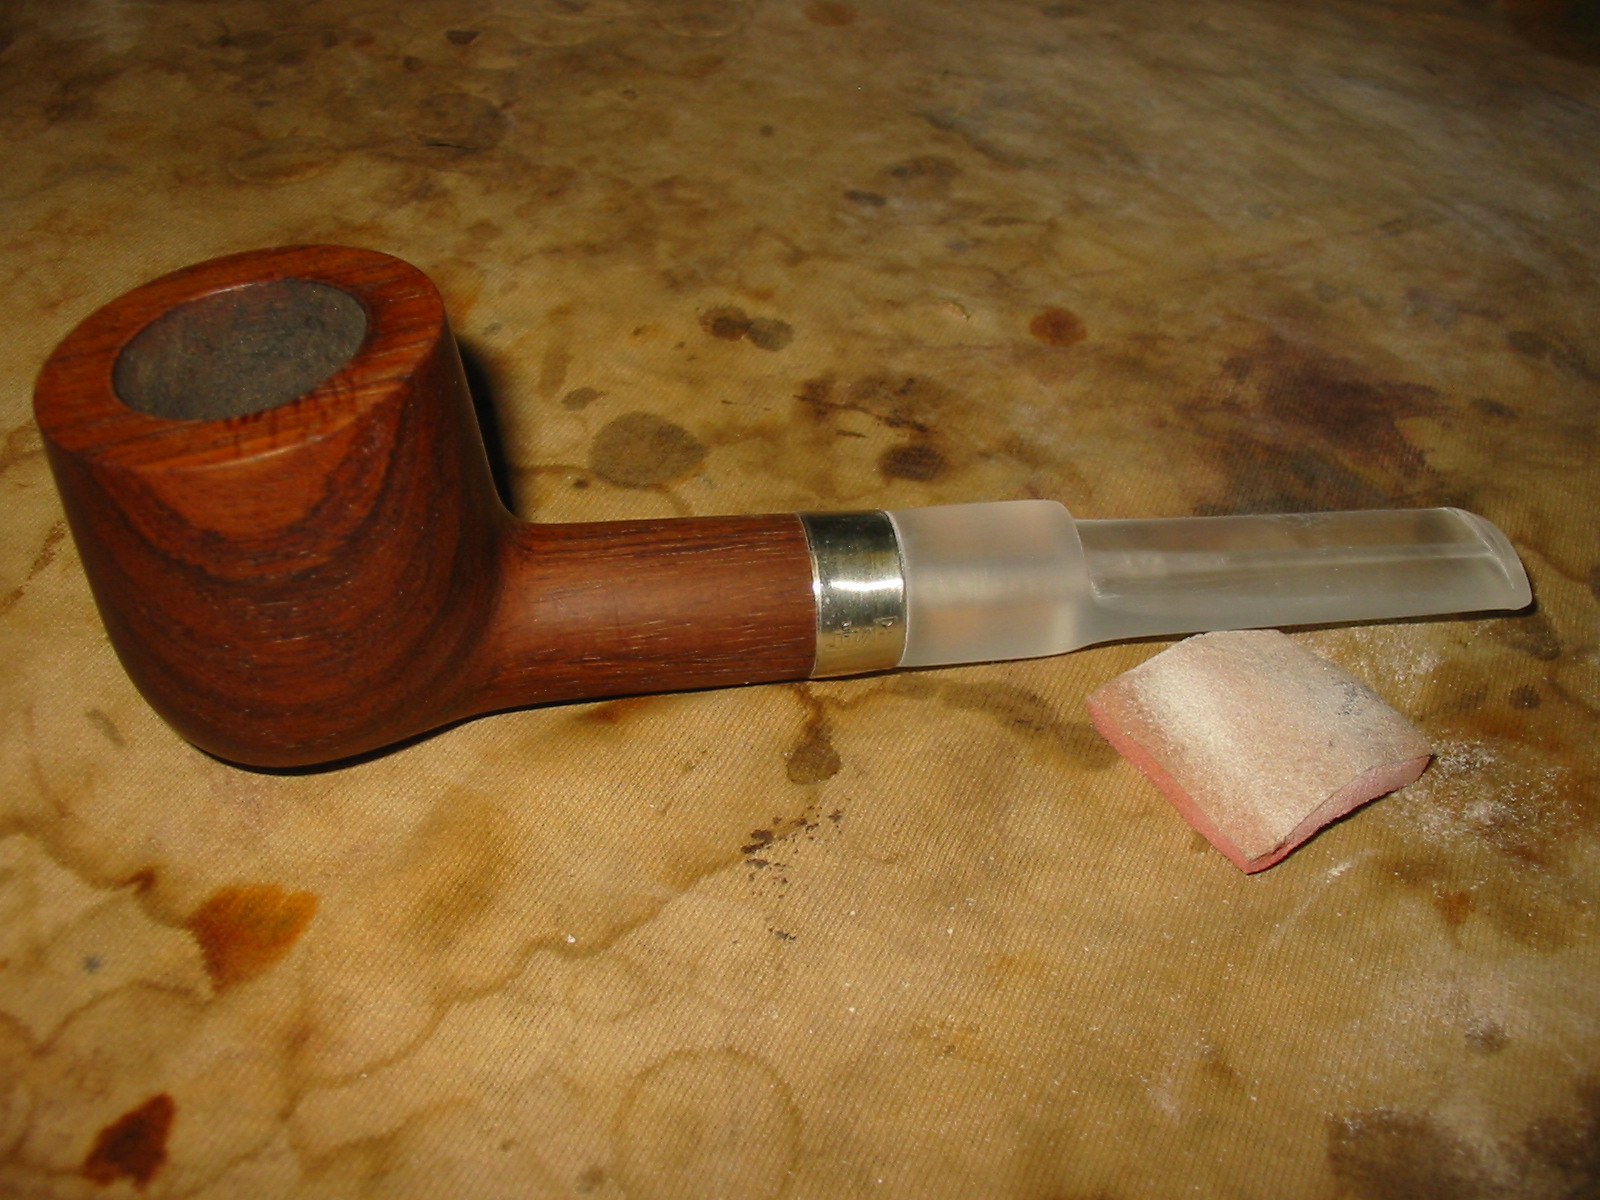
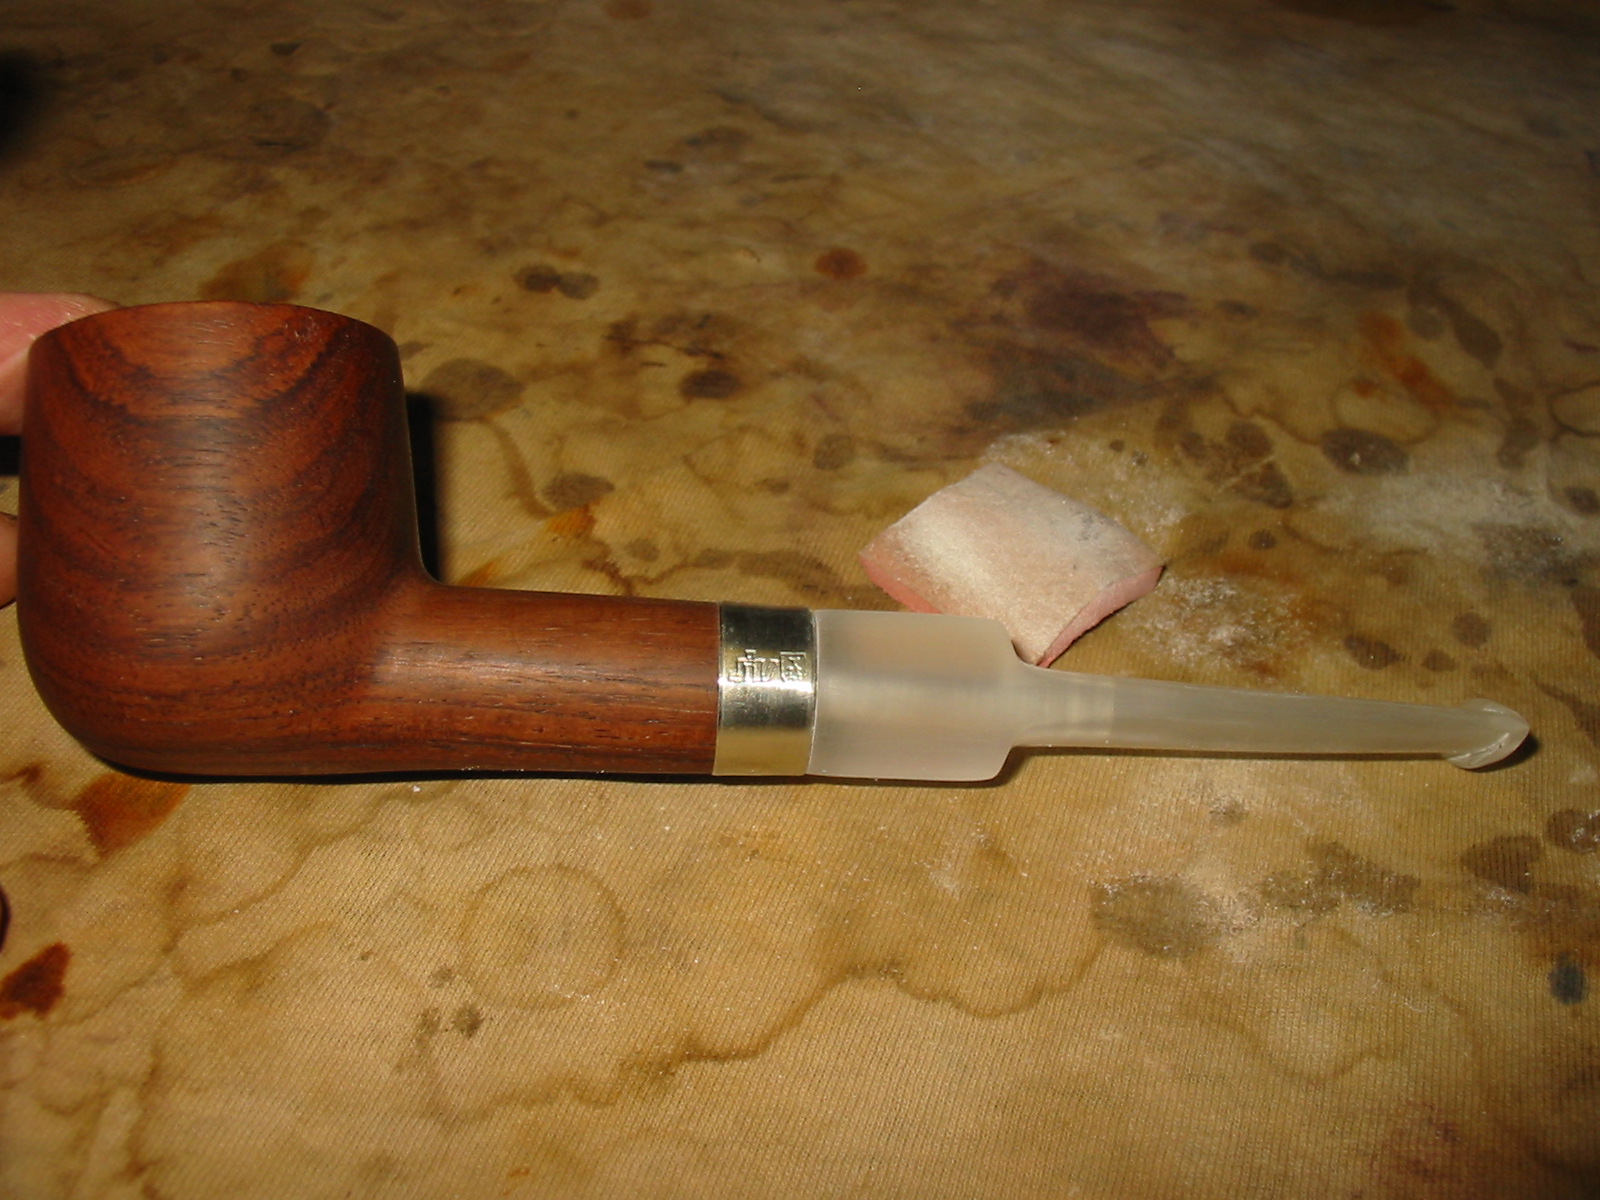
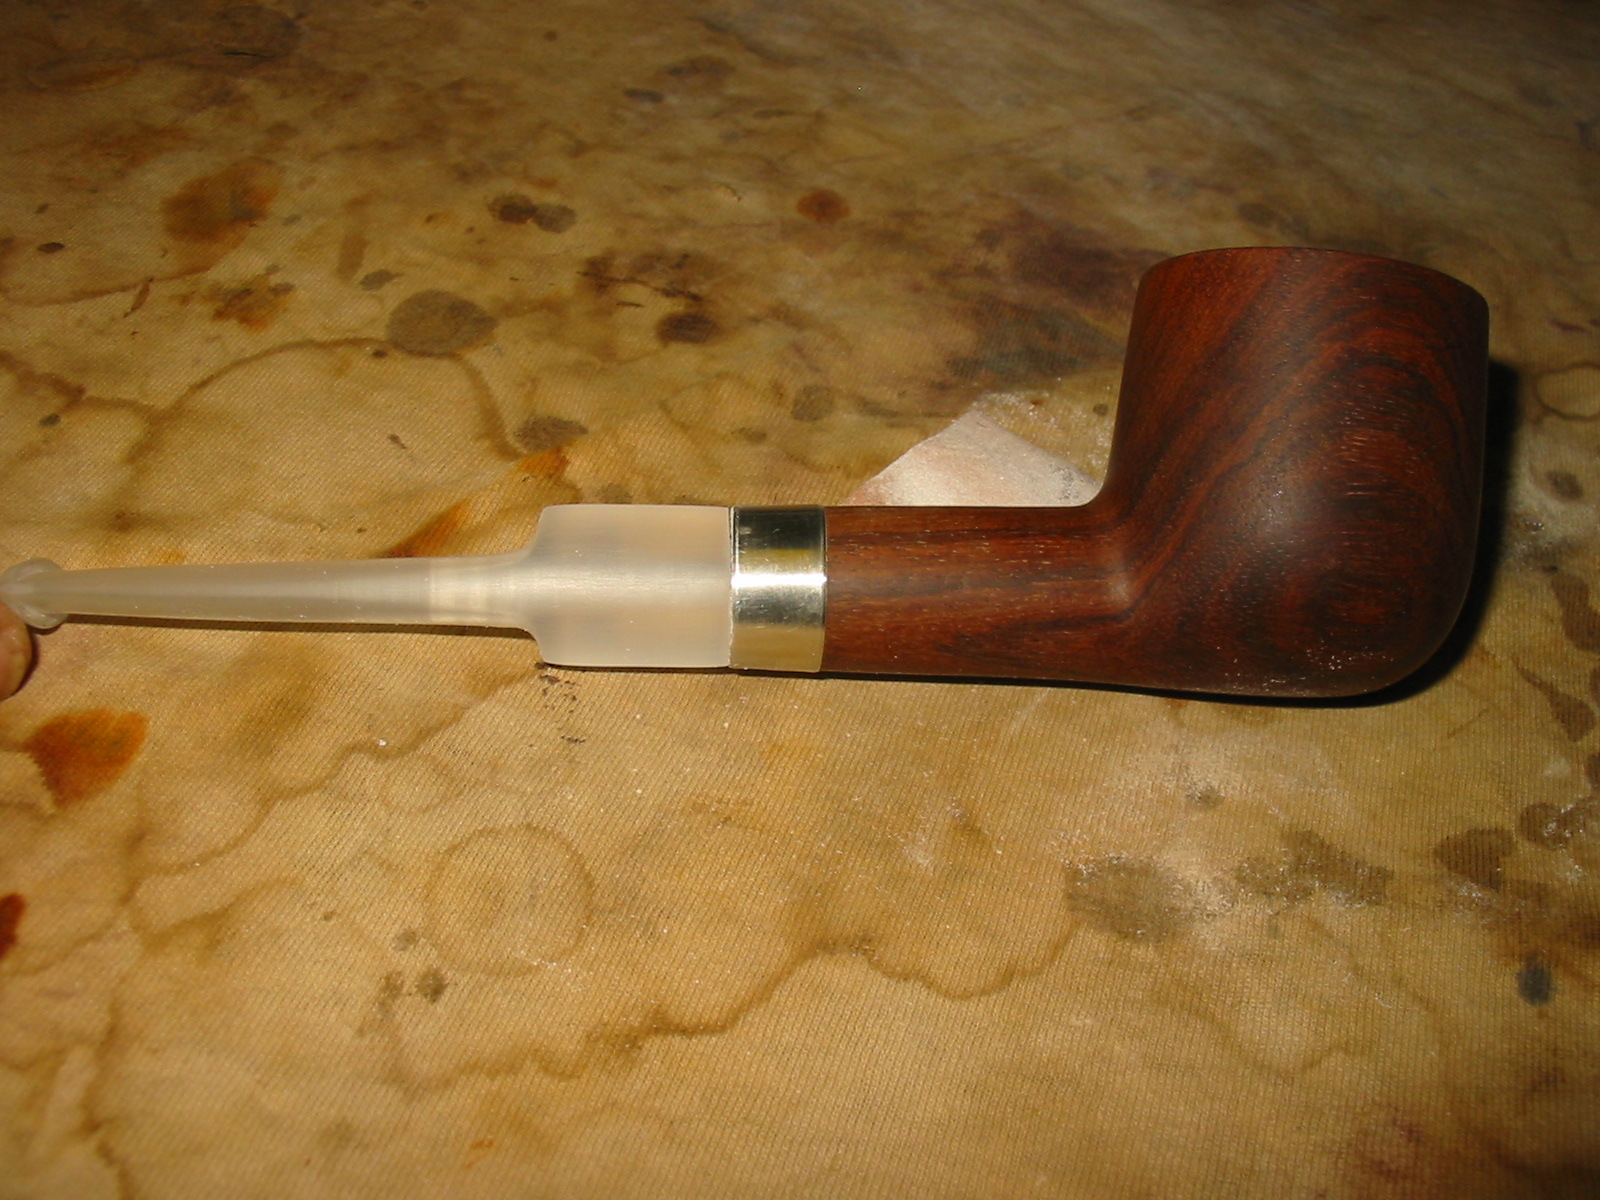
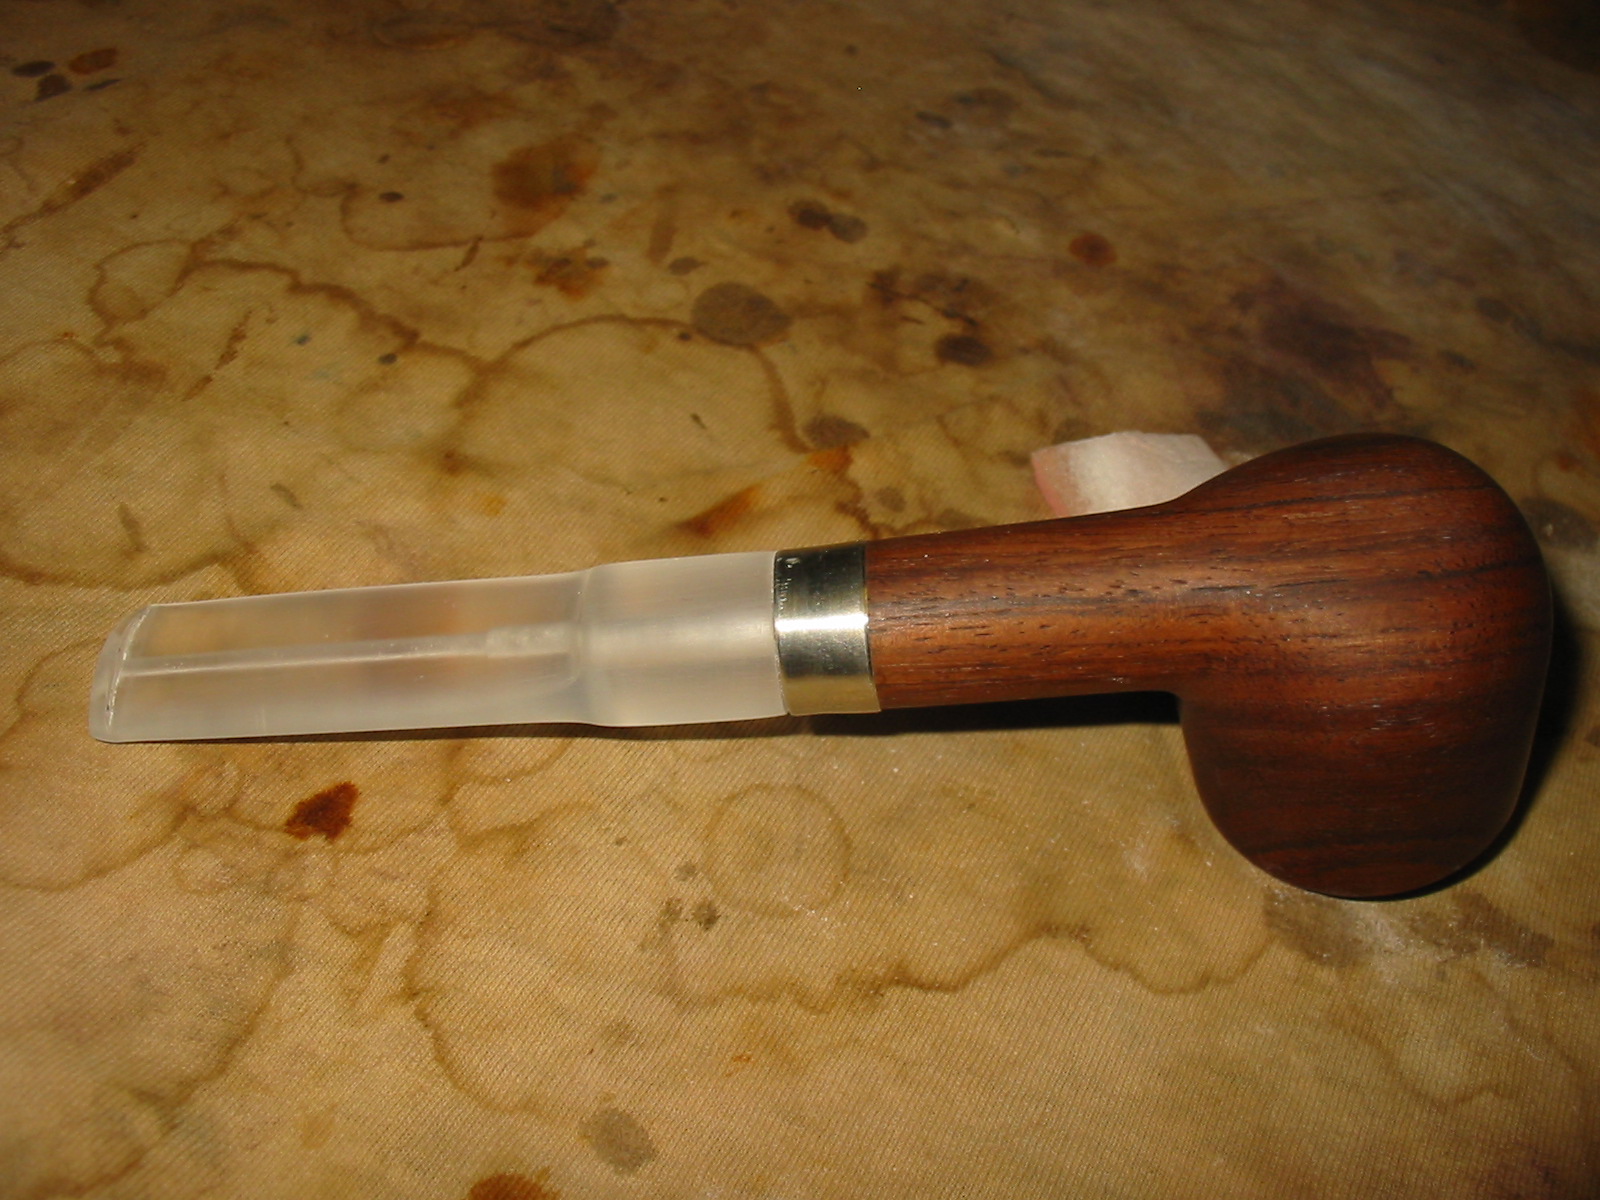
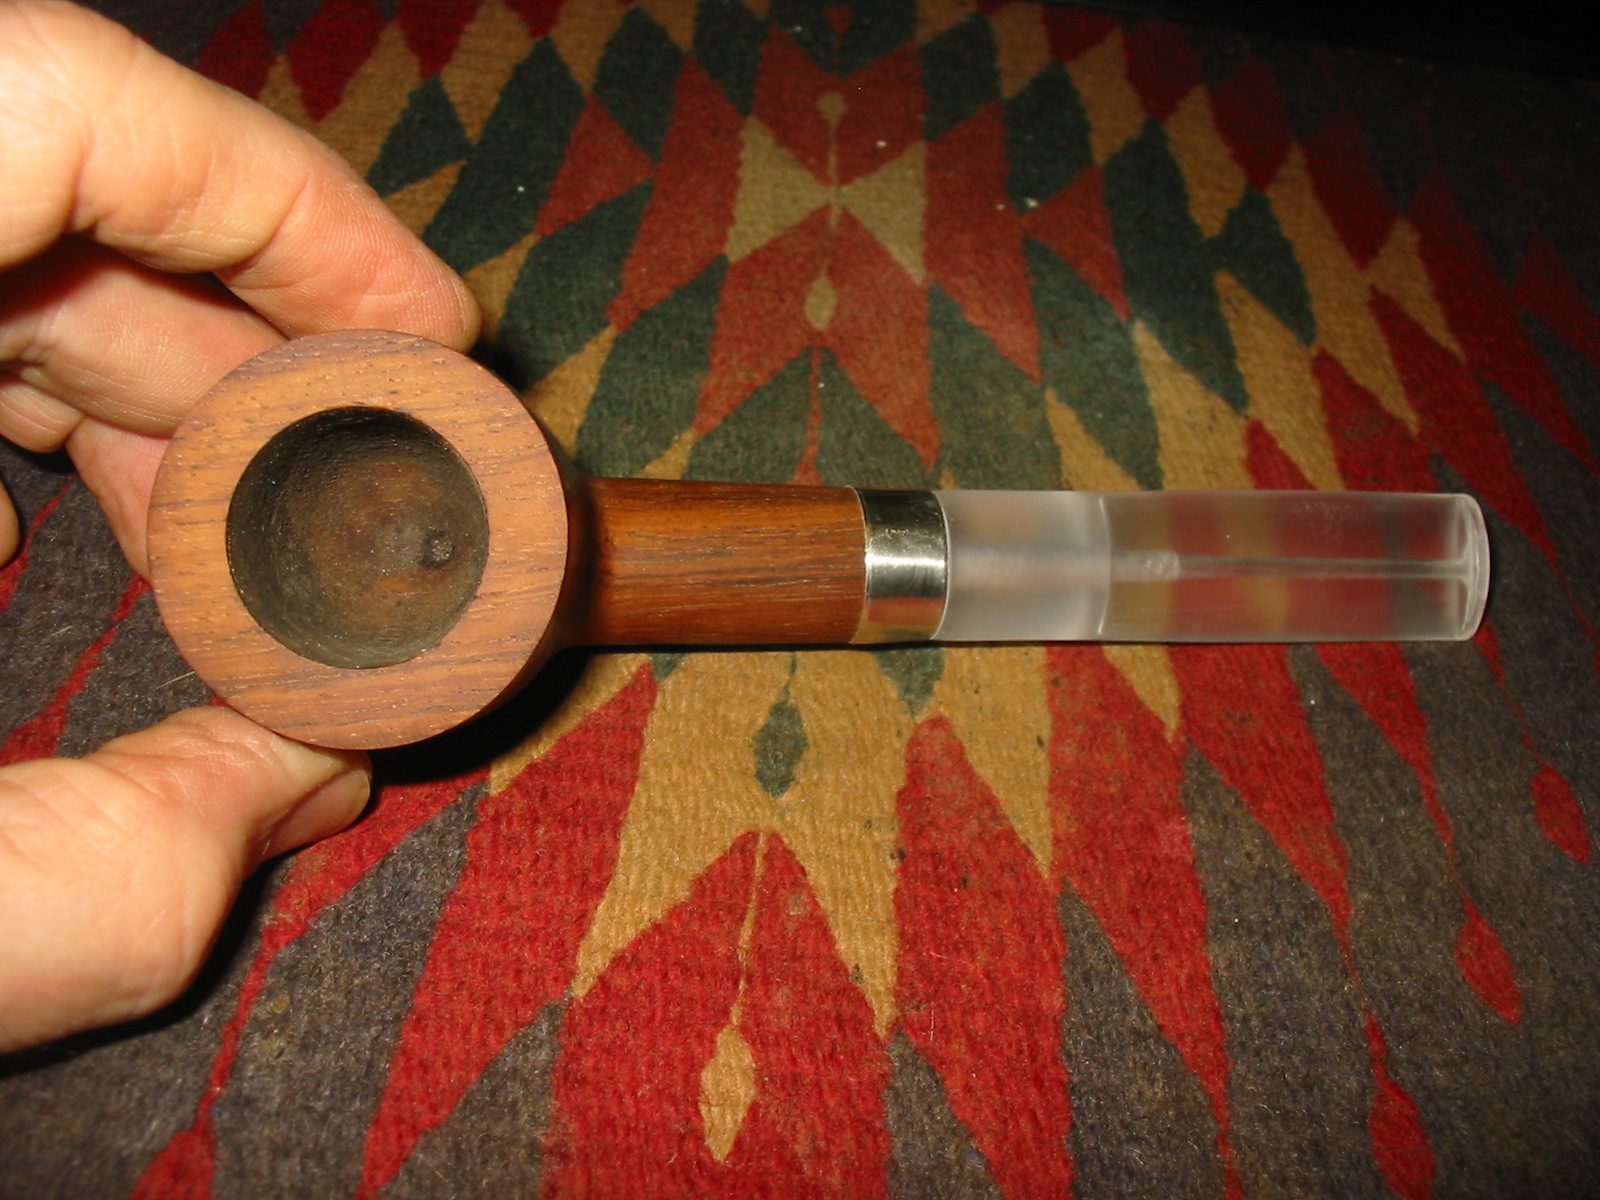
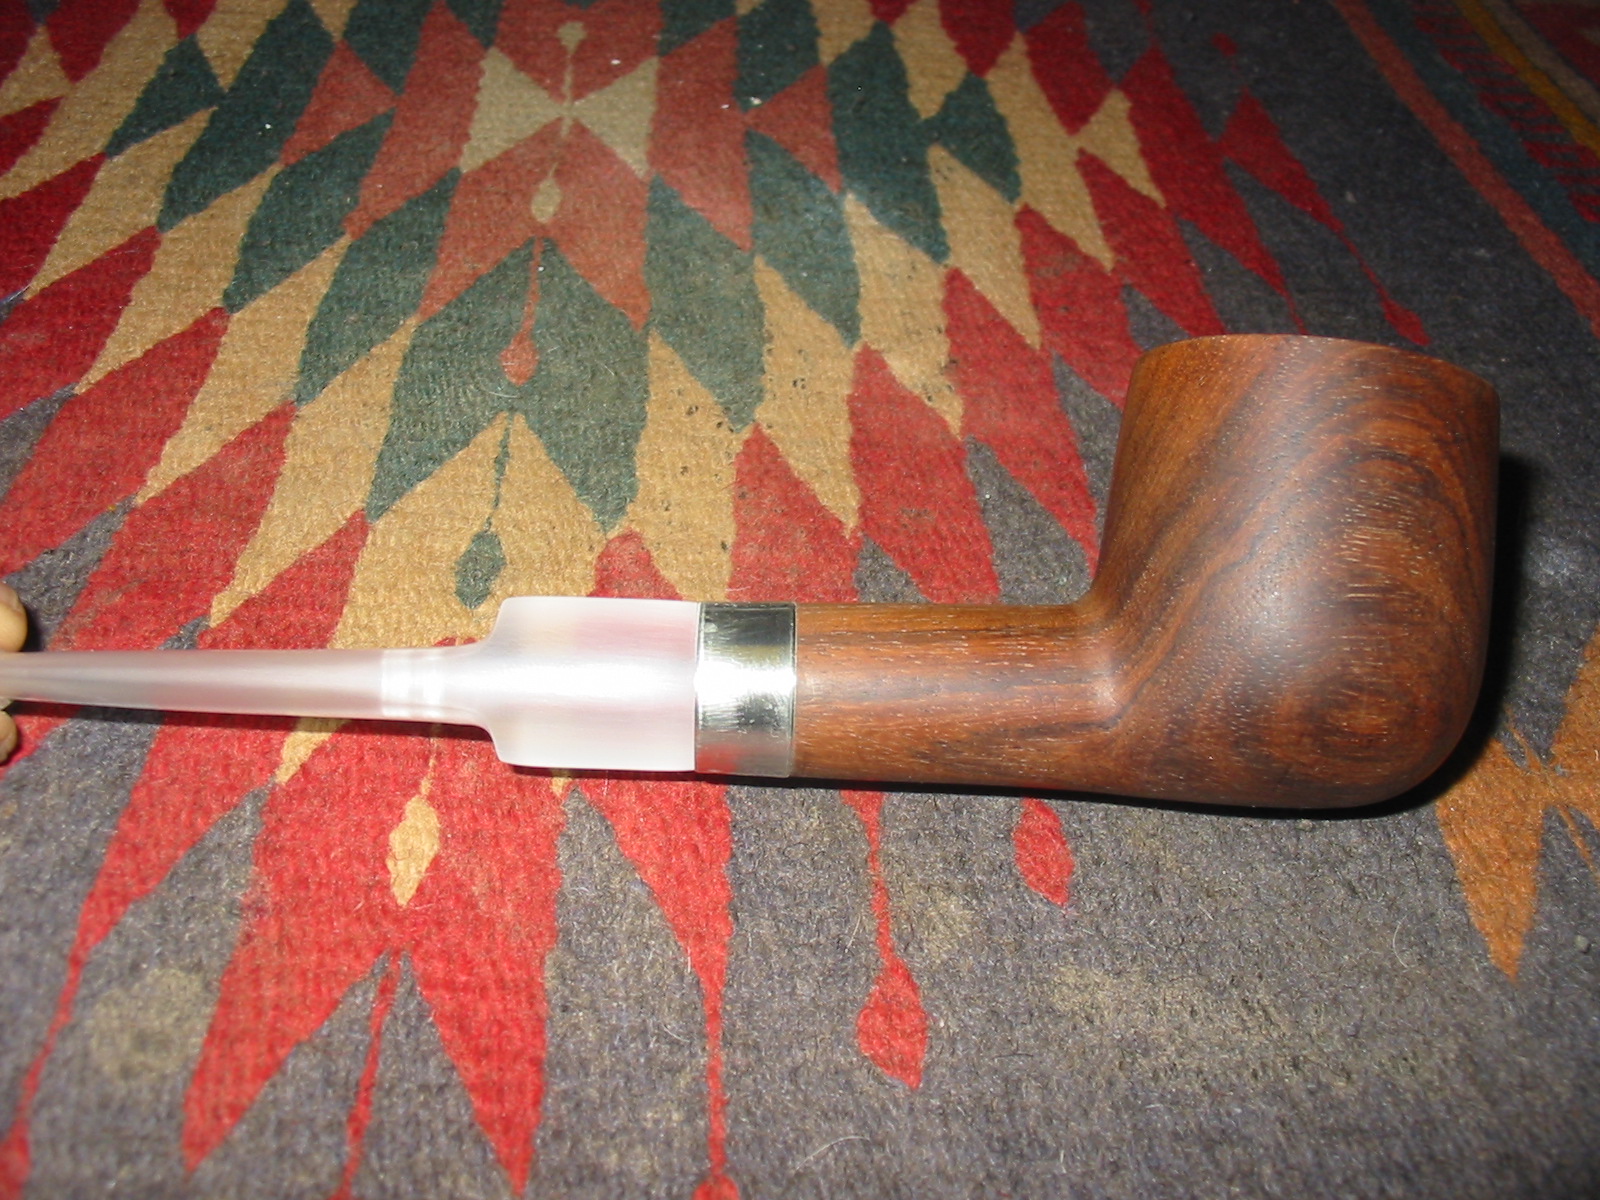
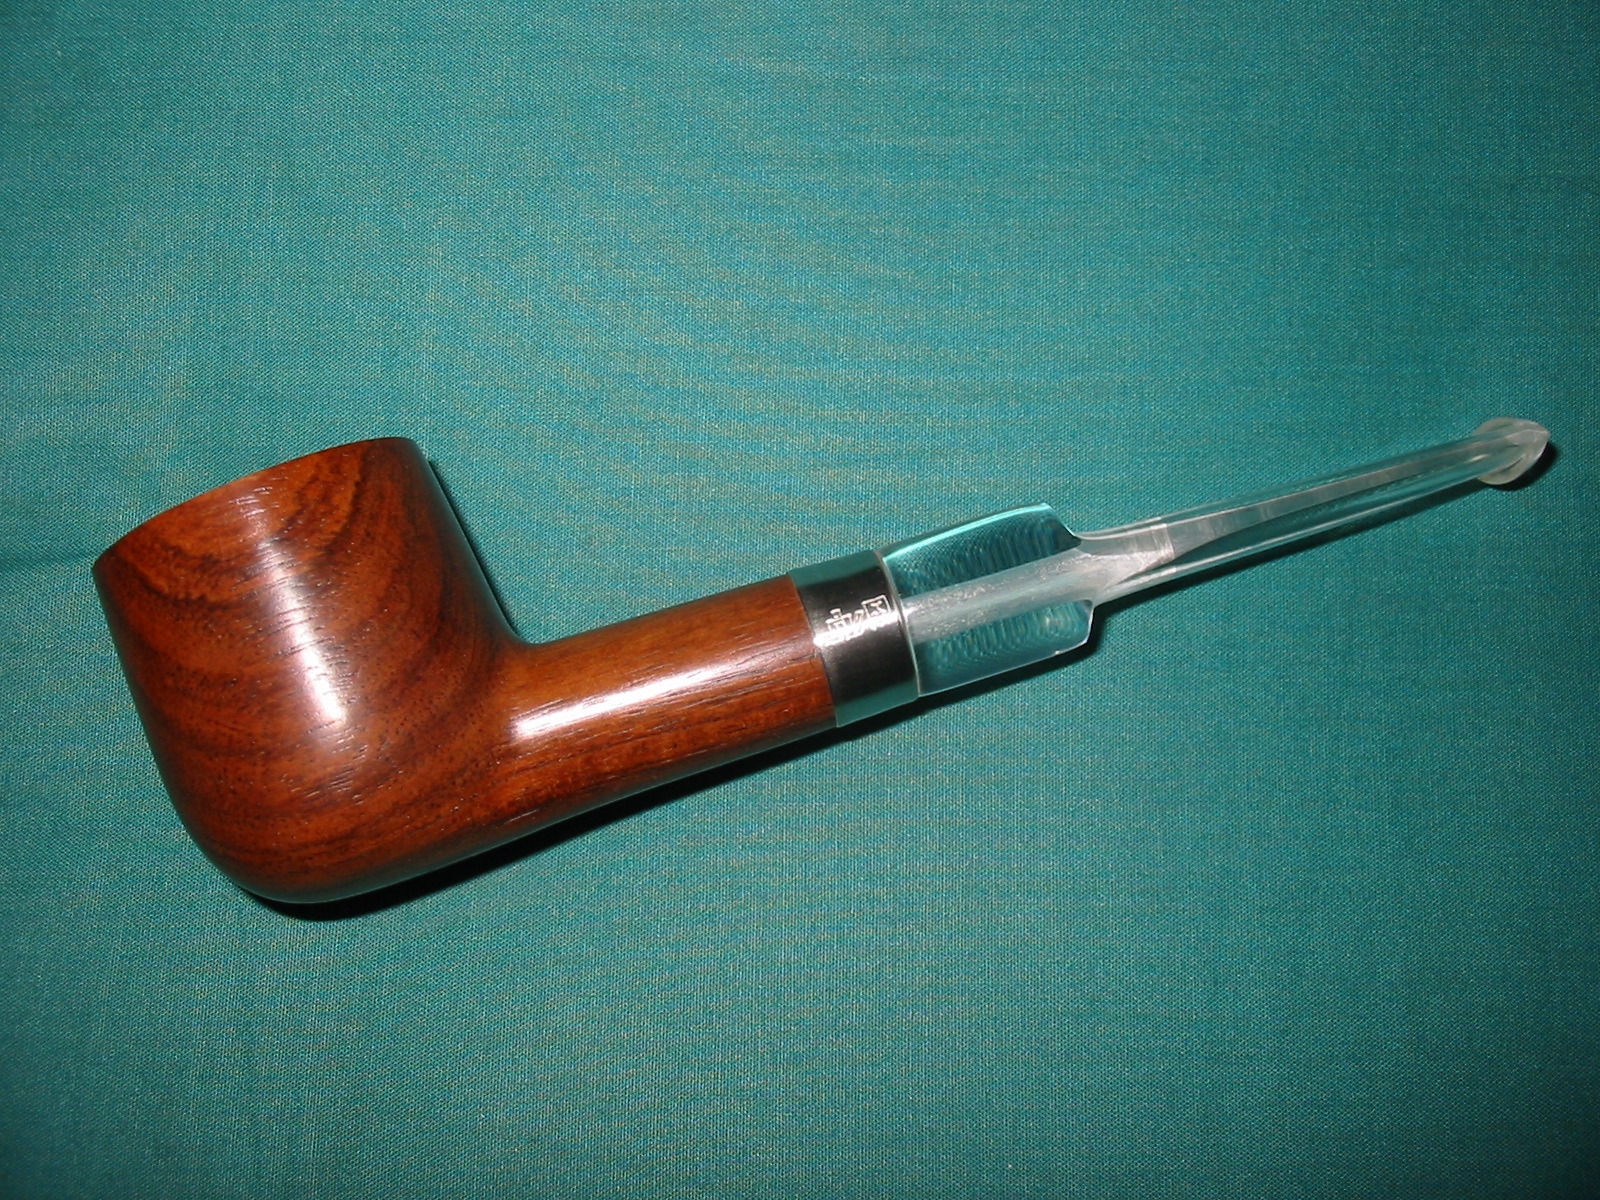
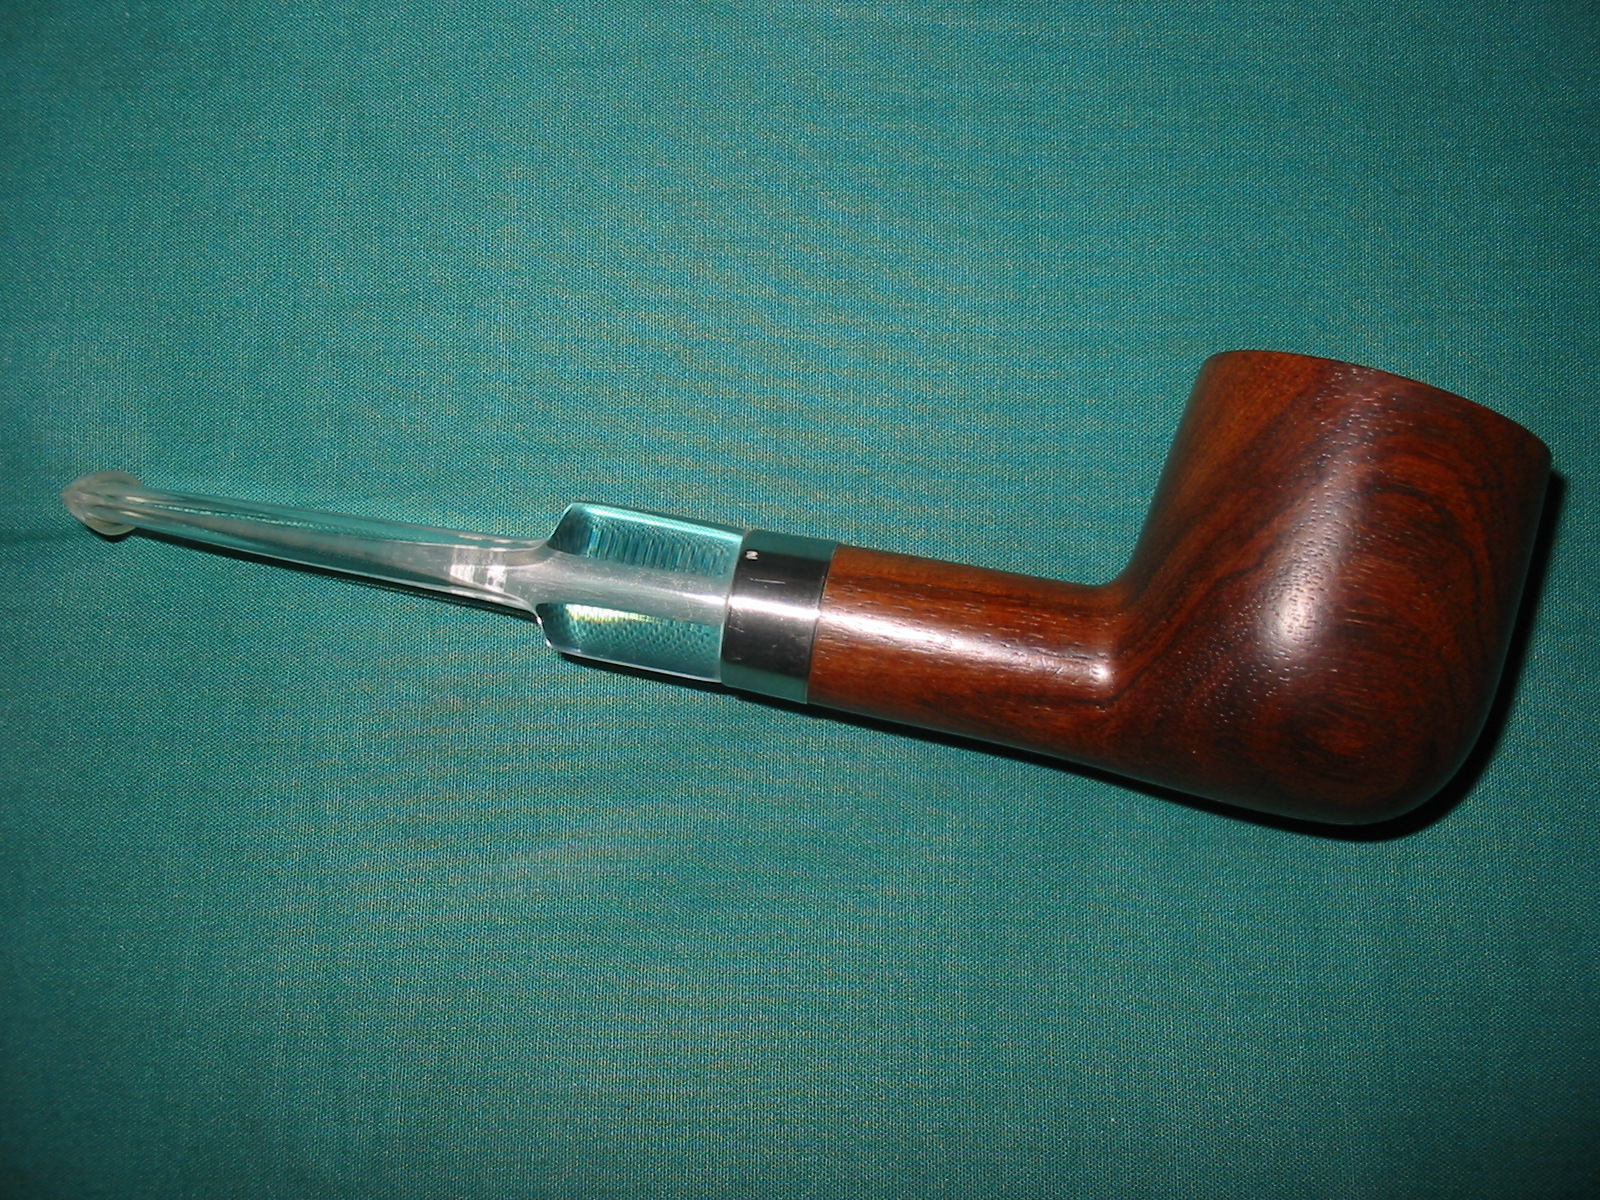
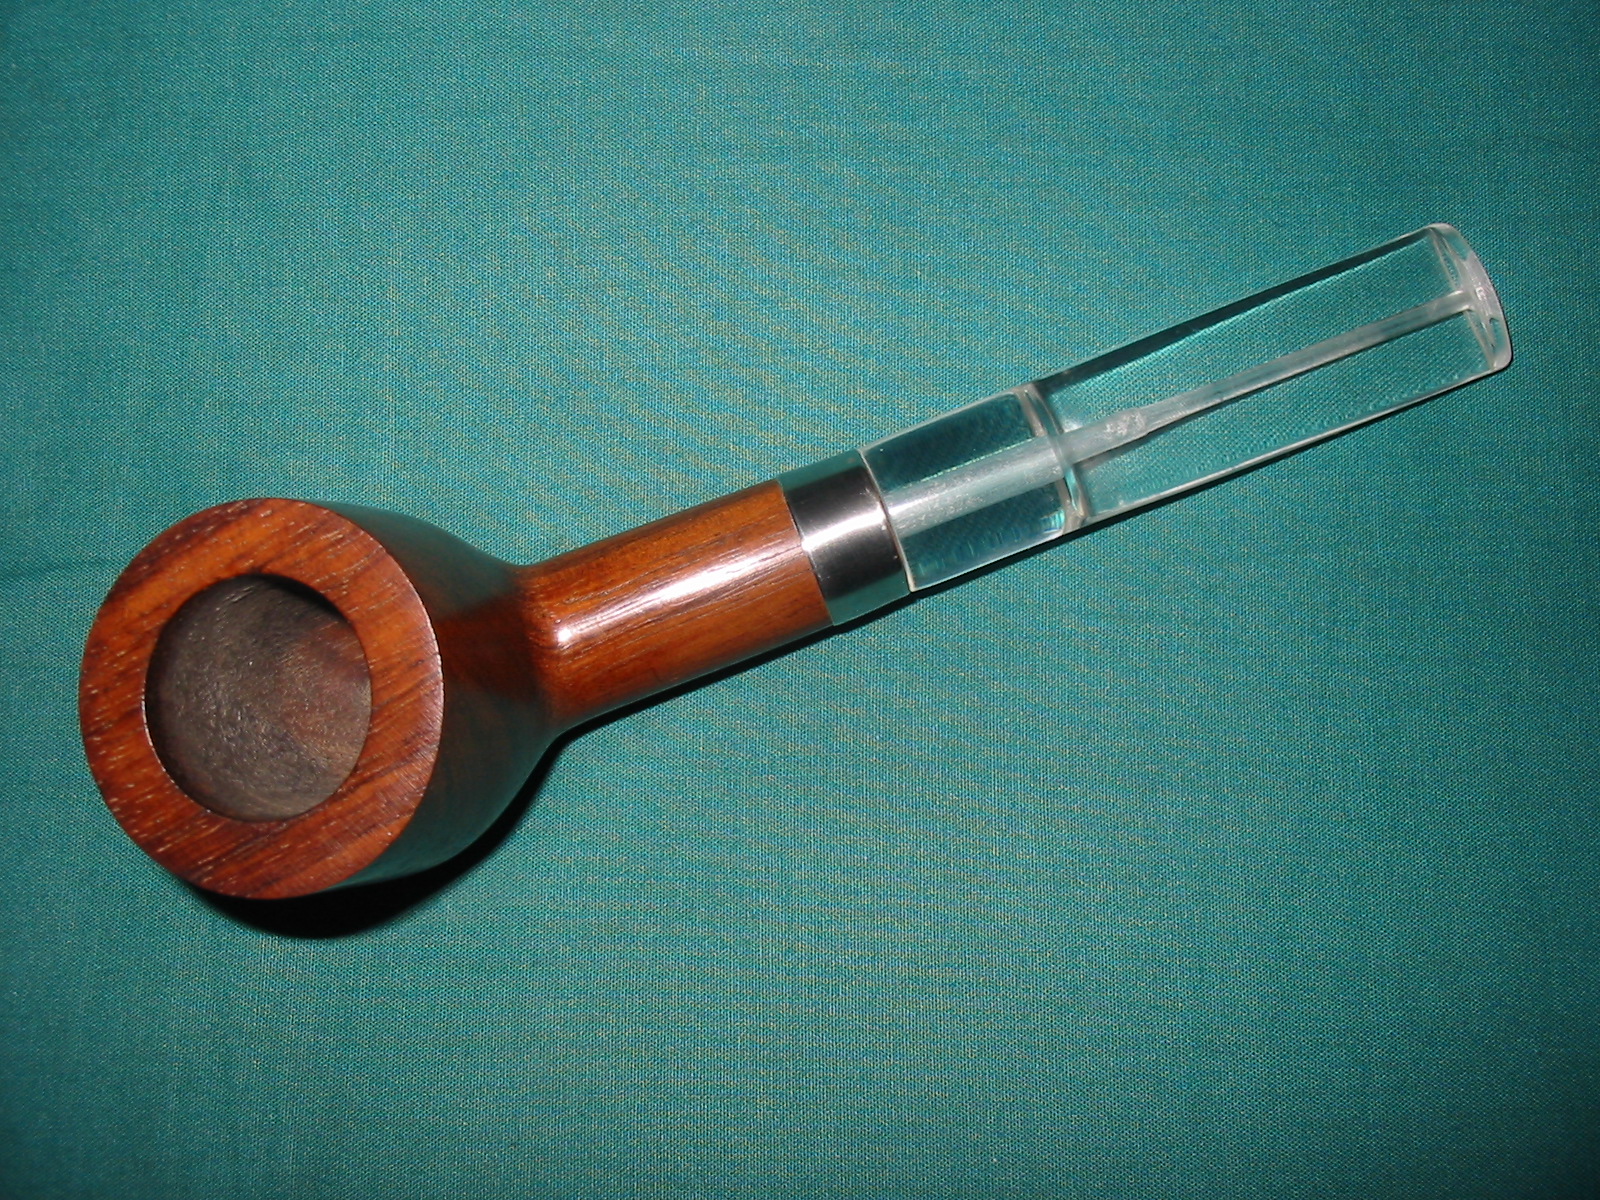
I went through my can of stems and found three different stems that would work with this pipe. Two of them were vulcanite and one was a clear acrylic. I have not done much work with clear acrylic and never turned the tenon to fit a pipe so this one seemed to be the way to go. Each pipe has to be a bit of a learning experience. Besides I liked the way the clear acrylic looked with the walnut bowl and the silver band.
IMG_4999

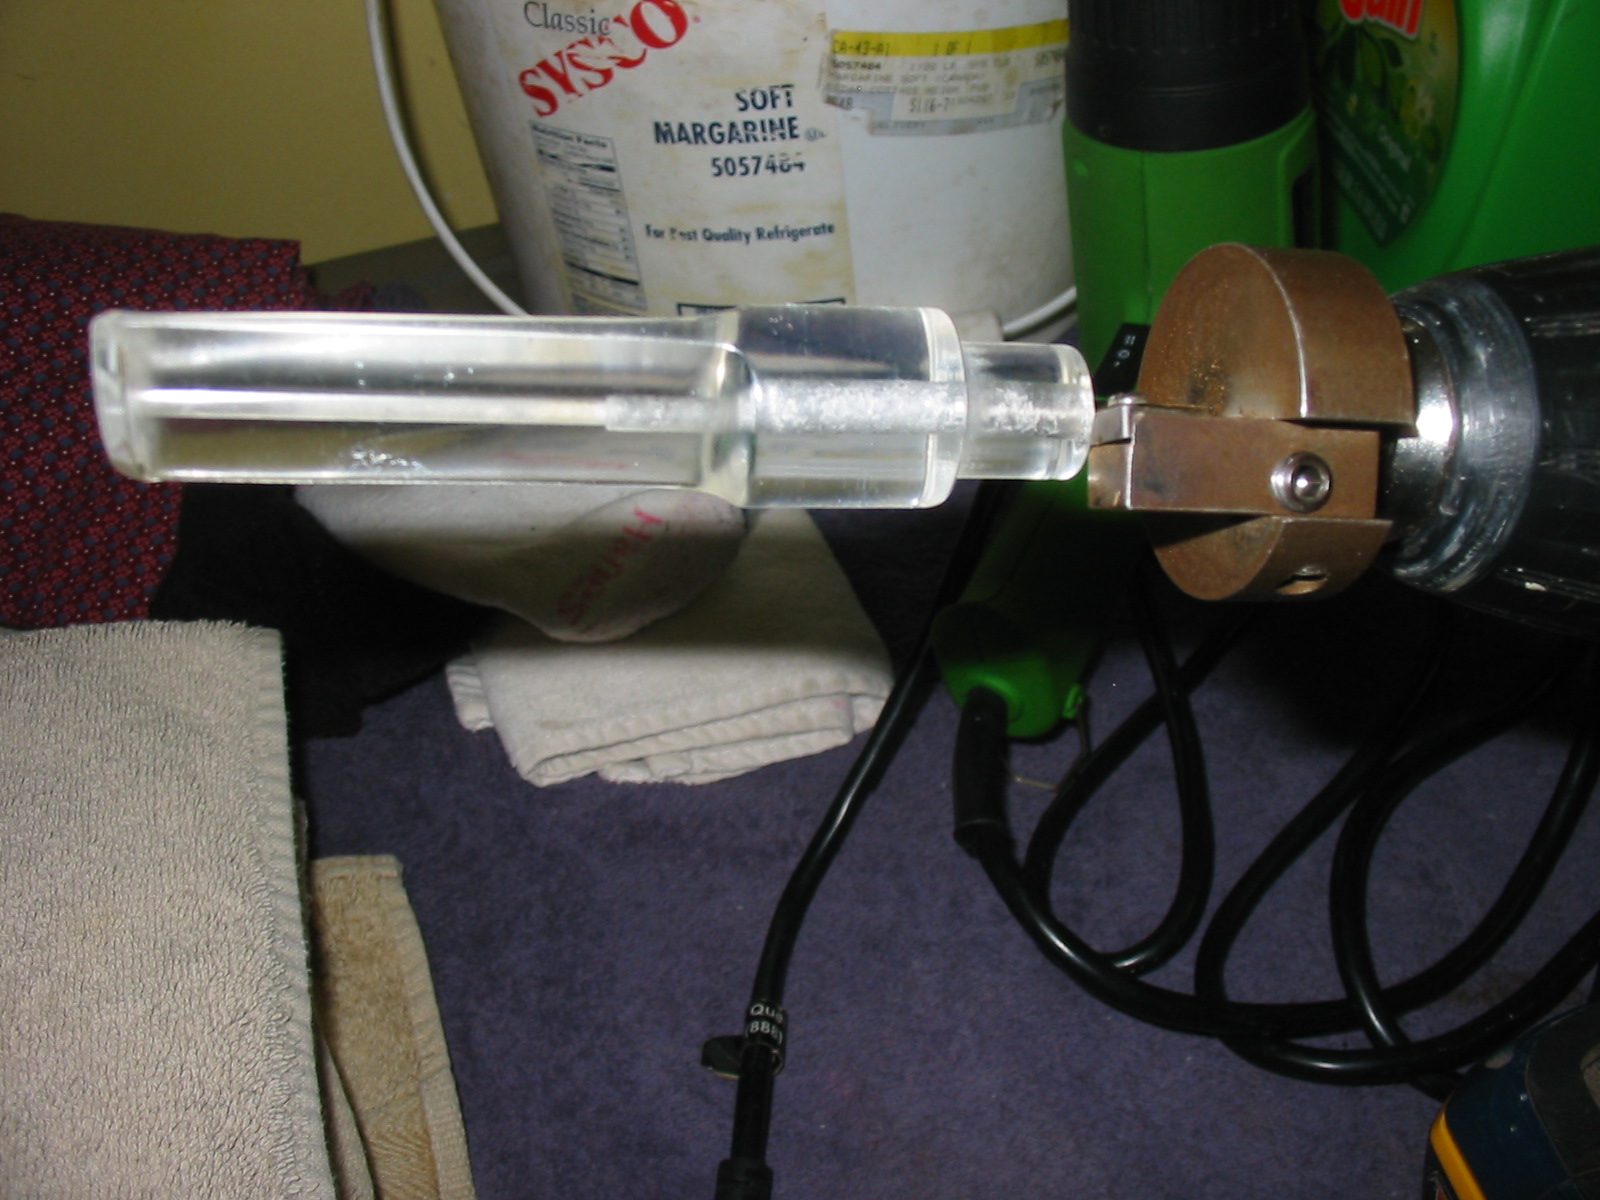
I drilled the airway in the stem to fit the end of the PIMO tenon turning tool and then put the tool on my drill and slid the stem in place. I adjusted the cutting head on the tool to cut off enough material to get a close fit on the stem. The tool is touchy in terms of accurate adjustments so I eyeball it close and then sand it by hand until it fits the shank.
IMG_5000

I pushed the stem in place on the walnut bowl and set it down to look at the overall appearance of the pipe. The clear stem was going to work well once I had shaped it to fit. The walnut was already darkening from the oils in my hands. This was going to be a beauty once it was finished.
IMG_5001

IMG_5002

IMG_5003

IMG_5004

The diameter of the stem and that of the shank were different. The stem was significantly larger than the shank of the pipe. I used a Dremel with a sanding drum to sand off excess acrylic material. I proceeded with that slowly and carefully as I did not want to nick the band or damage the pipe bowl.
IMG_5006

IMG_5007

I took the material down as close as possible with the Dremel and then did the rest of the sanding by hand with 220 grit sandpaper. It took quite a bit of time and several return trips to the Dremel before I had the shank and the stem diameter matching. The following photos show the progress on the stem with each one taking it a step closer to the finish.
IMG_5008

IMG_5009

IMG_5010

IMG_5011

When I finally had the fit correct with the 220 grit sandpaper I switched to a medium grit sanding sponge to further refine the fit and to remove the scratches left behind by the sandpaper. I finished sanding with the medium grit and used a fine grit sanding sponge to sand the stem again. When finished the stem looked opaque and the shape was done. All that remained was to polish the stem.
IMG_5012

IMG_5013

IMG_5014

IMG_5015

Before sanding it further I used a needle file to smooth out the transition in the airway between the stem airway and the place where the drill bit ended when I worked on the tenon. I was able to even out the transition and taper it for a smooth and seamless transition. The walnut was continuing to darken from my hands as I worked on it. I also stopped and sanded the rim of the pipe to remove the deep scratches that were present when I received it.
IMG_5016

IMG_5017

IMG_5018

IMG_5019

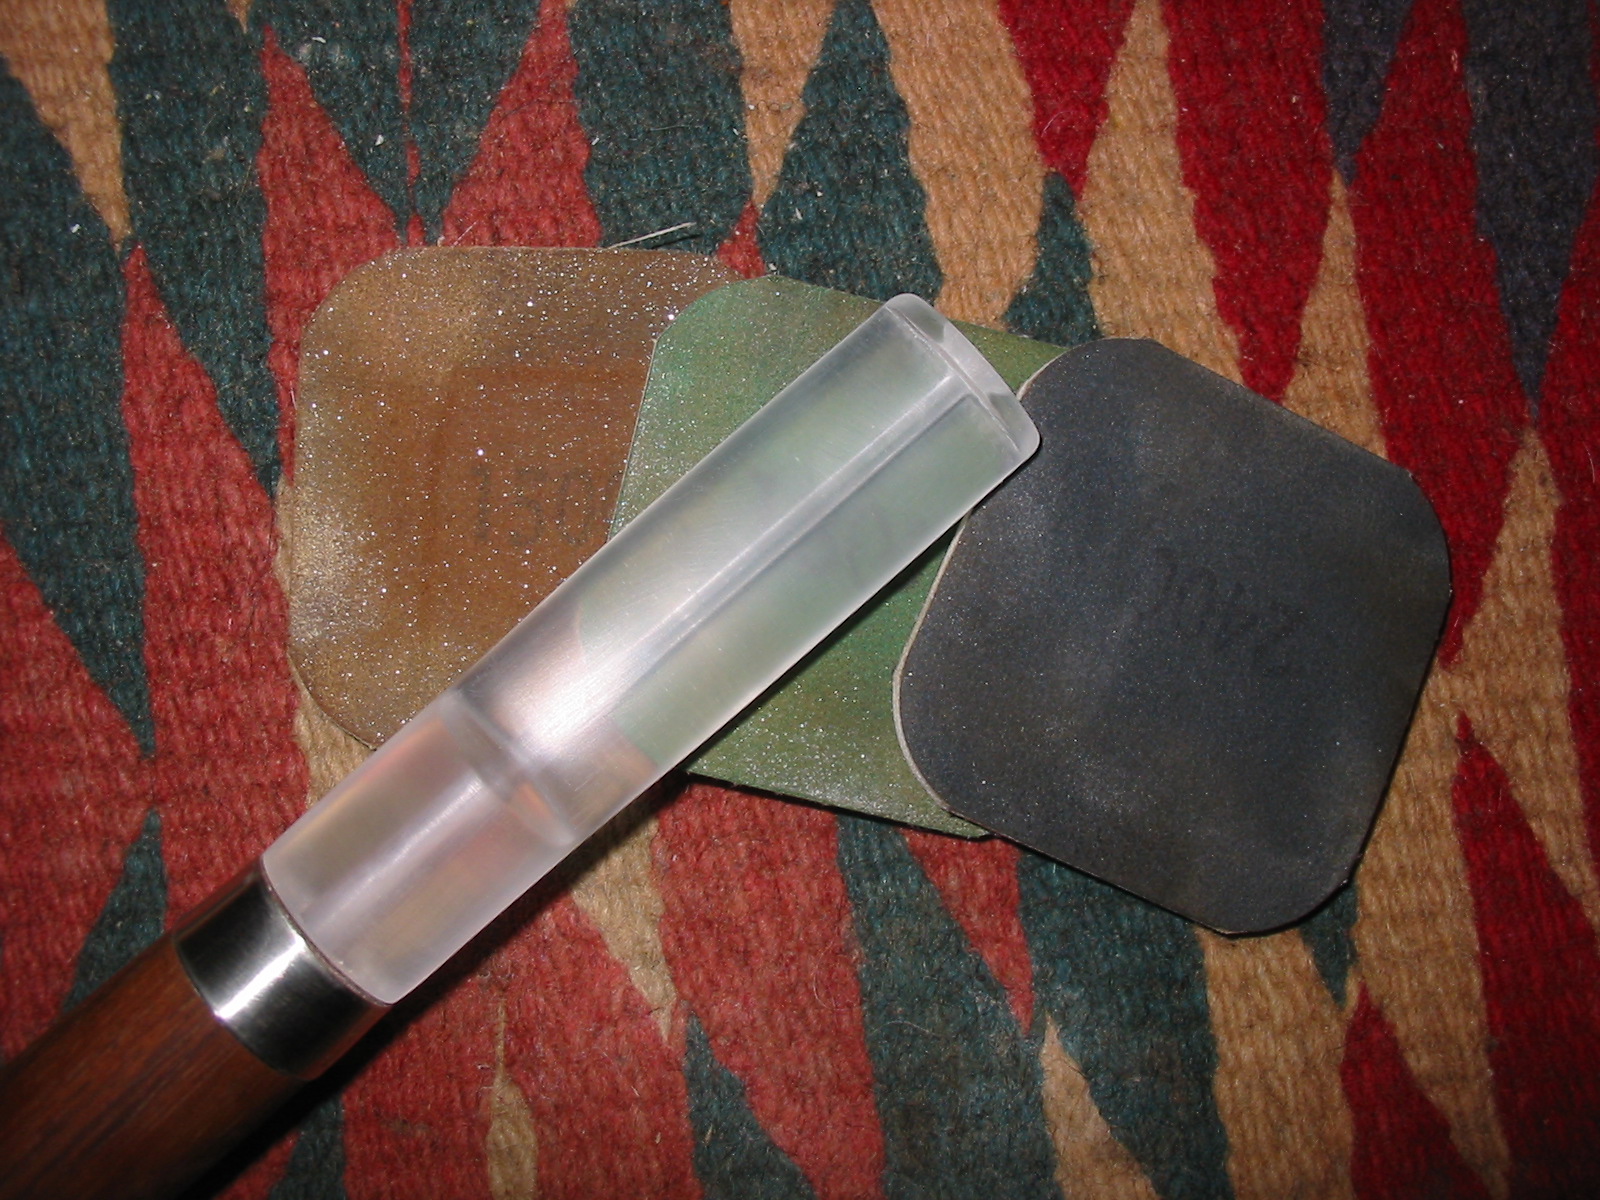
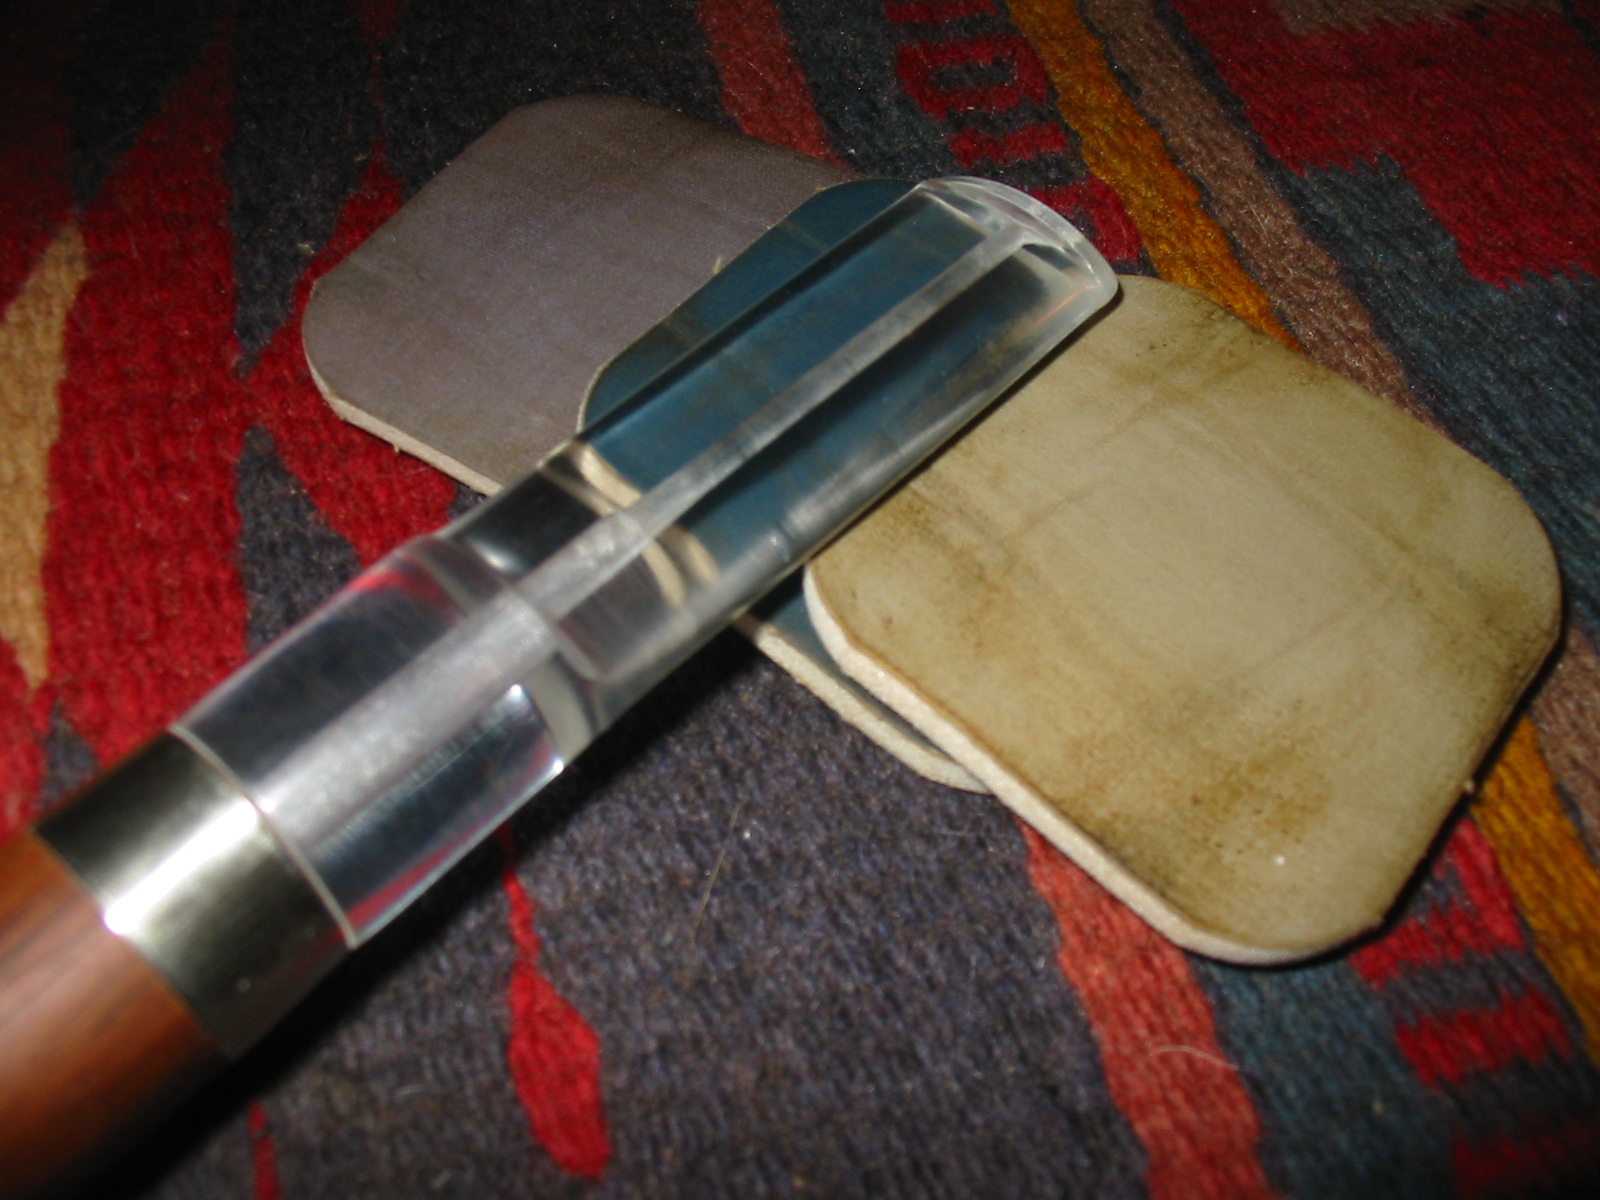
I wet sanded the stem and the band with 1500-2400 grit micromesh sanding pads and then dry sanded with 3200-12,000 grit pads. I wiped the stem down between each grit of micromesh with a damp cloth to remove the sanding dust and to further polish the stem.
IMG_5020

IMG_5021

IMG_5022

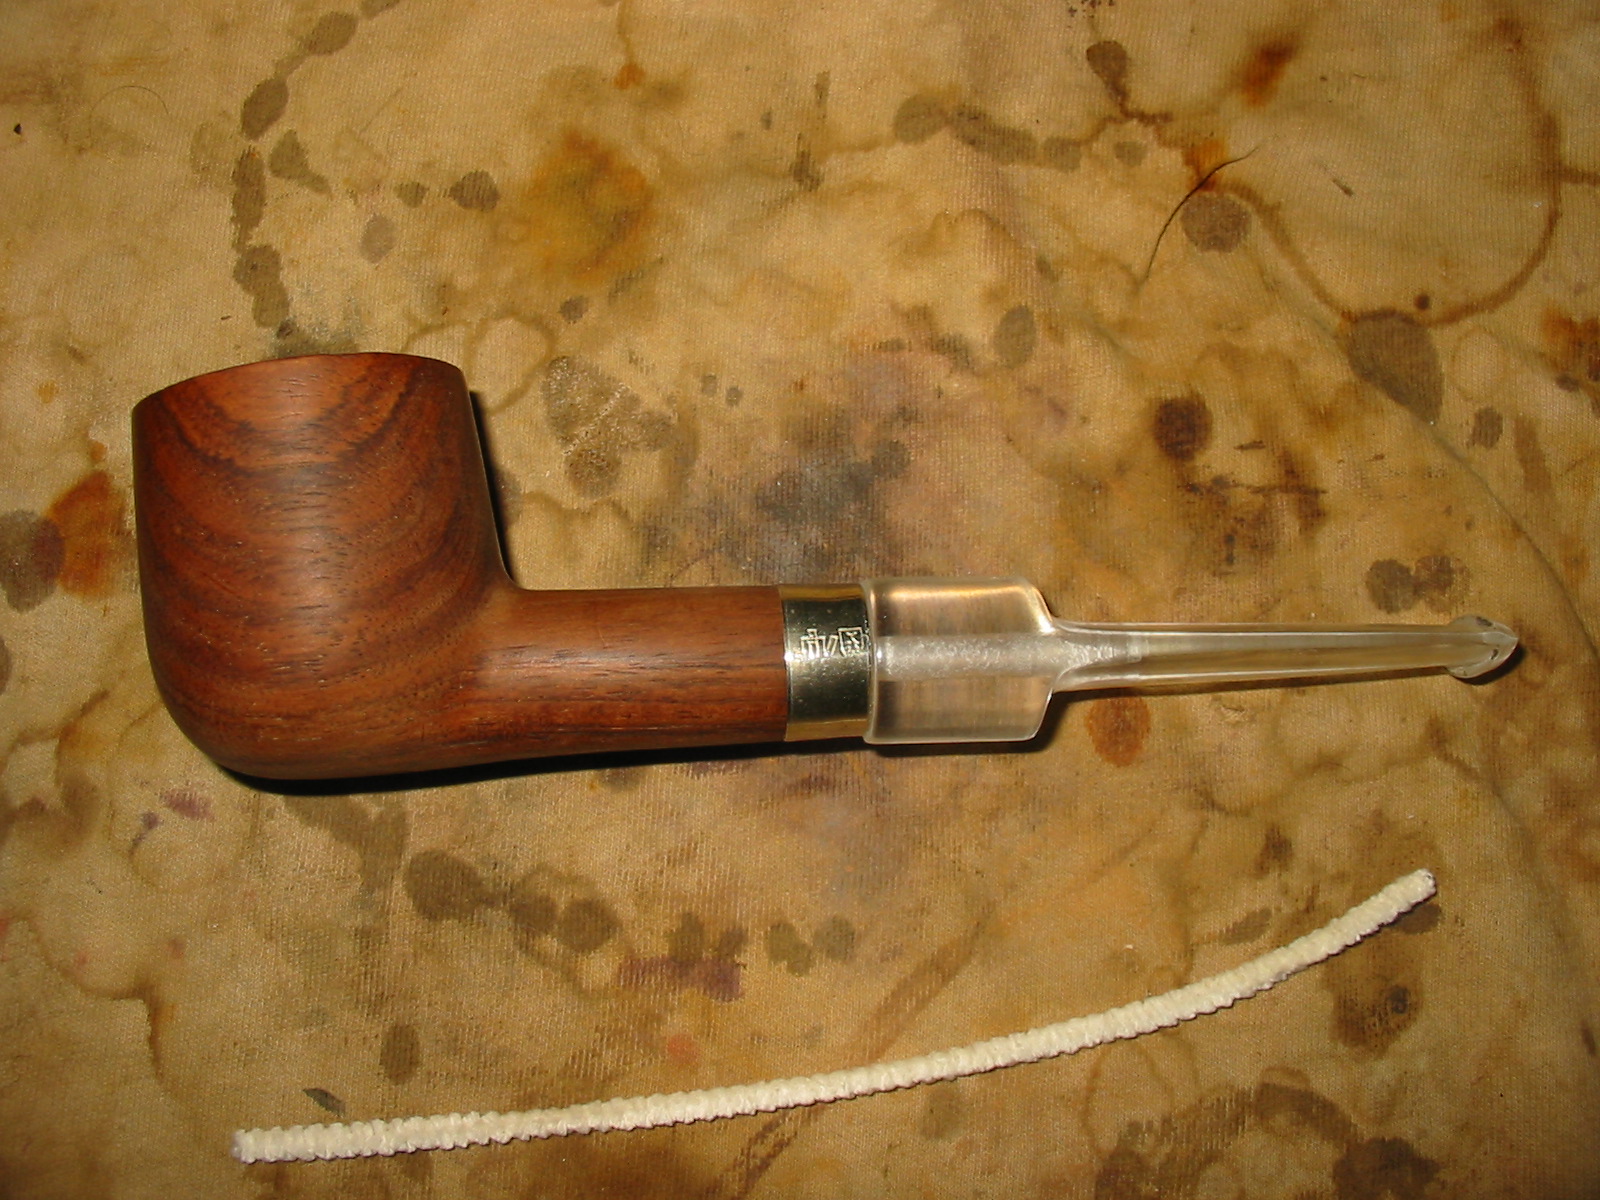
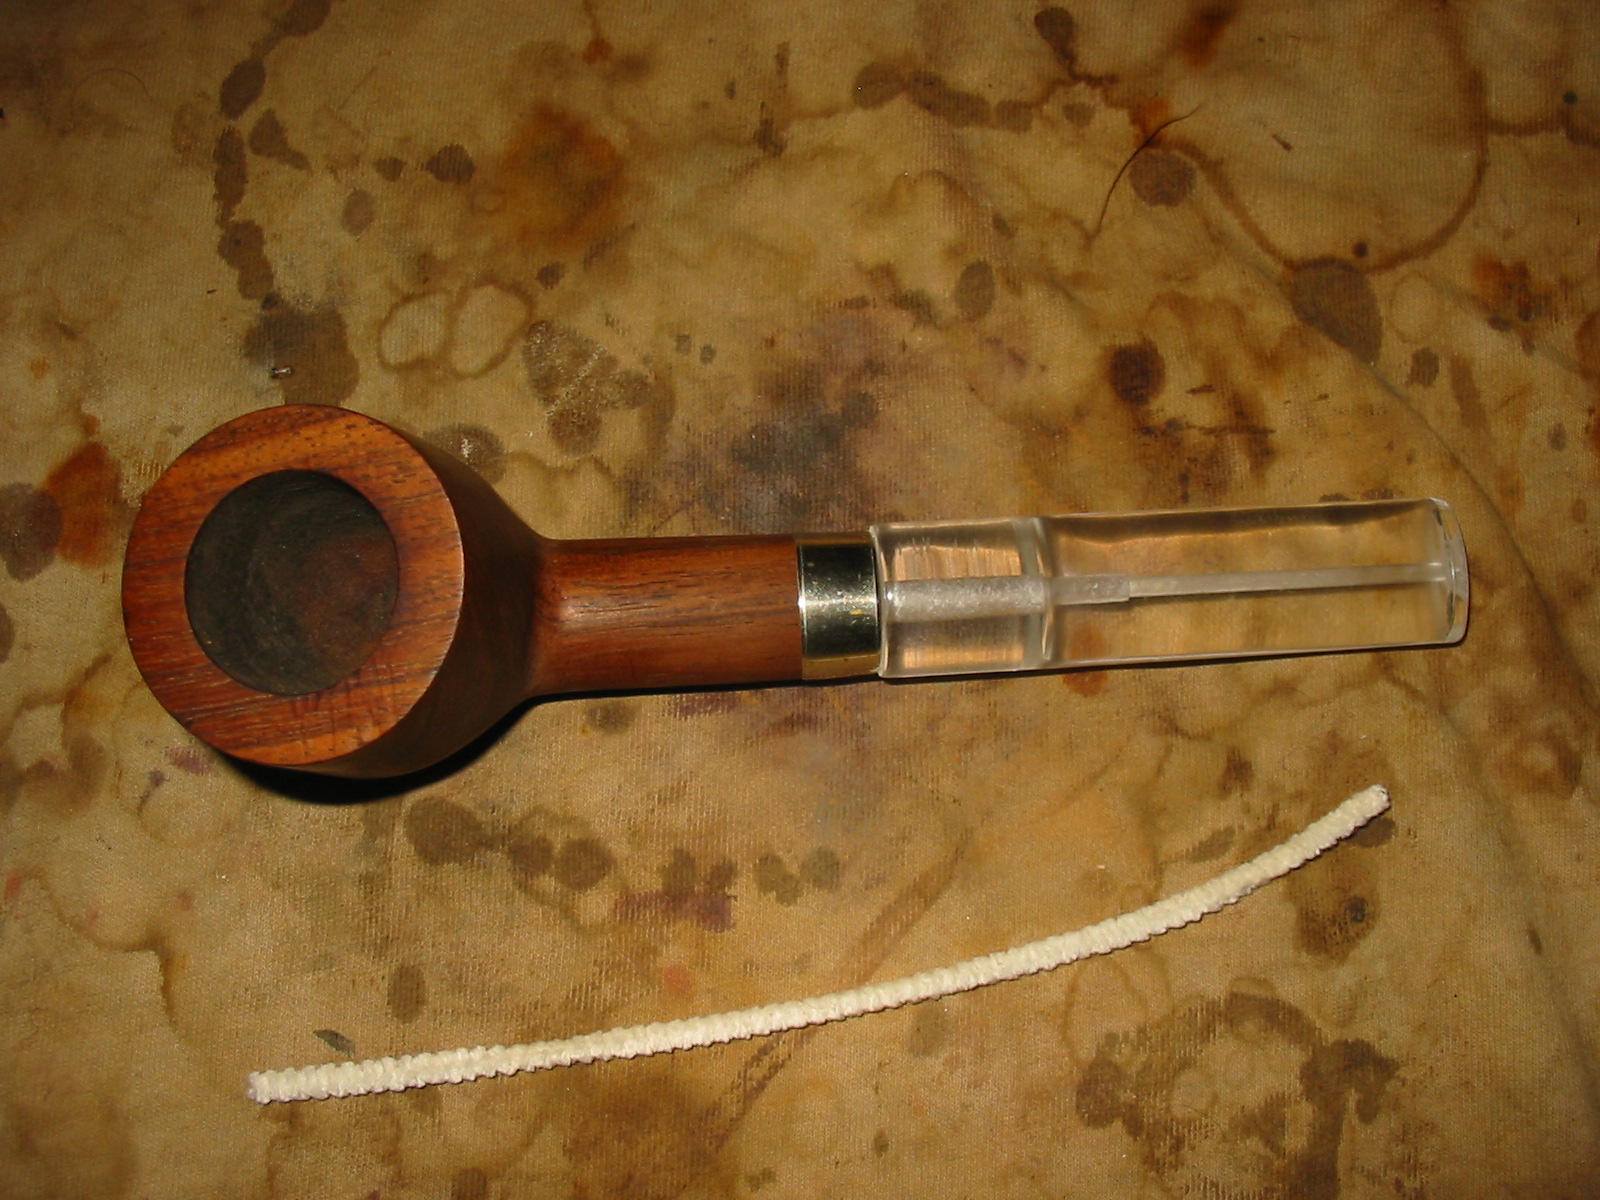
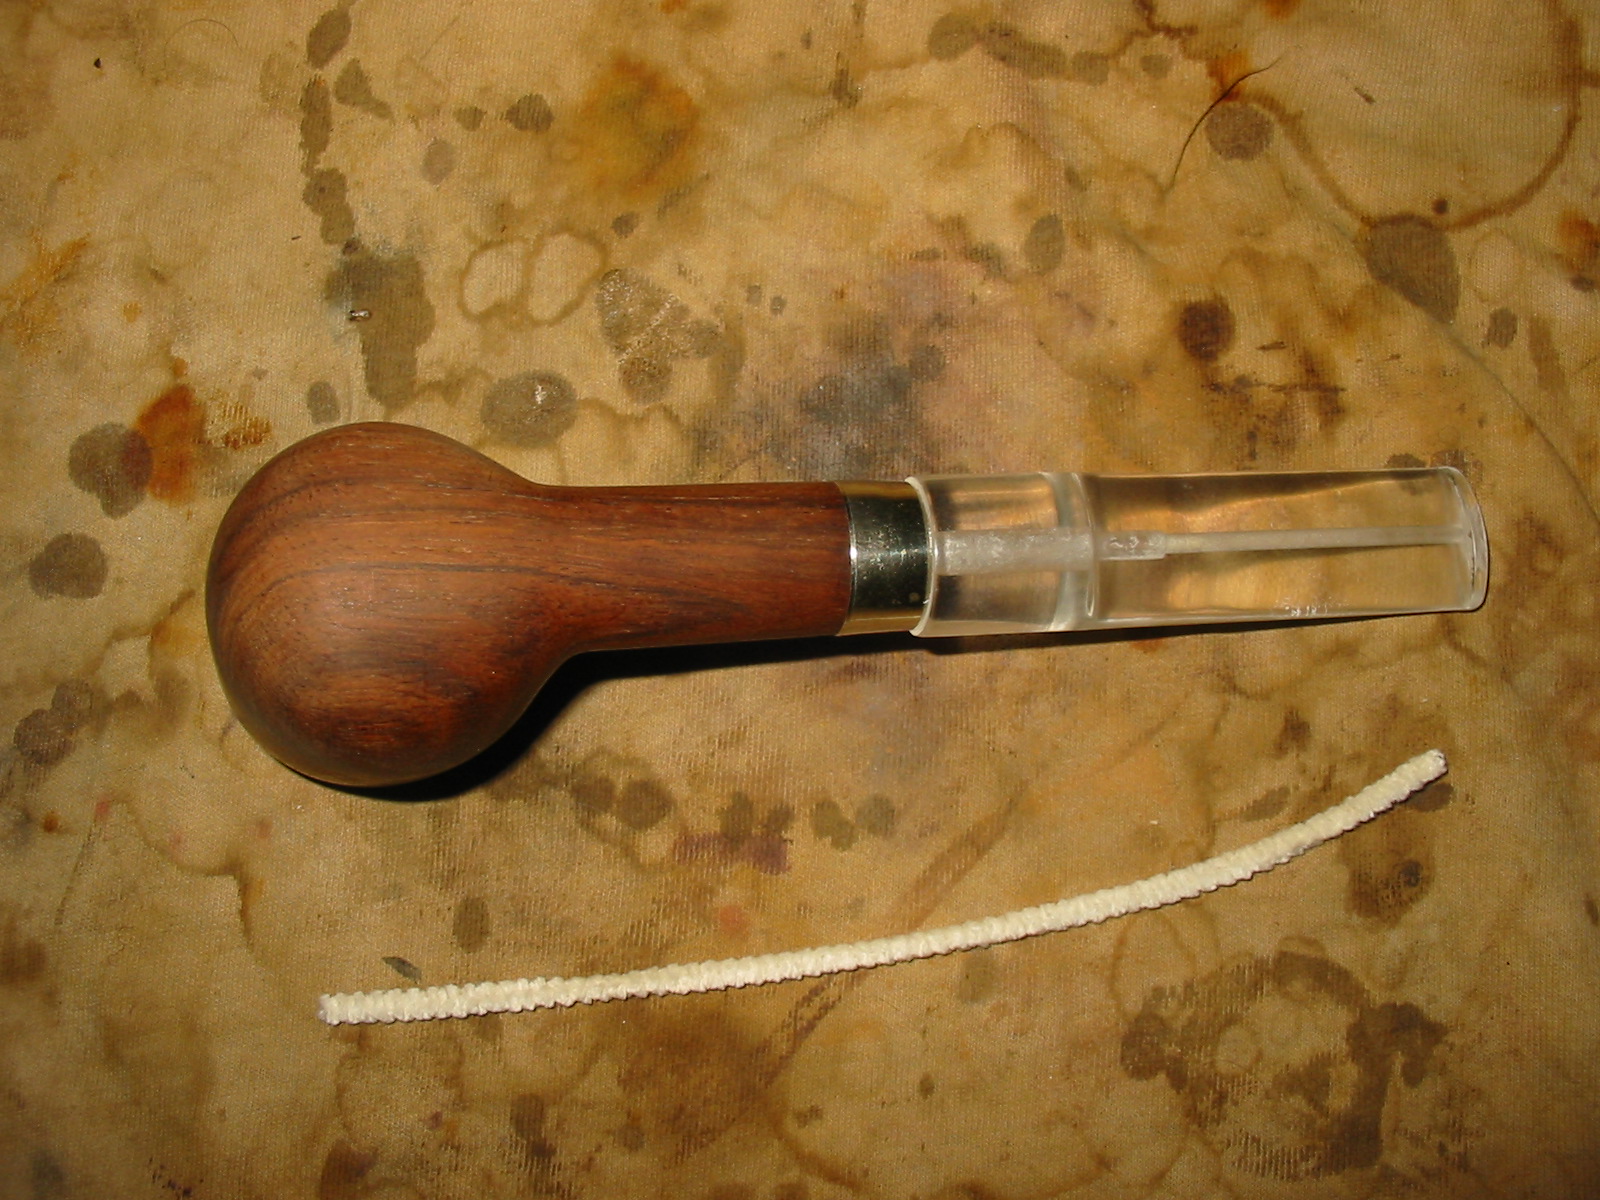
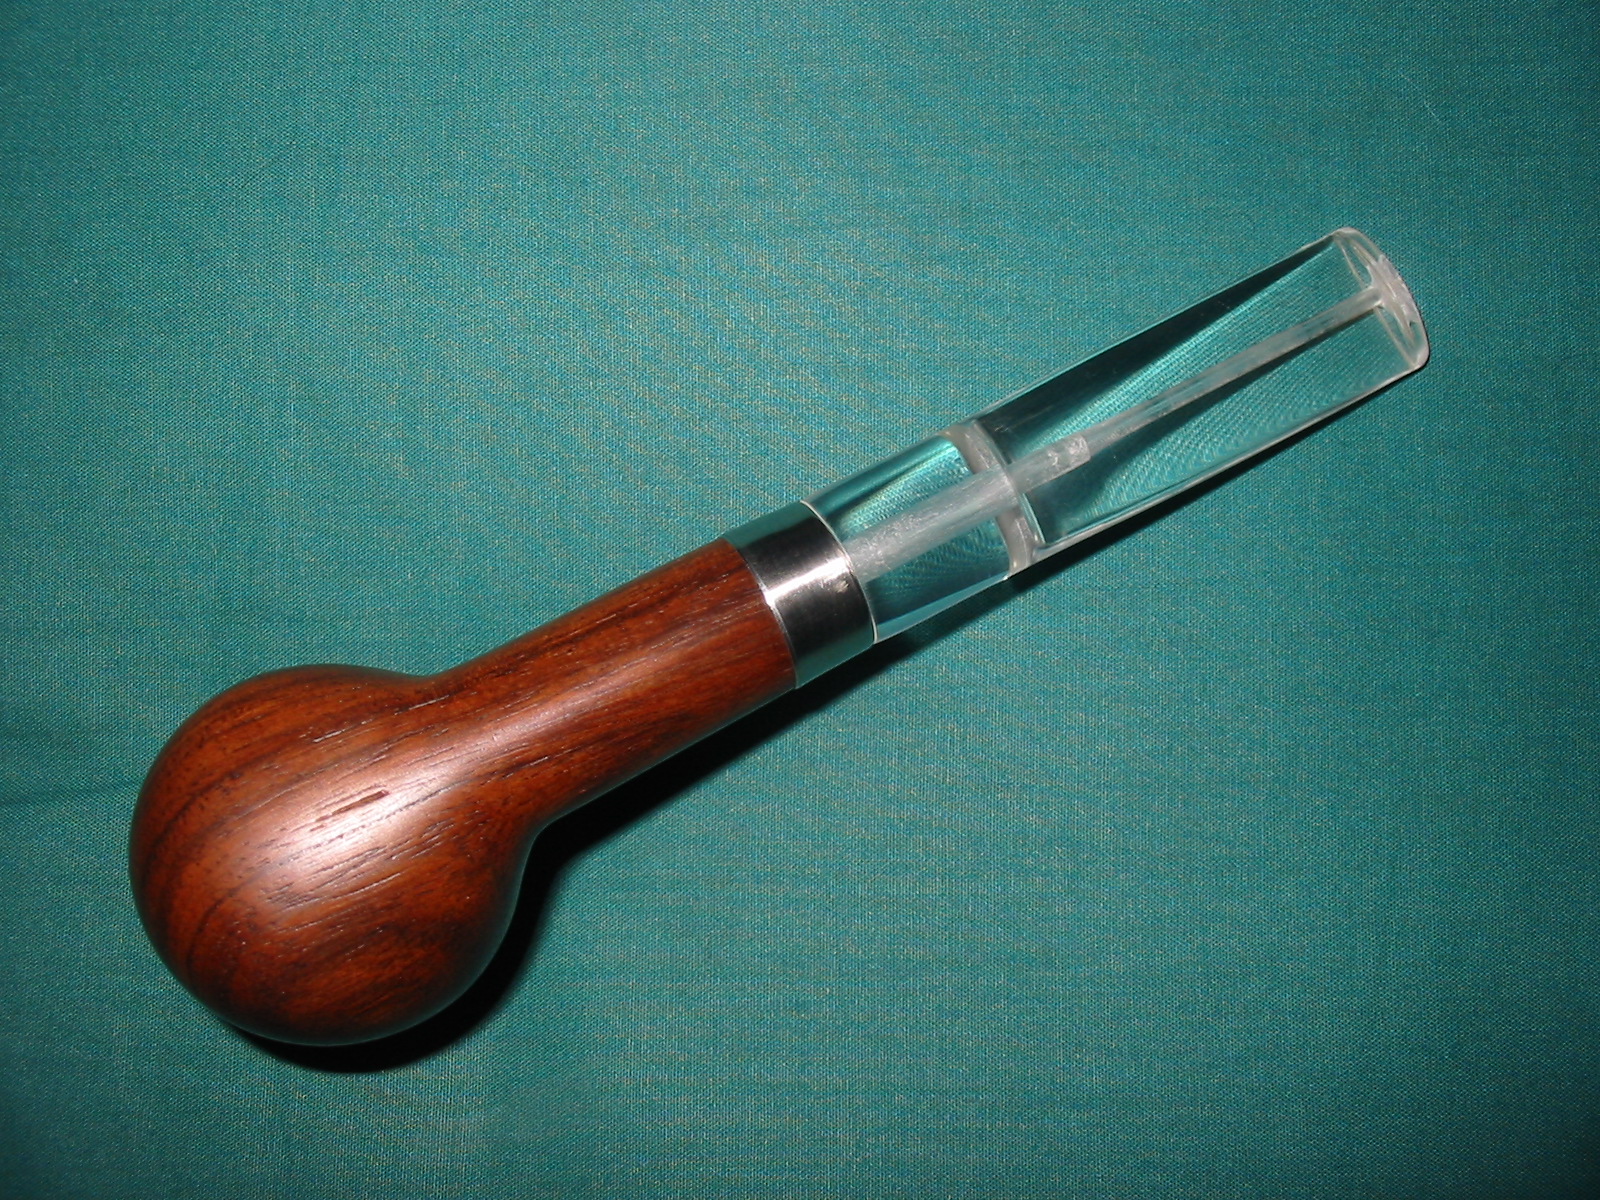
After I finished sanding the stem and the band with the micromesh pads I took the pipe to the buffer and buffed it with White Diamond to further polish it. I rubbed the stem down with Obsidian Oil and when it was dry gave the pipe and the stem multiple coats of carnauba wax and a final buff with a soft flannel buff. The finished pipe is shown below. The bowl has only been given a wax coat and no stain. The finish is natural and I believe that it will continue to darken as it picks up the oils from my hands when I smoke it.
IMG_5023

IMG_5024

IMG_5025

IMG_5027

Restemming and Reworking a Rembrandt Bulldog


Blog by Steve Laug

Another bowl that was sent to me was a nice bent bulldog shape that needed a stem. It was in good shape. The bowl needed to be reamed and the top of the rim lightly topped. It was stemless so I needed to make a stem for it. It was stamped on the left side of the shank Rembrandt over Imported Briar. In researching it on the web I found that the company that made the pipe was The National Briar Pipe Co. It was homed in Jersey City, New Jersey. They produced several brands that I have seen over the years: Biltmore, Forecaster, Honeybrook, King Eric, Kleenest, Mayflower, Rembrandt, Sir Sheldon, The Doodler (created and formerly produced by Tracy Mincer, †1966). Typically the original stem of Rembrandt pipes bore a logo on the left side of the stem – a capital “N” in italics. This bowl had some ding marks on the cap on the left side. There was some damage to the briar between the double rings on the cap.

IMG_4952

IMG_4953

IMG_4954

IMG_4955

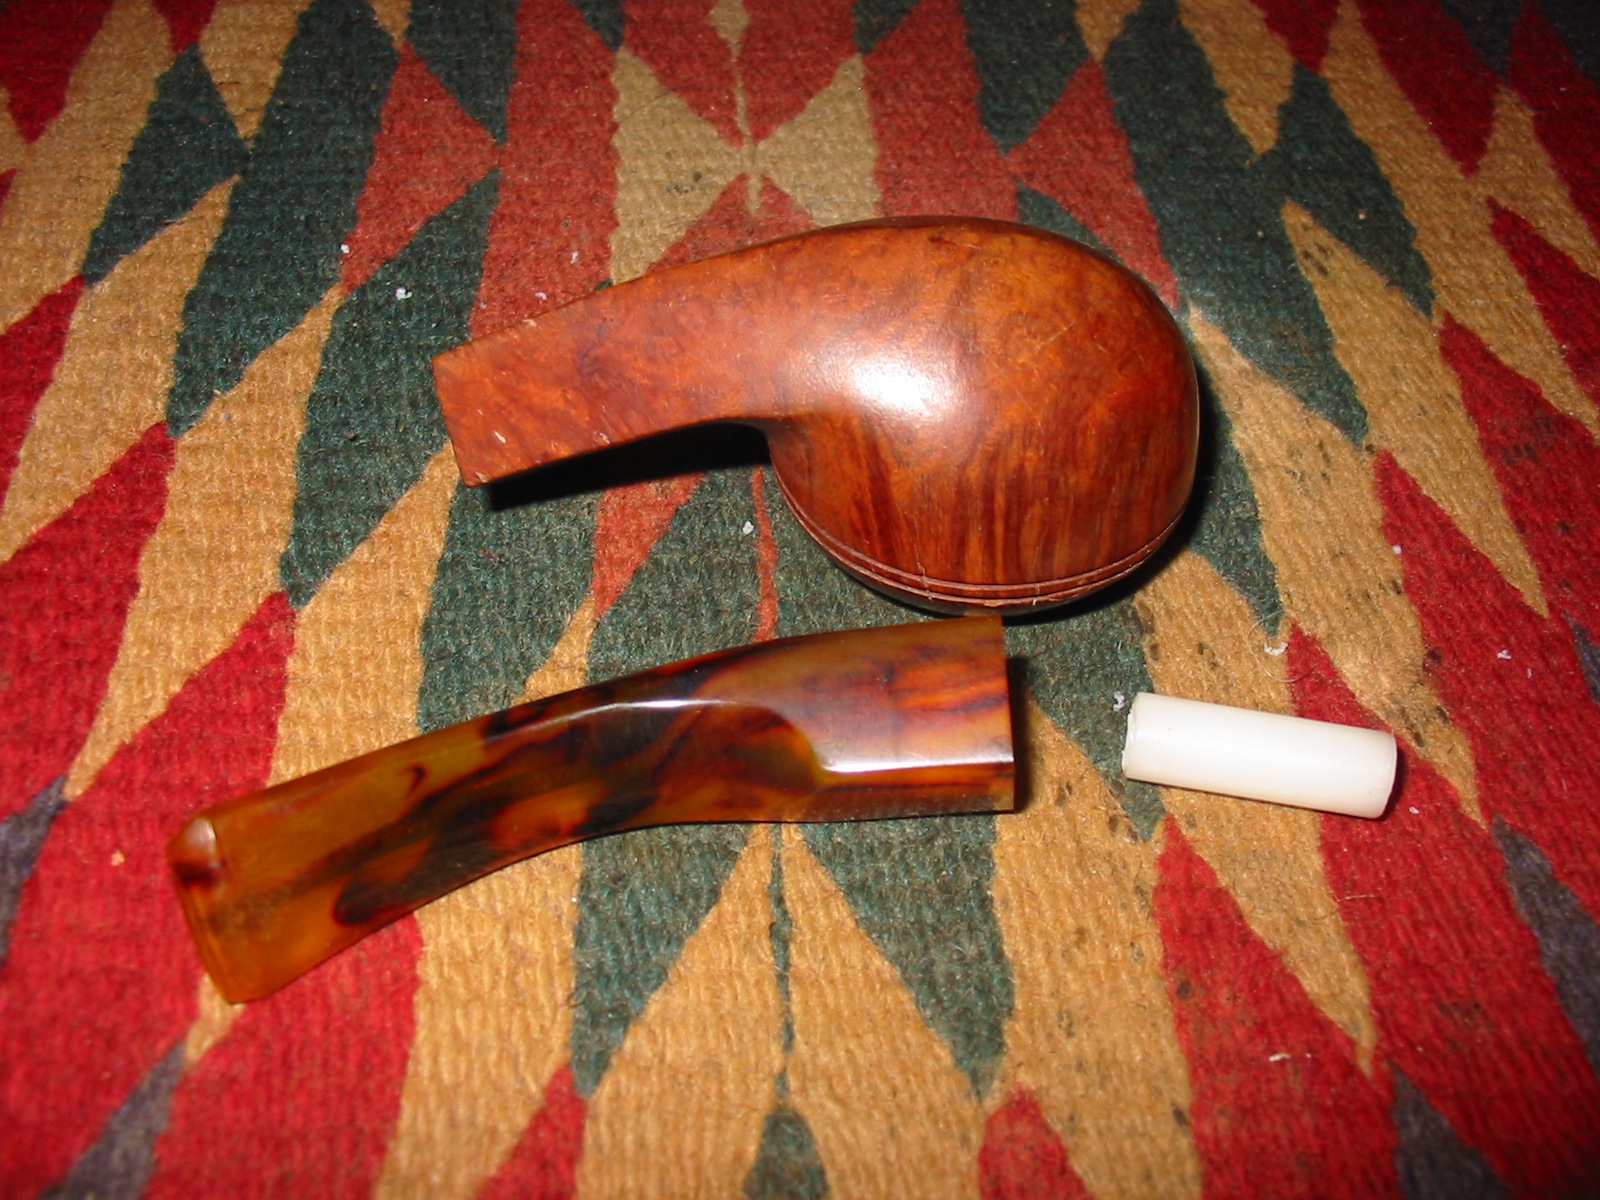
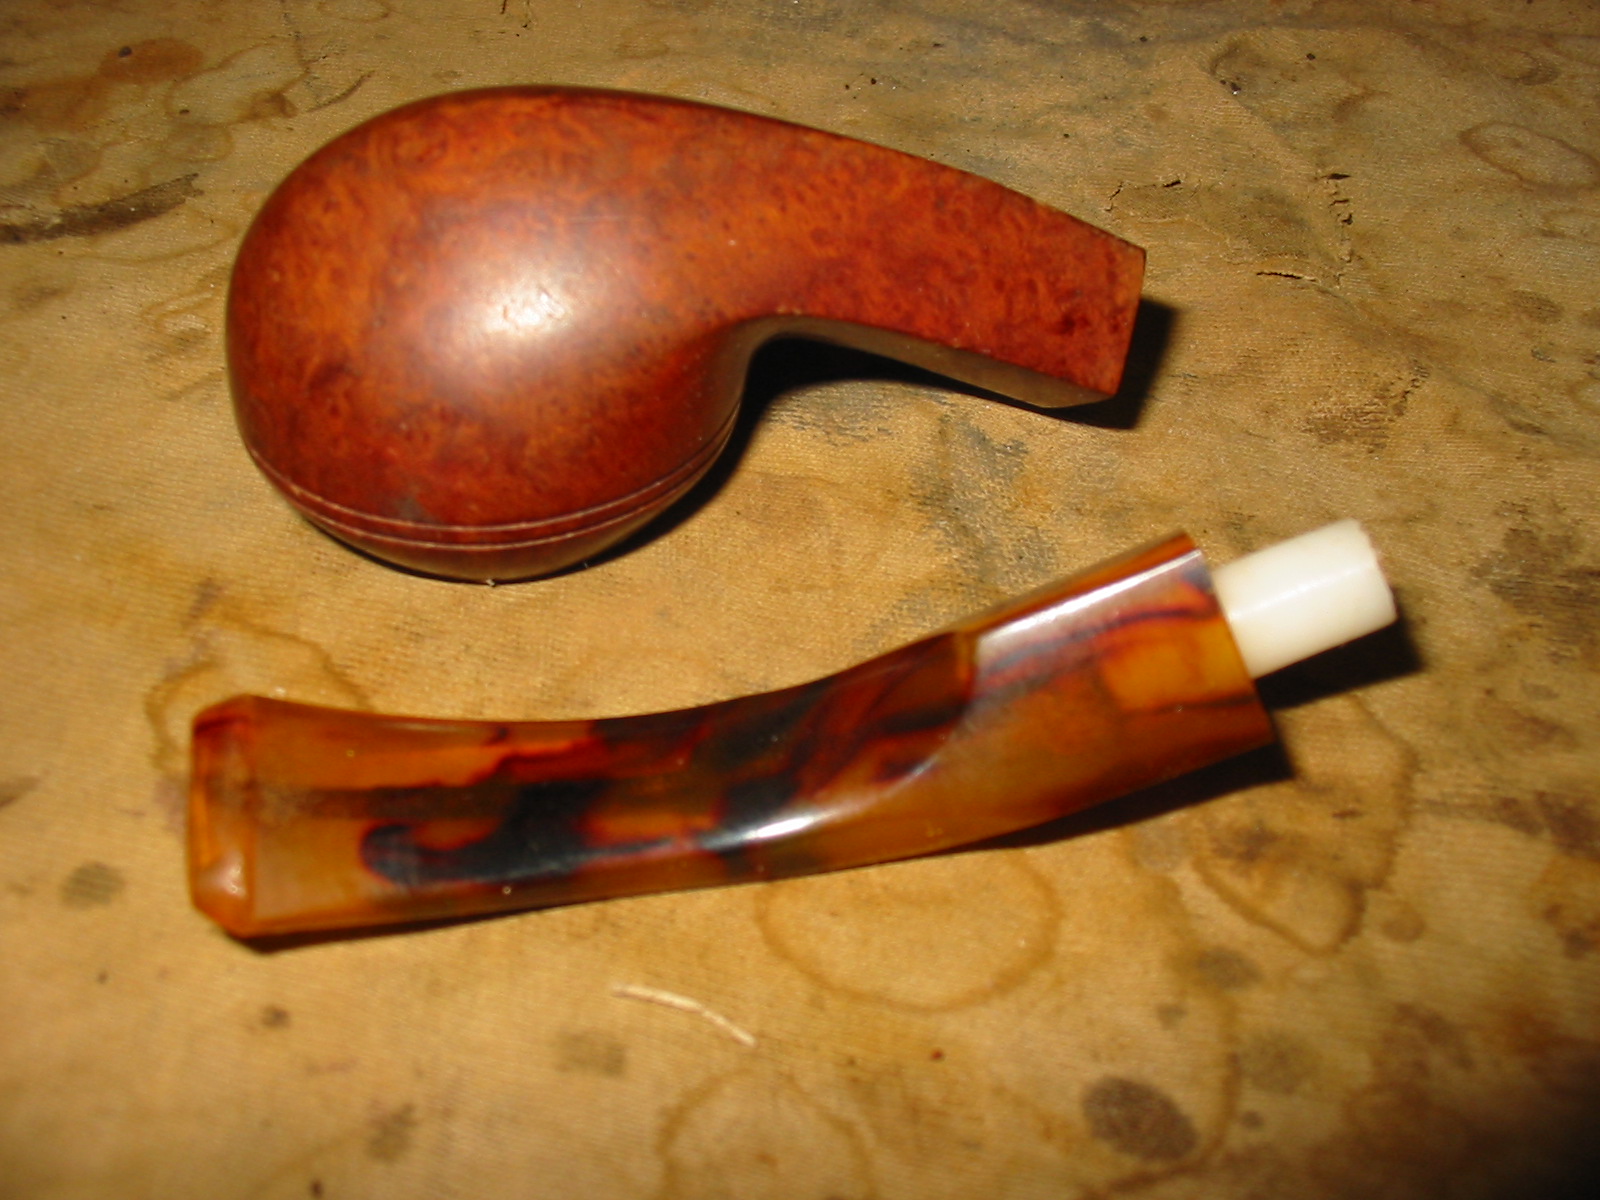
I sorted through my stem can and found a nice amberoid acrylic stem that would look great with the bulldog bowl. It needed a tenon so I used a piece of white Delrin that was a perfect fit in the hole in the stem. I scored the Delrin with a hack saw so that the glue would have a surface to stick to. I swabbed then tenon down with superglue and pressed it into the stem.
IMG_4956

IMG_4958

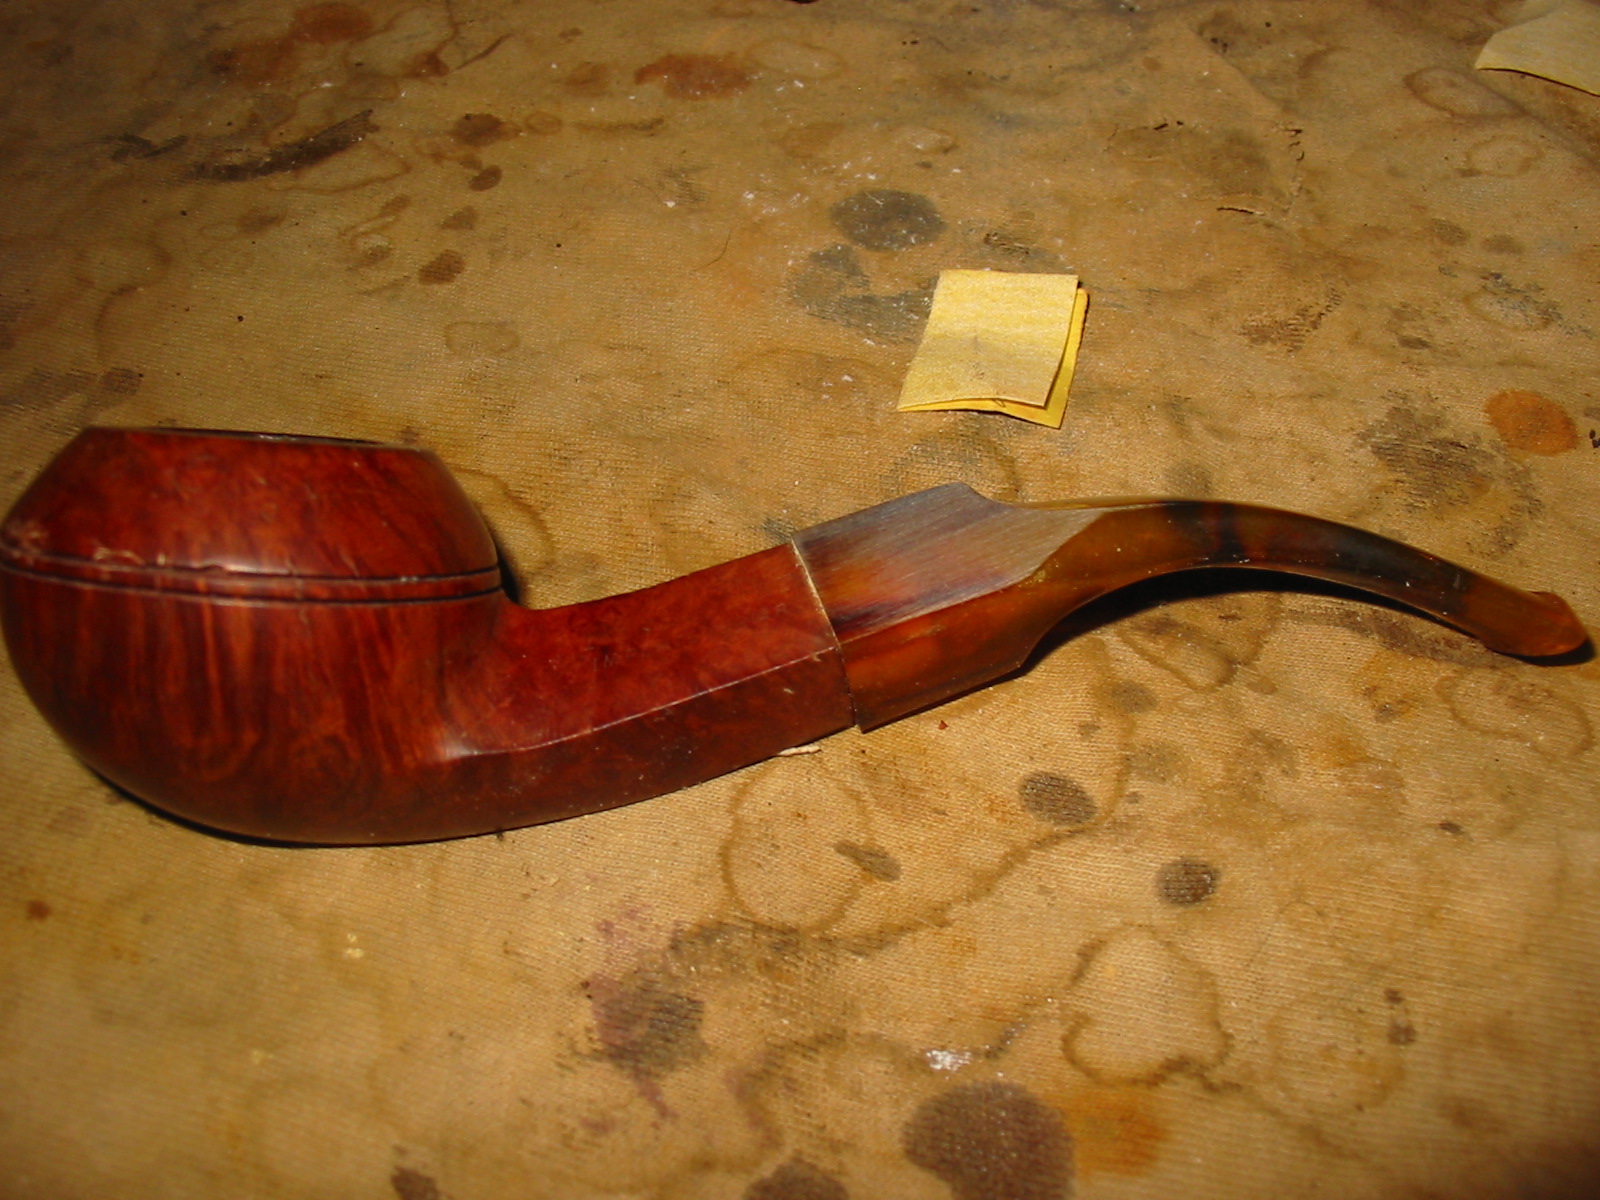
Once the glue had set in the stem and the tenon was firmly in place I sanded the tenon down with a folded piece of sandpaper to get a snug fit. I pushed it into the shank and it fit nicely against the shank. The diamond shank was smaller than the diamond saddle on the stem so I needed to sand it down to fit the shank.
IMG_4959

IMG_4960

IMG_4961

IMG_4962

I used 220 grit sandpaper to start the process of shaping the stem and then a sanding drum on a Dremel to bring down the sides of the diamond close to the shank dimensions. I finished the fit with sandpaper and a sanding sponge.
IMG_4963

IMG_4964

IMG_4966

I sanded the stem and the shank with sandpaper and a sanding block until the transition between them was smooth to touch. I reamed the bowl with a PipNet reamer and took the cake back to the wood.
IMG_4967

IMG_4968

I set up my topping board and sandpaper and lightly topped the bowl to remove the nicks and cuts in the surface of the rim. I followed up on the sanding board with a sanding block laid on the board and once again turned the bowl into the sanding block to smooth out the scratches left behind by the sandpaper.
IMG_4969

IMG_4970

I wiped the bowl down with acetone and cotton pads to remove the finish and make the restaining of the bowl more consistent. I have found that when I have sanded the shank and the rim it is easier to remove as much of the finish as possible before I restain the pipe.
IMG_4972

IMG_4973

IMG_4974

IMG_4975

I sanded the stem with my usual array of micromesh sanding pads – wet sanding with 1500-2400 grit pads and dry sanding with 3200-12,000 grit pads. I rubbed the stem down with Obsidian Oil and then did some more work on the bowl.
IMG_4976

IMG_4977

IMG_4978

I stained the bowl with a dark brown aniline stain thinned 2:1 with isopropyl alcohol. I stained and flamed the stain and repeated the process until the coverage on the shank and the rim matched the bowl. I hand buffed the pipe with a soft cotton cloth to see where I stood with the finish on the bowl.
IMG_4979

IMG_4980

IMG_4981

IMG_4982

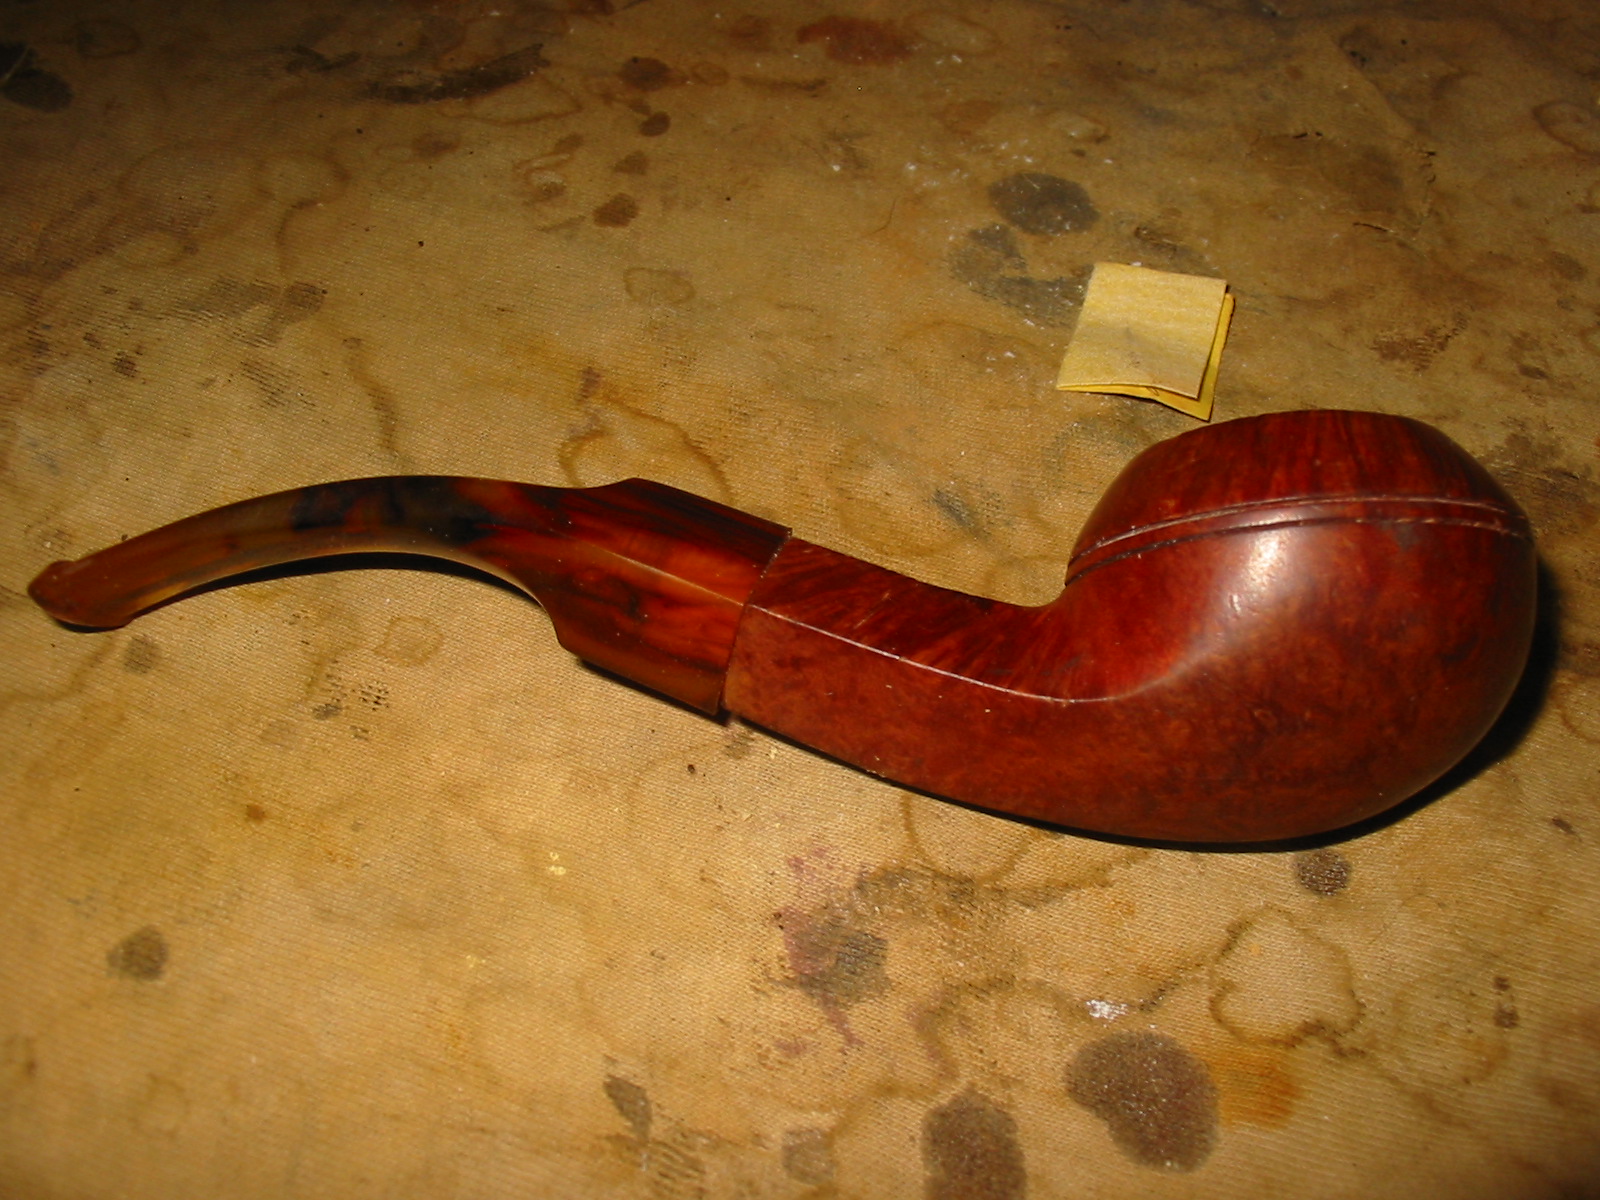
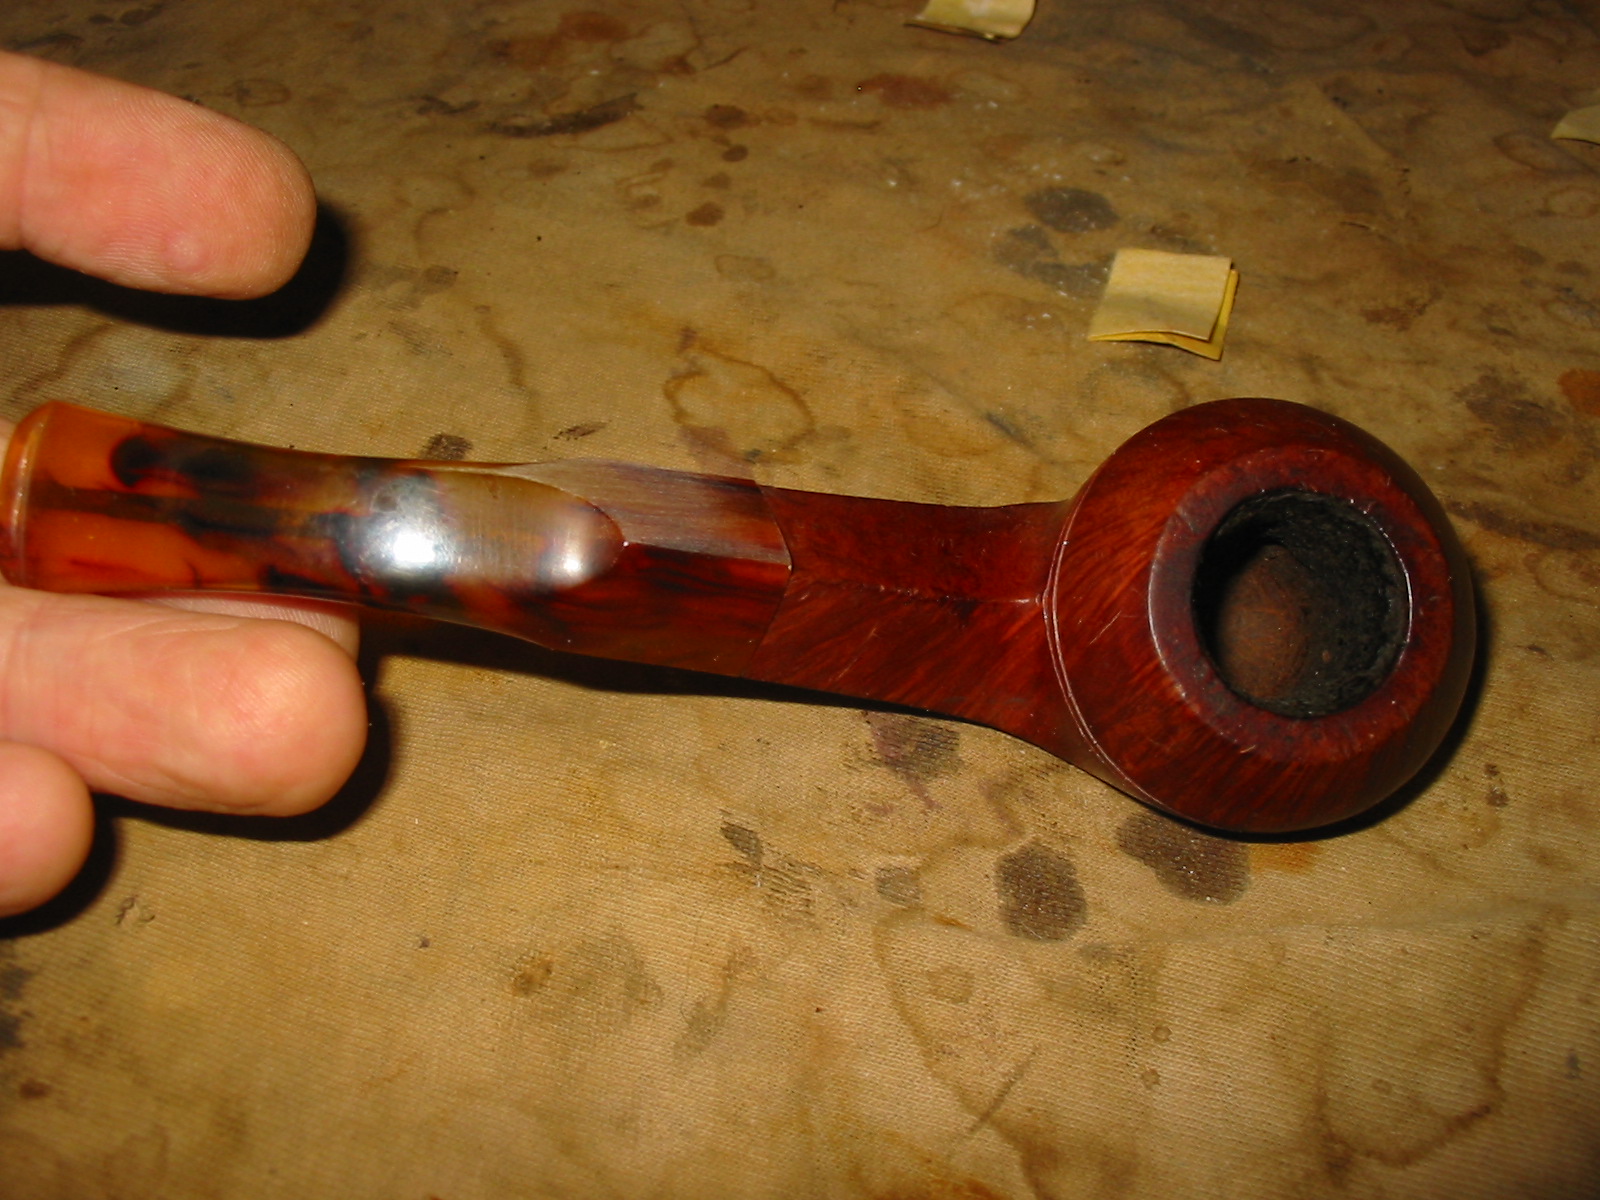
I gave the pipe another coat of the stain and then took the pipe to the buffer and buffed the bowl and stem with White Diamond. When I had finished I buffed it with multiple coats of carnauba wax and then with a soft flannel buff to finish the shine. The completed pipe is shown in the photos below. I really like the way the stain and the striations in the stem work together. I think that this one may well stay I my own collection!
IMG_4983

IMG_4984

IMG_4985

IMG_4986

Restoring a Kaywoodie Drinkless Volcano


I was gifted this Kaywoodie Drinkless Volcano with a three hole stinger by Andrew, a reader of the blog. He wrote me an email about the pipe as follows:

Steve, I have this Kaywoodie Volcano shape with a 3 hole stinger, so probably 70’s or newer. It was burned out when I got it. I ended up slopping some fireplace cement in the bottom of it trying to fix it but it didn’t come out well as I was trying to form it with a pipe tool and it is rough. The stem is over turned as well. I figure this might “challenge” you as far as trying to bring it back to life somehow. Is this is something you might be interested in trying to some how to fix? — Andrew

I wrote back that would gladly see what I could do with it so he sent it out to me to work on. When it arrived I saw that he had begun the work on it already and had reamed and cleaned the bowl. He had mentioned that when he bought it there was a small burn out area on the bottom of the bowl. When I got it the inside of the bowl was actually quite alright. His repair looked quite good. A little cleanup of the bowl would bring things in order. The fireplace cement needed to be cleaned off the walls and rounded a bit in the bottom of the bowl but it was not bad.

Besides the obvious damage to the bowl there was some other damage to the pipe as well. The outer edge of the rim was damaged on the front and the inner edge was slightly out of round. The external bottom of the bowl had a half-inch long crack that had been cleaned out and repaired but there was still a slight groove in the crack. The sides of the crack had been joined and repaired so what remained was cosmetic. The stem was overturned and slightly out of round in comparison to the round metal insert in the shank. The stem had a partial stamp of the KW cloverleaf but was in bad shape in terms of appearance.
IMG_4899

IMG_4900

IMG_4901

IMG_4903

I set up my topping board and topped the bowl of the pipe to remove the damaged portion of the inner and outer edge of the rim. I sanded the top of the bowl, pressing it against the board and turning it in a clockwise direction until the damaged briar was removed. I used a PipNet reamer with a cutting head that fit the bowl diameter and turned it against the cement until it was removed from the sides of the bowl and the bottom of the bowl had a slight indentation.
IMG_4904

IMG_4905

IMG_4906

I wiped down the bowl with acetone and cotton pads to remove the remaining finish on the bowl and to clean up the partial repair to the bottom crack. I continued to wipe it down until the briar on the bowl was almost the same colouration as the sanded rim of the pipe.
IMG_4907

IMG_4908

IMG_4909

I scratched out the surface of the crack with a dental pick and packed in some briar dust that I had left from sanding the rim of the pipe. I tamped it and then dripped some superglue into the briar dust until it formed a bubble over the crack. I always overfill the crevices and fills to make sure that when they dry they do not shrink and make a second fill necessary. When the glue had dried I sanded it with 220 grit sandpaper and also with a medium and fine grit sanding sponge to smooth out the bubble and blend it into the surface of the bowl.
IMG_4910

IMG_4915

IMG_4916

On the bottom of the stem there were also two very deep tooth indentations that would not lift when heated with a heat gun. I sanded the area around the dents and dripped clear superglue into the dents. I chose clear superglue as the stem did not appear to be vulcanite. When I sanded it the dust was grey rather than brown. I have found that the clear glue blends very well on this material. When it dries and is sanded it blends in quite well to the surrounding stem material.
IMG_4911

IMG_4913

IMG_4917

I wiped down the bowl again with acetone and sanded the whole bowl with a medium and fine grit sanding sponge.
IMG_4918

IMG_4919

IMG_4920

IMG_4921

IMG_4922

The overturn on the stem is something that is easily corrected. I heated the stinger with a heat gun until the glue holding it in place was softer and then turned it in the metal inserted mortise until it lined up correctly with the bowl. I was almost a quarter turn to the right so I needed to turn it all the way around. Once it was aligned I laid it aside to cool. The final photo gives a clear view of the inside of the bowl. The repaired bowl bottom with the minor adjustments I had made with the PipNet reamer are visible.
IMG_4923

IMG_4924

IMG_4925

IMG_4926

IMG_4927

IMG_4928

With the stem aligned it was evident that the diameter of the stem was different than that of the shank. In looking at the stem from the stinger end I could see that the left side was slightly larger than the right side. There was an overhang passed the metal insert in the shank. The next photos show that the left side would need to be sanded to fit properly.
IMG_4929

IMG_4930

I sanded the stem and shank with 220 grit sandpaper folded and was careful to not sand the stamping on the left side of the shank. I wanted the transition to be perfectly smooth to the touch. I sanded it with medium and fine grit sandpaper to smooth out the scratches left behind by the sandpaper.
IMG_4932

IMG_4933

IMG_4934

IMG_4935

IMG_4936

IMG_4937

I stained the bowl with an aniline oxblood stain. I applied it and flamed it and reapplied it and flamed it again until I had a good even coverage across the bowl. I hand buffed the finish with a soft cloth.
IMG_4938

IMG_4939

IMG_4940

IMG_4941

IMG_4942

I sanded the stem with medium and fine grit sanding sponges and then followed up with my usual array of micromesh sanding pads – wet sanding with 1500-2400 grit pads and dry sanding with 3200-13,000 grit pads.
IMG_4943

IMG_4944

IMG_4945

I rubbed the stem down with Obsidian Oil and then sanded it a final time with the 4000-13,000 grit pads. I lightly buffed the stem with White Diamond. I screwed the stem back into the shank and then buffed the entirety with White Diamond and then gave the pipe multiple coats of carnauba wax. I buffed it with a clean flannel buff for the final shine and protection. The finished pipe is pictured below and is ready for more years of service. The bowl repair done by Andrew provides a solid base in the bowl and the external repair and stem repair makes the pipe cosmetically more pleasing. Thanks Andrew for a good challenge. The pipe is ready for its inaugural smoke. I am sure it will last far longer than I do!
IMG_4946

IMG_4947

IMG_4948

IMG_4949

IMG_4950

IMG_4951

Refurbishing an Old Zulu Bowl


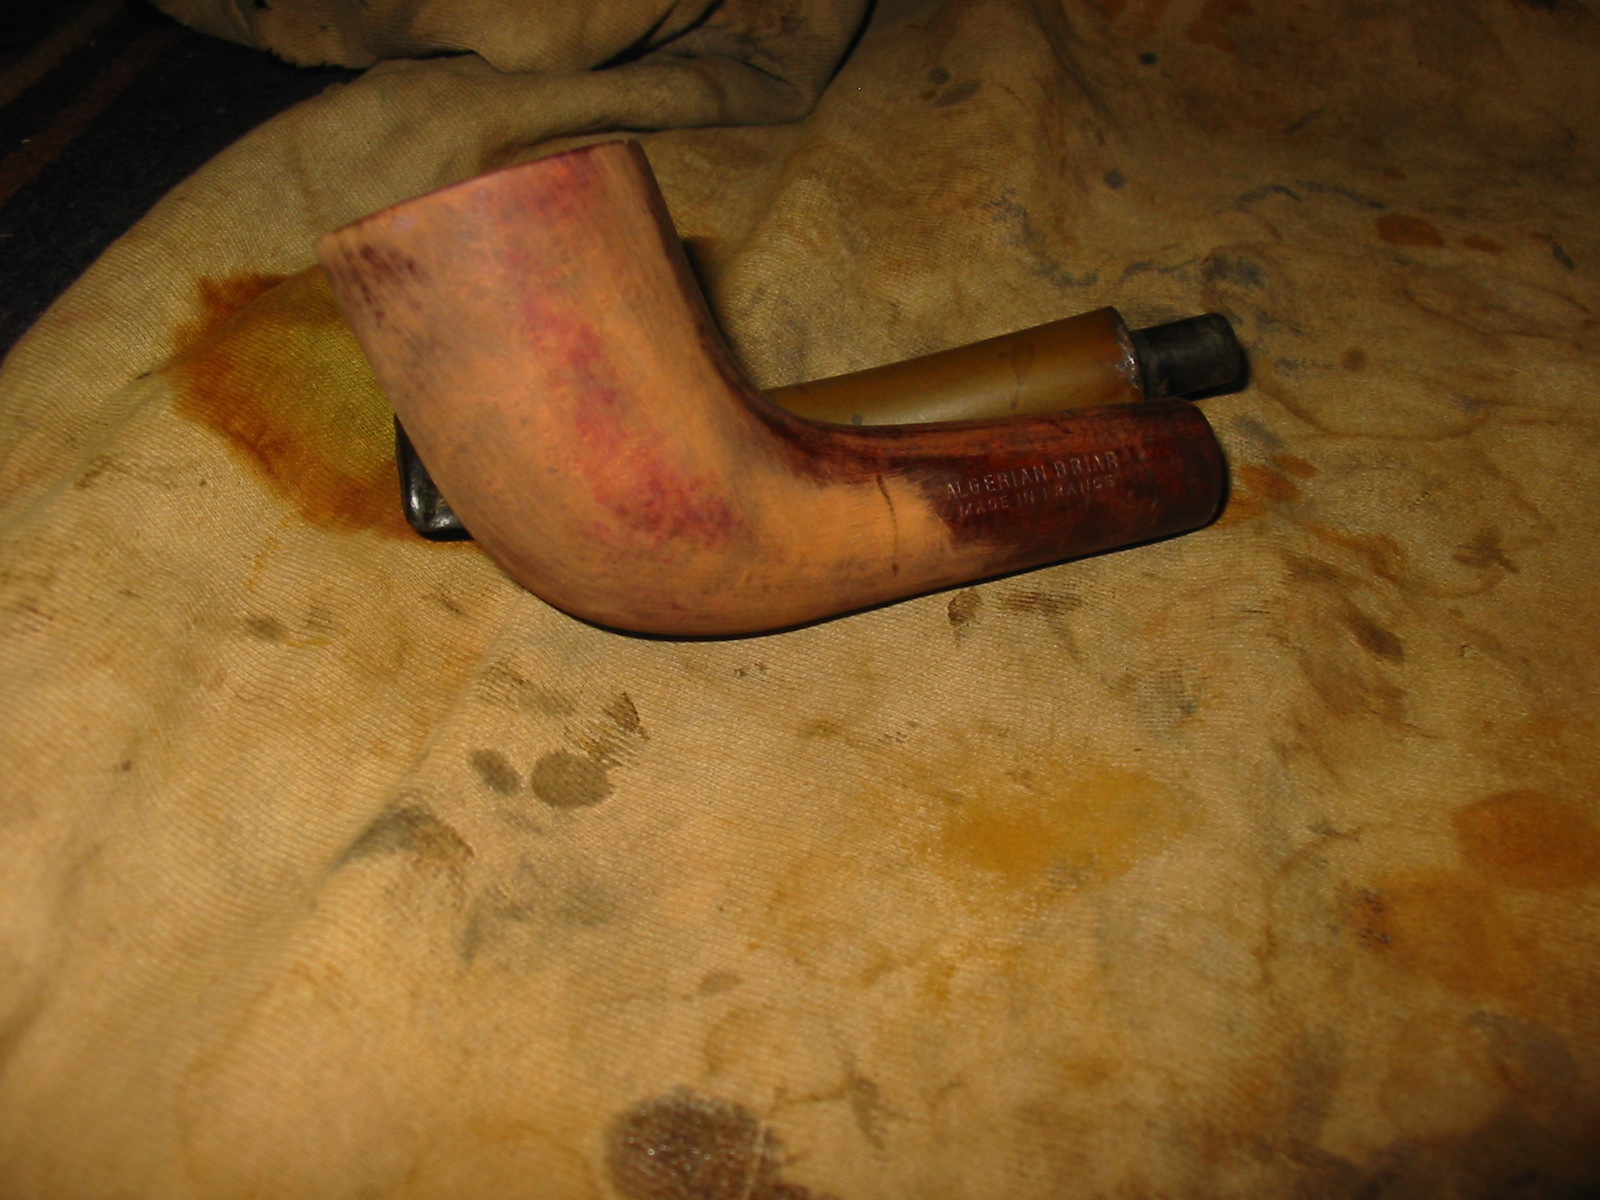
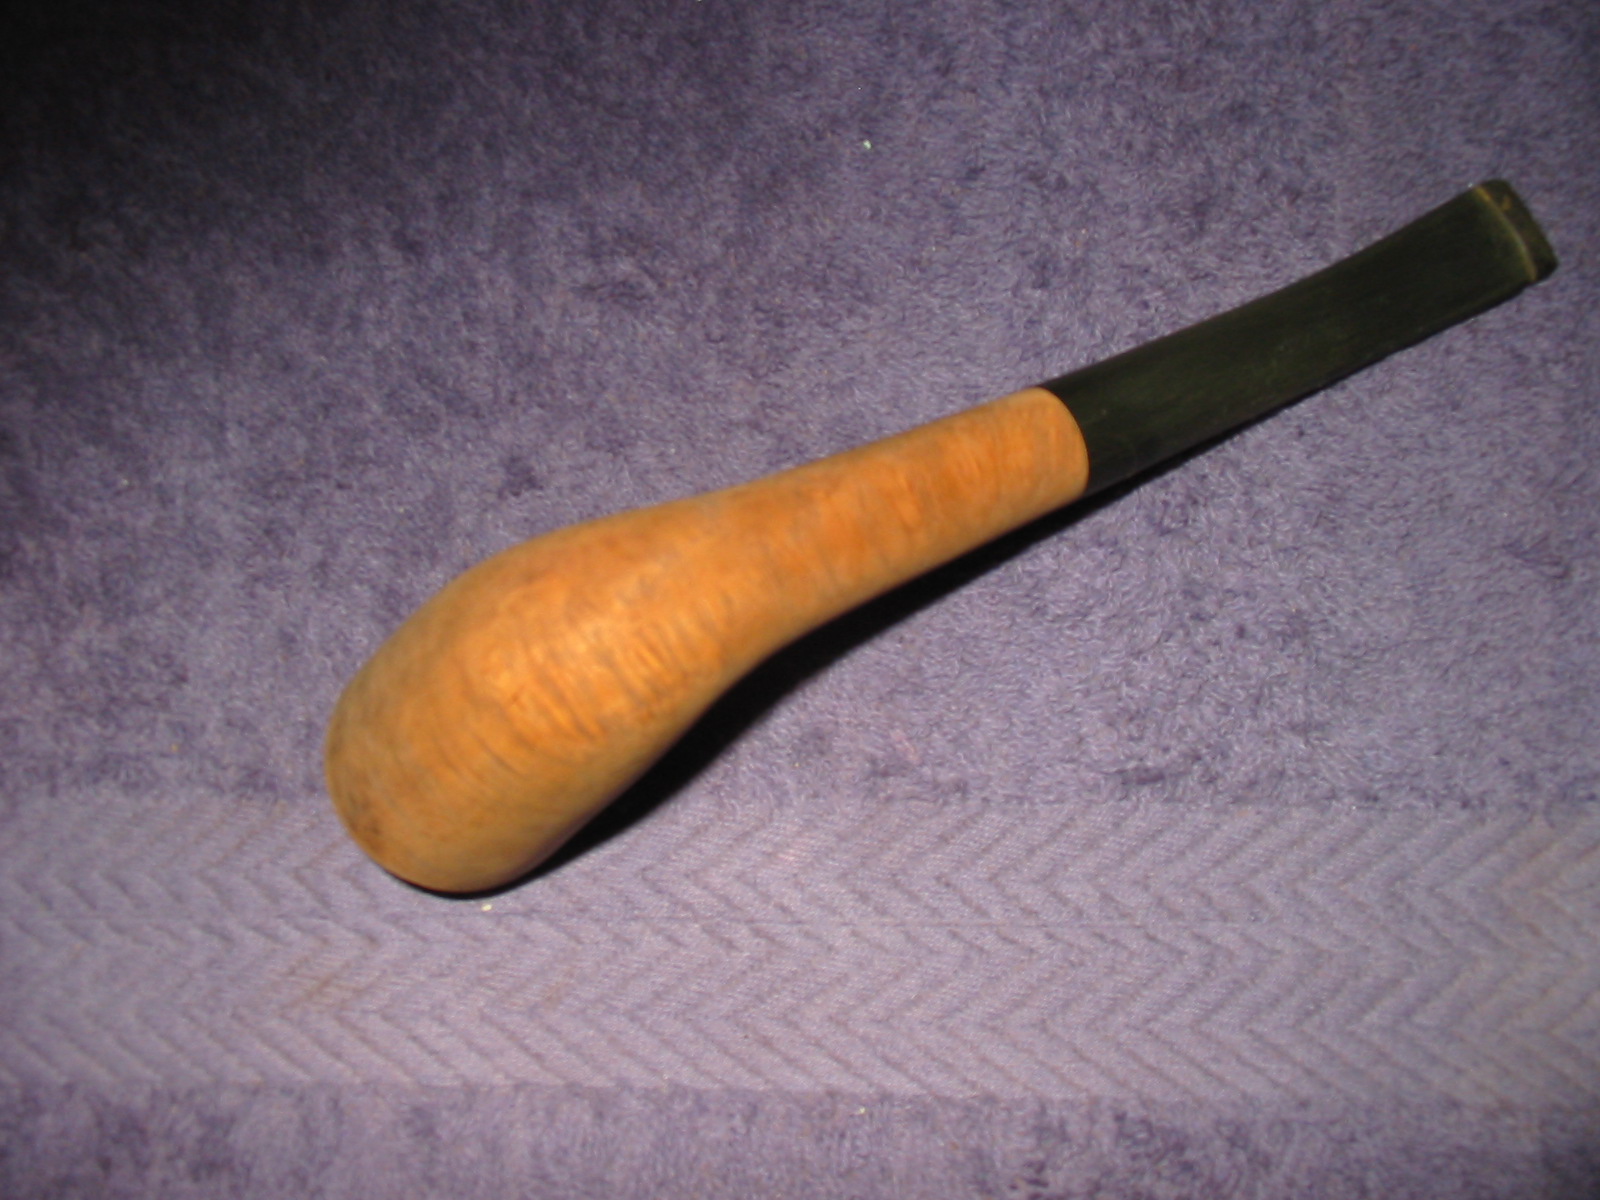
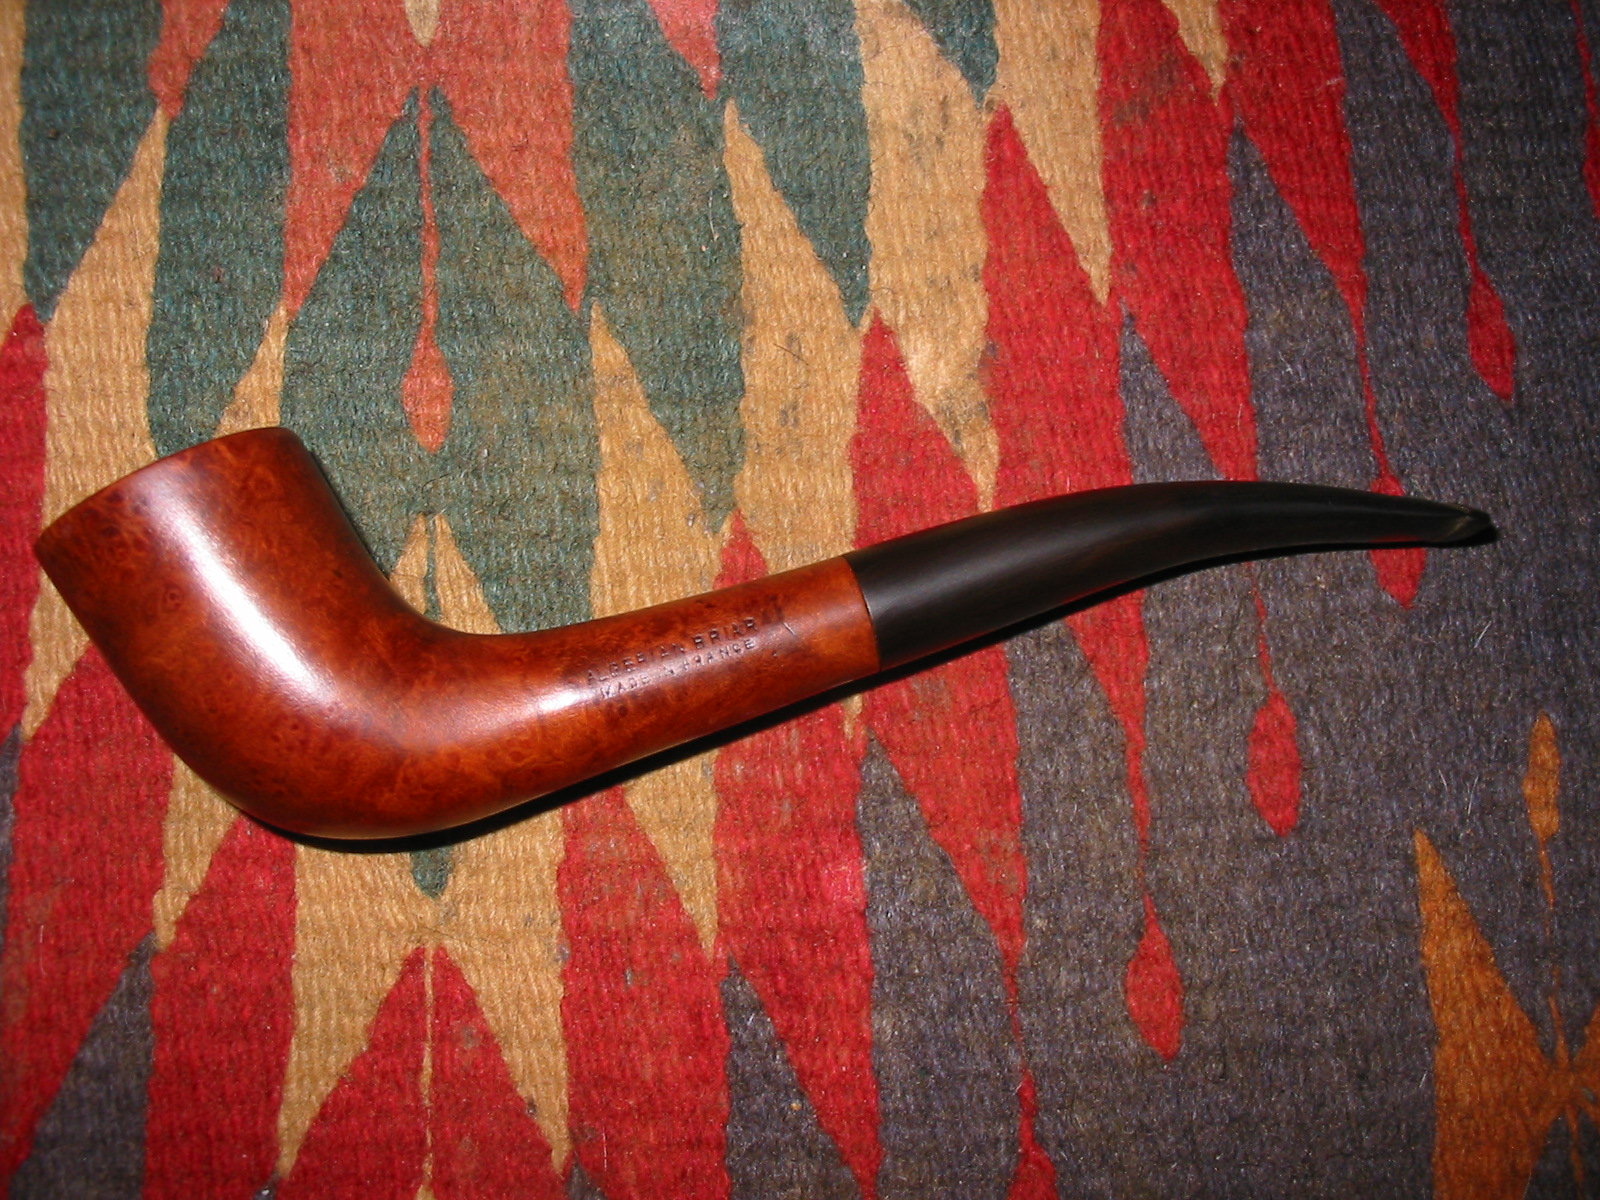
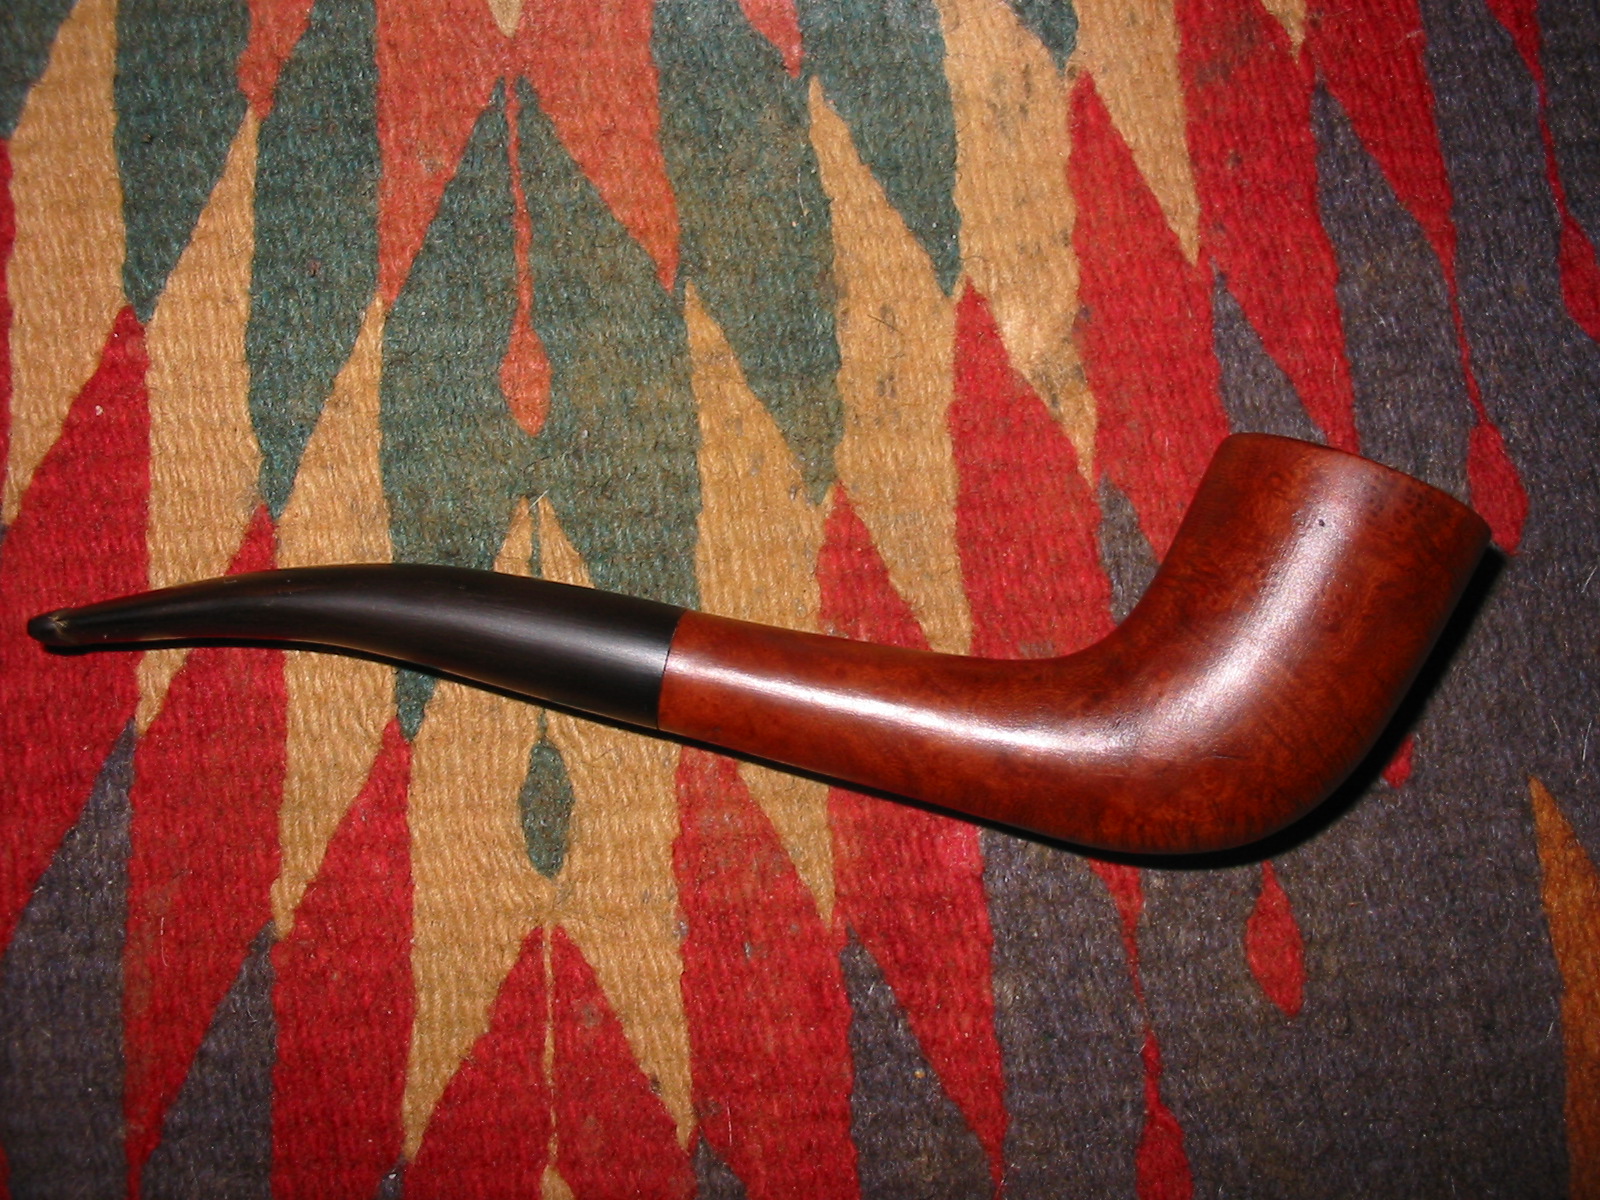
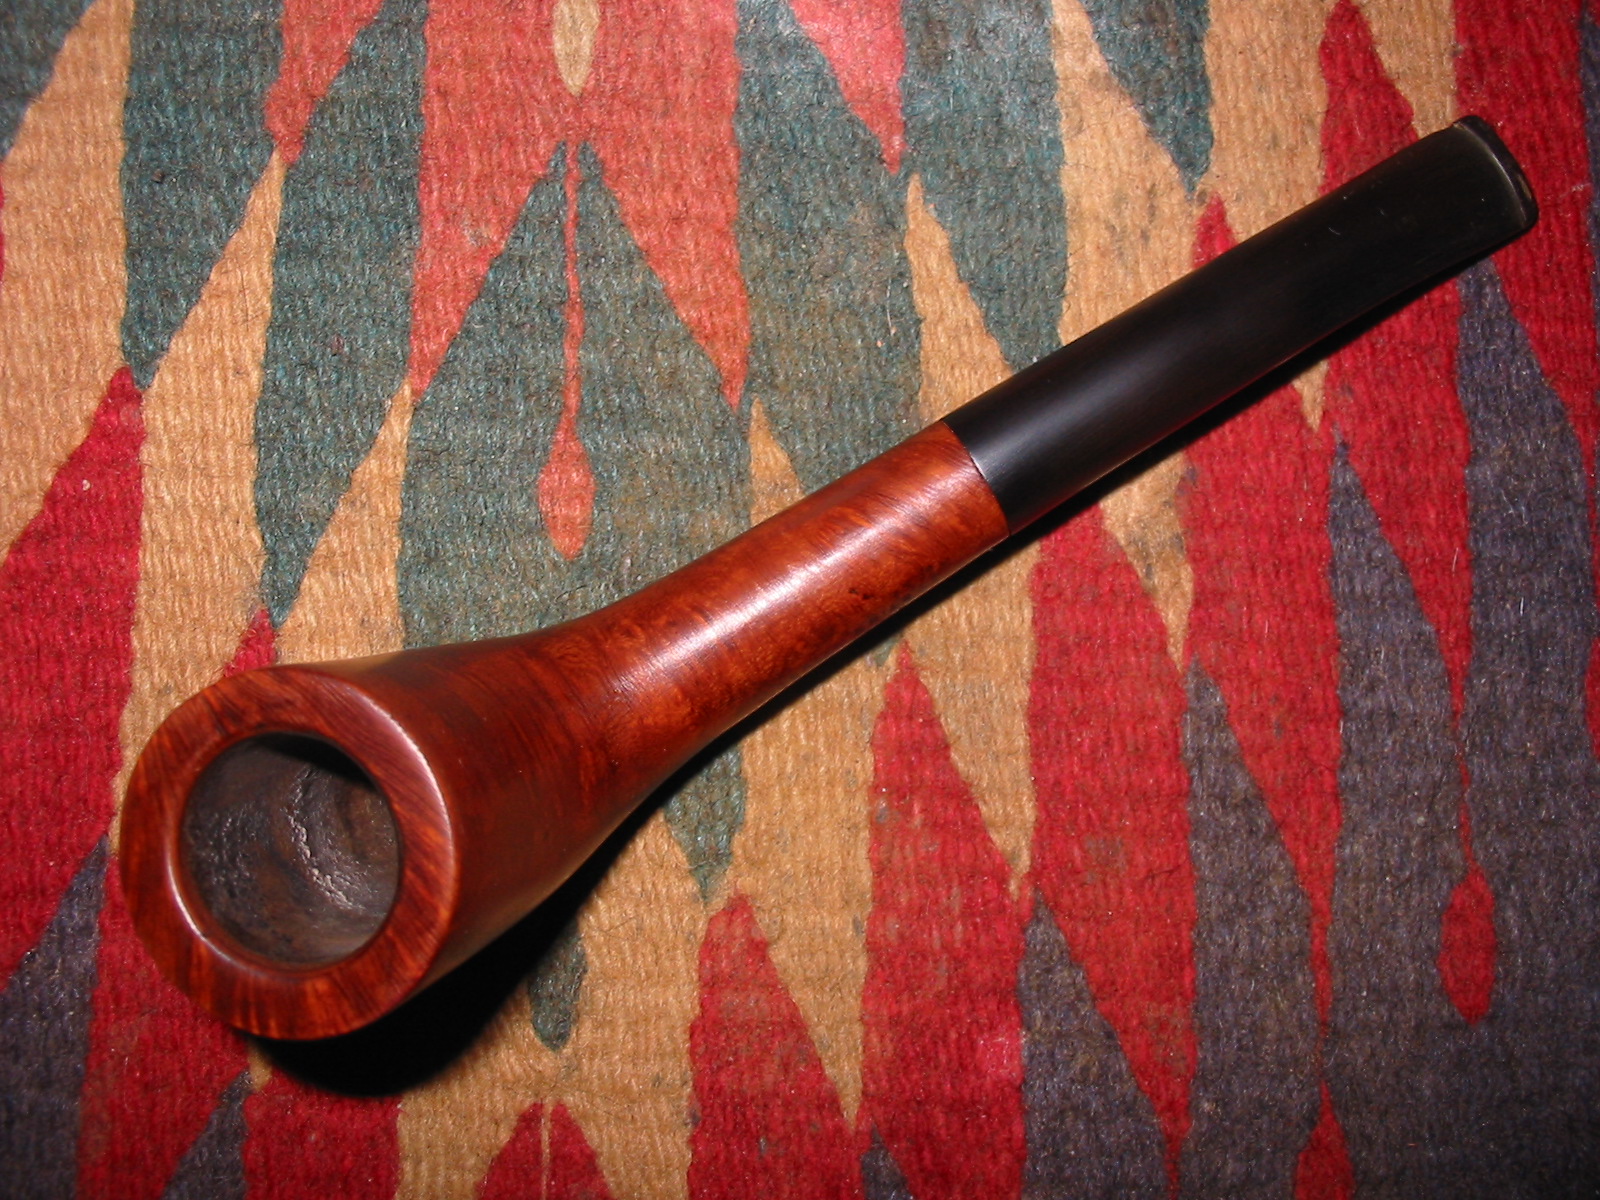
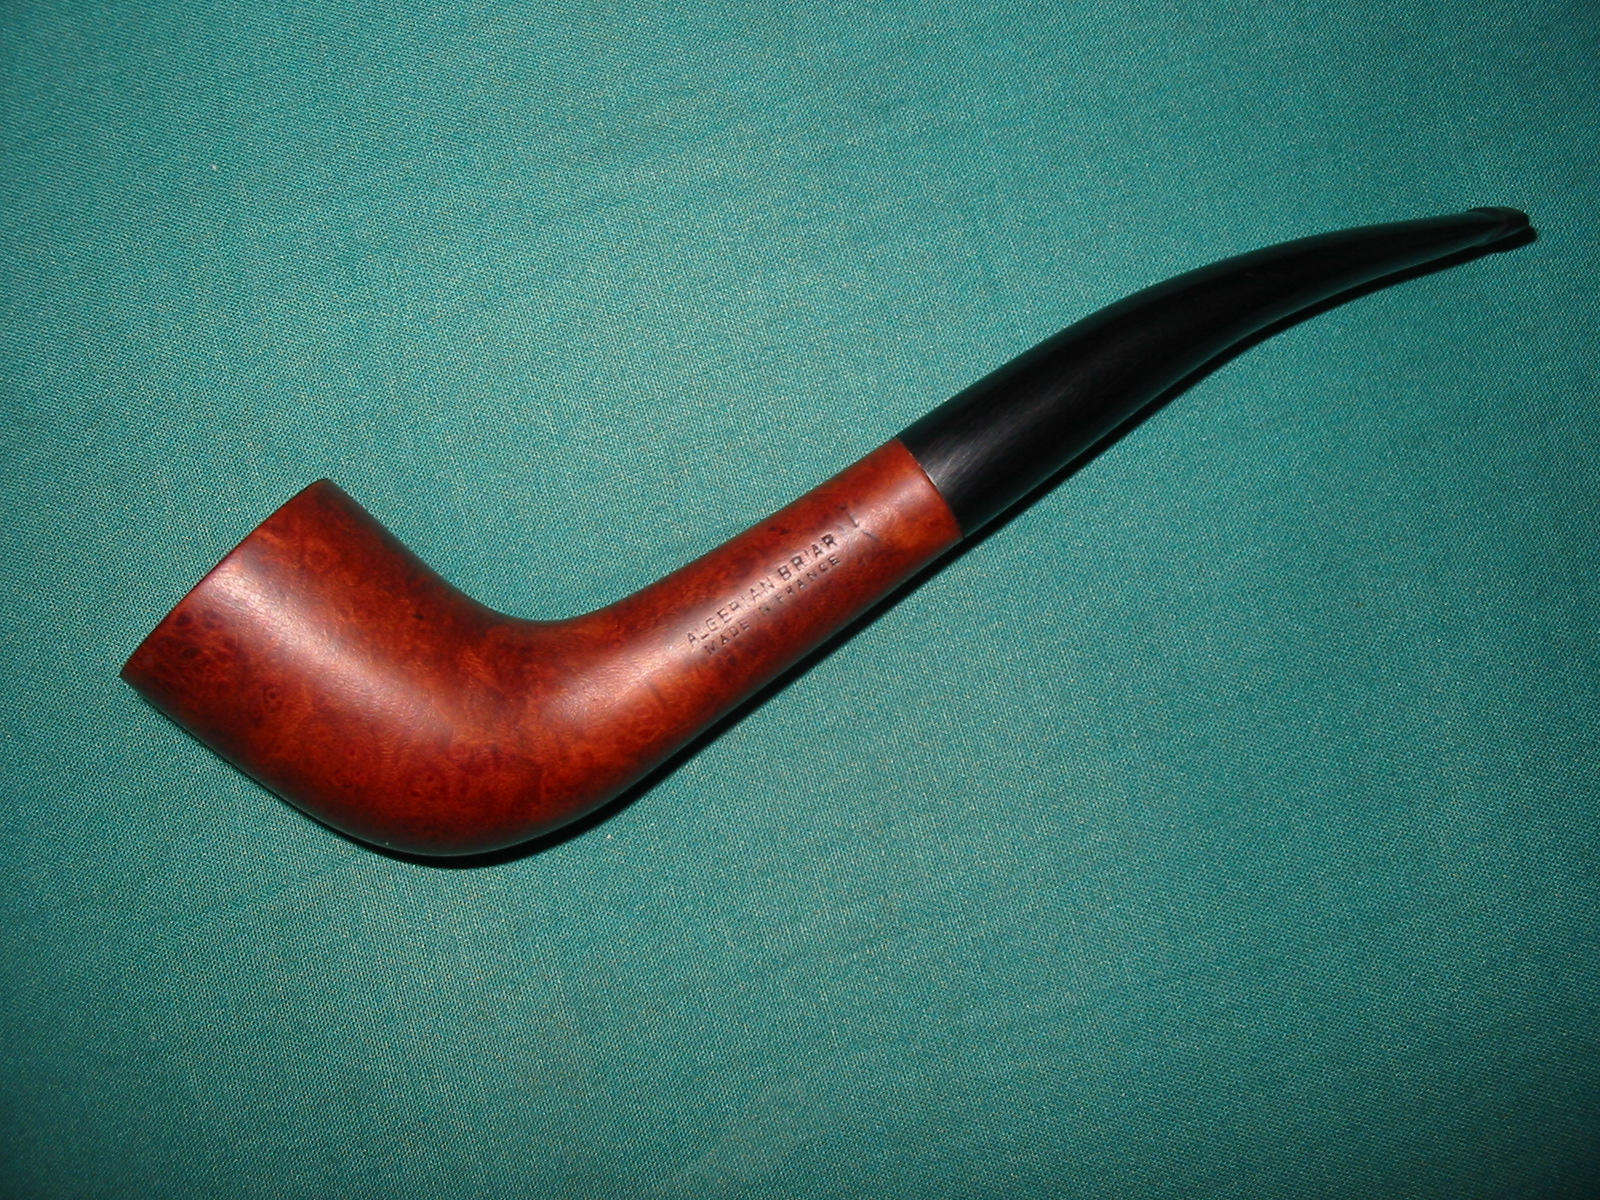
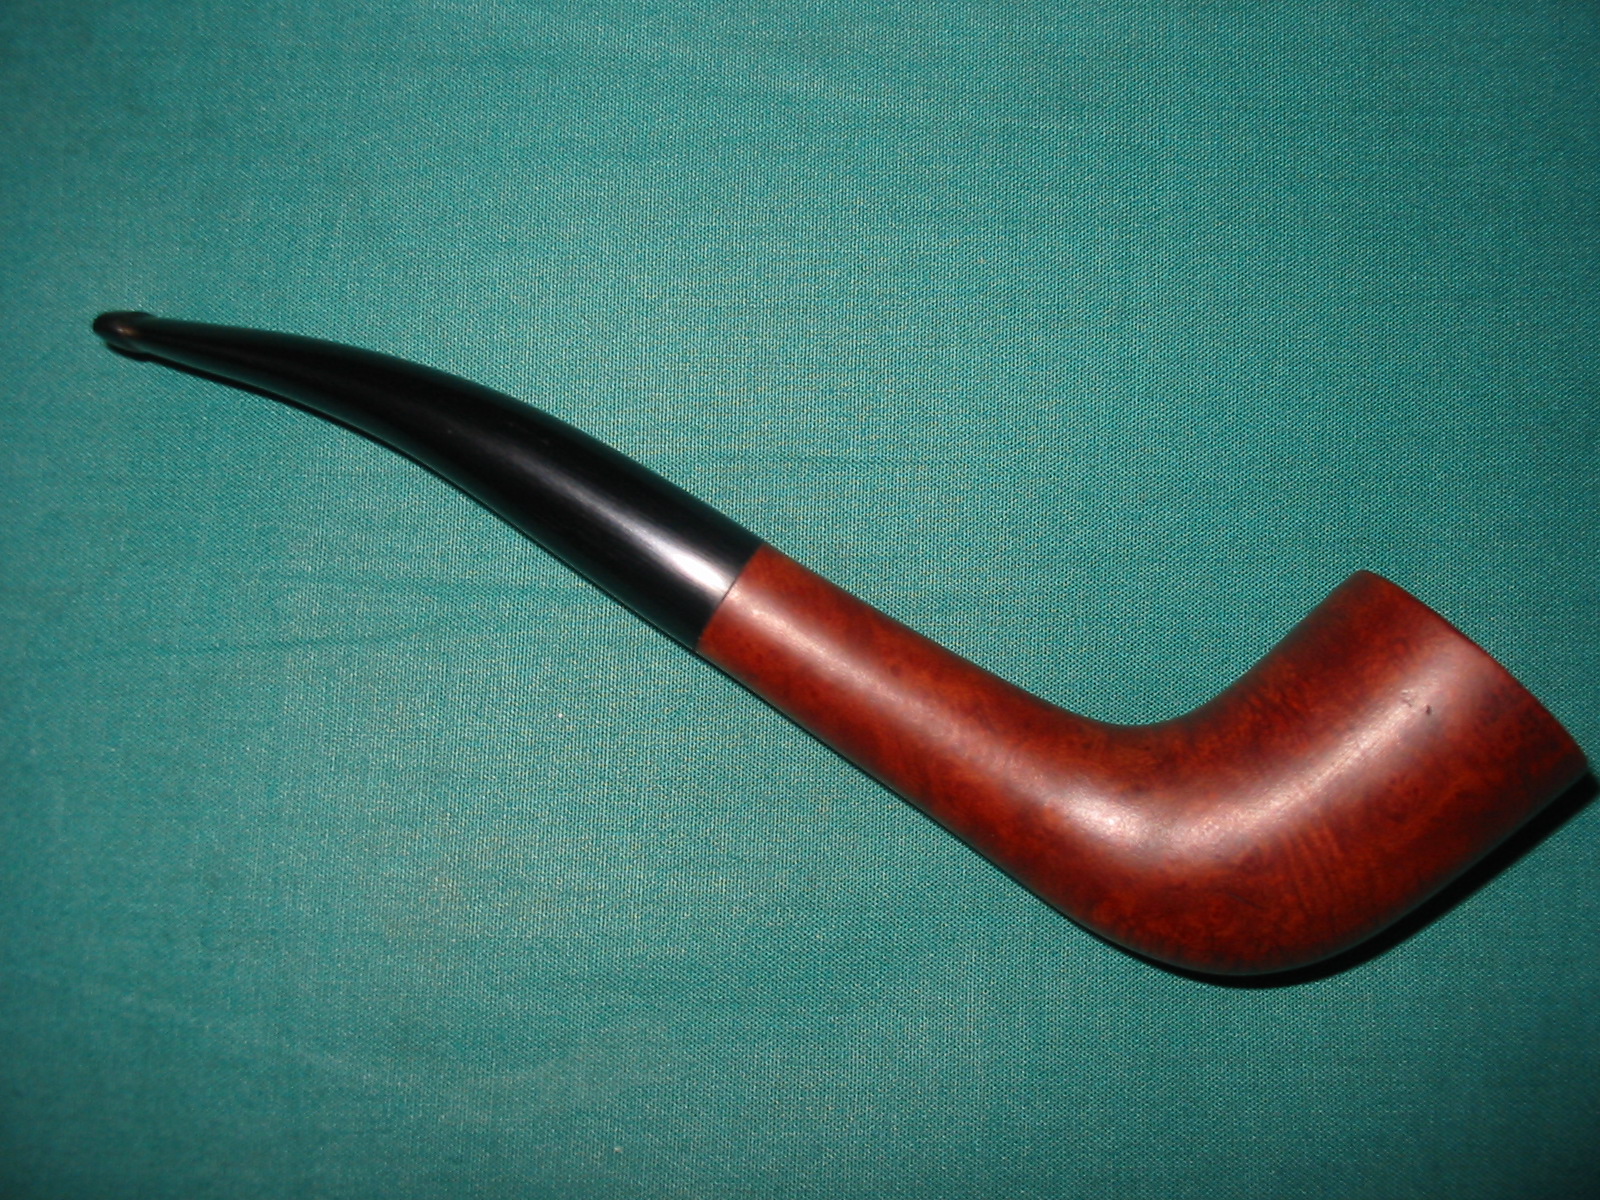
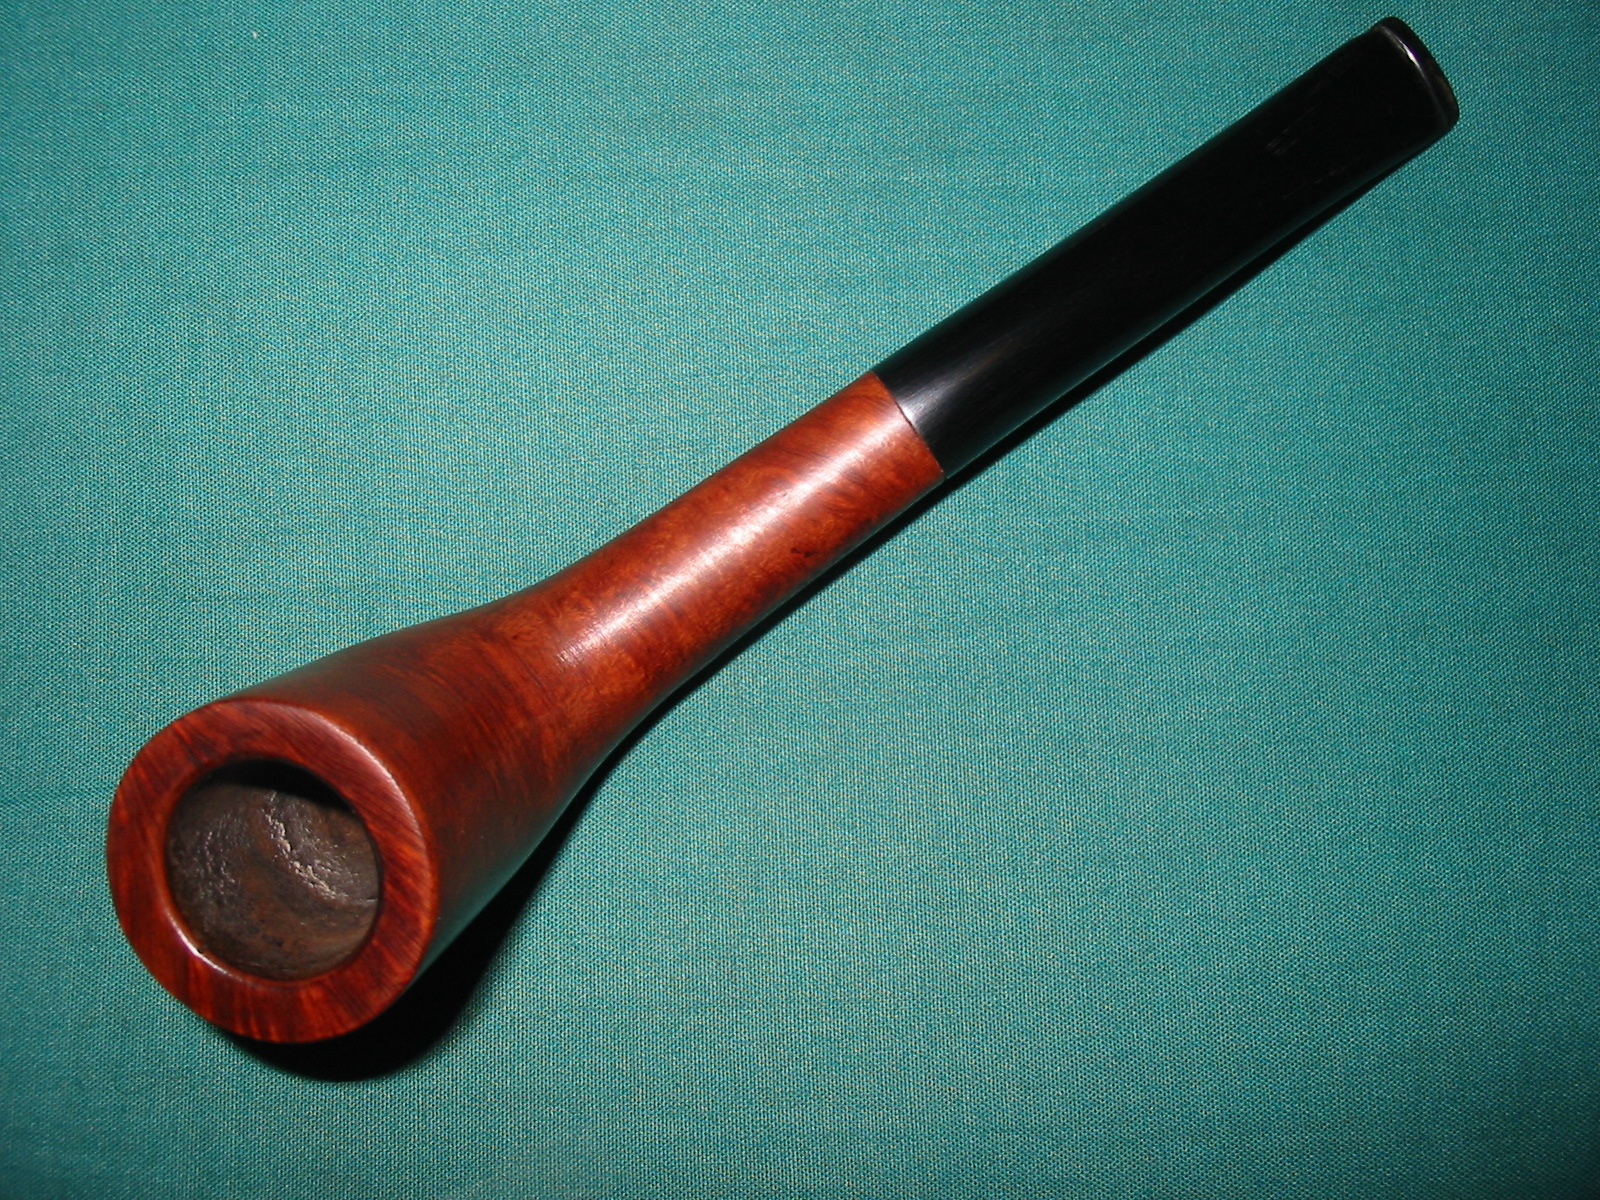
I was gifted a few pipe bowls that needed to be restemmed and refurbished by a friend. The first of these that I decided to clean up and restem was an old Zulu bowl. It is stamped Algerian Briar over Made in France on the left side of the shank and no other identifying marks. Thus the maker remains a bit of a mystery that I am not sure can be solved. The bowl itself was in fair shape. The cake in the bowl was not thick but it was particularly crumbly and soft. The finish on the pipe was also shot. The varnish coat was gone and the stain was streaked and damaged. There were a cut groove next to the left side of the stamping and a smaller one on the right side of the stamping. The shank was filthy and caked with oils and tars. The rim was in great shape with no damage to either the inside or outside rim. The grain under the stain coat looked promising with cross grain on the front and back of the bowl and the top and bottom of the shank and mixed birdseye on the sides of the both.
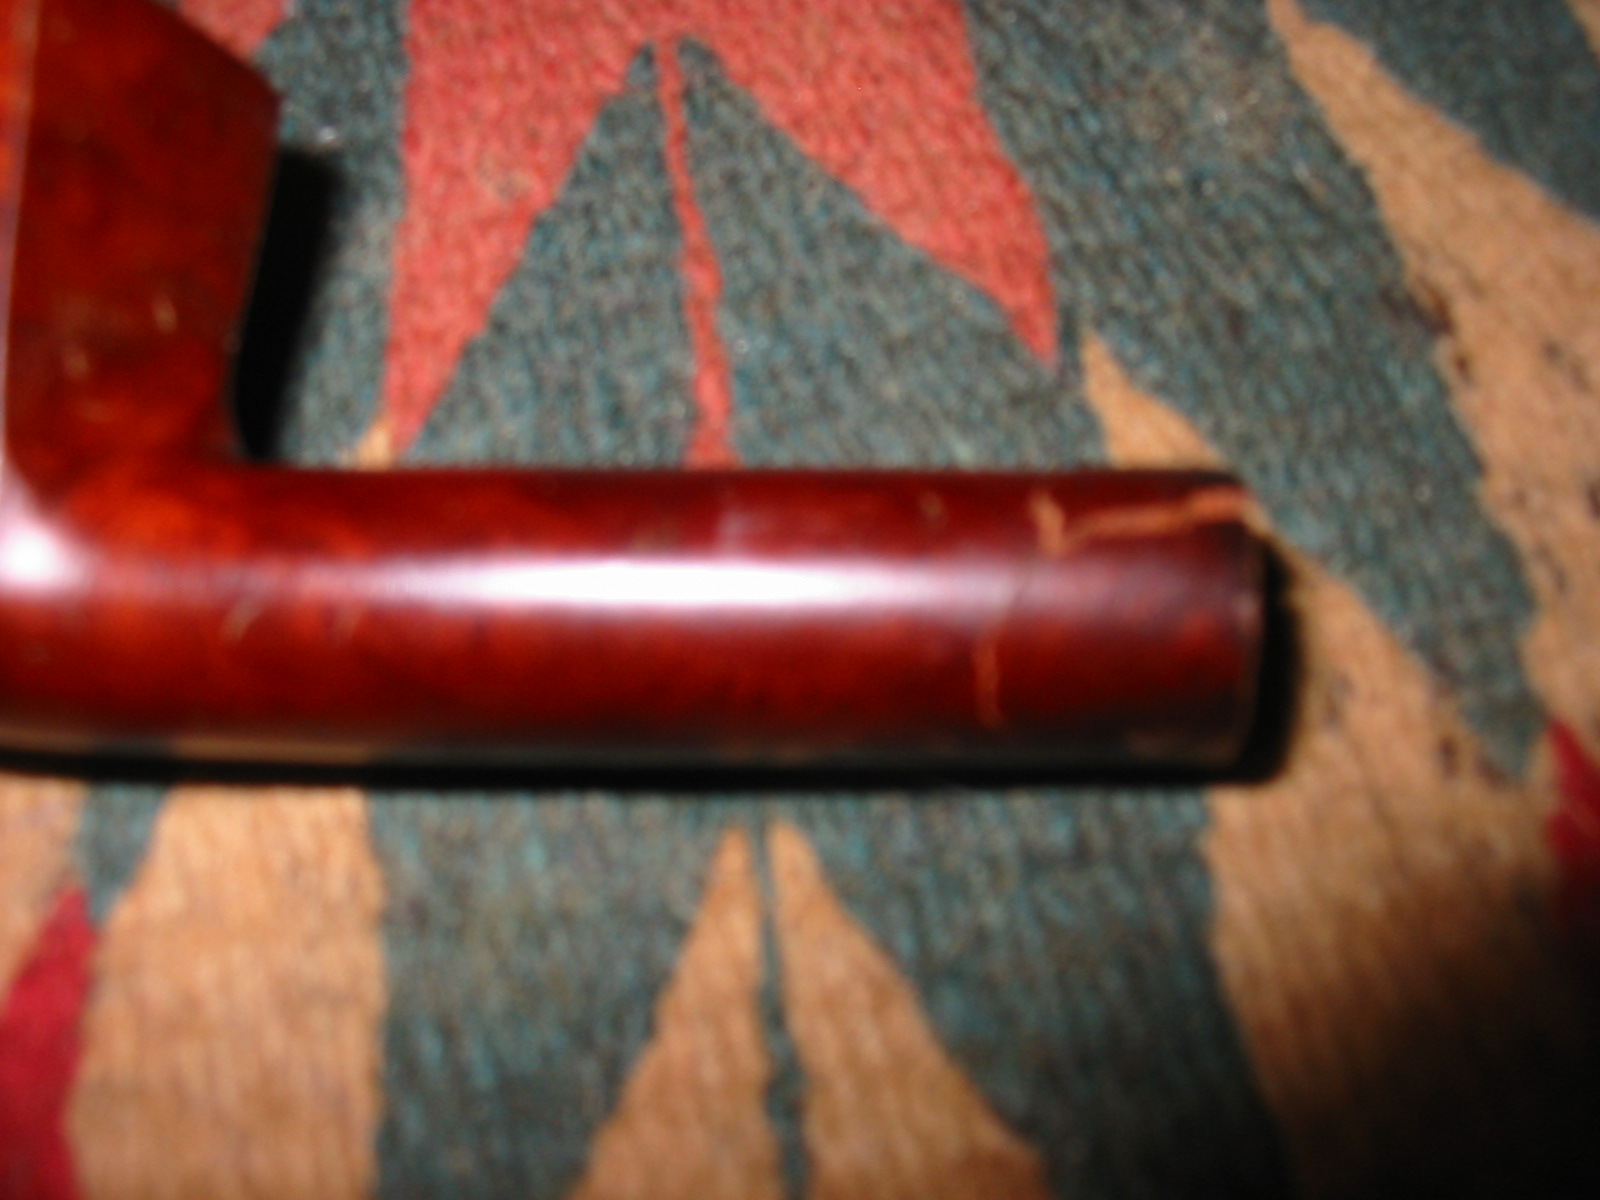
IMG_4862

I had a stem in my can of stems that fit almost perfectly. It was damaged and would need some work but the fit and bend was perfect for the Zulu shape.
IMG_4863

IMG_4864

I fit the stem in place and wiped down the bowl with acetone on cotton pads to remove the remaining finish on the pipe. I reamed the bowl with a PipNet reamer and took the cake back to bare wood. I cleaned out the shank and the bowl with cotton swabs and Everclear.
IMG_4866

IMG_4867

IMG_4868

IMG_4869

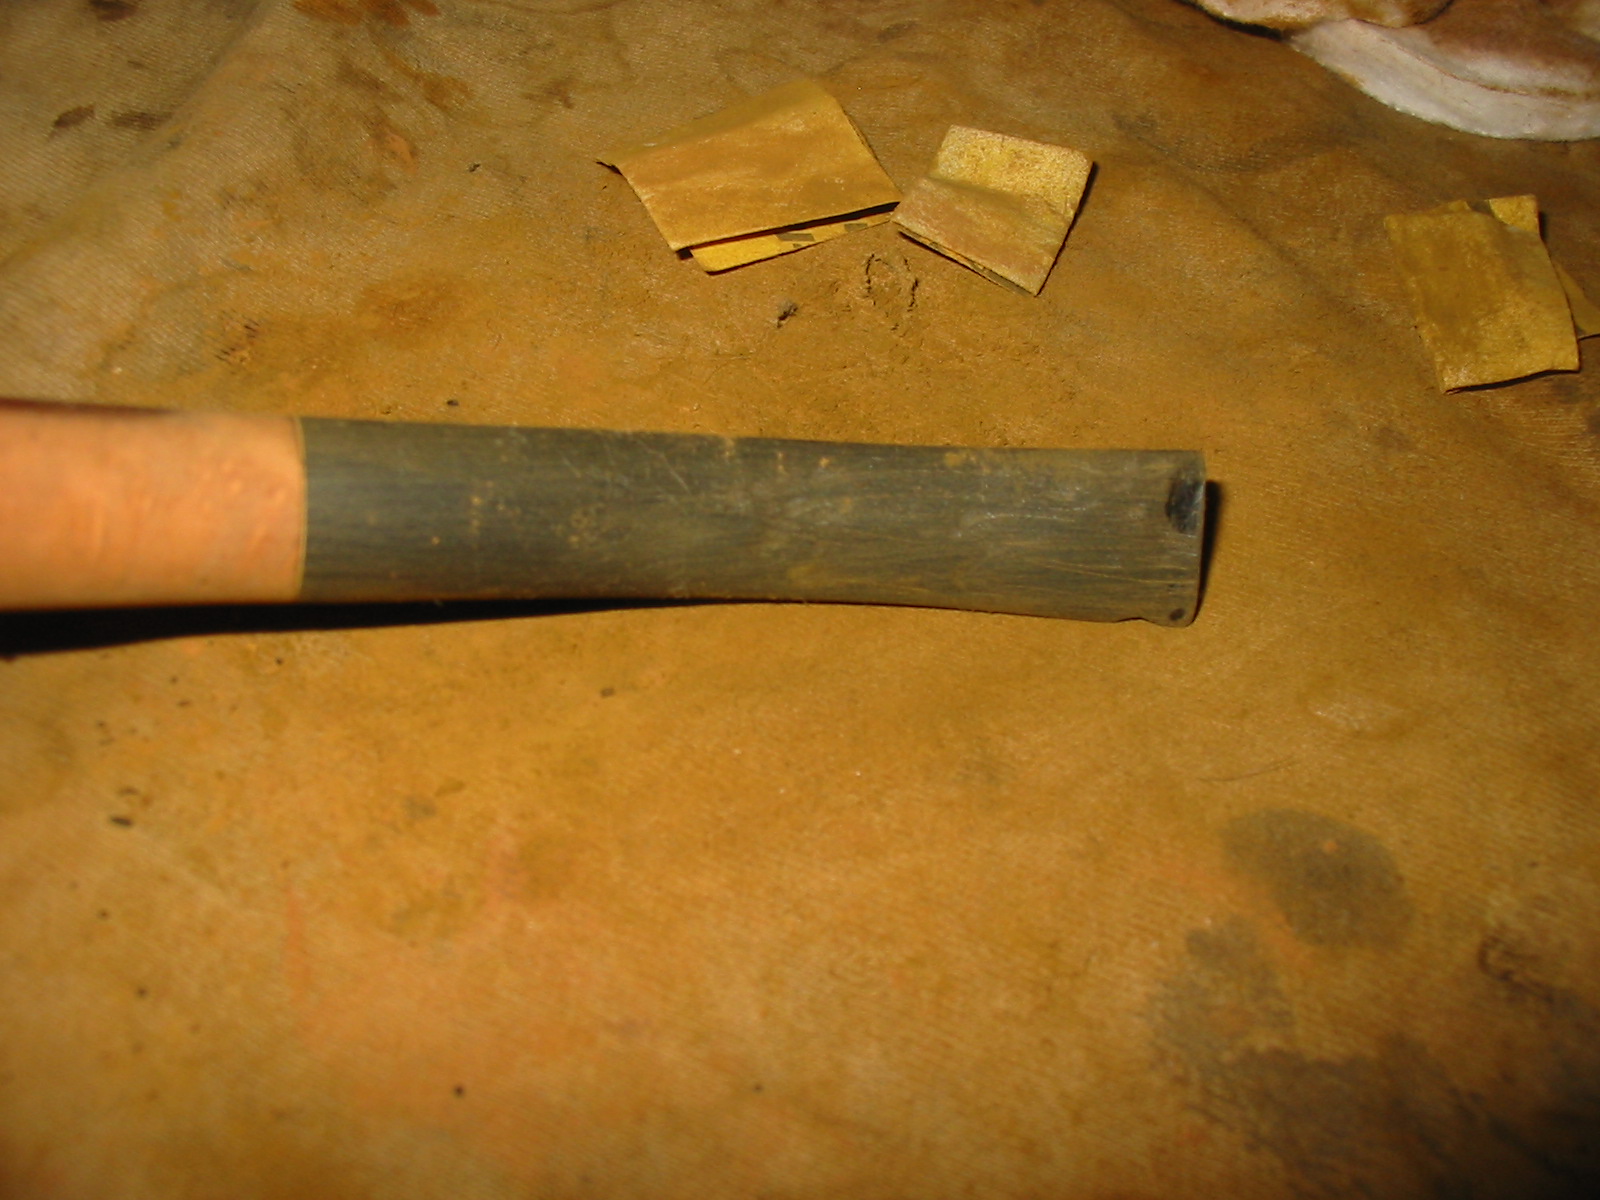
I sanded the stem until the transition between the shank and the stem was smooth. I used both 220 grit sandpaper and medium and fine grit sanding sponges to smooth it out. The end of the stem was badly damaged and the button was ruined. I decided to trim off the damaged end of the stem and rework the button. Once it was cut back I cleaned out the stem with Everclear and pipe cleaners. The stem was badly plugged with tars so I had to use a bent paper clip to push through the airway. I used shank brushes and pipe cleaners to remove the tarry build up and open up the stem once again.
IMG_4870

IMG_4872

The airway was still wide and open so I did not need to reshape it. The top and bottom of the button were thin so I could not remove any further material. I reshaped the externals as best as possible by rounding the ends of the stem and making the button more oval in external shape.
IMG_4873

The slight dents in the stem that remained would not lift with heat so I filled them with superglue until they were level with the surface of the stem.
IMG_4874

IMG_4875

I cut the new button with needle files and shaped the end of the stem to have a better flow and taper to the new button. This involved removing some of the thickness of the stem and making the taper more angled. I used files and sandpaper to reshape the stem.
IMG_4876

IMG_4877

With the new button cut I sanded the stem and the entire pipe with 220 grit sandpaper to remove the remaining finish and make sure the flow of the stem was correct to the angles of the pipe. I also sanded it with a medium and fine grit sanding sponge to remove scratches in the briar and vulcanite.
IMG_4879

IMG_4880

IMG_4881

IMG_4882

IMG_4883

IMG_4884

The stain around the stamping on the left side of the shank was very set and stubborn. I lightly sanded it to break through the top coat and then scrubbed it with acetone on cotton pads to match it as much as possible to the unstained briar. I stained the bowl with an oxblood aniline stain, flamed it and restained and reflamed until I had an even coverage on the bowl. I hand buffed it with a soft cloth. I took the pipe to the buffer and buffed the stem and bowl with red Tripoli and White Diamond. The photos below show the pipe after the buffing.
IMG_4885

IMG_4886

IMG_4888

IMG_4889

I sanded the stem with my usual array of micromesh sanding pads – wet sanding with 1500-2400 grit pads and dry sanding with 3200-12,000 grit pads. I rubbed the stem down with Obsidian Oil and when it dried hand buffed the stem.
IMG_4890

IMG_4891

IMG_4892

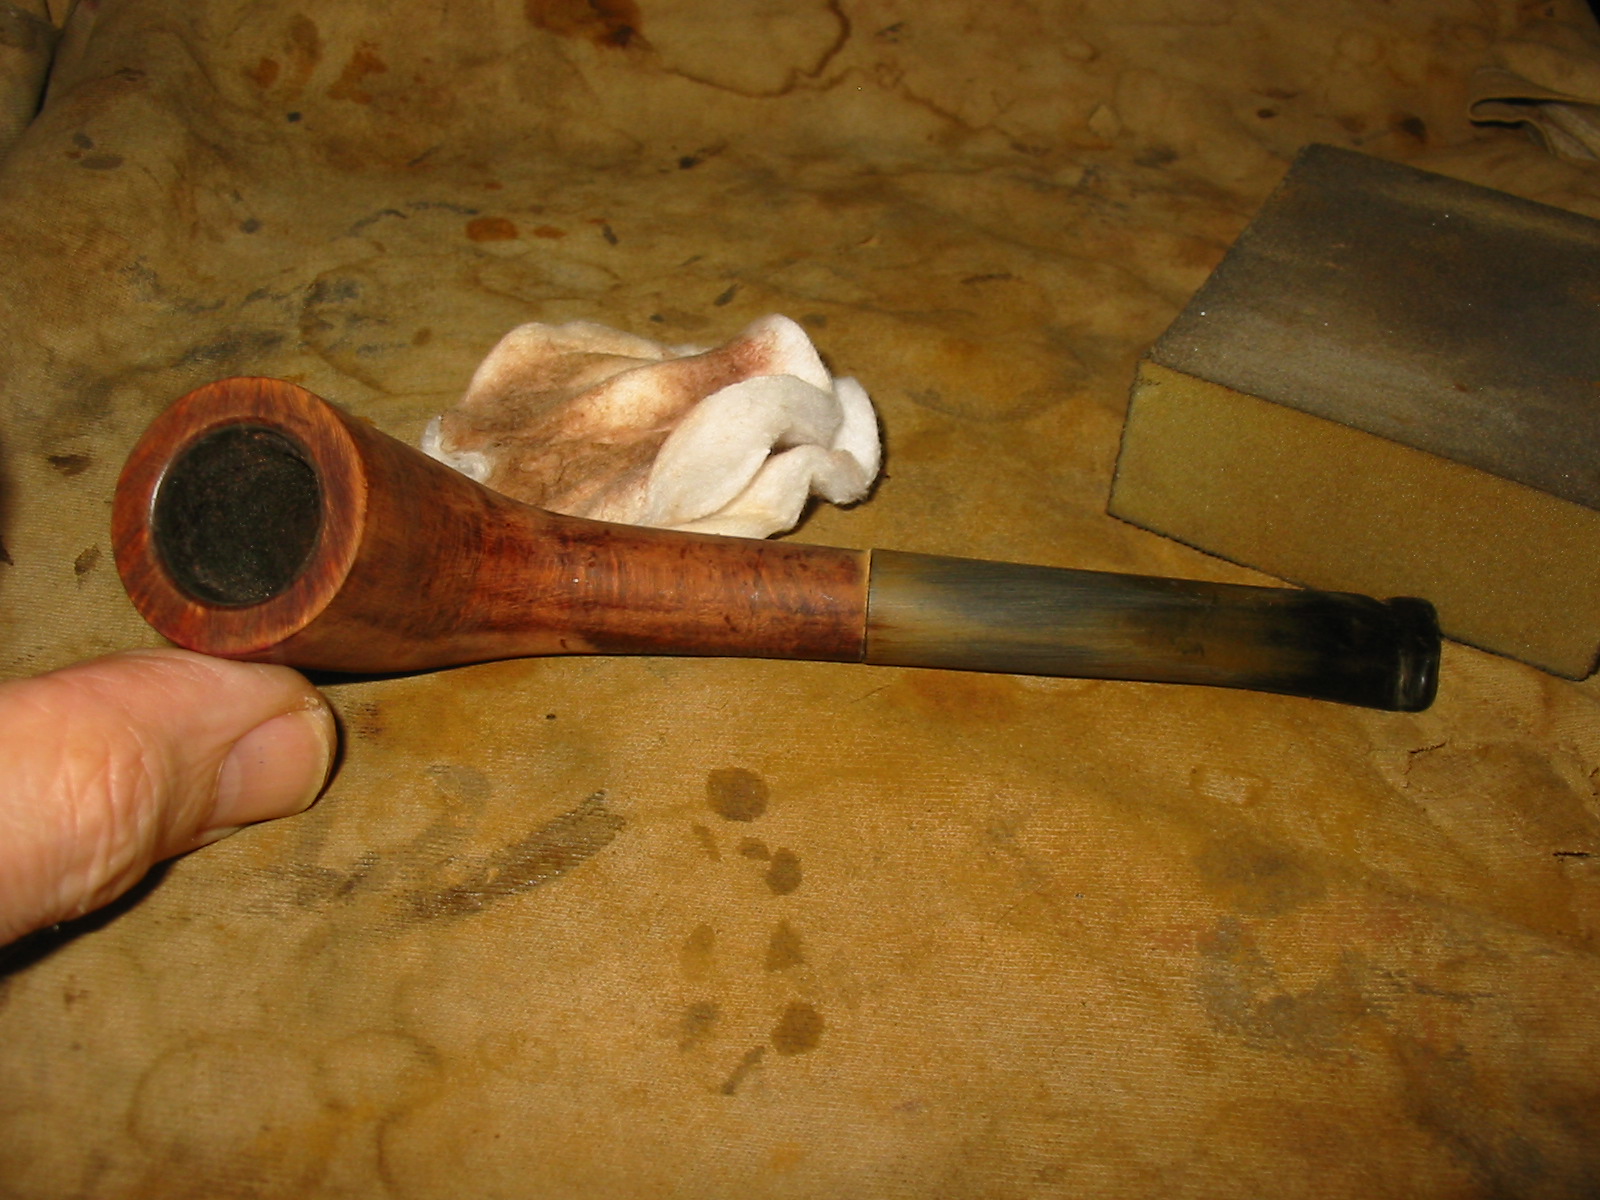
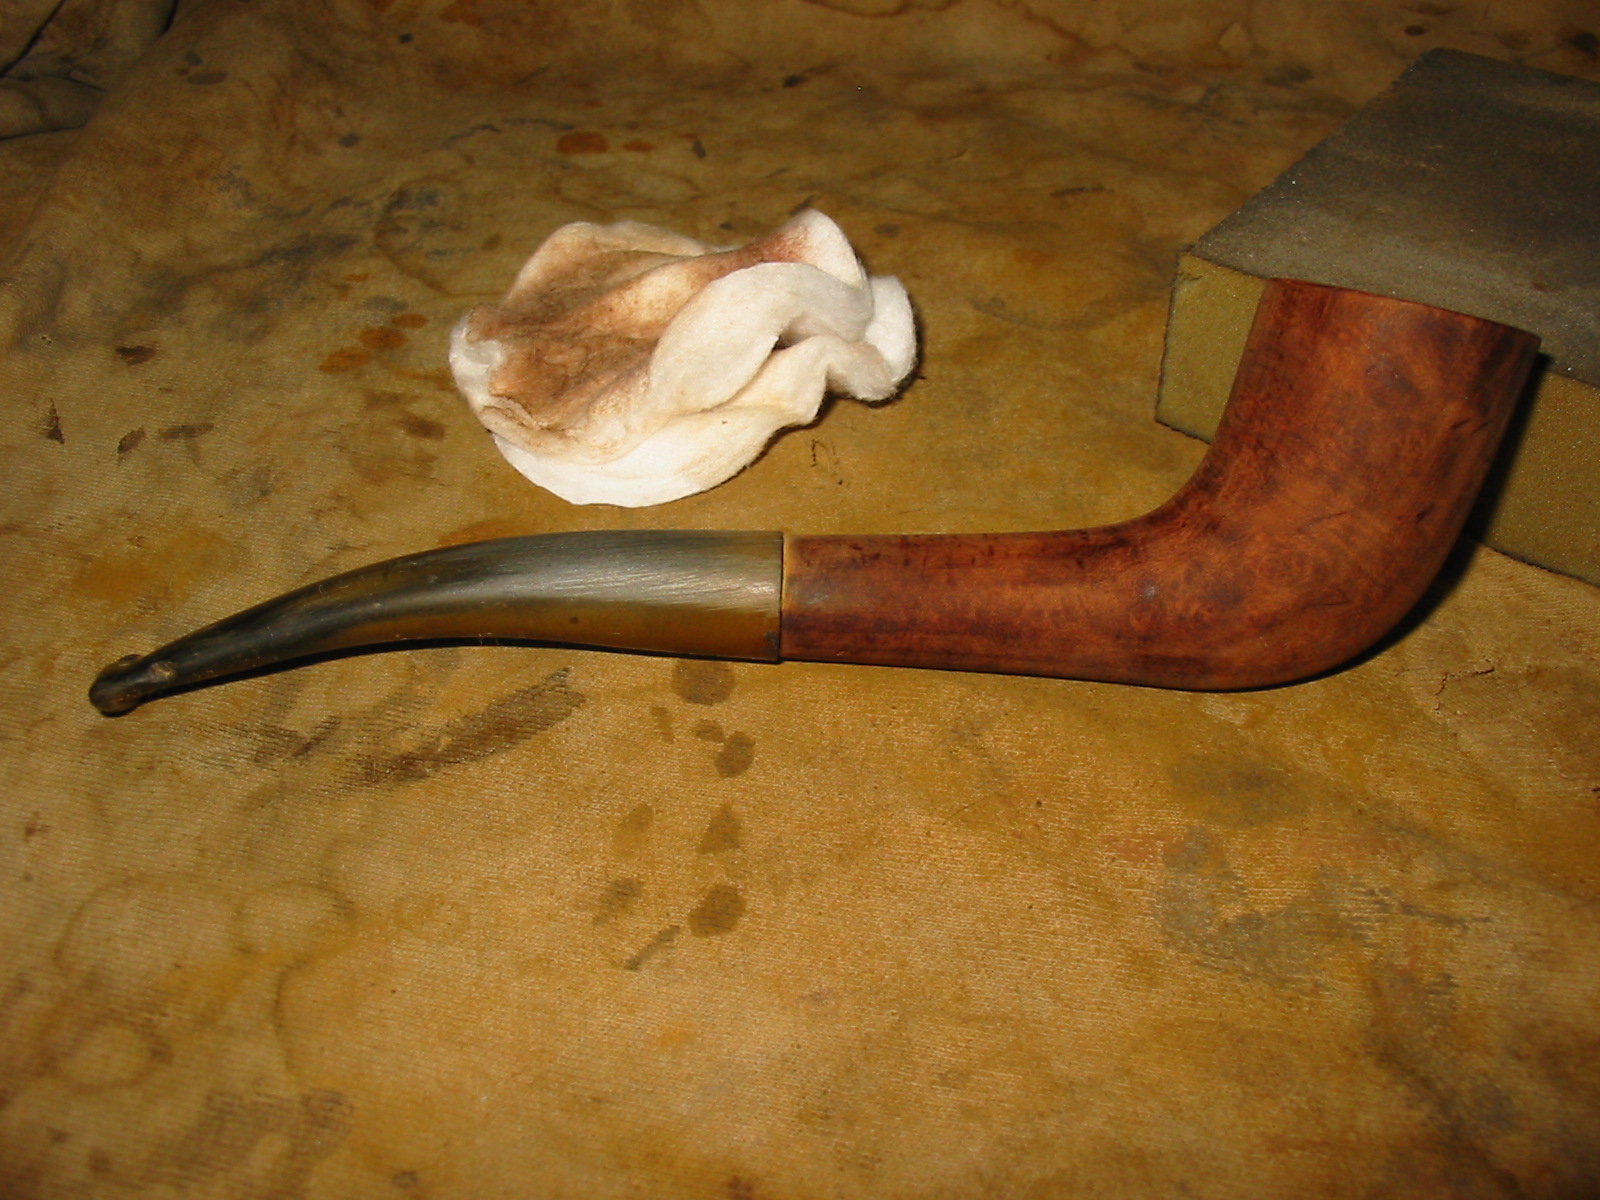
I buffed the pipe with White Diamond and then gave it multiple coats of carnauba wax. I finished by buffing it with a clean soft flannel buffing pad. The finished pipe is pictured below. It is ready to go into service again. I like the flow of the lines on this pipe. The shape and matte like finish work well together.
IMG_4893

IMG_4894

IMG_4896

IMG_4897

Plugging a Burnout on a Peterson’s Irish Whiskey 999


Blog by Steve Laug

Lately several of the pipes that I have refurbished were part of a trade with Mark Domingues for work on this pipe. It is a beautifully grained Peterson’s Rhodesian 999 – one of my favourite shapes. The grain on this thing is beautiful. The photo below shows what drew Mark to bid on this pipe in the first place. What the photo does not show however, is the incredibly horrible shape that this pipe was in when it came to Mark.
IMG_20131124_082613_134_zps6ef902eb

The problem with the pipe became obvious when Mark took it out of the shipping package to enjoy the “new” Peterson that he had purchased. The pipe had a serious burn through on the front right side of the bowl toward the bottom. That damage was quite extensive and either the pipe could be thrown away or the burn through drilled out and the damaged briar replaced with a briar plug.
IMG_20131125_123925_638_zps0ff2fe98

Mark decided to drill out the damaged portion of the bowl. We talked back and forth via email about the steps to take to fix it. He toyed with it and then one day asked if I wanted to do the work on it. He would send the pipe, a chunk of briar some pipes that he thought I might enjoy working on in exchange for the repair. After emailing back and forth we agreed to the terms and he sent the bowl on to me to do the repair in exchange for a few pipes for my refurbishing box. Here is what the pipe looked like when it arrived in Vancouver. Mark had cleaned up the exterior of the pipe and also the interior and drilled out the burnout. The brass/gold band on the shank was loose and the stem was in decent shape with two minor tooth marks.
IMG_4808

IMG_4809

IMG_4810

The top view of the pipe, shown in the photo below, also highlights several others issues with the pipe. First, the bowl itself was not drilled straight into the briar but at a slight angle from left to right. Second, the stem was totally out of round and the right side of the stem fit against the band far differently than the left side. Looking at the stem from the tenon end it was clear that the stem was not round but rather oblong. The small block of briar in the photo was sent along by mark for me to use in cutting a plug for the bowl.
IMG_4811

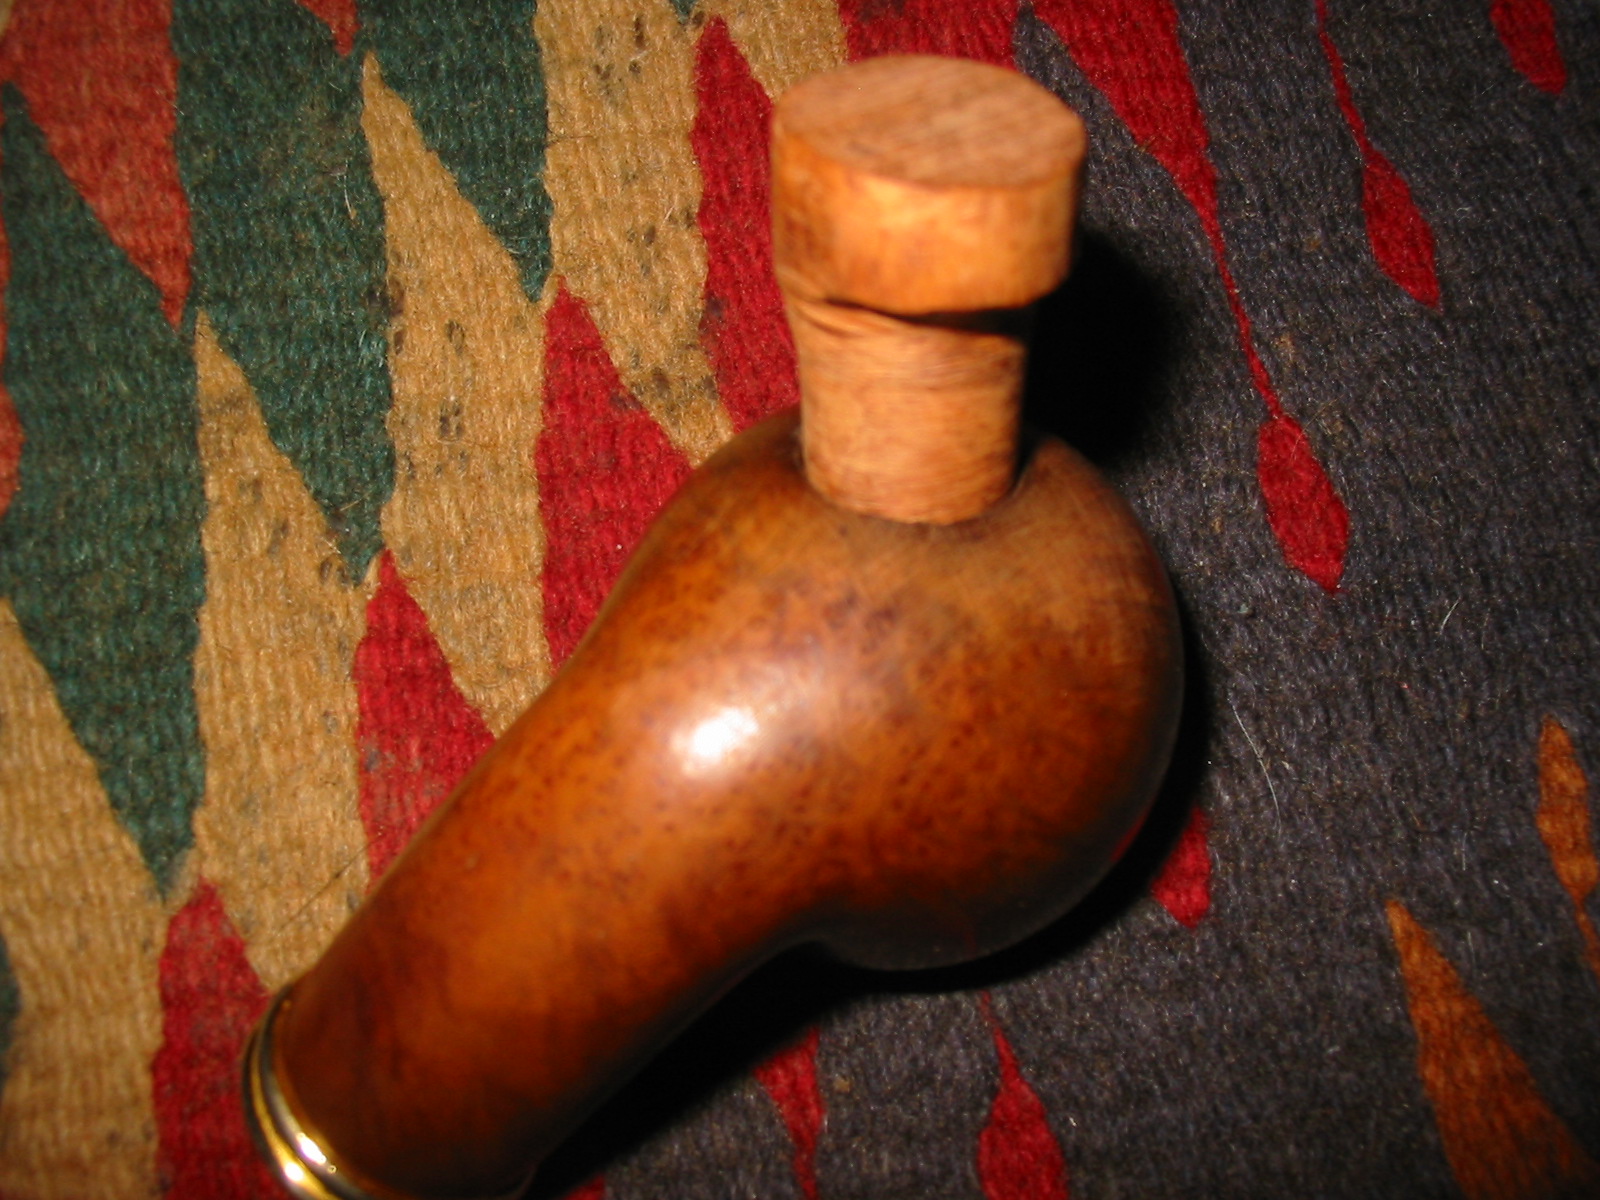
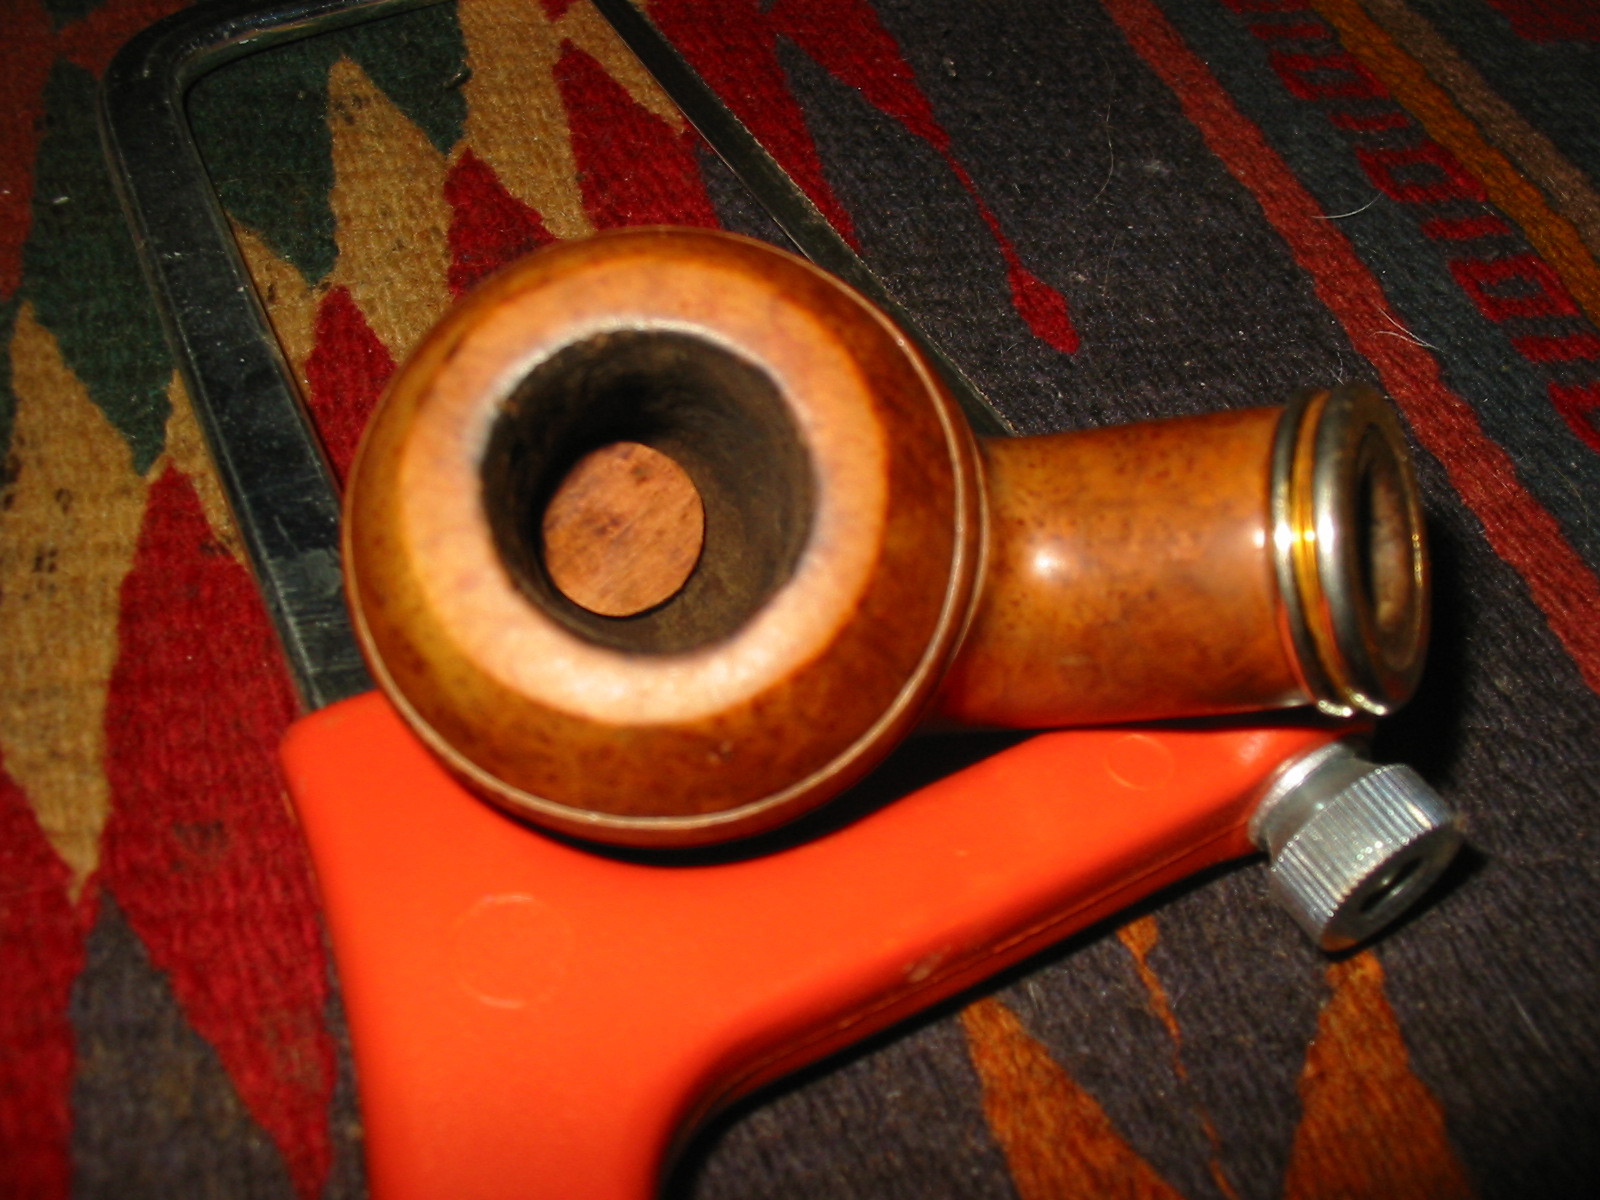
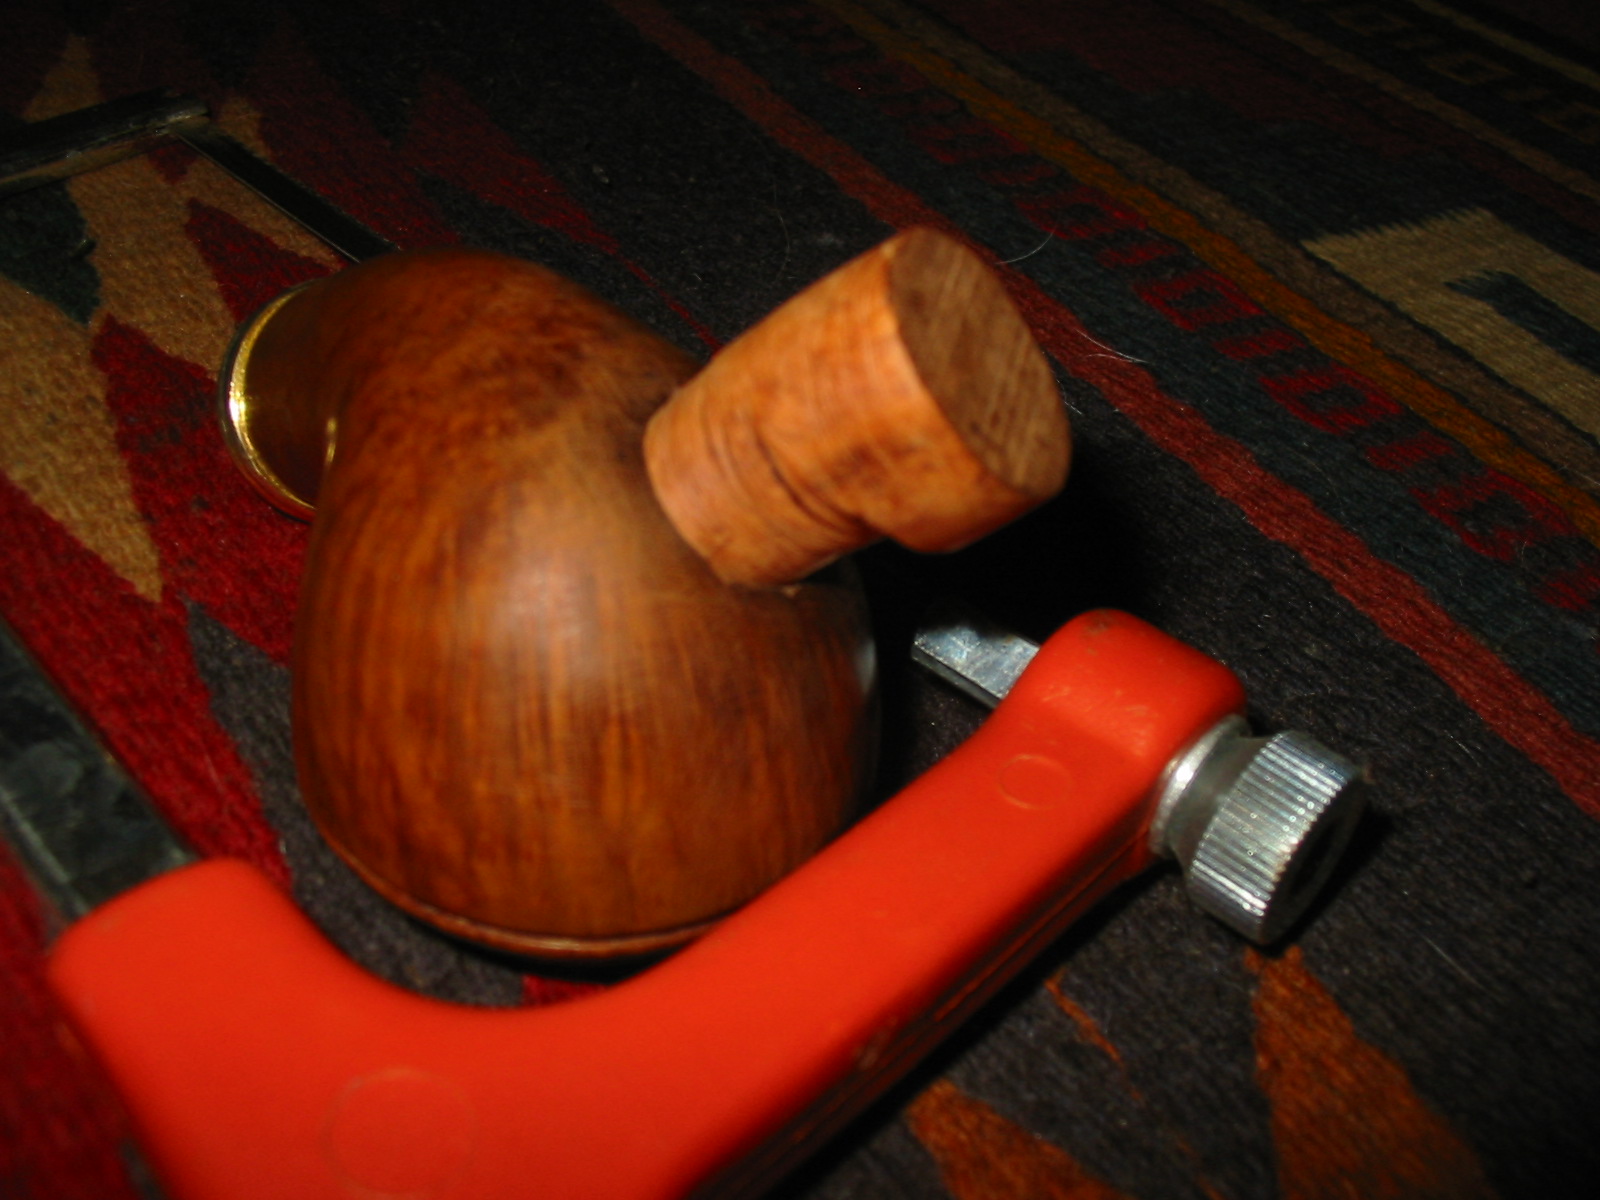
I used a small hacksaw to cut off a small chunk of briar. I then shaped the briar chunk into a cylinder. I always cut the plug long to give me something to hold onto when I am shaping it. I am sure others do it differently but I shape the plug with a Dremel by hand and I hold the piece of briar with my fingers while I shape it. The next series of eight photos show the progressive shaping of the cylinder to fit the drilled out hole in the bowl of the pipe.
IMG_4814

IMG_4815

IMG_4818

IMG_4819

IMG_4821

IMG_4822

IMG_4823

IMG_4824

The next four photos show the final shape of the cylinder. I left a slight handle on the top of the plug to hold onto while I turned the cylinder with the Dremel. I tapered the plug slightly so that it would fit into the hole but not extend to far into the bowl itself. Once I had the shape correct and the piece extending into the bowl smoothed to fit the shape of the bowl I glued it in place with superglue.
IMG_4825

IMG_4826

IMG_4827

IMG_4828

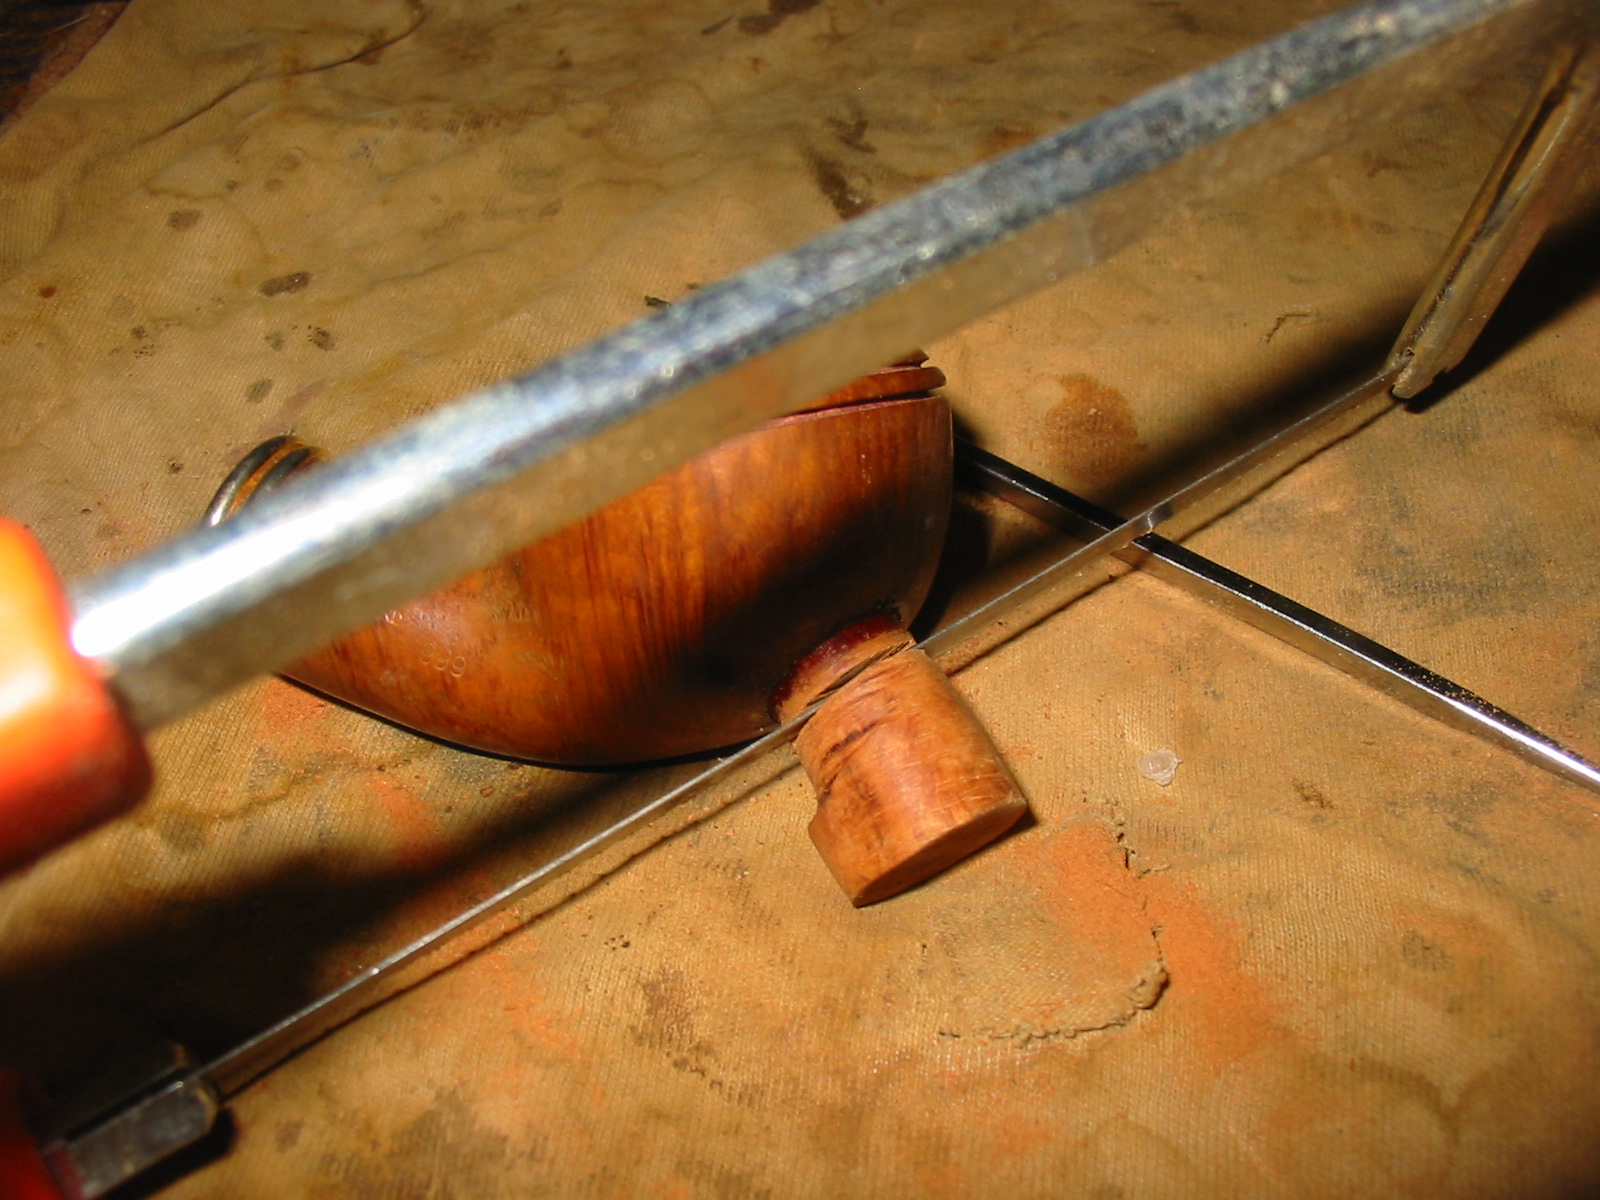
I used the hacksaw to trim off the excess briar in the plug as close as possible to the surface of the bowl.
IMG_4829

IMG_4830

Once I had it trimmed back to that place I used the Dremel and sanding drum to sand it down to the surface and then hand sanded with 220 grit sandpaper to make the surface of the plug and the bowl match. I used superglue around the circumference of the plug to hold it tightly in place.
IMG_4831

I washed down the surface of the bowl with acetone on cotton pads to remove the grit and the remaining finish on the bowl. I also sanded the plug and the rim with 220 grit sandpaper and then medium and fine grit sanding sponges to smooth out the scratches. I sanded the inner rim with a folded piece of sandpaper to remove the damage to that portion of the bowl. In the photos below the fit and finish of the plug is clearly visible. The grain on the plug and that on the bowl did not match but the fit was nearly perfect.
IMG_4832

IMG_4833

IMG_4834

IMG_4835

Mark and I had talked about rusticating the whole bowl but I could not bring myself to do that to such a beautiful piece of briar. I marked the area that I planned on rusticating with a black permanent marker to give myself an outlined area that I would rusticate. I find that setting up parameters and boundaries for the rustication helps me to keep it in a defined space more easily.
IMG_4836

I used the modified Philips screwdriver with the four points to rusticate this part of the bowl. The next two photos show the rusticated portion of the bowl. The area of the older briar showed dark spots in the rustication and the new fresh plug showed almost white after rustication.
IMG_4837

IMG_4838

I decided to try and use a dark brown aniline stain thinned 2:1 with isopropyl alcohol on the whole pipe to see what would happen with the rustication. I wanted to see if the dark areas on the rustication would blend into the briar of the lighter parts. I did not really expect it to work but thought I would give it a try.
IMG_4840

IMG_4841

IMG_4842

IMG_4843

The dark portions of the old briar still showed dark after staining. I decided to use a black aniline stain on the rusticated portion of the bowl and leave the smooth part of the bowl the brown colour. I applied the stain with a cotton swab and flamed it, reapplied it and reflamed it until the coverage was even.
IMG_4844

IMG_4845

IMG_4846

The inside of the bowl then needed to be addressed. The drilling of the bowl was not only angled from left to right but the airway entered the bowl over 3/8 inches above the bottom of the bowl. Whether this was caused by drilling or over reaming is not clear to me. My problem was that the angle of the patch on the side did allow me to shape the patch to provide a new bottom for the bowl. I could have cut another piece of briar and inserted it into the bottom of the bowl but the strange angles of the bowl made that a task that I did not want to tackle. I opted to build up the bottom of the bowl with Plaster of Paris instead of pipe mud because of the depth of the buildup. My fear was that the pipe mud would have to be almost ½ inch thick and I was not sure if it would hold. I have used Plaster of Paris to repair meerlined pipes and it is durable and gives a solid base. I intend to use pipe mud on top of the repair and also reshape the bowl sides.

I glued the band on the shank with wood glue before I restained it with another coat of the medium brown aniline stain. I flamed it and then buffed it with White Diamond. I gave the smooth portions of the bowl several coats of carnauba wax and hand buffed the rusticated portion with Halcyon II wax.
IMG_4850

IMG_4851

IMG_4852

IMG_4853

I sanded the tooth marks and chatter out of the stem with 220 grit sandpaper and a medium grit sanding sponge. I reshaped the stem to fit more proportionally against the band. I made it round instead of oblong so that the fit against the band was even all the way around giving it a more finished look. I then sanded it with my usual array of micromesh sanding pads – wet sanding with 1500-2400 grit pads and dry sanding with 3200-12,000 grit pads. I rubbed the stem down with Obsidian Oil and when it was dry buffed it with White Diamond. I gave the stem multiple coats of carnauba wax to finish and protect it.
IMG_4854

IMG_4855

IMG_4856

The next series of five photos show the finished exterior and stem of the pipe. The stain and the patch rustication are completed. The interior of the bowl still only bears the plaster repair. Once it cures for several days I will give it a coating of pipe mud to finish the job.
IMG_4857

IMG_4858

IMG_4859

IMG_4860

IMG_4861

The pipe is finished other than the pipe mud and soon it will go back to Mark for its inaugural smoke. I am looking forward to hearing his response once the pipe is in his hands and he has smoked it.

UPDATE: I applied the pipe mud to the bowl last evening. It was a great day to fire up a Cohiba Habana and save the ash to mix. I use a shot glass to collect the ash and add the water with an ear syringe. Once the mix is the right consistency I apply it with a folded pipe cleaner. I apply it and let it set and then follow up with a second or third coat as necessary.
IMG_5172

For this particular pipe mud application I built up the right side of the bowl toward the bottom to compensate for the angular drilling of the bowl. I was able to smooth out the wall and that side is as straight as possible.
IMG_5173