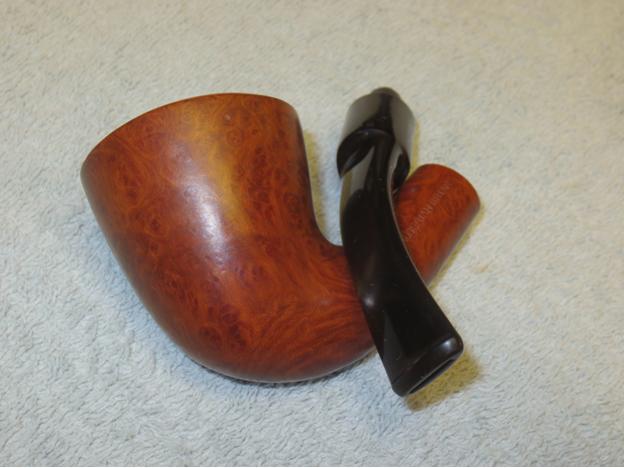
Blog by Steve Laug
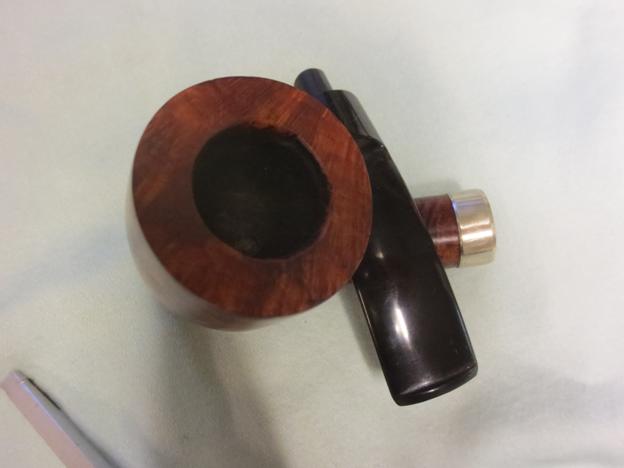
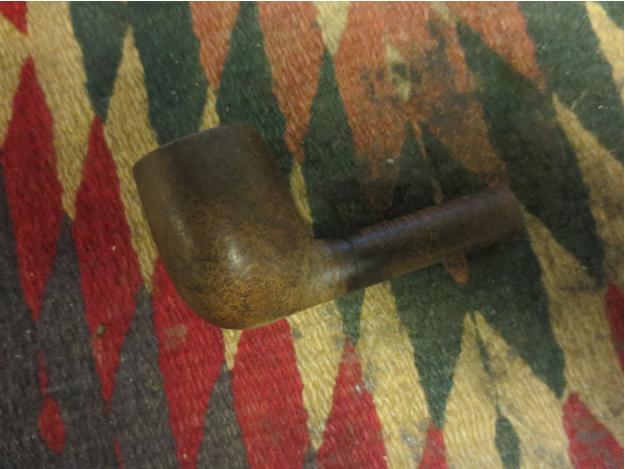
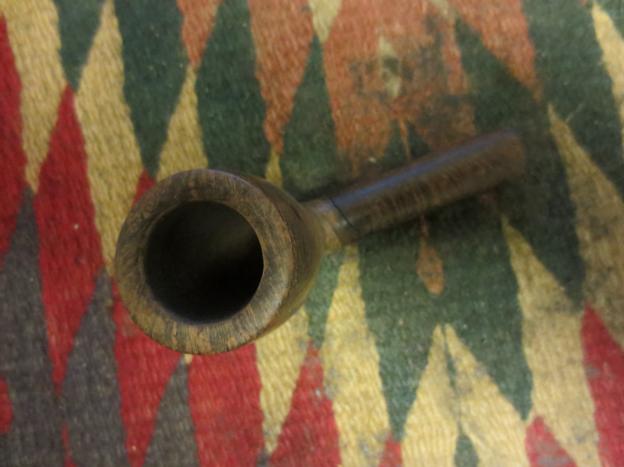
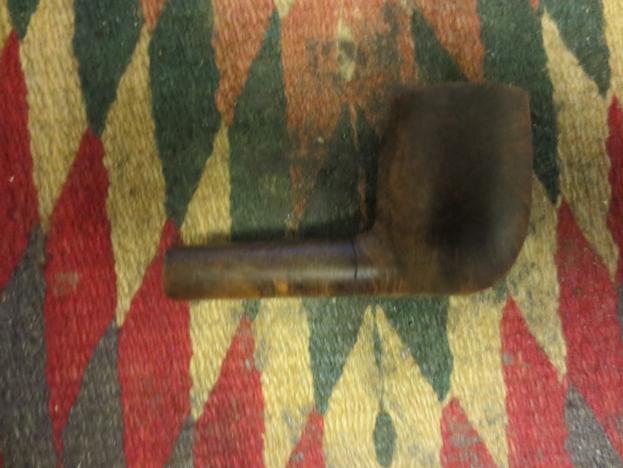
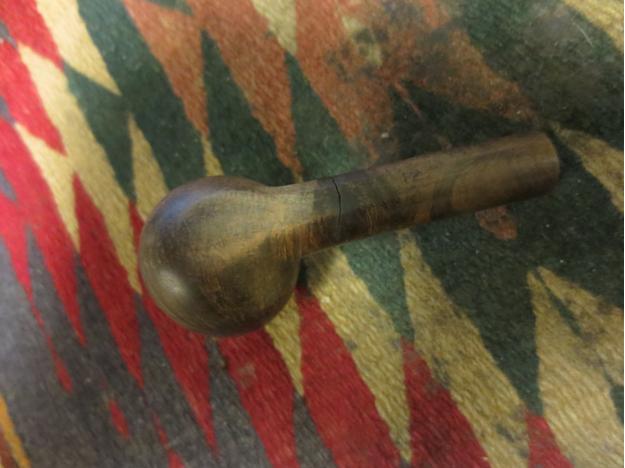
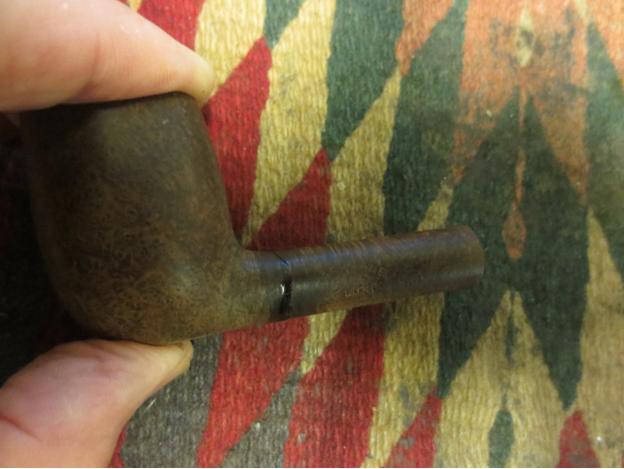
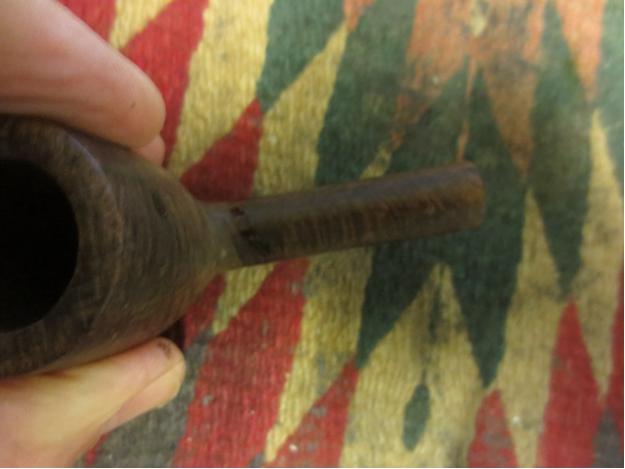
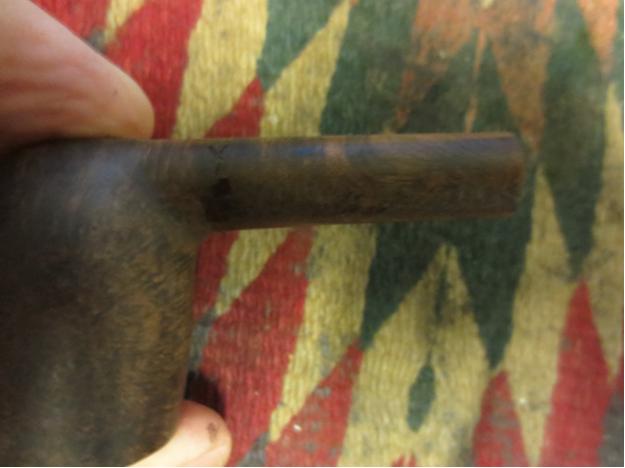
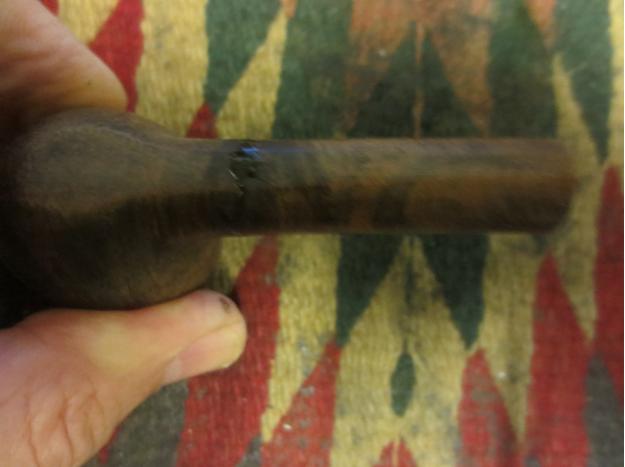
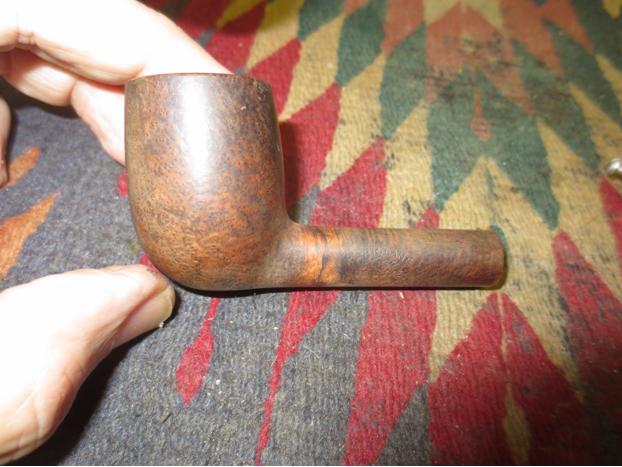
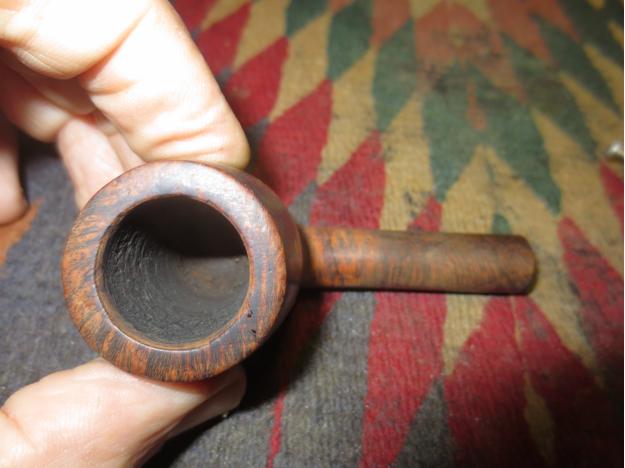
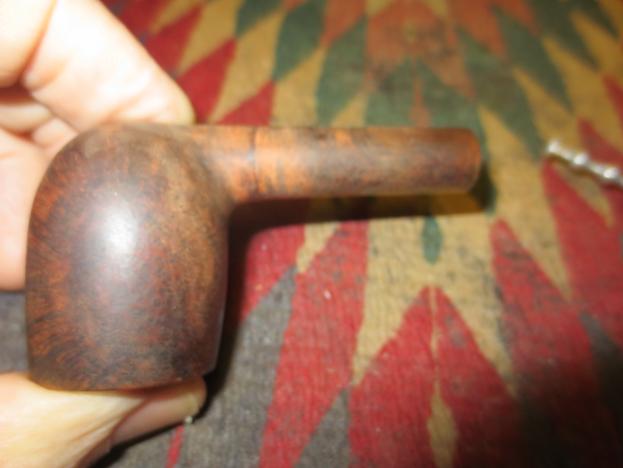
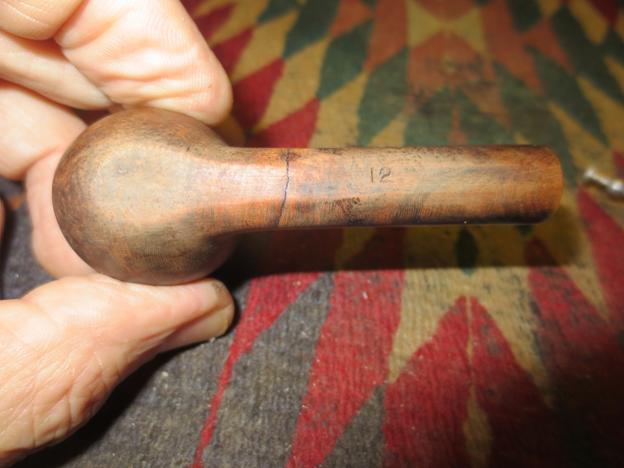
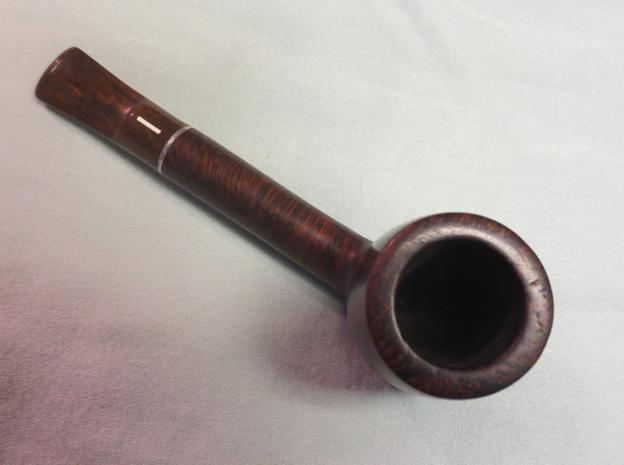
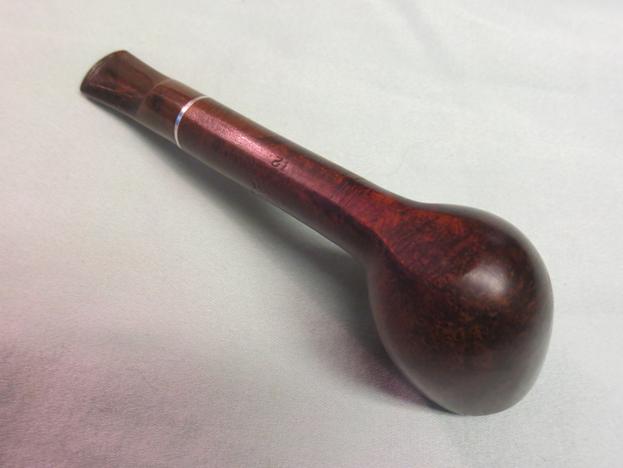
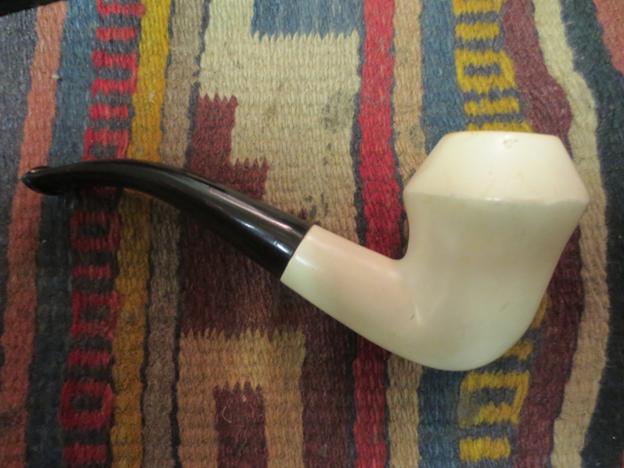
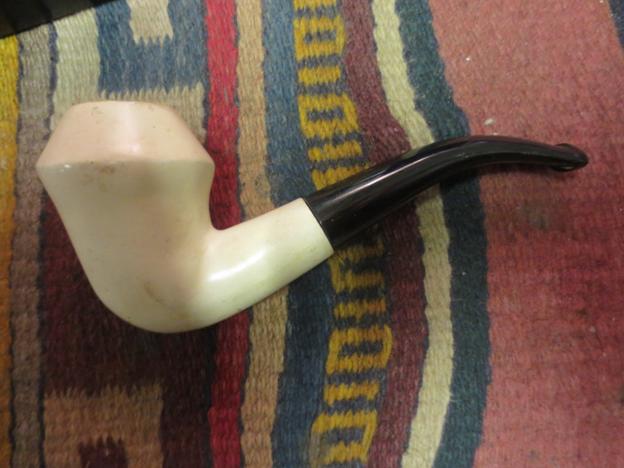
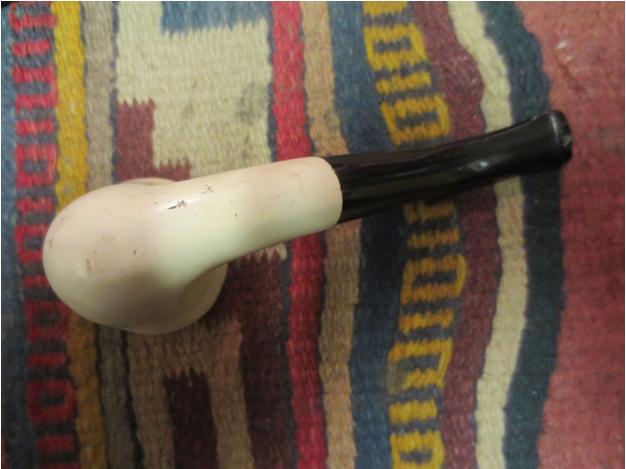
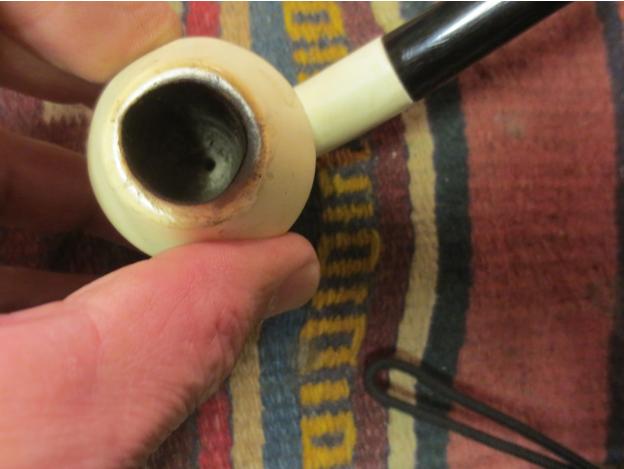
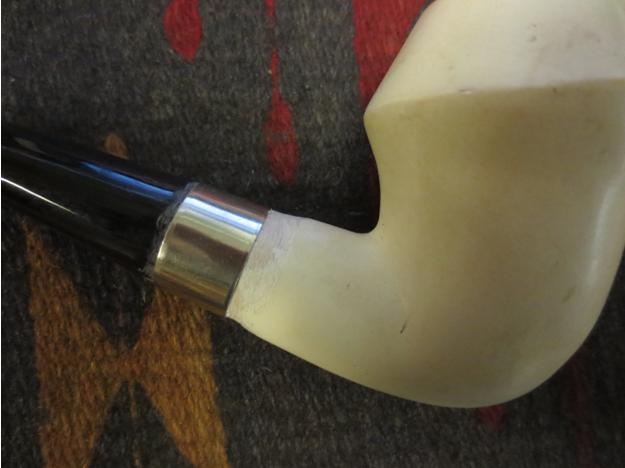
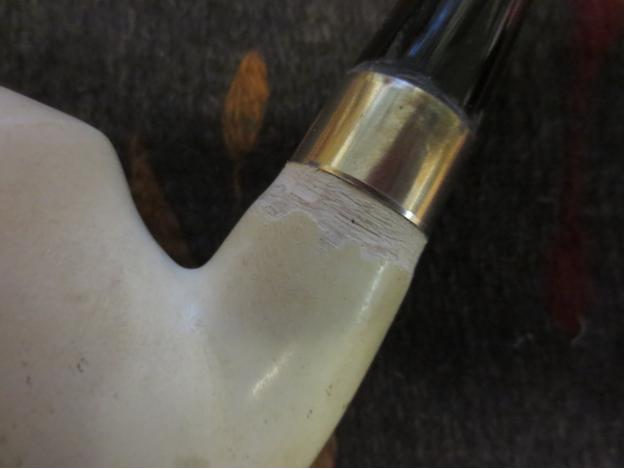
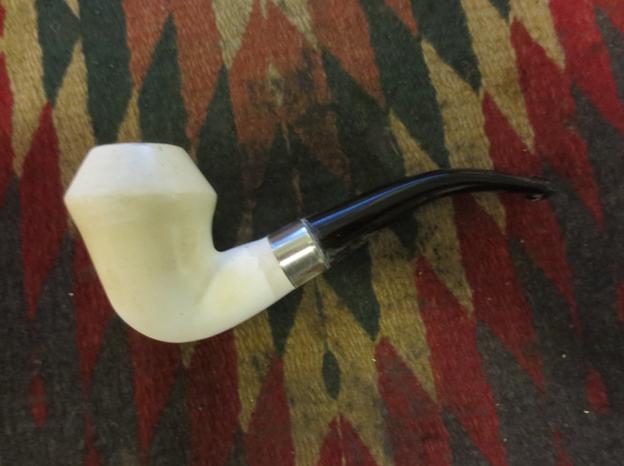
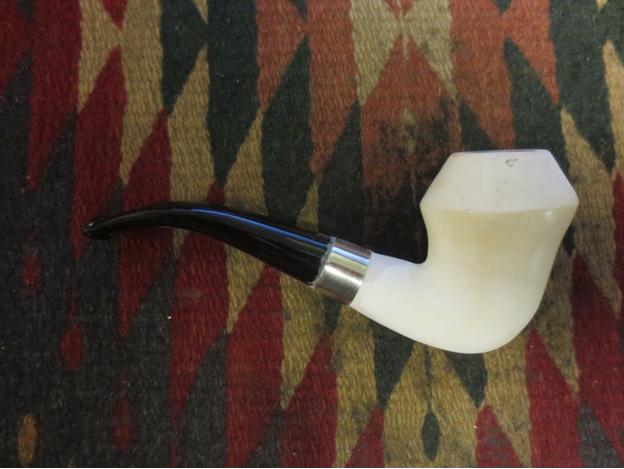
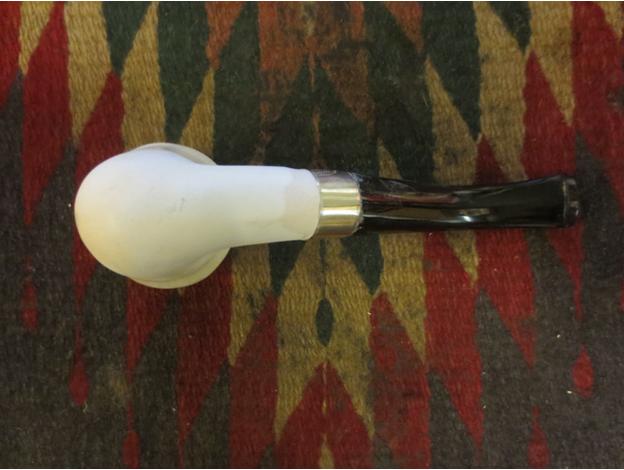
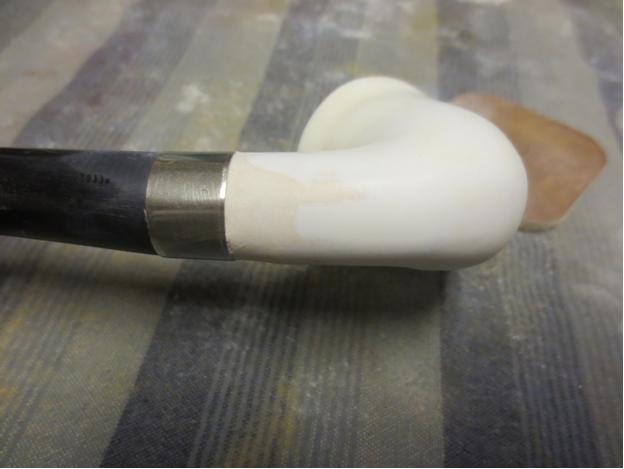
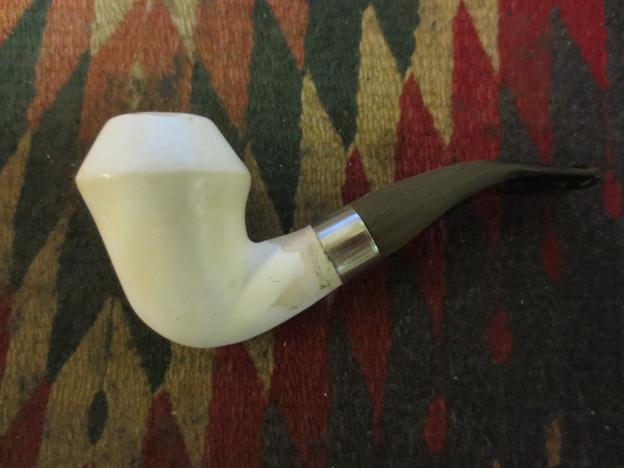
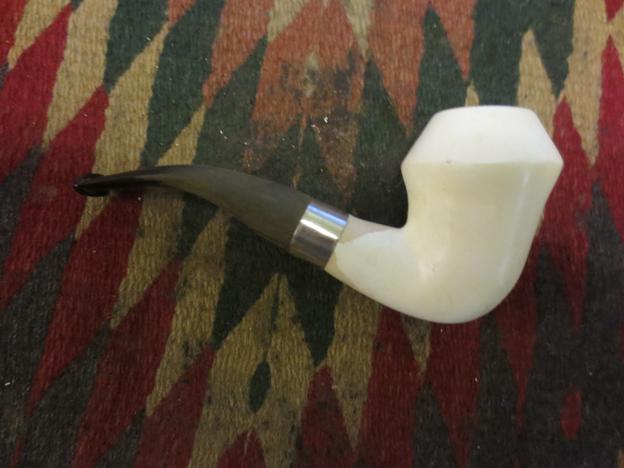
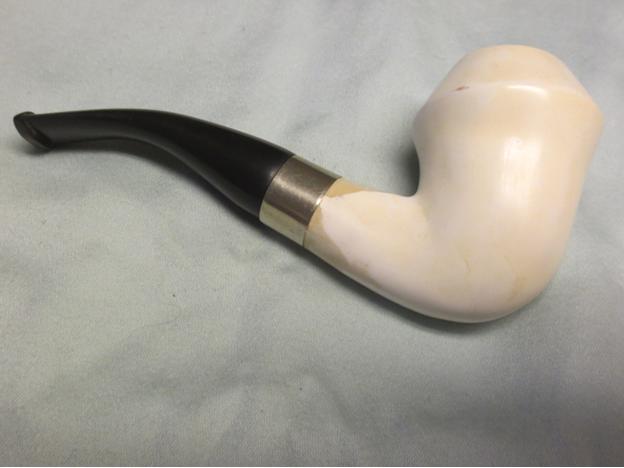
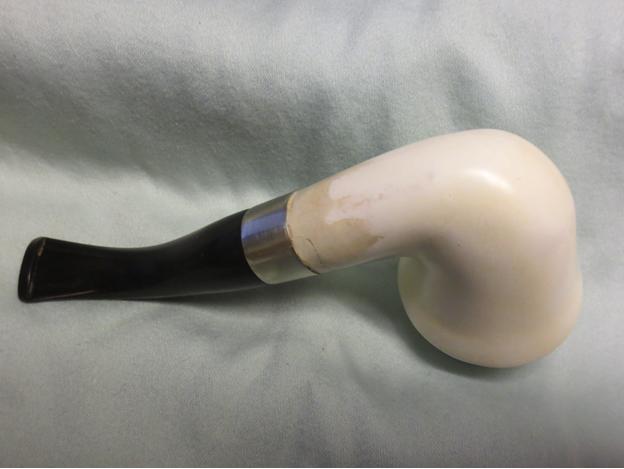
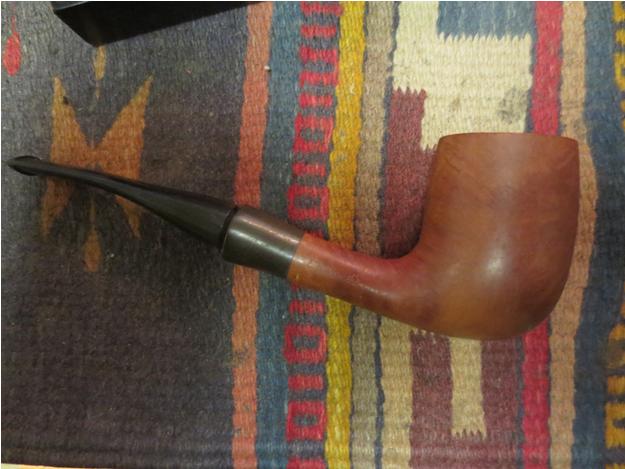
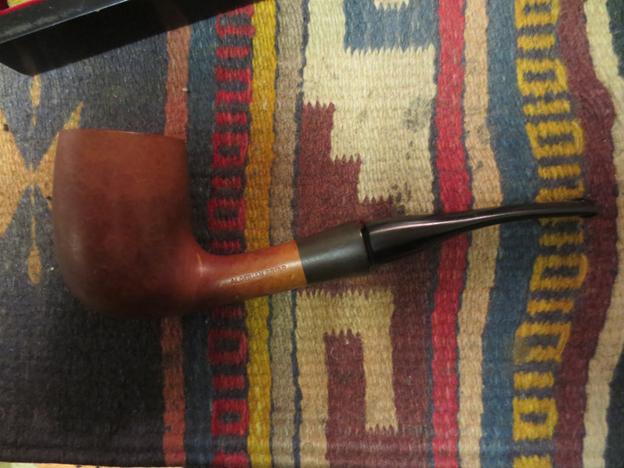
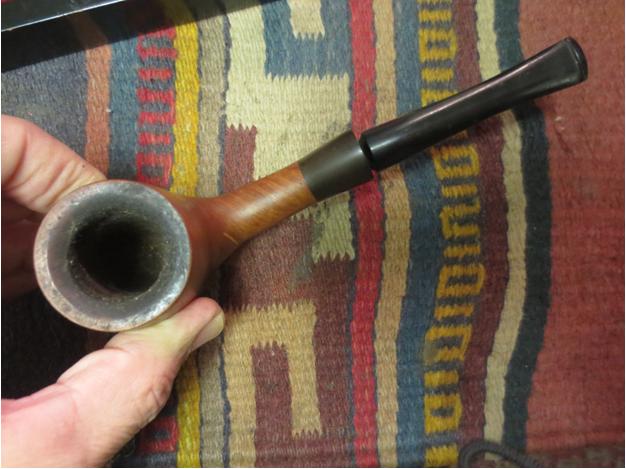
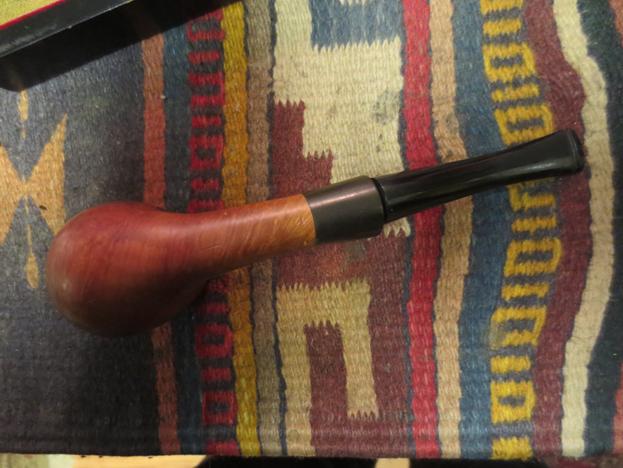
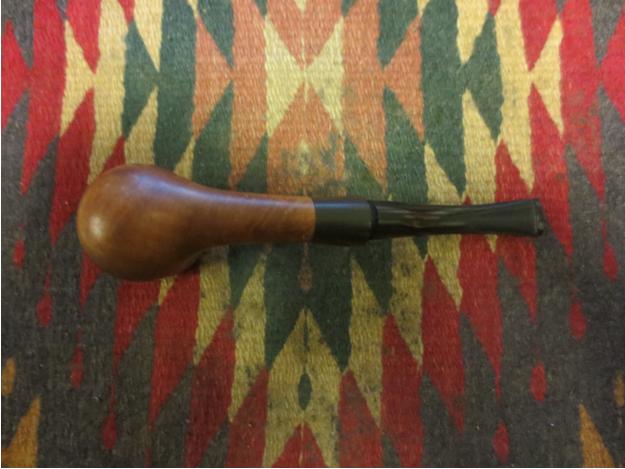
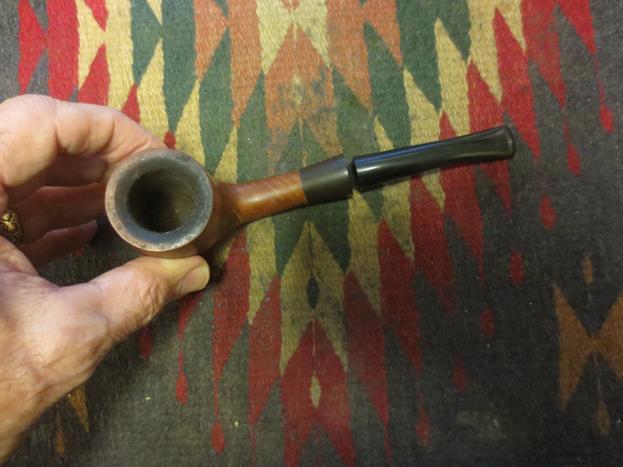
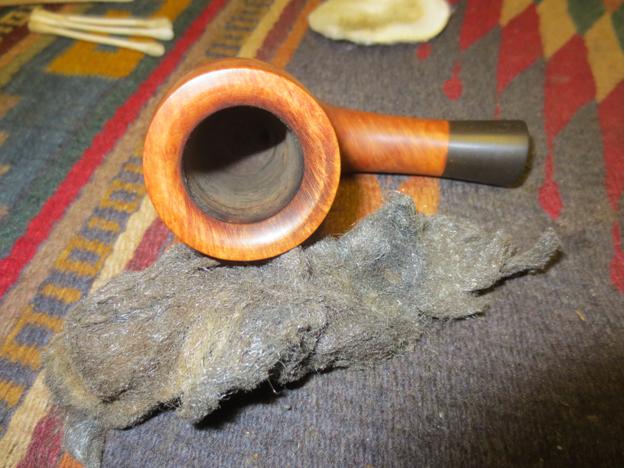
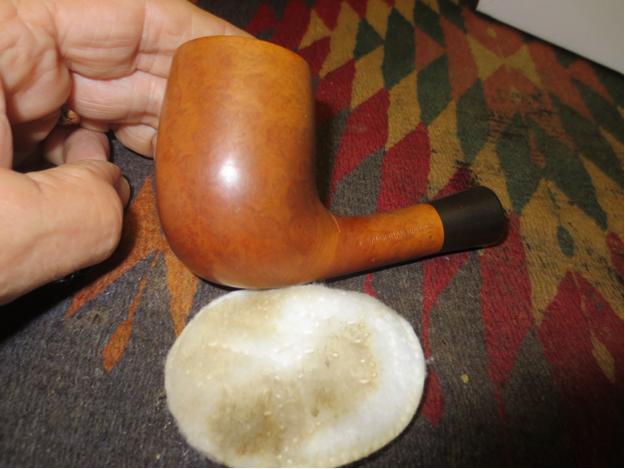
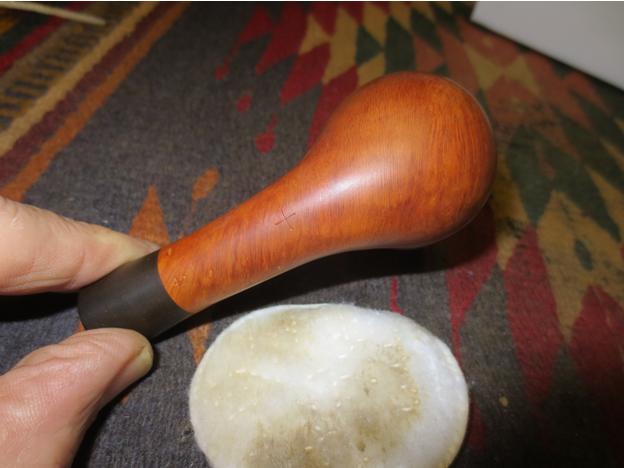
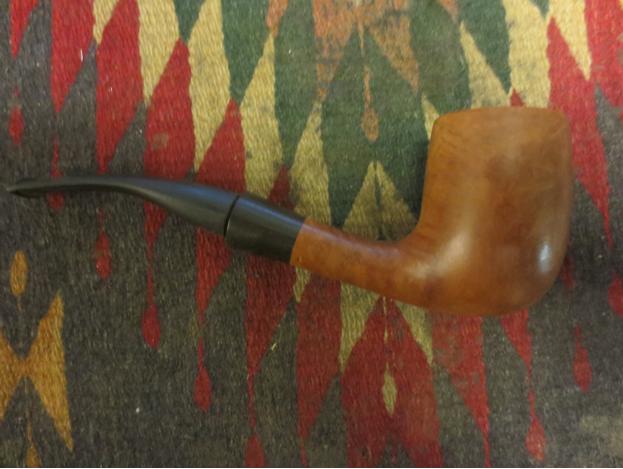
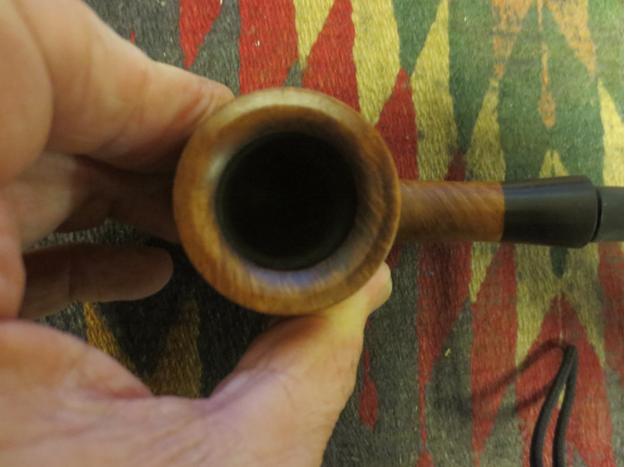
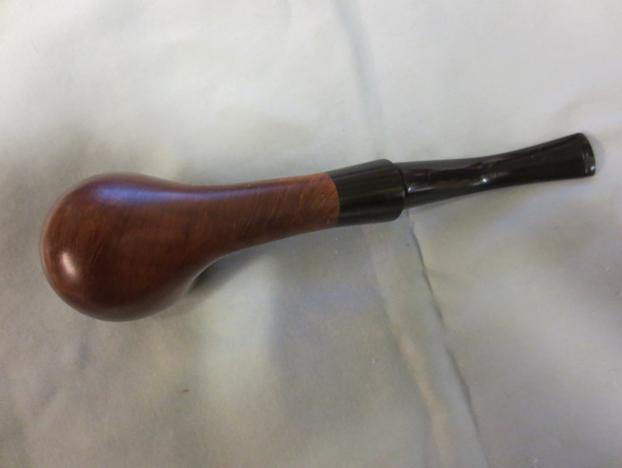
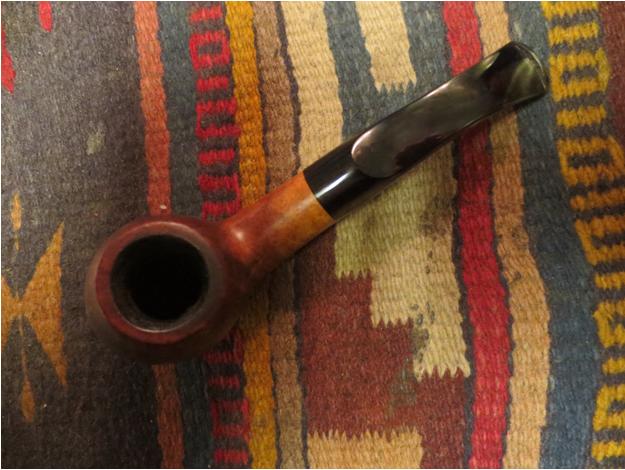
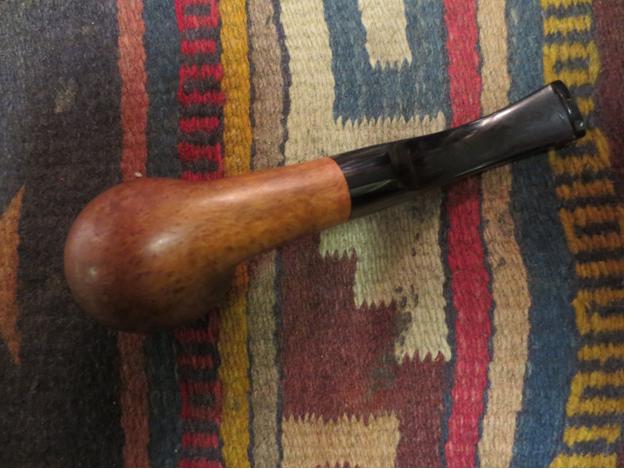
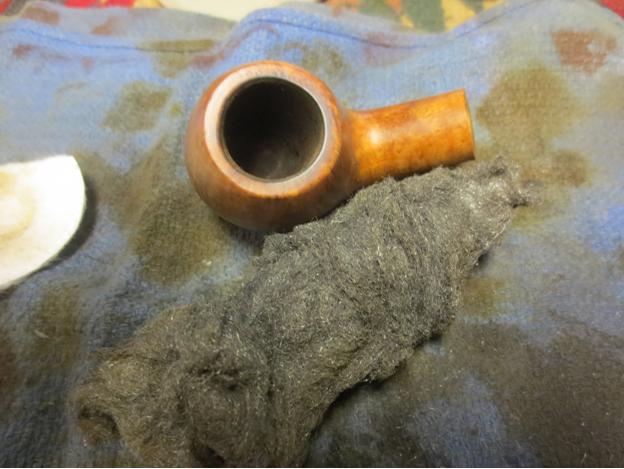
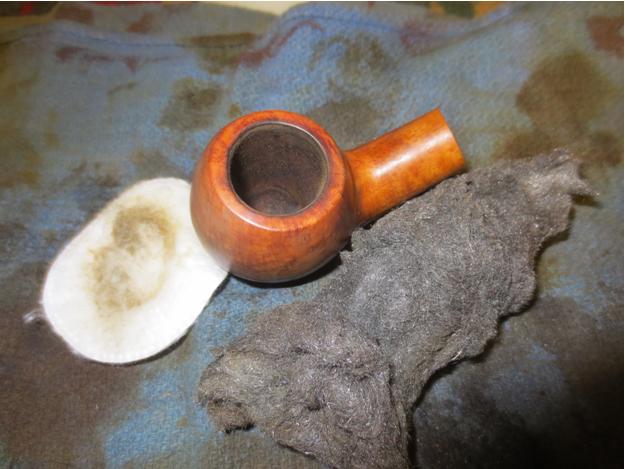
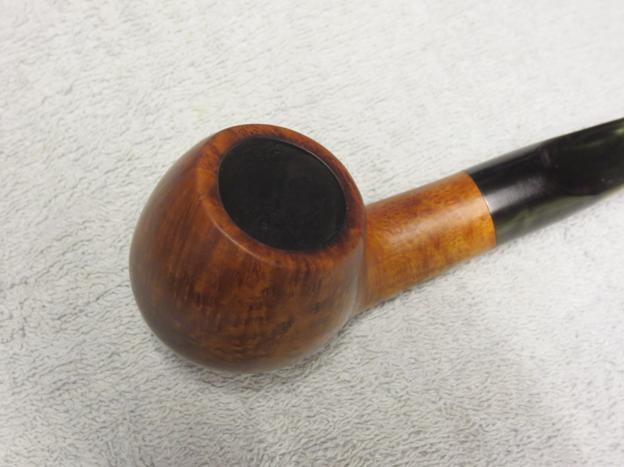
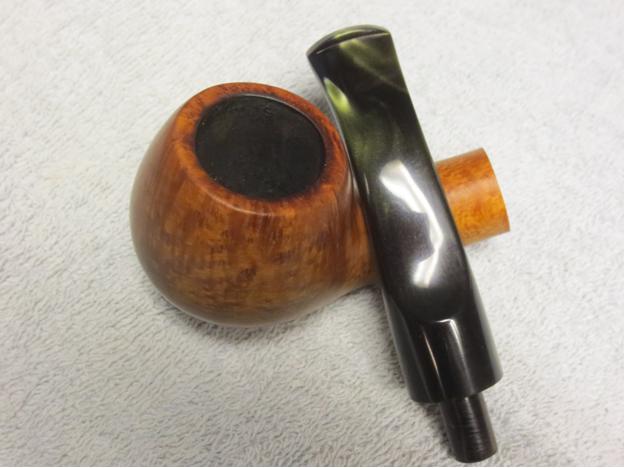
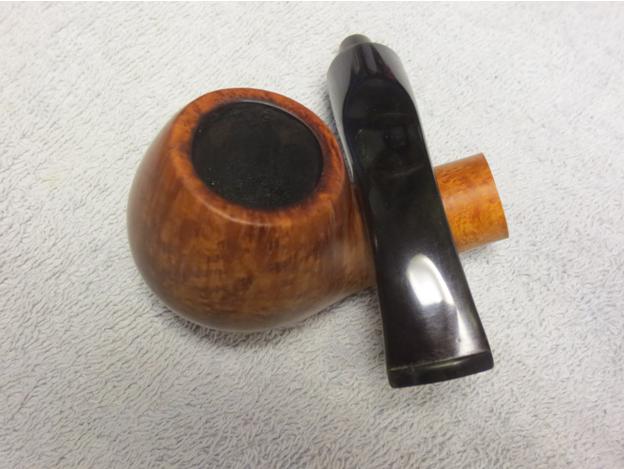
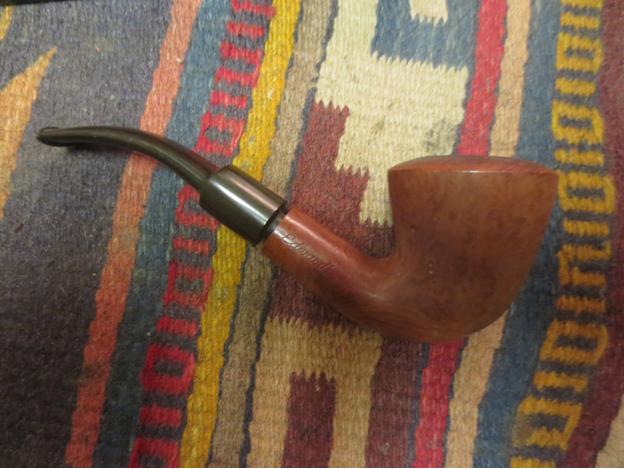
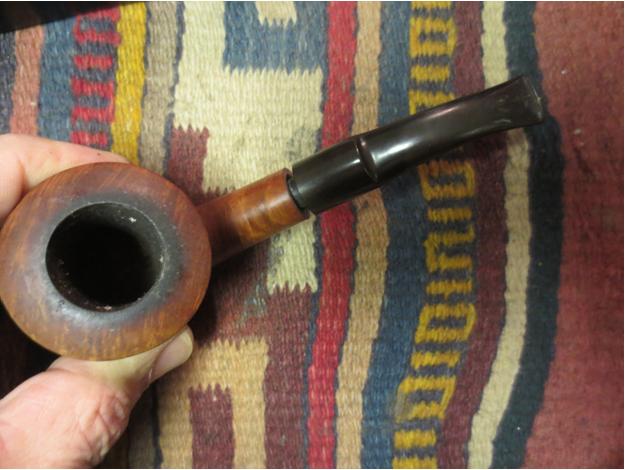
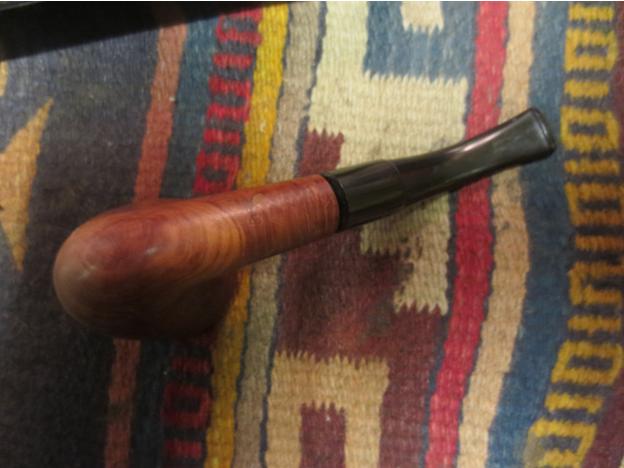
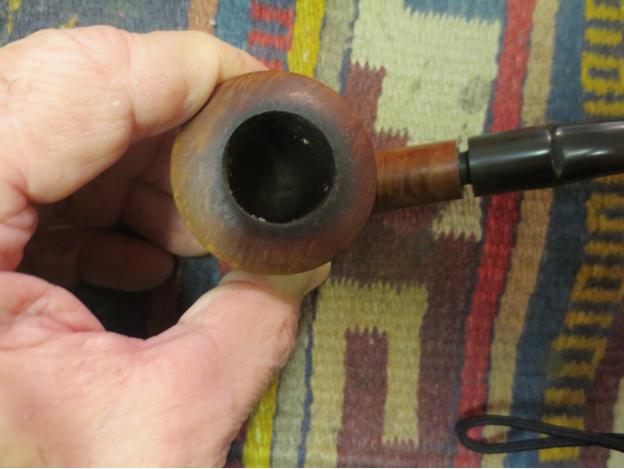
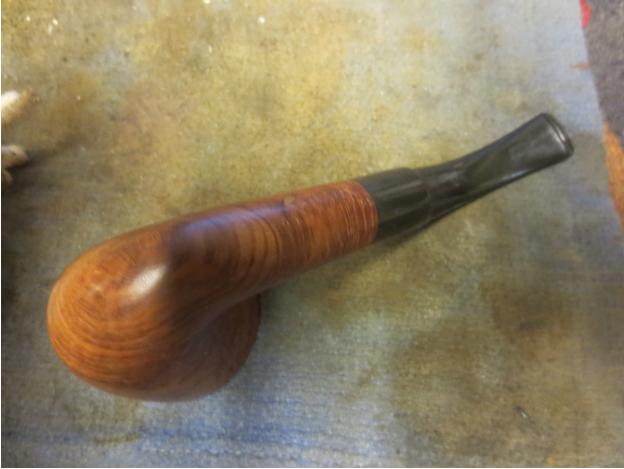
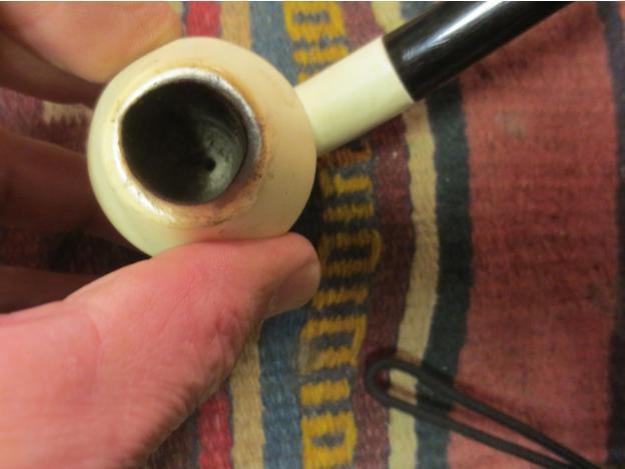
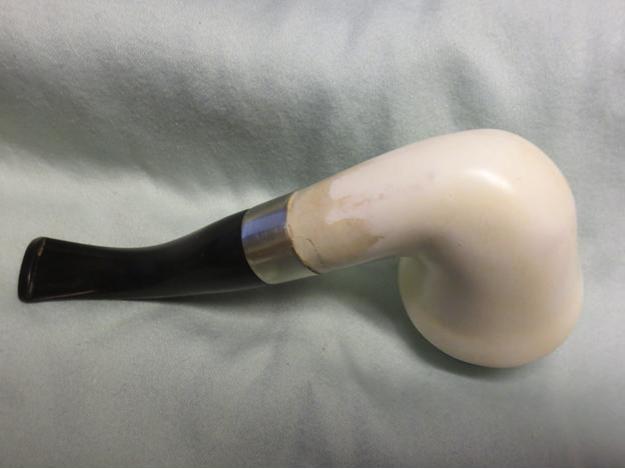
Sometimes when I take on a project it is a no win situation. Or at least it appears that way! This is one of those times. In the box of recent pipes that I am working on cleaning up to sell was an older no name meerschaum calabash shaped pipe. The meer was in passable shape – some nicks and scratches and some run over on the rim but it should have been an easy clean up. If you look at the first set of photos below you may well wonder about the comments that follow. It actually looks far worse than the pictures depict. The stem shank joint does not match even though it the photo it looks great. If I went just be the photo I would have been better off to leave well enough alone — still even having the pipe in hand I may have been smarter to just polish and sell it as is.
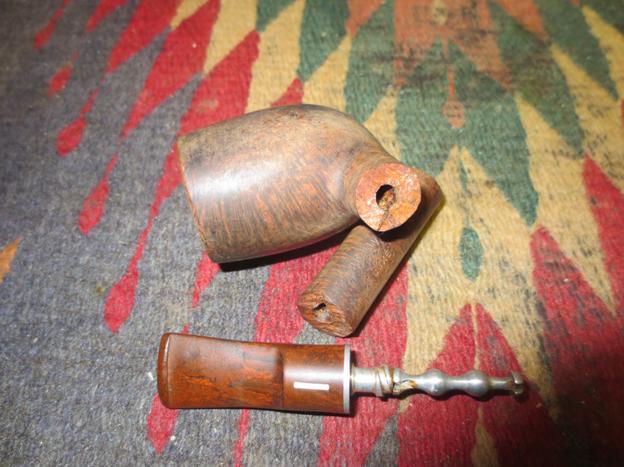
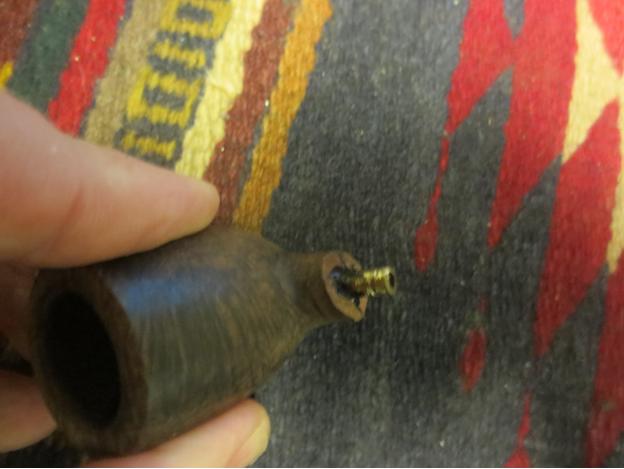
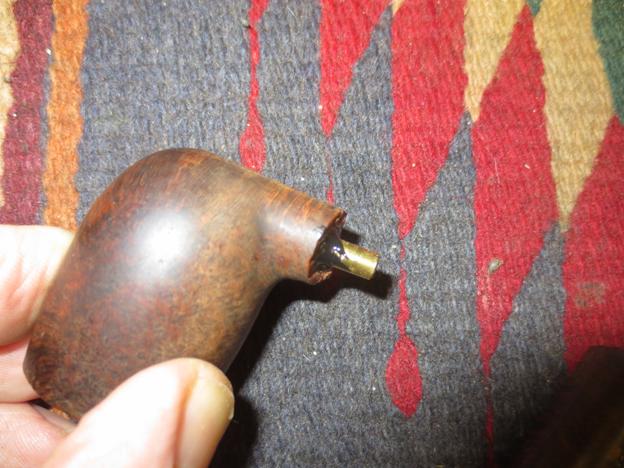
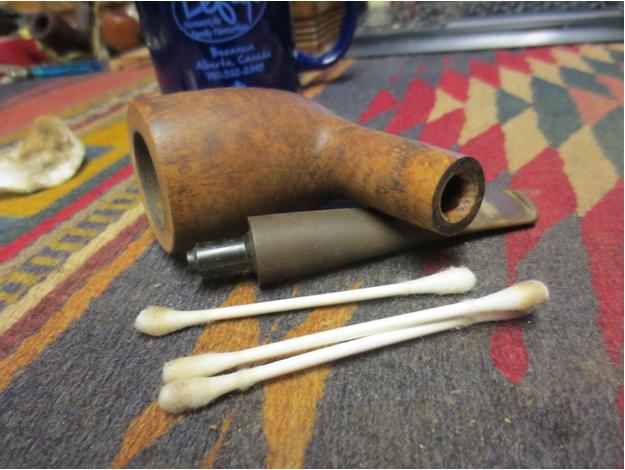
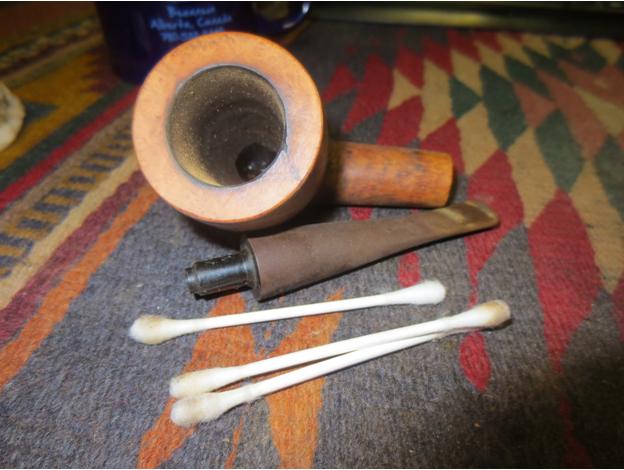
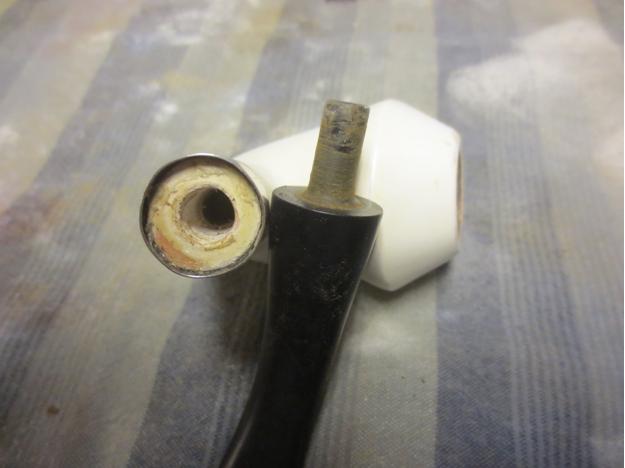
Here is my diagnosis and the assessment I did that led me to the conclusions that it was worth fussing with the pipe to see if I could at least improve upon it. Starting with the bowl I could see that it was slightly out of round but I am not sure it did not come that way. The whole pipe has a bit of a lopsided look to it – a slant towards the left. I pulled the stem and there were more issues that needed to be addressed. Someone had installed a push tenon and mortise replacement. The mortise insert had not been set all the way into the shank but it had been epoxied in place. The tenon was deeply set into the hollowed out end of the stem to accommodate the lip that had been left on the mortise insert. The end of the push tenon had been cut off at an angle and the end was constricted from the cutter. This seriously hampered the clear airflow through the stem.
At this point you will have to trust my assessment because the pictures do not clearly show a pipe that fits this description. But honestly – the stem was slightly smaller in diameter than the shank so with the fiddling that had been done to the stem it was a loose fit. It was wobbly in the shank. The stem was bent in such a way that it was cocked to the left and just irritated me. Looking back after the fact I can honestly say that at this point I should have made the decision to just lightly clean this one up and let somebody have it as a bargain. I certainly would have saved me a lot of grief as you will see if you follow this tale to the end.
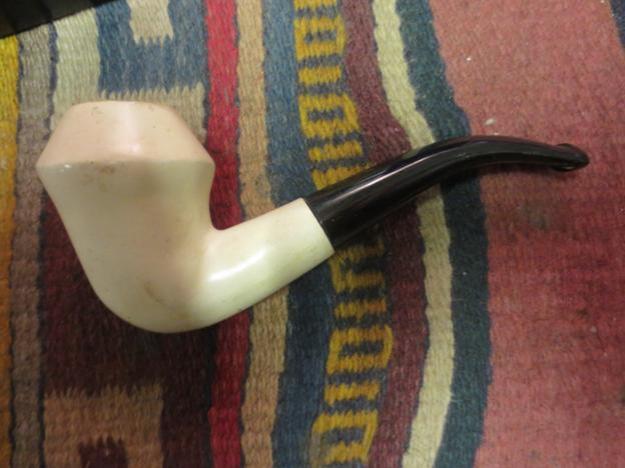
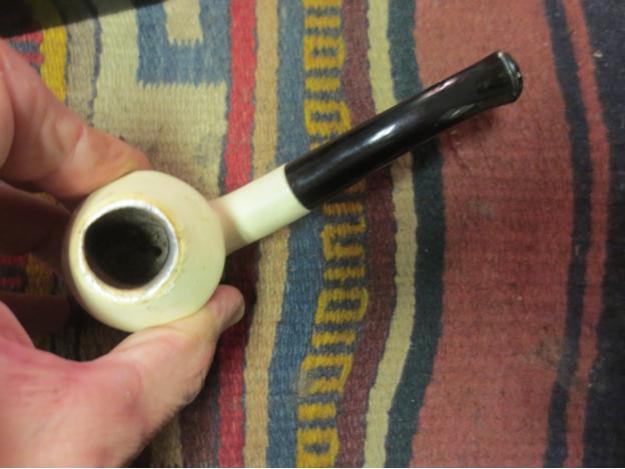
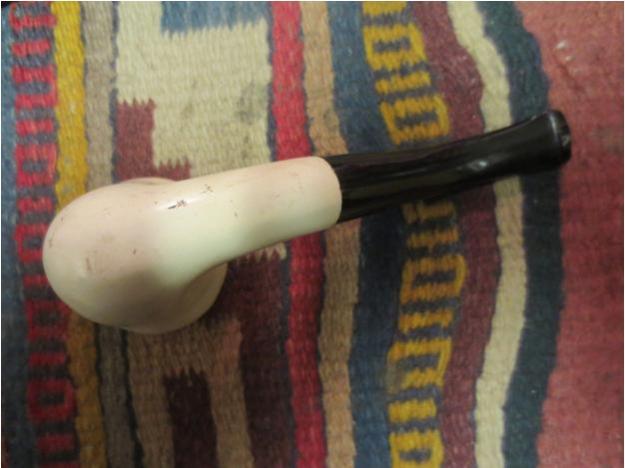
 Sadly I have to tell you that what I should have done and what I ended up doing are two singularly different tales. I decided that I could definitely improve the draw on the pipe, clean up the tenon and mortise area, and maybe give the pipe a bit more distinguished appearance. So…I took the Dremel and sanded down the shank to slightly smaller than the diameter of the stem so that I could add a nickel band and dress this pipe up. This is where the first issue became apparent. It became clear that the bowl was pressed rather than block meerschaum. When I removed the “shiny” surface coat the underneath meerschaum was a different, almost tan colour. The shiny coat was like an egg-shell over the tan undercoat. What had been a simple project just changed. I had planned to hand shape the shank to the bowl and remove the new hump that I had created and make the shank a bit more delicate looking and in keeping with the flow of the band and stem. But now, the top shiny coat removal left me with a bit of a dilemma. If I removed more of the shape to bring it into line I would also remove more of the shiny coat. What to do? Honestly at this point I put the pipe back in the box and almost decided to just bite the bullet, buy it myself and scavenge a few parts from it. It looked that bad to me. I left it and cleaned up the Stanwell Volcano Sitter that I posted about earlier on the blog.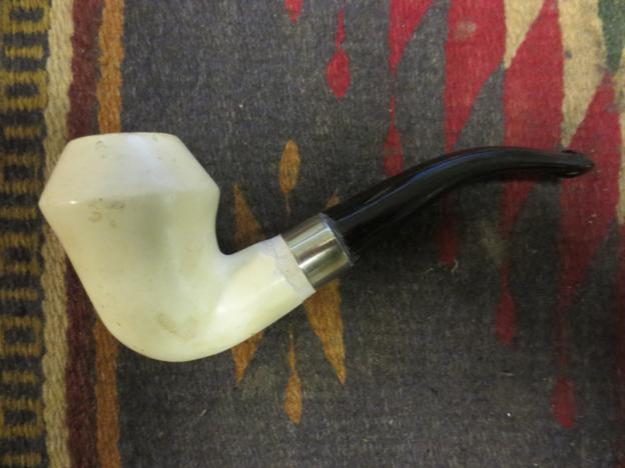


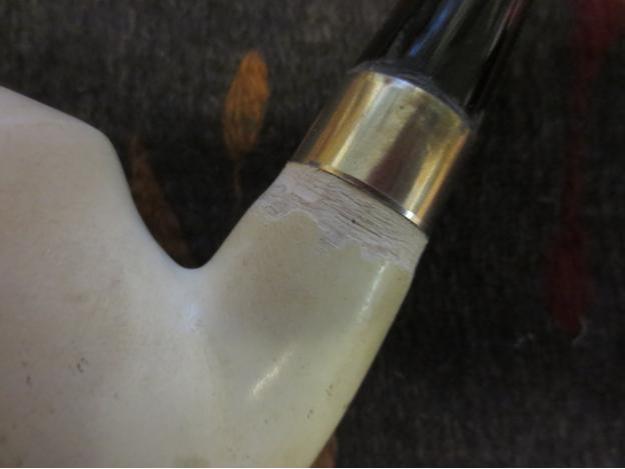 After I finished working on the other pipe, I decided to pull the meerschaum out and have another look at it. It was bad. No it was actually worse than that – it was downright ugly. However, I don’t give up easily – though I wonder if in this case I should have. You will have to ask if my stubbornness was a good thing in this case as you read the rest of the process. All I know is that each step I took to improve the pipe ended up making more work for me. Each adjustment led to more adjustments. But at this point, for better or worse, I decided to work on the shape and see what I could do. Maybe I could bring out the shape in such a way that it incorporated the different tan coloured portion of the bowl and the rim. I sanded the shank with 220 grit sandpaper to shape it and round it out. I smoothed out the roughness left behind by the Dremel and worked on the fit of the stem. It was still crooked but at least I could get it to sit straight against the shank and just inside the band. I also lightly topped the bowl to remove the tars and some of the rim damage.
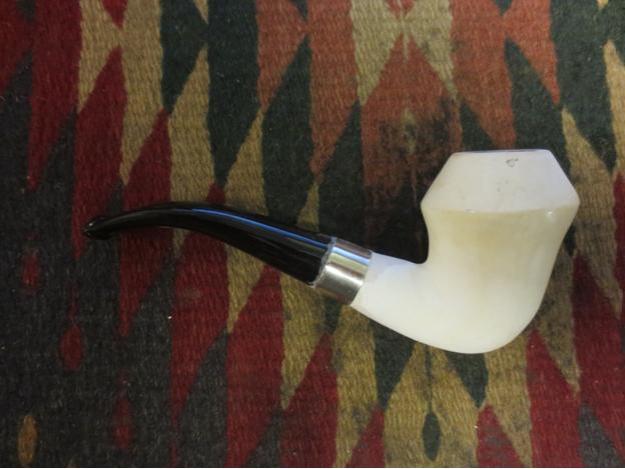
 I sanded the pipe outside in the yard while Spencer played so as not to make a mess of white dust all over my work area. I finished the rough shaping and went over it with a medium and a fine grit sanding sponge and a fine grit sanding block before I brought it back inside. Once I had it back at the work table I sanded the shank with 1500 micromesh sanding pads to smooth out the surface and shape it even more. All the sanding was merely fine tuning. It turned out that the “shiny” coat was actually quite thin so you can see the flame like extensions up the shank toward the bowl. The nice thing was that the micromesh was giving the meer a bit of a shine. I worked on the scratches on the stem and fit in the band with the micromesh 1500 grit pad as well and the stem was beginning to shine.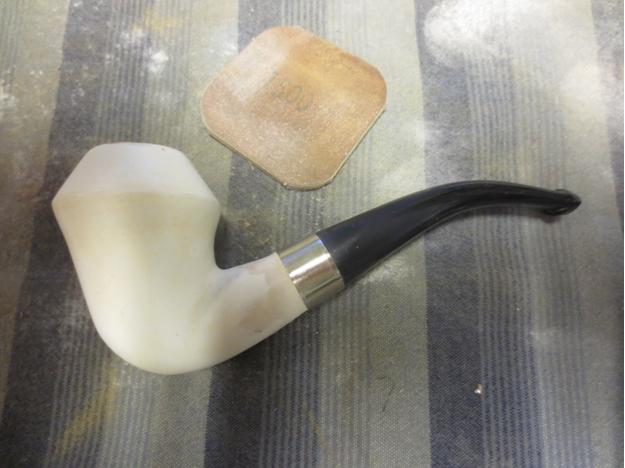
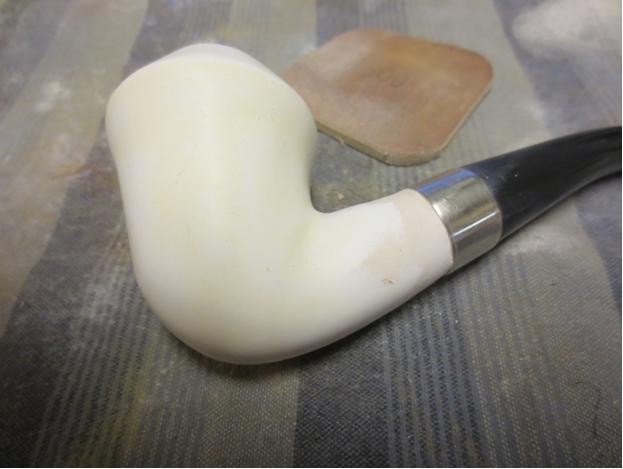
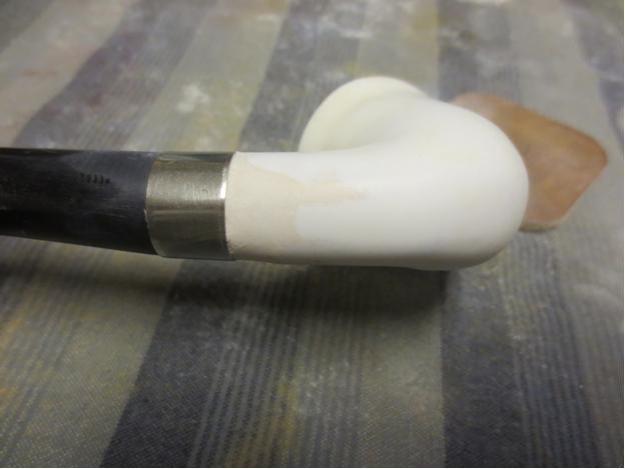
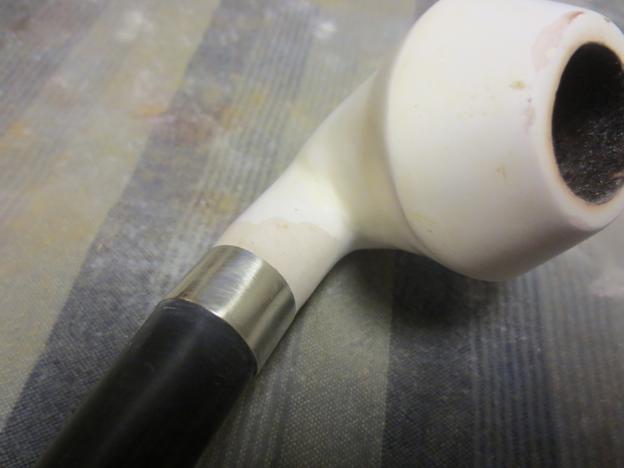 So far what do you think of my major make work project? This is a refurb that did not have to go this way. Those of you who are refurbishing pipes learn from this tactical error and think twice before having the audacity of thinking you can make something better when really all it needs is a quick clean up. You will save yourself a lot of headaches if you learn from my poor example on this “deadly” meer.
Today after work I went back to the meer. I probably should never have touched it again. I am telling you this thing is a nightmare. I removed the stem so that I could heat it and rebend it. I set up things as normal and held the stem about 6 inches above the heat gun. I was worried about melting the plastic stem. I should not have worried about that because I never even had the opportunity to try to bend it. Within seconds I heard a small pop – the stem crack horizontally across the top about an inch from the button. I could not believe it. Now I would have to make a new stem for it. Ah well that should not be a problem. I took out some new push stems to see if they would work in the shank insert in the meer. They were too large. That meant that I would need to pull the shank insert and replace it with another one. The trouble was that it was epoxied into the shank and I could not turn it out of the threads.
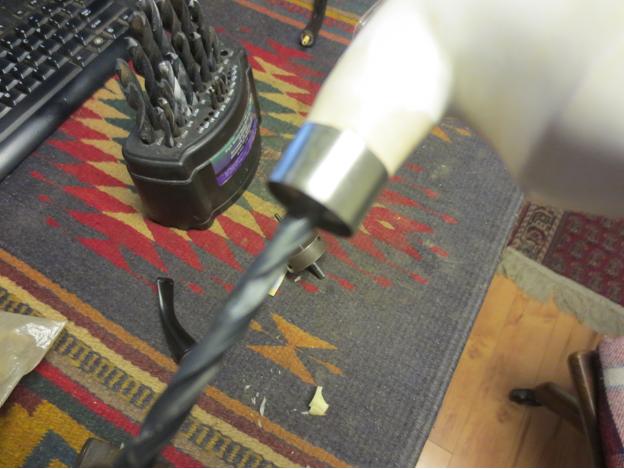
That basically left me with one choice. I would need to drill out the existing mortise push insert so I could put a new one in place. I set up the drill with a bit that would work and hand turned the shank on to the bit. It did not take long to drill through the old insert but cleaning out the epoxy in the threads was another story. It was like rock. I decided to use the next size drill bit and just remove the threads. This pipe was now destined for a push tenon on a regular vulcanite stem. That would solve the draw and make the thing a lot better smoking pipe.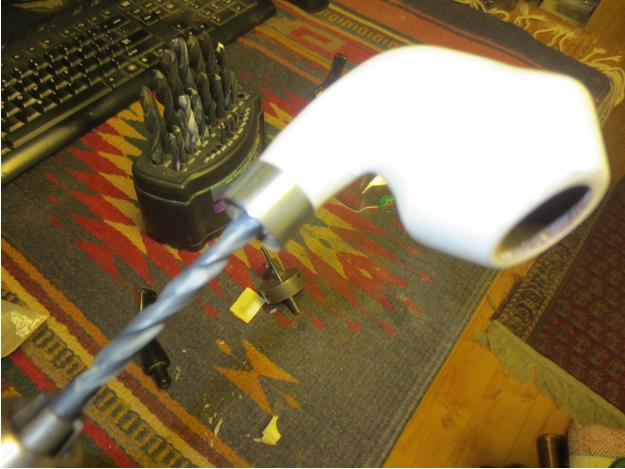
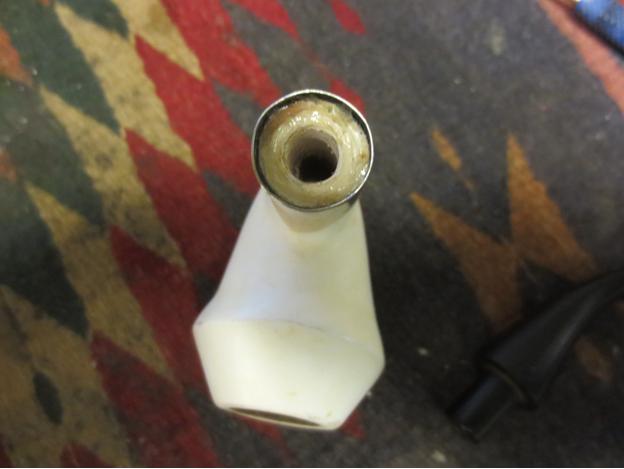
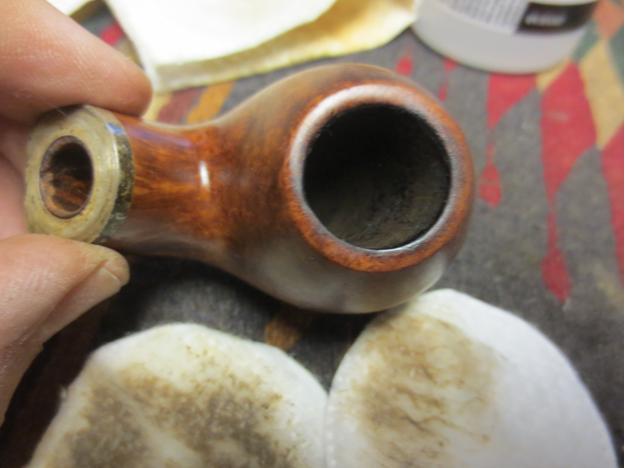
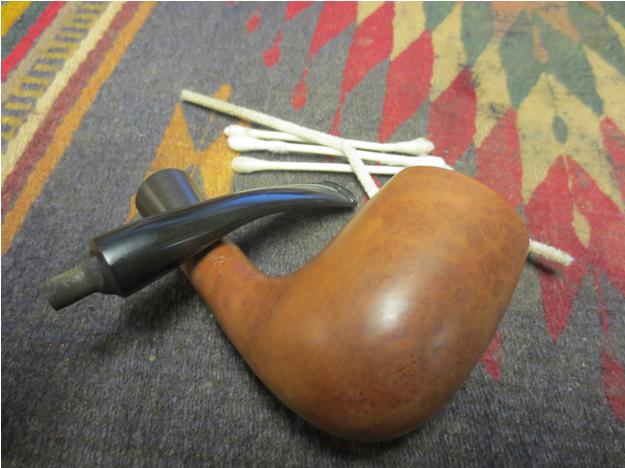
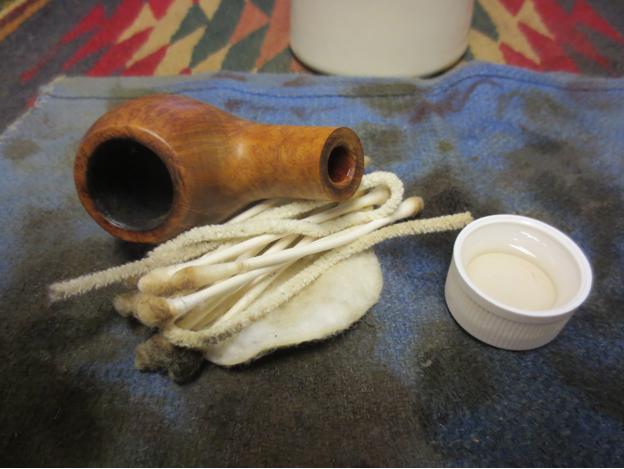
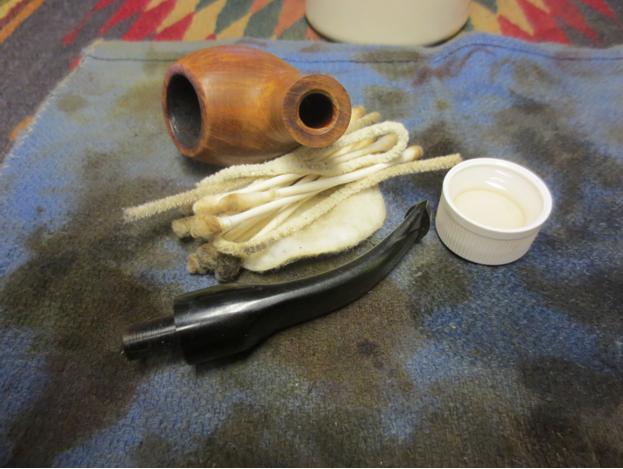
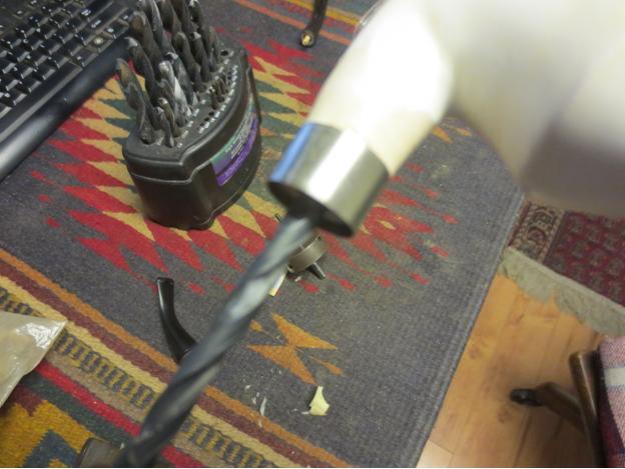 Here is a picture of the newly drilled out shank. It is open and clean. I used a small needle file to clear out the debris from the drilling and a wet cotton swab to remove the dust from the walls and base of the mortise. Now I had to turn a tenon to fit the mortise. Again that should have been quite simple.
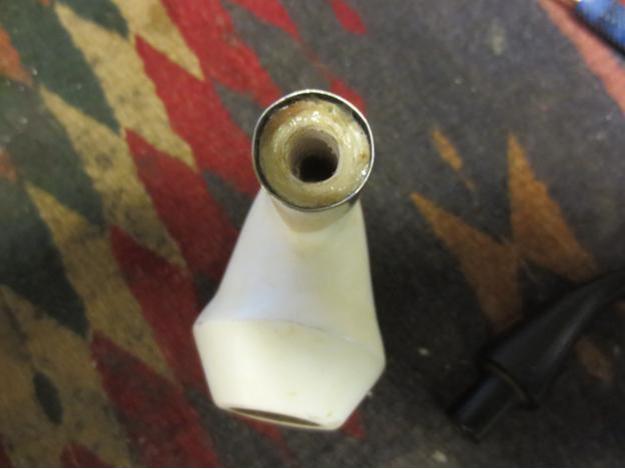 I found a stem in my can of parts that would do the trick and turned the tenon down to the measurements of the mortise. This finally was going great! I should have been warned that another ugly turn in events was about to happen. With the fit perfect I turned the stem into the shank and felt a pop on my fingers. I removed the stem and could see two small hairline cracks in the pressed meer. What made this humorous was that I had just read an email from Troy about how easily pressed meer crack under pressure. No worries the band had already been pressed into place and the crack was contained.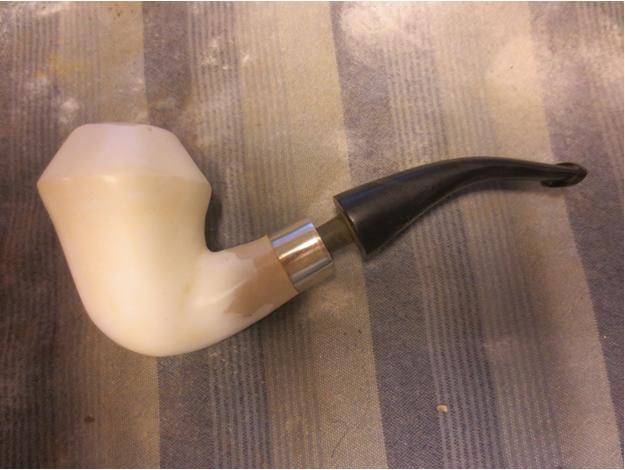
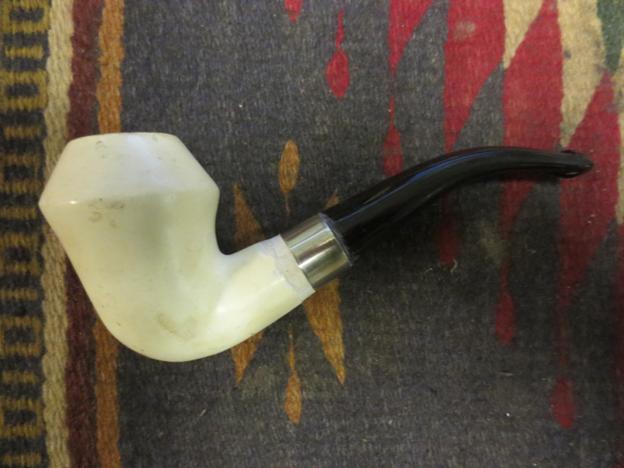
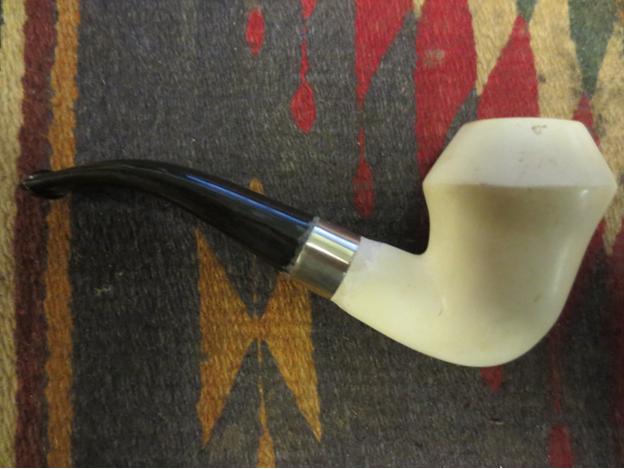
 Then I examined it around the other side of the band and on the left side saw some fine spider web like cracks – so tiny that formed an arch from the edge of the band at the top and curved down the side to the bottom. The issues with this old pipe never seemed to end. I cleaned out the crack and used some of the meer powder and superglue to fill in the crack. I sanded the crack with micromesh pads to smooth things out once again. I sanded the stem with 220 grit sandpaper to make the fit right. The next series of photos show the improved look – repairs and all.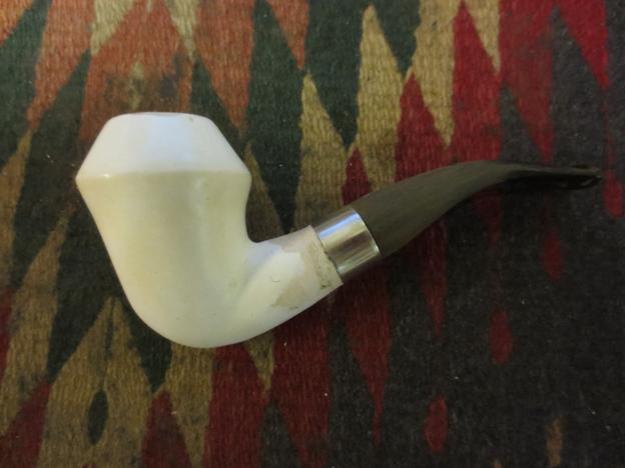

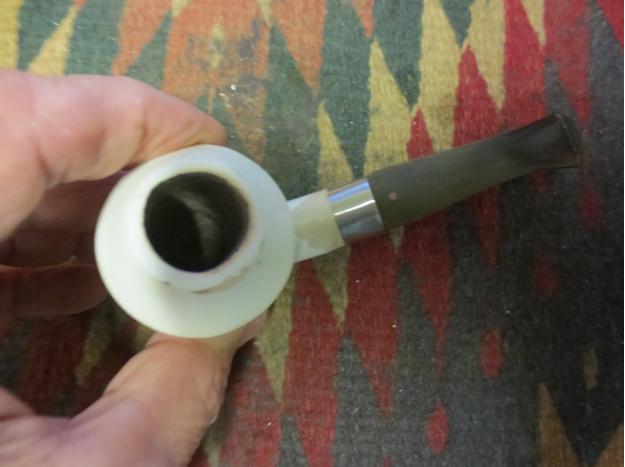
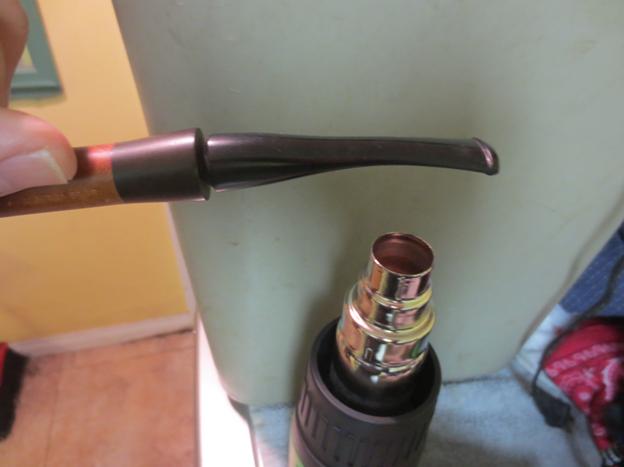
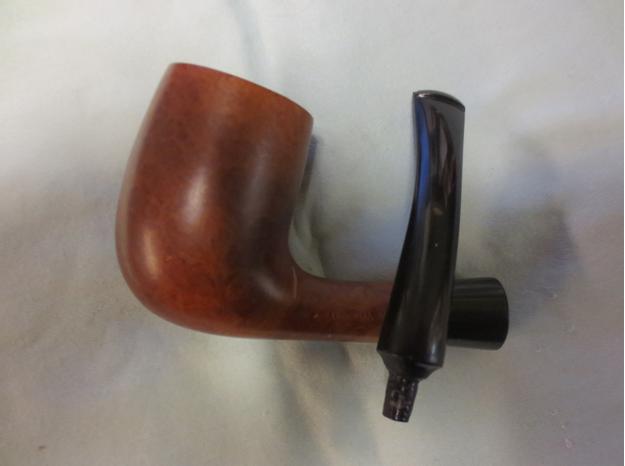
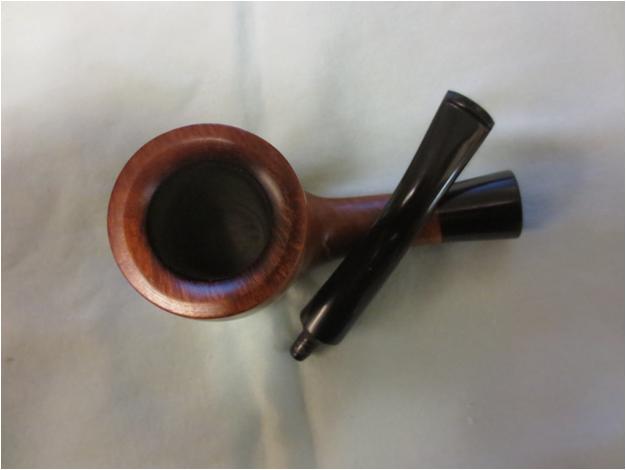
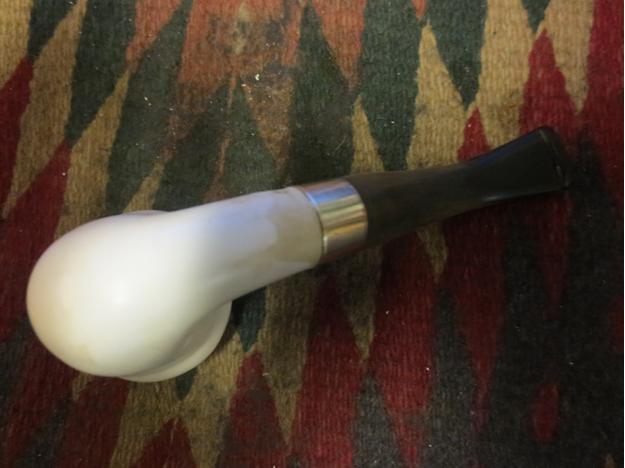 I put the pipe away and called it a night. To say I was frustrated is probably an understatement. I can’t tell you how many times in this process I came close to throwing the pipe away and scavenging the parts for later use. In the morning I worked some more on the stem to make the stem/band junction smooth. I thought I would take the next two photos of the new stem along side of the original stem to show the changes. The first shows the deep inset of the push tenon in the original. The second photo shows the crack across the top of the stem. It appears as a white line.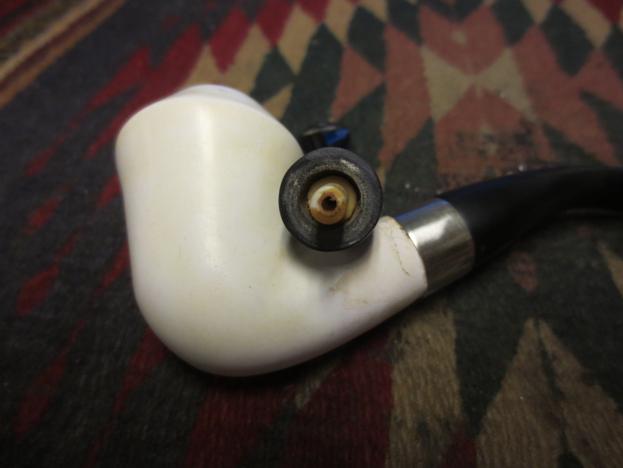
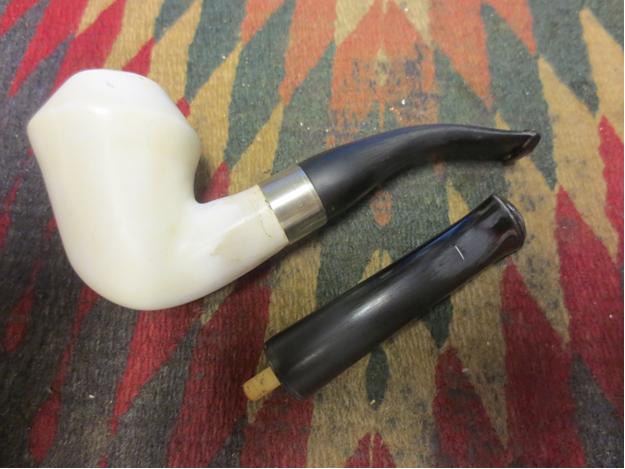 At this point I think the pipe looks great! The new stem fits well and the look is improved – from a distance. You can see the repaired crack next to the band on the left side if you look carefully at both pictures. I think that this one will end up staying with me or being a giveaway. It is a shame really as the shape looks far better.
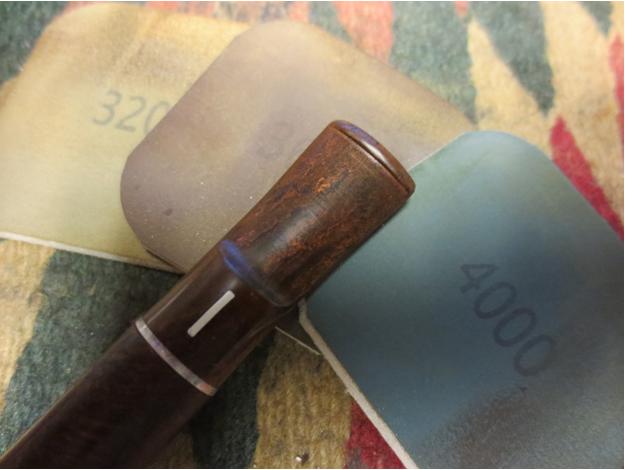
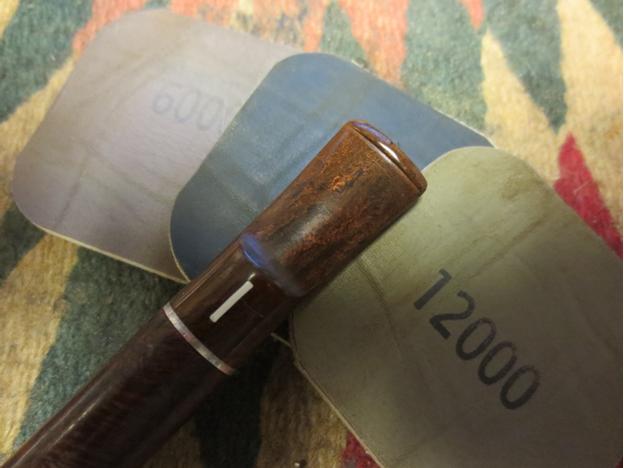
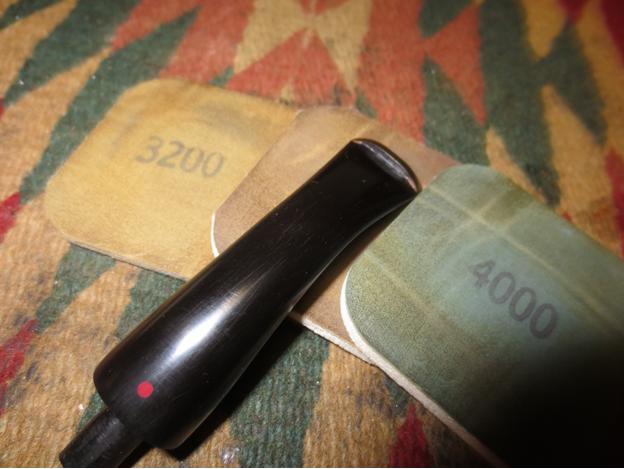
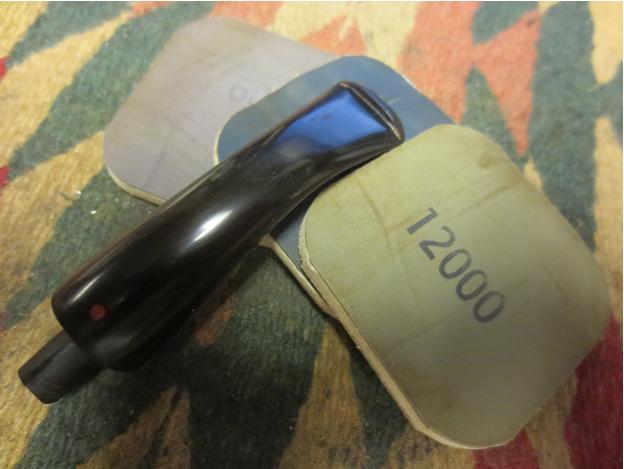
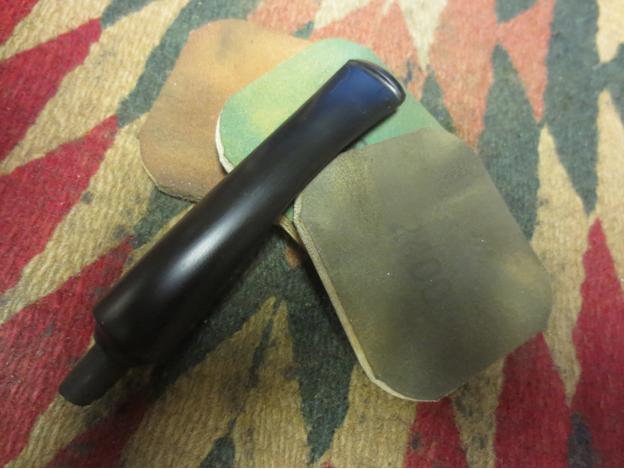
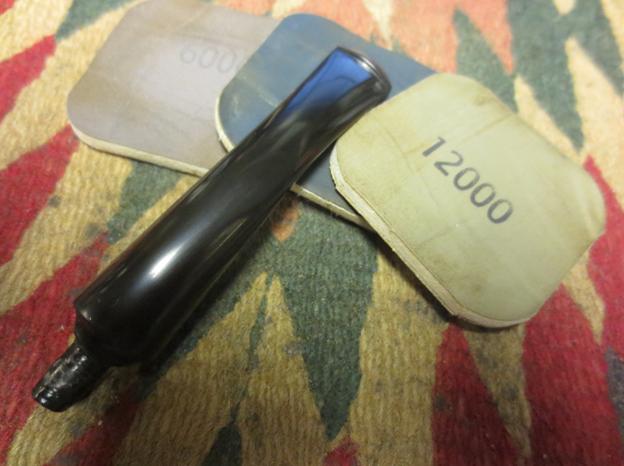
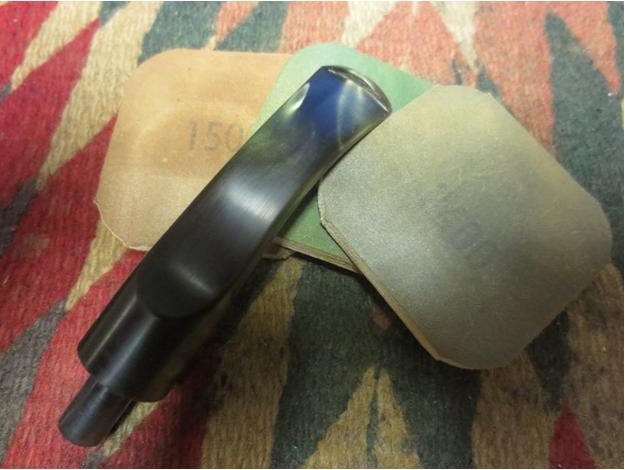
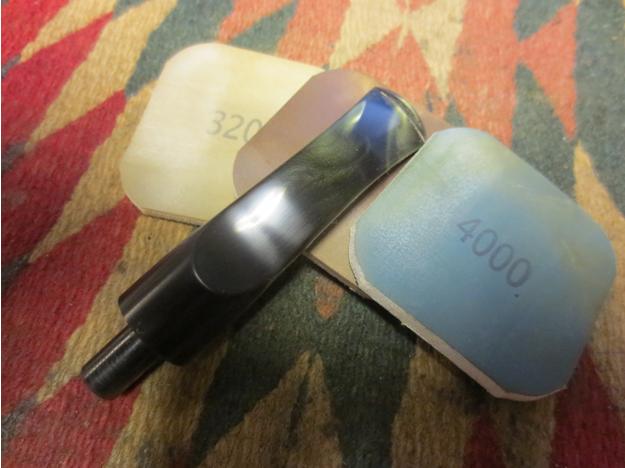
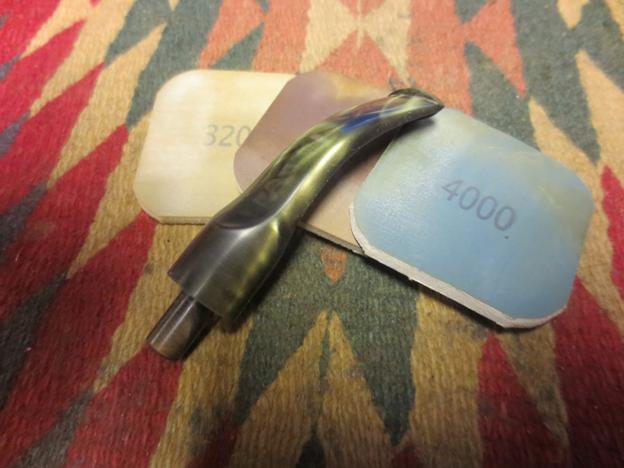
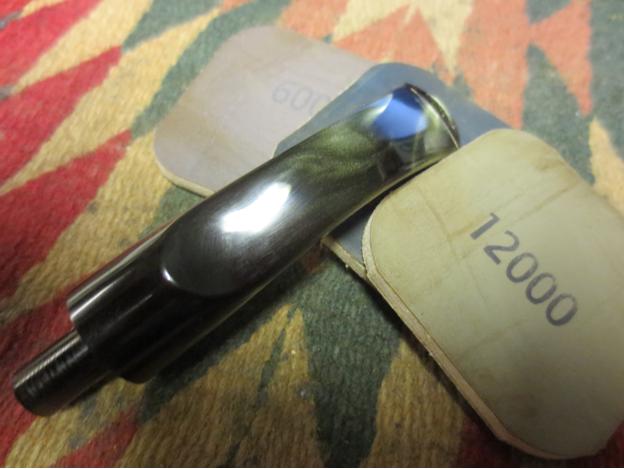
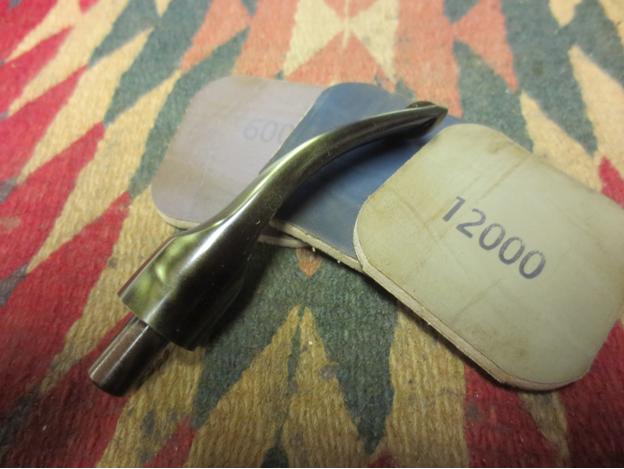
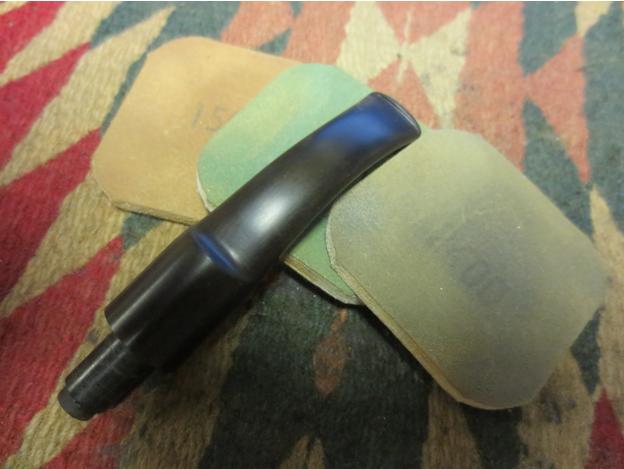
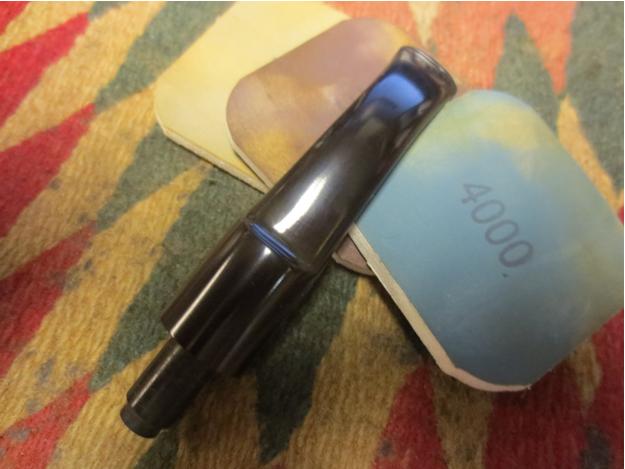
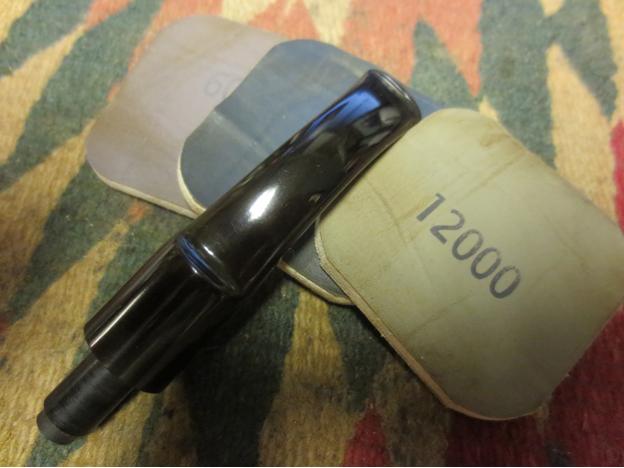
I worked over the stem and the bowl with micromesh sanding pads – wet sanding with 1500-2400 grit pads and dry sanding with 3200-12000 grit pads. I rubbed the stem down with Obsidian Oil and then continued to sand it through the next three grit pads. I finished the last grit and gave it a final coat of the oil and set it aside to dry.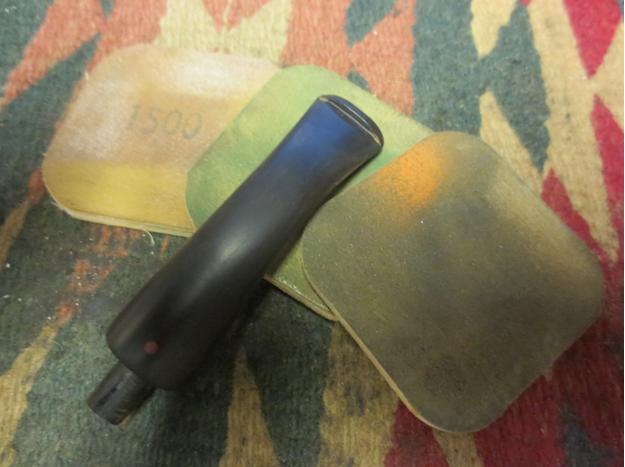
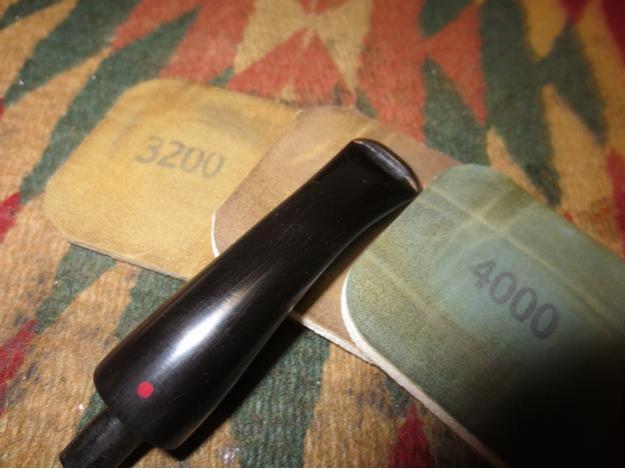
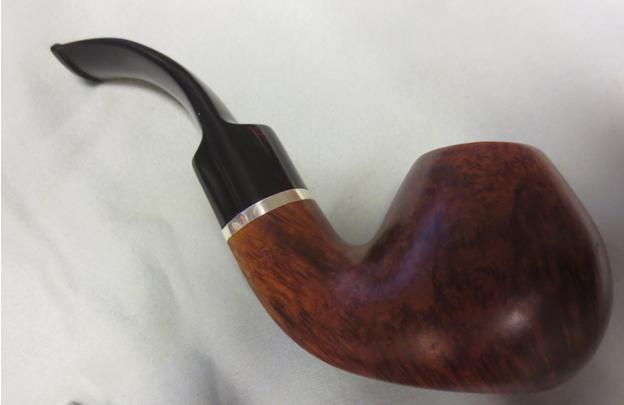
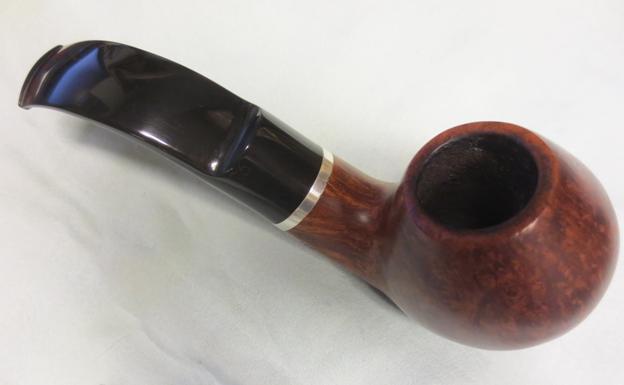
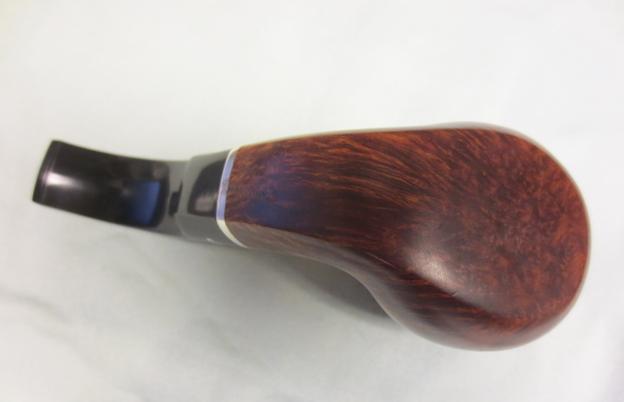
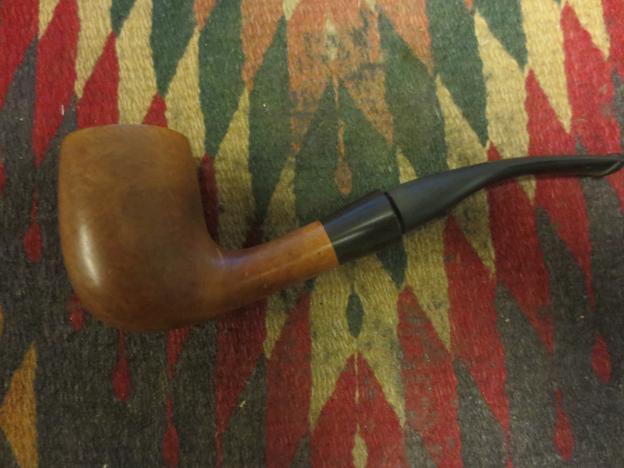
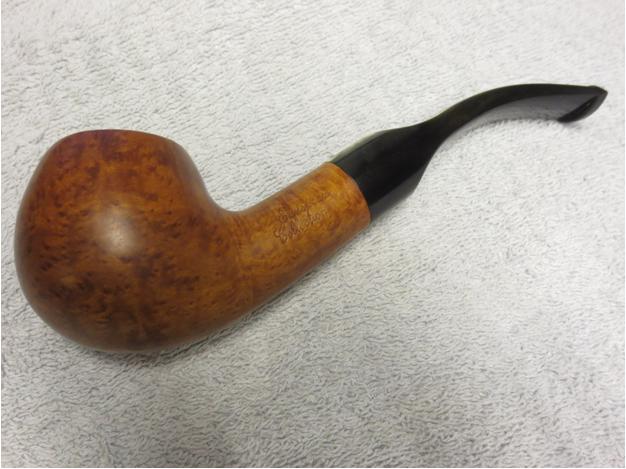
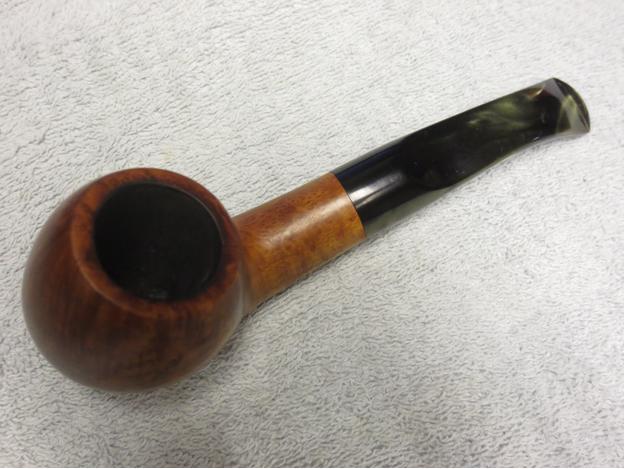
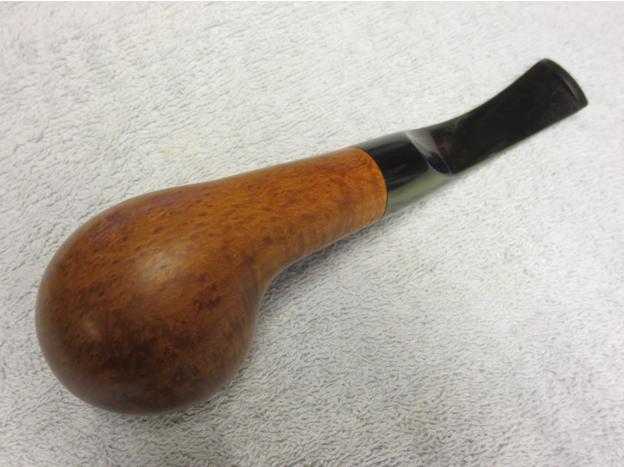
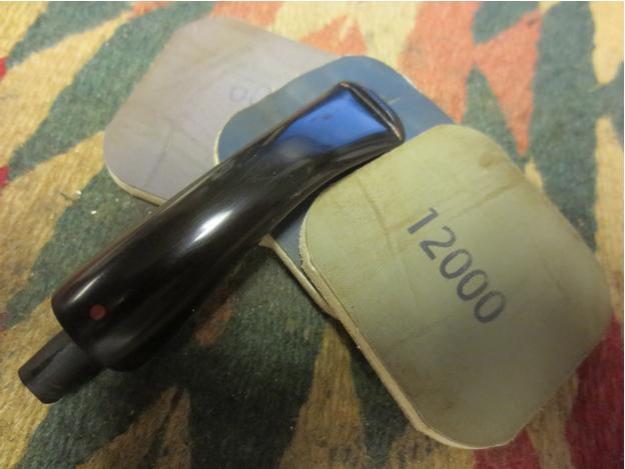 I buffed the stem and the bowl lightly with Blue Diamond polish and then gave the stem multiple coats of carnauba wax. I hand buffed it with a microfibre cloth. The photos below show all of the flaws of this old pipe. There is nothing hidden. The small web of cracks on the left side of the shank, the areas on the sides of the rim and on the shank where the shiny coat disappeared when I sanded it are all visible. It is a great looking shape. The stem and the flow of the pipe are greatly improved but it is sadly not one that will be for sale. My improvements ended up making the pipe different from the original. I think the verdict is still out in terms of if I made it better or worse. Maybe it is just a difference in terms of degree of worse! It certainly is a better smoking pipe now. The draw is easy and open so I gained that in the process. I think this one will end up being a shop pipe here. What do you think?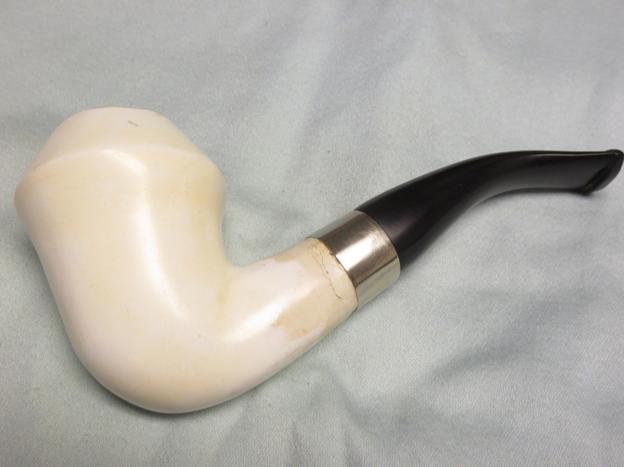
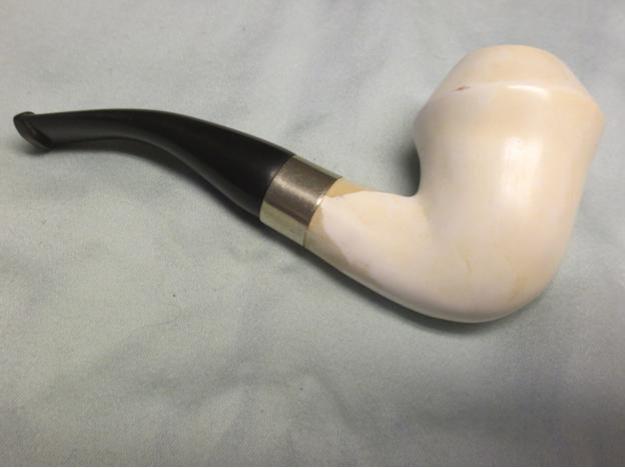
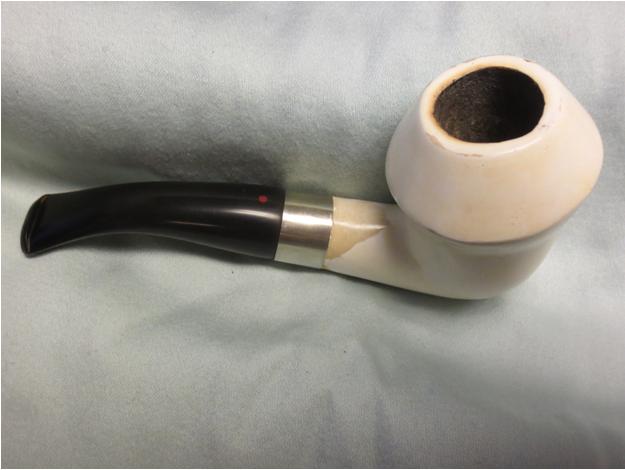
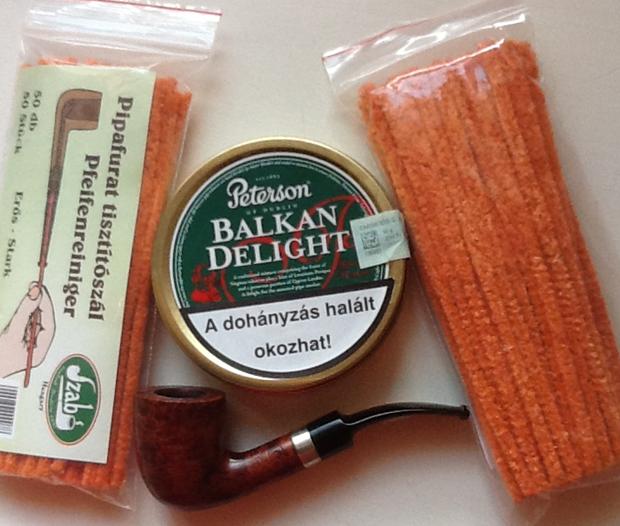
UPDATE: I just came in from sitting int he backyard with my dog giving this pipe an inaugural smoke. I loaded up a bow of Kohlhase & Kopp Easter Edition and enjoyed it for over an hour sitting and watching Spencer play with sticks. It delivers a flavourful smoke with effortless draw. The stem is comfortable in the mouth and I actually enjoyed smoking the pipe. Who knows what it will deliver over the days ahead. Worst case scenario I will have pressed meer to smoke that I will not care about damaging…

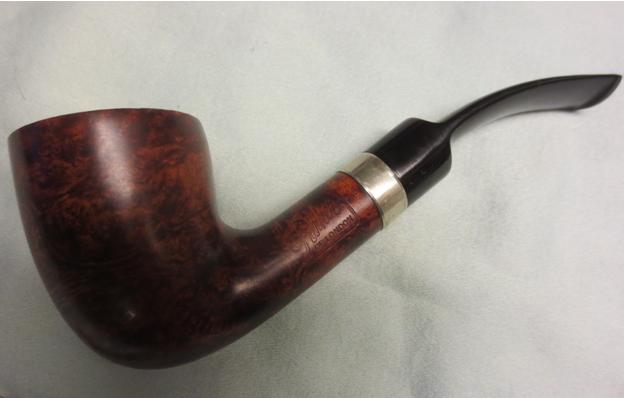
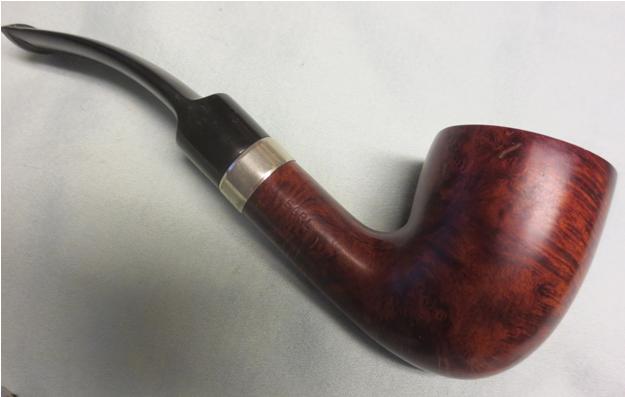
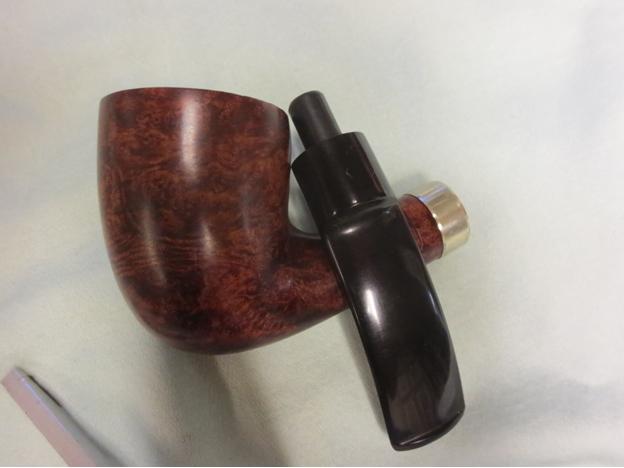
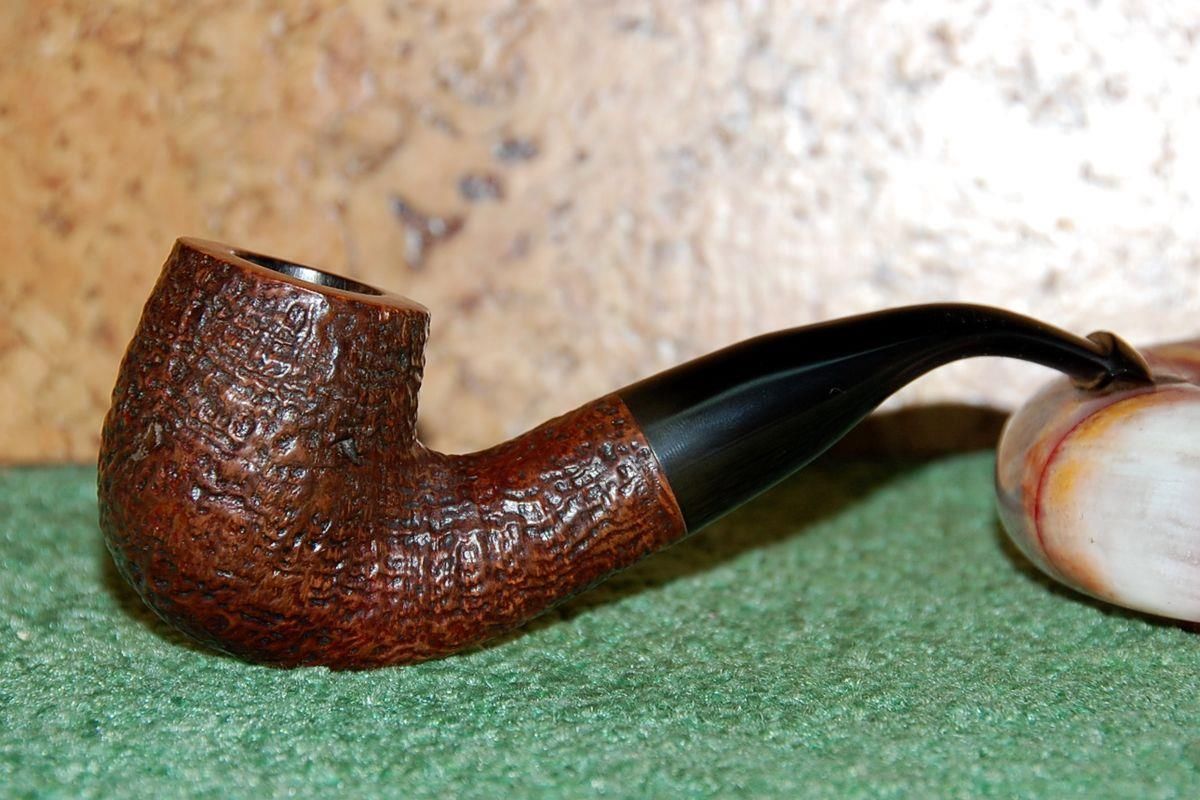
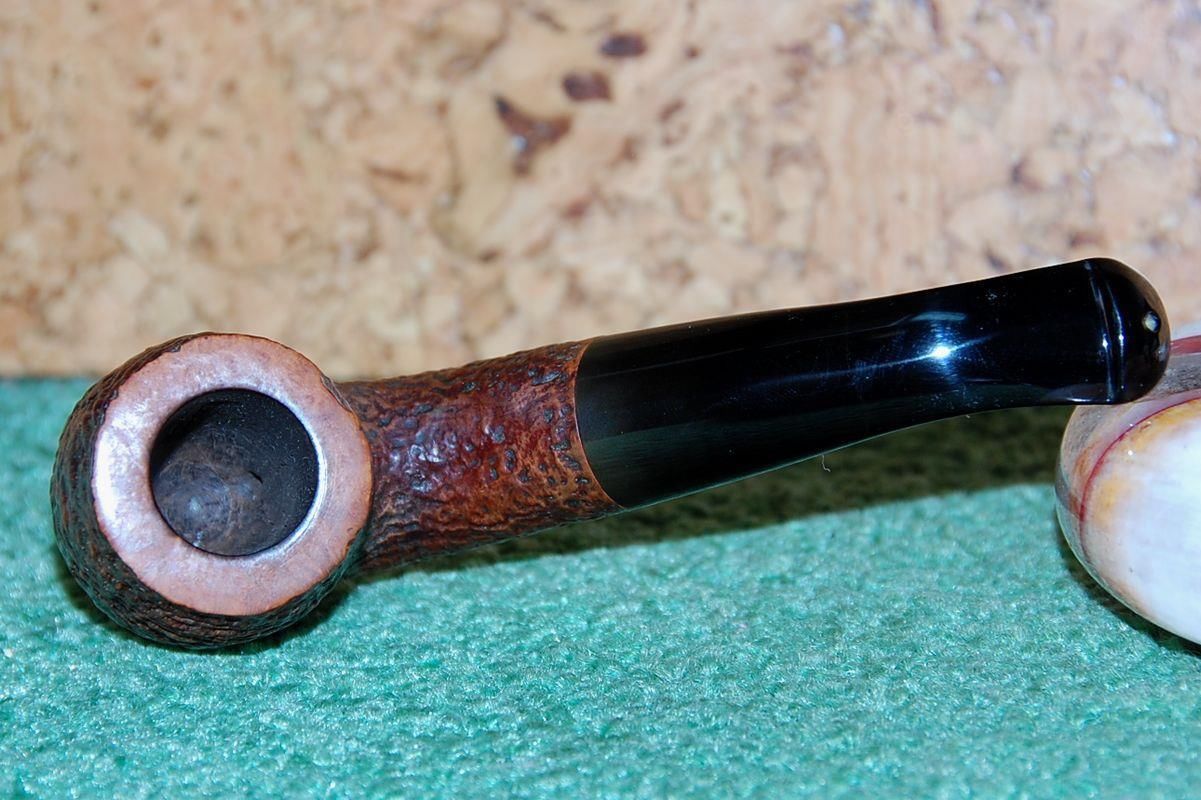
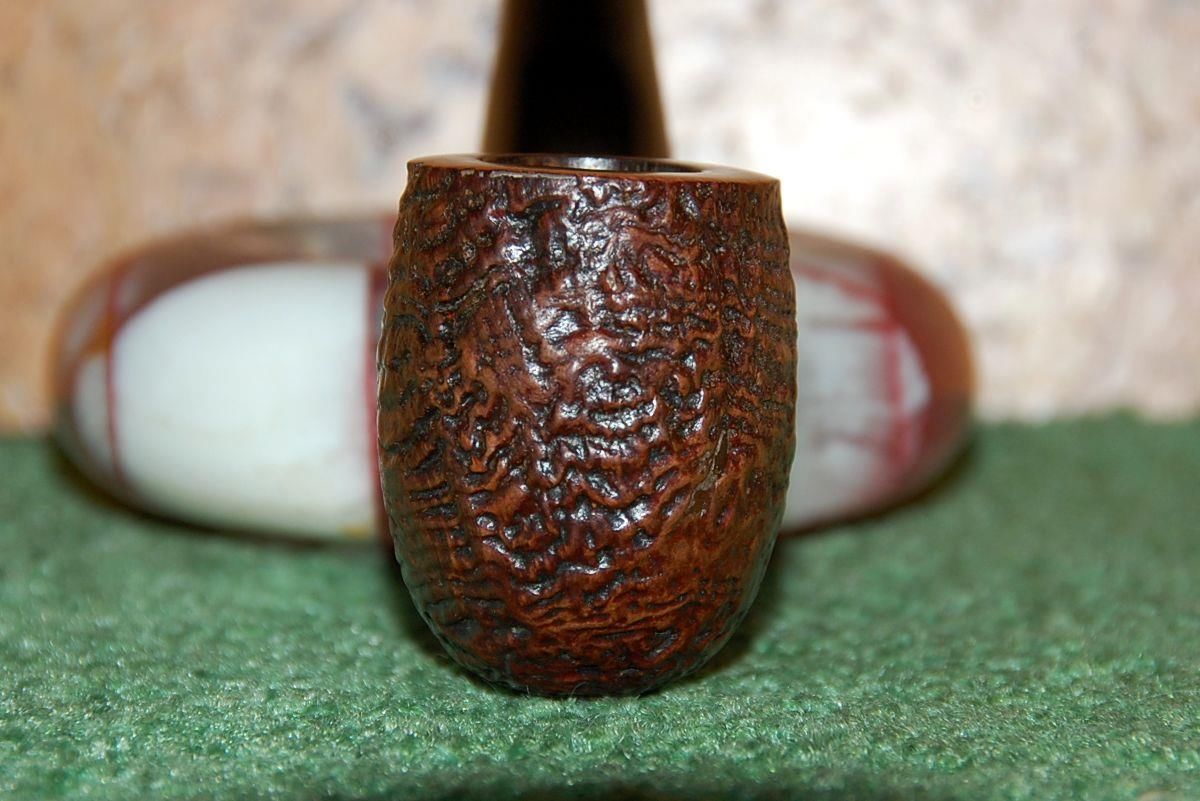
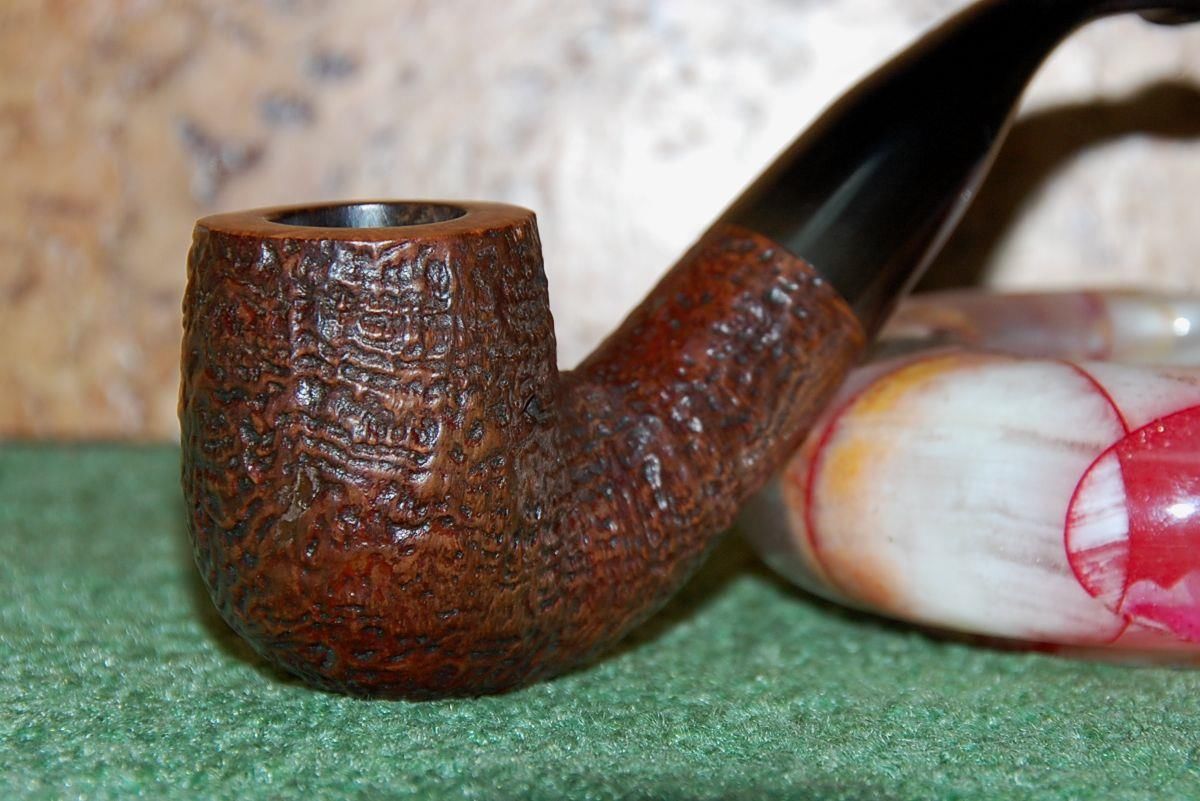
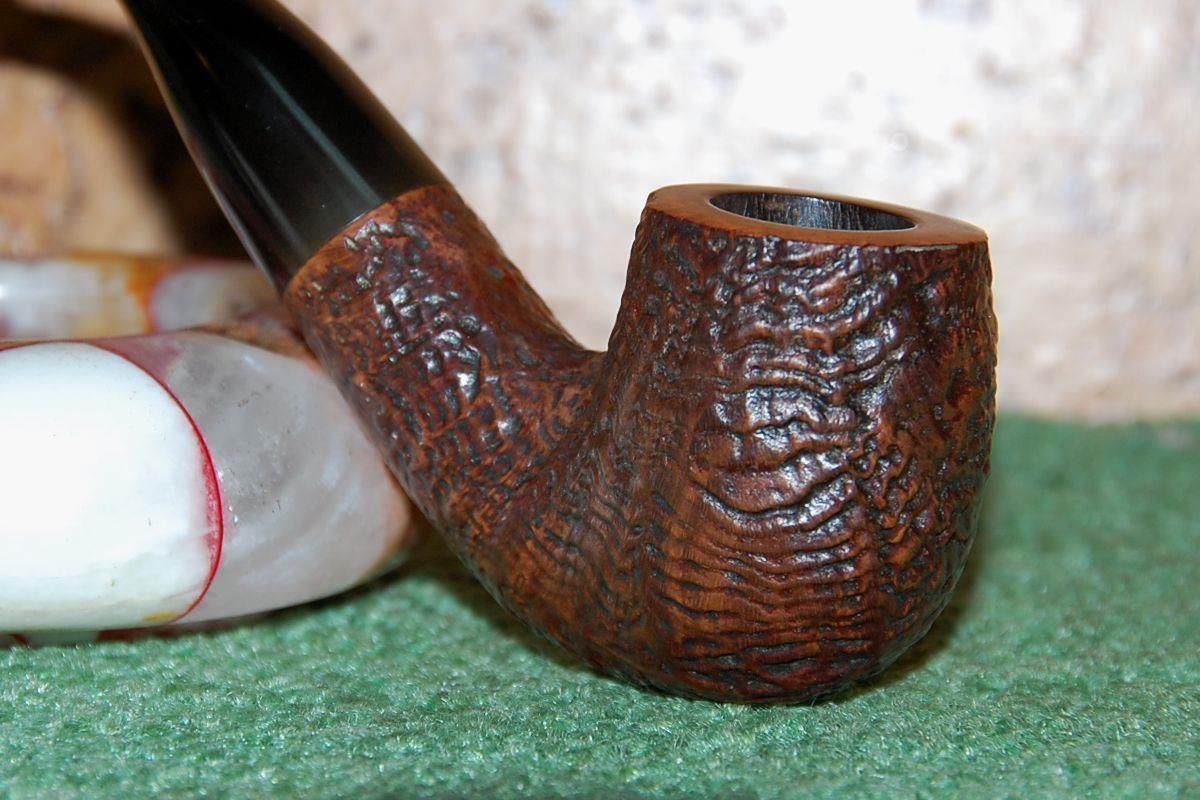
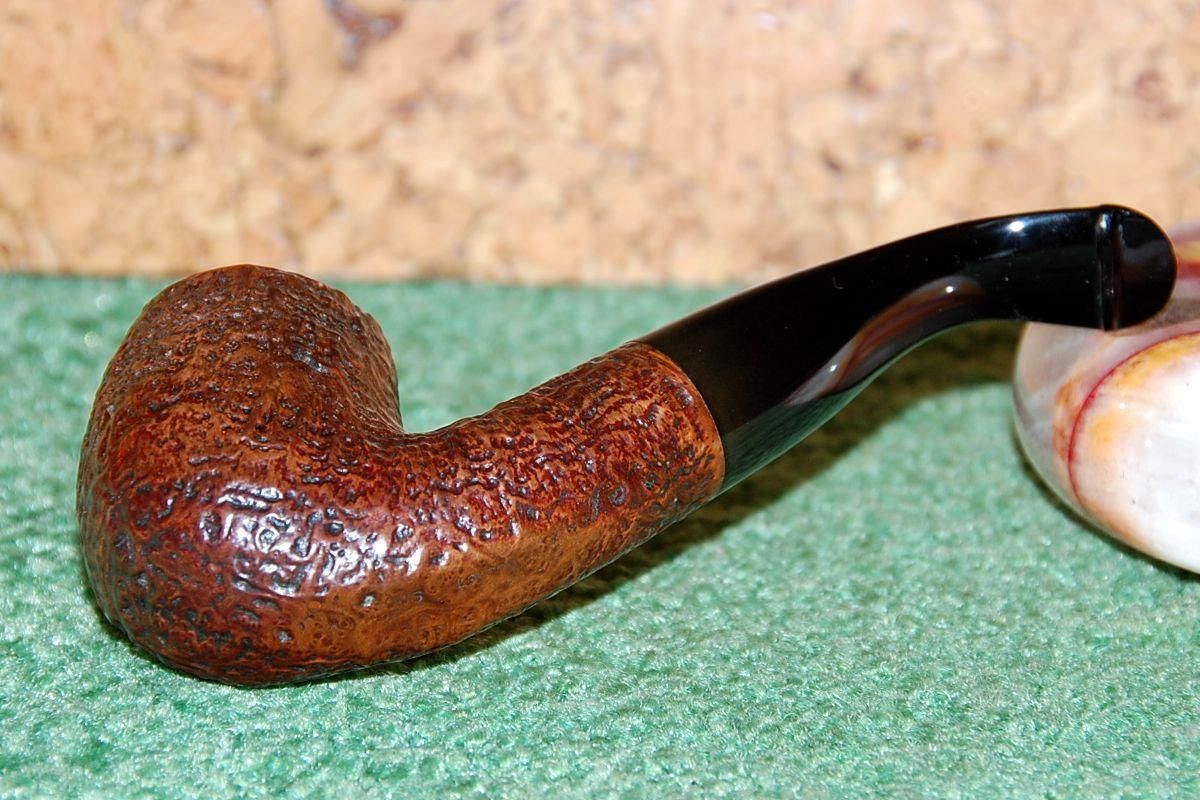
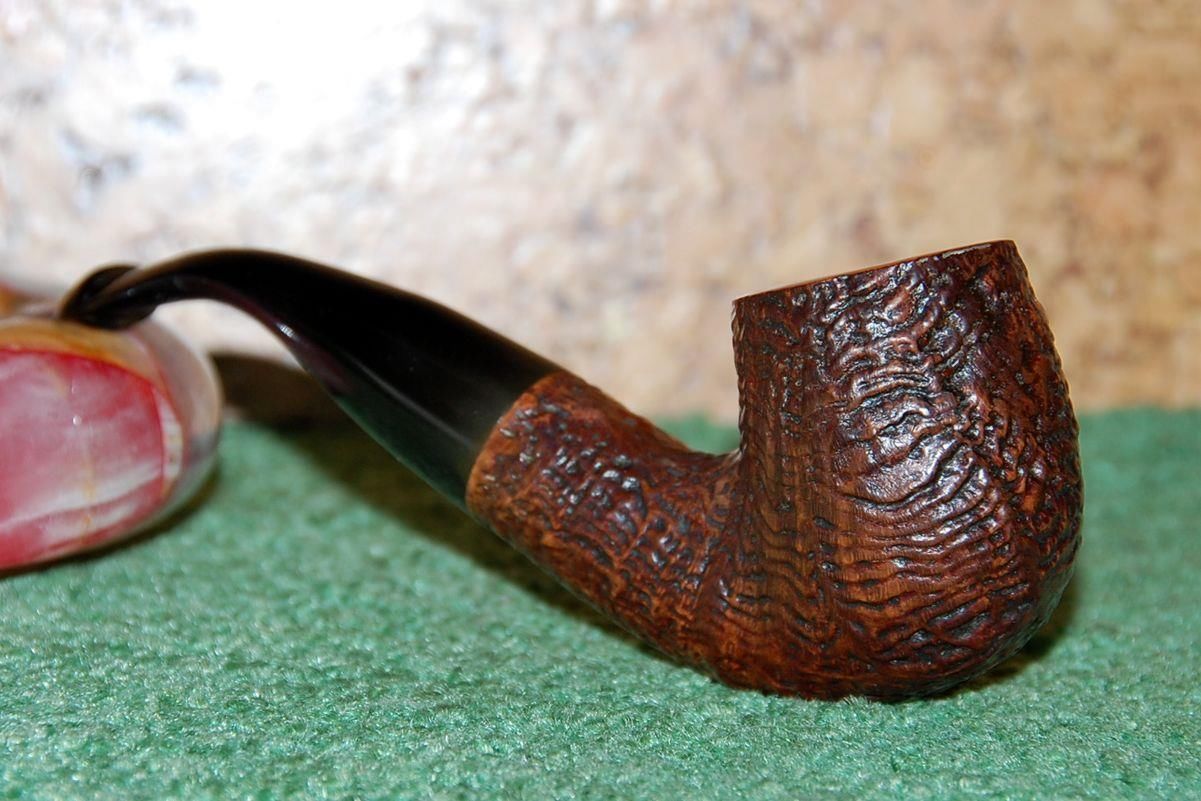
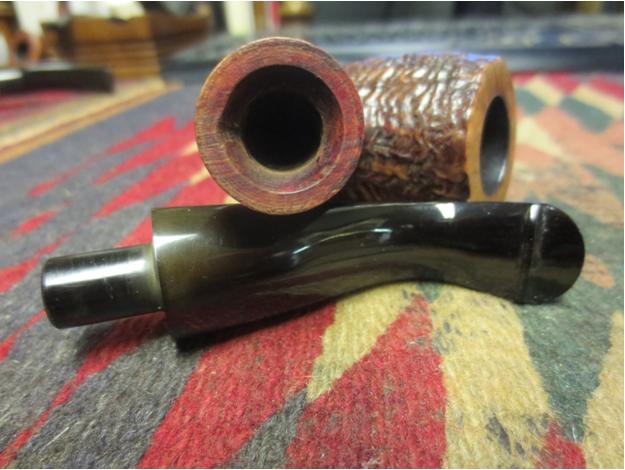
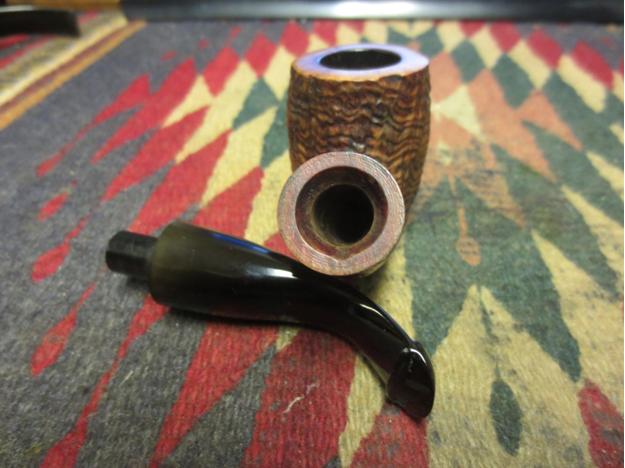
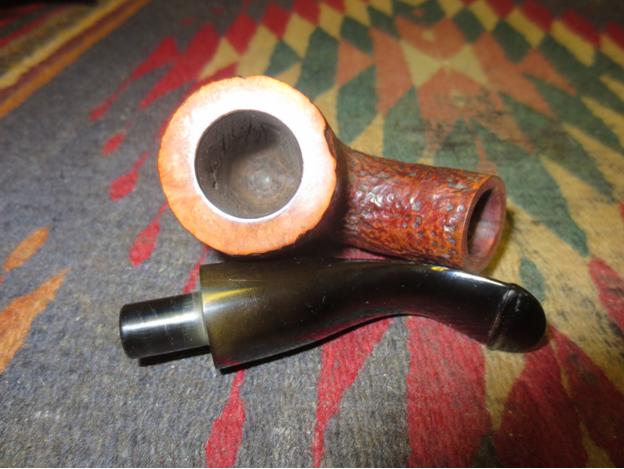
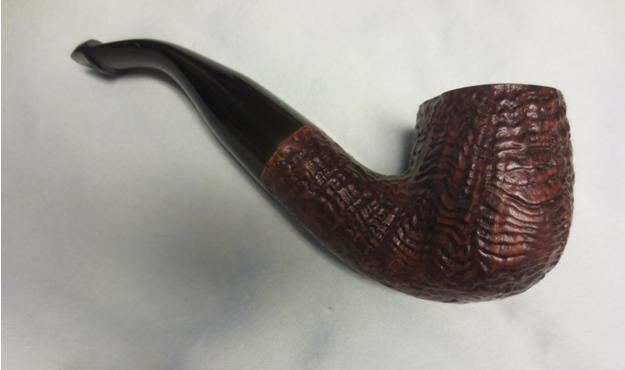
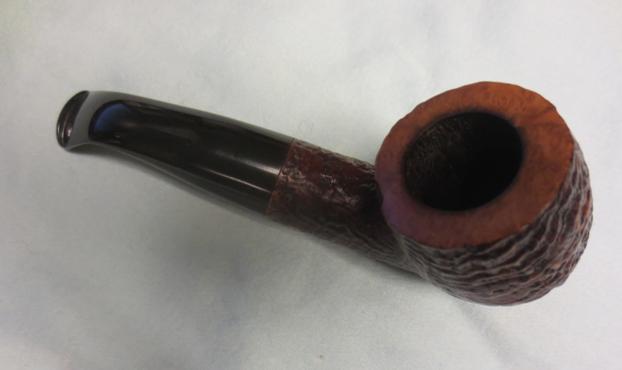
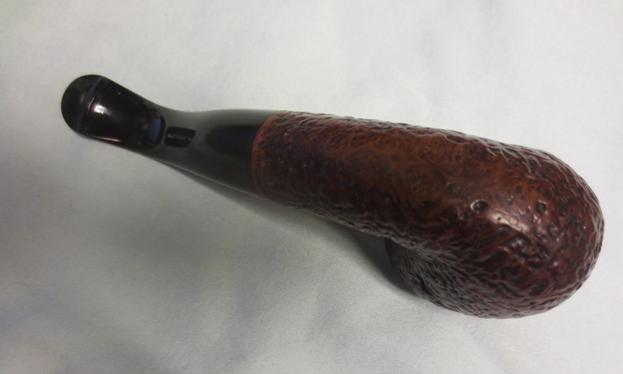
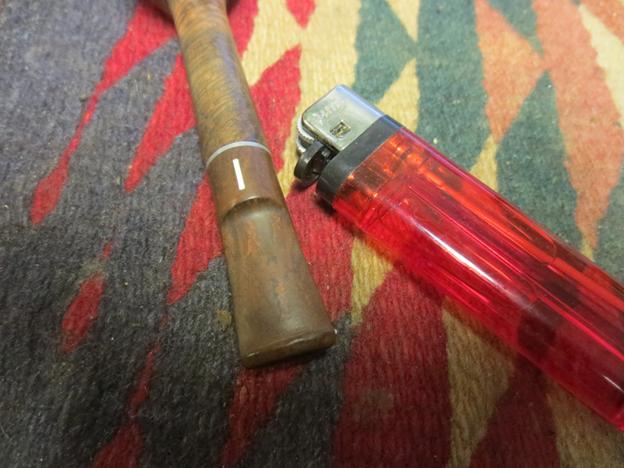
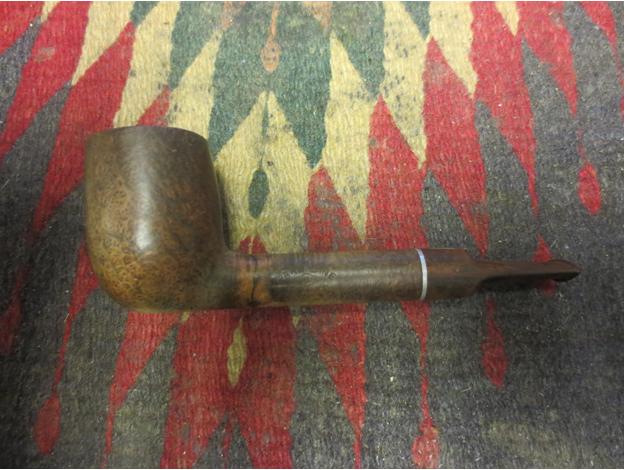
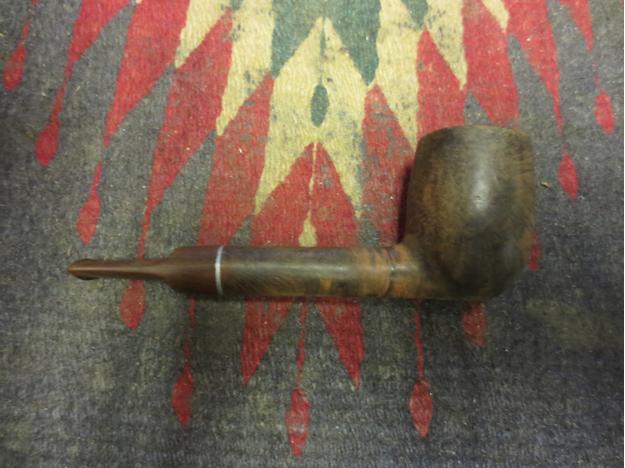
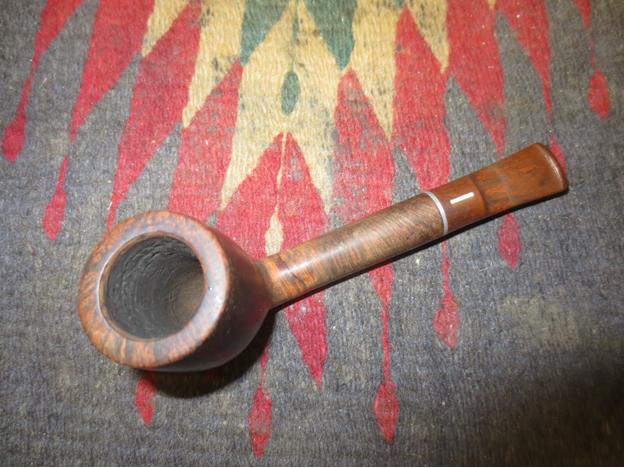
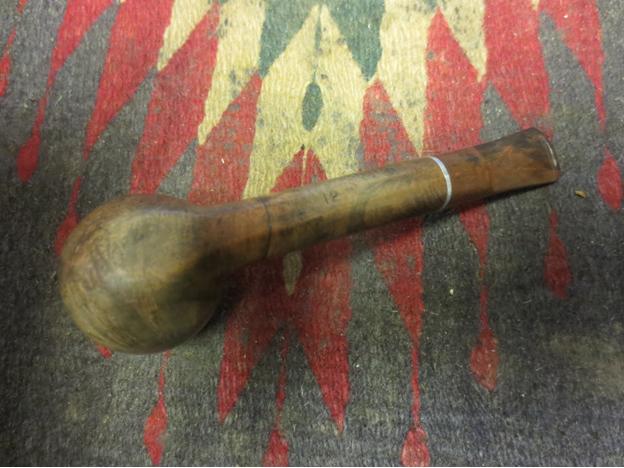
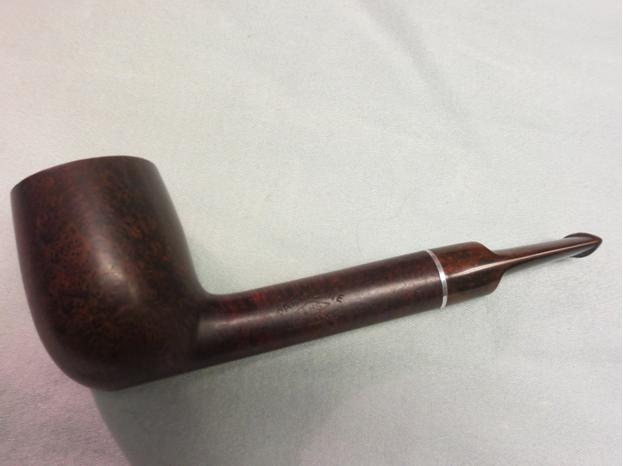
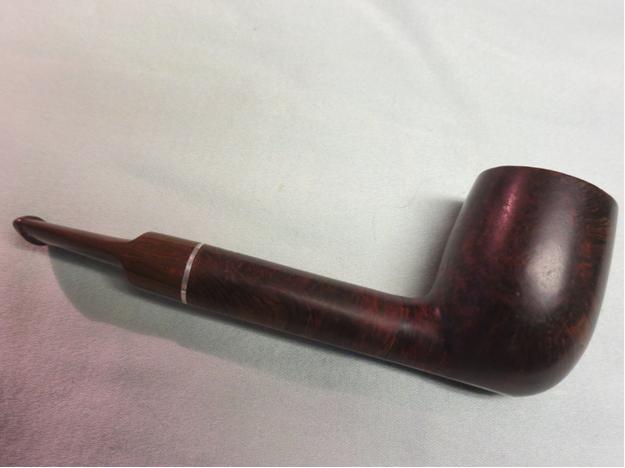
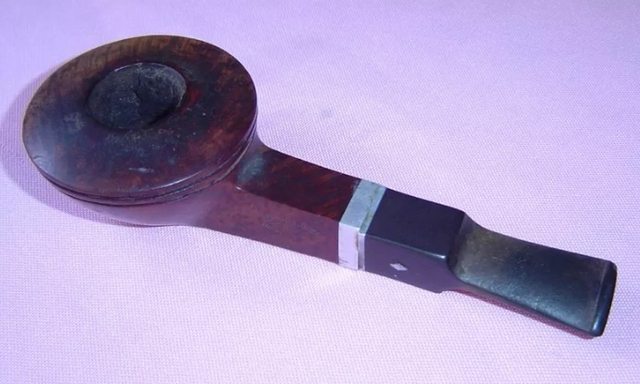
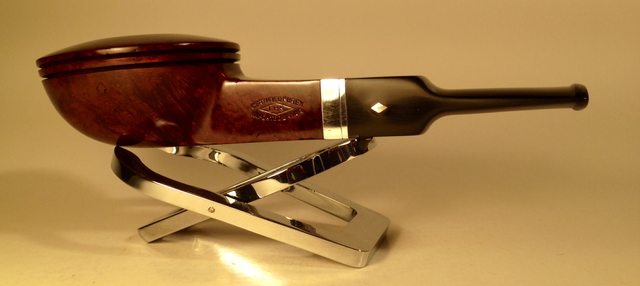
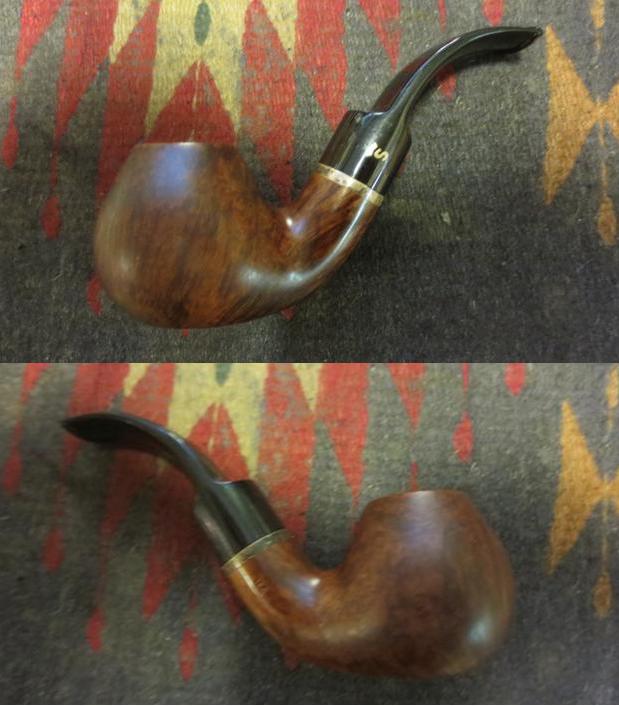
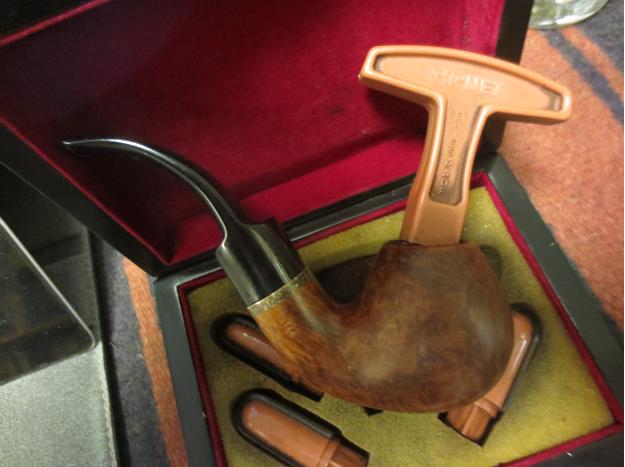
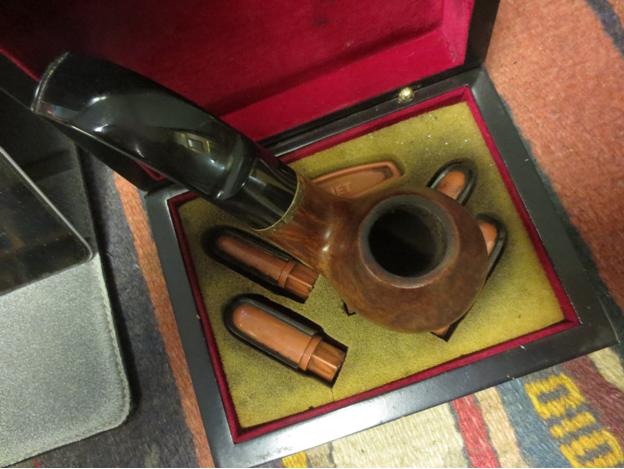
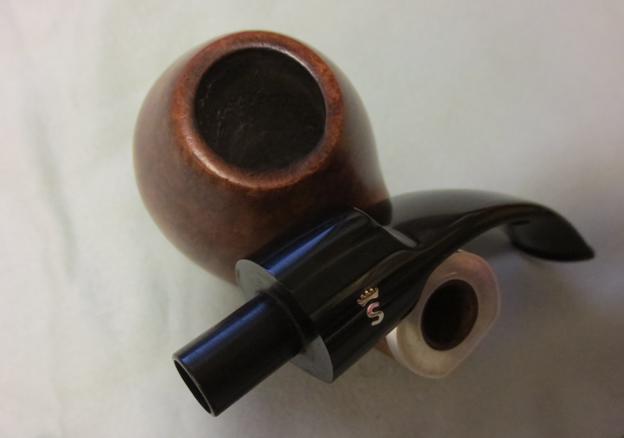
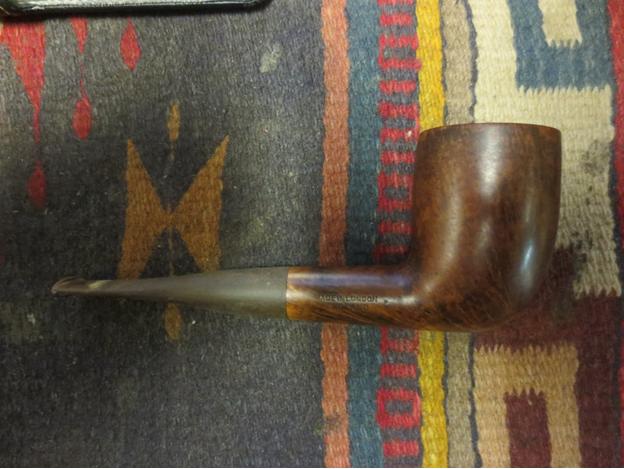
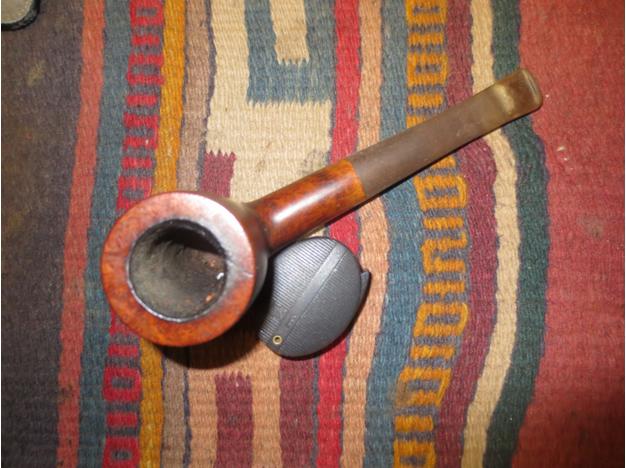
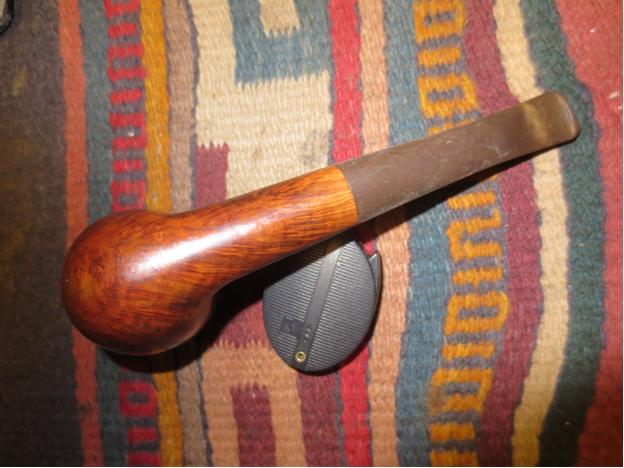
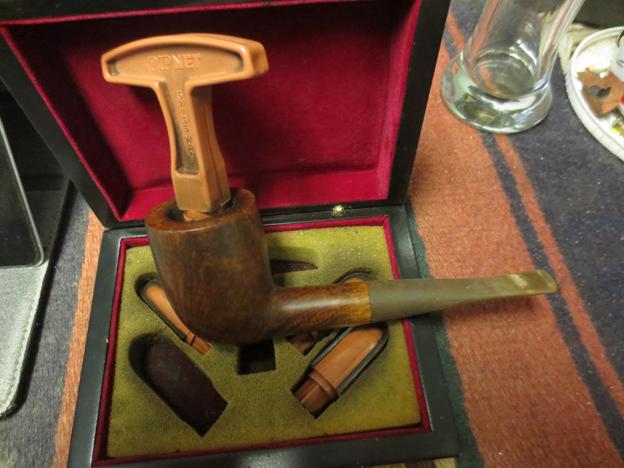
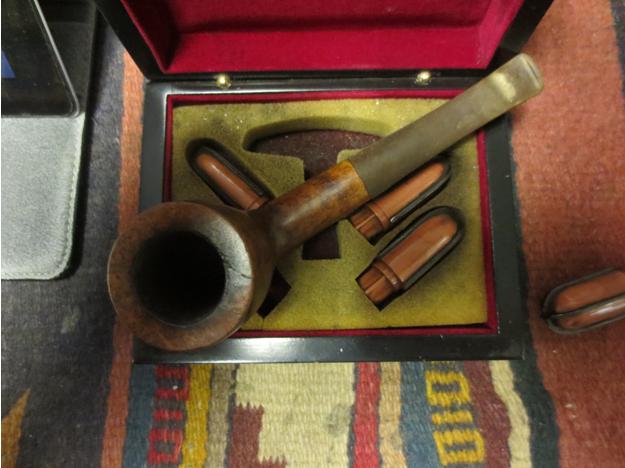
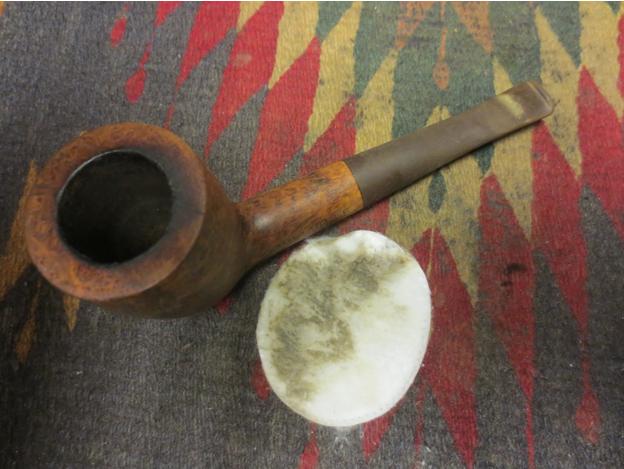
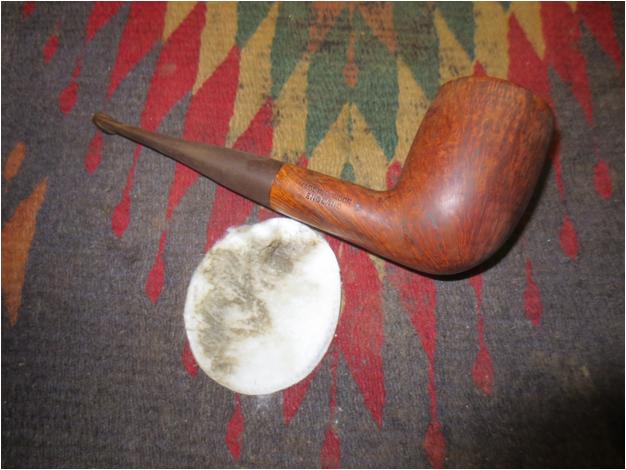
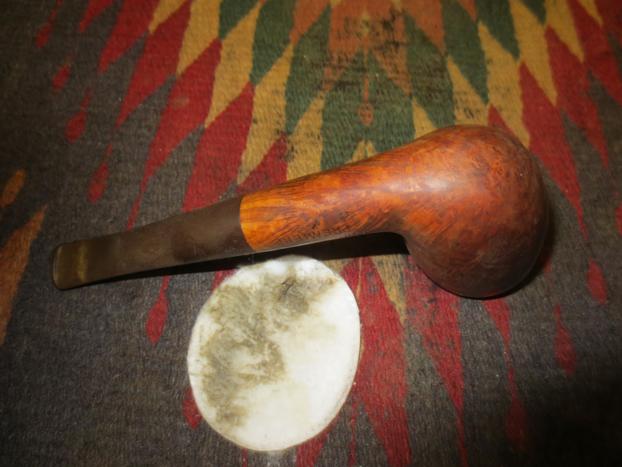
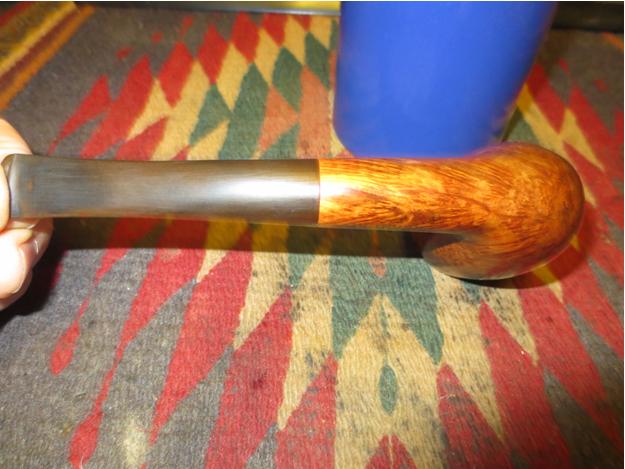
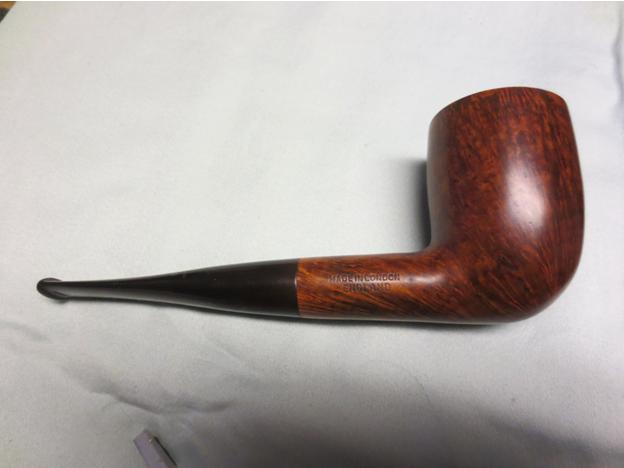
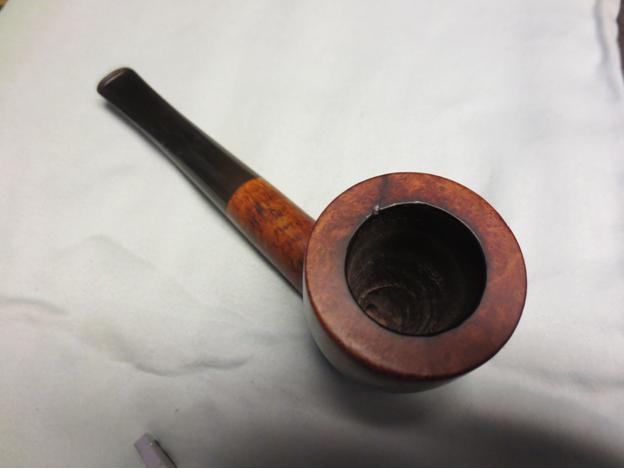
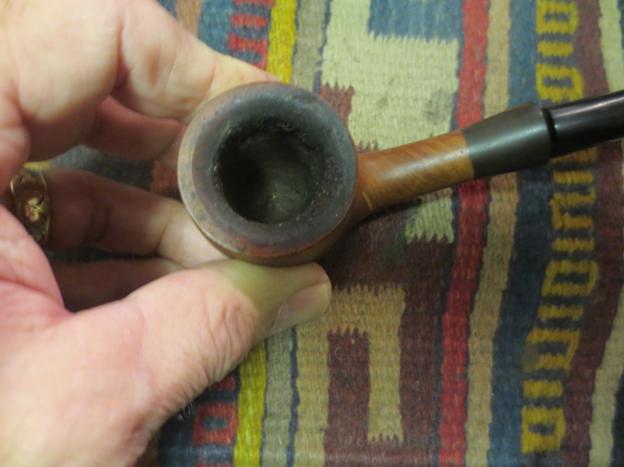
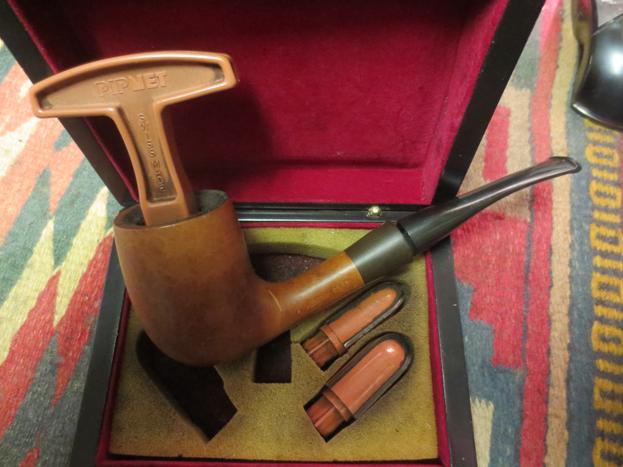
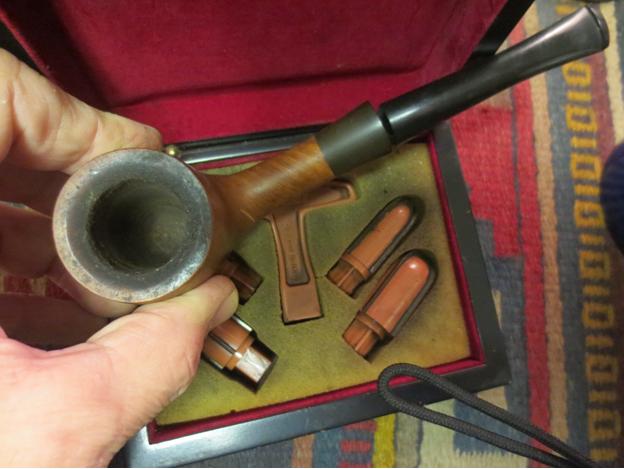
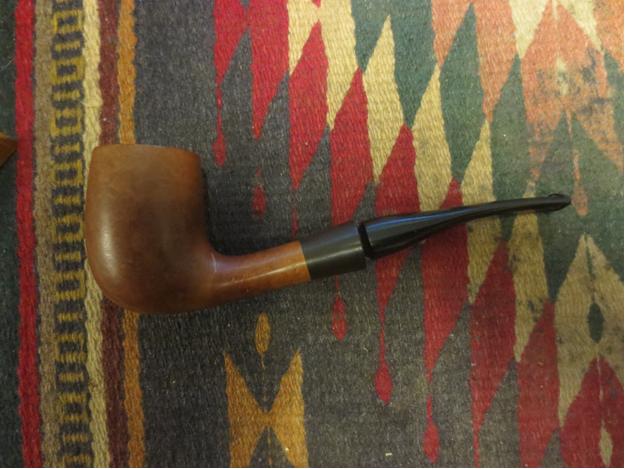
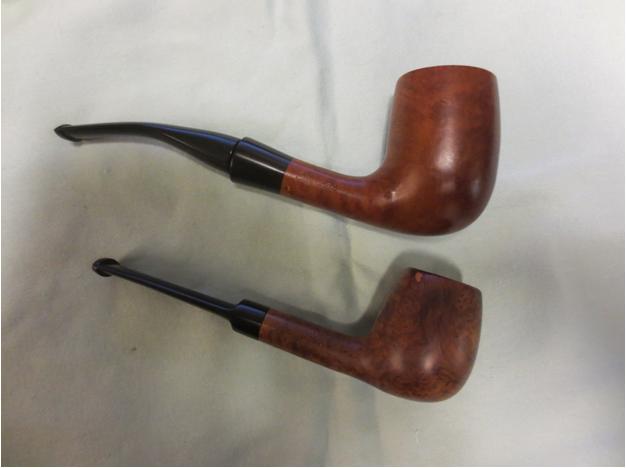
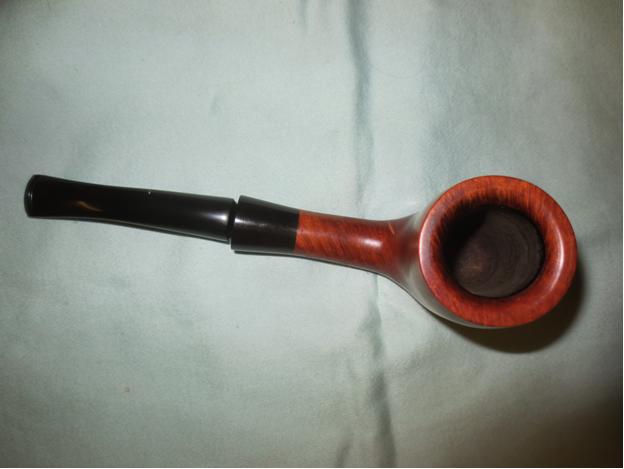
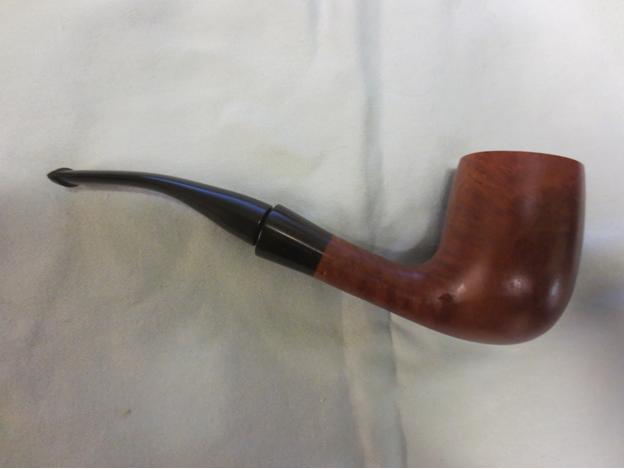
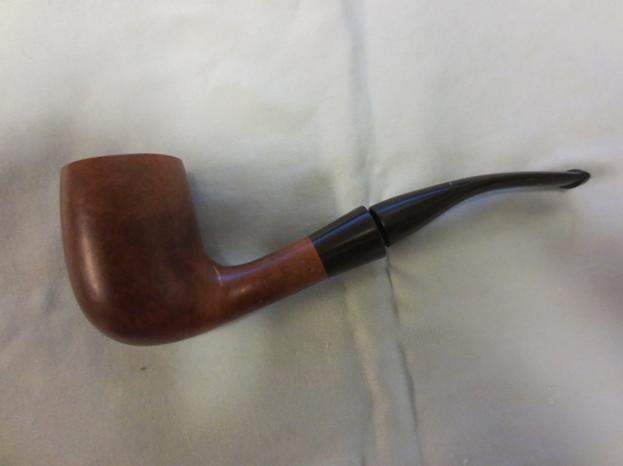
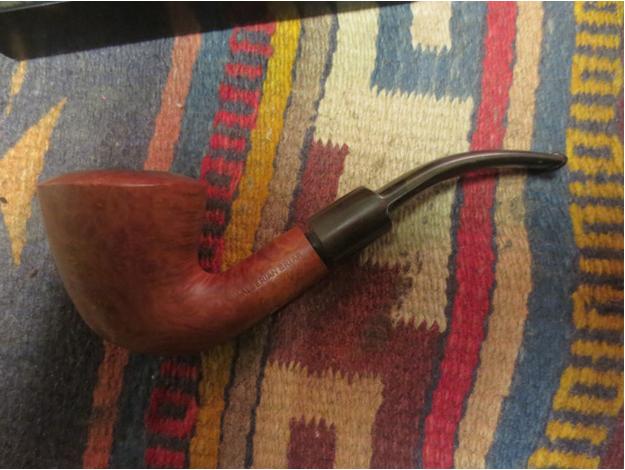
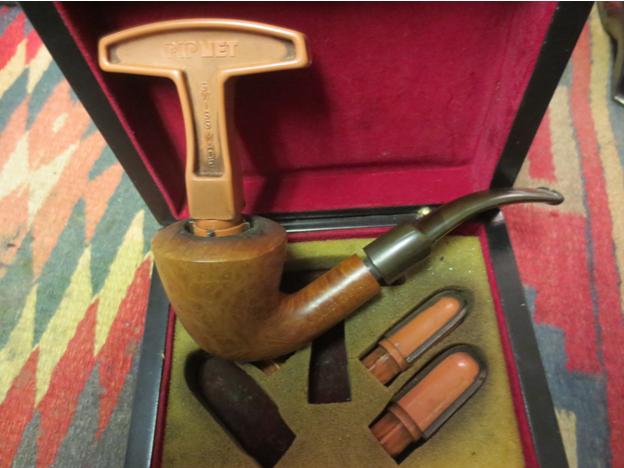
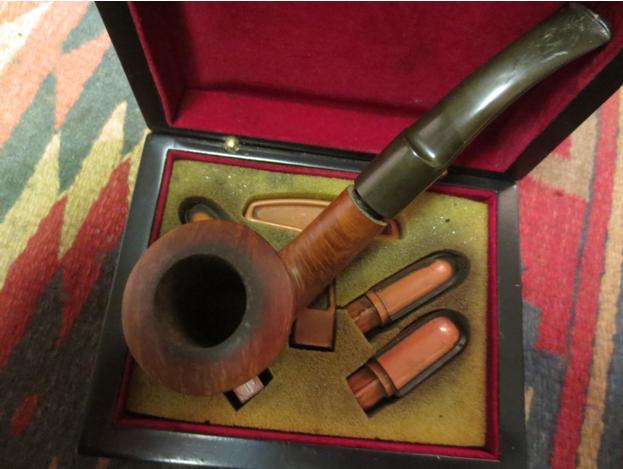
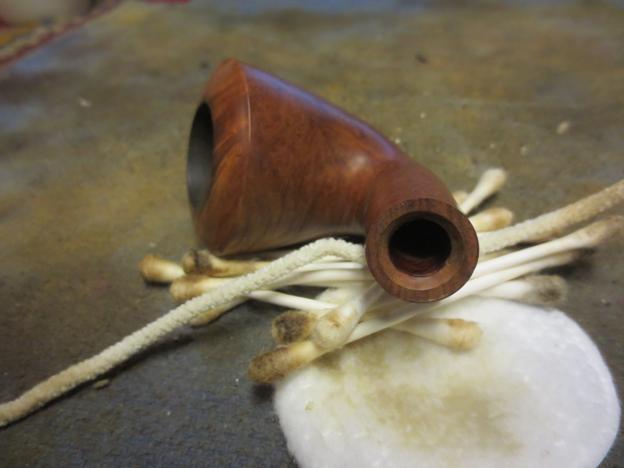
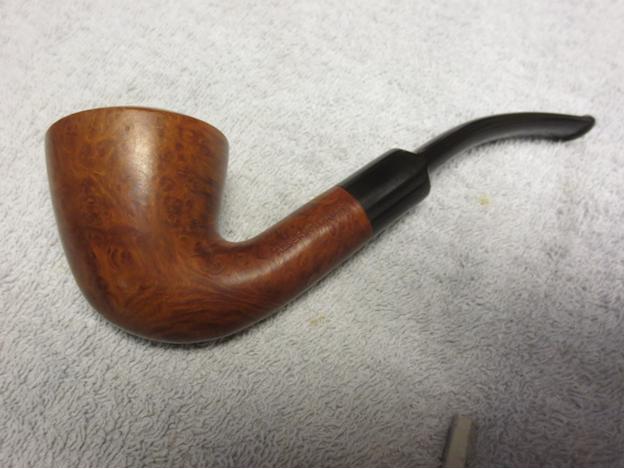
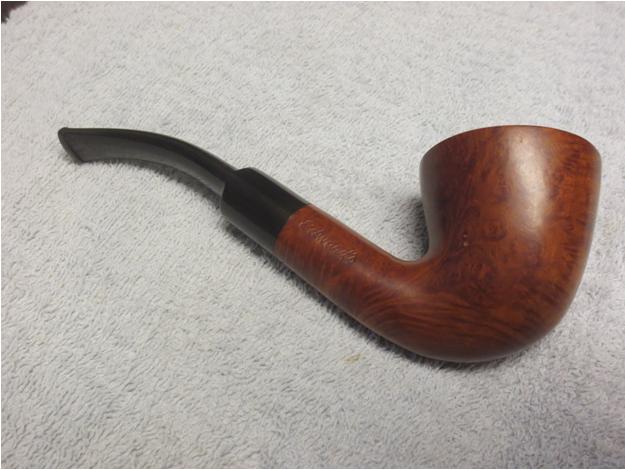
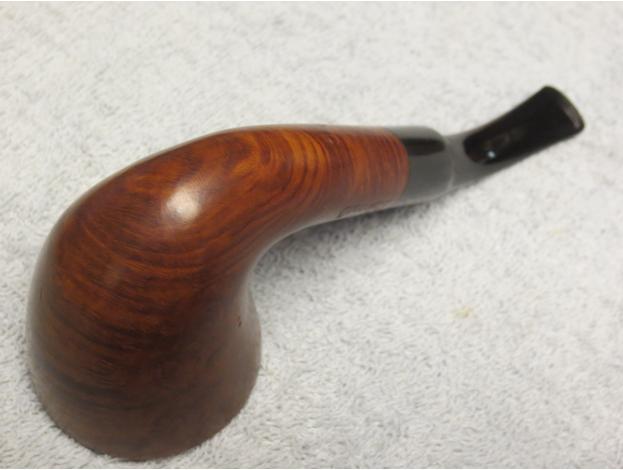
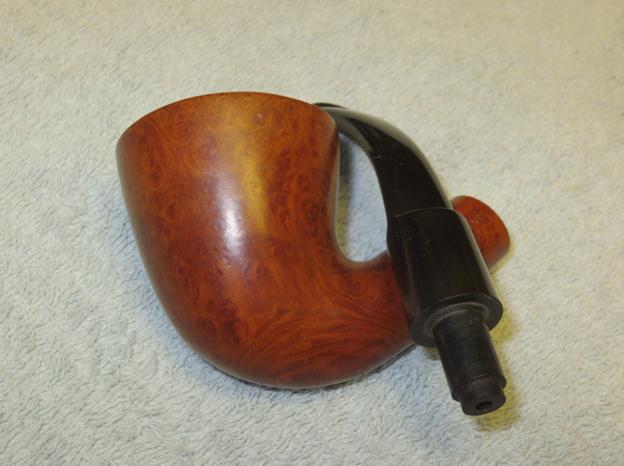
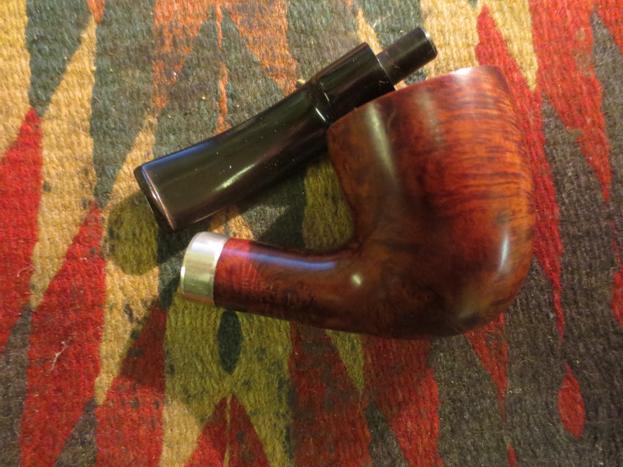
 The pipe was in decent shape. It had quite a few fills on the right side of the bowl and a long narrow fill on the underside of the shank that had shrunk and left a groove. The rim had a lot of grooves and damage that had been waxed over. The bowl was out of round but was clean. The inside of the shank and stem were still pretty dirty. The original stem was loose but relatively clean with no tooth marks and the faint diamond P logo on the top of the saddle. There was some minor oxidation in the crease at the button and the surface of the stem had some scratches that had not polished out. On the underside of the stem there were some bits of metal that were in the mix of the rubber stem. I know that in the war years the rubber used for stems was recycled so I am thinking that this one may come from that era. When I got home from Budapest I took the following photos of the pipe to show what it looked like when I began.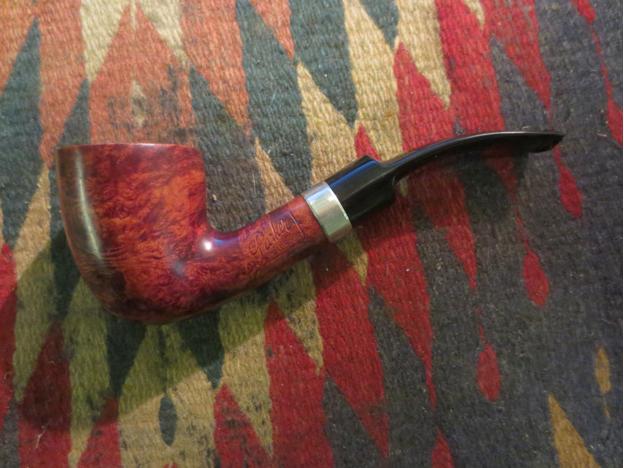
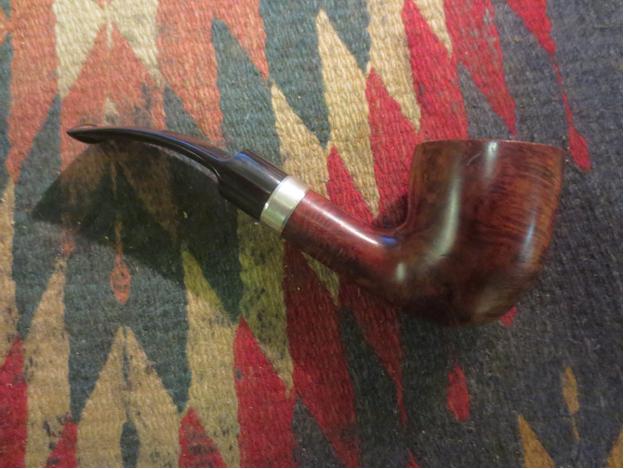
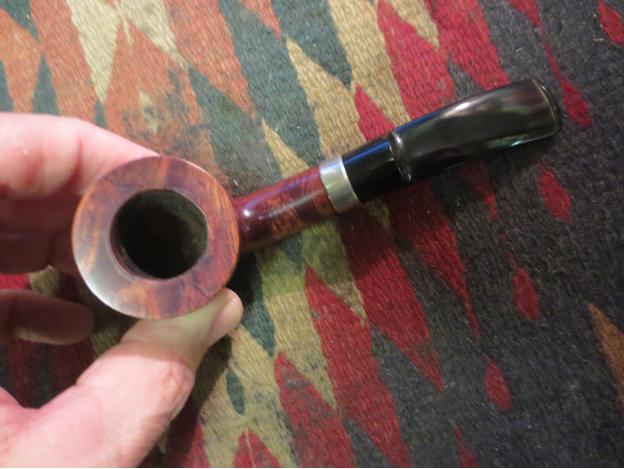
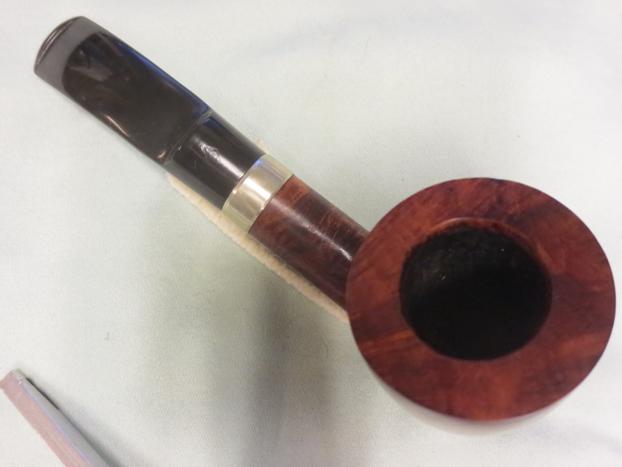
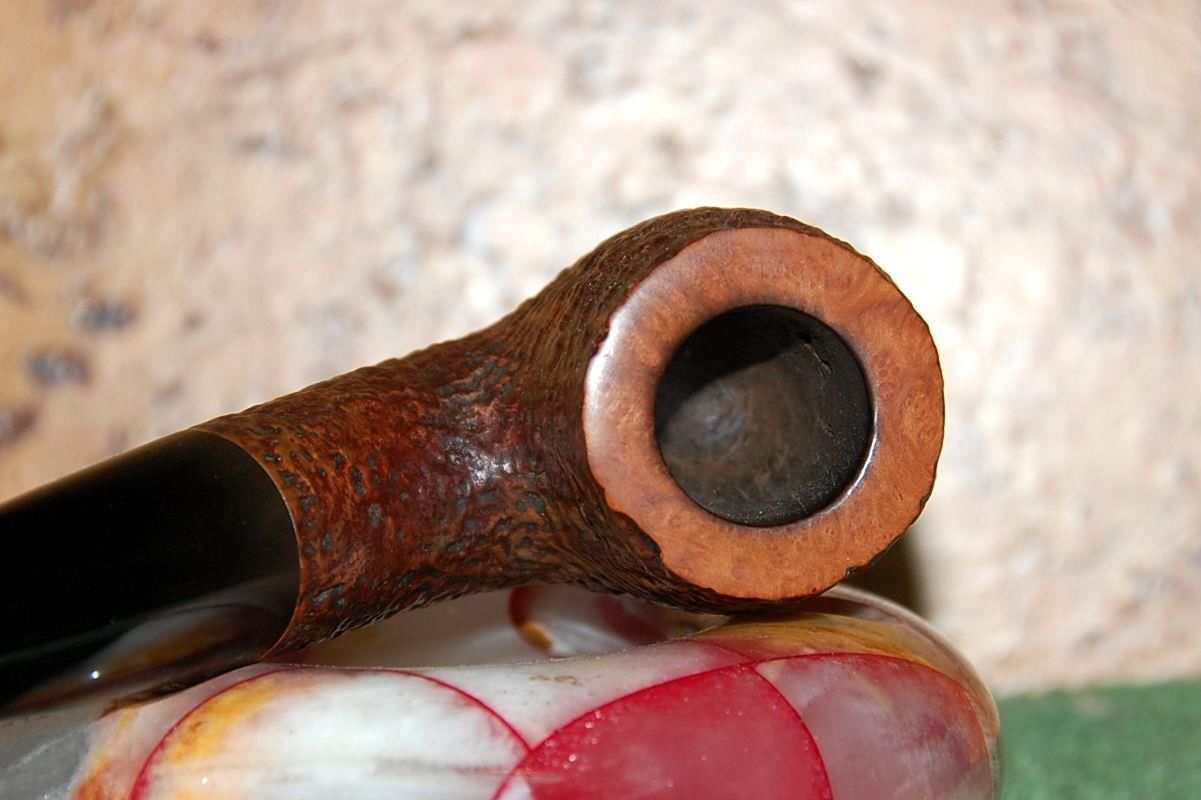
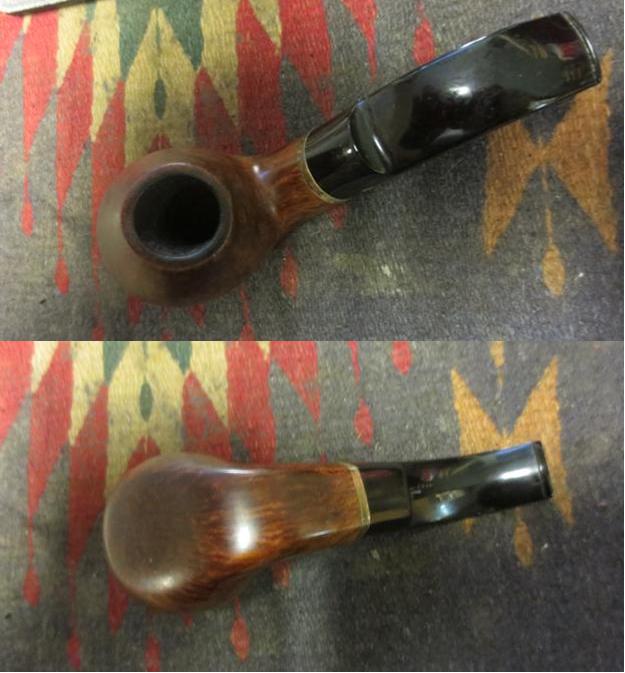
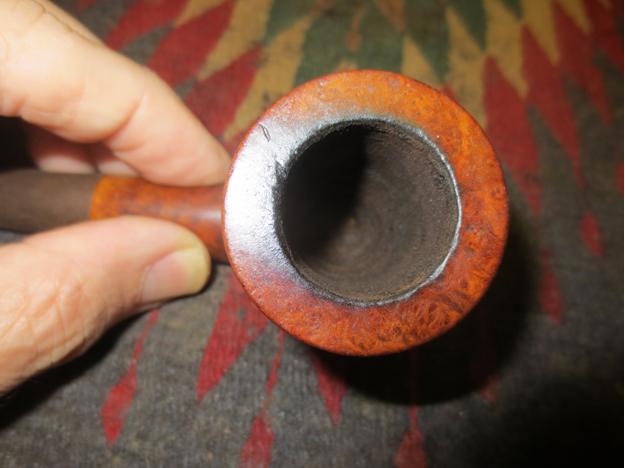
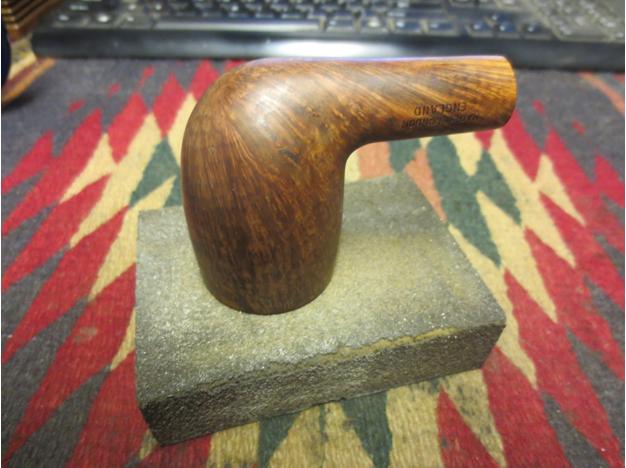
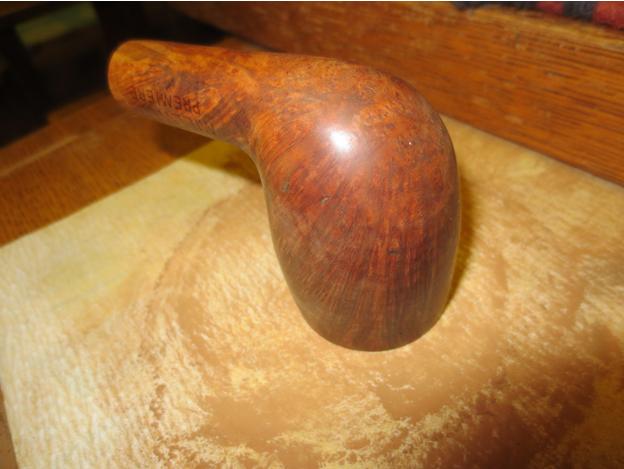
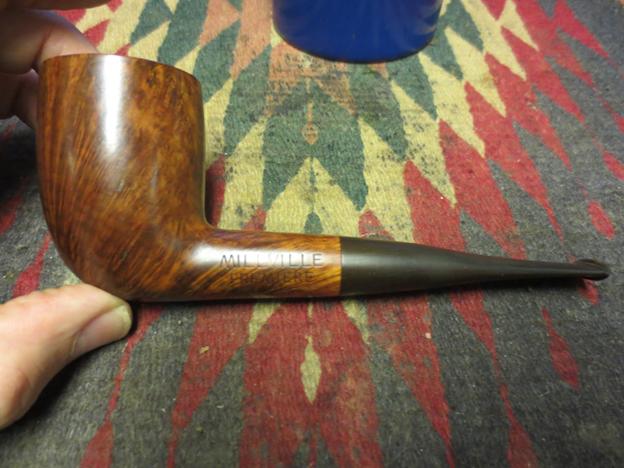
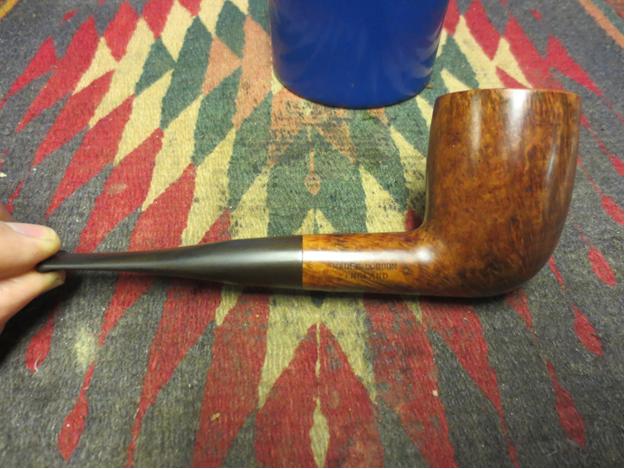
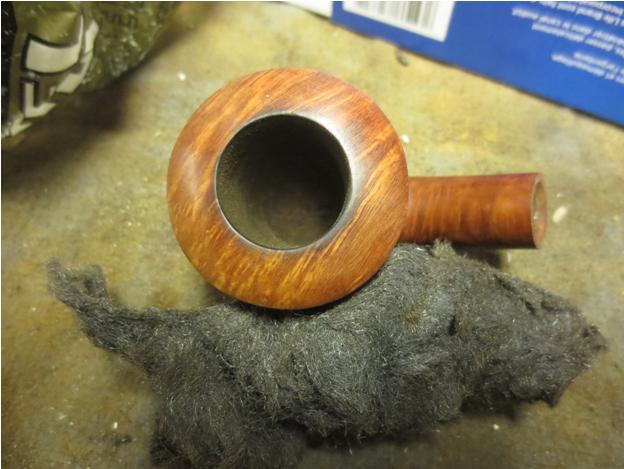
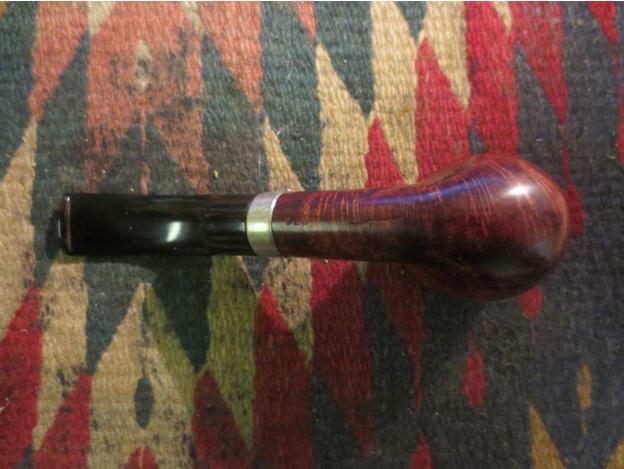 I also took a few close-up photos of the rim and the stamping on the shank. To me there is a quiet elegance to this shape. You can see the rim damage and the inner edge damage in the first photo below.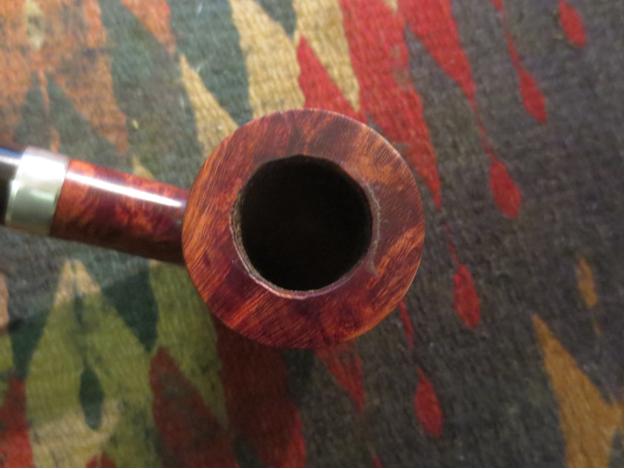
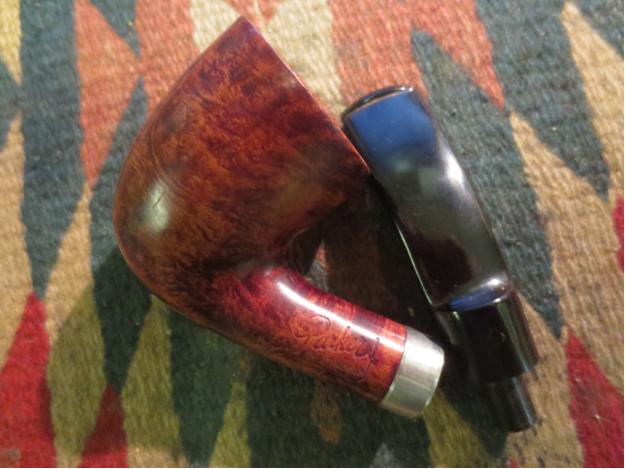
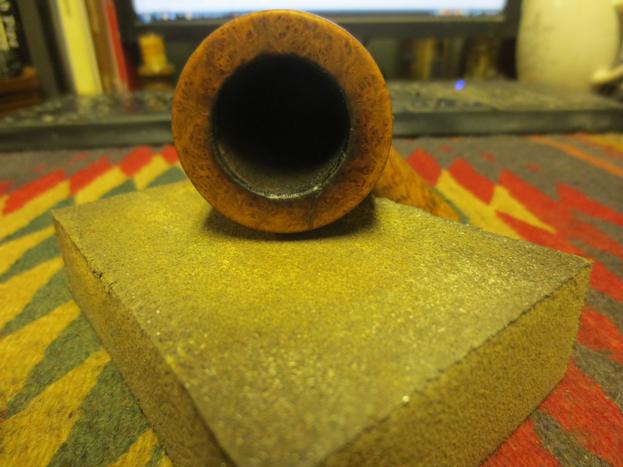
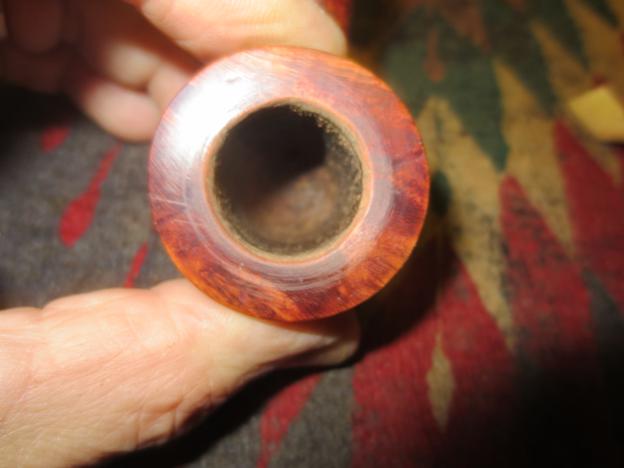
 I worked on the inner edge of the rim with a folded piece of 220 grit sandpaper. I wanted to even out the inner edge and minimize the out of round look. I gave it a slight bevel to get rid of the damage. In doing so I did not particularly care that I scratched the surface of the rim because I planned on topping it lightly to remove the damage.
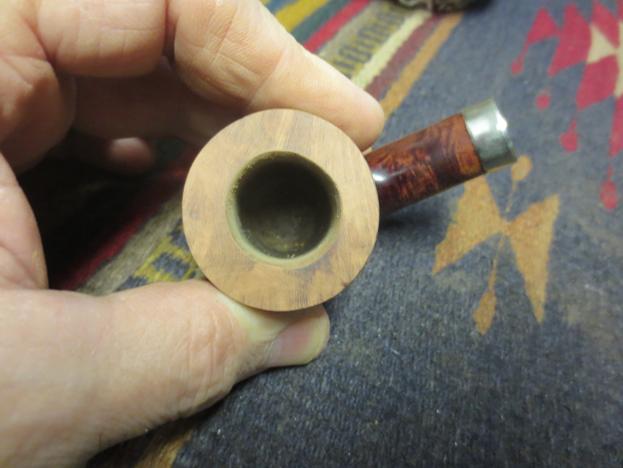
 I topped the bowl on a topping board to remove the deep scratches and damaged areas on the surface of the rim.
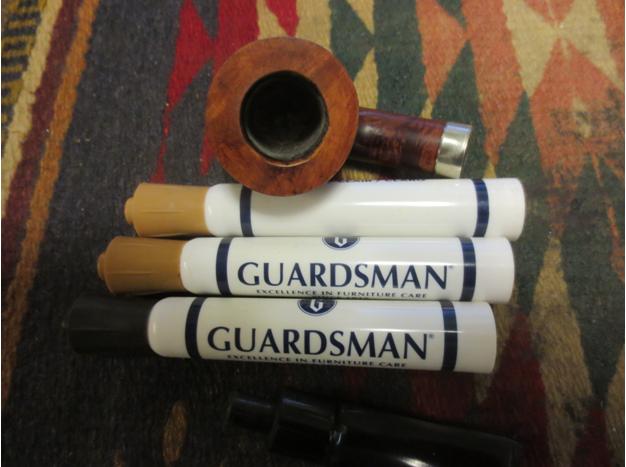
 I sanded the rim with a medium and a fine grit sanding sponge. I then sanded it with 1500-2400 micromesh sanding pads to polish the rim. I then stained it with the staining pens – starting with the lightest colour and gradually working my way up to the darkest colour. I worked to blend it into the same colour as the bowl and shank.
 The long worm shaped fill on the bottom of the bowl needed to be refilled. I decided to use clear super glue and no briar dust as the groove was not very deep. I filled it and let it dry. I sanded the repair with micromesh sanding pads until it blended into the surface of the briar. It is smooth to the touch now and is better blended into the surface of the briar.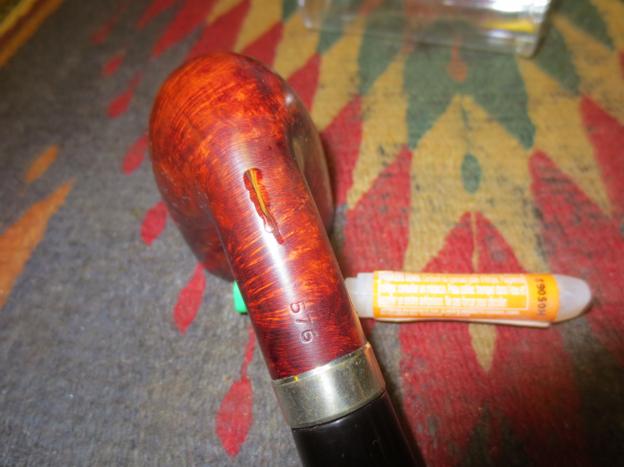
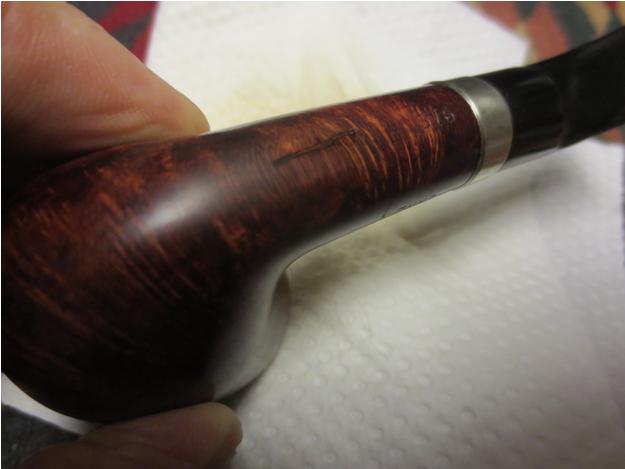
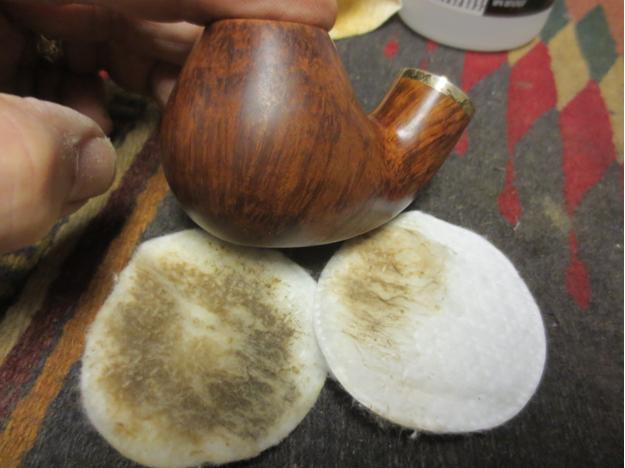
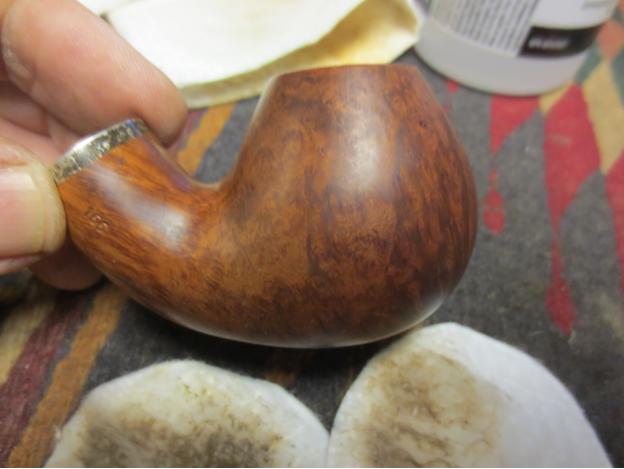
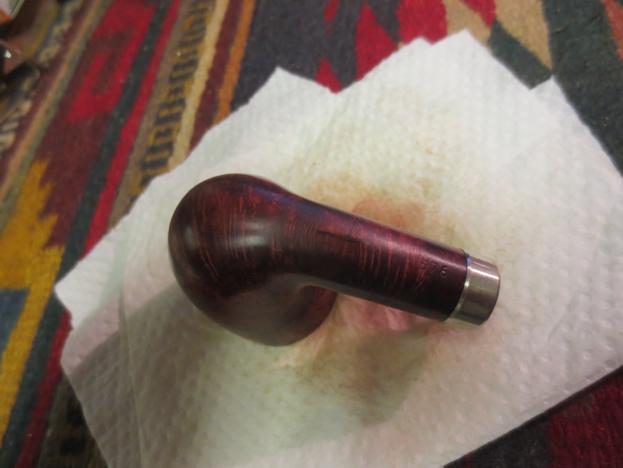 I rubbed down the bowl and shank with a light coat of olive oil and then buffed it with a microfibre cloth to raise a bit of a shine.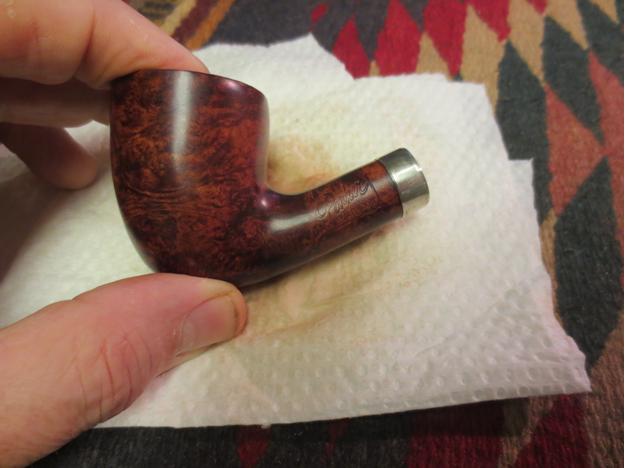
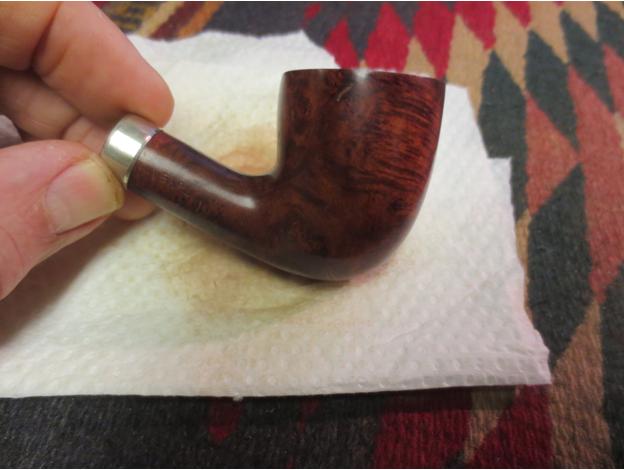
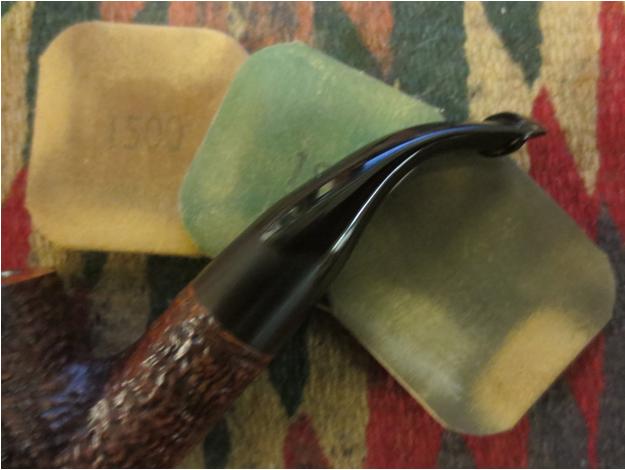
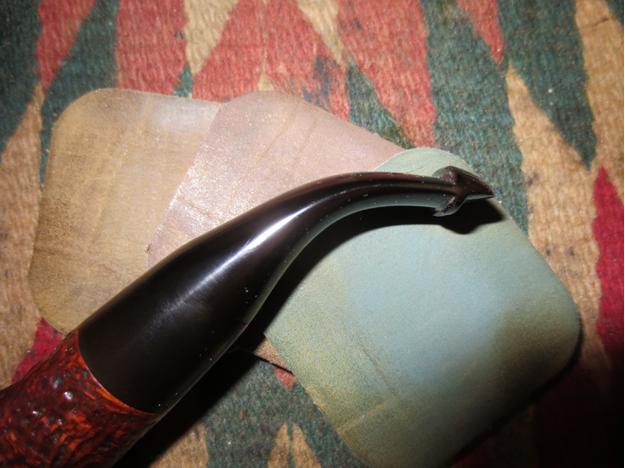
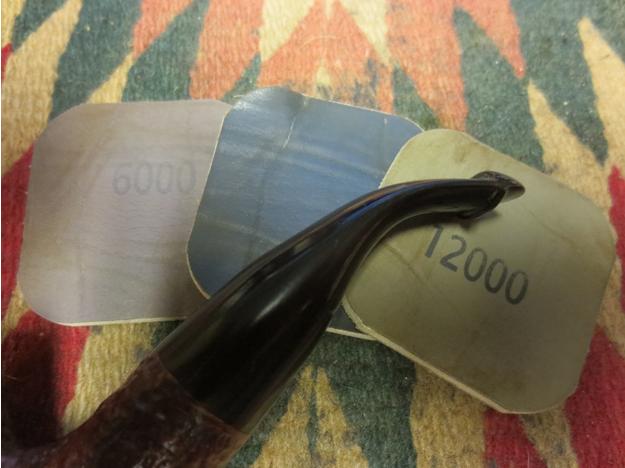
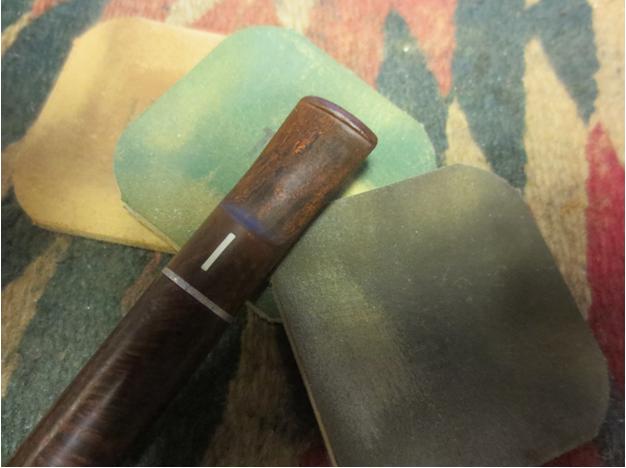
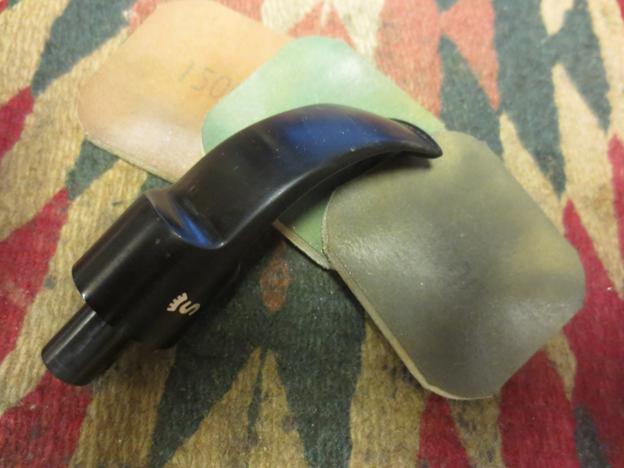
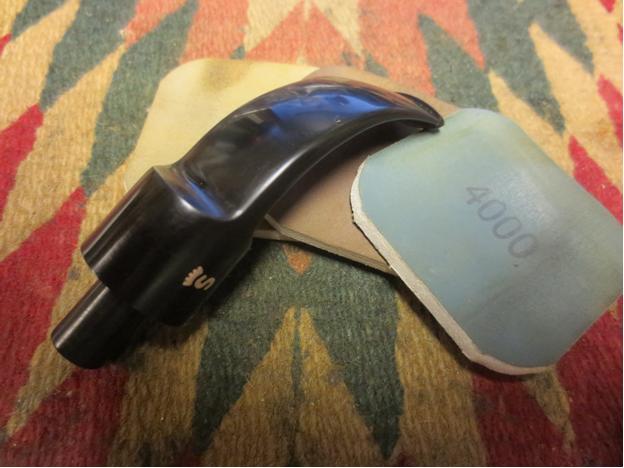
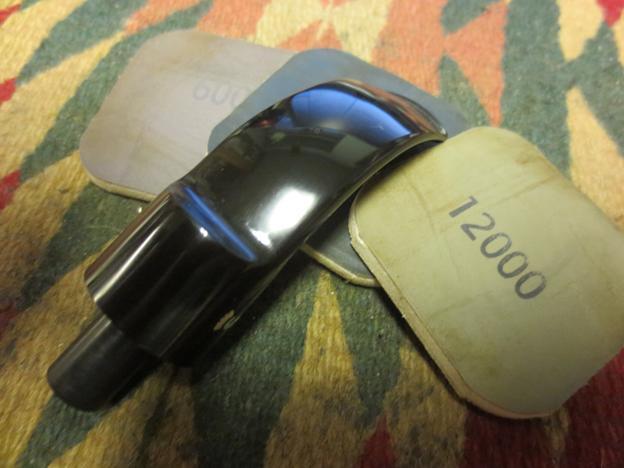
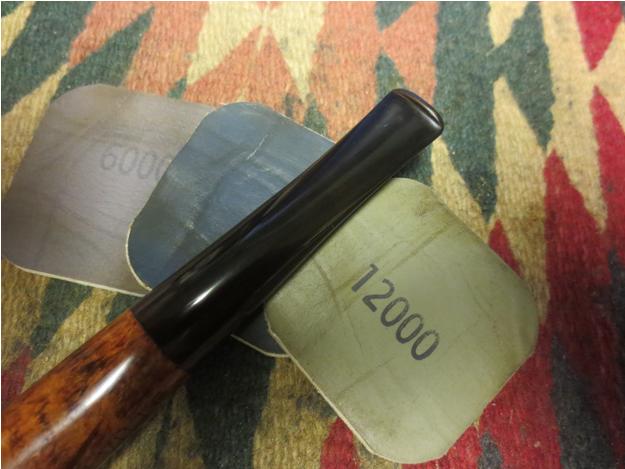
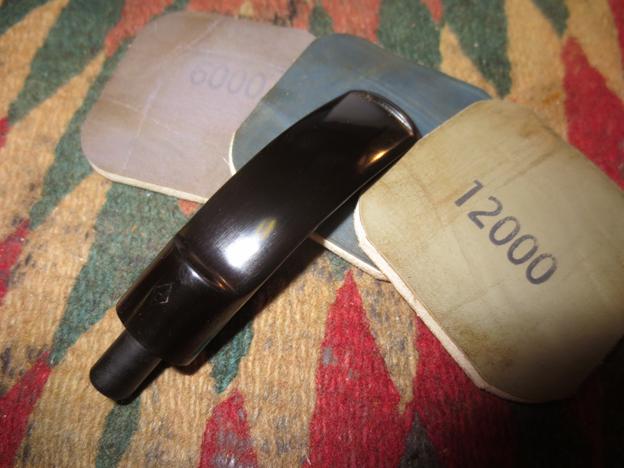
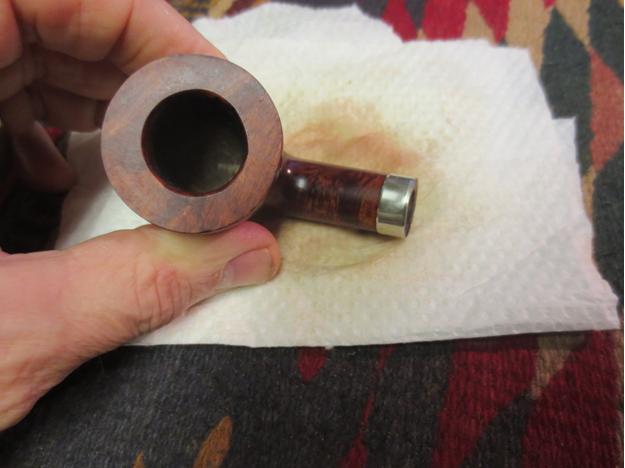 I worked on the oxidation on the stem in the crease with micromesh sanding pads. I wet sanded with 1500-2400 grit pads. I scraped the groove in the crease with a dental pick and then sanded it until it was smooth. I rubbed it down with Obsidian Oil and then dry sanded with 3200-4000 grit pads, reoiled it and then finished sanding with 6000-12000 grit pads. I gave it a final coat of Obsidian Oil and then let it sit until the oil had been absorbed into the vulcanite.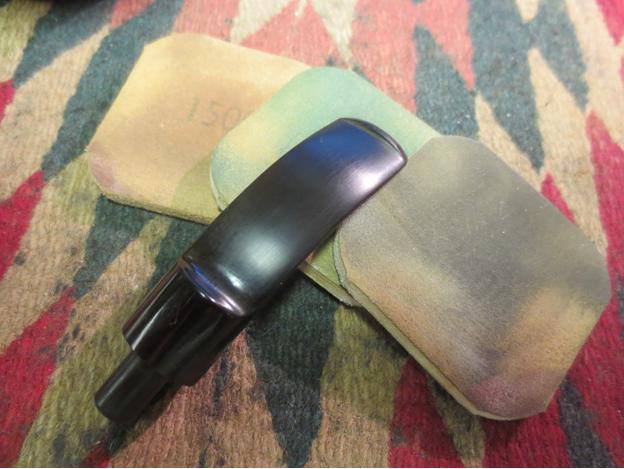
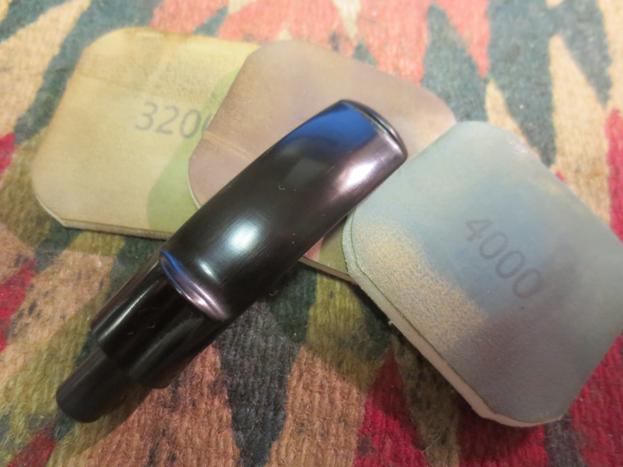
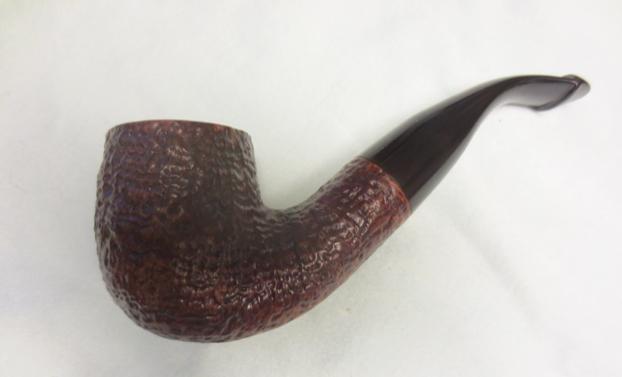
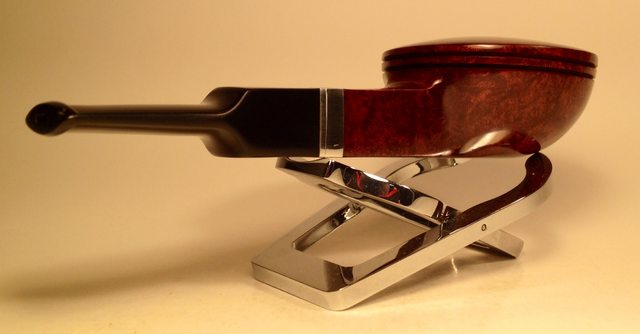
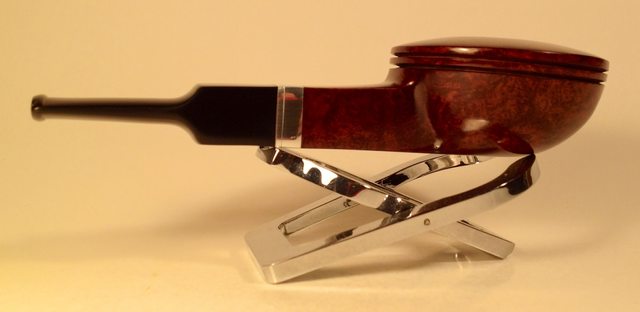
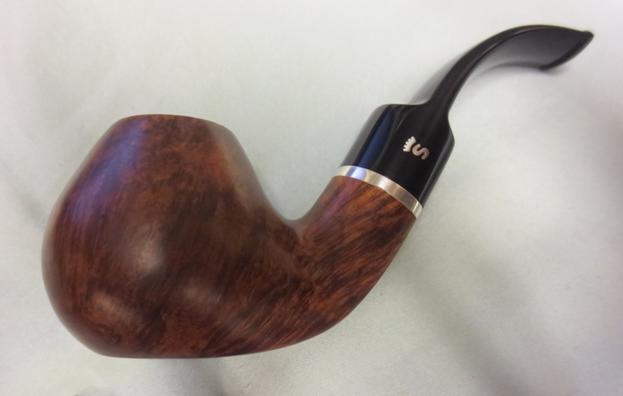
 I buffed the pipe with Blue Diamond and then gave it multiple coats of carnauba wax. I buffed it with a clean flannel buff to raise the shine. I took it back to the work table and buffed it by hand with a microfibre cloth. The finished pipe is shown below. It is cleaned and ready to use. It should give many years of good service now that it is clean. Every time I pick it up I will think of the Gallwitz shop and the changes that it went through from the first time I visited until this past time. The sad changes will go through my mind for a long time.